25 Thrifted Mirror Ideas for Beginners
If you are new to thrifting, mirrors are a kind and forgiving place to start. These thrifted Mirror ideas use cheap frames, simple paint, and easy hanging tricks, so a $4 find can brighten a dark hallway or make a small room feel twice as big. Save this idea for your next thrift trip so you know what to look for before you buy. You do not need power tools for most of these projects, just a tape measure, a level, and a little patience.
1. Entryway Mirror with a Thrifted Wood Frame
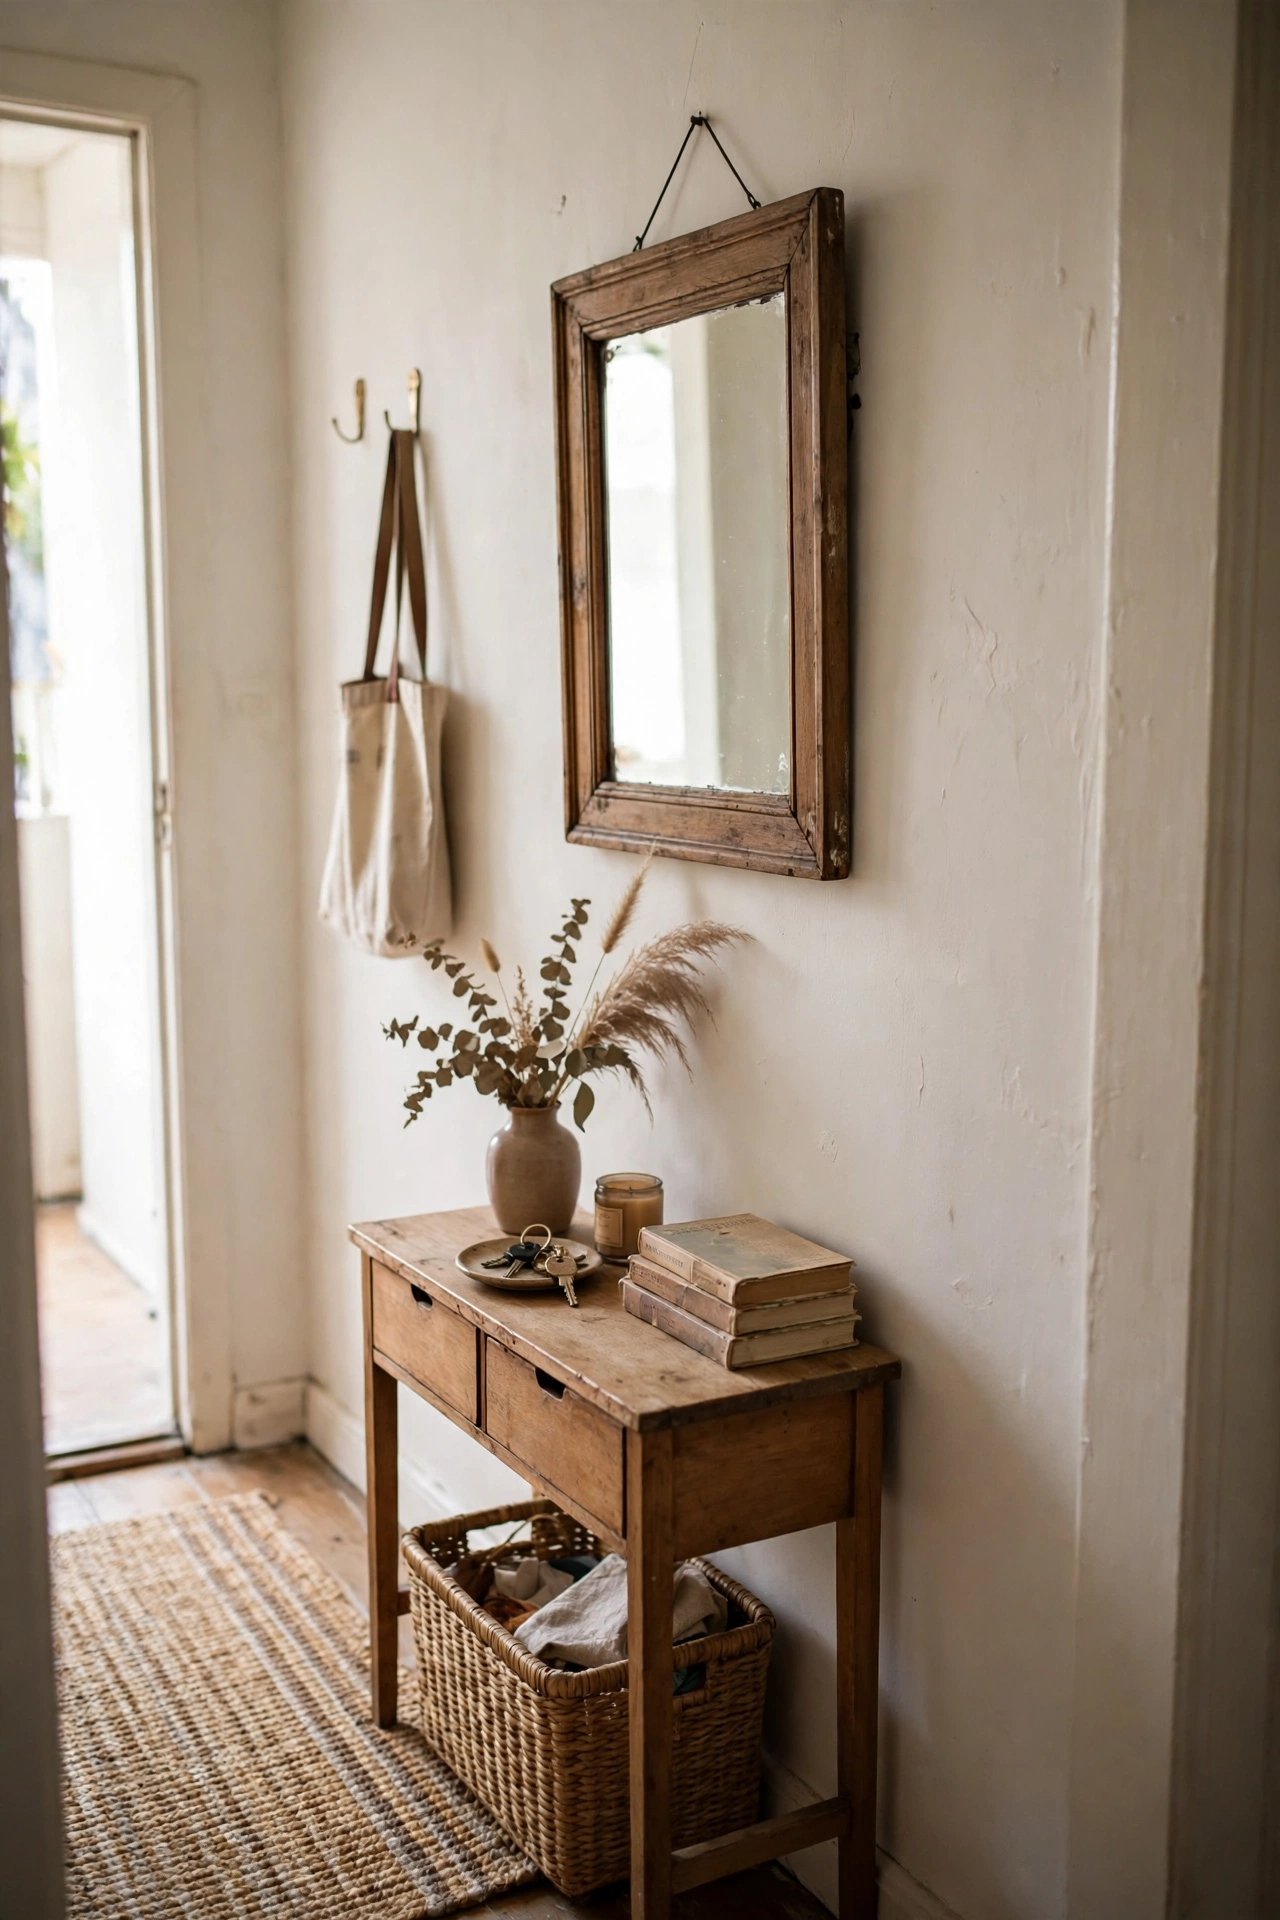
A wood-framed mirror by the door gives you a last look before you leave and bounces light into a narrow hall. Pick a frame with solid corners and no loose joints. First, clean the glass with vinegar water and a soft cloth. Next, sand any rough spots lightly and wipe away dust. Then, hang it at eye level using a wall anchor rated for its weight. I tried this with a $5 oak frame, and our dark entry felt brighter the same day. One mistake to avoid: do not hang a heavy mirror on a plain nail in plasterboard.
Cost: ~$9 | Time: 35 minutes
2. Round Mirror Leaned on a Dresser
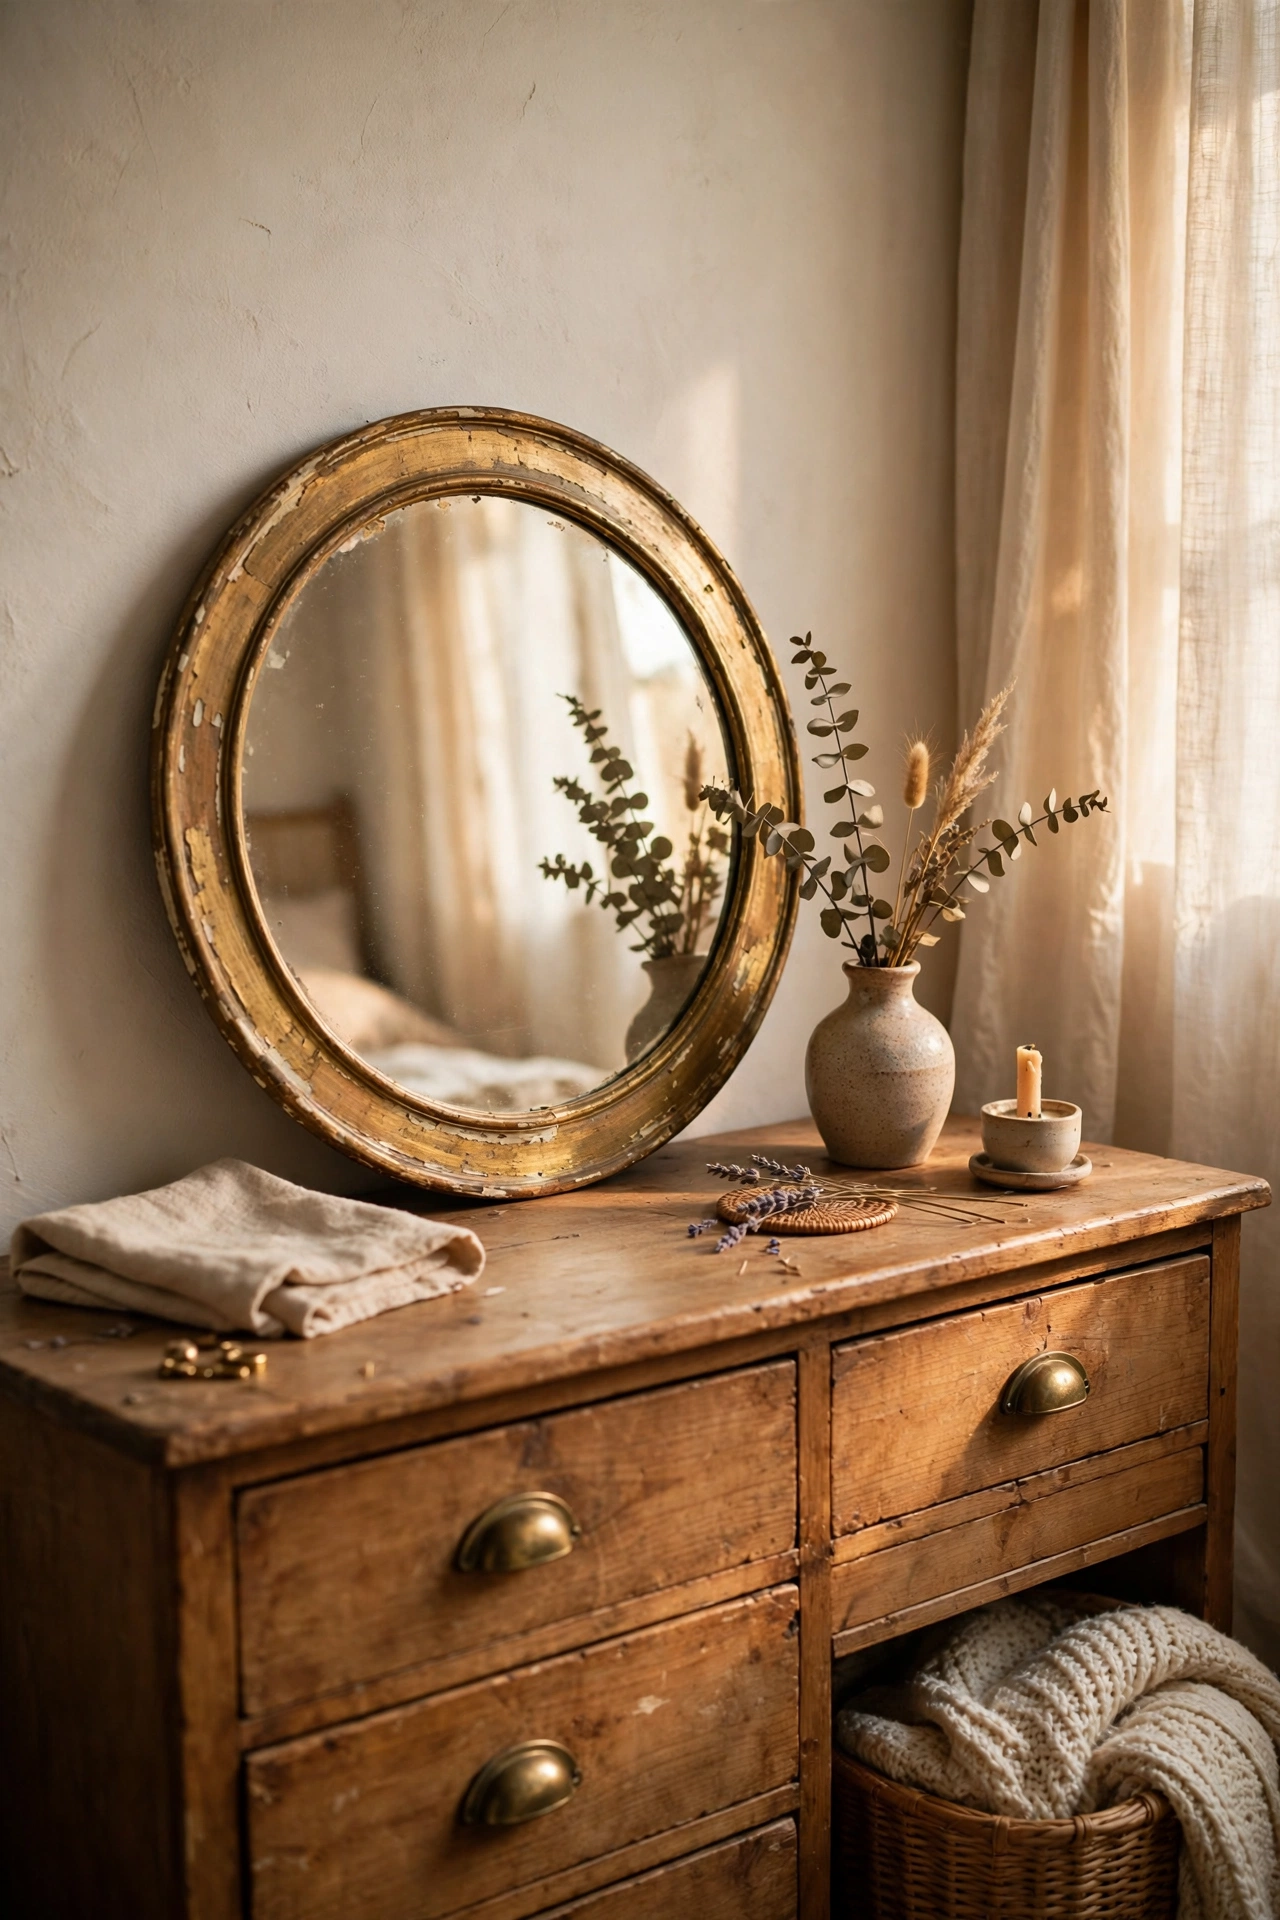
A round mirror leaned against the wall on top of a dresser is the easiest beginner project of all, because there is no hanging involved. Choose a size that leaves a few inches of dresser space on each side. First, place a non-slip pad under the frame so it cannot slide. Next, lean it back at a slight angle and check it in daylight. Then, style one small vase or candle in front of it. I tried this in our bedroom, and it made getting ready feel calmer and less rushed. One mistake to avoid: do not lean a heavy mirror where kids or pets can bump it over.
Pro tip: Test the lean angle with your phone camera before you style anything around it.
Cost: ~$7 | Time: 15 minutes
3. Painted Gold Vintage Mirror for a Dark Corner
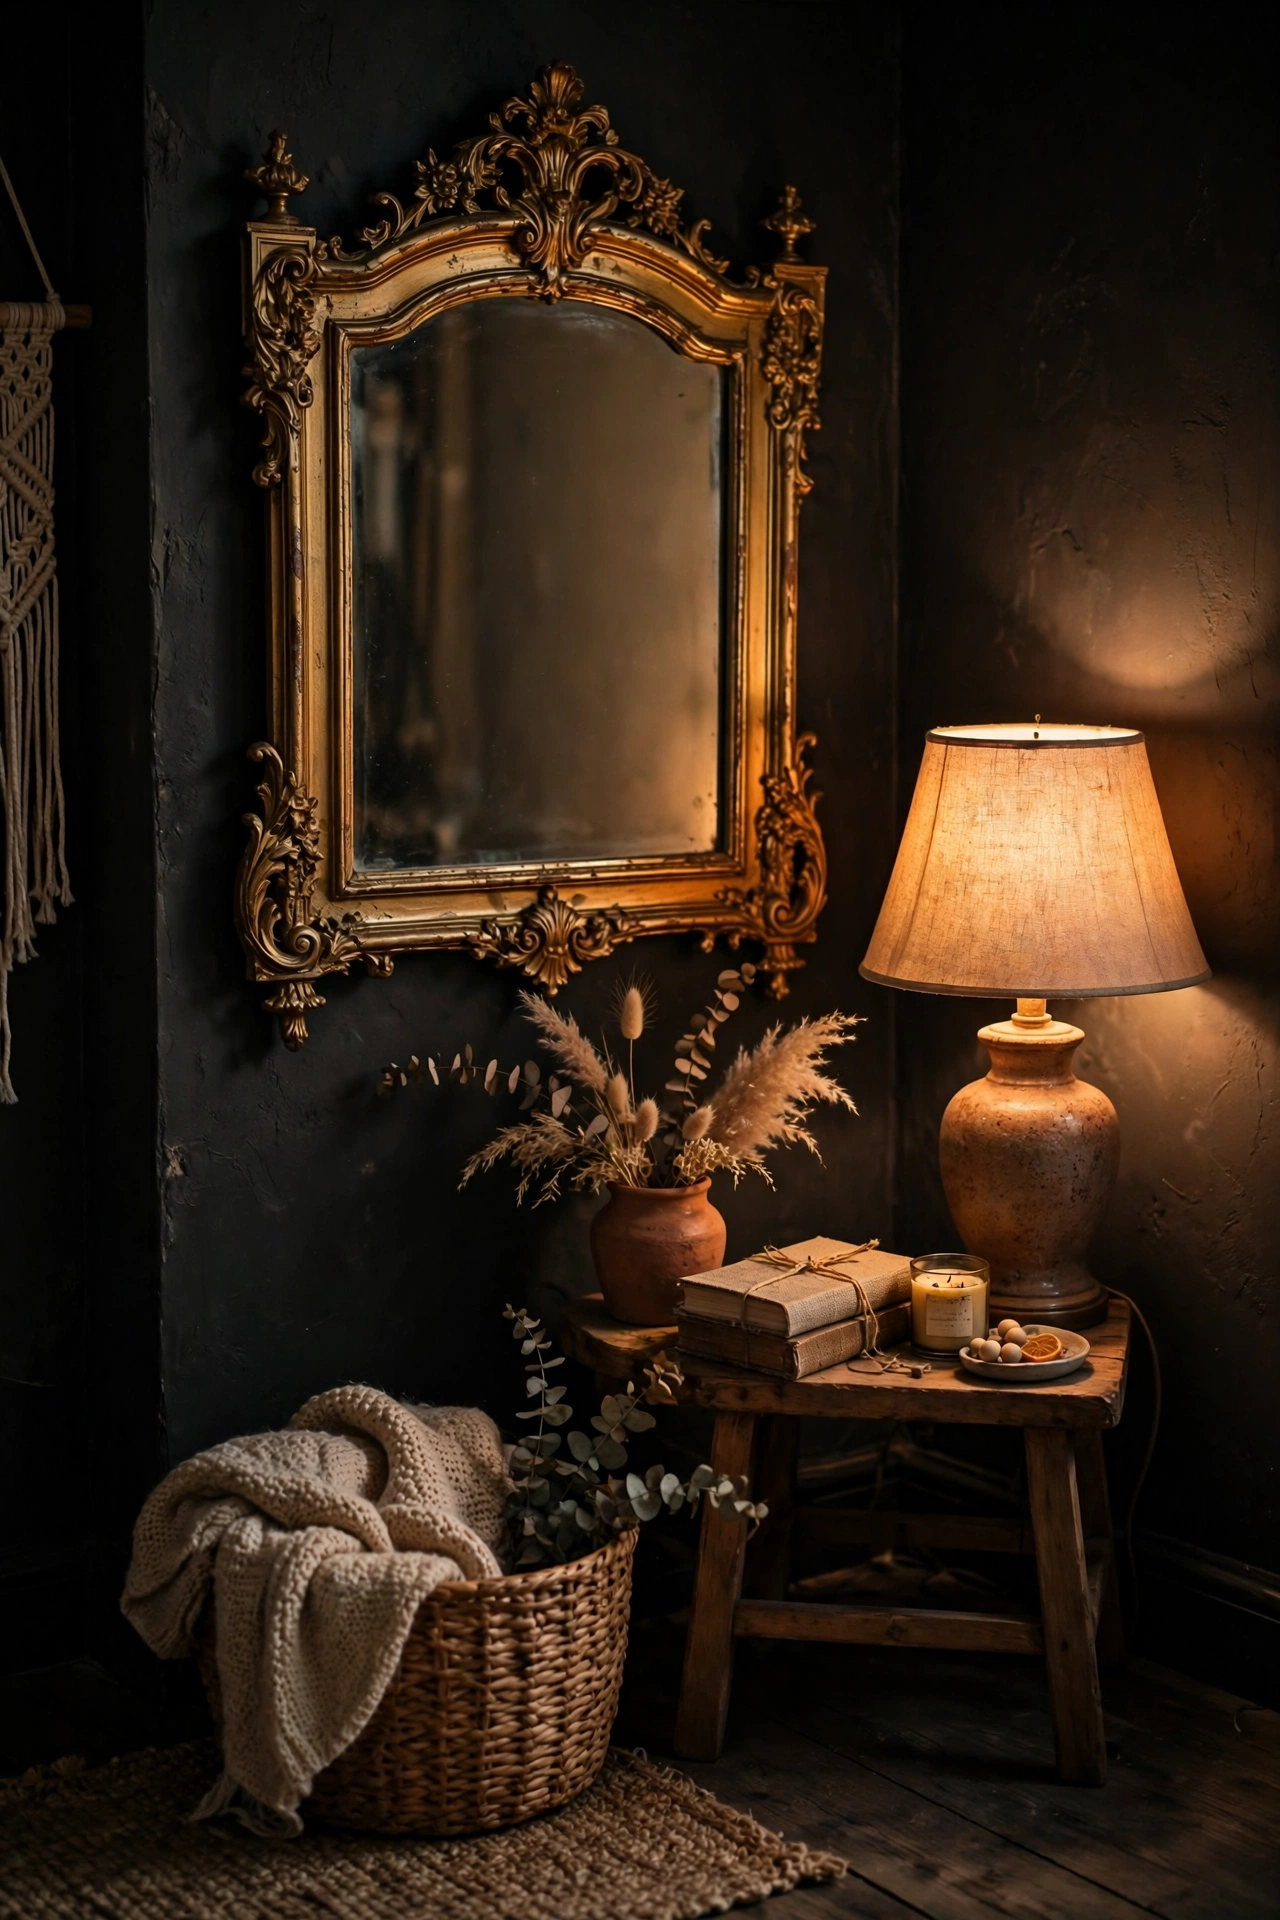
A little gold paint can turn a dull vintage mirror into a warm focal point for a dark corner. Look for interesting frame detail, even if the finish is chipped or dated. First, clean and lightly sand the frame, then tape off the glass edge carefully. Next, spray two thin coats of metallic paint, letting each coat dry fully. Then, remove the tape slowly and touch up any spots. I tried this on a $3 ornate frame, and it looked like a much pricier piece once hung. One mistake to avoid: do not spray thick coats, or the paint will drip and hide the detail.
Cost: ~$11 | Time: 50 minutes
4. Mirror Gallery Wall from Mismatched Thrift Finds
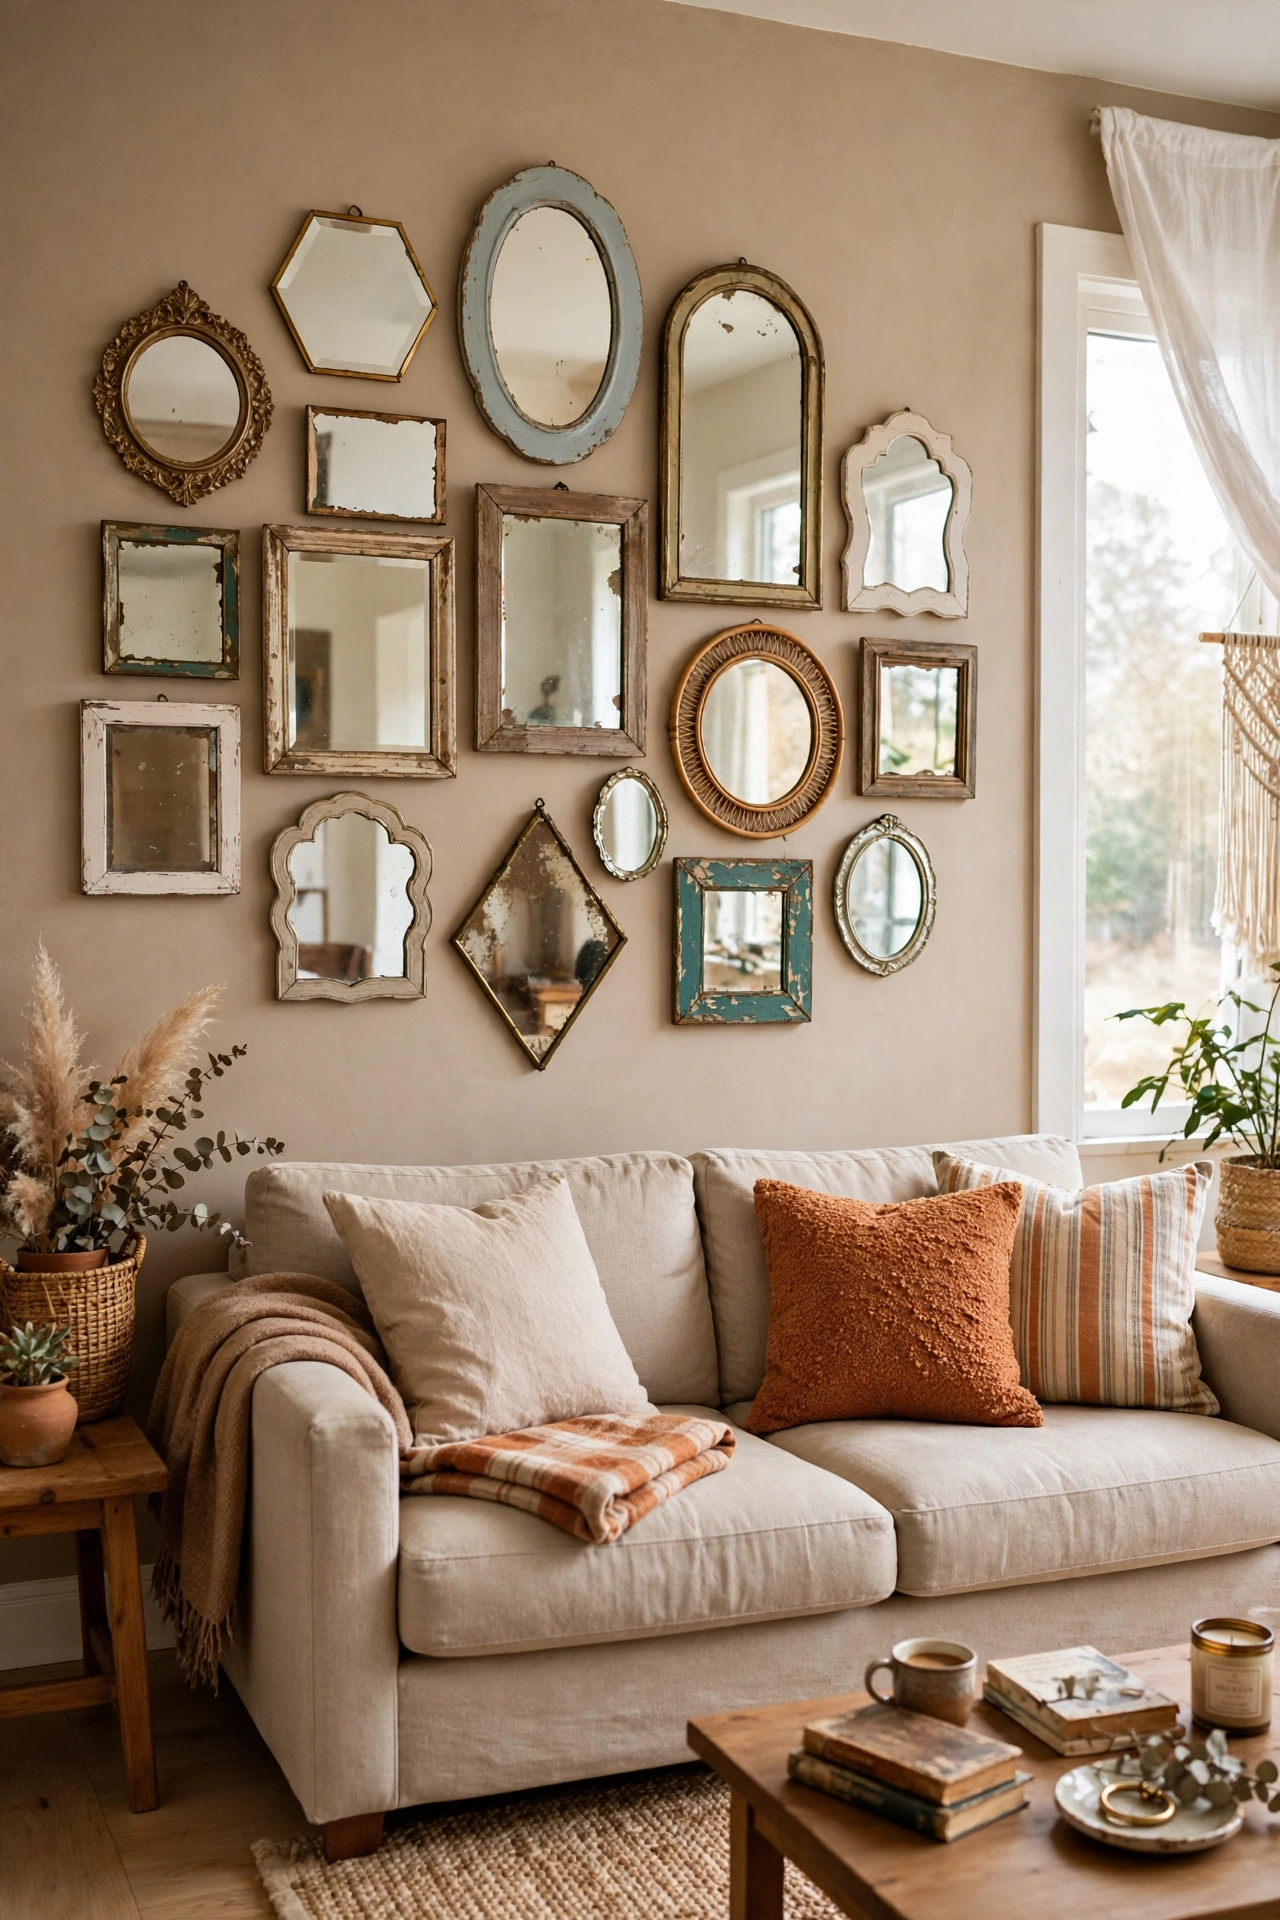
A gallery of small mismatched mirrors adds sparkle to a blank wall without needing matching frames. Collect four to six mirrors in different shapes over a few thrift trips. First, lay them on the floor and arrange them until the grouping feels balanced. Next, trace each shape on paper and tape the papers to the wall as a guide. Then, hang the largest mirror first and build outward from it. I tried this above our sofa, and guests always comment on it first (see also: budget-gallery-wall-ideas). One mistake to avoid: do not space them too far apart, or the wall will look scattered.
Cost: ~$18 | Time: 70 minutes
5. Bathroom Mirror with a Rope Frame
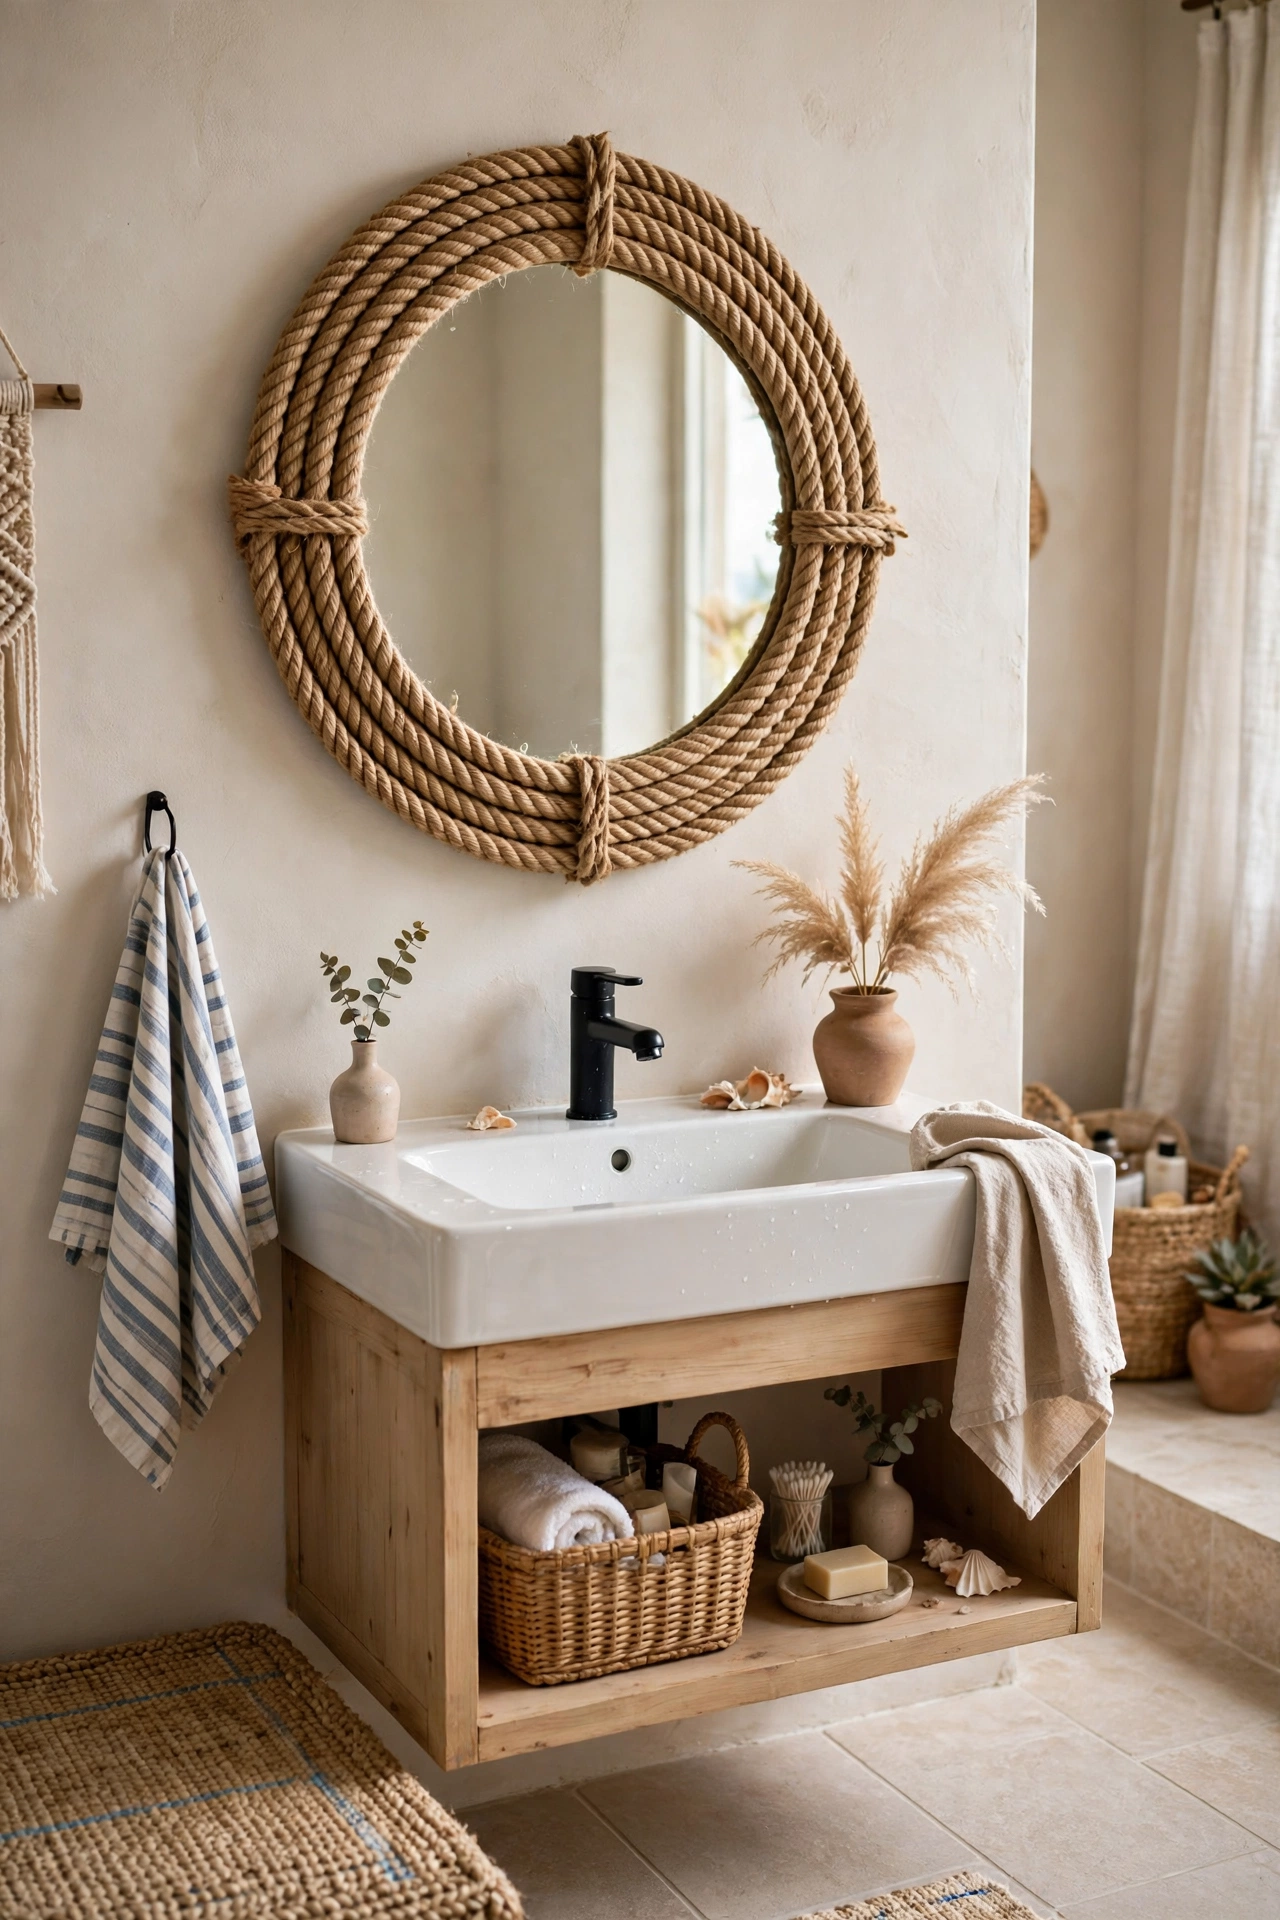
Wrapping a plain round mirror in rope gives a bathroom a relaxed, coastal feel for very little money. Buy natural jute rope and strong craft glue that can handle bathroom humidity. First, clean the old frame and remove any loose trim. Next, glue the rope in tight circles around the edge, pressing each row close to the last. Then, trim the end neatly and seal it with a dot of glue. I tried this in our guest bath, and it hid a chipped plastic frame completely. One mistake to avoid: do not leave gaps between rope rows, or the old frame will peek through.
Pro tip: Wear gloves, because jute can be rough on bare hands during a long wrap.
Cost: ~$10 | Time: 45 minutes
6. Sunburst Mirror from Thrifted Pieces
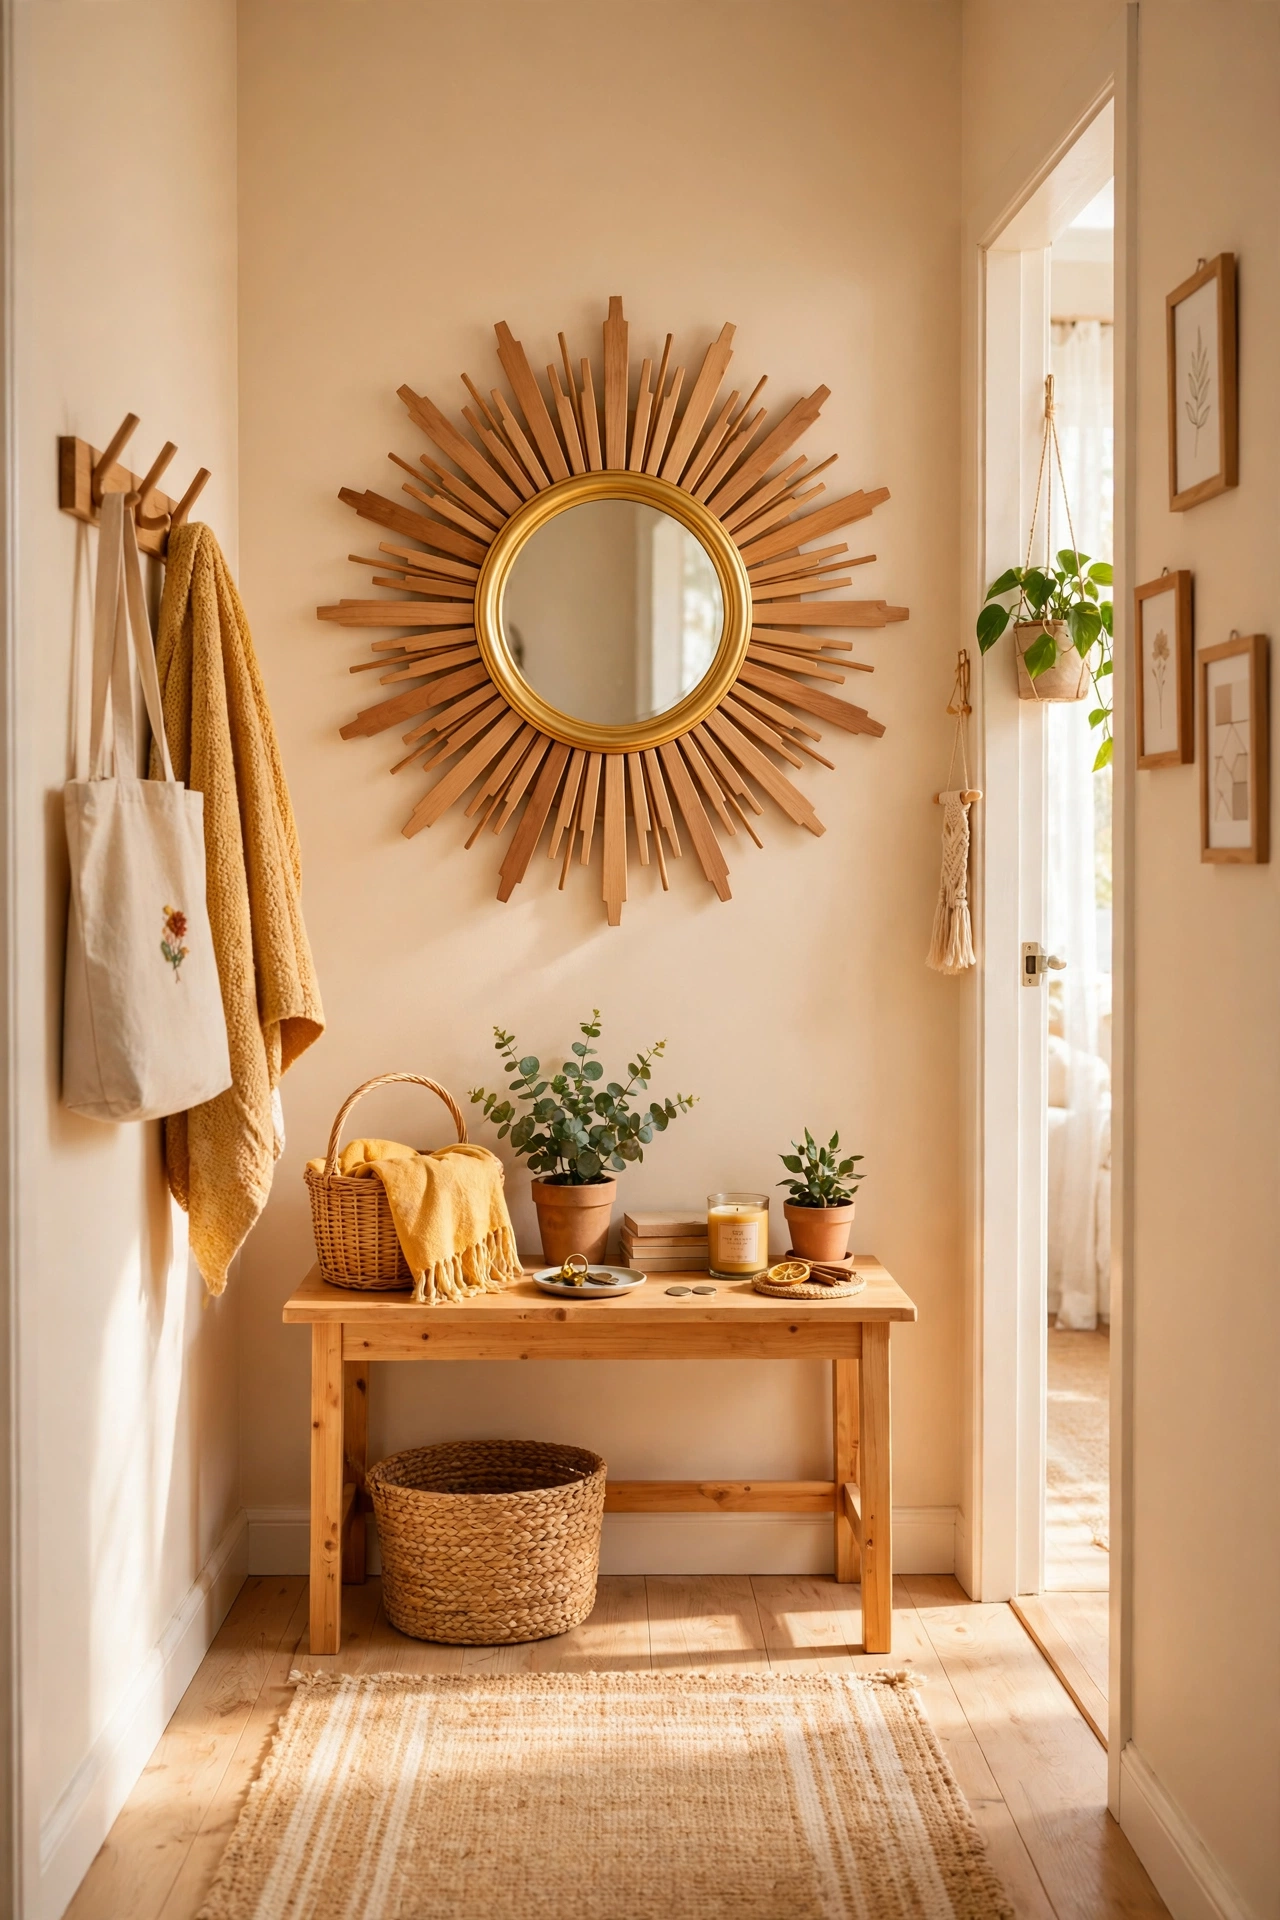
A sunburst mirror looks fancy, but you can build one from a small round mirror, wooden skewers, and gold paint. This is a fun weekend project for a confident beginner. First, glue skewers in a fan pattern around the back of the mirror, varying their lengths. Next, let the glue set overnight so nothing shifts. Then, spray the whole frame gold and hang it with a strong hook. I tried this for our hallway, and it took one afternoon plus drying time. One mistake to avoid: do not rush the glue stage, or skewers will droop and ruin the shape.
Cost: ~$13 | Time: 60 minutes
7. Full-Length Mirror Makeover with Chalk Paint
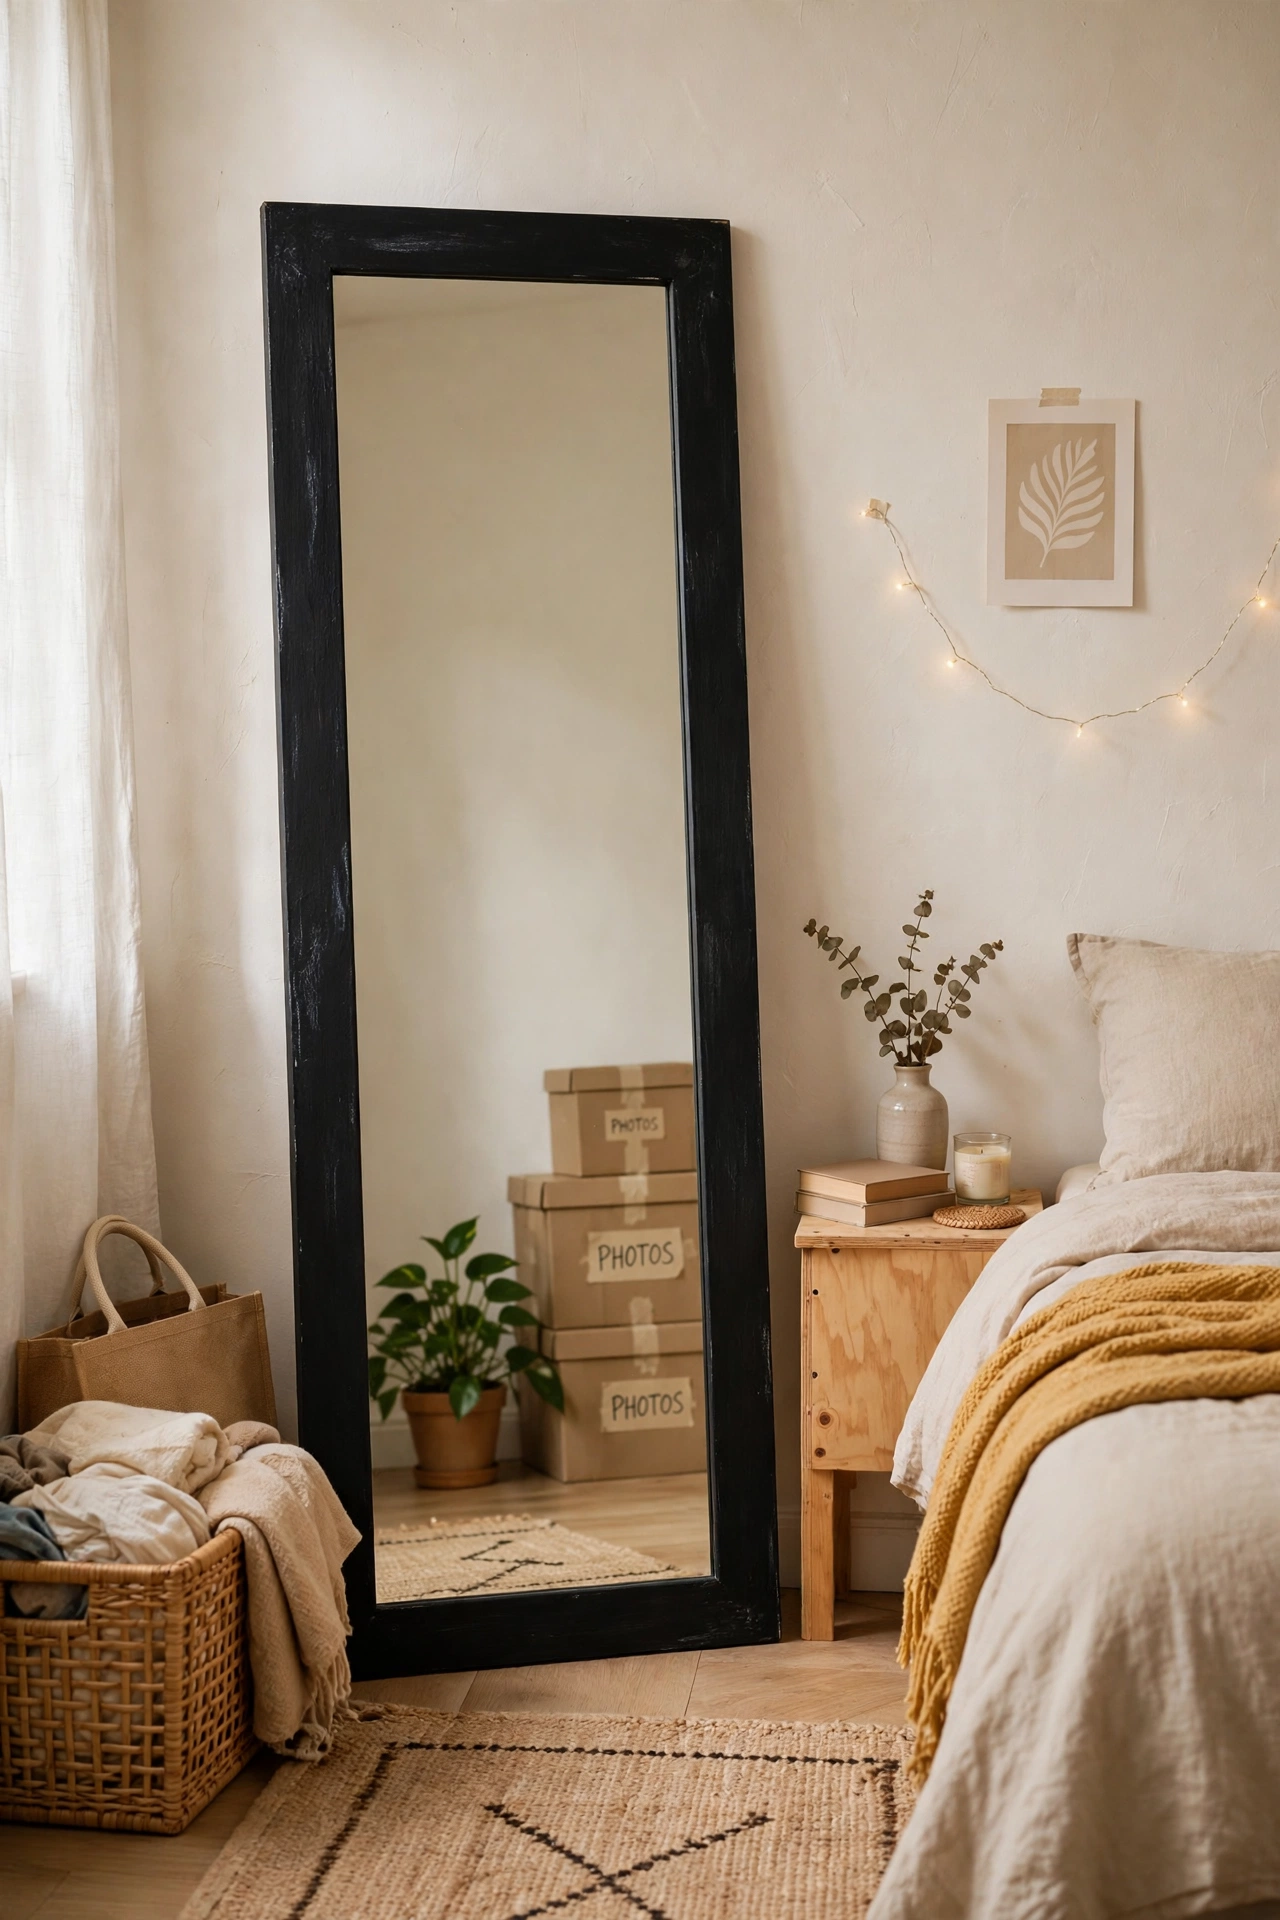
Chalk paint is forgiving on old full-length mirrors, which makes it perfect if you are nervous about brush marks. Pick a frame with no cracks in the glass itself. First, clean the frame, tape the glass, and apply one thin coat. Next, let it dry, then add a second coat for even coverage. Then, seal it with clear wax for a soft, matte finish. I tried this on a $8 leaning mirror, and the black finish made our bedroom look tidier right away. One mistake to avoid: do not skip taping, or paint on the glass is hard to scrape off cleanly.
Cost: ~$16 | Time: 75 minutes
8. Mirror Tray for Perfume and Candles
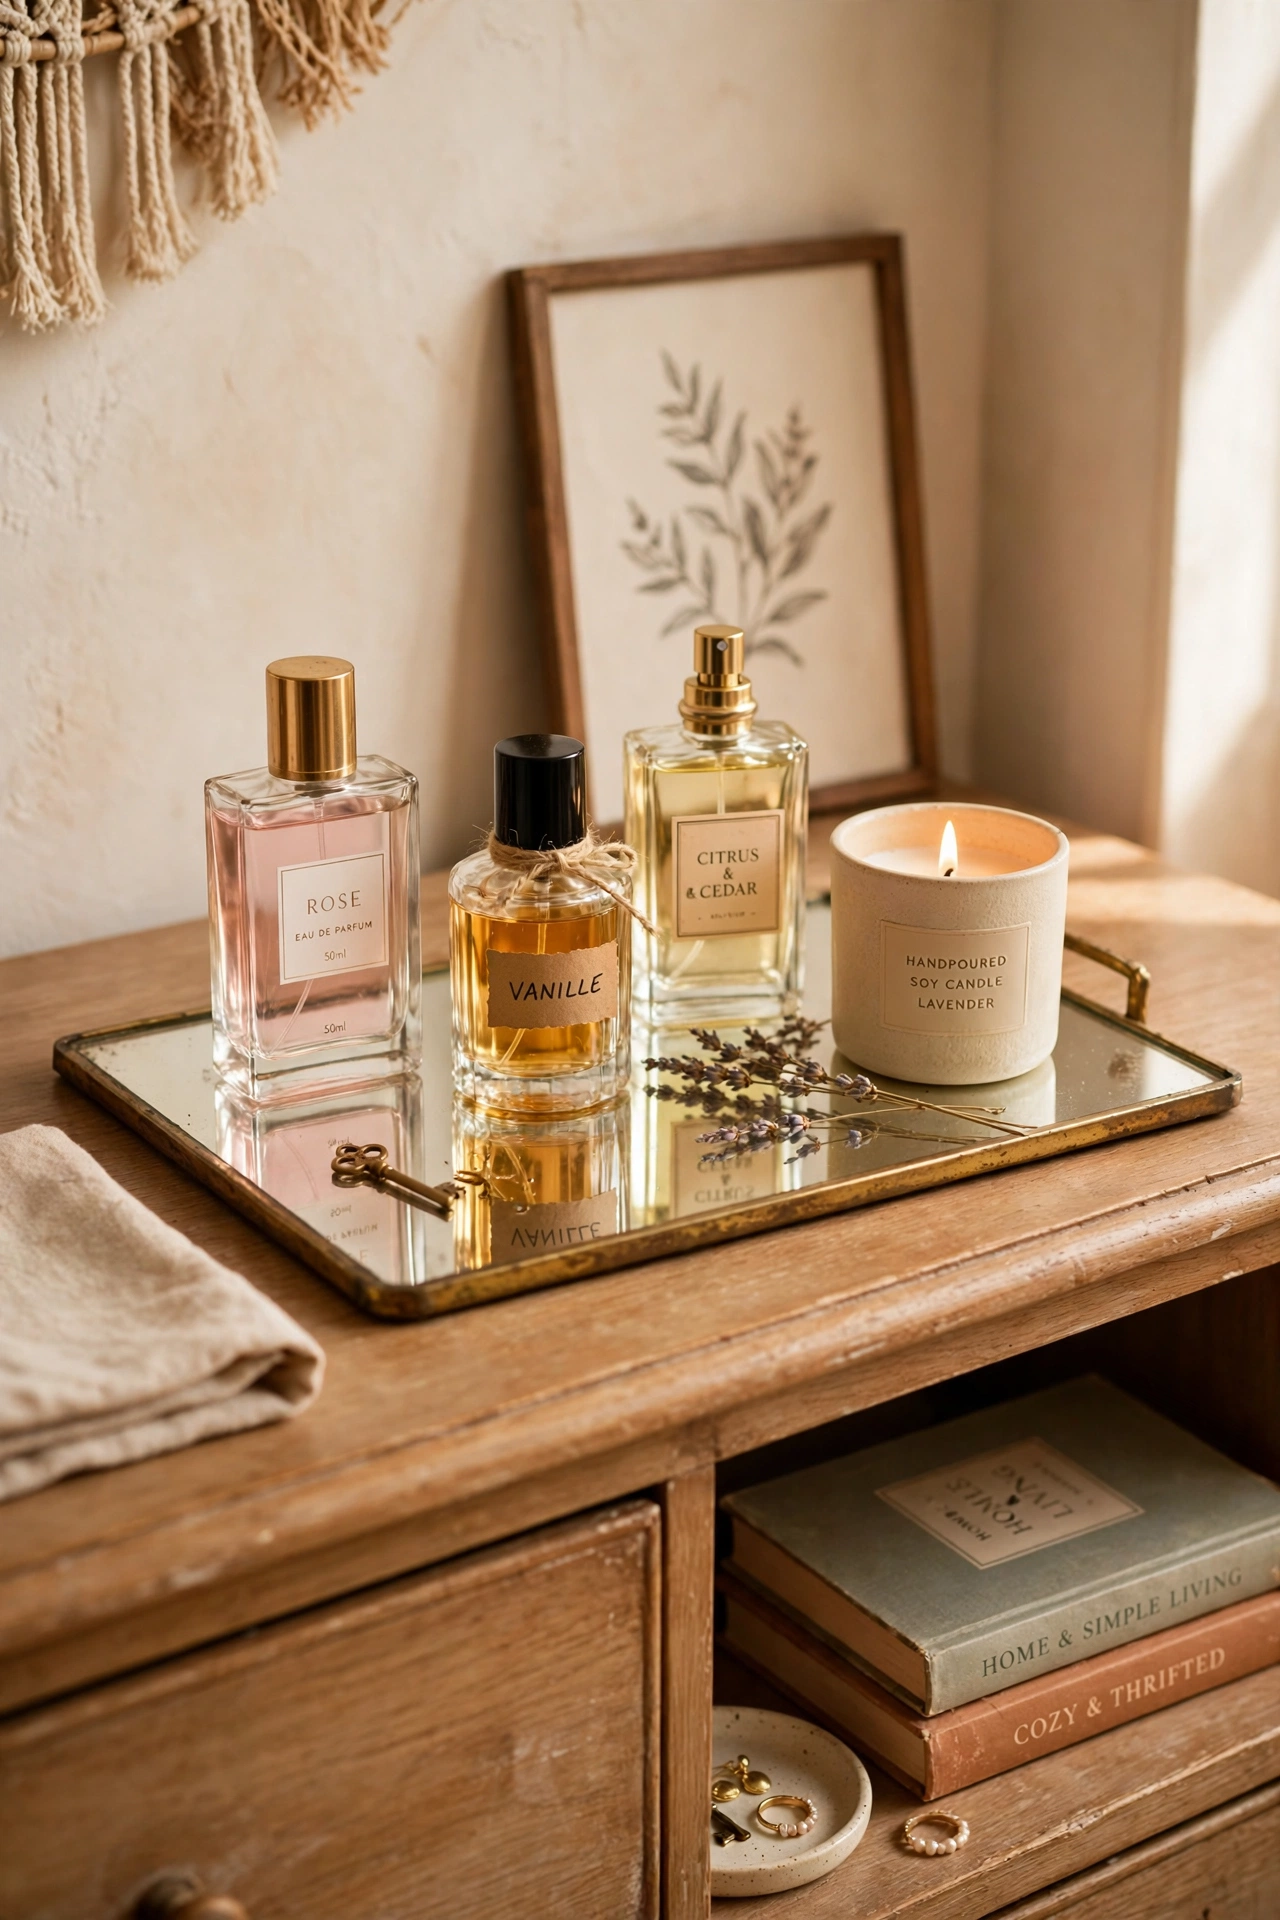
A flat thrifted mirror laid on a dresser becomes a tray that makes perfume bottles and candles look grouped on purpose. Choose a mirror with a raised edge or a sturdy frame. First, clean the glass well and add small felt pads underneath. Next, group three to five items by height, tallest at the back. Then, leave some empty space so it does not look crowded. I tried this with a $2 oval mirror, and my dresser went from cluttered to calm in ten minutes. One mistake to avoid: do not place lit candles too close to the frame edge.
Cost: ~$4 | Time: 15 minutes
9. Kitchen Window Mirror to Bounce Light
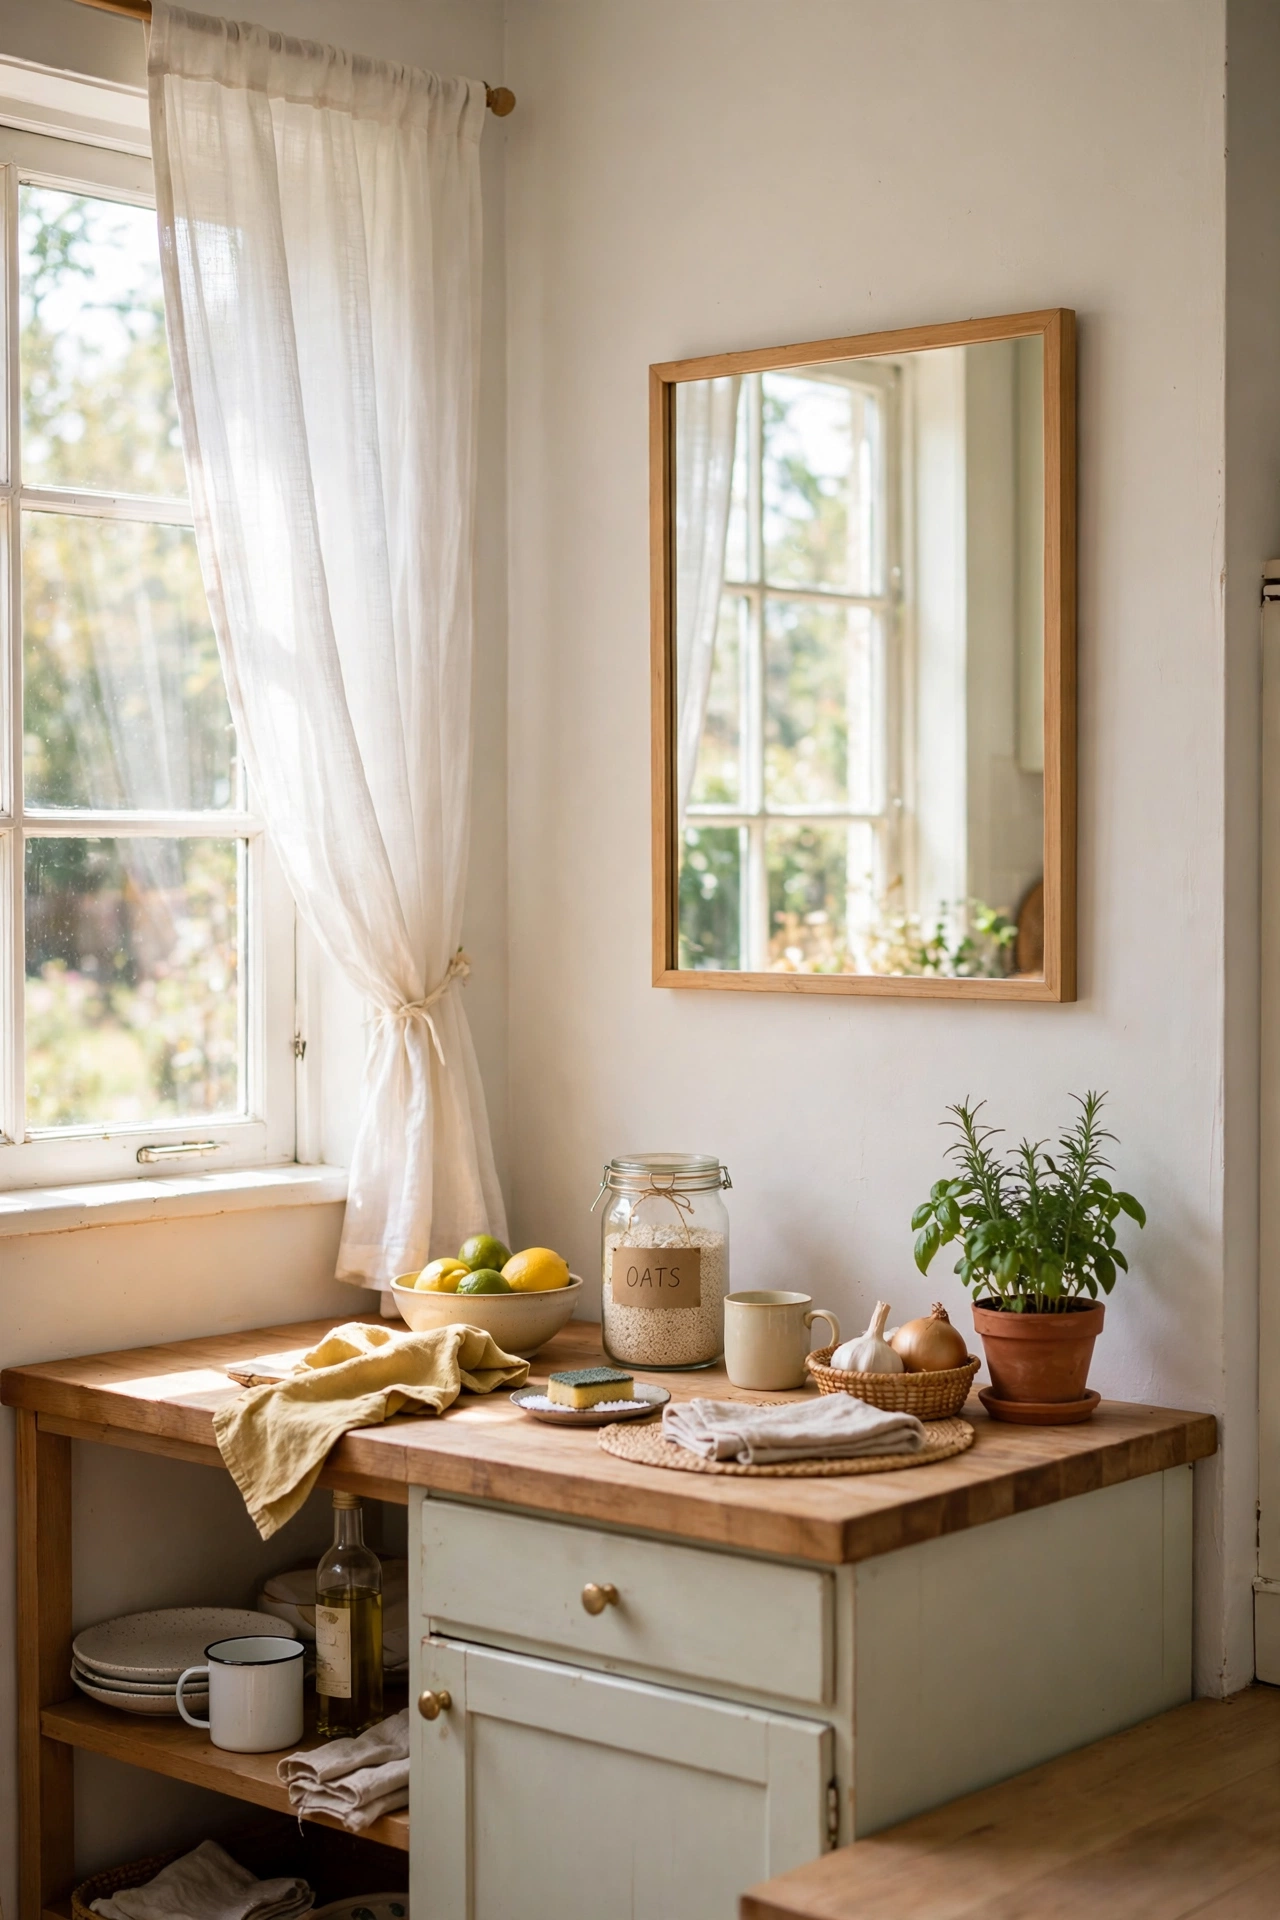
A mirror placed opposite or beside a kitchen window can bounce daylight deeper into the room, which helps in a kitchen with only one window. Pick a simple frame that matches your cabinets. First, check where sunlight falls during the morning and afternoon. Next, hang the mirror where it catches that light without glaring into your eyes. Then, keep the glass clean, since kitchen grease dulls the effect fast. I tried this in our galley kitchen, and the far end felt noticeably brighter. One mistake to avoid: do not hang it where it reflects a messy counter all day.
Pro tip: Stand where you cook and check the reflection before you drill any holes.
Cost: ~$8 | Time: 30 minutes
10. Bedroom Mirror with Clip-On Fairy Lights
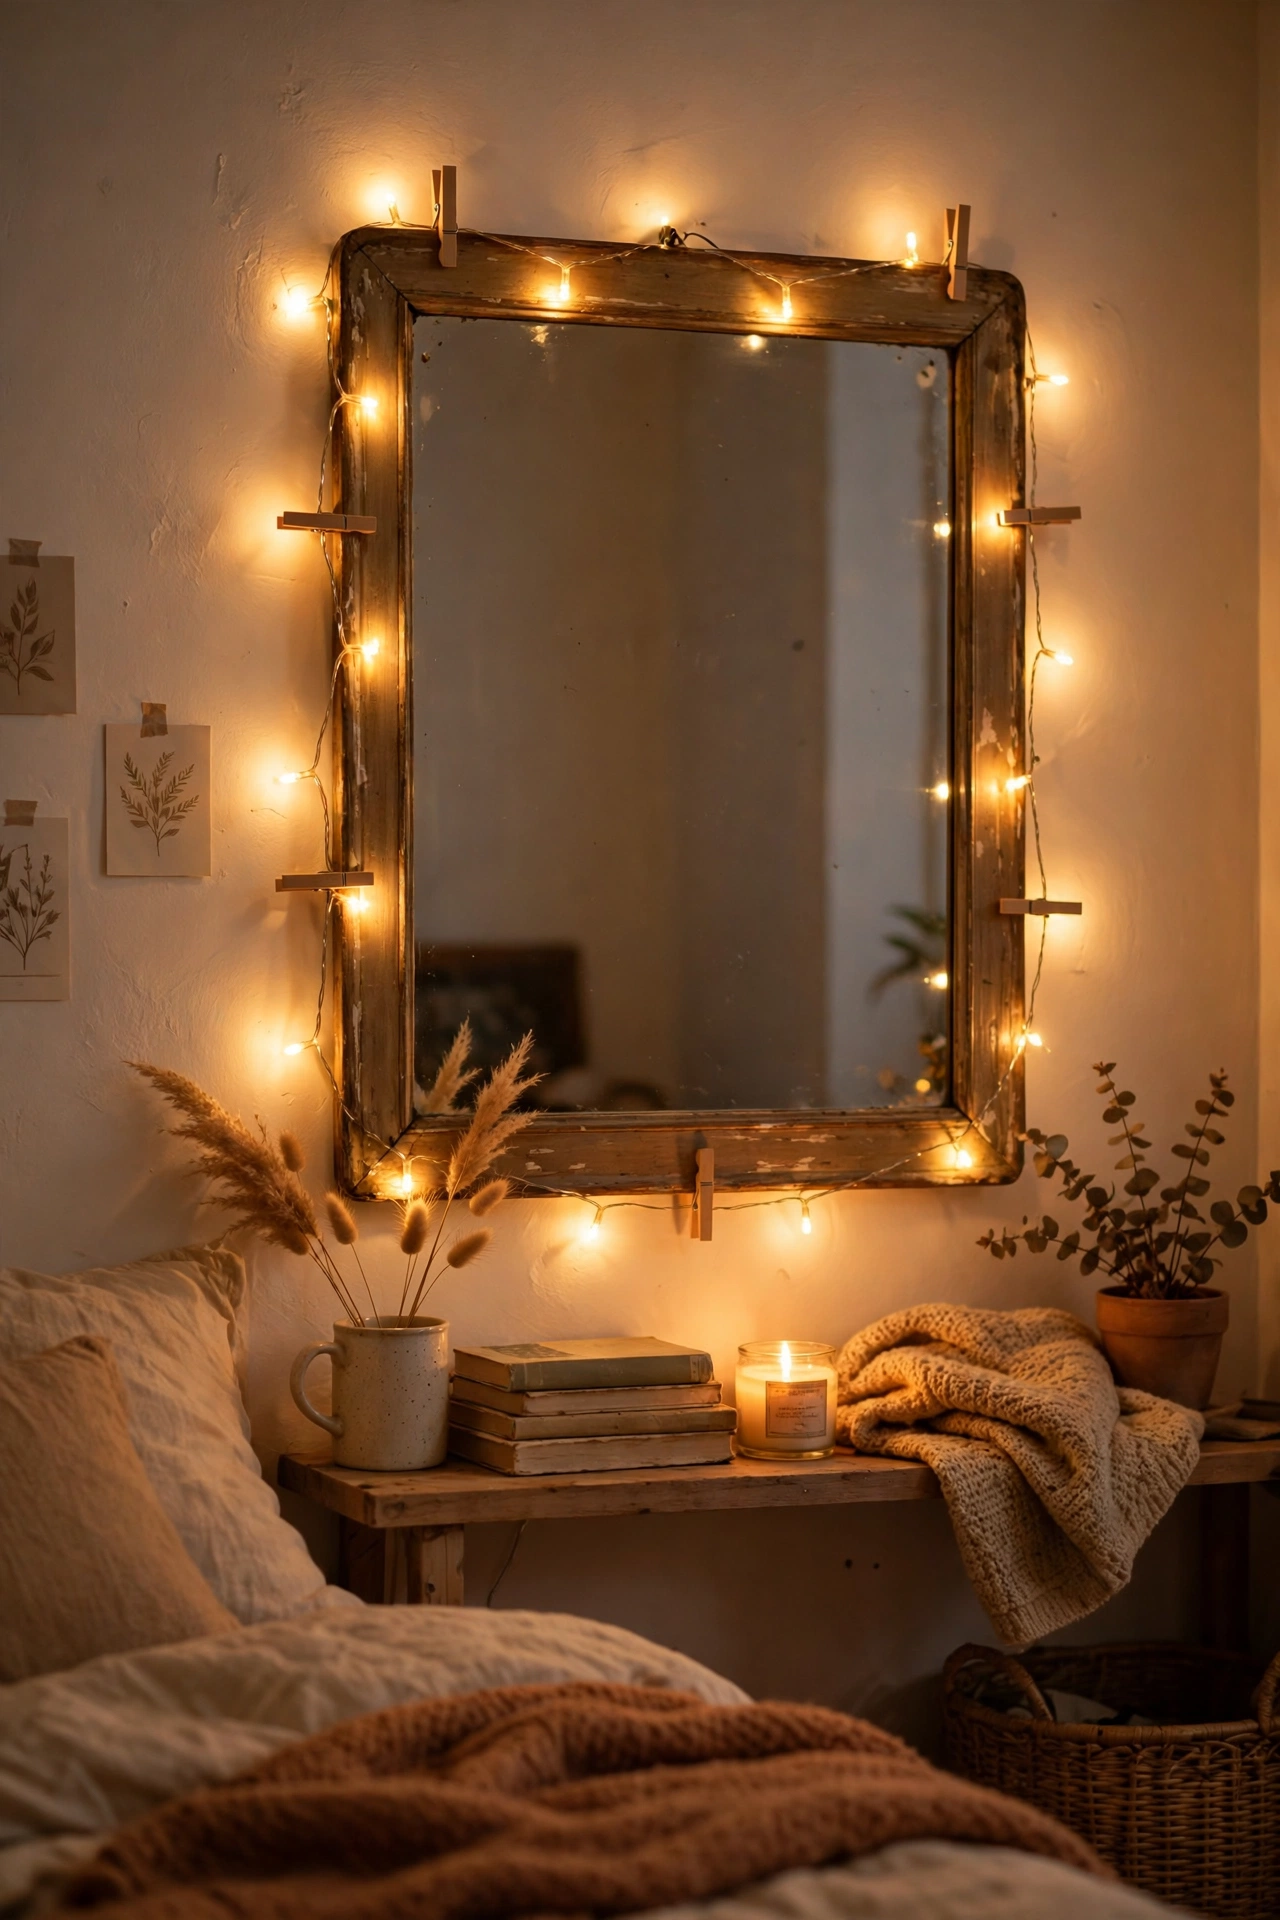
Clip-on fairy lights around a thrifted mirror add a soft glow that is perfect for a bedroom or dressing area. Battery lights are easiest for a beginner, with no wiring needed. First, clean the frame and test the lights before you clip them on. Next, space the clips evenly around the edge, starting at the bottom center. Then, hide the battery pack behind the frame with tape. I tried this for my daughter’s room, and it became her favorite spot to get ready. One mistake to avoid: do not use lights that get hot, or they can damage an old frame.
Cost: ~$12 | Time: 25 minutes
11. Arched Mirror Painted Cream for a Soft Look
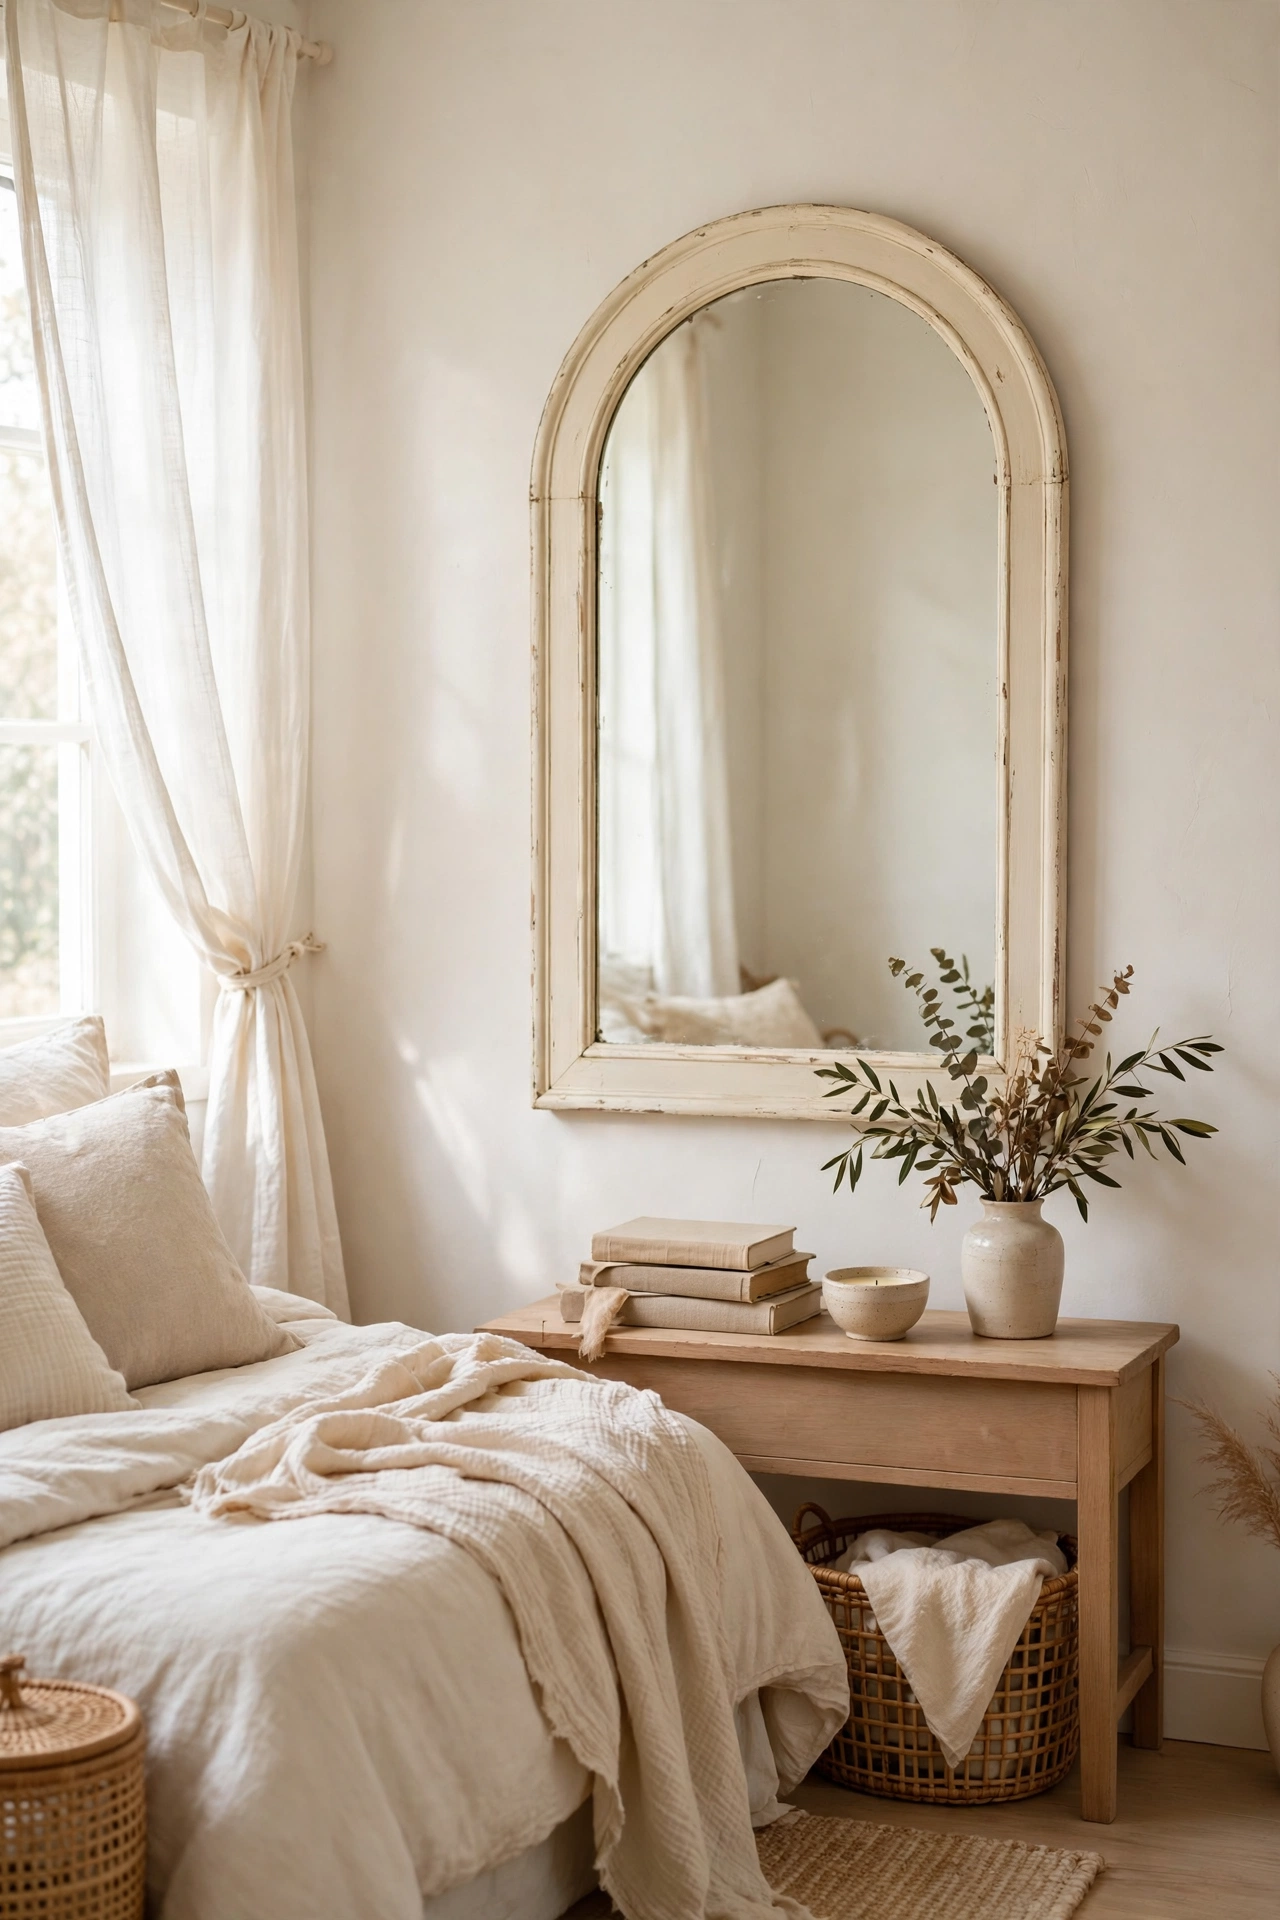
An arched mirror painted cream softens a sharp corner and suits almost any bedroom style. Arched frames show up often at thrift stores because they were popular for years. First, remove the back and clean both glass and frame. Next, paint in thin, even coats, working from the top curve downward. Then, let it cure fully before you reattach the back. I tried this with a $6 arch mirror, and the cream color made our white walls feel warmer. One mistake to avoid: do not paint over loose joints without gluing them first.
Cost: ~$12 | Time: 55 minutes
12. Small Mirror Cluster Above a Desk
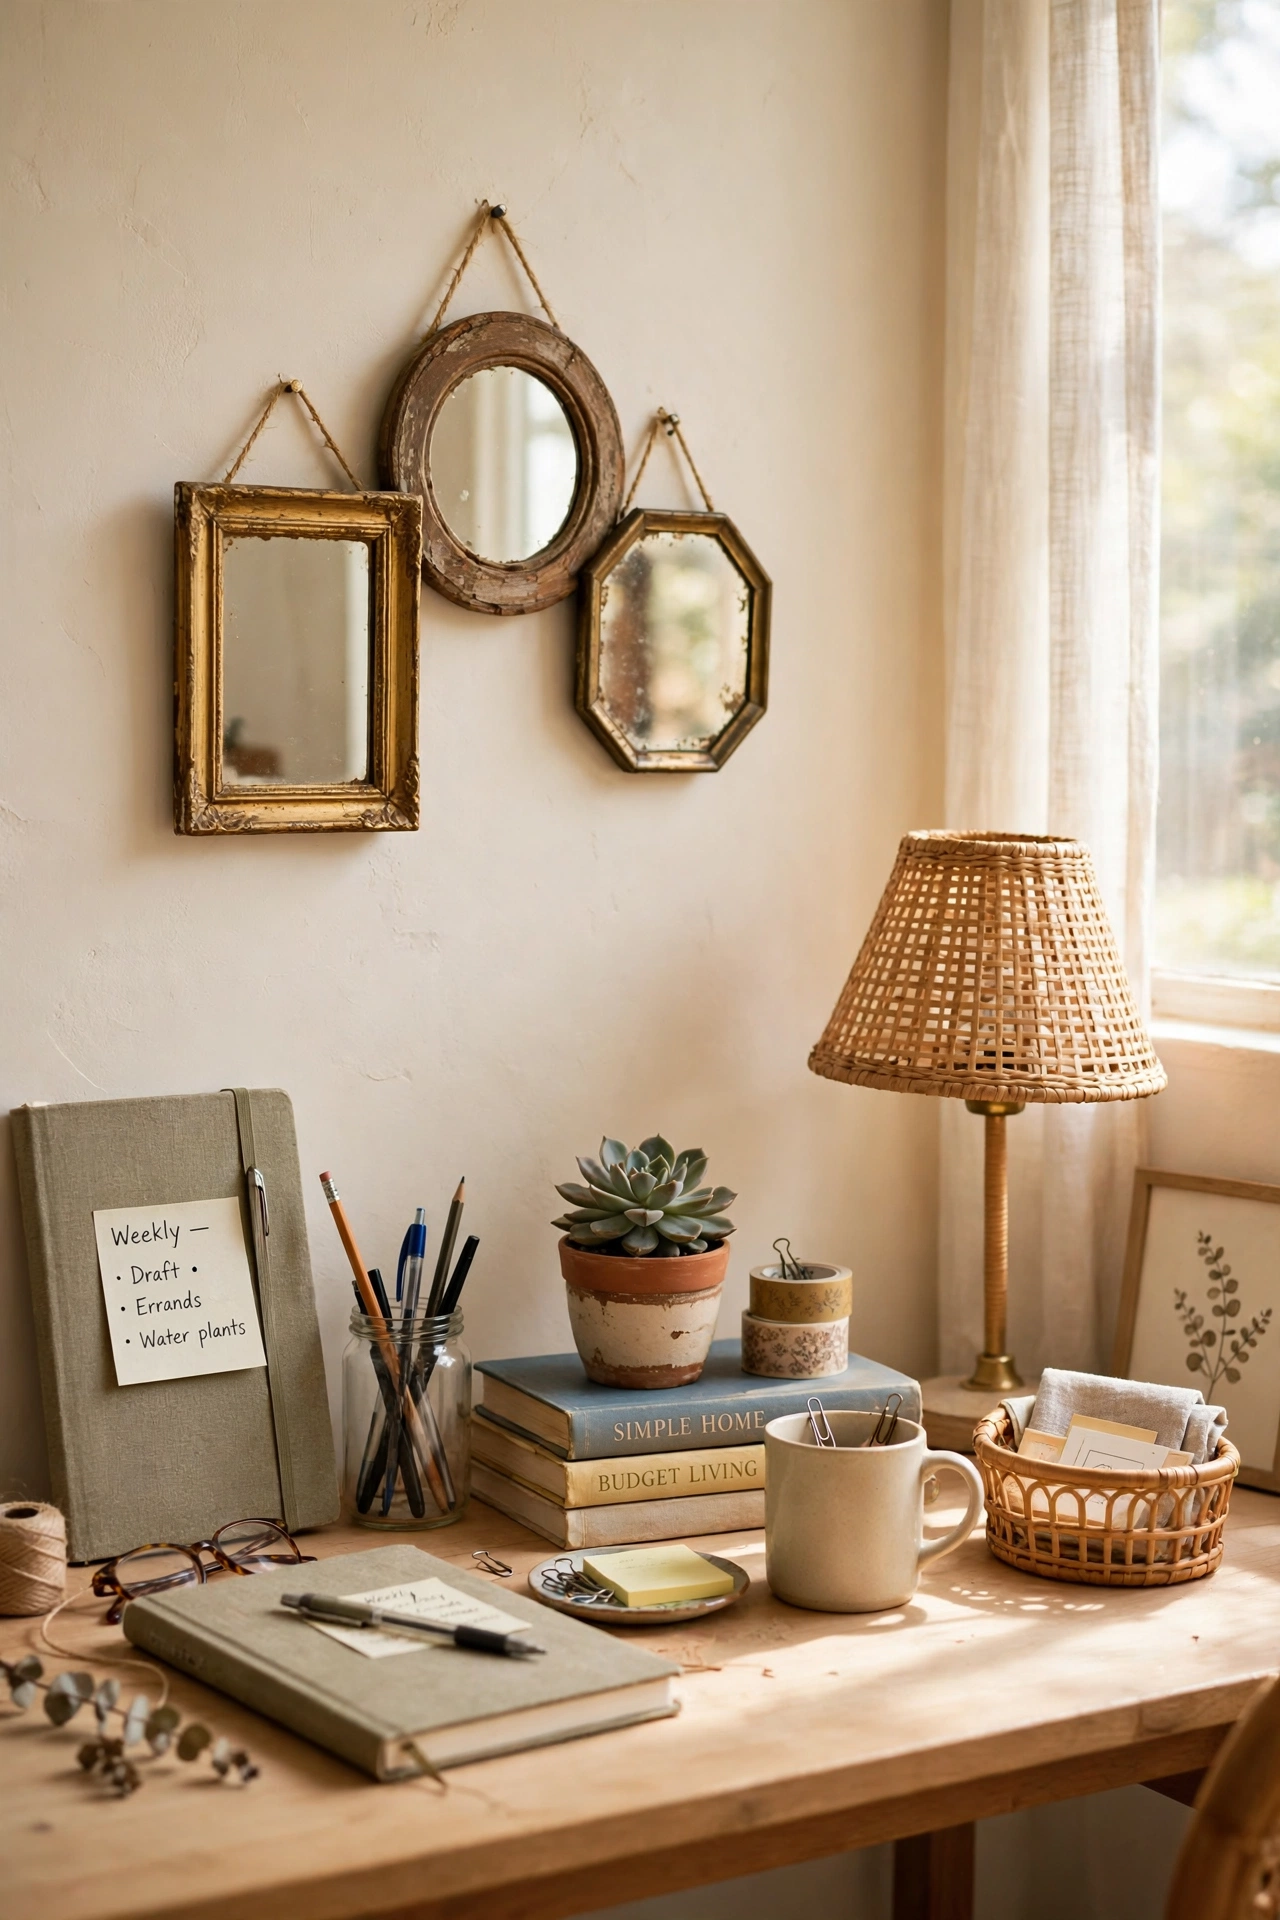
Three small mirrors above a desk add light to a work corner without taking up any desk space. Keep the frames in one color family so the group feels calm. First, measure the desk width and mark the center point on the wall. Next, hang the middle mirror first, then place one on each side at the same height. Then, step back and check the spacing from your chair. I tried this in my home office corner, and video calls looked brighter too (see also: small-home-office-ideas-on-a-budget). One mistake to avoid: do not hang them so low that you bump them when you stand up.
Cost: ~$14 | Time: 40 minutes
13. Thrifted Mirror as a Jewelry Organizer
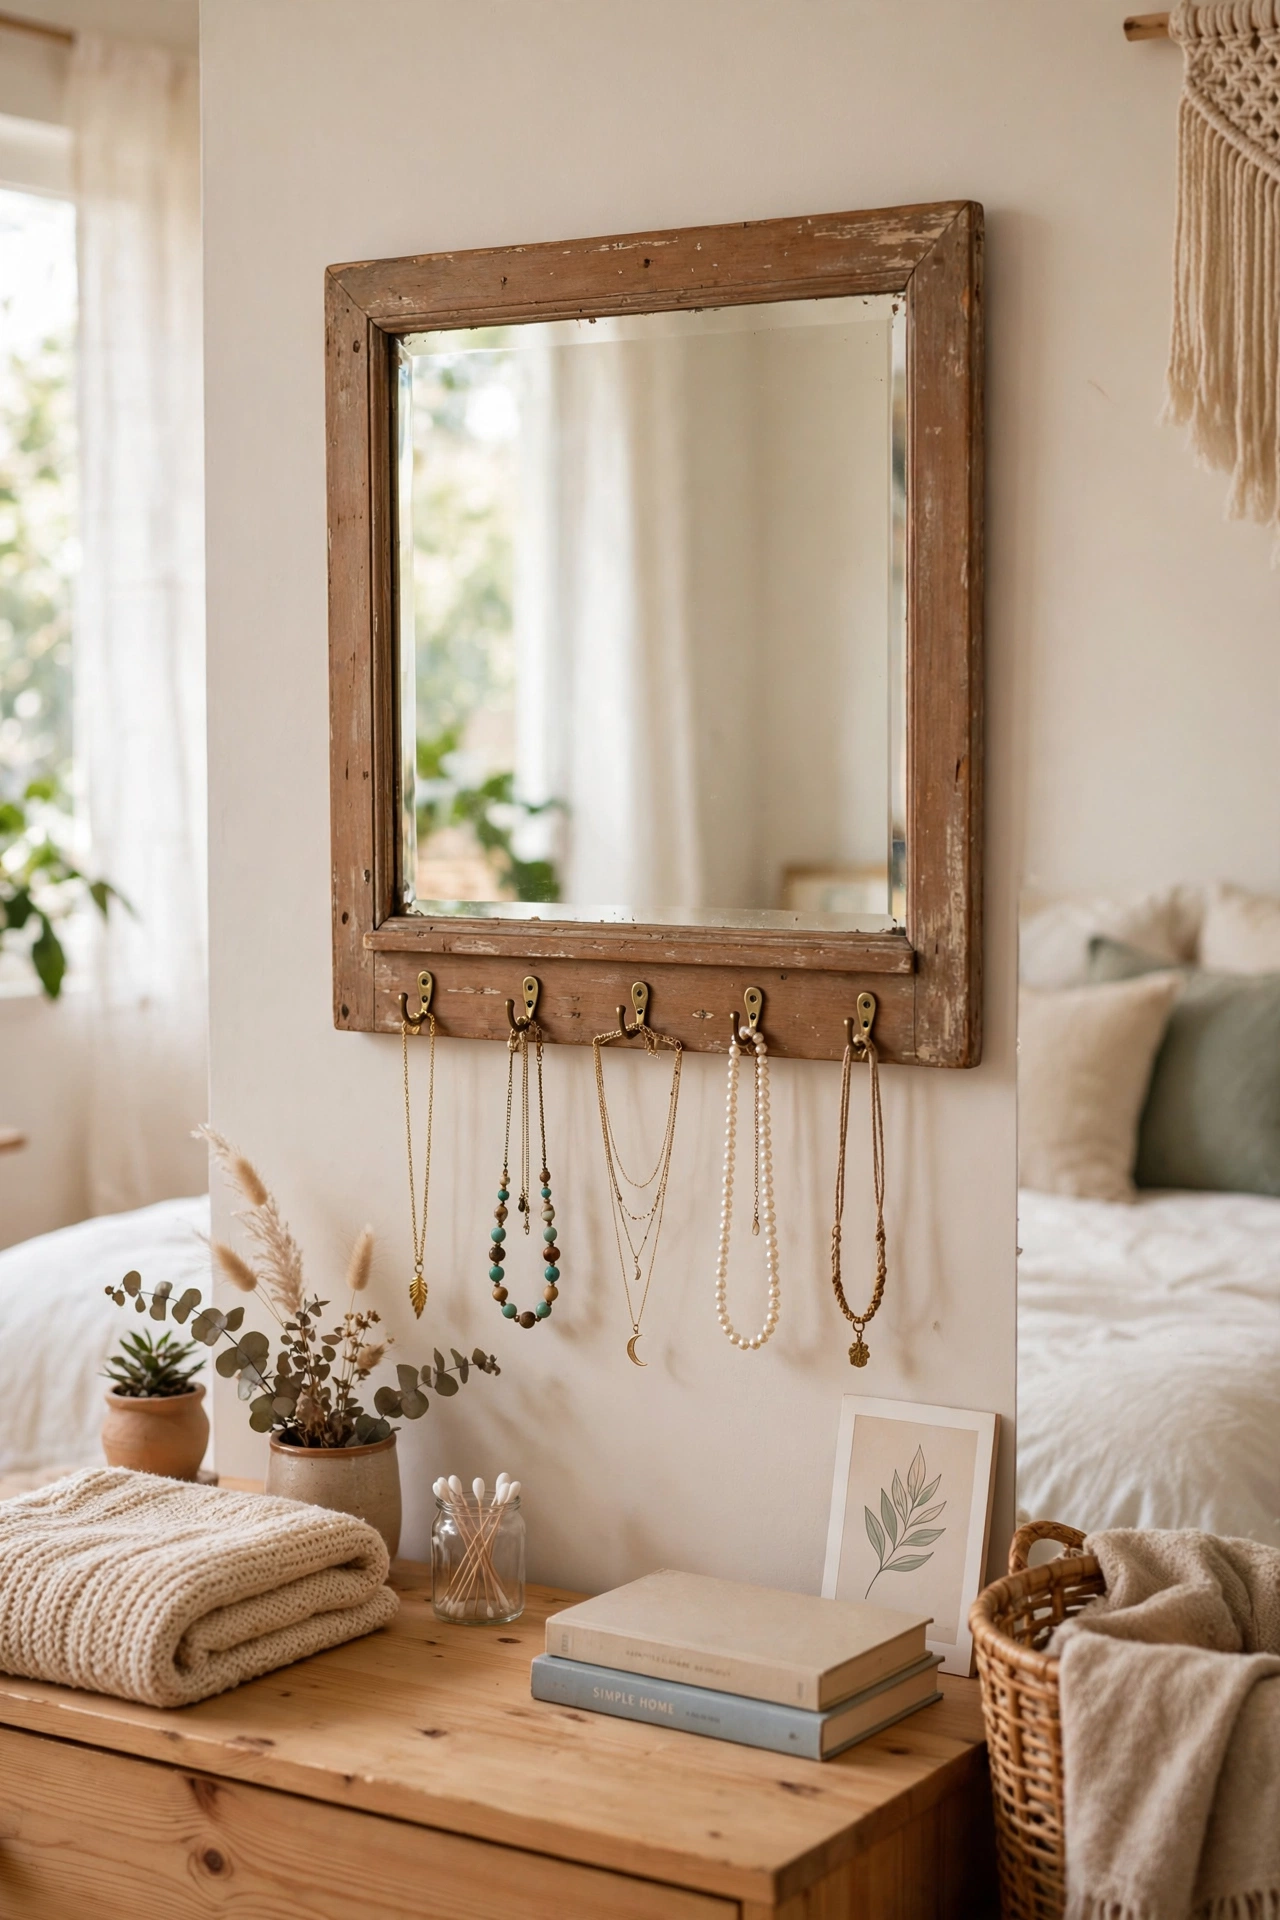
A framed mirror with small hooks along the bottom becomes a jewelry spot that also lets you check your look. Choose a frame wide enough for a few hooks without crowding the glass. First, clean and paint the frame if you want a fresh color. Next, screw tiny cup hooks into the bottom edge, spaced evenly. Then, hang necklaces on the hooks and place earrings in a small dish below. I tried this in our bedroom, and tangled necklaces finally became a thing of the past. One mistake to avoid: do not overload one hook, or it can pull out of a soft frame.
Cost: ~$10 | Time: 35 minutes
14. Hallway Mirror with a Shelf for Keys
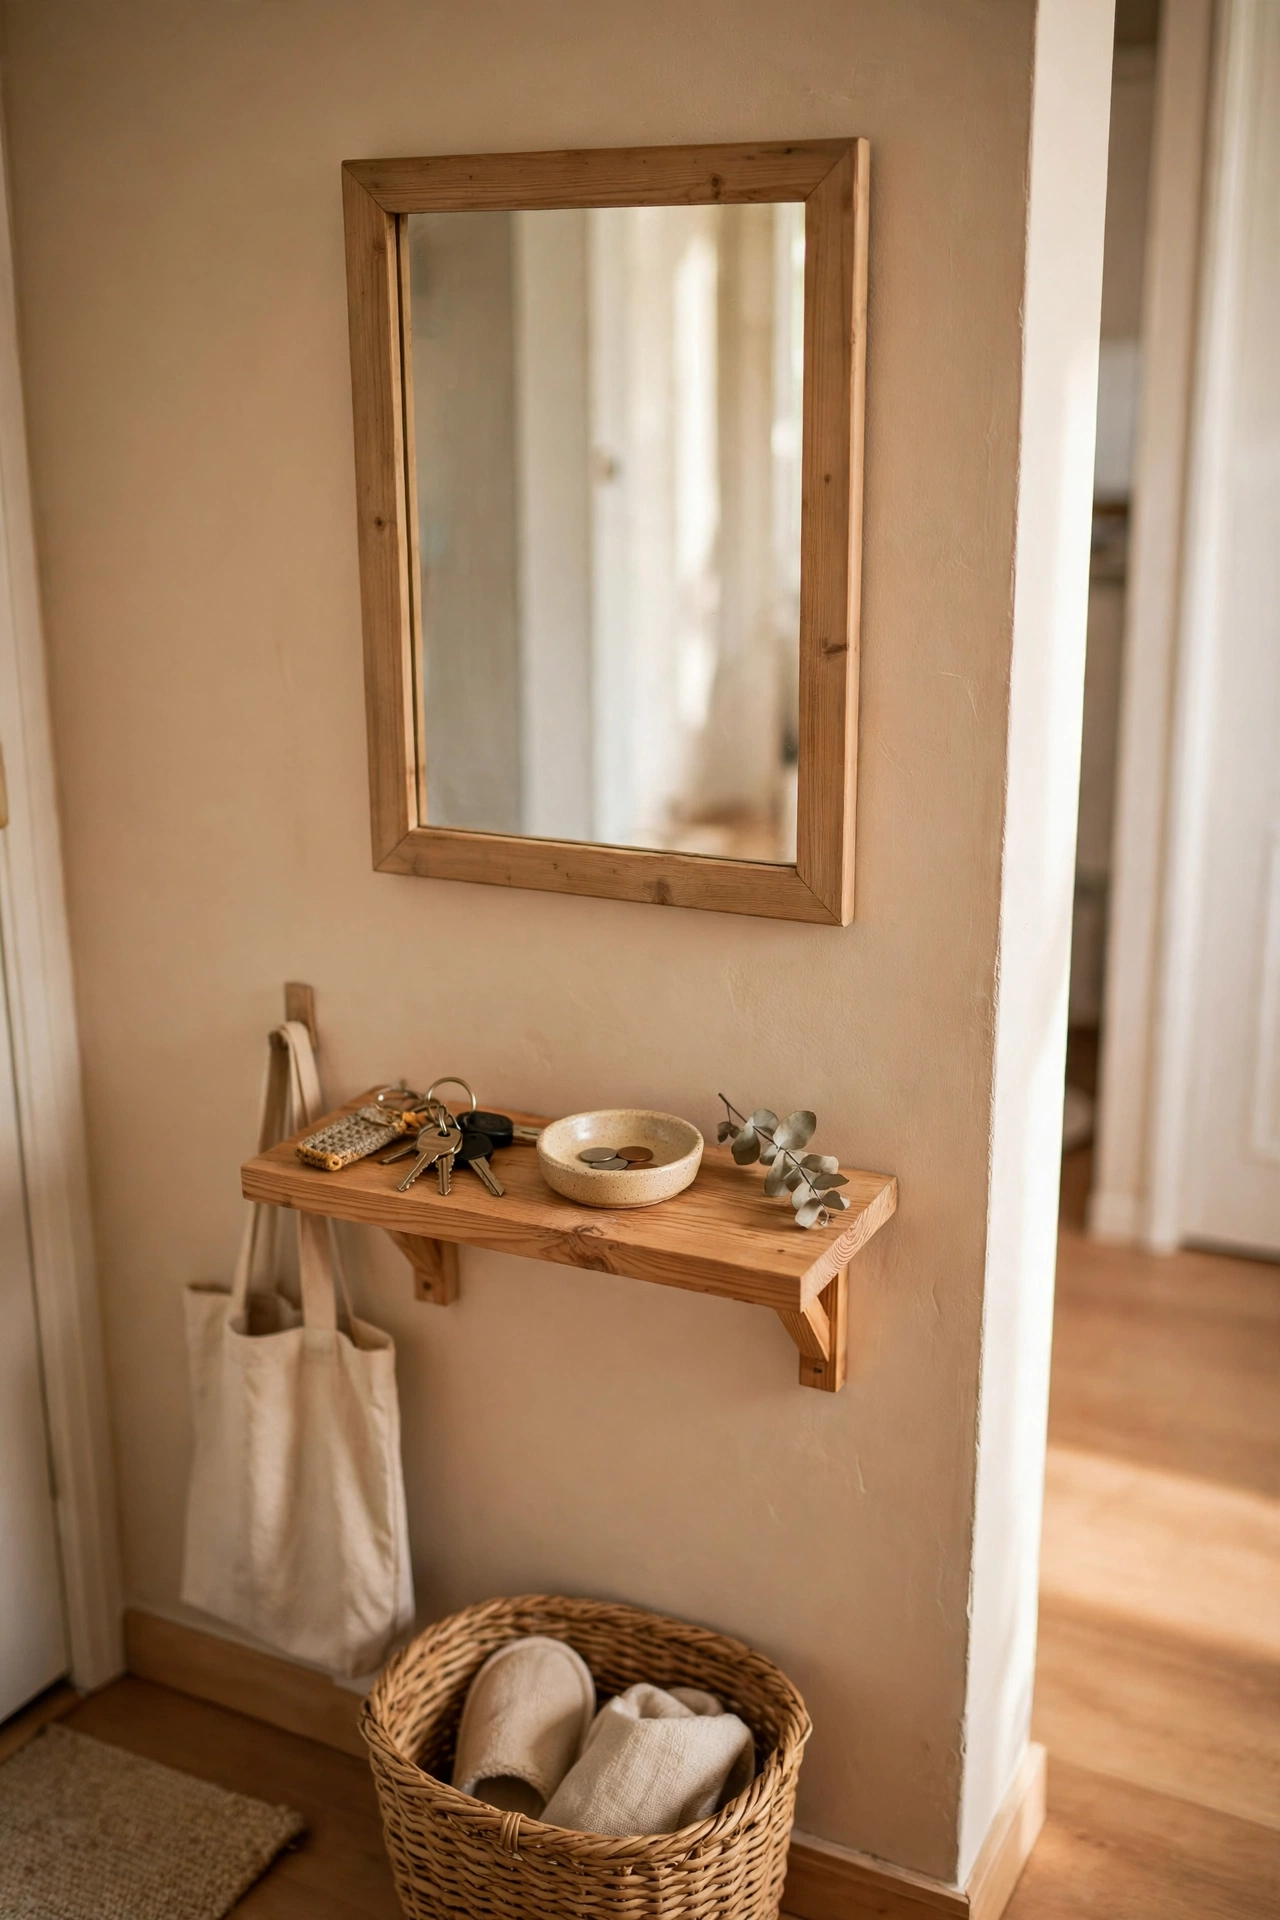
A mirror with a tiny shelf underneath solves two hallway problems at once: a last look and a place for keys. You can add a small shelf to a thrifted mirror with brackets. First, pick a mirror and shelf that are about the same width. Next, fix the shelf brackets into a stud or a strong wall anchor. Then, hang the mirror just above the shelf, centered carefully. I tried this by our front door, and keys stopped ending up on the kitchen counter. One mistake to avoid: do not use a shelf that sticks out too far in a narrow hall.
Pro tip: Put a tiny dish on the shelf so small items do not roll off.
Cost: ~$15 | Time: 50 minutes
15. Distressed White Mirror for a Farmhouse Feel
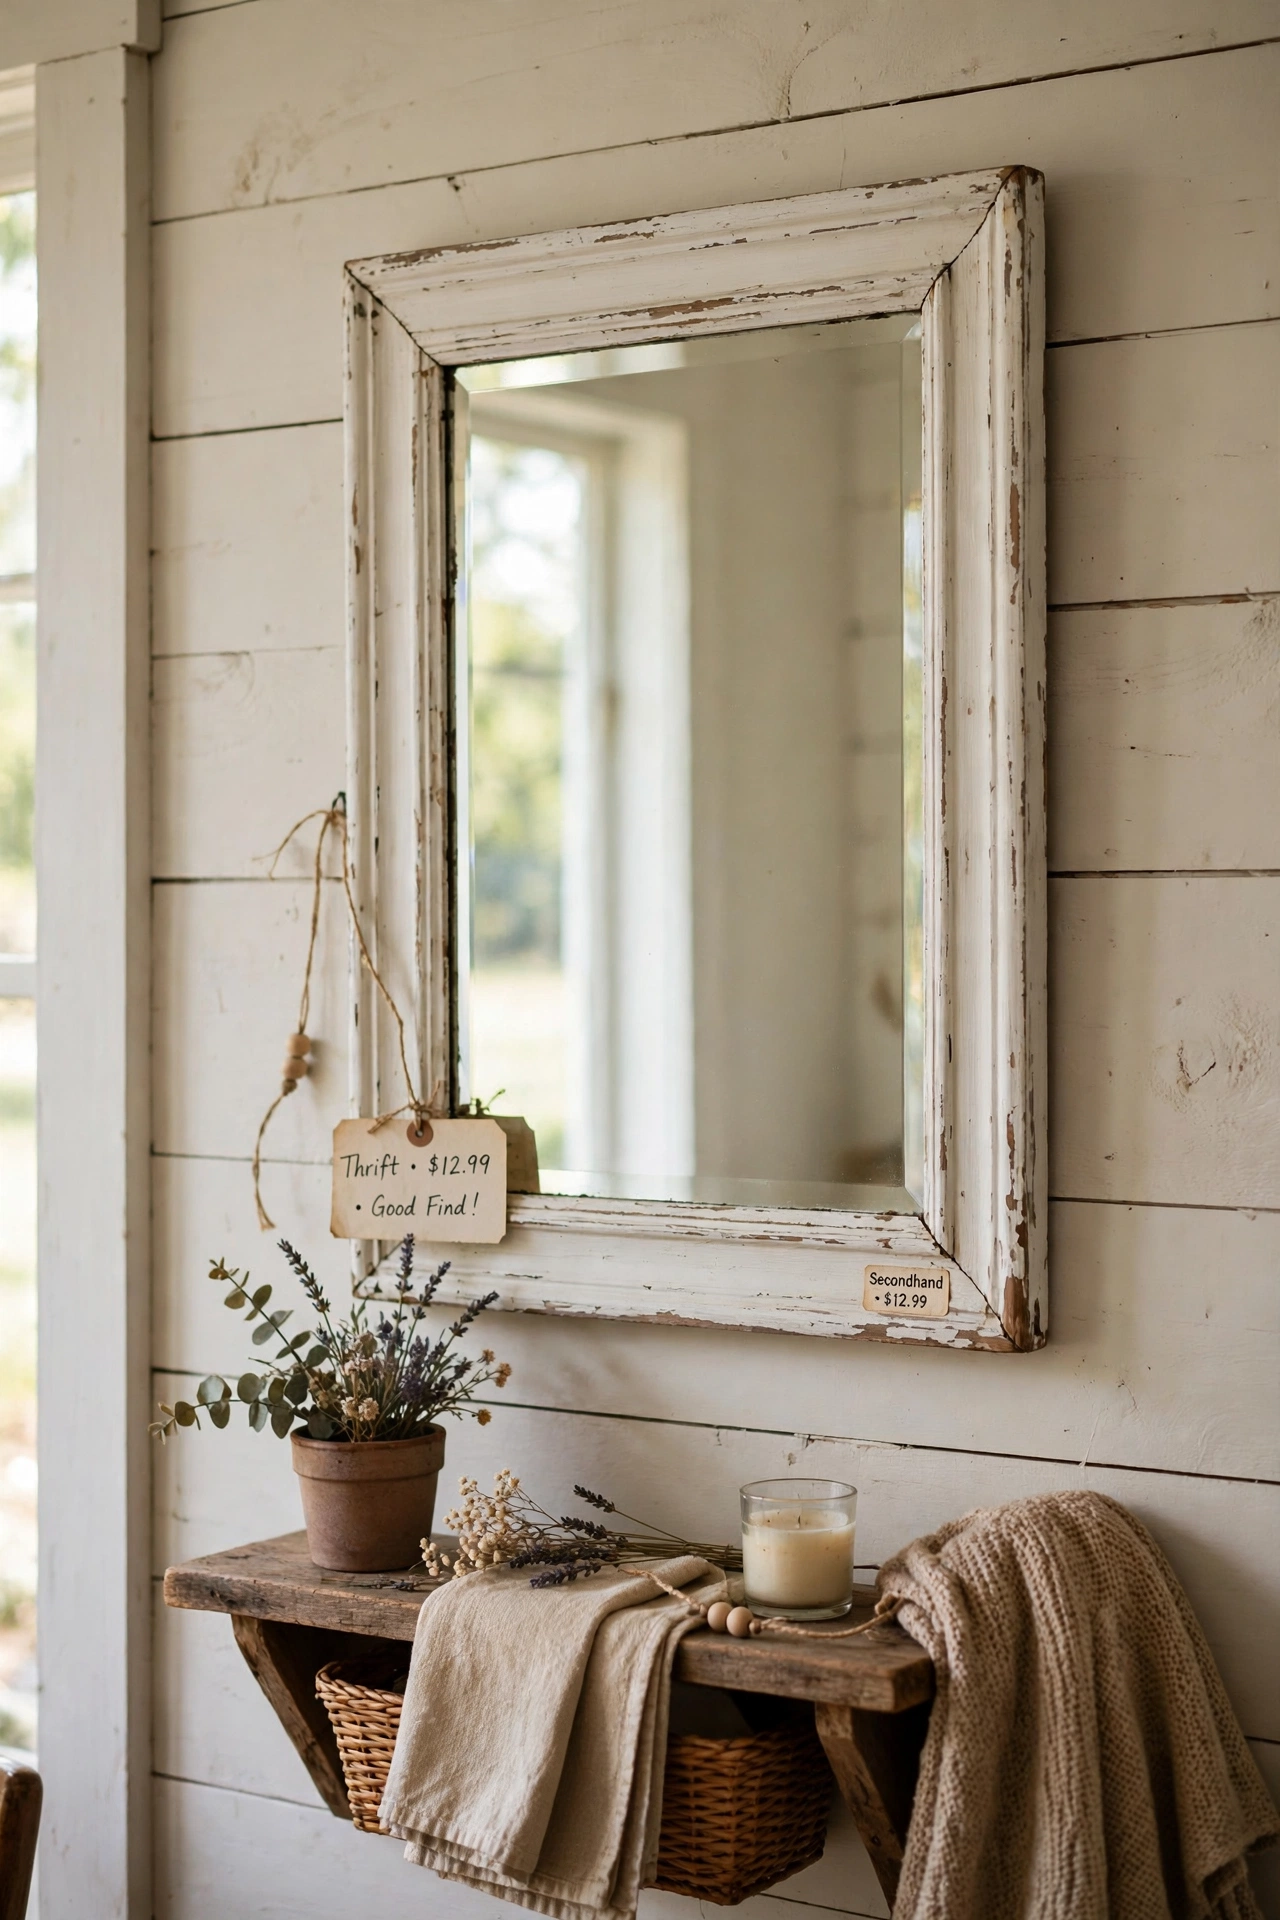
A distressed white finish gives a thrifted mirror a farmhouse feel without buying a new farmhouse piece. Start with a wood frame, since paint sticks and distresses better on wood. First, paint the frame white in two coats and let it dry fully. Next, sand the edges and raised details lightly until a little wood shows through. Then, wipe off dust and seal with clear wax. I tried this on a heavy gold frame, and the white finish calmed down a whole wall. One mistake to avoid: do not over-sand, or the frame will look damaged rather than gently worn.
Cost: ~$13 | Time: 65 minutes
16. Mirror Backsplash Behind a Console Table
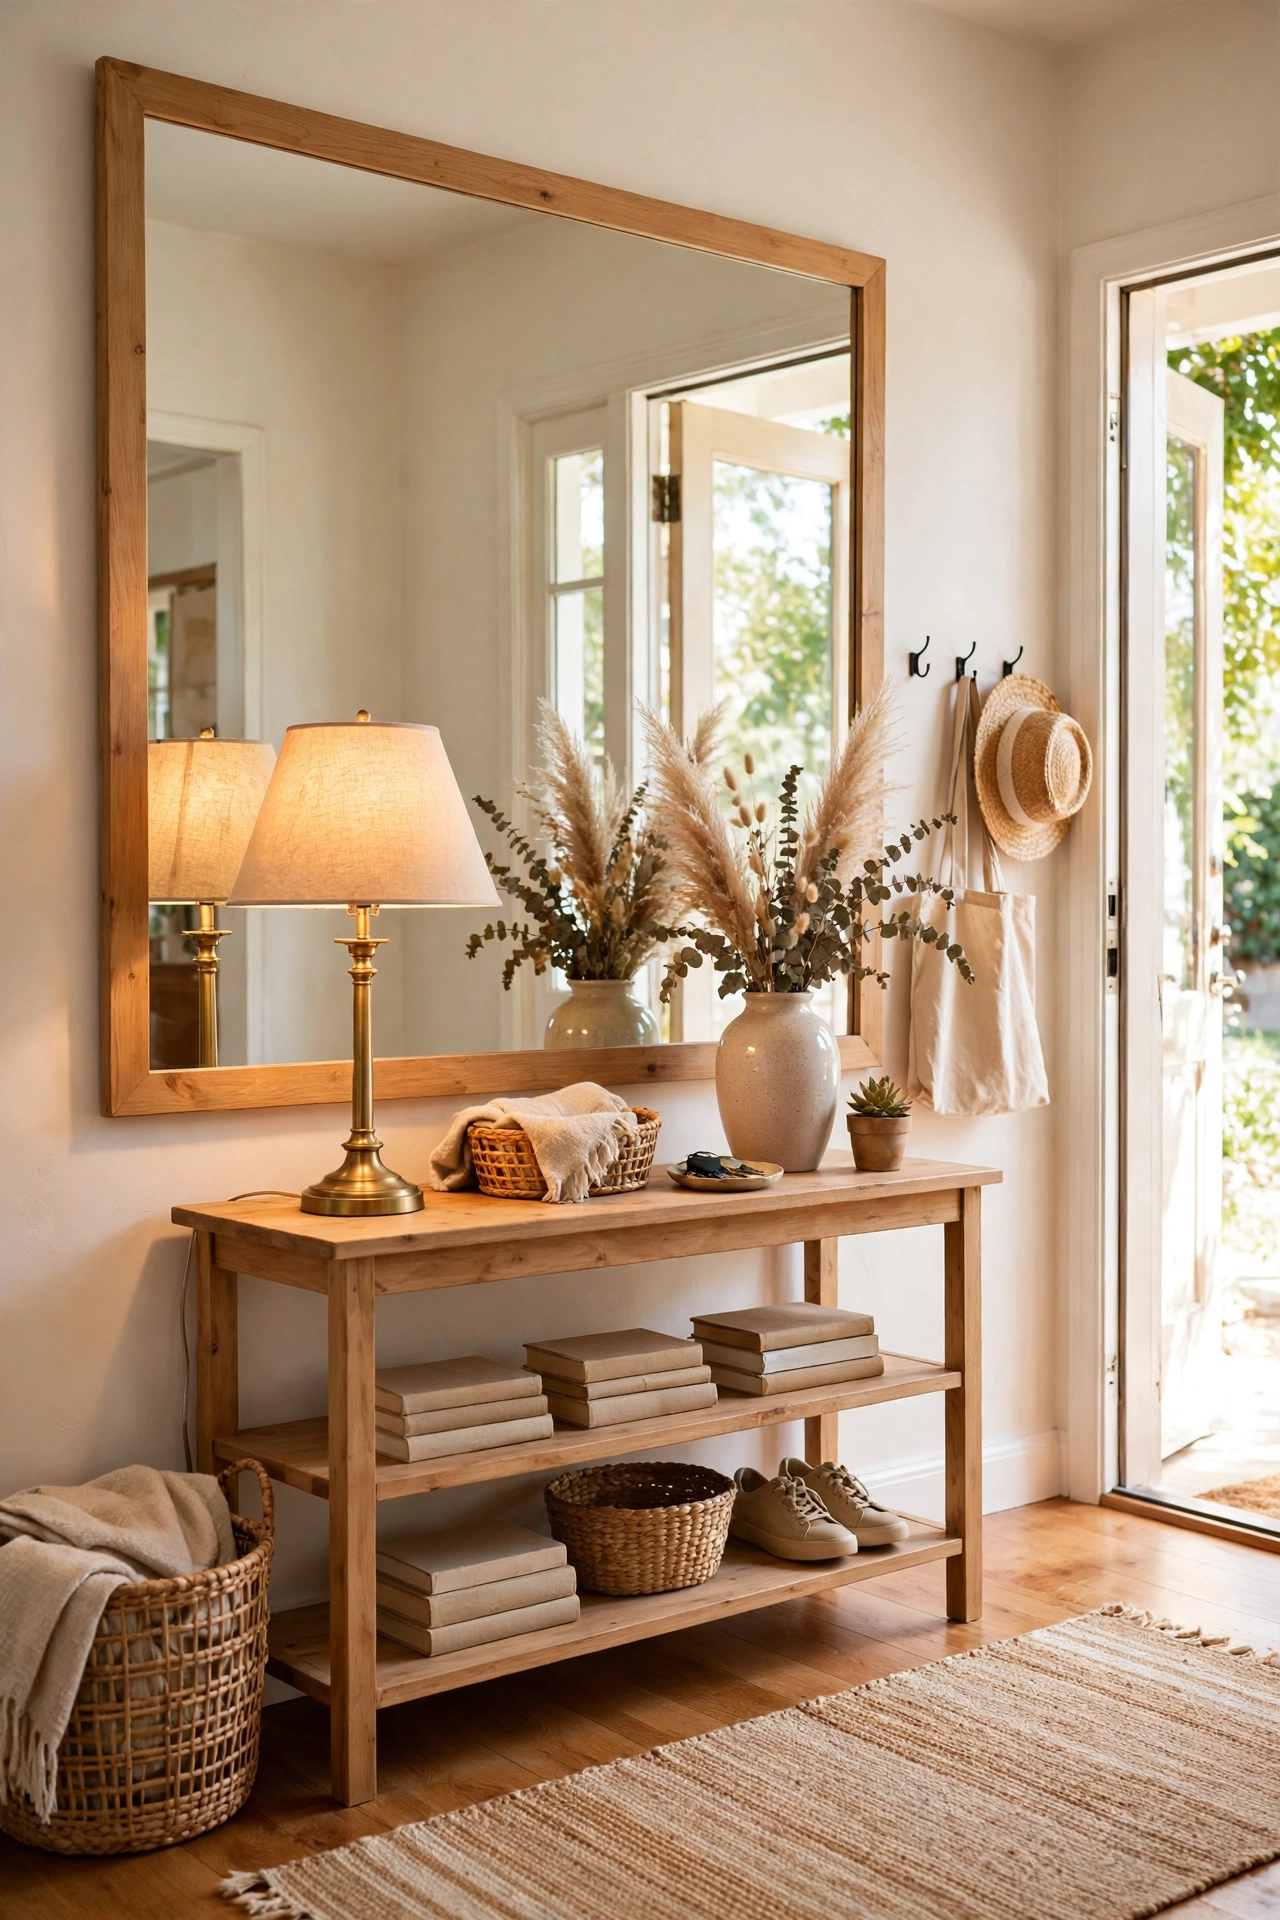
A large mirror behind a console table acts like a backsplash, reflecting a vase or lamp and doubling its effect. Look for a mirror slightly narrower than the table itself. First, hang it centered above the table at a height that leaves room for decor. Next, place a tall item on one side and a shorter item on the other for balance. Then, keep the tabletop simple so the reflection stays clear. I tried this in our entry, and one lamp suddenly looked like two. One mistake to avoid: do not hang it so high that it only reflects the ceiling.
Cost: ~$11 | Time: 35 minutes
17. Oval Mirror in a Reading Nook
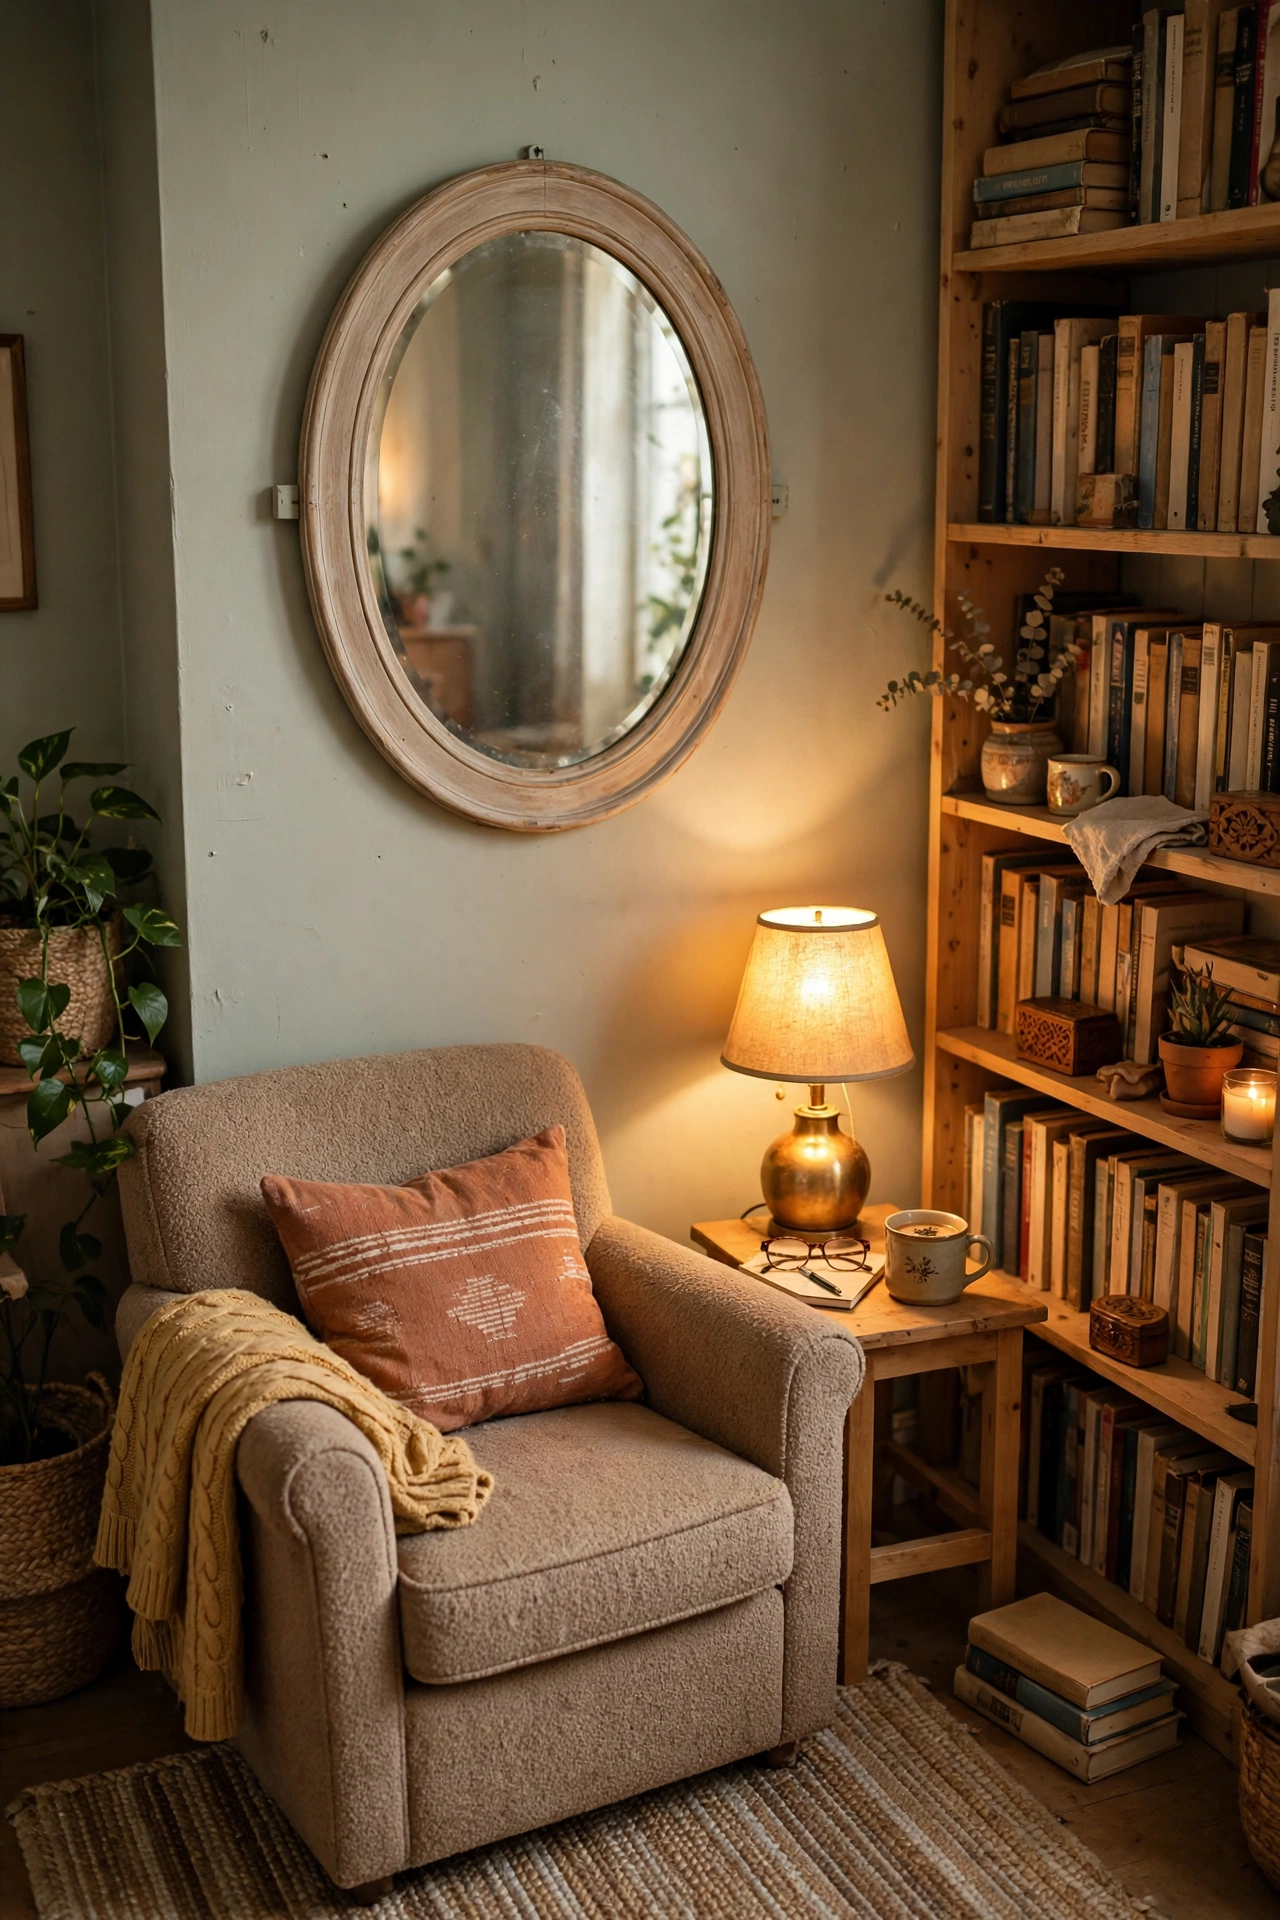
An oval mirror in a reading nook adds a gentle shape that breaks up lots of straight bookshelves and square cushions. It works best hung where it catches window light. First, pick an oval frame that fits the wall space without crowding nearby shelves. Next, hang it at a height where you can see it from your chair. Then, add a small plant or candle nearby to soften the corner. I tried this beside my armchair, and the nook felt finished instead of half-done. One mistake to avoid: do not hang it facing direct sun for hours, or glare will make reading hard.
Cost: ~$9 | Time: 30 minutes
18. Mirror with Pressed Flowers Around the Frame
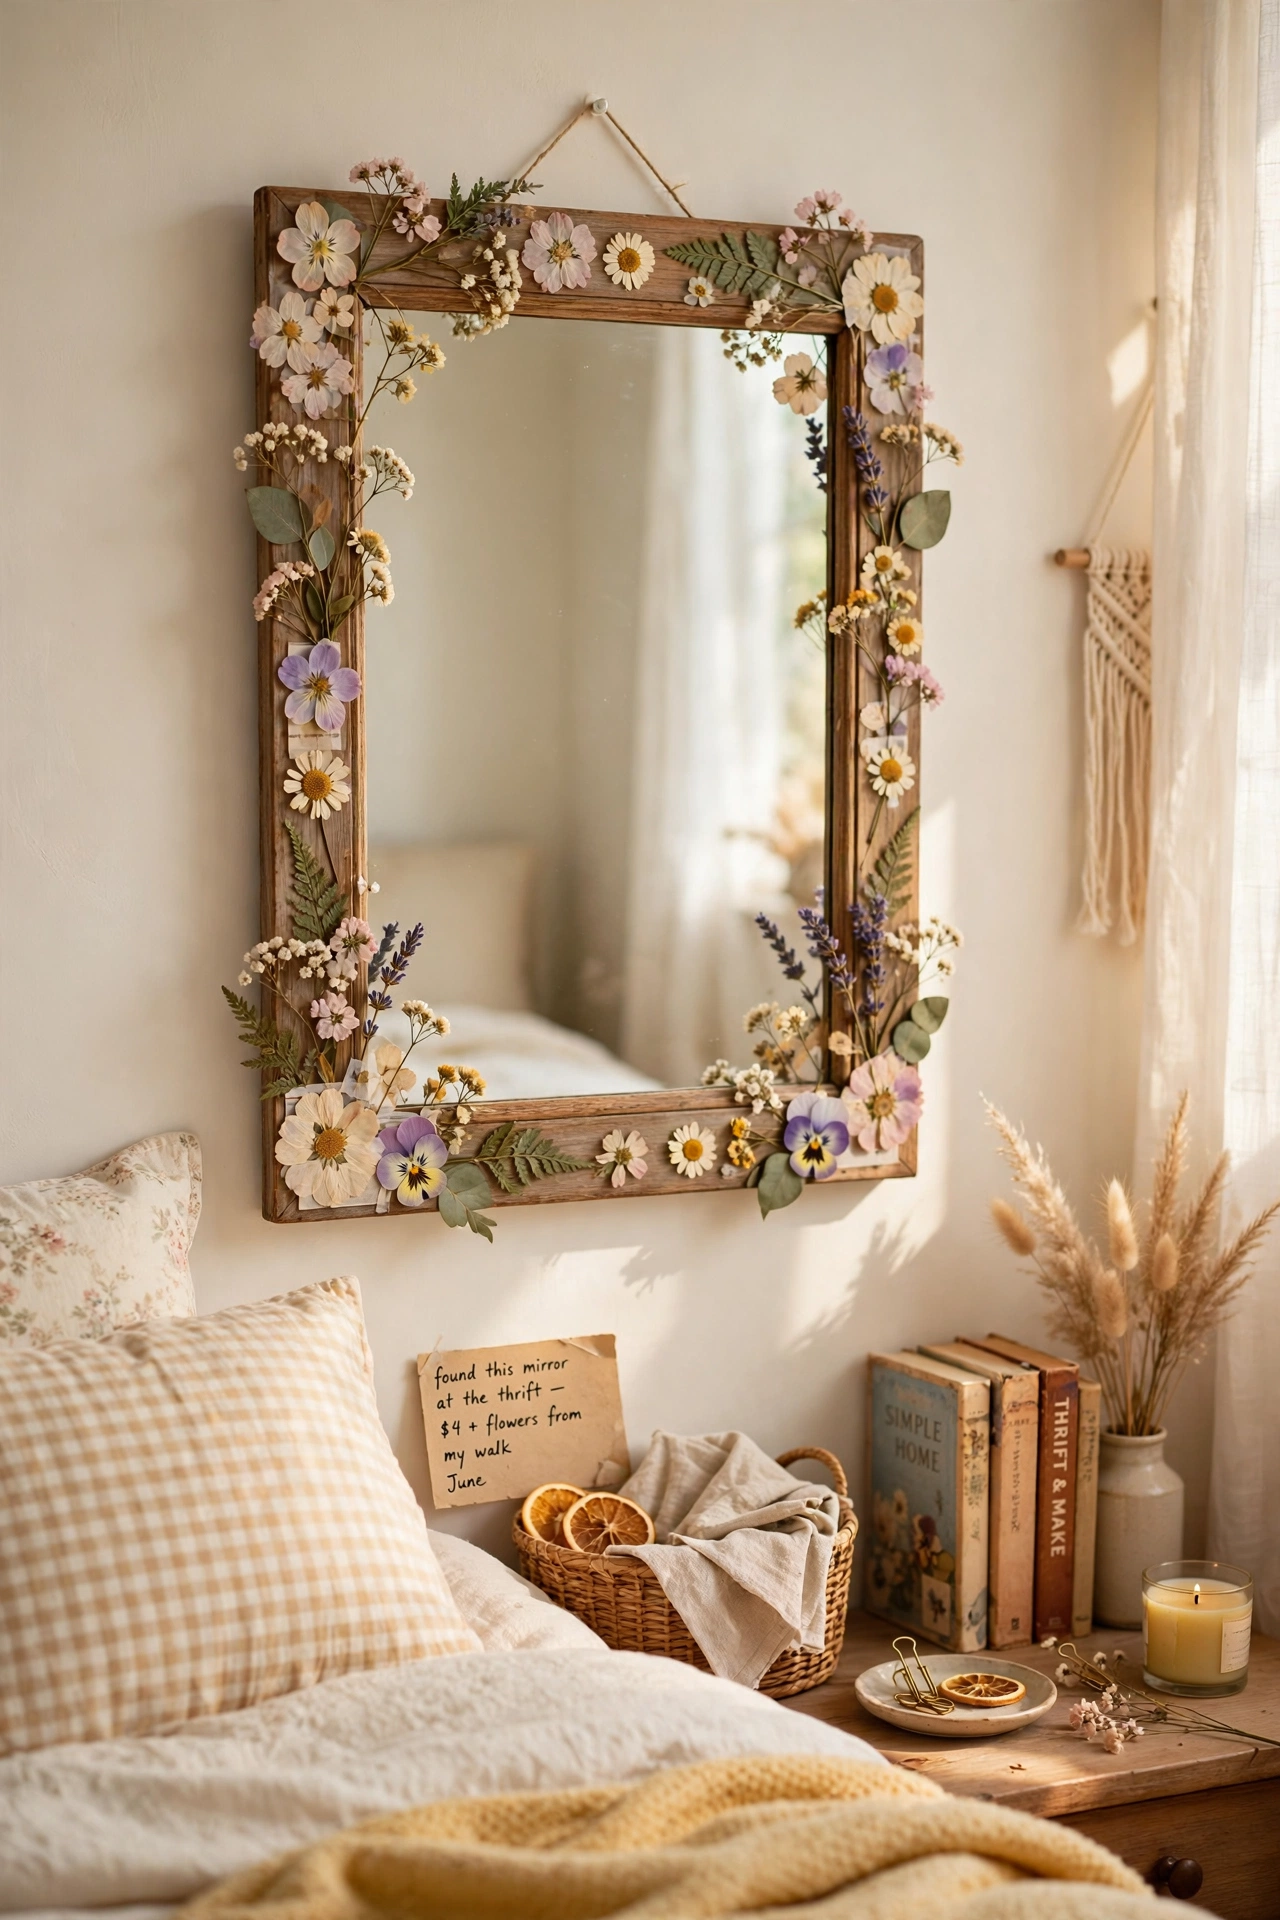
Pressed flowers glued around a simple mirror frame make a sweet, personal piece for a bedroom or bathroom. Use dried flowers that are fully flat and dry. First, clean the frame and plan the flower layout on a table. Next, glue each flower gently, starting with larger blooms and filling gaps with small ones. Then, seal the frame with a clear spray so the flowers last longer. I tried this with flowers from our garden, and it became a gift my sister still has up. One mistake to avoid: do not use fresh flowers, or they will wilt and stain the frame.
Pro tip: Press flowers for two weeks in a heavy book before you start gluing.
Cost: ~$8 | Time: 45 minutes
19. Black Framed Mirror for a Modern Entry
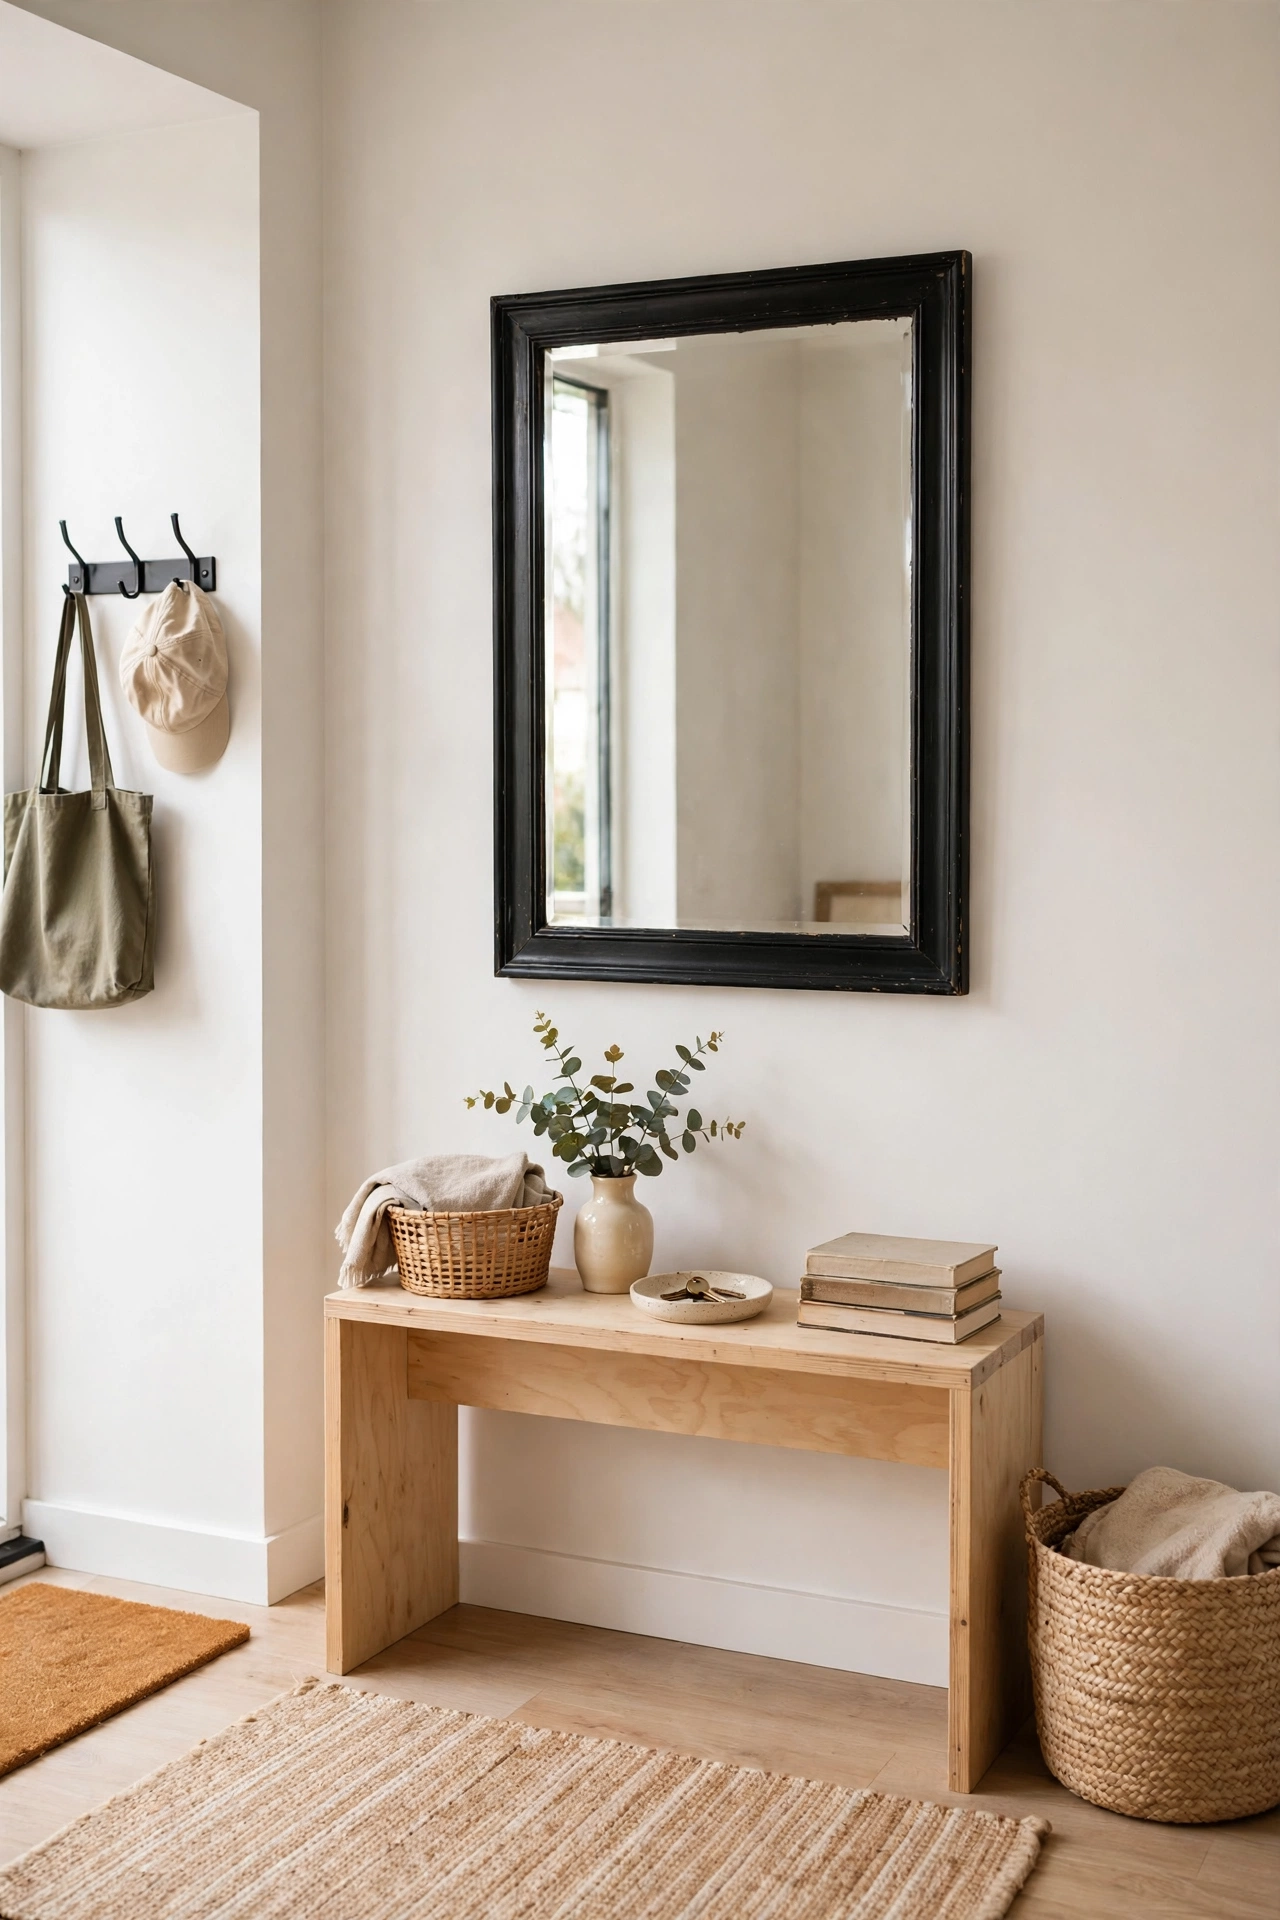
A black frame makes a thrifted mirror look modern and crisp, even if the frame itself is very plain. Black paint hides scratches and unifies mismatched wood tones. First, sand lightly and wipe the frame clean. Next, apply two thin coats of matte black paint, letting each coat dry. Then, check the corners for missed spots before you hang it. I tried this on a $4 rectangular mirror, and it matched our black door handles right away. One mistake to avoid: do not use glossy paint on a rough frame, or every bump will show.
Cost: ~$9 | Time: 50 minutes
20. Mirror Cabinet Door Swap for Extra Storage
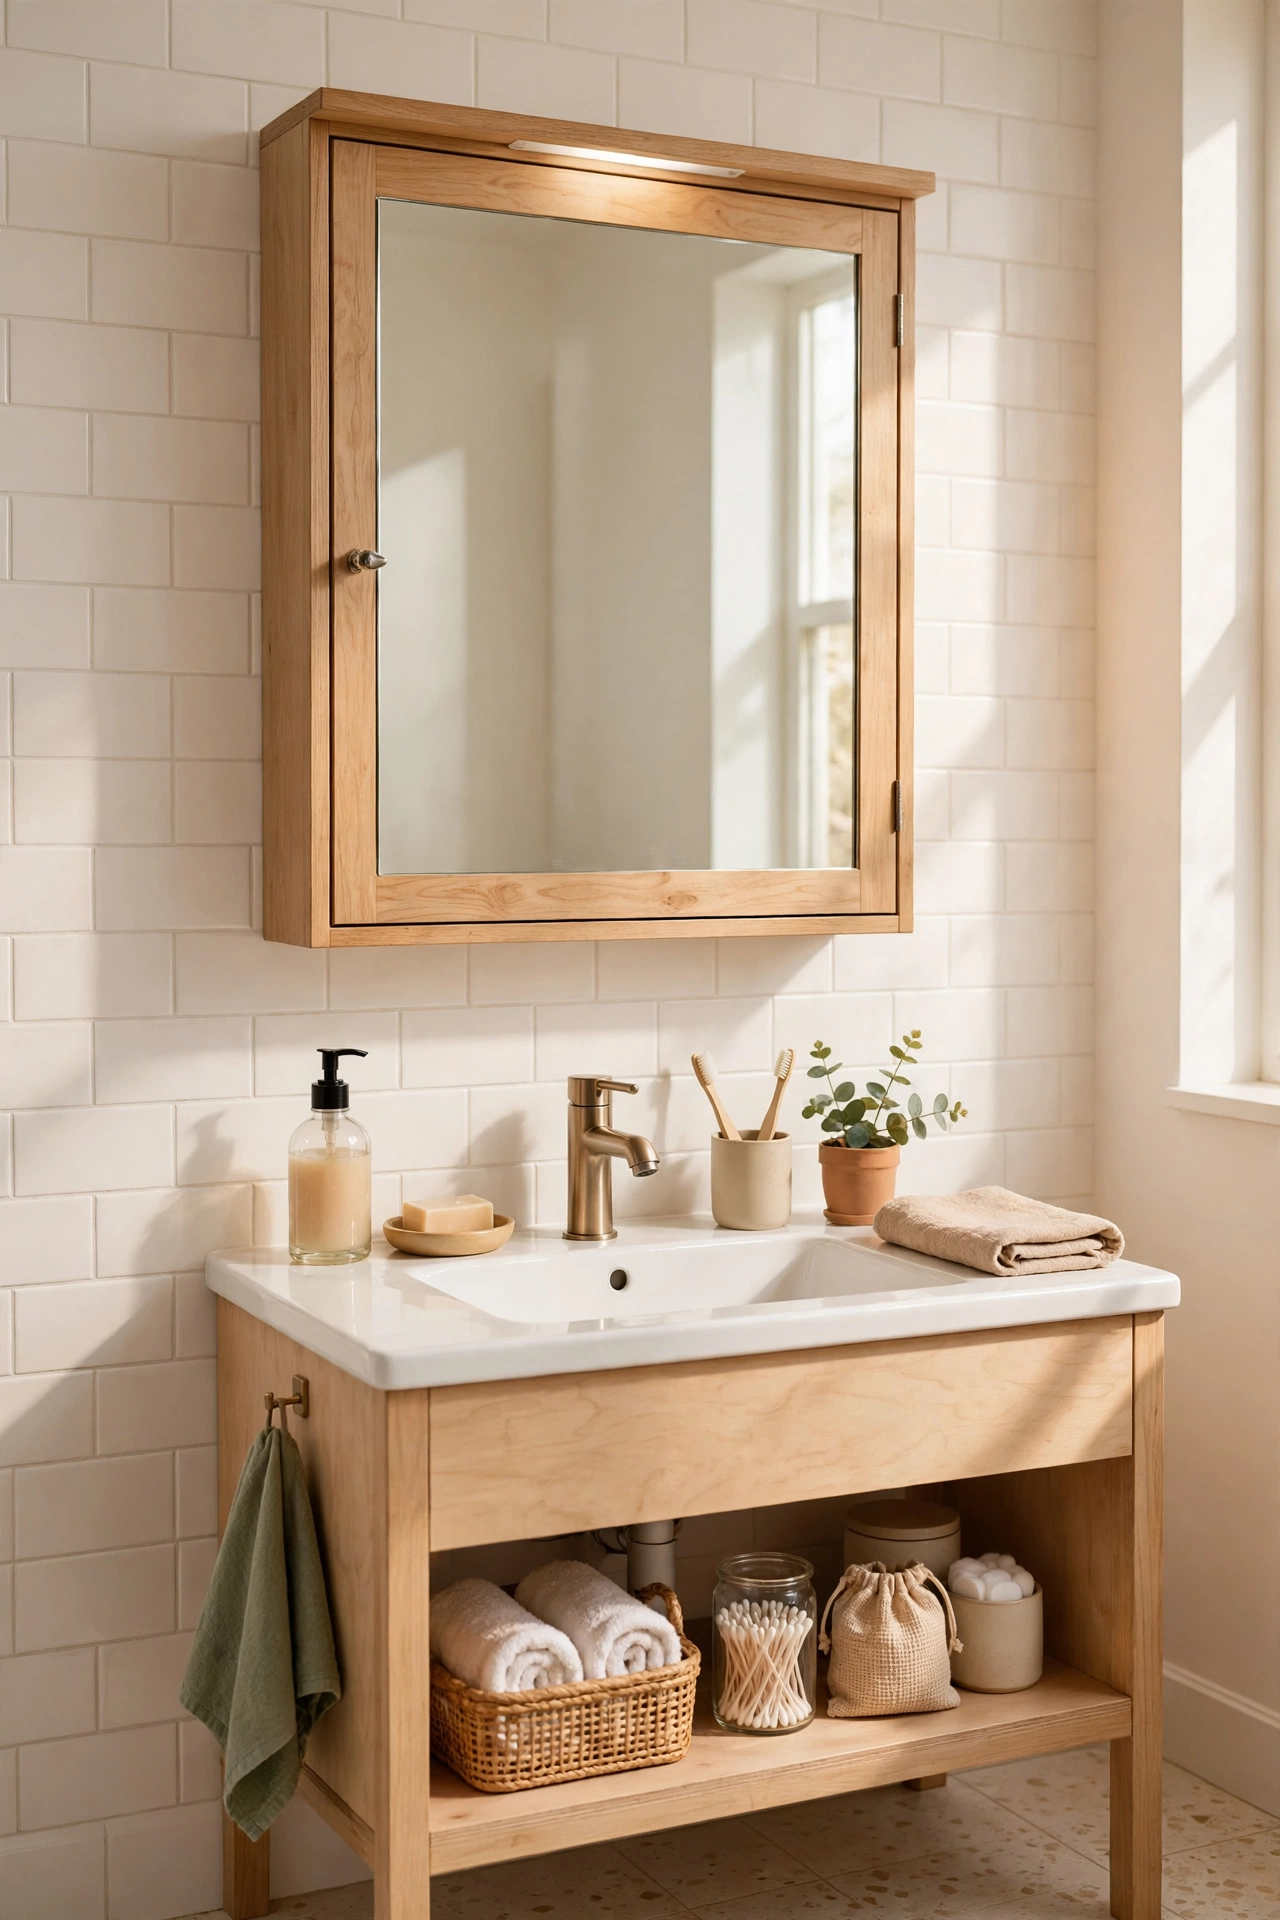
If you find a thrifted mirrored cabinet, swapping its tired door for a clean mirror panel can refresh a bathroom in an afternoon. Check that the hinges and box are still solid first. First, remove the old door and measure the opening exactly. Next, fit the new mirror panel and reattach the hinges slowly. Then, test the door swing and adjust until it closes flush. I tried this in our small bath, and the extra storage stayed hidden behind a brighter mirror. One mistake to avoid: do not force warped hinges, or the glass can crack under pressure.
Pro tip: Take a photo of the hinge positions before you remove anything.
Cost: ~$17 | Time: 60 minutes
21. Garden Mirror on a Patio Wall
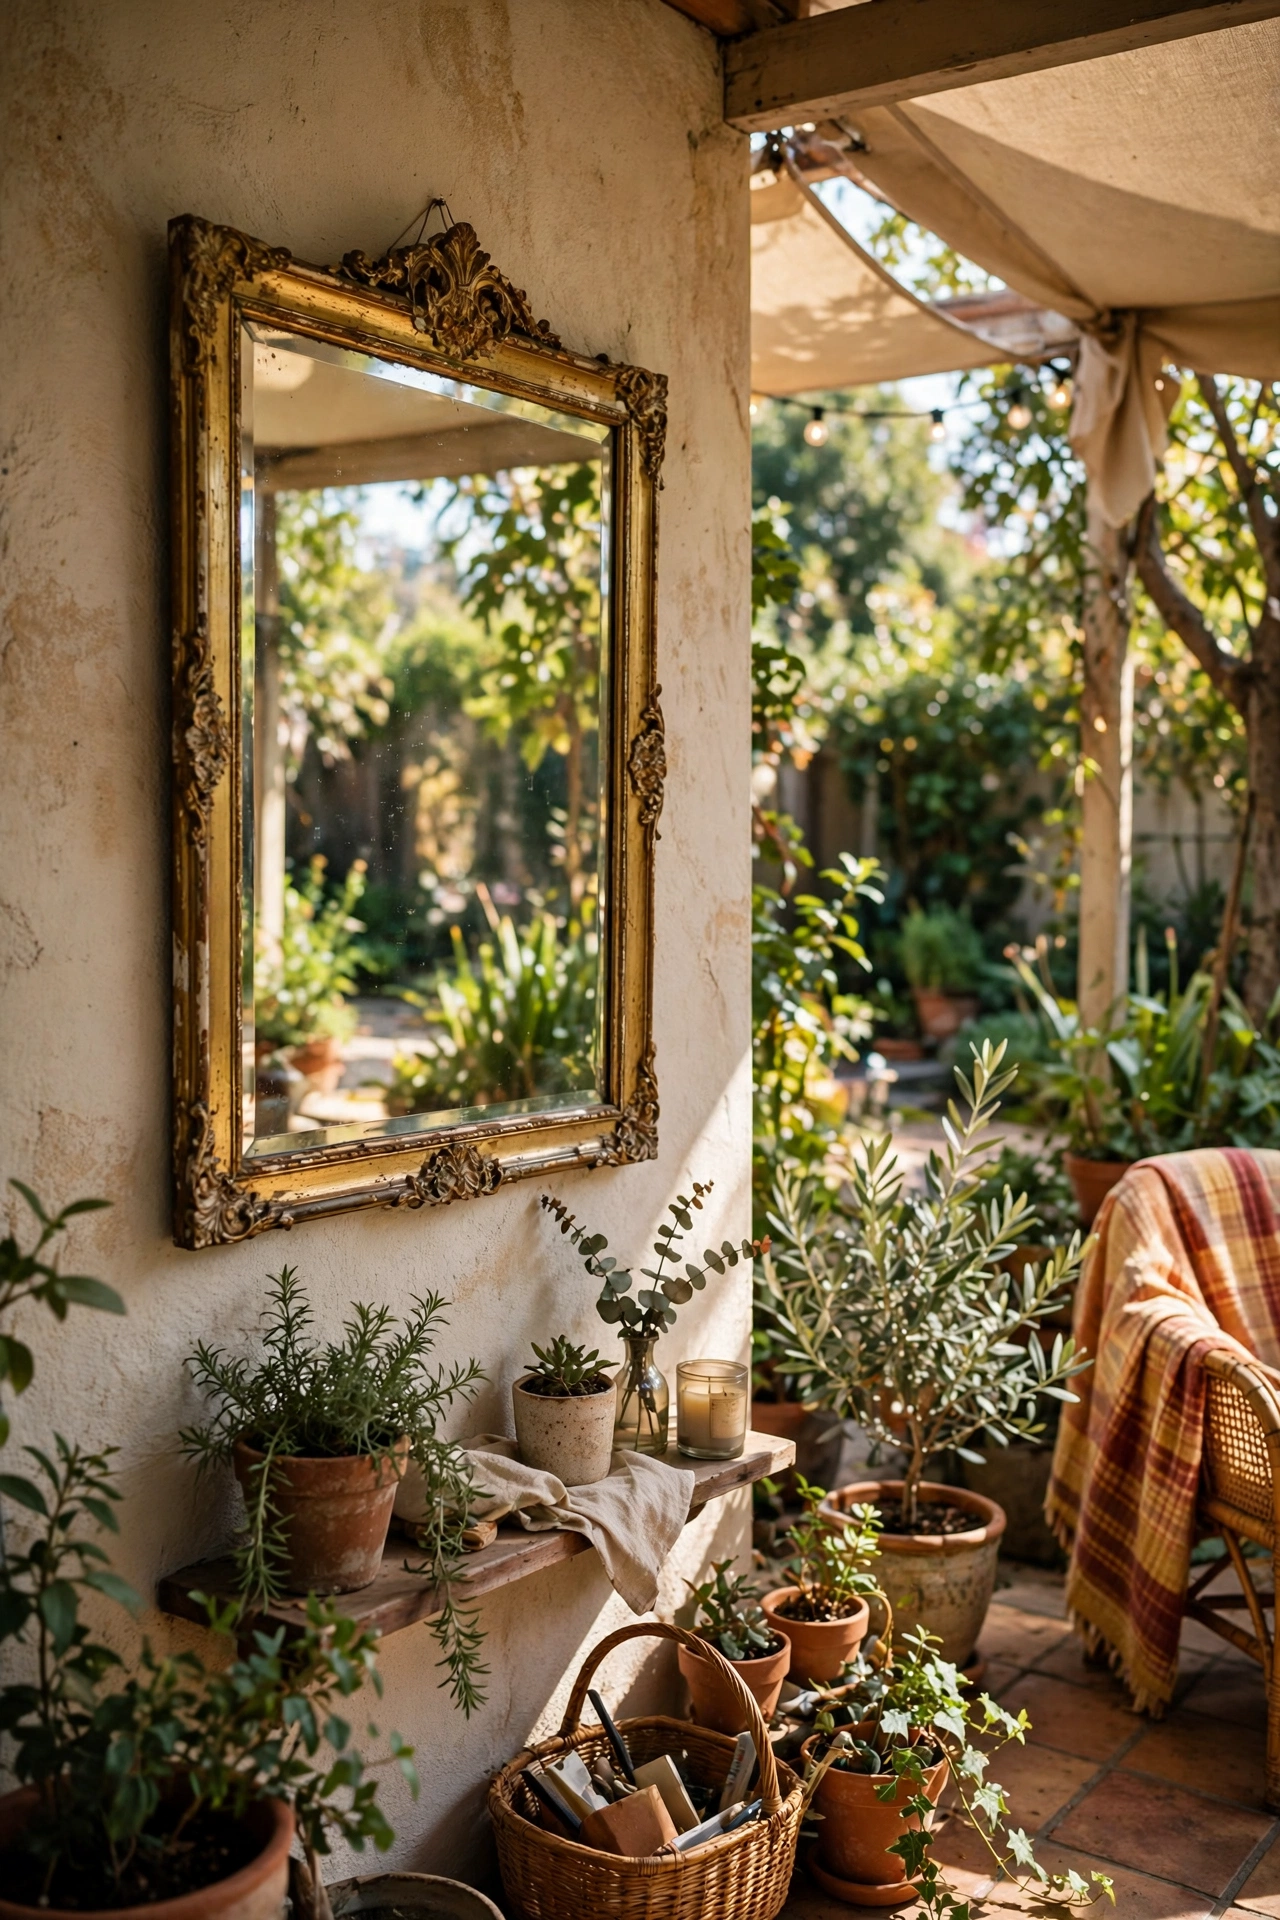
A mirror on a patio wall can make a small garden feel larger and bounce light into a shaded corner. Use an outdoor-safe frame or seal a wood frame well. First, pick a sheltered wall spot that does not get driving rain. Next, seal the frame with outdoor varnish and let it cure. Then, hang it with rust-proof fixings and check it after the first rain. I tried this on our back wall, and the patio felt twice as open (see also: budget-patio-decor-ideas). One mistake to avoid: do not hang an unsealed mirror outdoors, or damp will cloud the back quickly.
Cost: ~$14 | Time: 55 minutes
22. Mirror with a Woven Seagrass Border
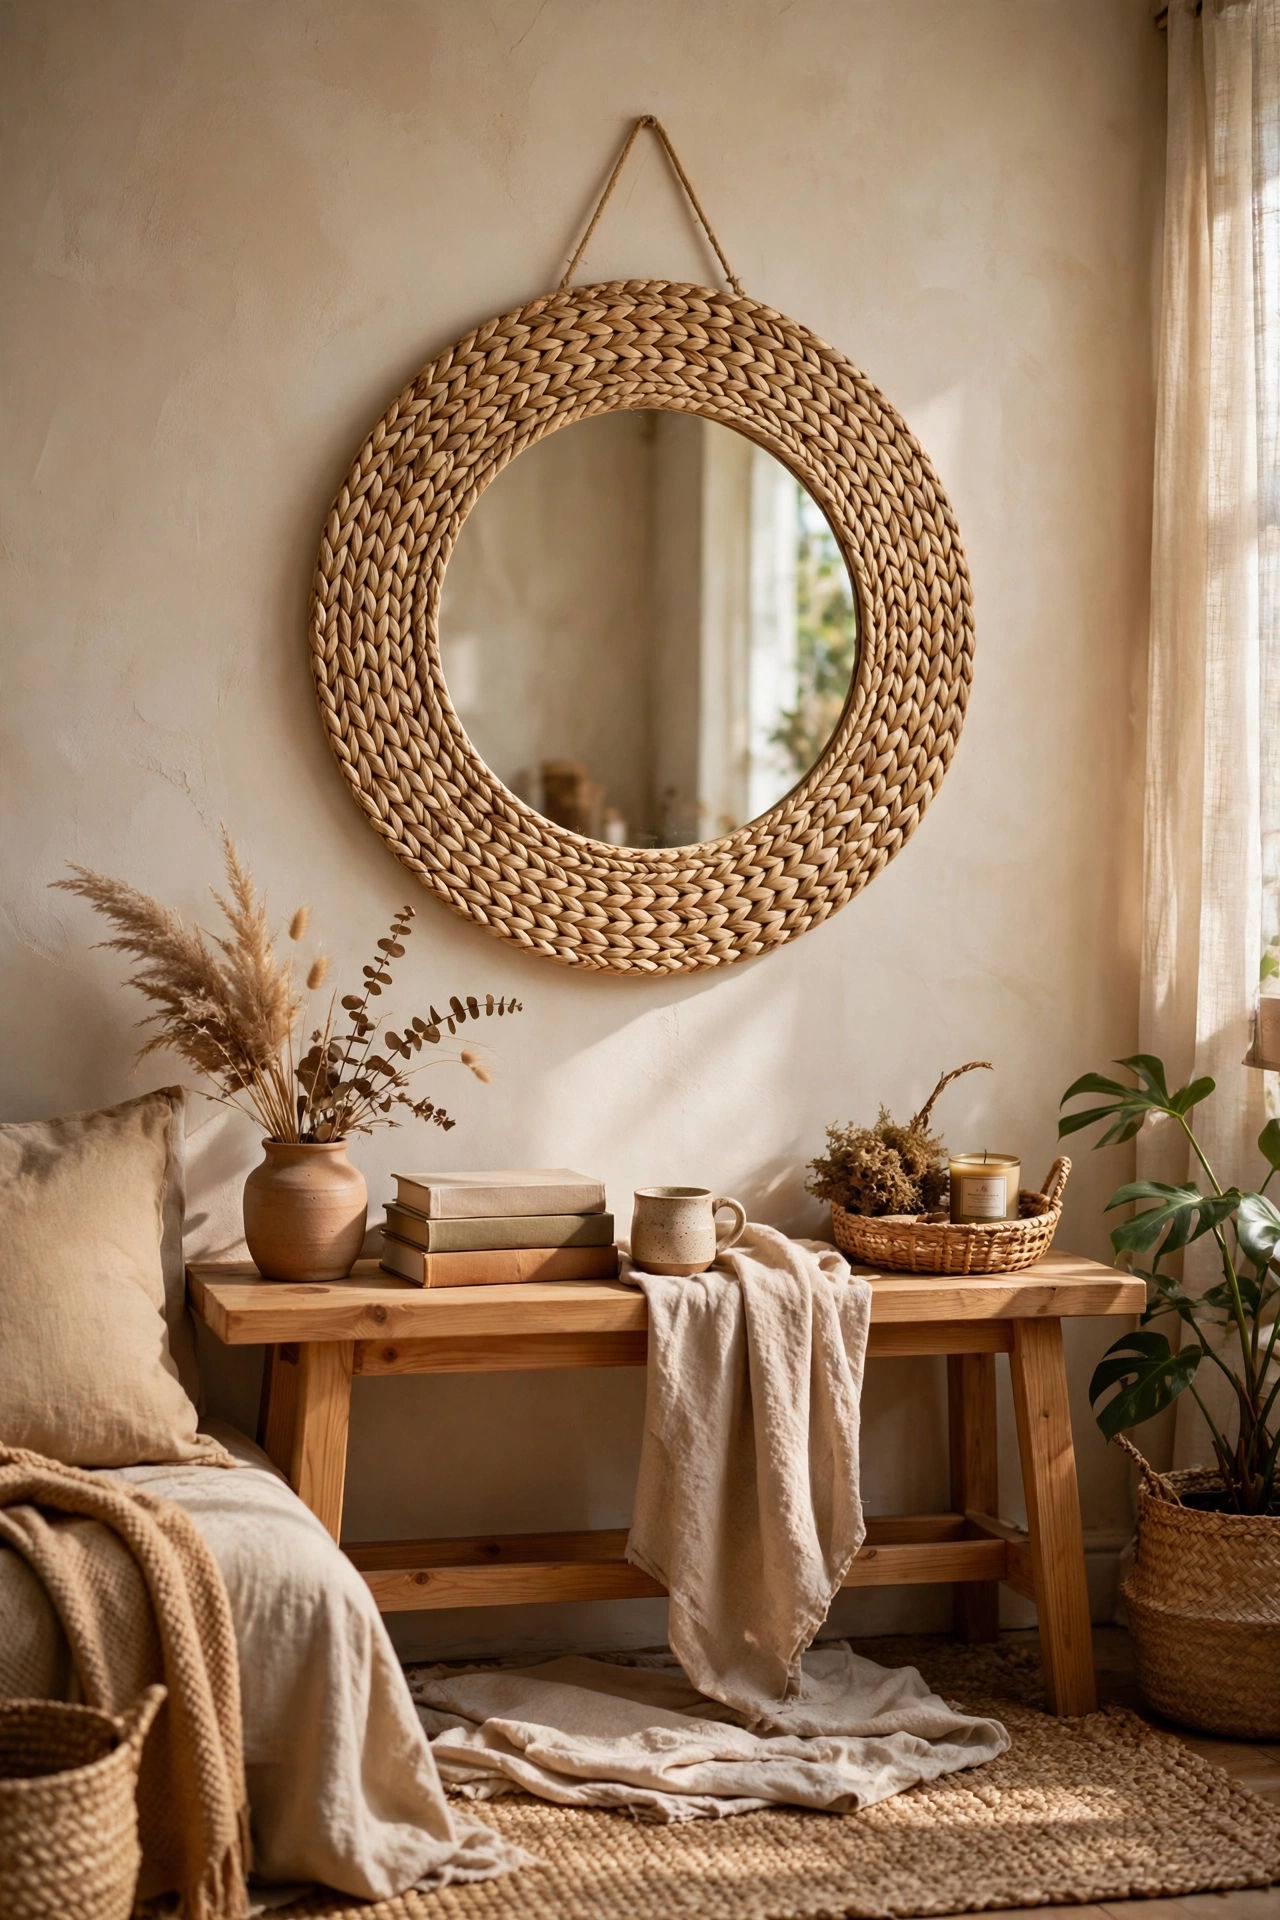
A woven seagrass border gives a plain round mirror a warm, natural edge that suits bedrooms and living rooms alike. Seagrass placemats can be cut and glued as a border. First, measure the mirror edge and cut the seagrass to fit in sections. Next, glue each section carefully, pressing it flat as you go. Then, trim any frayed ends and add a thin cord trim to hide joins. I tried this with two cheap placemats, and the result looked like a store piece. One mistake to avoid: do not use hot glue on a thin frame, or heat can warp it.
Cost: ~$11 | Time: 45 minutes
23. Two Matching Mirrors Above Twin Nightstands
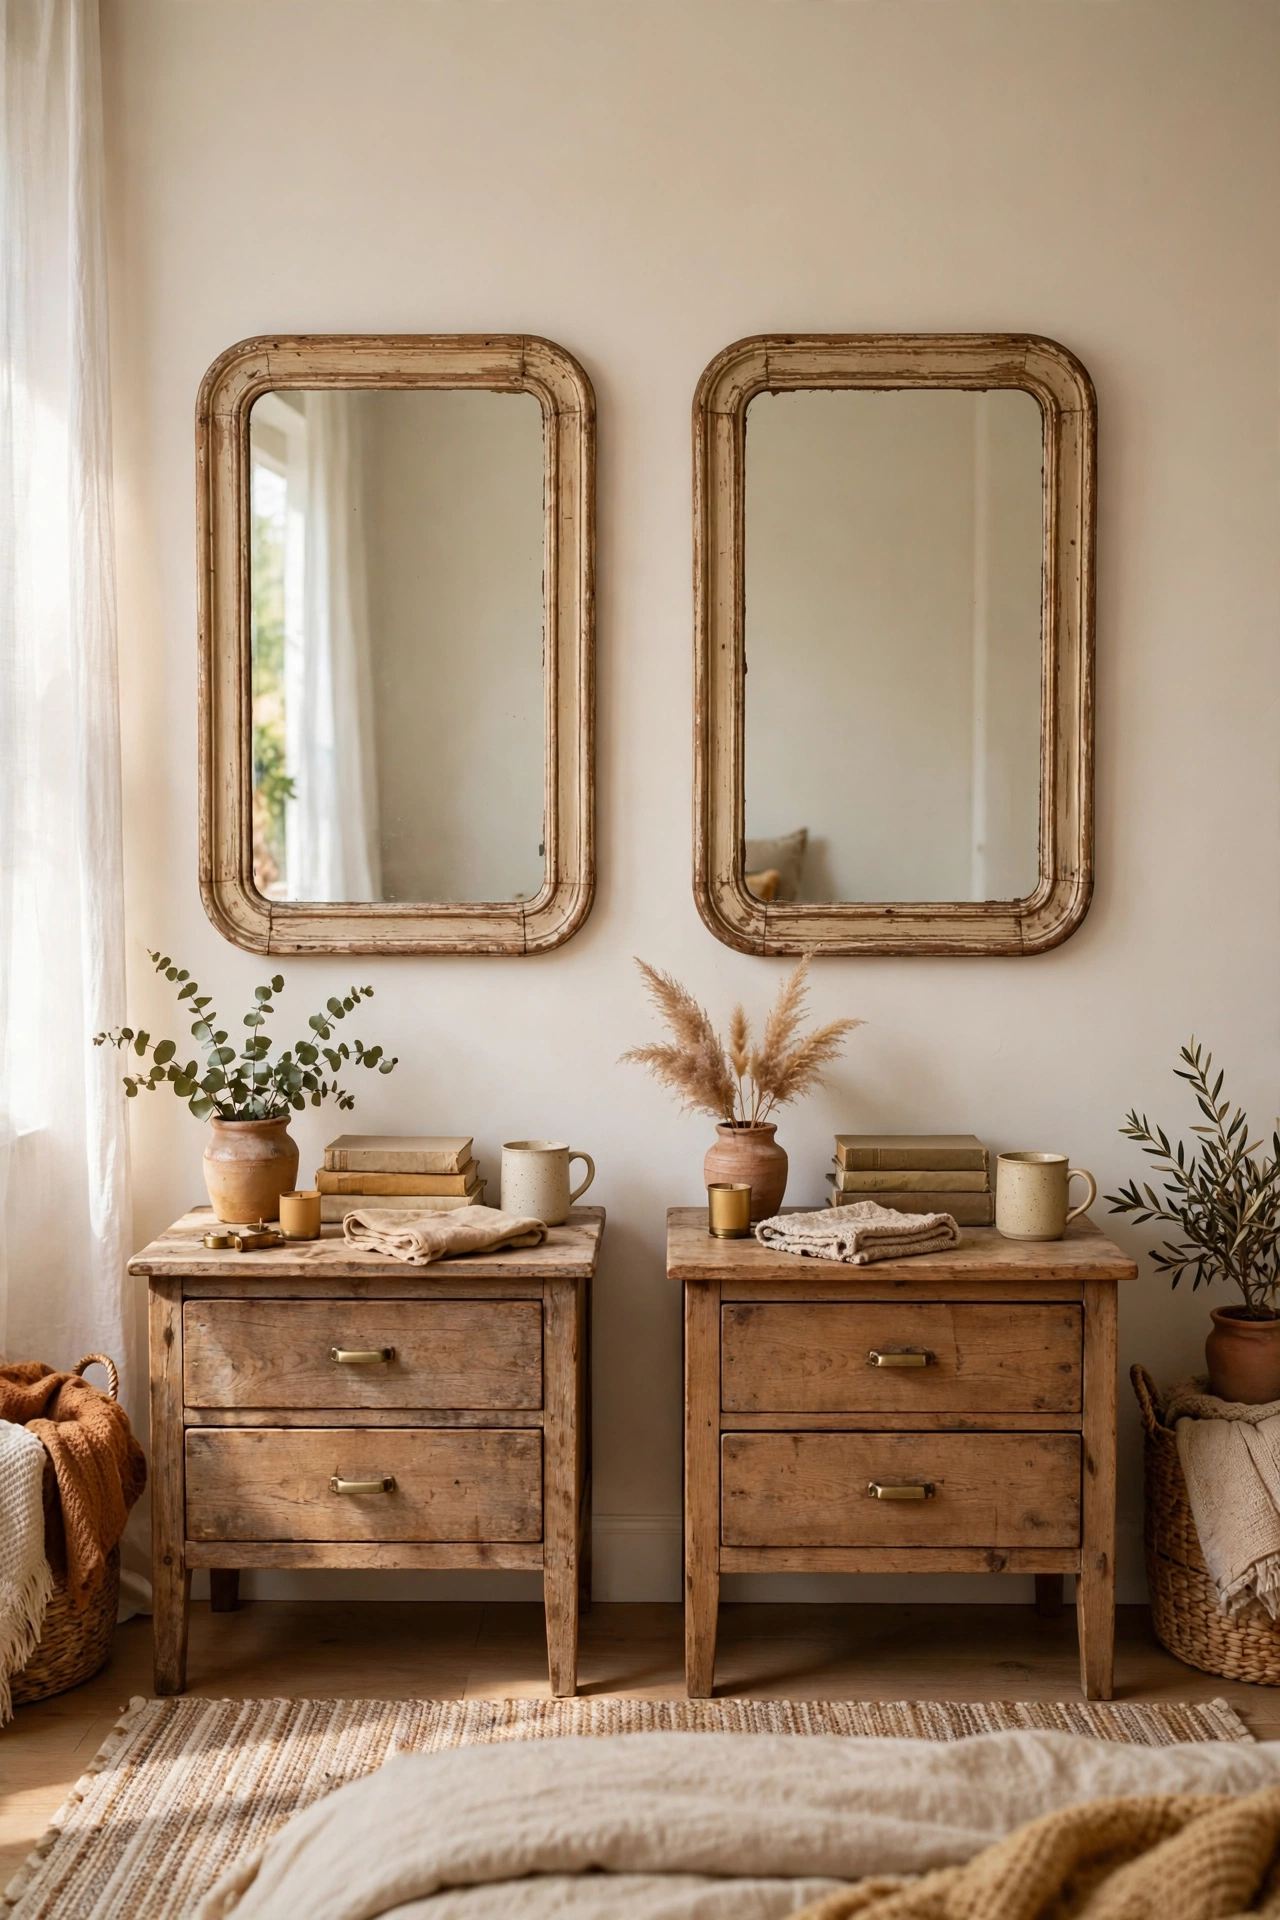
Two matching thrifted mirrors above twin nightstands bring balance to a bedroom, even if the nightstands themselves do not match. Finding a true pair takes patience, so check back often. First, measure both wall spaces and hang at the same height using a level. Next, center each mirror over its nightstand, not over the bed gap. Then, add matching lamps or small plants below for symmetry. I tried this after months of hunting for a pair, and the room finally felt settled. One mistake to avoid: do not hang near-identical mirrors at different heights, or the mismatch will stand out.
Cost: ~$16 | Time: 45 minutes
24. Antique Mirror with a Beaded Frame
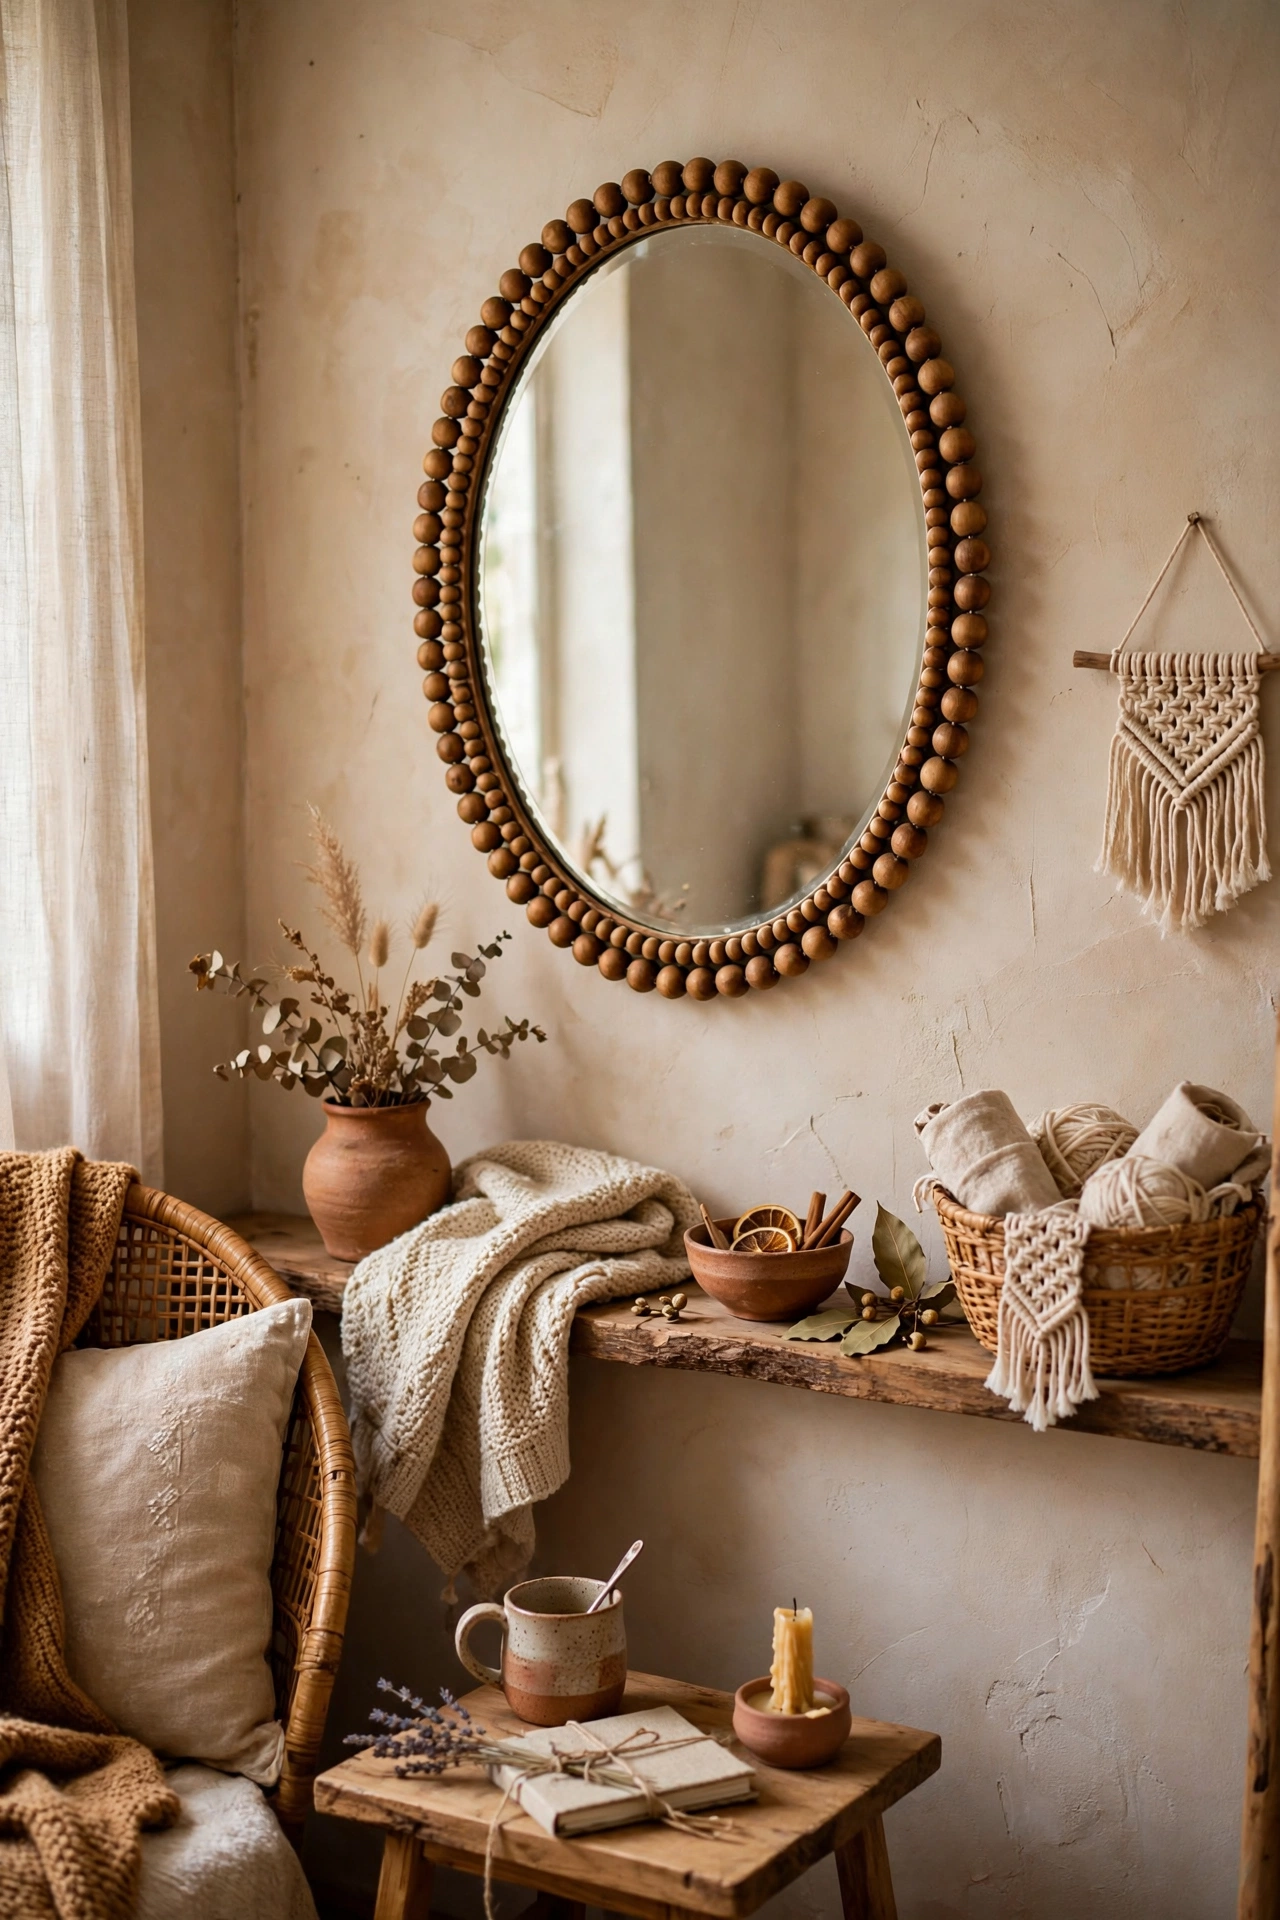
Wooden beads glued around an antique-style mirror frame add texture and charm without any carving skills. Use beads in one warm wood tone for a calm look. First, clean the frame and sort beads by size. Next, glue them in a single row around the edge, keeping spacing even. Then, fill any small gaps with smaller beads and let the glue set overnight. I tried this on a $5 oval mirror, and the beaded edge made it look handcrafted. One mistake to avoid: do not mix bead sizes randomly, or the frame will look uneven.
Cost: ~$12 | Time: 55 minutes
25. Simple Frameless Mirror Hung with Clips
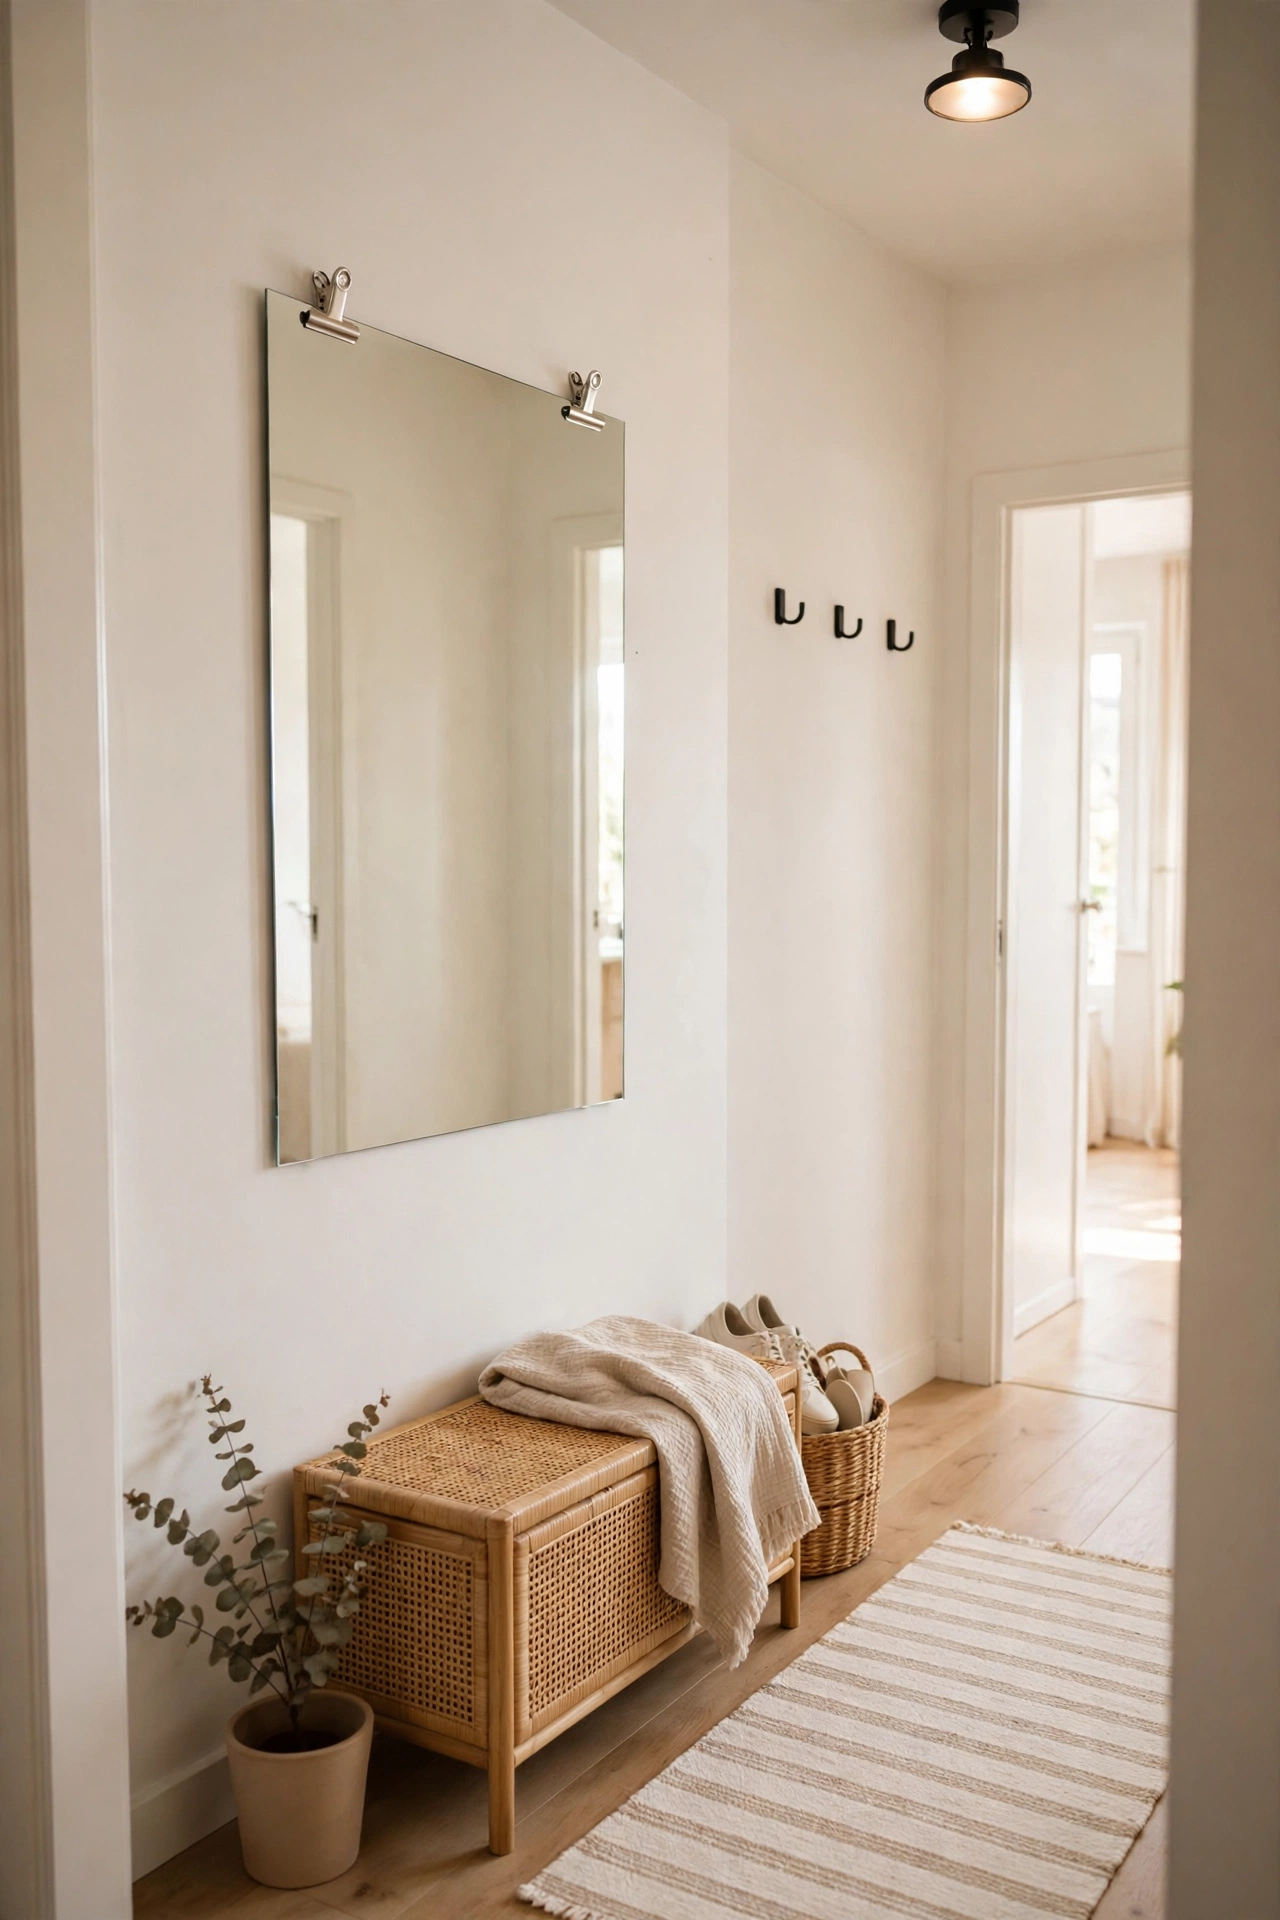
A frameless mirror hung with simple clips is a clean, low-cost option if you like a plain, modern look. Clips are cheap and easy for a beginner to fit. First, mark clip positions evenly around the mirror edge. Next, fix the bottom clips first, then slide the mirror in and add the top clips. Then, check with a level before you tighten everything. I tried this in our hallway, and it cost less than a framed mirror. One mistake to avoid: do not overtighten clips, or the glass can chip at the edge.
Cost: ~$8 | Time: 30 minutes
Mini FAQ for Beginners
What if my thrifted mirror is cloudy? Clean it with vinegar water, and check the back for damp damage. How do I know it is safe to hang? Use an anchor rated above the mirror weight, and ask for help with large pieces.
