23 Thrifted Lamp Ideas on a Budget
Thrifted lamp ideas are my favourite kind of budget decorating, because lamps are the one thing thrift stores always have in piles, usually for a few dollars, usually working fine, and usually wearing the ugliest shade in the shop. A lamp does not need to be beautiful when you buy it. It needs a safe cord, a steady base, and a shape you like underneath all that dust. Change the shade, clean the base, maybe add a coat of paint, and suddenly a $4 lamp looks like something you picked up at a proper home store. This post is grouped by the kind of fix each lamp needs, so you can jump straight to the group that matches what you just brought home.
Shade Swaps That Change Everything
1. Linen Drum Shade Swap
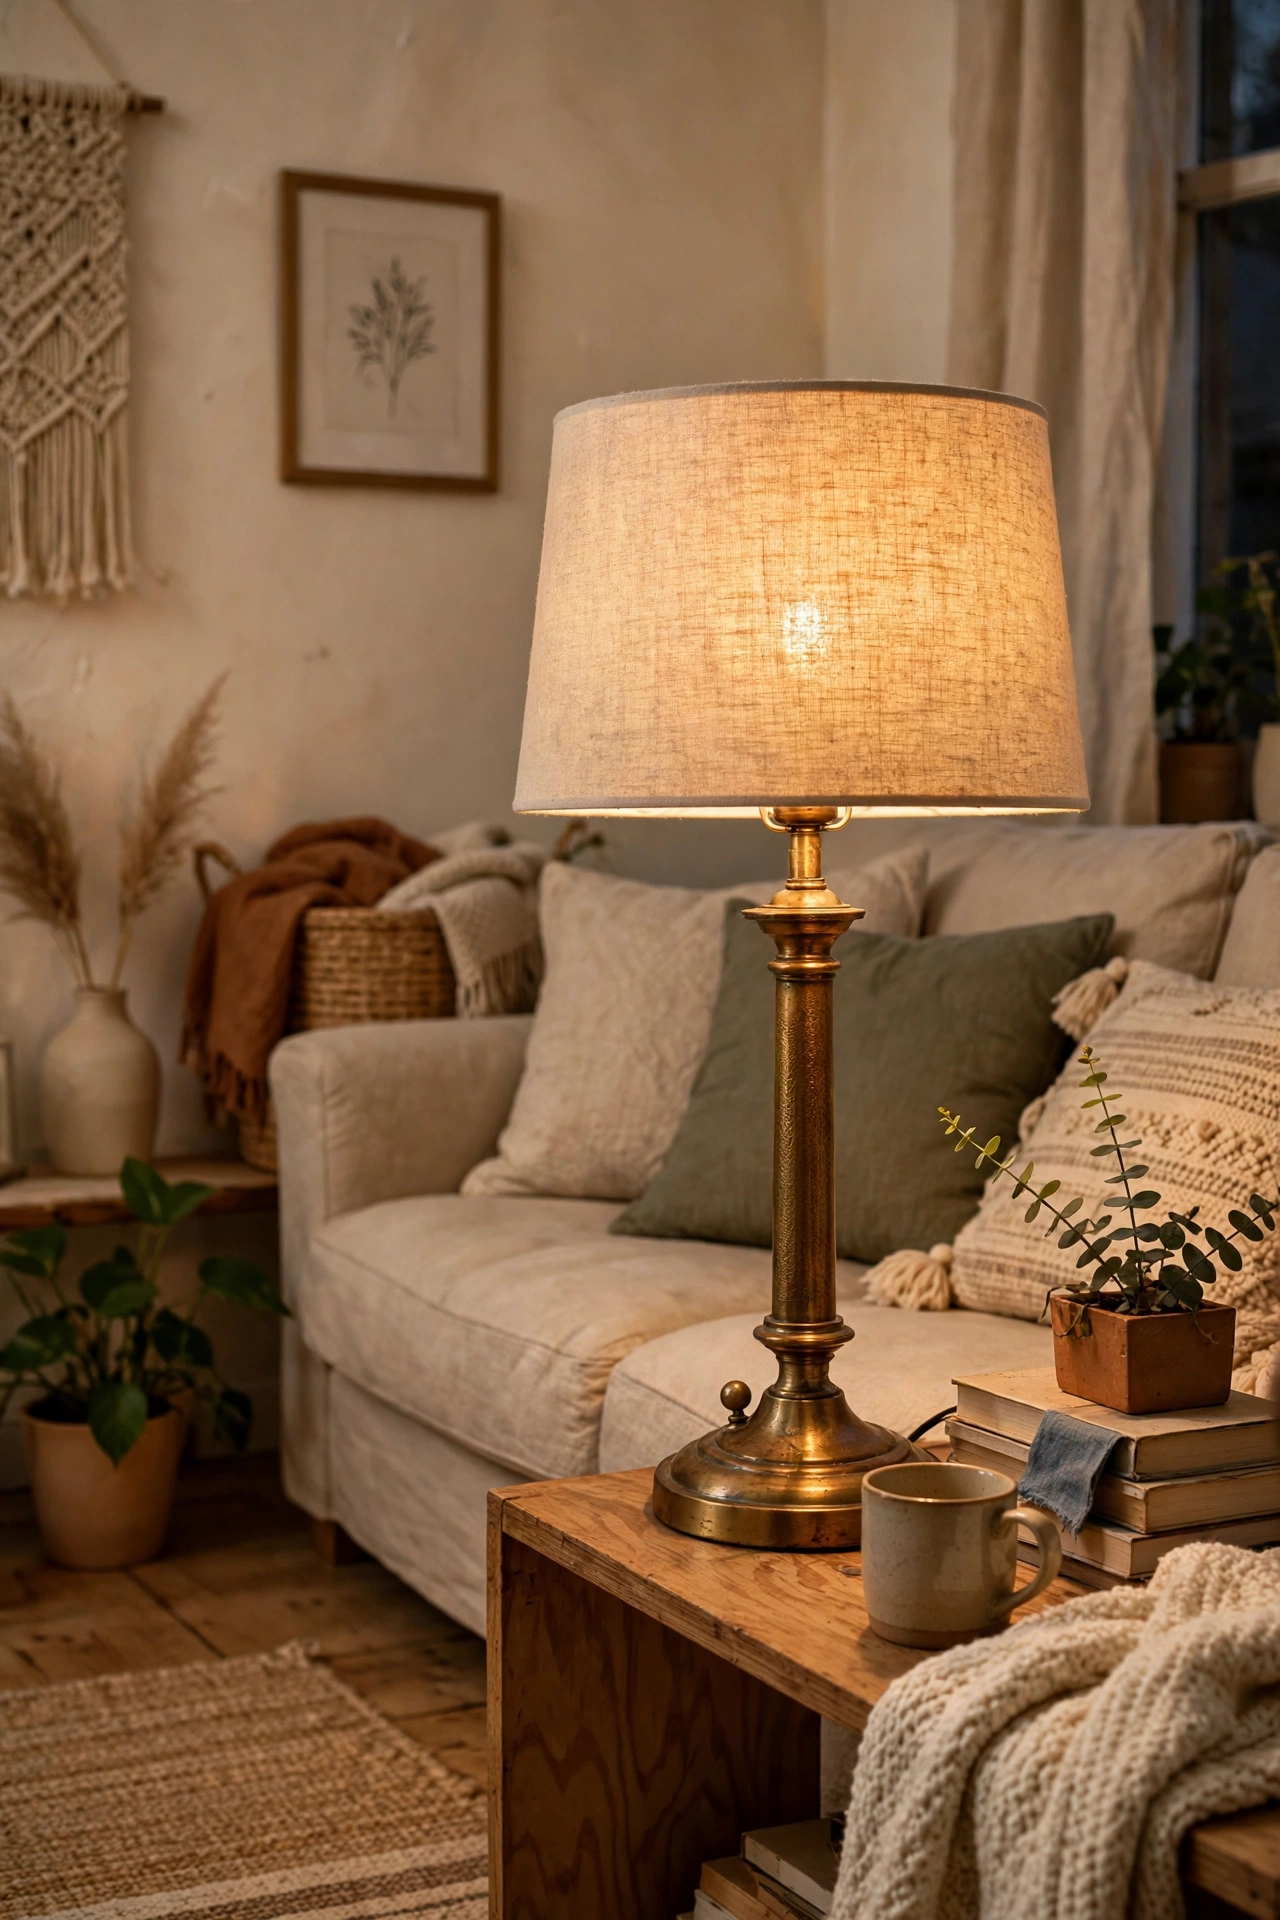
A plain linen drum shade is the fastest lamp fix there is, and it suits almost every thrifted base. Unscrew the old shade, check the fitting size, and pop on a drum shade in natural linen or soft white. The clean shape calms down a fussy base, and the light it gives is warm and even. I tried this on a brass lamp I found for $3, and my mistake was buying a shade with the wrong fitting, so it wobbled until I bought a small adapter. Take a photo of the lamp’s fitting, or bring the lamp with you, and the shade will sit straight the first time.
Pro tip: hold the shade up to a bulb before buying, since thin linen glows beautifully and thick fabric can dim a small lamp too much.
Cost: ~$18 | Time: 20 minutes
2. Pleated Shade in a Soft Print
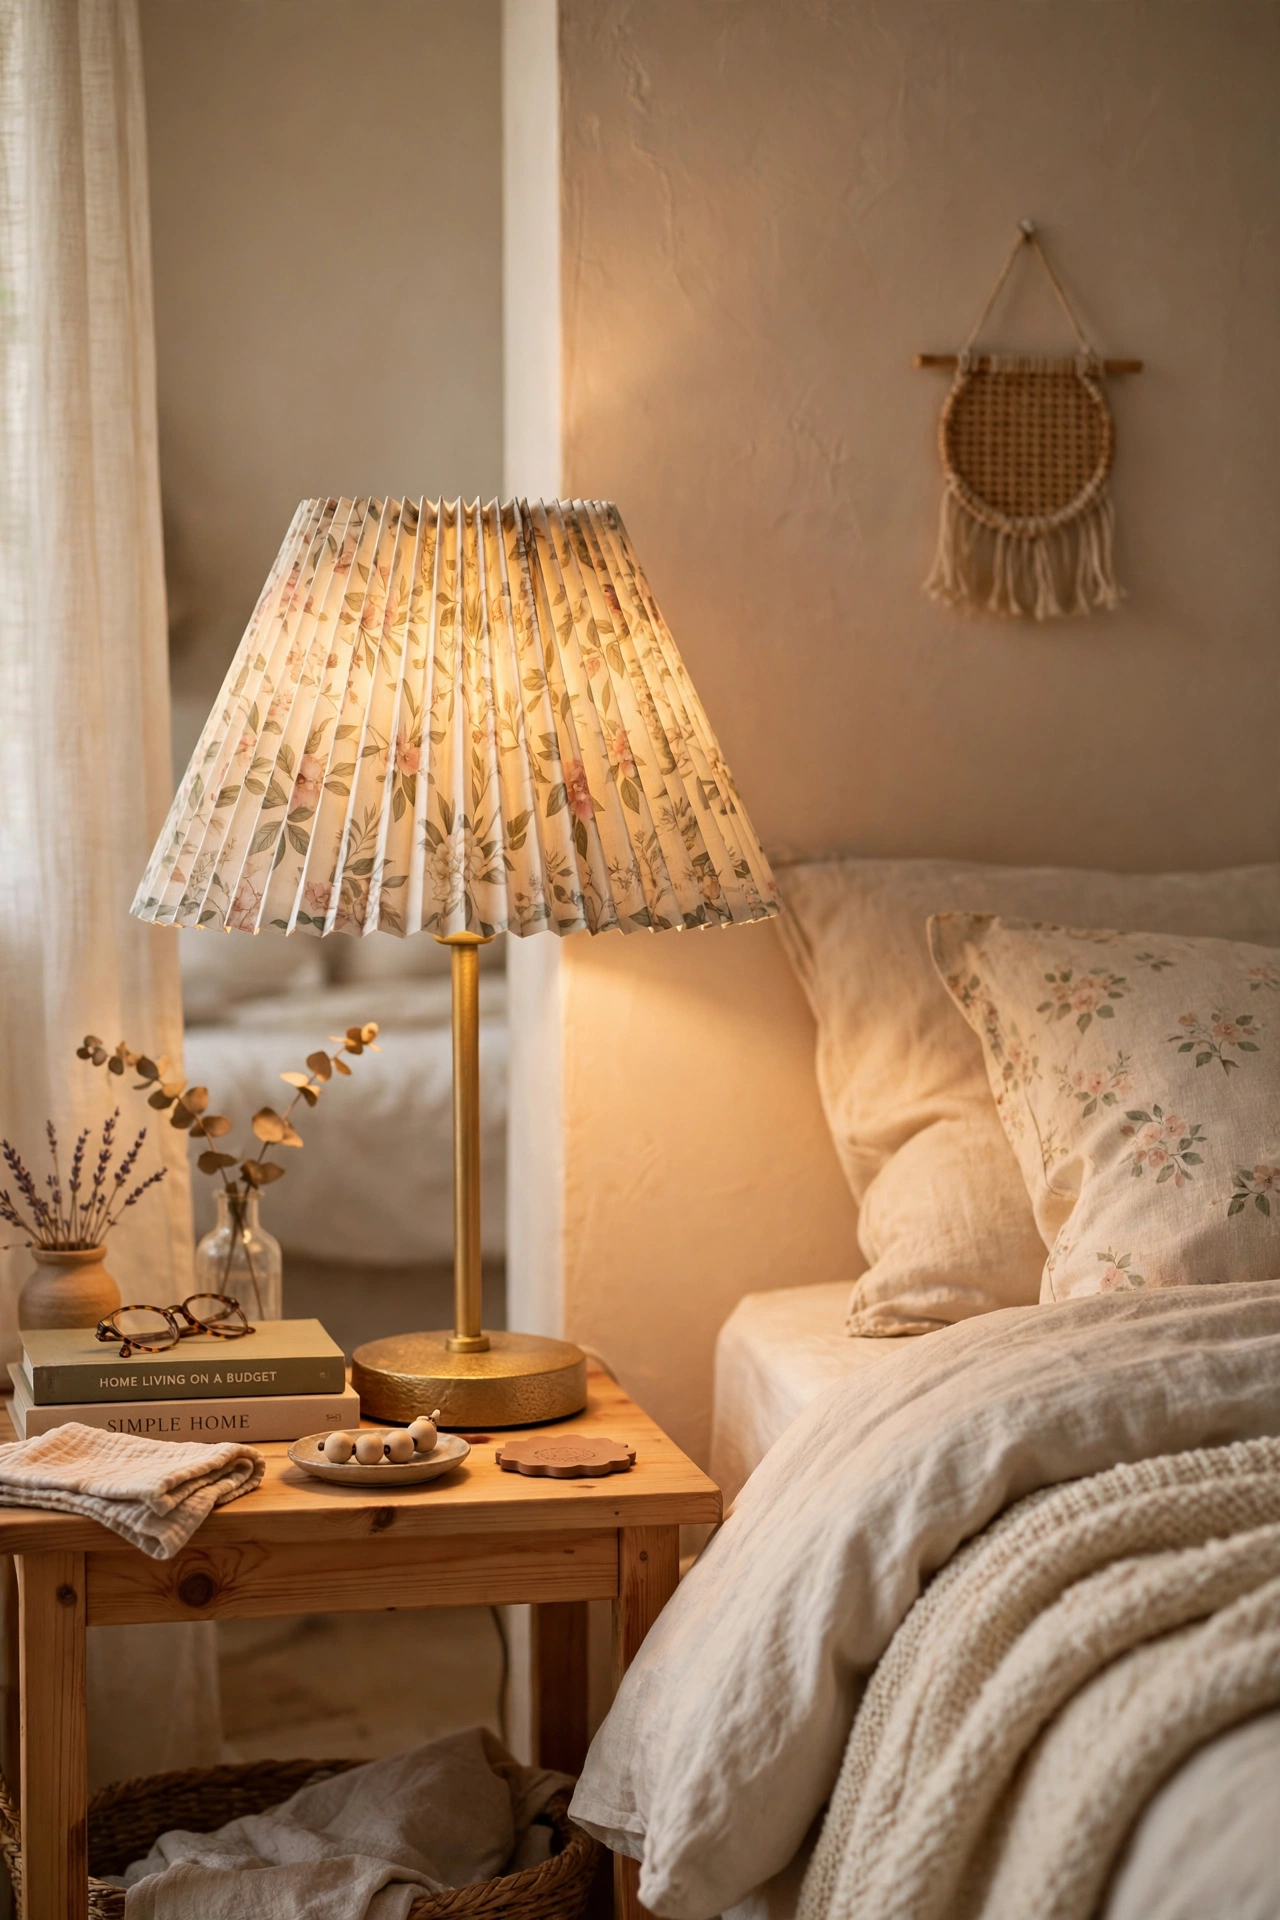
A pleated shade in a soft floral or striped print gives a plain lamp a vintage feel without any sewing. Look for shades with clean pleats and no stains, and pair them with simple bases so the print can be the star. Dust the pleats with a soft brush, and wipe the inside gently with a dry cloth. I tried this on a bedroom lamp, and my mistake was choosing a bold print that clashed with the bedding, which made the whole corner feel busy. A small, soft print works with more rooms than a loud one, and you can always add colour elsewhere in the room.
Cost: ~$15 | Time: 25 minutes
3. Woven Basket Shade Lamp
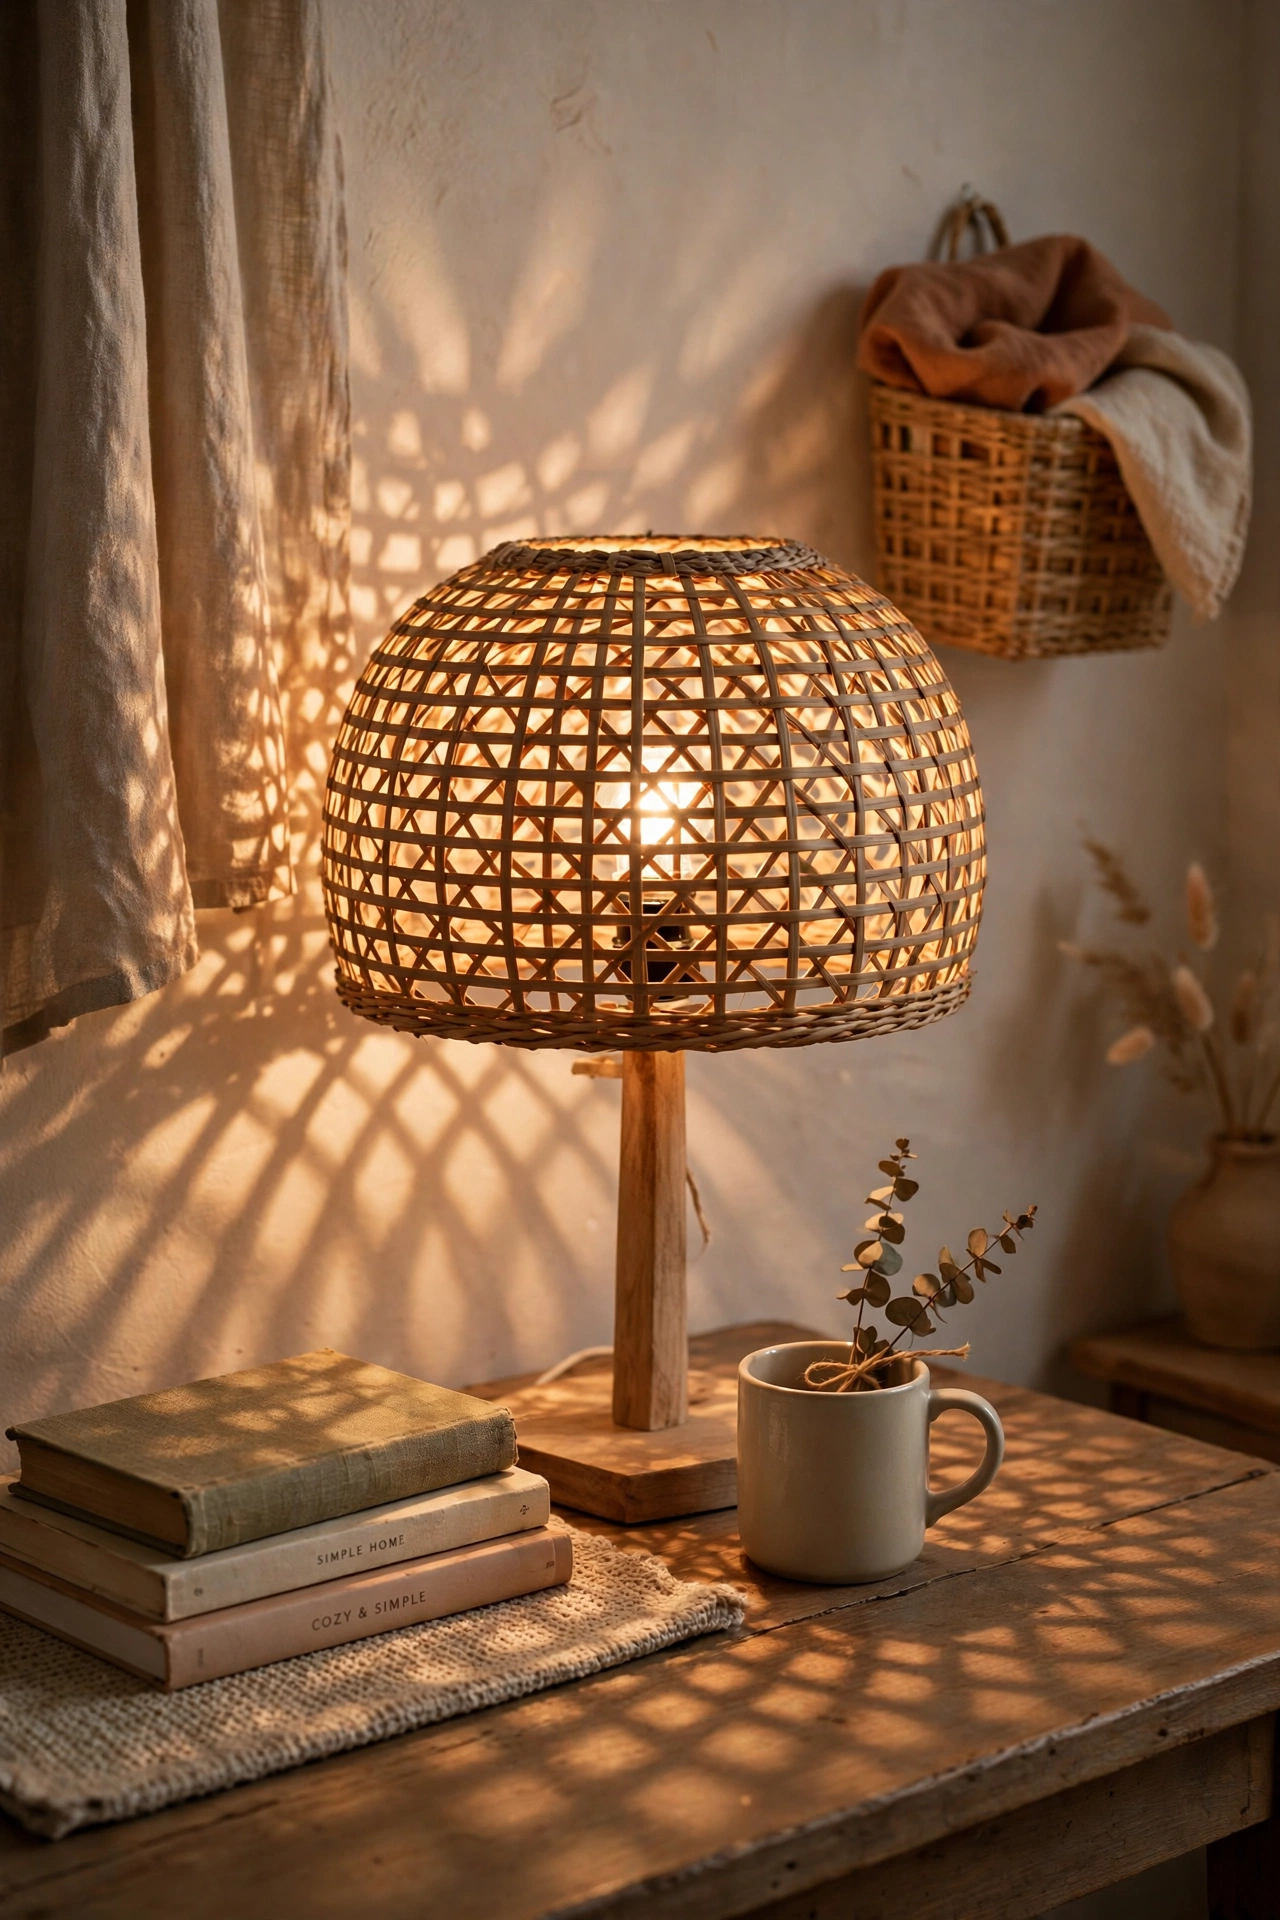
A woven basket makes a gorgeous shade for a rustic or boho room, and thrift stores sell baskets for next to nothing. Cut a small hole in the base of the basket for the lamp fitting, thread it over the harp, and secure it with the finial. Use a low-heat LED bulb so the basket never gets hot, and keep the weave open enough for light to spill through. I tried this with a seagrass basket, and my mistake was cutting the hole too big, so the basket sat crooked until I added a washer underneath. Start with a small hole and widen it slowly until it fits snugly.
Cost: ~$16 | Time: 40 minutes
4. Beaded Fringe Shade
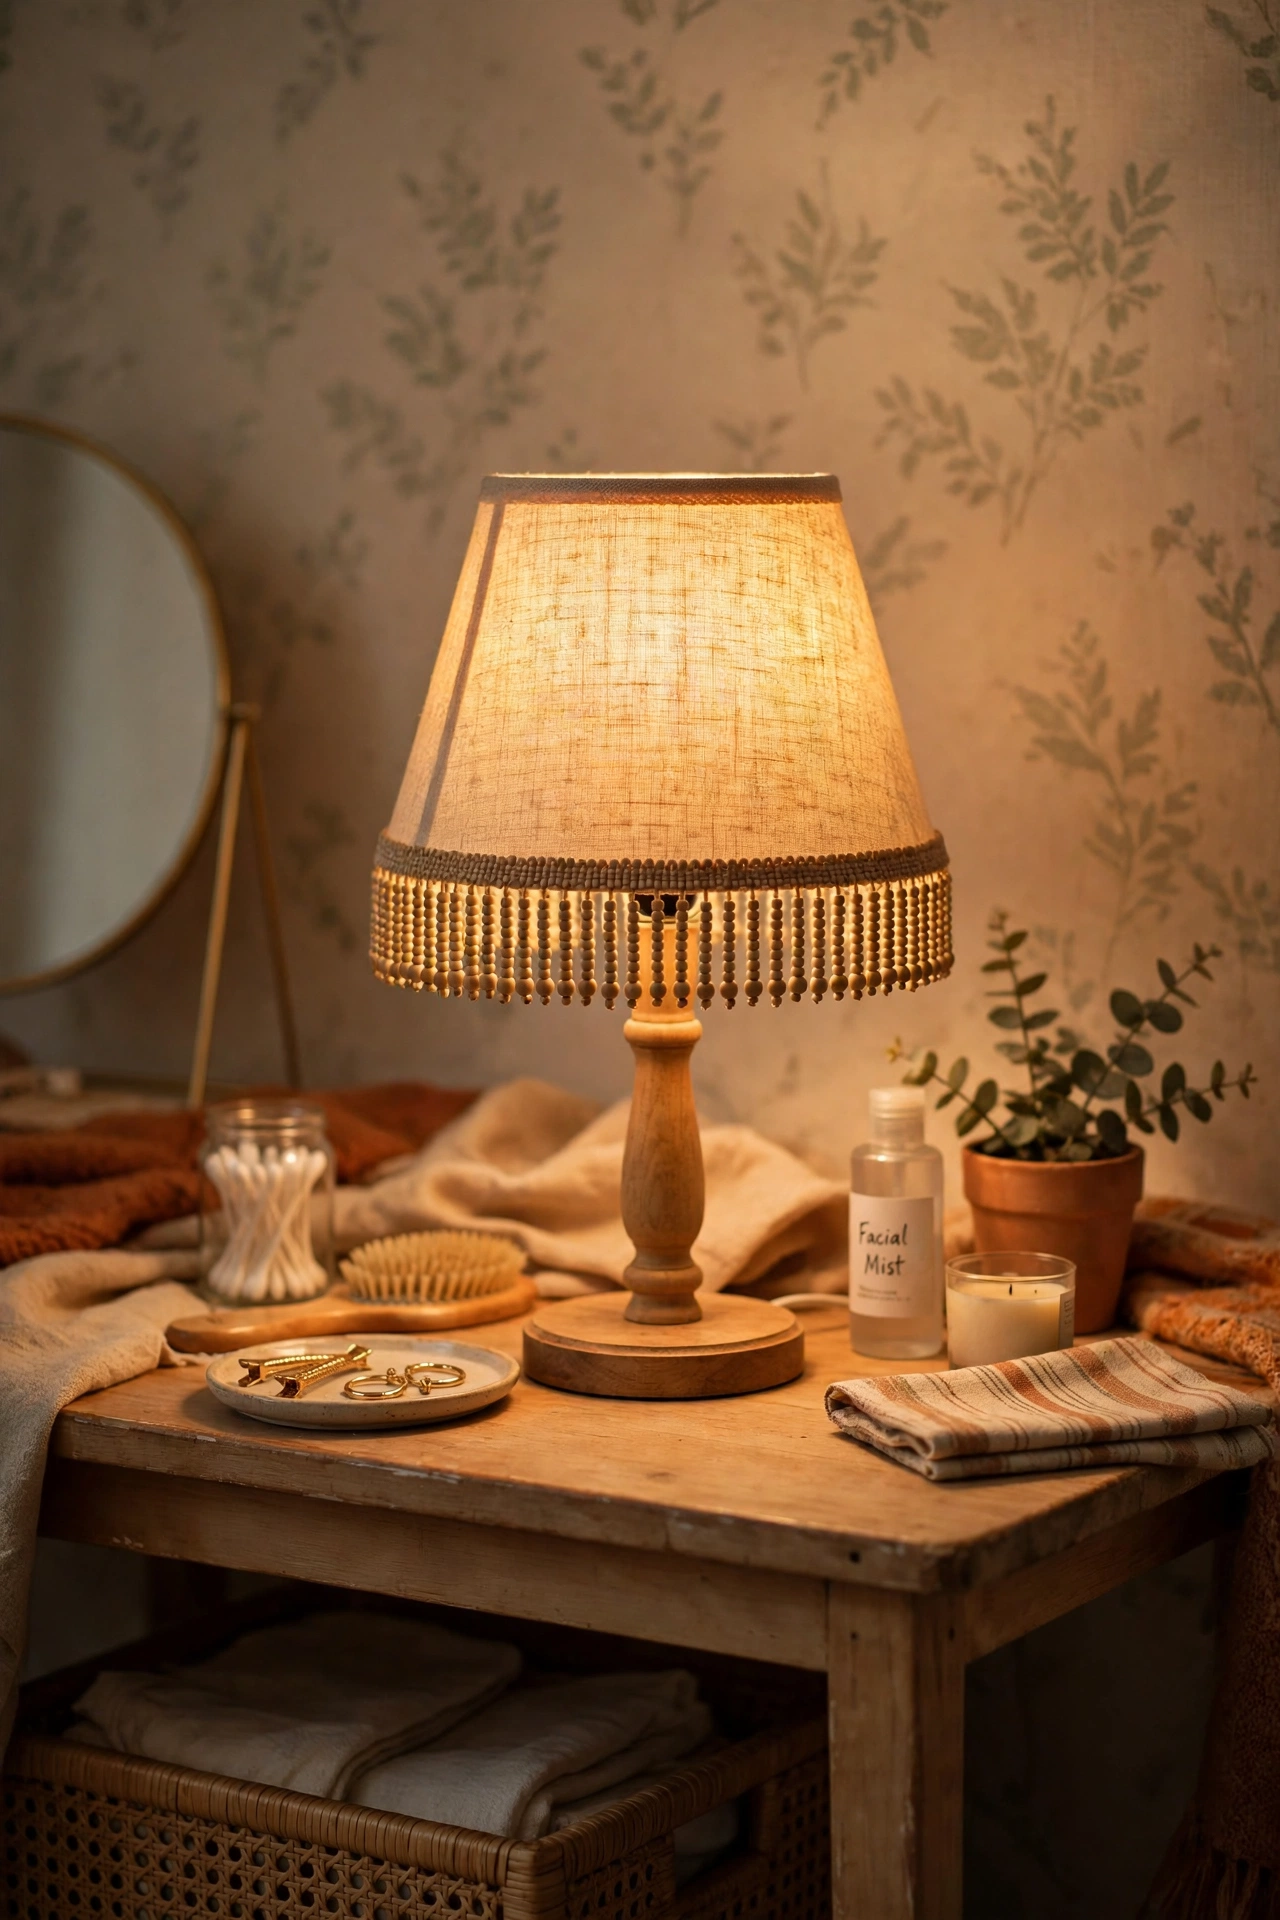
A beaded fringe trim glued around the bottom edge of a plain shade turns a boring lamp into a glamorous one. Choose a shade in a solid colour, run a line of fabric glue around the lower rim, and press the fringe trim on slowly, keeping it level all the way around. Let it dry flat before you put the shade back on the lamp. I tried this for a dressing-table lamp, and my mistake was using hot glue, which left lumps that showed through the fabric. Fabric glue dries flat and flexible, and it holds the beads without stiff patches, so take the slower route here.
Cost: ~$20 | Time: 50 minutes
5. Scalloped Shade Trim
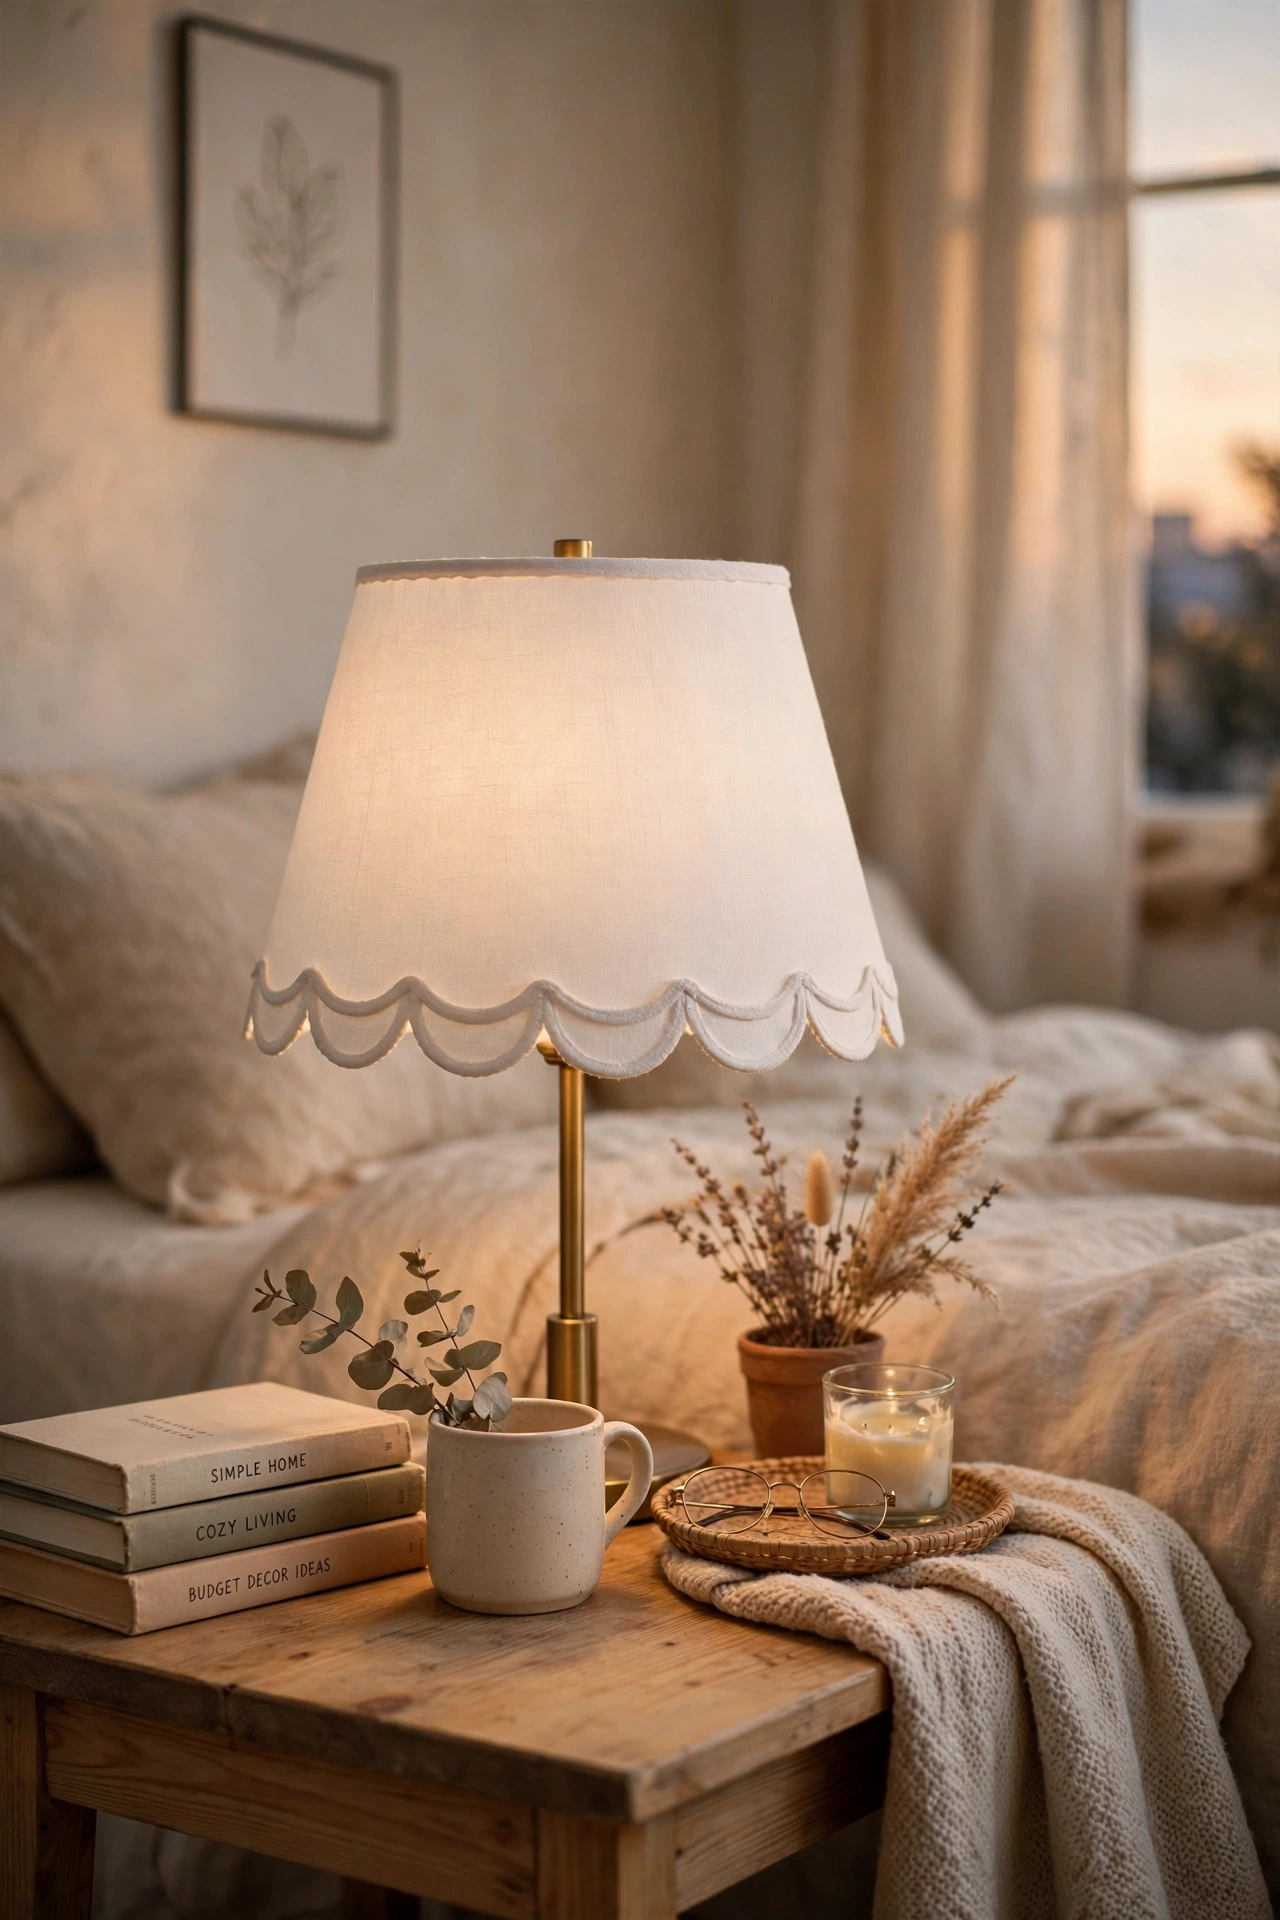
Scalloped trim along the top and bottom of a shade gives a sweet, cottage feel that suits bedrooms and nurseries. Cut scalloped ribbon or bias tape to length, glue it around both rims, and overlap the join at the back of the shade where it will not show. Match the trim colour to something already in the room, like bedding or curtains. I tried this on a white shade for my guest room, and my mistake was gluing the trim while the shade was on the lamp, which meant the glue dripped onto the base. Work on a table with the shade off the lamp, and everything stays clean.
Cost: ~$14 | Time: 45 minutes
6. Paper Lantern Glow Shade
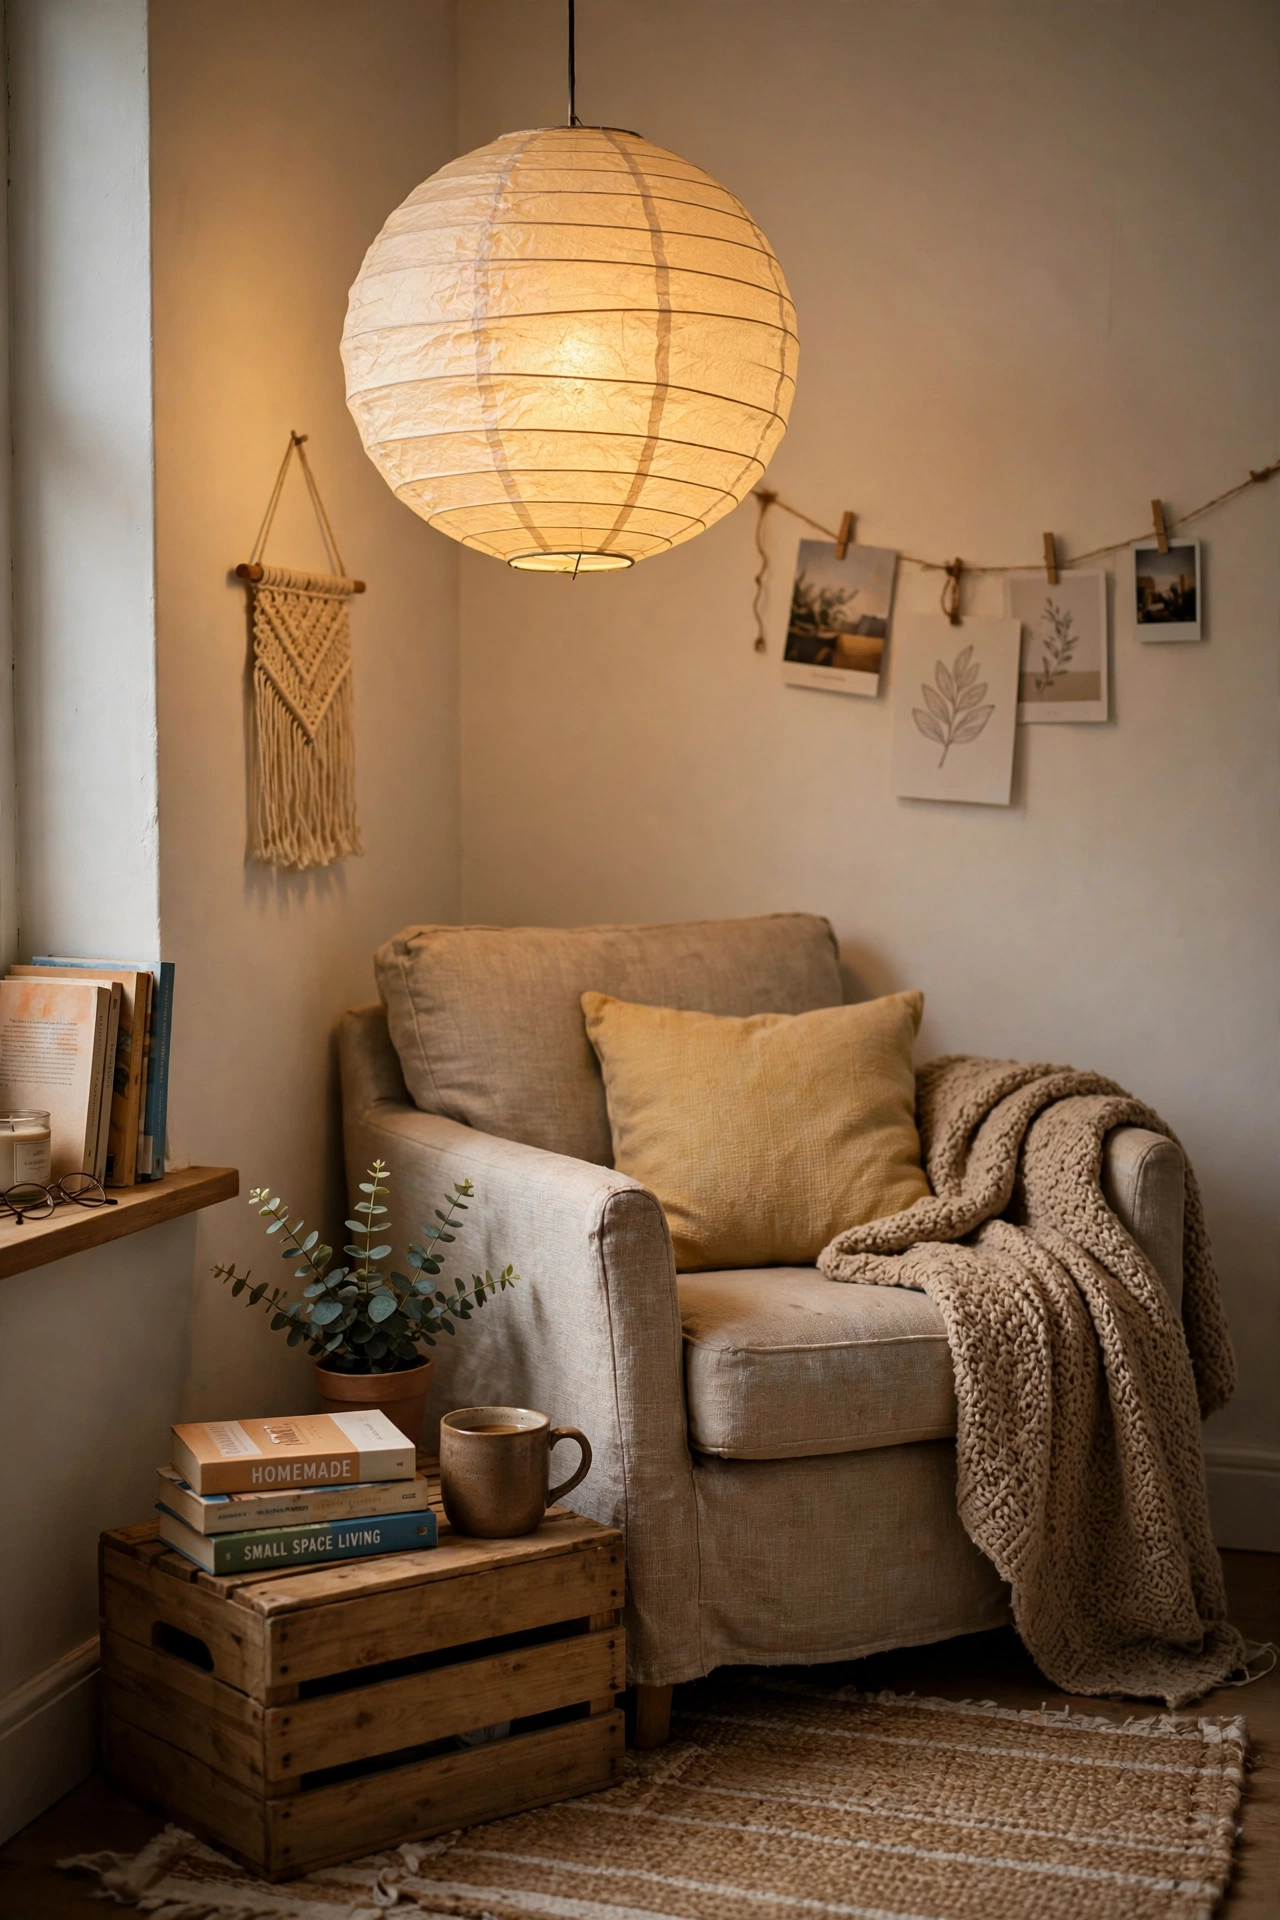
A paper lantern hung over a thrifted lamp base, or used as a pendant shade, gives a soft, paper-glowy light that flatters a small room. Open the lantern fully, fit it over the bulb cage or harp, and use only a cool LED bulb, keeping the paper well away from any heat. Paper shades are cheap, so keep a spare folded flat in a cupboard. I tried this in a reading nook, and my mistake was using an old hot bulb, which yellowed the paper within weeks. A cool LED keeps the paper white, and it also means you can leave the lamp on longer without worry (see also: budget-paper-lantern-lighting-ideas).
Cost: ~$12 | Time: 30 minutes
Bases with Character
7. Painted Ceramic Base in Cream
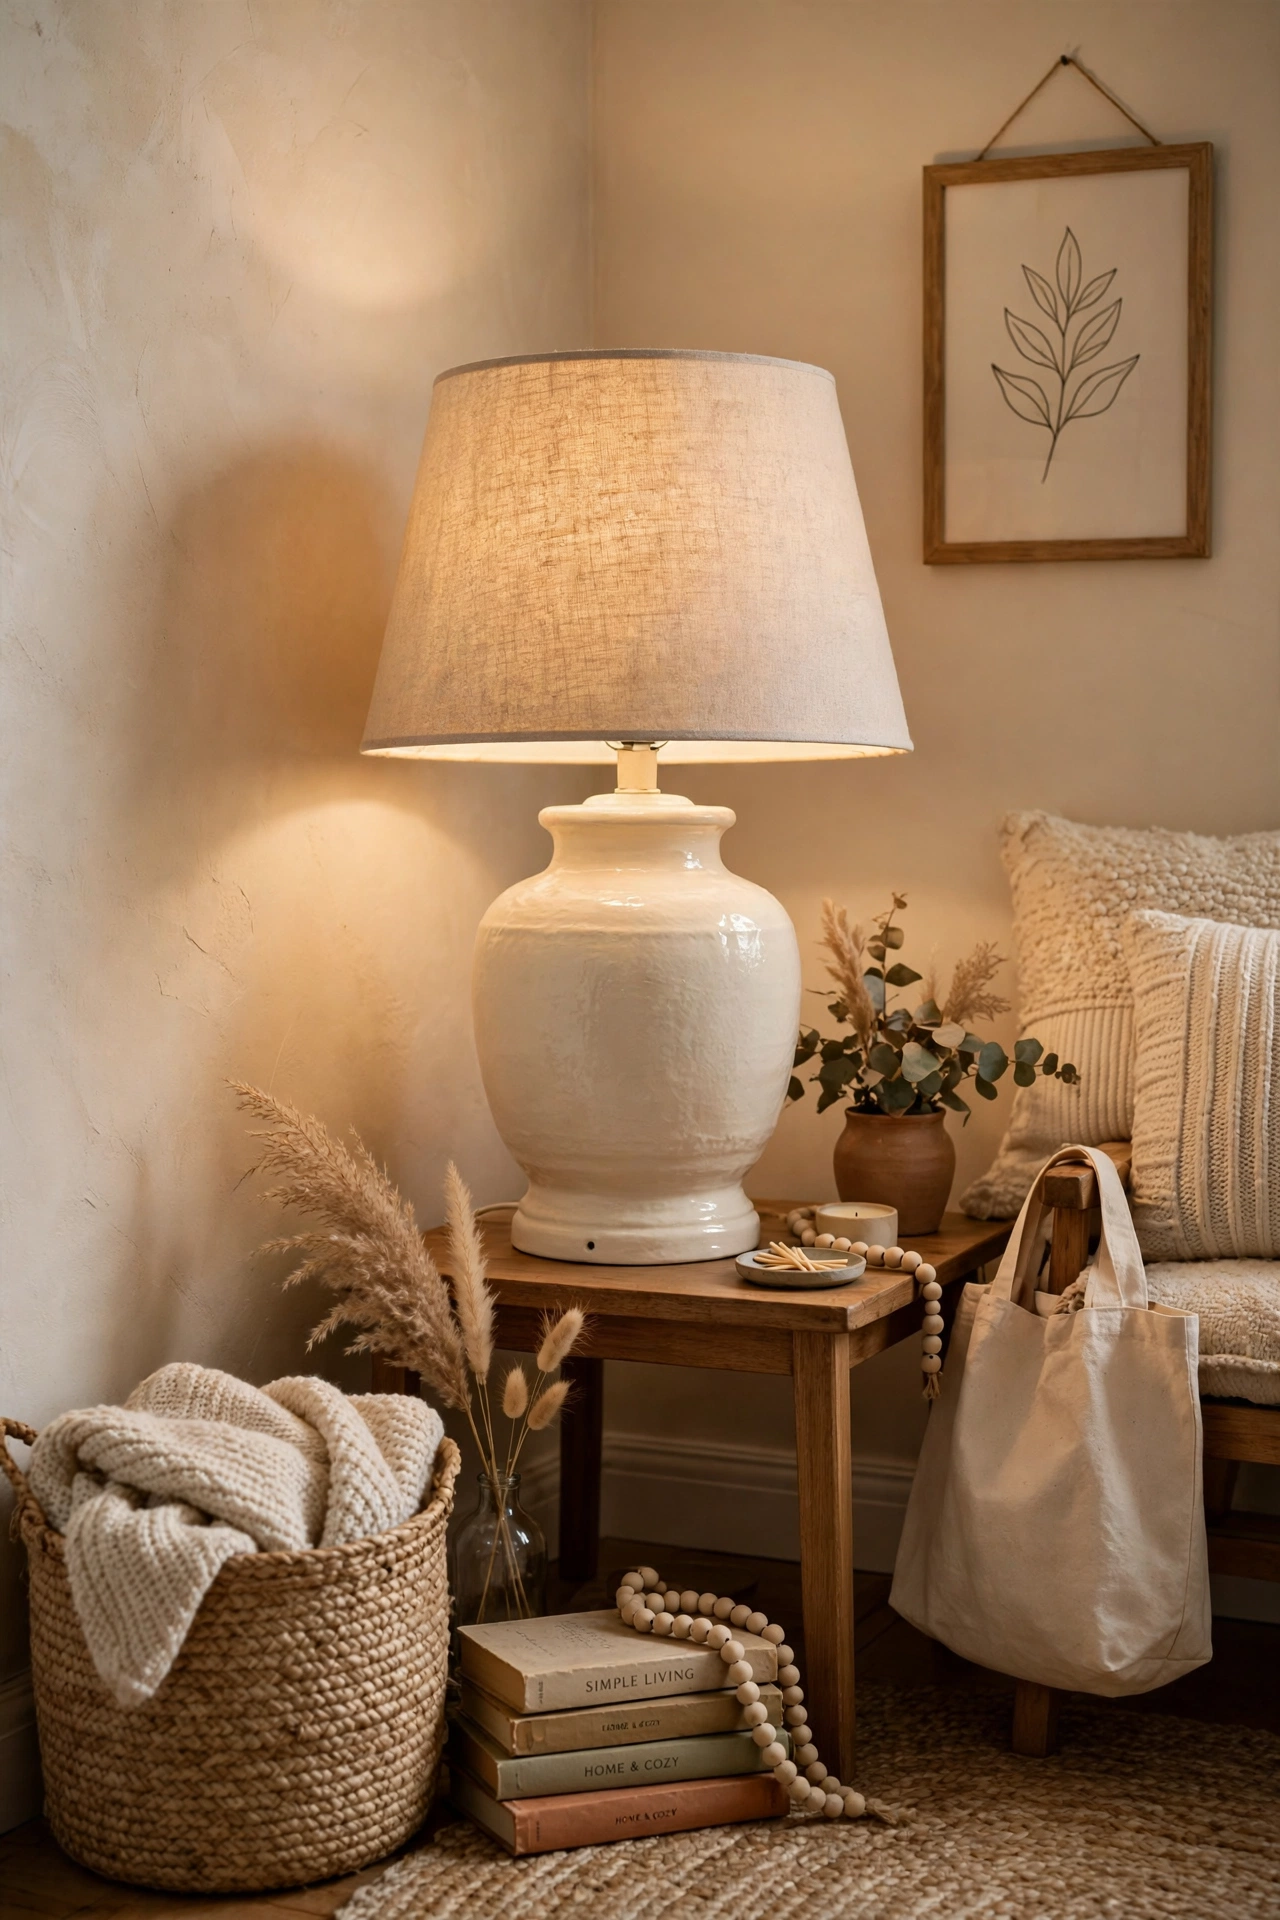
A ceramic lamp base in a dated colour becomes a classic in warm cream paint. Wash the base, sand it lightly so the paint grips, and spray or brush two thin coats of paint made for ceramic or glass. Let it cure fully before you handle it much. I tried this on a green ceramic base I found for $5, and my mistake was skipping the sanding, so the first coat peeled off in sheets when I bumped it. A light scuff-sand and a primer made for slick surfaces fix that completely, and the finish has lasted for years since.
Cost: ~$17 | Time: 90 minutes
8. Brass Base Polished Back to Life
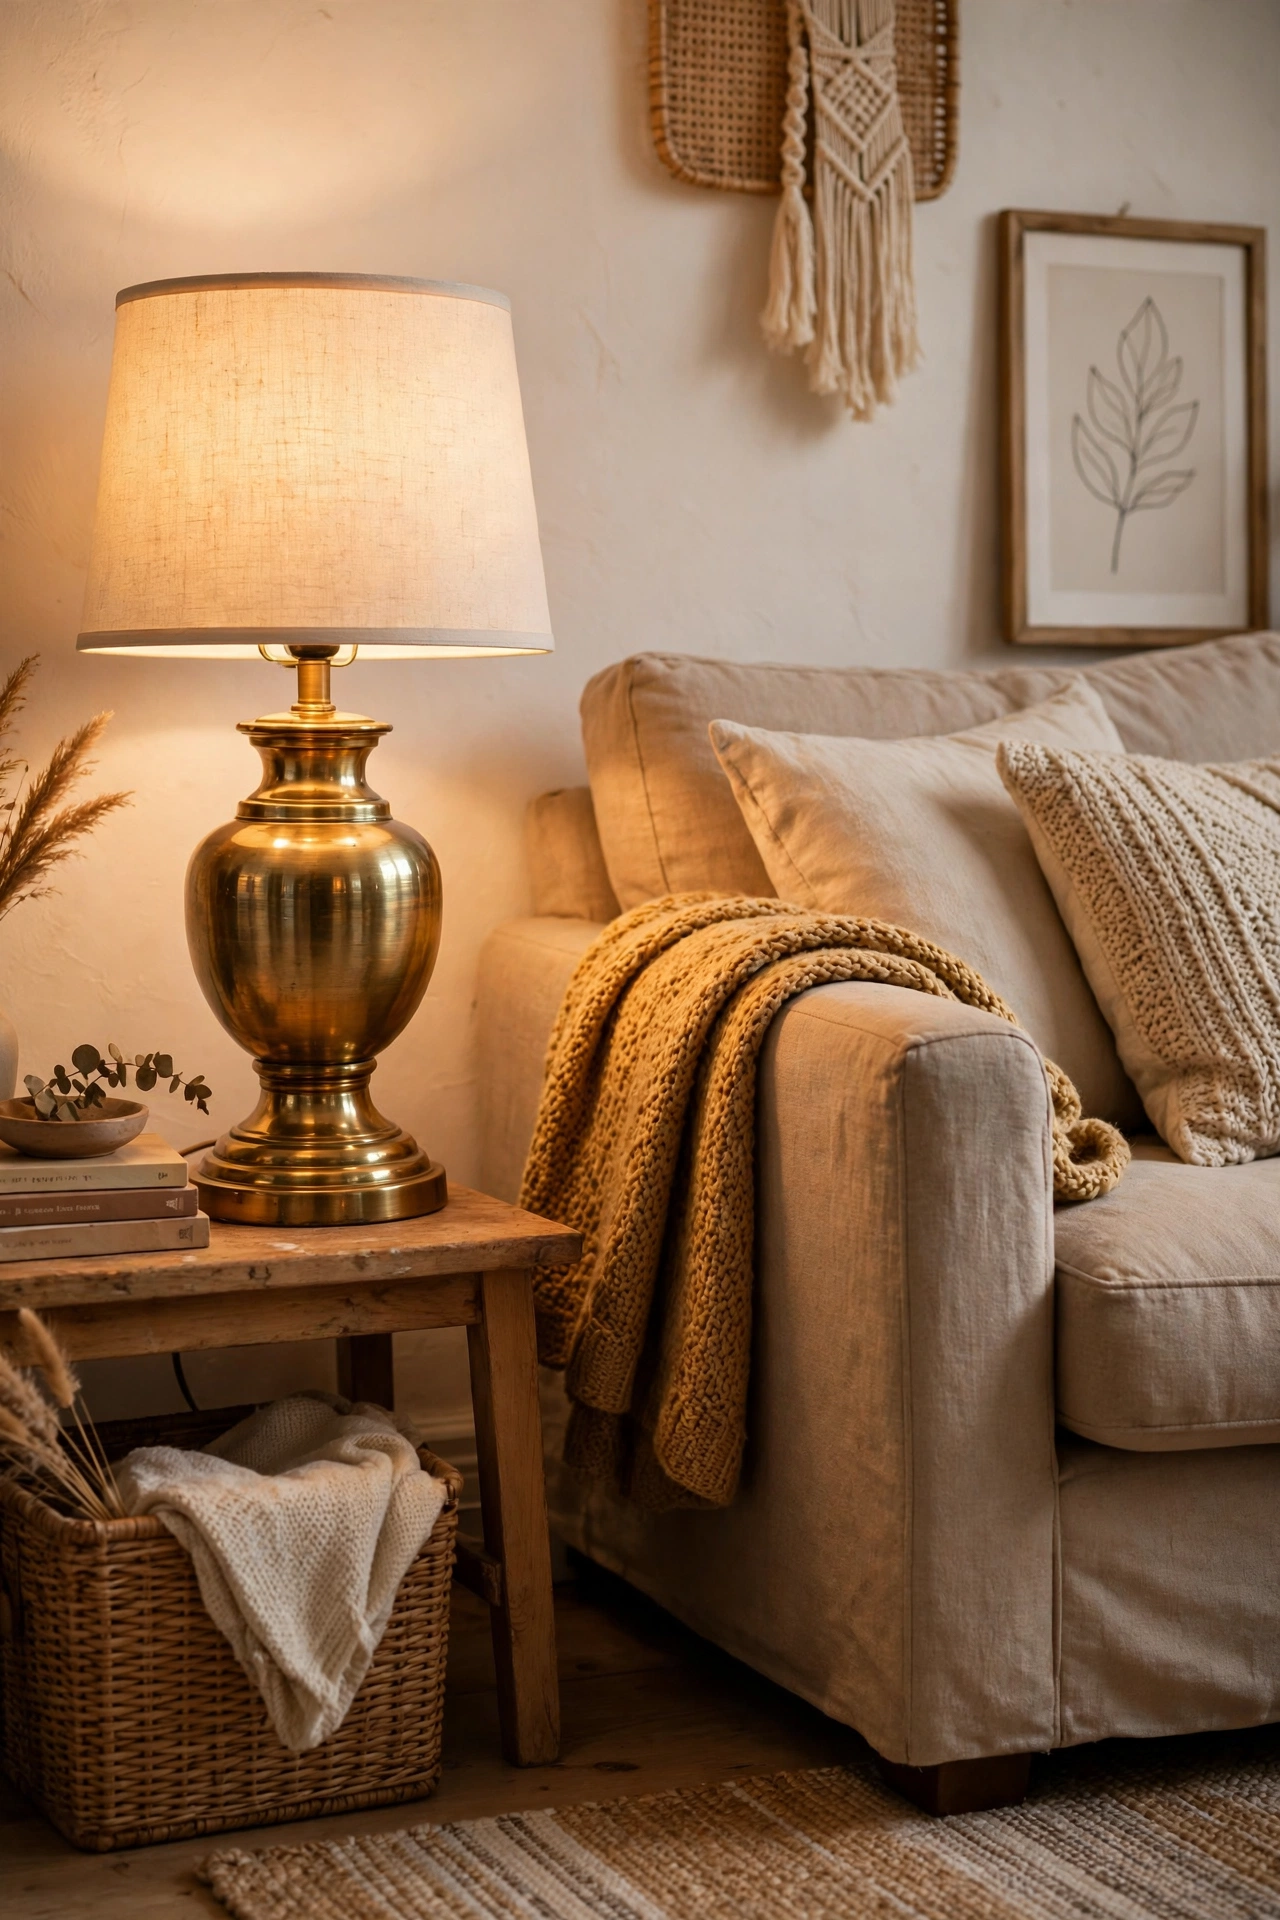
Brass lamp bases look dull and dark in thrift stores, but most of them are solid brass hiding under years of tarnish. Rub the base with a paste of lemon juice and baking soda, or a brass polish, using a soft cloth and working in small circles. Wipe it clean, buff it dry, and seal it with a thin coat of clear lacquer if you want the shine to last. I tried this on a heavy brass lamp, and my mistake was using steel wool, which left fine scratches all over the finish. A soft cloth takes longer, but it keeps the brass smooth and bright.
Pro tip: test a hidden spot first, since some “brass” lamps are only brass-coloured plastic, and polish will not help those at all.
Cost: ~$10 | Time: 60 minutes
9. Wooden Turned Base with a New Stain
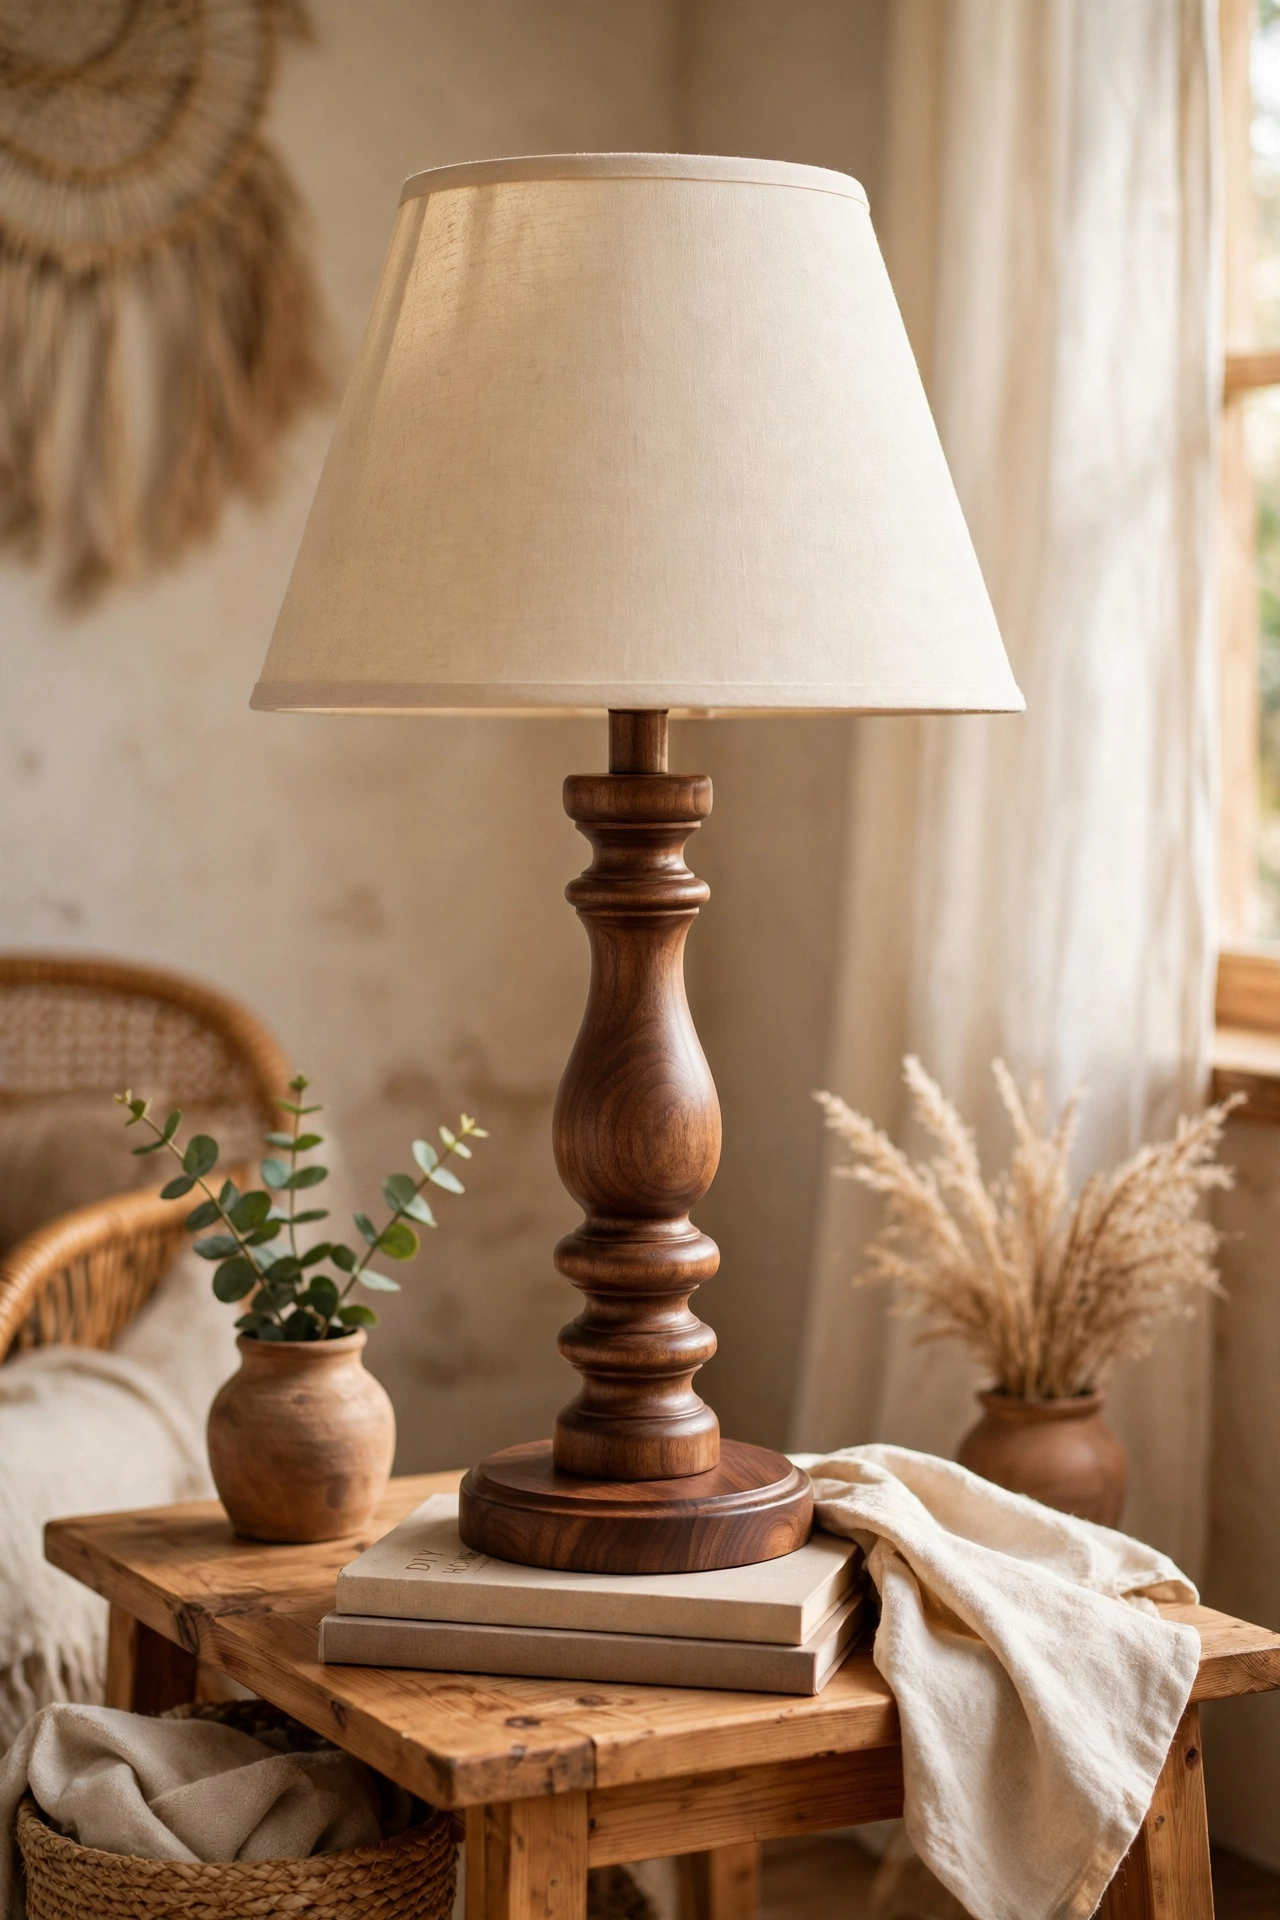
A turned wooden lamp base, the kind with curves and rings, looks lovely restained in a warm walnut or a pale oak. Sand it by hand, following the curves, then wipe on stain with a rag and wipe off the excess for an even colour. Seal with a clear matte topcoat. I tried this on a base that had a chipped varnish, and my mistake was staining straight over the chips, which left dark blotches where the stain soaked into bare wood. Sanding the whole base back evenly first takes longer, but the colour comes out smooth and consistent.
Cost: ~$19 | Time: 120 minutes
10. Terracotta Pot Lamp Base
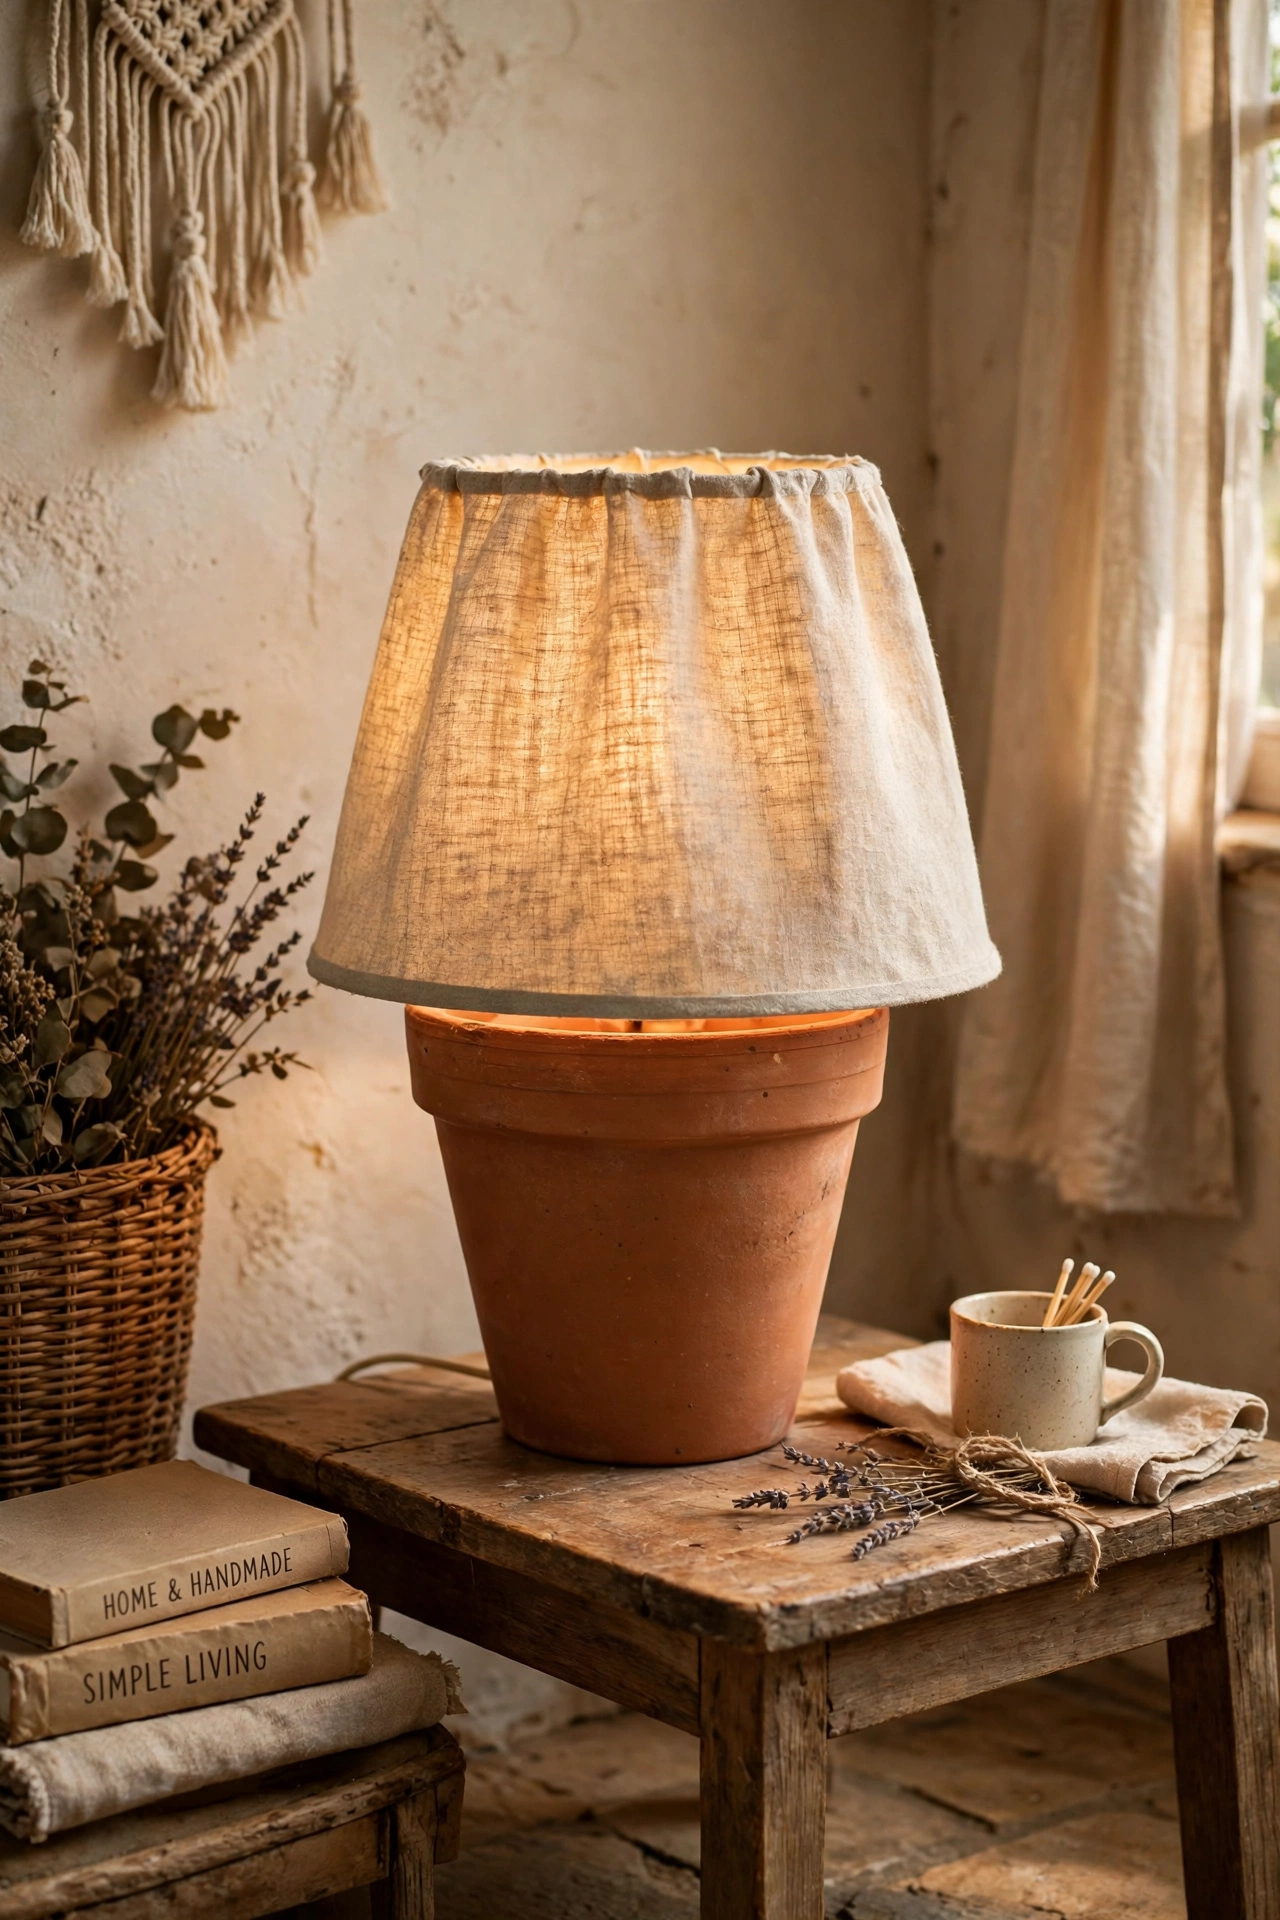
A terracotta garden pot makes a charming lamp base for a rustic or Mediterranean room. Drill a hole in the bottom for the cord, thread a lamp kit through it, and sit the pot upside down or right side up depending on the shape you like. Add a simple linen shade on top. I tried this with a pot I already had in the shed, and my mistake was drilling too fast, which cracked the pot clean in half. A masonry bit, slow pressure, and a little water to keep the bit cool will get you a clean hole without the heartbreak.
Cost: ~$22 | Time: 75 minutes
11. Mason Jar Bedside Lamp
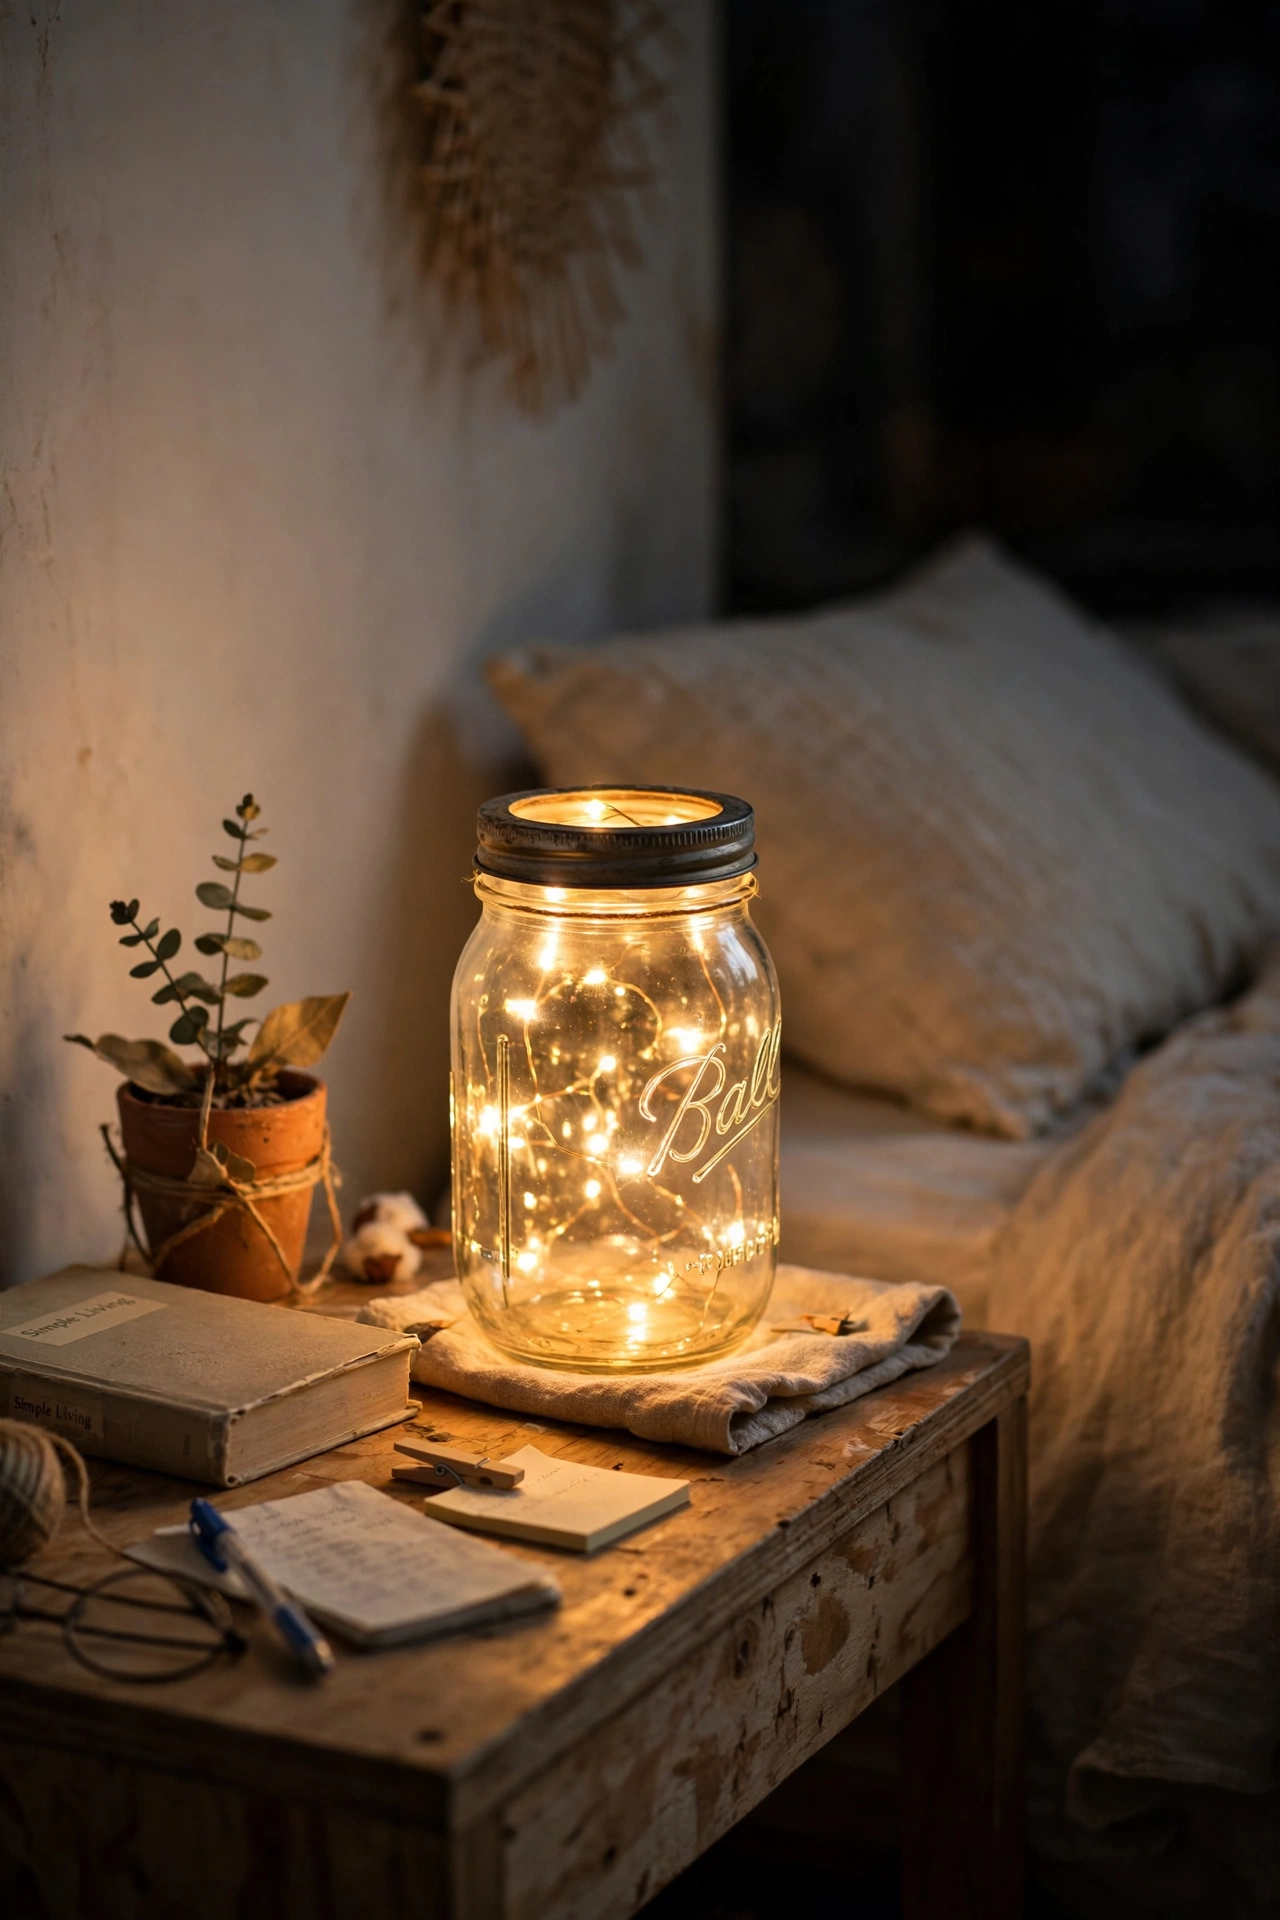
A mason jar lamp kit turns a simple jar into a sweet bedside light, and it is one of the easiest thrifted lamp ideas to make. Screw the lamp kit lid onto a clean jar, fit a low-wattage bulb, and add a small shade or leave it bare for a soft glow. Fill the jar with fairy lights instead if you want a night-light effect. I tried this for a guest bedroom, and my mistake was using a jar with a chipped rim, which meant the lid never sat straight. Check the rim carefully in the store, and pick a jar that closes smoothly before you buy the kit.
Cost: ~$18 | Time: 35 minutes
12. Stacked Books Lamp
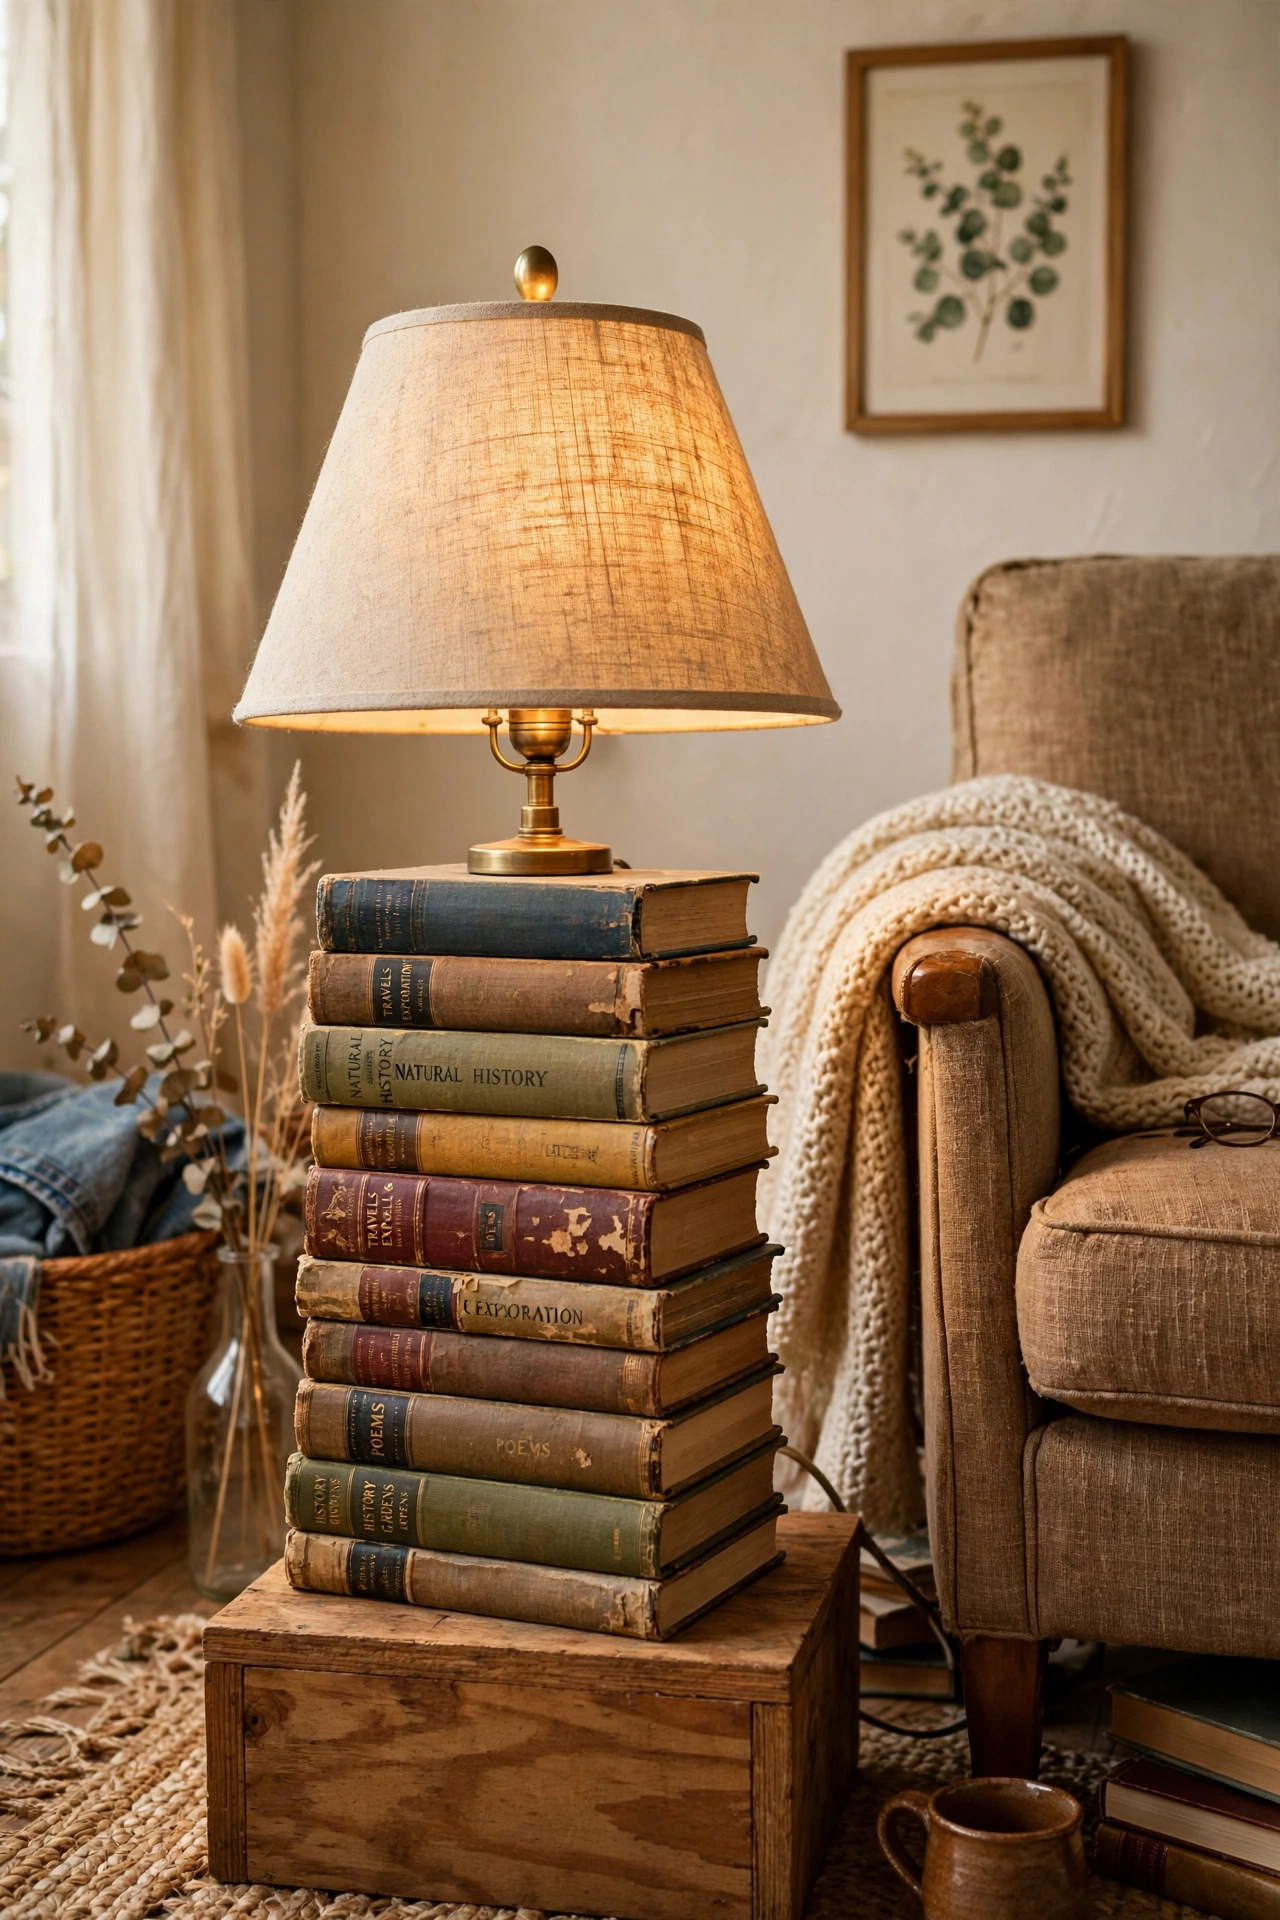
A stack of old hardback books, drilled and threaded with a lamp rod, makes a wonderful reading lamp with real personality. Choose books you do not mind drilling, stack them largest at the bottom, and drill a straight hole through the centre of each one. Thread the rod through, add a harp and shade, and glue the stack lightly so it stays put. I tried this with books from a charity shop, and my mistake was drilling the books one at a time without clamping them, so the holes did not line up. Clamp the stack tight, drill slowly, and the rod will slide straight through.
Cost: ~$24 | Time: 90 minutes
Paint, Texture and Finish Tricks
13. Matte Black Spray-Painted Base
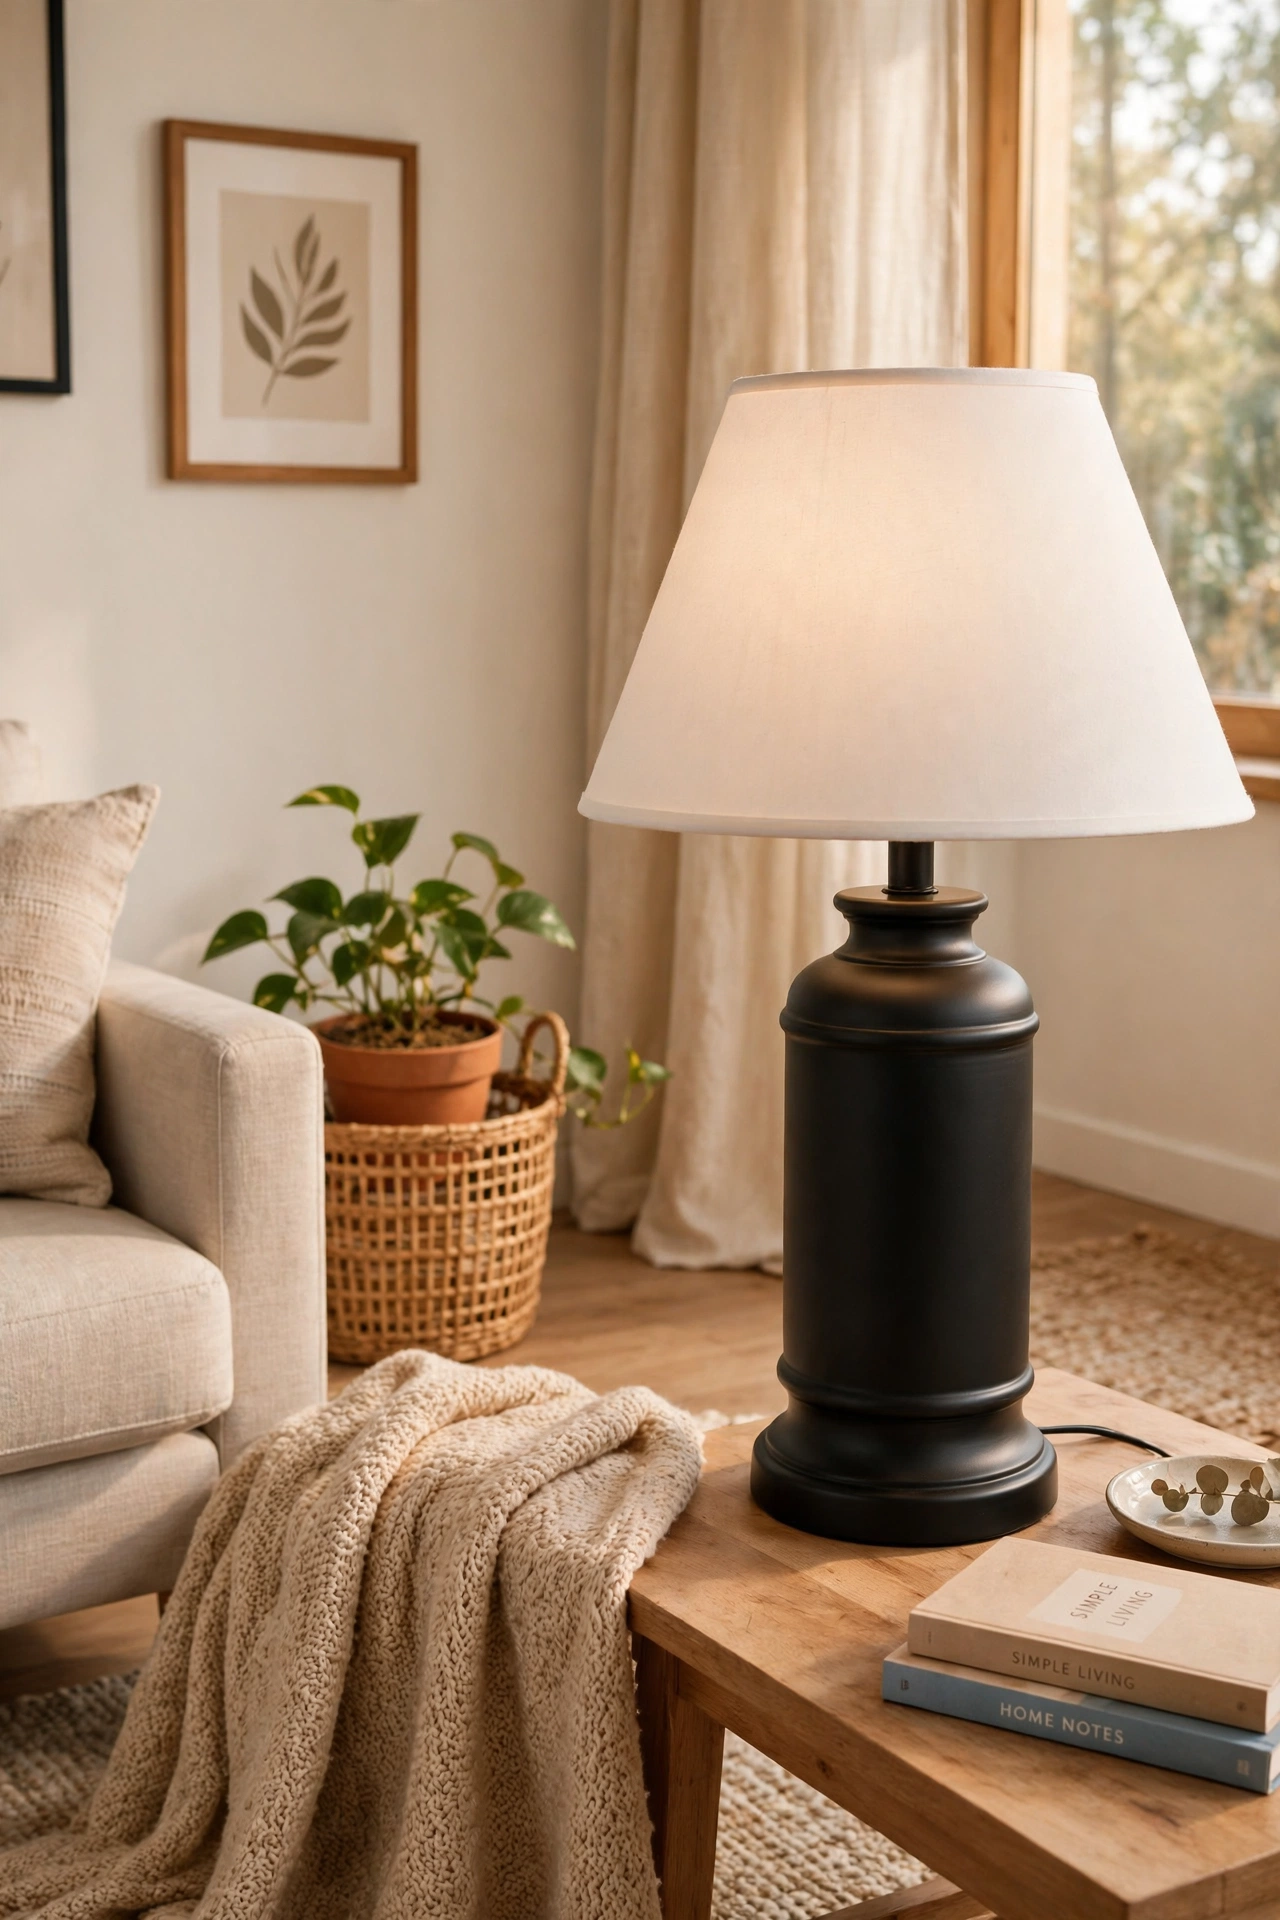
Matte black spray paint rescues almost any lamp base, from shiny gold plastic to chipped wood, and it suits modern rooms perfectly. Take the lamp apart, clean the base, and spray in light coats from about 20 centimetres away, turning the piece as you go. Two or three thin coats give a smooth, even finish. I tried this on a pair of dated gold lamps, and my mistake was spraying too close, which left drips that dried into ridges. Step back, keep the can moving, and let each coat dry before the next one, and the finish looks factory-made (see also: spray-paint-lamp-makeover-budget).
Cost: ~$15 | Time: 80 minutes
14. Colour-Blocked Two-Tone Lamp
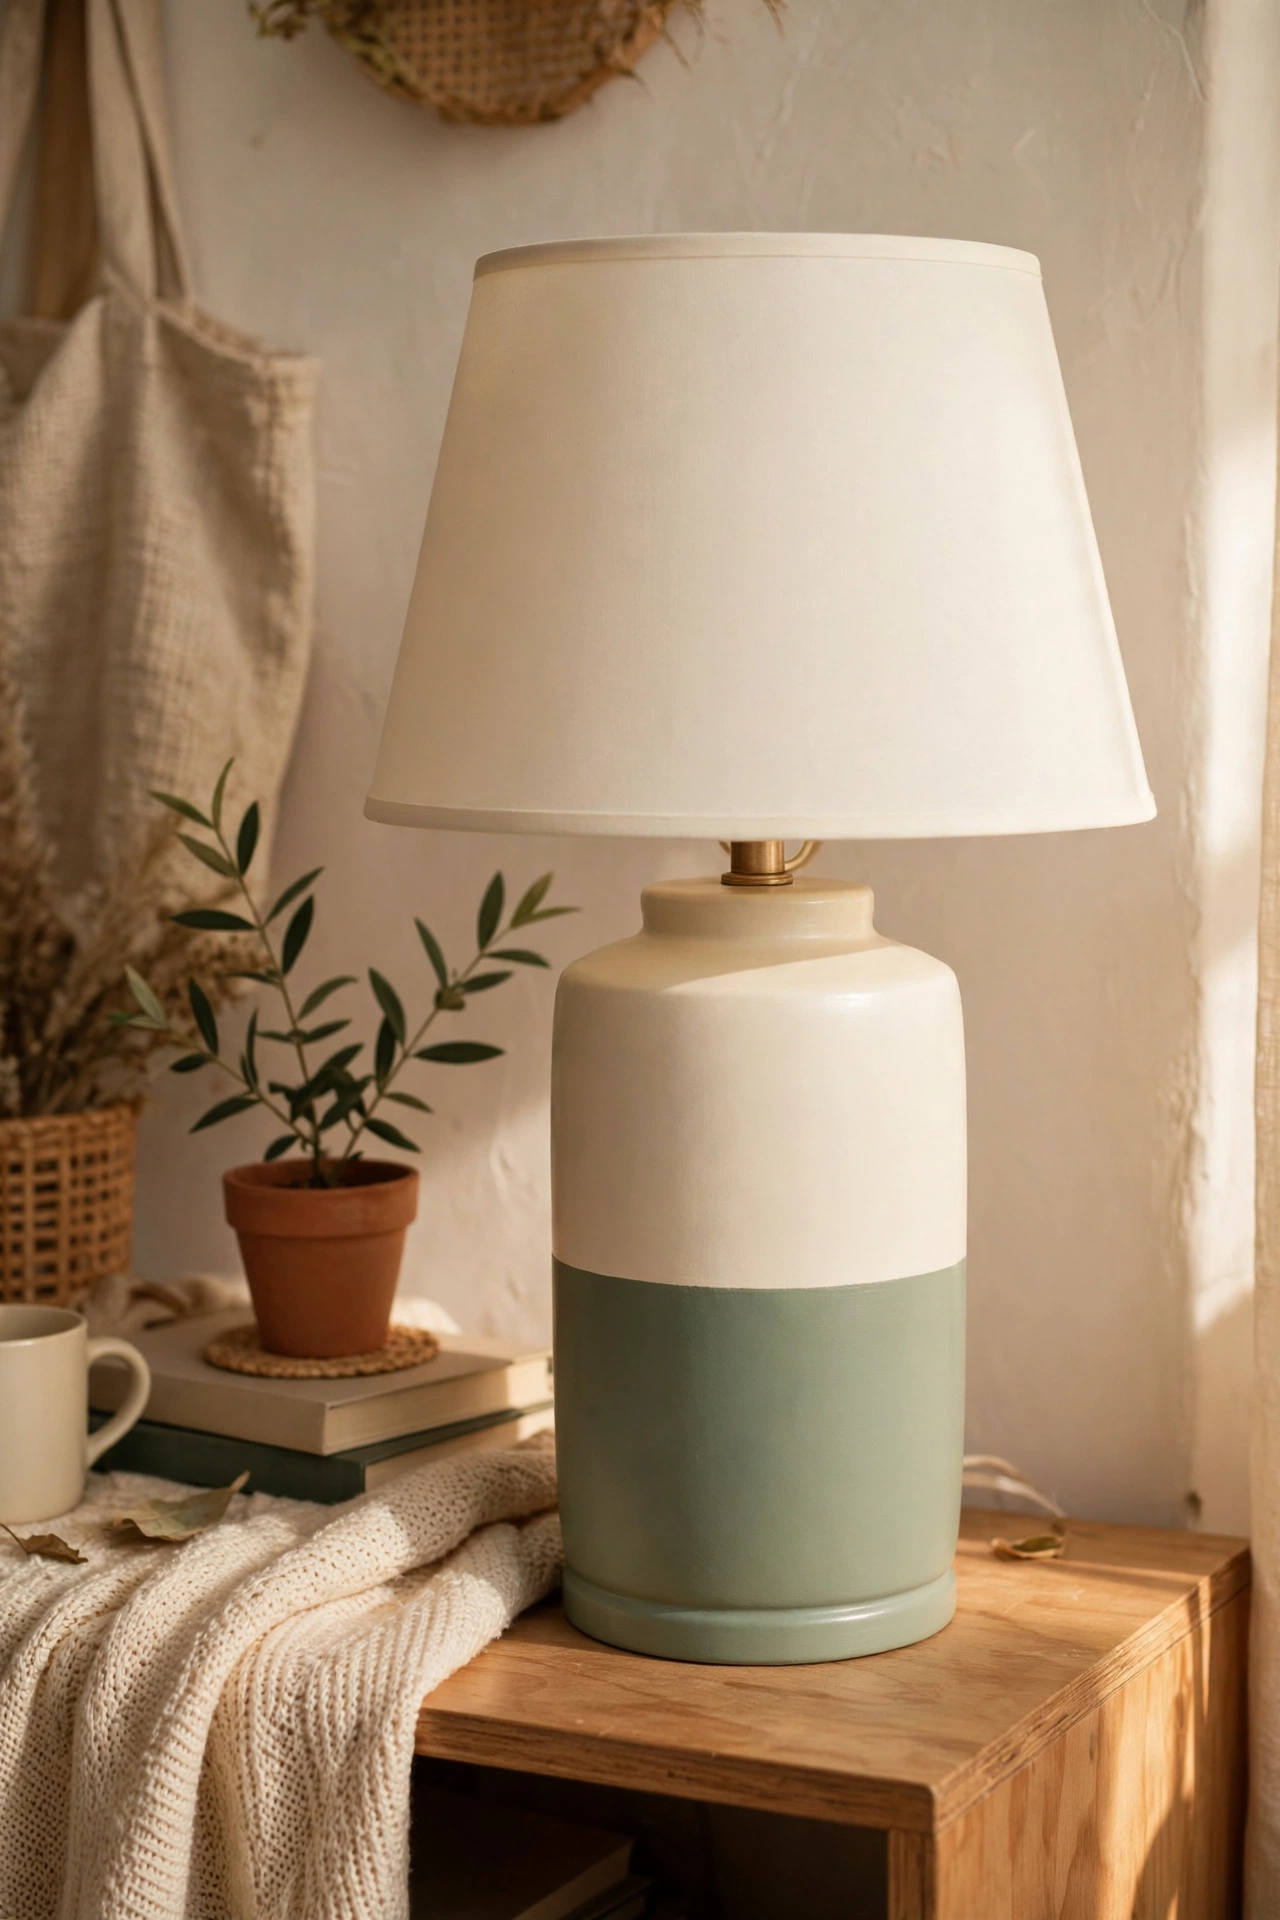
Colour-blocking a lamp base, painting the bottom half one colour and the top half another, gives a playful, modern look. Tape a clean line around the middle with painter’s tape, paint the lower half first, and let it dry fully before taping and painting the upper half. Remove the tape while the second colour is still slightly tacky for a crisp edge. I tried this in sage and cream, and my mistake was taping over paint that was only an hour old, which pulled it straight off. Wait overnight between colours, even if it feels slow, and the line will be sharp.
Cost: ~$18 | Time: 110 minutes
15. Gingham Ribbon-Wrapped Base
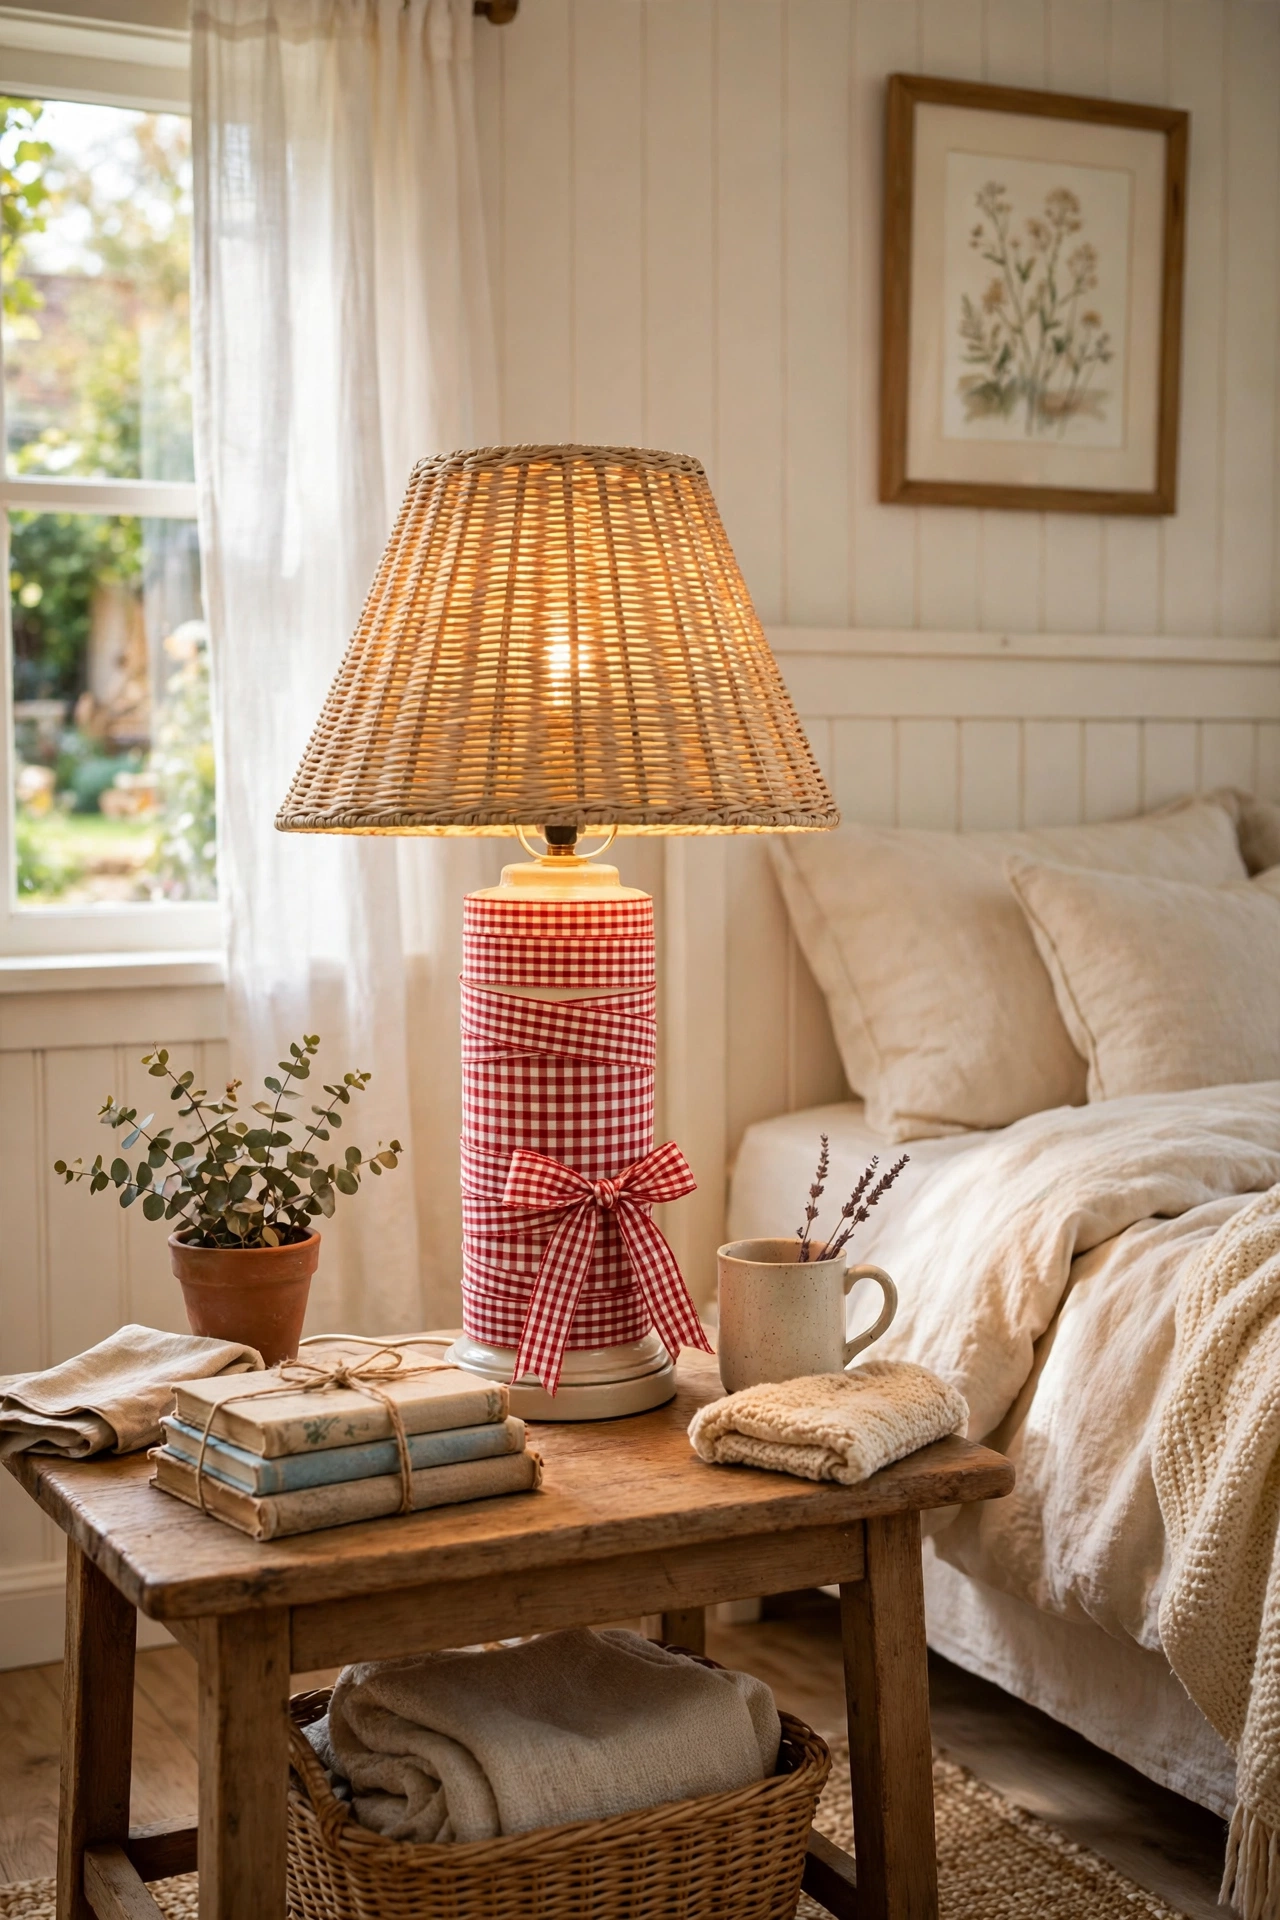
Wrapping a plain lamp base in gingham ribbon or fabric strips gives a cottage look with no paint at all. Cut the ribbon to length, wrap it snugly around the base in overlapping rows, and glue the ends at the back. Keep the tension even so the pattern stays straight. I tried this on a white ceramic base for spring, and my mistake was using ribbon that was too narrow, which took forever and slipped out of line. Wide ribbon, about 4 centimetres, covers faster and stays put, and you can change it with the seasons in minutes.
Pro tip: use a low-heat bulb and keep fabric away from the socket, since wrapped bases sit close to the light source.
Cost: ~$13 | Time: 55 minutes
16. Rattan-Wrapped Lamp Stem
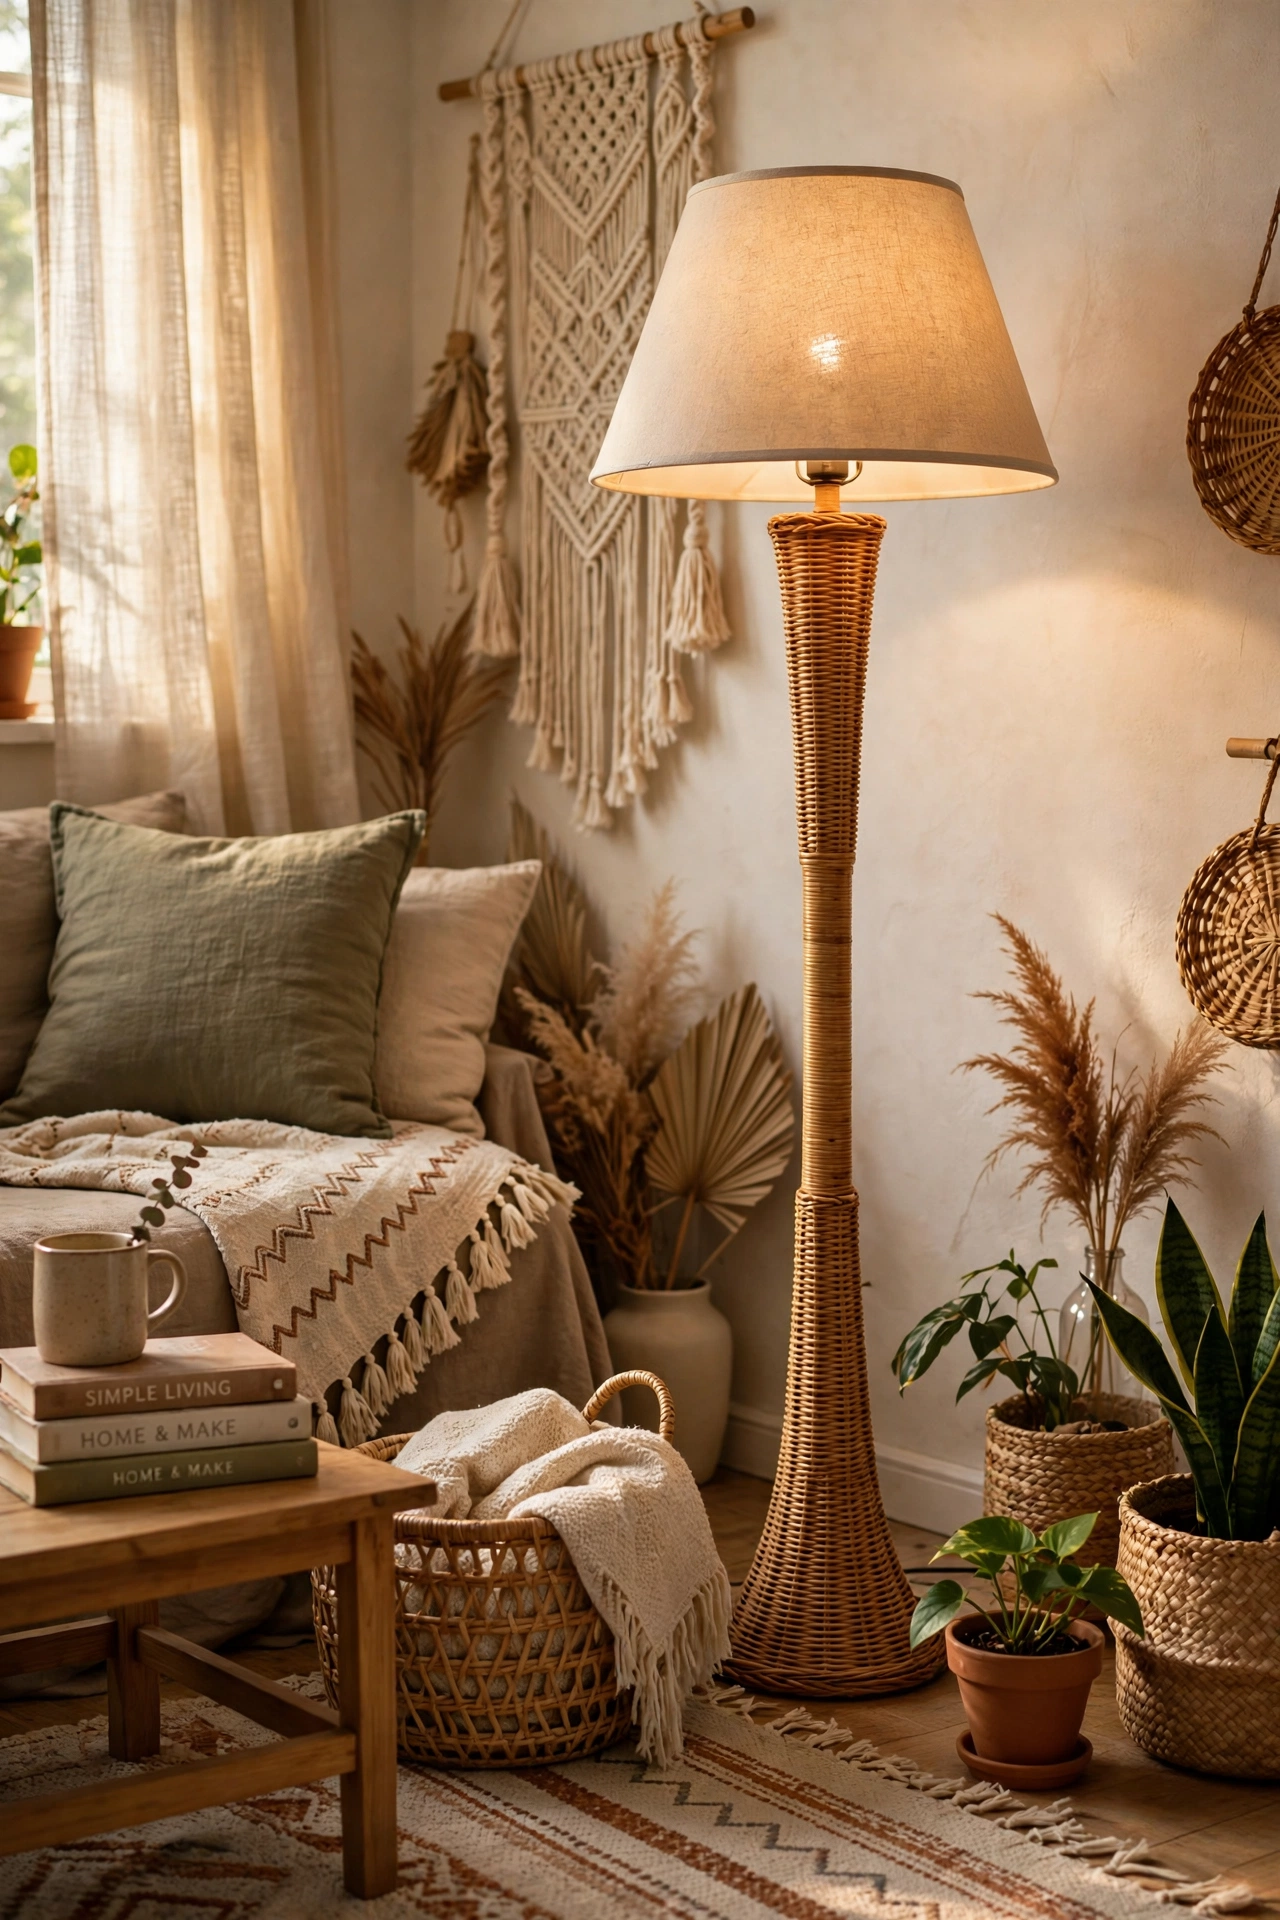
Wrapping a thin metal lamp stem in rattan cane or jute cord gives a plain lamp a warm, natural texture. Start at the bottom, glue the end in place, and wind the cord tightly upwards, pushing each row snug against the last. Glue the top end and trim neatly. I tried this on a skinny floor lamp, and my mistake was leaving small gaps between rows, which showed the metal underneath in stripes. Winding slowly and pushing each row down with your thumb keeps the wrap dense and even all the way up.
Cost: ~$16 | Time: 70 minutes
17. Bedside Lamp Pair in Matching Shades
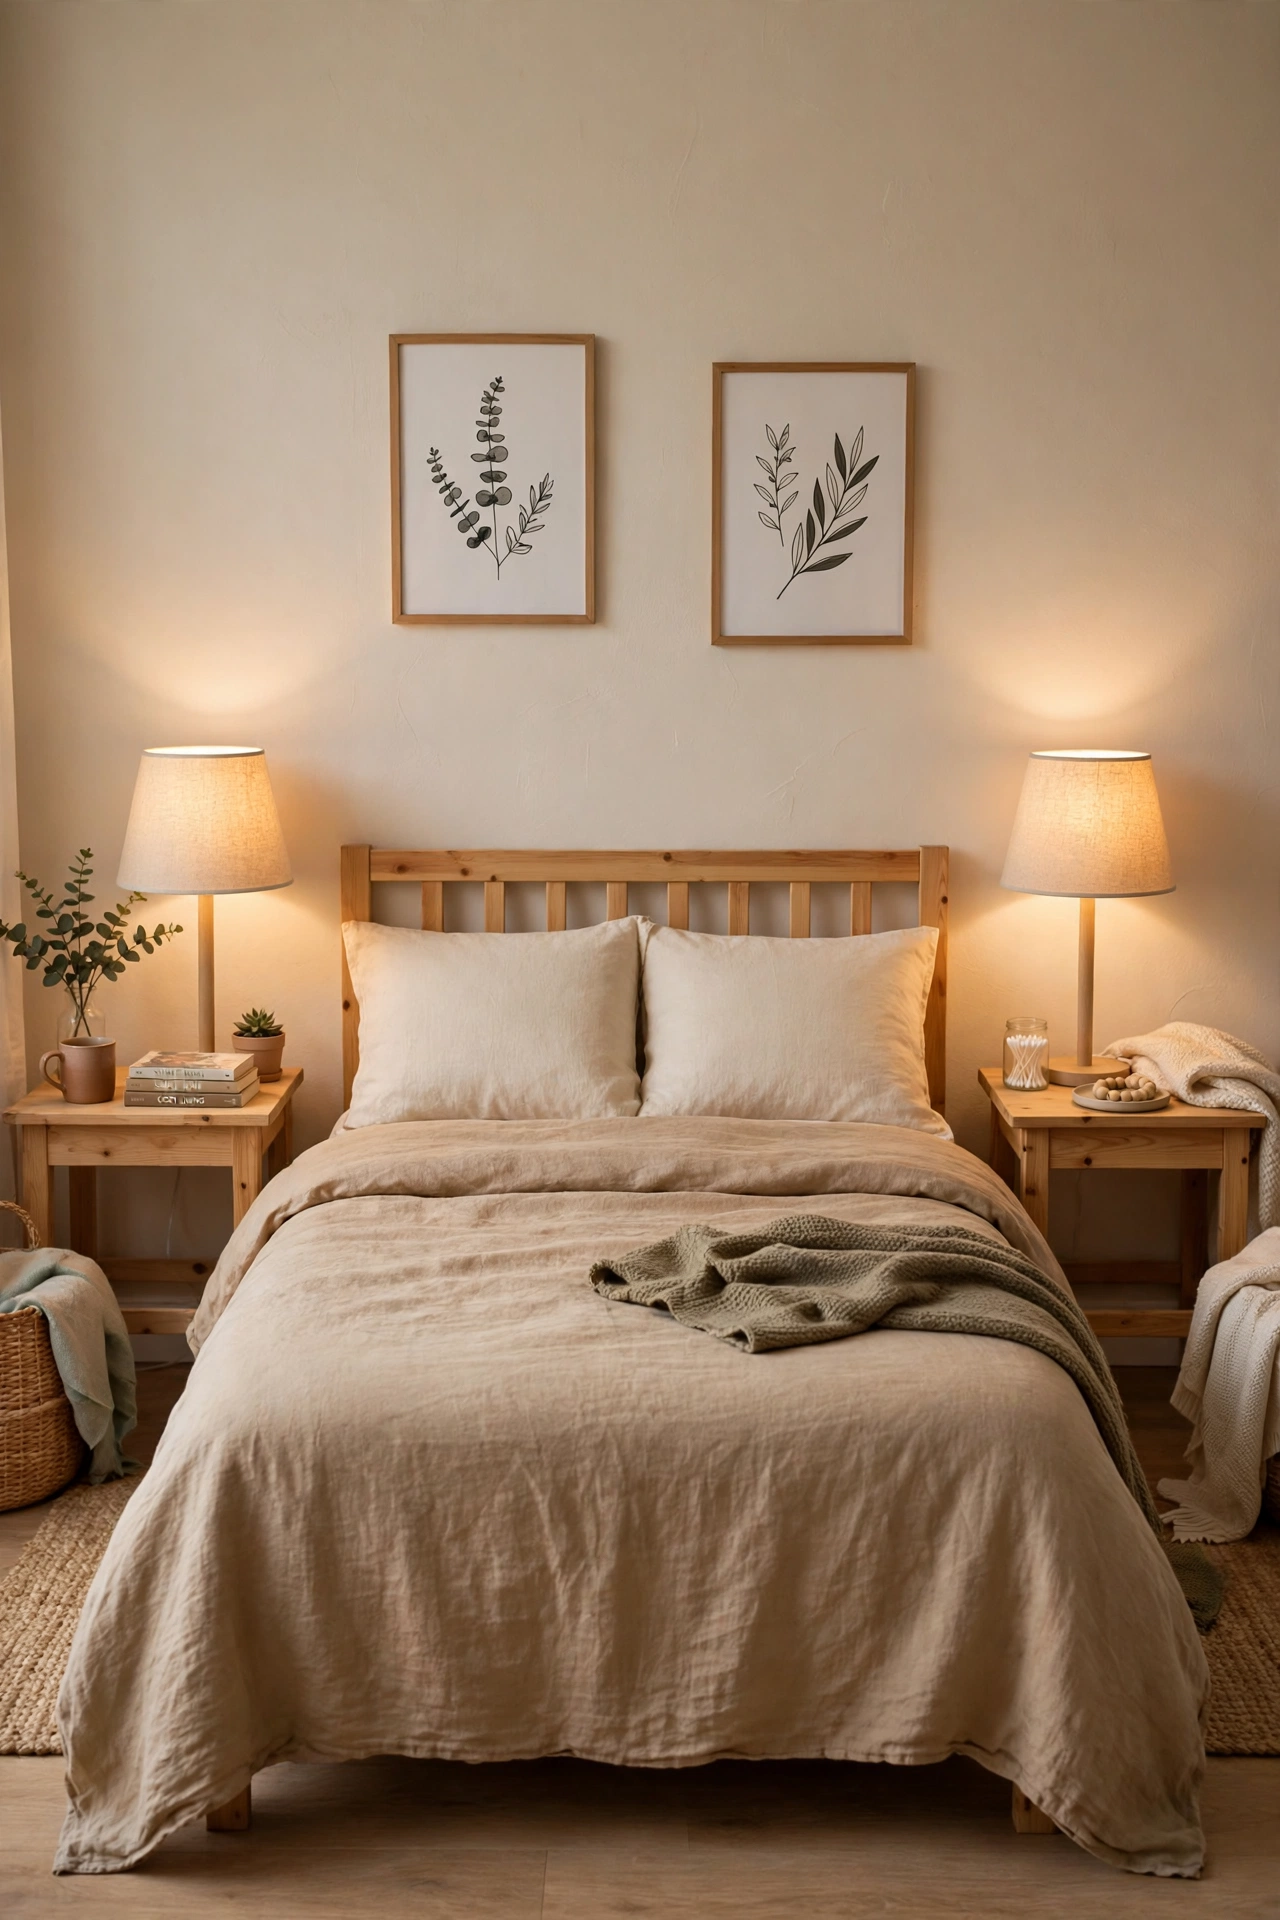
Two mismatched thrifted lamps become a proper pair when you give them matching shades and the same paint colour. Paint both bases the same shade, even if their shapes differ slightly, and fit identical shades at the same height. The matching colour and shades tie them together so well that nobody notices the bases are not twins. I tried this for our bedroom, and my mistake was buying shades in different sizes because I guessed instead of measuring. Measure the base height and width of both lamps first, then buy two of the exact same shade.
Cost: ~$32 | Time: 120 minutes
18. Small Desk Lamp with a Clip Shade
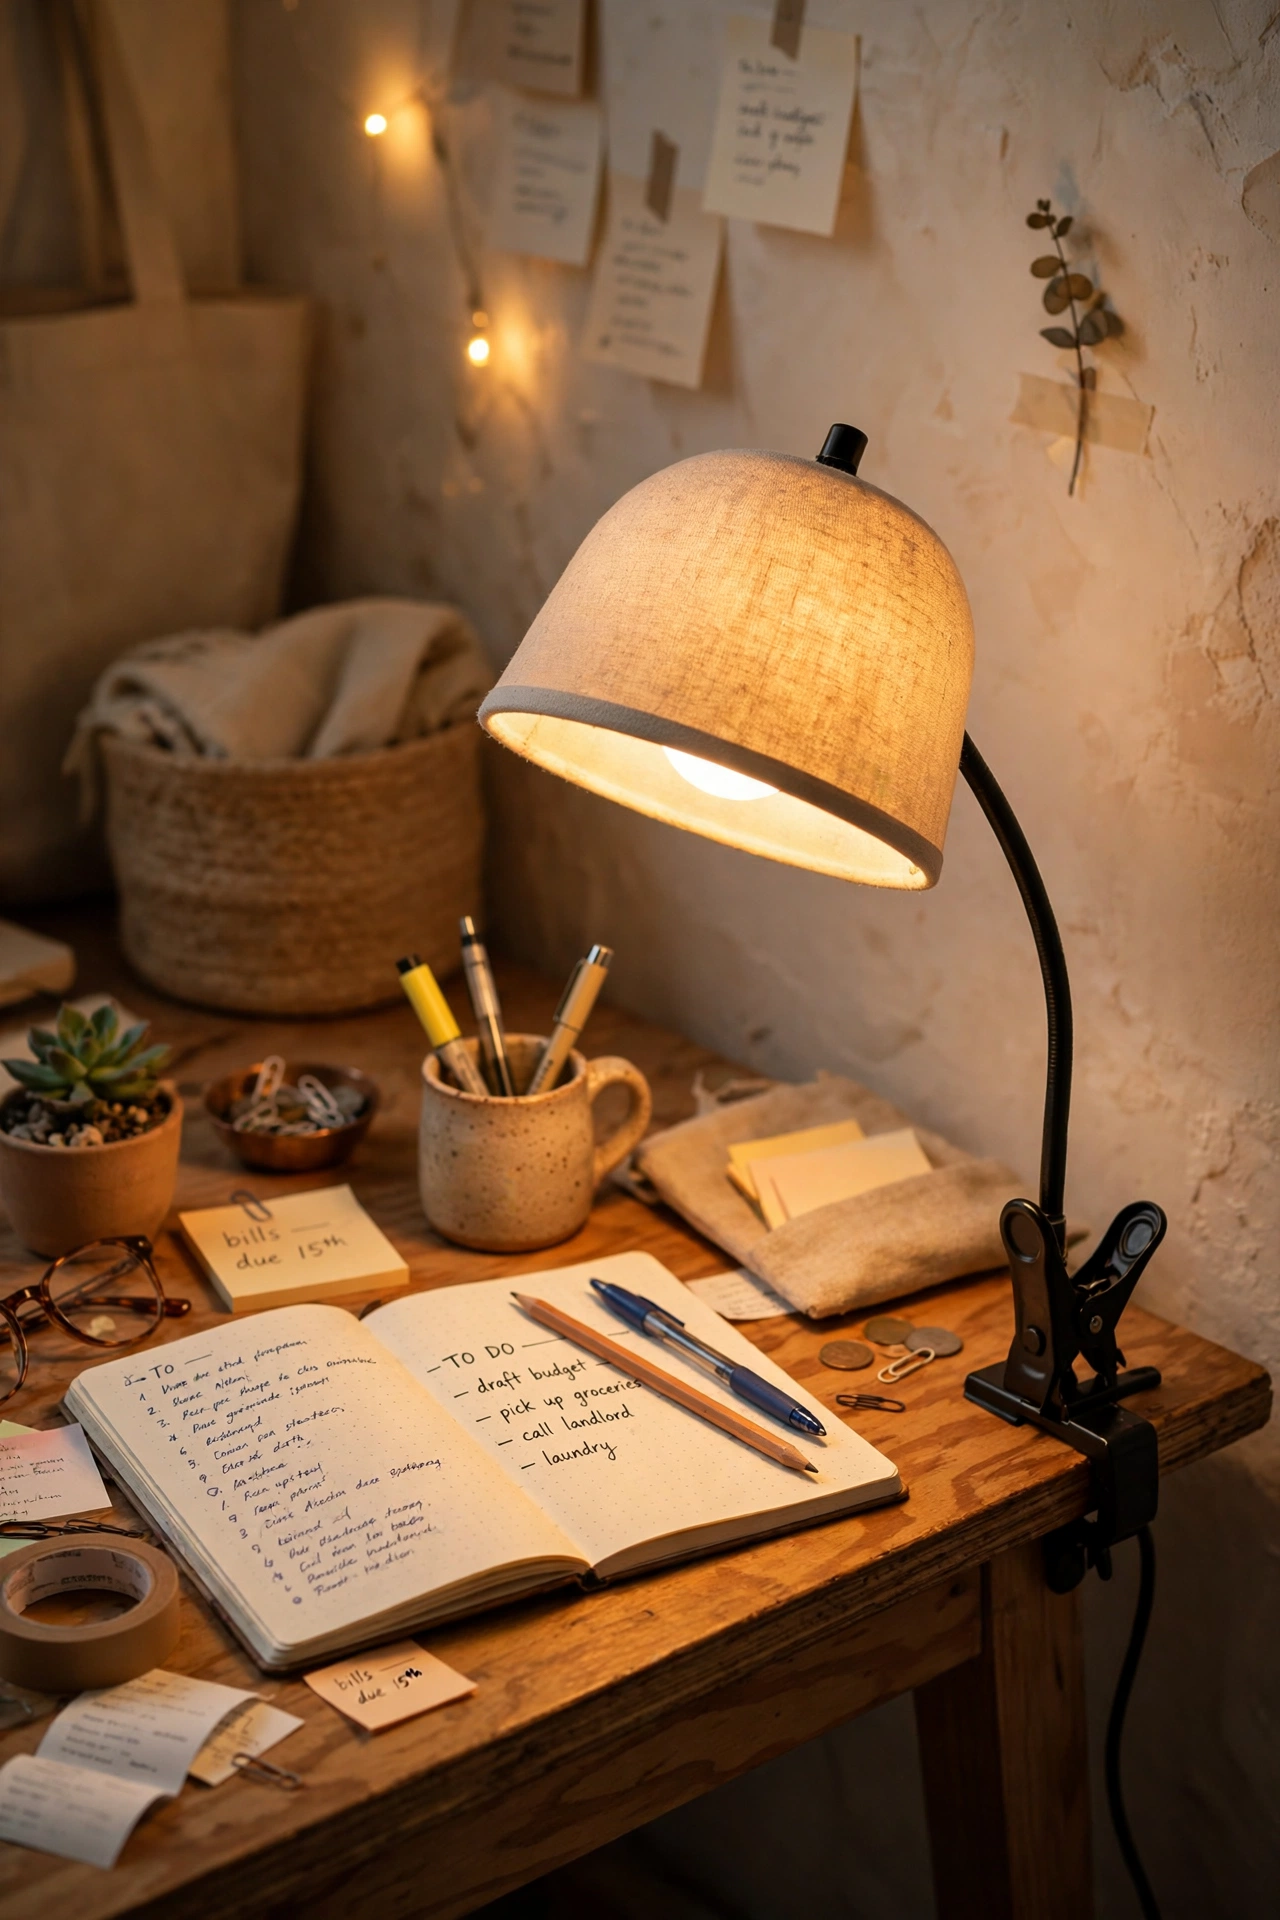
A clip-on shade turns a tiny thrifted desk lamp into a focused task light without a harp or fitting fuss. Clip the shade directly onto the bulb, angle the lamp head where you need it, and use a daylight LED bulb for reading or crafting. Clean the joints and tighten any loose screws so the head stays where you put it. I tried this on a $2 desk lamp, and my mistake was using a heavy shade that pulled the head down every time. A light clip shade stays put, and if the head still droops, a tiny tighten of the joint screw usually fixes it completely.
Cost: ~$14 | Time: 30 minutes
Small Spaces, Bedrooms and Desks
19. Nursery Lamp with a Soft Glow Shade
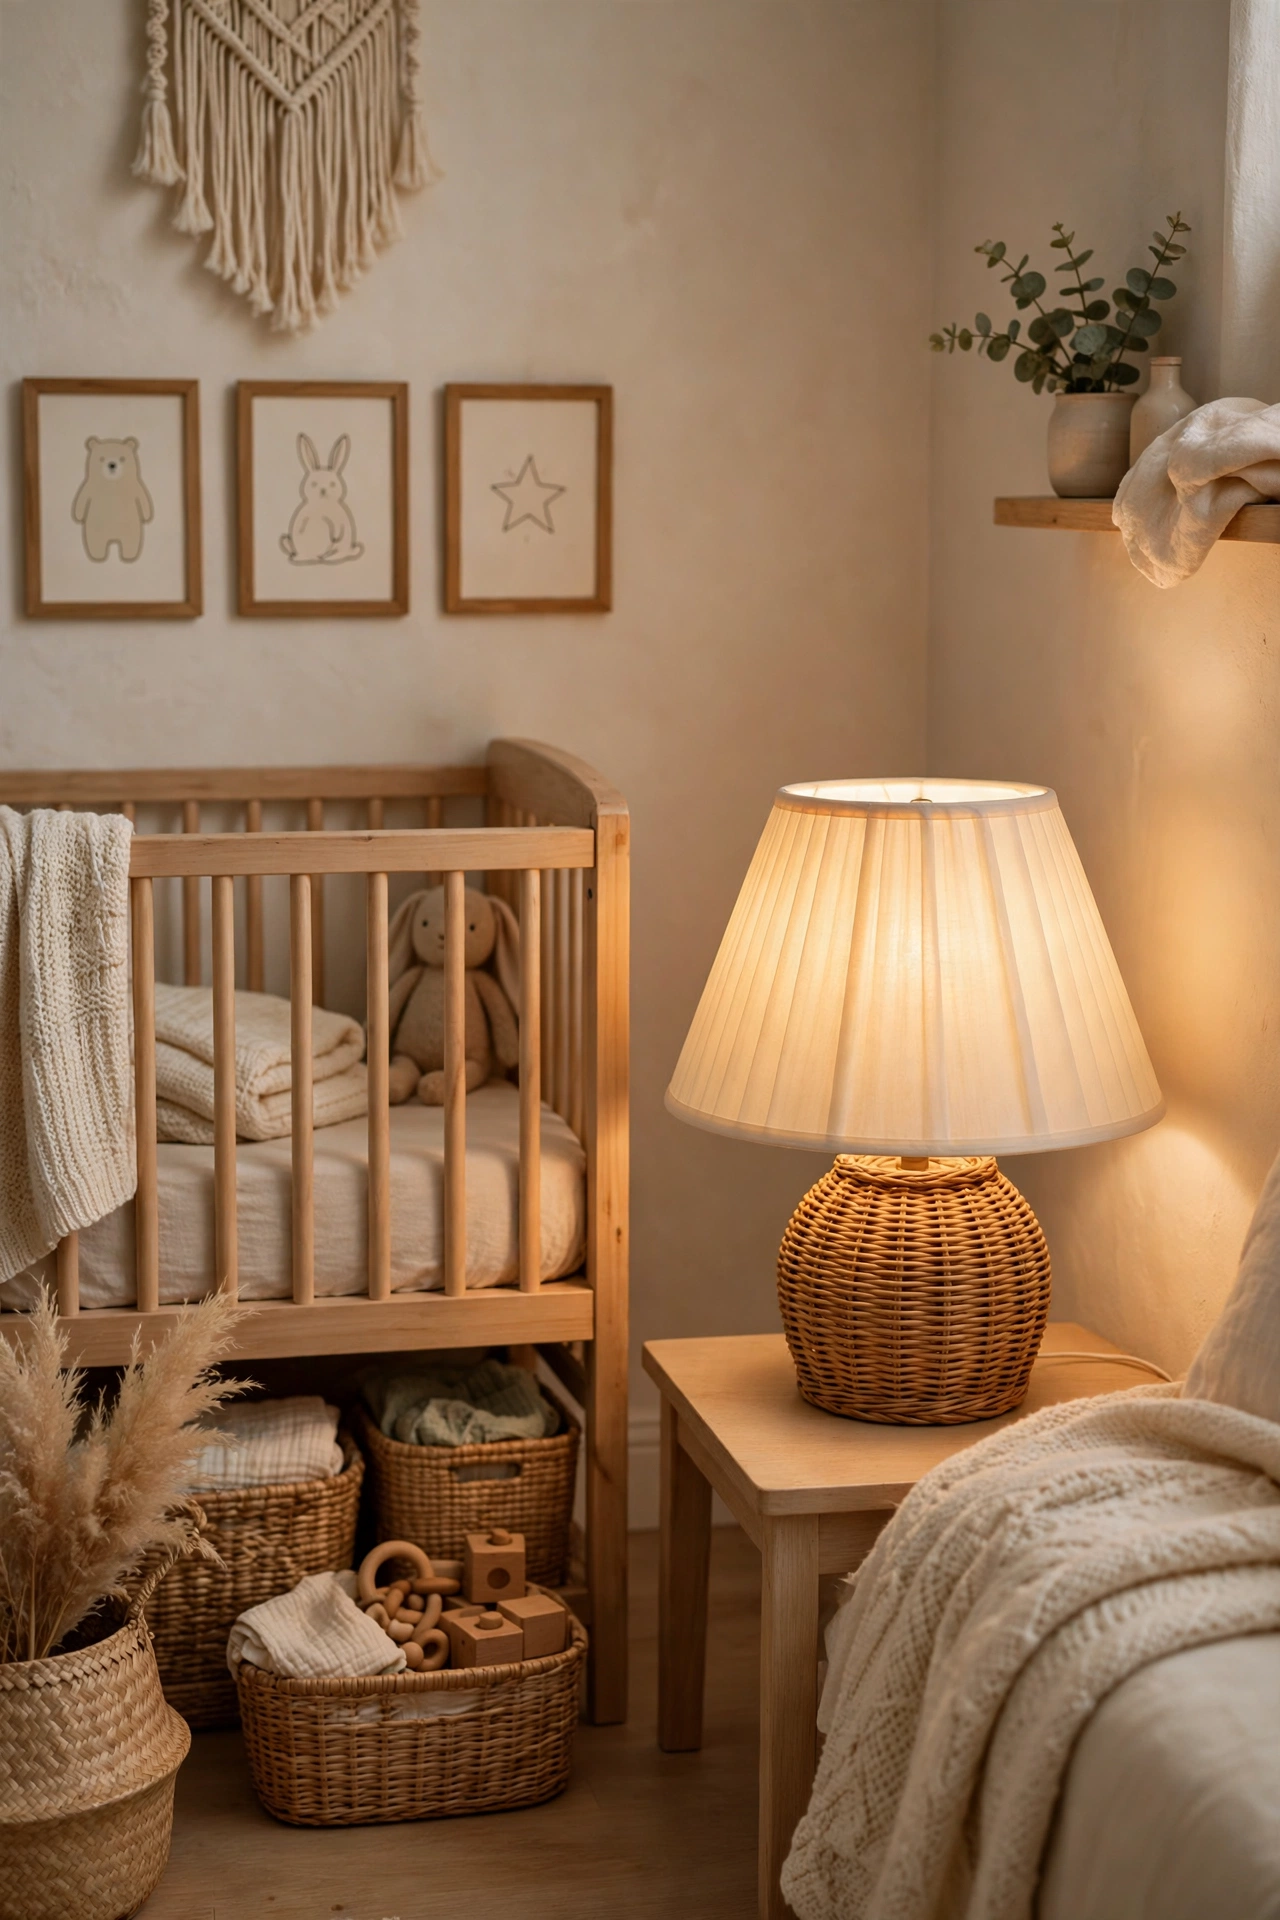
A nursery lamp should glow softly, not glare, and a thrifted base with a thick fabric shade does that beautifully. Choose a stable, heavy base that cannot tip easily, fit a warm-toned low-wattage bulb, and pick a shade in a soft cream or pale colour. Keep the cord tucked behind furniture and out of reach. I tried this for a friend’s nursery, and my mistake was picking a shade that was too thin, which let the bare bulb shine through at night. A lined shade or a double layer of fabric softens the light properly, and it is worth checking in a dark room before you finish.
Cost: ~$21 | Time: 40 minutes
20. Kitchen Counter Lamp from a Tiny Base
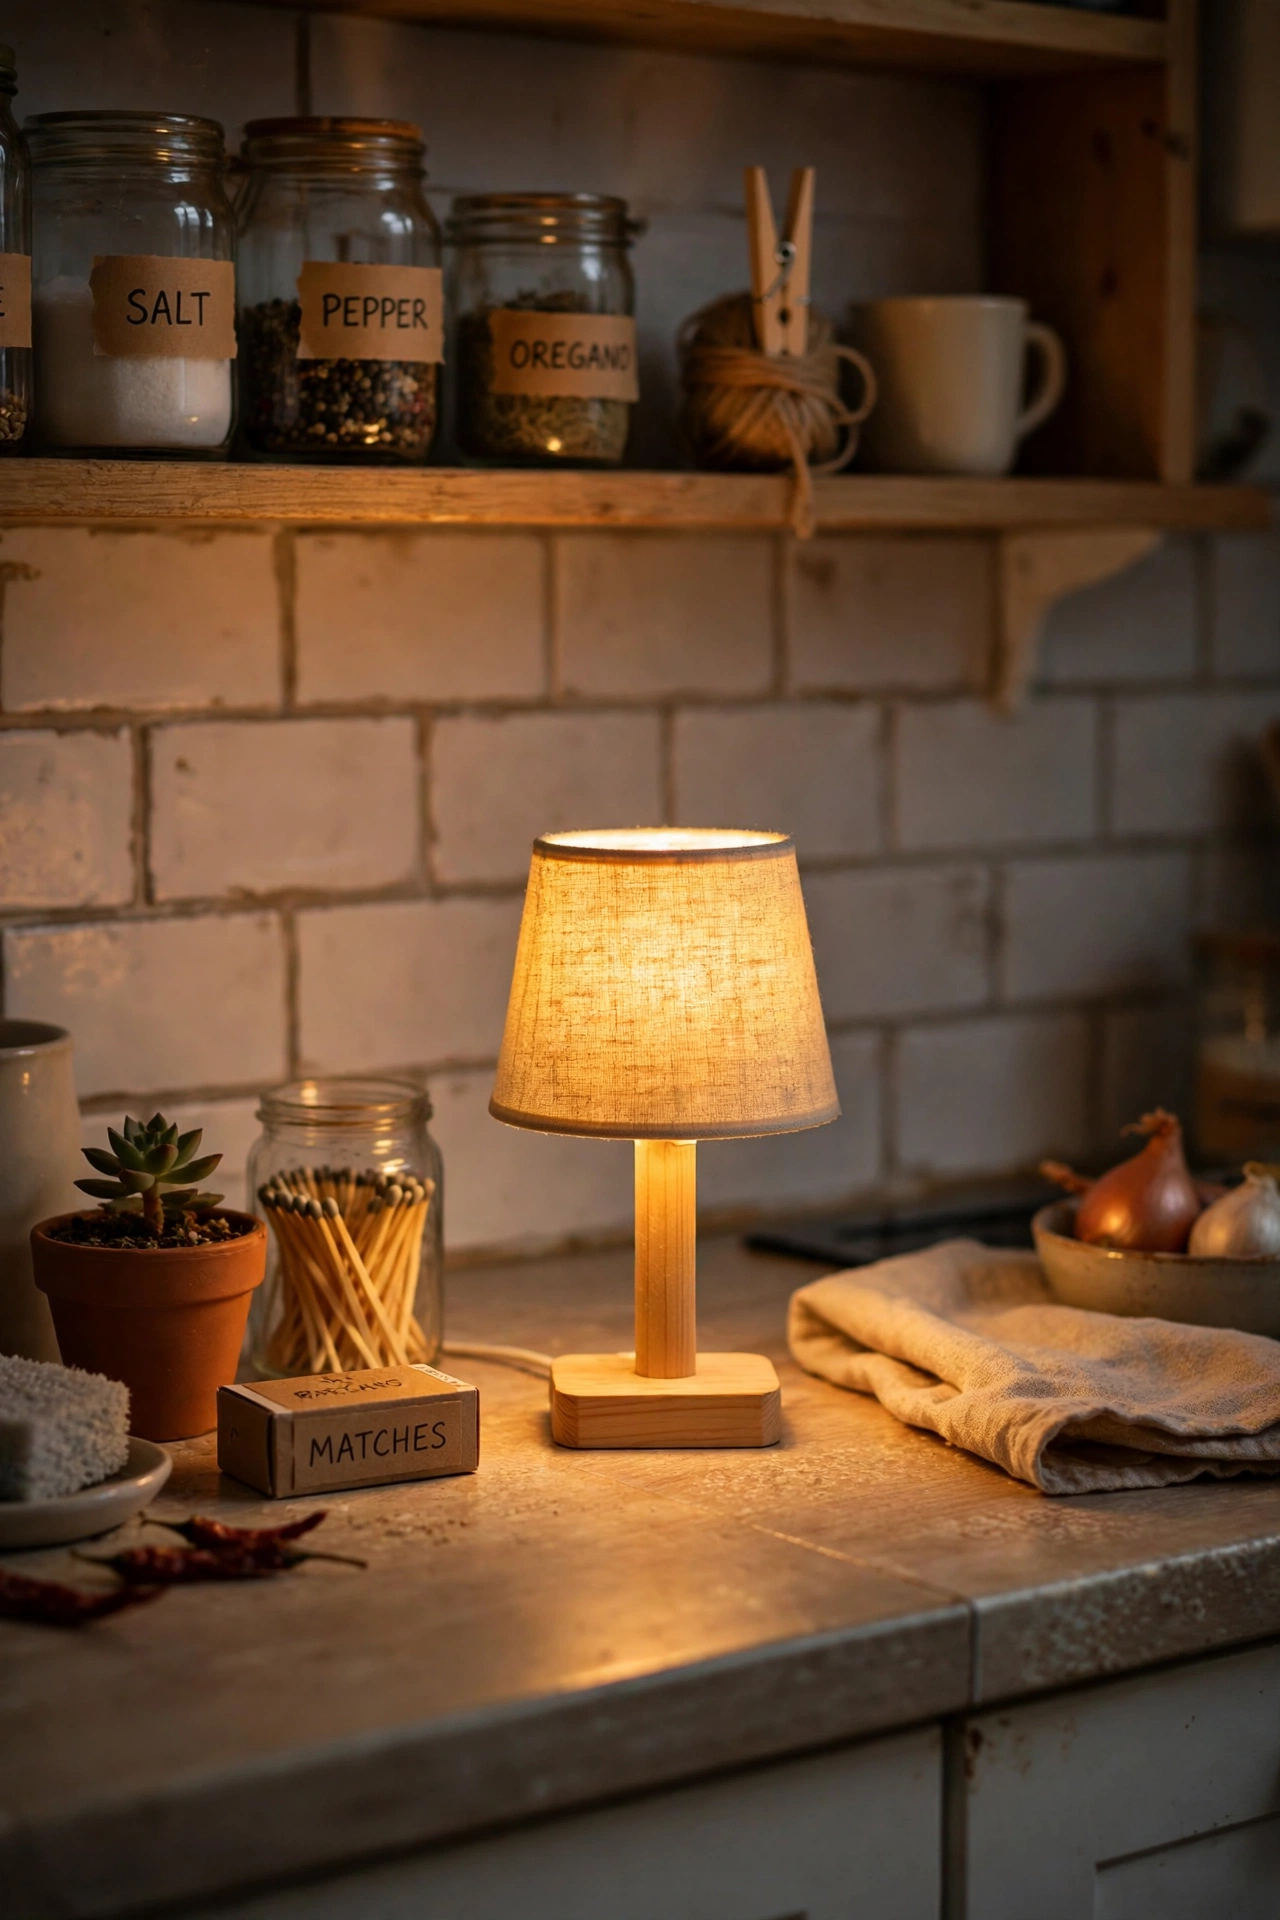
A tiny thrifted lamp on a kitchen counter adds a cosy glow that overhead lights never give. Pick a small base that fits between appliances, wipe it clean, and fit a warm LED bulb so it does not add heat near food. A small shade in a wipe-clean fabric is practical here. I tried this beside our coffee corner, and my mistake was placing it right next to the kettle, where steam kept fogging the shade. Move it a little further along the counter, away from steam and splashes, and it will stay clean and last much longer.
Cost: ~$15 | Time: 25 minutes
21. Outdoor Patio Lamp with a Solar Bulb
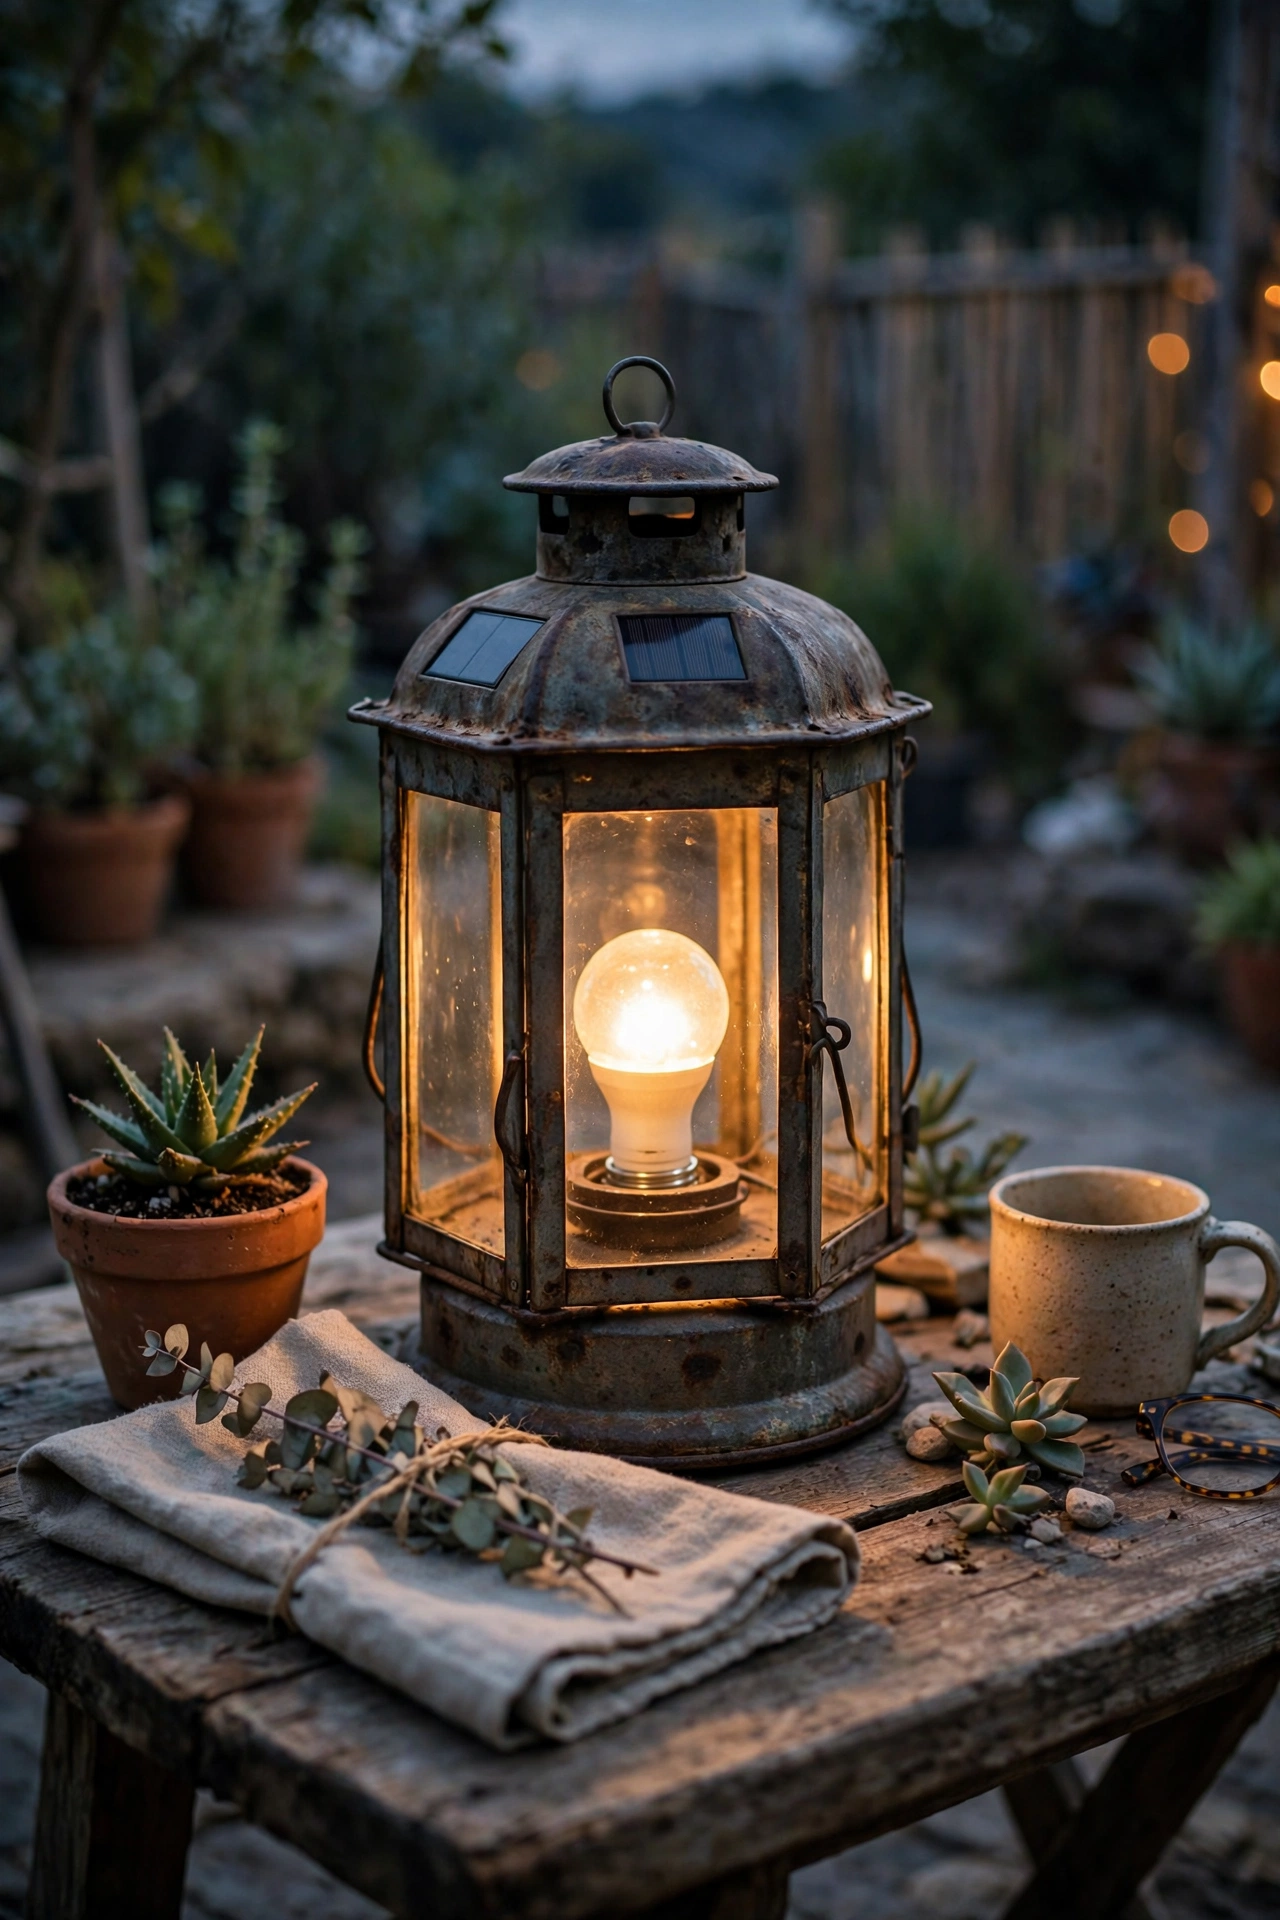
A thrifted lantern or lamp base fitted with a solar bulb becomes a patio light with no wiring at all. Clean the lantern, fit a solar bulb or a small solar fairy light inside, and leave it in sunlight during the day to charge. Bring it inside in heavy rain unless it is rated for outdoor use. I tried this with an old metal lantern, and my mistake was putting it in a shady corner, so it barely glowed by evening. Solar lights need direct sun for most of the day, so pick the sunniest spot on the patio for charging, then move it to the table at night (see also: solar-patio-lighting-on-a-budget).
Cost: ~$19 | Time: 35 minutes
22. Reading Corner Floor Lamp Refresh
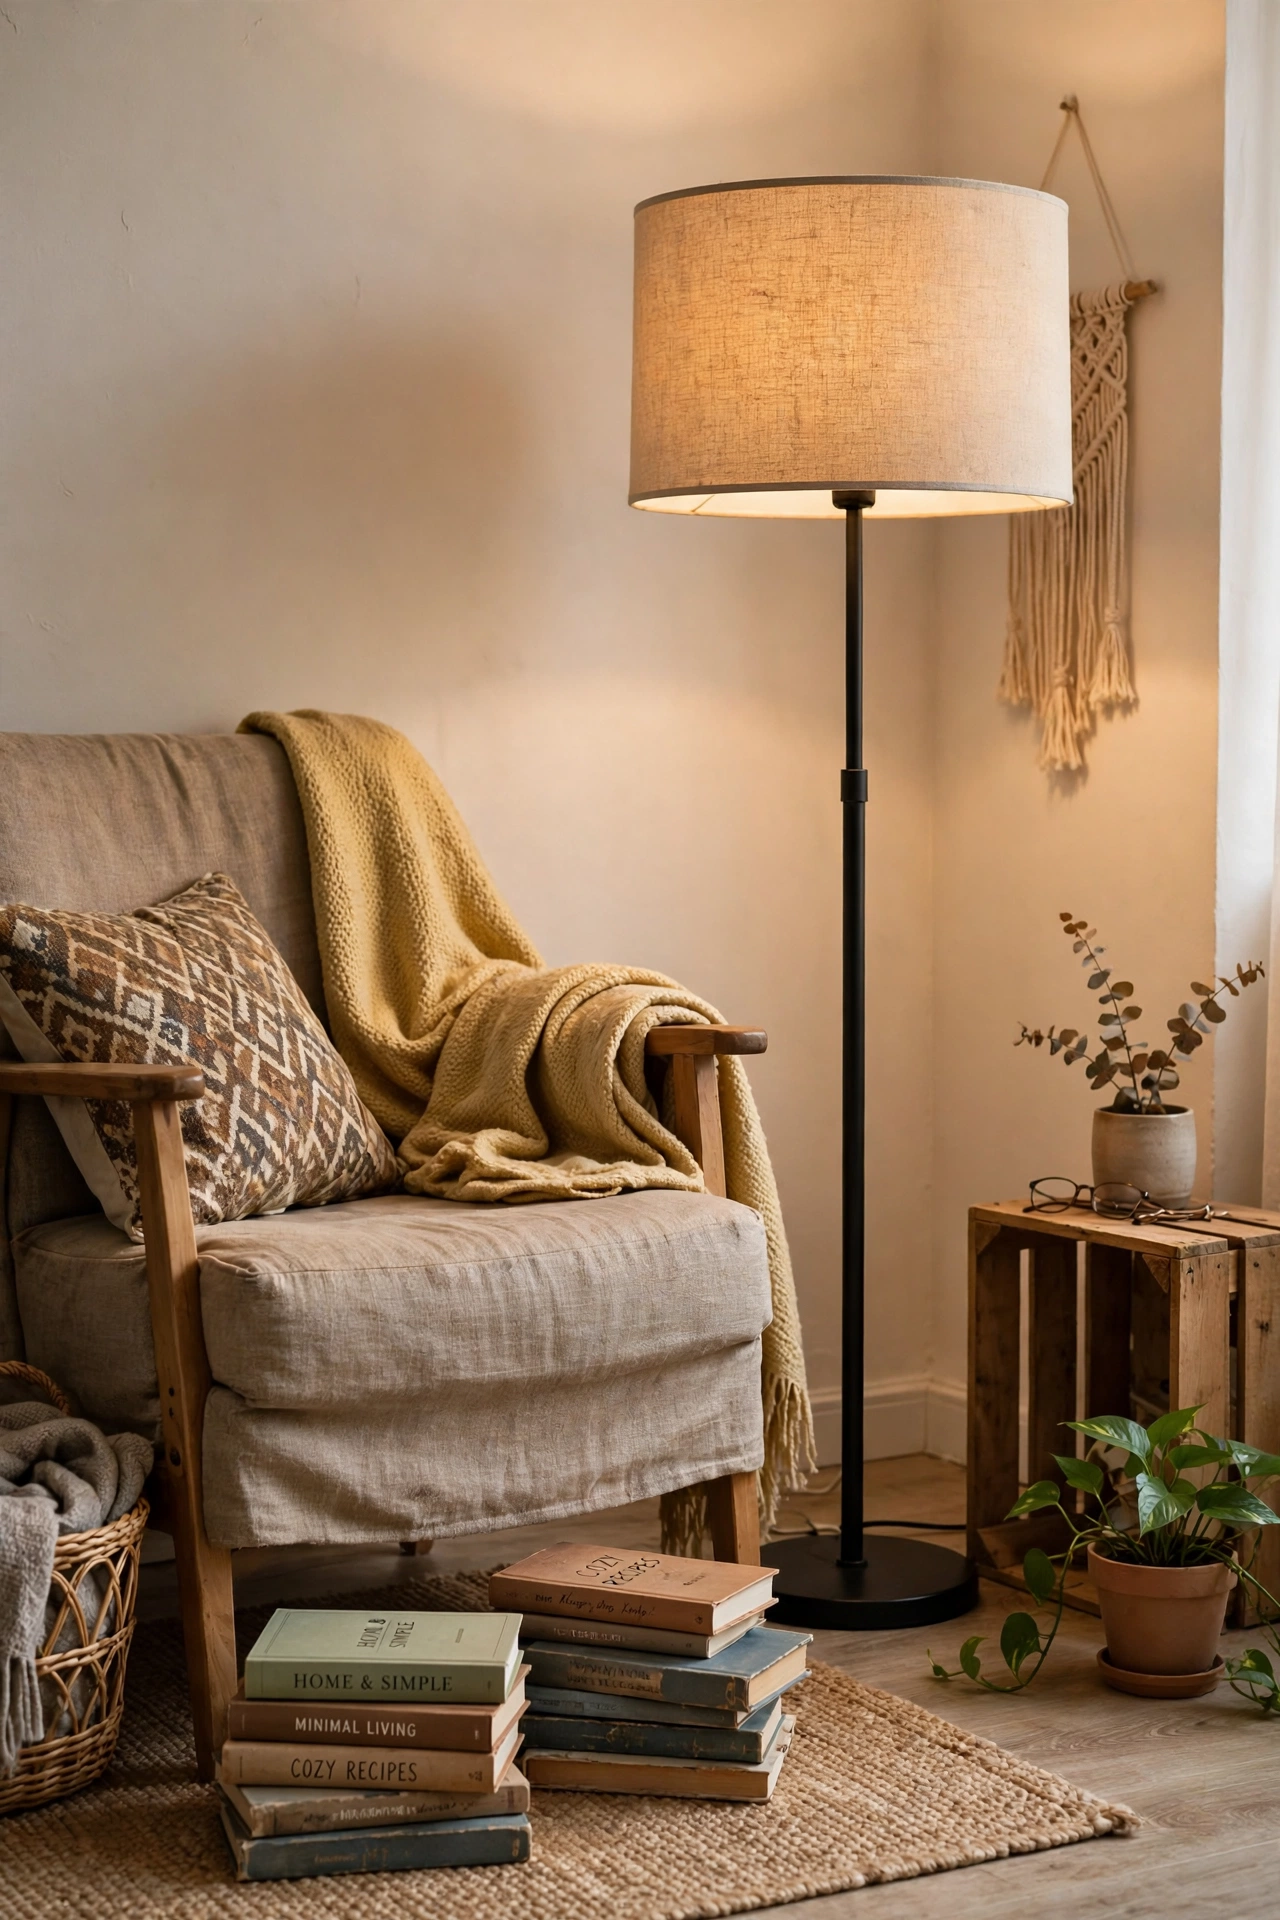
A tall thrifted floor lamp is often just dusty, with a shade that has seen better days, and a refresh is all it needs. Wipe down the pole, tighten the joints, replace the shade with a larger drum shade that throws light downwards, and fit a bright but warm bulb. A floor lamp that arcs slightly over a chair is ideal for reading. I tried this in our reading corner, and my mistake was choosing a shade that was too small, which made the light pool in a narrow circle. A wider shade spreads the light over the chair and the book, which is exactly what you want.
Cost: ~$26 | Time: 50 minutes
23. Statement Oversized Shade Lamp
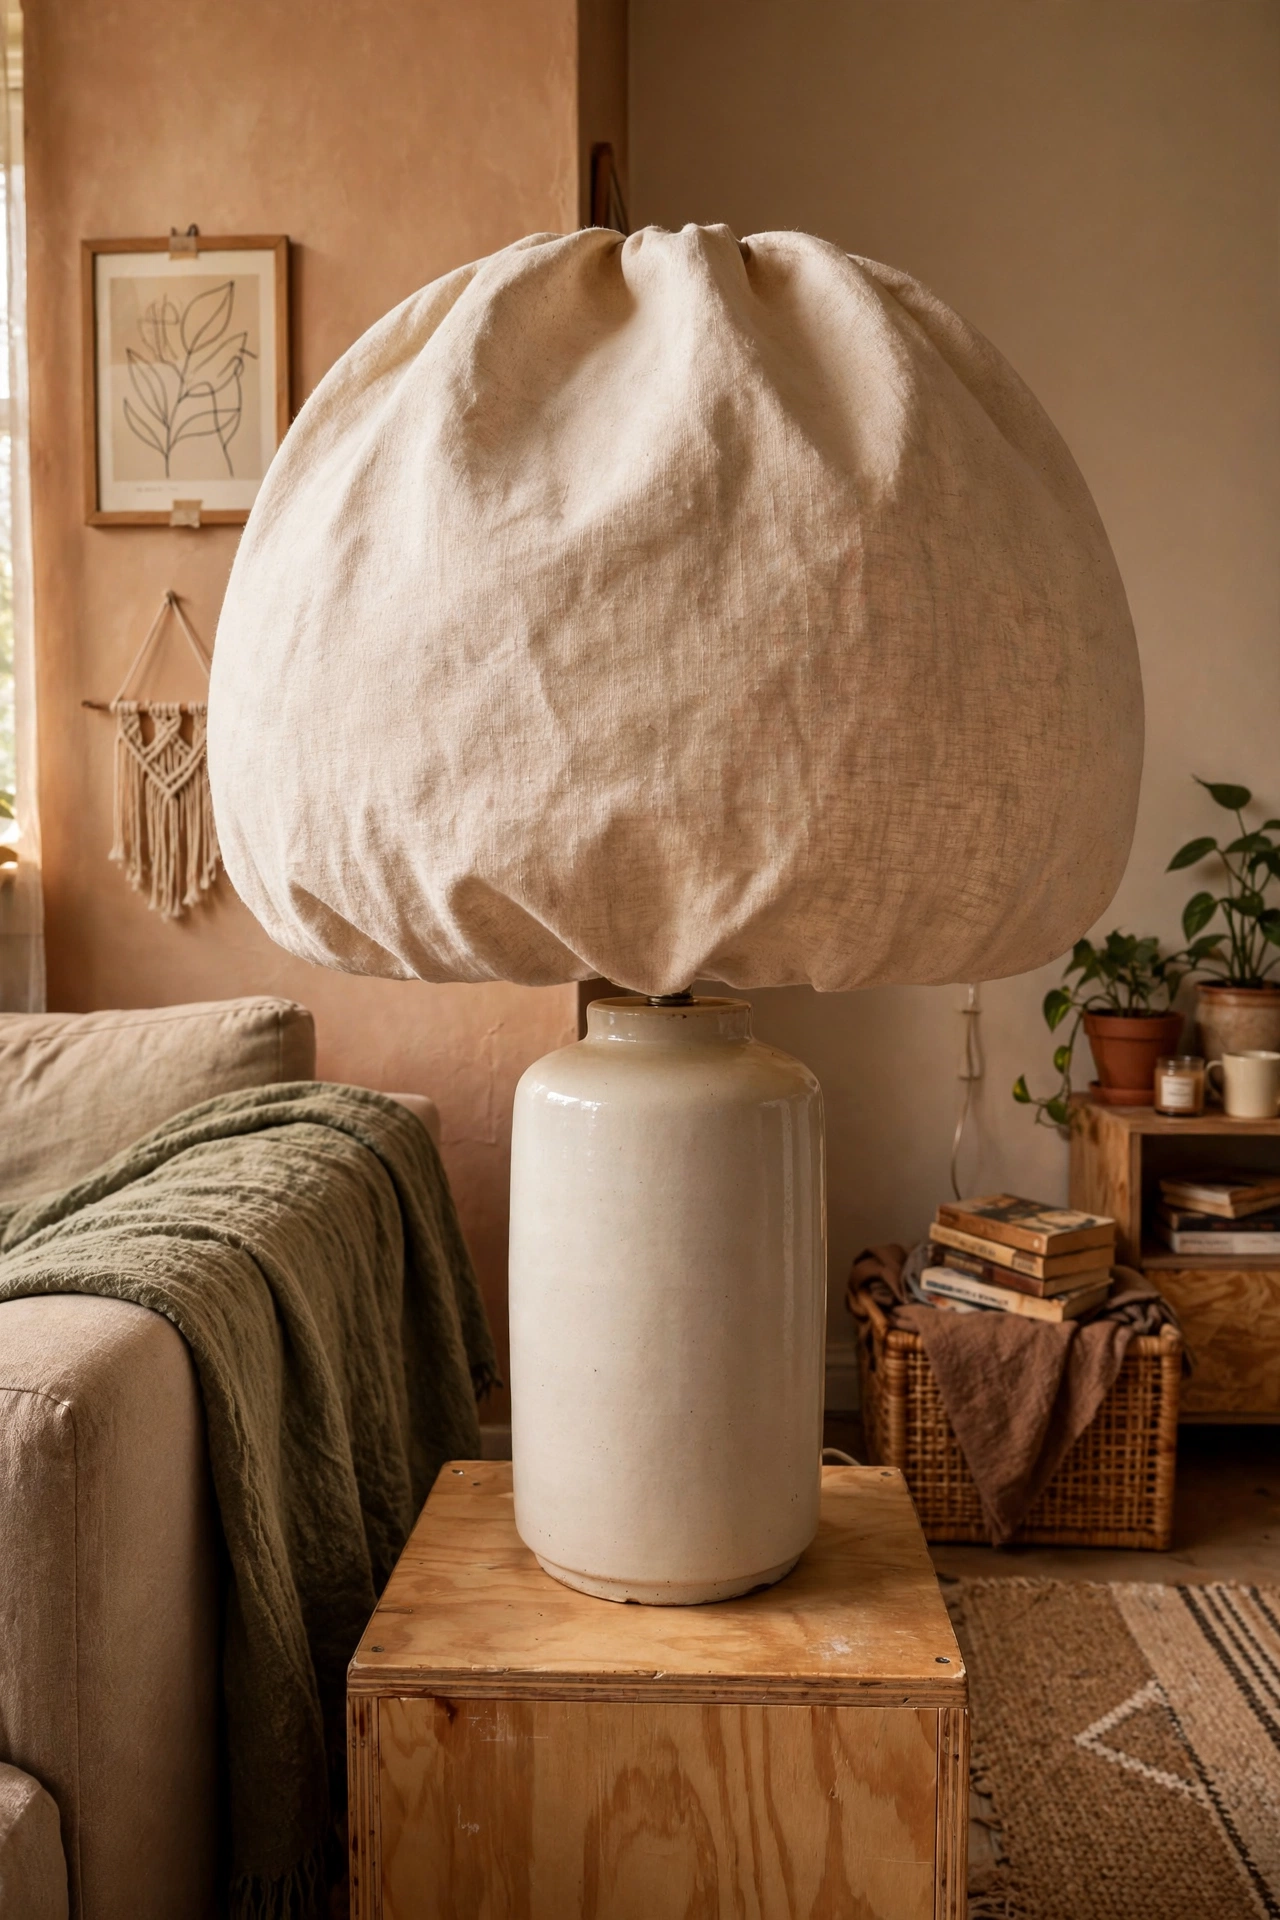
An oversized shade on a simple thrifted base makes a bold statement in a living room or bedroom. Choose a base that is heavy enough to balance the big shade, fit a shade at least twice the width of the base, and keep the rest of the styling simple so the lamp can shine. A plain drum or empire shade in a solid colour works best. I tried this with a $6 base and a large shade I found separately, and my mistake was pairing a top-heavy shade with a light base, so the lamp tipped the first time someone brushed past it. Weight in the base matters more than looks when the shade is this big.
Cost: ~$28 | Time: 40 minutes
Save this idea for your next thrift run, and grab the lamp with good bones even if the shade makes you wince.
