21 Black and White Kitchen Ideas on a Dime
Black and white kitchens have this reputation for being expensive, all marble slabs and designer ranges, but honestly it’s one of the cheapest colour schemes you can pull off. Two tins of paint and a few swapped fittings get you most of the way there. I learned this when my all-beige kitchen was boring me to tears and I realised the boldest change I could make cost less than a weekly shop. These 21 black and white kitchen ideas are all genuinely cheap, all renter-friendly where it matters, and every single one has the real cost and time attached so there are no surprises.
1. Matte Black Cabinet Hardware Swap
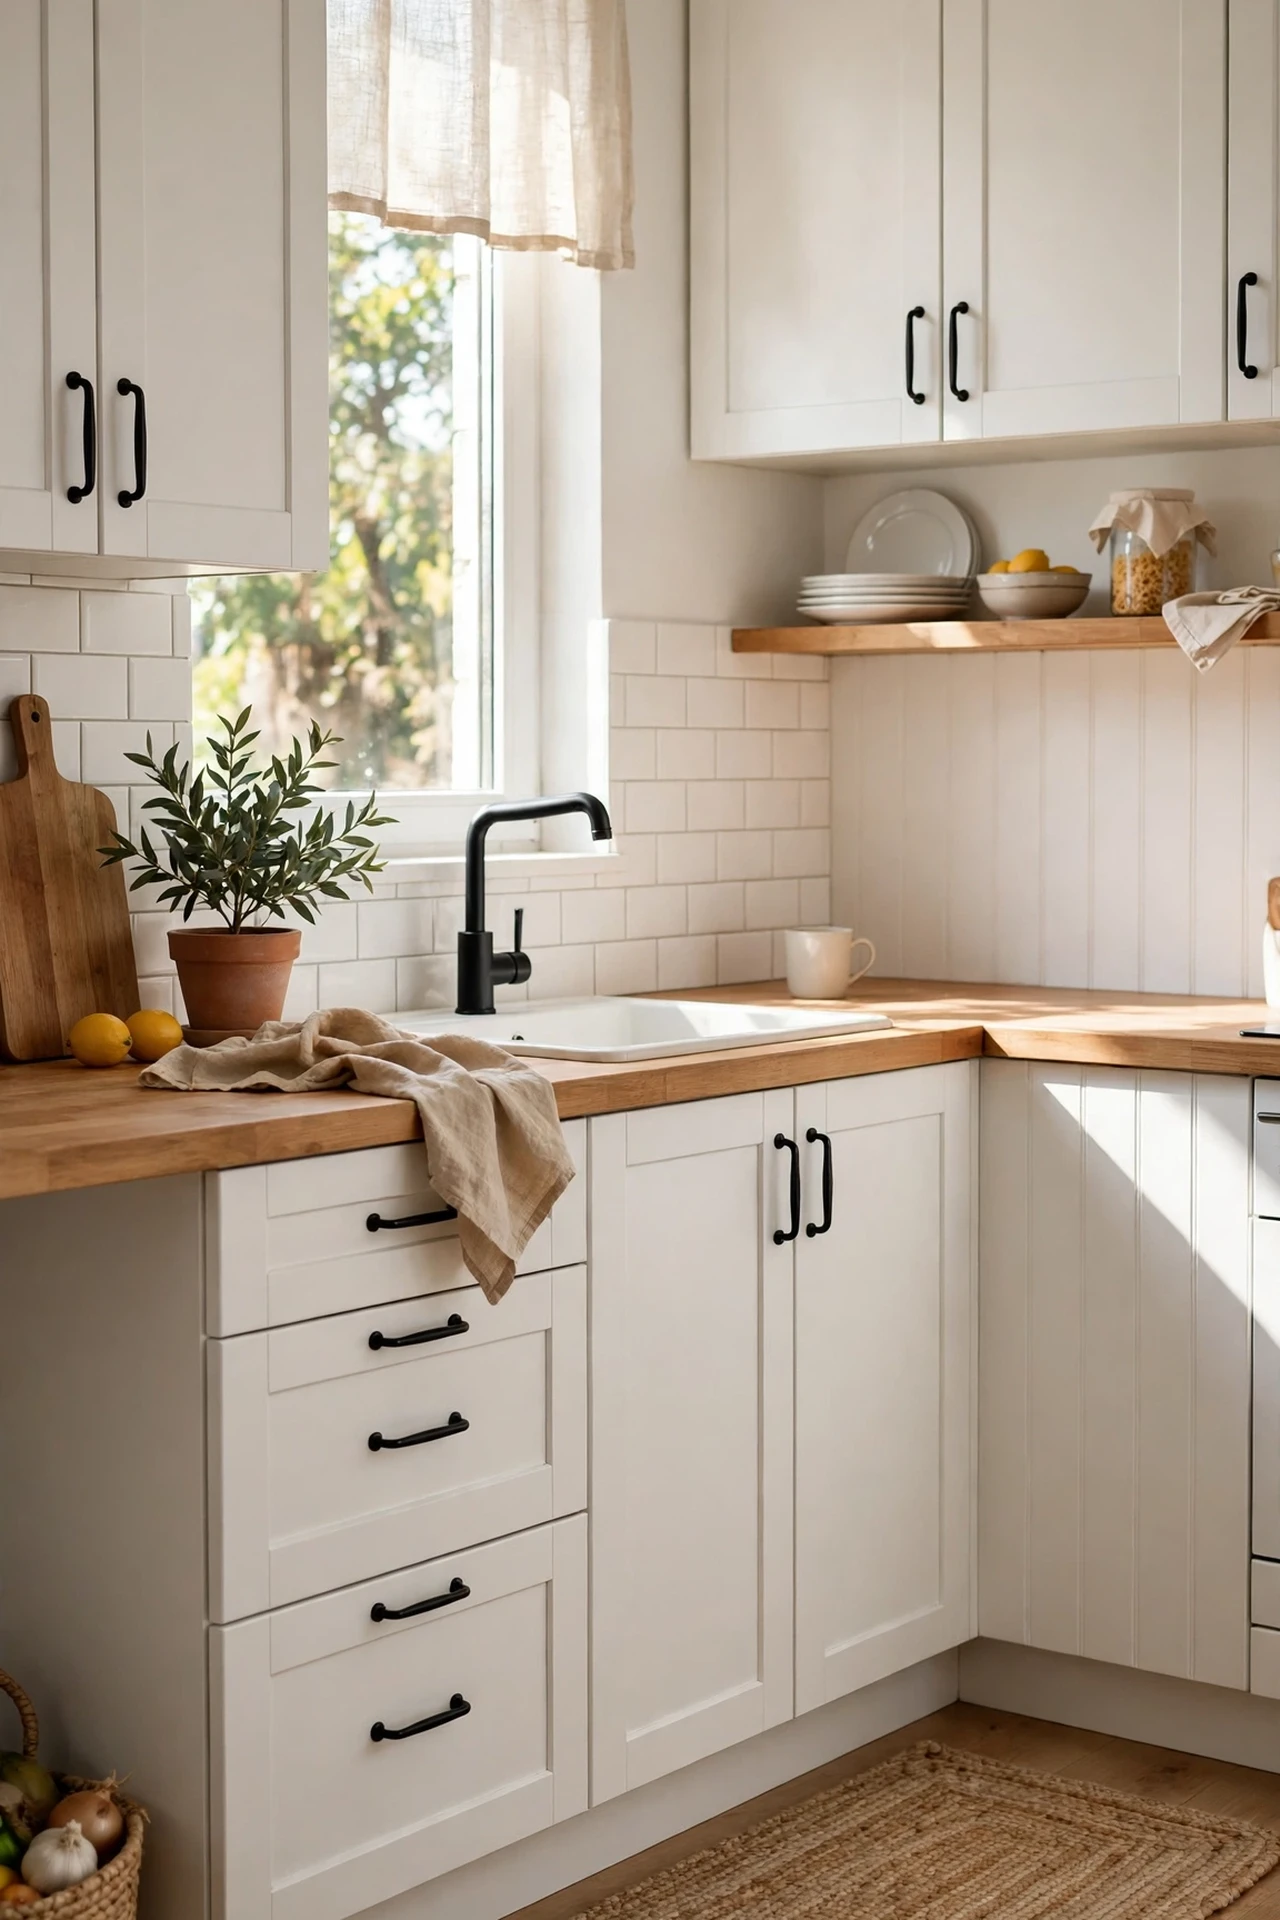
Swapping tired silver handles for matte black ones is the single fastest way to get that black-and-white contrast going. Measure the hole spacing before you order, because handles come in about six common sizes and guessing gets expensive. I did my whole kitchen with a screwdriver in one evening while the pasta water boiled. The mistake to avoid is mixing finishes, because black handles next to black hinges looks deliberate, while black next to chrome looks like you ran out halfway. If a hole is slightly off, a round file fixes it in seconds. Loved this one? Pin it for later so you have the measurements handy when you shop.
Cost: ~$25 | Time: 45 minutes
2. Black-and-White Peel-and-Stick Backsplash
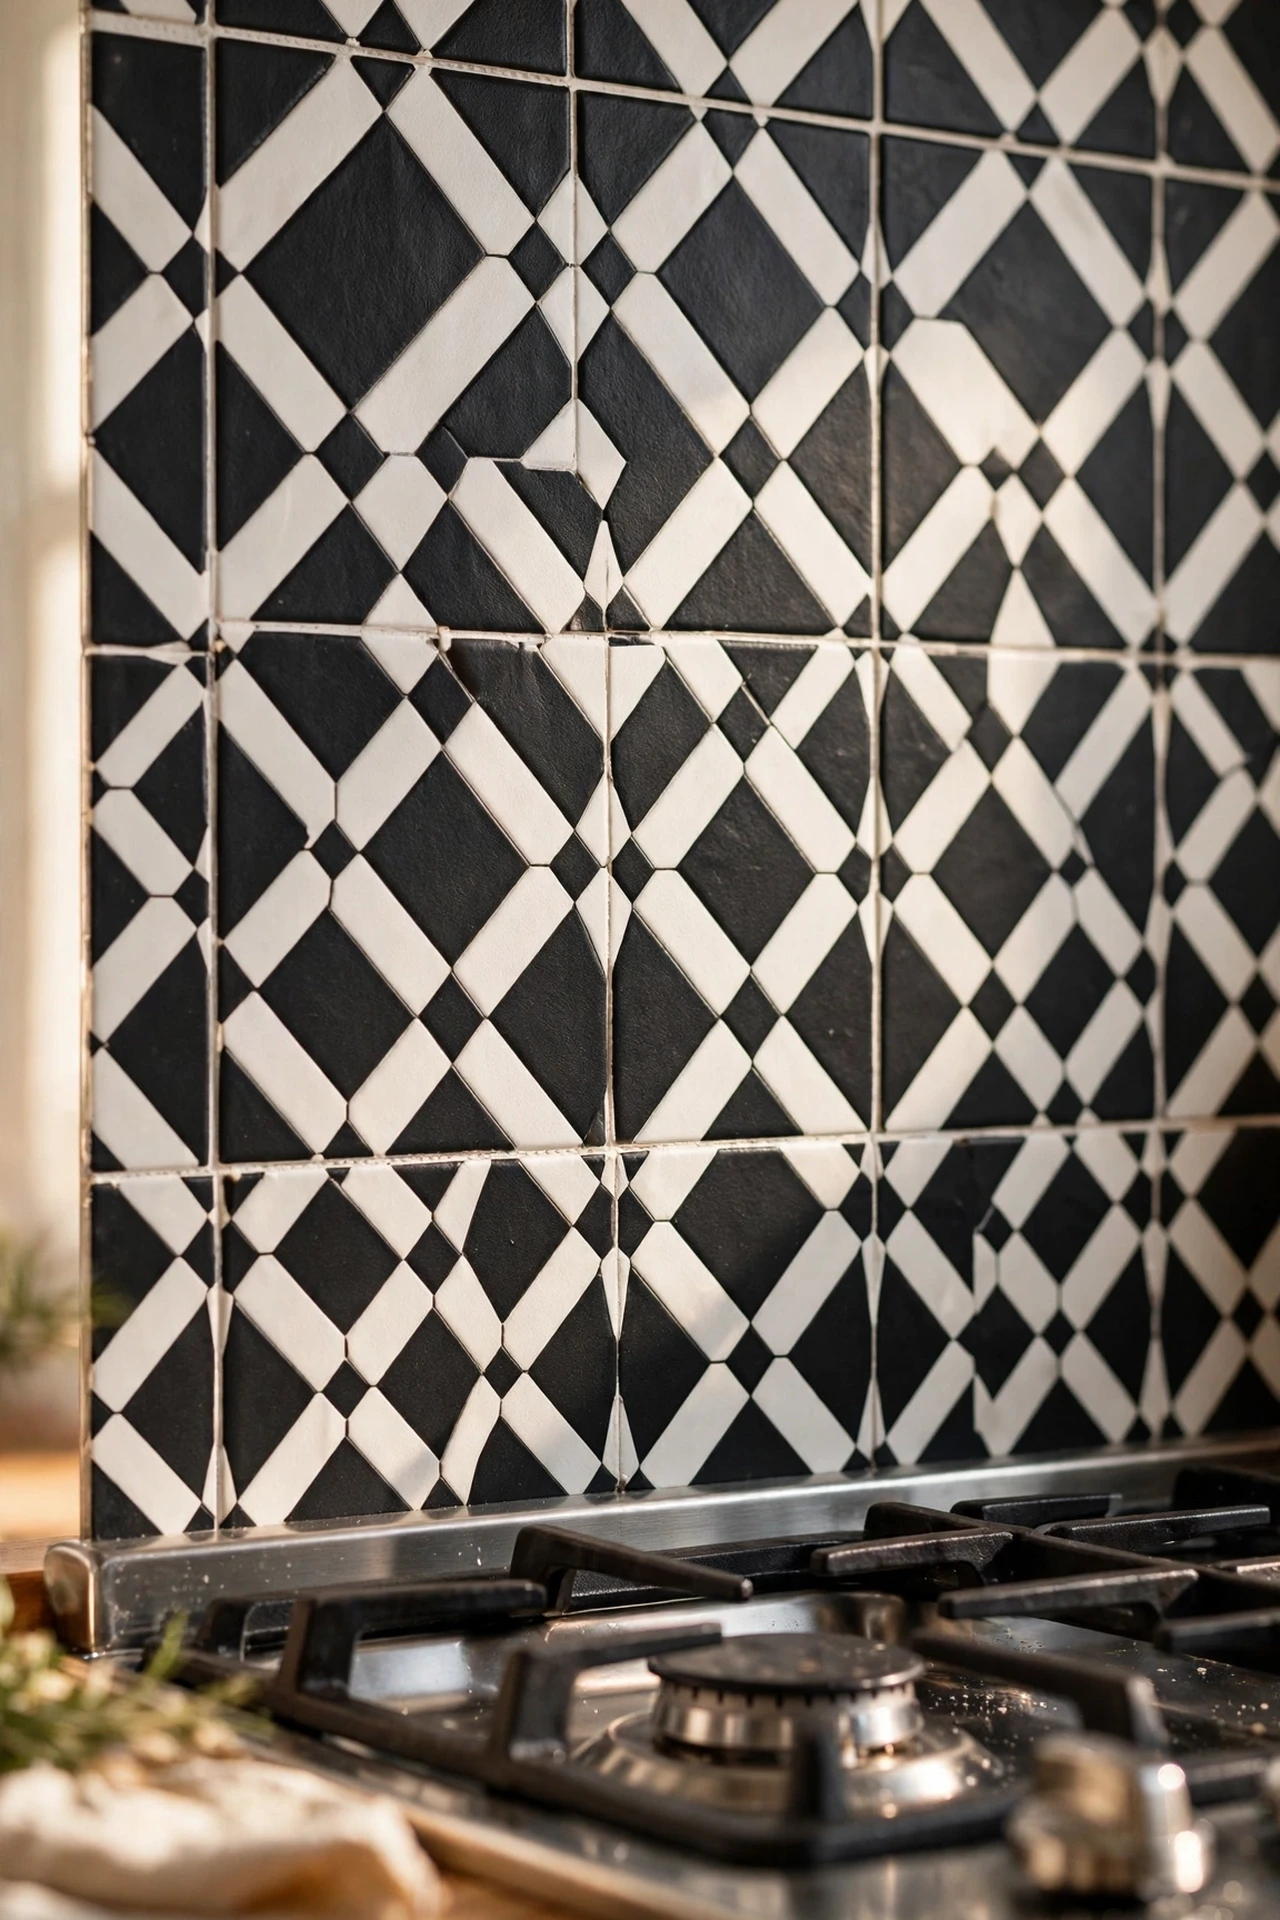
A patterned black-and-white backsplash does more for a kitchen than almost anything else on this list. I used peel-and-stick vinyl tiles with a simple geometric print behind my cooker, and guests kept asking who fitted the “real tile.” Start in the middle and work outward so the pattern stays symmetrical, and press each tile firmly from the centre to push out air bubbles. I tried this on a Sunday afternoon and the whole wall took about two hours. The mistake to avoid is stretching the vinyl around corners, because it springs back and lifts within weeks.
Cost: ~$30 | Time: 2 hours
3. White Cabinets With a Black Island
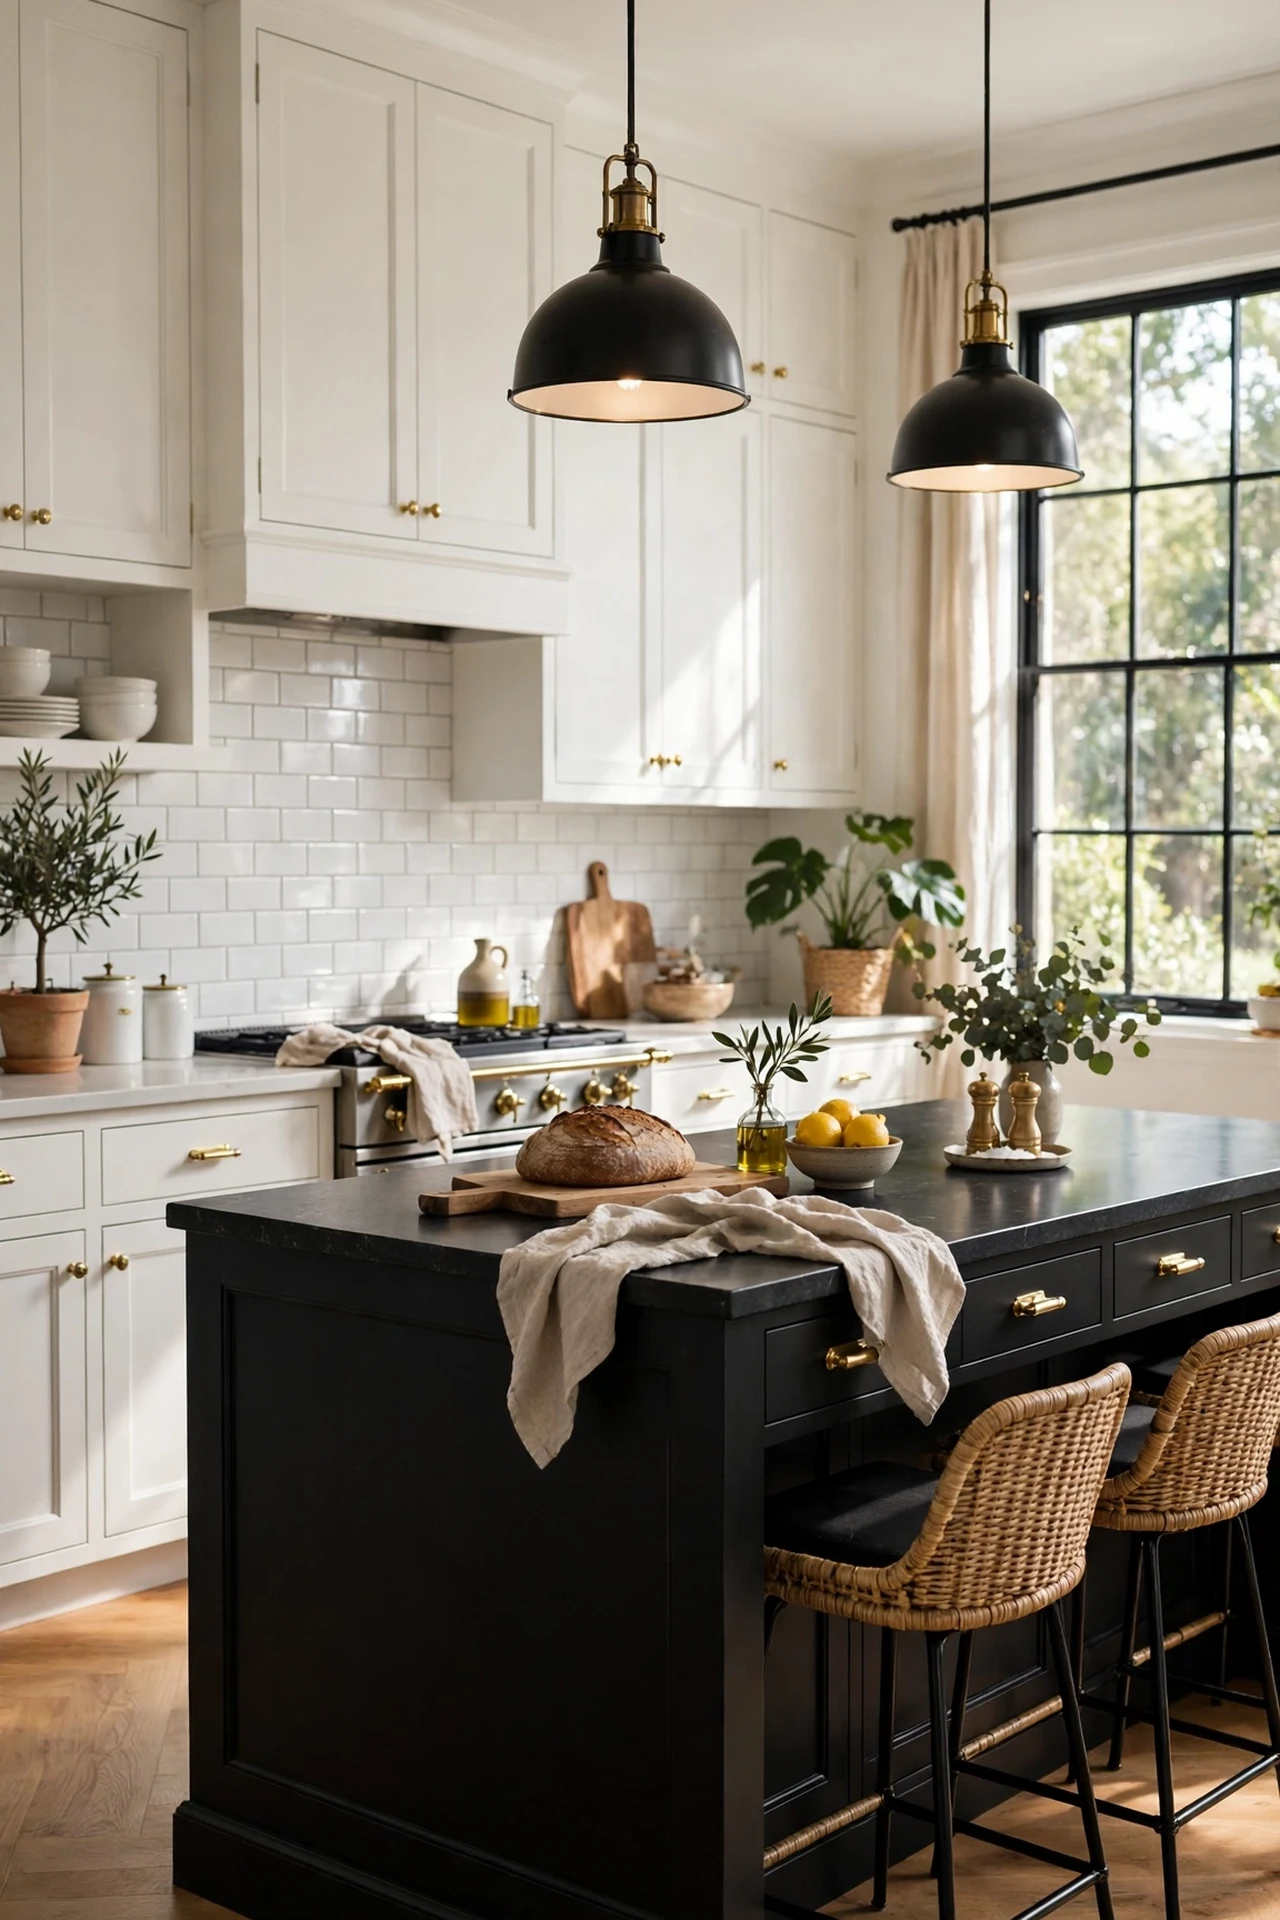
Painting just the island black while the rest of the kitchen stays white gives you the tuxedo look for the price of one tin. I did this with a matte black cabinet paint and it instantly became the room’s anchor. Clean and sand the island first, use a primer so the old colour doesn’t bleed through, and give it two full days to cure before you lean on it. I tried rushing this and got a permanent bag imprint in the finish, which taught me patience the hard way. Two coats, no shortcuts. For more contrast tricks on a budget, see (see also: kitchen-decor-ideas-under-50-without-renovating).
Cost: ~$35 | Time: 4 hours
4. Black Window Frame Paint
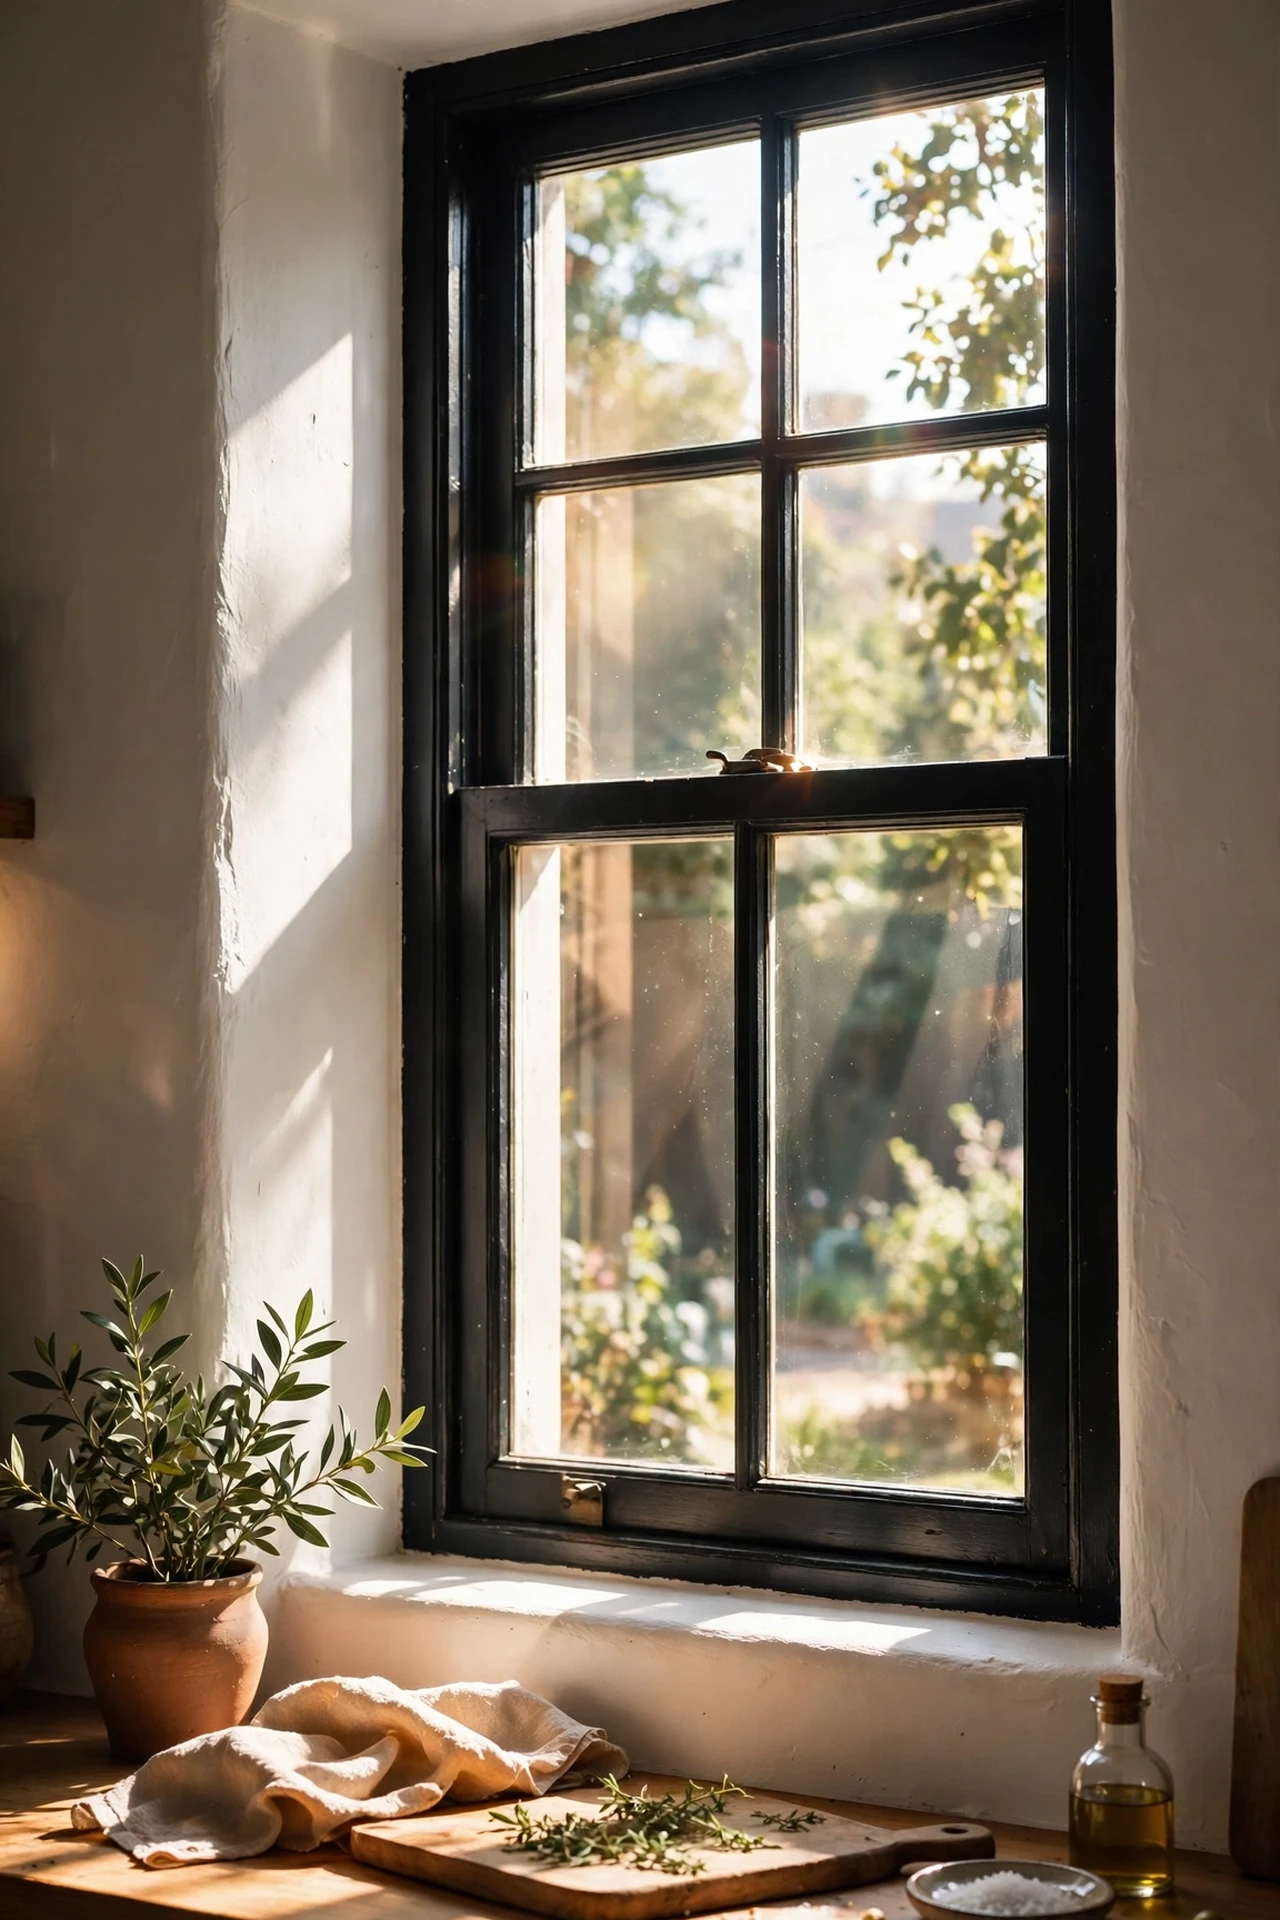
Painting the window frame black sounds dramatic, but against white walls it looks incredibly sharp, like a framed photograph. I masked the glass with painter’s tape, used a small angled brush for the edges, and did two thin coats. The whole job took one afternoon and changed the feel of the room more than the new rug I bought the same week. The mistake to avoid is painting in direct sun, because the paint skins over before it levels and you get brush marks. Do it on a cloudy morning and the finish will be glass-smooth.
Cost: ~$12 | Time: 2 hours
5. Checkerboard Vinyl Floor Tiles
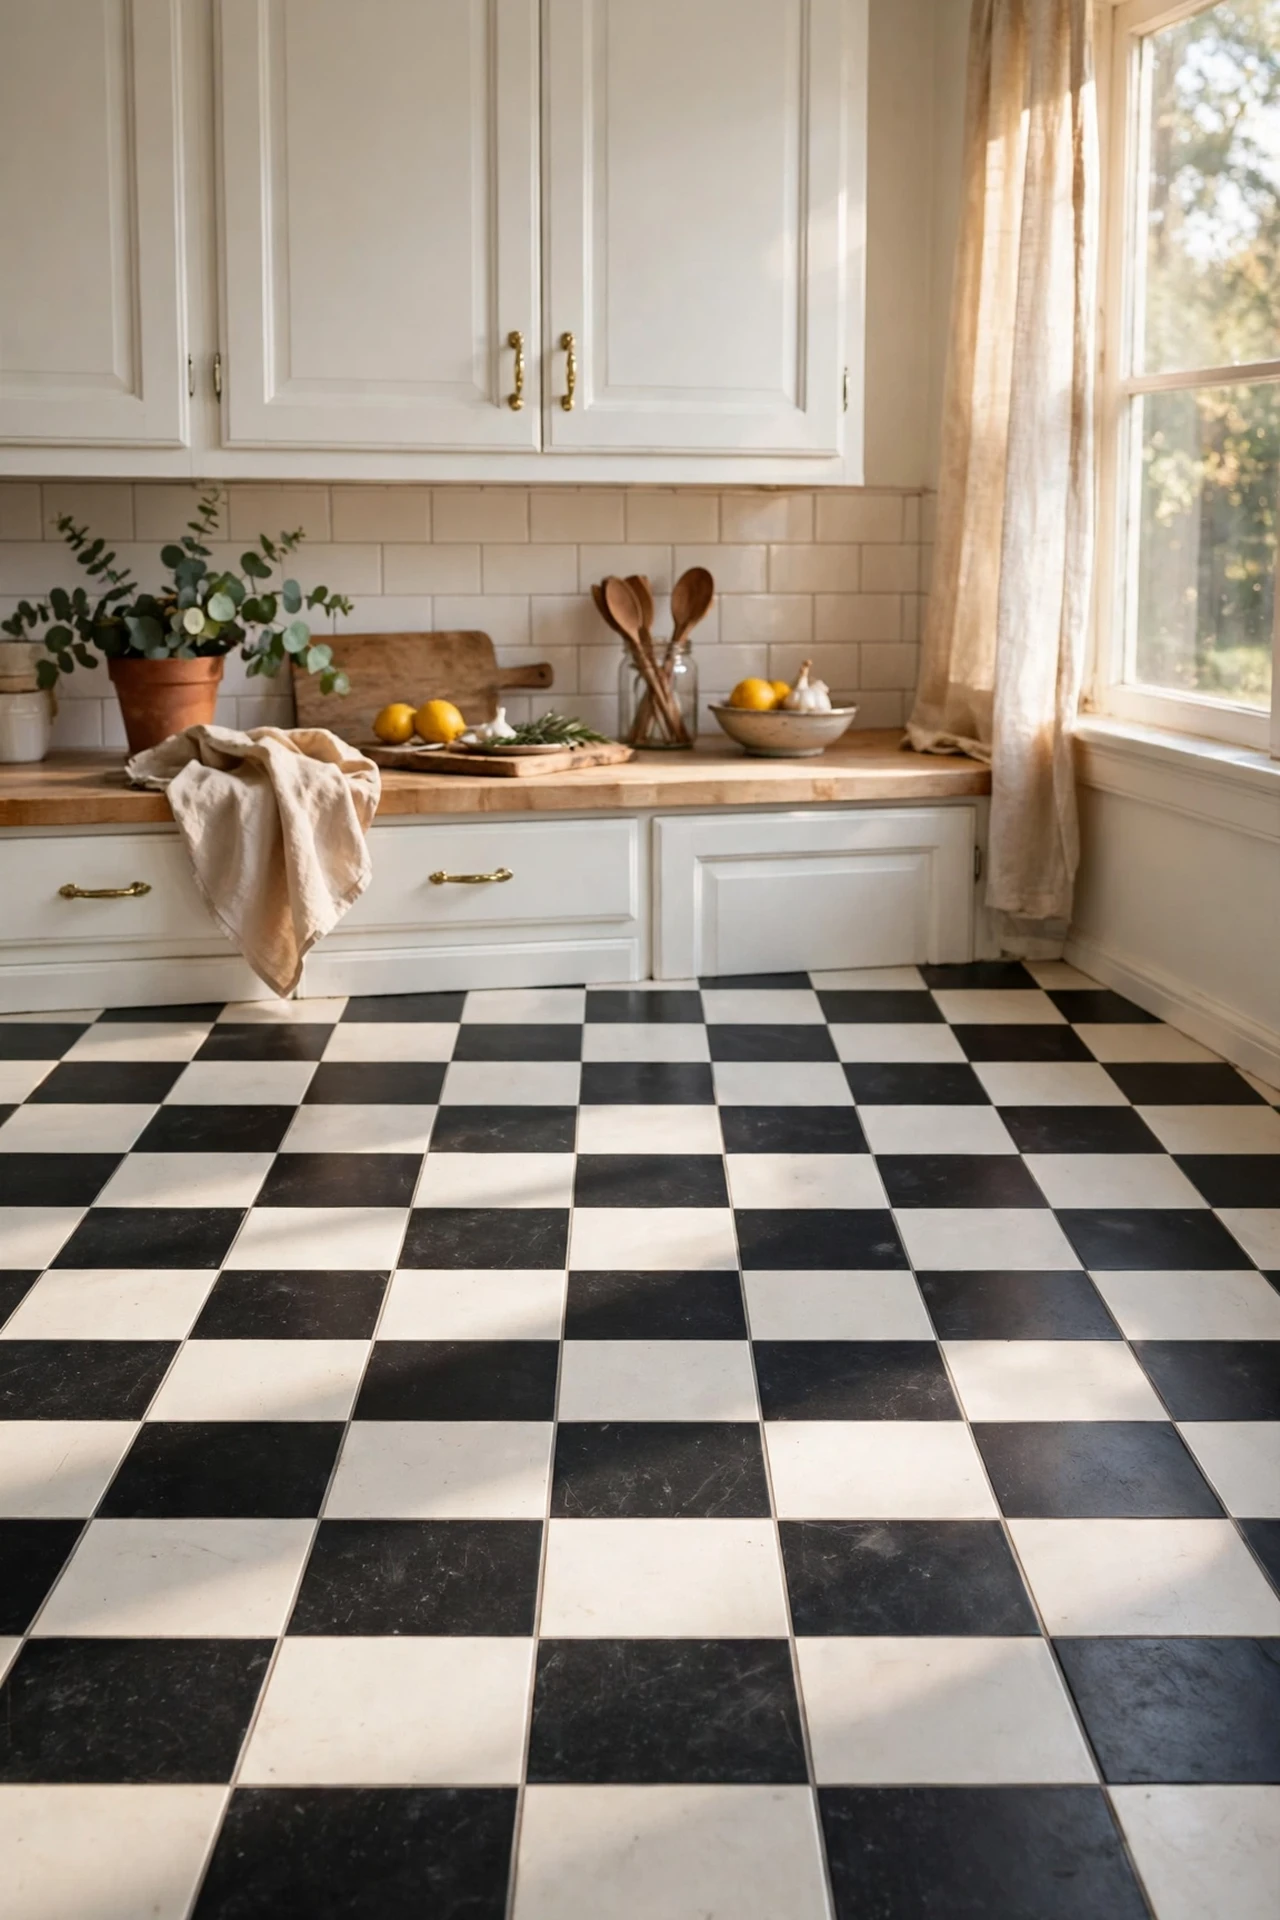
Nothing says classic black-and-white kitchen like a checkerboard floor, and peel-and-stick vinyl squares make it a weekend job. I laid mine diagonally over the old lino, which hides the seams and makes the room look wider. Snap a chalk line down the centre of the room and work outward so the border tiles are even on both sides. I tried starting in a corner first and the far edge went crooked, so the centre line genuinely matters. Roll each tile with a rolling pin for good adhesion. Seal the seams with clear caulk in wet zones.
Cost: ~$40 | Time: 5 hours
6. Black Bar Stools Against a White Island
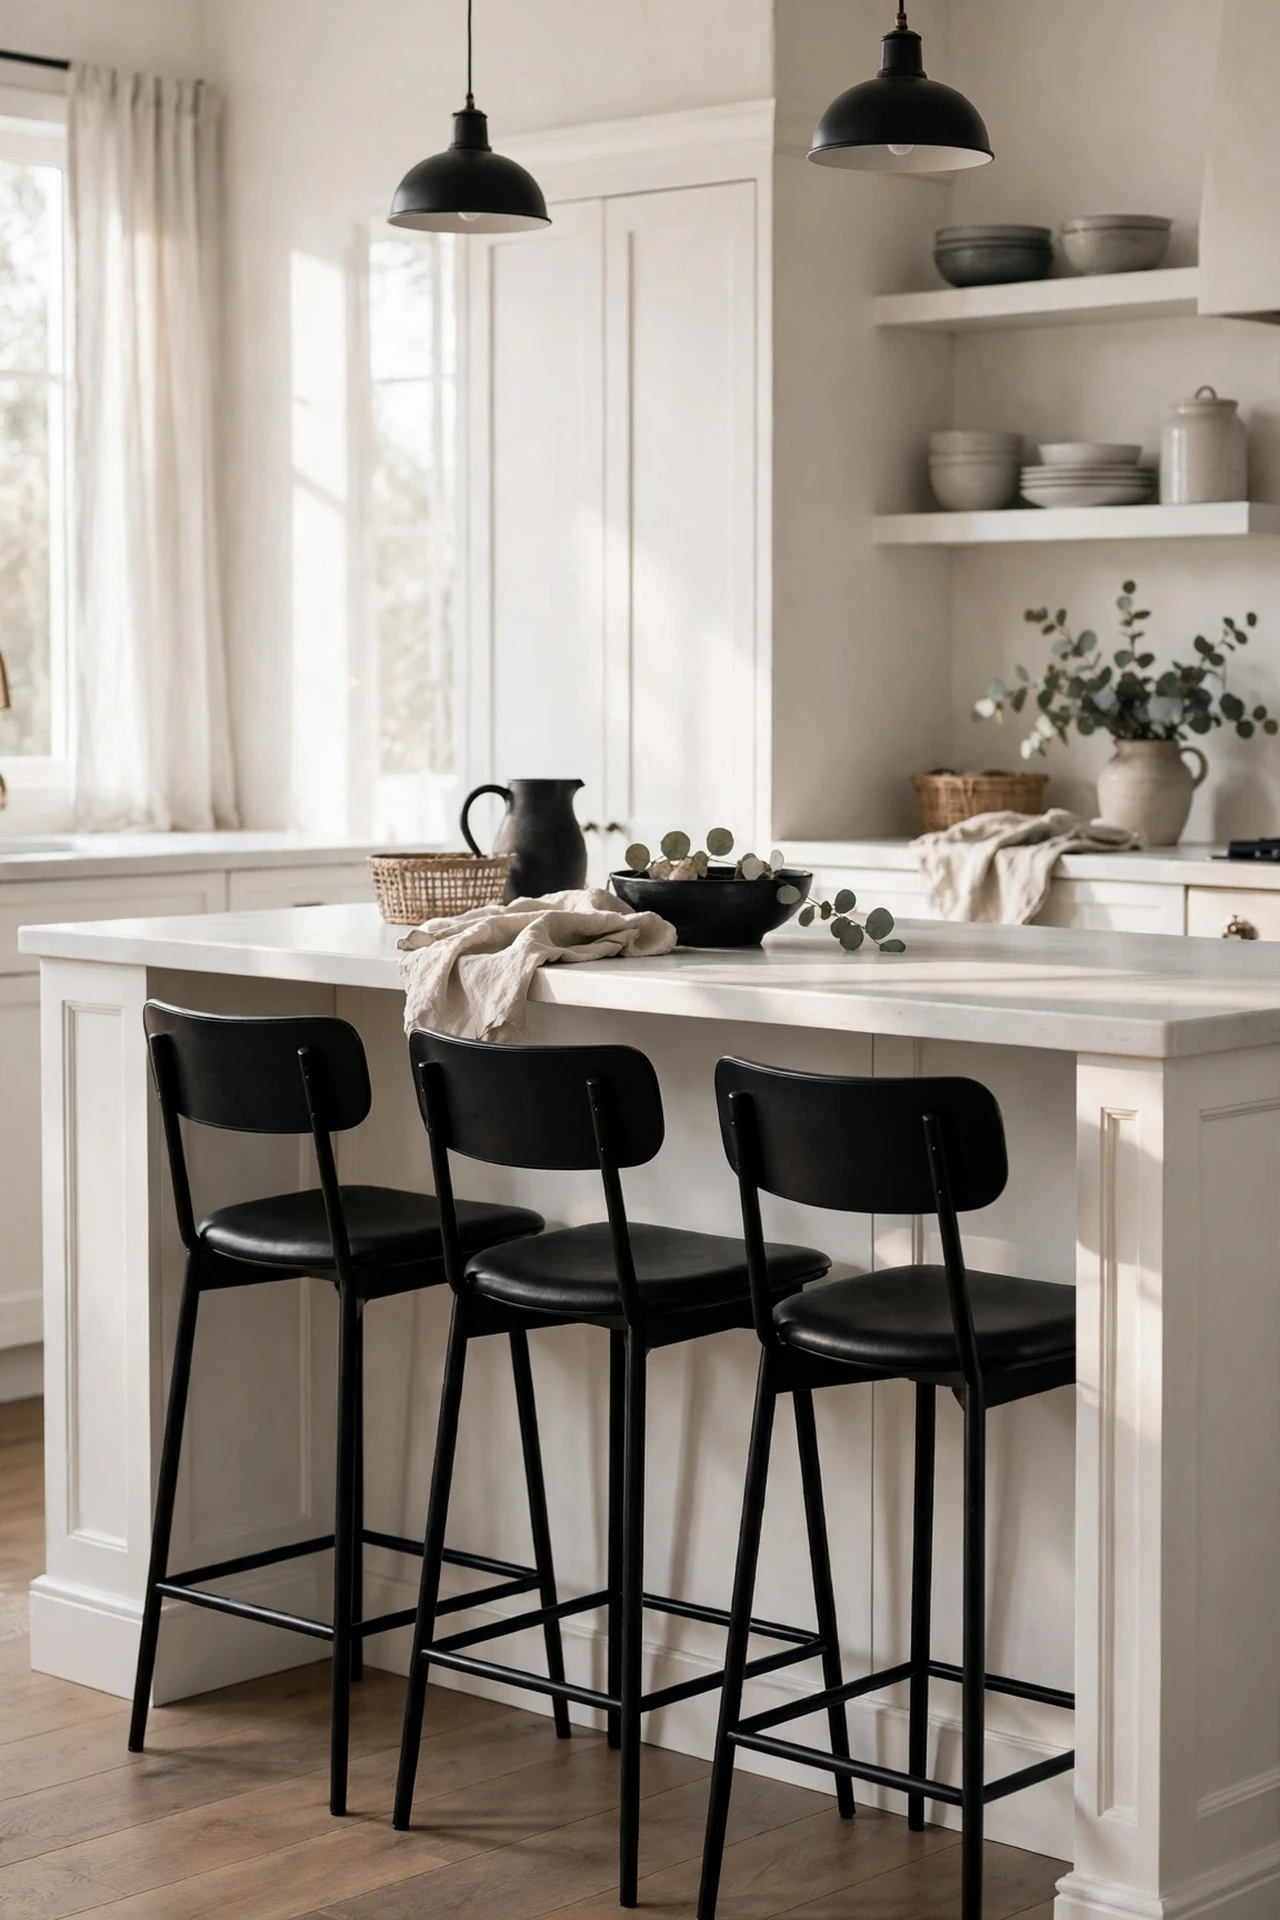
Three black bar stools tucked under a white island create the contrast without touching a paintbrush. I found mine secondhand for almost nothing and spray-painted the legs matte black to match. Check the seat height against your island before buying, because a two-inch mismatch makes breakfast uncomfortable for years. I tried stools that were too tall first and learned this the annoying way. Wooden stools take spray paint beautifully, so don’t pass over a scratched set in the right shape.
Cost: ~$30 | Time: 1 hour
7. Monochrome Open Shelving Styled in Pairs
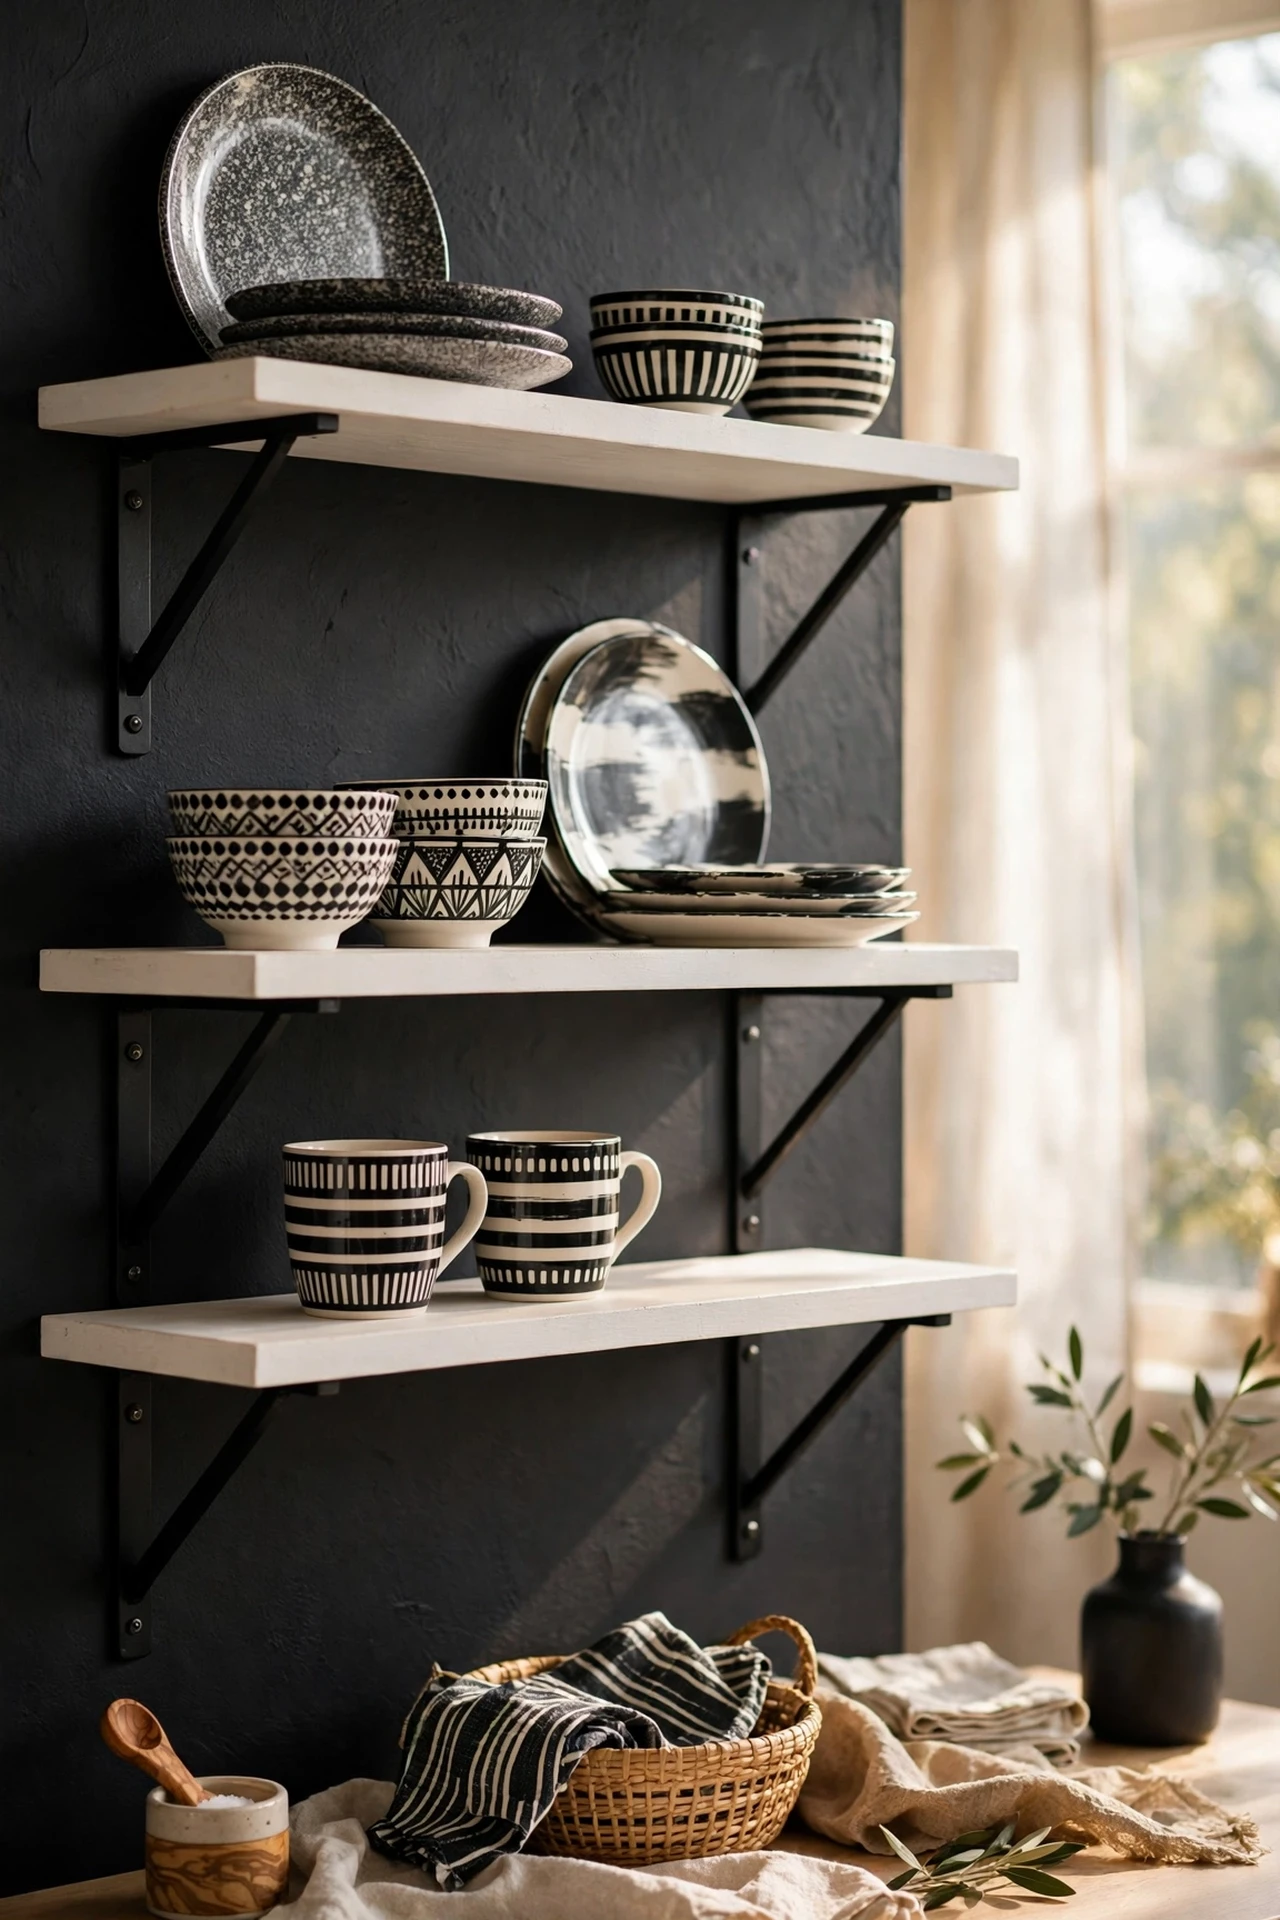
I pulled down one upper cabinet and put up two white shelves on black brackets, then styled everything in black-and-white pairs. White bowls, black mugs, white plates, black teapot, it sounds fussy but it takes five minutes to arrange. Mount the brackets into studs so they hold real weight, and keep the styling to two colours or the monochrome effect collapses. I tried this and the shelves became the most photographed corner of my kitchen. The mistake to avoid is overcrowding, because breathing room is what makes it look styled rather than stored.
Cost: ~$20 | Time: 1.5 hours
8. Black Pendant Lights Over White Counters
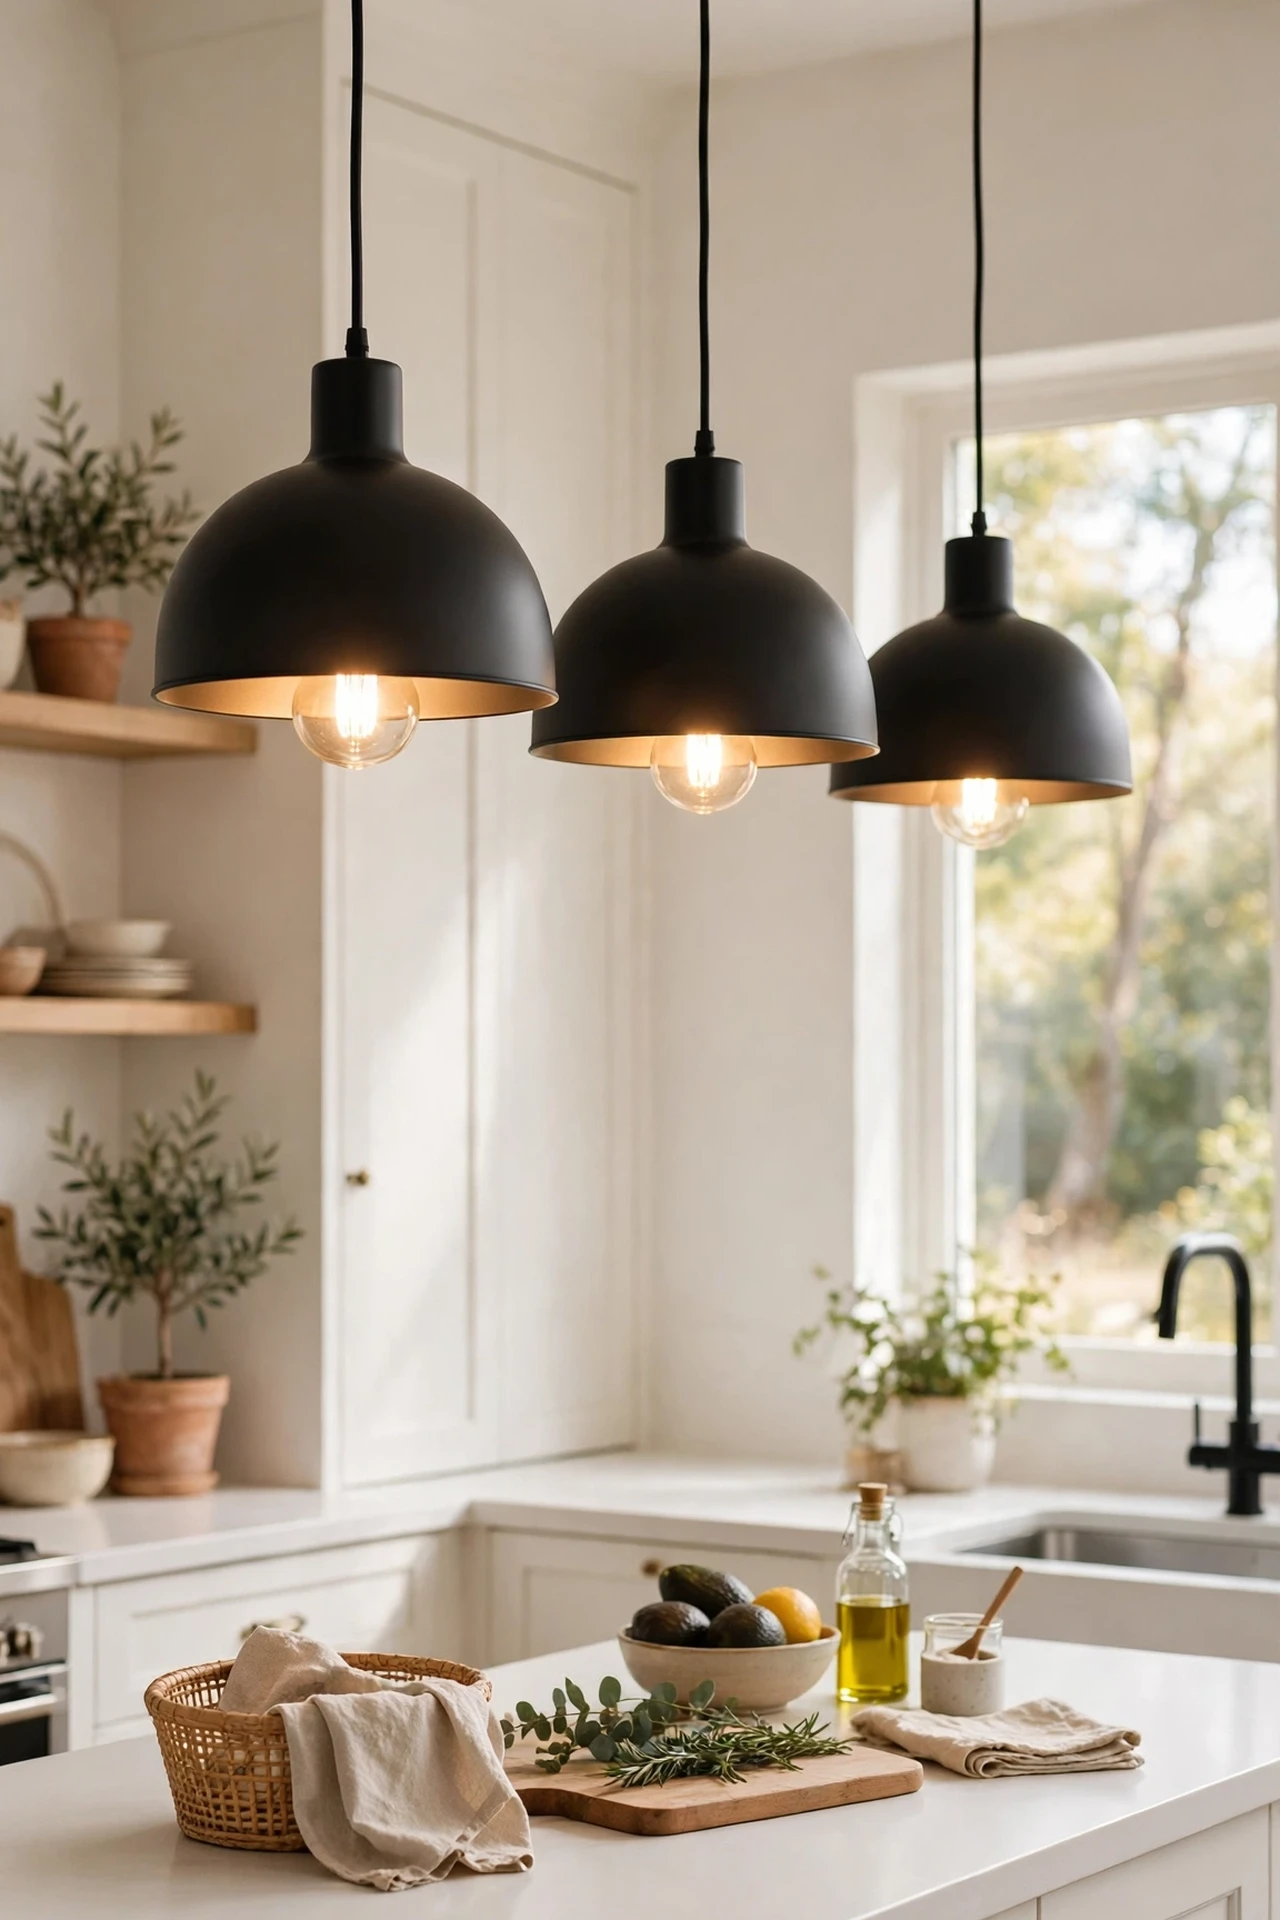
Black pendant shades over white counters draw the eye down to where the food is, which is exactly what you want. I spray-painted my old brass pendants matte black instead of replacing them, which cost one can of paint. Turn off the power at the breaker first, remove the shades to spray them evenly, and let them cure overnight before rehanging. I tried skipping the cure time and got fingerprints baked into the finish, so overnight really means overnight. Hang them at the same height using a tape measure, because one low pendant ruins the symmetry.
Cost: ~$8 | Time: 1 hour
9. Black-and-White Gingham Curtains
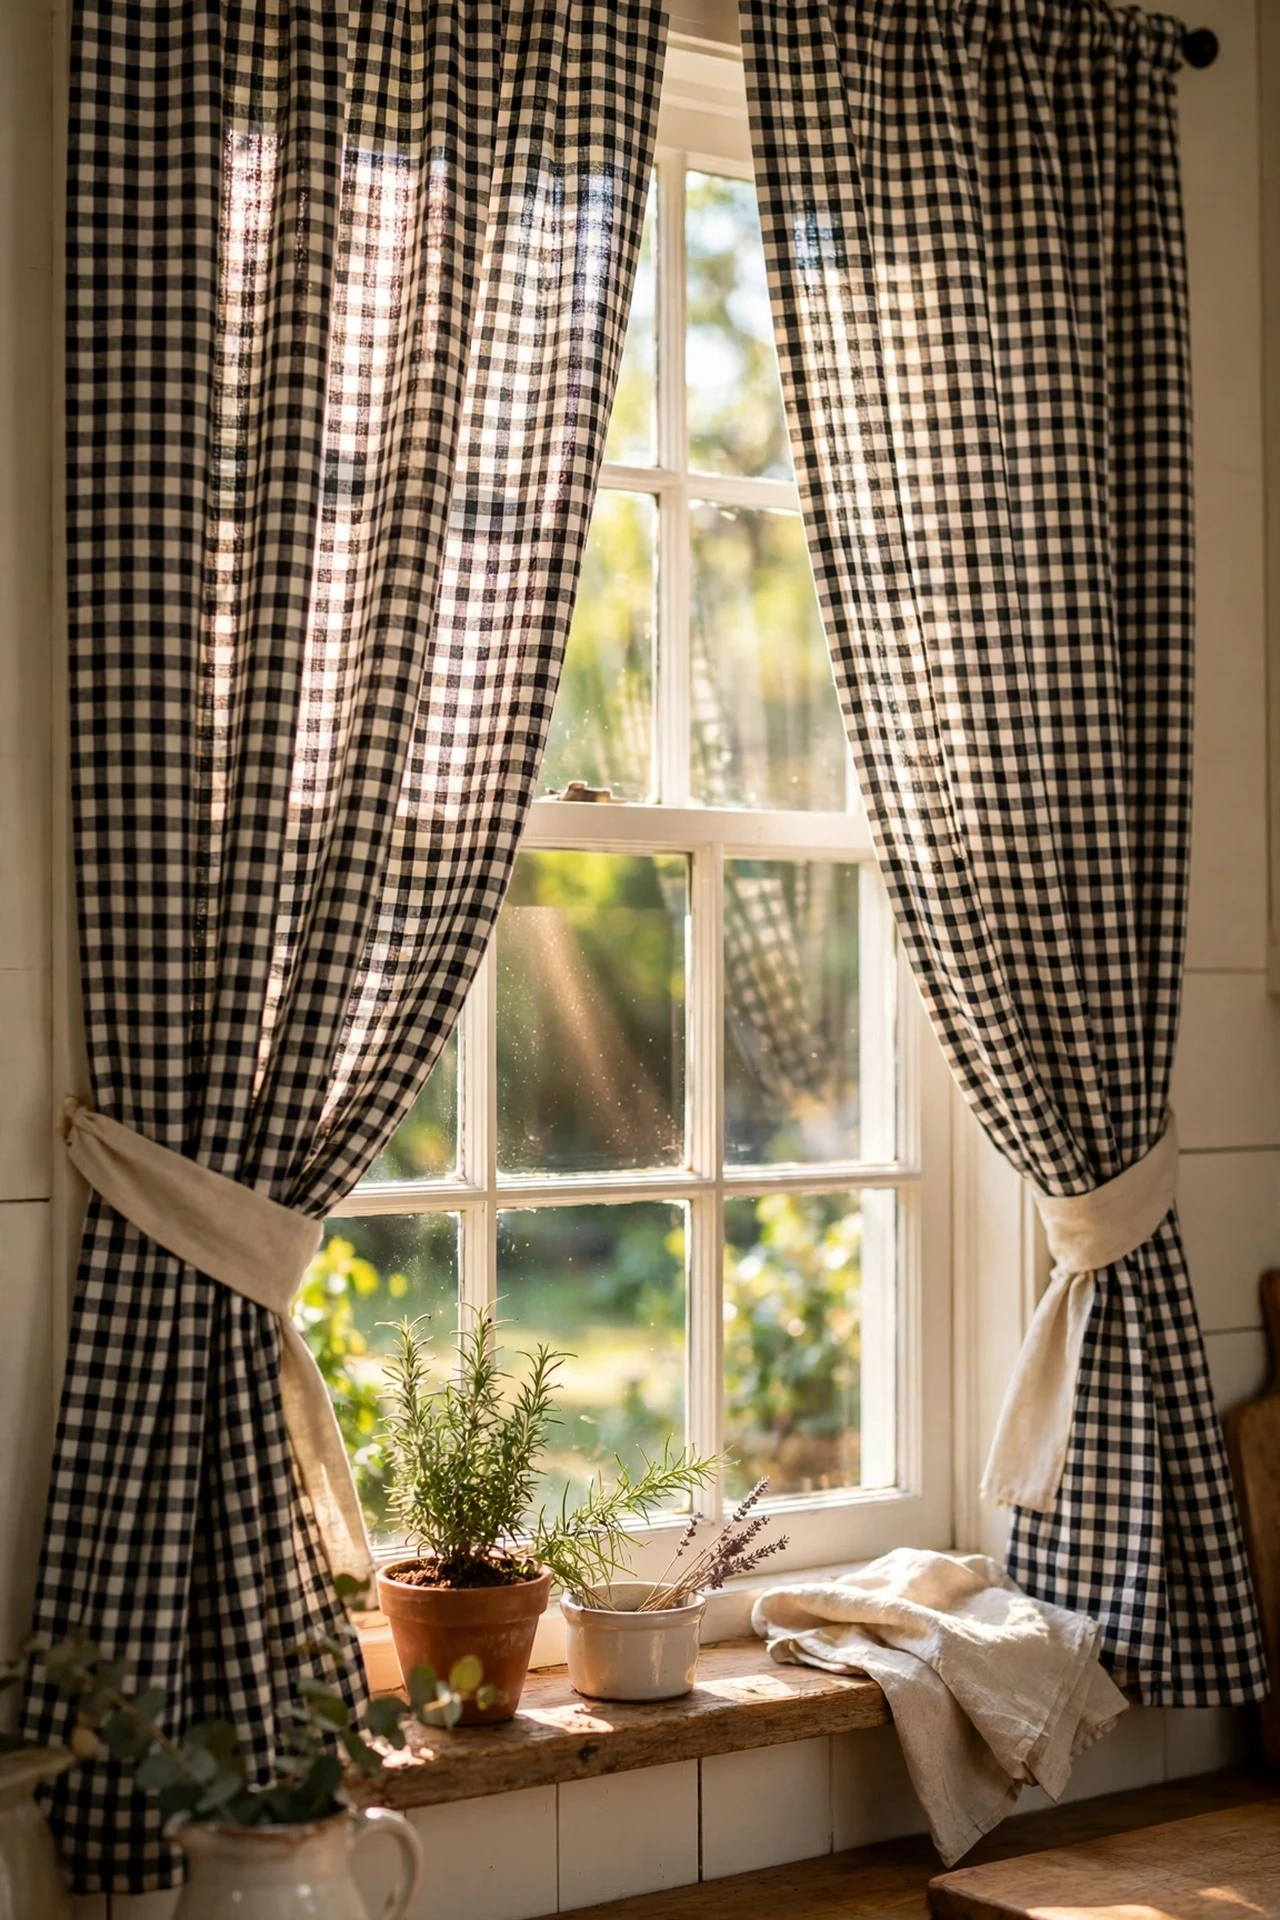
Gingham curtains are the cheapest pattern you can put in a kitchen, and in black and white they lean farmhouse without going full country. I hung a café-length panel on a tension rod inside the window frame, no drilling, no damage. Buy a small check rather than a large one, because big checks can look like a picnic tablecloth in the wrong light. I tried full-length panels first and they felt heavy, so the café length is the sweet spot. Hem them to sit just at the sill so they don’t trail into the washing-up.
Cost: ~$15 | Time: 20 minutes
10. White Subway Tile With Dark Grout
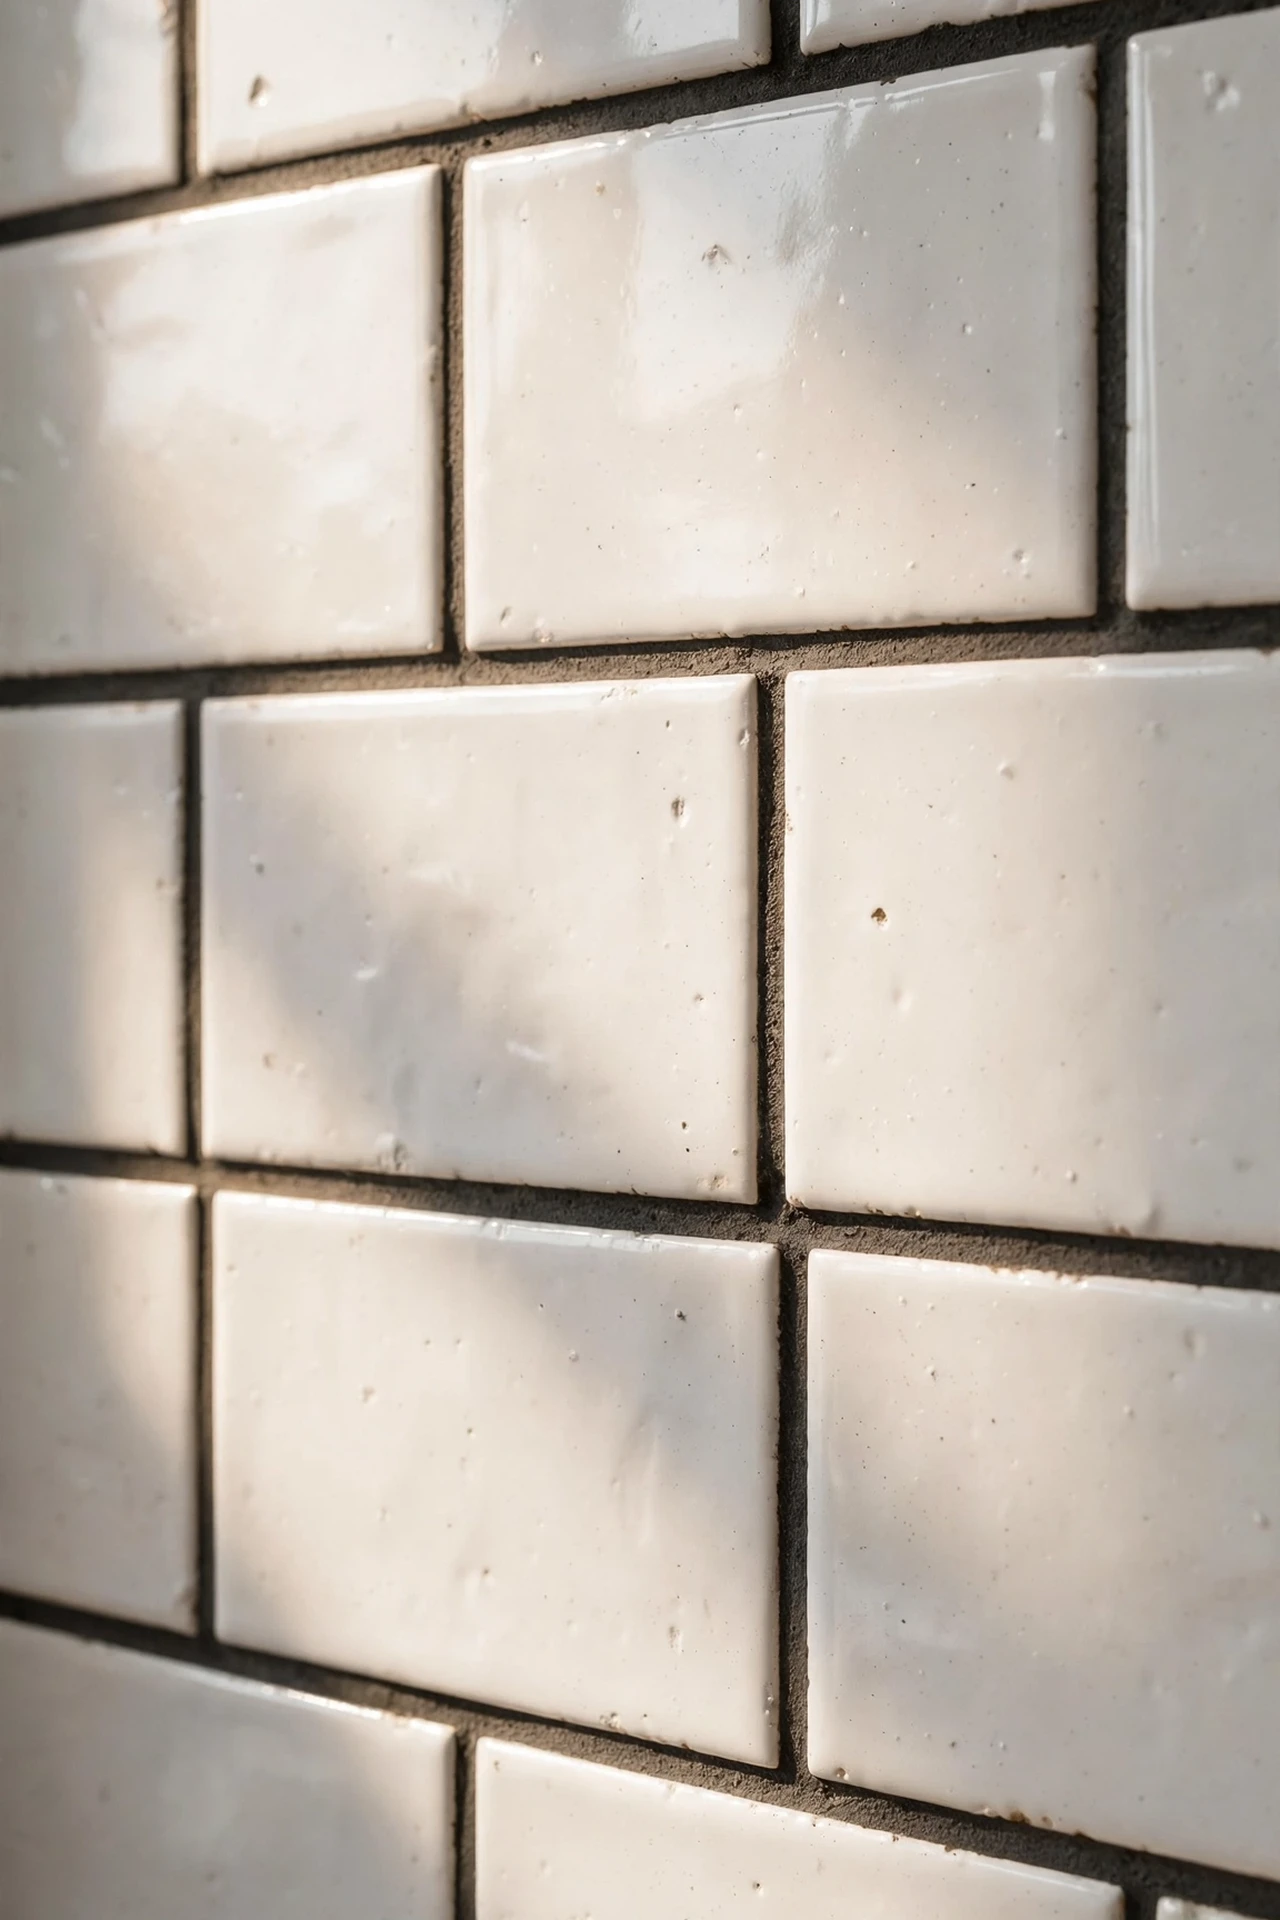
If you already have white tile, regrouting in charcoal or black gives you the monochrome look without retiling. I raked out the top layer of old grout with a grout saw, which took an evening, then pressed in the dark grout the next day. Wipe the tiles as you go, because dark grout haze is stubborn once it dries. I tried this and the backsplash looked like it belonged in a boutique hotel. The mistake to avoid is grouting the whole wall before wiping, because by the time you get back the haze has set like concrete. For more tile tricks that renters swear by, see (see also: peel-and-stick-kitchen-backsplash-ideas-renters-swear-by).
Cost: ~$18 | Time: 3 hours
11. Black Faucet Upgrade on a Budget
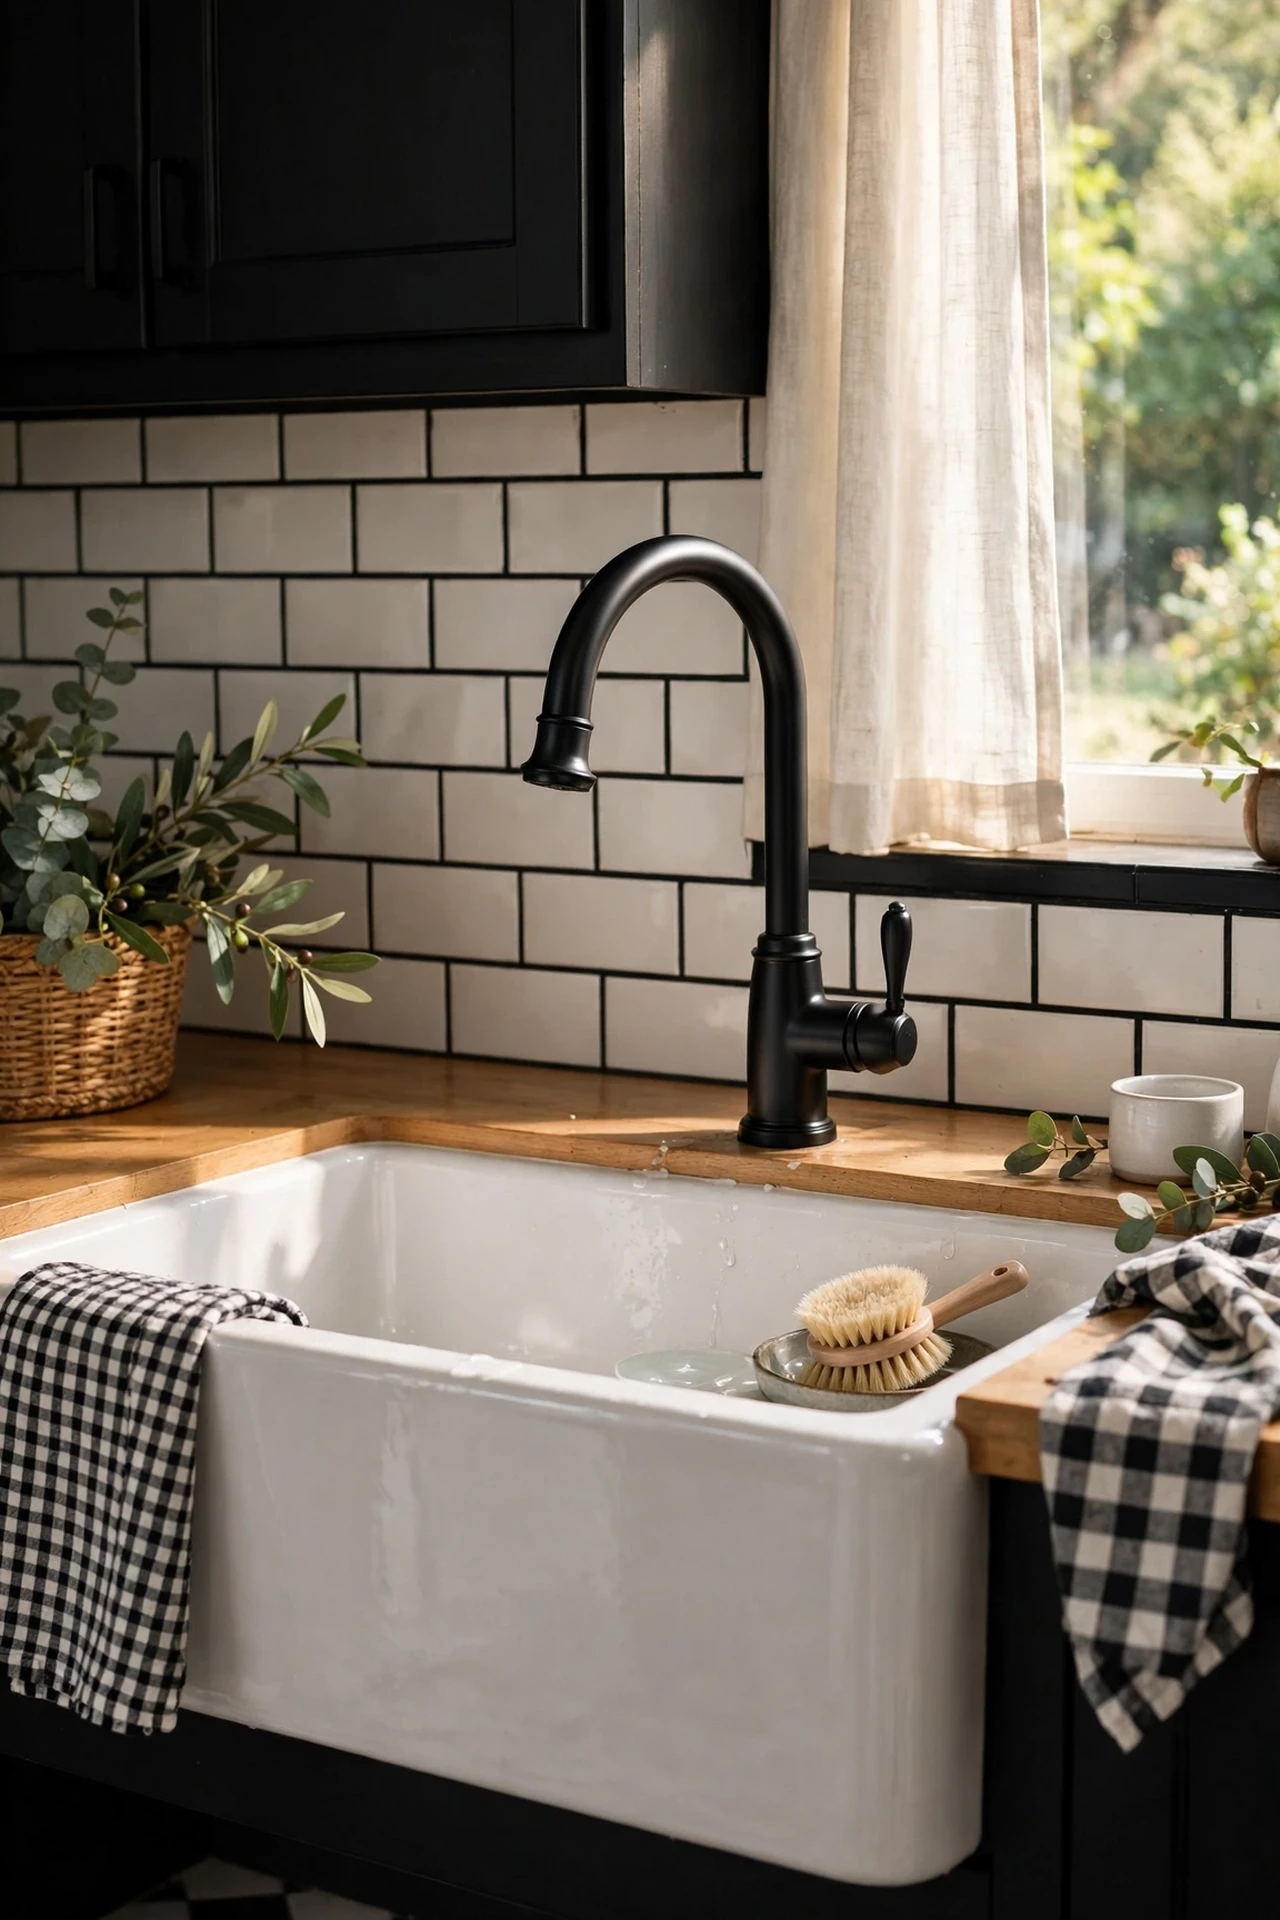
A matte black faucet is the jewellery of a black-and-white kitchen, and budget ones are surprisingly decent now. I swapped mine in under an hour with a basin wrench, turning off the water valves underneath first. Take a photo of the existing connections before you undo anything, because memory is unreliable when you’re lying on your back under a sink. I tried this and the kitchen felt five years newer the same day. The mistake to avoid is overtightening the new fittings, because cracked supply lines cost far more than the faucet did.
Cost: ~$40 | Time: 1 hour
12. Monochrome Art Prints in Simple Frames
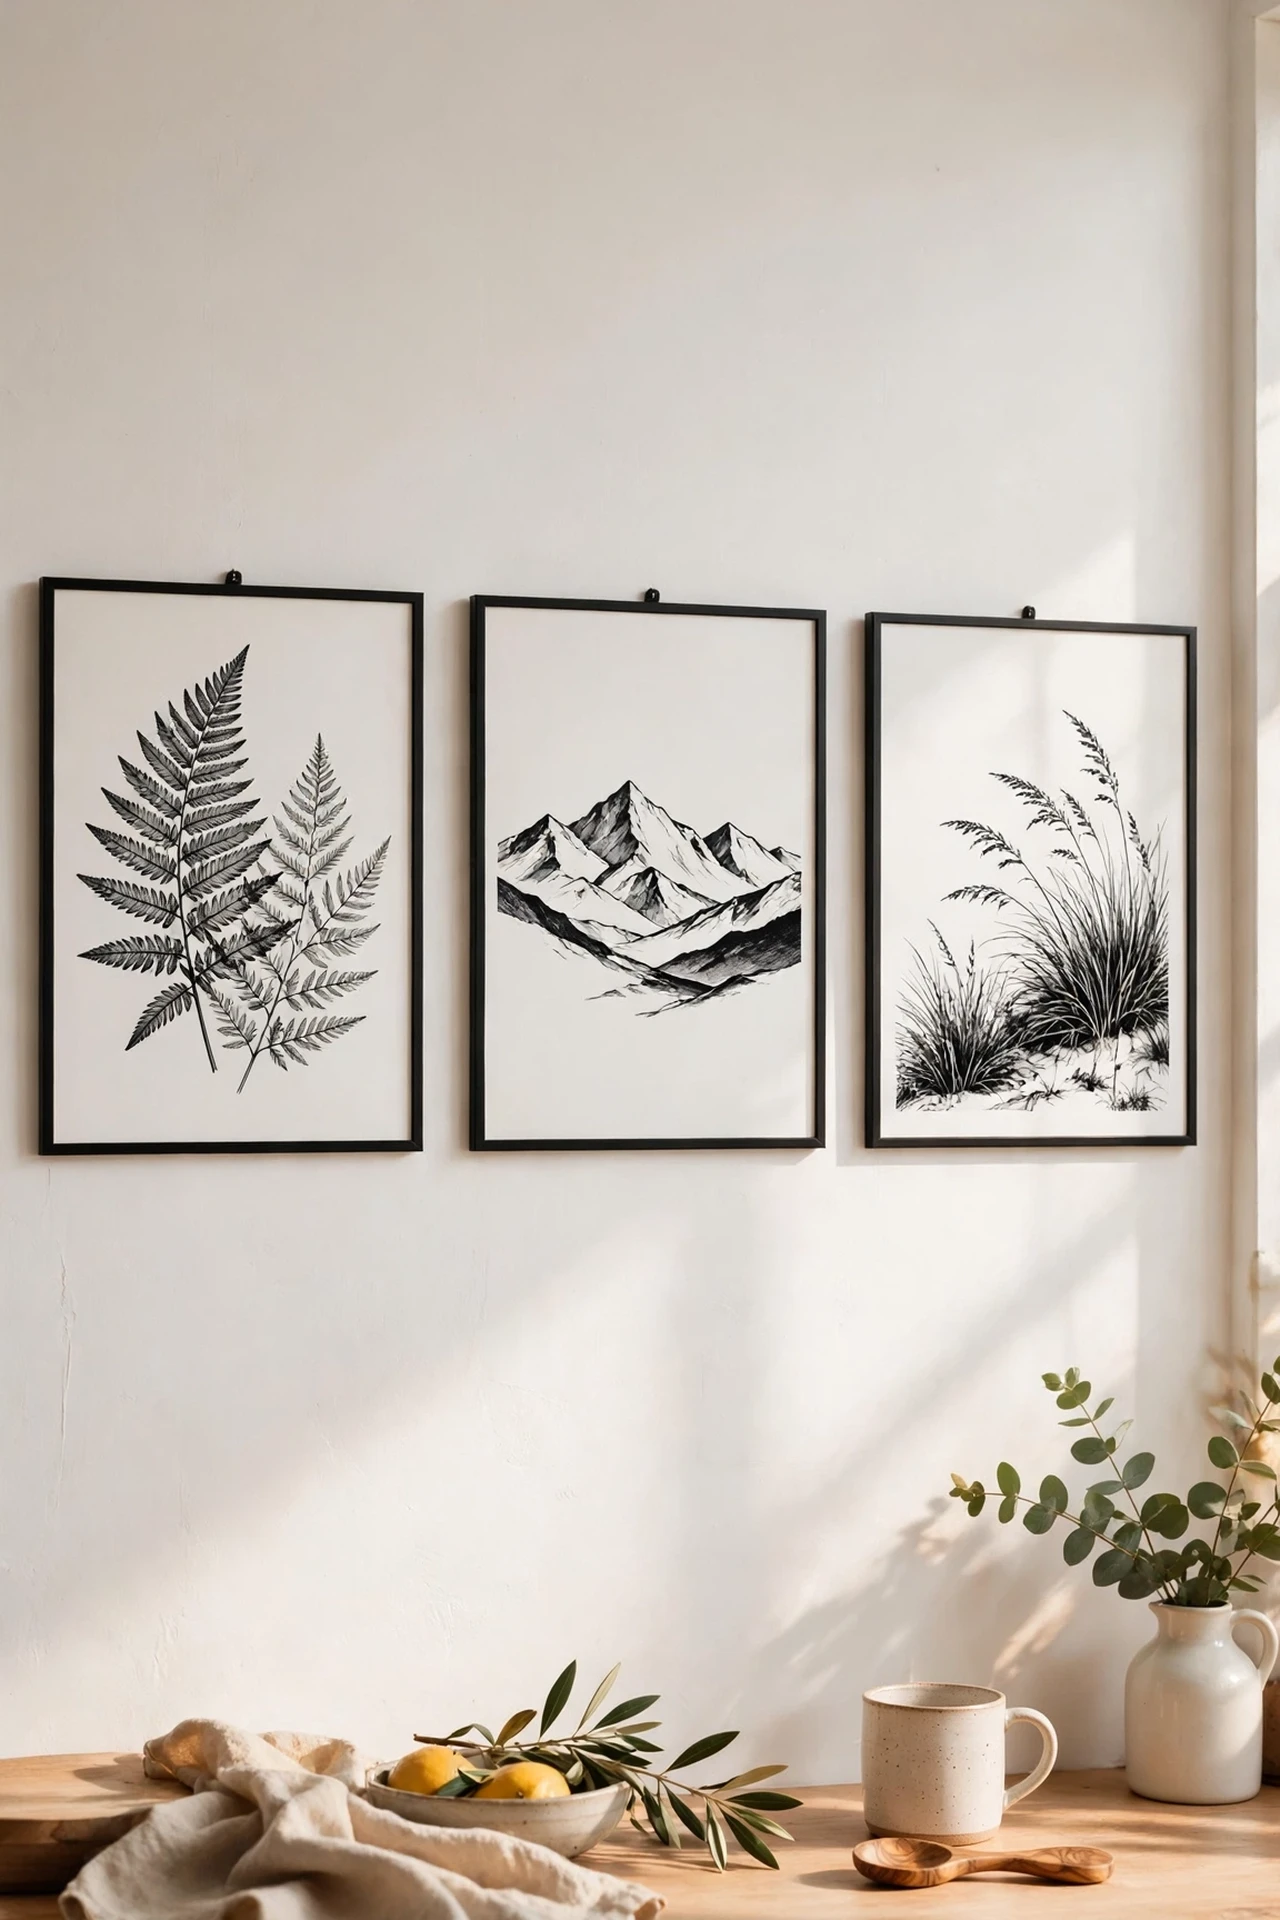
Blank wall above the counter? Three black-and-white prints in thin black frames fix it for almost nothing. I printed food illustrations from free stock sites at the library and framed them in matching cheap frames. Hang them in a row with a spirit level, spacing them evenly, because crooked gallery walls look accidental rather than artistic. I tried random spacing first and it drove me mad within a week. Keep the frames identical and let the prints vary, that’s the formula that works every time.
Cost: ~$12 | Time: 30 minutes
13. Black Chalkboard Wall for the Weekly Menu
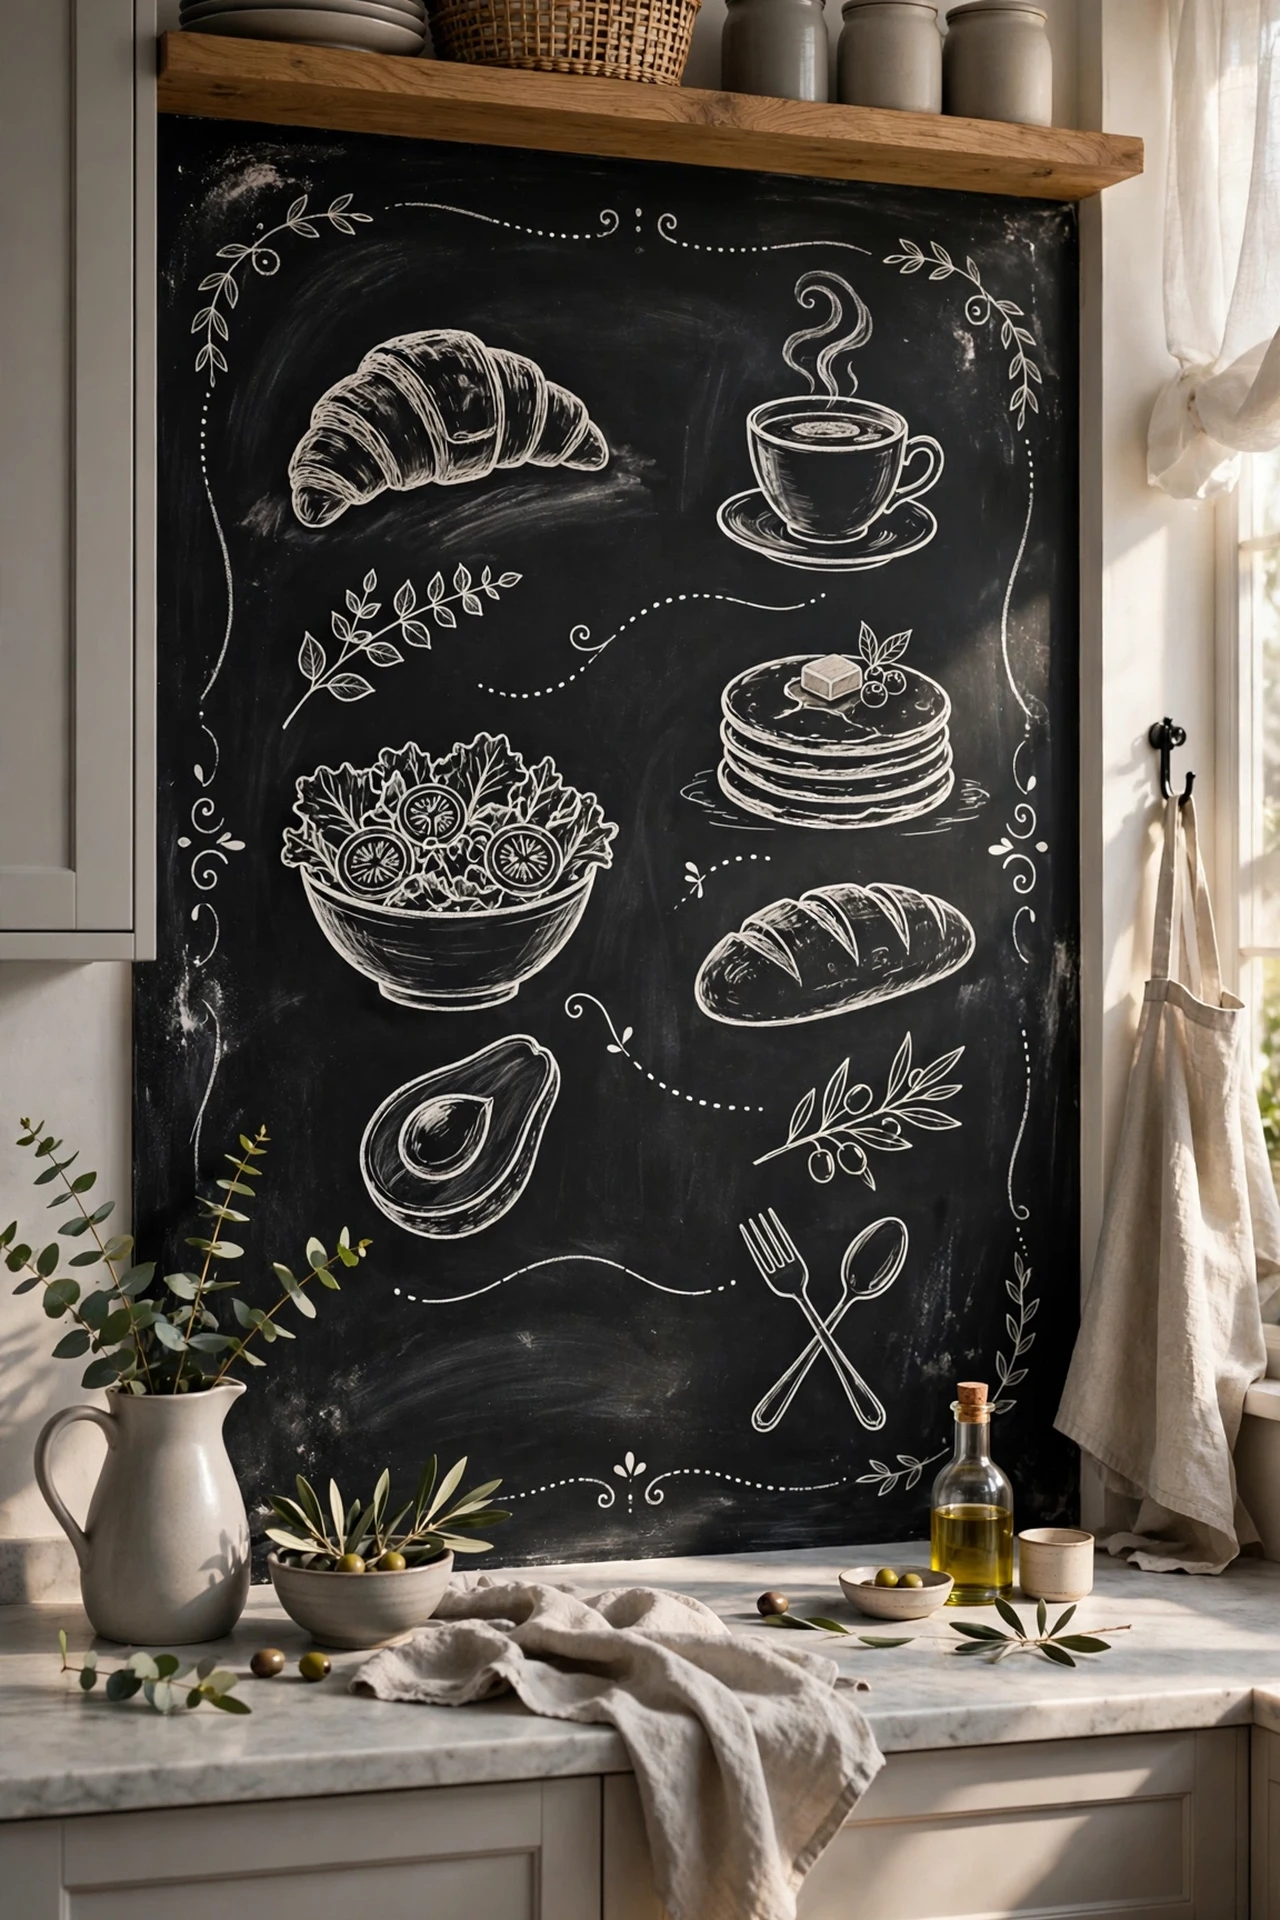
One section of wall painted in black chalkboard paint becomes the weekly menu board, the shopping list, and the kids’ doodle zone all at once. I painted the end wall of my galley kitchen and it stopped being a dead corner. Roll on two coats, let it cure for three full days before the first chalk, and season it by rubbing chalk all over and wiping off. I tried writing on it after one day and the ghosting never fully came out, so the cure time is non-negotiable. White chalk on black is the whole aesthetic, so embrace it.
Cost: ~$15 | Time: 2 hours
14. White Dishes Stacked Against Black Shelves
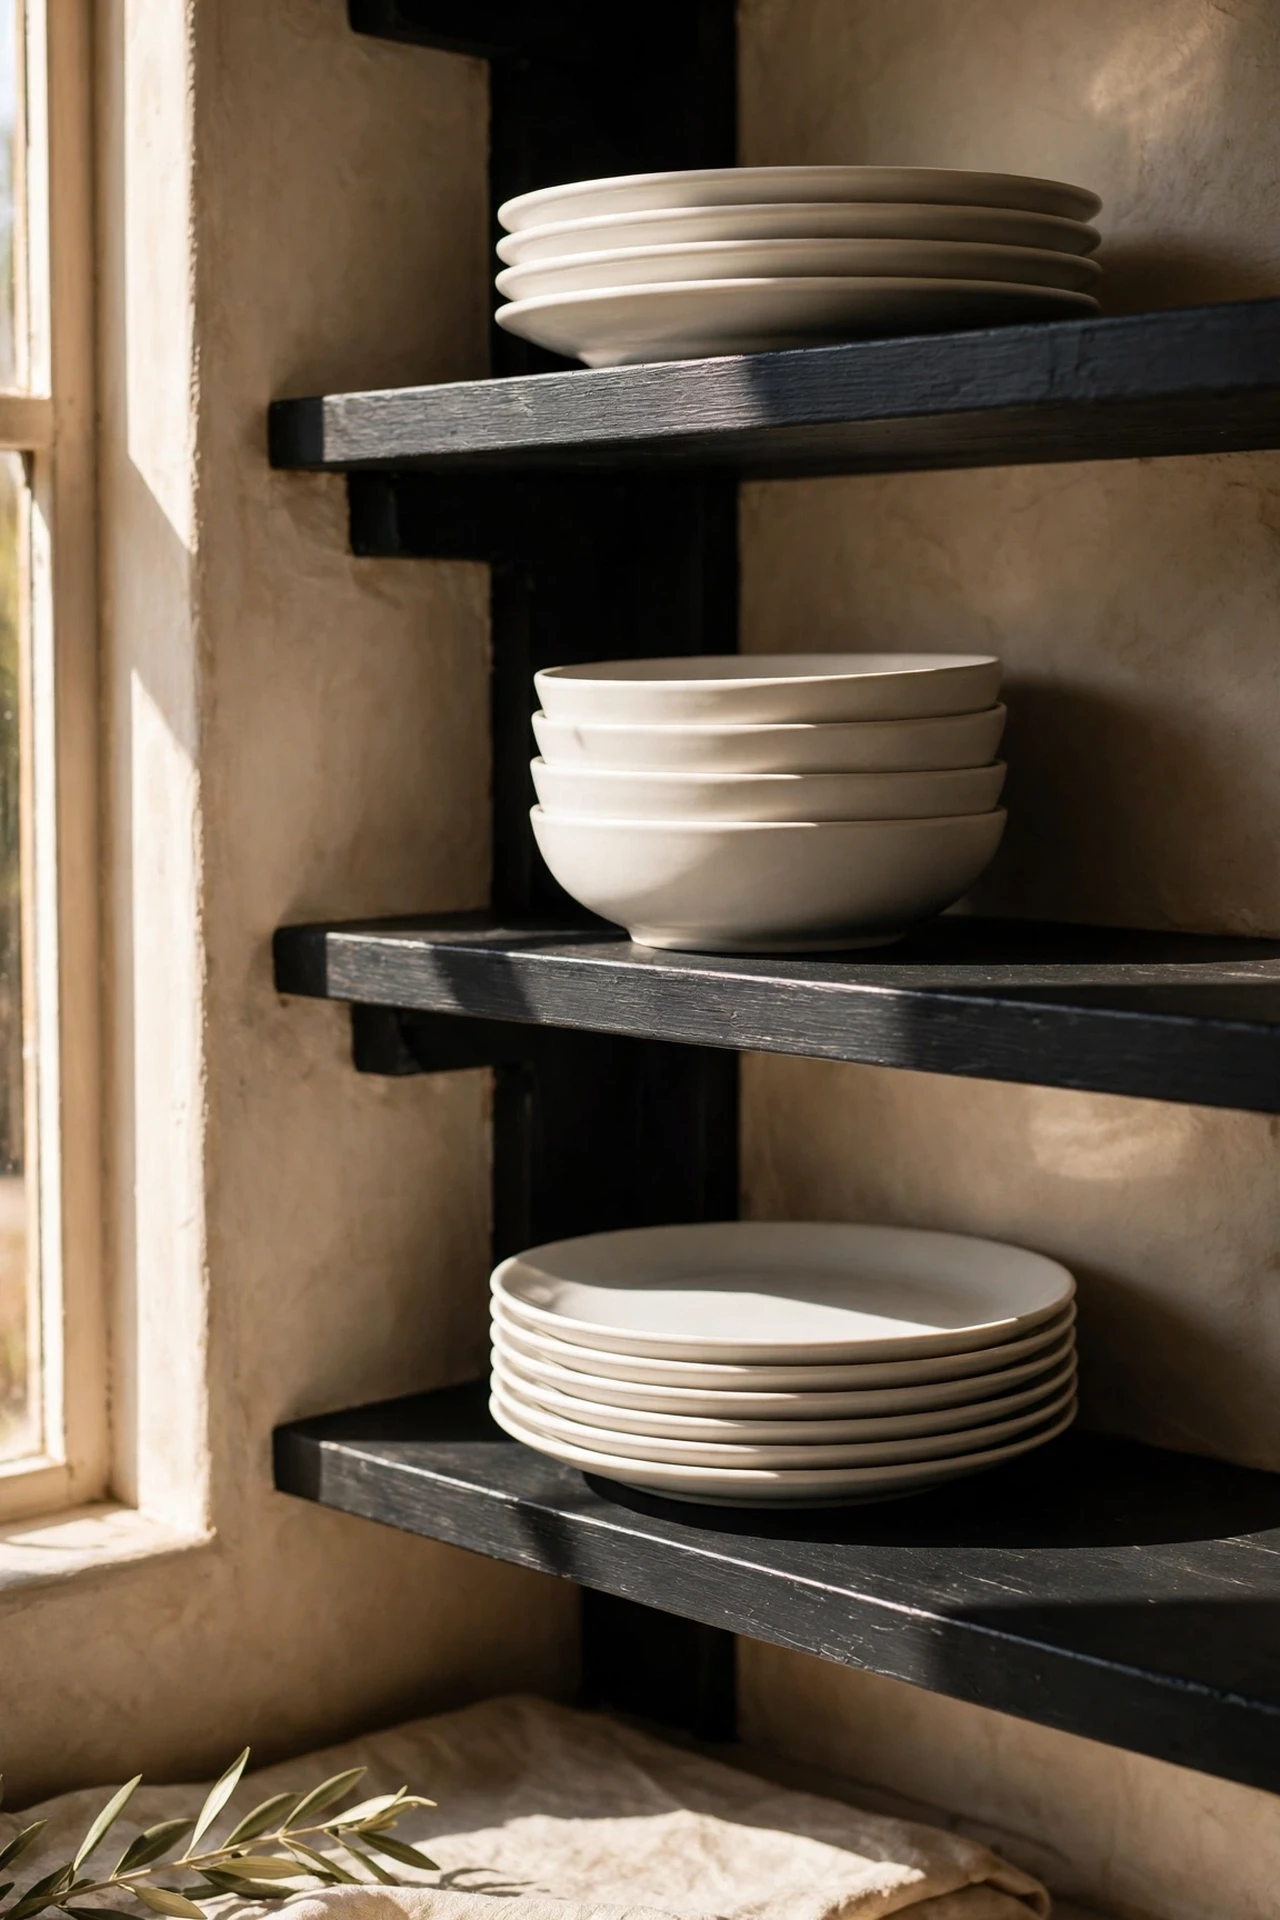
If your shelves are white, paint just the brackets or the shelf undersides black and stack plain white dishes on top. The contrast makes everyday crockery look like a design choice. I spray-painted my brackets black in the garden and remounted them the next day. Keep the stacks low and even, with the prettiest pieces at eye level, because that’s where guests look. I tried this with patterned dishes first and it was visual chaos, so plain white is the key. Two shelves is plenty, three starts to feel like a shop.
Cost: ~$6 | Time: 1 hour
15. Black Kettle and Toaster as Countertop Accents
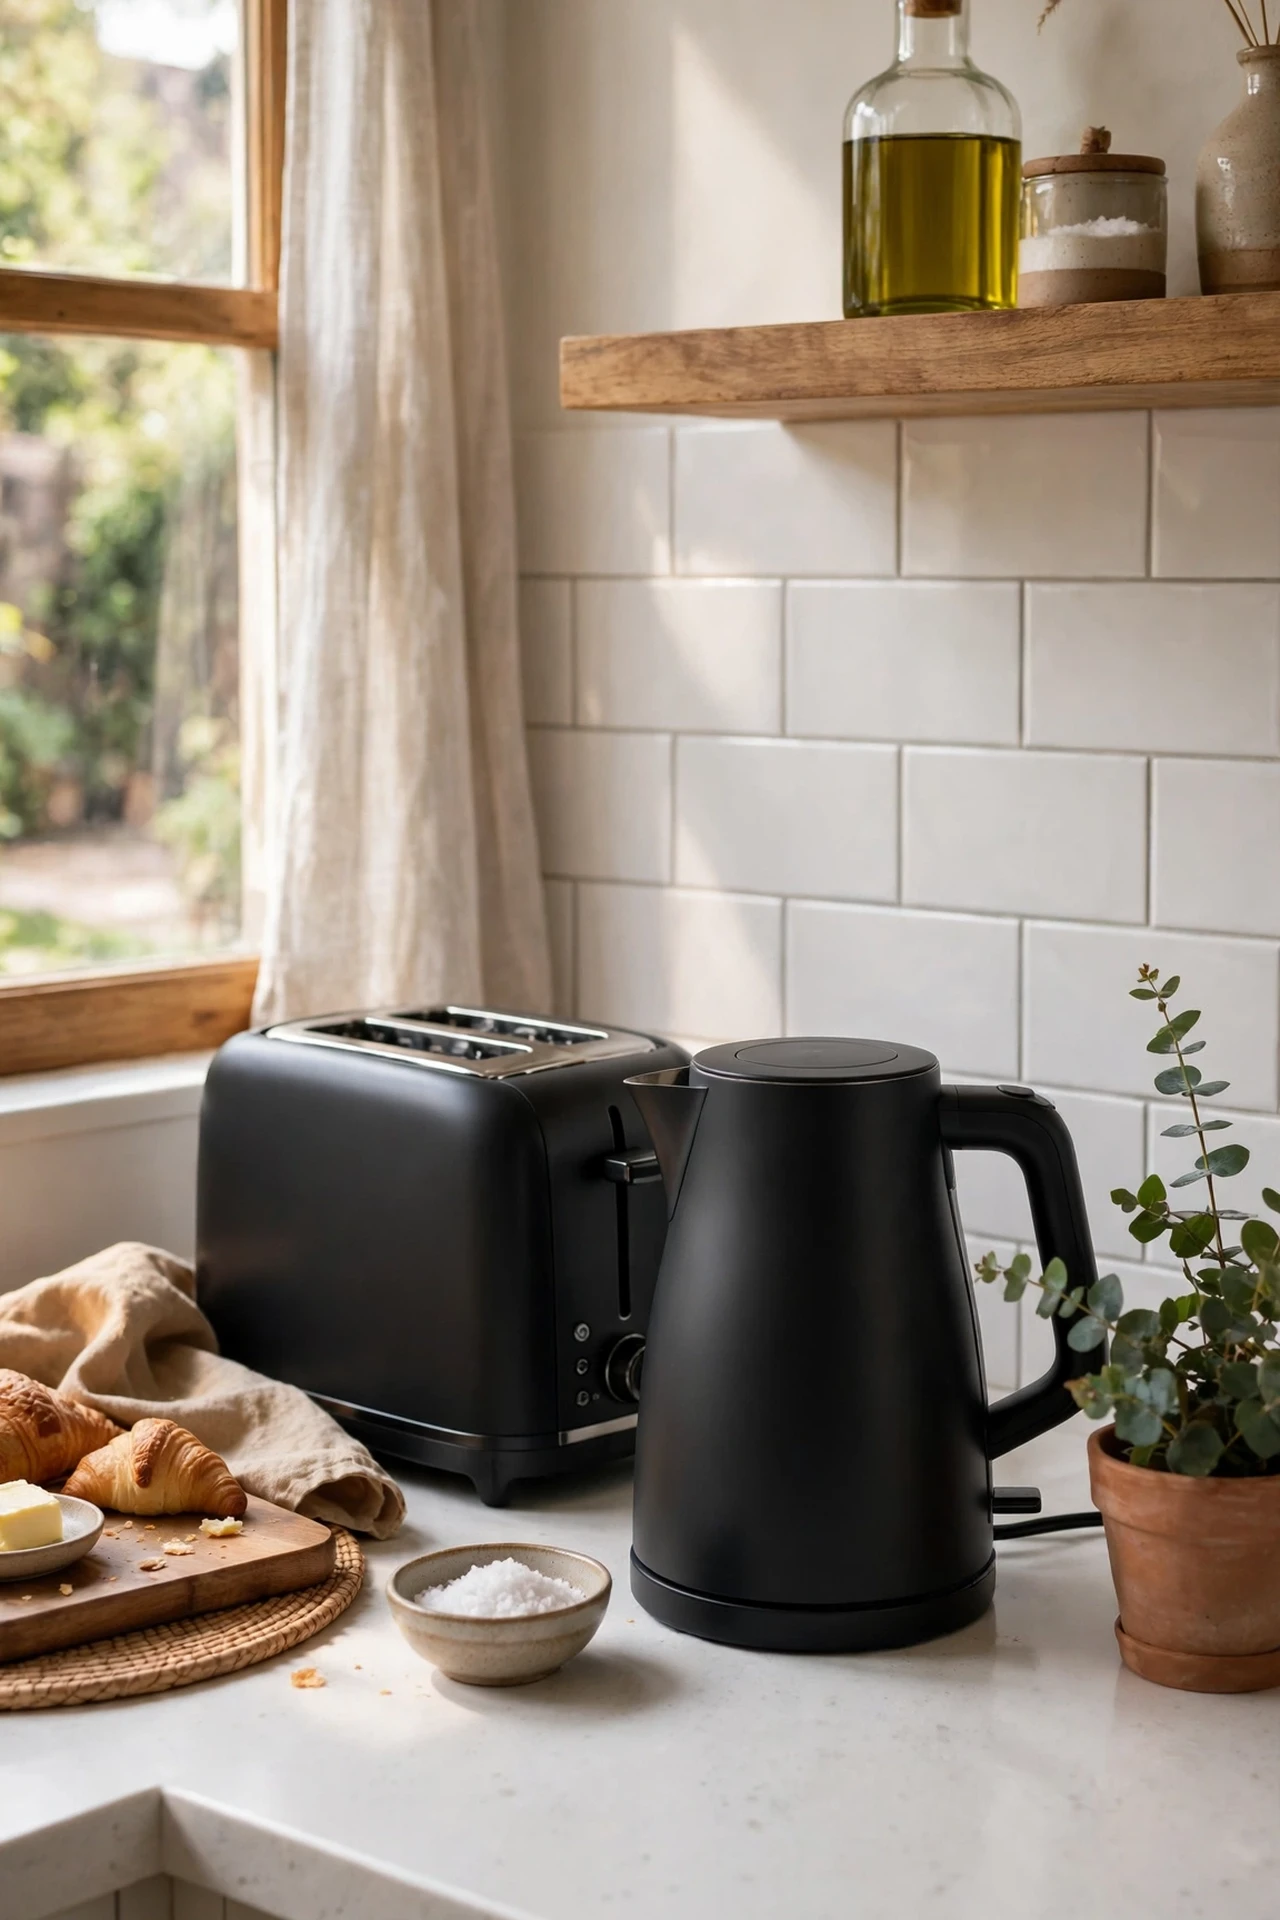
Two black appliances on a white counter do more styling work than a shelf of knick-knacks. I replaced my kettle and toaster with matching matte black ones during a sale, and the counter suddenly looked coordinated. Measure your under-cabinet clearance before buying the toaster, because some tall models don’t fit. I tried keeping my old silver kettle alongside and it stuck out immediately, so commit to the pair. When they match, the whole counter reads as intentional rather than accumulated.
Cost: ~$35 | Time: 10 minutes
16. Striped Runner Rug in Black and White
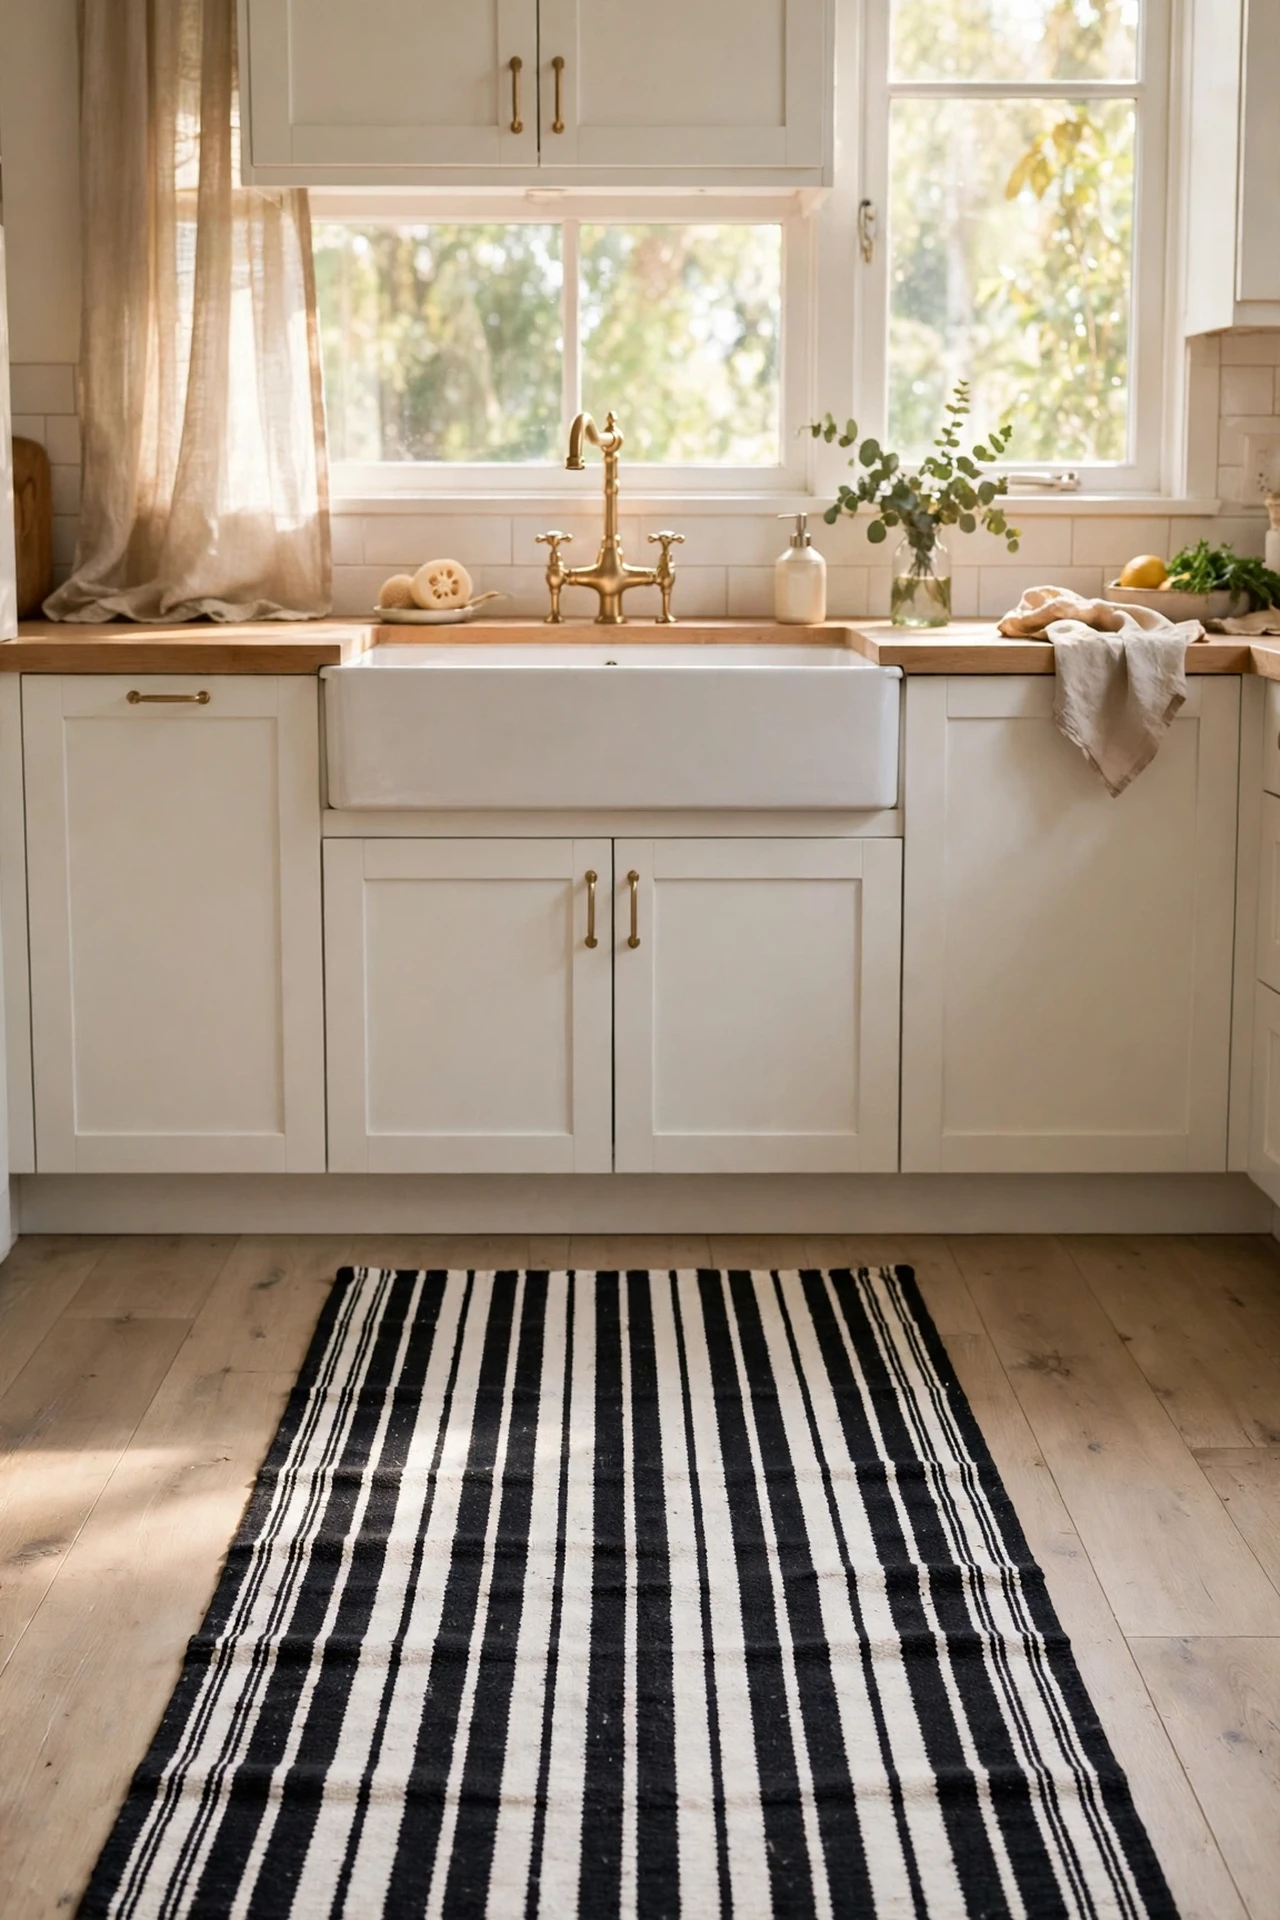
A black-and-white striped runner does for the floor what the backsplash does for the wall, and it’s machine washable if you buy the right one. I laid mine in front of the sink and cooker where the traffic is, and it tied the whole scheme together. Get a low-pile rug with a rubber backing so it doesn’t slide on tile, and wash it monthly because kitchen rugs work hard. I tried a cotton one without backing first and it migrated across the room daily. Stripes running lengthwise make a narrow kitchen feel longer, which is a free bonus.
Cost: ~$25 | Time: 5 minutes
17. Black Paint on Just the Pantry Door
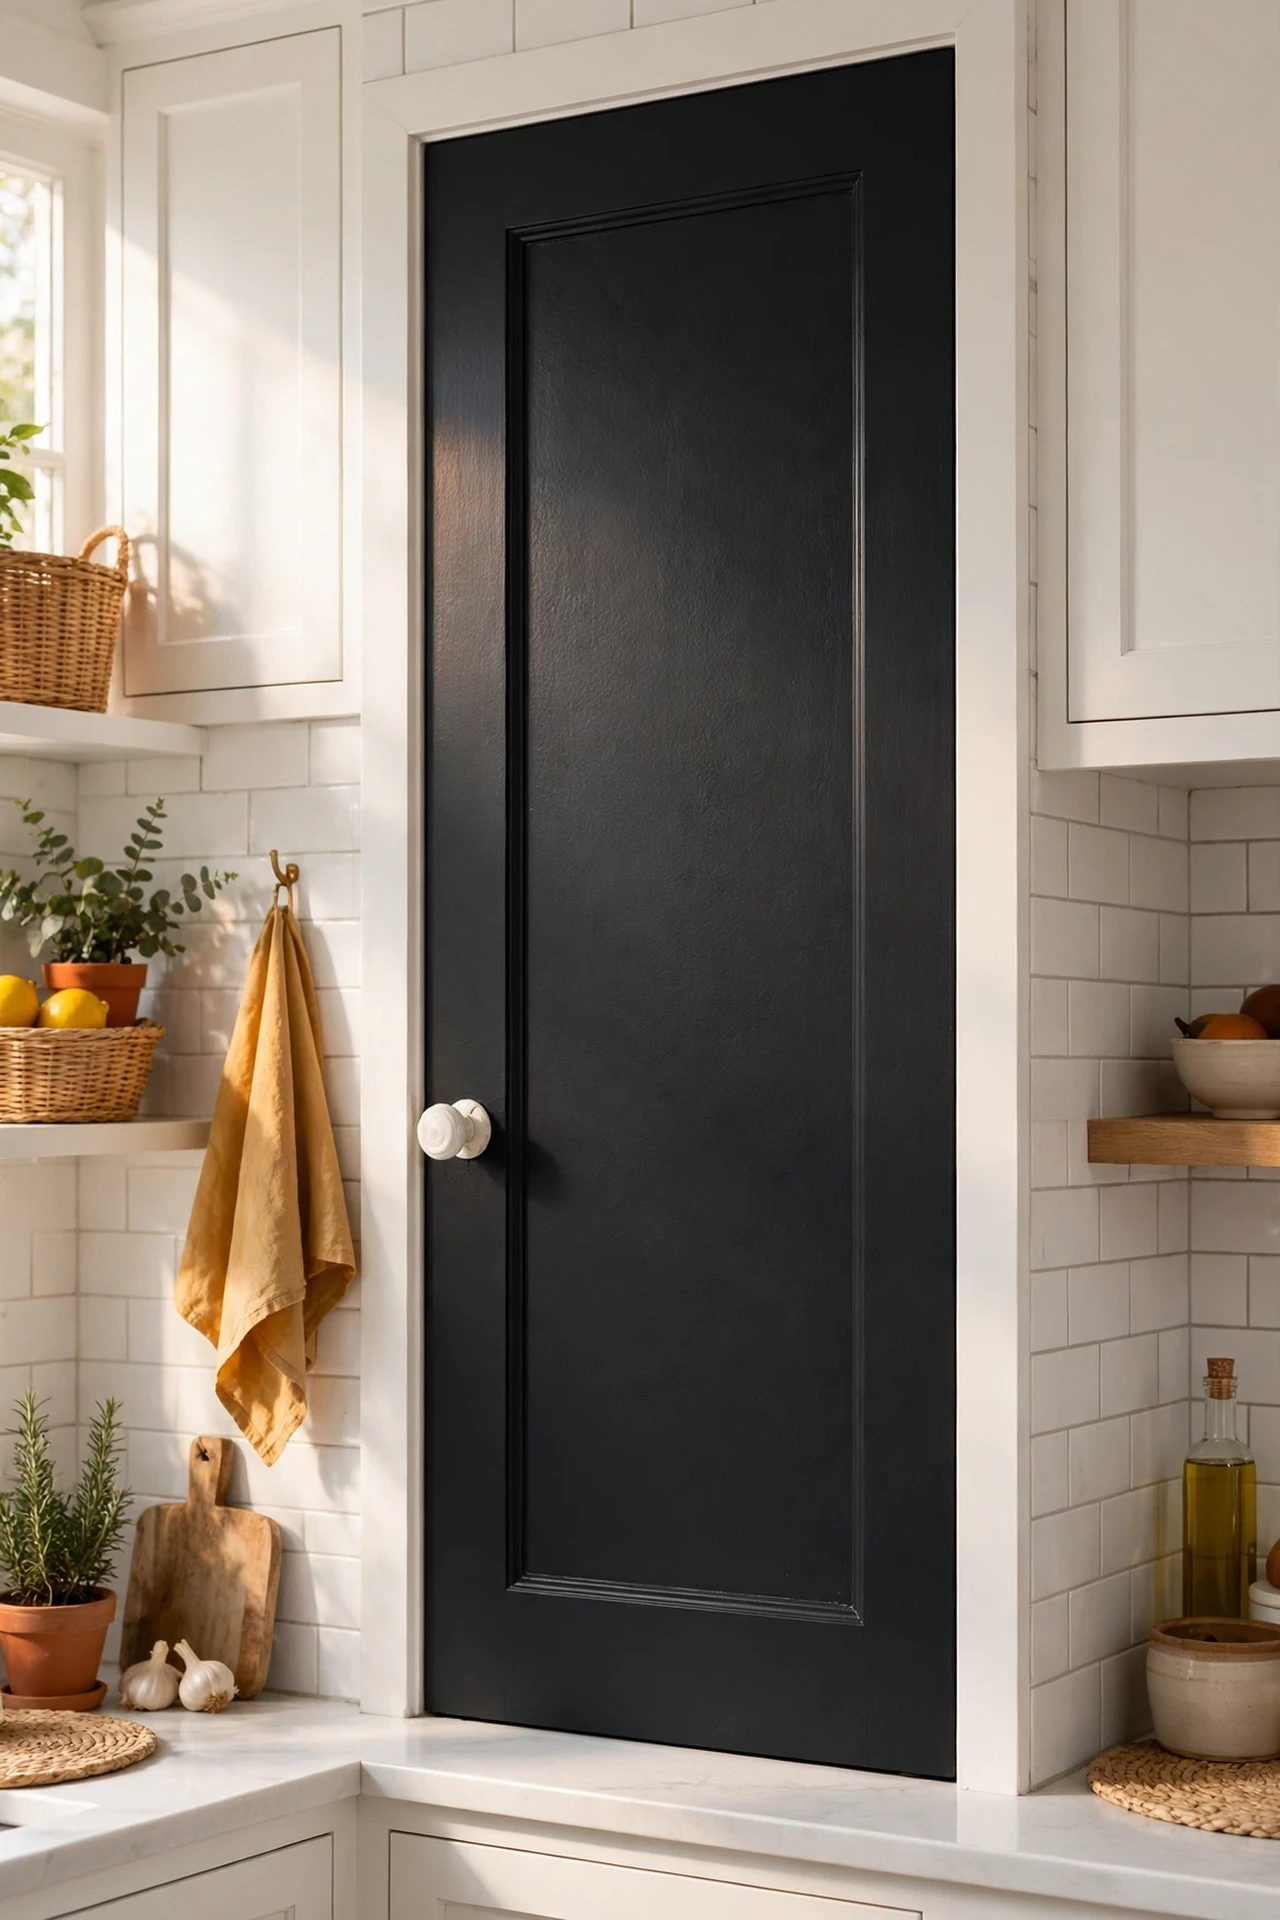
One black door in an otherwise white kitchen is a statement that costs one tester pot. I painted my pantry door matte black and swapped the knob for a white ceramic one, inverting the whole colour scheme in miniature. Remove the door to paint it flat, sand lightly between coats, and paint the edges so they don’t flash white when it’s ajar. I tried this on a whim and it became the thing visitors comment on first. The mistake to avoid is using gloss, because every fingerprint shows; matte is far more forgiving.
Cost: ~$8 | Time: 2 hours
18. White Marble-Effect Contact Paper on Counters
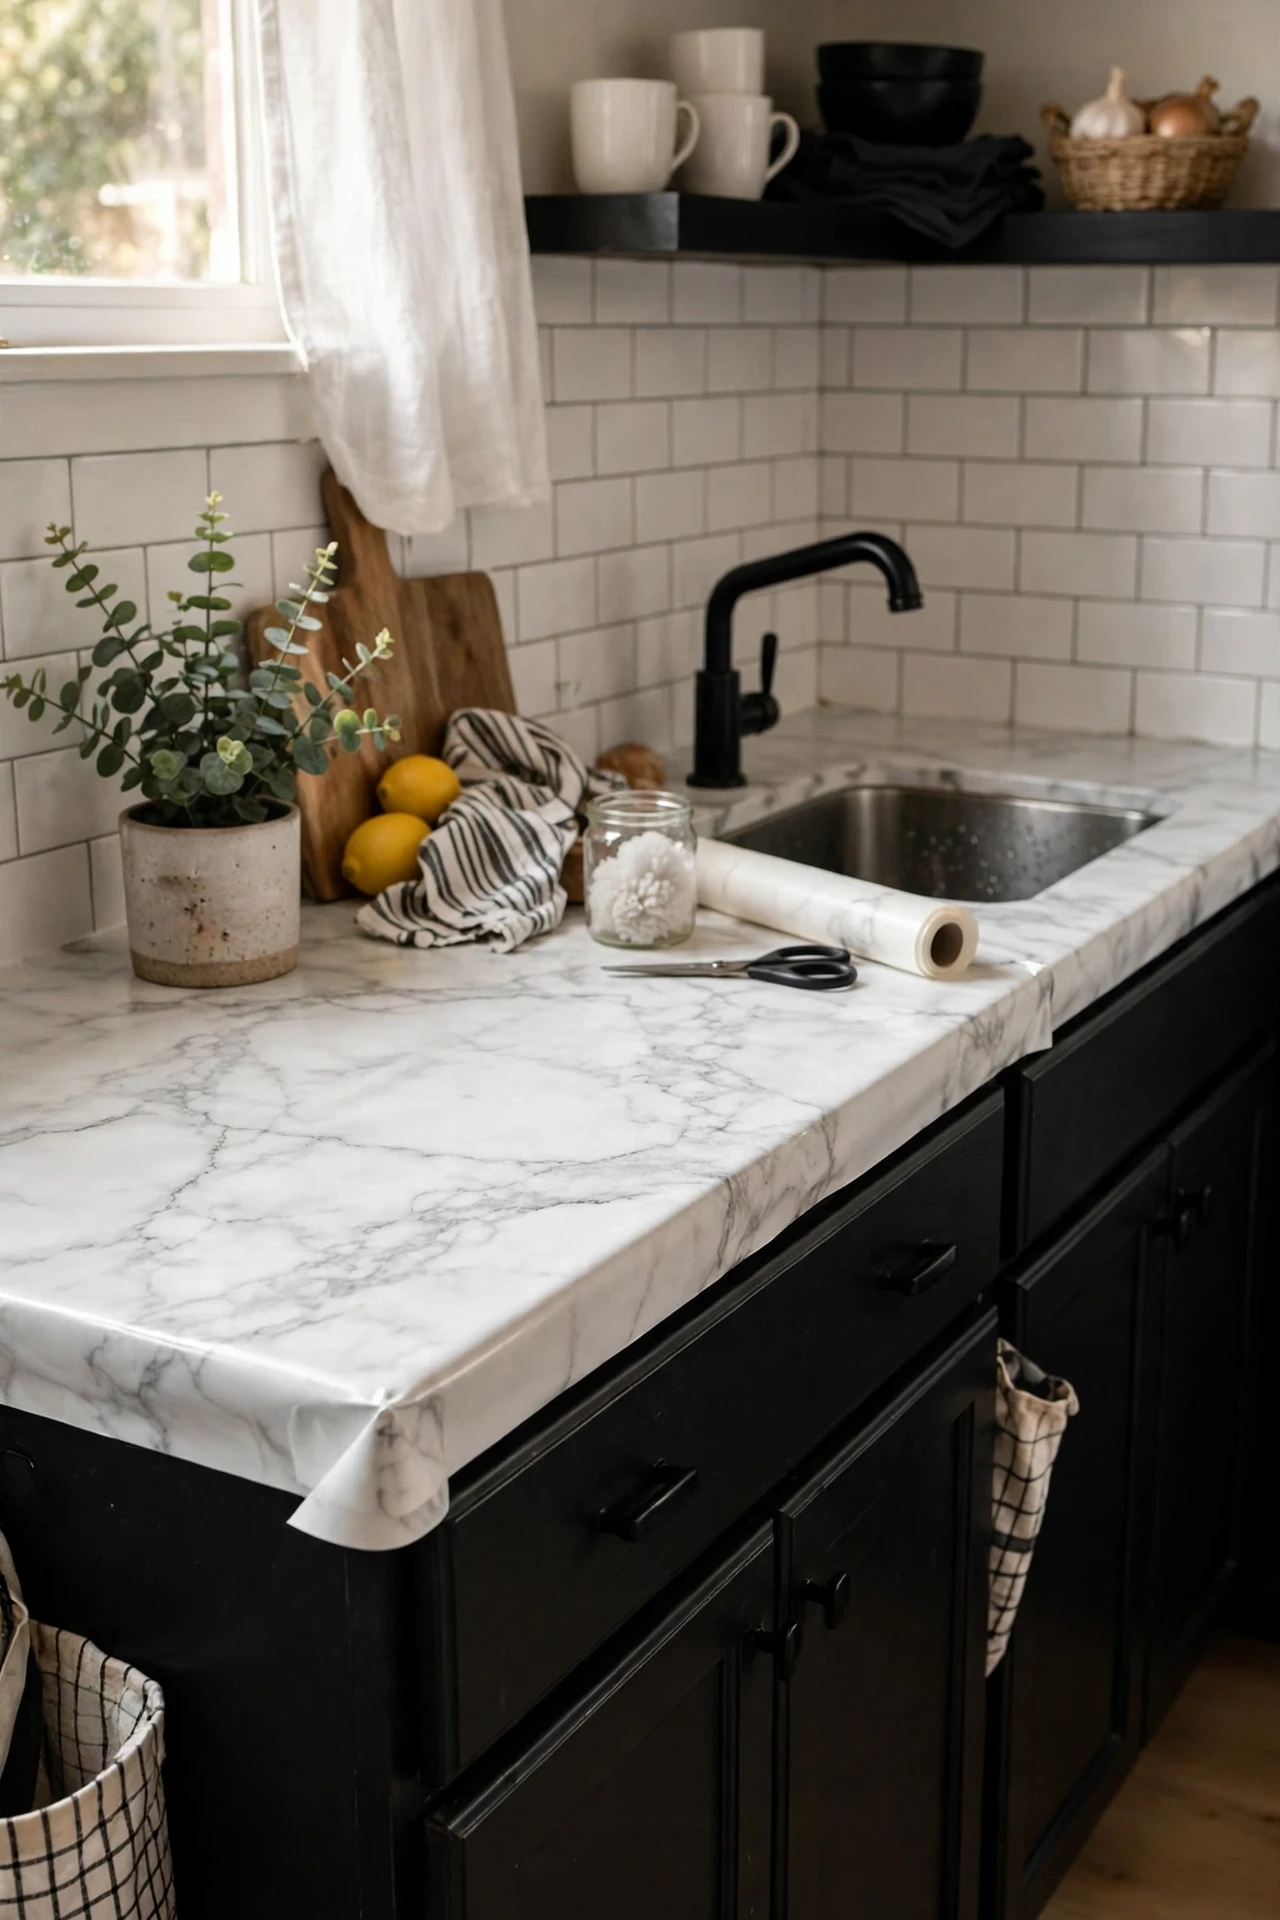
My old laminate counters were beige and beyond saving, so I wrapped them in white marble-effect contact paper. It sounds cheap because it is, but from standing height it genuinely passes. Clean the counters thoroughly, cut the paper oversized, and smooth it down with a felt squeegee working from one edge. I did mine in an afternoon and the kitchen looked twice the price. The mistake to avoid is skipping the seal on the seams near the sink, because water gets under and lifts the edges. A clear silicone bead fixes that. More small-kitchen space tricks live at (see also: small-kitchen-ideas-that-feel-twice-as-big).
Cost: ~$20 | Time: 3 hours
19. Black and White Storage Canister Set
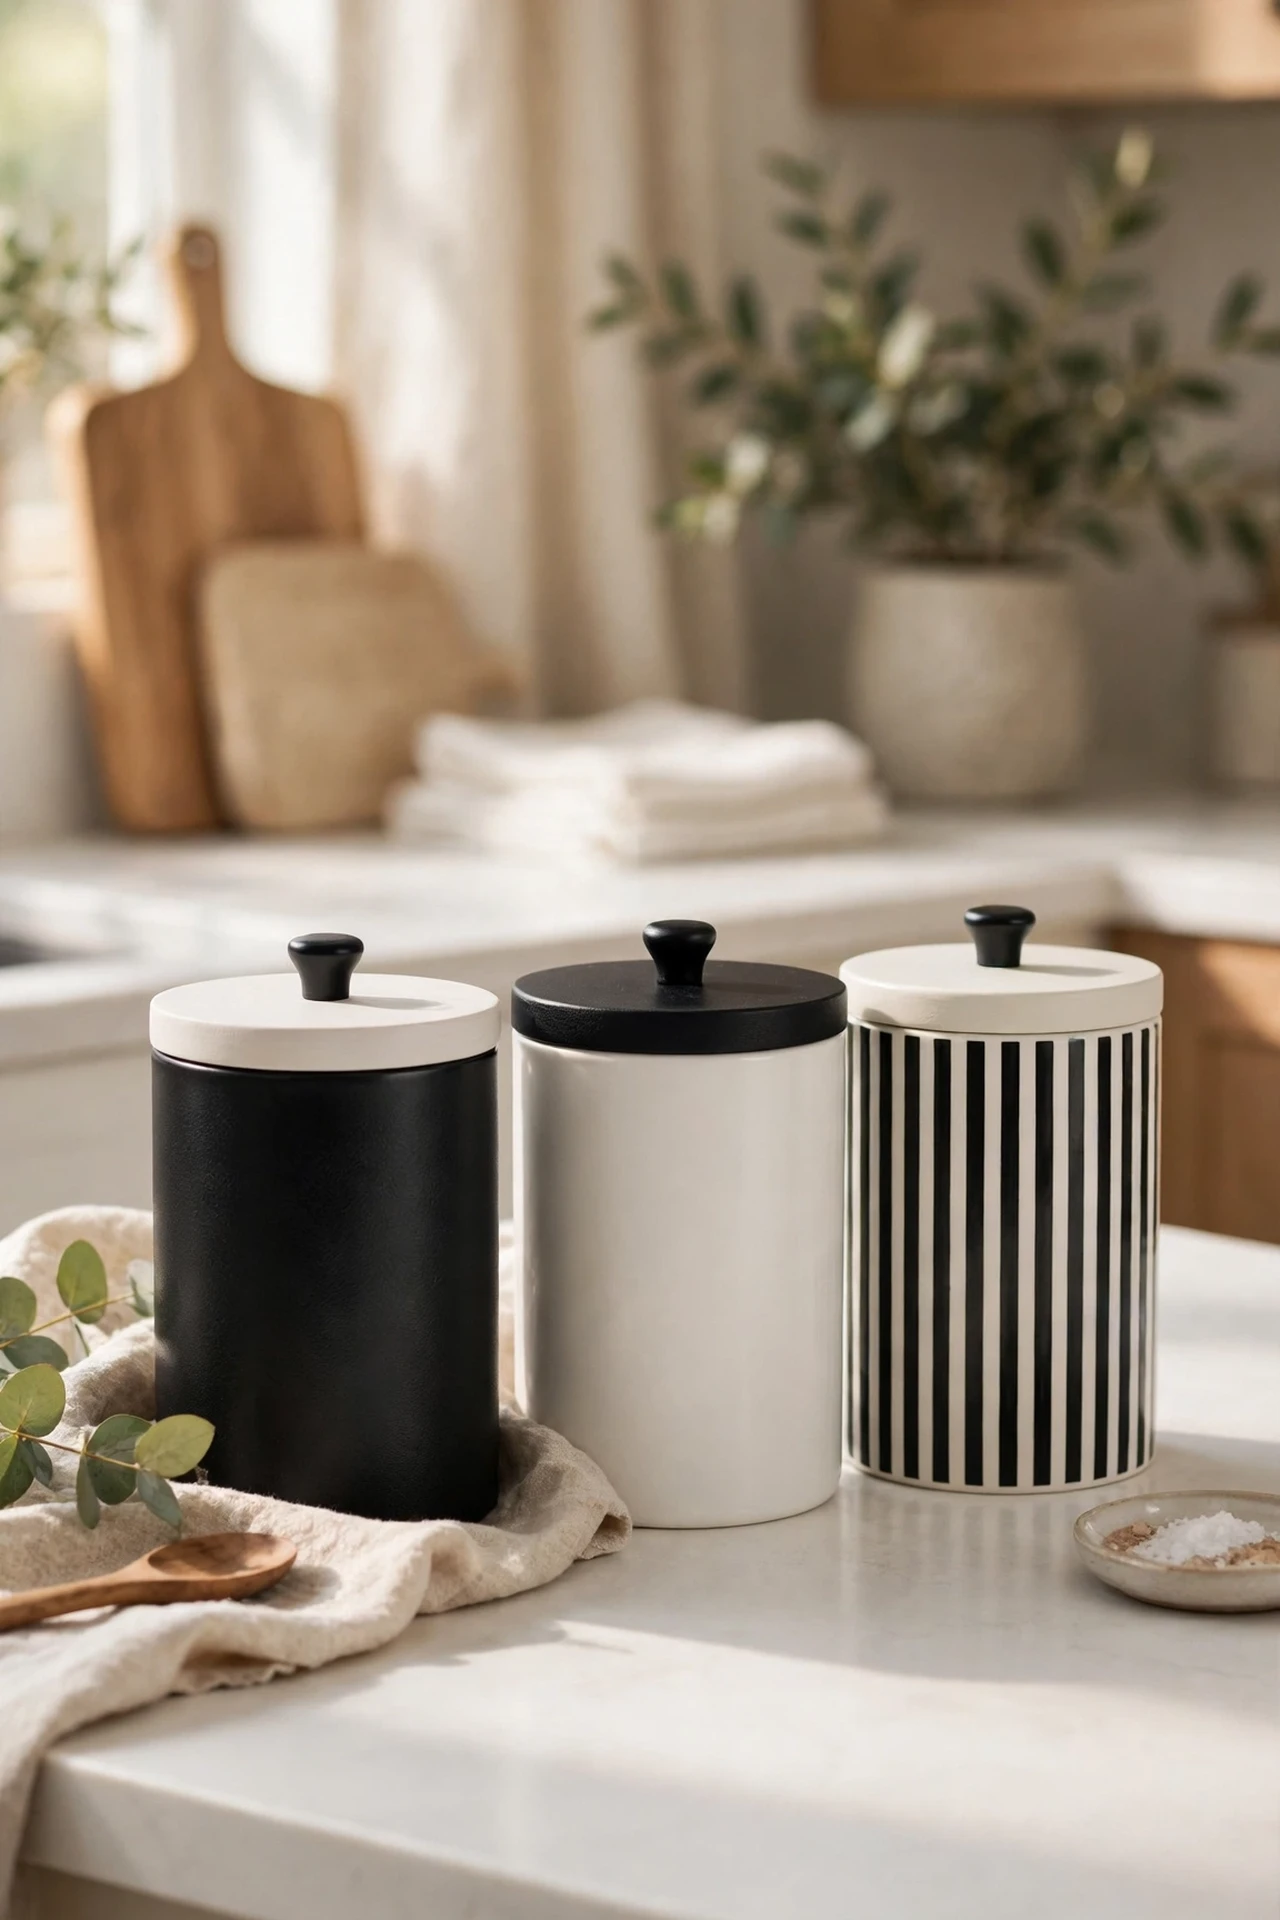
A matching canister set in black and white turns flour, sugar, and coffee into part of the decor. I bought a set of three with black lids and white bodies, decanted everything, and the counter looked calmer instantly. Check the seal on each lid before you commit, because a pretty canister that lets flour go stale is just a decoration. I tried mismatched jars with black labels first and it never looked quite right. Matching sets do the visual work for you, which is the whole point of a monochrome scheme.
Cost: ~$18 | Time: 15 minutes
20. Black Uppers, White Lowers, the Reverse Tuxedo
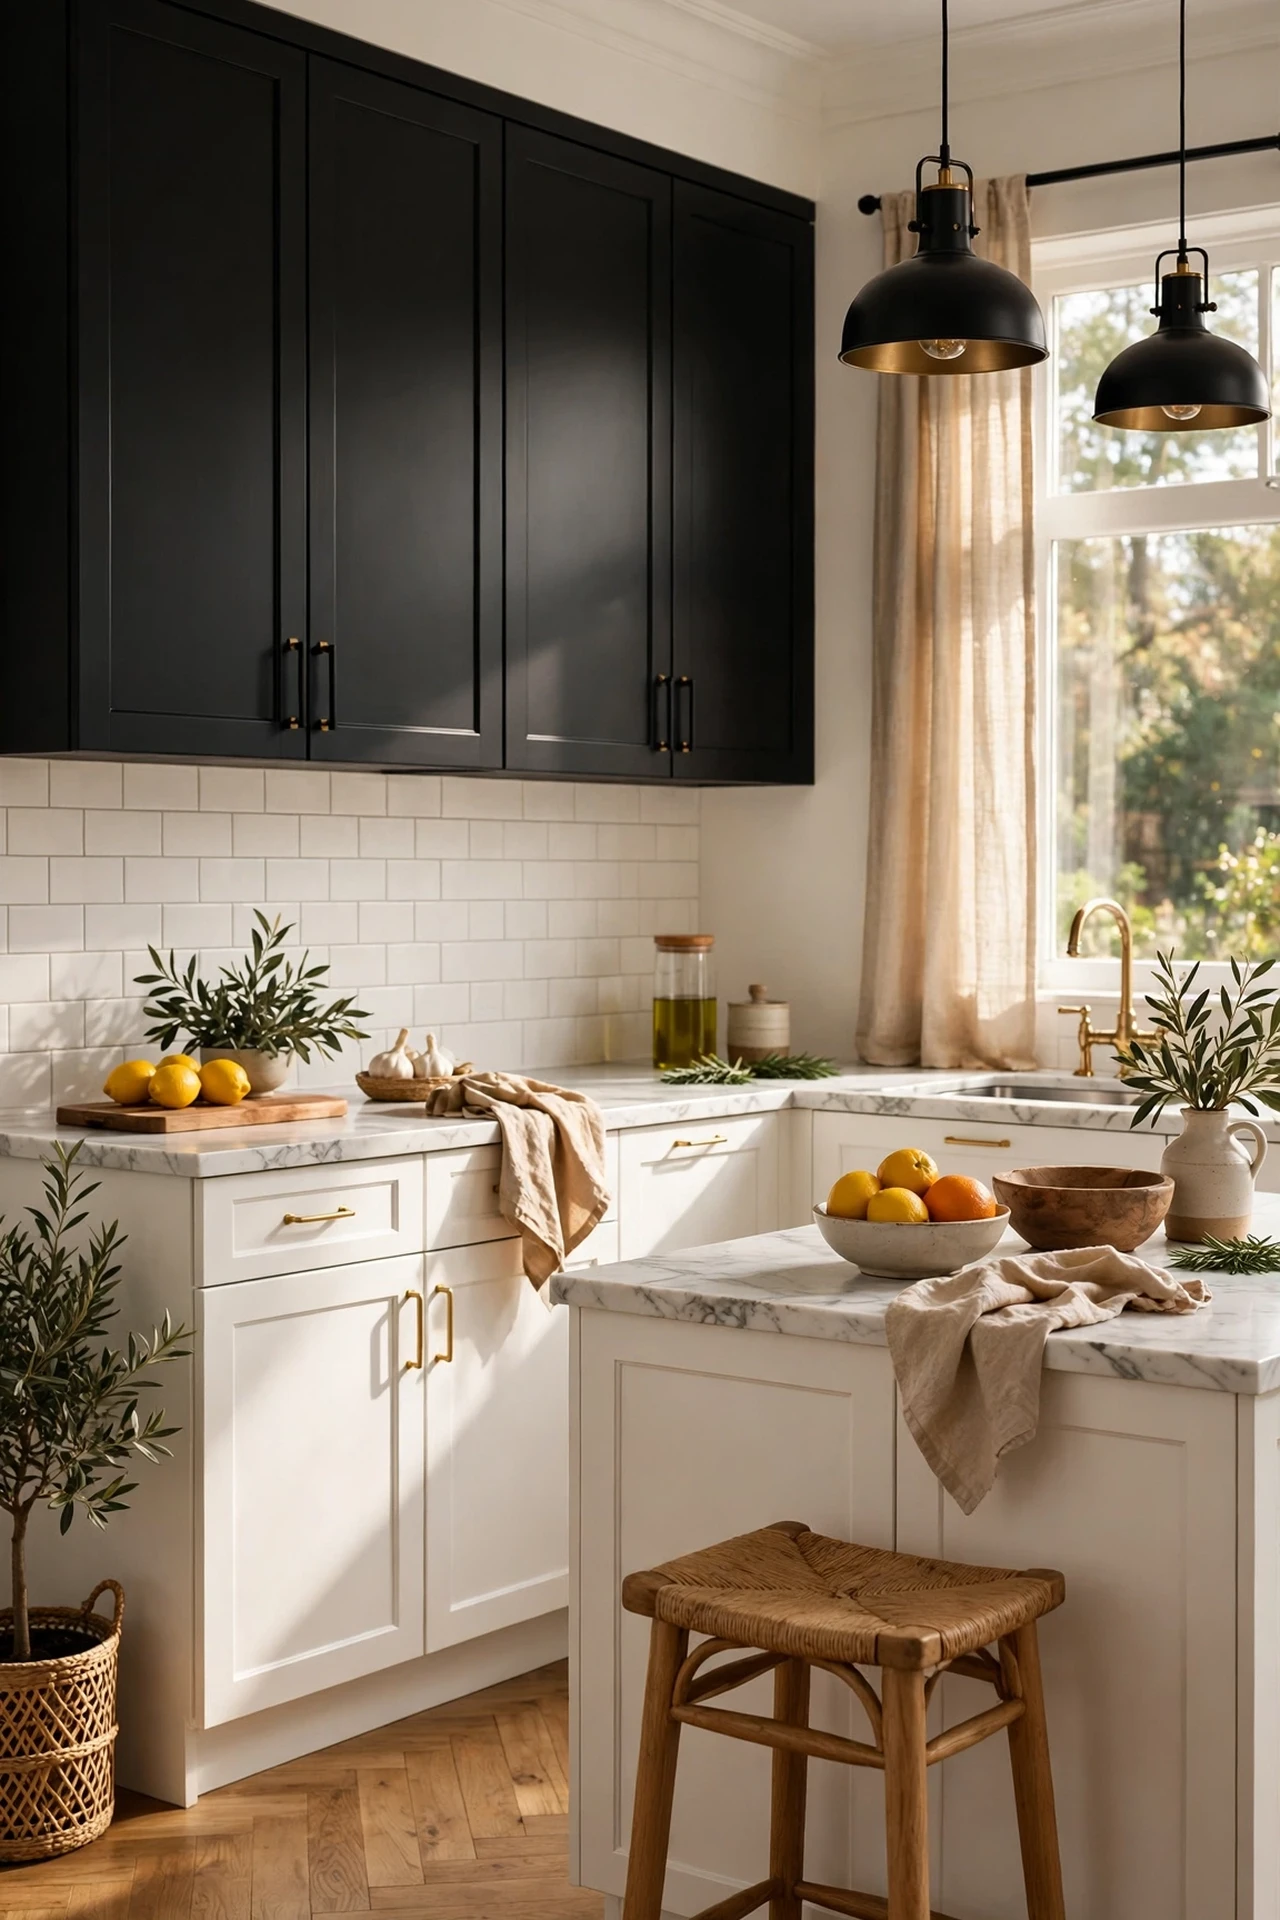
Everyone does white uppers and dark lowers, so I flipped it: black uppers, white lowers. It sounds wrong but it works, because dark uppers recede and the white lowers keep the room bright at eye level. I painted only the upper doors, which was half the work of a full cabinet job. Use the same prep as any cabinet paint, degrease, sand, prime, two coats, and live with the primer for a day to make sure you like the direction. I tried this and the kitchen felt taller, which I did not expect. Commit fully or not at all, because one black door among white ones looks like a mistake.
Cost: ~$30 | Time: 5 hours
21. High-Contrast Photo Ledge Over the Backsplash
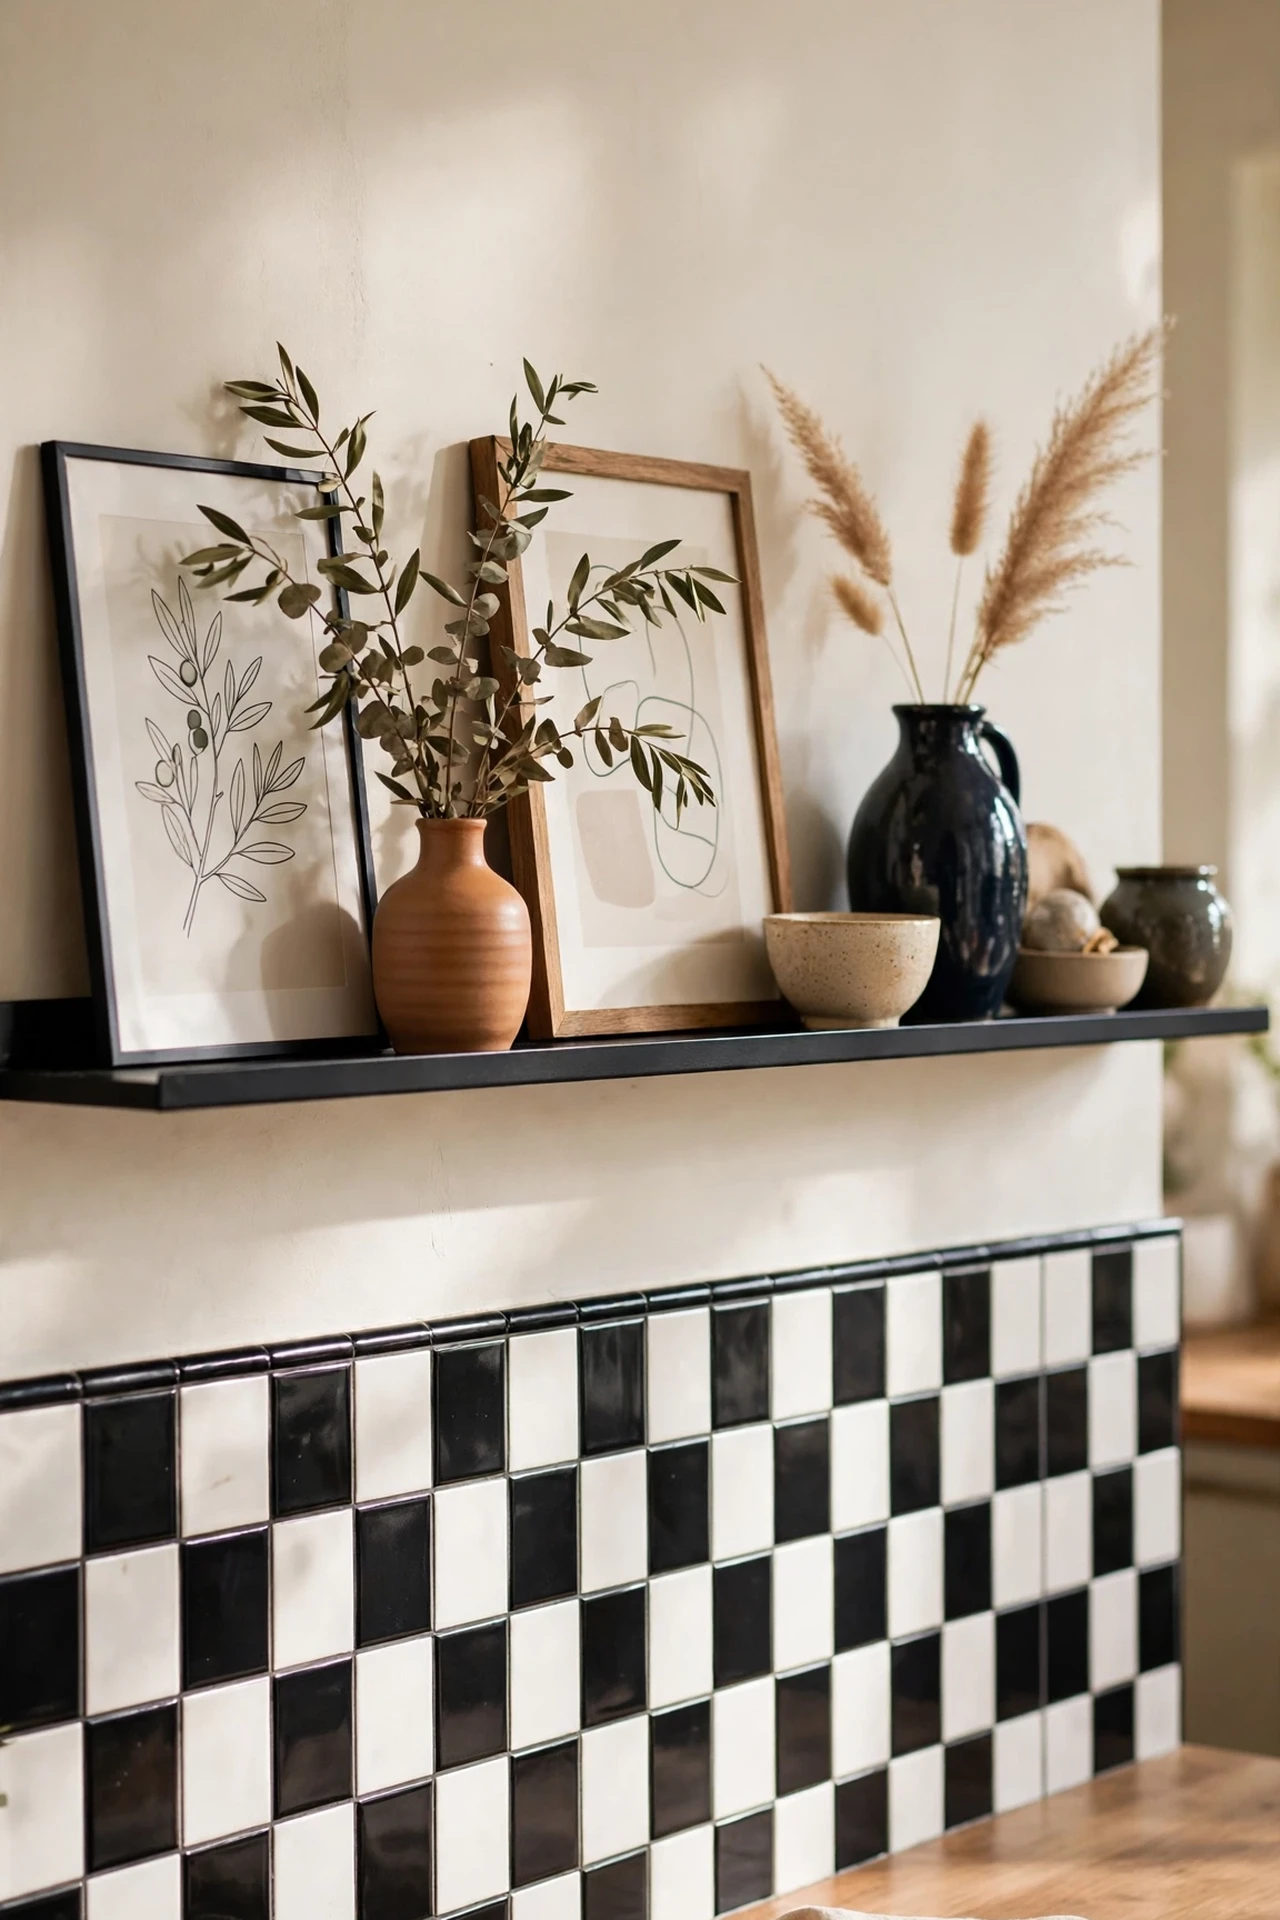
A slim black picture ledge mounted above the backsplash gives you a rotating display shelf for prints, small plants, and cookbooks. I fixed mine with two screws into studs and styled it with black frames and white ceramics. Keep the arrangement shallow so nothing falls behind the cooker, and leave gaps between objects so each one reads. I tried cramming it full first and it looked like a shelf, not a display. Three to five items is the sweet spot, and swapping them seasonally keeps the kitchen feeling fresh.
Cost: ~$15 | Time: 30 minutes
Black and White Kitchen FAQs
Will a black and white kitchen make my small kitchen feel smaller?
Not if you keep white dominant. Use black as the accent, on hardware, one door, or the island, and keep walls and uppers light. The contrast actually adds depth, which can make a small kitchen feel more defined rather than smaller.
Is matte or gloss black better for a budget kitchen?
Matte wins for budget kitchens every time. It hides fingerprints, brush marks, and the imperfections of older cabinets far better than gloss. Gloss black looks stunning in showrooms but shows every flaw, which is the last thing you want on a dime-store paint job.
How do I keep white surfaces from looking dirty all the time?
Choose washable finishes, satin paint on cabinets and wipeable vinyl on the backsplash, and build a five-minute nightly wipe-down into your routine. Cream and off-white hide daily grime better than brilliant white, so pick warm shades if low maintenance matters to you.
Black and white on a budget is really about confidence: pick your contrast, commit to it, and let two cheap tins of paint do the heavy lifting.
