17 Thrifted Kitchen Decor Finds Worth Hunting For
The best thing I ever bought for my kitchen cost me fifty pence, and I nearly walked straight past it. I was killing time in a charity shop on a rainy Saturday, when I spotted it: a deep green enamel bread bin buried behind a leaning tower of saucers. That one find started the whole obsession. Hunting down thrifted kitchen decor finds worth hunting for is now my favourite weekend ritual, and my kitchen is full of pieces with a past — none of them costing more than a takeaway. Below are the seventeen finds that actually earn their place, what to pay, and the mistakes I made so you do not have to.
1. Vintage Mason Jars Repurposed as Pantry Storage
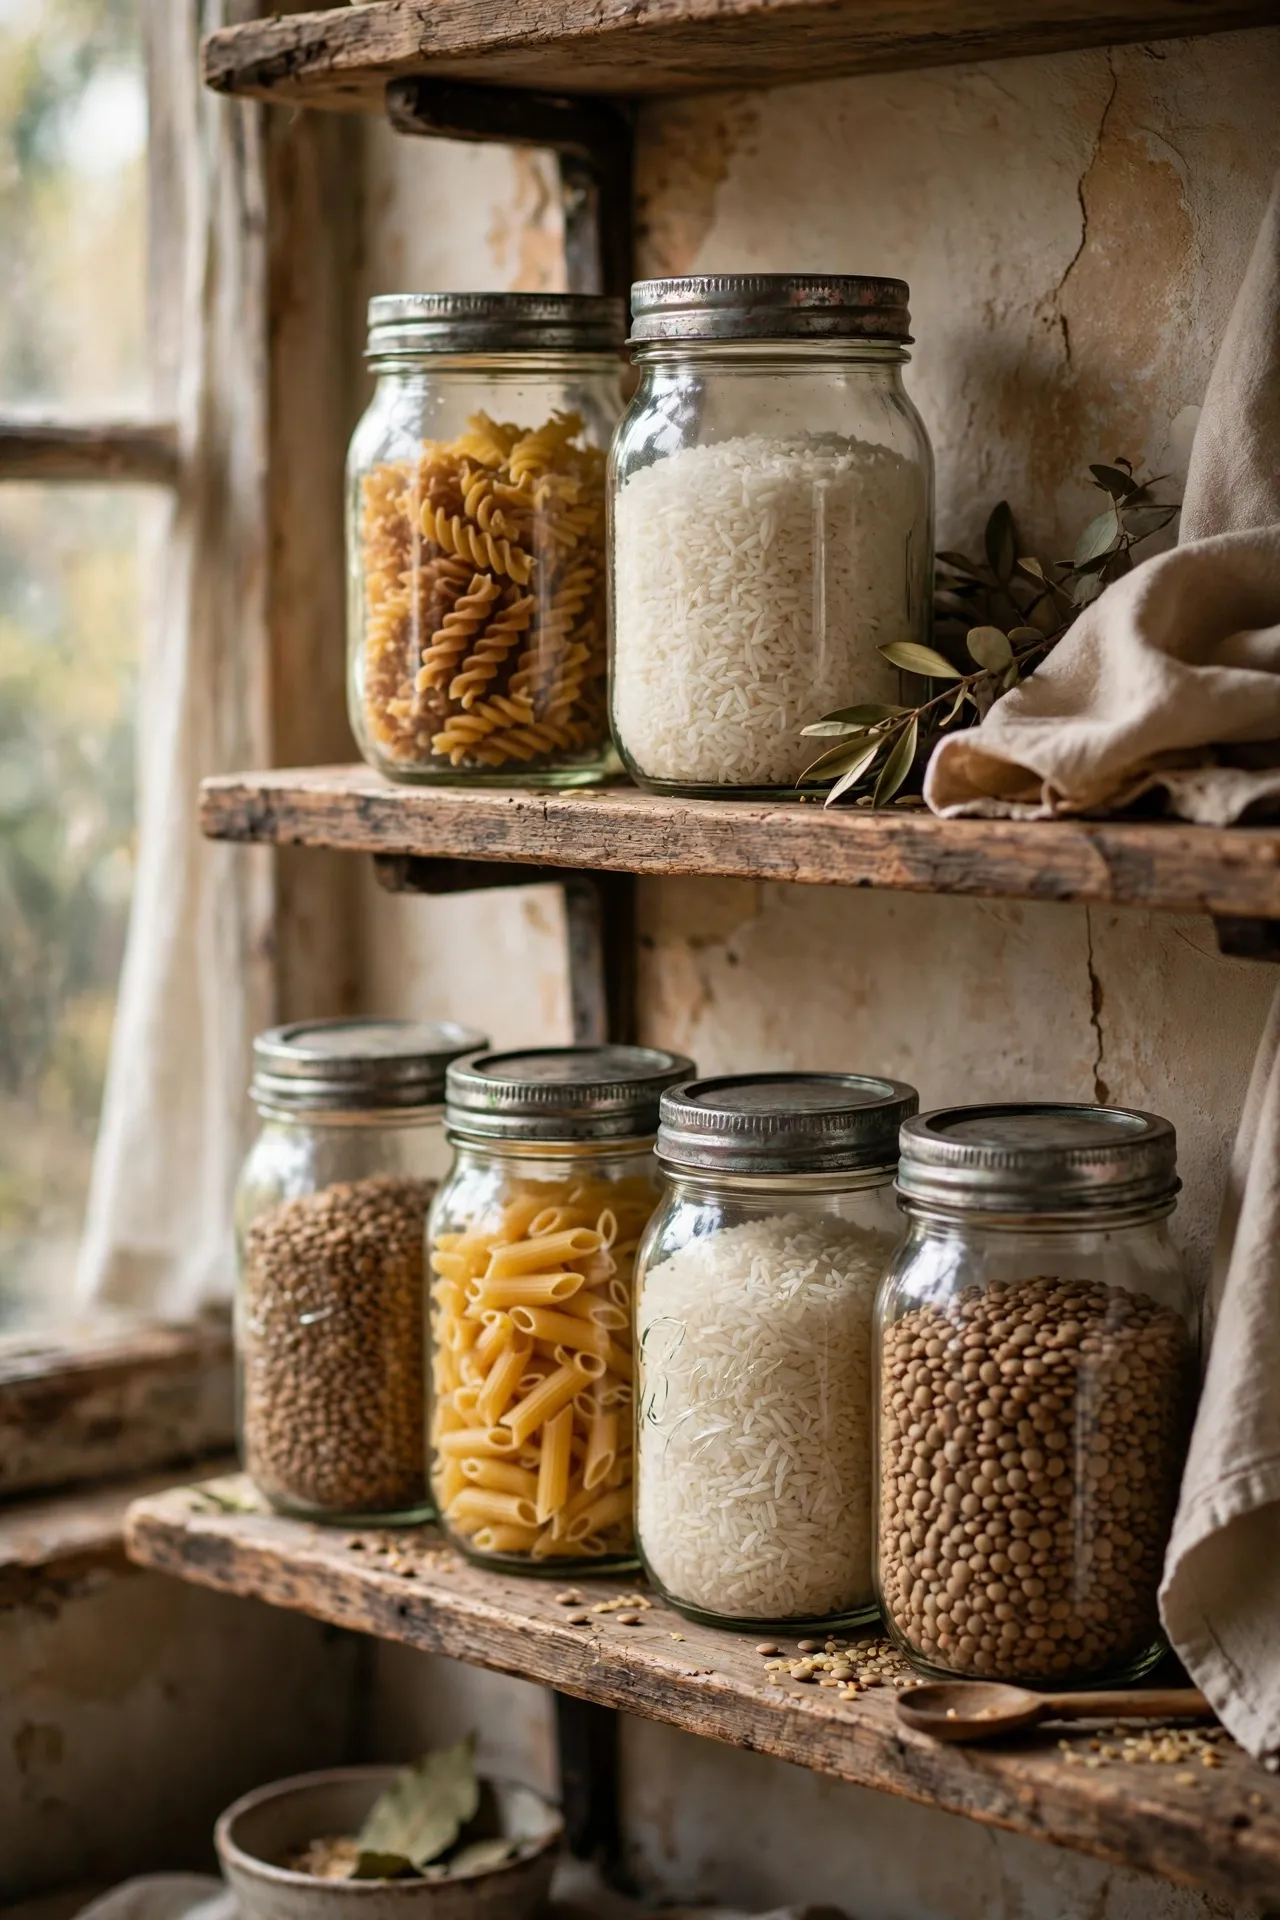
Those old glass preserving jars with the zinc lids turn up in charity shops constantly, usually a pound or two each, and they are the hardest-working storage you will ever own. Fill them with pasta, rice, lentils, and sugar, and your open shelves instantly look like a farmhouse pantry instead of a cupboard that exploded. Wash them in hot soapy water first, then check the rubber seals — if they are cracked, replace them or just use the jars open for dry goods. I tried this with a mismatched set of seven, all different heights, and honestly the mix looks better than a matching set ever would. My mistake was buying jars with rusty lids I told myself I could fix; you cannot, so pick clean ones or plan to display them lidless.
Cost: ~$8 for a set of four | Time: 20 minutes to clean and fill
2. Retro Pyrex Bowls Displayed in Open Stacks
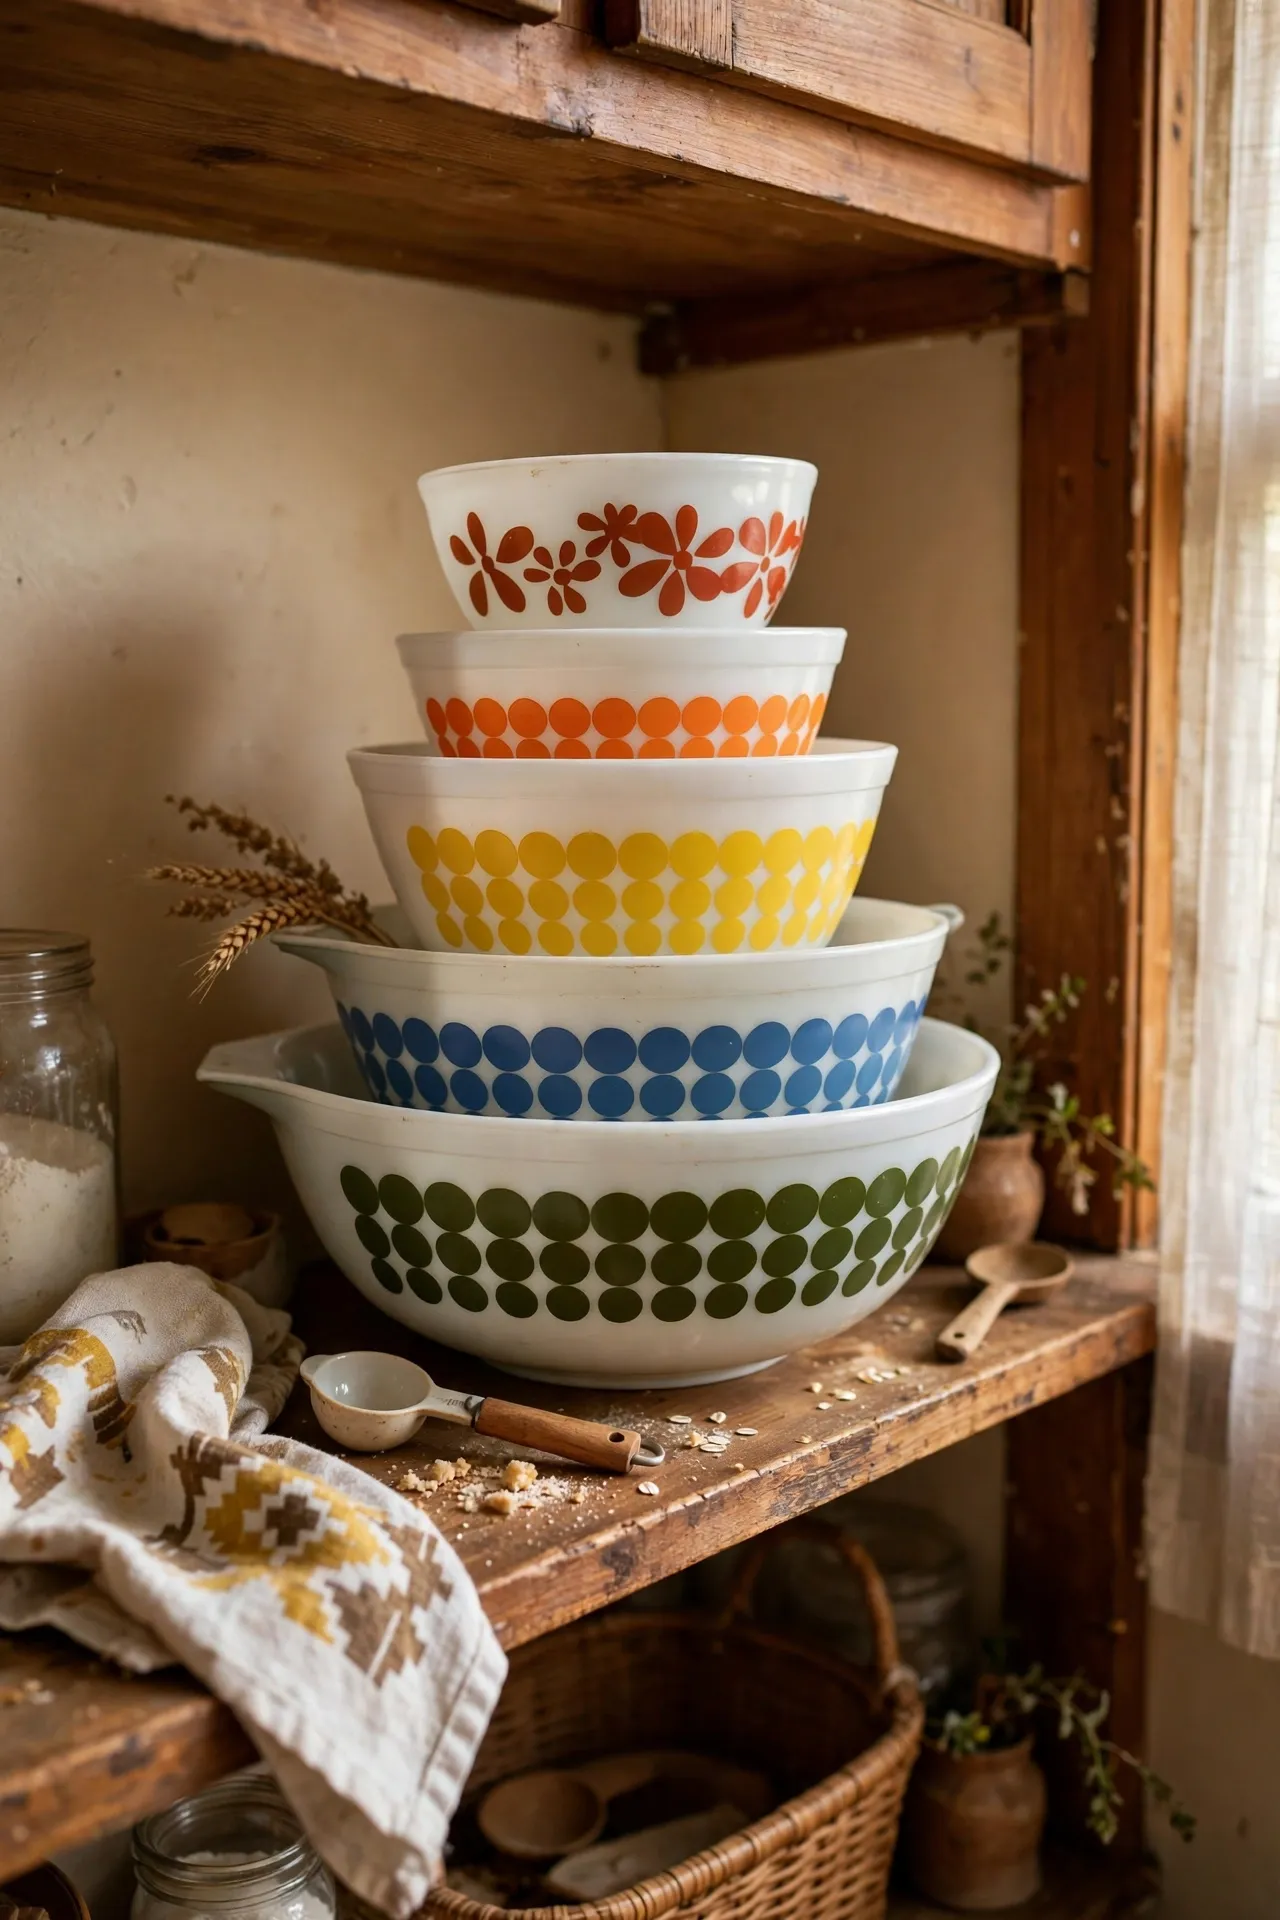
Those patterned Pyrex mixing bowls from the seventies — the ones with the little flowers or the autumn harvest print — are proper thrift gold. They nest together, they are tougher than anything you can buy new at that price, and stacked on an open shelf they are decoration in themselves. Look for the oven-safe stamp on the bottom and hold them up to the light: tiny utensil scratches are fine, but deep gouges mean the print will flake. I found a full set of four for three pounds at a car boot sale and nearly hugged the seller. My mistake was putting one in the dishwasher on a hot cycle early on, which dulled the pattern — hand wash them and they stay bright for years.
Cost: ~$5 for a set | Time: 10 minutes to wash
Pro tip: always flip a piece over before you buy it. The base tells you the maker, the age, and whether it is the real deal or a modern copy — five seconds of checking saves you from paying vintage prices for a reproduction.
3. Antique Wooden Rolling Pins Hung as Wall Art
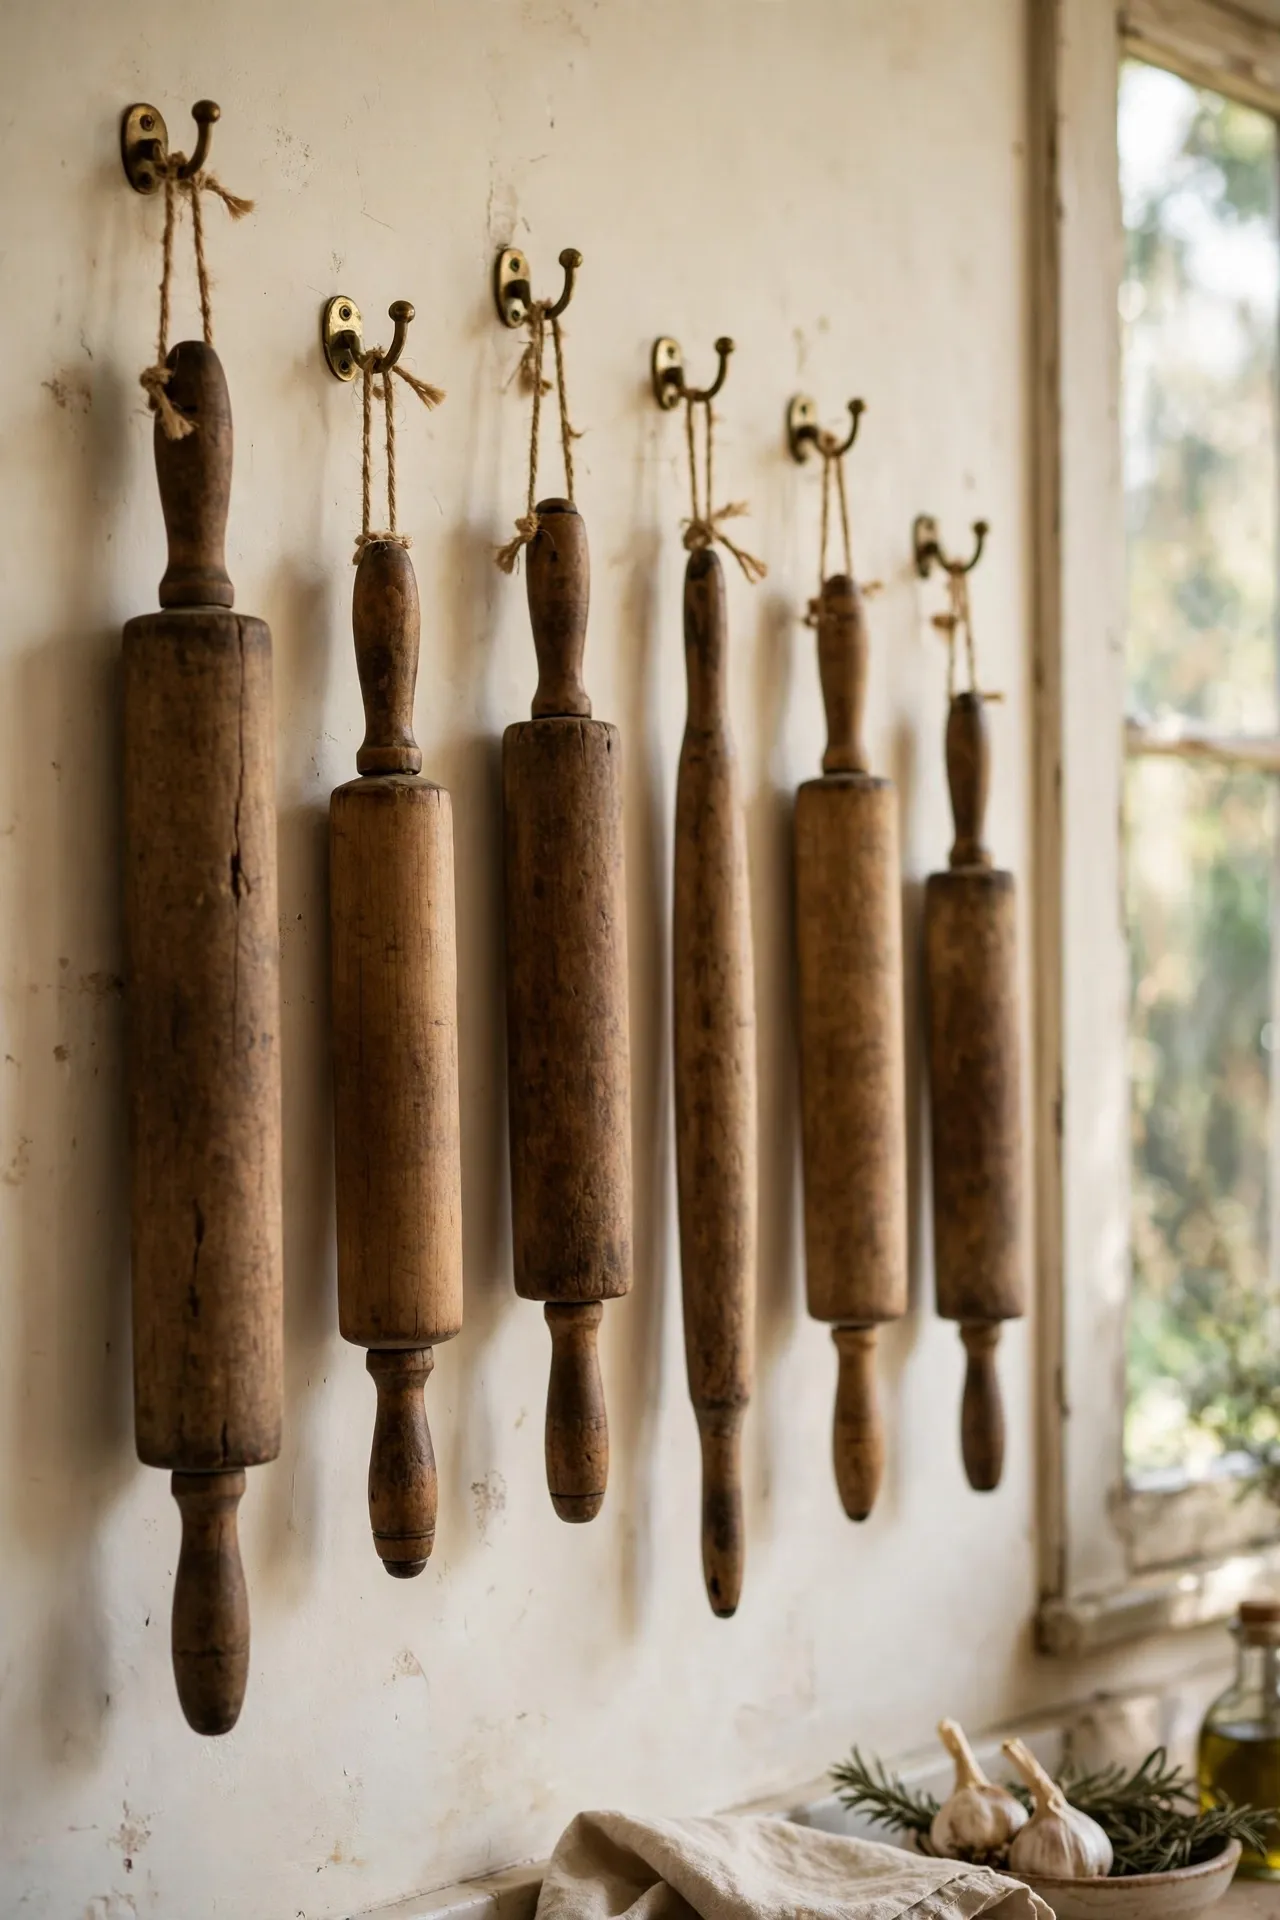
A collection of old wooden rolling pins, all slightly different lengths and woods, makes a brilliant wall display above a doorway or along a narrow wall. Tie a loop of twine around each one and hang them from a row of cup hooks, longest in the middle. Sand any rough patches lightly and rub them with a bit of food-safe mineral oil so the wood glows. I tried this with four pins I found for a pound each, and visitors always ask about them. My mistake was hanging them where the steam from the kettle hits — the wood went sticky and grey within weeks. Keep them on a dry wall, away from direct heat and steam, and they will look better every year.
Cost: ~$4 for four pins | Time: 30 minutes
4. Cast Iron Skillets Arranged on a Wall Rail
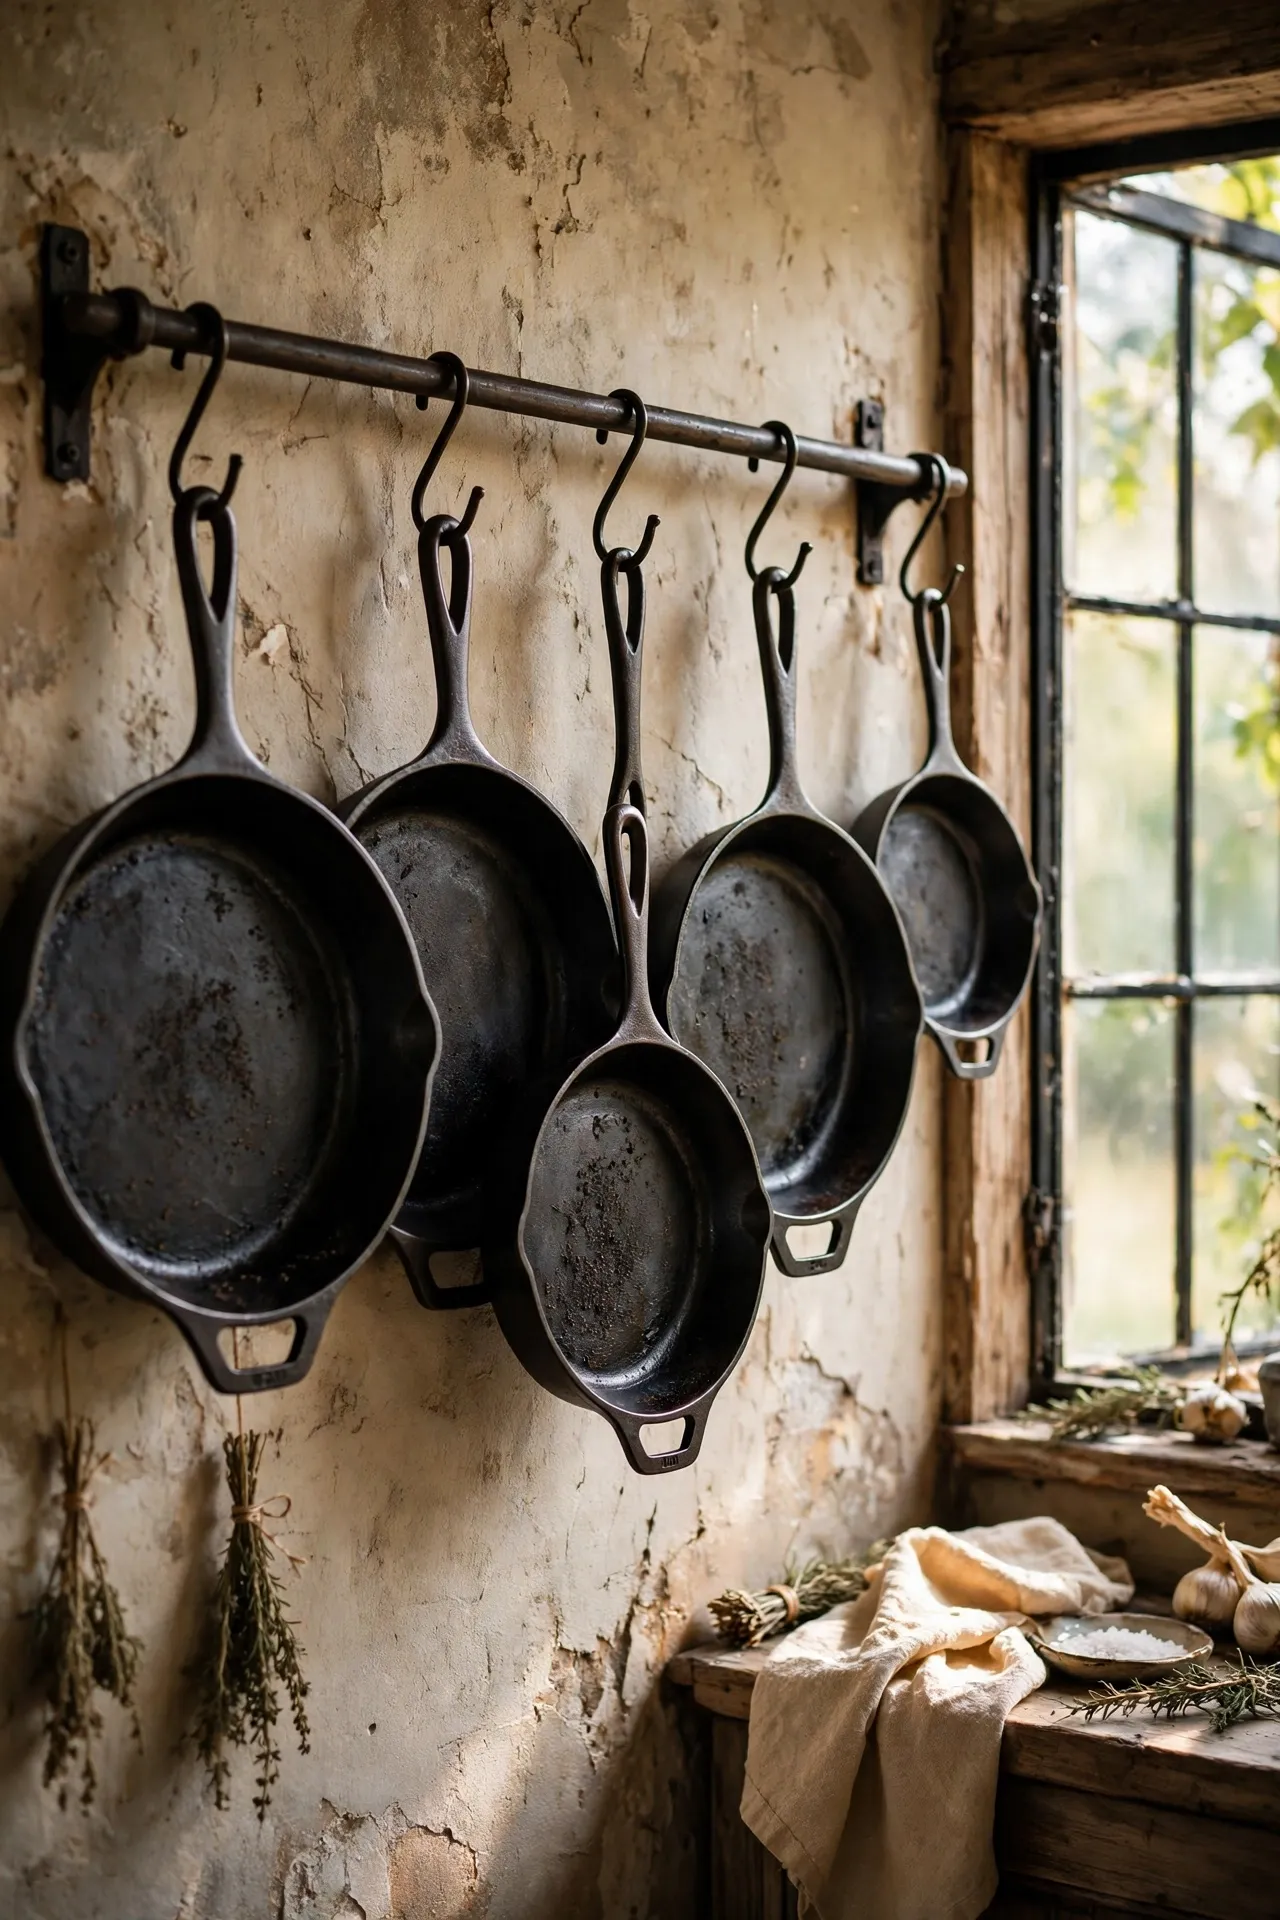
A rail of cast iron skillets is the fastest way to make a kitchen look like someone actually cooks in it. Screw a sturdy metal rail or a row of heavy-duty hooks into a wall stud, and hang two or three skillets of different sizes. Season any rusty finds by scrubbing them with coarse salt and oil, then baking them upside down for an hour. I bought a rusty ten-inch skillet for two pounds that looked like scrap metal; an afternoon of scrubbing and it is now my everyday pan. My mistake was hanging them on plasterboard fixings the first time — they pulled straight out of the wall. Wall studs only, because cast iron is heavy and unforgiving.
Cost: ~$10 including the rail | Time: 1 hour plus seasoning
5. Enamel Bread Bins Given a Second Life
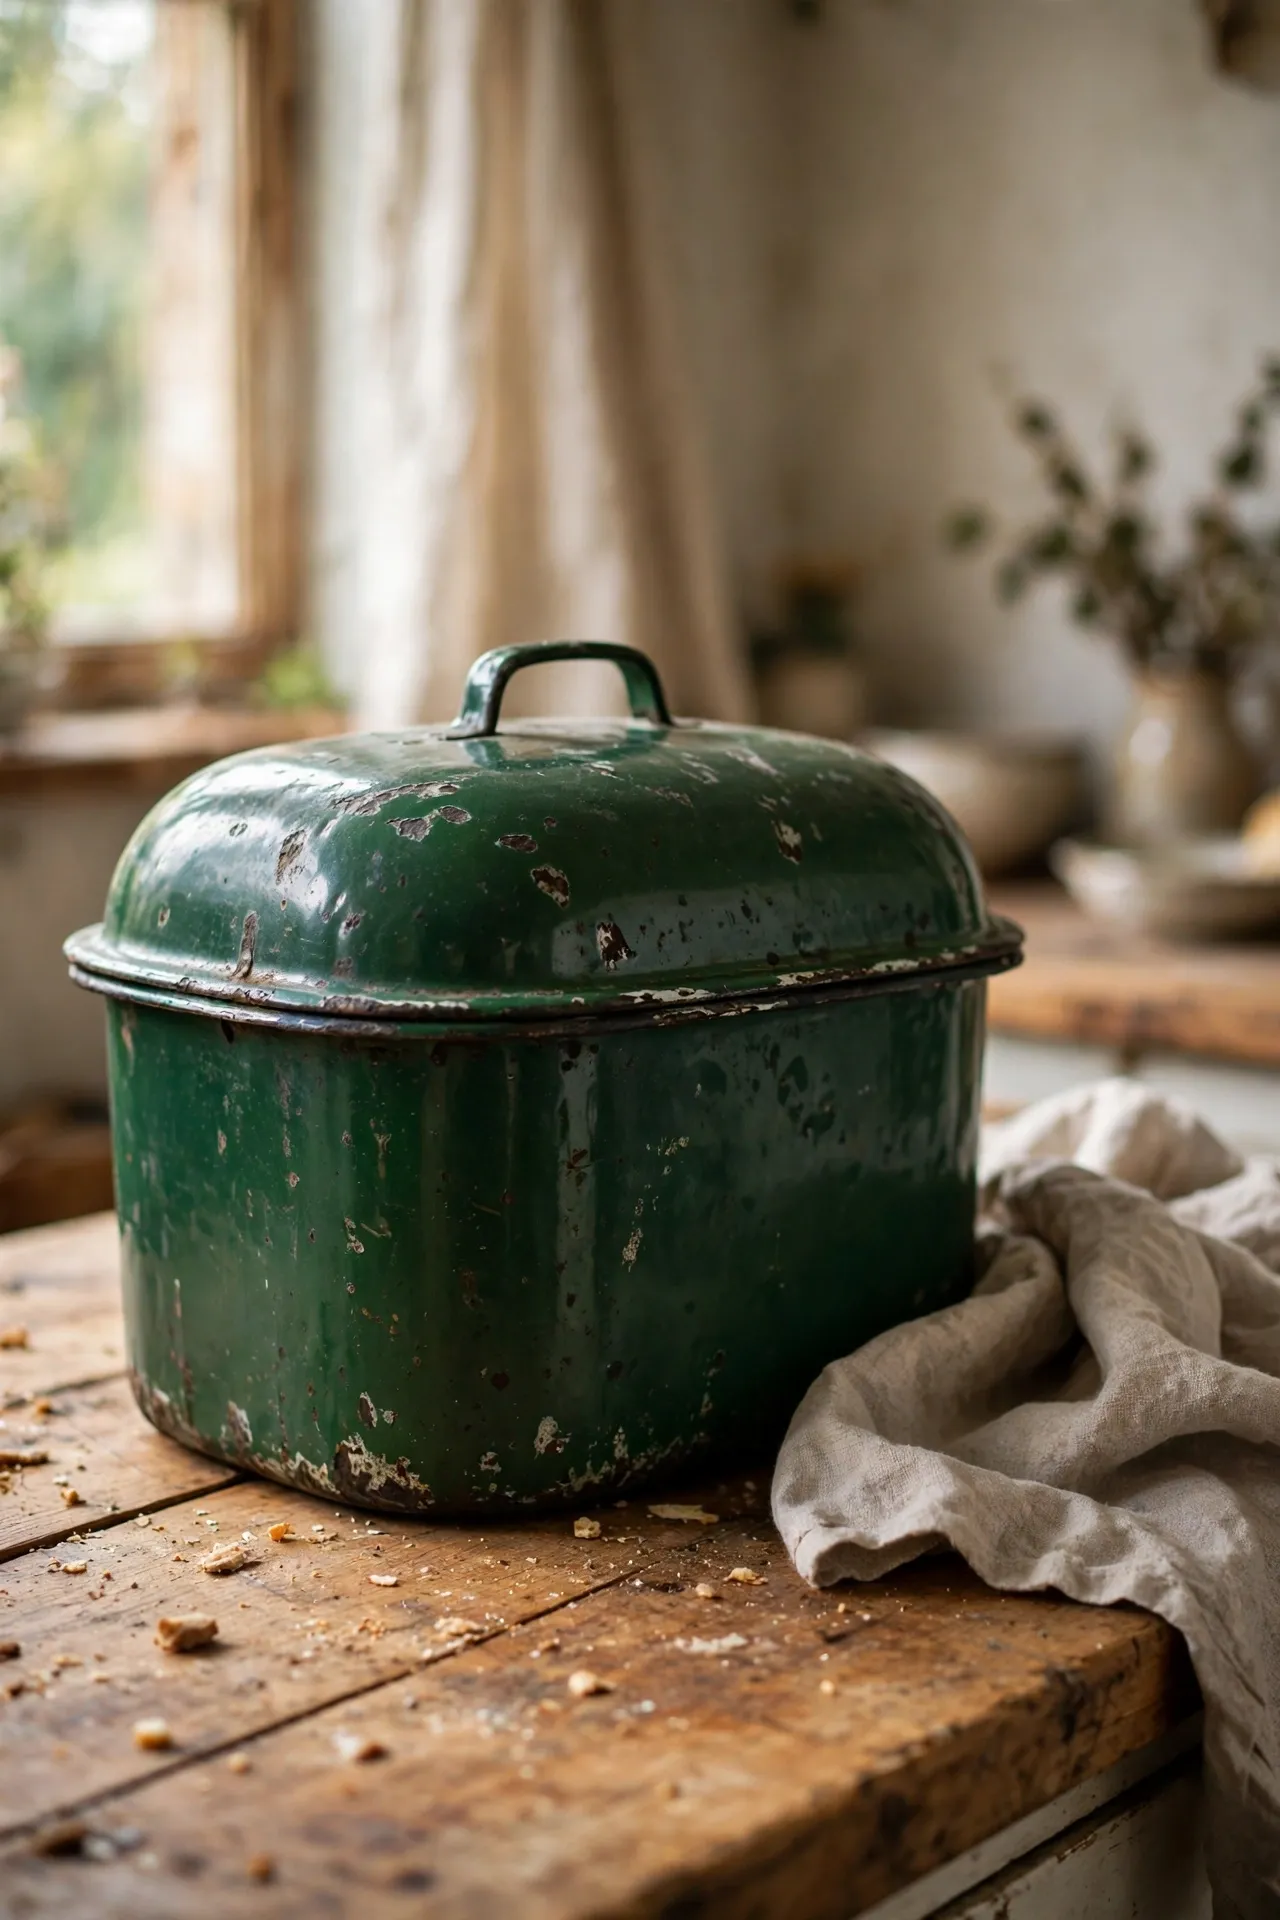
This is the find that started it all for me, and enamel bread bins are still the thing I check for first in every charity shop. The deep colours — forest green, cream, pillar-box red — hide crumbs and wear beautifully, and a quick wash is all they usually need. Look for ones where the lid still closes properly; a warped lid lets air in and the bin stops doing its job. Mine cost fifty pence and had chips I touched up with a dab of matching nail polish, which sounds mad but works a treat. My mistake was leaving it right next to the oven, where the heat warped the lid within a month. Keep it in a cool corner of the counter and it will last decades.
Cost: ~$2 | Time: 10 minutes
Pro tip: if you are buying three or more things from one stall or shop, ask for a bundle price before you pay. Sellers would almost always rather move stock than haggle over a pound, and I have never once been told off for asking politely.
6. Thrifted Copper Pans Polished to a Glow
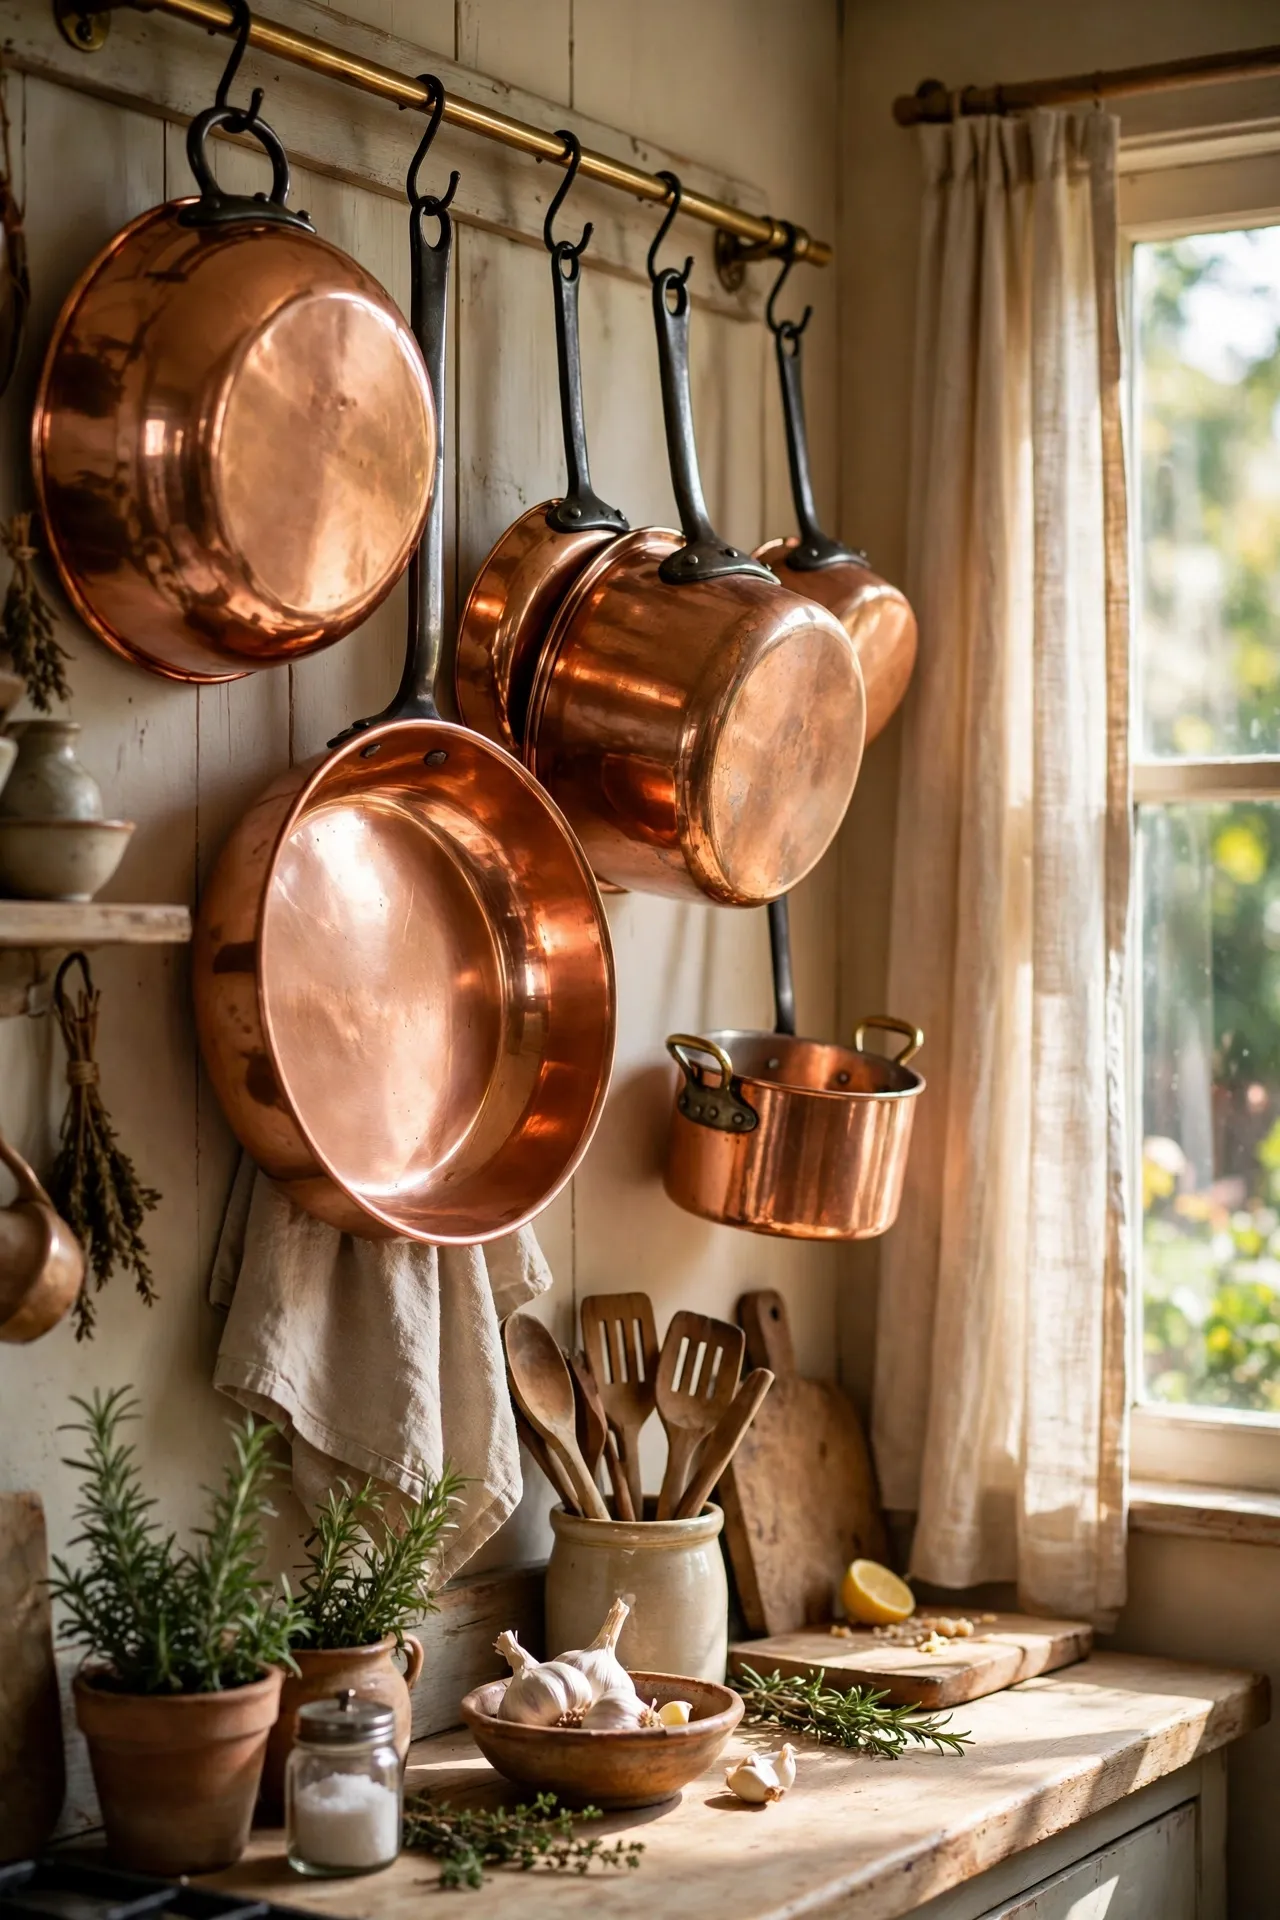
Copper pans are the classic charity shop trophy: heavy, gorgeous, and often priced at a tenth of what they cost new. They do not have to be perfect — a bit of tarnish polishes off with a paste of vinegar, salt, and flour in about ten minutes. Hang them from a ceiling rack or a wall rail where the light catches them, because polished copper throws the warmest glow in the room. I found a solid copper saucepan for four pounds that just needed a clean. My mistake was using a wire scourer on the first one, which scratched it badly. Soft cloth and the vinegar paste only, and always check the handles are firmly riveted before you buy.
Cost: ~$6 including polish | Time: 25 minutes
7. Old Kitchen Scales as a Statement Centrepiece
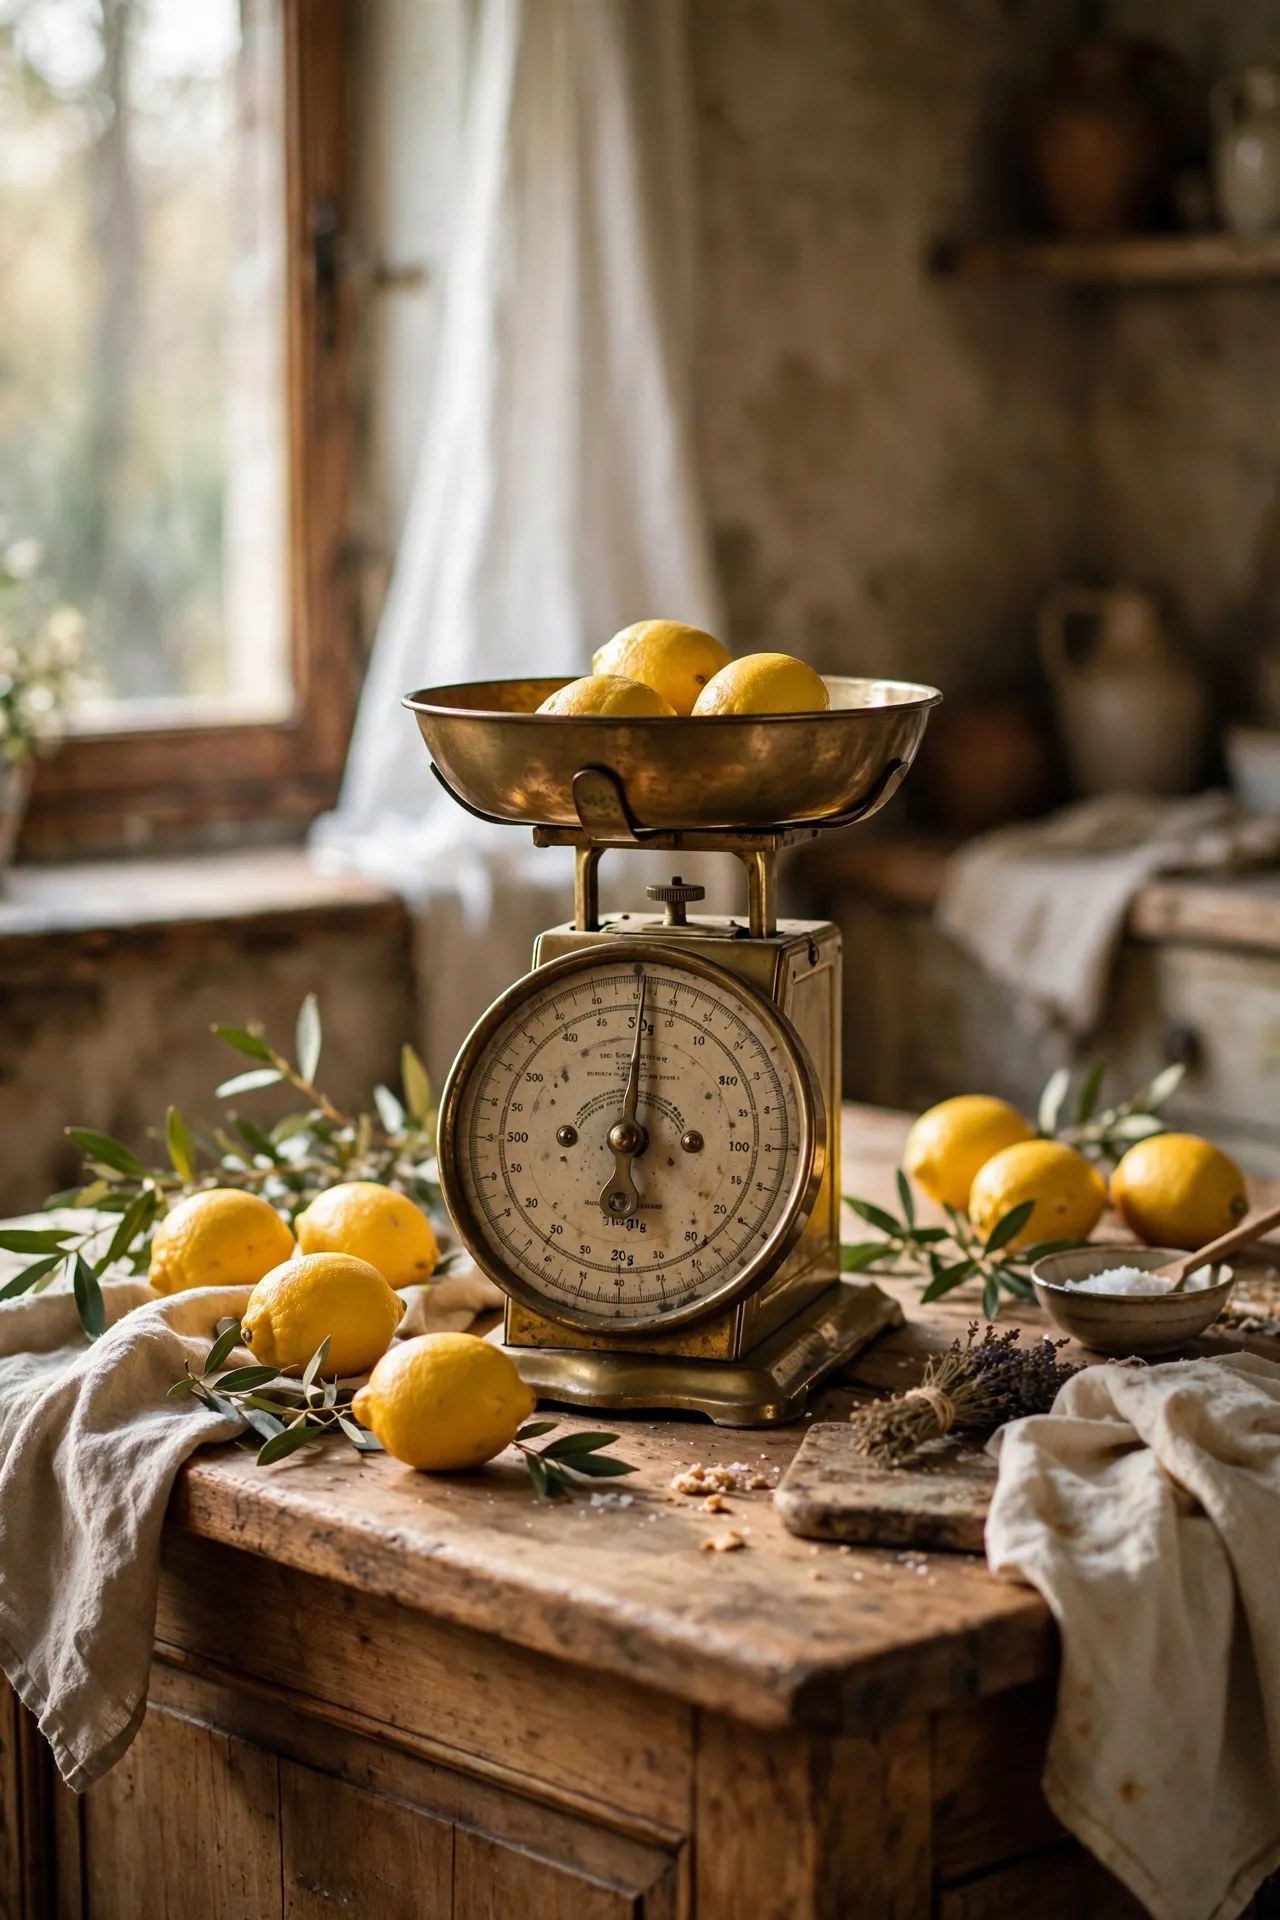
Those old-fashioned kitchen scales with the brass pan and the dial face make a stunning centrepiece on an island or a dining table. You do not need them to work — though many still do — because the shape alone is beautiful. Dust them down, polish the brass with a bit of metal cleaner, and style them with a small bowl of lemons or a stack of linen napkins in the pan. I paid two pounds for mine and it is the thing guests pick up and fiddle with every single time. My mistake was buying one with a cracked glass dial that I told myself added character; it just looked broken. Wait for a clean dial.
Cost: ~$3 | Time: 15 minutes to polish
Pro tip: most vintage metal just needs warm soapy water and patience, not harsh chemicals. Soak first, scrub gently with a soft brush, and only reach for the strong stuff on stubborn rust — you would be amazed what twenty minutes in a sink can fix.
8. Glass Apothecary Jars Lining the Countertop
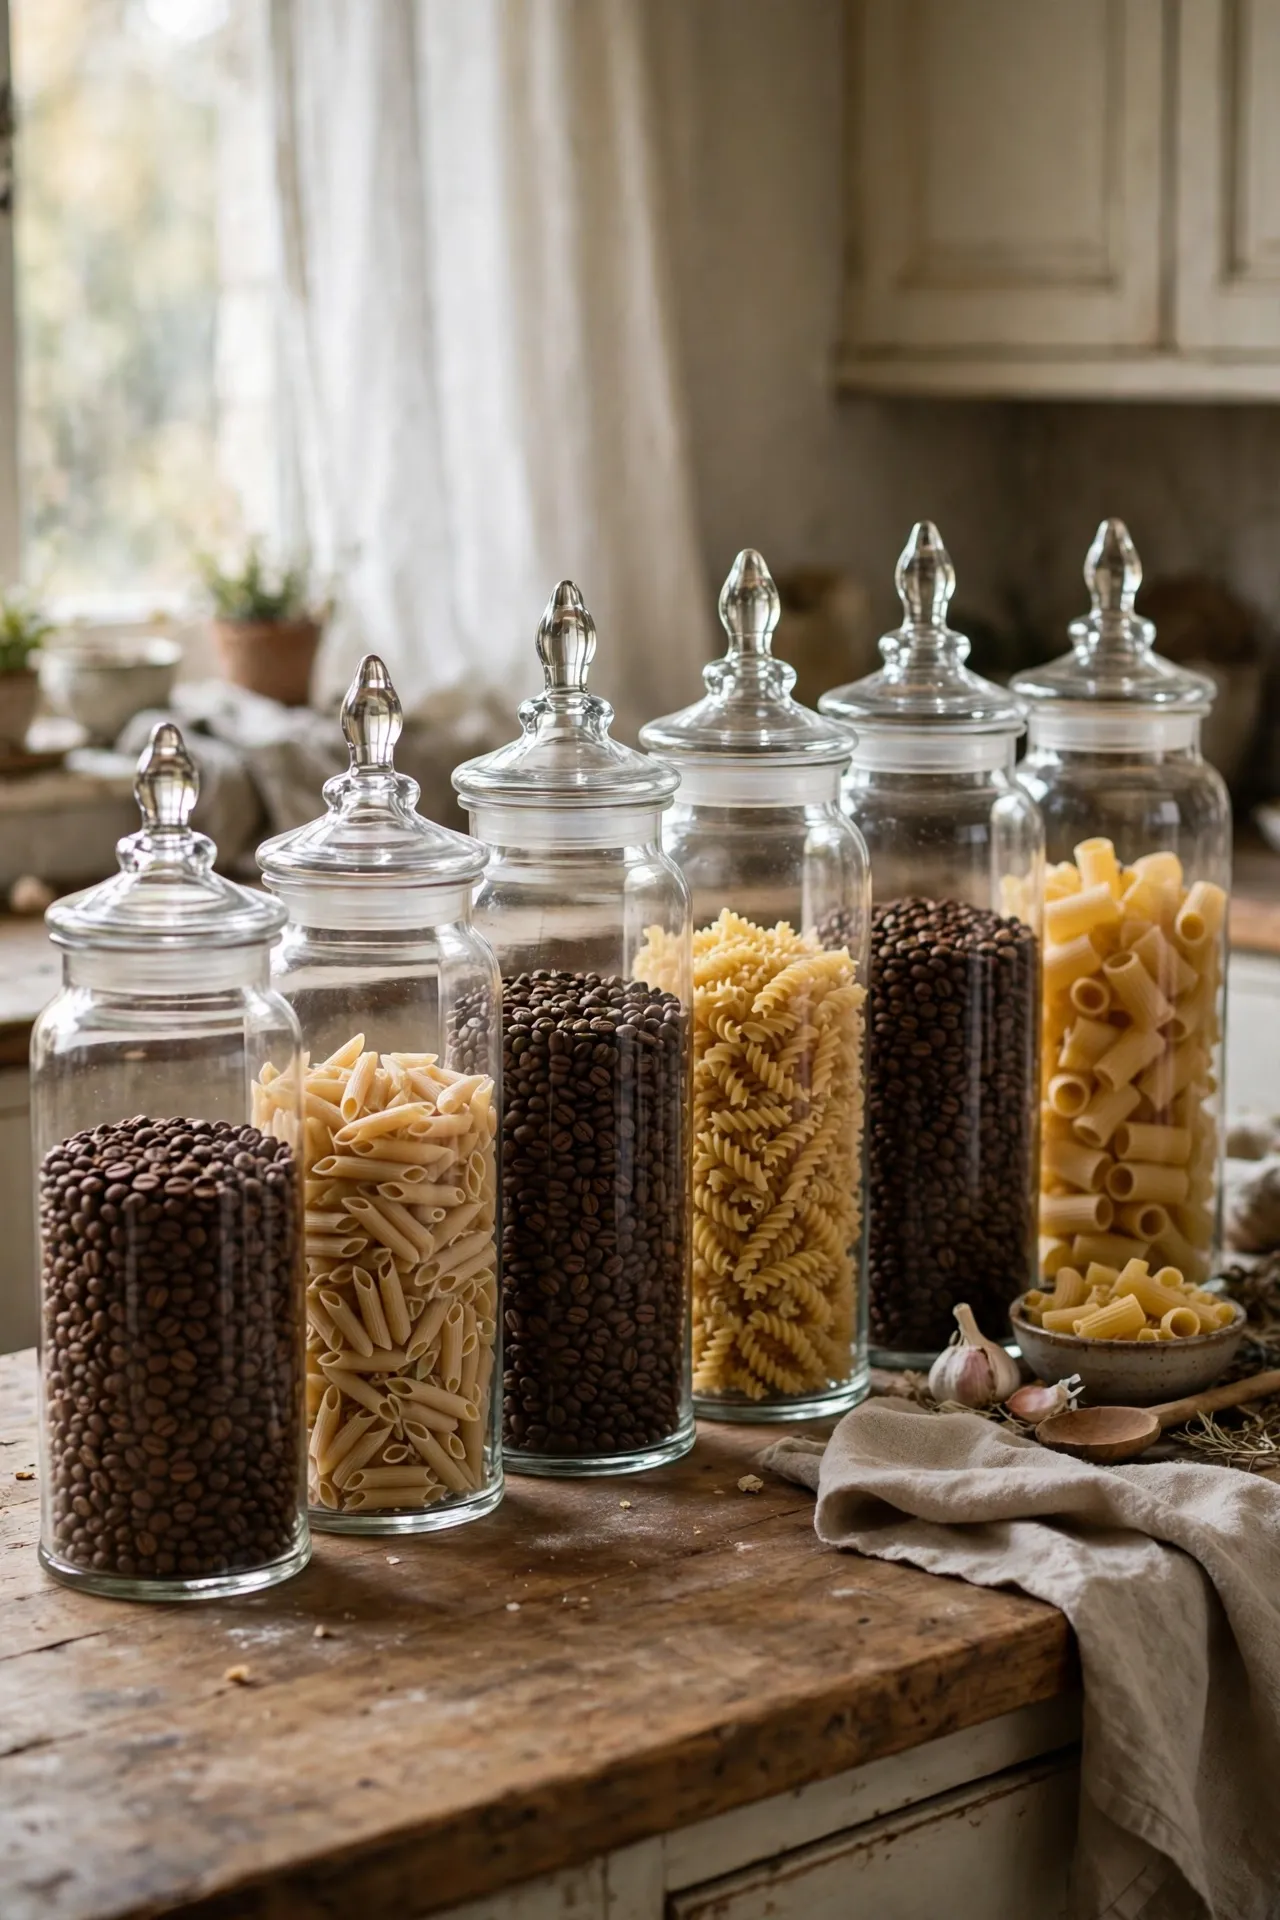
Tall glass apothecary jars with lids, the kind old sweet shops used, look incredible lined up along the back of a counter. Fill them with coffee beans, colourful dried pasta, or even just lemons, and they turn dead counter space into a display. Wash them thoroughly — old jars can hold decades of dust — and dry them completely or they will fog up from the inside. I bought three mismatched ones for a pound each and filled them with things I actually use. My mistake was filling the tallest one with flour, which I then had to scoop out awkwardly every morning. Fill them with things you grab rarely, or things you are happy to look at daily.
Cost: ~$5 for three | Time: 20 minutes
9. Wooden Crates Turned Into Rustic Wall Shelves
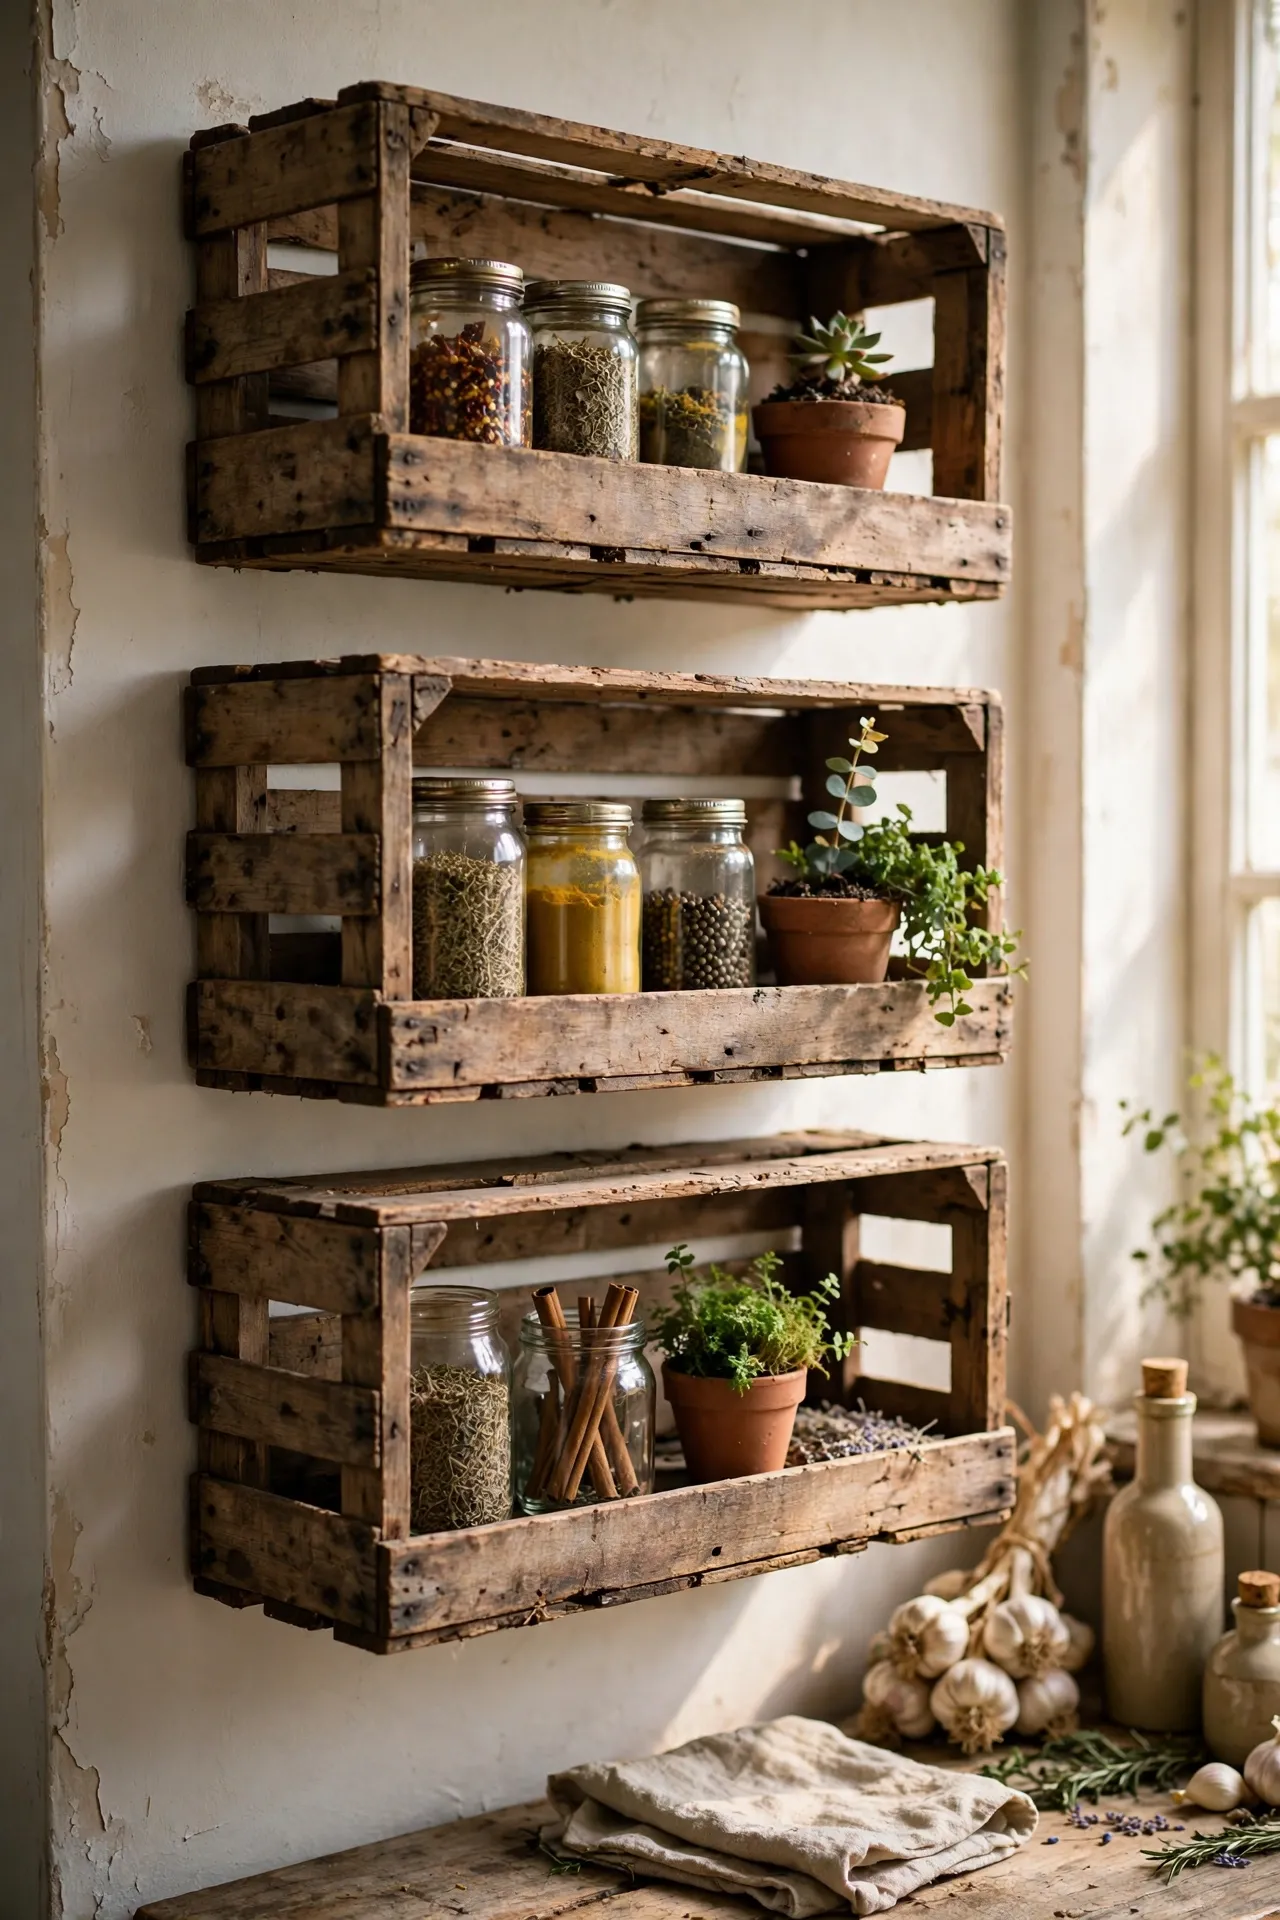
Old wooden fruit or wine crates are practically made to become kitchen shelves. Stack two or three on their sides against the wall, screw them together through the sides, and fix the whole unit to the wall so it cannot tip. Sand them smooth and leave the wood bare or give them a coat of clear wax. I made a two-crate shelf for spices that cost me nothing — the crates came free from a market stall. My mistake was skipping the wall fixing the first time; a crate full of jars slid forward and scared the life out of me. Anchor everything, and these crates will hold more weight than most flat-pack shelving.
Cost: ~$5 for screws and wax | Time: 1 hour
10. Vintage Teacups Replanted With Kitchen Herbs
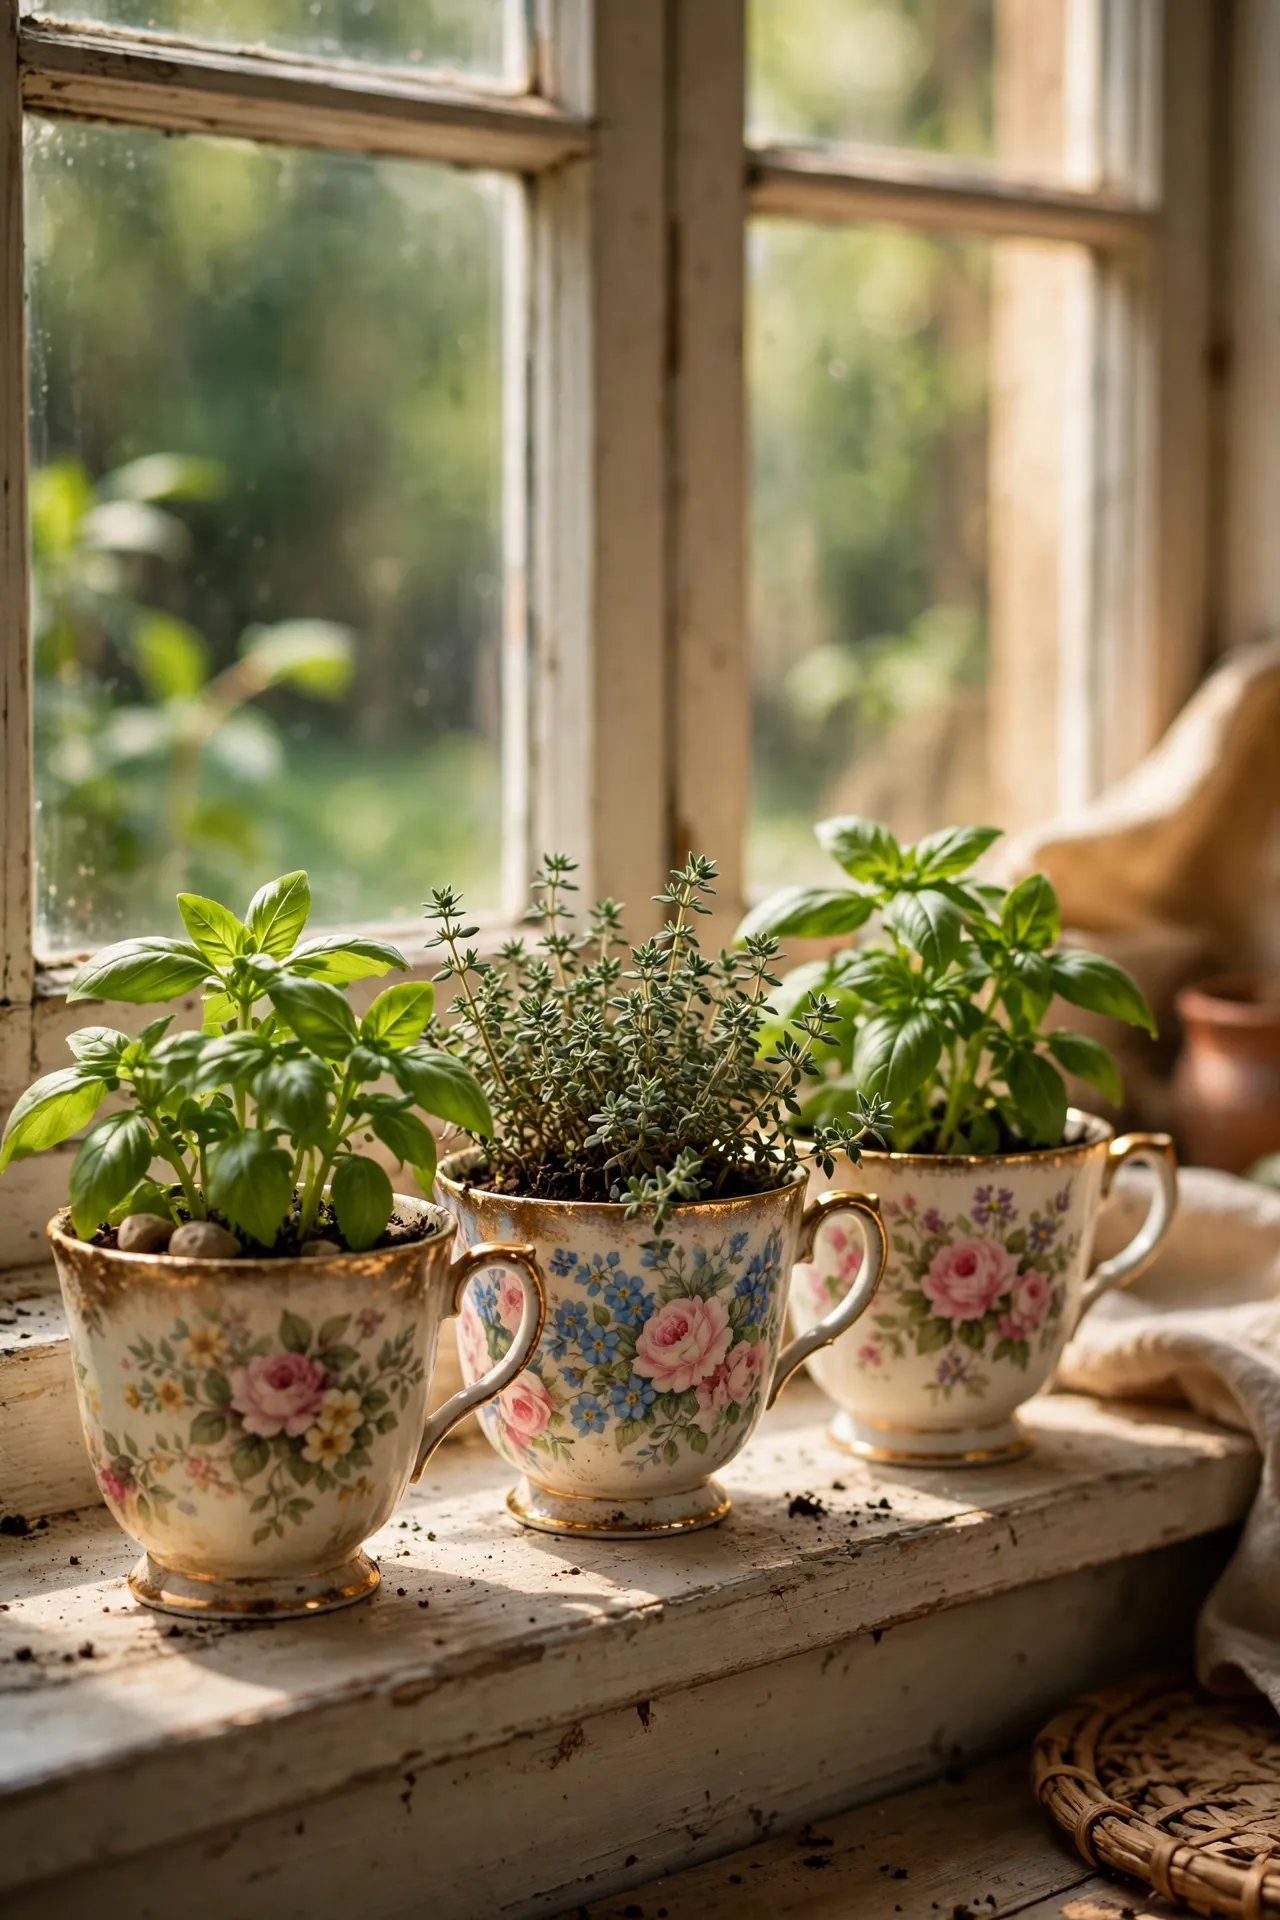
A chipped-but-lovely teacup is the perfect pot for a basil or thyme plant on the windowsill. Drill a small drainage hole in the base with a ceramic drill bit, add a layer of gravel, then soil and your herb. Group three or four on a tray by the window and you have a little herb garden that costs almost nothing. I started mine with a fifty-pence cup from a church jumble sale and now have a whole row. My mistake was planting mint in one without checking — mint takes over everything, and within weeks it had strangled the thyme next to it. Mint gets its own cup, far away from the others.
Cost: ~$4 including soil | Time: 30 minutes
Pro tip: run your finger along every rim and handle before you buy. Hairline cracks you cannot see will show up the moment you touch them, and a cracked handle on a jug you plan to actually use is a flood waiting to happen.
11. Old Wooden Ladles and Whisks in a Stoneware Crock
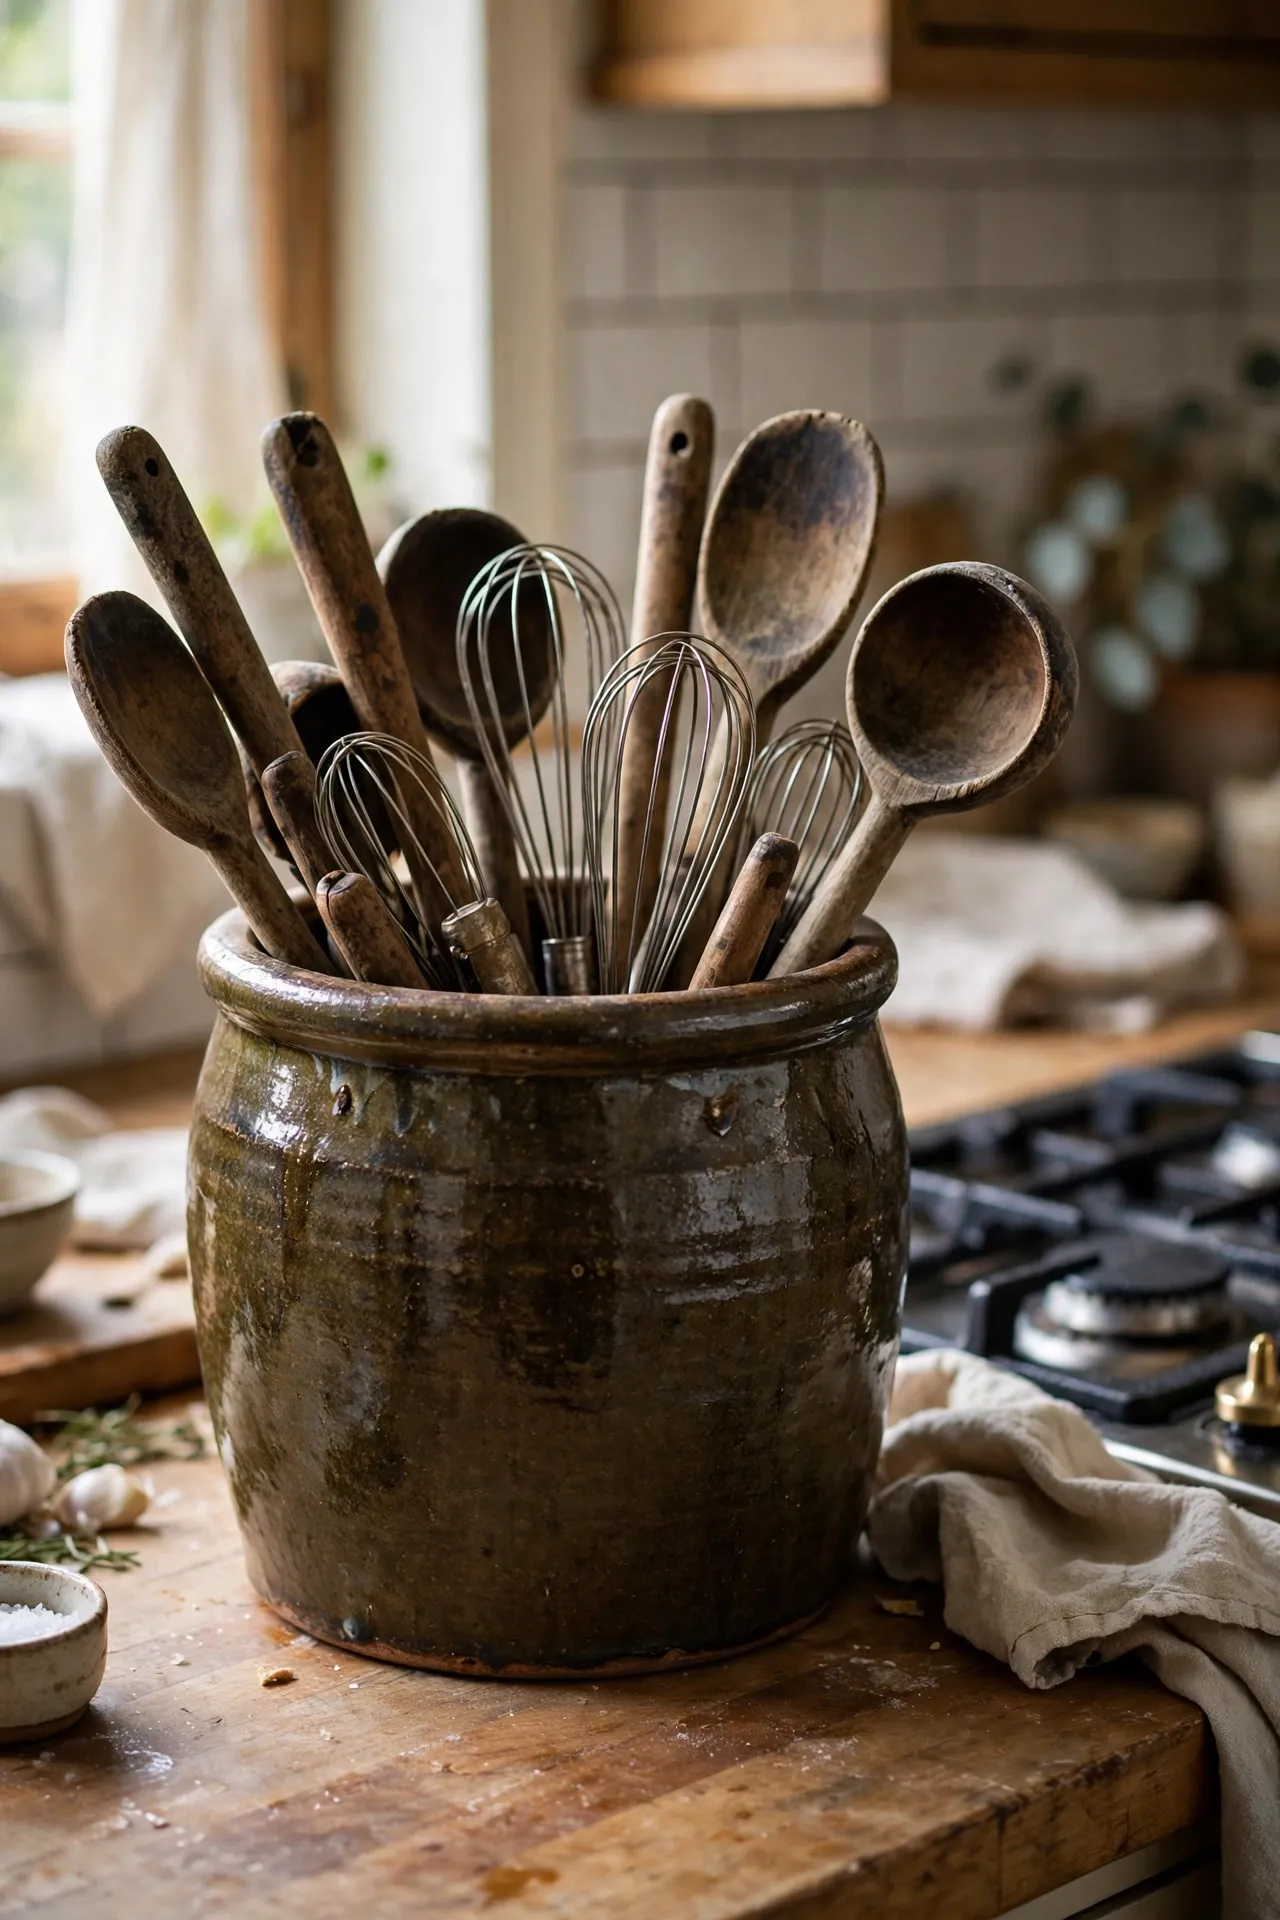
A heavy stoneware crock stuffed with wooden spoons, old whisks, and a couple of rolling pins is the easiest styling trick there is. Charity shops sell the utensils for pennies, and the crock itself — look for a plain glazed one with no chips around the rim — keeps them all upright by the hob. I built mine over three visits for under five pounds total. My mistake was cramming in every utensil I owned, which made it look like a cutlery explosion. Keep it to the ones you actually reach for, maybe eight to ten pieces, and it looks curated instead of chaotic.
Cost: ~$6 total | Time: 15 minutes
12. Milk Bottles and Glass Bottles as Bud Vases
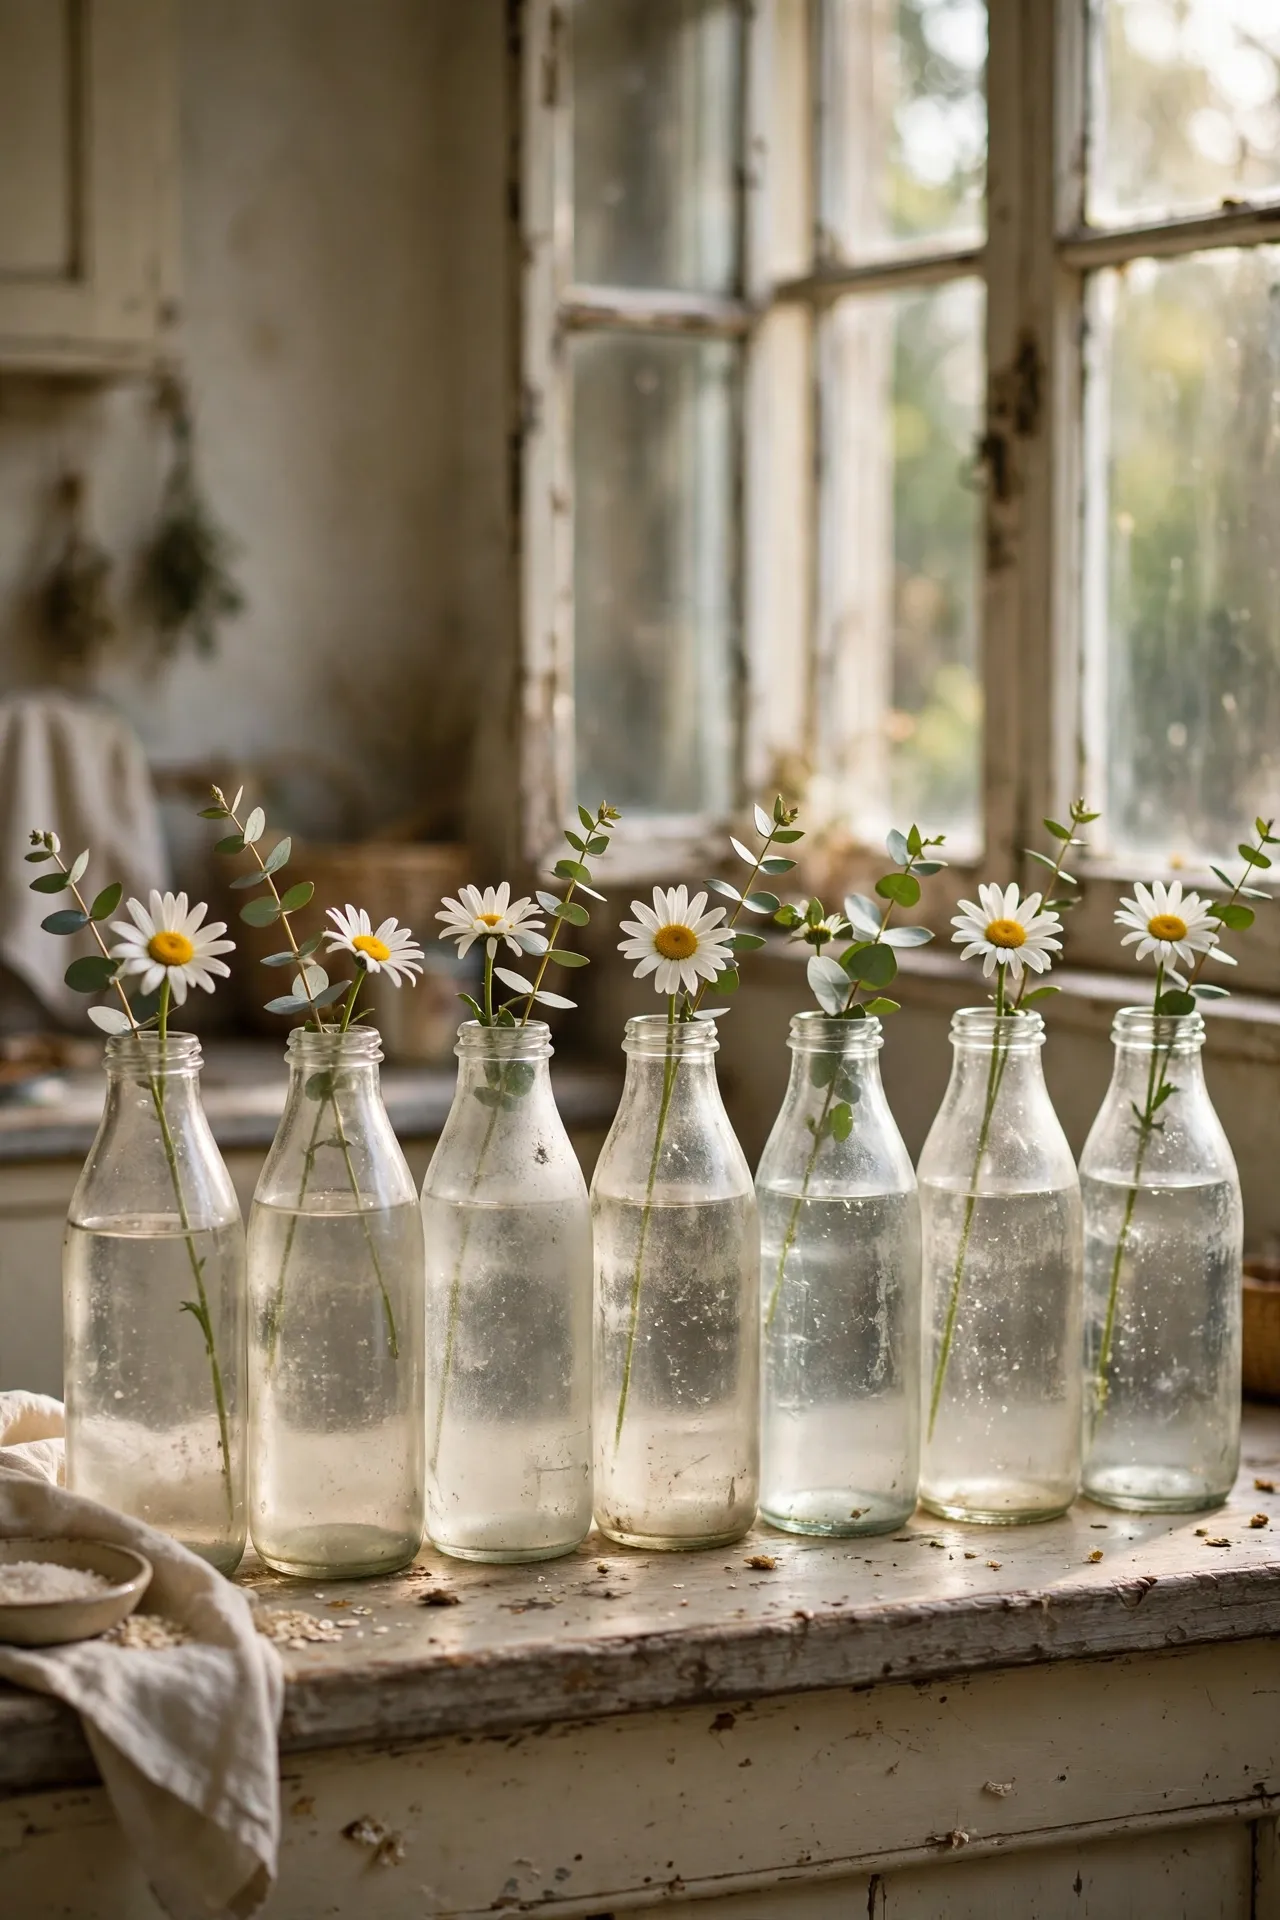
Old glass milk bottles, the thick ones with the foil-cap necks, make the sweetest little vases. Line three or four along a windowsill with a single stem in each — a sprig of eucalyptus, a daisy, whatever is in season. They cost pennies at car boot sales and they never look cheap. Wash them with a bottle brush and a shake of uncooked rice and vinegar to shift any cloudiness. I keep a row on my kitchen windowsill all year round. My mistake was putting tall flowers in them once; they toppled over and soaked the sill. Short stems only — these bottles are for buds and sprigs, not full bouquets.
Cost: ~$2 | Time: 15 minutes
Pro tip: when you find one good piece, ask the seller if they have more of the same. Charity shops often split sets across shelves, and car boot sellers usually have a matching box still in the car.
13. Chunky Cutting Boards Propped Along the Backsplash
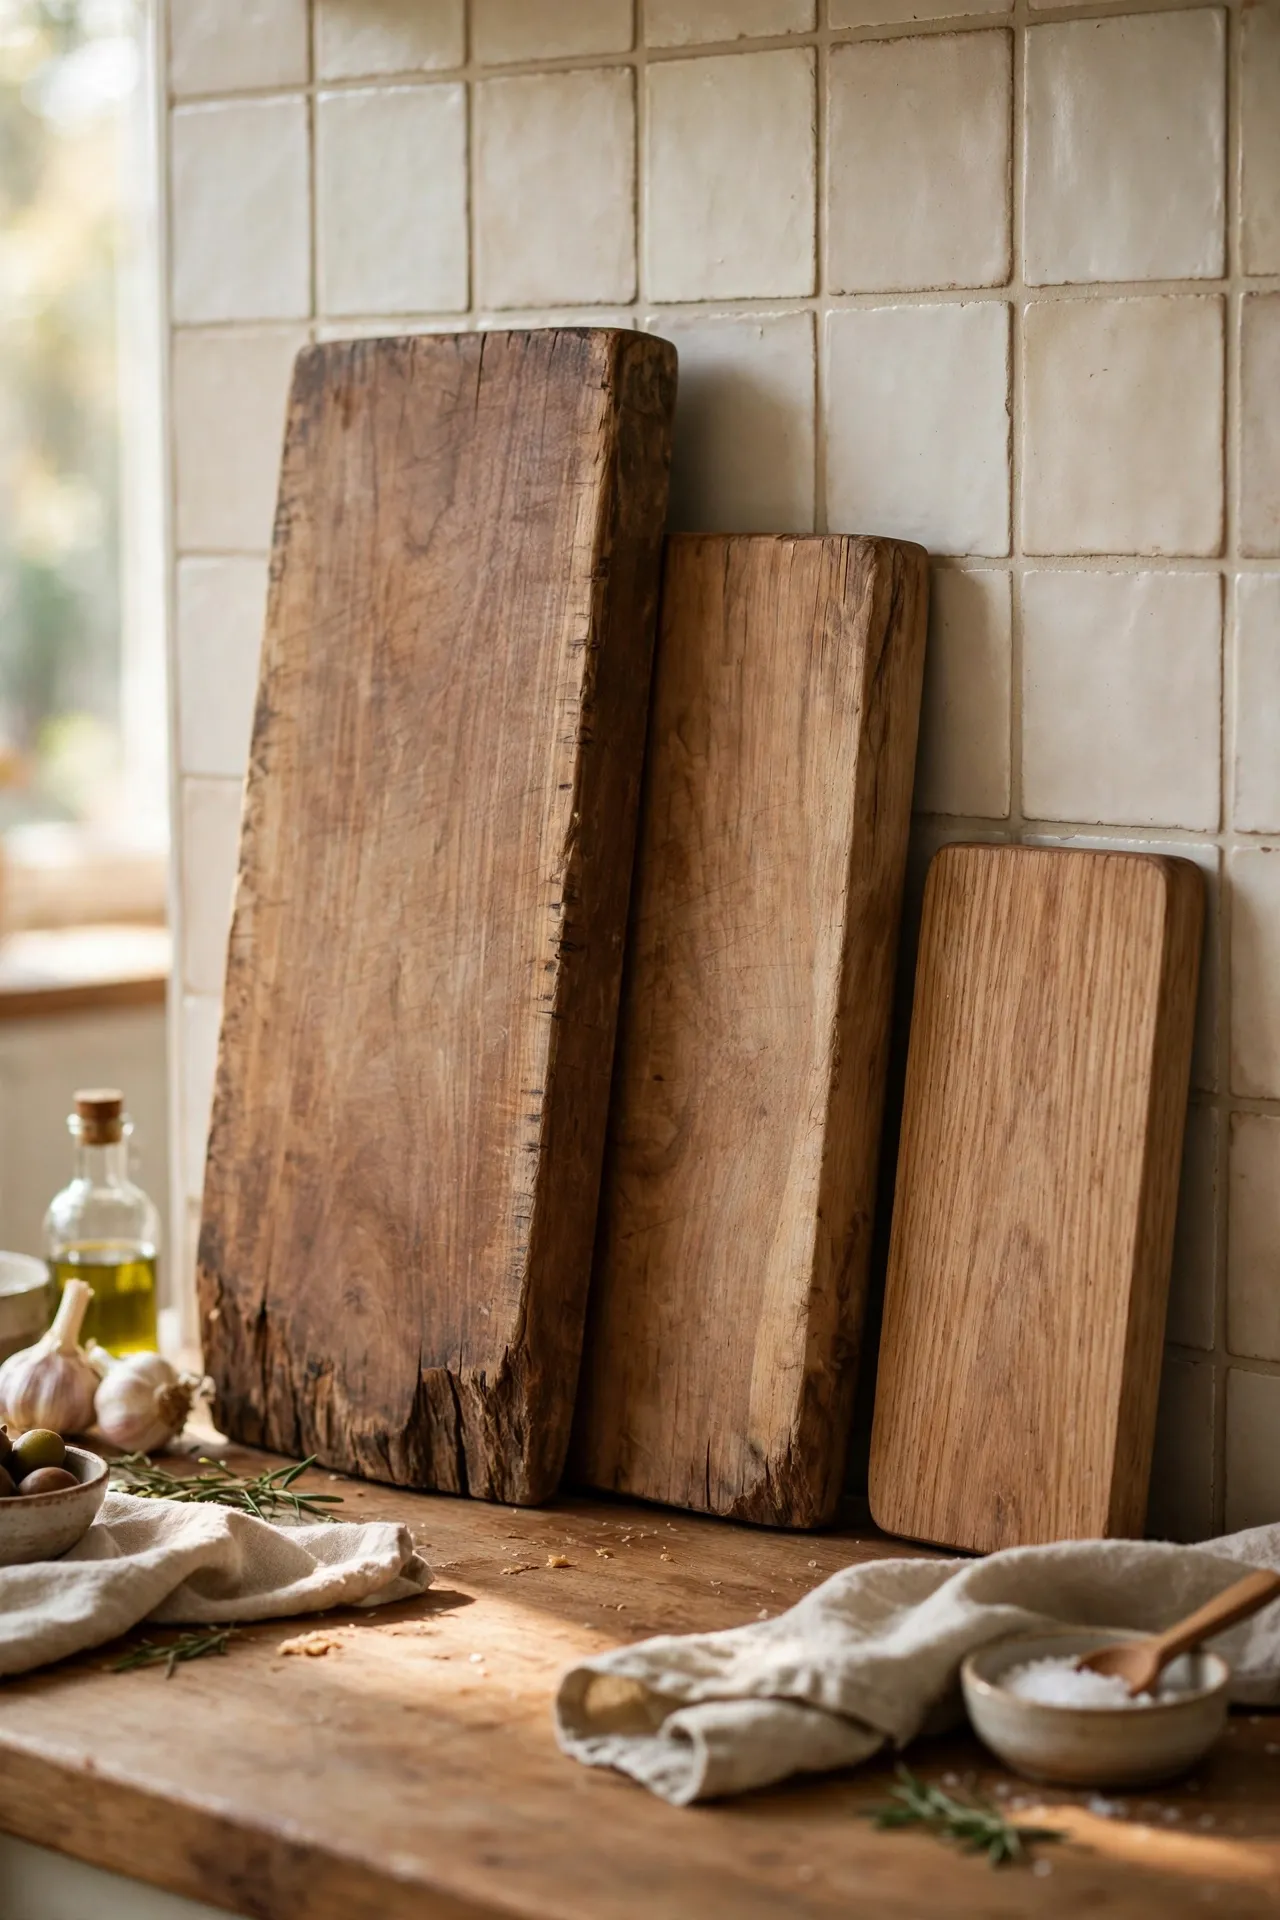
A row of thick wooden cutting boards, leaned against the backsplash in graduated sizes, adds instant warmth to any kitchen. Look for solid wood with no deep knife scars — light marks are fine and add character. Wash them with hot soapy water, dry them standing up, and oil them monthly with food-safe oil. I found a beautiful beech board for a pound that just needed sanding. My mistake was leaving one flat on the counter after washing; it warped within a week. Always dry boards upright, and they will outlast anything you buy new at ten times the price.
Cost: ~$5 for three boards | Time: 20 minutes
14. Vintage Sieves and Strainers Hung on Cup Hooks
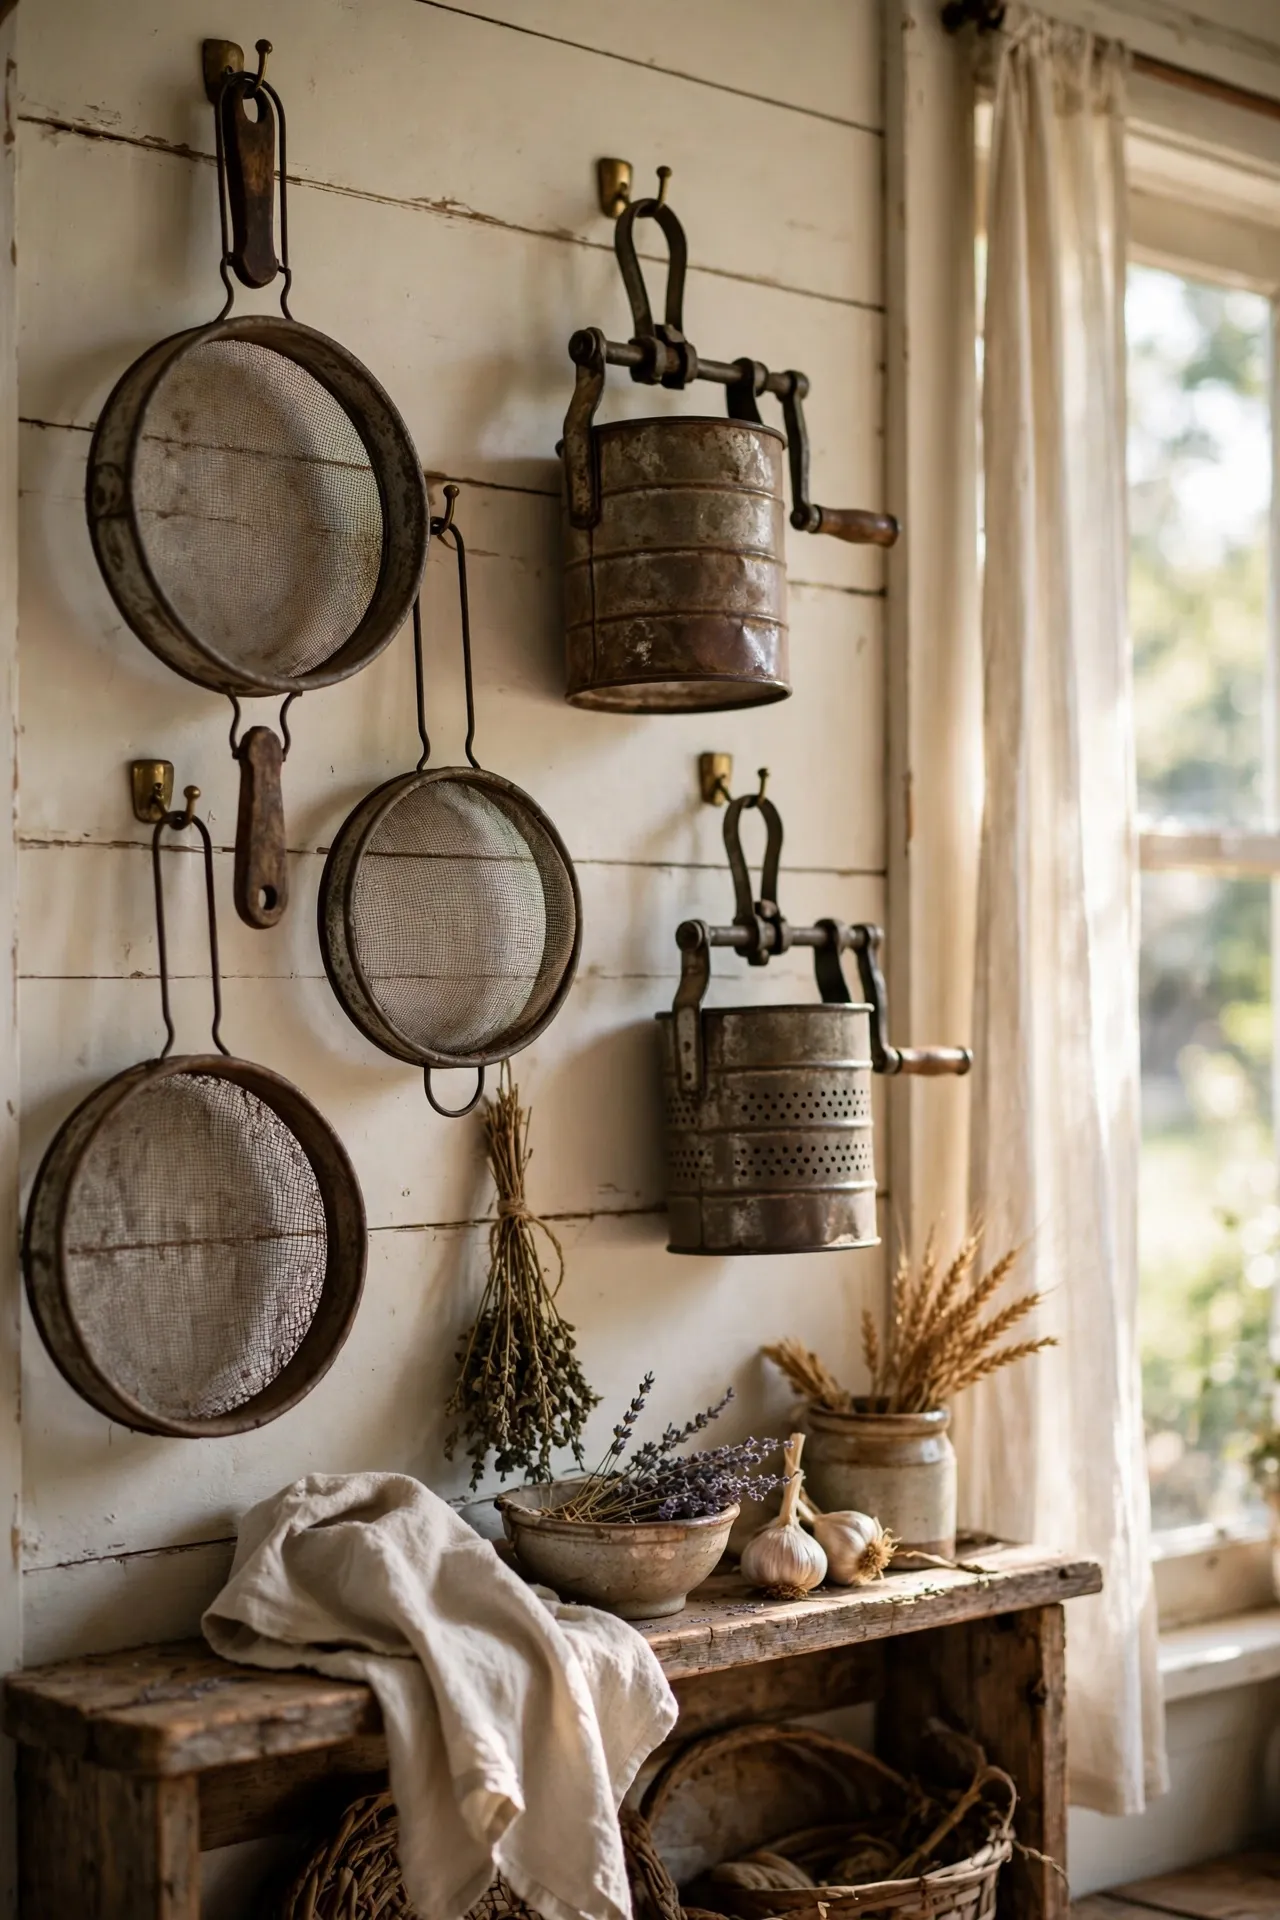
Old wire sieves and tin strainers, hung on a row of cup hooks, make wall art that costs almost nothing. Look for interesting shapes — the cone-shaped chinois ones and the old flour sifters with the crank handle are the best. Give them a good scrub, hang them from their handles, and group them in odd numbers. I have five on the wall by my back door, bought for fifty pence each. My mistake was hanging one with a rusty mesh that kept shedding orange dust onto the worktop below. Check the mesh is intact and rust-free, or keep it purely decorative and well away from the food zone.
Cost: ~$3 | Time: 25 minutes
Pro tip: go back to the same charity shops regularly and be nice to the staff. They start setting aside the good kitchen stuff for regulars, and I have had a volunteer tap me on the shoulder with a copper pan before it even hit the shelf.
15. Stacks of Old Cookbooks as Kitchen Decor
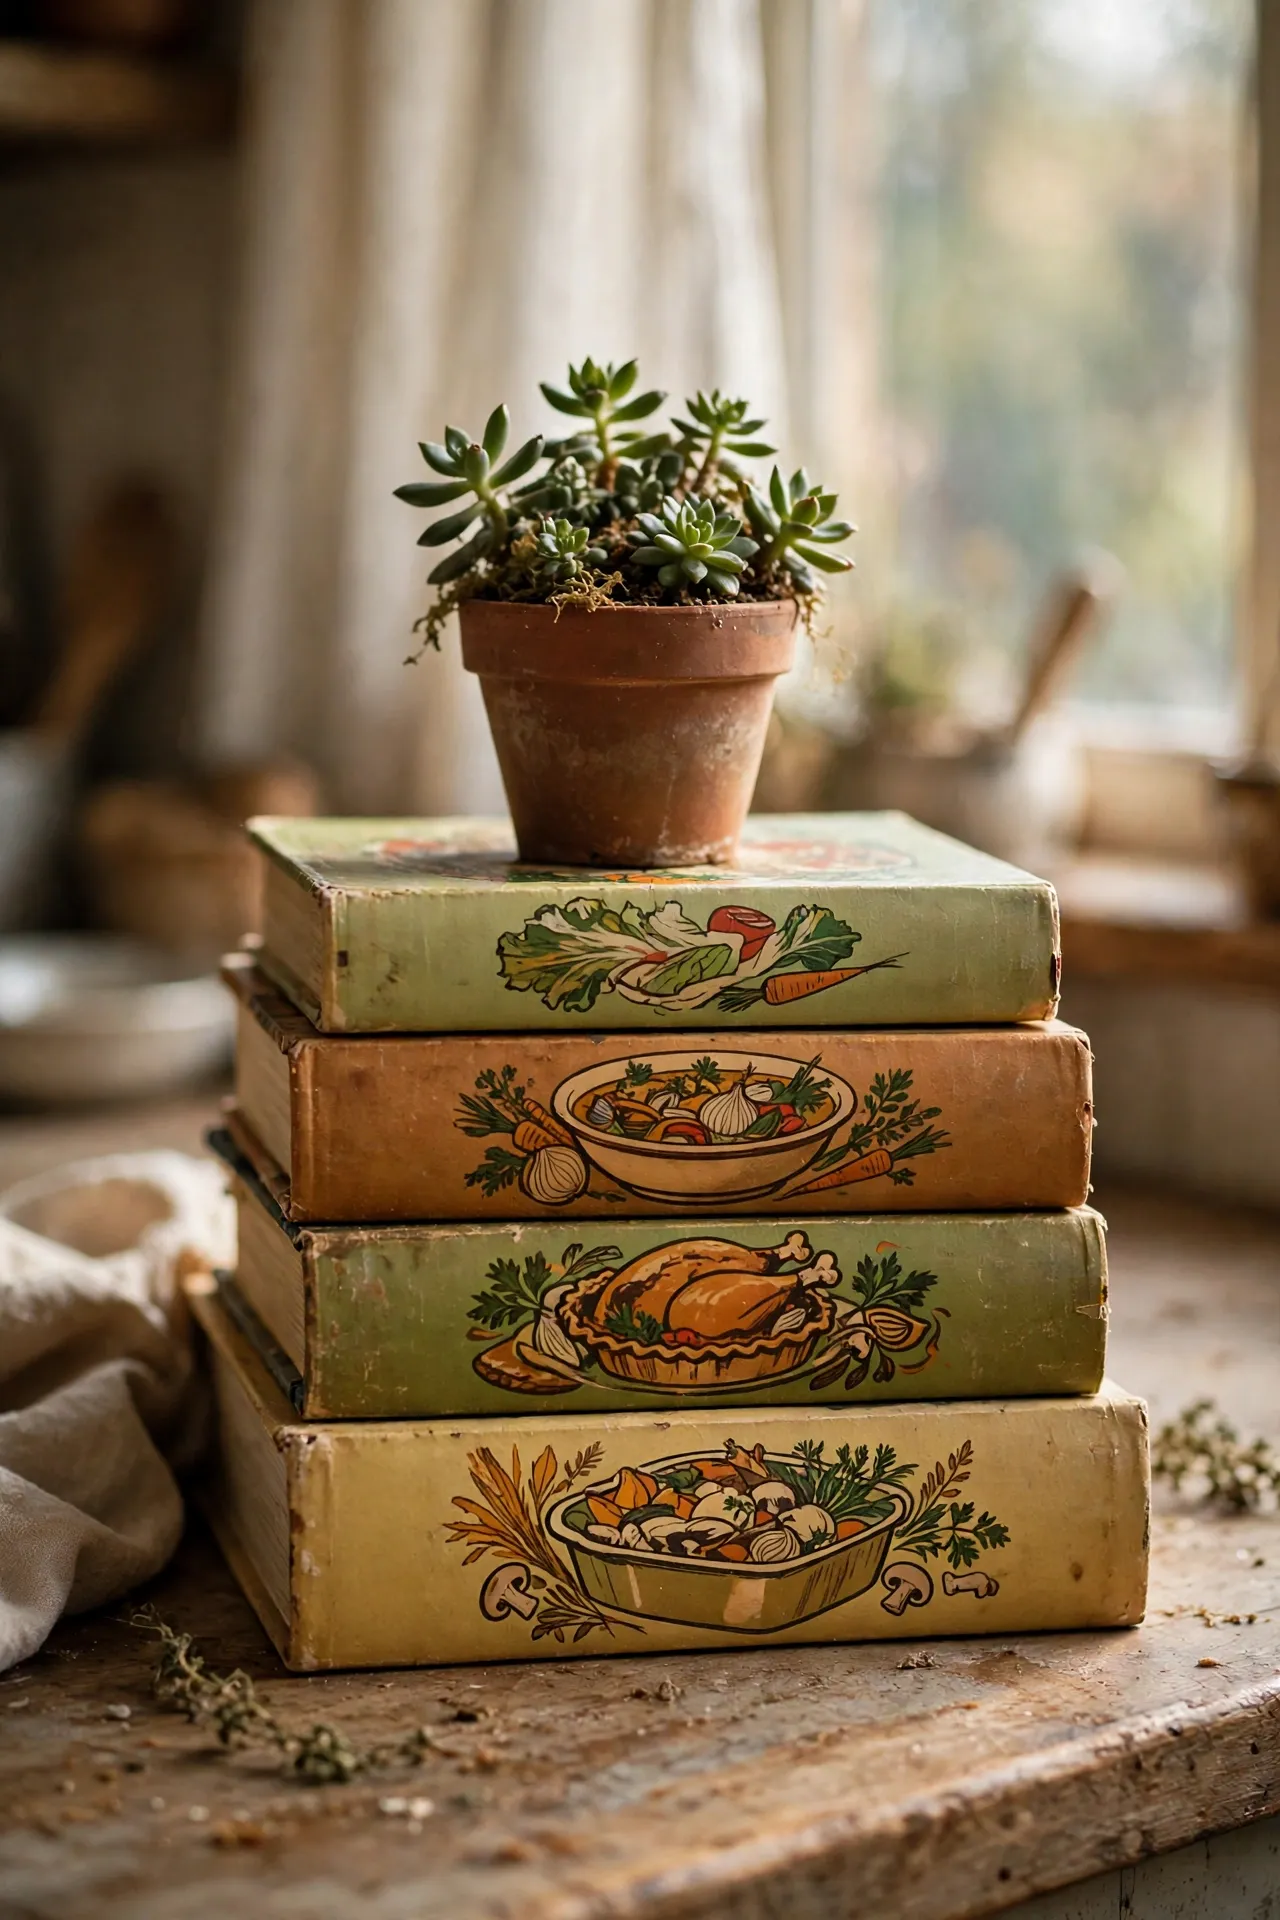
Old cookbooks with beautiful covers — the 1960s and 70s ones with the illustrated dust jackets — make brilliant kitchen decor. Stack three or four horizontally on the counter with a small plant or a candle on top, or line them upright between bookends on a shelf. Charity shops sell them for a pound or less, and the retro covers are genuinely gorgeous. I found a 1972 baking book with the most beautiful cover art for fifty pence. My mistake was buying a stack purely for the covers and finding the pages inside were stained and falling out. Flick through before you buy — a solid spine matters if they will be handled.
Cost: ~$3 for a stack | Time: 10 minutes
16. Thrifted Ceramic Pitchers Holding Utensils
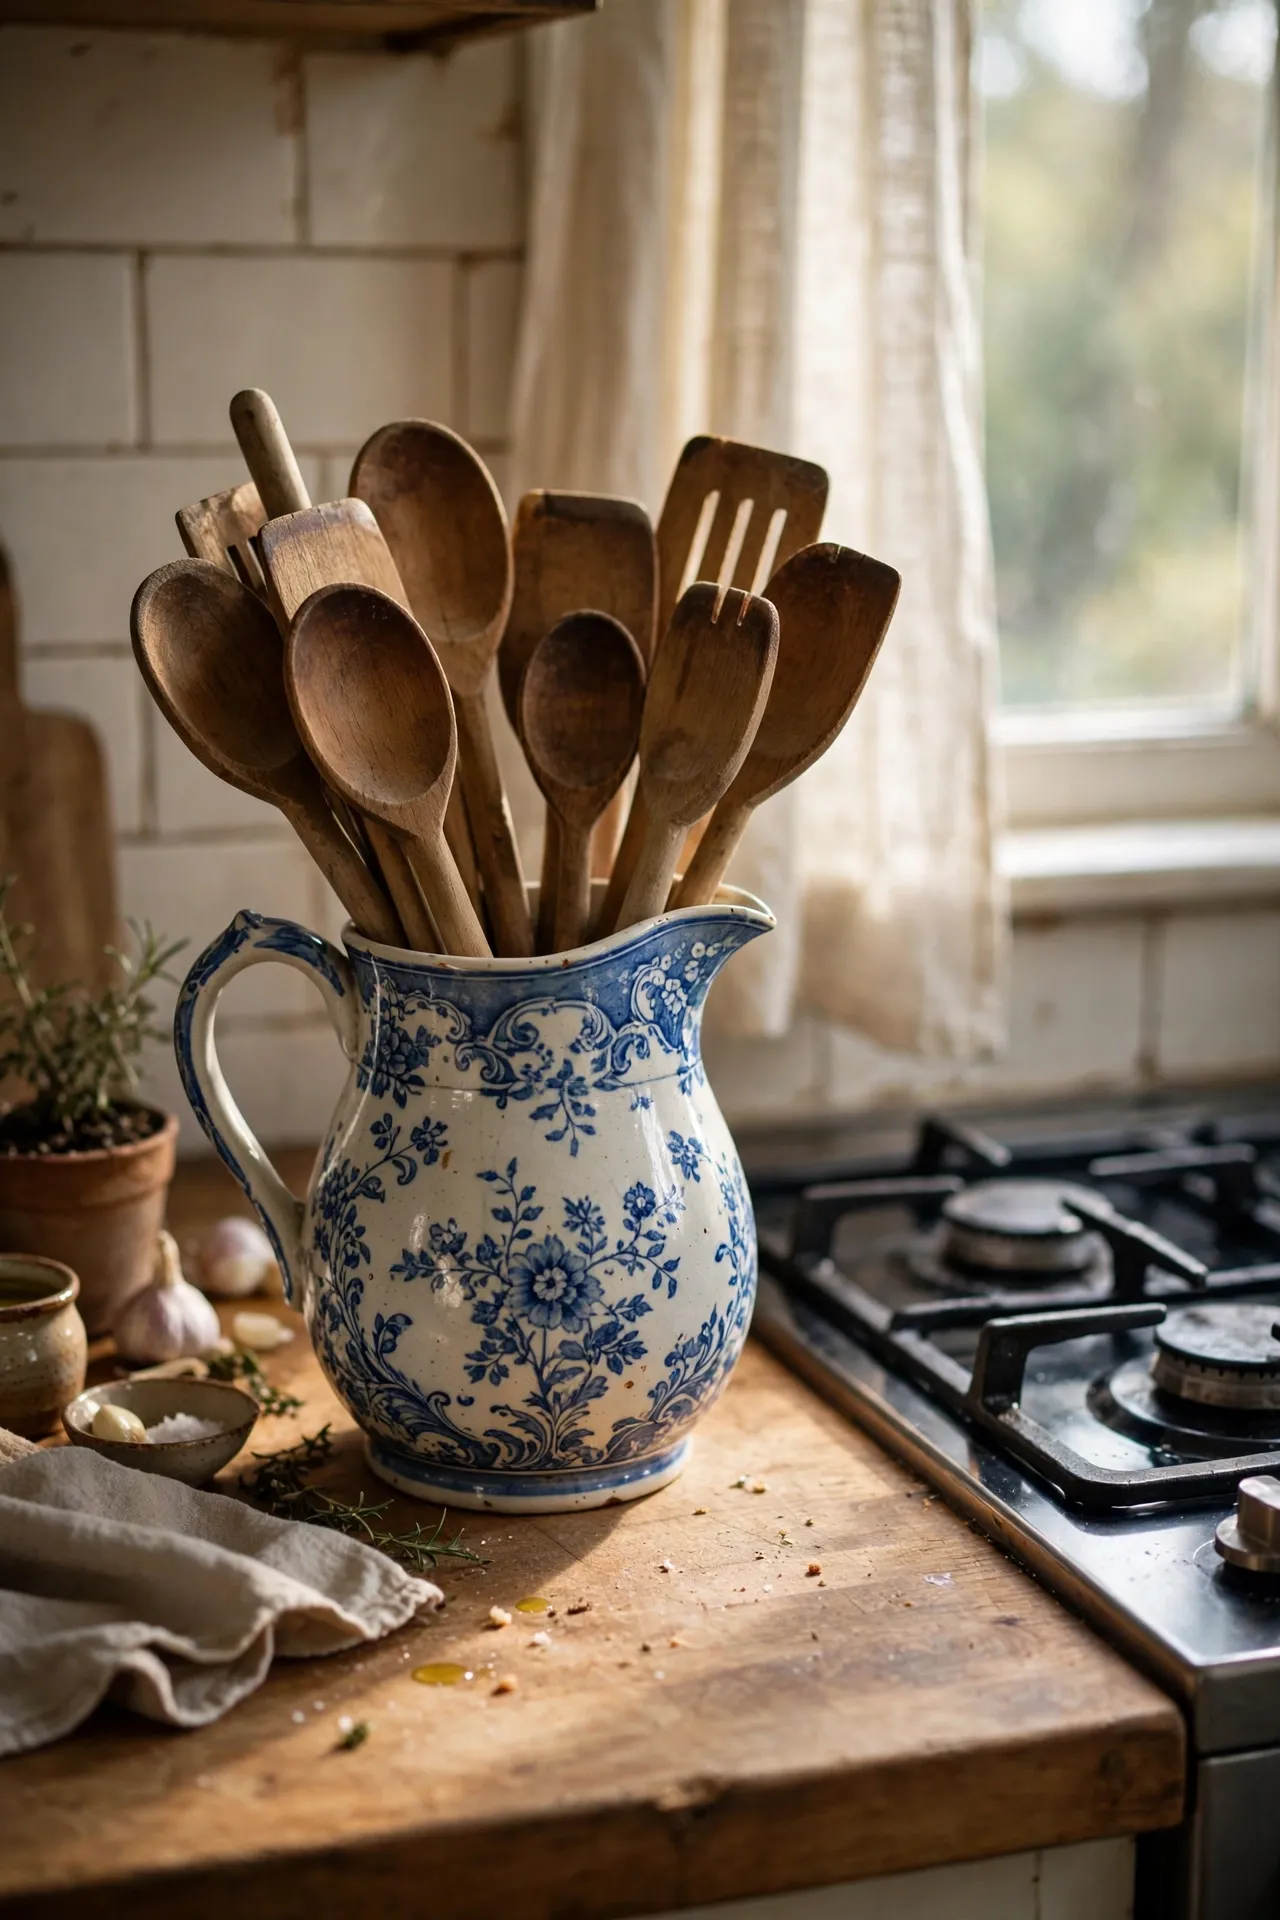
A sturdy ceramic pitcher is the prettiest utensil holder you will ever own. Look for one with a wide stable base — narrow ones tip over the moment you add wooden spoons. Fill it with your everyday tools and park it by the hob. The patterned ones, especially the old blue-and-white or the hand-painted floral ones, look like they cost a fortune. I use a chipped cream pitcher I found for a pound; the chip is at the back where nobody sees it. My mistake was buying a beautiful tall thin one first that toppled over weekly. Wide base, heavy ceramic, and it stays put even when full.
Cost: ~$2 | Time: 10 minutes
Pro tip: the best thrifting days are restock days — usually midweek mornings at charity shops and early hours at car boot sales. The good kitchen stuff rarely survives until the weekend, so set your alarm and go early.
17. Vintage Tin Signs and Framed Kitchen Prints
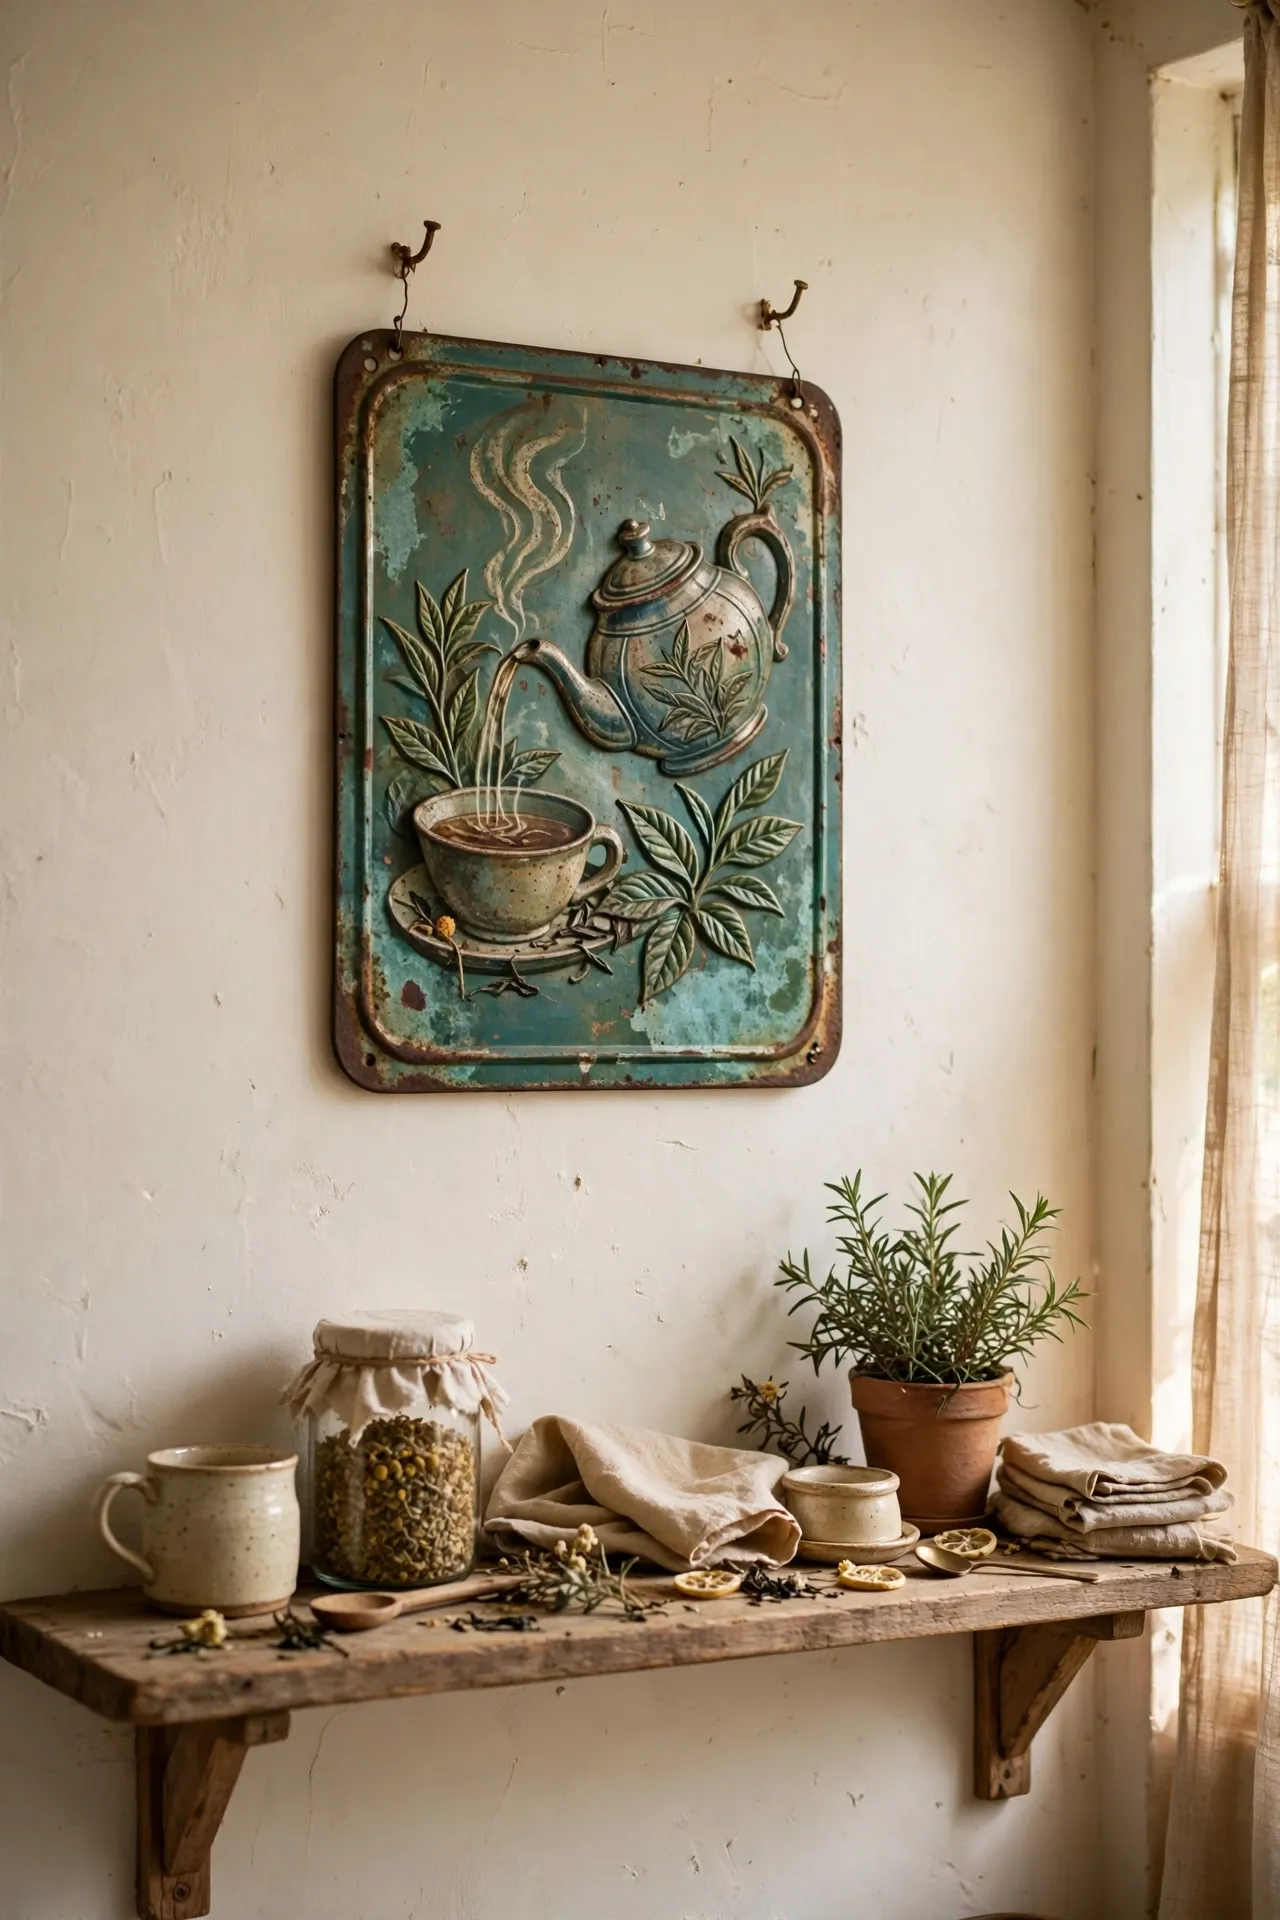
Old tin advertising signs and framed vintage prints are the finishing touch that makes a thrifted kitchen look intentional rather than accidental. Look for signs with original patina — a bit of rust at the edges is fine — and hang them with proper picture hooks, not sticky pads. I found a gorgeous old tea advertisement for three pounds at a flea market, and it pulls the whole room together. My mistake was buying a “vintage” sign that turned out to be a modern reproduction priced like an antique. Check the back: real old tin has aged edges and old nail holes, while reproductions are suspiciously perfect.
Cost: ~$5 | Time: 20 minutes
📌 Like this one? Save it to your kitchen board before you forget.
Want more budget kitchen magic? Have a look at 25 Renter-Friendly Kitchen Upgrades With Zero Damage for bigger changes that will not cost your deposit, 15 Kitchen Decor Ideas Under $50 Without Renovating for more low-cost wins, and 19 Kitchen Cabinet Hardware Ideas That Upgrade Everything for the small swap with the biggest payoff.
Happy hunting — the good stuff is out there waiting for someone patient enough to look. My green bread bin is proof that fifty pence can change a whole room.
