15 Charcoal Gray Kitchen Ideas on a Dime
Three years ago my sister repainted her tiny rental kitchen and handed me a roller, a tin of paint the colour of wet slate, and strict instructions not to ask questions. Charcoal Gray kitchen ideas sounded like a recipe for a cave, and I told her so, loudly, twice. By Sunday night I was eating my words along with the takeaway pizza, because that dark, moody colour had made her little galley look twice as expensive as it was. The trick, she taught me, is that charcoal behaves like a neutral with confidence: it hides scuffs, makes cheap cabinets look custom, and pairs with almost anything you already own.
1. Charcoal Gray Lower Cabinets With White Uppers
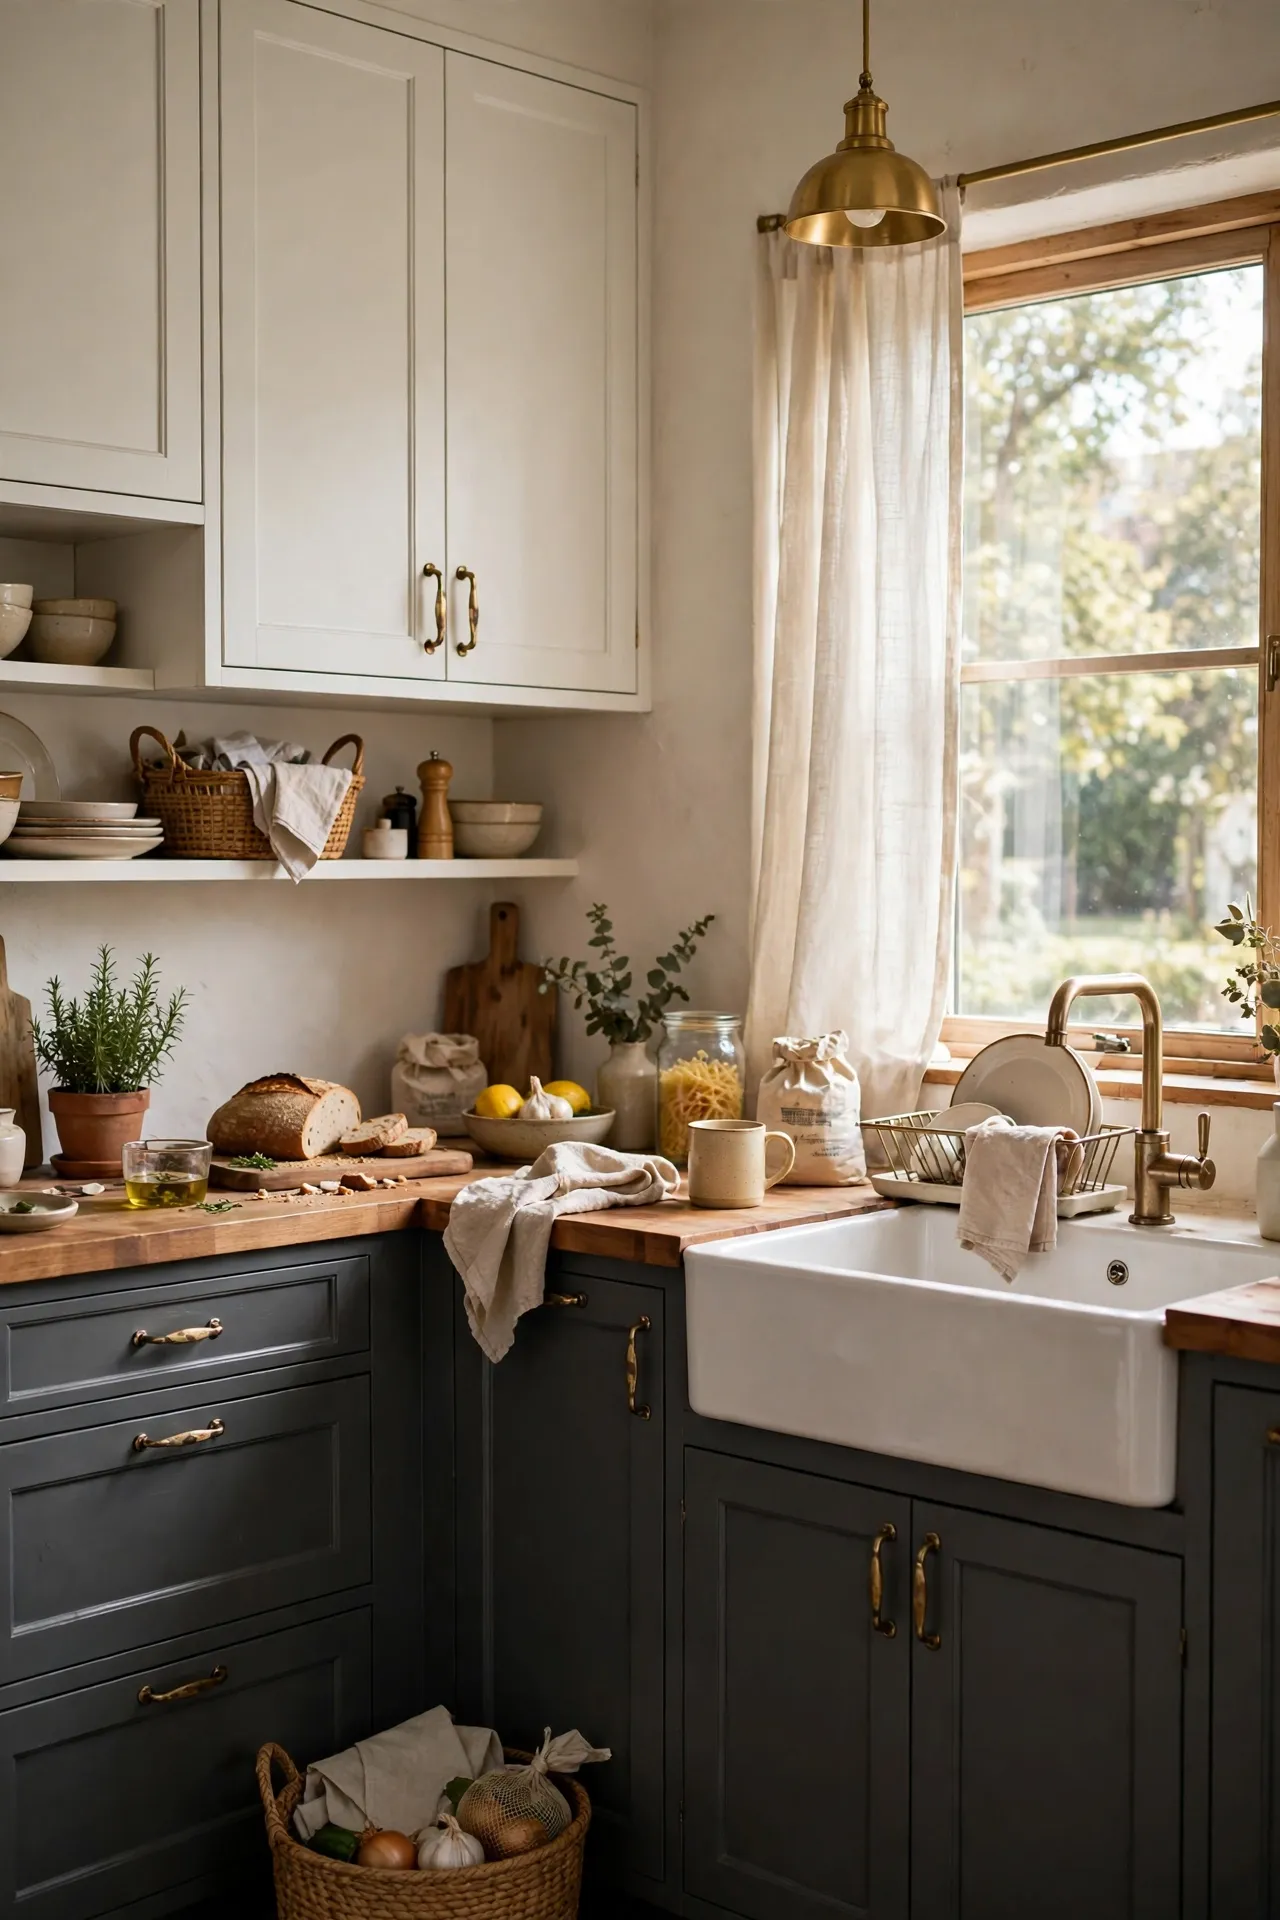
When I first tried this, I painted only the lower cabinets in my own kitchen and left the uppers white, and the difference was honestly ridiculous. Charcoal on the bottom grounds the room and hides every splash and scuff, while white uppers keep things feeling bright. Sand the fronts lightly, wipe them down with sugar soap, then apply two coats of a good cabinet paint with a small foam roller for a smooth finish. I tried a cheap emulsion first and regretted it within a month when the doors started chipping around the handles. Cabinet paint or a proper primer-plus-topcoat combo is the non-negotiable bit. Take the doors off the hinges and paint them flat on sawhorses; it takes longer but the finish is ten times better.
Cost: ~$35 for paint and primer | Time: One weekend
2. Chalkboard Paint Accent Wall for Menus and Lists
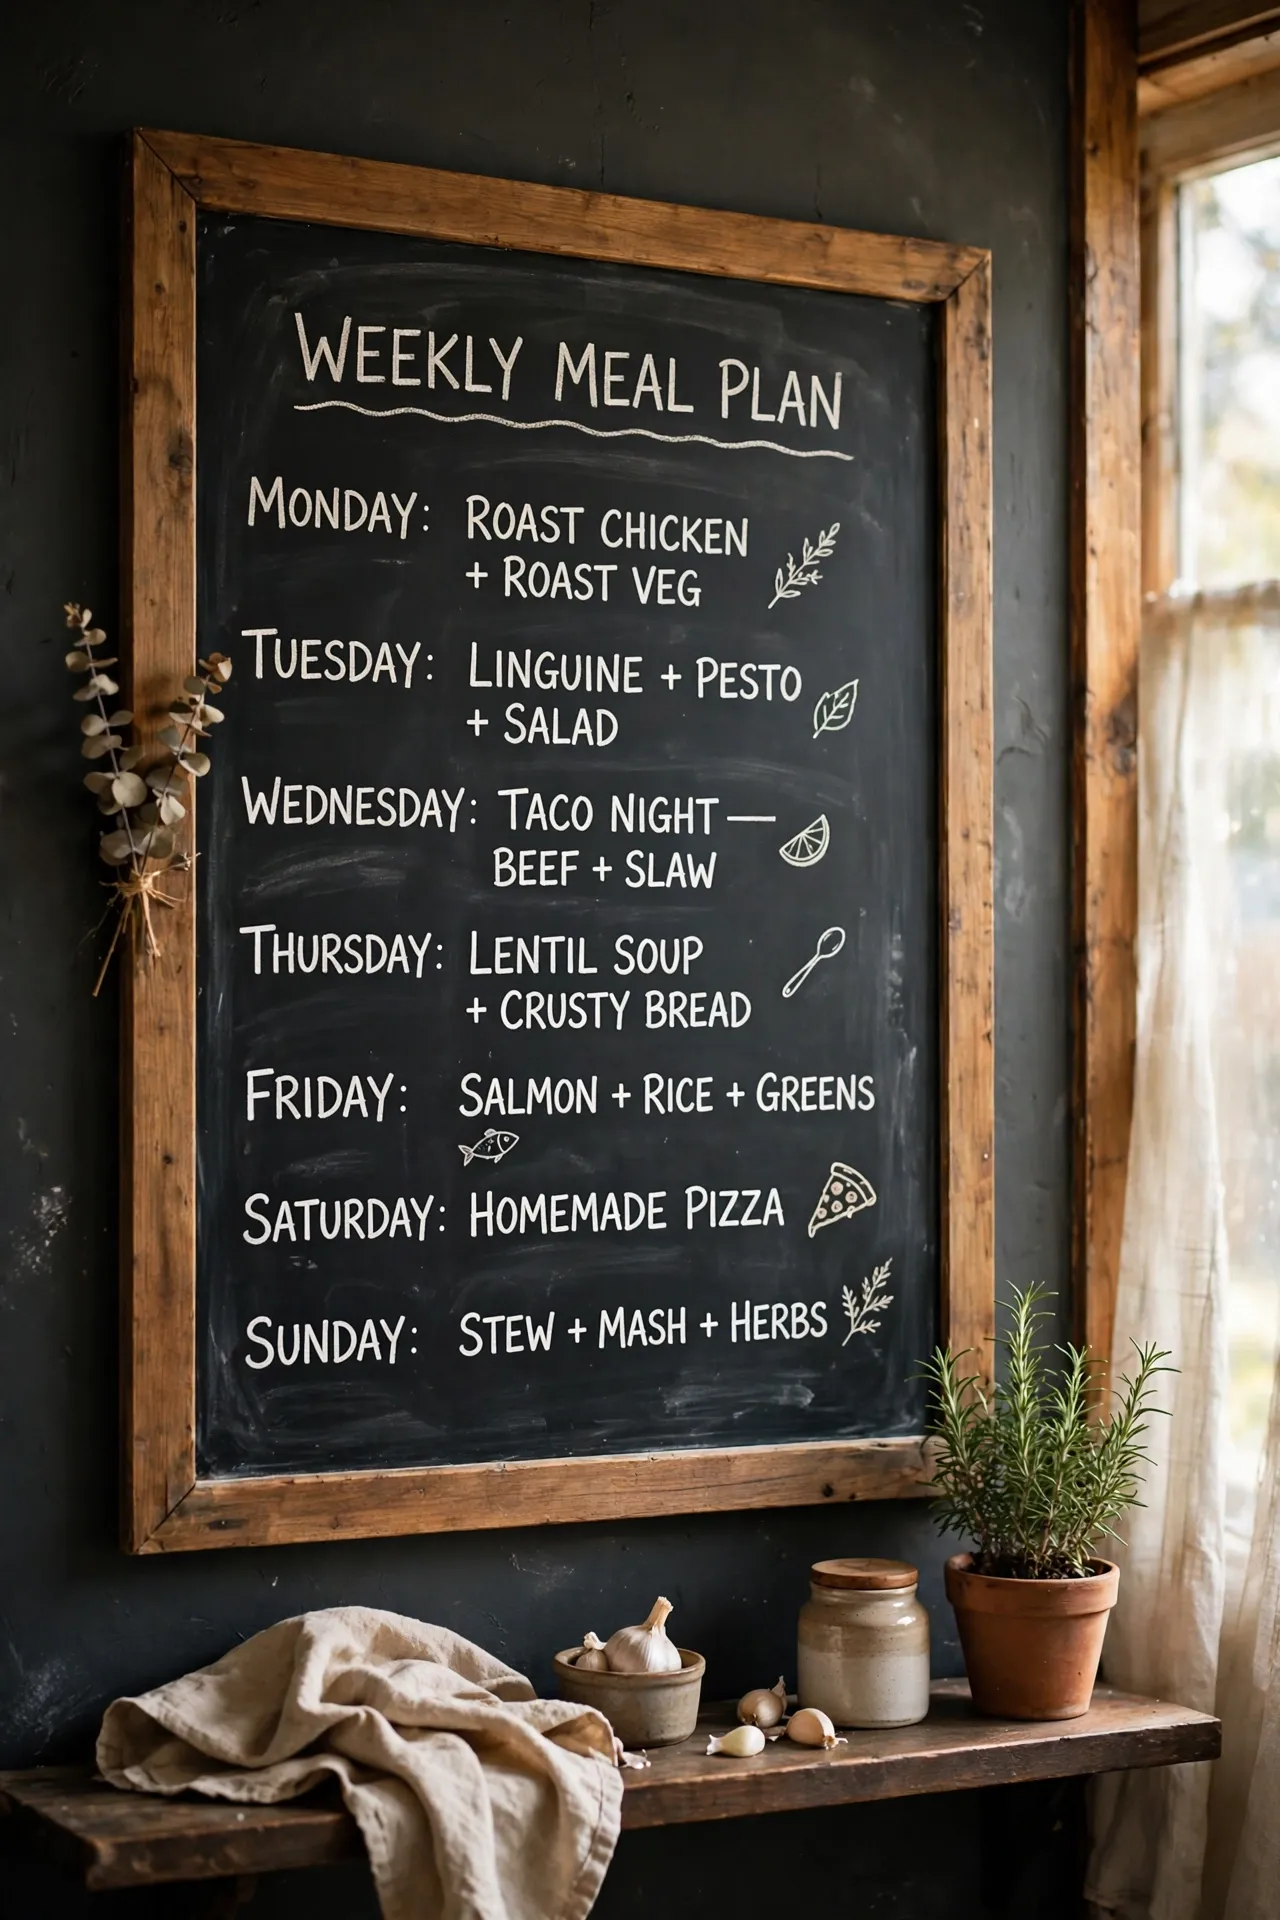
A wall or a single cupboard door painted in charcoal chalkboard paint turns dead wall space into the family command centre. I use ours for the weekly meal plan, the shopping list, and reminders nobody reads. Brush on two coats of chalkboard paint over a primed surface, then season it by rubbing the side of a chalk stick all over and wiping it off before first use. The mistake to avoid is writing before seasoning; your first doodles will ghost permanently. Frame the section with simple painted timber trim and it looks intentional rather than improvised. White chalk pops beautifully against the dark gray, and the kids will fight over who writes the menu.
Cost: ~$15 | Time: 2 hours plus drying
3. Charcoal Grout to Refresh Tired White Tiles
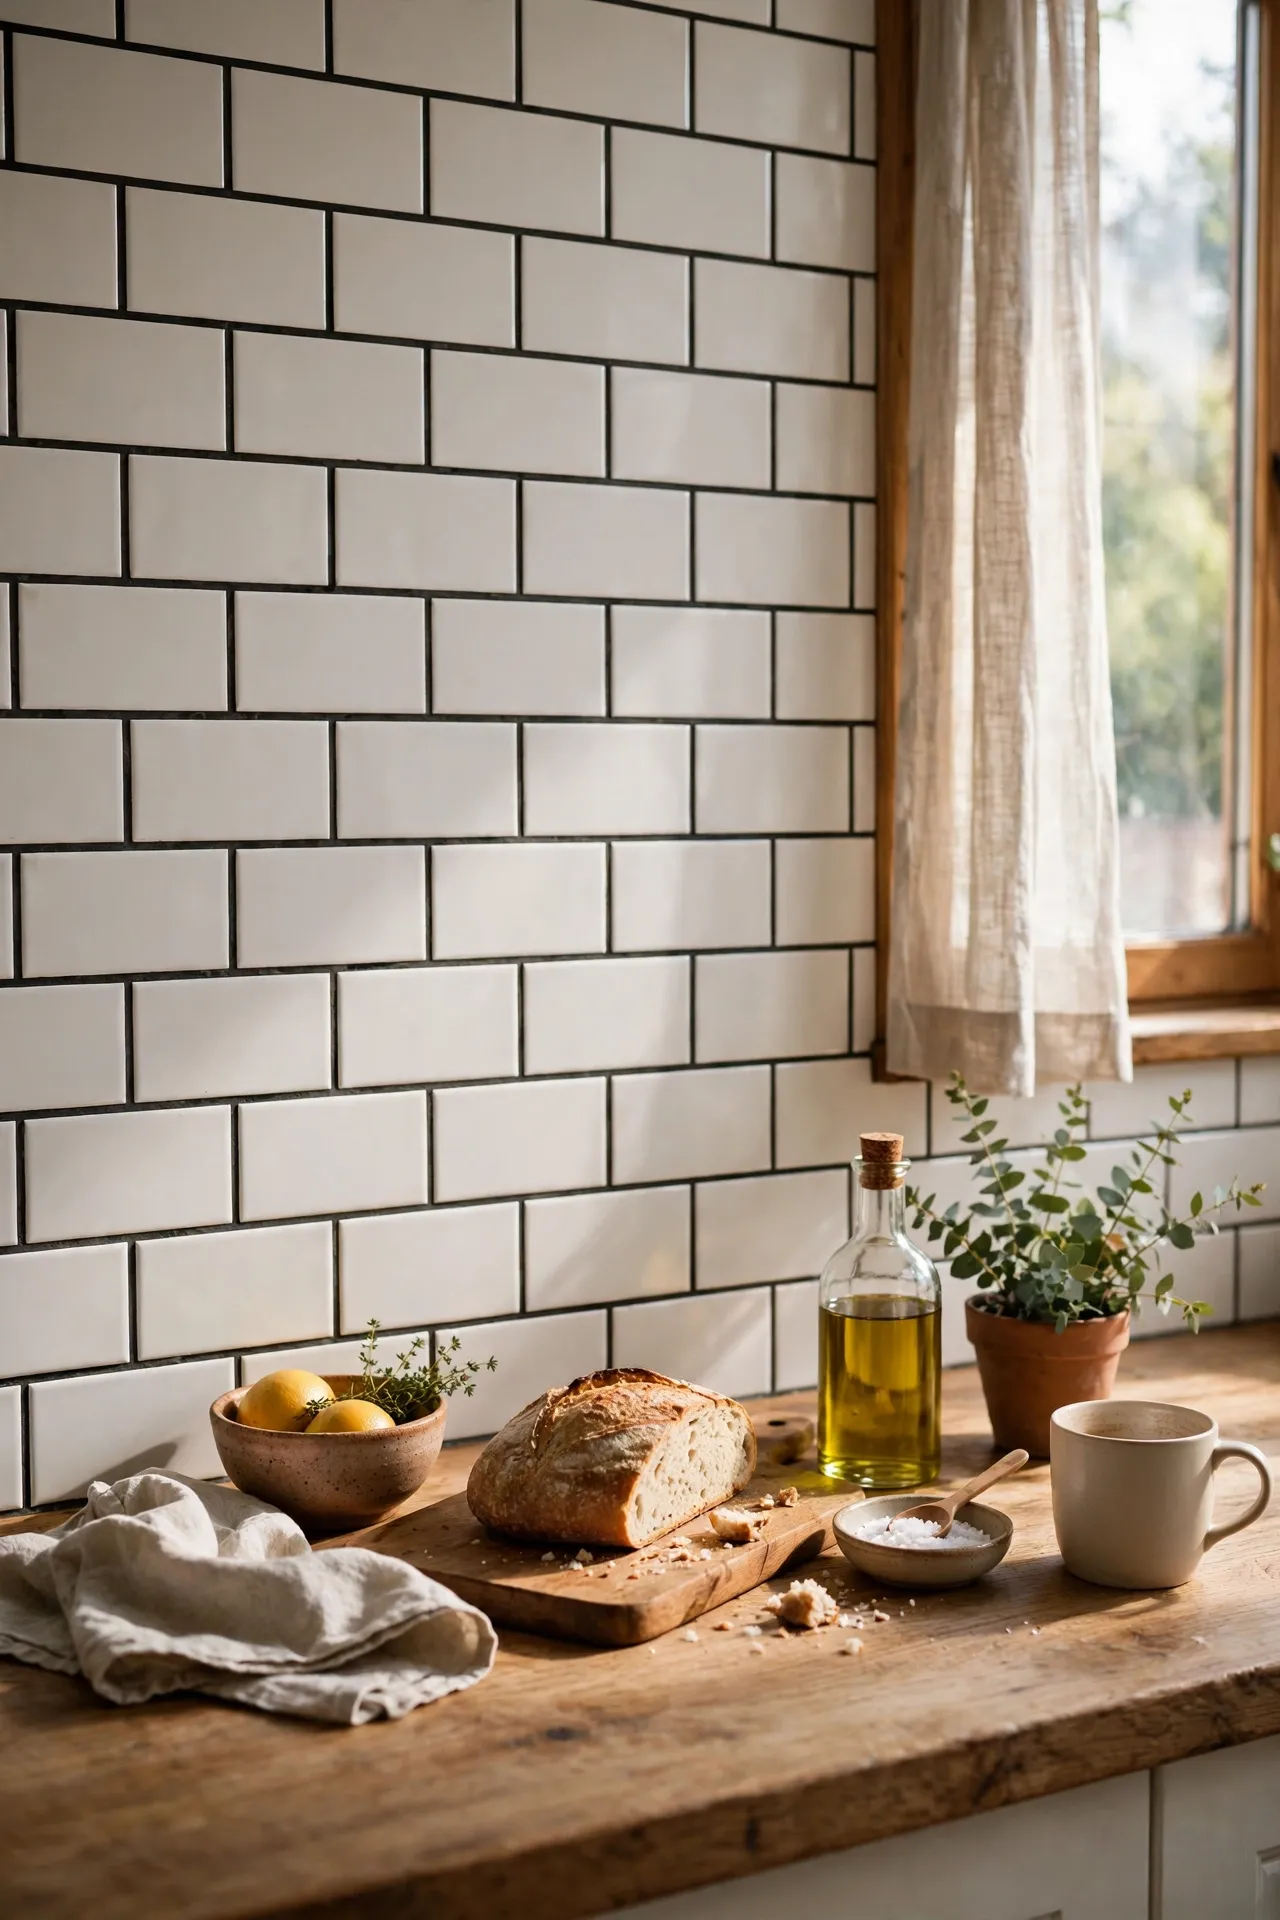
My neighbour laughed when I said I was “re-grouting” my splashback for the price of a pizza, but the result shut her up. Charcoal grout over existing white tiles makes the whole wall look brand new and hides every stain your old grout was collecting. You can either rake out the old grout and re-grout properly, or use a grout colourant pen in charcoal for the truly lazy route. I did the proper scrape-and-regrout on half the wall and the colourant pen on the other half, and a year later both still look fine. The pen is quicker; the real grout lasts longer. Whichever you choose, seal it afterwards so cooking grease wipes straight off.
Cost: ~$12 | Time: 3 hours
4. Dark Gray Peel-and-Stick Backsplash Tiles
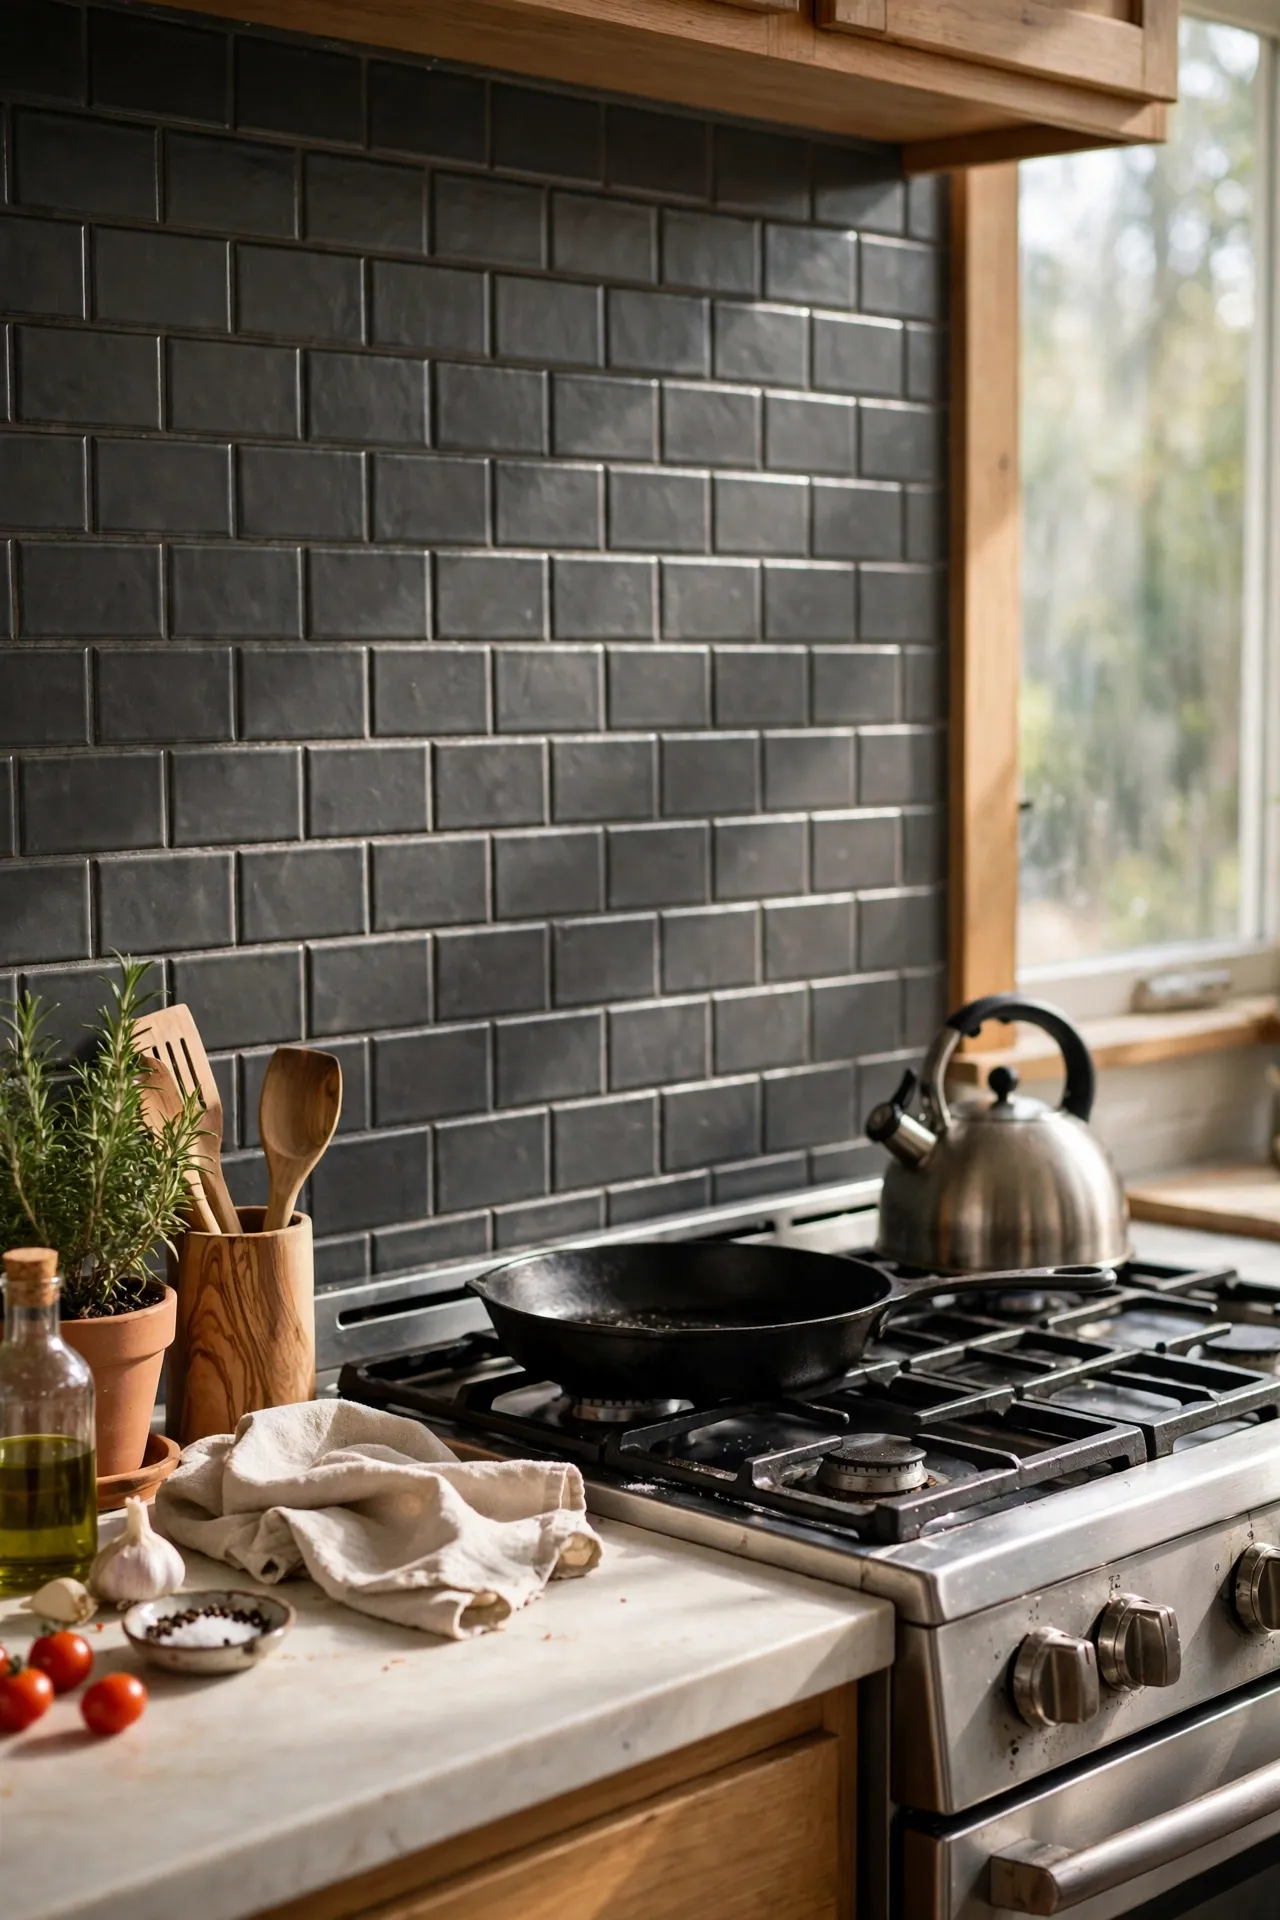
Peel-and-stick tiles in a charcoal subway pattern give you a tiled-look splashback with zero grout, zero mess, and zero landlord drama. Measure your splashback, cut the sheets with scissors or a craft knife, peel the backing, and press them on from the centre outward, smoothing air bubbles as you go. I tried this behind my cooker and the steam from a full Sunday roast has not lifted a single corner in eighteen months. The mistake to avoid is skimping on surface prep: degrease the wall properly or the adhesive will fail within weeks. They wipe clean with a damp cloth and peel off when you move, which makes them renter gold.
Cost: ~$25 for a standard splashback | Time: 1 hour
5. Charcoal Open Shelving Styled Like a Shop Display
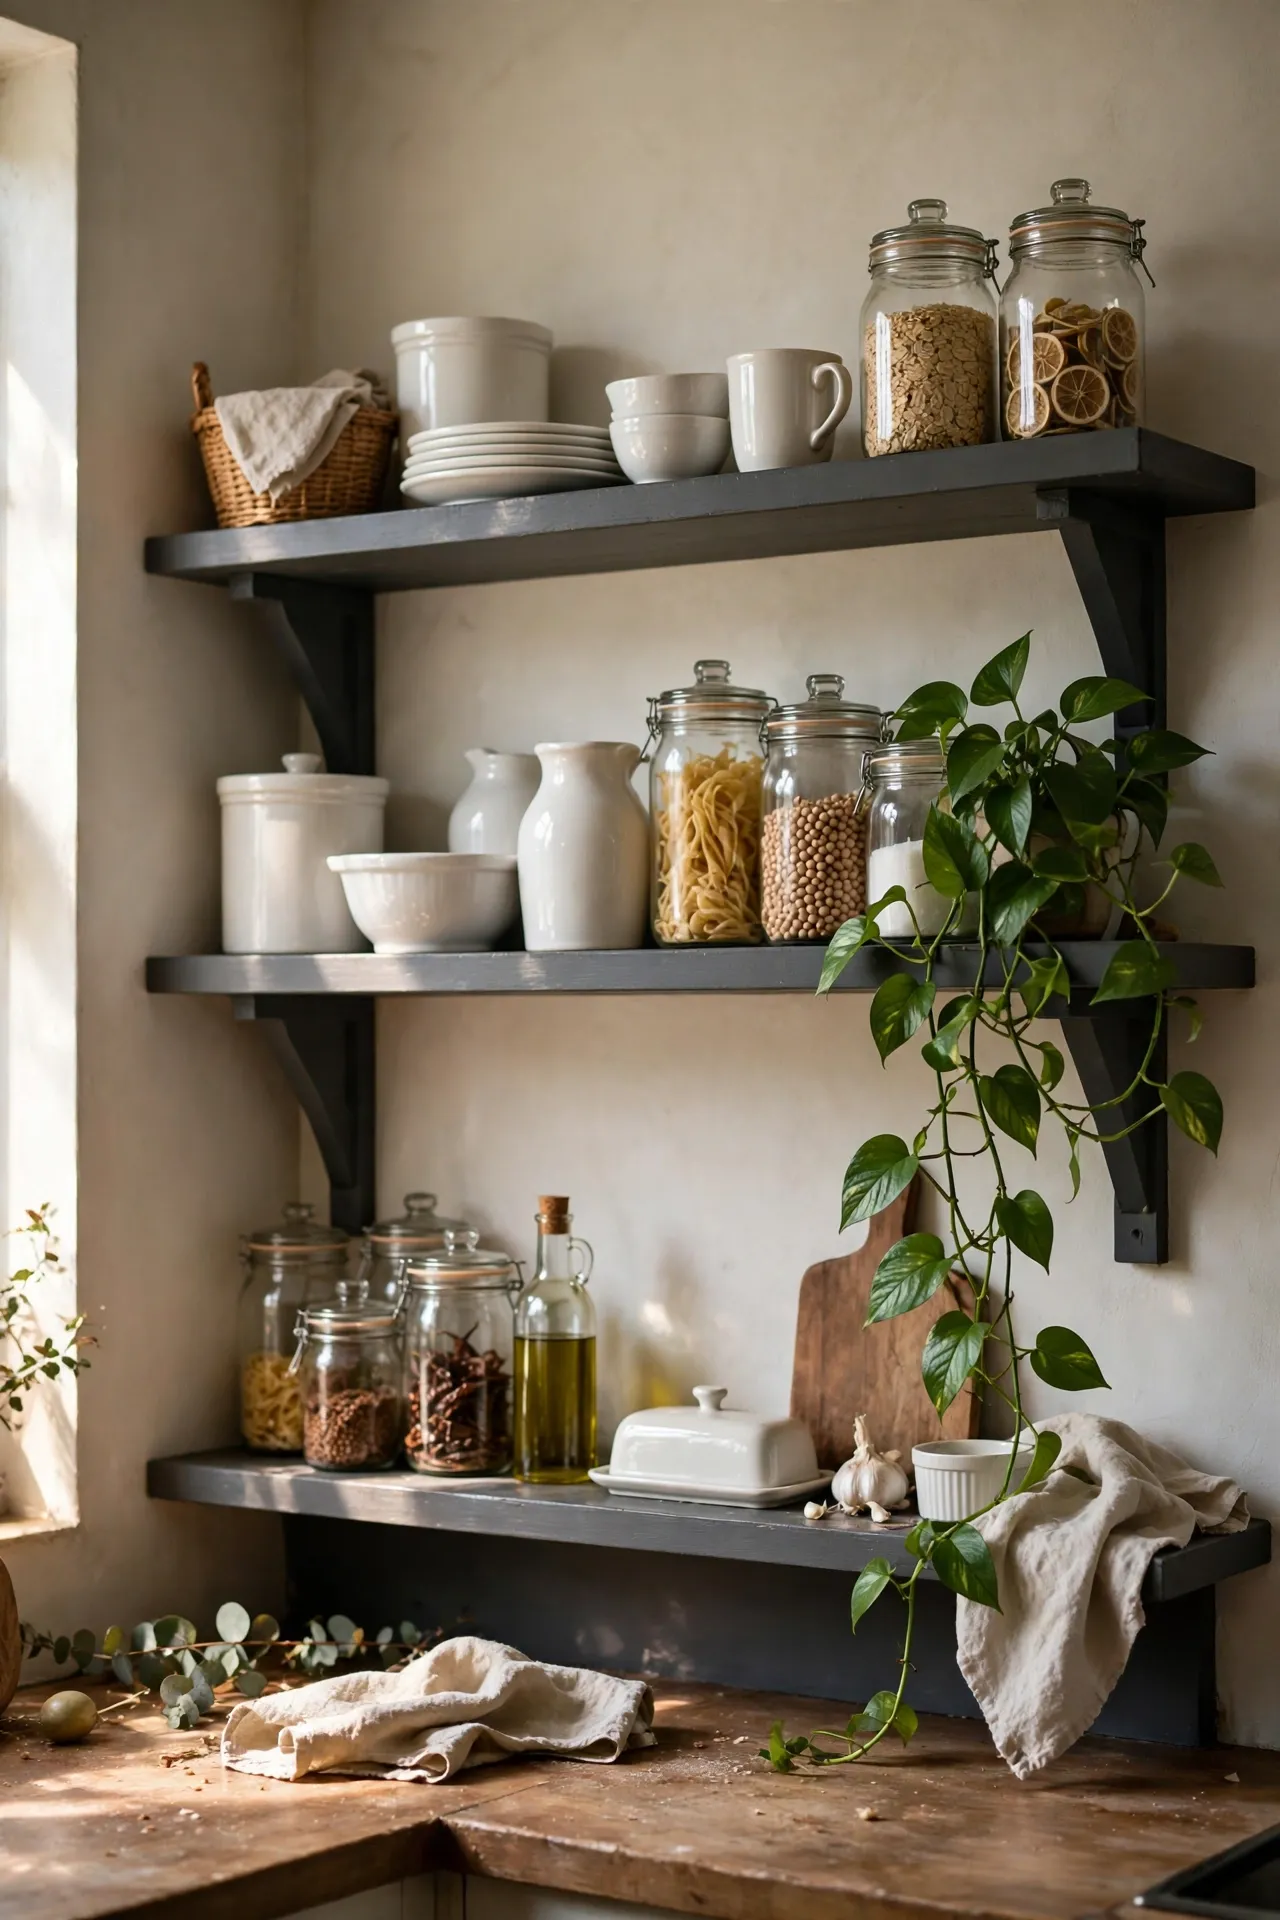
Swap one upper cabinet for open shelving in stained charcoal timber, or simply paint your existing shelf brackets and boards dark gray. The shelves become a display zone for your prettiest crockery, jars of dry goods, and a trailing plant. Cut pine boards to length, stain or paint them charcoal, and mount on sturdy brackets fixed into studs. I tried styling mine like the displays in expensive kitchen showrooms: odd numbers of items, varying heights, and nothing you do not actually use. The trick is restraint, since open shelves punish clutter. Everything else lives behind closed doors, and the shelf stays a little curated corner you actually enjoy looking at.
Cost: ~$20 | Time: 1 hour
6. Paint the Island Charcoal and Leave Everything Else
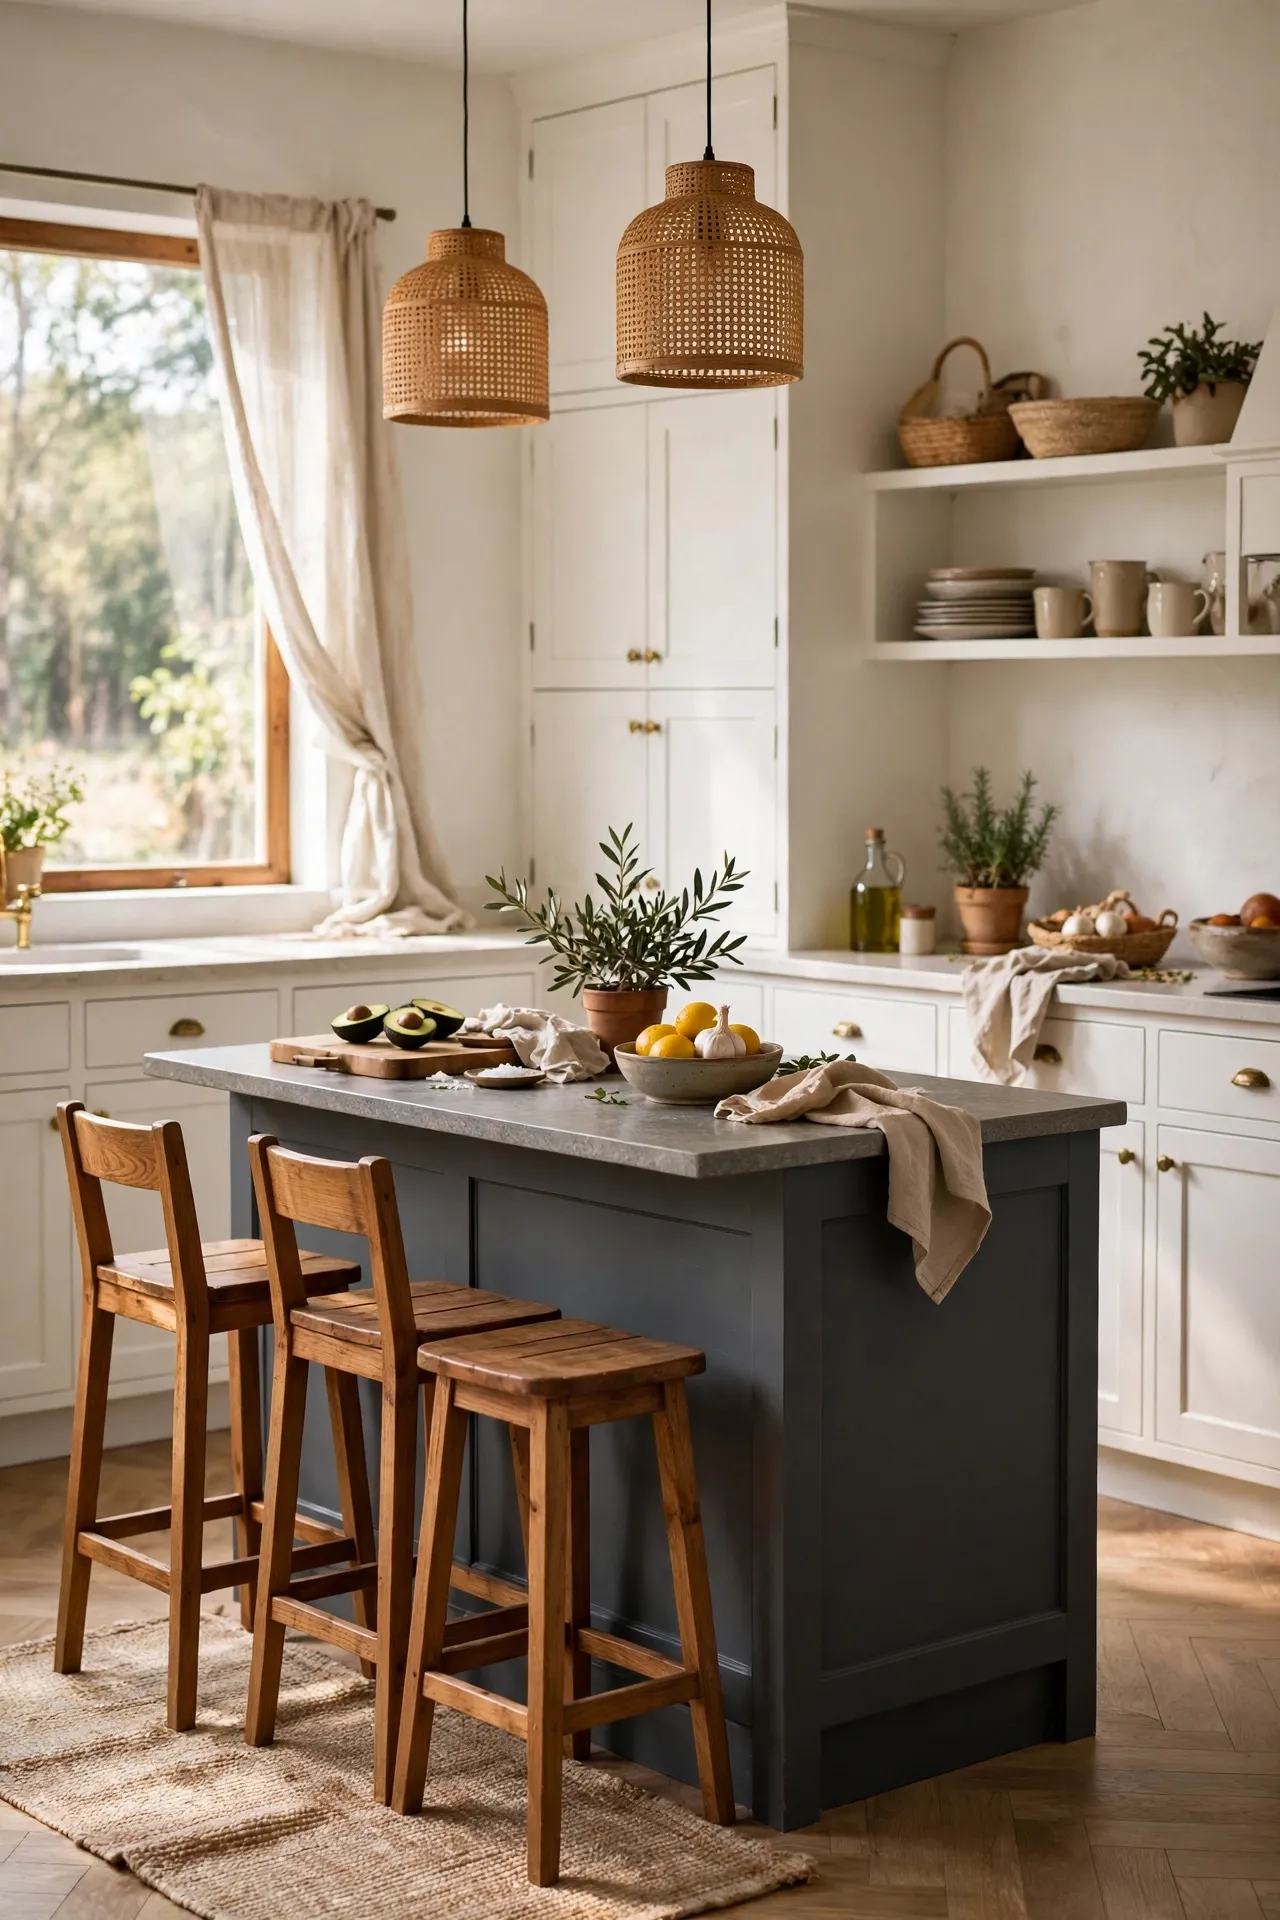
If a whole cabinet repaint feels like too much, paint just the island. A charcoal island reads as a deliberate design statement even in an otherwise plain kitchen, like a piece of furniture rather than fitted joinery. Clean it thoroughly, sand lightly, prime, and roll on two coats of cabinet paint. Add new bar stools or a butcher-block style top later if you want to push it further, but even the paint alone changes the room’s focal point. I tried this in a friend’s kitchen in an afternoon and her estate agent-quality white kitchen suddenly had personality. Pair it with brushed brass or matte black handles for the full effect.
Cost: ~$18 | Time: 4 hours
7. Charcoal Gray Runner Rug to Ground the Floor
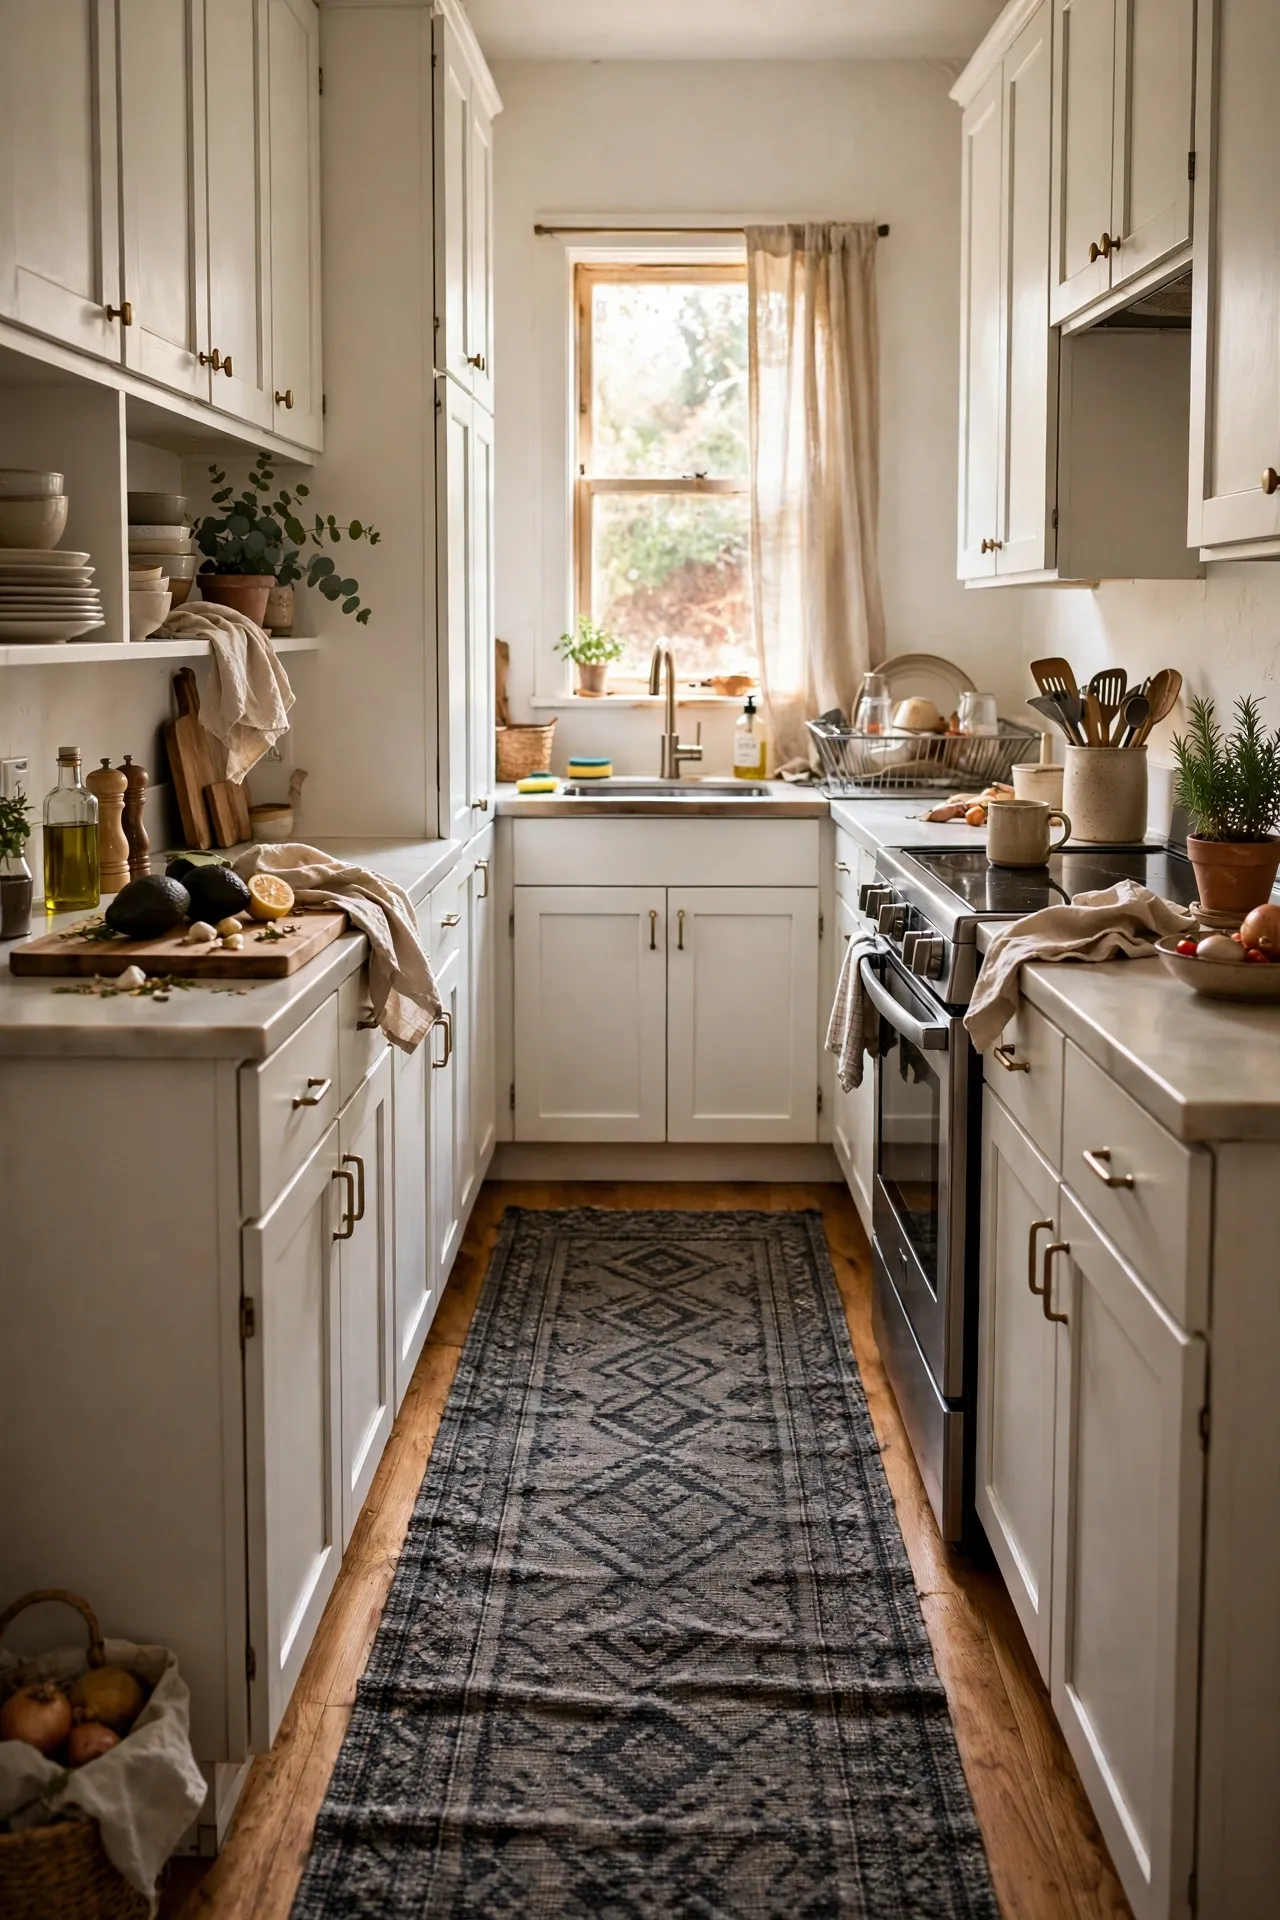
A washable charcoal runner along the galley or in front of the sink adds softness underfoot and hides the sins of a tired floor. Look for a low-pile, machine-washable runner in a charcoal pattern, long enough to span the working zone. Lay it flat for a day before judging the curl, and use rug tape on the corners if it slides. I tried a light-coloured runner first and it showed every splash of turmeric and tomato within a week; the charcoal one still looks respectable after a year of actual cooking. It is the easiest idea on this list, and somehow the one guests always comment on.
Cost: ~$25 | Time: 10 minutes
8. Dark Gray Textiles: Towels, Oven Mitts, and a Curtain
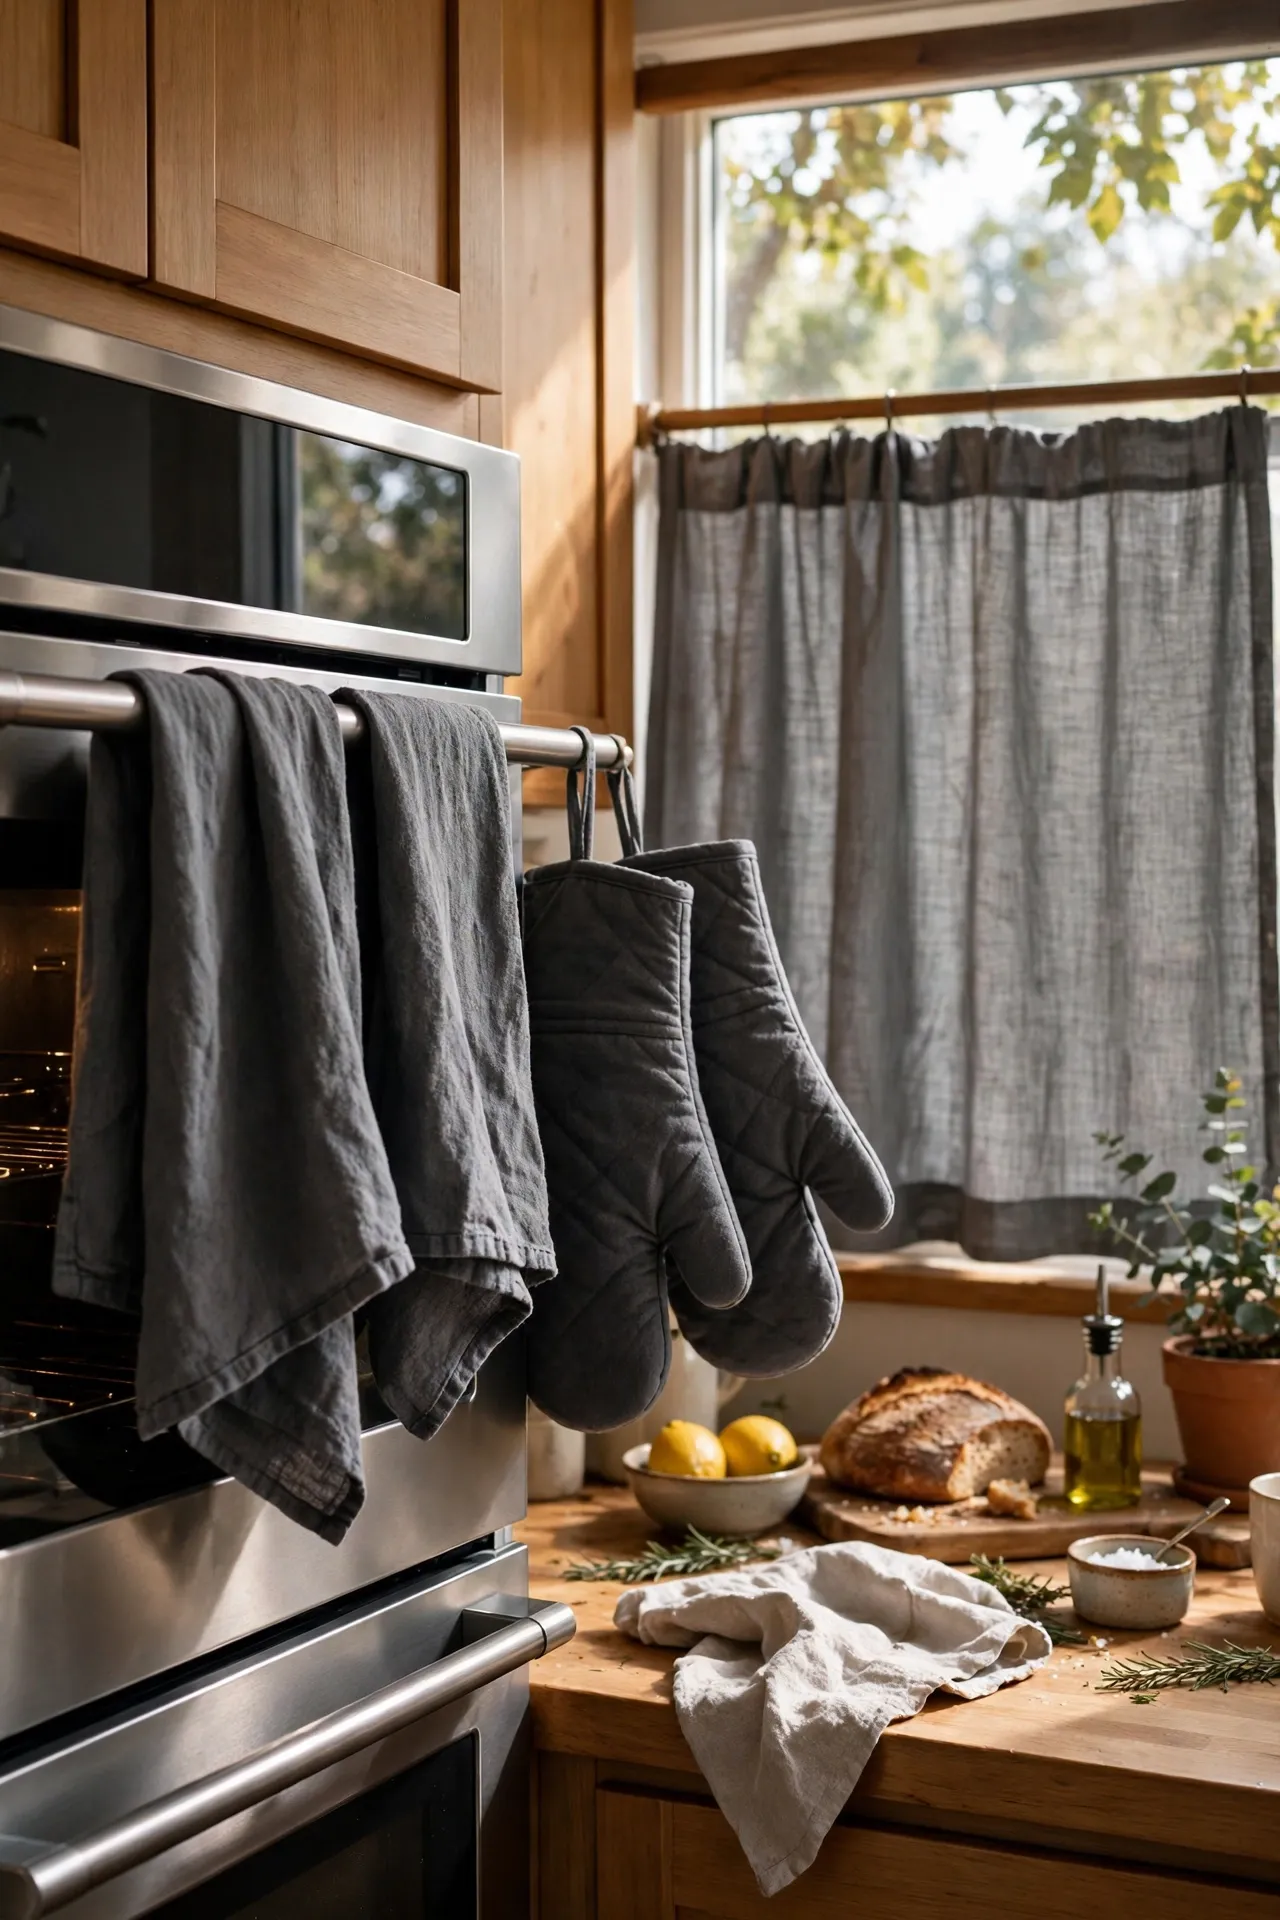
Charcoal tea towels, oven mitts, and a simple café curtain pull the whole colour story together for the price of a grocery run. Swap out your tired patterned textiles for solid dark gray ones in cotton or linen blends, and fold the towels neatly on the oven rail where they double as decor. I buy mine in multipacks and keep the pattern-free look consistent across the room. The mistake to avoid is mixing five different shades of gray; buy them in one trip so they actually match. Dark textiles also hide the cooking stains that white ones advertise.
Cost: ~$15 for a set | Time: 15 minutes
📌 Like this one? Save it to your kitchen board before you forget.
9. Charcoal Contact Paper to Fake Stone Counters
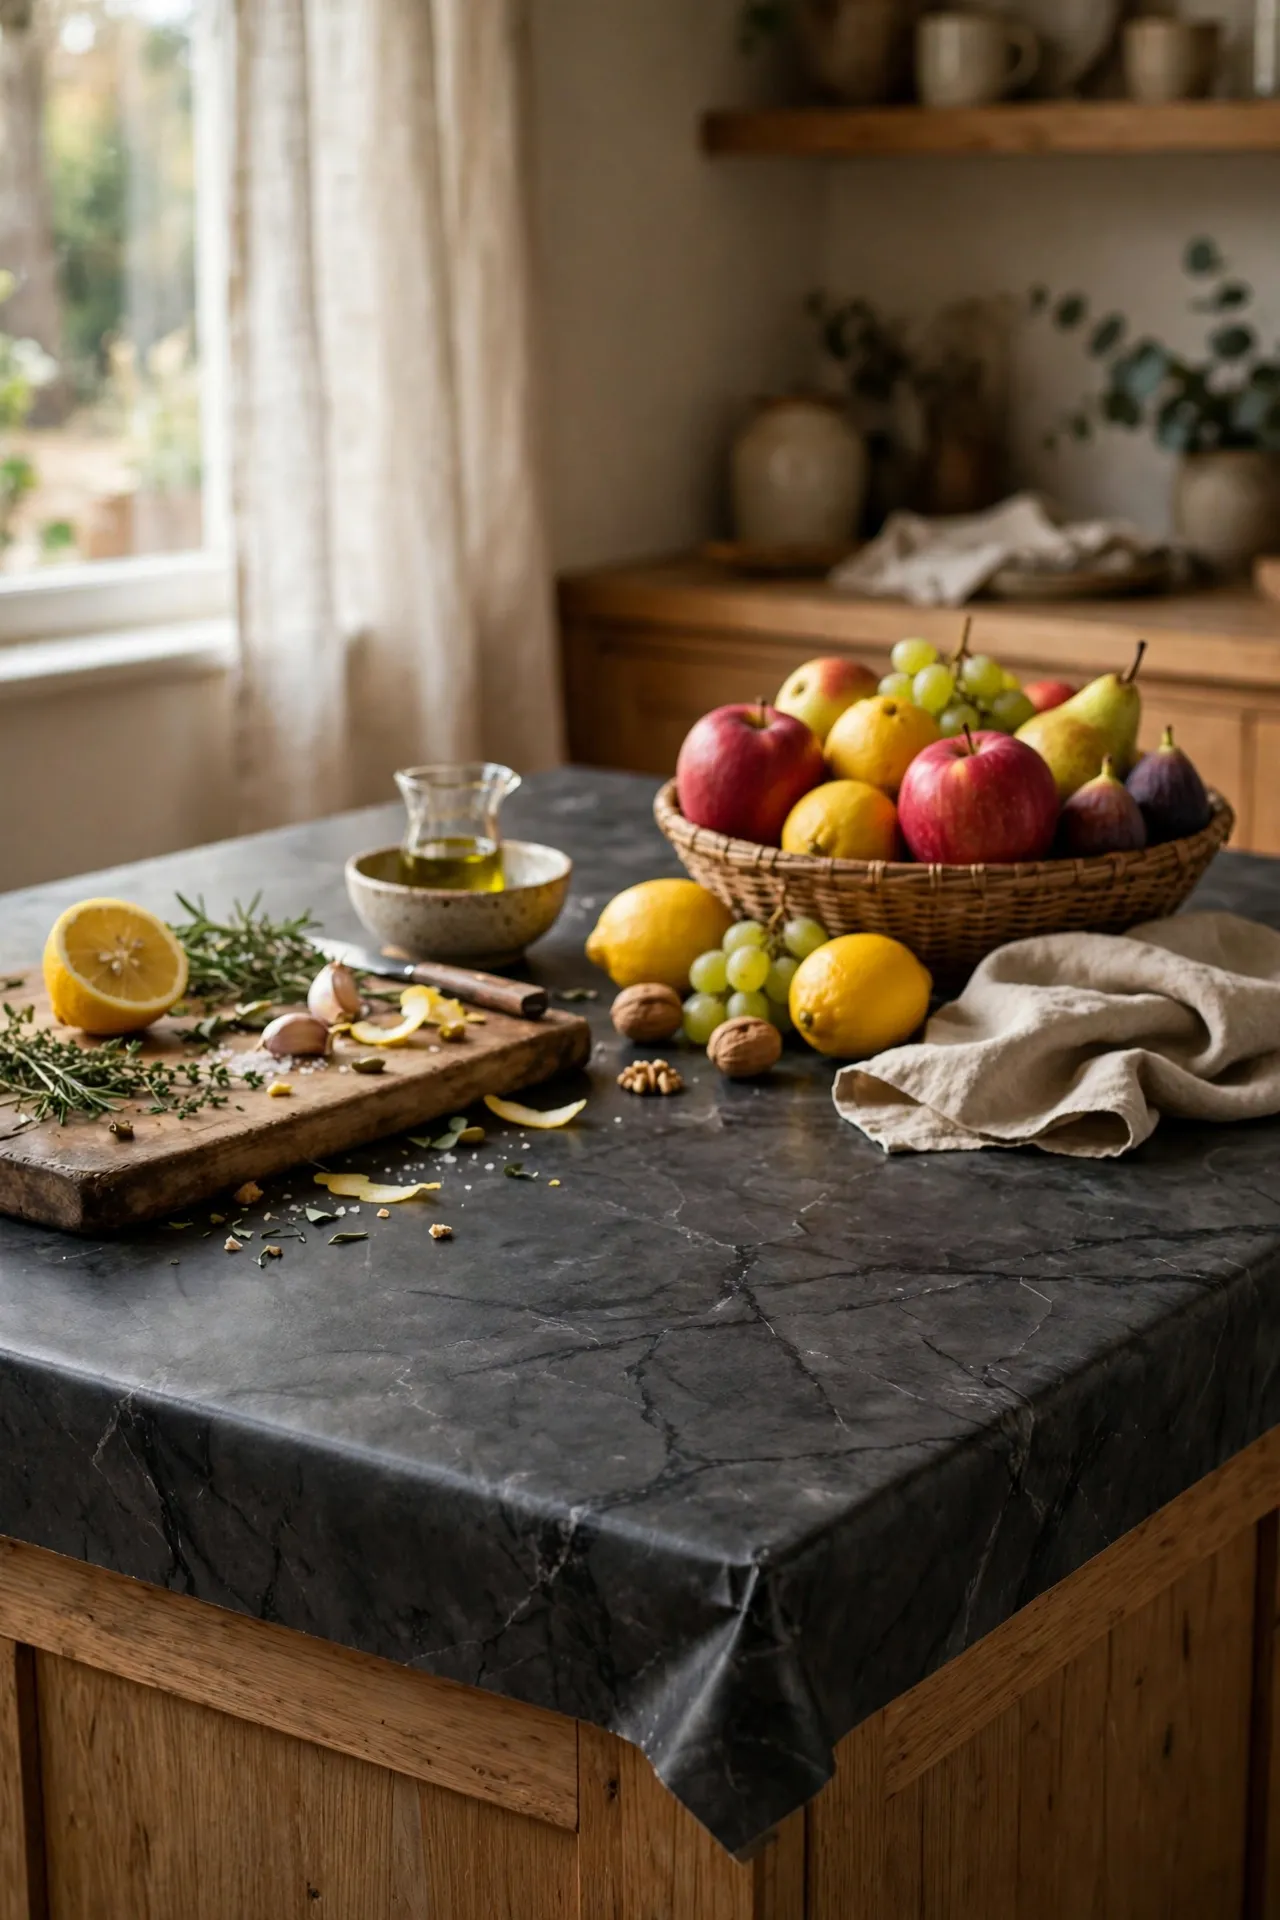
When I first tried this, I expected contact paper counters to look like a craft project gone wrong, but the marble-look charcoal film honestly fooled my mother-in-law. Clean the countertop thoroughly, cut the film oversized, peel back a few inches at a time, and smooth it down with a credit card wrapped in a soft cloth to push out bubbles. Heat is the enemy, so always use a trivet under hot pans. I tried skipping the trivet once and melted a perfect ring into the film, which taught me the lesson permanently. For under twenty dollars it buys you a year or two of good-looking counters while you save for the real thing.
Cost: ~$18 | Time: 2 hours
10. Matte Black and Charcoal Hardware Swap
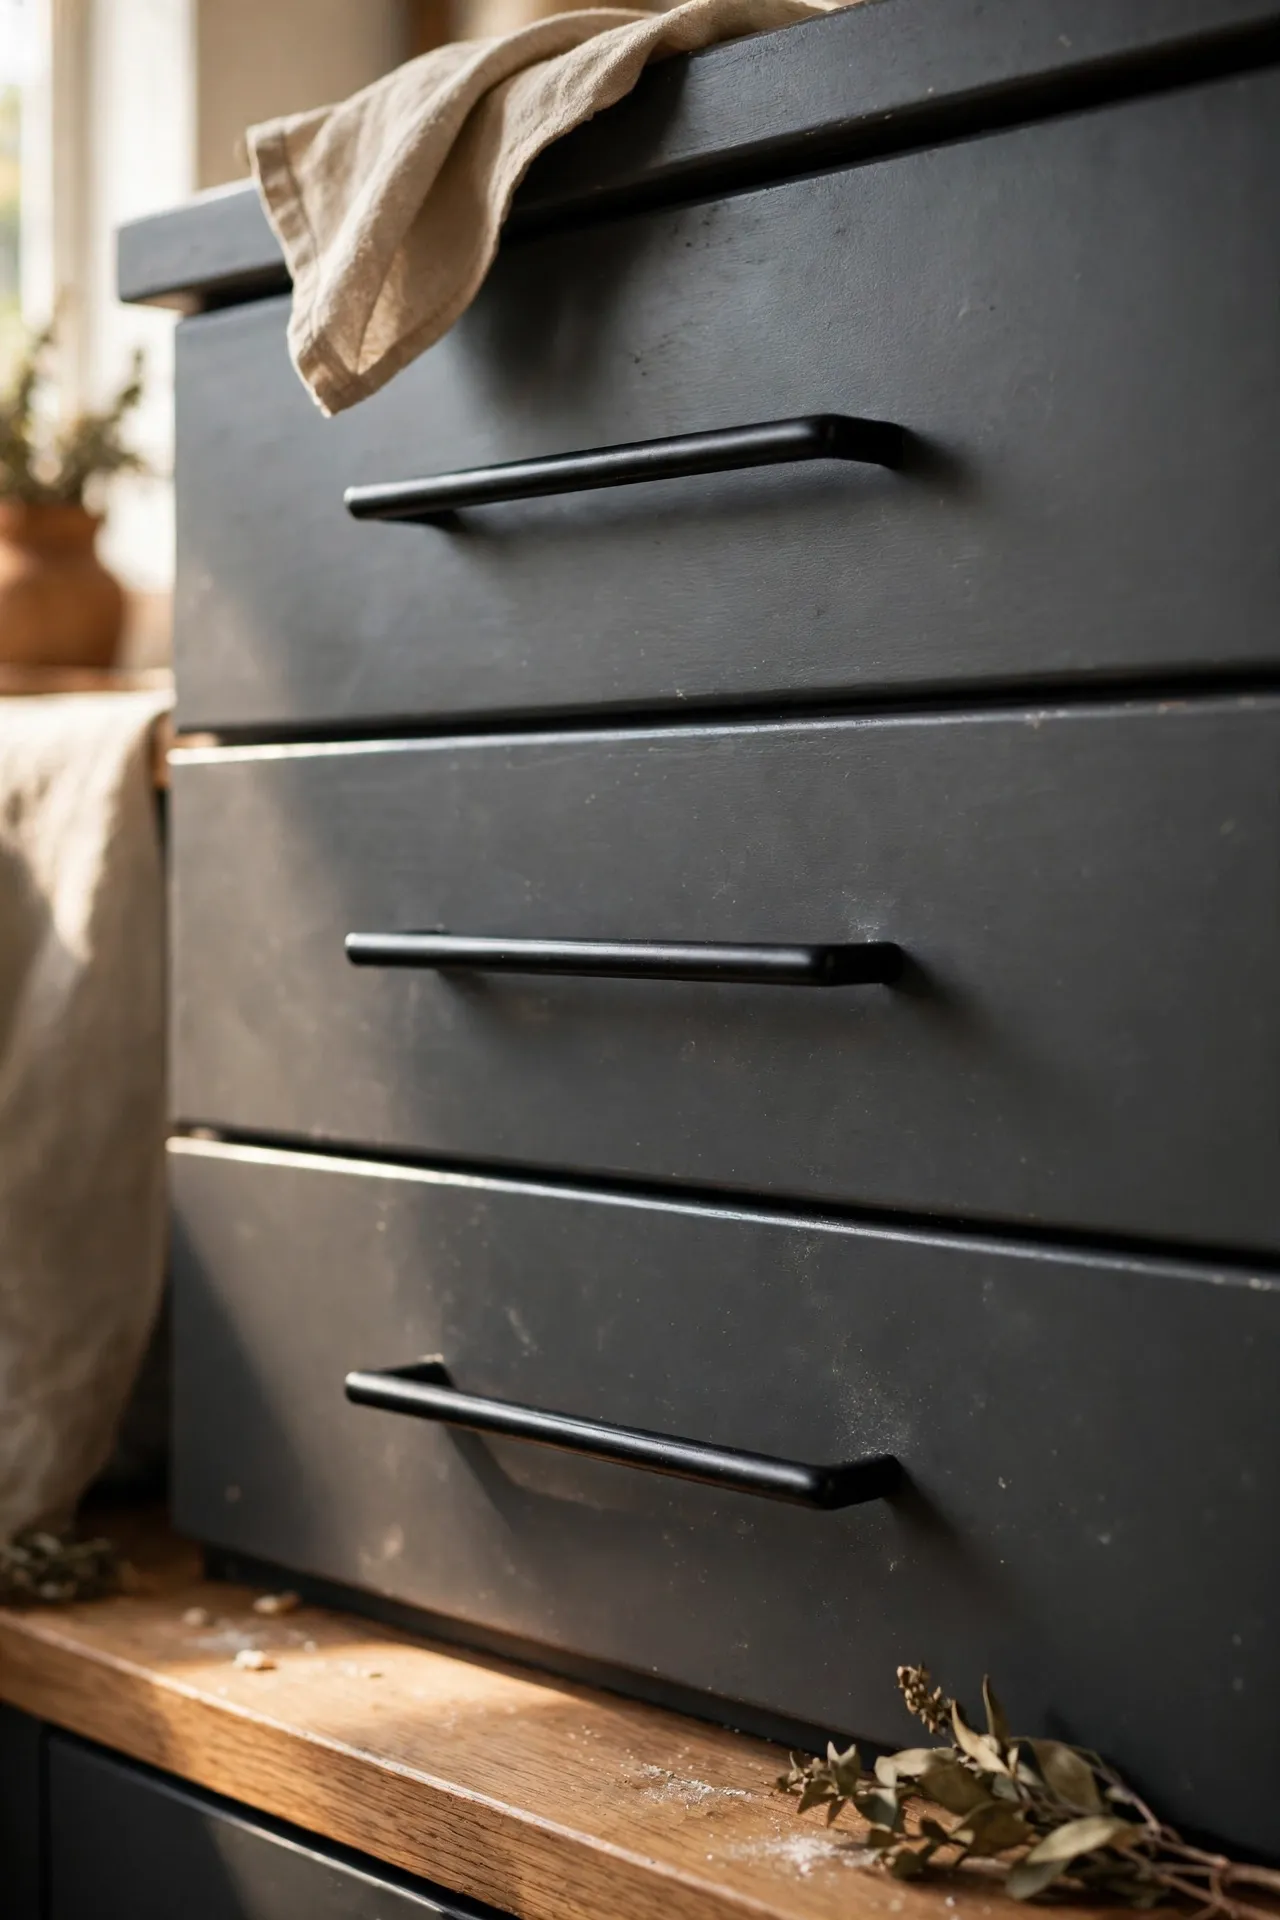
Swapping shiny dated handles for matte black or charcoal pulls is the highest-impact thirty minutes in budget kitchen decorating. Unscrew the old handles, fill any mismatched holes with wood filler if the spacing differs, and fit the new pulls. Measure the hole spacing before you buy anything; 96mm and 128mm are the common ones. I tried spray-painting my old handles first and the paint wore off around the edges within months, so proper new hardware is worth the small spend. Twelve to twenty pulls will do a standard kitchen, and the charcoal cabinets suddenly look like they were always meant to be there. If you are planning a fuller refresh, this pairs beautifully with ideas like (see also: 17-sage-green-kitchen-ideas-on-a-budget) for anyone flirting with a different accent colour.
Cost: ~$20 for a full set | Time: 30 minutes
11. Charcoal Paint Inside Glass-Front Cabinets
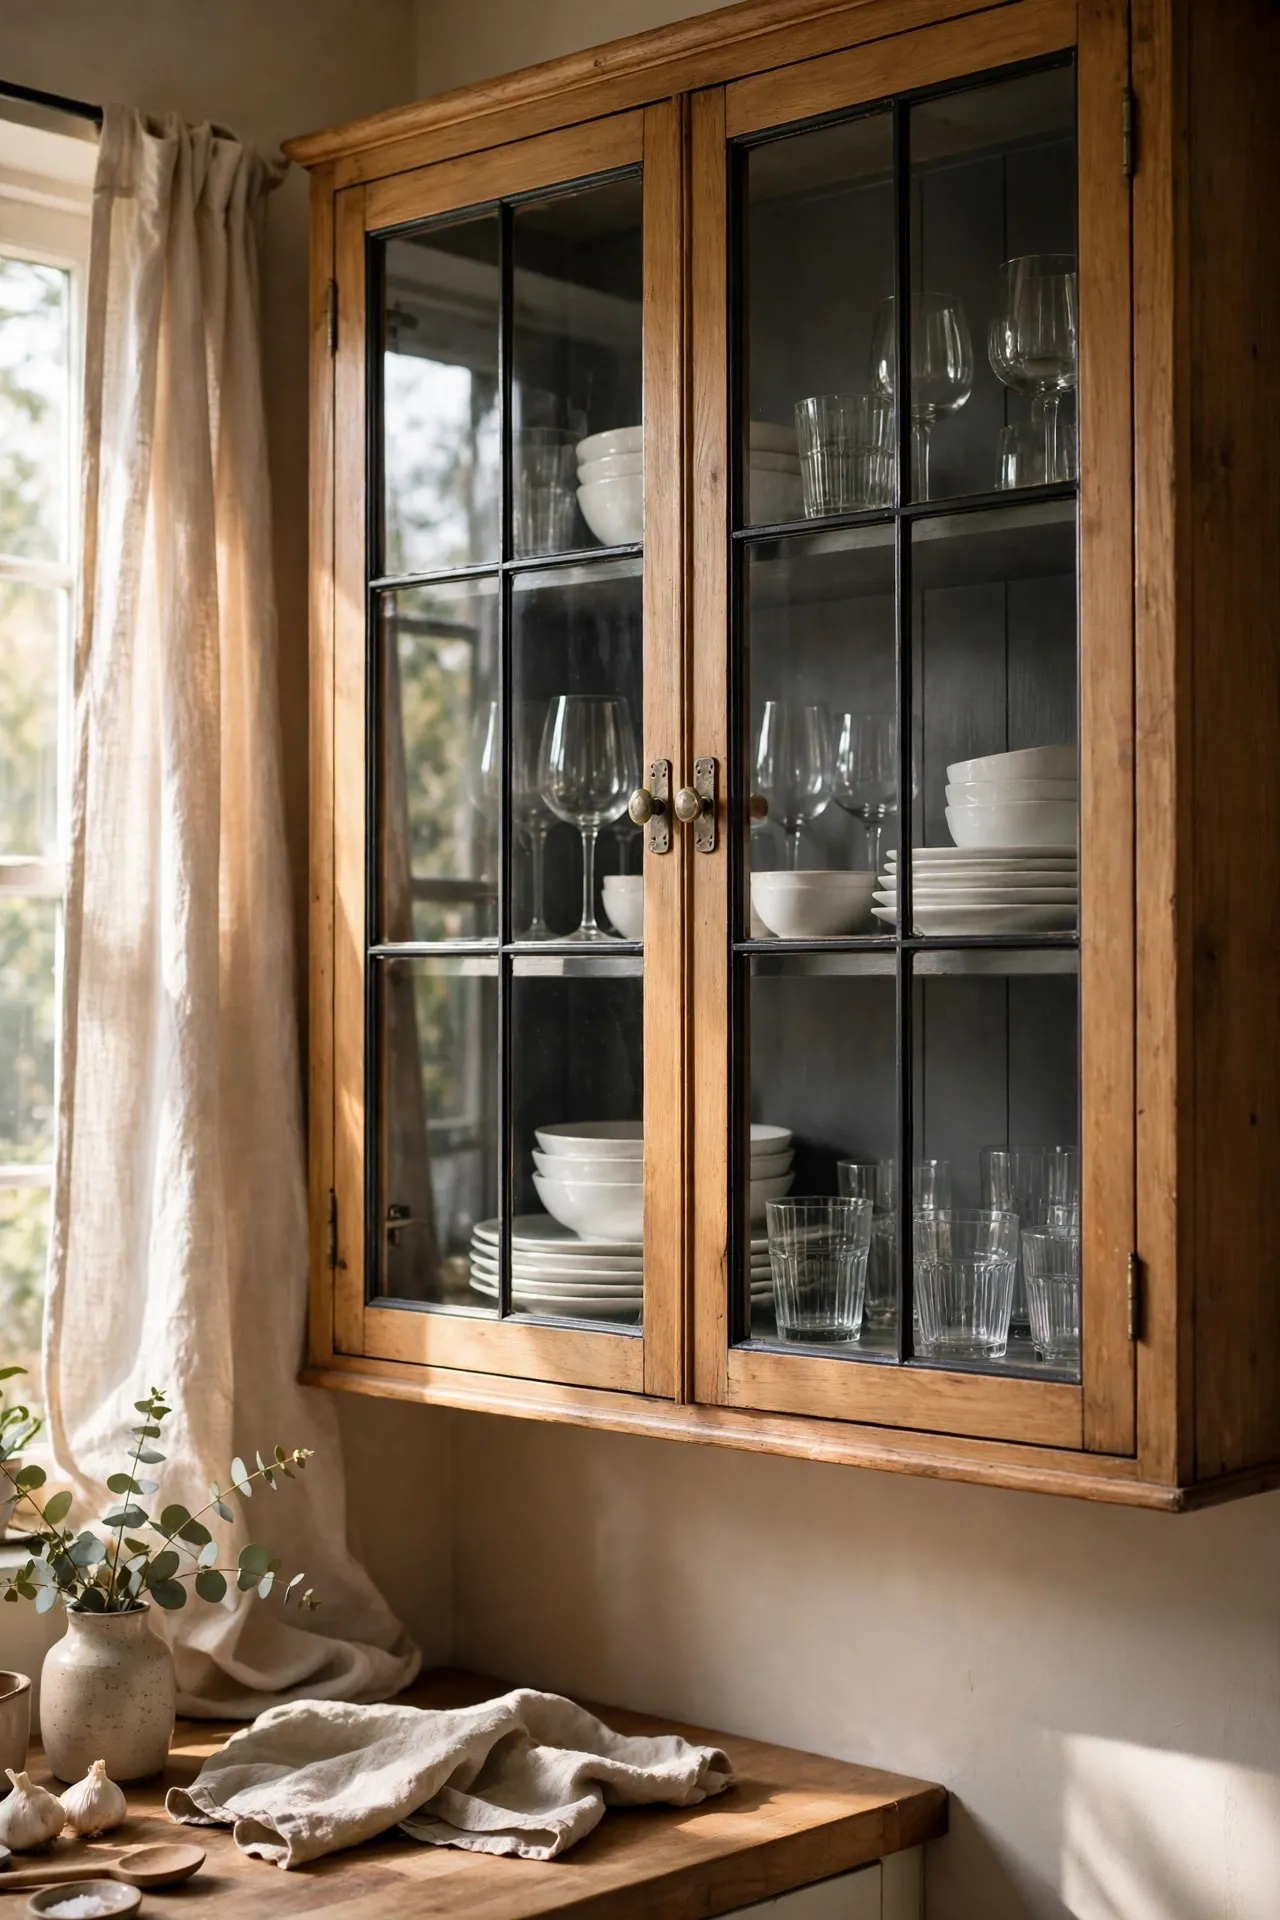
Paint just the inside backs of glass-front cabinets in charcoal and your everyday crockery suddenly looks like a museum display. Remove the shelves, sand lightly, and brush on two coats of charcoal paint on the interior back panel only. White plates and clear glasses pop dramatically against the dark background. I tried this on a single glass cabinet first as a test and ended up doing all three because the effect was so good. It costs almost nothing since you need barely a quarter of a tin of paint. Line the shelves with non-slip liner before restocking, and arrange by colour for the full boutique look.
Cost: ~$8 | Time: 2 hours
12. Concrete-Effect Paint on a Laminate Countertop
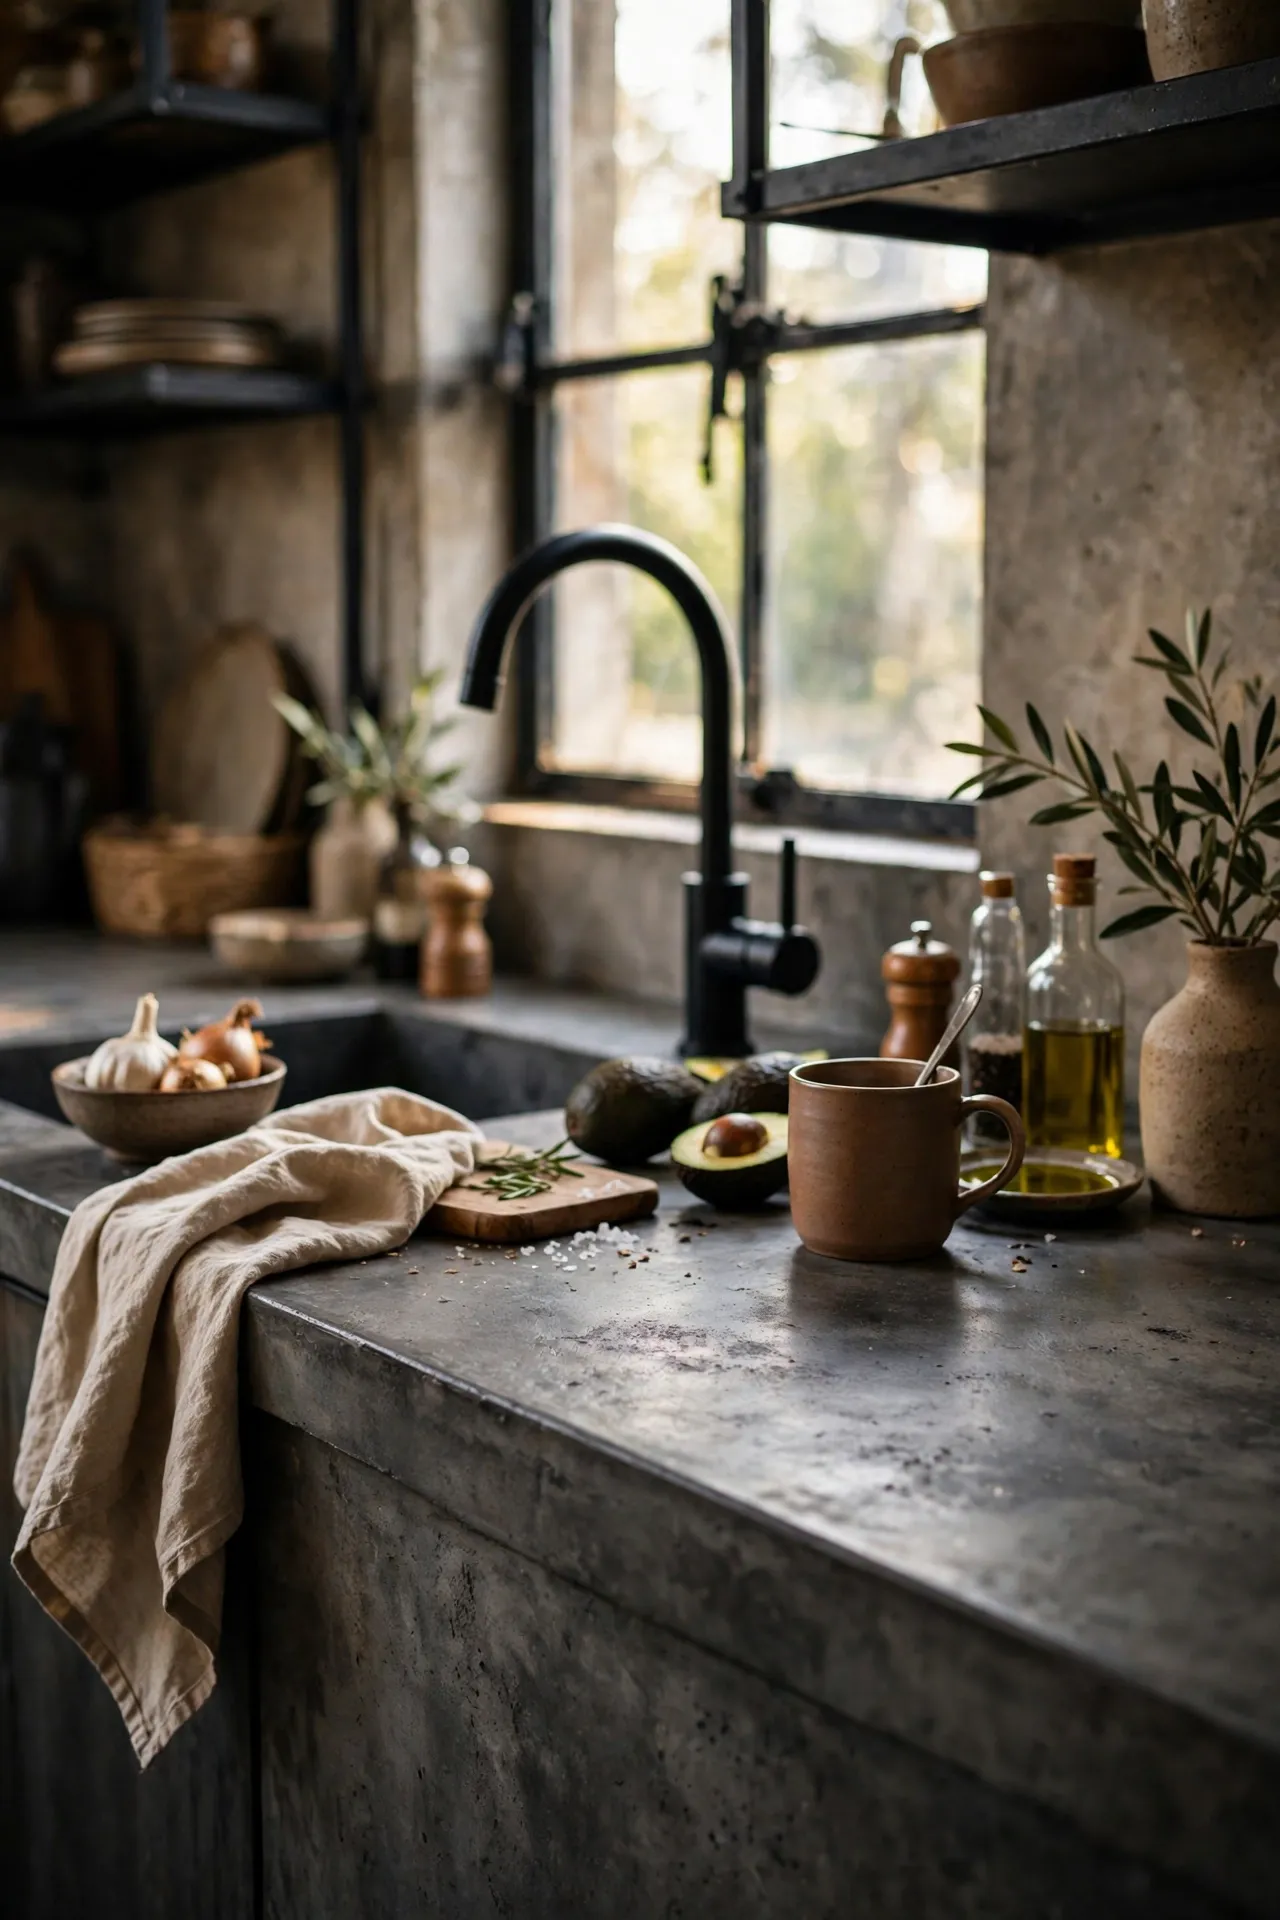
Specialist countertop paint in a charcoal concrete effect gives tired laminate a modern industrial finish. The kits come with a base coat, decorative flecks or texture, and a protective topcoat. Sand the laminate to degloss it, apply the base coat evenly, add the texture coat while it is wet, then seal with the topcoat and leave it to cure fully before heavy use. I tried rushing the cure time on my first attempt and a dragged pan left a scar I had to touch up. Give it the full 72 hours. The result reads as poured concrete at a glance, which is absurd value for a weekend project.
Cost: ~$45 for a kit | Time: One weekend
13. Charcoal Tray and Canister Styling Station
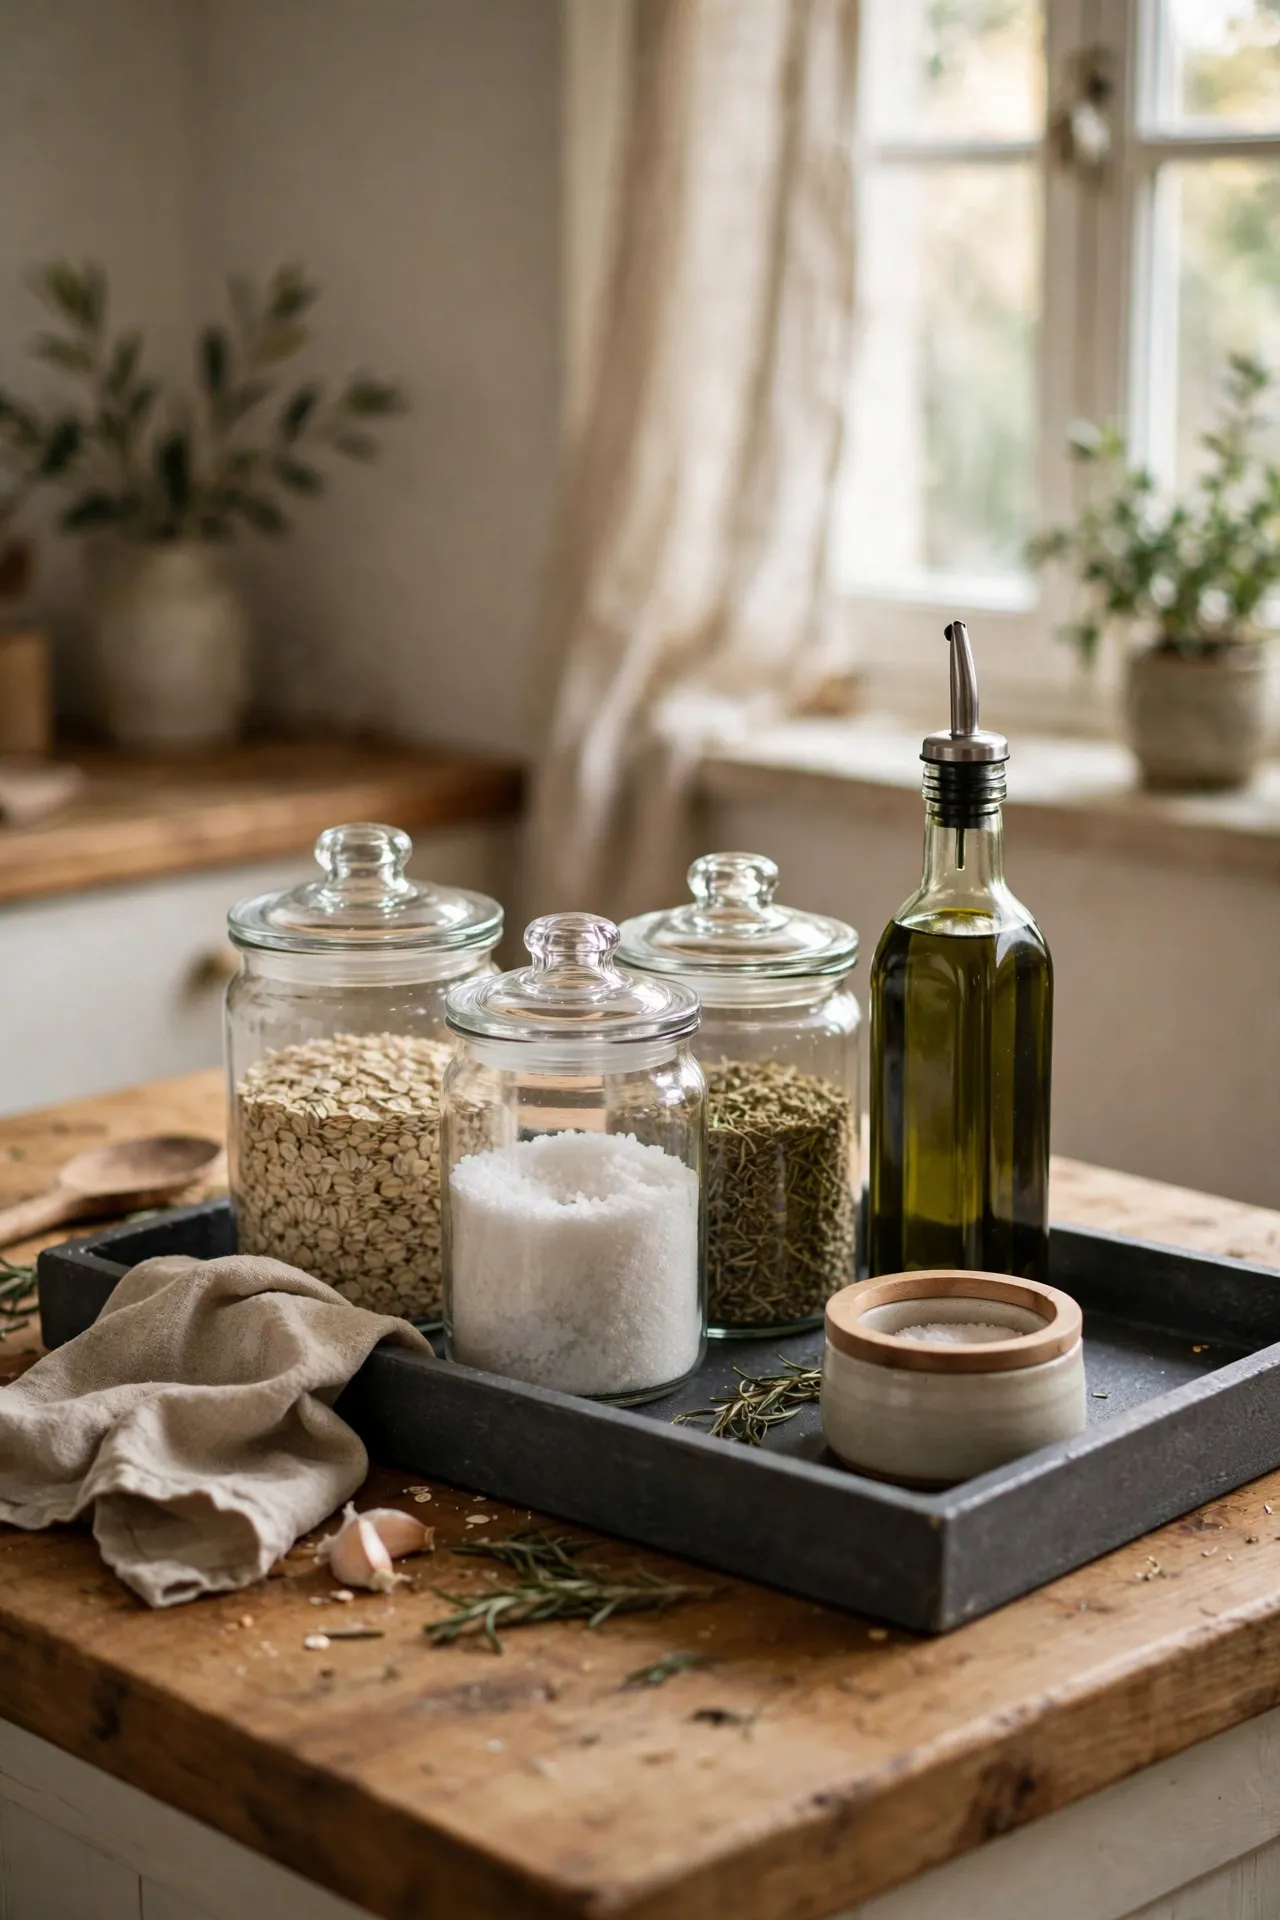
Corral your countertop clutter onto a large charcoal tray and the mess instantly reads as styling. Choose a tray in dark gray wood, slate, or metal, then group your canisters, olive oil, and salt cellar on it in odd numbers with varying heights. Decant dry goods into matching glass jars with simple labels for the full effect. I tried this after reading that stylists call it “coralling,” and the corner of my counter that used to look chaotic now looks deliberate. The same trick works beautifully on open shelves too, which I covered in (see also: 19-kitchen-counter-decor-ideas-that-look-styled-not-cluttered) if your counters need a bigger rethink.
Cost: ~$15 | Time: 20 minutes
14. Charcoal Painted Bar Stools or Dining Chairs
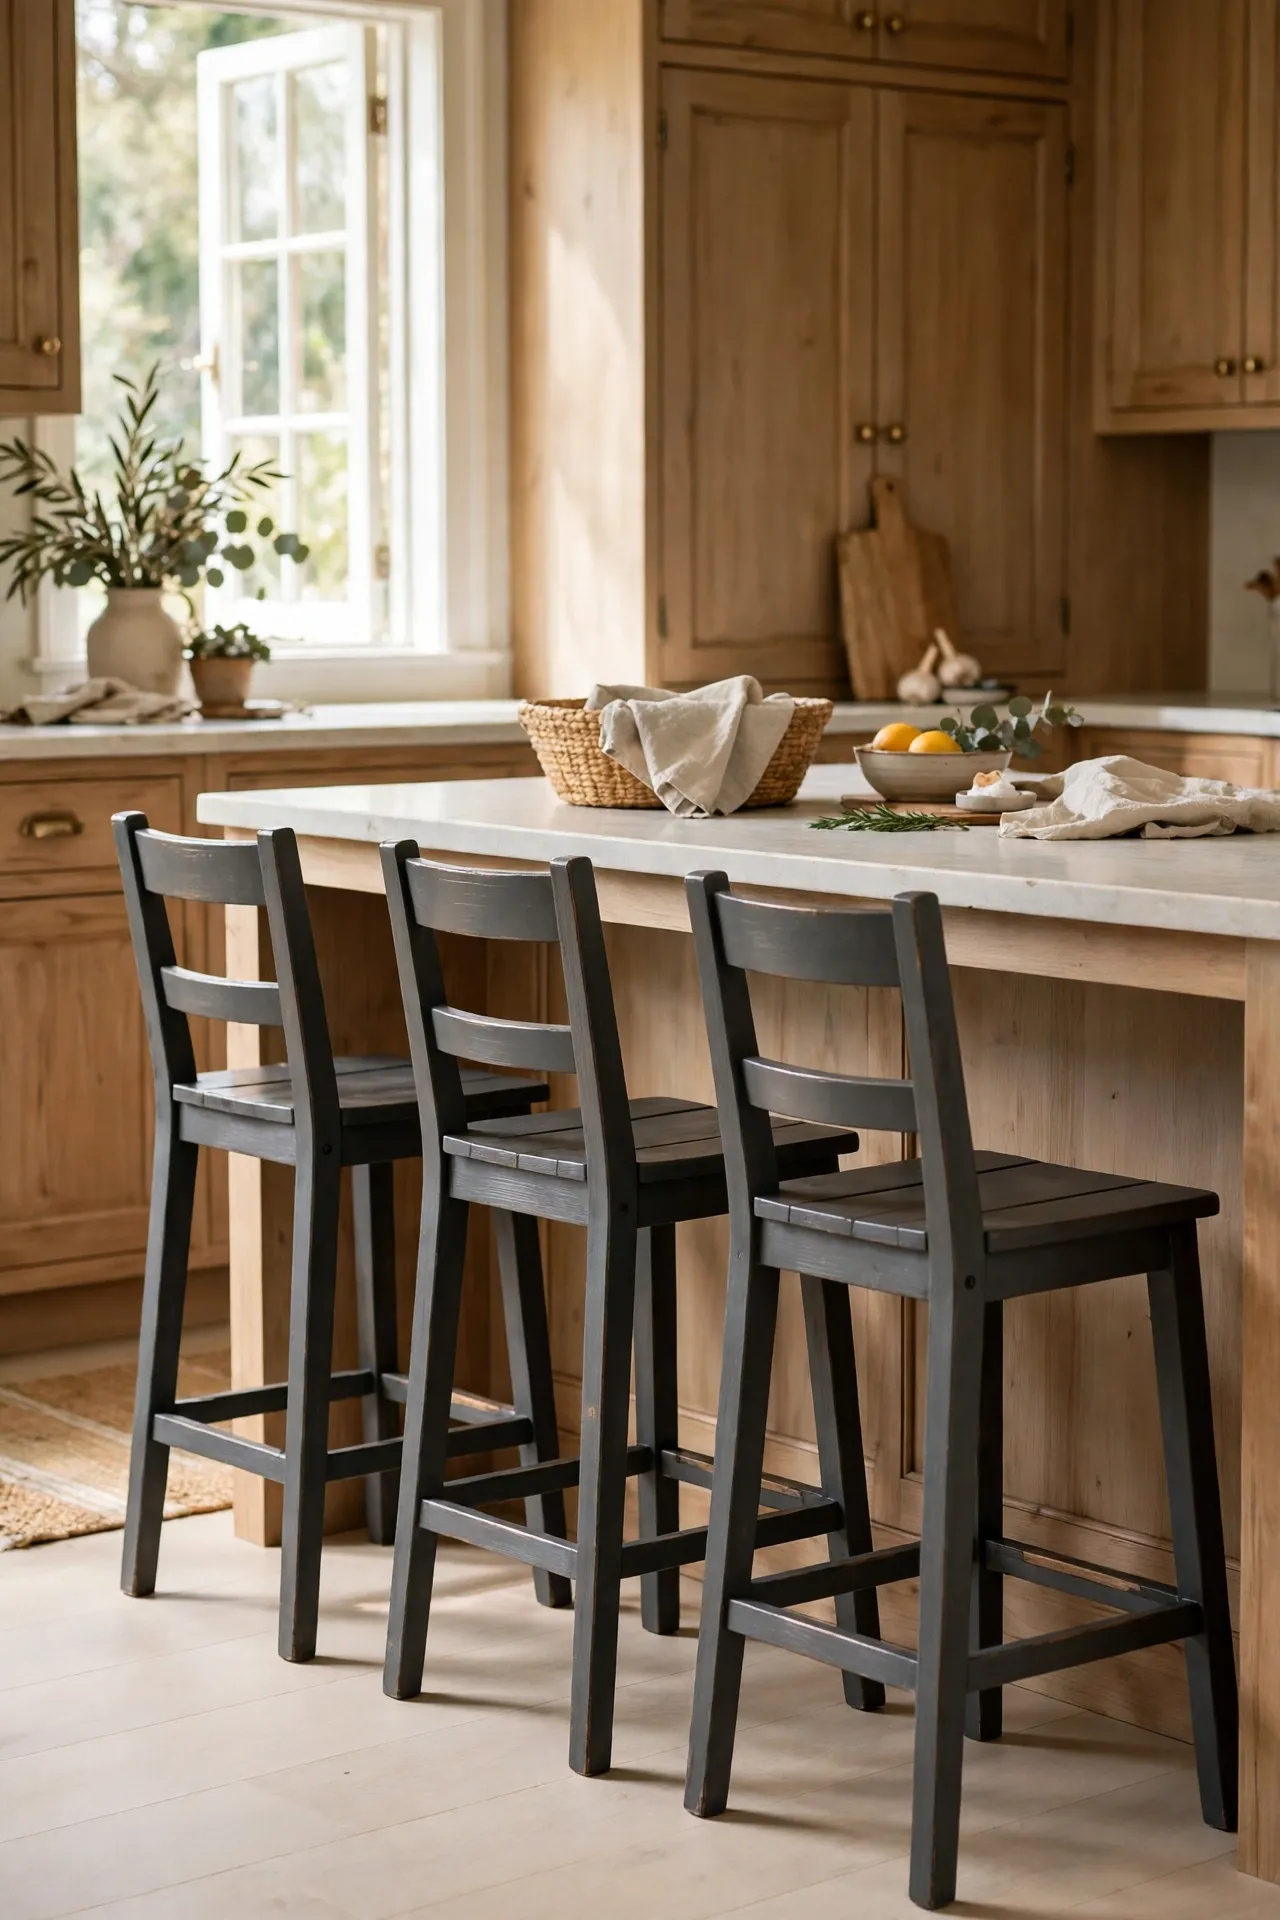
Mismatched wooden stools or chairs painted in one unifying charcoal shade look like a deliberate set. Sand them back, prime, and spray or brush on two coats of charcoal furniture paint, finishing with a clear wax or polyurethane on the seats where wear hits hardest. I tried rescuing four different charity-shop chairs this way and they now look like they came as a set from a mid-range furniture store. The mistake to avoid is skipping the topcoat on seats; unprotected paint on a chair seat will not survive a month of daily bottoms. Distress the edges lightly if you want a farmhouse feel.
Cost: ~$20 | Time: Half a day
15. Charcoal Gray Window Treatment for Drama
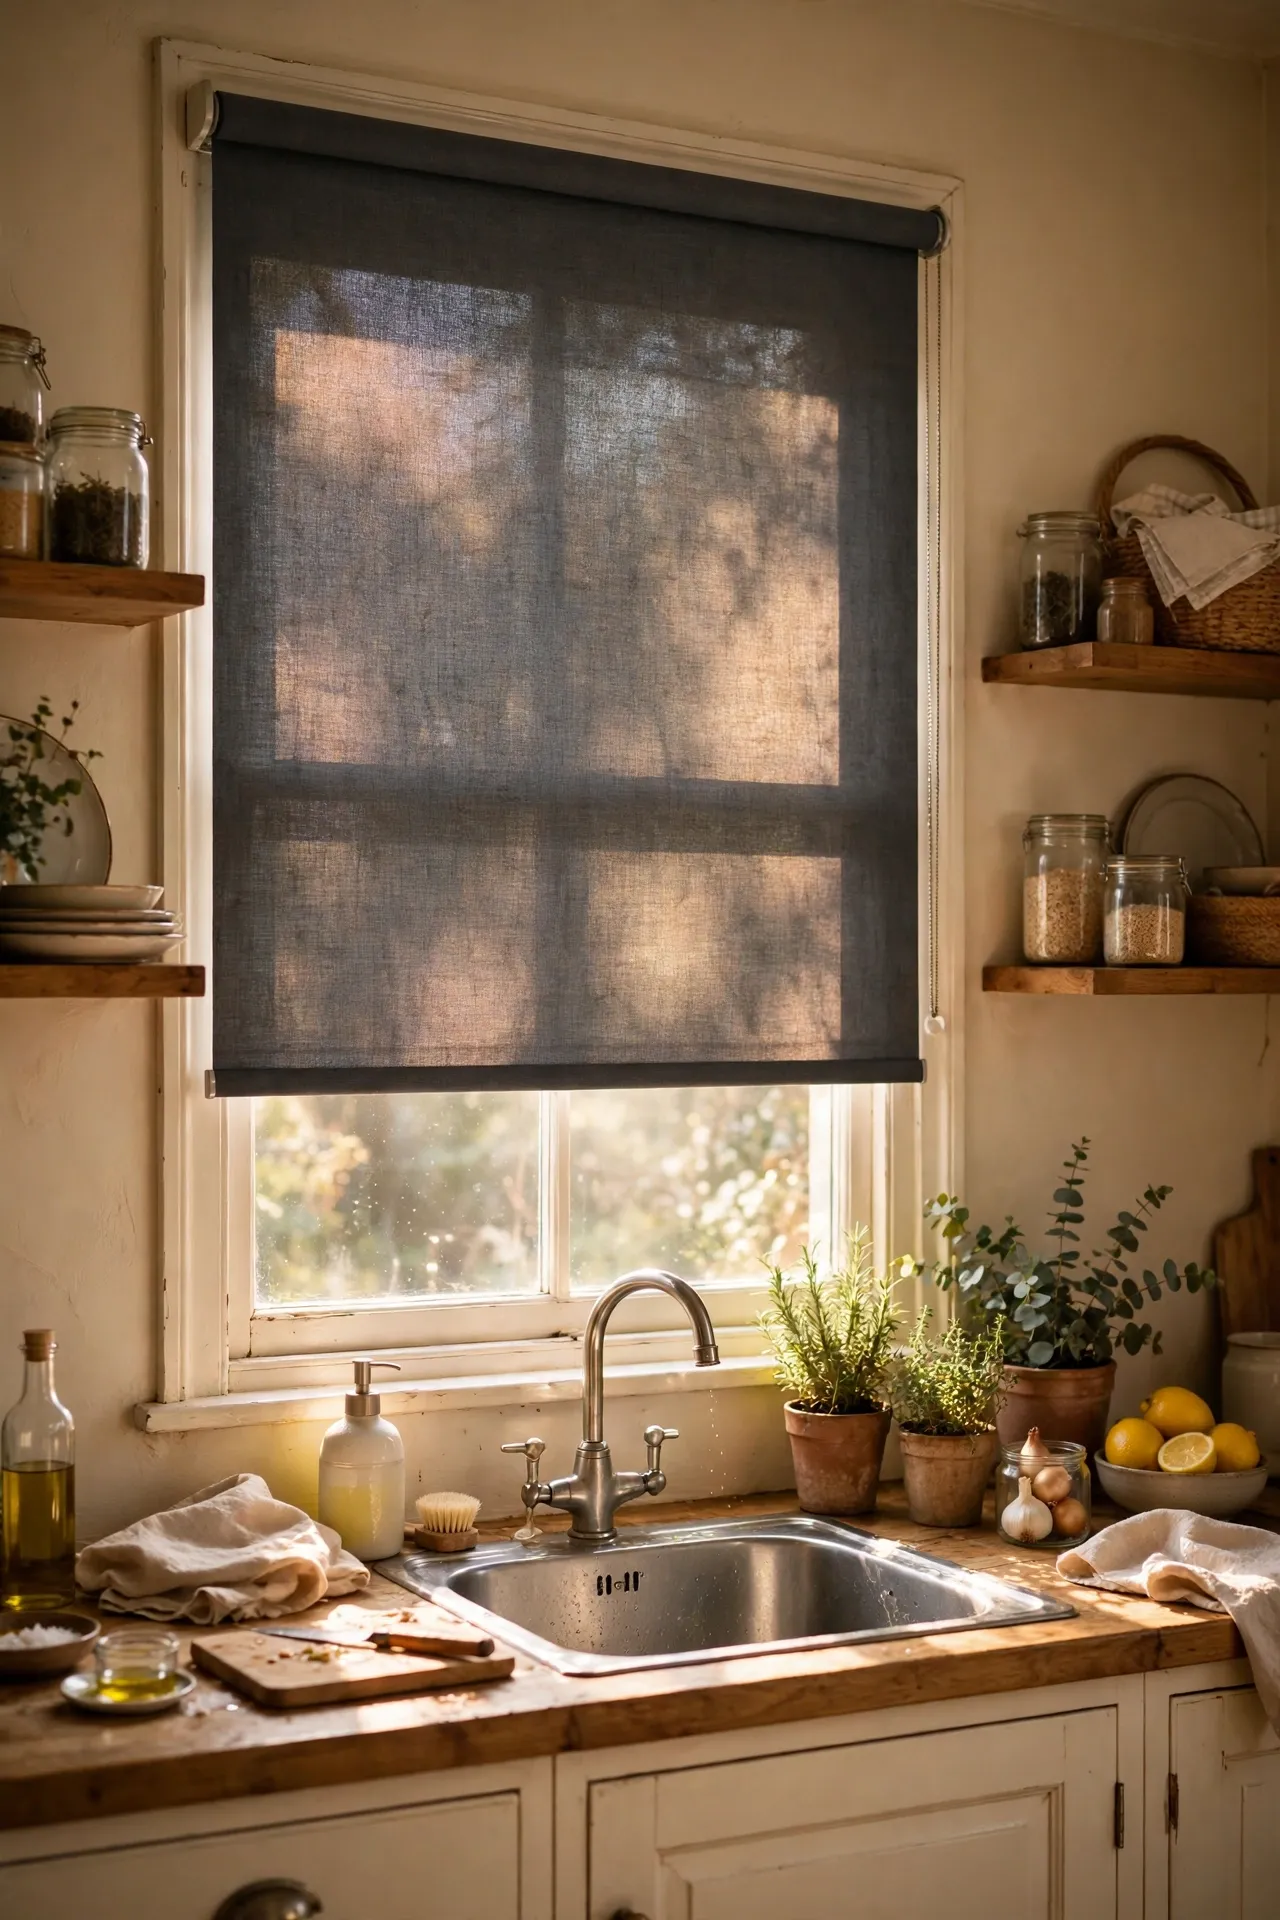
A charcoal roller blind or a pair of simple gray curtain panels frames the kitchen window and adds softness to all the hard surfaces. Measure the recess carefully, fit a roller blind inside the window frame for a clean look, or hang linen-look panels on a slim black rod. I tried curtains in my kitchen after years of bare windows and the room felt finished for the first time. Keep the fabric washable and away from the hob if the window is near the cooker. If the whole kitchen is getting a budget overhaul, the layering principles in (see also: 15-kitchen-decor-ideas-under-50-without-renovating) will help you spend the rest of your fifty wisely.
Cost: ~$22 | Time: 30 minutes
Charcoal gray is the colour that forgives everything: the scuffs, the mismatched appliances, the cabinets you cannot afford to replace yet. Pick the two or three ideas that bother you most about your kitchen and start there; small dark accents compound into a room that looks genuinely designed.
