17 Sage Green Kitchen Ideas on a Budget
The first time I painted something sage green, it was a scuffed old side table I was too embarrassed to keep in the living room — and when it dried, it looked like a completely different piece of furniture. That soft, grey-ish green has a way of calming a room down without making it dull. These sage green kitchen ideas work the same magic: the colour is forgiving, it pairs with almost anything, and you don’t need a renovation budget to get it right. Most of the ideas below cost less than a weekly shop and take a weekend at most.
1. Painted Sage Green Lower Cabinets
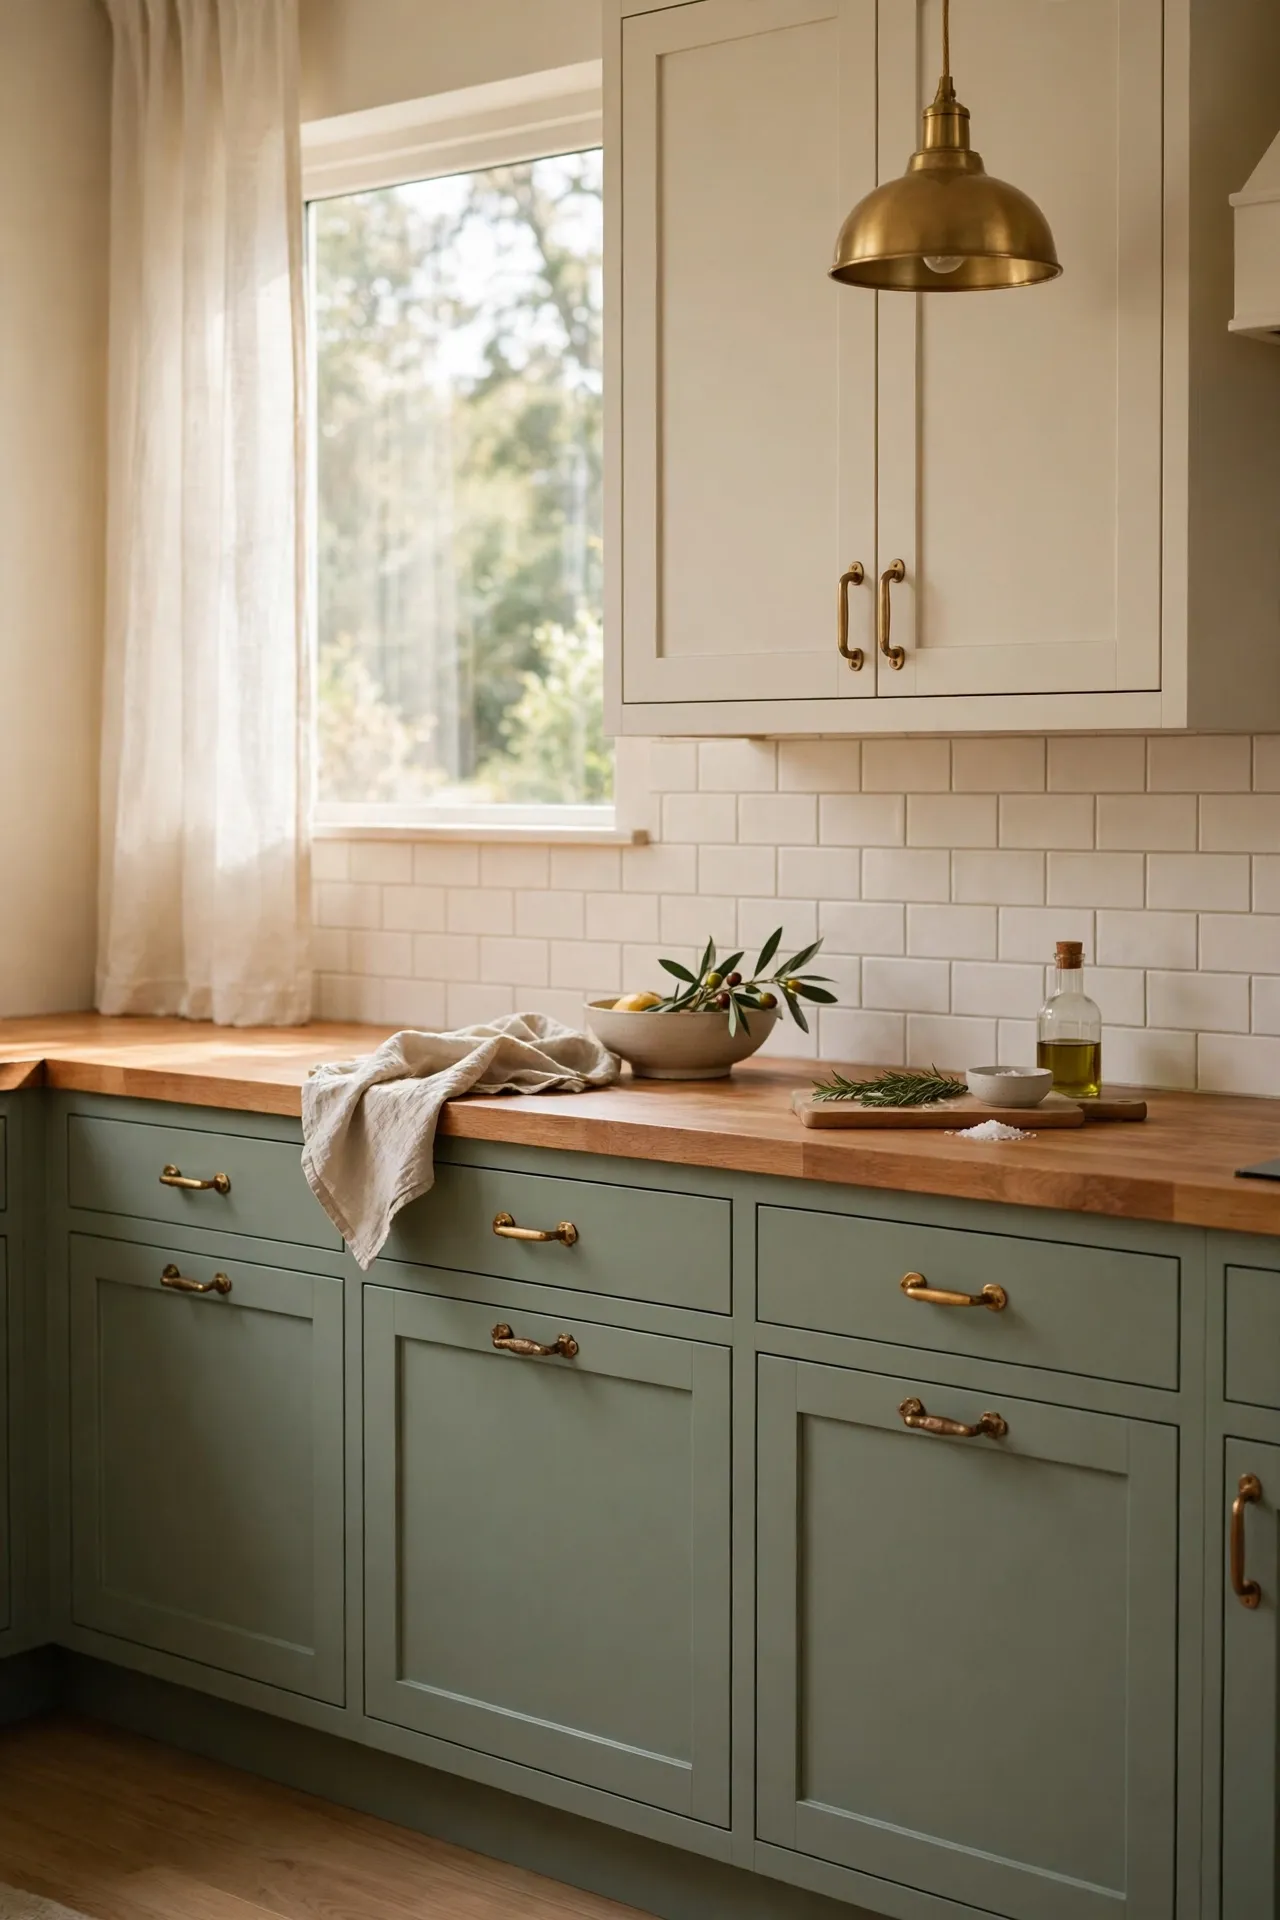
Painting just the lower cabinets is the single biggest change you can make for the least money — the uppers stay light so the kitchen doesn’t feel smaller. Clean and lightly sand the doors, prime with a bonding primer, then apply two thin coats of sage green cabinet paint with a small foam roller for a smooth finish. Remove the handles first and number the doors with tape so they go back in the right spots. I tried skipping the primer on my first attempt and the paint chipped within a month — the mistake to avoid is painting straight onto old varnish; primer is boring but it’s what makes the finish last for years. For more no-renovation kitchen upgrades, these (see also: 15-kitchen-decor-ideas-under-50-without-renovating) ideas are worth a look.
Cost: ~$35 for paint and primer | Time: 1 weekend
2. Sage Green Kitchen Island Refresh
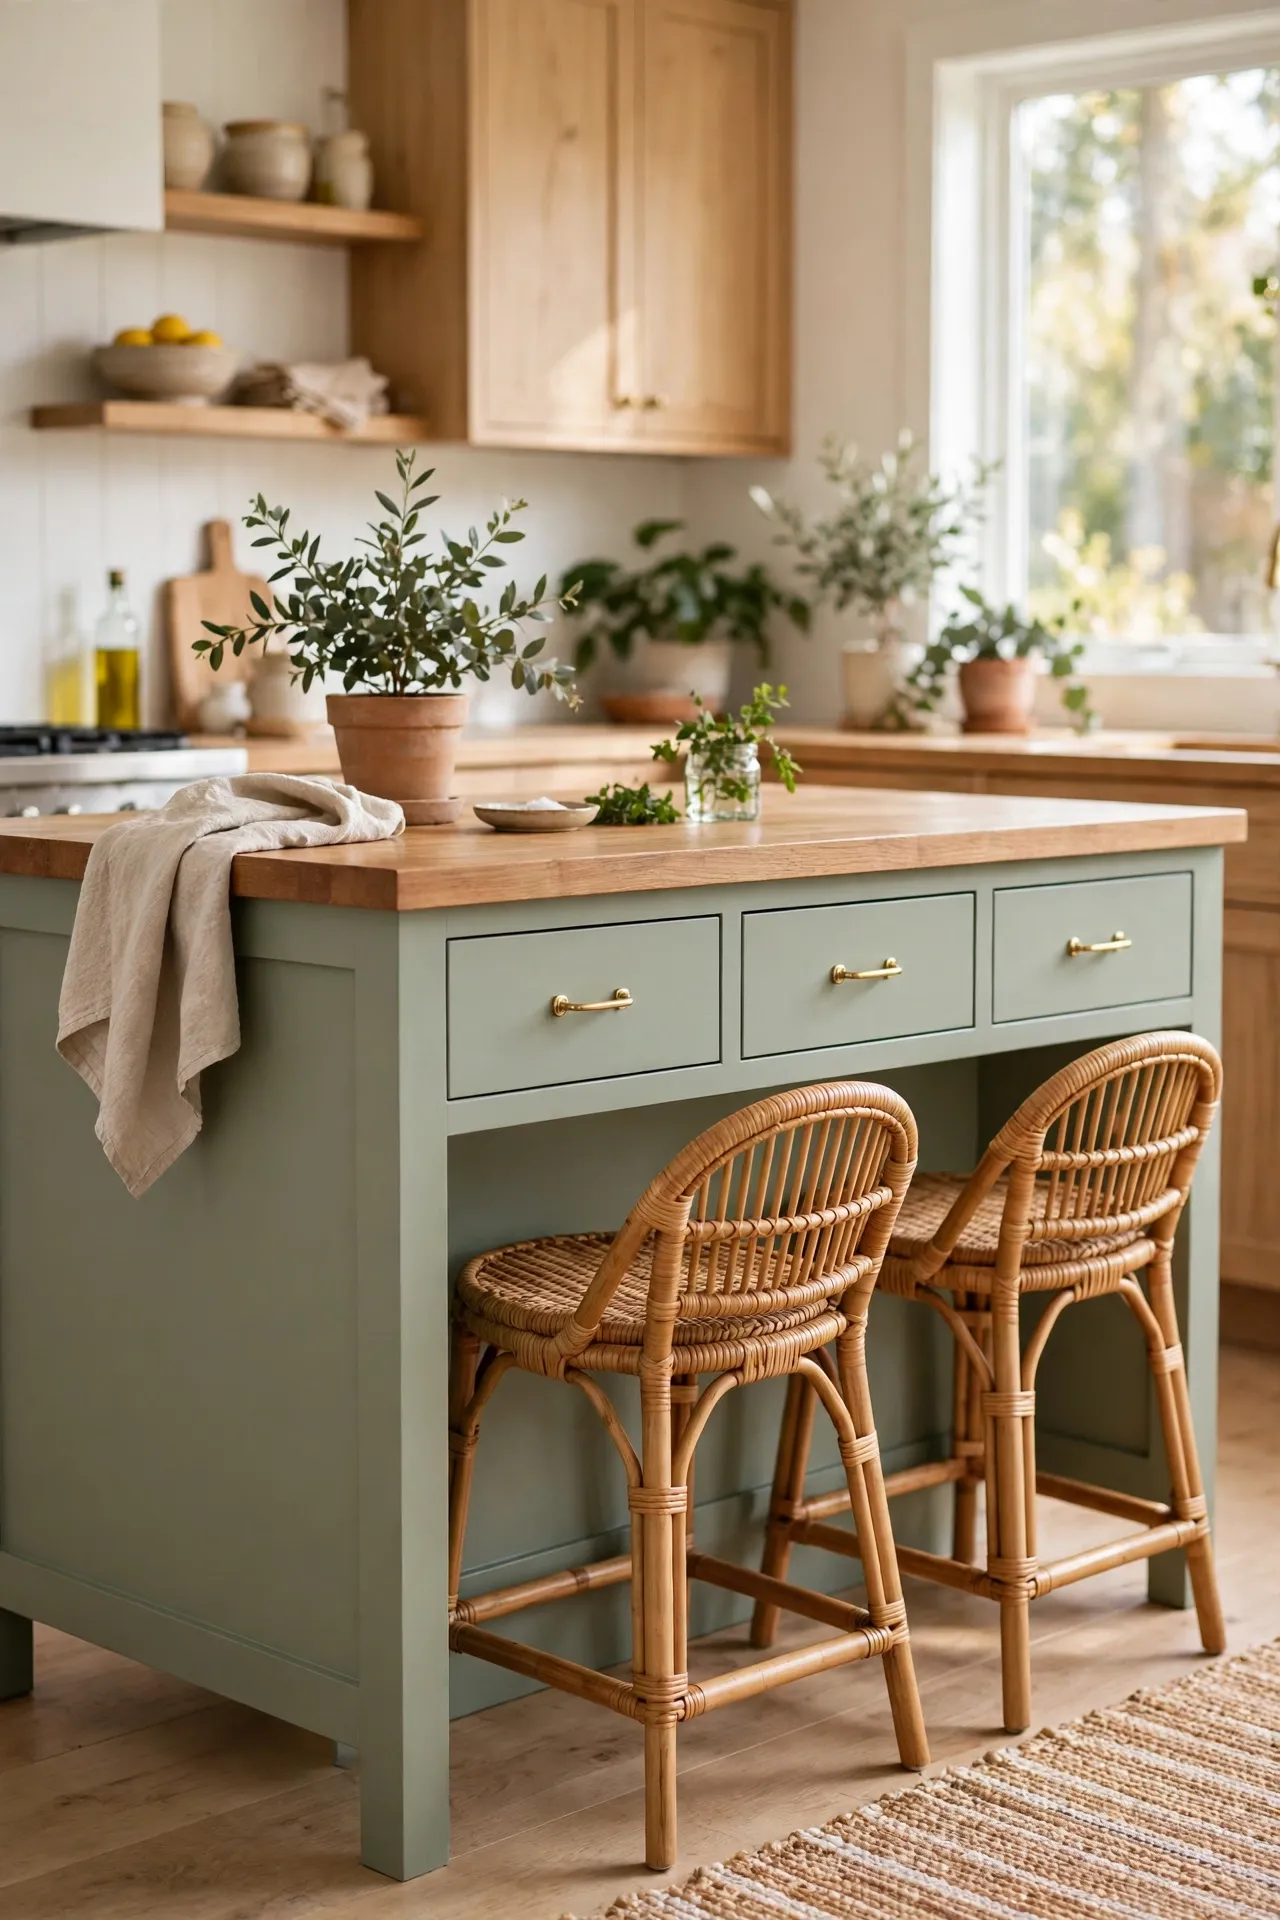
If your island is looking tired, a coat of sage green paint turns it into the centrepiece instead of the afterthought. Mask off the worktop, sand lightly, and roll on two coats — then swap the handles for simple brass or black ones for a finish that looks far more expensive than it was. An island is a smaller job than full cabinets, so it’s a good test run if you’re nervous about the colour. Add two bar stools in a natural material like rattan or light wood to complete the look. I tried painting mine without sanding and the paint peeled where the old finish was glossy — the mistake to avoid is lazy prep on the bits that get touched daily; a quick sand makes all the difference.
Cost: ~$25 for paint and handles | Time: 1 day
3. Two-Tone Sage and Cream Cabinets
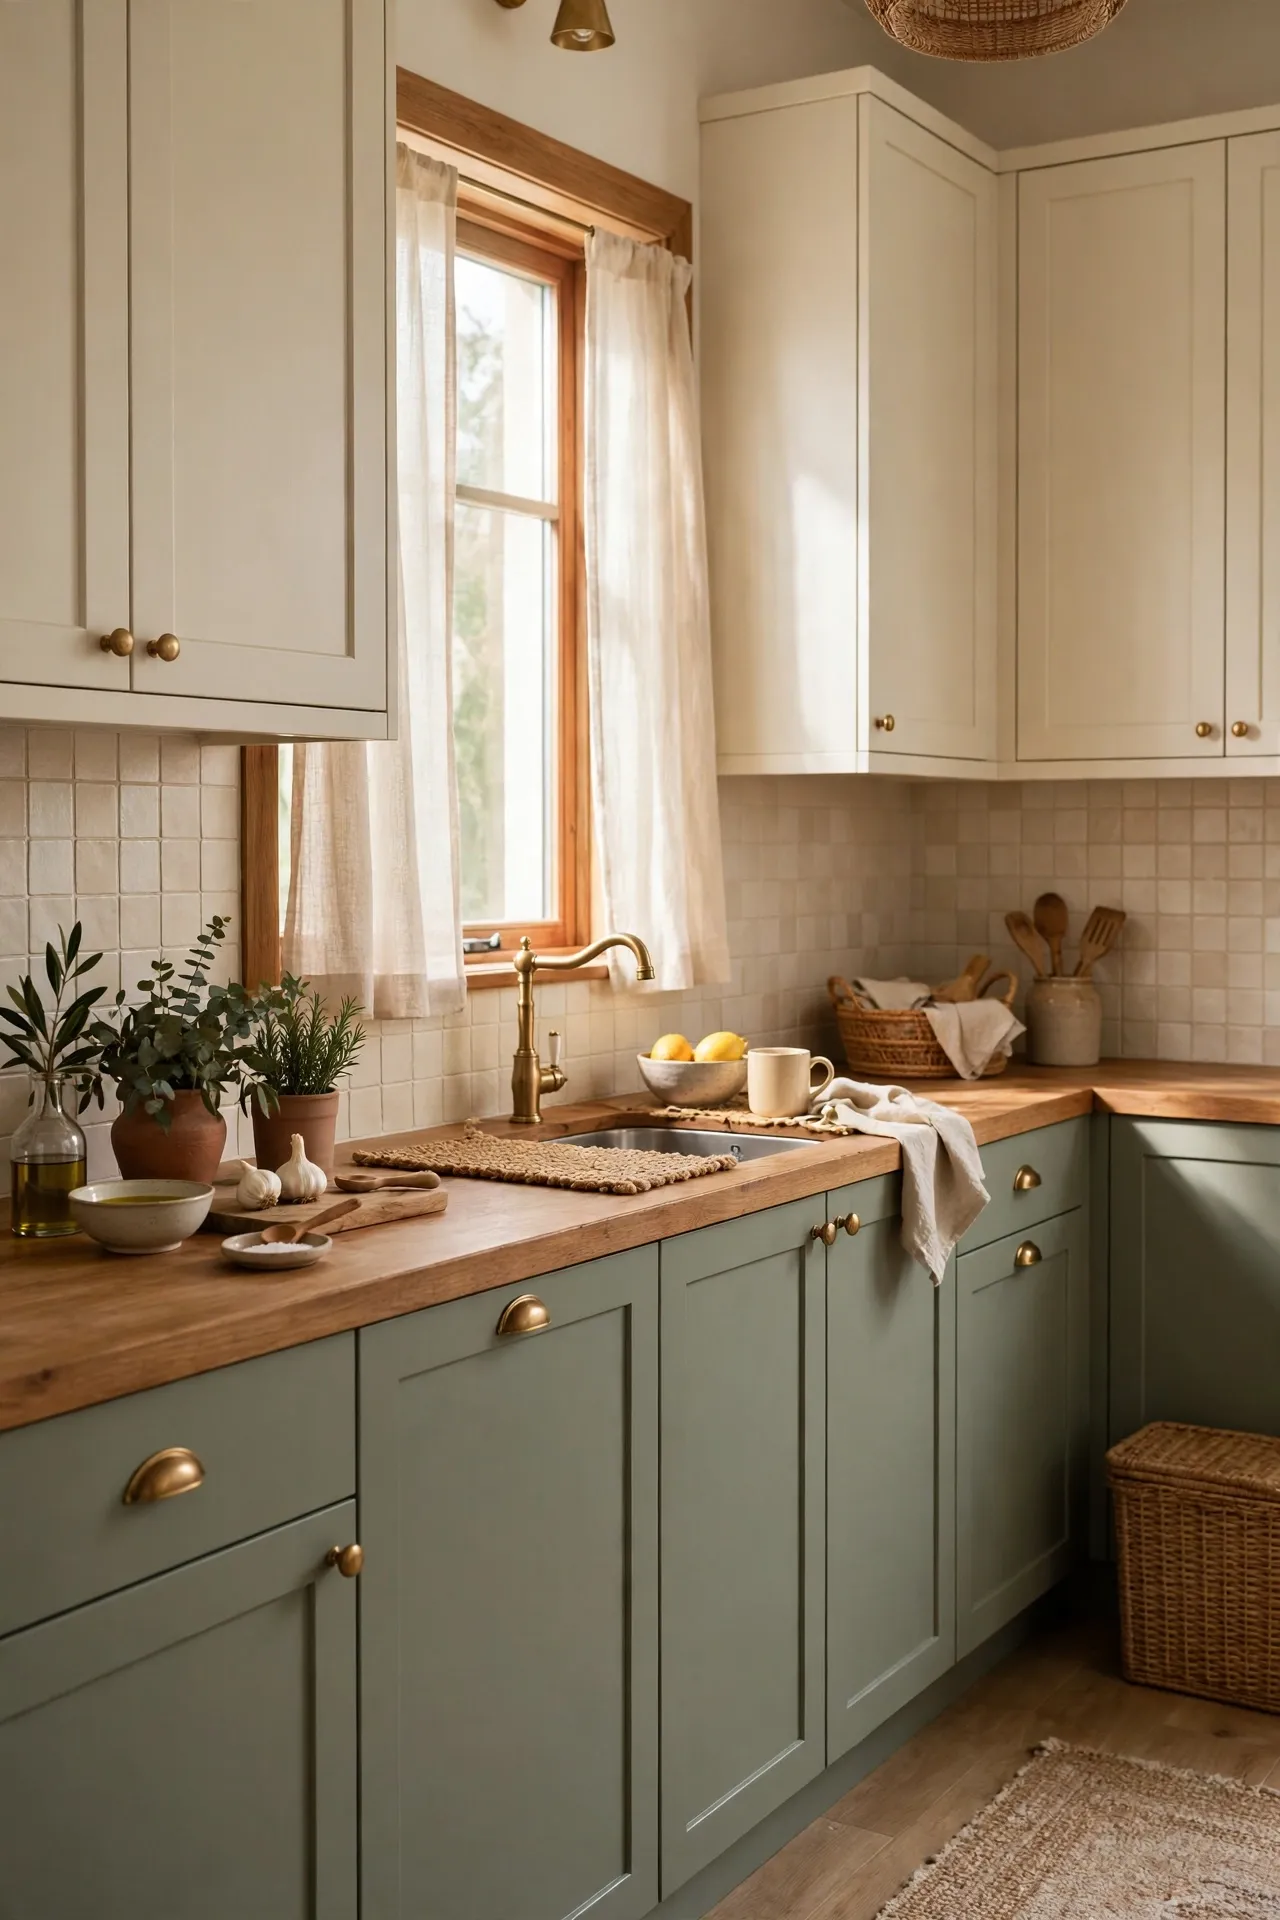
Two-tone cabinets — sage below, warm cream above — give you the calm of green with the brightness of a light kitchen. Paint the lower doors sage and the uppers a soft off-white, keeping the same paint finish on both so it reads as one deliberate scheme. The contrast line where the colours meet becomes a feature, so take care masking it straight. This combo works brilliantly with wooden worktops and brass handles. I tried a bright white on the uppers first and the contrast was too harsh — the mistake to avoid is pairing sage with a stark blue-white; a warm cream or ivory keeps the whole thing soft and liveable.
Cost: ~$45 for both paints | Time: 1 weekend
4. Sage Green Open Shelves
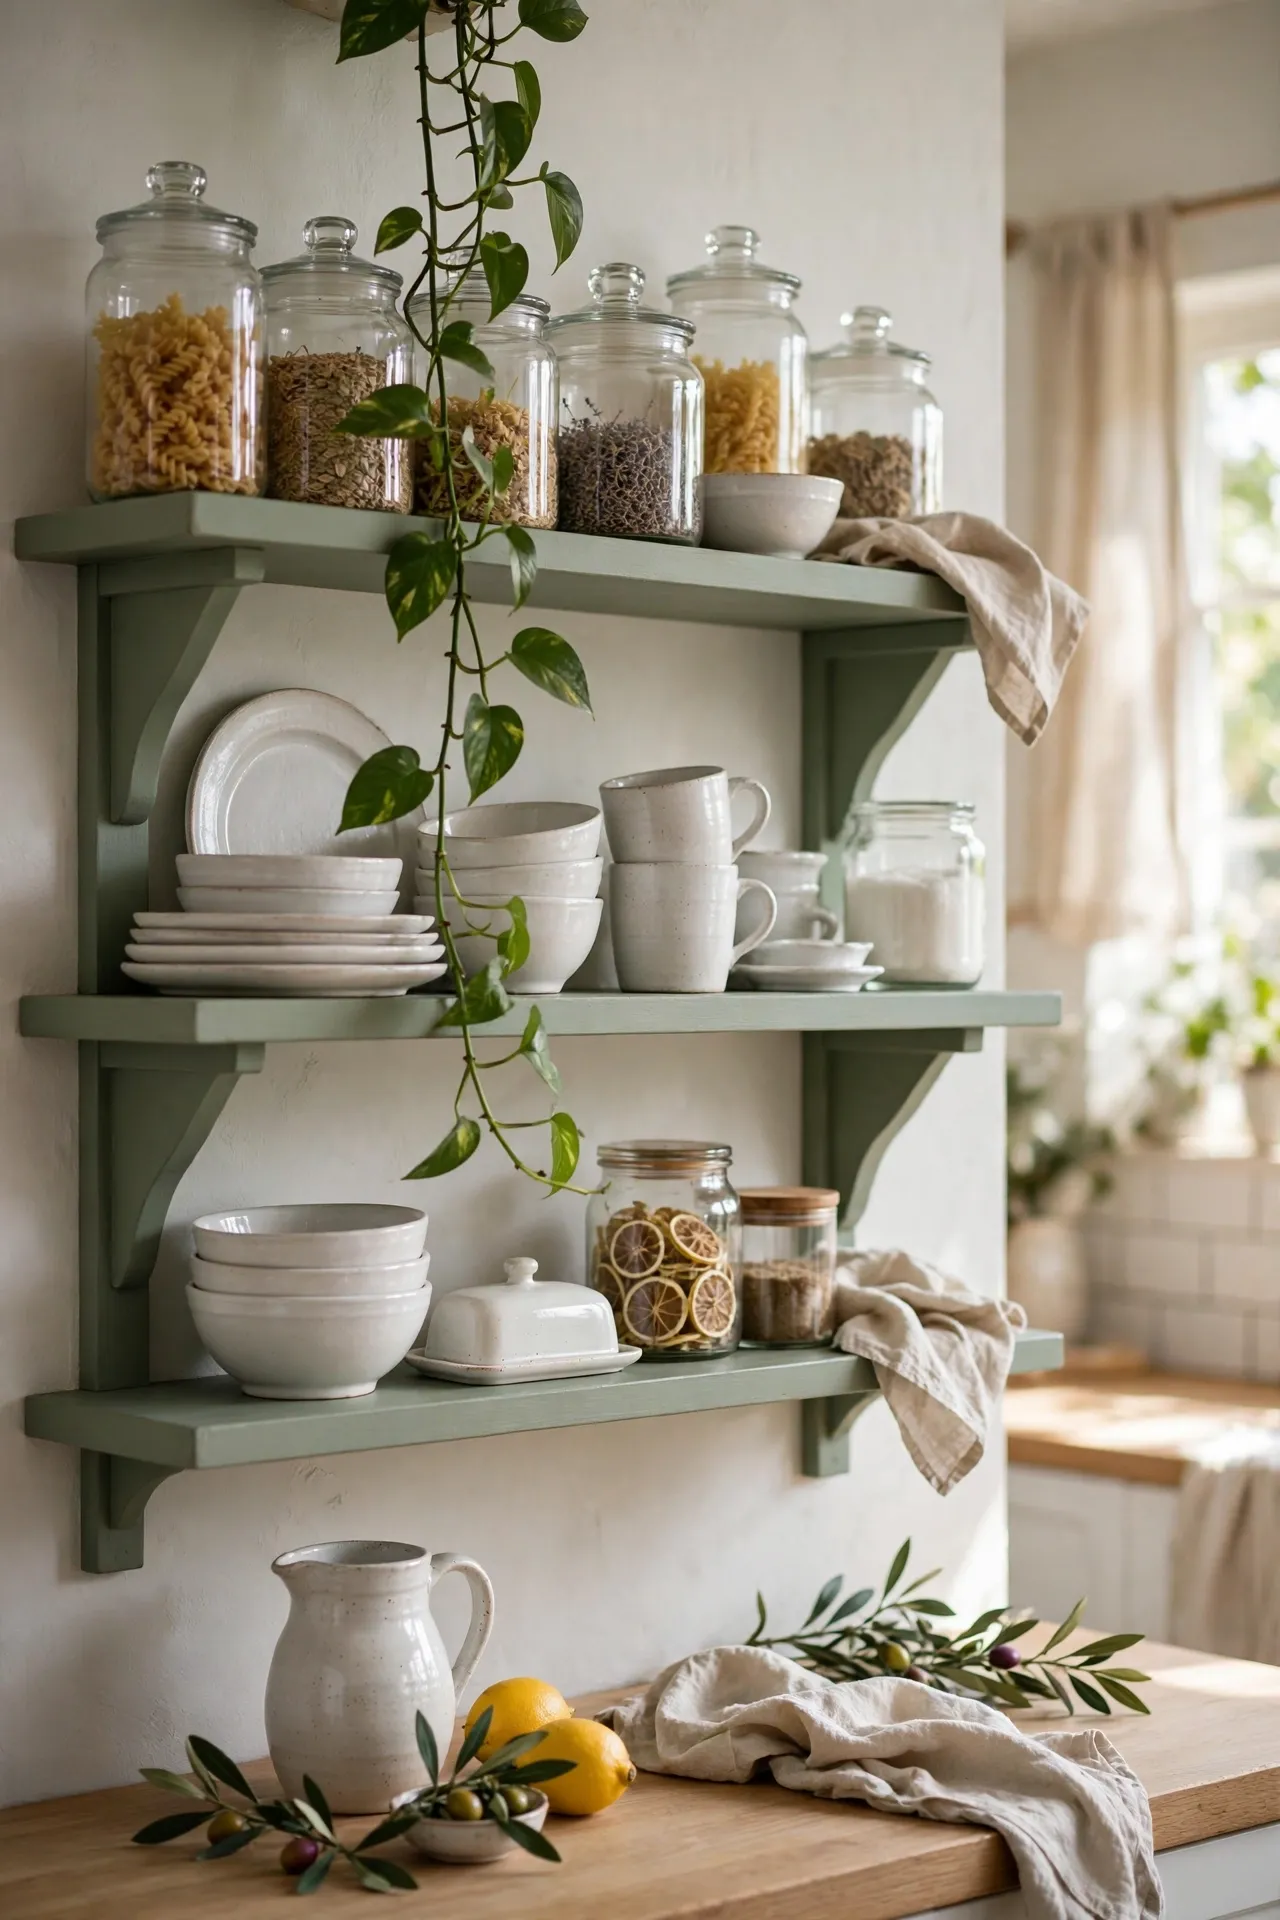
If painting cabinets feels like too much, painting open shelves sage green gives you the colour hit with almost no commitment. Take down two or three floating shelves (or plain wooden brackets and boards), paint them in a washable eggshell, and remount them with simple brackets. Style them with white crockery, clear glass jars and a trailing plant — the pale items pop against the green beautifully. Keep the styling sparse: three to five items per shelf is plenty. I tried cramming every mug I owned onto mine and it looked like a charity shop shelf — the mistake to avoid is overfilling; breathing room is what makes green shelves look designed. These (see also: 21-open-shelving-kitchen-ideas-styled-for-less) ideas will help you style them properly.
Cost: ~$18 for paint and brackets | Time: 3 hours
5. Sage Green Backsplash on a Budget
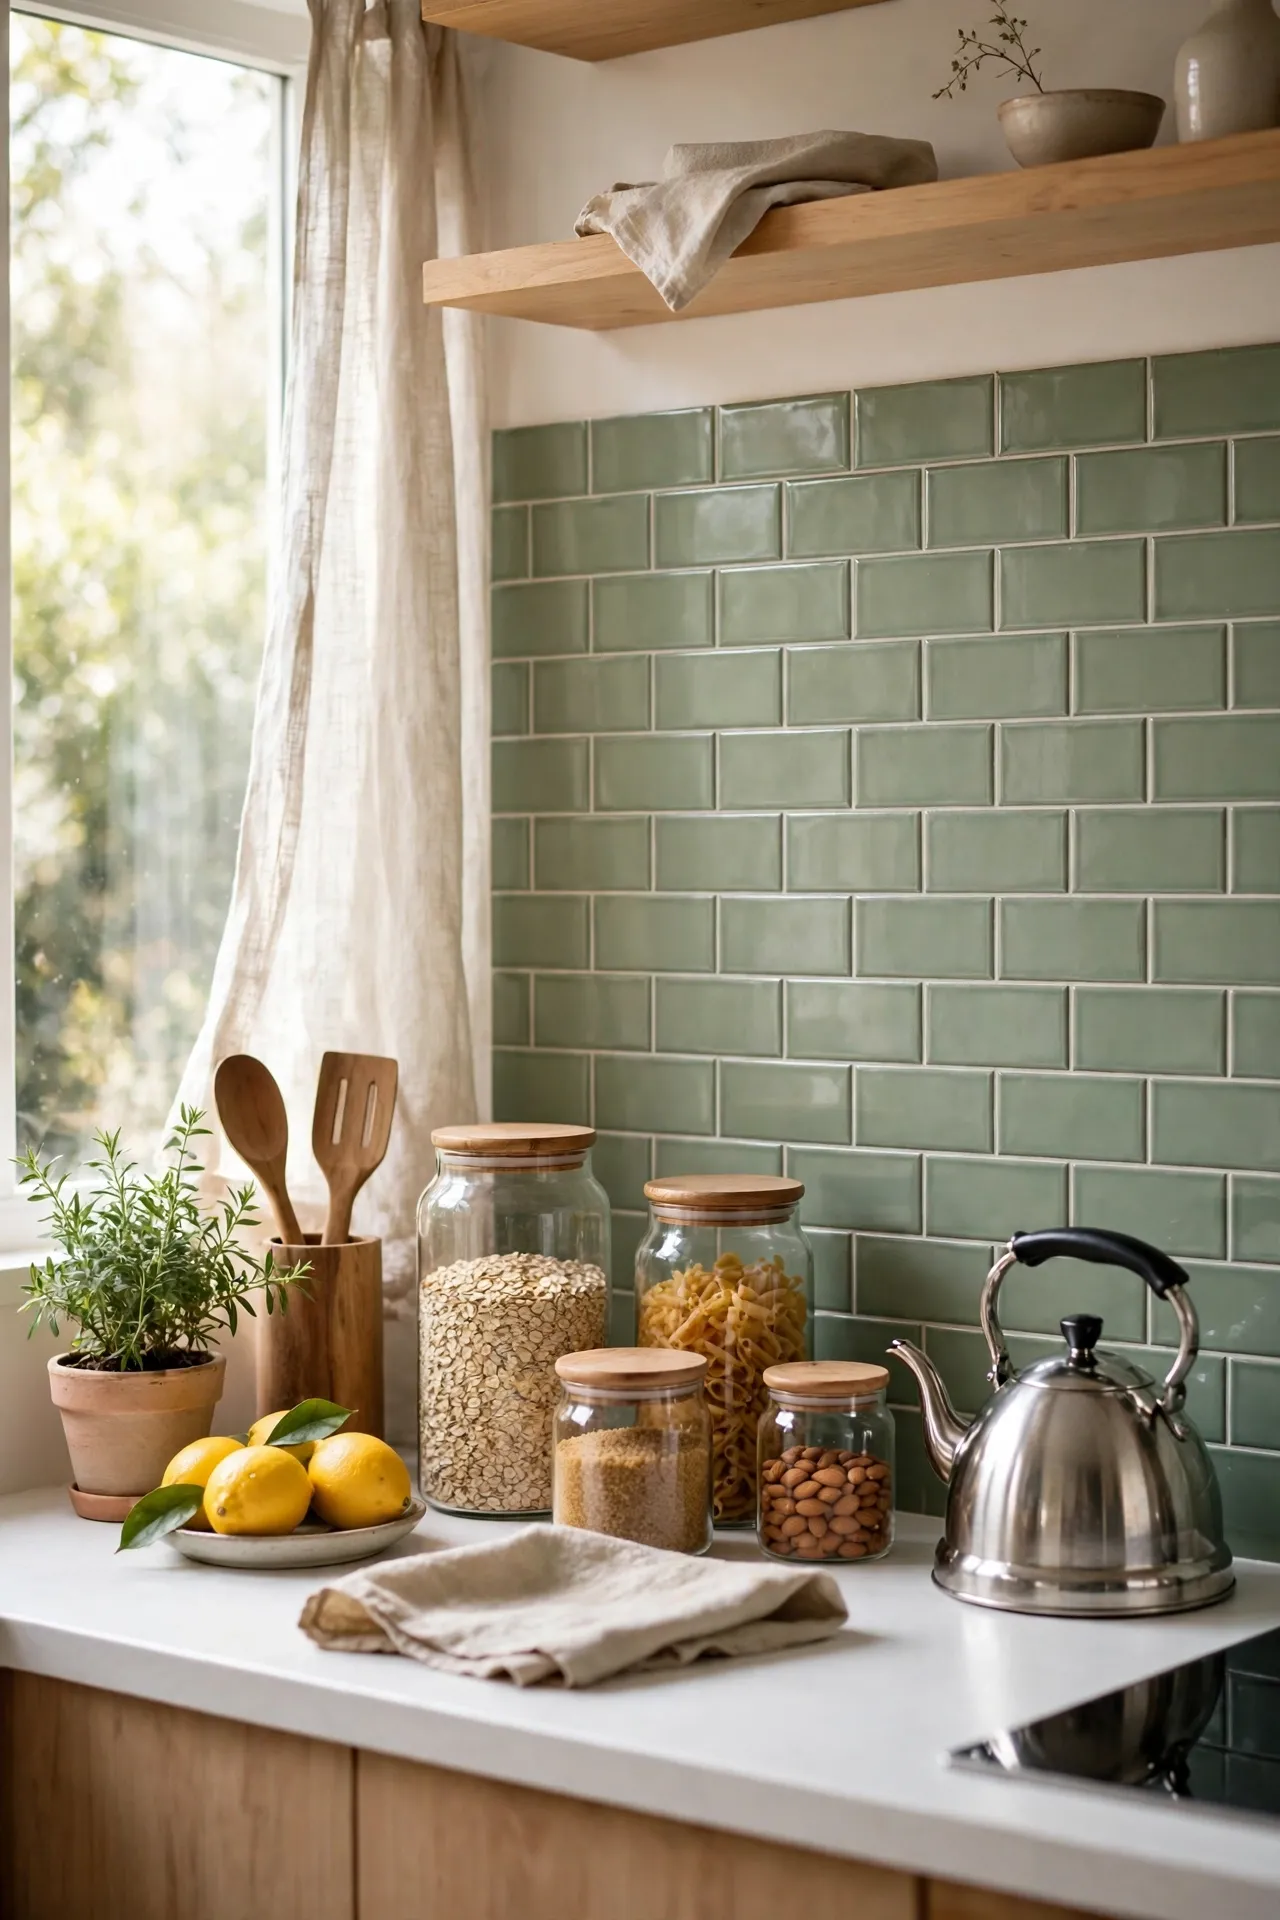
A sage green backsplash doesn’t need tiling — peel-and-stick tiles or even painted tiles get you there for a fraction of the cost. Peel-and-stick subway tiles in a soft green go straight over your existing splashback in an afternoon; just clean the surface well and work from the centre outward. If you’re painting tiles instead, use a tile primer and a hard-wearing topcoat, and skip the area right behind the hob where heat and grease are worst. I tried cheap stickers with no surface prep and they were curling by the kettle within weeks — the mistake to avoid is sticking anything onto a greasy wall; a proper degrease first makes them stick for years.
Cost: ~$22 for peel-and-stick tiles | Time: 2 hours
6. Sage Green Feature Wall
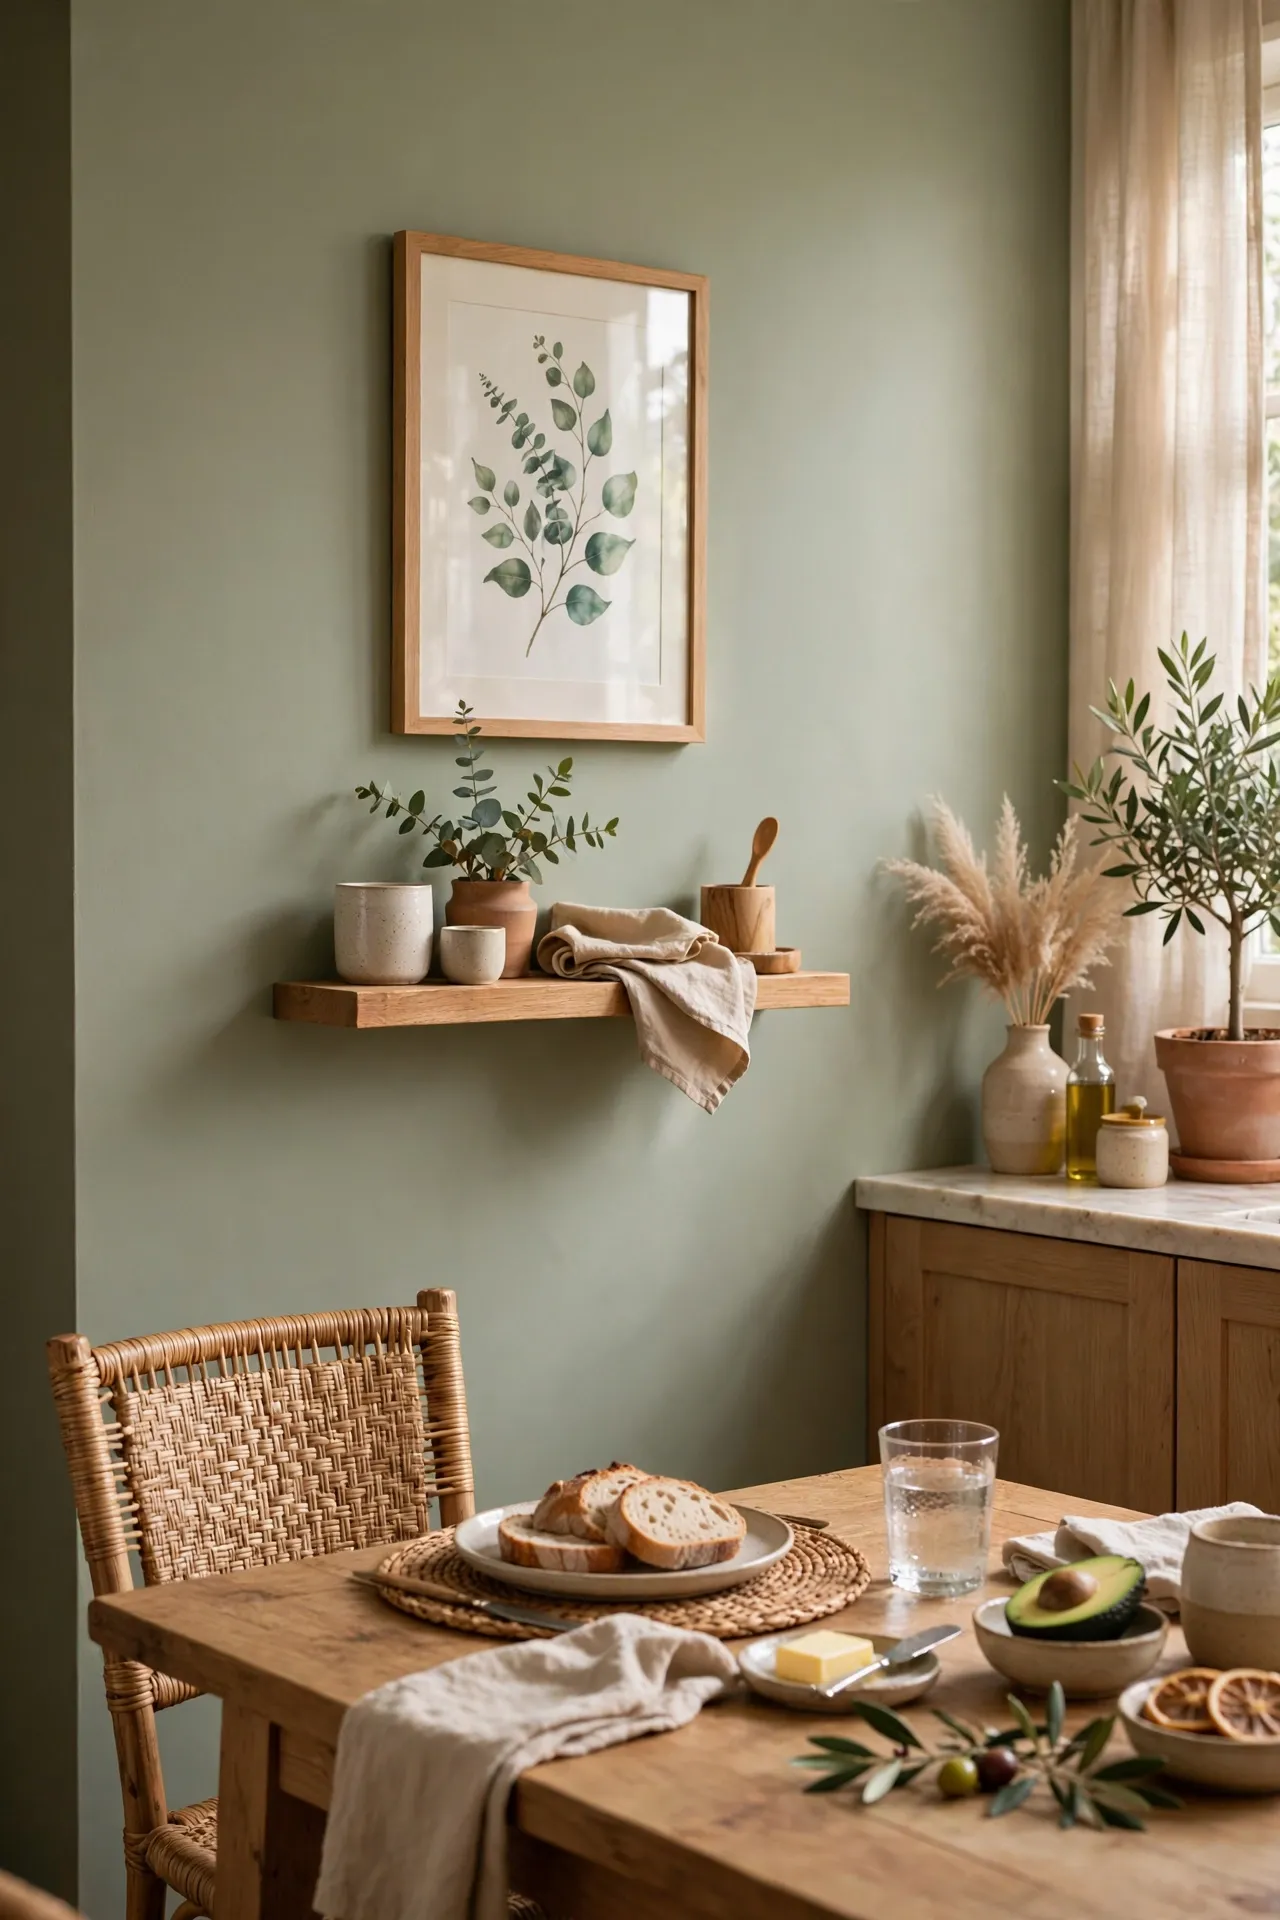
One painted wall is the lowest-risk way to live with sage green before committing further. Pick the wall with the least cabinetry — often the dining end of the kitchen — and paint it in a flat or eggshell finish. A single wall takes one tester pot’s worth of deliberation and one afternoon to paint, and it instantly warms up an all-white kitchen. Hang a simple wooden shelf or a framed print on it so the wall feels dressed rather than just painted. I tried painting the wall behind the cooker first and regretted the grease splatters — the mistake to avoid is the hardworking wall; choose the one that stays clean.
Cost: ~$20 for paint | Time: 3 hours
📌 Like this one? Save it to your kitchen board before you forget.
7. Sage Green Roman Blind
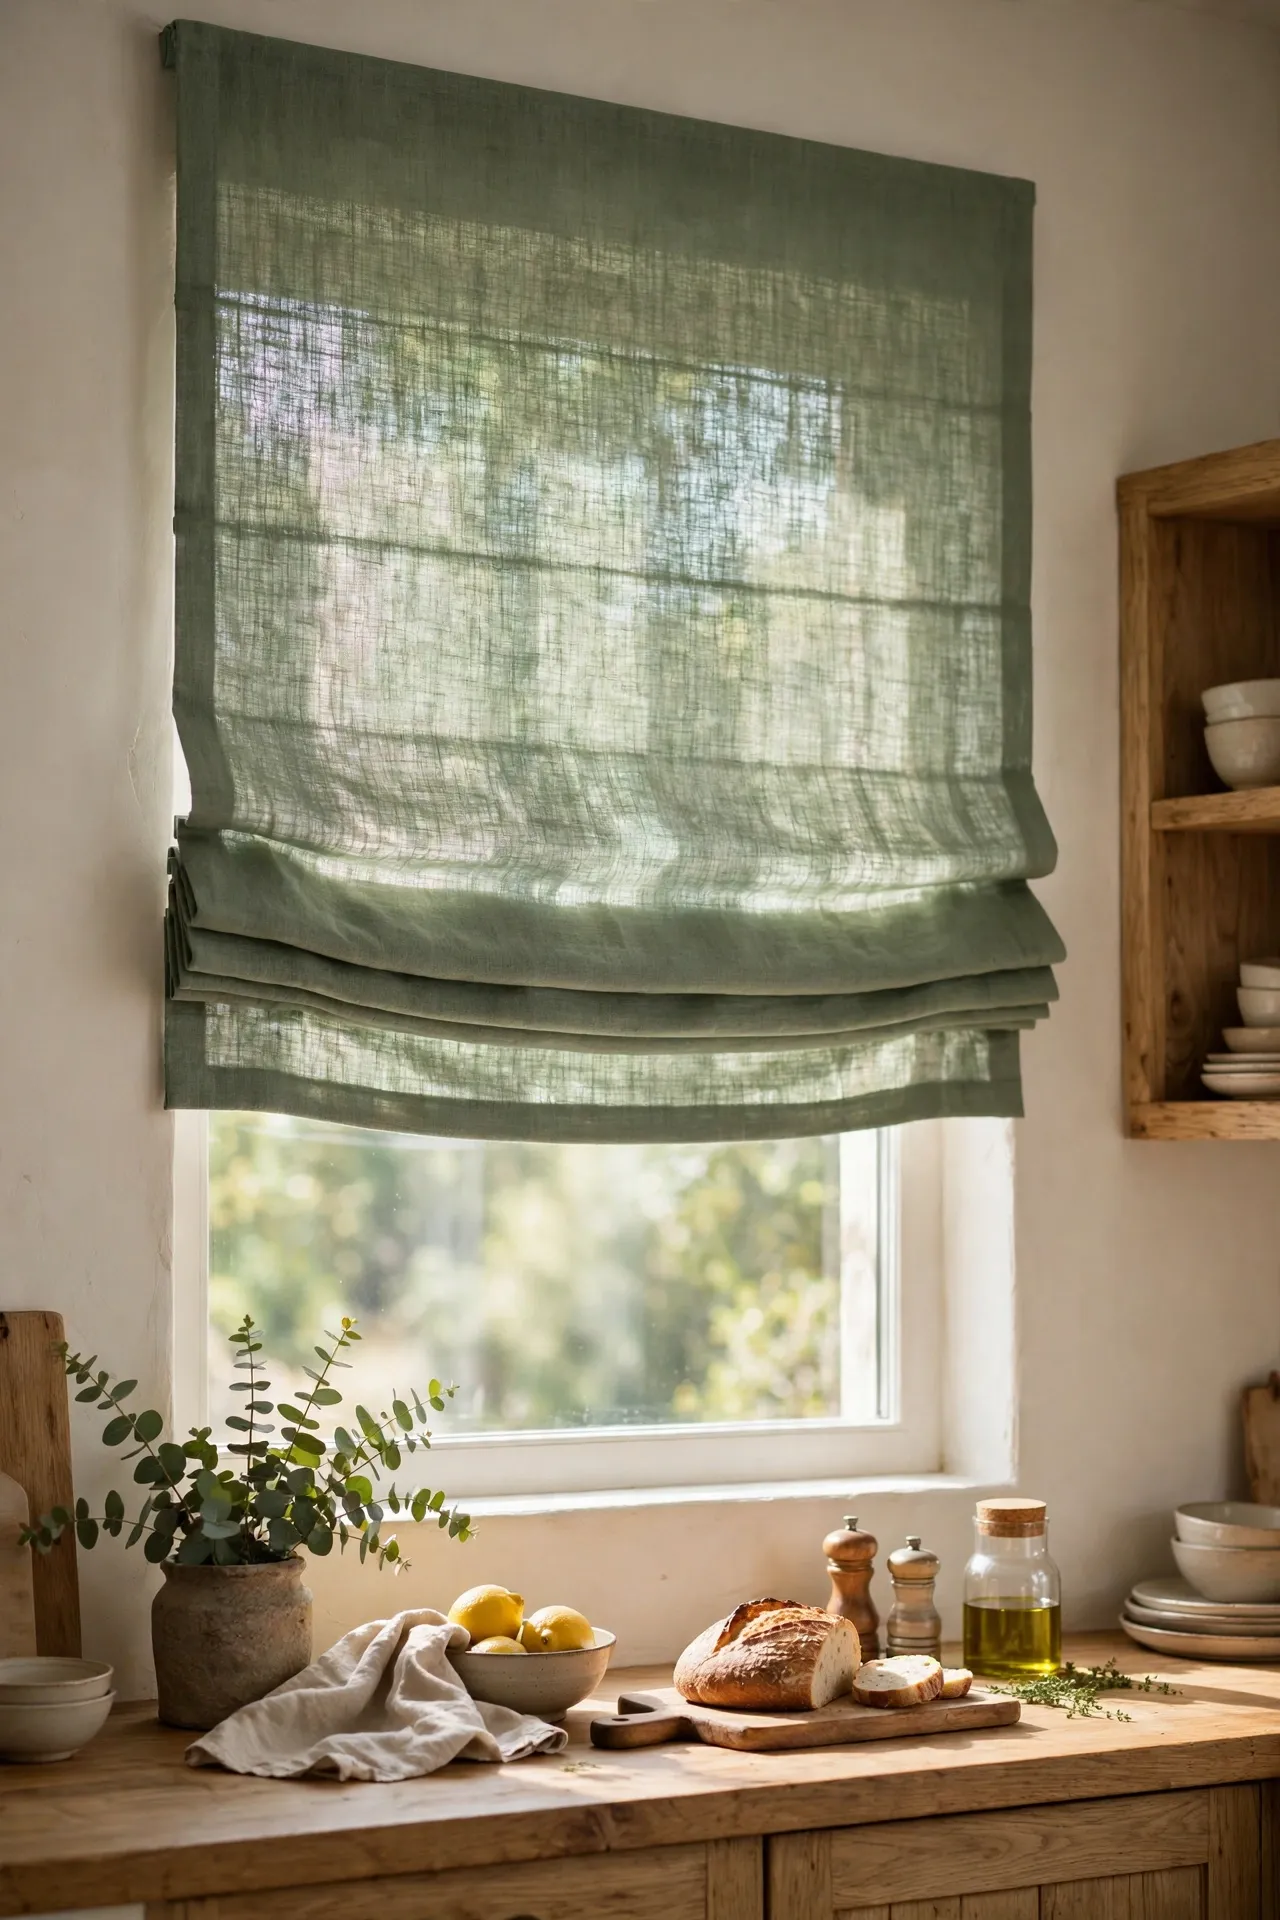
Windows are often the biggest bare surface in a kitchen, and a sage green roman blind fills that gap beautifully. Measure your window recess carefully — inside-mount blinds need exact numbers — then order a ready-made blind in a natural fabric like linen-look cotton. The soft folds add texture that painted walls can’t, and the colour filters the daylight into something warmer. Keep the pattern plain; the green is the feature. I tried a cheap blind that was two centimetres too narrow and the light gaps drove me mad — the mistake to avoid is guessing measurements; measure twice, and size down the blind, not the window.
Cost: ~$30 for a ready-made blind | Time: 30 minutes
8. Sage Green Bar Stools
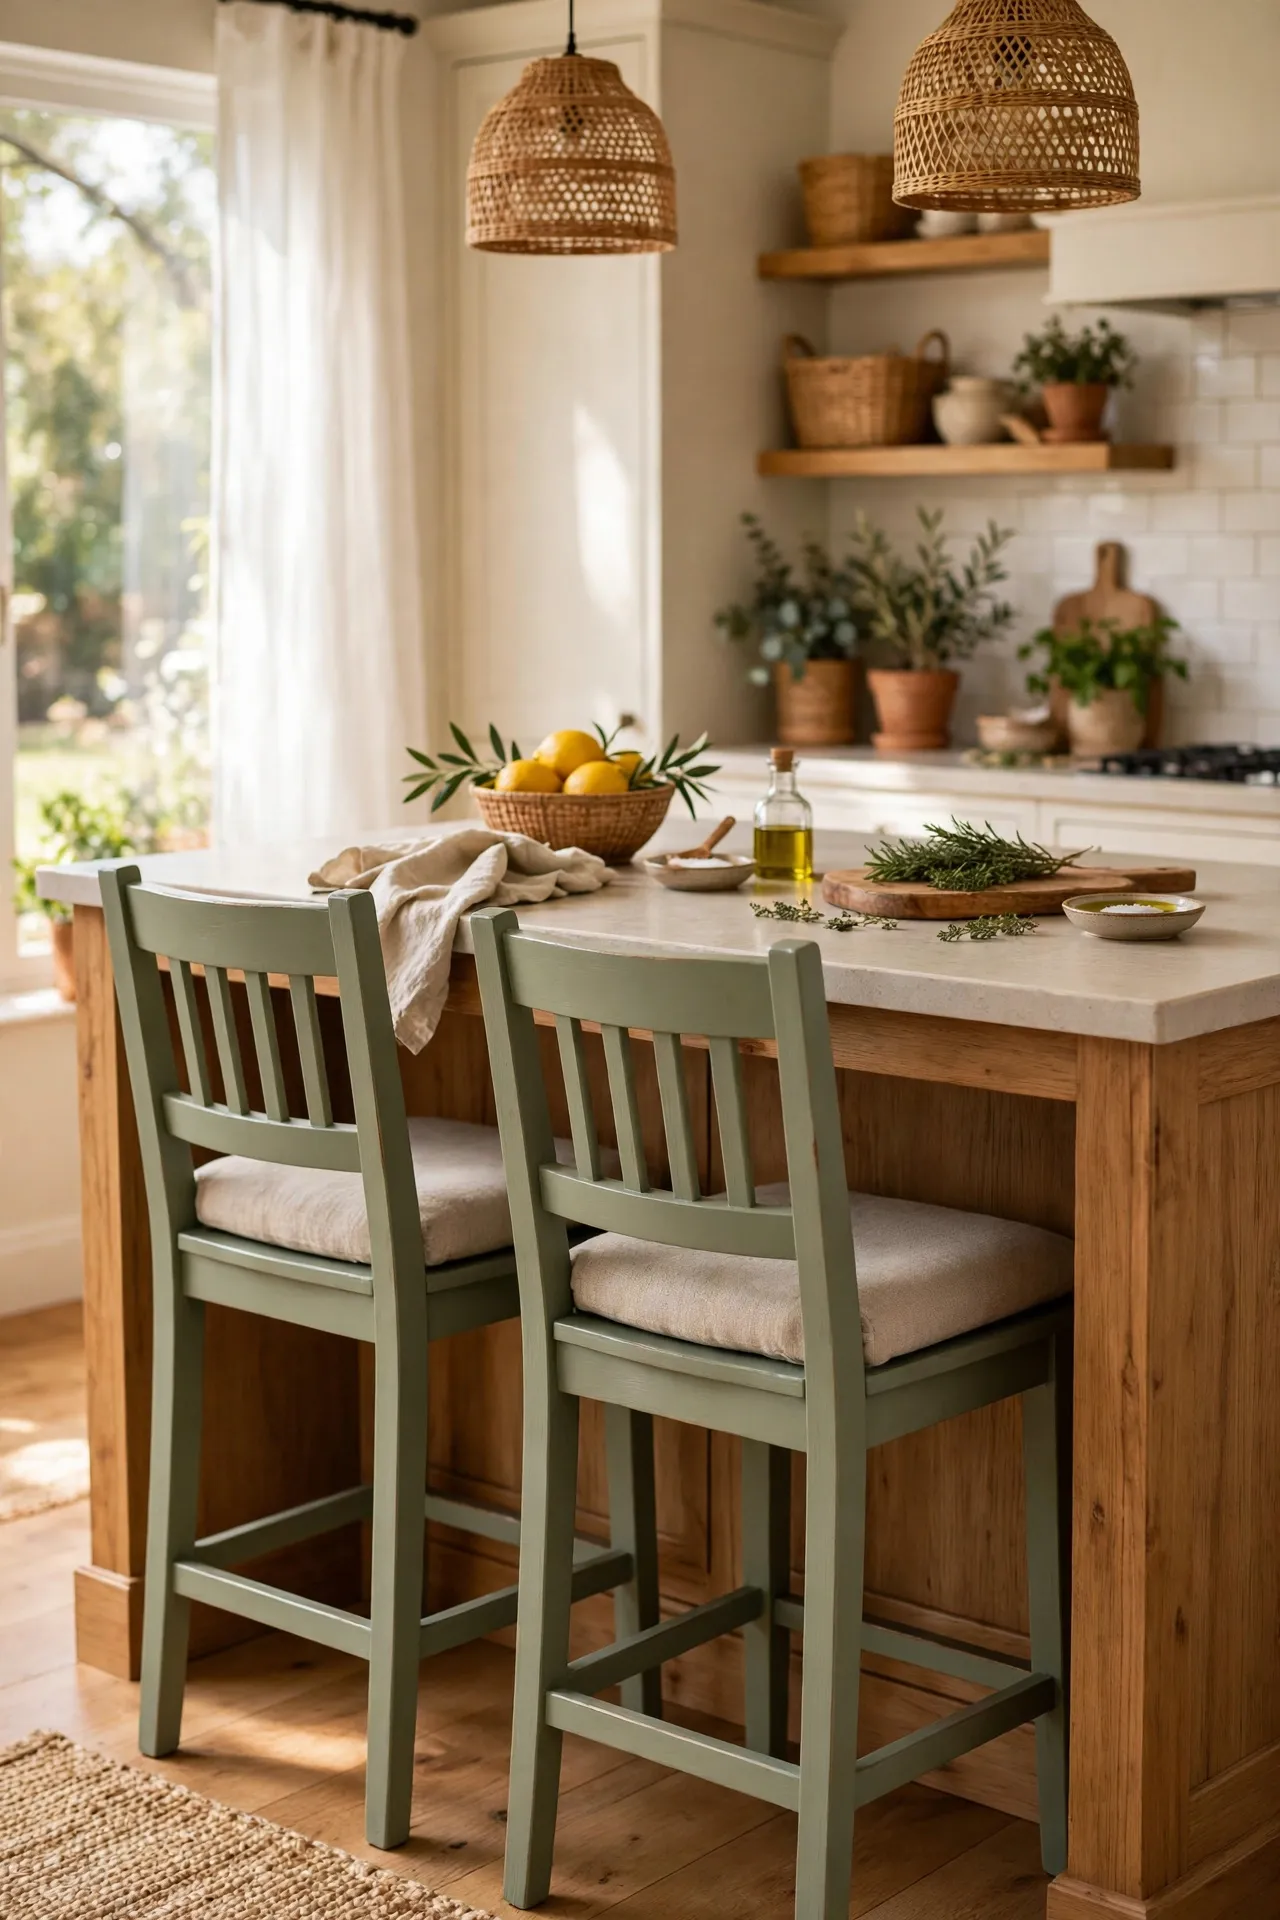
A pair of bar stools painted sage green brings the colour into the middle of the room where paint can’t reach. Find wooden stools second-hand, sand them back, and paint with a durable satin finish that wipes clean — kitchen seating takes a beating. Add a simple seat cushion in a neutral fabric for comfort. Two painted stools tucked under an island or breakfast bar look intentional and cheerful without any wall changes at all. I tried chalk paint without sealing and the seats marked within a week — the mistake to avoid is an unsealed finish on anything people sit on; a clear wax or satin topcoat is non-negotiable.
Cost: ~$18 for two stools plus paint | Time: 1 day
9. Sage Green Cabinet Knobs and Handles
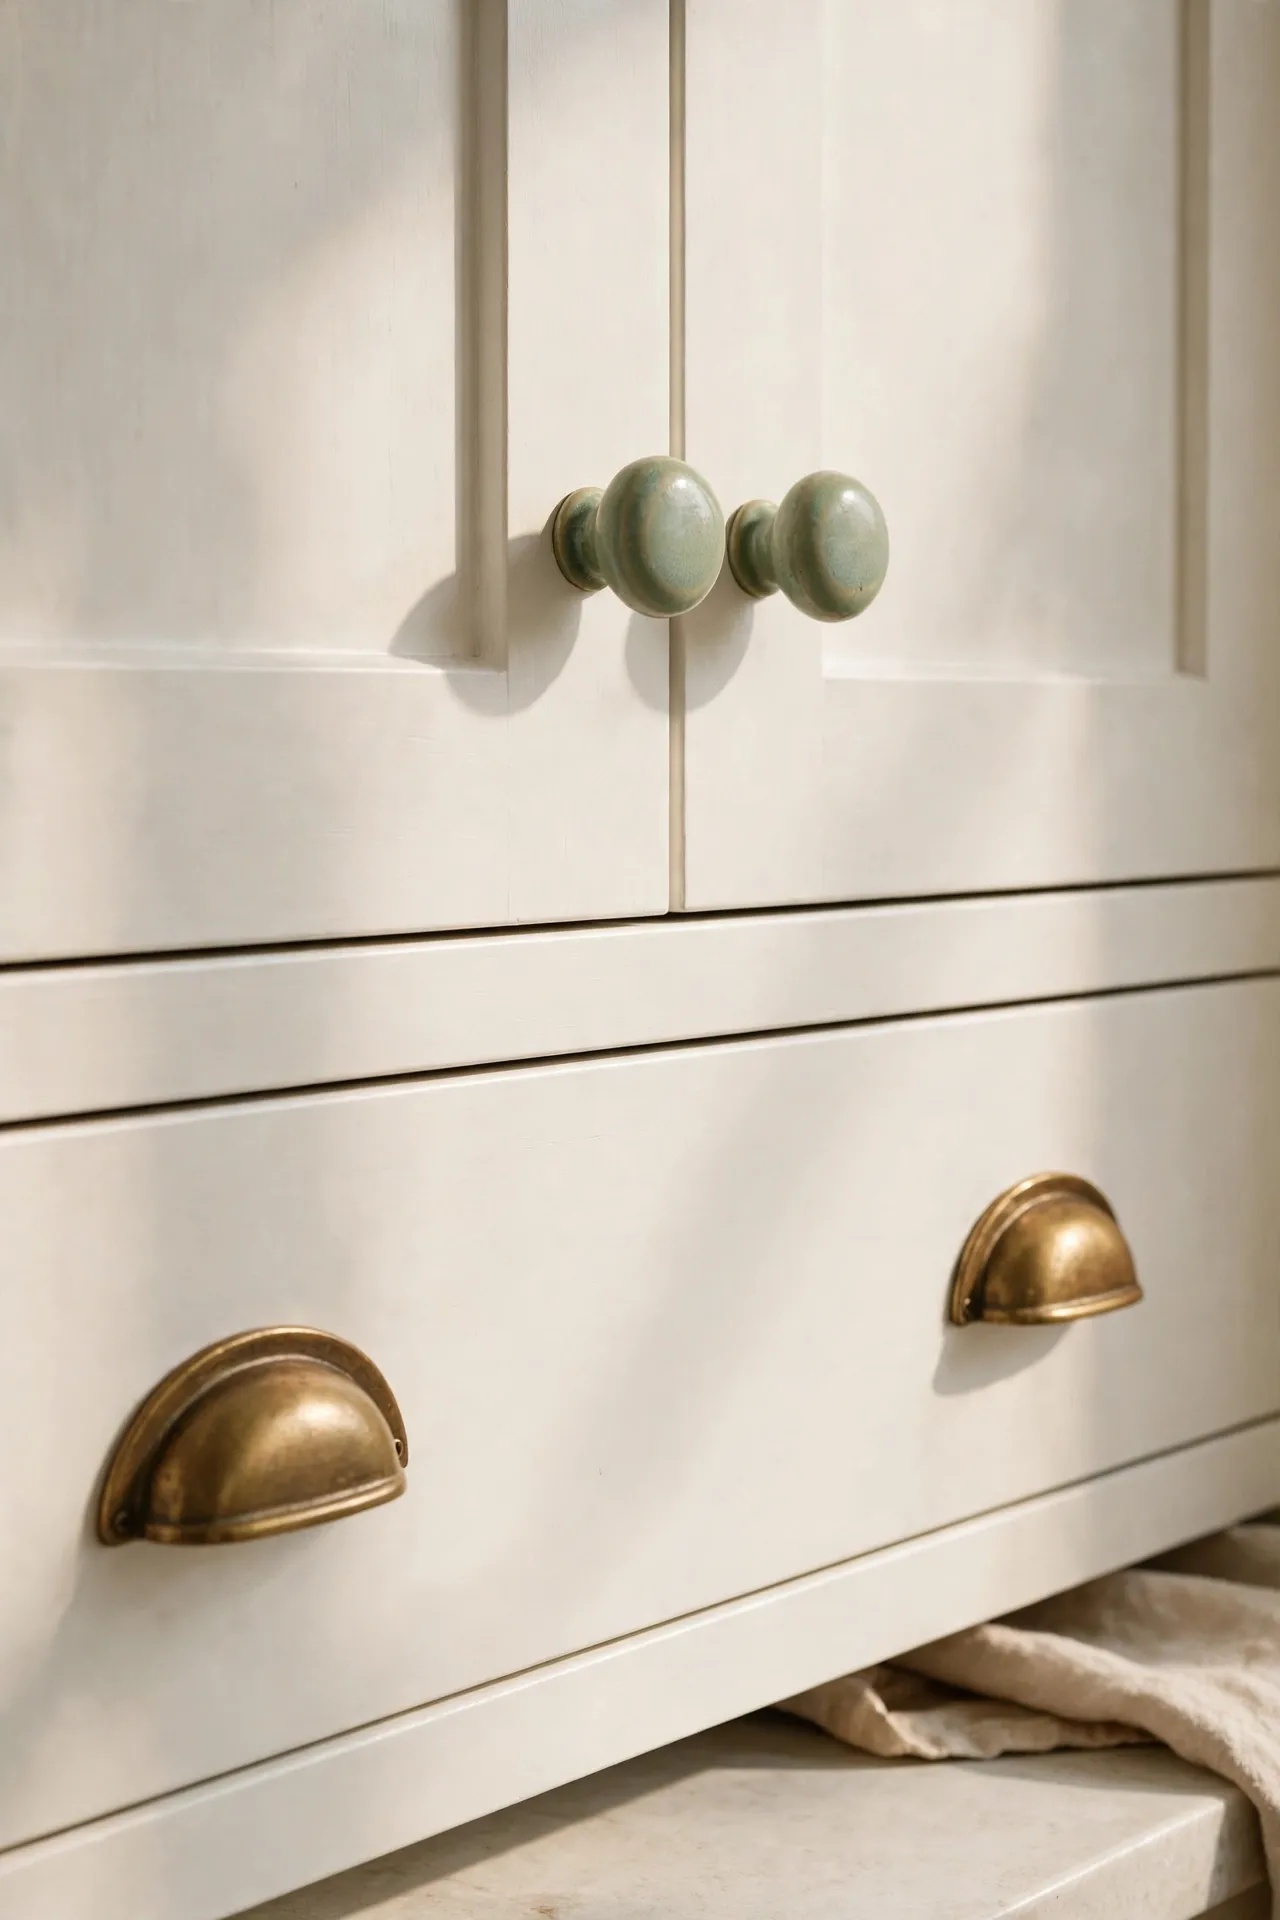
Sometimes the smallest change does the most work — sage green knobs and handles dot the colour around without painting a single door. Look for ceramic or painted-wood knobs in a muted sage, and swap them onto your existing cabinets in minutes with a screwdriver. They read as little jewellery details, especially against white or wood doors. Mixing sage knobs with one or two brass cup pulls on drawers keeps it from feeling flat. I tried plastic painted knobs to save money and the colour scratched off on the first week — the mistake to avoid is the cheapest option here; ceramic or powder-coated metal holds its colour properly.
Cost: ~$15 for a full set | Time: 45 minutes
10. Sage Green Storage Canisters
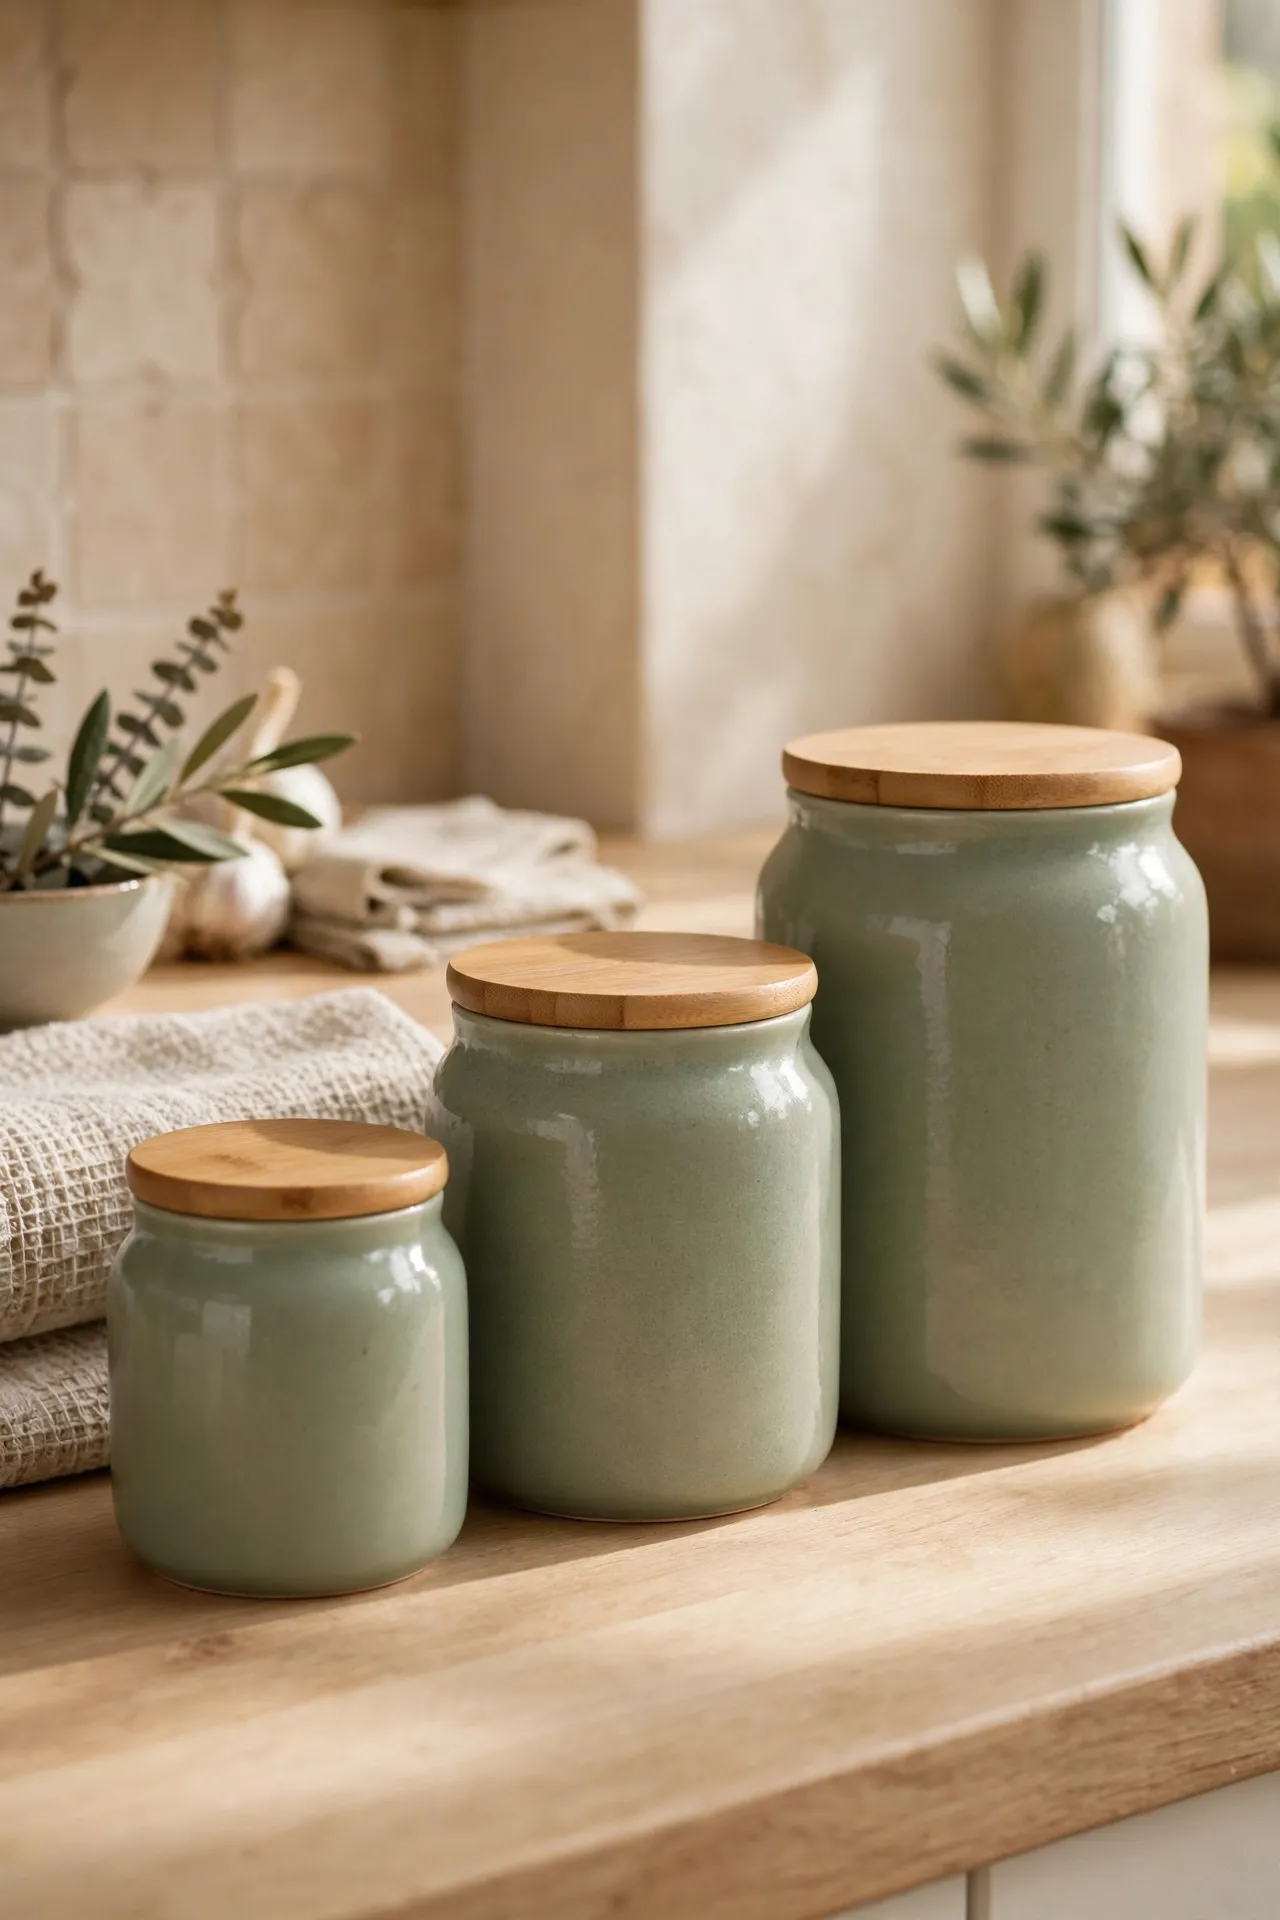
A matching set of sage green canisters on the counter is the five-minute version of this whole trend. Decant flour, sugar, coffee and tea into ceramic or glass canisters with sage lids or bodies, line them up in a row, and suddenly your counter looks styled instead of scattered. Choose airtight lids if you’re storing dry goods properly — pretty means nothing if the flour goes stale. A row of three in graduated sizes looks best; five starts to feel like a collection. I tried mixing three different greens across my jars and it looked accidental — the mistake to avoid is close-but-not-matching shades; buy the set together so the colour is consistent. If your counters need more help, these (see also: 19-kitchen-counter-decor-ideas-that-look-styled-not-cluttered) ideas will sort them out.
Cost: ~$20 for a set of three | Time: 10 minutes
11. Sage Green Tableware Display
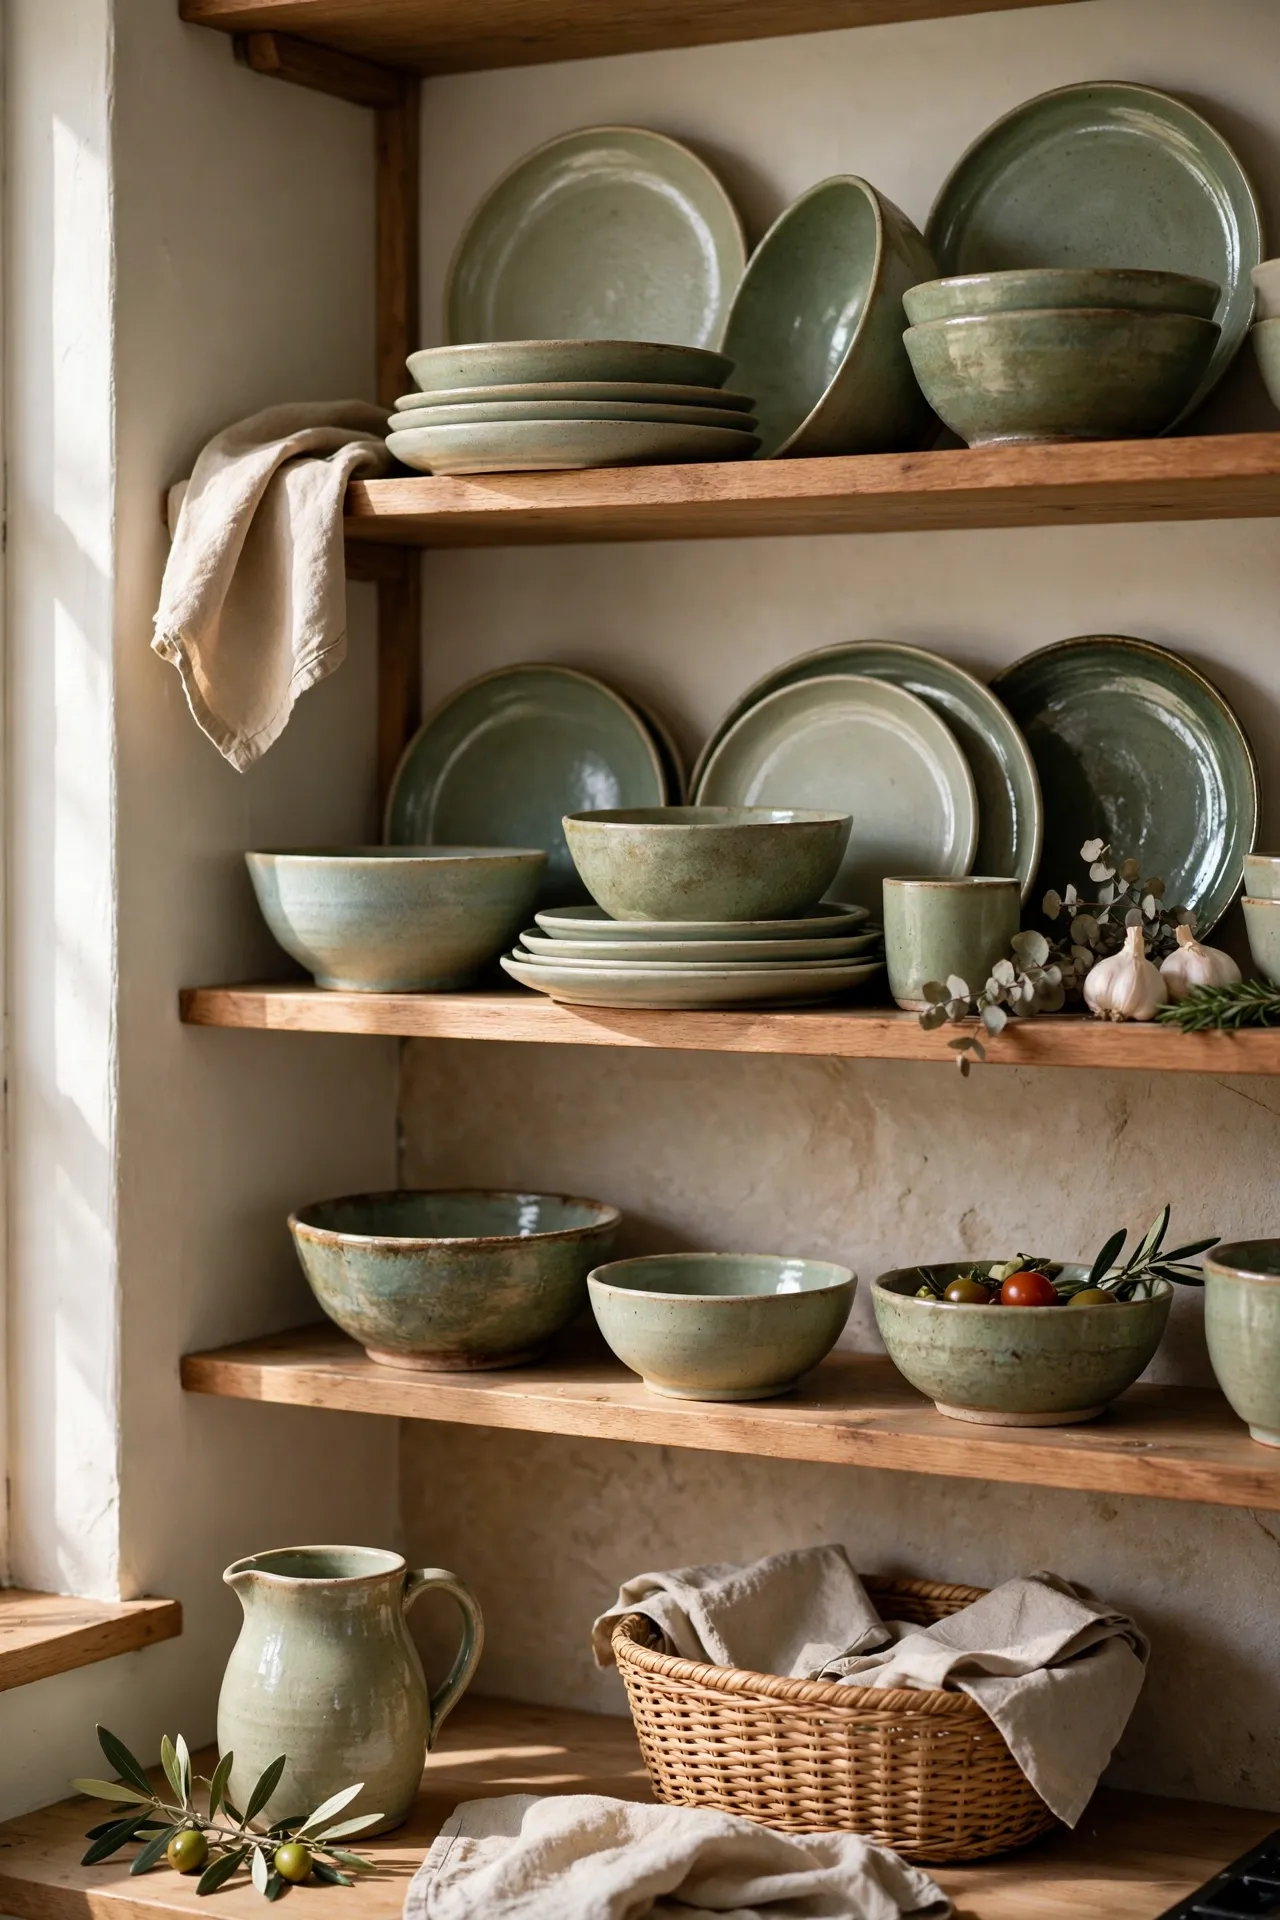
Stacking sage green plates and bowls where you can see them weaves the colour through your everyday routine. Charity shops are full of green-glazed stoneware — collect a few pieces in similar tones and display them on open shelves or in a glass-fronted cabinet. You don’t need a full matching set; mixed pieces in the same colour family look collected and personal, which is the whole point. Use them daily, too — a display you never touch just gathers dust. I tried keeping mine “for best” and they sat untouched for a year — the mistake to avoid is museum-piece thinking; sage stoneware looks better with a bit of honest use.
Cost: ~$12 for a few pieces | Time: 20 minutes
12. Sage Green Kitchen Runner Rug
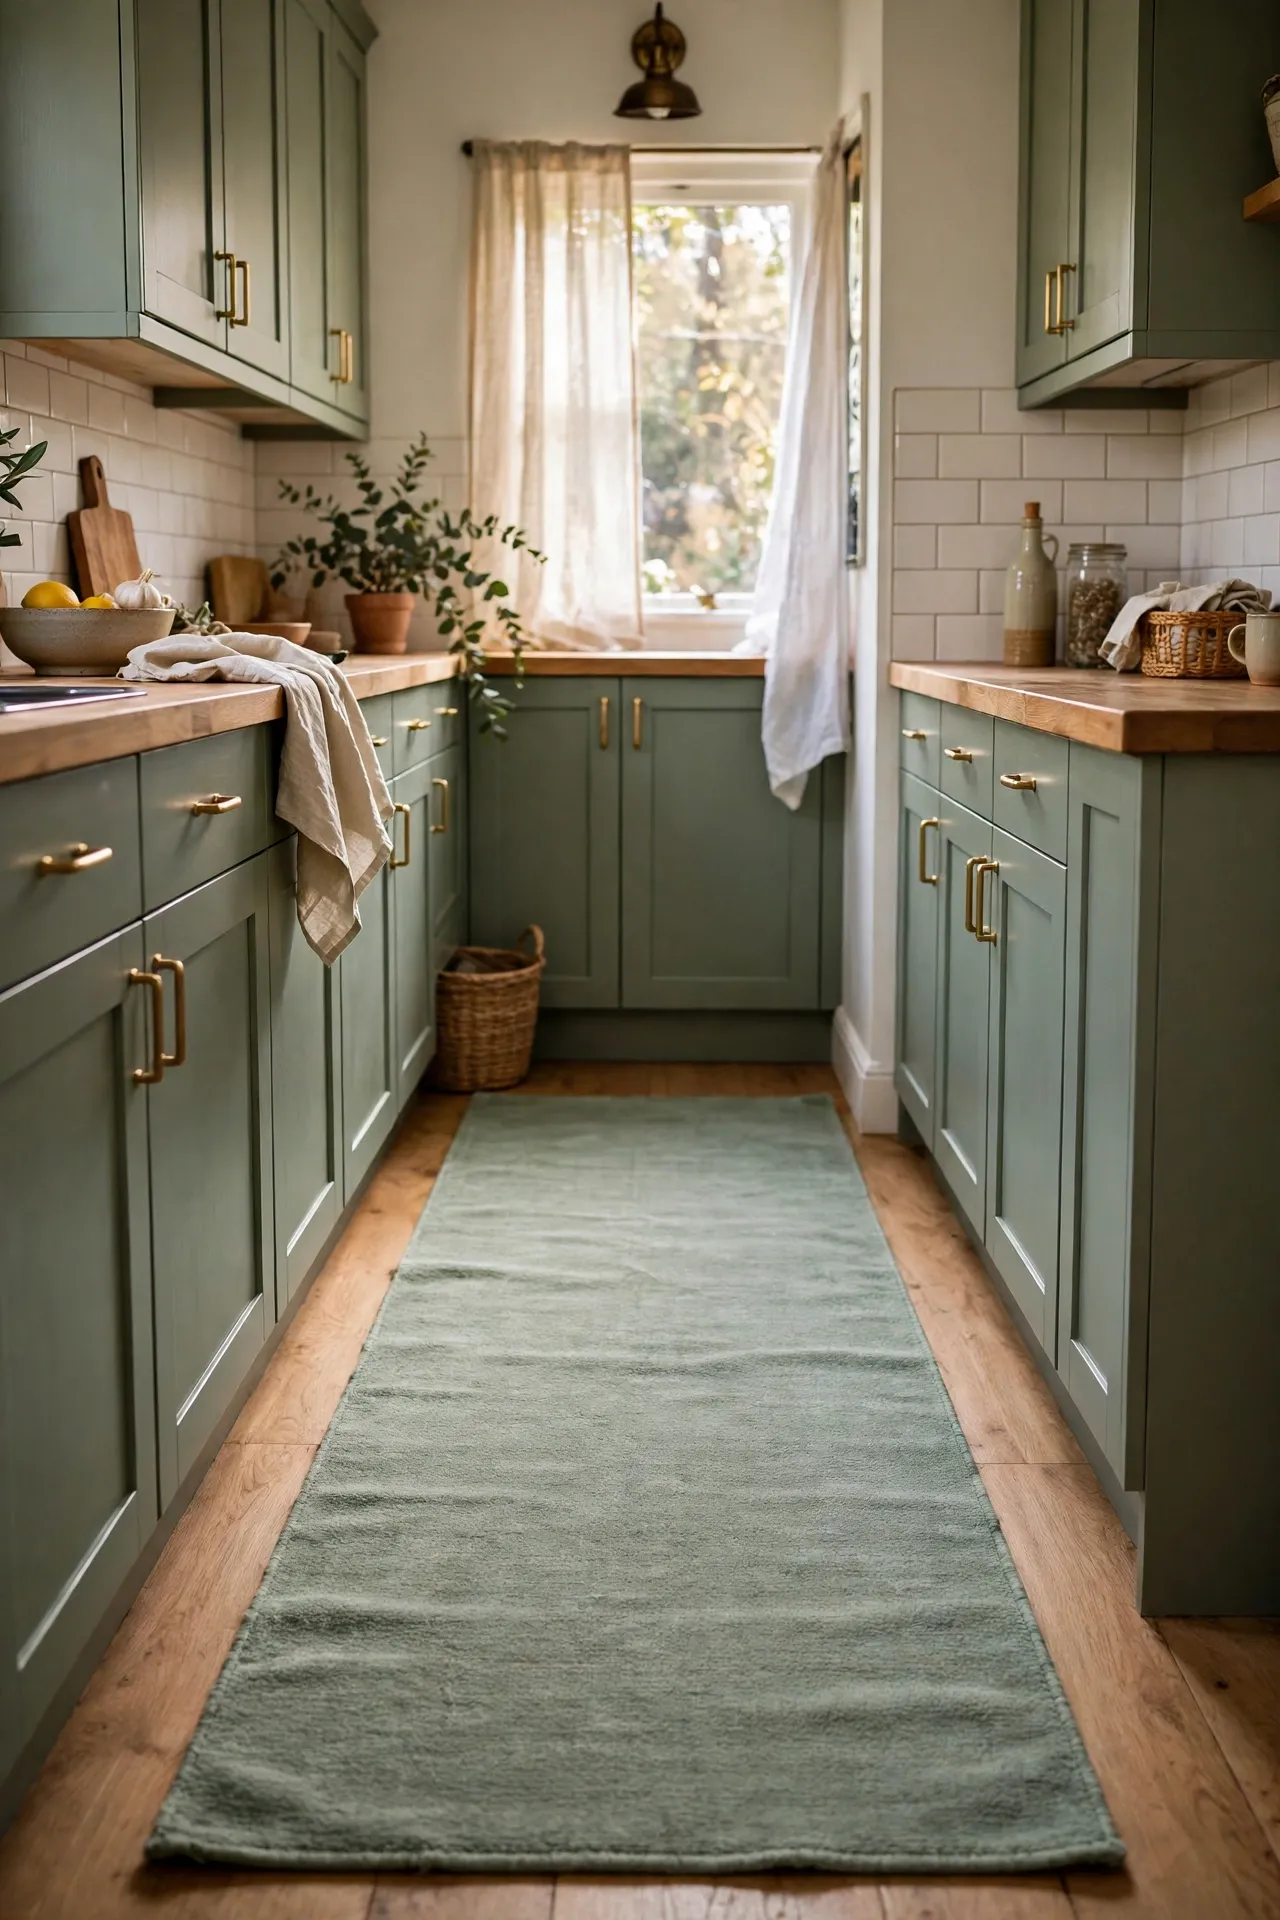
A sage green runner softens hard kitchen floors and pulls the colour down to floor level where it’s often missing. Choose a low-pile, washable rug — kitchens are crumb zones — in a muted sage with a simple pattern or border. Place it along the main work aisle or in front of the sink where you stand most. A rug pad underneath stops it sliding and adds a bit of cushioning for your feet. I tried a fluffy bathmat-style rug first and it trapped every crumb within days — the mistake to avoid is high pile in a kitchen; flat-weave or low-pile washes and wears properly.
Cost: ~$25 for a washable runner | Time: 10 minutes
13. Sage Green Tea Towels and Textiles
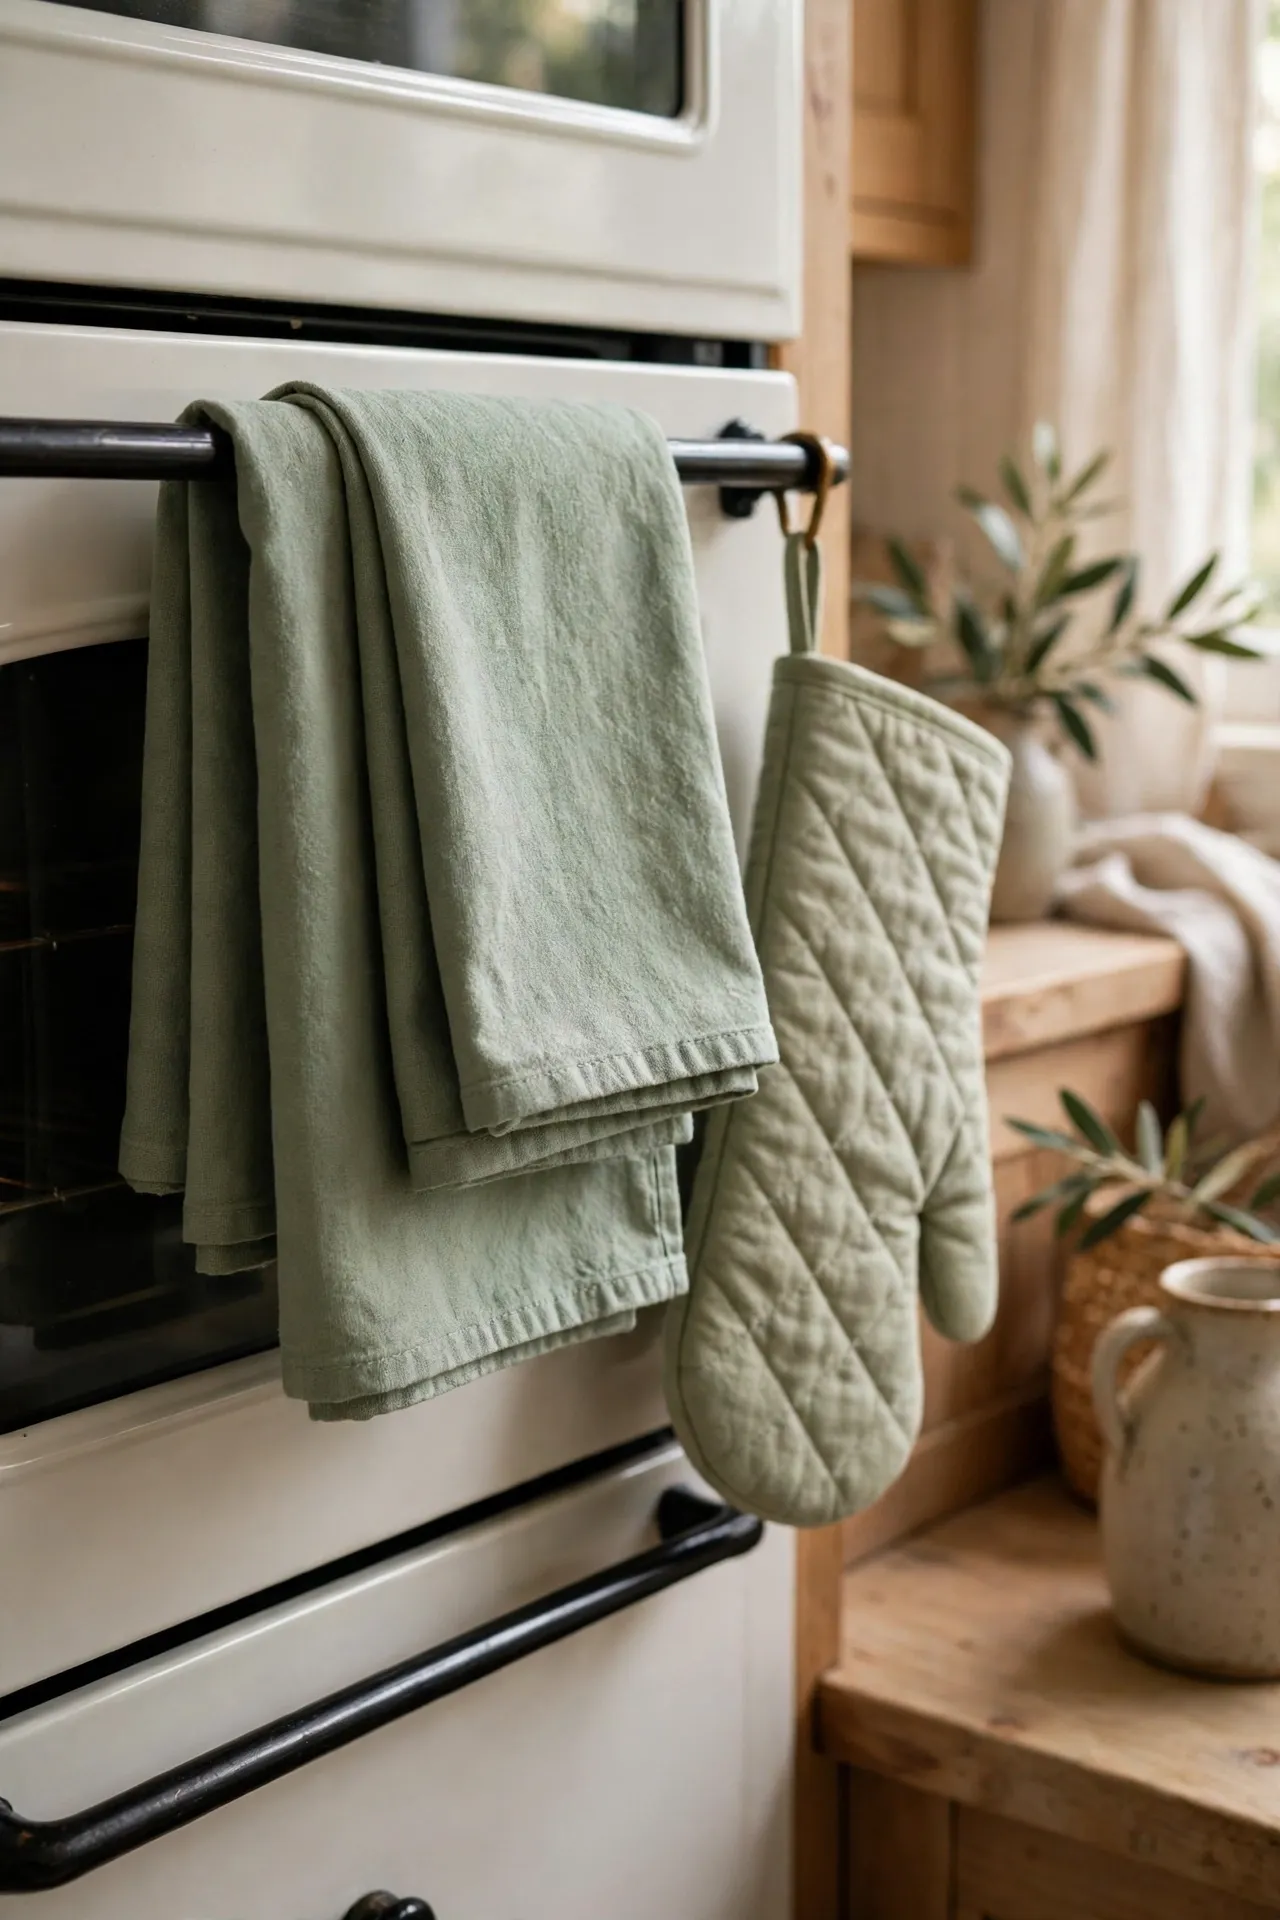
Textiles are the cheapest way to test any colour, and a set of sage green tea towels, an oven glove and a folded throw over a chair introduces the shade for almost nothing. Pick 100% cotton that washes well — kitchen textiles earn their keep. Fold them neatly over the oven rail or hang two on hooks by the sink so the green repeats in a couple of spots; one lonely tea towel reads as a laundry accident. I tried a single green towel against my red one and it looked like a mistake — the mistake to avoid is a single isolated item; colour needs at least two or three echoes to look intentional.
Cost: ~$10 for a set | Time: 5 minutes
14. Sage Green Herb Pots on the Windowsill
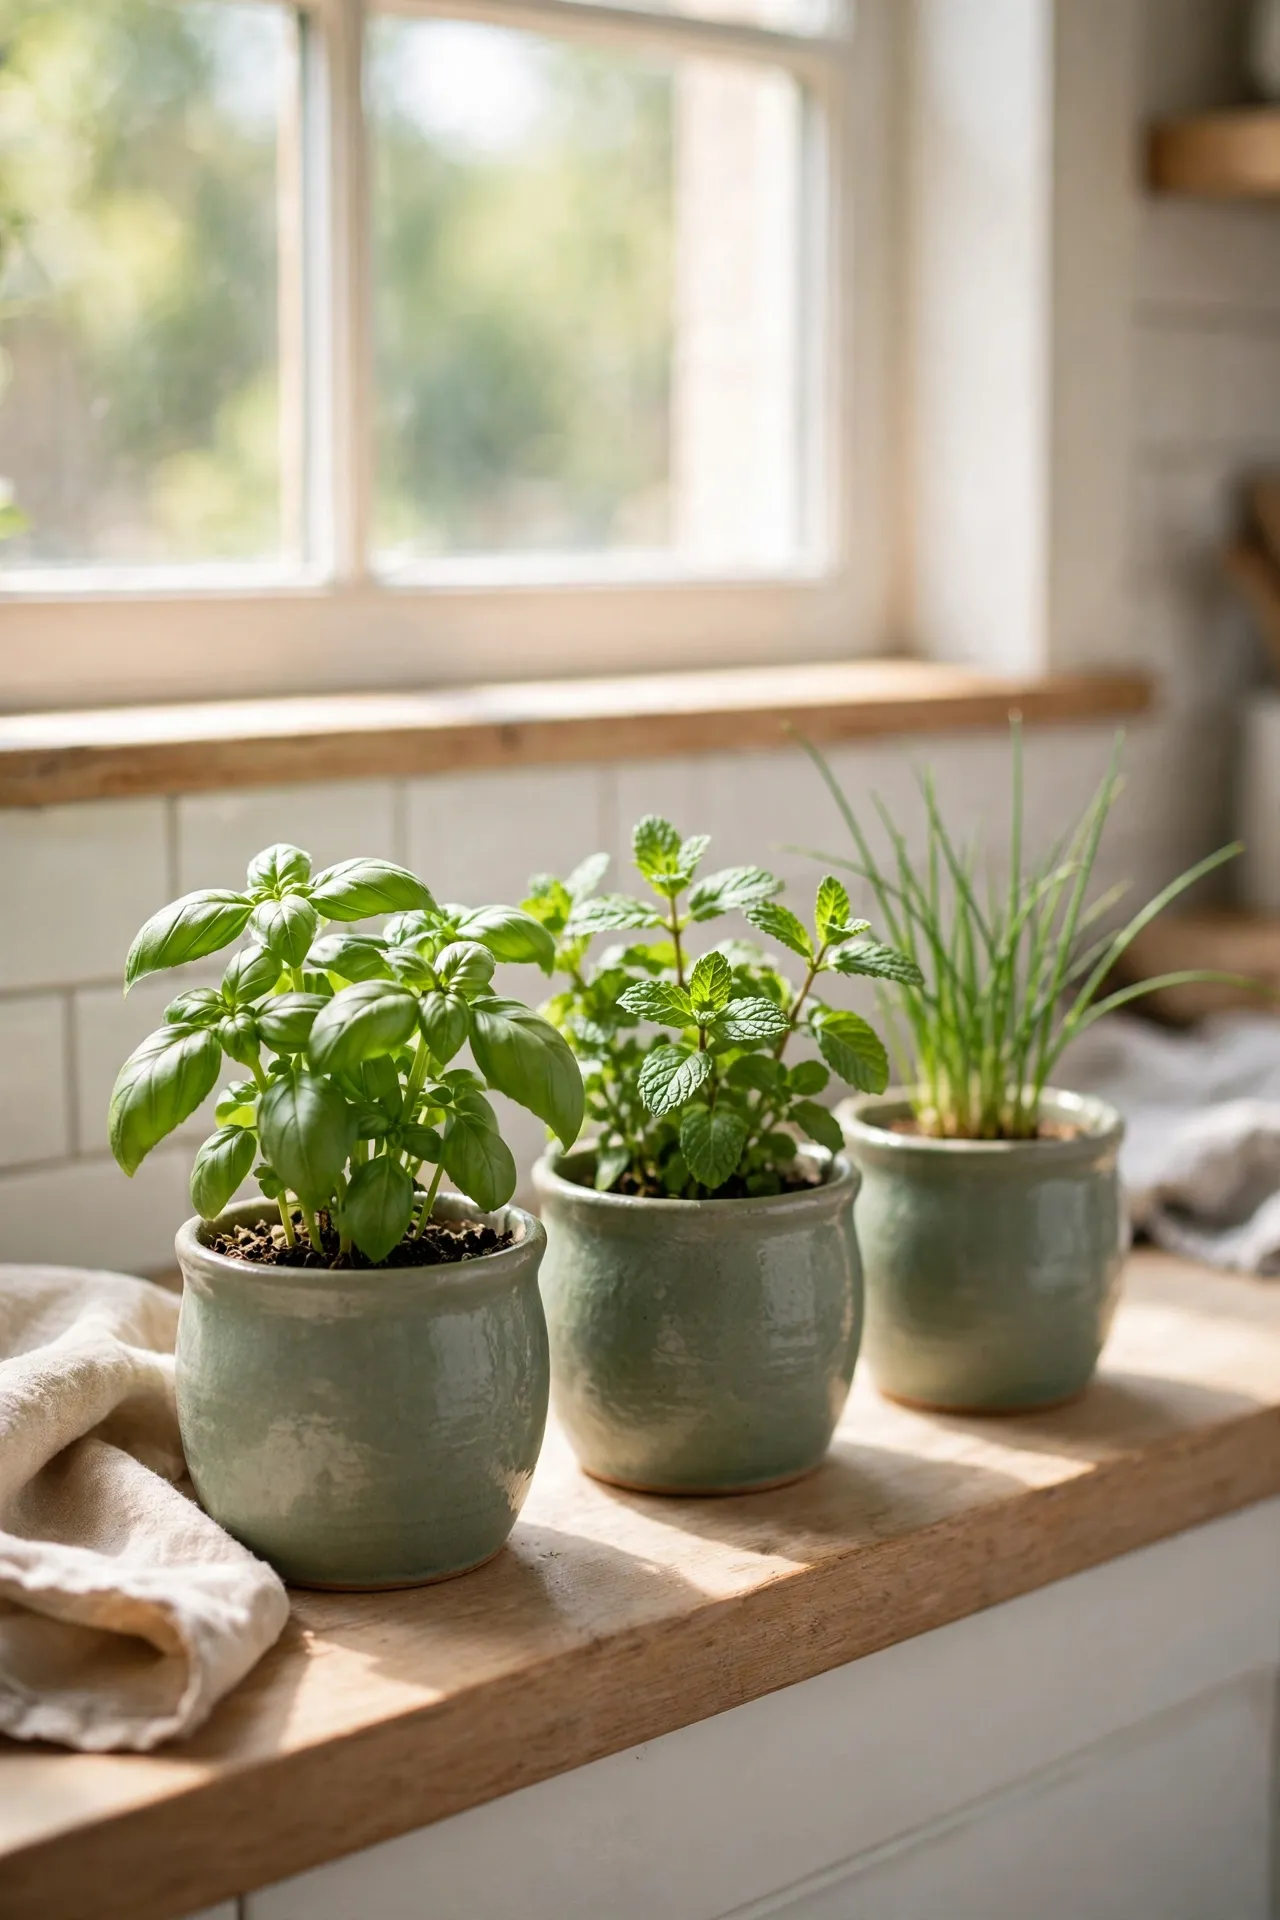
Fresh herbs in sage green pots give you the colour plus something living — the easiest double win in this list. Pick up a few small ceramic pots in matching sage, plant basil, mint and chives, and line them along the windowsill. The green of the leaves against the green of the pots looks lush and deliberate, and you’ll actually use the herbs. Water from a saucer underneath to avoid marks on the sill. I tried fancy self-watering pots that cost a fortune and the herbs died anyway — the mistake to avoid is overcomplicating it; plain pots, decent compost and regular watering beat gadgets every time.
Cost: ~$14 for pots and herbs | Time: 30 minutes
15. Sage Green Small Appliances
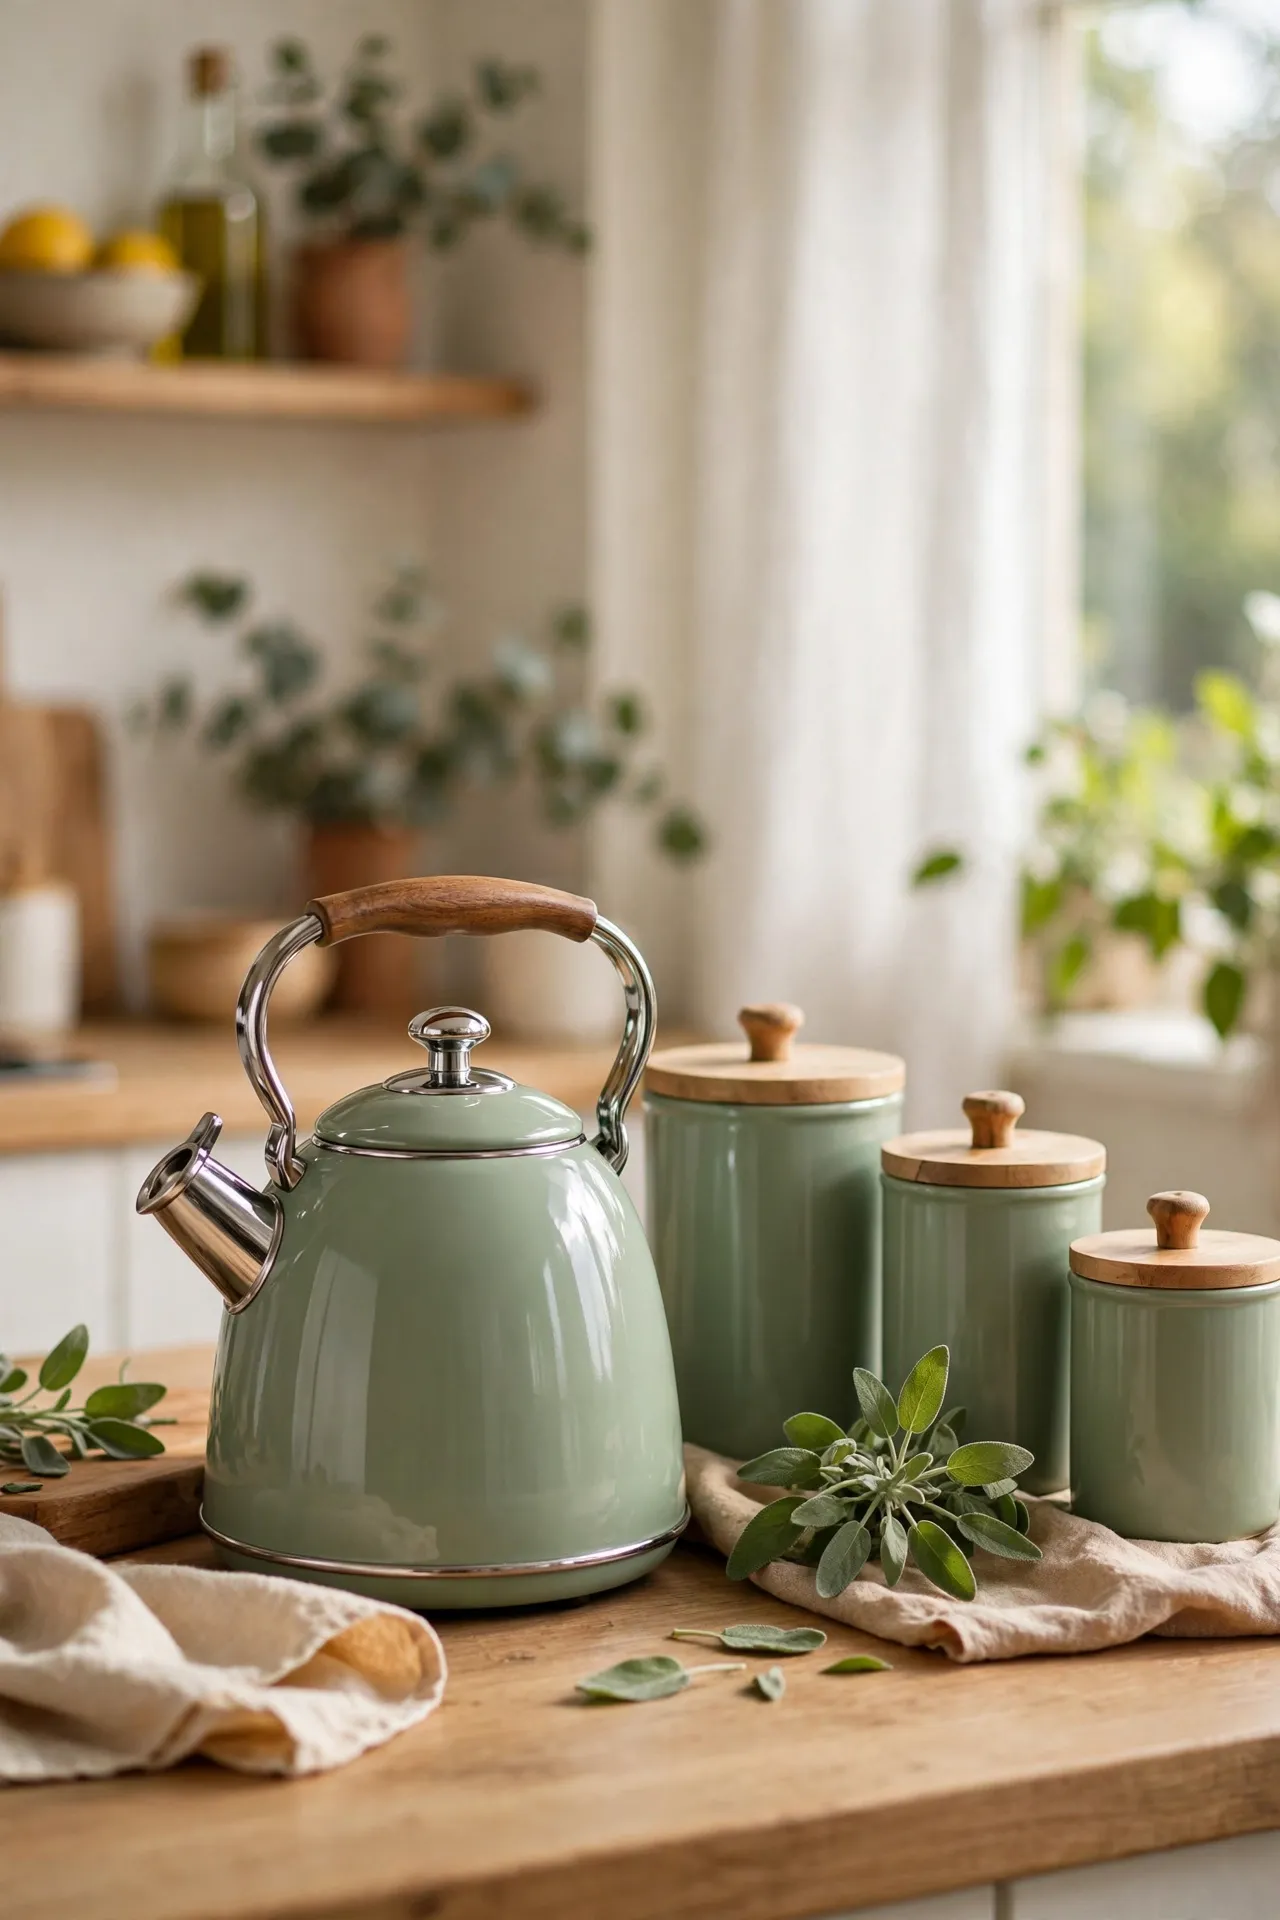
A sage green kettle or toaster is a proper statement piece that needs no DIY at all. One coloured appliance on the counter — kettle is the classic — anchors the whole scheme, especially if you’ve already got the colour in textiles or canisters. You don’t need the full set; one hero piece plus small sage details elsewhere is the sweet spot. Check the shade in person if you can, because appliance greens vary wildly between brands. I ordered one online that arrived closer to mint than sage — the mistake to avoid is trusting screen colours; check reviews with real photos or see it in a shop first.
Cost: ~$35 for a kettle | Time: 0 minutes
16. Sage Green Framed Kitchen Prints
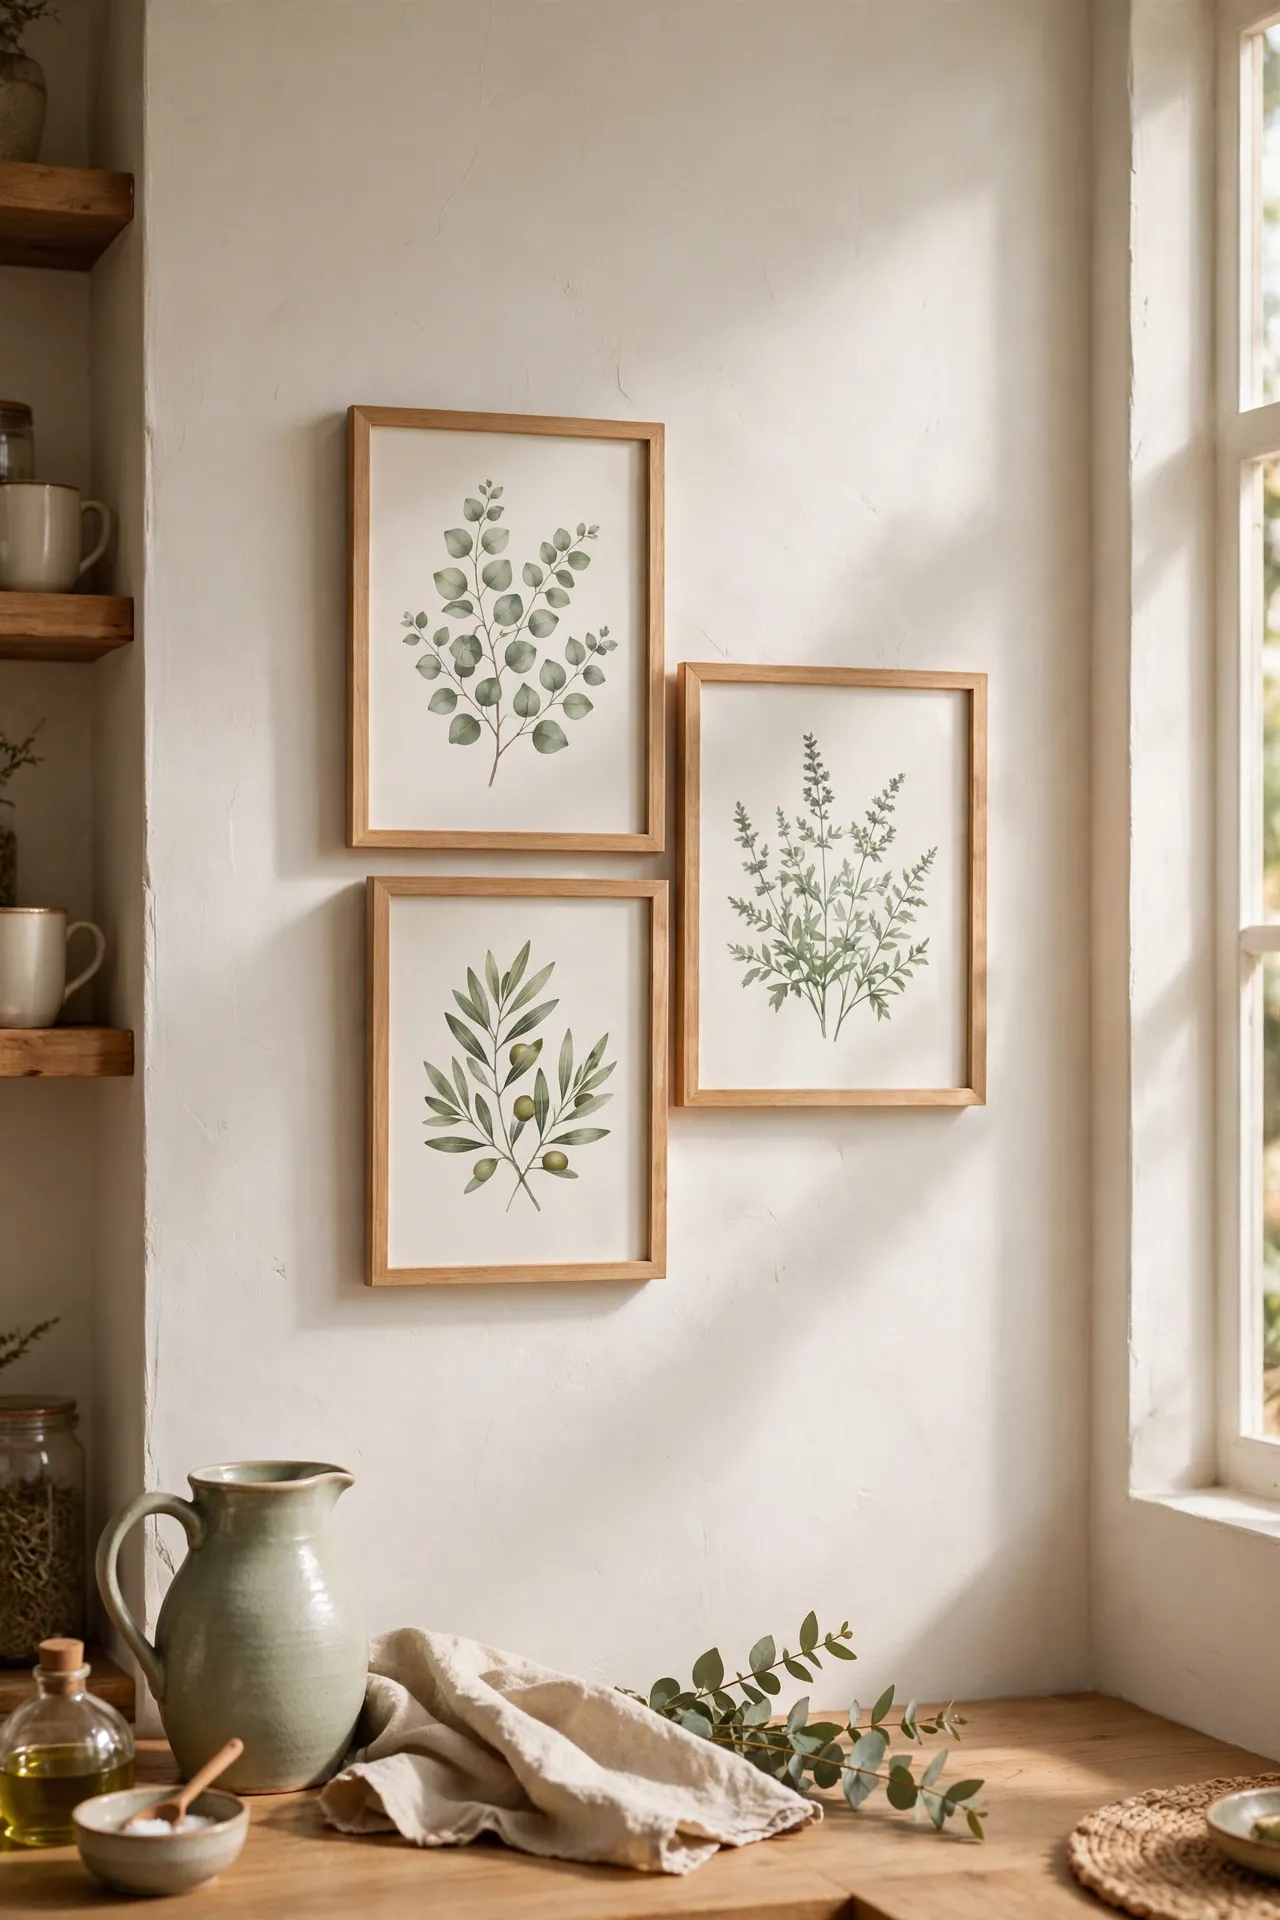
Artwork is the renter-friendly way to get sage green on the walls — no paint, no permission needed. Frame two or three prints with sage green tones (botanical sketches, simple food illustrations, even a nice recipe card) in slim wooden frames and hang them as a small cluster. Charity shops and printable downloads keep the cost tiny; the frames are where the money goes, so keep them simple. Hang the cluster at eye level near the dining spot rather than over the hob. I tried one big print alone and it looked lost on the wall — the mistake to avoid is a single small frame on a big wall; group two or three for proper impact.
Cost: ~$16 for frames and prints | Time: 30 minutes
17. Sage Green Lamp or Pendant Shade Swap
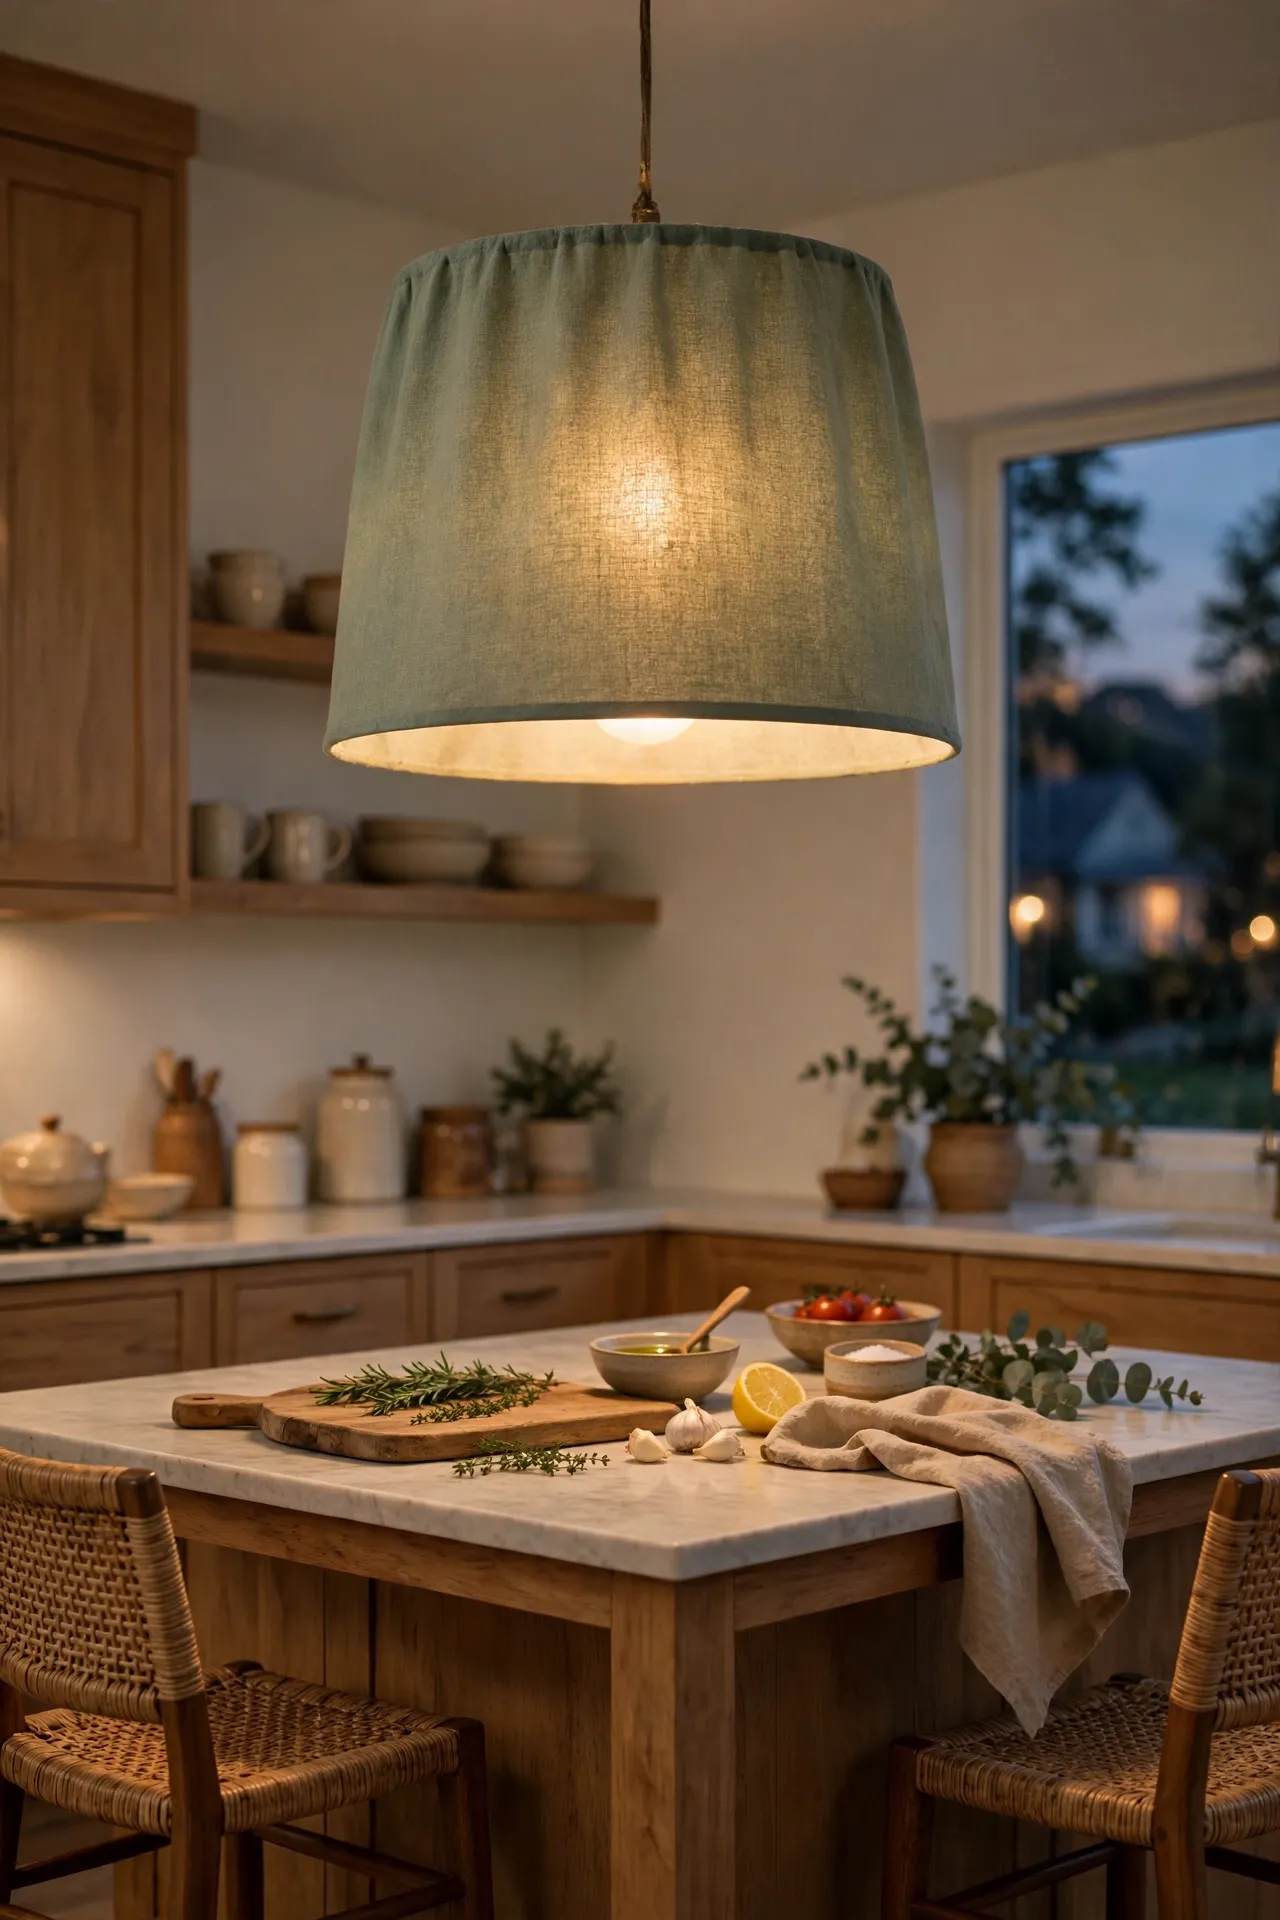
Swapping a plain pendant shade for a sage green one changes the light in the room — literally, since the shade tints the glow. A fabric drum shade or a painted metal shade over the island or dining table takes minutes to fit and draws the eye upward, balancing all the green happening at counter level. Make sure the bulb is warm white; cool light through a green shade looks murky. Keep the rest of the fitting simple so the shade does the talking. I tried a dark forest-green shade first and it swallowed all the light — the mistake to avoid is going too dark; a soft mid-sage lets the light through while still reading as green.
Cost: ~$22 for a shade | Time: 15 minutes
Quick Questions About Sage Green Kitchens
Q: Does sage green go with the wood tones I already have?
A: Beautifully — sage green is one of the easiest colours to pair with wood, because both come from nature. Light oak and pine look fresh against it, while darker walnut gives it a richer, more grown-up feel. If your worktops are wooden, you’ll barely need to add anything else.
Q: Will sage green date quickly like other trendy colours?
A: Sage has been hanging around kitchens for years now, which is a good sign — it’s really a softened-down classic rather than a fad. Because it’s muted and grey-based, it behaves more like a neutral than a bold colour, so it ages gracefully. If you’re still unsure, start with the cheap, removable ideas in this list and live with the colour before painting anything permanent.
Q: What’s the cheapest way to try sage green before committing?
A: Start with textiles and small accessories — a set of tea towels, a storage canister and a plant pot cost under $30 combined and take five minutes. Live with them for a couple of weeks; if you keep smiling every time you walk in, you’re ready for paint. If not, you’ve spent almost nothing finding out.
Sage green works because it’s calm without being boring — the kind of colour that makes a kitchen feel settled. Start small, live with it, and let the green grow one idea at a time.
