25 Micro-Apartment Ideas for City Renters
City renting usually means paying a lot for very little floor space, and I learned that the hard way in a studio where my bed, desk, and dining table were all within arm’s reach. These micro apartment ideas are the ones that actually made that tiny flat livable — clever dividers, storage that hides in plain sight, and furniture that does two jobs at once. Nothing here needs a remodel or a big budget, and most of it comes down with you when you move to the next place.
Sleep & Privacy
1. Build a Fold-Down Wall Bed That Disappears by Day
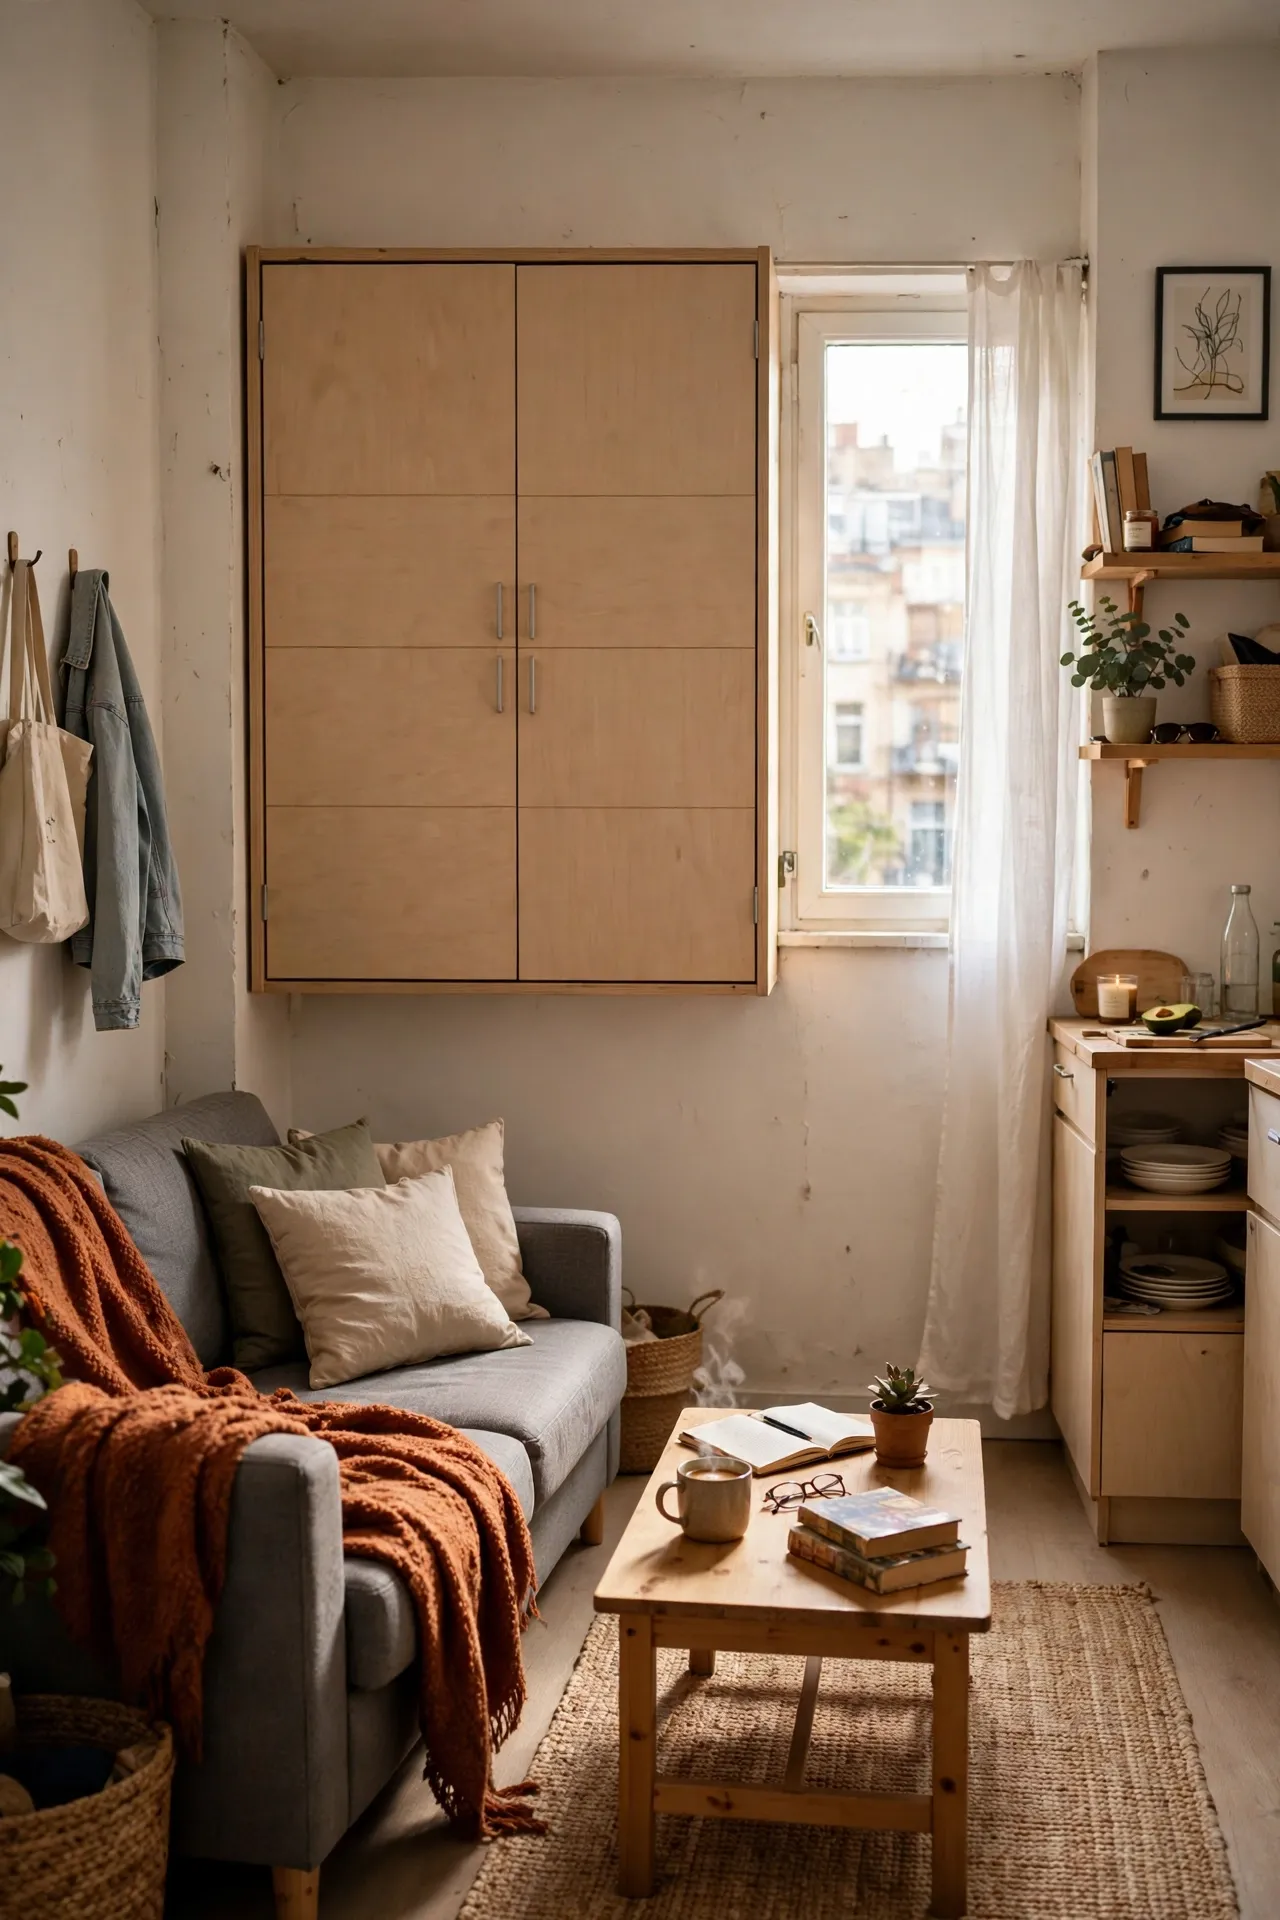
A fold-down wall bed is the single biggest space win in a micro-apartment, because it gives you back your living room every morning. Fold it up and you have floor space for a desk, exercise, or friends; fold it down and you have a real bed, not a sofa you sleep on badly. Buy a kit with a proper mattress rather than a thin pad, and check the wall can take the weight — a stud-mounted frame is essential. The mistake to avoid is skipping the locking mechanism check; a bed that drifts down on its own is no joke. I used one for two years, and mornings felt completely different once the bed vanished.
Cost: ~$400 | Time: 4 hours
2. Hang a Ceiling Curtain to Divide Sleep and Living
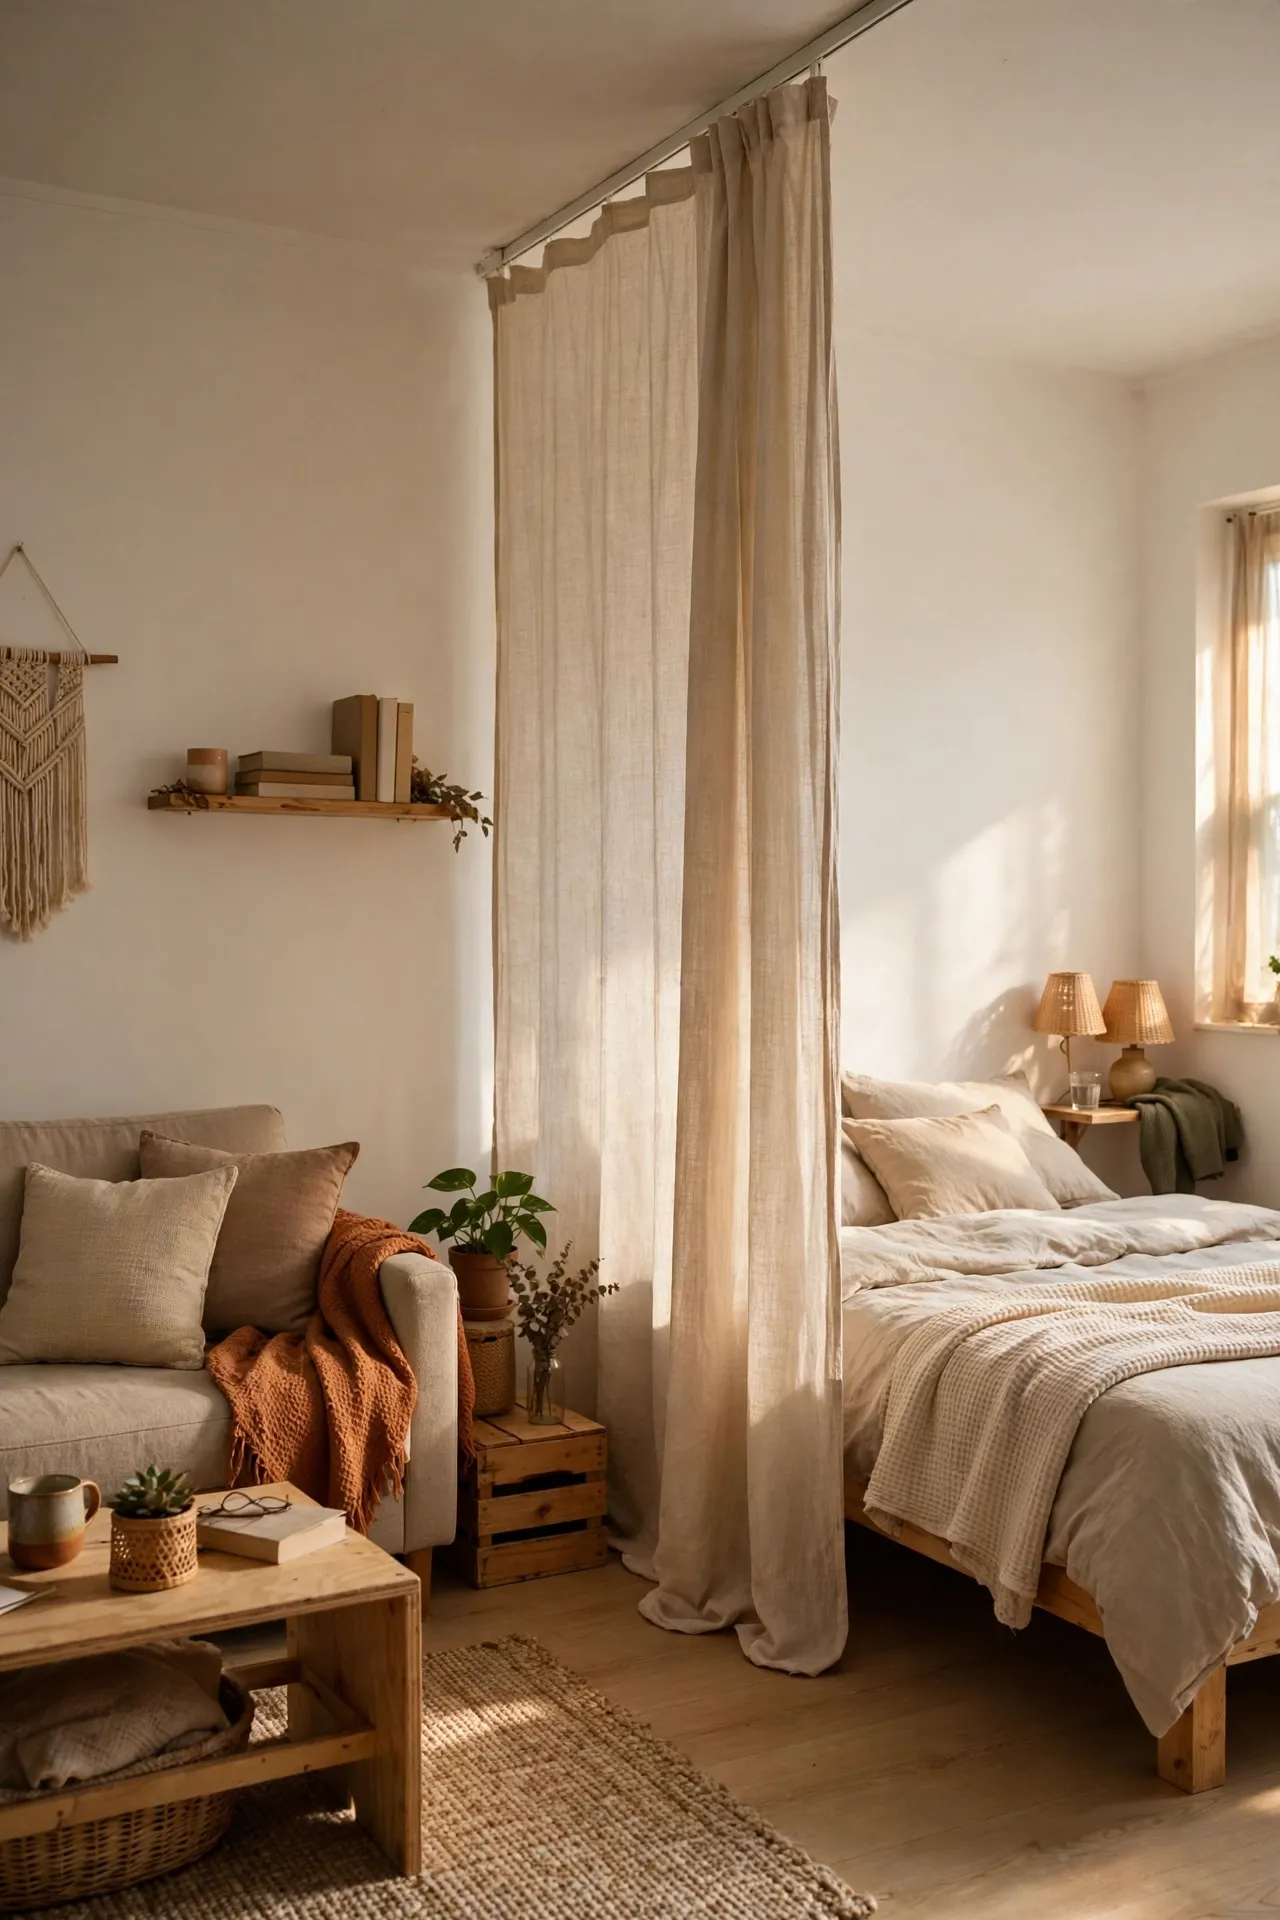
When you cannot build a wall, a ceiling curtain track does the same job for a fraction of the cost and with no landlord drama. Mount a track across the room, hang floor-length curtains, and you can close off the sleeping area at night and open the whole studio by day. Choose a heavy fabric that actually blocks sight lines, not a sheer panel that only suggests privacy. Keep the track close to the ceiling so the curtain reads like a wall rather than a shower curtain. My curtain divider turned one cramped room into two distinct spaces, and guests stopped feeling like they were sitting in my bedroom.
Cost: ~$45 | Time: 1 hour
3. Use a Daybed That Works as a Sofa
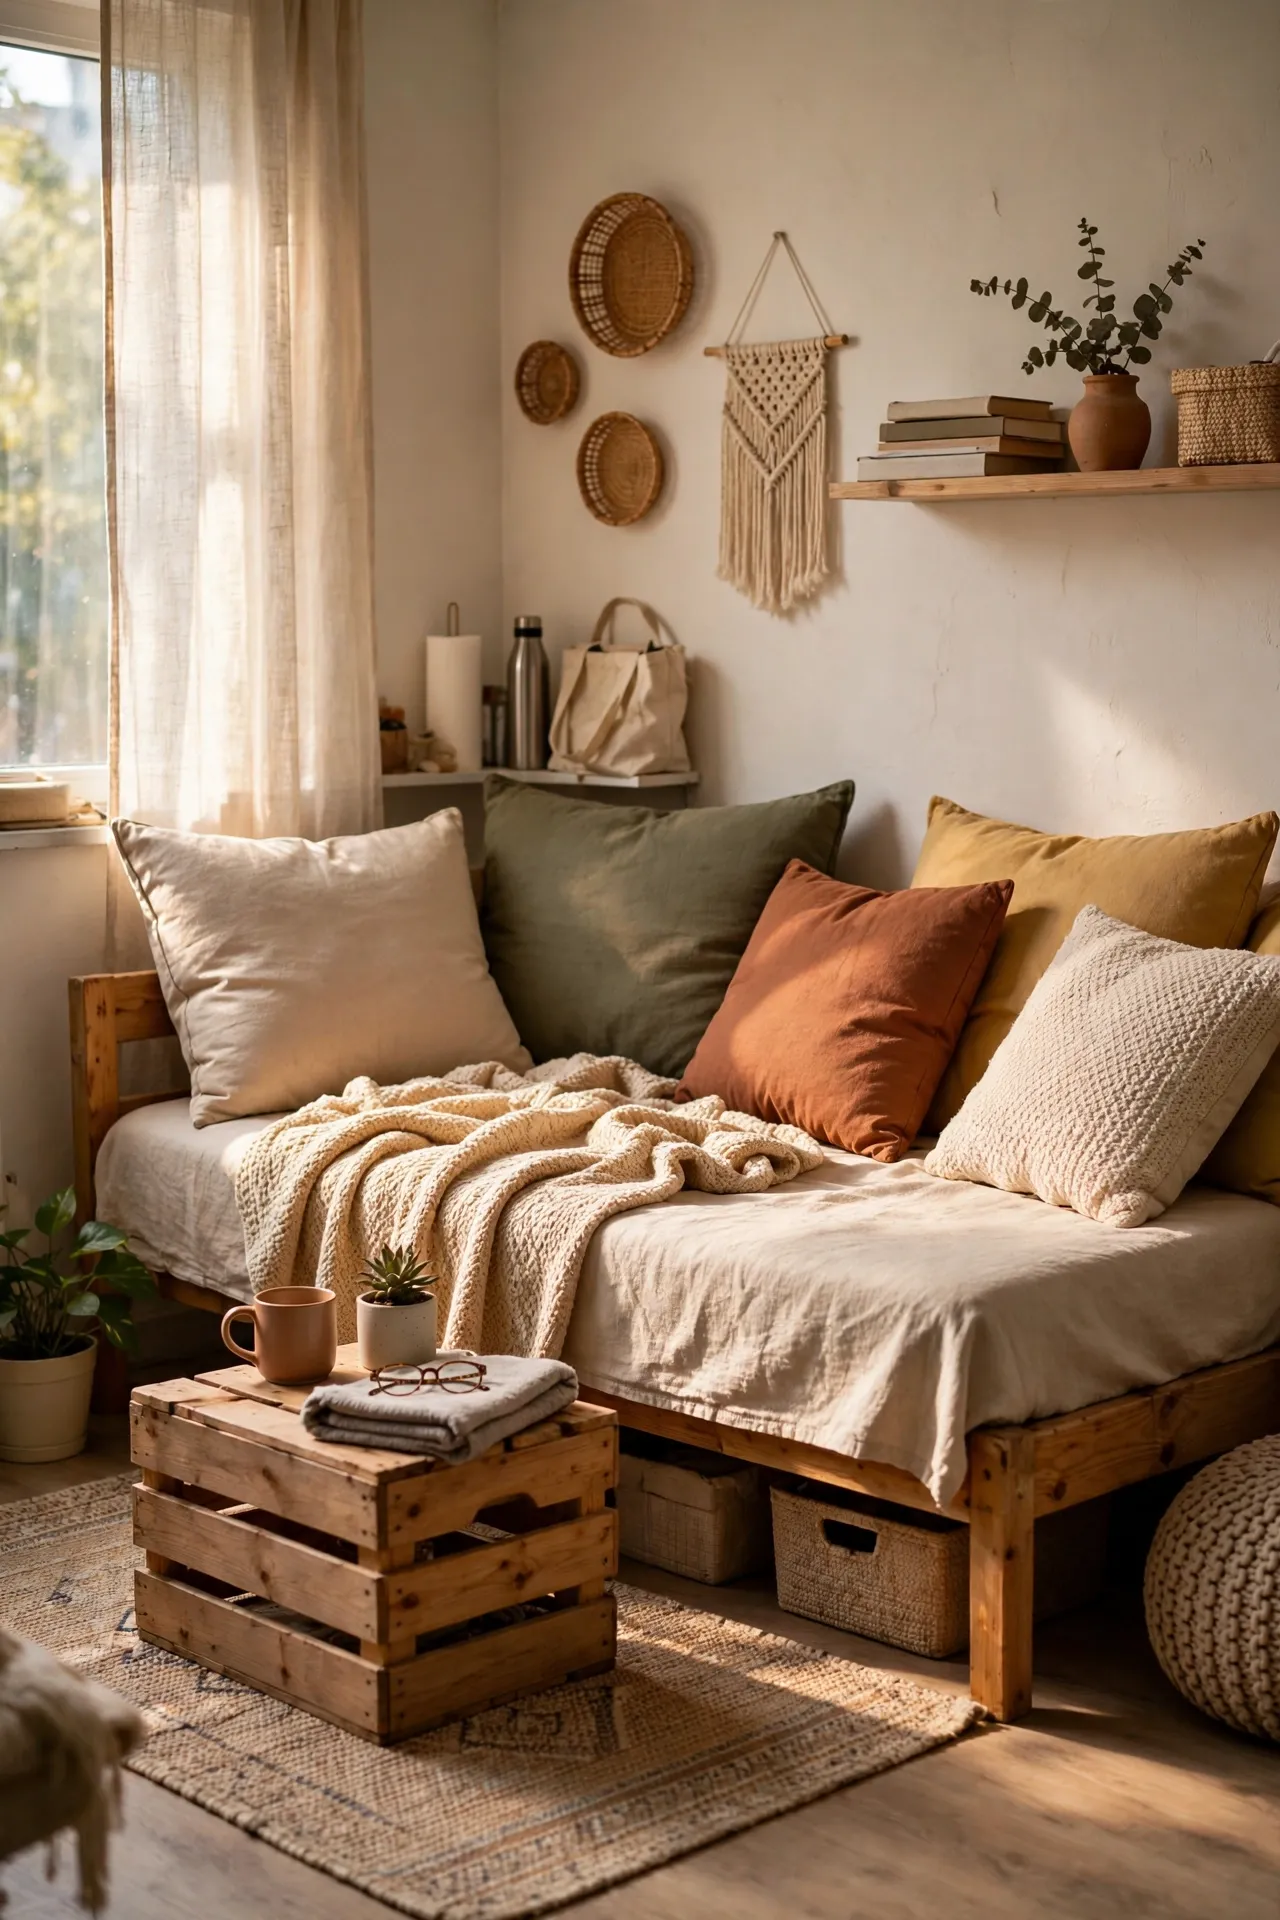
A daybed earns its floor space twice: a proper single bed at night and a deep sofa by day. Dress it with large back cushions during the day so it reads as seating, then strip them off at night for sleeping. Pick a frame with drawers underneath and you gain storage too, which matters more than looks in a micro flat. Use a good mattress, not the thin pad that comes with cheap frames, because you will sleep on it every night. I swapped a sagging futon for a daybed and my back thanked me within a week, while the room finally had a place to sit that was not the bed.
Cost: ~$250 | Time: 1 hour
4. Add a Freestanding Wardrobe Wall for Privacy
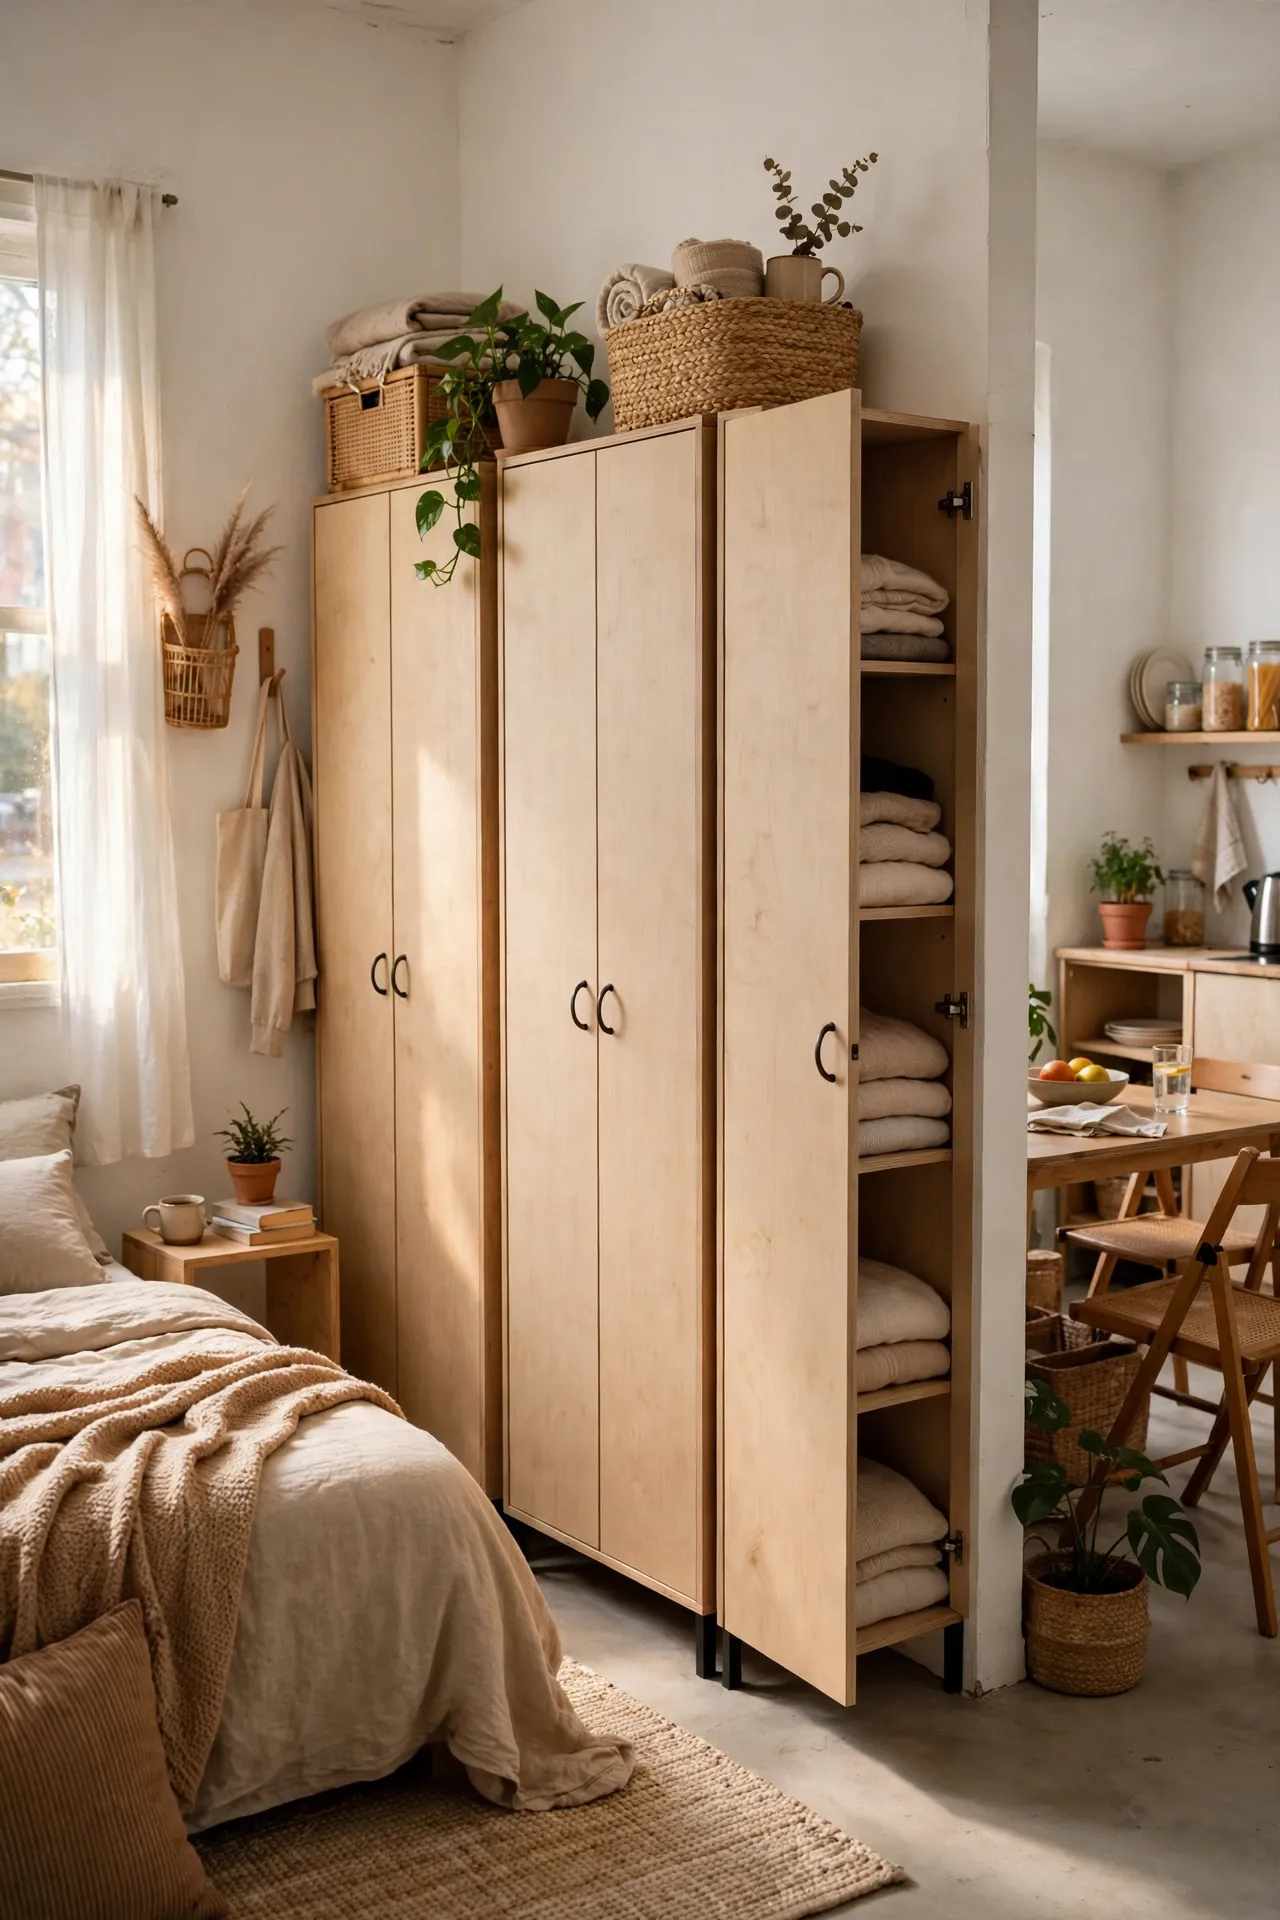
Two tall freestanding wardrobes placed back to back can carve a sleeping nook out of a studio without a single screw in the wall. Face one side toward the bed for clothes and the other toward the living area for books and storage, and you have a divider that also stores half your belongings. Anchor them to each other for stability, and leave a small gap at the top so light still flows over. This works best in rentals because everything moves with you. For more renter-friendly dividers, see my (see also: small-apartment-privacy-ideas) roundup. My wardrobe wall cost less than a month of extra rent for a bigger flat.
Cost: ~$180 | Time: 2 hours
5. Layer Blackout Curtains Over Sheers for Better Sleep
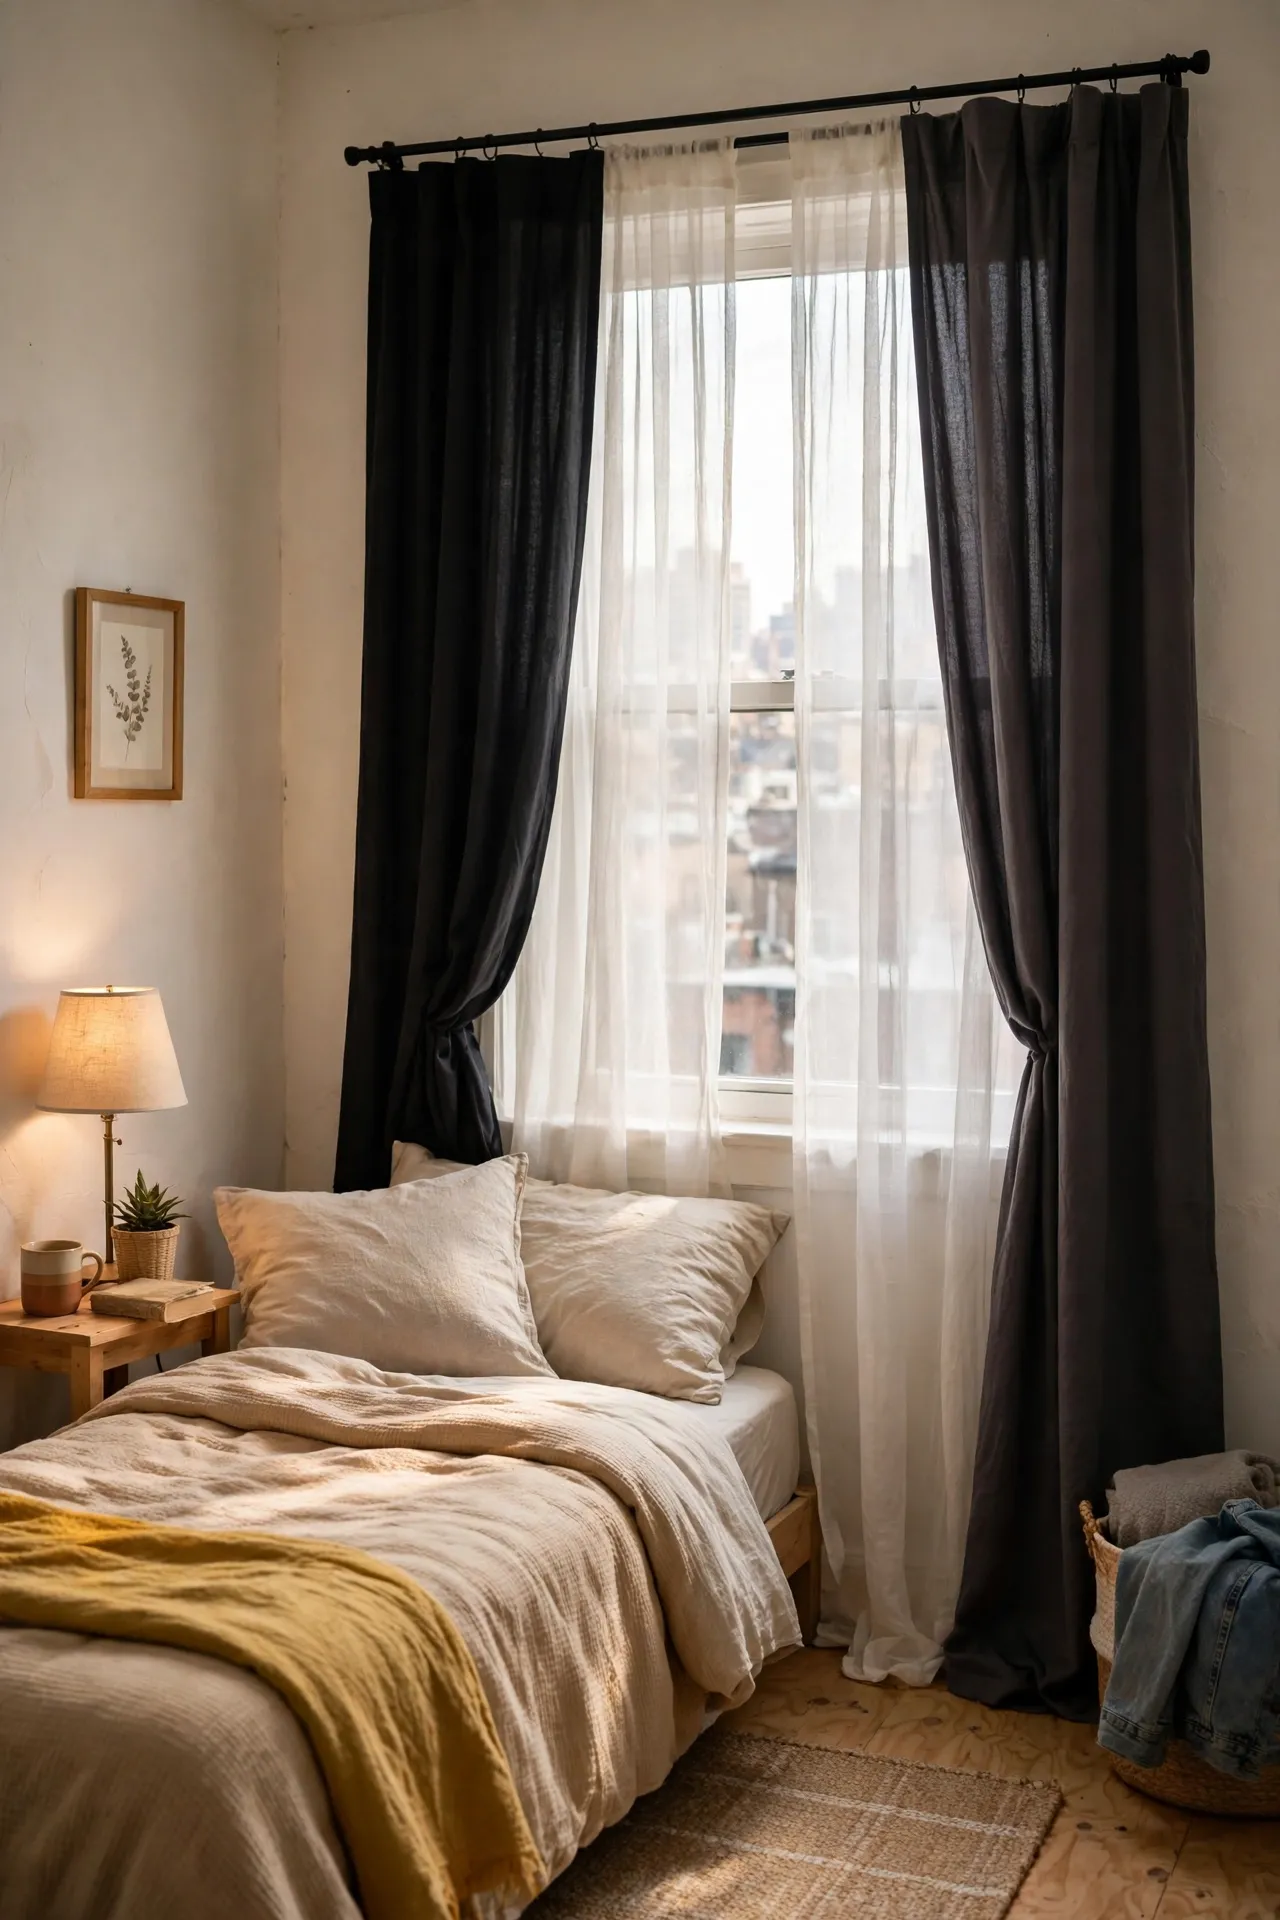
City light and early sun make micro-apartment sleep harder than it should be, and layered curtains fix that without blackout film or new windows. Hang sheer curtains on an inner rod for daytime privacy, then heavy blackout panels on an outer rod for night. The sheers let light in during the day while keeping the room private, and the blackouts give you real darkness for sleeping. Extend the rod past the window frame on both sides so light cannot leak around the edges. I layered mine after months of 5 a.m. wake-ups, and the first dark morning felt like a small luxury.
Cost: ~$35 | Time: 45 minutes
6. Raise the Bed on Risers for Hidden Storage
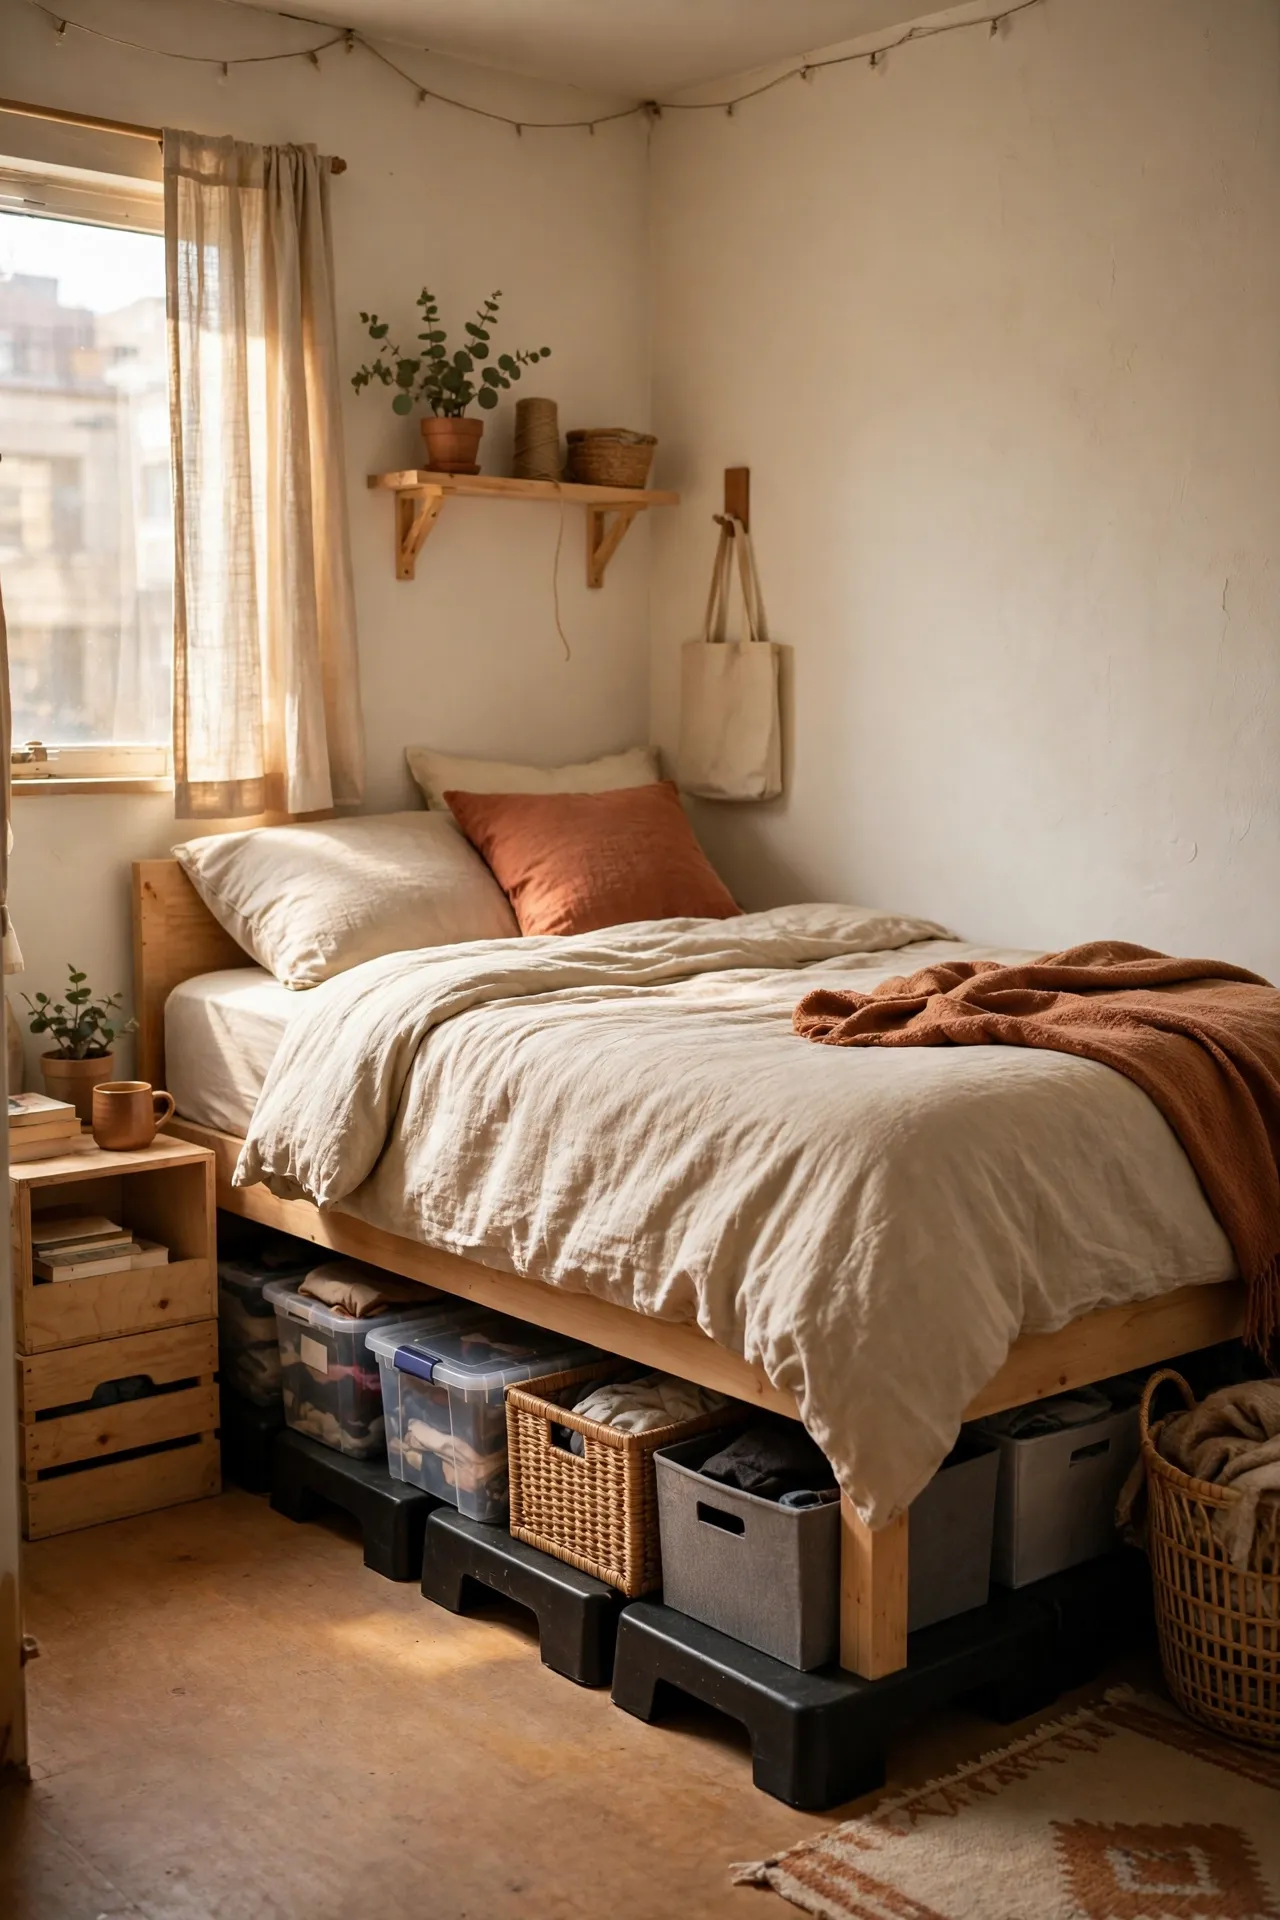
Bed risers are the cheapest storage you will ever buy, because they create a whole new layer of space under furniture you already own. Lift the bed by six inches and you can slide flat bins for shoes, bedding, and out-of-season clothes underneath. Choose sturdy risers rated for your bed’s weight, and add felt pads so they do not scratch the floor. Label each bin so you are not dragging all of them out to find one jumper. I raised my bed in a 300-square-foot studio and gained the equivalent of a small wardrobe, which meant the closet finally held only what I actually wore.
Cost: ~$15 | Time: 20 minutes
Storage
7. Use Floor-to-Ceiling Shelving on One Wall
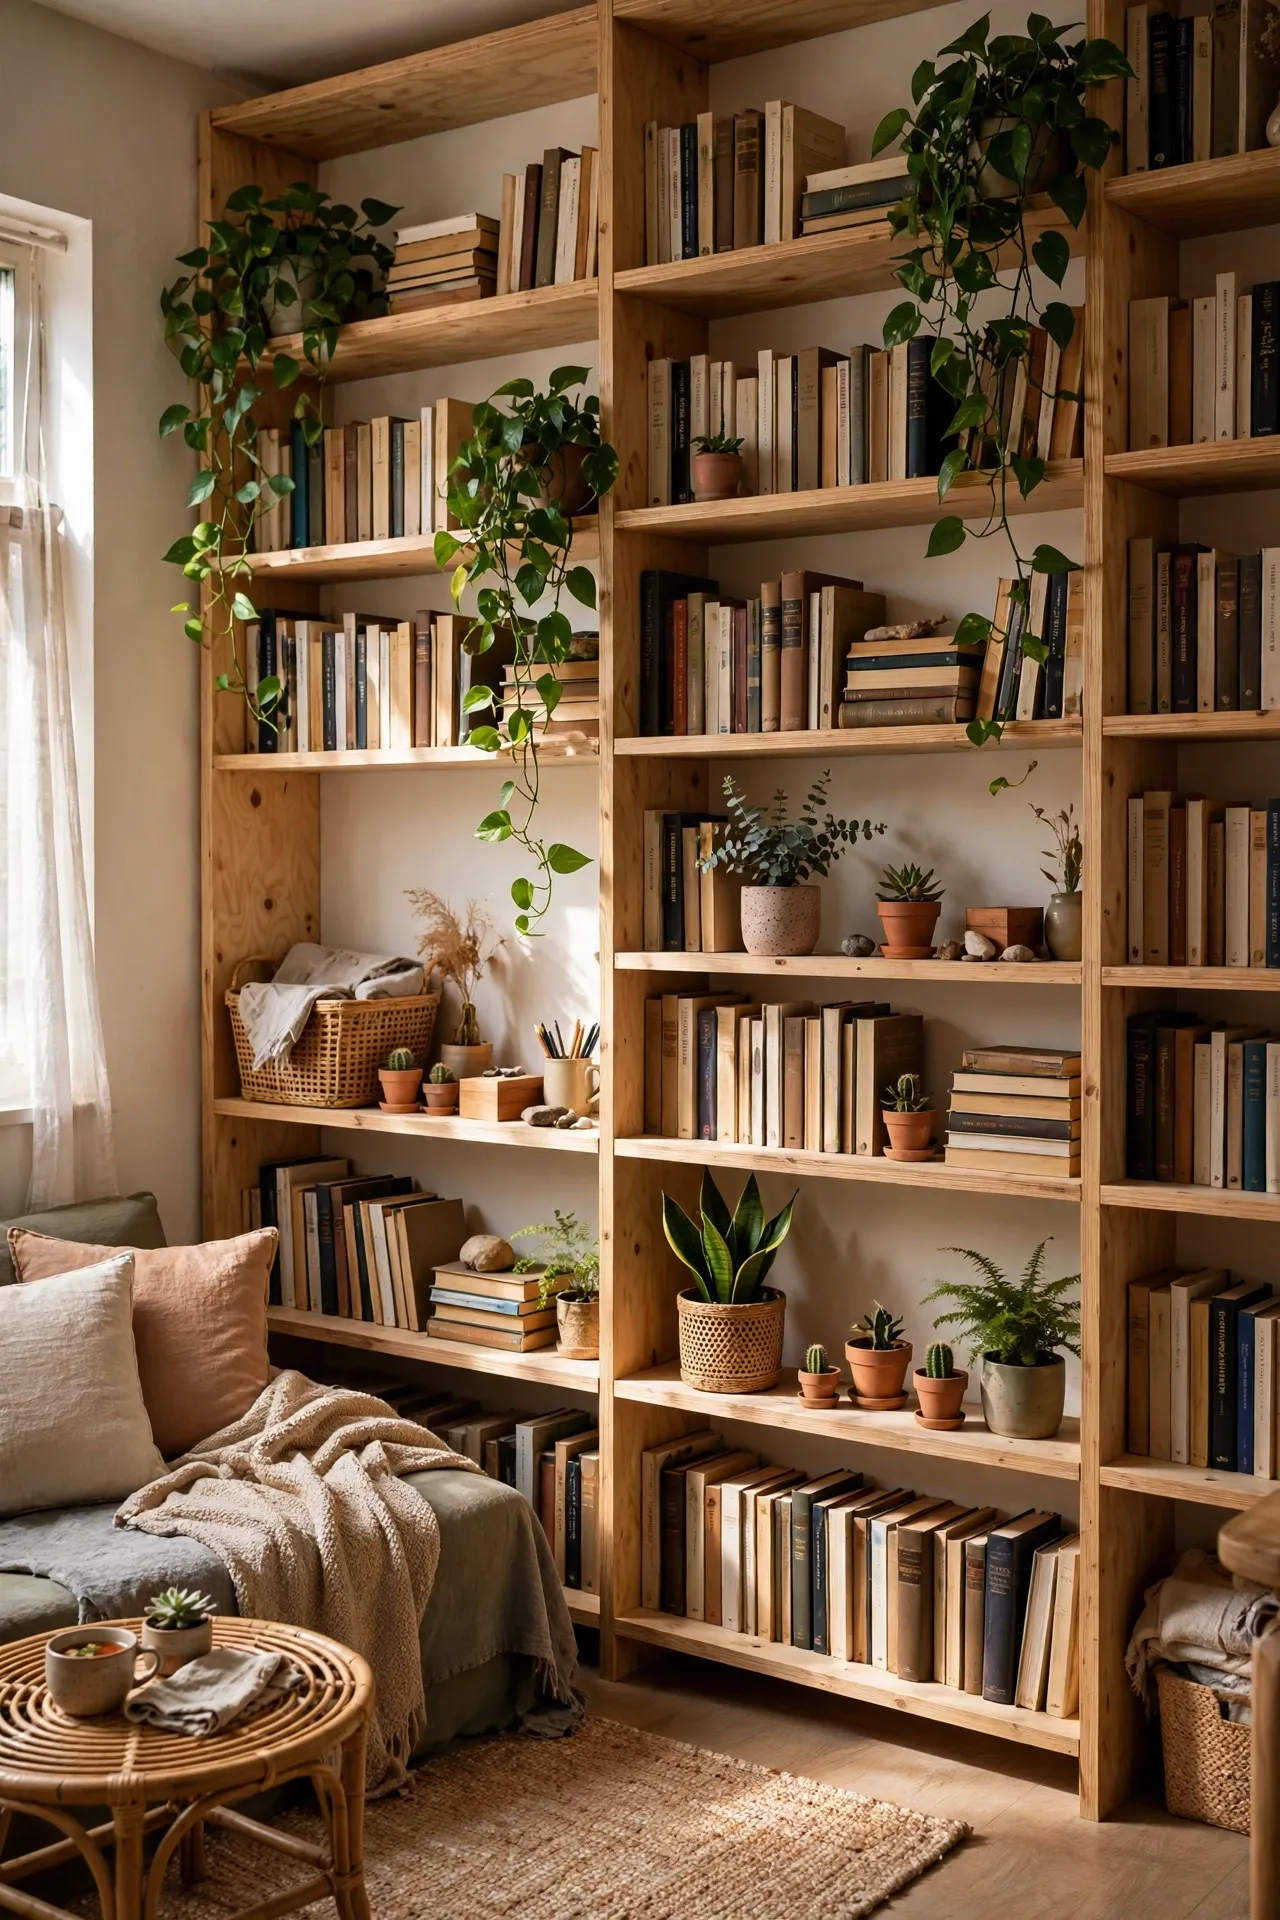
One full-height shelving wall stores more than three scattered bookcases and looks intentional instead of cluttered. Pick one wall, run simple shelves or a tall unit from floor to ceiling, and keep the rest of the room calm. Put daily items at eye level, pretty things higher, and bulky boxes right at the top where you rarely reach. Anchor the unit to the wall so it cannot tip — this matters in a small space where you brush past it daily. Save this idea for your small-space board — it is the storage move that changes how a studio feels. My shelving wall swallowed books, plants, and kitchen overflow in one tidy sweep.
Cost: ~$120 | Time: 3 hours
8. Add Over-Door Racks in Every Room
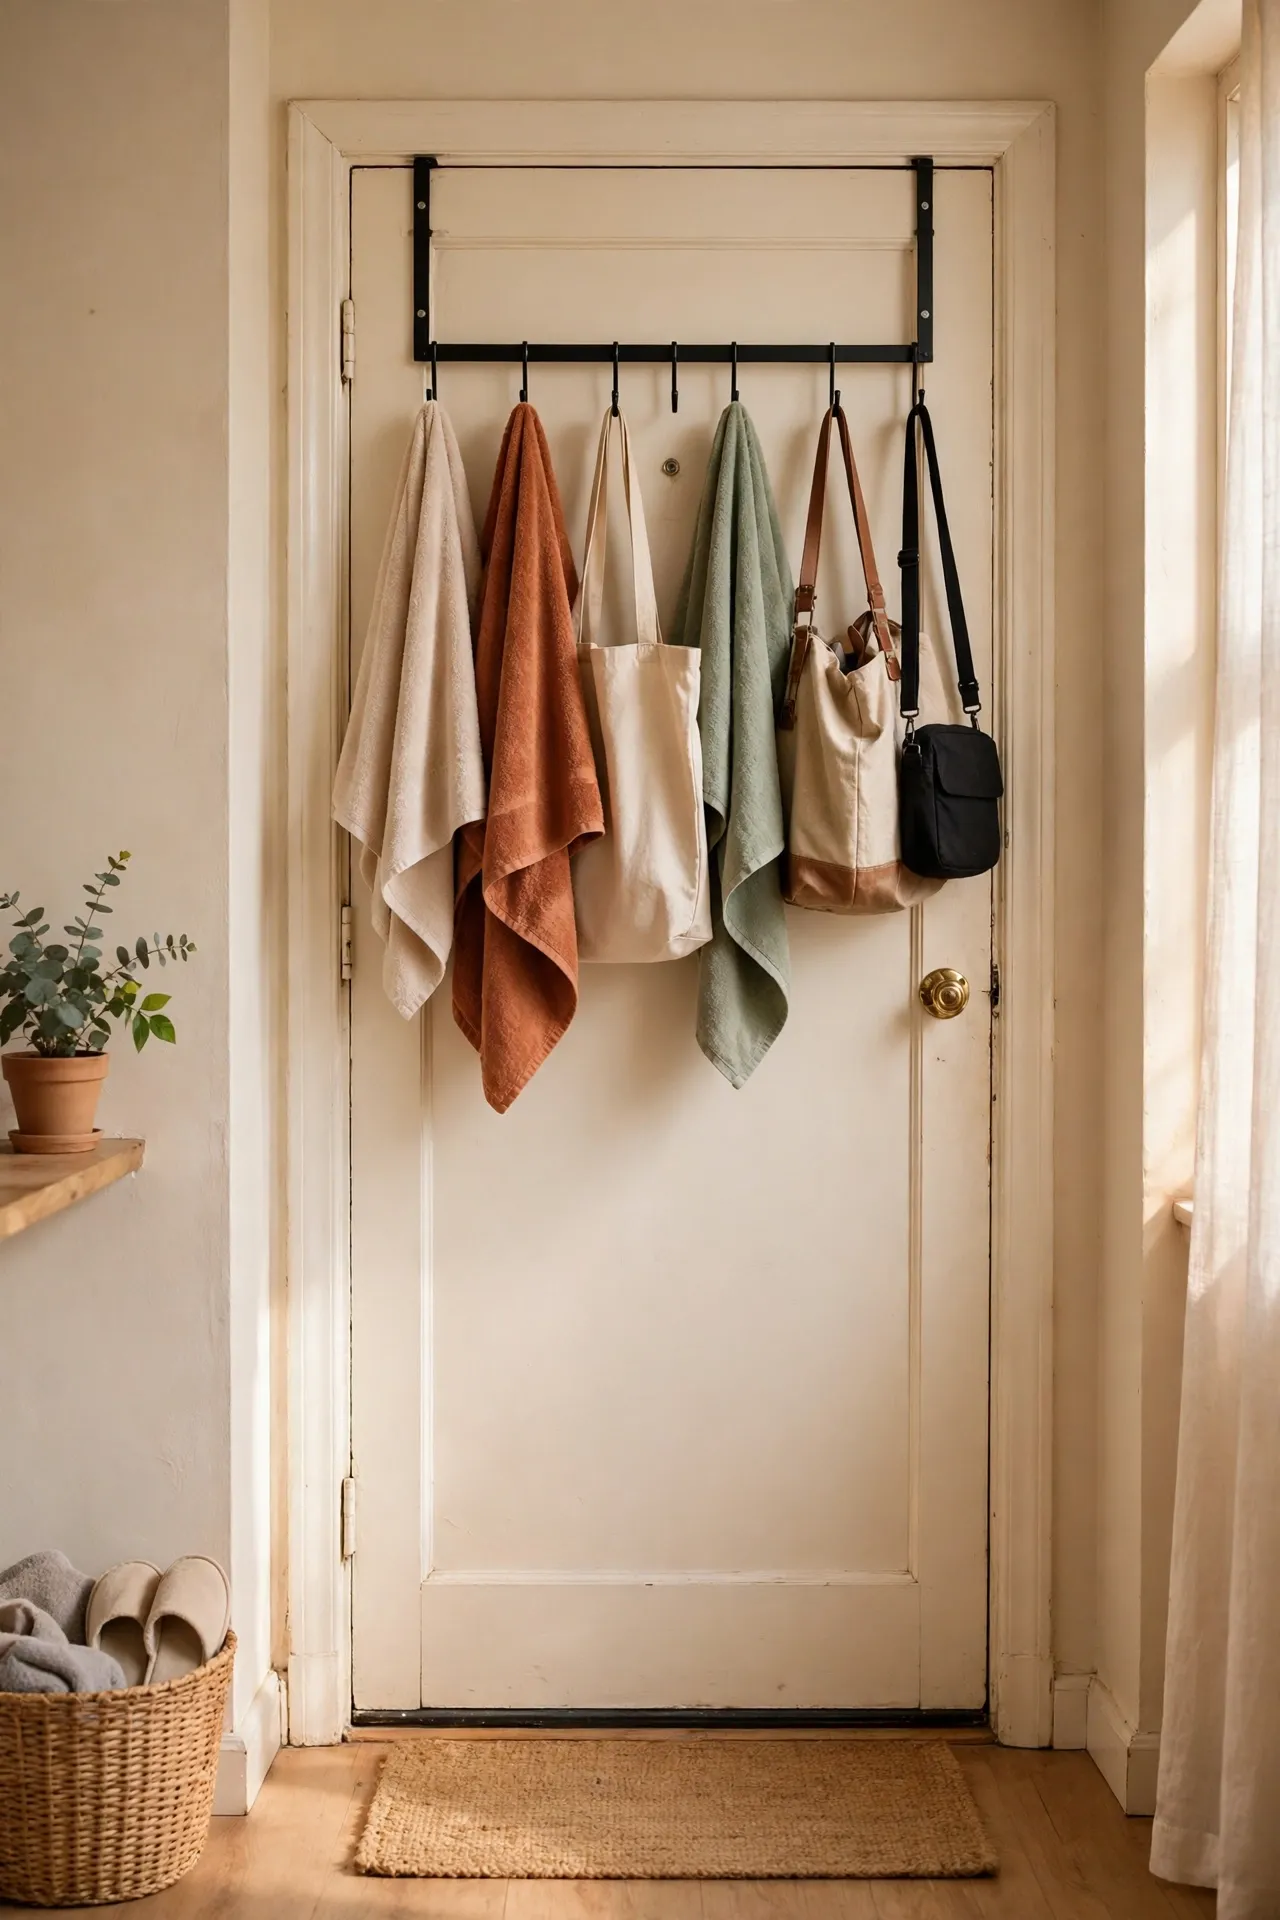
Doors are wasted storage in most flats, and over-door racks claim that space without drilling or damage. Hang one on the bathroom door for towels, one on the bedroom door for bags and scarves, and one on a closet door for shoes. Choose racks that hook snugly over the top so the door still closes flat, and keep the weight balanced so the door swings normally. The mistake to avoid is overloading one door until it drags on the frame — spread the load across doors instead. I added three racks in an afternoon, and suddenly jackets and bags had homes instead of living on chairs.
Cost: ~$10 | Time: 10 minutes
9. Slide Rolling Bins Under the Bed
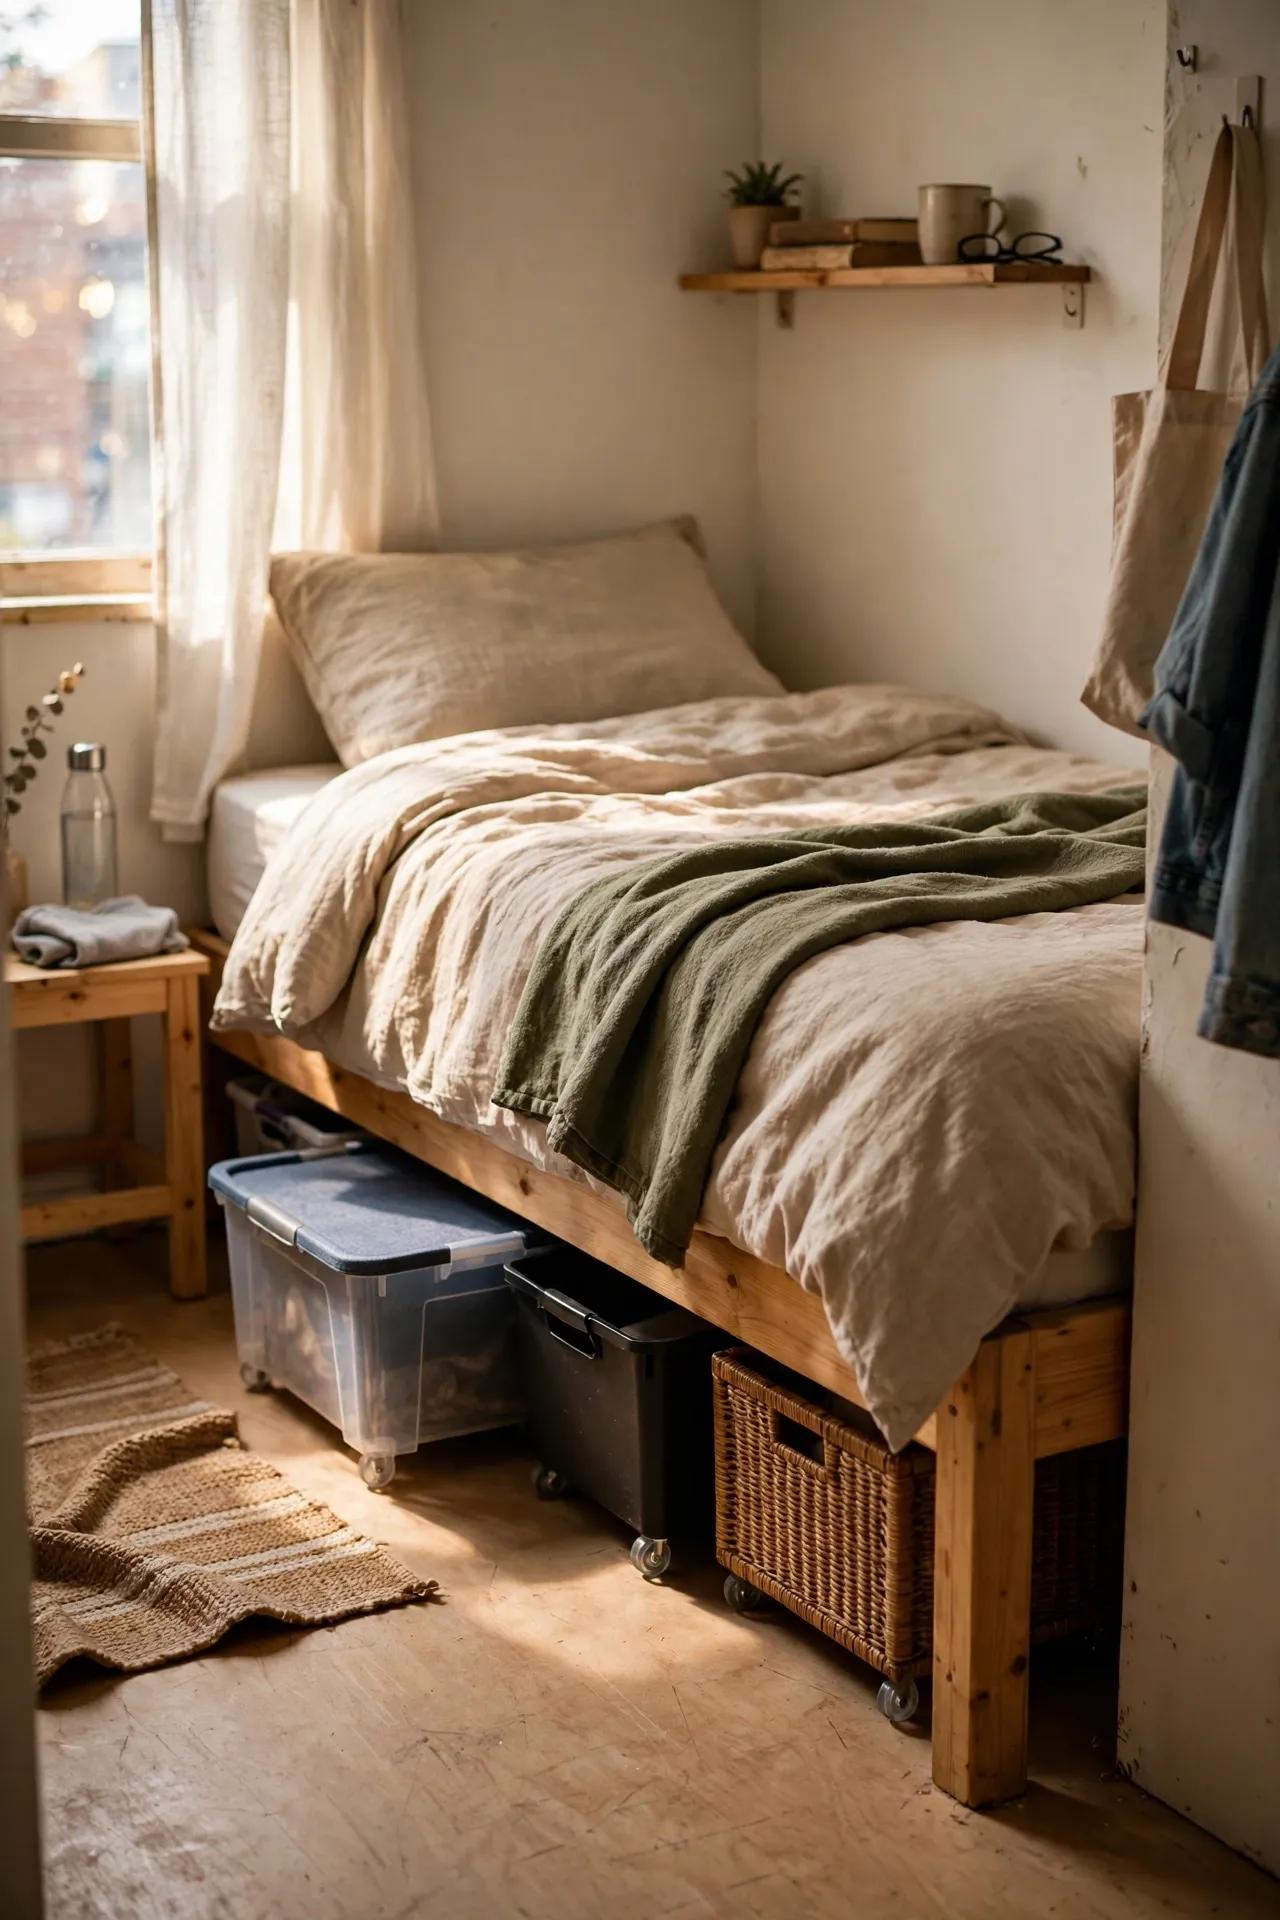
Rolling bins turn the dark space under your bed into a drawer you can actually use, instead of a place where things go to be forgotten. Pick low, wheeled bins that slide out easily, and sort by category — one for shoes, one for bedding, one for seasonal clothes. Clear bins help, but labelled fabric bins look tidier if the bins ever peek out from under the bed skirt. Keep the heaviest bin nearest the edge so you are not dragging a full load across the floor. I sorted mine after a year of shoving things under the bed blindly, and finding winter jumpers stopped being a full afternoon excavation.
Cost: ~$22 | Time: 30 minutes
10. Hang Baskets on the Back of Doors
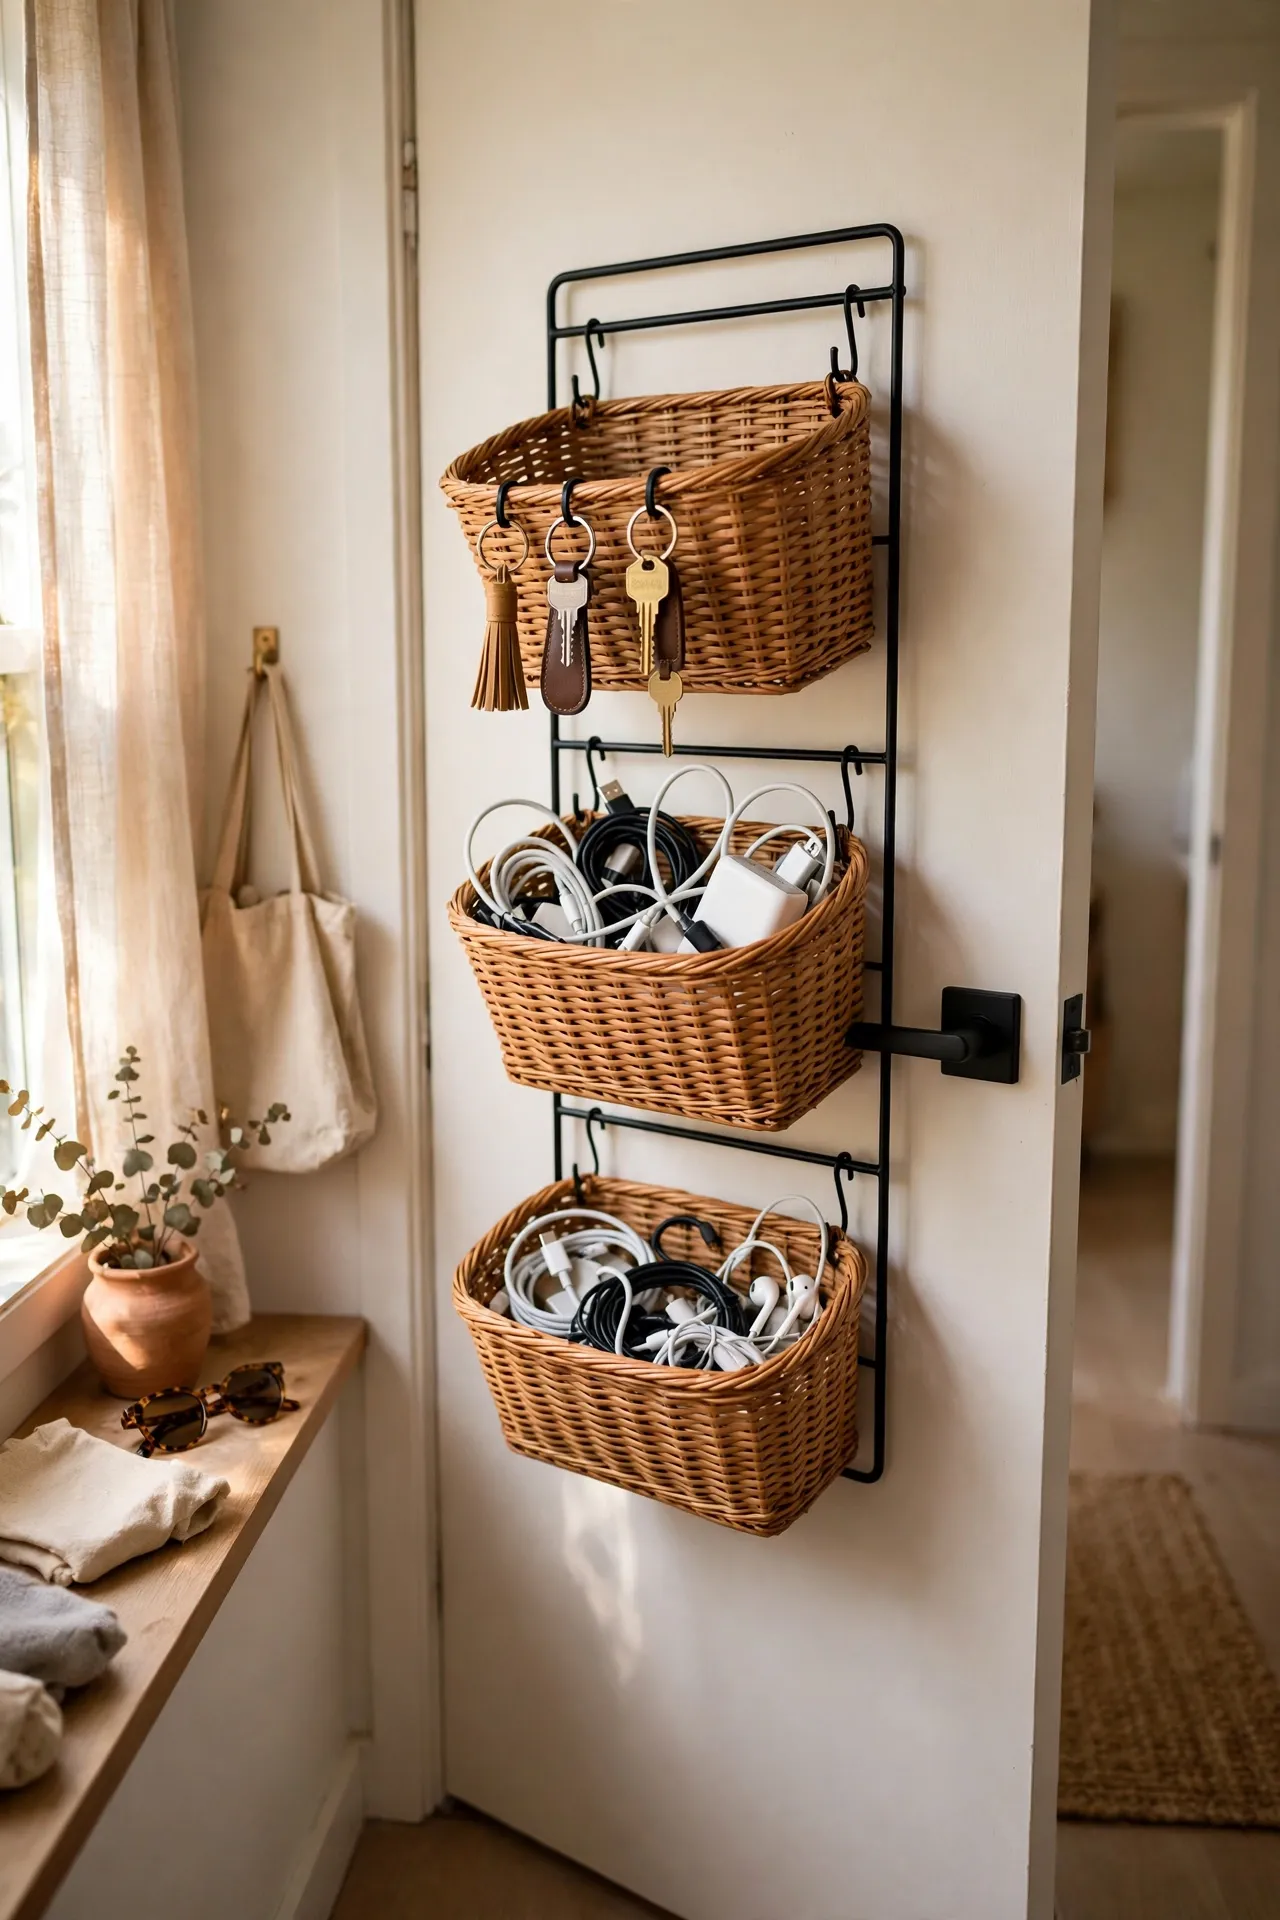
Small hanging baskets on the back of a door hold the bits that otherwise pile on every surface: keys, chargers, mail, and sunglasses. Use adhesive hooks or an over-door basket set, and assign each basket a job so things do not drift into one junk basket. One by the front door for keys and wallet, one in the bathroom for hair tools, and one in the bedroom for chargers covers most daily clutter. Keep them shallow so the door still closes, and empty them weekly or they become junk drawers in disguise. My front-door basket ended the daily hunt for keys, which alone was worth the few dollars it cost.
Cost: ~$12 | Time: 15 minutes
11. Stack Clear Boxes on High Shelves
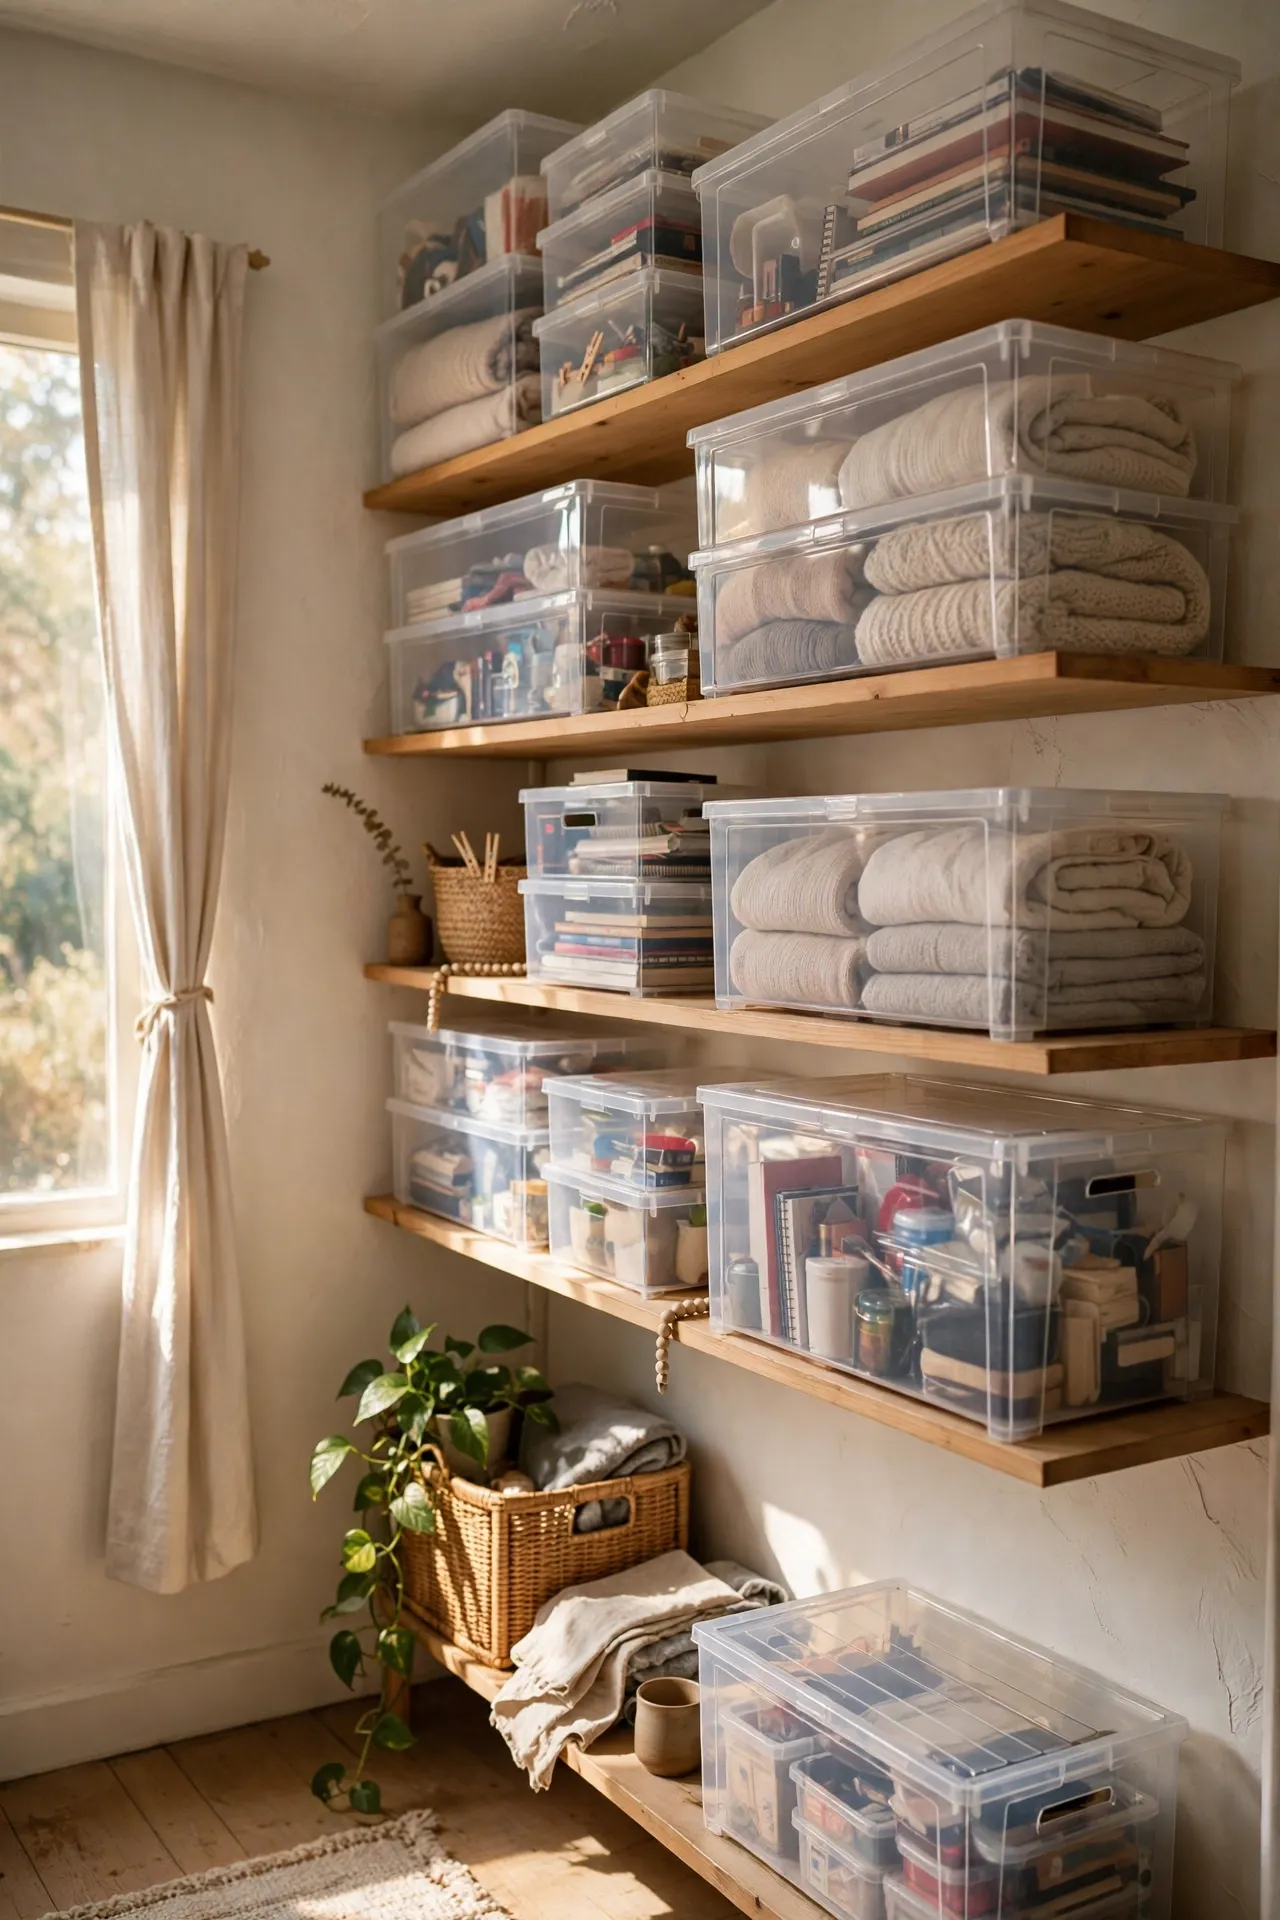
High shelves fail when you cannot see what is up there, and clear boxes fix that instantly. Stack labelled clear boxes on top of wardrobes and kitchen cabinets for items you need rarely — holiday decorations, spare bedding, and paperwork. Clear sides mean you can spot the right box without pulling everything down, and uniform sizes stack safely without toppling. Keep a small step stool nearby, because high storage you cannot reach safely never gets used. I moved my rarely-used items into clear boxes and freed two whole lower shelves for daily things, which made the flat feel far less cramped.
Cost: ~$18 | Time: 1 hour
12. Turn the Hallway Into a Slim Shoe Wall
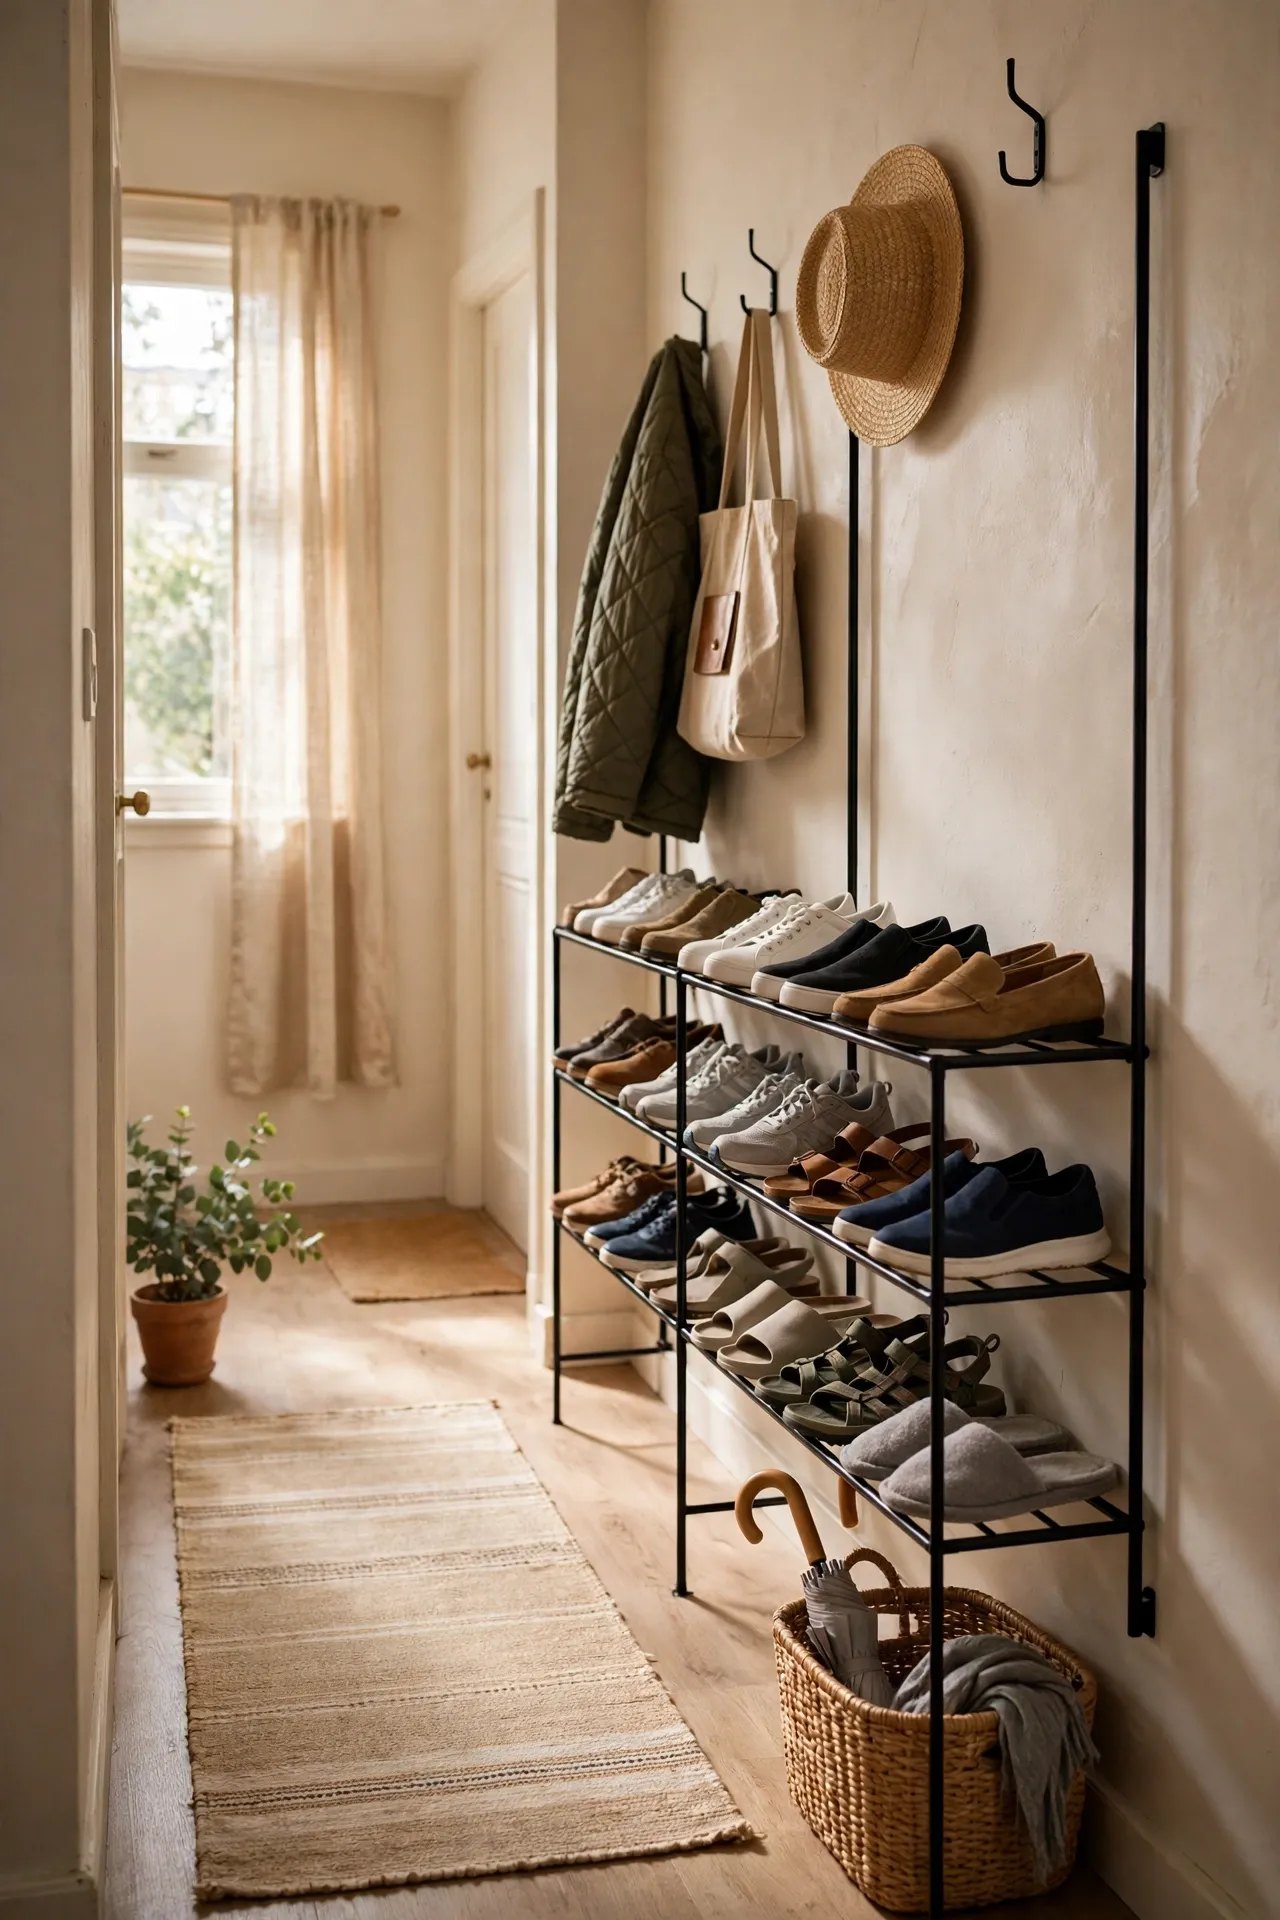
Hallways in city flats are usually just passages, but a slim shoe wall turns that dead space into hard-working storage. Mount narrow tilted shoe racks or a row of hooks along one hallway wall, keeping the depth under six inches so the passage stays walkable. Each pair gets a slot, which ends the pile of shoes by the front door that trips everyone. Add a small bench or a tray at the end for boots and wet-weather pairs. I lined my hallway with two slim racks, and the entryway went from an obstacle course to a proper welcome. For more entryway tricks, my (see also: small-entryway-storage-ideas) post has slim options worth copying.
Cost: ~$30 | Time: 1 hour
Kitchen & Dining
13. Add a Fold-Down Table for Dining and Prep
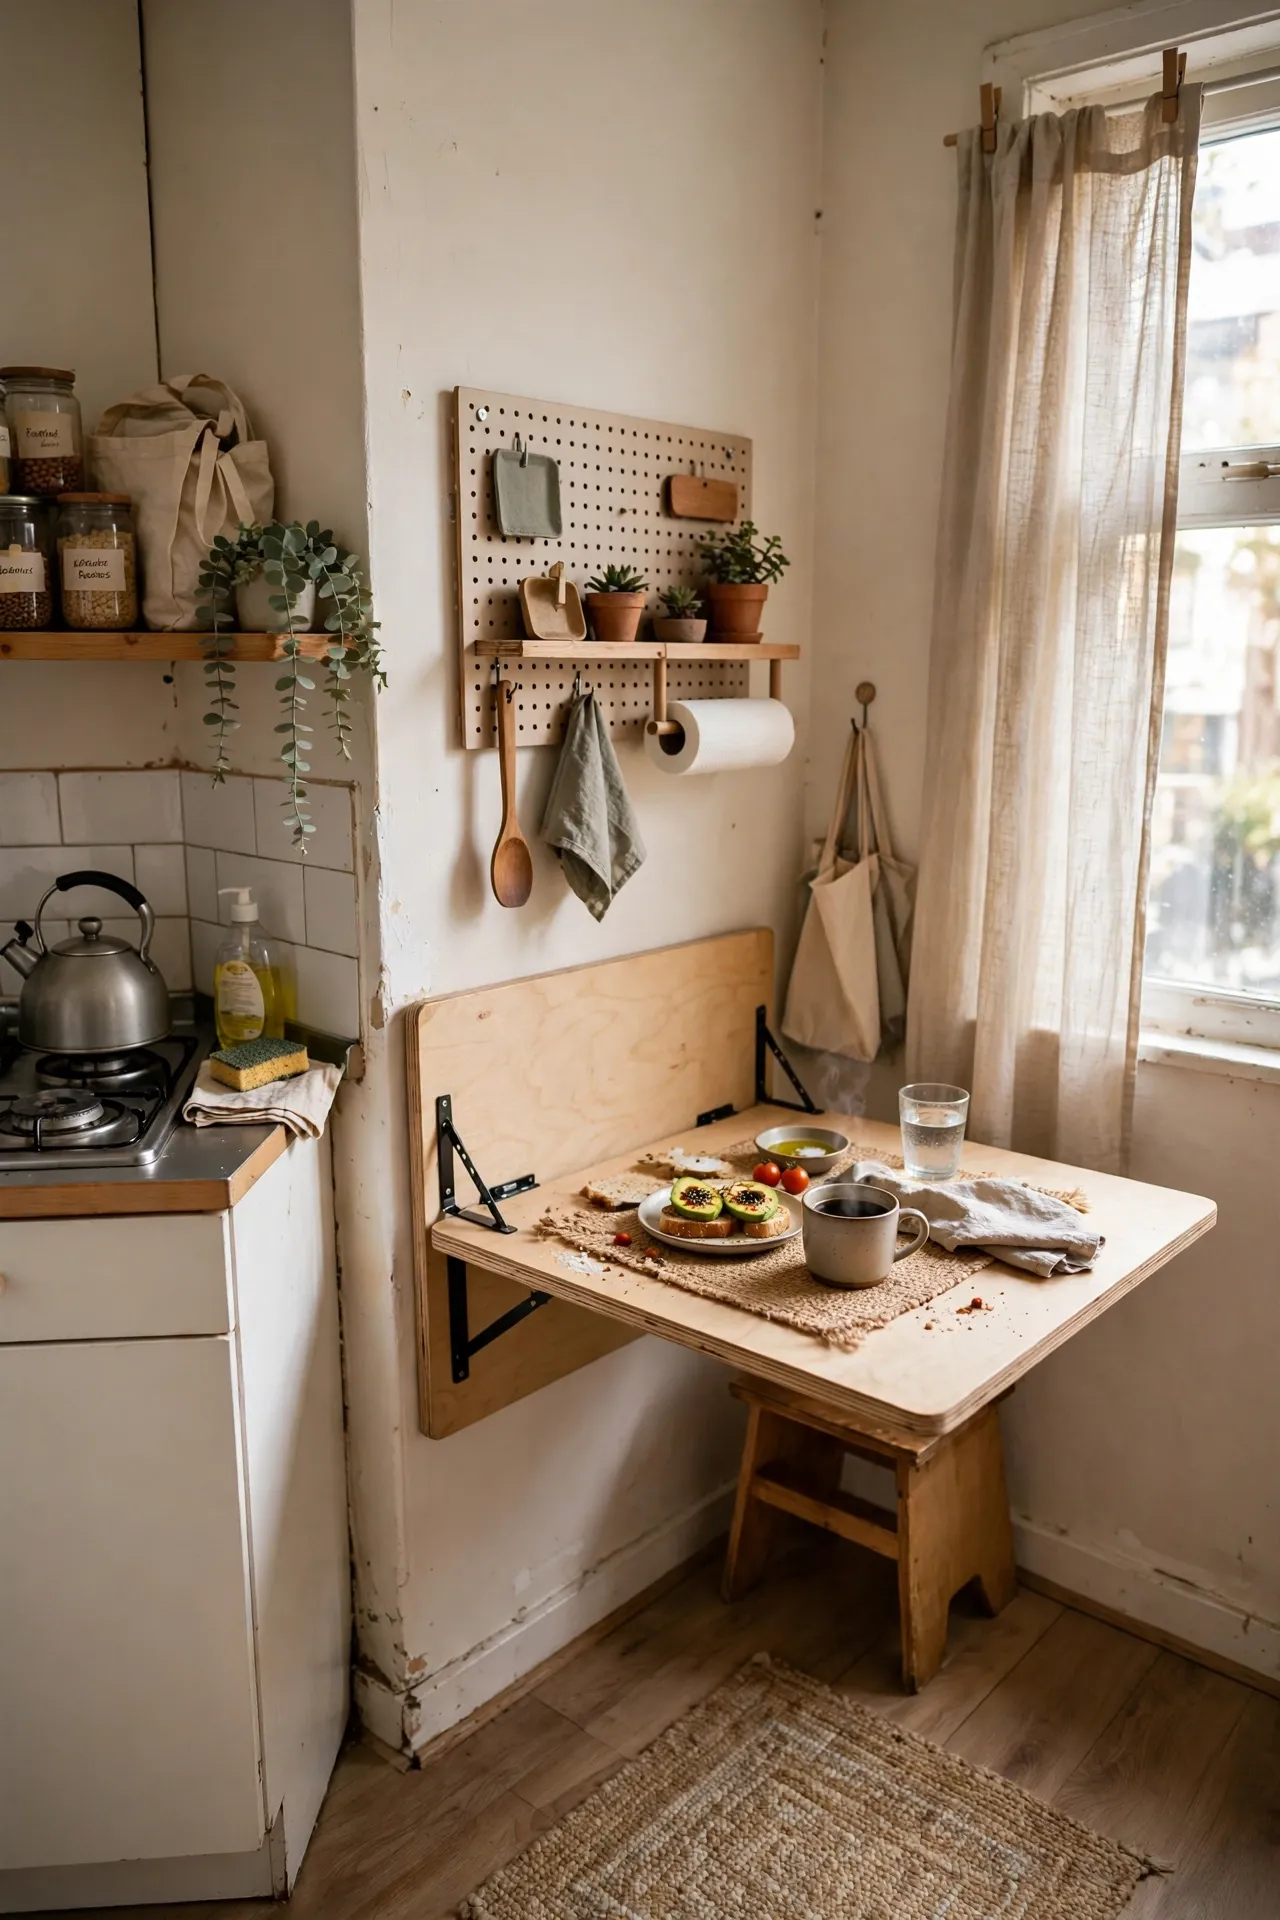
A fold-down wall table gives a micro-apartment a dining spot and extra prep space without giving up floor all day. Mount a sturdy hinged board at counter height, fold it up for meals and chopping, then drop it flat when you need the room for something else. Spend a little more on a bracket rated for real weight, because a wobbly table never gets used. Pair it with stools that hang on the wall or tuck underneath. I fitted mine in the kitchen corner of my studio, and it became my desk, dining table, and prep counter at different times of day — three jobs from one board.
Cost: ~$35 | Time: 1 hour
14. Use a Rolling Cart as Extra Counter and Storage
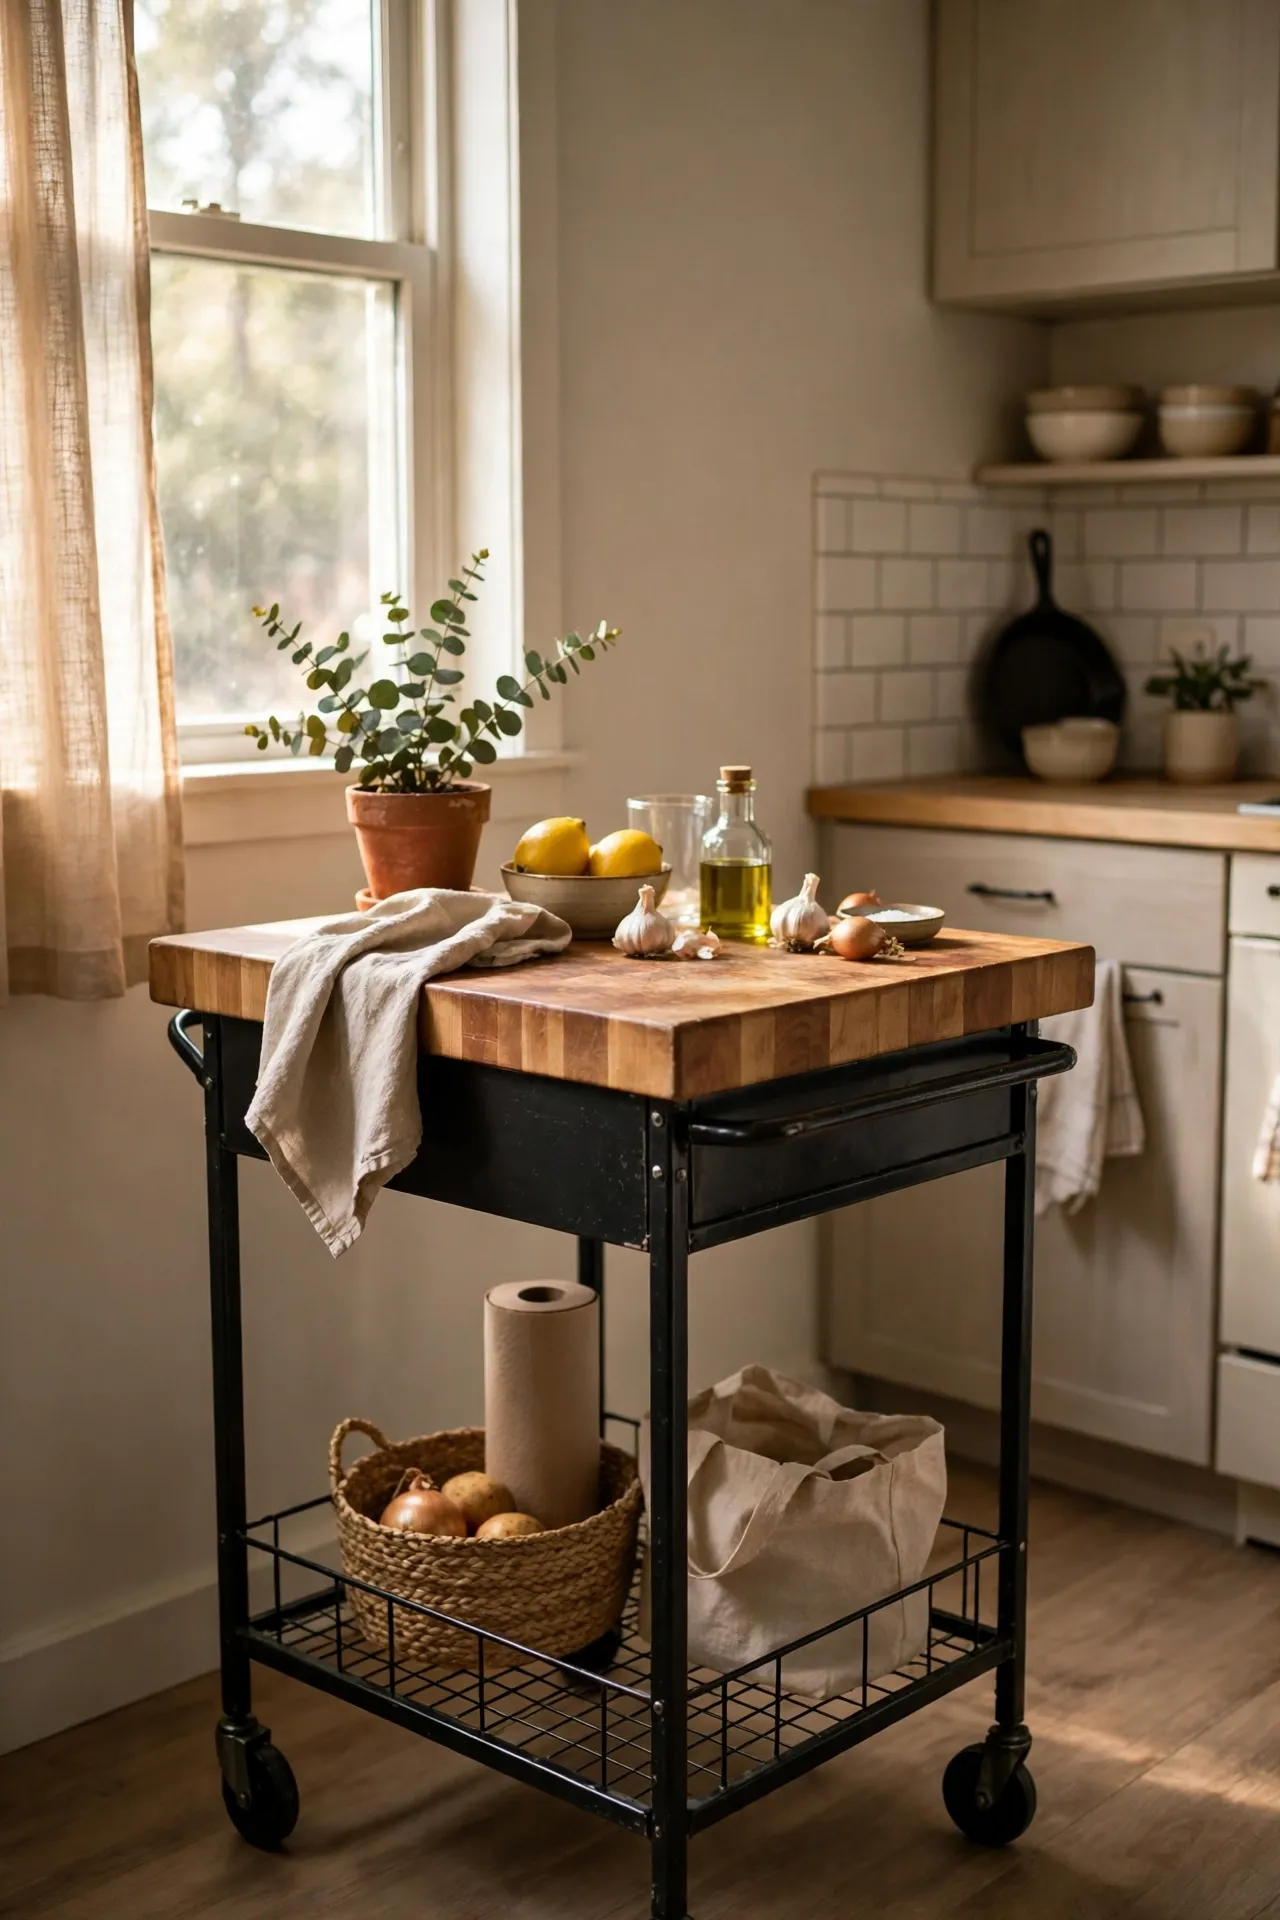
A rolling cart is the most flexible piece of furniture a small flat can own, because it moves wherever the work is. Roll it to the kitchen for meal prep, to the living area as a side table, and back against the wall when dinner is done. Choose one with locking wheels so it stays put while you chop, and shelves tall enough for pots or pantry overflow. A butcher-block top doubles as a cutting surface. I bought mine secondhand, oiled the top, and three years later it is still the hardest-working piece in my flat — proof that one good cart beats three single-purpose items.
Cost: ~$40 | Time: 20 minutes
15. Hang a Peg Rail for Kitchen Tools and Mugs
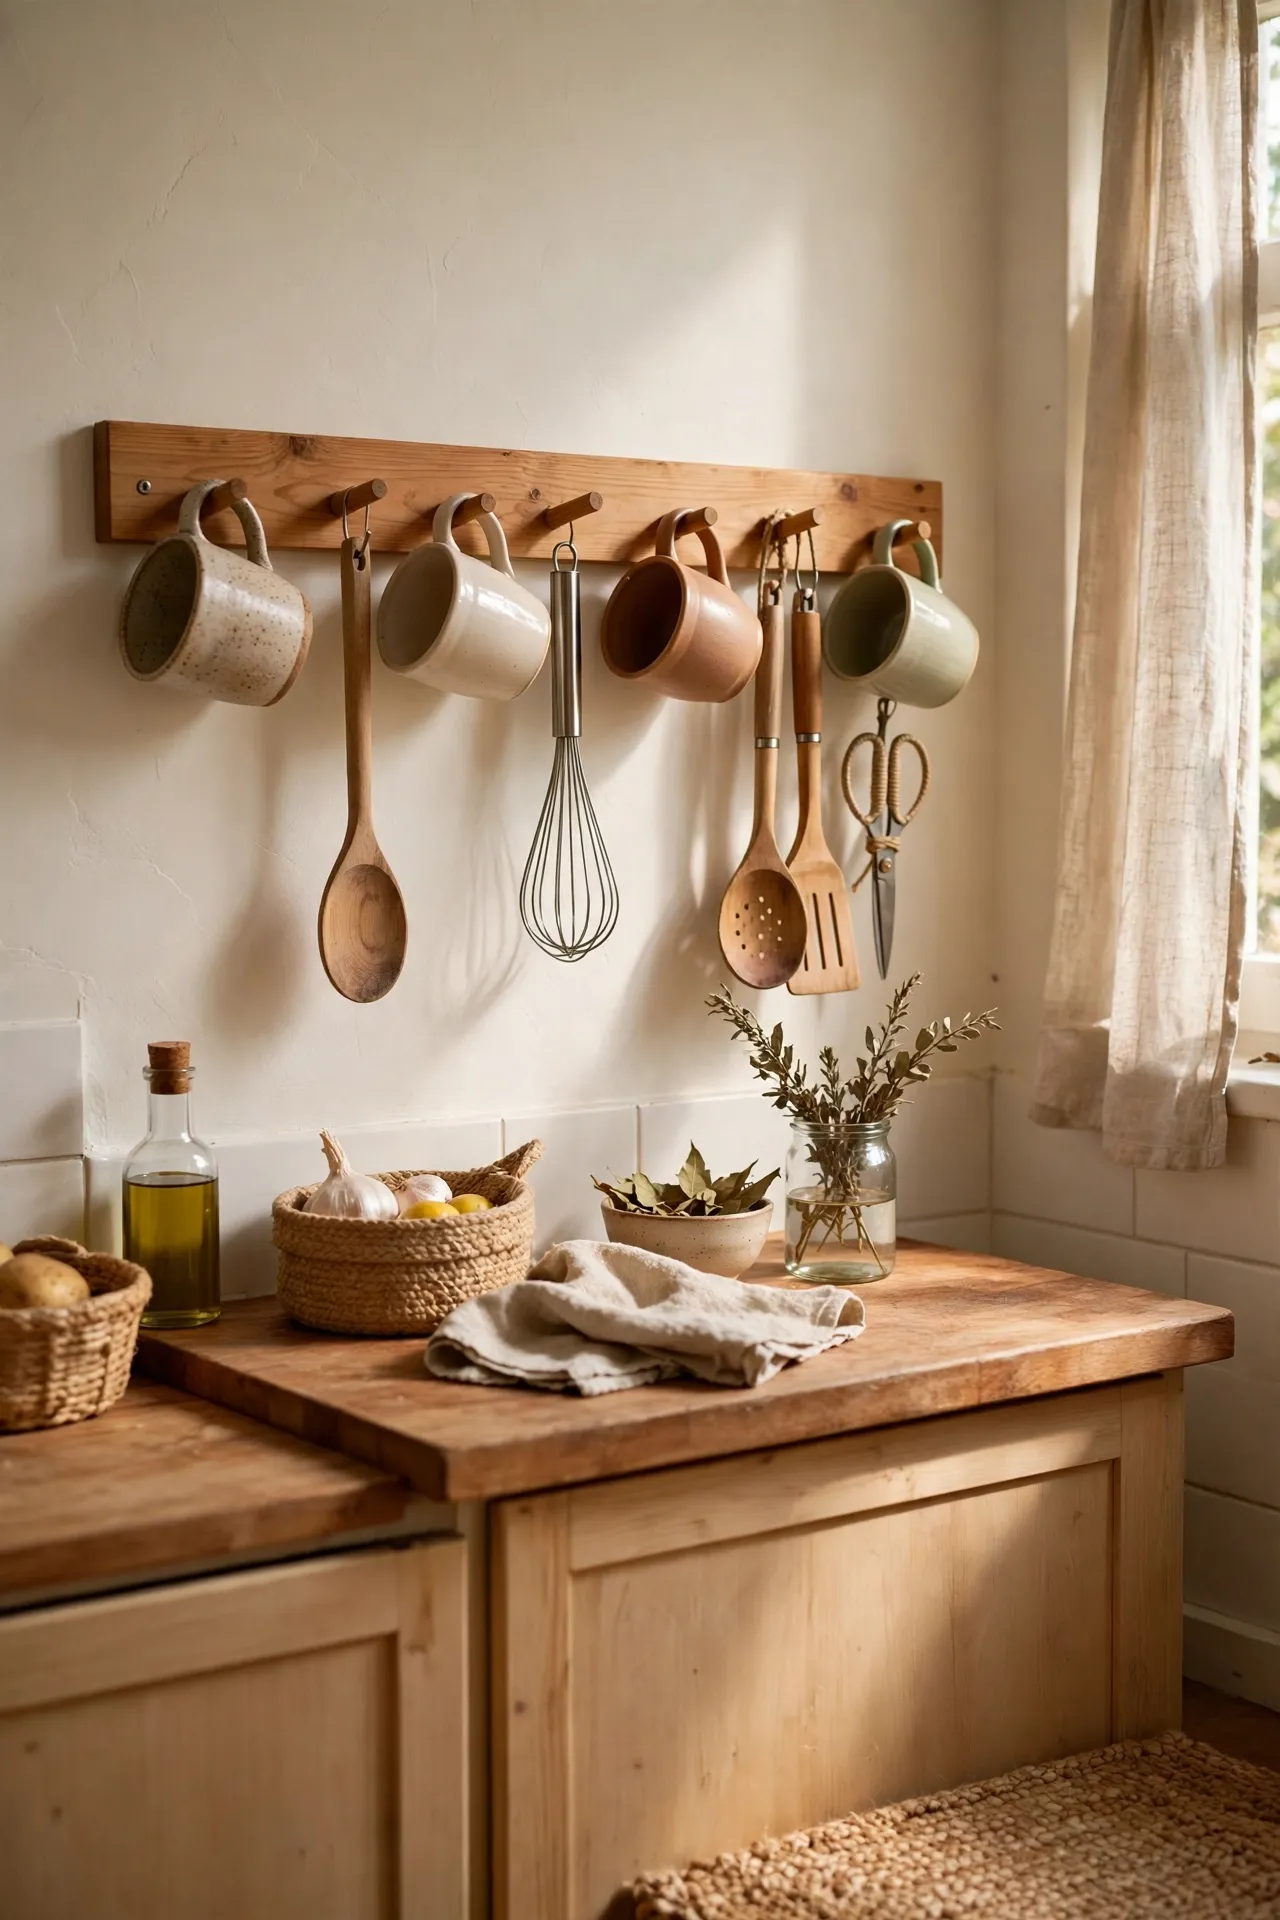
A peg rail on a free kitchen wall turns everyday tools into accessible decor and frees a whole drawer in one move. Screw a wooden rail into studs, or use strong adhesive hooks if drilling is banned, and hang mugs, measuring cups, and utensils where you can grab them while cooking. Keep it to weekly-use items so the rail stays tidy rather than turning into clutter. Hang mugs by their handles and keep heavier pans on stud-mounted hooks only. My rail sits beside the stove, and dinner prep got faster the week I fitted it because I stopped opening three drawers to find a peeler.
Cost: ~$12 | Time: 30 minutes
16. Stack Magnetic Shelves on the Fridge Side
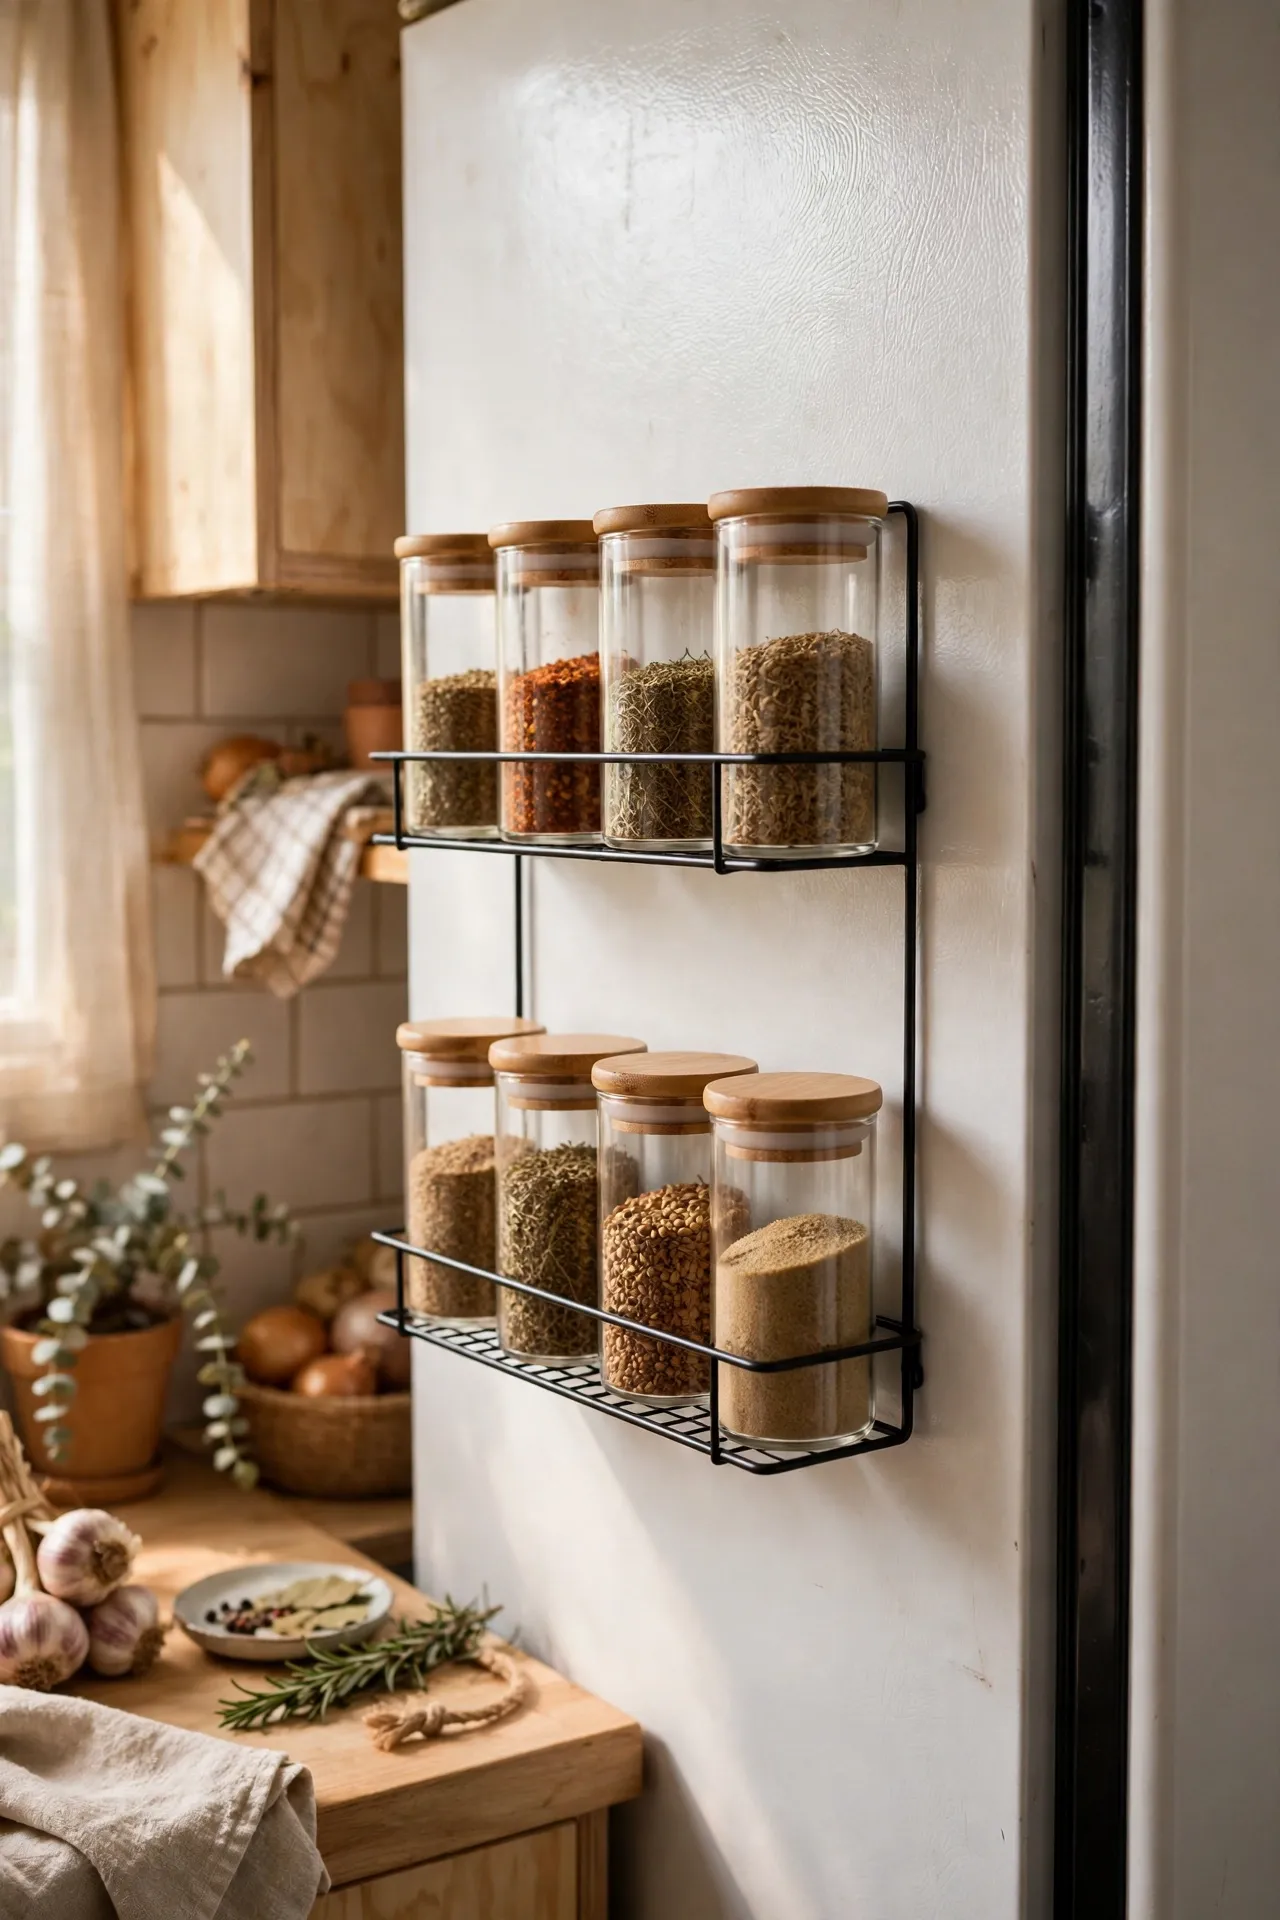
The side of your fridge is a blank wall begging for a job, and magnetic shelves give it one without a drill hole. Stick two shelves on the side facing your prep area and load them with spices, tea, and small jars you reach for daily. Keep heavier bottles low so nothing slides when the door swings shut, and test a magnet first if your fridge has a curved or textured finish. This is ideal for renters, since the shelves move with you. My spice jars lived in a jumbled drawer for years; now they sit in two neat rows, and I actually use spices I used to forget I owned.
Cost: ~$15 | Time: 10 minutes
17. Decant Pantry Staples Into Uniform Jars
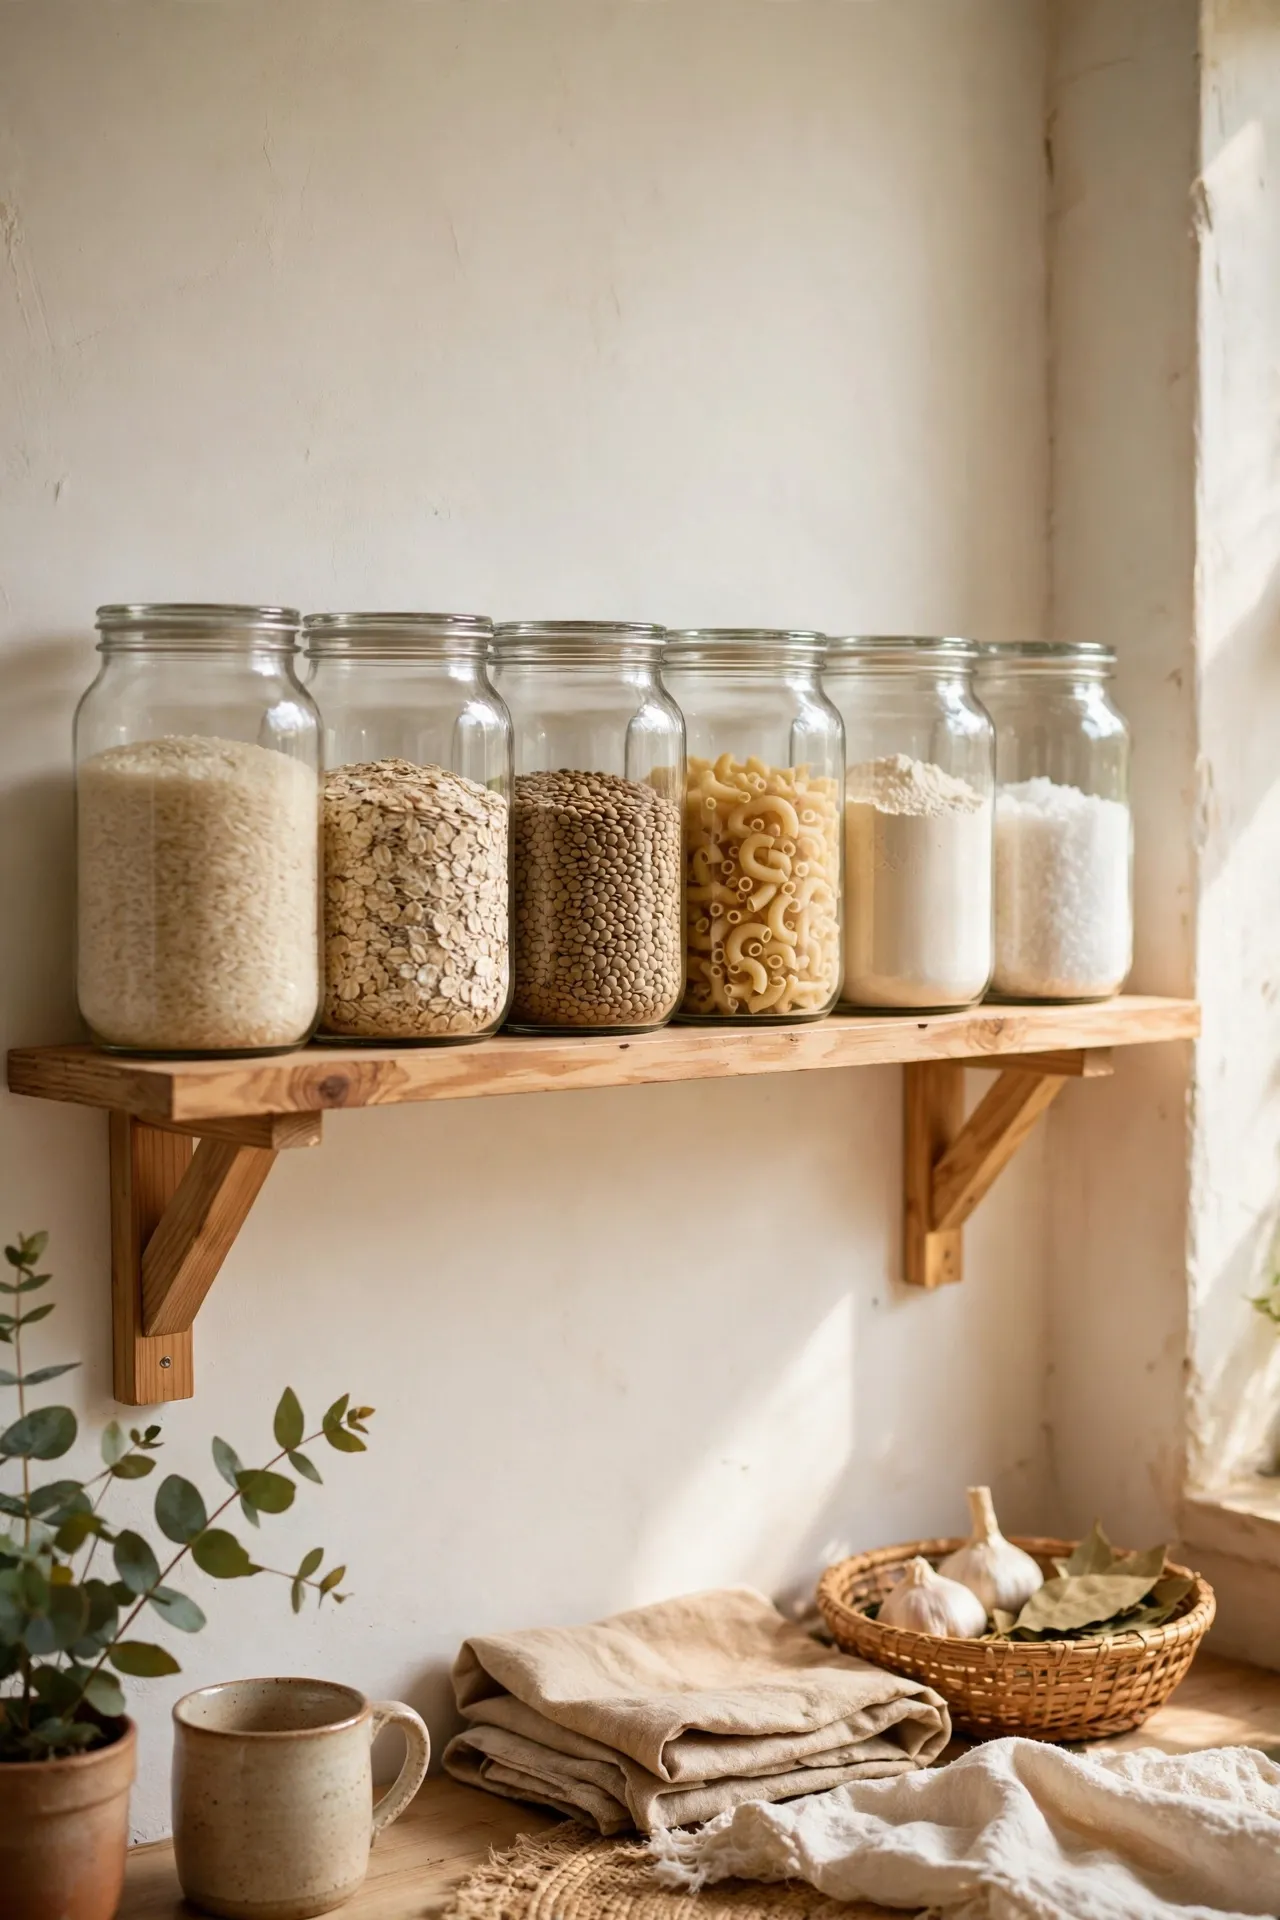
Half-empty bags make a tiny pantry look chaotic, and chaos makes a micro kitchen feel even smaller. Decanting rice, pasta, oats, and lentils into matching jars turns a jumbled shelf into something calm and easy to scan. Square jars stack without wasted gaps, and clear glass shows what needs replacing before you shop. Start with five weekly staples rather than buying a full set at once, and label simply with tape and a marker. My pantry went from embarrassing to tidy in one afternoon, and I stopped buying duplicates of things I already had sitting behind other bags.
Cost: ~$20 | Time: 2 hours
18. Keep One Counter Strip Clear for Cooking
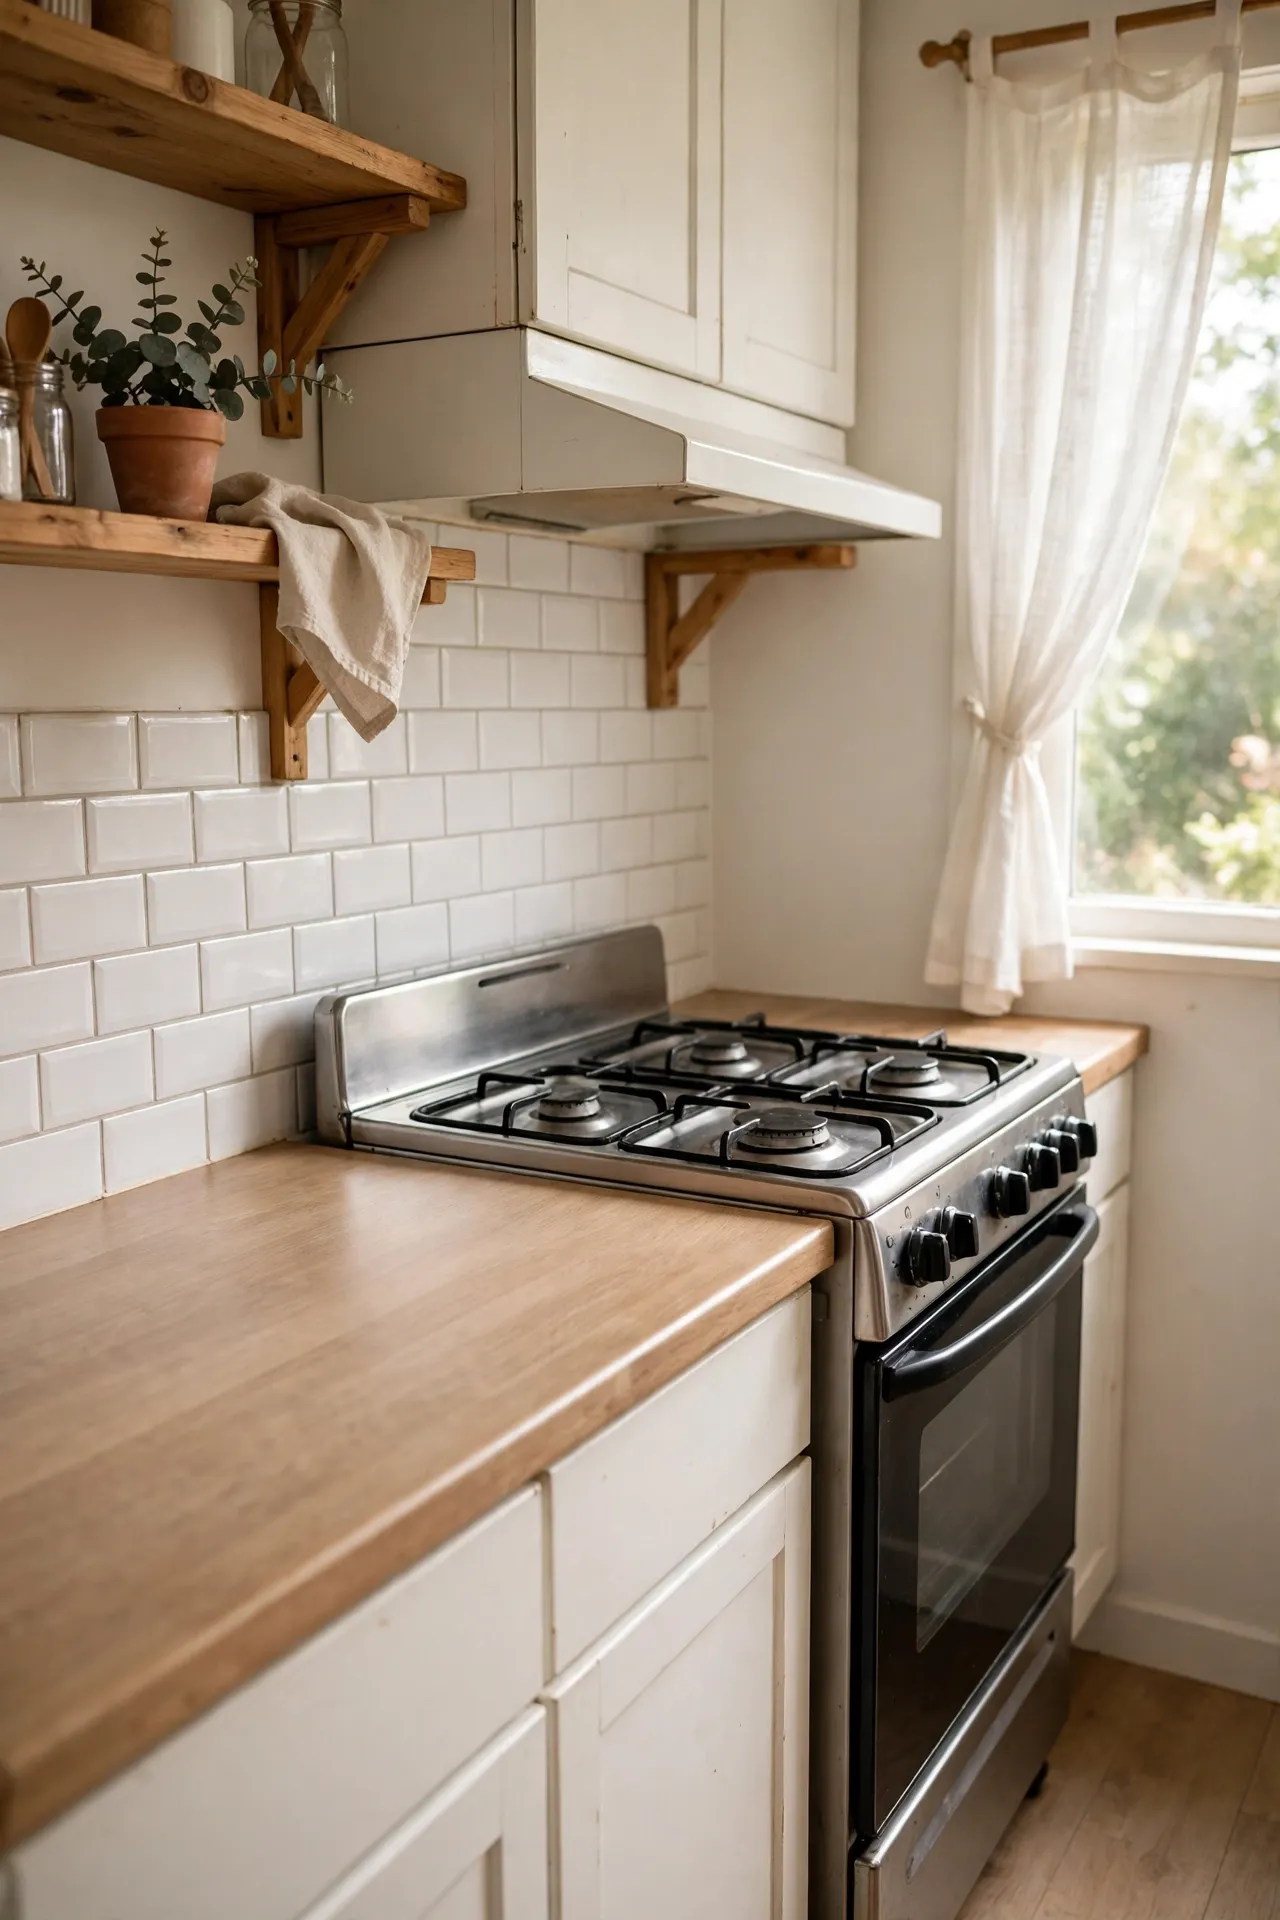
The cheapest kitchen idea here is also the hardest to keep: leave one stretch of counter completely clear, on purpose, all the time. No toaster parked there, no mail pile, no fruit bowl — just empty surface ready for hot pans and chopping boards. A clear strip makes cooking safer, because you always have somewhere to set a hot tray down, and it makes the whole kitchen look bigger since the eye can rest. It takes about three weeks for the habit to stick, and housemates will test it daily. I treat mine as a rule, not a one-time clear-out, and it makes every other kitchen idea work better.
Cost: ~$0 | Time: 30 minutes
Work & Living
19. Carve a Desk Nook Into an Unused Corner
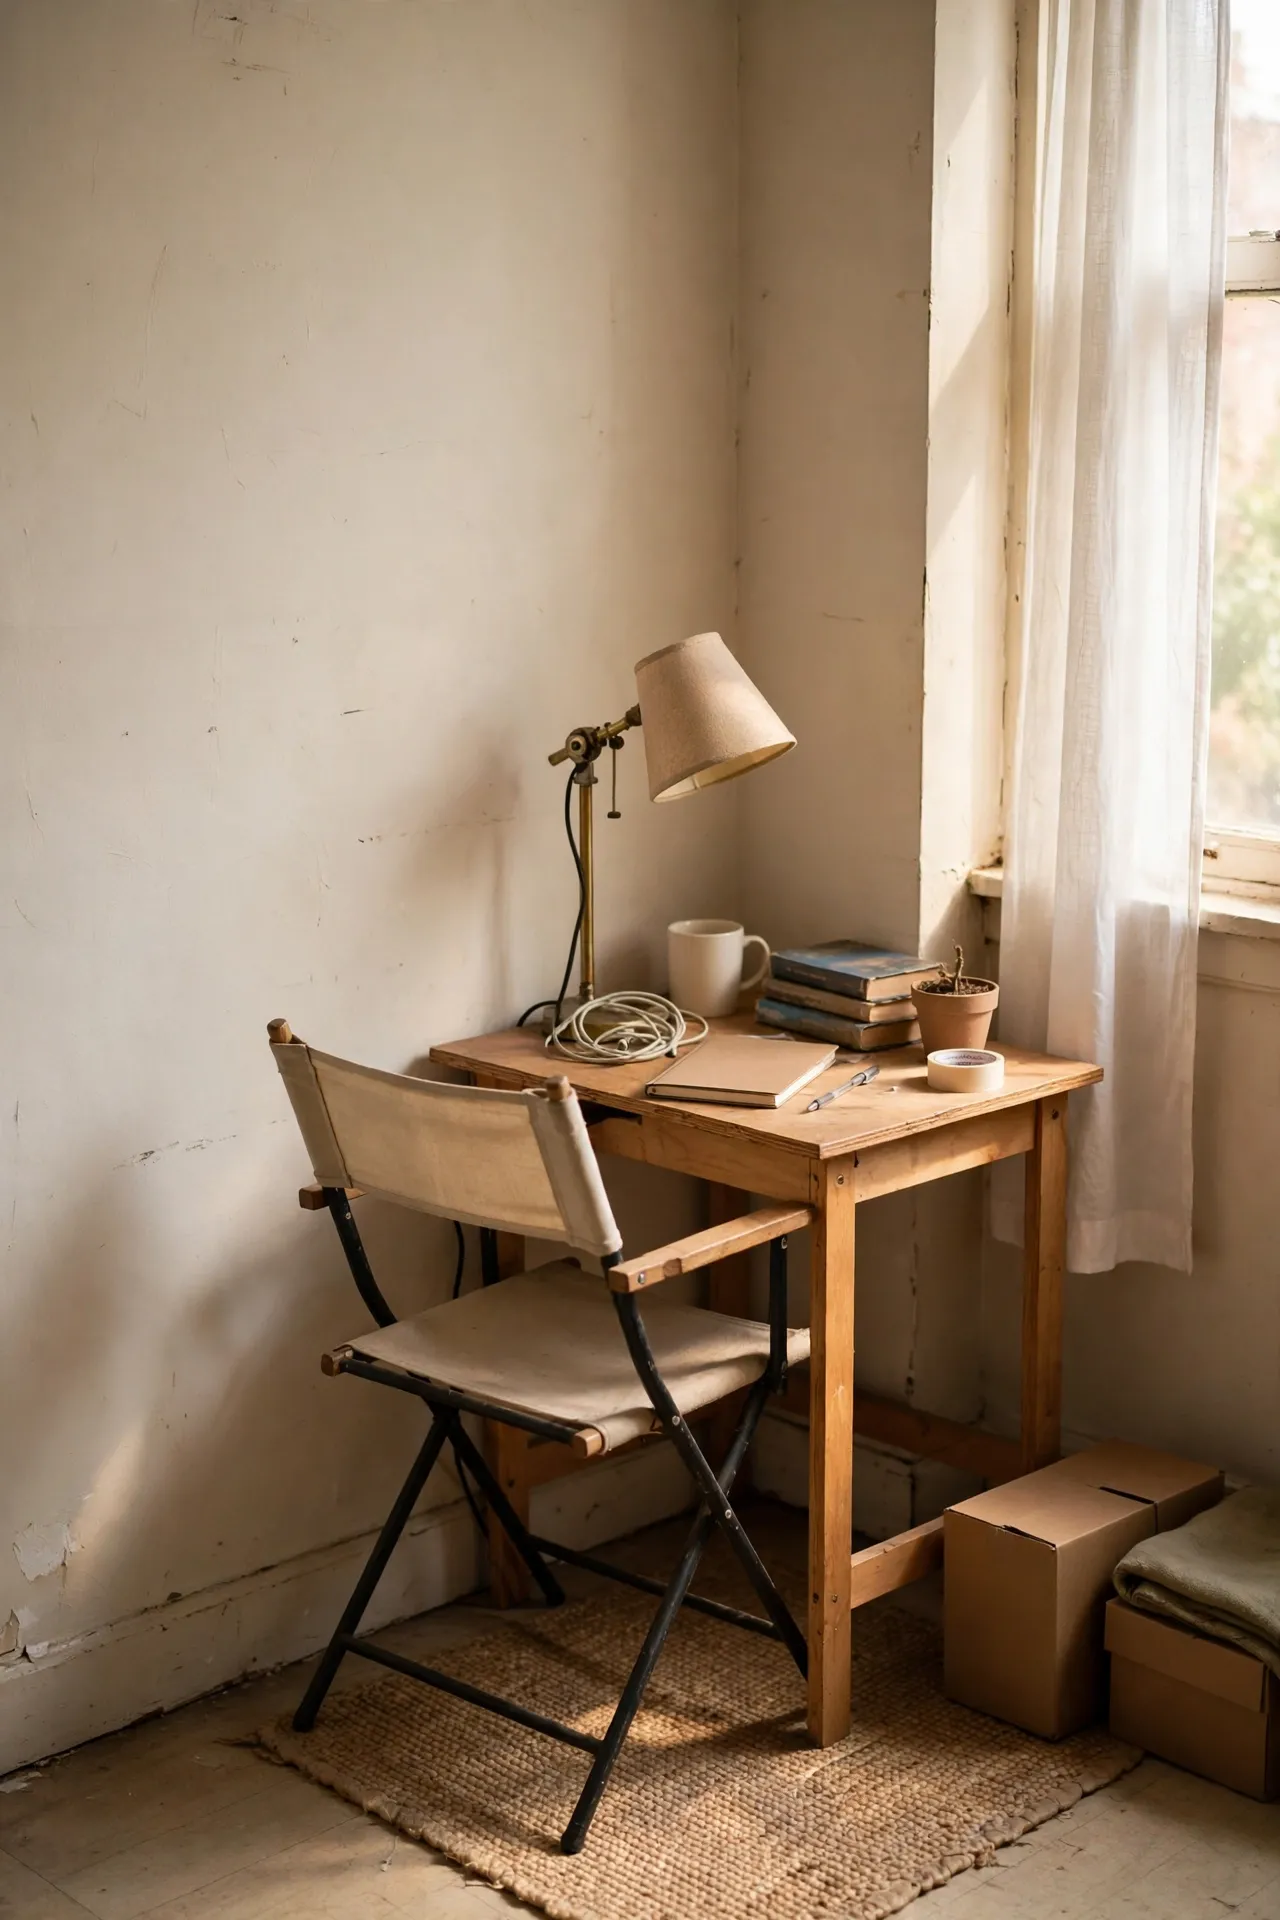
Working from a micro-apartment does not need a spare room — it needs one well-chosen corner. Pick the quietest corner, add a small desk or a wall-mounted shelf at elbow height, and keep everything for work inside that footprint. A good chair matters more than a big desk, so spend there and save on the surface. Add a small lamp and a power strip, and keep work supplies in one basket so the nook can close down at night. I carved my nook into a hallway corner I had ignored for a year, and having a defined work spot ended the habit of working from bed.
Cost: ~$60 | Time: 1 hour
20. Use a Ladder Shelf as a Room Divider
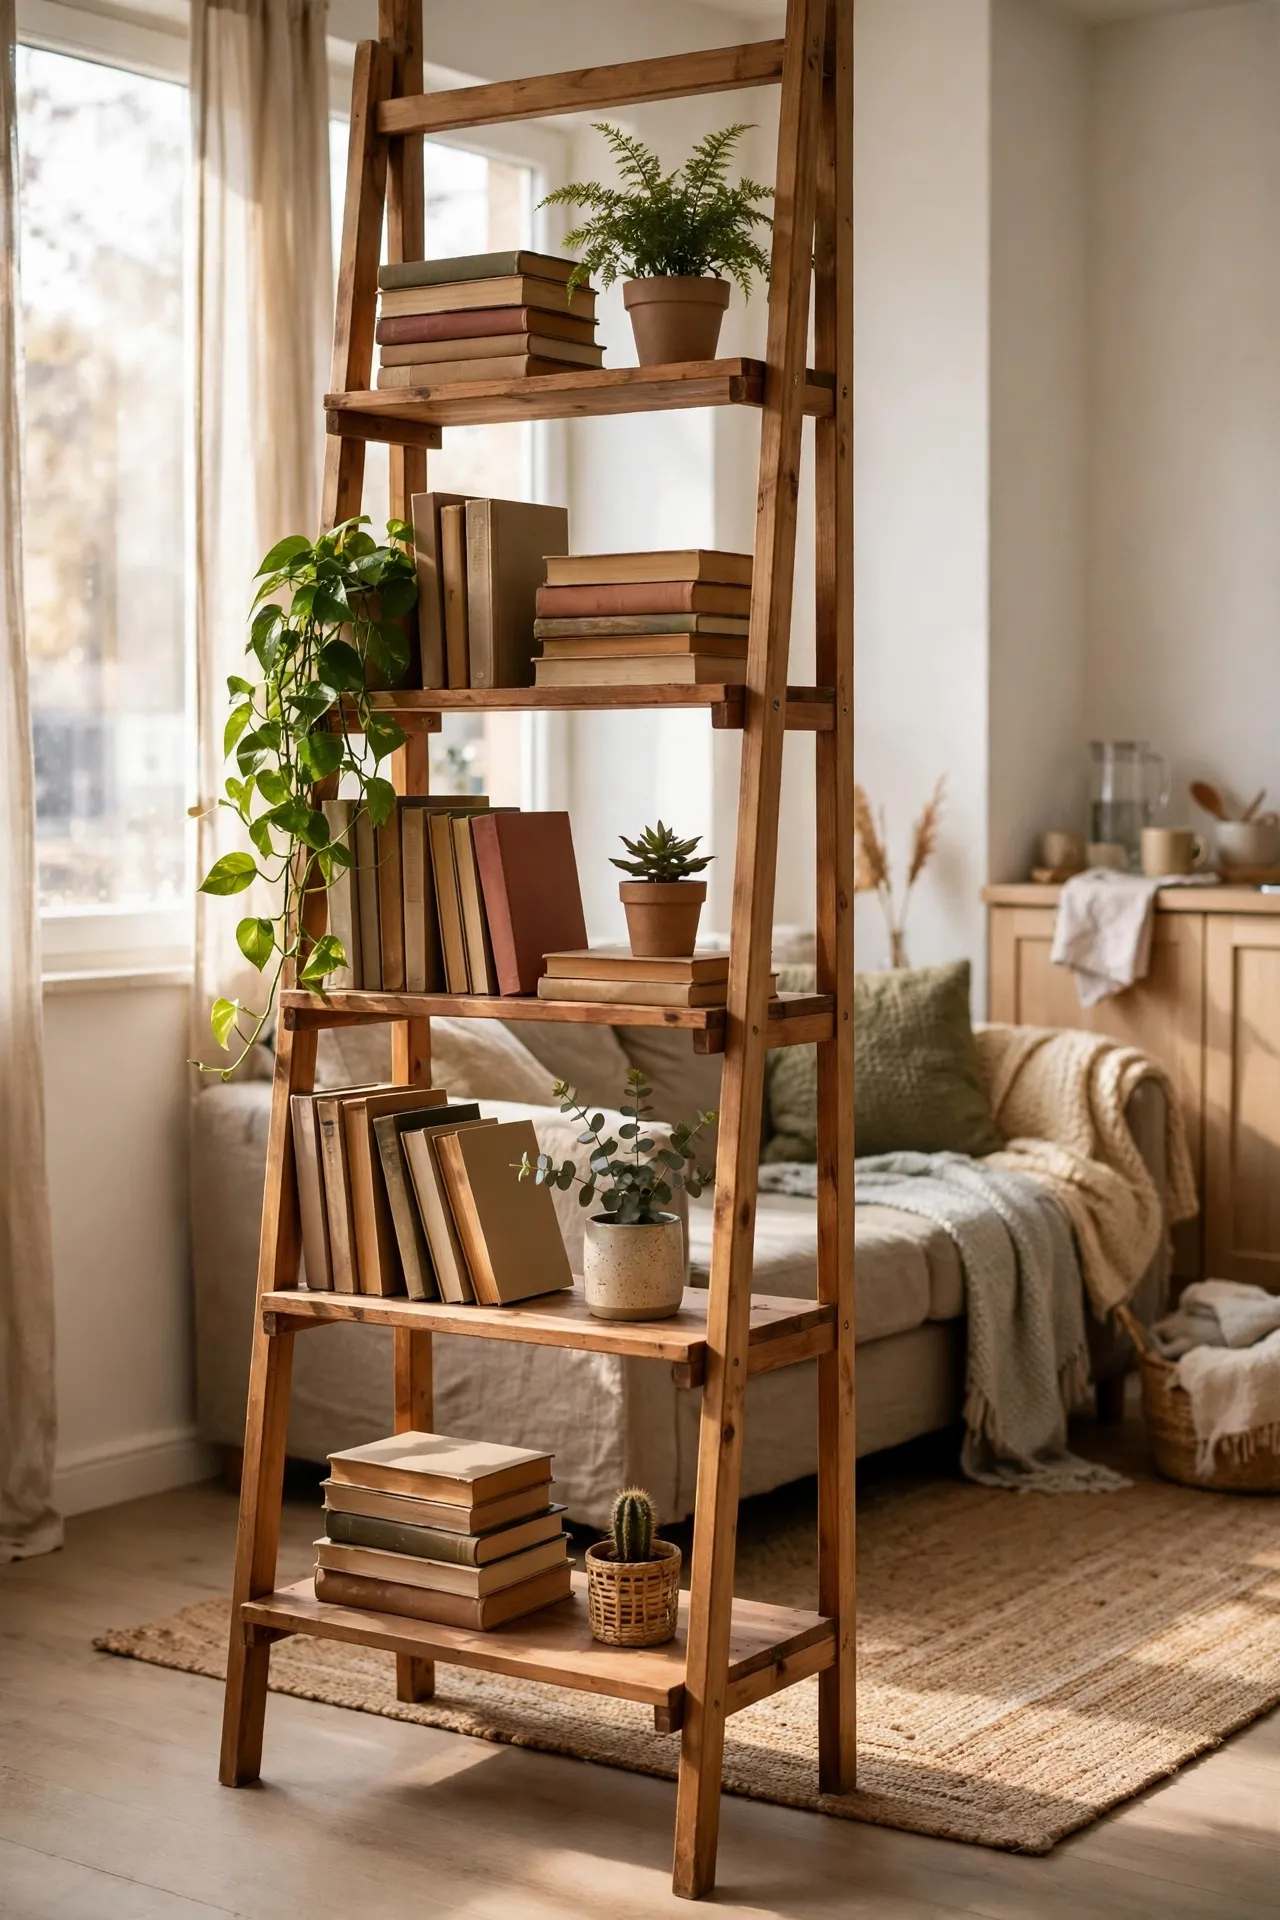
A ladder shelf divides a studio without blocking light, because its open back lets sight lines and daylight flow through. Place it perpendicular to a wall to mark the edge of a living zone, style the lower shelves with books and baskets, and keep the top light with plants. Anchor it to the wall if you can, or at least to a neighbouring unit, so it cannot tip when you reach for a high shelf. The mistake to avoid is filling every shelf until it becomes a solid wall — leave gaps so light passes through. My ladder shelf marks where the bedroom ends and the living area begins, without making either side feel boxed in.
Cost: ~$70 | Time: 45 minutes
21. Add a Fold-Away Desk That Closes at Night
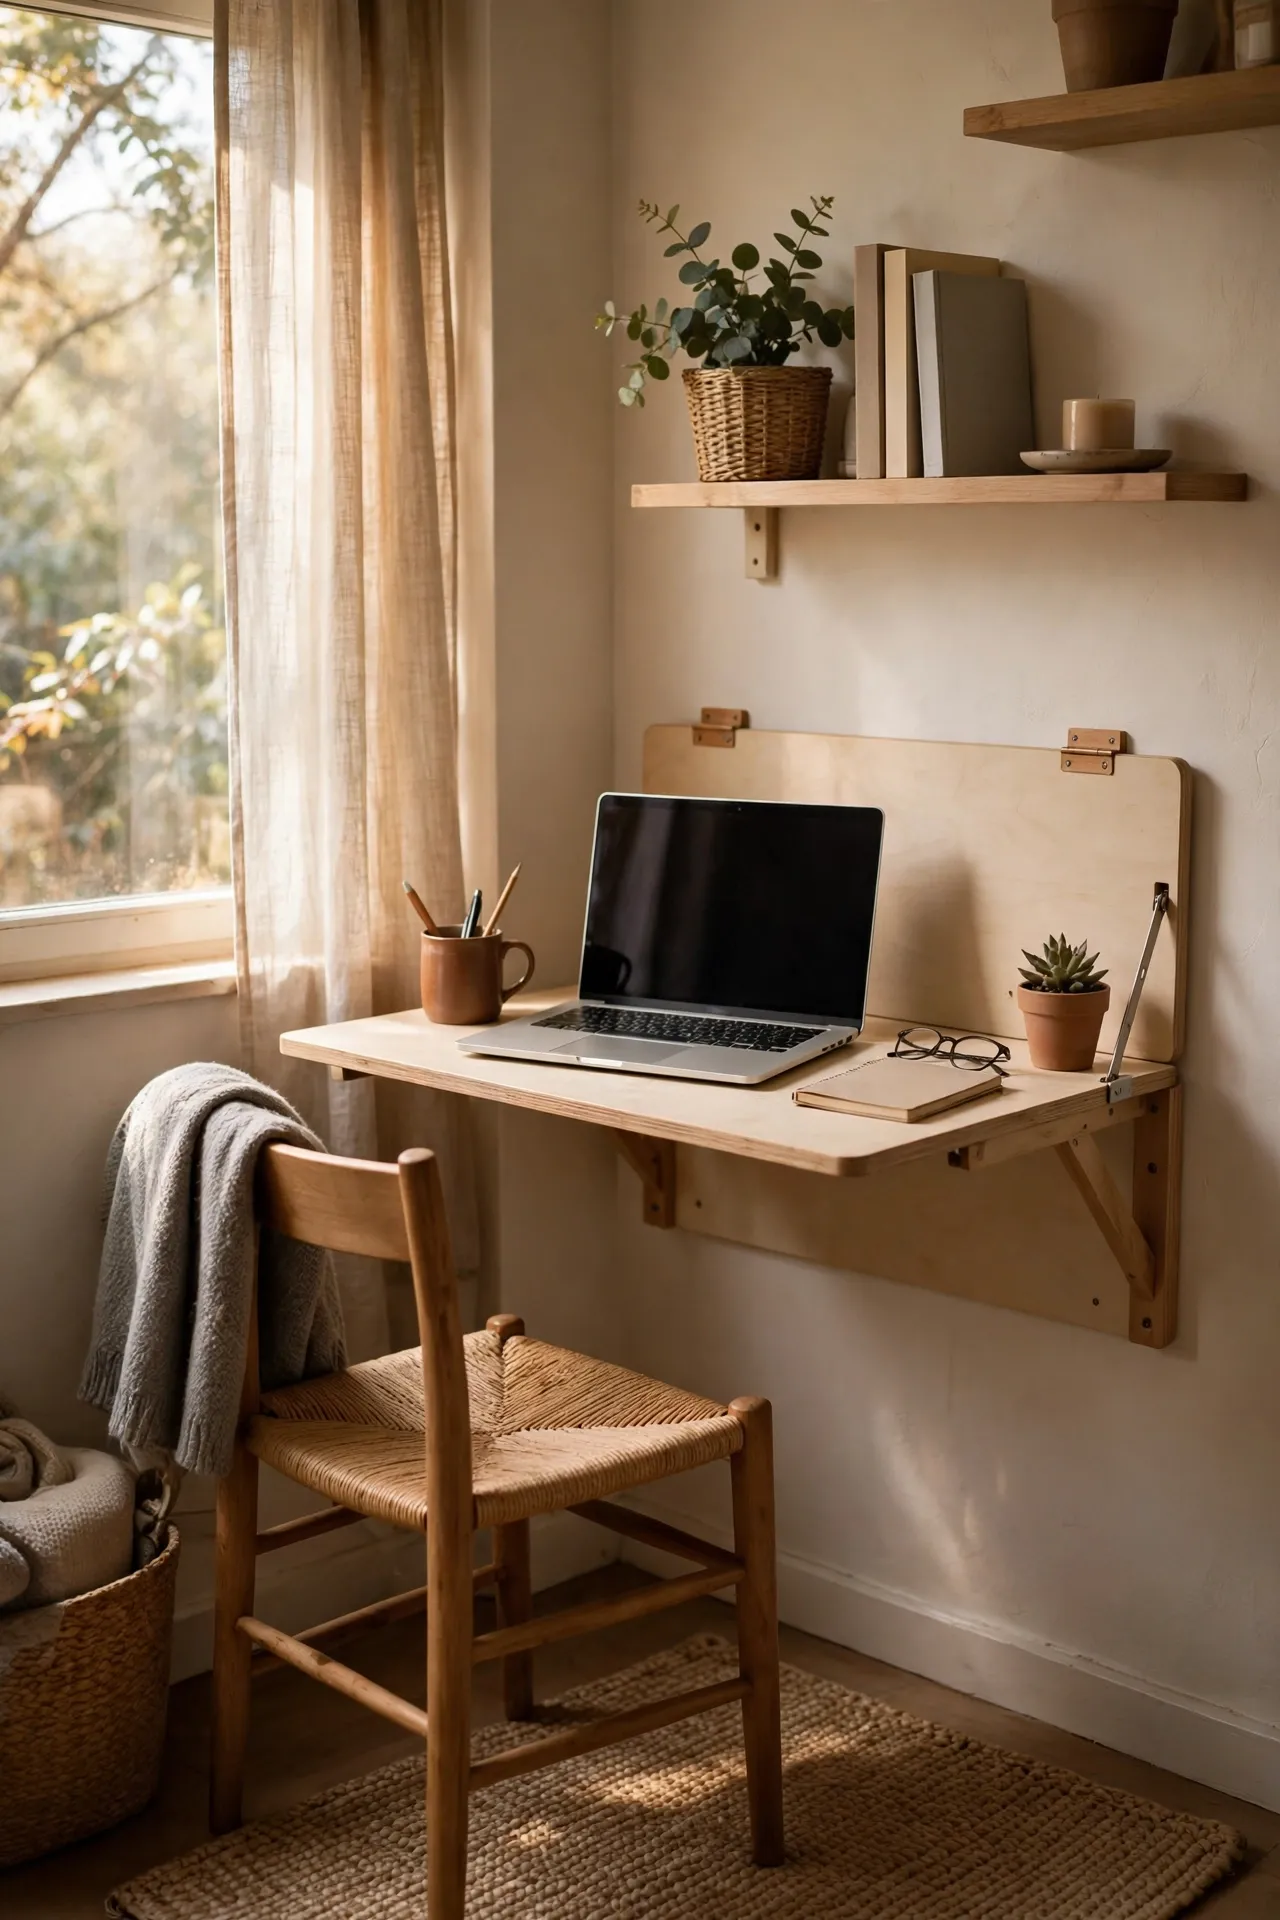
A fold-away desk lets you work from home without living in an office, because it closes and hides the workday when you are done. Mount a cabinet-style desk on the wall, open it for a proper work surface with shelves inside, then fold it shut at night so laptops and papers disappear behind a clean front. Choose one deep enough for your laptop and a notebook, and add a small light inside if it does not come with one. I used a fold-away desk in my smallest flat, and closing it at 6 p.m. genuinely helped me switch off — out of sight really does mean out of mind. For more work-from-home setups, see my (see also: small-home-office-ideas) guide.
Cost: ~$110 | Time: 2 hours
22. Layer Rugs to Define Living Zones
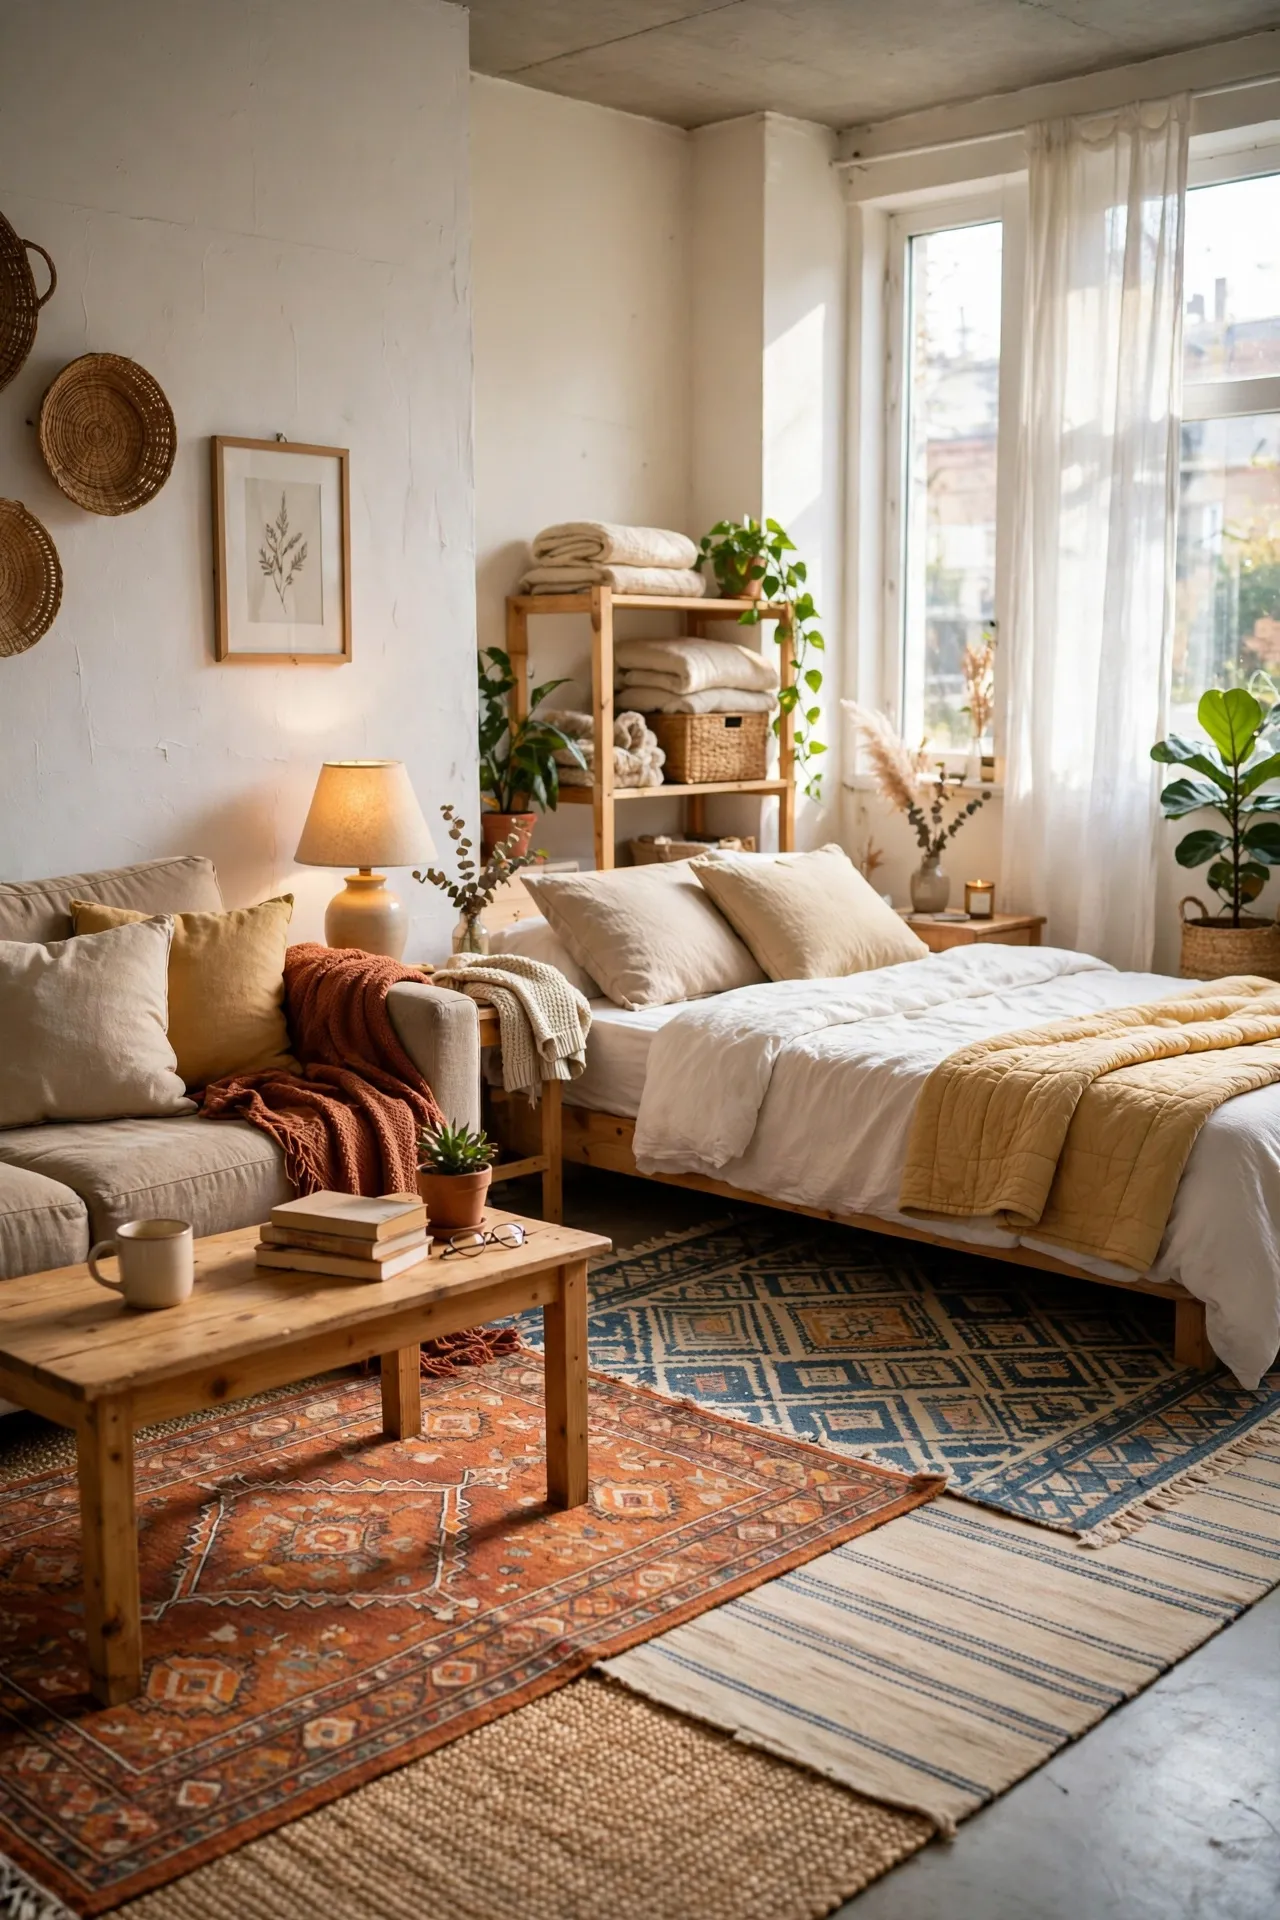
Without walls, rugs are how a studio tells you where one room ends and another begins. Lay a larger flat-weave rug for the living zone and a smaller, softer one for the sleeping area, keeping a clear gap between them so each zone reads on its own. Choose washable rugs where you can, because city flats collect dust fast and small rugs are easy to shake out. Keep colours in the same family so the zones feel connected rather than chopped up. I layered two rugs in my studio and guests suddenly understood the layout without me explaining it — the living area finally felt like a room, not a corner.
Cost: ~$45 | Time: 20 minutes
23. Hang Mirrors to Double Light and Space
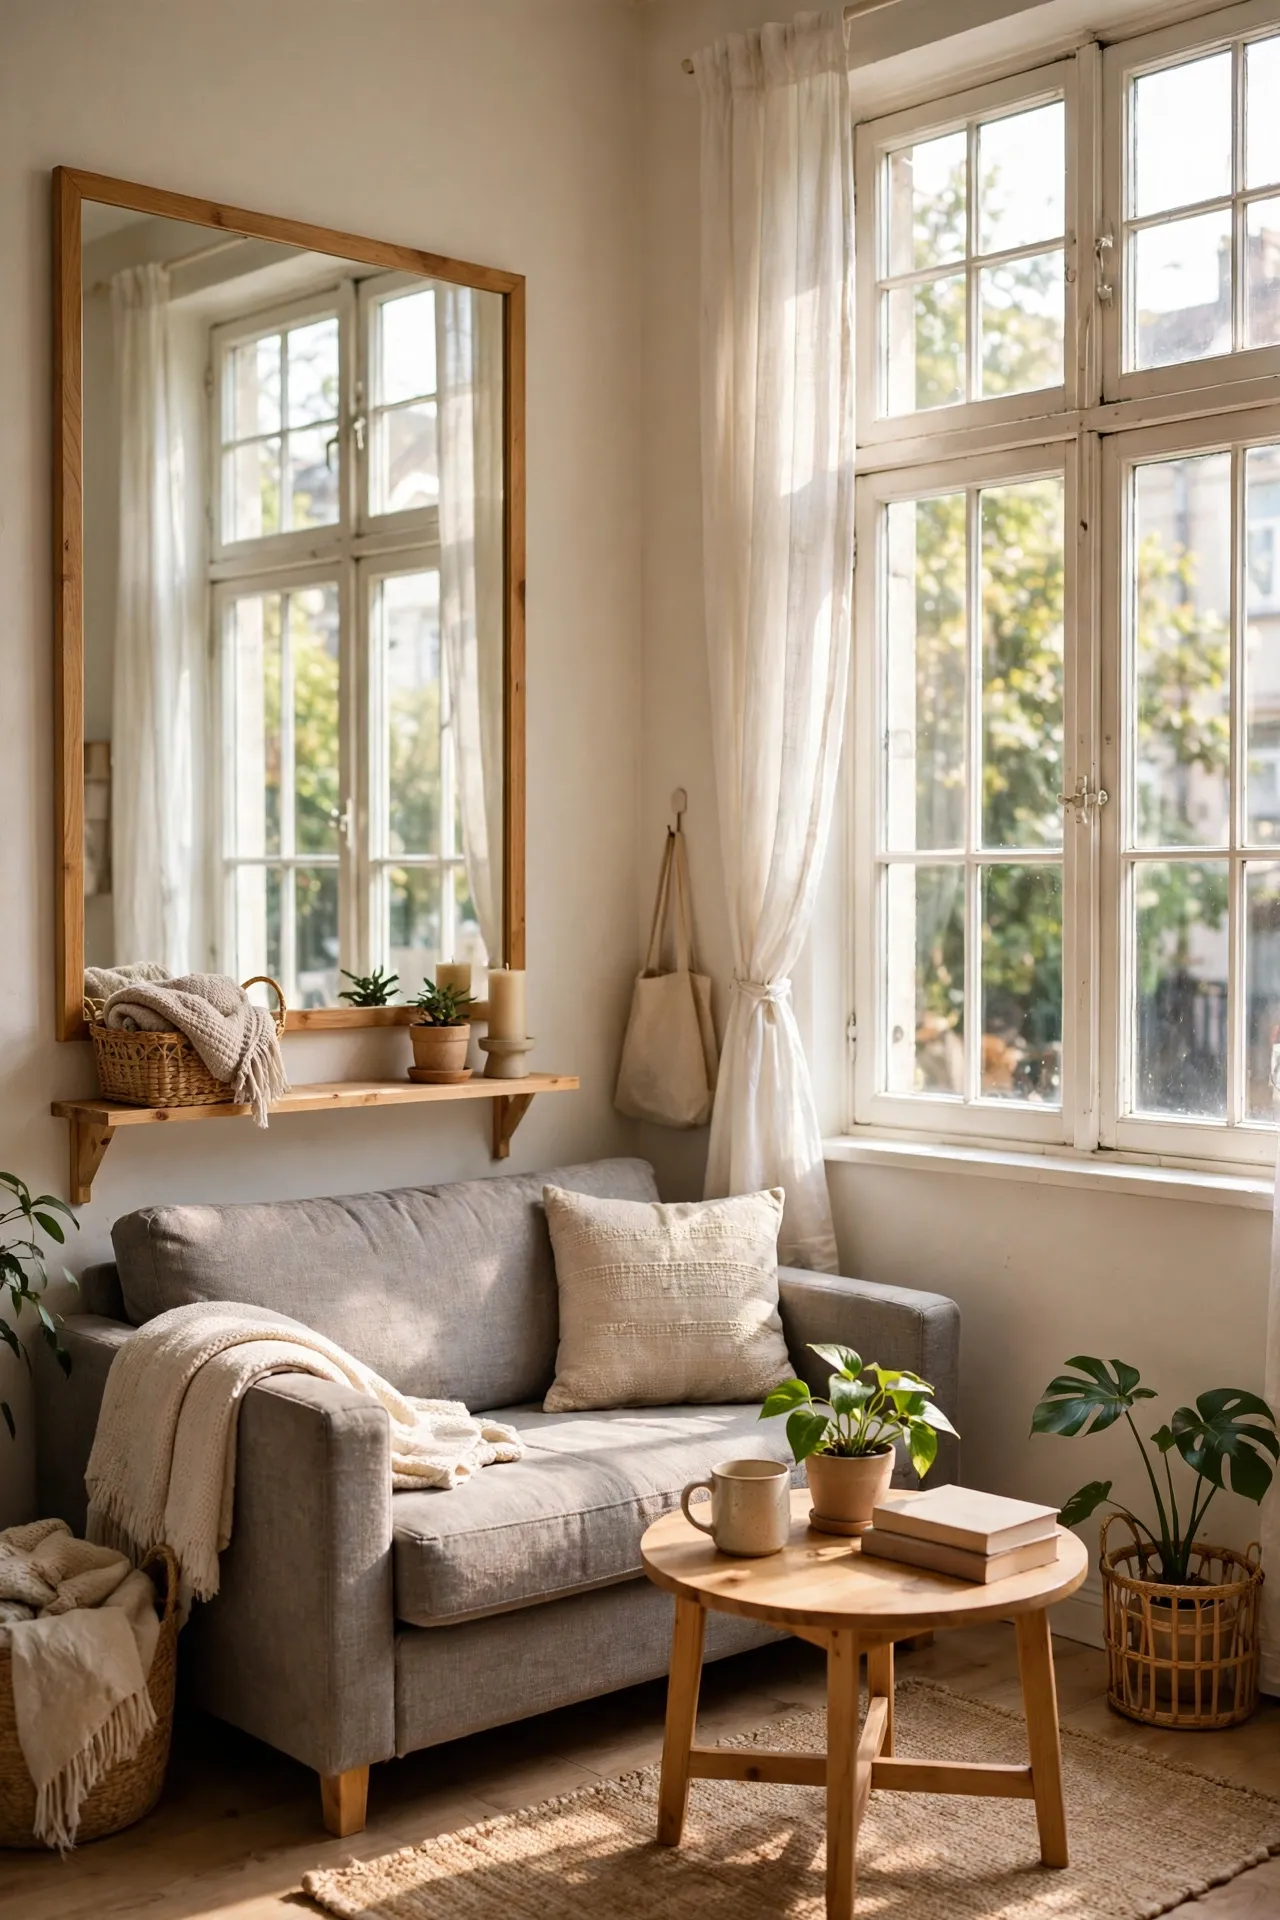
A large mirror opposite a window doubles the light in a micro-apartment and makes the room feel far bigger than its floor plan. Hang one big mirror rather than several small ones, because a single reflection reads as depth while scattered mirrors read as clutter. Place it where it reflects something pleasant — a window, a plant, a pretty wall — not a messy corner, because mirrors double whatever they face. Use proper wall fixings, especially for heavy mirrors, and check for studs before hanging. I hung a full-length mirror opposite my only window, and the studio felt brighter the same afternoon, like a second window had appeared.
Cost: ~$40 | Time: 30 minutes
24. Choose Nesting Tables Over a Coffee Table
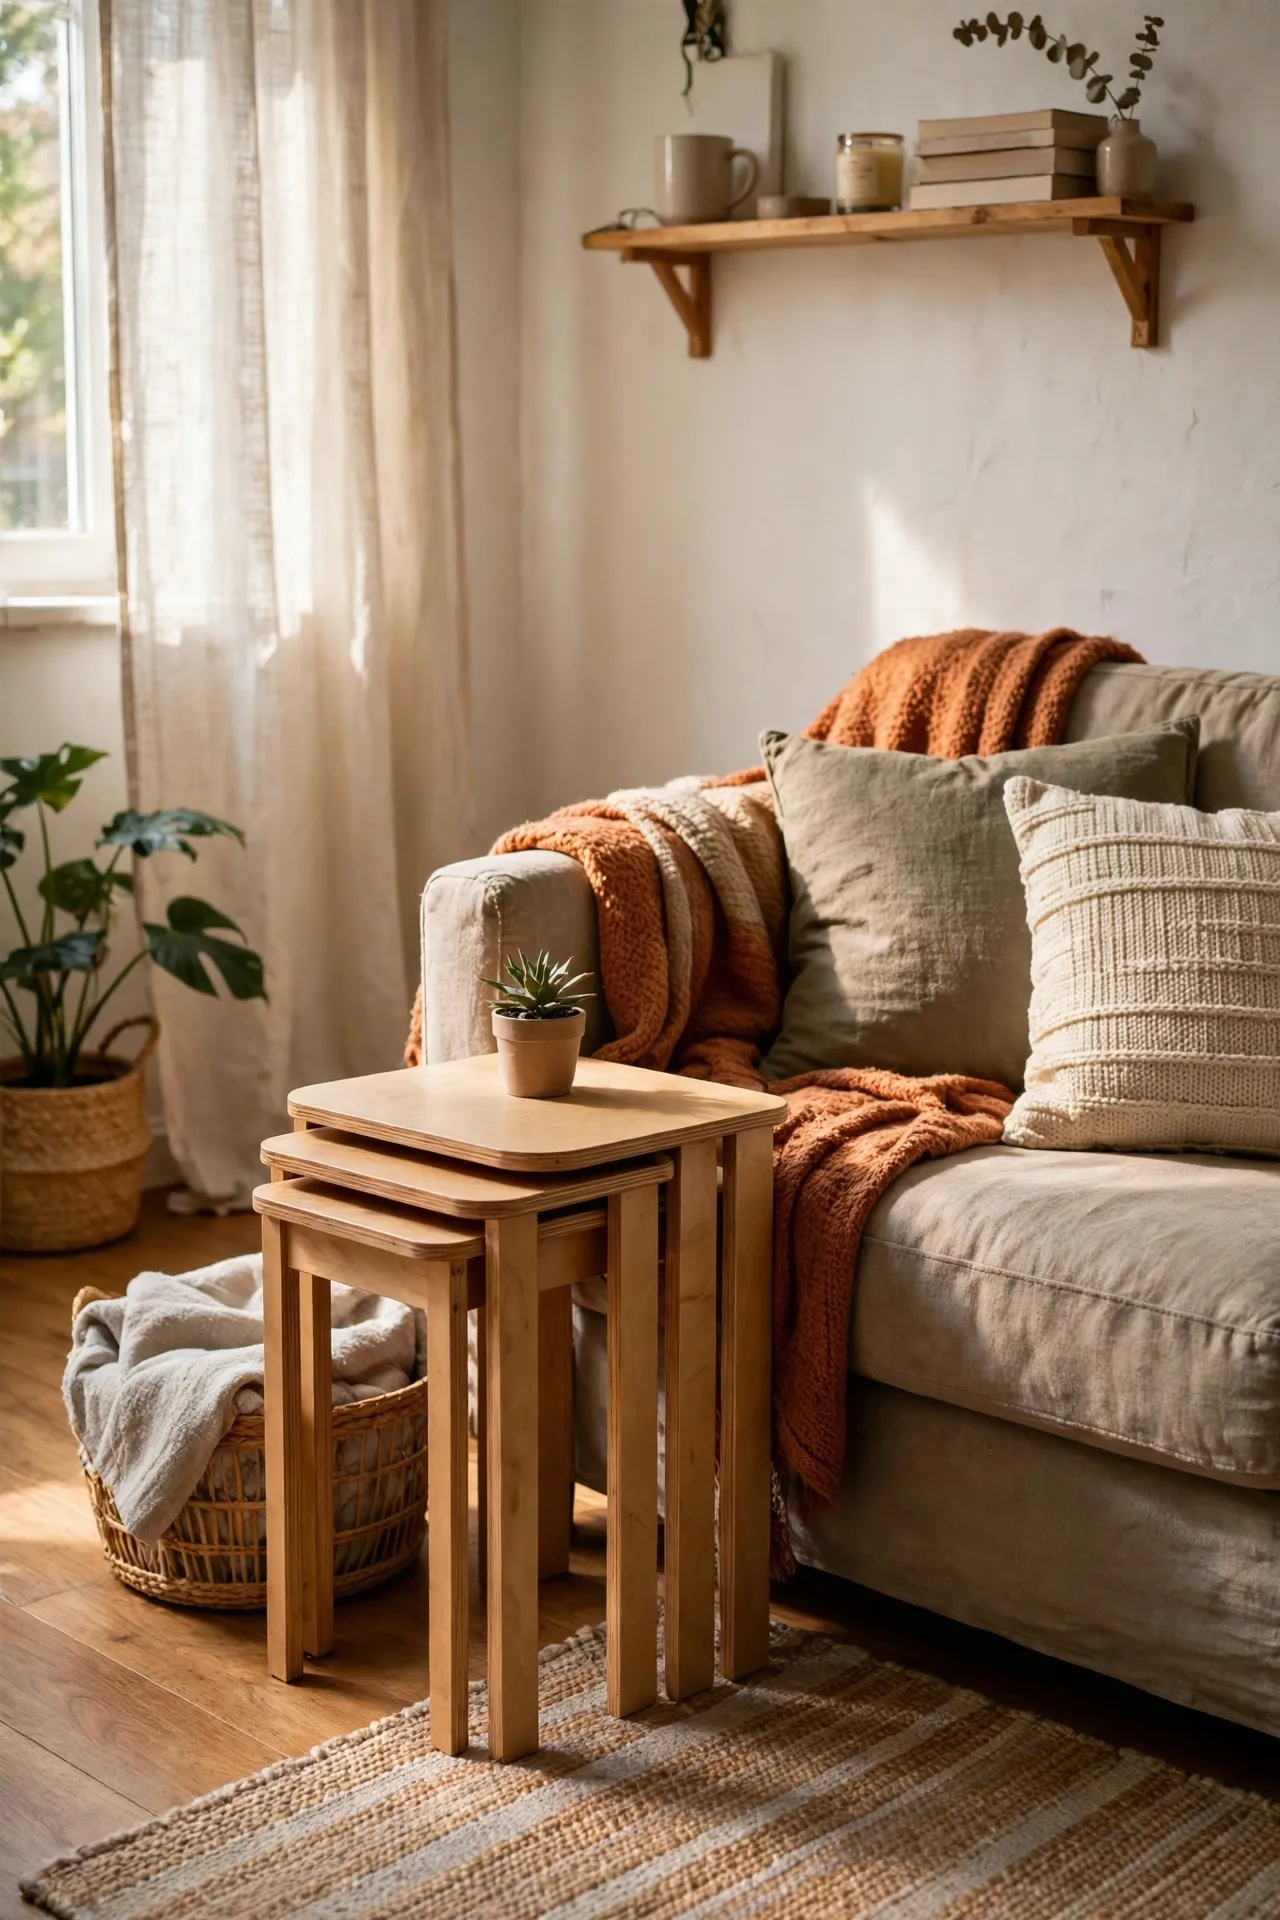
A coffee table claims floor space all day for use that lasts an hour, while nesting tables give you surfaces only when you need them. Keep them stacked as one small side table most of the time, pull one out for coffee with a friend, and tuck them back when the room needs space for something else. Choose a set light enough to move with one hand, with a top large enough for a mug and a book. Round tops work best in tight spaces, because there are no corners to bump into. I swapped a bulky coffee table for nesting tables and gained walking space I use every single day.
Cost: ~$50 | Time: 10 minutes
25. Keep a Weekly Reset Basket by the Door
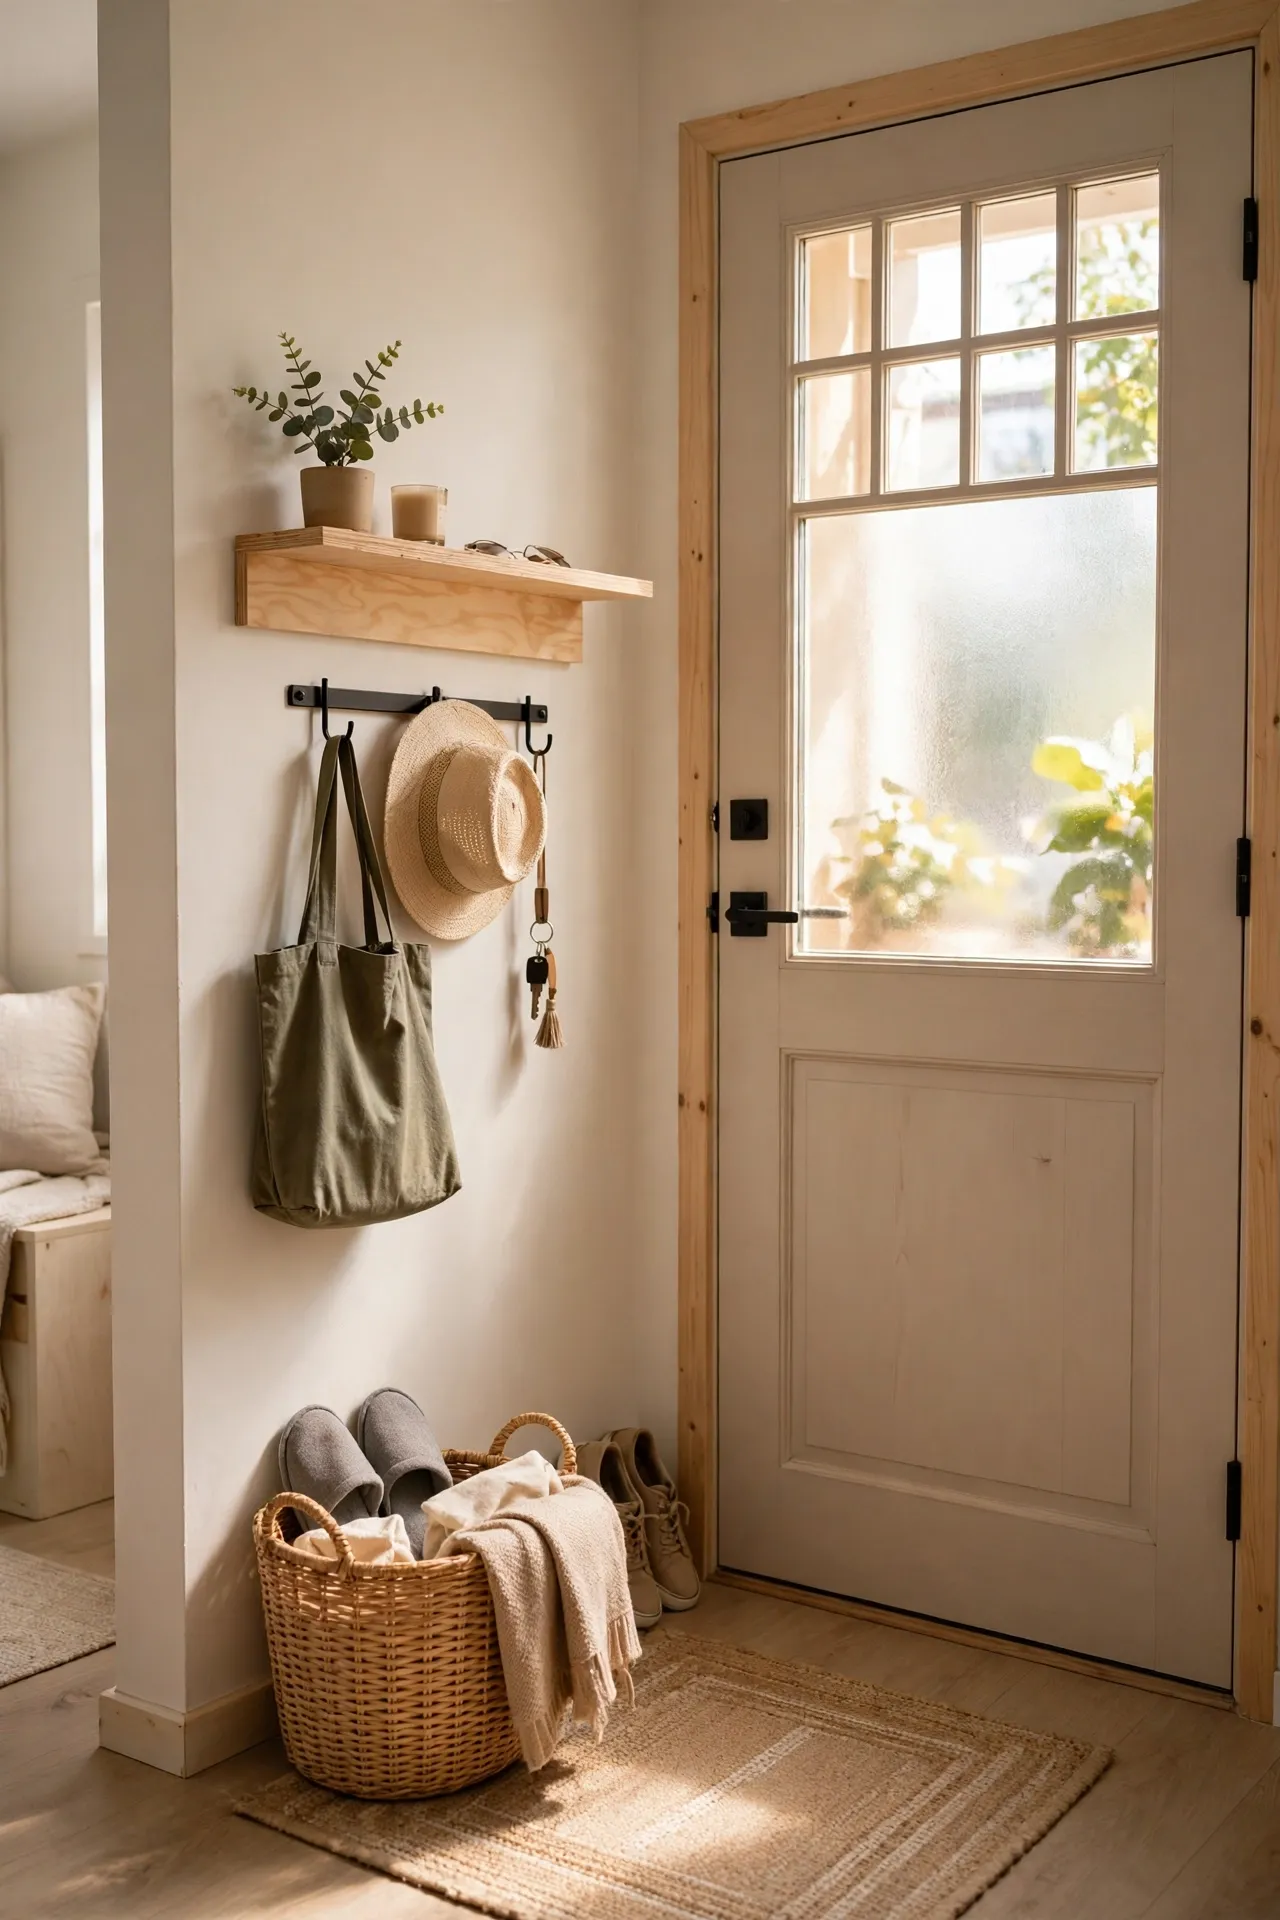
Micro-apartments do not get messy slowly — they tip from tidy to chaotic in a day, and a reset basket stops that slide. Keep one basket by the door, and once a week walk the flat putting every out-of-place item into it, then put each thing back where it belongs. The basket makes the job feel small and doable, instead of a whole-flat clean that you keep putting off. Keep it attractive, because an ugly basket becomes clutter itself, and empty it fully each time or it becomes another junk pile. My Sunday reset takes fifteen minutes now, and the flat stays livable all week instead of collapsing by Wednesday.
Cost: ~$8 | Time: 15 minutes
Micro-apartment living works when every piece earns its floor space twice — a bed that disappears, a table that folds, storage that hides in gaps you already own. Start with one zone, whether that is sleep, storage, or work, and build from there. Before long, your tiny city flat will feel less like a compromise and more like a smart, intentional home.
