23 How to Paint Thrifted Furniture Like a Pro
Learning how to paint thrifted furniture well is the skill that turns a five-dollar thrift store find into a piece you are proud to show off, and it is far easier than most people expect. The first dresser I painted looked streaky and chipped within weeks, not because the paint was bad but because I skipped the prep and rushed the coats. Once I slowed down and learned a few proper techniques, my flips started looking like they came from a furniture shop rather than my garage.
In this guide I am sharing twenty-three techniques that actually work, from choosing the right primer for laminate to sealing a table so it survives real life. Try one on your next find, and (see also: thrift store furniture flips) will start feeling less like a gamble and more like a craft you enjoy.
1. Chalk Paint Over Dark Wood
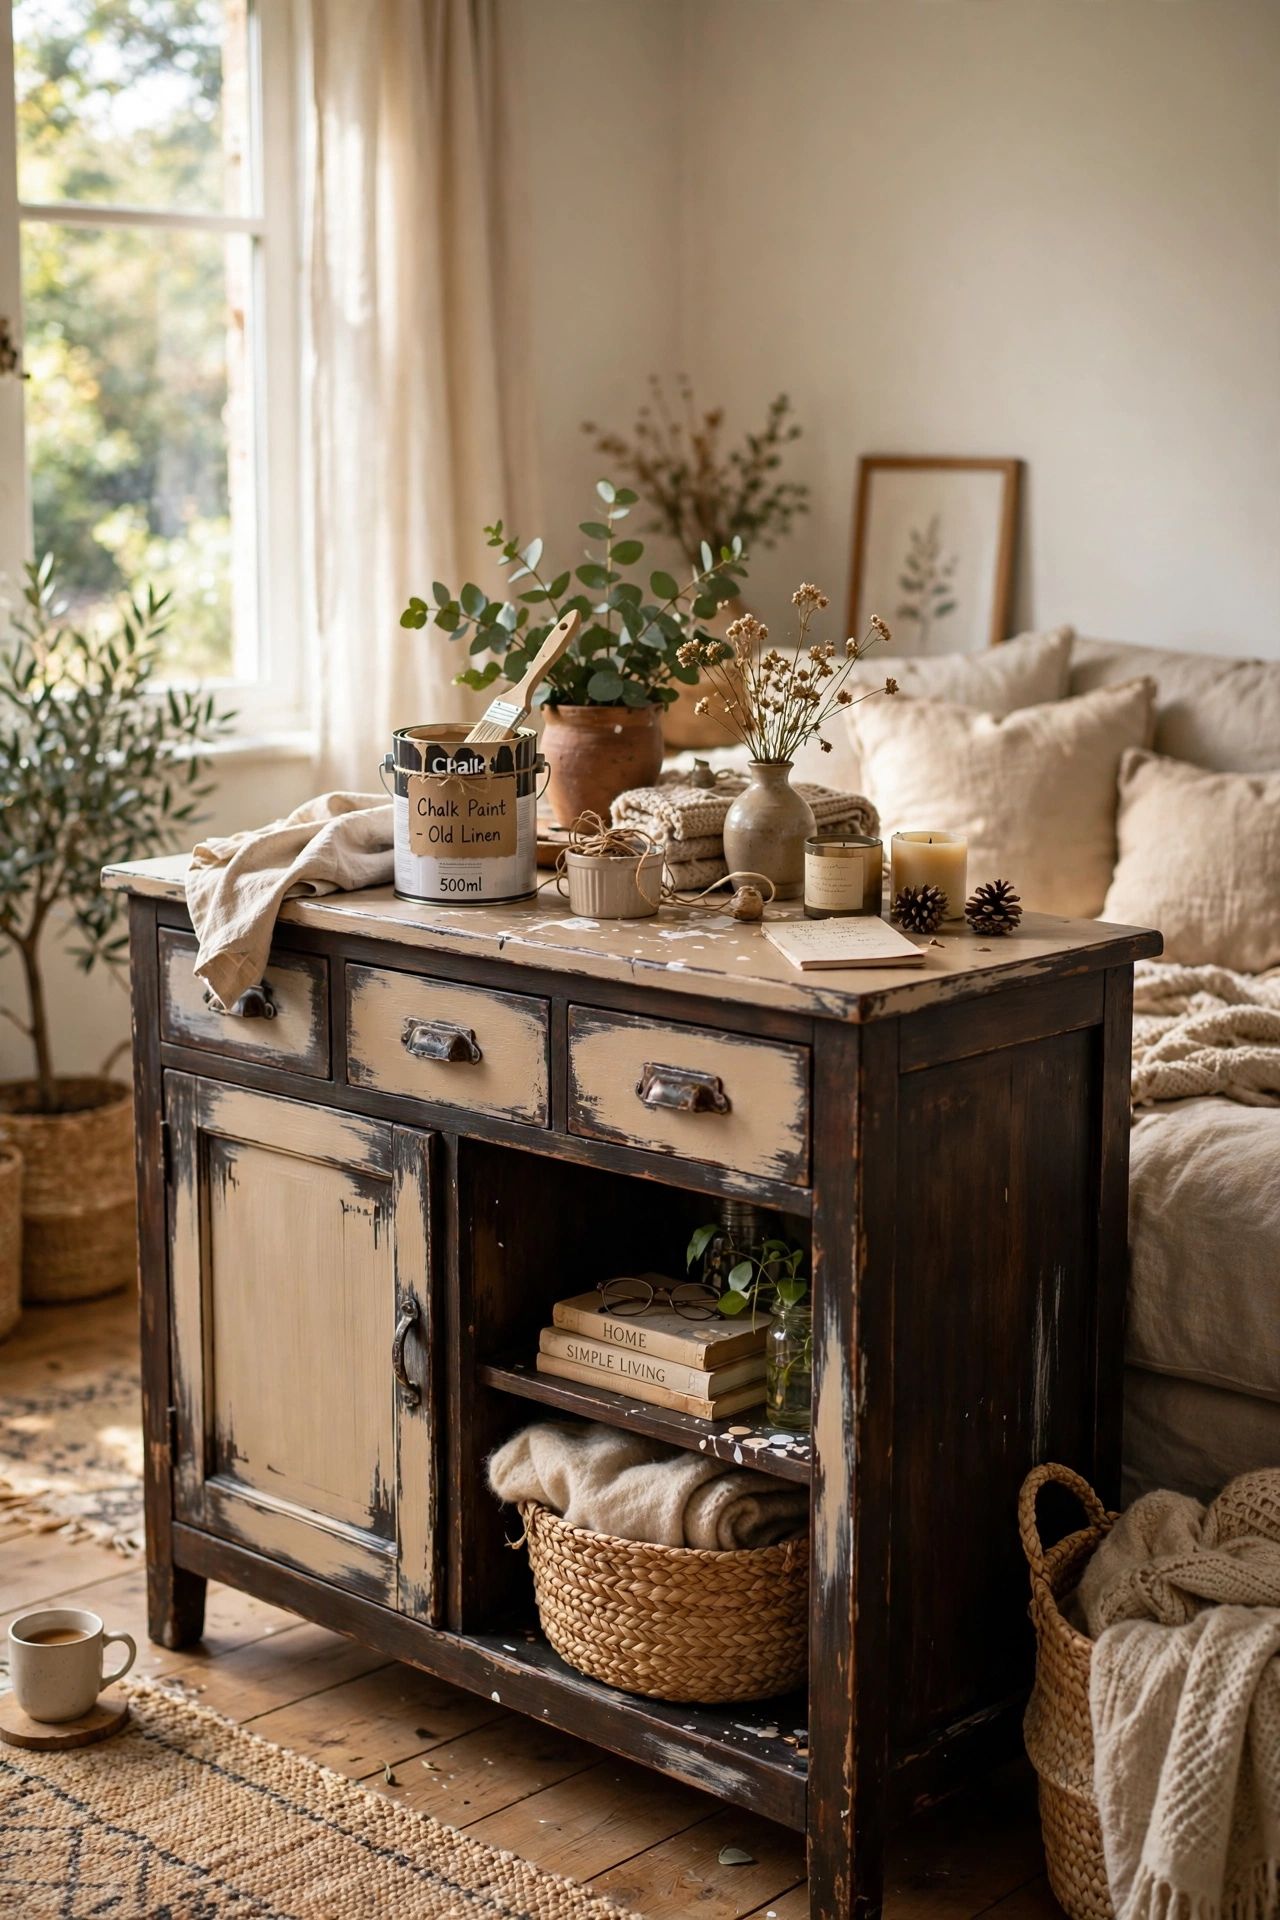
That dark, shiny dresser everyone passes over at the thrift store is usually the best candidate for paint, because the wood underneath is often solid and well made. Chalk paint is forgiving here: it grips without heavy sanding. Clean the piece with warm soapy water, let it dry, then brush on two thin coats, letting the first dry fully before the second. I once skipped the cleaning step on a bedside table and watched the paint peel off in sheets within a month, so now I never skip it. Sand lightly between coats with fine paper for a finish that feels like it came from a shop.
Pro tip: Buy the small tin of paint first and test it on the back before committing to a whole piece.
Cost: ~$25 | Time: a weekend
2. Sanding Without Stripping the Soul Out
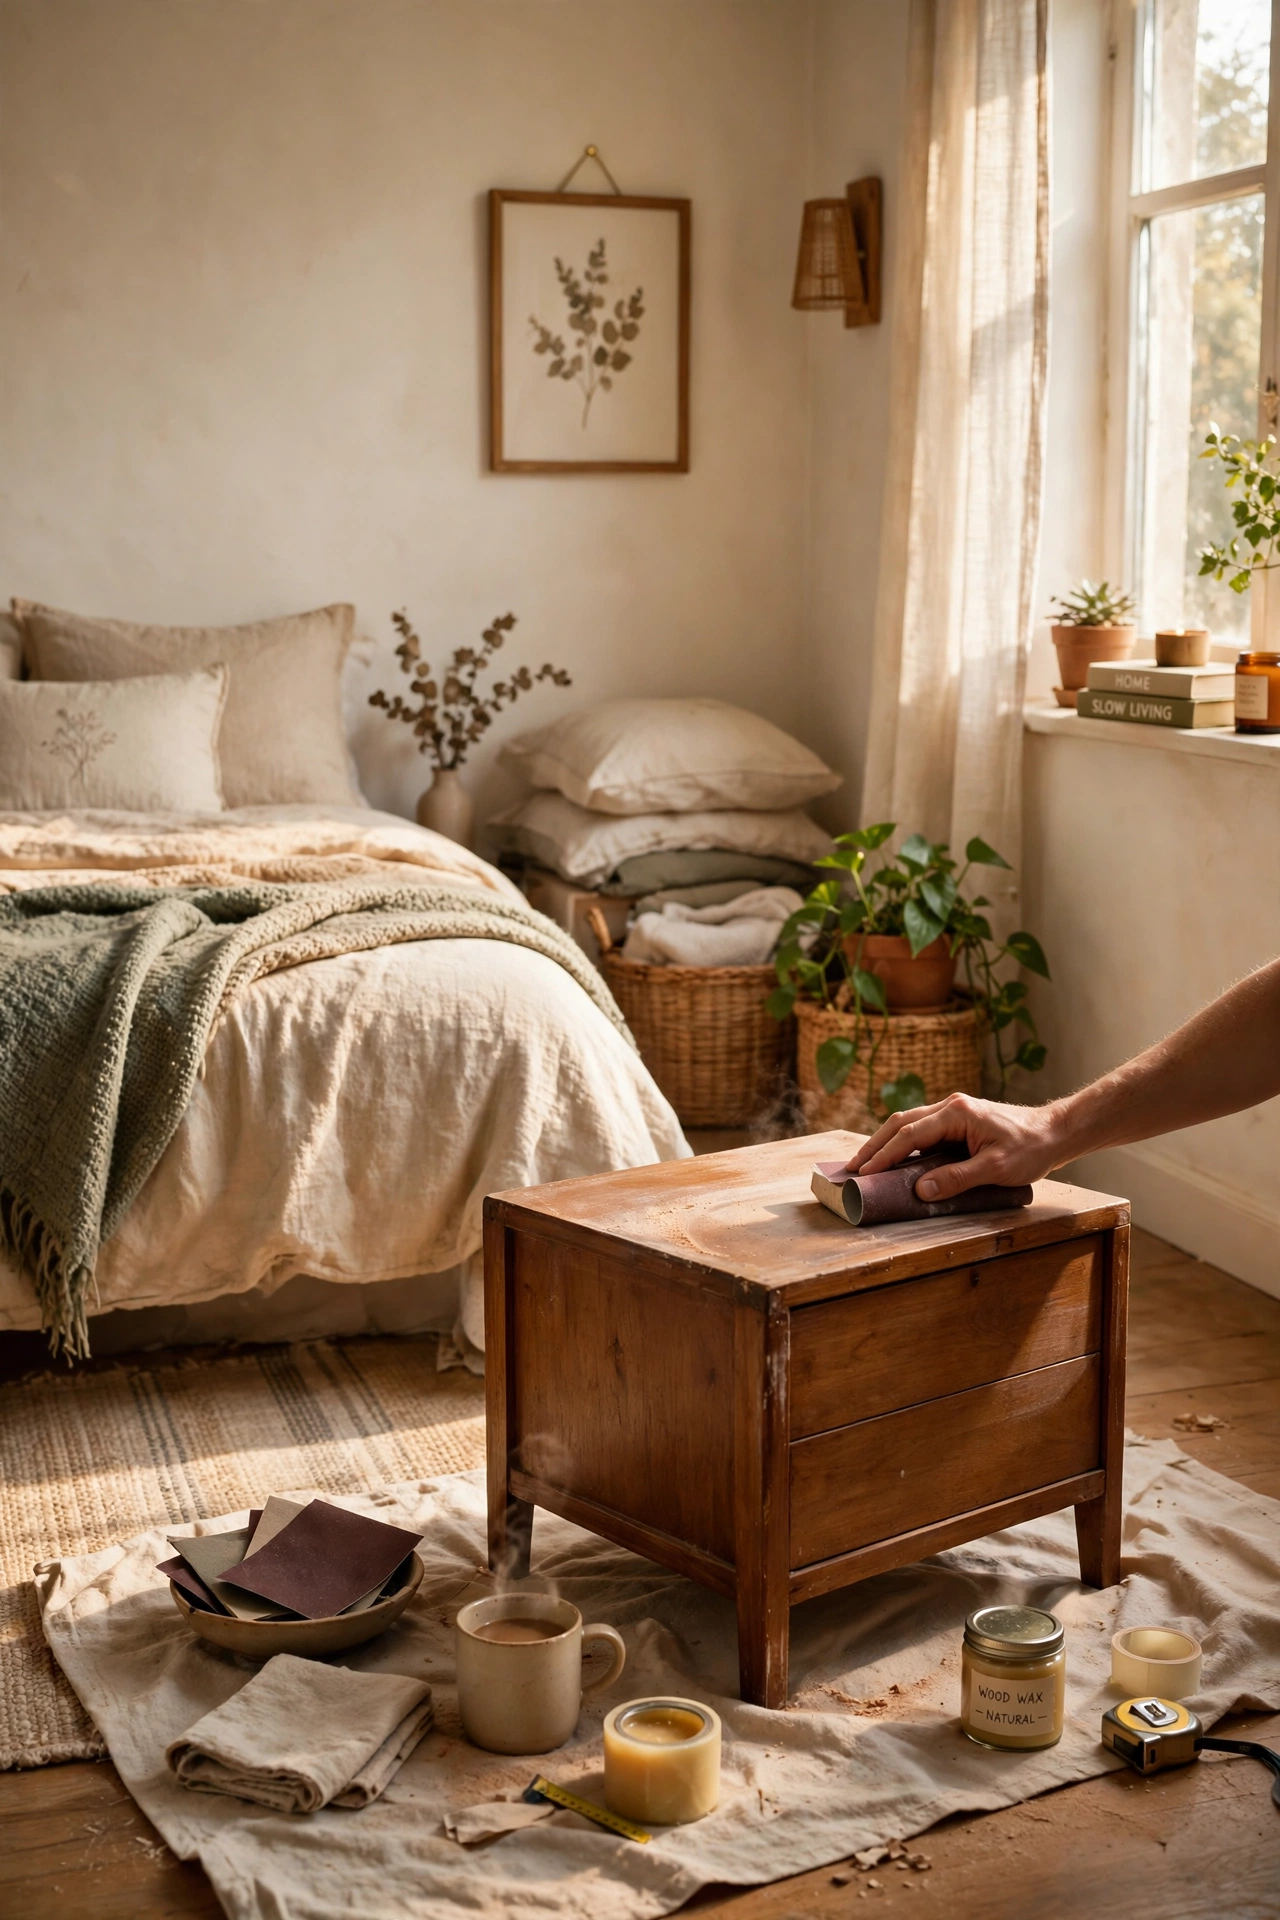
You do not need to sand a thrifted piece back to bare wood to get paint to stick, and doing so can erase the very character that made you buy it. A light scuff-sand with 120-grit paper is usually enough to give paint something to grip, especially on pieces with a glossy factory finish. Work with the grain, wipe away the dust with a damp cloth, and check your work by running a hand over the surface. My first flip, I sanded a lovely oak chair so hard I rounded off its carved edges, and it never looked right again. Gentle is faster, cleaner, and kinder to old wood.
Pro tip: Keep a damp rag beside you while sanding so dust never settles back onto the surface.
Cost: ~$10 | Time: 2 hours
3. Primer That Actually Sticks to Laminate
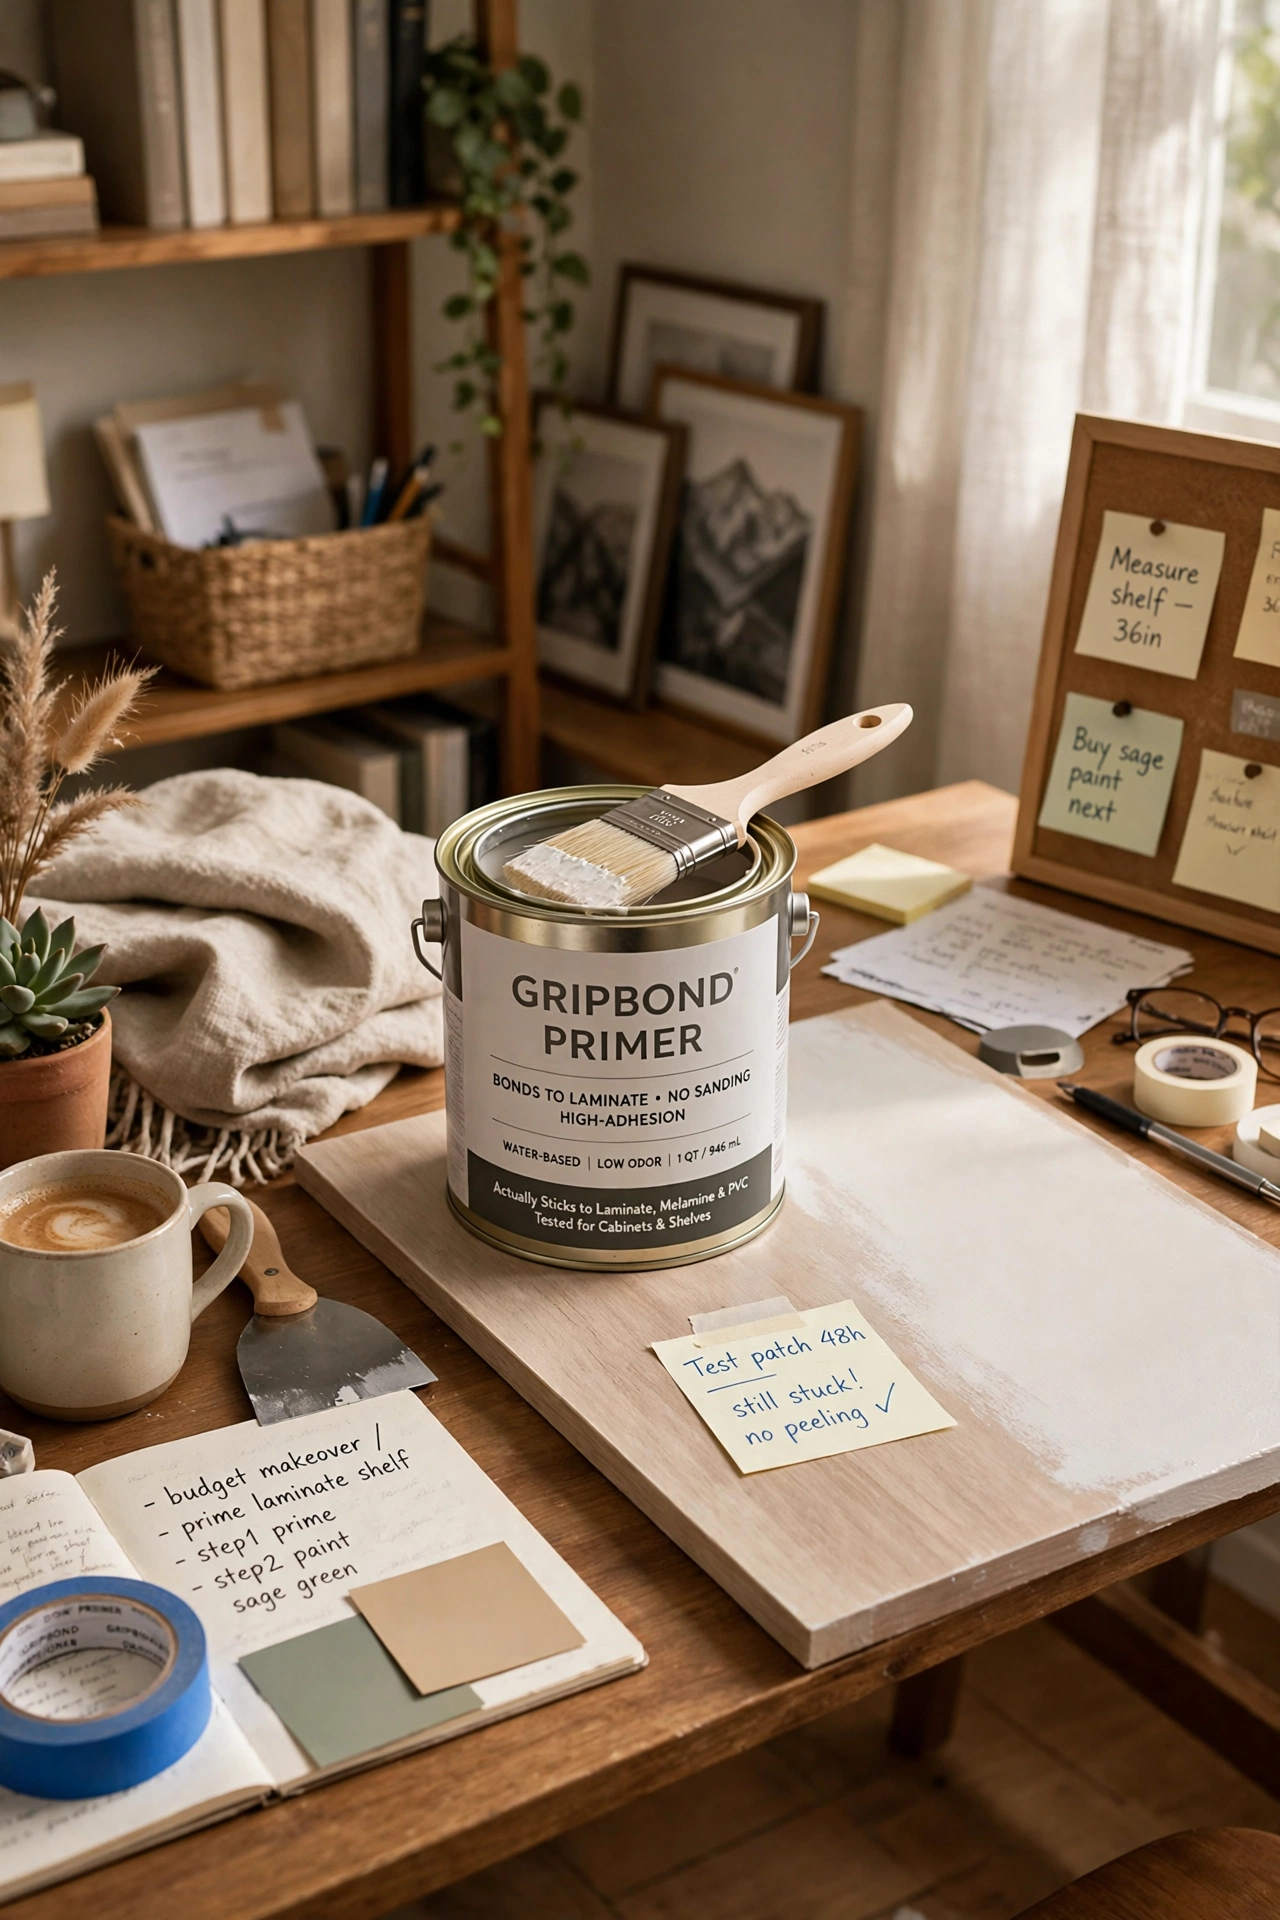
Laminate and shiny veneer are where most thrifted furniture paint jobs fail, because regular paint slides right off that slick surface. A bonding primer made for slick surfaces changes everything: it grips the laminate and gives your topcoat a surface it can hold onto. Roll on one even coat, let it cure for the full time on the can, and then paint as normal. I learned this the hard way on a laminate bookcase that chipped every time a book brushed it, until I stripped it back and started again with proper primer. One extra hour at the start saves a whole redo.
Pro tip: Bonding primer is worth every penny on laminate; skip it and you will repaint twice.
Cost: ~$15 | Time: 3 hours
4. Spray Paint for Spindles and Chair Legs
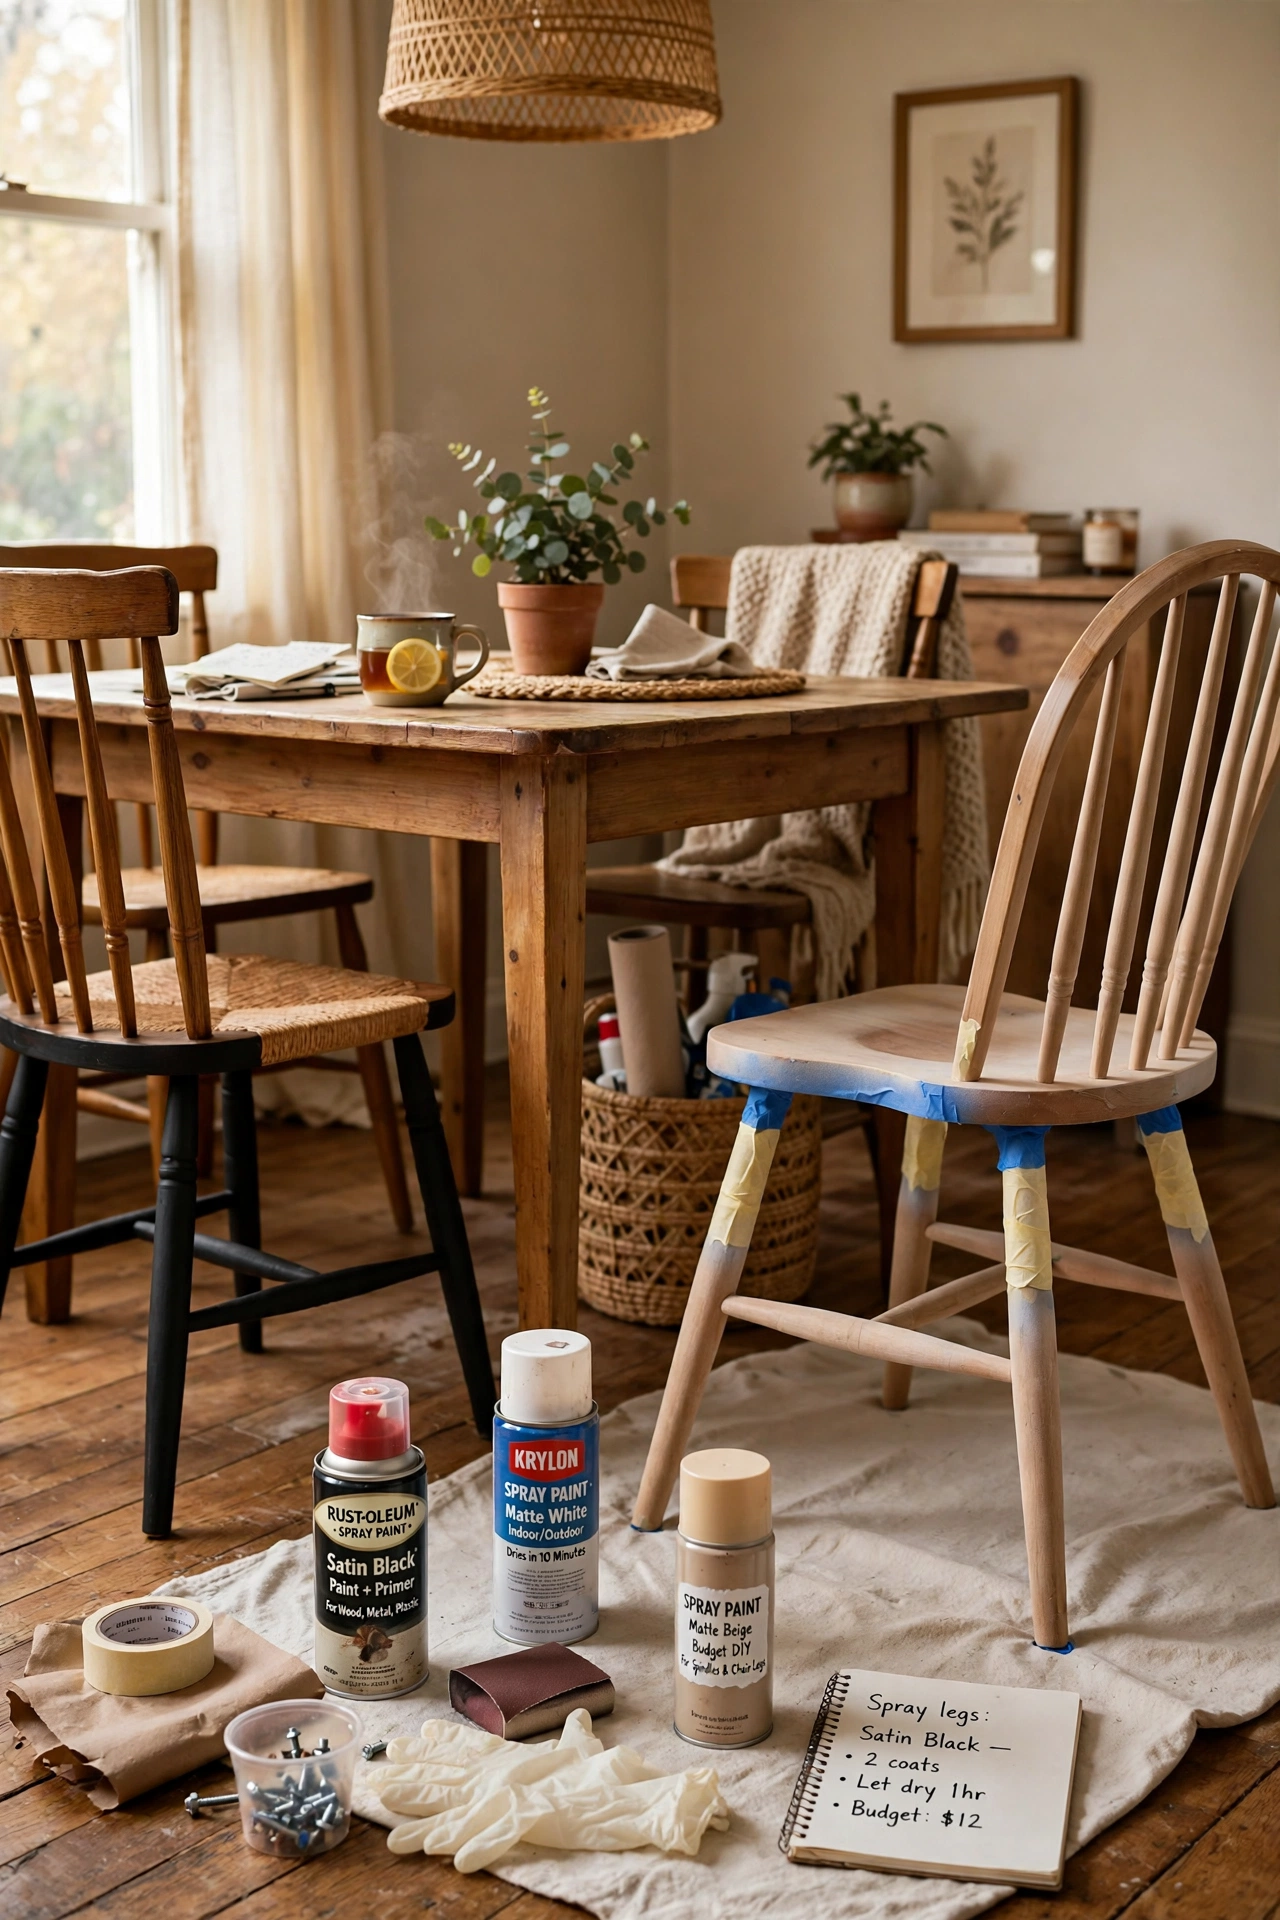
Brushes are wonderful for flat panels but miserable for spindles, chair legs, and anything with curves, where drips collect in every corner. Spray paint solves this in minutes: light, even passes from about eight inches away, with the piece raised off the ground so you can reach underneath. Do two or three mist coats rather than one heavy coat, and turn the chair between coats so every side gets covered. I ruined a spindle chair once by spraying too close and too heavy, and the drips took longer to sand out than the whole job should have taken. Patience with thin coats is the whole trick.
Pro tip: Warm the spray can in a bowl of warm water for ten minutes for a finer, smoother mist.
Cost: ~$12 | Time: 1 hour
5. Milk Paint for a Chippy Farmhouse Finish
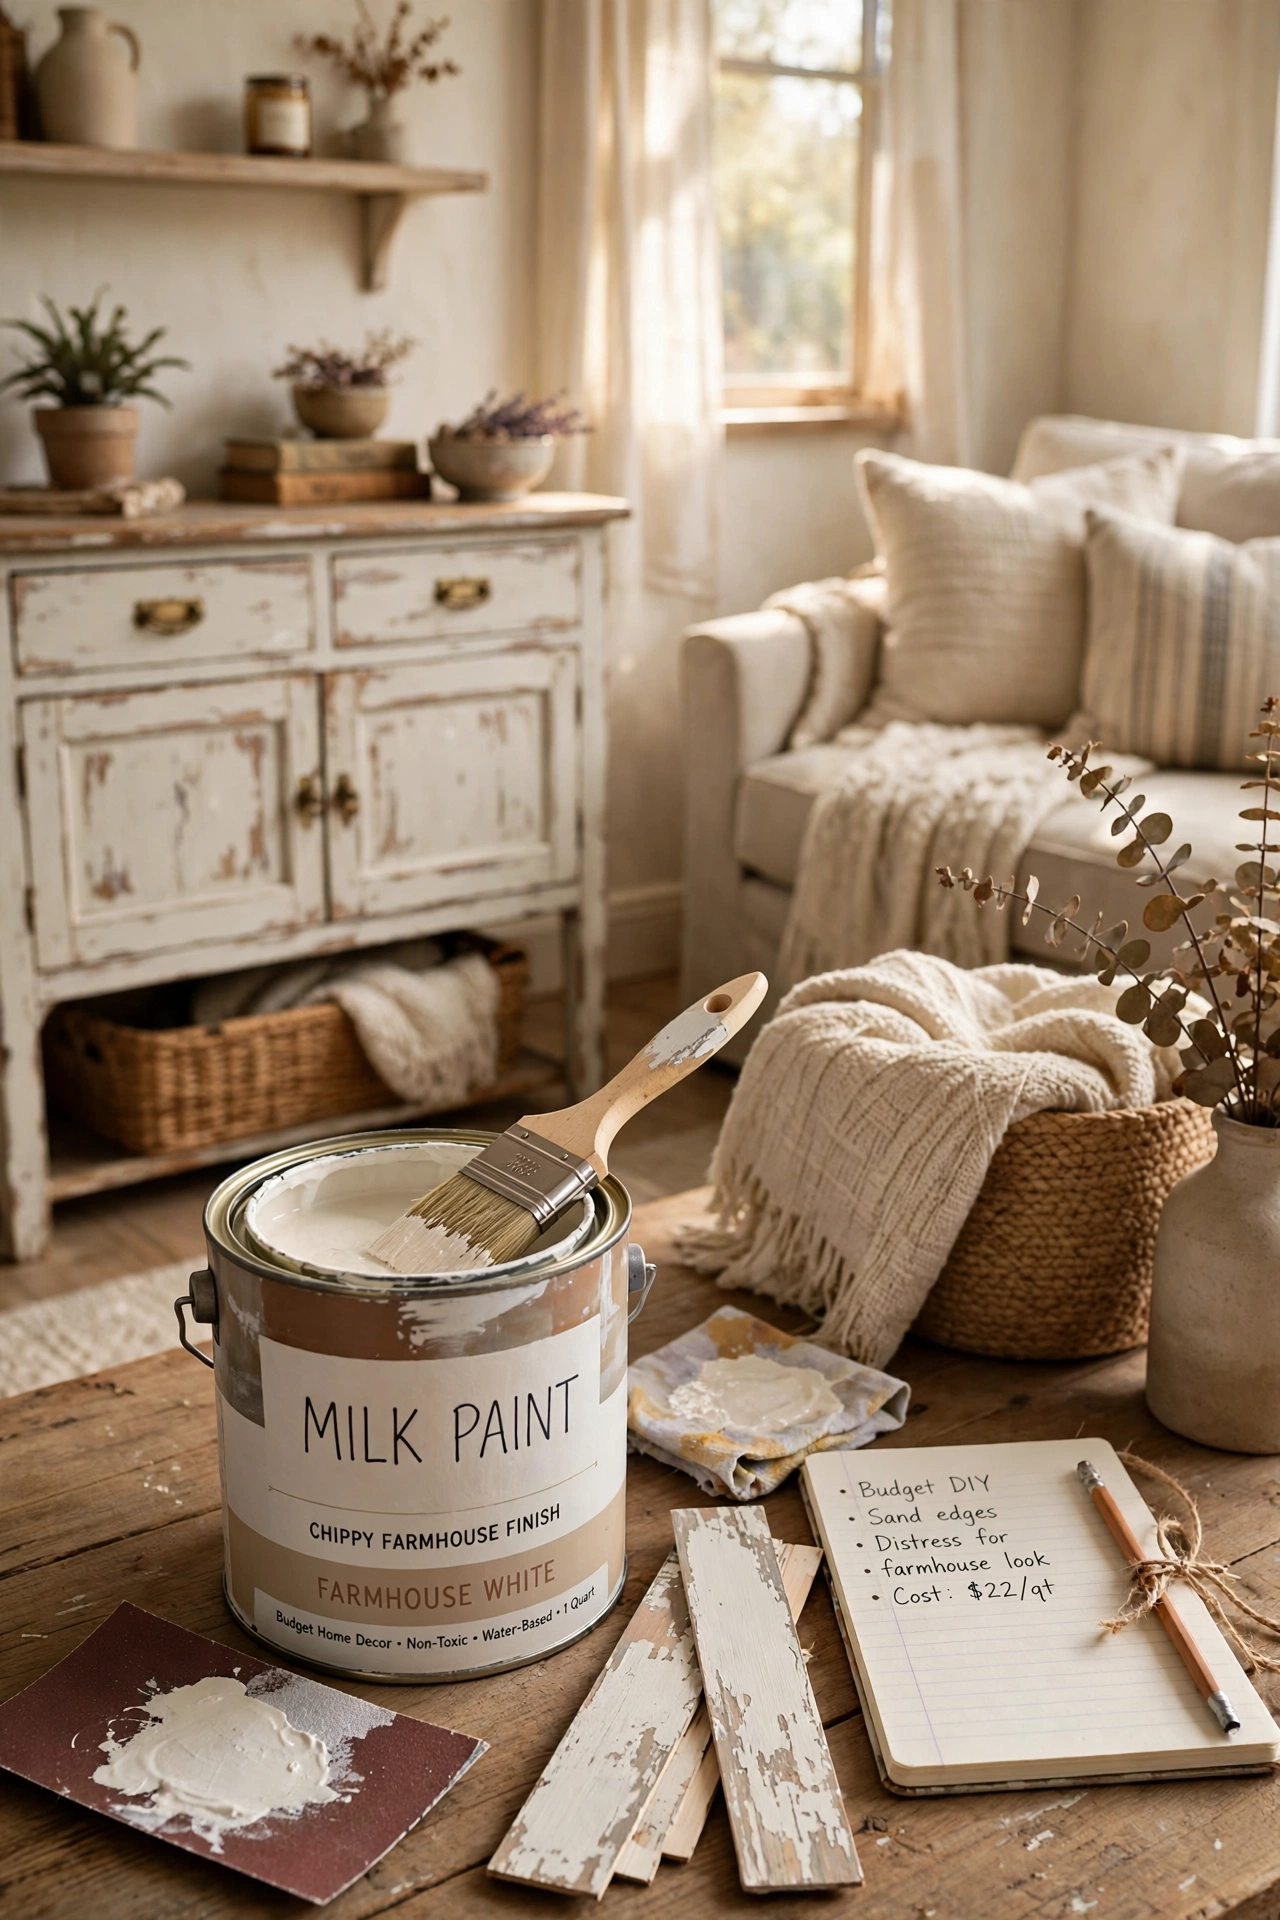
If you love that soft, time-worn farmhouse look, milk paint is the honest way to get it, because it chips naturally along edges instead of looking stamped on. Mix the powder with water to a thin cream, brush it on, and watch it settle into the grain and crackle slightly as it dries. Seal it with wax or a clear topcoat once you are happy with the level of wear. My first milk-paint dresser chipped far more than I planned because I skipped the bonding agent on a slick spot, so test a hidden patch first. When it works, nothing else looks quite as genuinely old.
Pro tip: Always test milk paint on a hidden patch, since it behaves differently on every surface.
Cost: ~$20 | Time: a weekend
6. Two-Tone Dresser: Painted Body, Wood Top
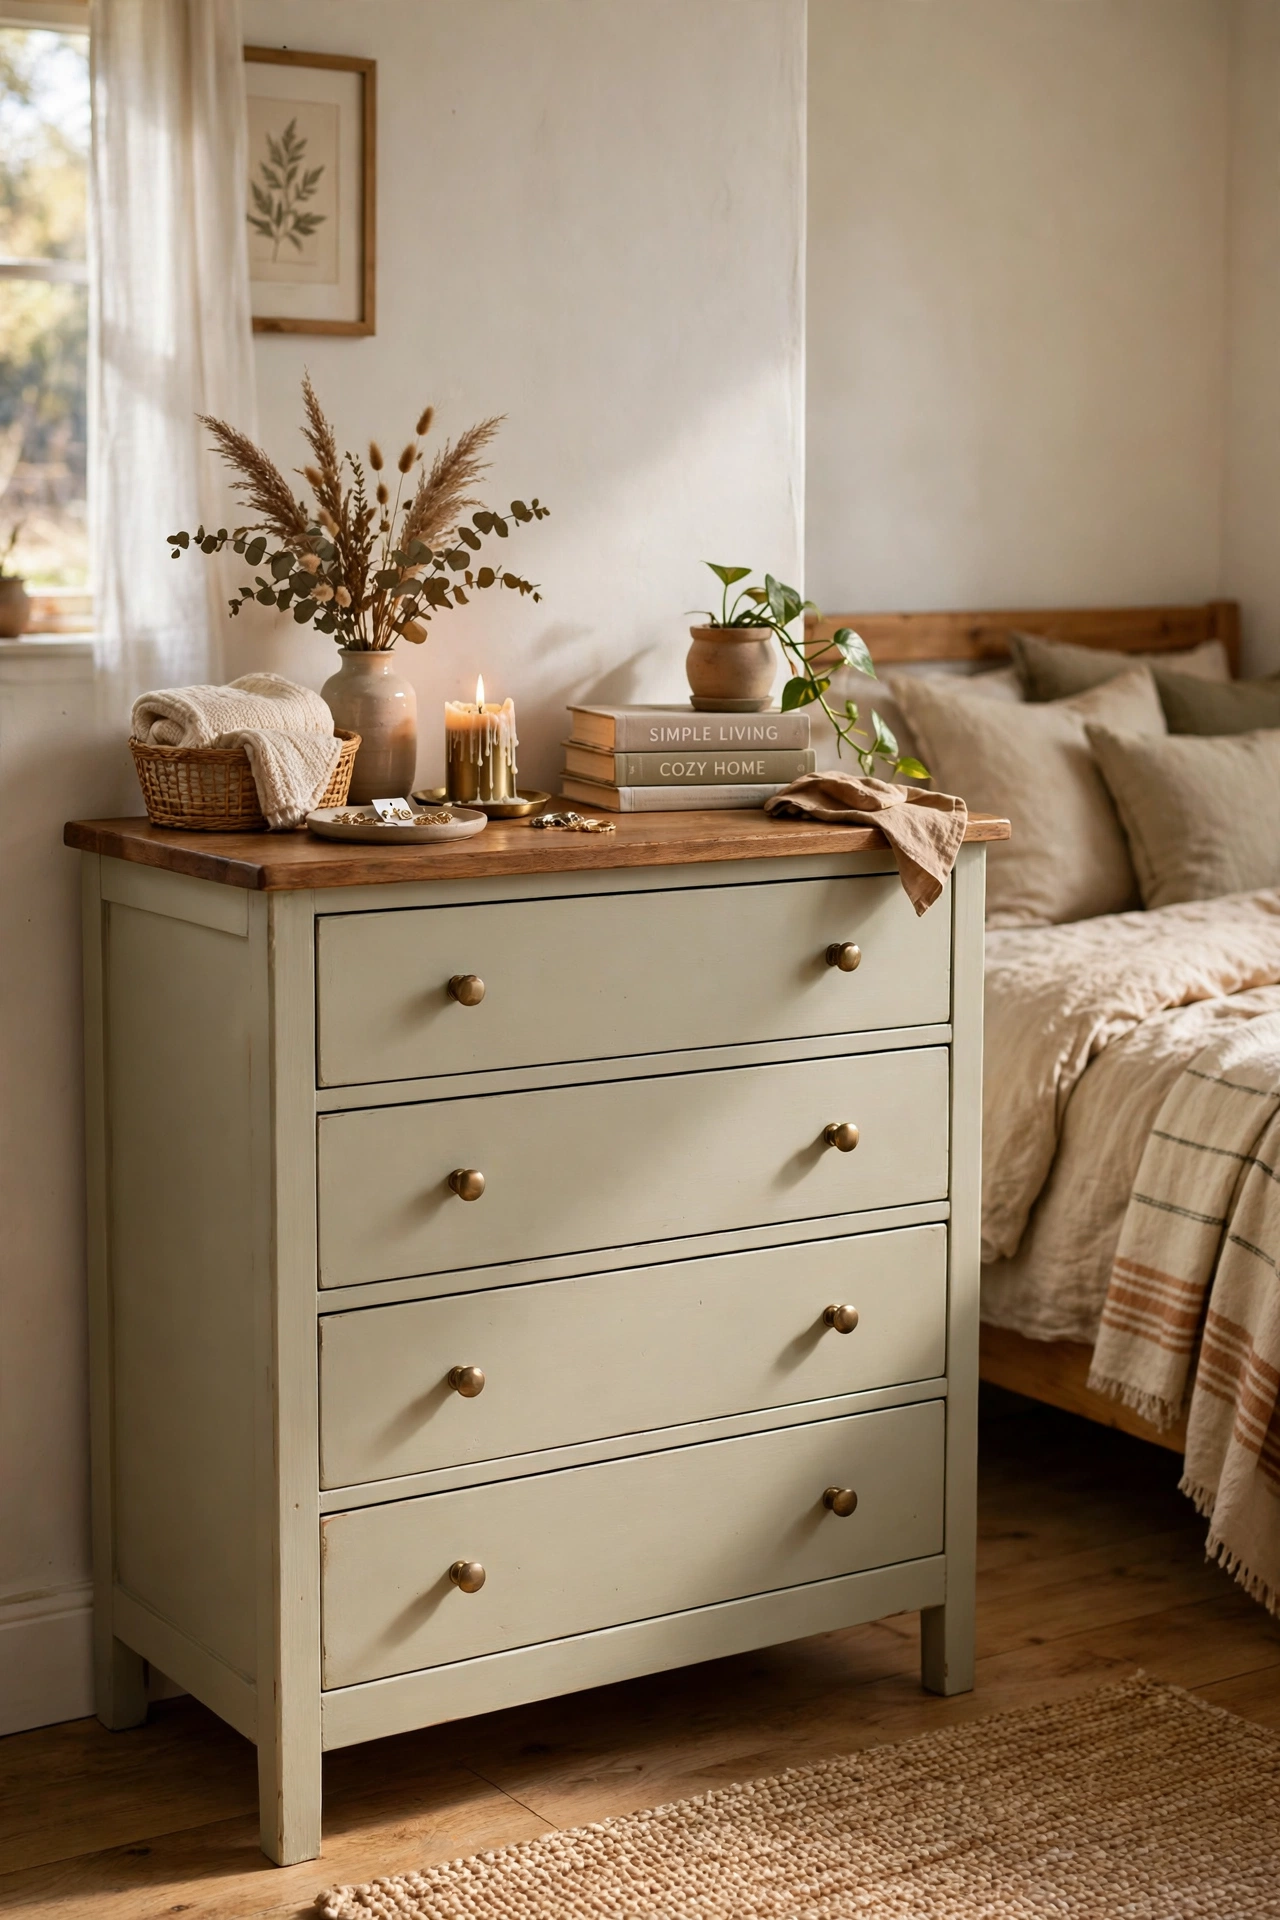
A two-tone finish is the fastest way to make a plain thrifted dresser look considered rather than just painted. Paint the body in a soft colour like sage or warm white, and sand the top back to natural wood, then seal it with clear wax or polyurethane for a surface that can handle a coffee cup. Tape the edge cleanly where paint meets wood, and pull the tape while the last coat is still slightly tacky for a crisp line. I left tape on overnight once and it pulled paint off with it, so timing matters here. The contrast does half the styling work for you.
Pro tip: Pull painter’s tape while the last coat is still tacky for the sharpest possible line.
Cost: ~$30 | Time: a weekend
7. Distressing Edges for a Soft Worn Look
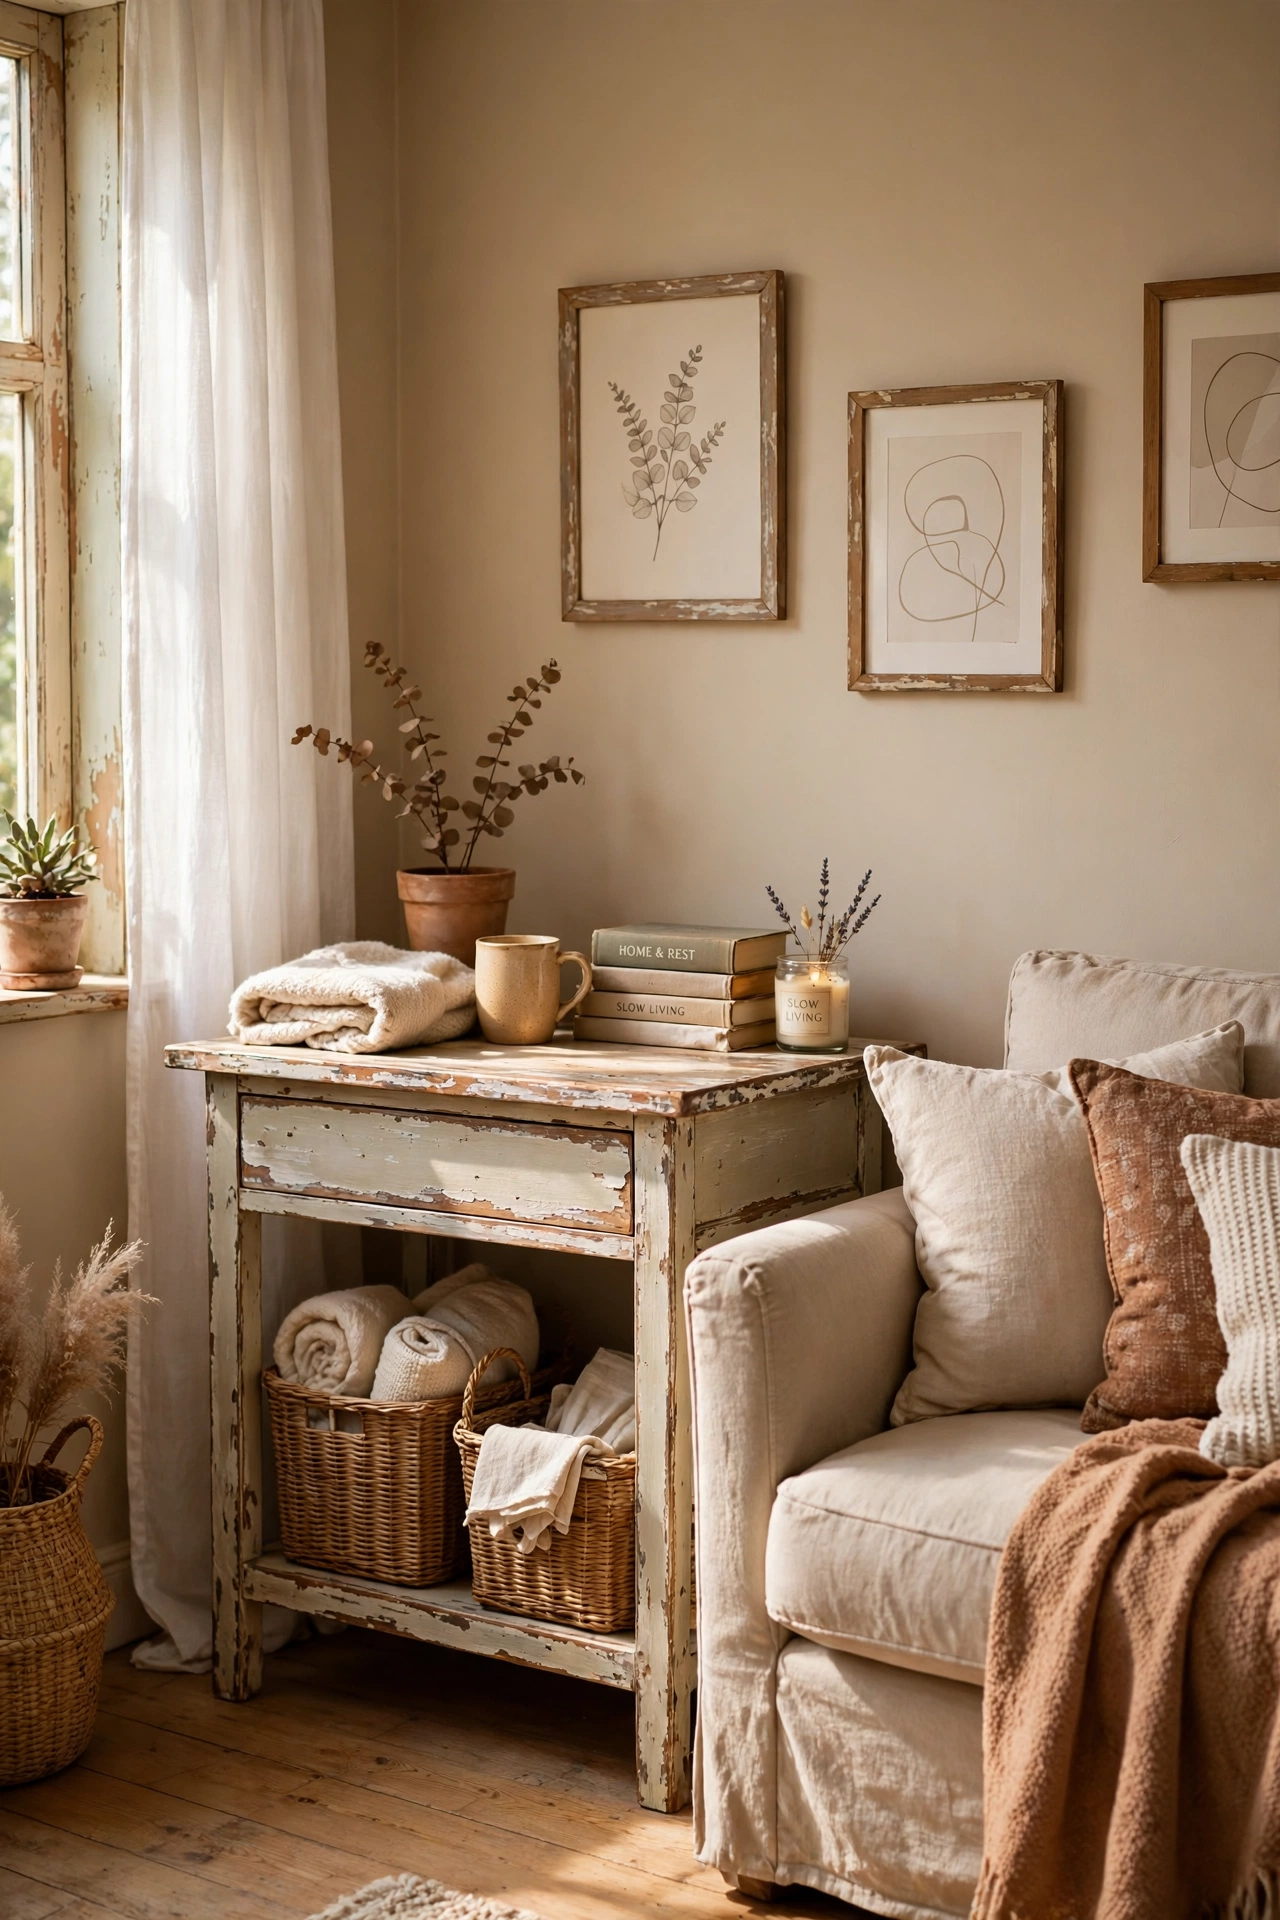
Distressing works best when it follows logic: paint wears first on edges, corners, and anywhere hands grab, not in the middle of a flat panel. After your paint has dried, rub those high spots gently with fine sandpaper until a whisper of the wood or undercoat shows through. Step back often, because it is easy to keep going until the piece looks damaged rather than gently worn. I over-distressed a nightstand on my second flip and had to repaint the whole drawer front, which taught me to stop sooner than I think I should. Less is almost always more here.
Pro tip: Step back every few minutes while distressing; your eyes adjust and you can overdo it fast.
Cost: ~$8 | Time: 2 hours
8. Wax Versus Poly: Sealing Without the Sticky Feel
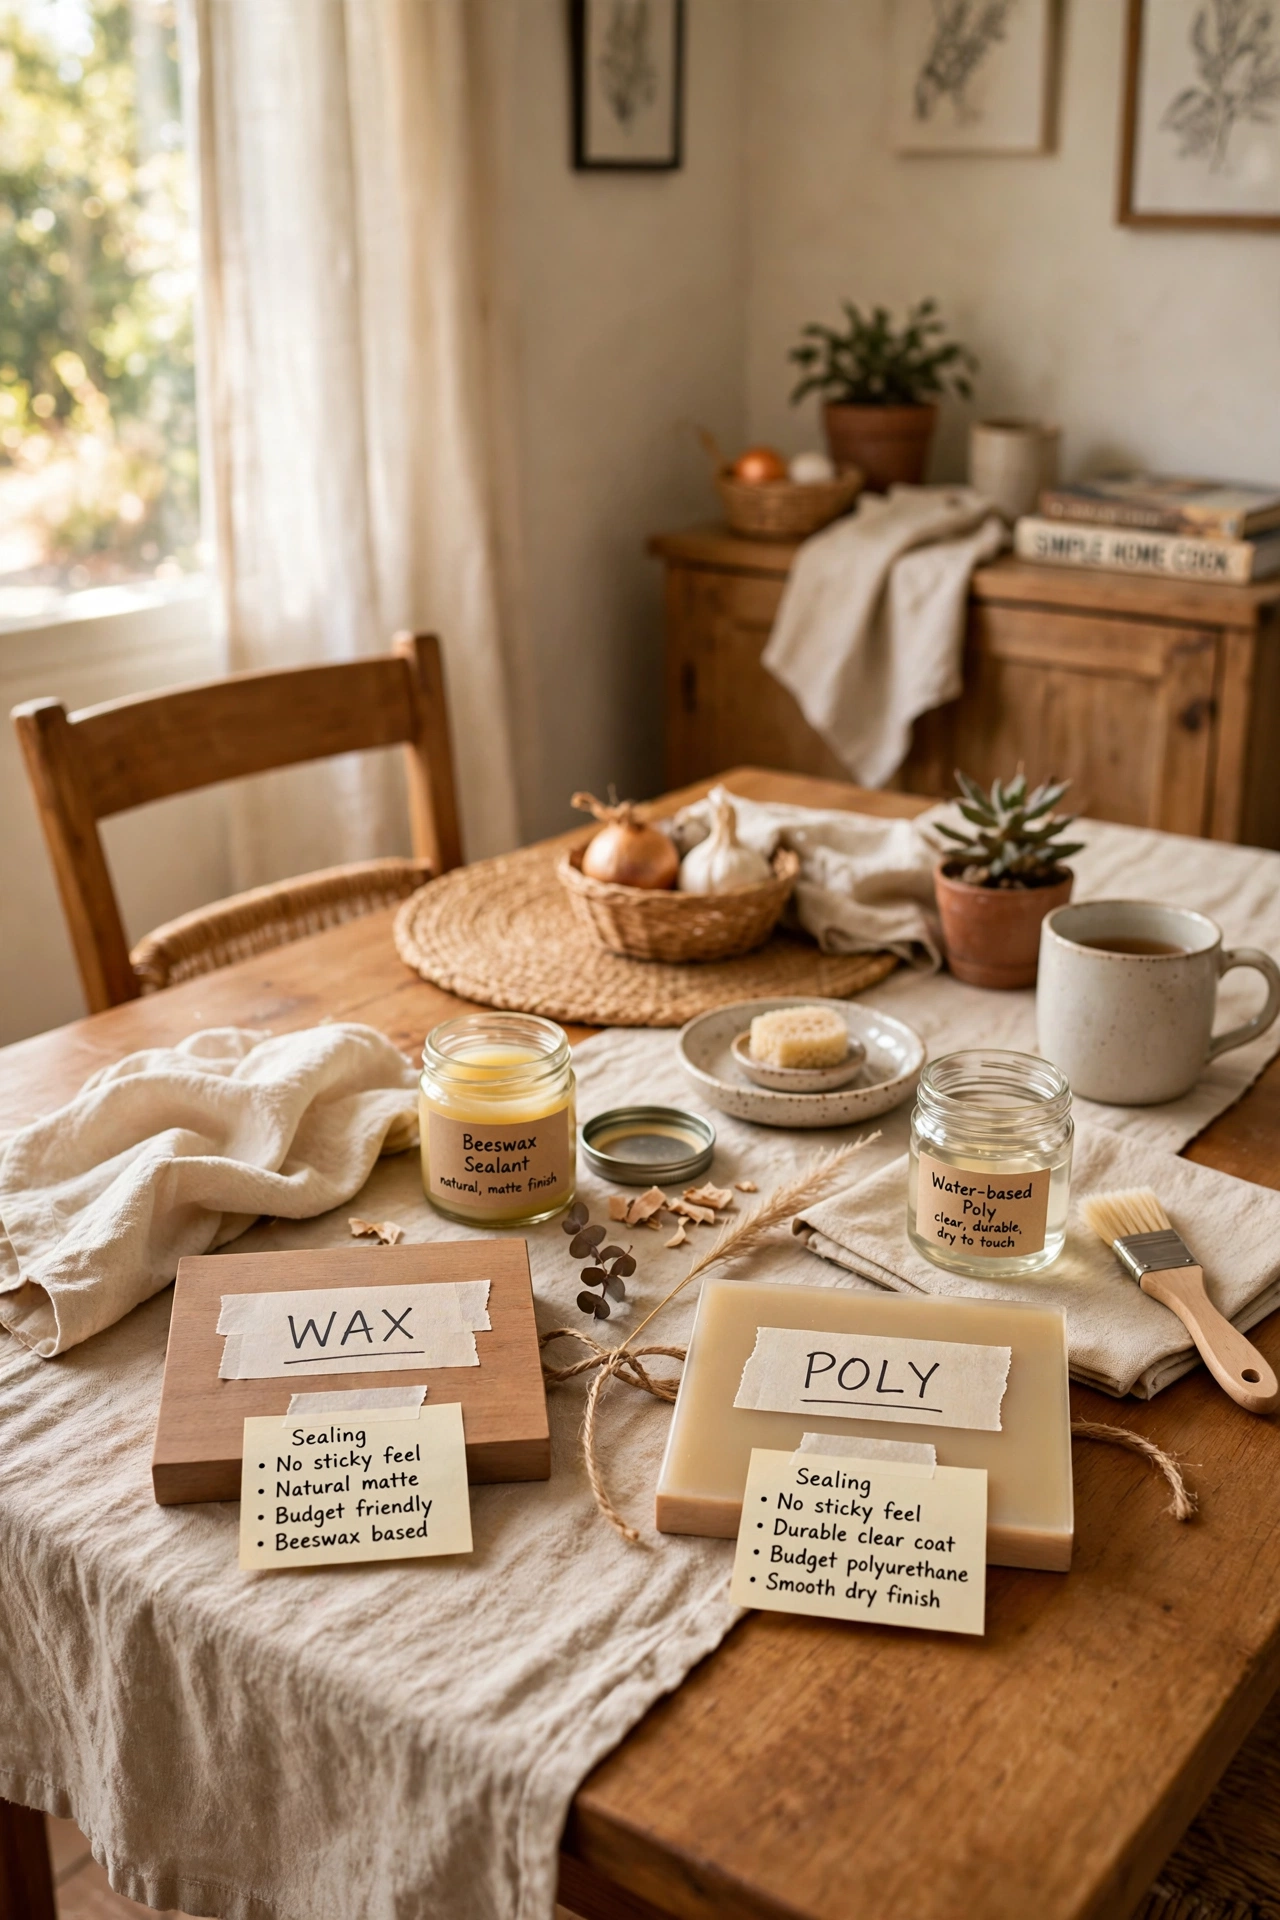
The sealer you choose decides whether your painted piece feels soft and chalky or hard and wipeable, so pick based on how the piece will be used. Wax gives a lovely matte, hand-rubbed feel and is perfect for a bedroom dresser, but it needs reapplying now and then. Polyurethane, brushed on in thin coats, stands up to dining tables and desks that get daily use. I waxed a kitchen table once and regretted it within weeks, because every warm plate left a mark. Match the sealer to the job, and your paint will last years instead of months.
Pro tip: Label your sealer tin with the piece name so touch-ups years later still match.
Cost: ~$18 | Time: an afternoon
9. Painting Over Veneer Without Bubbling
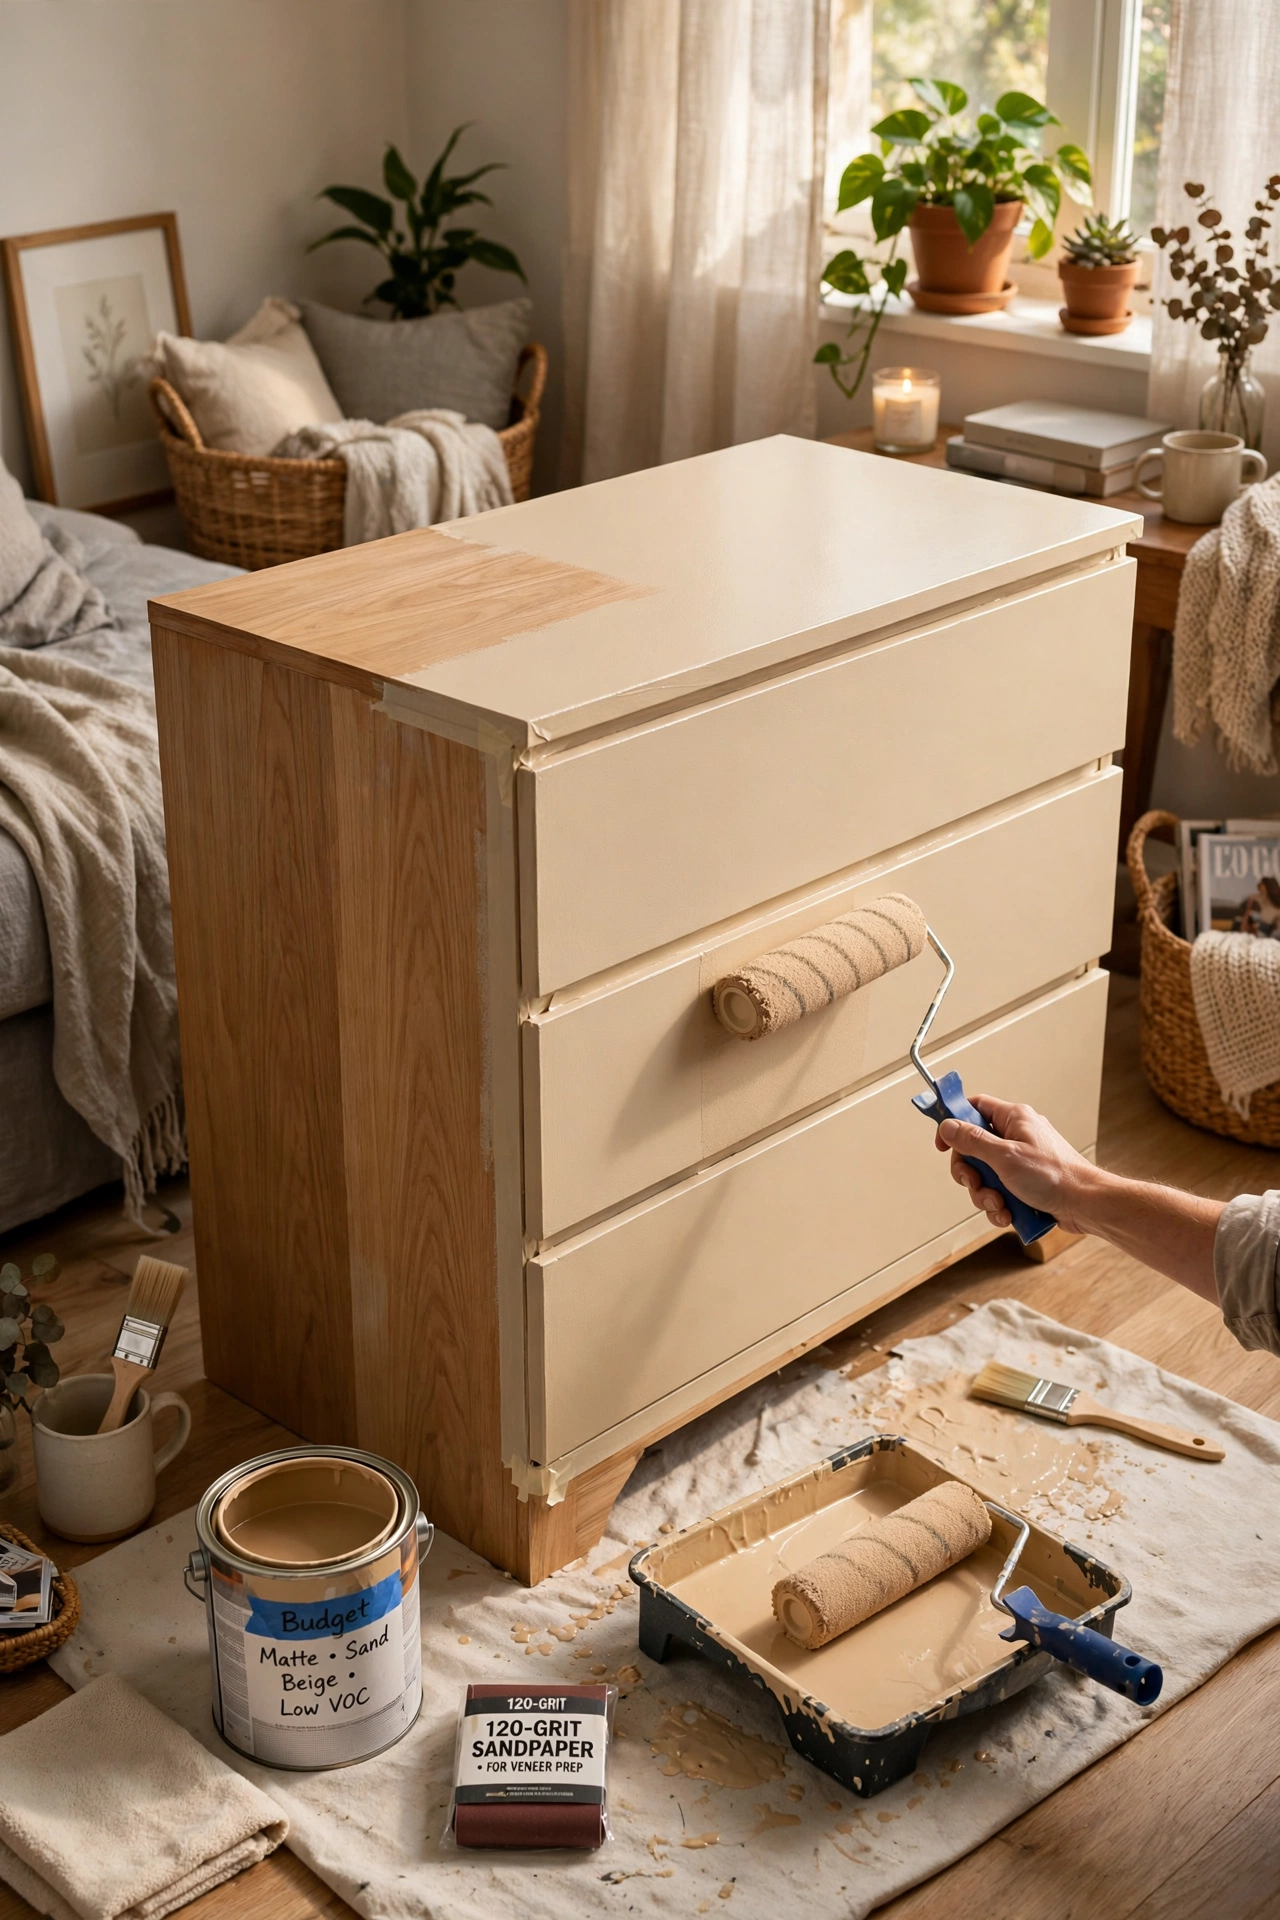
Veneer bubbles when moisture gets underneath it, so the trick is to keep coats thin and to fix loose spots before you paint. Press down any lifting veneer with wood glue and a heavy book overnight, then fill chips with wood filler and sand smooth. Prime with a stain-blocking primer, which also seals the surface, and paint in thin coats. I painted straight over a bubbling veneer sideboard once and the bubbles only got bigger, forcing a full strip. An hour of prep on veneer is never wasted, and it is the difference between a flip that lasts and one that peels.
Pro tip: Glue down loose veneer the night before painting, not the morning of.
Cost: ~$15 | Time: 3 hours
10. Bold Colour on a Small Side Table

A small side table is the perfect place to try a bold colour you would never put on a whole dresser, because the risk is tiny and the payoff is huge. Deep green, navy, or even a rich terracotta can turn a five-dollar table into the piece everyone asks about. Prep it properly, use two coats of a good furniture paint, and seal it well since side tables get cups, books, and elbows. I painted my first one bright mustard on a whim and it still anchors my reading corner years later. Small pieces are where your style gets to be brave.
Pro tip: One bold small piece beats three timid ones in a room that needs personality.
Cost: ~$12 | Time: an afternoon
11. Whitewash for Pine That Looks Orange
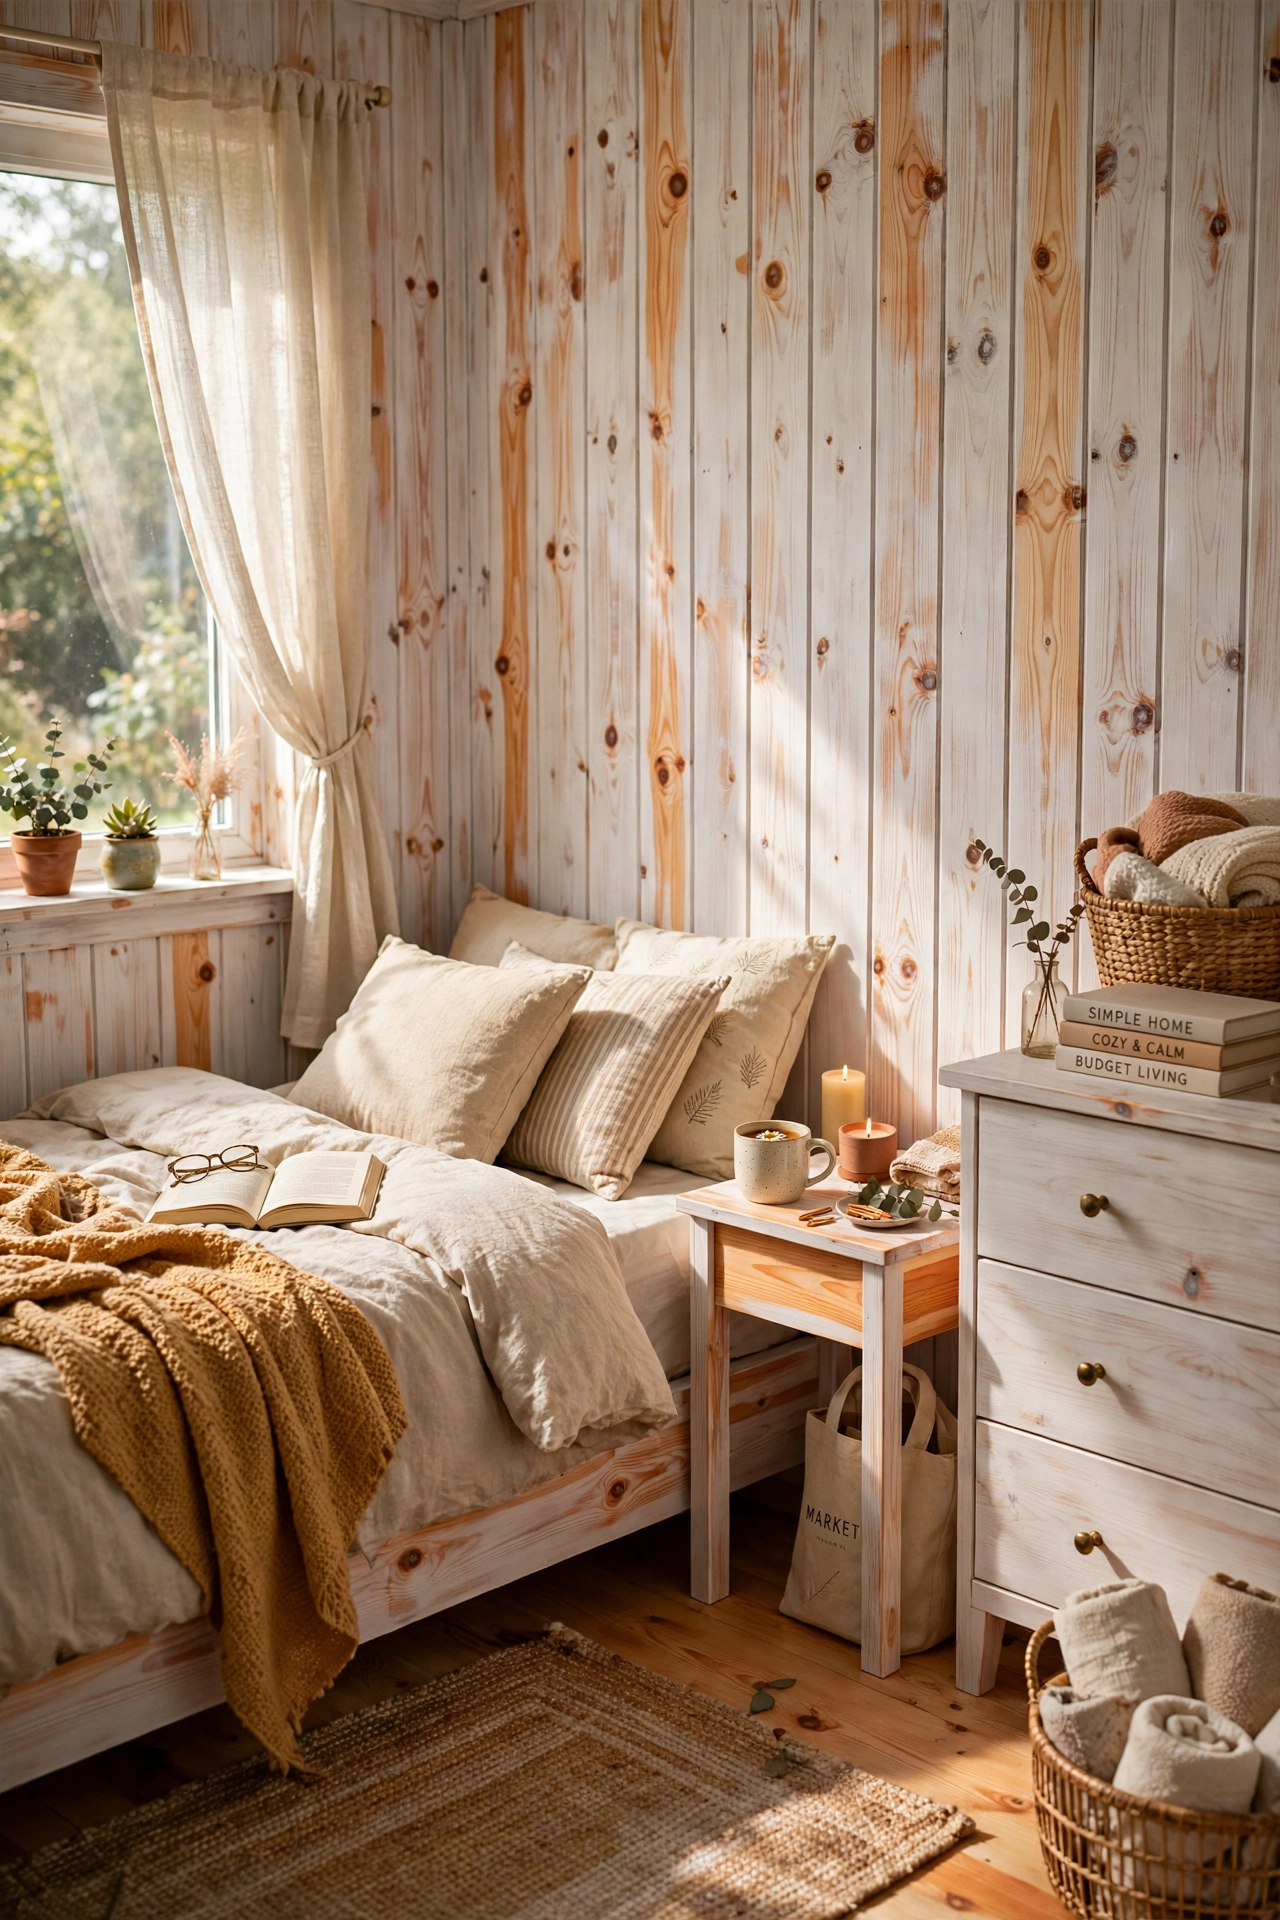
Old pine often turns an orange colour that fights with everything else in the room, and whitewash is the gentle fix that keeps the grain visible. Mix white paint with water until it is thin like milk, brush it on in the direction of the grain, and wipe back the excess with a rag until you like the tone. Repeat for a whiter finish, or stop at one coat for a pale honey look. I whitewashed a pine headboard that had clashed with my bedding for years, and it finally blended in. Seal with clear wax so the soft finish stays put.
Pro tip: Wipe whitewash back in long, even strokes so the tone stays consistent across the piece.
Cost: ~$14 | Time: 2 hours
12. Stencilled Drawer Fronts
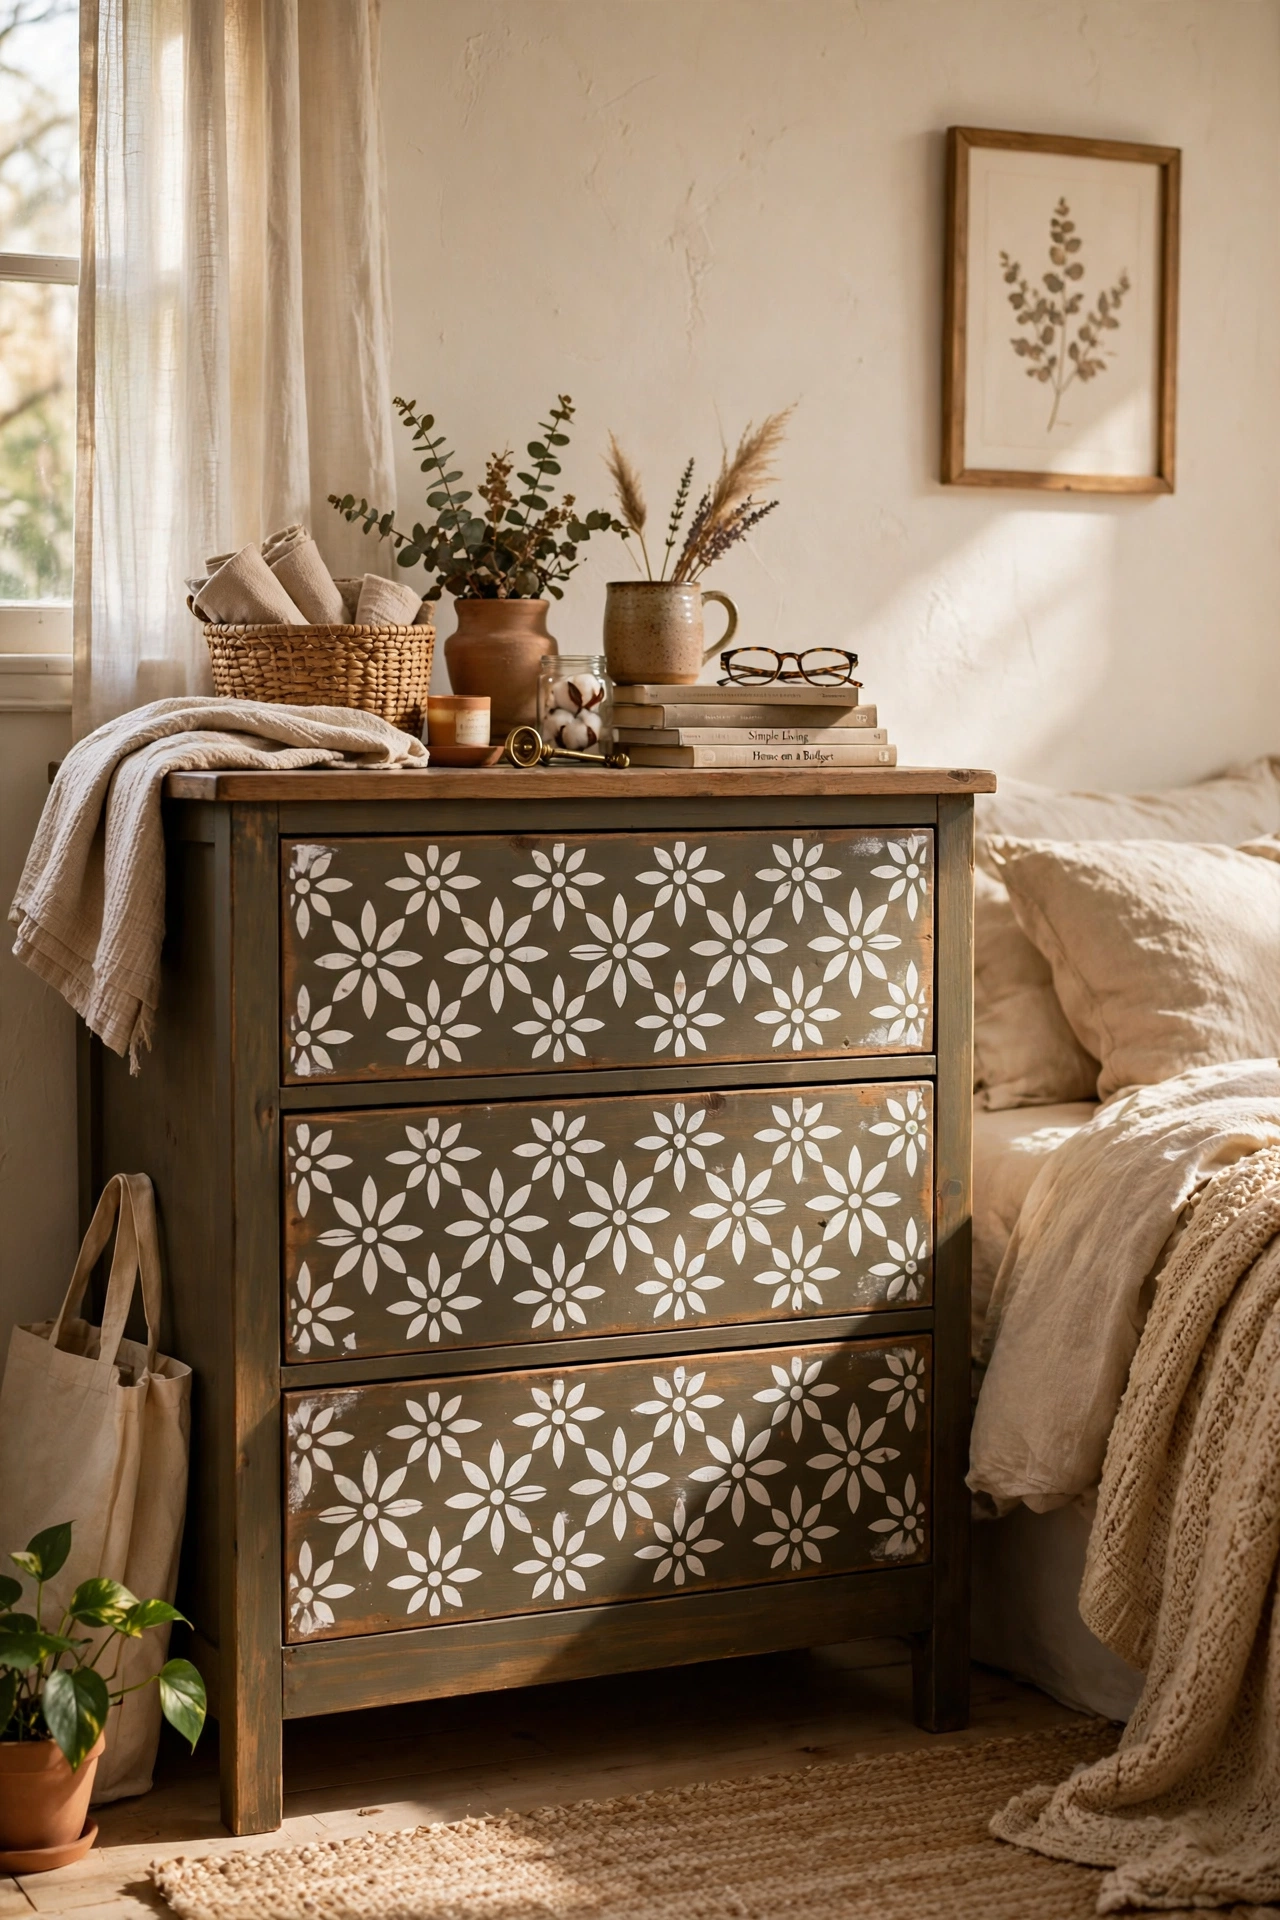
Stencilling is a cheap way to add pattern to plain drawer fronts without committing to wallpaper or a whole new design. Choose a simple stencil, tape it firmly in place, and dab paint on with a nearly dry brush so nothing bleeds underneath. My first attempt bled badly because I loaded the brush like I was painting a wall, and the fix was a full sand-back.
Pro tip: A nearly dry stencil brush is the difference between crisp lines and a blurry mess.
Cost: ~$10 | Time: 2 hours
Save this idea for your next thrift run, because the right technique matters more than the right paint brand, and these are the ones I come back to again and again. If you want more inspiration, browse (see also: painting furniture on a budget) and (see also: thrifted dresser flip ideas) before you head out.
13. Black Paint for Instant Drama
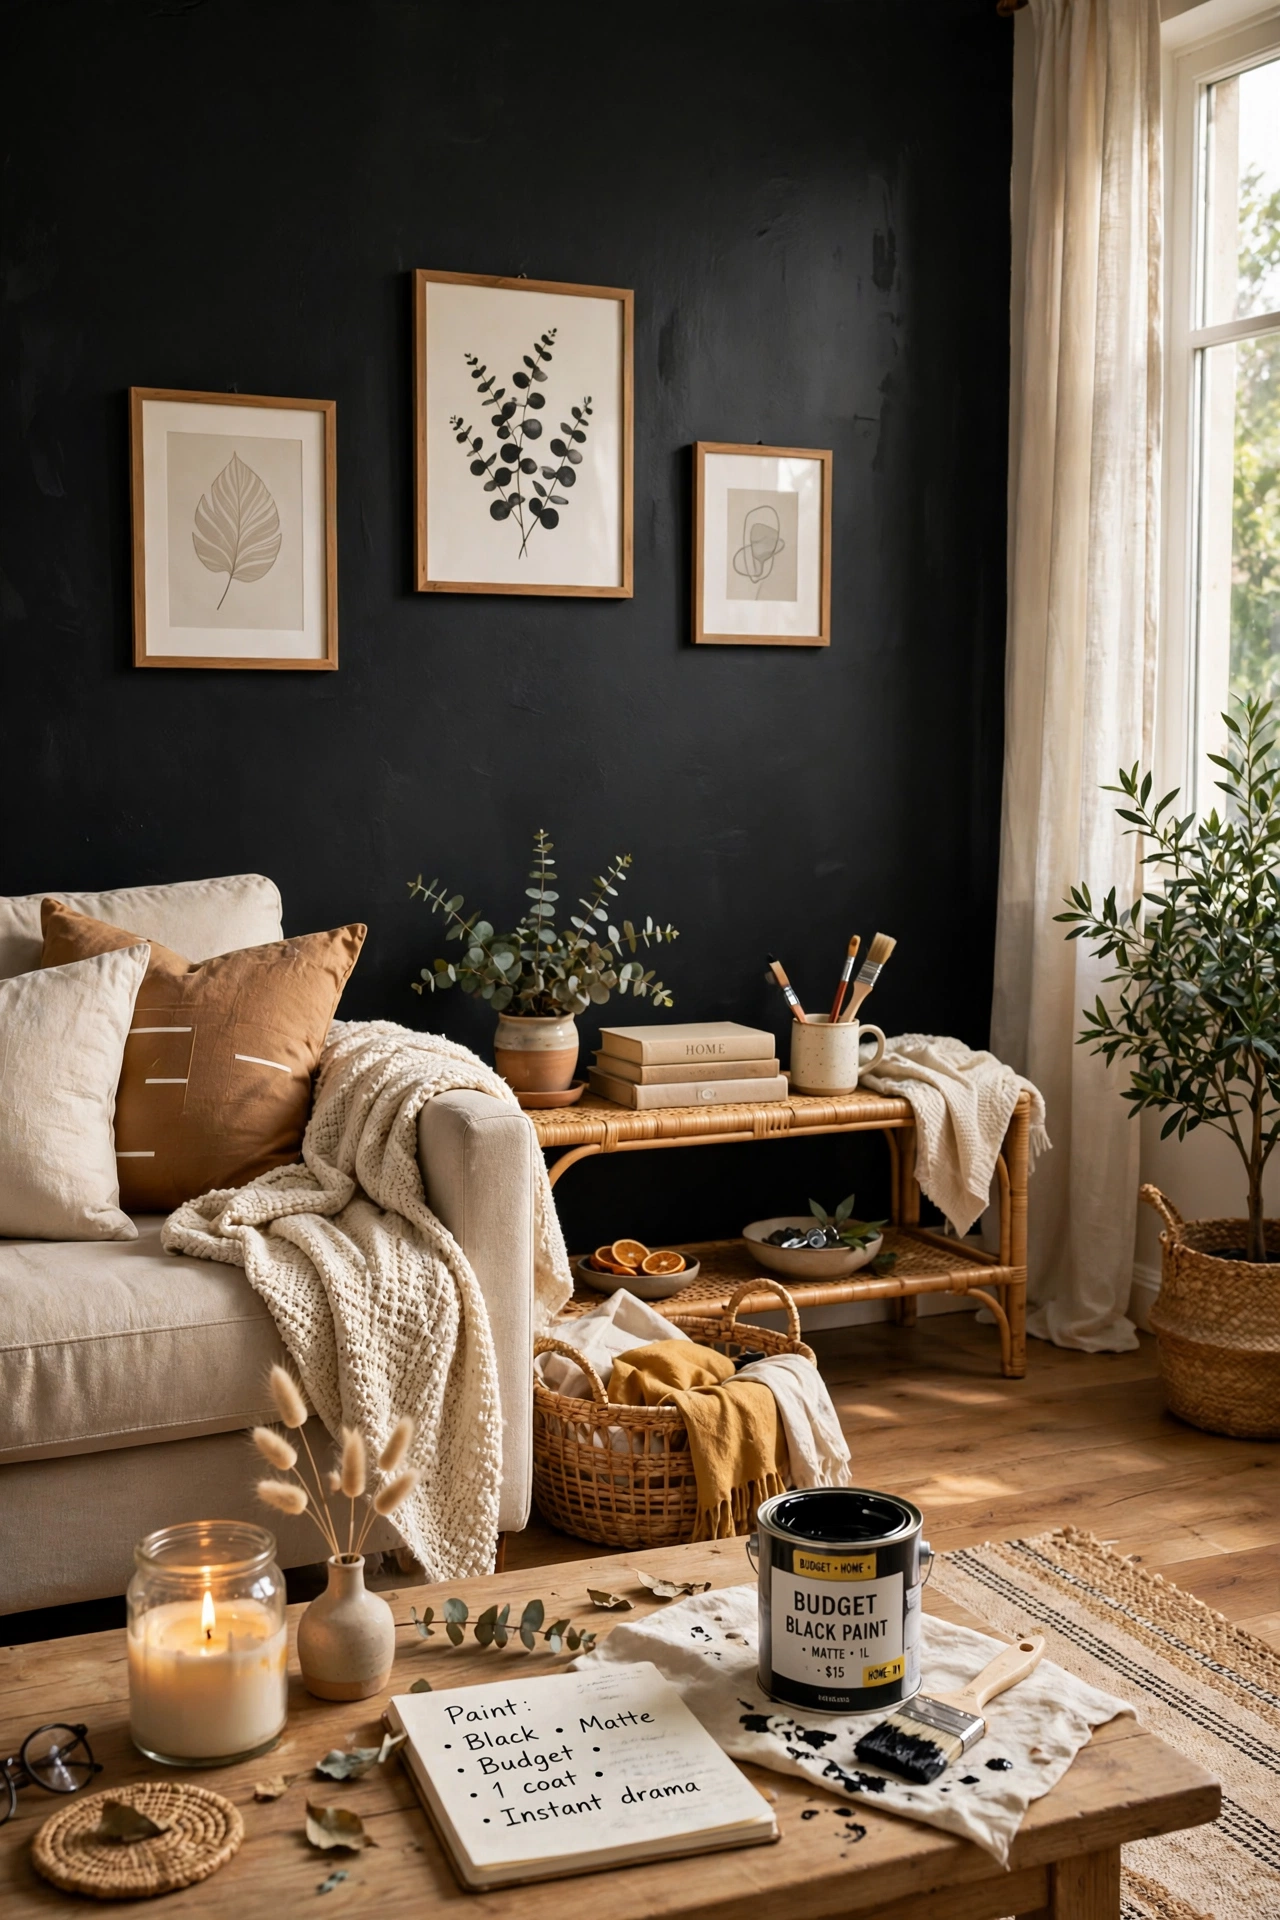
Black paint is the most underrated trick in thrift flipping, because it hides a multitude of sins and makes brass hardware look instantly expensive. Choose a soft black rather than a harsh jet black, and use a satin finish so the piece has depth instead of looking flat. Prep matters even more with dark paint, since every brush mark and dust speck shows, so work in good light and keep coats thin. I painted a battered bookcase black on a whim and it became the smartest-looking thing in my living room. Dark paint forgives ugly wood and rewards good prep.
Pro tip: Paint in daylight if you can; dark paint hides flaws in dim light and reveals them later.
Cost: ~$18 | Time: a weekend
14. Colour-Washing a Bookshelf
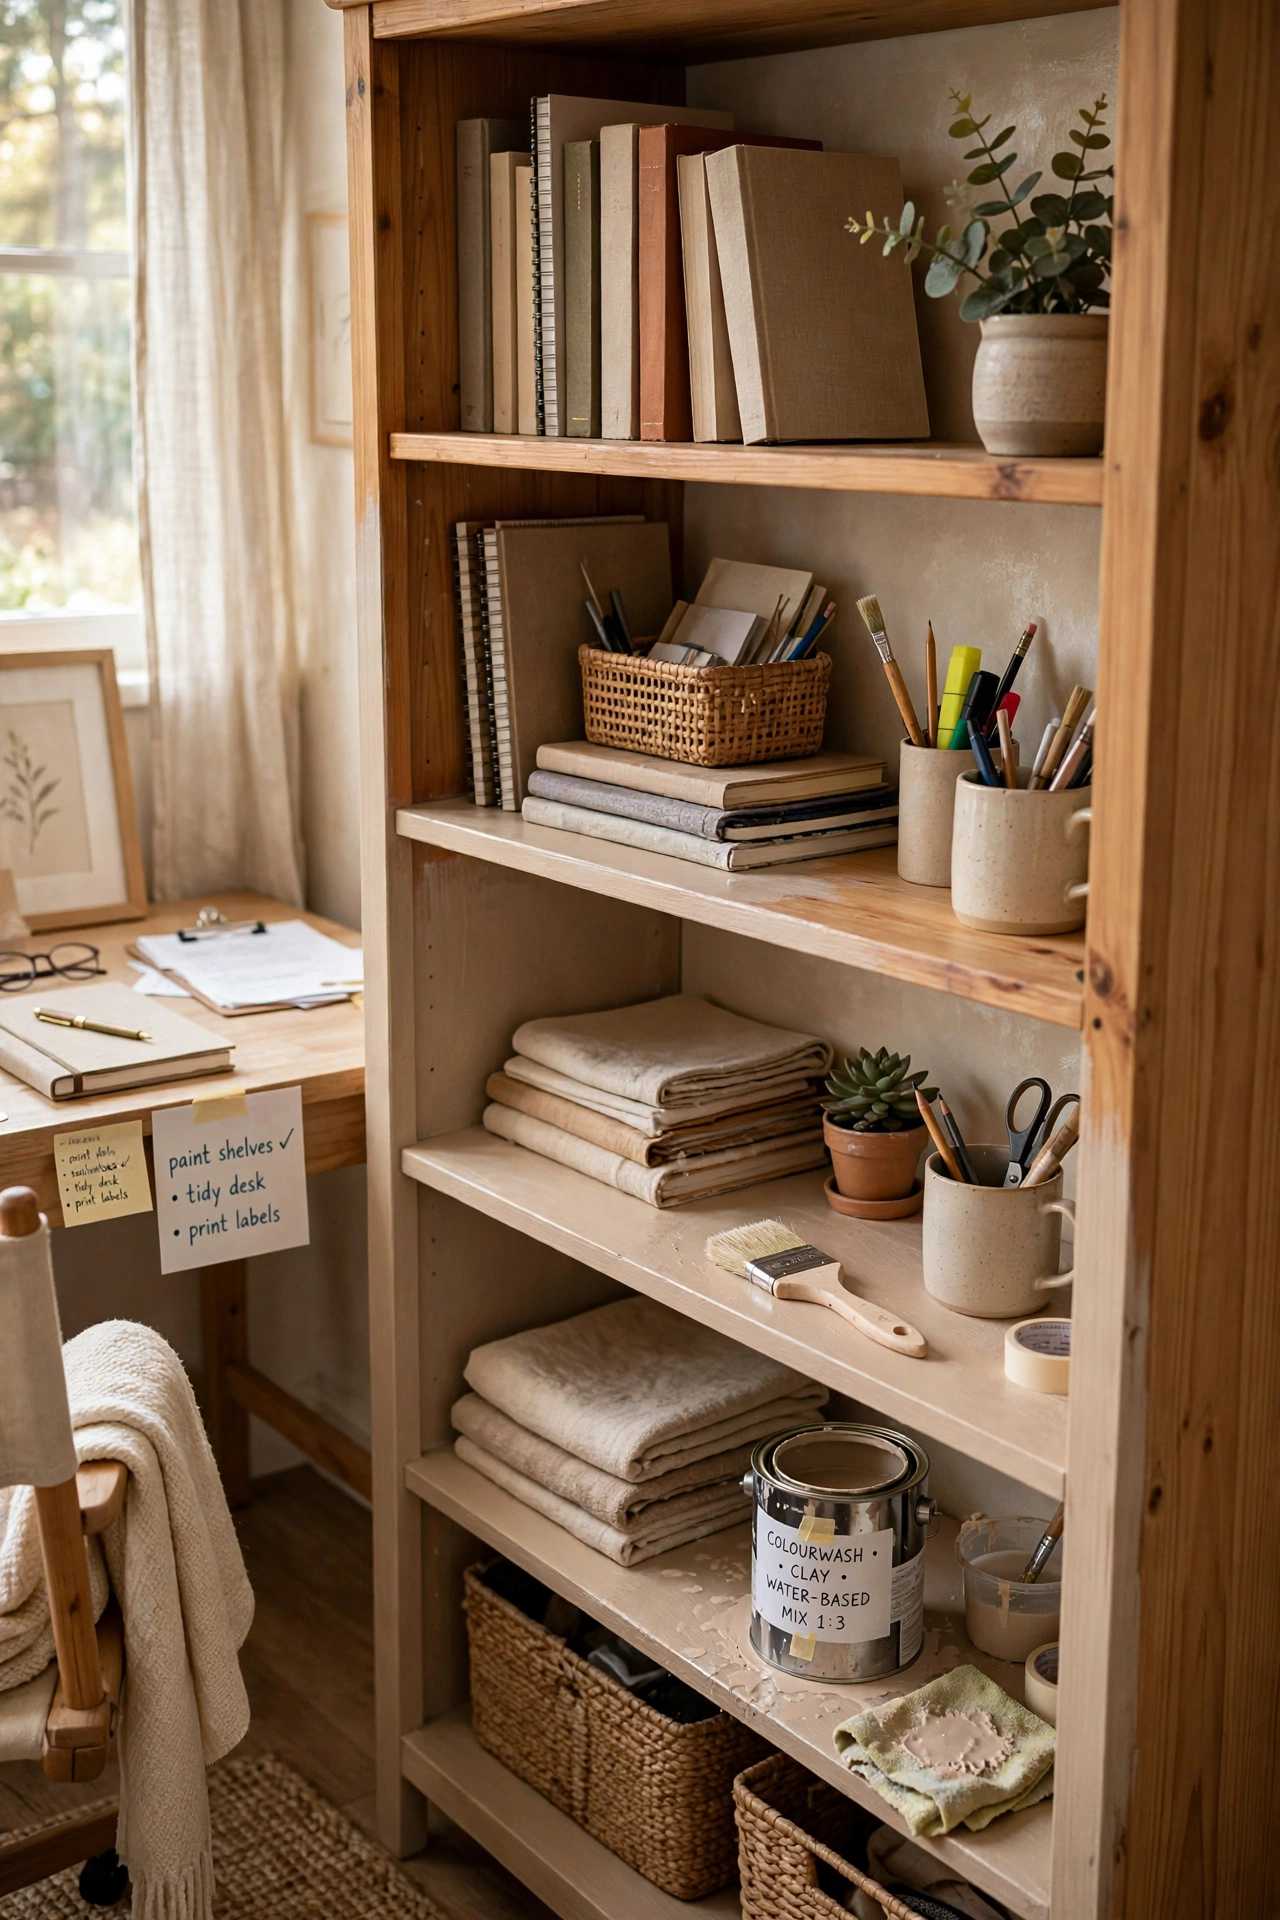
Colour-washing gives a bookshelf a soft, layered look that solid paint cannot, because the wood grain still shows through the colour. Thin your paint heavily with water, brush it on, and wipe it back with a cloth until the grain peeks through evenly. Two thin washes beat one thick one, and you can deepen the colour gradually until it suits the room. I colour-washed a pine shelf in a pale sage and it stopped looking like a flat-pack and started looking like something with a past. It is also wonderfully forgiving, since uneven wiping just adds to the effect.
Pro tip: Mix enough wash for the whole shelf at once so the colour stays identical throughout.
Cost: ~$12 | Time: 2 hours
15. Gold Leaf on Drawer Pulls and Trim
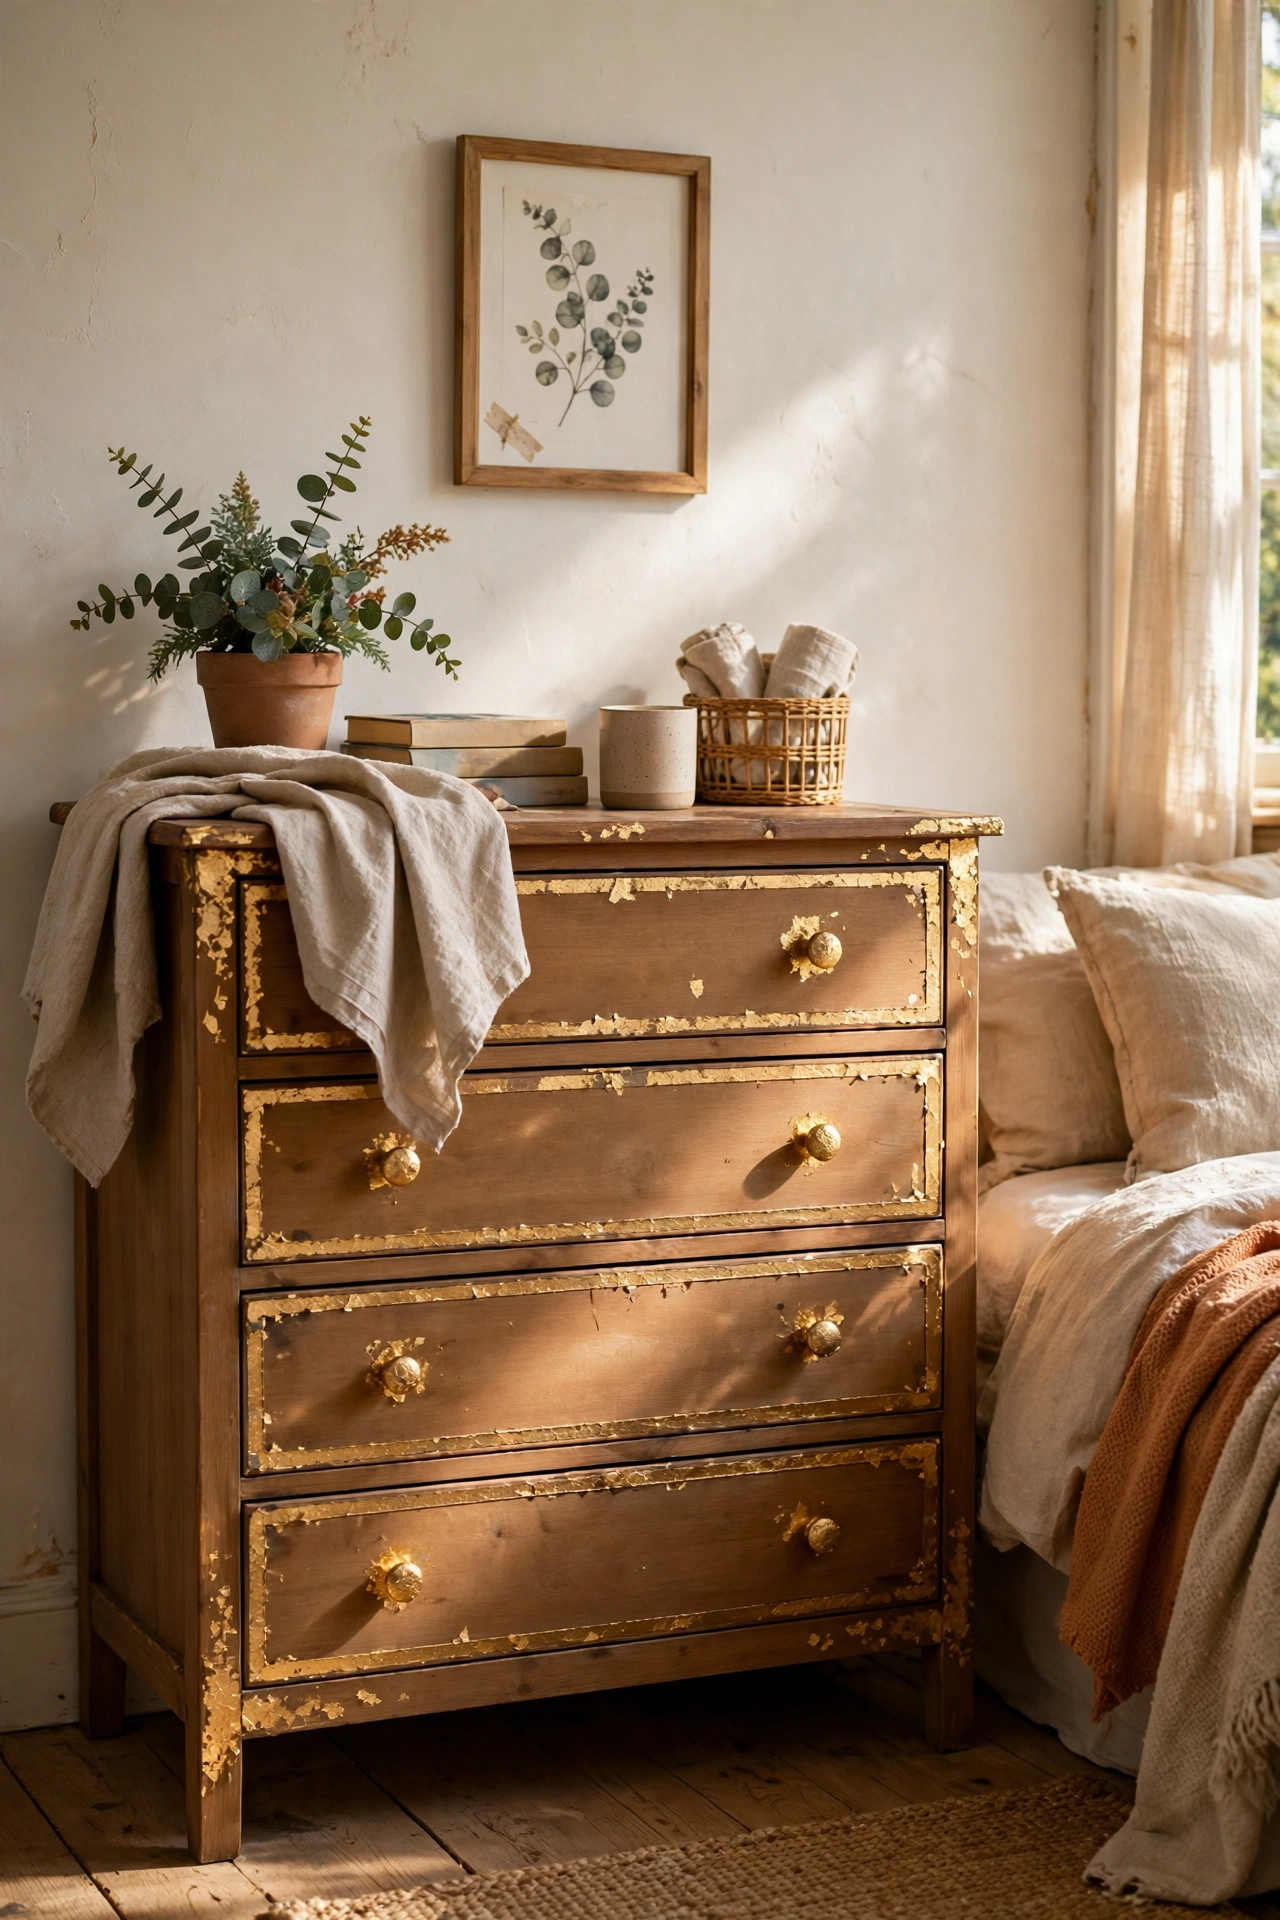
A little gold leaf goes a long way on a thrifted piece, turning plain drawer pulls or a dull trim line into something that catches the light. Brush on size adhesive, wait until it turns tacky, then press the leaf on gently and brush away the excess with a soft brush. Seal it with a clear topcoat so it survives daily use. I gilded the pulls on a plain white dresser and guests assumed I had bought it new, which still makes me smile. Keep the gilding to small details, because restraint is what makes it look expensive rather than gaudy.
Pro tip: Seal gold leaf well, or it will wear off the first time someone grabs a drawer pull.
Cost: ~$15 | Time: 2 hours
16. Satin Finish for a Kitchen Table That Gets Used
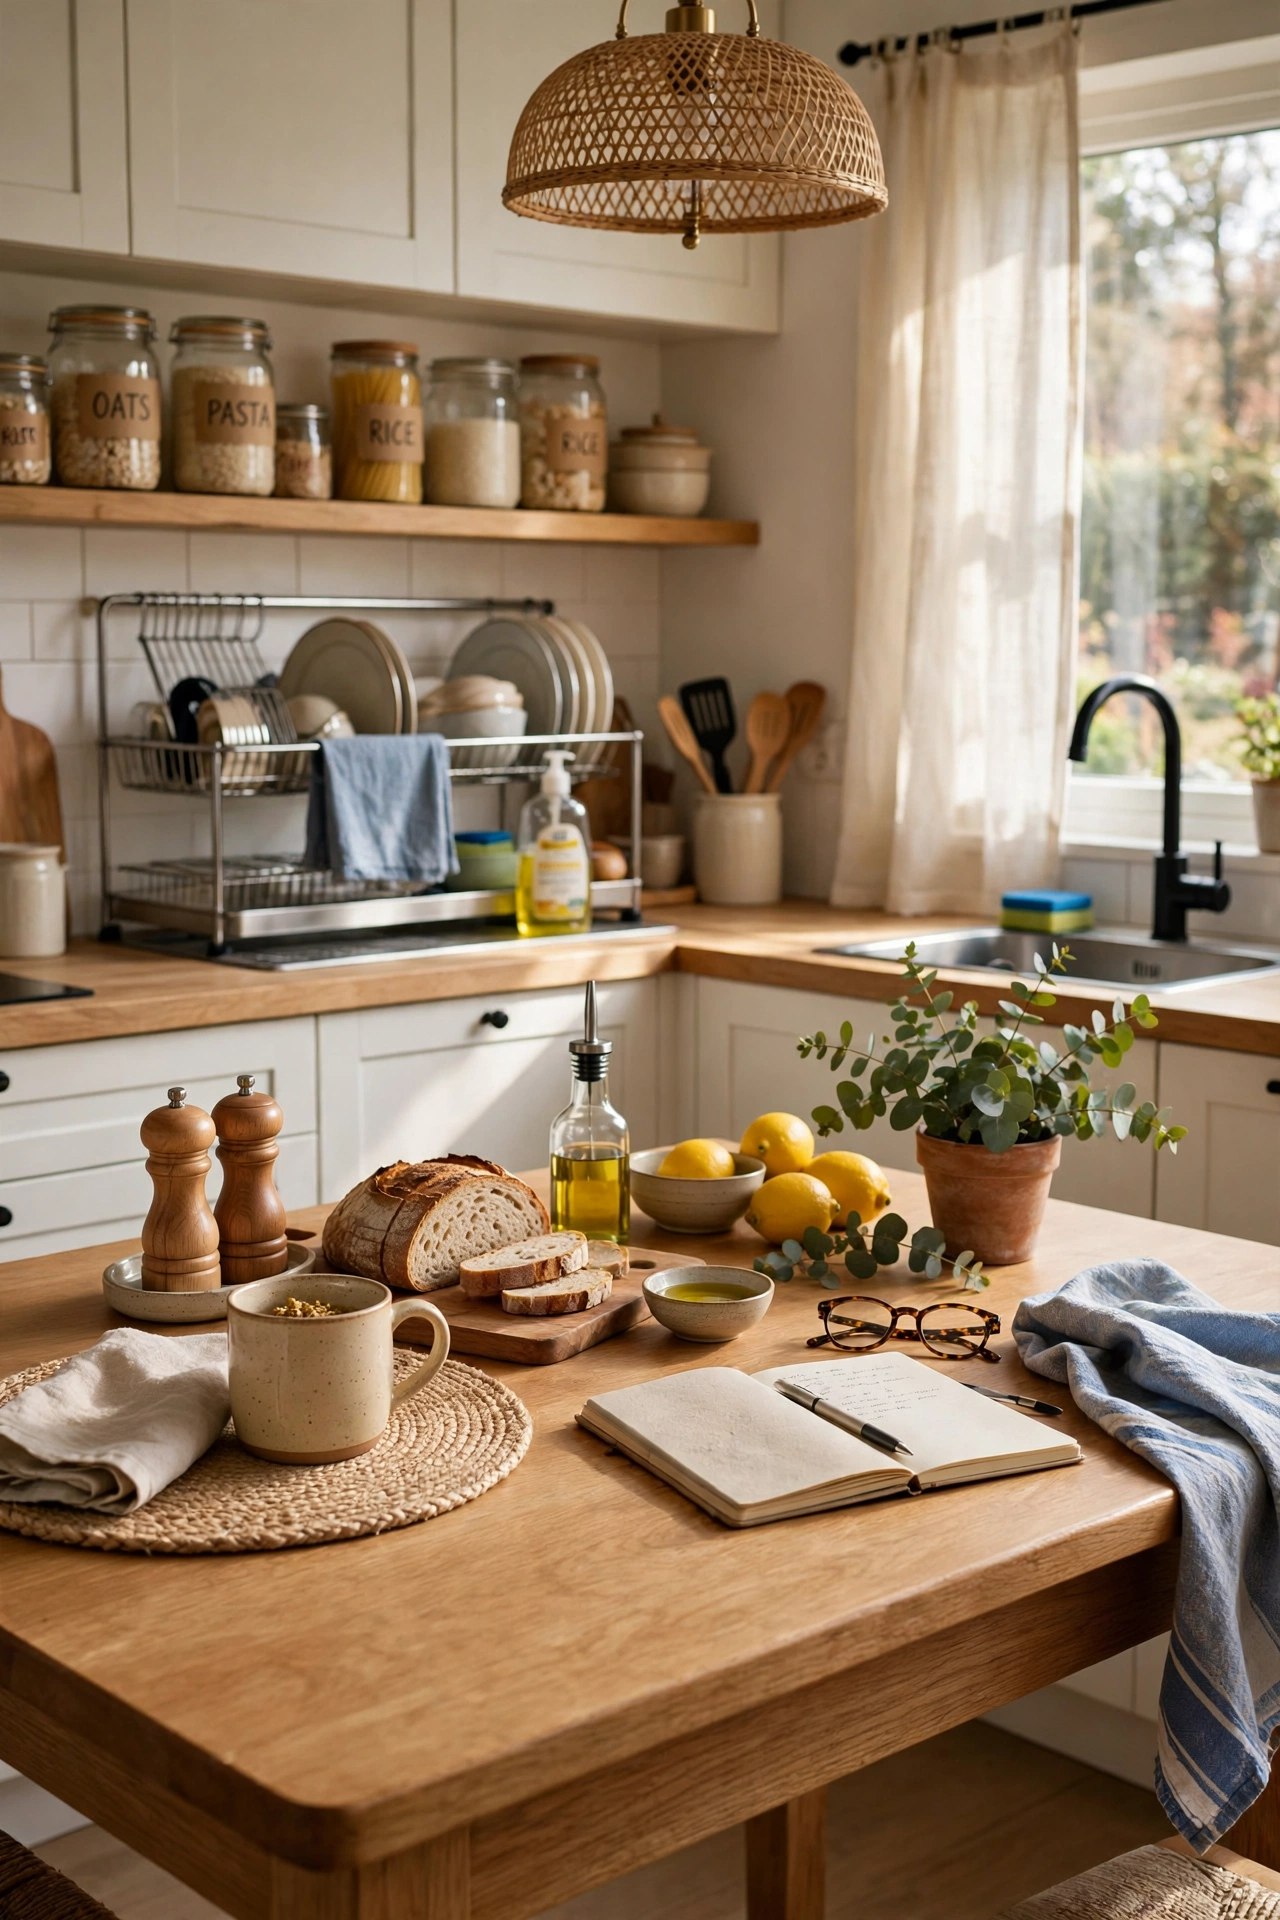
A kitchen table needs a finish that can handle hot plates, spilled juice, and homework, so satin polyurethane over paint is the practical choice. Paint your table in two thin coats, sand lightly between them, then brush on two or three thin coats of water-based poly, letting each dry fully. The satin sheen hides small scratches better than gloss and still wipes clean easily. I once sealed a table with wax alone and spent months touching up rings, so now poly is non-negotiable for anything that eats. Practical does not have to mean ugly.
Pro tip: Water-based poly dries clear and will not yellow your white table the way oil-based can.
Cost: ~$30 | Time: a weekend
17. Painting Wicker Without Clogging the Weave
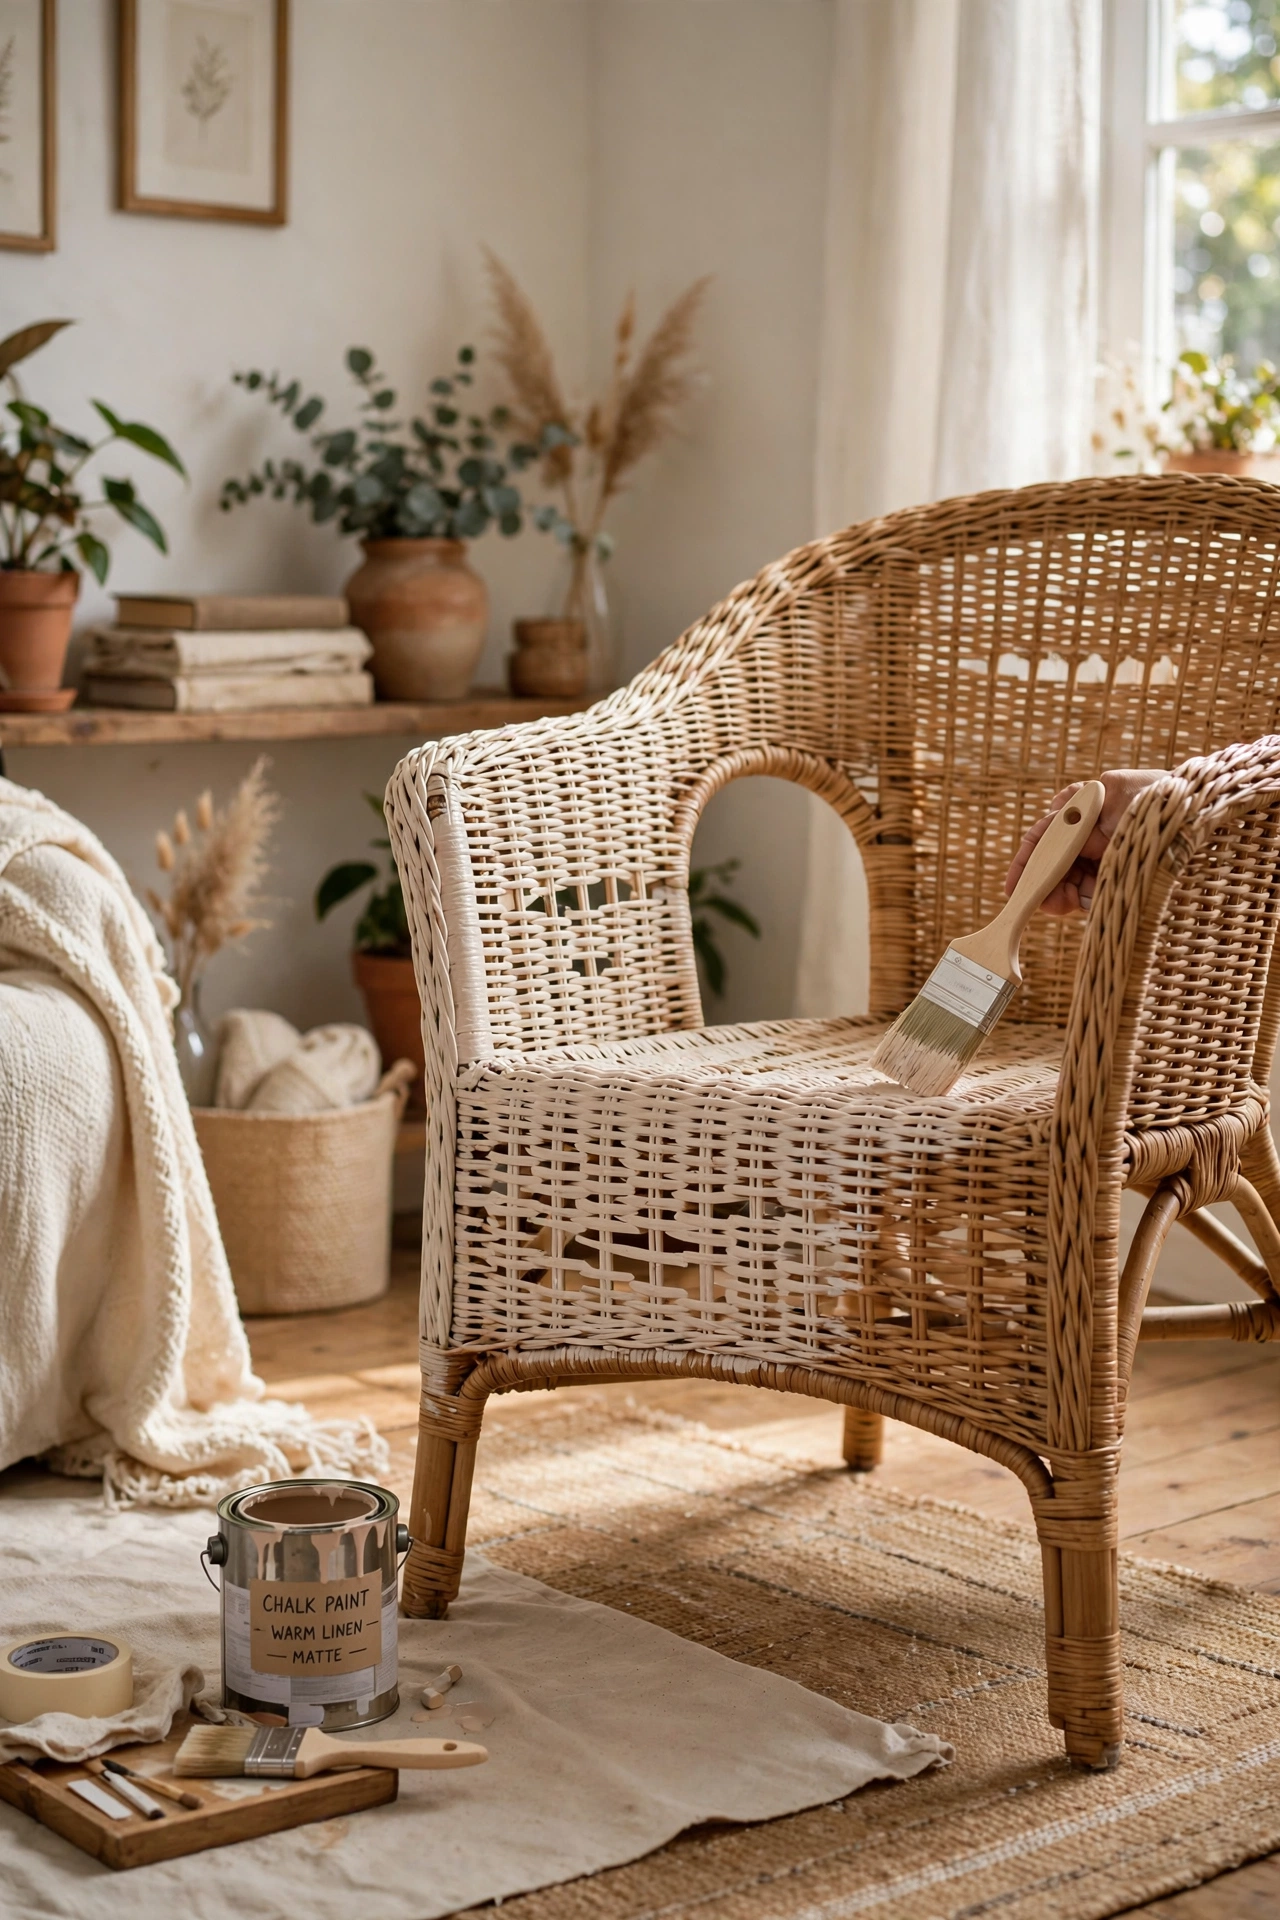
Wicker looks wonderful painted but terrible if the paint clogs the weave, so spray paint is really the only sensible method here. Clean the piece well, let it dry completely, then spray in light passes from several angles so the paint reaches inside the weave without pooling. Two or three mist coats give even coverage, and a clear spray sealer on top keeps it from chipping when the chair flexes. I brushed paint onto a wicker chair once and spent an evening picking dried paint out of the gaps with a toothpick. Spray, go light, and turn the piece often.
Pro tip: Spray wicker outdoors on a calm day; even a light breeze carries overspray onto everything.
Cost: ~$14 | Time: 2 hours
18. Ombre Drawers in One Colour Family
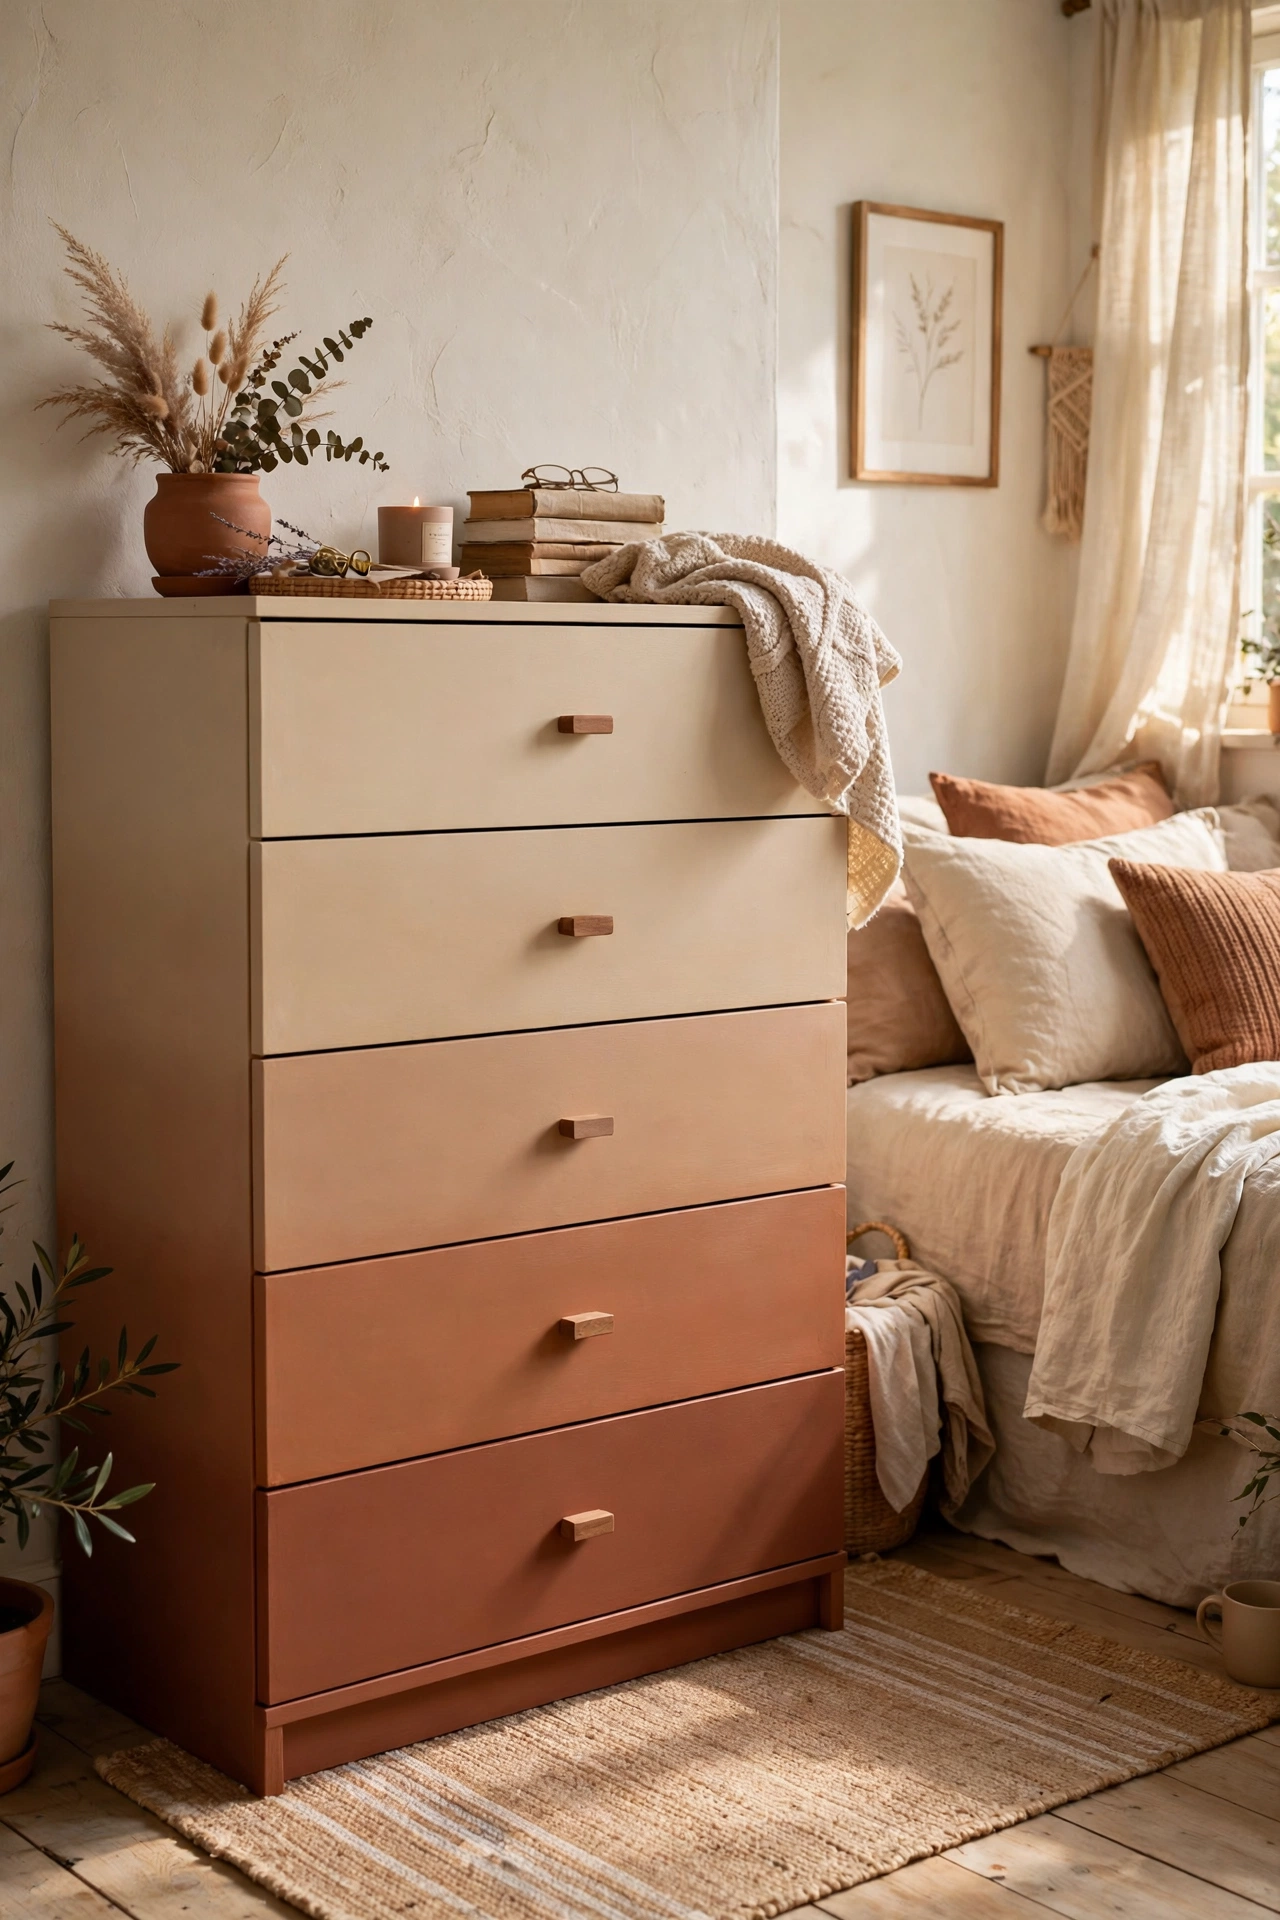
Ombre drawers are a lovely trick for a plain chest: paint each drawer a slightly different shade of the same colour, from lightest at the top to darkest at the bottom. Mix your shades ahead of time or buy a graduated set, and paint the frame in the lightest shade so the drawers stand out. Keep the hardware the same across all drawers so the colour shift is the star, not the knobs. I tried this with blues on a small chest and it turned a forgettable piece into the one everyone photographs. It looks complicated, but it is just careful labelling of paint pots.
Pro tip: Label each drawer with tape as you paint so the gradient stays in the right order.
Cost: ~$35 | Time: a weekend
19. Fixing Brush Marks Before They Dry
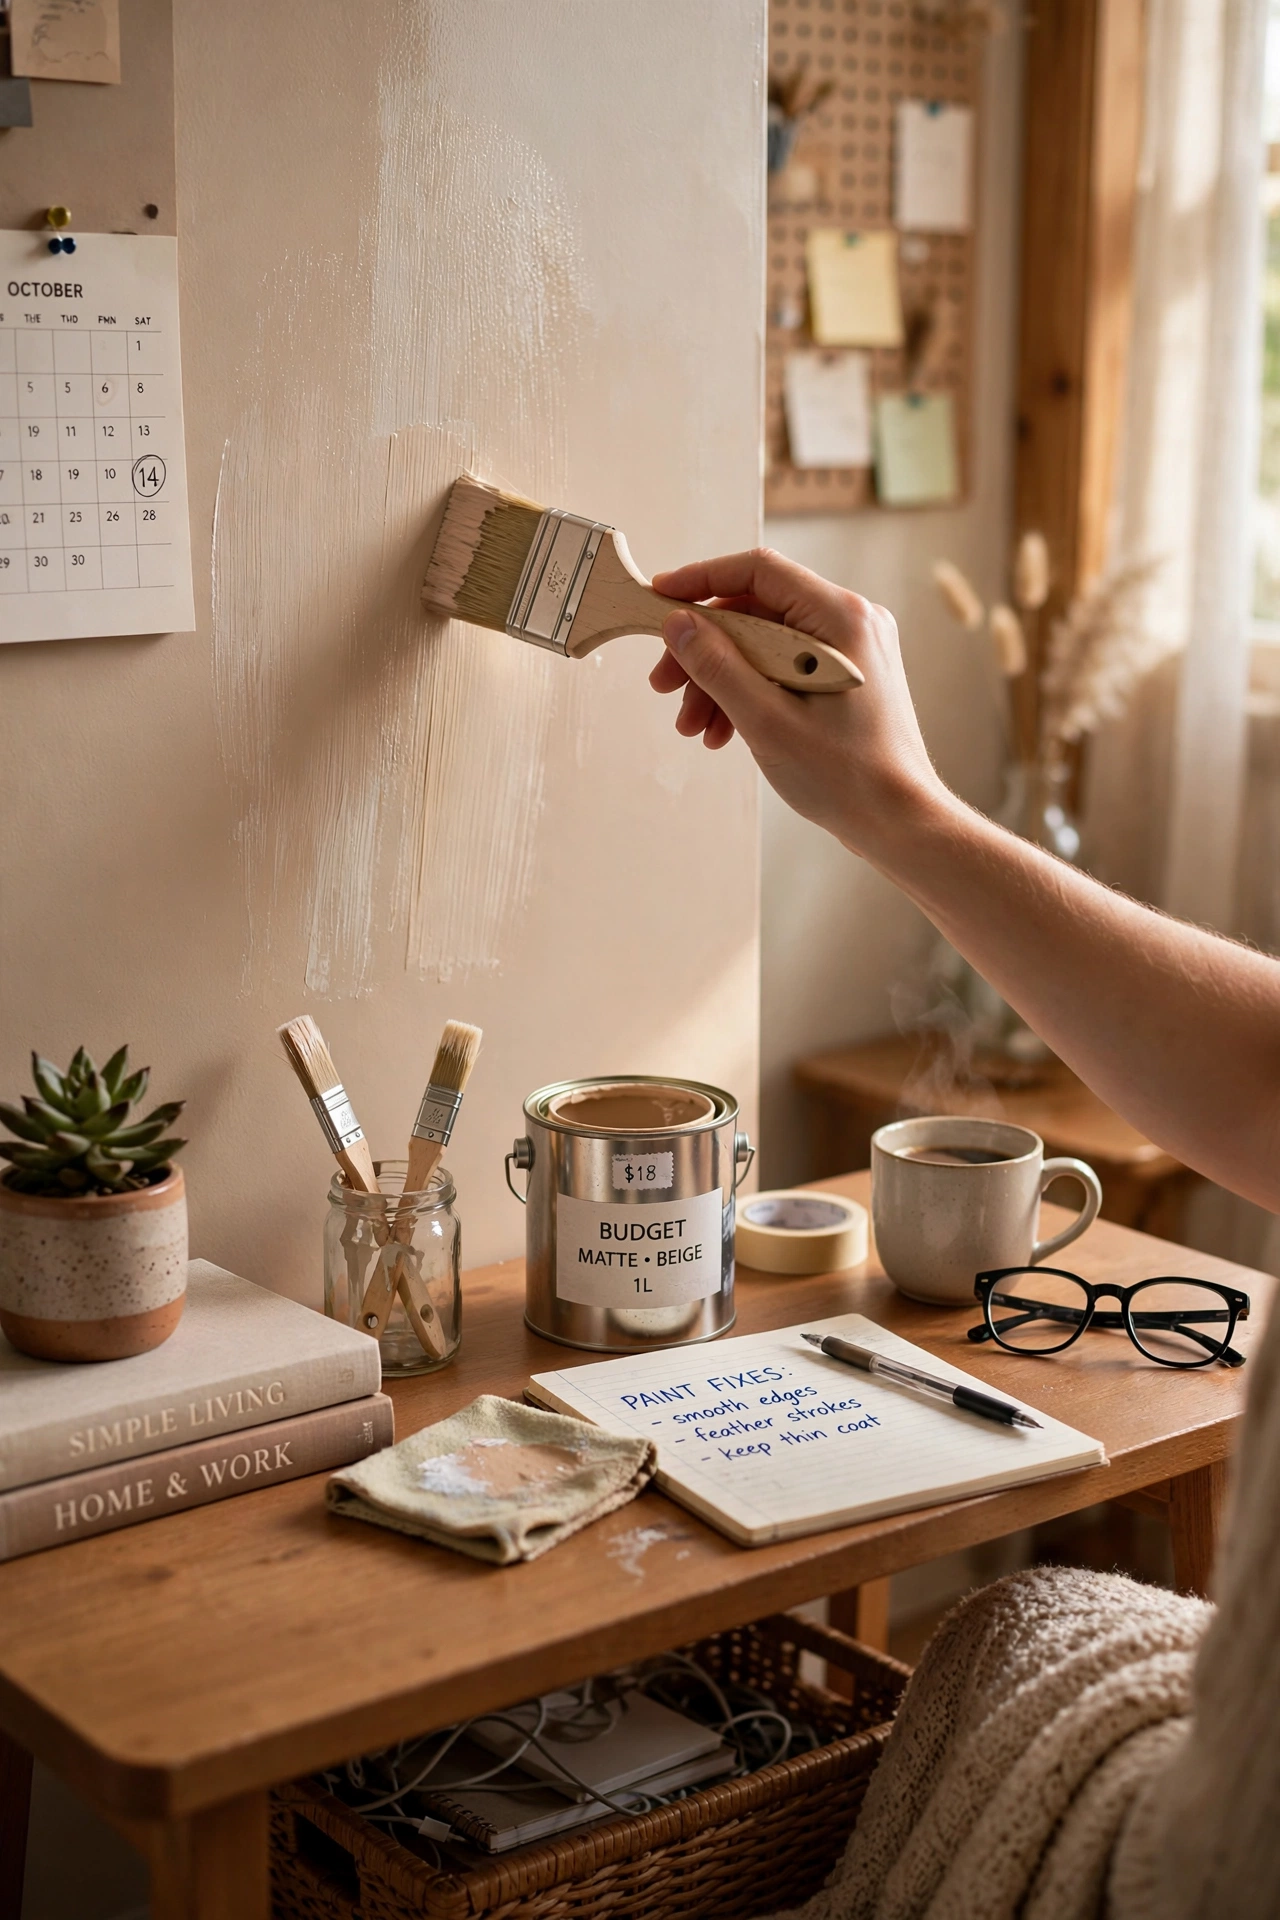
Brush marks are easiest to fix while the paint is still wet, so watch each section as you finish it and smooth out ridges with a light final stroke. Use a good-quality synthetic brush, do not overload it, and keep a wet edge so each stroke blends into the last. If marks dry in, a light sand with fine paper and one more thin coat usually solves it. I used to panic over every ridge until I realised paint levels itself a little as it dries, and that most marks vanish with a gentle sand. Slow down, use less paint, and trust the process.
Pro tip: A good brush costs more but saves you from bristles stuck in the finish forever.
Cost: ~$5 | Time: 1 hour
20. Cabinet Doors Off Their Hinges
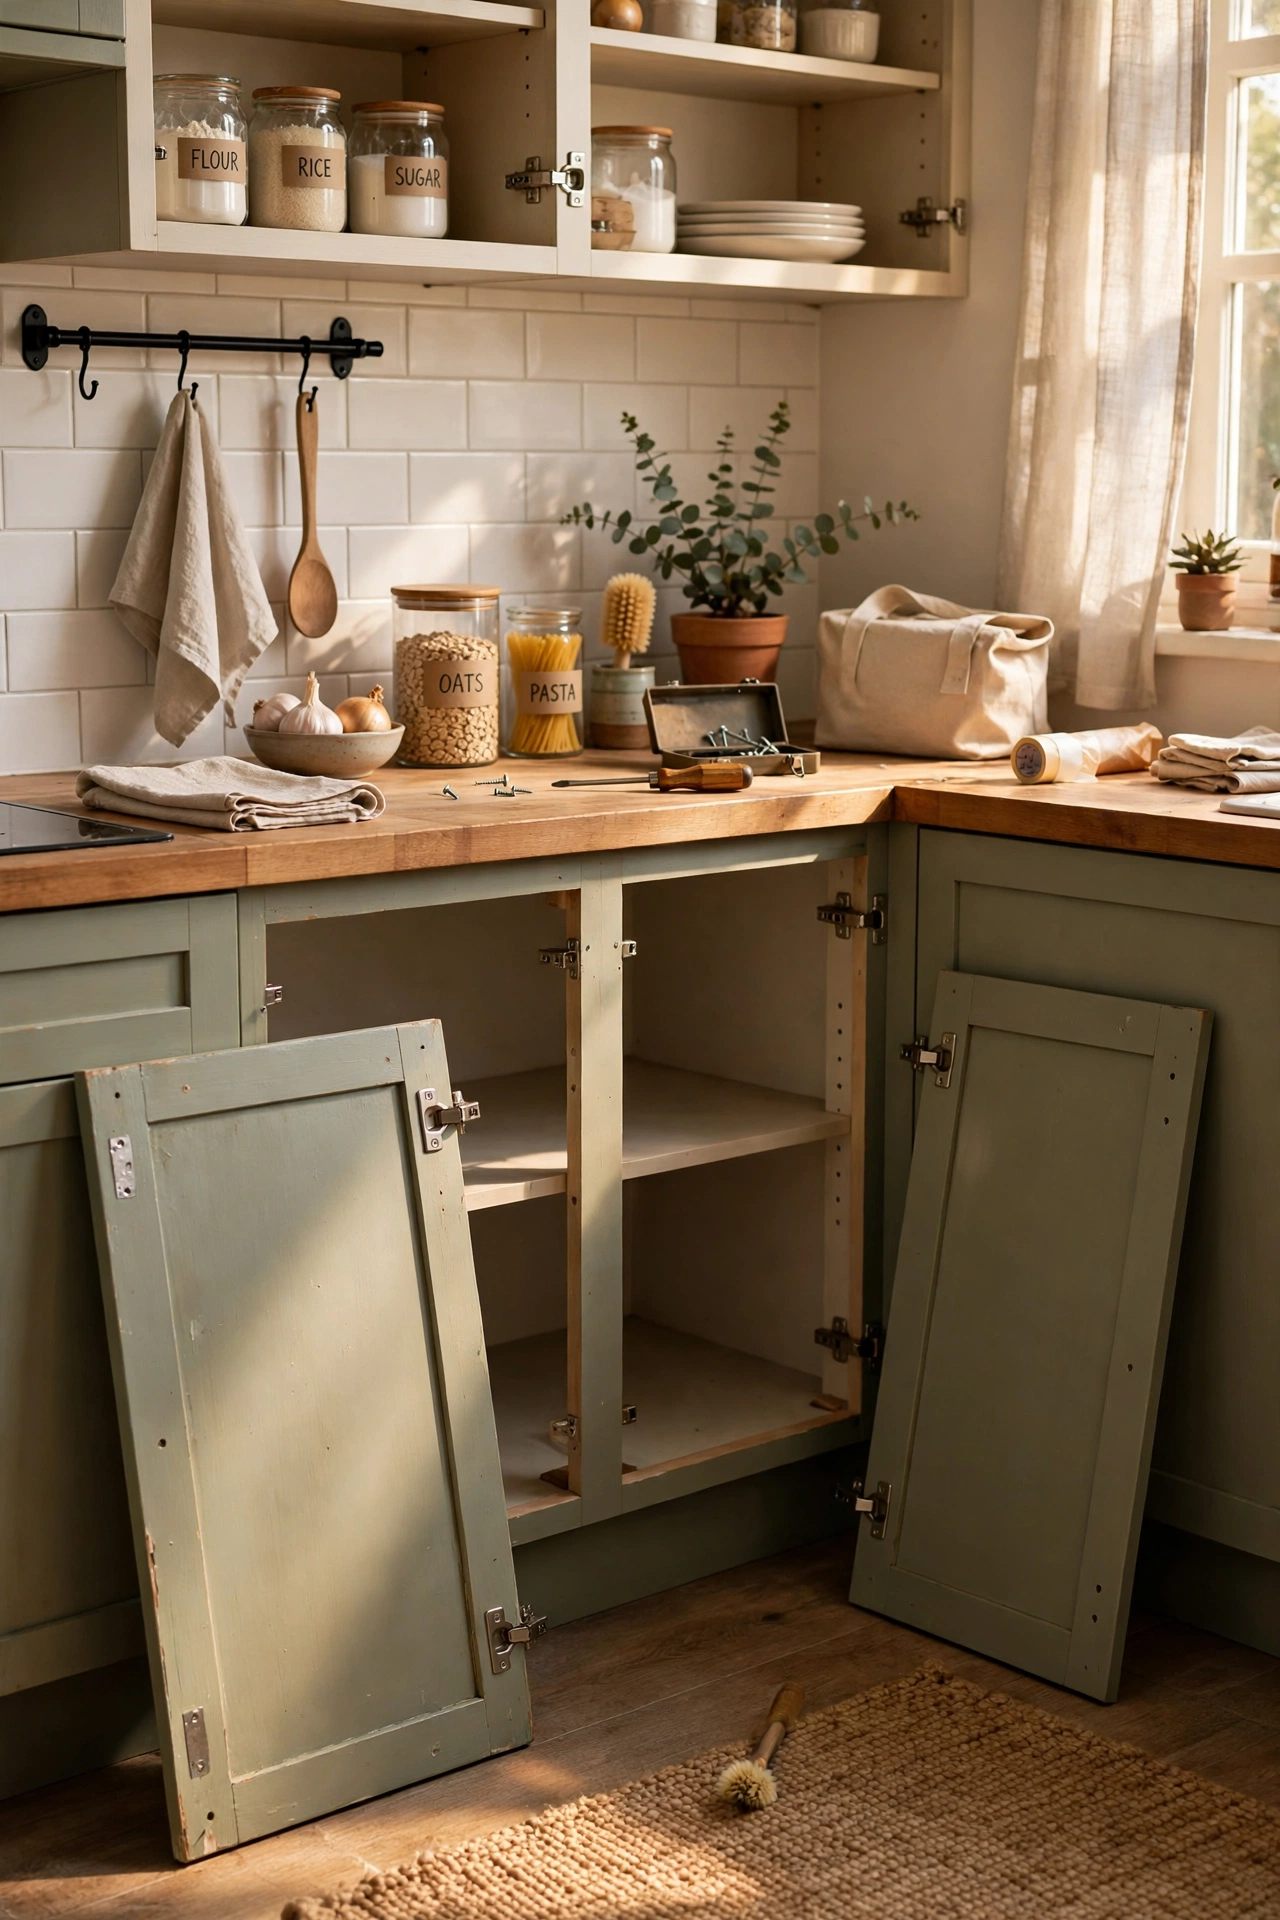
Taking cabinet doors off their hinges before painting is the single habit that separates amateur-looking kitchen flips from professional ones. Label each door and its hinge position with masking tape, lay the doors flat on sawhorses, and paint them horizontally so drips cannot run. Paint the frames in place, then rehang only when everything is fully cured. I painted a set of doors while they were still hung once, and the drips along the bottom edges haunted me every time I opened a cupboard. The extra hour of labelling and laying flat pays for itself.
Pro tip: Photograph the hinge positions before you remove doors; memory is not reliable here.
Cost: ~$20 | Time: a weekend
21. Roller Technique for Flat Panels
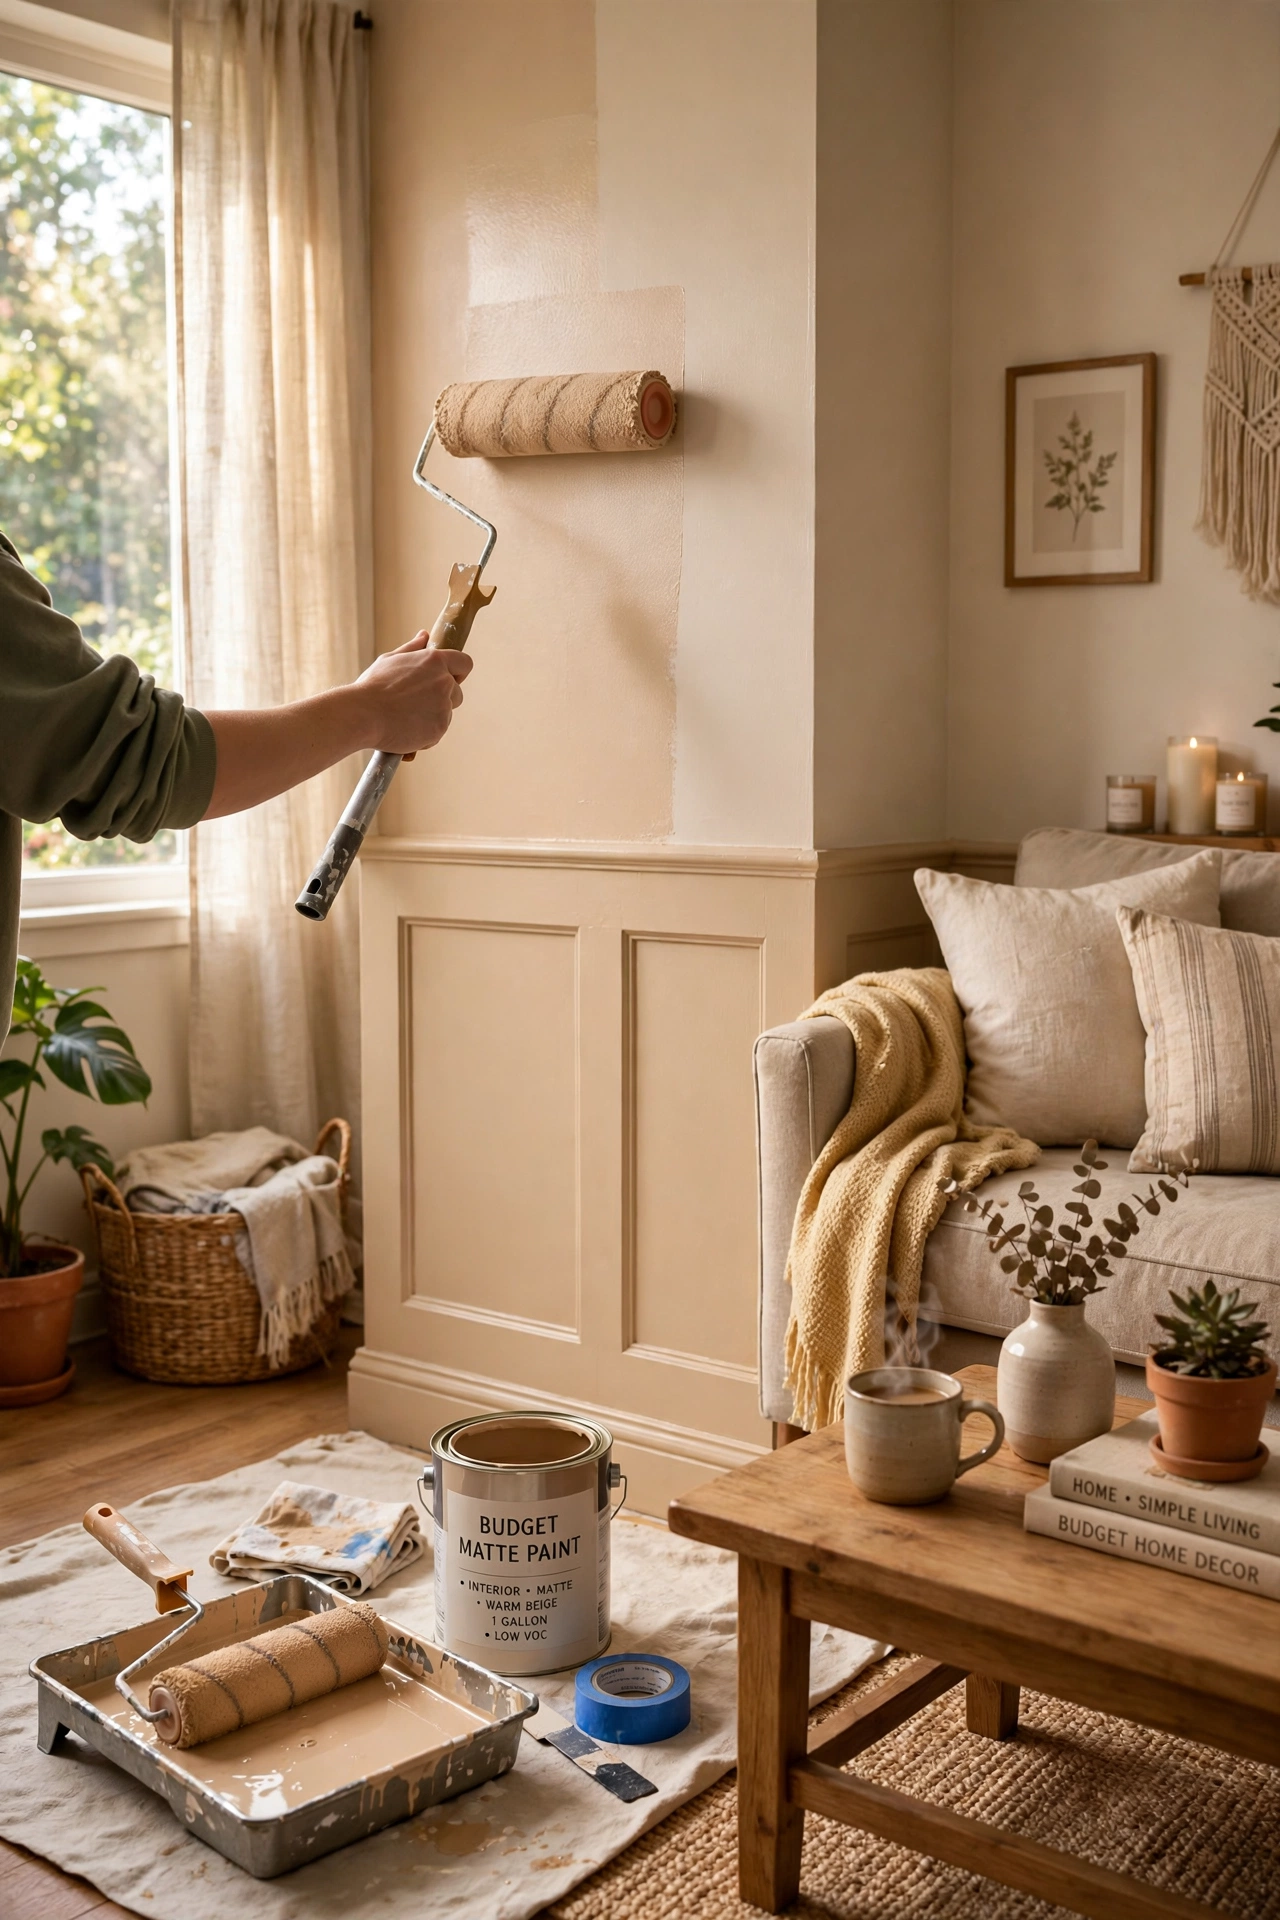
Flat panels like wardrobe doors and table tops reward a small foam roller, which leaves a smoother finish than a brush if you use it right. Roll on a thin coat, then lightly drag a dry brush over it in one direction to pop any tiny bubbles, a trick painters call tipping off. Keep the roller sleeve clean and do not press hard, since pressure squeezes paint out at the edges. I switched to this method for a big wardrobe and the finish was so smooth that friends asked if it was factory-made. Rollers are not cheating; they are the right tool for flat work.
Pro tip: Tip off with a dry brush in one direction only, or you will just move the bubbles around.
Cost: ~$15 | Time: an afternoon
22. Touch-Up Kit for Everyday Chips
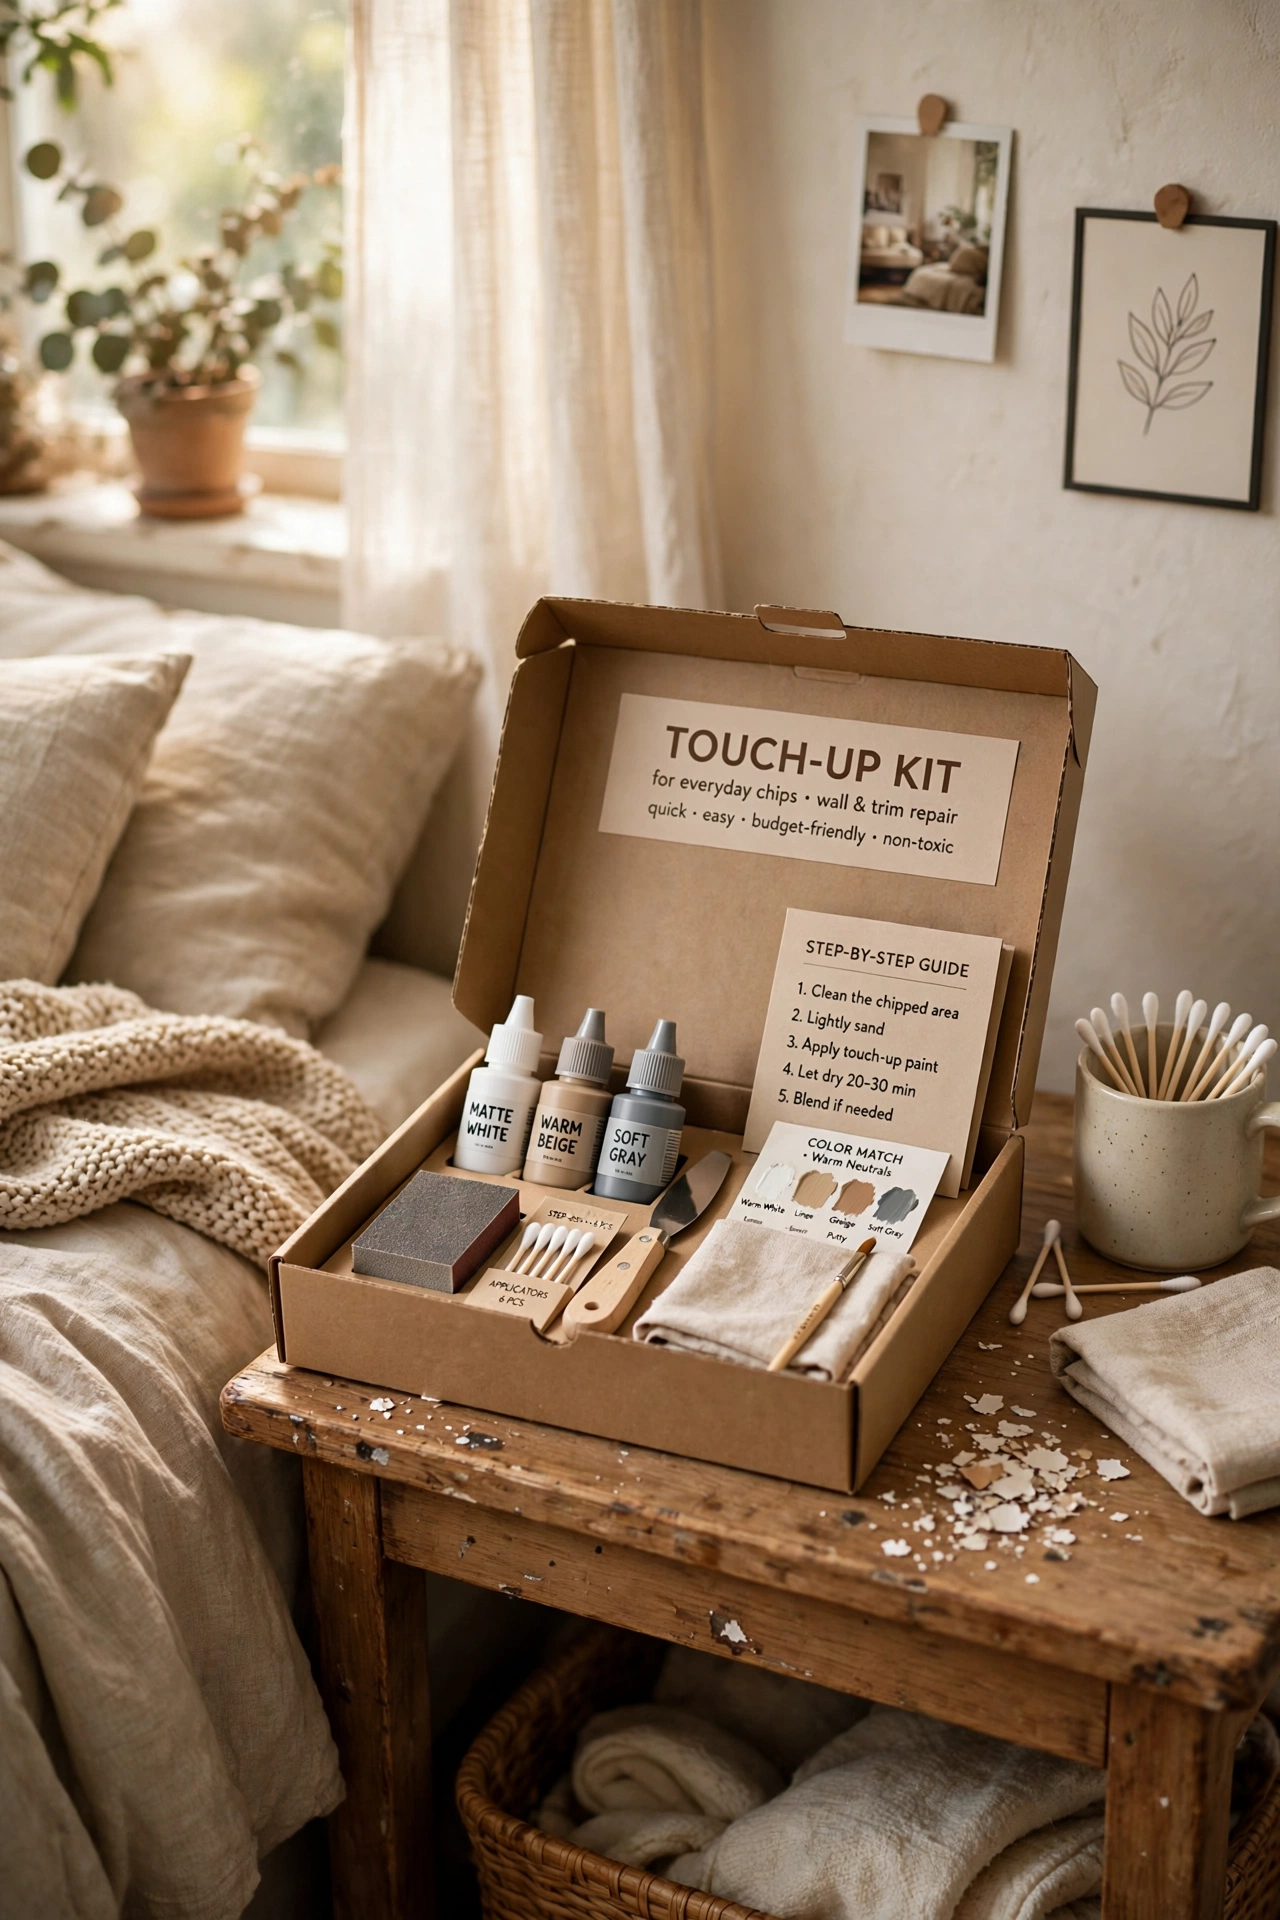
Every painted piece will chip eventually, so make a touch-up kit the day you finish painting and you will never have to guess the colour later. Save a small labelled jar of each paint, plus a fine artist brush, a bit of sandpaper, and a dab of your sealer. When a chip appears, sand the spot lightly, dab on paint, and seal once dry. I skipped this for years and ended up repainting whole drawer fronts for one nick, which was pure waste. A labelled jar in a cupboard is the most boring and most useful part of any flip.
Pro tip: Date the jar when you fill it, so you know how old the touch-up paint is.
Cost: ~$10 | Time: 30 minutes
23. The 48-Hour Cure Rule
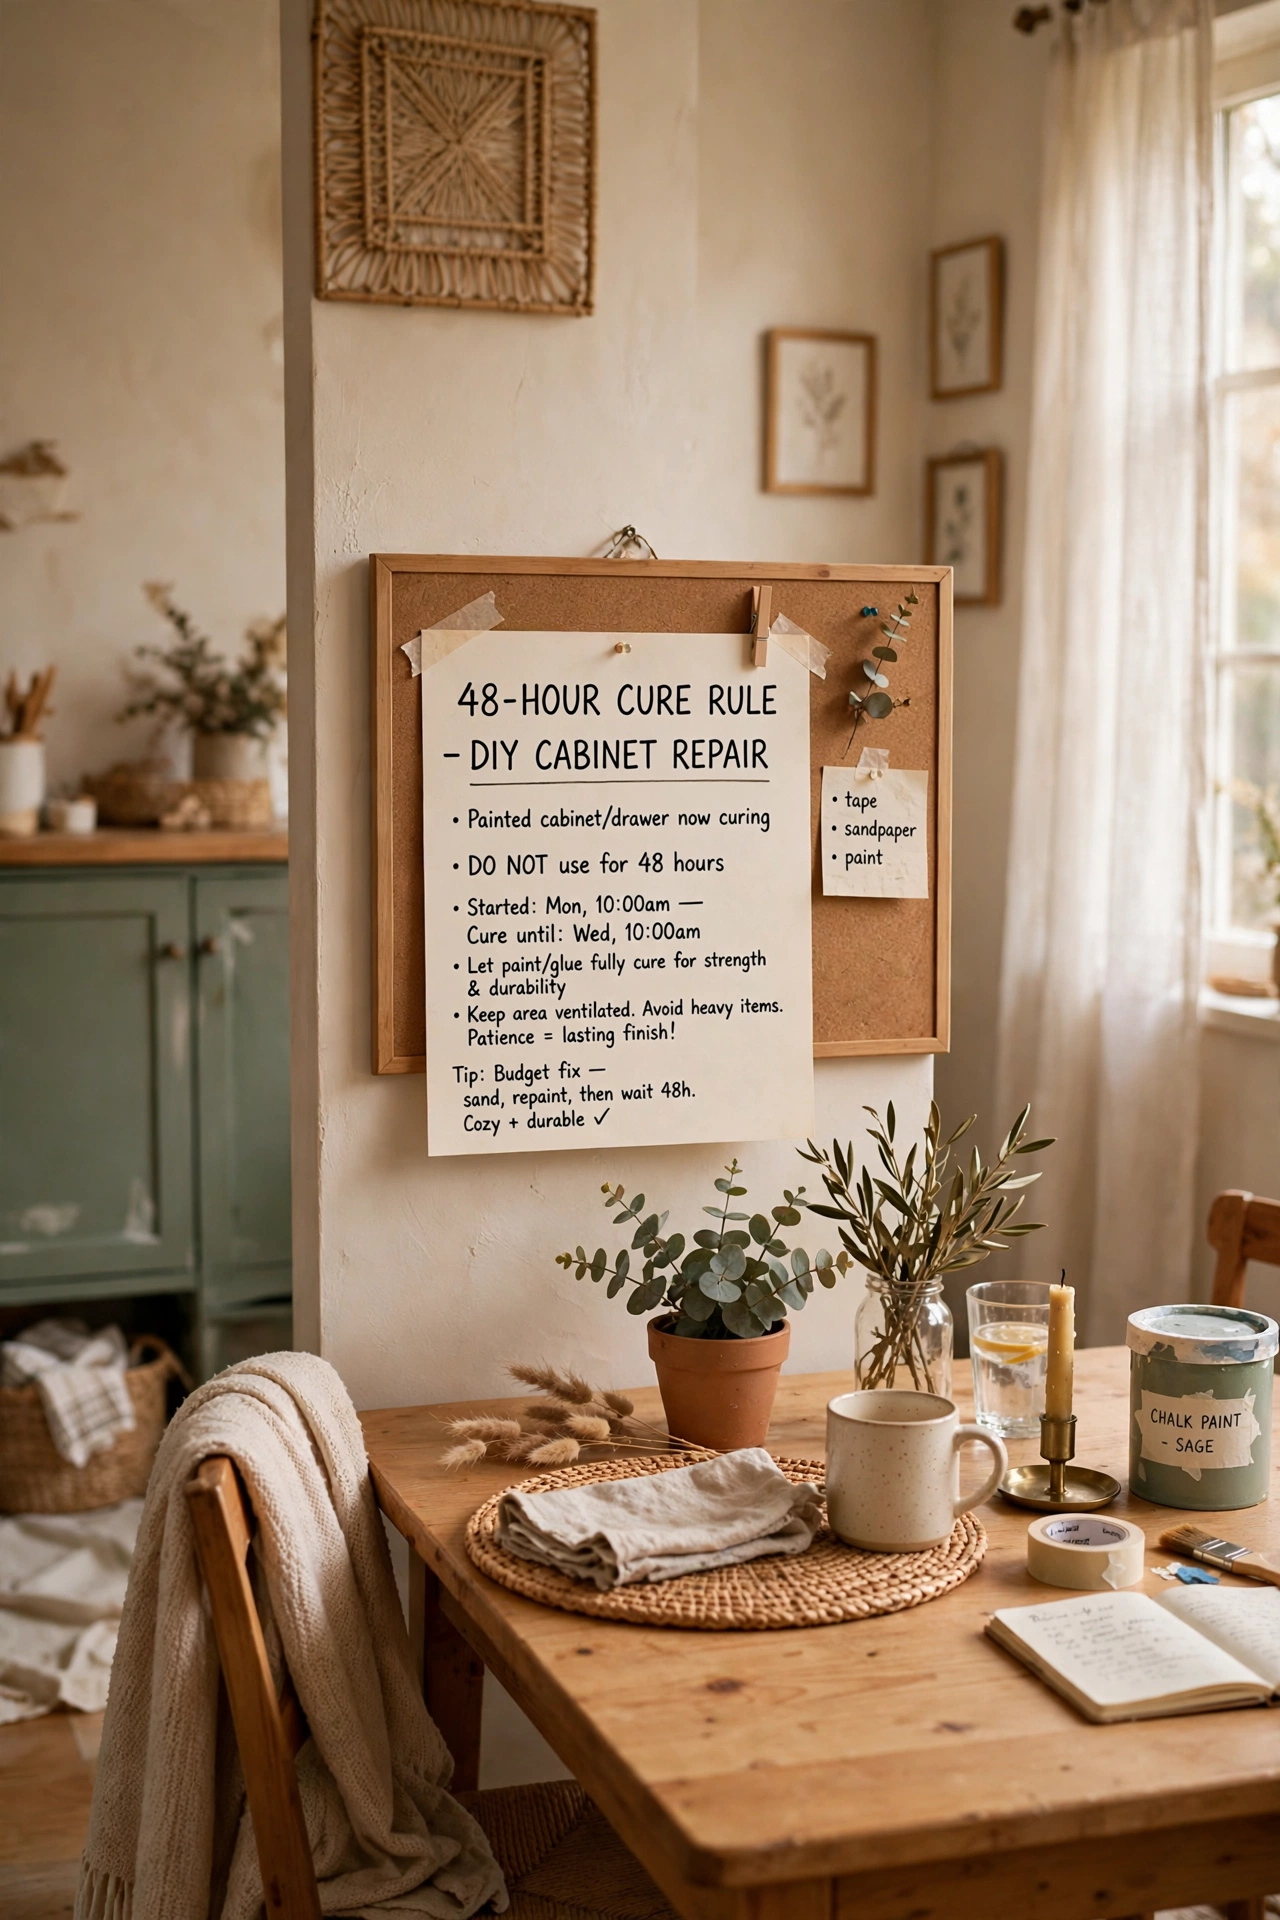
Paint feels dry in hours but is not truly hard for days, and that gap is where most new flips get ruined. Wait at least 48 hours before putting anything heavy on a painted top, and a full week before stacking books or sliding objects across it. I placed a vase on a freshly painted sideboard after one day and it left a perfect ring that never sanded out.
Pro tip: If you can dent the paint with a fingernail, it is not cured yet, no matter what the can says.
Cost: ~$0 | Time: 2 days of waiting
That is the whole set, and honestly the biggest lesson is the simplest one: prep slowly, paint thinly, and let things cure. Do those three things and even your first flip will look far better than you expect.
