23 Dollar Store Bathroom Decor That Don’t Look Cheap
23 Dollar Store Bathroom Decor That Don’t Look Cheap
Walk into most bathrooms and you can spot the problem in five seconds: a cluttered sink, a sad shower curtain, and three bottles that do not match anything. The fix does not need a big budget. Good dollar store bathroom decor works when you buy simple shapes, stick to one color story, and hide the dollar-store clues with paint, grouping, or a better container. Below are twenty-three ideas that pass the guest test in my house — they look thoughtful, not bargain-bin, because the styling does the heavy lifting, not the price tag. I have made the cheap-looking mistakes myself, so these are the versions that actually held up after steam, guests, and real mornings.
1. Frosted Glass Spray for a Plain Window
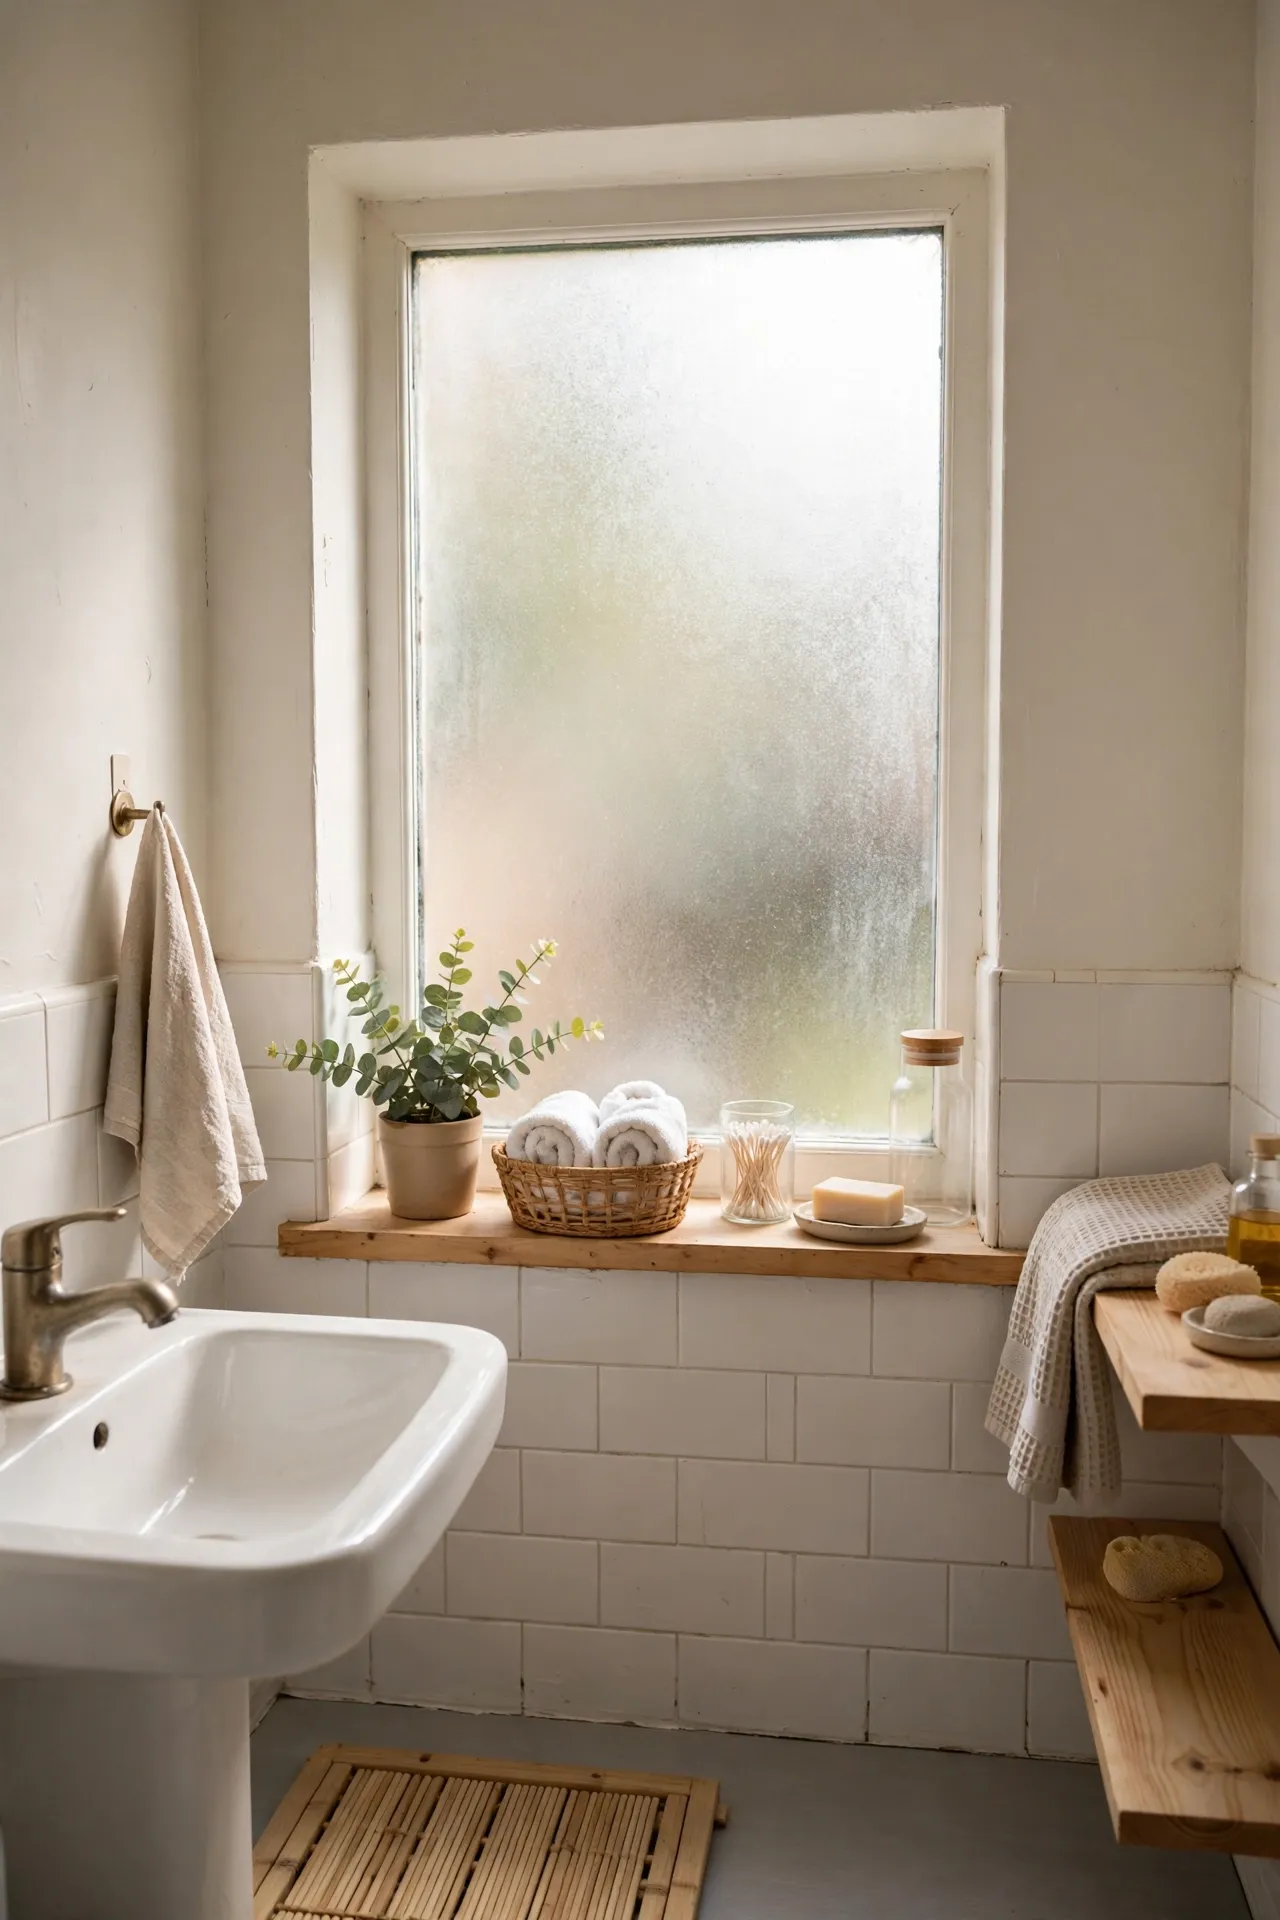
Frosted glass spray turns a plain bathroom window private in minutes, without curtains that get damp or blinds that collect dust. Clean the glass well, tape off the frame and wall, and spray light, even coats from about eight inches away. Two thin coats give better privacy than one heavy coat that drips. I tried this on a street-facing window, and the mistake to avoid is spraying on a cold, damp morning — the finish went cloudy and uneven. Wait for a dry day, let each coat dry fully, and you get soft daylight plus privacy for the price of a coffee.
Cost: ~$8 | Time: 30 minutes
💰 Budget win: One can covers two small windows, so split it with a neighbor or save it for a second window.
2. Dollar Store Frames Painted Matte Black for Wall Art
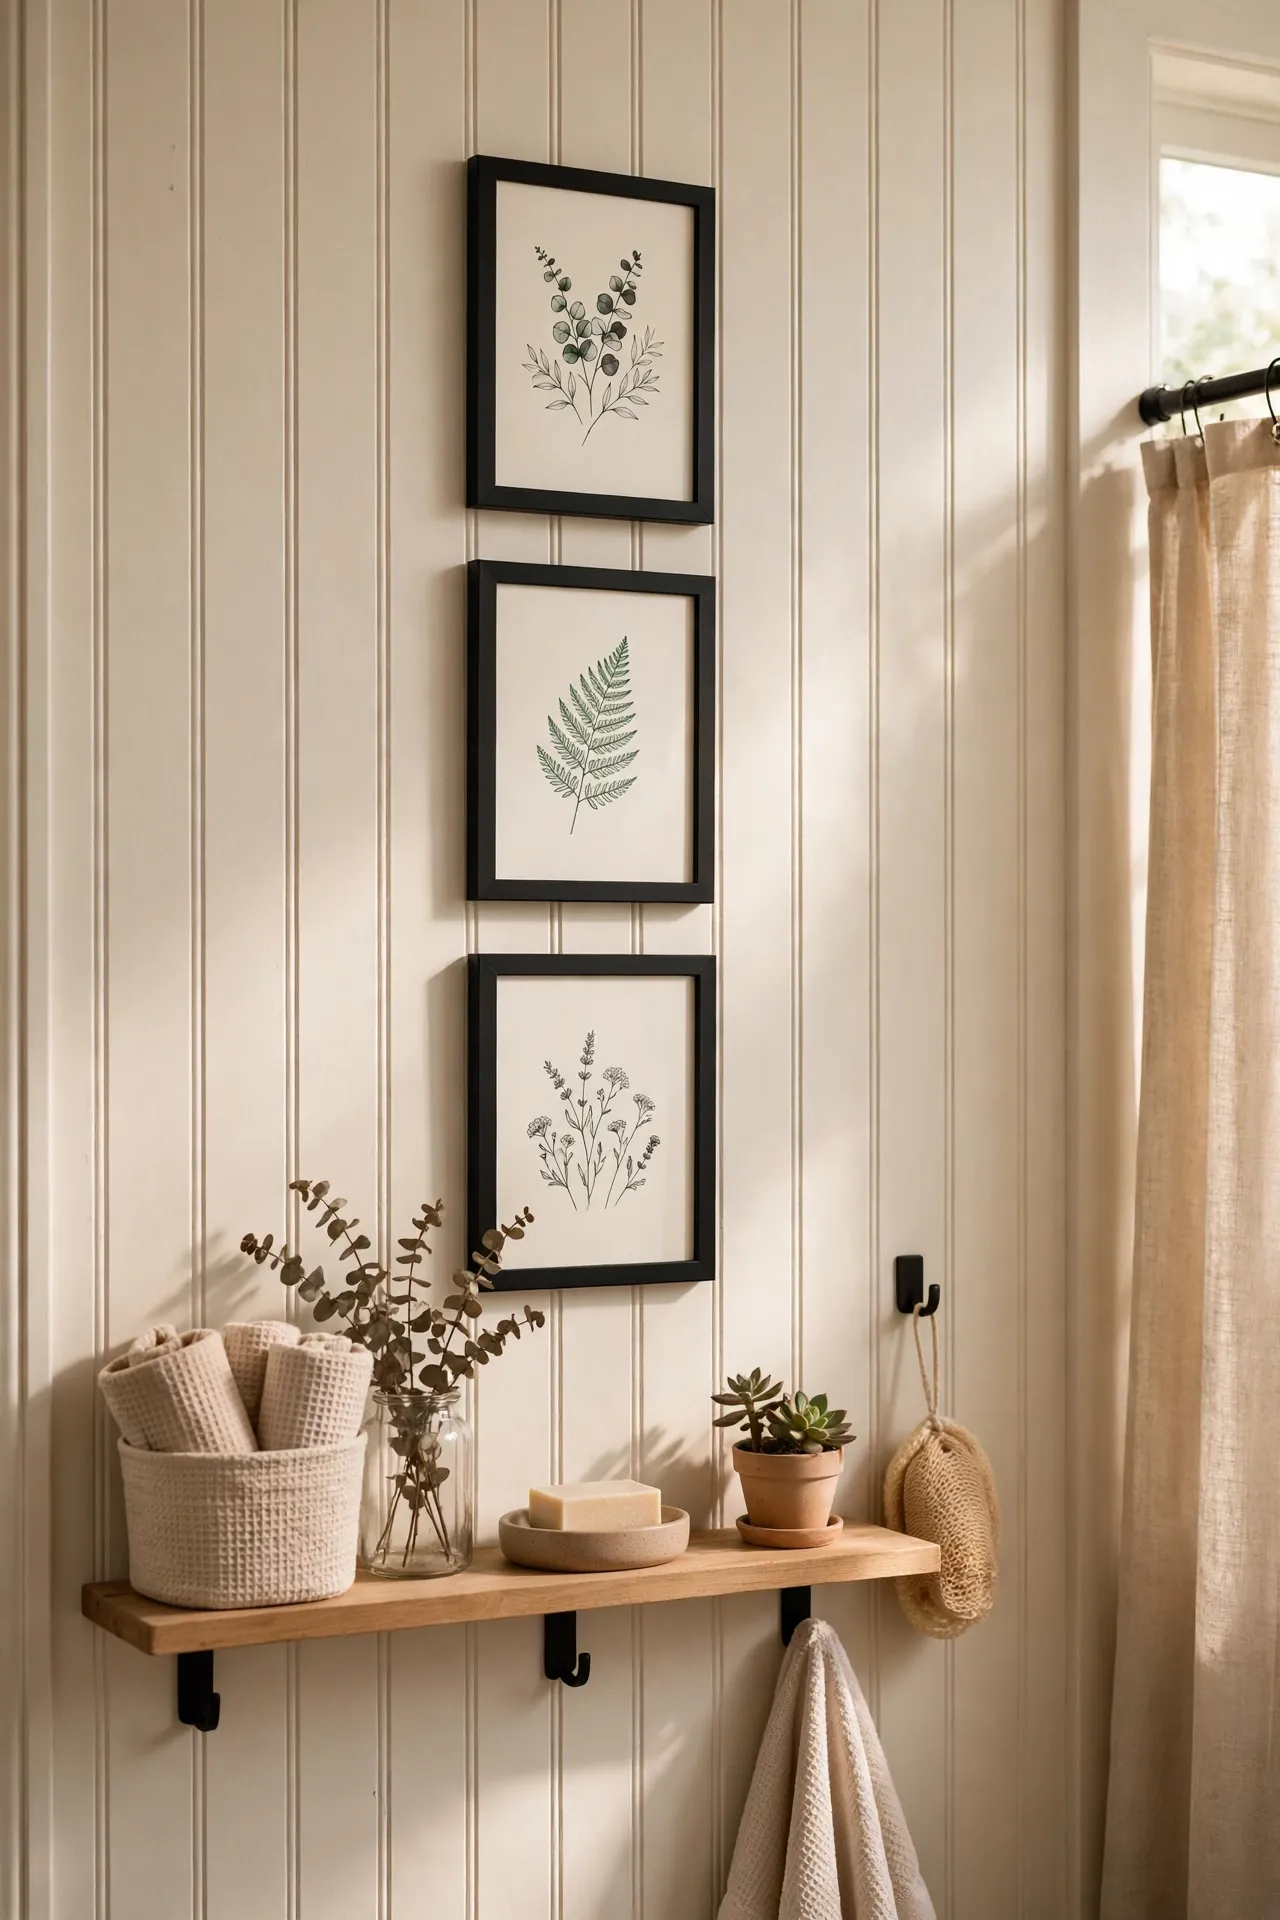
Cheap frames look expensive once you spray them matte black and fill them with simple, calm art. Buy three or four frames in the same size, remove the glass and backing, and spray two light coats of matte black paint outside. Print botanical sketches or simple quotes on matte paper, trim them to fit, and hang them in a straight row. I tried this with mismatched gold frames, and the mistake to avoid is skipping the primer on shiny plastic — the paint scratched off when I wiped them. A quick primer coat first makes the black finish tough and even, and the wall looks like a real gallery row.
Cost: ~$12 | Time: 45 minutes
💰 Budget win: Print art at home and put the money into one can of good spray paint that covers all the frames.
3. Rope-Wrapped Dollar Store Basket for Towel Storage
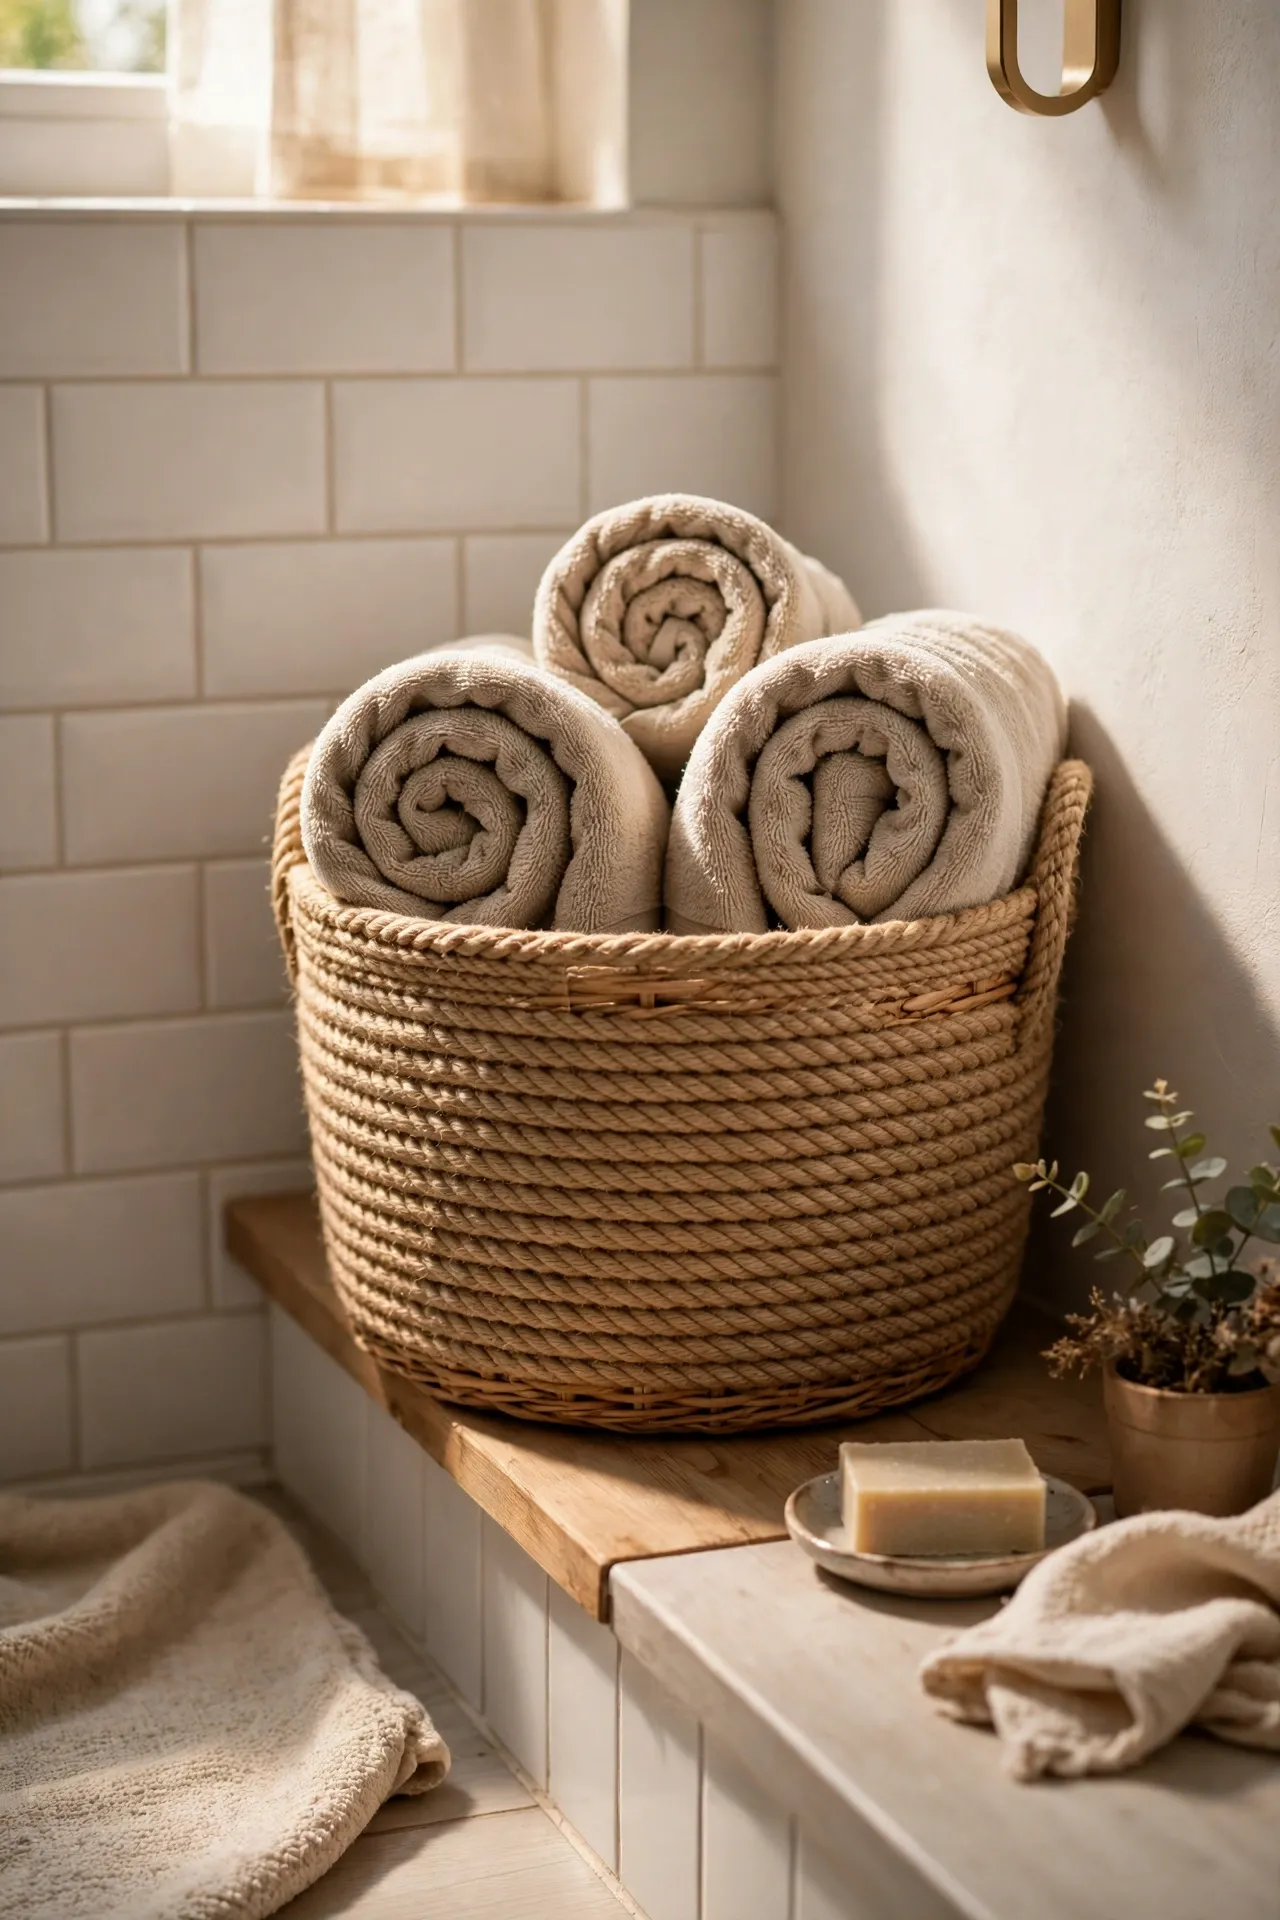
Wrapping a plain dollar store basket in rope turns a flimsy bin into a basket that looks woven and sturdy. Start at the bottom, hot-glue the rope in tight rows, and work your way up, pressing each row close to the last so no plastic shows through. Add a fabric liner if the basket will hold damp towels. I tried this for rolled hand towels, and the mistake to avoid is using thin twine that snaps under tension — thick jute rope holds its shape and hides the basket underneath. One evening, one basket, and the bathroom gains texture that matches wood and linen perfectly.
Cost: ~$9 | Time: 60 minutes
💰 Budget win: Buy rope by the roll, not by the small coil, and you can wrap two baskets for nearly the same price.
4. Faux Eucalyptus Stems in a Thrifted Glass Bottle
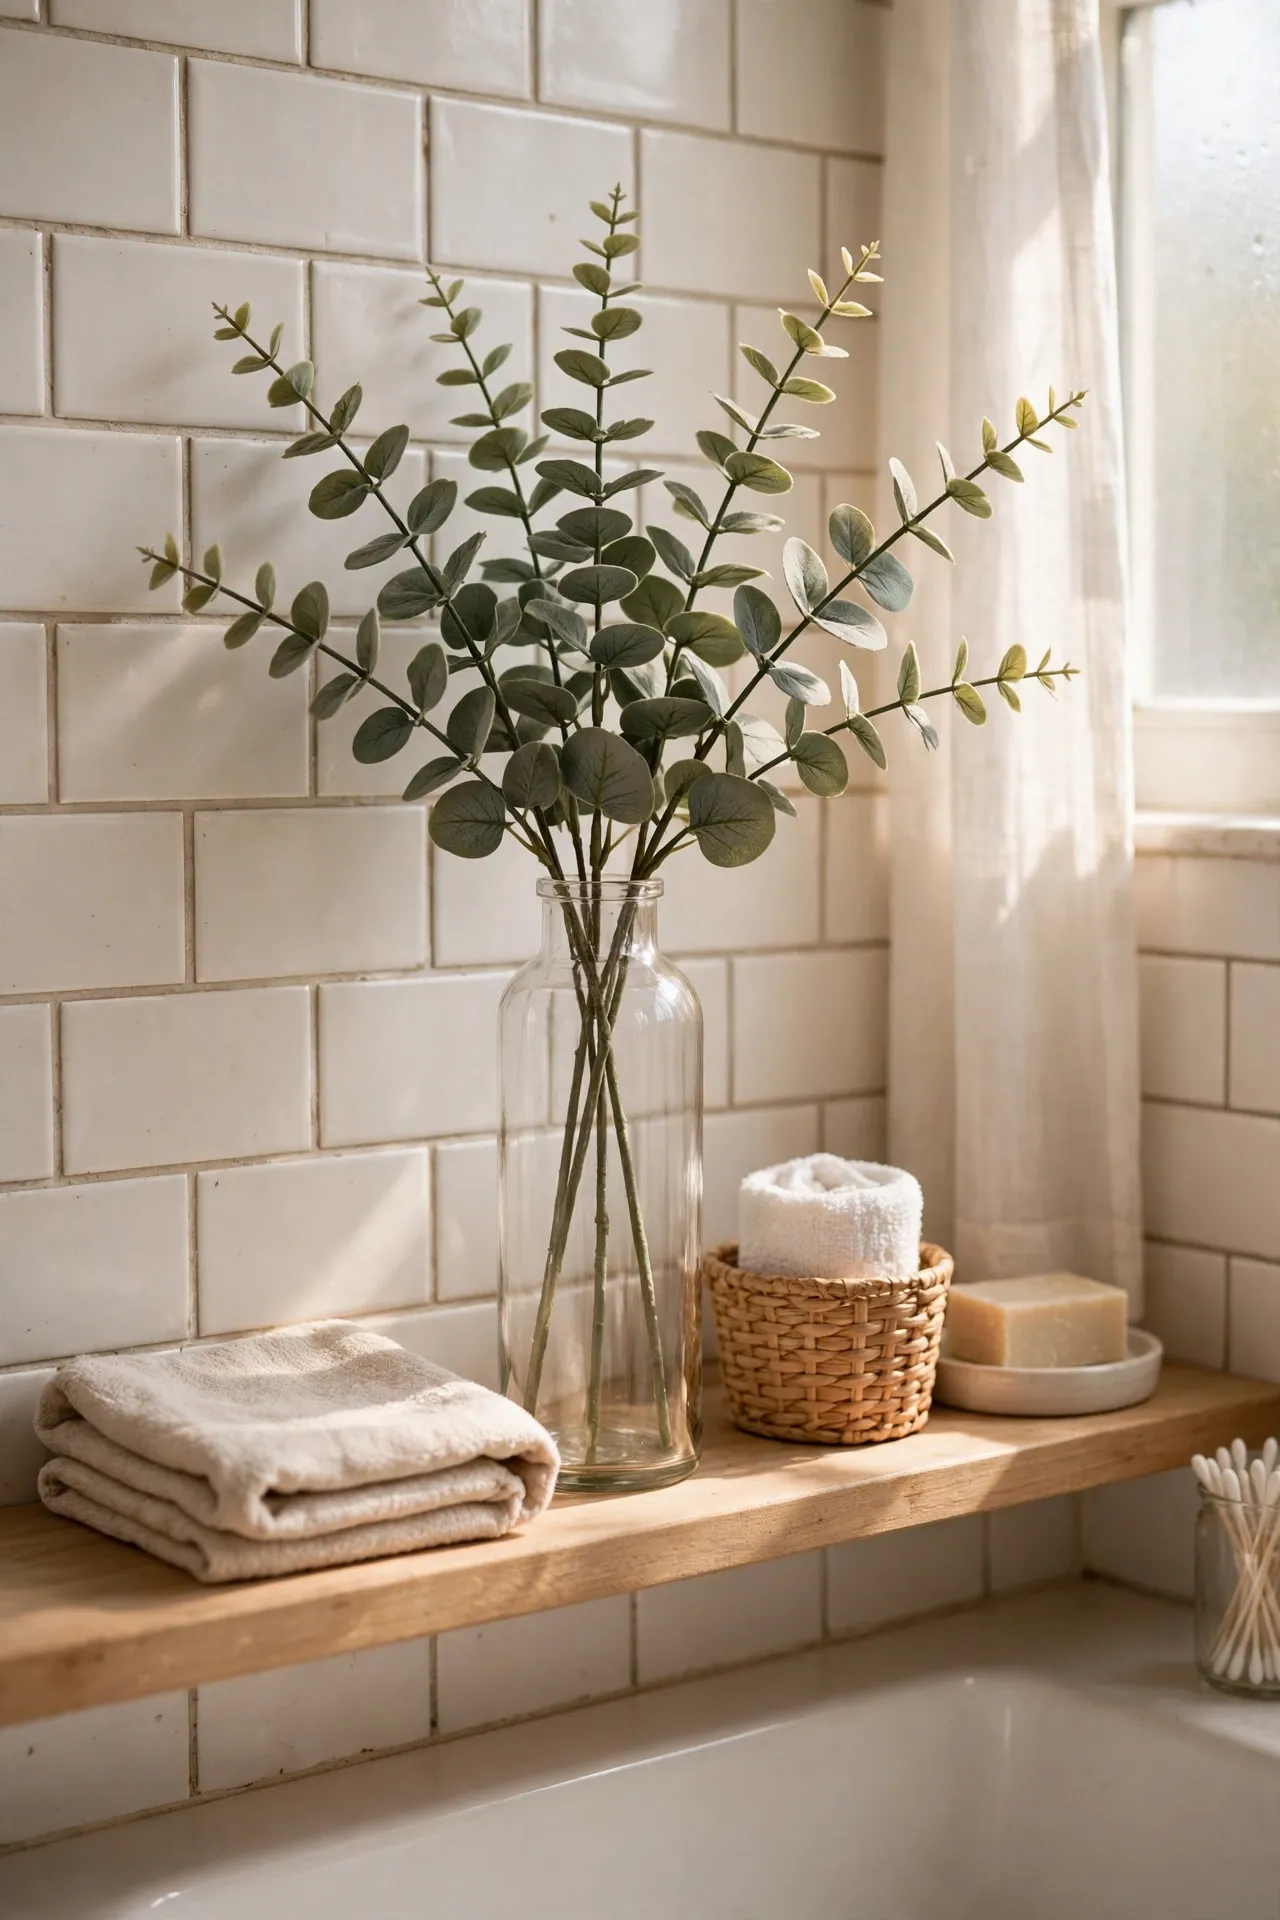
A few faux eucalyptus stems in a tall glass bottle add soft green height to a bathroom shelf without watering or shedding leaves. Choose stems with muted, dusty green leaves, trim them to different heights, and bend the tops slightly so they look natural rather than stiff. Set the bottle on a tray or shelf where it will not get splashed. I tried this with bright green stems first, and the mistake to avoid is that neon look — real eucalyptus is dusty, not electric. Muted stems in clear glass look calm and real at a glance, and they survive steam, guests, and months of neglect without complaint.
Cost: ~$7 | Time: 10 minutes
💰 Budget win: One bunch split across two bottles decorates both the bathroom and a hallway shelf.
5. Dollar Store Candle Holders Grouped on a Tray
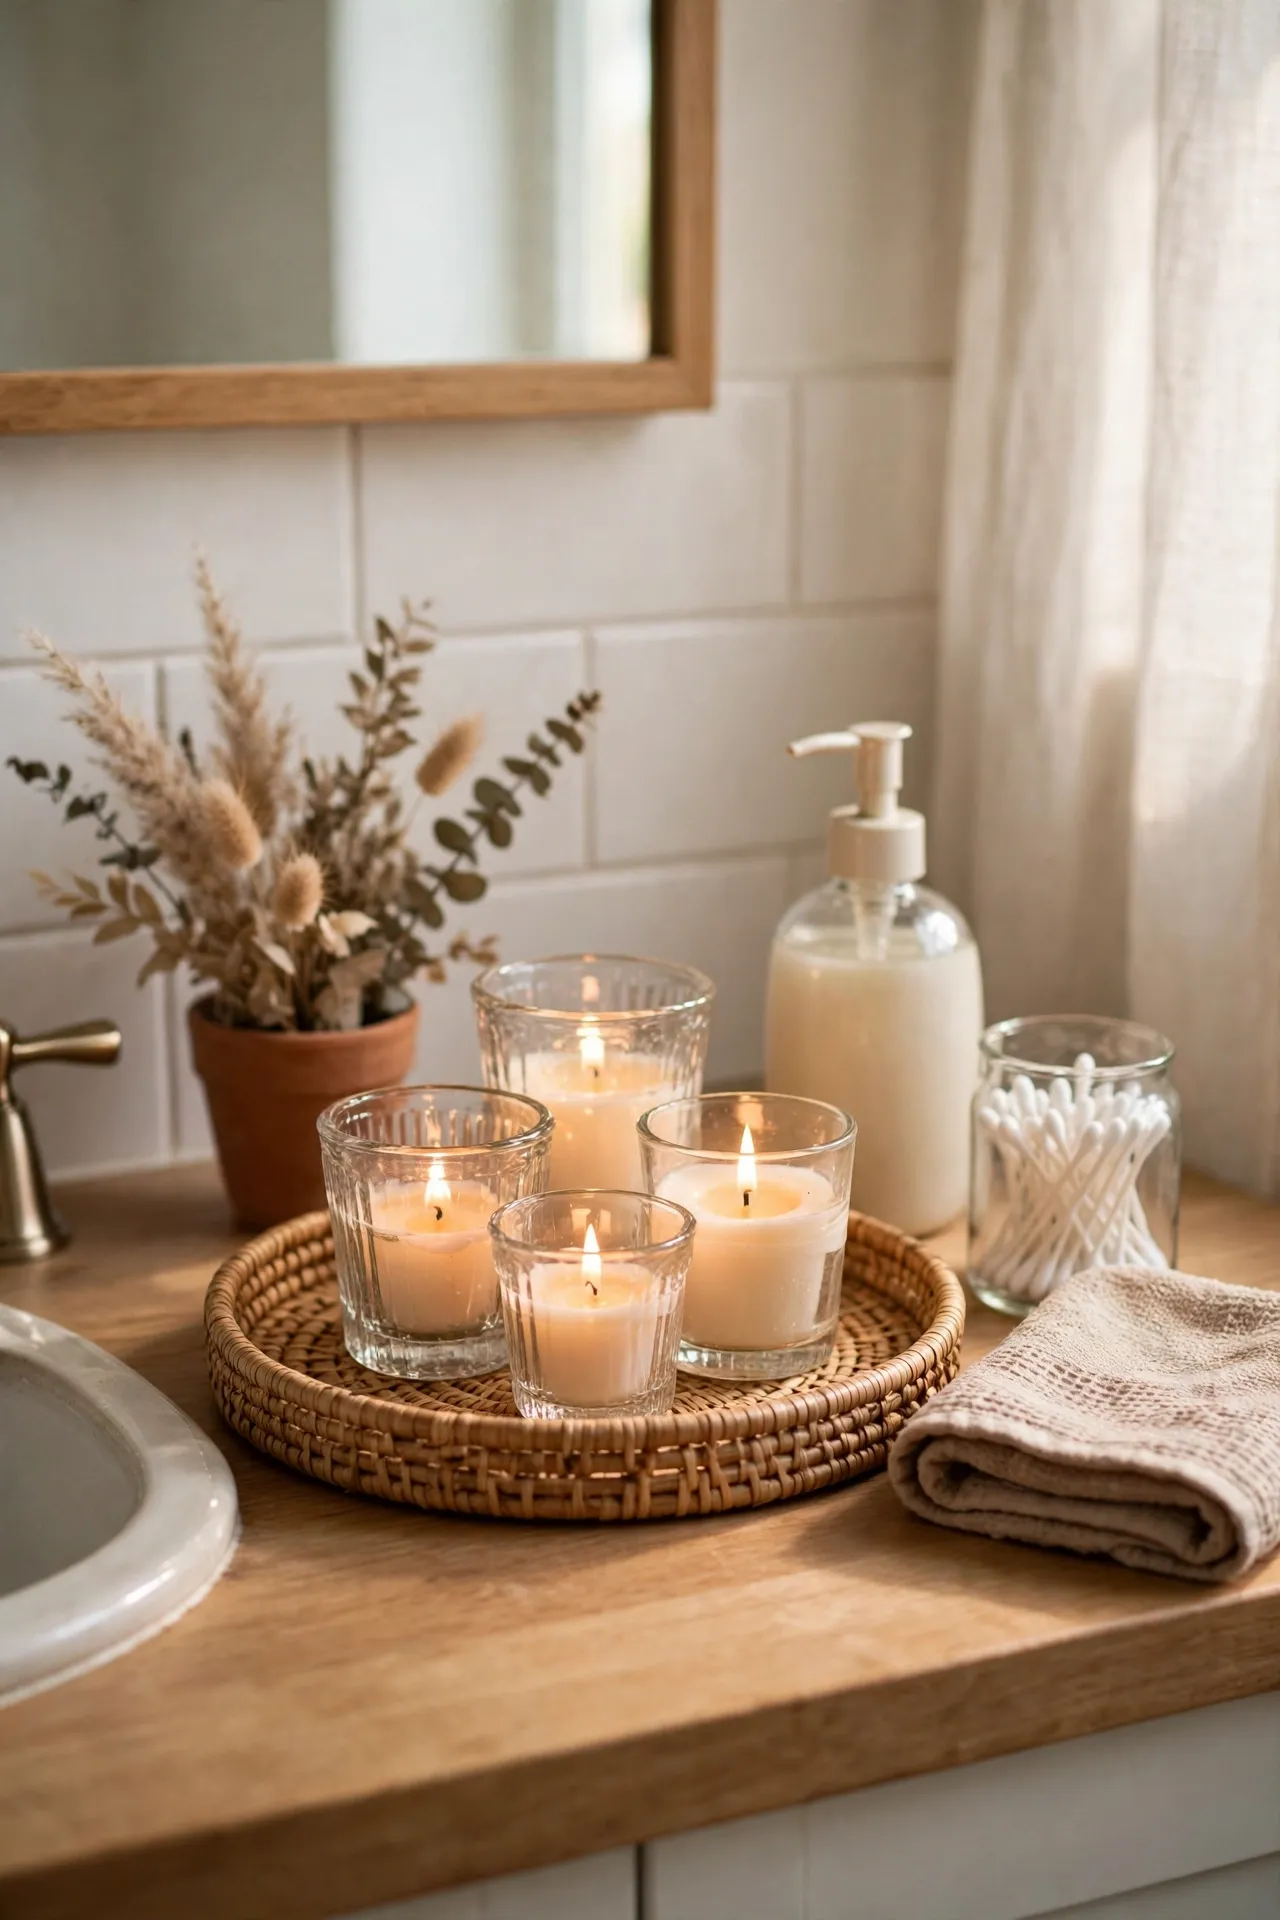
Grouping three dollar store candle holders on a small tray makes them look like a set, even if you bought them on different trips. Pick holders in the same finish — all clear glass, all gold, or all white — and vary the heights so the group has rhythm. Place the tray on the vanity or tub edge, away from towels. I tried this with mixed finishes first, and the mistake to avoid is scattering single holders around the room — alone, each one looks cheap, but grouped, they look deliberate. Light them during baths, keep wicks trimmed, and the corner glows like a boutique hotel bathroom.
Cost: ~$10 | Time: 15 minutes
💰 Budget win: Use tea lights you already buy in bulk instead of fancy pillar candles for the same glow.
6. Contact Paper Marble Wrap for a Tired Vanity Top
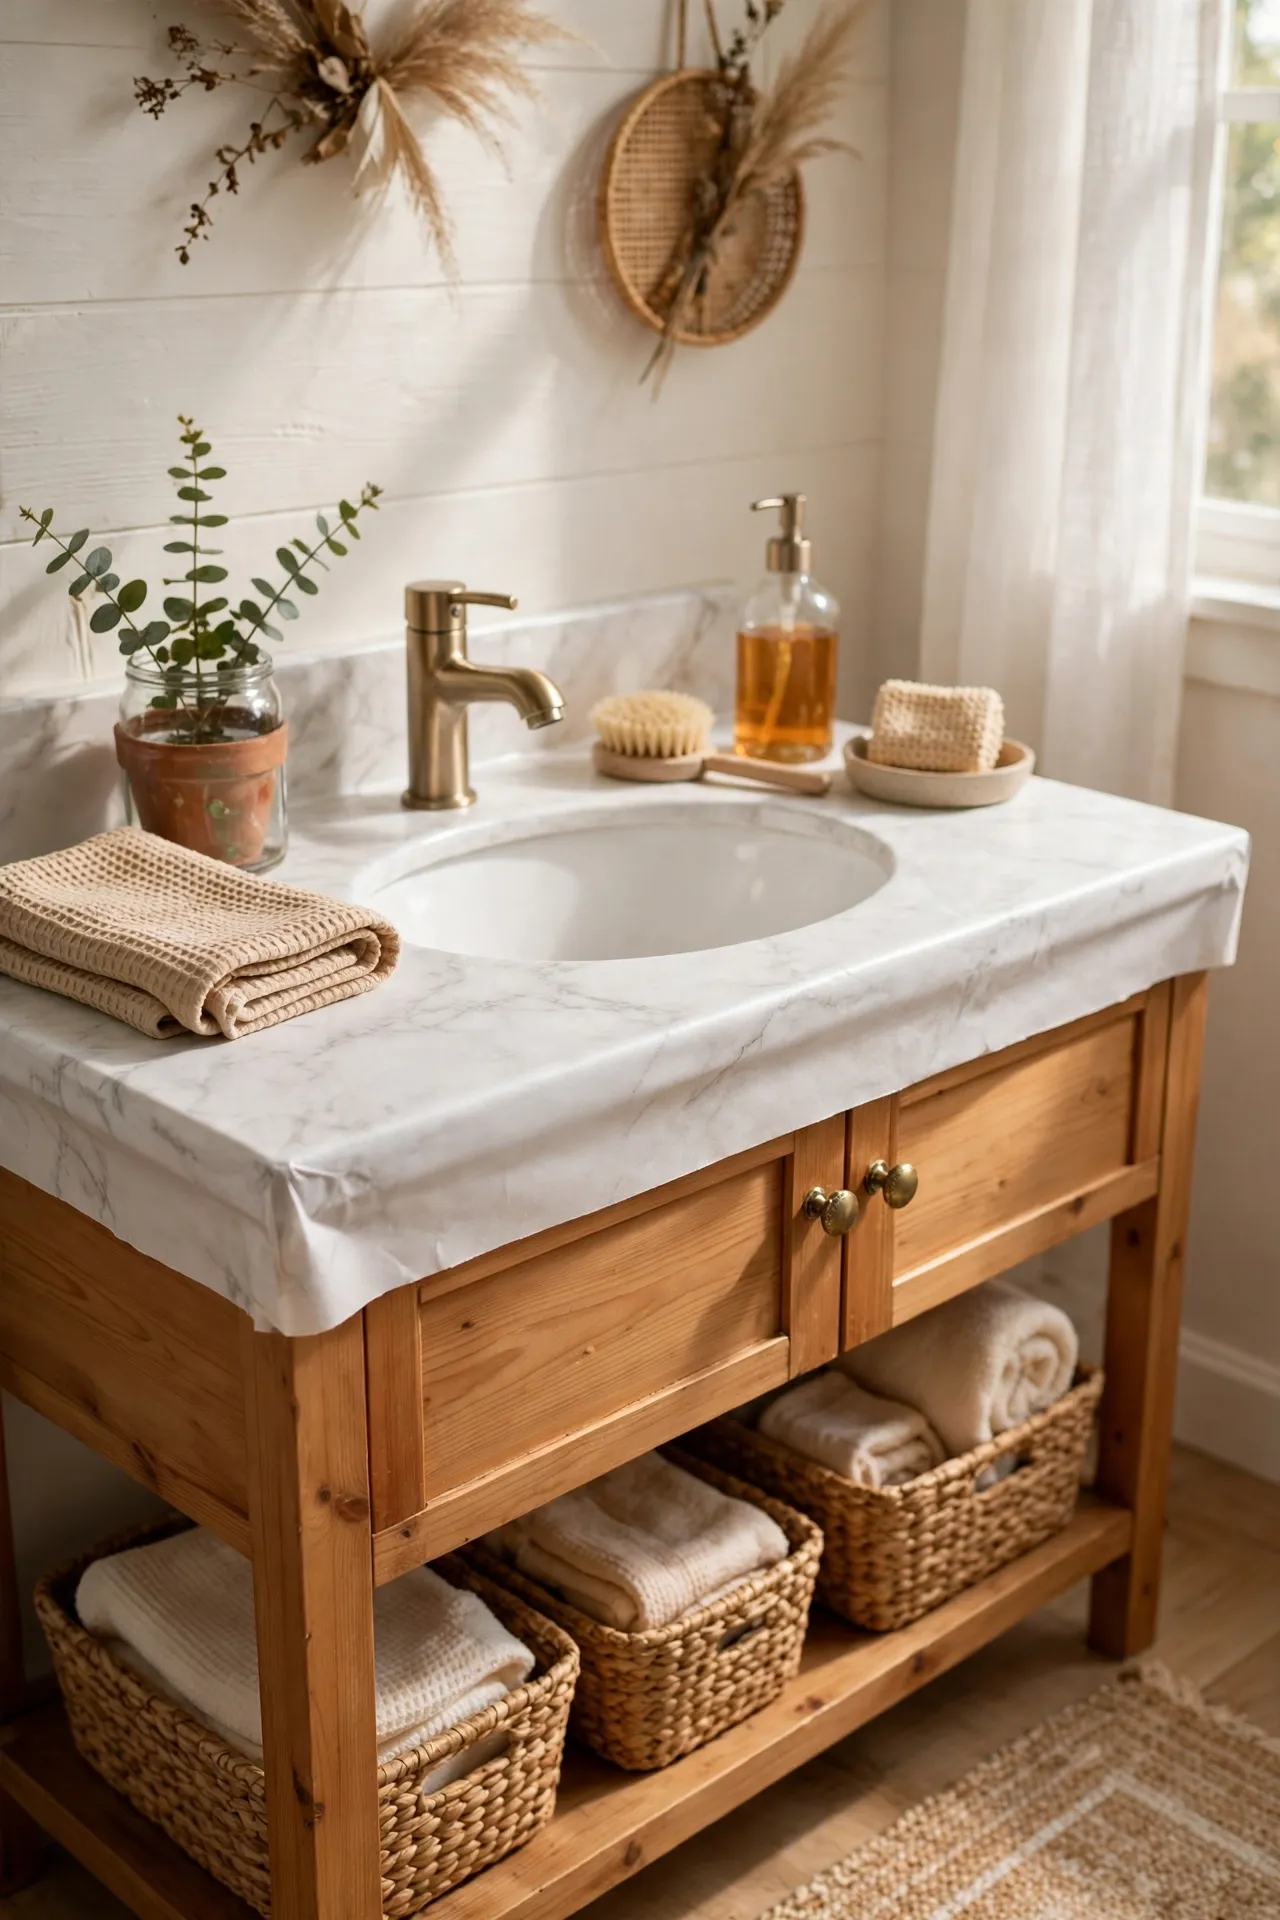
Marble contact paper wrapped over a tired vanity top hides stains and chips for a season or more, without replacing the counter. Clean and dry the top, cut the paper a little larger than needed, and smooth it from the center outward with a credit card to push out bubbles. Wrap the edges underneath for a finished look and seal seams near the sink with clear tape. I tried this on a stained laminate top, and the mistake to avoid is rushing the smoothing step — trapped bubbles turned into wrinkles I could not fix. Slow, steady smoothing gives a smooth marble look that fools most guests until they touch it.
Cost: ~$9 | Time: 40 minutes
💰 Budget win: One roll covers a small vanity top and leaves enough for a shelf or tray.
7. Dollar Store Bins Labeled With a Paint Pen
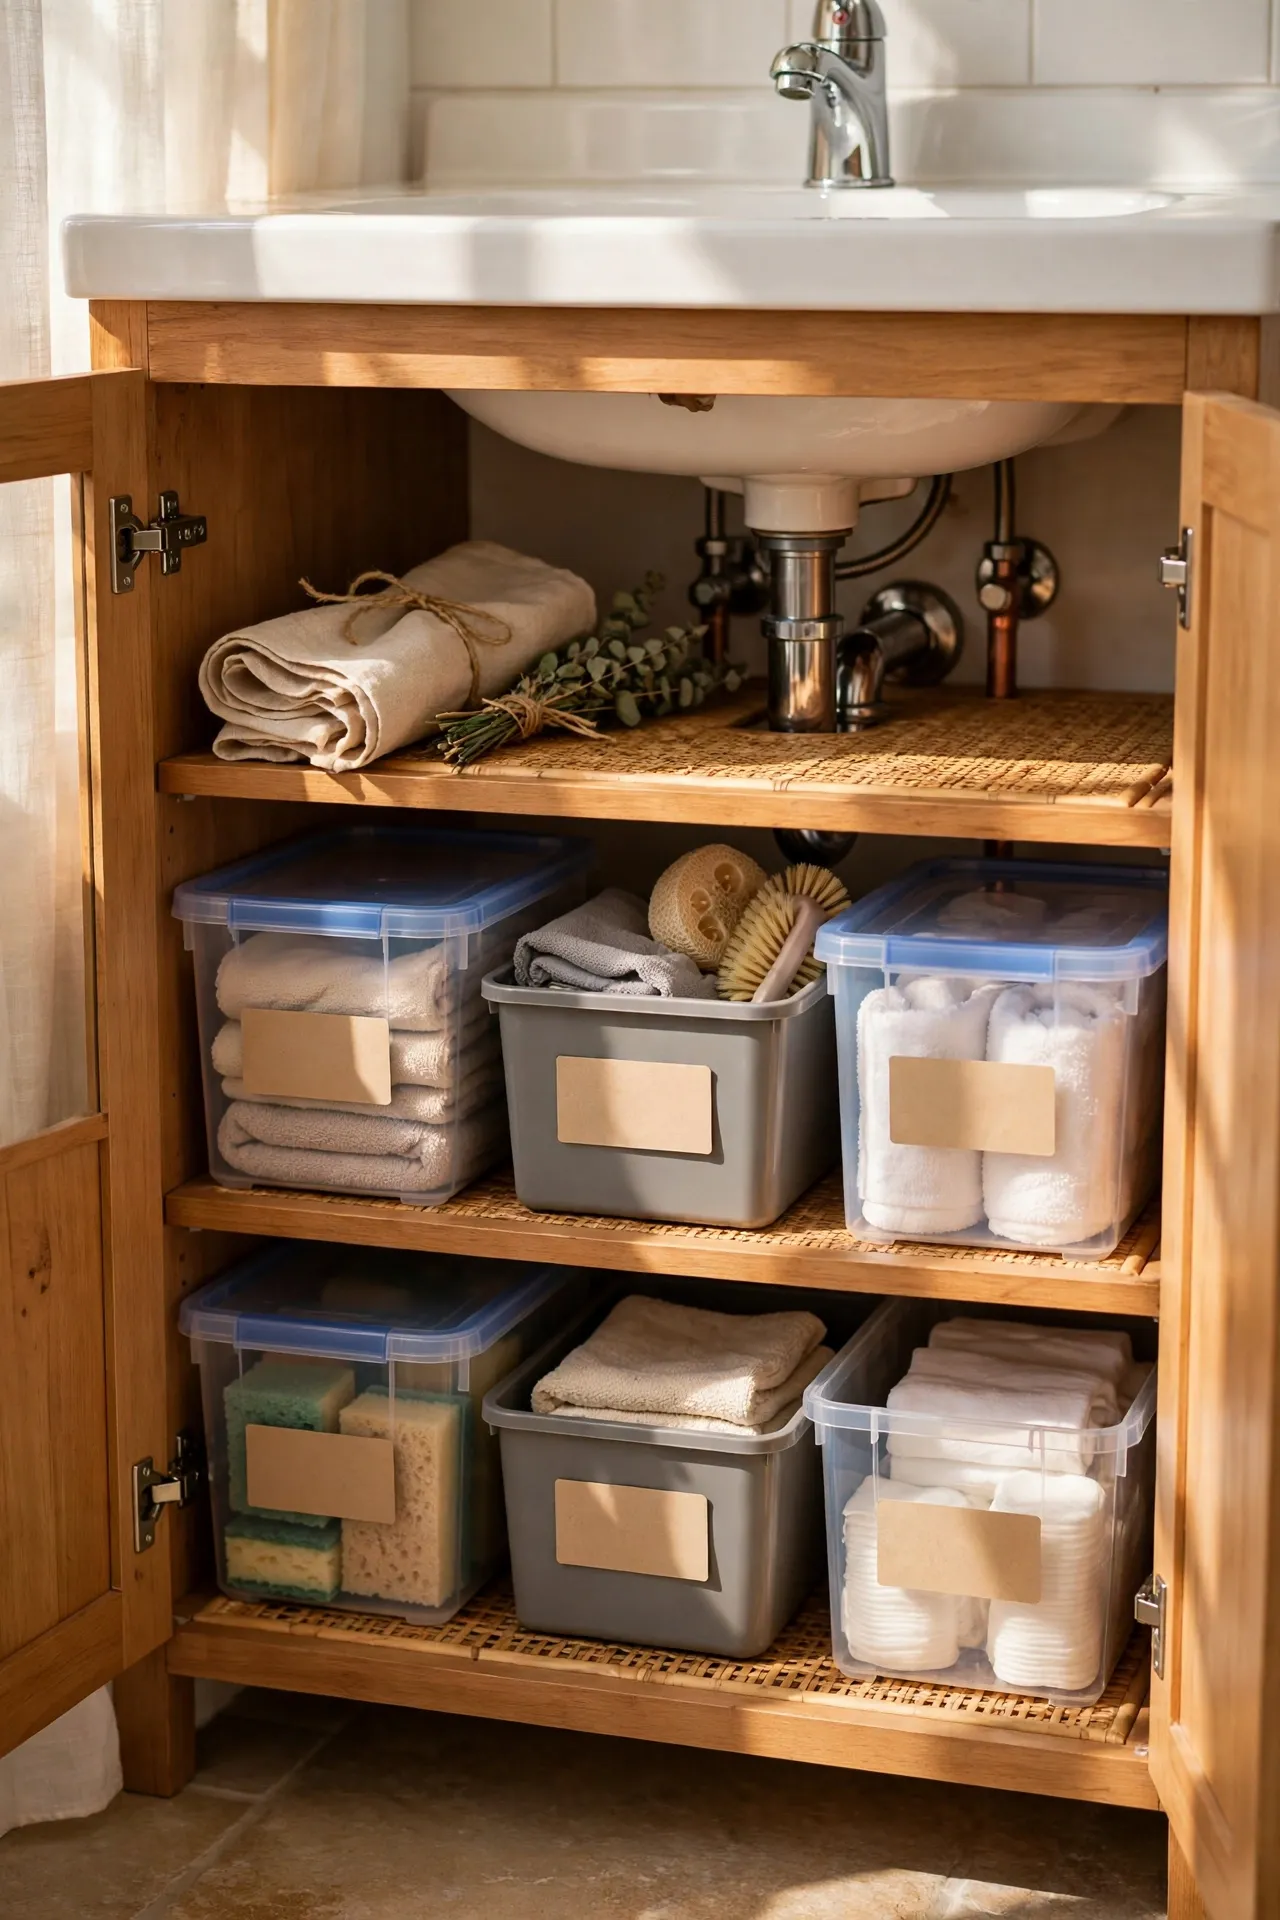
Plain dollar store bins labeled with a paint pen turn an under-sink mess into a system you can actually keep up. Sort items first — hair tools in one bin, cleaning supplies in another, extras in a third — then write short labels in neat block letters on the front. Let the paint dry fully before sliding bins back into place. I tried this after years of digging for bobby pins, and the mistake to avoid is writing labels before sorting — I ended up with a bin labeled “stuff” that helped no one. Clear labels, one job per bin, and suddenly the cabinet stays tidy because everyone in the house knows where things belong.
Cost: ~$8 | Time: 30 minutes
💰 Budget win: One paint pen labels a whole houseful of bins, so the per-bin cost is pennies.
8. Faux Marble Peel-and-Stick Backsplash Tiles
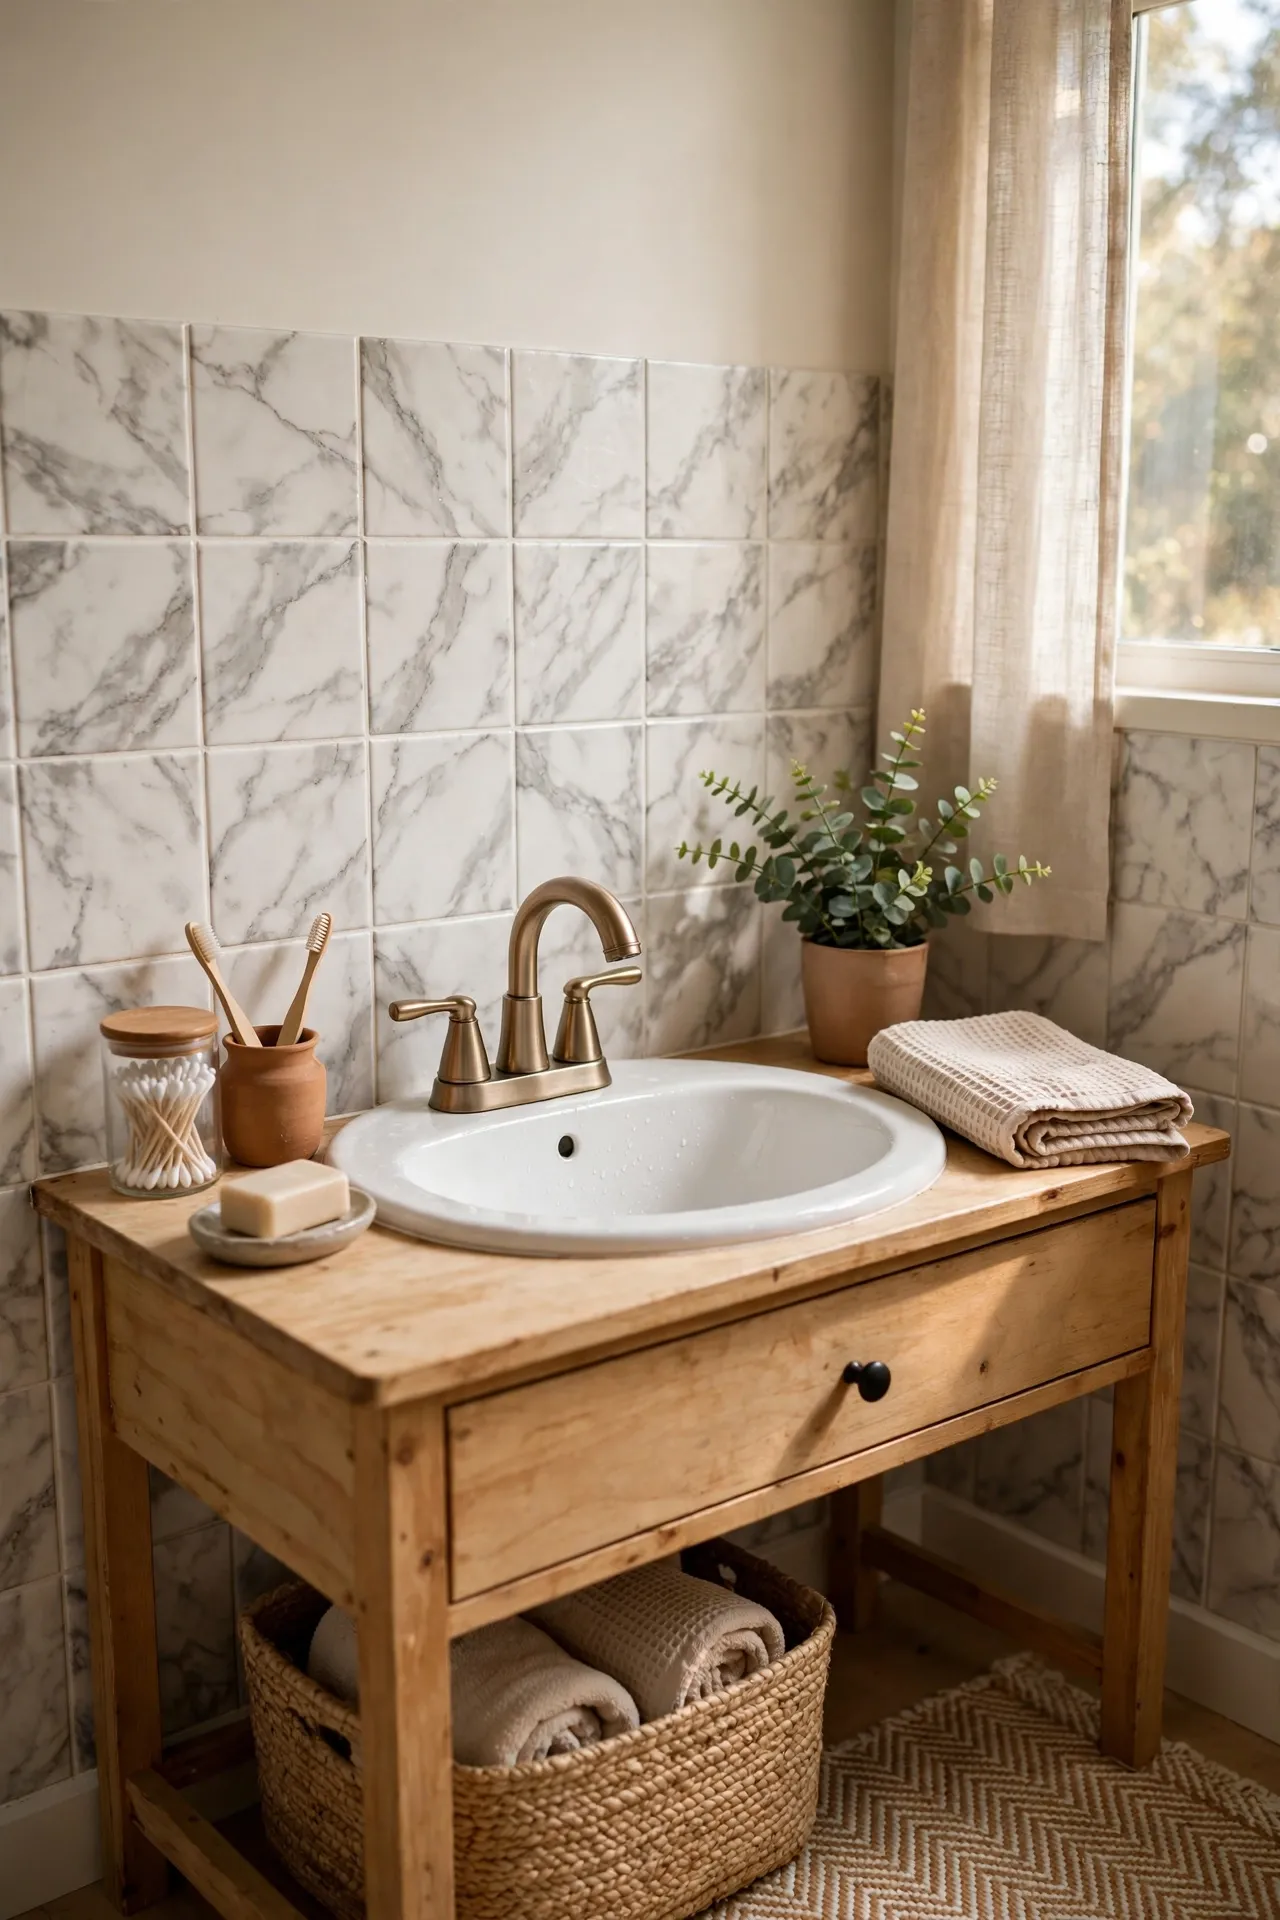
Faux marble peel-and-stick backsplash tiles behind the sink add a polished look without tile, grout, or a contractor visit. Wipe the wall clean, start at the faucet center, and press each tile firmly, aligning the marble veins so they flow across tiles rather than clash. Cut around outlets with a sharp craft knife. I tried this in a rental bath, and the mistake to avoid is sticking tiles over old soap scum — they lifted within days. A wall washed with warm soapy water and dried overnight holds tiles for months, and they peel off without damage when you leave. (see also: small-bathroom-ideas-under-100) has more renter-friendly wall ideas if this one sparks a bigger refresh.
Cost: ~$11 | Time: 50 minutes
💰 Budget win: Tile only the strip behind the sink, not the full wall, and one pack usually does it.
9. Dollar Store Soap Dish on a Small Wooden Board
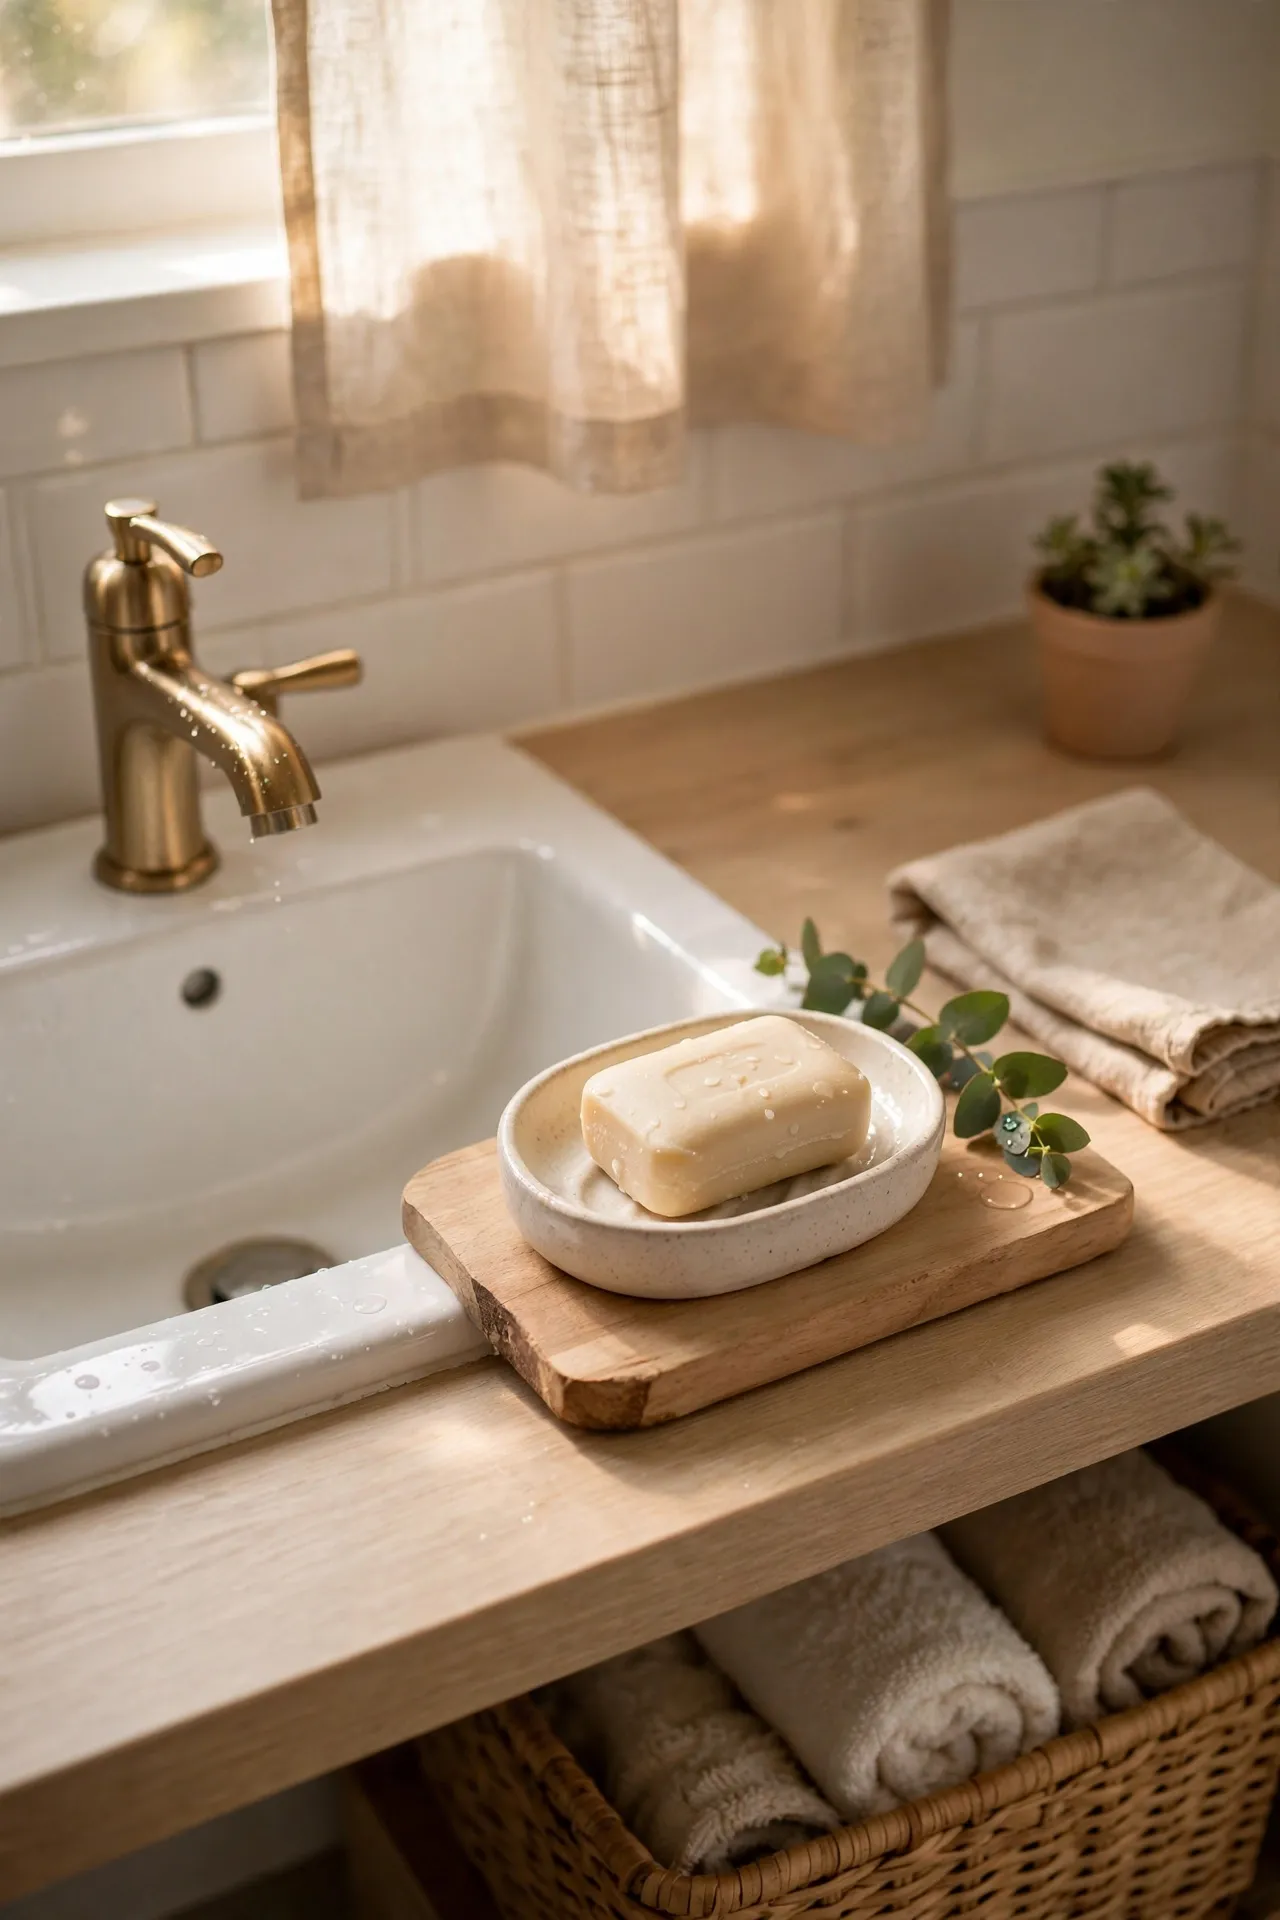
Setting a dollar store soap dish on a small wooden board makes a two-dollar purchase look like a curated sink set. Choose a plain ceramic or glass dish, place it on a board just larger than the dish, and add a small bottle of lotion beside it for balance. Wipe the board dry after showers so it does not warp. I tried this with a bare dish on the counter, and the mistake to avoid is leaving the dish directly on a wet counter — soap scum glued it down. The board catches drips, lifts the dish visually, and gives the sink a finished edge that looks far more thoughtful than a lone dish ever could.
Cost: ~$6 | Time: 10 minutes
💰 Budget win: A cutting board offcut or a small thrifted board works as the base for free.
10. Spray-Painted Dollar Store Mirror Frame in Gold
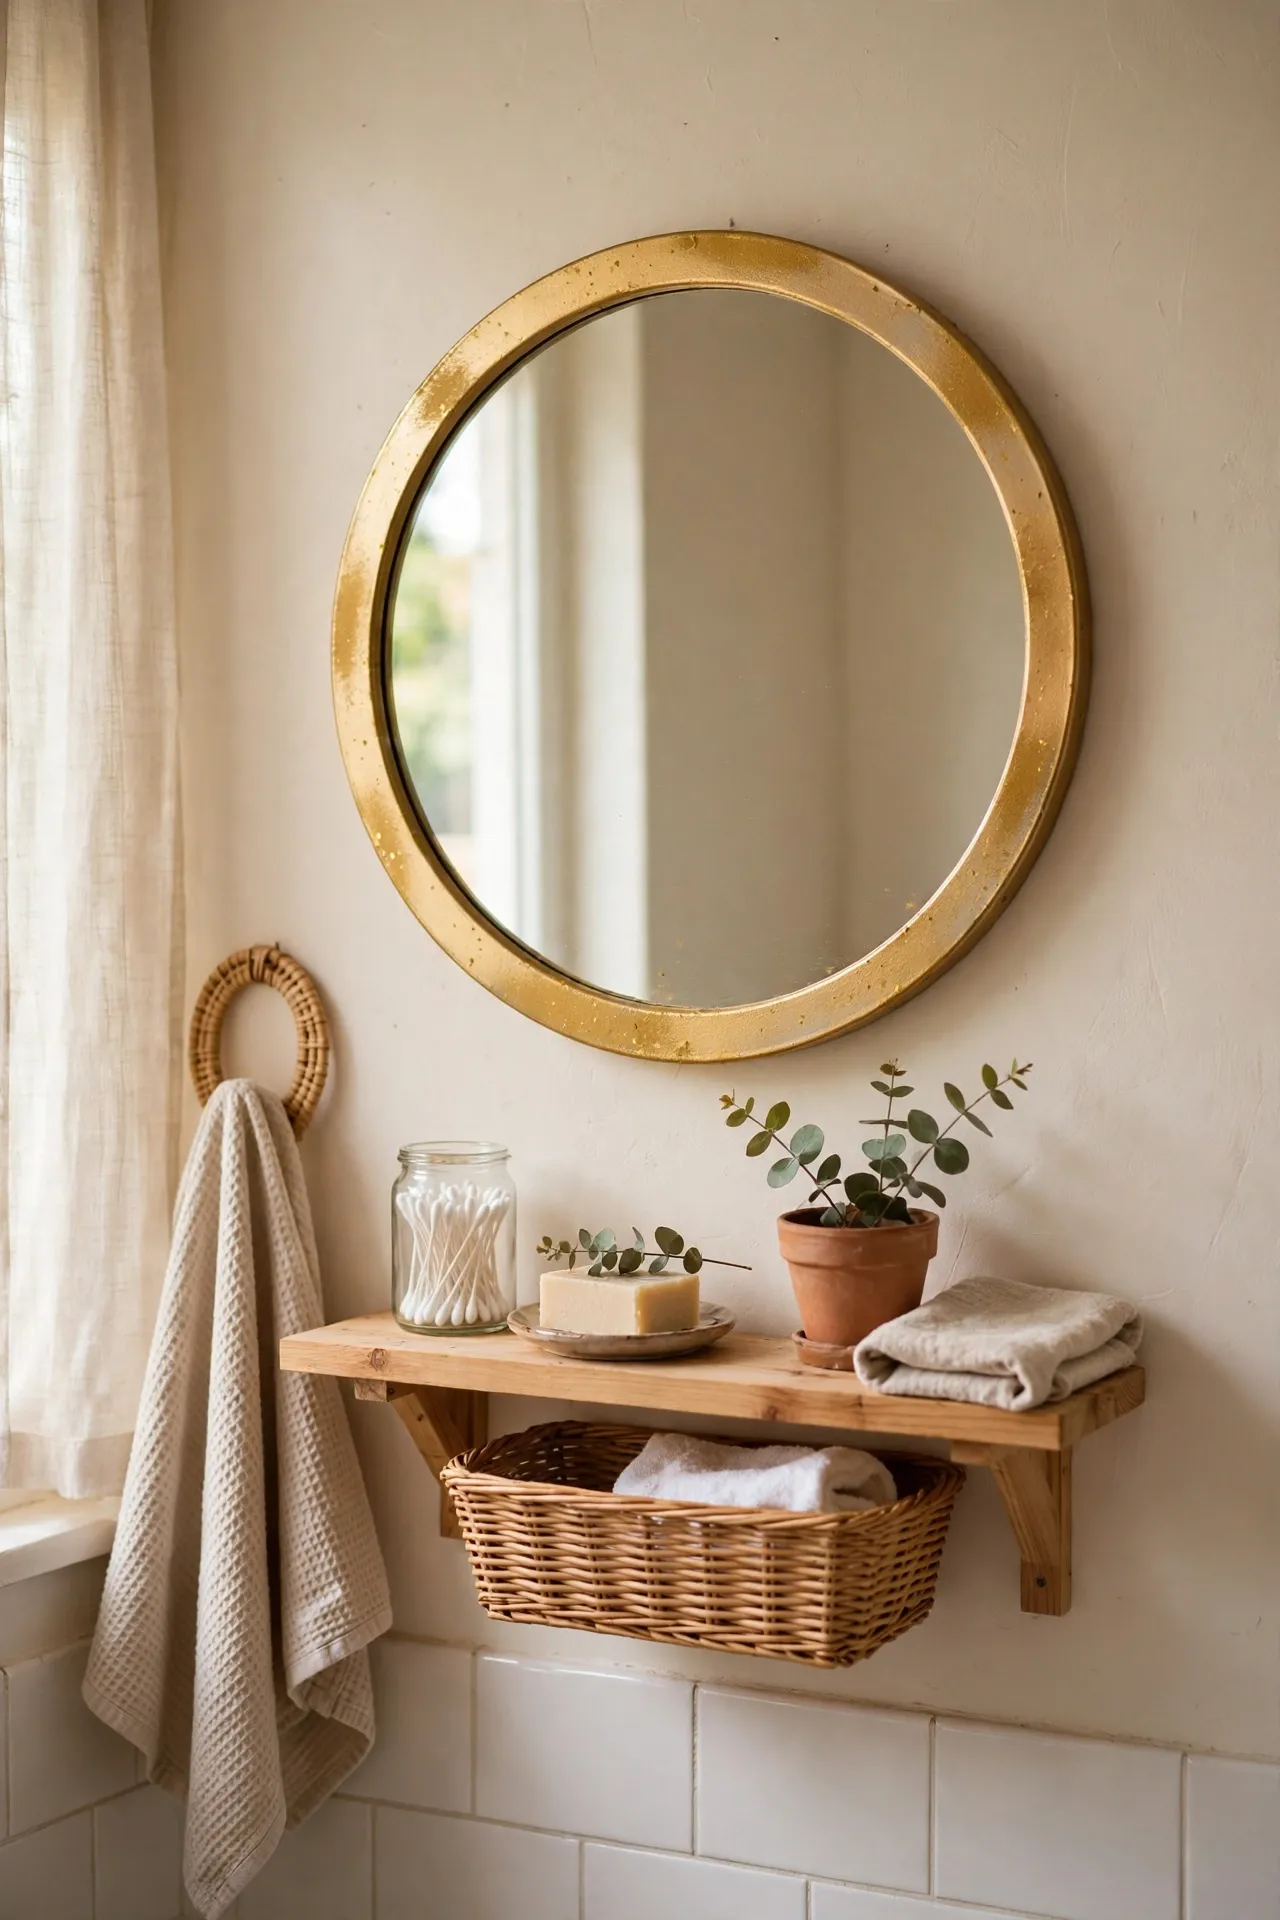
Spray-painting a plain dollar store mirror frame gold turns a flat, plastic-looking mirror into a warm focal point. Remove the mirror if you can, or tape the glass carefully edge to edge, then spray two light coats of metallic gold outside. Let it dry fully between coats to avoid drips. I tried this on a small round mirror, and the mistake to avoid is spraying too close — the paint pooled and looked orange instead of gold. Hold the can eight inches away, use light passes, and the frame gains a soft metallic sheen that pairs beautifully with white walls and warm towels.
Cost: ~$9 | Time: 40 minutes
💰 Budget win: One can of gold spray paint covers several frames, trays, and candle holders in one session.
11. Dollar Store Jars Turned Into a Cotton Ball Station
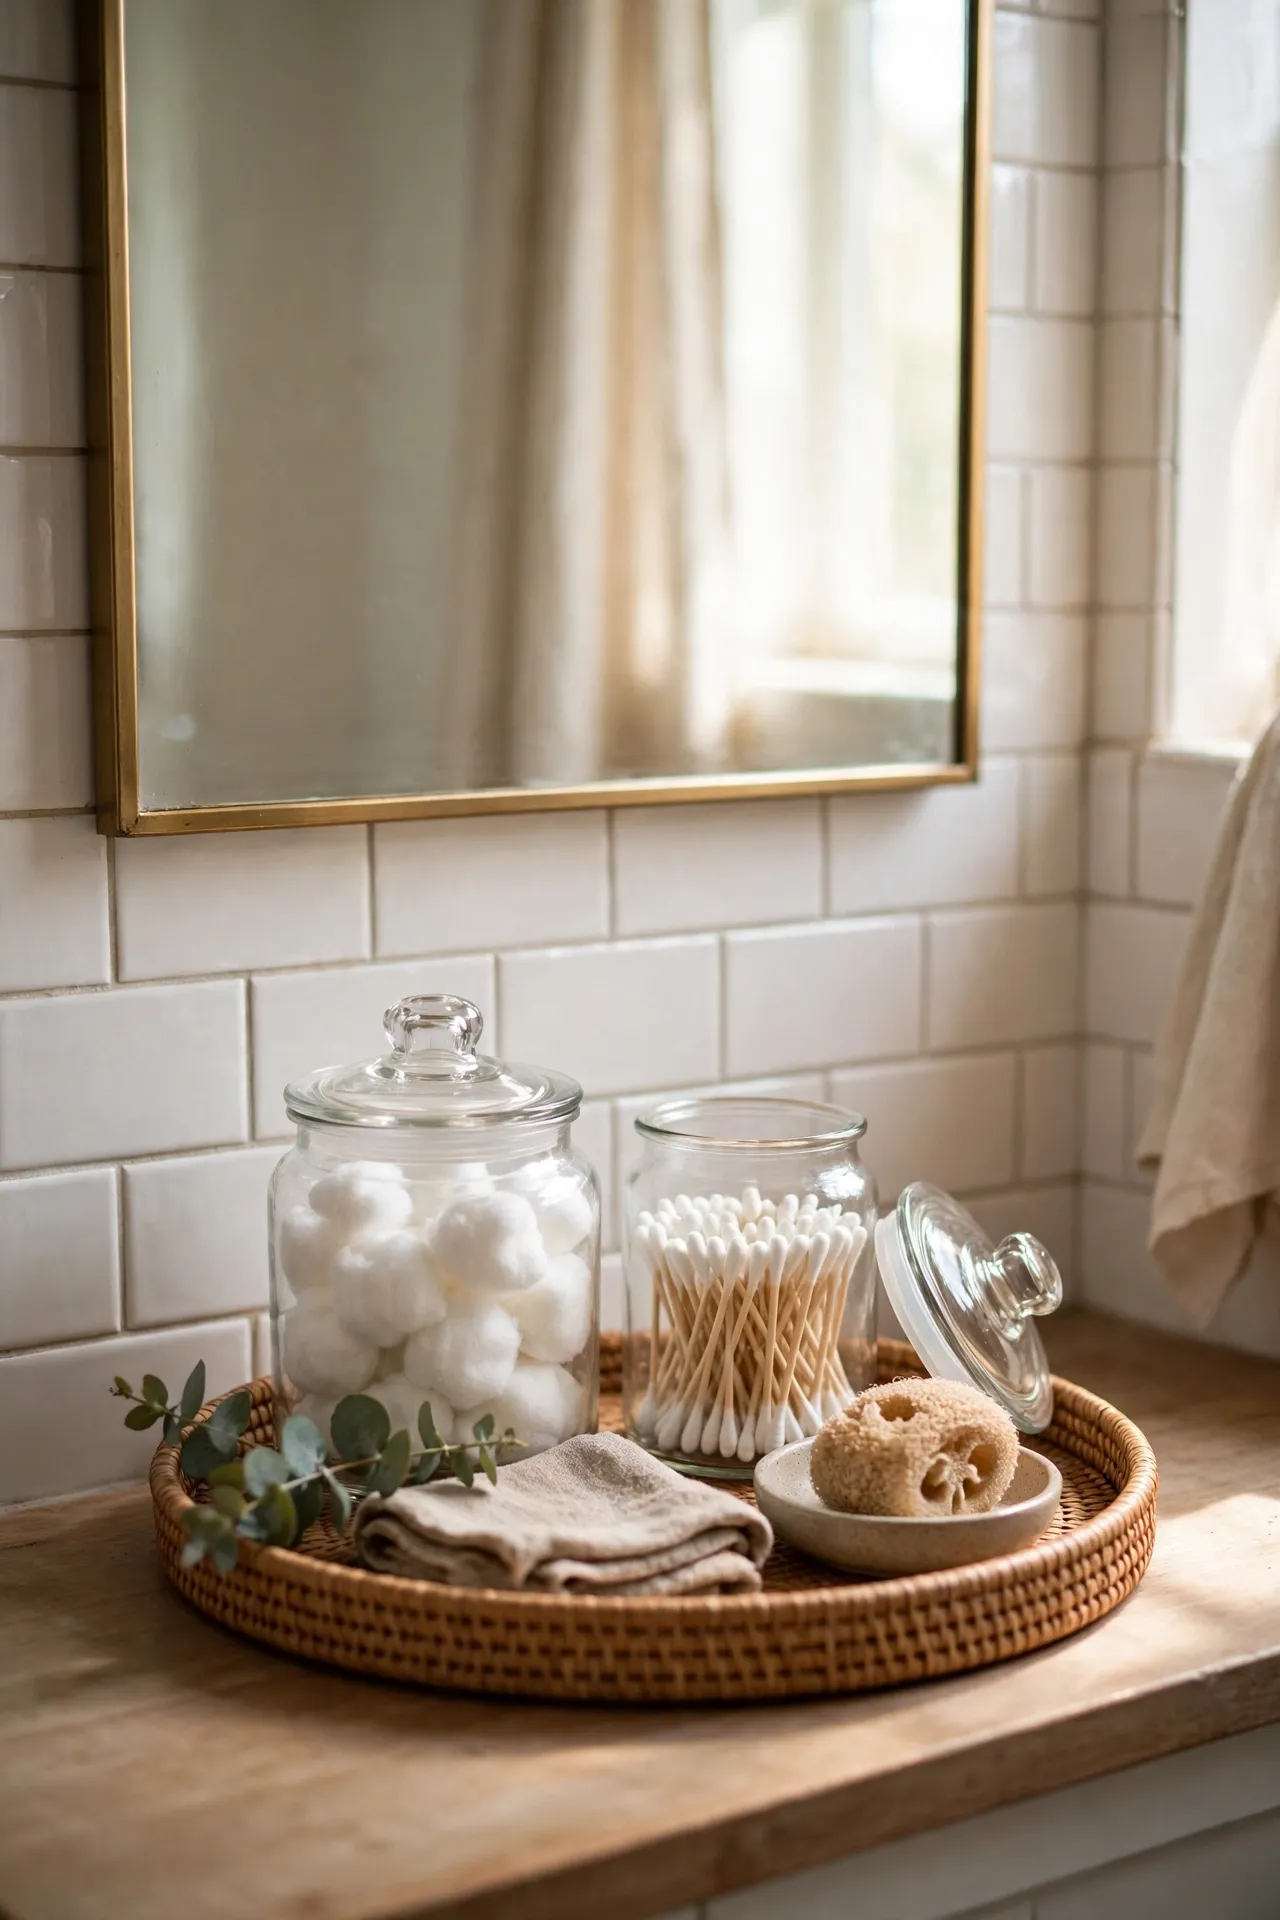
Turning three dollar store jars into a cotton ball station keeps small essentials visible, tidy, and easy to grab. Fill one jar with cotton balls, one with cotton swabs, and one with hair ties or clips, and line them on a small tray by the mirror. Use jars with lids if your bathroom gets very steamy. I tried this with open jars first, and the mistake to avoid is exactly that in a small, steamy bath — the cotton balls absorbed moisture and clumped. Lidded jars stay fresh, look uniform, and make your morning routine faster because you stop hunting through drawers for the basics.
Cost: ~$7 | Time: 10 minutes
💰 Budget win: Buy jars in a multipack and use the extras in the kitchen or craft drawer.
12. Faux Greenery Garland Draped Over the Mirror
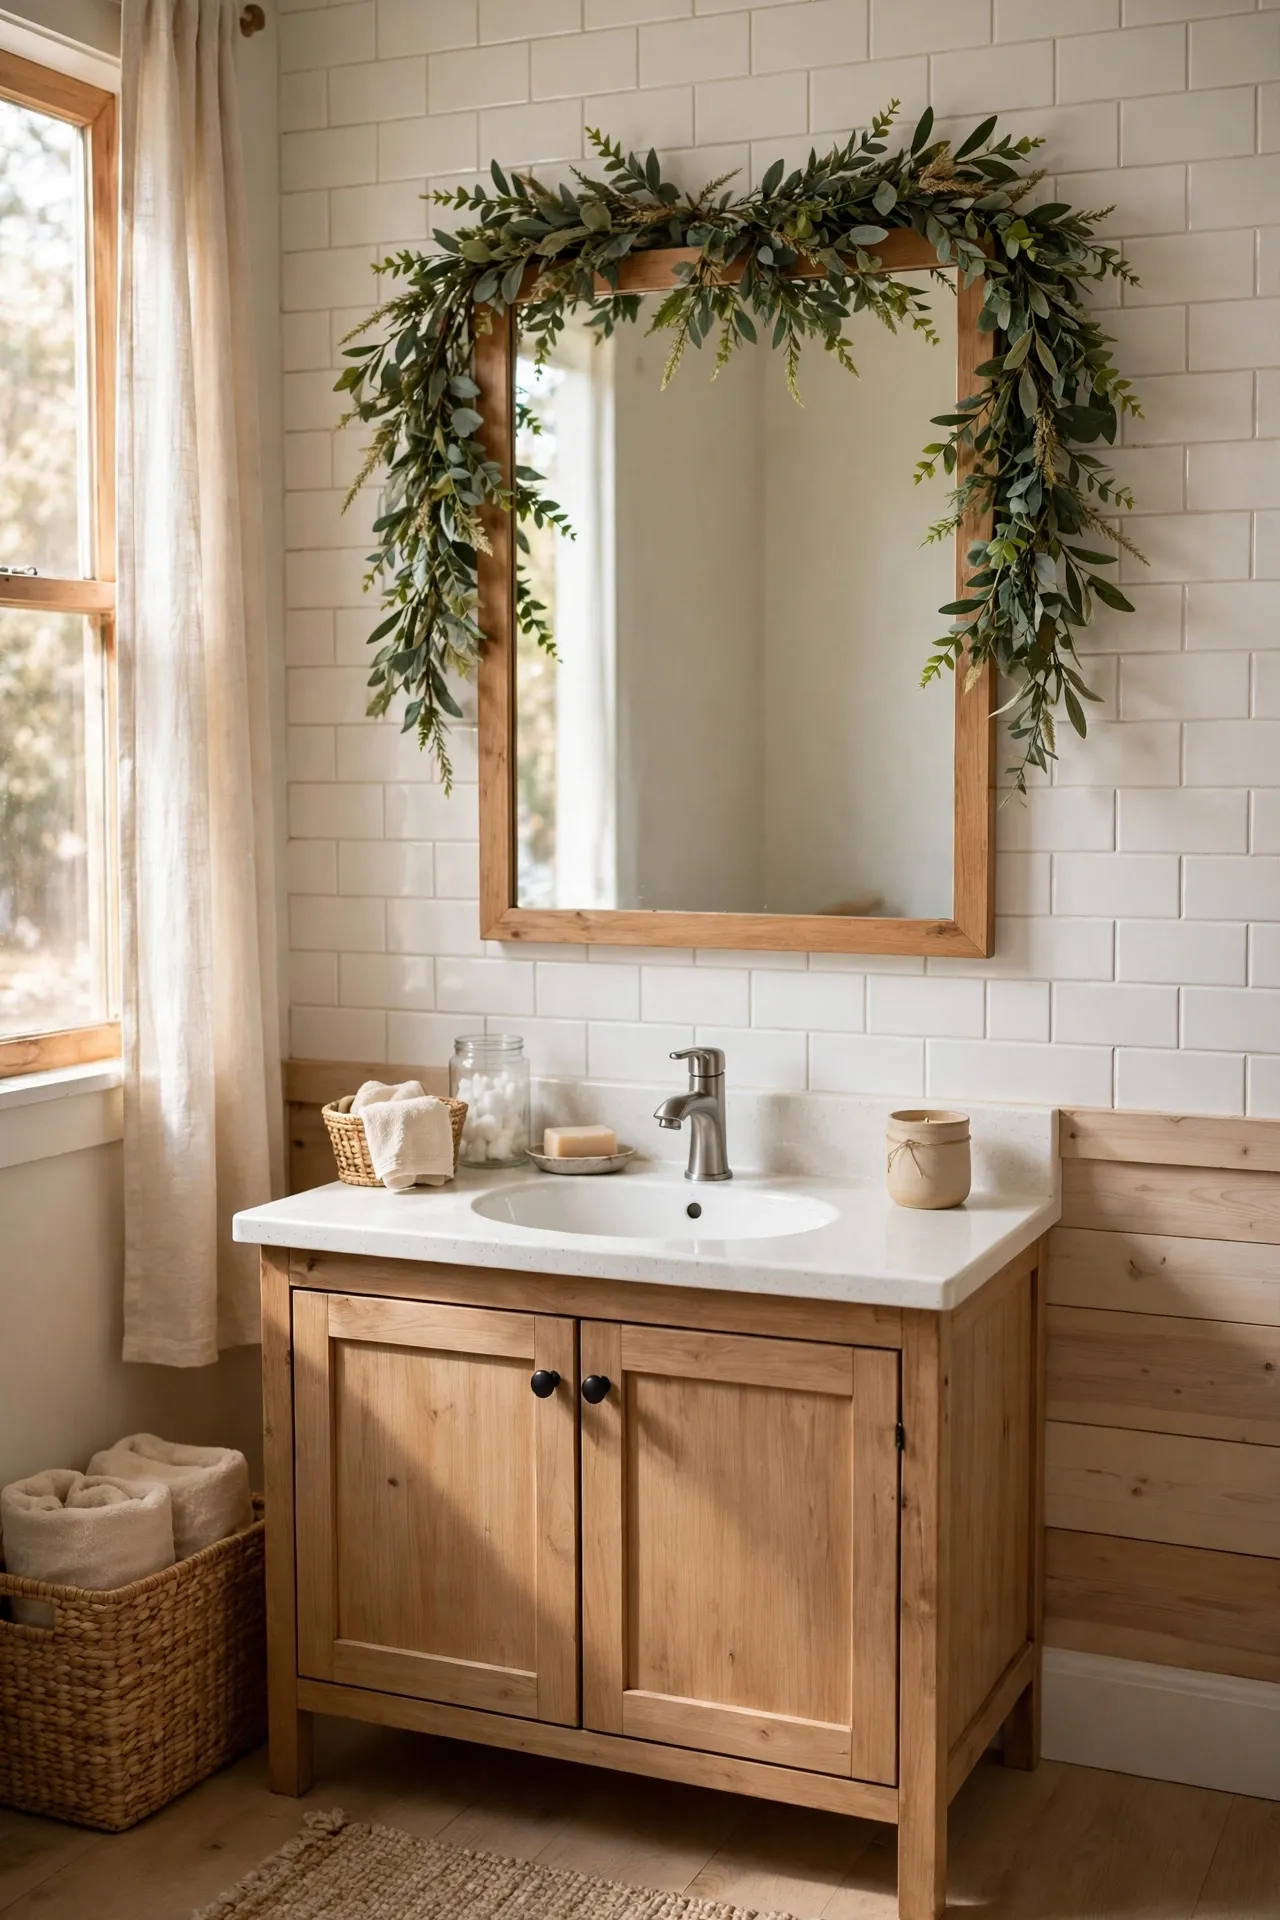
Draping a faux greenery garland over the top of the mirror adds softness to a hard, tiled bathroom without any watering. Choose a garland with varied leaf sizes and muted greens, drape it so it falls a few inches down each side, and tuck the ends behind the mirror frame to hide the wire. Step back and adjust until it looks relaxed, not stiff. I tried this with a shiny, perfect garland, and the mistake to avoid is that plastic shine — it screamed fake from the doorway. A matte, slightly messy garland with mixed leaves looks like real trailing greenery and softens the whole vanity wall instantly.
Cost: ~$8 | Time: 10 minutes
💰 Budget win: One long garland cut in half decorates the mirror and a shelf at the same time.
13. Dollar Store Towel Hooks in Brushed Nickel Spray Paint
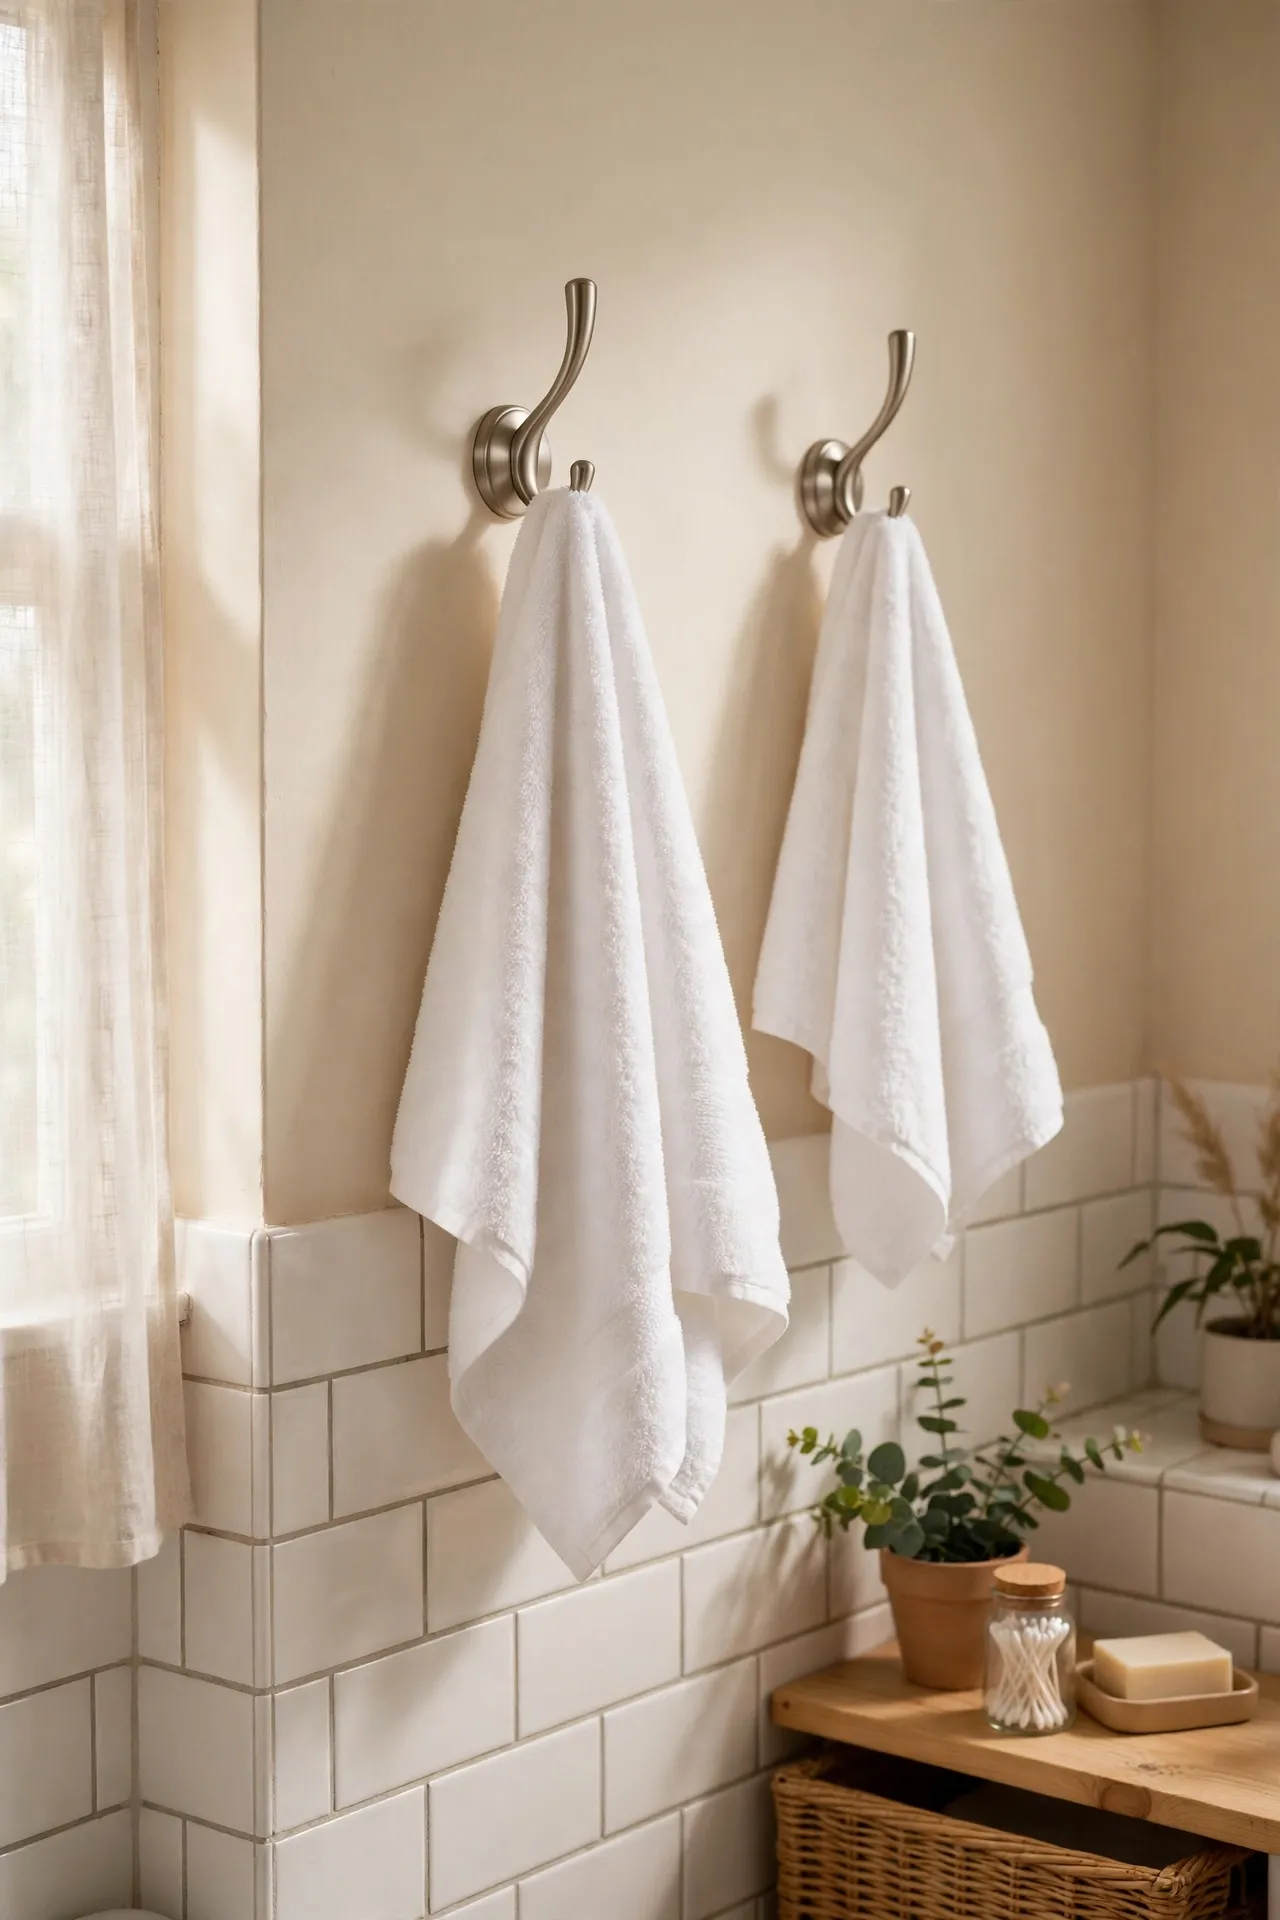
Spray-painting dollar store towel hooks in brushed nickel makes mismatched hardware look like it came with the house. Remove any plastic coating if possible, spray light coats of brushed nickel paint, and let them cure overnight before hanging towels. Mount them at a comfortable height, spaced so towels do not overlap. I tried this on shiny chrome hooks that clashed with my faucets, and the mistake to avoid is hanging towels before the paint cures — a damp towel left a perfect print. Wait a full day, hang the towels, and the hooks blend with your faucets so well that no one guesses their origin.
Cost: ~$9 | Time: 35 minutes
💰 Budget win: Paint all your hooks, towel bars, and small hardware in one batch to match everything at once.
14. Dollar Store Shower Curtain Rings Swapped for Wooden Beads
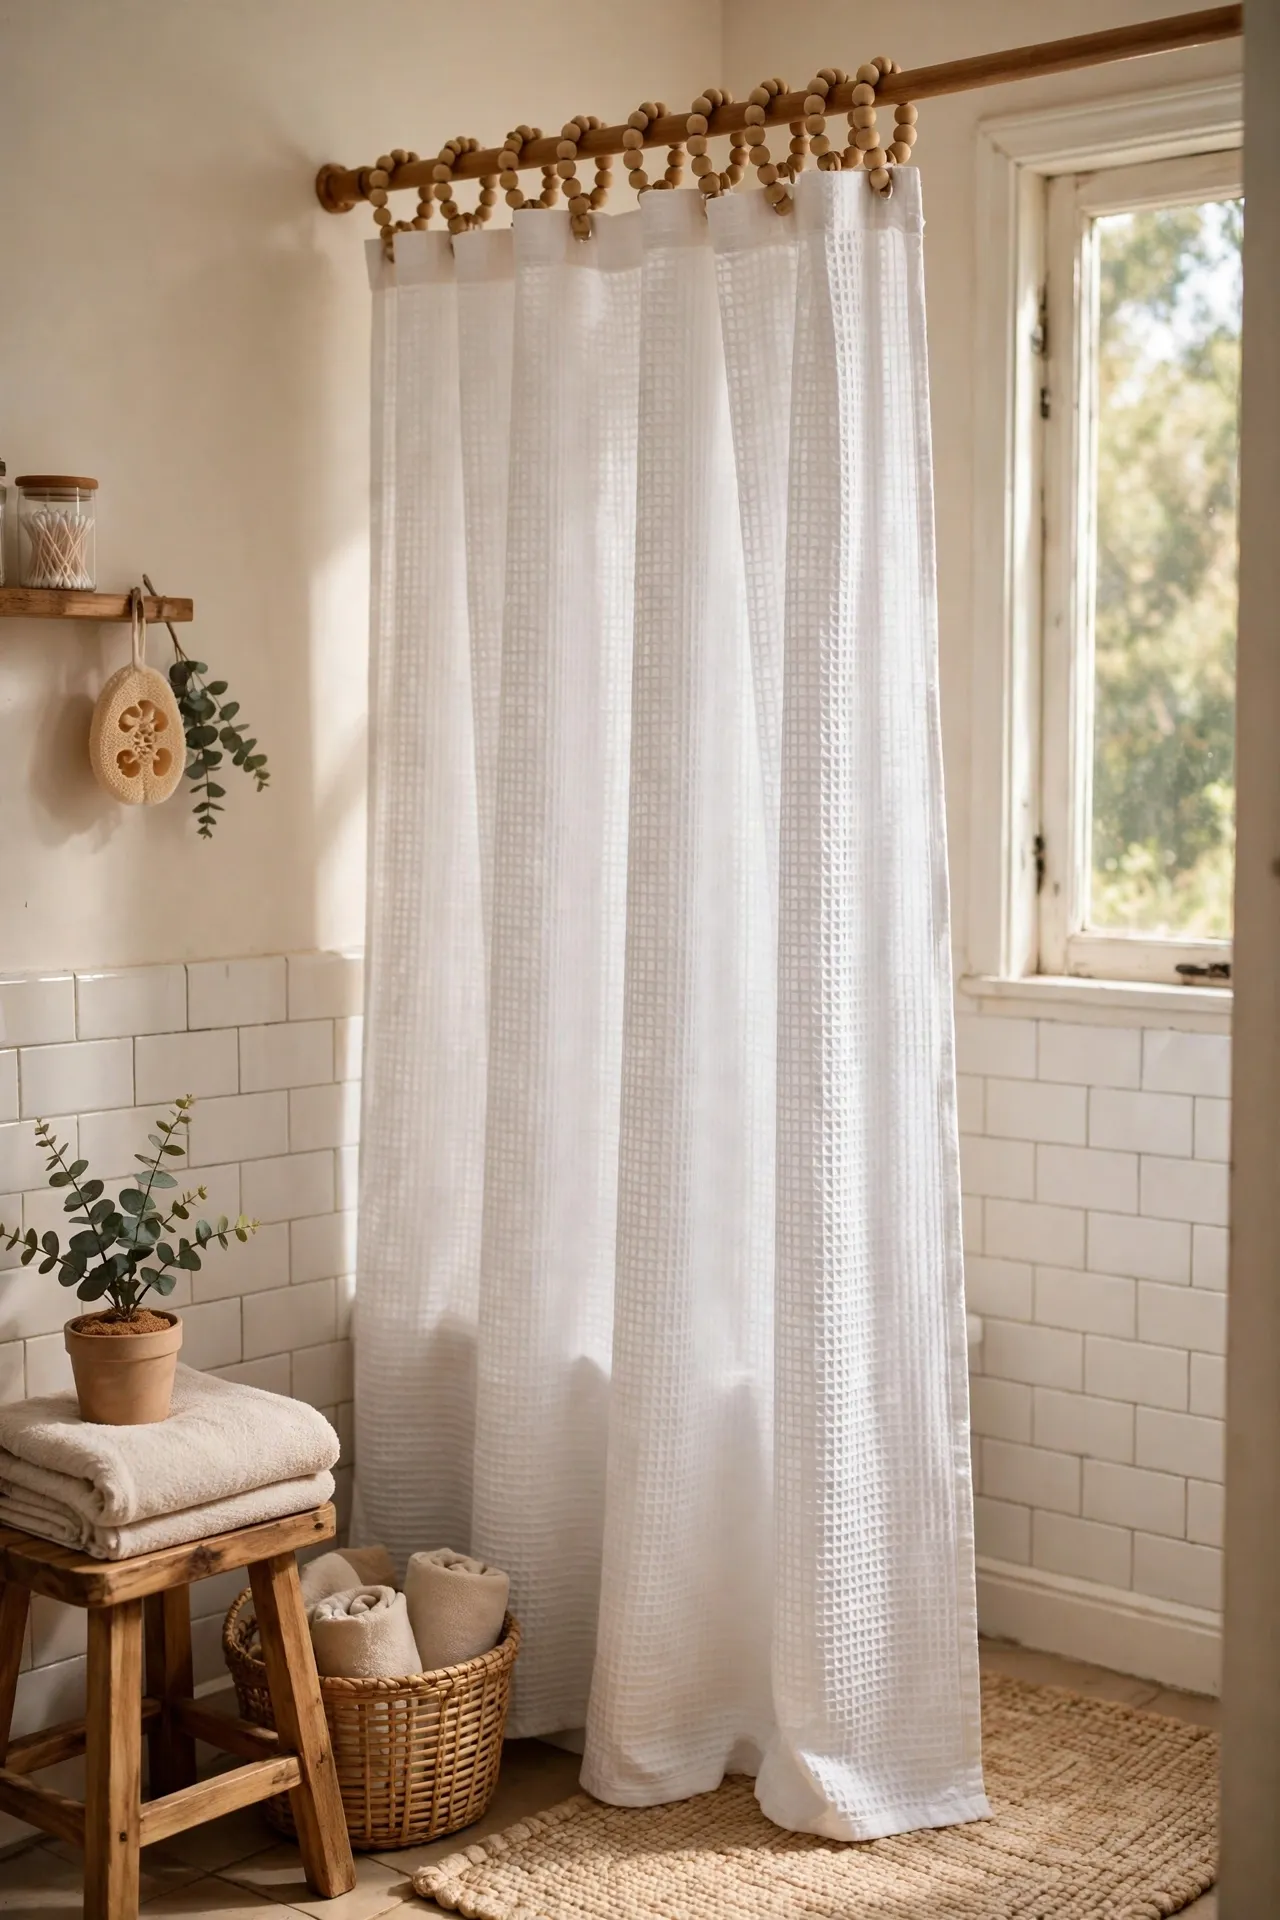
Swapping plain shower curtain rings for wooden bead rings adds warmth and texture to a shower curtain you already own. Buy a set of wooden bead rings or thread large wooden beads onto sturdy rings yourself, then hang the curtain as usual. The beads slide smoothly and give the curtain a handmade, spa-like detail. I tried this on a white waffle curtain, and the mistake to avoid is buying beads with rough holes that snag the curtain fabric — sand any rough edges first. Smooth beads, a simple curtain, and suddenly the shower looks styled instead of just functional, for the cost of a lunch.
Cost: ~$8 | Time: 15 minutes
💰 Budget win: A bag of wooden beads costs less than a pre-made beaded ring set and makes two sets.
15. Dollar Store Baskets Stacked as Open Shelving
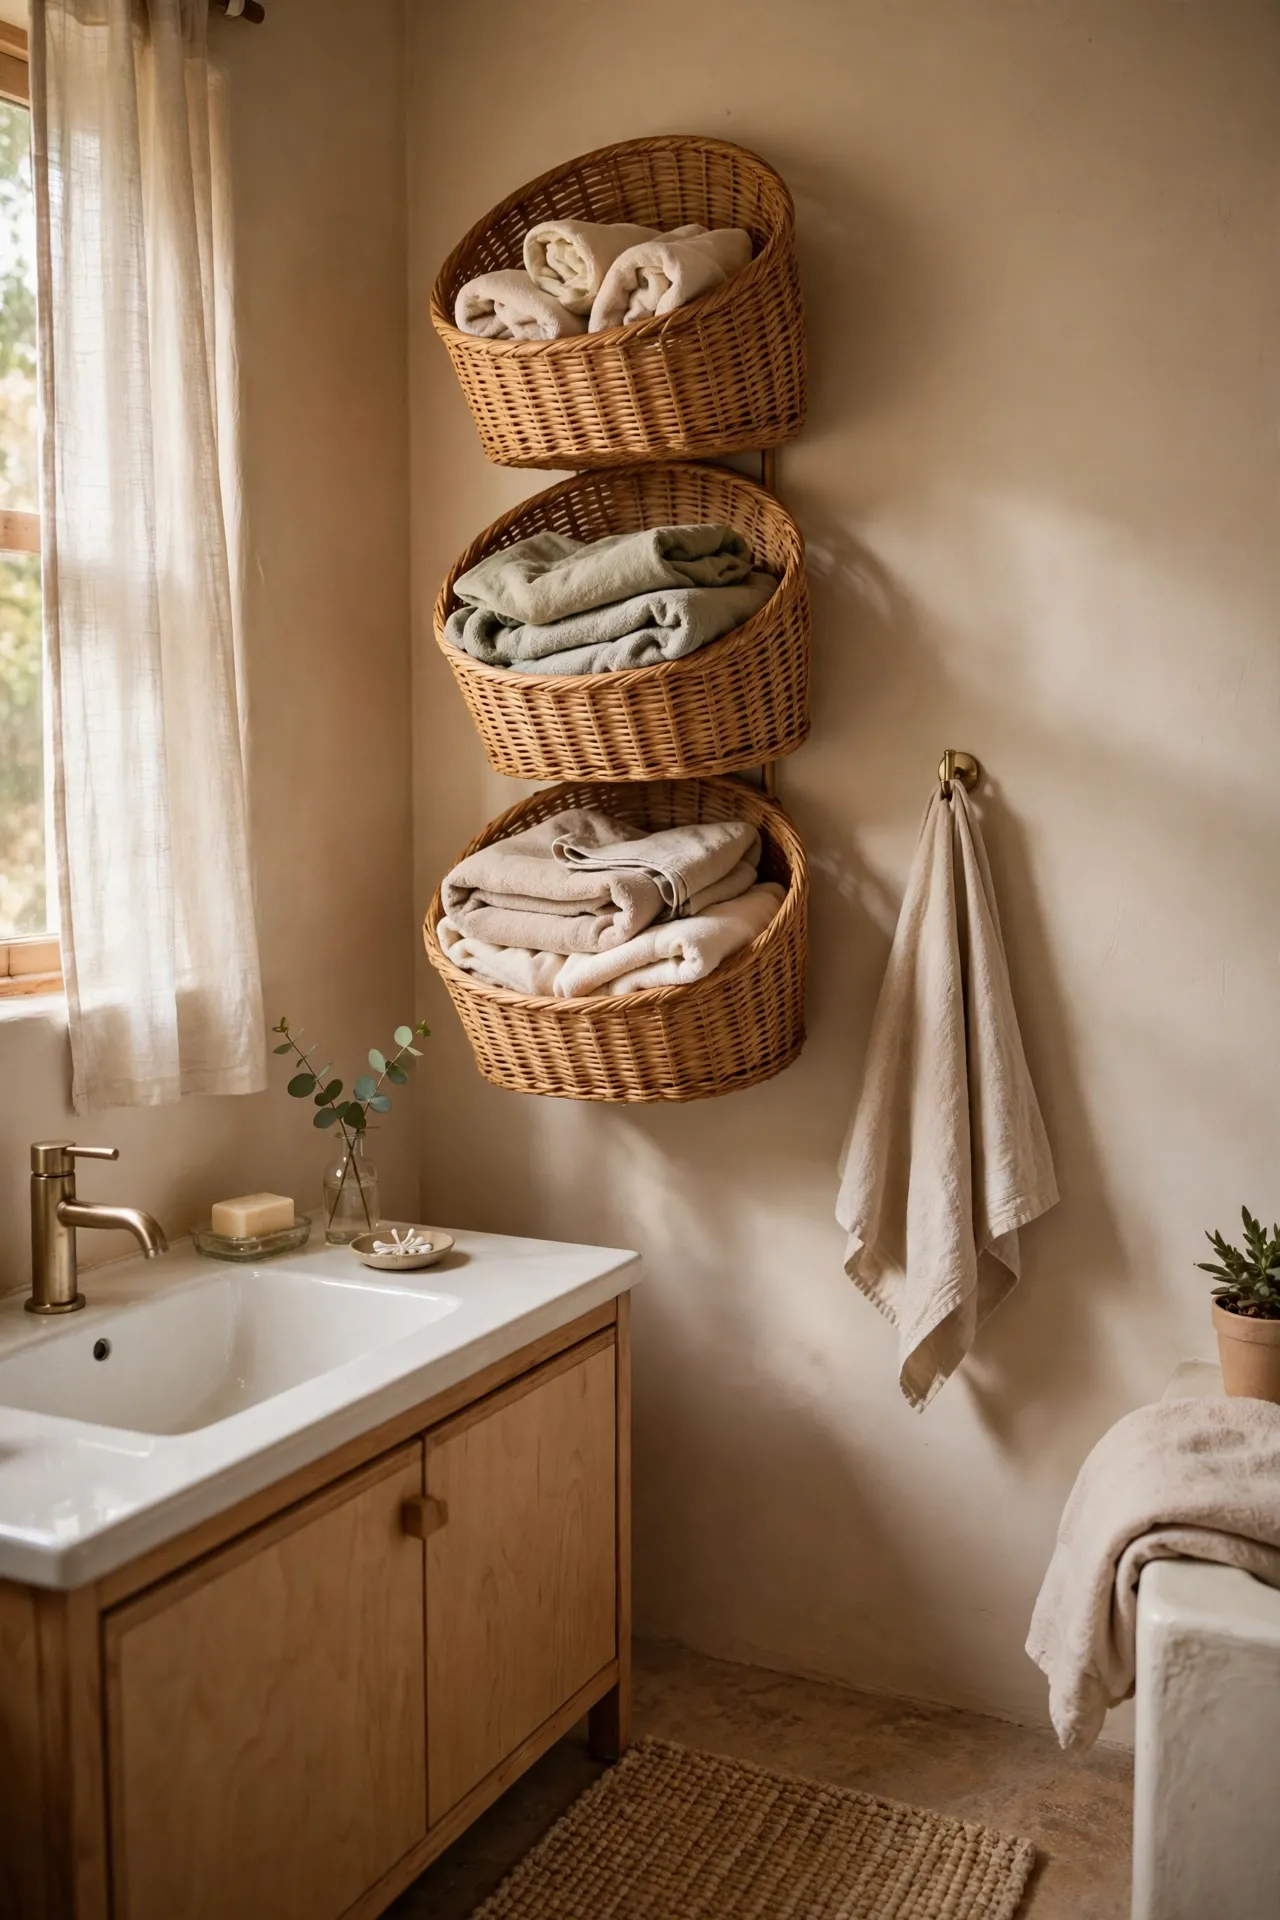
Stacking dollar store baskets as open shelving gives you extra storage on a blank wall without drilling a cabinet. Choose sturdy baskets in the same color, stack two or three with the openings facing out, and secure them to the wall with small hooks or adhesive strips rated for the weight. Roll towels in the bottom basket and toiletries in the top one. I tried this with flimsy baskets first, and the mistake to avoid is overloading them — one basket pulled off the wall with a full load of bottles. Keep loads light, anchor properly, and the stacked baskets look like intentional wall storage, not a pile.
Cost: ~$11 | Time: 25 minutes
💰 Budget win: Use adhesive hooks in a rental so you get storage without losing your deposit.
16. Dollar Store Candles in Glass Hurricanes by the Tub
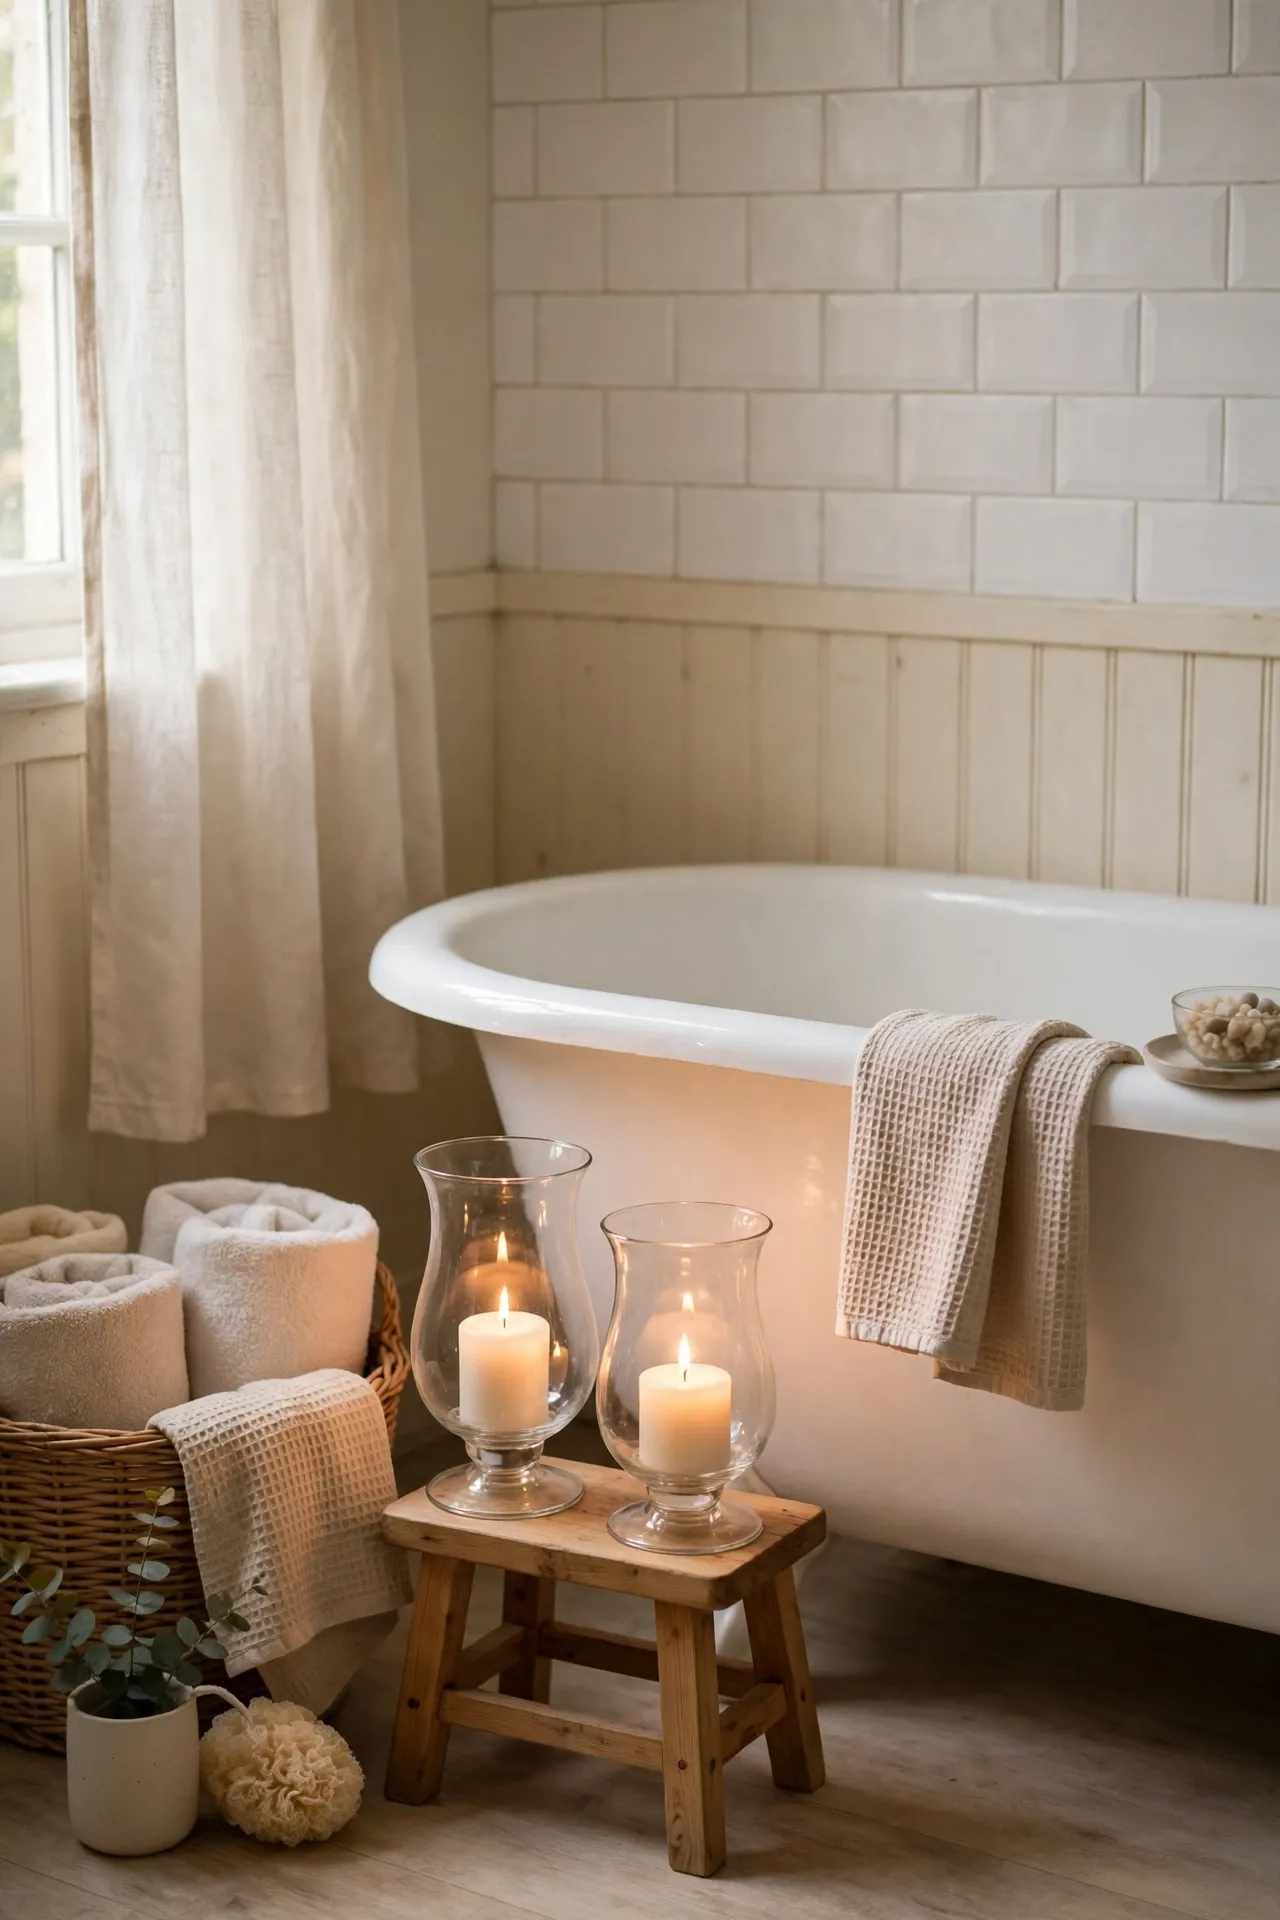
Placing dollar store candles inside glass hurricanes by the tub makes bath lighting feel safe and special at the same time. Set a pillar candle inside each hurricane, place them on a tray or the tub edge away from curtains, and light them only while you are in the room. The glass shields the flame from drafts and makes the glow softer. I tried this with bare candles first, and the mistake to avoid is leaving them near a towel — one breeze tipped a flame toward fabric. Hurricanes contain the flame, catch drips, and turn two-dollar candles into a calm, flickering bath ritual. Pin this one — you’ll want it when you’re standing in the home aisle trying to remember which candle size fits your hurricanes.
Cost: ~$10 | Time: 10 minutes
💰 Budget win: Buy pillar candles in a multipack and rotate them so you always have a fresh one ready.
17. Dollar Store Placemats as a Textured Bath Mat Layer
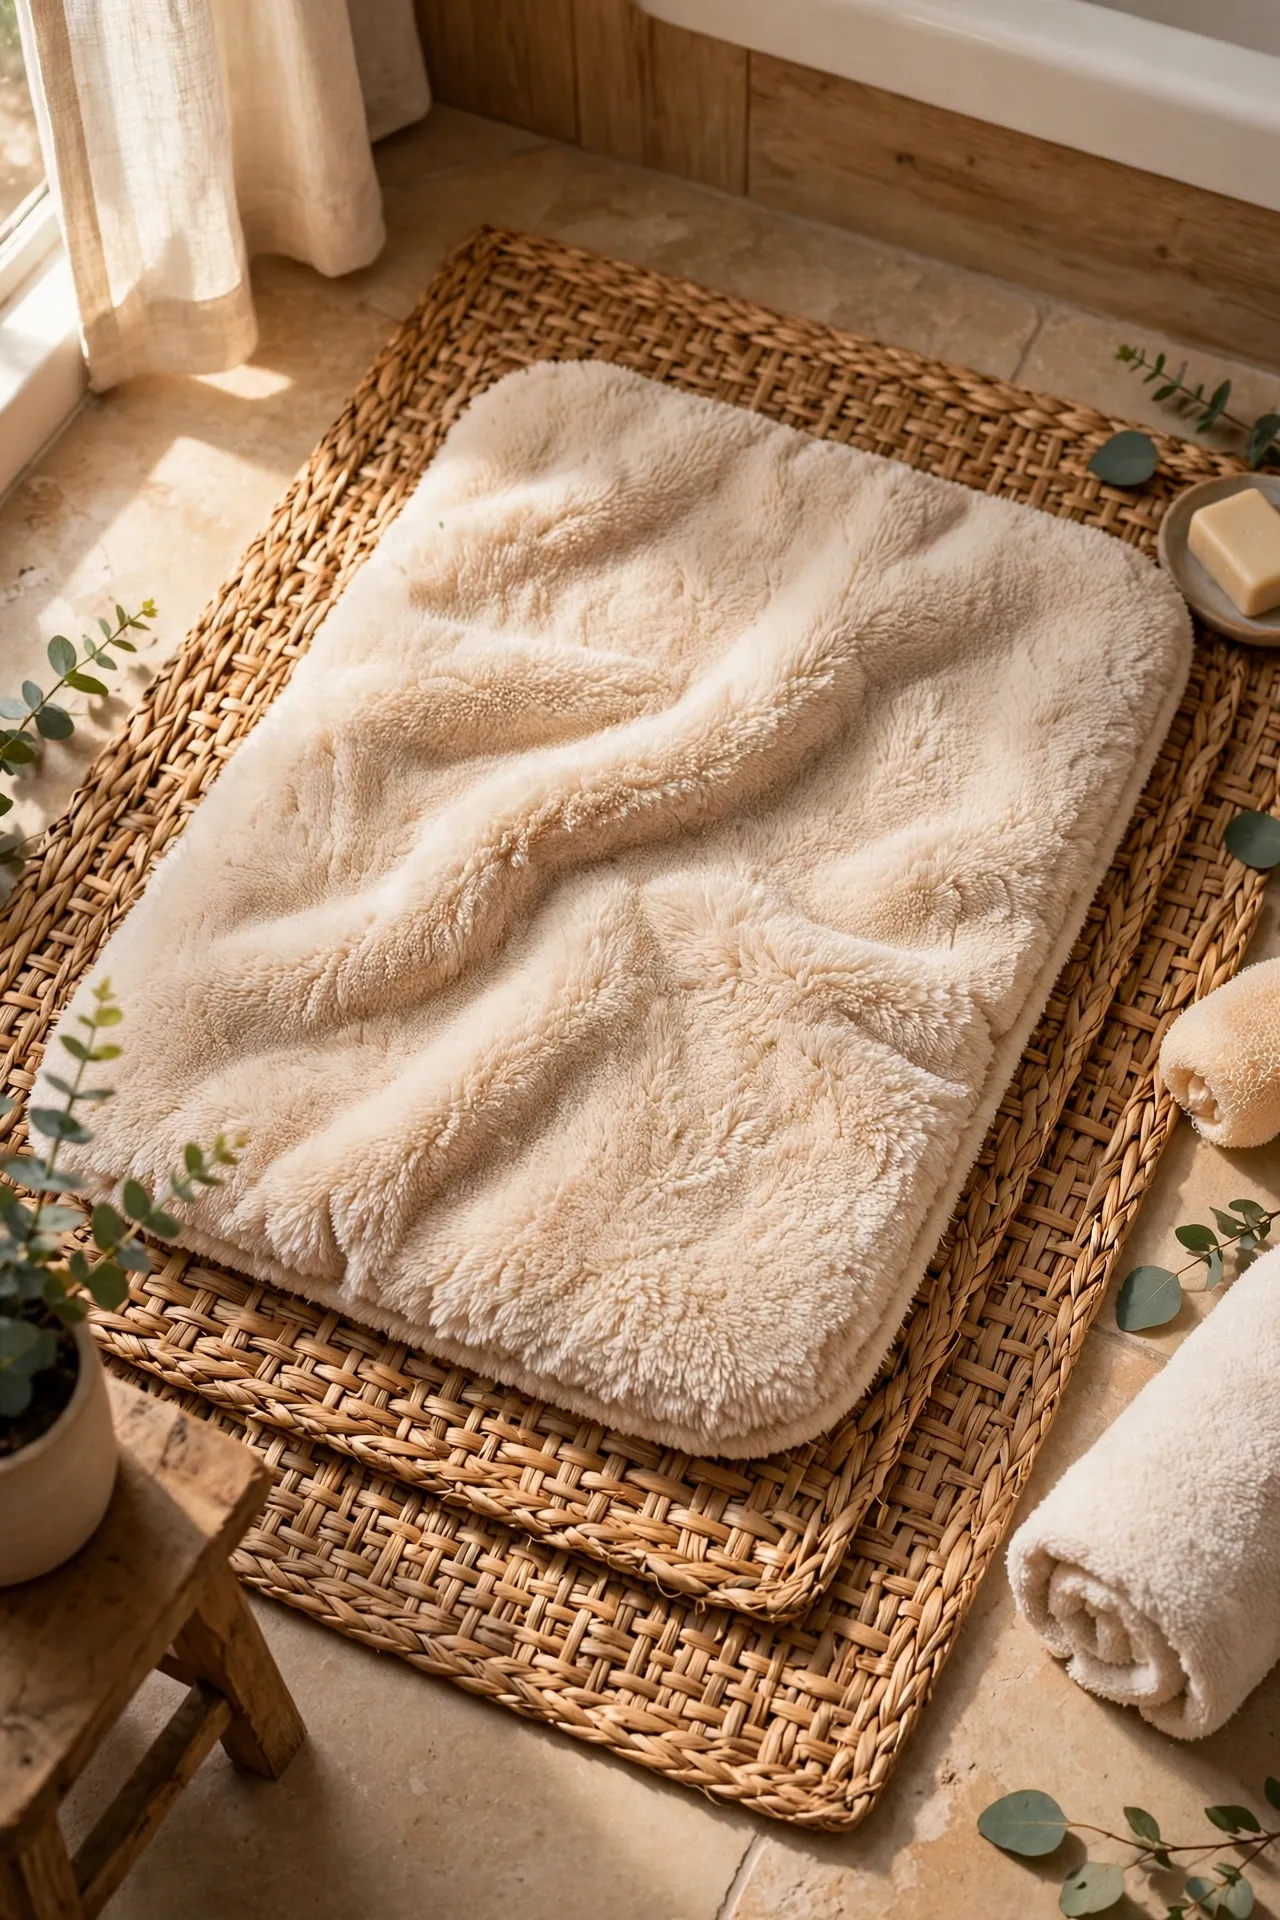
Using woven dollar store placemats as a textured layer under a bath mat adds pattern and grip for almost nothing. Lay two or three placemats side by side where you step out of the shower, then place a soft bath mat on top, centered. The placemats add color and keep the mat from sliding on smooth tile. I tried this with slippery placemats, and the mistake to avoid is using shiny, plastic ones — they slid worse than bare tile. Woven, fabric placemats grip better, dry faster, and wash easily. Swap them out when they wear, and the floor gets a fresh look for a few dollars.
Cost: ~$6 | Time: 10 minutes
💰 Budget win: Placemats on clearance after a holiday season work perfectly and cost even less.
18. Dollar Store Vase Filled With Dried Pampas Stems
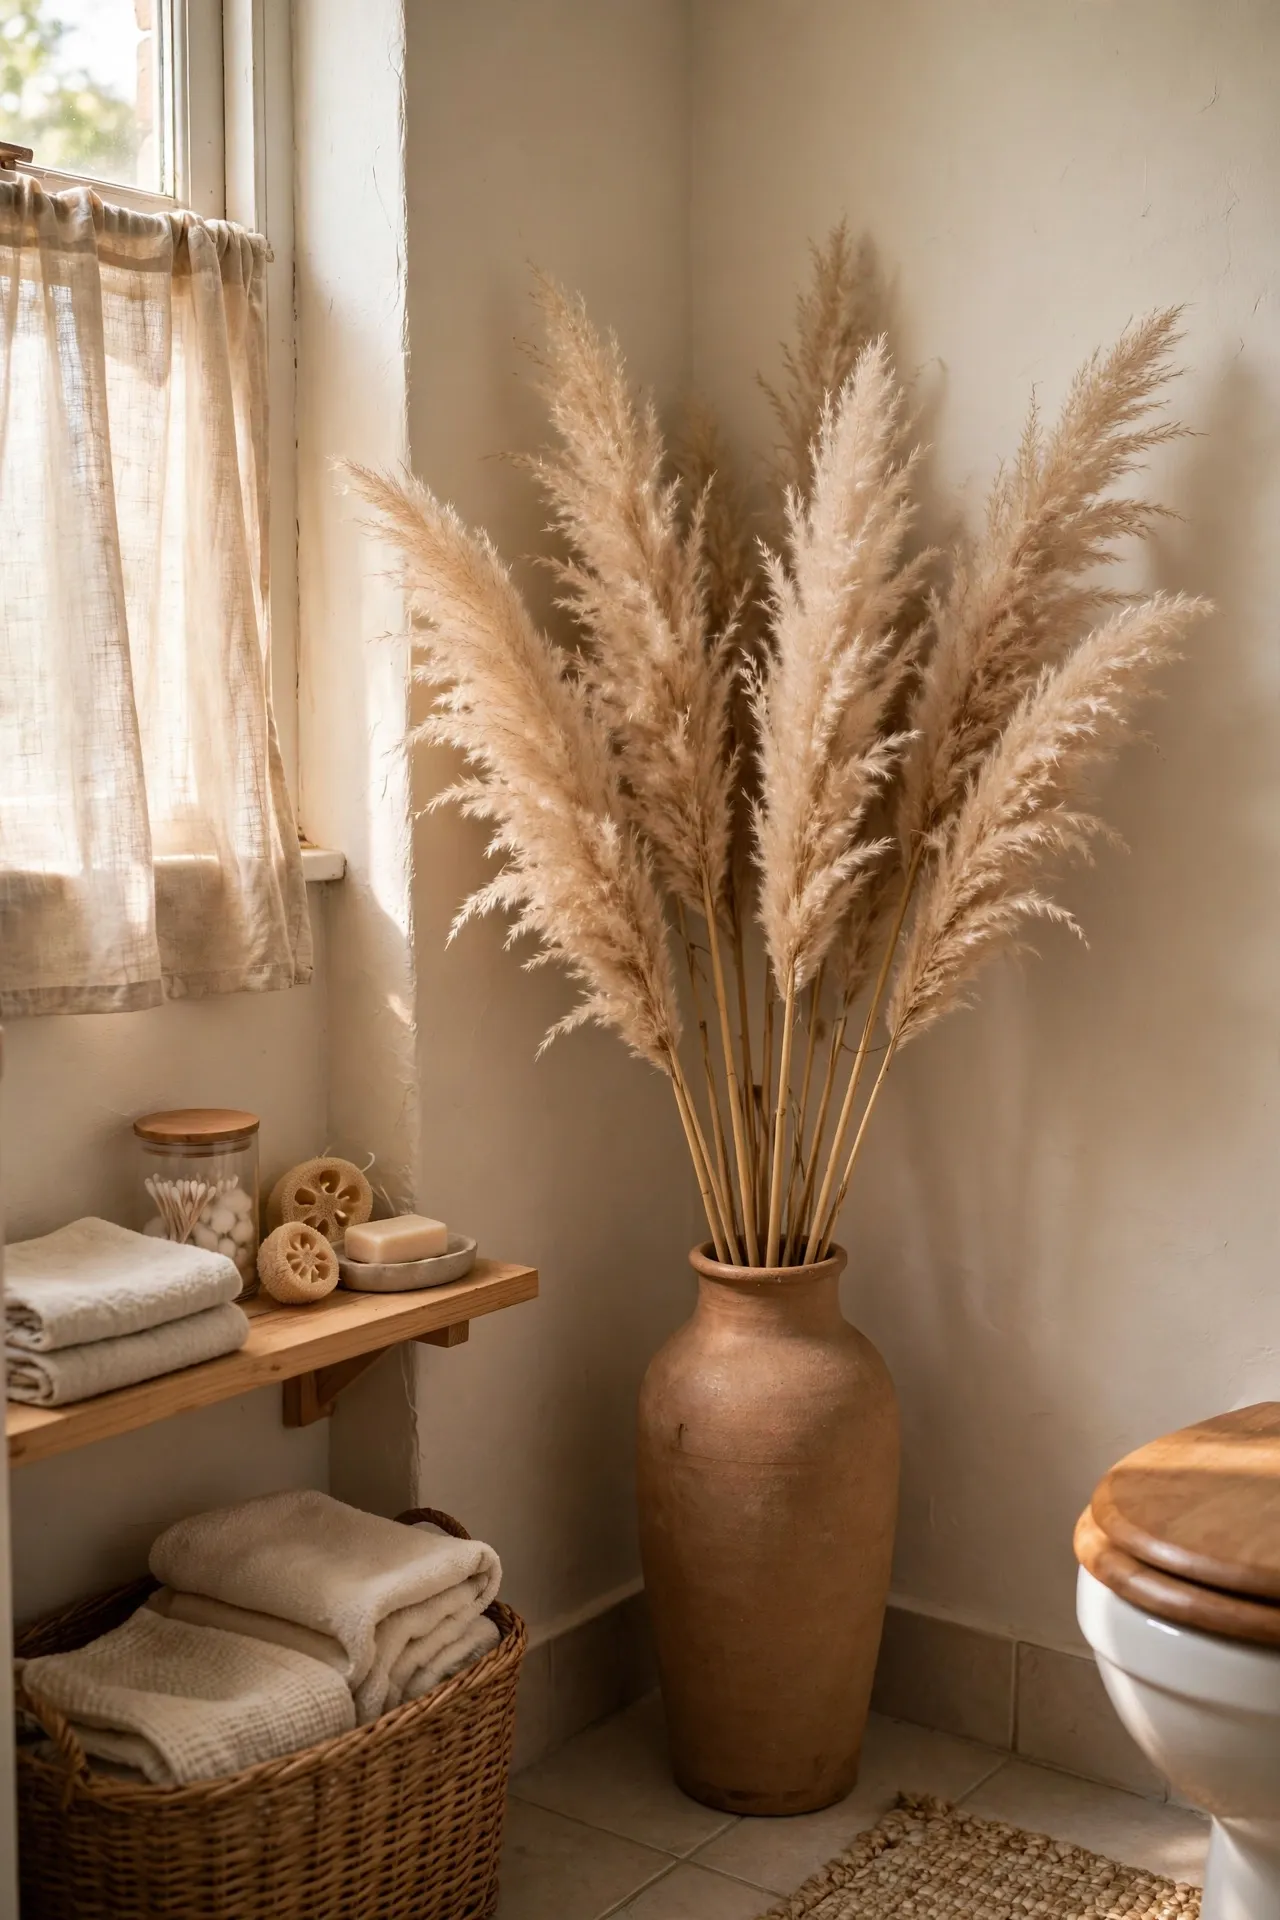
A tall dollar store vase filled with dried pampas stems adds height and soft movement to a bathroom corner that otherwise sits empty. Choose a vase tall enough that stems do not topple, trim stems to different lengths, and fluff the plumes gently with your hands. Keep the vase away from direct shower spray. I tried this with a short vase first, and the mistake to avoid is that top-heavy look — the stems fell over every time someone brushed past. A tall, weighted vase with a narrow neck holds stems upright, and the feathery plumes soften hard tile and chrome in a way that feels warm, not fussy.
Cost: ~$9 | Time: 10 minutes
💰 Budget win: One bunch of pampas split between two vases decorates the bathroom and the bedroom.
19. Dollar Store Trays Painted to Look Like Stone
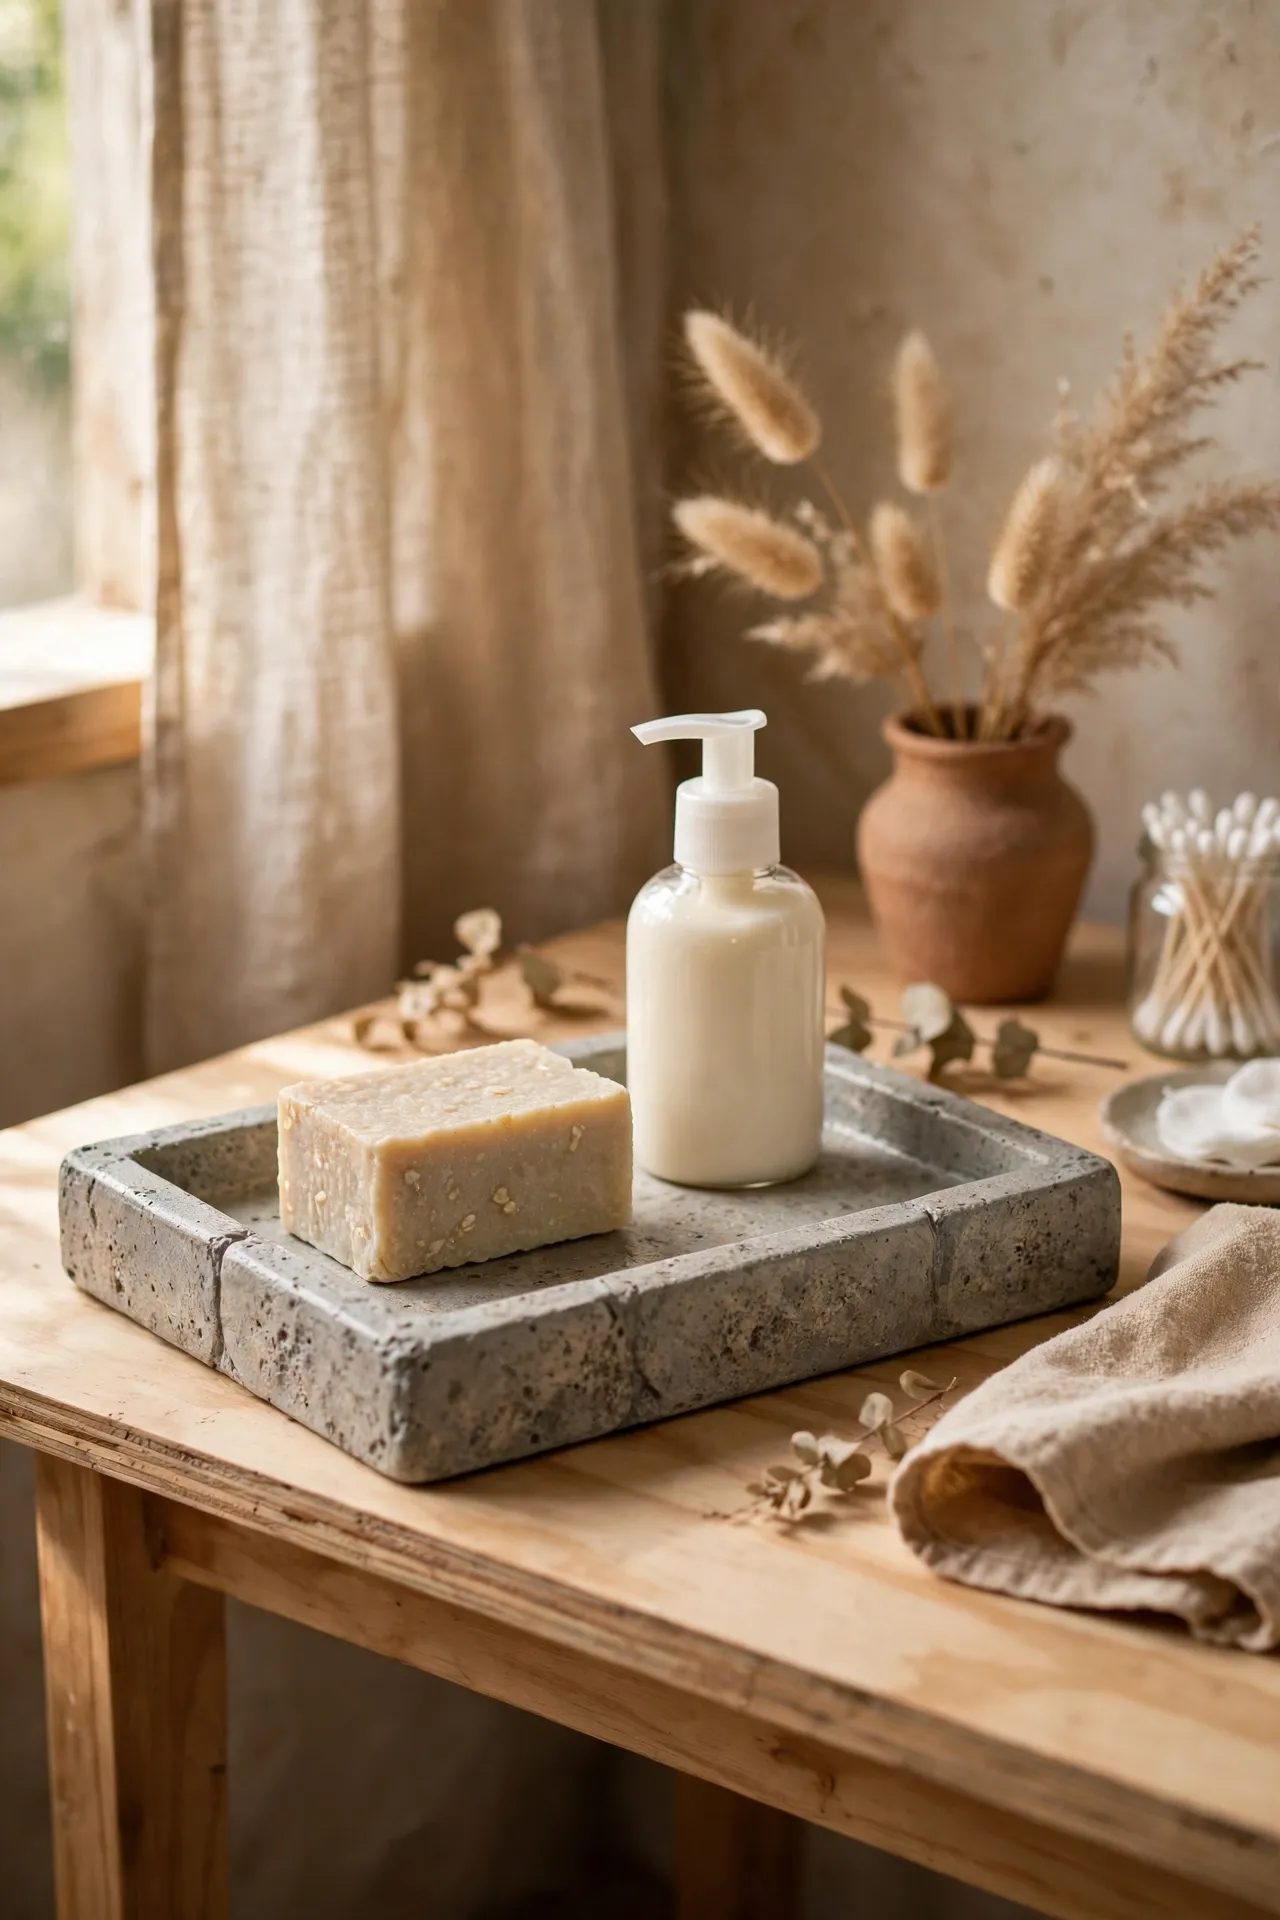
Painting dollar store trays to look like stone gives your vanity a solid, heavy look without the weight or price of real stone. Spray the tray with a stone-texture paint, let it dry, then seal it with a clear topcoat so it survives bathroom humidity. Use it to corral soap, lotion, and a small plant. I tried this without sealing first, and the mistake to avoid is exactly that — steam softened the paint and left fingerprints. A clear seal makes the finish durable and wipeable, and the tray looks like a stone slab from a home store rather than a plastic tray from a discount bin. (see also: navy-blue-bathroom-ideas-on-a-budget) pairs well if you want a darker tray color for contrast.
Cost: ~$8 | Time: 45 minutes
💰 Budget win: One can of stone spray covers a tray, a soap dish base, and a small frame.
20. Dollar Store Fairy Lights in a Frosted Jar
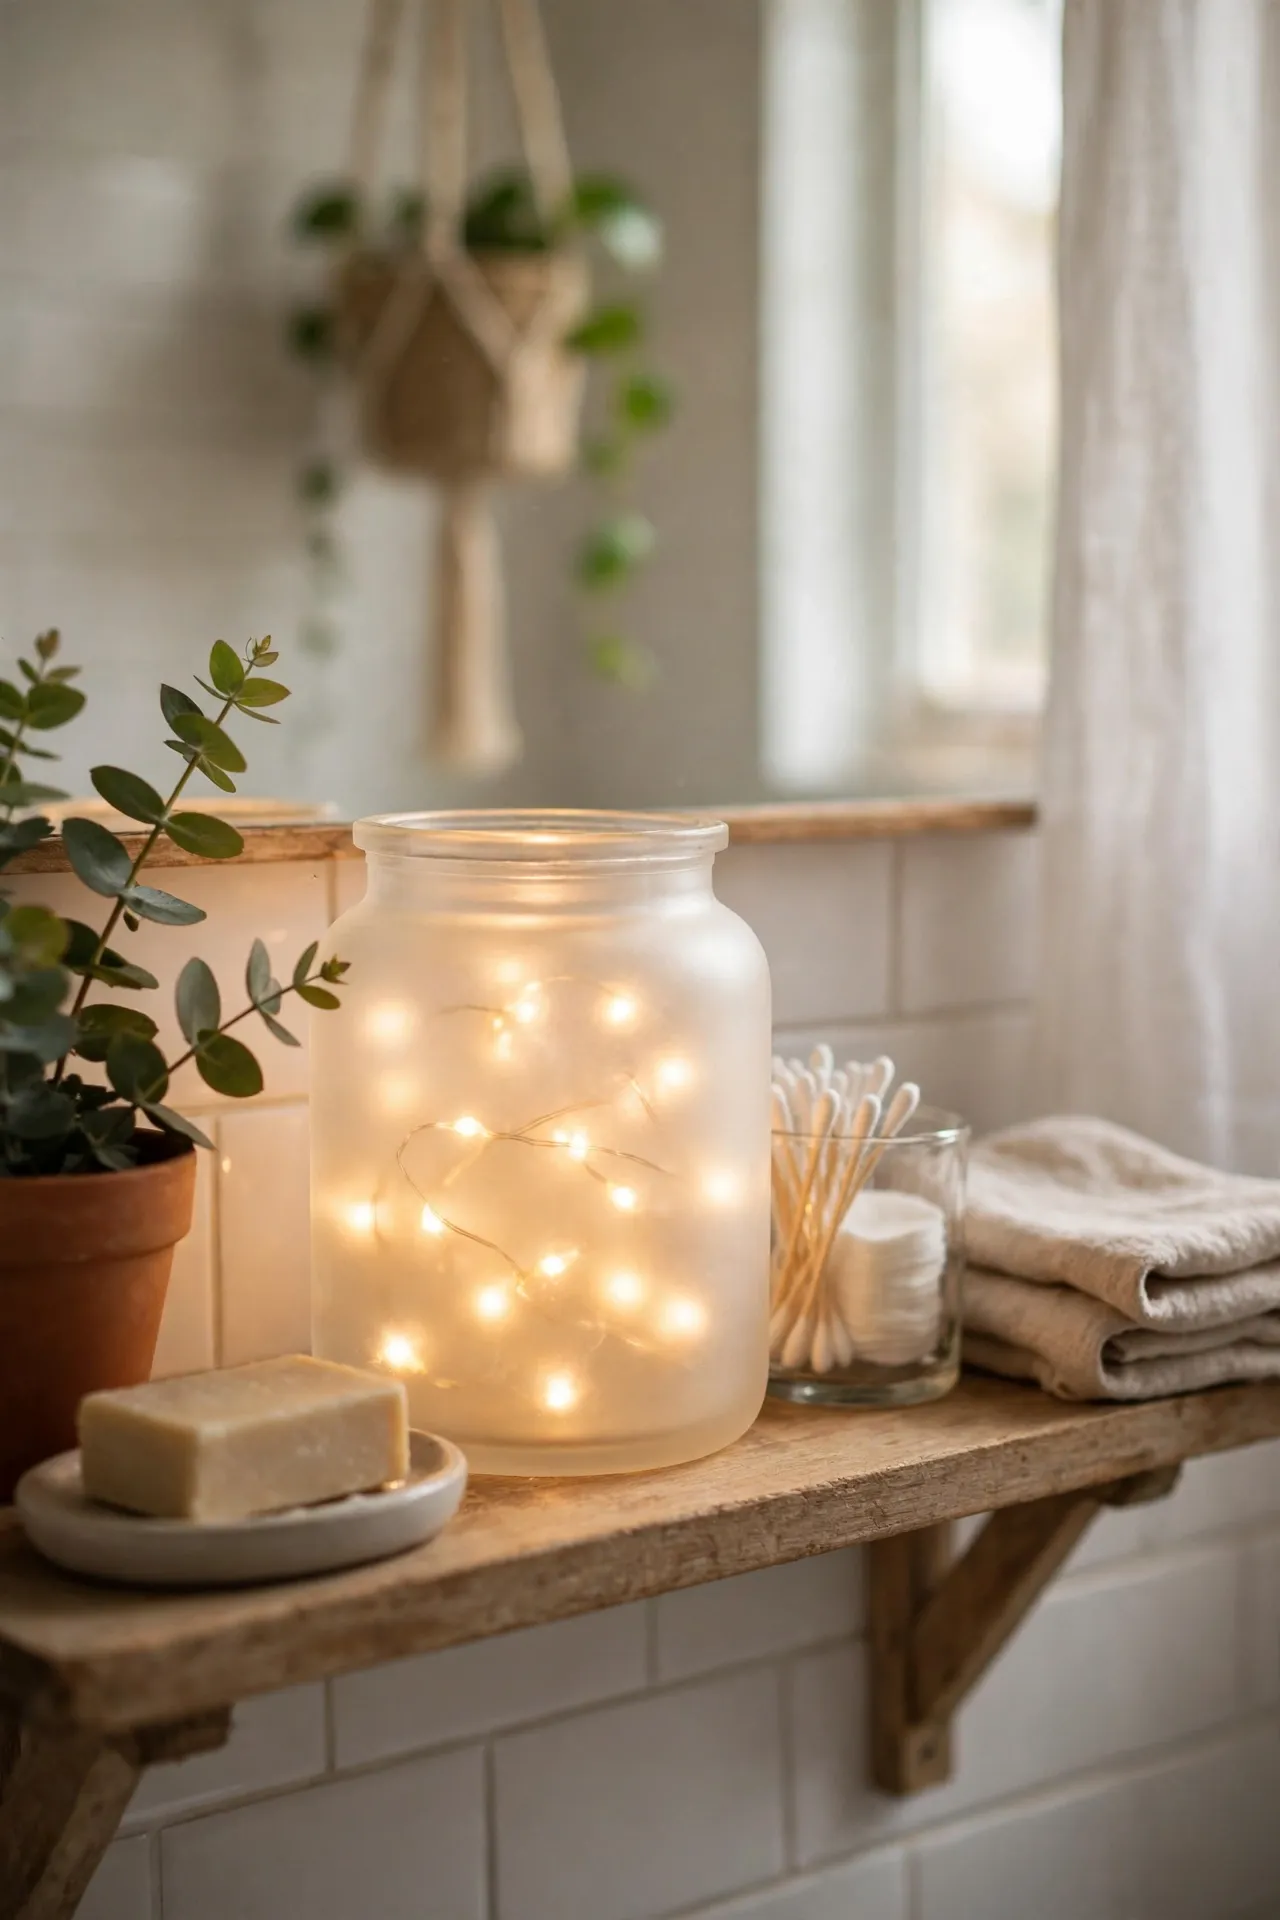
Tucking dollar store fairy lights into a frosted jar creates a soft nightlight that makes evening baths feel calm. Coil the lights loosely inside the jar, let the battery pack sit behind it or under a small cloth, and set the jar on a shelf away from water. The frosted glass diffuses the tiny bulbs into a warm glow. I tried this with a clear jar first, and the mistake to avoid is that harsh, dotted look — every bulb showed as a bright point. Frosted glass softens the light into one gentle glow, perfect for winding down without turning on the harsh overhead light at night.
Cost: ~$7 | Time: 10 minutes
💰 Budget win: Battery fairy lights on a timer save batteries and mean you never forget to turn them off.
21. Dollar Store Bath Salt Jars With Twine and Tags
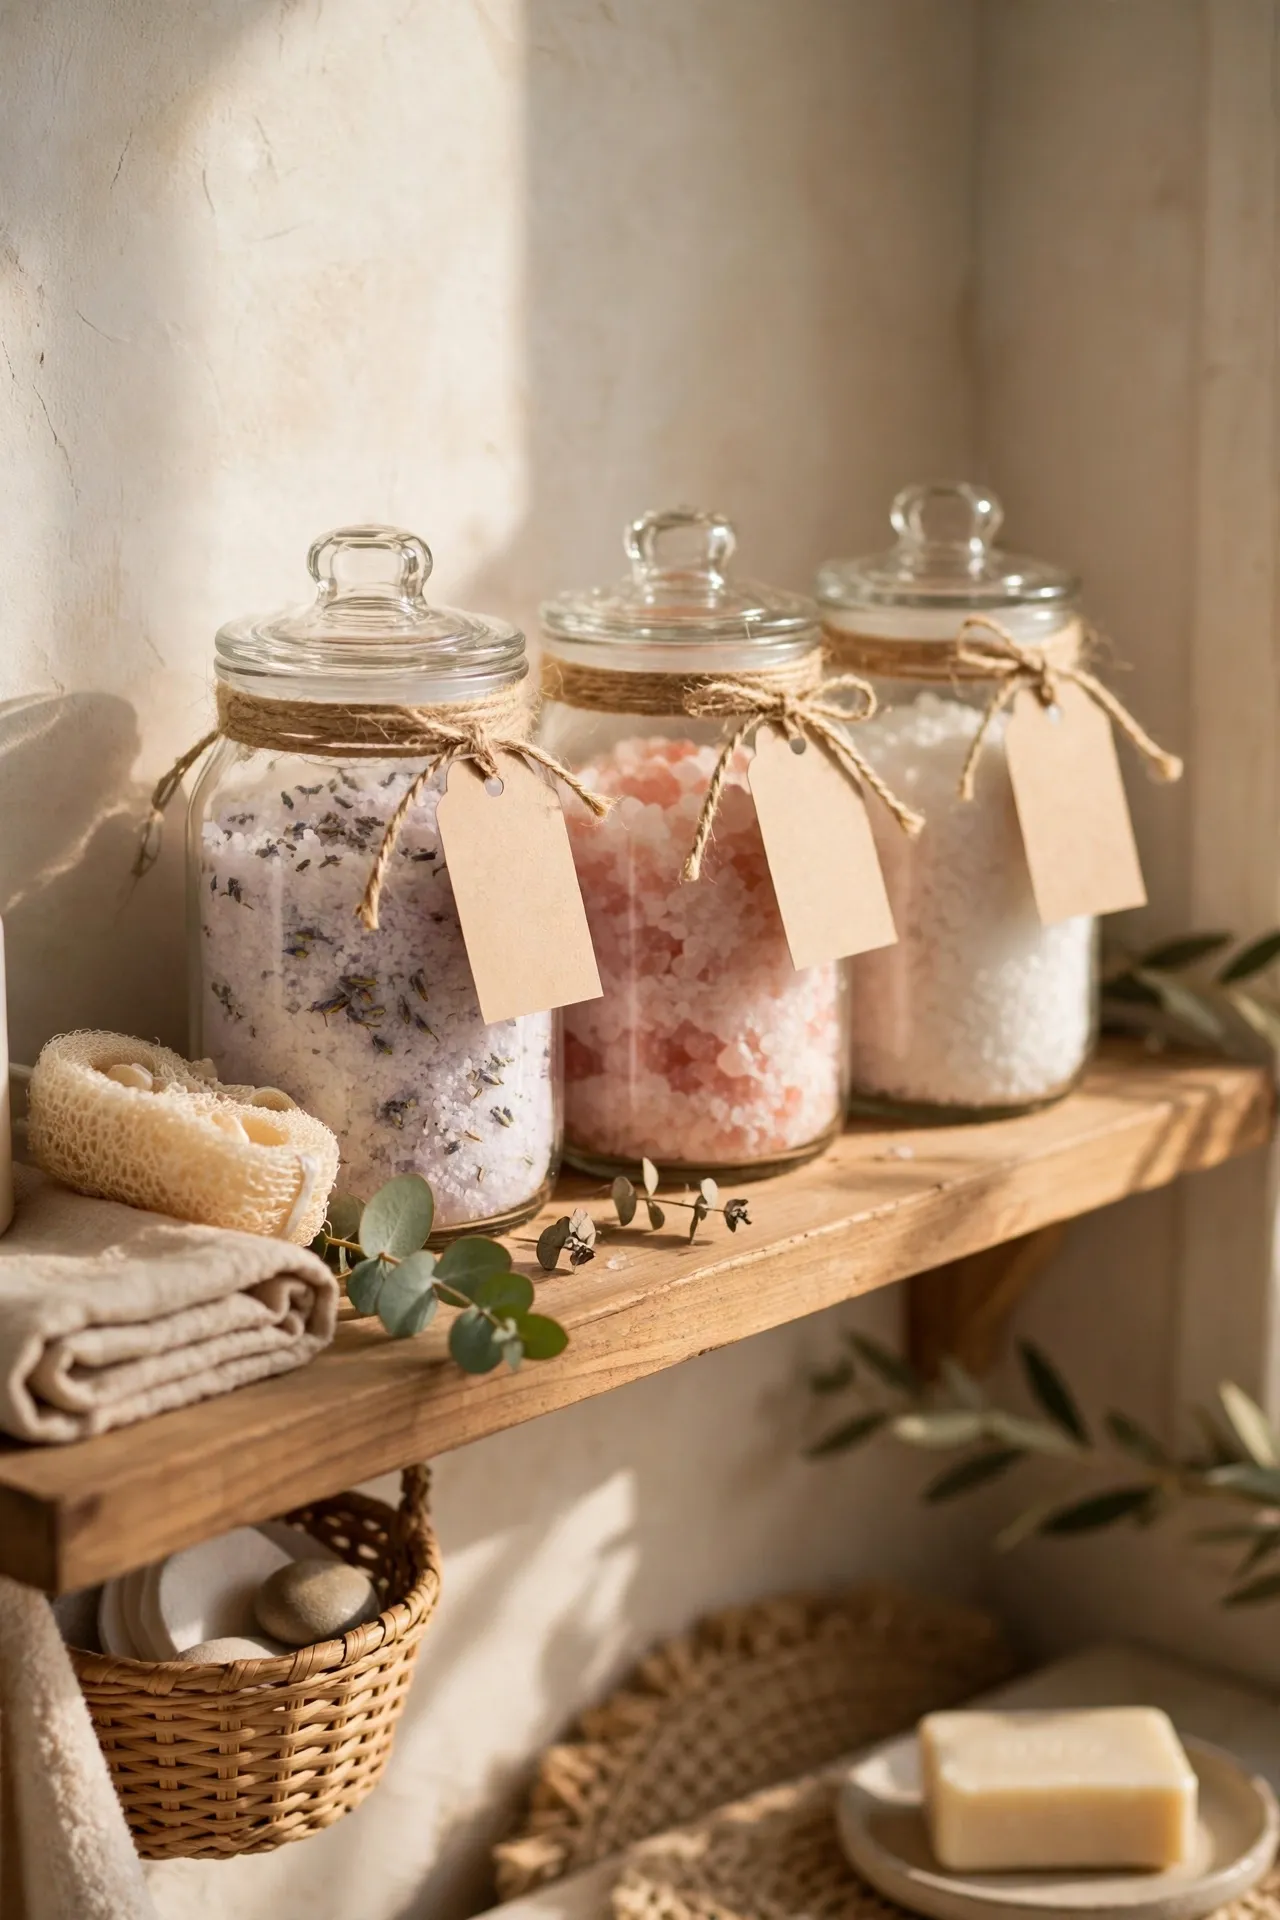
Filling dollar store jars with bath salts and tying them with twine and small tags makes bath supplies look like gifts you bought for yourself. Layer salts in colors that match your towels, seal the jars tightly, and wrap twine twice around the neck with a simple handwritten tag. Line them on a shelf or tray by the tub. I tried this with loose salts in a bag first, and the mistake to avoid is leaving salts open in a steamy room — they clumped into a solid block within a week. Sealed jars keep salts dry and pourable, and the twine and tags add a handmade touch that guests always ask about.
Cost: ~$8 | Time: 20 minutes
💰 Budget win: Buy bath salts in bulk and decant them into small jars instead of buying tiny boutique jars.
22. Dollar Store Woven Placemat as a Vanity Runner
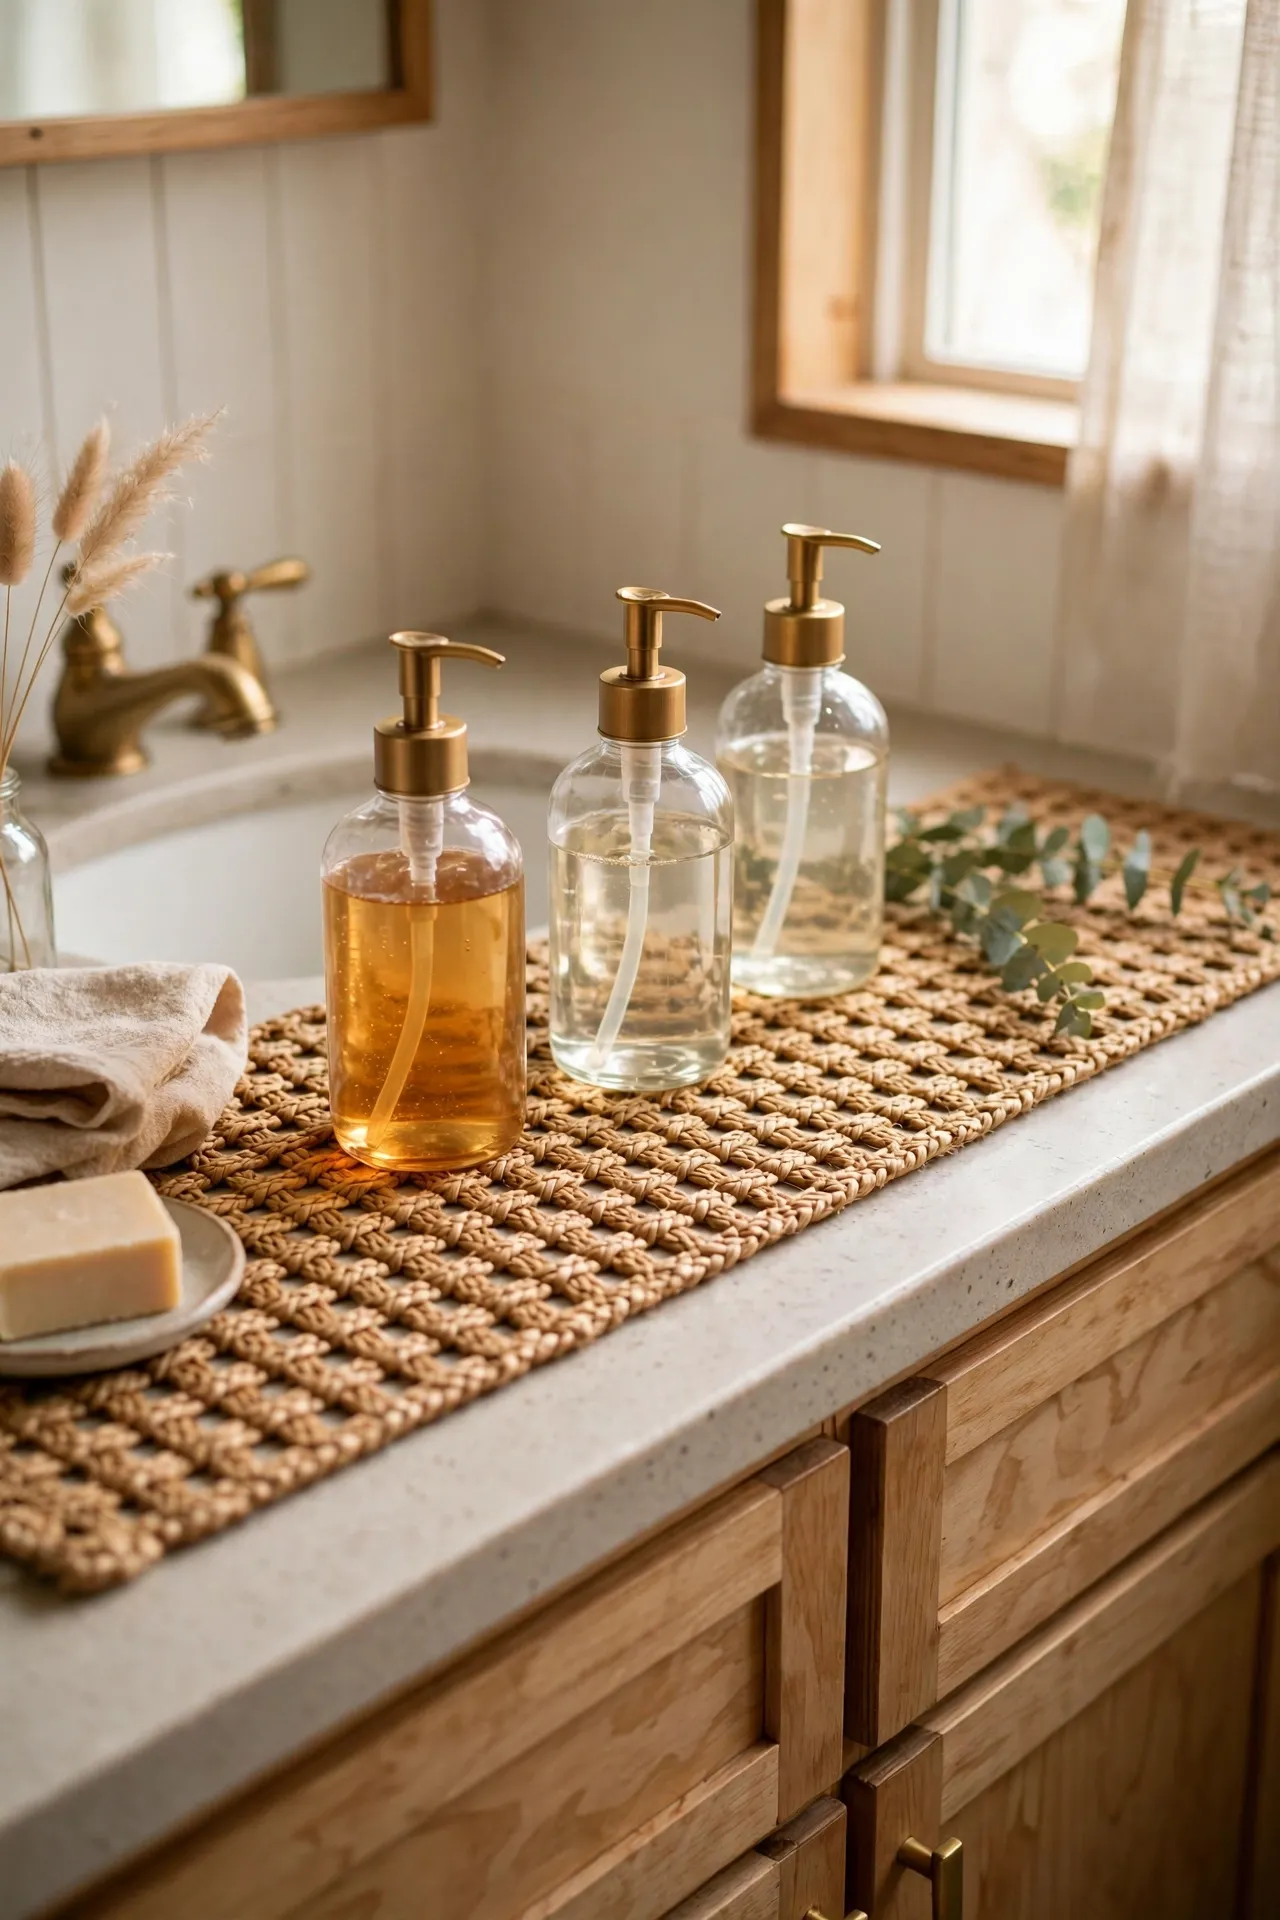
Using a woven dollar store placemat as a vanity runner protects the counter and adds a layer of texture under your everyday bottles. Lay the placemat lengthwise along the back of the vanity, place soap, lotion, and a small tray on top, and keep the front edge clear for daily use. Shake it out weekly and wipe spills quickly. I tried this with a runner that was too wide, and the mistake to avoid is covering the whole counter — it made the vanity feel crowded and hard to clean. A single placemat as a runner defines one tidy zone and leaves the rest of the counter free, which is exactly how a styled vanity should feel.
Cost: ~$5 | Time: 10 minutes
💰 Budget win: Two placemats side by side make a longer runner for a double vanity for still under ten dollars.
23. Dollar Store Picture Ledge for Tiny Bathroom Art
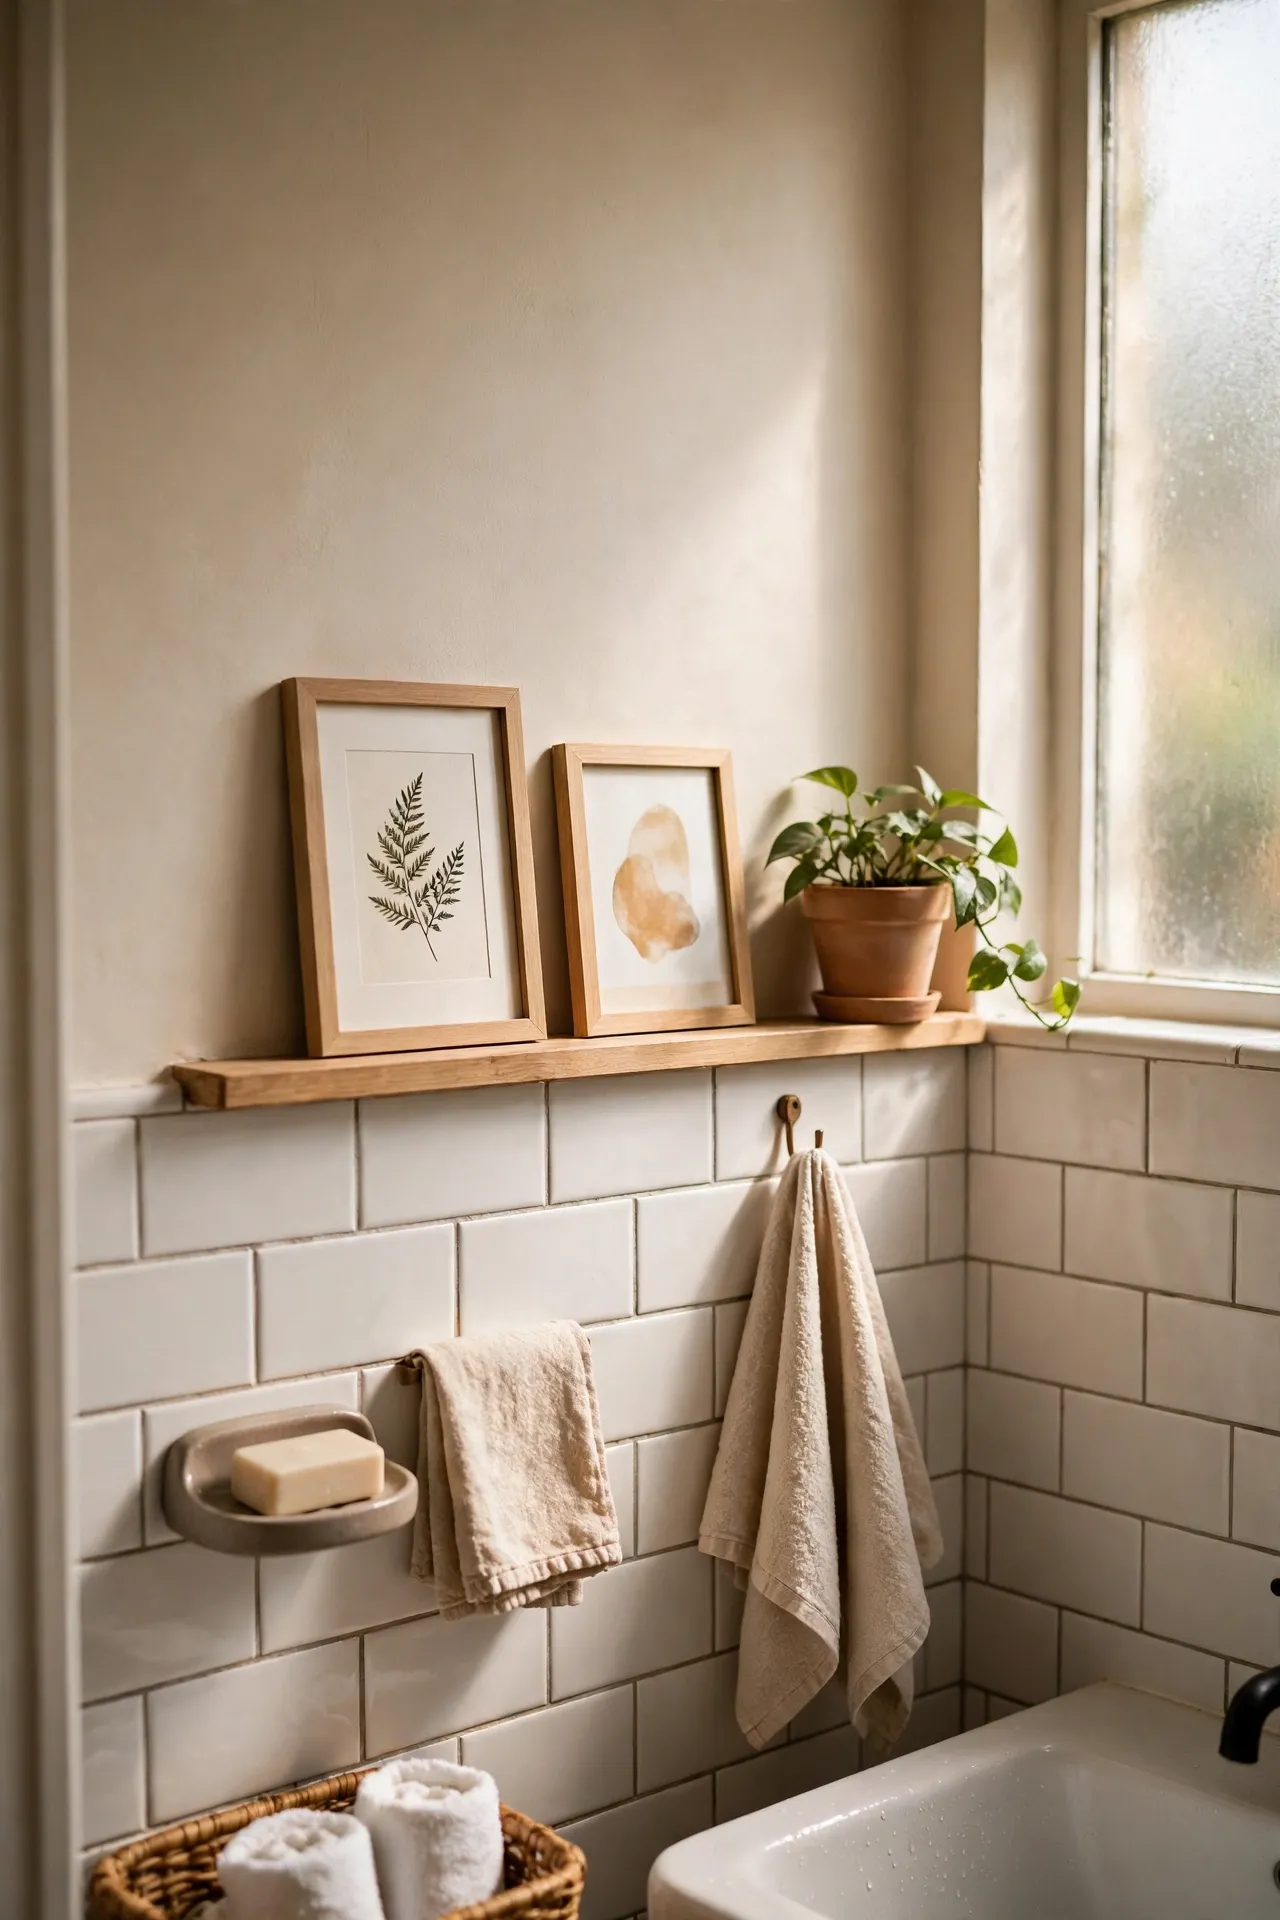
A dollar store picture ledge for tiny bathroom art lets you swap prints with the seasons without new holes in the wall. Mount one narrow ledge above the toilet or beside the mirror, lean two or three small framed prints on it, and add a tiny plant or candle at one end for balance. Change the art when you get bored. I tried this with frames hung individually first, and the mistake to avoid is drilling five holes for art you will tire of in a month. One ledge, leaning art, and you can refresh the wall in minutes. It looks like a gallery shelf, and it keeps small art from getting lost on a big blank wall.
Cost: ~$9 | Time: 25 minutes
💰 Budget win: Lean thrifted frames on the ledge instead of buying new frames for every print swap.
Quick Questions, Answered
How do I stop dollar store decor from looking cheap? Stick to one color story, buy simple shapes, and group items instead of scattering them. Paint is your best friend — matte black, gold, or brushed nickel spray paint unifies mismatched pieces instantly. When in doubt, remove one item; a calm, edited shelf always looks more expensive than a crowded one.
Will dollar store items survive bathroom steam? Most will if you seal paint, choose glass and ceramic over raw cardboard, and let items dry between showers. Avoid unsealed wood and paper in the wettest spots, and use lidded jars for anything that absorbs moisture. A quick wipe once a week keeps finishes looking fresh for months.
What should I never buy at the dollar store for a bathroom? Skip anything that will sit in standing water, like unsealed baskets under a leaky sink, and avoid flimsy suction hooks for heavy towels. Spend a little more on shower hardware and waterproof items, and save the dollar store for decor, storage, and styling pieces that stay dry.
You do not need to buy all twenty-three ideas to change how the bathroom feels. Start with the mirror, the sink tray, and one wall detail, then live with them for a week. When the room looks calm and put together, you will forget what anything cost — and so will your guests. That is the whole trick: good styling, not a big budget.
