19 Small Bathroom Ideas Under $100
Small bathrooms are brutally honest — there is nowhere for clutter to hide, and one wrong colour can make the whole room feel like a cupboard. When I redid my own tiny bathroom, I gave myself a strict rule: nothing over $100, and most things well under it. These small bathroom ideas under $100 are the ones that actually survived past the first month, because they look good on a normal Tuesday, not just in a photo. No gut renovation, no plumber, no weekend lost to tiling. Just smart swaps, a bit of paint, and storage that earns its place.
First, the quick wins: these six changes cost almost nothing and you can do most of them in a single afternoon — start here if your bathroom just feels tired.
1. Swap in a Waffle-Weave Shower Curtain
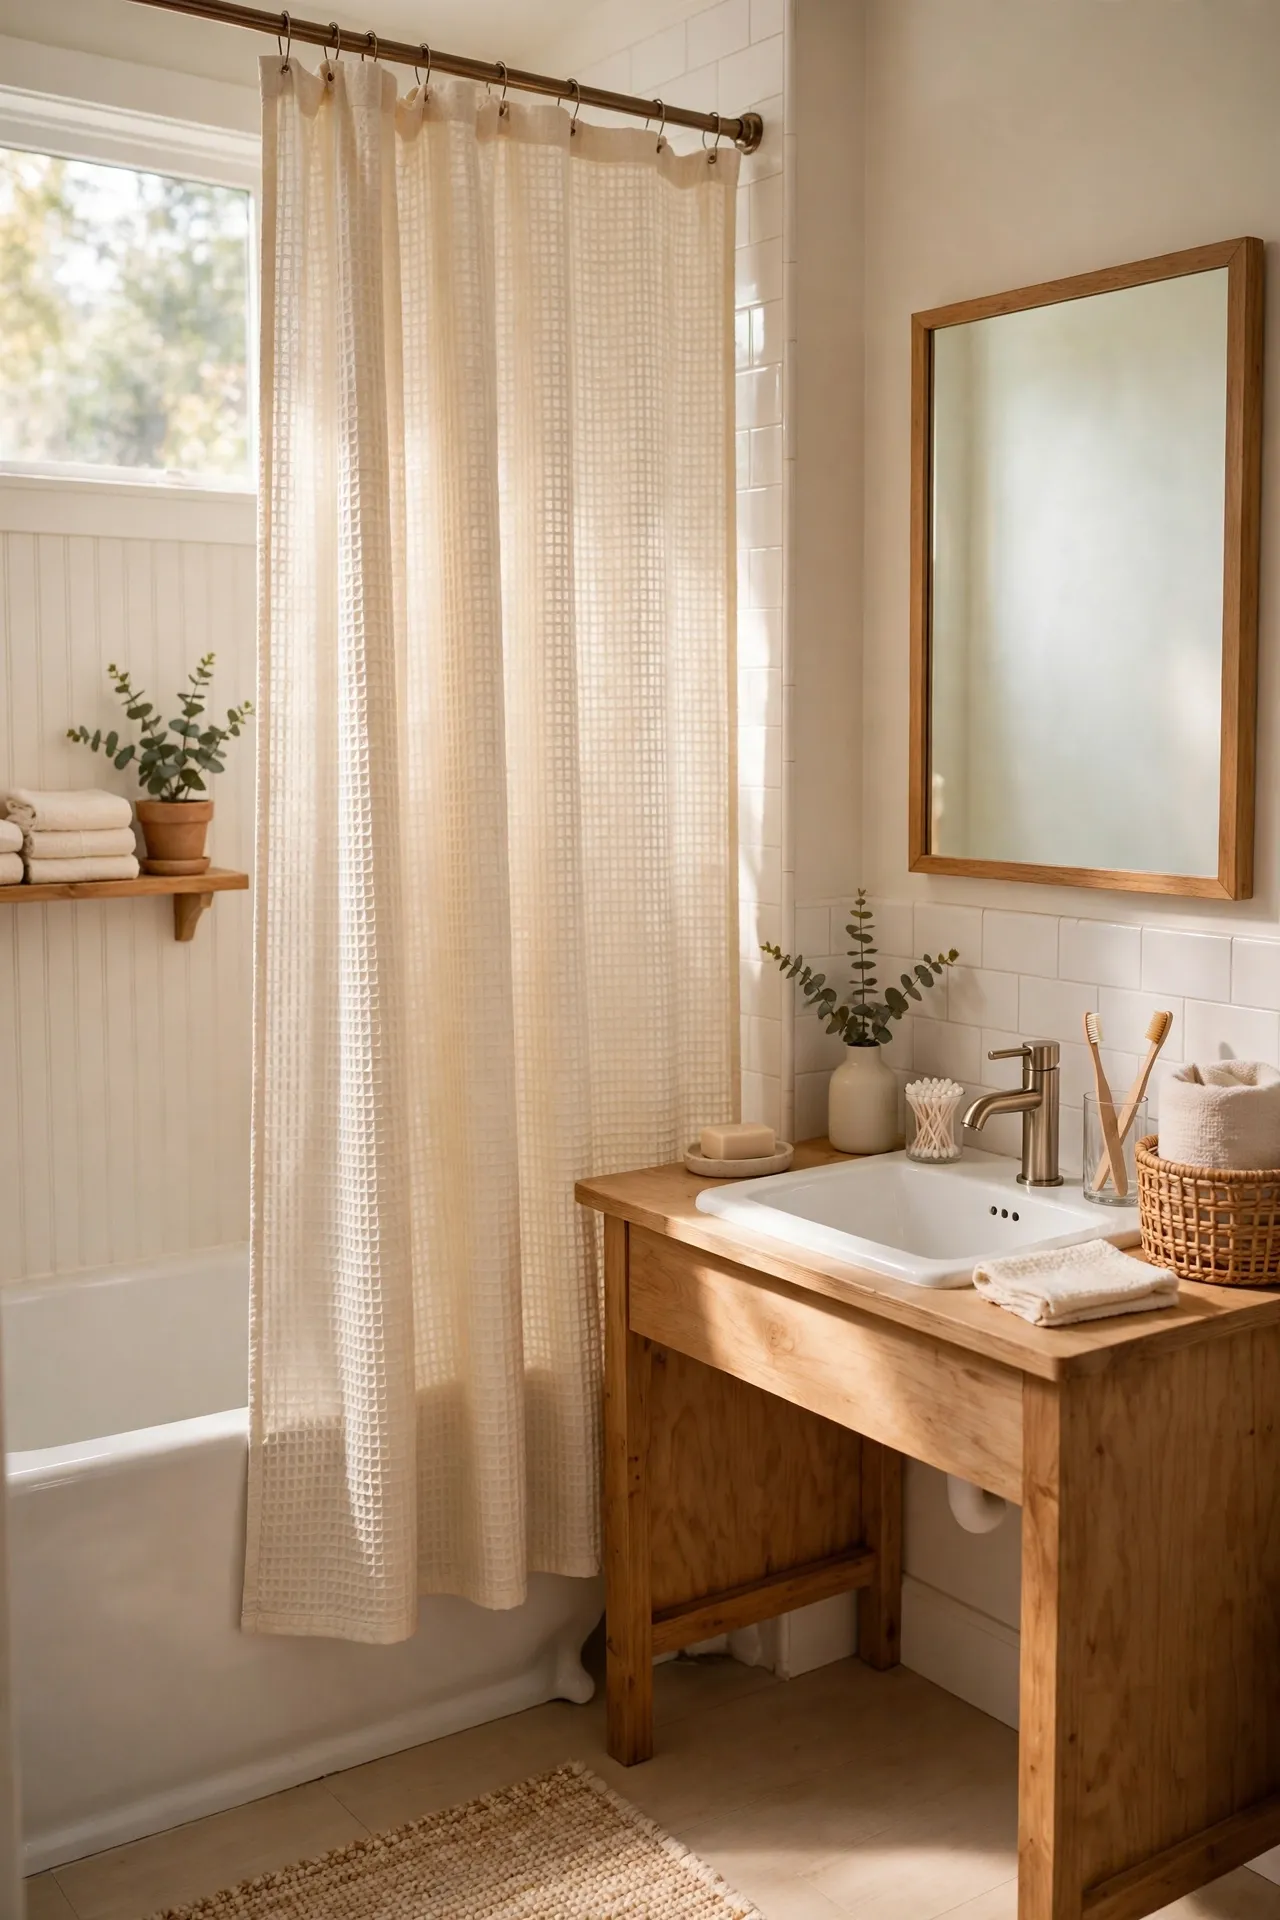
A shower curtain covers a huge chunk of wall in a small bathroom, so it sets the whole mood whether you mean it to or not. Swap a tired plastic liner look for a waffle-weave fabric curtain in white, cream, or soft sage, and the room instantly feels like a hotel instead of a rental. Hang it a few inches higher than the old rod and let it fall just above the floor so the ceiling looks taller. Wash it before you hang it so it drops properly instead of sticking out stiffly. I tried this — the mistake to avoid is buying a busy print that fights everything else in the room. Plain texture wins here every time.
Cost: ~$18 | Time: 15 minutes
2. Frame Your Plain Mirror With Trim
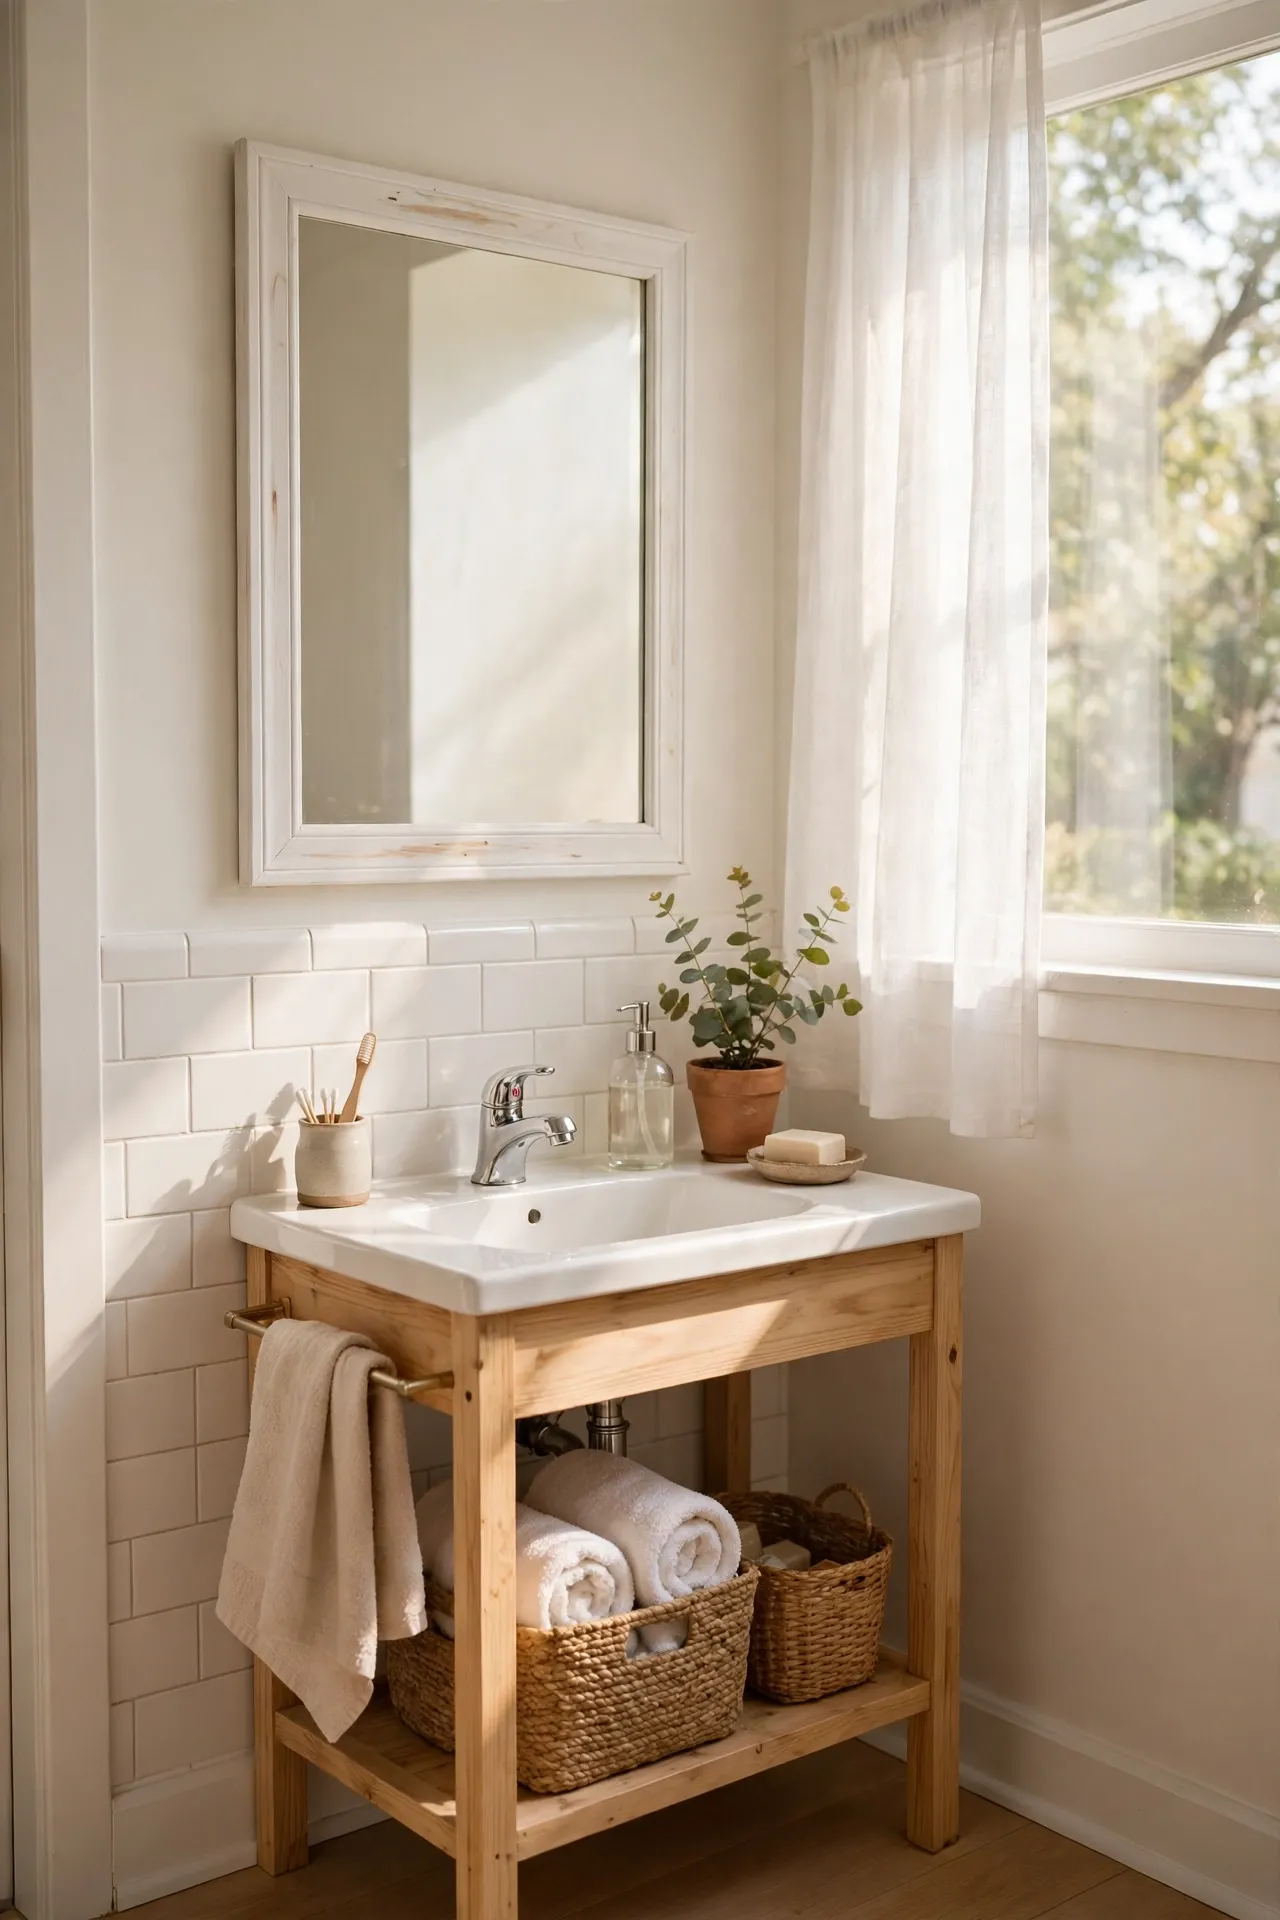
That frameless builder mirror is doing nothing for your bathroom, but you do not need to replace it. Buy four lengths of slim pine trim from the hardware store, cut them to size with a hand saw, and stick them straight onto the mirror edges with construction adhesive. Paint the frame white, black, or a warm wood tone to match your taps. It turns a flat sheet of glass into something that looks properly finished, and nobody will guess it cost less than lunch. Measure twice, because a gap at the corners is the one thing that gives the trick away. Sand the edges lightly before painting for a clean result.
Cost: ~$22 | Time: 90 minutes
3. Match Your Towels to One Colour
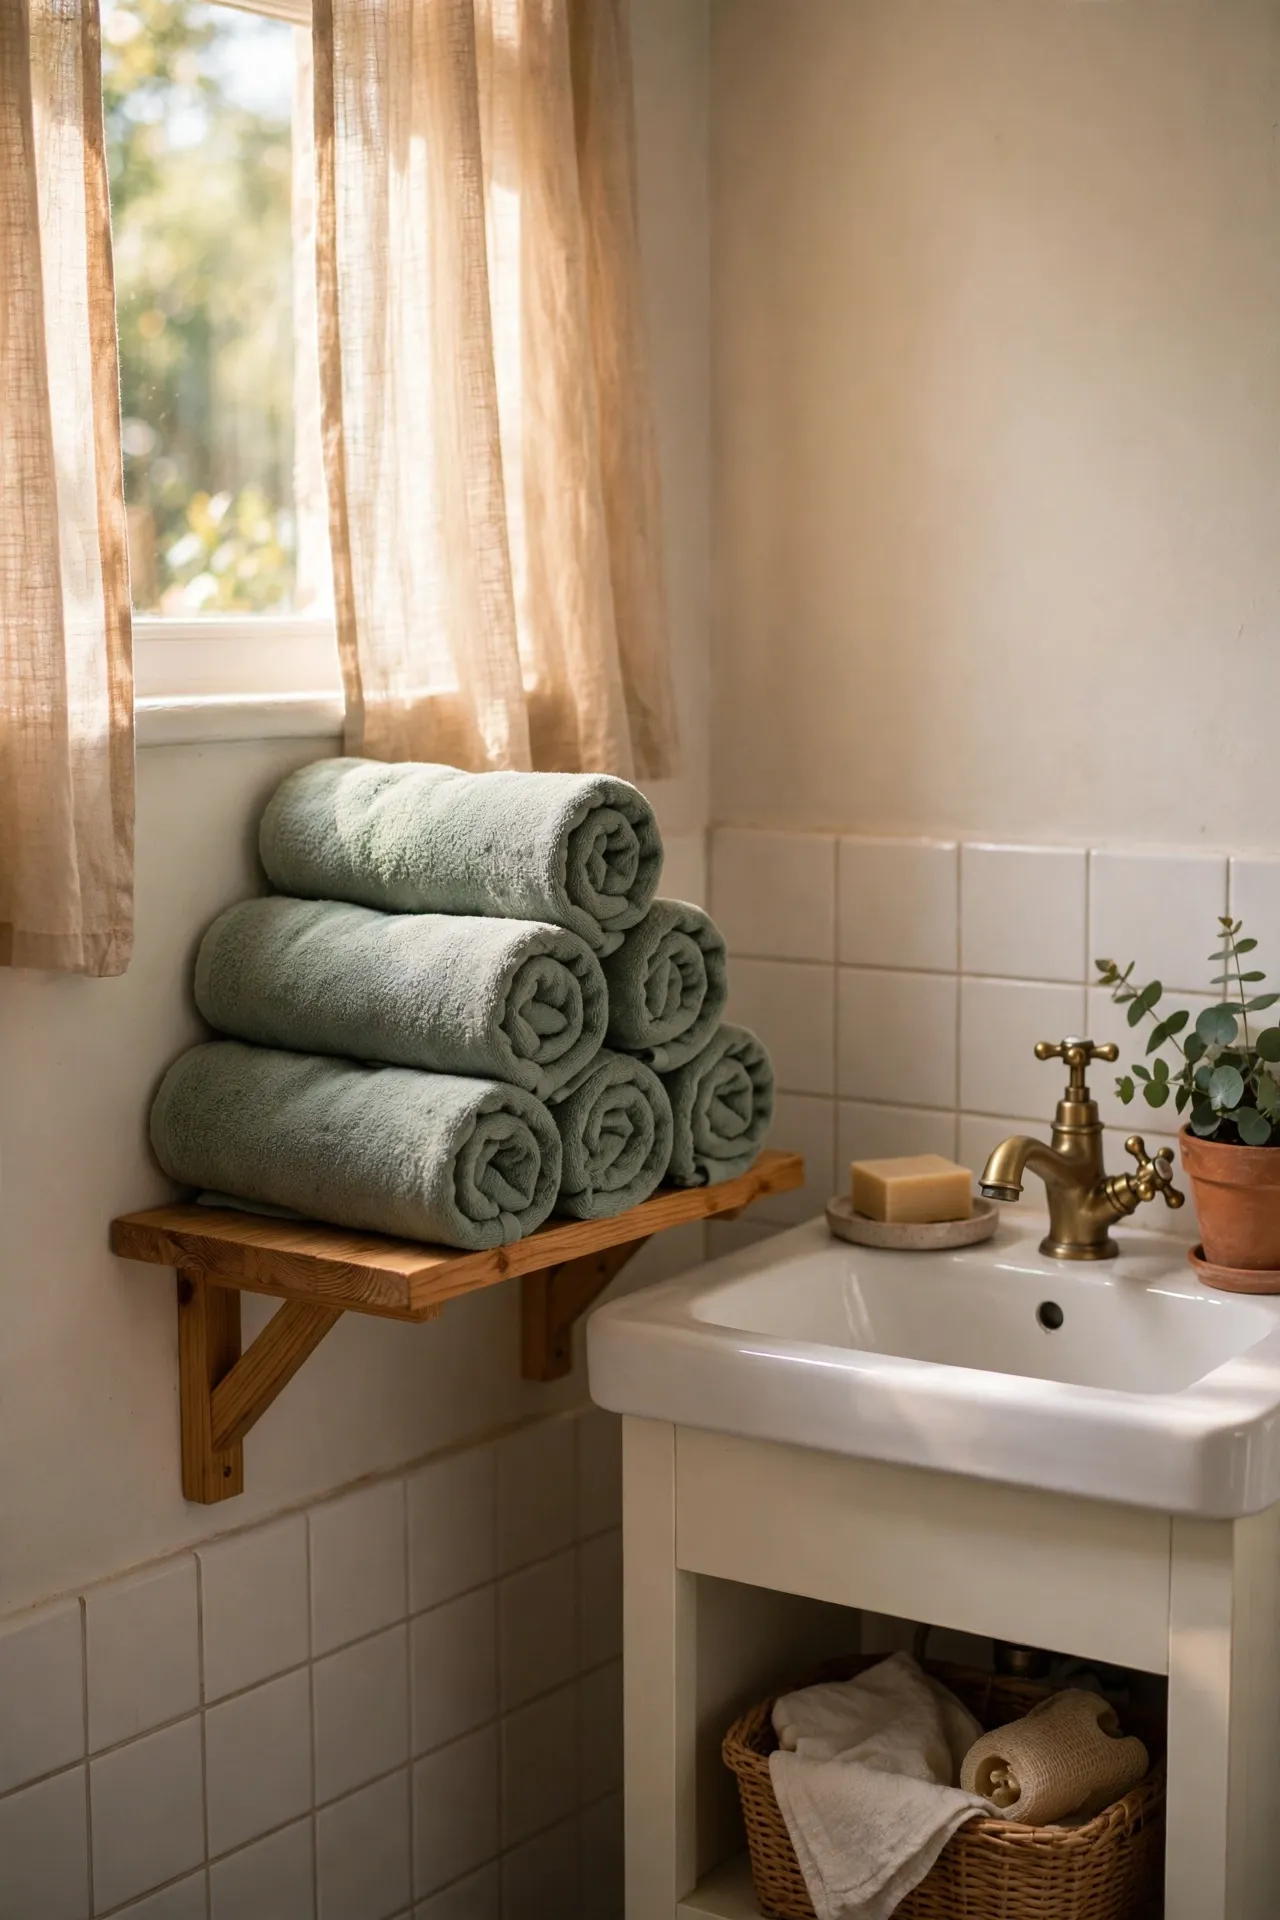
Open a small bathroom cupboard and you will usually find five different towel colours arguing with each other. Buy two bath towels and two hand towels in one single colour — white, charcoal, or a dusty green — and suddenly the whole room looks coordinated without changing anything else. Roll them instead of folding them if shelf space is tight, and keep the best set on display while the spares live in a basket. The trick is buying the same dye lot together, because two whites from different brands can clash badly. I learned that the hard way, and now I buy towel sets, never singles.
Cost: ~$32 | Time: 10 minutes
4. Swap the Cabinet Knobs for Matte Black
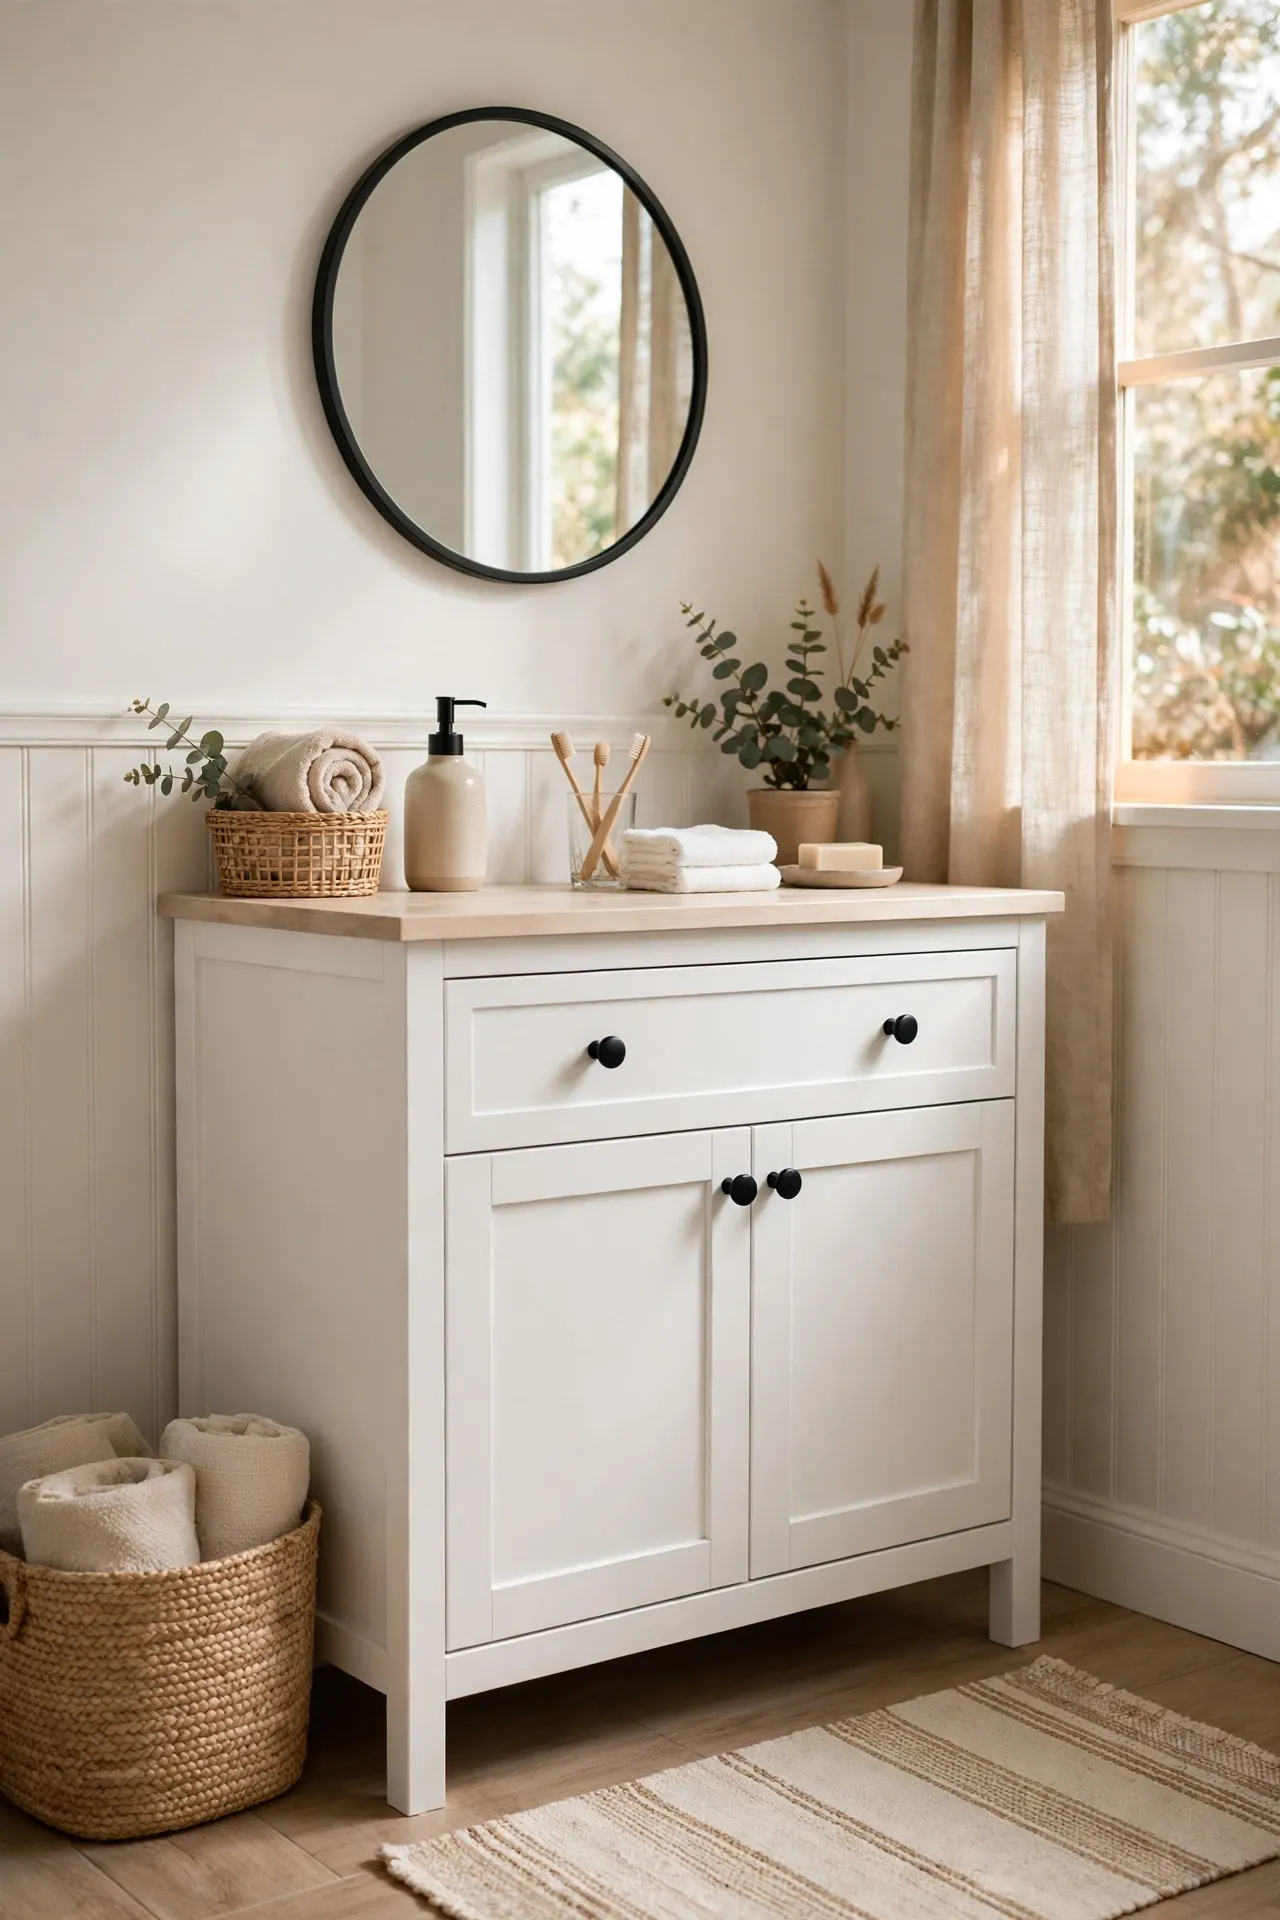
Dated gold or plastic knobs can drag a whole vanity down, and replacing them is a ten-minute job with a screwdriver. A multipack of matte black knobs or slim bar pulls gives the vanity a clean, modern line for very little money. Measure the hole spacing on your drawers before ordering, because bar pulls come in two common sizes and guessing wrong means a return trip. Keep the old knobs in a bag for move-out day if you rent. The contrast of black against a white or wood vanity is small, but in a tiny room every detail shows, and this one pays off immediately.
Cost: ~$14 | Time: 30 minutes
5. Lay Peel-and-Stick Floor Tiles
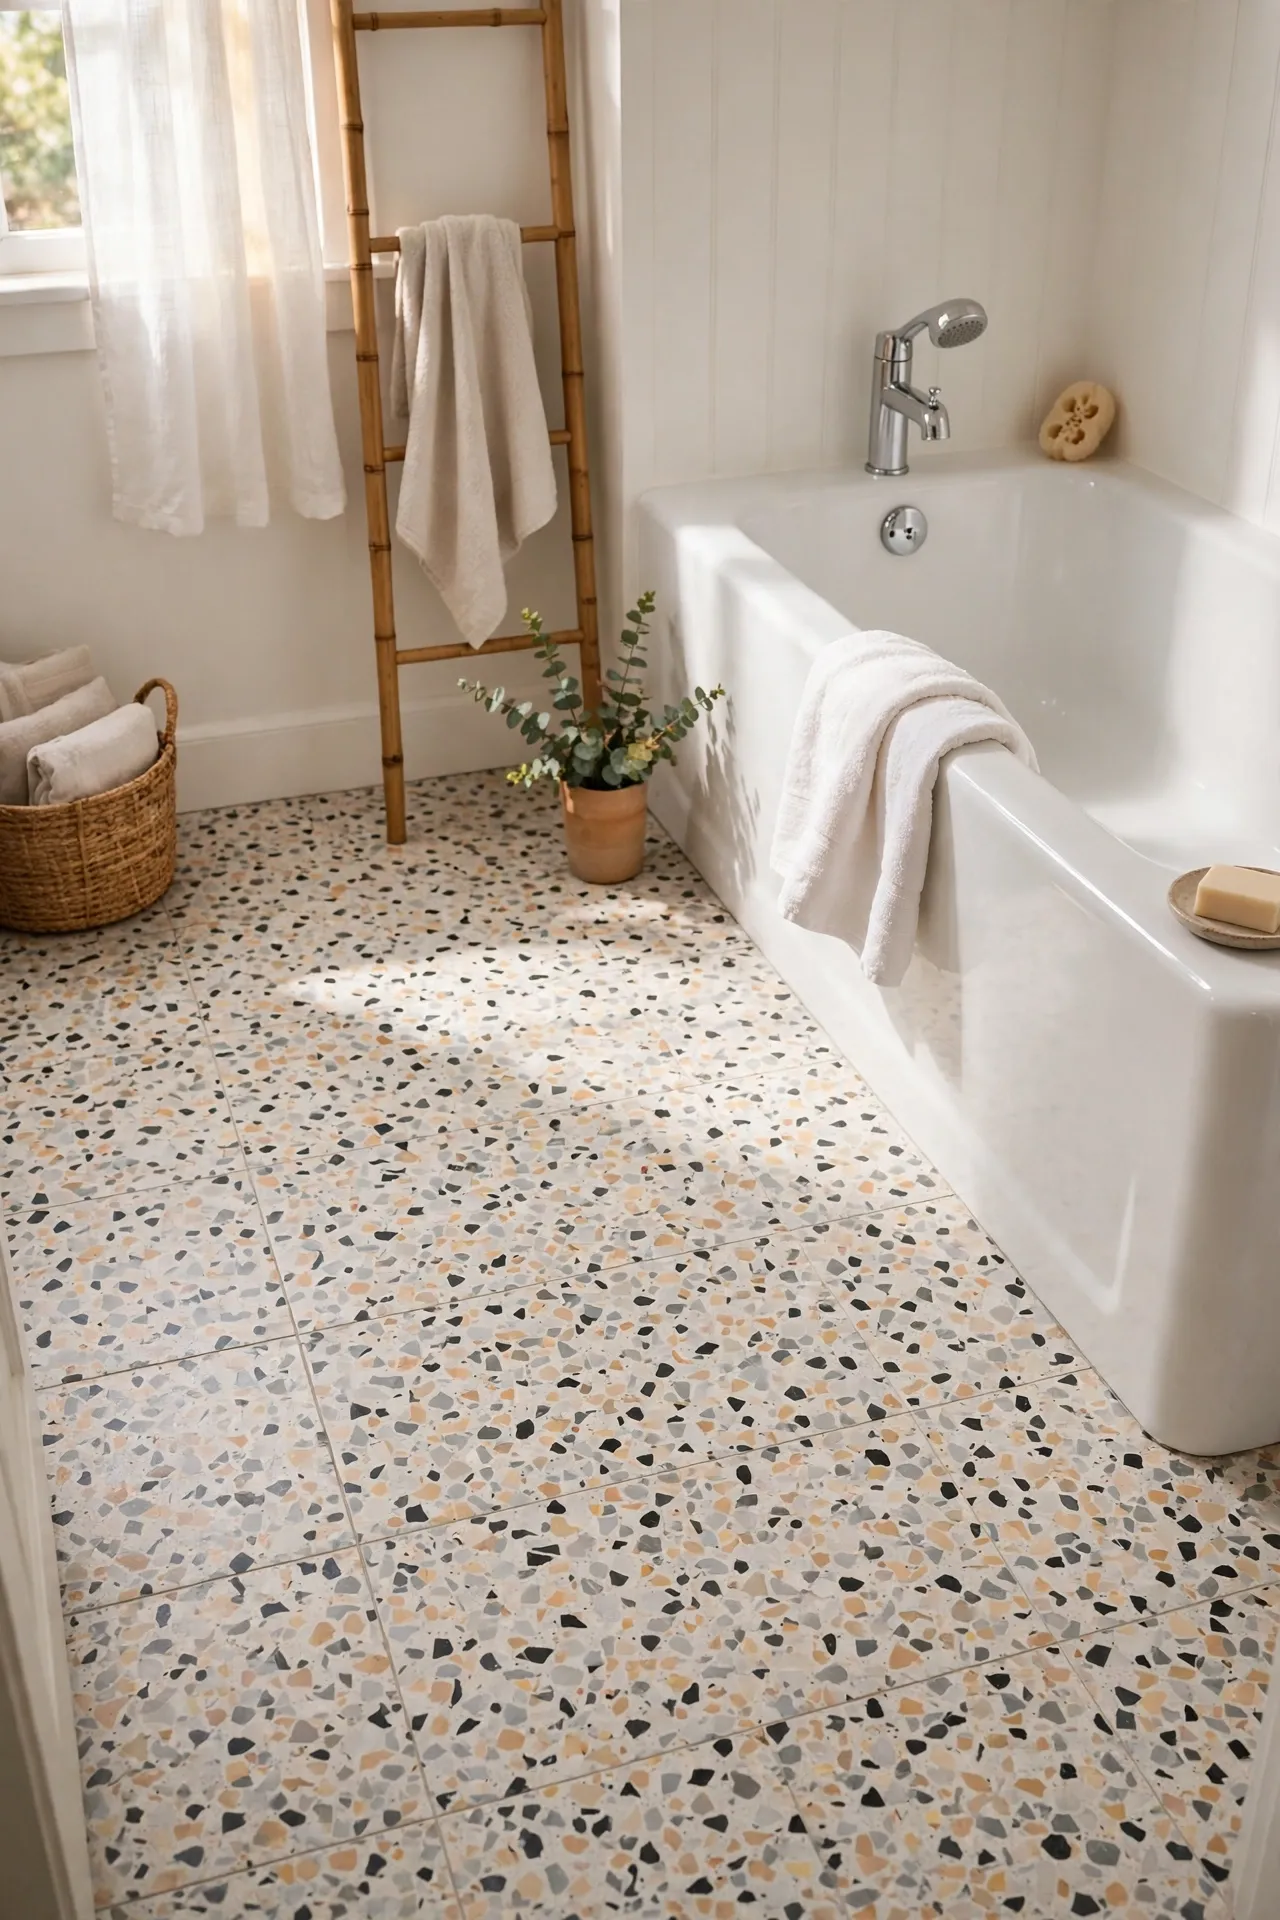
If your bathroom floor is stained vinyl from another decade, peel-and-stick tiles are the cheapest transformation going. In a small bathroom you only need a few boxes, so a checkerboard, terrazzo-look, or faux marble pattern stays well under $100. Clean the old floor properly first, start from the centre of the room so the cuts land at the edges, and press each tile down firmly with a rolling pin. Seal the edges near the bath with clear silicone so water cannot creep underneath. I tried this — the mistake to avoid is laying them over a dirty or damp floor, because they will lift within weeks.
Cost: ~$45 | Time: 3 hours
6. Hang an Over-the-Door Organizer
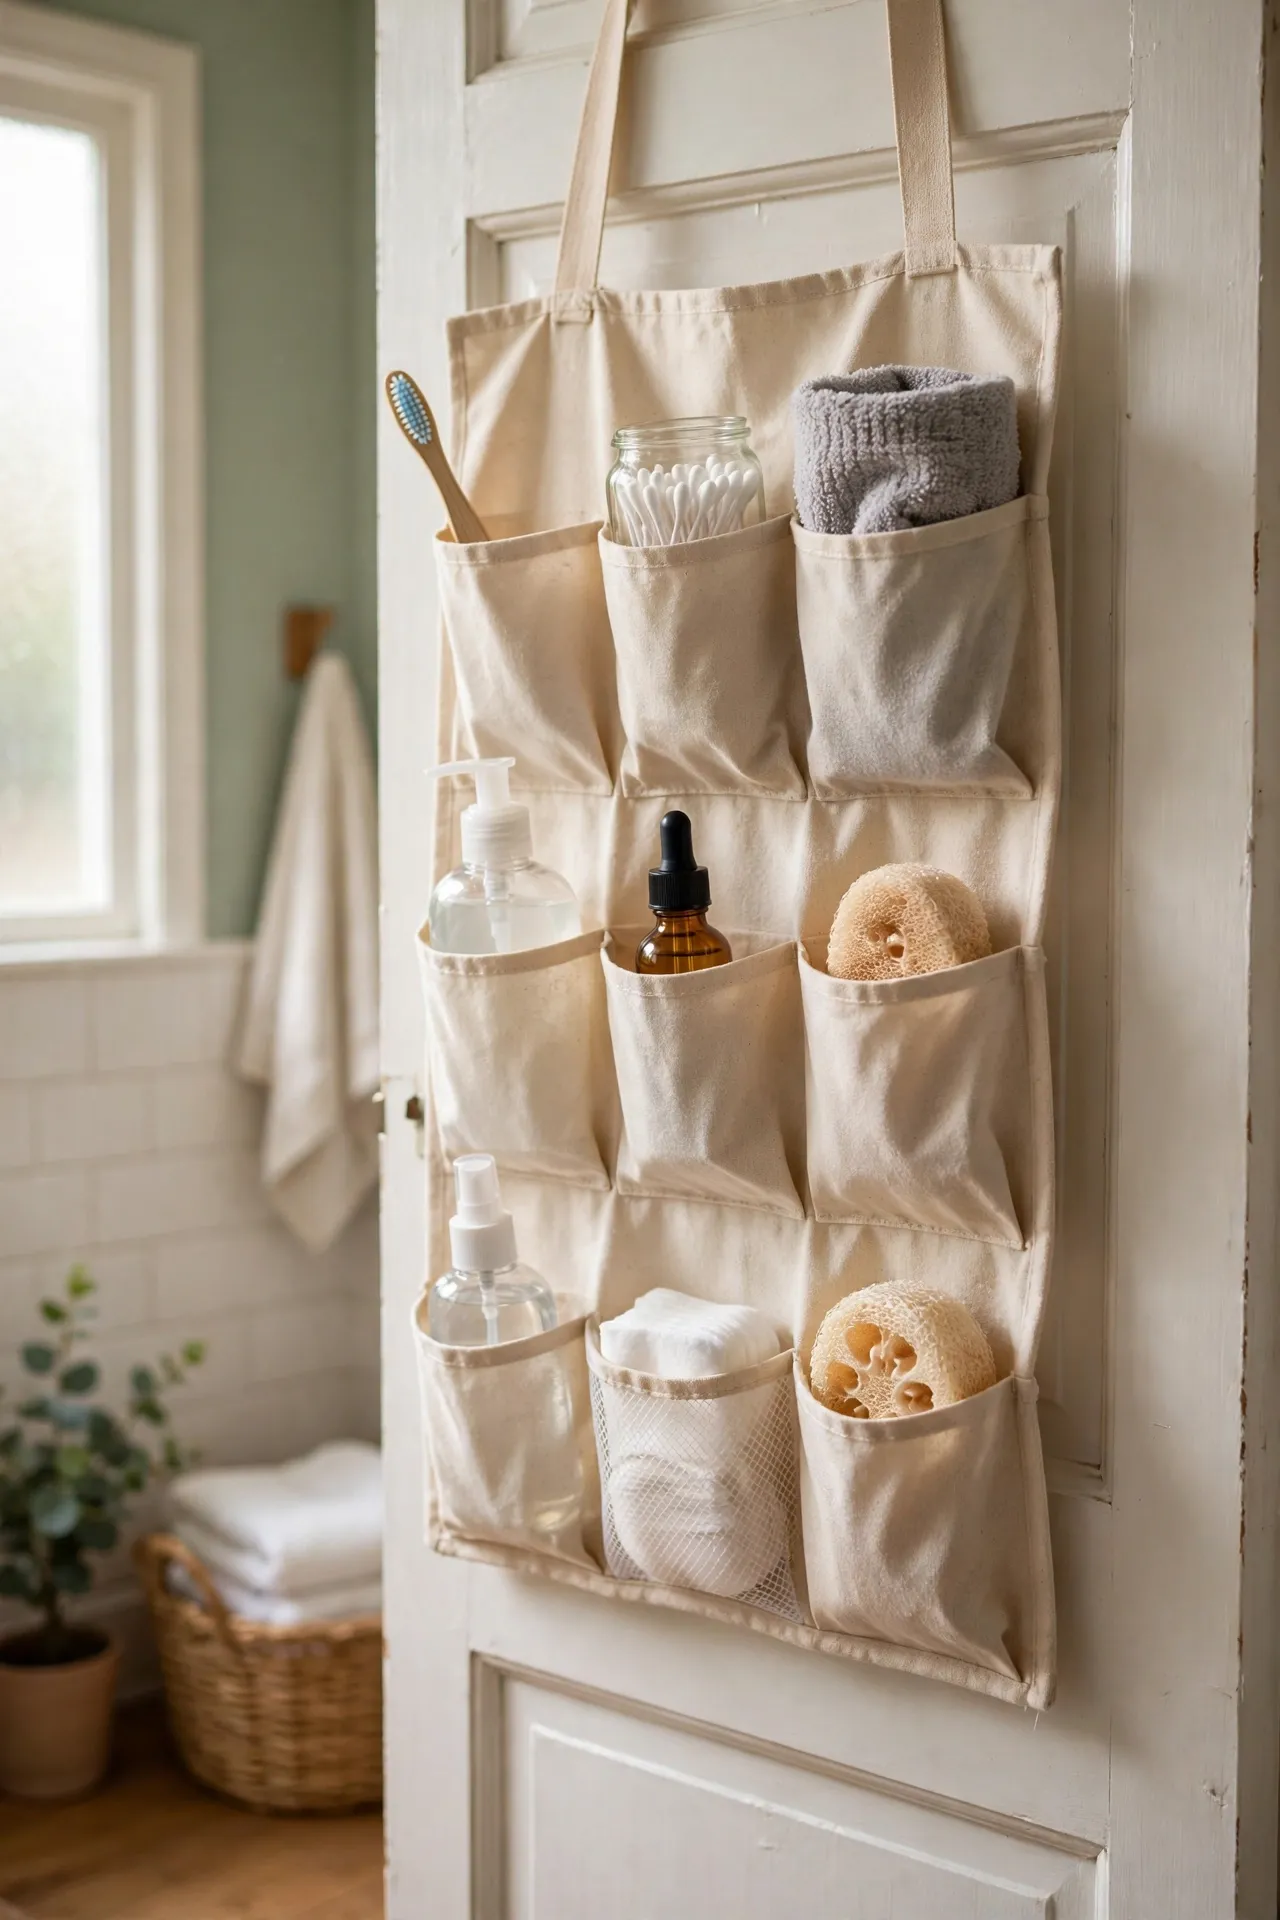
The back of the bathroom door is free real estate that most of us waste completely. A clear-pocket over-the-door organizer holds hair tools, cleaning sprays, spare toiletries, and first-aid bits without drilling a single hole. Hang it on the inside of the door so it stays out of sight when the door is open, and label the top pockets for the things you reach for daily. If the pockets look messy, swap the clear version for a fabric one in a plain colour. This is the least glamorous idea on this list and probably the most useful, because it clears the counter in one move. For more hidden storage tricks, see my (see also: small-bathroom-storage-ideas) roundup.
Cost: ~$12 | Time: 10 minutes
Now, storage that earns its keep: a small bathroom does not need more stuff — it needs a proper home for the stuff you already own, and these six ideas give everything a place.
7. Add One Floating Shelf Above the Toilet
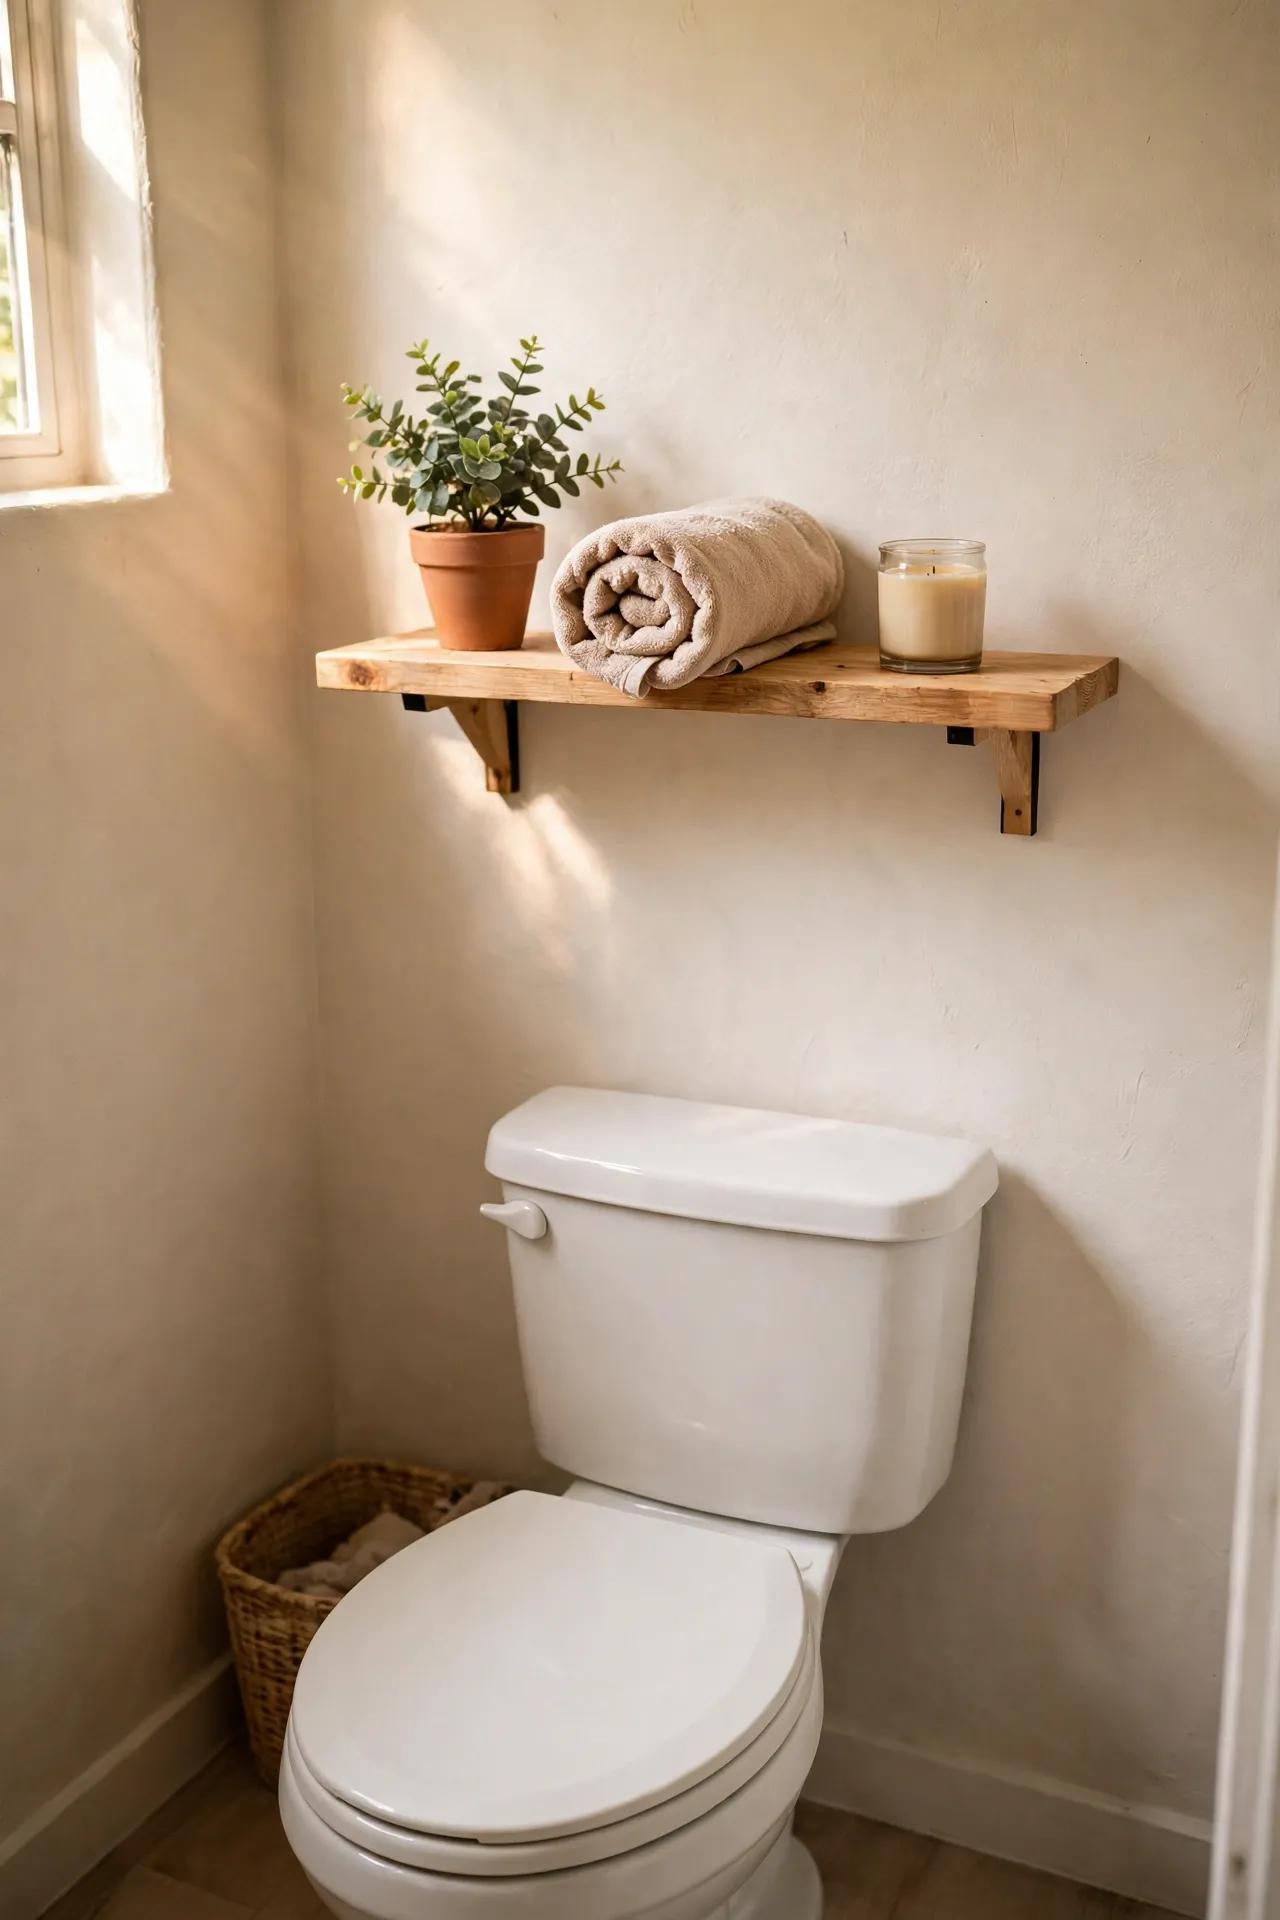
The wall above the toilet is usually dead space, and one solid floating shelf turns it into the prettiest spot in the room. Fix it at eye level, not so high you need a step stool, and style it with three things only: a small plant, a rolled hand towel, and a candle or jar. Anything more and it becomes a dusty shelf of clutter, which defeats the purpose. Use proper wall anchors, because a shelf full of jars is heavier than it looks and plasterboard will not forgive a bad fixing. I tried this — the mistake to avoid is loading it like a bookcase. One shelf, three items, done, and the room feels styled instead of stuffed.
Cost: ~$20 | Time: 45 minutes
8. Stack Woven Baskets on the Shelf
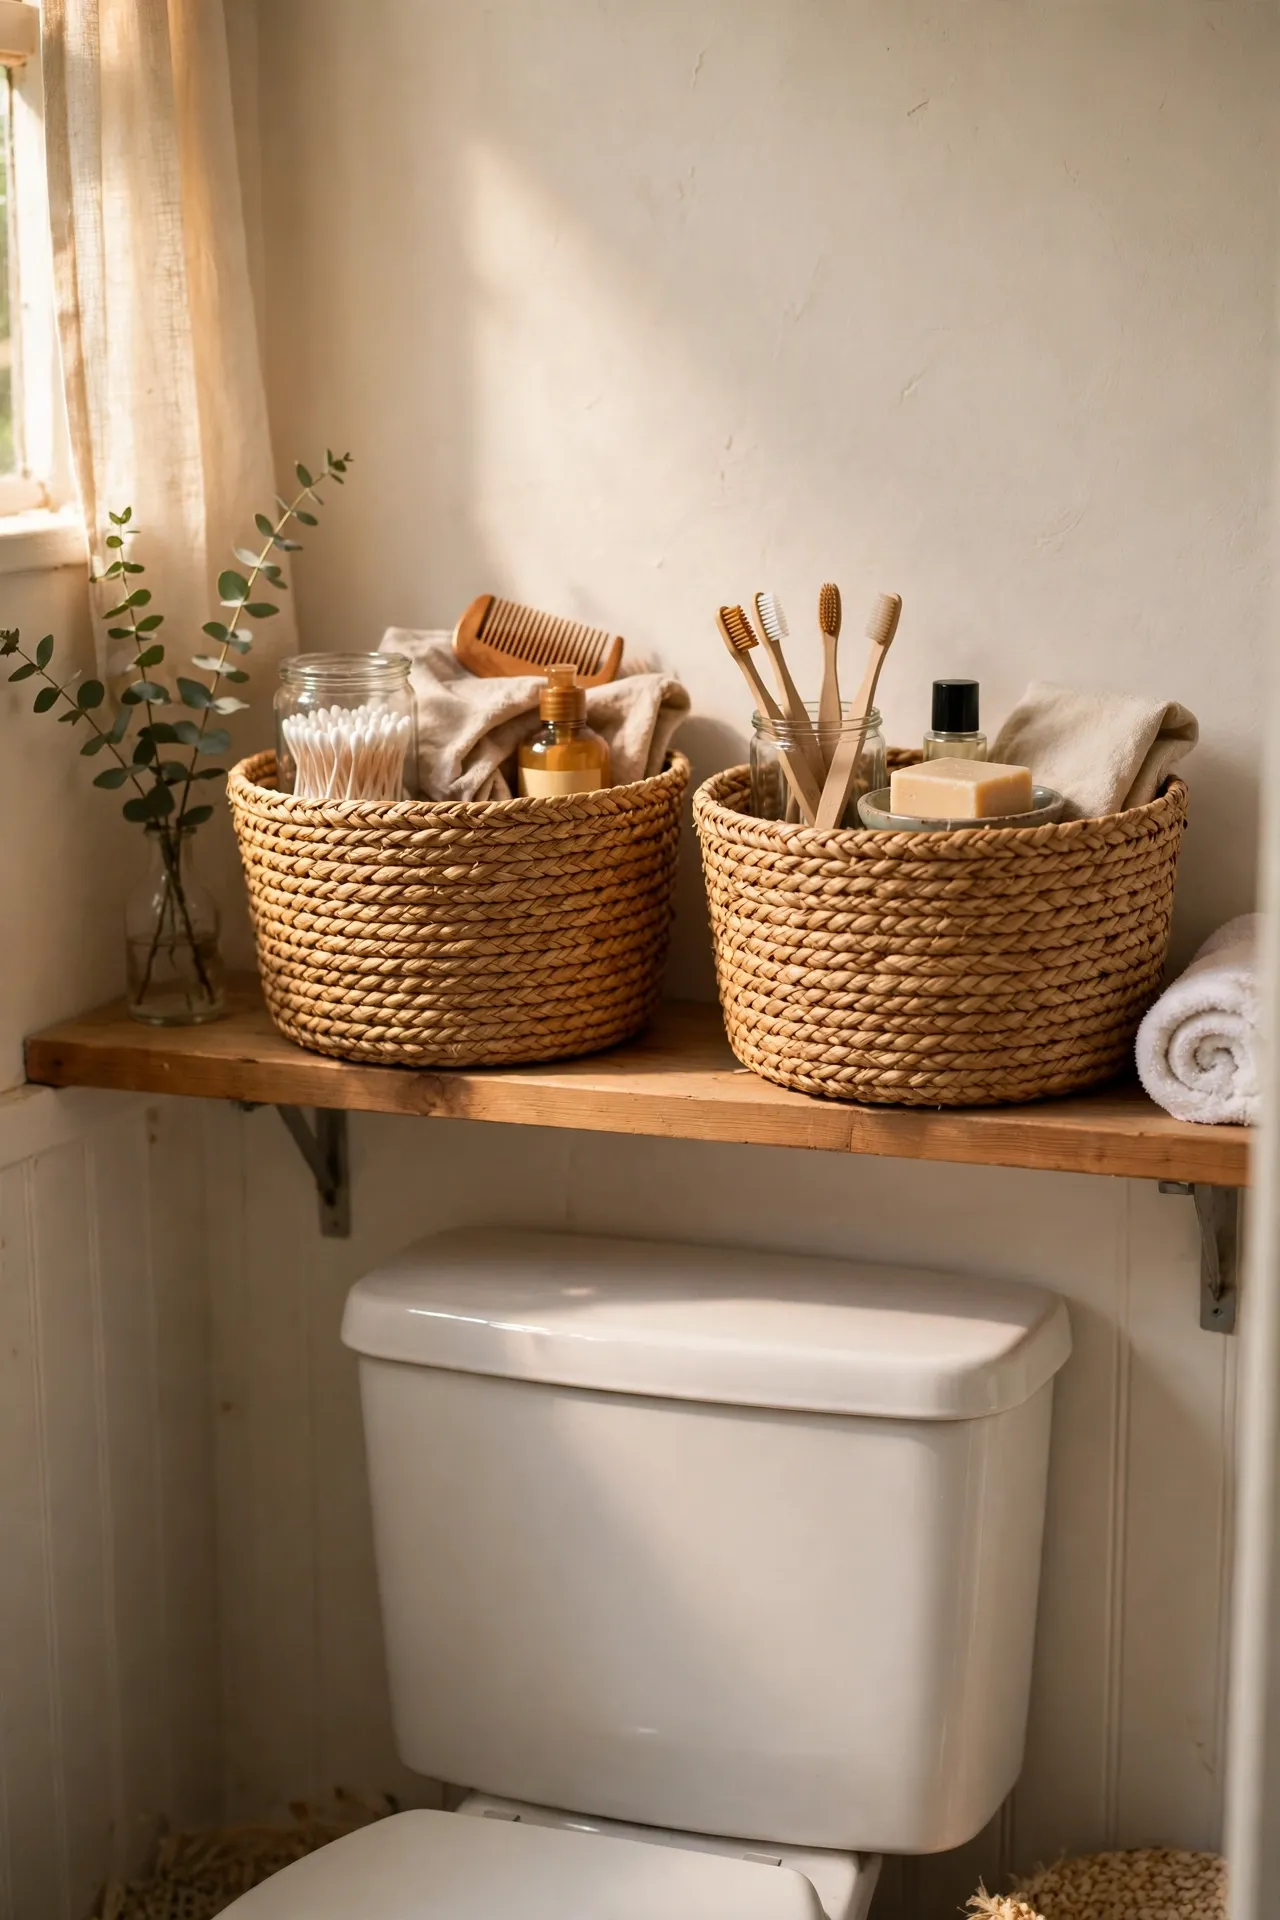
Open shelving only works if the small stuff has somewhere to hide, and woven baskets are the answer. Two matching seagrass or cotton-rope baskets on that shelf above the toilet can hold cotton pads, hair ties, spare soaps, and all the little bits that otherwise colonise the counter. Choose baskets with a label or a leather pull so they look intentional rather than improvised. Keep one basket for daily items and one for spares, so you are not digging past stock to find a hairbrush. The natural texture also softens a room full of hard tile and porcelain, which is exactly what a small bathroom needs.
Cost: ~$18 | Time: 10 minutes
9. Hang a Tension Rod Under the Sink
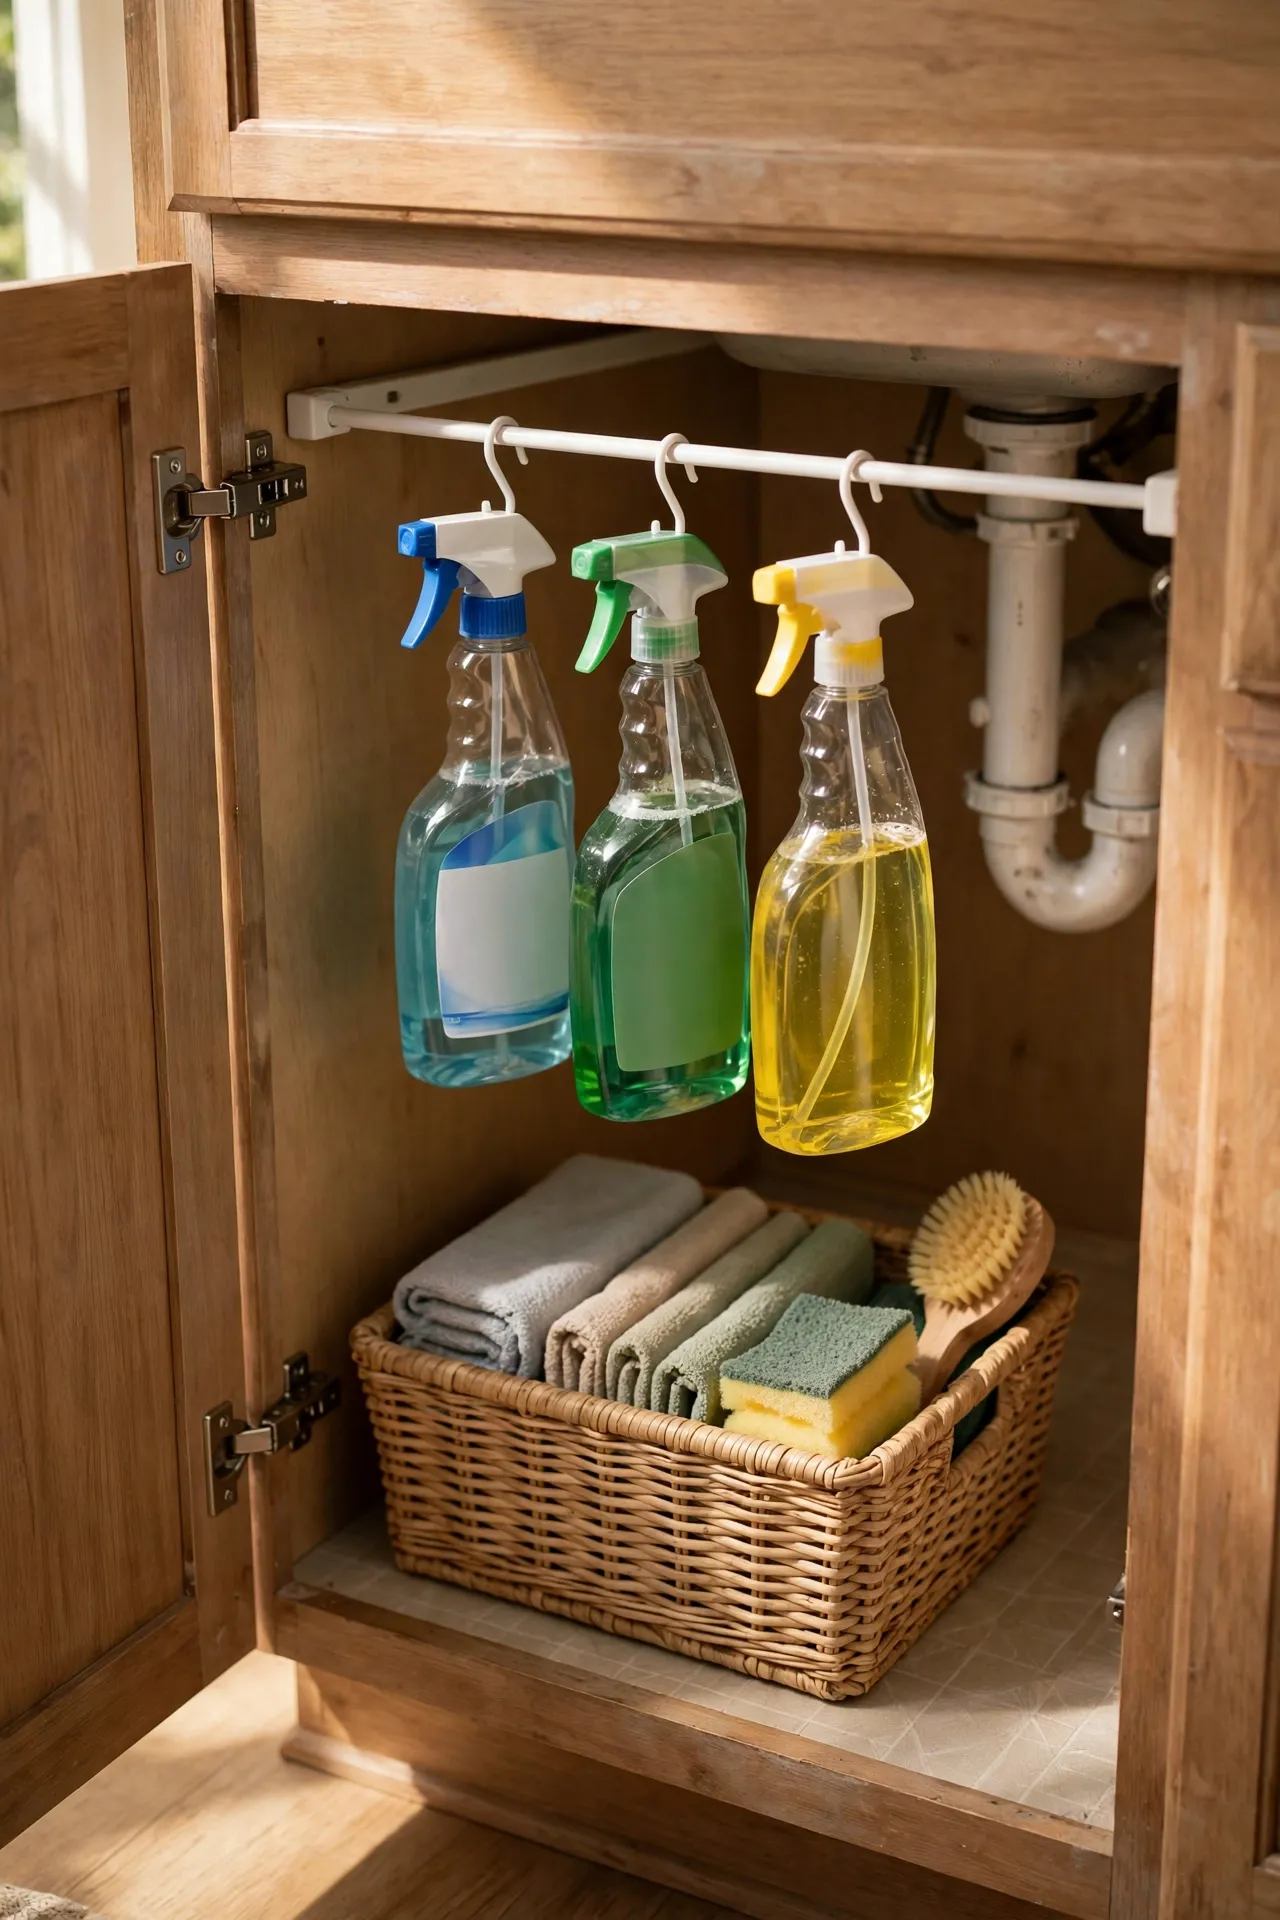
Under the sink is usually a dark jumble of bottles, and a cheap tension rod fixes it in minutes. Wedge the rod across the cabinet, hang spray bottles from it by their triggers, and suddenly the floor of the cabinet is free for bigger items like spare toilet rolls or a cleaning caddy. Measure the width before you buy, because rods come in size ranges and one that is too short will keep slipping. This costs less than a takeaway coffee and doubles the usable space under the sink. I tried this — the mistake to avoid is hanging anything heavy enough to drag the rod down. Sprays only, nothing glass.
Cost: ~$6 | Time: 10 minutes
10. Mount Mason Jars on a Wooden Board
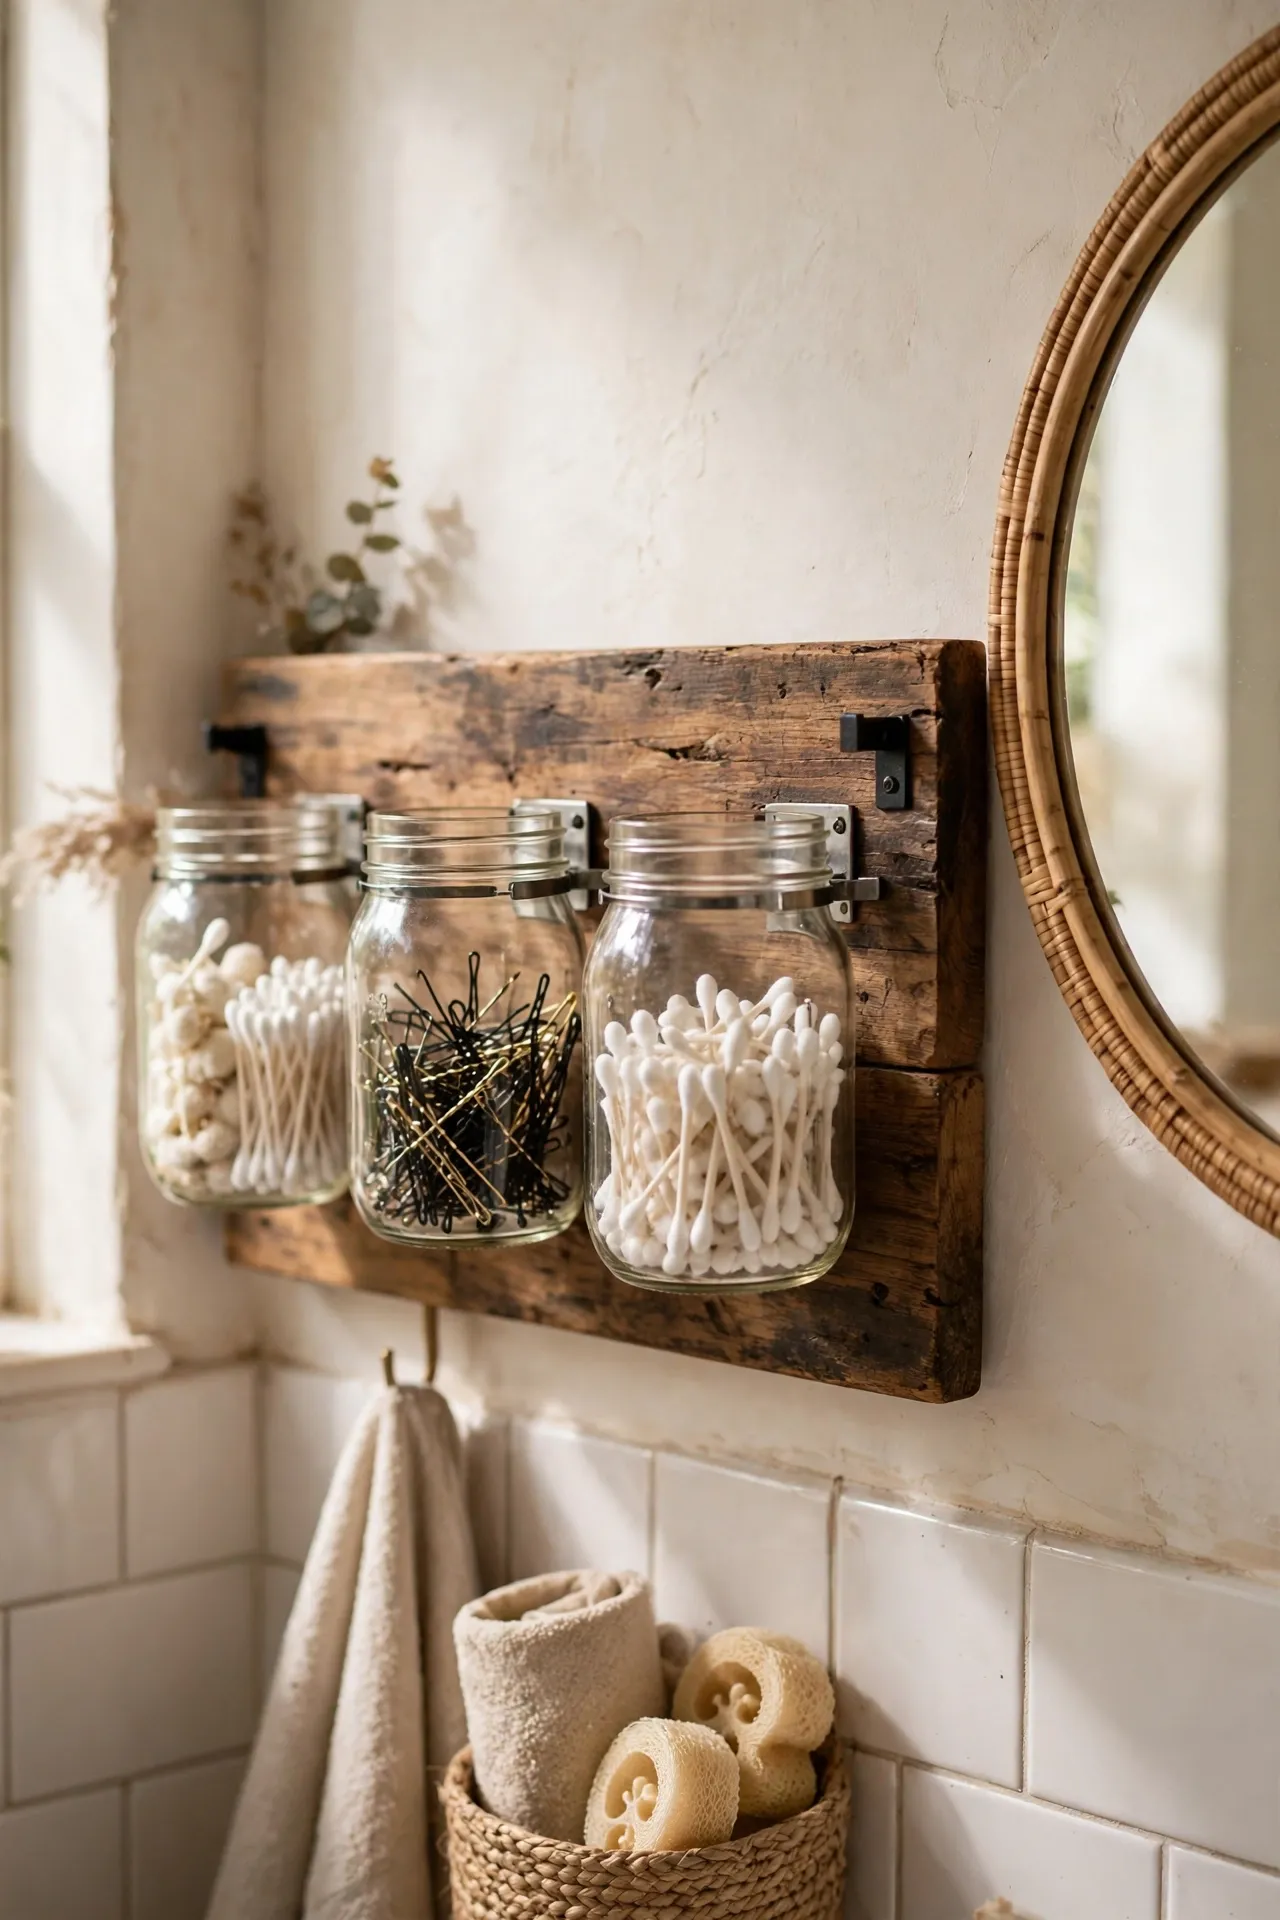
Cotton buds, bobby pins, and lip balms vanish into drawers and never come back, so give them a visible home instead. Screw three hose clamps onto a stained wooden board, slide a mason jar into each clamp, and hang the board beside the mirror. Each jar holds one category, the contents are easy to see, and refilling takes seconds. Sand and stain the board first so it looks like a proper piece rather than scrap wood, and keep the jars small so they do not jut out too far. This is a lovely weekend project if you like a rustic touch, and it costs almost nothing if you already have jars at home.
Cost: ~$15 | Time: 60 minutes
11. Slide a Slim Rolling Cart Beside the Vanity
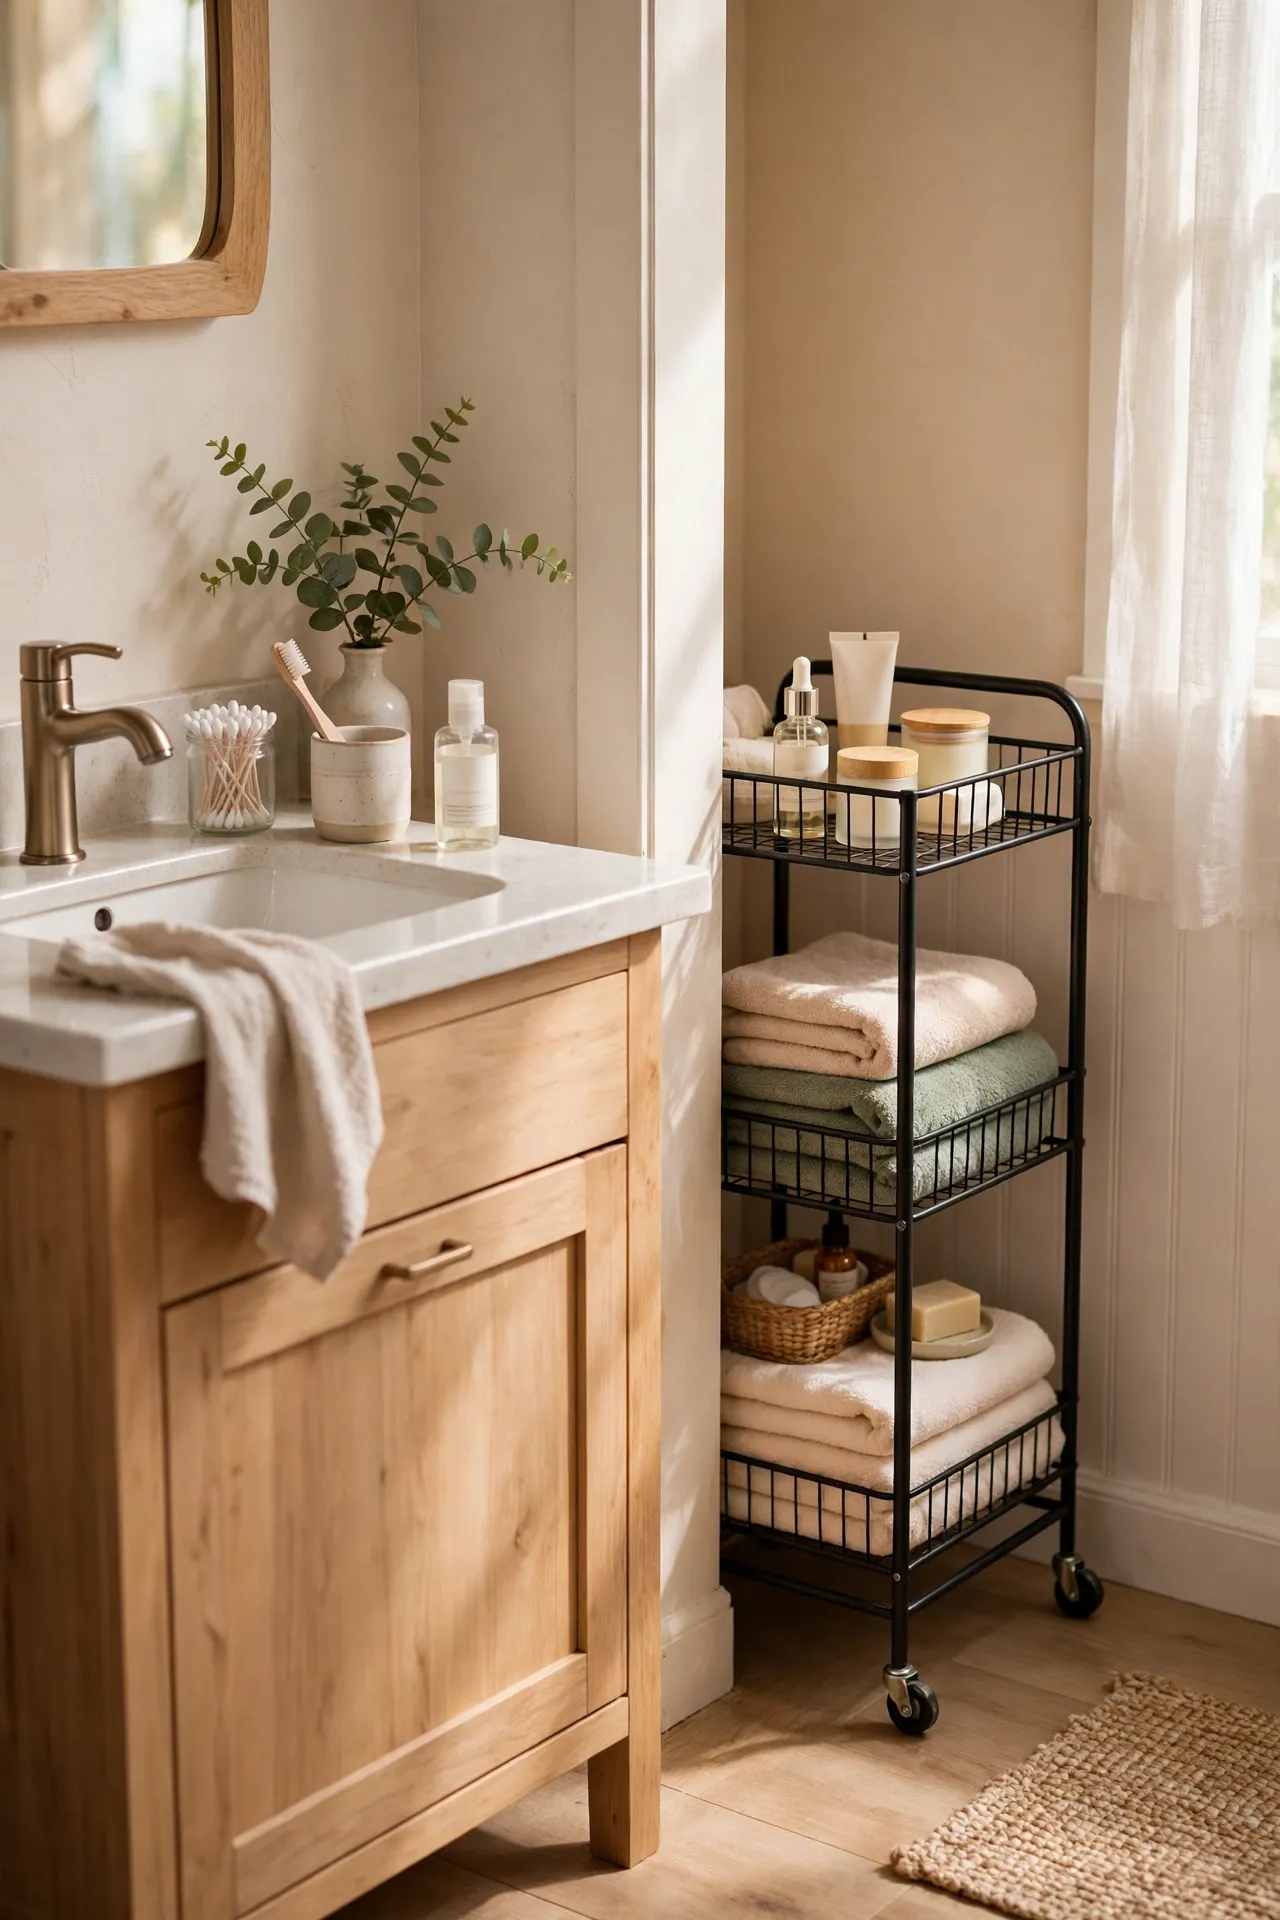
That awkward six-inch gap between the vanity and the wall or toilet is not wasted space — it is a rolling cart waiting to happen. A slim three-tier cart slides in and out, holding skincare, styling tools, and cleaning supplies in tiers you can actually reach. Measure the gap carefully, including the skirting board, because a cart that is half an inch too wide is useless. Choose one with wheels that lock, or it will roll away every time you pull a drawer. Save this idea for the next time you spot a narrow gap you have written off as unusable — it is the easiest storage win in a small bathroom.
Cost: ~$25 | Time: 20 minutes
12. Corral Clutter in a Tiered Tray
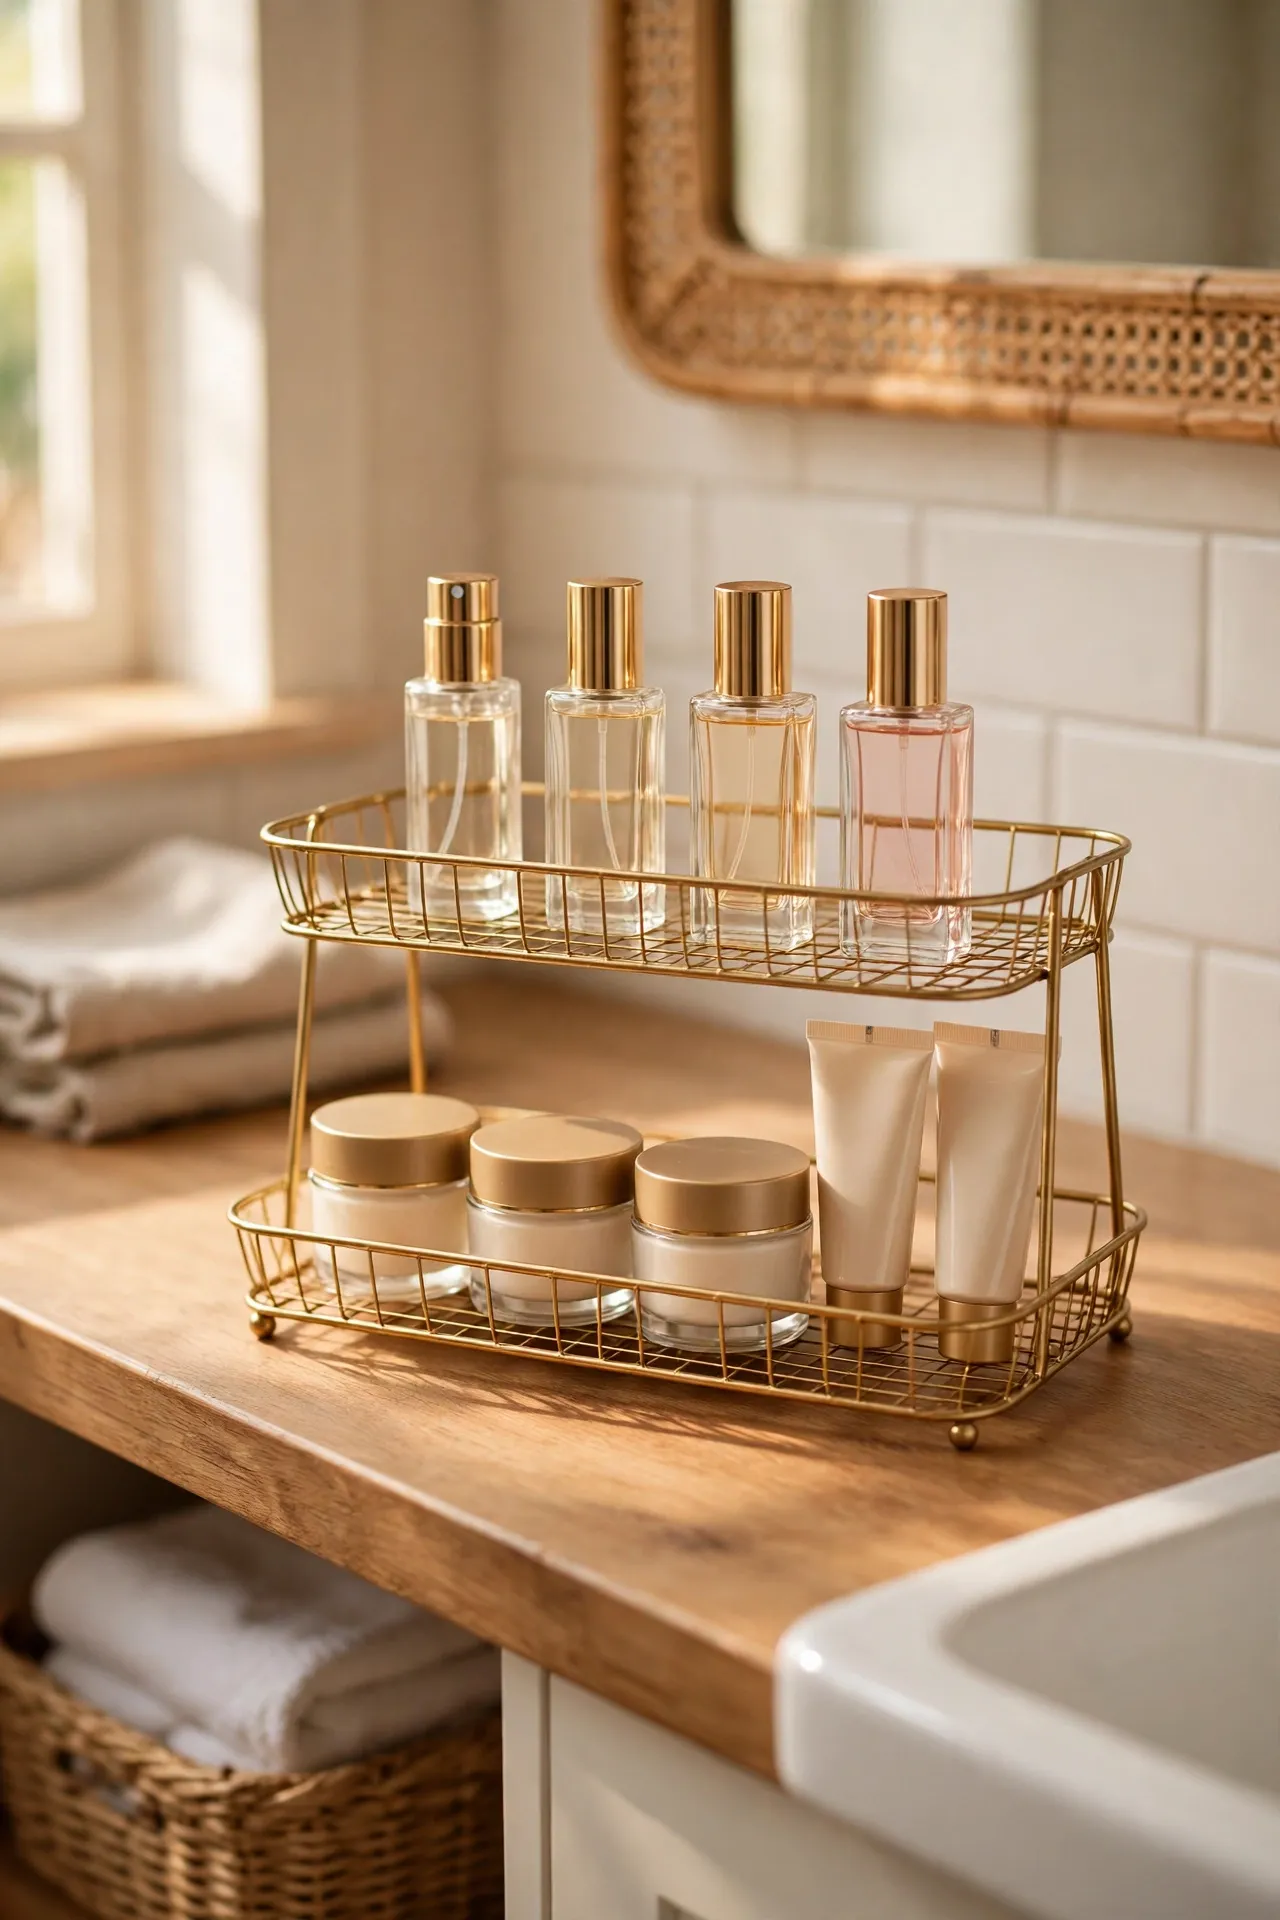
A two-tier tray on the vanity does what a drawer cannot: it keeps daily items visible but contained. Put perfumes and skincare on the top tier and everyday basics like hand cream and a lip balm on the bottom, and the rest of the counter stays clear. Choose a tray with a raised edge so nothing slides off when you reach past it, and keep it to one tray only — two trays is just clutter with extra steps. A marble-look or wood tray looks far more expensive than it is, and wiping it down takes seconds. I tried this — the mistake to avoid is letting the tray become a dumping ground for everything without a home.
Cost: ~$16 | Time: 10 minutes
Finally, the polish: these last seven touches are what make guests ask whether you renovated — you did not, you just finished the room properly.
13. Stick a Peel-and-Stick Backsplash Behind the Sink
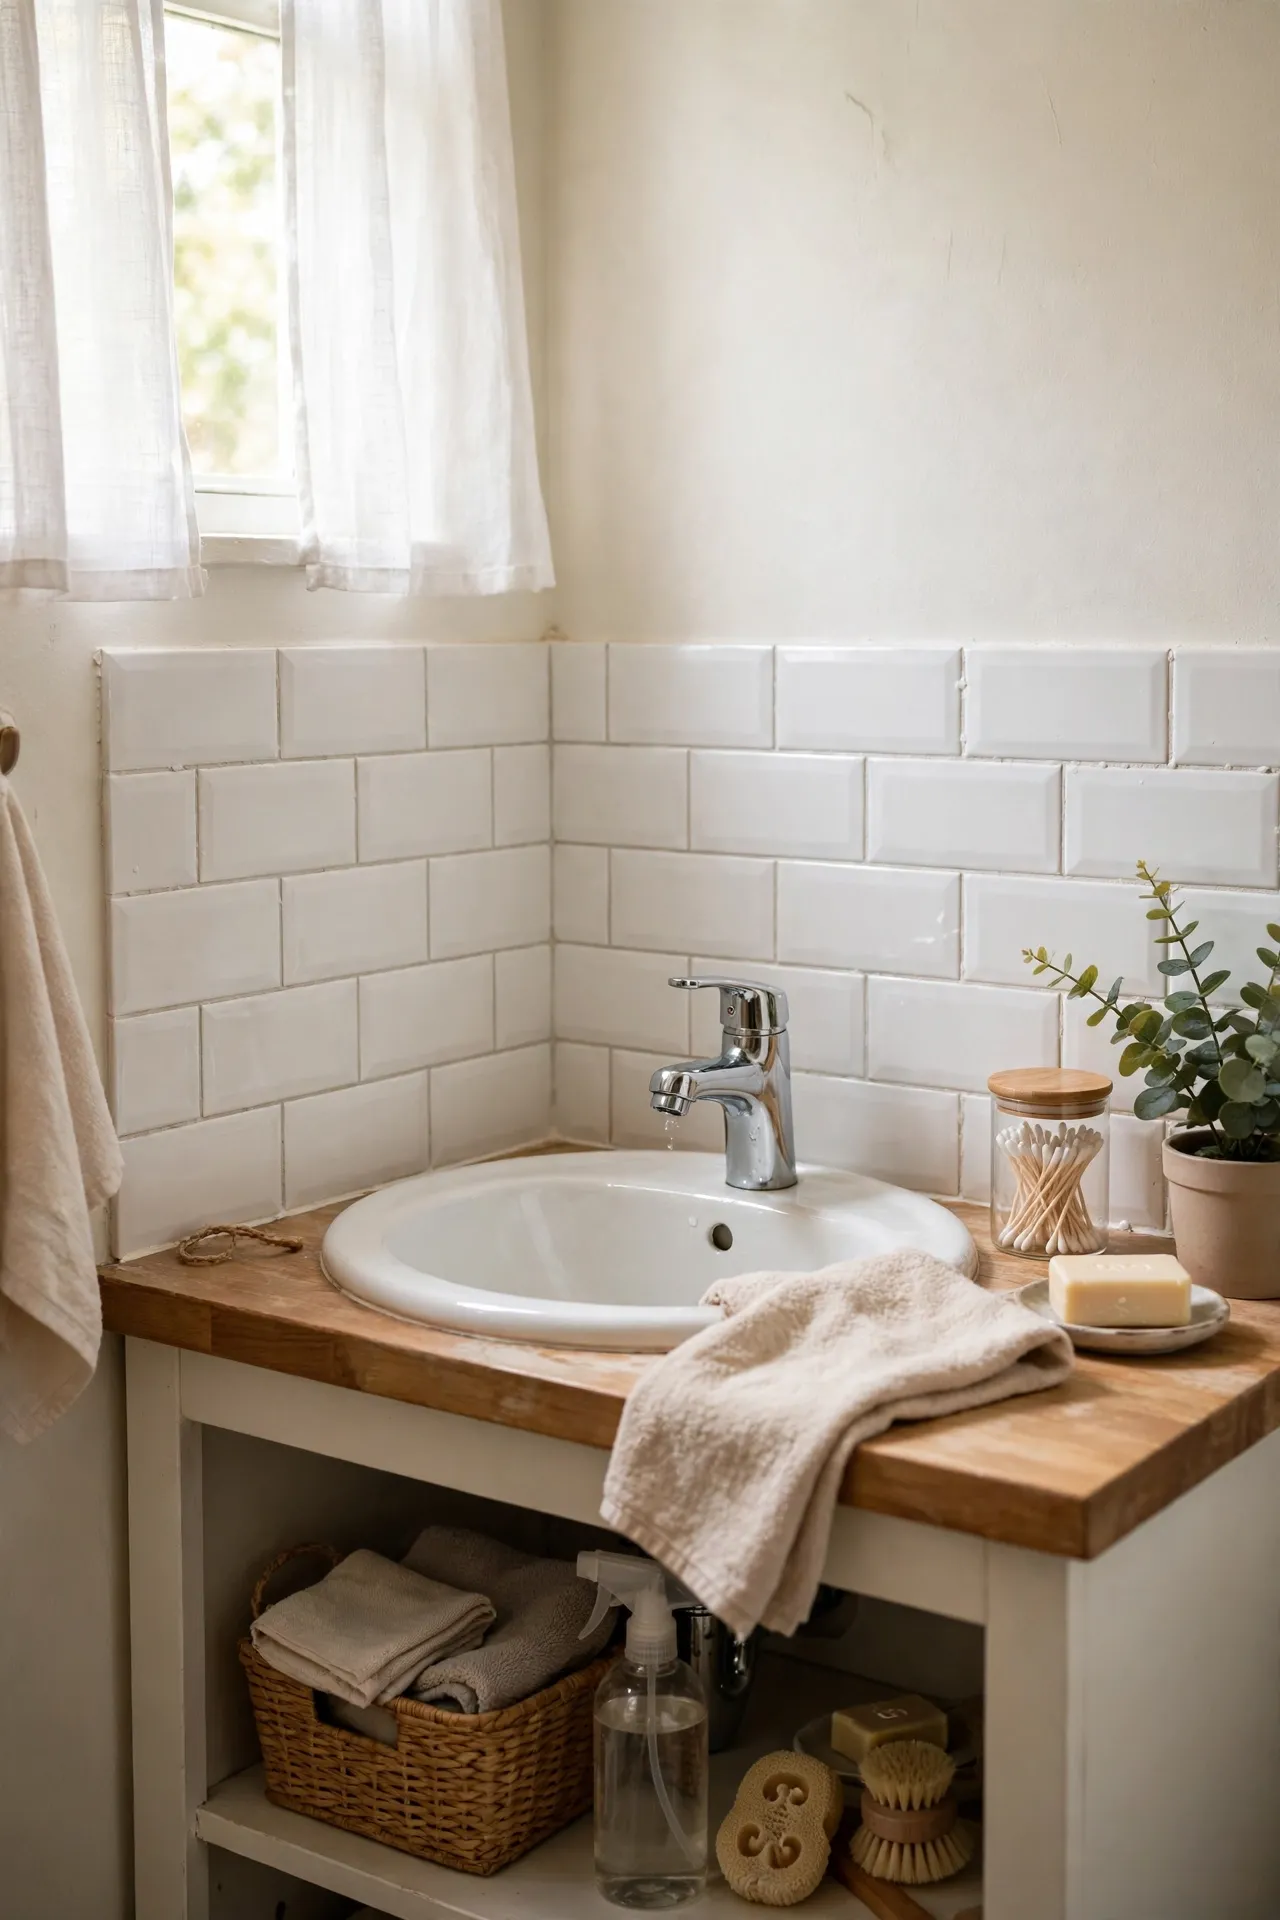
A plain painted wall behind the sink splashes and stains, but a full tile job is overkill in a rental. Peel-and-stick backsplash tiles in a subway, herringbone, or Moroccan pattern cover just that strip and change the whole focal point of the room. Clean the wall with sugar soap, dry it completely, and press the sheets on from the centre outward so the pattern stays straight. Trim around the tap with a craft knife and seal the bottom edge with clear silicone. For a renter-friendly tile guide without any retiling, my (see also: budget-bathroom-tile-ideas-without-retiling) post walks through the same trick step by step.
Cost: ~$24 | Time: 90 minutes
14. Decant Into Matching Amber Bottles
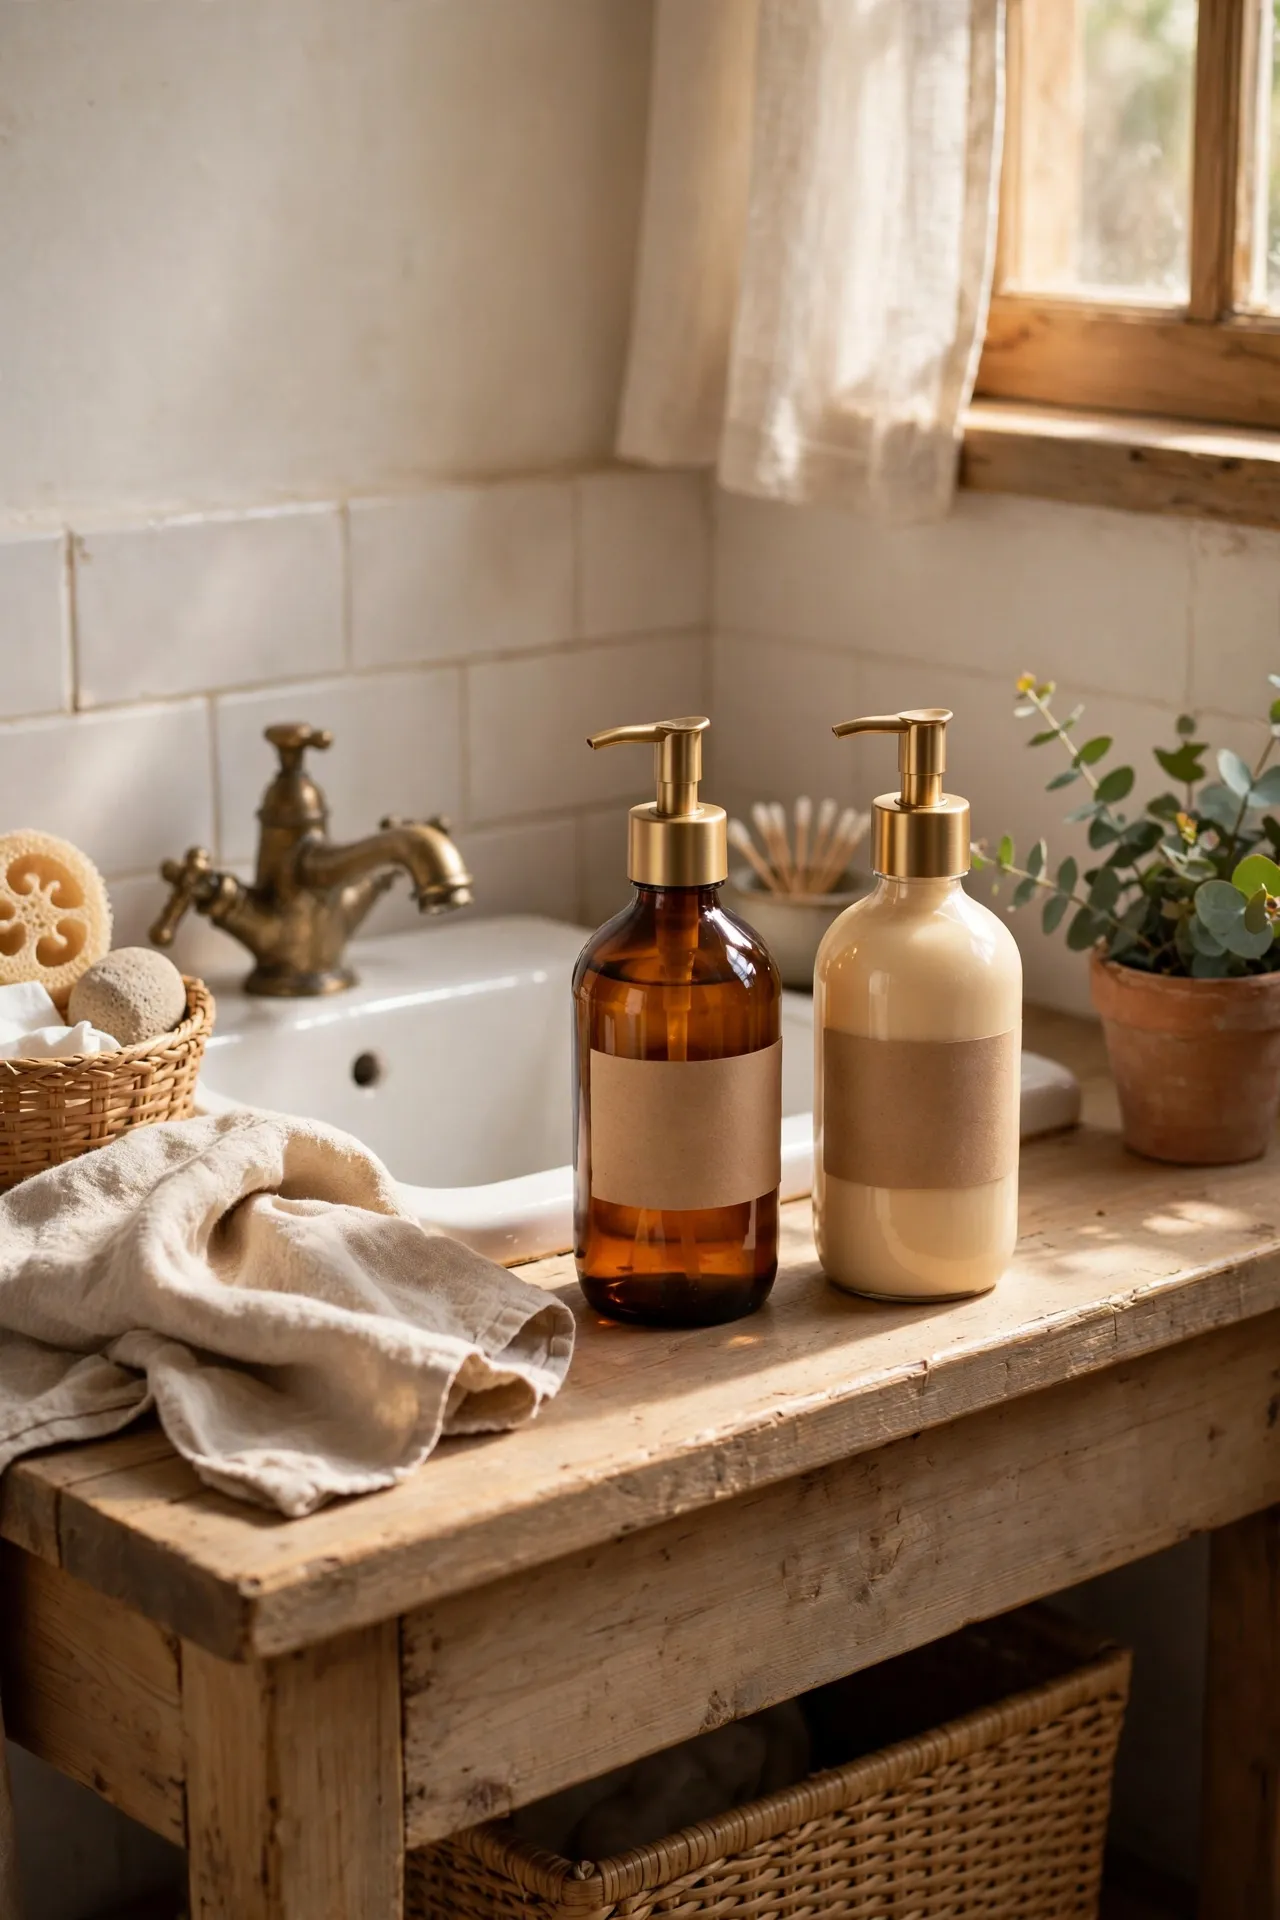
Five different branded bottles on a small sink look chaotic no matter how nice the products are. Decant hand soap, lotion, and even mouthwash into matching amber glass bottles with simple labels, and the sink area instantly calms down. Refill from big economy bottles kept under the sink, which is cheaper per wash than buying pretty small bottles every time. Use a waterproof label or a paint-pen dot so the household knows which is which. This takes ten minutes and makes the bathroom feel like a boutique hotel, which is a lot of payoff for very little effort or money.
Cost: ~$14 | Time: 15 minutes
15. Frost the Window With Privacy Film
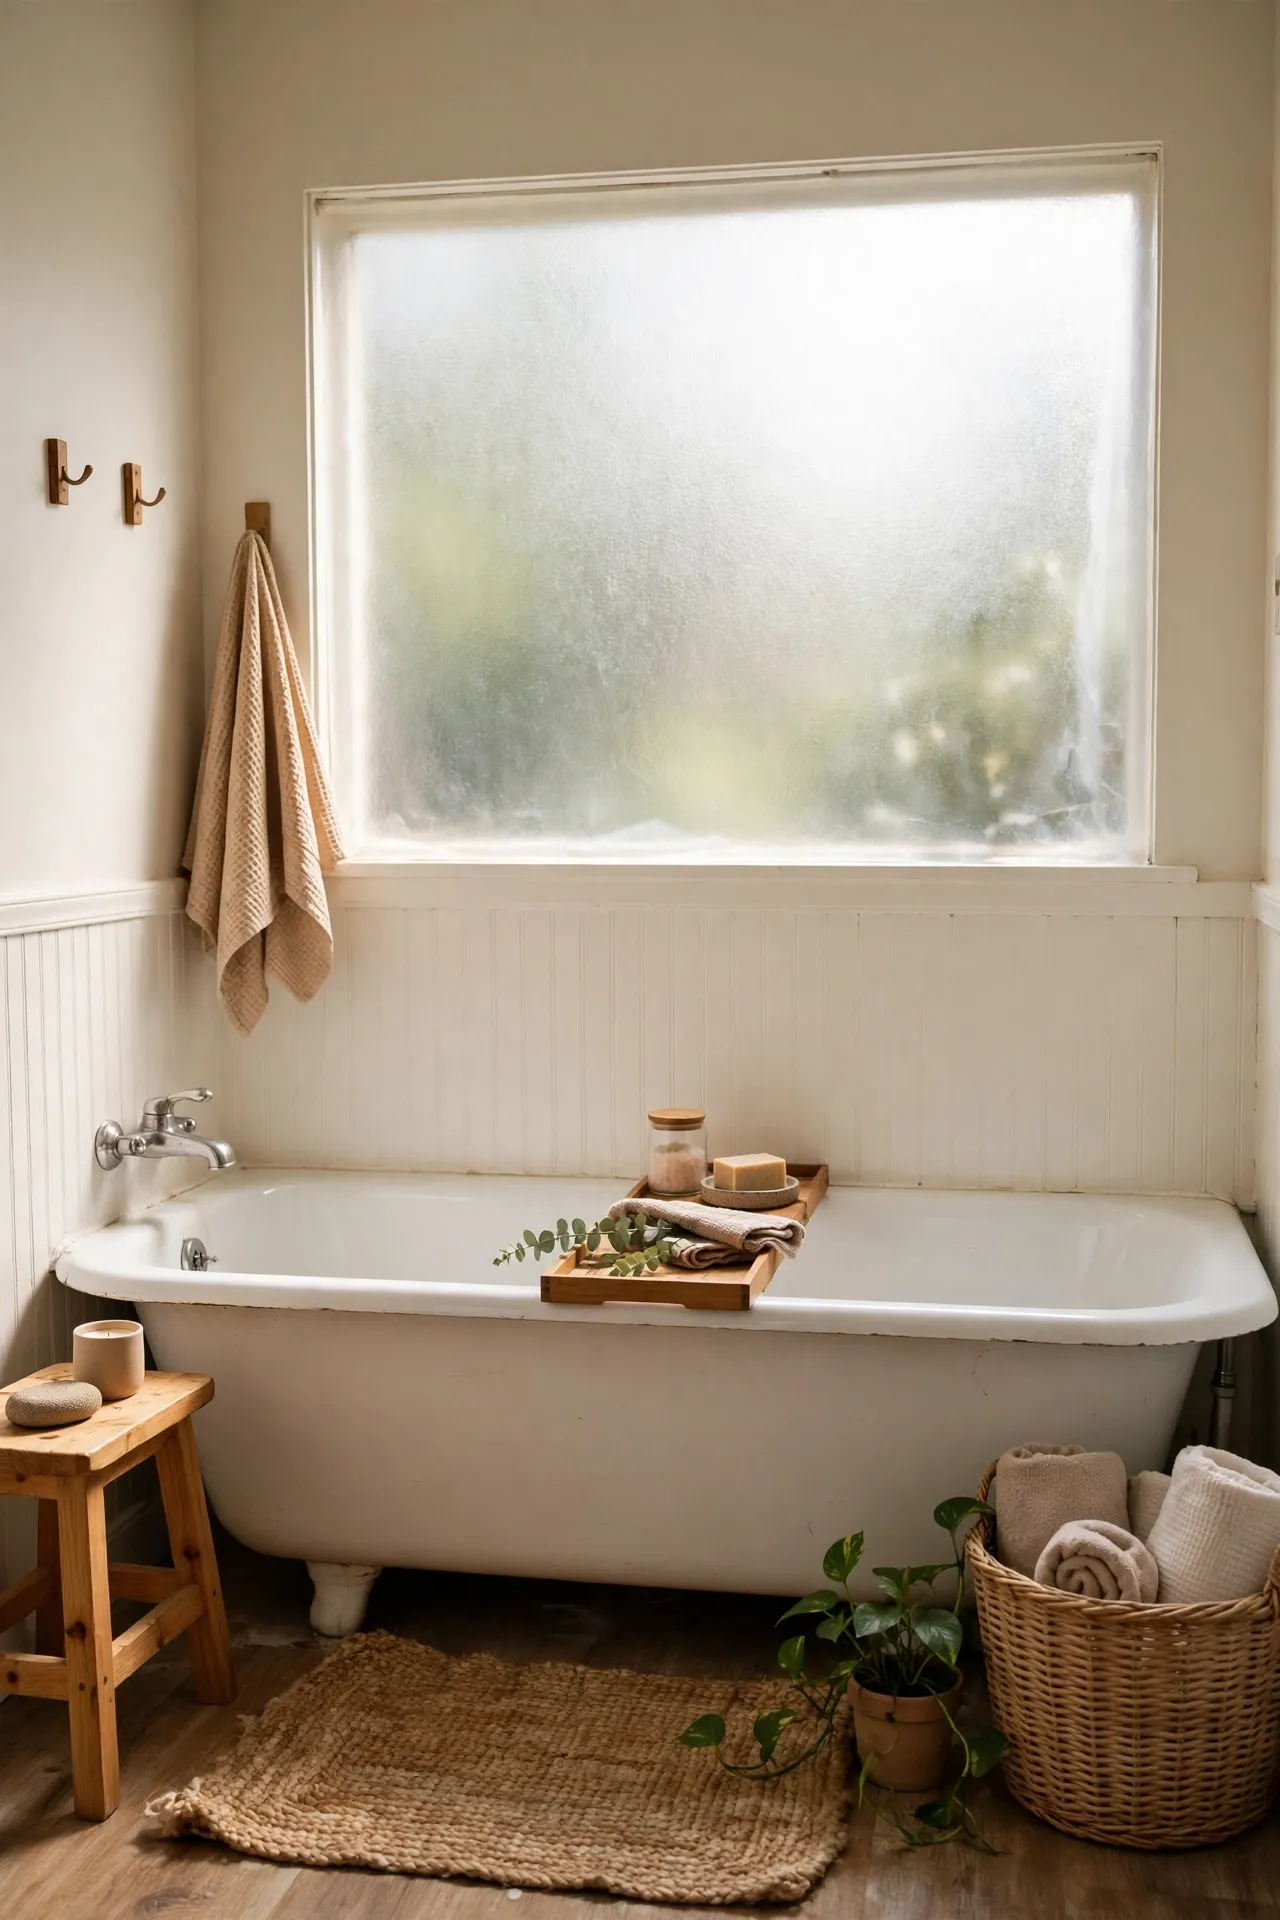
If your bathroom window faces the neighbours, a heavy curtain just eats light and collects damp. Static-cling privacy film gives you full privacy while letting daylight flood in, and it peels off cleanly when you move out. Cut it slightly smaller than the glass, spray the window with soapy water, and smooth it on with a credit card to push out bubbles. Frosted or reeded patterns both work, and the reeded one looks surprisingly like real textured glass. I tried this — the mistake to avoid is measuring the glass by eye, because a film that is even slightly too big will never sit flat at the edges.
Cost: ~$10 | Time: 30 minutes
16. Paint the Vanity in One Weekend Afternoon
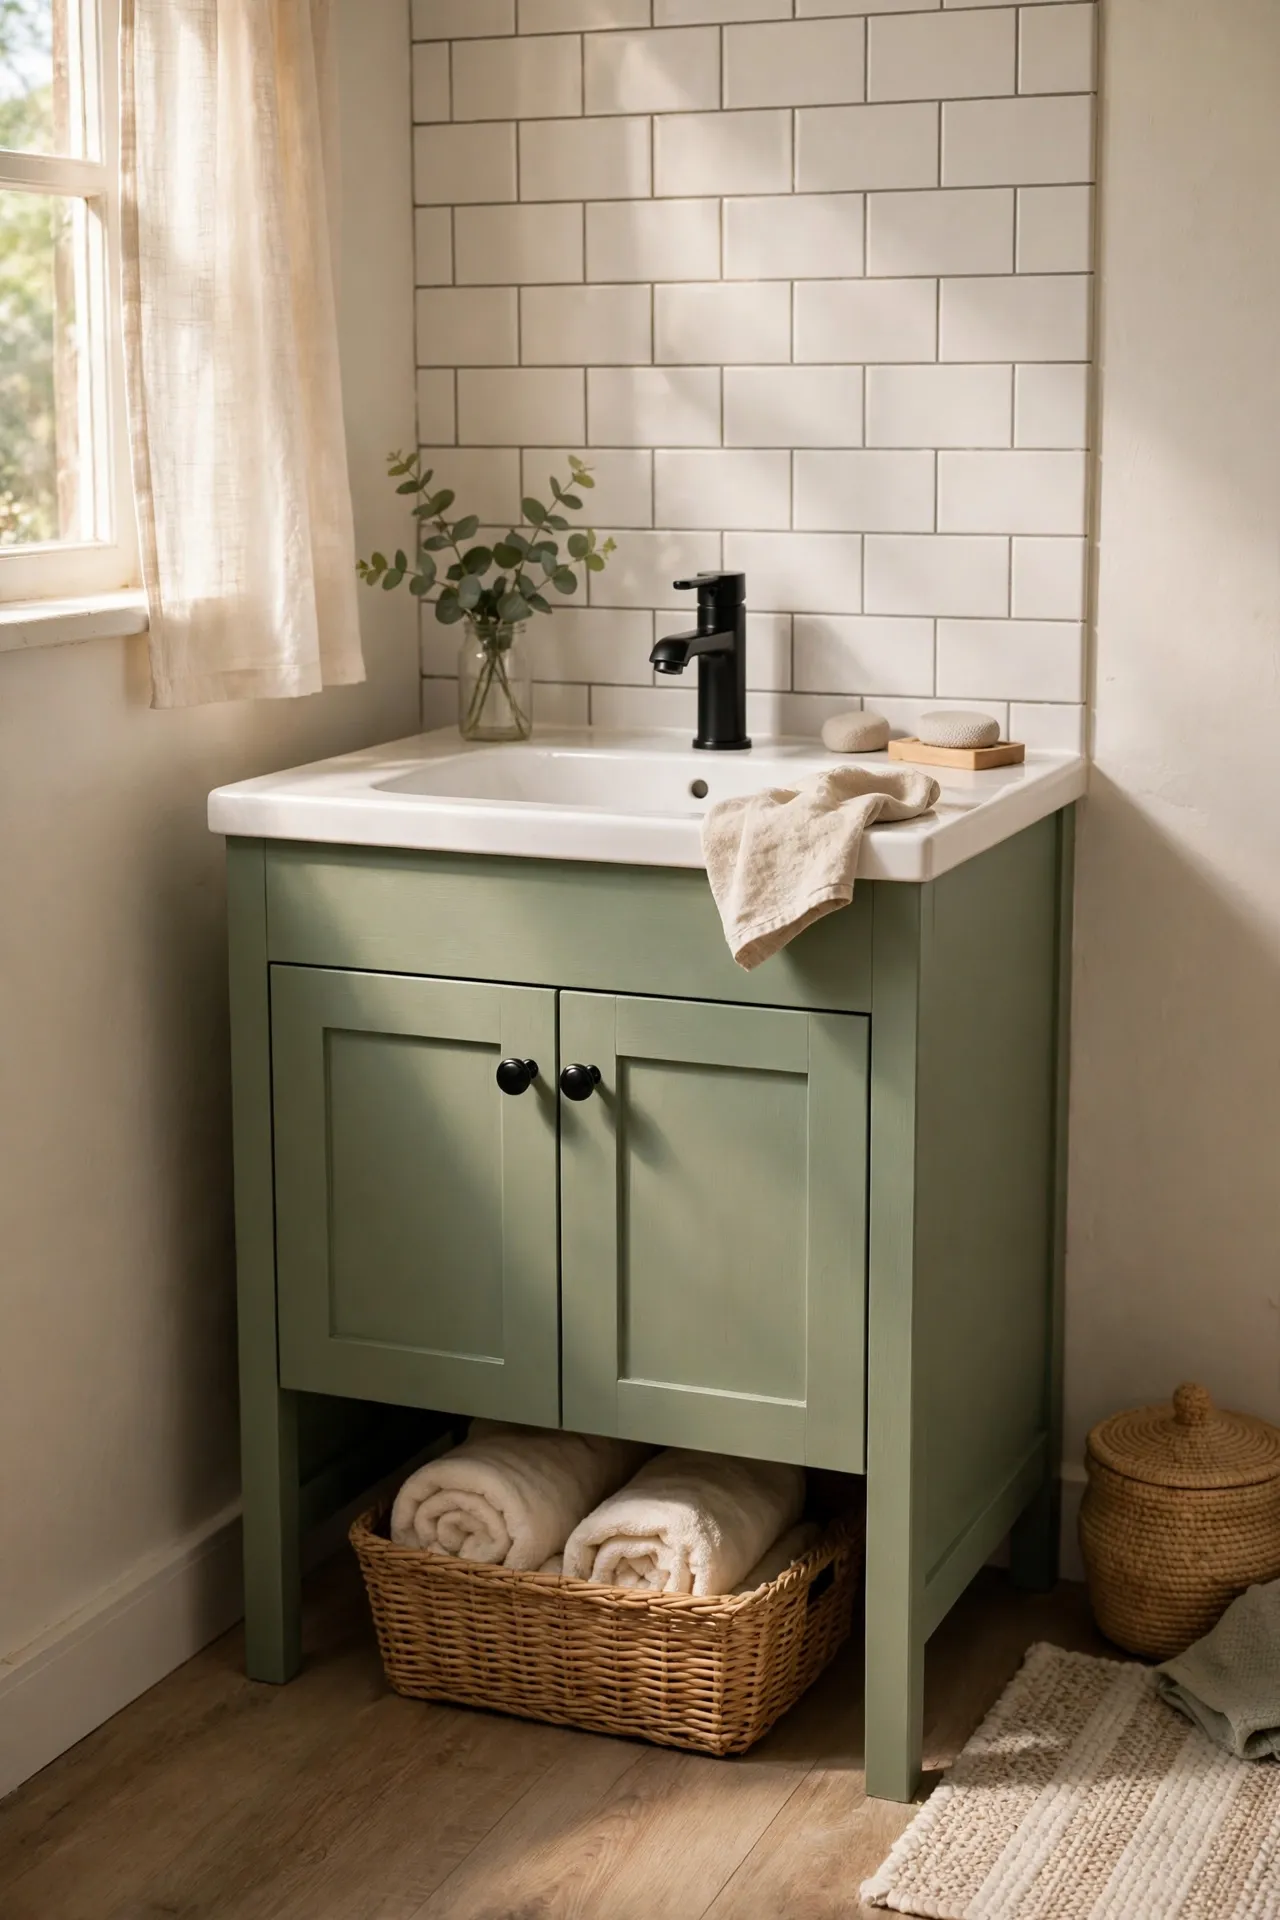
A tired oak or chipped white vanity does not need replacing — it needs a tin of paint and a free afternoon. Remove the doors and drawers, sand them lightly, wipe off the dust, and roll on two thin coats of cabinet paint in sage green, navy, or soft black. Thin coats matter more than anything here, because thick paint drips and peels, especially in a steamy room. Let each coat dry fully and add the new knobs from earlier in this list for the full effect. The whole vanity looks custom for the price of a tin of paint, and it is the single biggest colour change you can make under $100.
Cost: ~$35 | Time: 4 hours
17. Frame Two Thrift-Shop Art Prints
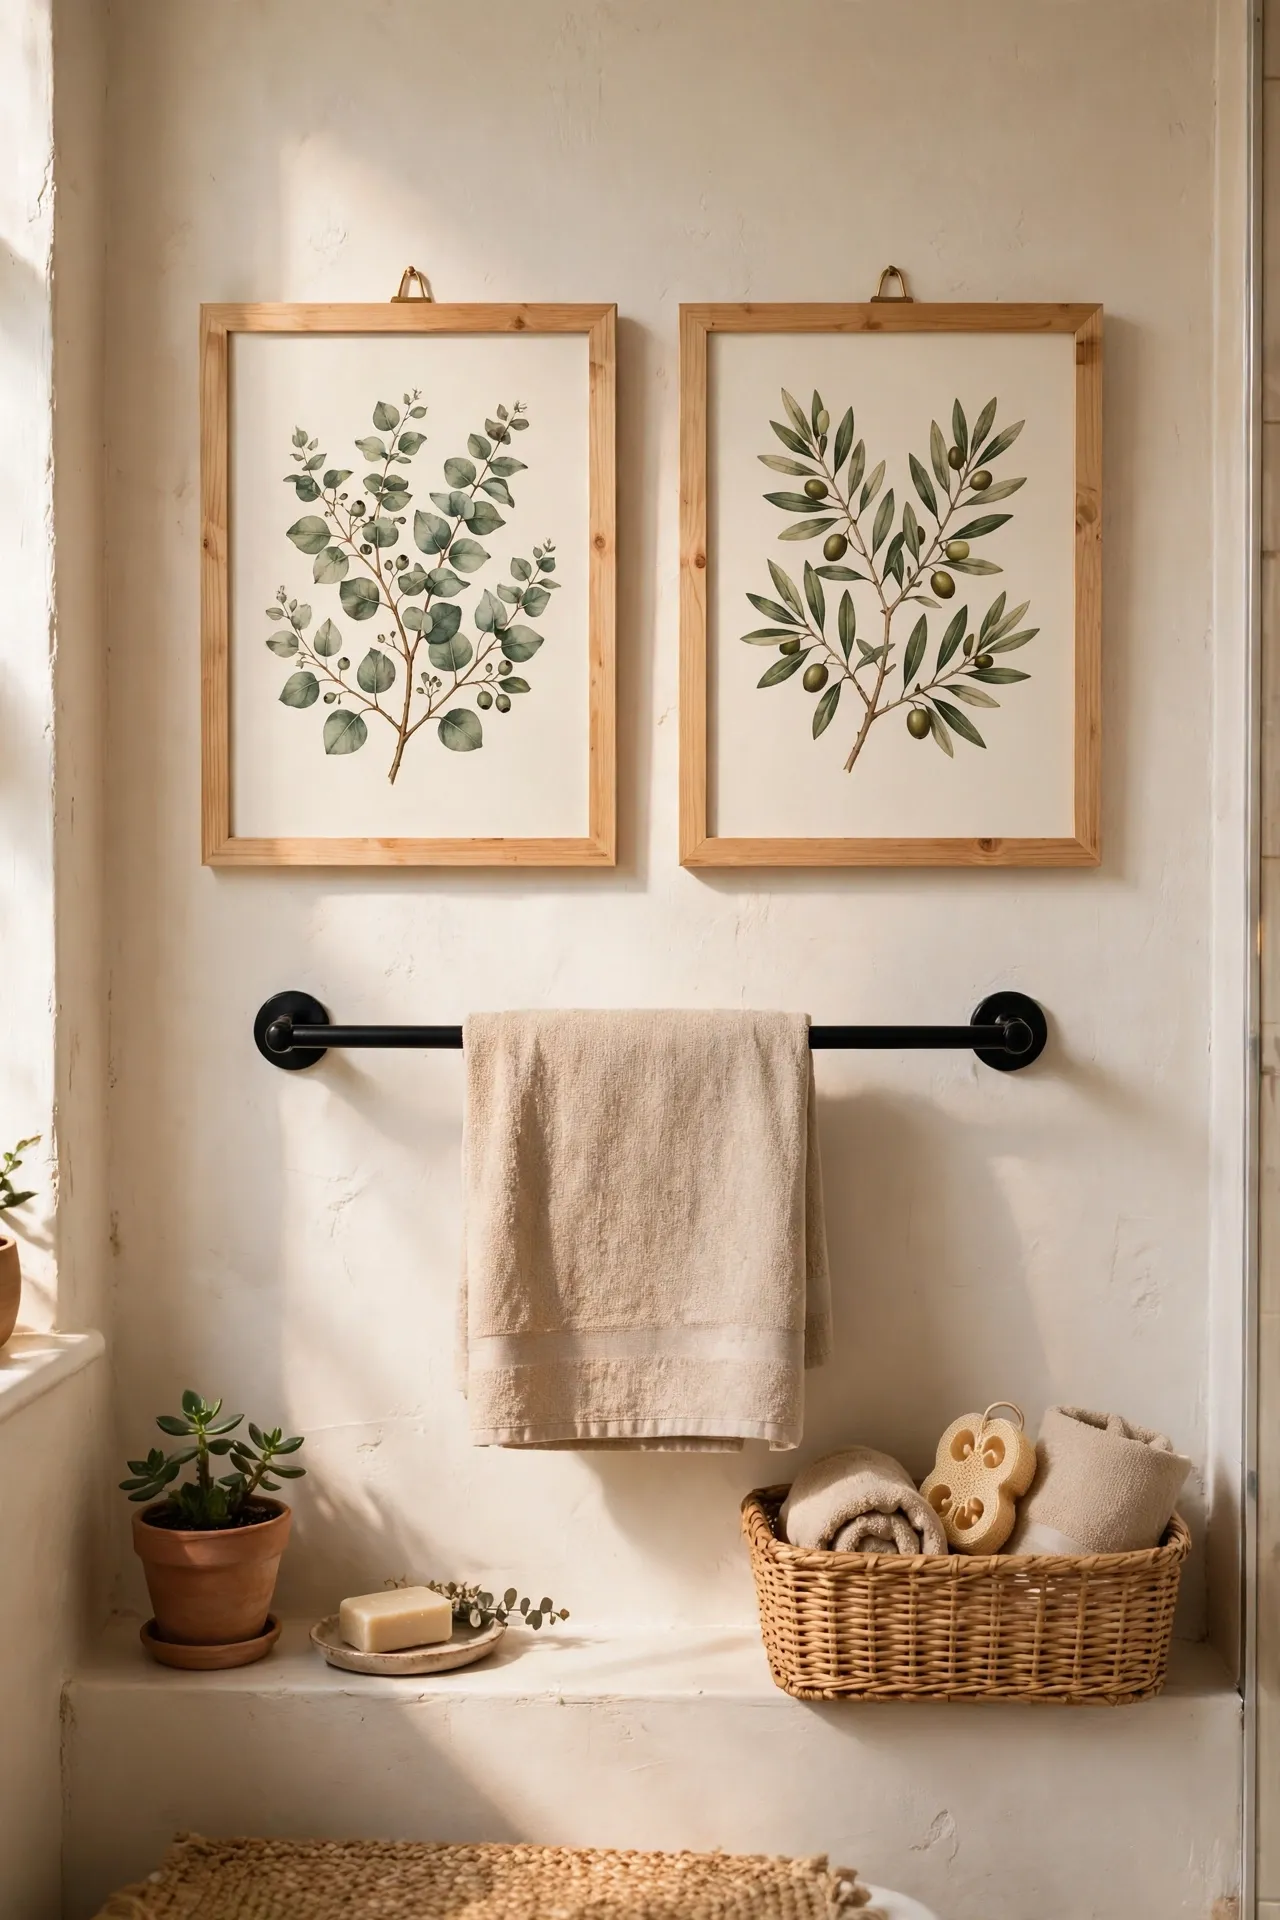
Bare bathroom walls feel unfinished, but art in a steamy room needs to be cheap enough that you will not mourn it. Pick two prints you genuinely like — botanical drawings, simple line art, or vintage travel posters — and frame them in matching thrift-shop frames painted one colour. Hang them as a pair above the towel rail or beside the mirror, keeping them away from direct shower spray. The matching frames are what make random prints look like a collection. I found both of mine for a few dollars each, and they are the first thing guests comment on, which still surprises me.
Cost: ~$20 | Time: 45 minutes
18. Add a Plant That Loves Humidity
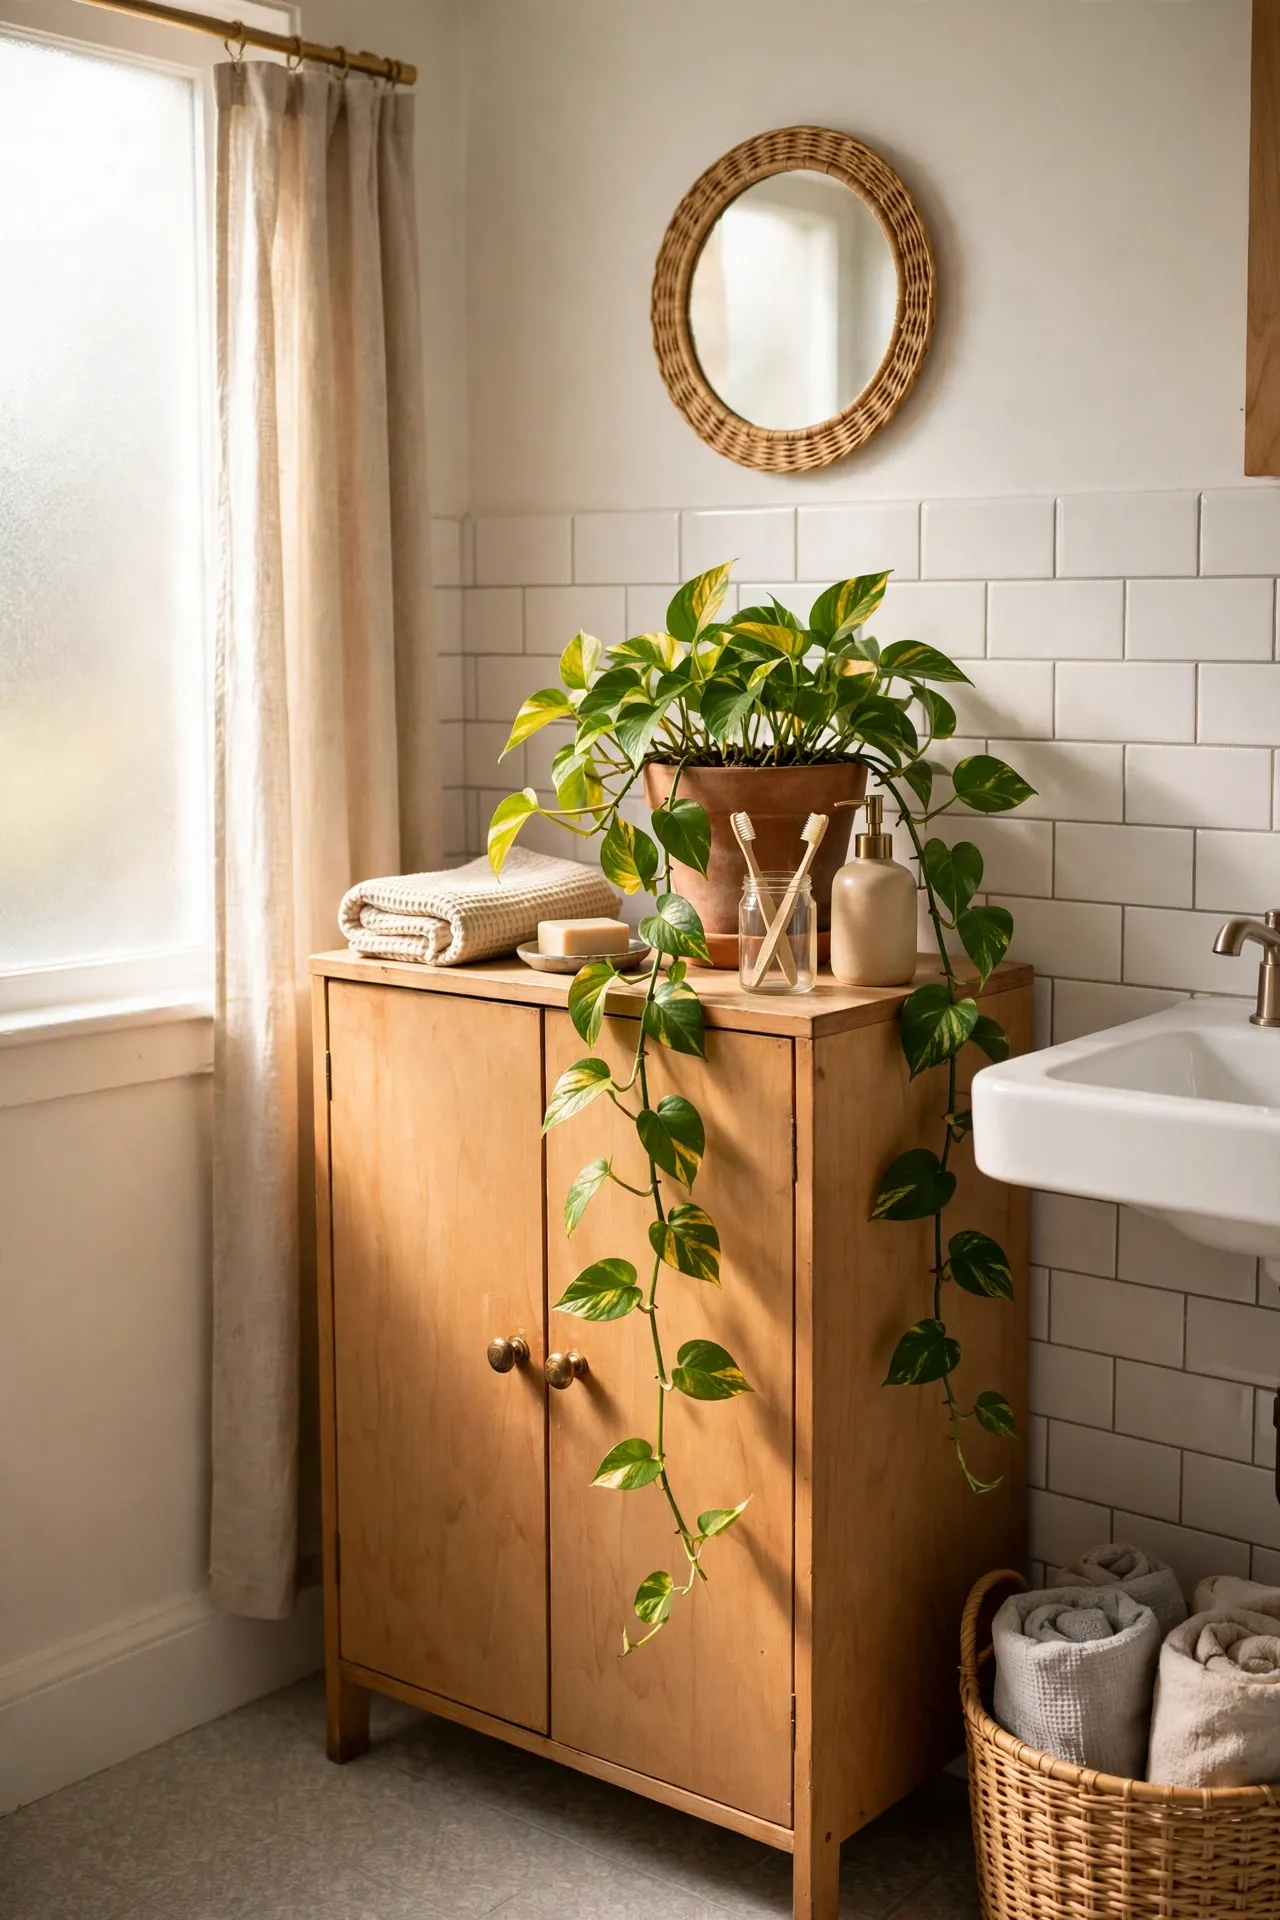
A small bathroom is actually a great home for the right plant, because the steam does half the watering for you. Pothos, spider plants, and ferns all thrive in humidity and low light, and a trailing pothos on top of a cabinet softens every hard edge in the room. Keep it in a pot with drainage, hung or placed where it will not get splashed with soap, and trim the vines when they get too long. If you have no window at all, a pothos will still cope better than most plants, though it will grow more slowly. For more ideas that make a small room feel expensive on little money, see my (see also: dollar-store-bathroom-decor-that-look-high-end) picks too.
Cost: ~$12 | Time: 15 minutes
19. Style a Tray Vignette by the Sink
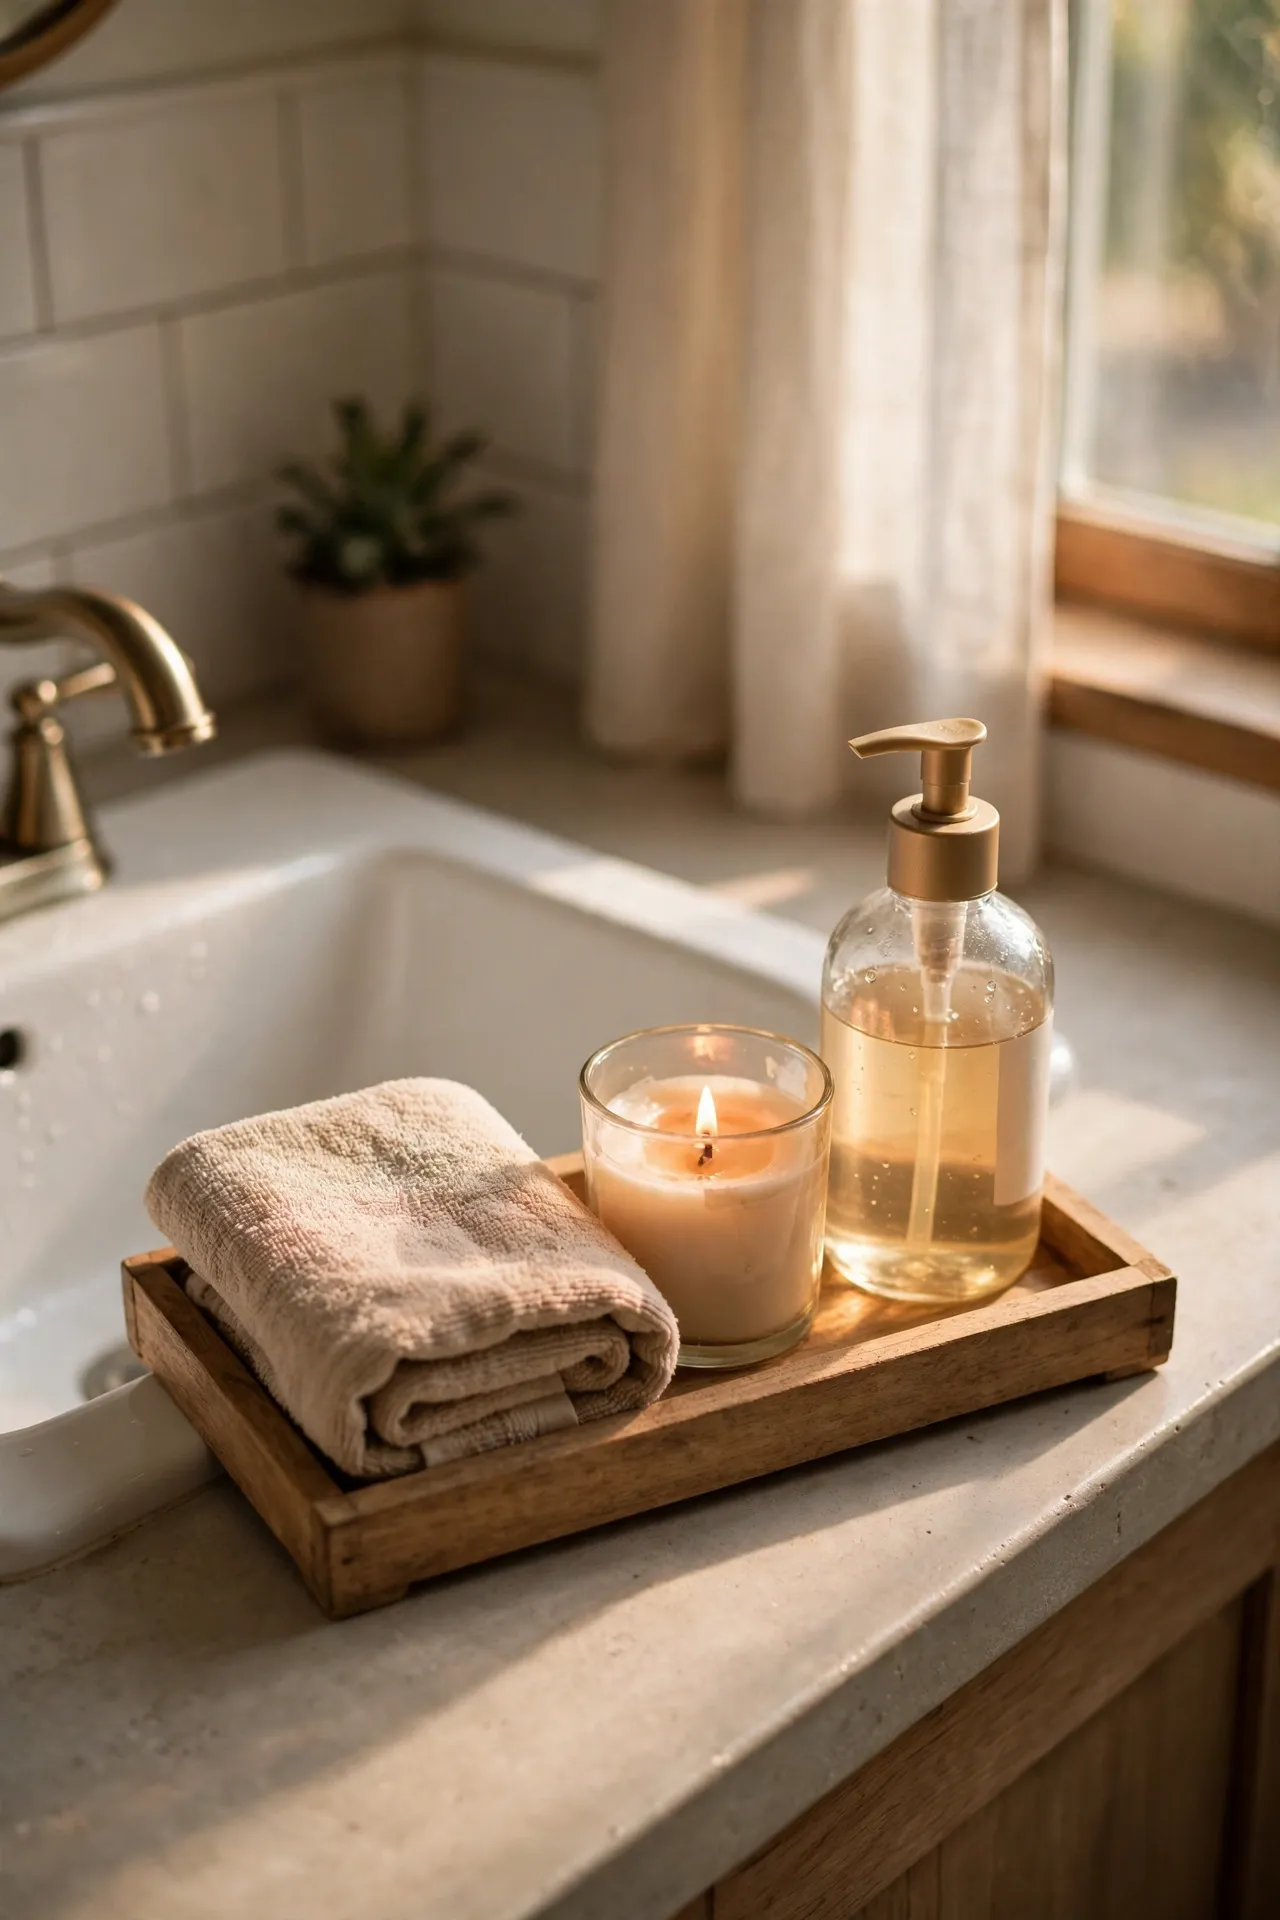
Instead of scattering bottles across the counter, gather the pretty ones onto one small tray and let the rest live in a cupboard. A wooden or marble tray with a folded hand towel, a candle, and your two most-used products looks deliberate and tidy, and wiping the counter becomes a one-lift job. Keep the tray small enough that it does not crowd the tap, and resist adding a fourth or fifth item — three is the sweet spot. This is the finishing touch that pulls every other idea in this post together, and it costs less than the candle on it. Start here if you only have ten minutes today.
Cost: ~$15 | Time: 10 minutes
Can I really redo a small bathroom for under $100 per idea? Yes — every idea above keeps its own total under $100, and most land well below it, as long as you shop secondhand first and skip the boutique markup.
What should I change first in a tiny bathroom? Start with the shower curtain, towels, and counter clutter, because those three cover the most visible surface for the least money and effort.
Do peel-and-stick tiles actually last in a bathroom? On clean, dry floors and walls away from constant standing water, they last a year or more — seal the edges with silicone and they hold up far better than most people expect.
Pick three ideas from this list, do them this weekend, and live with the room for a week before buying anything else. Small bathrooms reward restraint, and the best version of yours is probably only a few small swaps away.
