17 Dollar Store Bathroom Decor That Look Expensive
Walk into a fancy hotel bathroom and everything looks calm, coordinated and quietly pricey — and most of it is just clever styling, not expensive materials. That is exactly what good dollar store bathroom decor does: it takes ordinary, cheap finds and dresses them up so well that guests assume you spent far more. I have redone two rental bathrooms almost entirely from dollar store aisles, and nobody has ever guessed the total. The secret is consistency — one metal finish, one colour palette, and nothing left looking like it came straight off the shelf. These 17 ideas show you how to do the same, one small upgrade at a time.
1. Spray-Paint Old Frames Gold for a Luxe Mirror Wall

A plain bathroom mirror looks unfinished, but a cluster of gold frames around it instantly reads as a designer feature wall. Grab three or four mismatched frames from the dollar store, or reuse ones you already own, and spray them all the same metallic gold. Remove the glass first, sand lightly, and apply two thin coats outdoors so the finish stays smooth. Hang them in a loose gallery around the mirror, mixing one large frame with smaller ones. I tried this — the mistake to avoid is one thick gloopy coat, which drips and looks cheap. Thin coats are what make a $1 frame look like a boutique find.
Cost: ~$8 | Time: 1 hour
💰 Budget win: One can of gold spray paint covers a whole gallery wall of frames, so the per-frame cost drops to almost nothing.
2. Wrap Plain Jars in Twine for Spa-Style Storage
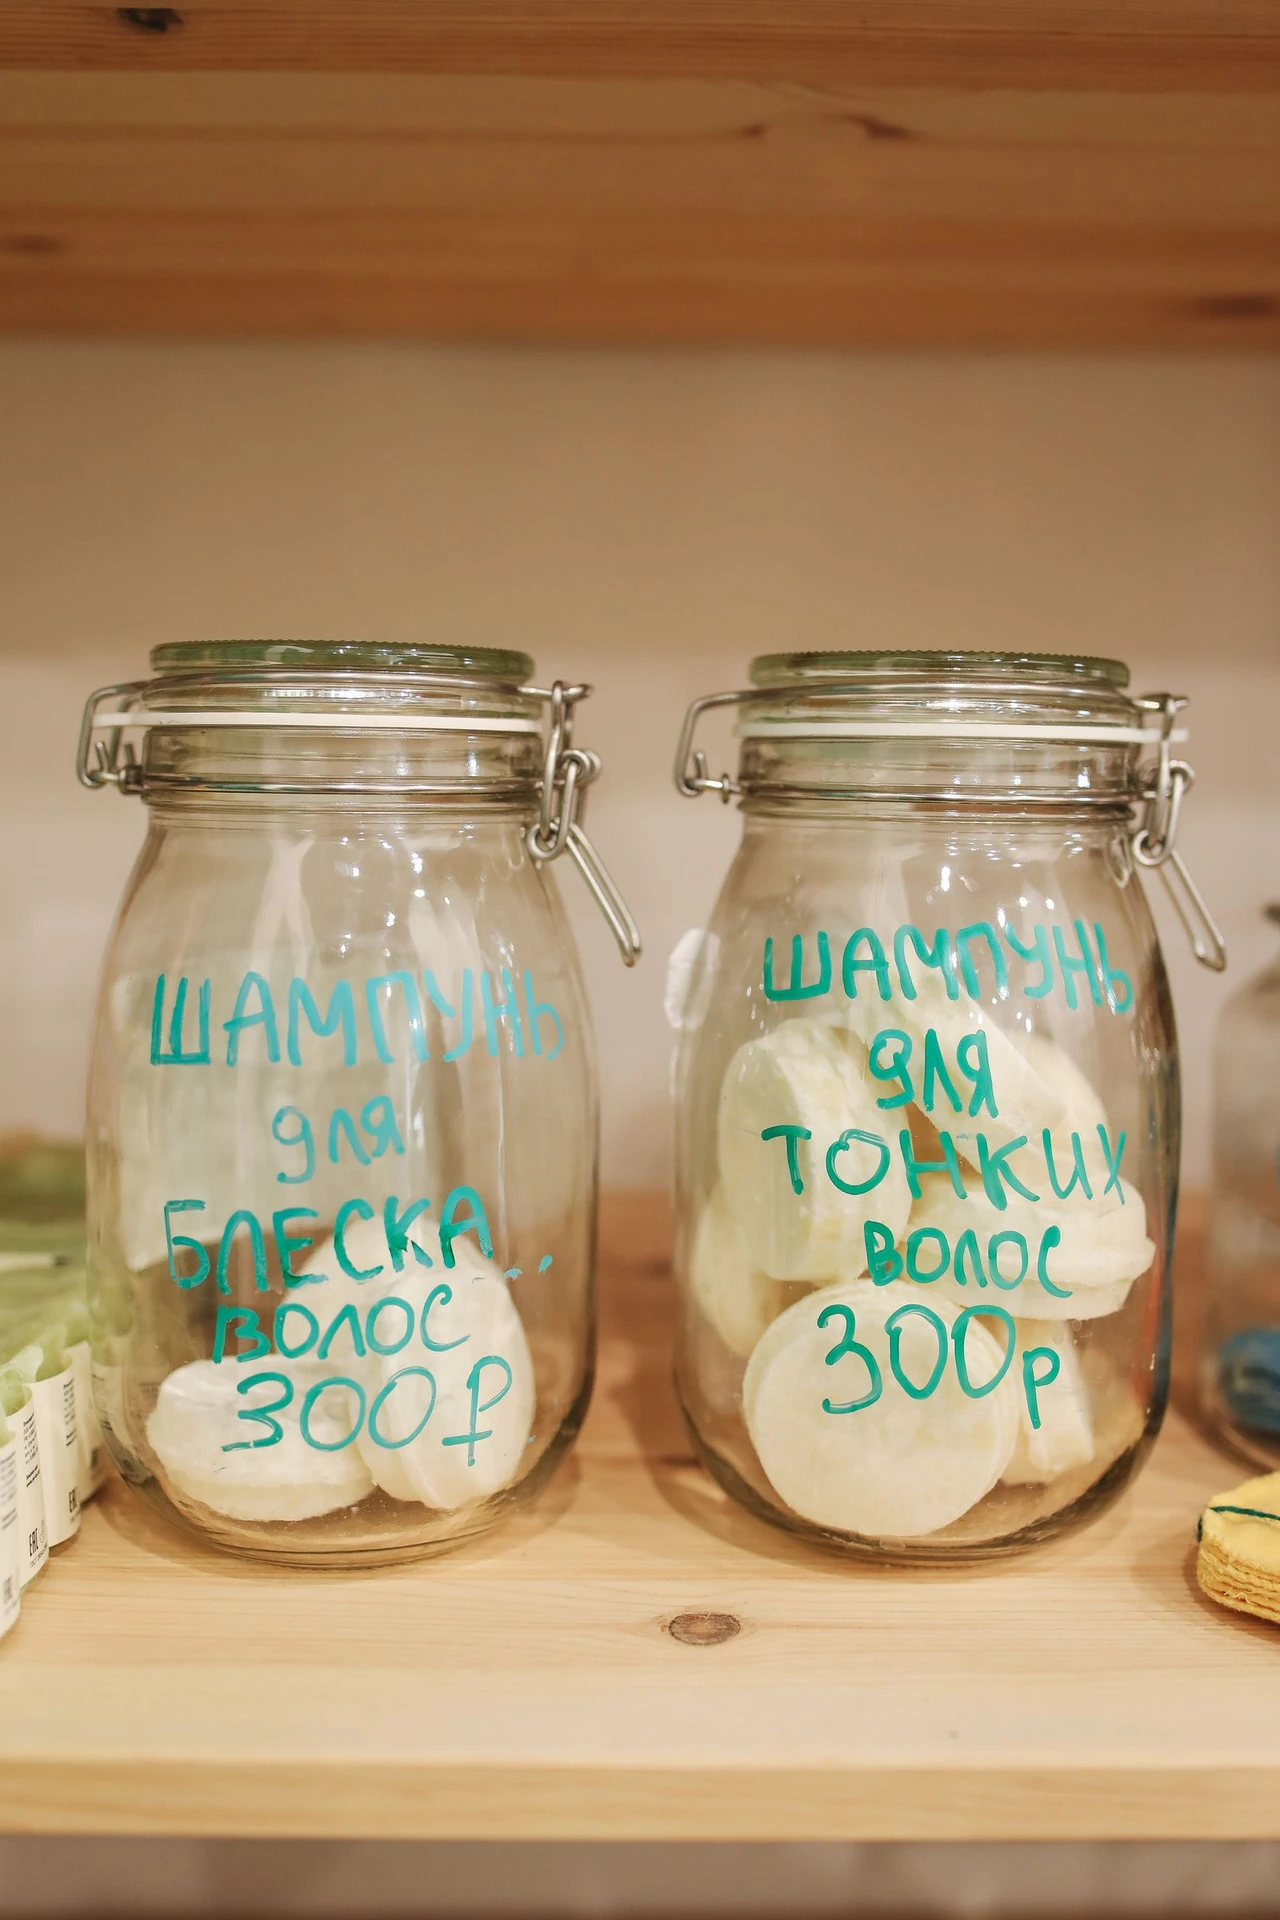
Glass jars are the workhorse of a pretty bathroom, but bare jars look like pantry storage. Wrapping the top third in natural twine changes that completely. Start with a dot of hot glue at the back, wind the twine tightly upward, and finish with another dot of glue tucked underneath. Fill the jars with cotton balls, bath salts and hair ties, and line them up on a tray. The texture reads warm and spa-like, especially against white towels. Keep the twine away from the sink splash zone so it stays dry, and use jars with wide mouths so you can actually reach inside without a struggle.
Cost: ~$5 | Time: 30 minutes
💰 Budget win: One roll of twine wraps a dozen jars, so this whole shelf of storage costs less than a single spa-store canister.
3. Swap in a Hotel-Style White Shower Curtain
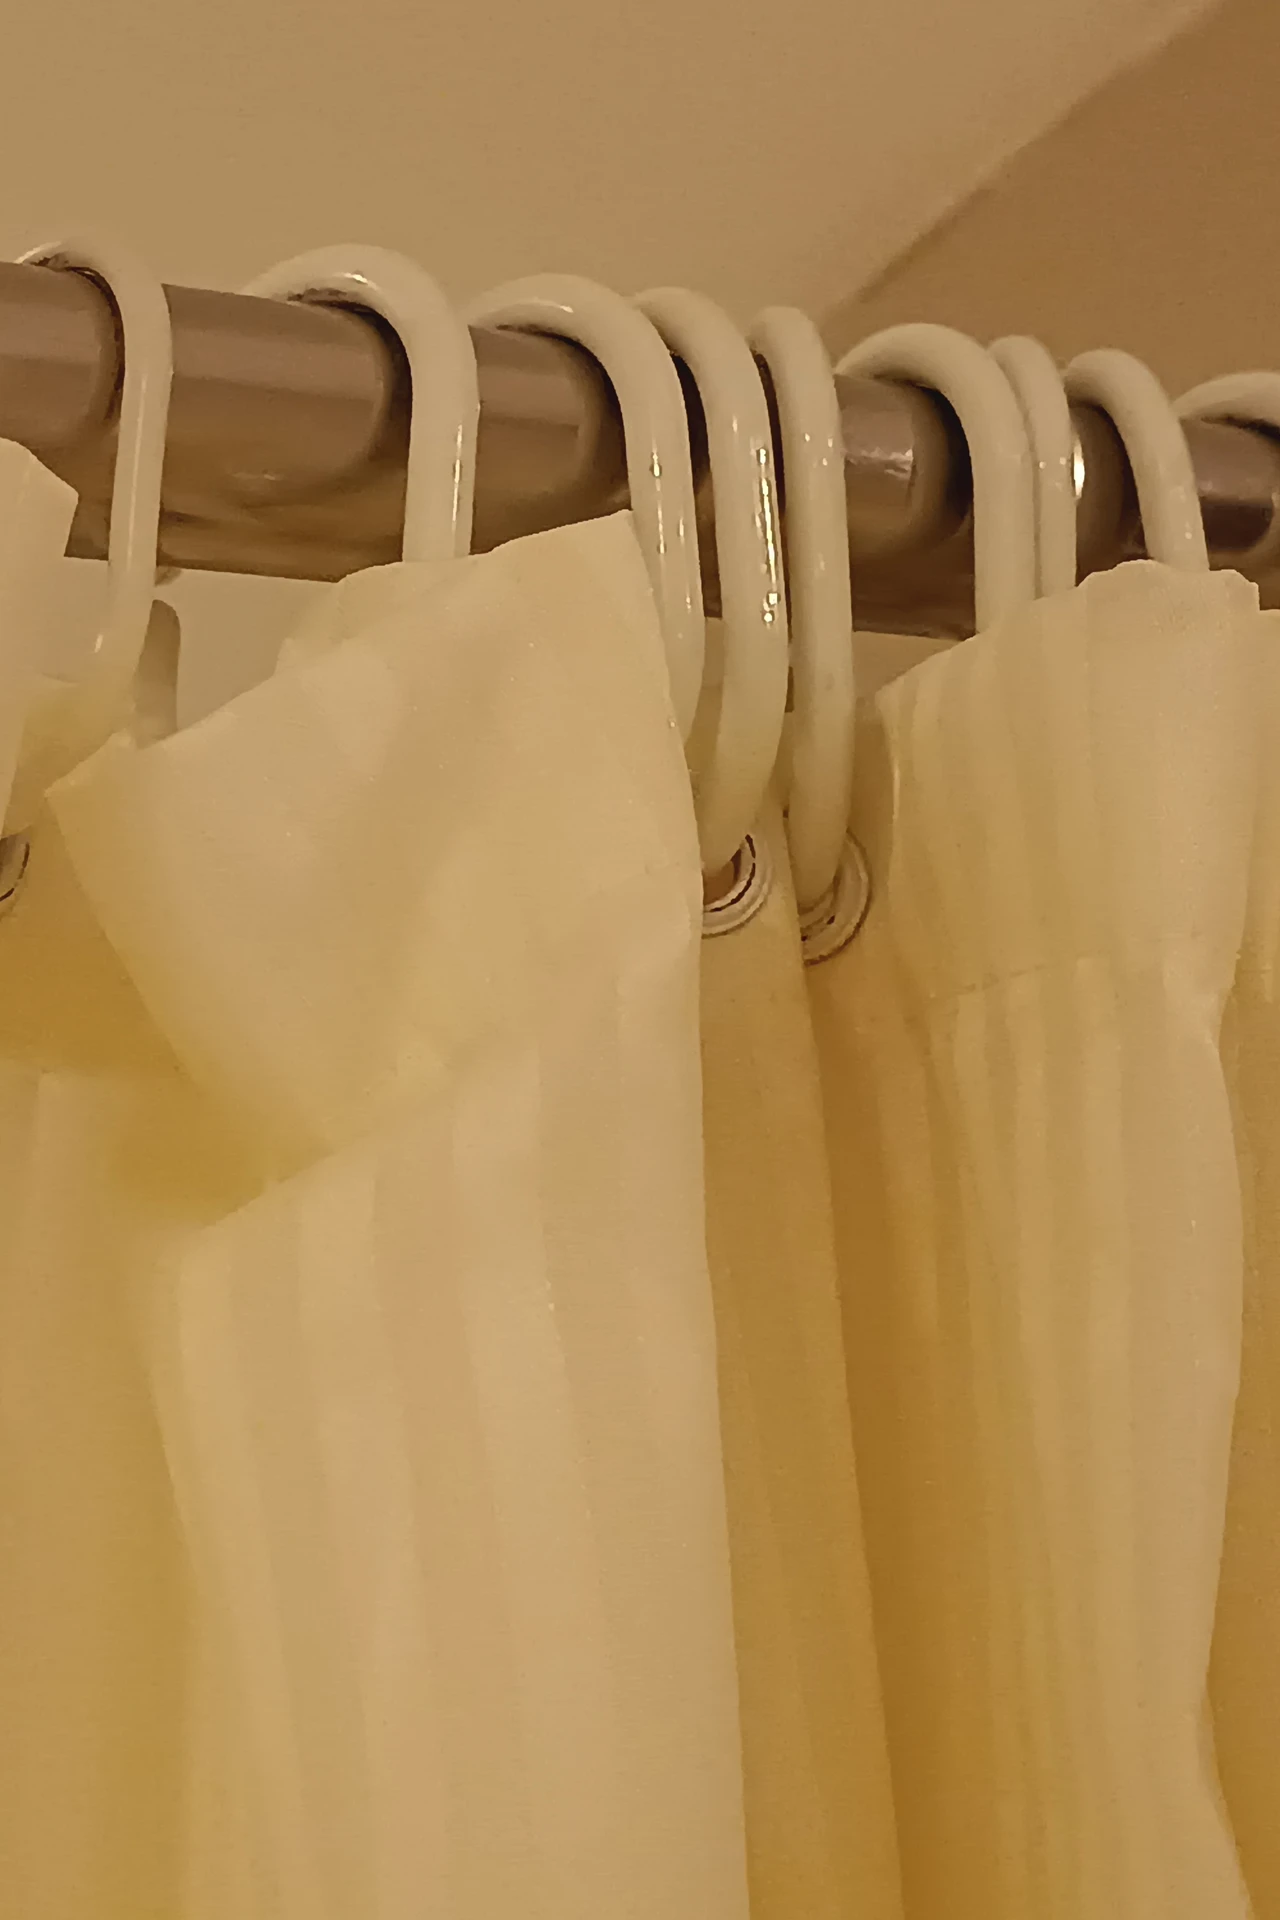
Nothing drags a bathroom down faster than a patterned plastic curtain that has seen better days. A crisp white waffle-weave curtain, the kind hotels use, resets the whole room in five minutes. Choose a fabric-look curtain rather than shiny vinyl, and hang it high and wide so the bathroom feels taller. Add a second inner liner if yours is not waterproof, and let the curtain fall just above the floor rather than pooling. I swapped mine on a whim before guests arrived, and the room looked twice as clean without me cleaning anything else. For more quick resets, see my (see also: budget-bathroom-decor-ideas) roundup.
Cost: ~$7 | Time: 10 minutes
💰 Budget win: A white curtain costs the same as a patterned one but makes the entire bathroom look freshly renovated.
4. Add Peel-and-Stick Marble to a Tired Vanity Top
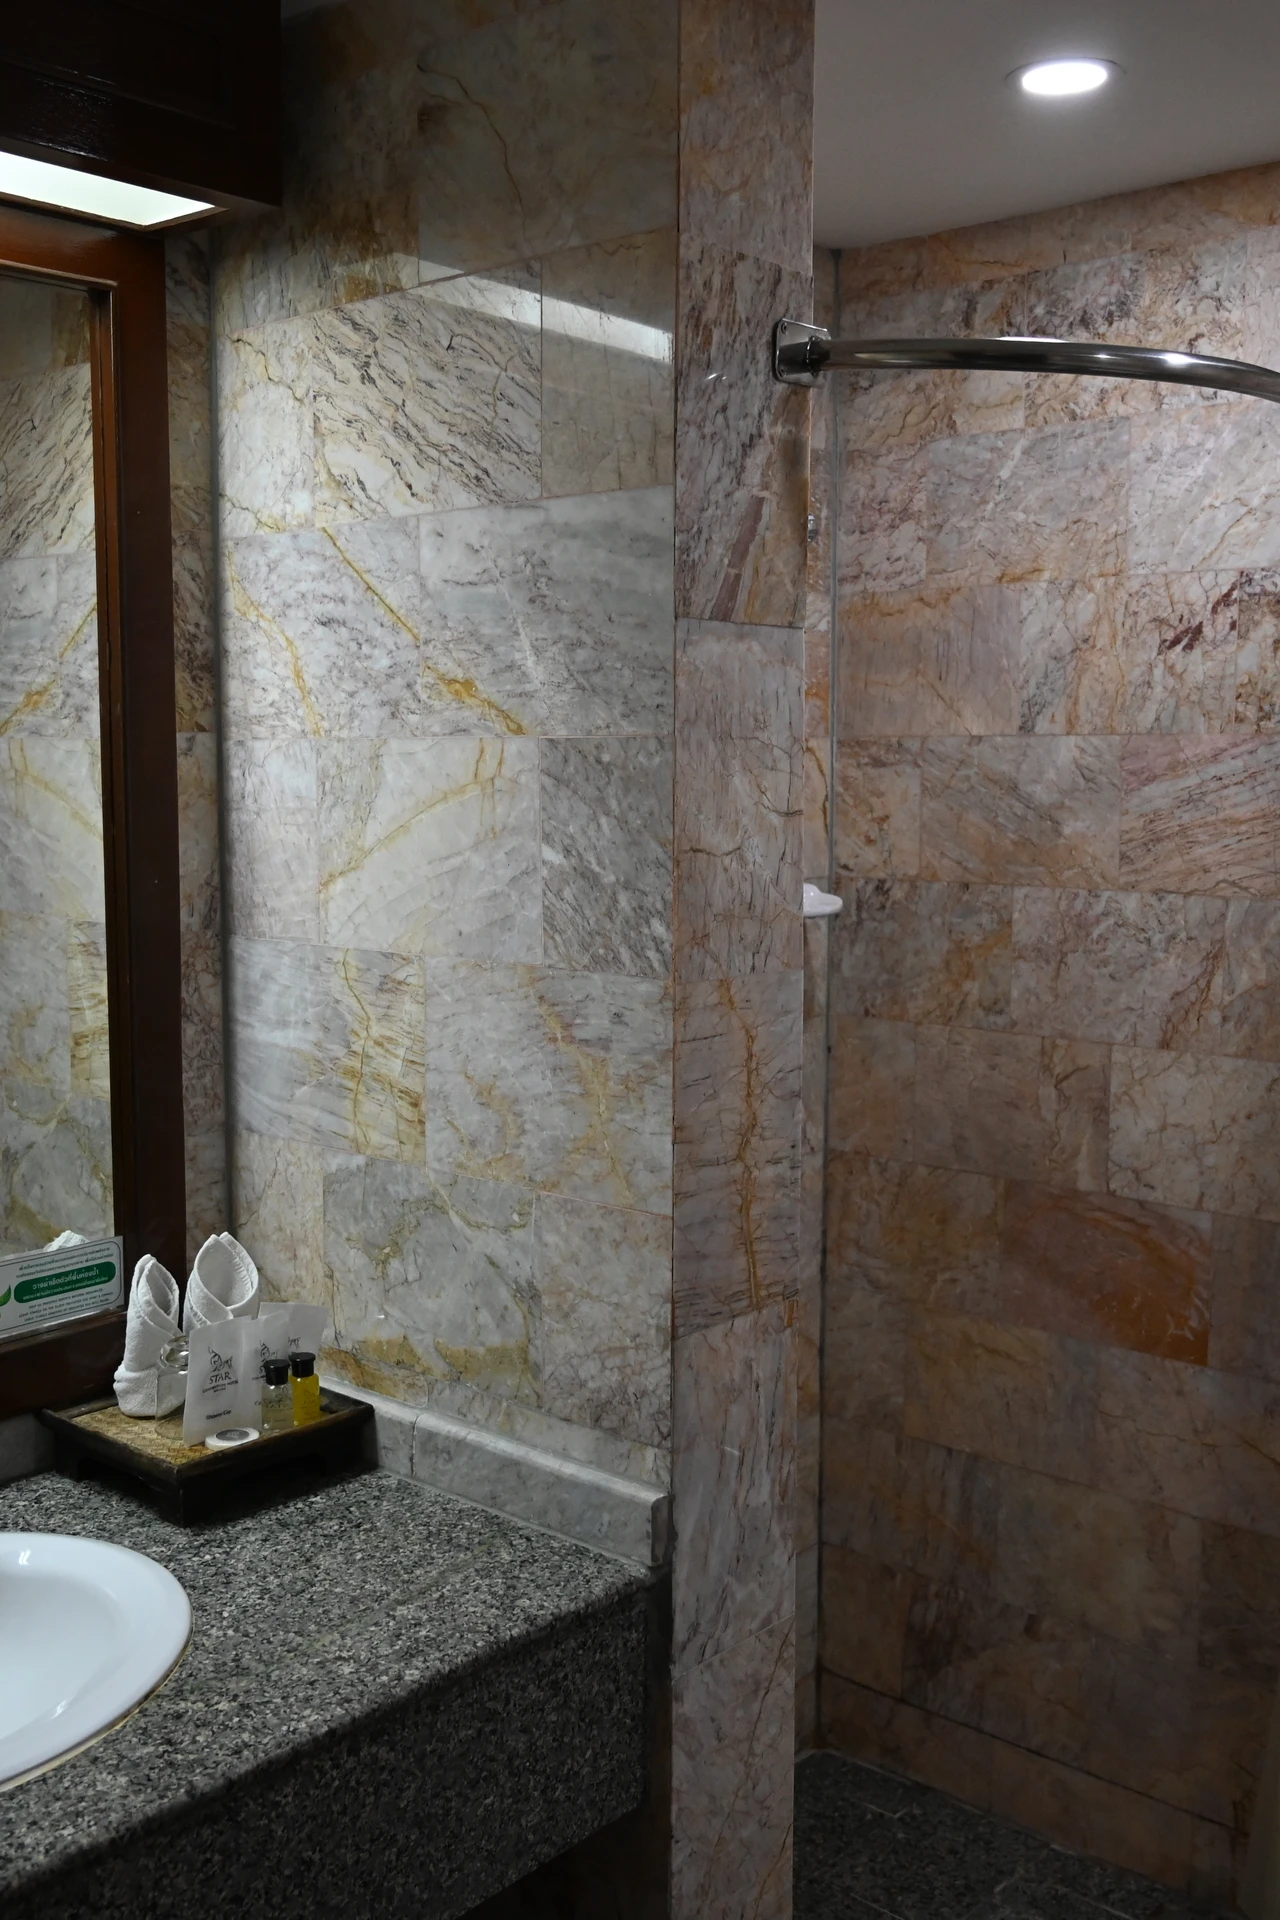
A stained or dated vanity top can make the whole bathroom feel old, even when everything else is clean. Marble-look contact paper fixes it for a few dollars and an afternoon. Clean and dry the surface first, measure twice, and peel slowly while smoothing with a credit card to push out air bubbles. Wrap the edges underneath for a finished look, and seal the seams near the sink with clear caulk so water cannot creep in. I tried this — the mistake to avoid is rushing the corners, because a lifted corner is the one detail that gives the trick away. Take your time and it reads as real stone from a normal distance.
Cost: ~$6 | Time: 1 hour
💰 Budget win: One roll covers a standard vanity with plenty left over for a shelf or tray, unlike a real marble top that costs hundreds.
5. Hang a Dollar Store Tray as a Perfume Display
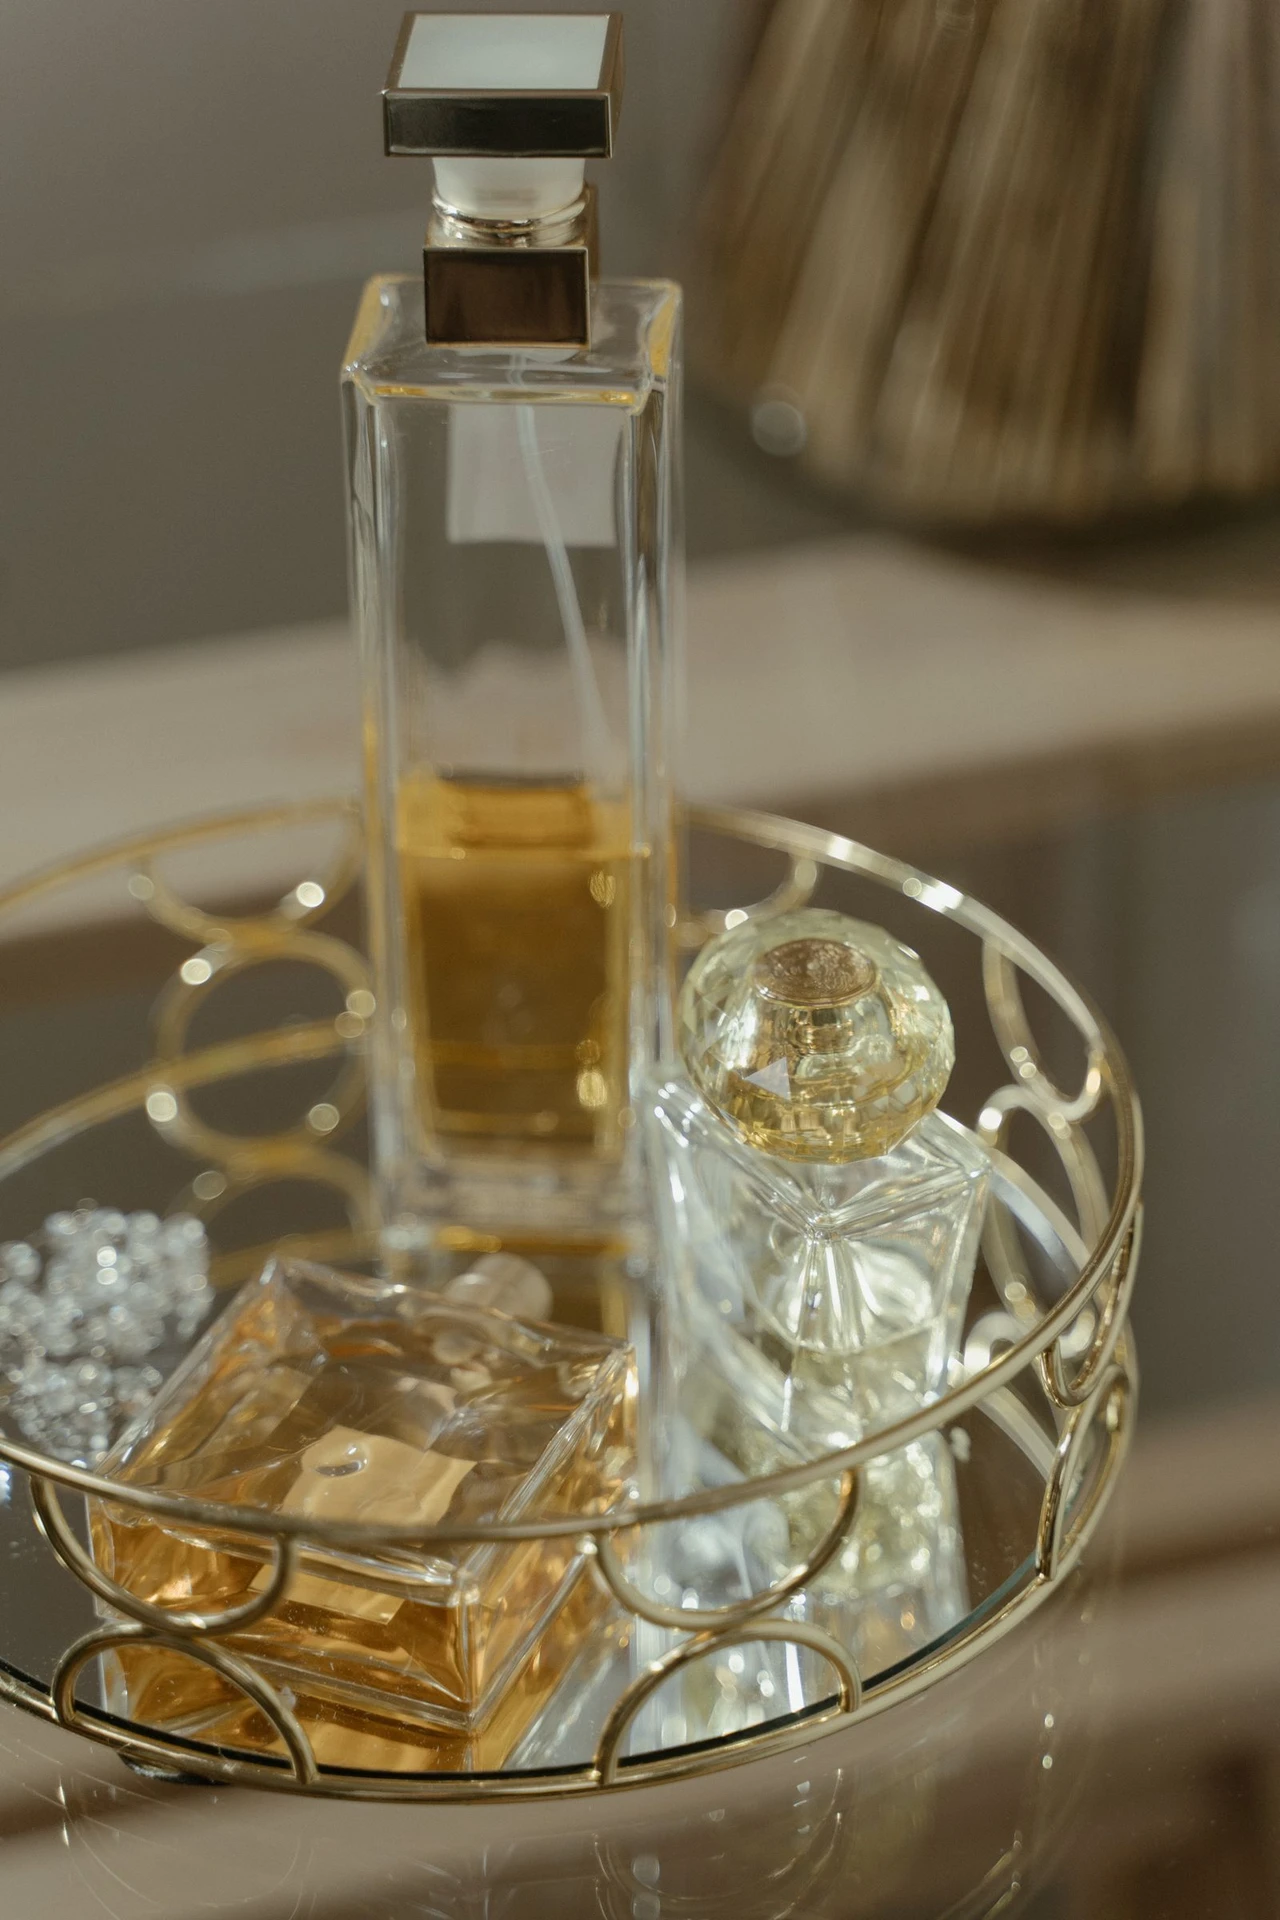
Perfume bottles lined up on a bare counter look cluttered, but grouped on a tray they look like a department-store display. Pick a mirrored or gold-rimmed tray from the dollar store and keep it to three or four favourite bottles plus a small candle. The tray corrals the clutter, protects the counter from drips, and gives your eye one tidy focal point instead of a scattered row. Wipe it weekly, because dust on a mirror tray shows fast. I keep mine near the mirror but away from direct steam, so the bottles stay pretty and the labels do not peel.
Cost: ~$3 | Time: 5 minutes
💰 Budget win: A $3 tray does the same visual job as a $30 vanity organiser — it is the frame, not the price, that makes it look expensive.
6. Roll White Towels Like a Boutique Hotel
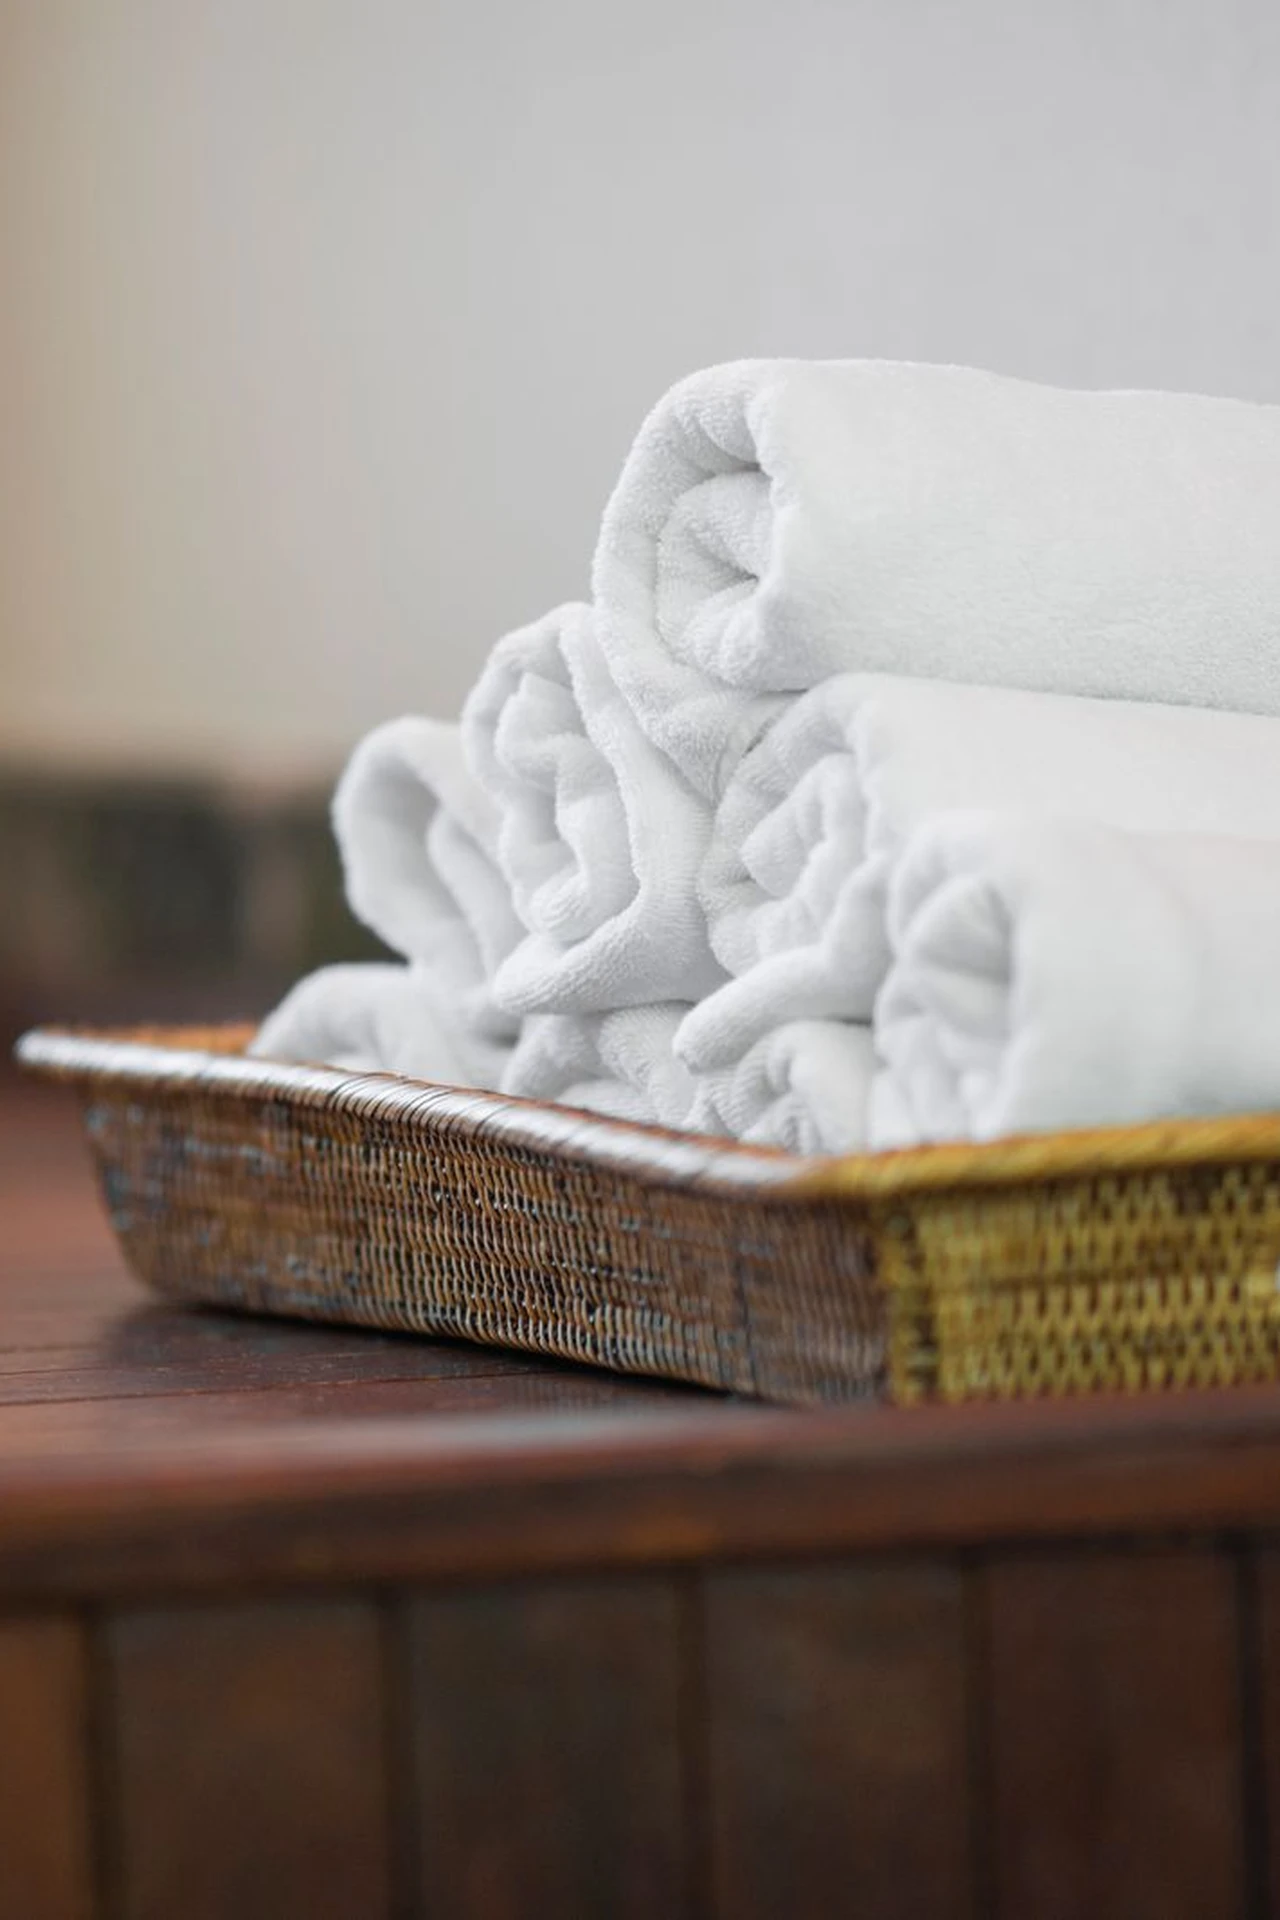
Hotels do not buy fancier towels than you do; they just present them better. Rolling white hand towels tightly and stacking them in a basket or on an open shelf gives your bathroom that same boutique feeling for free. Fold each towel in thirds first, then roll firmly so the roll holds its shape, and stack them seam-side down. Mix in one rolled washcloth on top for a spa touch. Keep the display towels separate from everyday ones so they stay fluffy and white. This is the easiest idea on the list, and guests notice it before anything else.
Cost: ~$0 | Time: 10 minutes
💰 Budget win: Completely free if you already own white towels — presentation, not shopping, is doing all the work here.
7. Upgrade a Plain Soap Dispenser with Gold Accents
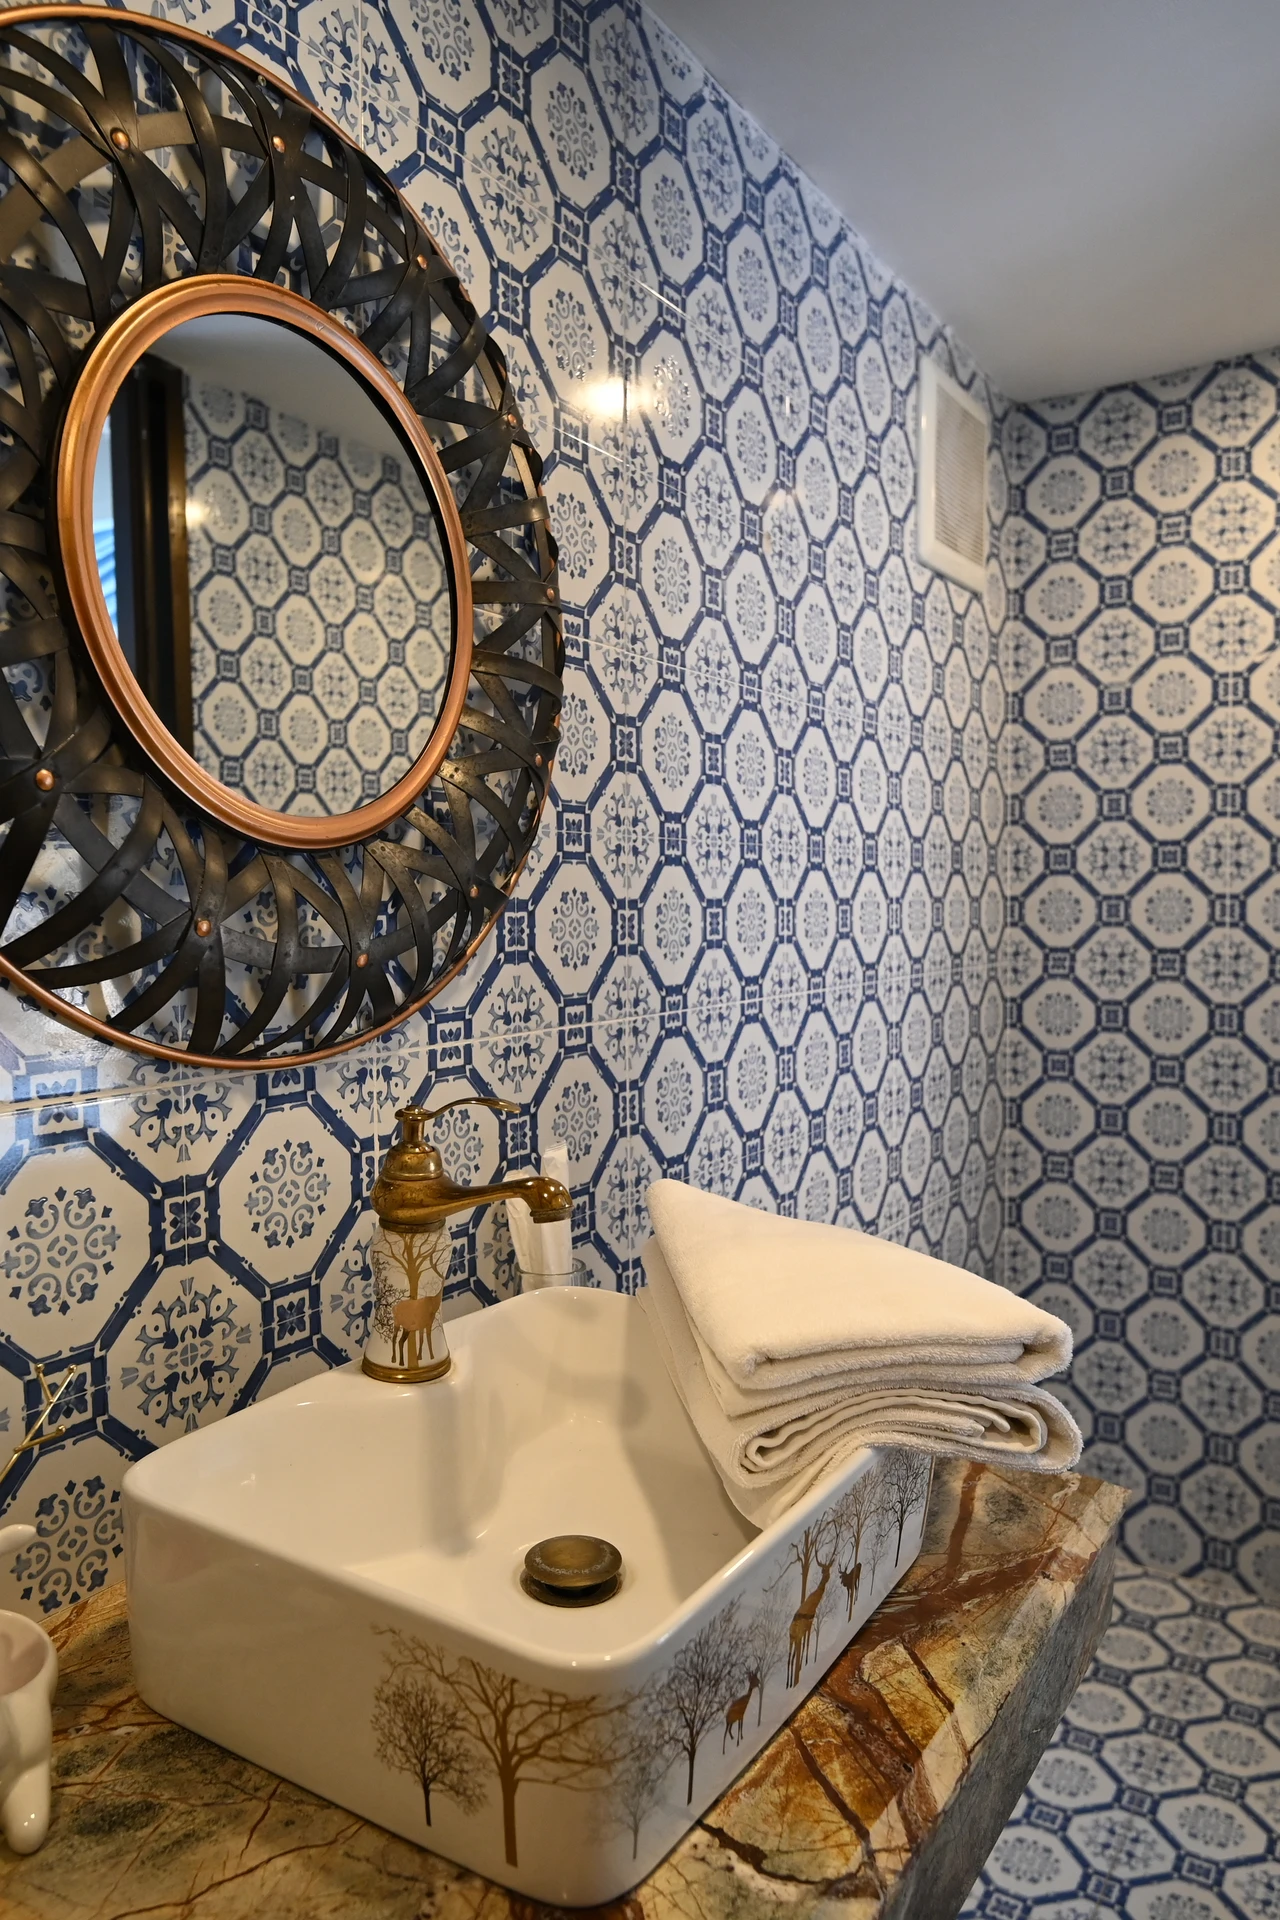
The plastic pump bottle your soap came in is quietly ruining your bathroom’s look. Decant the soap into a plain glass dispenser and add a gold pump top, both easy dollar store finds, and the sink area instantly looks coordinated. Choose a dispenser that matches your tap finish so the whole sink reads as one set. Fill it only three-quarters full to avoid messy overflow, and refill from a big bottle kept under the sink. I tried this — the mistake to avoid is a pump that sticks, so test it in the store if you can. A smooth pump is the difference between luxe and annoying.
Cost: ~$4 | Time: 5 minutes
💰 Budget win: One glass dispenser replaces endless throwaway bottles, so it pays for itself within a month of refills.
8. Frame Dollar Store Prints in Matching Black Frames
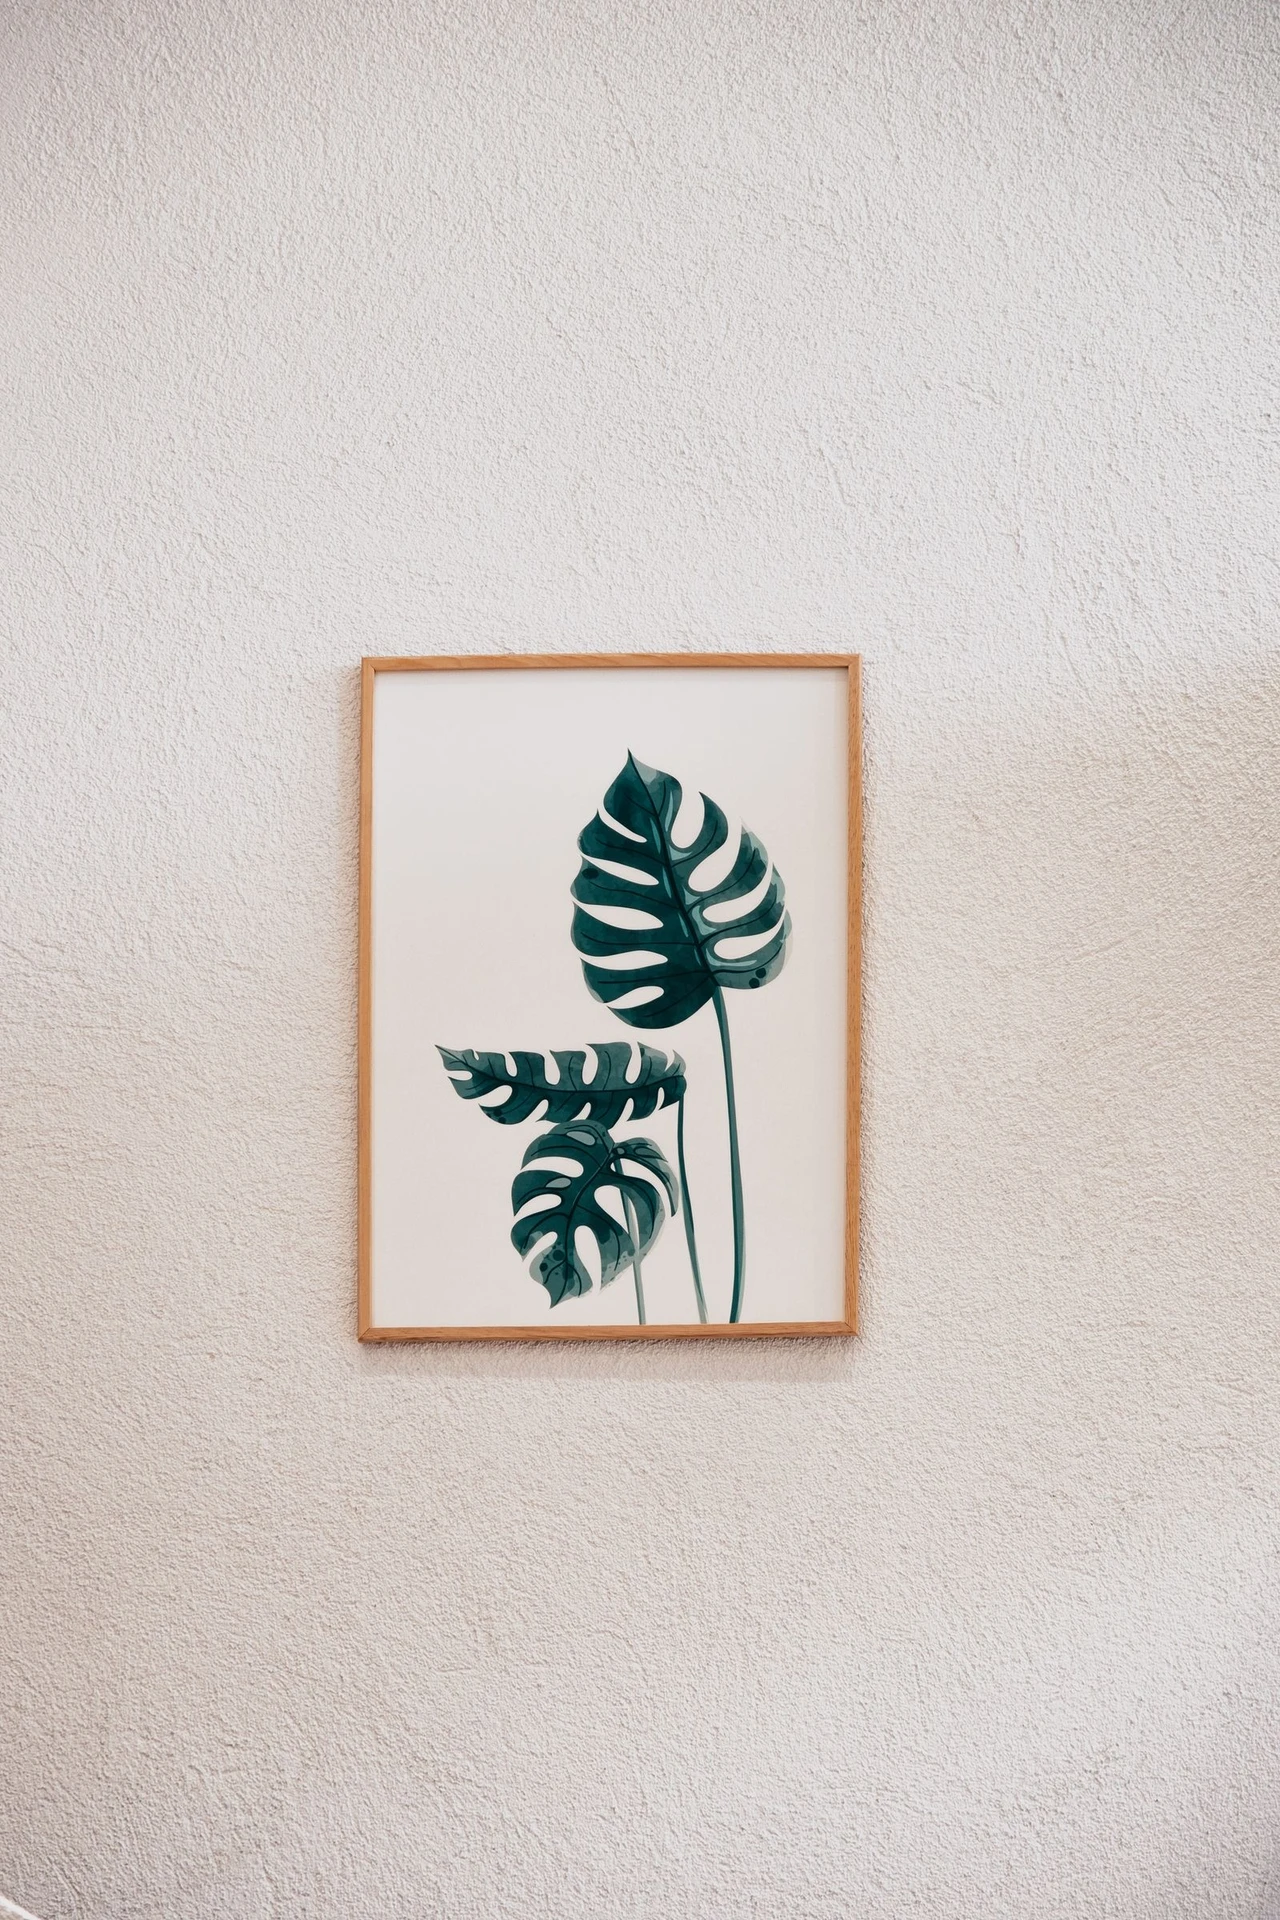
Bare bathroom walls feel like an afterthought, but art in mismatched frames feels just as unfinished. The fix is simple: buy two or three identical black frames and fill them with botanical or abstract prints from the dollar store. Matching frames are what make cheap prints look like a curated set, so do not mix colours or sizes. Hang them in a straight row above the towel rail or stacked vertically beside the mirror. Keep the art simple and calm — busy patterns fight with a small room. This one change made my bathroom feel finished in a way paint alone never did.
Cost: ~$9 | Time: 20 minutes
💰 Budget win: Identical frames bought together look like a set from a home store, at a fraction of the framed-print price.
9. Drape a Faux Eucalyptus Garland Over the Mirror
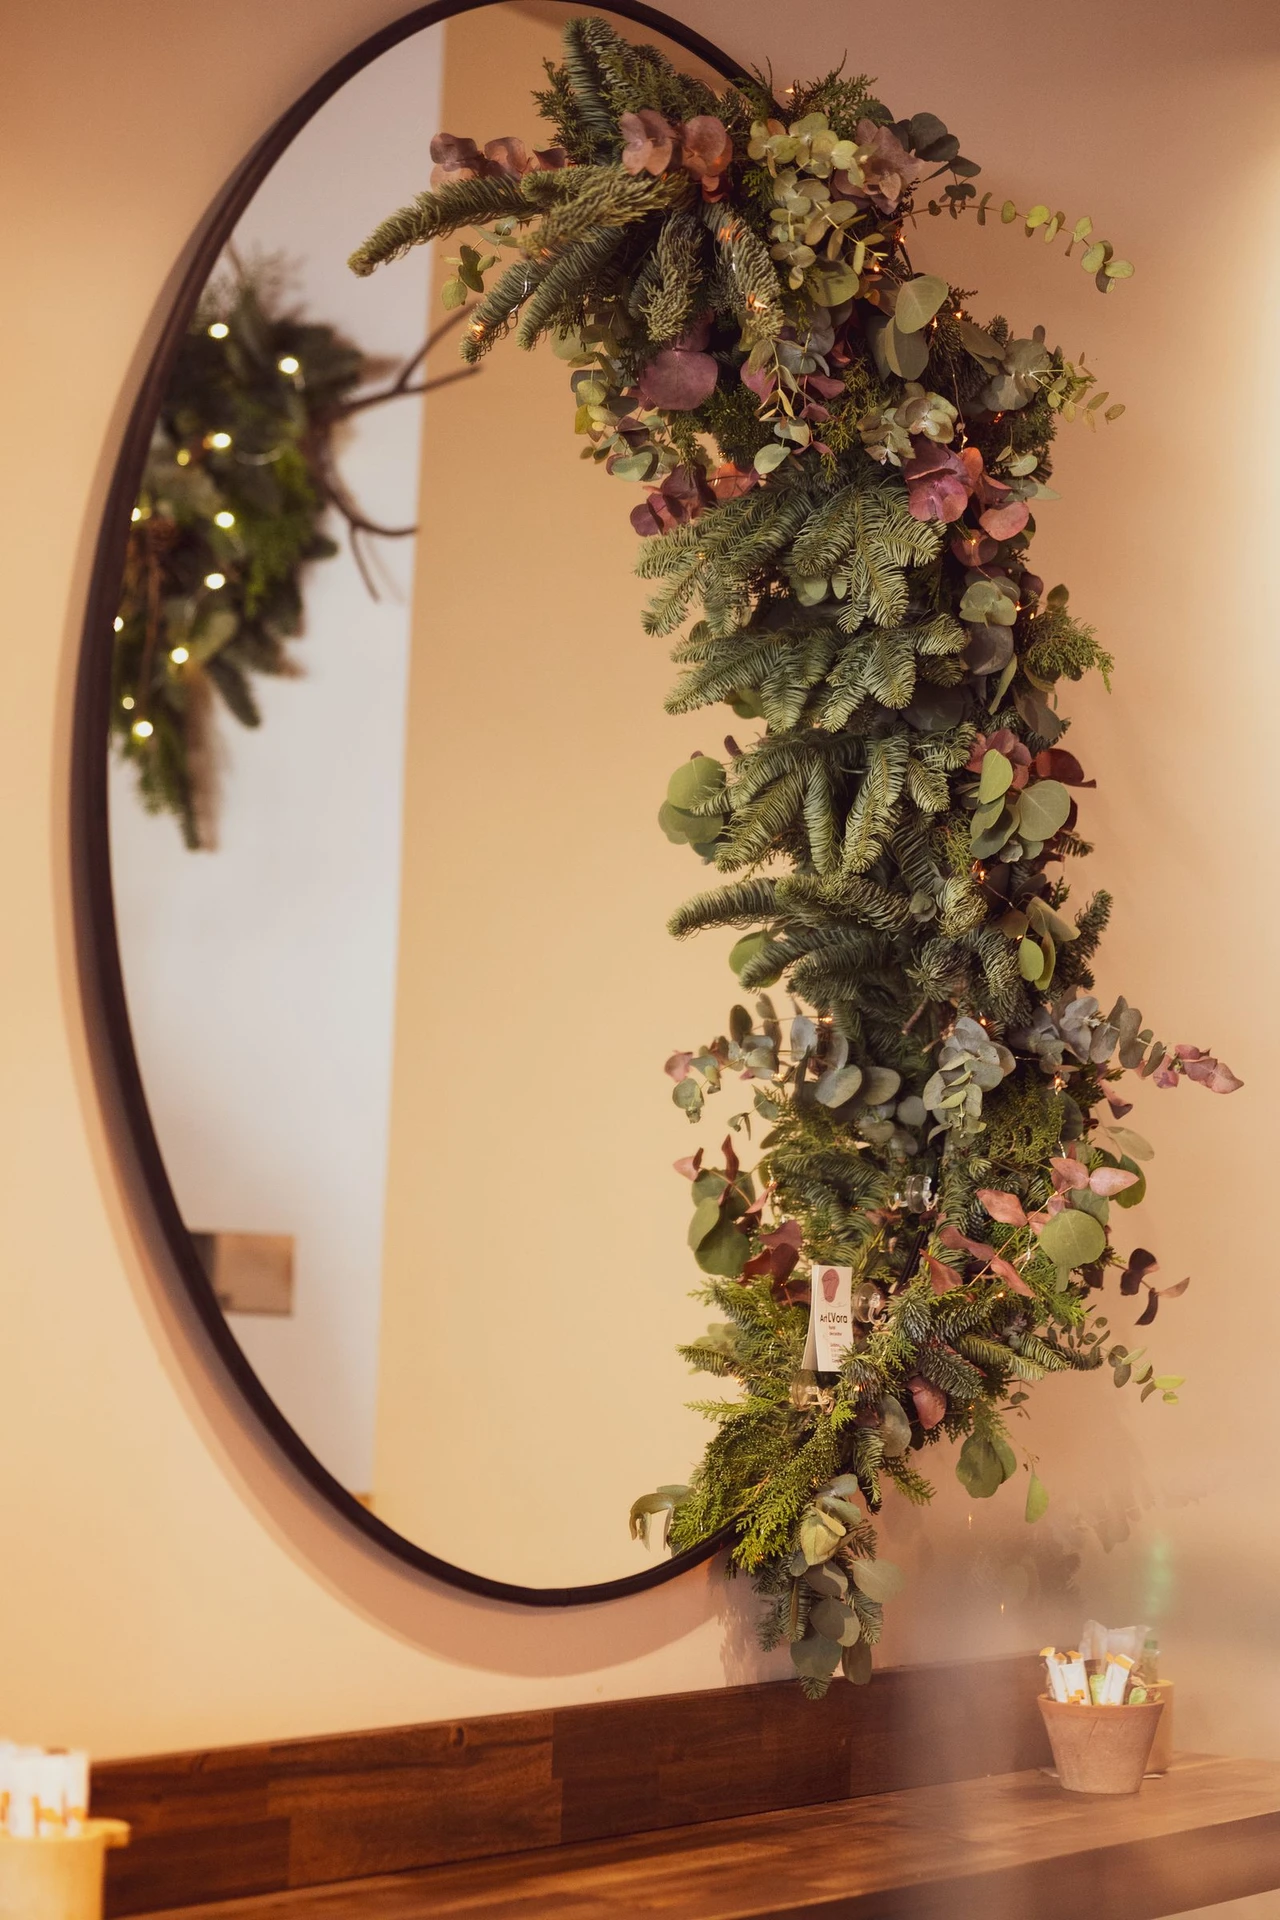
A bare mirror top is a wasted styling opportunity, and a faux eucalyptus garland fills it beautifully. Drape one garland across the top of the mirror so a few stems trail down each side, and secure it with small clear hooks so it does not slide. Faux greenery beats real here because steam and humidity wilt real stems within days. Choose a garland with varied leaf tones rather than flat bright green, which looks plastic. Save this idea for your bathroom board — it is the fastest way to make a plain mirror look styled rather than just hung.
Cost: ~$5 | Time: 10 minutes
💰 Budget win: One garland dresses the mirror for every season, while fresh stems would need replacing every single week.
10. Swap Builder-Grade Light Shades for Frosted Globes
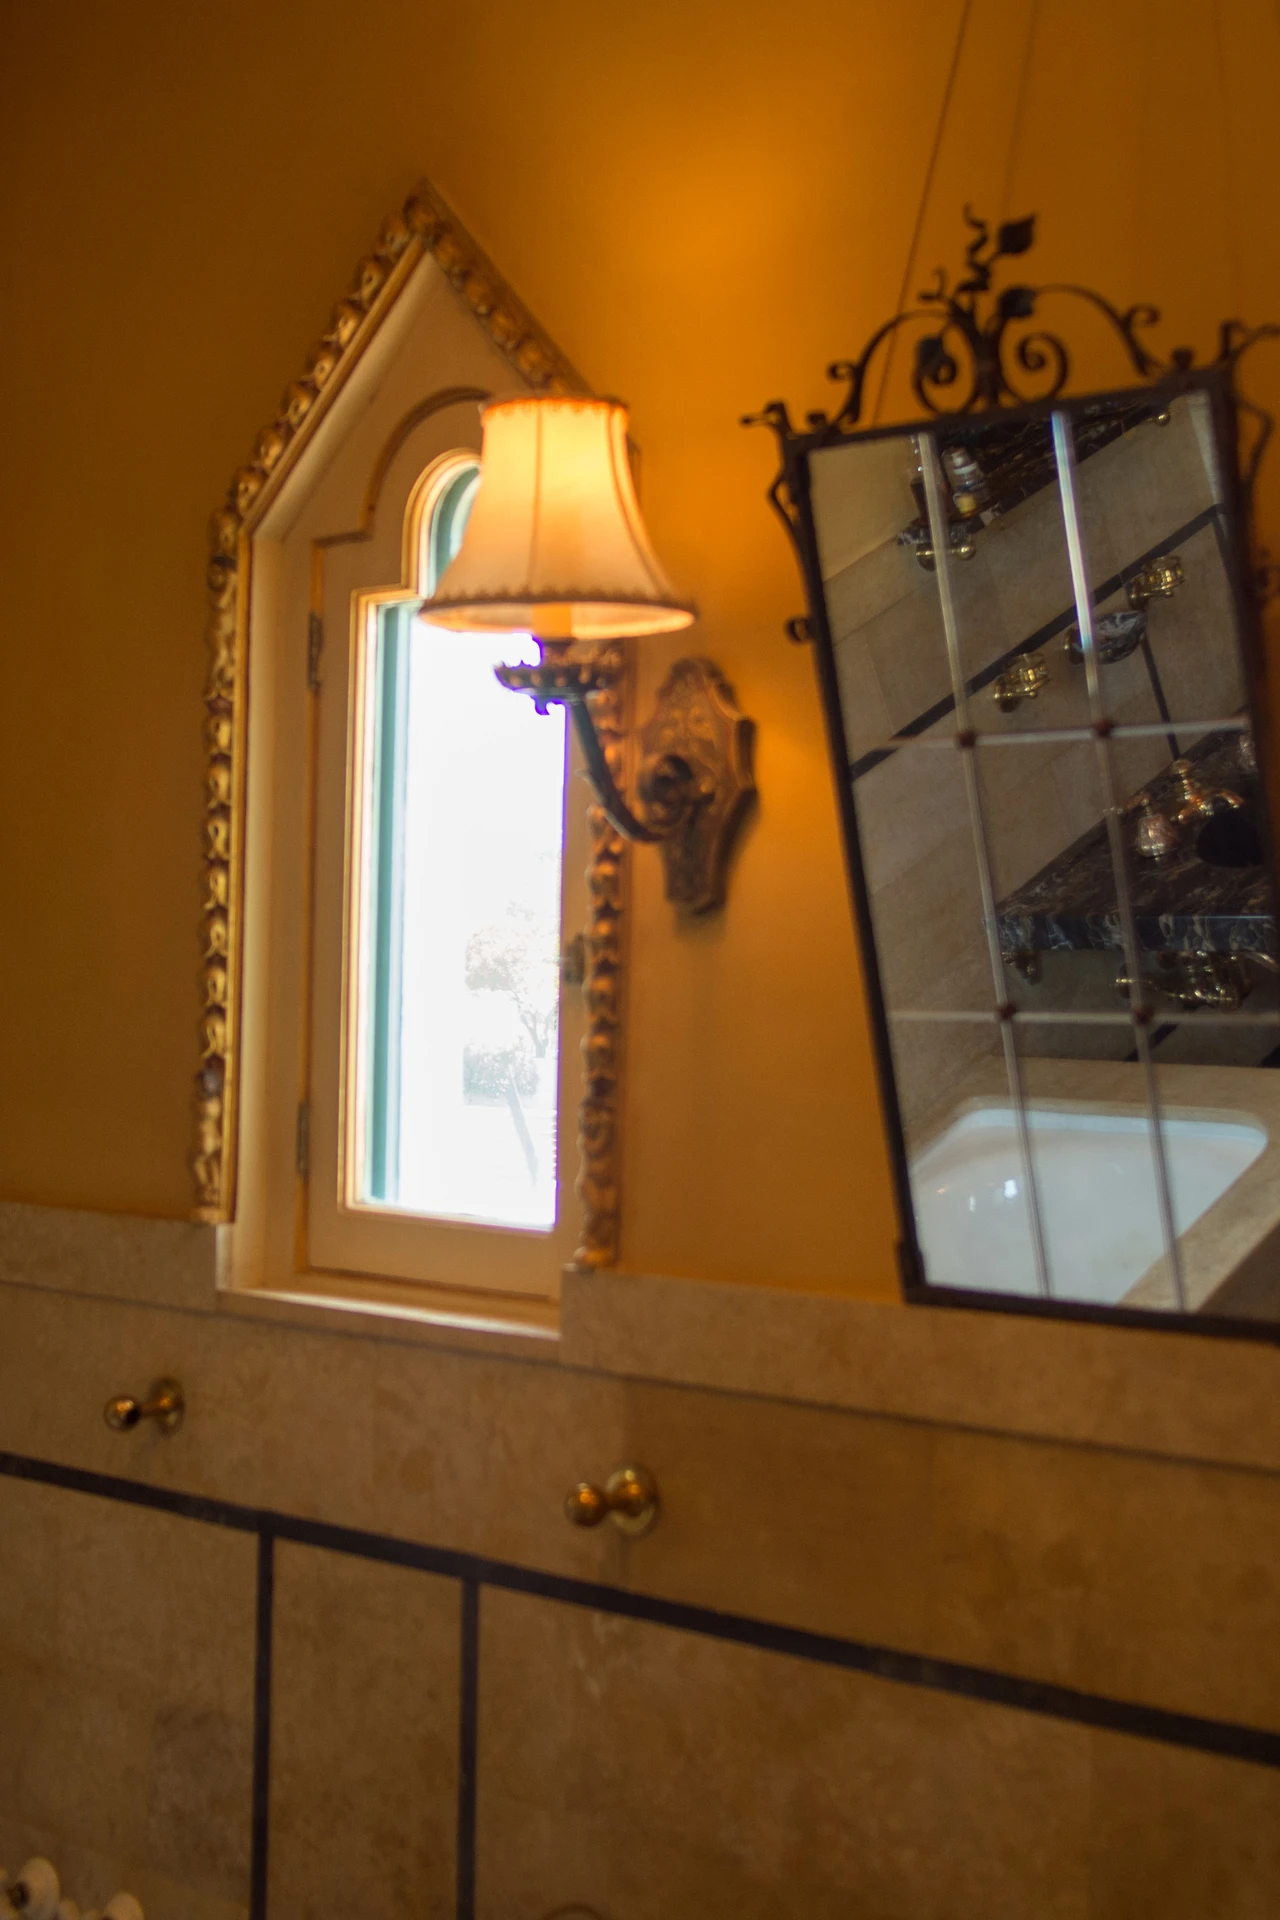
Those bare-bulb Hollywood strips or yellowed plastic shades scream builder-grade, and they cast harsh light that flatters nobody. Frosted glass globes from the dollar store soften the light and make the whole vanity look upgraded. Check the fitting size before you buy, and swap the shades one at a time so you never mix up the screws. Warm bulbs, around 2700K, complete the effect — cool white bulbs under frosted glass still look clinical. I changed mine in twenty minutes and the bathroom went from interrogation room to spa, with no electrician and no rewiring involved at all.
Cost: ~$10 | Time: 20 minutes
💰 Budget win: New shades cost less than one fancy light fitting, yet they change how every other upgrade in the room looks.
11. Add a Woven Basket for Rolled Hand Towels
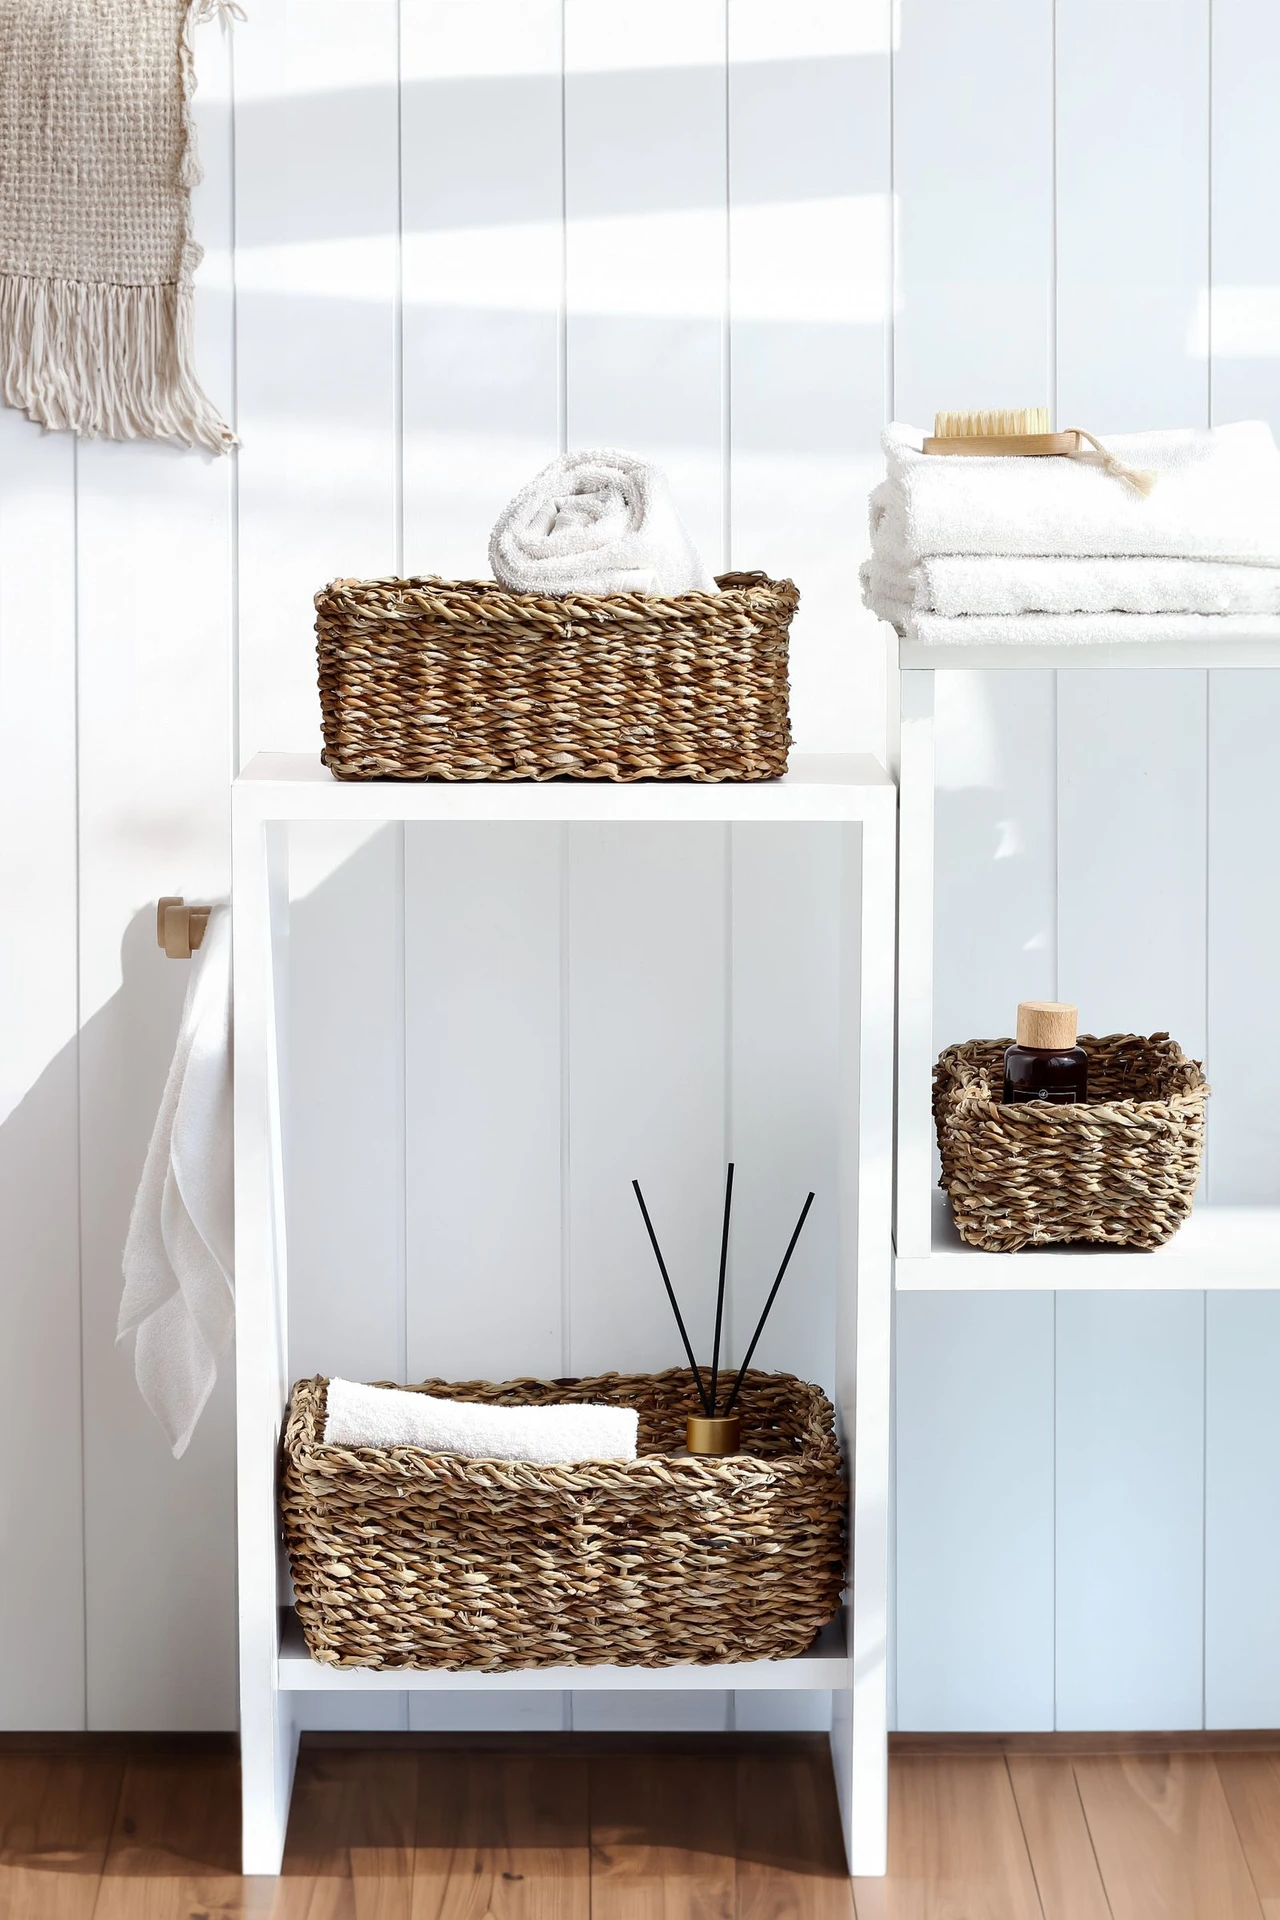
A woven basket on the floor or a low shelf adds the warm texture that cold tile bathrooms desperately need. Fill it with rolled hand towels and one washcloth, and suddenly the corner that held nothing becomes a styled moment. Choose a basket with handles so it is easy to move for cleaning, and line it with a small cloth if the weave snags towel fibres. Keep it away from the shower splash zone, or the bottom towels will stay damp. For more texture tricks on a budget, my (see also: small-bathroom-storage-ideas) post has basket ideas worth stealing.
Cost: ~$5 | Time: 5 minutes
💰 Budget win: A basket plus towels you already own creates a hotel-style display for the price of a coffee.
12. Paint a Thrifted Stool Matte Black for a Vanity Seat
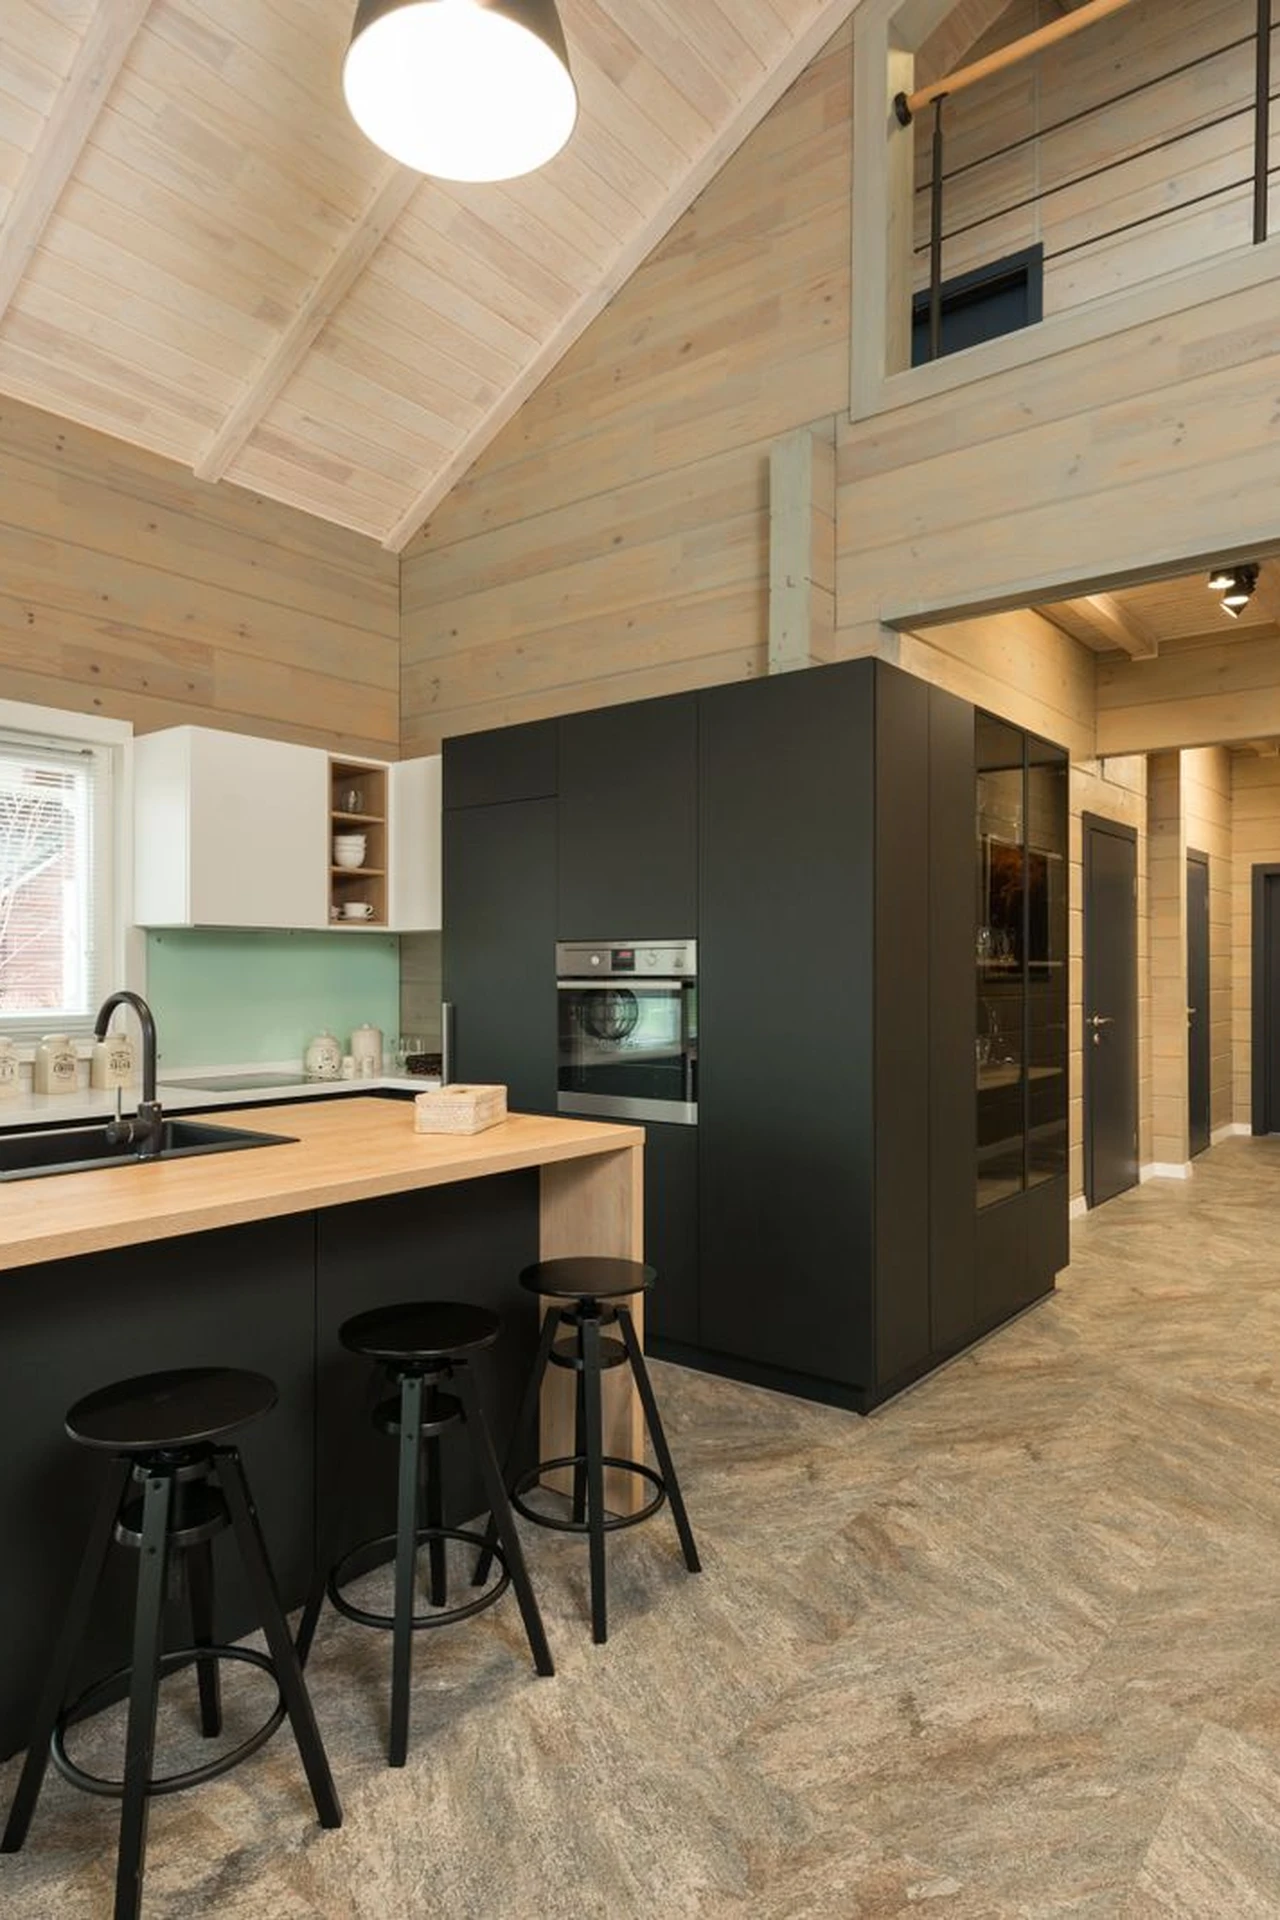
A small stool beside the vanity is useful for sitting, stacking towels, or holding tomorrow’s outfit, but a scratched wooden one looks like clutter. A coat of matte black spray paint turns it into a deliberate accent piece. Sand lightly, prime if the wood is glossy, and apply two thin coats, letting each dry fully. Matte black pairs with gold, chrome or brushed nickel, so it will not fight your other finishes. I tried this — the mistake to avoid is painting in humidity, because the finish stays tacky for days. Pick a dry afternoon and the stool looks store-bought.
Cost: ~$6 | Time: 1 hour
💰 Budget win: A thrifted stool plus spray paint costs under $10, while a new vanity stool starts at five times that.
13. Use a Tiered Dessert Stand for Bathroom Essentials
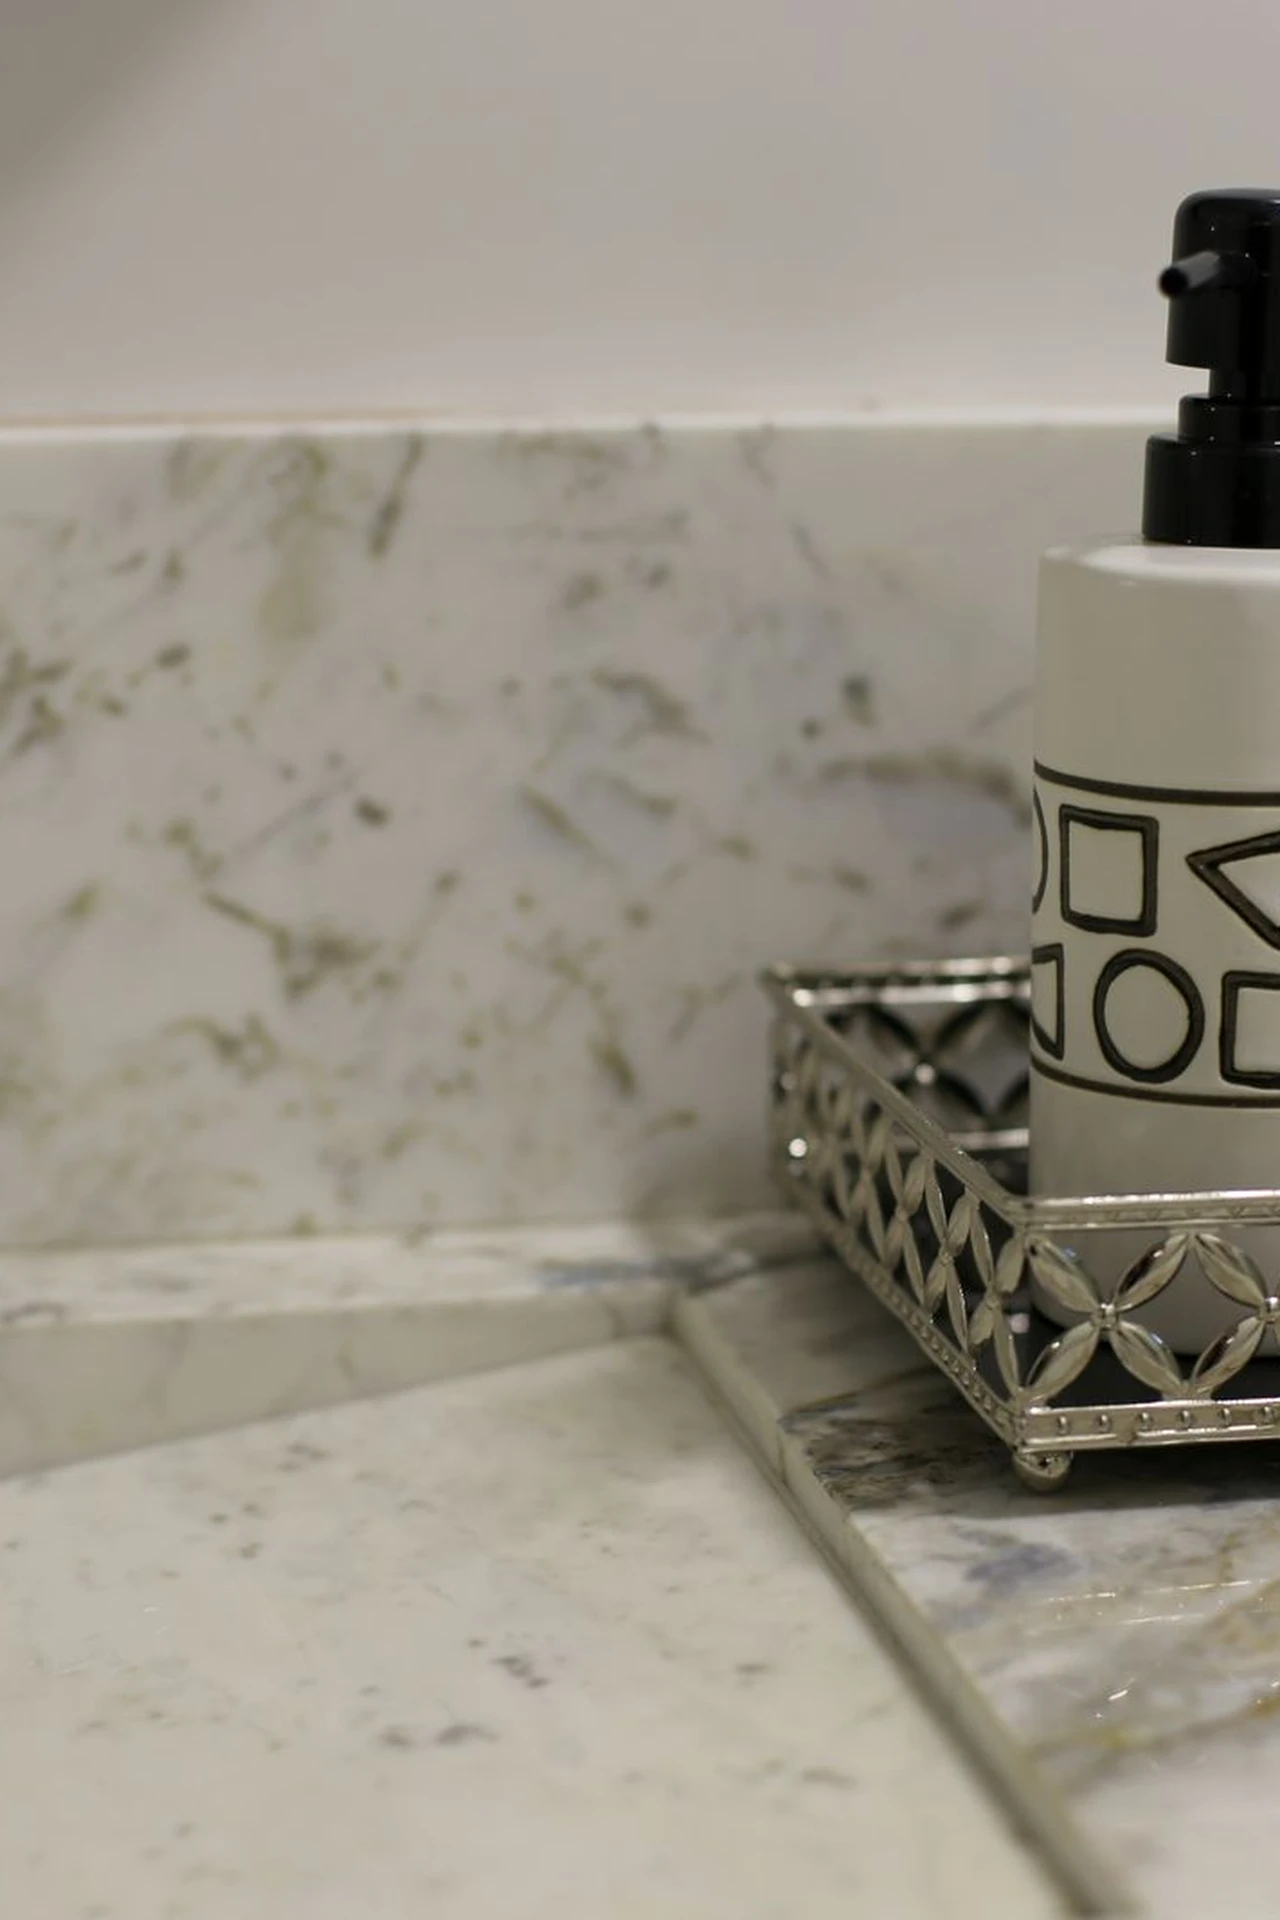
A tiered dessert stand is one of the best dollar store repurposes, because it turns a flat counter into vertical storage that actually looks pretty. Put daily skincare on the top tier, cotton pads and clips in the middle, and nail tools or hair ties on the bottom. The stand keeps small items visible instead of lost in a drawer, and it takes up less counter space than three separate containers. Wipe the tiers weekly, because bathroom dust settles fast on open displays. Guests always ask where mine came from, and nobody believes it started life as a cake stand.
Cost: ~$5 | Time: 5 minutes
💰 Budget win: One stand replaces three separate organisers and looks intentional, not like a storage compromise.
14. Line Open Shelves with Marble Contact Paper
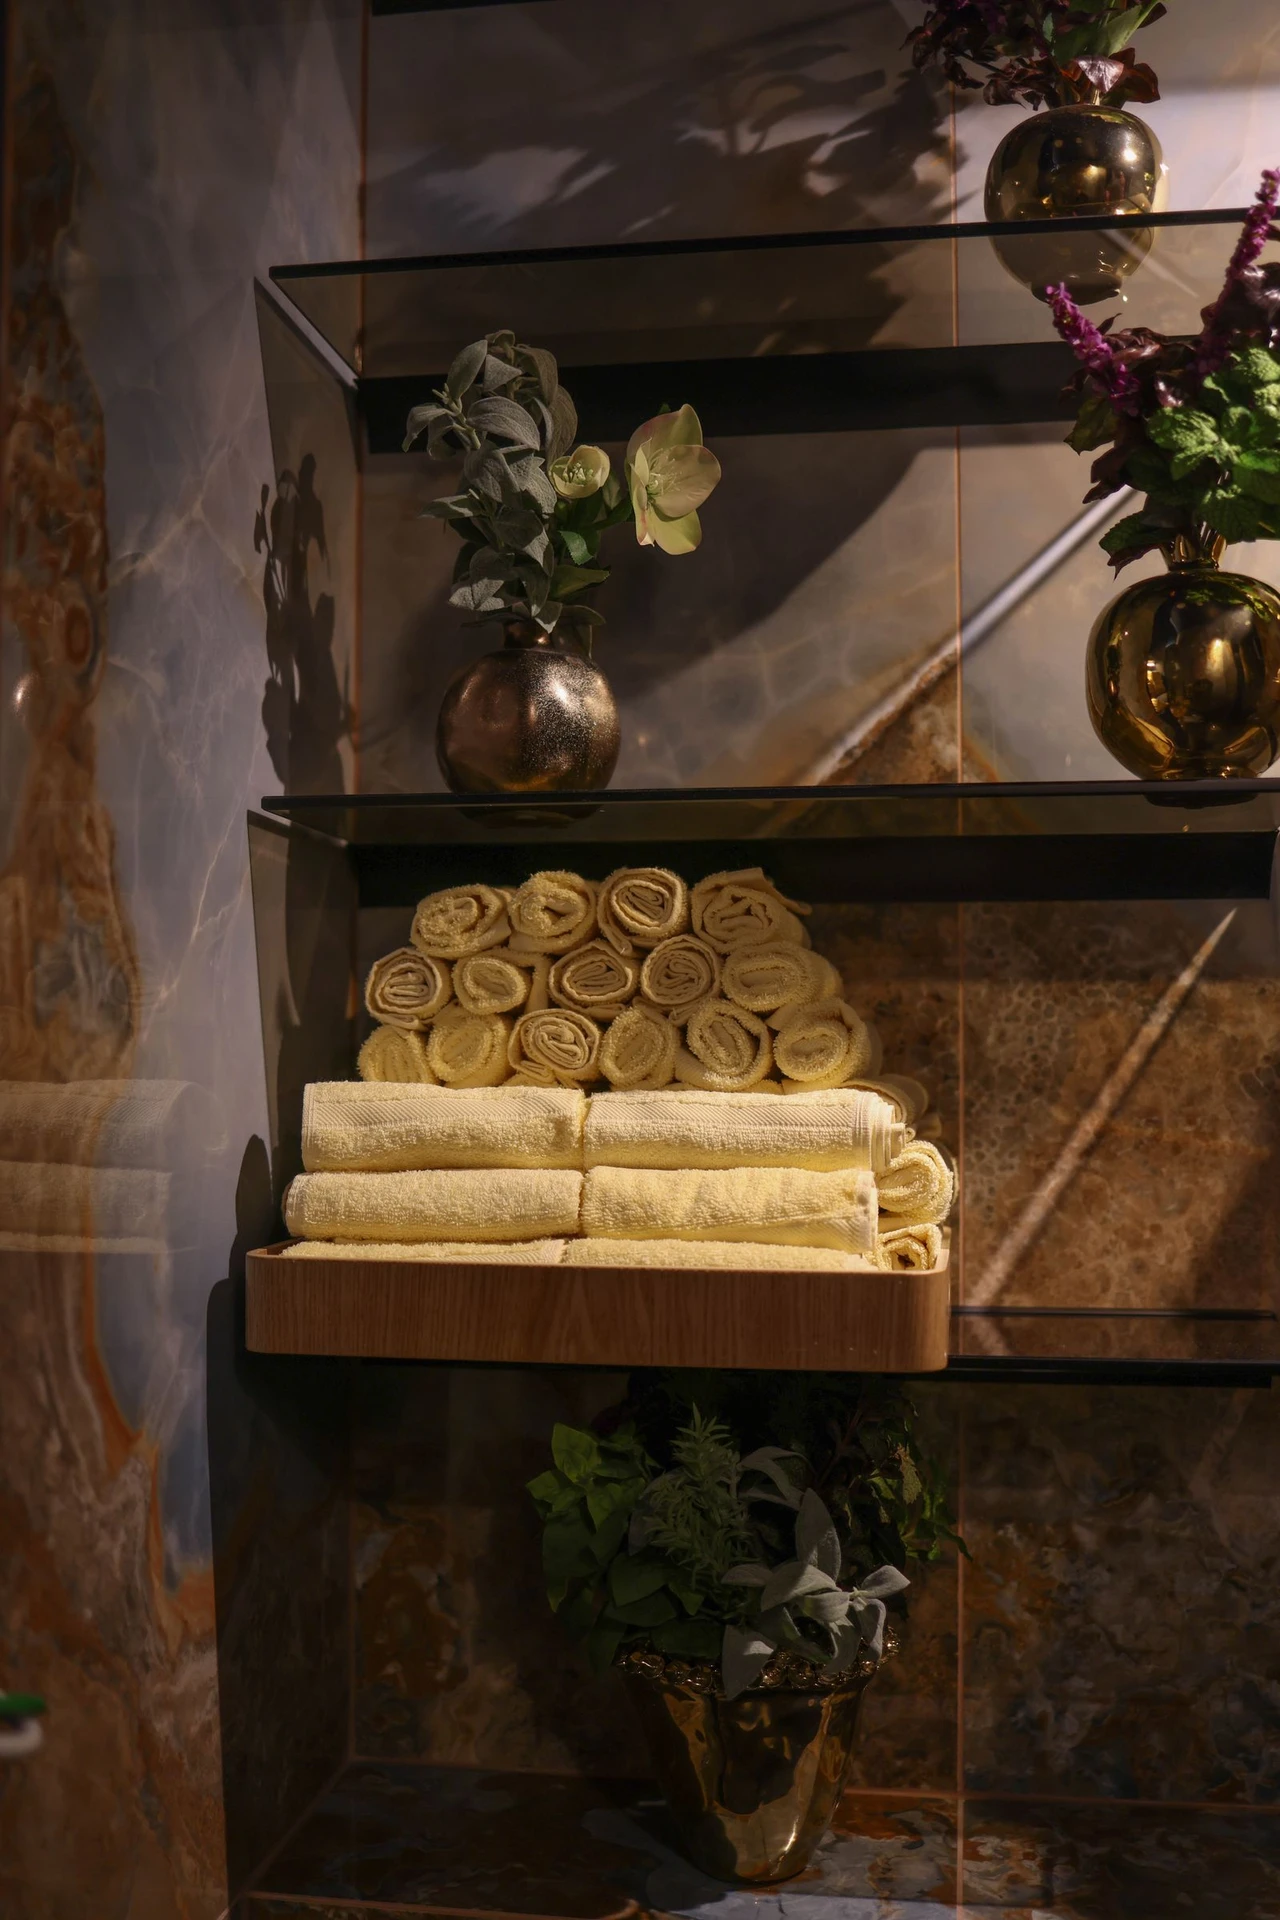
Open bathroom shelves show everything, including the shelf surface itself, and plain painted wood can look flat. Lining each shelf with marble-look contact paper gives the display a polished backdrop that makes jars and towels pop. Measure each shelf, cut the paper slightly oversized, and trim the excess with a craft knife for a crisp edge. Smooth out bubbles as you go, and replace a sheet in minutes if it gets water-damaged. I lined mine to match the vanity top from idea four, and the two surfaces together make the bathroom feel designed rather than decorated piece by piece.
Cost: ~$4 | Time: 30 minutes
💰 Budget win: Leftover paper from the vanity project lines every shelf for free, so this upgrade can cost literally nothing extra.
15. Hang Matching Glass Canisters for Cotton and Bath Salts
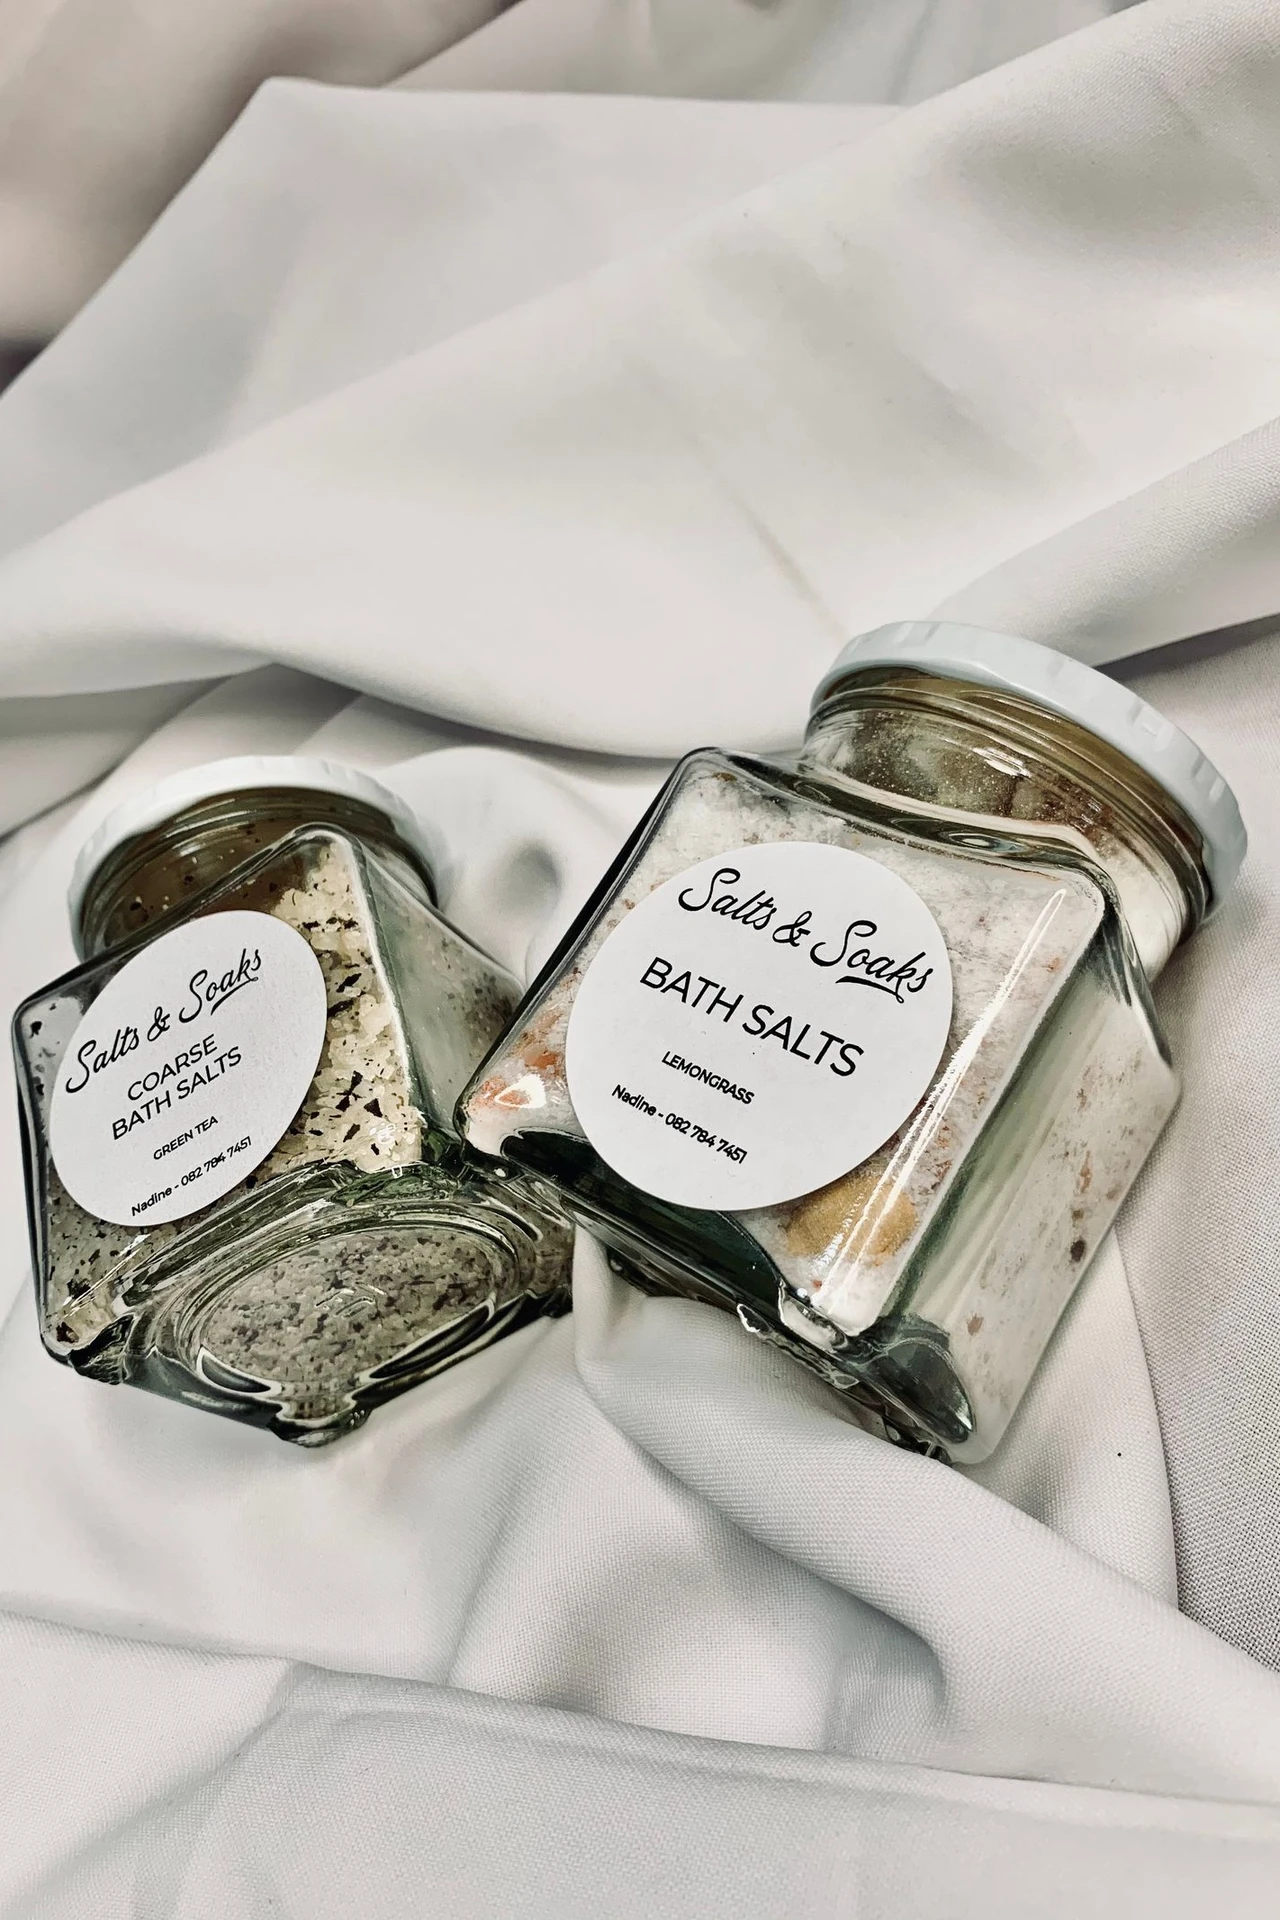
Matching canisters are the difference between a bathroom that looks tidy and one that looks styled. Buy two or three glass canisters with the same lids — wood, bamboo or gold — and fill them with cotton pads, bath salts and soap bars. Uniform lids matter more than uniform jars, because the eye reads the row as a set. Label them simply if you like, or leave them clear so the contents become part of the display. Keep one canister for everyday cotton pads within reach, and the prettier bath salts slightly higher, where they are seen but not knocked over daily.
Cost: ~$9 | Time: 15 minutes
💰 Budget win: Buying canisters in one trip guarantees matching lids, which is the detail that makes the set look expensive.
16. Layer Two Bath Mats for a Plush Hotel Feel
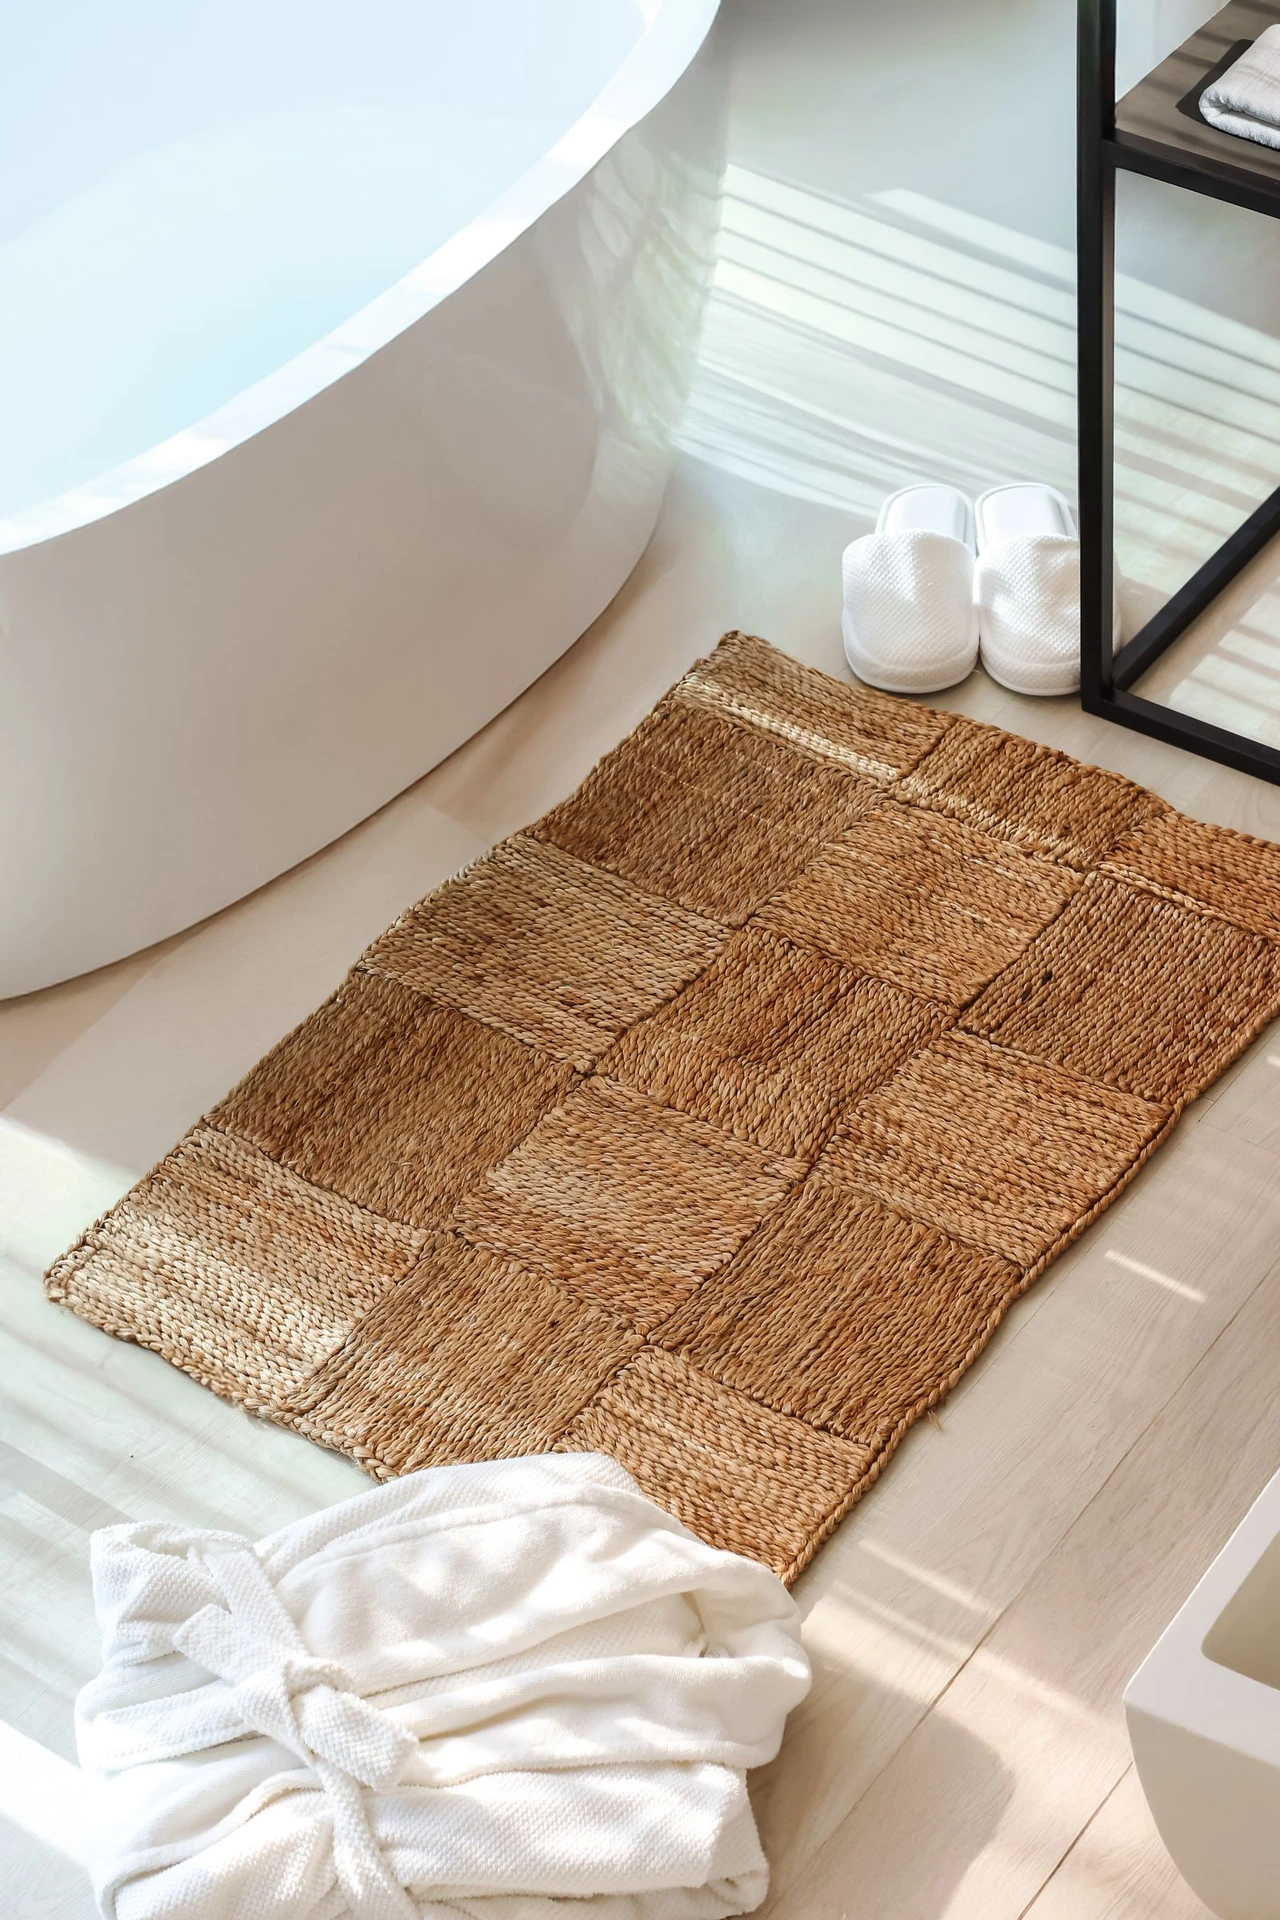
One thin bath mat feels practical; two layered mats feel plush. Place a larger woven or jute-look mat underneath and a smaller, thick white mat on top, slightly off-centre so both layers show. The contrast in texture reads as deliberate styling, and the top mat takes the water while the bottom one stays dry and grippy. Wash the top mat weekly and shake out the bottom one, so the layers stay fresh rather than musty. I tried this — the mistake to avoid is two mats the same size, which just looks like a laundry pile. Different sizes are what make the layering work.
Cost: ~$10 | Time: 5 minutes
💰 Budget win: Two dollar store mats layered together feel plusher than one mid-range mat that costs twice as much.
17. Finish with a Scented Candle and Gold Tray Vignette
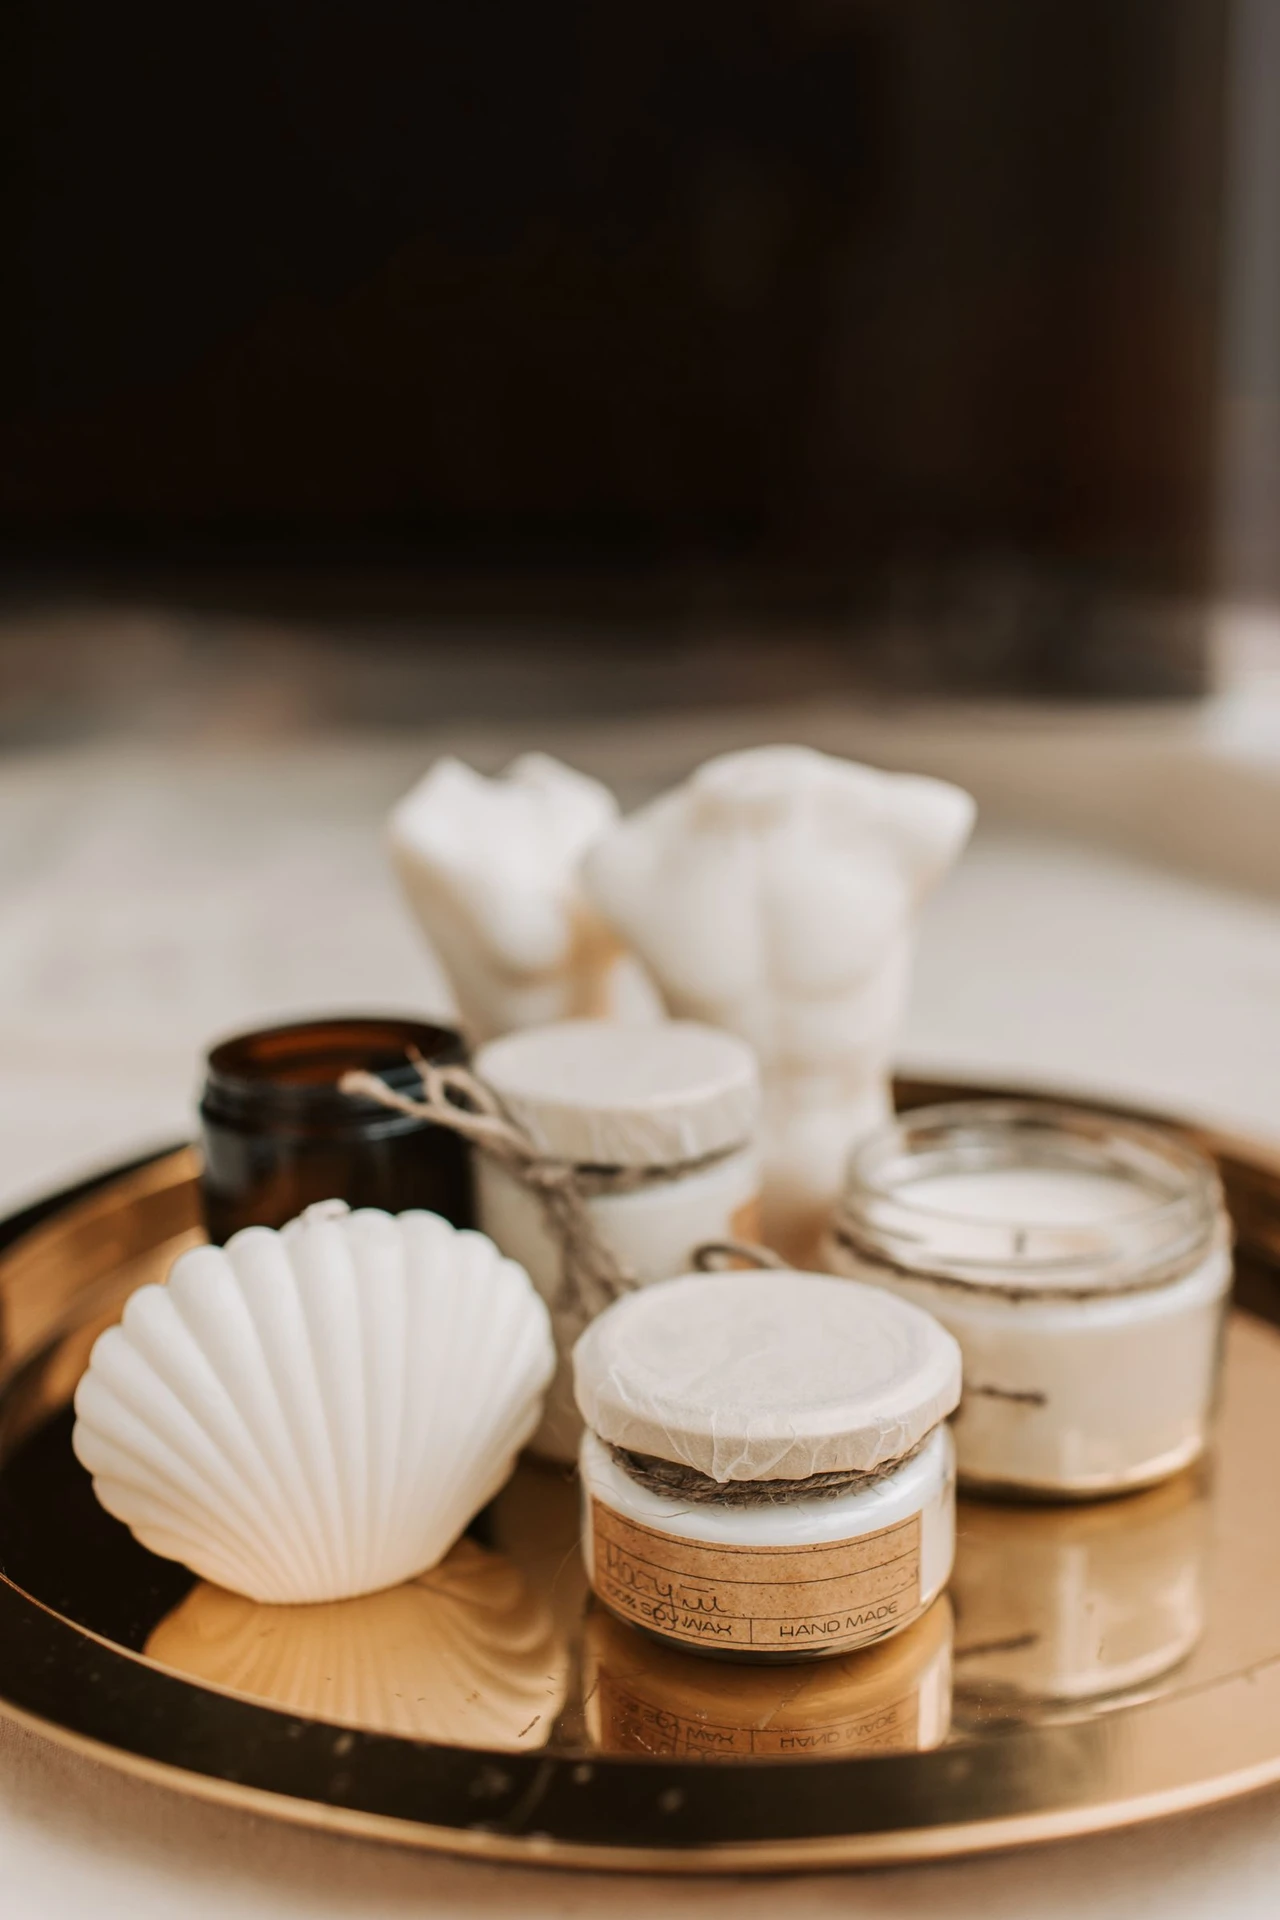
Every expensive-looking bathroom has one finishing vignette, and yours can be a candle on a small gold tray. Group a scented candle, a tiny faux plant and a folded washcloth on the tray, and place it on the back of the toilet tank or a corner shelf. The rule is three items, one tray, and nothing else — more than that turns a vignette back into clutter. Light the candle for guests, and keep a spare wick trimmer nearby so it burns cleanly. This last touch ties the gold, glass and greenery from the rest of the room together, and it costs less than the takeaway you skipped to buy it.
Cost: ~$7 | Time: 5 minutes
💰 Budget win: A tray vignette is the cheapest finishing touch on this list, and it is the one guests photograph.
Expensive-looking bathrooms are rarely about expensive things — they are about matching finishes, tidy groups and one or two textures repeated with confidence. Pick three ideas from this list, try them this weekend, and see how quickly the room changes. For a calmer, softer version of the same look, my (see also: beige-bathroom-ideas-on-a-budget) post pairs beautifully with everything here.
