21 Olive Green Kitchen Ideas on a Budget
Olive green kitchen ideas sit in the sweet spot between sage’s softness and forest green’s drama — earthy, warm, and incredibly forgiving of real-life mess. I painted a dresser olive three years ago and it’s the piece everyone asks about. Olive works with brass, wood, cream and black, which means it slots into almost any kitchen without a full redecoration. Here are 21 ways to bring it in, from one-afternoon updates to the full commitment.
Walls & Paint
1. Olive Green Accent Wall
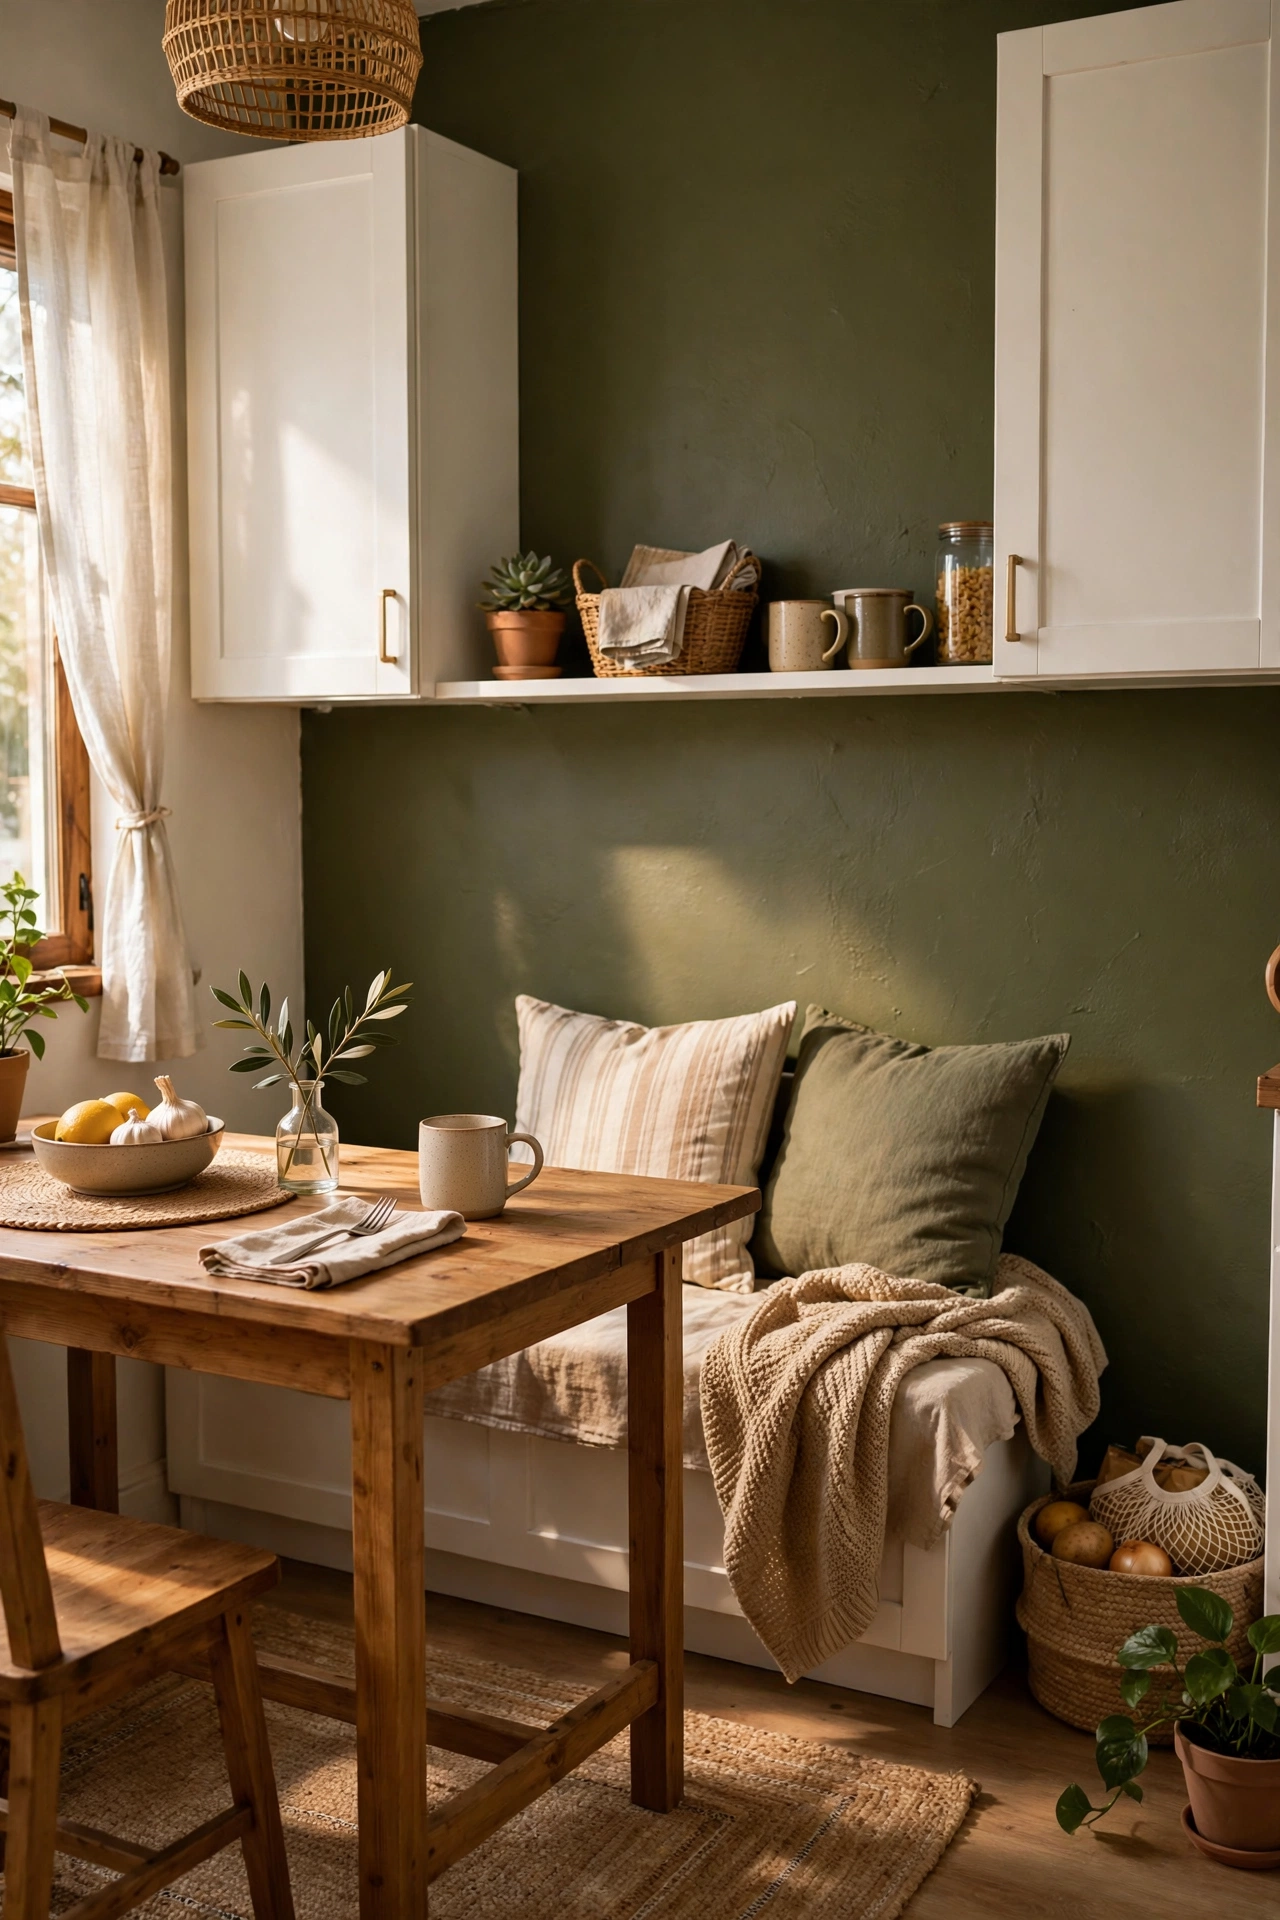
One olive wall behind the table or the open shelves grounds the whole room. I painted the wall behind my dining nook a deep olive and the white cabinets suddenly looked intentional. It’s a single wall, so one small tin and an afternoon. Olive’s warmth means it works in north-facing rooms where cooler greens go muddy. Use a washable finish — kitchen walls earn their splashes. If the colour feels bold, start with the smallest wall and live with it a week.
Cost: ~$20 | Time: 3 hours
2. Olive and Cream Colour-Blocked Wall
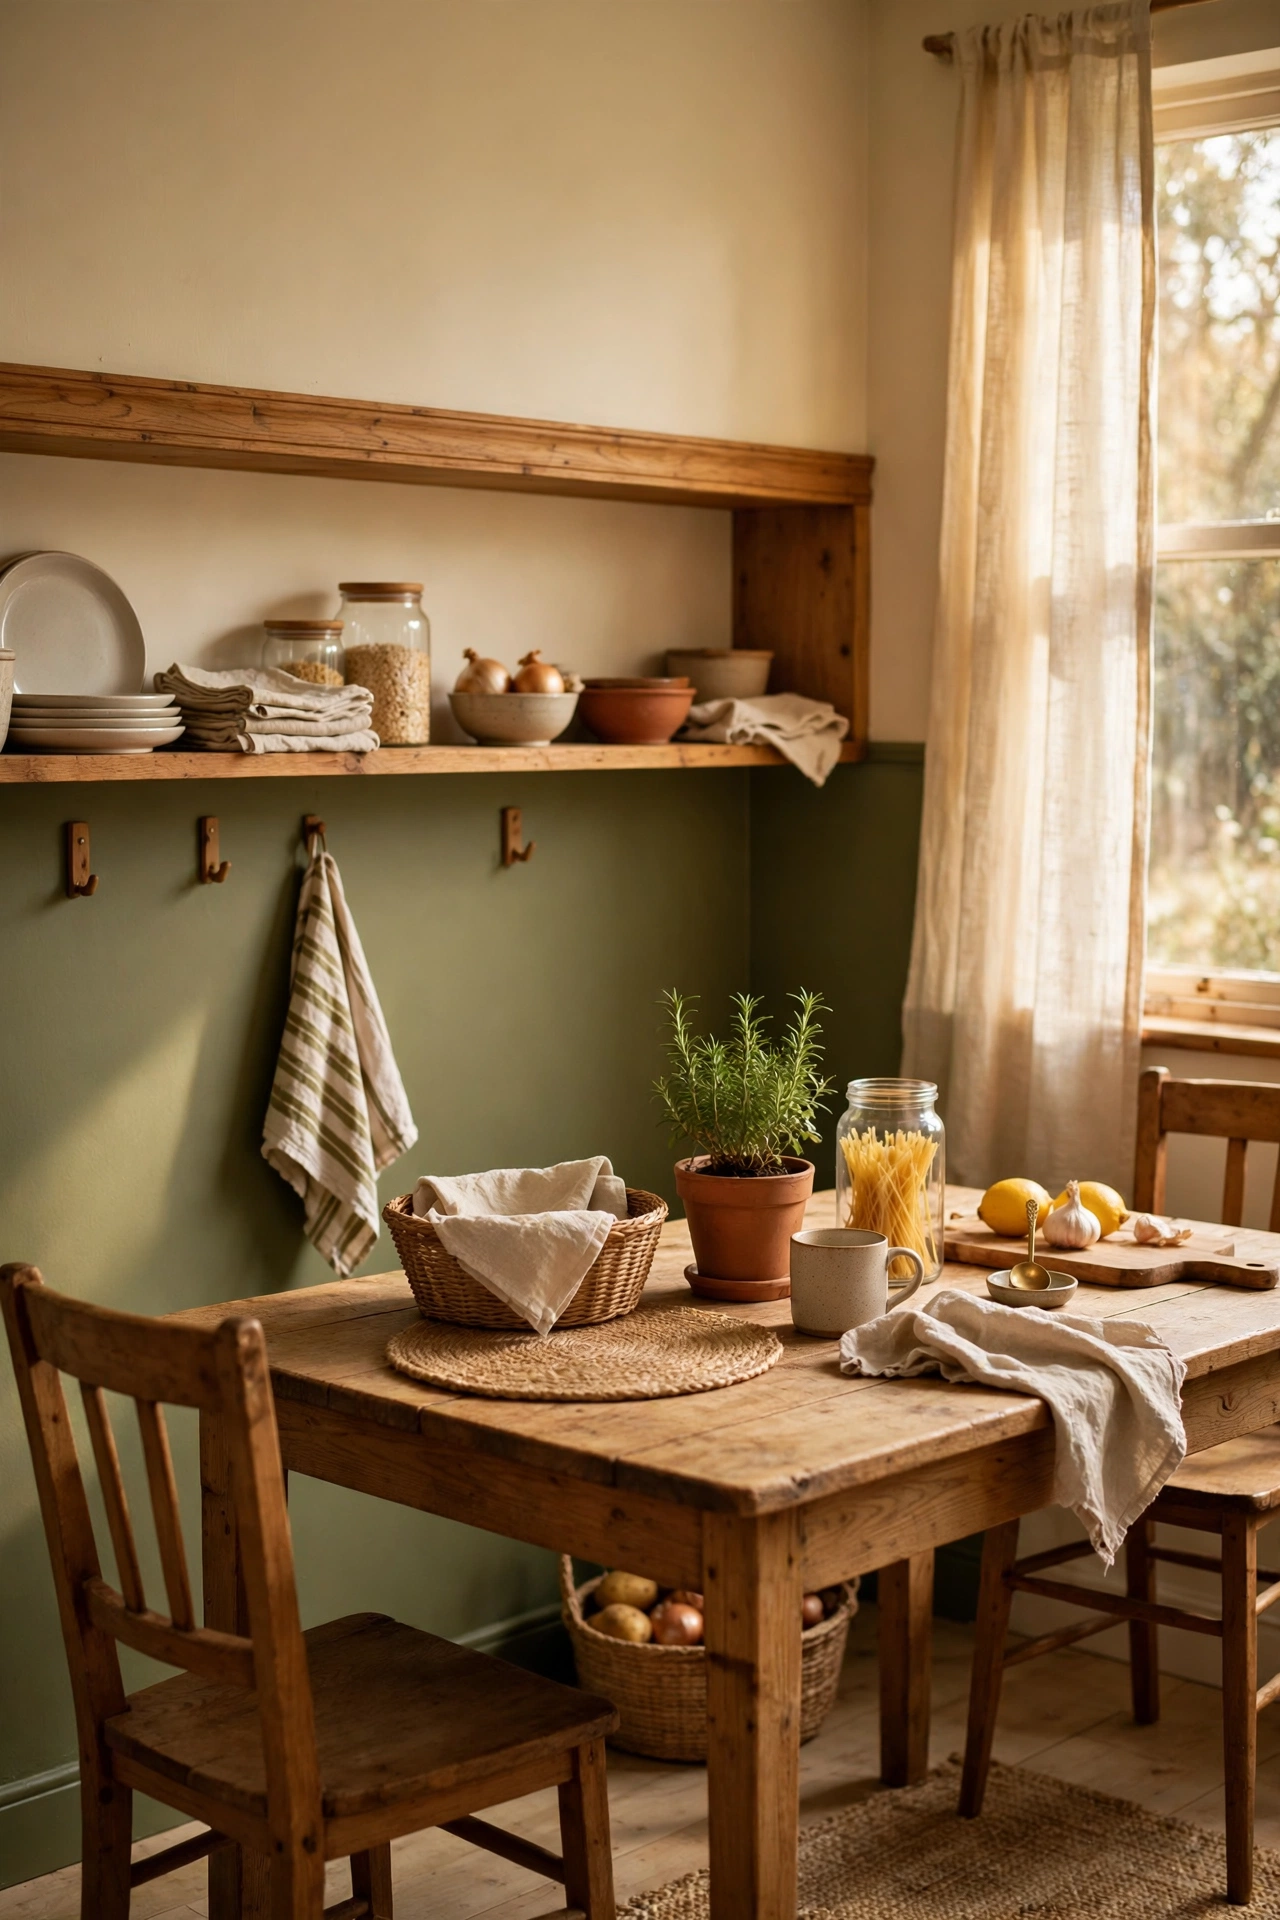
Olive below, warm cream above, split at picture-rail height — it’s a heritage look that costs nothing beyond the paint. I did this in my hallway-kitchen and it made the ceiling feel higher. The trick is a crisp line; use quality painter’s tape and seal the edge with the base colour first. Olive’s earthiness keeps the look grounded rather than twee. This works brilliantly in kitchens that flow into dining spaces. Save this one for later — it’s the most impactful paint trick on this list.
Cost: ~$35 | Time: 5 hours
3. Olive Chalkboard Paint Panel
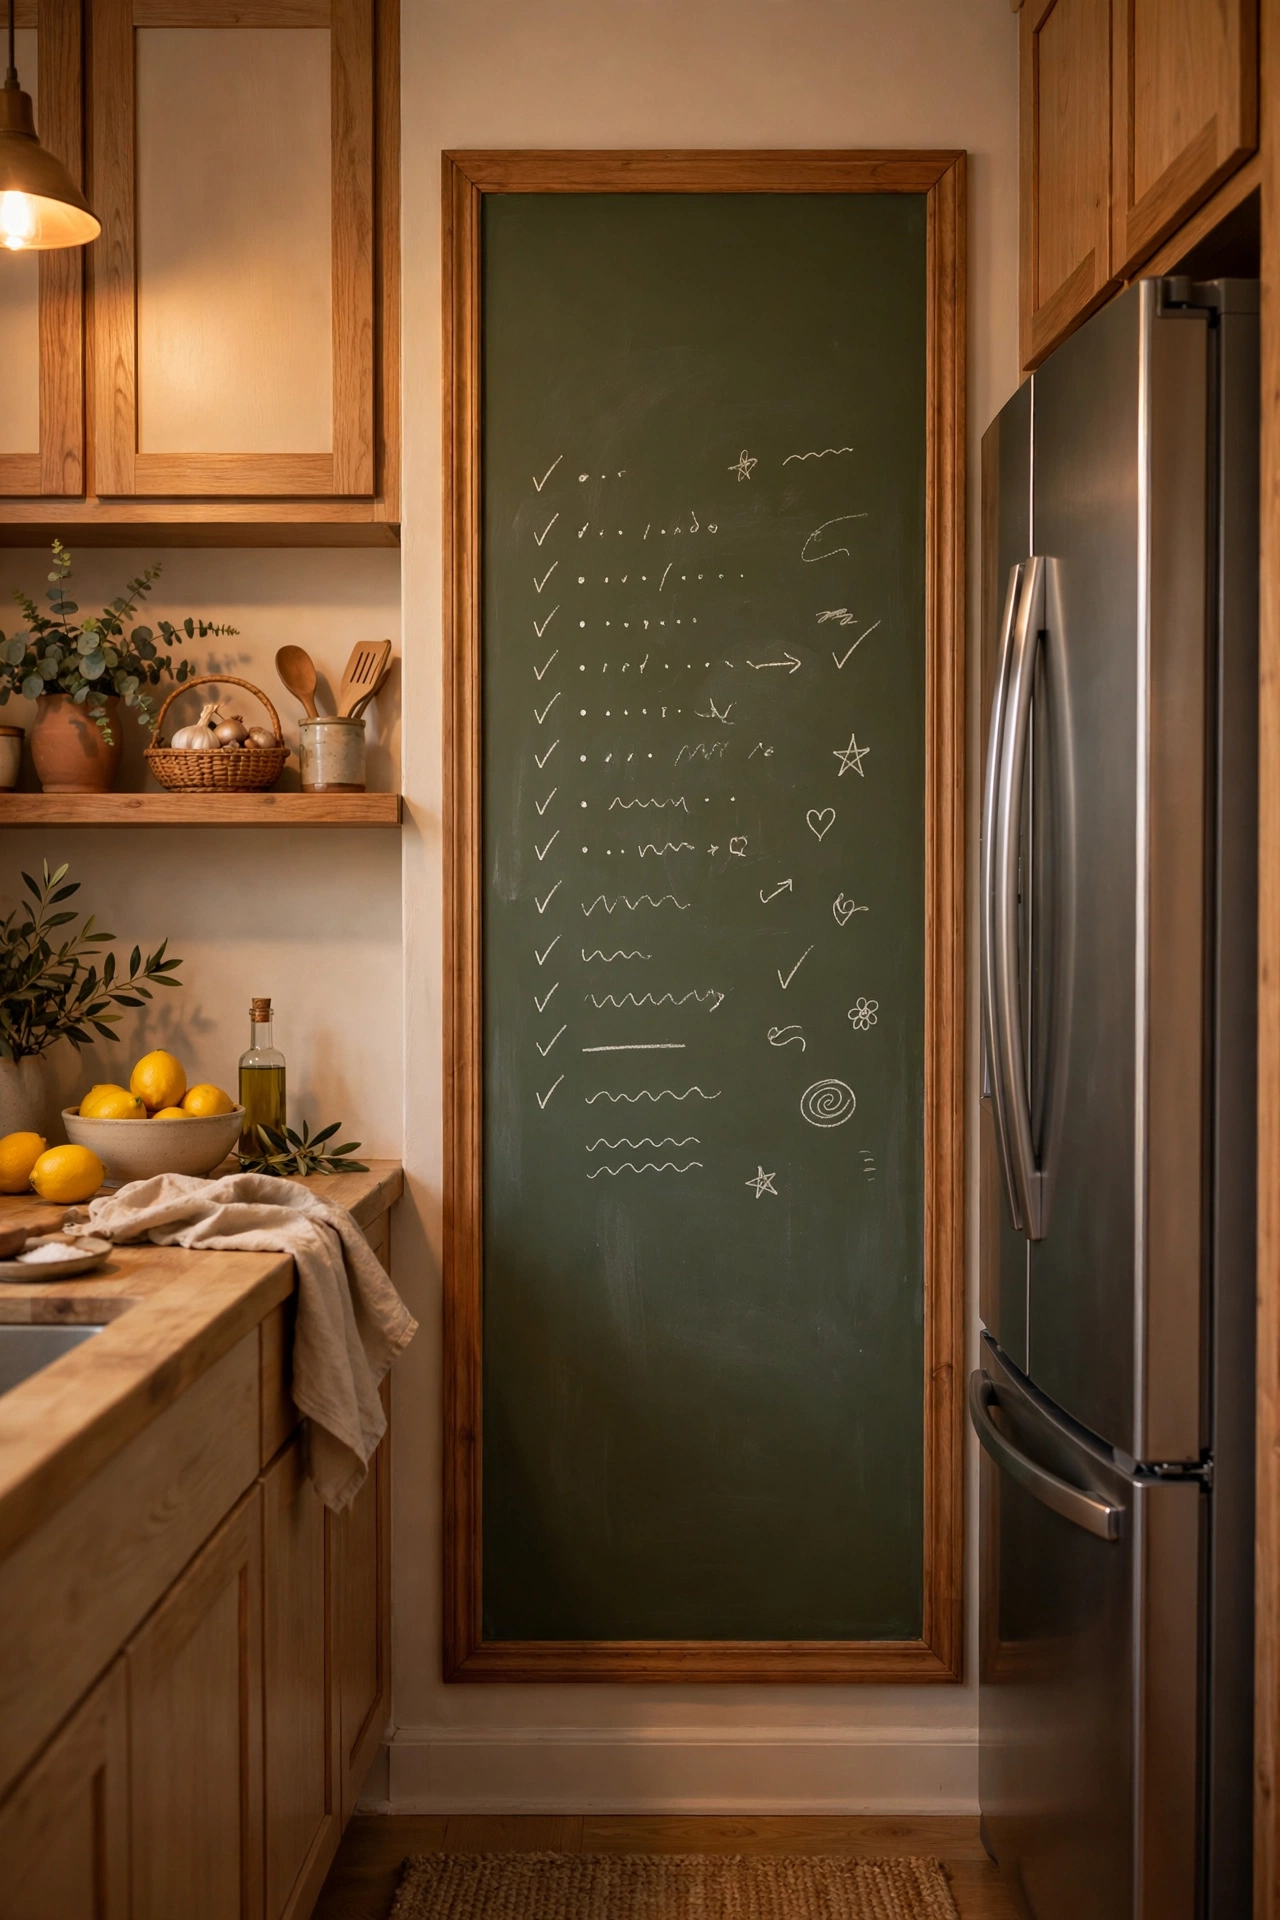
A panel of olive-tinted chalkboard paint by the fridge becomes the family organiser — menus, lists, reminders. I painted a 3-foot square and framed it with thin wood trim; it gets used daily. The olive tint looks far more sophisticated than standard black. Season the board with chalk rubbed over the whole surface first, or your first list ghosts permanently. Use chalk markers for neat writing that survives kitchen steam. The olive tint reads as sophisticated rather than playful, which suits a grown-up kitchen.
Cost: ~$20 | Time: 2 hours
4. Olive Painted Window Frames
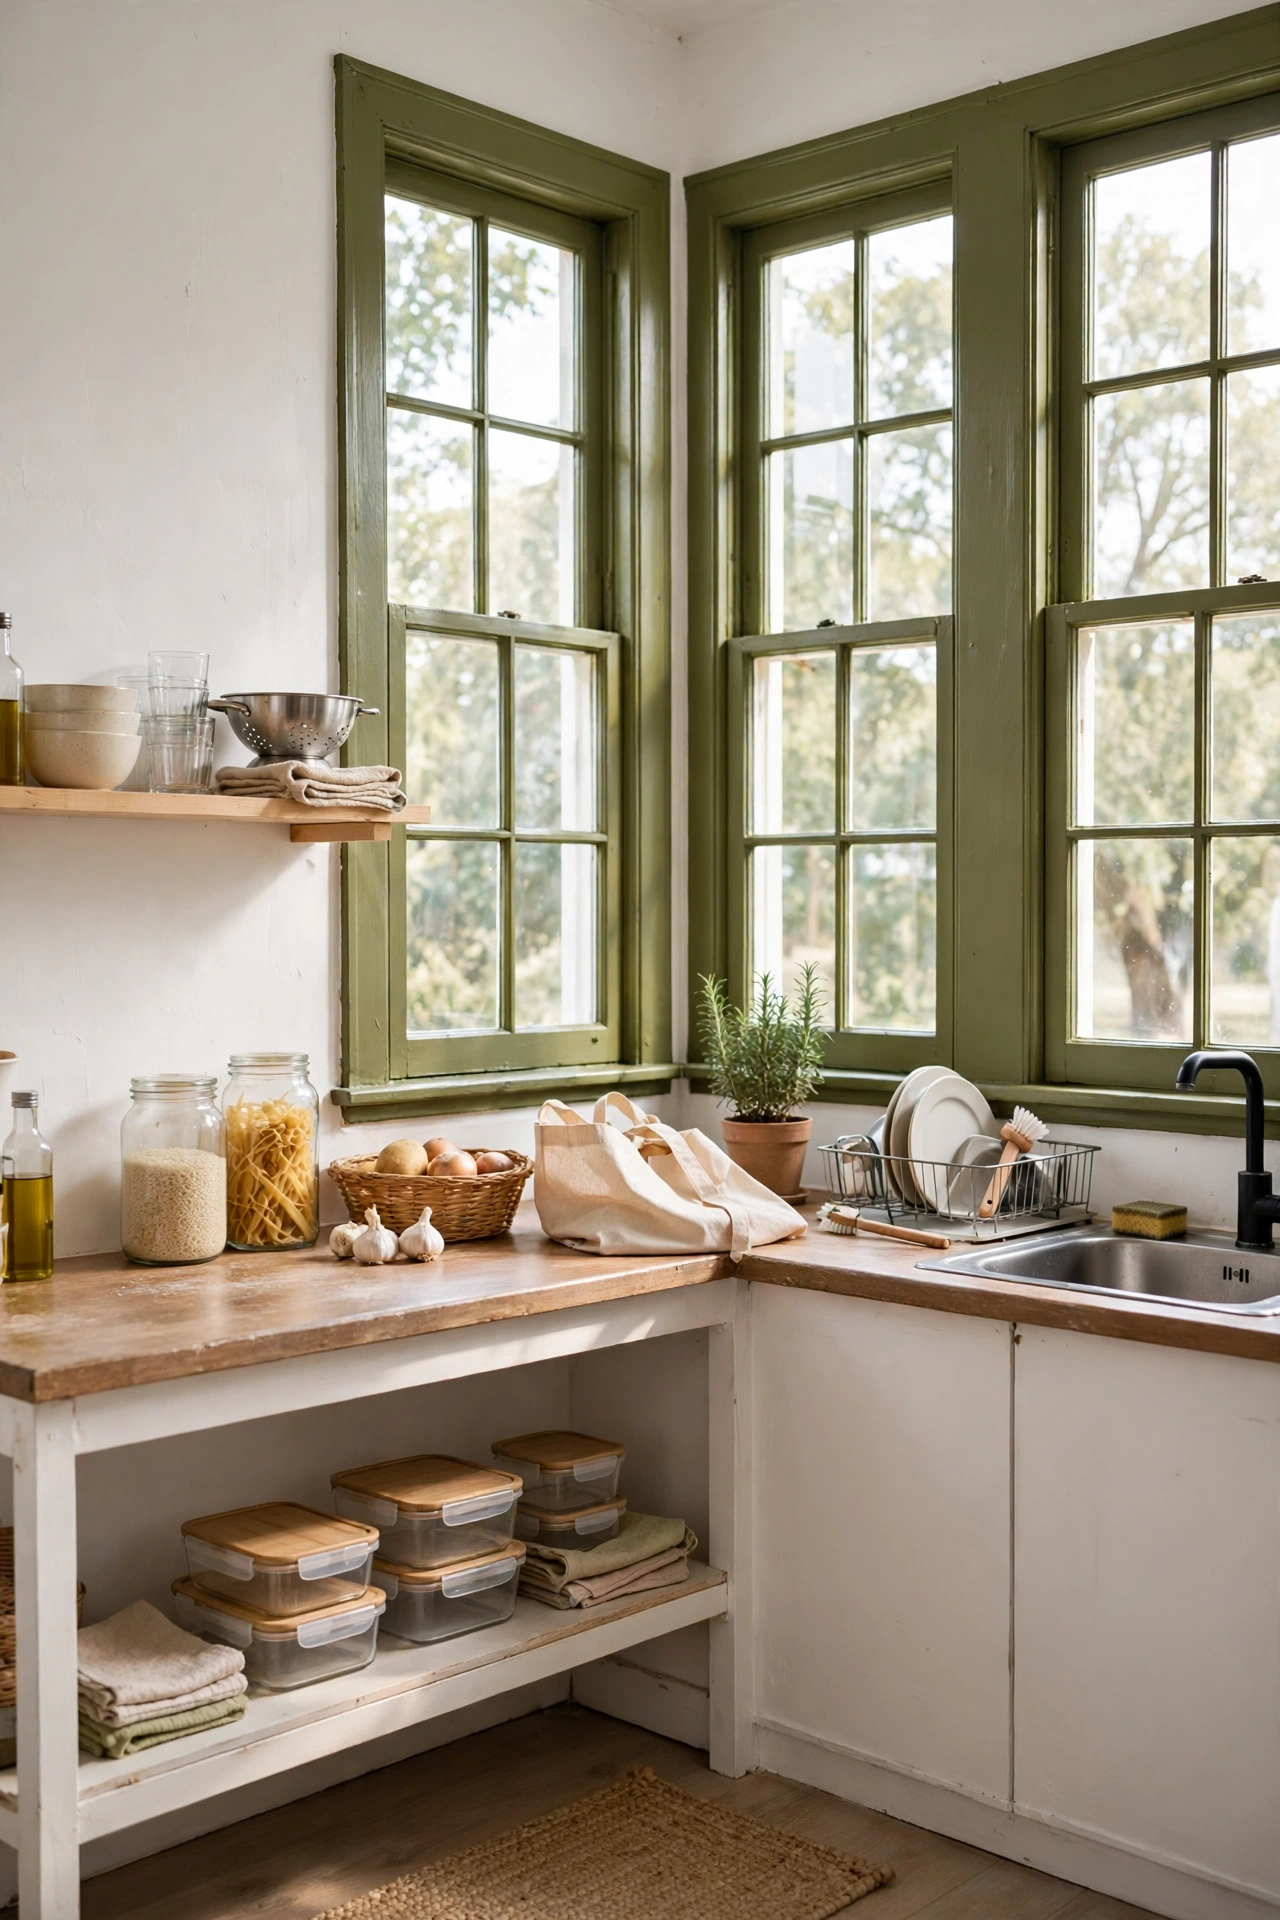
Painting just the window frames olive — walls stay white — is the subtle way in. I did mine on a whim with leftover paint and the window became a feature. The dark frames make the view pop like a picture frame. Use a satin finish for wipeability; window frames collect condensation. It’s a small area, so even a sample pot might do it. This pairs beautifully with the brass hardware coming up in idea 9. It also frames the view beautifully at night, when the glass goes dark and reflective.
Cost: ~$8 | Time: 2 hours
Cabinet Makeovers
5. Olive Lower Cabinets, Cream Uppers
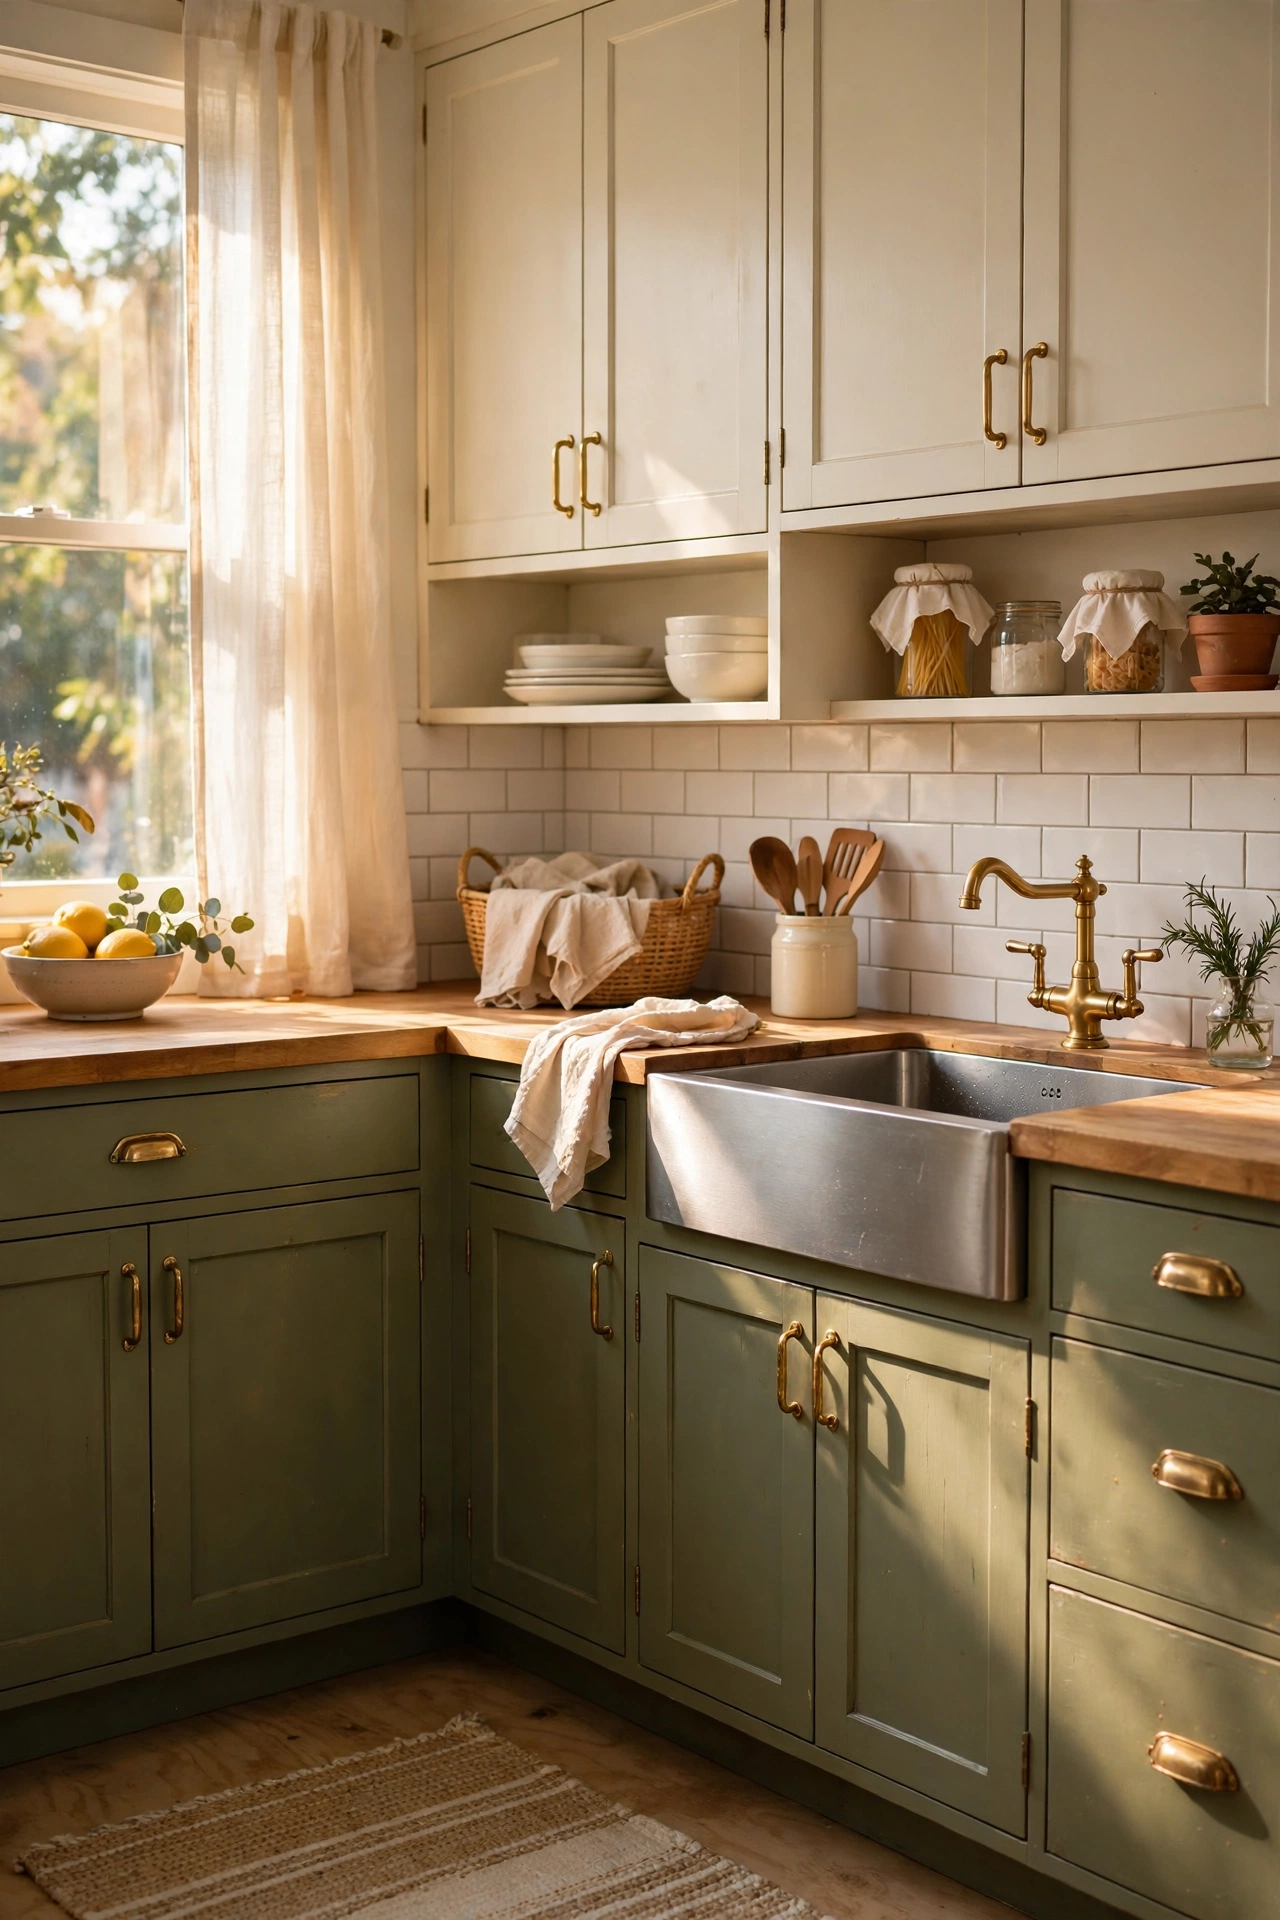
The classic two-tone: olive below, cream above. I painted my lowers a rich olive and the kitchen went from builder-basic to boutique. Olive hides scuffs and fingerprints far better than white — the practical argument is as strong as the pretty one. Remove doors, clean with sugar soap, prime, two thin coats. It’s a weekend’s work that reads like a full renovation. If you’re nervous, paint one door first. Two thin coats with a light sand between them give a smooth, factory-like finish.
Cost: ~$32 | Time: 1 weekend
6. Olive Painted Pantry Door
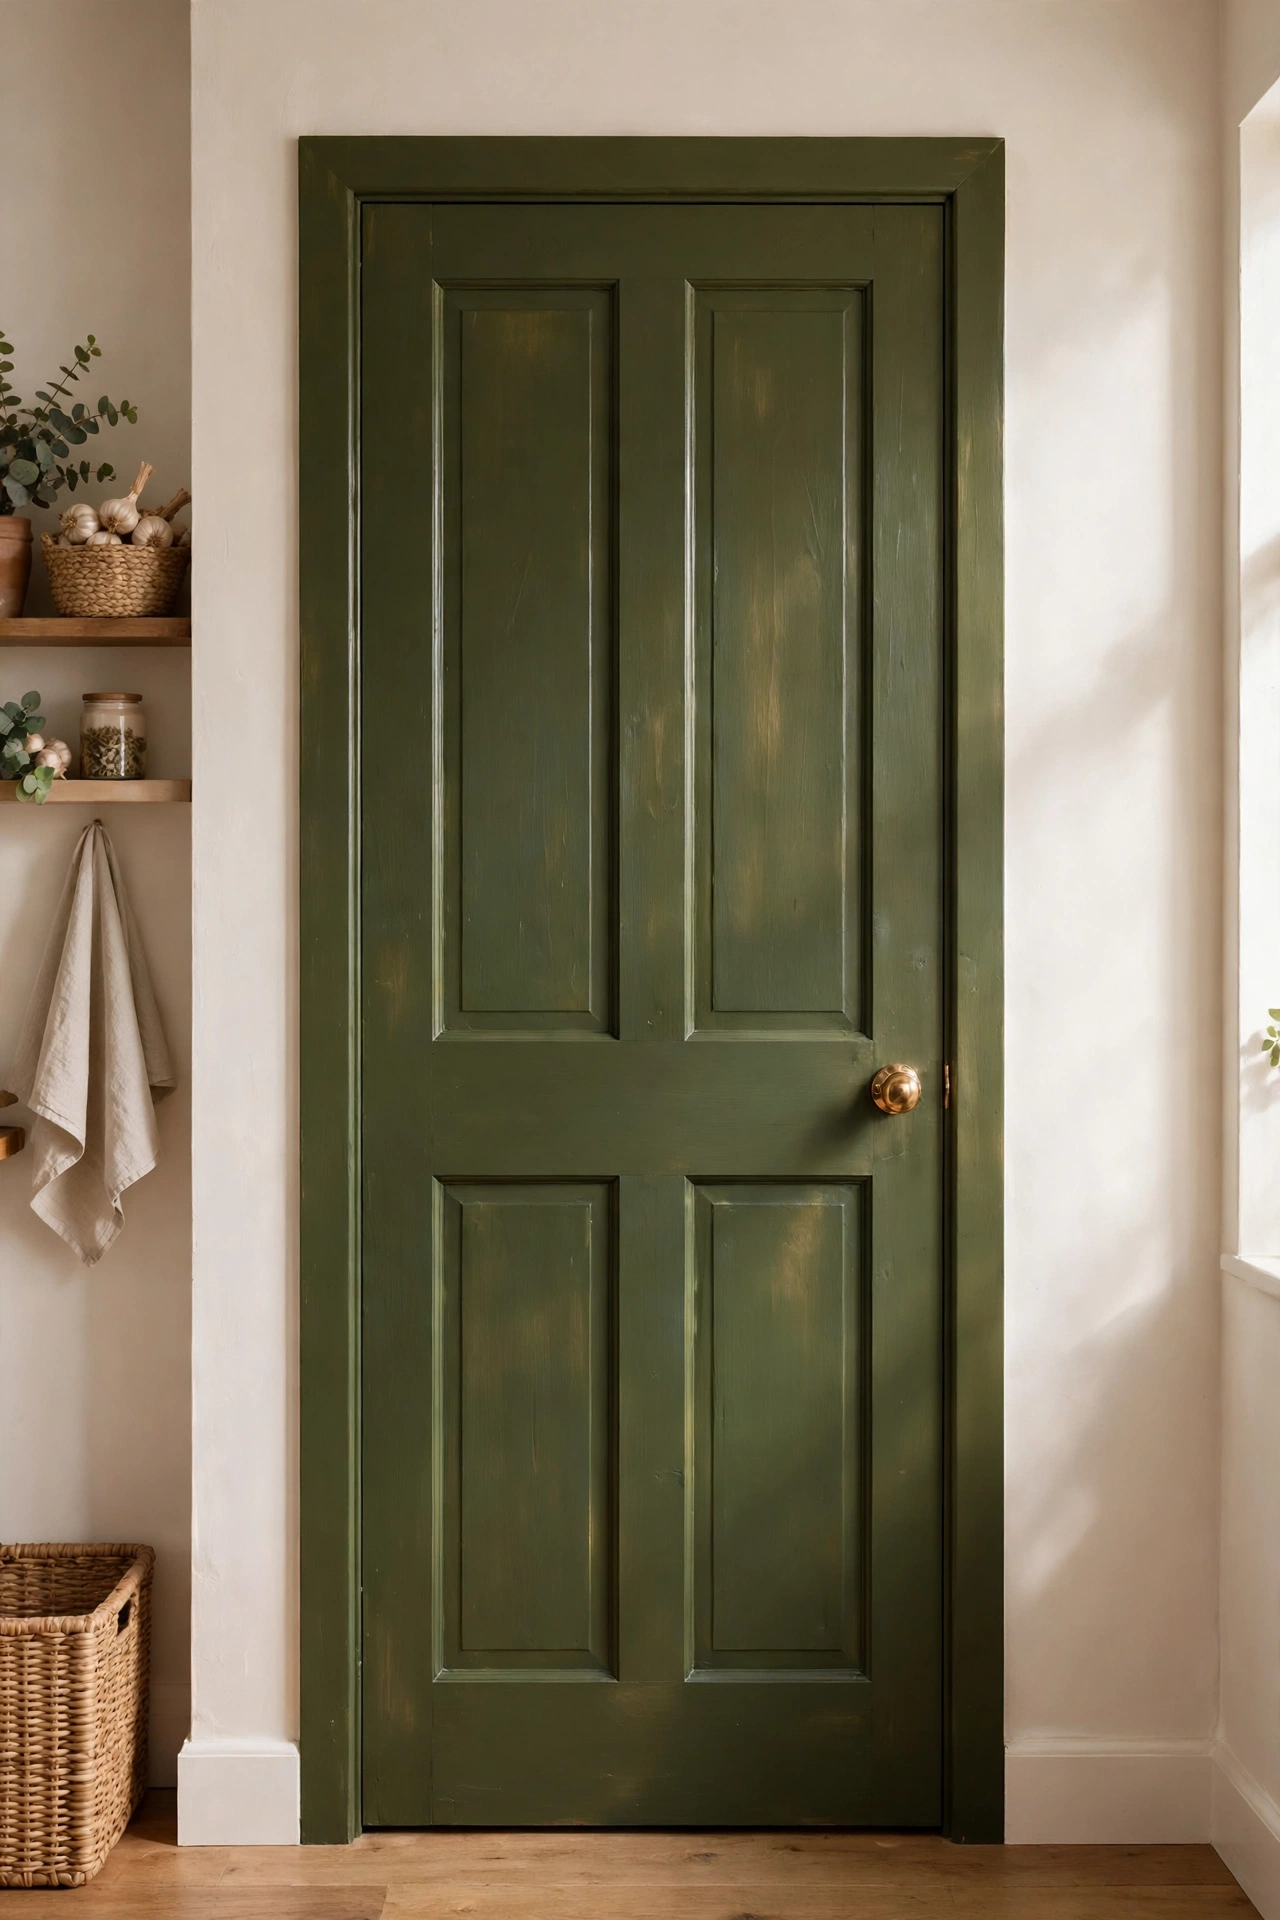
Painting just the pantry door olive turns a boring slab into a feature. I did mine in an afternoon with a sample pot and it anchors the whole wall. Add a brass knob while you’re at it — the combination is perfection. The door is small enough that you can be brave with a deep, rich olive. Sand lightly between coats for a smooth finish. It’s the lowest-commitment cabinet-adjacent project there is. A vintage-style brass knob completes the look — the two were clearly made for each other.
Cost: ~$10 | Time: 2 hours
7. Olive Island Base
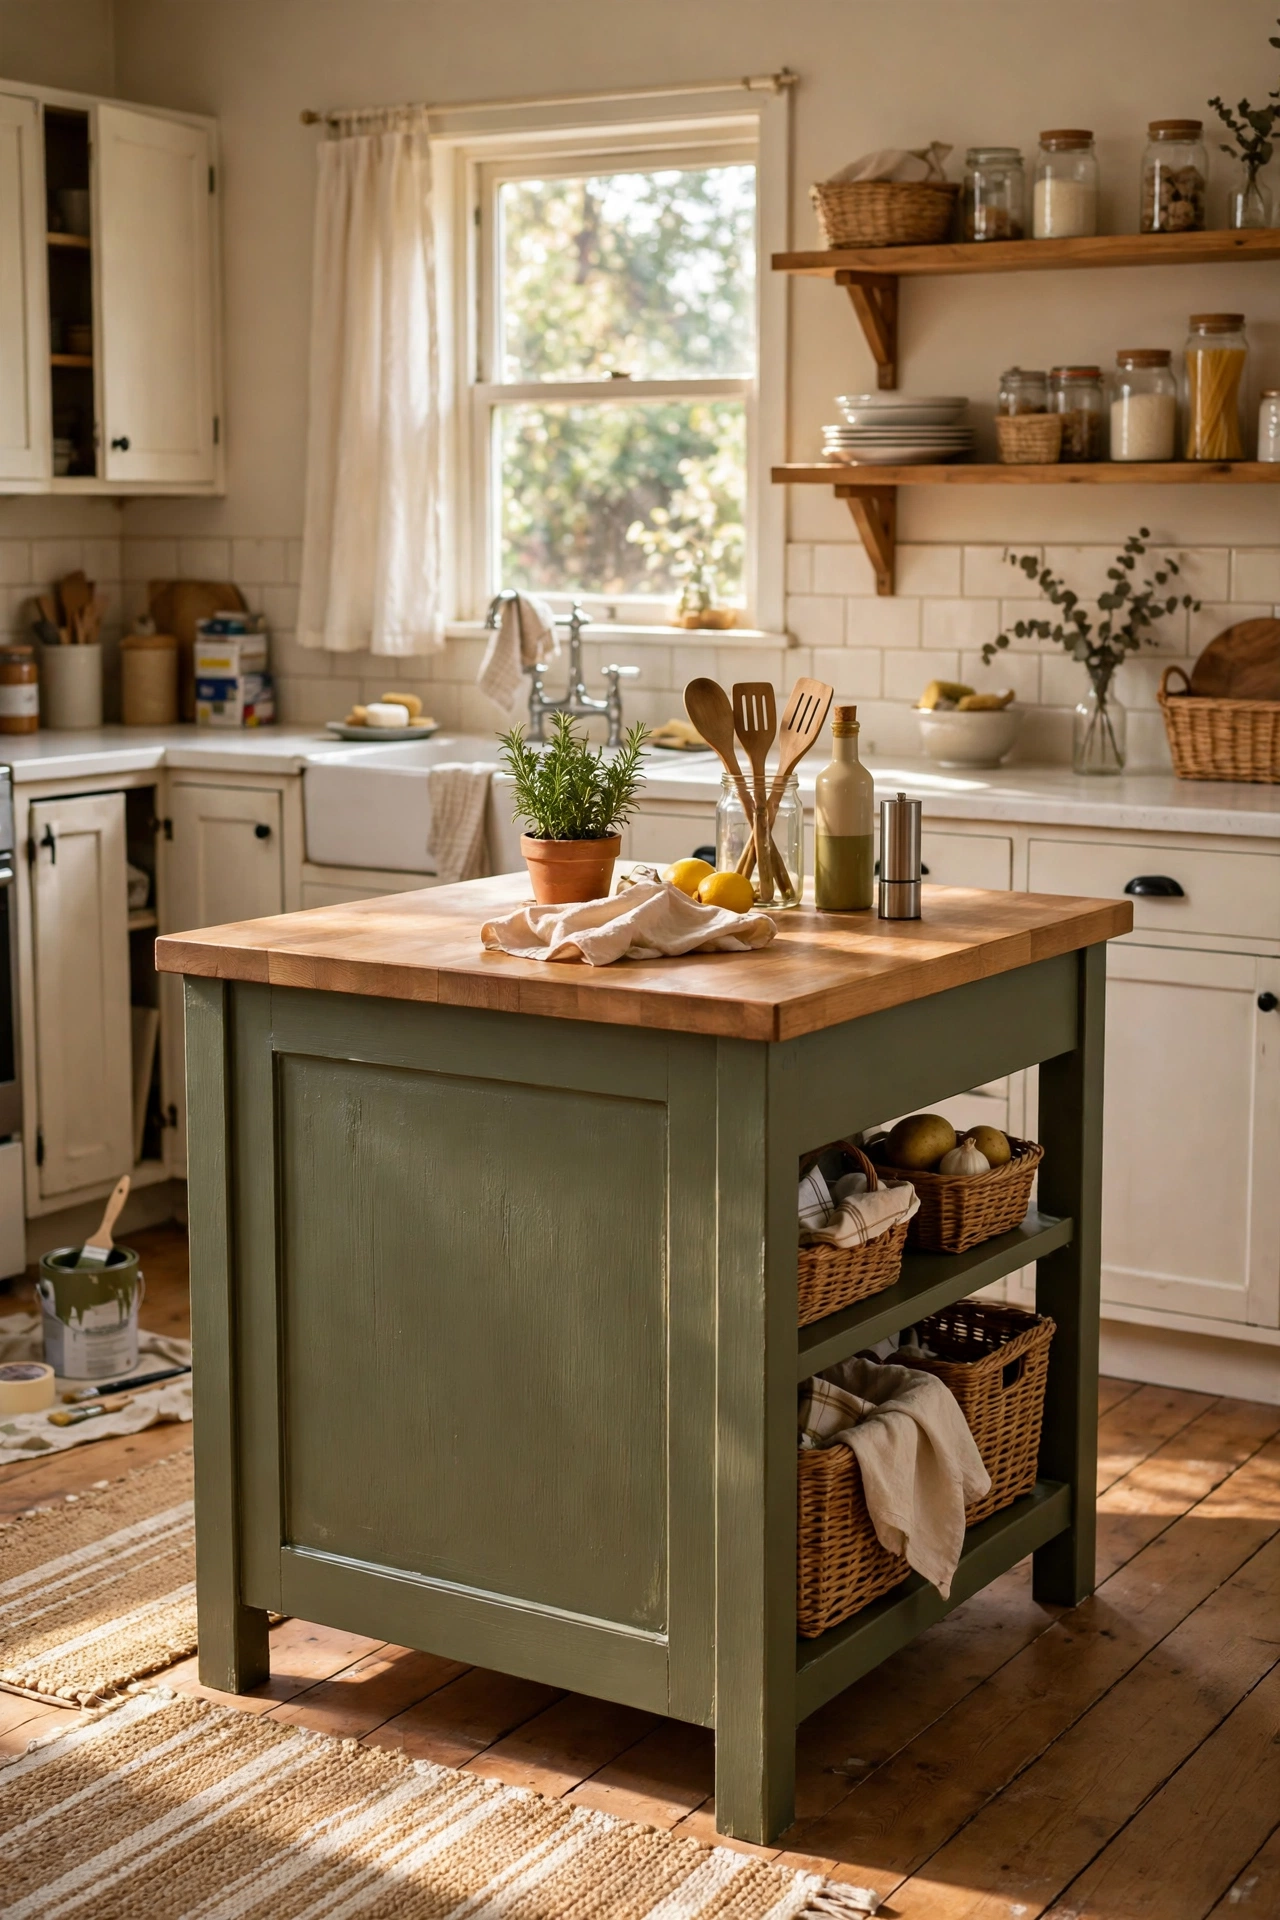
If you have an island or a freestanding unit, painting just the base olive makes it the room’s centrepiece. I painted my thrifted island base a deep olive and kept the top natural wood — the contrast is stunning. The island becomes furniture rather than fitted kitchen. Use durable cabinet paint; islands take knocks. This works even on a small rolling cart — the (see also: 17-small-kitchen-ideas-to-make-every-inch-count) trolley idea in olive would be gorgeous. The deep green makes the wood top look richer by contrast, like a proper furniture piece.
Cost: ~$18 | Time: 4 hours
8. Olive Inside Open Cabinets
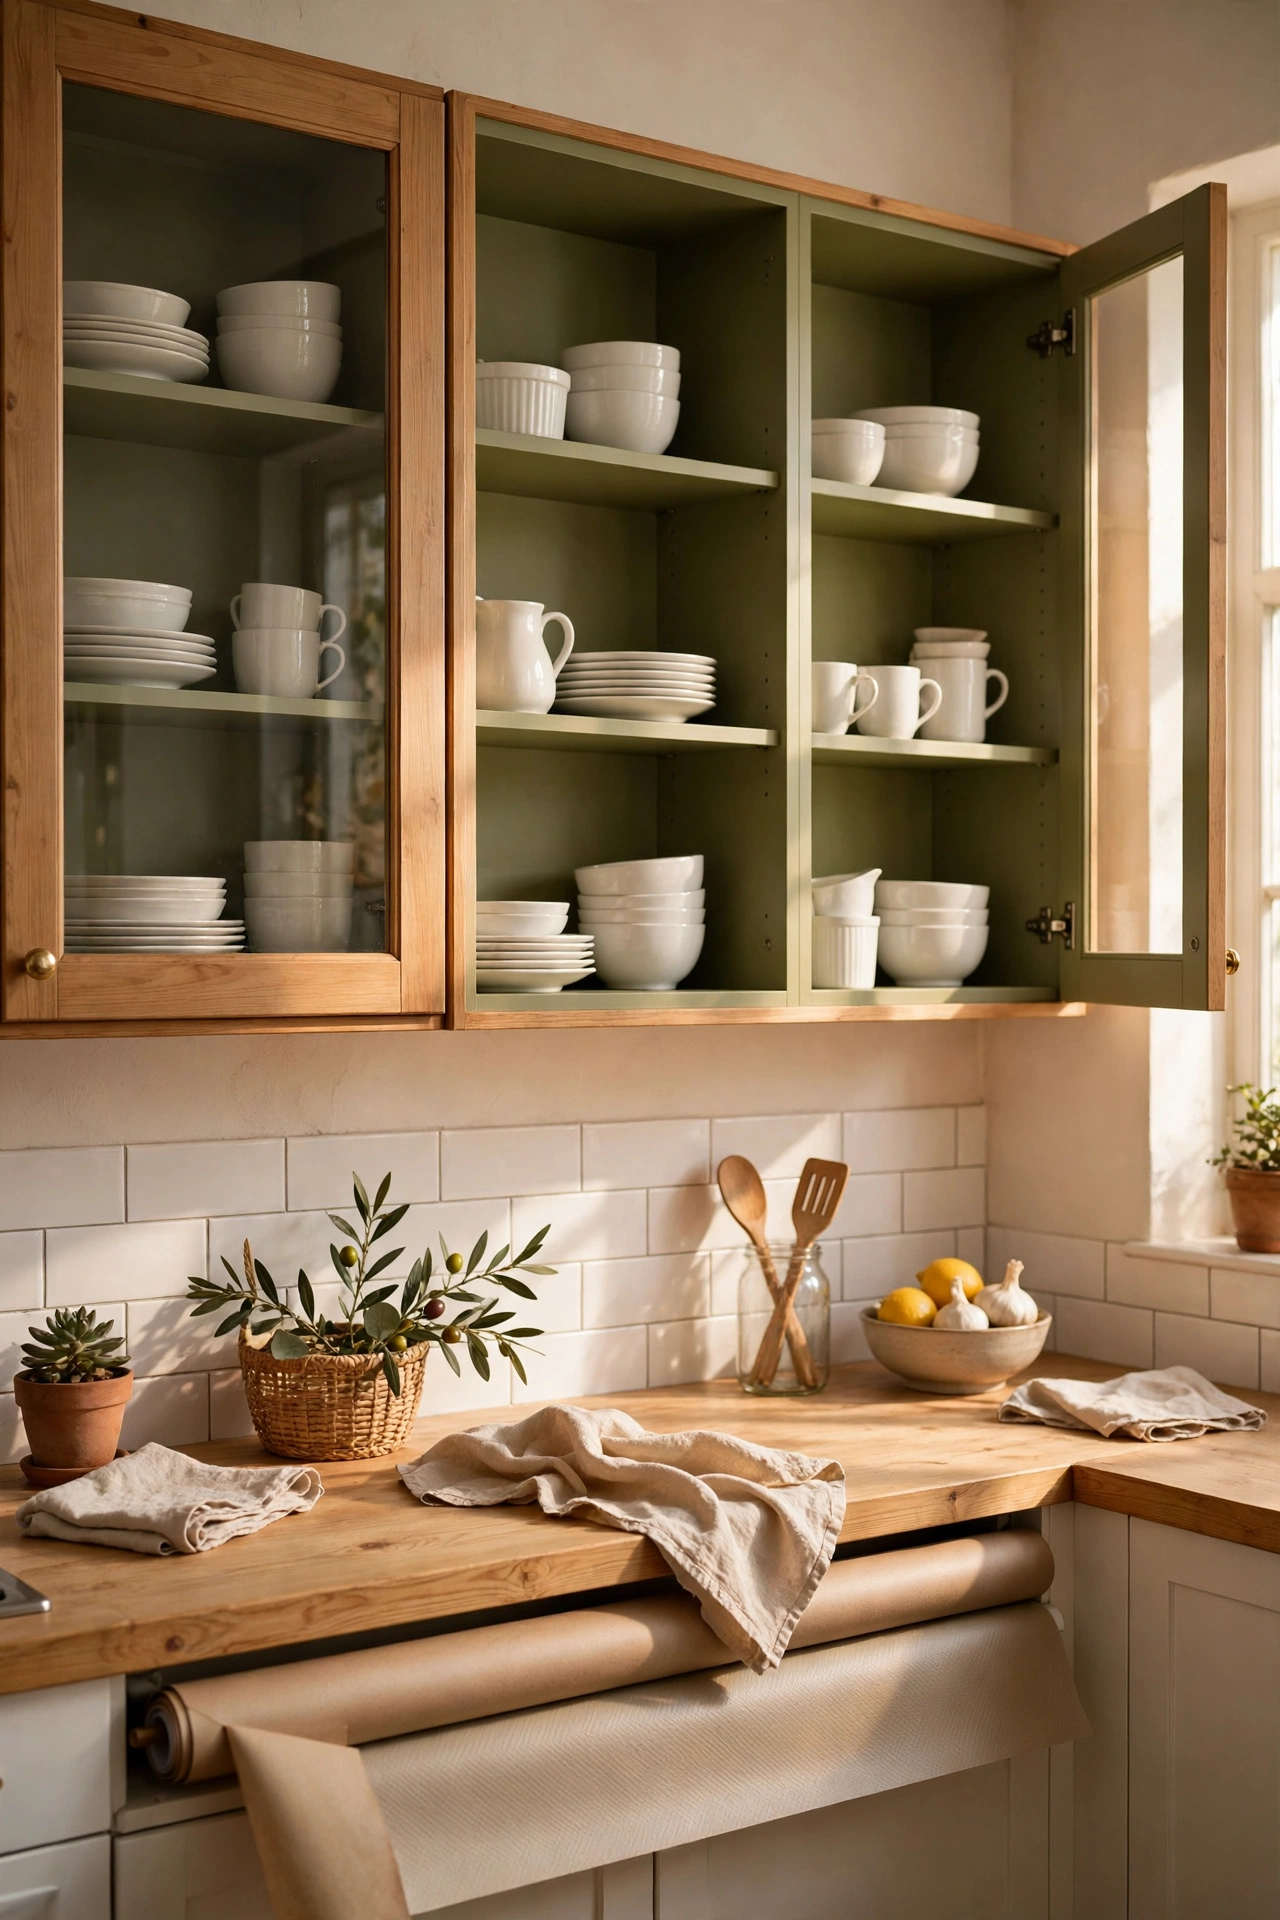
Paint the interiors of glass-front cabinets olive and your crockery gets a jewel-box backdrop. I did this with a sample pot and my white plates look like museum pieces. It’s invisible when the doors are closed, so it’s commitment-free. The dark interior also hides the clutter of less-pretty items. One coat is usually enough inside a cabinet. This is my favourite secret-weapon trick for boring kitchens. White crockery practically glows against it, and coloured pieces look richer too — like they are in a gallery.
Cost: ~$8 | Time: 1 hour
Textiles & Soft Goods
9. Olive Linen Cafe Curtains
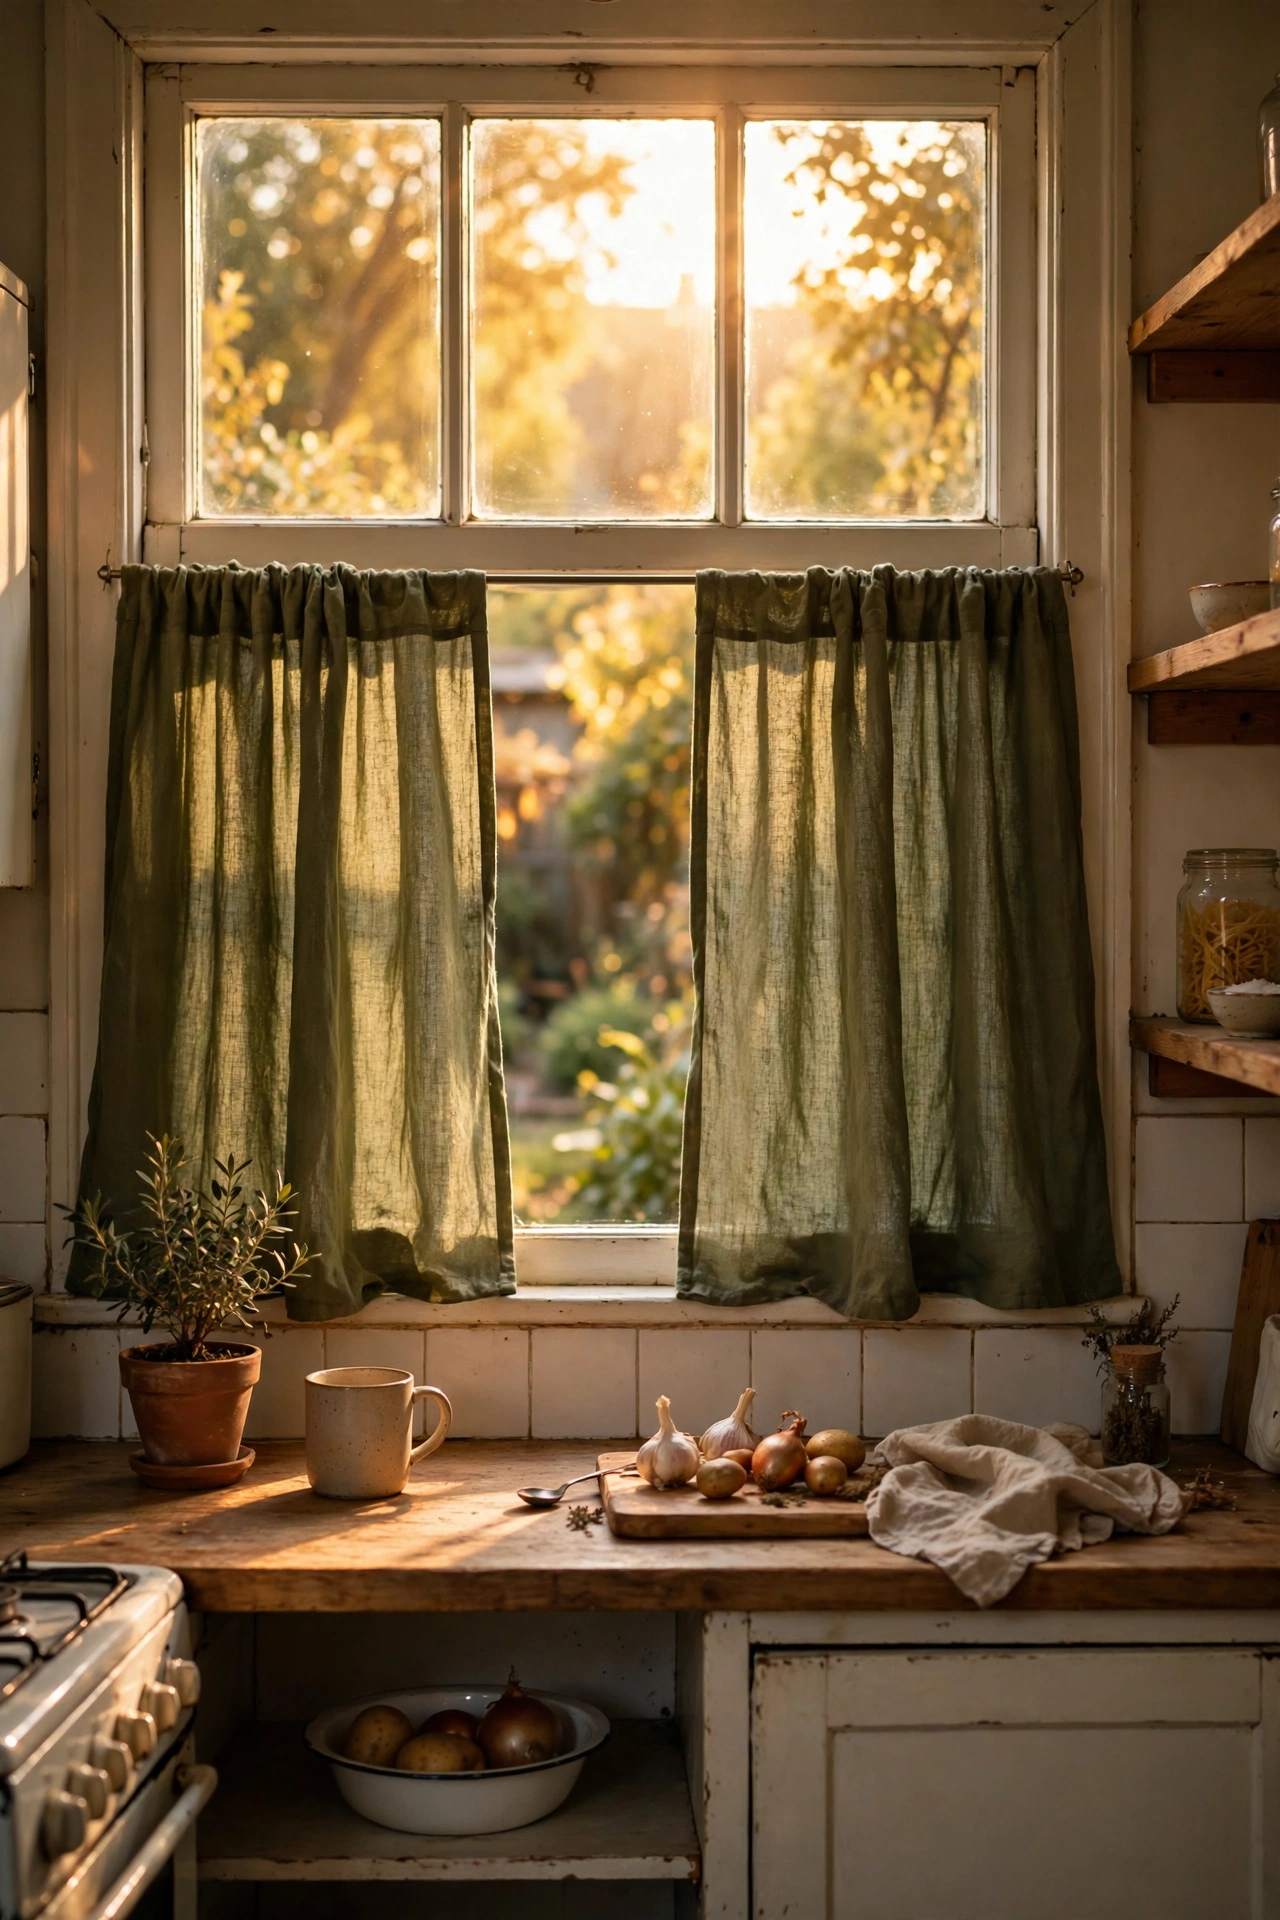
Olive linen cafe curtains on a tension rod add earthy softness to the window. I made mine from an olive duvet cover — £9, cut, hemmed, done. The colour filters light into something warm and golden. They hide the bins while letting the sky in. Wash them with the tea towels; linen softens beautifully. Iron-on hemming tape means no sewing machine needed. I tried this and the one mistake to avoid is hanging them too long — cafe curtains should clear the sill.
Cost: ~$14 | Time: 1 hour
10. Olive and Cream Striped Runner
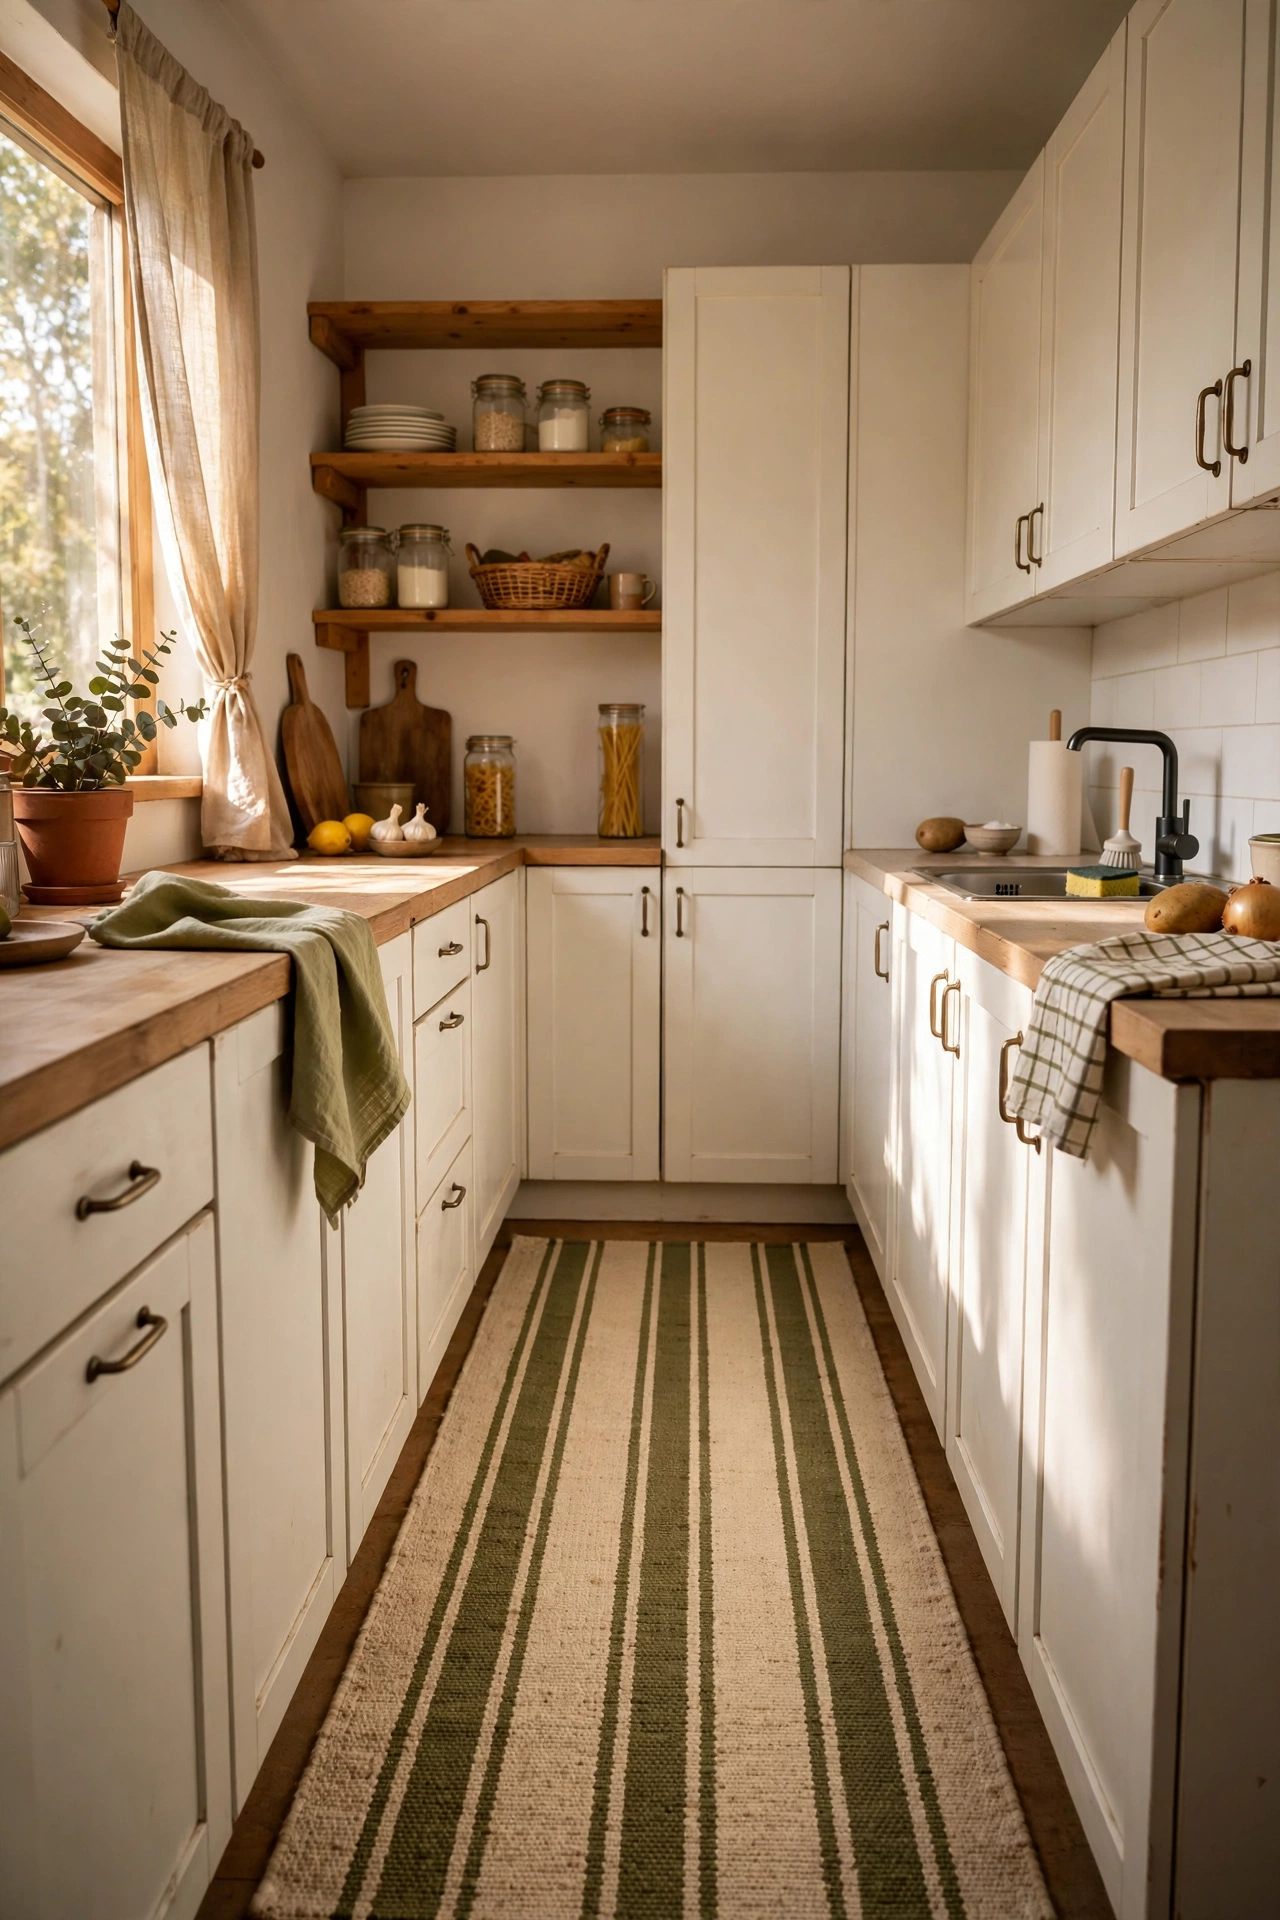
A flat-weave runner with olive stripes anchors the floor and pulls the colour down. I found a washable one for £26 and it’s the hardest-working textile in the kitchen. The stripes hide crumbs between washes — the whole point of a patterned rug. Flat weave only; pile becomes a crumb archive. The olive picks up the cabinet colour and makes the room feel designed rather than decorated. The stripes also disguise the join if you need two runners to cover a long galley.
Cost: ~$30 | Time: 5 minutes
11. Olive Waffle-Weave Dish Towels
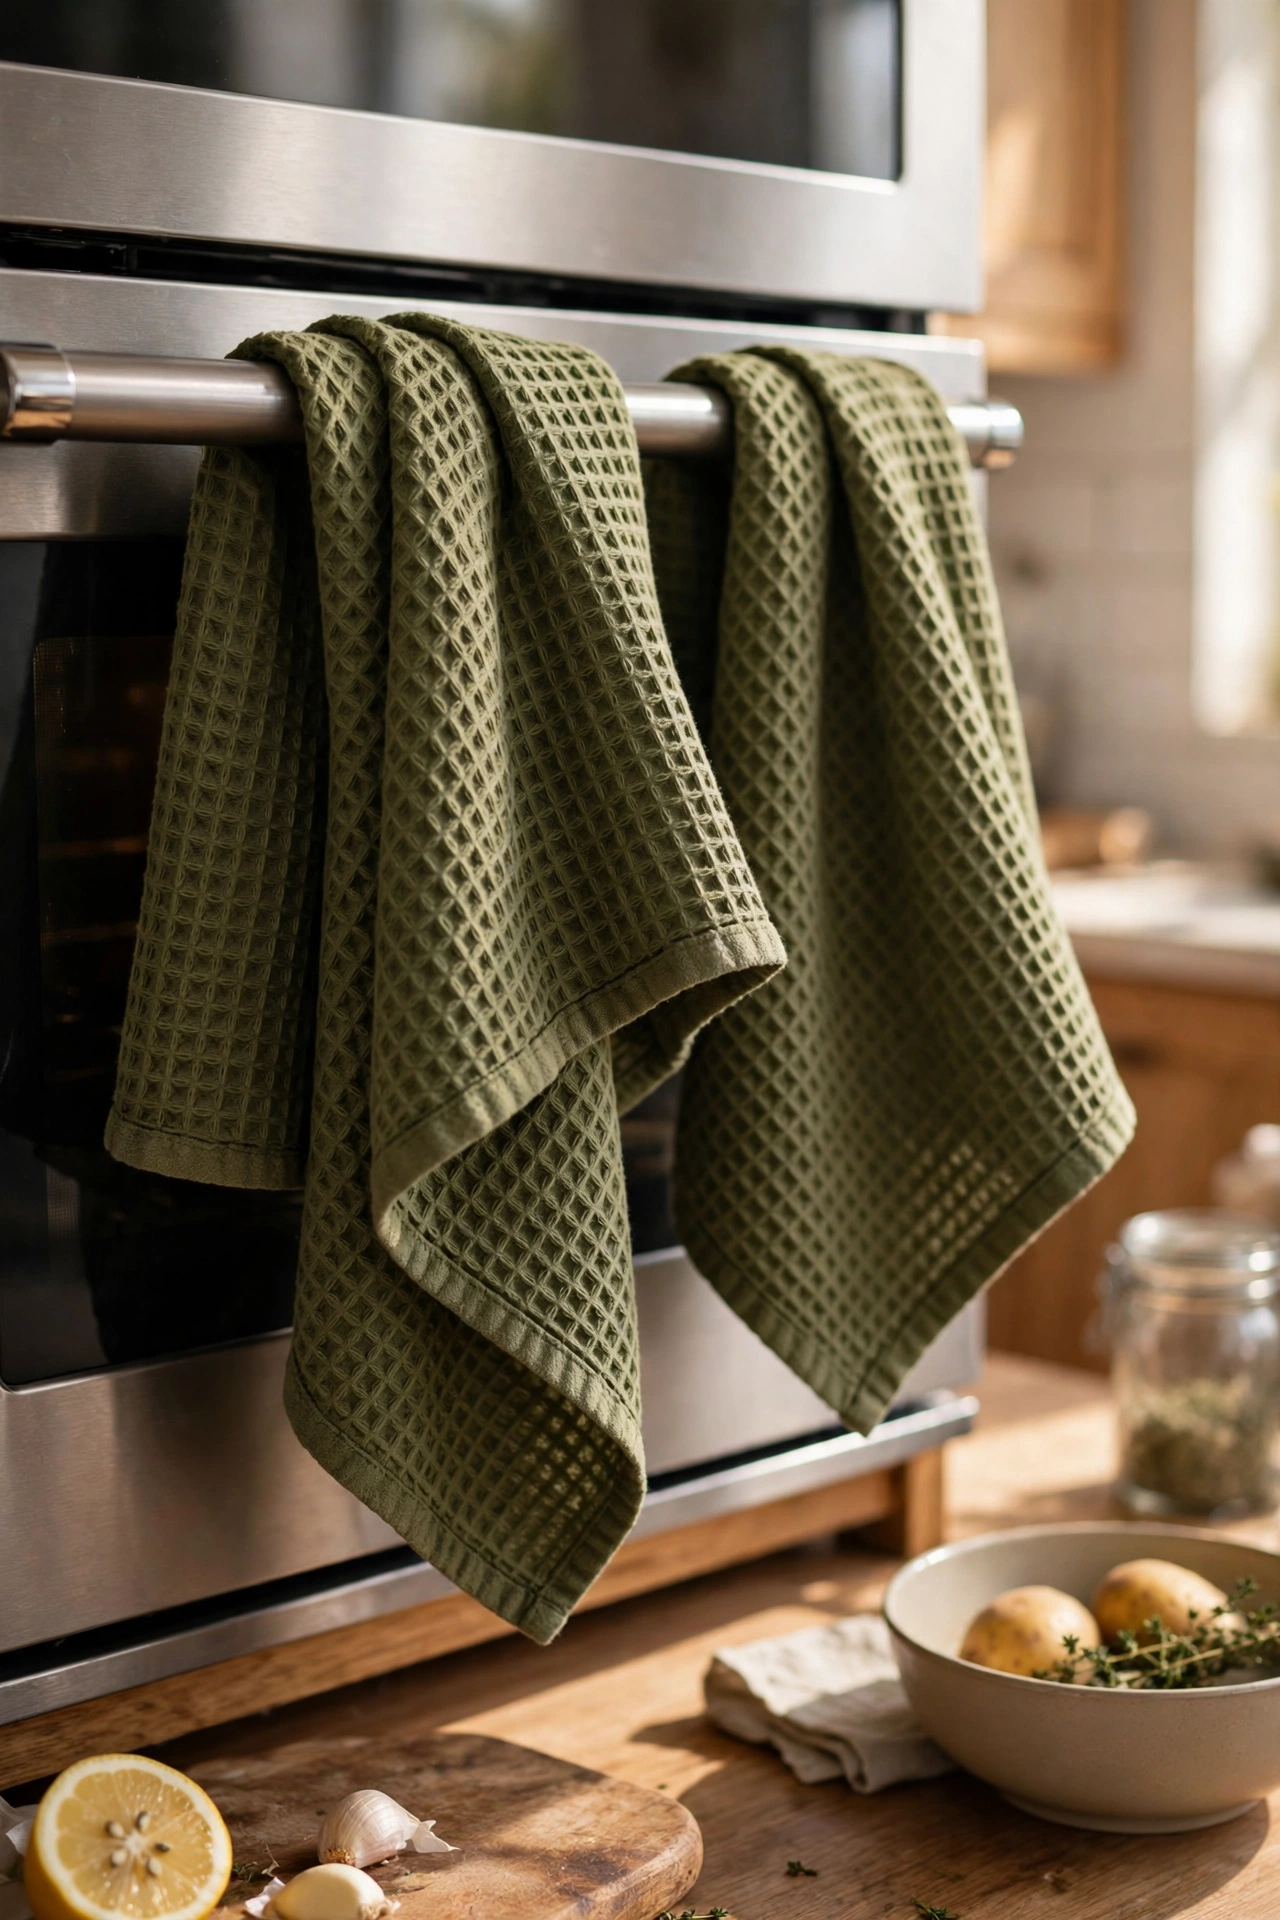
Olive waffle-weave tea towels are the fastest update on this list. I swapped mine for £10 and the oven handle finally matched the room. Waffle weave looks far more expensive than it is and dries brilliantly. Buy cotton, not microfibre. Hang them folded in thirds so the texture shows. Keep one in use and one clean so they last. This is the renter’s olive — zero permission required. They dry dishes surprisingly well for their size — the waffle texture is doing real work.
Cost: ~$12 | Time: 5 minutes
12. Olive Seat Pads
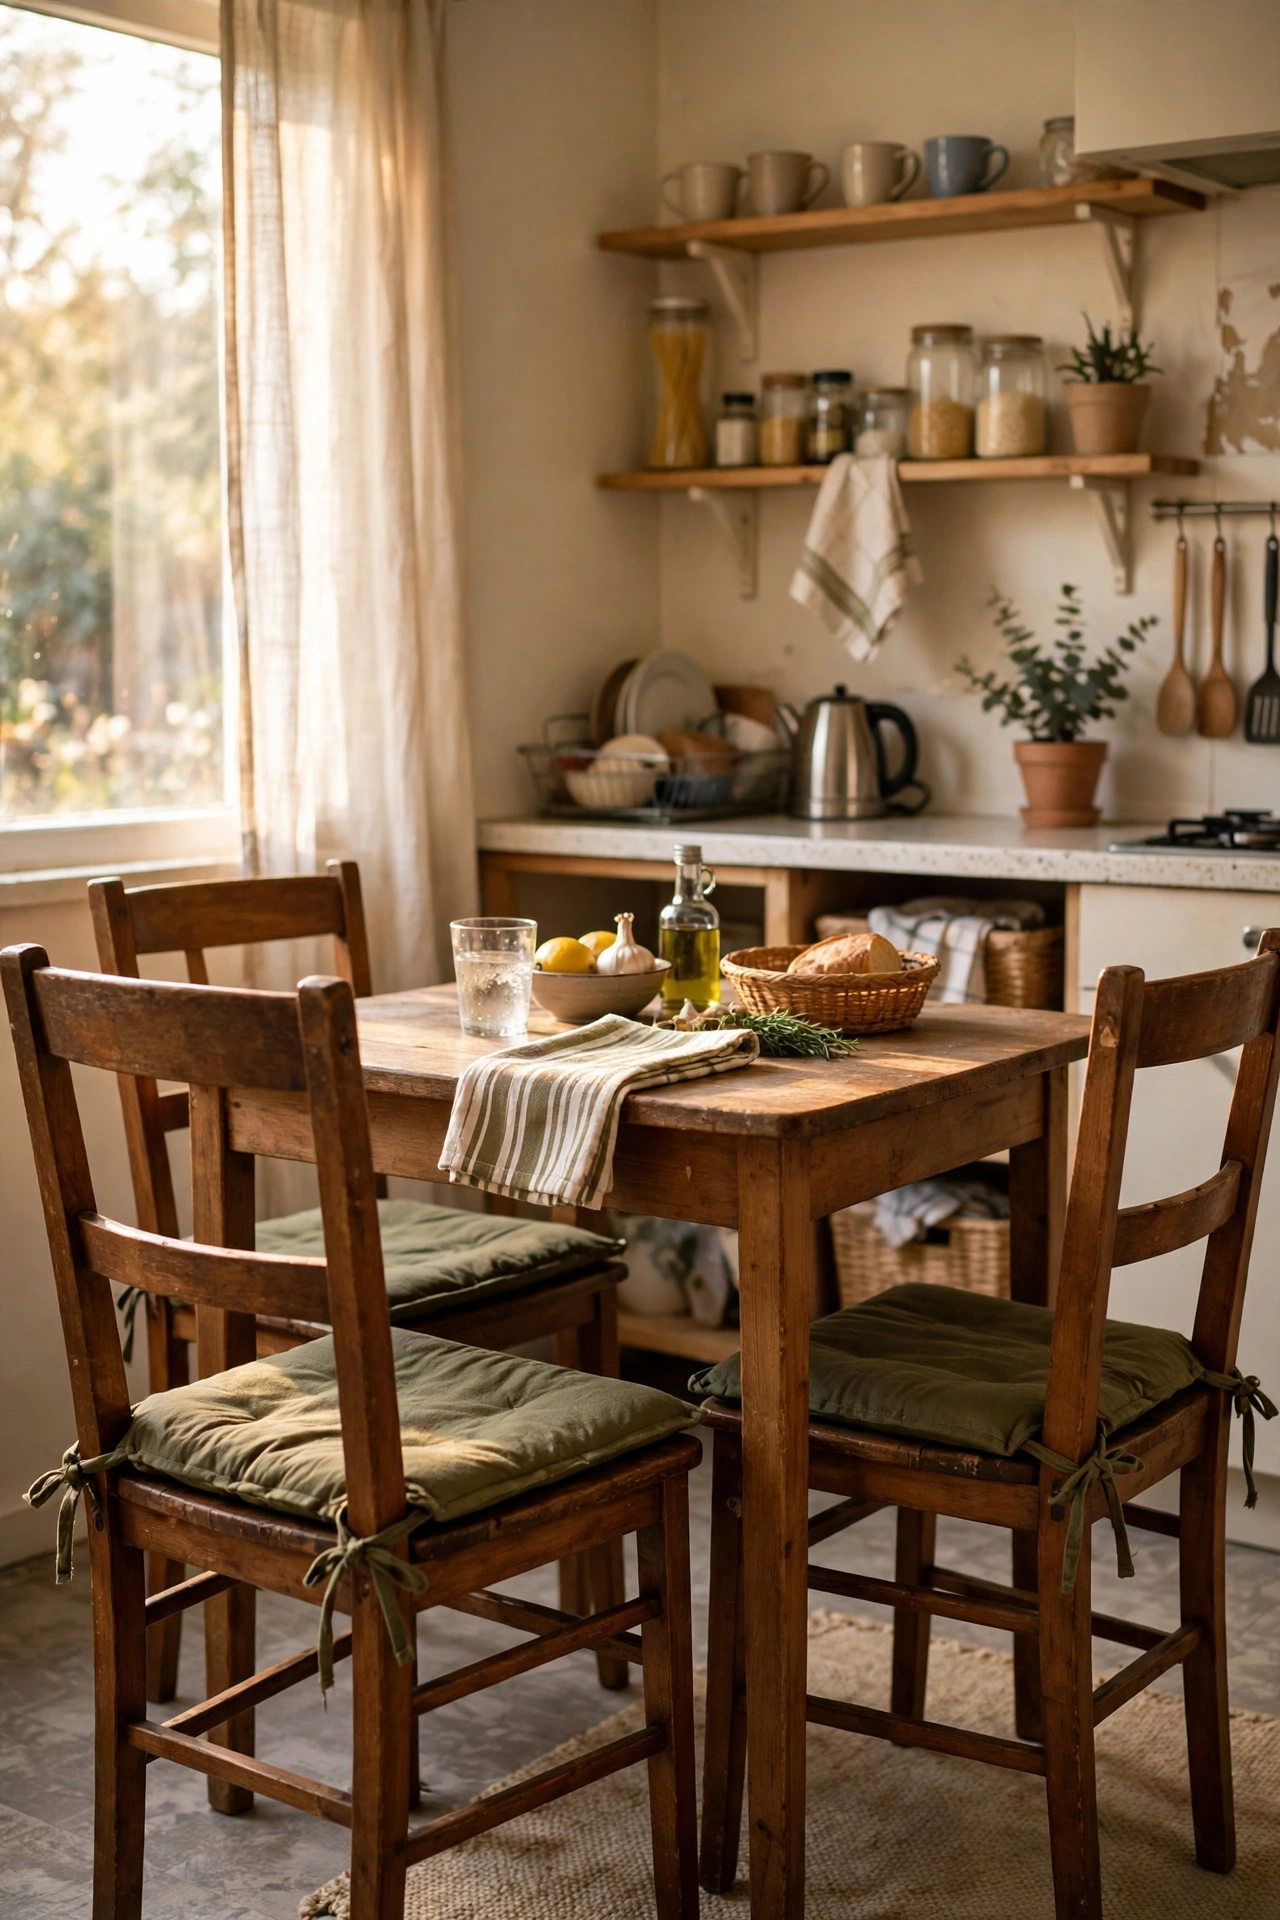
Olive seat pads on wooden chairs bring the colour to the table. I made four from an olive duvet cover for £9 — tie-on style, which stays put better than elastic. The earthy green softens dark wood beautifully. Removable covers are essential; kitchen chairs earn their stains. If your chairs are pale wood, olive adds the contrast they need. They make the dining corner feel like a deliberate part of the kitchen scheme. The earthy tone hides the odd stain far better than pale covers, which show everything.
Cost: ~$14 | Time: 1 hour
13. Olive Apron on a Hook
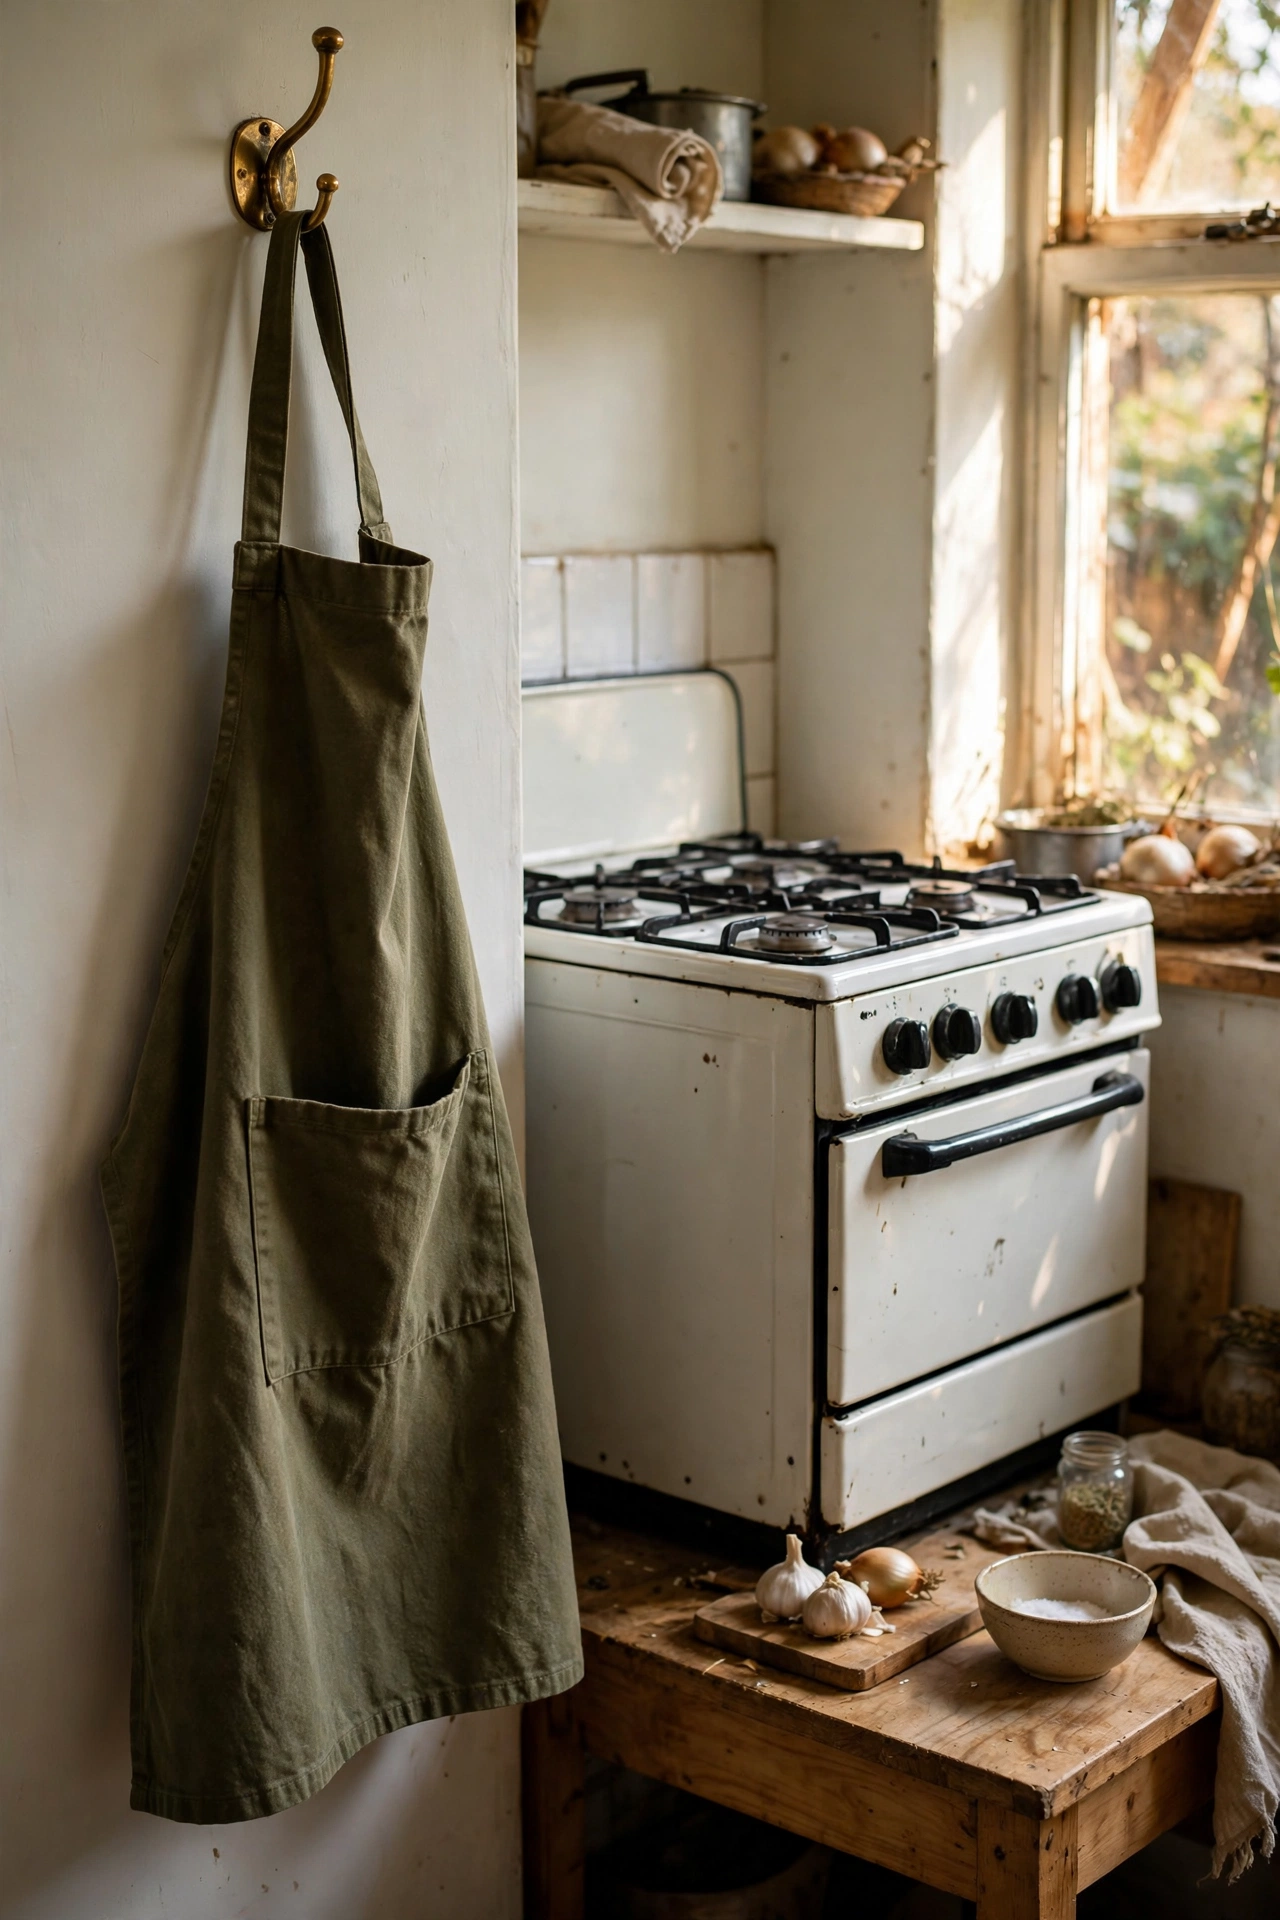
An olive canvas apron on a brass hook by the cooker is decor that works for its living. I bought a heavyweight one for £14 and it lives on display — guests always ask about it. Canvas softens with use and the olive hides every splash. The cross-back style doesn’t strangle your neck. It also makes a great gift for the cook in your life. Choose one with proper pockets; an apron without pockets is just a bib. The heavy canvas softens beautifully with age, moulding to you like a favourite jacket.
Cost: ~$18 | Time: 5 minutes
Tabletop & Accents
14. Olive Ceramic Canister Set
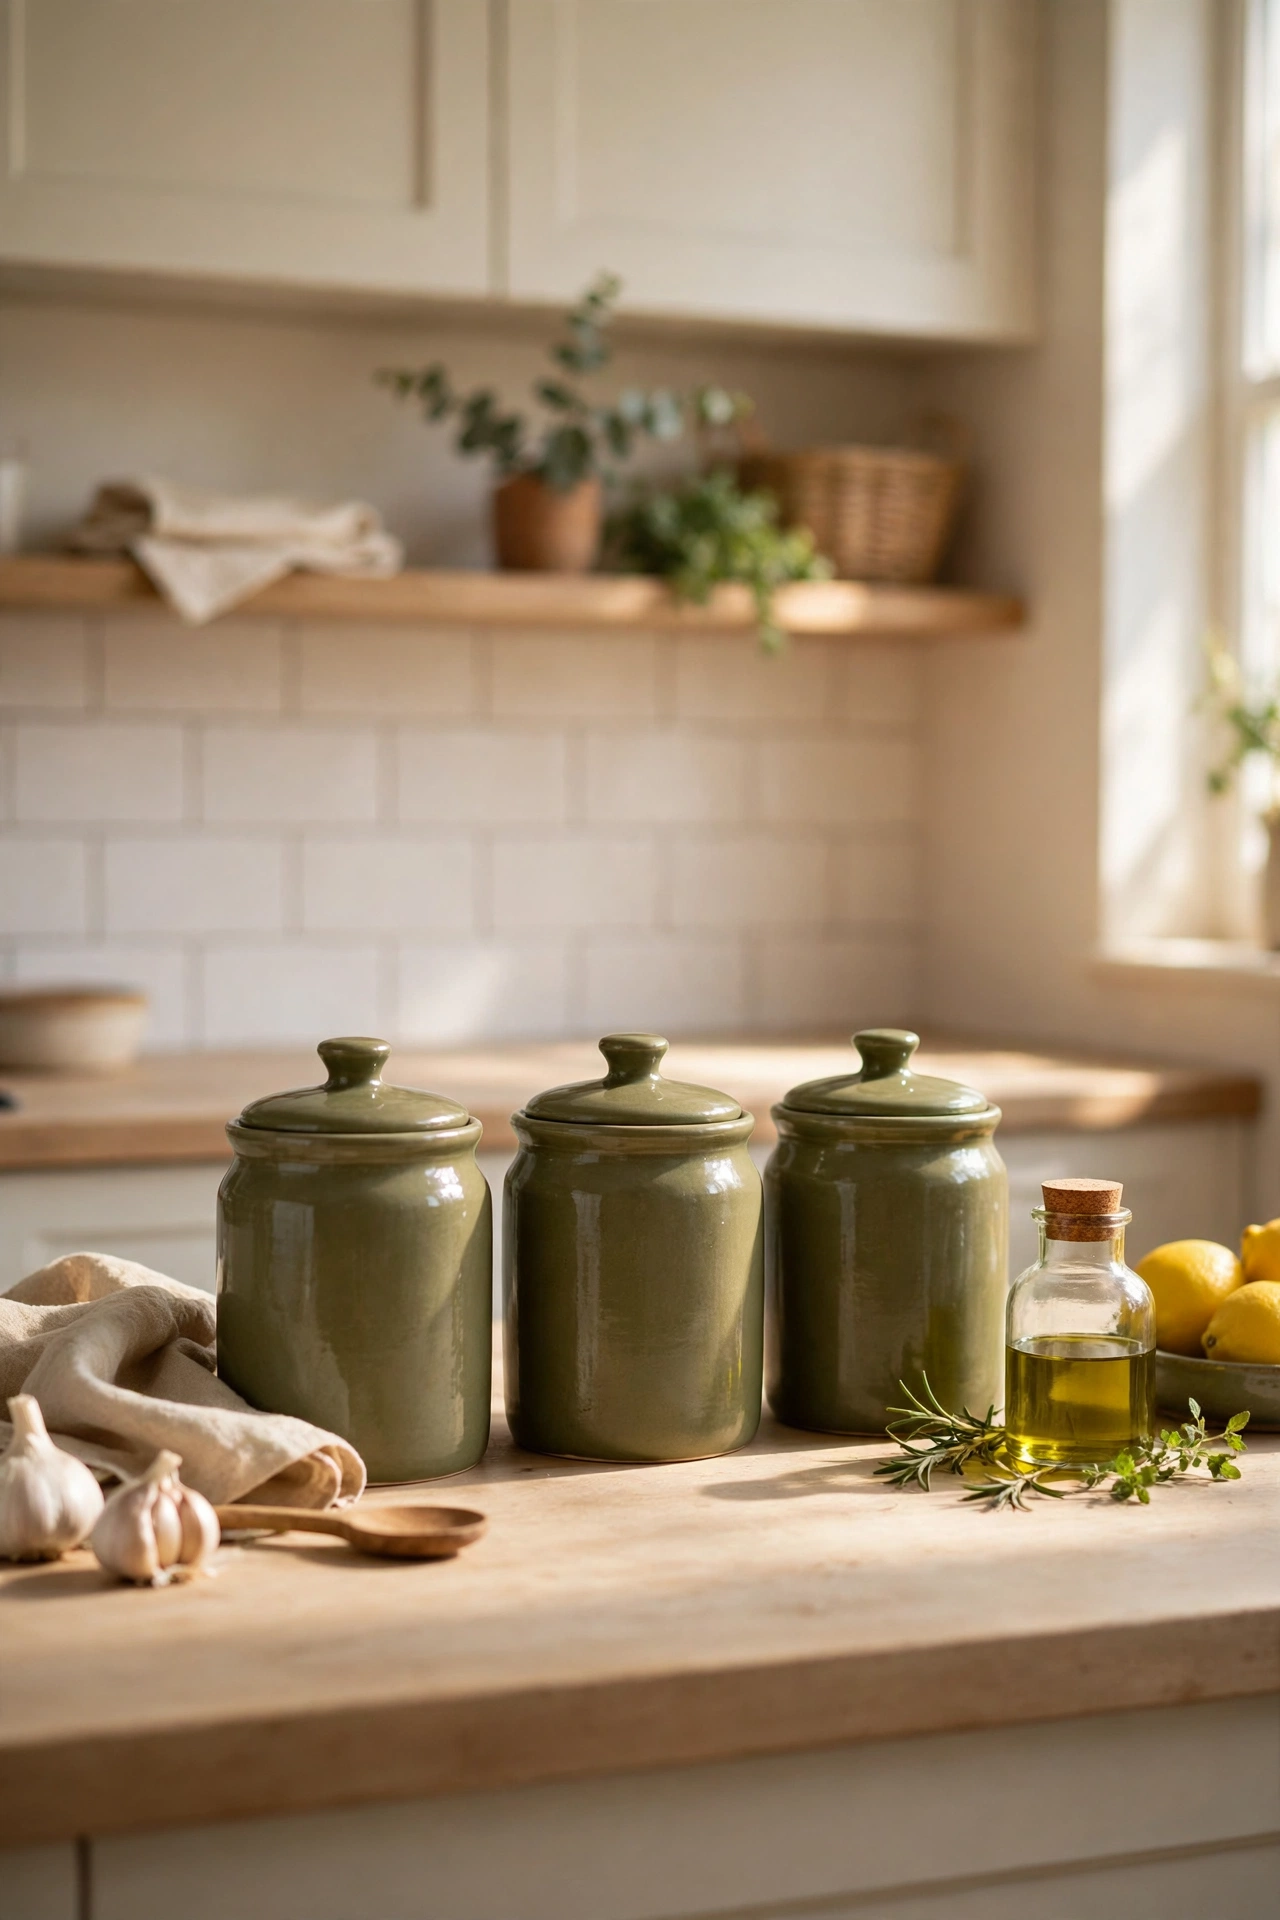
Olive ceramic canisters on the counter add colour and hide ugly packaging. I found a set of three for £15 and decanted flour, sugar and coffee the same day. The earthy glaze looks handmade even when it isn’t. Airtight lids keep things fresher than the original bags. Line them up by height near where you bake. The (see also: 21-sage-green-kitchen-ideas-on-a-dime) canister idea works the same way if you prefer a softer green. I keep mine near the kettle, since tea and coffee are the morning ritual they serve.
Cost: ~$20 | Time: 15 minutes
15. Brass Hardware Against Olive
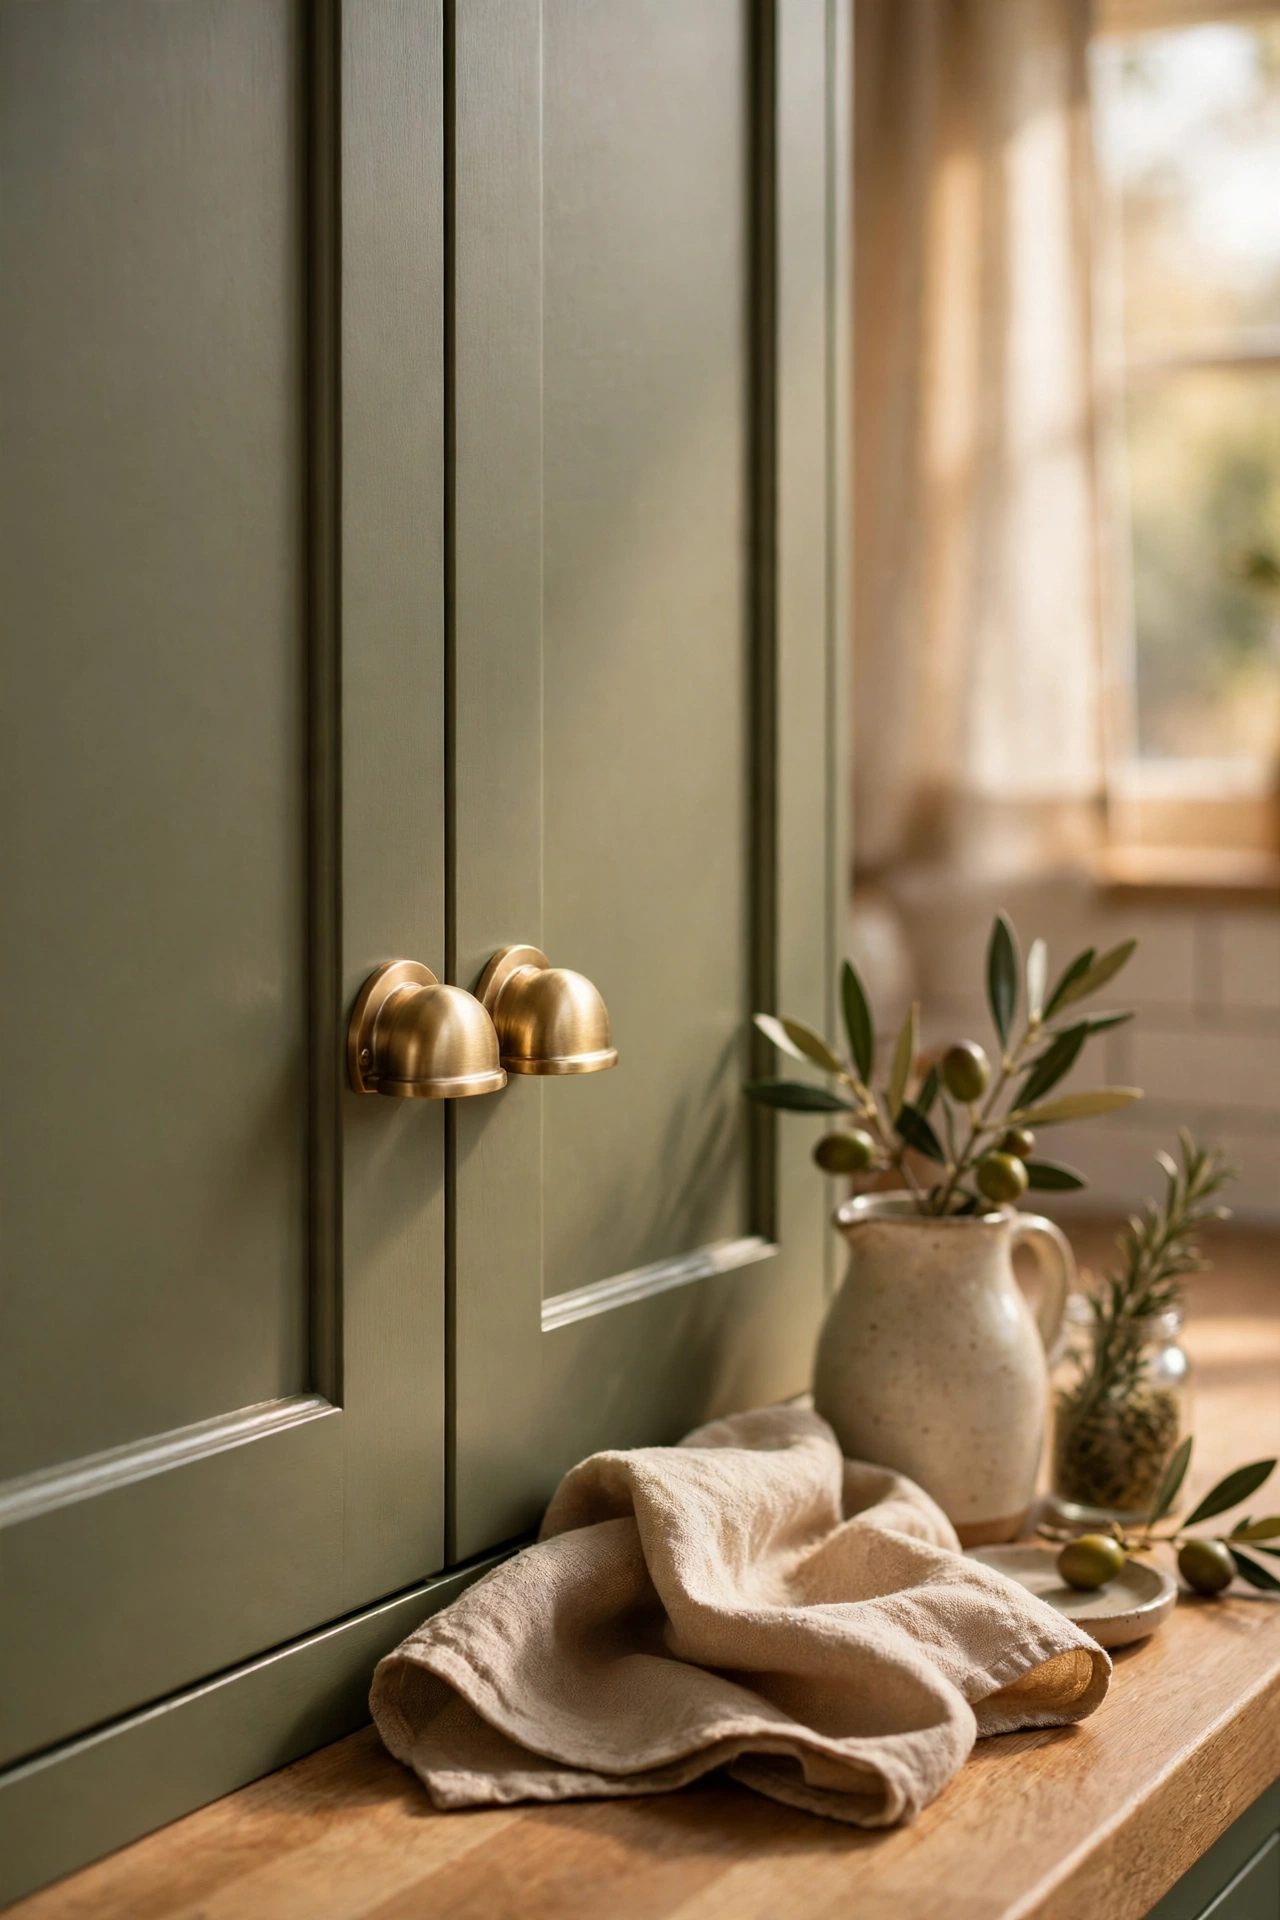
Brass cup pulls and knobs on olive cabinets are the combination that launched a thousand kitchen pins. I swapped mine for £2 each and the kitchen looked instantly expensive. The warm metal against the earthy green is pure jewellery. Measure hole spacing before ordering. Even on white cabinets, brass hardware with olive accents elsewhere ties the scheme together. Keep the old handles bagged for moving day. The warm metal against the earthy green is the whole reason this pairing never dates.
Cost: ~$30 | Time: 1 hour
16. Olive Enamelware Jug Display
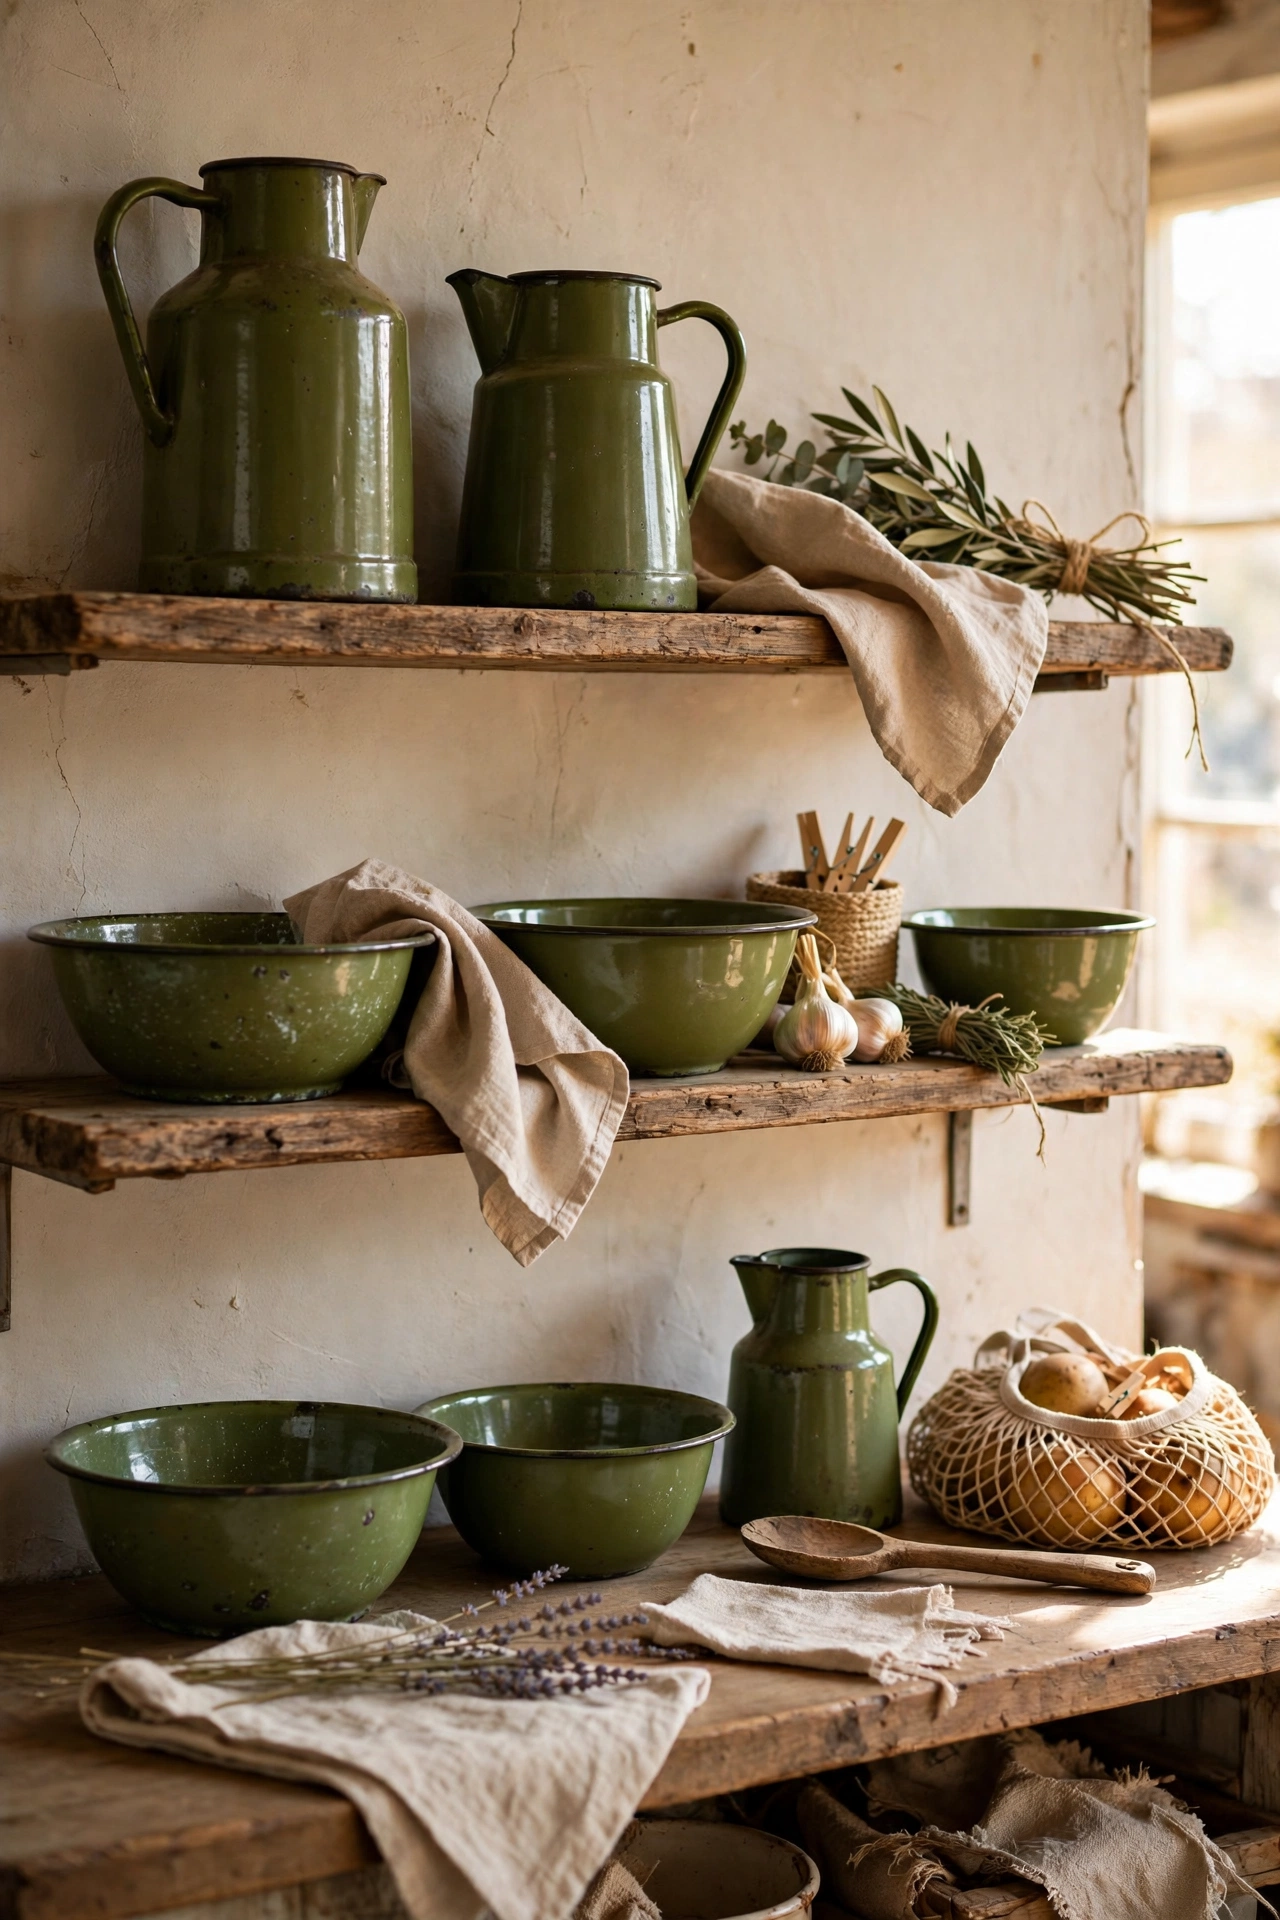
Vintage olive-green enamelware — jugs, bowls, pie dishes — on an open shelf is farmhouse character for pennies. I collected mine for £2–3 each at car boot sales. The chips are the charm; perfect pieces look reproduction. Group by shape for the prettiest arrangement. Wash well before first use — old enamelware has lived. This is genuine vintage colour that no paint can quite replicate. Look for the classic cream-with-green-trim pieces; they are the most common and the cheapest to collect.
Cost: ~$12 | Time: 20 minutes
17. Olive Recipe Book Stand
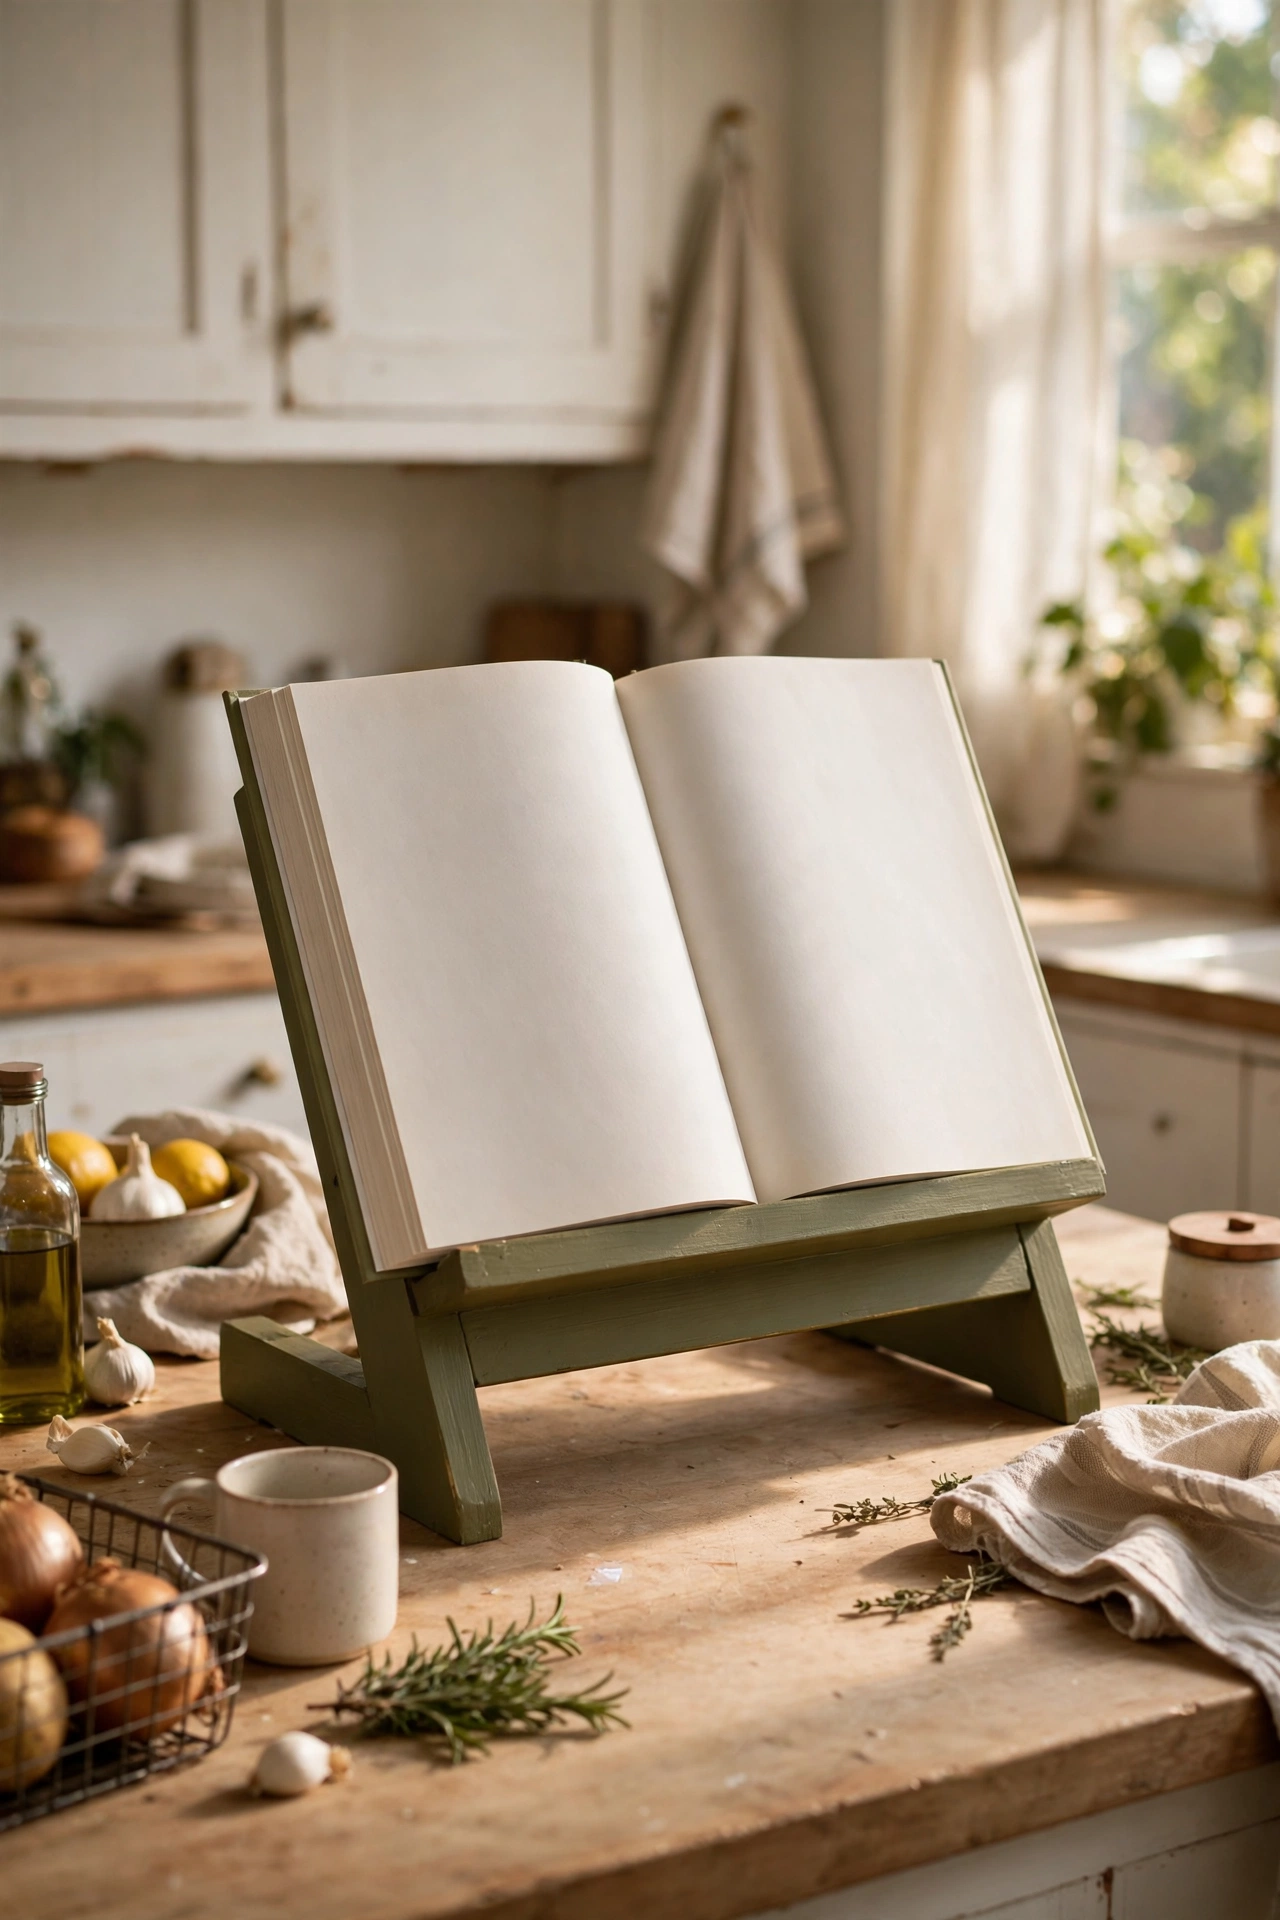
A wooden cookbook stand painted olive keeps recipes upright and splatter-free. I painted a £5 stand and it lives on my counter permanently. The colour makes it look like a design choice rather than a gadget. It’s one of those things you don’t know you need until you stop propping your phone against the kettle. Wipe it down after messy sessions and it’ll last years. It is one of those small things that makes everyday cooking feel calmer and more organised.
Cost: ~$8 | Time: 1 hour
Plants & Finishing Touches
18. Olive Pots with Kitchen Herbs
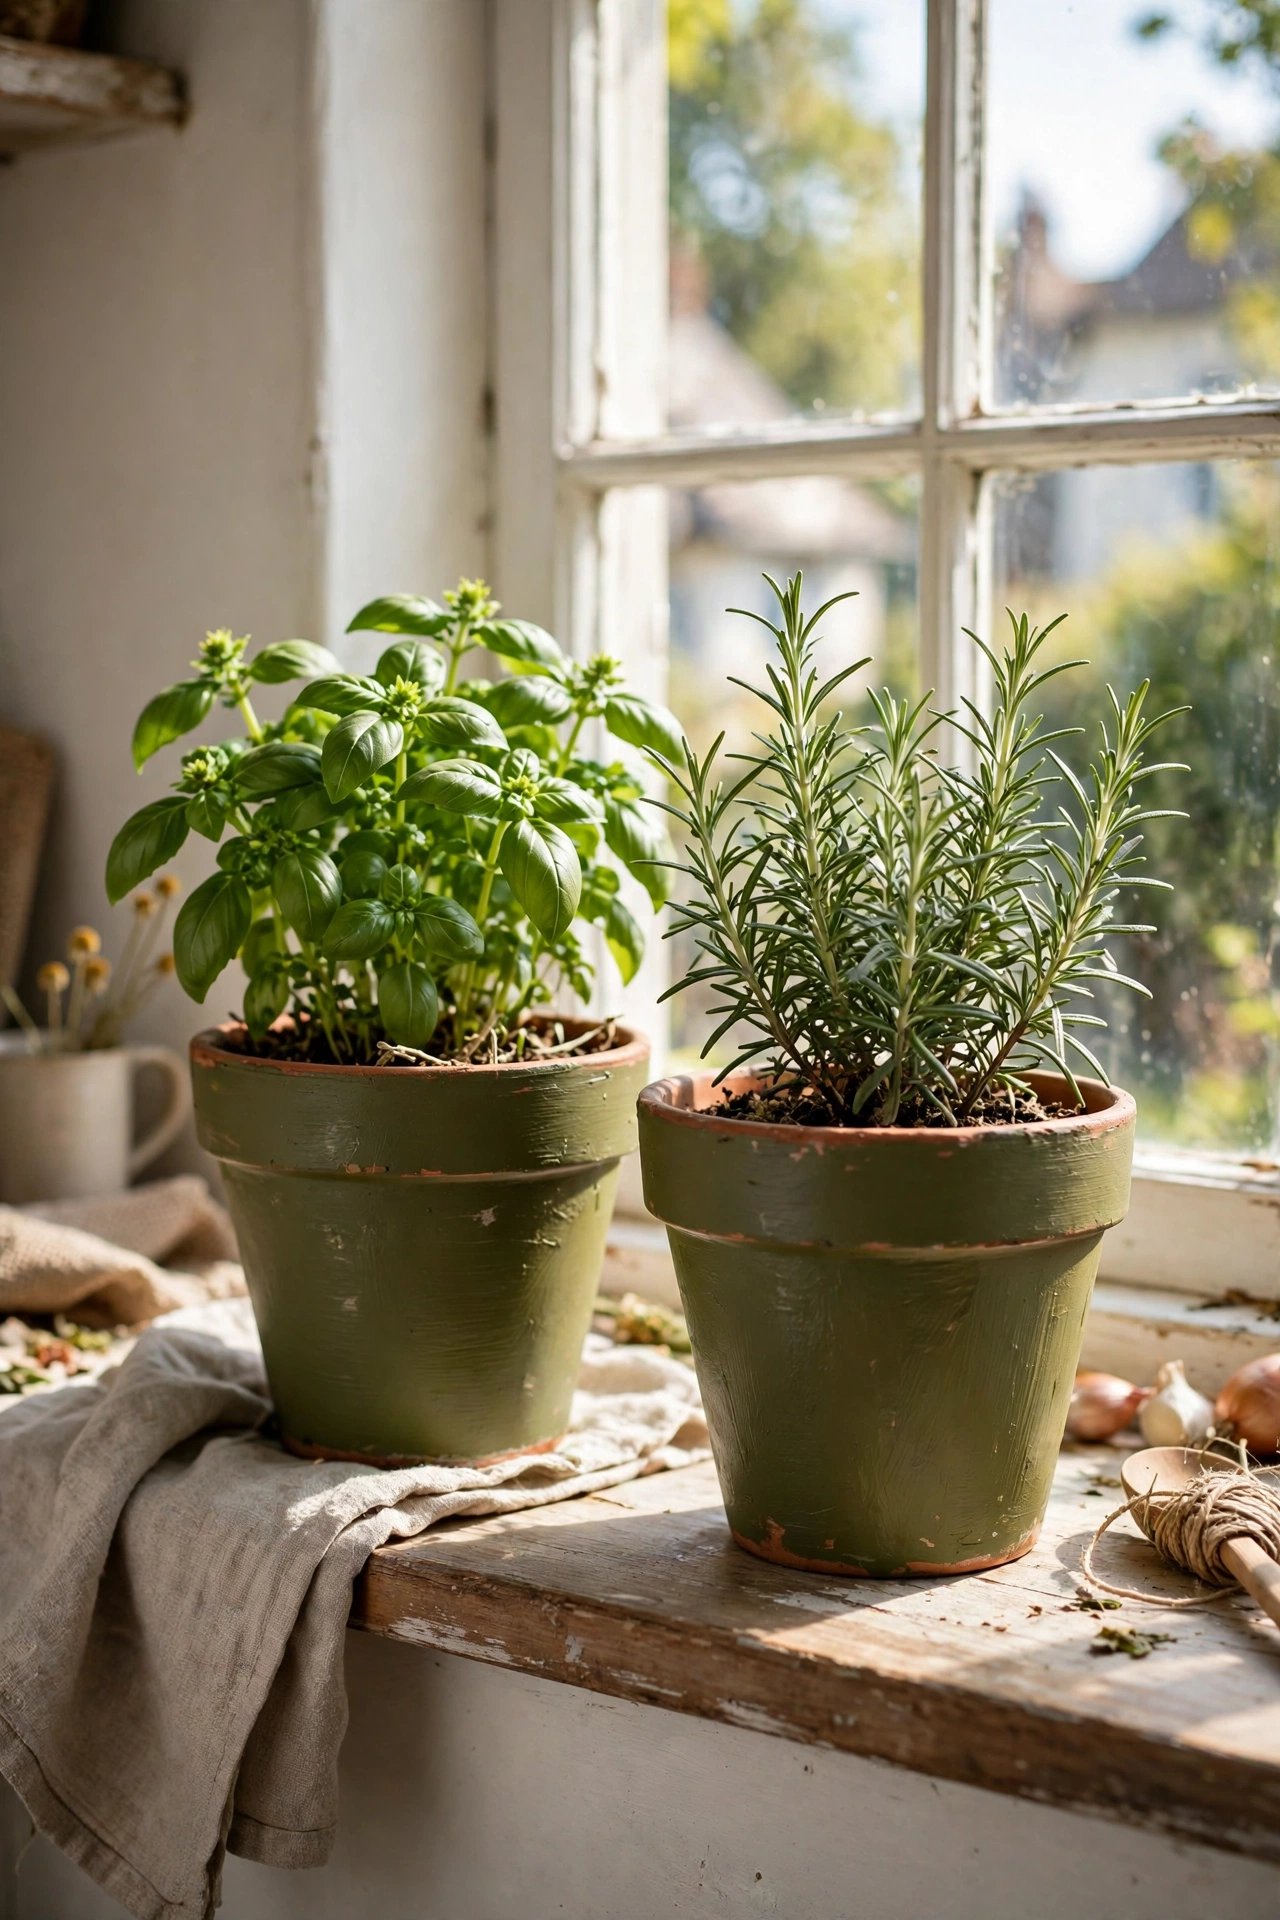
Terracotta pots painted olive, planted with basil, thyme and rosemary — a living accent that seasons dinner. I painted five pots with leftover paint for nothing but the cost of the herbs. Line the sill with a tray to catch water. Snip regularly to encourage bushy growth. There’s something deeply satisfying about cooking with herbs grown ten feet from the hob. Turn the pots weekly so they grow straight. Rosemary is the toughest of the three and survives even my most neglectful weeks.
Cost: ~$15 | Time: 1 hour
19. Olive Soap Dispenser Duo
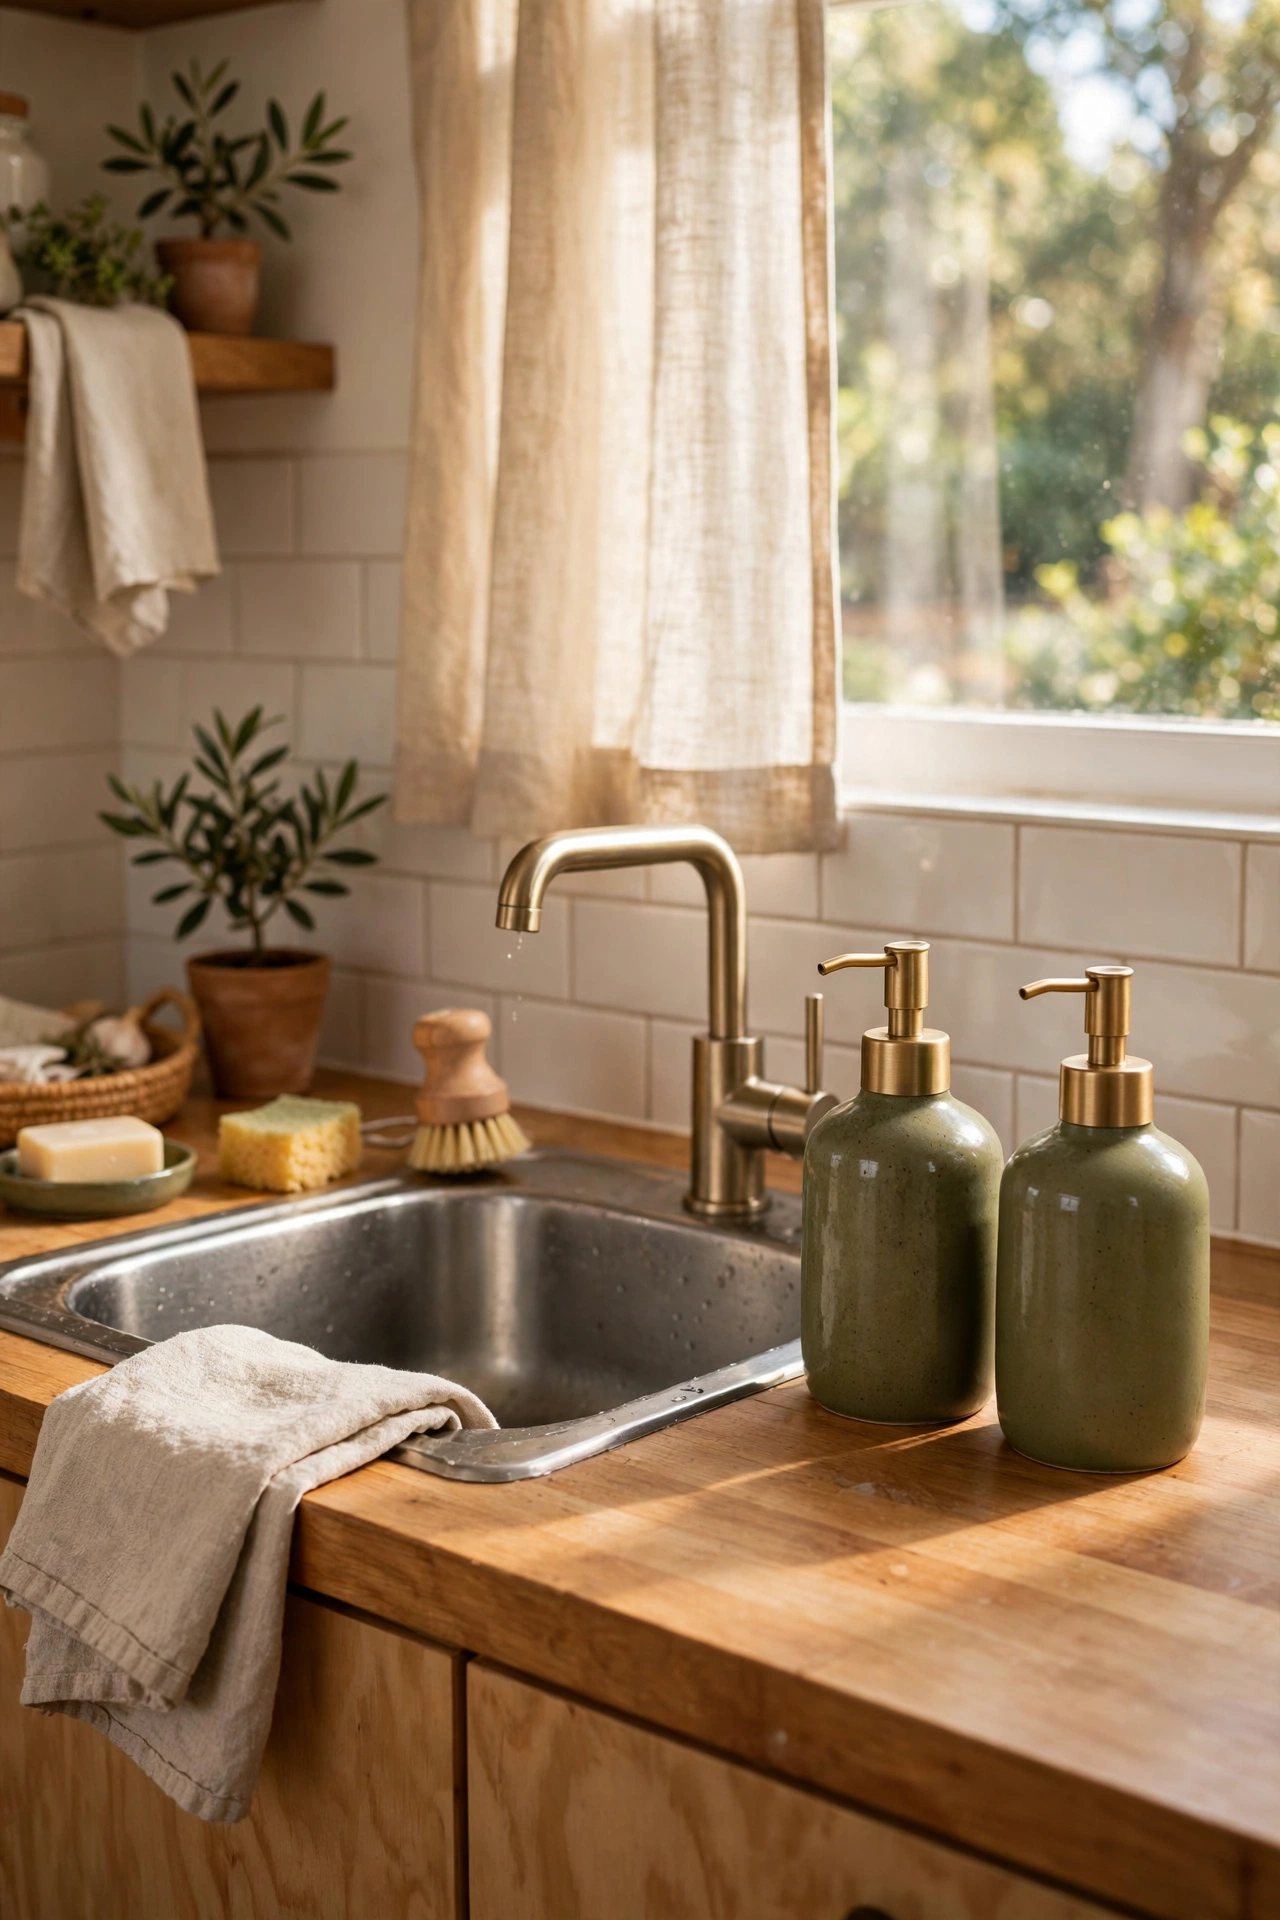
Matching olive soap and lotion dispensers by the sink finish the scheme at the busiest corner. I decanted into £7 ceramic dispensers and the sink area finally looks intentional. Refill from economy bottles and you’ll save money within months. Label them if your household confuses soap and lotion — learned that one the hard way. Tiny change, disproportionate compliments. I chose ceramic over plastic — it feels better in the hand, never looks cheap, and wipes clean in seconds flat.
Cost: ~$10 | Time: 10 minutes
20. Olive Framed Botanical Print
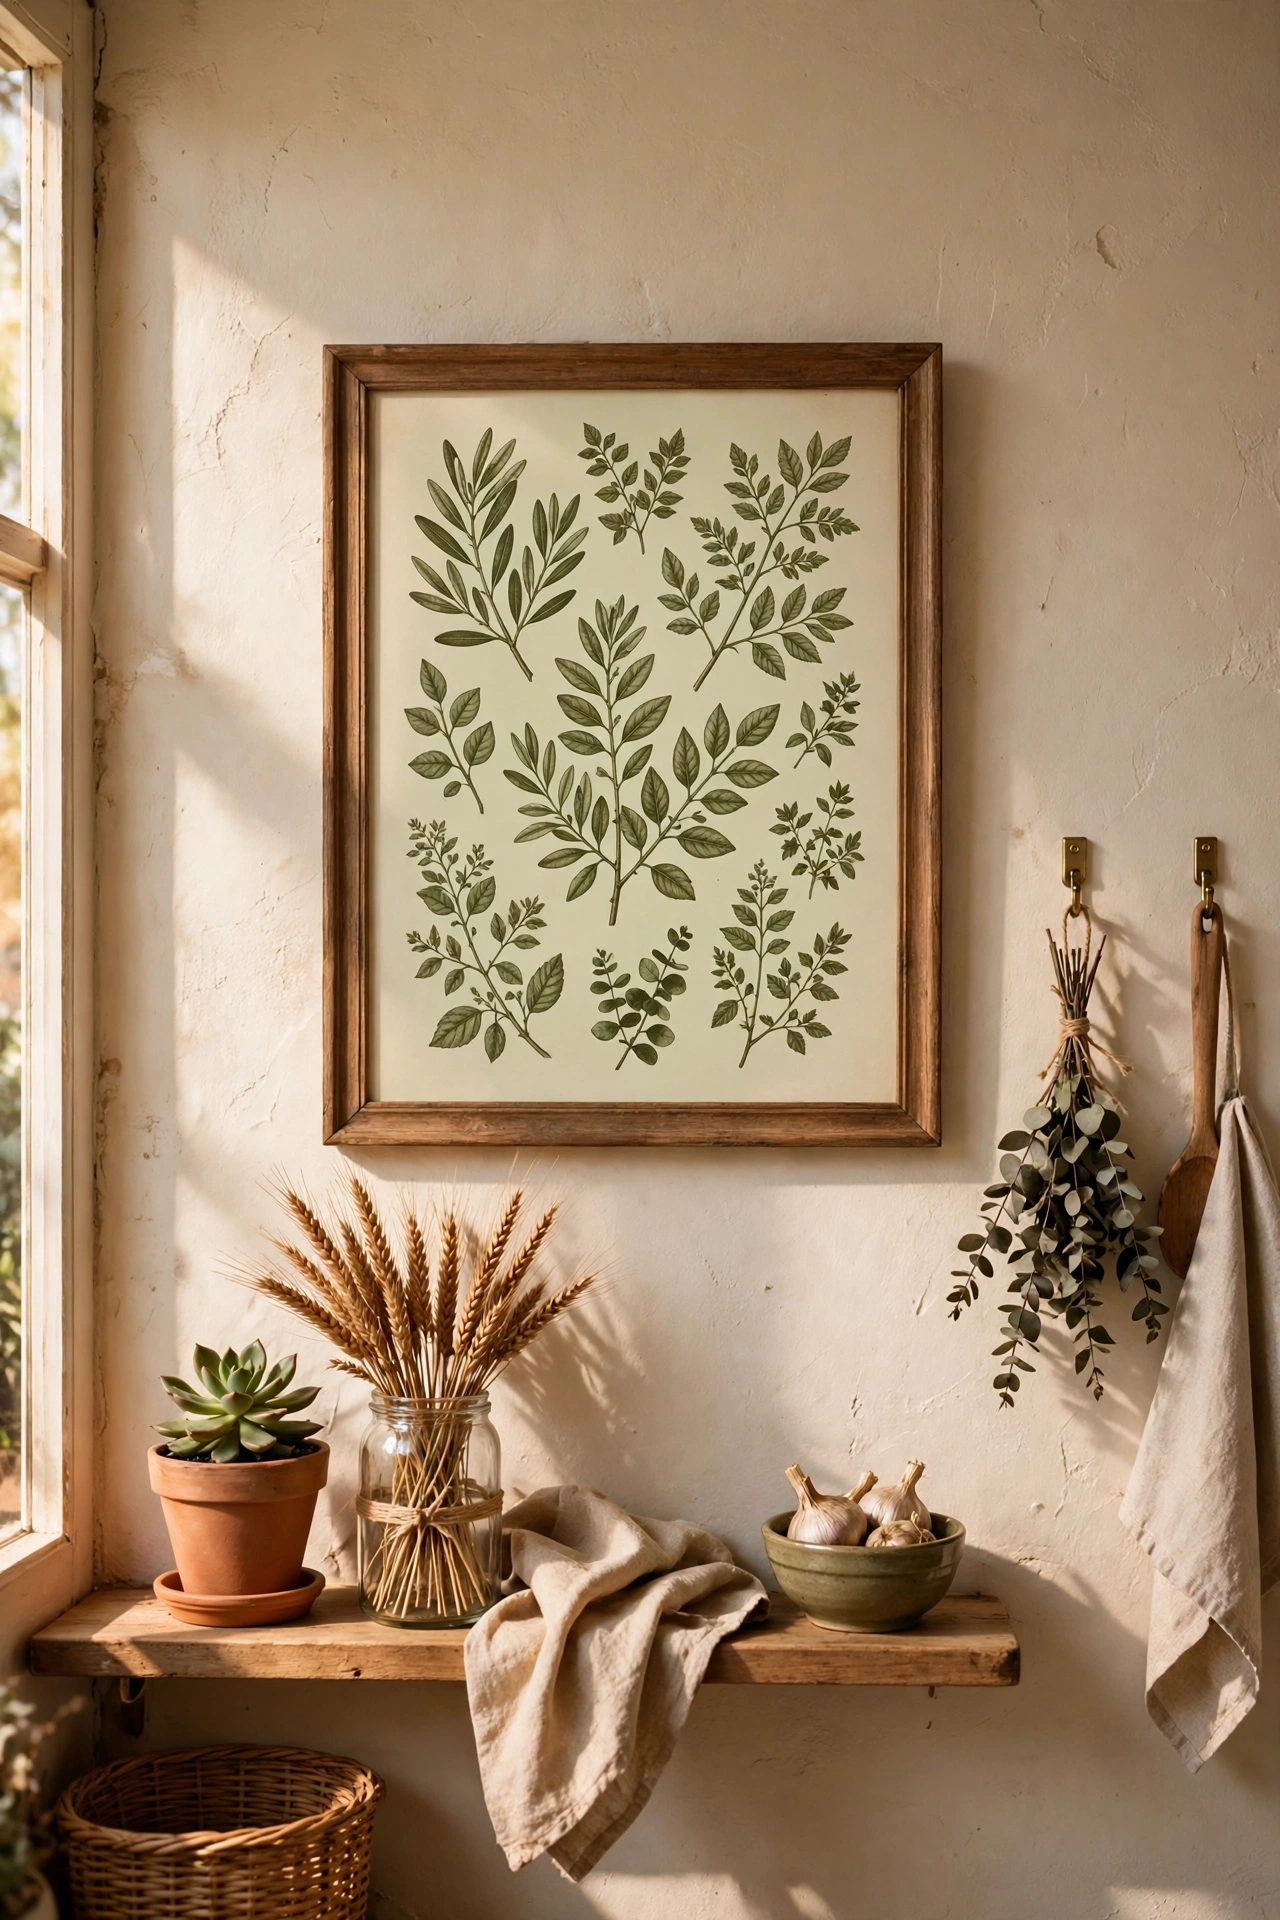
A framed botanical print in olive tones fills the blank wall by the table. I printed a free vintage herb illustration and put it in a £4 frame painted olive — it looks like a gallery piece. Keep the frame simple; the art does the work. Hang at eye level when seated if it’s above the table. Botanical prints are endlessly available free online; just check the licence before printing. The (see also: 25-warm-white-kitchen-ideas-with-vintage-charm) post has more printable art ideas. The olive frame ties it to the rest of the room without shouting about it.
Cost: ~$8 | Time: 20 minutes
21. Trailing Plants in Olive Pots
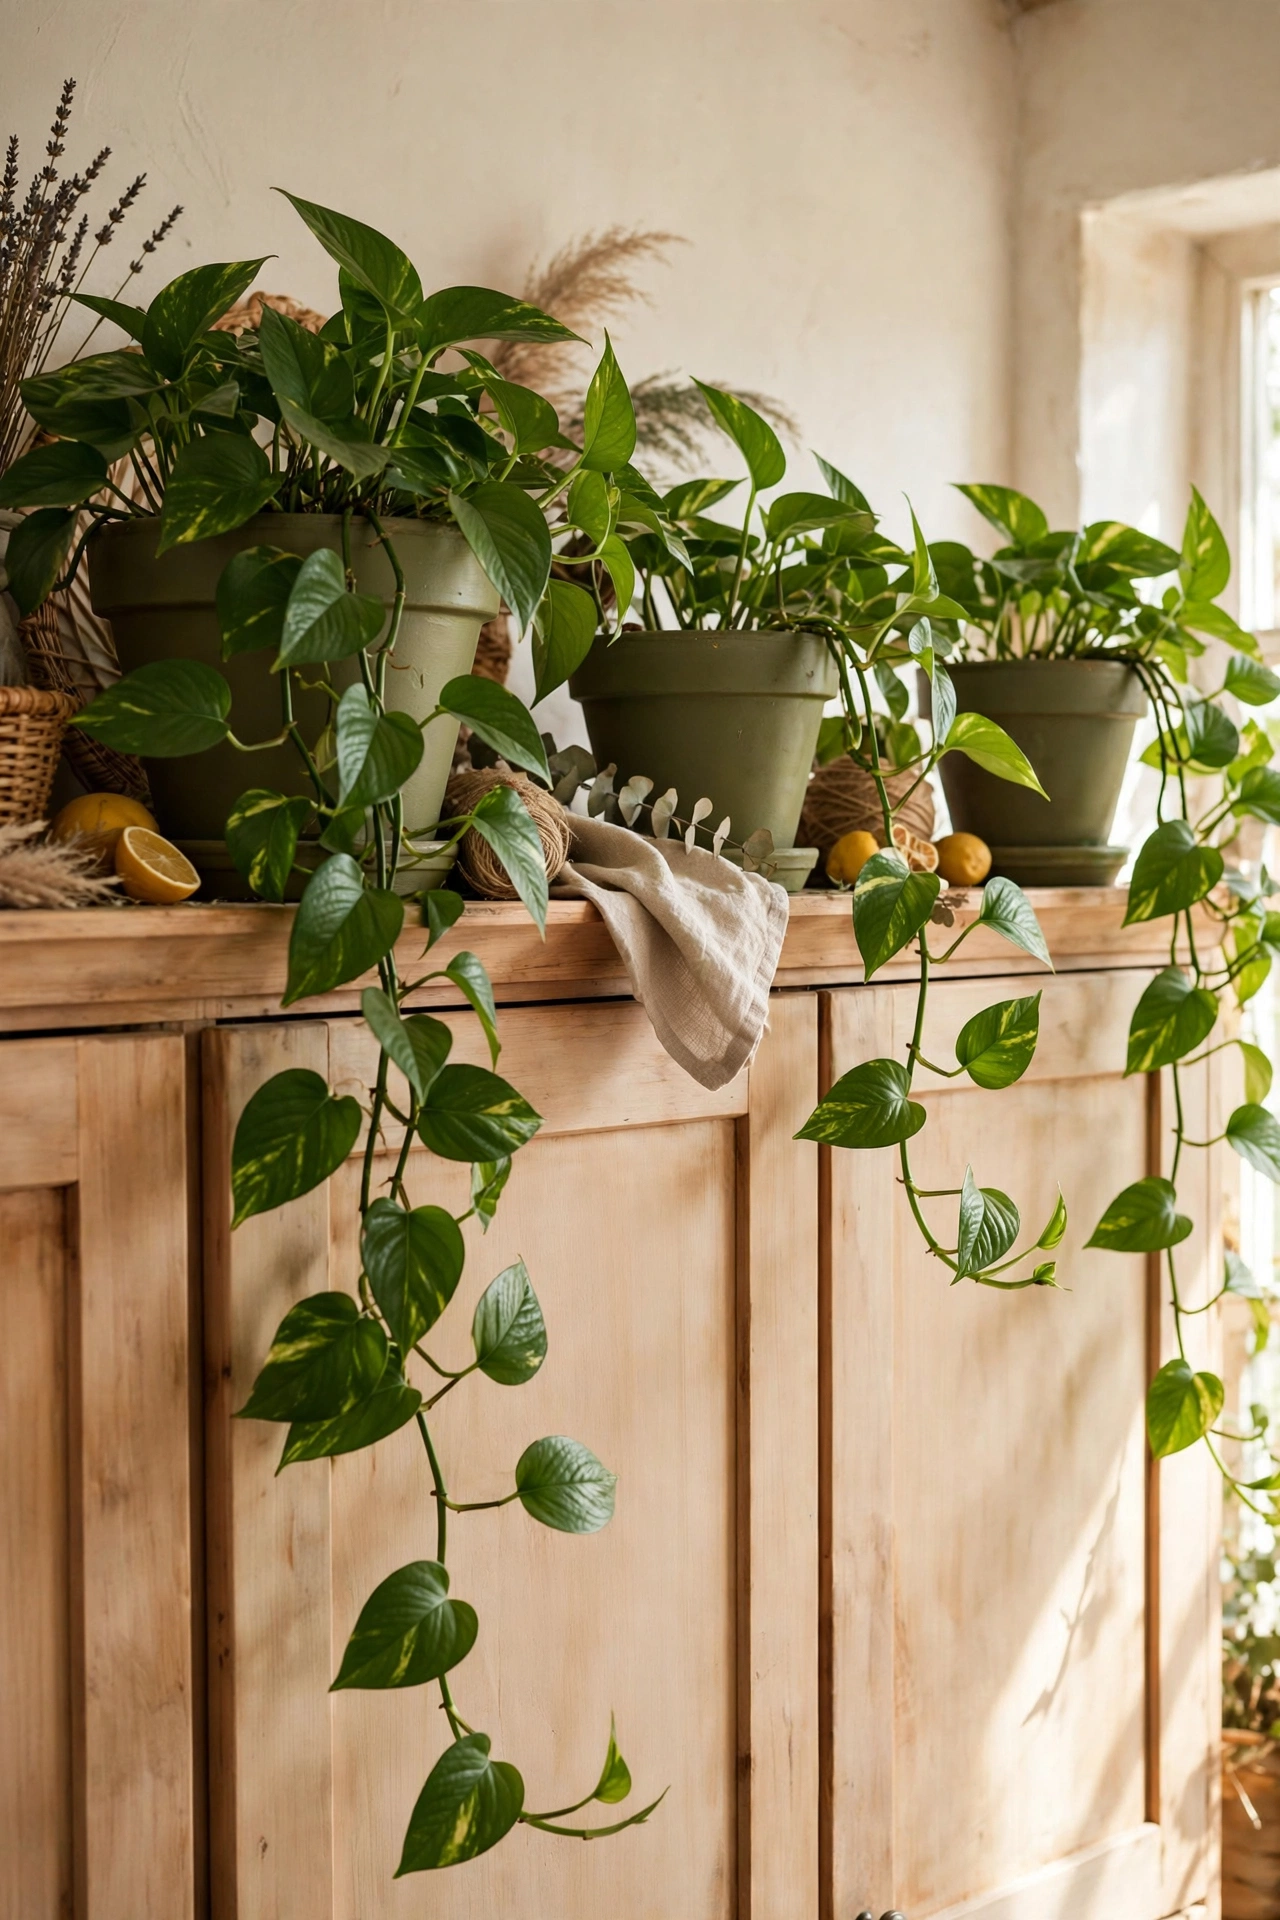
Pothos and philodendron trailing from olive-painted pots on top of the cabinets bring life to the dead space up high. I painted plastic pots with leftover cabinet paint — the plants don’t care. These varieties survive neglect, low light and irregular watering. Let them trail down the cabinet sides for maximum effect. Wipe the leaves every few months; kitchen grease settles on everything up there. Green on green should clash, but somehow it just looks lush. A weekly turn keeps the growth even, so one side does not go leggy and bare.
Cost: ~$12 | Time: 20 minutes
