19 Tiny Kitchen Ideas on a Dime
My first tiny kitchen had one drawer, two cabinets, and a counter the size of a cutting board, and cooking in it felt like a puzzle with missing pieces. I burned toast, knocked over spice jars, and ate standing up more times than I care to admit. Then I spent one weekend and less than fifty dollars fixing the worst problems, and that same kitchen became a place I actually liked cooking in. These tiny kitchen ideas are those fixes, cheapest and most useful first.
1. Stick a Magnetic Knife Strip on the Wall
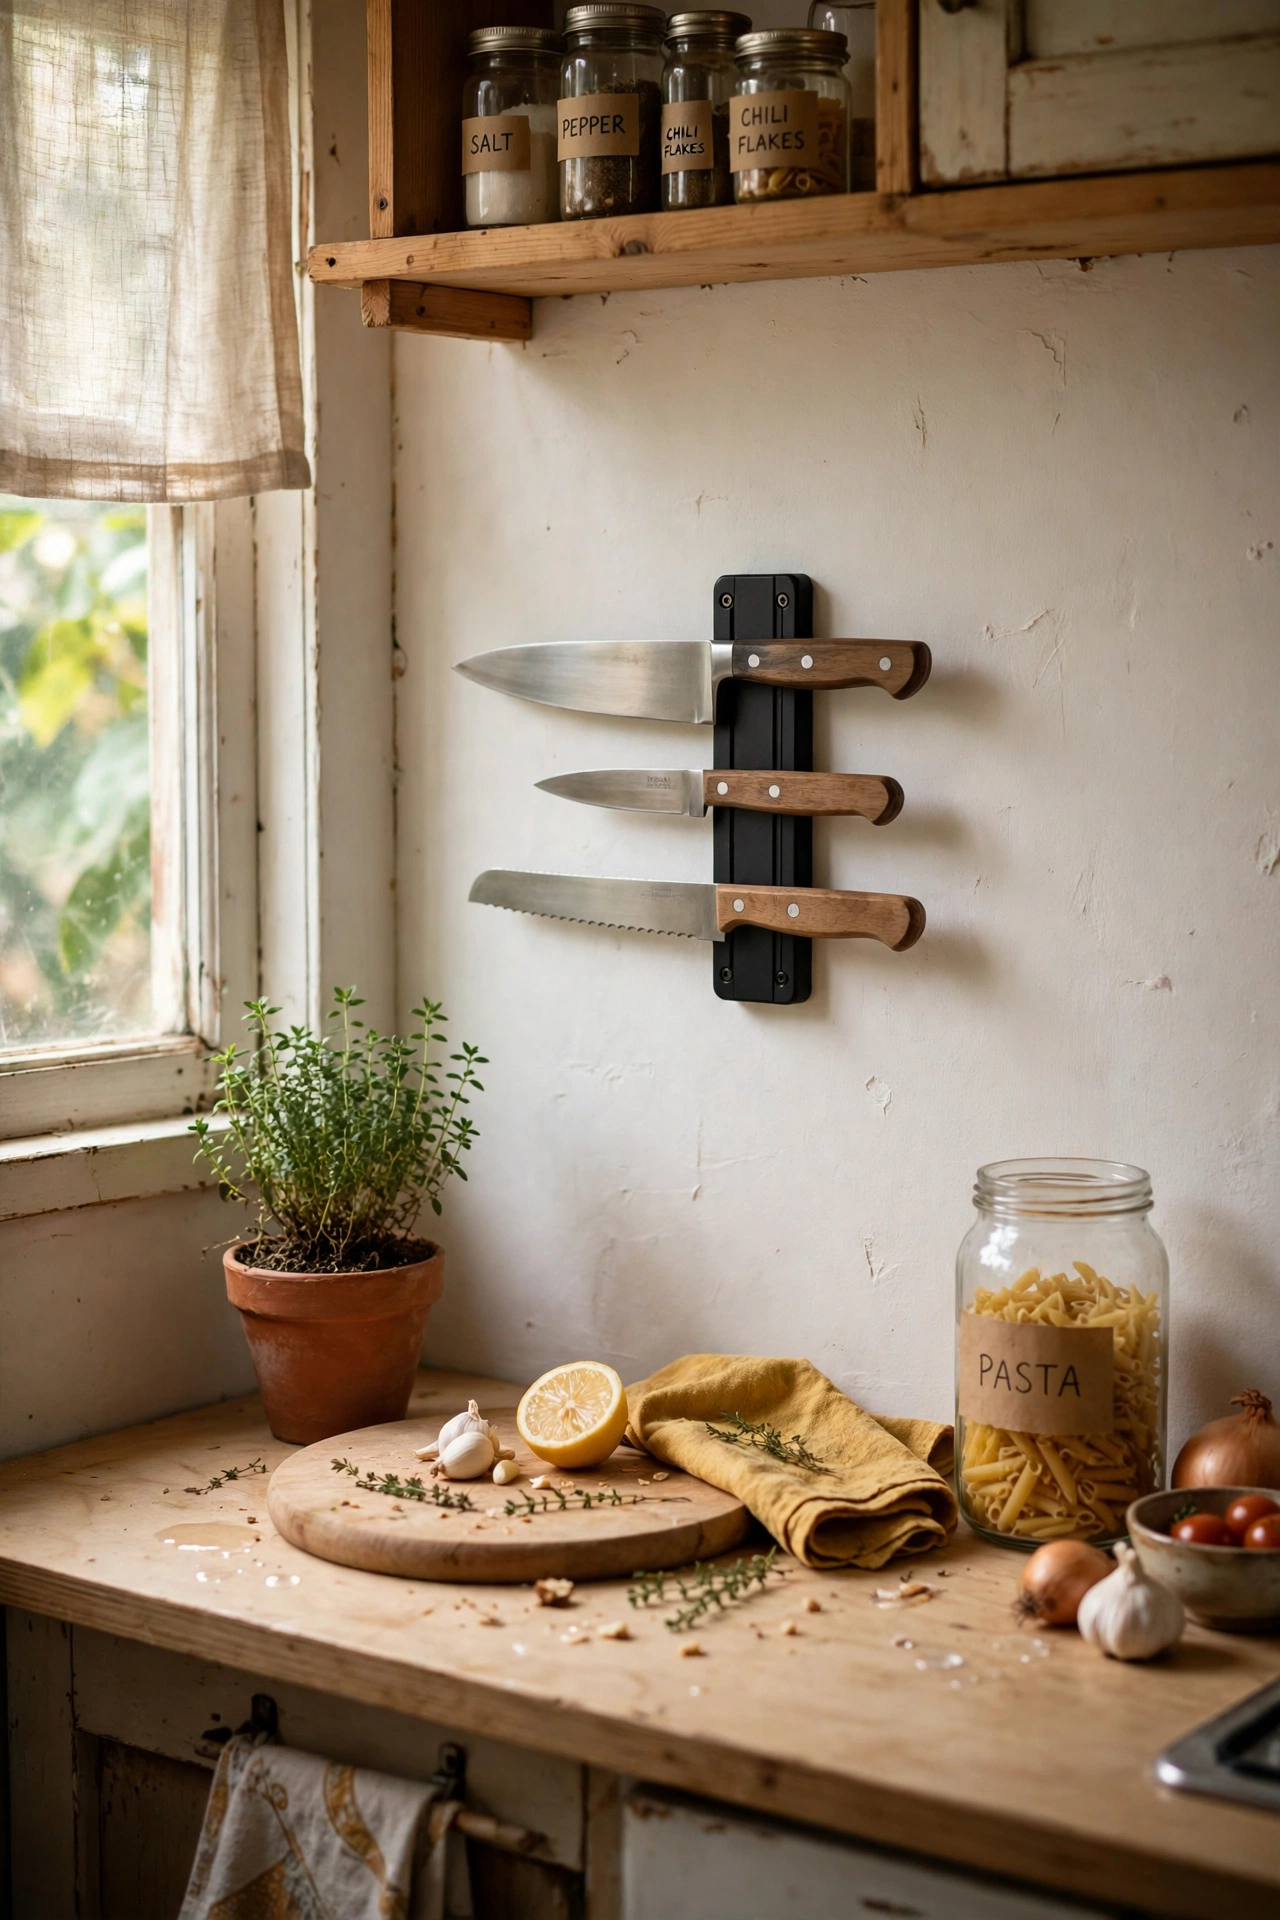
A magnetic knife strip frees an entire drawer and a chunk of counter, while keeping knives visible and easy to grab. Mount it on a backsplash or a side wall at a height you can reach without stretching, and keep the blades facing up for safety. I freed my only drawer the day I mounted mine, and cooking got faster because I stopped digging for the right knife. Wipe the strip weekly, since kitchen grease builds up fast near the stove. Seasonal swaps keep this fresh: I change one small element every few months and the room never feels stale.
Cost: ~$15 | Time: 20 minutes
2. Use an Over-Sink Cutting Board
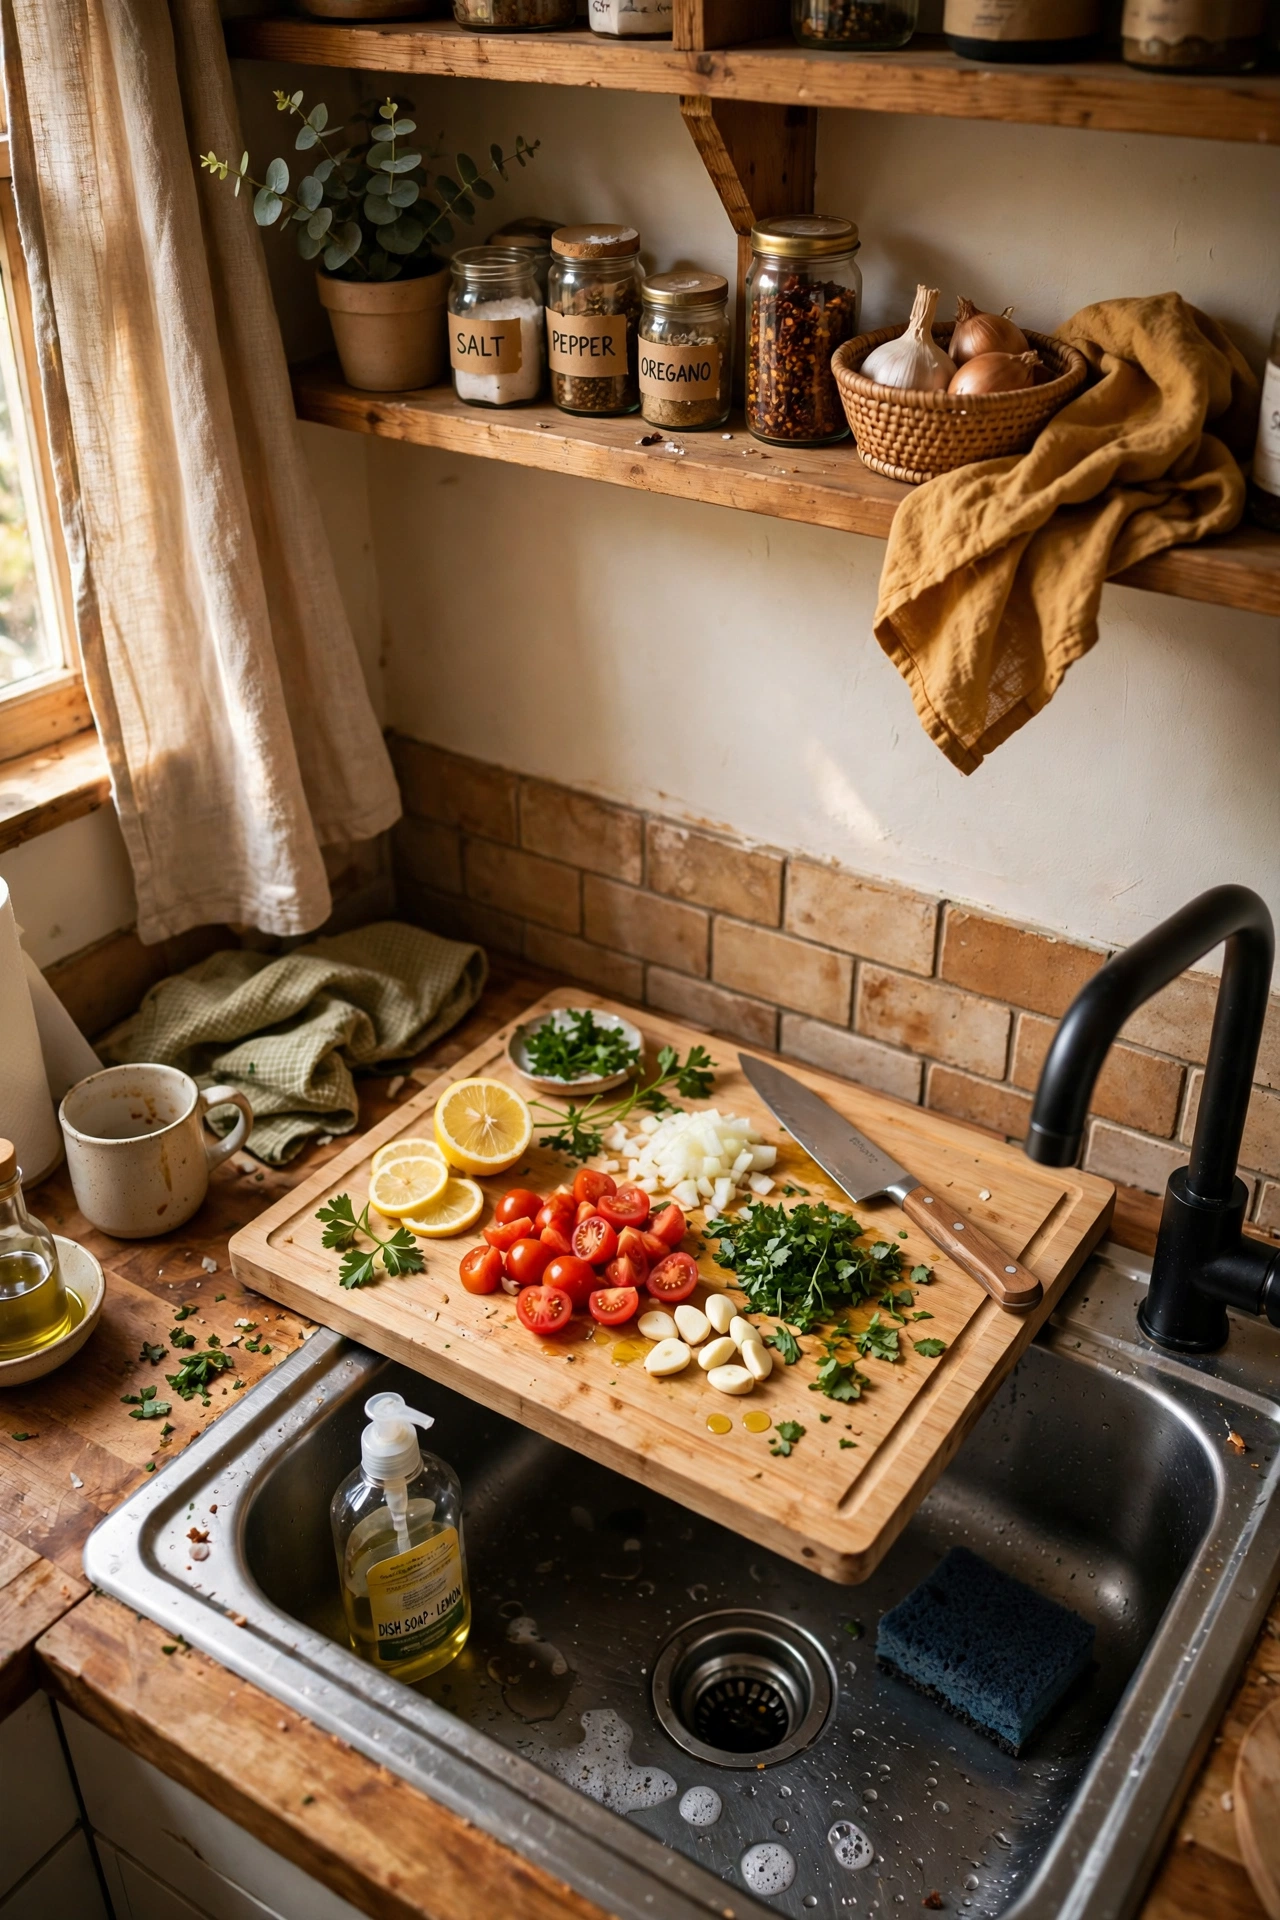
An over-sink cutting board adds counter space exactly where a tiny kitchen lacks it, spanning the sink so you can chop over a bowl or rinse scraps straight down. Choose a board that fits your sink width, and keep a small bowl beside it for scraps. I gained a full extra foot of prep space with one board, which in a tiny kitchen feels like a renovation. It also doubles as a dish-drying rack when flipped over. I keep the spare parts and the instructions in a labeled bag nearby, which has saved me twice already when something loosened.
Cost: ~$20 | Time: 5 minutes
3. Hang Pots From a Wall Rack
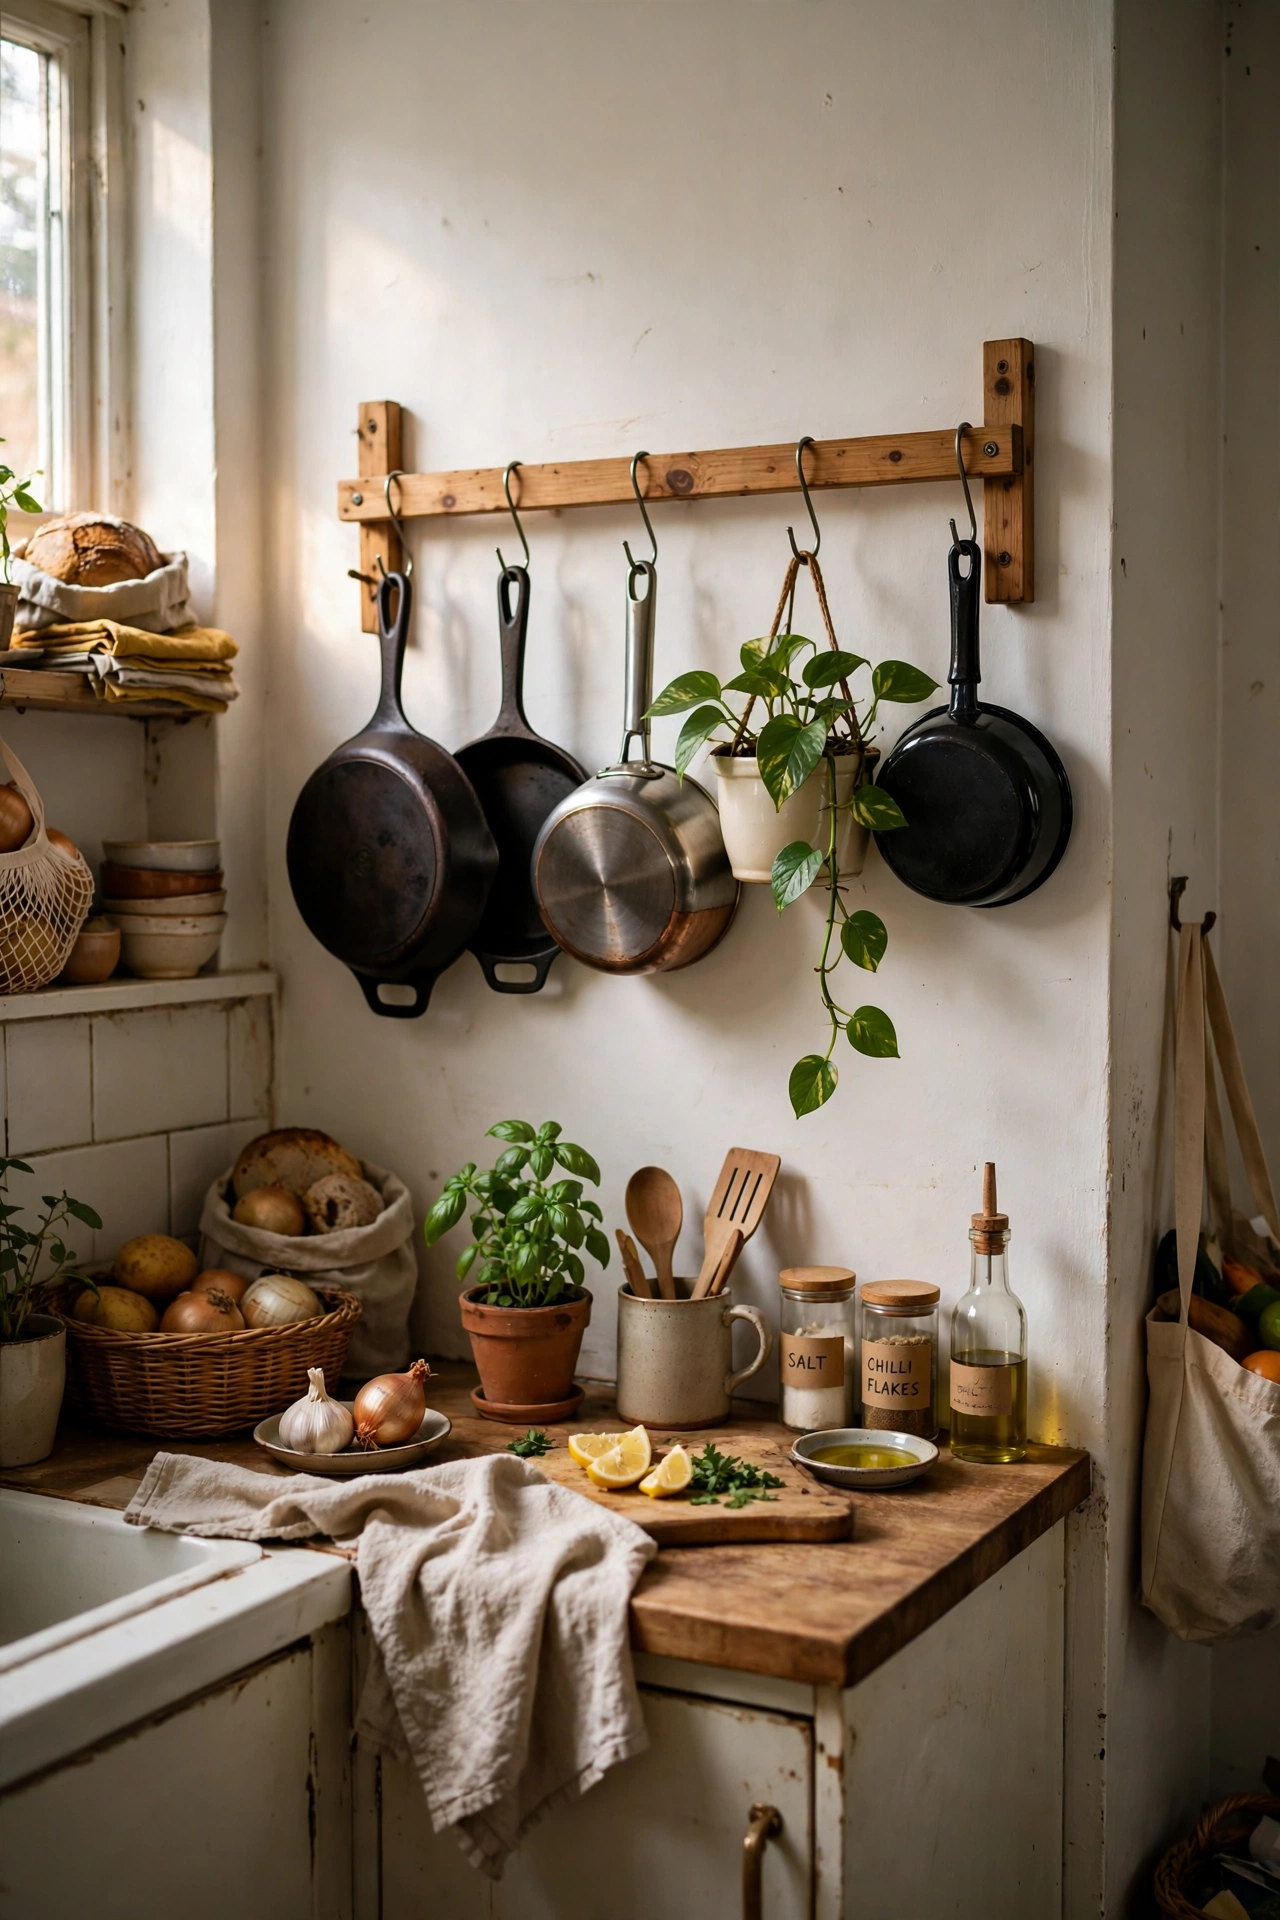
A wall-mounted pot rack lifts bulky pots and pans off the stove and out of cabinets, freeing both at once. Mount a rail with sturdy hooks on an empty wall, and hang your most-used pans within reach of the stove. Keep lids on a separate small rack or inside a cabinet door. I hung five pans on one rail and emptied a whole cabinet, which became my pantry overnight. Check the wall anchors, since full pans are heavy. The best part is how little upkeep it needs, just a quick wipe or tighten now and then, and it keeps working quietly.
Cost: ~$25 | Time: 30 minutes
4. Raise Cabinet Shelves With Risers
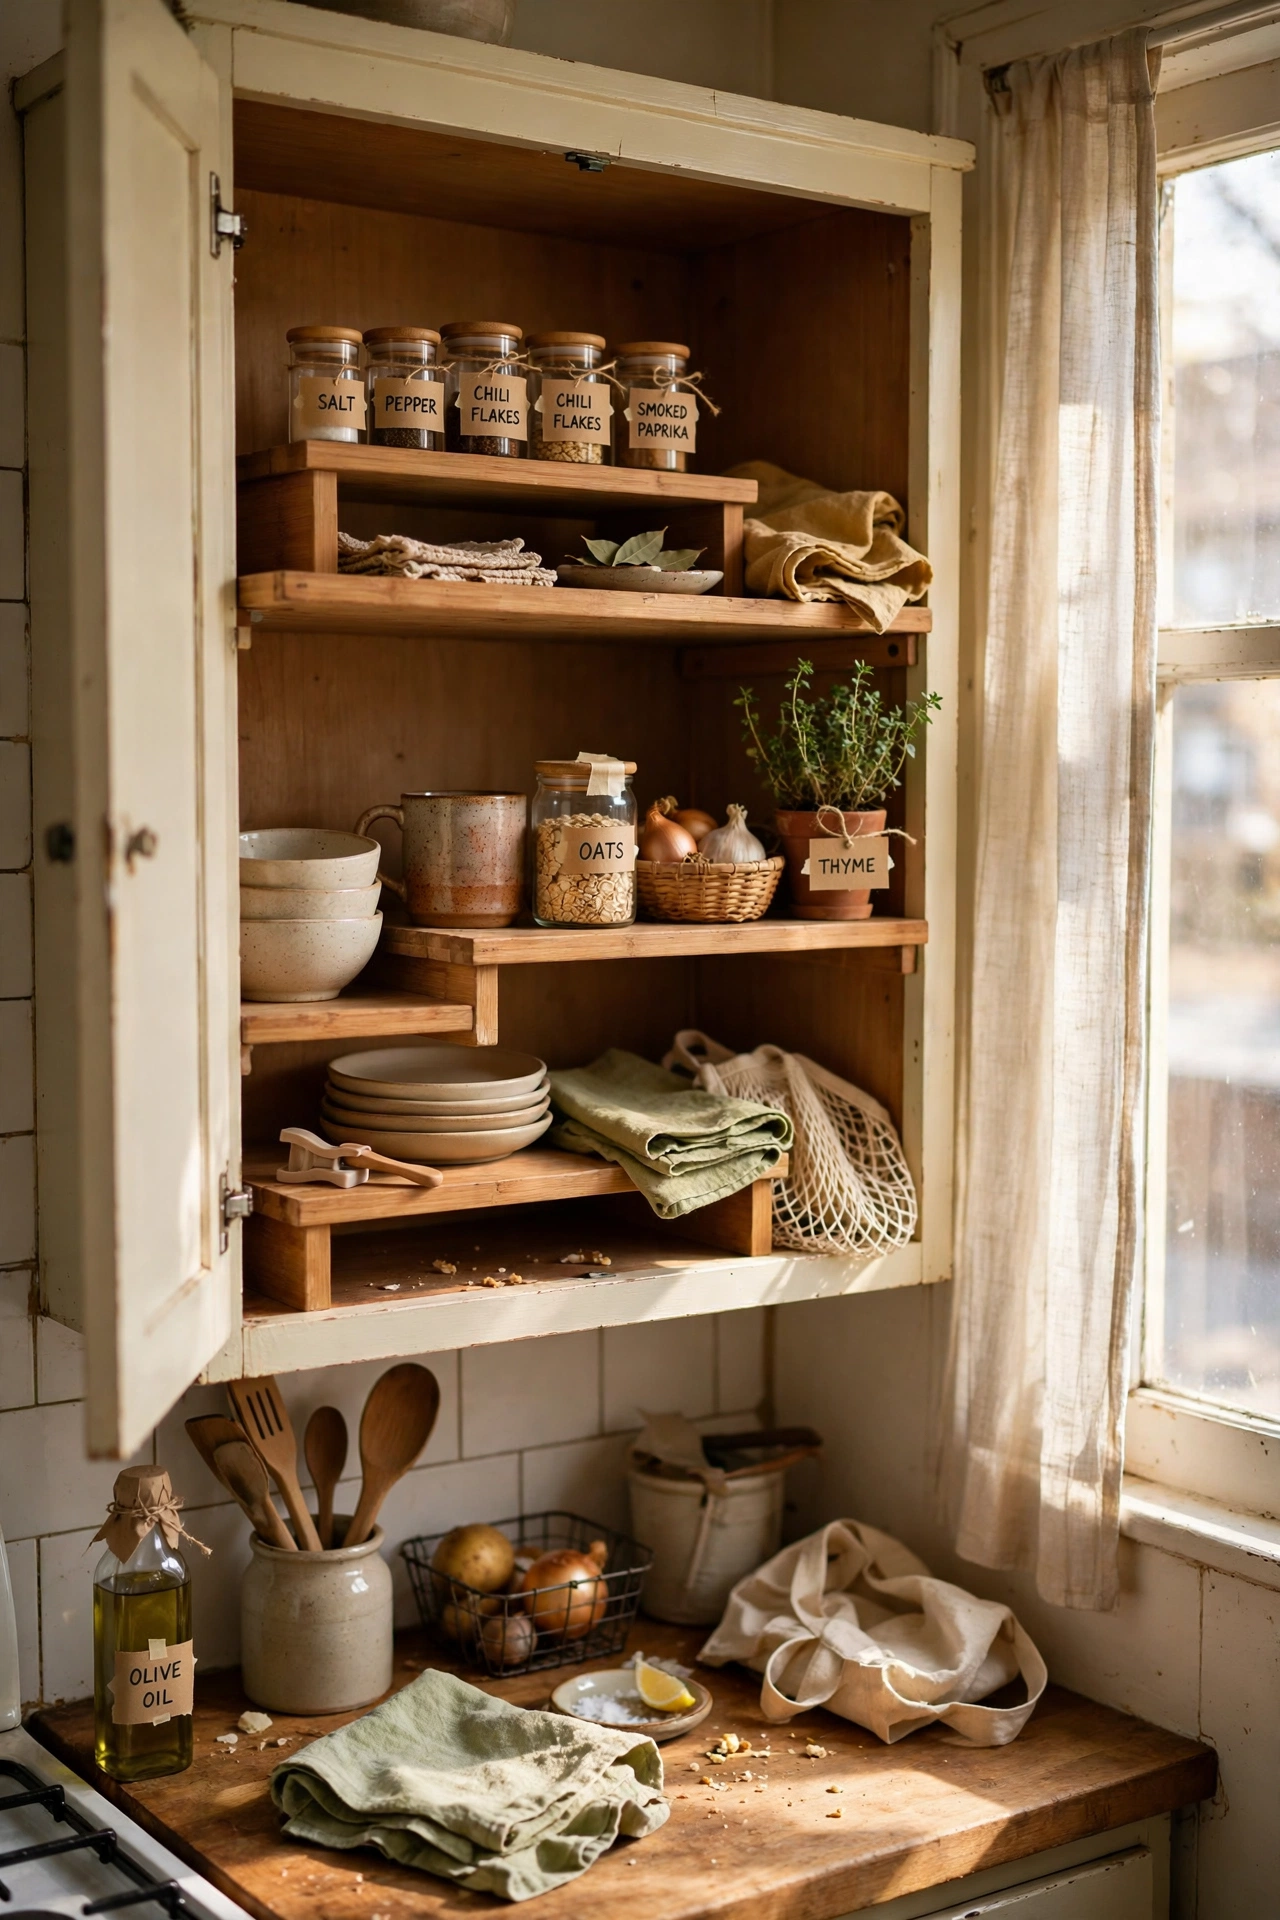
Shelf risers add a second level inside deep cabinets, so cans and jars stop hiding behind each other in two rows. Place one riser per cabinet, keep everyday items on top, and store backups below. I stopped buying duplicate spices the week I added risers, because I could finally see what I already owned. They also stop the avalanche that happens when you pull one can from the back. I wish I had done this a year earlier, since it solved a daily annoyance I had simply gotten used to tolerating.
Cost: ~$12 | Time: 10 minutes
5. Roll in a Slim Island Cart
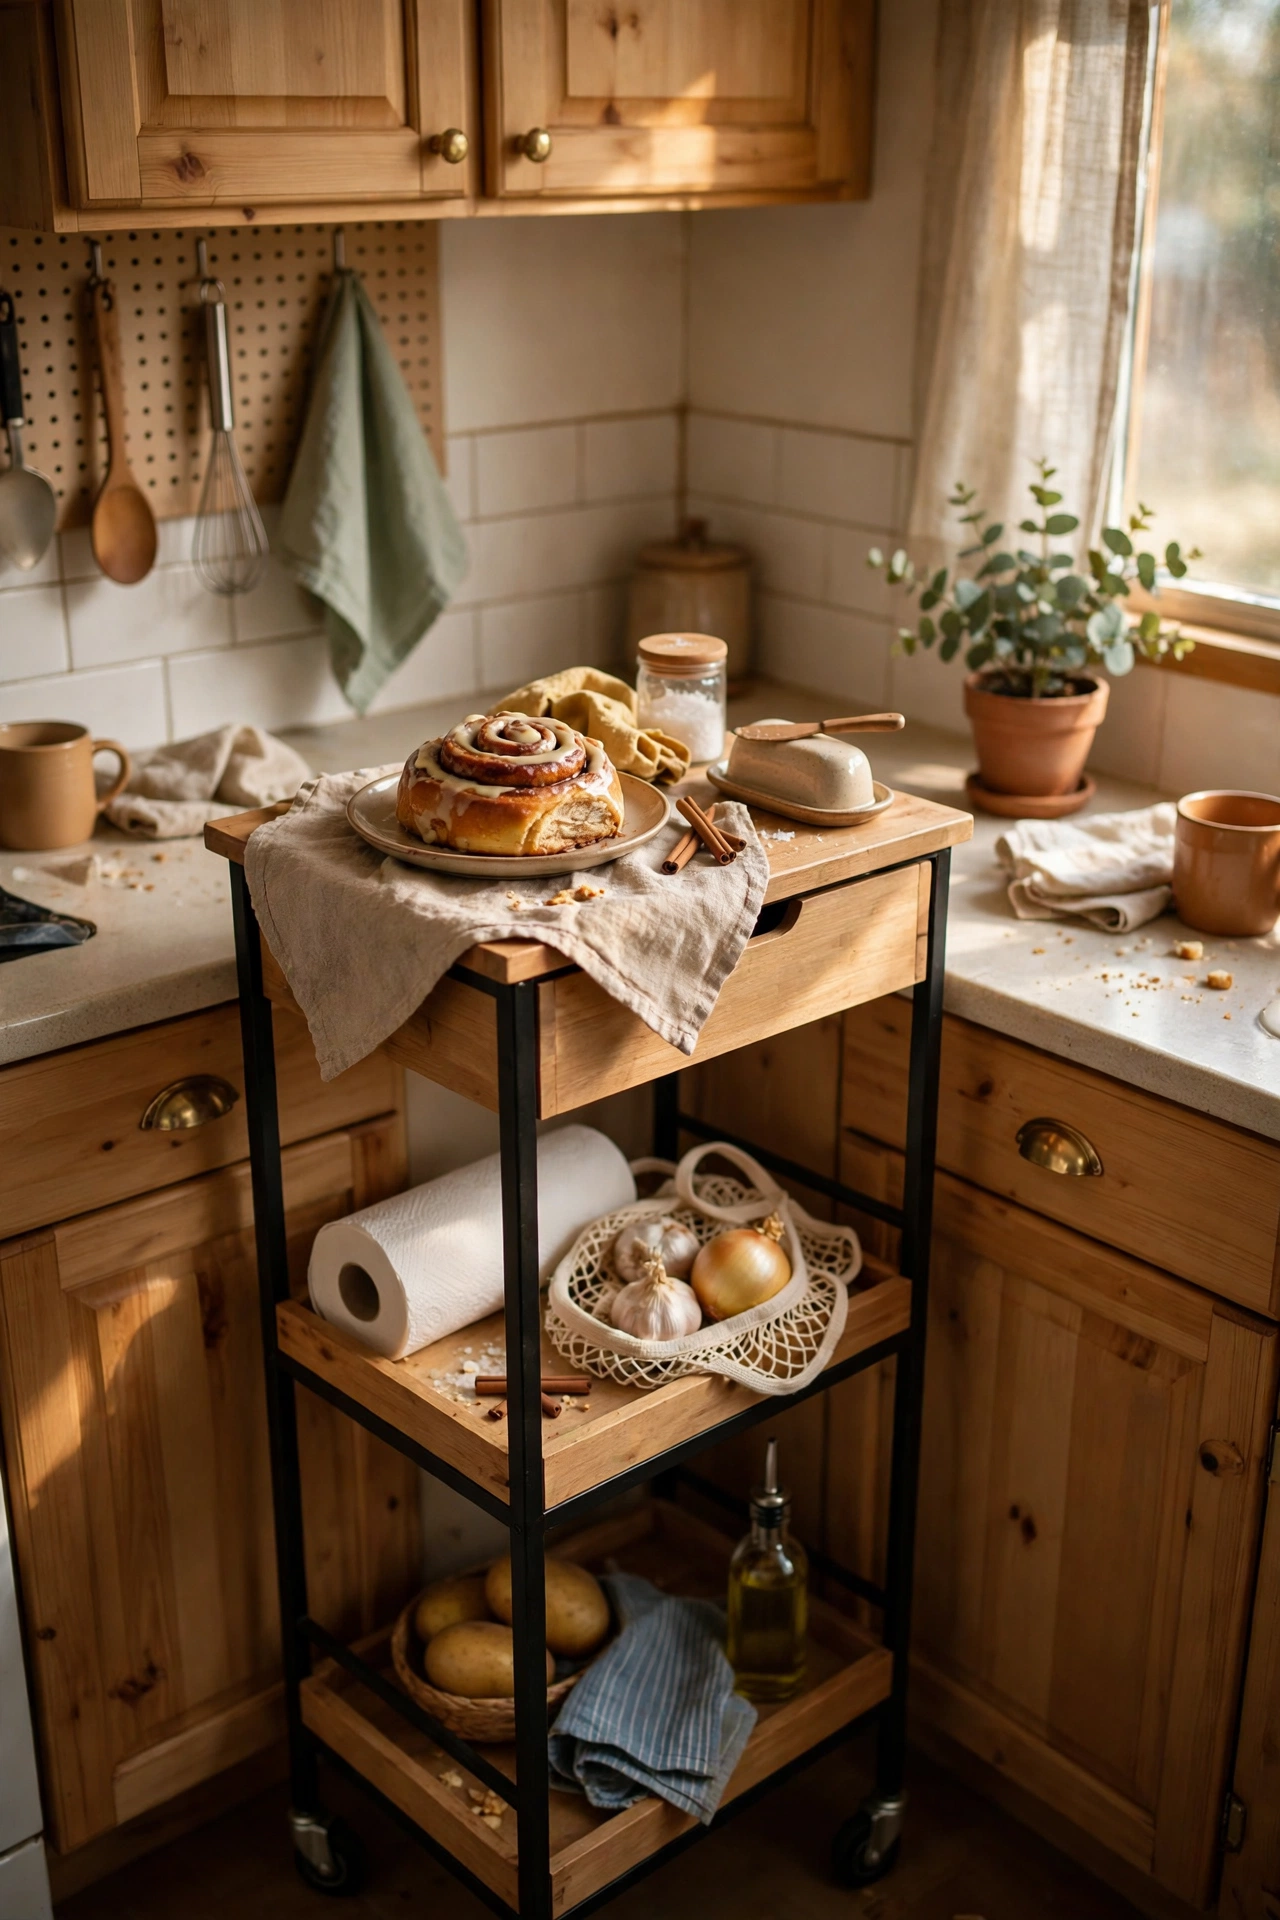
A slim rolling cart acts as a movable island: extra counter when you cook, extra storage when you do not, and it tucks against a wall when guests come. Choose one with a butcher-block top and a shelf below, and lock the wheels while you chop. I rolled mine to the stove for prep and back to the wall for dinner, and it gave me the island I could never have fitted permanently. Test it for a day with the real stuff you own, not the showroom version, because real life is heavier and messier than photos.
Cost: ~$40 | Time: 10 minutes
6. Hang Spray Bottles on a Tension Rod
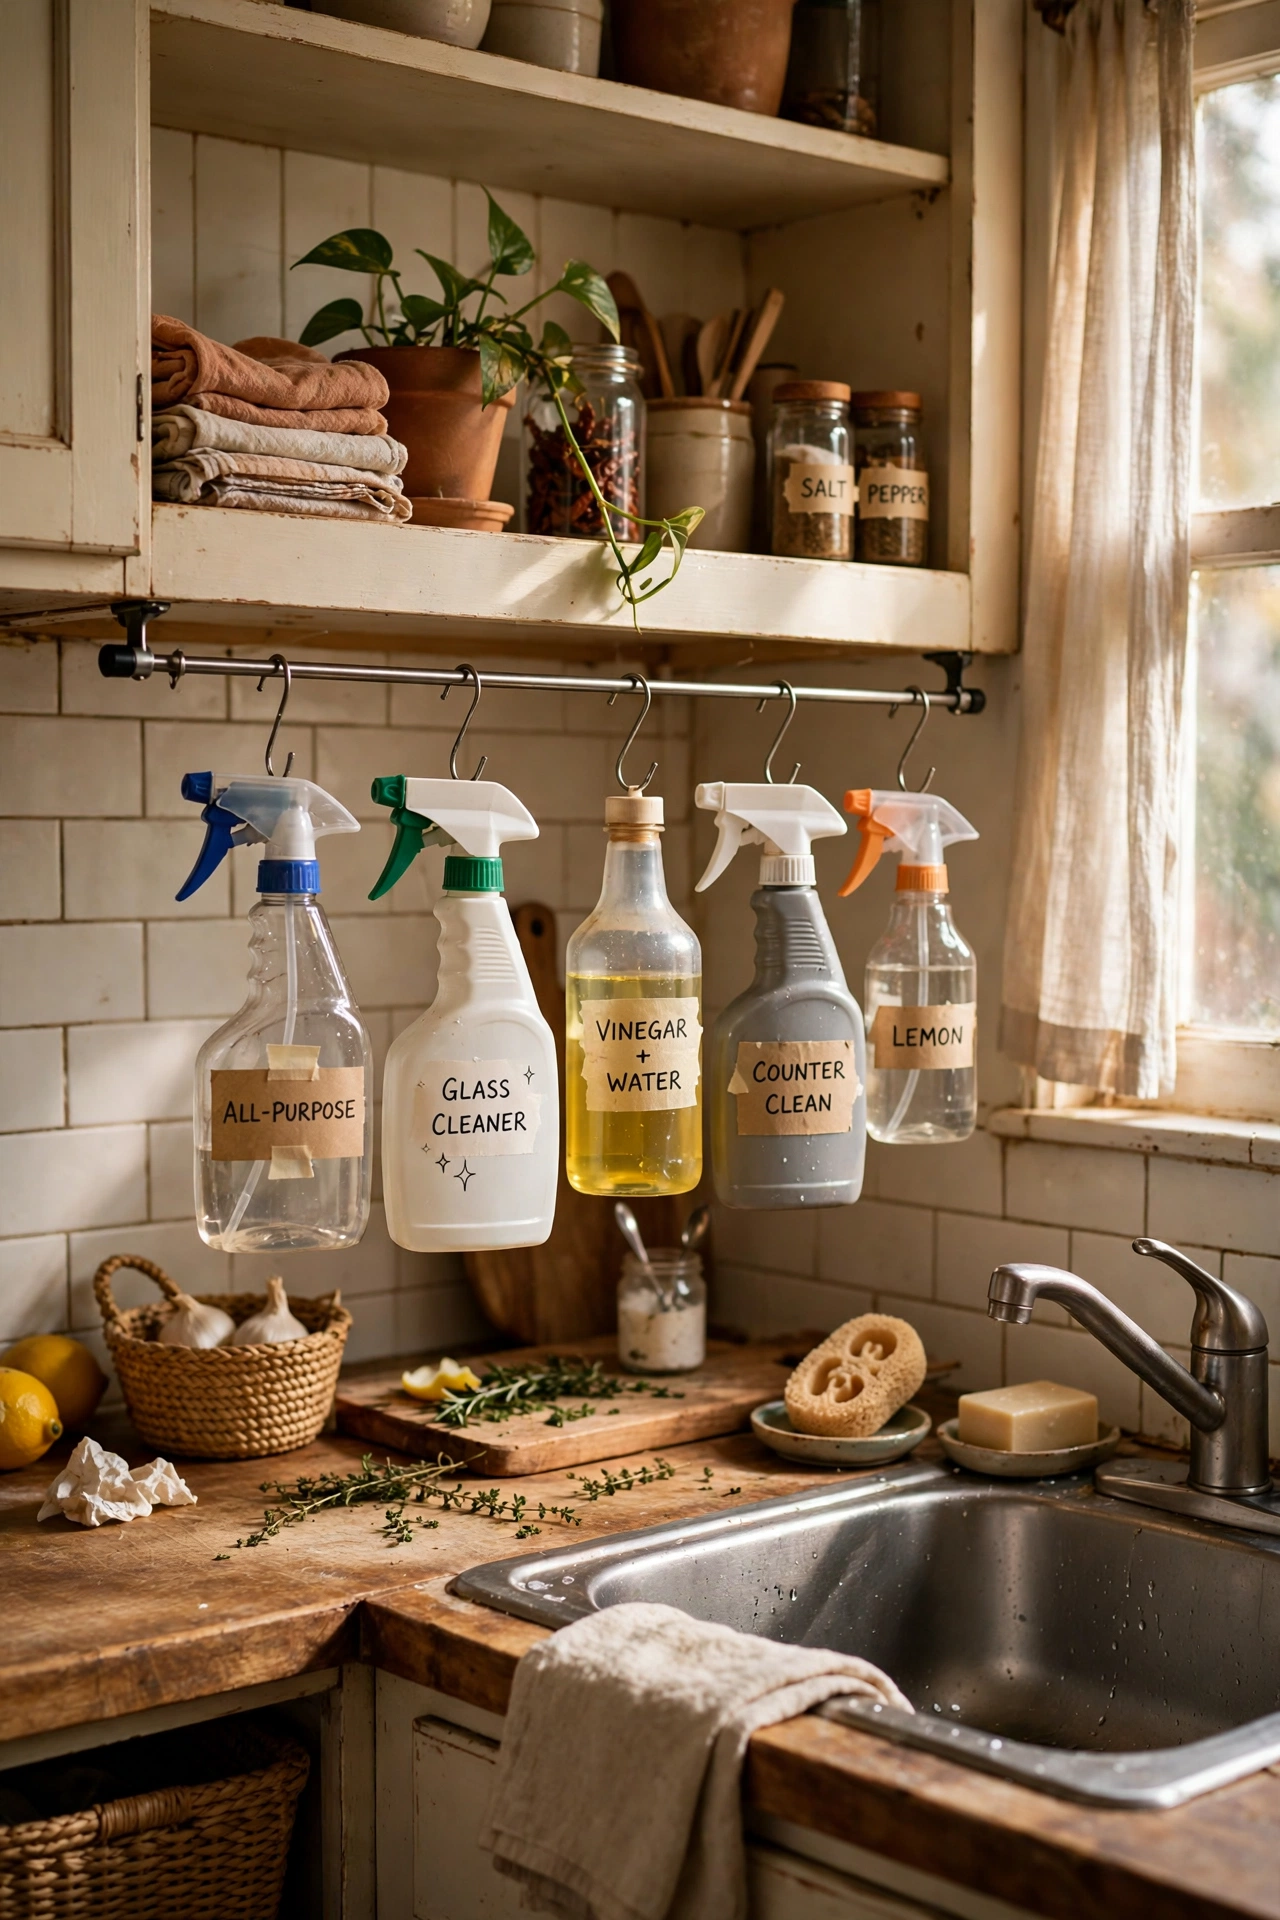
A tension rod under the sink turns dead air into a hanging rail for spray bottles, freeing the cabinet floor for bins. Twist it snugly between the cabinet walls, hang bottles by their triggers, and keep heavier items below. I did this for three dollars and doubled my under-sink space, which is the best value upgrade in this whole list. It also stops bottles tipping over and leaking into the cabinet base. I chose the neutral color so it works with whatever else I change later, and that flexibility has paid off more than once.
Cost: ~$3 | Time: 10 minutes
7. Stick Hooks Inside Cabinet Doors
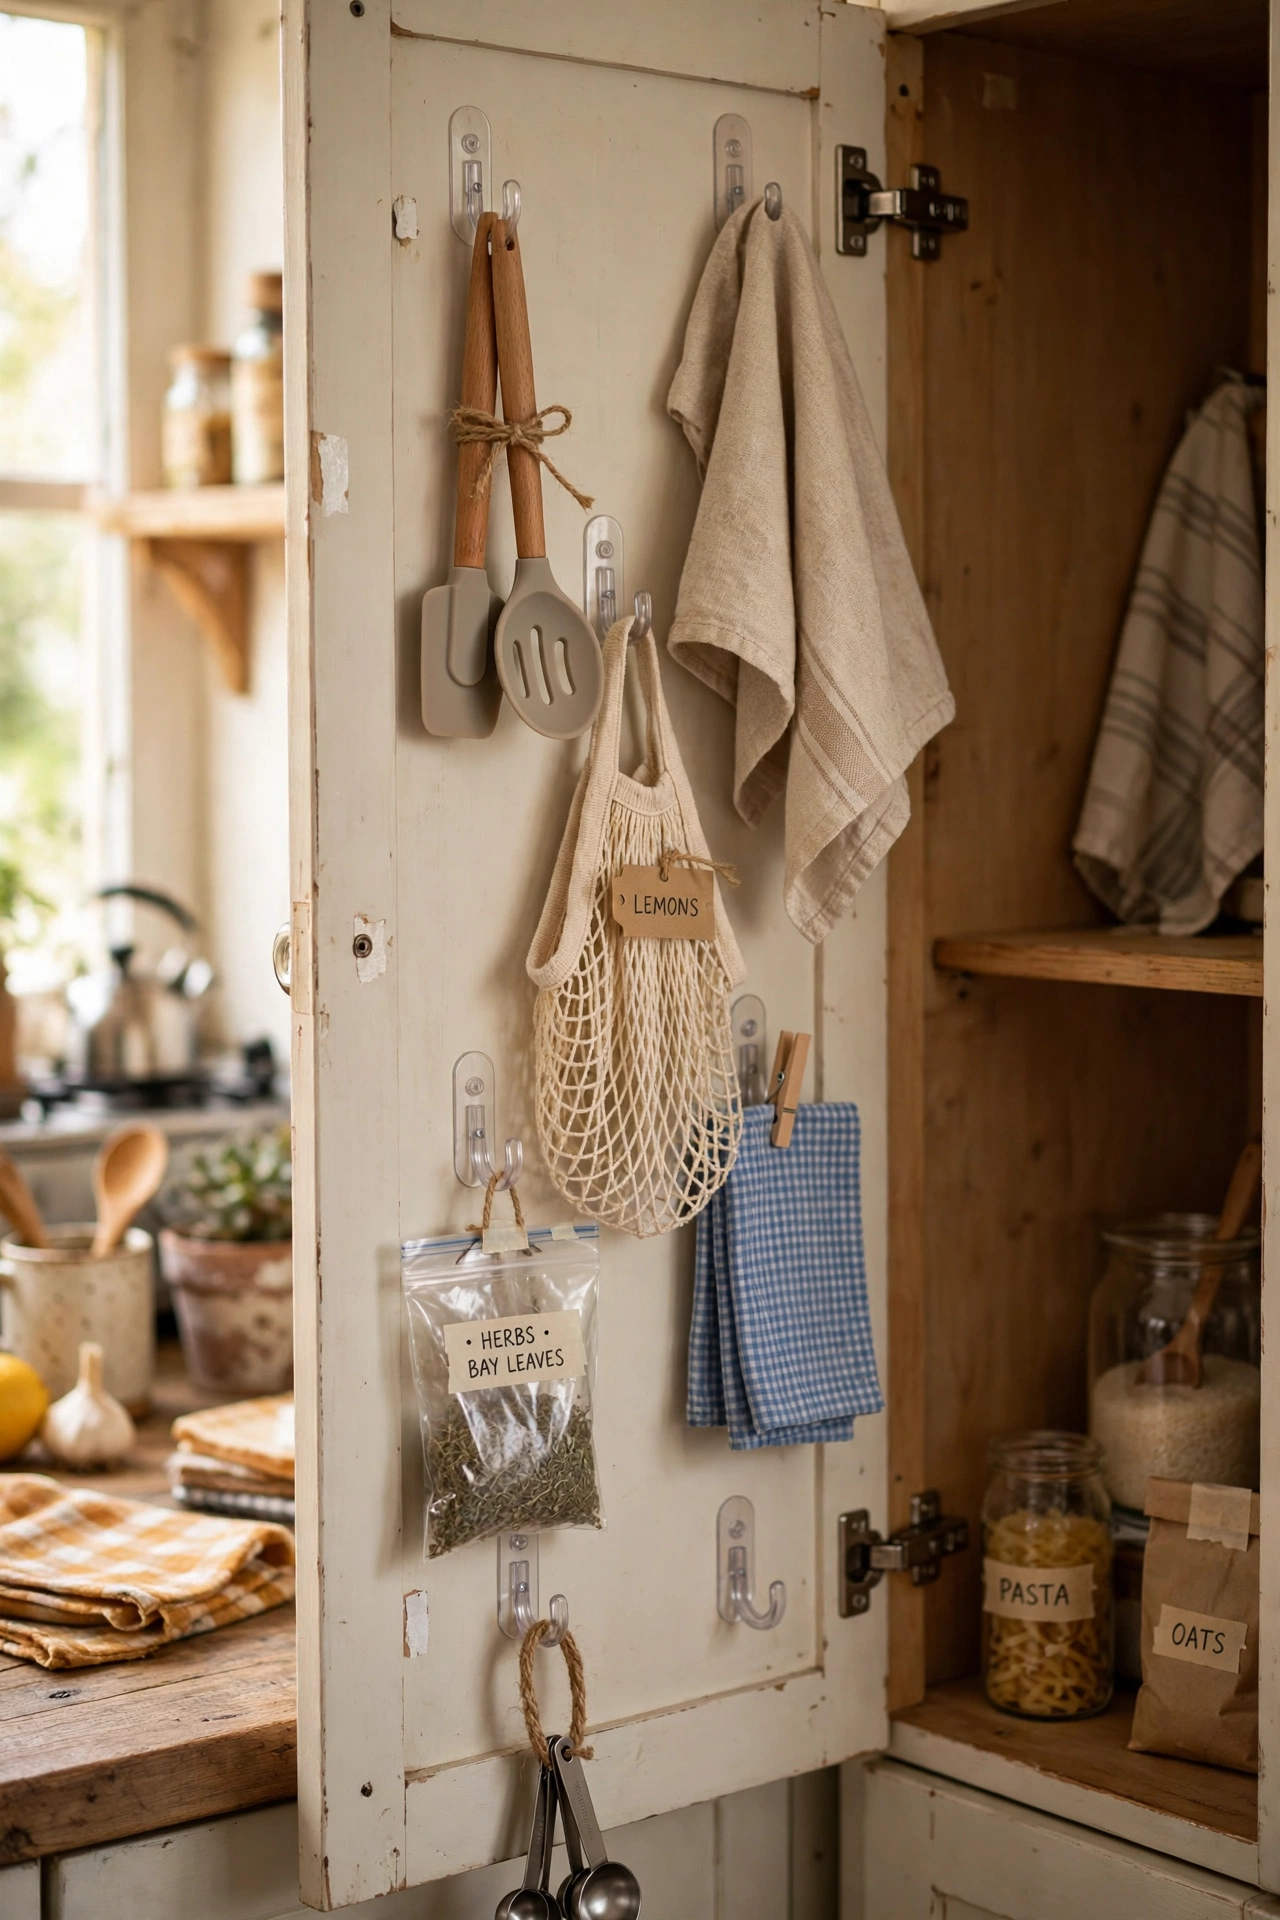
Adhesive hooks inside cabinet doors hold measuring cups, small tools, and pot lids in space that is otherwise wasted. Put measuring cups on the door nearest the stove and lids on the door nearest the pots, so each tool lives where you use it. I hung my measuring cups this way and stopped digging through a drawer every time I baked, which made weeknight cooking noticeably less annoying. If you share the space, agree on the spot together first, since a solution only one person likes gets moved within a week.
Cost: ~$6 | Time: 15 minutes
8. Decant Into Stackable Containers
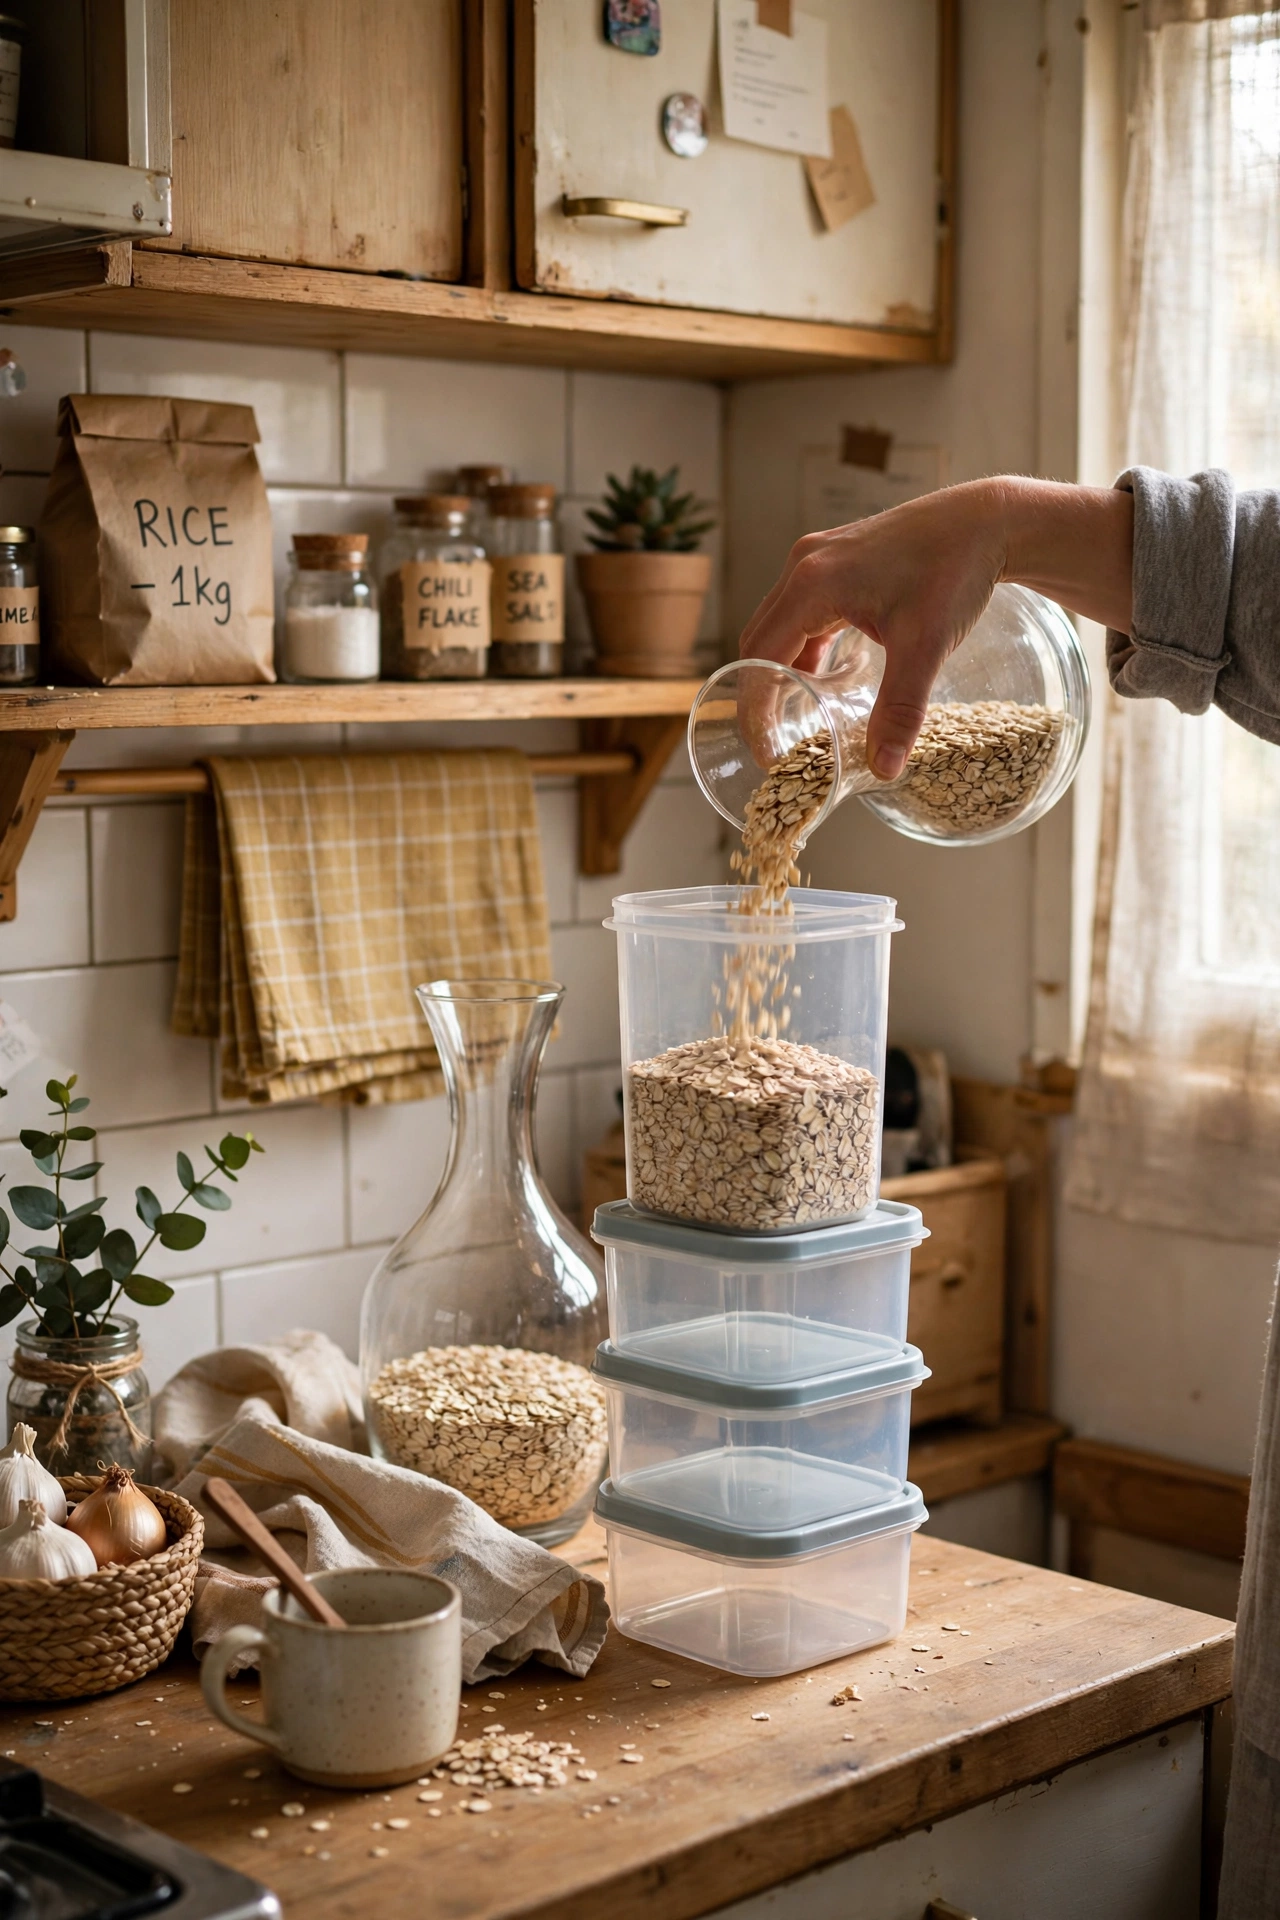
Stackable airtight containers replace a jumble of half-open bags and boxes with neat, visible rows that stack to the ceiling of a cabinet. Decant rice, pasta, flour, and snacks one category at a time, and label each container. I decanted my pantry over a weekend and my grocery bill dropped, since I stopped buying duplicates of things I already had. Clear containers also show when you are running low before you start cooking. I set a reminder to revisit this after a month, and the small tweaks I made then turned a good fix into a great one.
Cost: ~$20 | Time: 45 minutes
(see also: small-pantry-organization-ideas-on-a-budget)
9. Fold Down a Wall Table for Meals
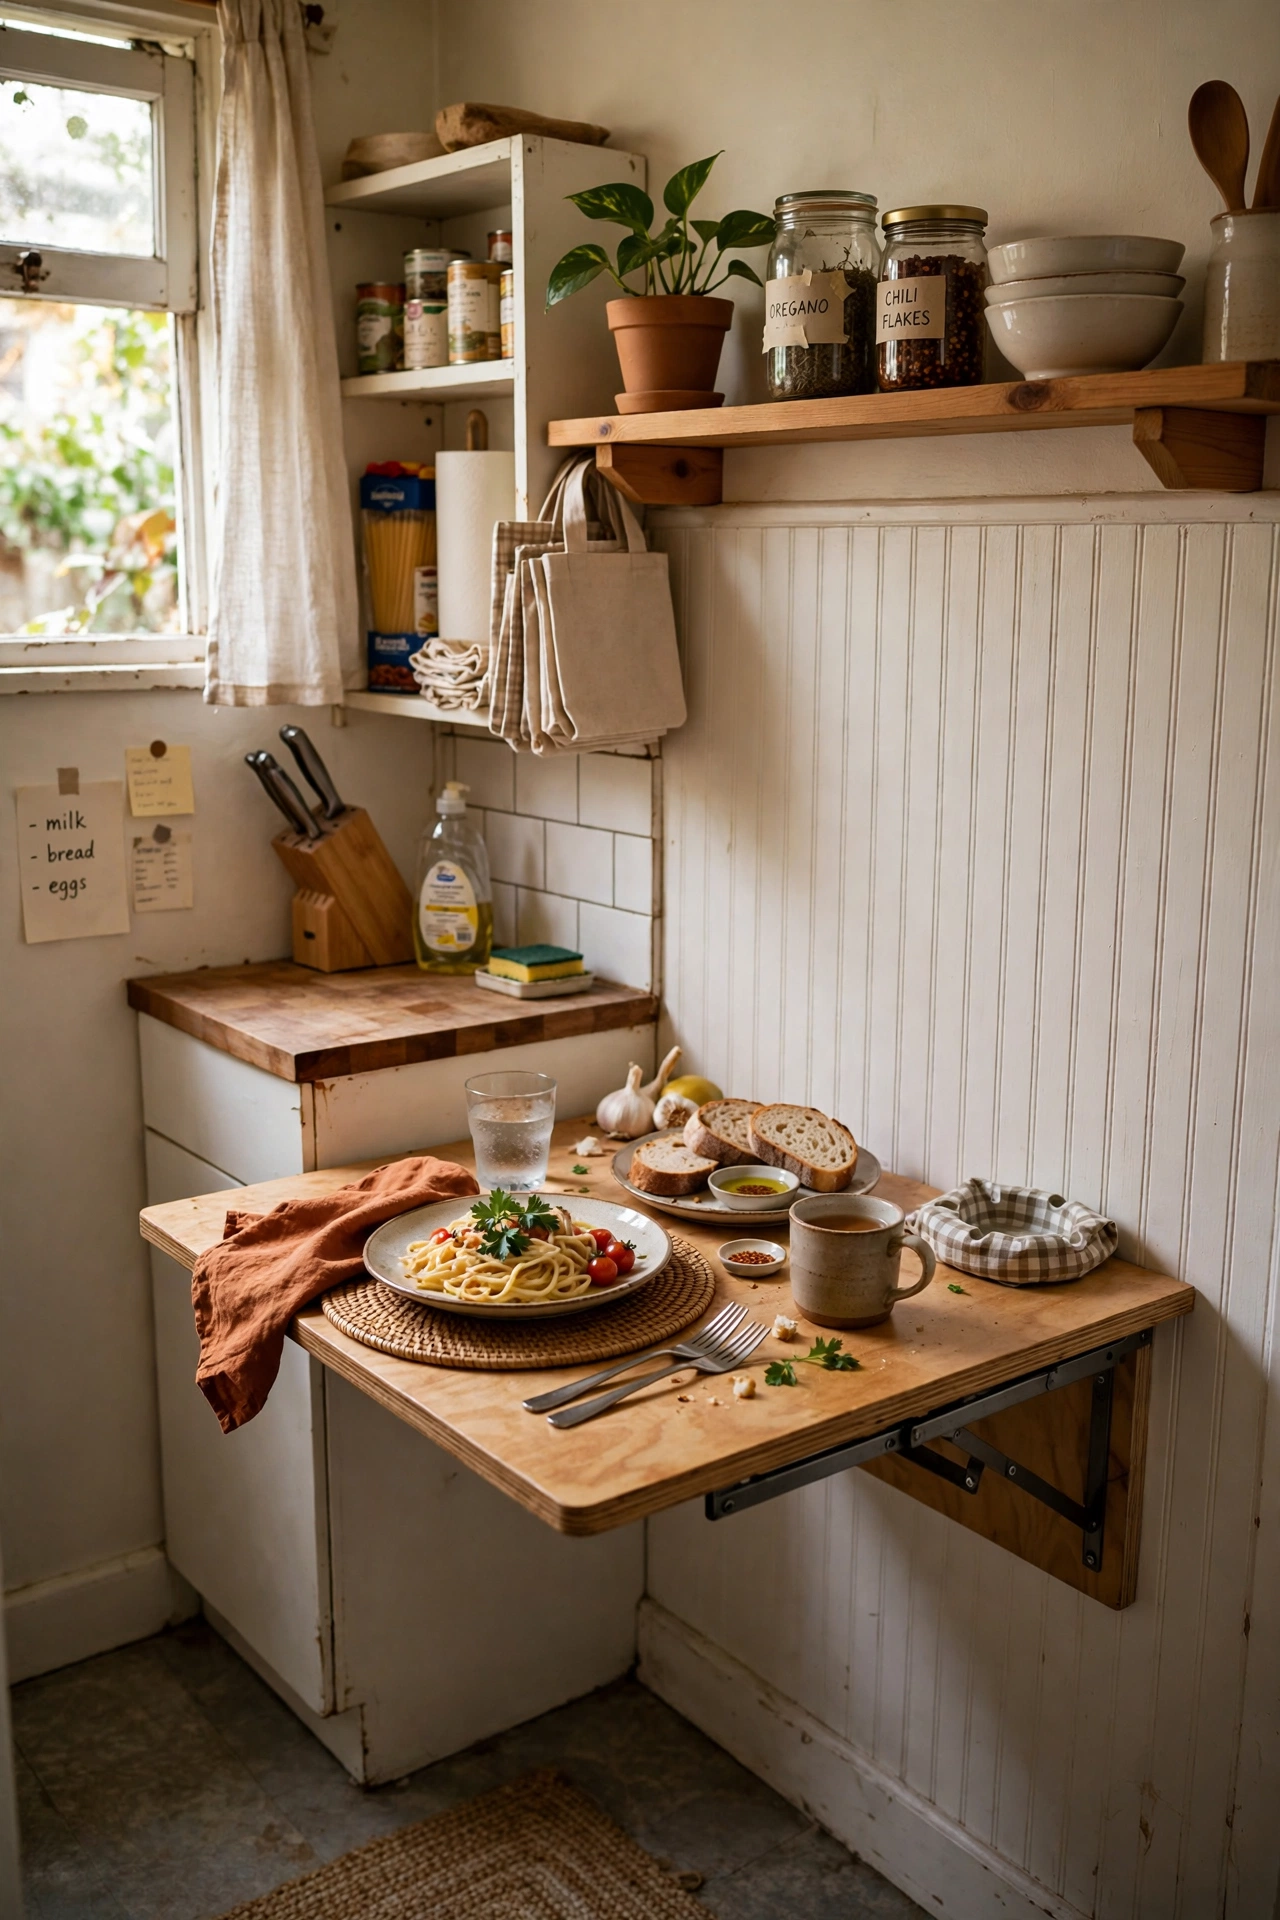
A wall-mounted fold-down table gives you a dining spot and a prep surface that disappears when you need the floor. Mount it at counter height near an outlet, and pair it with a stool that hangs on the wall or tucks under. I ate standing at the counter for months before installing one, and sitting down to a real table made my tiny kitchen feel like a real kitchen. Fold it up after meals so the room breathes again. The cost per use on this one is pennies by now, since I reach for it daily and it shows no sign of wearing out.
Cost: ~$35 | Time: 40 minutes
10. Mount a Pegboard for Tools and Utensils
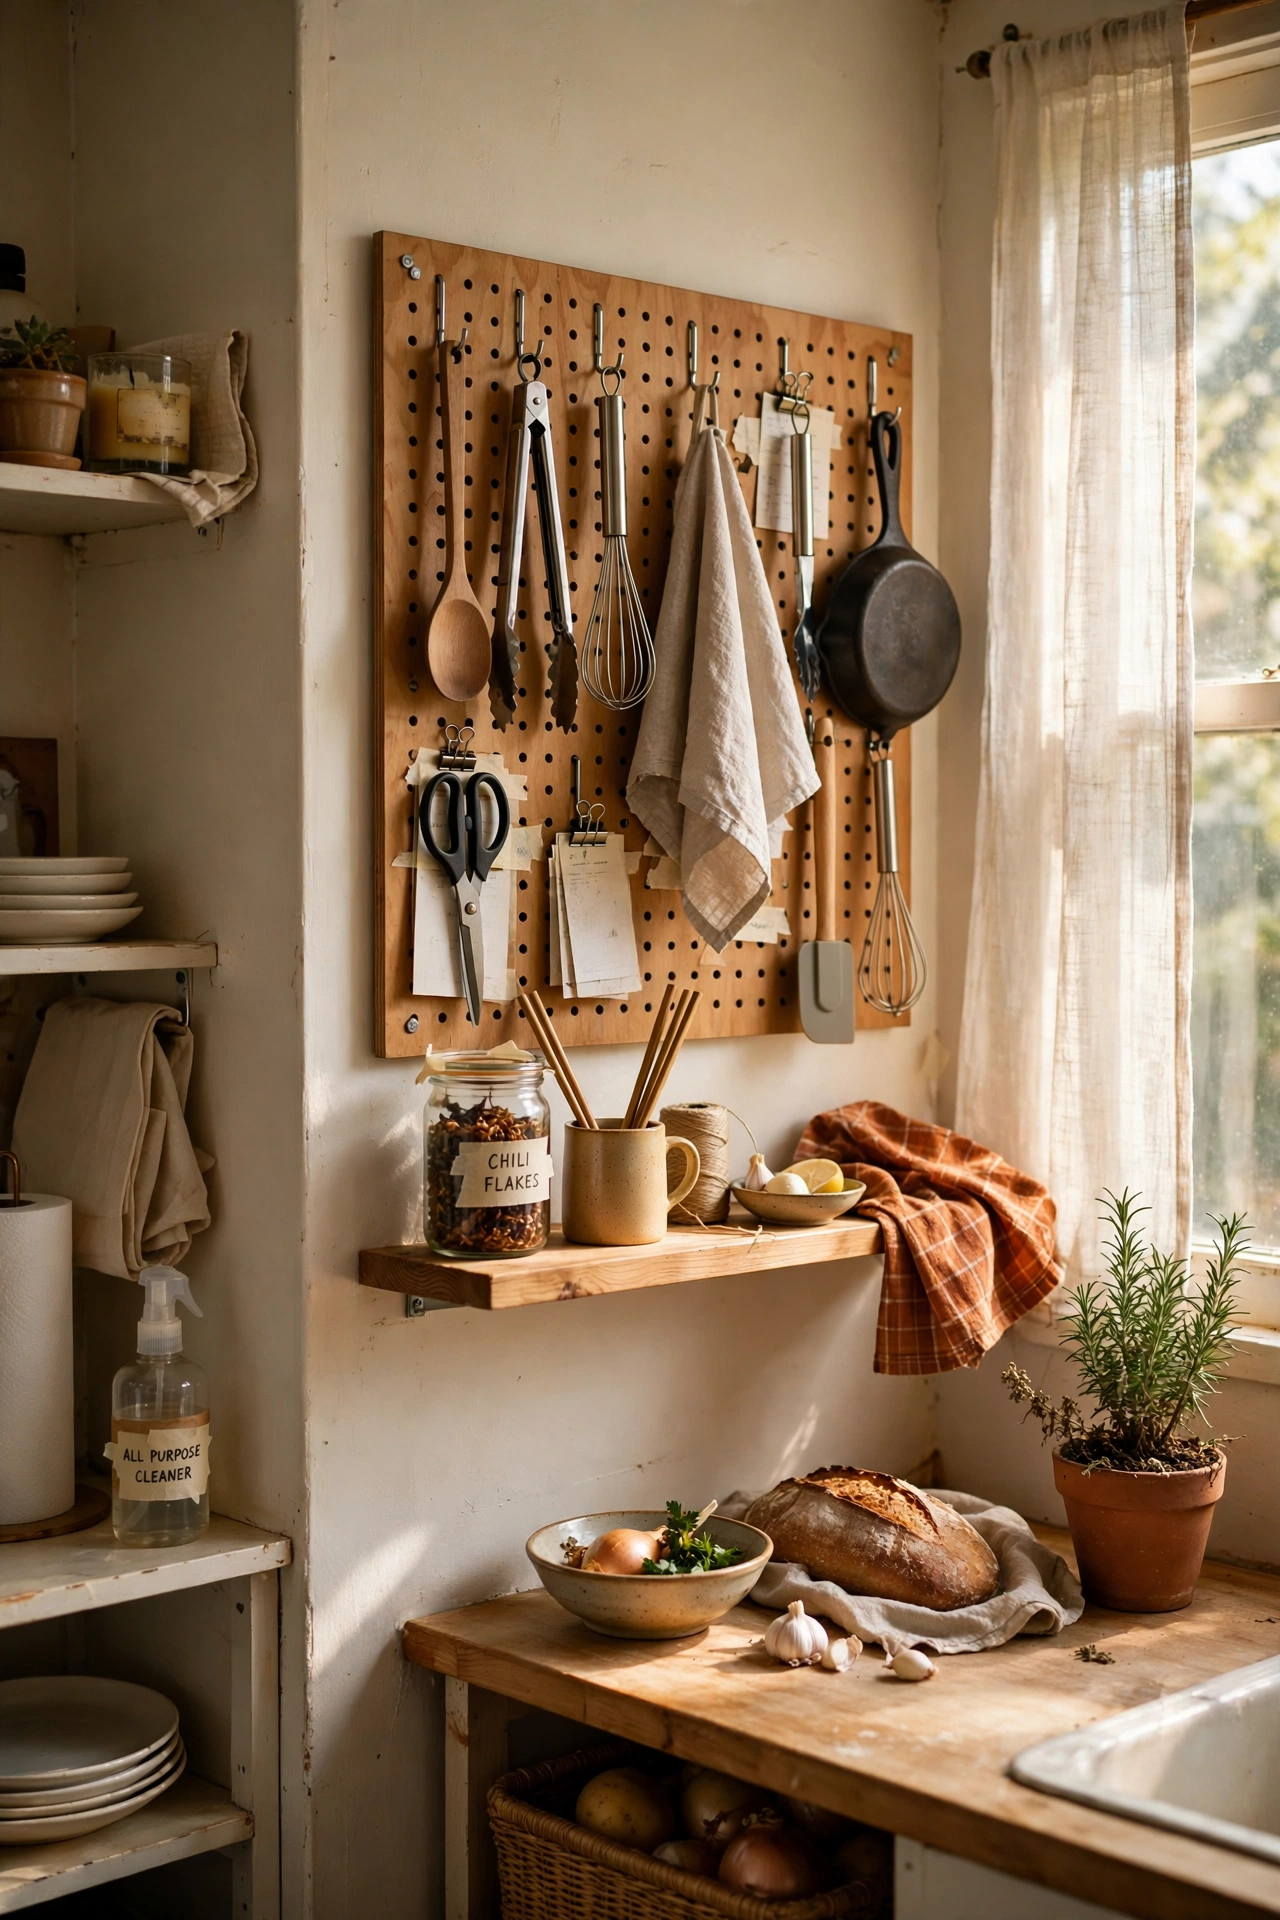
A small pegboard on an empty wall holds utensils, measuring cups, and scissors on hooks you can rearrange as your cooking changes. Paint it to match the kitchen or leave it natural, and keep daily tools at arm height. I mounted a pegboard beside my stove and my utensil drawer finally closed properly, which sounds minor until you have fought a jammed drawer daily for a year. I keep a second one in the cupboard as a backup, because the day it breaks will inevitably be the day guests arrive.
Cost: ~$20 | Time: 30 minutes
11. Add Corner Shelves for Dead Corners
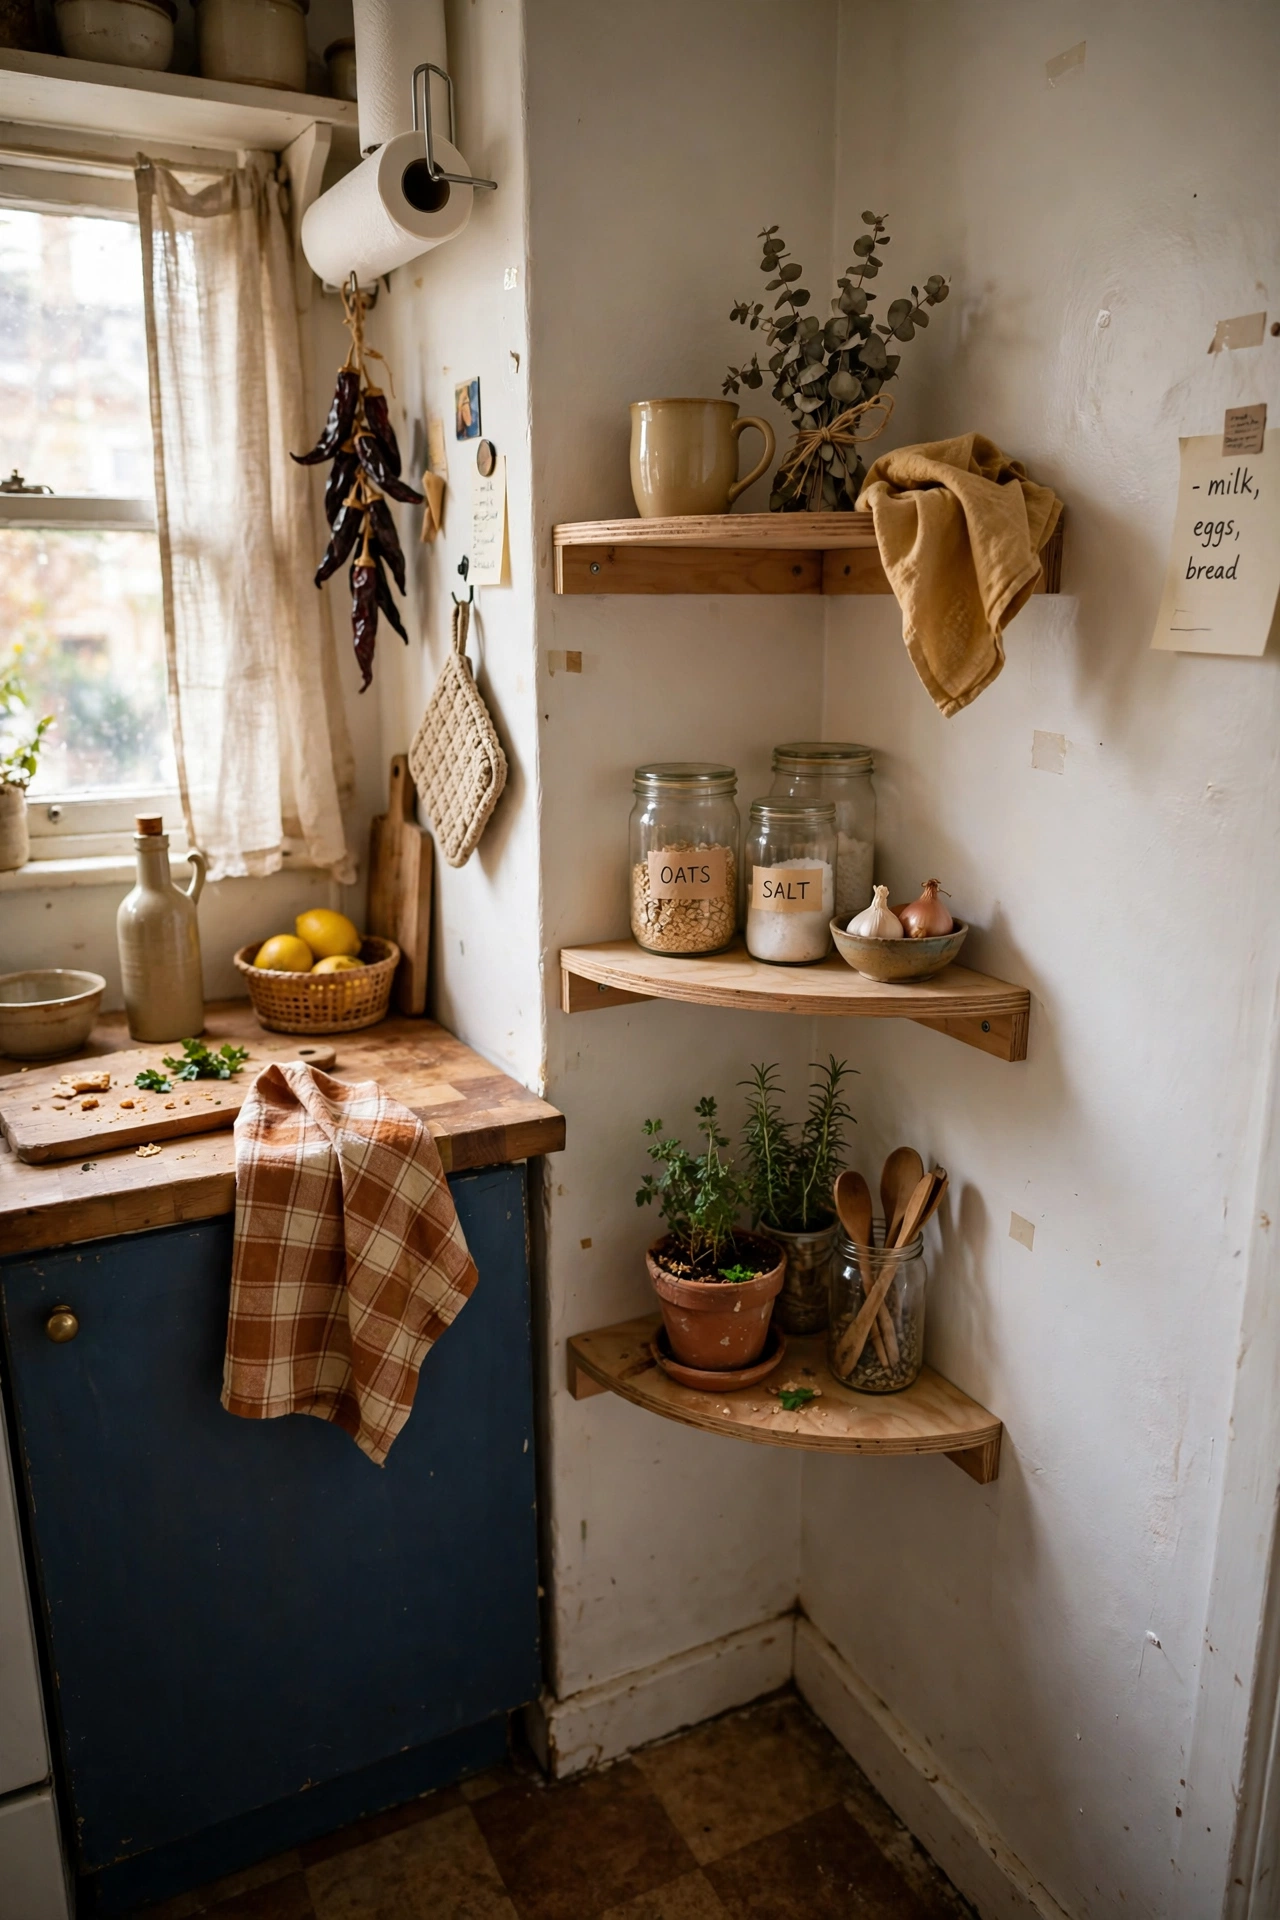
Corner shelves turn the awkward corners of a tiny kitchen into display and storage for mugs, plants, or spice jars. Install two or three at staggered heights, and keep them lightly loaded so the corner does not feel crowded. I added corner shelves above my coffee station and they held everything that had been sliding off the counter. Corners are the most wasted space in small kitchens, so claim them early. Measure your own space rather than copying the photo dimensions, since rentals vary by inches and inches matter here.
Cost: ~$18 | Time: 35 minutes
12. Hang an Over-Door Pantry Rack
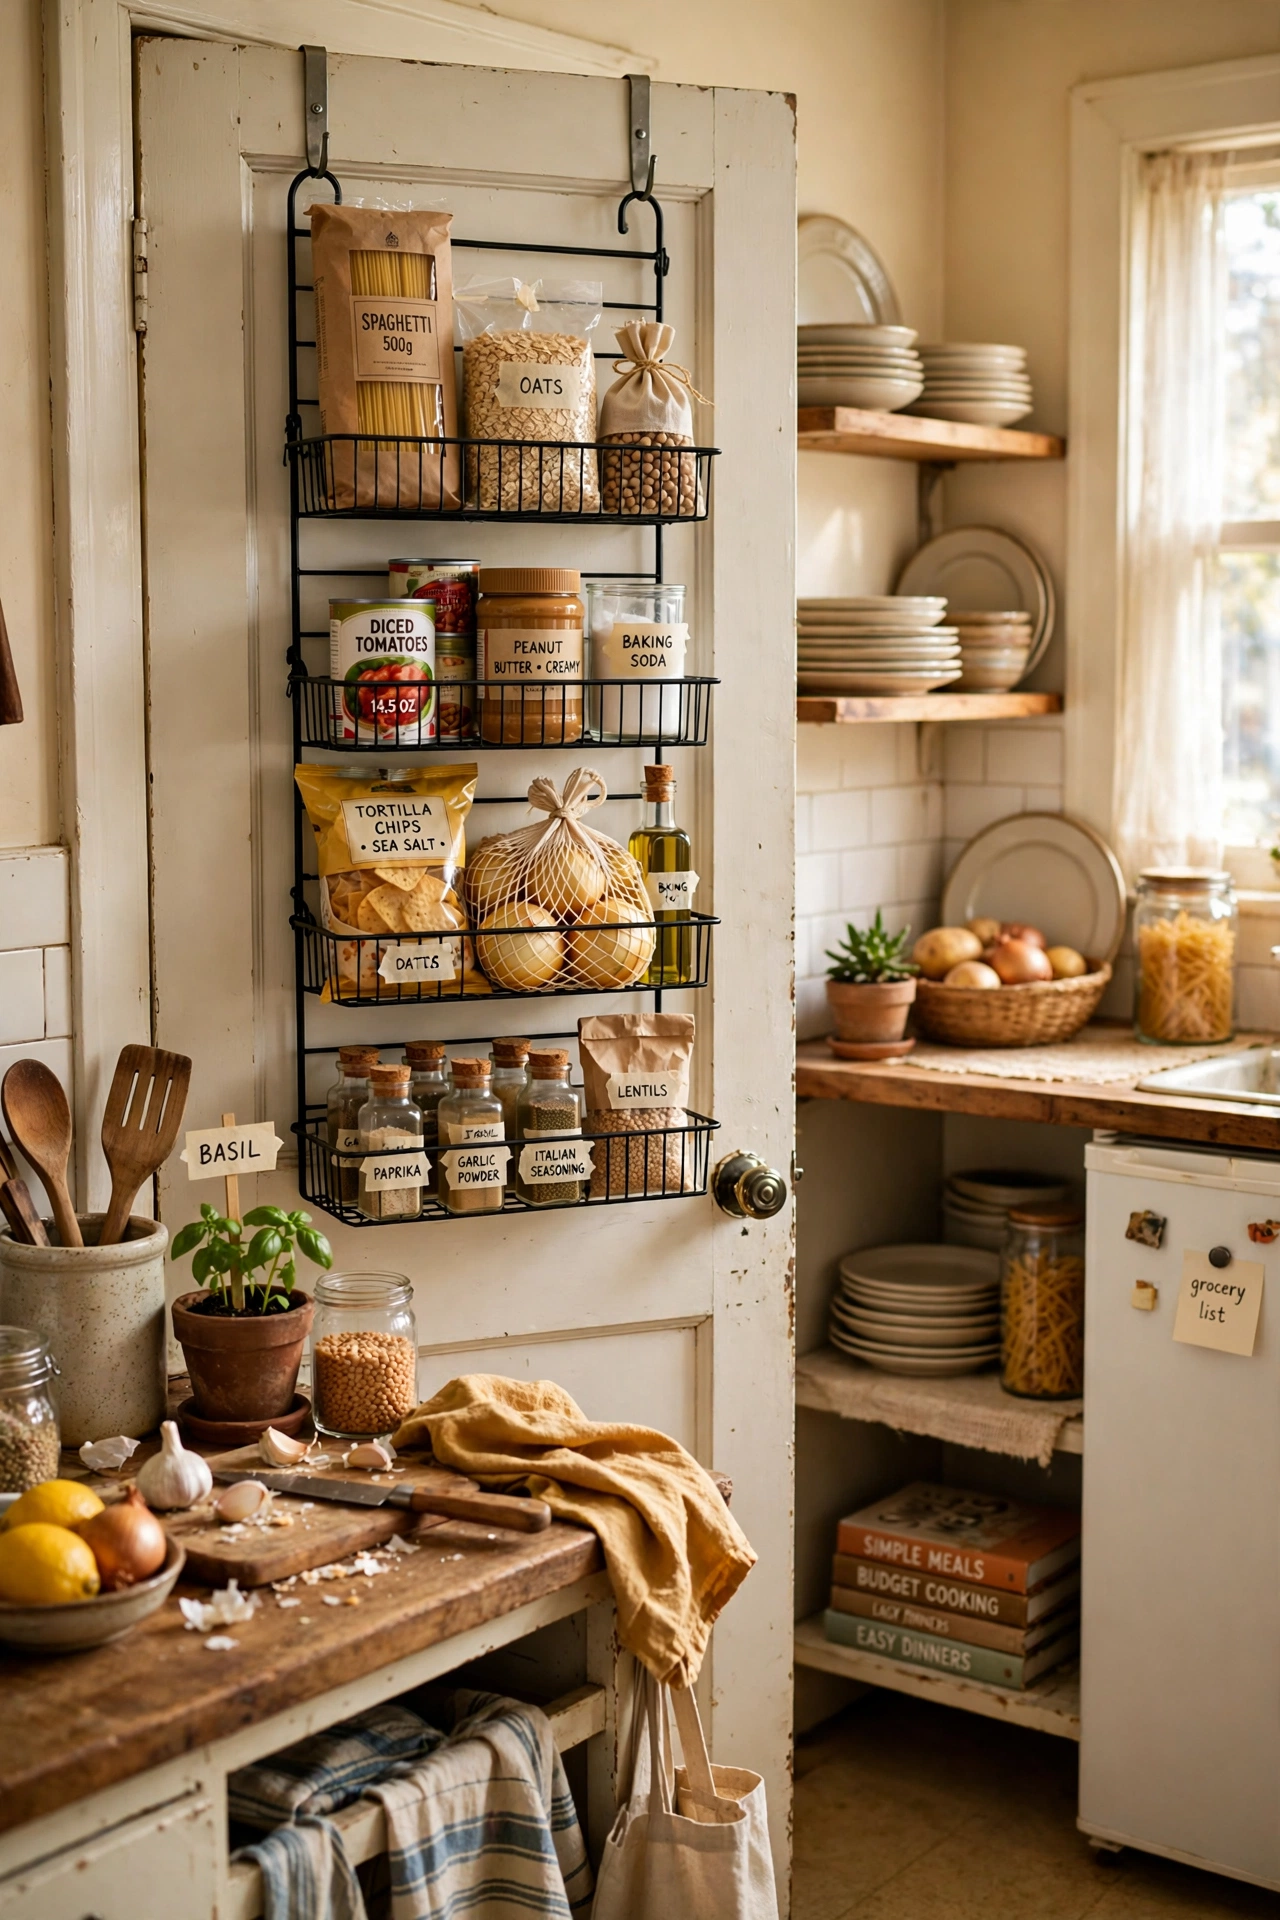
An over-the-door pantry rack adds a full shelf system to the back of a door, holding spices, cans, and snacks without any installation. Hang it on the pantry or kitchen door, and sort items by category from top to bottom. I hung one on my kitchen door and gained six shelves overnight, which ended the deep-cabinet archaeology I used to do for a can of tomatoes. I clean this spot when I clean the room around it, so it never becomes a separate chore I put off for weeks.
Cost: ~$18 | Time: 10 minutes
13. Use Magnetic Spice Jars on the Fridge
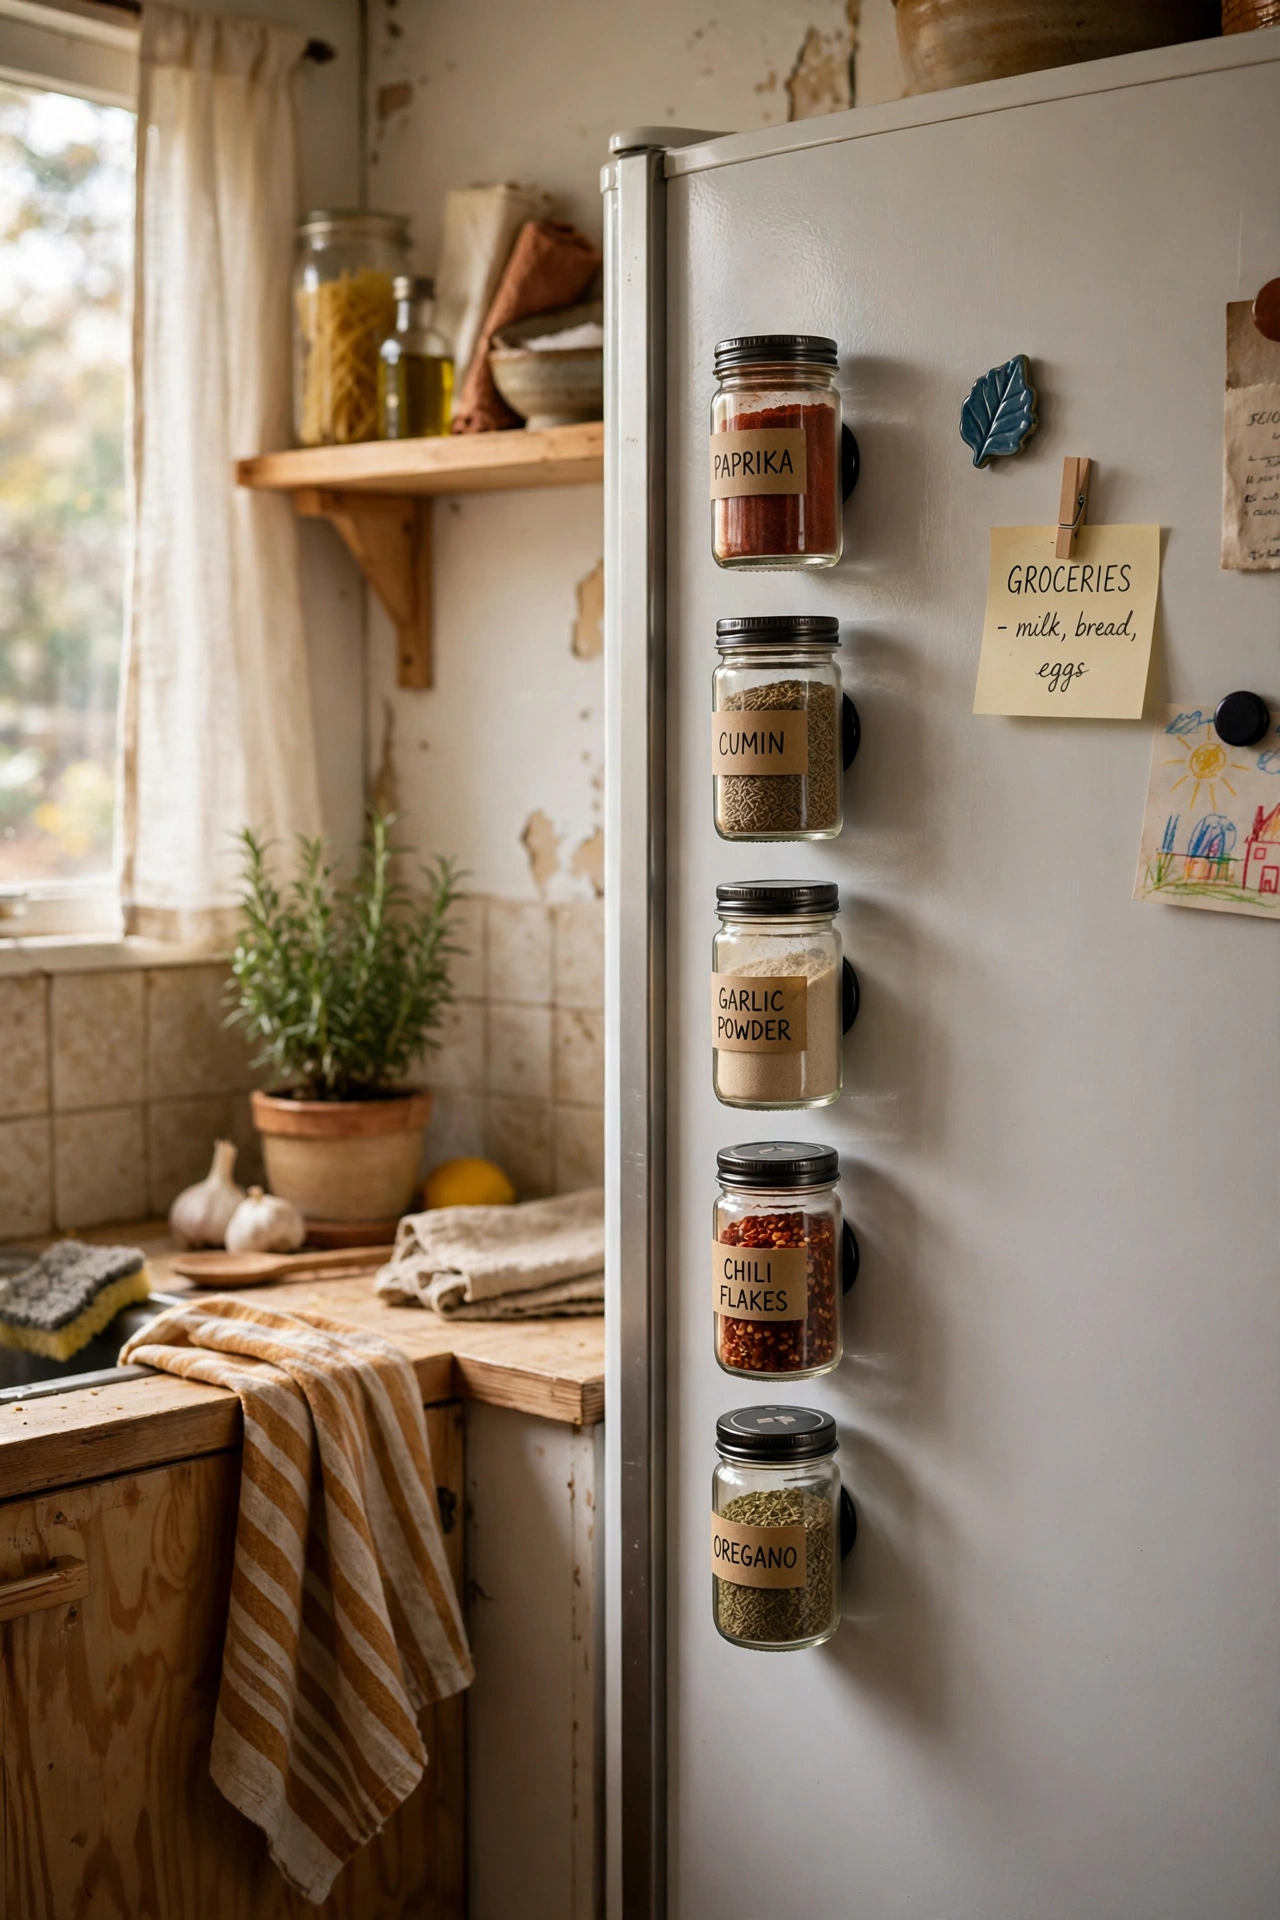
Magnetic spice jars stick to the side of the fridge, freeing a whole cabinet shelf and putting spices at eye level while you cook. Fill small jars, label the lids, and arrange them in cooking order or alphabetically. I moved twelve spice jars to my fridge side and my cabinet suddenly had room for baking trays, which had lived on top of the fridge for a year. Keep them away from the stove side, since heat dulls spice flavor. This works best when everything in it has one clear home, so I removed one item for every new one I added.
Cost: ~$15 | Time: 20 minutes
(see also: spice-storage-ideas-for-small-kitchens)
14. Swap a Dish Rack for a Drying Mat
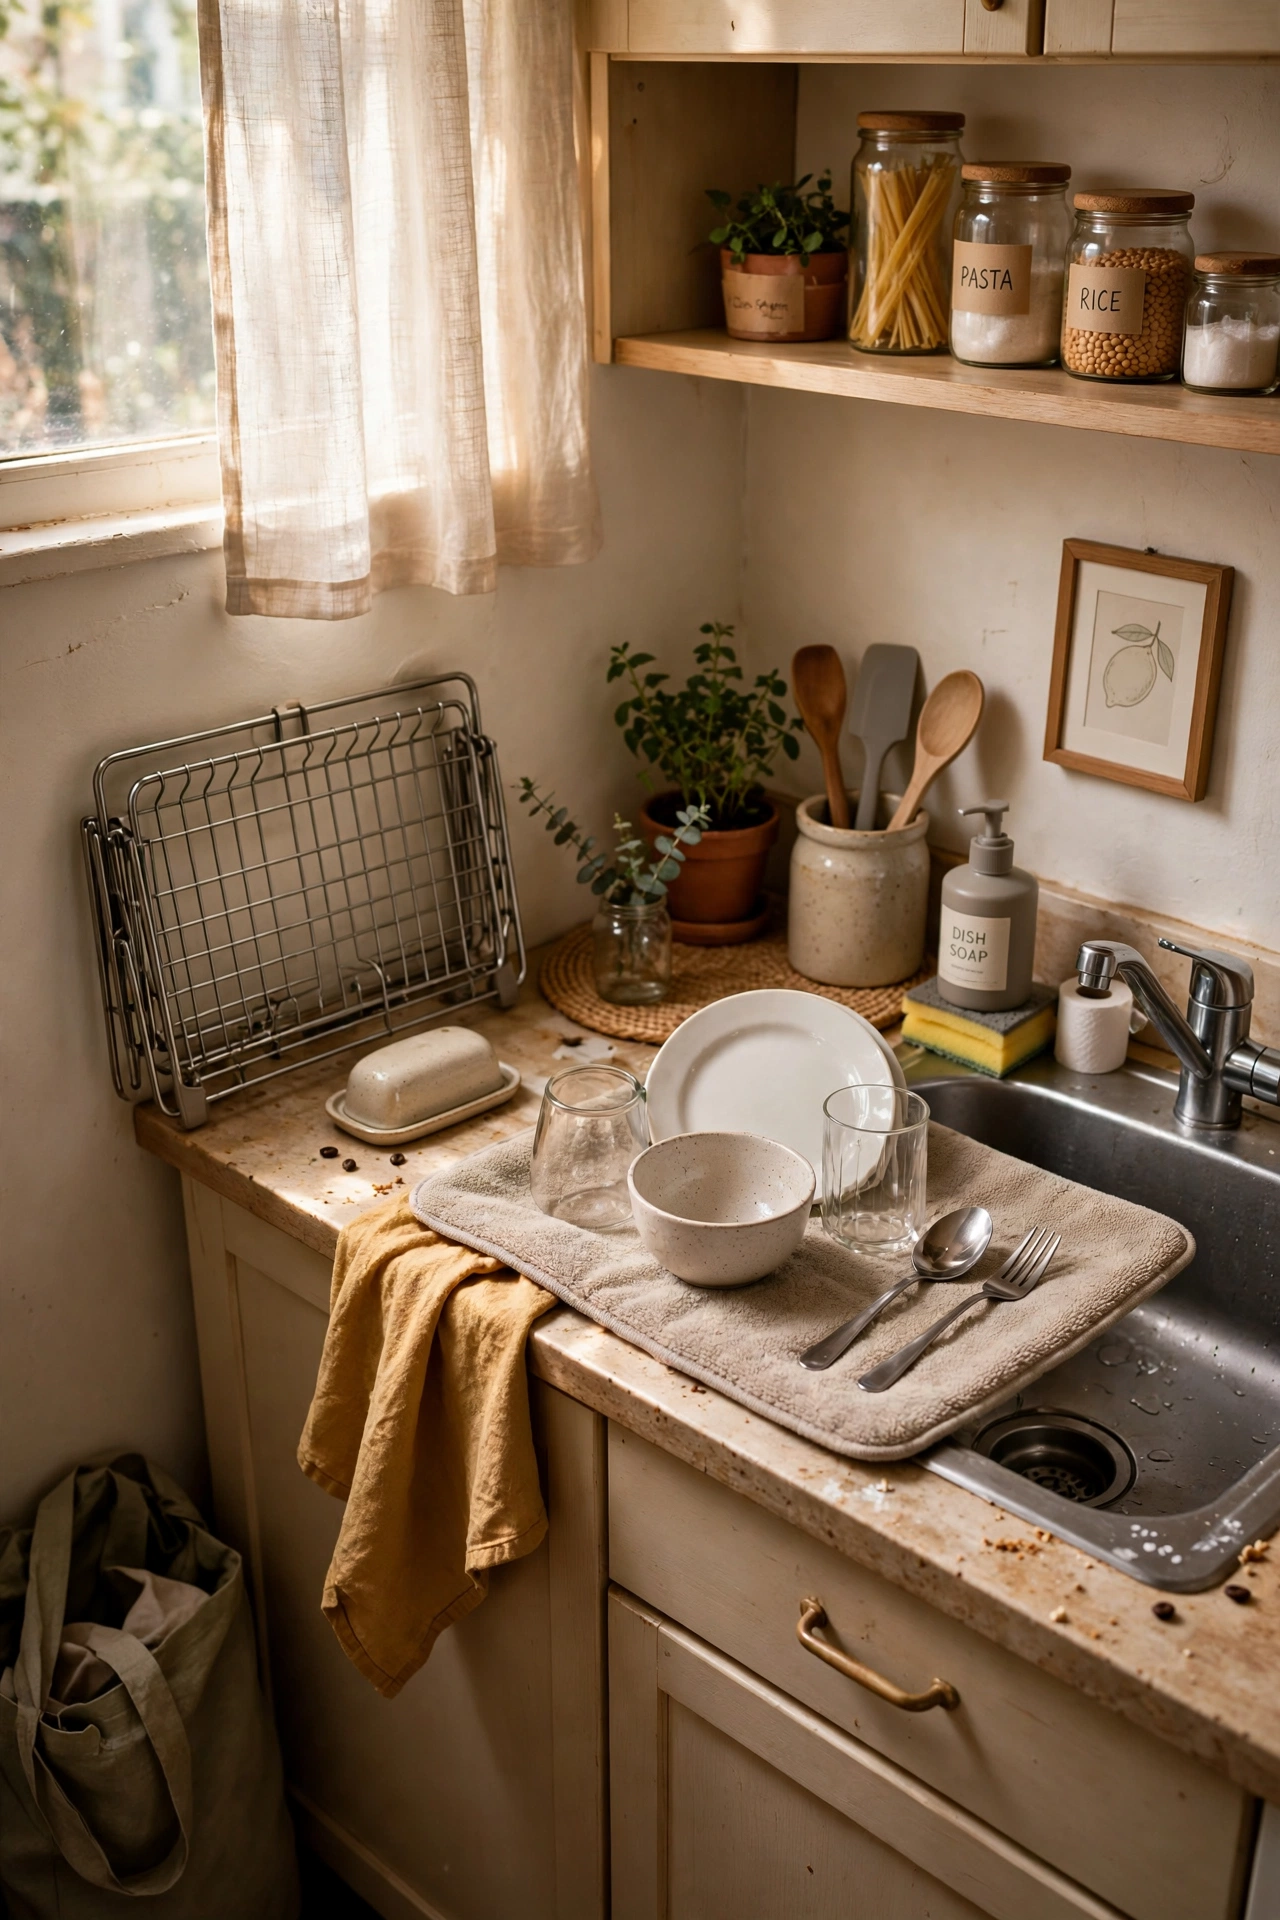
A roll-up dish drying mat replaces a bulky dish rack, freeing counter space when dishes are done. Roll it out over the sink or counter for washing up, then roll it up and store it in a drawer. I swapped my rack for a mat and gained back a third of my counter, which in a tiny kitchen is a lot. Choose a mat with a microfiber top so it absorbs well, and wash it weekly to keep it fresh. I asked a friend to look at it with fresh eyes, and they spotted the one crooked detail I had stopped seeing entirely.
Cost: ~$10 | Time: 5 minutes
15. Stack a Tiered Organizer in the Pantry
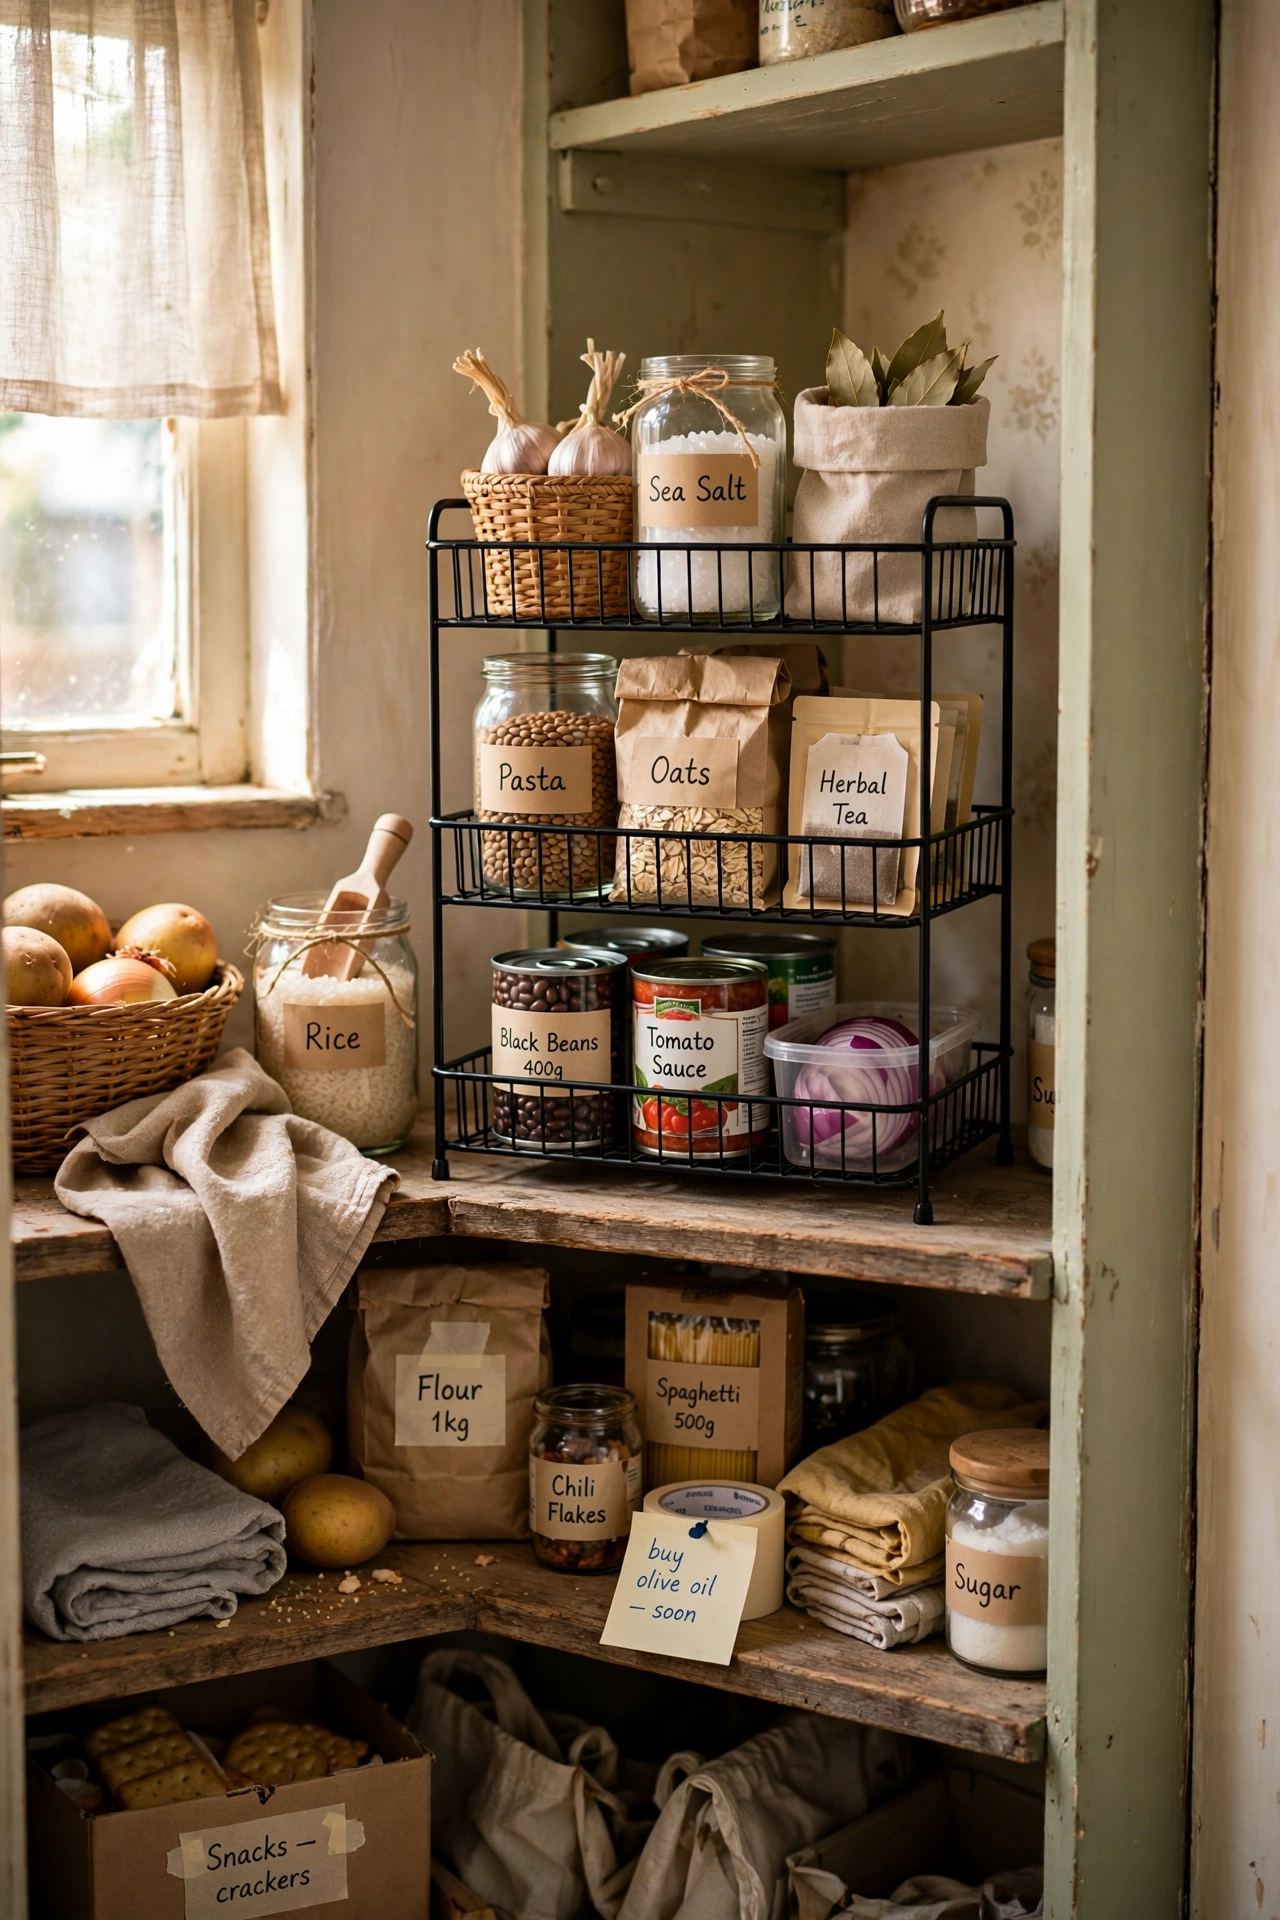
A tiered shelf organizer inside a pantry or deep cabinet lifts back rows into view, so nothing hides behind the front row. Place cans and jars on the steps by category, and keep the tallest items at the back. I added one tiered shelf and found three cans of beans I had bought twice, which paid for the organizer in one grocery trip. It also stops the slow slide of cans to the back of the cabinet. Give it a week of real use before judging it, since new setups always feel odd for the first two days and then just feel normal.
Cost: ~$12 | Time: 10 minutes
16. Hang a Fruit Basket From the Ceiling
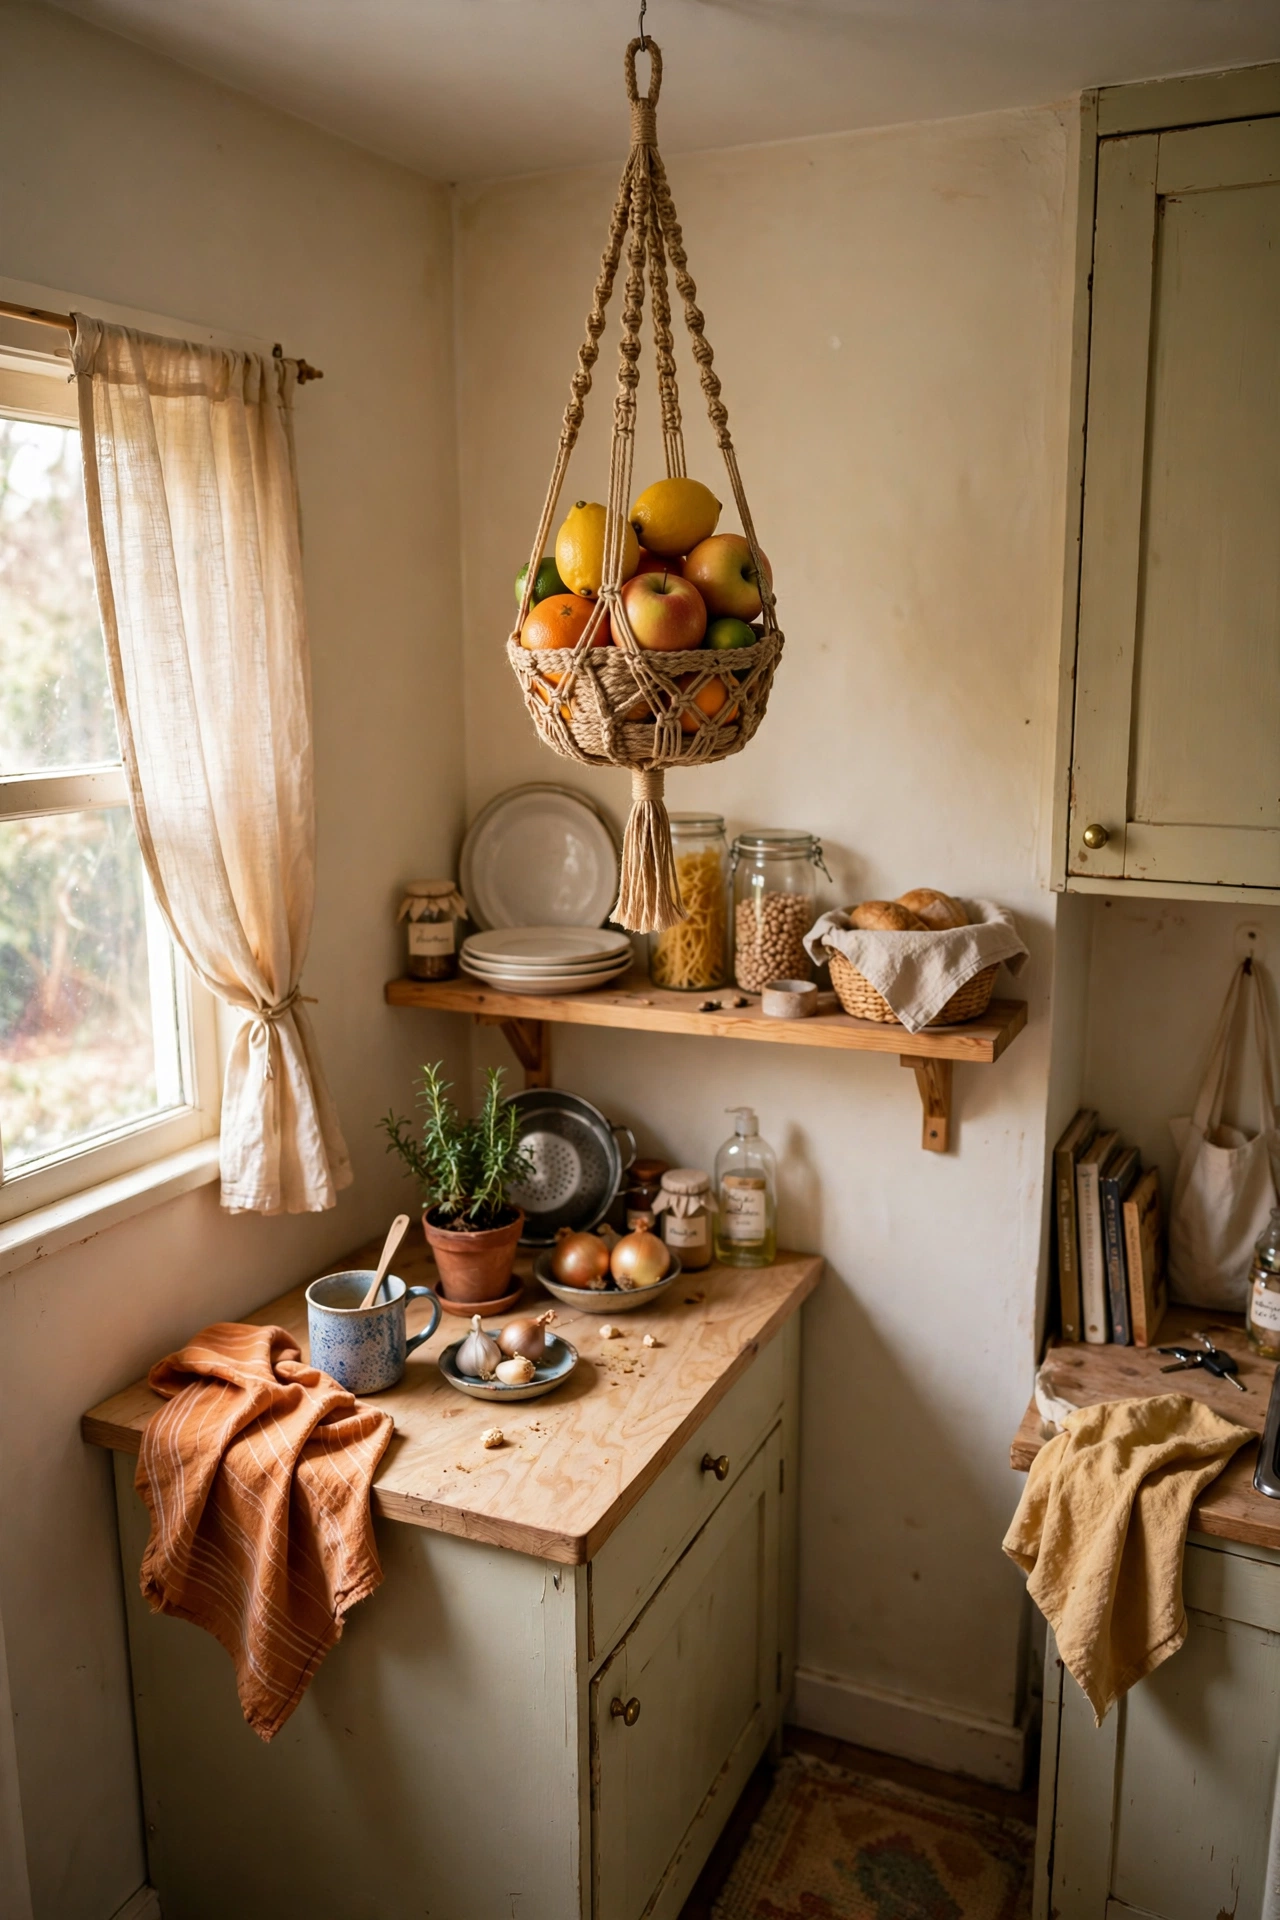
A hanging fruit basket frees counter and fridge space while keeping fruit visible, so you actually eat it before it spoils. Hang it from a ceiling hook away from the stove, and keep heavier fruit at the bottom tier. I hung one over my tiny counter and my fruit stopped rolling around the fridge drawer, where it used to go forgotten. It also adds a cheerful, market-like touch to a plain kitchen. I combined this with a second small fix in the same corner, and together they solved a problem neither fixed alone.
Cost: ~$12 | Time: 15 minutes
17. Slim Down to a Narrow Trash Can
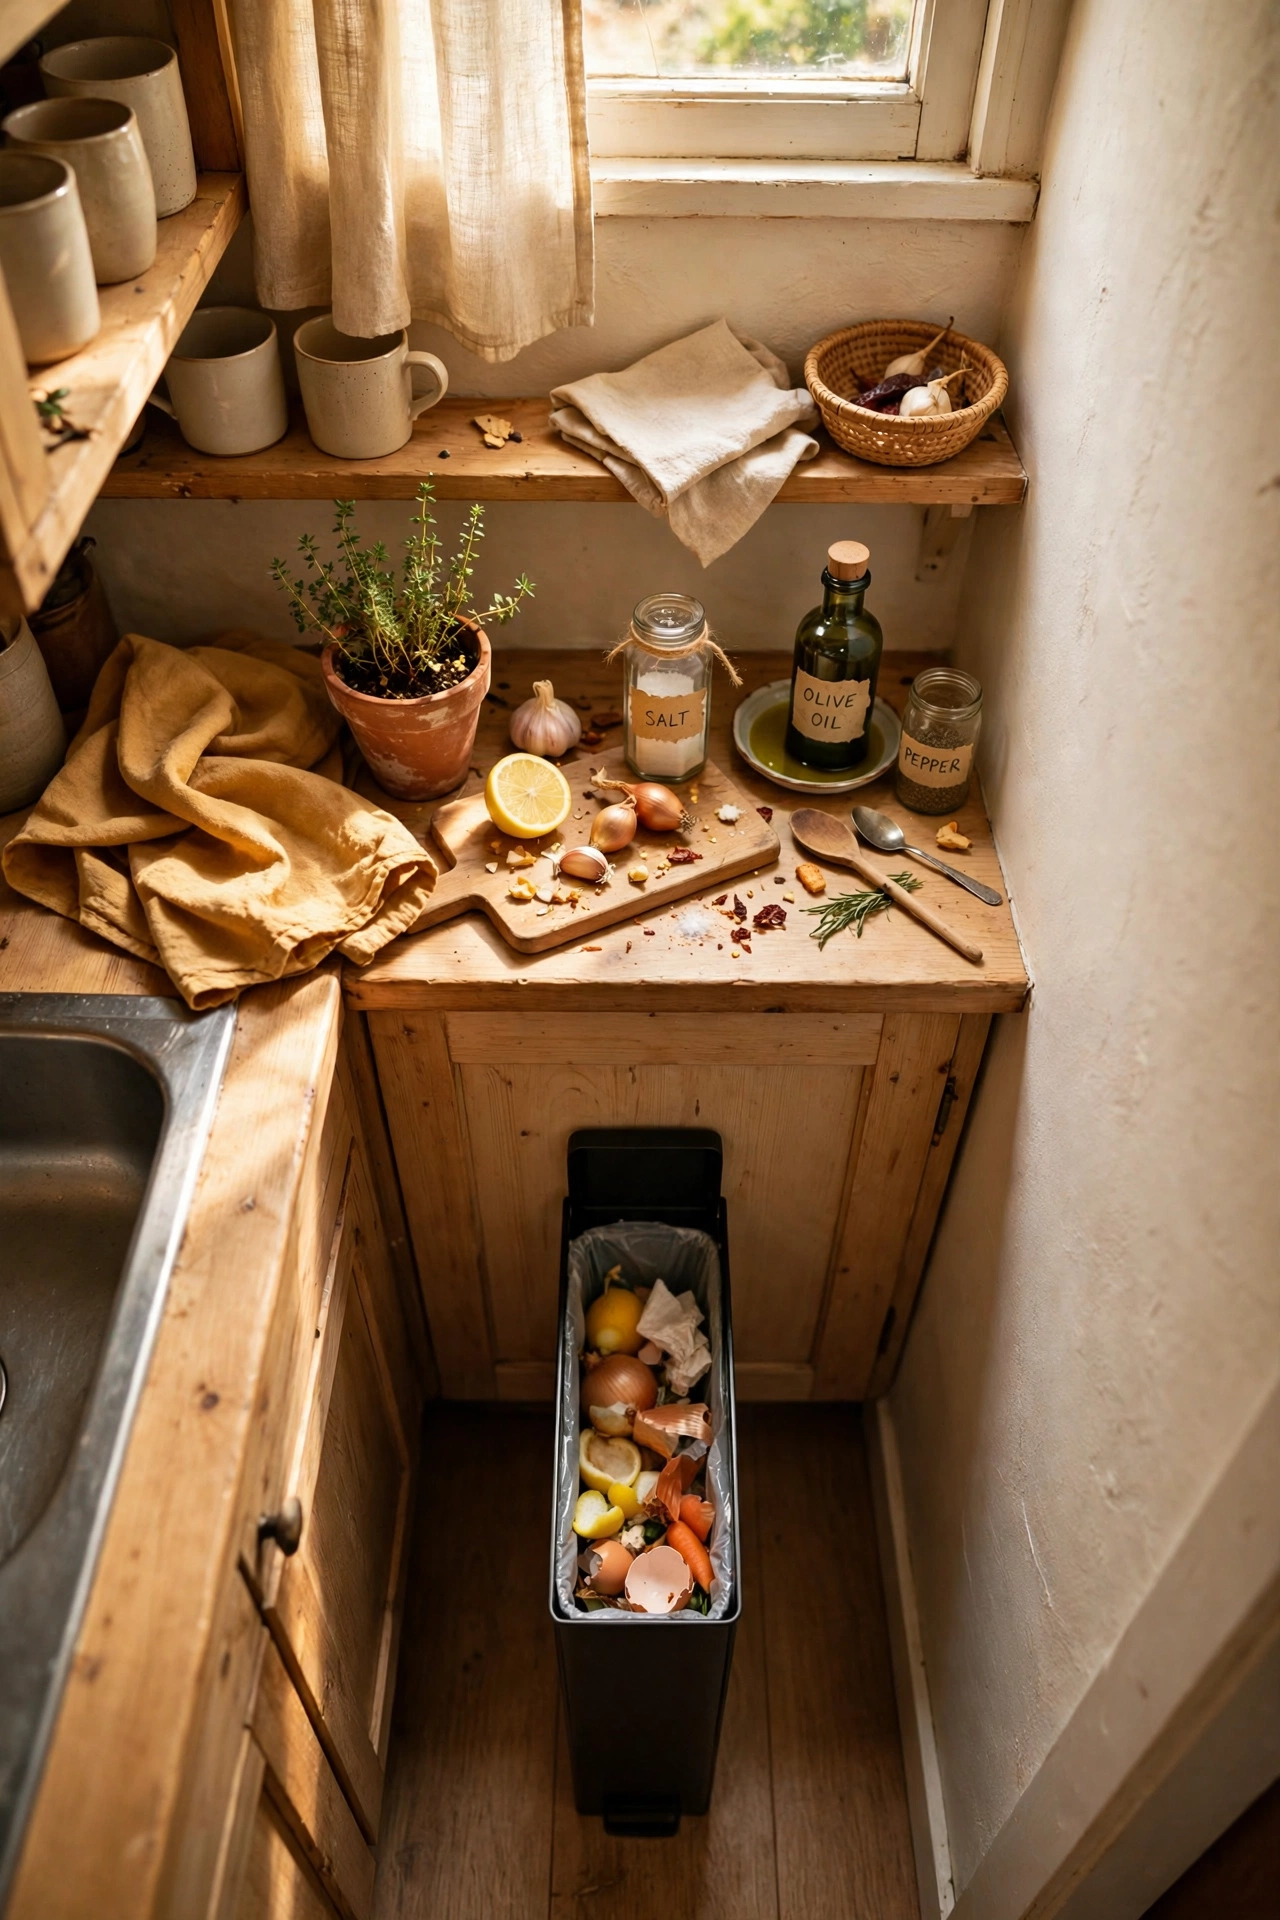
A slim trash can fits the gap beside a cabinet or at the end of a counter, where a standard bin would block a walkway. Choose one with a lid if you cook often, since small kitchens smell fast, and line it on trash day so there is never an excuse to skip. I swapped a wide bin for a slim one and gained a full step of floor space, which mattered every single day in a kitchen you cross a dozen times.
Cost: ~$15 | Time: 5 minutes
(see also: small-kitchen-trash-solutions)
18. Label Every Jar and Bin
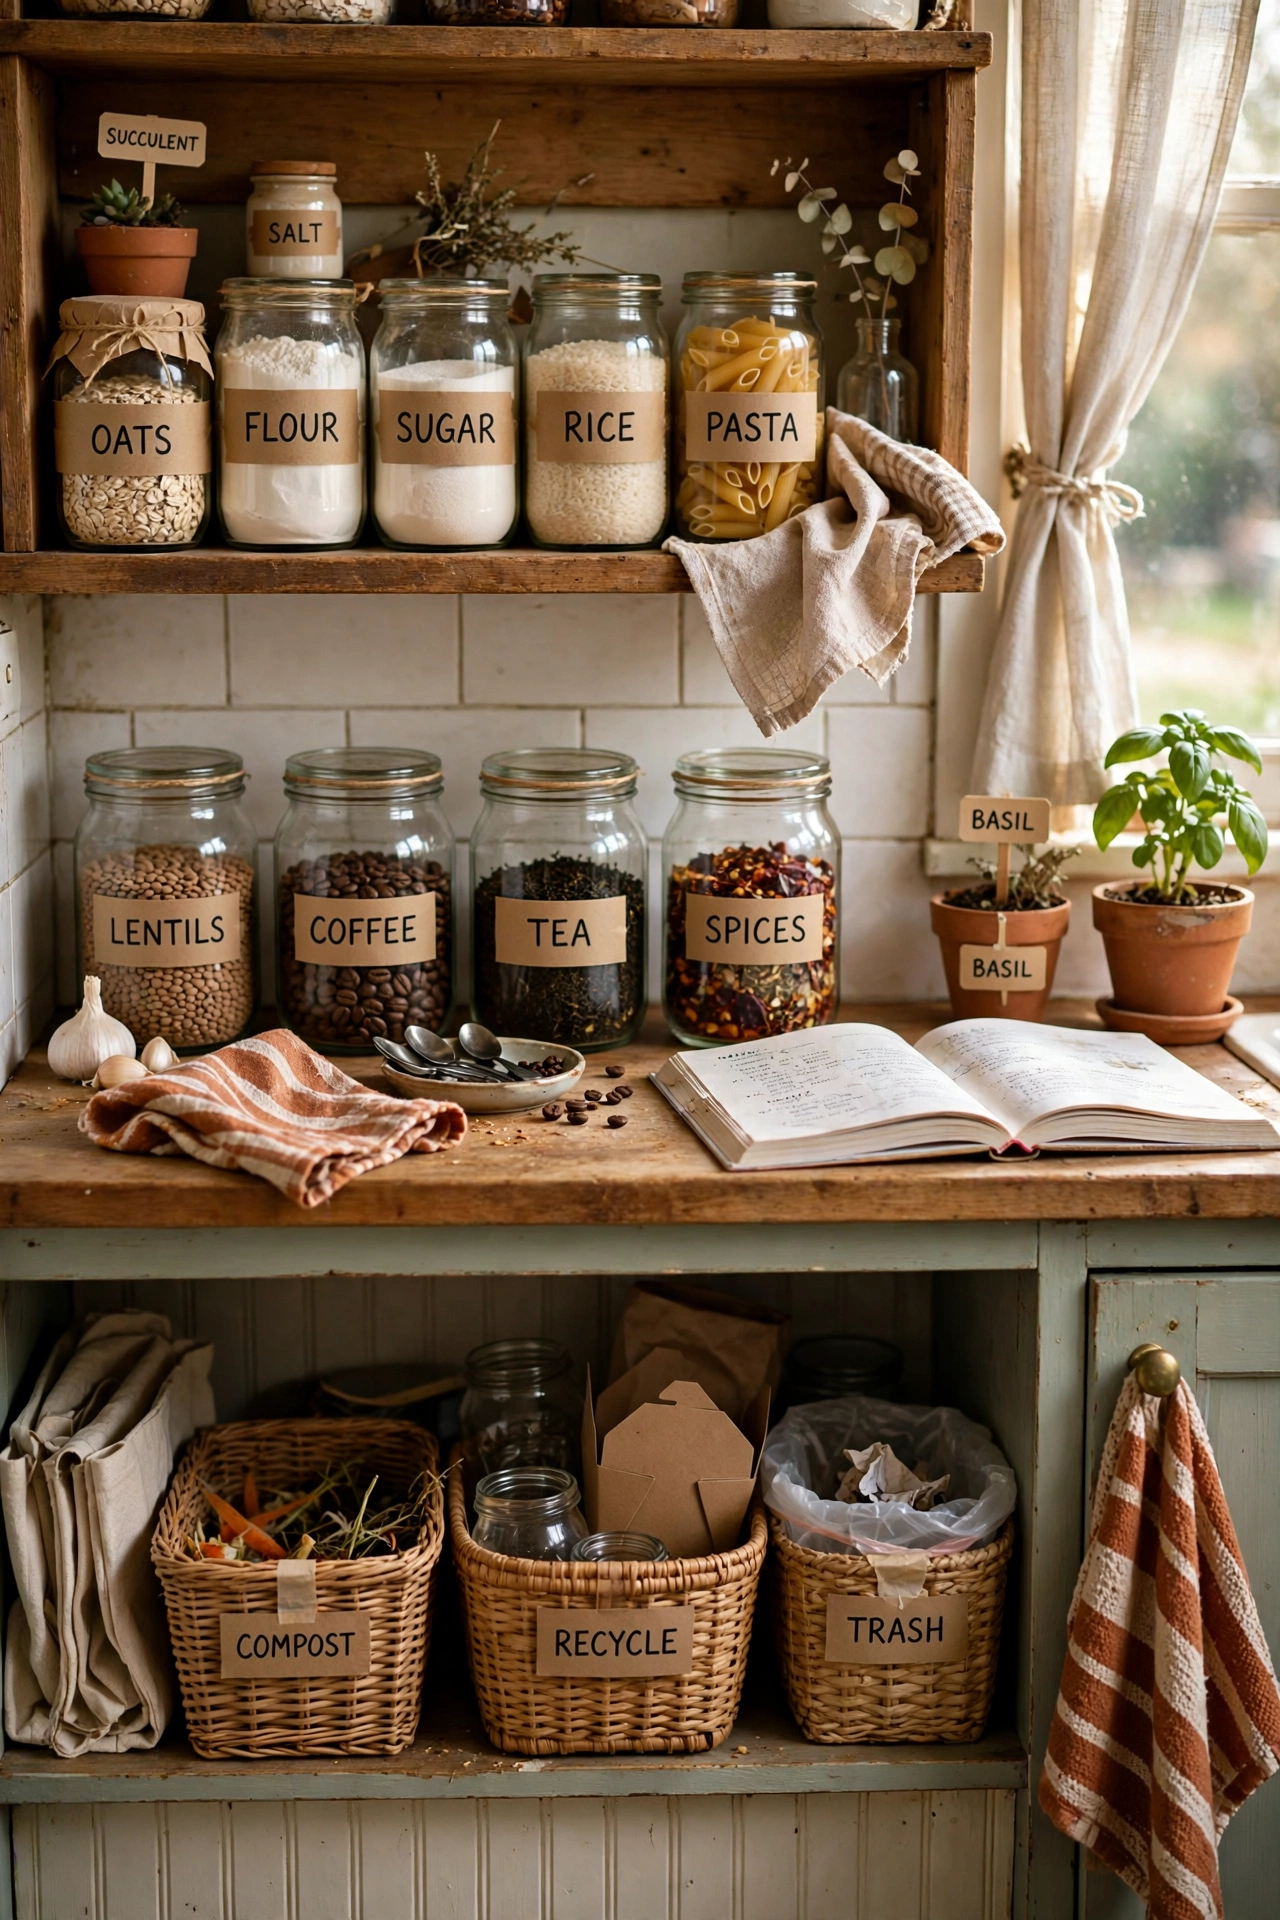
Labels turn a tidy pantry into a system anyone can keep, including future you at midnight. Label jars, bins, and baskets with a marker and tape, and keep labels facing forward so you can read them without pulling things out. I labeled my pantry after my roommate put sugar in the flour jar, and we have not mixed them up since. Labels cost nothing and save the most frustrating kind of kitchen mistake. The simpler I kept it, the longer it lasted, so I resisted adding extras that would have made it fussy to maintain.
Cost: ~$3 | Time: 20 minutes
19. Keep a Collapsible Colander and Bowls
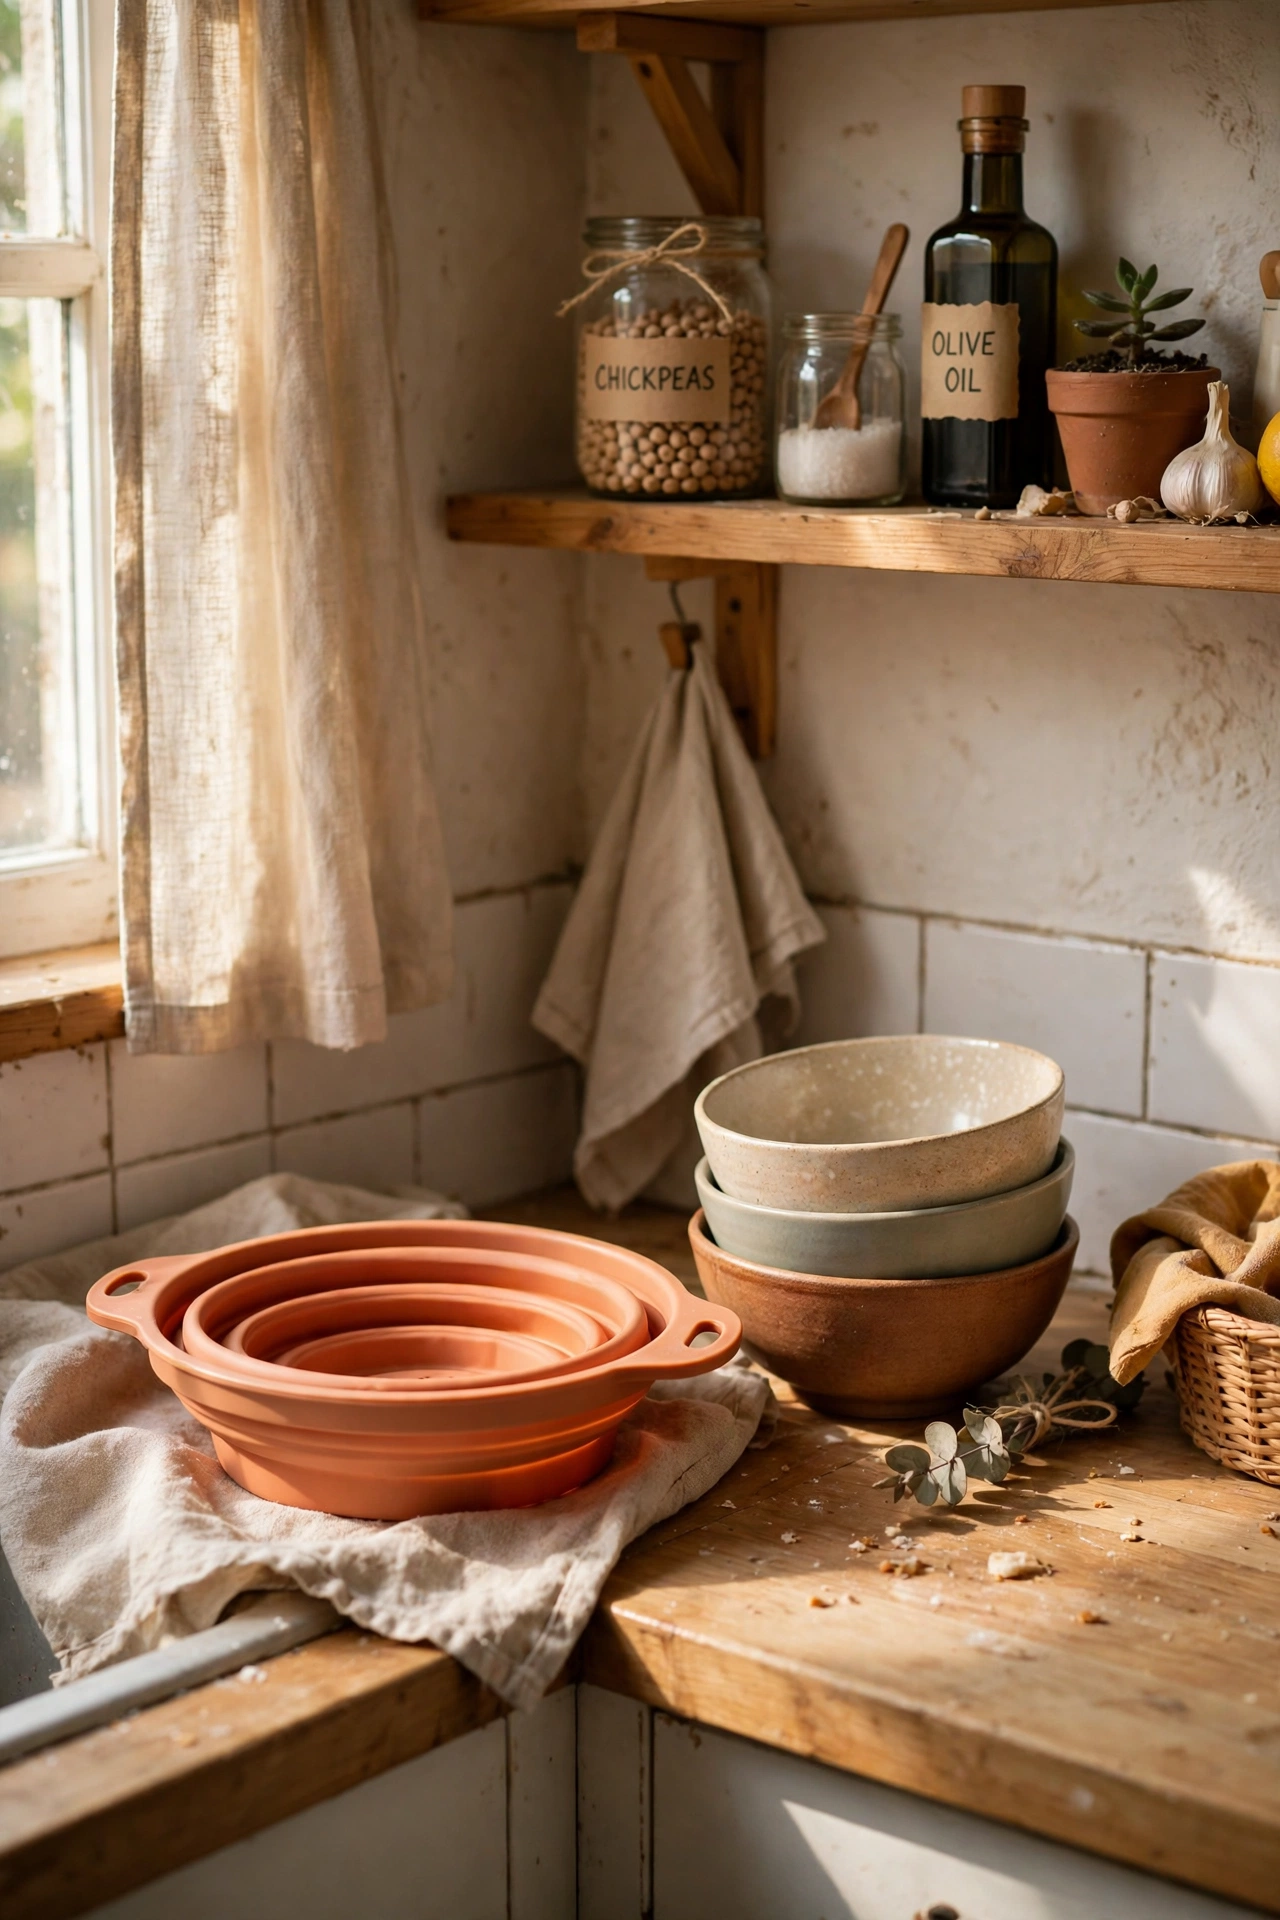
Collapsible colanders and bowls flatten for storage in a drawer, freeing cabinet space for things that cannot fold. Buy a colander that collapses flat and a set of nesting bowls with lids, and keep them in one drawer together. I replaced a bulky colander and three mixing bowls with flat versions and freed half a cabinet, which became my baking shelf. Small kitchens reward anything that folds, stacks, or nests. I label the bins and boxes connected to this, because future me never remembers what present me meant by a mystery container.
Cost: ~$15 | Time: 10 minutes
💰 Tiny-kitchen budget check: tension rod $3 + hooks $6 + risers $12 + drying mat $10 + spice jars $15 = about $46 for the five highest-impact fixes, with the rest easy to add one at a time.
A tiny kitchen does not need a remodel, just a few smart moves that give every inch a job. Start with the fixes that annoy you daily, and add the rest as your budget allows. Pin this one for later — it is the list to revisit the next time your kitchen starts feeling like a puzzle again.
