17 Kitchen Organization Ideas That Actually Work
My kitchen used to look tidy for about ten minutes after I cleaned it, then slide straight back into chaos. I built this list around one rule: kitchen organization ideas budget first, pretty second, because a system that costs too much or takes too long will not survive a real week. Every idea below is cheap, uses tools you probably already own, and fixes one small spot at a time. Start with the drawer or cabinet that annoys you most, and work through the rest only when that one stays tidy.
1. Zone Your Cabinets by Job, Not by Item
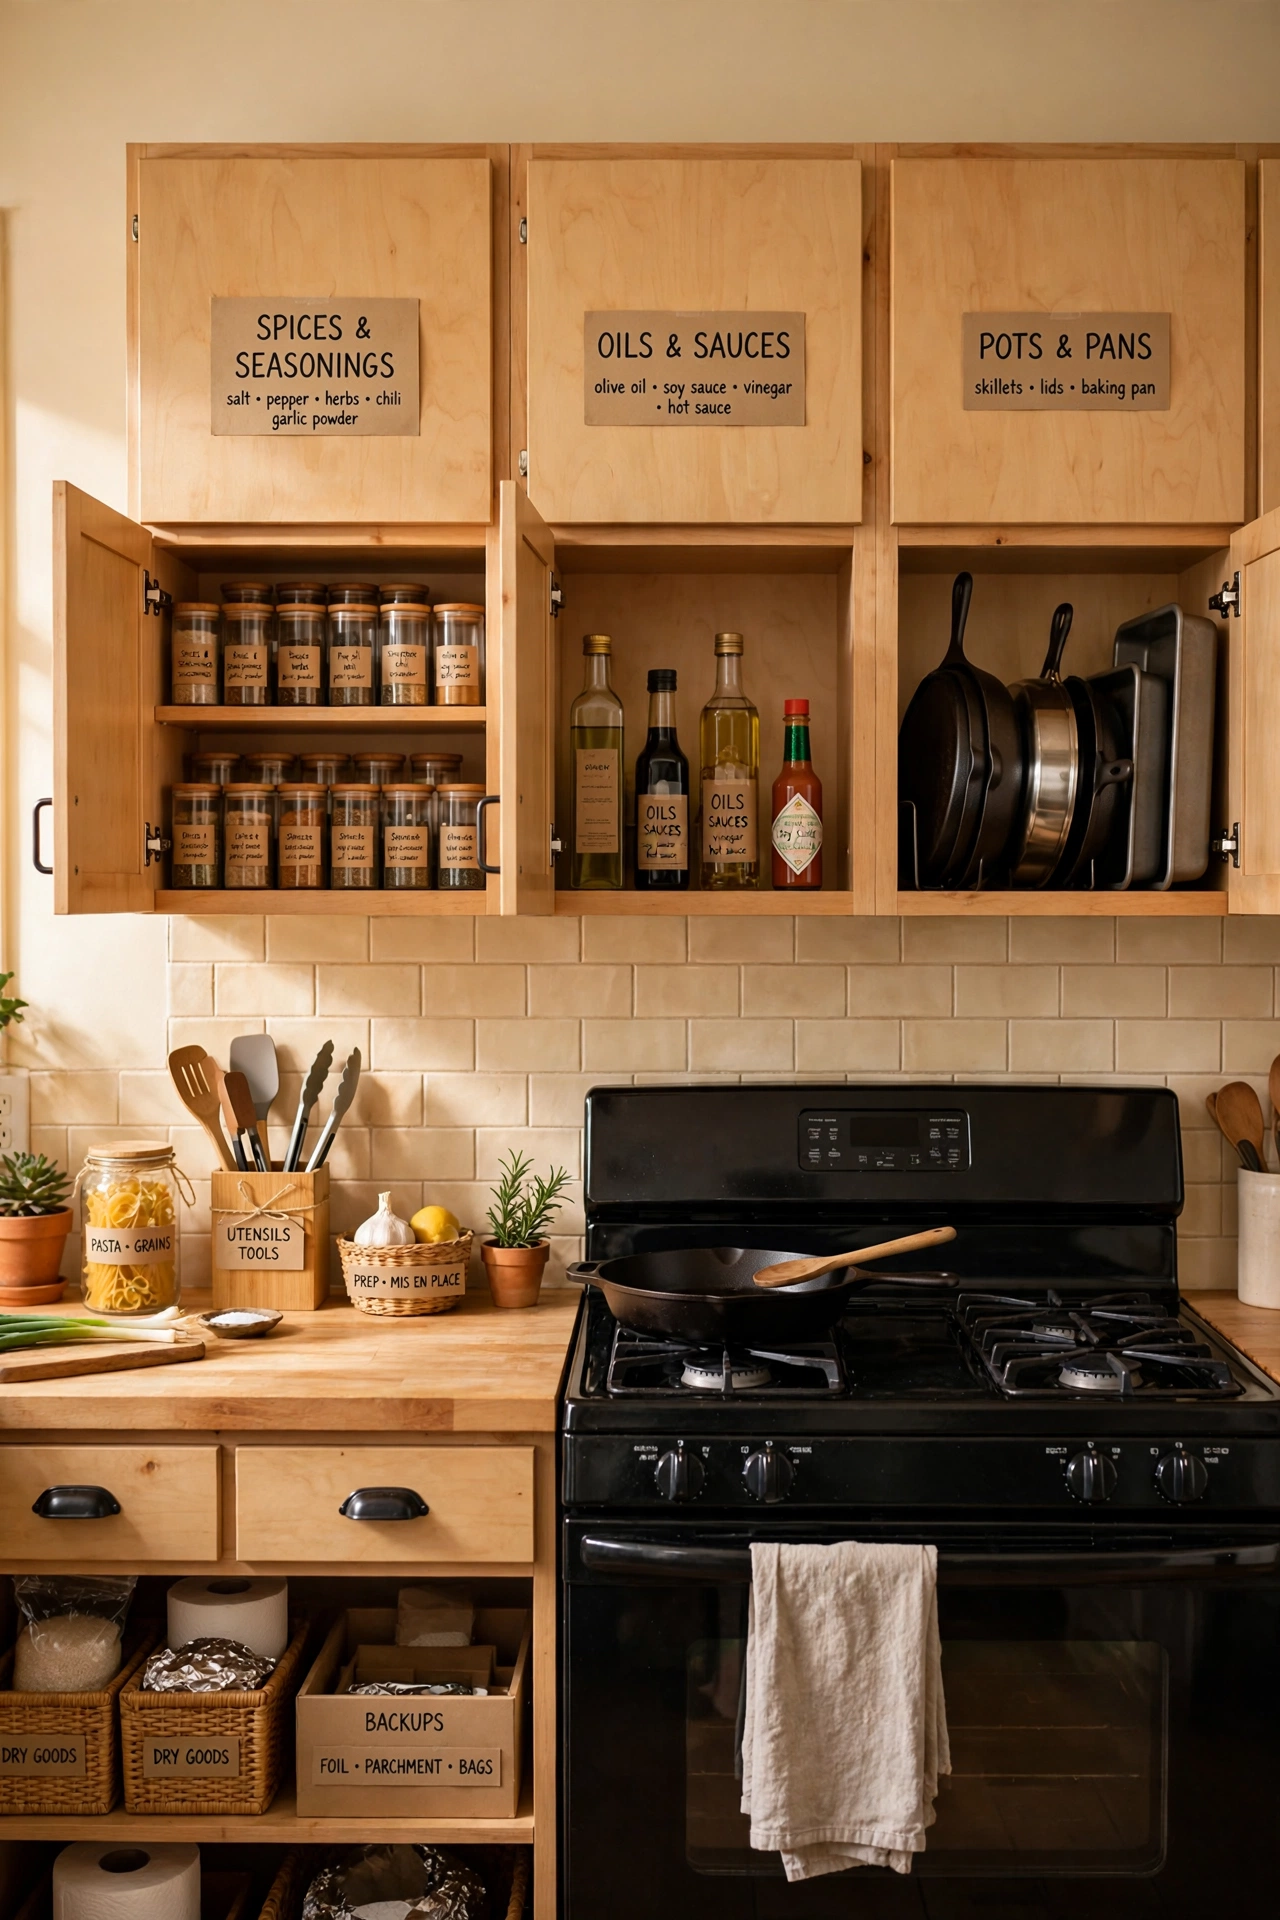
Zoning means grouping cabinets by the job you do there, so cooking tools live near the stove and prep tools live near the counter where you chop. First, stand in your kitchen and name three zones: cooking, prep, and serving. Second, move anything that belongs in another zone, even if it has sat there for years. Third, put the most-used items at the front of each zone and the rarely used ones at the back. I tried this on a Saturday morning, and it cut my dinner prep time because I stopped crossing the kitchen for a spatula. My mistake the first time was zoning by item type instead, which put baking trays next to frying pans for no good reason.
Cost: ~$0 | Time: 45 minutes
2. Add a Tension Rod Under the Sink
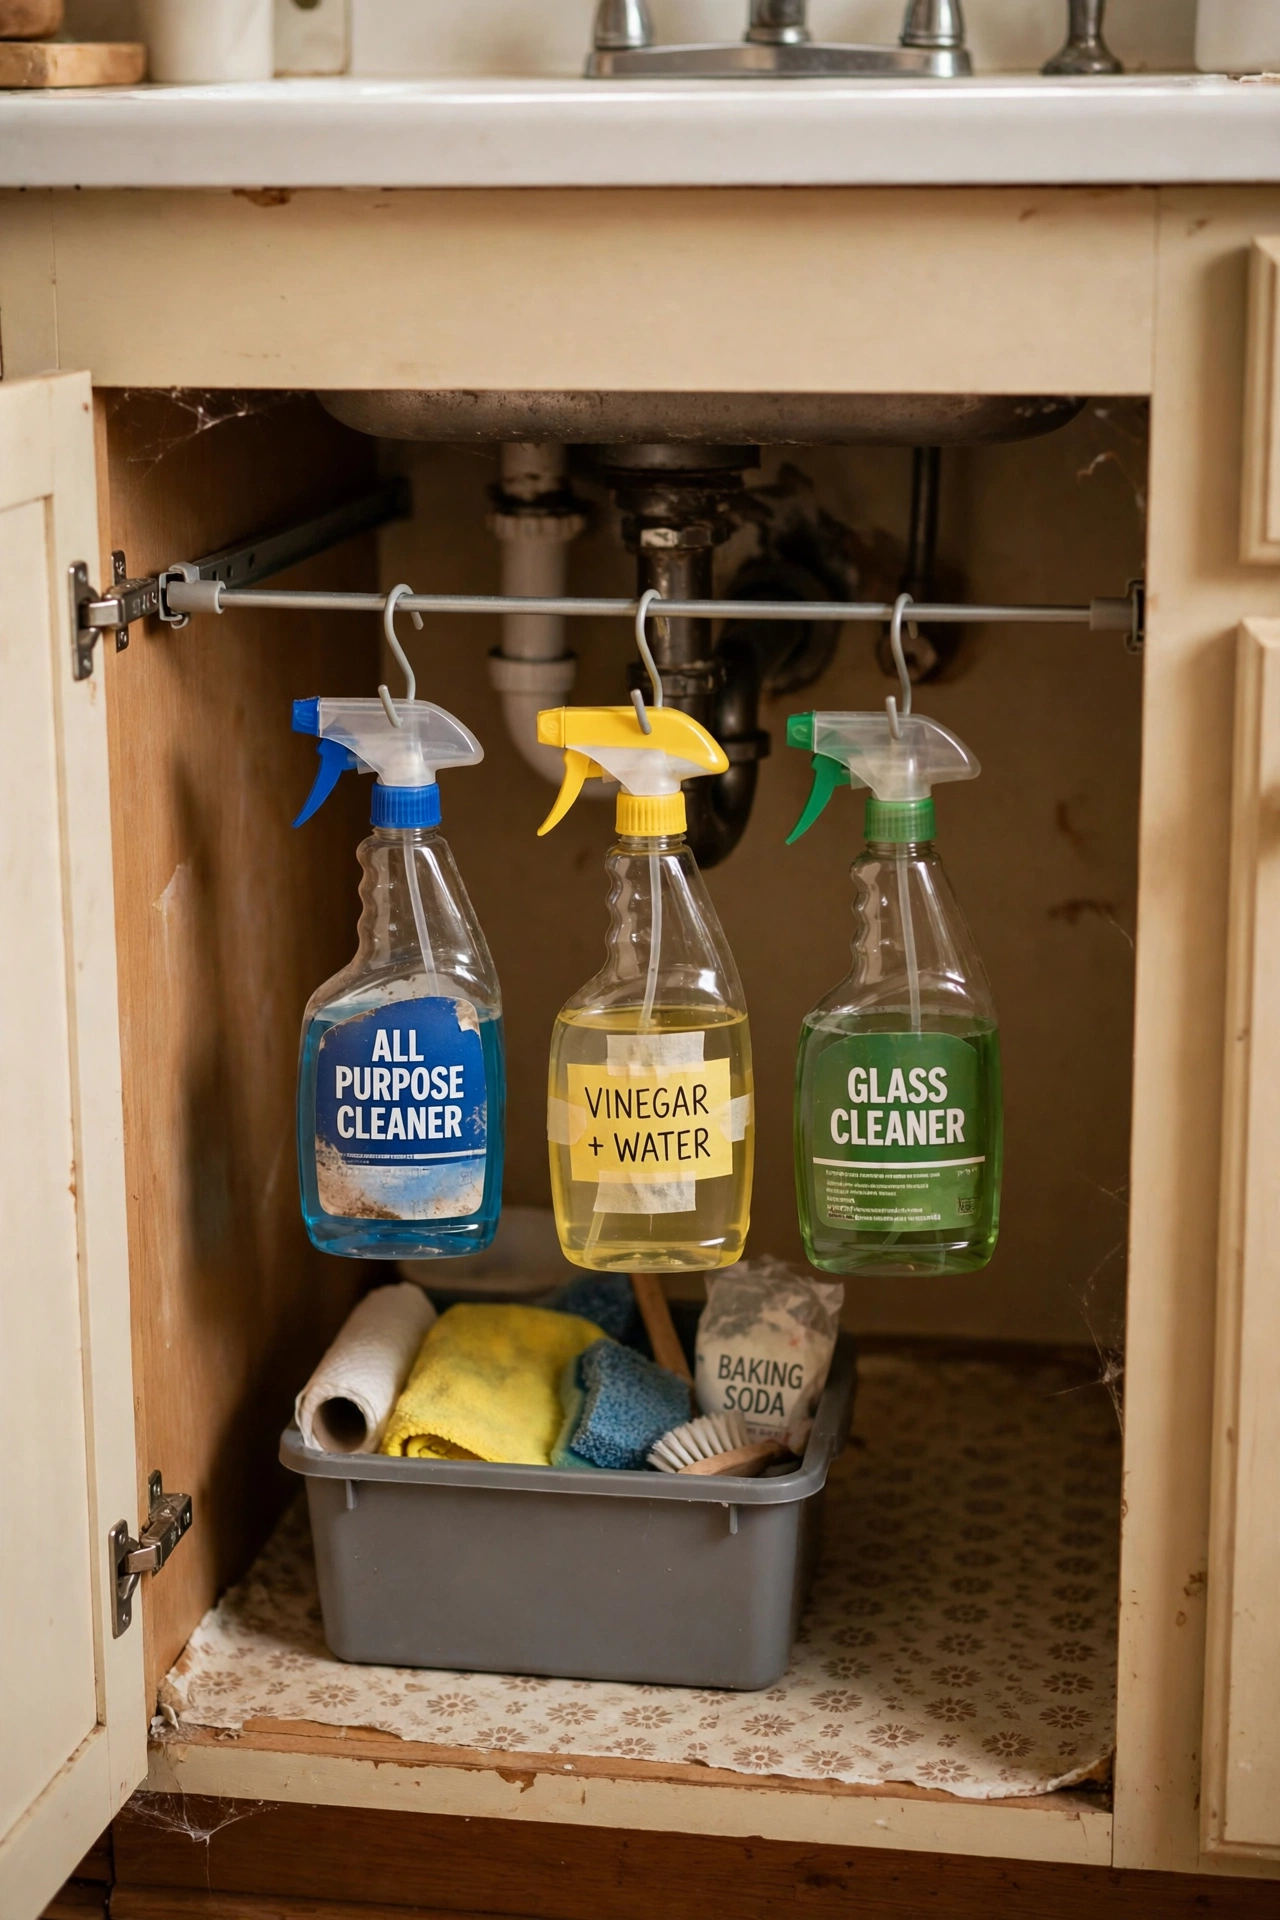
A tension rod under the sink turns wasted vertical space into a hanging rail for spray bottles, which frees the floor of the cabinet for bins and cleaning cloths. First, measure the width of the cabinet and buy a rod that fits snugly. Second, wedge it across the cabinet a few inches below the top, then hang spray bottles by their triggers from the rod. Third, place a small bin underneath for sponges and scrubbers. I tried this in my own cramped sink cabinet, and suddenly I could actually see what cleaning supplies I owned. My mistake was hanging too many bottles at first, so the rod slipped, and now I keep it to four bottles at most.
Cost: ~$3 | Time: 10 minutes
3. Use Turntables in Deep Corner Cabinets
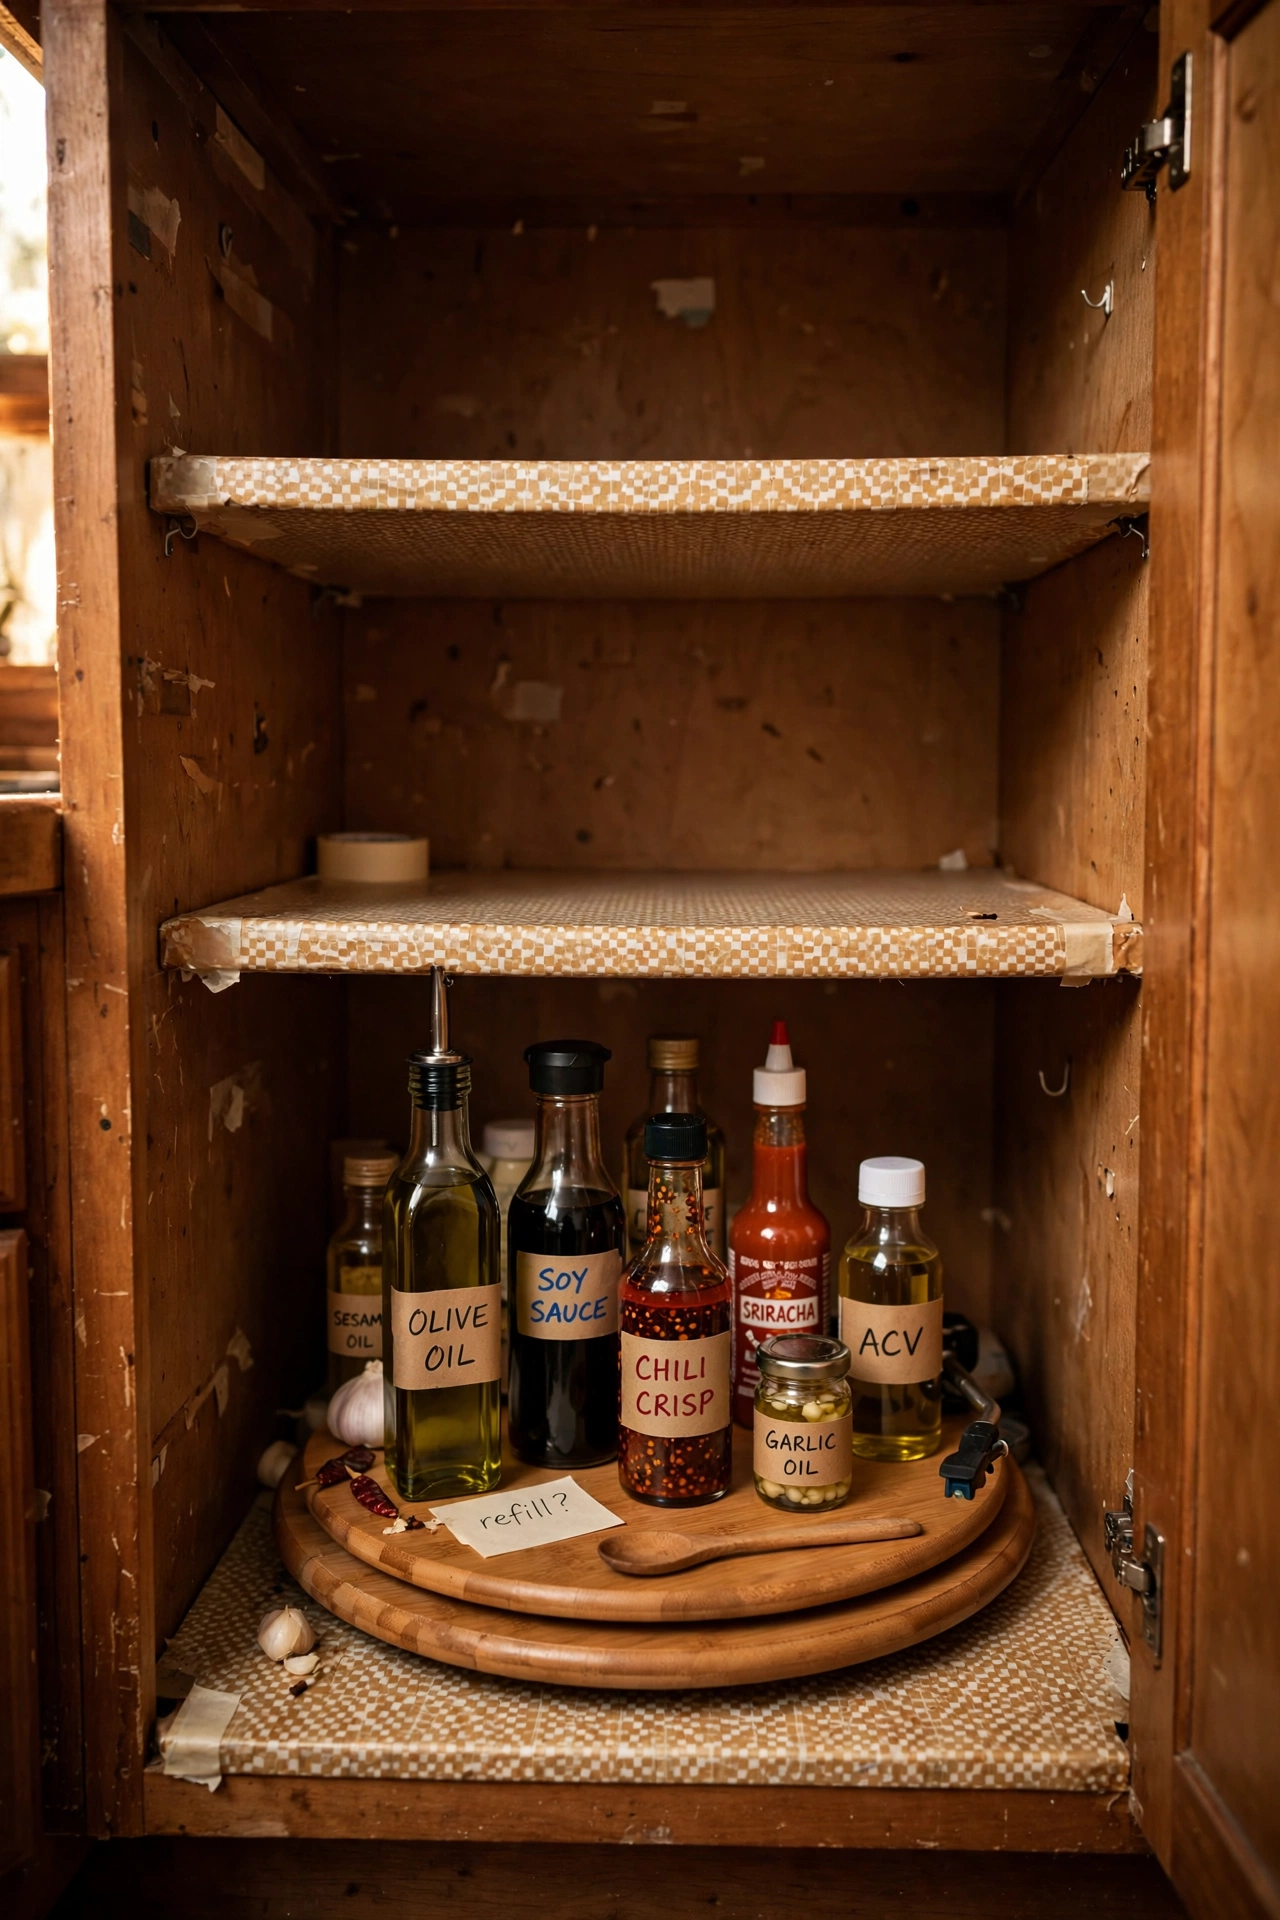
A turntable, sometimes called a lazy Susan, lets you spin a deep cabinet and reach the jar at the back without pulling everything out first. First, measure the cabinet shelf so the turntable fits with room to spin. Second, group similar items on each turntable, like oils on one and sauces on another. Third, spin it once a week when you cook, so nothing hides at the back for months. I tried this with my spice and sauce cabinet, and I stopped buying duplicate jars because I could finally see what I had. My mistake was overloading one turntable with heavy cans, which made it stick, so I keep heavy items on a separate low shelf.
Cost: ~$8 | Time: 15 minutes
4. Stack Pan Lids on a File Organizer
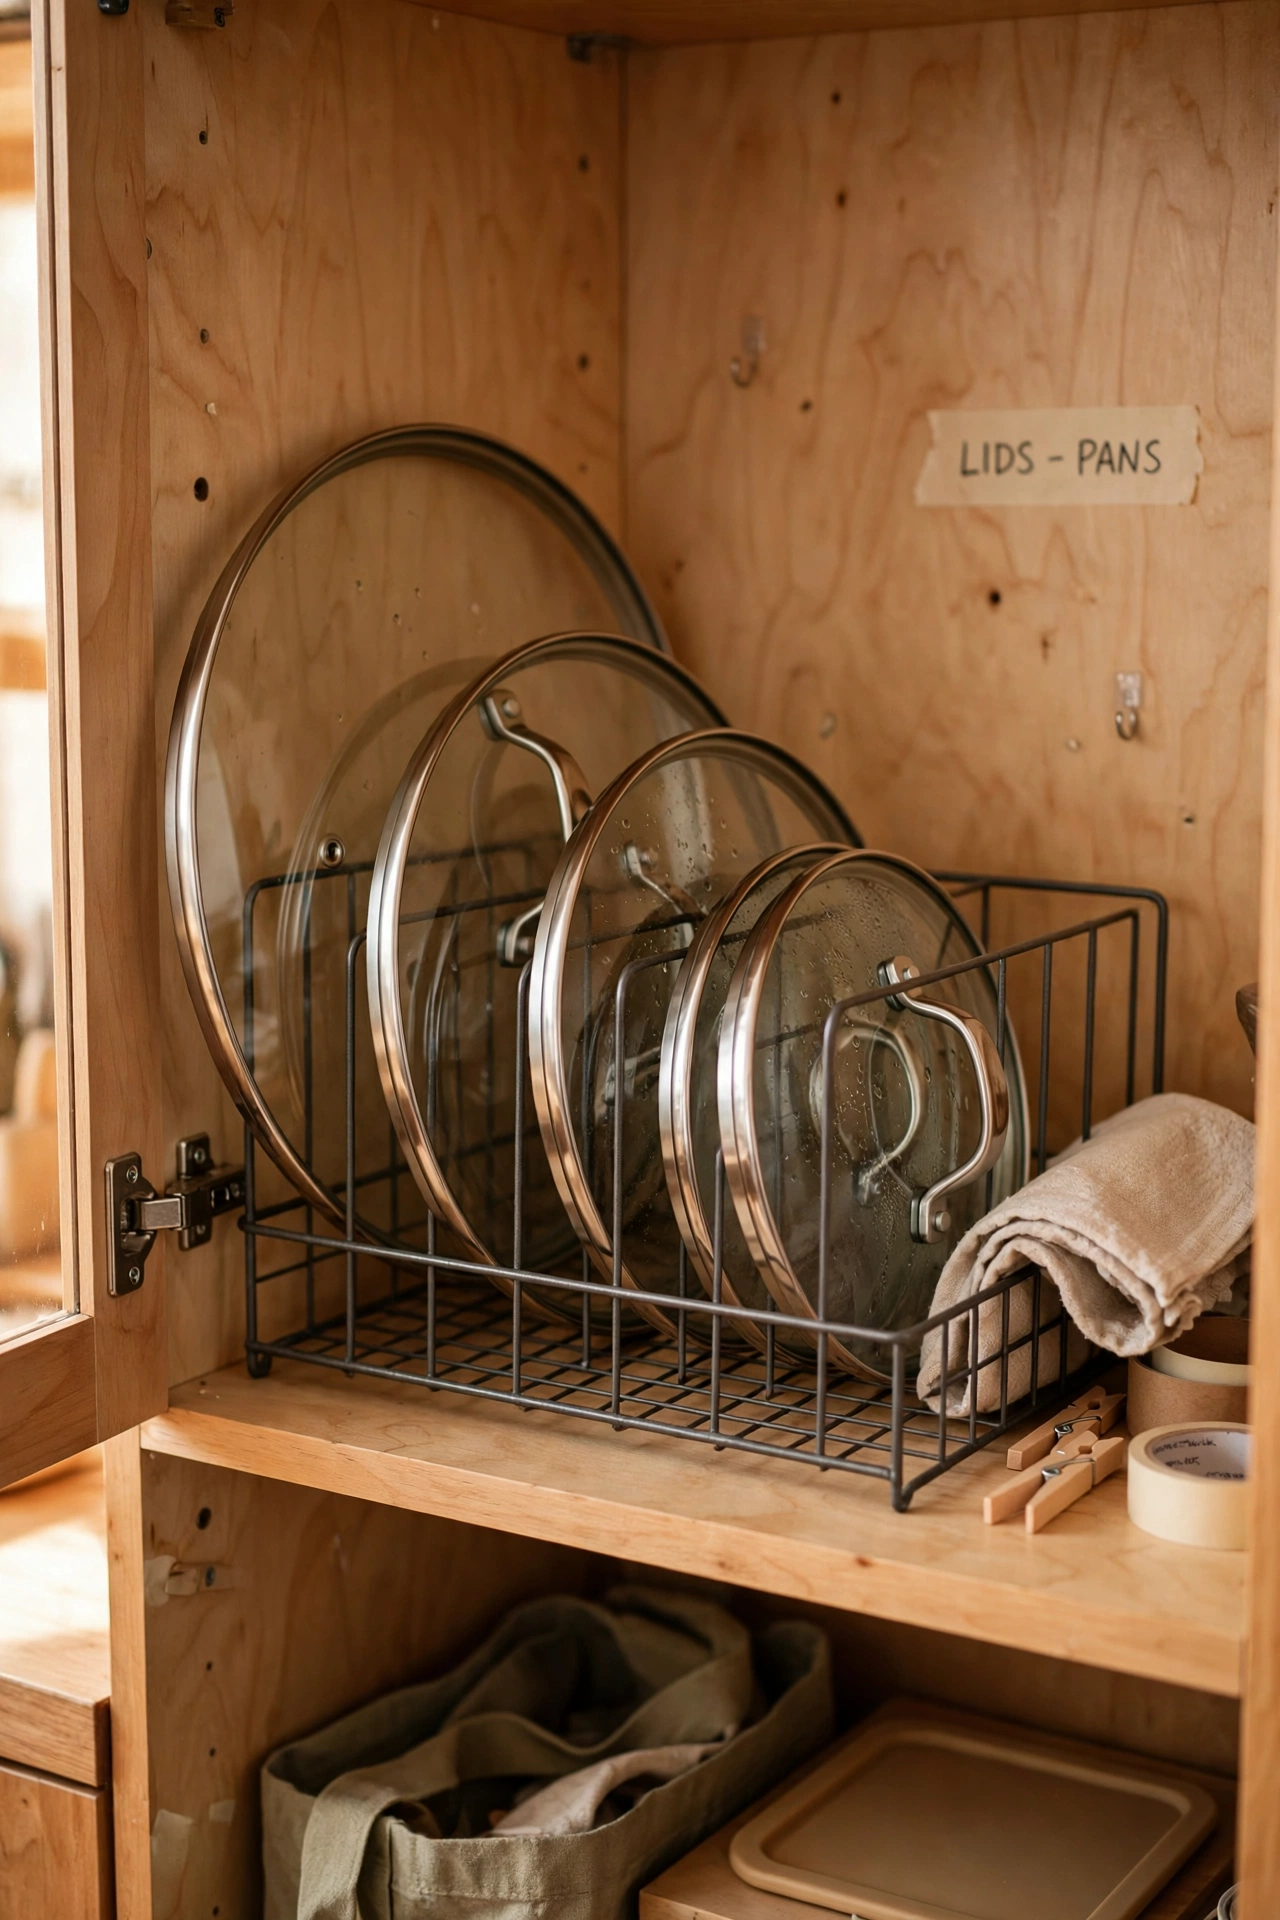
Pan lids are the worst kitchen clutter because they slide, clatter, and never stack neatly, but a cheap upright file organizer holds them like folders on a shelf. First, buy a sturdy metal file organizer that fits inside your cabinet. Second, stand each lid upright in its own slot, largest at the back and smallest at the front. Third, keep the matching pans in the cabinet right beside it so you grab both at once. I tried this after years of lids avalanching onto my feet, and the cabinet finally closed without a fight. My mistake was buying a flimsy plastic organizer first, which bent under heavy glass lids, so spend a little more on metal.
Cost: ~$7 | Time: 10 minutes
5. Hang Measuring Cups Inside a Cabinet Door
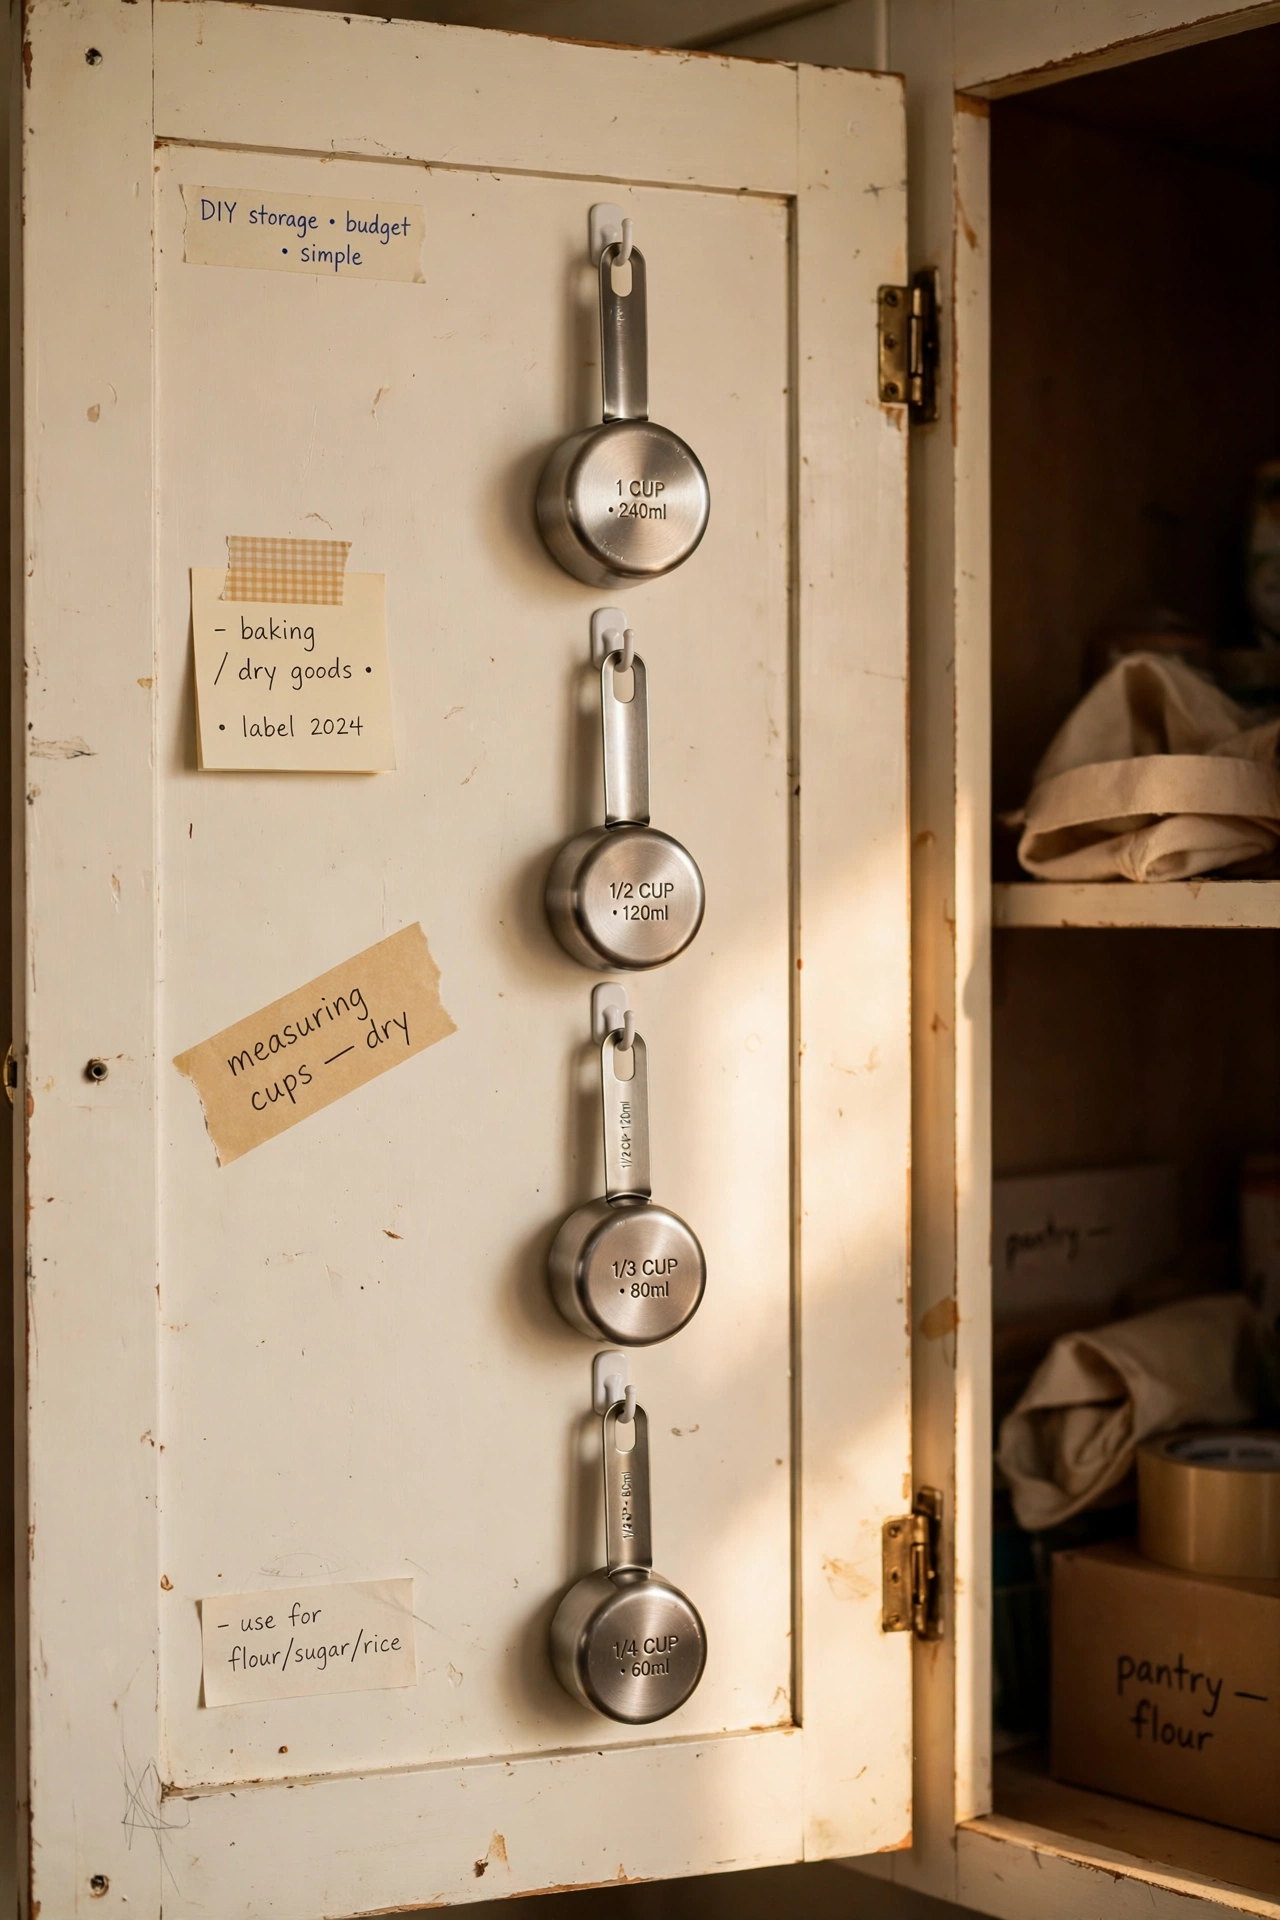
Measuring cups vanish into drawers just when you need them, but small adhesive hooks inside a cabinet door keep the whole set visible and within reach. First, clean the inside of the door so the hooks stick properly. Second, stick one hook per cup in a neat row, leaving space so cups do not clank together. Third, hang the cups by their handles with the sizes facing out. I tried this beside my baking shelf, and I stopped digging through a tangled drawer every time I baked. My mistake was using weak hooks that dropped cups at night, so now I use hooks rated for a bit more weight than I think I need.
Cost: ~$3 | Time: 10 minutes
(see also: 19-bedroom-organization-ideas-on-a-dime)
6. Label Bins for Pantry Staples
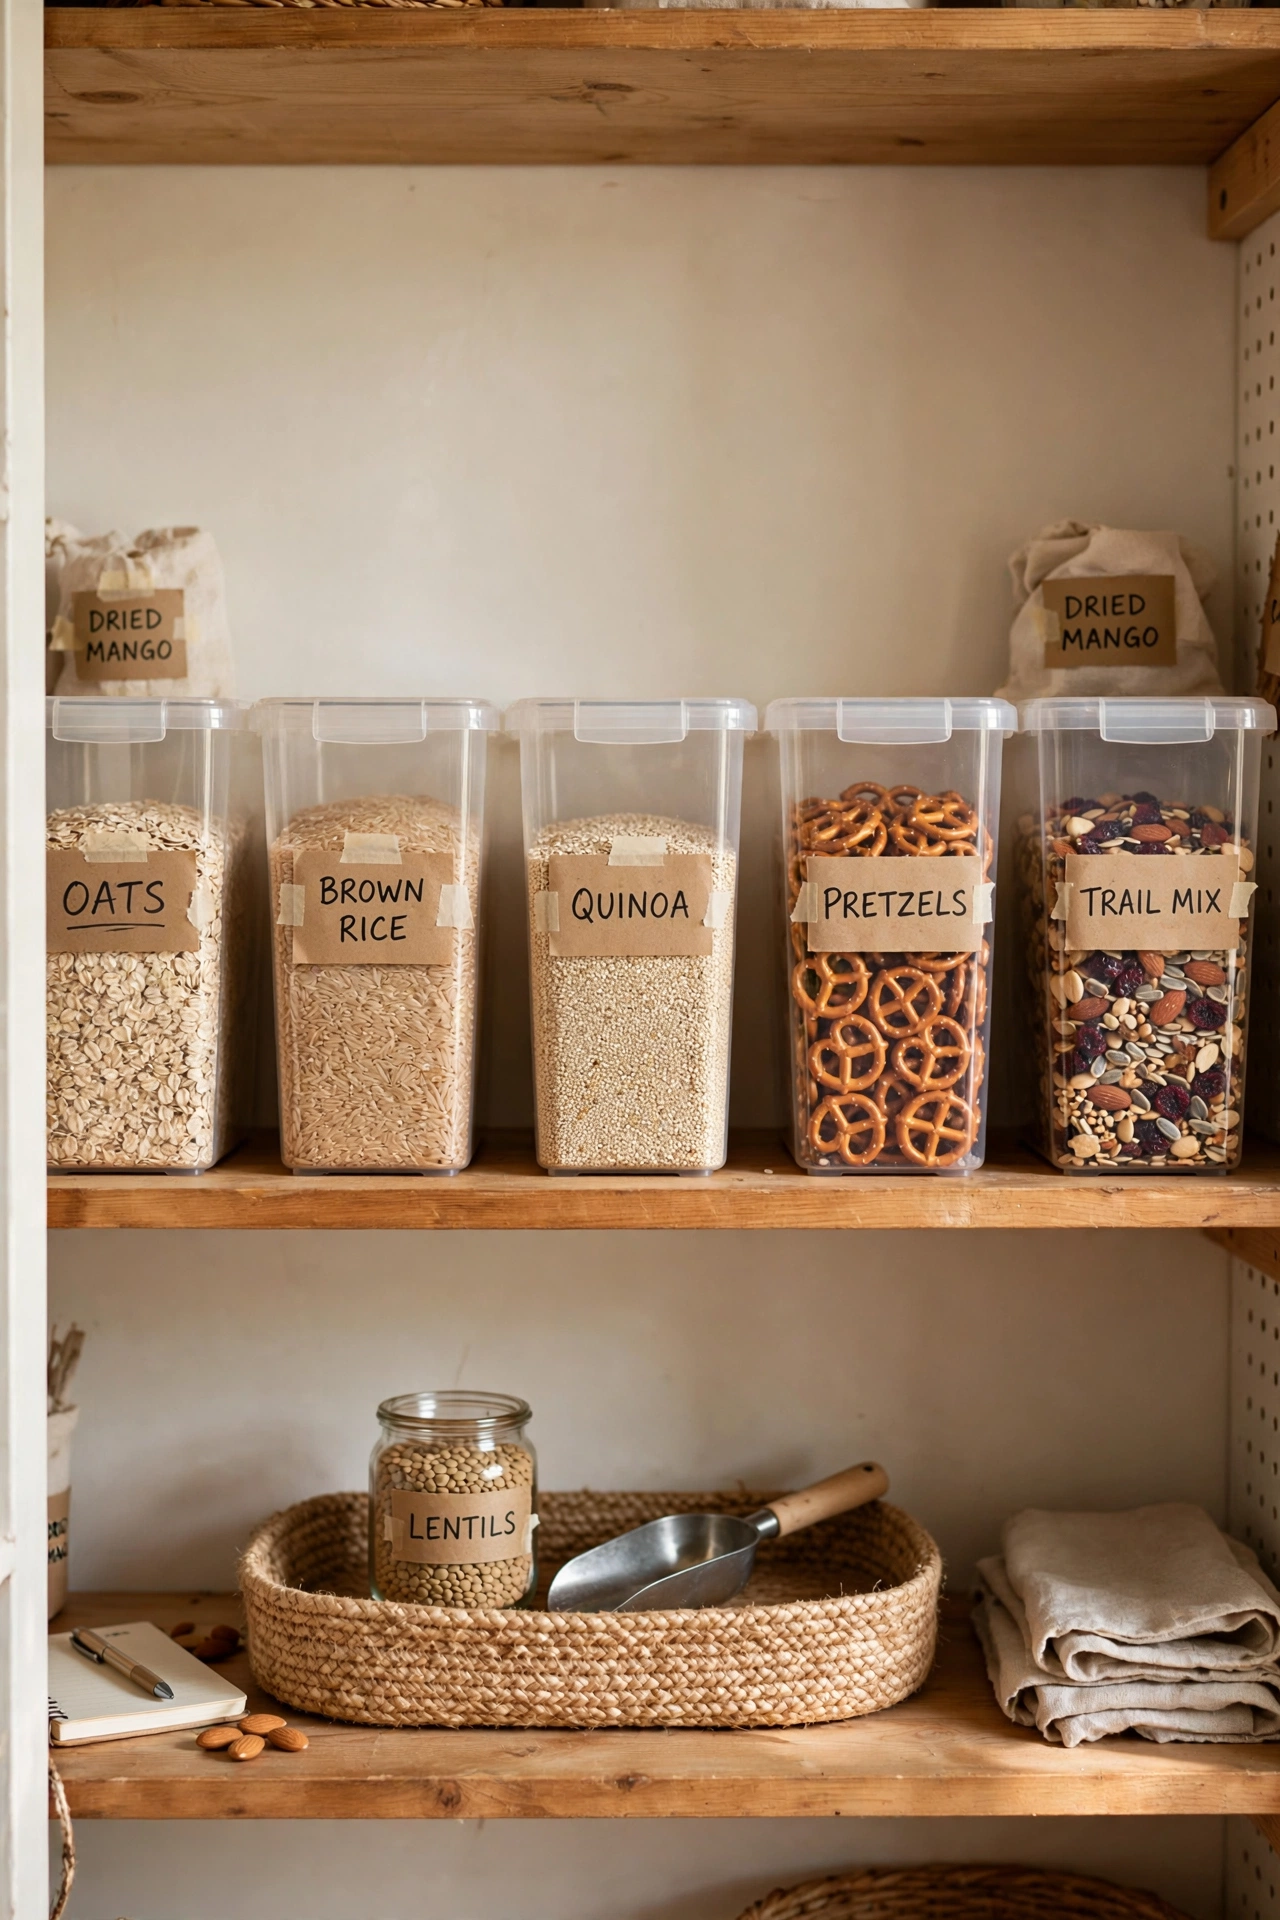
Open pantry shelves look fine until bags slump and boxes slide, but small labeled bins give every category a clear home that anyone in the house can follow. First, sort pantry goods into groups like grains, snacks, and baking supplies. Second, put each group in its own bin, choosing bins that fit the shelf without wasted gaps. Third, label each bin on the front with masking tape or a simple tag. I tried this with my snack shelf, and my family finally stopped shoving crackers in front of the rice. My mistake was skipping labels at first, because an unlabelled bin becomes a dumping ground within a week, and labels are what keep the system honest.
Cost: ~$6 | Time: 25 minutes
7. Decant Flour and Sugar Into Clear Jars
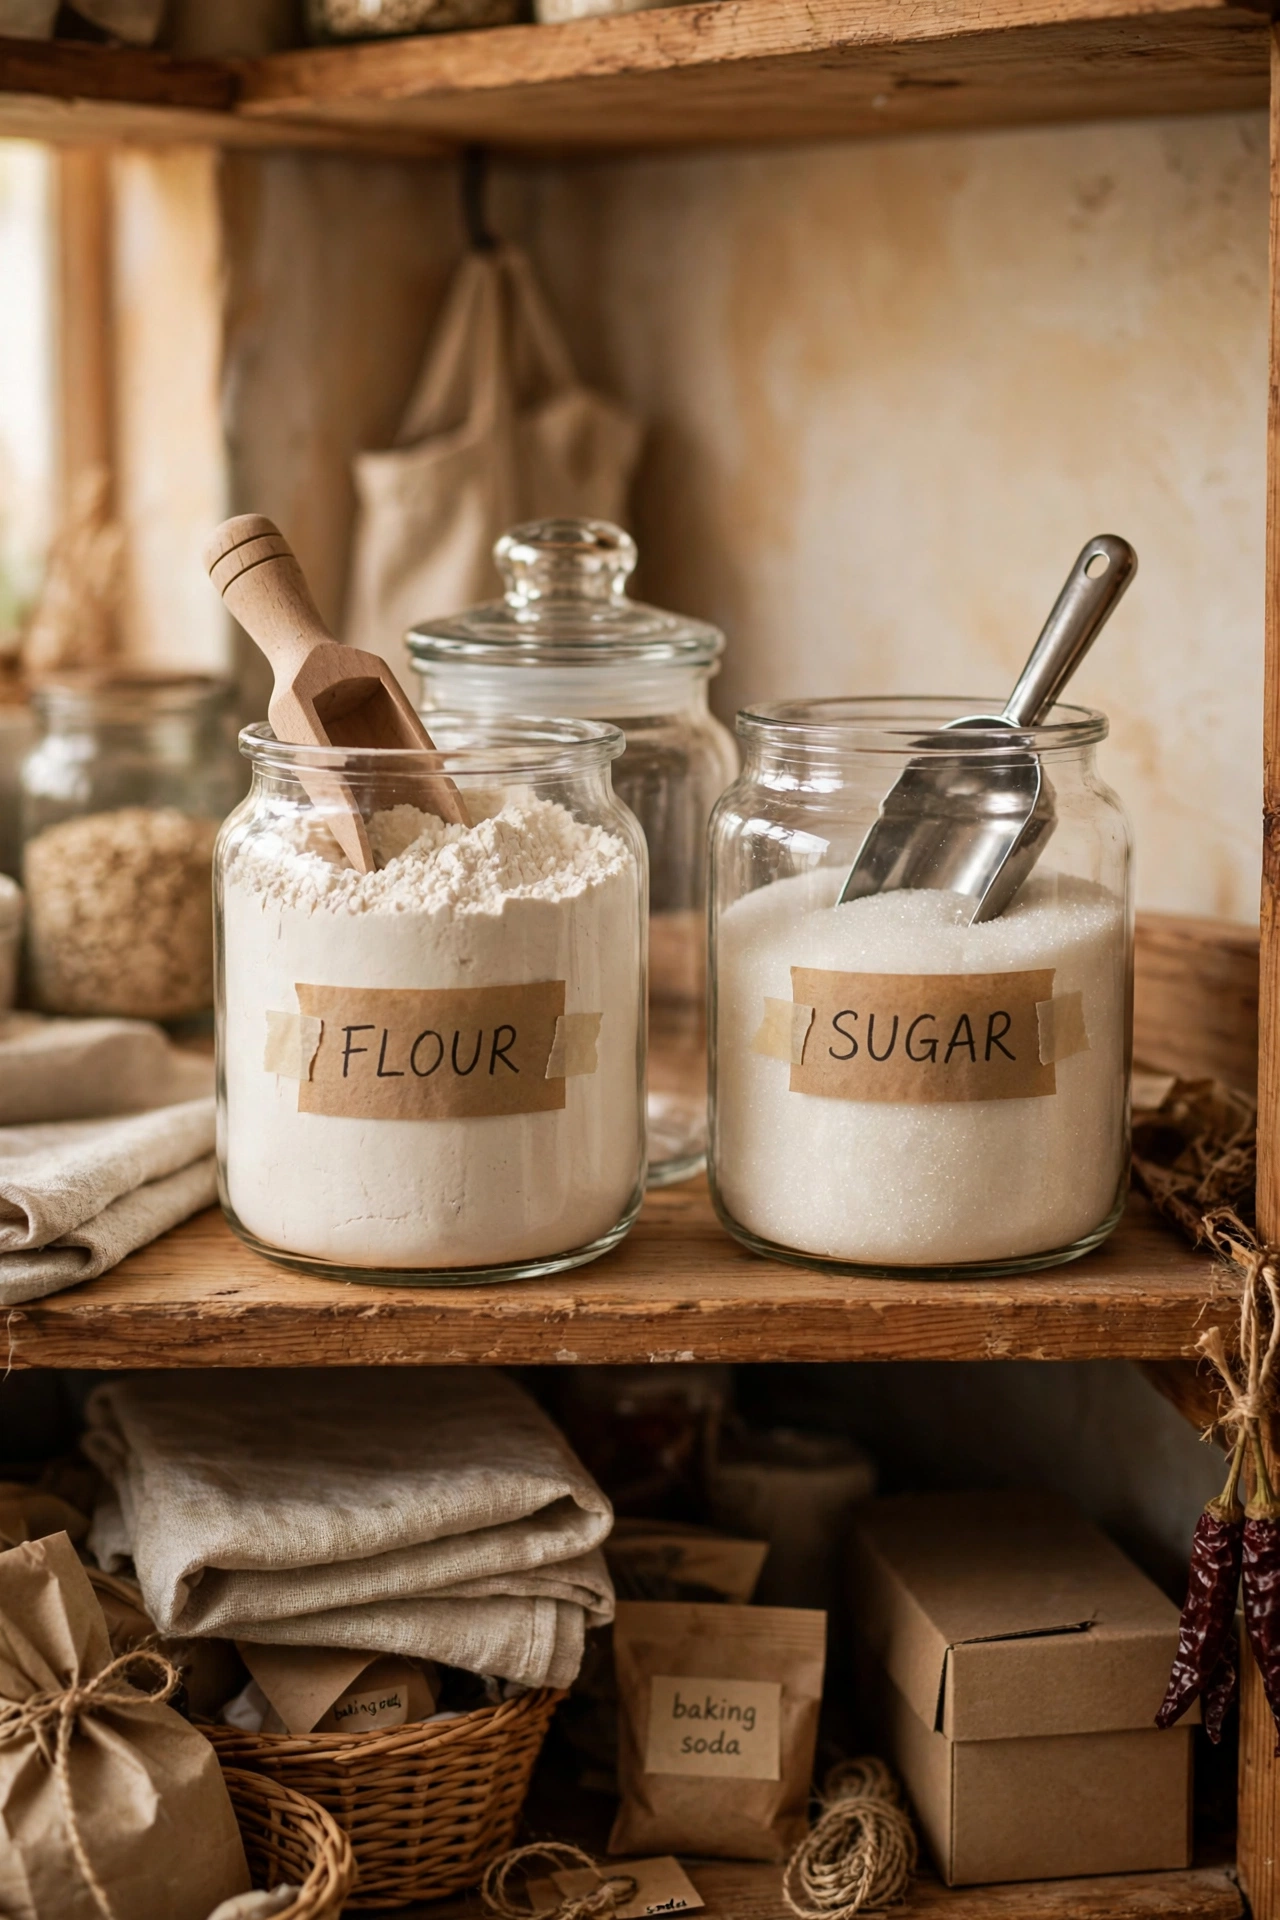
Flour and sugar bags tear, spill, and hide how much is left, while clear jars with tight lids keep them fresh, visible, and easy to scoop from. First, wash and dry large jars or airtight containers completely. Second, pour each staple into its own jar and add a scoop that stays inside. Third, label the jar with the contents and the date you filled it. I tried this after one too many flour explosions in my pantry, and baking became calmer because I could see at a glance what needed buying. My mistake was using jars without a good seal at first, so the flour went stale faster, and a tight lid really is worth it.
Cost: ~$10 | Time: 20 minutes
8. Add a Riser Shelf for Mugs and Bowls
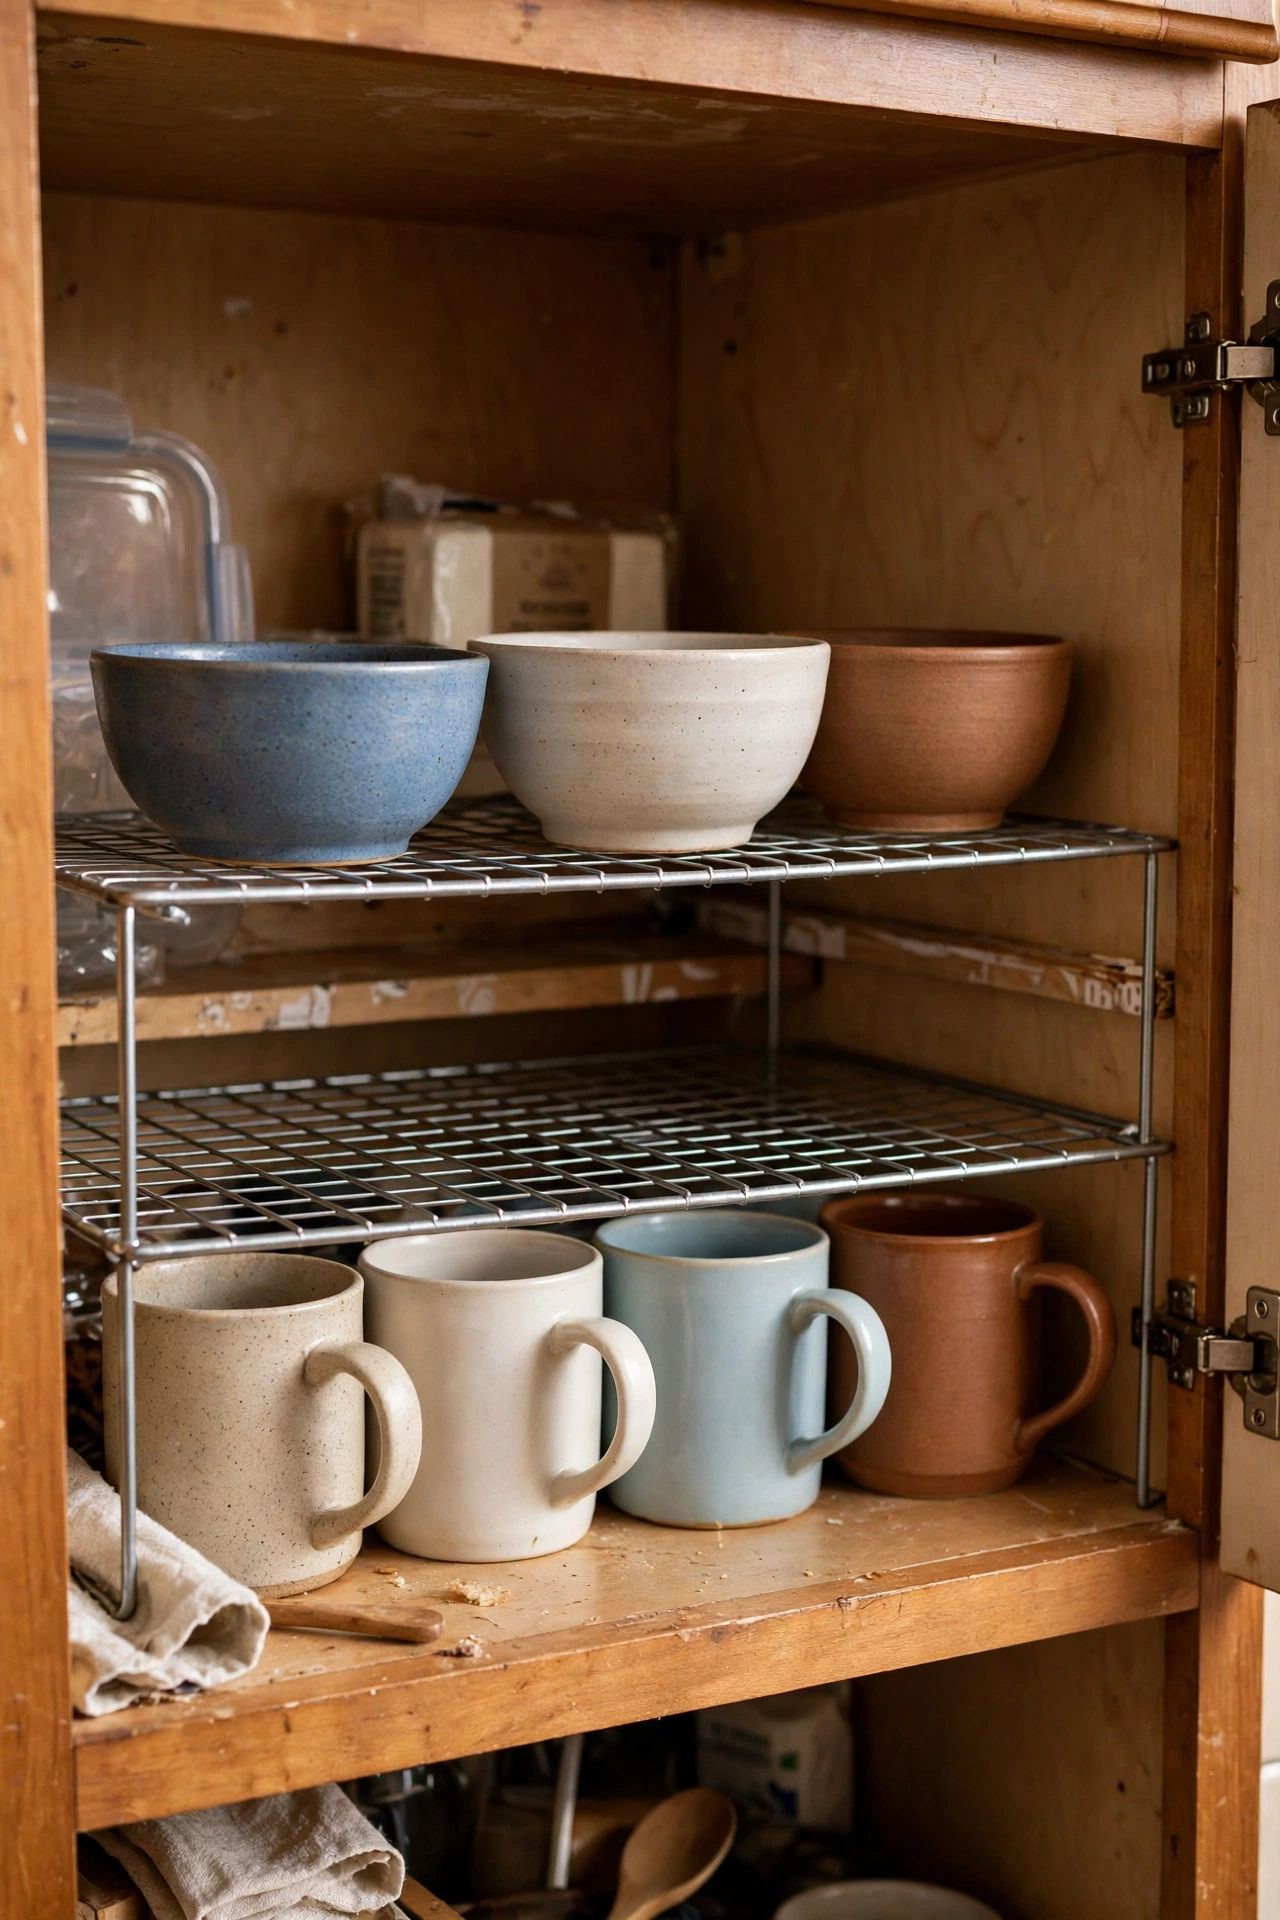
Cabinet shelves waste the air above short stacks of mugs and bowls, but a small wire riser shelf creates a second level inside the same cabinet. First, measure the height of your tallest mug so the riser fits above it. Second, place the riser on the shelf and put lighter items on top, like small bowls or ramekins. Third, keep daily mugs on the lower level where your hand lands first. I tried this in my mug cabinet, and I doubled the usable space without drilling a single hole. My mistake was stacking heavy bowls on the riser at first, which made it wobble, so now the top level holds only light pieces.
Cost: ~$9 | Time: 10 minutes
9. Use a Pegboard on a Blank Kitchen Wall
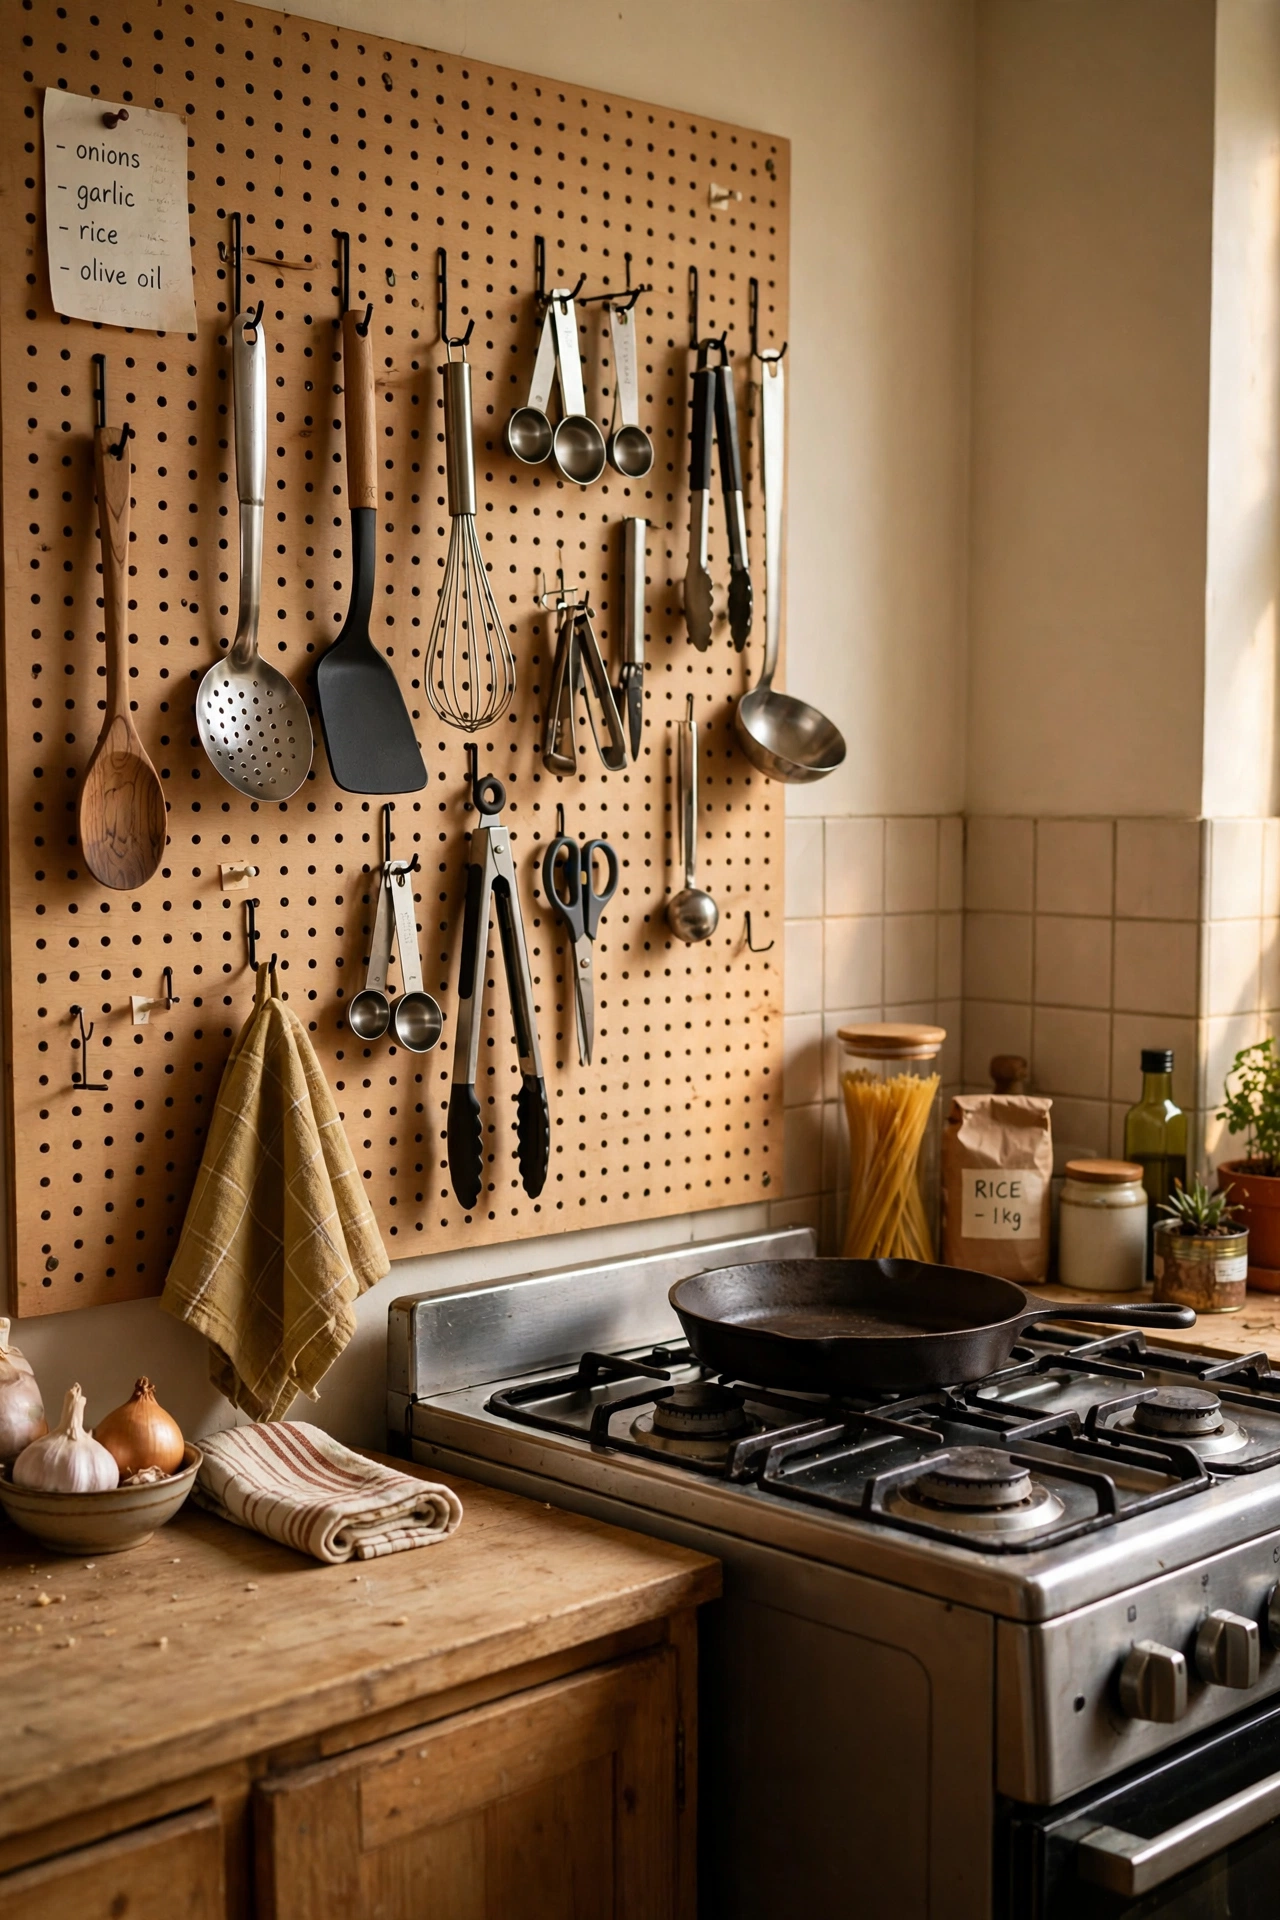
A pegboard on a blank wall turns dead space into flexible storage for pans, utensils, and small baskets, and you can move the hooks whenever your needs change. First, mount the board on studs or with strong wall anchors so it holds real weight. Second, hang hooks for the tools you grab most, like ladles, whisks, and scissors. Third, trace the outline of each tool on the board if you want a quick visual check. I tried this on the wall beside my stove, and it freed a whole drawer that used to hold tangled tools. My mistake was hanging everything I owned on it at once, which looked cluttered, so now only daily tools live there.
Cost: ~$15 | Time: 40 minutes
10. Corral Cooking Oils on a Small Tray
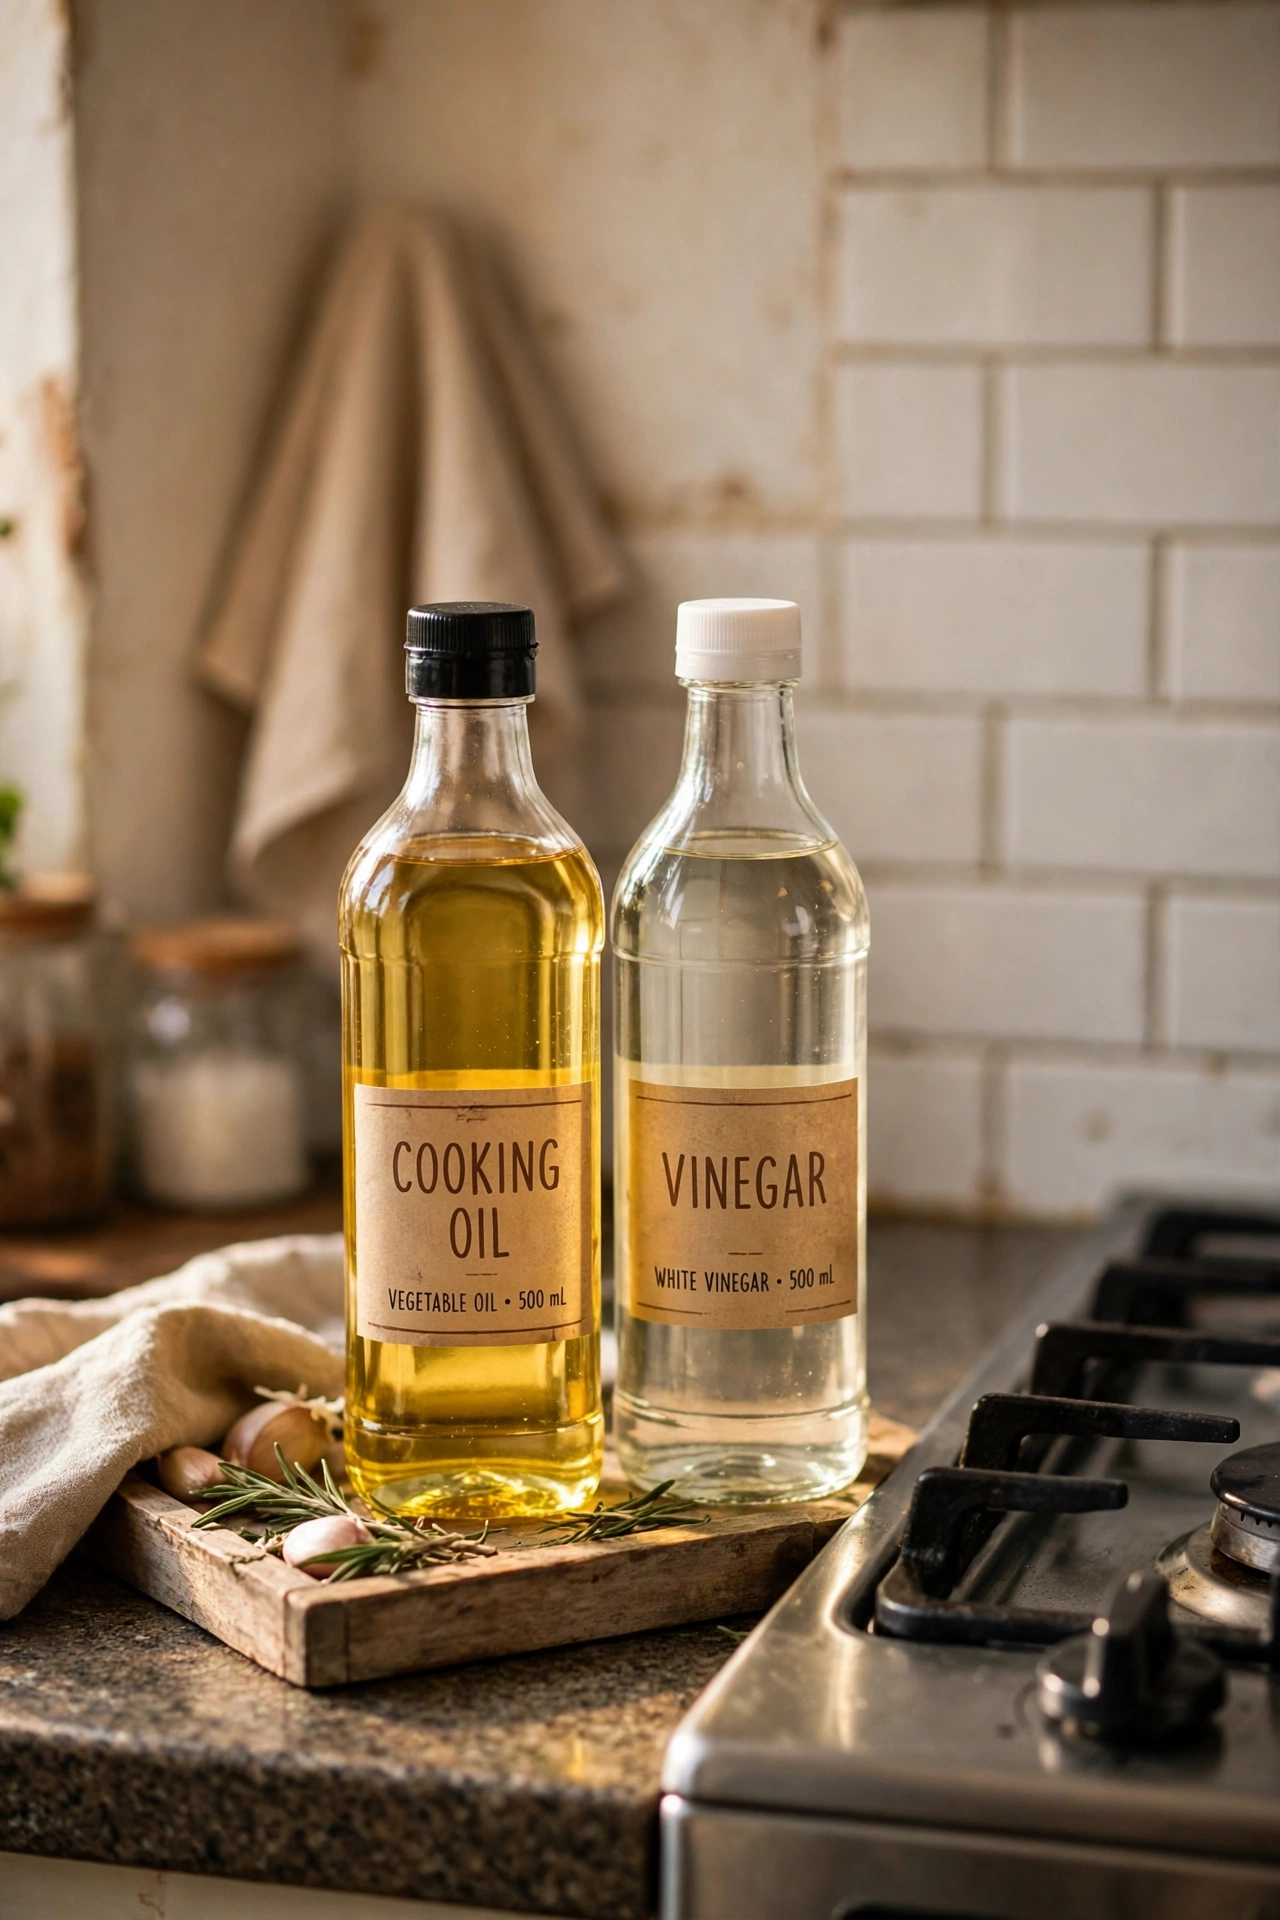
Cooking oils, vinegar, and sauces migrate across the counter and leave sticky rings, but a small tray with a lip keeps them in one wipeable spot. First, pick a tray that fits beside your stove without crowding the cooking area. Second, group only the bottles you use weekly on the tray and store the rest in the pantry. Third, wipe the tray each weekend so drips never build up. I tried this after scrubbing oil rings off my counter for the hundredth time, and the counter stayed clean because spills landed on the tray instead. My mistake was choosing a tray with no lip at first, so bottles slid off, and a raised edge makes all the difference.
Cost: ~$5 | Time: 5 minutes
11. Store Baking Sheets Vertically
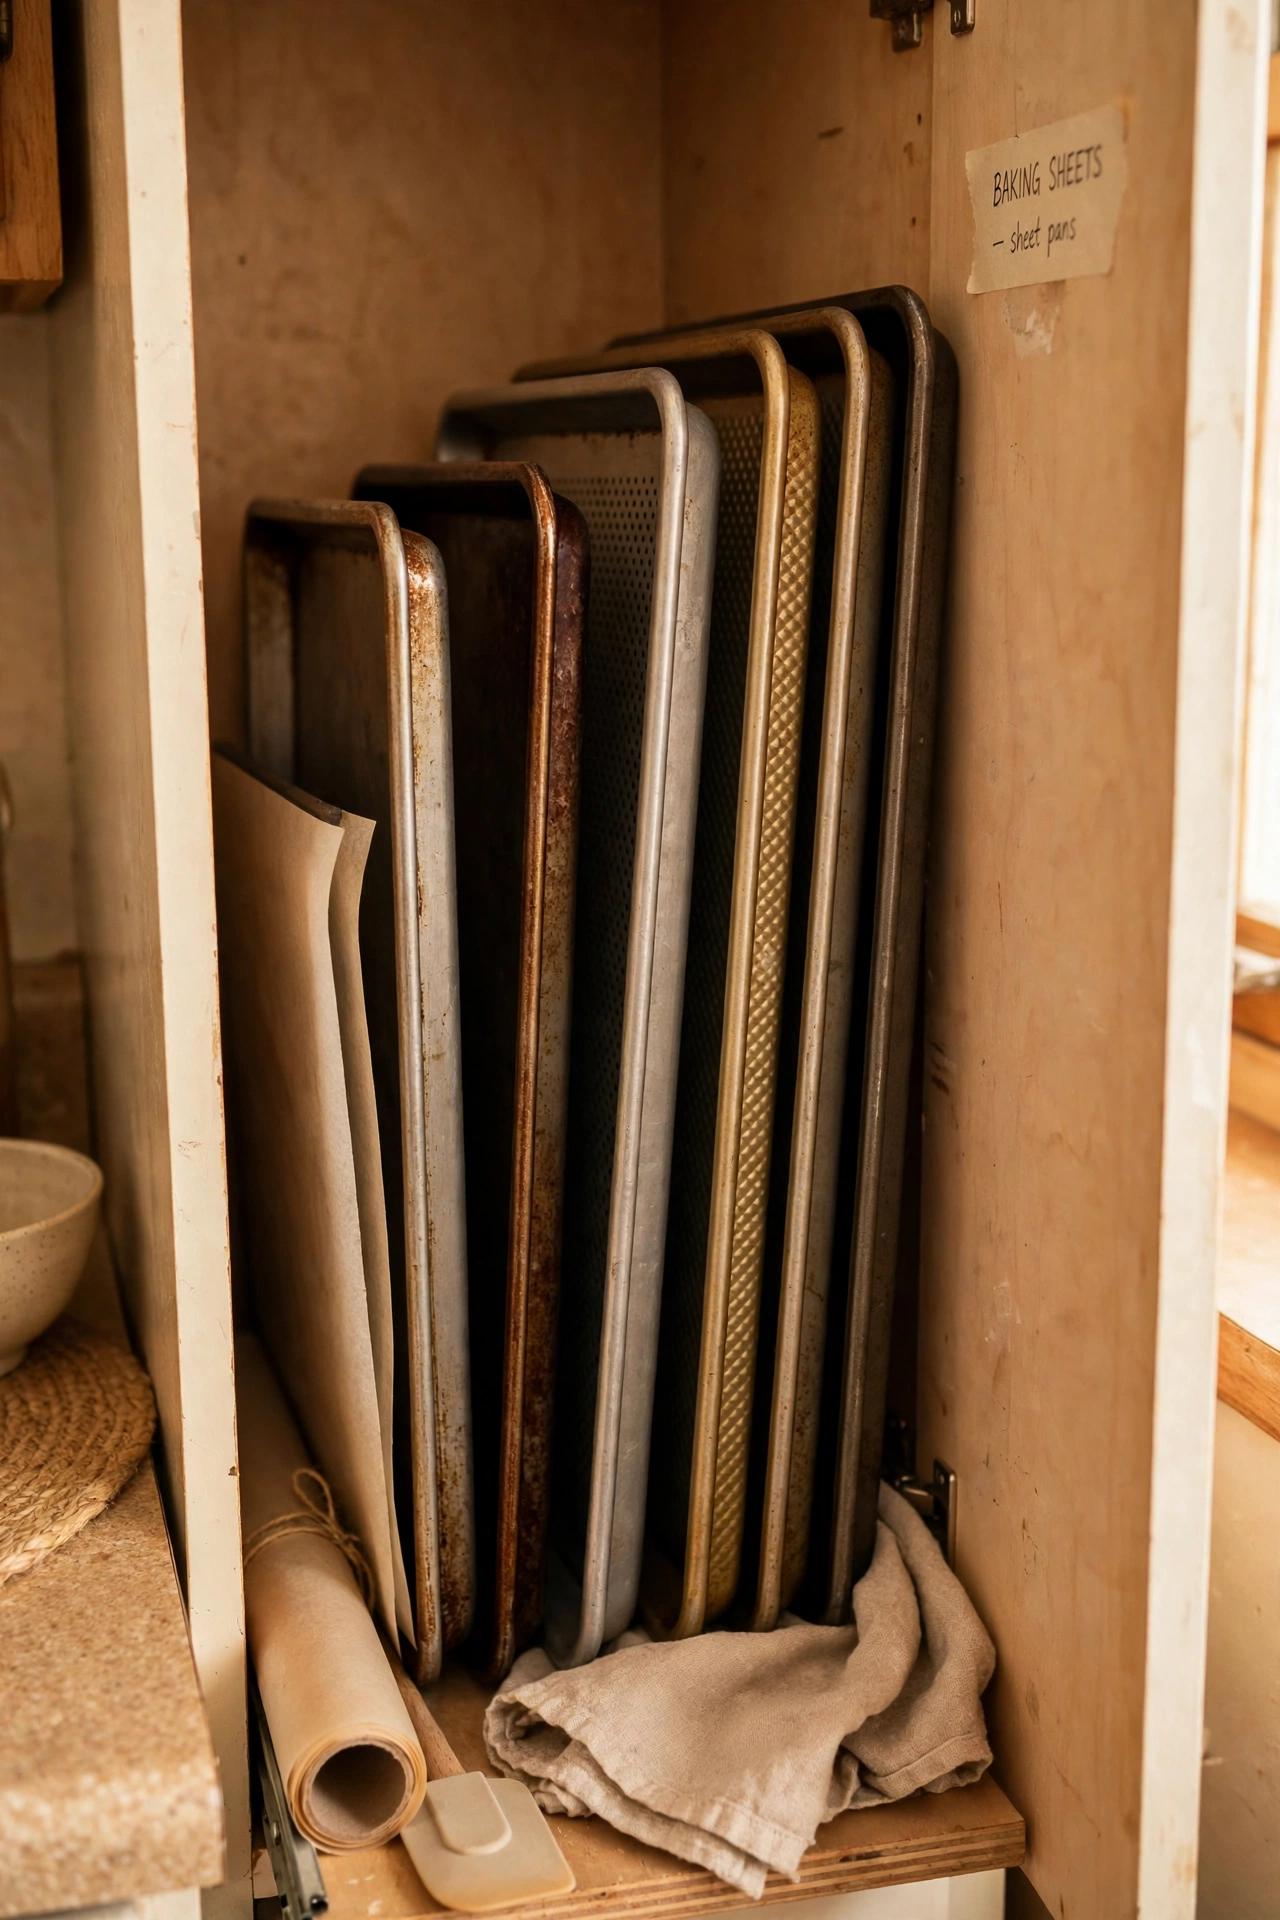
Baking sheets stacked flat are heavy to lift and hard to grab, but stored upright like files, you can slide out exactly the one you need. First, clear a narrow cabinet or a gap beside the oven. Second, stand a vertical rack or a tension rod divider in that space. Third, slide each sheet, tray, and cooling rack in upright, largest at the back. I tried this in the skinny cabinet next to my oven, and I stopped wrestling a whole stack just to reach a cookie sheet. My mistake was mixing cutting boards in with the trays at first, which made the slot jam, so trays now have their own divider.
Cost: ~$8 | Time: 15 minutes
12. Create a Breakfast Station Bin
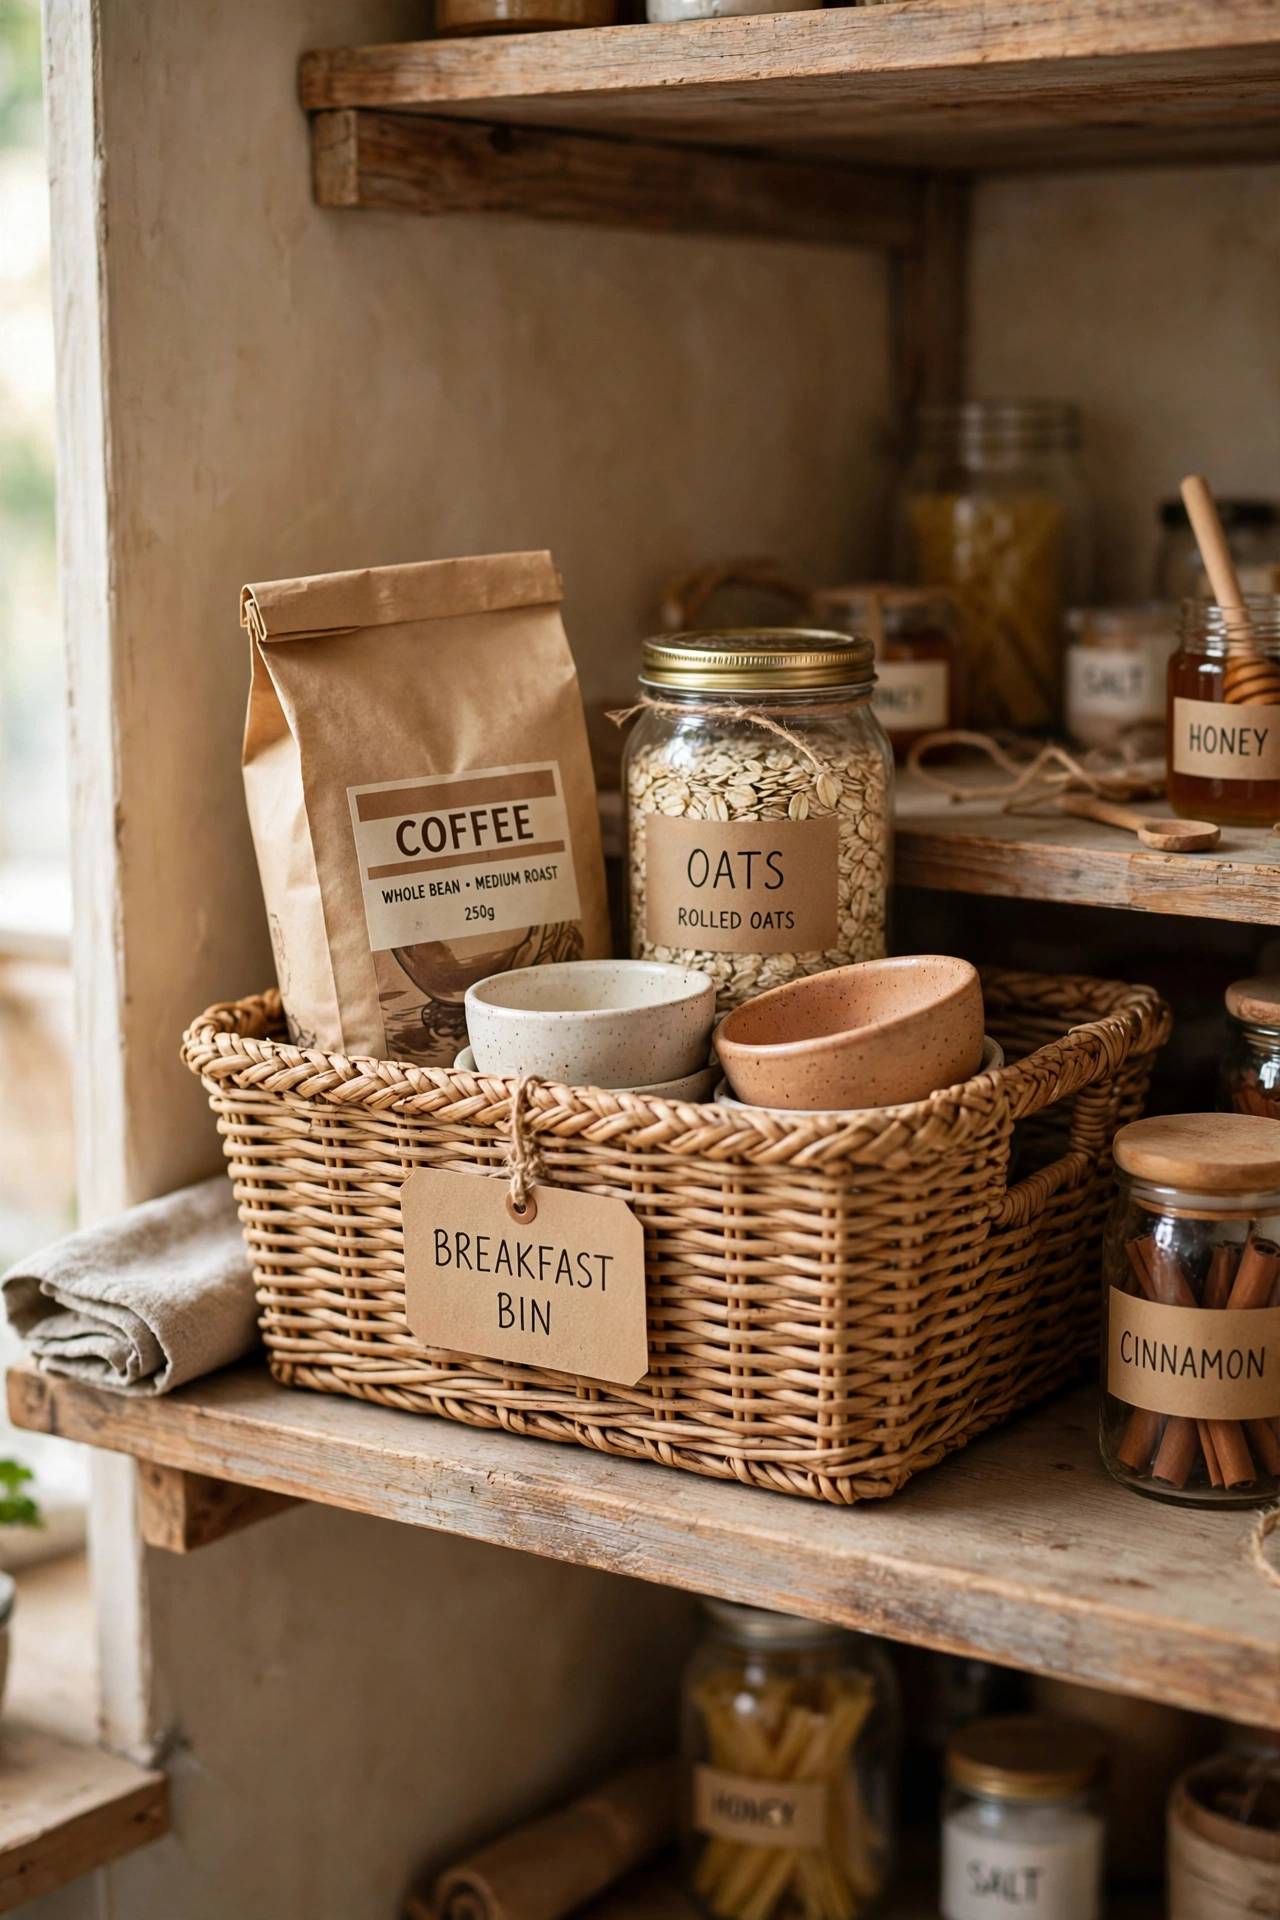
Mornings get easier when everything for breakfast lives in one bin you can pull out, use, and slide back in a single motion. First, pick a bin that fits your pantry shelf and holds the morning staples. Second, fill it with coffee or tea, oats or cereal, sweetener, and a few small bowls. Third, keep the bin at eye level so nobody has to hunt before they are awake. I tried this during a chaotic school-week stretch, and breakfast stopped being a scavenger hunt across three shelves. My mistake was stuffing the bin with every breakfast option we owned, which made it heavy, so now it holds only the everyday items.
Cost: ~$4 | Time: 15 minutes
13. Hang a Rail for Utensils by the Stove
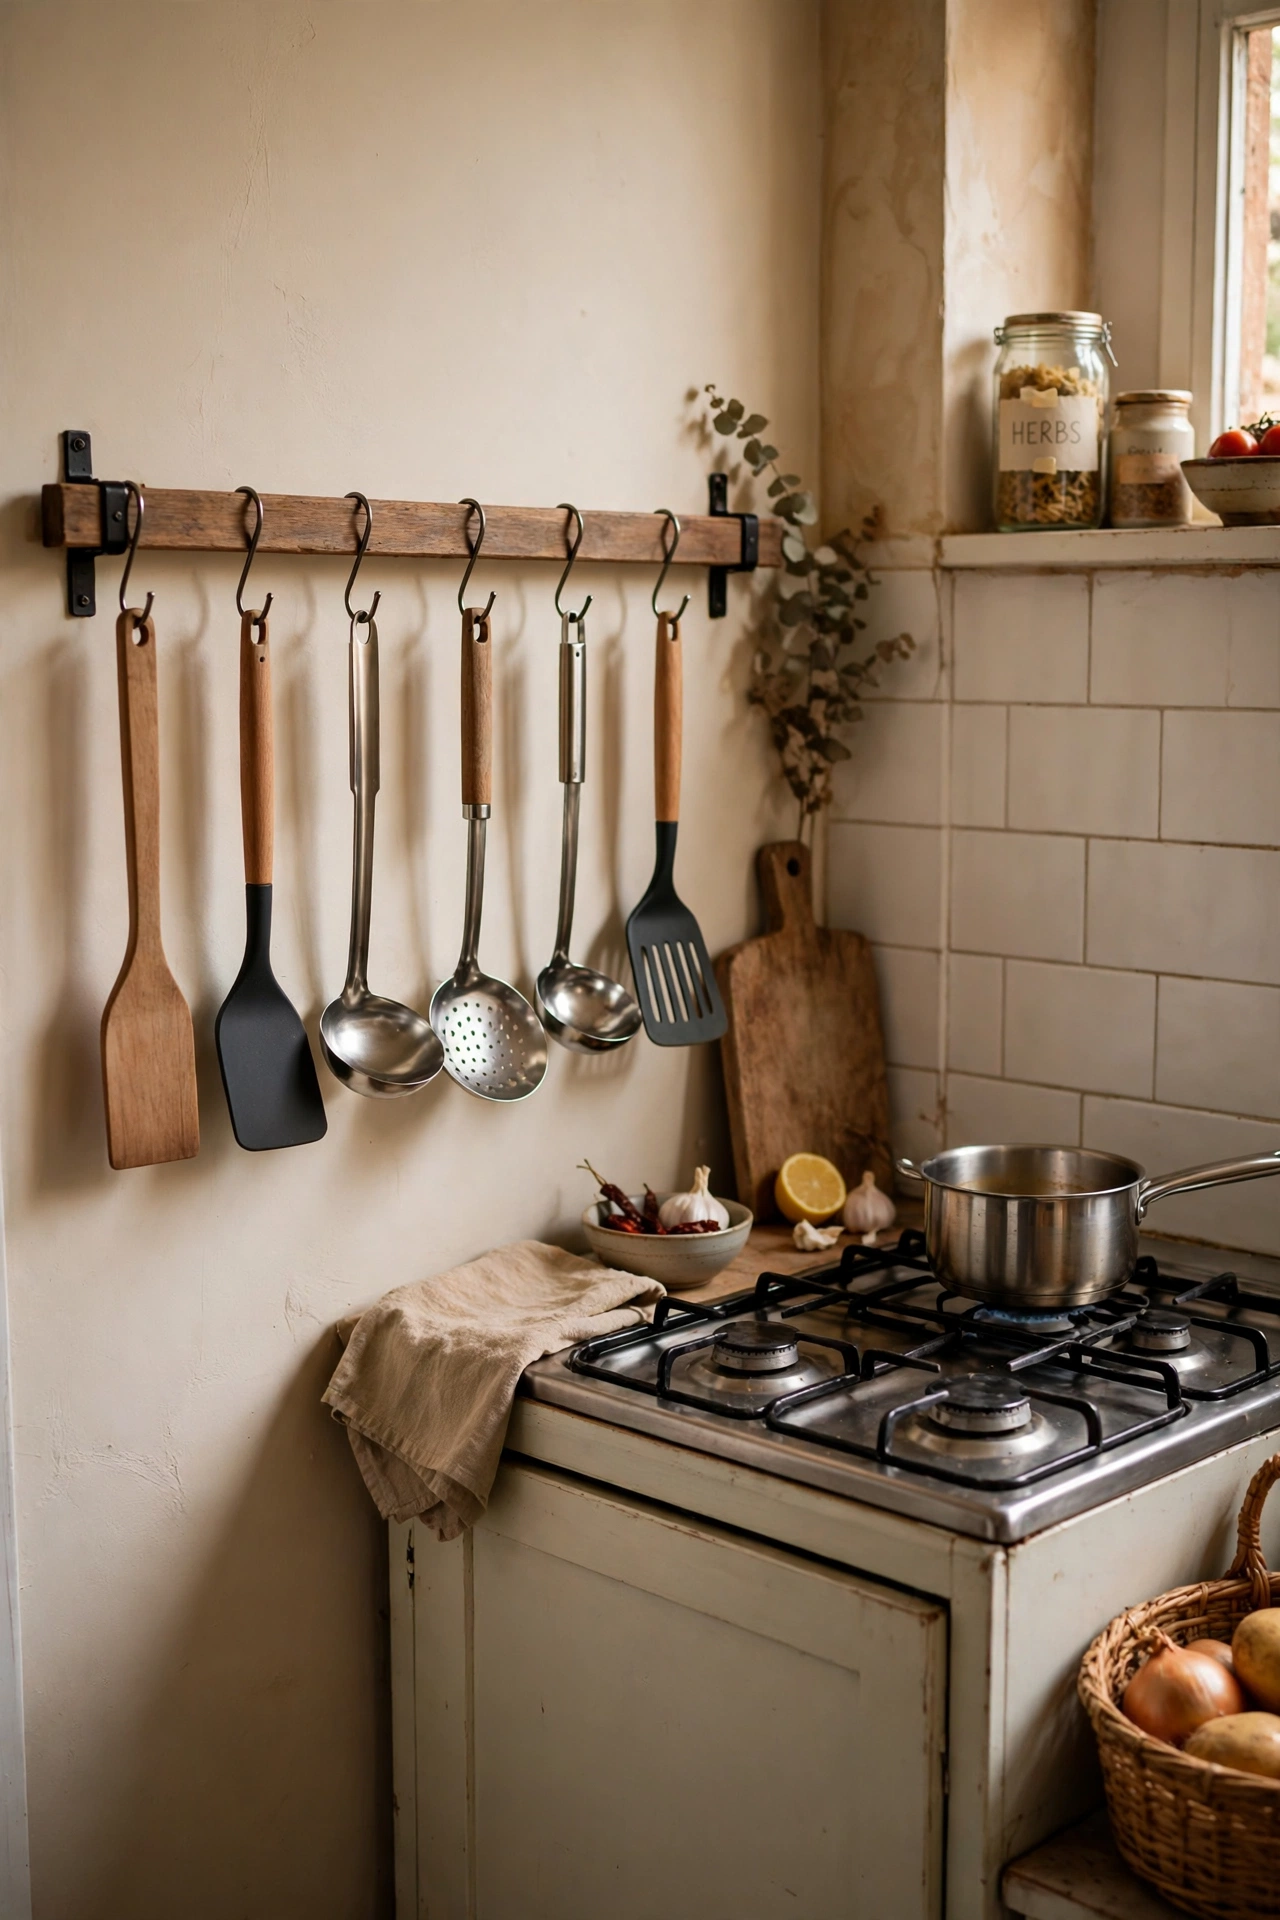
A short rail with hooks beside the stove keeps spatulas, ladles, and tongs at arm’s length while you cook, instead of buried in a drawer across the kitchen. First, mount the rail within reach of the stove but clear of direct heat. Second, hang only the tools you use in almost every meal, not the whole drawer. Third, return each tool to its hook as soon as you finish using it. I tried this after one too many dinners where I burned garlic while hunting for a spatula, and cooking felt calmer immediately. My mistake was hanging too many tools at first, which tangled, so I keep it to six hooks and nothing more.
Cost: ~$10 | Time: 20 minutes
14. Use Magazine Holders for Cutting Boards
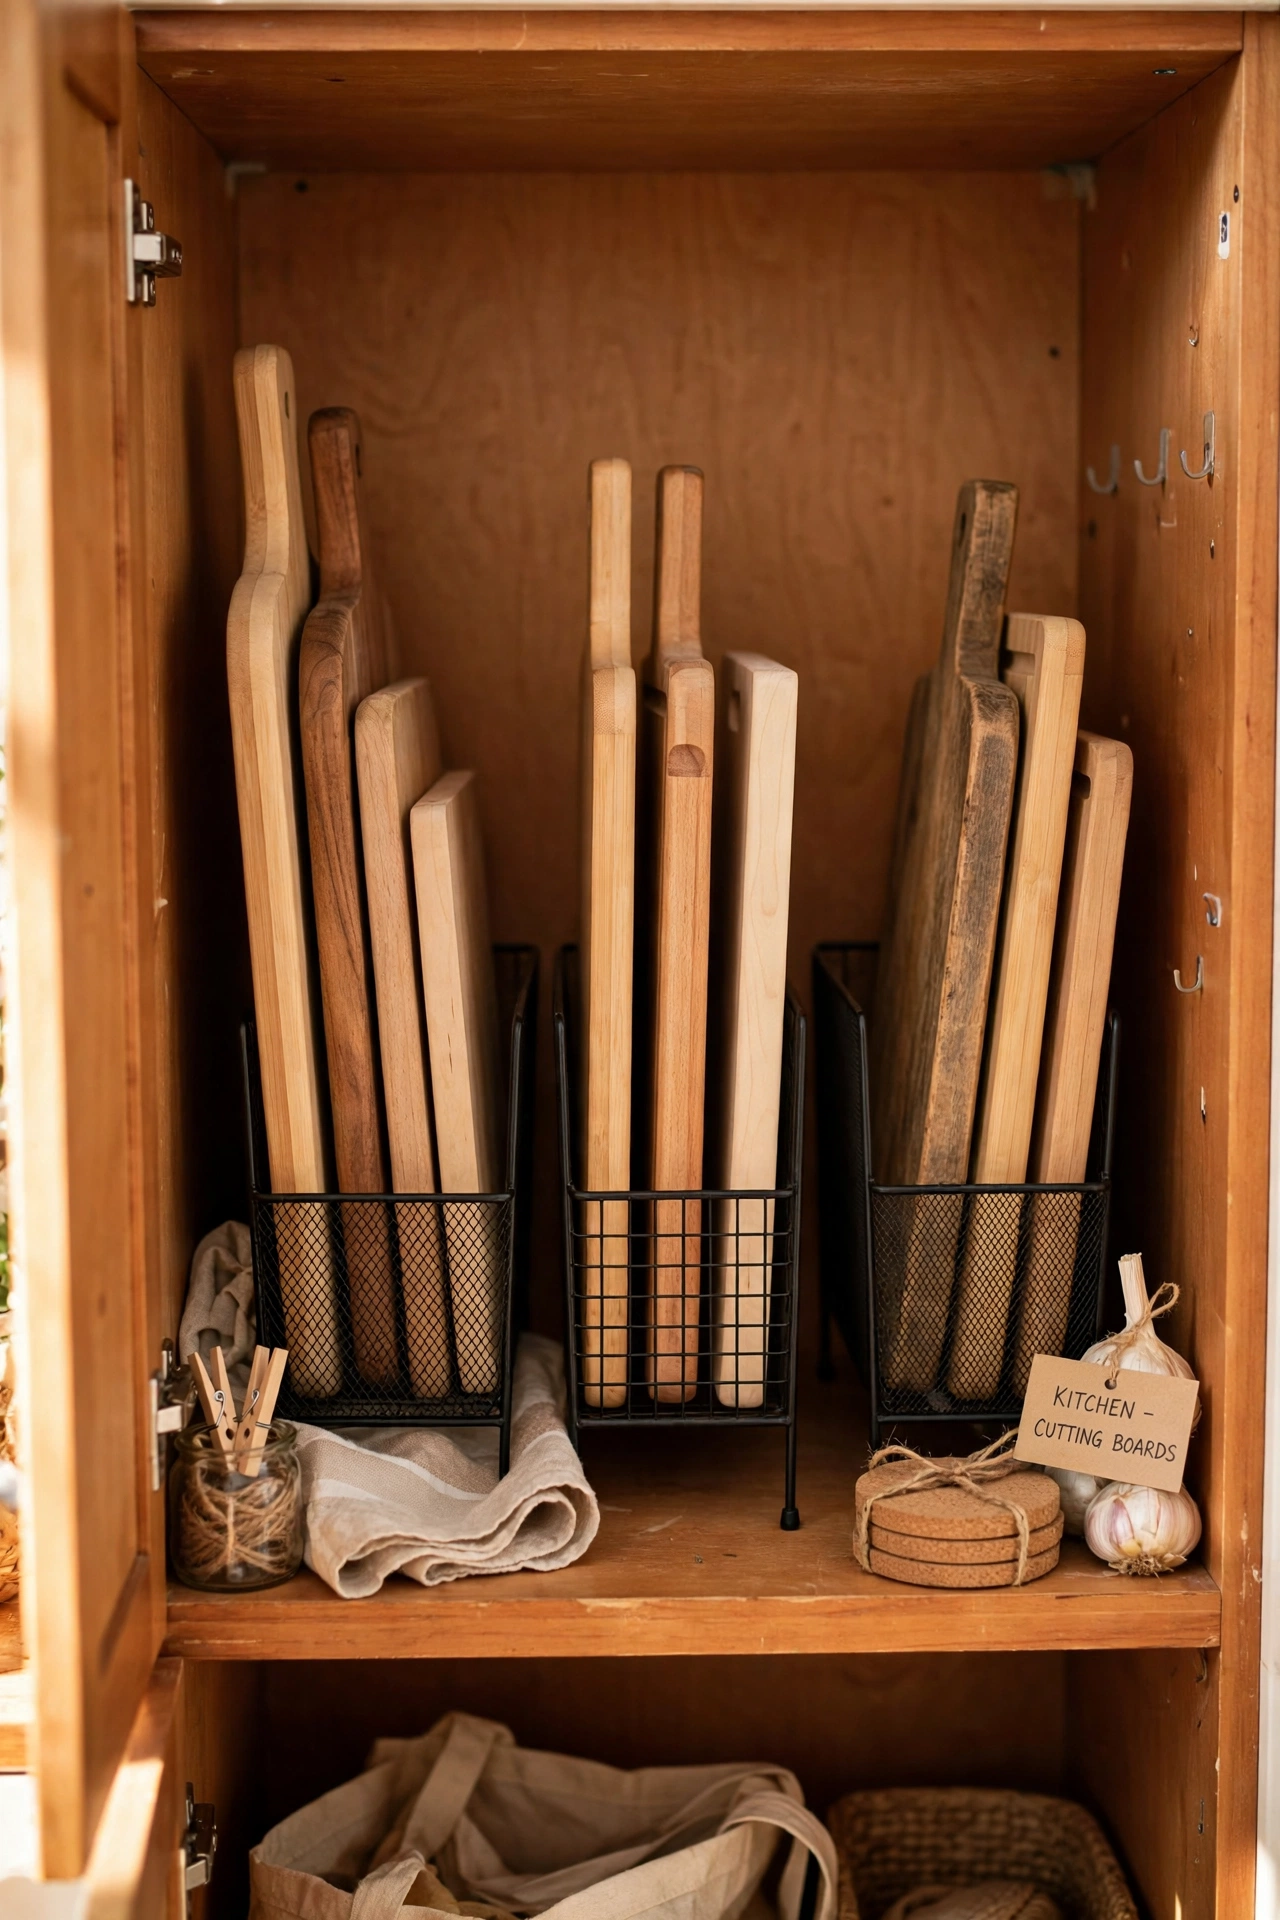
Cutting boards stacked flat take up a whole shelf and the one at the bottom never gets used, but upright magazine holders let you file them like books. First, buy two sturdy magazine holders that fit your cabinet height. Second, stand the boards upright inside, grouping by use if you keep separate boards for meat and vegetables. Third, slide the holders to the front of the cabinet so boards are easy to grab. I tried this after years of heaving a pile of boards out to find the small one, and now I pull exactly the board I need. My mistake was using flimsy cardboard holders first, which sagged when wet, so plastic or metal holders are the way to go.
Cost: ~$6 | Time: 10 minutes
(see also: 15-small-laundry-room-ideas-on-a-budget)
15. Keep a Small Basket for Odd Packets
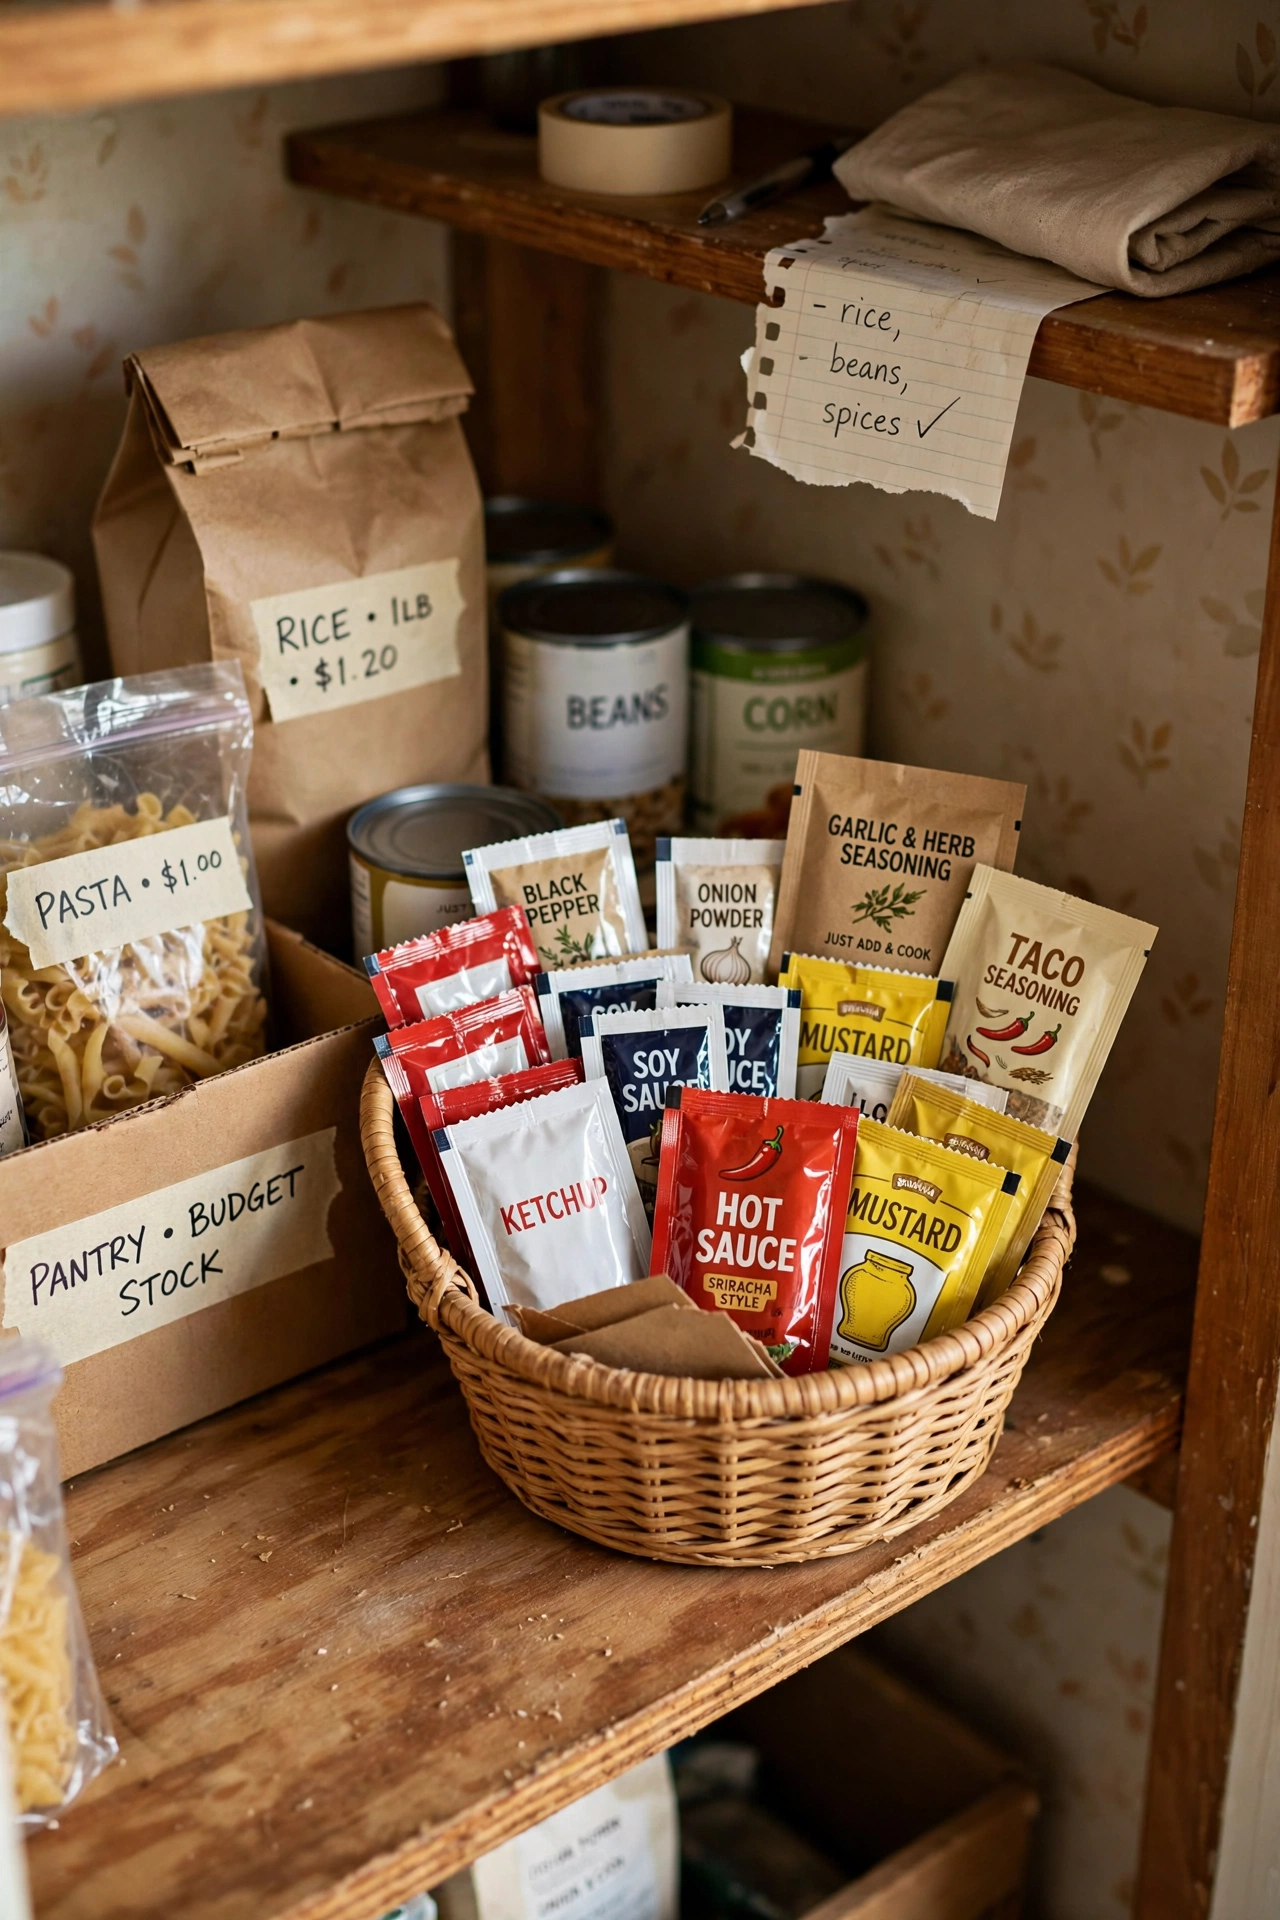
Sauce packets, seasoning sachets, and single-serve extras end up loose in drawers and pantry corners, but one small basket catches them all before they scatter. First, pick a small basket or tin that fits a drawer or a pantry shelf. Second, toss every loose packet into it the moment it enters the kitchen. Third, sort through the basket once a month and throw out anything expired or stale. I tried this after finding soy sauce packets in three different drawers, and the drawer finally stayed tidy because packets had a home. My mistake was using a basket that was too big at first, which invited junk, so a small basket forces regular sorting.
Cost: ~$2 | Time: 10 minutes
16. Add Drawer Dividers for Cutlery Chaos
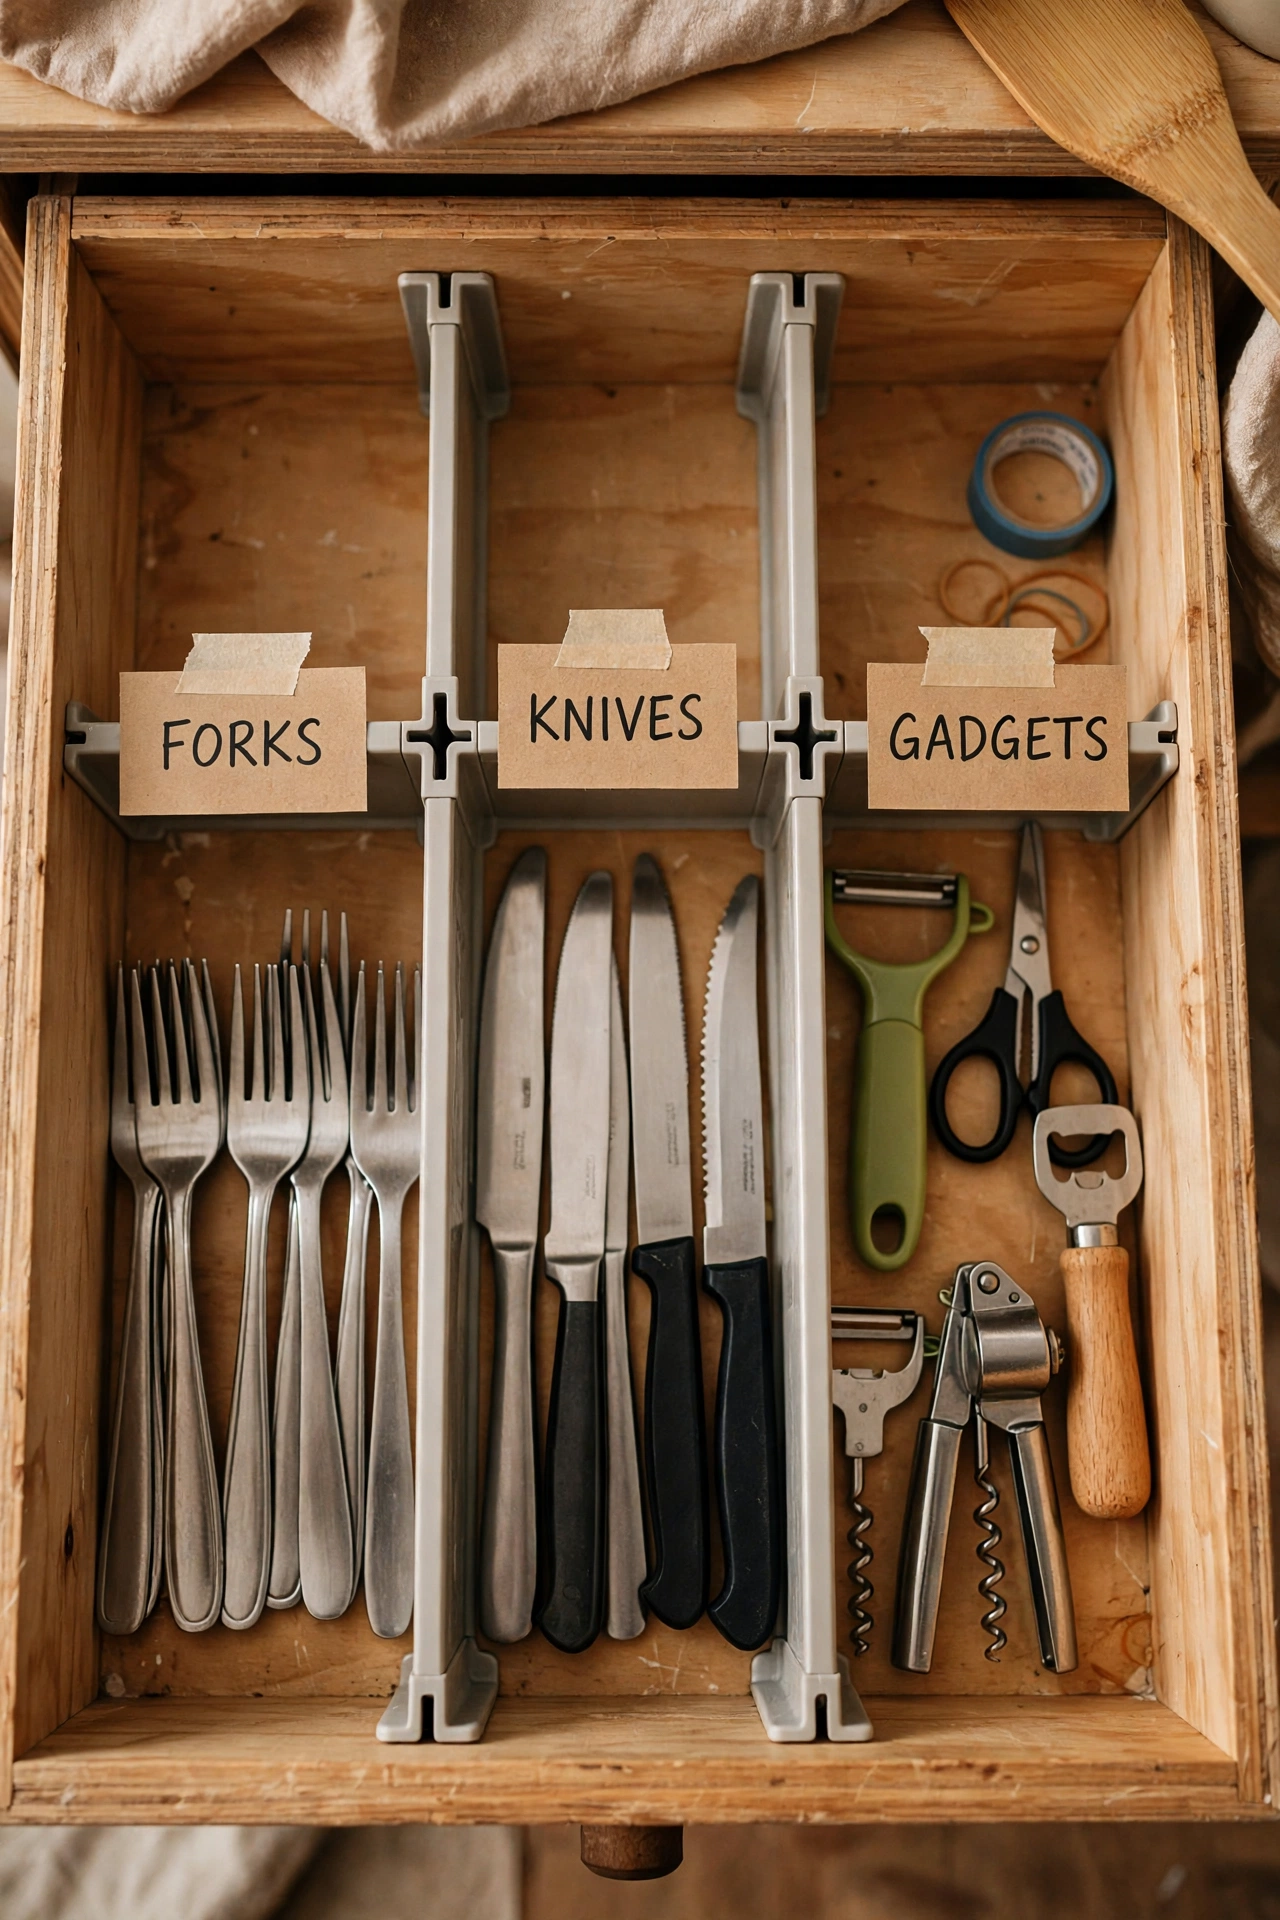
A cutlery drawer without dividers mixes forks, knives, and gadgets into one noisy jumble, but adjustable dividers give every group its own lane. First, empty the drawer completely and wipe it out. Second, place dividers to match your actual items, not a layout from a photo, leaving a lane for odd tools like peelers. Third, put the most-used cutlery nearest the front and gadgets at the back. I tried this after a dinner party where I could not find a single matching fork, and setting the table became a one-minute job. My mistake was buying a fixed tray that did not fit my drawer, so adjustable dividers that expand to the drawer size work far better.
Cost: ~$8 | Time: 20 minutes
17. Do a Five-Minute Nightly Counter Reset
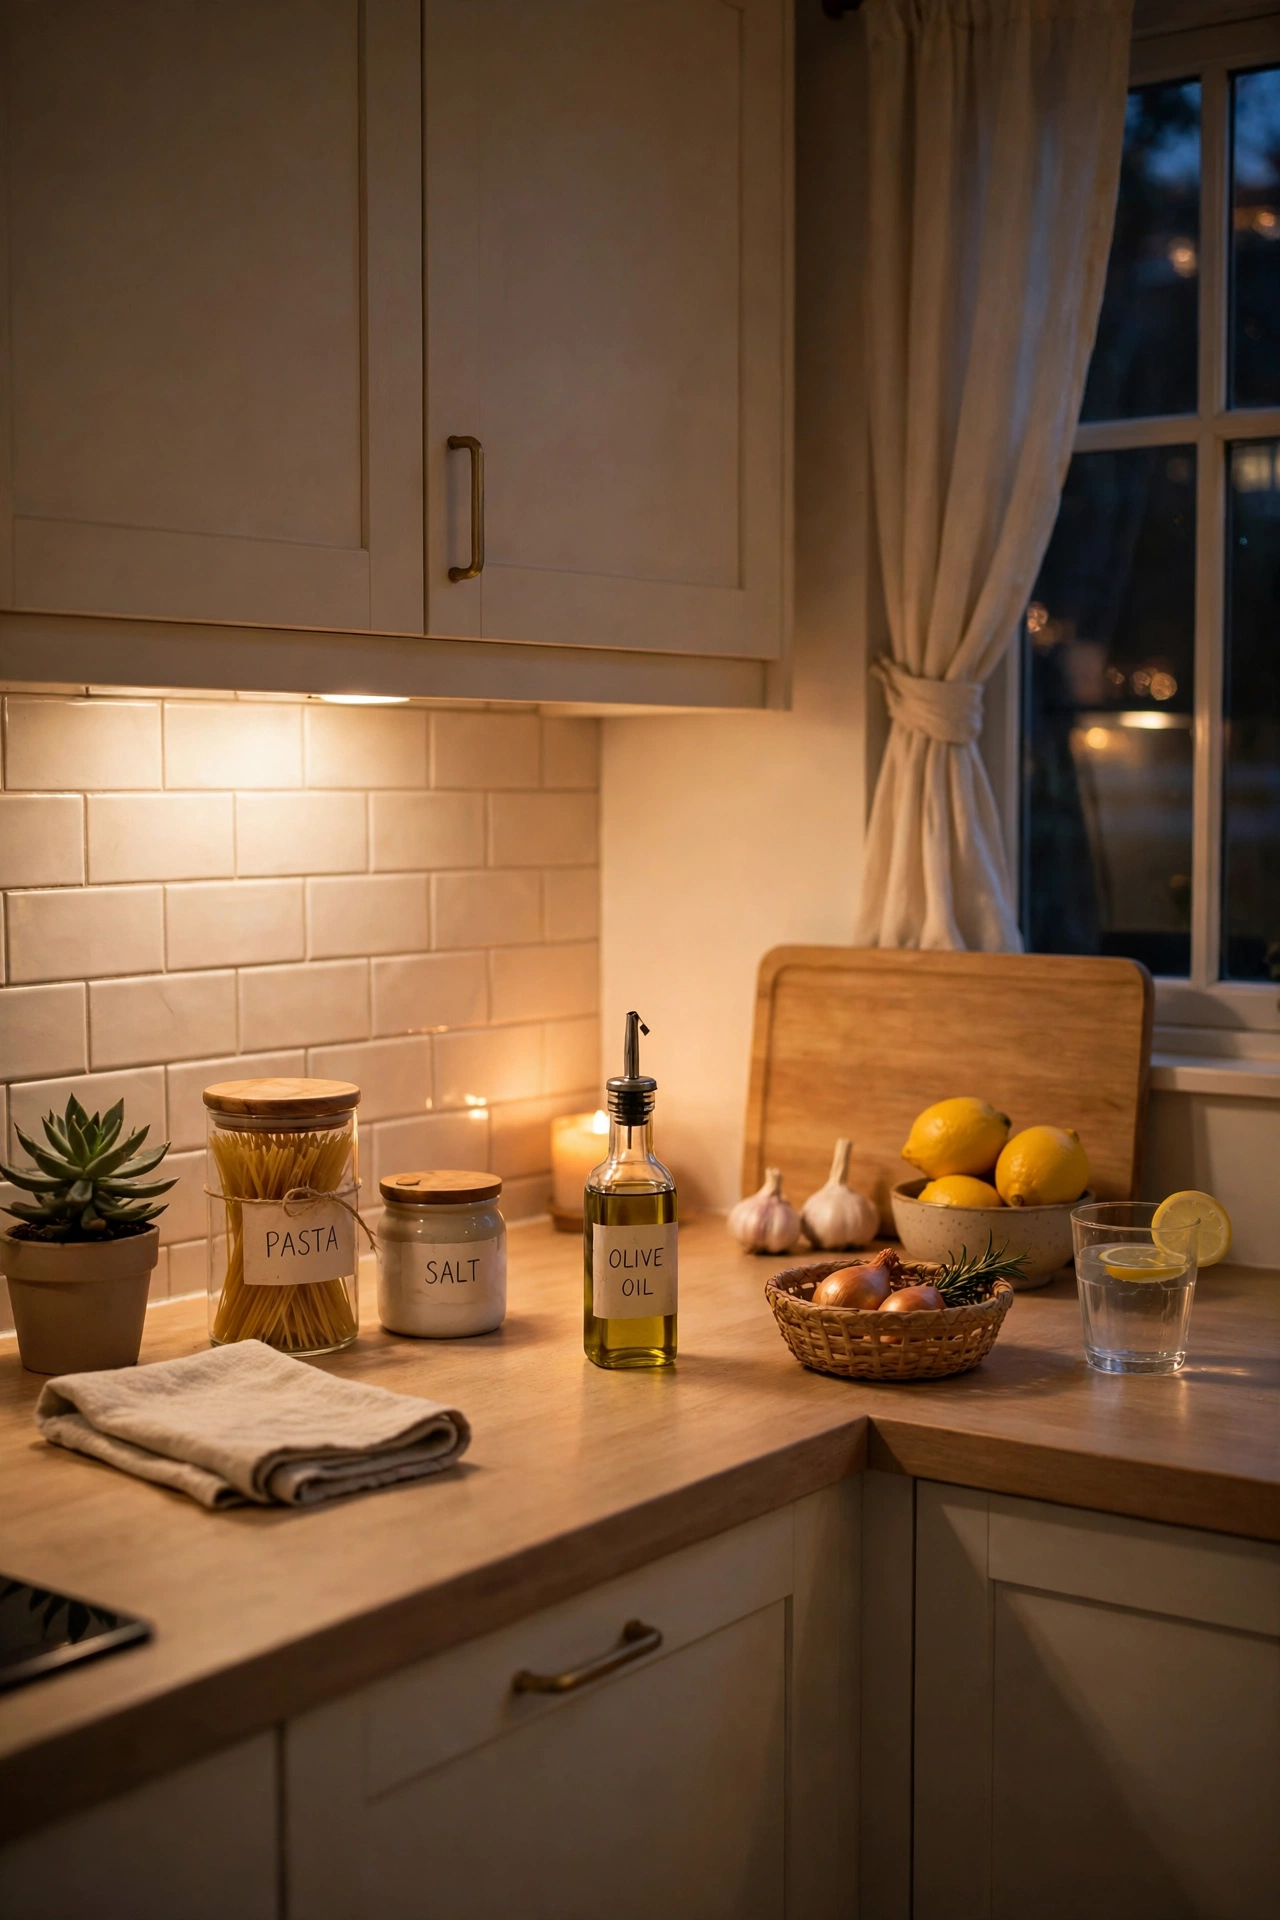
All the bins and hooks in the world will not help if the kitchen never gets reset, but a five-minute nightly routine keeps order from sliding back. First, set a timer for five minutes after dinner so the job has a clear end. Second, return stray items to their zones, wipe the counters, and empty the small packet basket if it overflowed. Third, leave the sink empty and the counters clear so the morning starts fresh. I tried this for two weeks straight, and it stuck because five minutes feels doable even on tired nights. My mistake was trying a thirty-minute nightly clean first, which I quit within days, and the short version is what actually lasted.
Cost: ~$0 | Time: 5 minutes
Frequently Asked Questions
Where should I start organizing a small kitchen?
Start with the spot that slows you down most, usually the cutlery drawer or the cabinet under the sink. One finished zone builds momentum faster than a half-organized whole kitchen.
Do I need to buy matching containers for a tidy kitchen?
No. Matching containers look nice, but labeled bins, jars you already own, and a few cheap dividers do the same job. Spend first on the spots that cause daily frustration.
How do I keep the kitchen organized after the first week?
Pair the new storage with a five-minute nightly reset and a one-in, one-out rule for gadgets. Systems stay tidy when they have a short daily habit behind them, not just new bins.
Save this idea for your next weekend tidy-up if your kitchen cabinets keep fighting back.
A kitchen that works does not need a remodel or a big budget, just one clear home for each thing and a short habit to keep it there. Pick one idea from this list today, try it in the spot that bothers you most, and add the next one only when the first still holds after a week.
