15 Small Laundry Room Ideas on a Budget
A small laundry room, or worse, a laundry corner in a hallway, can feel like the least loved space in the house. These small laundry room ideas cost very little, because laundry rooms reward organisation more than decoration. Before the list, here are the cheapest wins in order: a tension rod for hang-drying ($4), matching jars for detergent ($8), a folding drying rack ($15), wall hooks for bags ($6), and a rolling cart for the gap beside the washer ($18). Start with those five and the room already works better.
1. Hang a Tension Rod for Air-Drying
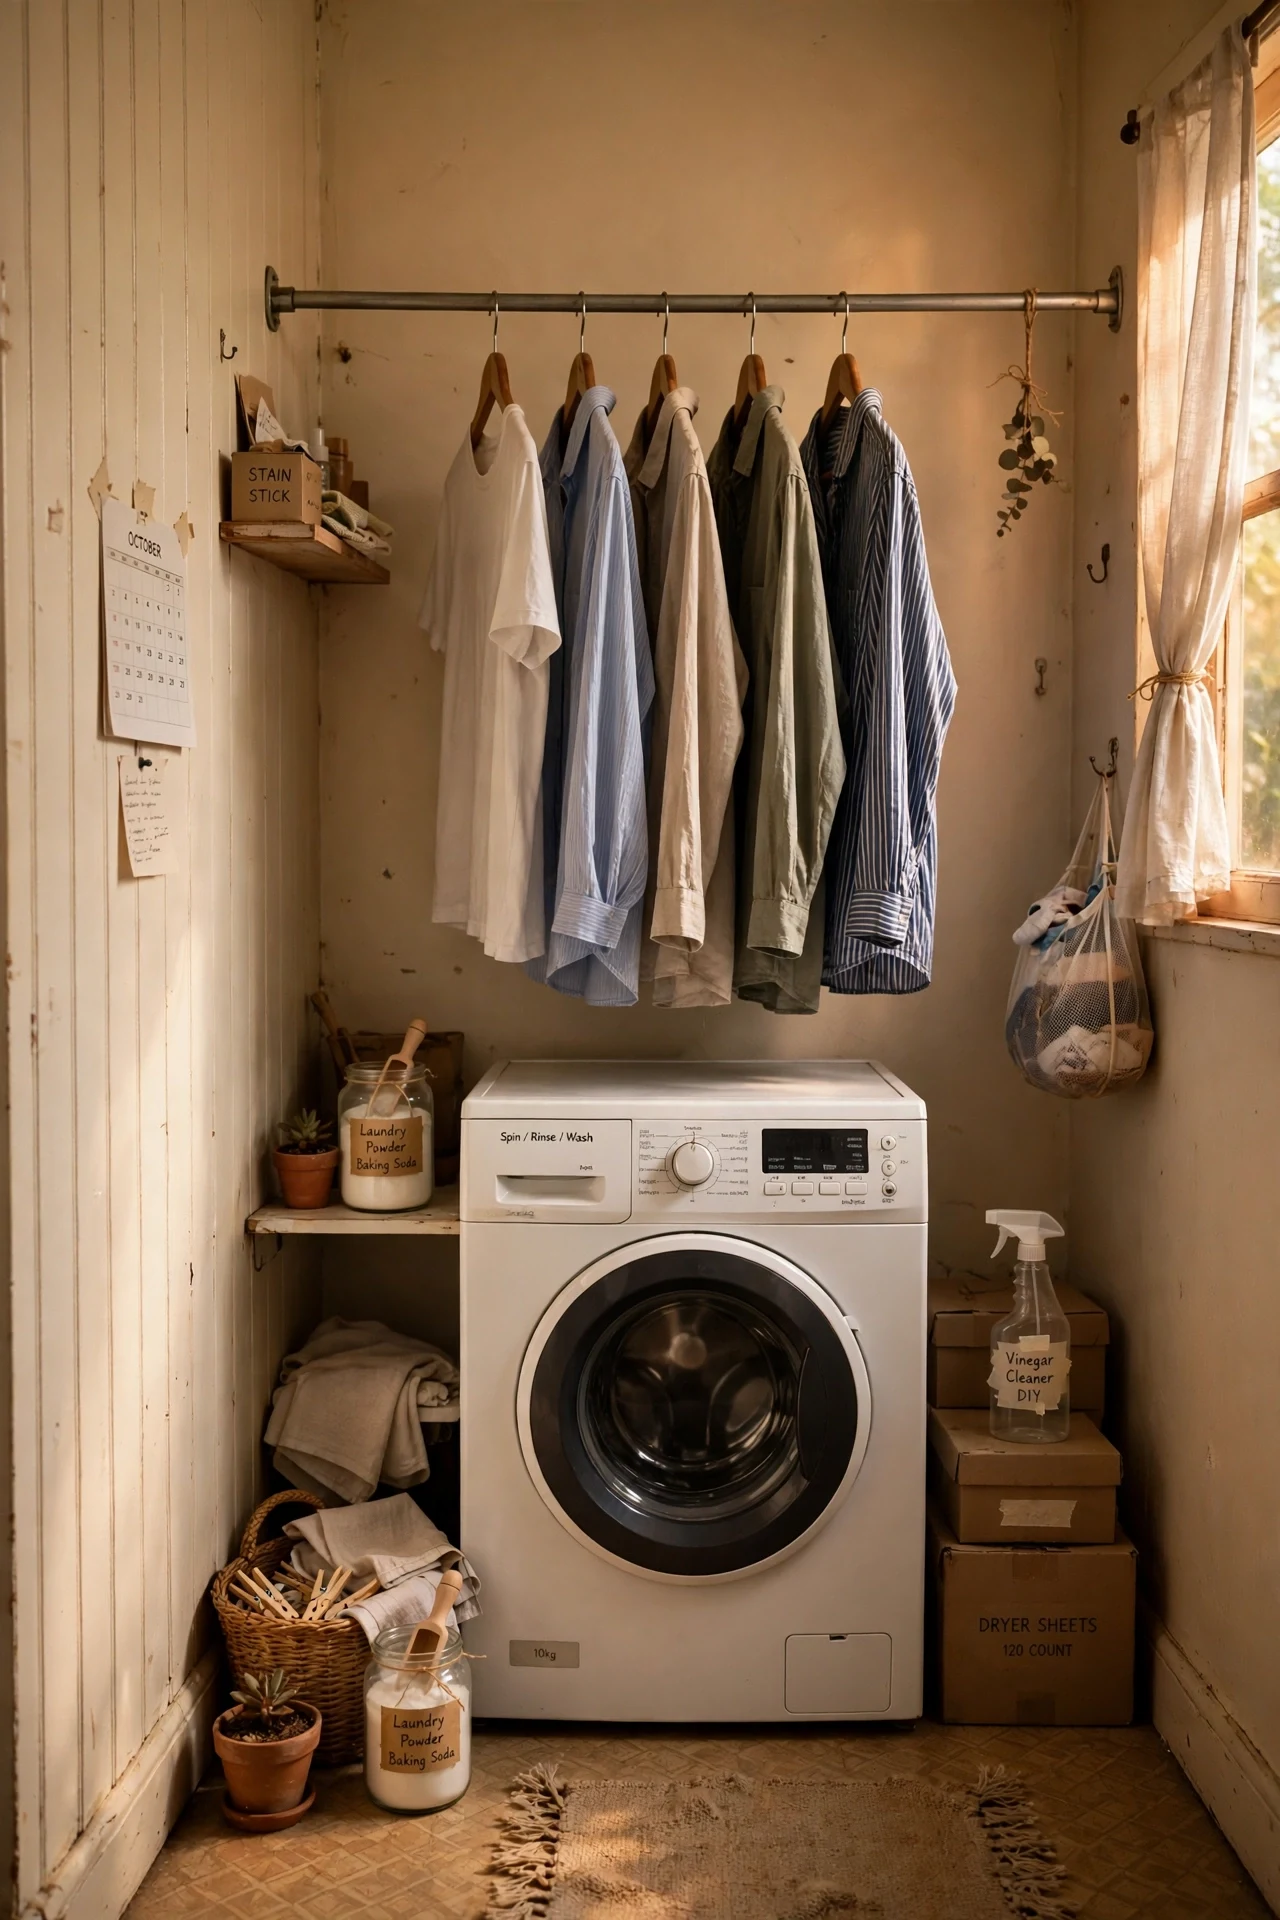
A tension rod across a laundry corner or above the washer gives you a drying rail without drilling or a bulky rack. Hang shirts on hangers straight from the washer, and they dry wrinkle-free while the rod stays out of the way. I used one above my washer, and delicate clothes stopped ending up draped over chairs. Keep the load light, since a rod full of wet jeans will slip. I hang delicates on the rod first, since they take longest to dry and need the airflow.
Cost: ~$4 | Time: 10 minutes
2. Decant Detergent Into Matching Jars
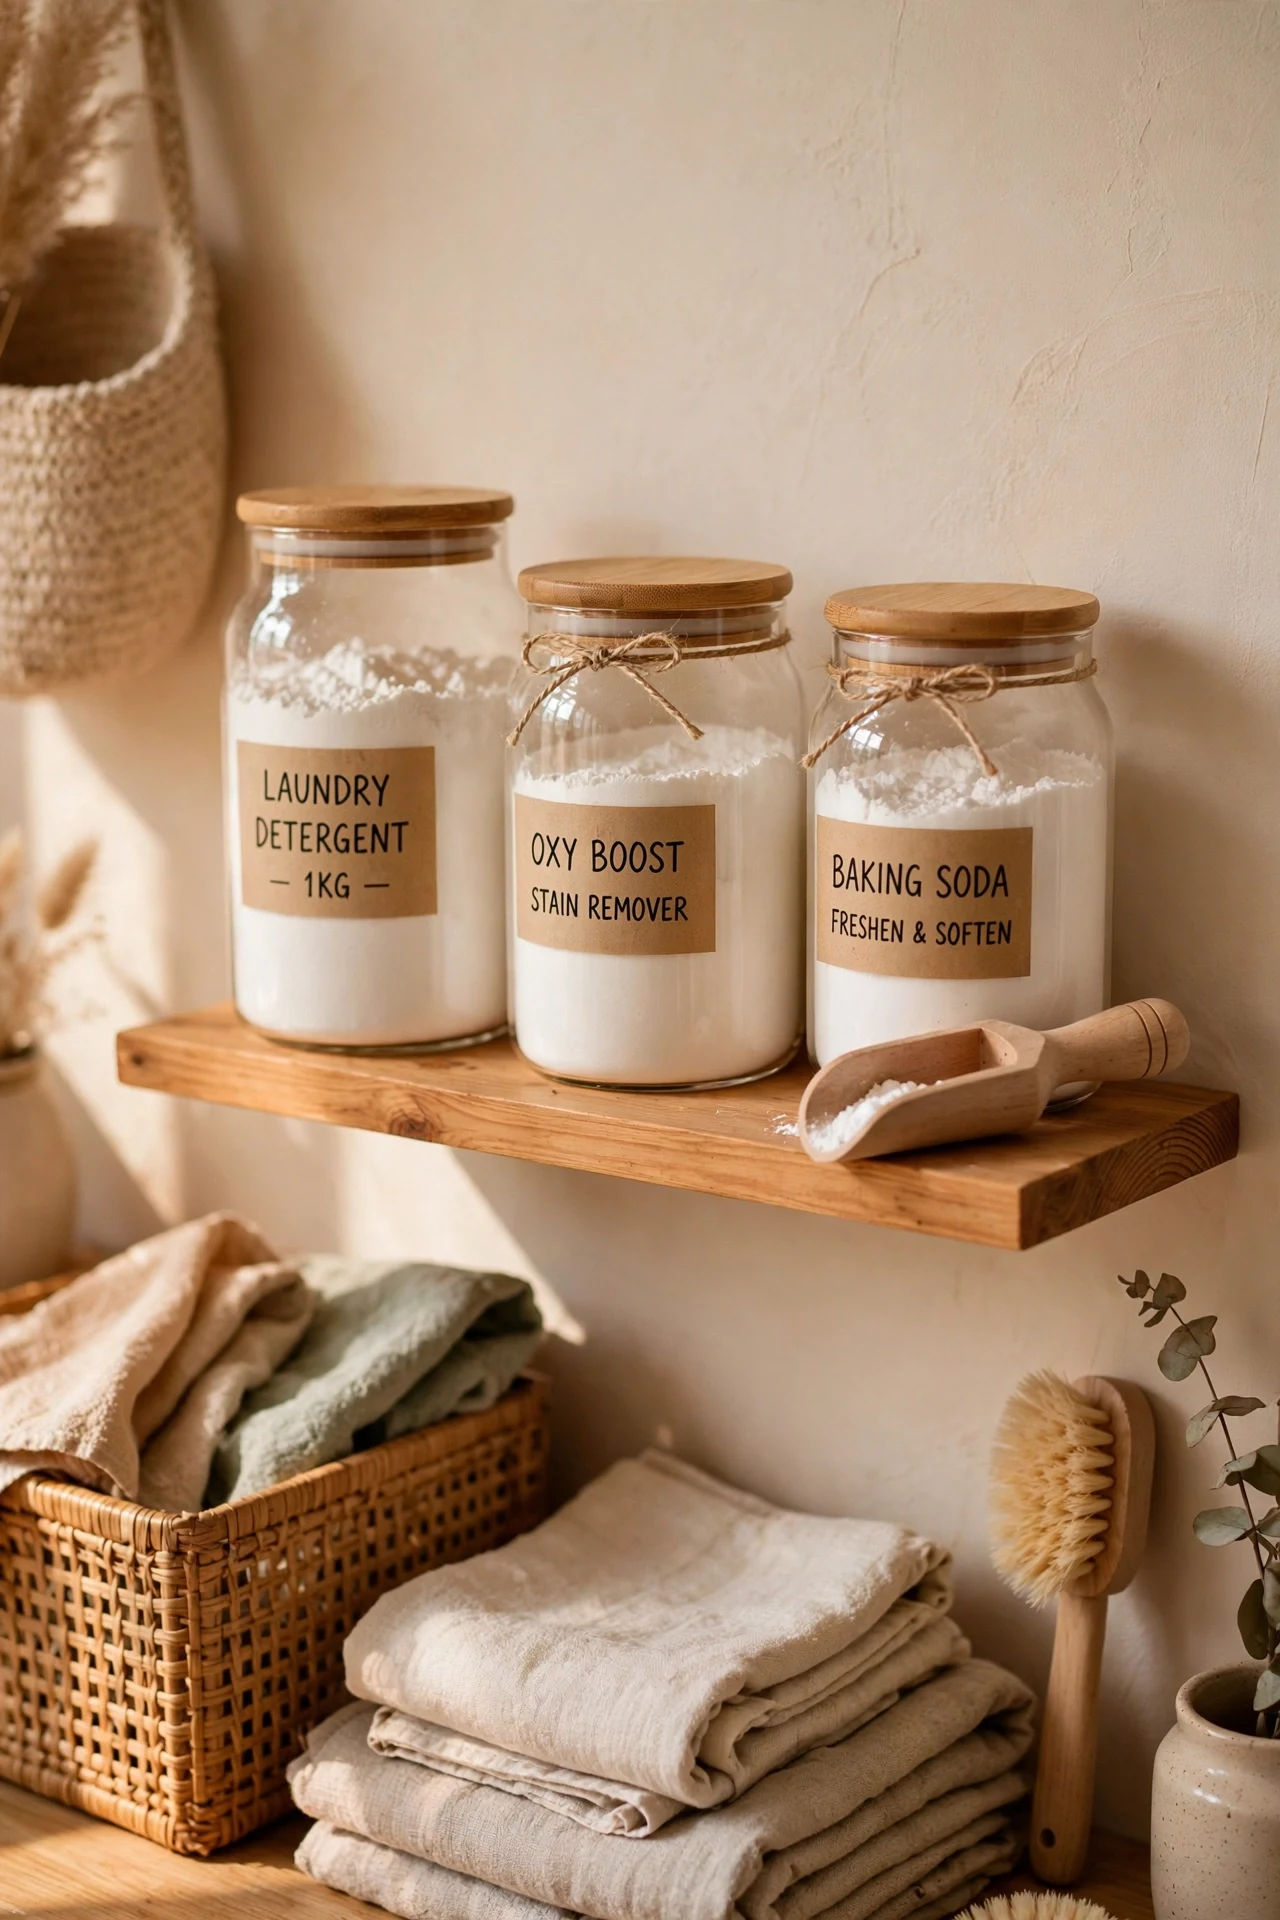
Glass jars for detergent, softener, and stain remover turn a shelf of ugly bottles into a tidy display. Use wide-mouth jars with scoops, label them clearly, and refill from bulk buys. I decanted everything into three matching jars, and the laundry shelf went from chaotic to calm. Keep the jars out of reach of small children, since detergent in a pretty jar still looks like food to a toddler. I keep a scoop in each jar, so measuring never means hunting for a spoon.
Cost: ~$8 | Time: 20 minutes
3. Use a Folding Drying Rack
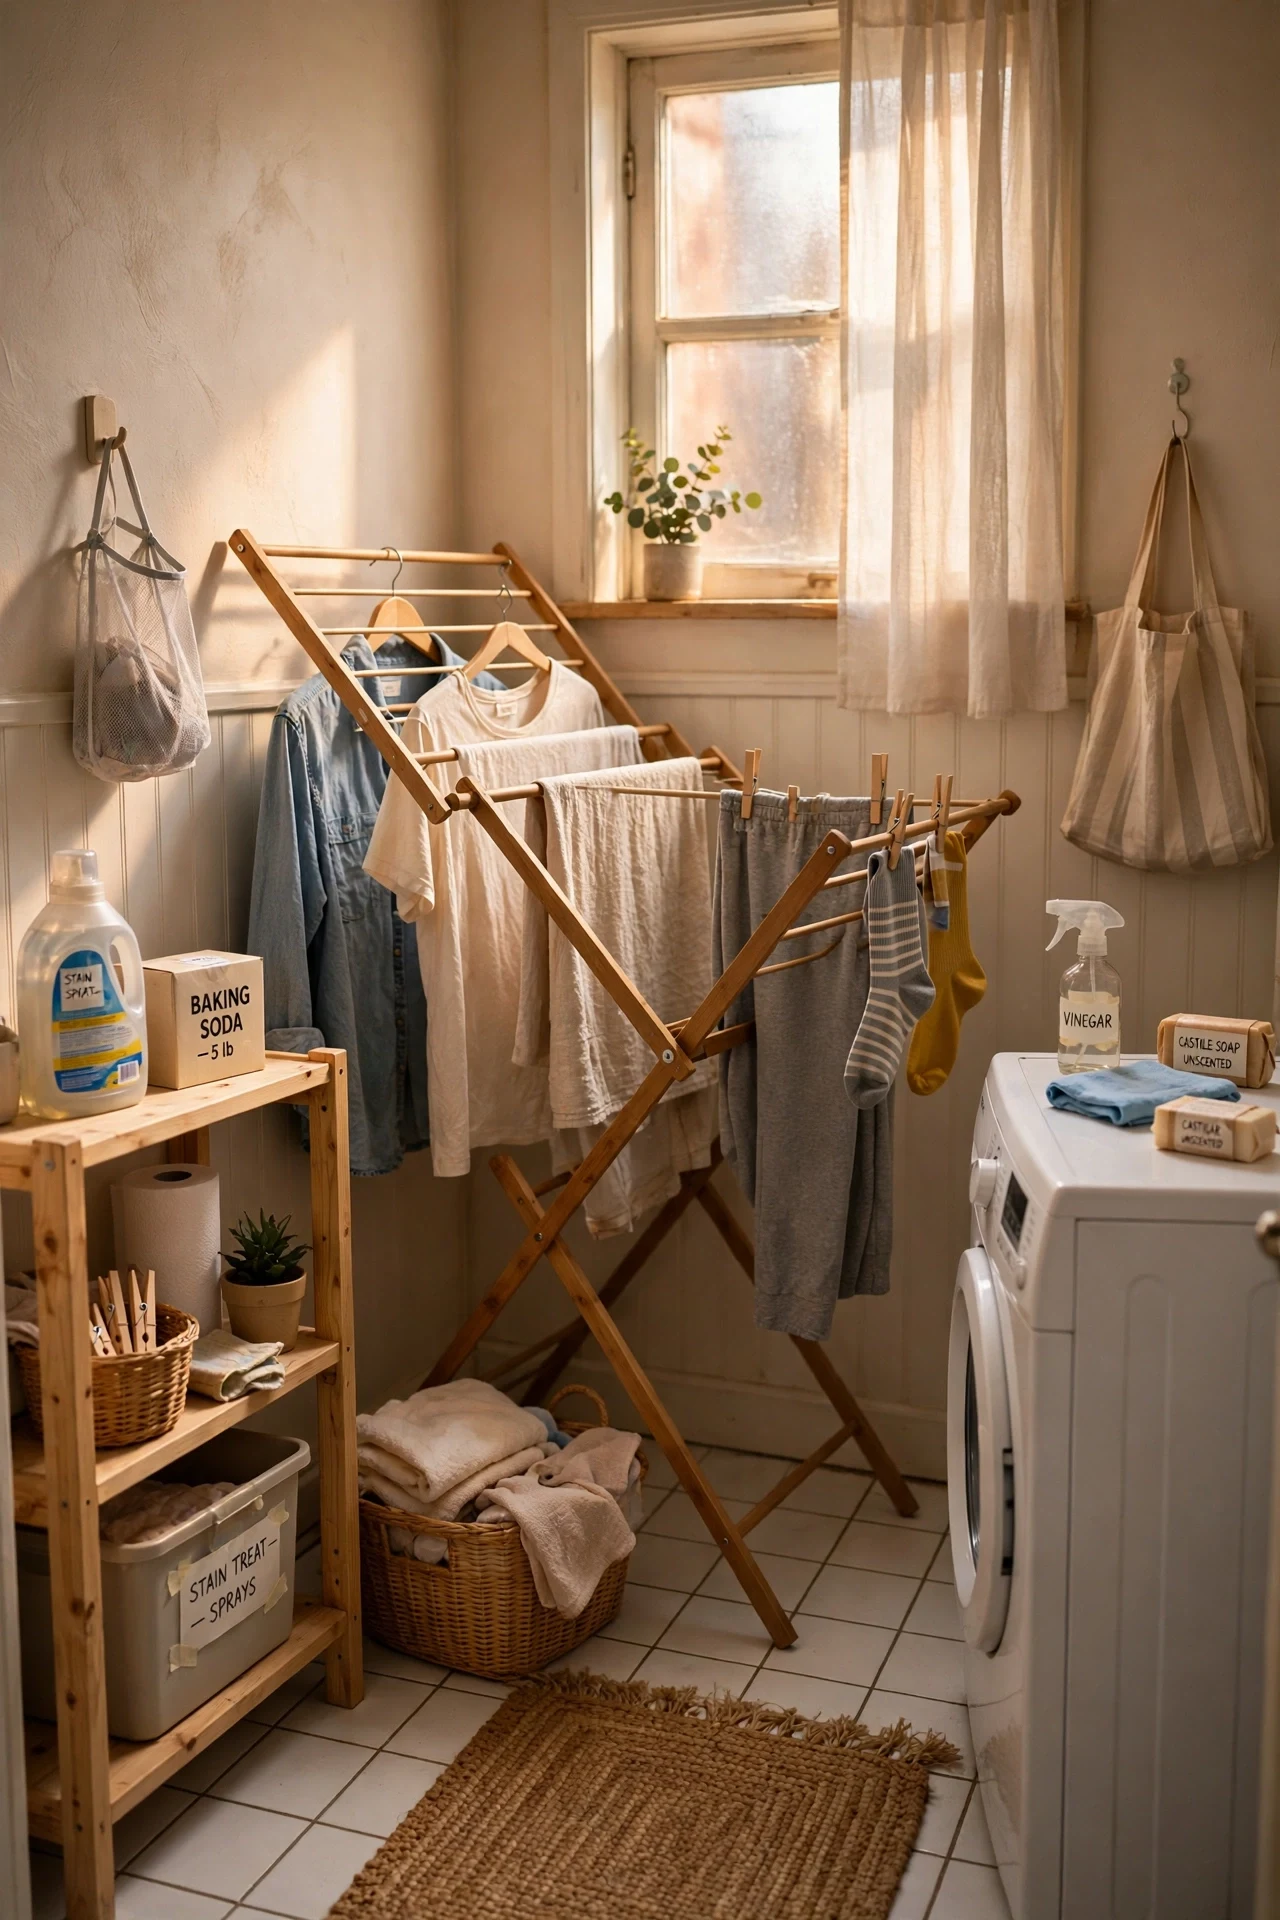
A folding drying rack gives you a full drying line that collapses flat when not in use, which is essential in a small laundry room. Open it for laundry day, fold it behind the door afterwards, and never trip over it again. I used a winged rack that held a whole load, and it replaced a permanent clothesline that ate half the room. Choose one with sturdy joints, since flimsy racks collapse under wet towels. I fold the rack flat behind the door, so the laundry room stays walkable between loads.
Cost: ~$15 | Time: 5 minutes
4. Add Wall Hooks for Bags and Baskets
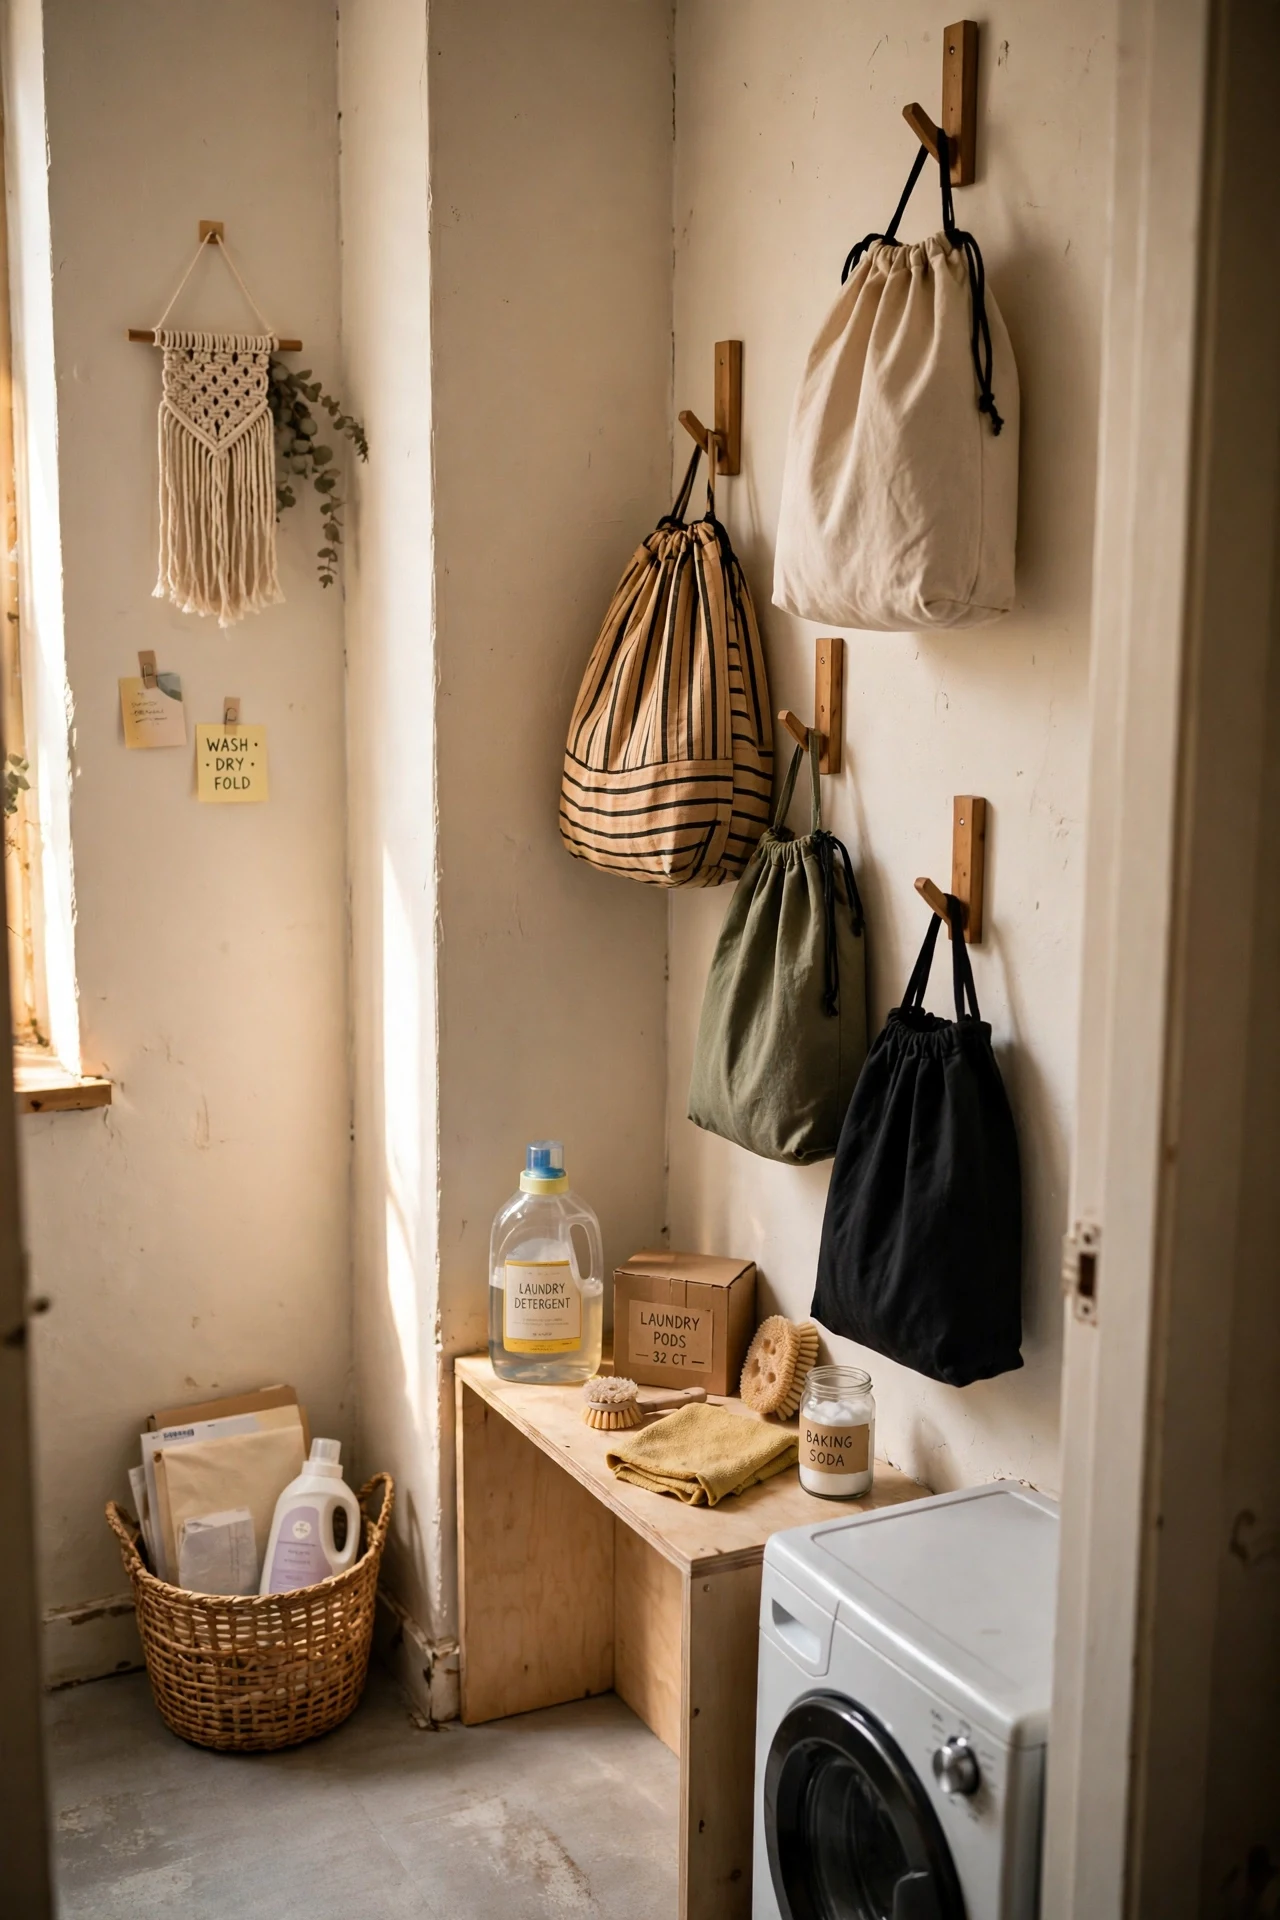
Adhesive or screw-in wall hooks hold laundry bags, a small basket, and an ironing board cover without using floor space. Hang a bag for delicates, one for darks, and one for towels, and sorting happens as you go. I hung three hooks by the washer, and laundry day started with sorting already done. Use hooks rated for the weight, since a full laundry bag is heavier than it looks. I sort into the bags as I undress, so laundry day starts with sorting already done.
Cost: ~$6 | Time: 15 minutes
5. Slide a Rolling Cart Beside the Washer
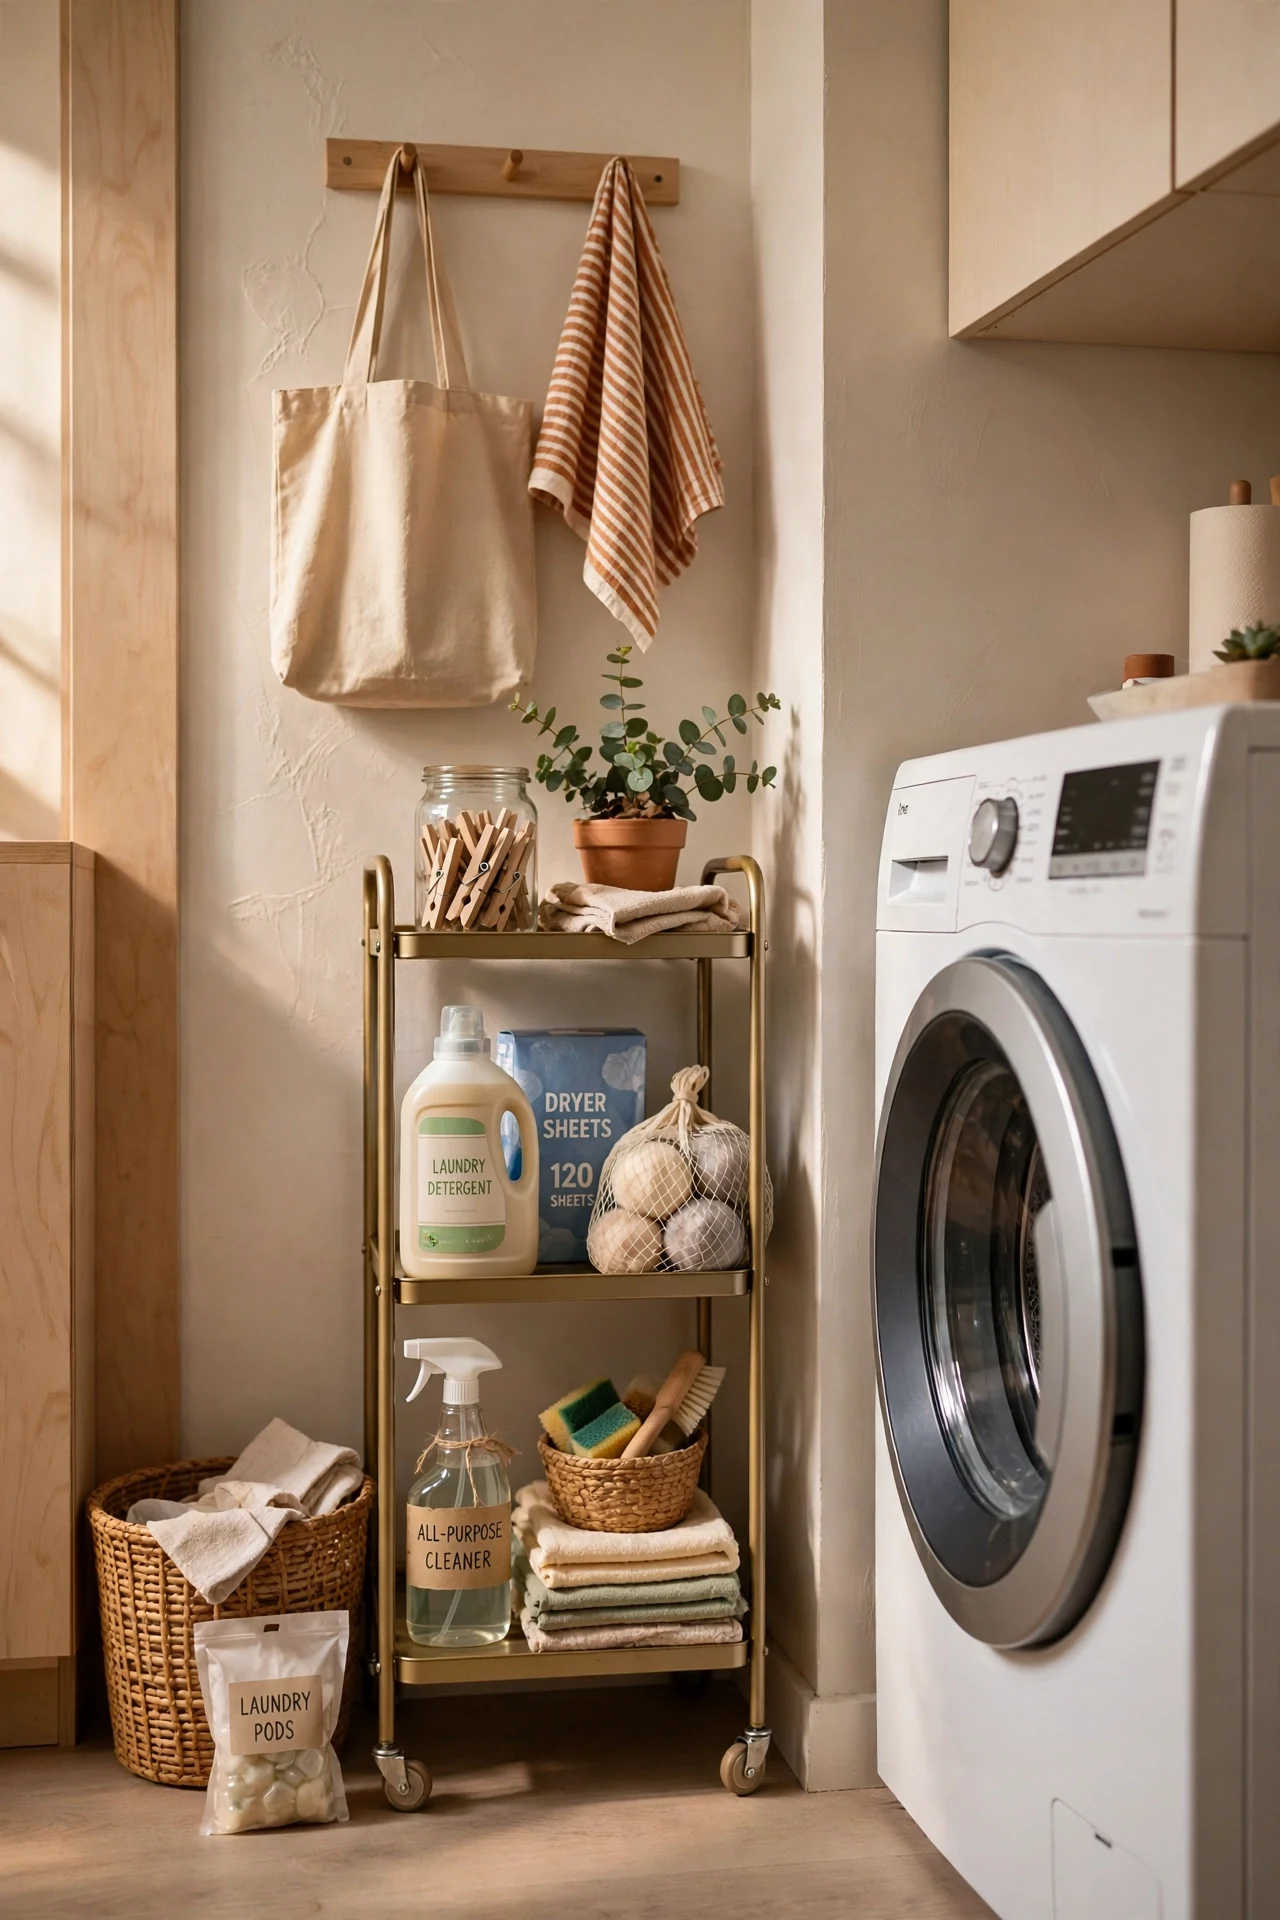
The gap beside a washer is usually wasted, but a slim rolling cart turns it into storage for detergent, stain sticks, and dryer balls. Roll it out to grab what you need, roll it back when done. I fit a three-tier cart into a gap I had ignored for years, and it held everything that used to live on top of the washer. Measure the gap first, since carts are sold in widths that look identical online. I keep dryer balls on the top tier, since they are the thing I always forget.
Cost: ~$18 | Time: 15 minutes
(see also: 19-bedroom-organization-ideas-on-a-dime)
6. Mount a Fold-Down Ironing Board
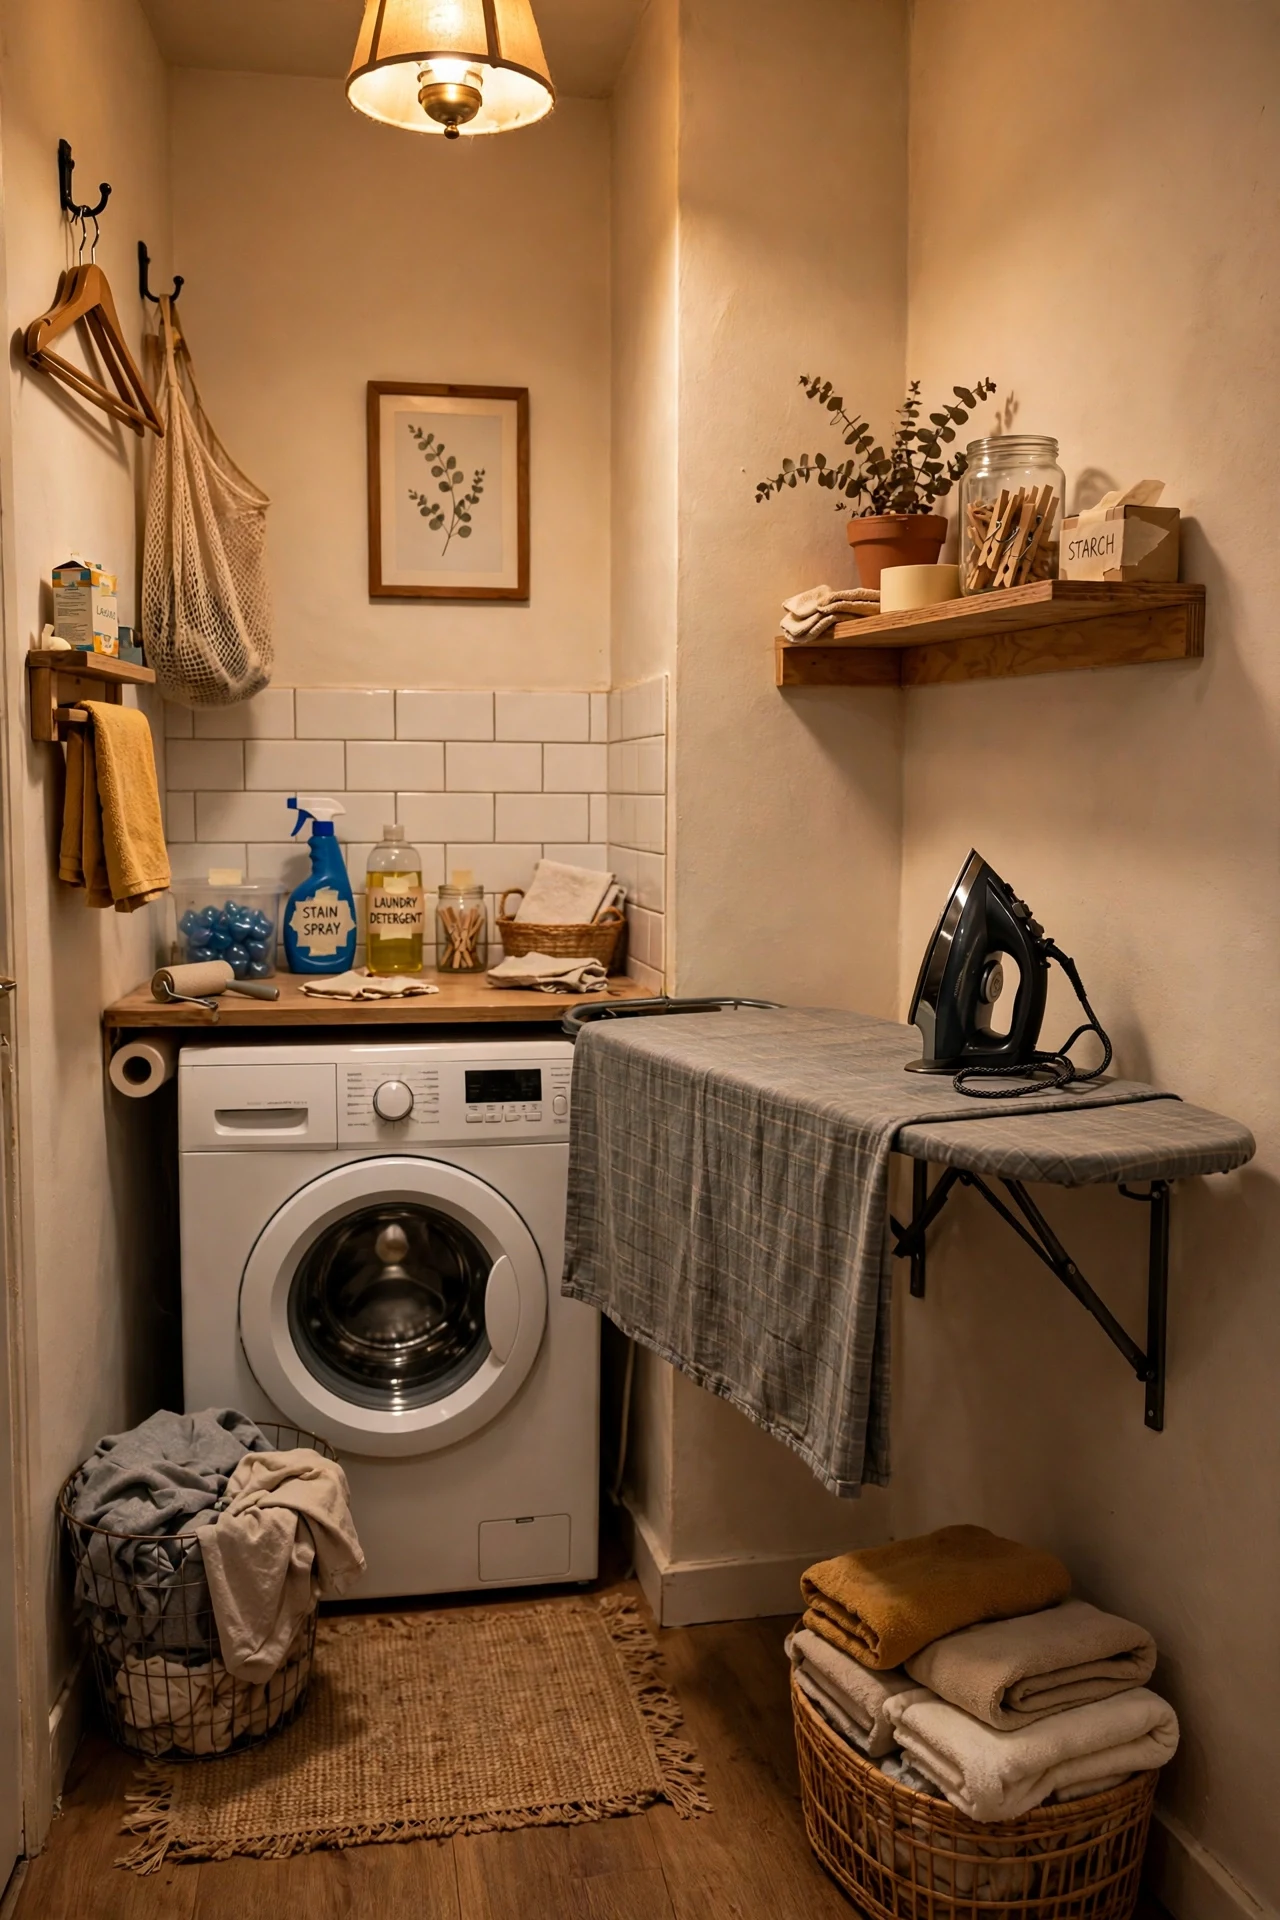
A wall-mounted fold-down ironing board gives you a full ironing surface that disappears when you are done. Mount it at a comfortable height, fold it down for ironing, and fold it up flat against the wall afterwards. I installed one in a hallway laundry corner, and ironing stopped requiring a furniture-moving event. Check the wall can hold the weight, and keep the iron’s cord clear of the hinge. I store the iron on the wall beside it, so ironing never means fetching equipment.
Cost: ~$30 | Time: 45 minutes
7. Label Every Bin and Basket
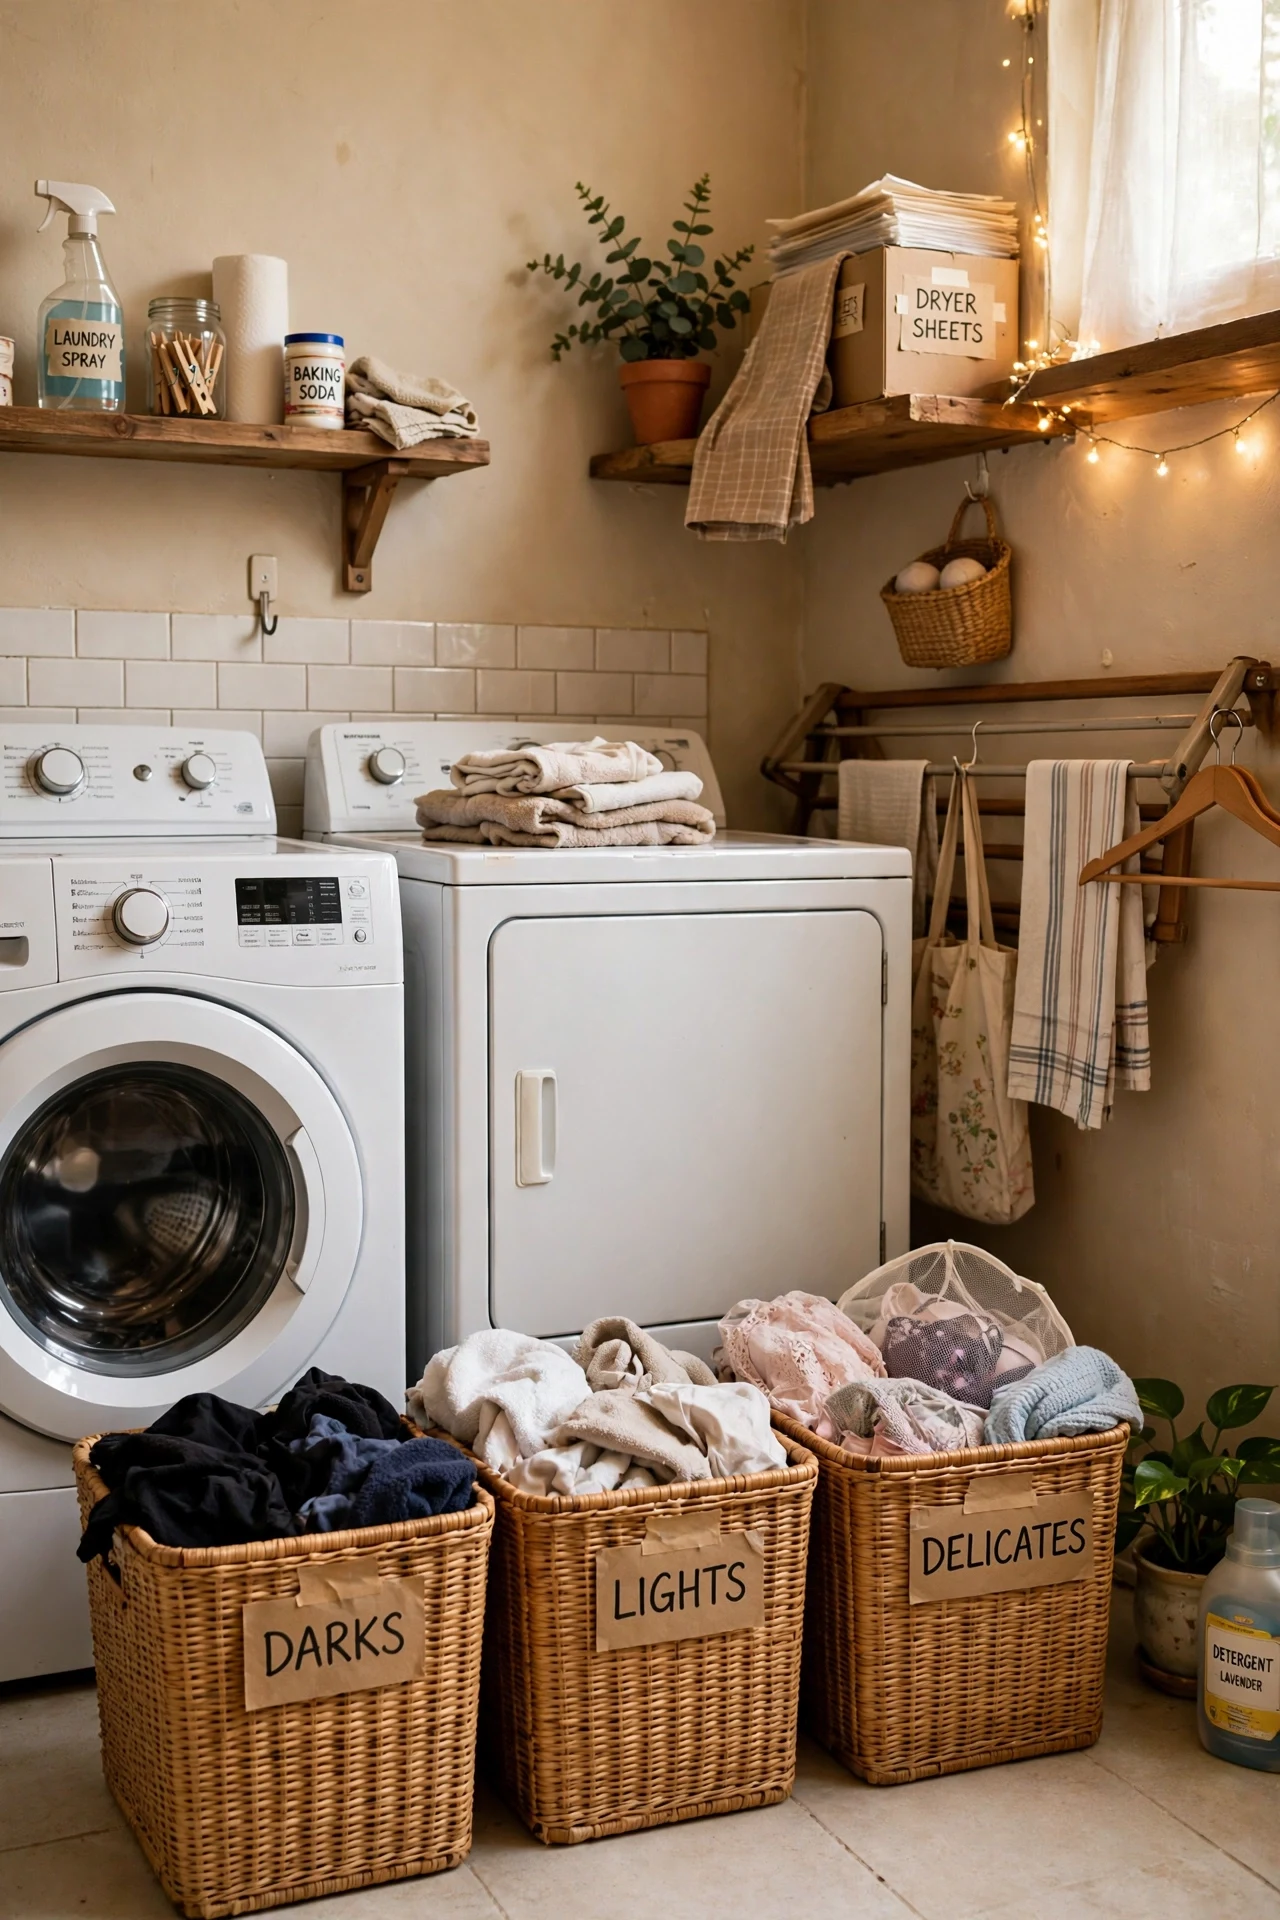
Labels on laundry bins, darks, lights, delicates, towels, mean everyone in the house sorts correctly without being asked. Use simple chalk labels or printed tags, and keep the system to four categories maximum. I labelled my bins, and the mystery loads of mixed colours finally stopped. Keep the labels visible from the doorway, since a label you have to hunt for does not get used. I review the labels monthly, since household routines change and labels should too. I keep the labels simple with just four categories, since complicated systems never get used.
Cost: ~$5 | Time: 20 minutes
8. Hang a Drying Rack From the Ceiling
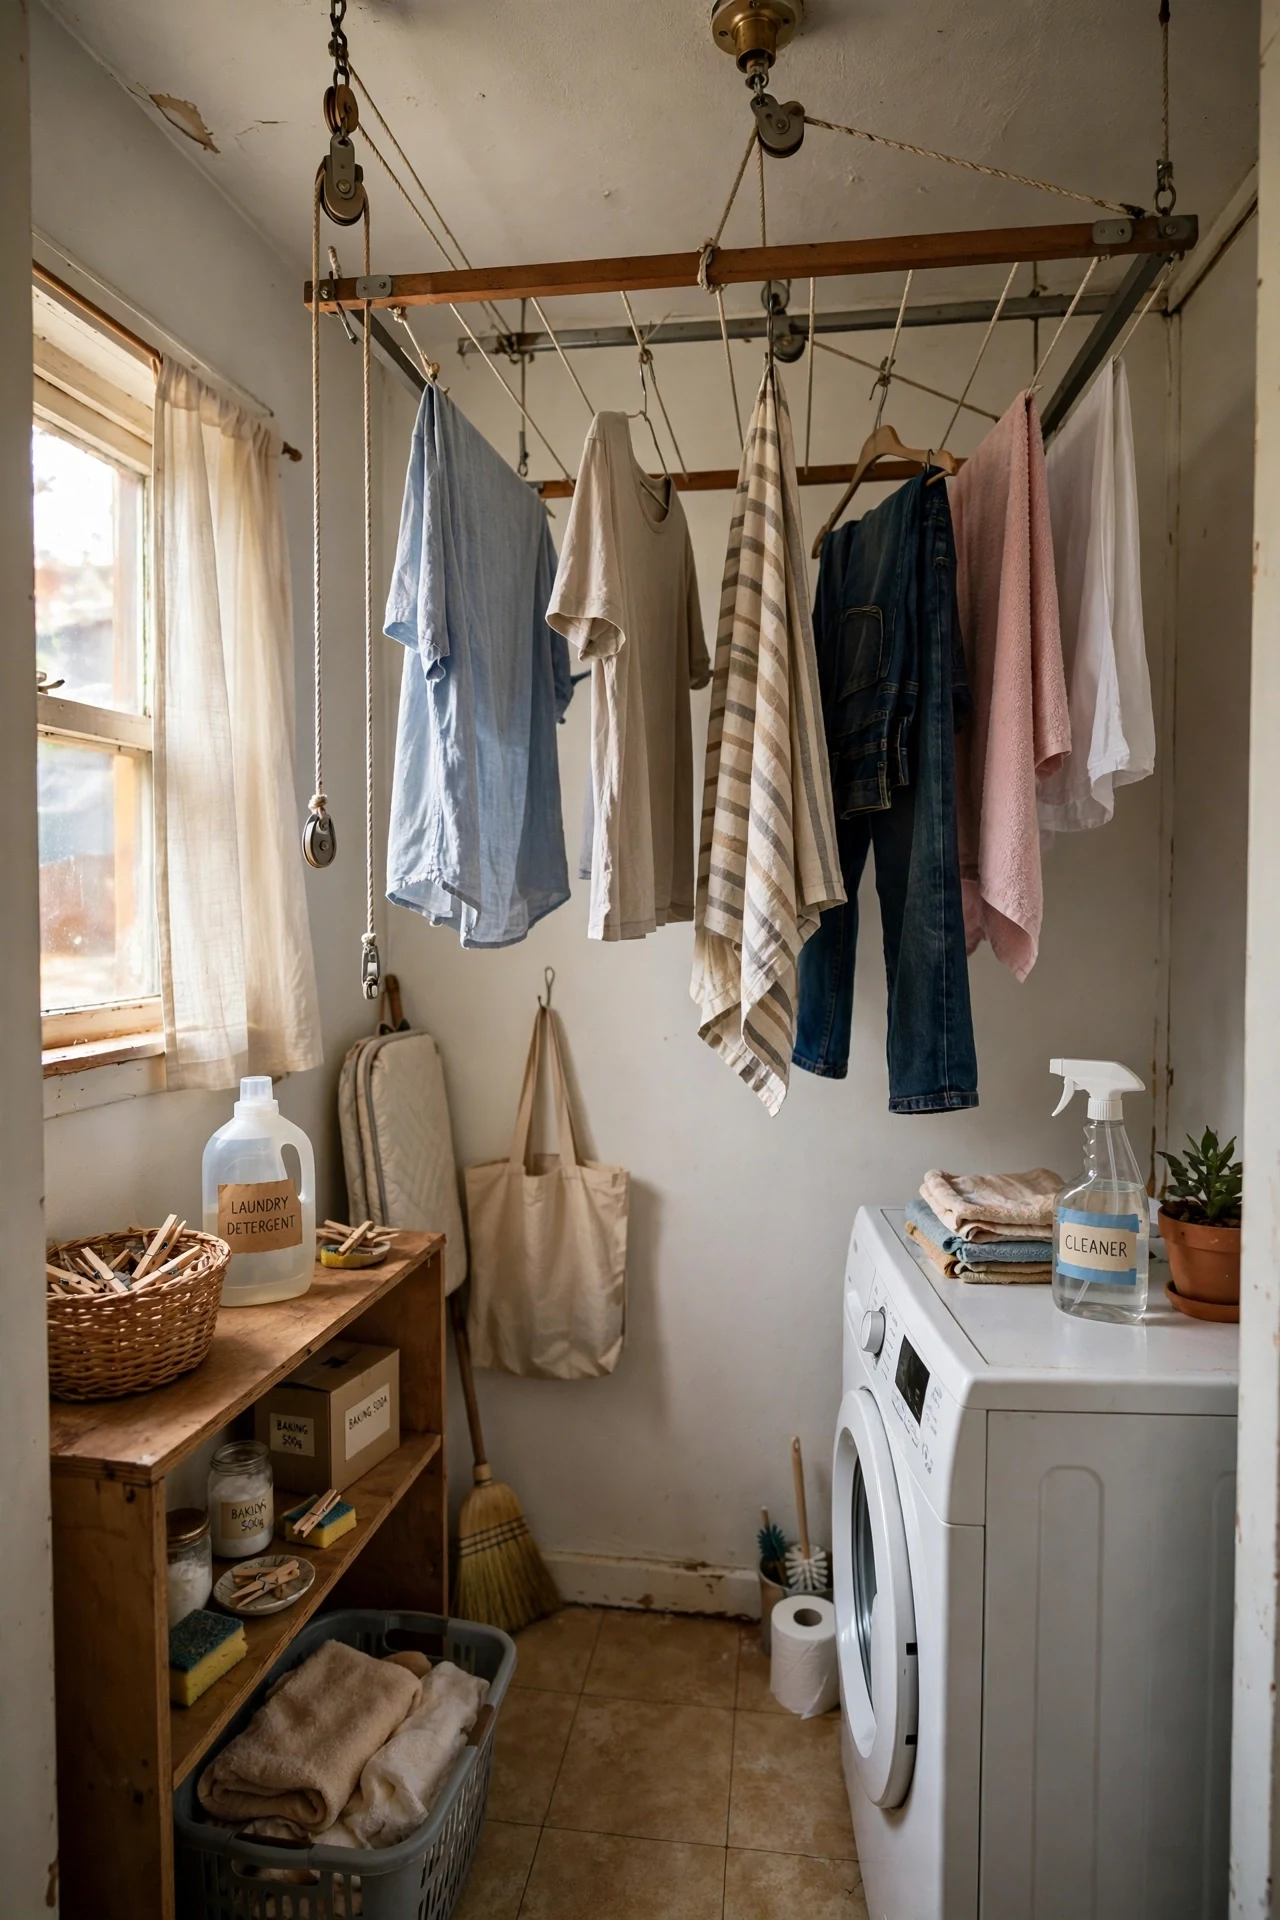
A ceiling-mounted pulley drying rack uses the warm air near the ceiling and frees the entire floor. Pull it down to load, raise it to dry, and lower it to unload. I installed one in a tiny laundry room with no floor space to spare, and it held a full load above head height. This suits high ceilings best, since a low rack becomes a head-bumping hazard. I lower it slowly when loaded, since a sudden drop swings wet clothes into the walls.
Cost: ~$25 | Time: 60 minutes
9. Use the Washer Top as a Folding Station
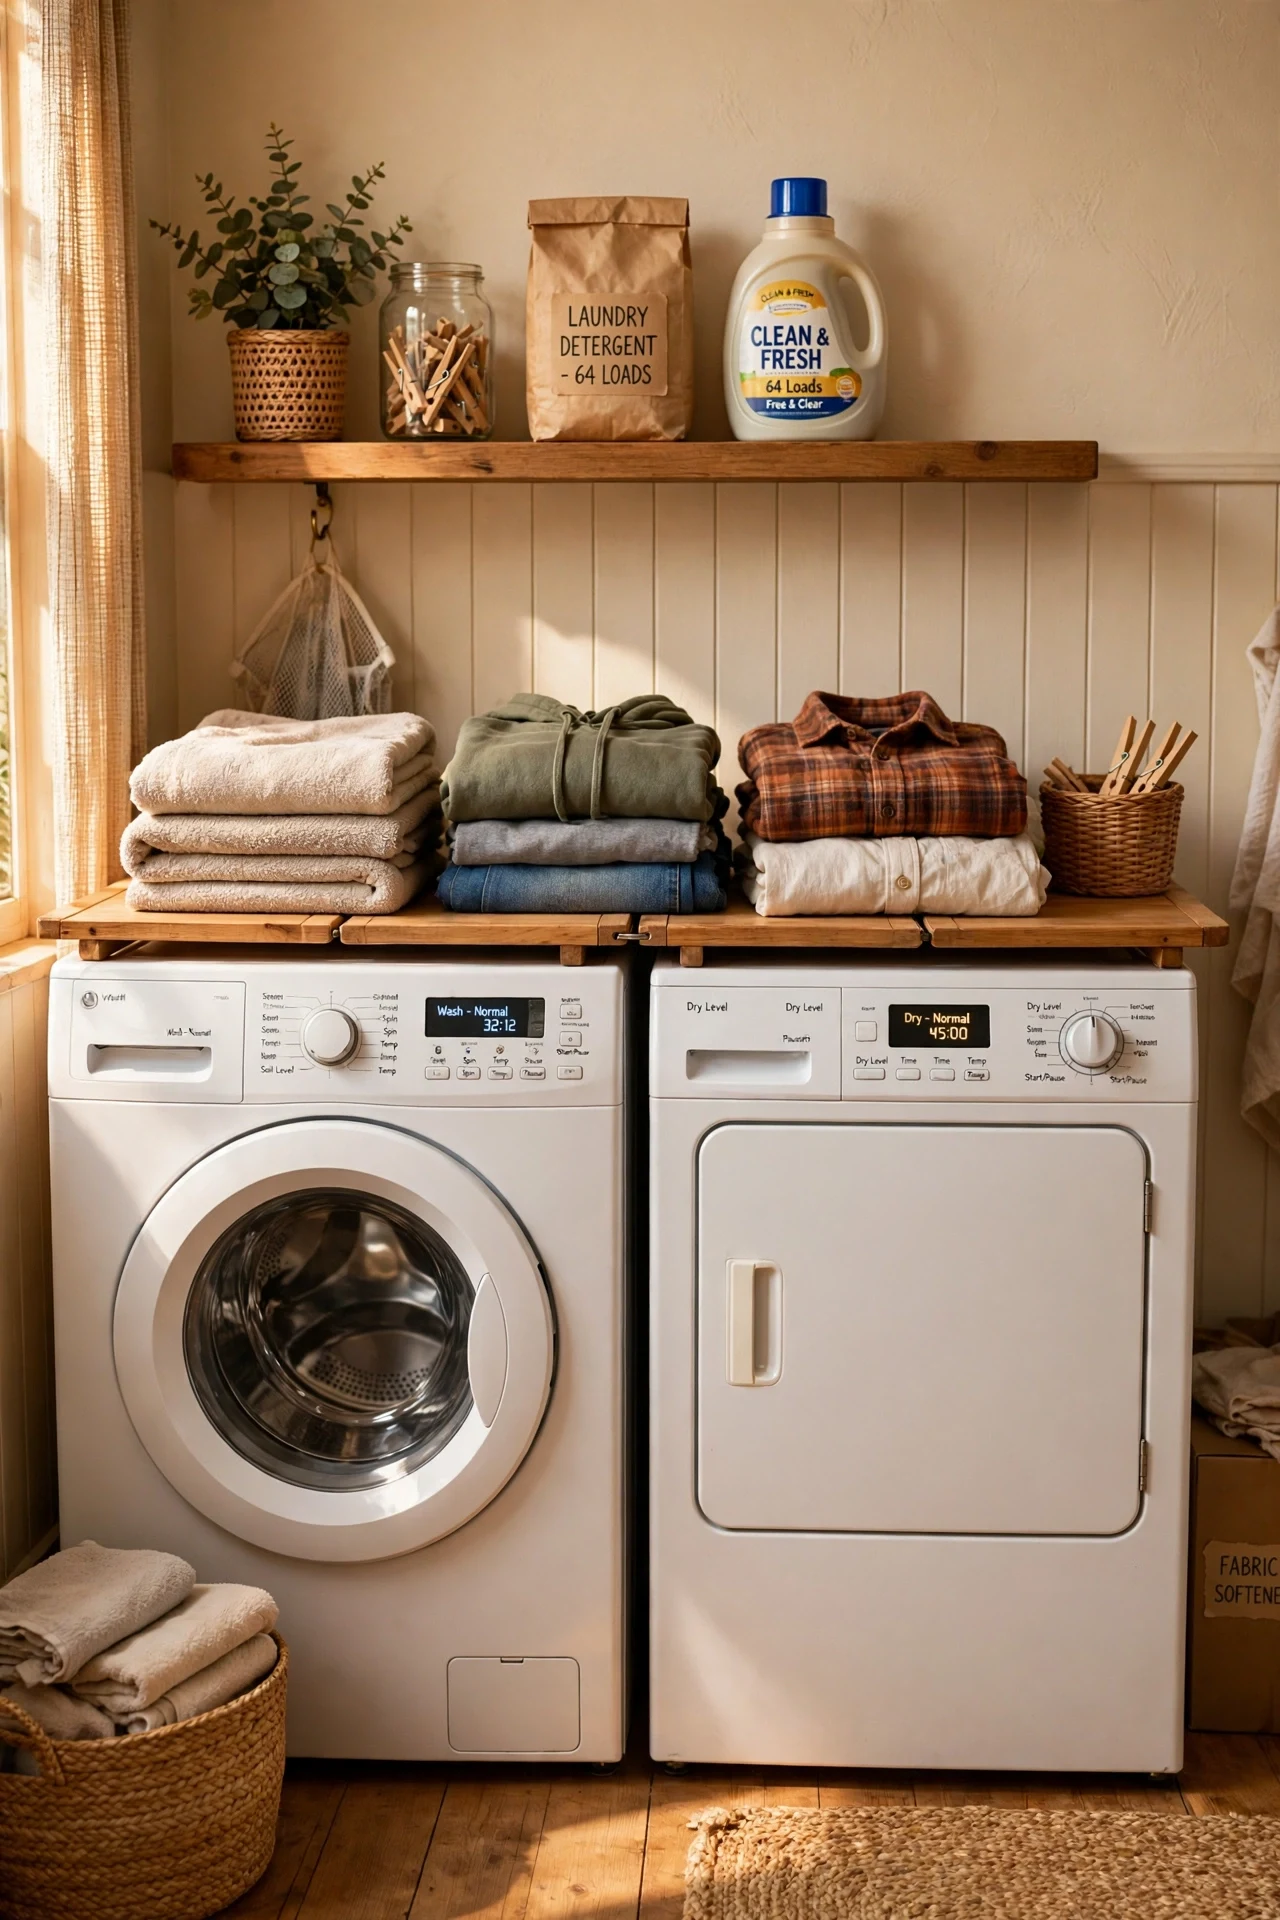
A board or a large tray across the top of the washer and dryer creates a folding station in a room with no counter. Lay a non-slip mat underneath, fold clothes straight out of the dryer, and stack them into baskets. I used a cheap plywood board, and folding stopped happening on the bed. Keep the board clear between loads, since a folding station covered in clutter is not a station at all. I keep a basket at the end of the board, so folded clothes go straight into it.
Cost: ~$10 | Time: 10 minutes
10. Add a Small Shelf Above the Machines
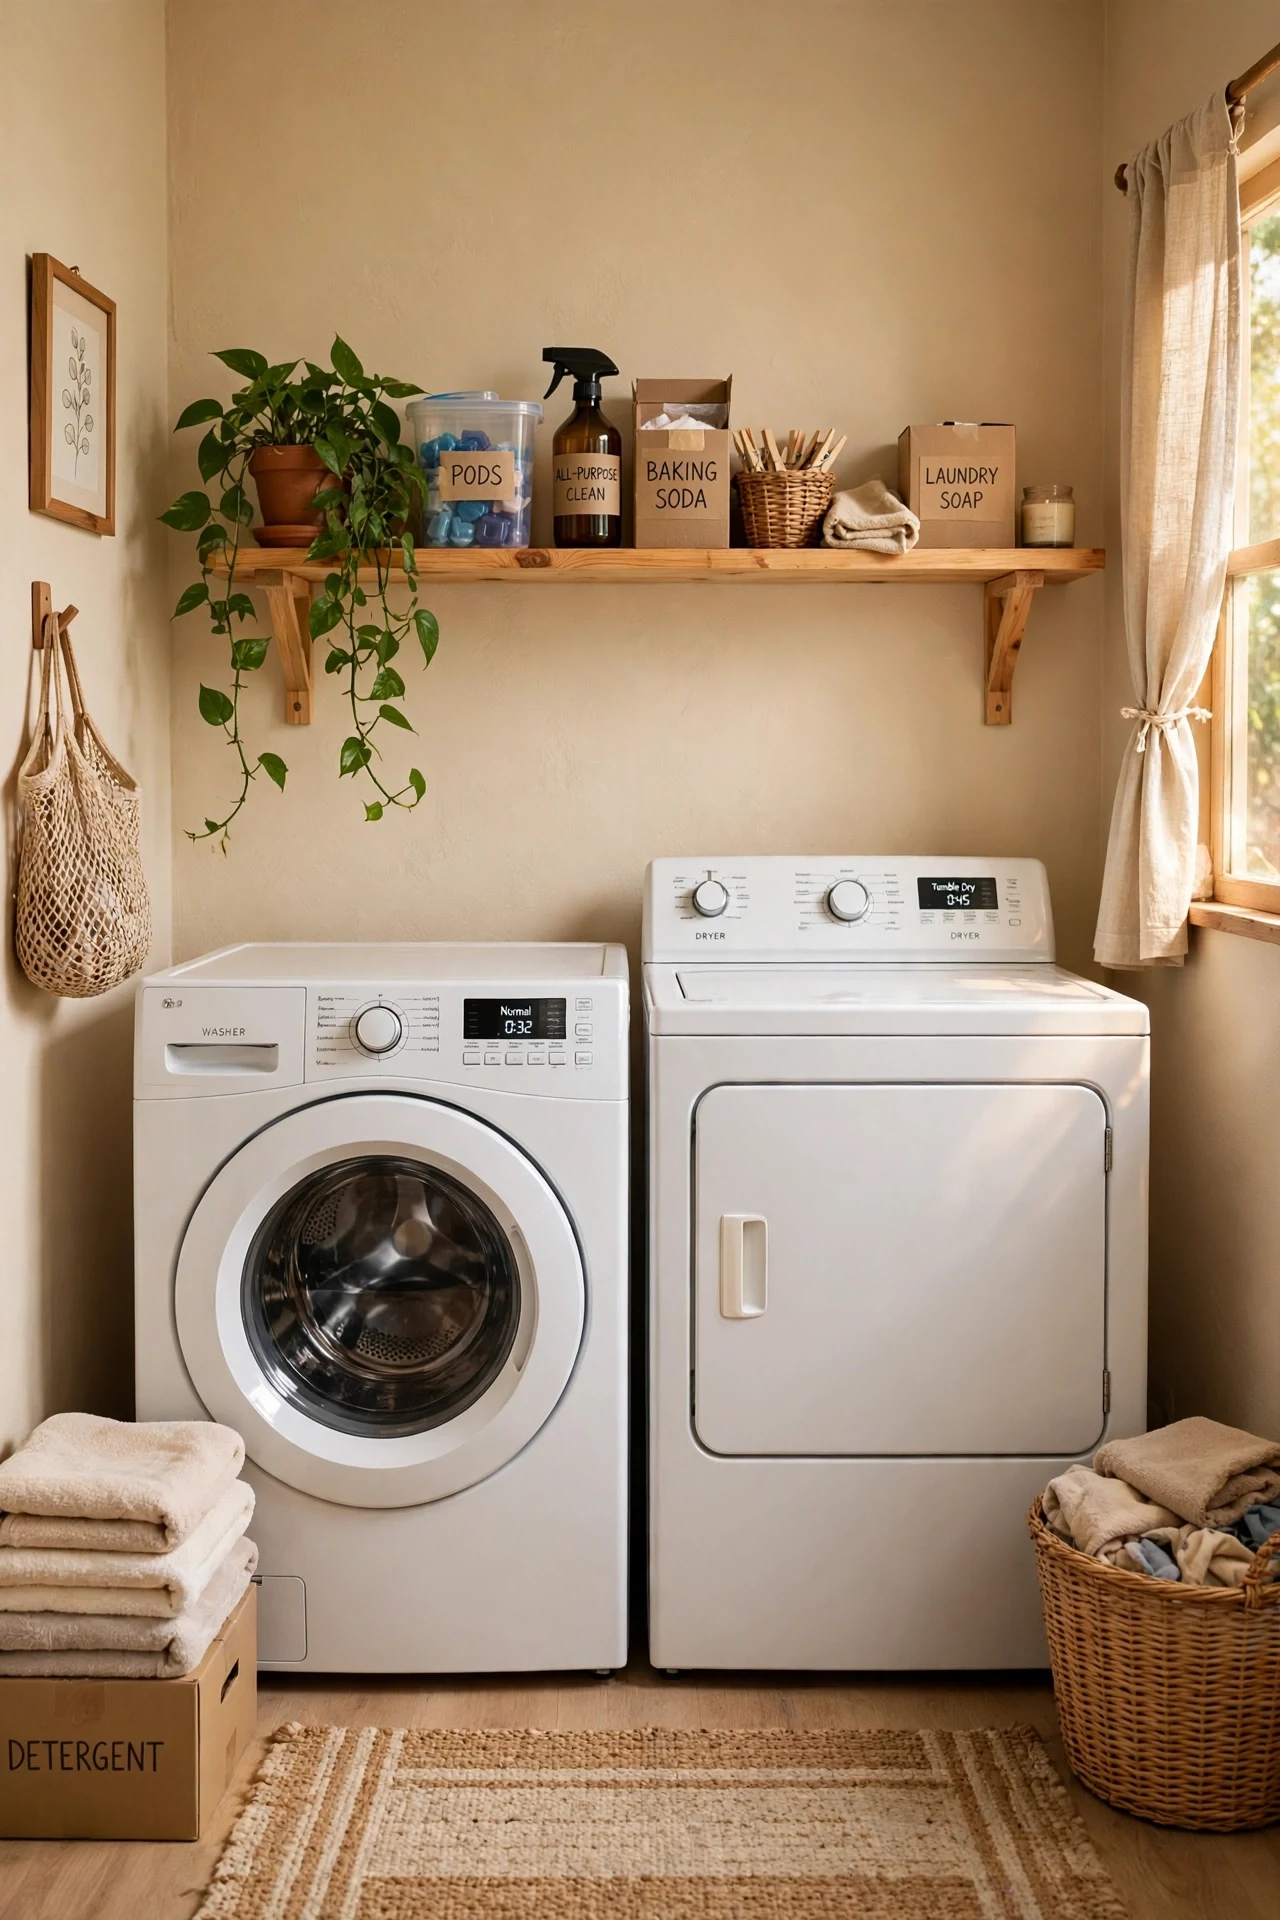
One shelf above the washer and dryer holds detergent, stain remover, and a plant, using wall space that is otherwise dead. Mount it high enough to open the machine lids, and keep daily items at the front. I added a single shelf, and the top of the washer finally stayed clear. Anchor it properly, since a shelf of detergent bottles falling onto a washer is a mess nobody wants. I keep a small plant on the shelf end, so the room feels less like a utility box.
Cost: ~$15 | Time: 40 minutes
11. Keep a Stain Kit in a Jar
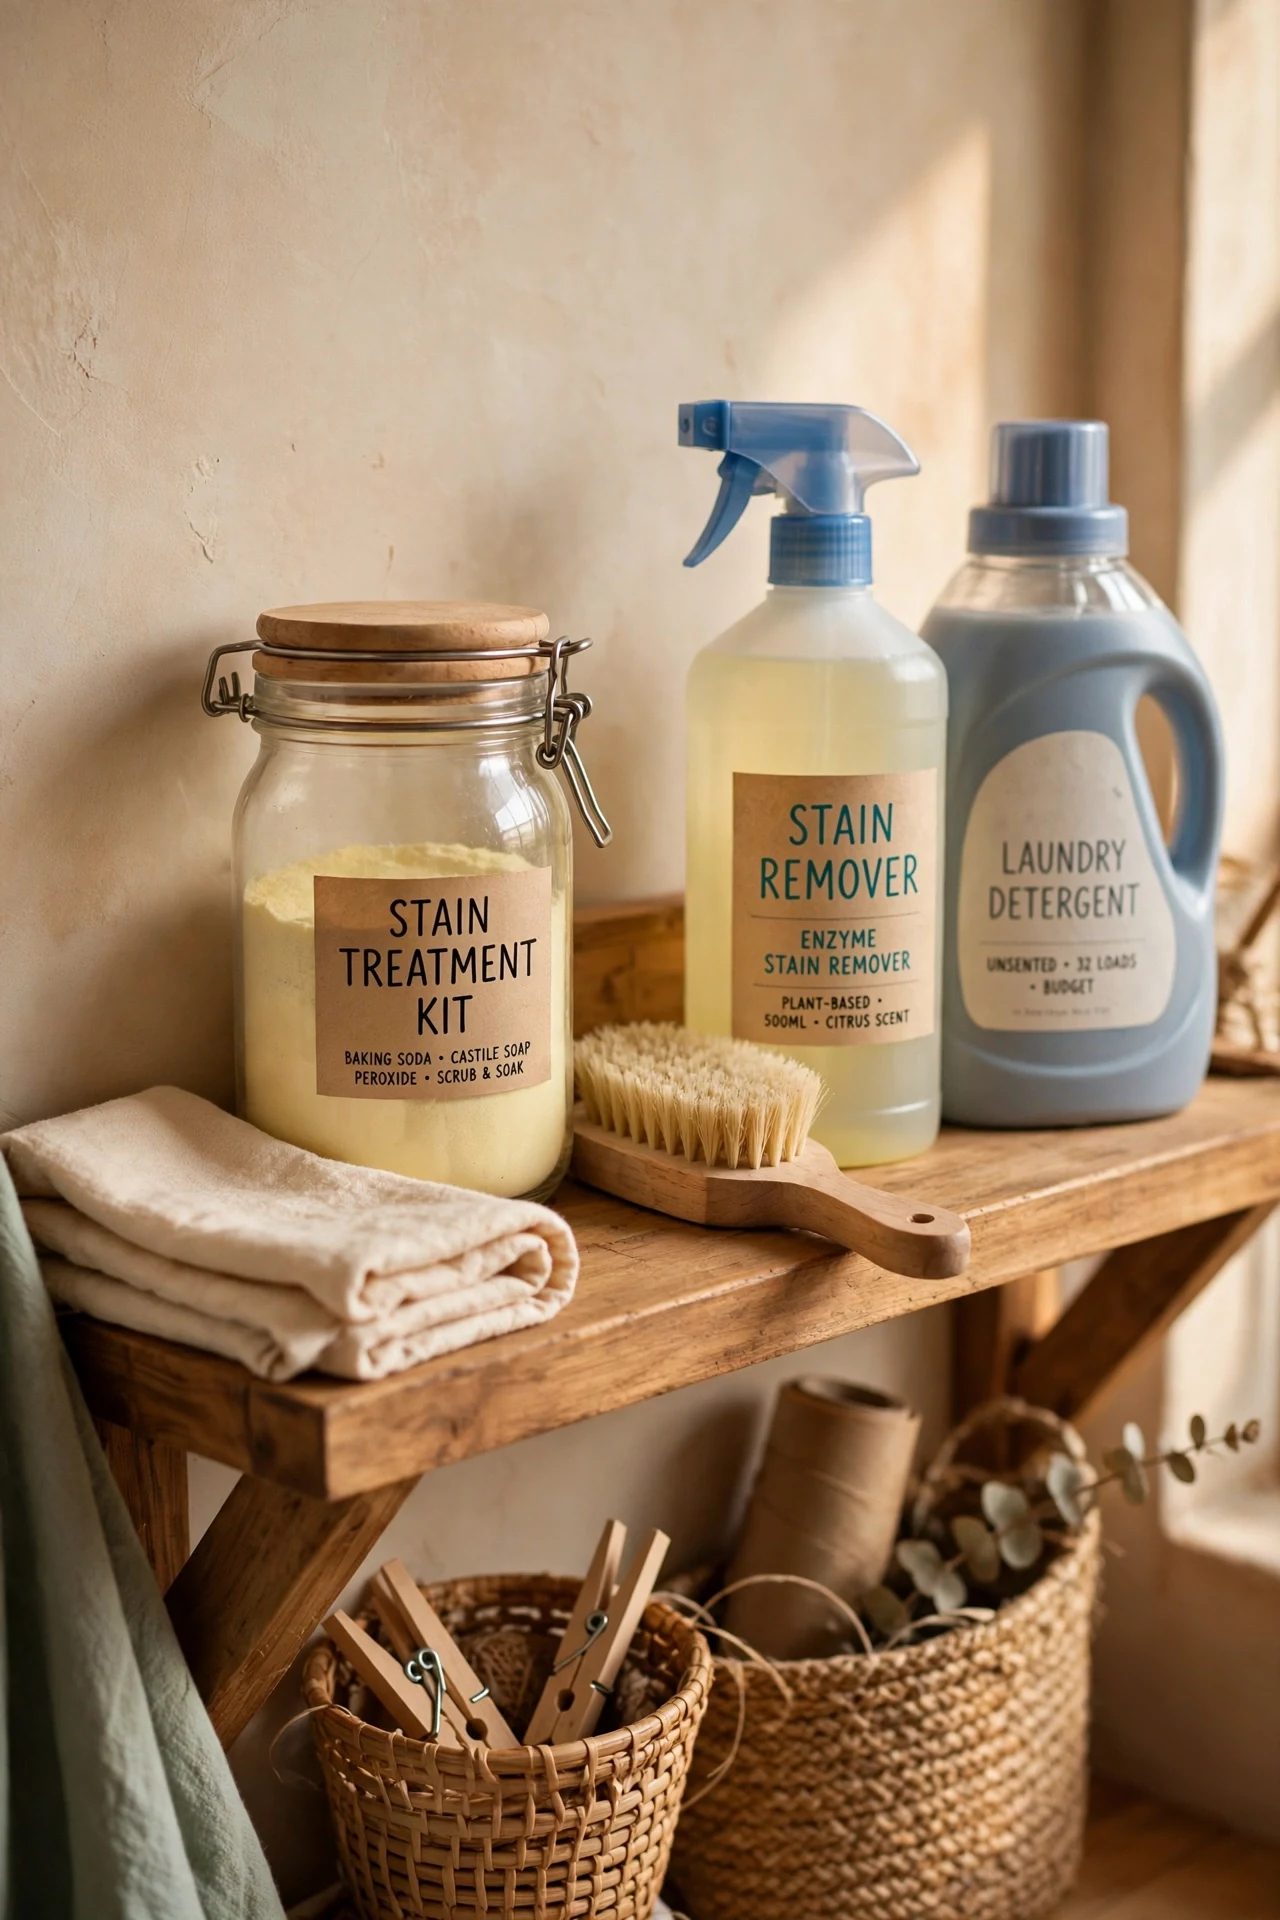
A small jar or caddy with stain remover, a brush, white vinegar, and baking soda means stains get treated immediately instead of after the wash sets them. Keep it by the washer, and treat stains the moment clothes come off. I started a stain kit after ruining a favourite shirt, and it has saved several since. Replace the brush when it wears out, since a worn brush just pushes stains around. I treat stains the same day, since a stain left overnight is twice as hard to remove.
Cost: ~$6 | Time: 15 minutes
12. Use Mesh Bags for Delicates
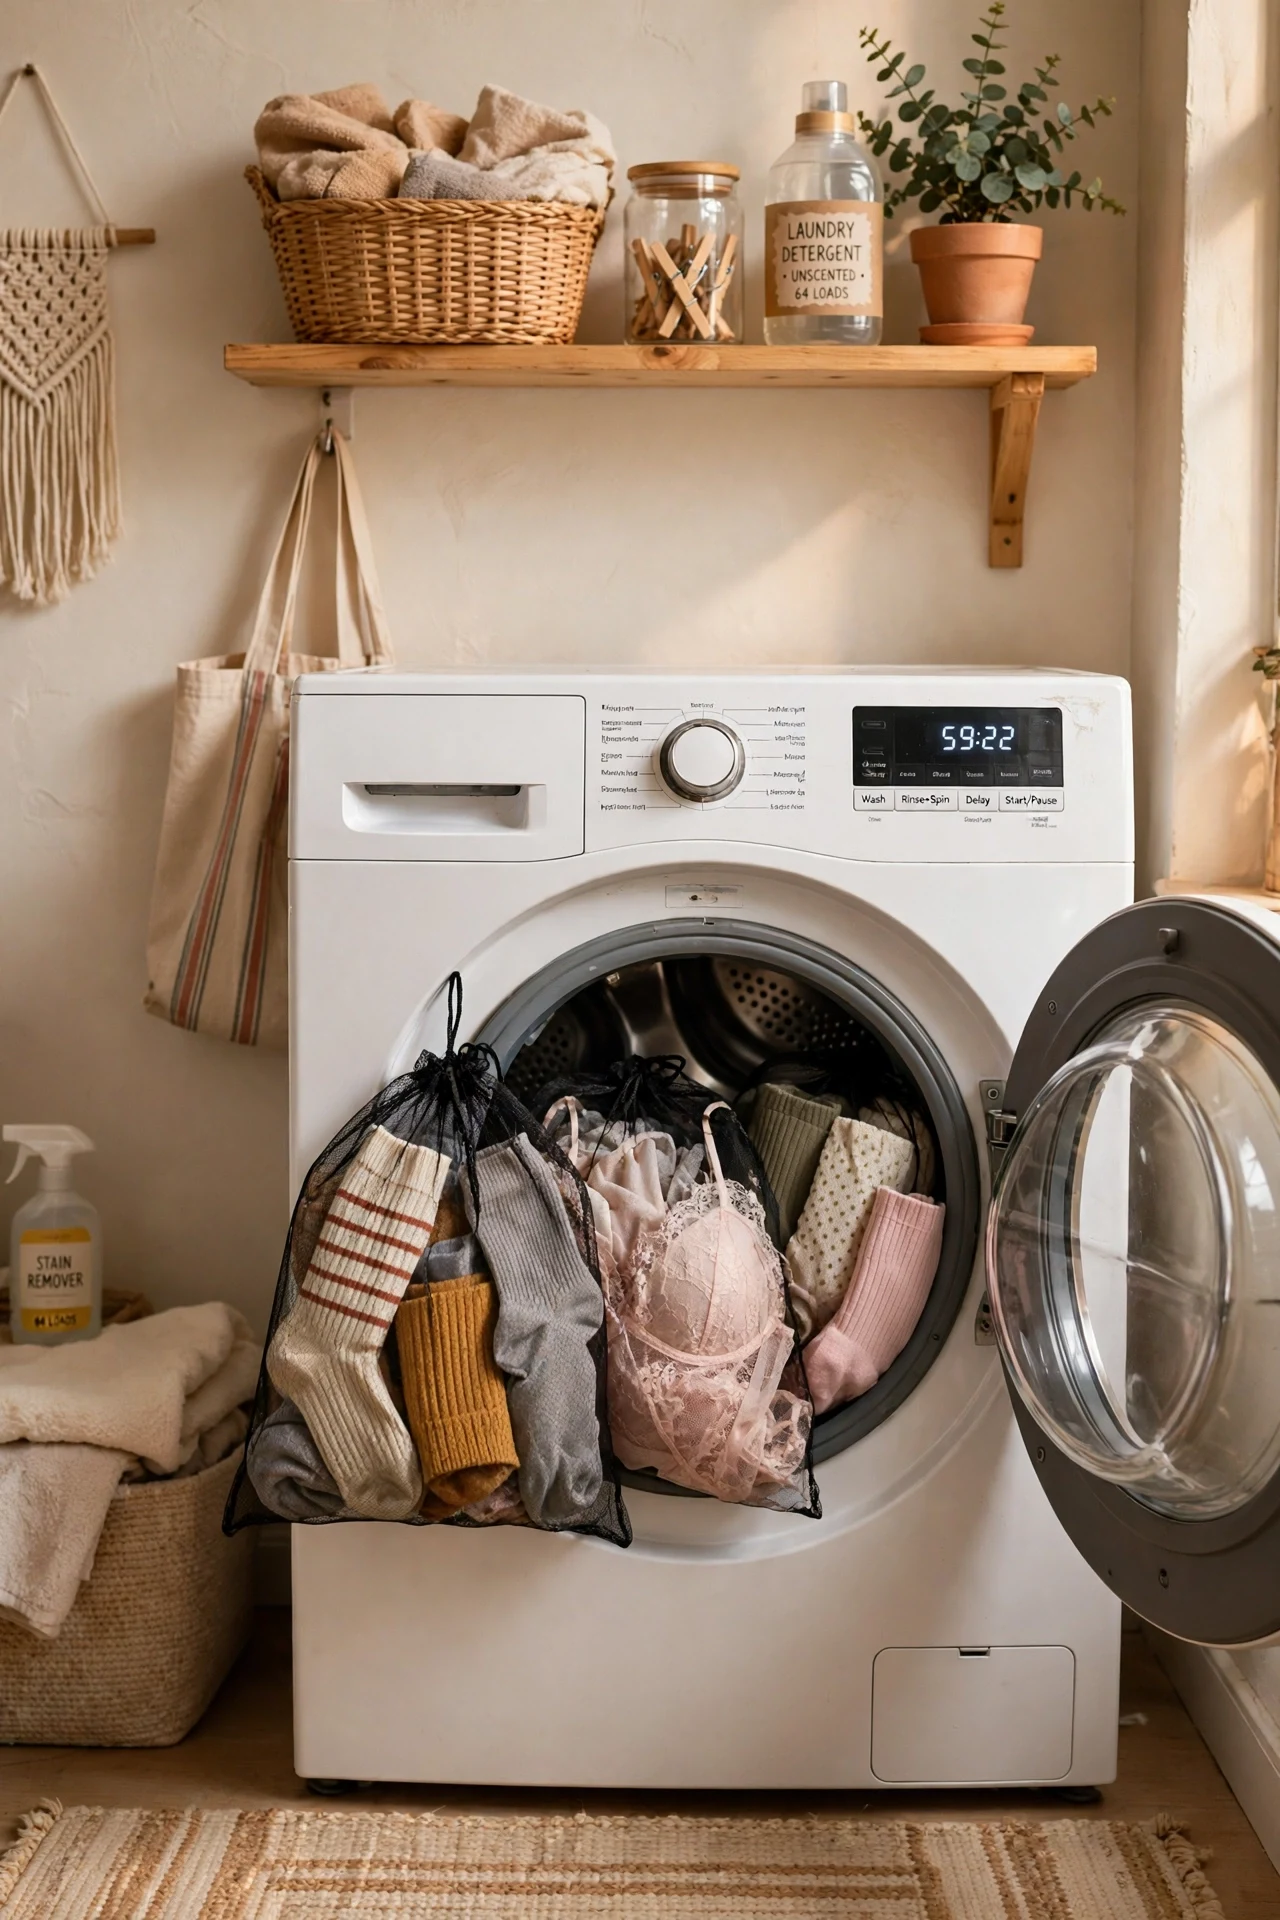
Mesh laundry bags protect delicates, keep socks paired, and stop small items from vanishing into the machine. Toss socks into one bag, delicates into another, and wash the bags with the load. I stopped losing socks entirely after starting this, and my delicates lasted twice as long. Keep two or three bags in rotation, since a full bag needs a spare while it is in the wash. I zip the bags before washing, since an open bag spills socks into the machine.
Cost: ~$6 | Time: 5 minutes
13. Paint One Wall a Cheerful Colour
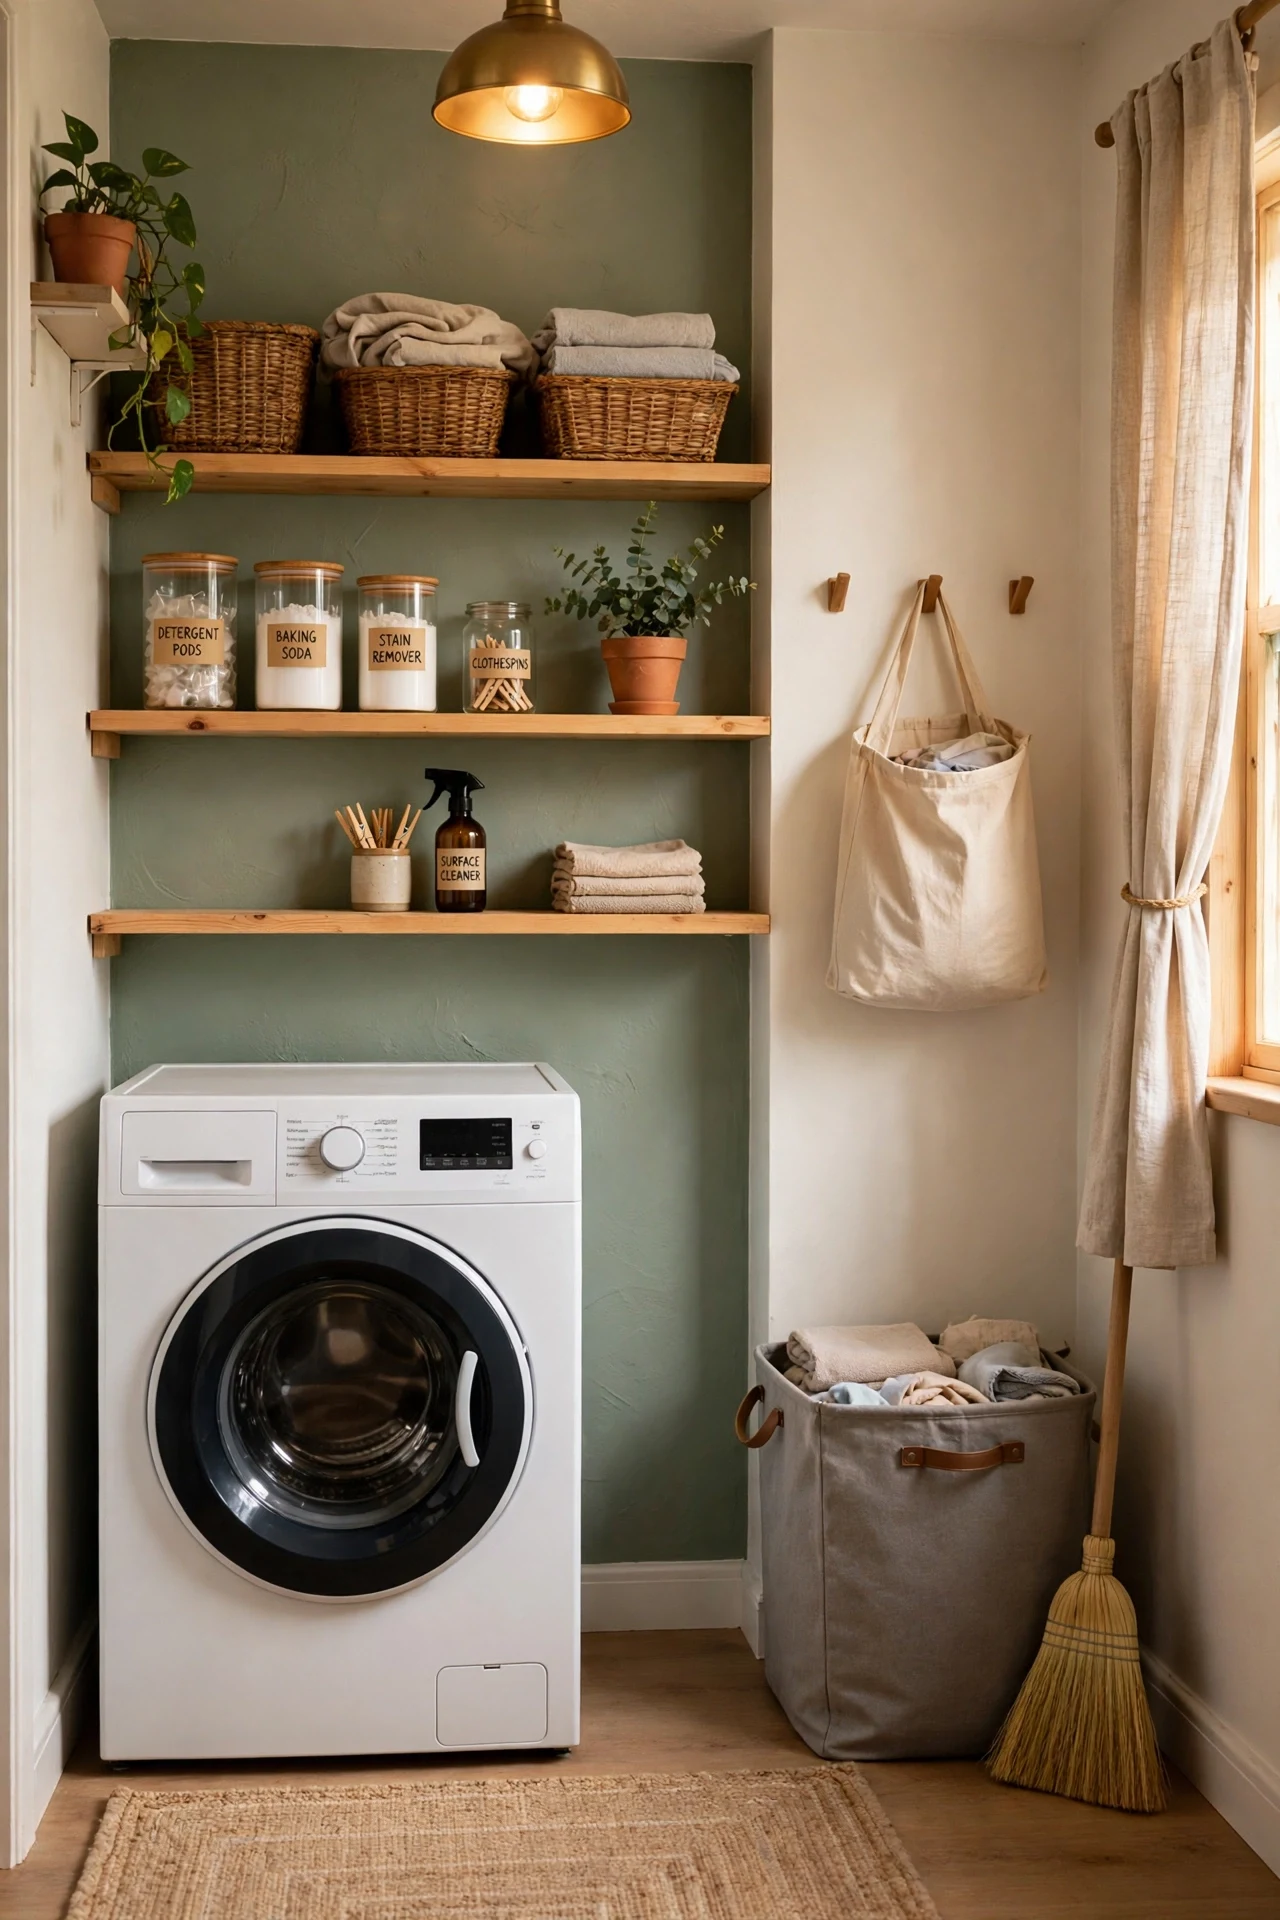
Laundry rooms are usually white boxes, so one wall in a cheerful colour, sage, butter yellow, or soft blue, makes the chore feel less like a chore. Use leftover paint if you have it, and paint just one wall so the room stays bright. I painted my laundry corner a soft sage, and I stopped dreading laundry day quite so much. If you rent, use peel-and-stick wallpaper on one wall instead for the same effect. I painted just the wall you see from the door, since one accent wall is enough.
Cost: ~$12 | Time: 90 minutes
14. Add a Rug That Hides Lint
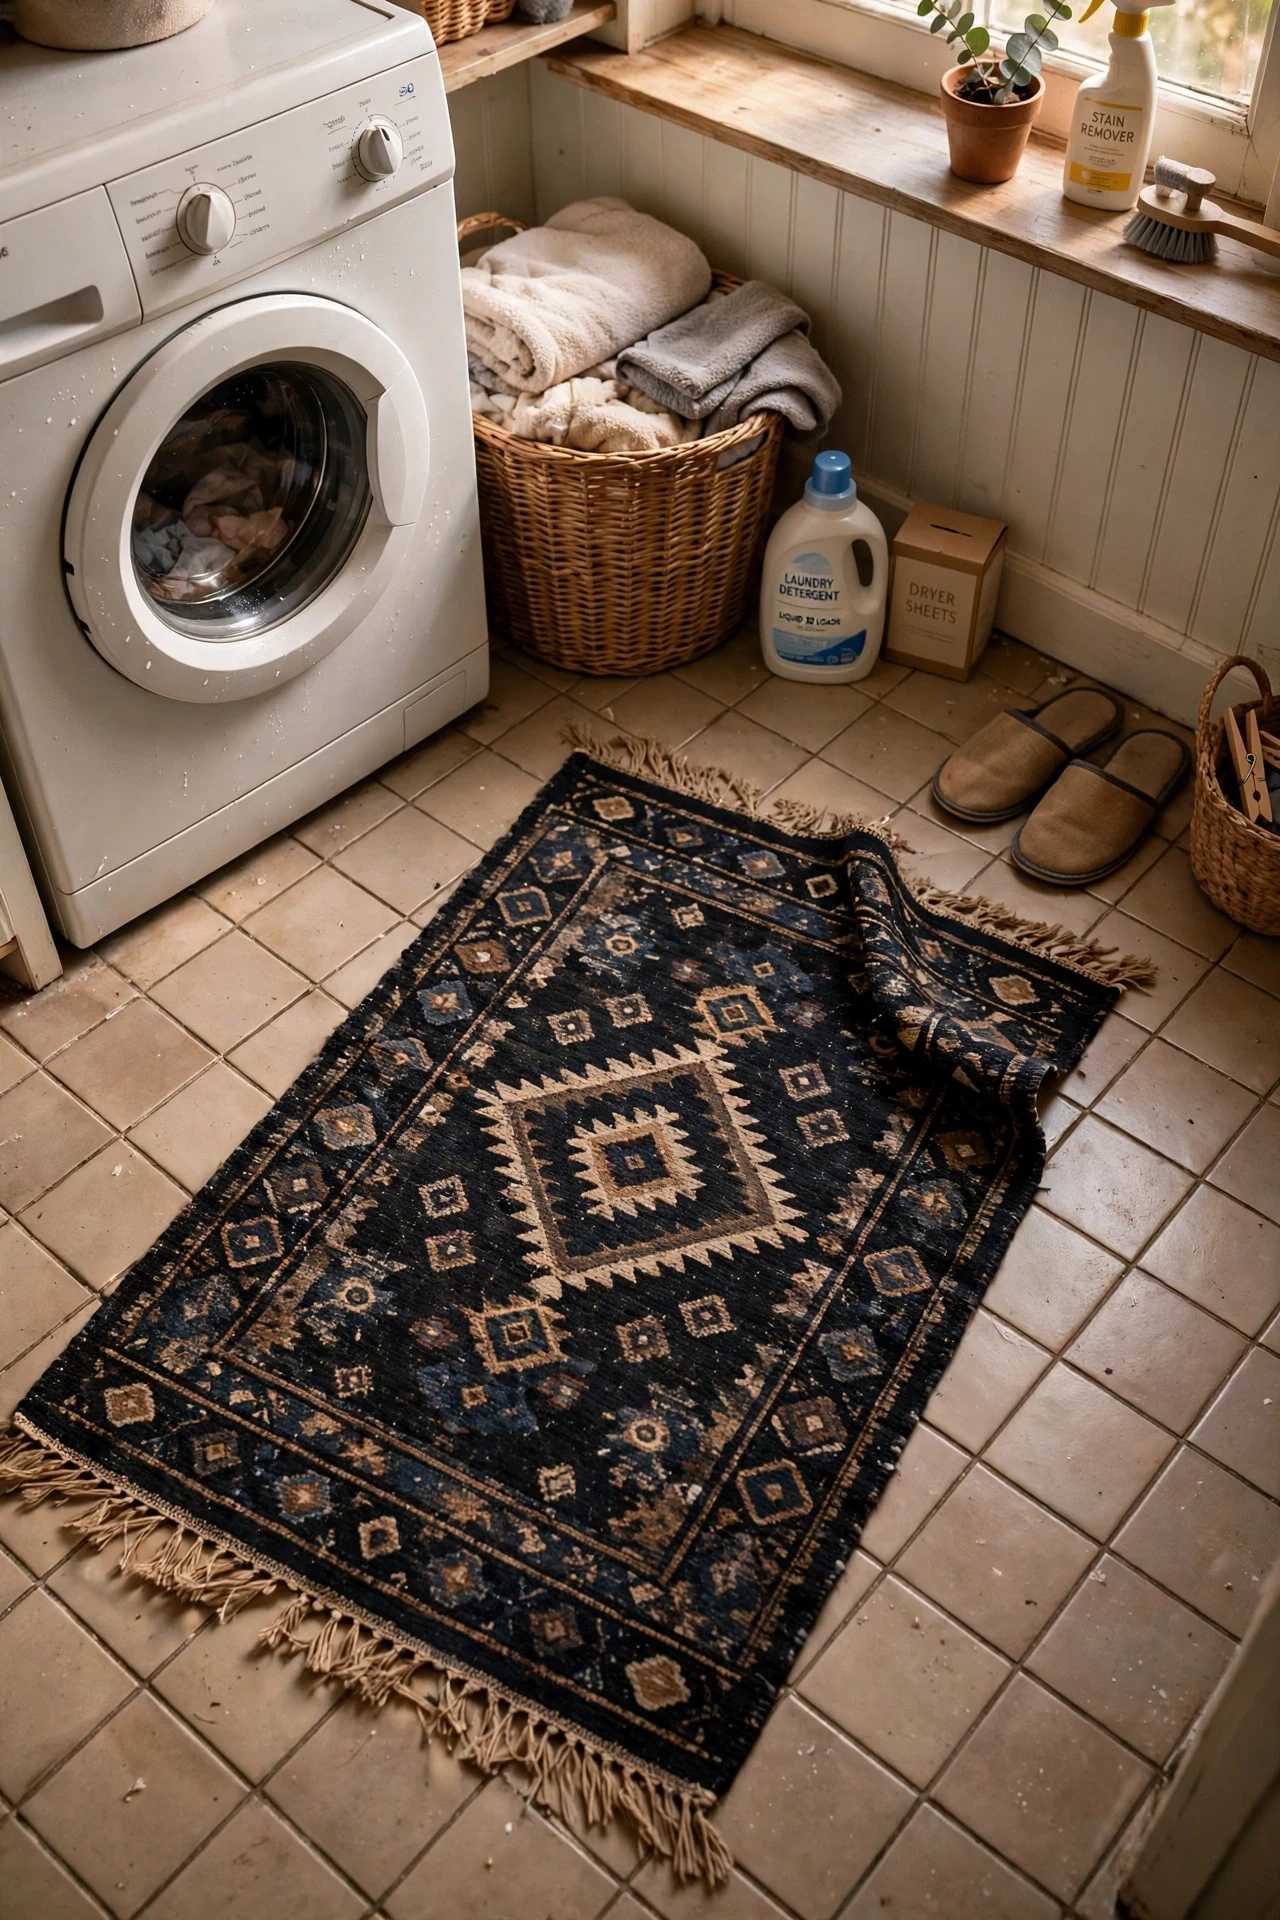
A dark patterned rug in a laundry room hides lint, hides drips, and makes bare feet happier on cold floors. Pick a washable rug, since laundry rooms get wet, and shake it out weekly. I used a small patterned rug, and the floor stopped looking dusty an hour after mopping. Choose a pattern busy enough to hide lint, since a plain rug shows every fibre. I shake the rug outside weekly, since lint builds up underneath faster than on top.
Cost: ~$12 | Time: 5 minutes
15. Set a Weekly Laundry Hour
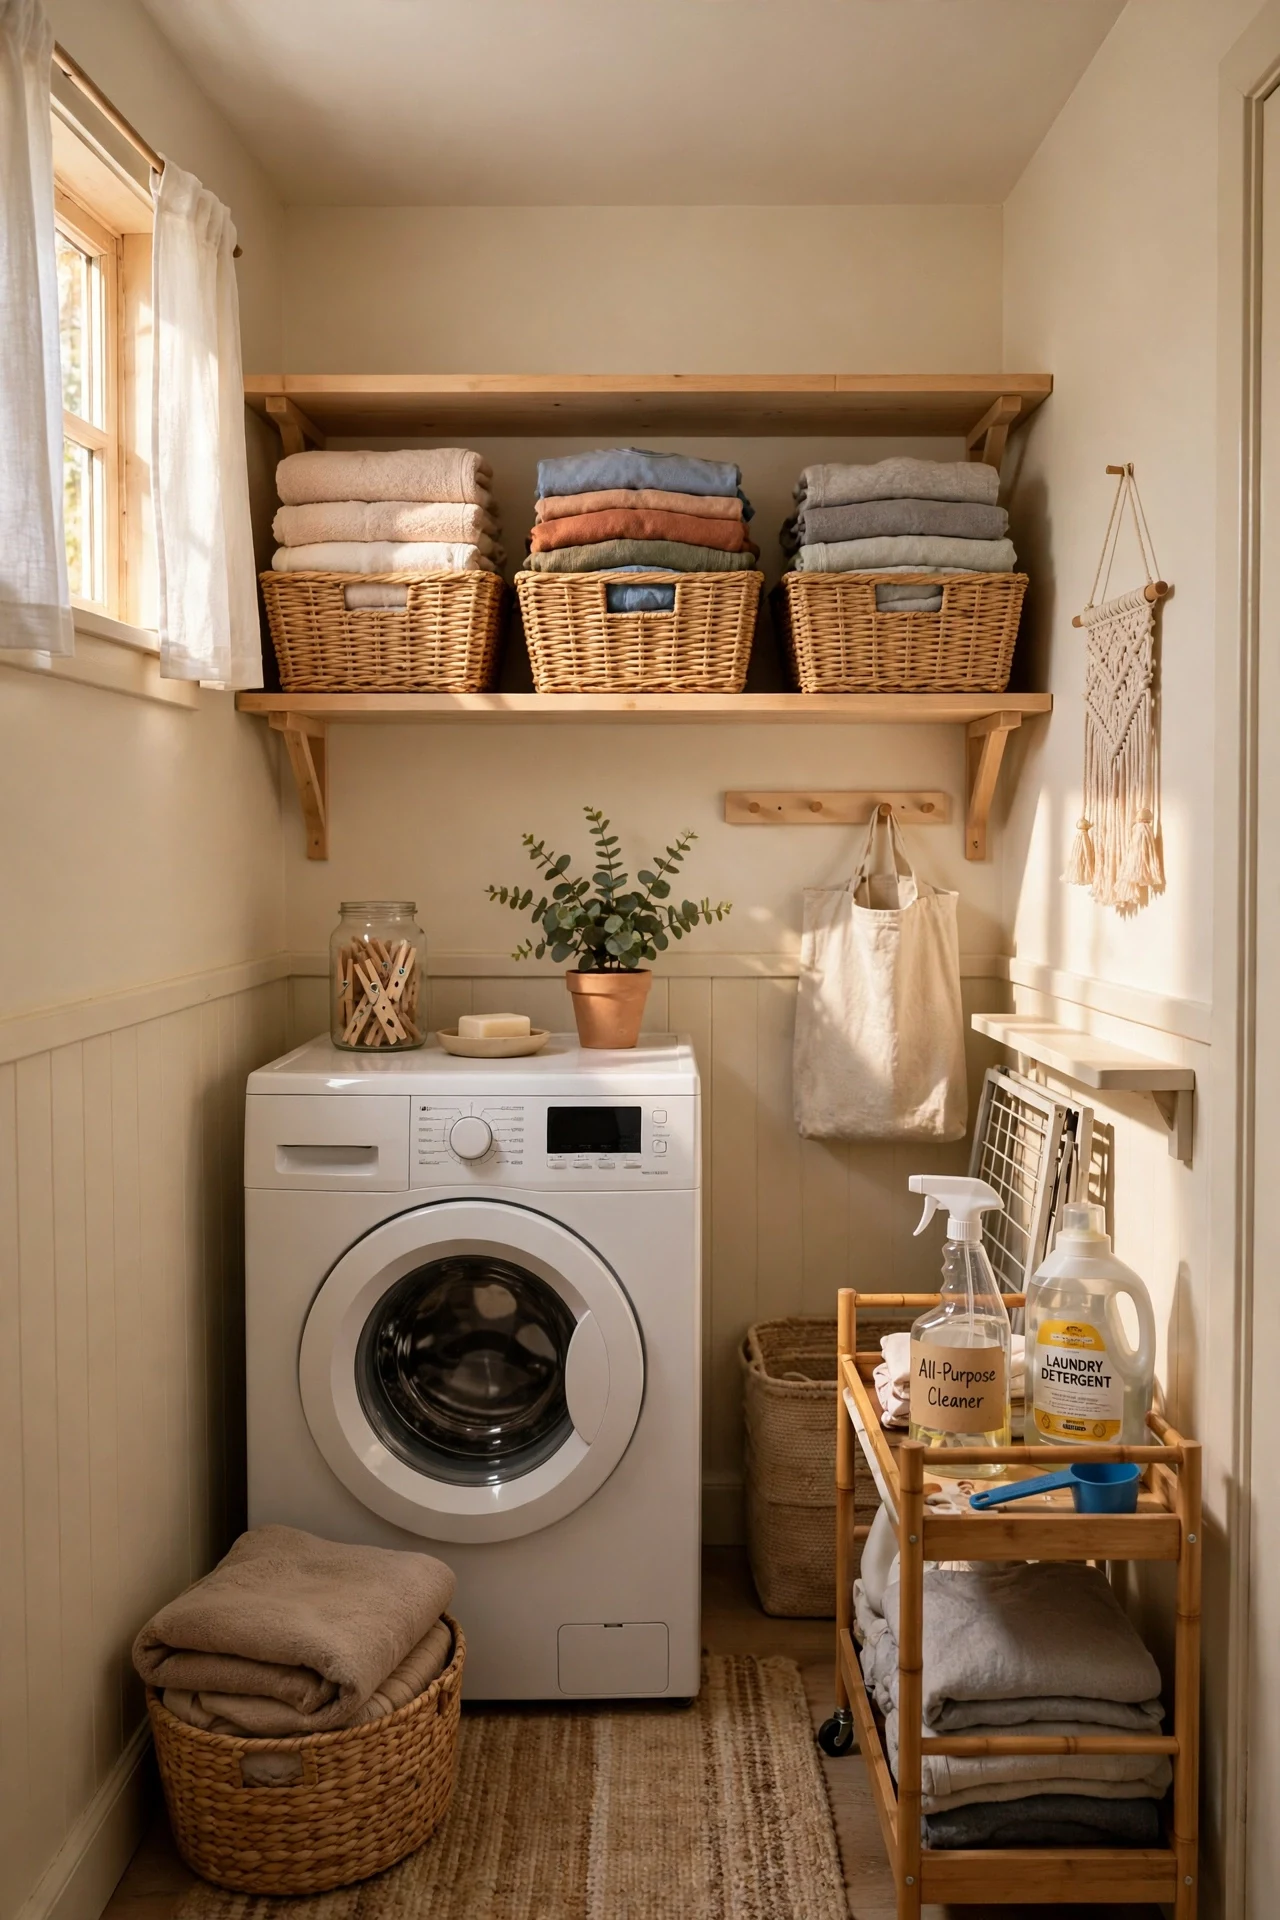
The best small laundry room idea is not a product at all: one fixed laundry hour per week, where you wash, dry, fold, and put away in a single session. Piles stop forming, the room stays clear, and laundry stops leaking into the rest of the week. I moved to a Saturday morning laundry hour, and the laundry corner stayed tidy for the first time ever. Save this idea if your laundry room is really a laundry mountain. Pair it with a podcast, and the hour passes fast.
Cost: ~$0 | Time: 60 minutes
Frequently Asked Questions
What is the cheapest way to improve a tiny laundry room?
A tension rod and matching jars. The rod adds drying space for four dollars, and the jars make the shelf look intentional for eight. Together they change how the room feels for under fifteen dollars.
How do I dry clothes without a dryer in a small space?
Use a folding rack plus a tension rod for hangers, and run a small fan for airflow. Clothes dry faster with moving air than with heat, so a fan near the rack beats a stuffy room every time.
Should I paint a rental laundry room?
Only with permission, or use peel-and-stick wallpaper on one wall instead. It gives the same cheerful effect and peels off cleanly at move-out.
A small laundry room does not need a renovation, it needs a system. Add drying space, hide the clutter, label the bins, and give the room one cheerful touch. Then set your laundry hour, and enjoy a room that finally works as hard as you do.
