17 Curtain Ideas for the Living Room That Cost Almost Nothing
Some of the best curtain ideas living room DIYers share cost less than a takeaway pizza, and I wish someone had told me that before I spent $200 on ready-made panels. When I moved into my first flat, I ordered mid-range curtains online that arrived too short, too stiff, and somehow the wrong shade of beige. A year later I replaced them with $14 painter’s drop cloths, and visitors assumed I’d hired someone. Curtains change a whole room because they add height, softness, and colour in one move. Every idea below is one I’ve either tried myself or watched a friend pull off for almost nothing.
What I love about budget curtains is how forgiving they are. A wrinkle here or an uneven hem there just reads as relaxed and lived-in, which is exactly the look most of us want anyway. You don’t need a sewing machine for most of these, an iron, some clip rings, and a free afternoon will get you through nearly the whole list. Grab a tape measure first, because every one of these starts with knowing your window size.
Drop Cloth Curtains That Look Like Relaxed Linen
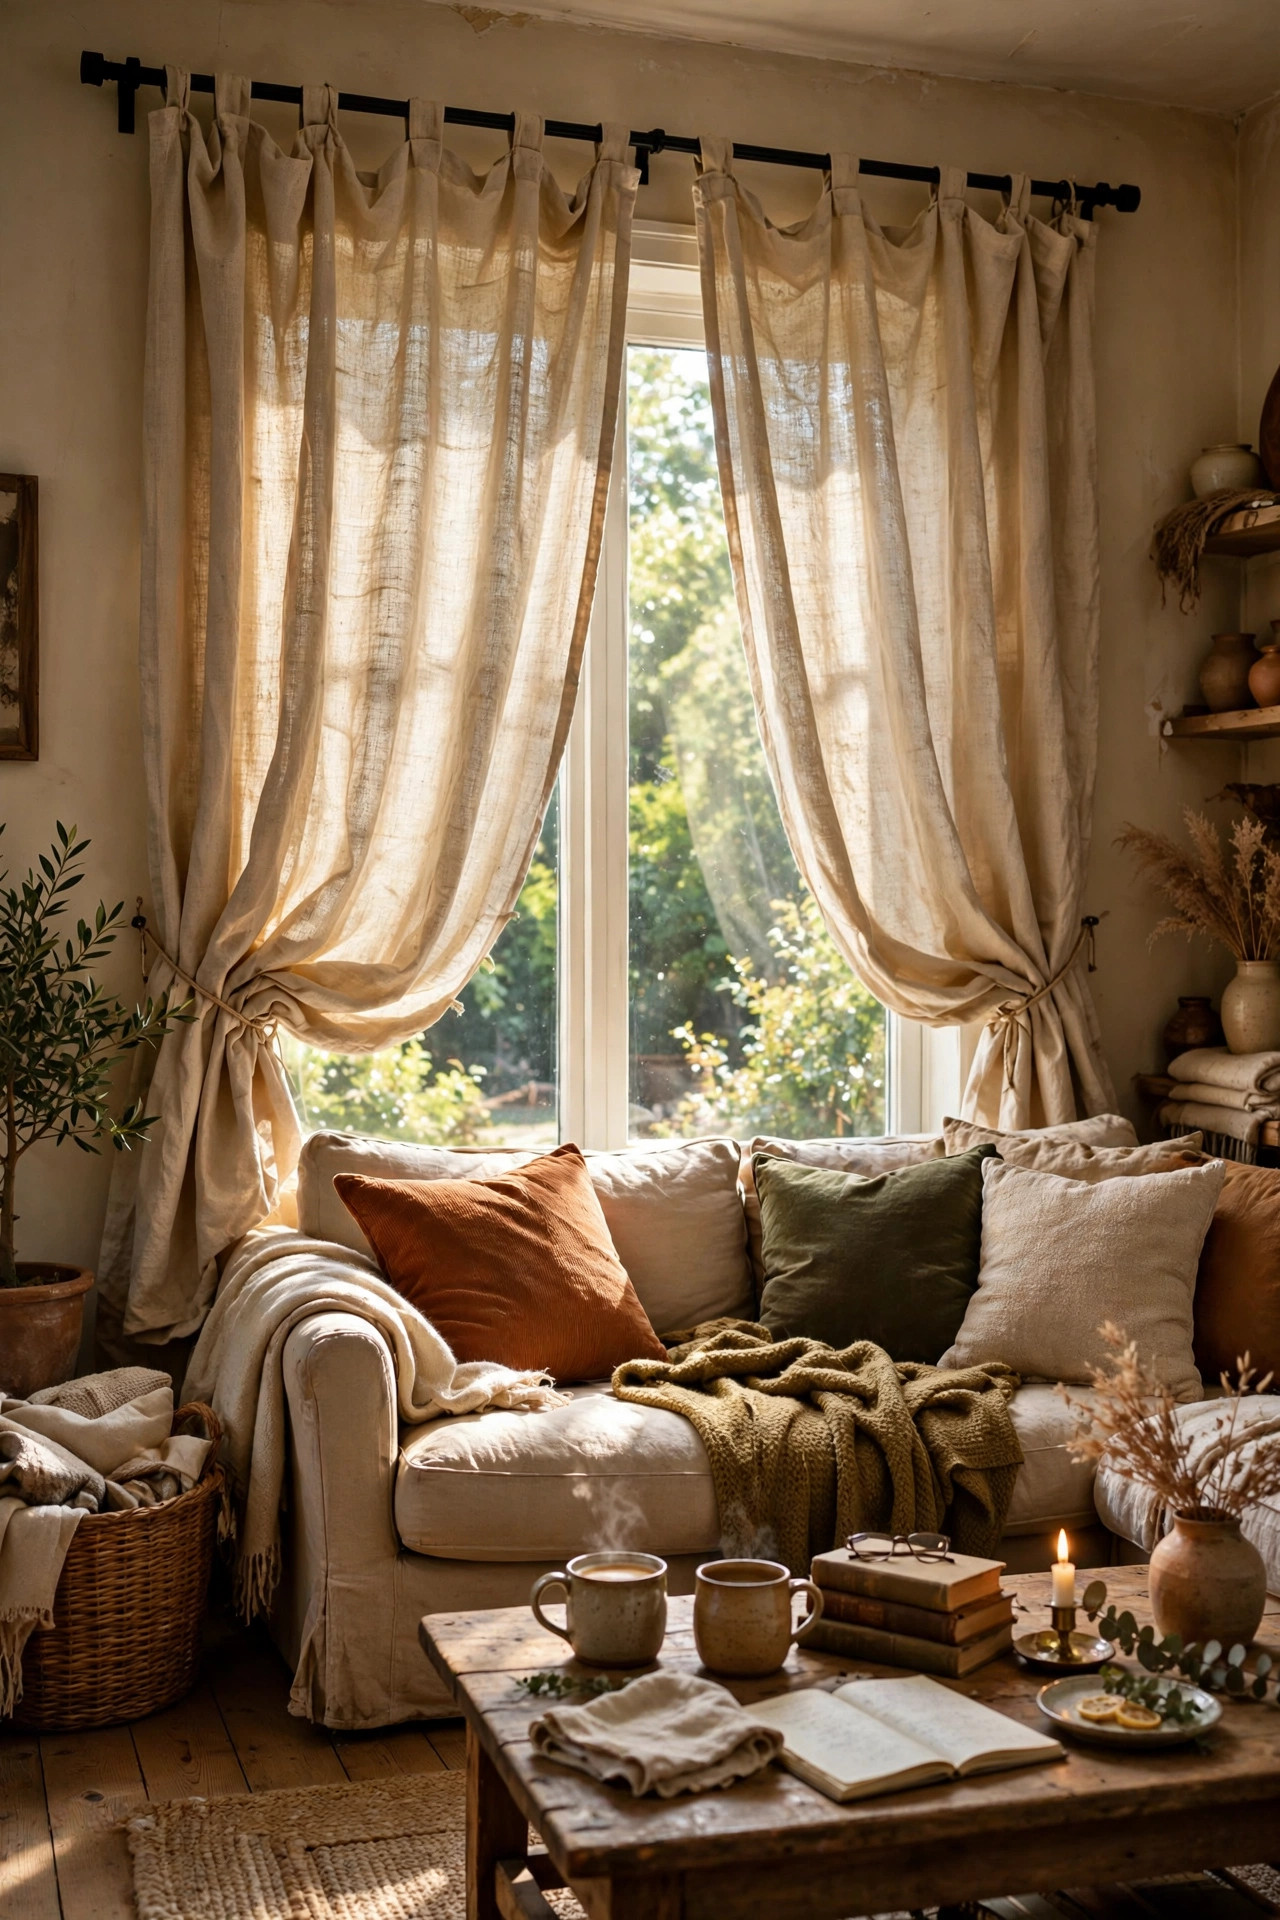
Cost callout: about $12 for the pair, rings included.
Painter’s drop cloths are the worst-kept secret in budget decorating, and they make genuinely beautiful curtains. A 6-by-9-foot canvas cloth costs less than one ready-made panel, and once washed it drapes like relaxed linen. My process: buy the 100% cotton kind, never the plastic-backed ones, run it through a hot wash and dryer twice to soften the weave and pre-shrink it, then hang it with clip rings or fold a simple rod pocket. I tried this in my old rental and my mistake was grabbing the giant 9×12 size first, it was so heavy the rod bowed in the middle. The 6×9 is plenty for a standard window, and the slubby texture hides every wrinkle.
Cost: ~$12 | Time: 1 hour plus wash cycles
Thrifted Flat Sheets Hung as Floor-Length Drapes
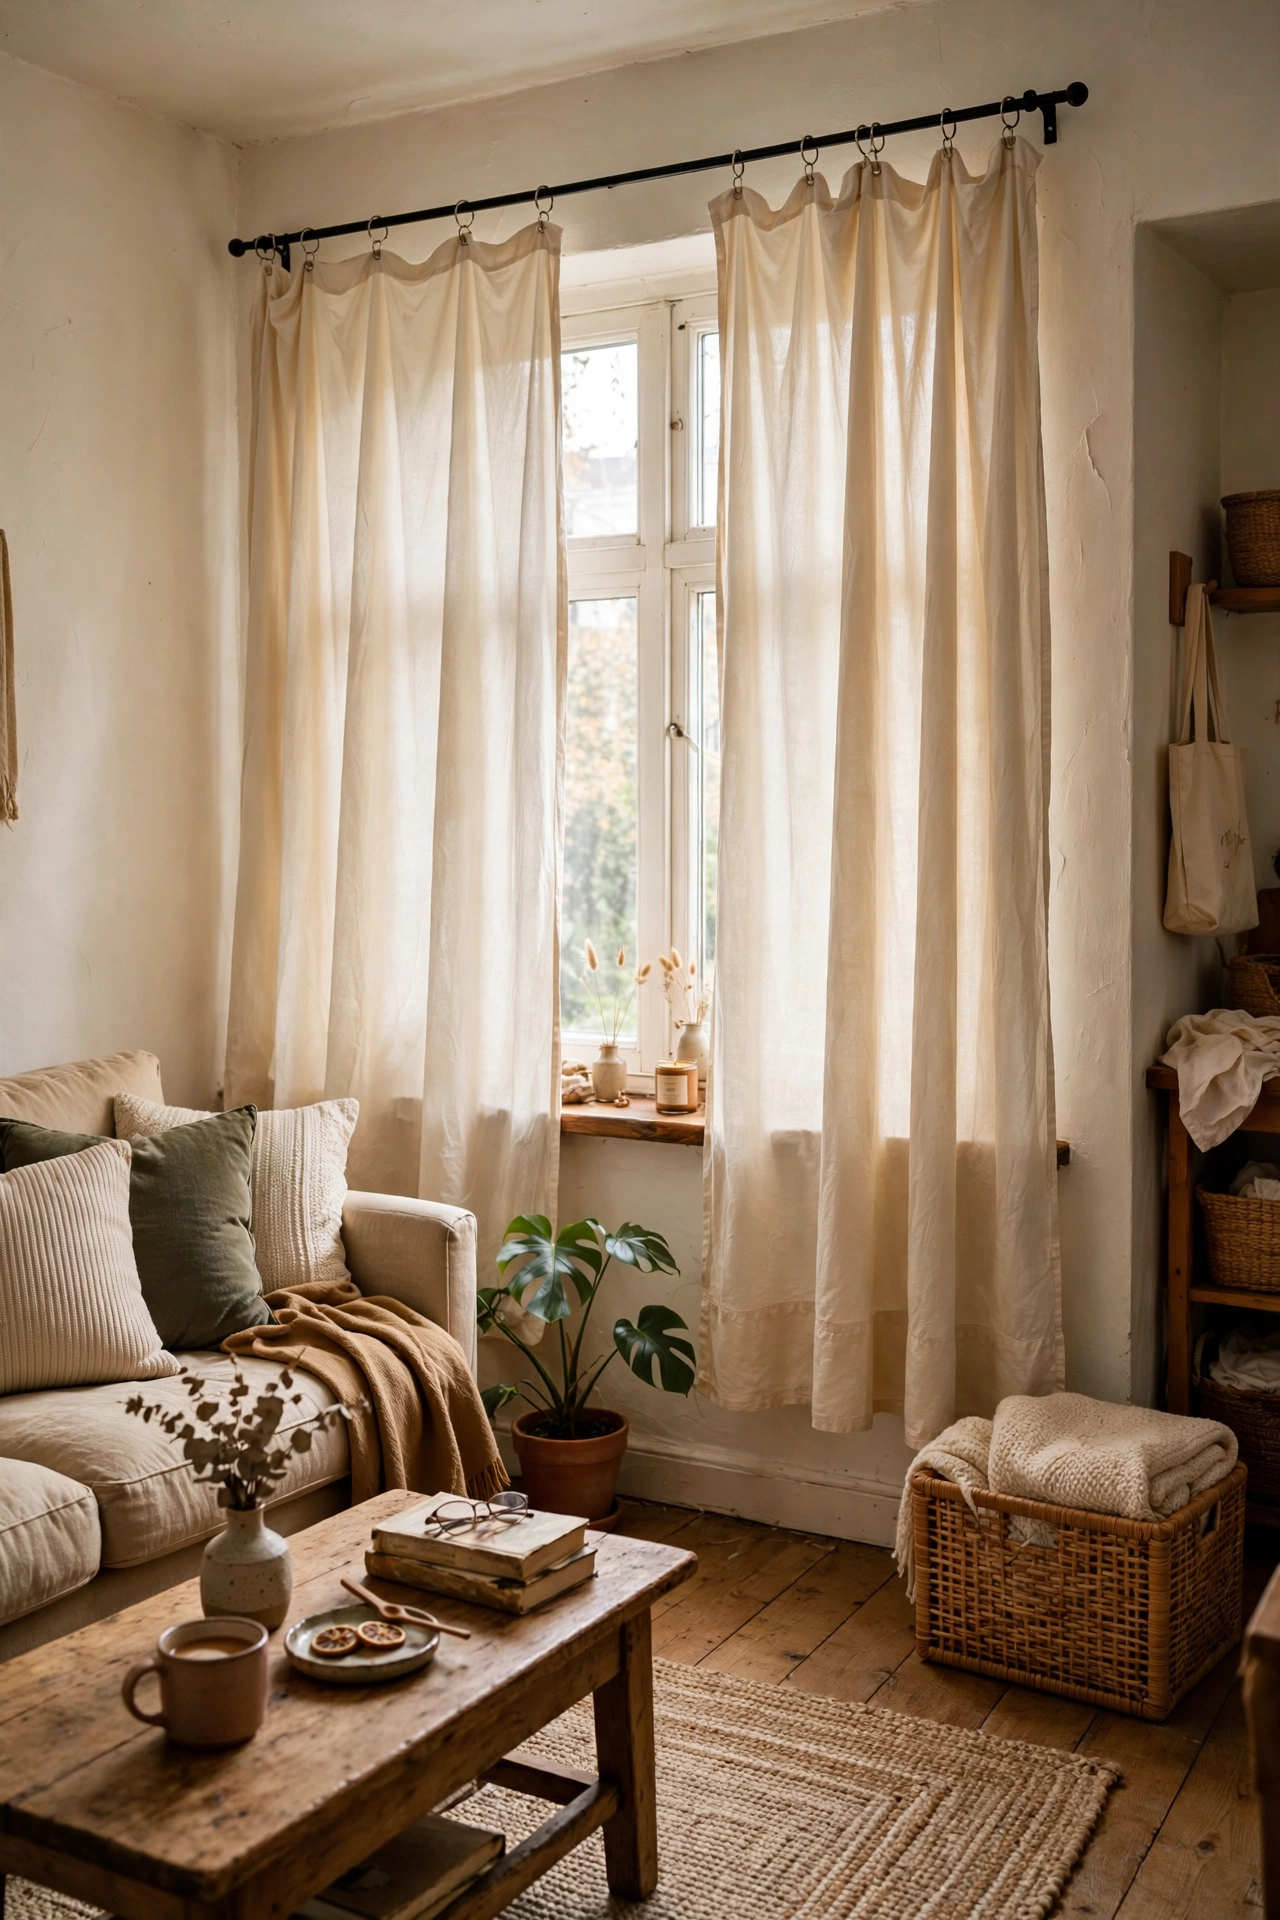
Cost callout: roughly $4 per panel secondhand.
Charity shops are full of white and cream flat sheets that make perfect curtain panels, and nobody will ever guess their origin. Pick sheets in cotton or a cotton blend, avoiding anything too thin or shiny. Measure your window first, then choose a sheet long enough to kiss the floor, a double or king flat sheet usually does it. Iron it flat, fold over a three-inch pocket at the top for the rod or clip on rings, and hang. I did this in my spare room with two cream sheets that cost me less than a coffee each, and the soft drape looks far more expensive than it was. Wash them with a little vinegar first to strip any storage smell.
Cost: ~$8 | Time: 45 minutes
Tension Rods Fitted Inside the Window Frame
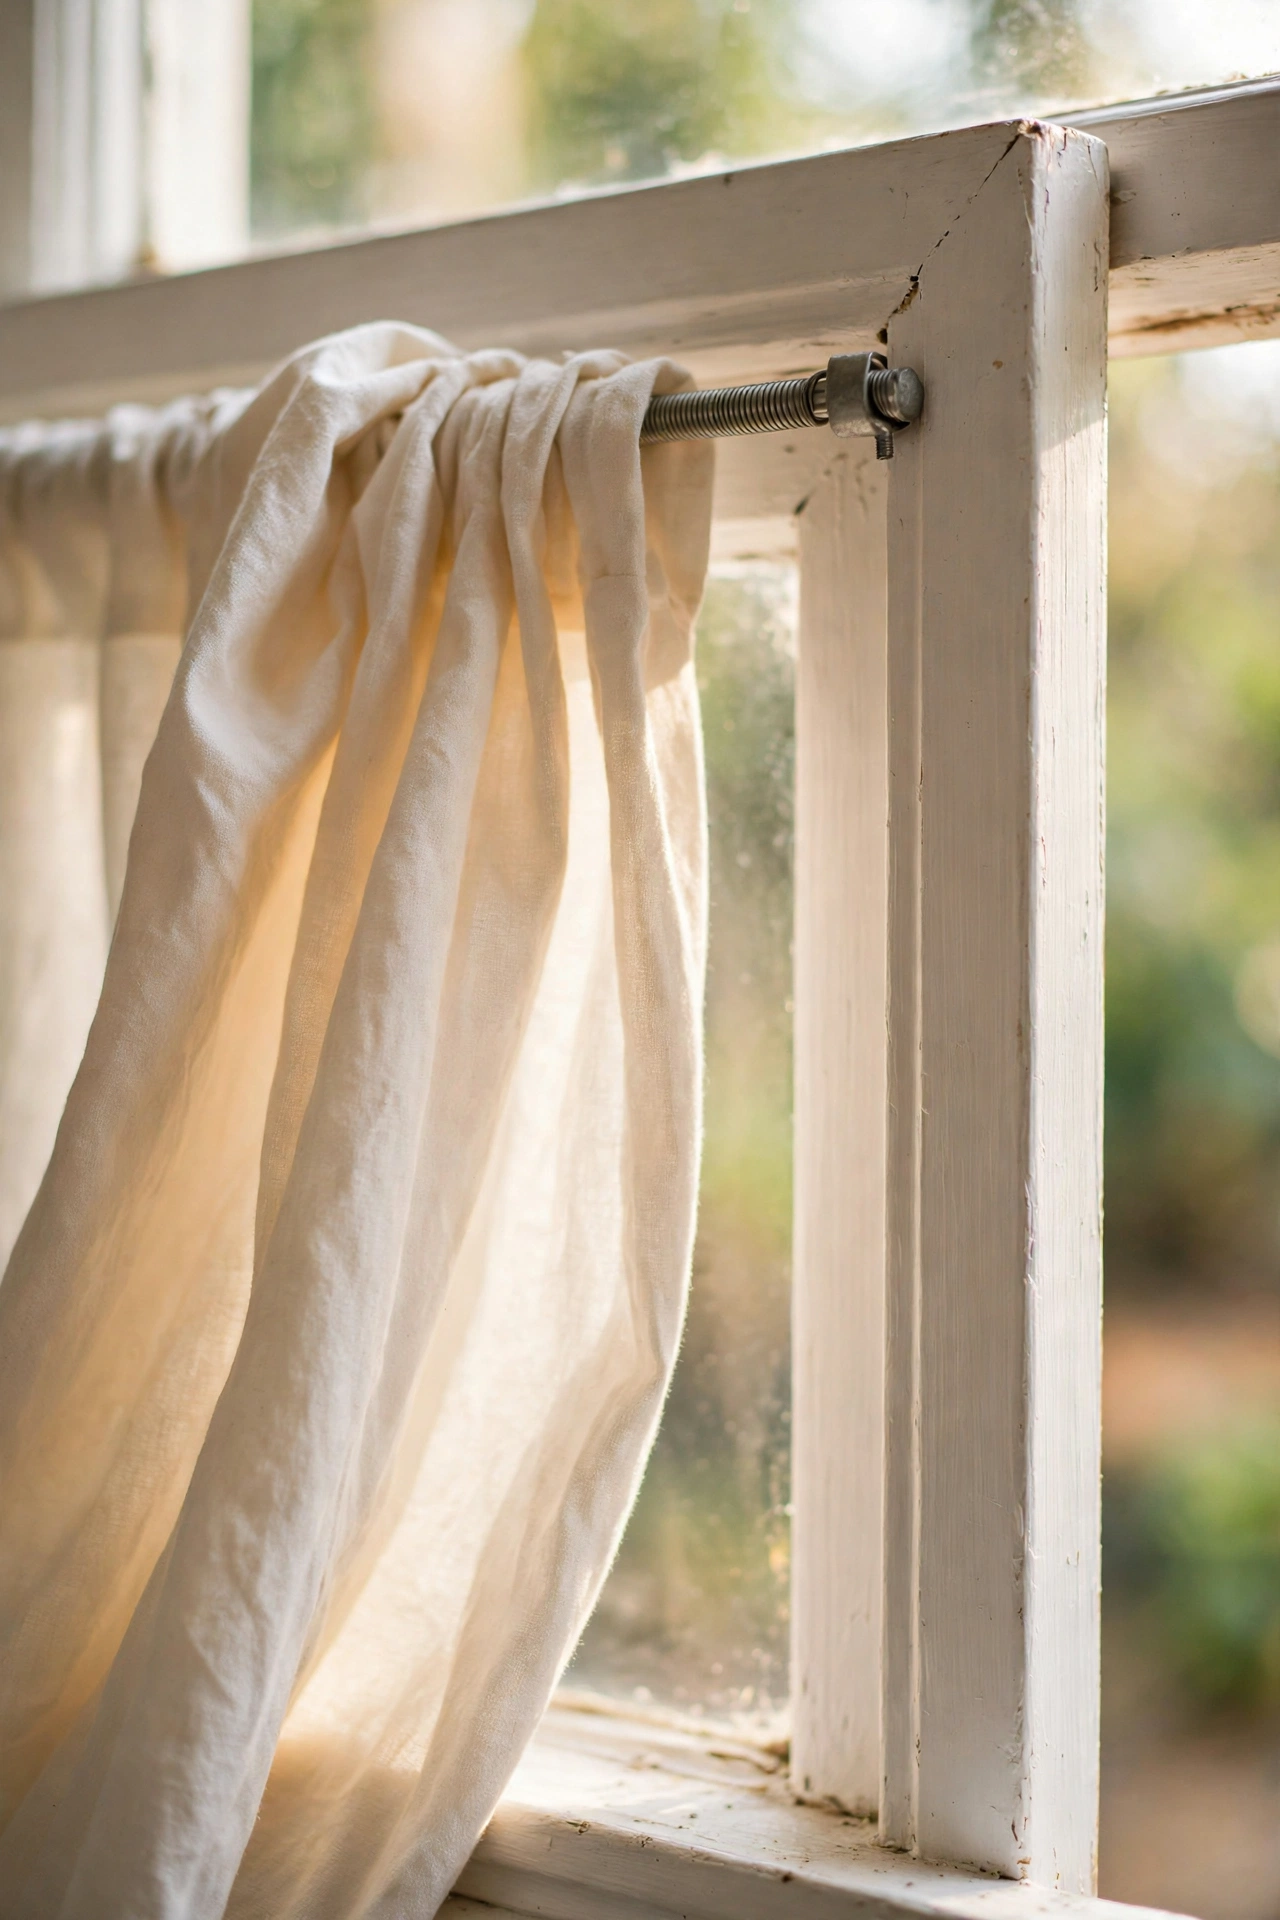
Cost callout: around $6 per window, zero tools needed.
If you rent, tension rods are your best friend because they need no drilling and leave no marks. Measure the inside width of your window frame, buy a rod that spans that range, twist it to length, and wedge it in place. They hold light to medium curtains easily, which covers sheers, cafe curtains, and cotton panels. I used one in my bathroom window for two years and it never slipped once. The trick is getting the fit snug, extend it about an inch past the frame width so the spring stays under tension. Pair with a lightweight panel and you’ve got a finished window for the price of lunch.
Cost: ~$6 | Time: 10 minutes
Clip Rings That Make Cheap Panels Look Custom-Made
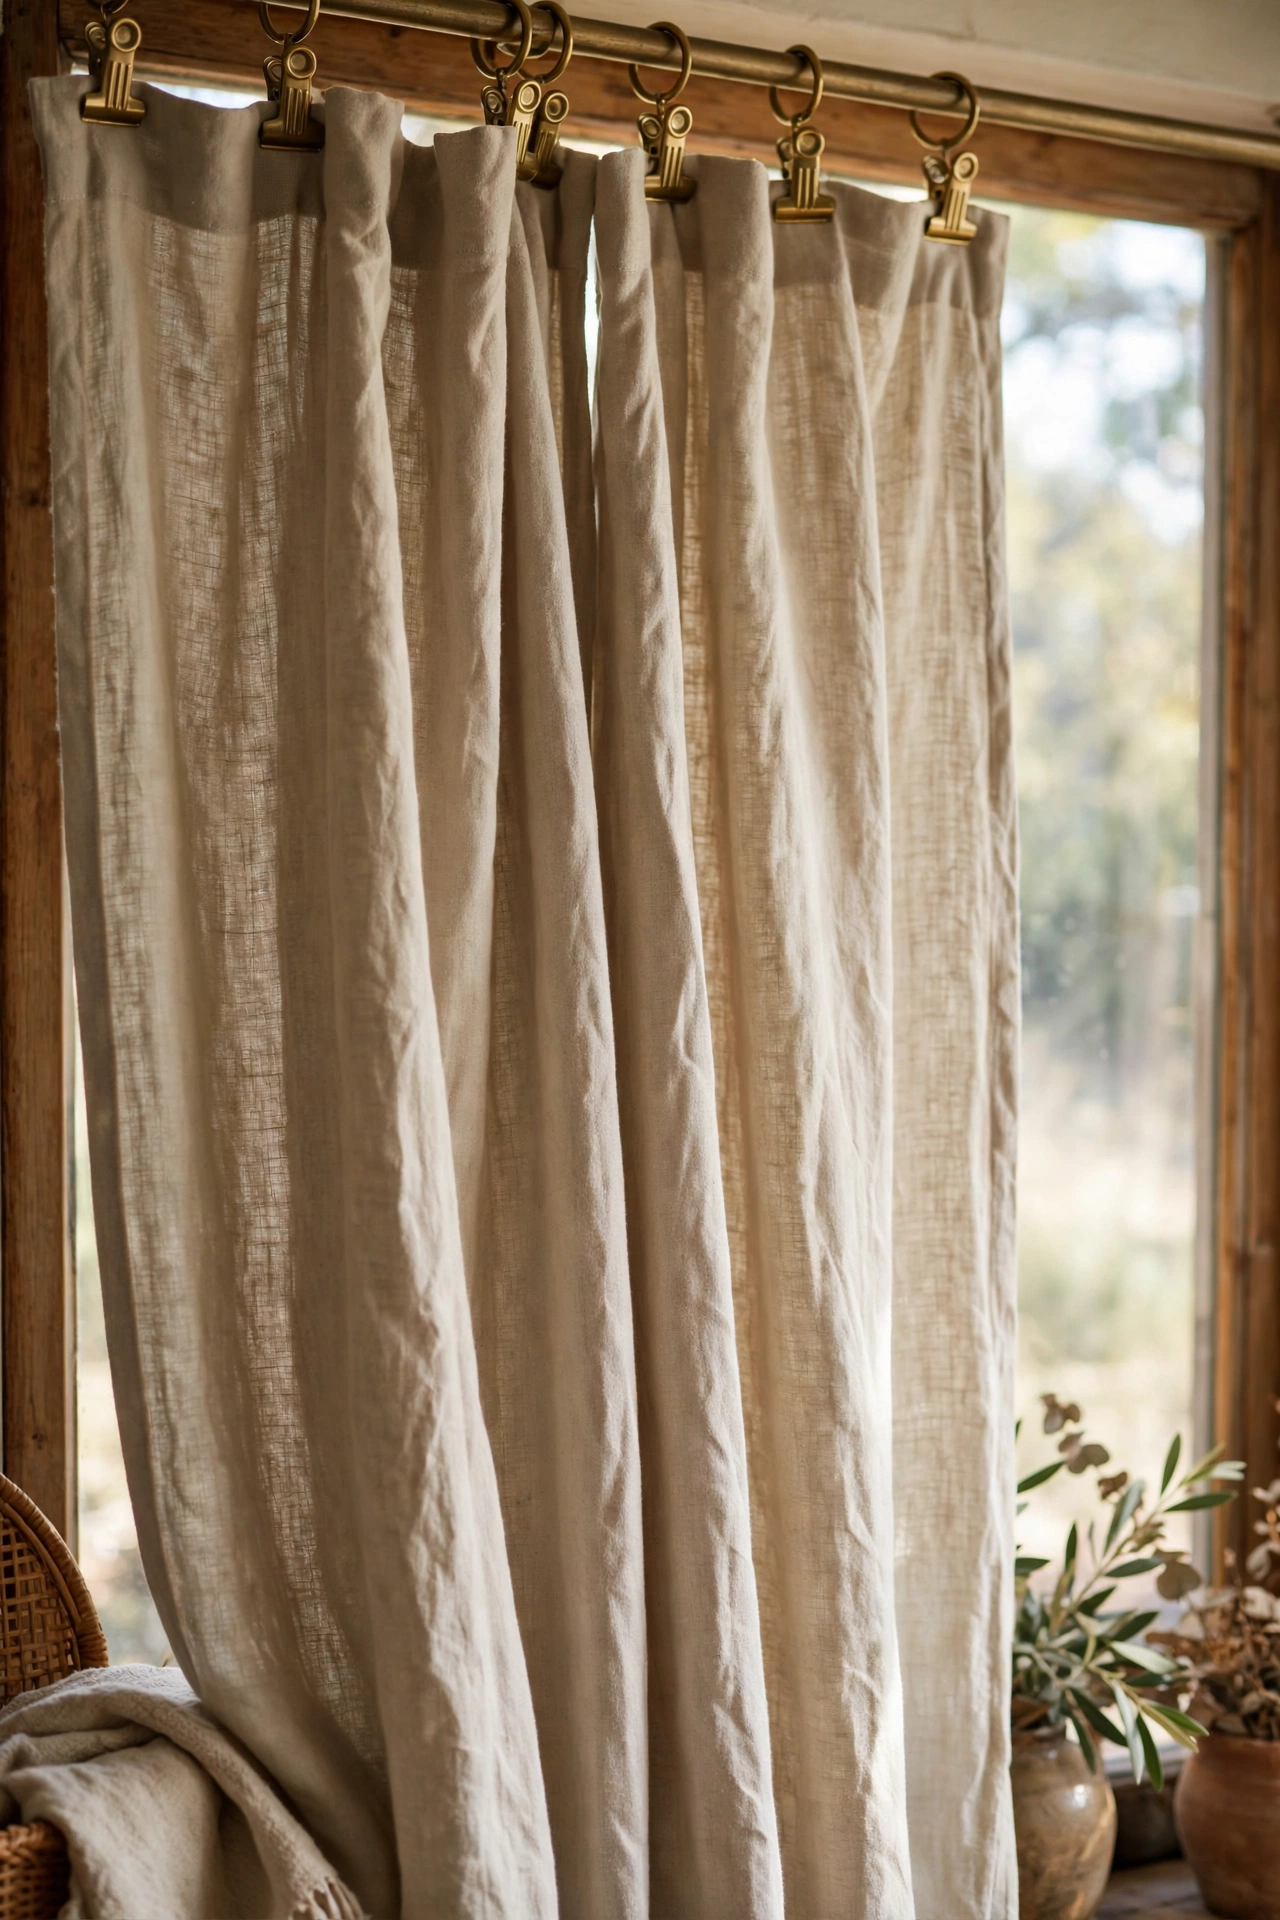
Cost callout: under $5 for a pack of fourteen.
Clip rings are the single cheapest way to make bargain panels look tailored. The little metal clips grip the top of the fabric and create soft, even folds that mimic expensive pinch-pleat drapes. Space them about four inches apart across the panel, clip them on, and slide them onto your rod. I rescued a pair of stiff, flat $10 panels this way and the difference was honestly shocking, they went from looking like bedsheets to looking like something from a decor catalogue. Use matte black or brass clips to match your rod, and make sure each panel gets the same number of rings so the folds match.
Cost: ~$5 | Time: 15 minutes
No-Sew Hems Fixed With Iron-On Tape
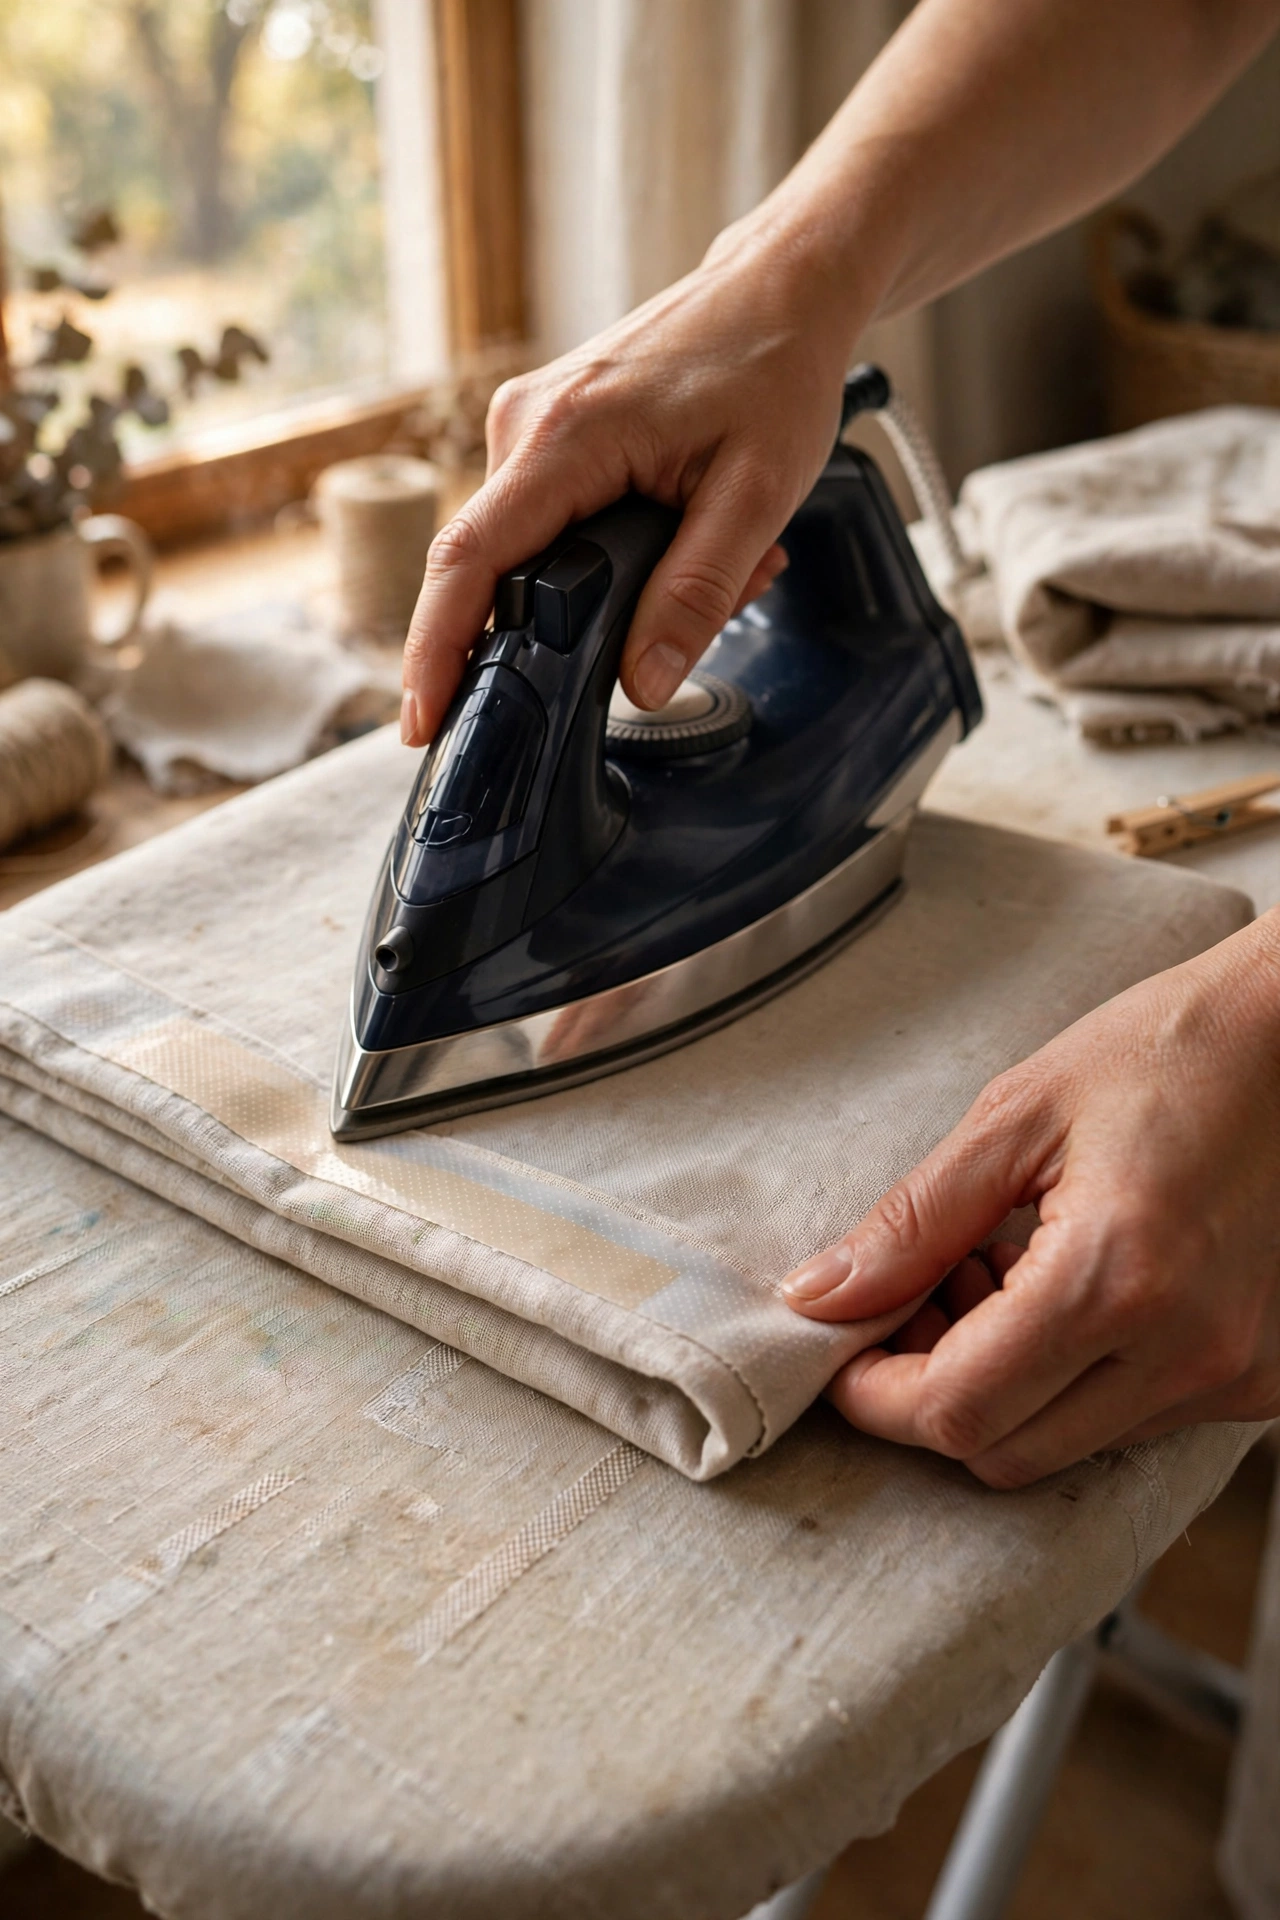
Cost callout: less than $3 a roll, and one roll does plenty.
Iron-on hem tape lets you shorten curtains with zero sewing skills. Fold your hem to the right length and press it with the iron first so you have a crisp crease, then tuck the tape inside the fold and press again in ten-second sections. Let each section cool before moving on so the adhesive sets. I hemmed four drop-cloth panels this way and two years later they’re still holding. My mistake the first time was running the iron too hot, which melted the tape into a sticky mess, medium heat is plenty. It works on cotton, linen, and most blends, just skip very sheer fabrics where the tape line might show through.
Cost: ~$3 | Time: 30 minutes
A Folded Flat Sheet Turned Into a Simple Valance
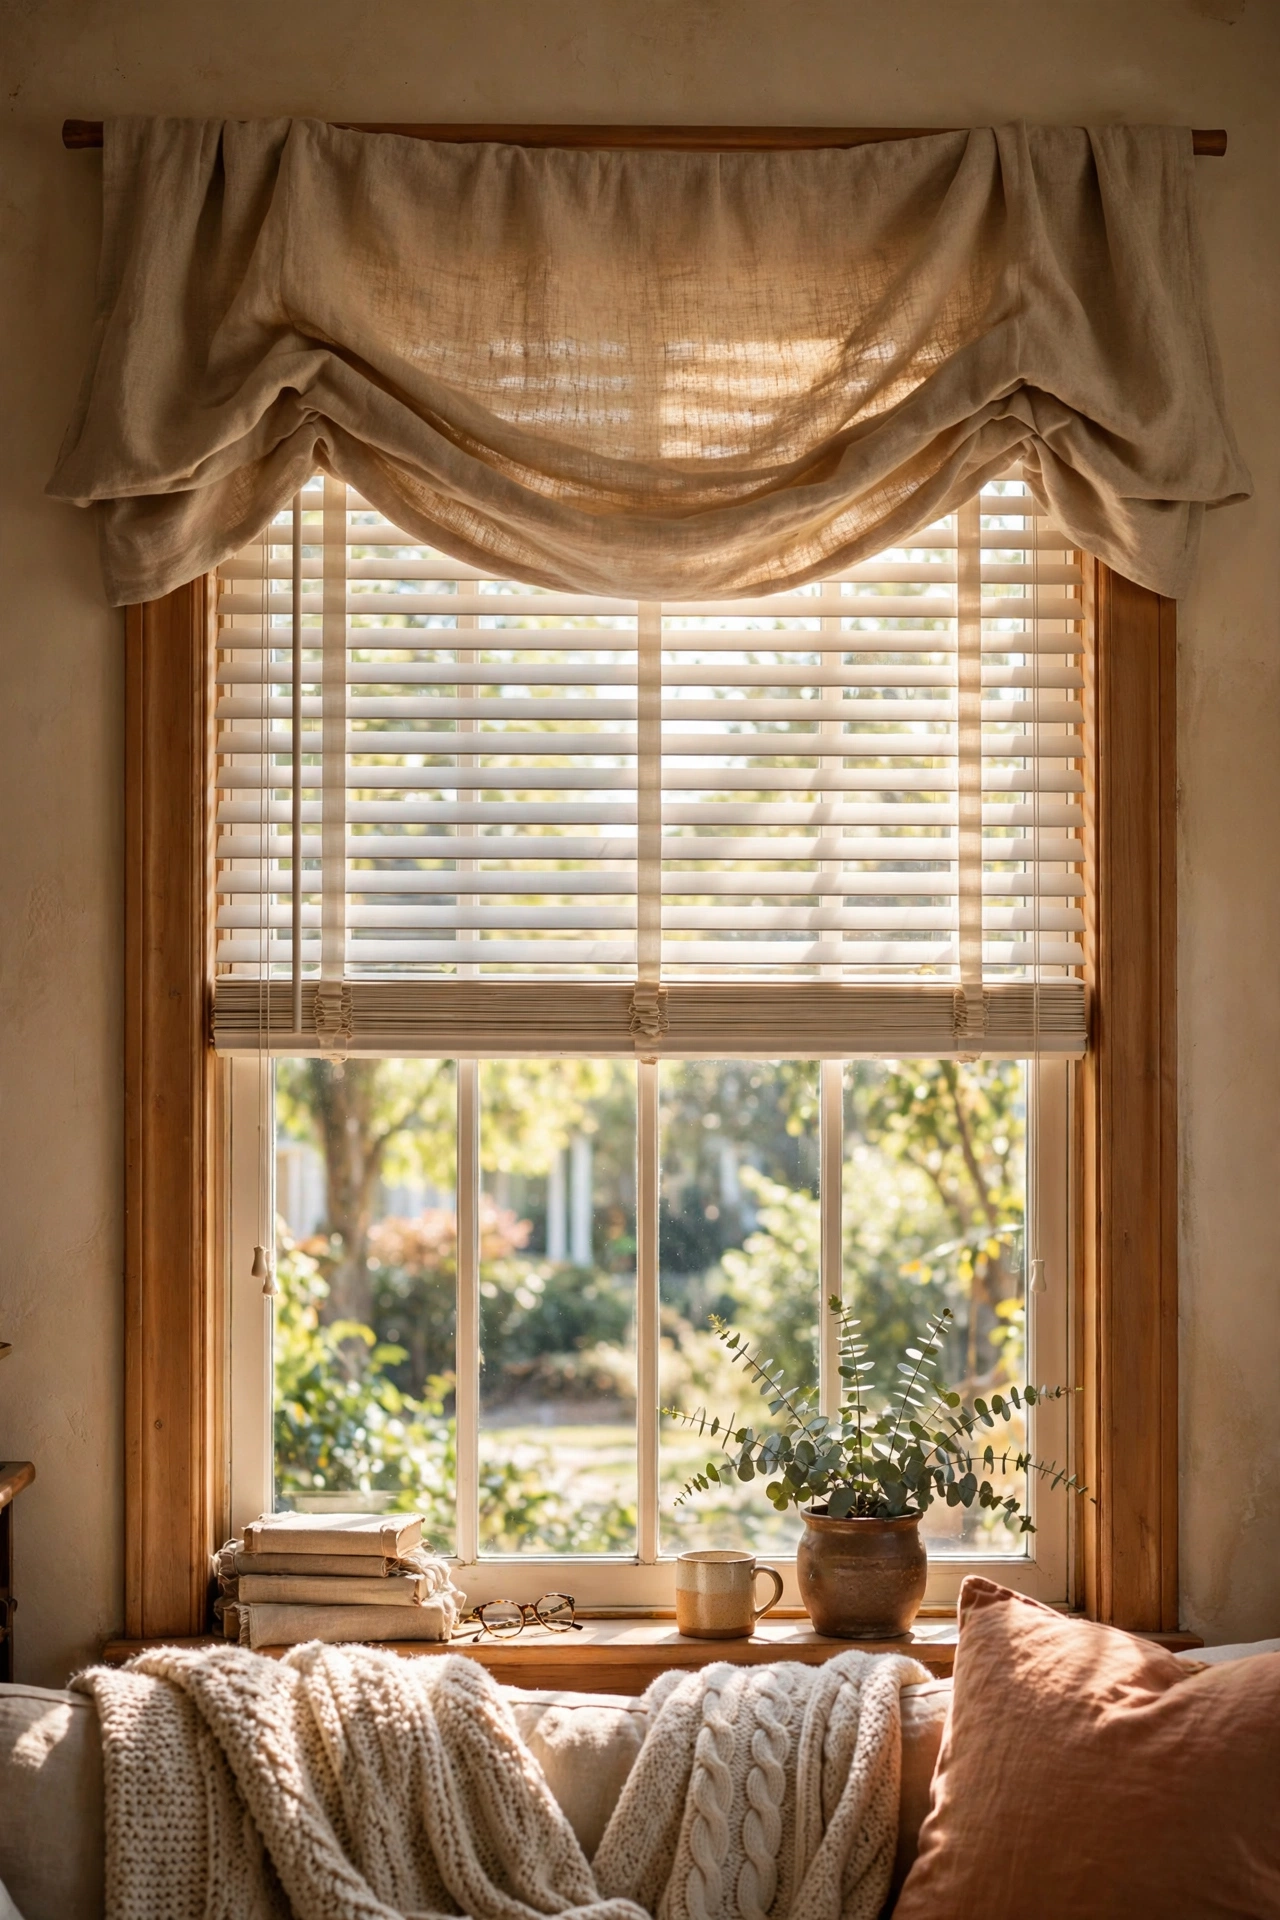
Cost callout: about $3 from a charity shop.
A valance hides the top of a window and makes the whole treatment look finished, and a folded flat sheet does the job for pennies. Take a twin flat sheet, fold it lengthwise into a band about twelve inches deep, press it, and slide it onto the rod, or gather it onto clip rings for softness. It works brilliantly over blinds you can’t remove, which is exactly why I made one for my rental kitchen. The folded edge gives you a clean line with no hemming at all. Choose a sheet that picks up a colour from your rug or cushions and the whole room suddenly looks pulled together.
Cost: ~$3 | Time: 20 minutes
Fabric Shower Curtains Used as Linen-Look Panels
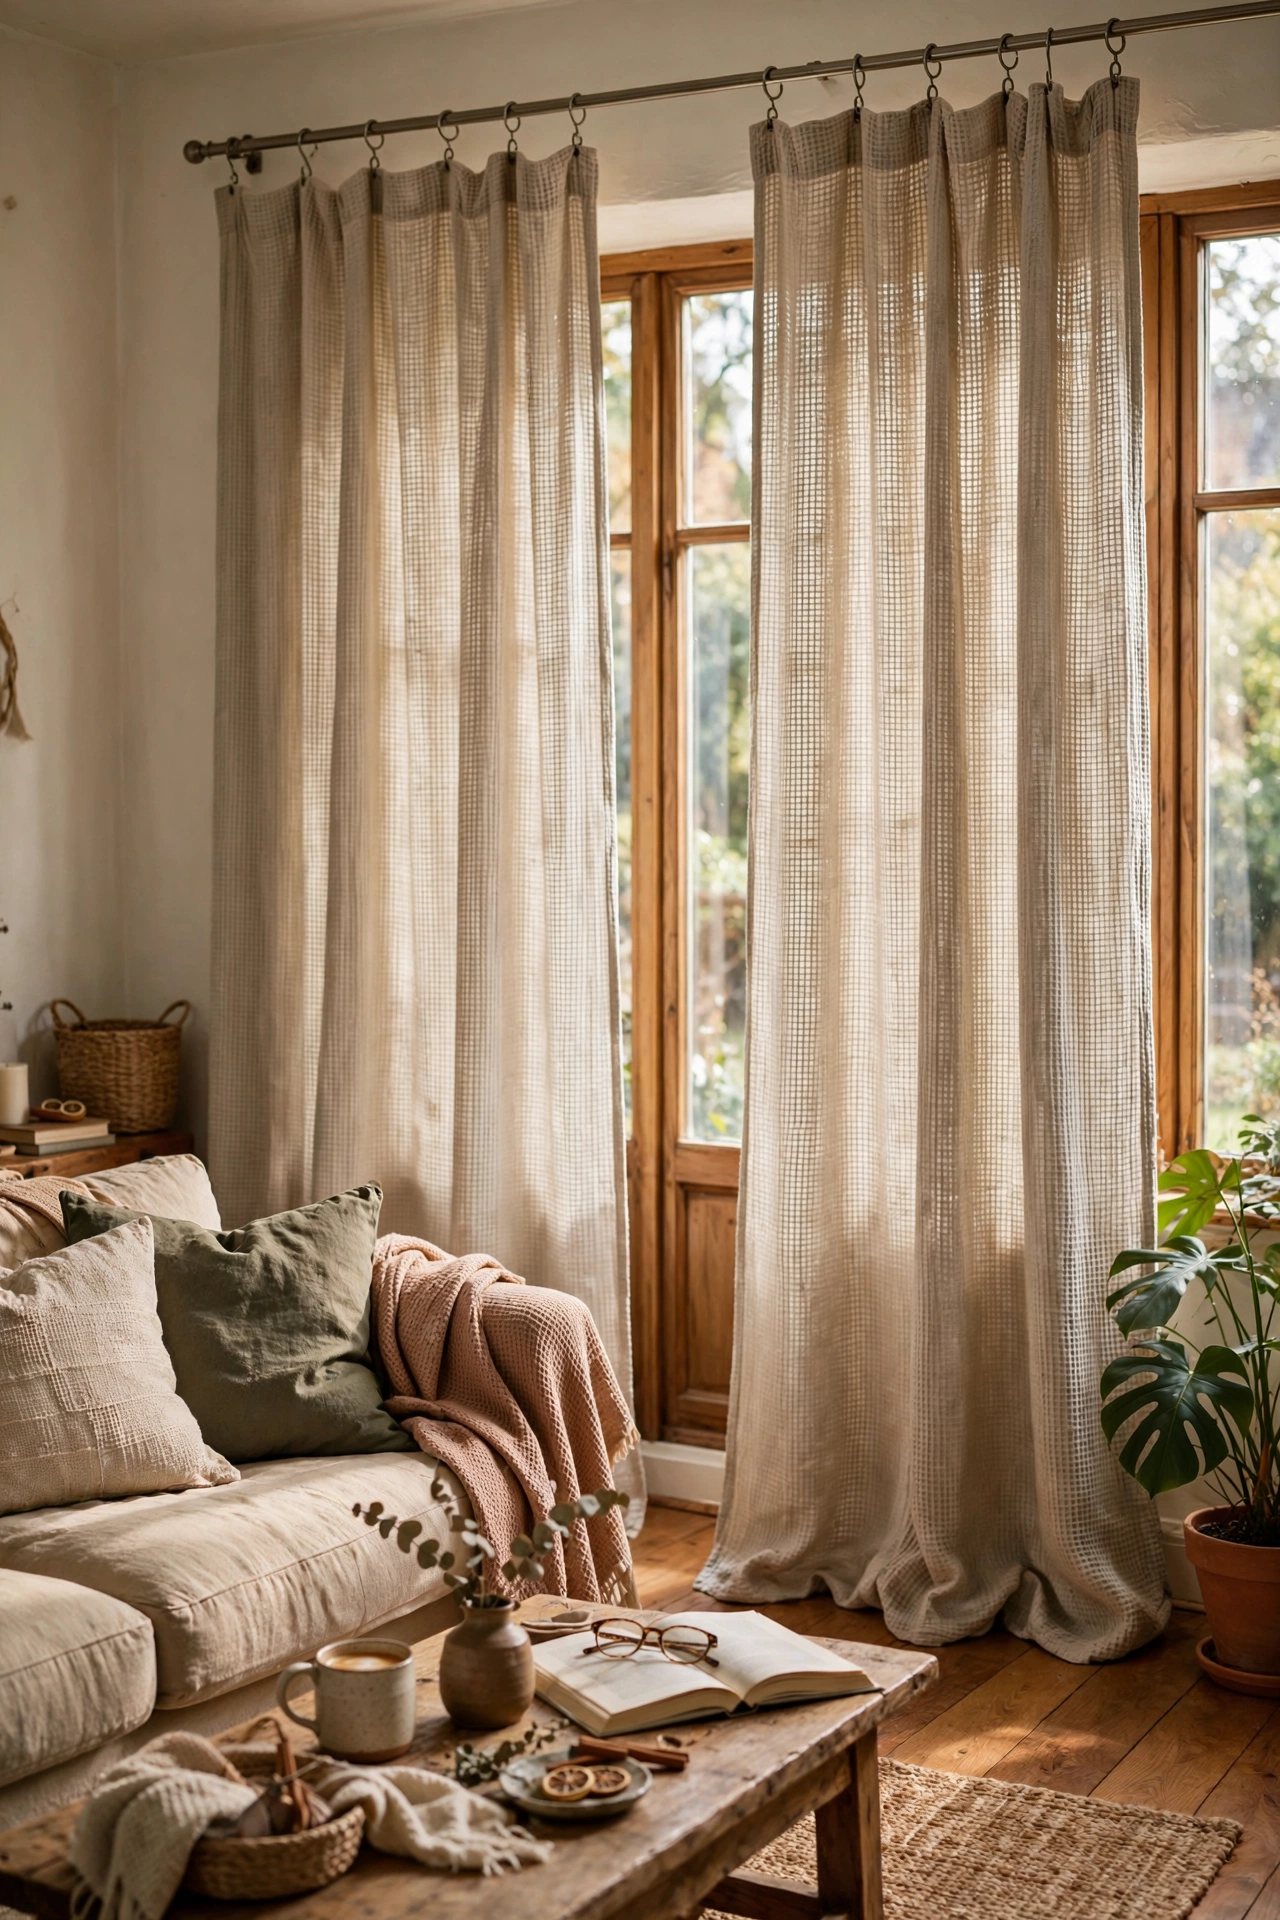
Cost callout: around $1.25 each at the dollar store.
This one sounds odd until you see it done. Fabric shower curtains from the dollar store, the plain waffle-weave or linen-look ones, are essentially pre-hemmed curtain panels with buttonholes already punched along the top. Buy four to six of them, thread them onto rings or hooks, and hang them like regular drapes. I first tried this in my laundry room as an experiment and ended up copying it for a narrow living room window because the texture looked so good. Stick to neutral colours and natural-looking weaves, and avoid anything plasticky or printed with a bathroom motif for obvious reasons.
Cost: ~$6 | Time: 25 minutes
Hanging Your Rod Higher and Wider Than the Window
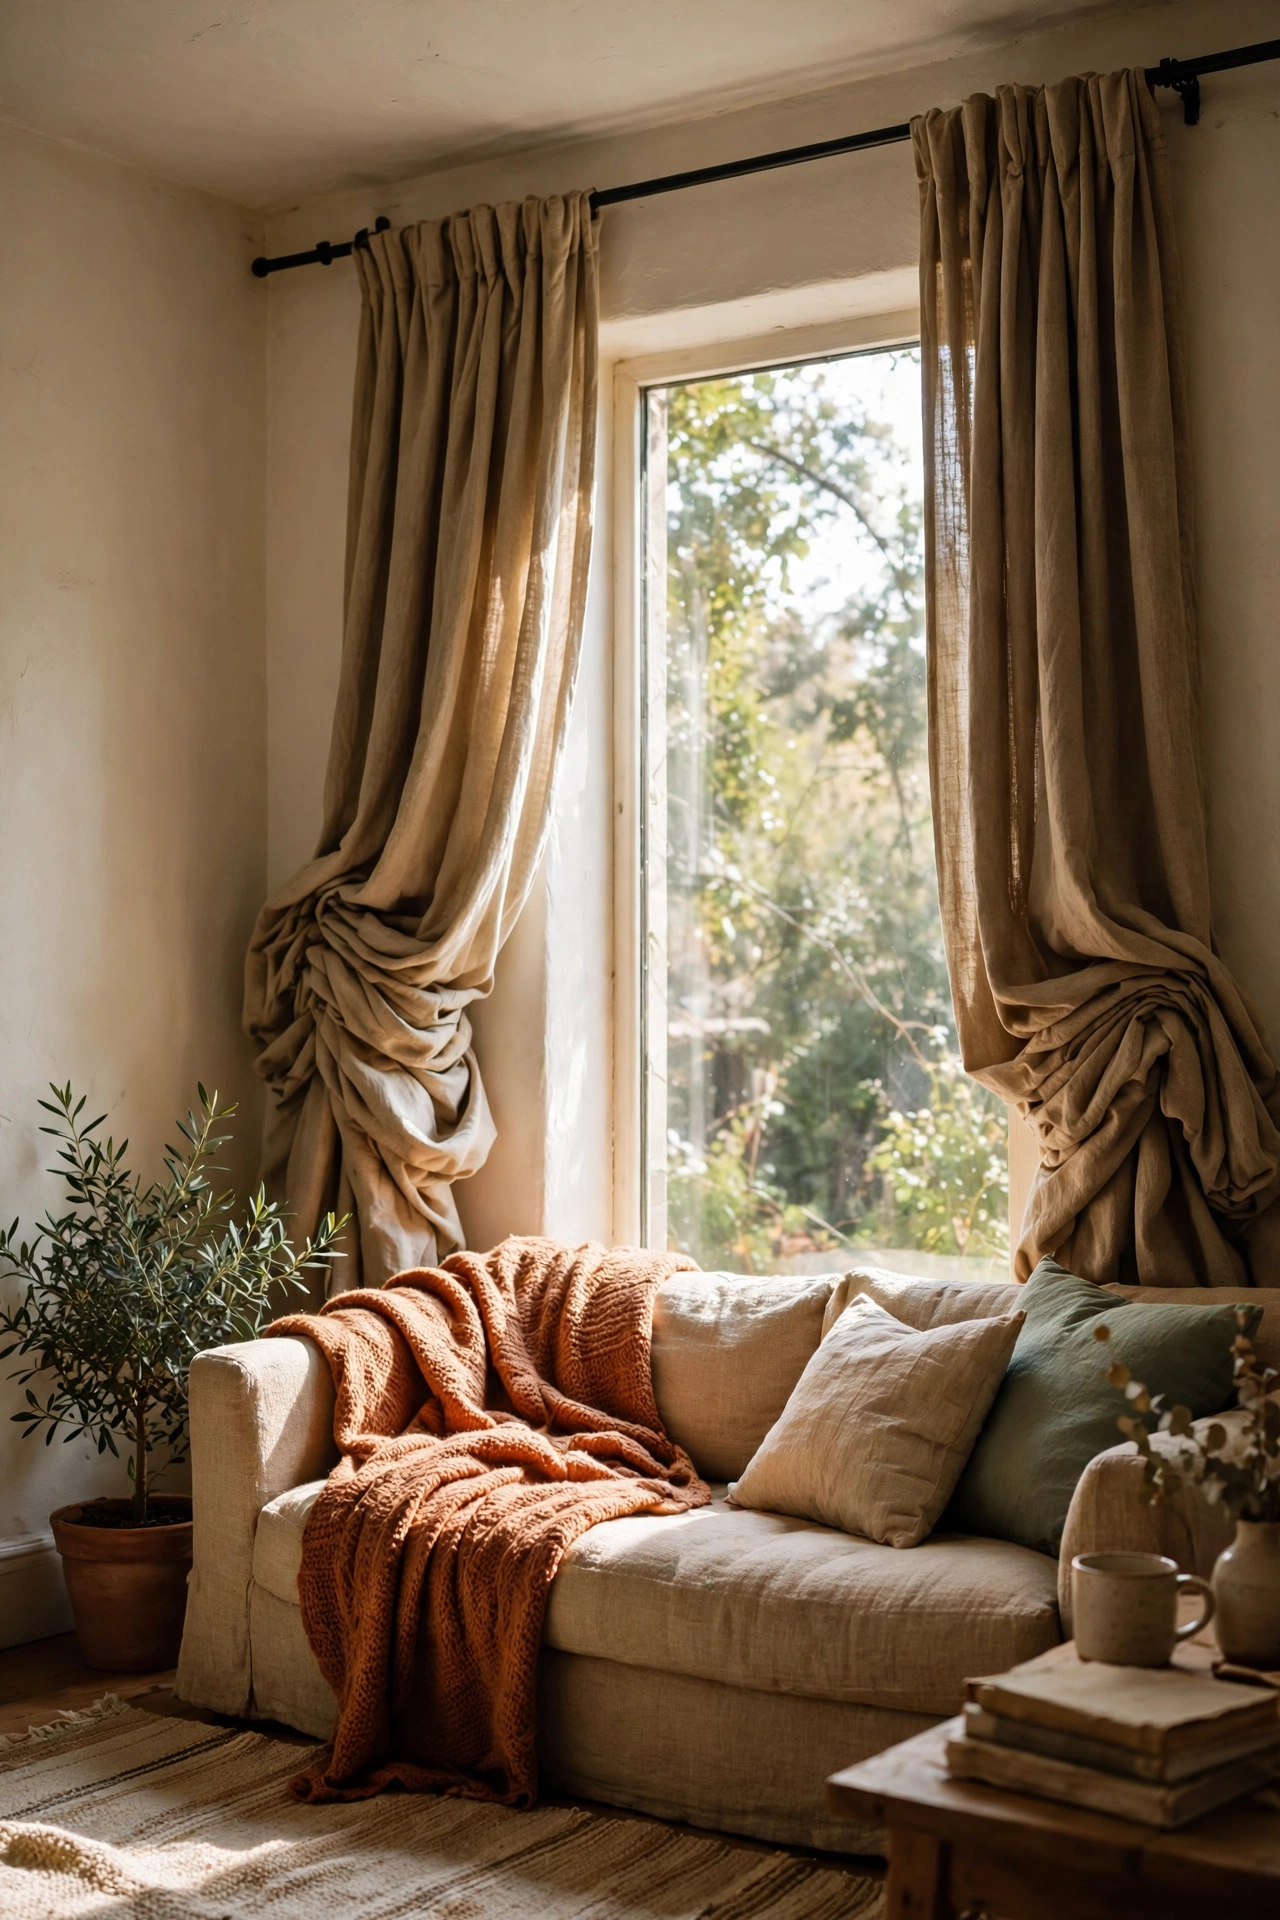
Cost callout: $0 if you already own a rod and brackets.
This is a technique rather than a purchase, and it changes everything. Mount your curtain rod four to six inches above the window frame and extend it three to six inches past each side. The window instantly looks taller and wider, and when the curtains are open they stack on the wall instead of blocking your light. I did this in my living room with eight-foot ceilings and guests kept asking if I’d raised them, the eye just reads the curtain line as the window line. It costs nothing, takes twenty minutes with a drill, and makes even cheap panels look deliberate and grand.
Cost: $0 | Time: 20 minutes
Doubled-Up Sheers for a Fuller, Softer Look
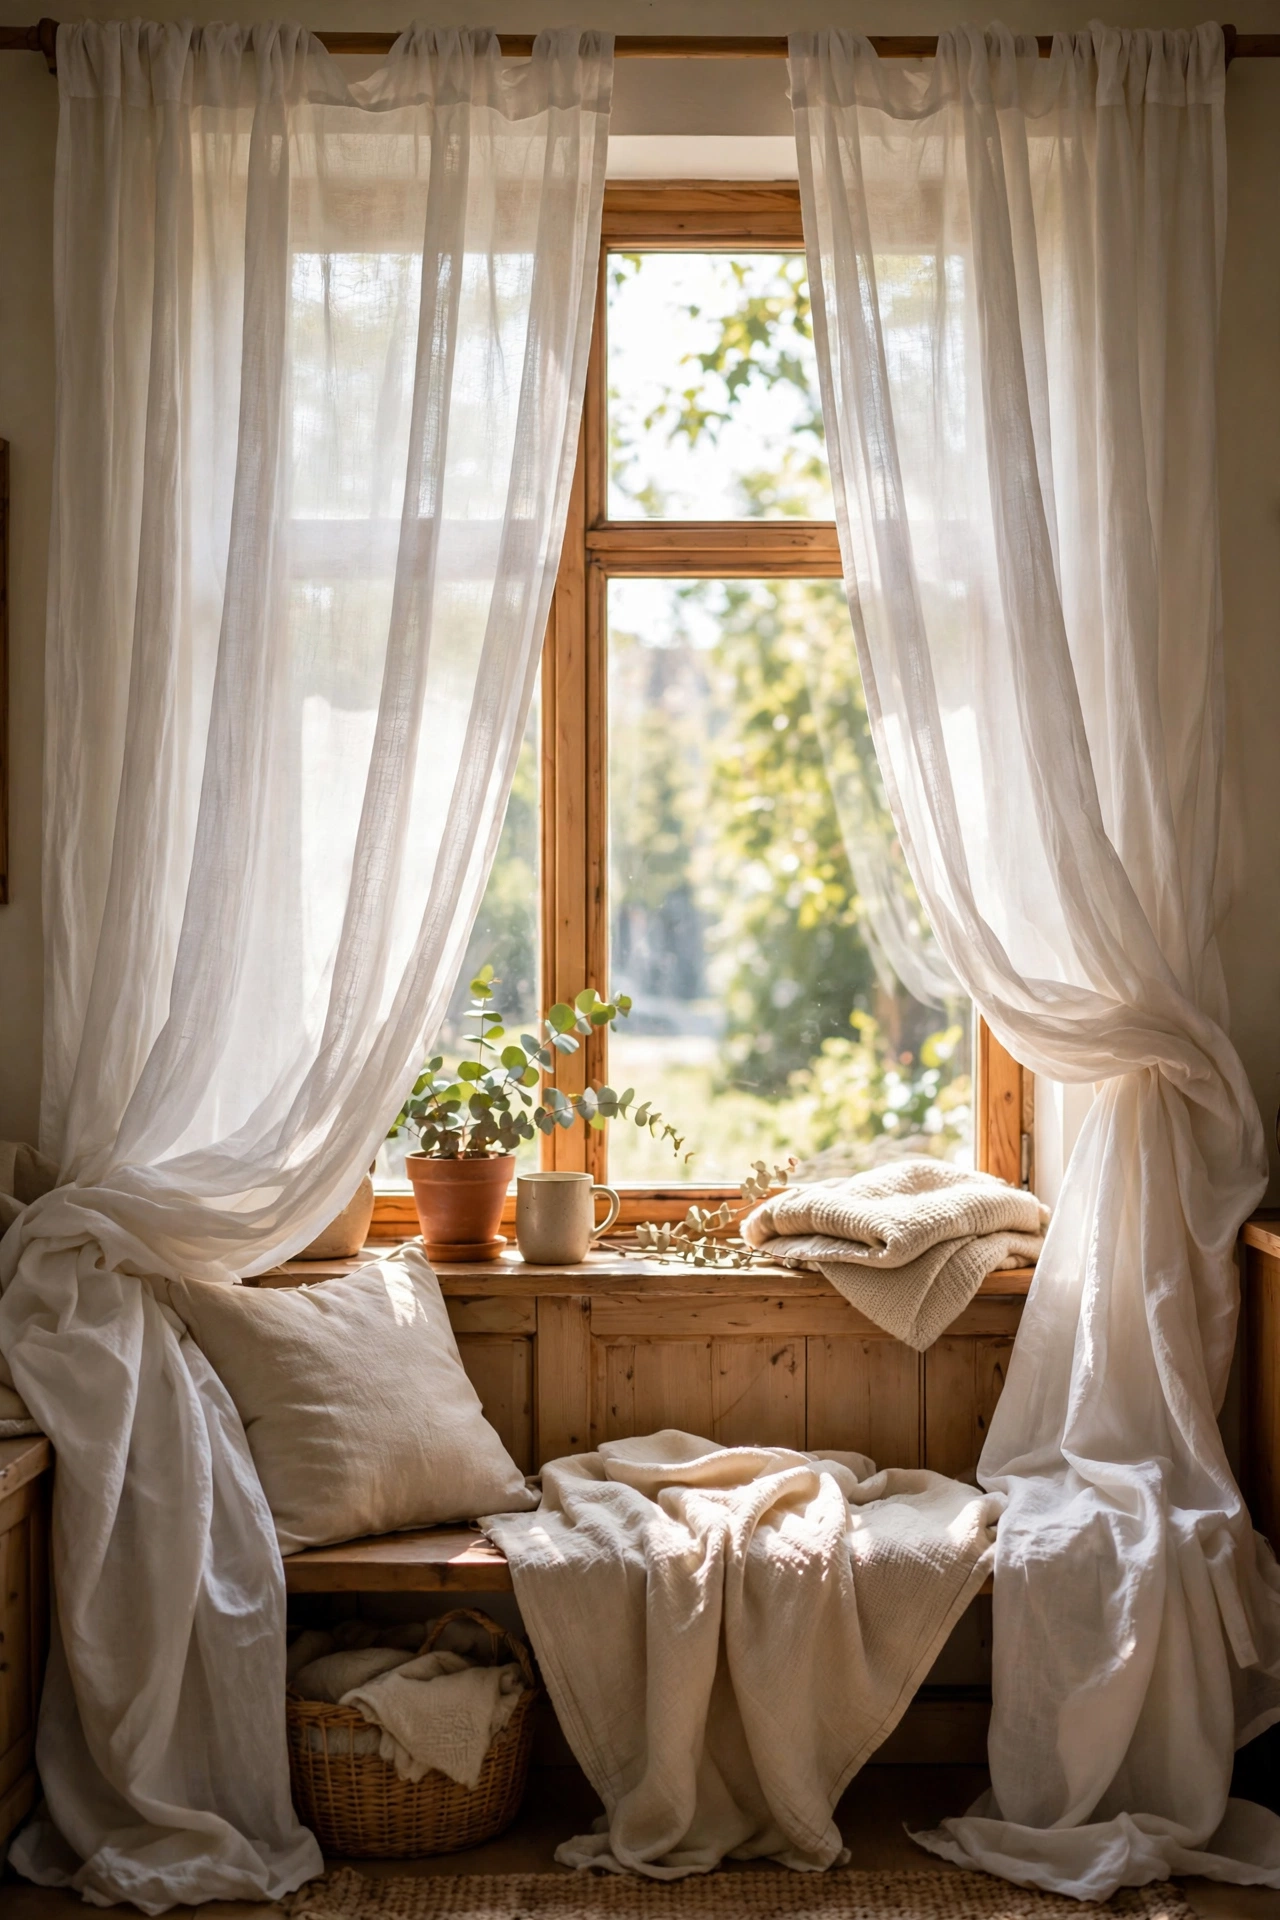
Cost callout: about $10 for four bargain panels.
One sheer panel per side always looks skimpy, but two per side looks lush. Cheap sheers are so affordable that doubling up still costs less than one mid-range curtain. Hang two panels on each side of the window, letting them overlap slightly, and the gathered fullness reads as intentional and expensive. I learned this from a friend whose windows looked straight out of a magazine, and her secret was simply twice as many $5 panels. White or ivory sheers also filter daylight beautifully, giving the room that soft glow while keeping your privacy during the day.
Cost: ~$10 | Time: 15 minutes
Tea-Dyed White Curtains for a Warm Ivory Tone
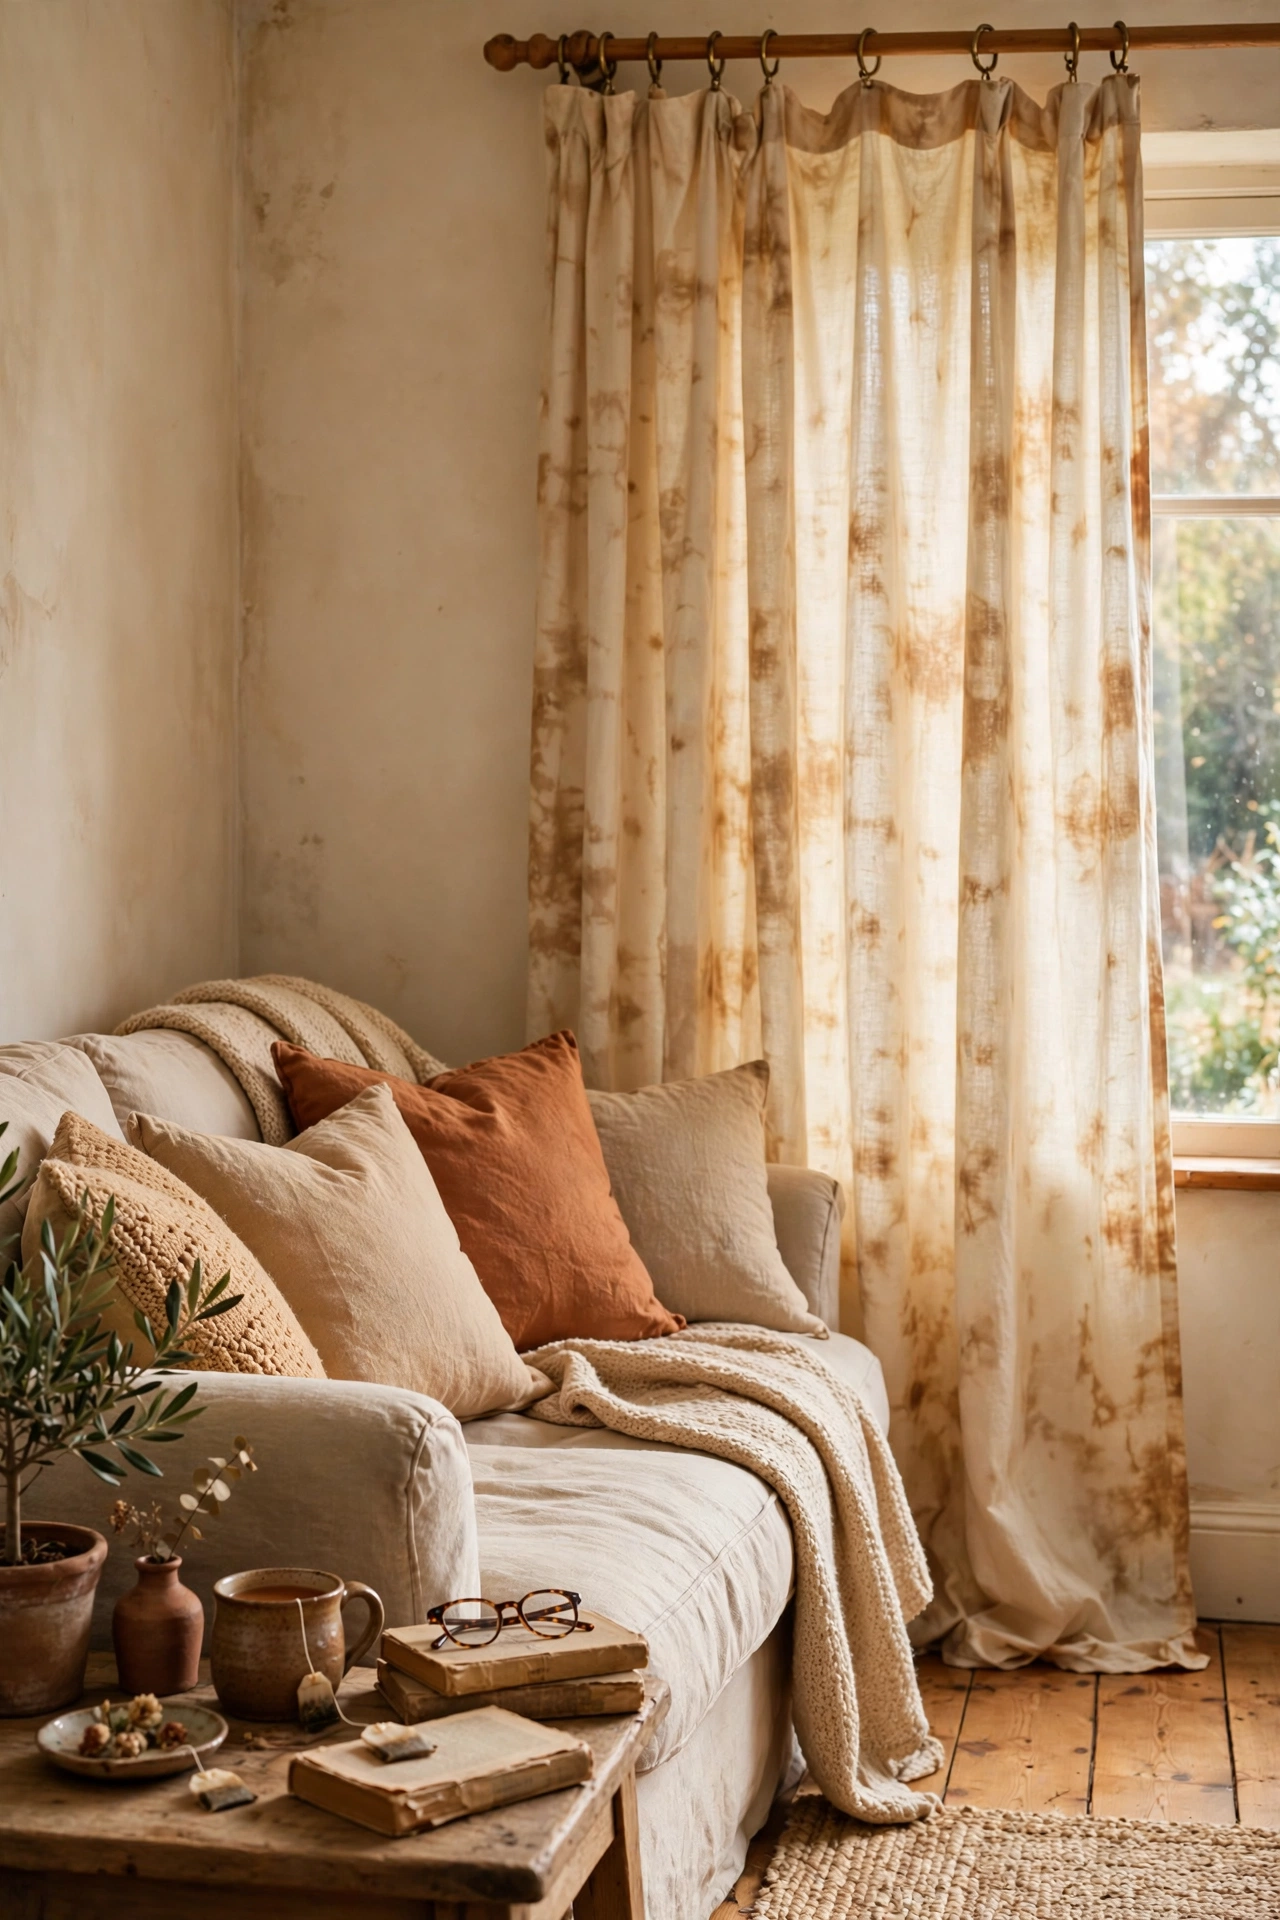
Cost callout: under $2 using tea bags from the pantry.
Stark white curtains can look cold against warm walls, and tea-dyeing fixes that for almost nothing. Brew six to eight black tea bags in a large pot, let it cool slightly, then soak your damp white curtains for one to two hours, stirring now and then for even colour. Rinse in cold water and dry as usual. The result is a soft, warm ivory that looks vintage rather than dingy. I tried this on thrifted white panels and my mistake was leaving them overnight, they came out closer to tan. Start with one hour, you can always go darker but you can’t go back.
Cost: ~$2 | Time: 2 hours mostly waiting
Tiebacks Braided From Fabric Scraps
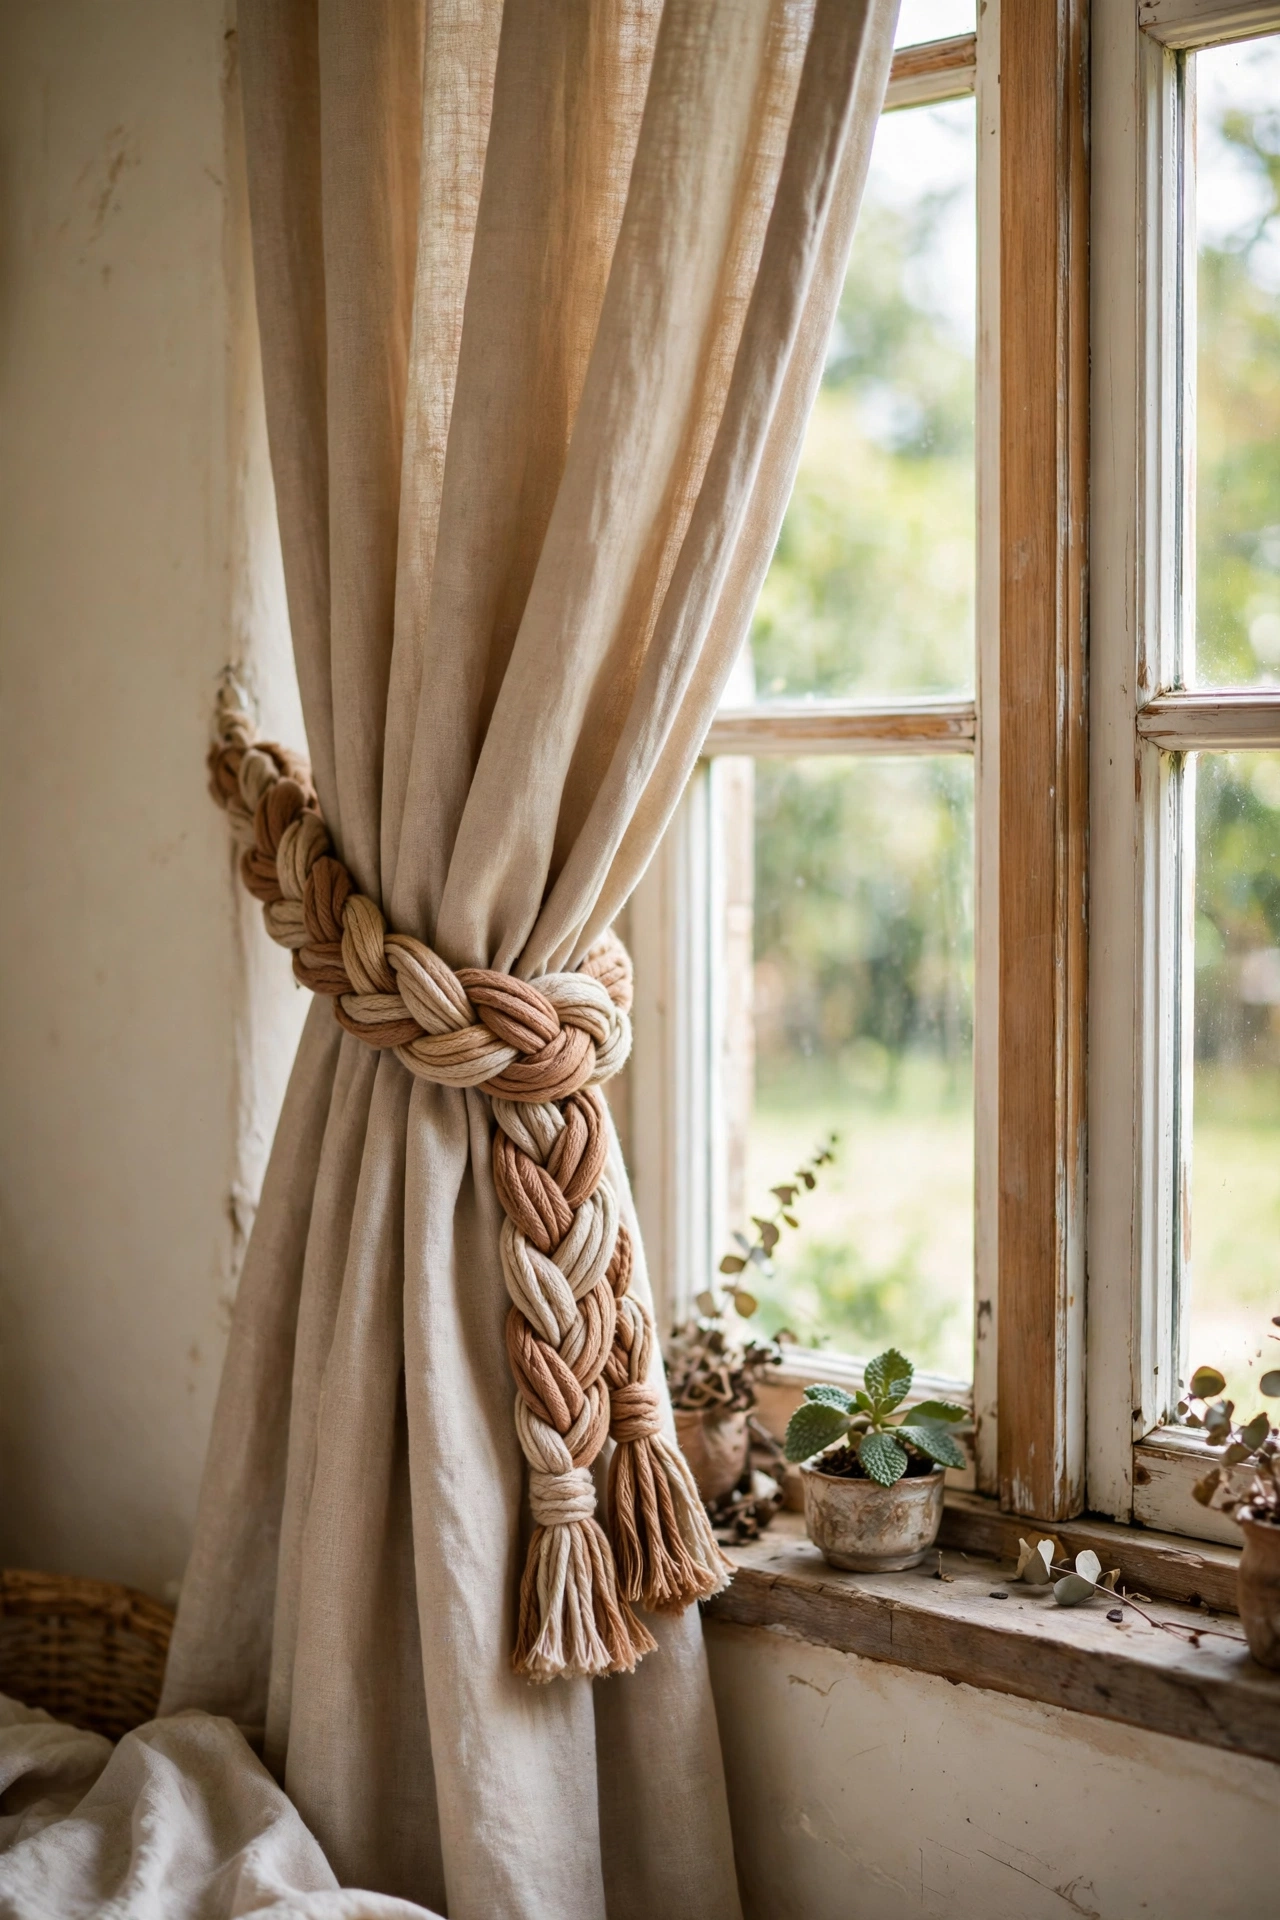
Cost callout: free if you have scraps or old clothes.
Tiebacks pull your curtains to the sides and show off the window, and handmade ones add character that shop-bought versions lack. Cut three long strips from scrap fabric, an old shirt, or leftover curtain material, braid them tightly, and knot the ends. Loop the braid around your gathered curtain and hook it onto a small wall hook or even a cup hook. I made a set from a worn-out chambray shirt and they look like something from an artisan market. Jute twine works too for a rustic feel, just wrap it a few extra times so it holds its shape.
Cost: $0 | Time: 30 minutes
Cafe Curtains Covering Just the Lower Half
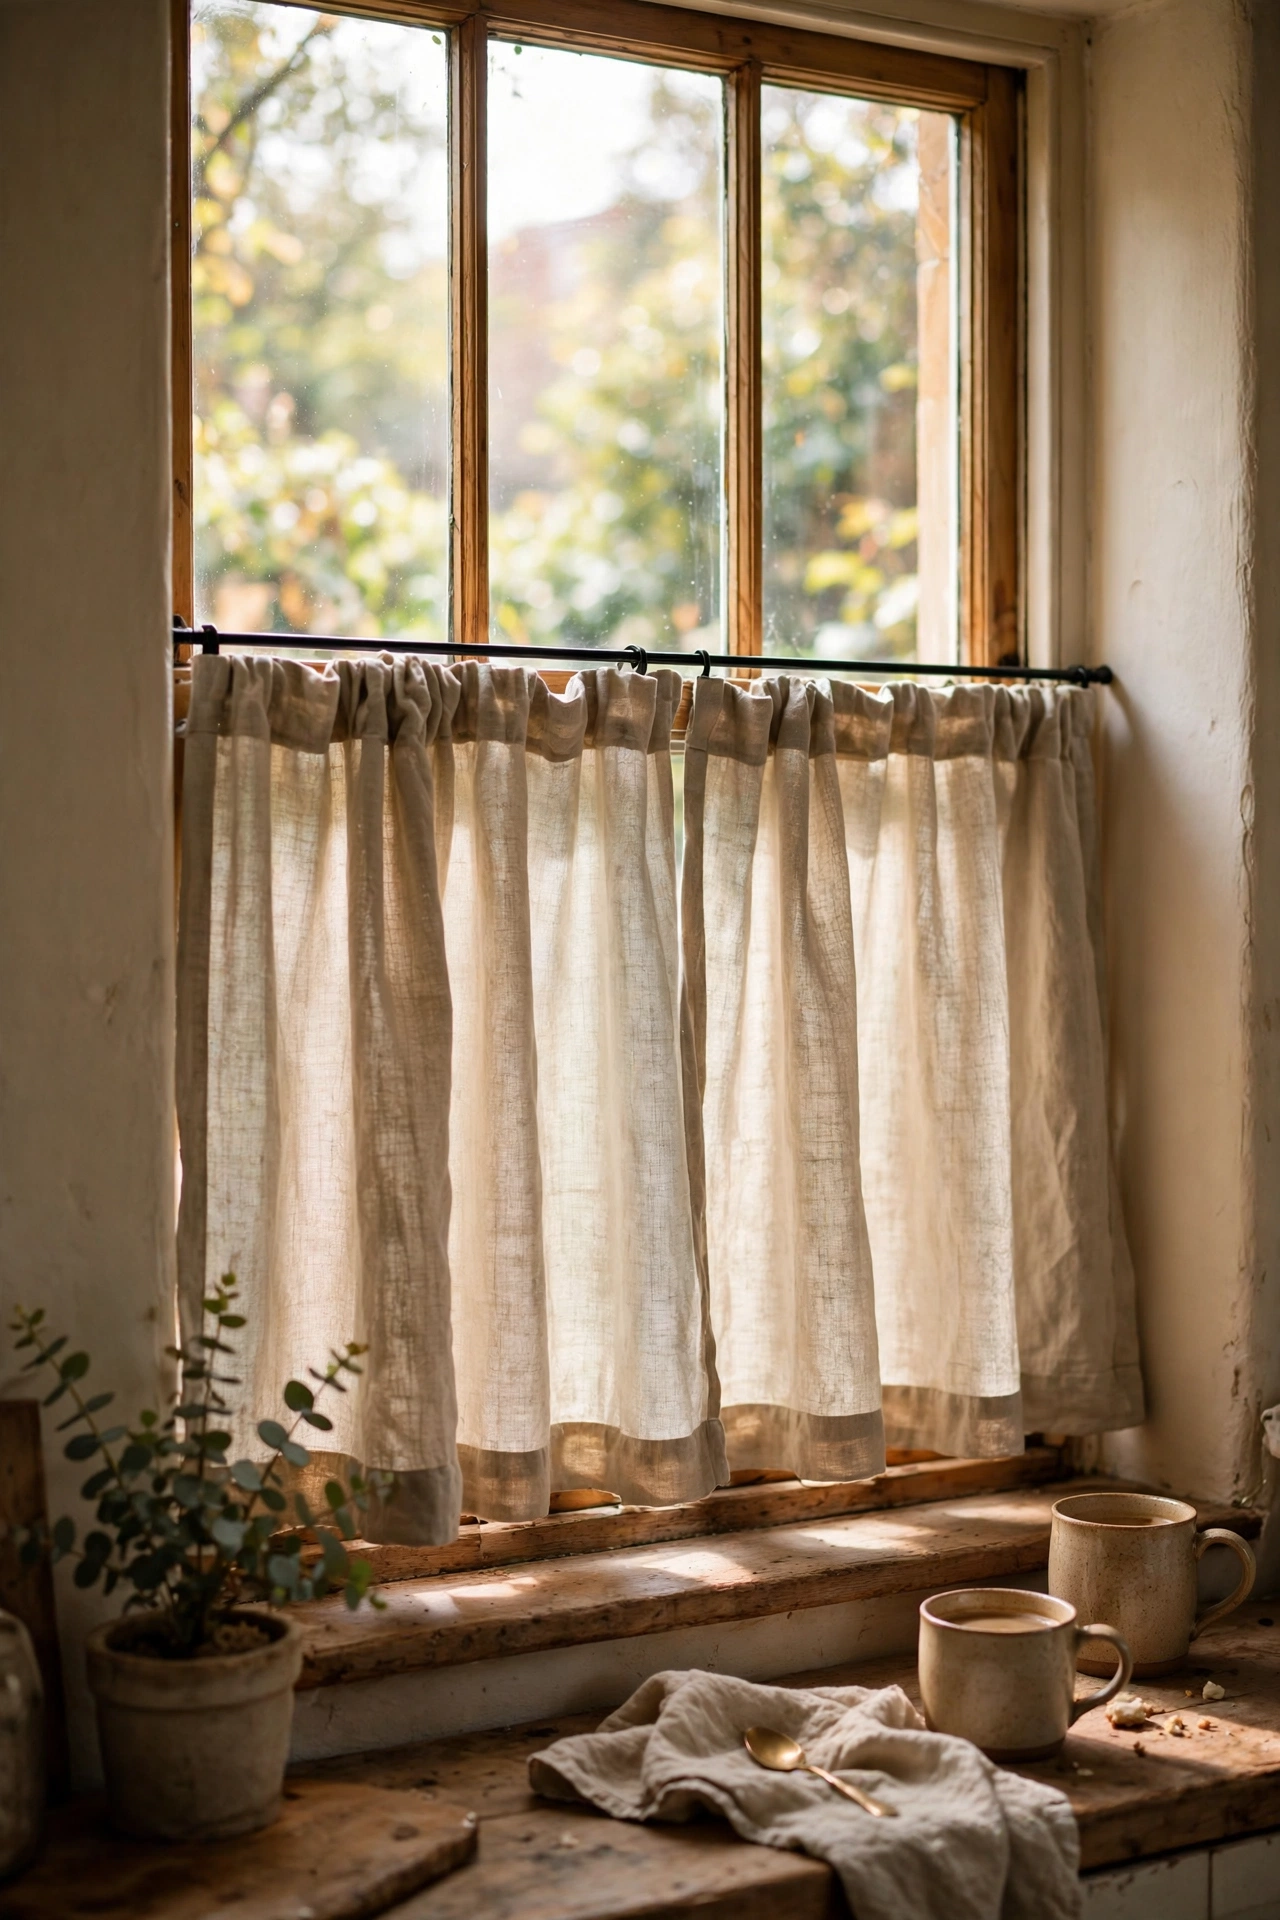
Cost callout: roughly $8 per window all in.
Cafe curtains cover only the bottom half of the window, giving you privacy where you need it while letting daylight pour in above. Mount a tension rod at the midpoint of the frame, hem a panel to sill length or just below, and hang it. This is perfect for street-facing living rooms where you want light without feeling watched. I put them in my front window and the room felt twice as bright overnight because the top half stays completely open. A simple cotton or linen-look panel works best, and the short length means one flat sheet makes two windows.
Cost: ~$8 | Time: 40 minutes
A Patterned Tablecloth Reworked as a Curtain Panel
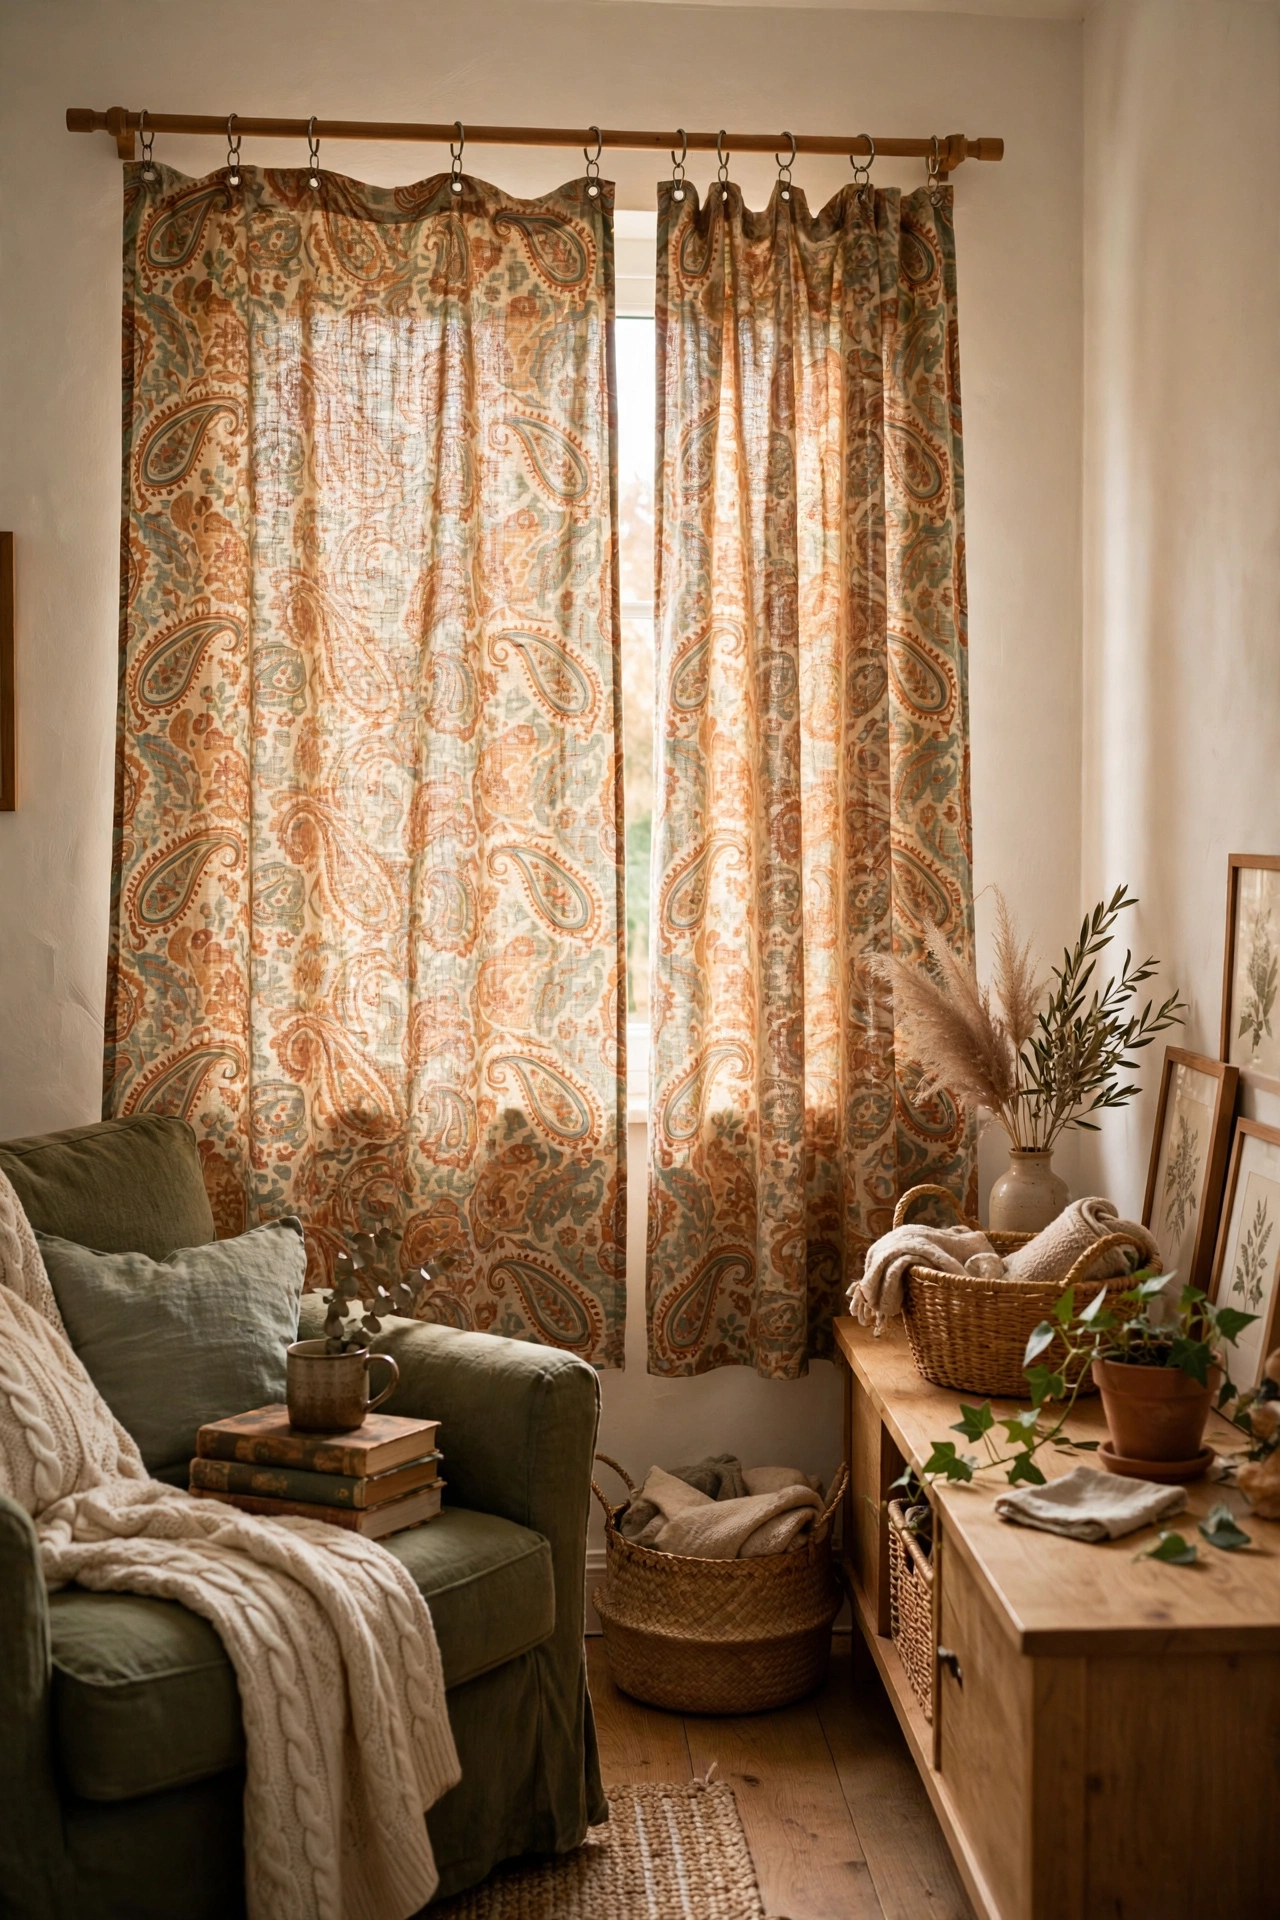
Cost callout: about $5 on the clearance rack.
Clearance tablecloths come in gorgeous patterns at a fraction of curtain fabric prices, and a rectangular one is already hemmed on all four sides. Fold the top over your rod to make a pocket, or clip on rings and hang it straight. I found a block-print-style tablecloth that picked up the exact colours in my rug, and as a curtain it looks completely intentional. Measure carefully first, tablecloths come in standard sizes so check the drop you need. This works especially well for smaller windows and adds pattern to a room without the commitment of wallpaper.
Cost: ~$5 | Time: 20 minutes
Shower Liner Clipped Behind Panels as Blackout Backing
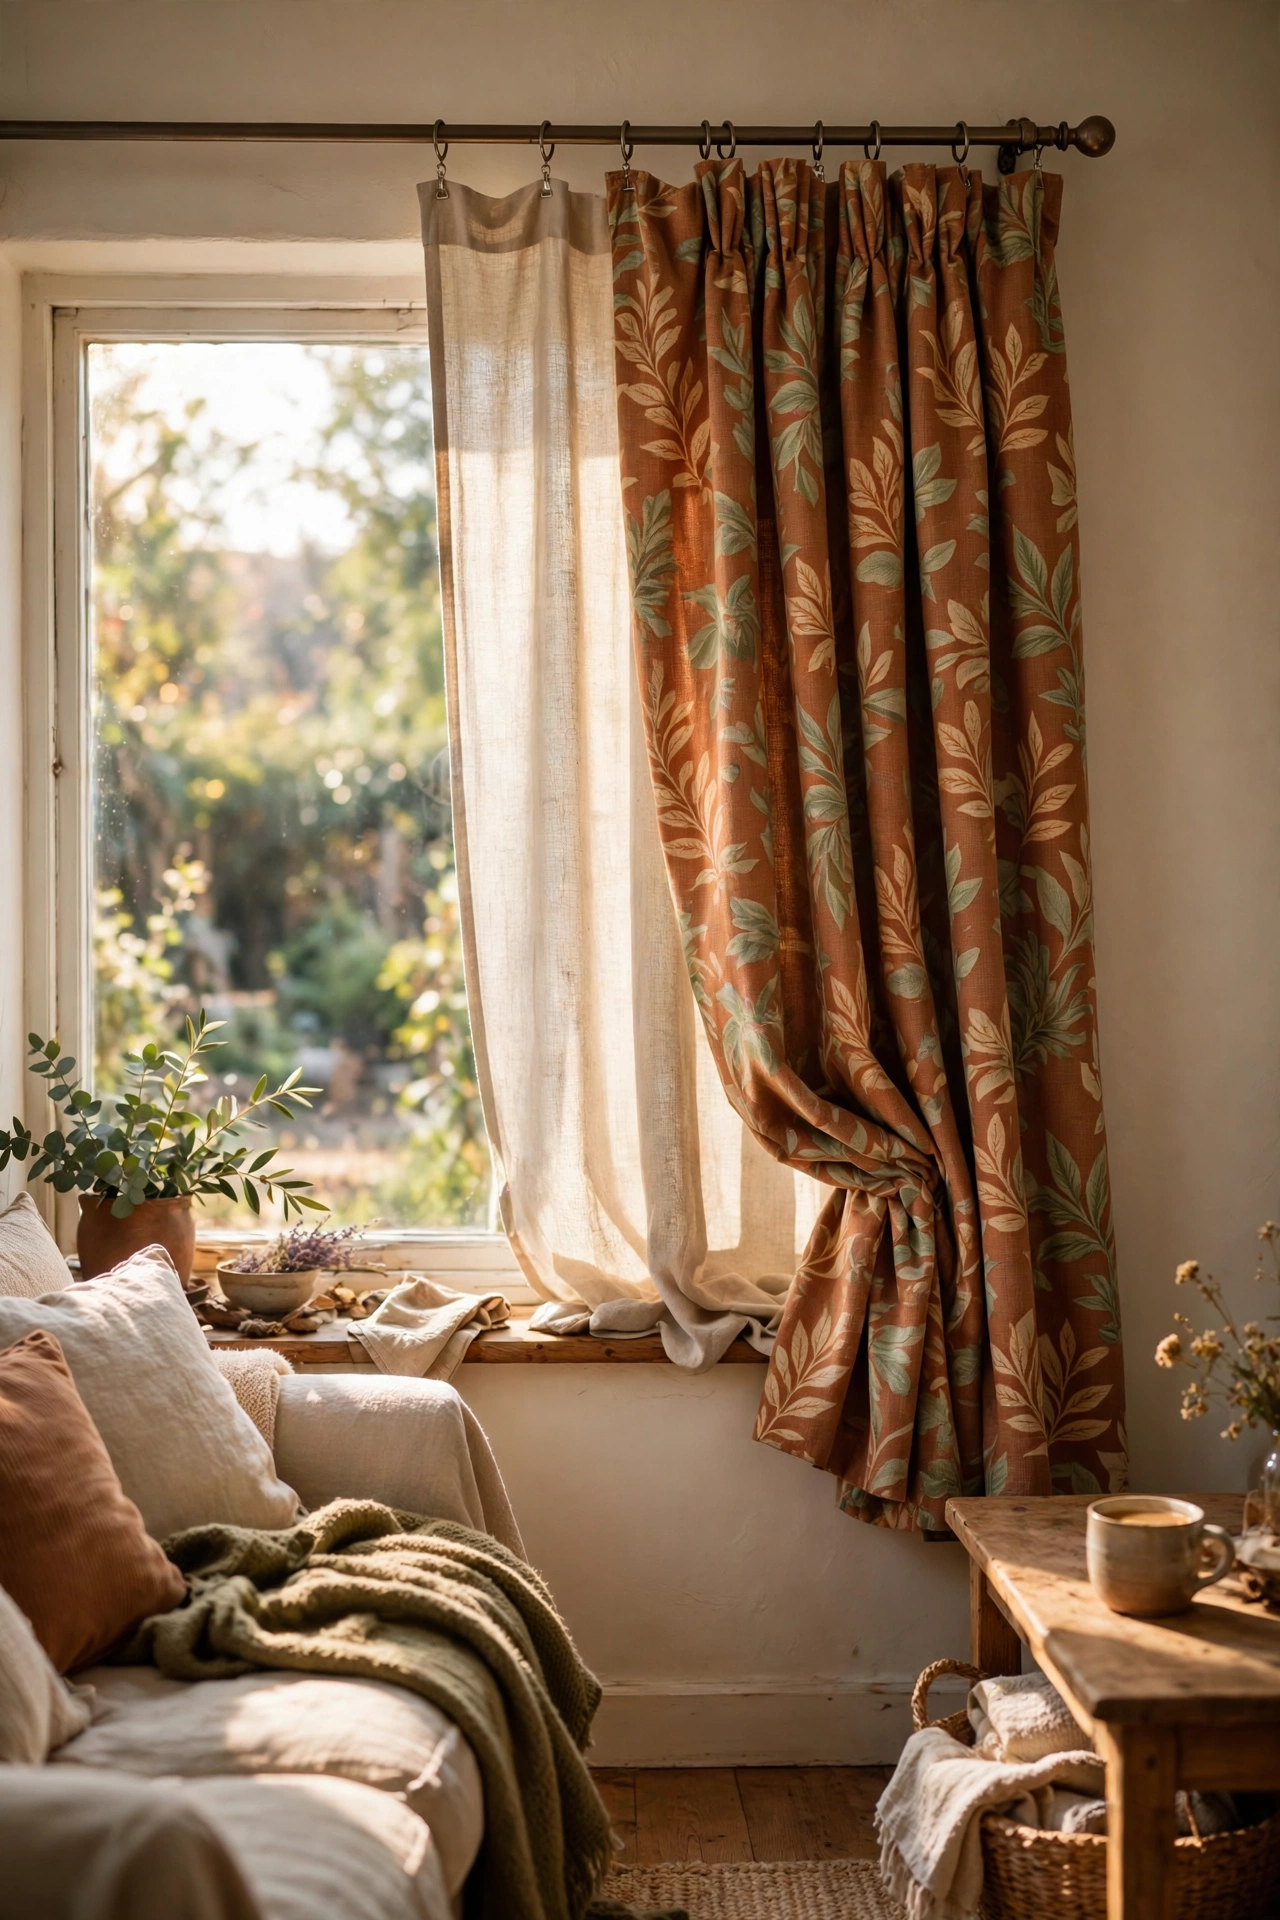
Cost callout: around $4 per window.
If you love your decorative curtains but need darkness for naps or movie nights, clip a fabric shower liner behind them. Use the same clip rings to hang the liner on the rod behind your pretty panels, and it blocks a surprising amount of light for a few pounds. I did this in my living room for afternoon films and it made a bigger difference than I expected. Choose a plain white or cream liner so nothing shows through, and make it slightly narrower than your decorative panels so it stays hidden. It’s not true blackout, but it’s close enough for most of us.
Cost: ~$4 | Time: 15 minutes
A Single Panel Swept to One Side
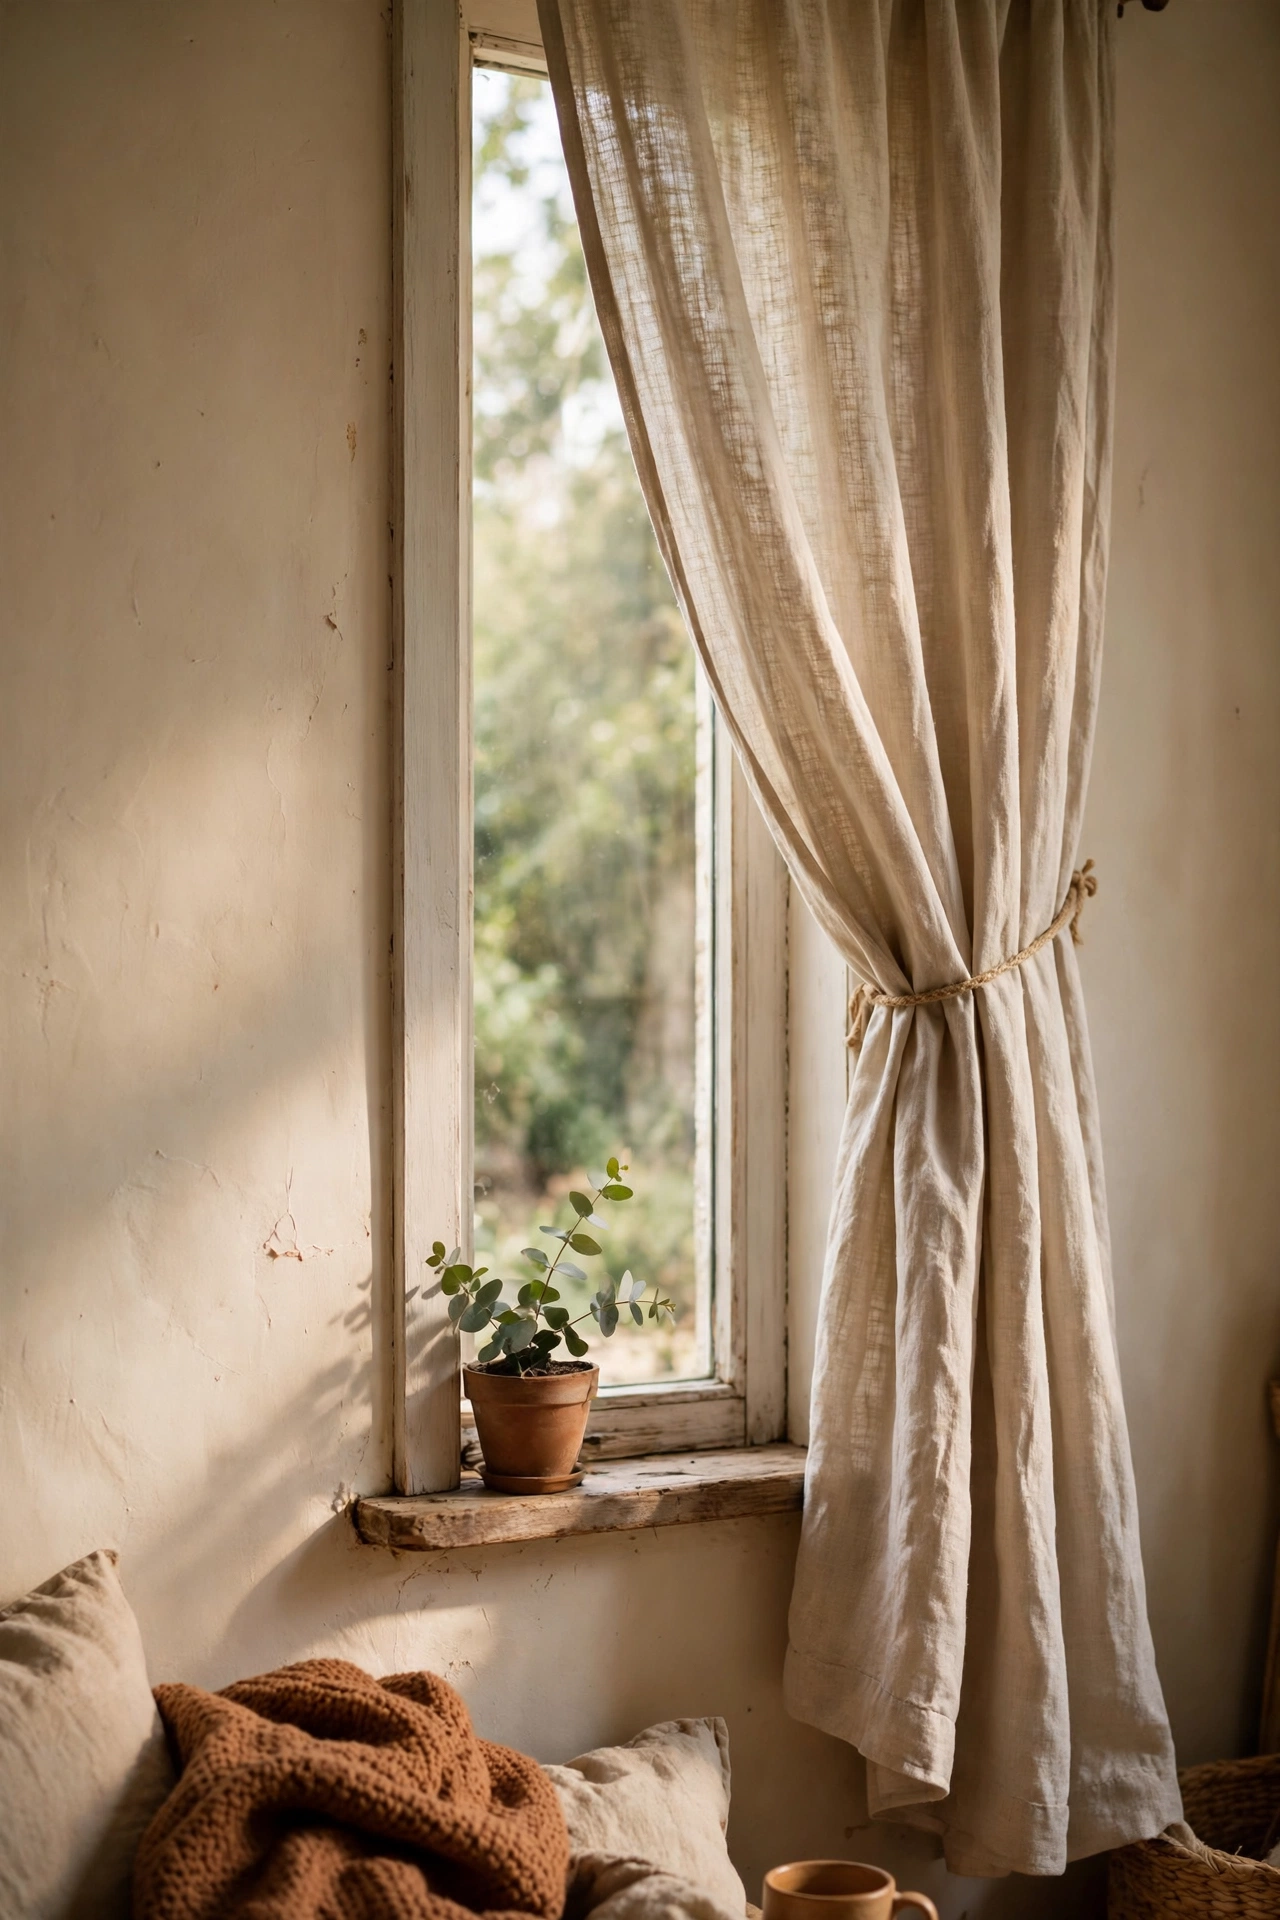
Cost callout: about $6 total, half the usual fabric.
You don’t always need a pair. Hanging a single panel and sweeping it to one side with a tieback looks modern and intentional, and it literally halves your cost. This works best on narrower windows or as an accent beside a larger treatment like blinds. I tried it on my small side window with a thrifted linen panel and it added just enough softness without overwhelming the wall. Hang the rod as usual, slide the single panel to one end, gather it loosely, and secure it with a tieback or a simple loop of twine at about two-thirds height.
Cost: ~$6 | Time: 20 minutes
Burlap Coffee Sacks Sewn Into Rustic Panels
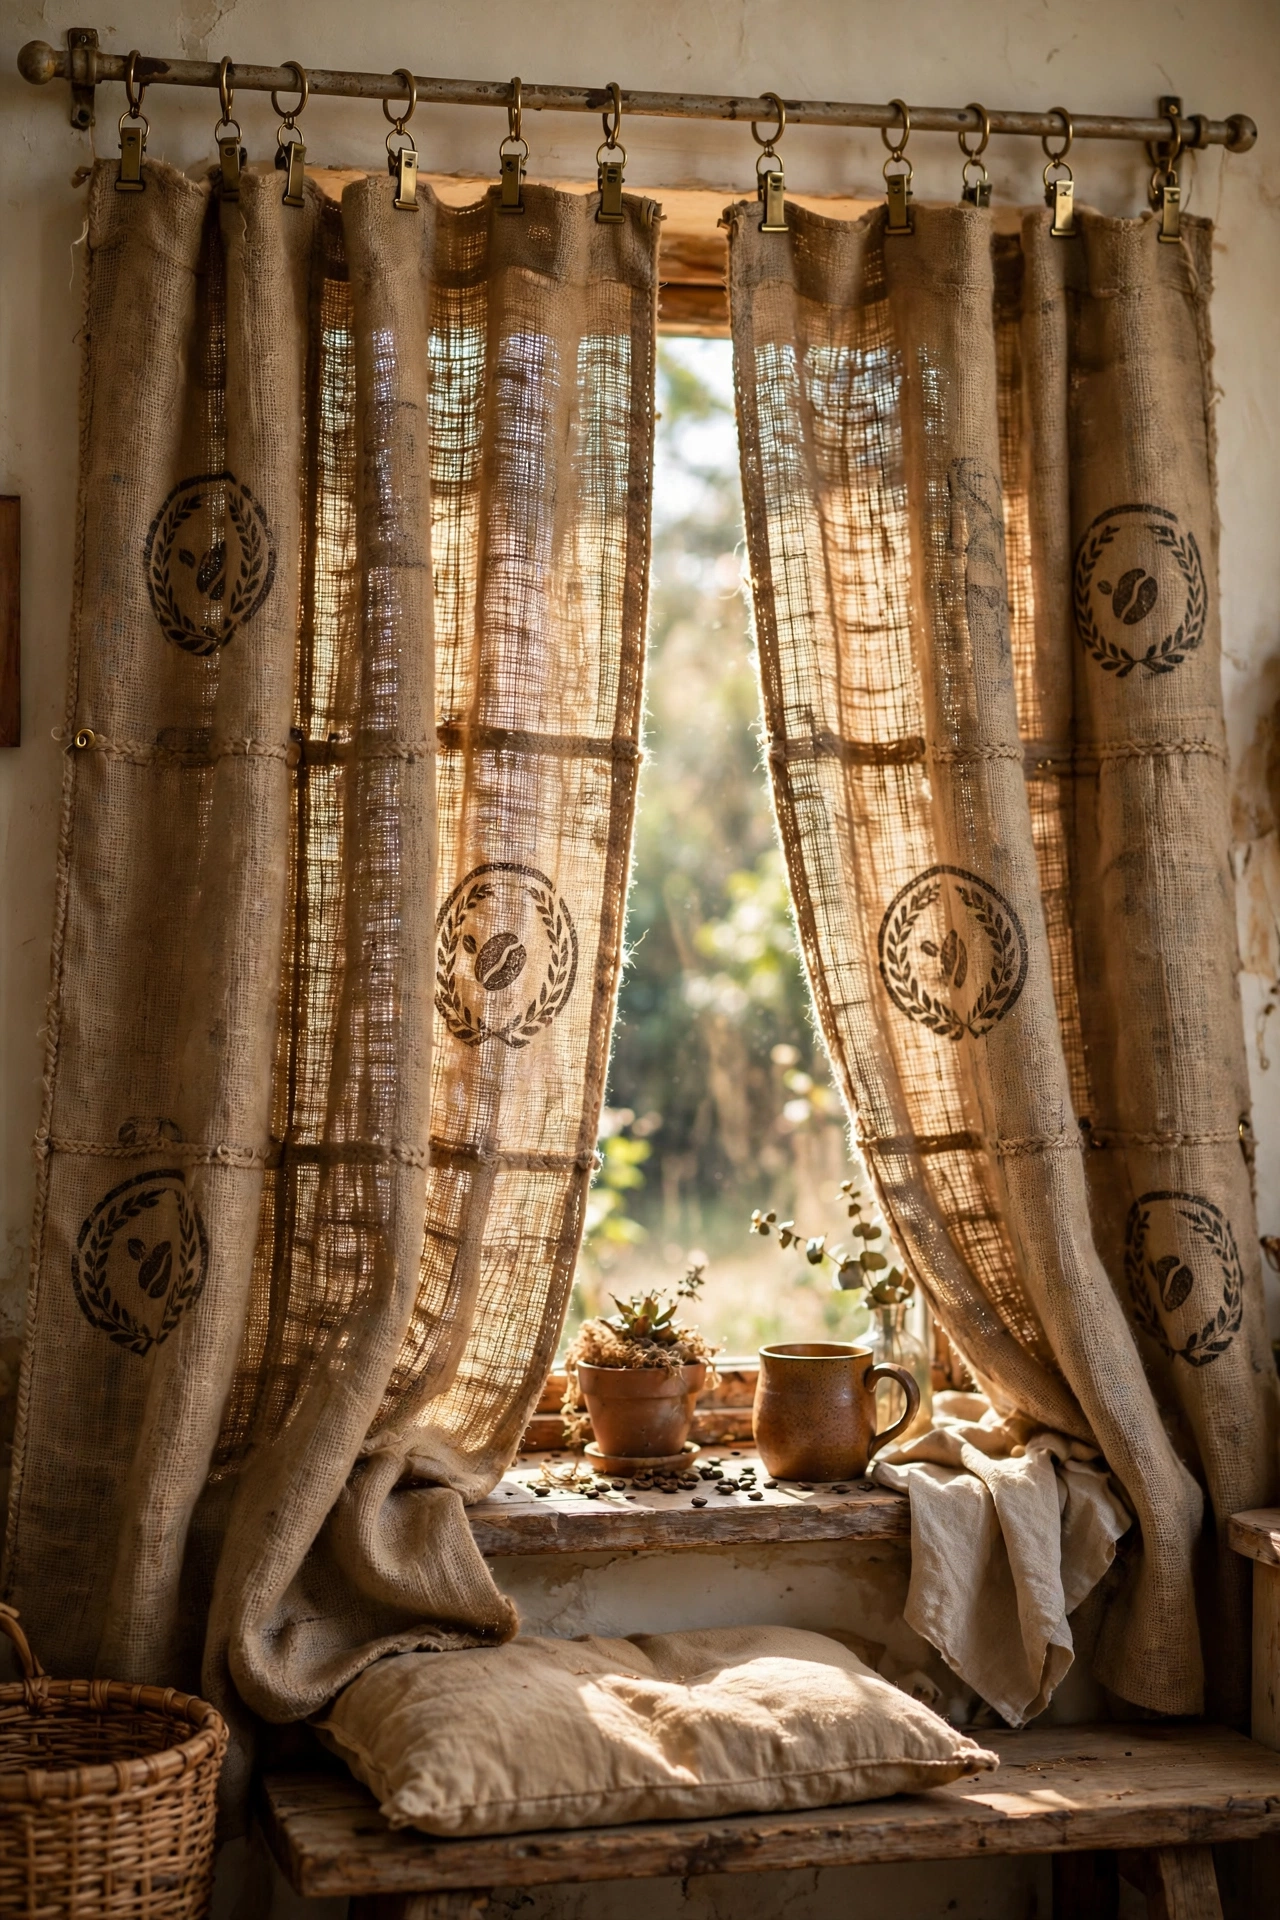
Cost callout: roughly $2 per sack from coffee roasters.
Local coffee roasters often give away or sell their empty burlap sacks for next to nothing, and they make wonderfully rustic curtains. Wash them thoroughly first, they can be dusty and carry a strong coffee smell, then cut them open along the seams to get flat panels. Hem the raw edges or leave them frayed for a farmhouse look, and hang with clip rings. I aired mine outside for two days before bringing them in, which sorted the smell completely. The printed origin stamps on the sacks become a design feature, each panel looks one of a kind.
Cost: ~$4 | Time: 1 hour plus airing time
Two-Tone Layering With Clearance-Rack Panels
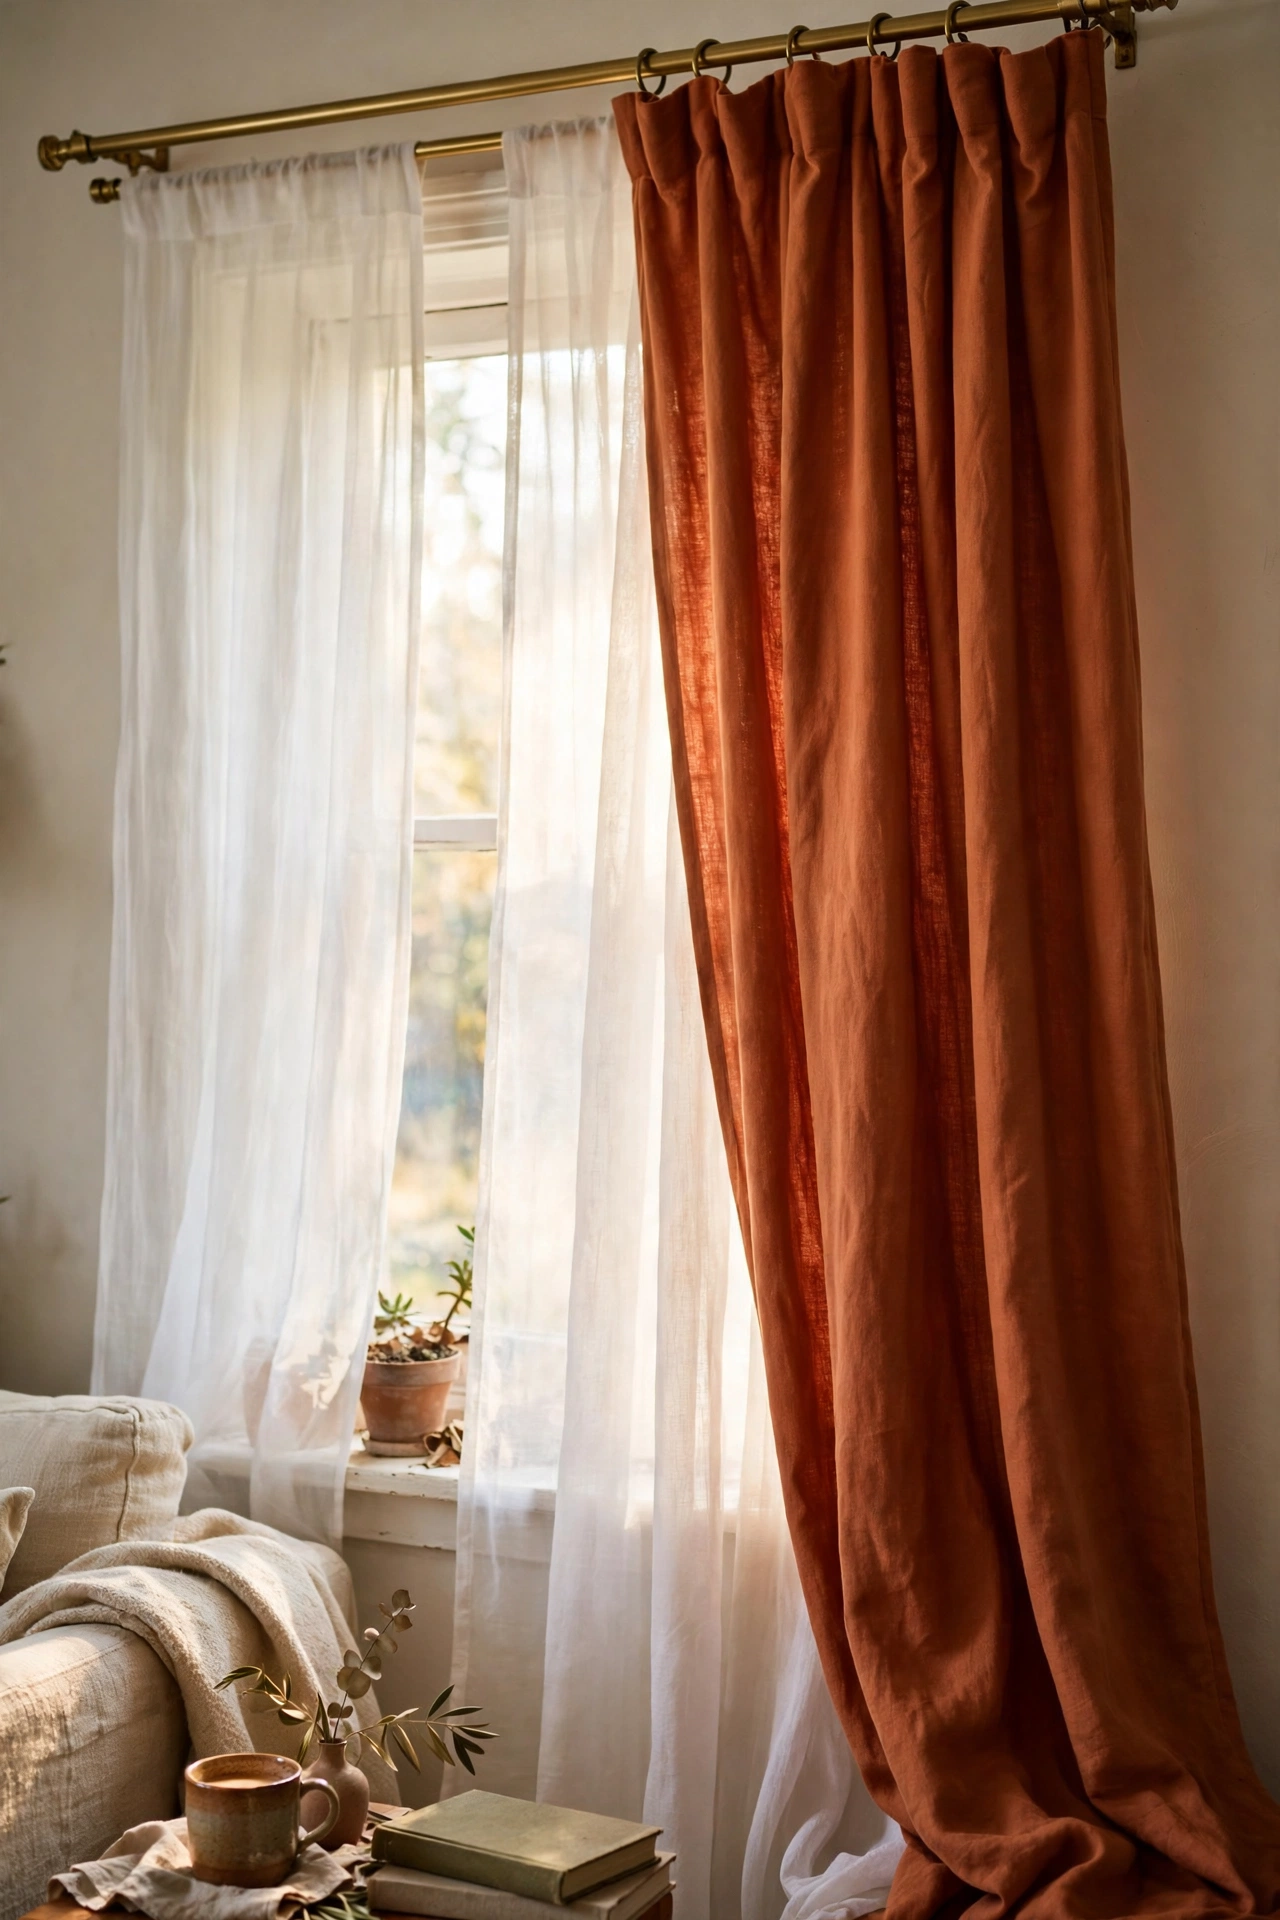
Cost callout: about $10 for the layered pair.
Layering a sheer behind a solid panel gives you the best of both worlds, privacy plus light control, and clearance racks make it cheap. Hunt the clearance section for two complementary panels, a white sheer and a coloured solid work beautifully. Hang them on a double rod, or cheat with two tension rods one behind the other. I layered a $4 sheer behind a $6 clearance solid in my bedroom first, then copied the trick for the living room because guests kept complimenting it. Keep the sheer closed during the day for soft light, then draw the solid at night for privacy.
Cost: ~$10 | Time: 30 minutes
More ideas you’ll like: (see also: 23-small-living-room-ideas-to-make-every-inch-count) and (see also: 21-living-room-decor-ideas-under-50-that-dont-look-cheap).
Spotted a favourite? Save this idea to your Pinterest board so you can find it when the measuring tape comes out.
