15 Sage Green Living Room Decor Ideas on a Budget
Sage green living room decor snuck up on me. I had planned a plain gray refresh for my rental living room, then I spotted a $9 sage green throw pillow at a flea market and the whole plan changed. Within a month, sage had taken over my sofa, my bookshelf, and one very brave accent wall, and my gray-beige box finally felt like a home.
This list is every budget trick I used and a few I wish I had known sooner. None of these ideas cost more than $35, and most sit under $15. I have noted what I paid, how long each took, and where I messed up so you can skip my mistakes. By idea 15 your room will read calm, collected, and quietly green.
1. Sage Green Accent Wall Paint
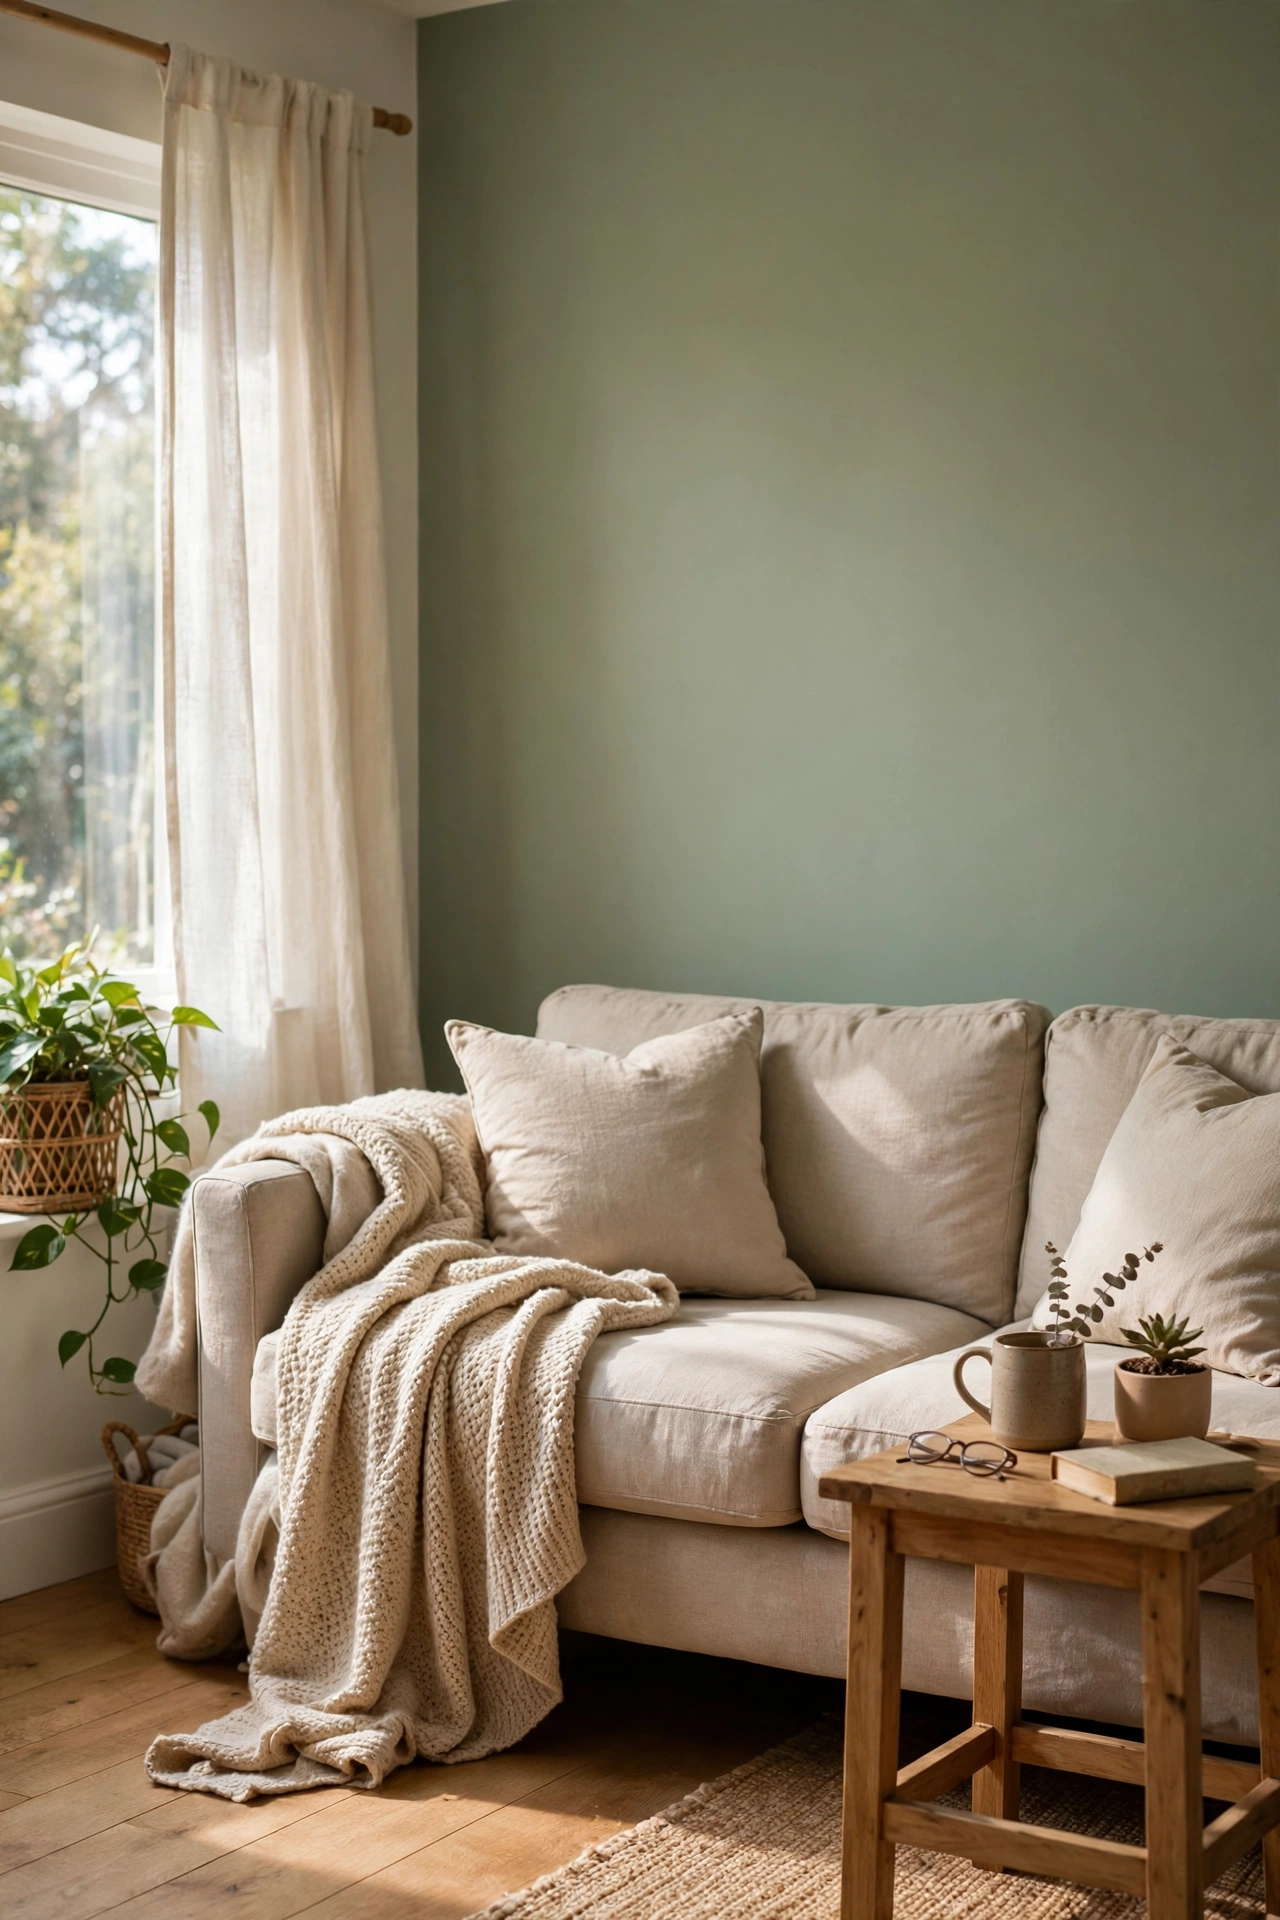
One wall of sage green paint behind your sofa does the heavy lifting of an entire room makeover. I bought a quart of sage paint in the hardware store’s mistint section for $7, and one wall took me under two hours with a roller and an angled brush for the edges. Paint in a W pattern, do two thin coats, and cut in carefully around the trim. The gray undertone of sage keeps it from reading like a kid’s bedroom. My roommate walked in and asked if I had bought new furniture. That is the power of one painted wall.
Cost: ~$7-15 | Time: 2 hours
2. Sage Linen Throw Pillow Covers
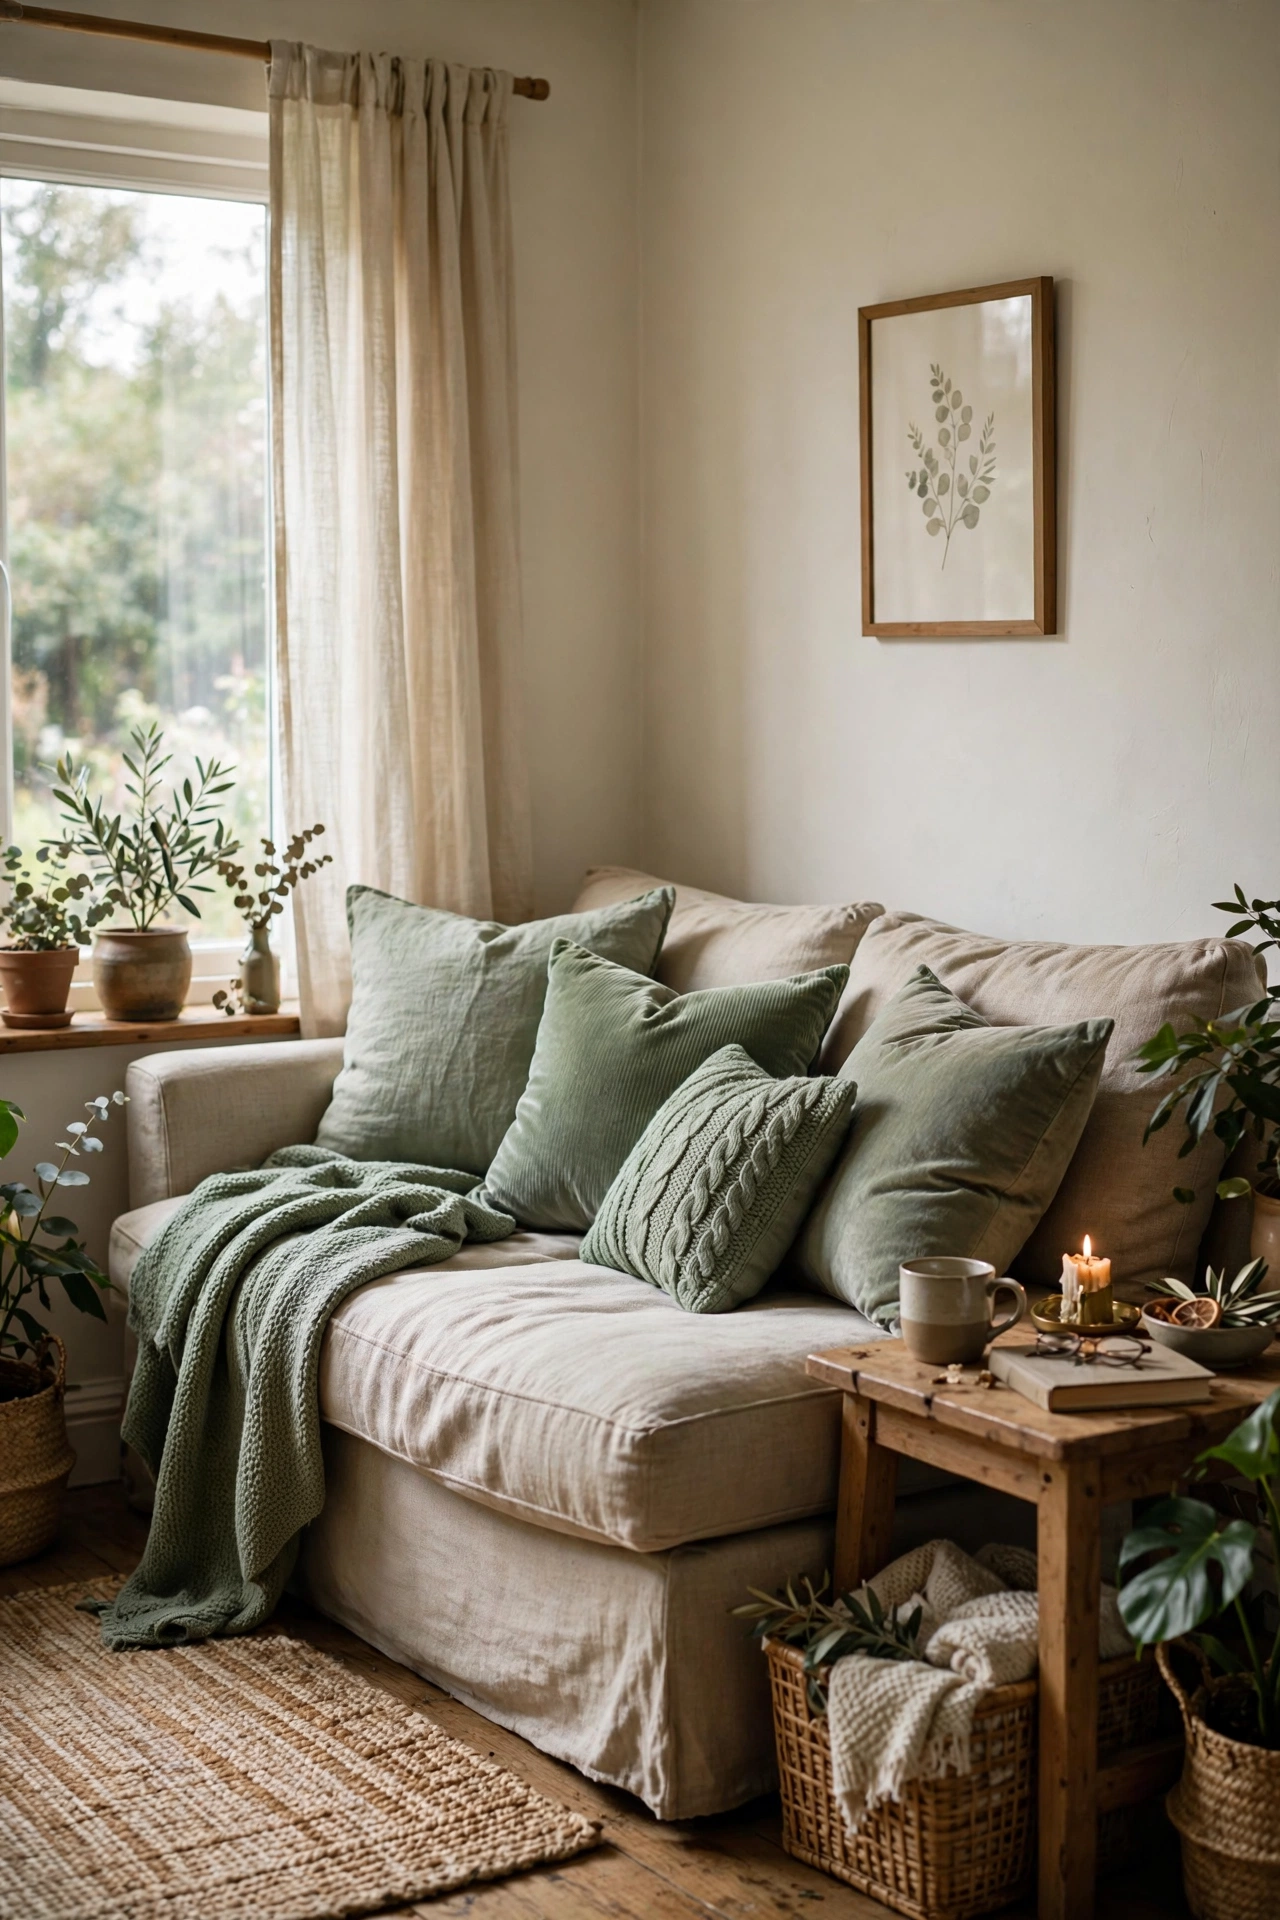
Swapping pillow covers is the fastest way to test sage without committing to anything. I ordered four sage linen-look covers for $16 total, stuffed them with the inserts I already had, and my sofa looked intentional in ten minutes. Mix two textures, like a woven sage with a smooth sage velvet, so the grouping reads layered instead of flat. Karate-chop the tops for that styled look everyone pins. My mistake the first time was buying four identical covers, and the sofa looked like a uniform. Two textures fixed it instantly.
Cost: ~$14-20 | Time: 10 minutes
3. Thrifted Armchair with a Sage Slipcover
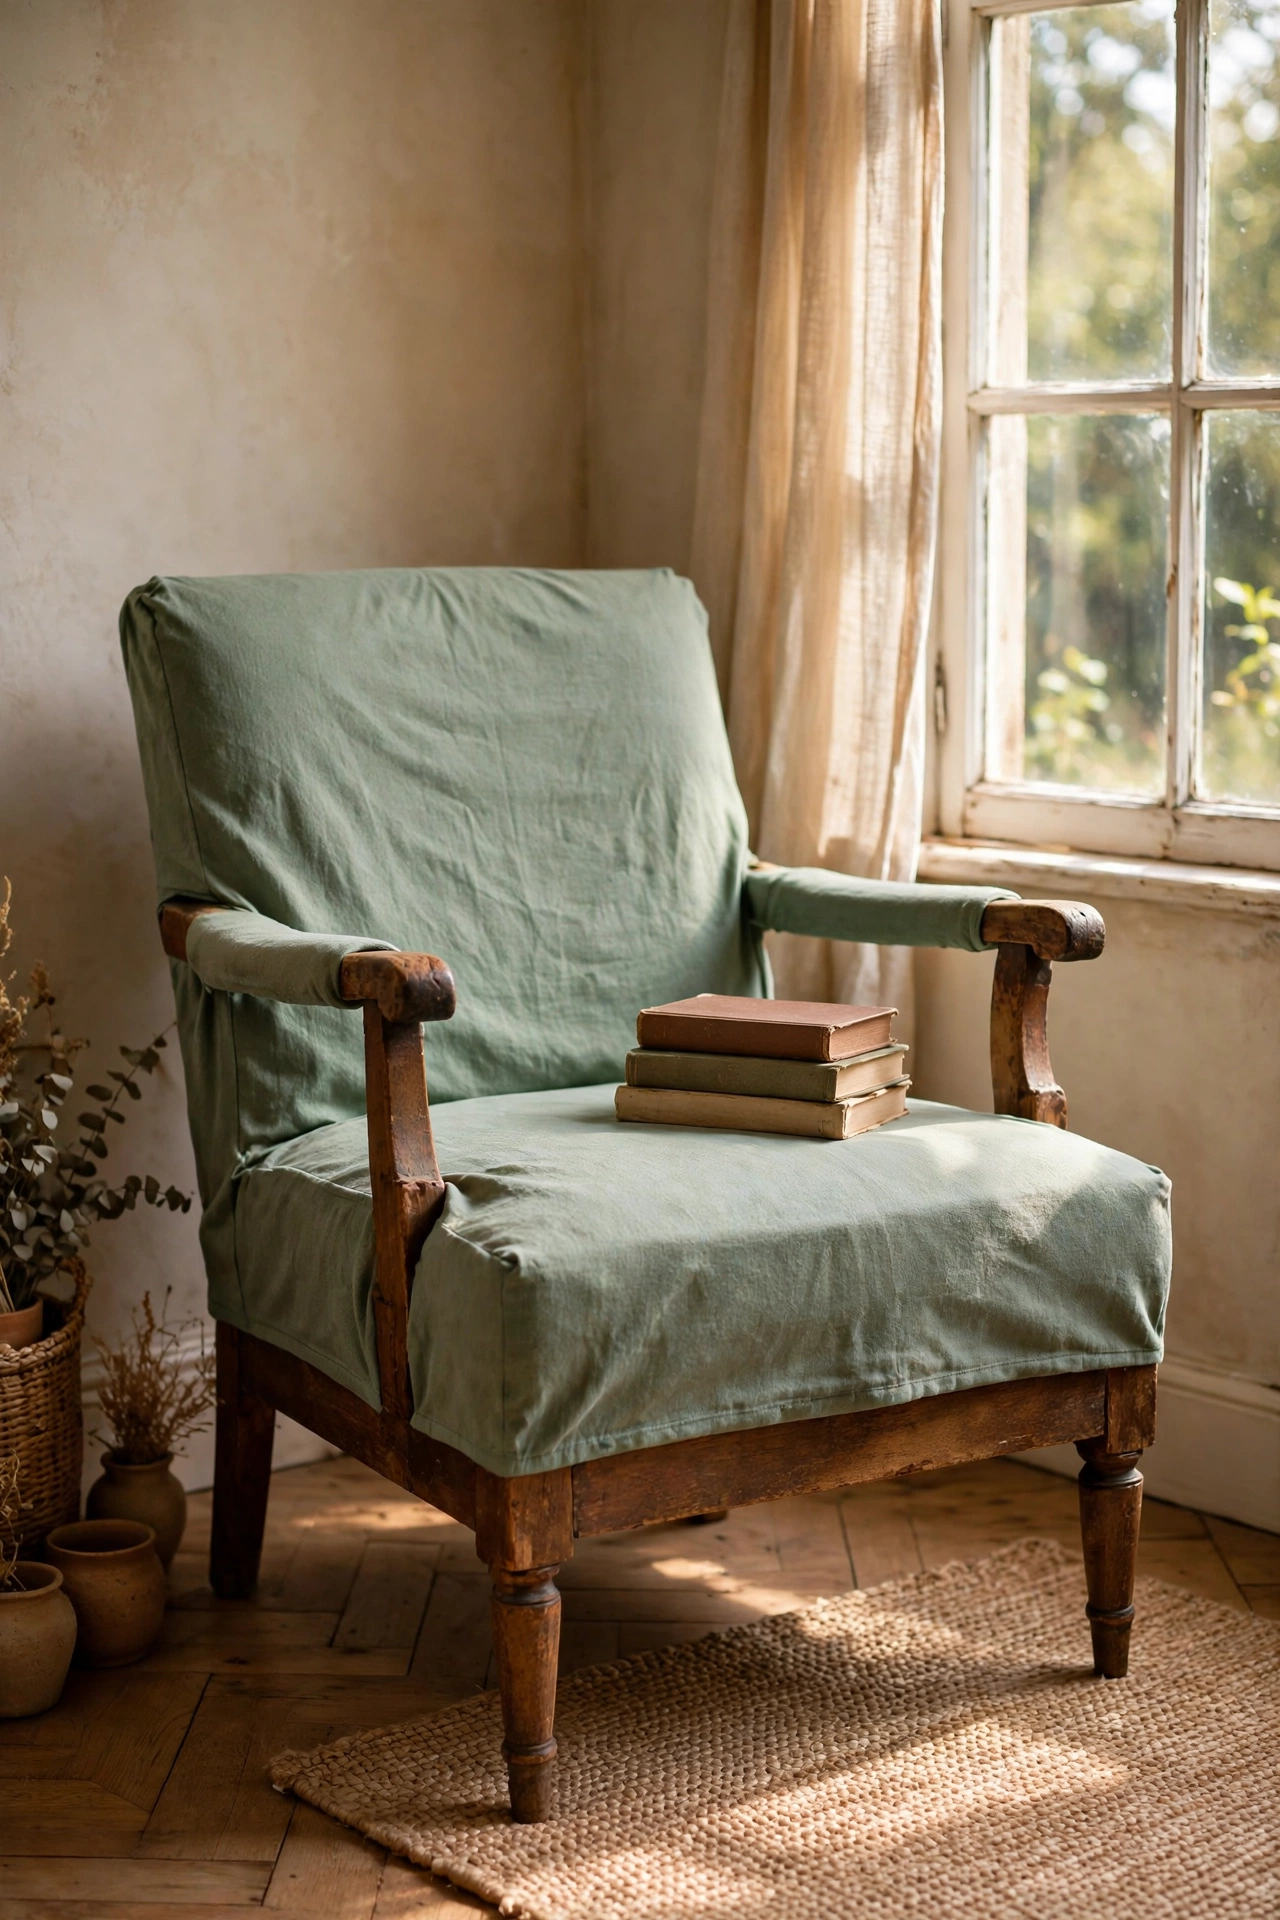
Thrift stores are full of solid armchairs with ugly upholstery, and a sage slipcover turns any of them into a keeper. I found a sturdy wooden-arm chair for $12, scrubbed the frame, and pulled a $24 sage stretch slipcover over it in about twenty minutes. Tuck the excess deep into the seat crevices with a wooden spoon handle so it reads tailored, not baggy. Sit in it before you buy, because thrift chairs hide saggy springs. Mine has survived two years of daily reading sessions and one washing, and it still looks brand new.
Cost: ~$30-40 | Time: 45 minutes
4. Layered Sage and Cream Area Rug
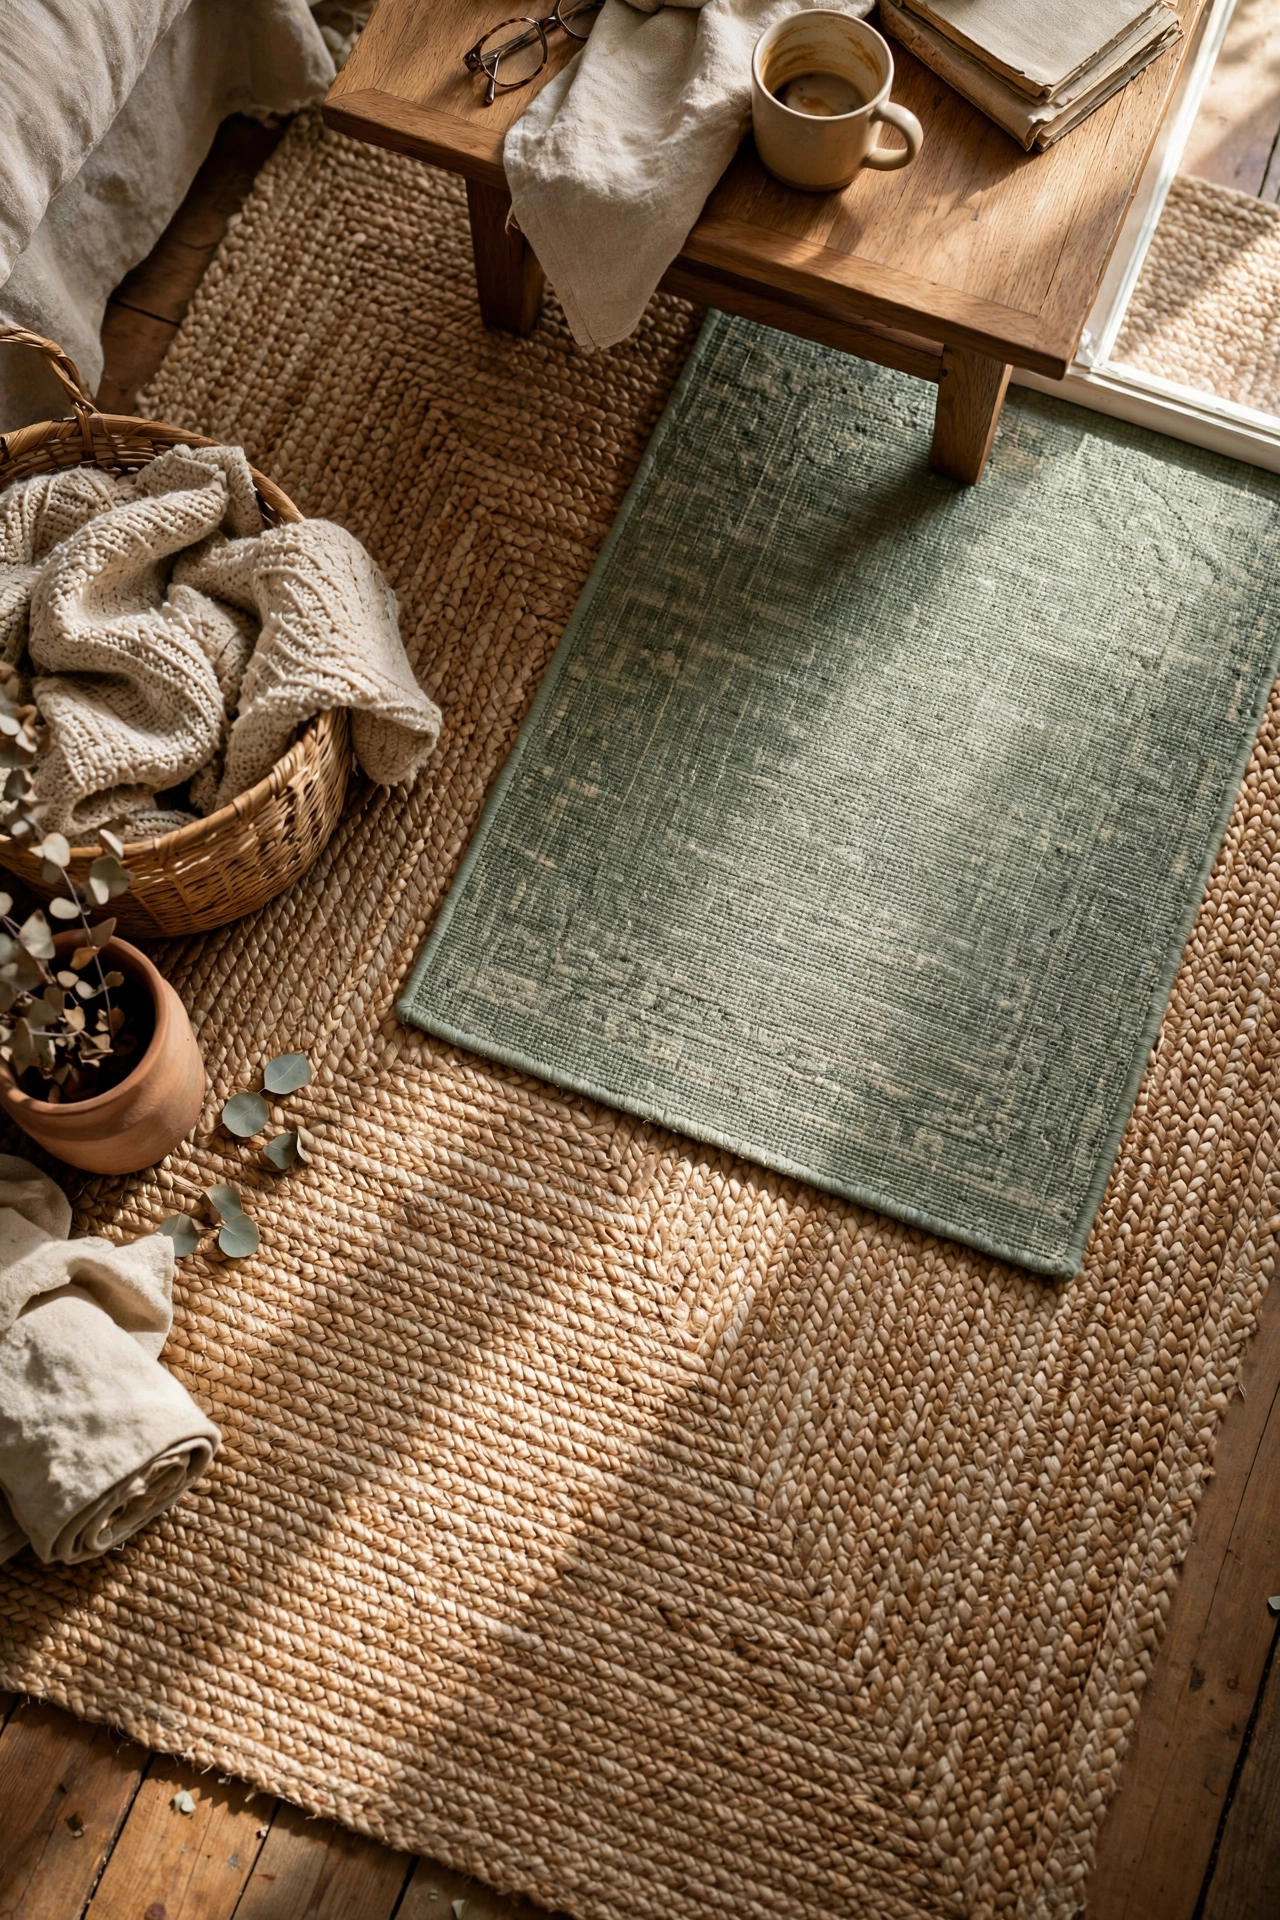
Layering a small sage rug over a larger neutral one adds color at floor level without the price of a full-size patterned rug. I layered a $28 3×5 sage flatweave over the jute rug I already owned, set slightly off-center for a relaxed look. The trick is contrasting textures, since two rugs with the same pile look like a mistake instead of a style choice. Vacuum both layers before stacking so nothing bunches underneath. My layered corner gets more compliments than any other spot in the room, and it cost less than a takeout dinner for two.
Cost: ~$25-30 | Time: 20 minutes
5. Painted Sage Side Table
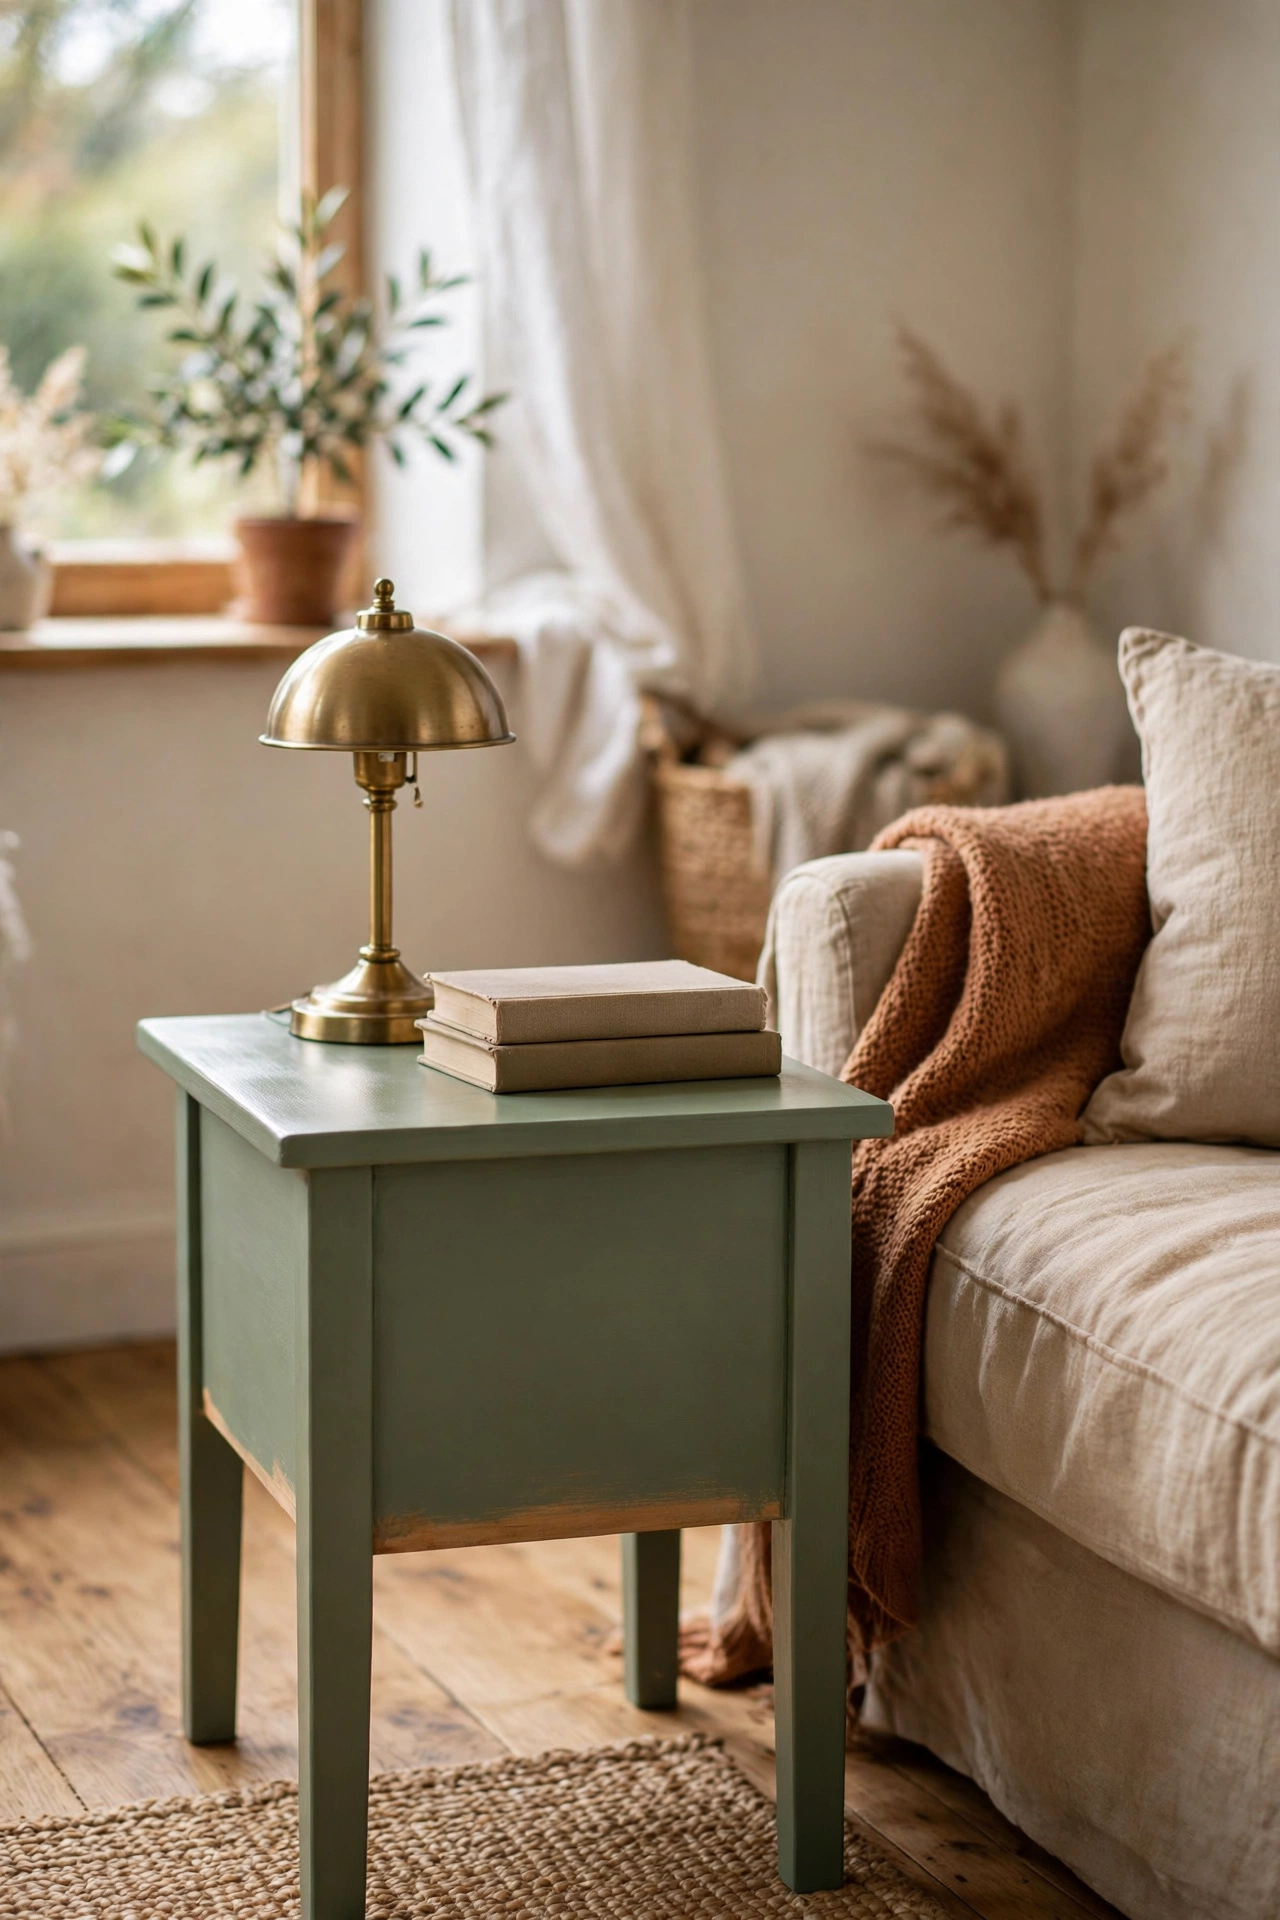
That scratched wood side table everyone owns looks custom with a coat of sage paint. I sanded mine lightly with 120-grit paper, wiped it down, and brushed on two coats of sage satin paint from a $10 sample quart. Satin finish matters here, because flat shows fingerprints and gloss looks plasticky. Let it cure overnight before you set a lamp on it, since paint feels dry long before it is hard. I styled mine with a small brass lamp, and guests keep assuming the table came from a boutique. Total spend was under fifteen dollars.
Cost: ~$10-15 | Time: 2 hours plus drying
6. Sage Velvet Curtain Panels
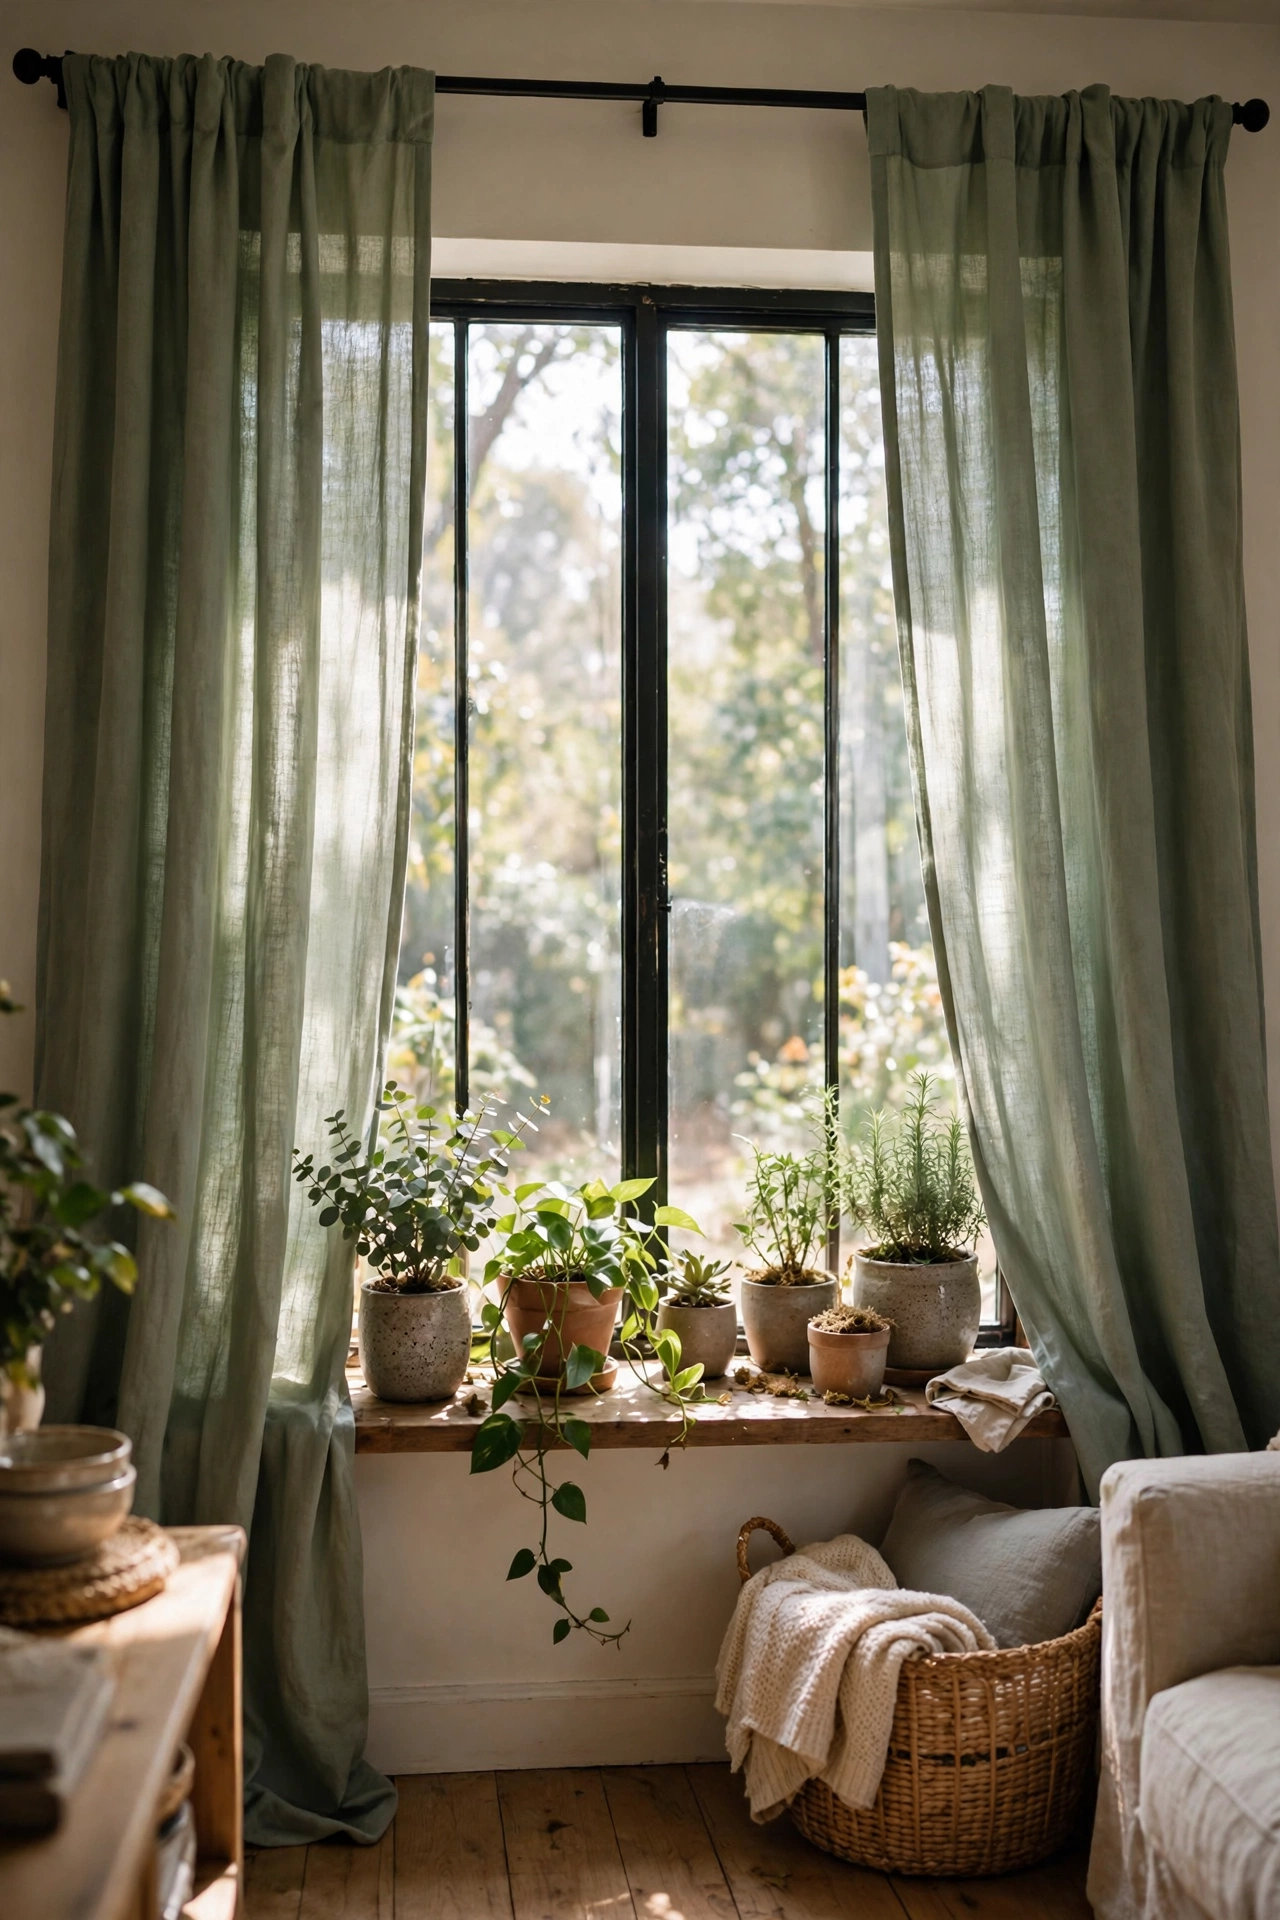
Sage curtains frame your windows in color and make the whole room feel pulled together. I bought two sage panels on clearance for $22 total and hung the rod four inches above the window frame and six inches wider on each side, which makes windows look dramatically bigger. Steam or iron the panels before hanging, because wrinkles are what make budget curtains look cheap. Mine hung wrinkled for a week and I kept blaming the color. Ten minutes with a steamer changed everything, and now the sage frames my view like art.
Cost: ~$20-25 | Time: 45 minutes
7. DIY Sage Abstract Canvas Art
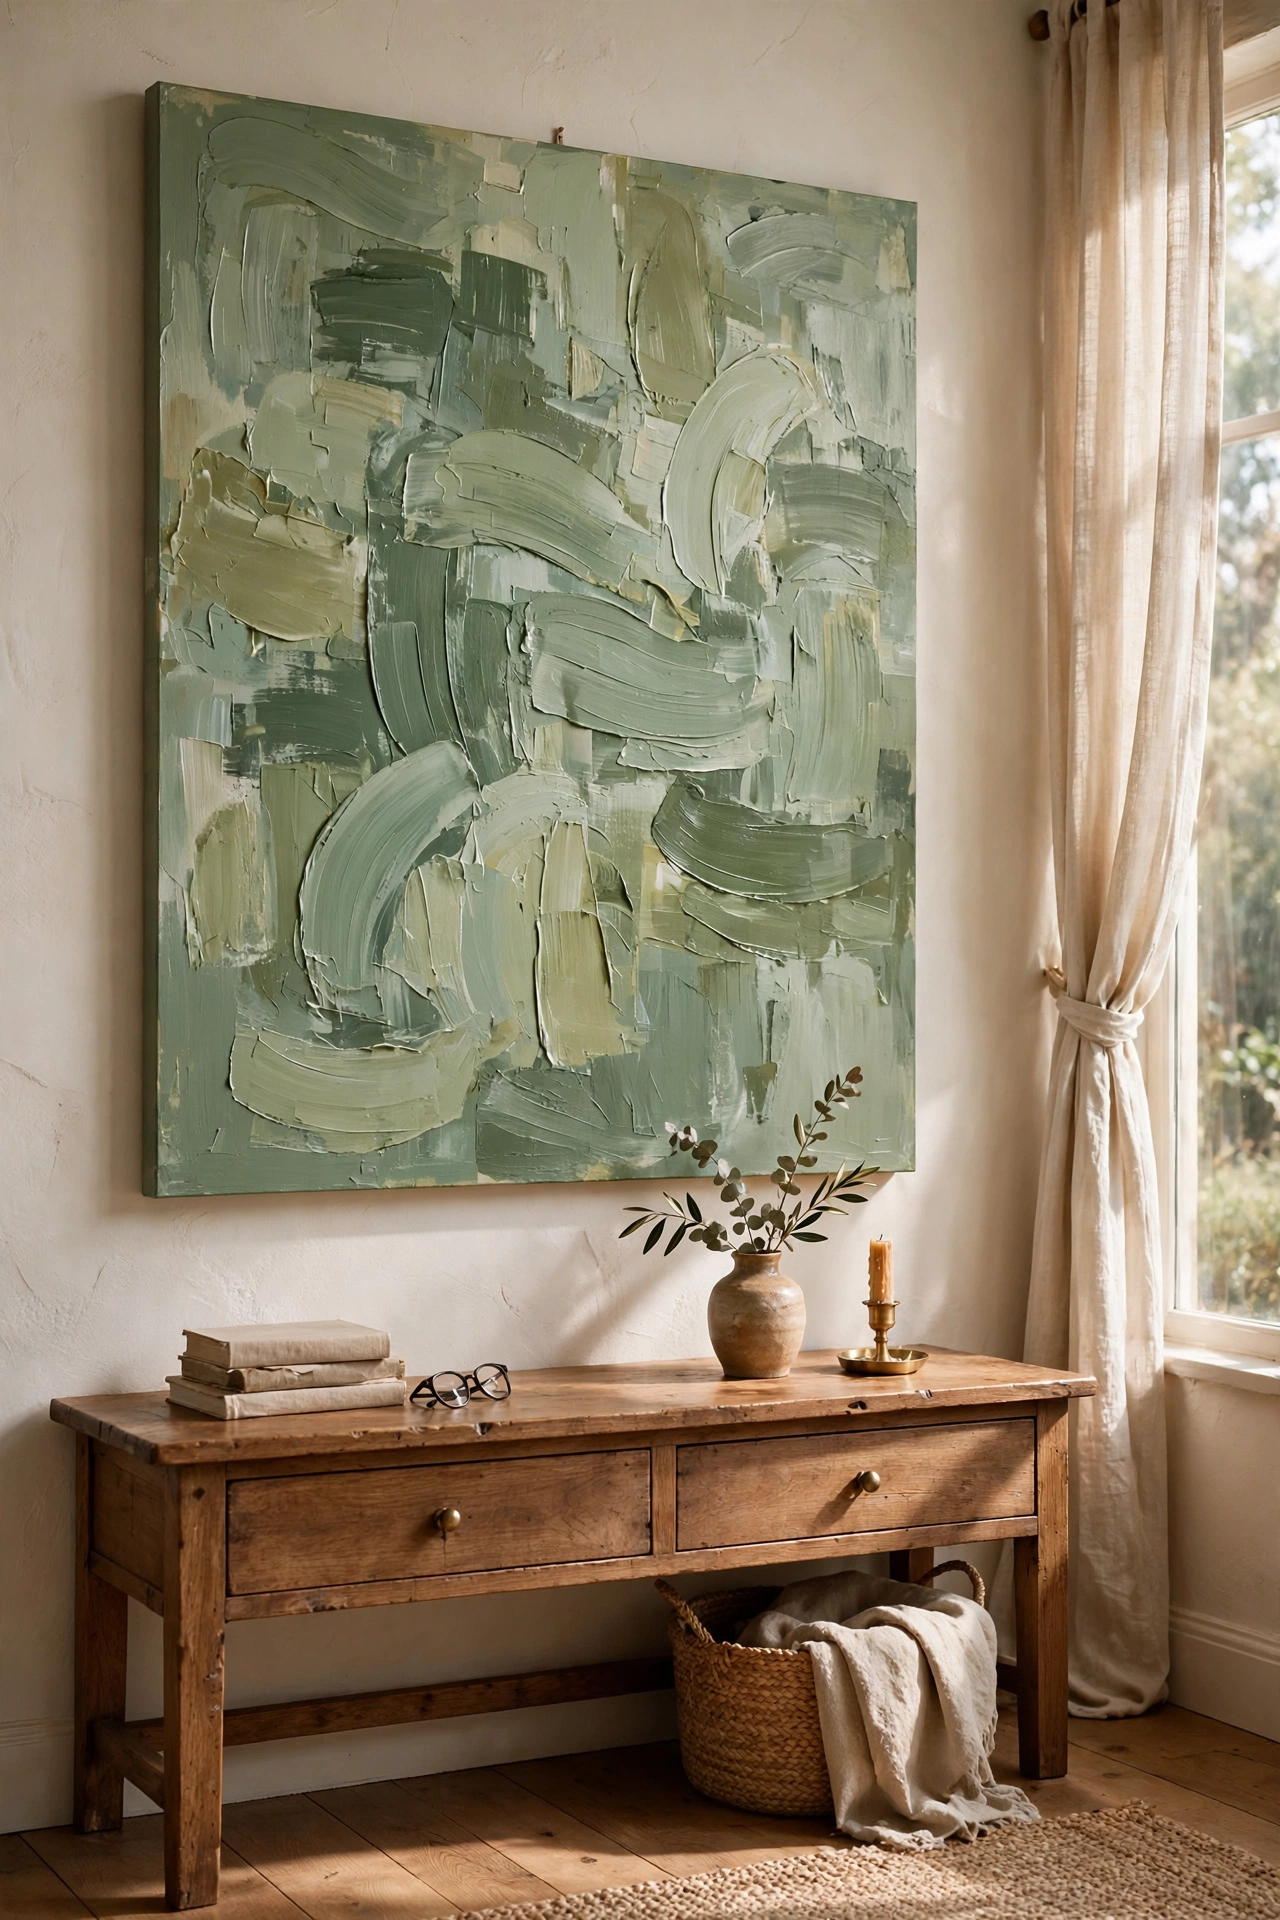
Big sage art for under ten dollars is real if you paint it yourself. I bought a large blank canvas on sale for $8, mixed leftover sage wall paint with white to make three tones, and brushed on loose horizontal strokes with a dry brush. Imperfect is the whole point, since abstract work looks better when it is not fussy. Hang it slightly above eye level over the sofa or console. I was nervous about my total lack of painting skill, but dry-brush strokes are forgiving. Mine looks like something from a gallery wall roundup, and nobody believes I made it.
Cost: ~$8-12 | Time: 1 hour
8. Sage Throw Blanket Drape
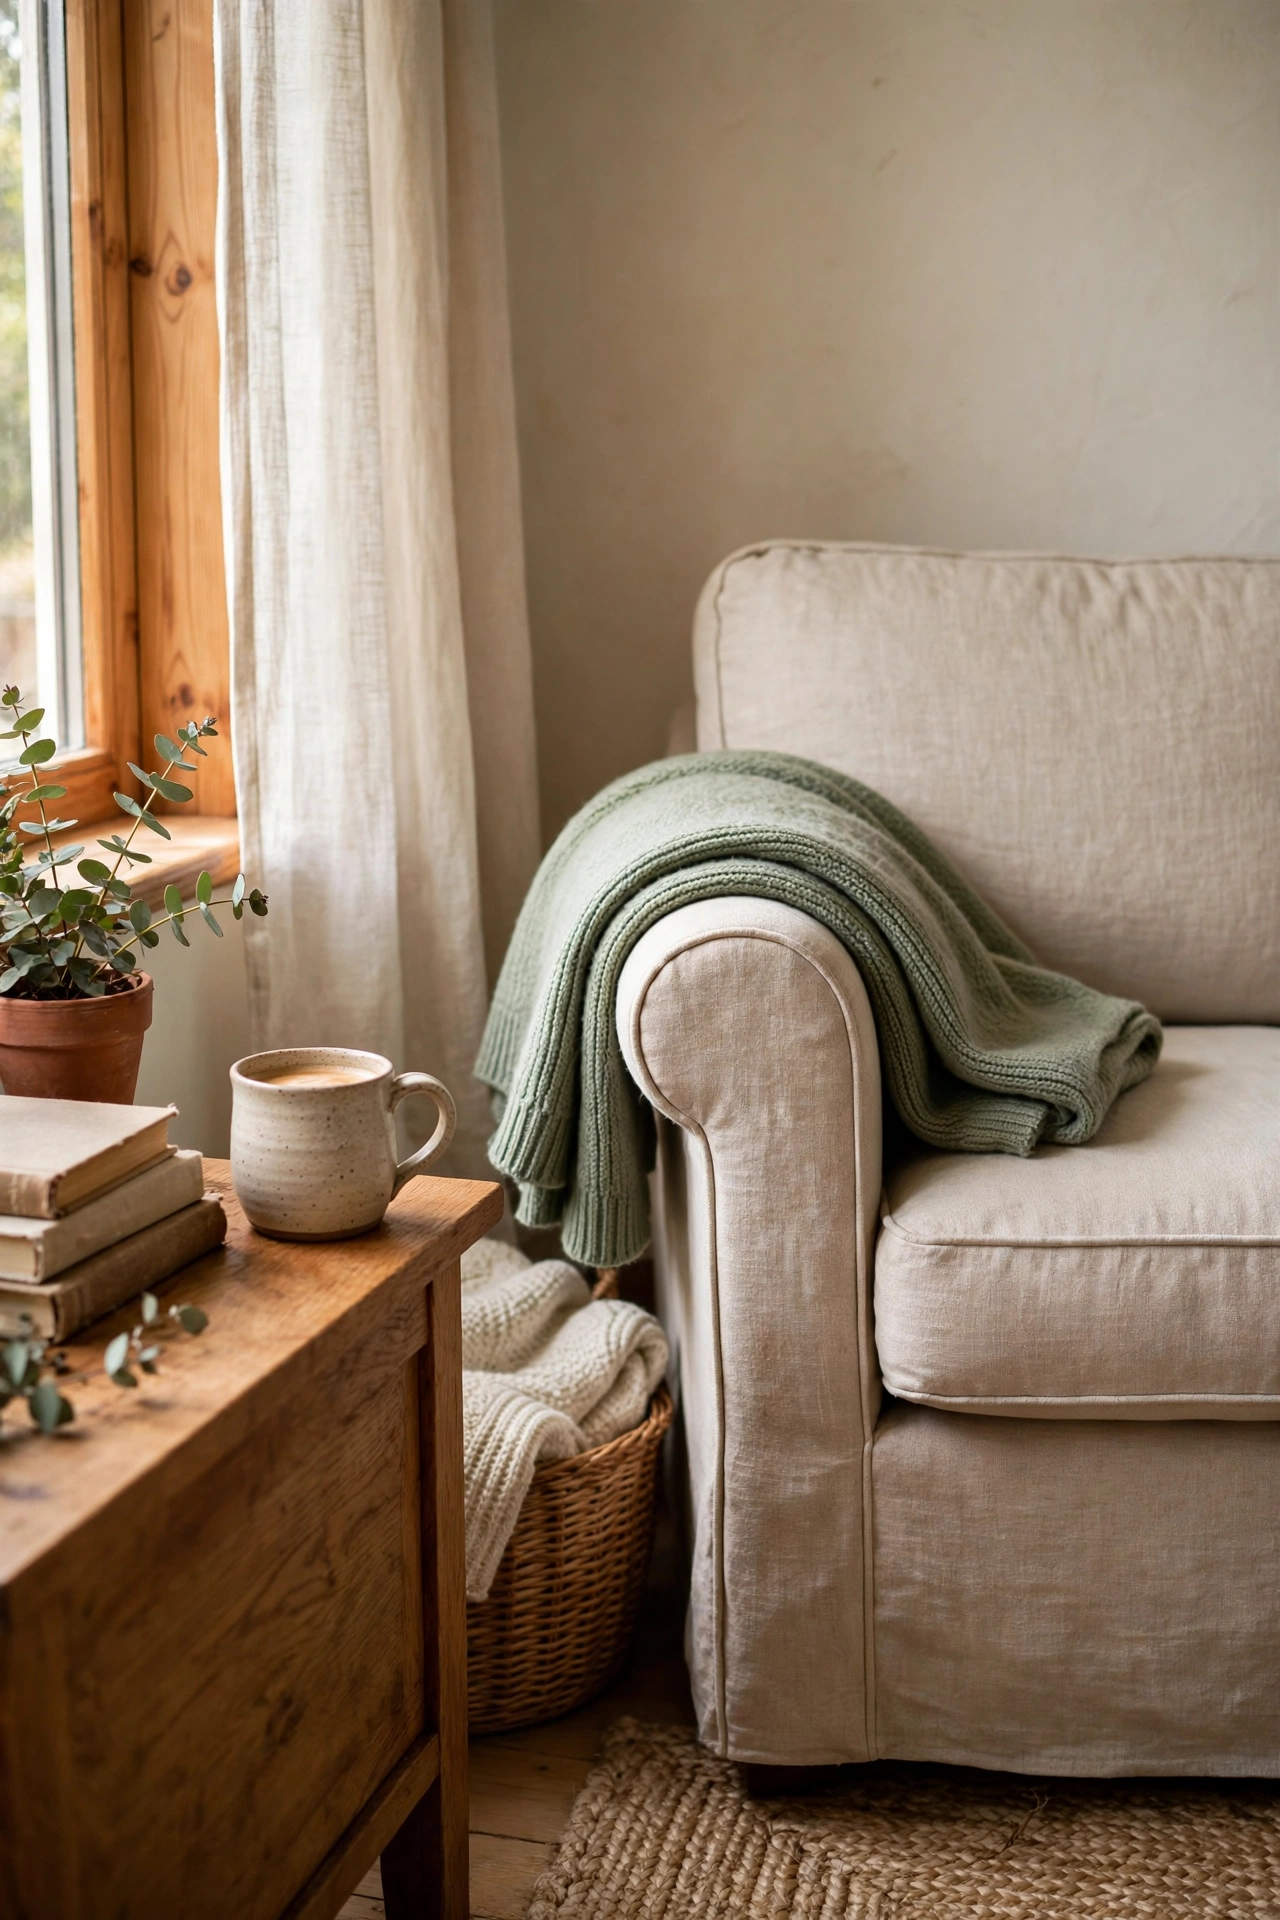
A sage throw folded over your sofa arm is the kind of detail that makes a room feel finished. I found a soft sage knit throw at a discount store for $14, folded it in thirds lengthwise, and draped it evenly over the arm of my reading chair. Do not just toss it, because a tossed throw always reads as laundry waiting to happen. I keep mine on the chair where I drink my morning coffee, and it is the first thing guests touch. Small purchase, constant payoff, and it washes well too.
Cost: ~$12-18 | Time: 5 minutes
9. Thrifted Sage Ceramic Vases
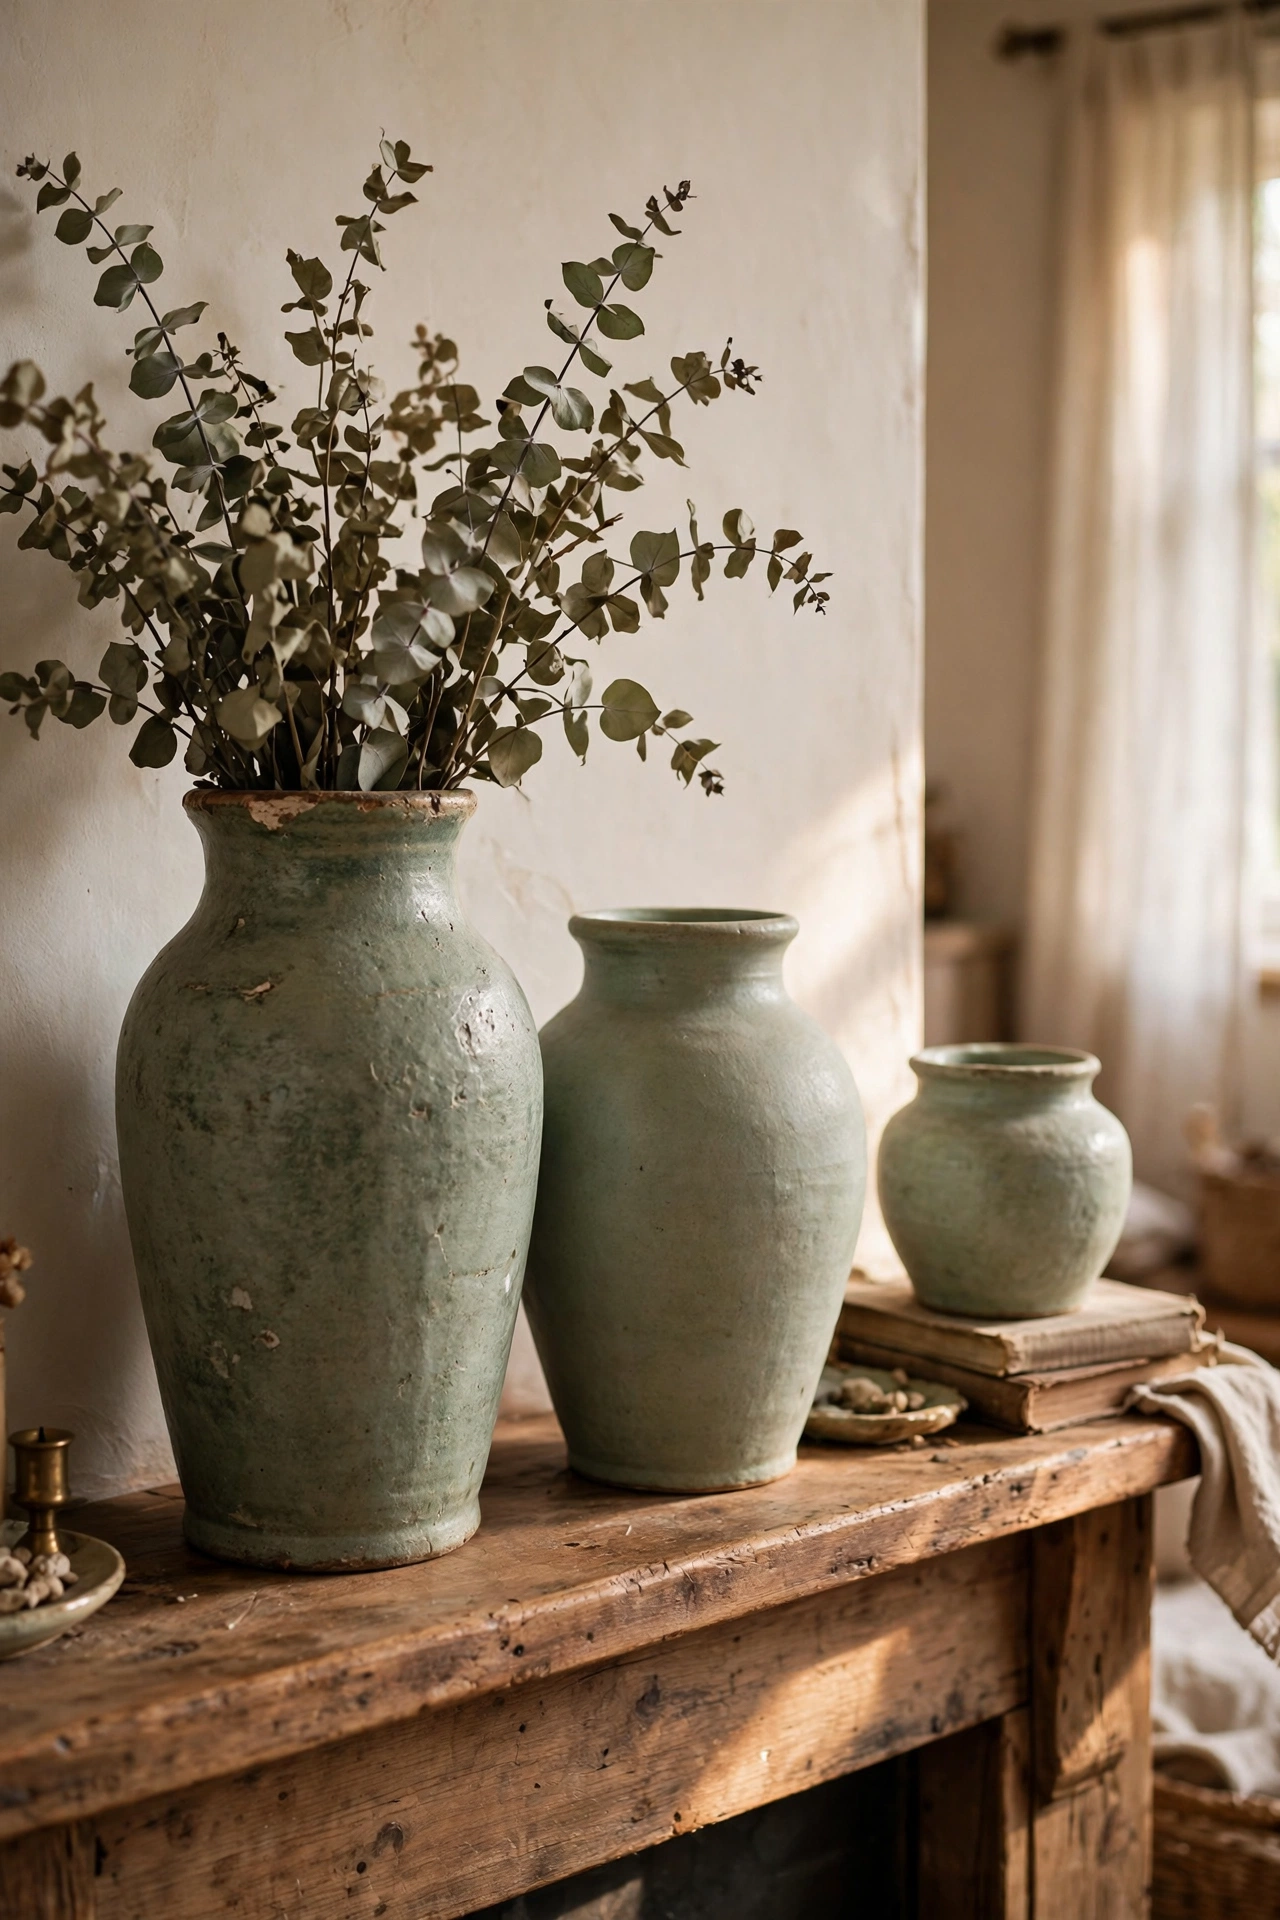
Thrift stores overflow with ceramic vases in exactly this color, usually priced between two and five dollars. I collected three sage-toned vases in different heights over two weekends, grouped them on my mantel, and filled the tallest with dried eucalyptus from the grocery store. Odd numbers and varied heights are what make a cluster look styled instead of random. Check for chips around the rim before you buy, since those are the flaws you cannot hide. My trio cost eleven dollars total and looks like a curated shelfie.
Cost: ~$8-15 | Time: 30 minutes
10. Sage Botanical Gallery Wall
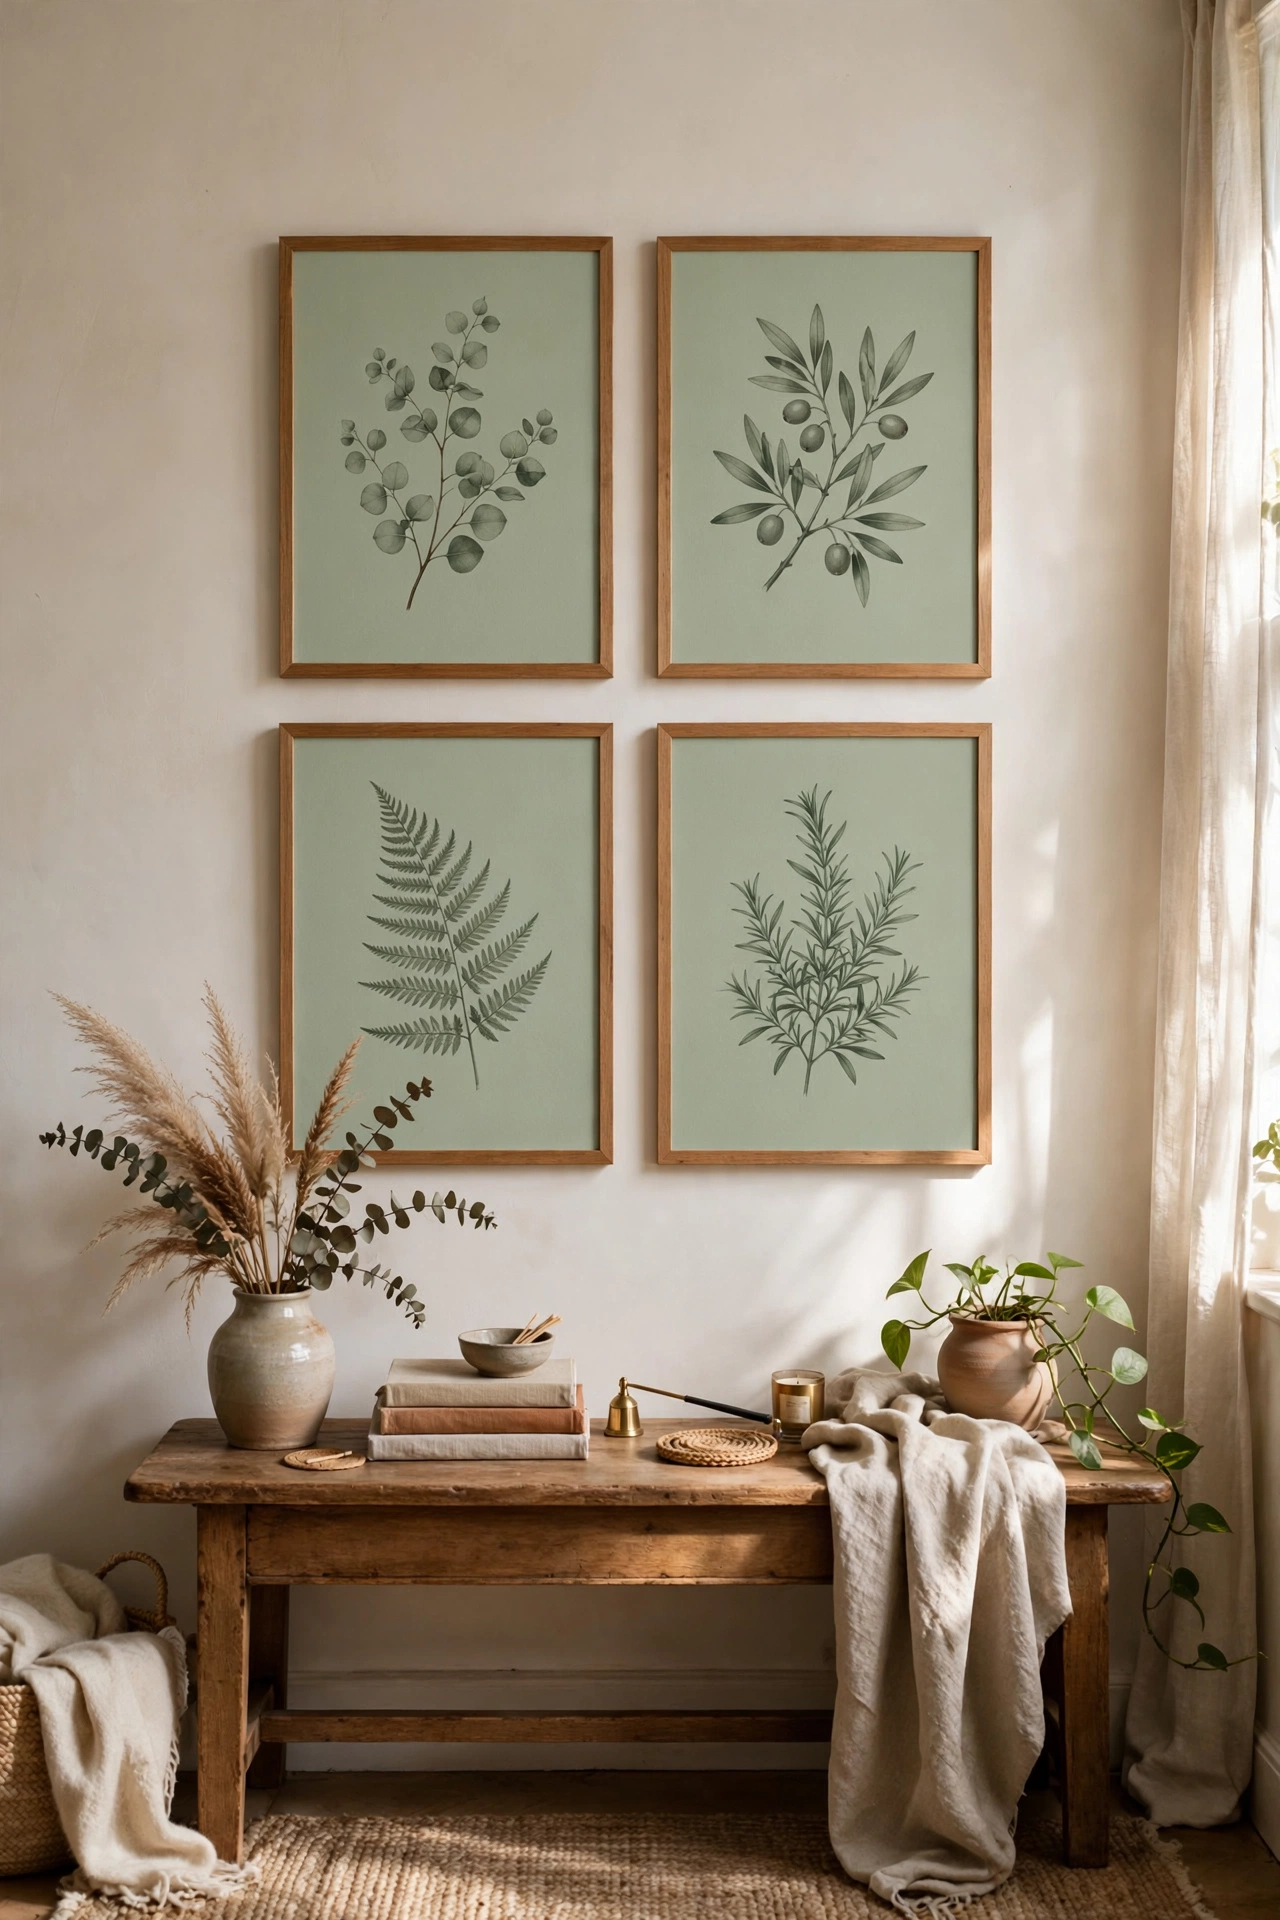
A small gallery wall of sage botanical prints costs almost nothing if you print them at home. I downloaded free botanical illustrations, printed four in sage tones on cardstock for $3, and framed them in matching $4 frames from the dollar store. Hang them in a tight grid with two inches between frames, since wide spacing is what makes gallery walls look sparse. I laid mine out on the floor first and photographed the arrangement before hammering a single nail. The wall went from blank rental white to intentional in one afternoon.
Cost: ~$15-20 | Time: 2 hours
11. Sage Ottoman or Pouf
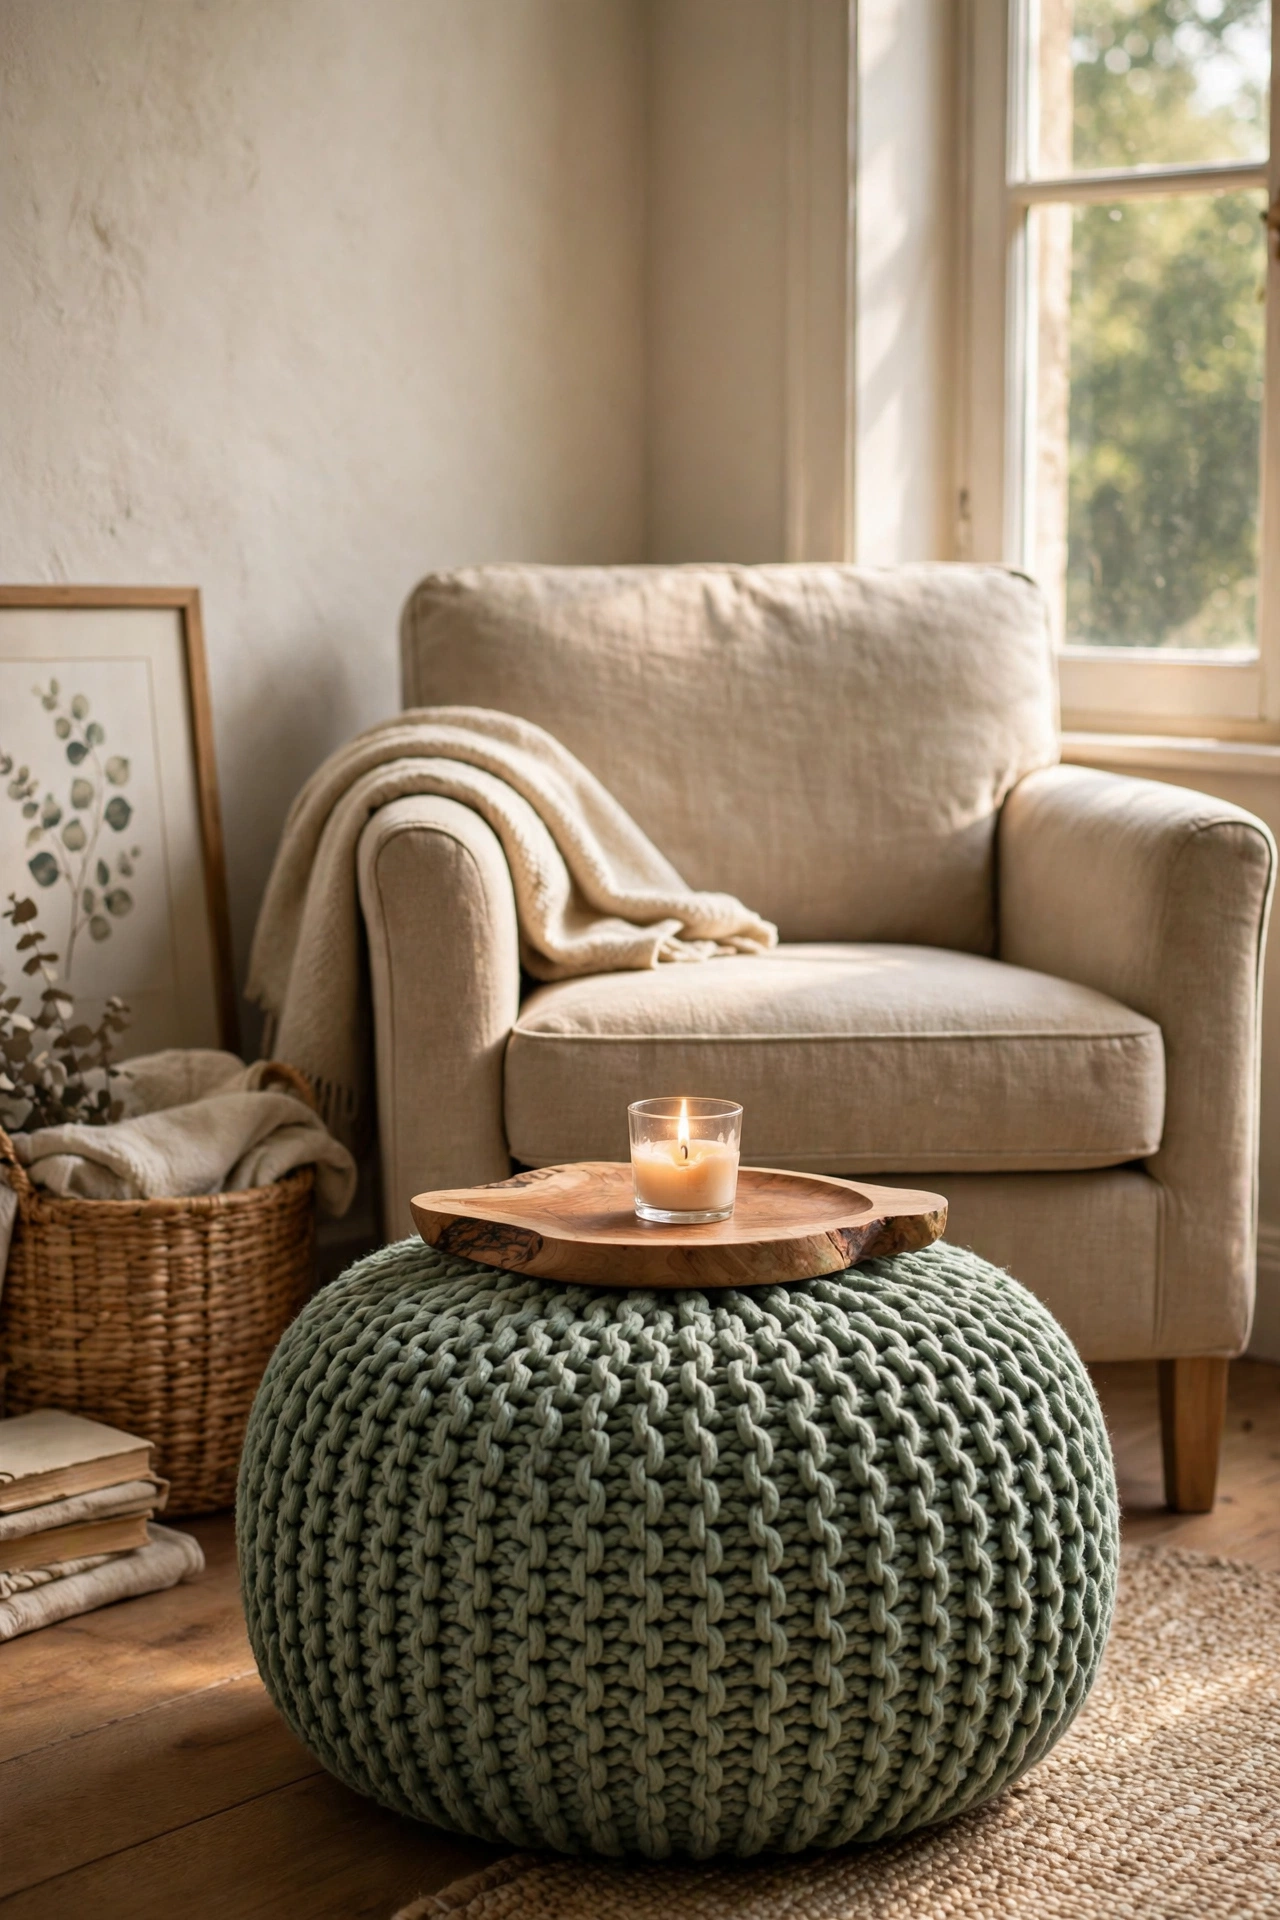
A sage pouf gives you a footrest, extra seating, and a color pop in one piece. I grabbed a round sage knit pouf on sale for $24, and it lives in front of my armchair where everyone puts their feet. If you find a beige pouf on clearance, a sage pillowcase stitched shut works as a cover in a pinch. Measure your space first, because poufs come in more sizes than you would expect. Mine doubles as a side table when I set a tray on it, which makes it the hardest-working piece in my living room.
Cost: ~$20-28 | Time: 10 minutes
12. Painted Sage Bookcase Backing
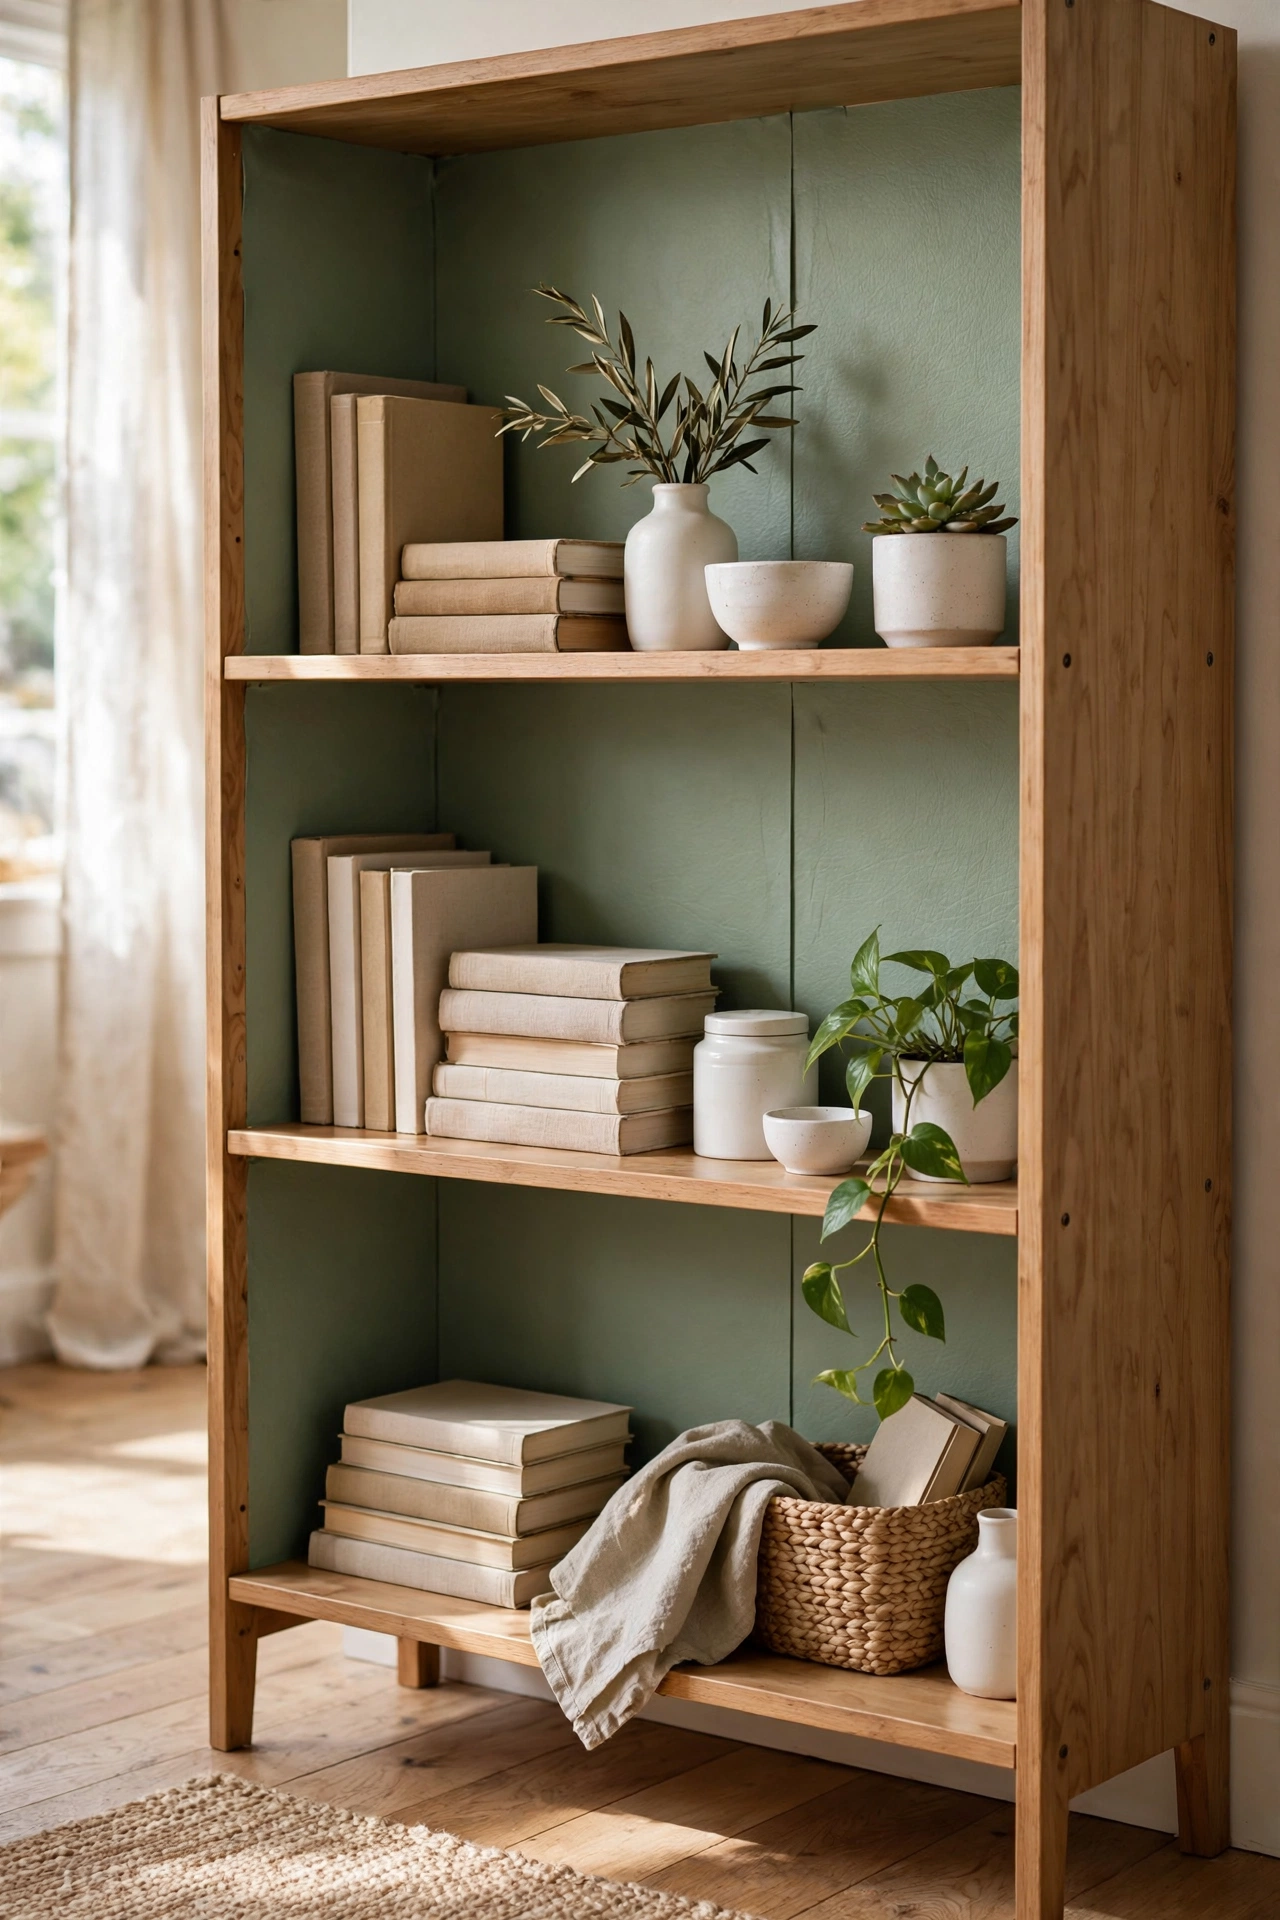
Painting just the back panel of a bookcase sage makes everything on the shelves pop. I used peel-and-stick sage wallpaper at $11 a roll on my budget bookcase, cutting each strip slightly oversized and trimming with a craft knife for clean edges. The white ceramics and books suddenly looked like a styled display instead of storage. This is completely renter-friendly, since the paper peels off without damage. My landlord will never know, and my shelf styling finally looks like the Pinterest photos I kept saving.
Cost: ~$11-15 | Time: 1 hour
13. Sage Candle and Tray Vignette
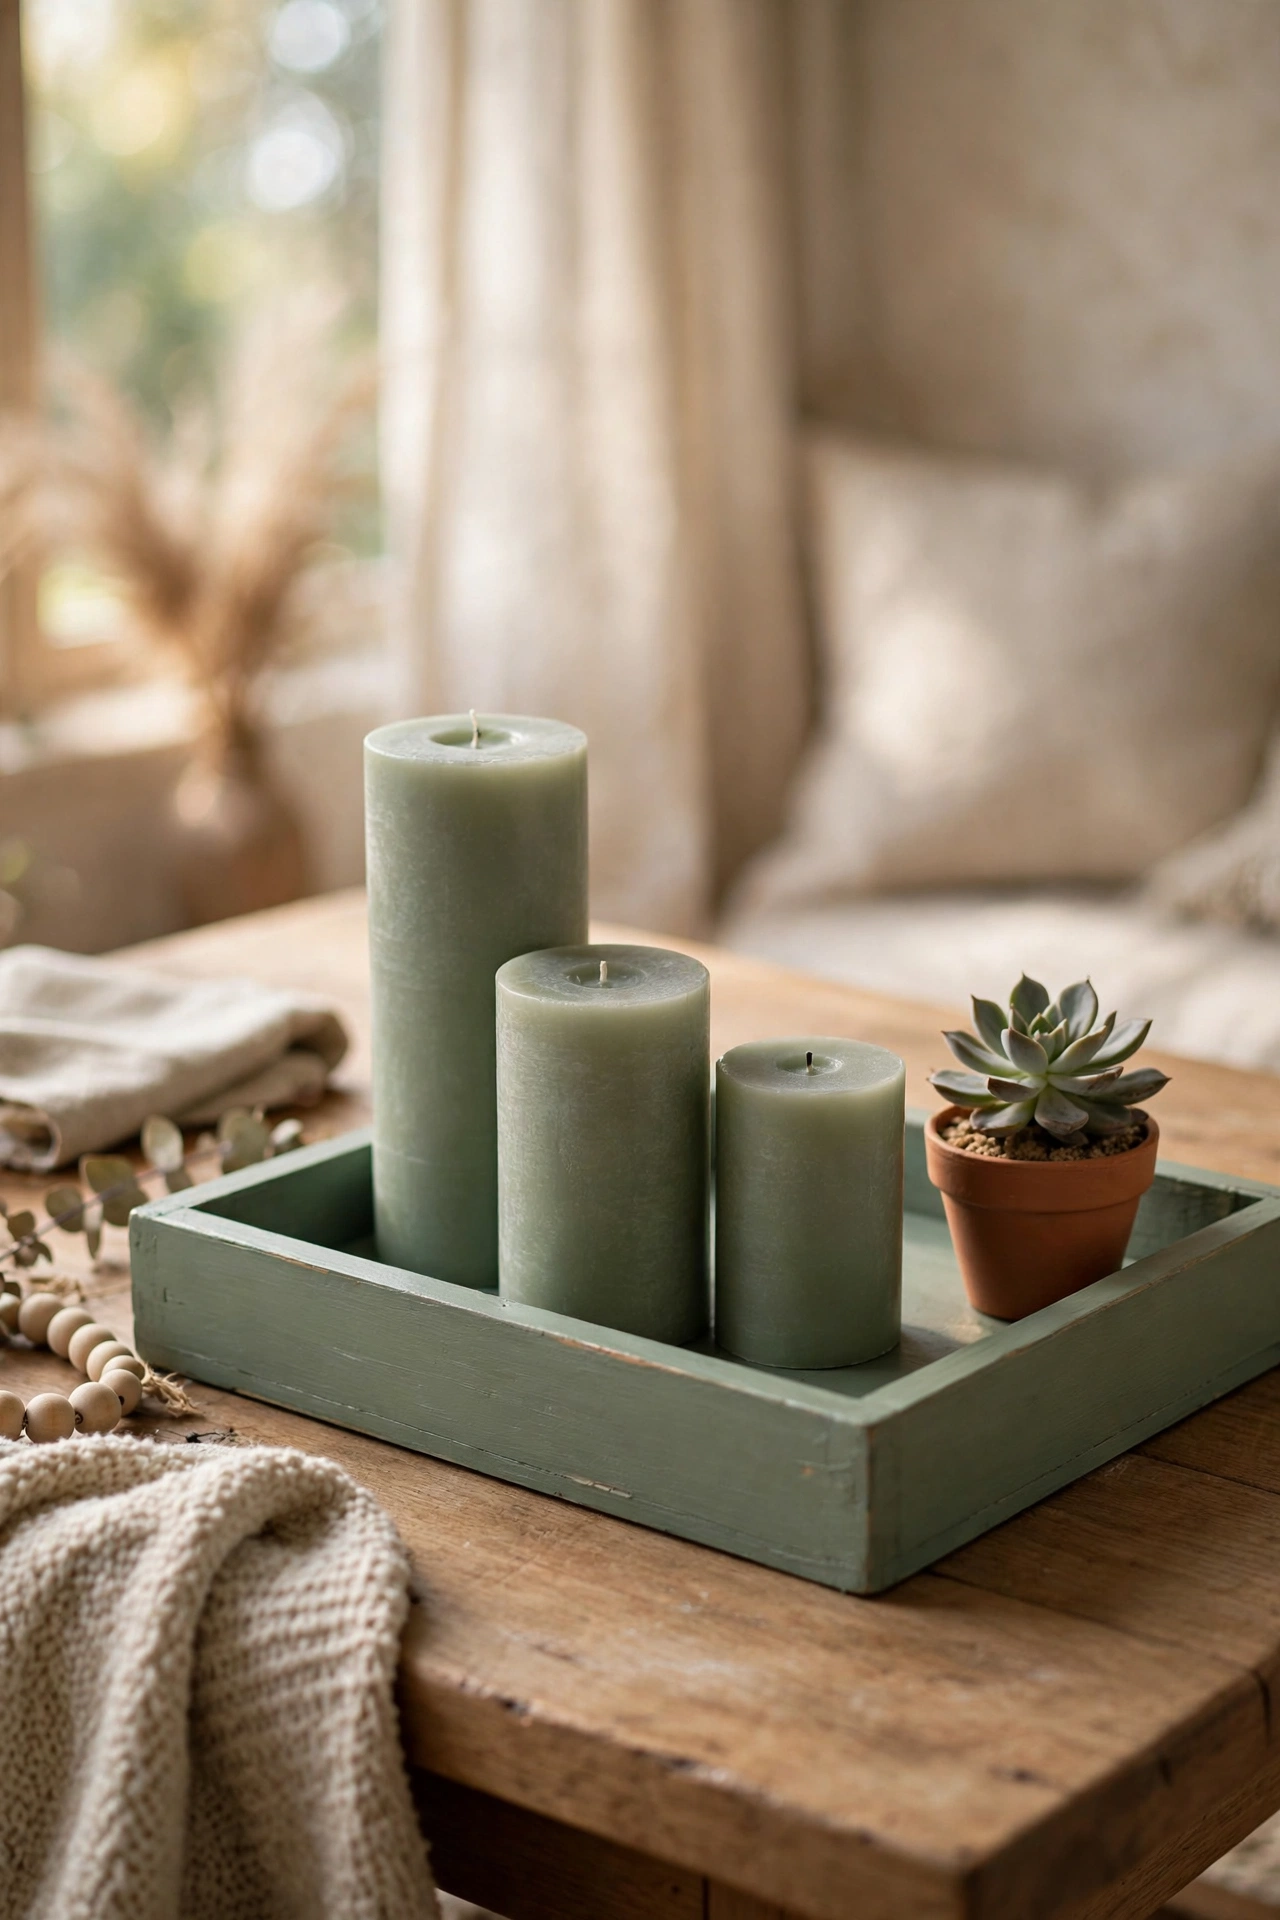
A small sage tray on your coffee table corrals clutter into something that looks styled. I spray-painted a $3 thrifted wooden tray sage, added three sage pillar candles in different heights from the dollar store, and set the whole thing on my coffee table. Odd numbers and varied heights are the rule that never fails for vignettes. Use light spray coats with painter’s tape on any details you want to keep wood-toned. I went heavy on my first coat and got drips, so thin passes are worth the patience. Total cost was under ten dollars.
Cost: ~$8-12 | Time: 1 hour
14. Sage Lampshade Swap
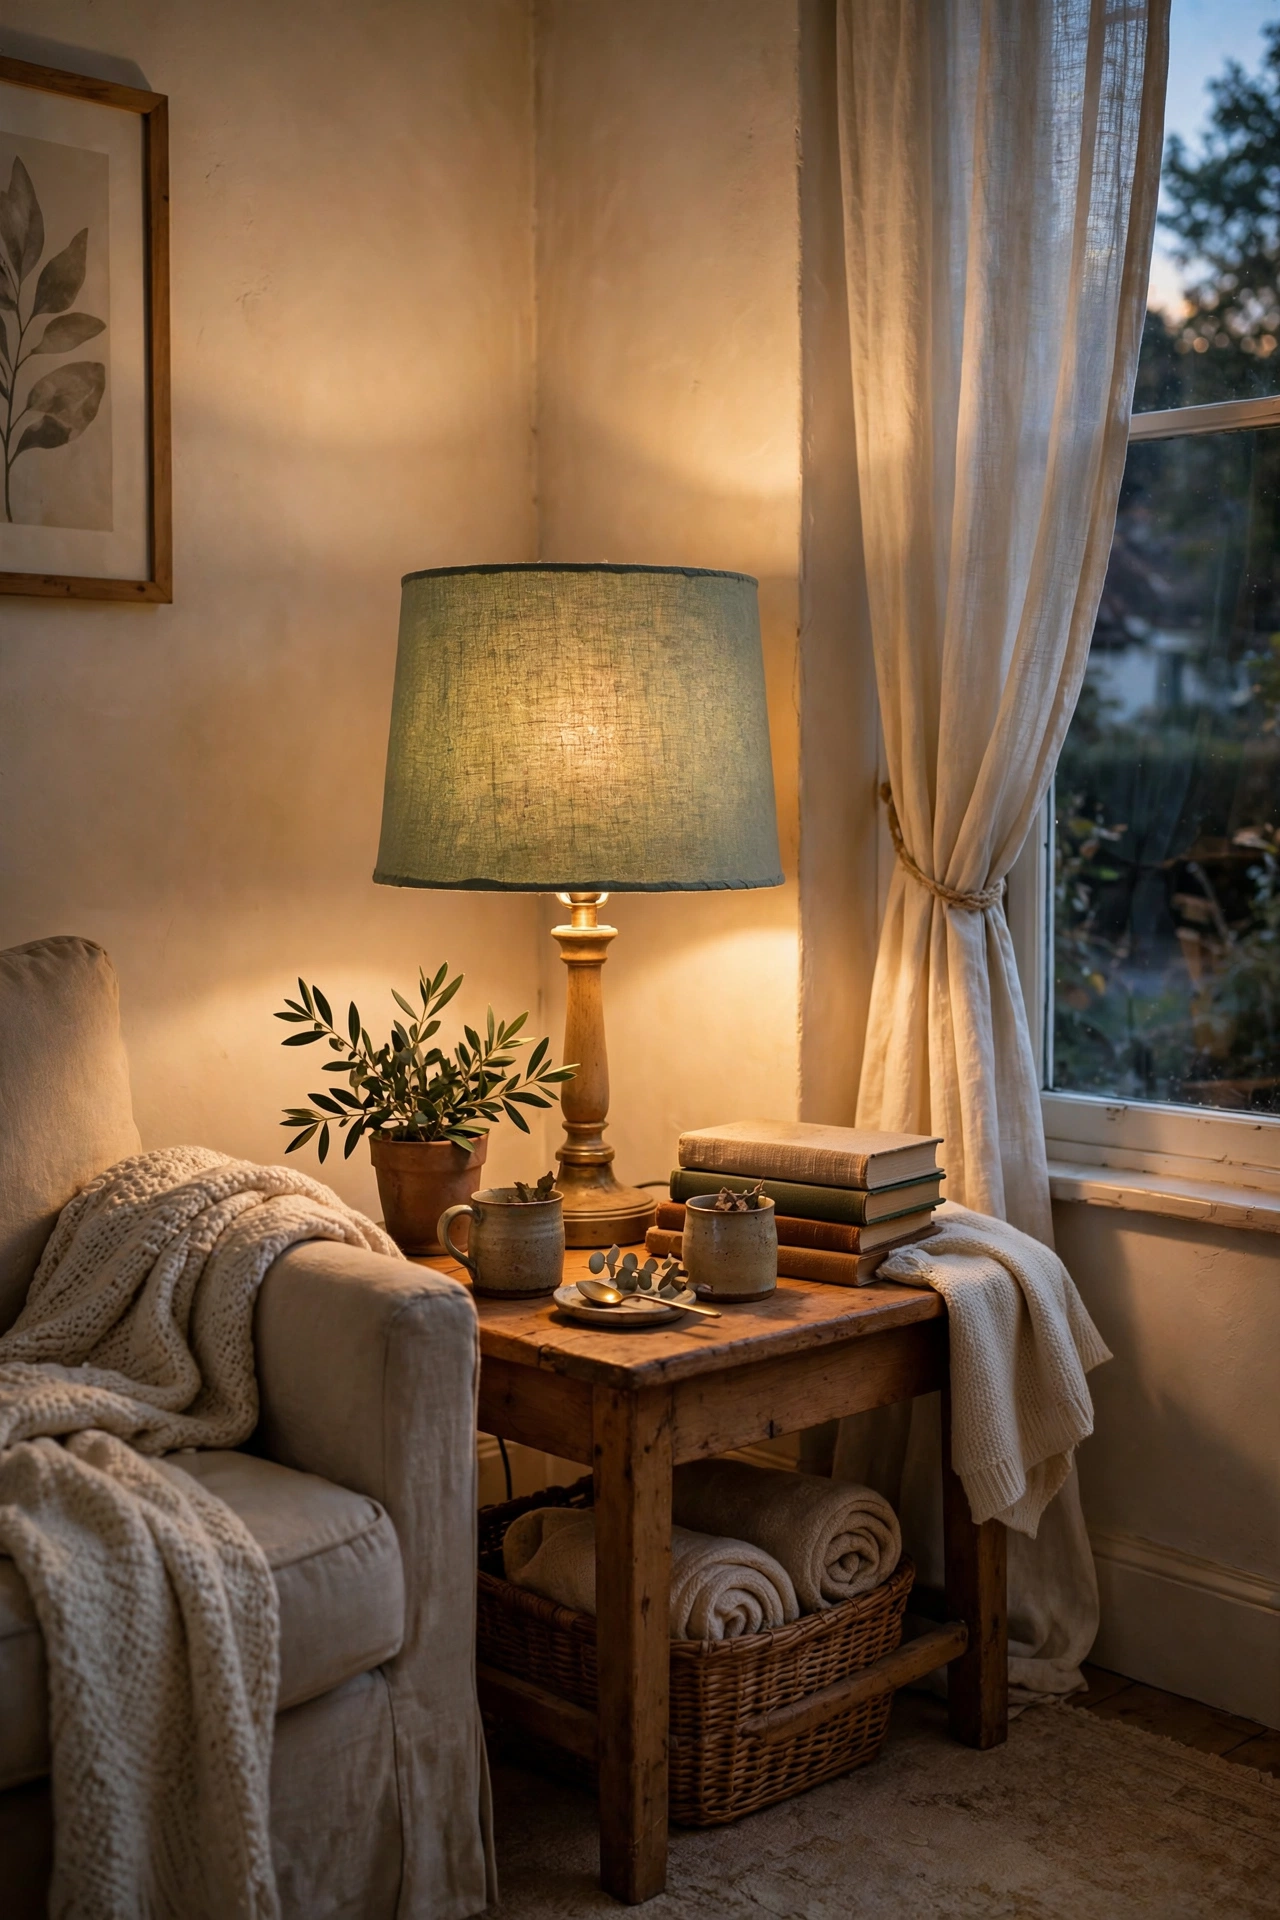
That plain white lampshade you have been ignoring can go sage for the price of a remnant. I bought a half-yard of sage linen from the fabric store’s clearance bin for $5, wrapped my drum shade with spray adhesive, and trimmed the edges with a half-inch overlap tucked under. Smooth as you go to avoid bubbles, and work in sections. My shade had a water stain on one side that this covered completely. The lamp now casts the warmest green-tinted light in the evenings, and it looks like a deliberate design choice instead of a cover-up.
Cost: ~$5-10 | Time: 40 minutes
15. Sage Plant Corner with Eucalyptus
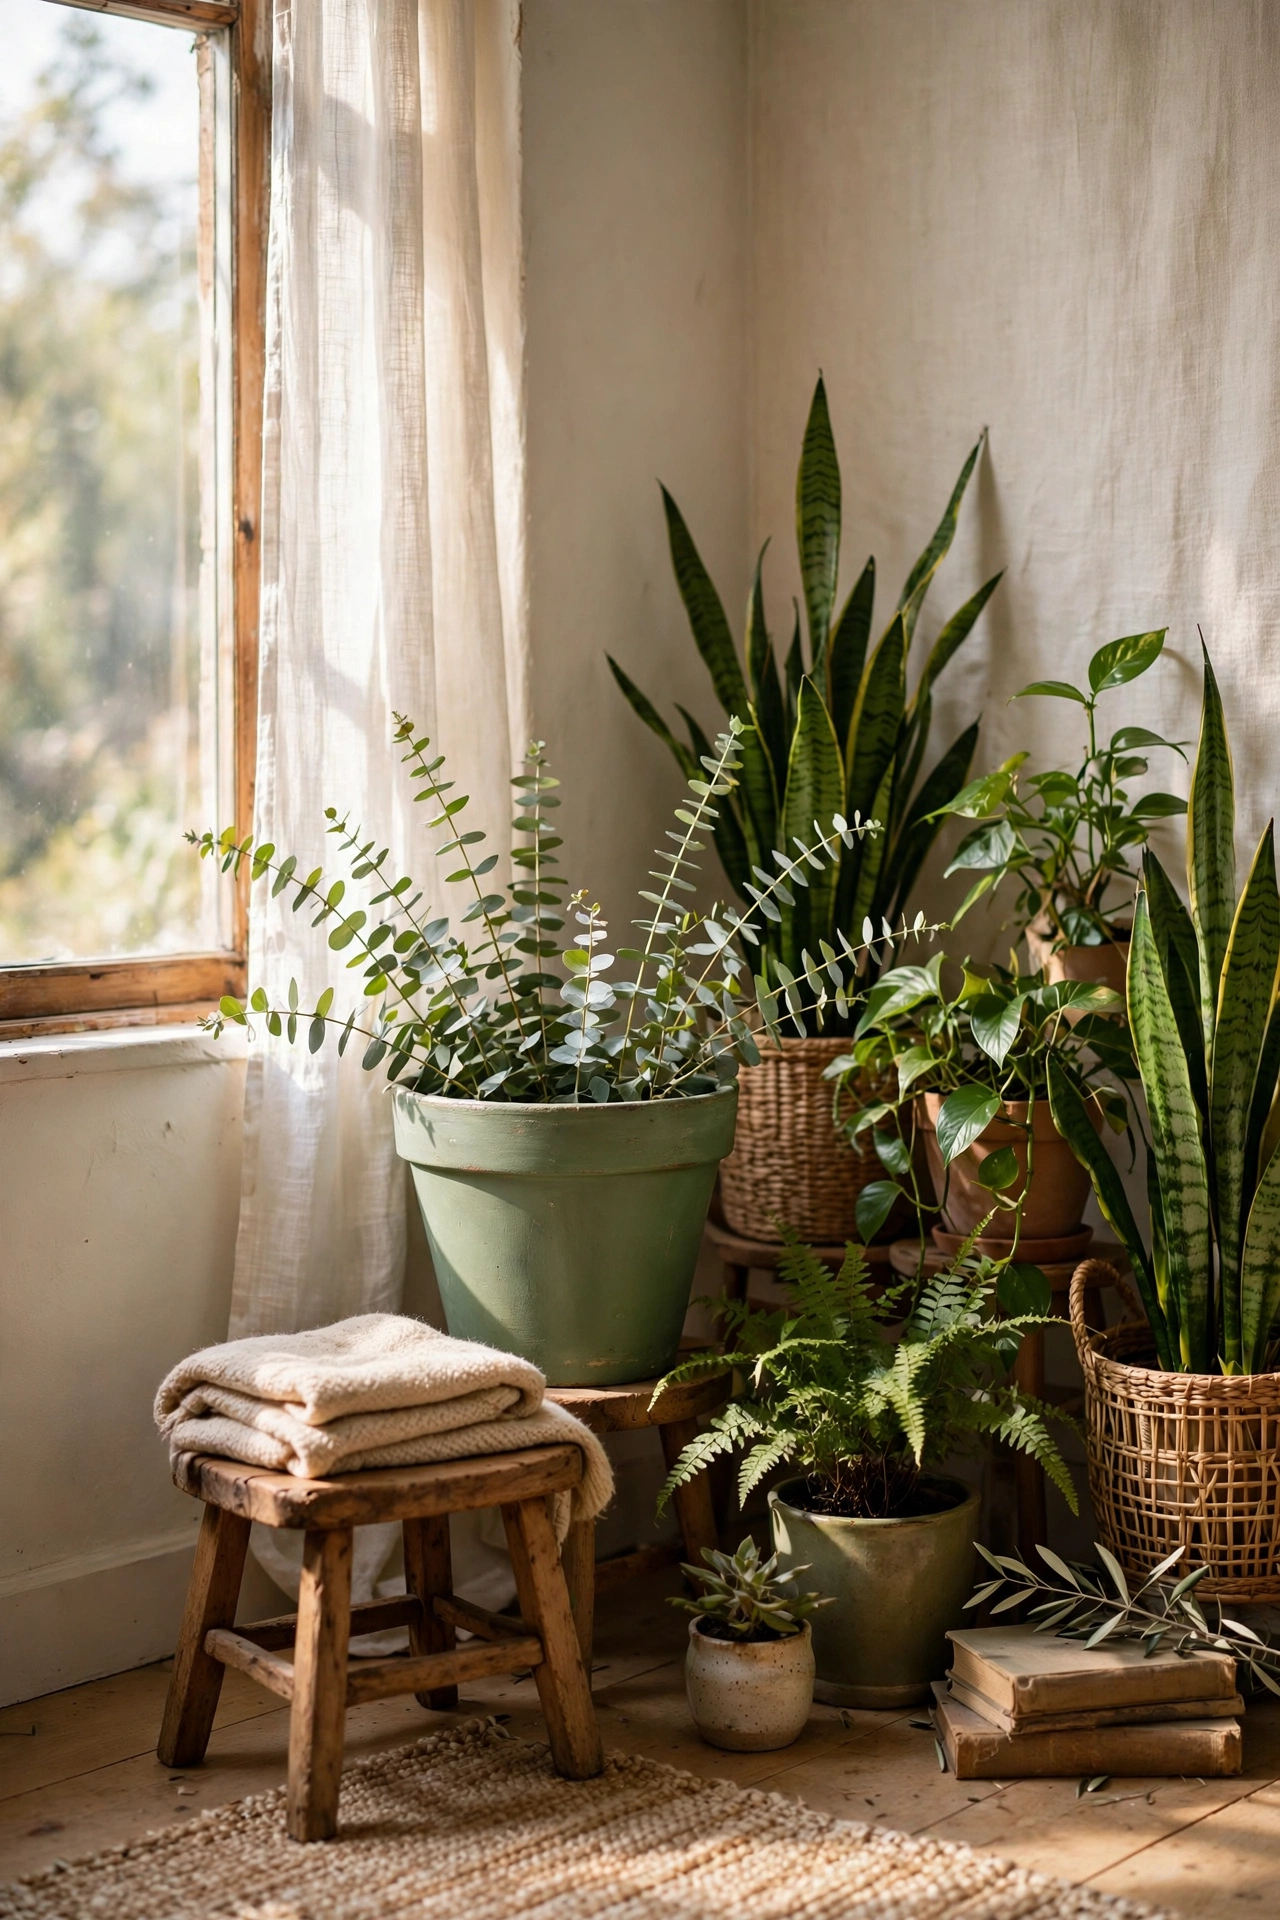
Sage green and real greenery are best friends, so give your plants a dedicated corner. I grouped a $12 fiddle-leaf fig dupe, a trailing pothos I already owned, and a grocery-store eucalyptus bunch in a sage-painted thrift pot, all on a small stool in the corner by my window. Varying the heights is what makes a plant corner look lush instead of lined up. Water the eucalyptus bunch lightly and it lasts for weeks while smelling amazing. This corner cost me under twenty dollars and it is where I take every room photo now.
Cost: ~$15-22 | Time: 30 minutes
📌 Pin this post now so you can save this idea for your own sage green living room later!
If sage has you hooked, you will love these next: (see also: 25-beige-living-room-ideas-on-a-budget) (see also: 23-neutral-living-room-ideas-on-a-budget) (see also: 21-thrifted-home-decor-ideas-on-a-budget)
