21 Dollar Store Hacks Every Renter Should Know
Renting means living by someone else’s rules — no drilling, no painting, no “permanent changes”. But here’s what five years of rented flats taught me: Dollar Store hacks every renter should know can make a place feel entirely yours without risking a penny of your deposit. These 21 are all damage-free, landlord-friendly and dirt cheap.
1. Removable Hook Gallery Wall
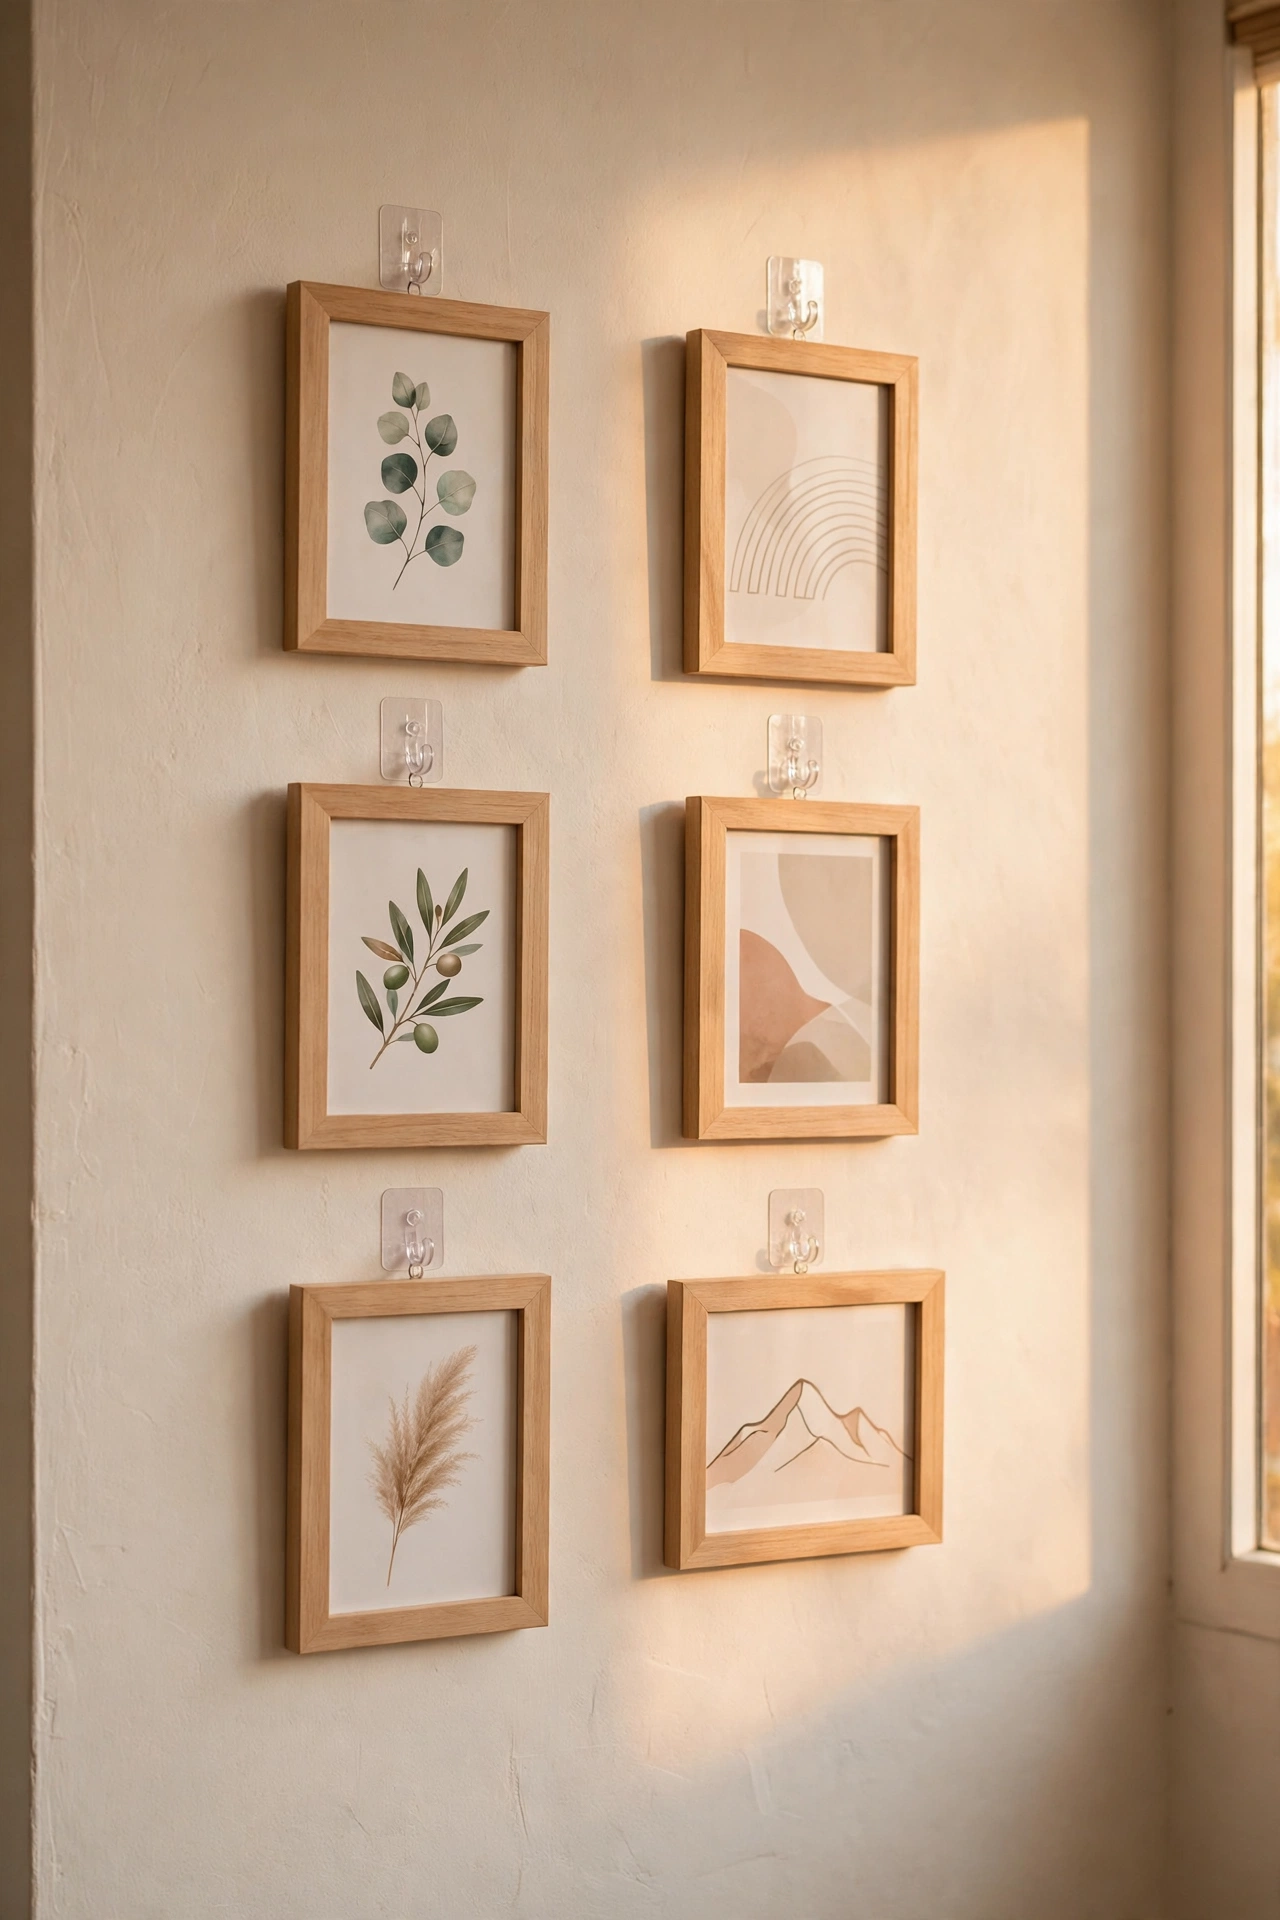
Adhesive hooks hold lightweight frames perfectly and peel off clean when you move. Plan your gallery on the floor first, stick a hook for each frame, and hang away — no nails, no holes, no arguments with the landlord. Keep frames light: think prints, not heavy canvases. I tried this and the one mistake to avoid is hanging them in a steamy bathroom; humidity weakens the adhesive and frames migrate south overnight. Dry walls only. When you move, pull the strips slowly along the wall rather than outward — that is the motion that leaves zero marks.
Pro tip: warm the adhesive strip with a hairdryer for ten seconds before sticking — it bonds far better.
Cost: ~$5 | Time: 30 minutes
2. Tension Rod Curtains
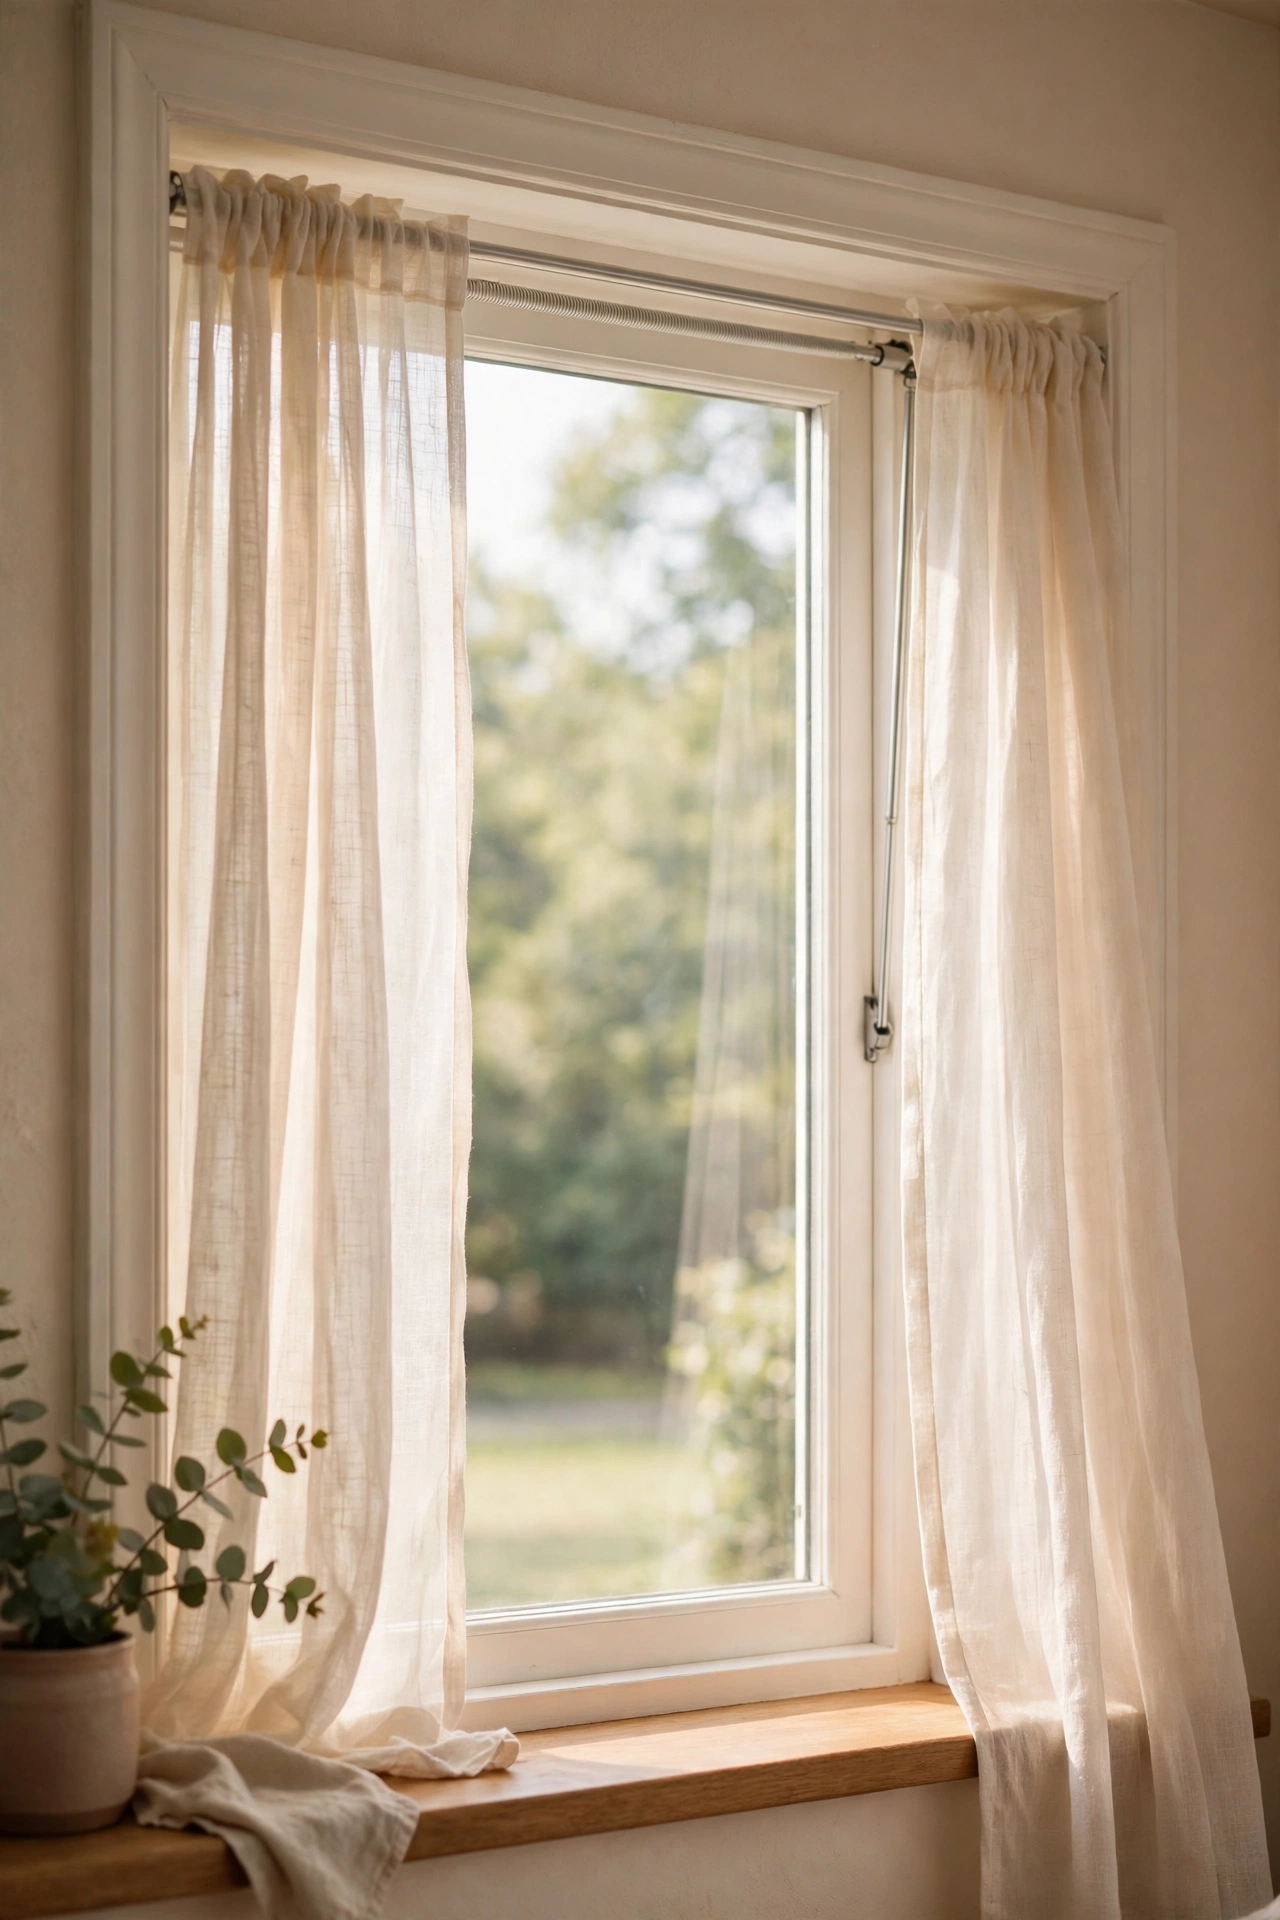
A tension rod inside the window frame gives you curtains with zero drilling. Twist it to fit snugly, hang lightweight panels, and you’ve got privacy and softness in minutes. They also work brilliantly inside cupboards to hide ugly shelving. I tried this and the one mistake to avoid is heavy blackout curtains — the rod will sag and eventually crash down at 3am. Lightweight fabrics only; the rod has limits and it will enforce them dramatically. Add clip rings rather than threading the rod through a pocket — the curtains glide open and closed instead of bunching stubbornly.
Cost: ~$6 | Time: 15 minutes
3. Peel-and-Stick Backsplash Tiles
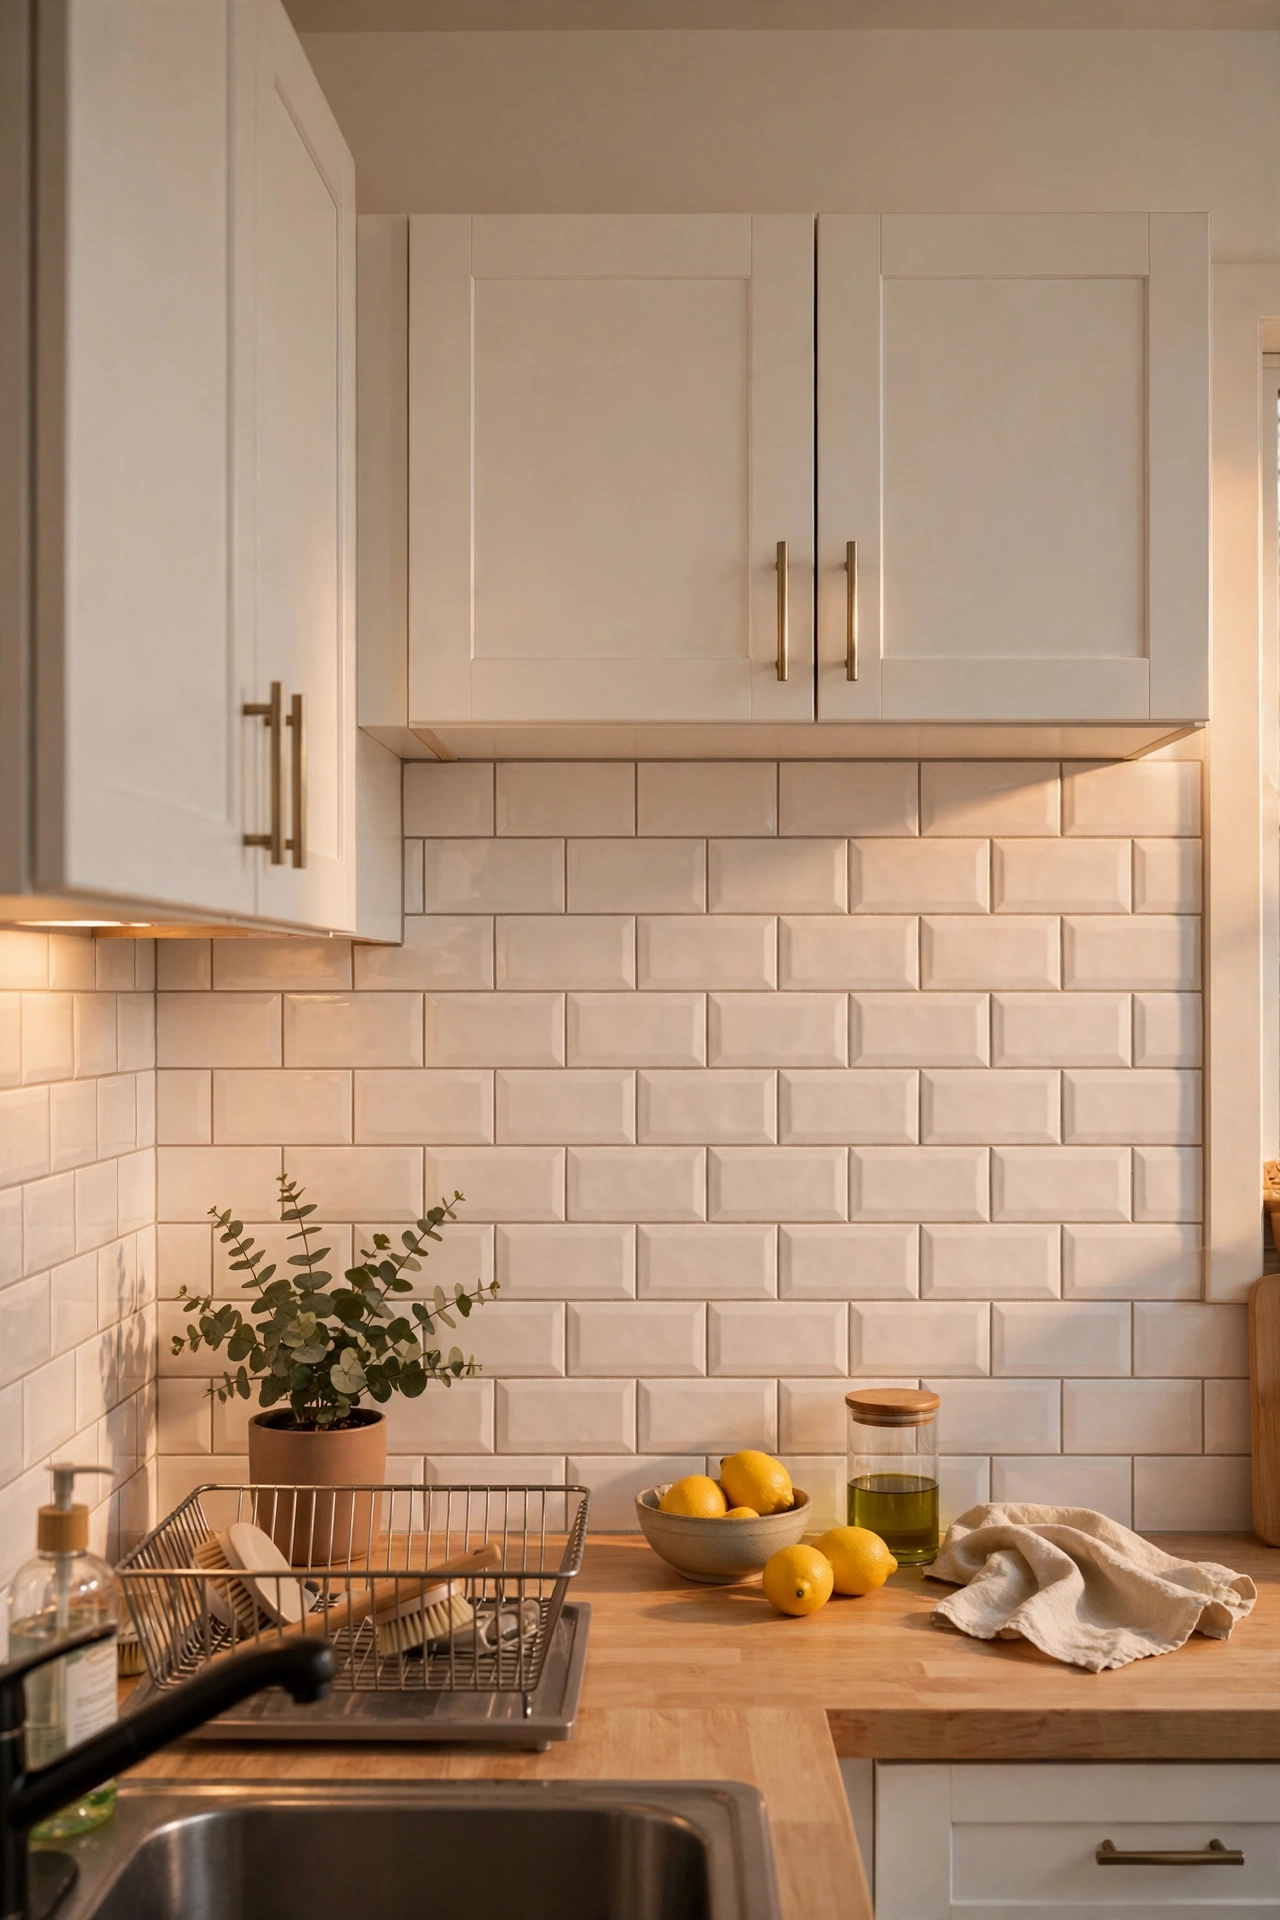
Those peel-and-stick subway tiles transform a tired rental kitchen in an afternoon and peel off when you leave. Clean the wall with sugar soap first, start from the centre and work outward, and press each tile firmly with a flat cloth. I tried this and the one mistake to avoid is sticking them over greasy tiles — they’ll bubble within days. Degrease properly and they’ll last for years. Run a thin bead of clear silicone along the bottom edge where tiles meet the worktop — it stops cooking splashes creeping underneath.
Pro tip: keep one spare tile tucked away — if one gets damaged, a single swap beats redoing a whole row.
Cost: ~$8 | Time: 1 hour
4. Over-Door Shoe Organiser Pantry
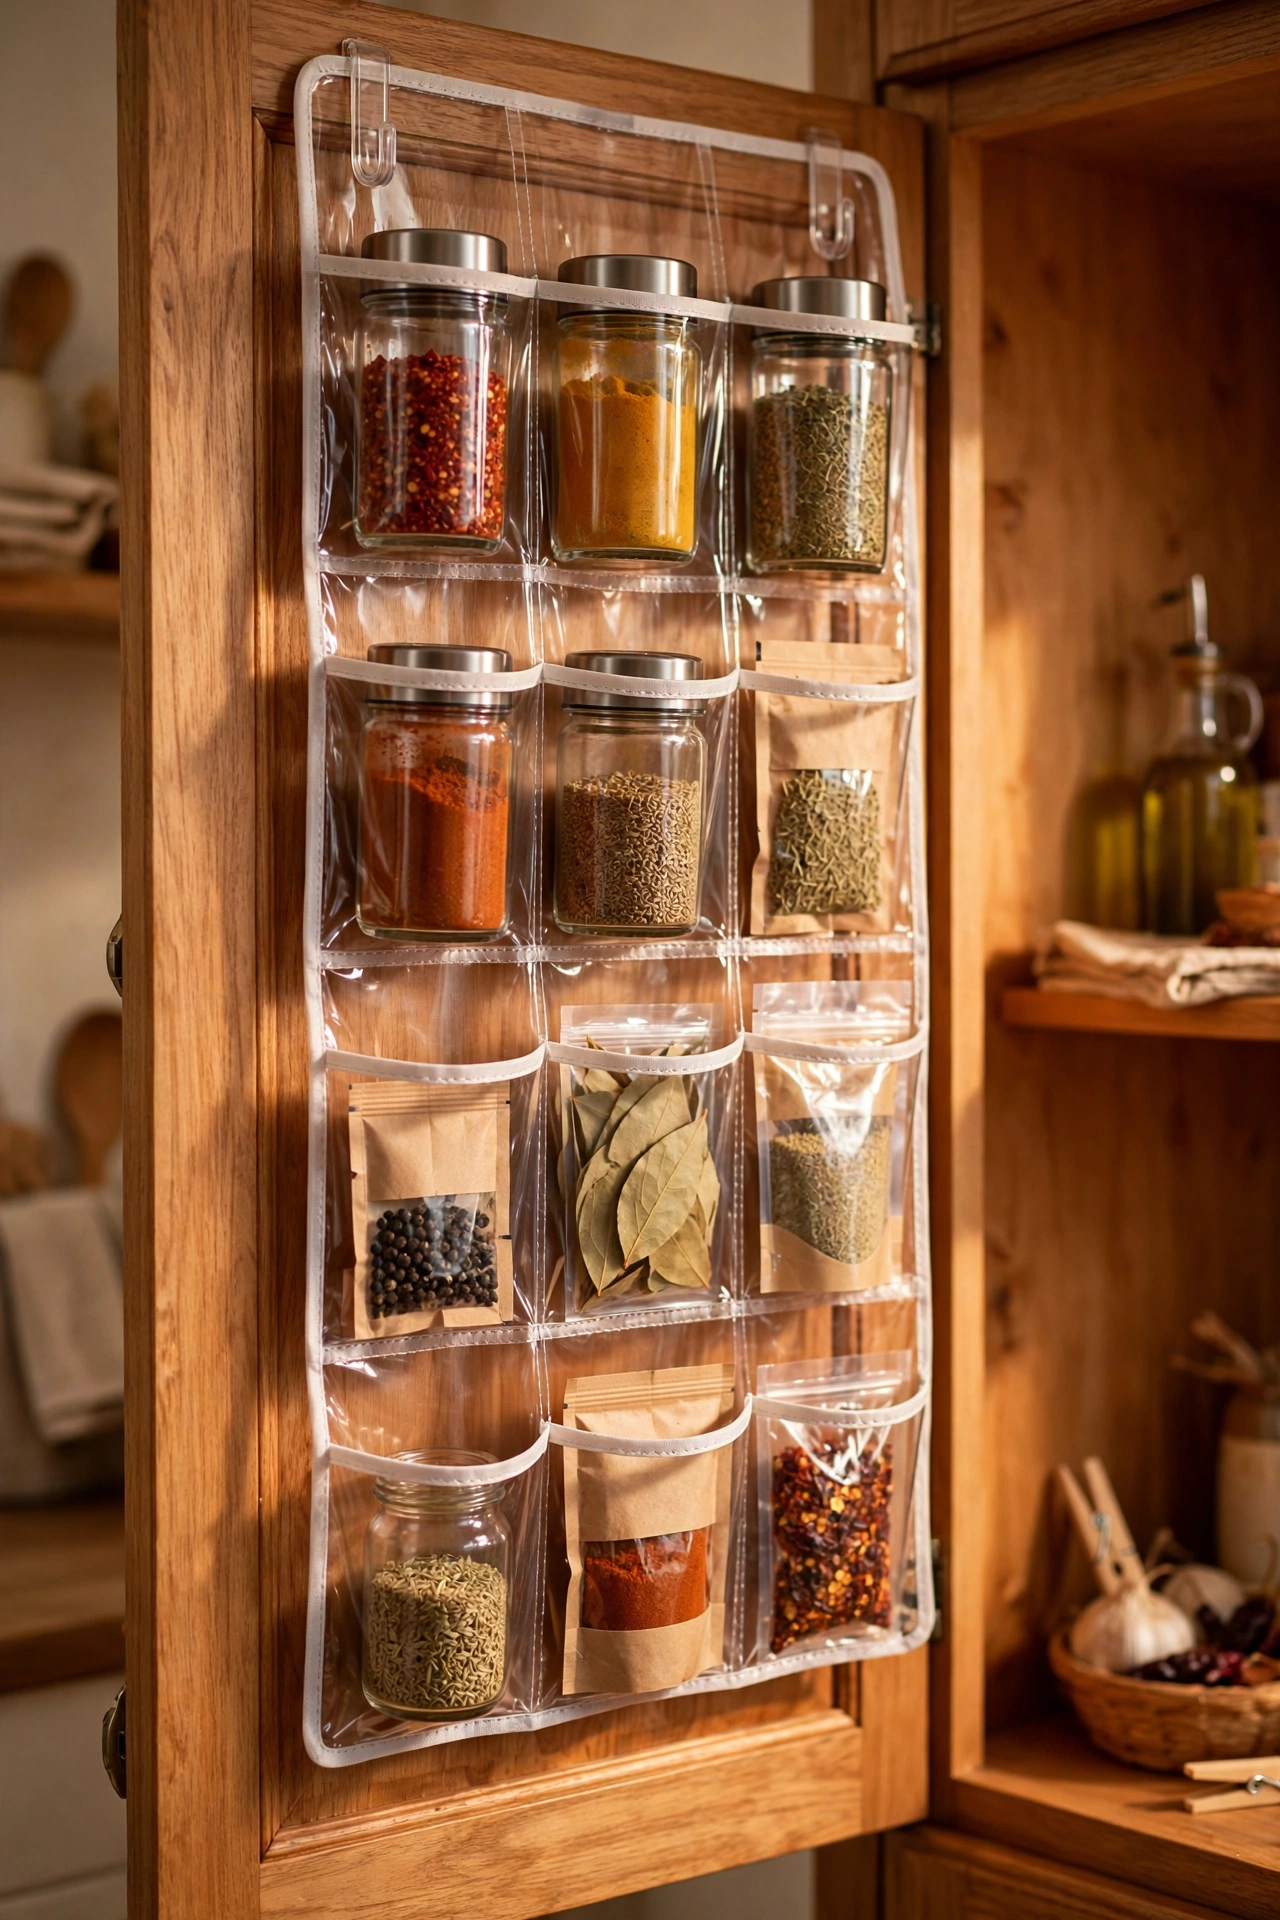
A clear over-door shoe organiser isn’t for shoes in my flat — it’s a pantry door holding spices, packets and tins. Each pocket fits a jar perfectly, everything’s visible, and it costs almost nothing. Hang it on the inside of a cupboard door so the kitchen still looks tidy. I tried this and the one mistake to avoid is overloading the pockets; they’re designed for shoes, not cast-iron pans. Light packets and jars only. Cut one or two pockets wider with scissors if you have tall bottles — the clear vinyl cuts cleanly and does not fray.
Cost: ~$3 | Time: 10 minutes
5. Contact Paper Counter Refresh
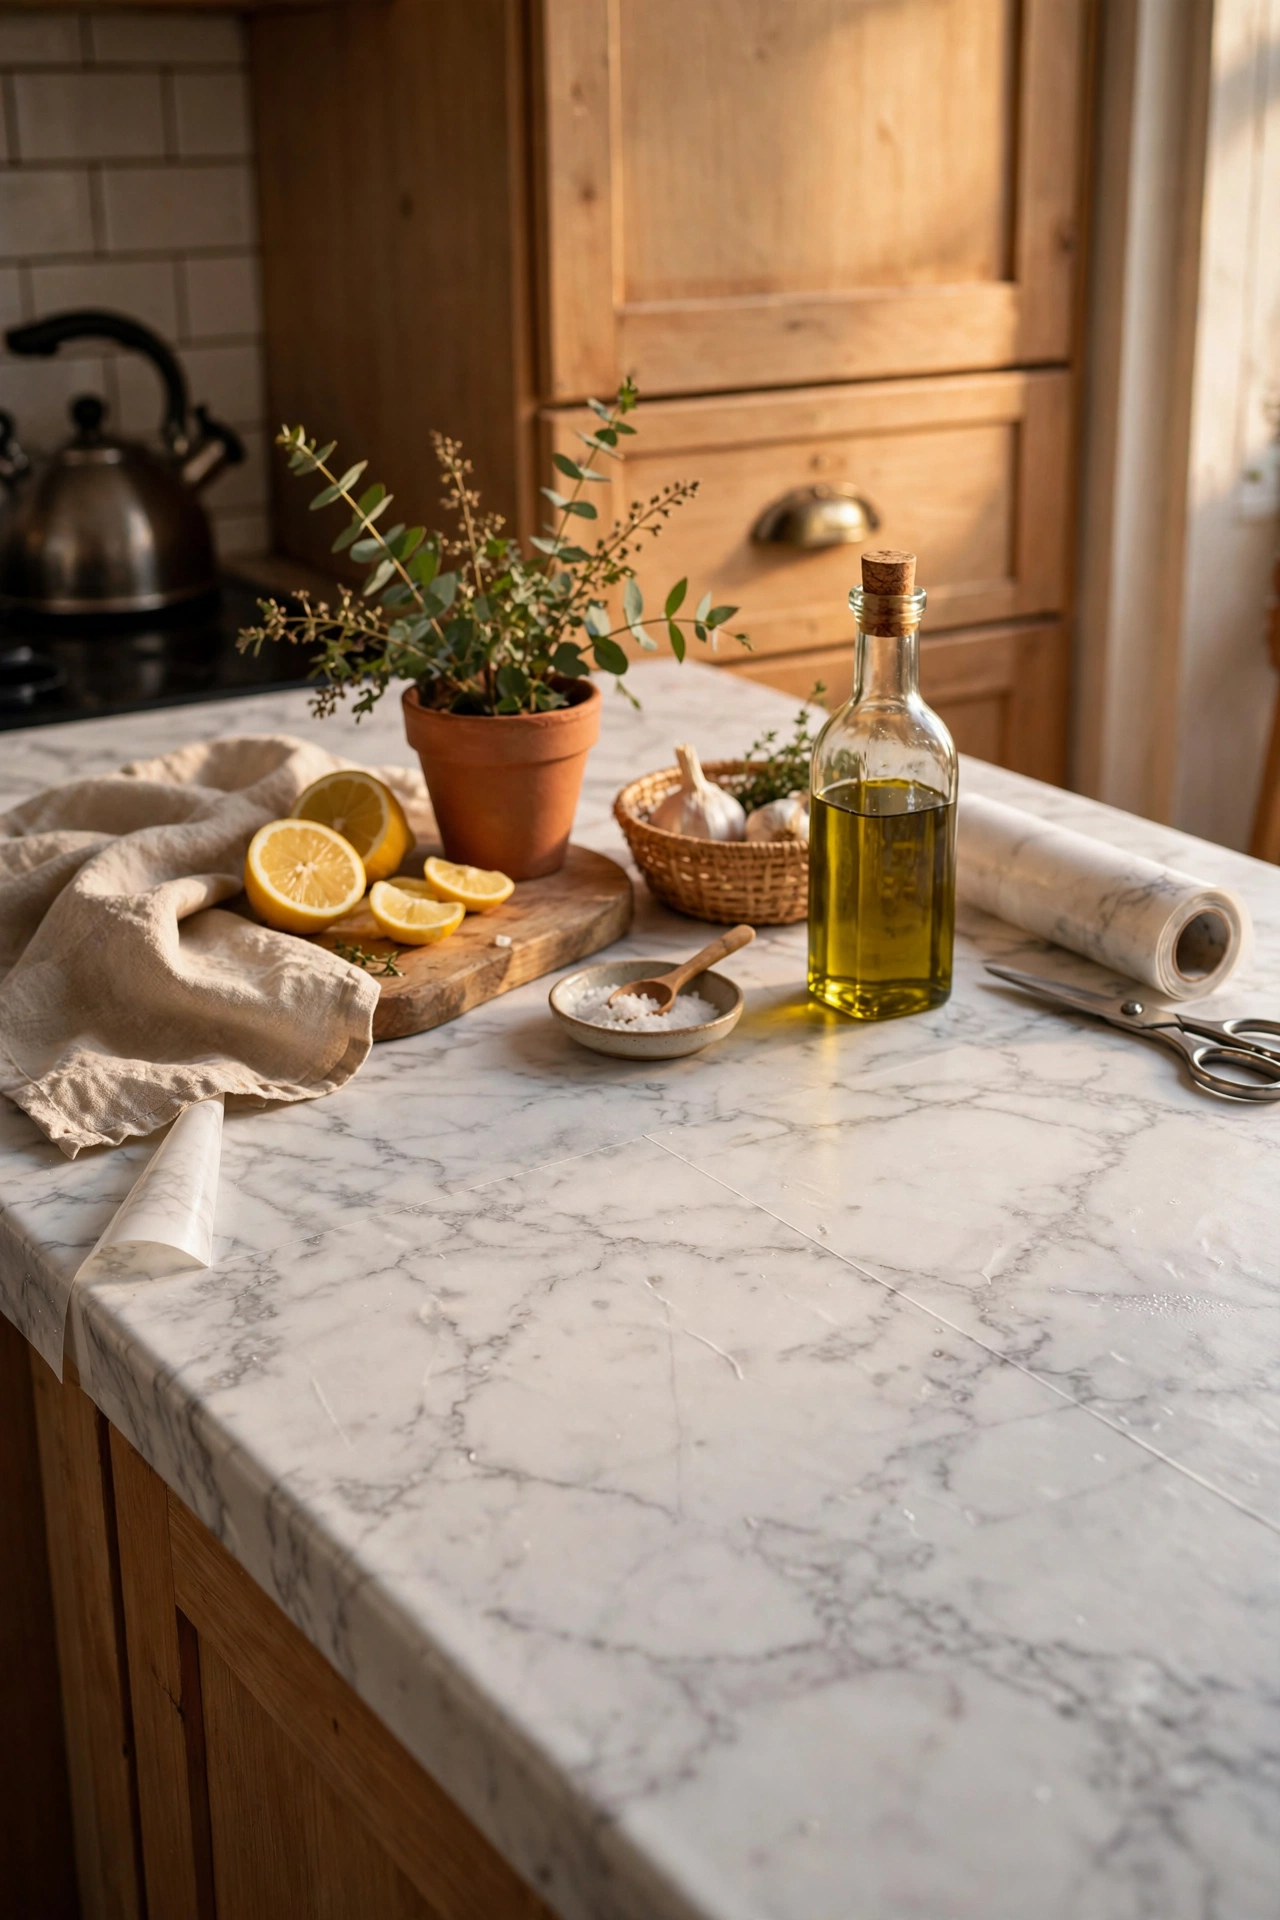
Stained laminate worktops get a second life under marble-look contact paper, and it all peels off at the end of the tenancy. Work in small sections, smooth with a credit card, and seal the edges near the sink with clear tape to keep water out. I tried this and the one mistake to avoid is cutting corners around the sink cut-out — water sneaks under loose edges and the paper lifts. Take your time with the fiddly bits. Save this one for later — you’ll thank yourself when spring rolls around and you’re deep-cleaning for inspection season.
Cost: ~$6 | Time: 45 minutes
6. Command-Strip Fairy Lights
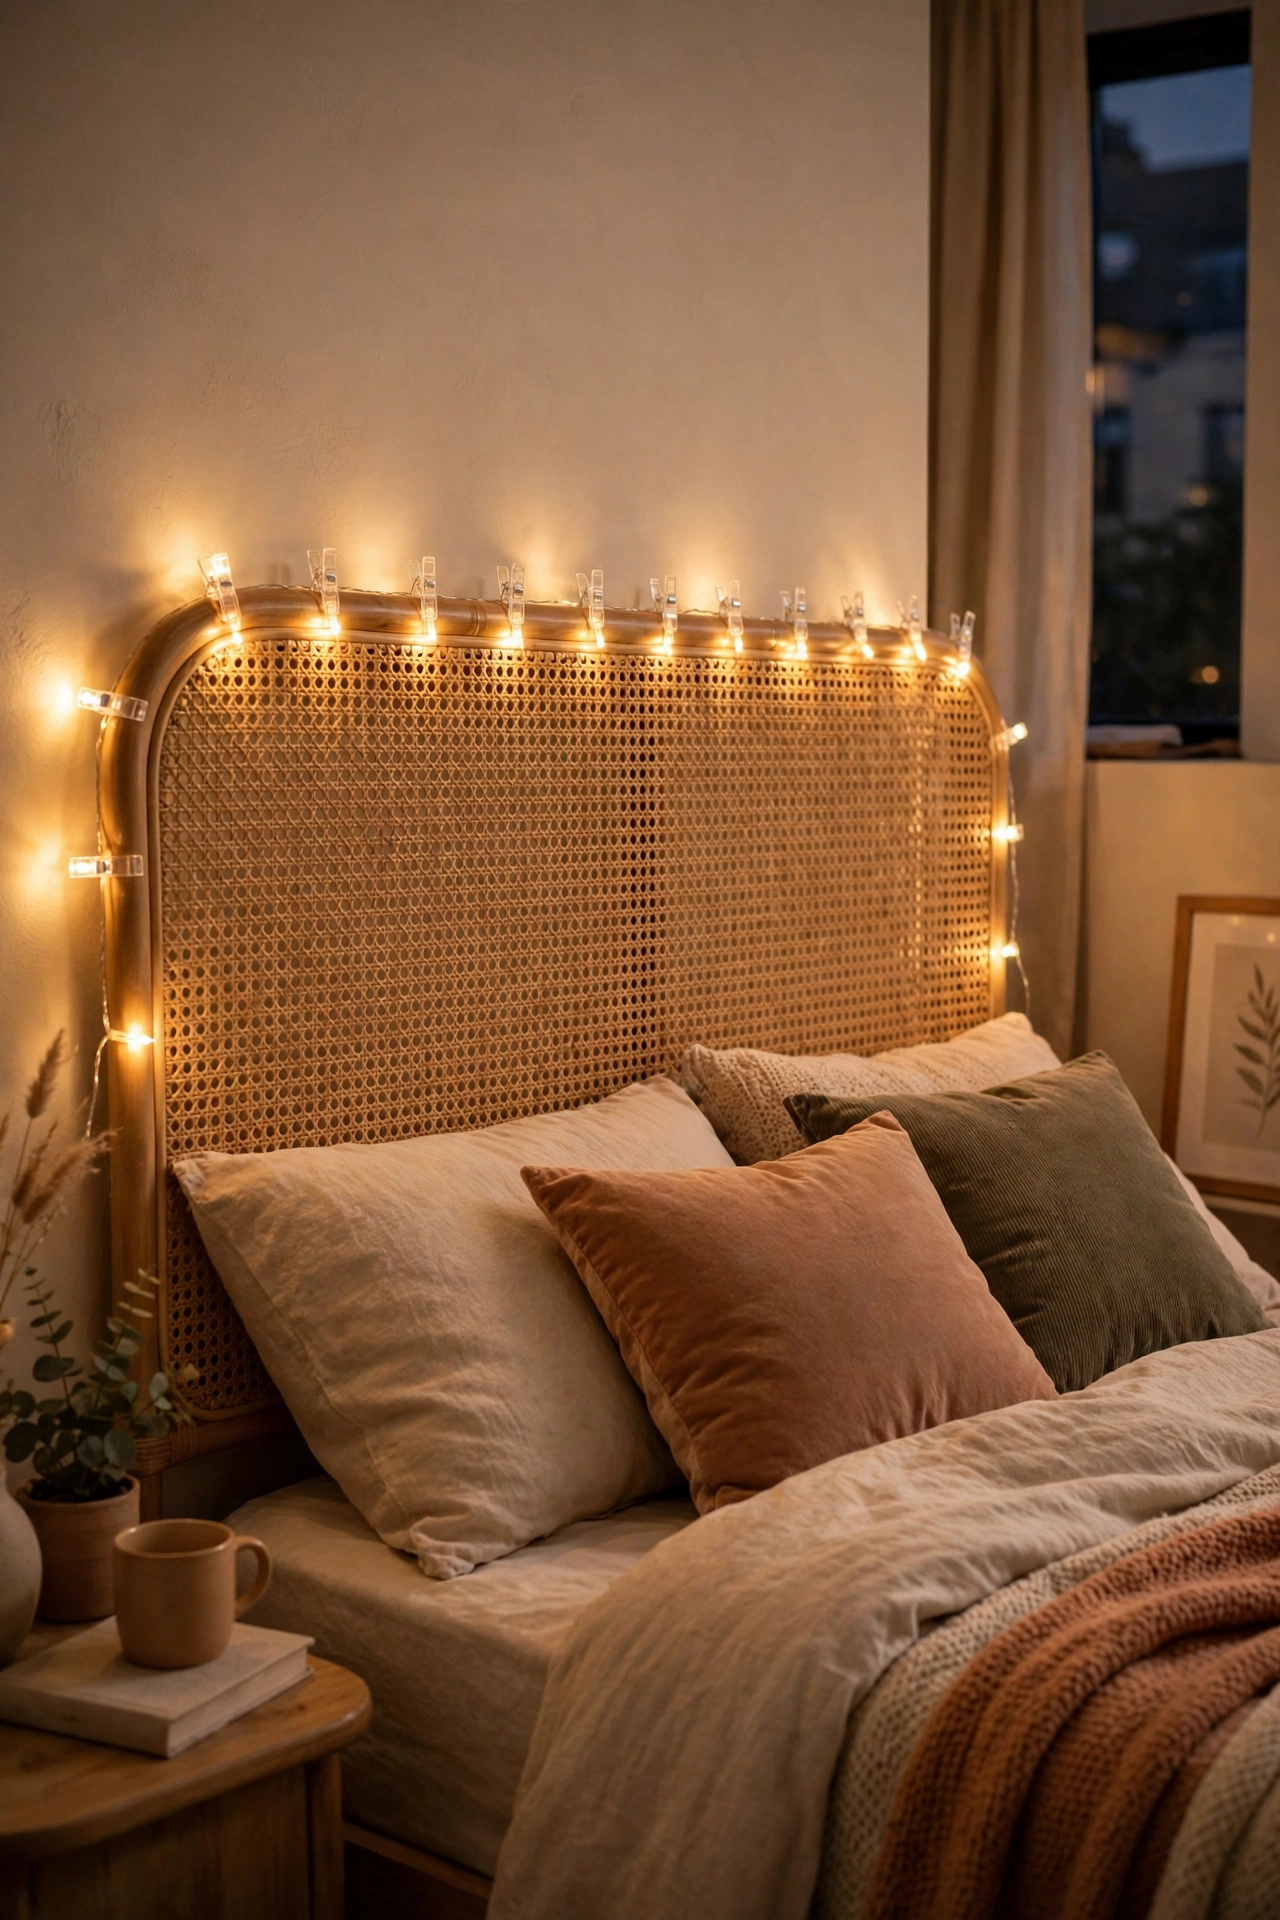
Fairy lights on removable clips turn a bland rental bedroom into somewhere you actually want to be. Run them along a headboard or window frame, use the tiny clear clips, and put them on a timer. I tried this and the one mistake to avoid is pinning them with drawing pins “just for now” — those tiny holes add up and landlords notice. Clips only, ever. Weave a second string in for twice the glow on dark winter evenings — one string can look a little sparse once it is up.
Pro tip: battery fairy lights with a built-in 6-hour timer are worth hunting down — they switch themselves off.
Cost: ~$5 | Time: 20 minutes
7. Shower Caddy Without Screws
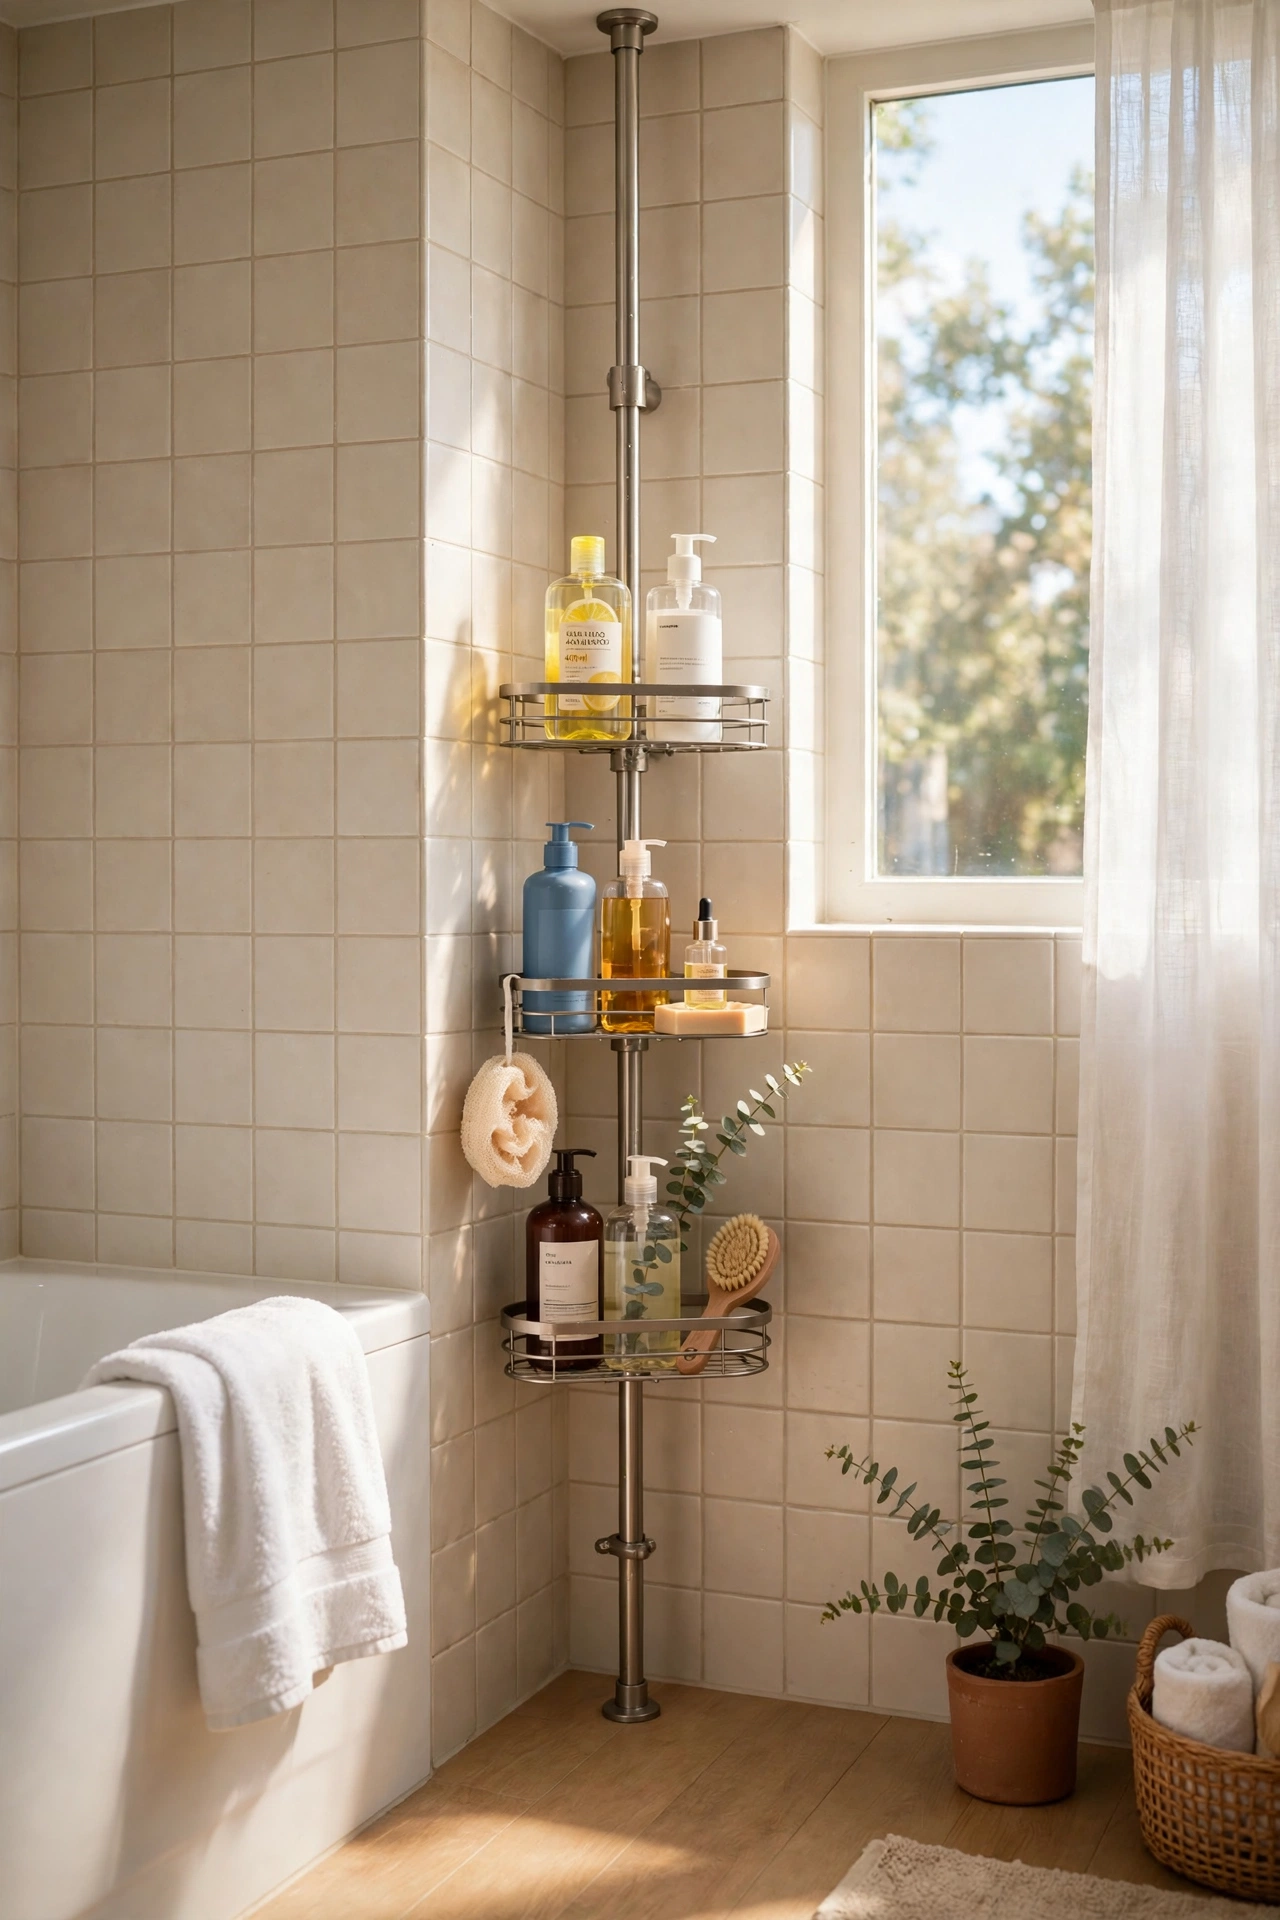
A tension-pole shower caddy wedges between floor and ceiling and holds all your bottles without a single hole in the tiles. Twist until it’s genuinely tight — then twist a bit more — and distribute weight evenly across the shelves. I tried this and the one mistake to avoid is the “good enough” twist; a half-tight pole slides down mid-shower and takes your shampoo with it. It should not budge when you shove it. Hang a small squeegee from the bottom shelf — wiping the tiles after showering stops limescale building up on your shiny new caddy.
Cost: ~$7 | Time: 15 minutes
8. Rug Over Ugly Carpet
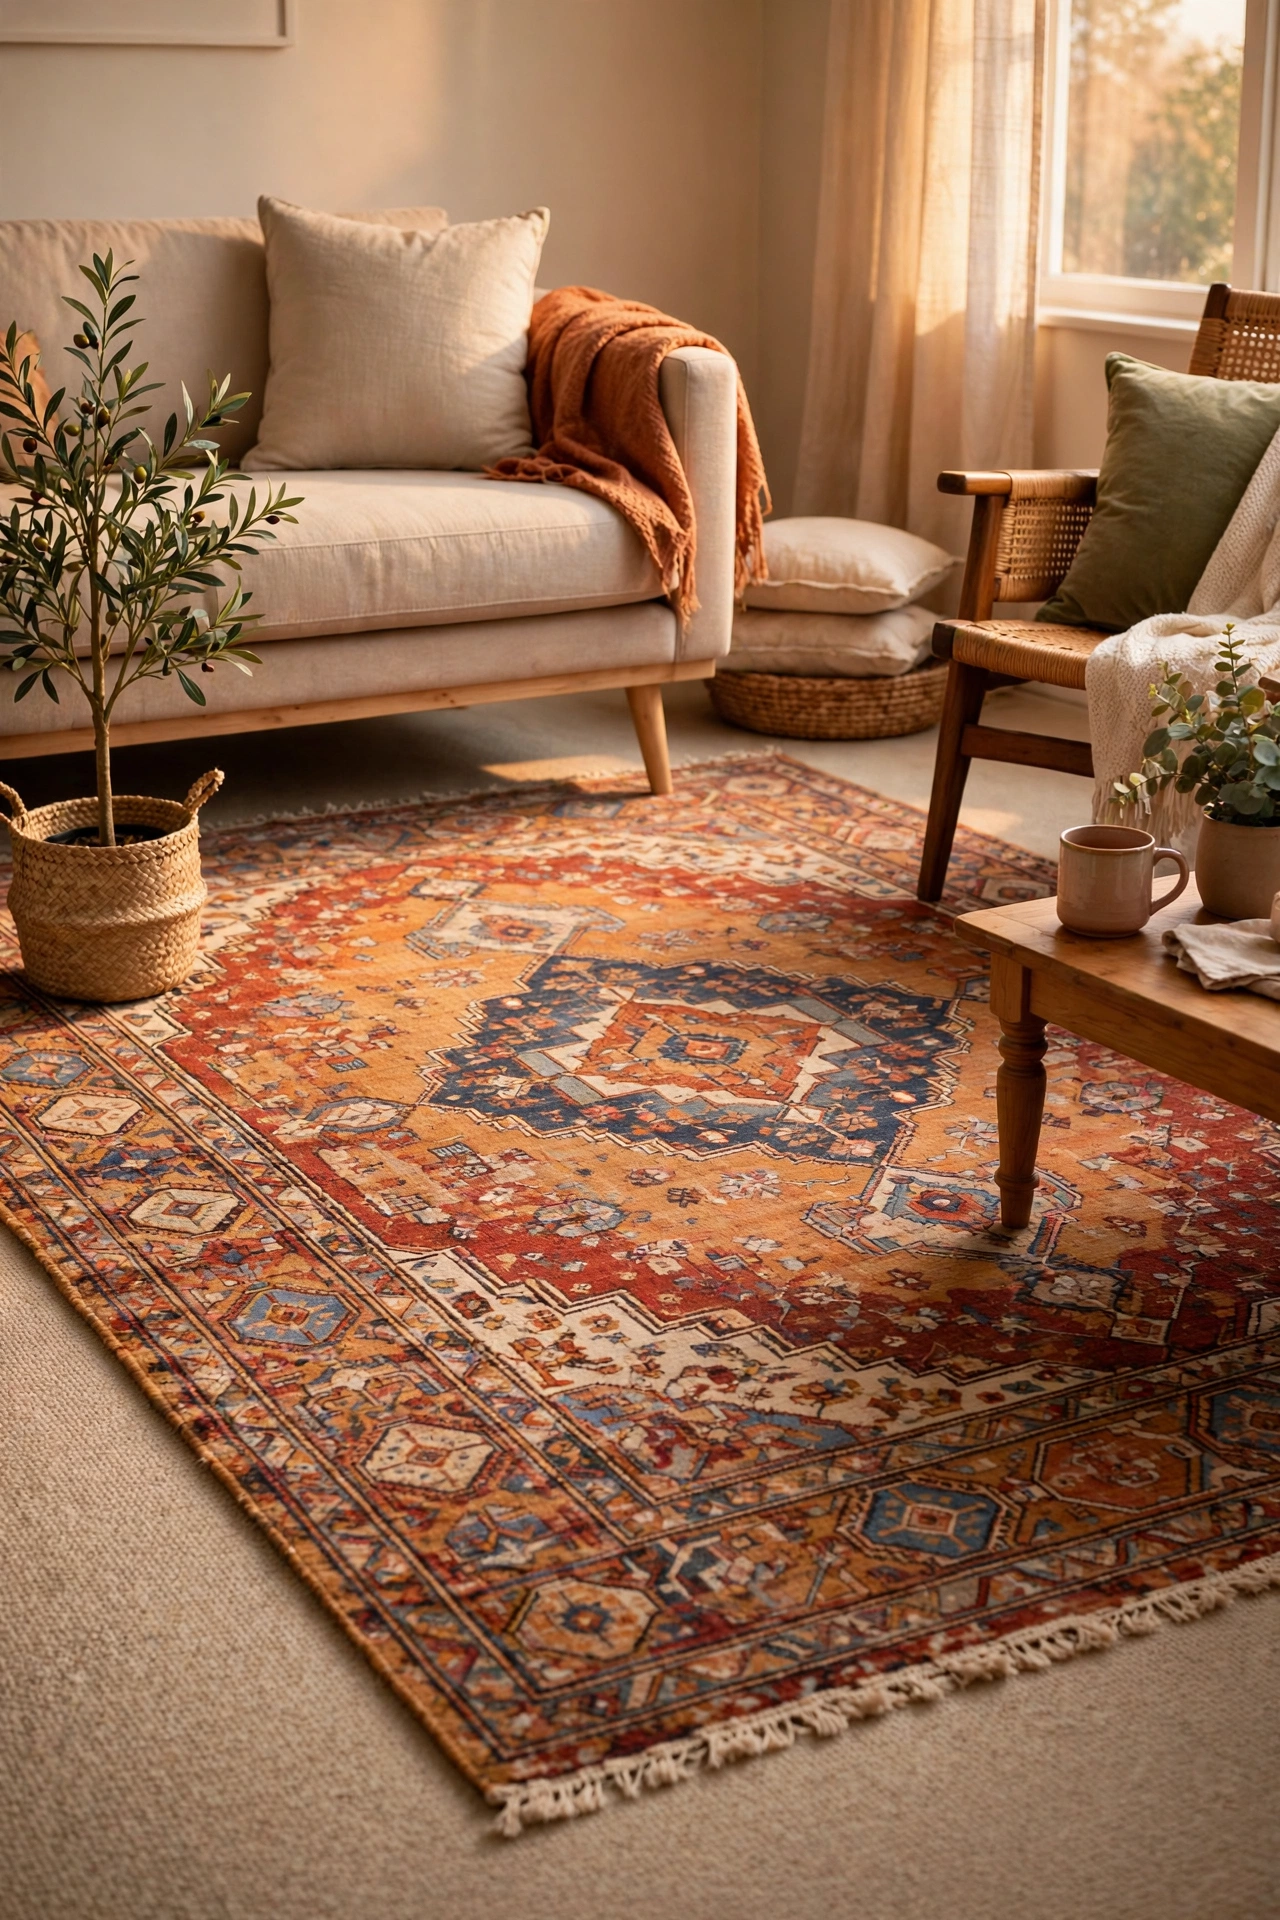
Can’t change the landlord’s beige carpet? Cover it. A large bargain rug over the offending flooring resets the whole room’s palette in minutes. Go big — the rug should sit under the front legs of your main furniture, not float in the middle like an island. I tried this and the one mistake to avoid is a rug that’s too small; it chops the room up and makes it feel smaller. Bigger is almost always better with rugs. Choose a low-pile rug so doors still swing over it — a thick rug plus carpet underneath can jam a door shut.
Cost: ~$12 | Time: 10 minutes
9. Removable Wallpaper Headboard
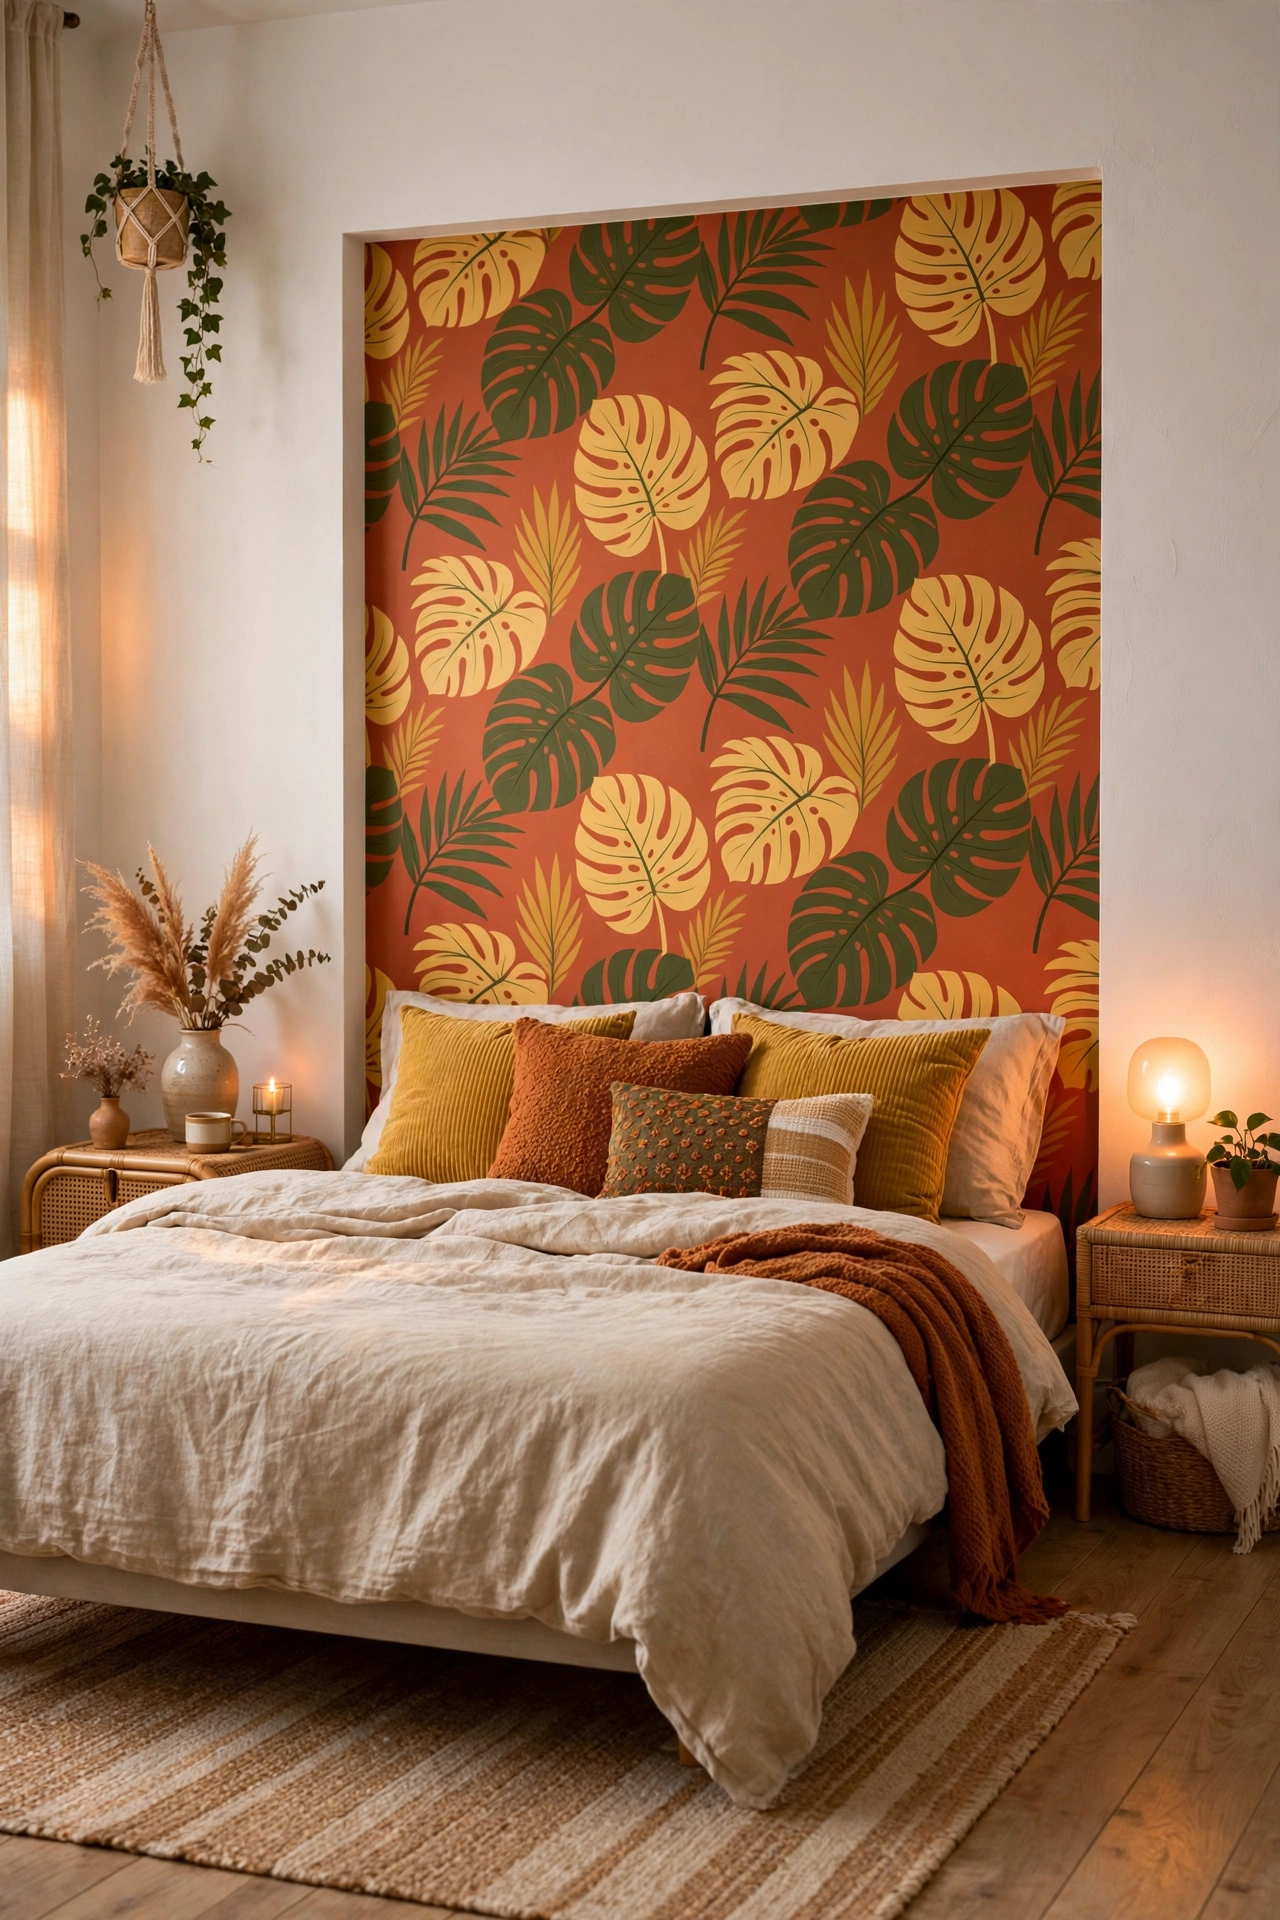
No headboard and not allowed to mount one? A rectangle of bold peel-and-stick wallpaper behind the bed fakes a headboard brilliantly. Measure a panel about 20cm wider than the bed on each side, apply it straight, and add two floating cushions in front for depth. I tried this and the one mistake to avoid is a busy pattern in a small room — it can overwhelm. In a box room, go for something calm and let the shape do the talking. More wall ideas in (see also: 19-dollar-store-decor-ideas-worth-every-penny).
Pro tip: use a spirit-level app on your phone — a crooked wallpaper headboard is painfully obvious.
Cost: ~$5 | Time: 30 minutes
10. Under-Sink Curtain
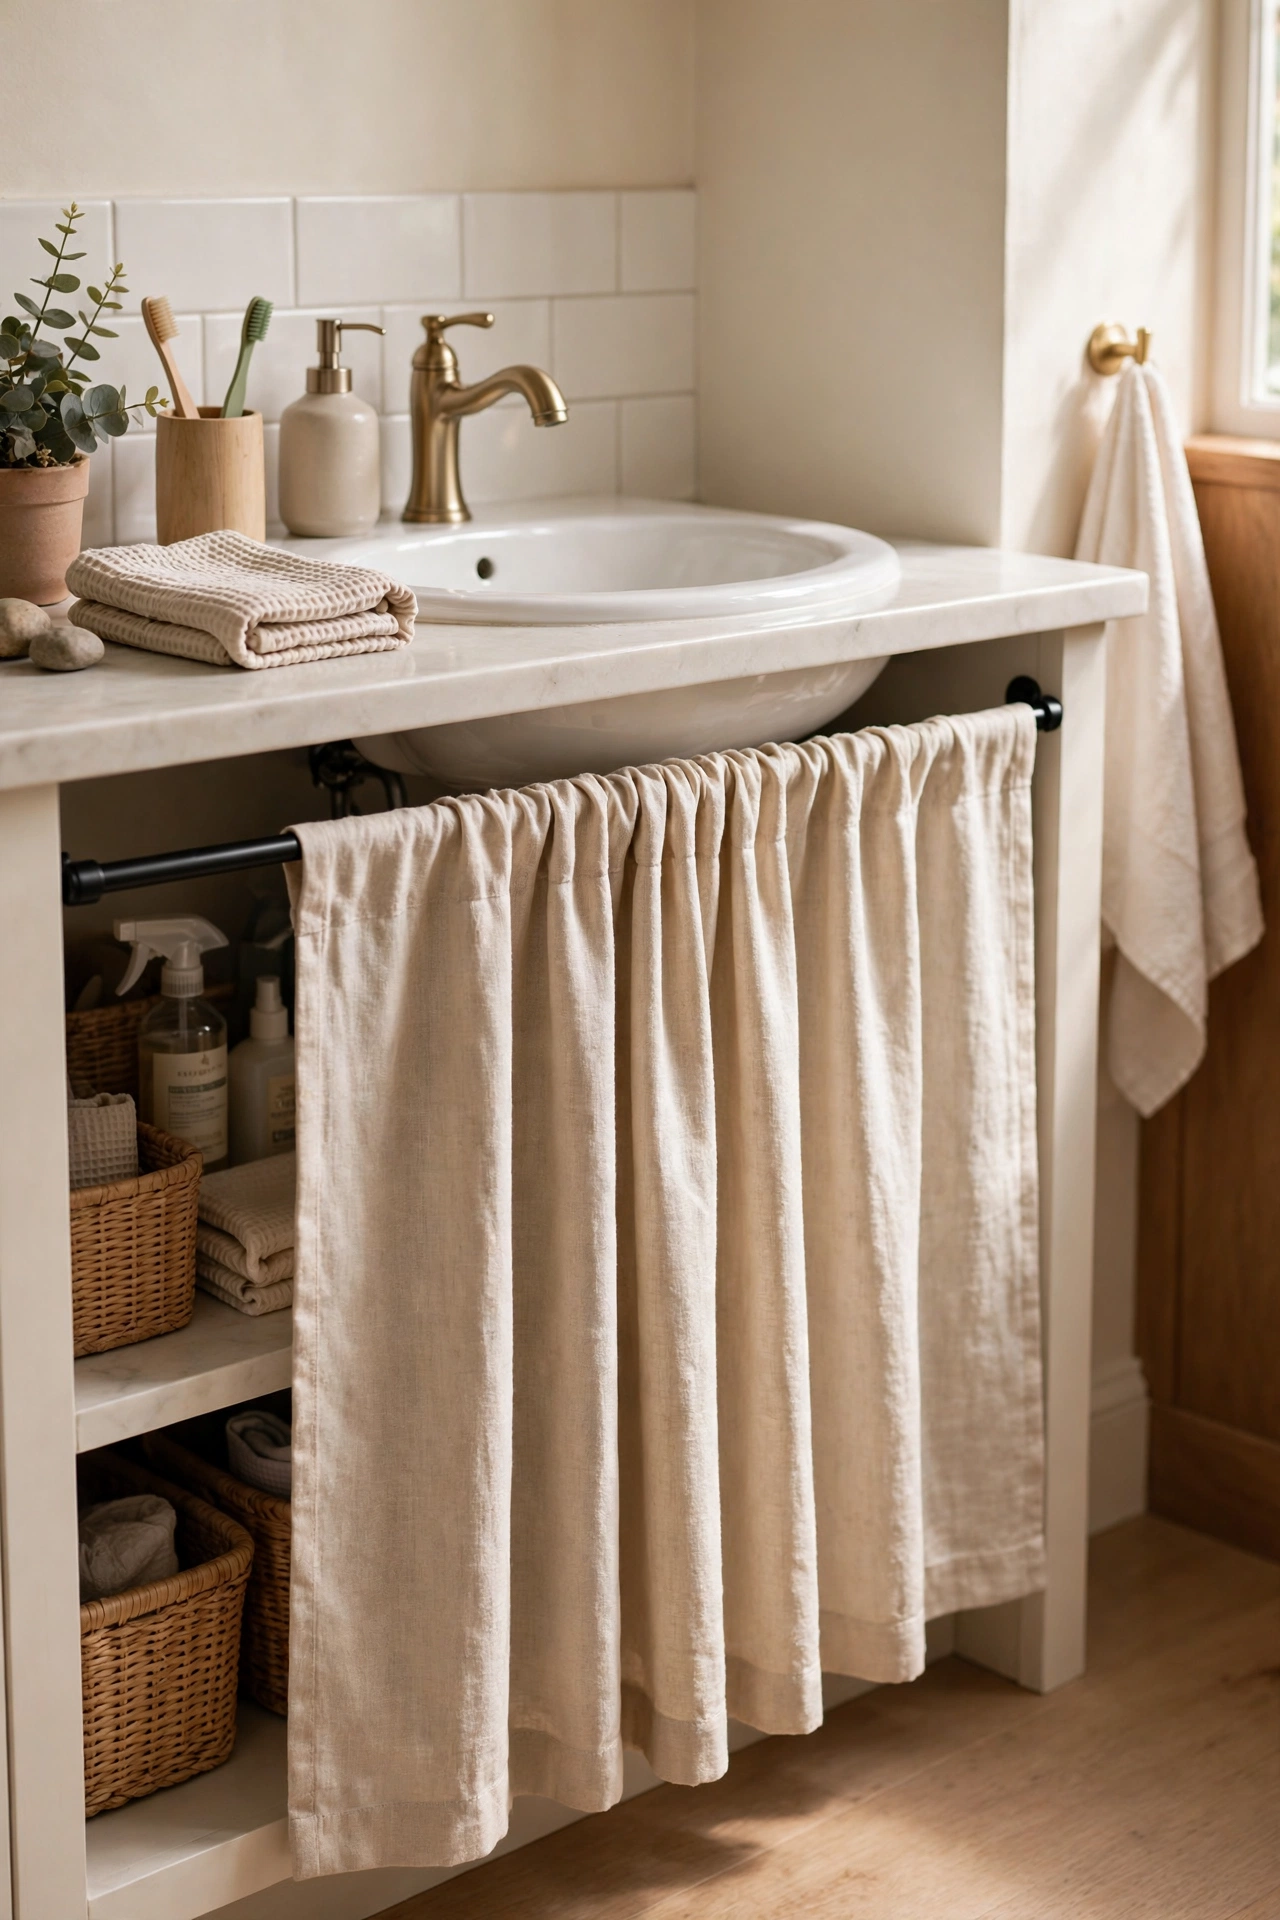
Hide the chaos under a pedestal sink or an open kitchen shelf with a tension rod and a cafe curtain. It hides cleaning products, adds softness, and takes ten minutes. Choose a washable fabric because it will get splashed. I tried this and the one mistake to avoid is a curtain that pools on the floor in a bathroom — damp hems go musty fast. Hem it to just kiss the floor, not puddle. Sew a pocket into the top hem for spare bin bags — the curtain hides them and you will always know where they are.
Cost: ~$4 | Time: 15 minutes
11. Magnetic Spice Tins
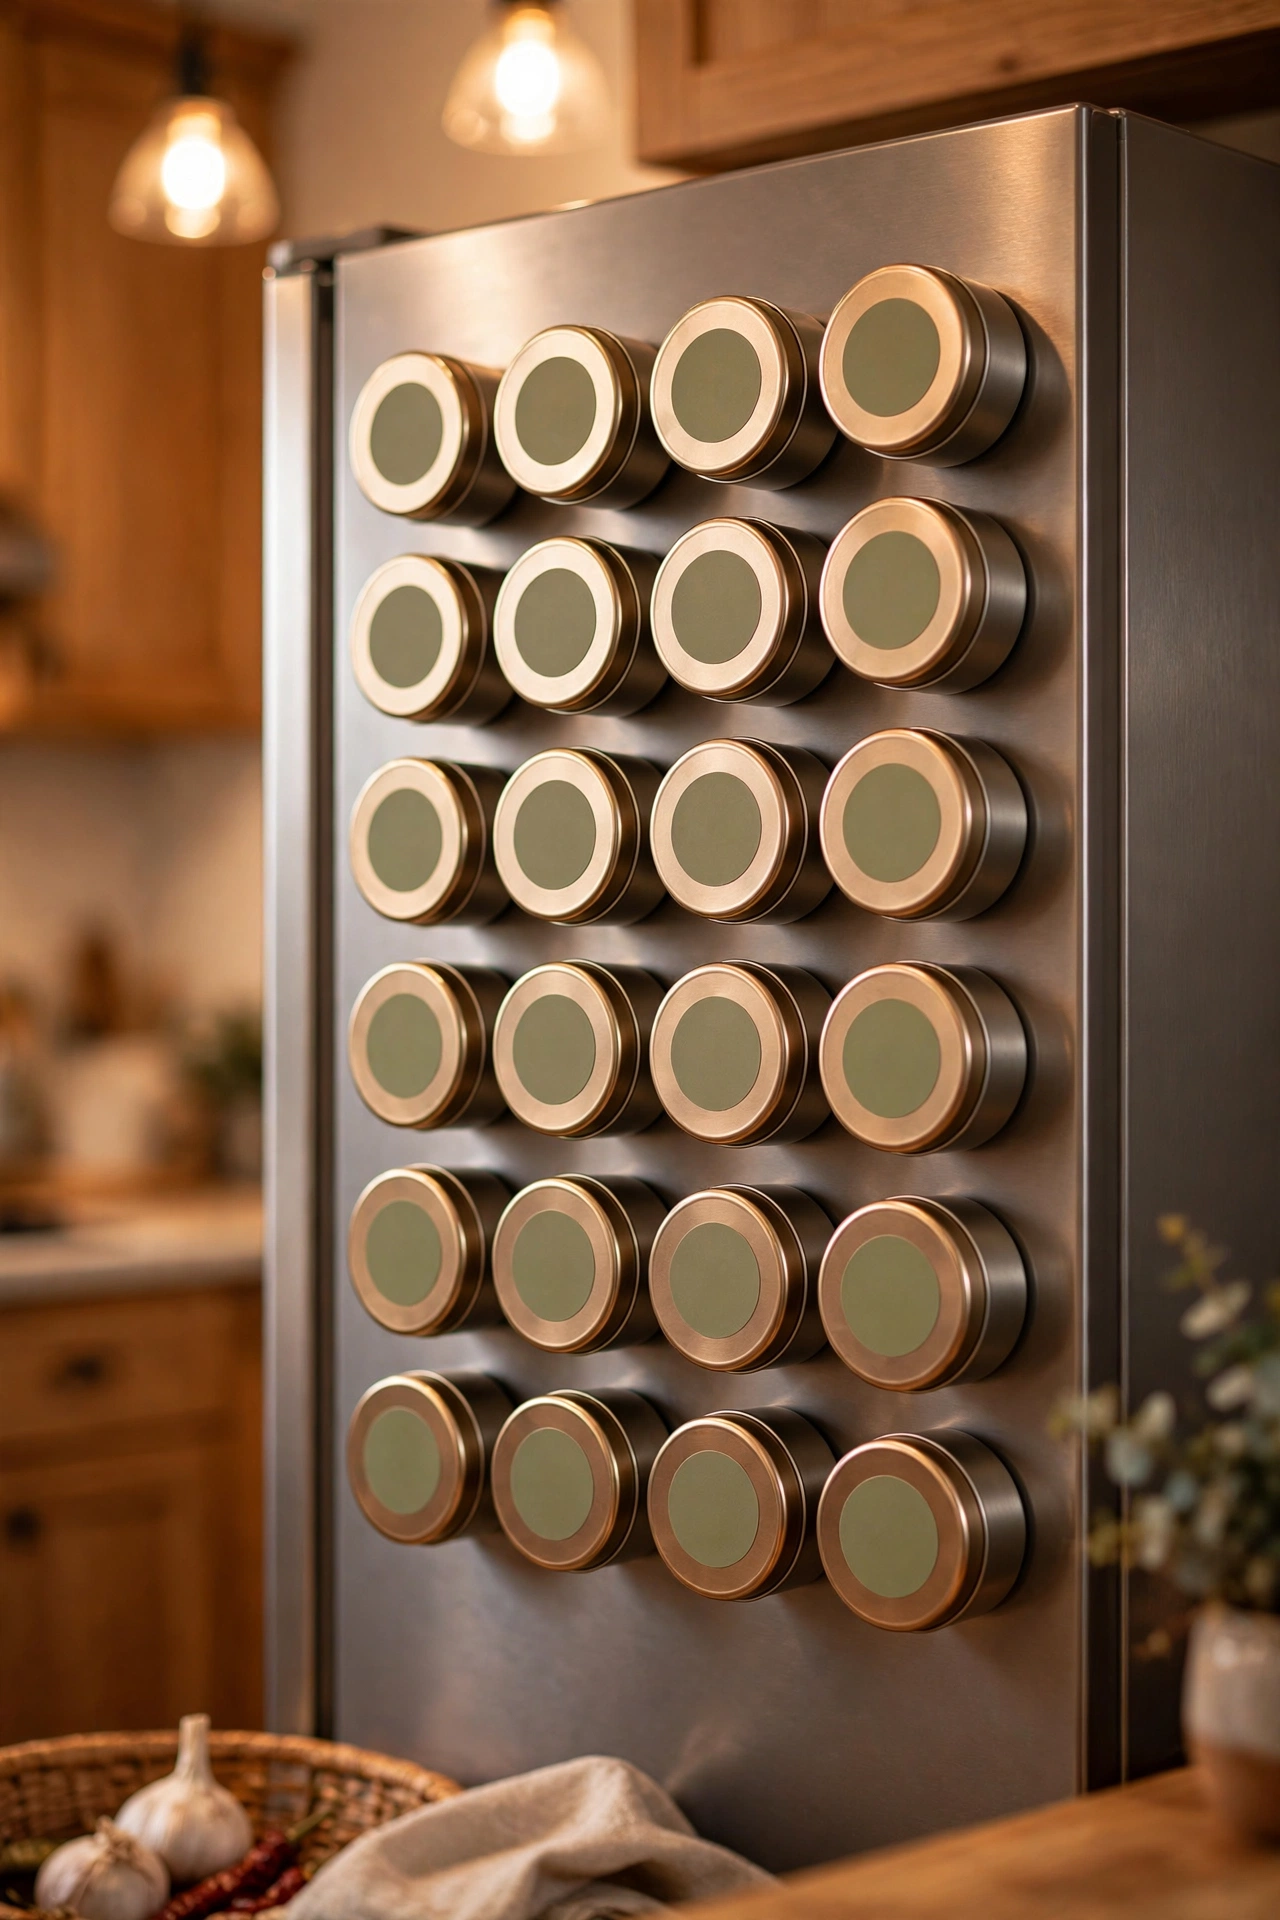
Small magnetic tins stuck to the side of the fridge free up a whole cupboard shelf. Decant your most-used spices, label the lids clearly, and arrange them in a neat grid. I tried this and the one mistake to avoid is filling them to the very top — the lids pop off when you pull a tin down and paprika goes everywhere. Fill to three-quarters and you’ll thank me. Stick a tiny round magnet inside the lid too if your tins feel loose — the double grip holds even on a fridge that gets slammed.
Cost: ~$4 | Time: 20 minutes
12. Door-Draft Snake
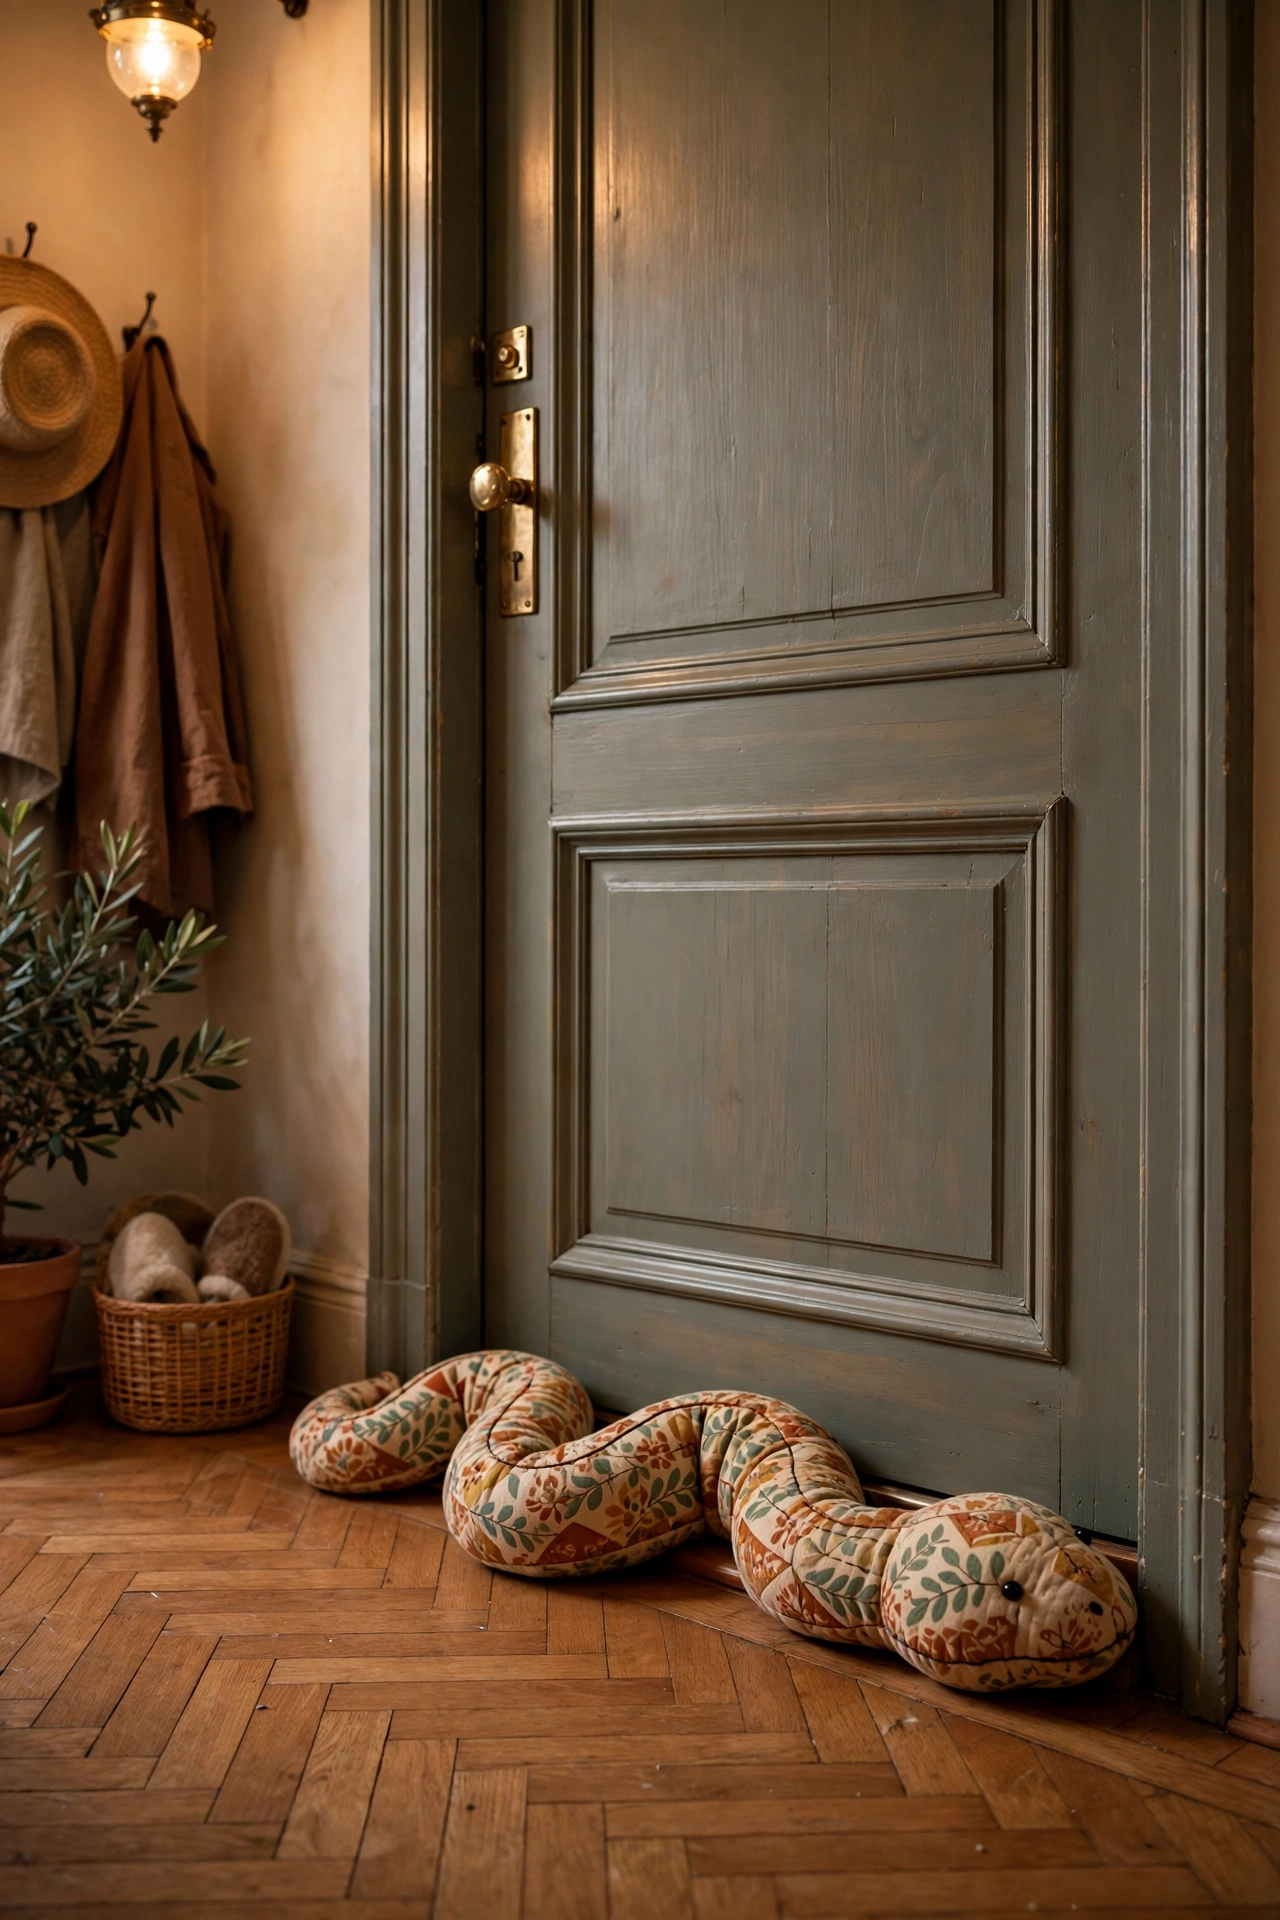
A fabric draft excluder along the bottom of a draughty door cuts heating bills and looks intentional if you pick a nice fabric. Fill a tube of material with rice or dried beans, sew or glue the ends, and lay it snug against the door. I tried this and the one mistake to avoid is making it too light — a featherweight snake gets kicked aside in a day. It needs heft to stay put. Make two and keep one at the back door as well — draughts rarely limit themselves to the front of the house.
Pro tip: add a few drops of lavender oil to the filling — it freshens the hallway every time the door moves.
Cost: ~$2 | Time: 25 minutes
13. Clip-On Window Privacy Film
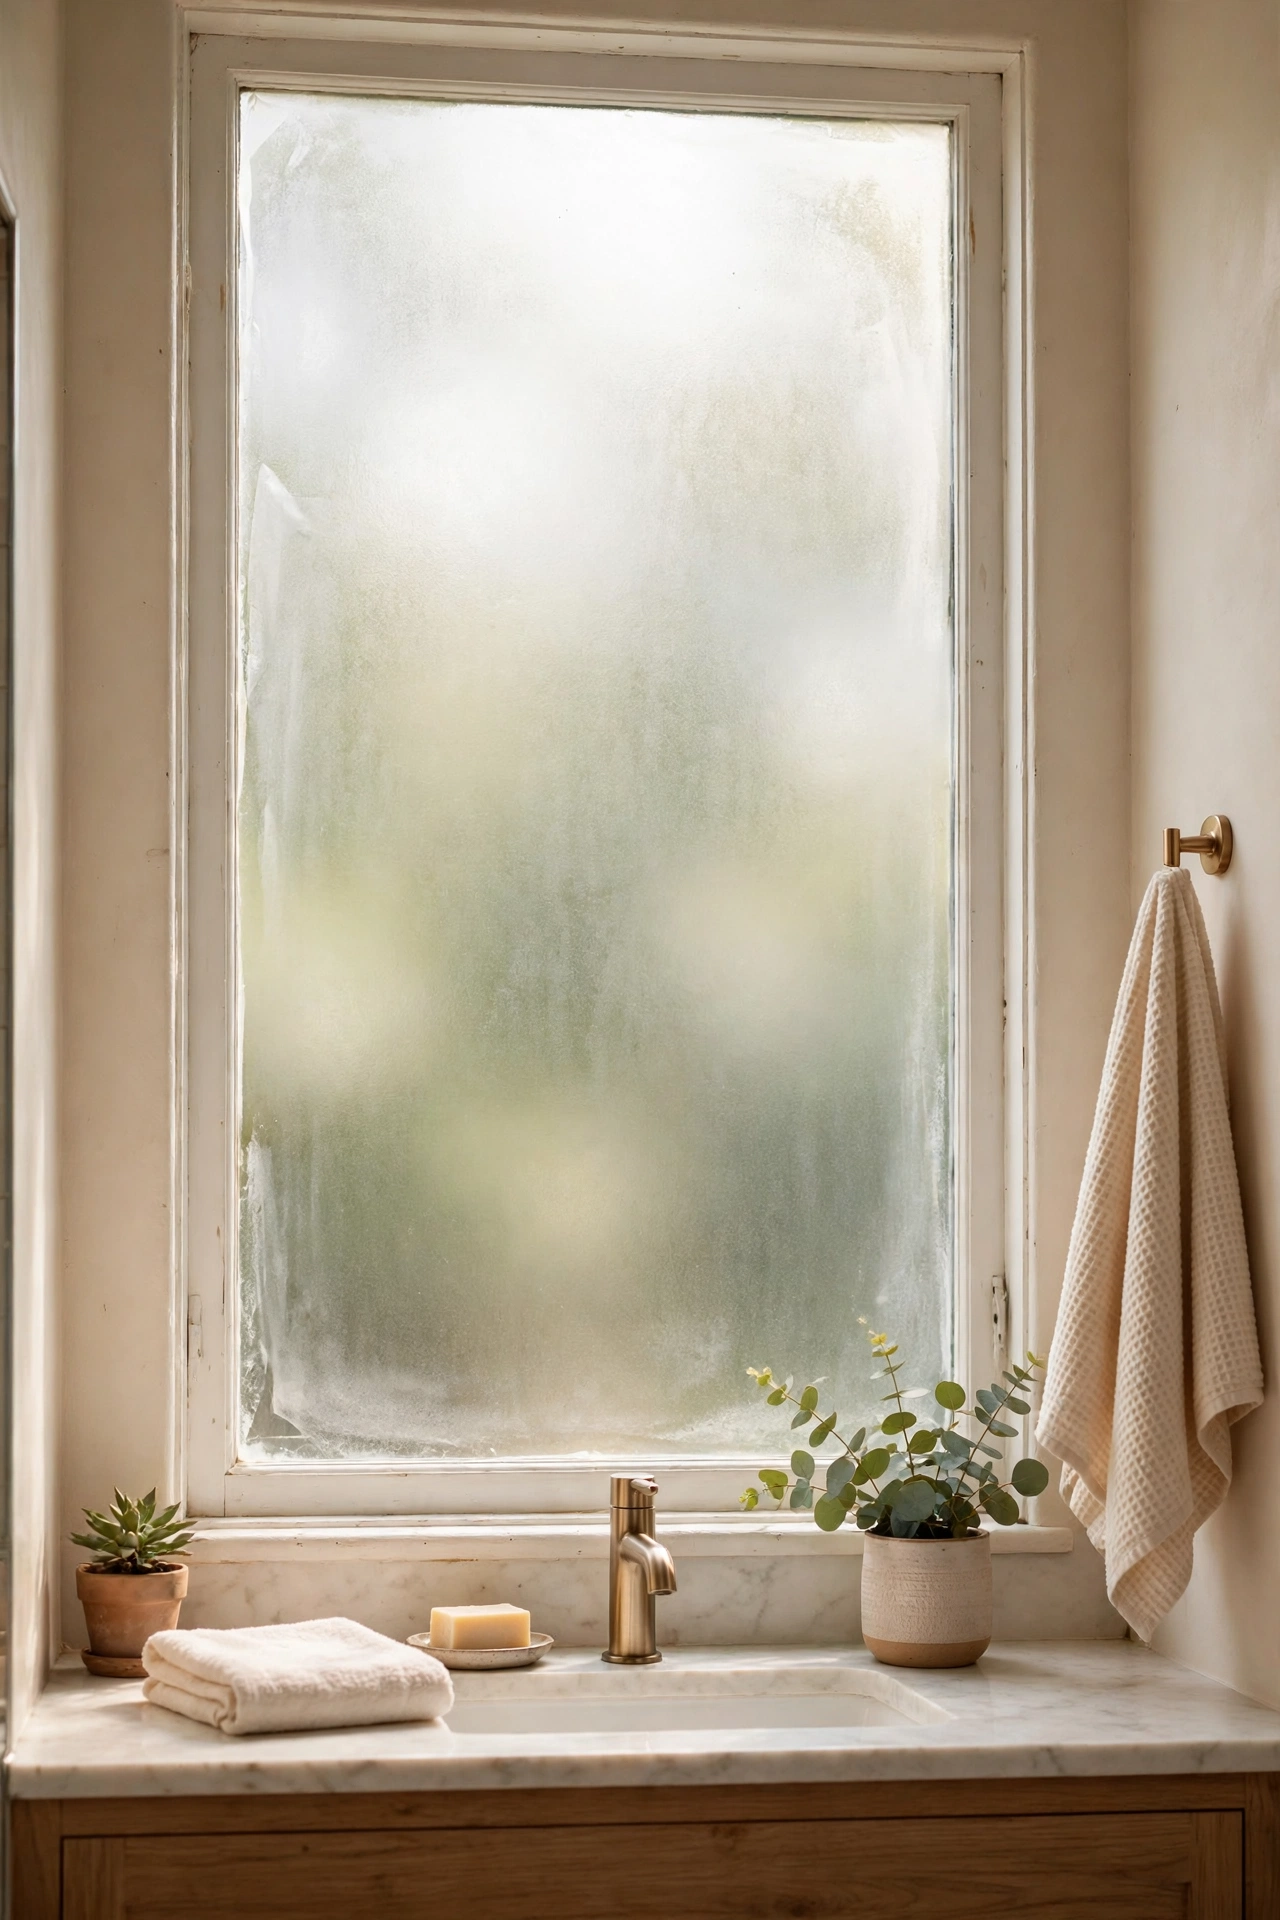
Static-cling window film gives you frosted-glass privacy with zero adhesive and peels off spotless. Cut it slightly smaller than the pane, mist the glass with soapy water, and squeegee out the bubbles. I tried this and the one mistake to avoid is the patterned side facing out — check which side is the pretty one before you commit, because flipping it later means starting over. Apply it to the lower half of the window only if you want privacy plus a clear view of the sky — the split looks surprisingly smart.
Cost: ~$4 | Time: 25 minutes
14. Stackable Shelf Risers
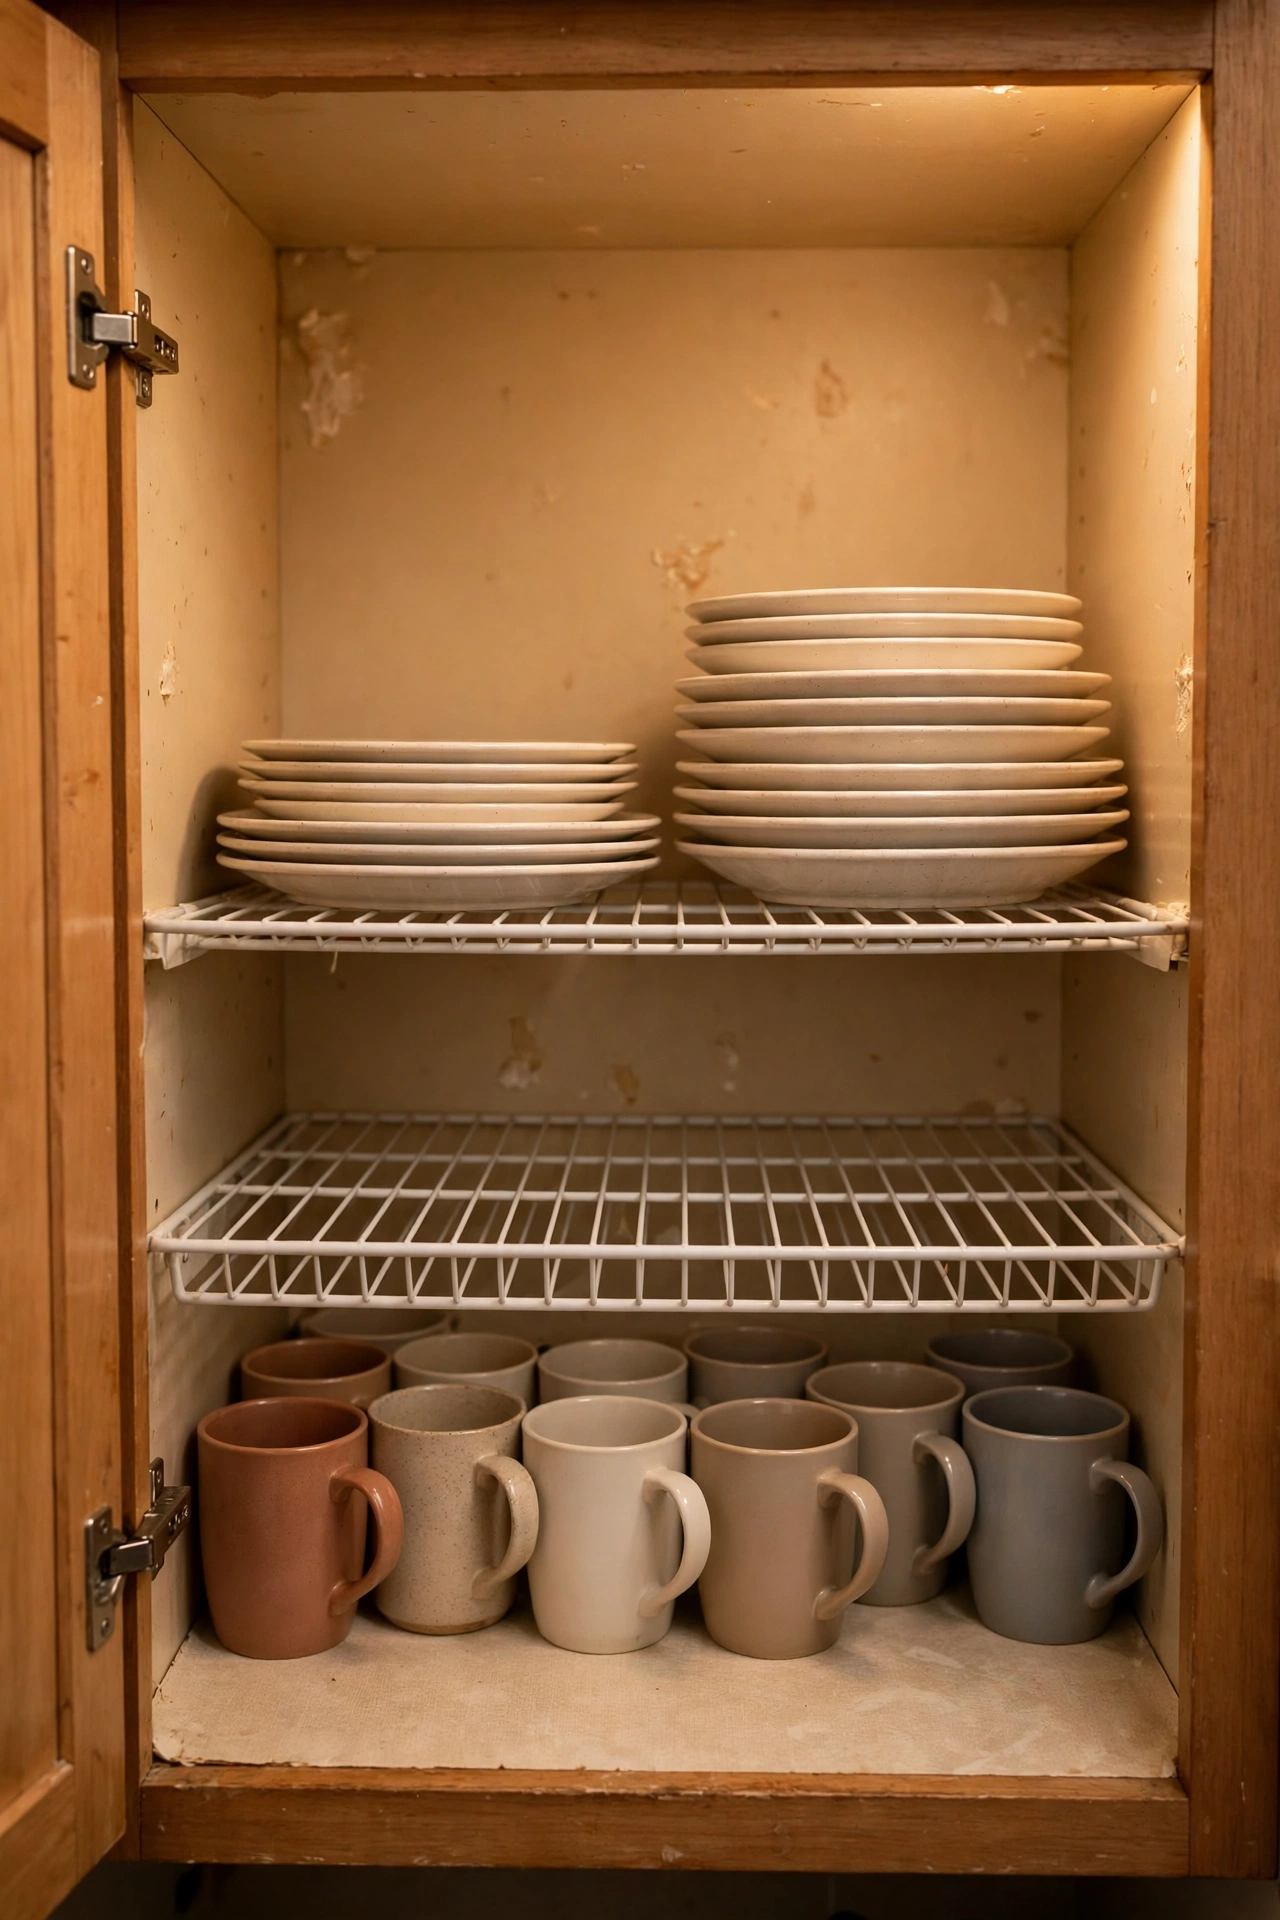
Rental kitchen cupboards are always too tall and too few. Wire shelf risers double every shelf’s capacity — mugs below, plates above. They’re freestanding, so they move with you. I tried this and the one mistake to avoid is stacking heavy cast iron on the top tier; risers are sturdy but not indestructible. Everyday crockery up top, the heavy stuff stays low. Line the riser shelf with non-slip liner so plates do not migrate when you yank the cupboard door open in a hurry.
Cost: ~$4 | Time: 10 minutes
15. Removable Chalkboard Labels
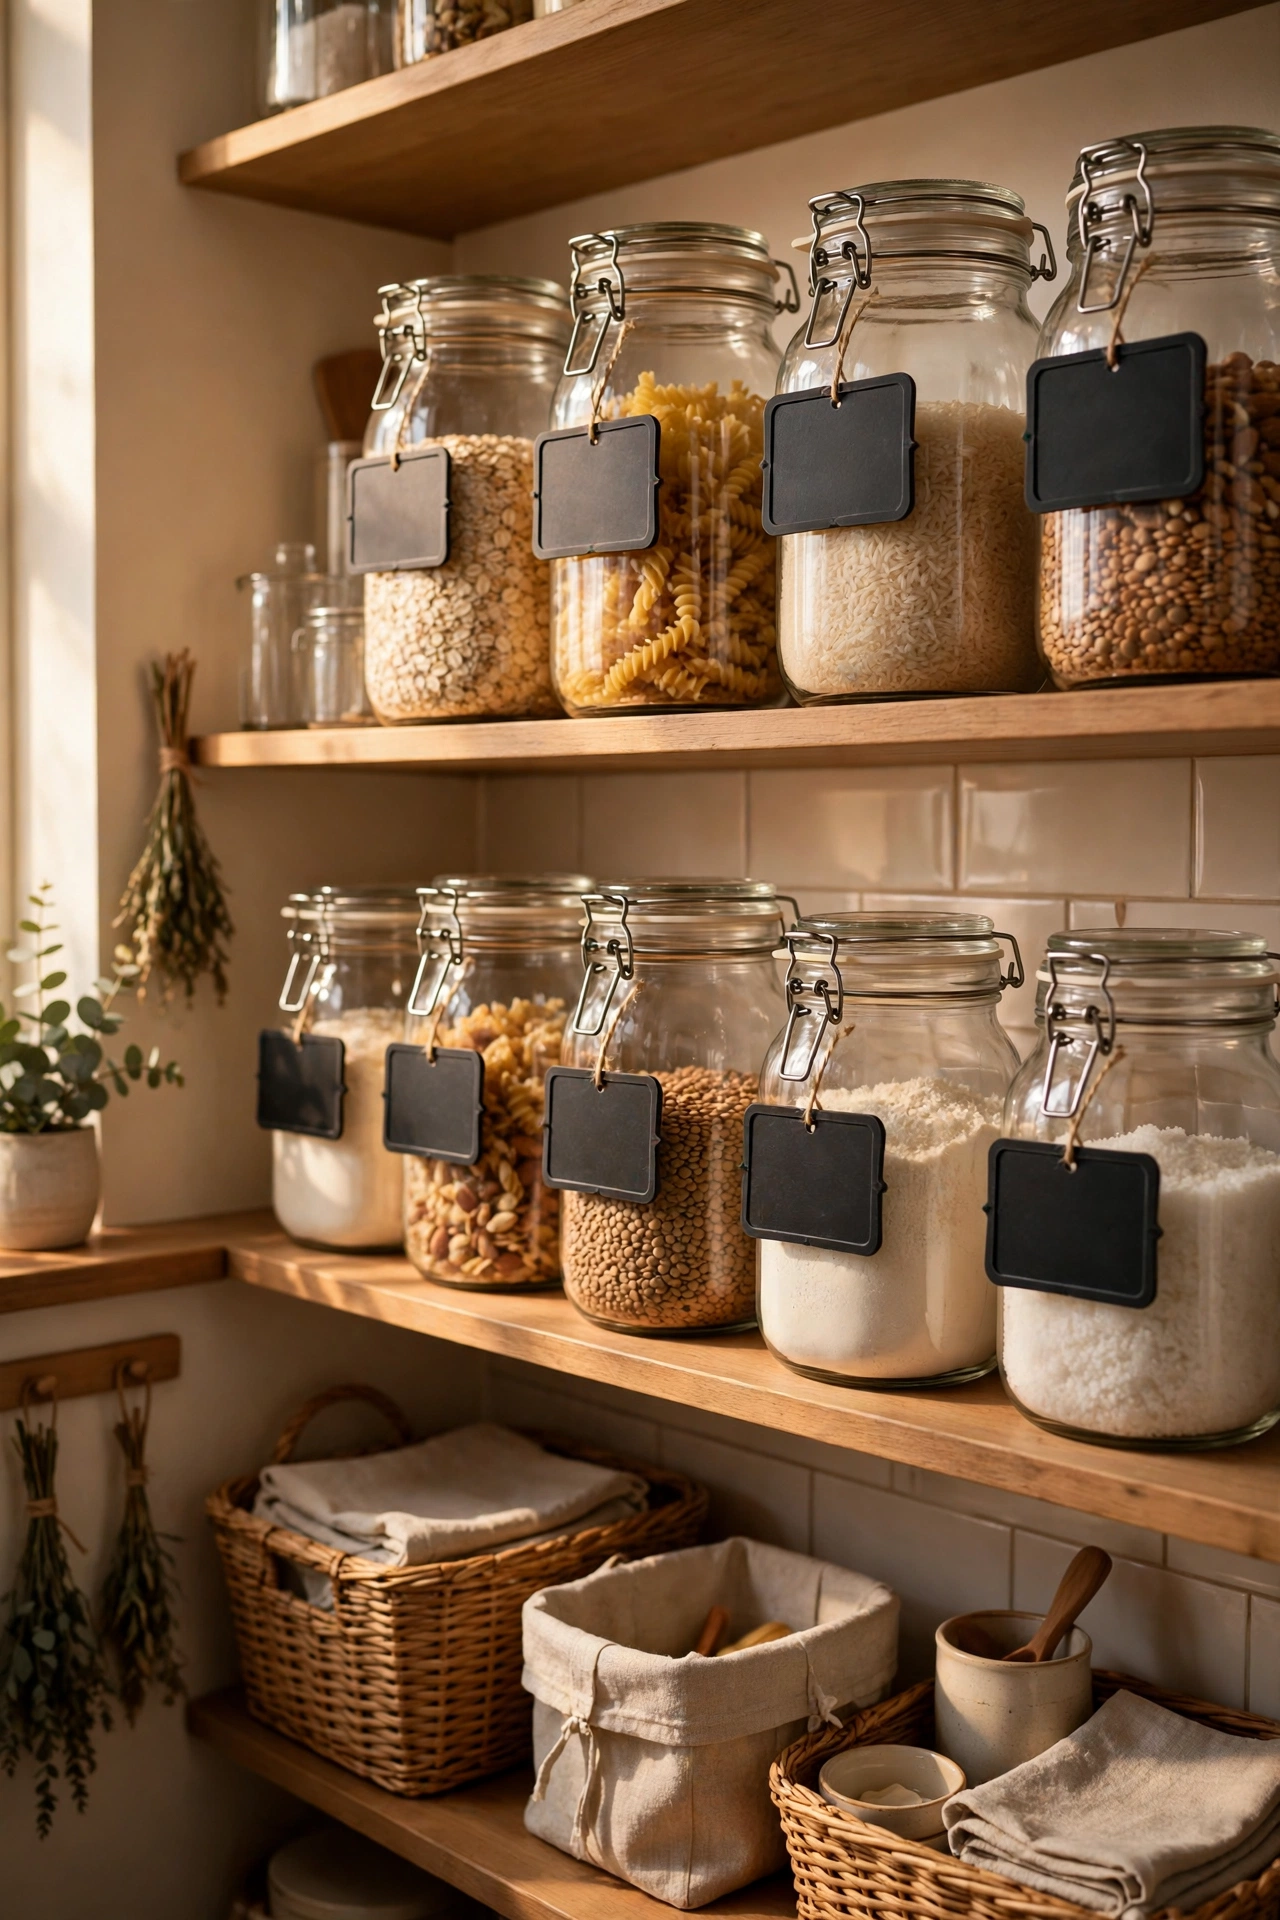
Chalkboard labels on jars, boxes and baskets make a rental kitchen look like an organised dream. Stick them on, write with a chalk marker, and wipe clean when the contents change. I tried this and the one mistake to avoid is real chalk — it smudges at the slightest touch and your “flour” jar will read “fl..r” within a week. Chalk markers only. Keep a damp cloth in the drawer with the markers — quick wipe-downs keep the labels looking crisp instead of ghosted.
Pro tip: photograph your labelled jars before a move — it makes unpacking the new kitchen twice as fast.
Cost: ~$2 | Time: 15 minutes
16. Bedside Caddy
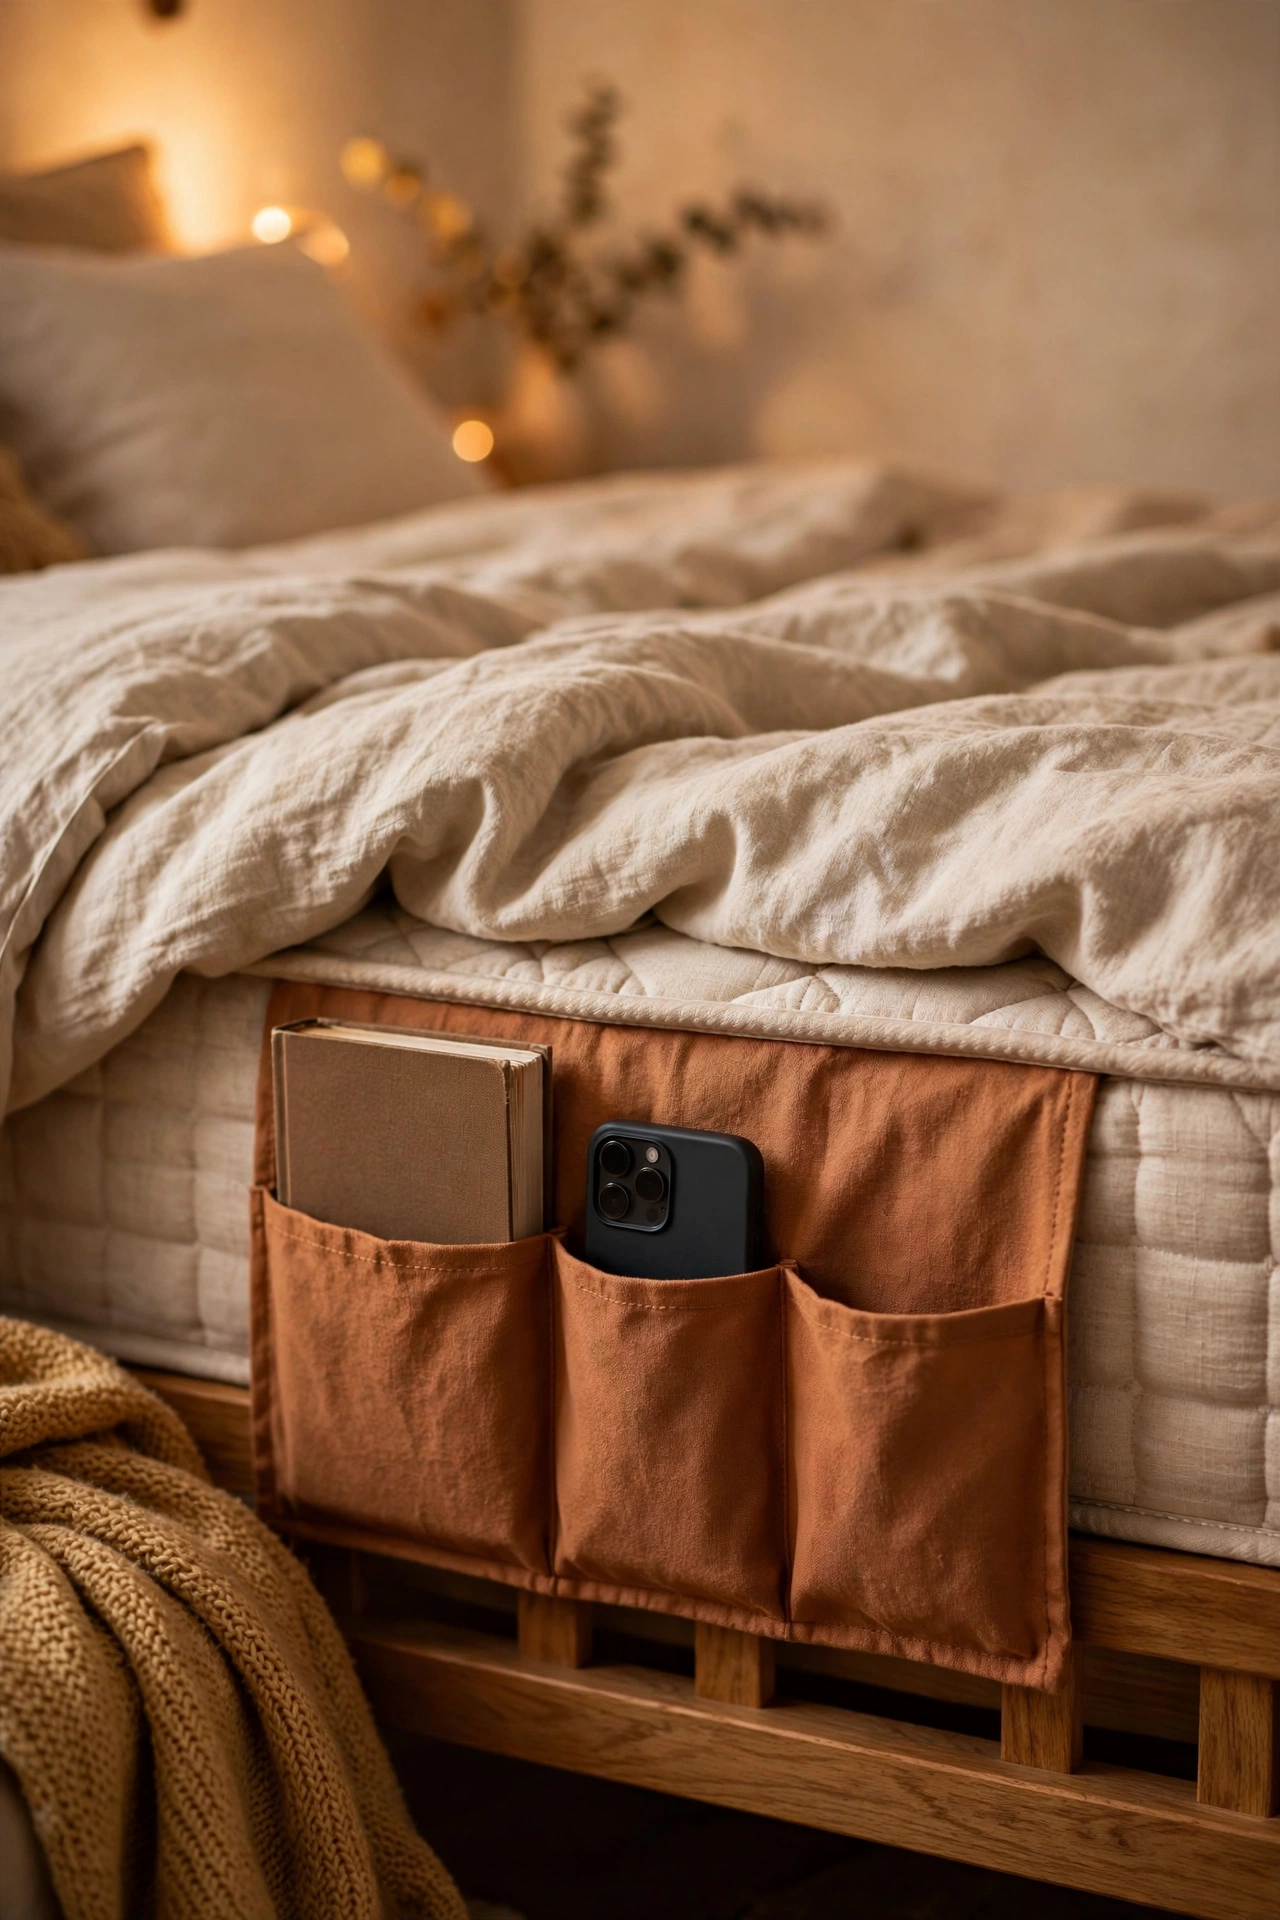
No room for a bedside table? A fabric caddy that slides between mattress and frame holds your phone, book and glasses. It’s the renter’s nightstand. Pick one with divided pockets so things don’t end up in a jumble. I tried this and the one mistake to avoid is overloading the outer pocket — too much weight and the whole thing slides down behind the bed at 2am. Keep it to the essentials. Choose one with a reinforced top edge — floppy caddies collapse and swallow your phone into the gap beside the mattress.
Cost: ~$3 | Time: 5 minutes
17. Faux Tile Floor Stickers
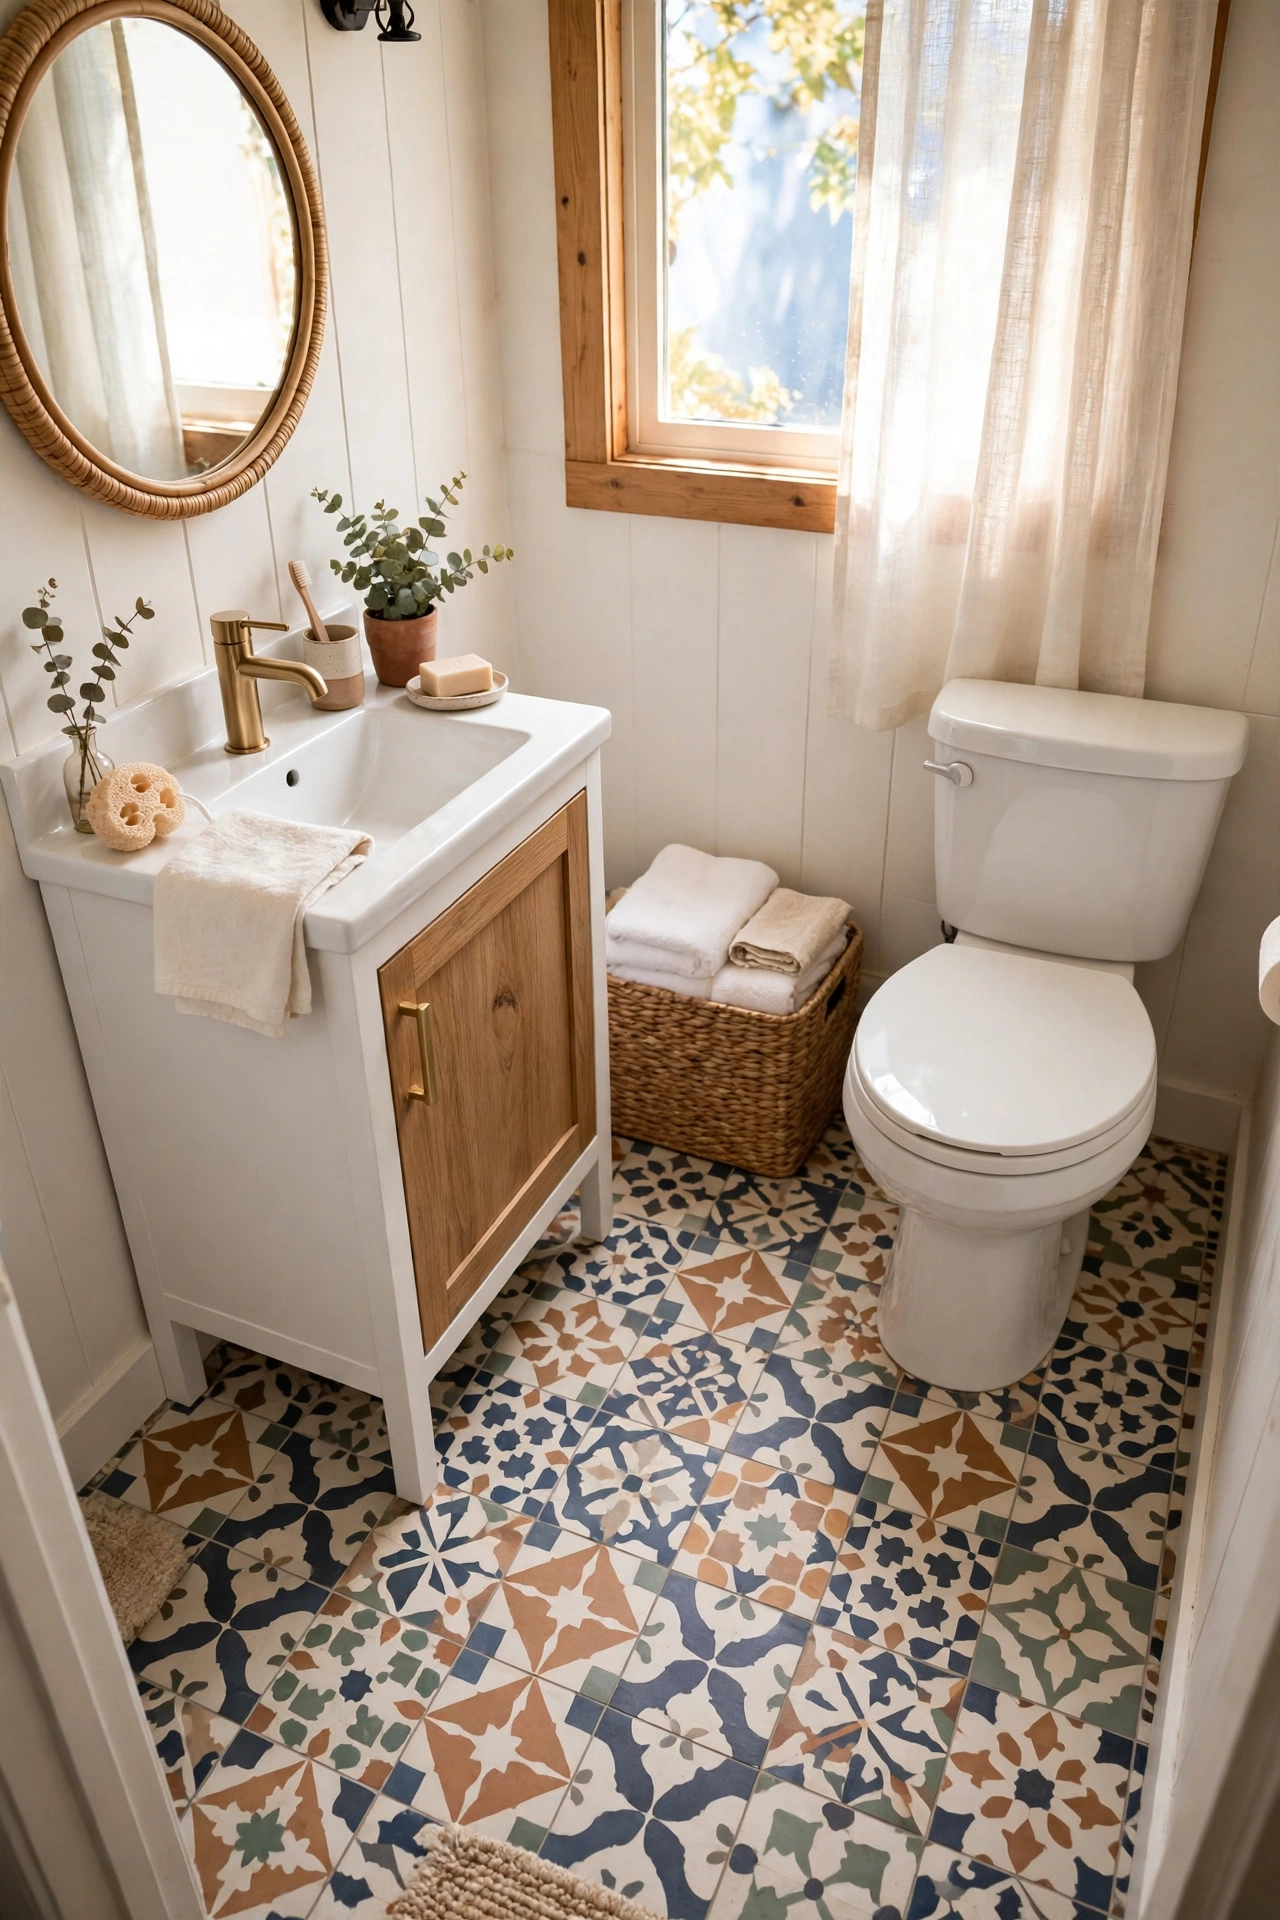
Peel-and-stick floor tiles over a small area — a bathroom floor or a kitchen corner — fake encaustic tiles beautifully and lift off when you go. Clean the floor thoroughly, lay from the centre out, and press firmly. I tried this and the one mistake to avoid is laying them on a damp bathroom floor; trapped moisture loosens the adhesive. Bone dry, then stick. For more floor-friendly ideas see (see also: 23-dollar-store-kitchen-finds-worth-grabbing). Seal the edges with a clear matte varnish in a wet bathroom — it stops water creeping under the tile edges and lifting them.
Cost: ~$8 | Time: 1 hour
18. Over-Radiator Shelf
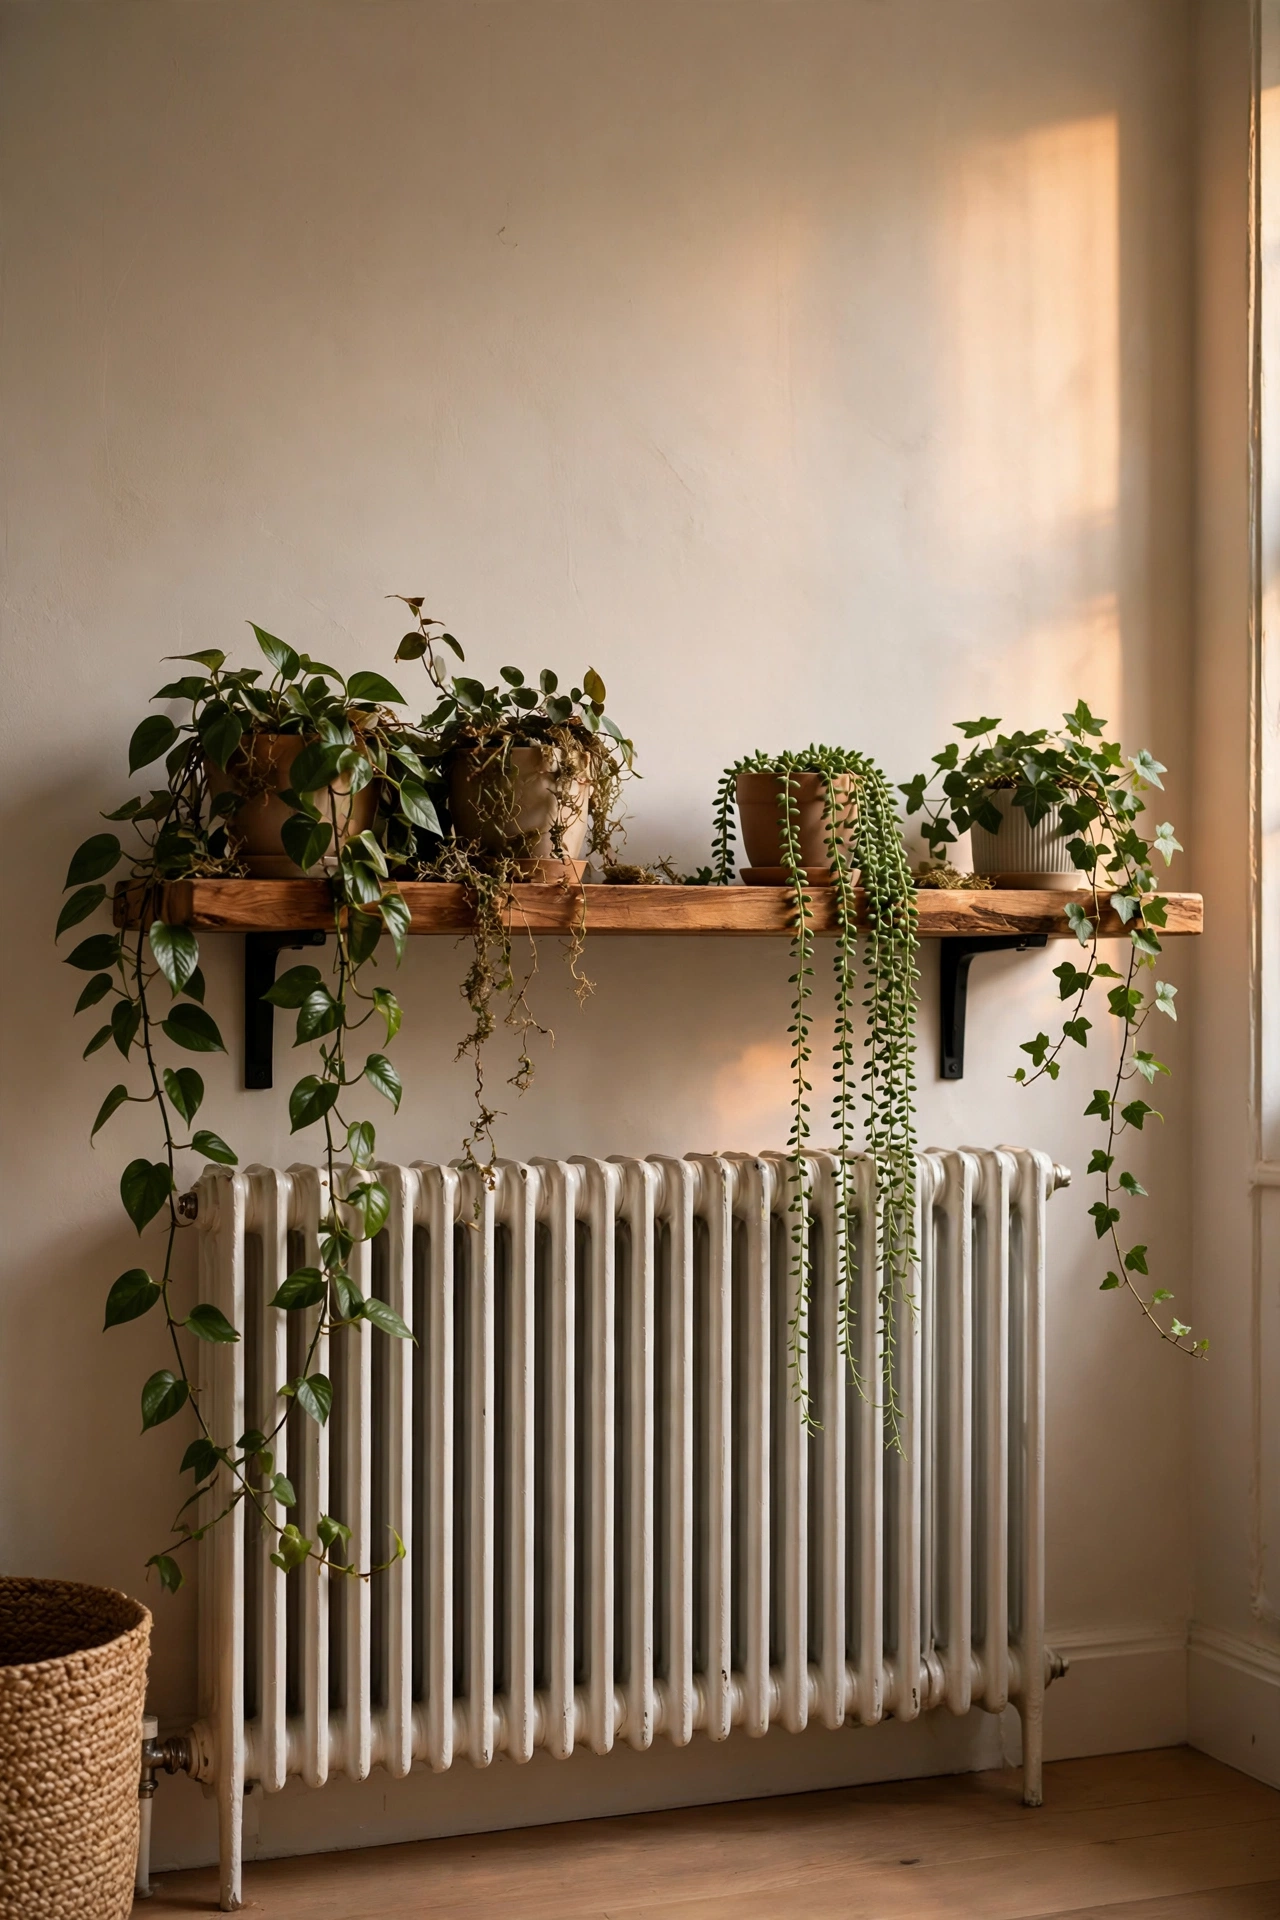
A simple board balanced on brackets over a radiator creates a shelf where there was dead space — perfect for plants that love the warmth. Just make sure air can still circulate; leave a gap at the back. I tried this and the one mistake to avoid is blocking the heat entirely with a solid board jammed tight — the room stays cold and your energy bill climbs. A few centimetres of clearance keeps everyone happy. A strip of heat-resistant felt under the board stops it rattling when the heating kicks in and the metal expands.
Pro tip: this is prime real estate for trailing plants — the warmth keeps them thriving through winter.
Cost: ~$5 | Time: 20 minutes
19. Cable-Hiding Cord Covers
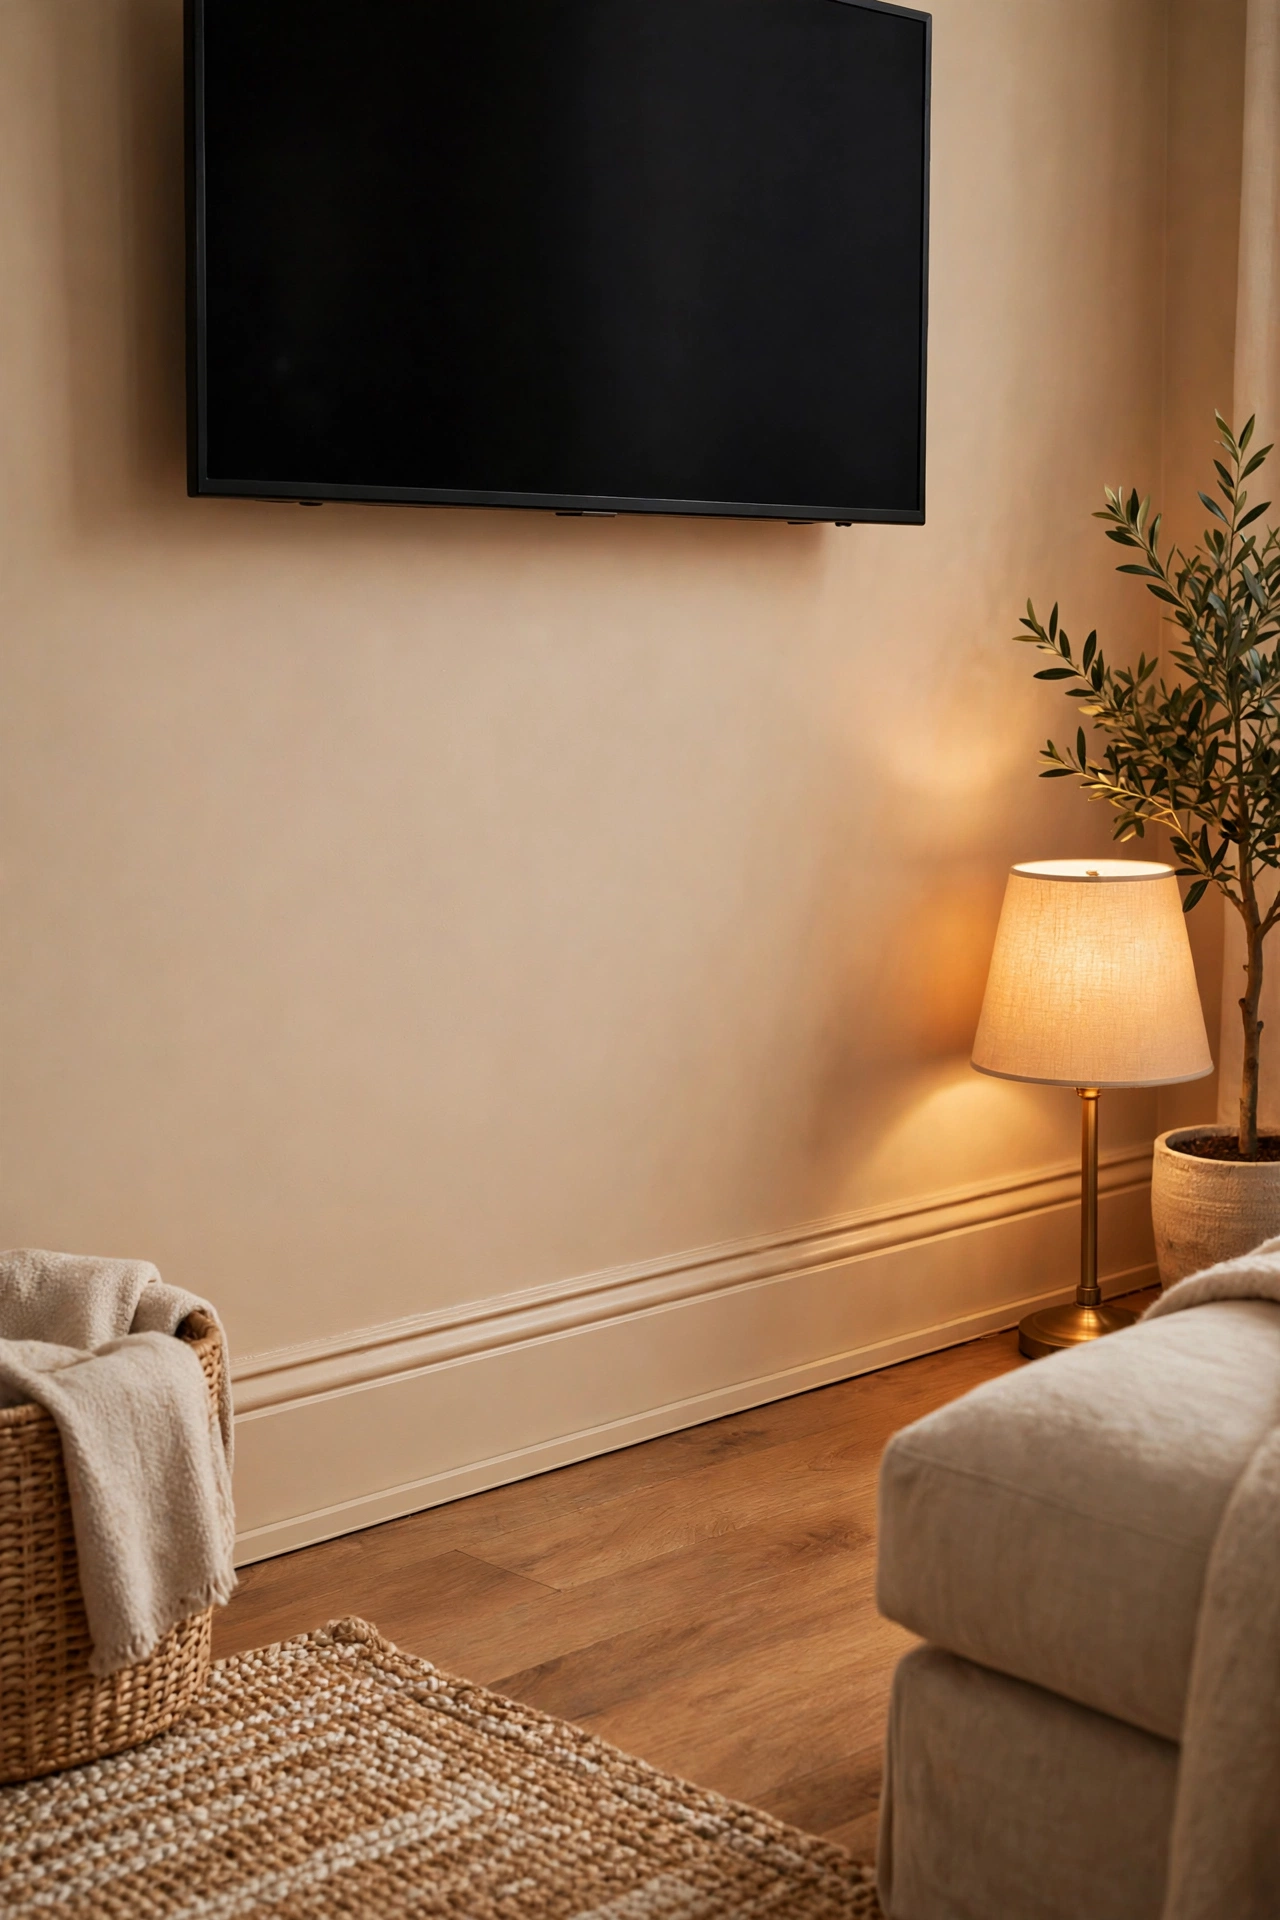
Paintable cord covers stuck along the skirting board make TV and lamp cables vanish. Measure your run, cut with scissors, peel and stick — then paint to match the wall and they disappear entirely. I tried this and the one mistake to avoid is the too-short cover; cables bulging out of the ends look worse than no cover at all. Buy a longer run than you think you need. Leave a little slack at each end of the run — cables need wiggle room when you pull the TV forward to reach the ports.
Cost: ~$4 | Time: 25 minutes
20. Mirror to Double Light
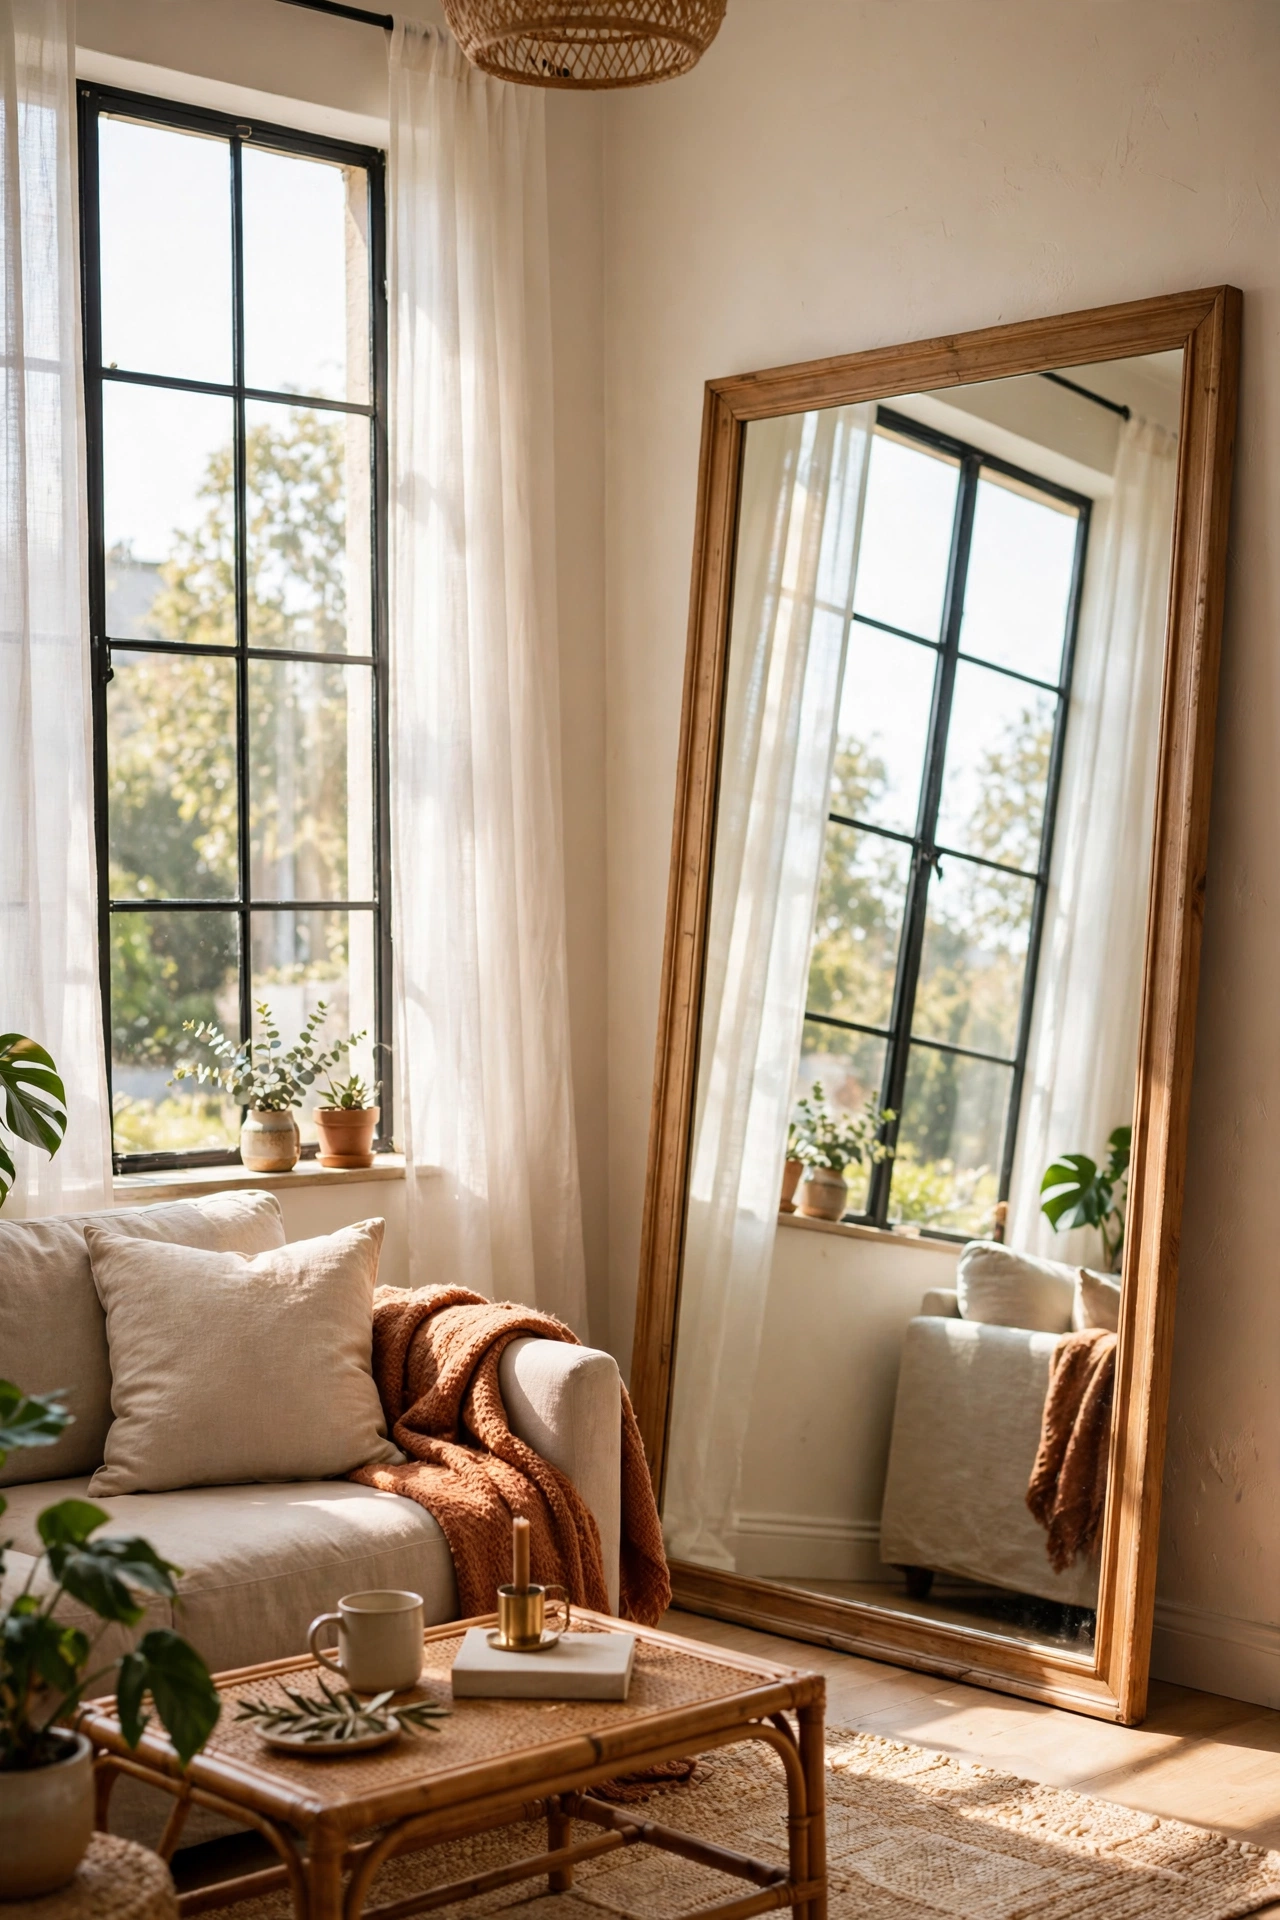
A big leaning mirror opposite a window doubles the daylight in a dark rental living room. Lean it rather than hang it — no holes needed — and make sure it’s stable on carpet with a bit of grip underneath. I tried this and the one mistake to avoid is leaning it where it catches the TV glare; you’ll trade a dark room for an unwatchable screen. Angle it toward the window, away from the telly. A leaning mirror also makes a brilliant last-check station by the front door — style and function in one tall rectangle.
Cost: ~$10 | Time: 10 minutes
21. Move-Out Touch-Up Kit
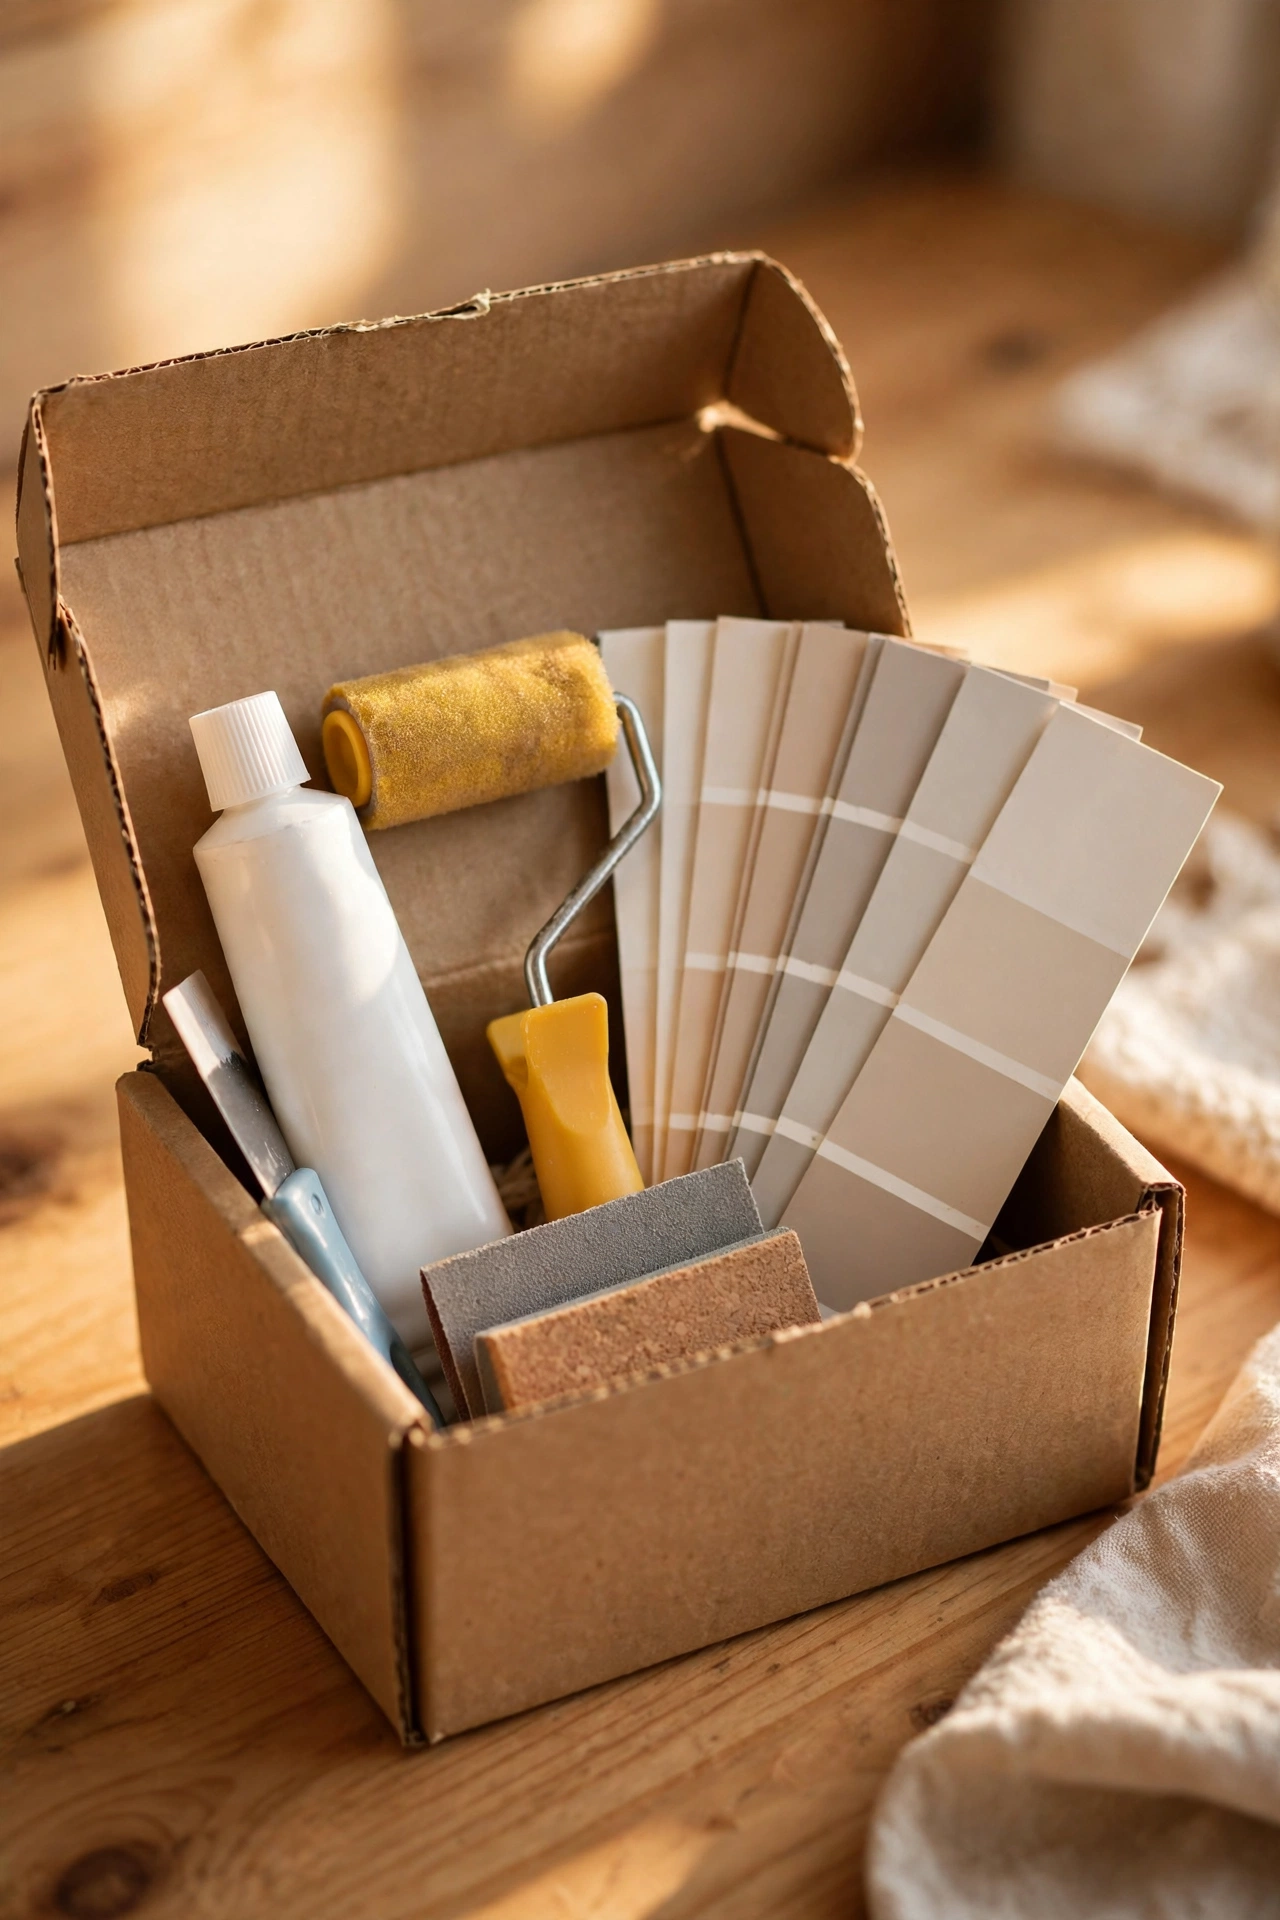
Keep a little box with white filler, a small roller and matching paint chips from day one. Tiny scuffs get fixed the moment they happen instead of becoming a deposit-eating panic in the final week. I tried this and the one mistake to avoid is waiting until moving week — by then every mark feels catastrophic. Fix-as-you-go takes five minutes a month and saves real money. Ask your landlord for the exact paint colour code when you move in — touch-ups in the right shade are invisible, near-matches are not.
Pro tip: photograph every wall on move-in day — timestamped proof of pre-existing marks is worth its weight in gold.
Cost: ~$5 | Time: 15 minutes
Twenty-one hacks, zero holes in the wall, and a deposit that’s still intact. Renting doesn’t have to mean living in someone else’s beige box — it just means being a bit cleverer about how you make it yours. Start with the hooks and the contact paper; the rest will follow naturally.
