19 Dollar Store Laundry Room Finds for Small Spaces
My laundry room is barely wider than the machines, so every centimetre has to earn its place. These dollar store Laundry Room finds are the nineteen pieces that made my tiny space actually work — the gap-fillers, the wall-huggers, and the organisers that keep the chaos behind doors. I tested each one through a month of real family wash days, and the total bill stayed under eighty dollars.
Compact Storage Zone
1. Narrow Rolling Tiered Cart for the Washer Gap
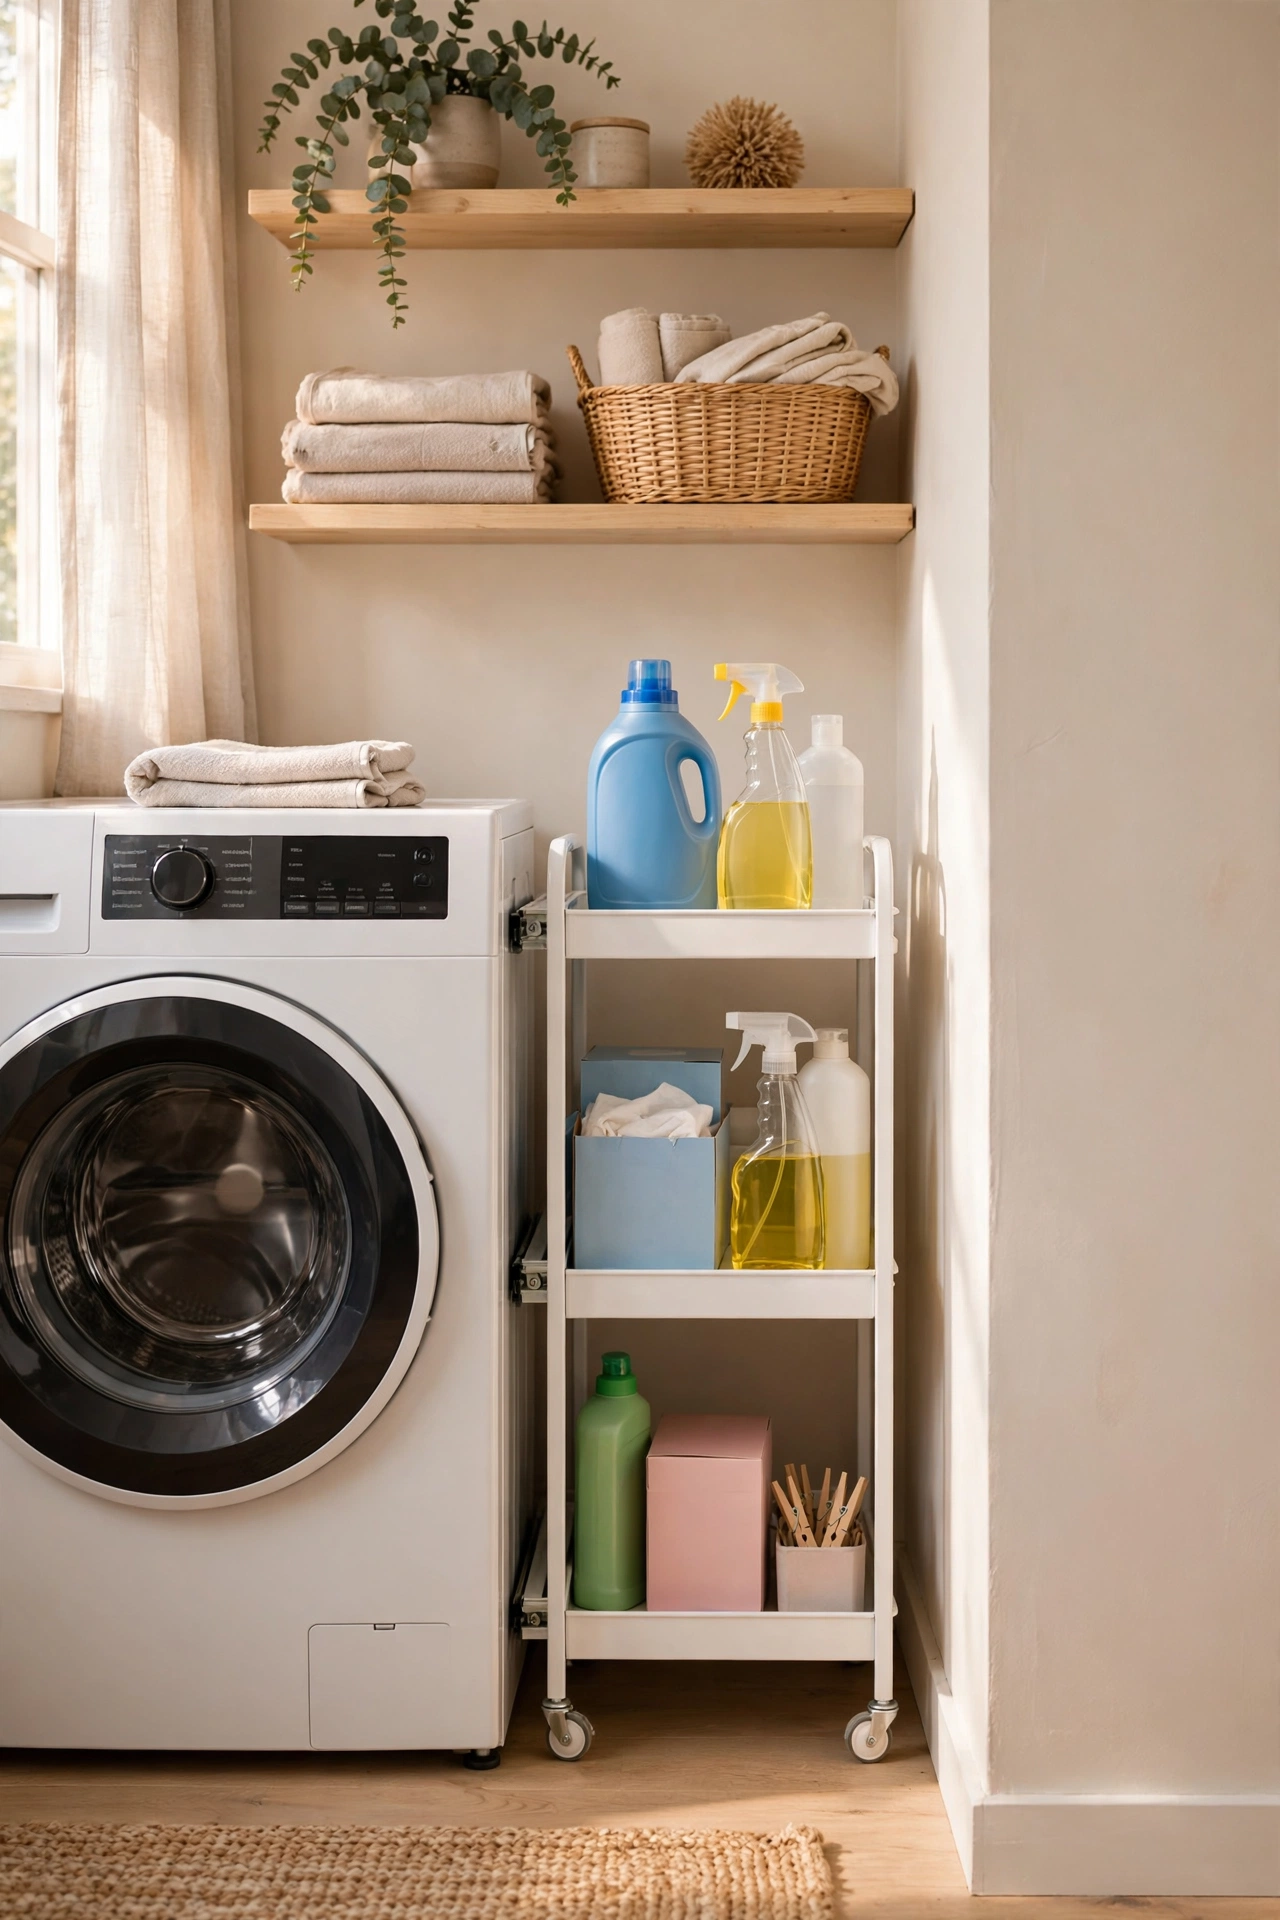
That dead strip of floor between the washer and the wall is the most wasted space in a small laundry room. A narrow rolling cart — usually about fifteen centimetres wide — slides right in and holds detergent, dryer sheets, and stain sticks in three tiers. Measure your gap before you shop; the cart should clear the floor by a couple of centimetres so it never snags. Mine took five minutes to assemble and now the washing supplies live exactly where I reach for them. I tried stacking detergent bottles on top of the dryer first, and one tumble shook a whole bottle of softener onto the floor. One mistake to avoid: buying the cart before measuring. A centimetre too wide means it lives in the hallway.
Cost: ~$8 · Time: 10 minutes
2. Wall-Mounted Folding Drying Rack
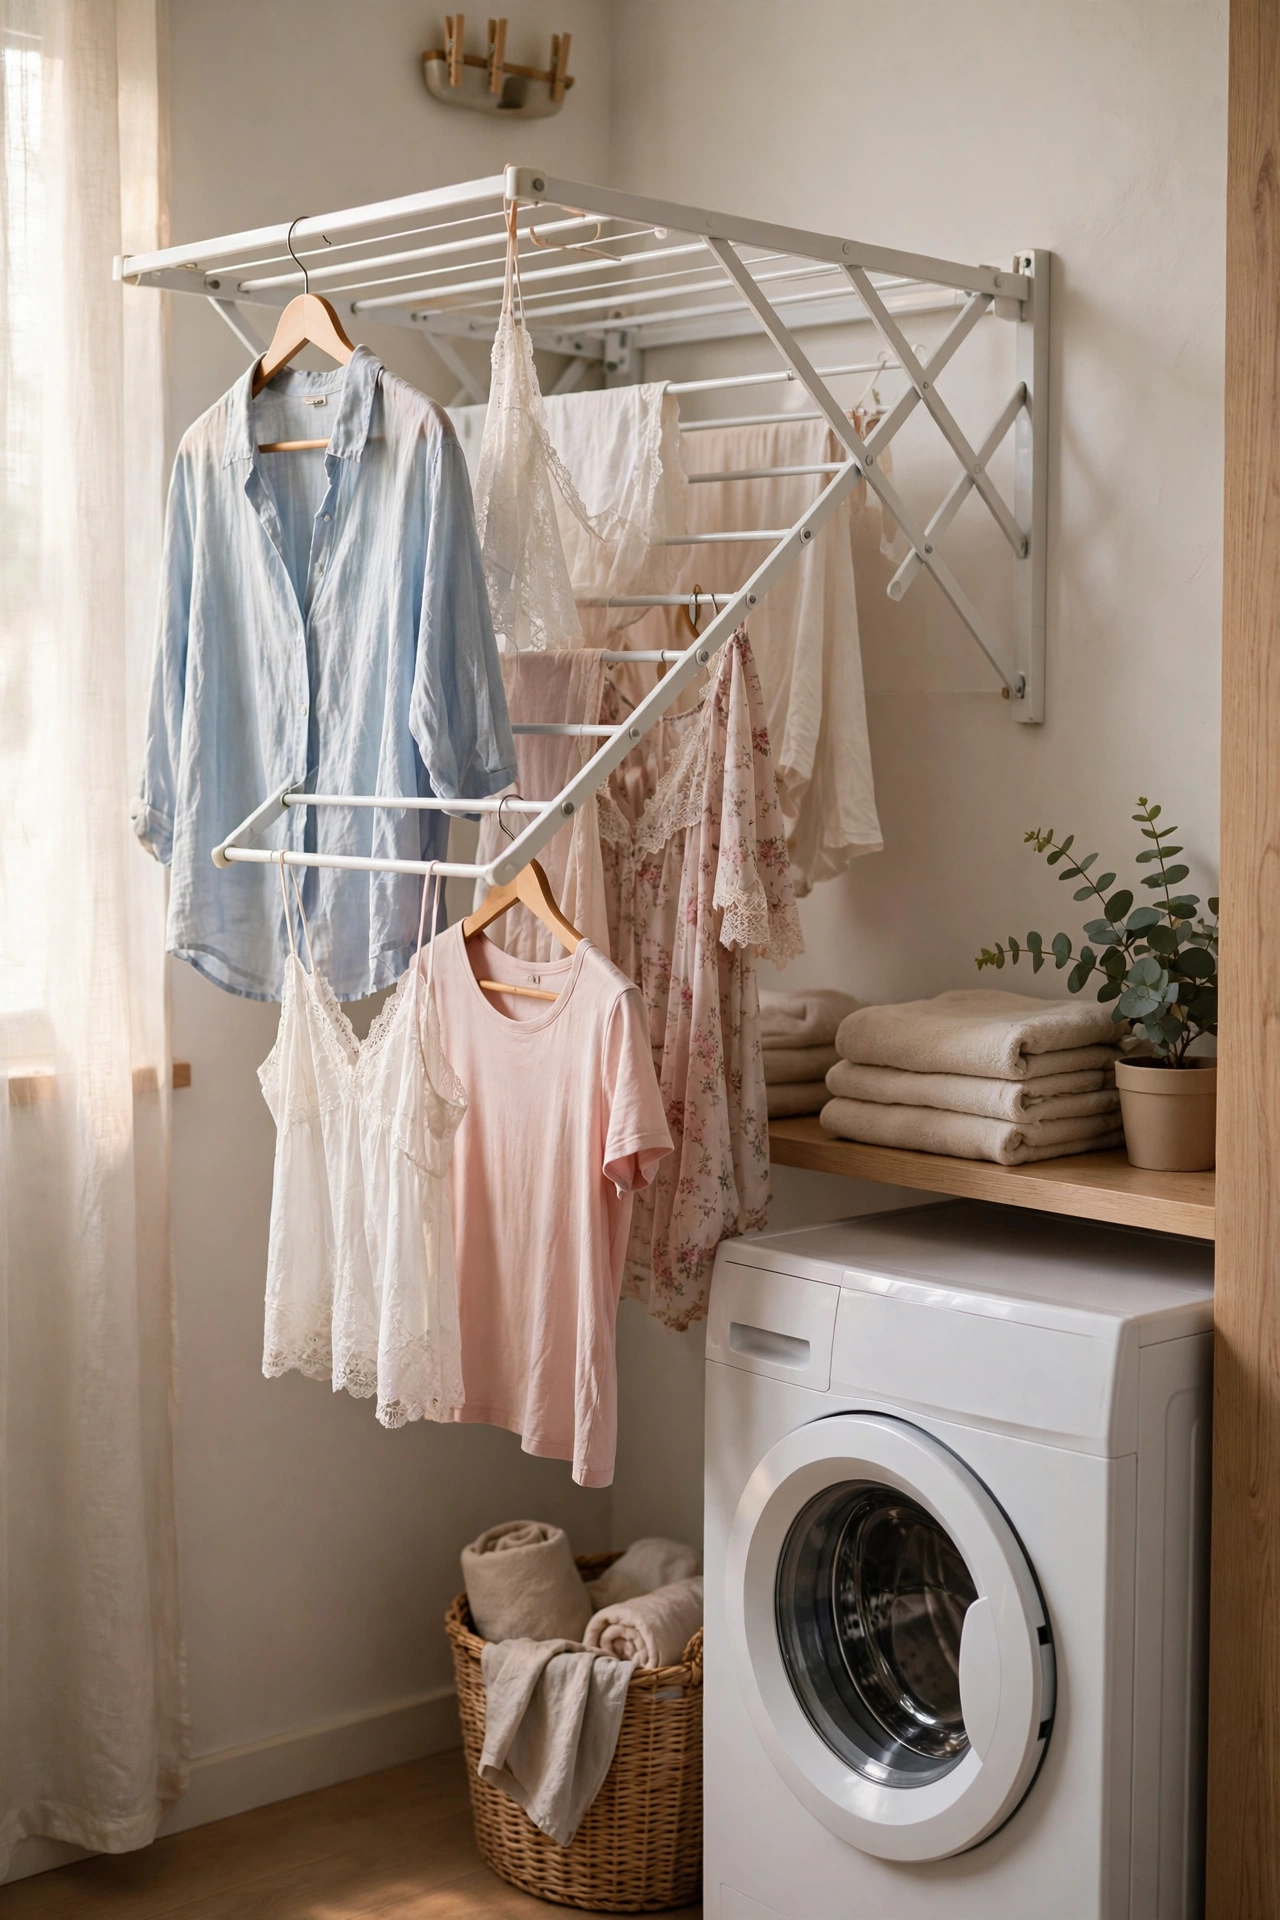
Delicates need air drying, but a floor rack swallows a small room. A wall-mounted rack folds flat against the wall when it is empty and swings down to hold a full load of drip-dry clothes. Mount it on a stud or with the included anchors at a height you can reach without stretching — mine is just above shoulder level. Hang shirts on the bars with the clothespin bag from idea thirteen nearby. I tried draping delicates over the shower curtain rod and stretched two necklines before I learned better. One mistake to avoid: overloading one side. A lopsided rack pulls on its anchors, so spread the weight evenly across the bars.
Cost: ~$7 · Time: 30 minutes
Washing Zone
3. Glass Detergent Dispenser Jars
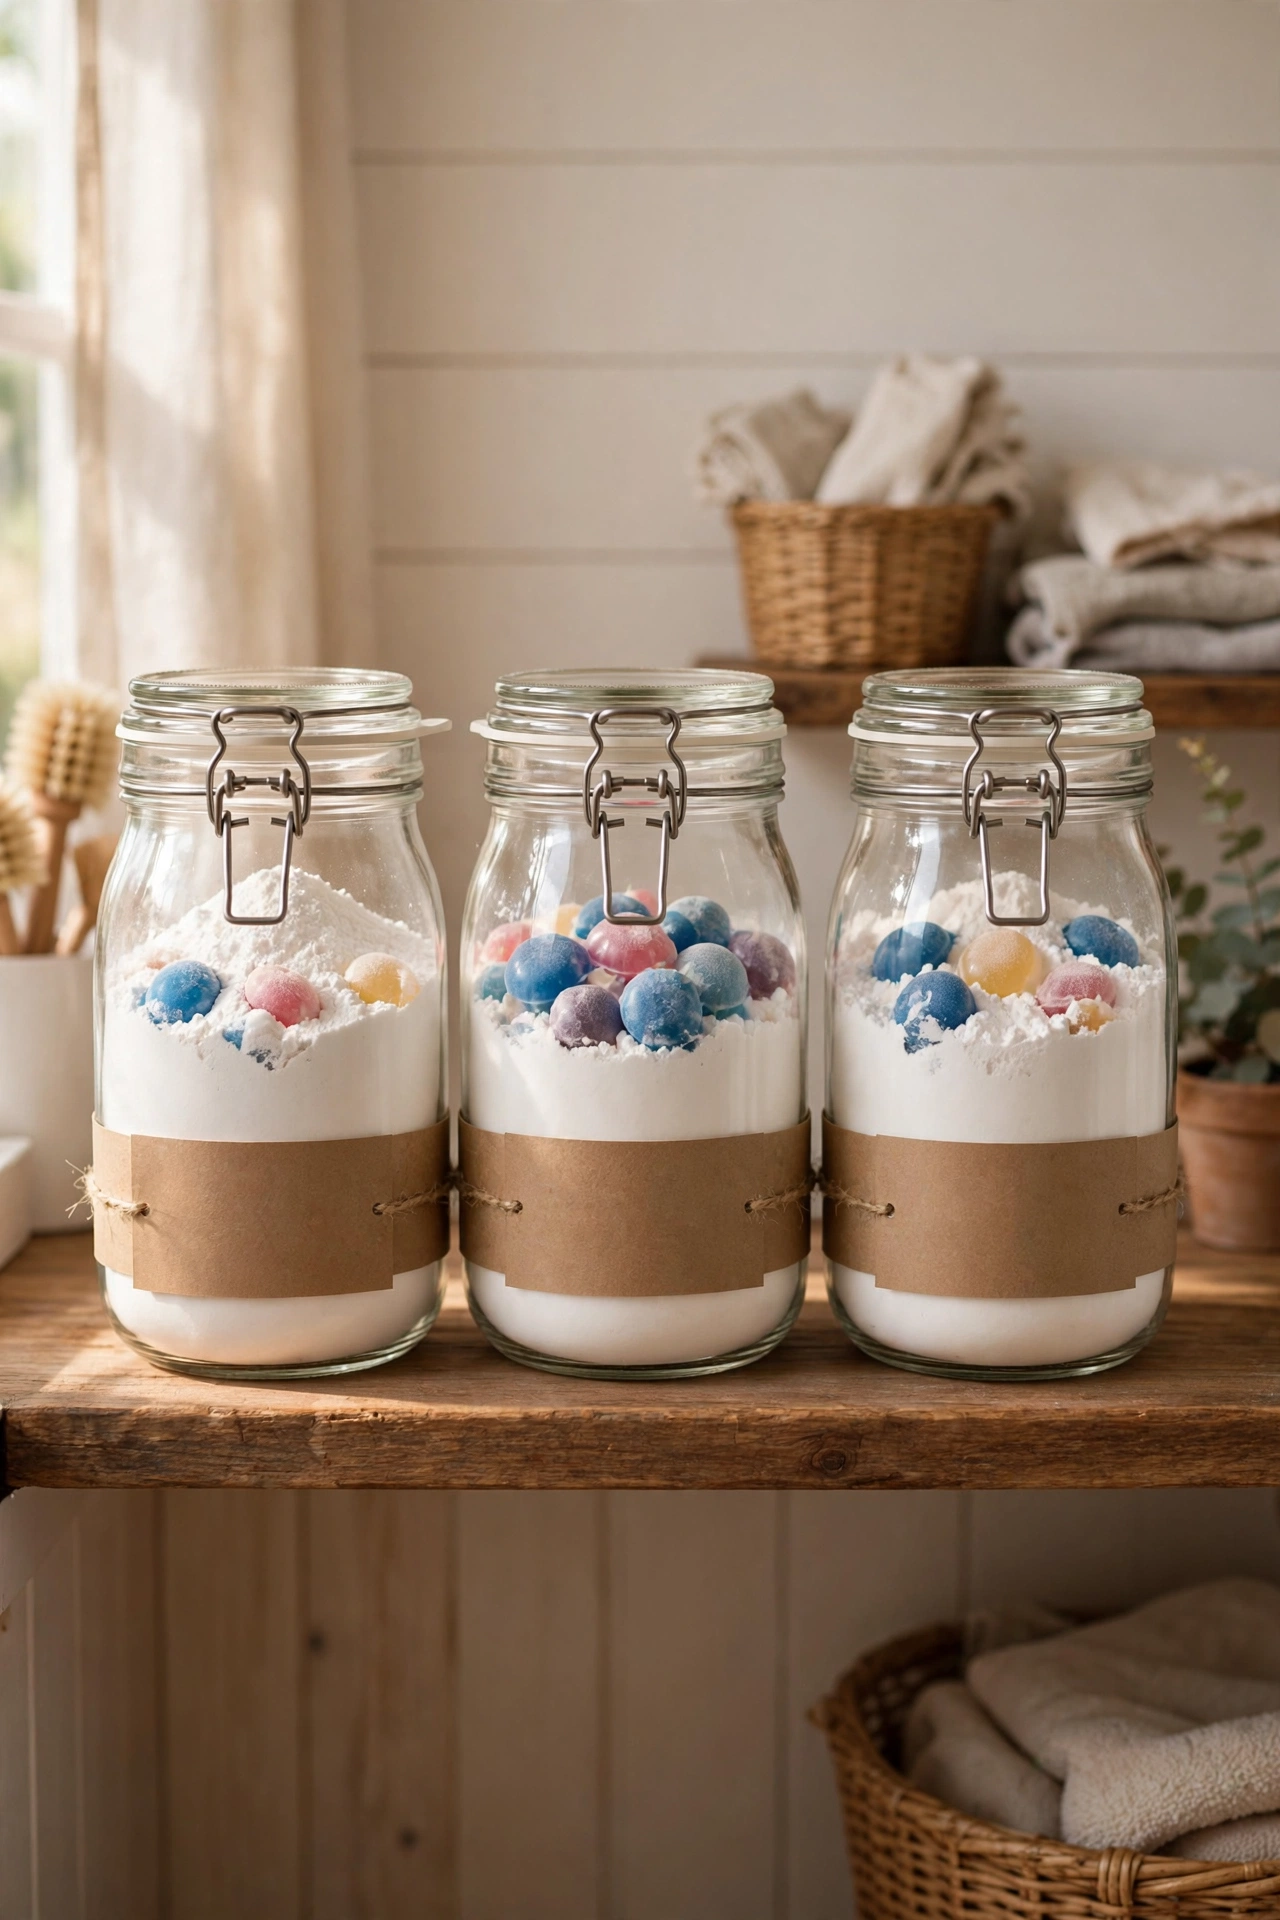
Decanting powder and pods into glass jars is the fastest way to make laundry supplies look deliberate instead of cluttered. Two or three large jars with airtight lids hold a full bag of powder each, and you can see at a glance when you are running low. Set them on the over-washer shelf or the cart: pour carefully with a folded paper funnel, label the contents, and keep a scoop in each jar so you never go hunting for one. I tried the bags straight off the supermarket shelf for years and the powder always clumped in the damp laundry air. One mistake to avoid: jars without seals. A loose lid lets humidity in and turns powder into a brick within weeks.
Cost: ~$4 for two · Time: 10 minutes
4. Woven Laundry Sorting Baskets
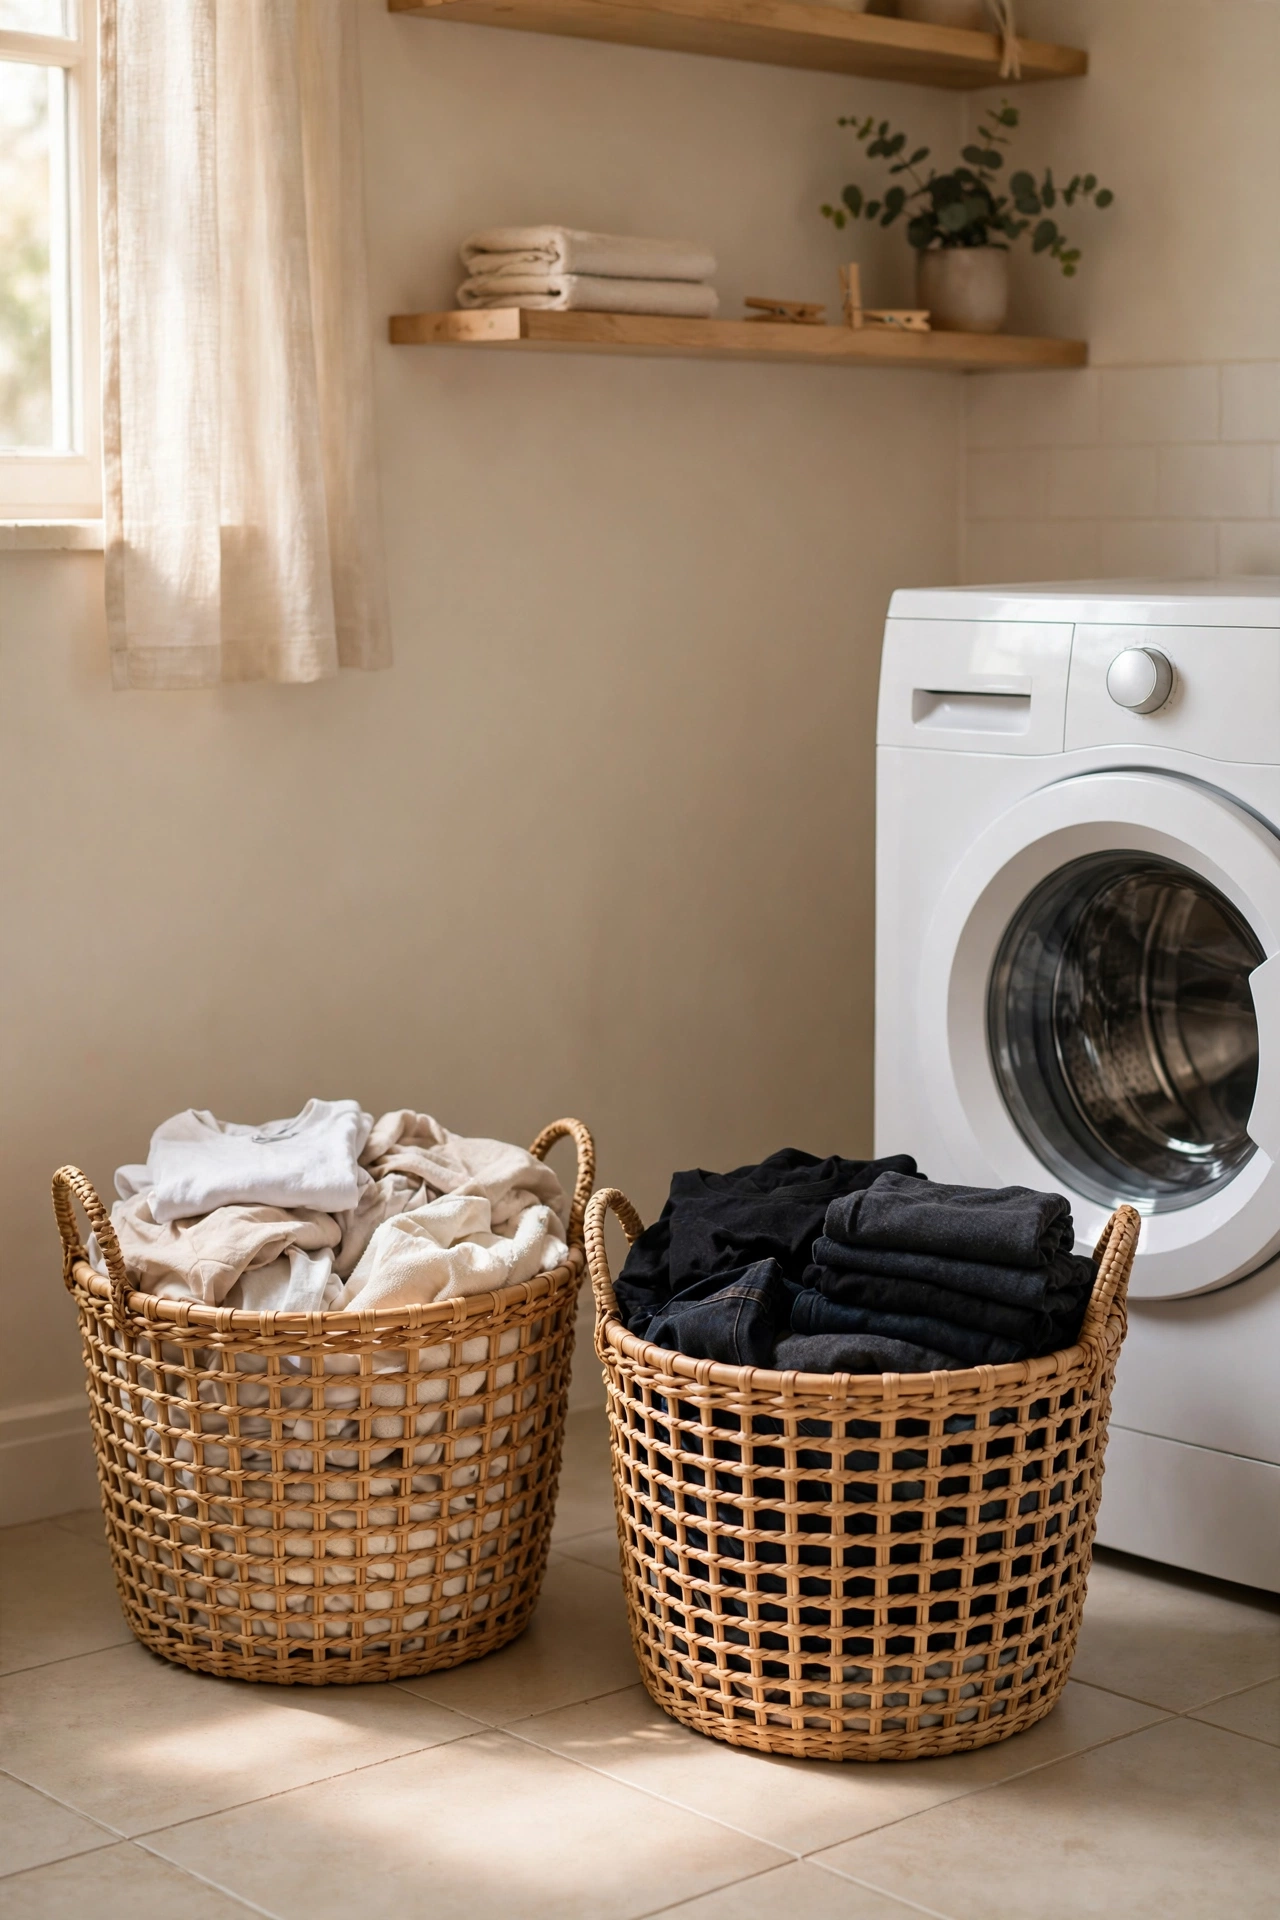
Sorting happens at speed when the baskets are already labelled. Two woven baskets — one for lights, one for darks — sit beside the hamper, and I toss each item into the right one as it arrives. The woven texture breathes, so damp gym clothes never go musty before wash day. Choose baskets with handles; you will carry them to the machine more than you think. Mine are medium size, about the width of the washer door, so they park neatly in a row. I tried one giant basket for everything and the sorting backlog became a Sunday-afternoon mountain. One mistake to avoid: baskets bigger than you can carry when full. Overfilled giants just get dragged and scuff the floor.
Cost: ~$5 for two · Time: 5 minutes
Shelving and Labels Zone
5. Waterproof Adhesive Labels for Every Jar and Bin
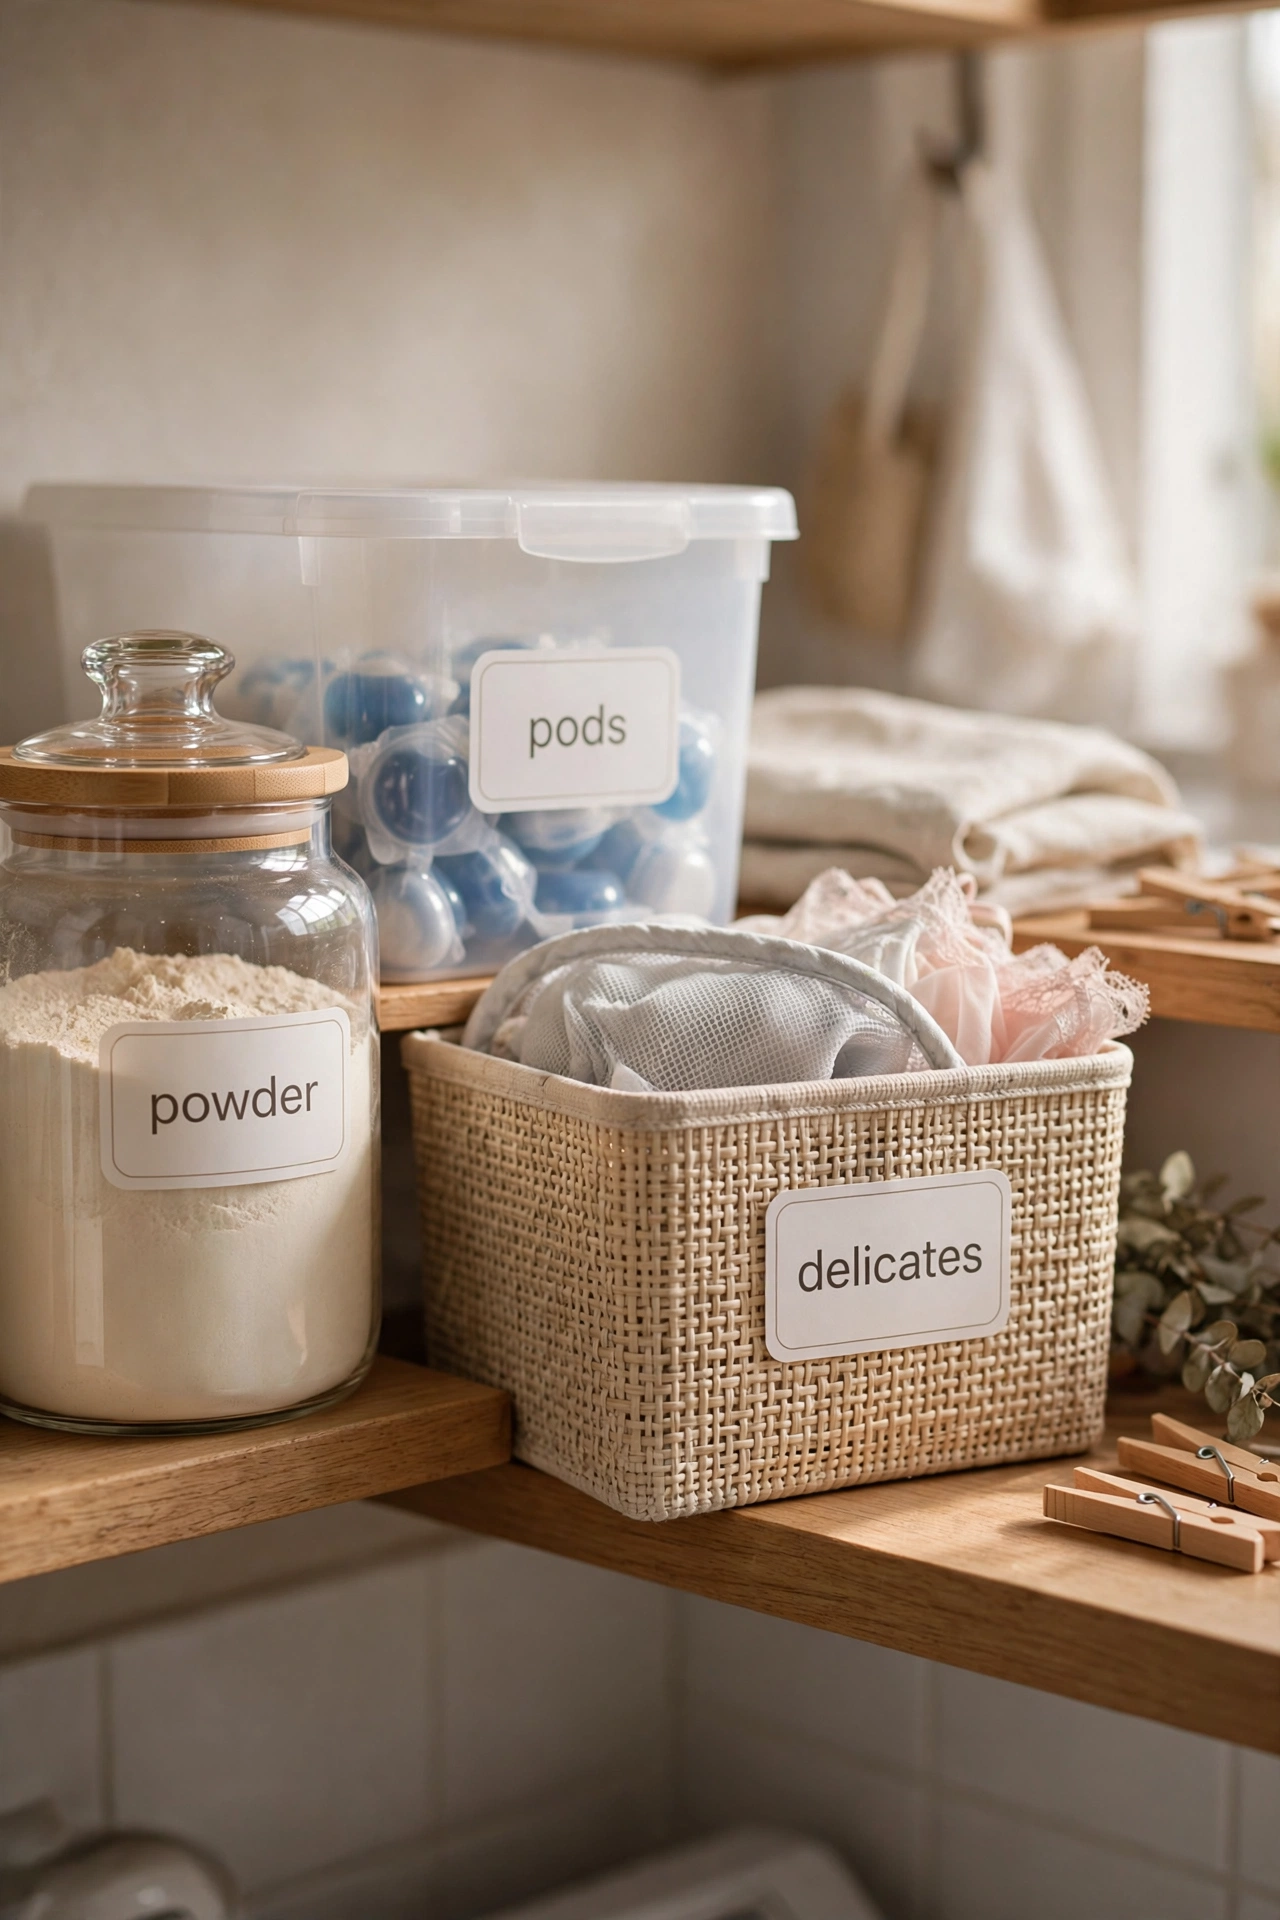
Labels are what turn a pile of matching jars into an actual system. Waterproof adhesive labels survive the humidity of a laundry room without curling — the paper ones I tried first peeled off within a fortnight. Write with a permanent marker or print the names: powder, pods, stain remover, delicates. Stick one on every jar, bin, and the front of each drawer, and anyone in the house can find what they need without asking you. I labelled the jars but skipped the bins, and the spare bags and cloths still vanished into the wrong places. One mistake to avoid: handwriting that fades. Cheap ink runs in damp air, so let the marker dry fully before touching the label.
Cost: ~$3 · Time: 20 minutes
6. Over-Washer Storage Shelf
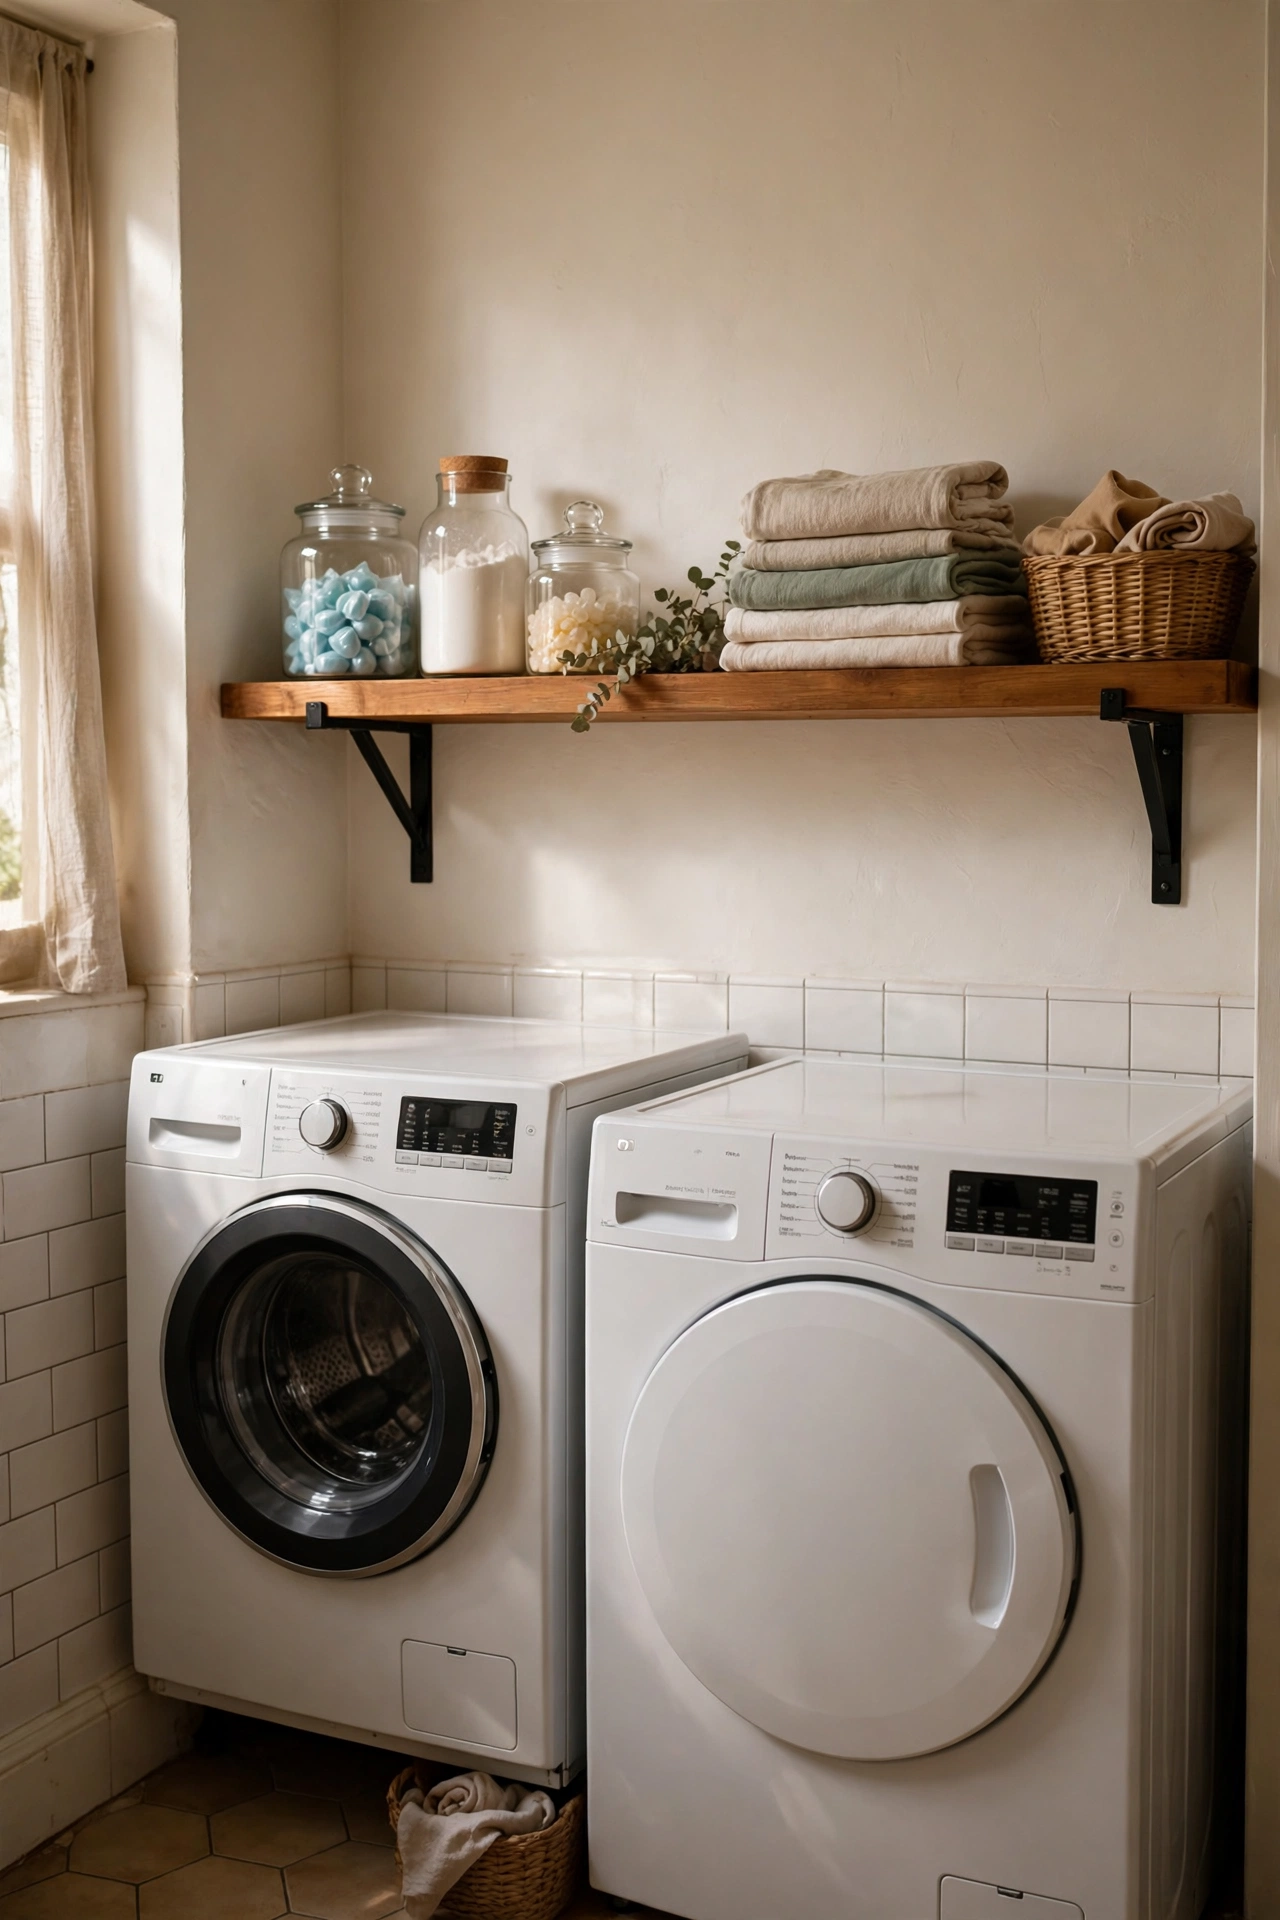
The air above front-loading machines is prime real estate in a small laundry room. An over-washer shelf — a simple wide board on brackets — spans both machines and holds detergent stock, folded cloths, and the spare baskets. Check the depth before mounting: it must clear the washer door when it opens fully, and leave room for the detergent drawer to slide out. I went for a thirty-centimetre-deep shelf and everything clears with room to spare. Mine is styled with the glass jars from idea three and nothing else. I tried a tension rod with hanging baskets first and it bowed under the weight within a month. One mistake to avoid: skipping the stud check. Detergent is heavy; anchors alone will not hold a stocked shelf.
Cost: ~$9 · Time: 40 minutes
Folding and Finishing Zone
7. Padded Ironing-Board Cover
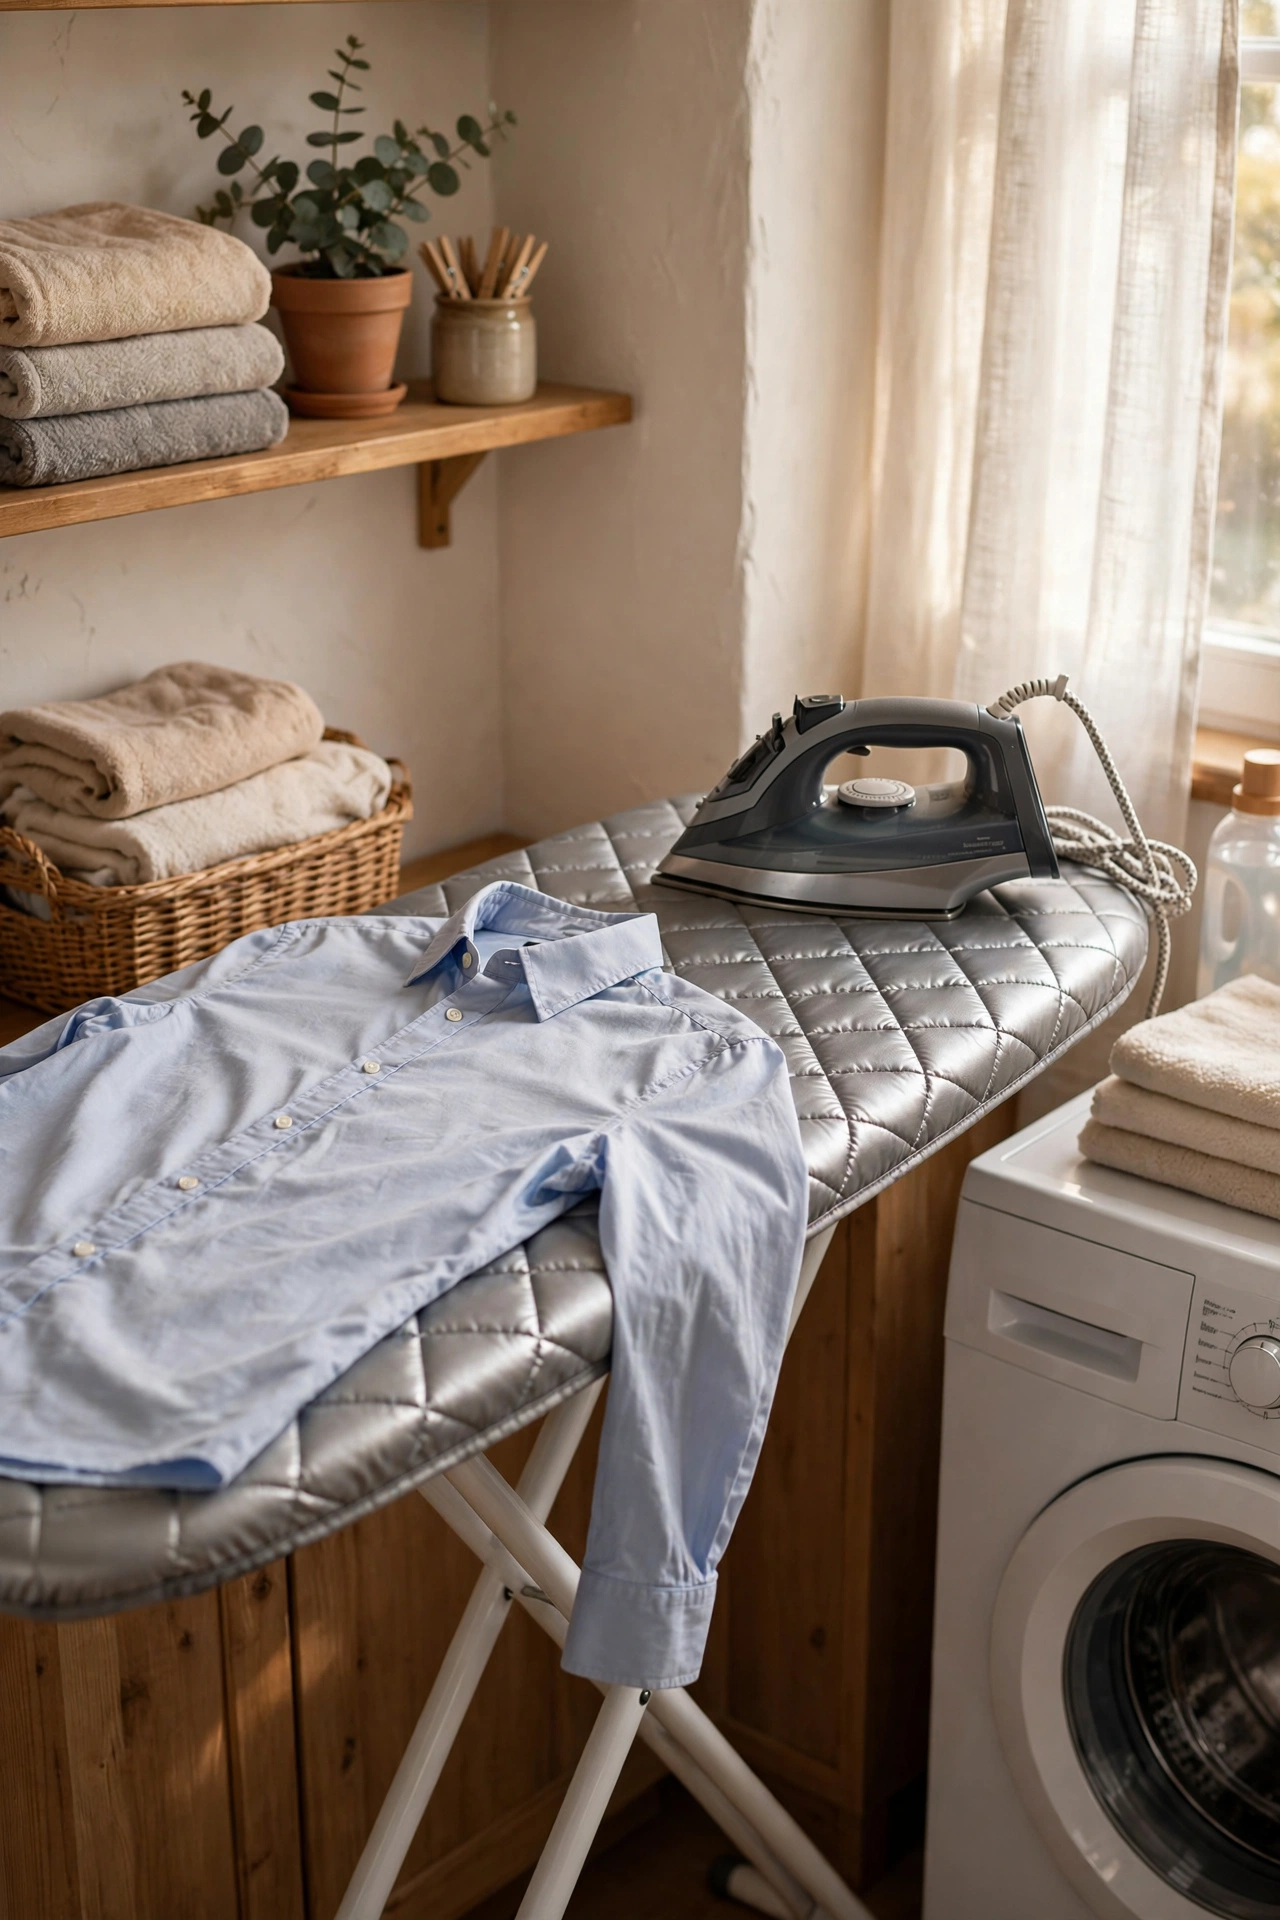
A fresh padded cover makes an ancient ironing board feel new — and in a small space the board is probably living folded behind a door, so it needs to earn its keep. The padded layer gives a smooth, springy surface and the heat-reflective top speeds up ironing noticeably. Fit the cover snugly with the elastic drawstring, tuck the nose pocket over the board tip, and secure any straps underneath. I pressed my shirts on a scorched, thinning cover for years and wondered why they took twice as long. One mistake to avoid: the wrong shape. Measure the board’s length and width first; a cover that is too loose wrinkles under the iron and marks the fabric.
Cost: ~$5 · Time: 10 minutes
8. Slim-Profile Laundry Hamper
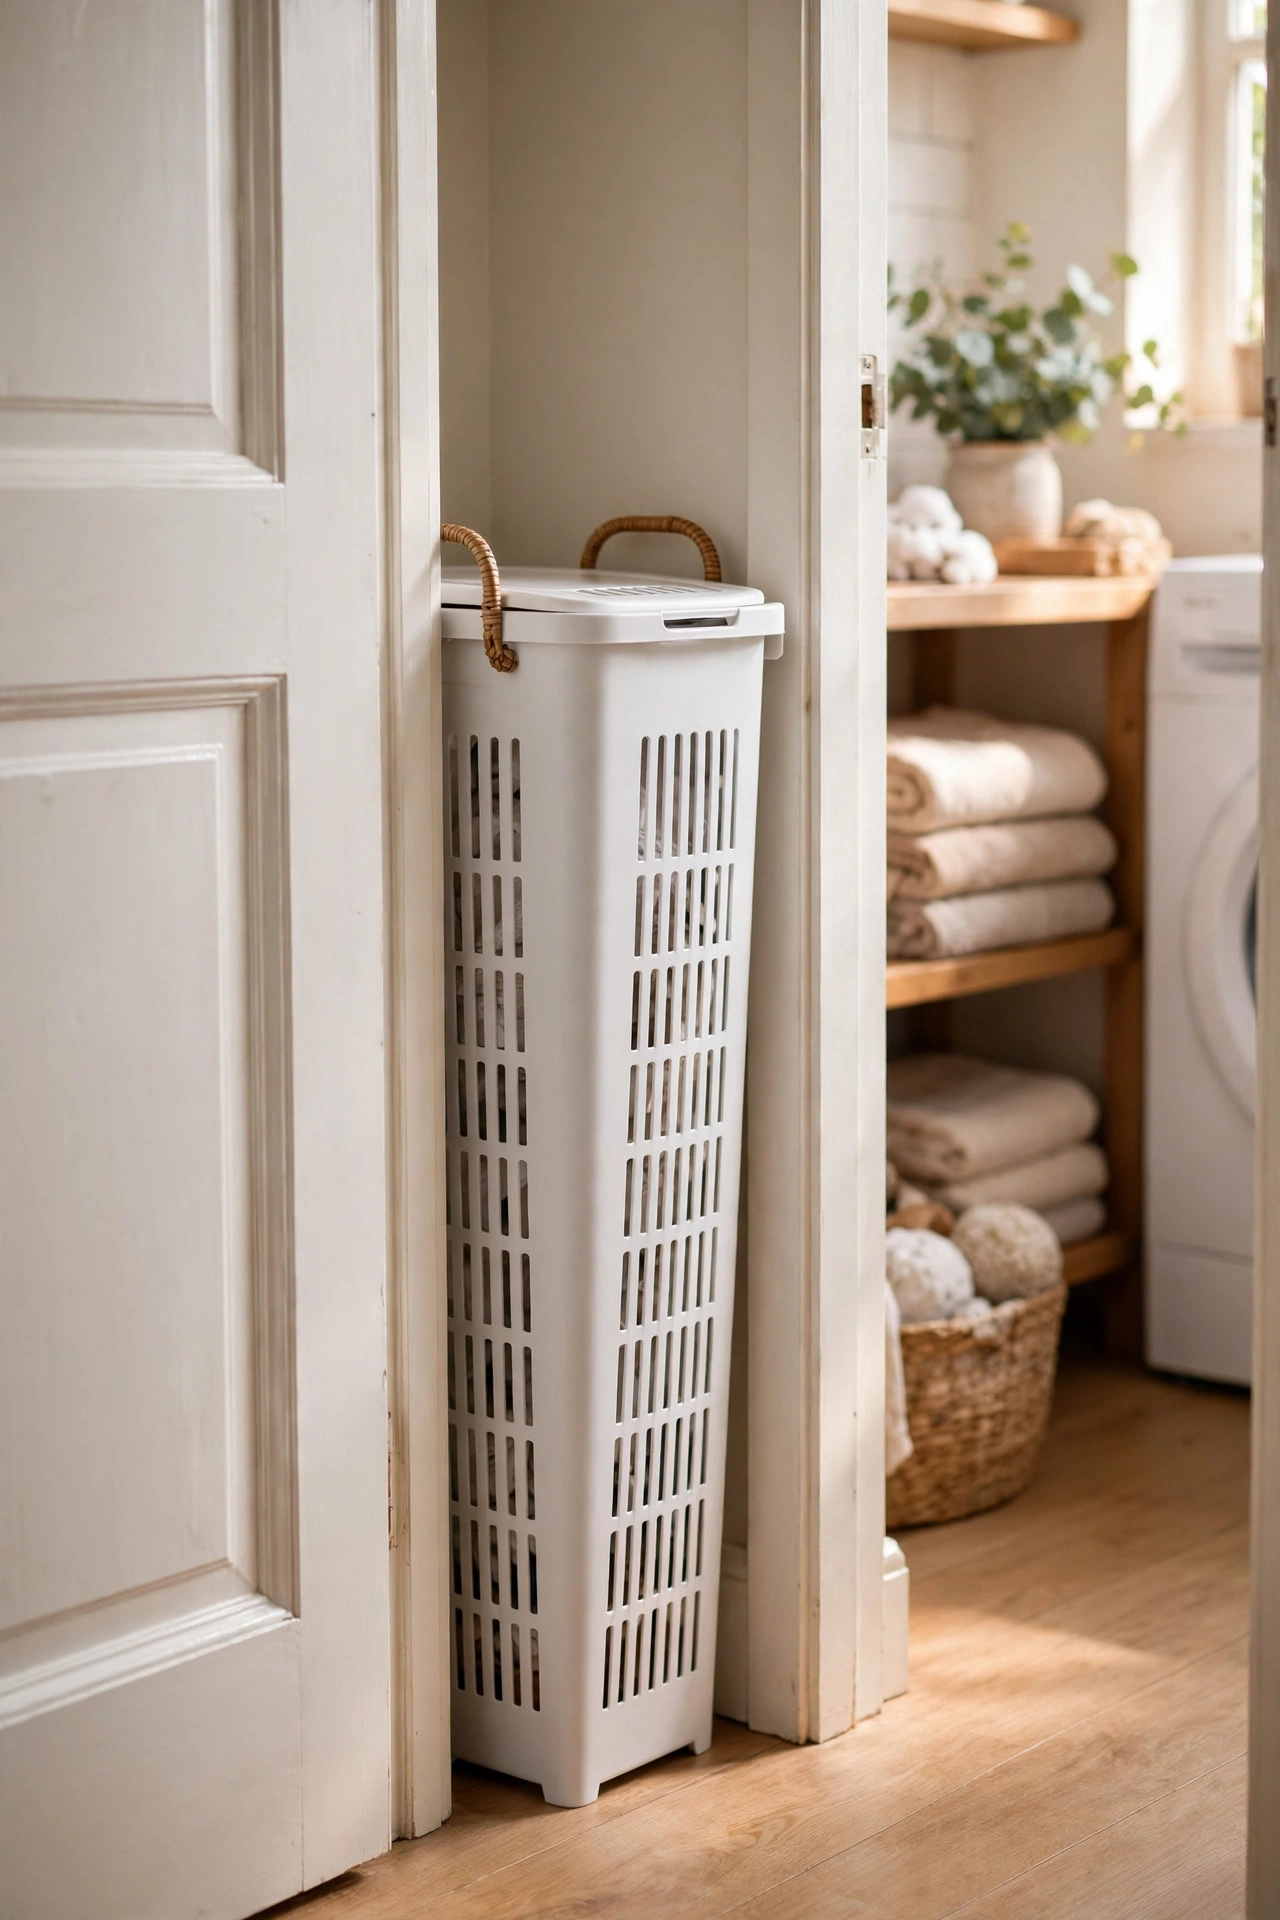
A slim hamper slots into the gap behind the door or along the wall where a round basket would never fit. Look for one under twenty-five centimetres wide with ventilation slots so air circulates around dirty clothes. Mine has handles on both ends, which matters because I carry it to the machine fully loaded. The ventilation is not decorative — a sealed hamper in a warm laundry room smells like a gym bag by day three, and I learned that the hard way. One mistake to avoid: hampers without lids in a shared space. An open hamper reads as clutter; a lidded one reads as furniture.
Cost: ~$6 · Time: 5 minutes
9. Pegboard Supply Wall
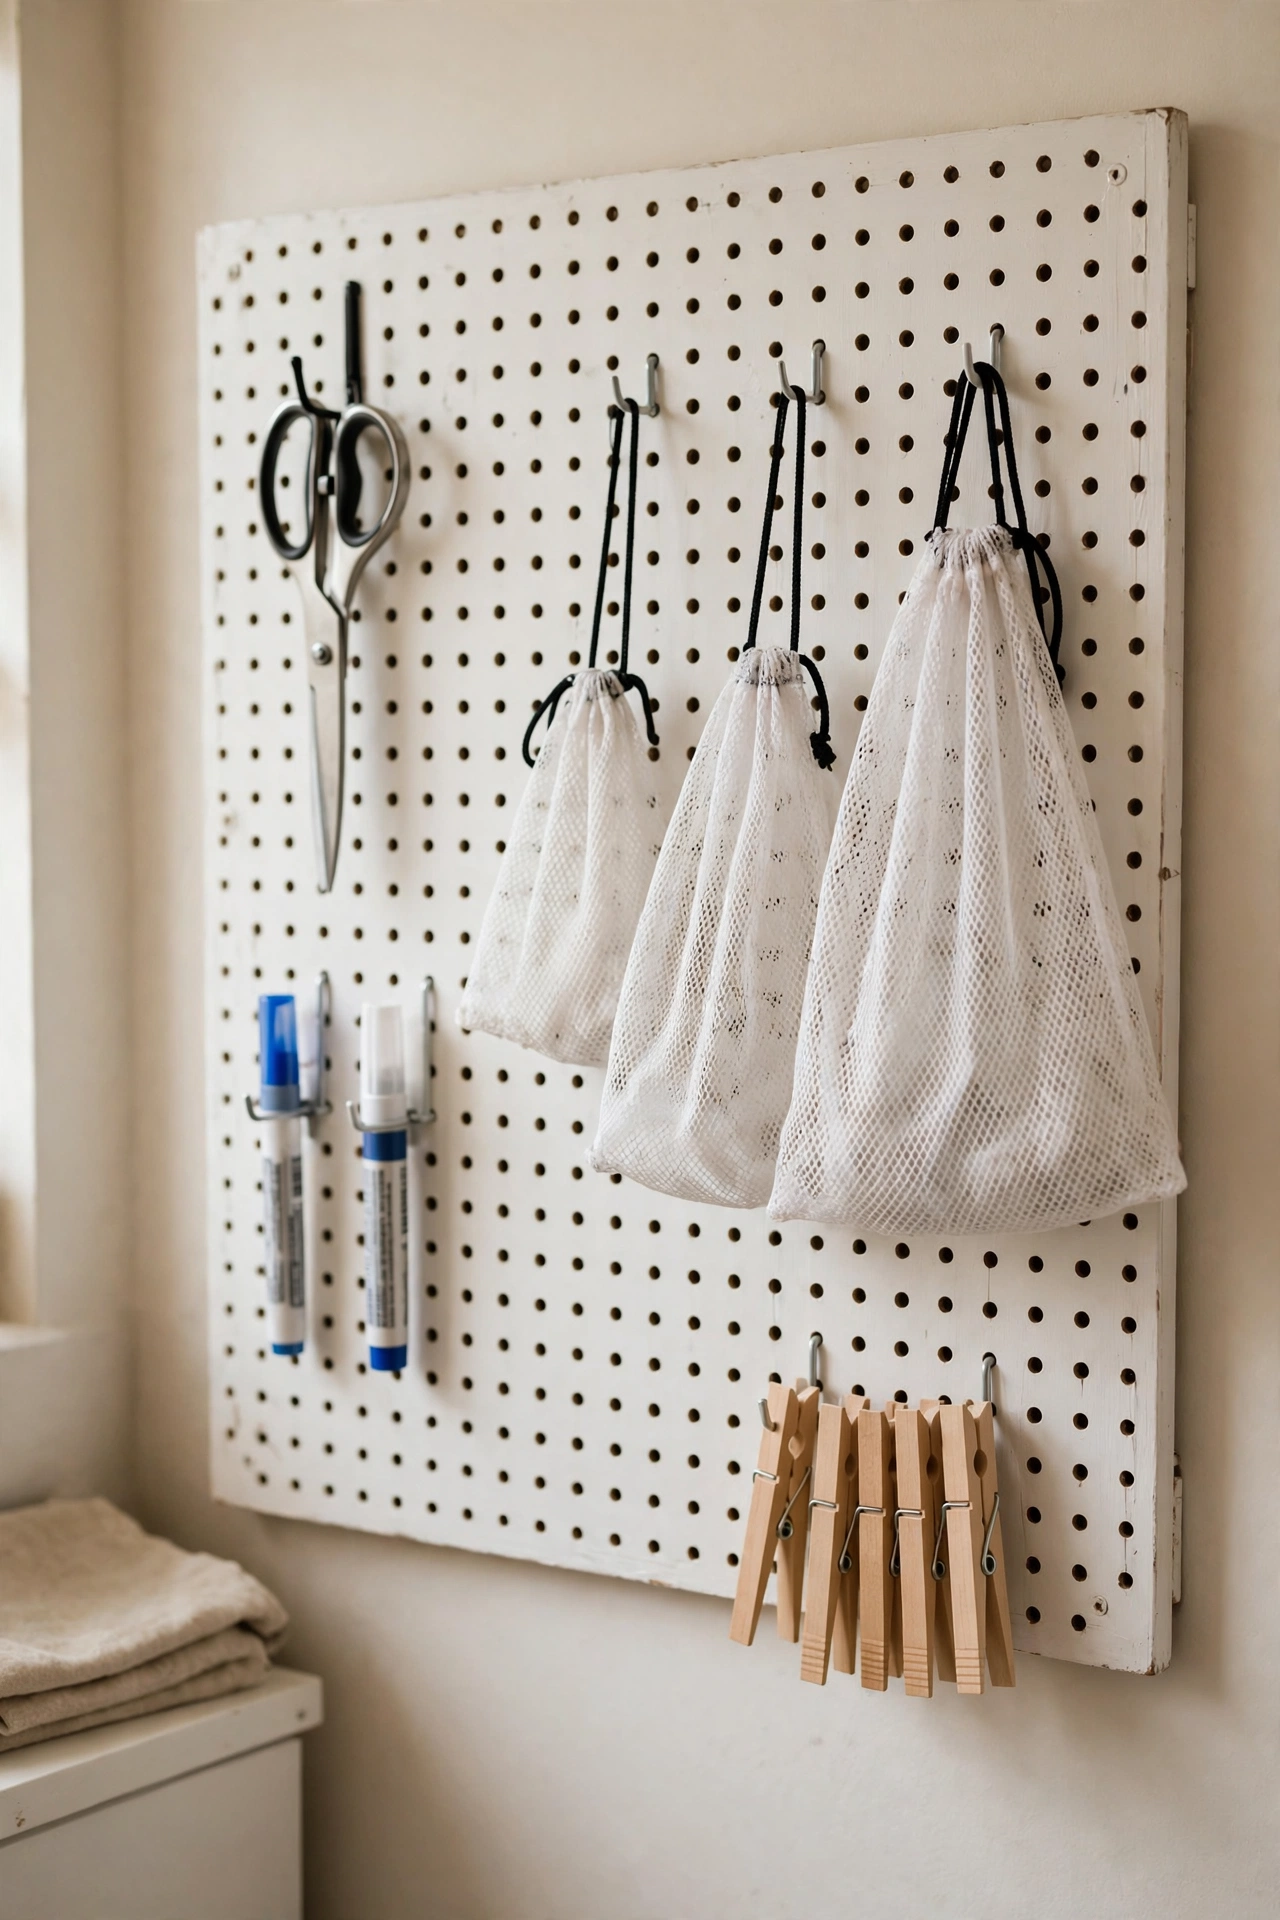
A square of pegboard on the empty wall turns into a supply station for everything that has no drawer: scissors for cutting tags, stain pens, mesh bags, spare hooks. Paint the board to match the room first — mine is soft white, which makes the little tools easy to spot. Hang it with the included spacers so hooks have room behind, then arrange the items by how often you grab them: daily tools at hand height, occasional bits up high. I tried a row of single hooks first and ended up with a crowded, unchangeable line. One mistake to avoid: overloading one side of the board. Pegboards bow when the weight is uneven, so distribute the heavy items across the middle.
Cost: ~$6 · Time: 45 minutes
10. Shirt Folding Board
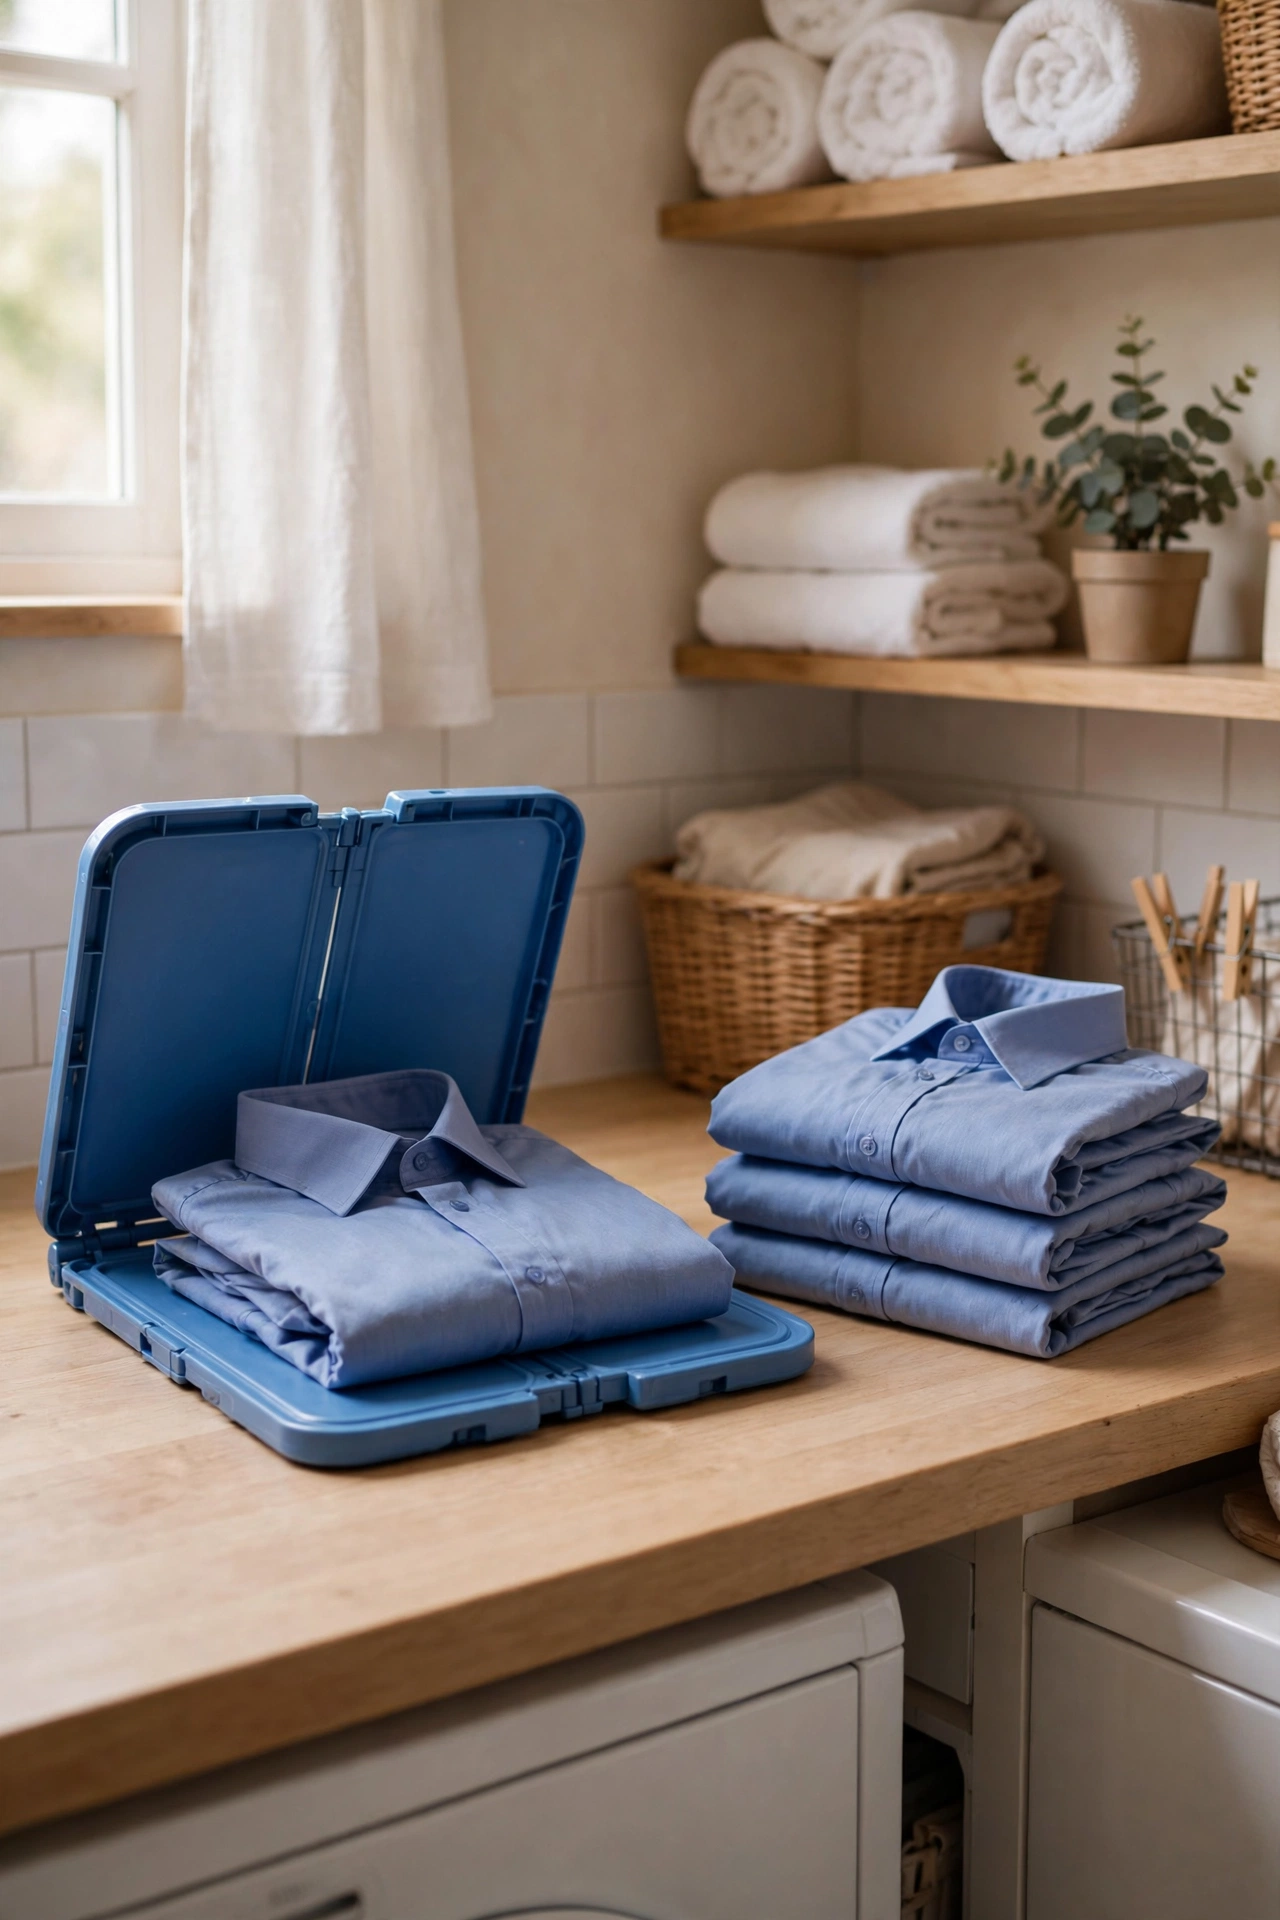
A folding board gives you shop-quality folds in seconds, and in a small laundry room it doubles as a stacking surface. Place the shirt face down, fold the side panels in, then the bottom up — the board’s hinges guide every fold to the same size. It stores flat behind the washer or leans against the wall, taking up almost no room. I timed myself: shirts take about twenty seconds each, and the wardrobe drawers have never looked this tidy. I tried folding freehand for years and the pile always slumped into a soft mountain by Tuesday. One mistake to avoid: folding while the shirt is still warm from the dryer without smoothing first. Heat sets in the wrinkles you fold.
Cost: ~$4 · Time: 5 minutes
11. Countertop Lint Bin
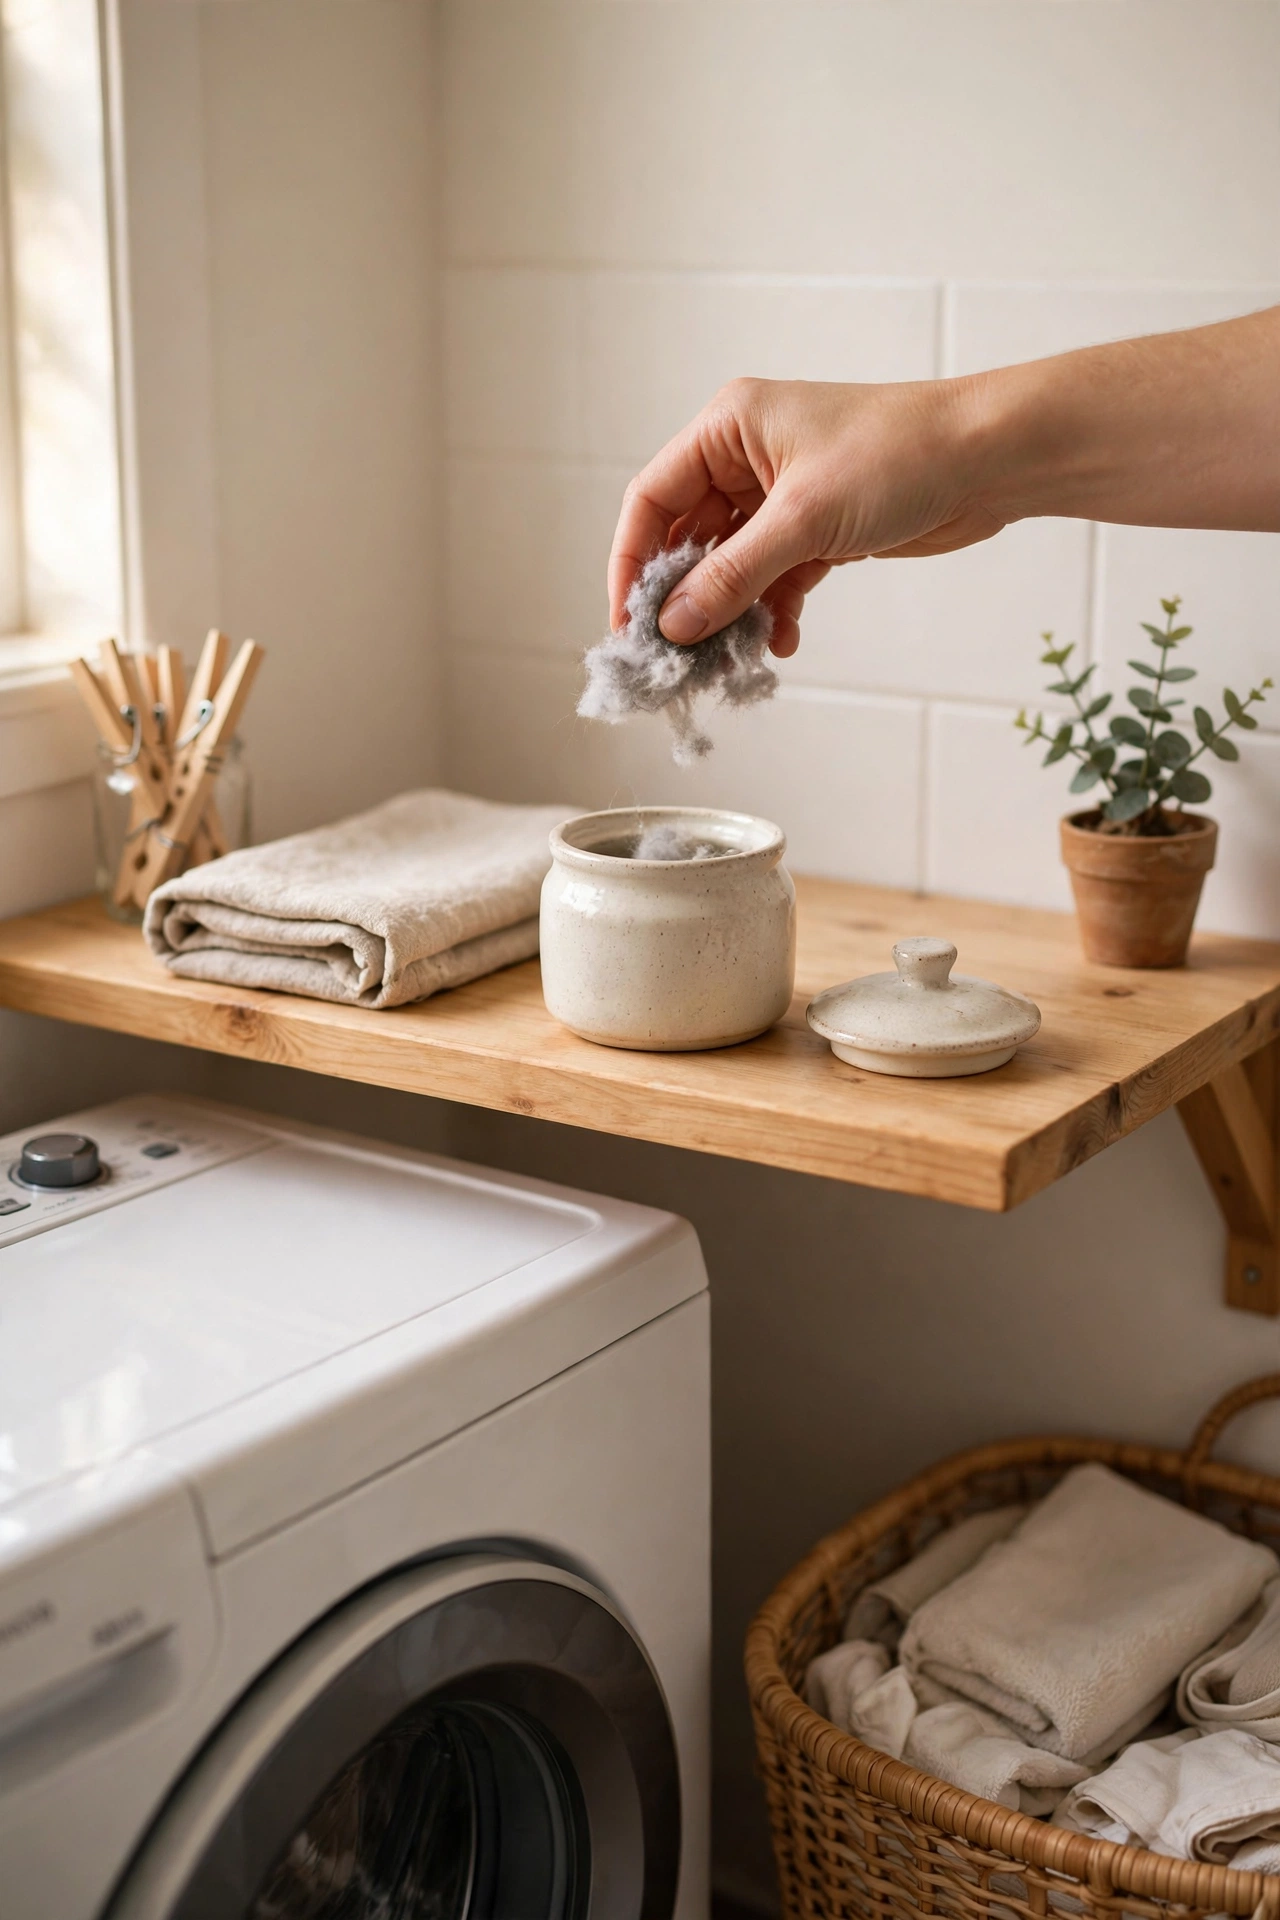
A tiny bin on the shelf above the dryer collects lint in one place instead of letting it drift around the room. Mine is a small lidded jar that sits right next to the dryer — every load’s lint goes straight in, and I empty it into the bin once a week. The lid matters: loose lint finds its way onto every surface in a small room within days. Place it within arm’s reach of the lint trap so the habit sticks; I put mine three steps away first and it stayed empty for a month. One mistake to avoid: using an open container. Static-charged lint escapes an open jar and ends up on your dark trousers anyway.
Cost: ~$2 · Time: 5 minutes
12. Refillable Spray-Bottle Set
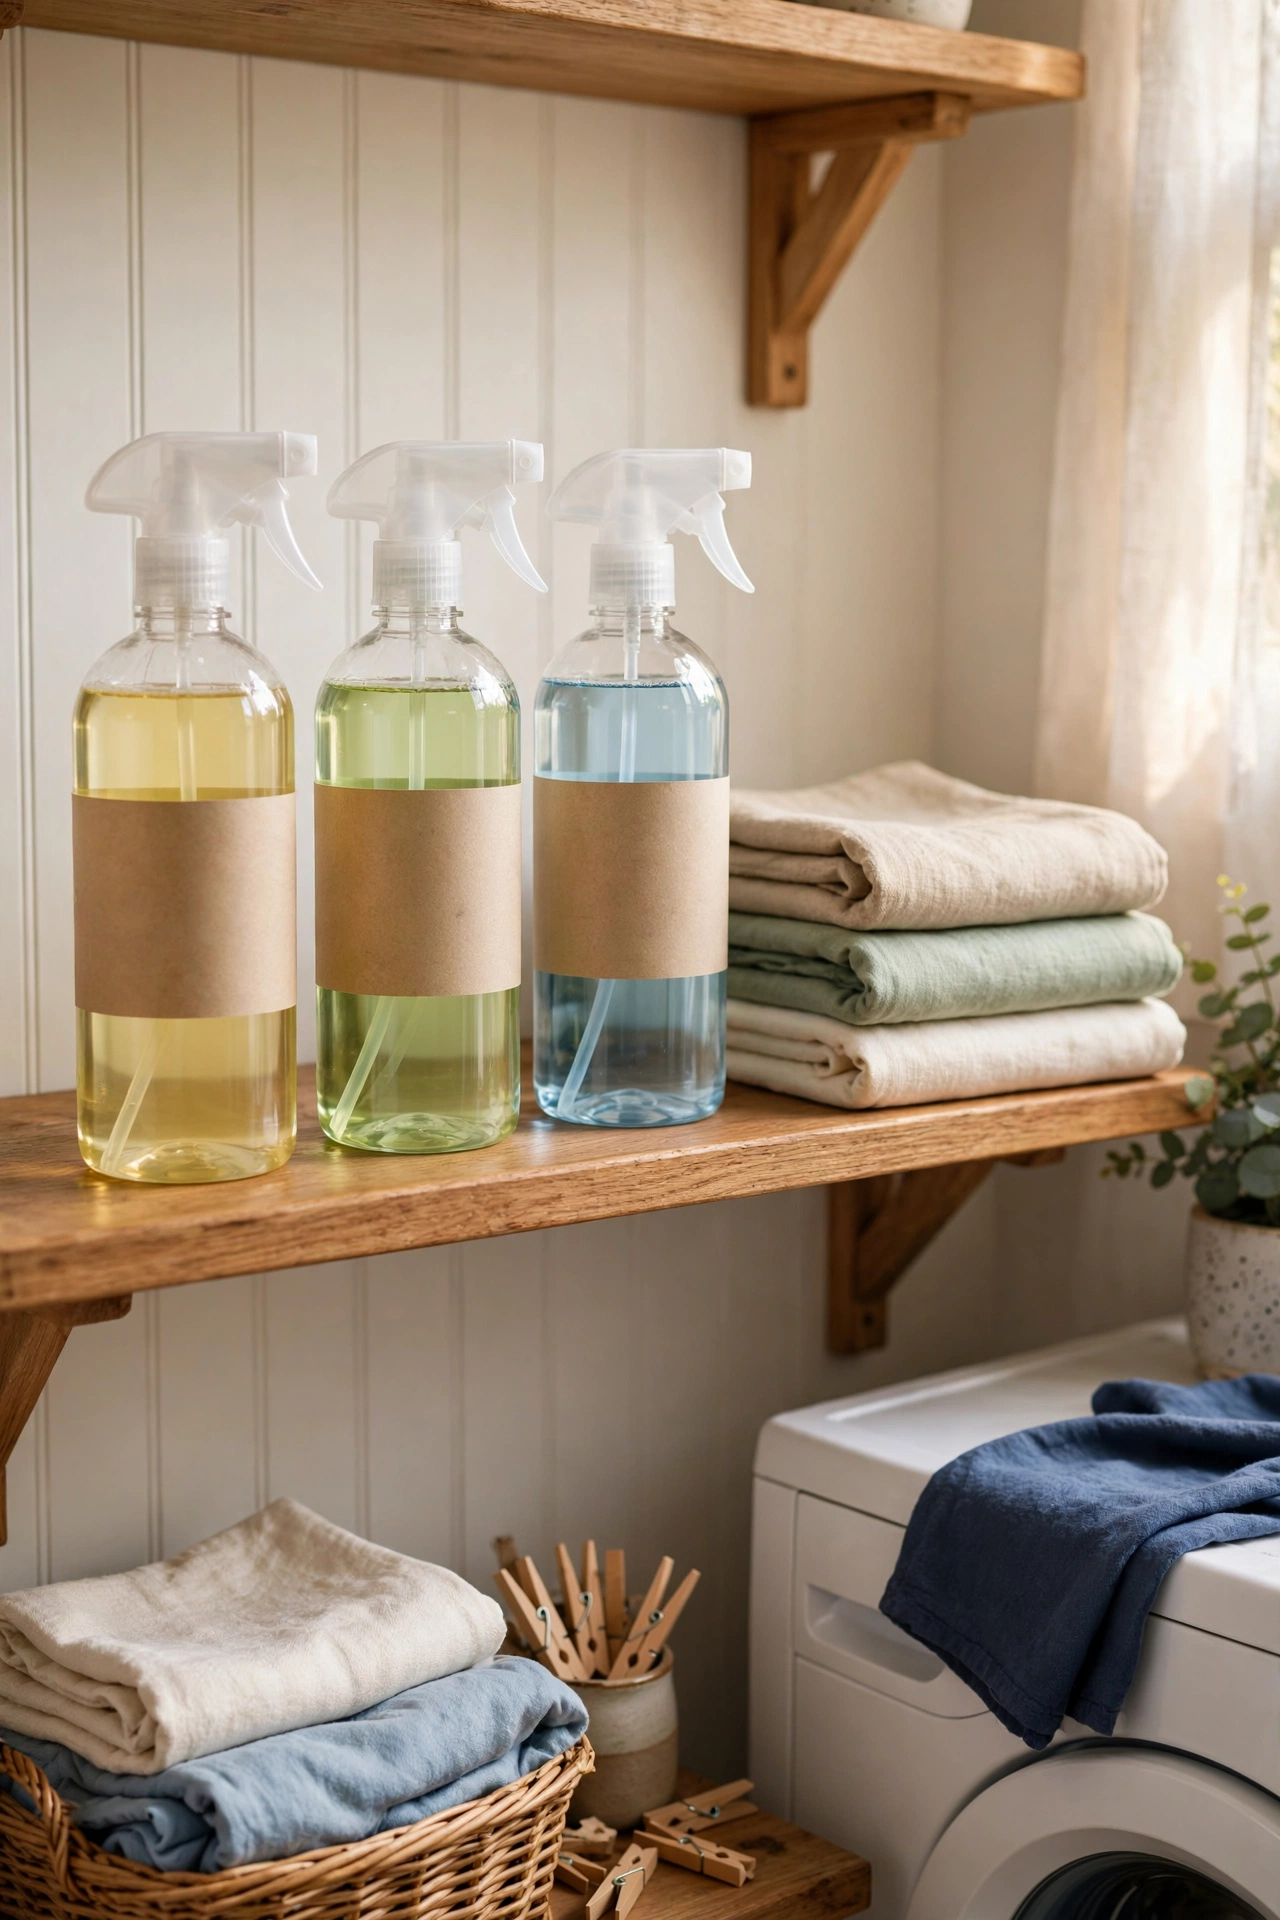
A set of refillable spray bottles holds my homemade mixes: diluted fabric softener for static, water and white vinegar for quick freshening, and plain water for the iron. Buy bottles with an adjustable nozzle so you can switch between mist and stream. Label each one clearly — the waterproof labels from idea five earn their keep here — and store them in the rolling cart or on the over-washer shelf. I mixed one batch in an old cleaning bottle without labelling it and sprayed vinegar water onto a silk blouse. One mistake to avoid: essential oils in the vinegar mix. They can spot fabrics and clog the sprayer nozzle over time.
Cost: ~$4 for three · Time: 10 minutes
Drying Details Zone
13. Hanging Clothespin Bag
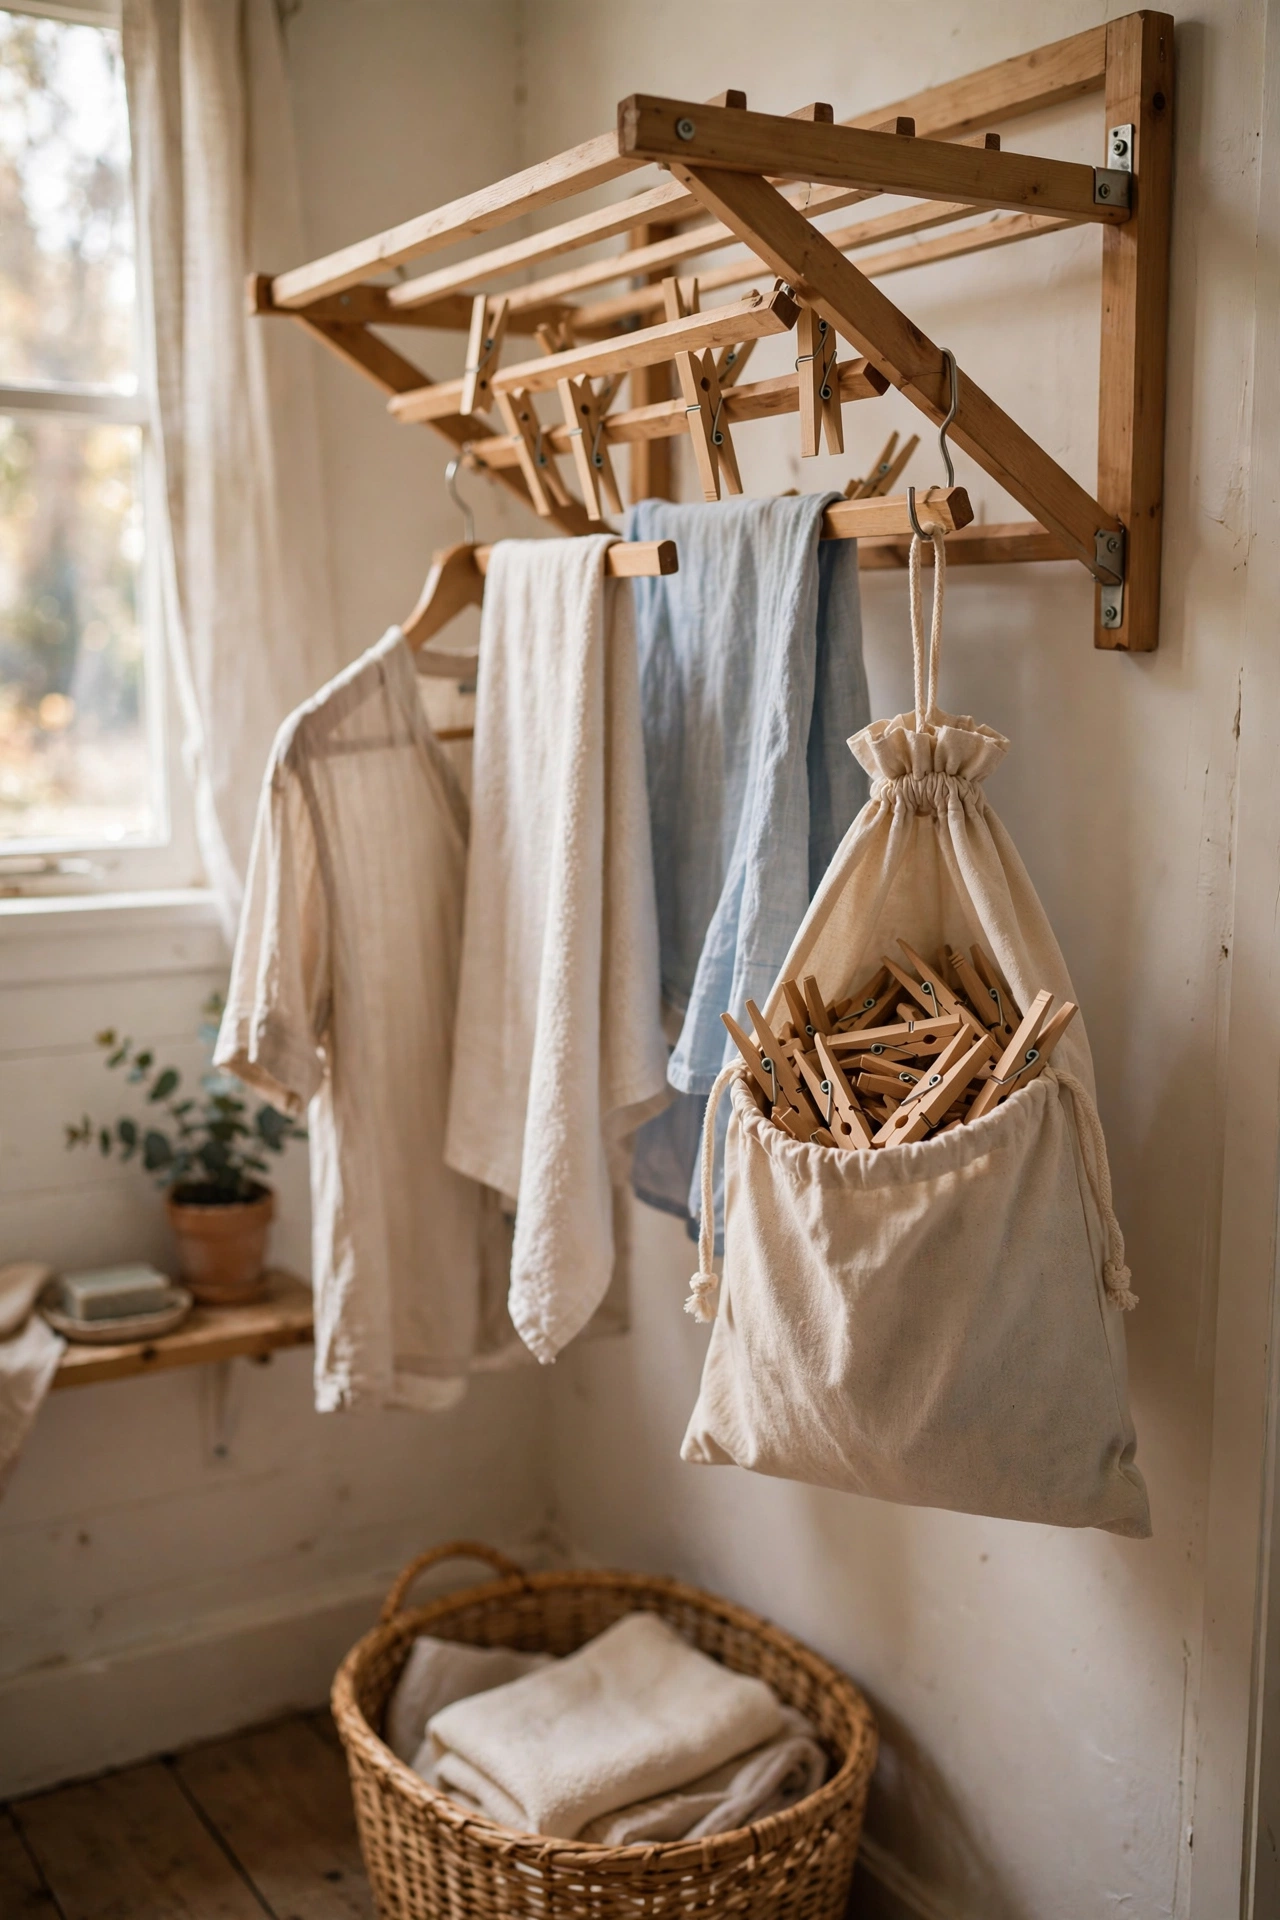
A clothespin bag hangs from the drying rack or an indoor line and keeps the pins exactly where you grab them. Mine has a drawstring top and a wide mouth, so I can reach in with one hand while holding a wet shirt with the other. Hang it at the working end of the rack — the end you load first — and keep it stocked; hunting for pins with dripping clothes in your hands is nobody’s idea of fun. I tried a little plastic tub on the shelf and spent every drying session walking back and forth. One mistake to avoid: overfilling the bag. Too many pins wedge together and you end up tugging out three when you need one.
Cost: ~$3 · Time: 5 minutes
14. Lost-Sock Collection Board
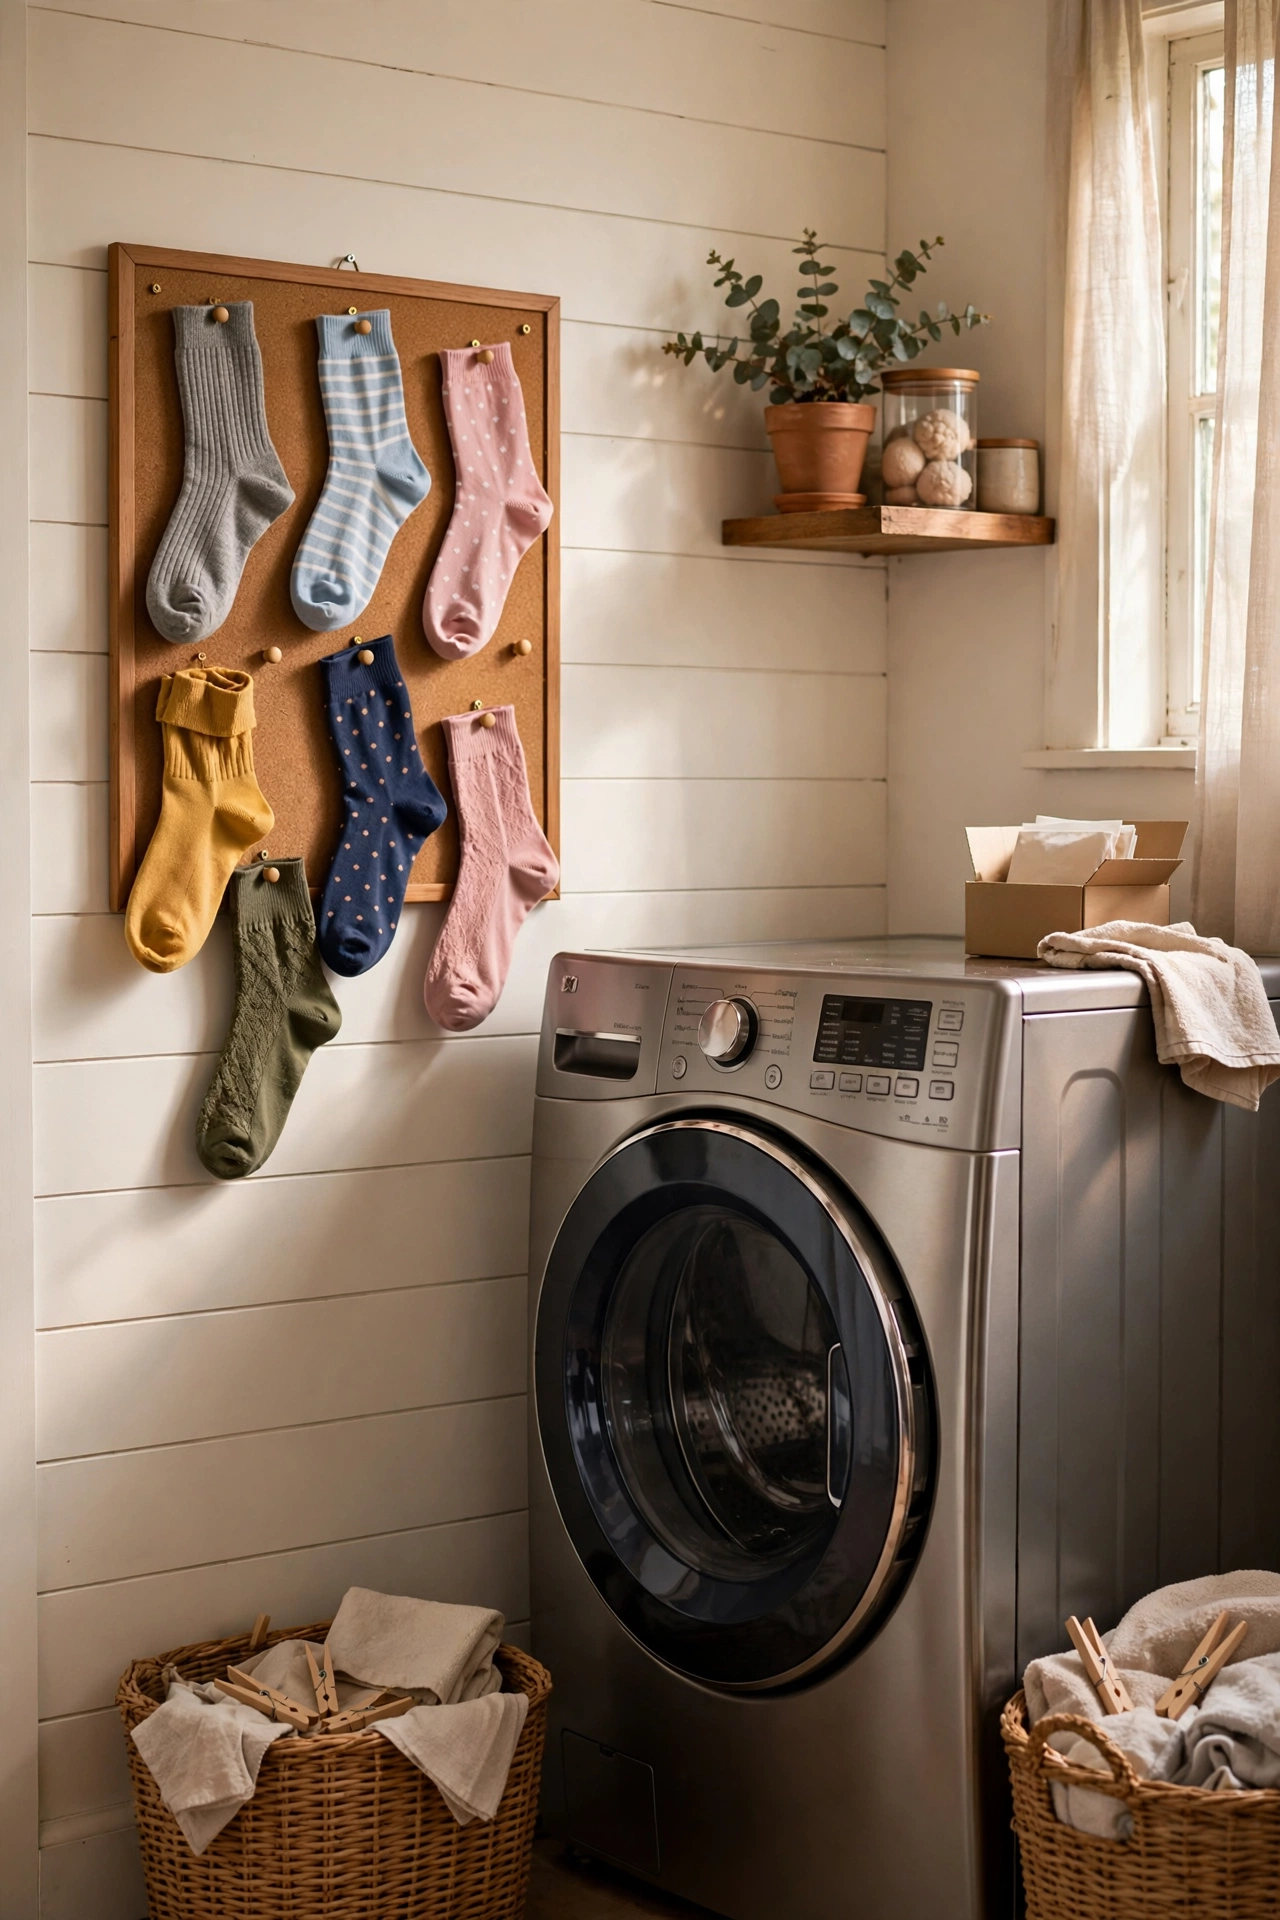
Every laundry room breeds single socks, so give them a home: a small cork board near the dryer where strays get pinned until their partner turns up. Mount it at eye level by the folding area and pin each lone sock with a pushpin through the cuff. My household rule is simple — check the board before buying replacements, and anything unclaimed after a month gets donated. I used to find socks in coat pockets and under beds for weeks; the board ended the migration overnight. One mistake to avoid: pinning through delicate lace or thin wool. Use a clip instead for anything the pin would damage.
Cost: ~$4 · Time: 15 minutes
Bins and Hooks Zone
15. Stackable Open-Front Bins
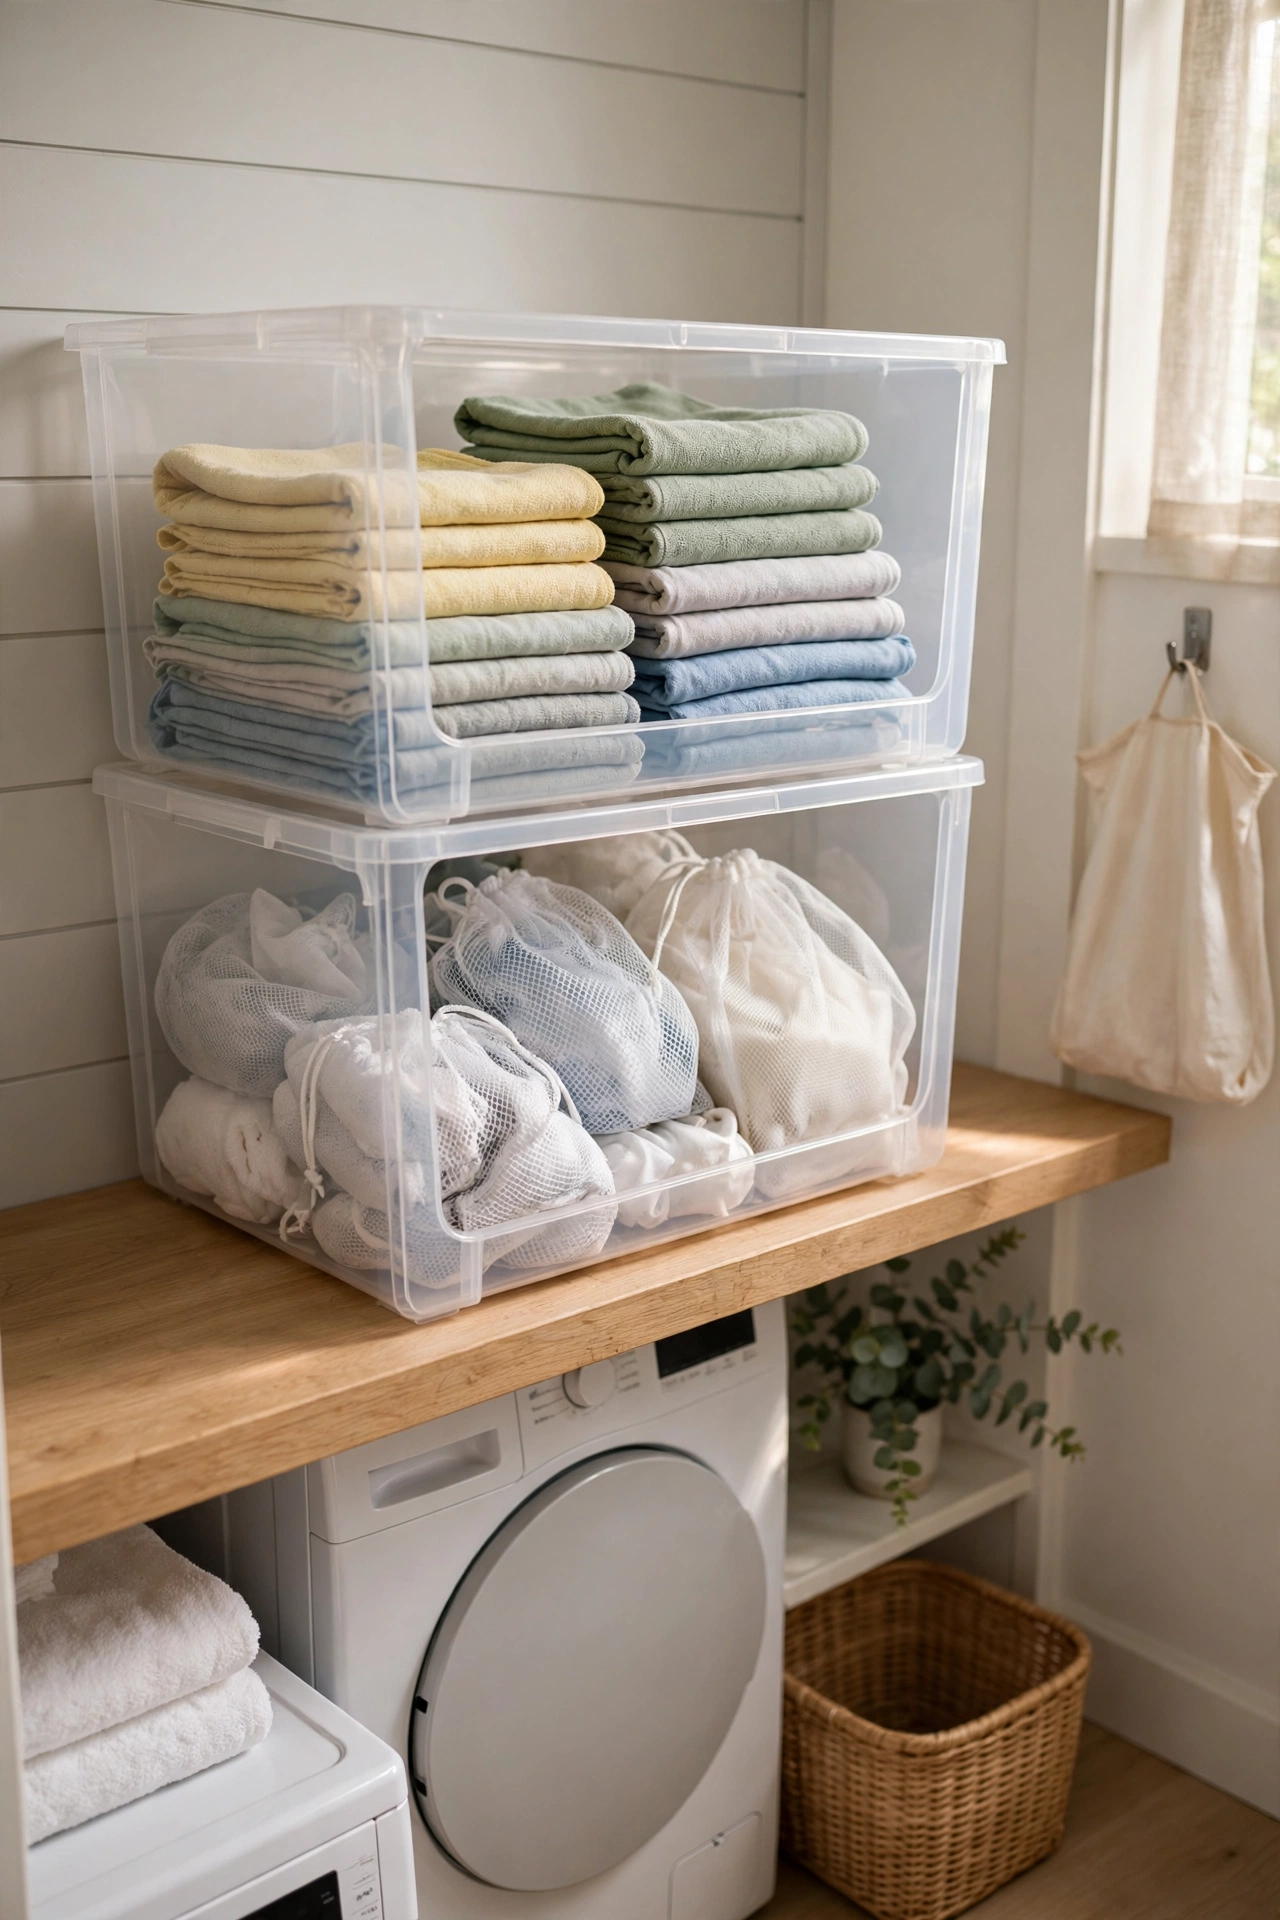
Open-front bins are the honest storage solution: you can see everything without pulling a bin out or lifting a lid. I stack two on the laundry shelf for cleaning cloths, spare dryer balls, and the mesh bags from idea eighteen. The open front means you actually use what is inside — out of sight in a small laundry room means out of mind forever. Label the front of each bin so the system survives other people using the room. I tried lidded boxes first and rediscovered a year’s worth of forgotten supplies when I finally opened them. One mistake to avoid: stacking more than two high. Three bins tower over the shelf and the top one becomes unreachable.
Cost: ~$5 for two · Time: 10 minutes
16. Row of Cast Wall Hooks
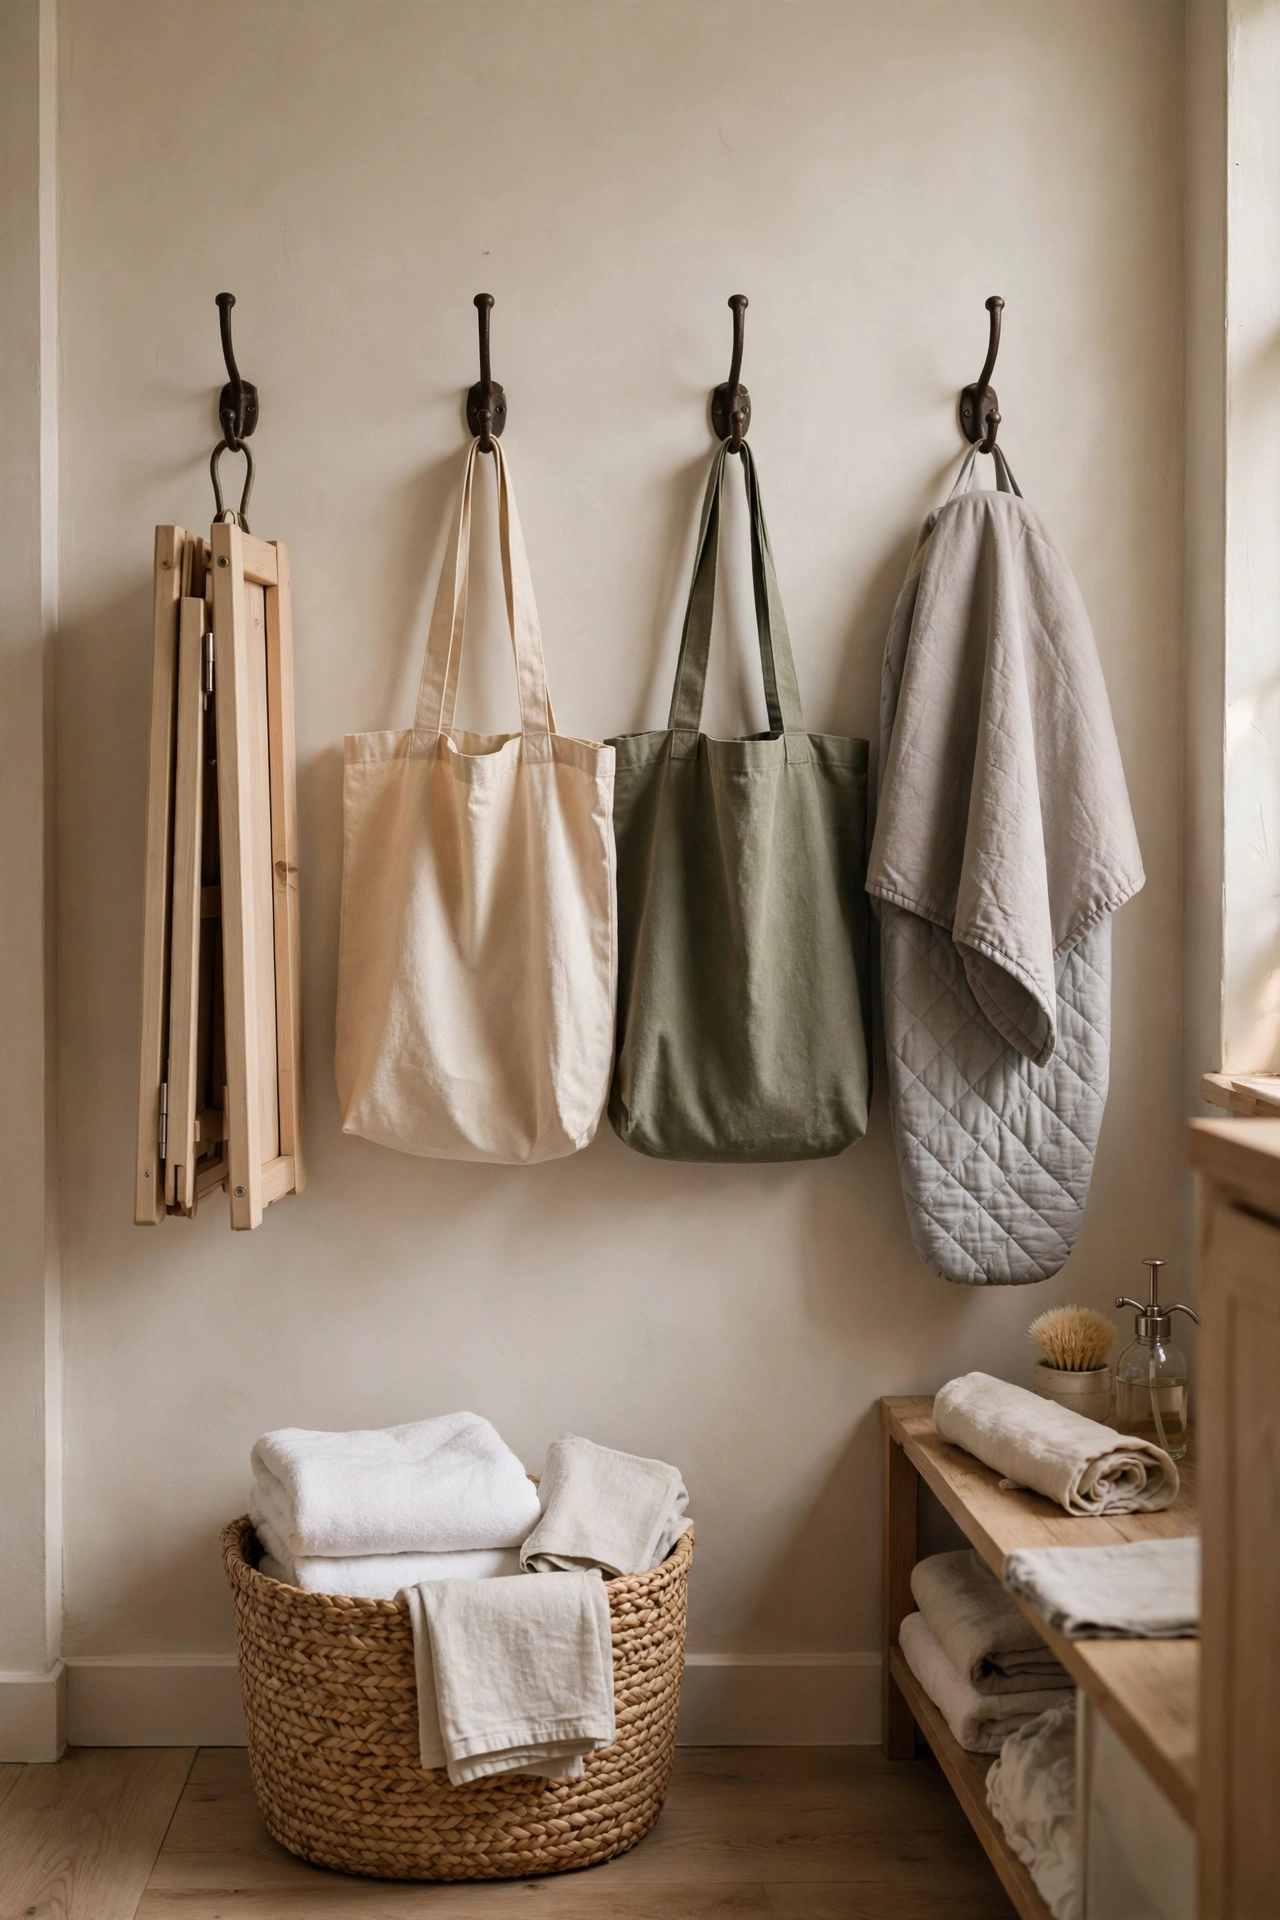
A row of cast metal hooks on the last free wall holds the things that need to hang: the ironing board’s cover, the delicates line, spare tote bags, the folding board. Space them evenly — mine are thirty centimetres apart — and anchor each one into the wall properly because hooks take real weight when bags hang from them. I use the leftmost hook for the item in current use so it always goes back to the same spot. I tried adhesive hooks first and watched them peel off the painted wall on a humid summer day, taking the paint with them. One mistake to avoid: hanging wet items directly on bare metal hooks. A quick wipe dry prevents rust spots on the wall behind.
Cost: ~$5 for four · Time: 30 minutes
Machine-Top and Care Zone
17. Washer-Top Riser Shelf
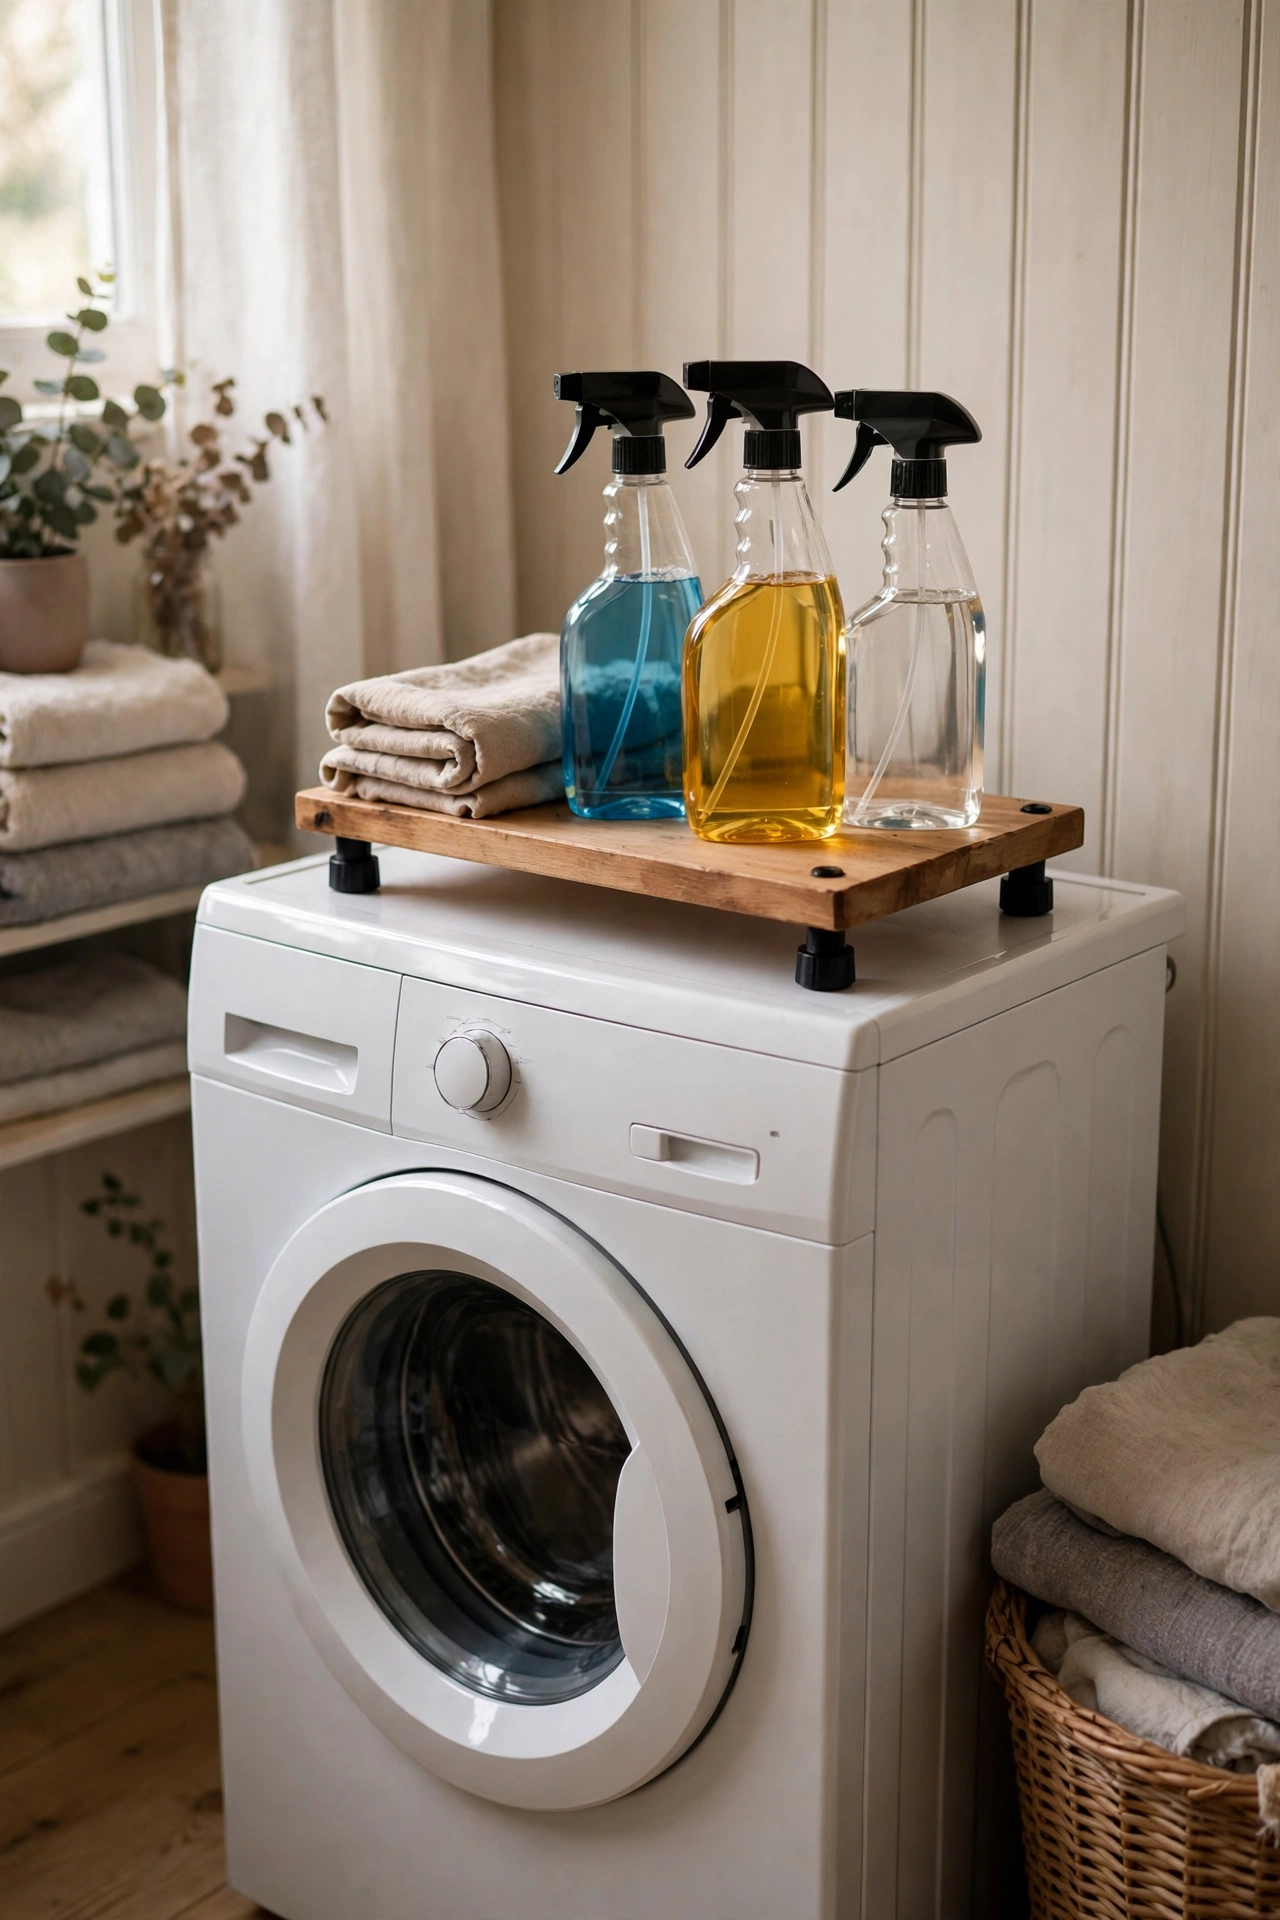
A small riser shelf with rubber feet sits on top of the washer and holds the folding supplies steady above the machine’s vibrations. Mine carries the lint bin, the spray bottles, and a folded cloth — everything within reach at the machine. The rubber feet are essential: without them the shelf walks across the washer during the spin cycle, which I discovered at the worst possible moment. Choose a shelf shorter than the machine’s depth so the washer lid or door clears it completely. I tried balancing bottles directly on the washer and knocked two off in one spin cycle. One mistake to avoid: glass containers on the riser. Use plastic up top where vibration is part of life.
Cost: ~$6 · Time: 5 minutes
18. Mesh Delicates Wash Bags
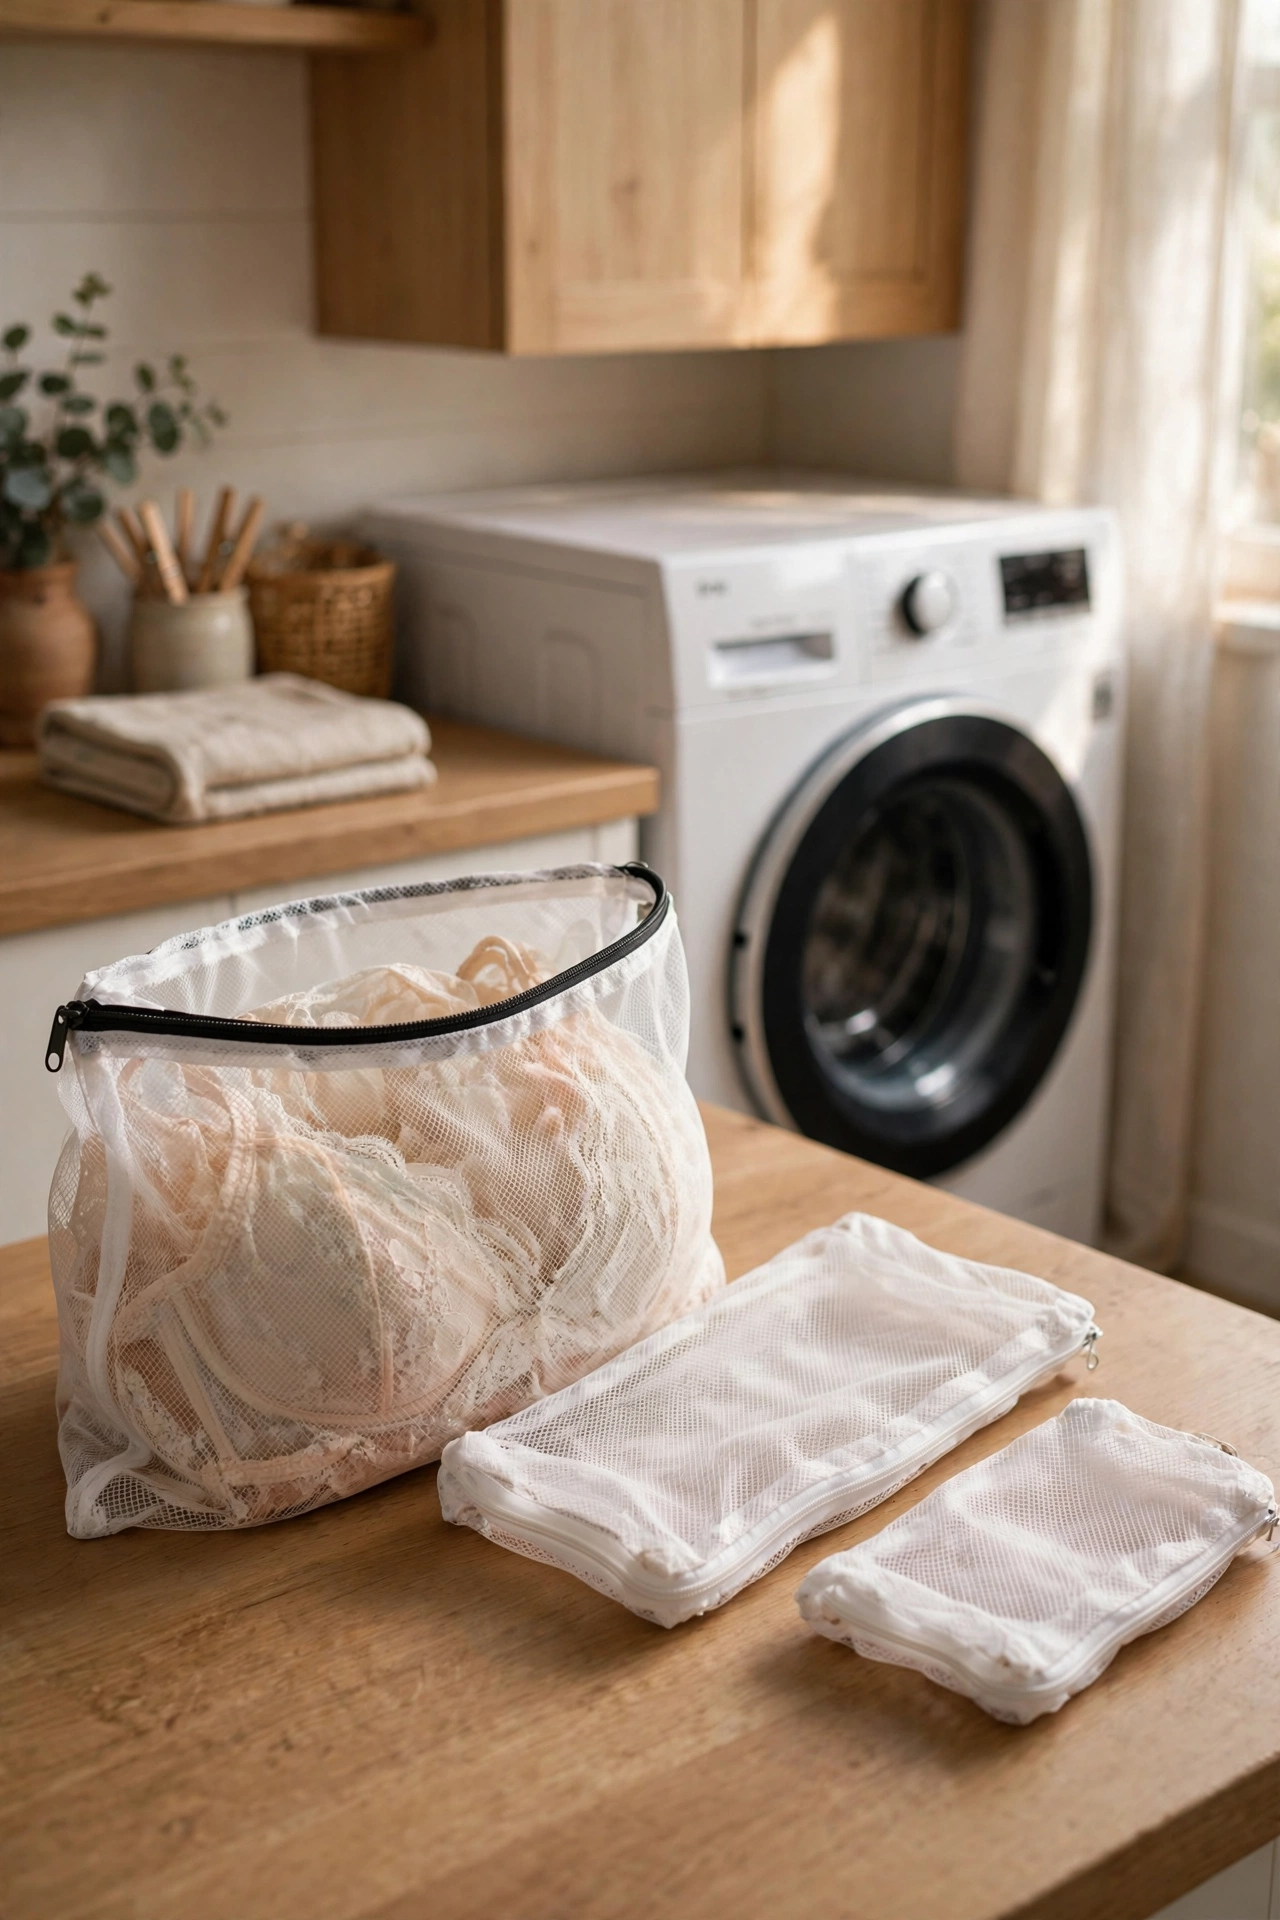
Mesh bags are cheap insurance for anything with lace, hooks, or underwire. Zip each delicate inside its own bag before it goes in the machine, and the mesh stops straps tangling and hooks snagging other clothes. I keep three sizes sorted in the open-front bin: small for socks and smalls, medium for bras, large for jumpers. Sort by colour inside the bags — one white bag and one dark bag per load keeps dye accidents away. I tried washing a lace top loose once and the hook shredded a silk scarf in the same load. One mistake to avoid: overstuffing the bag. A crammed bag washes nothing properly; fill it only two-thirds full.
Cost: ~$3 for a set · Time: 5 minutes
19. Stain-Treatment Travel Kit
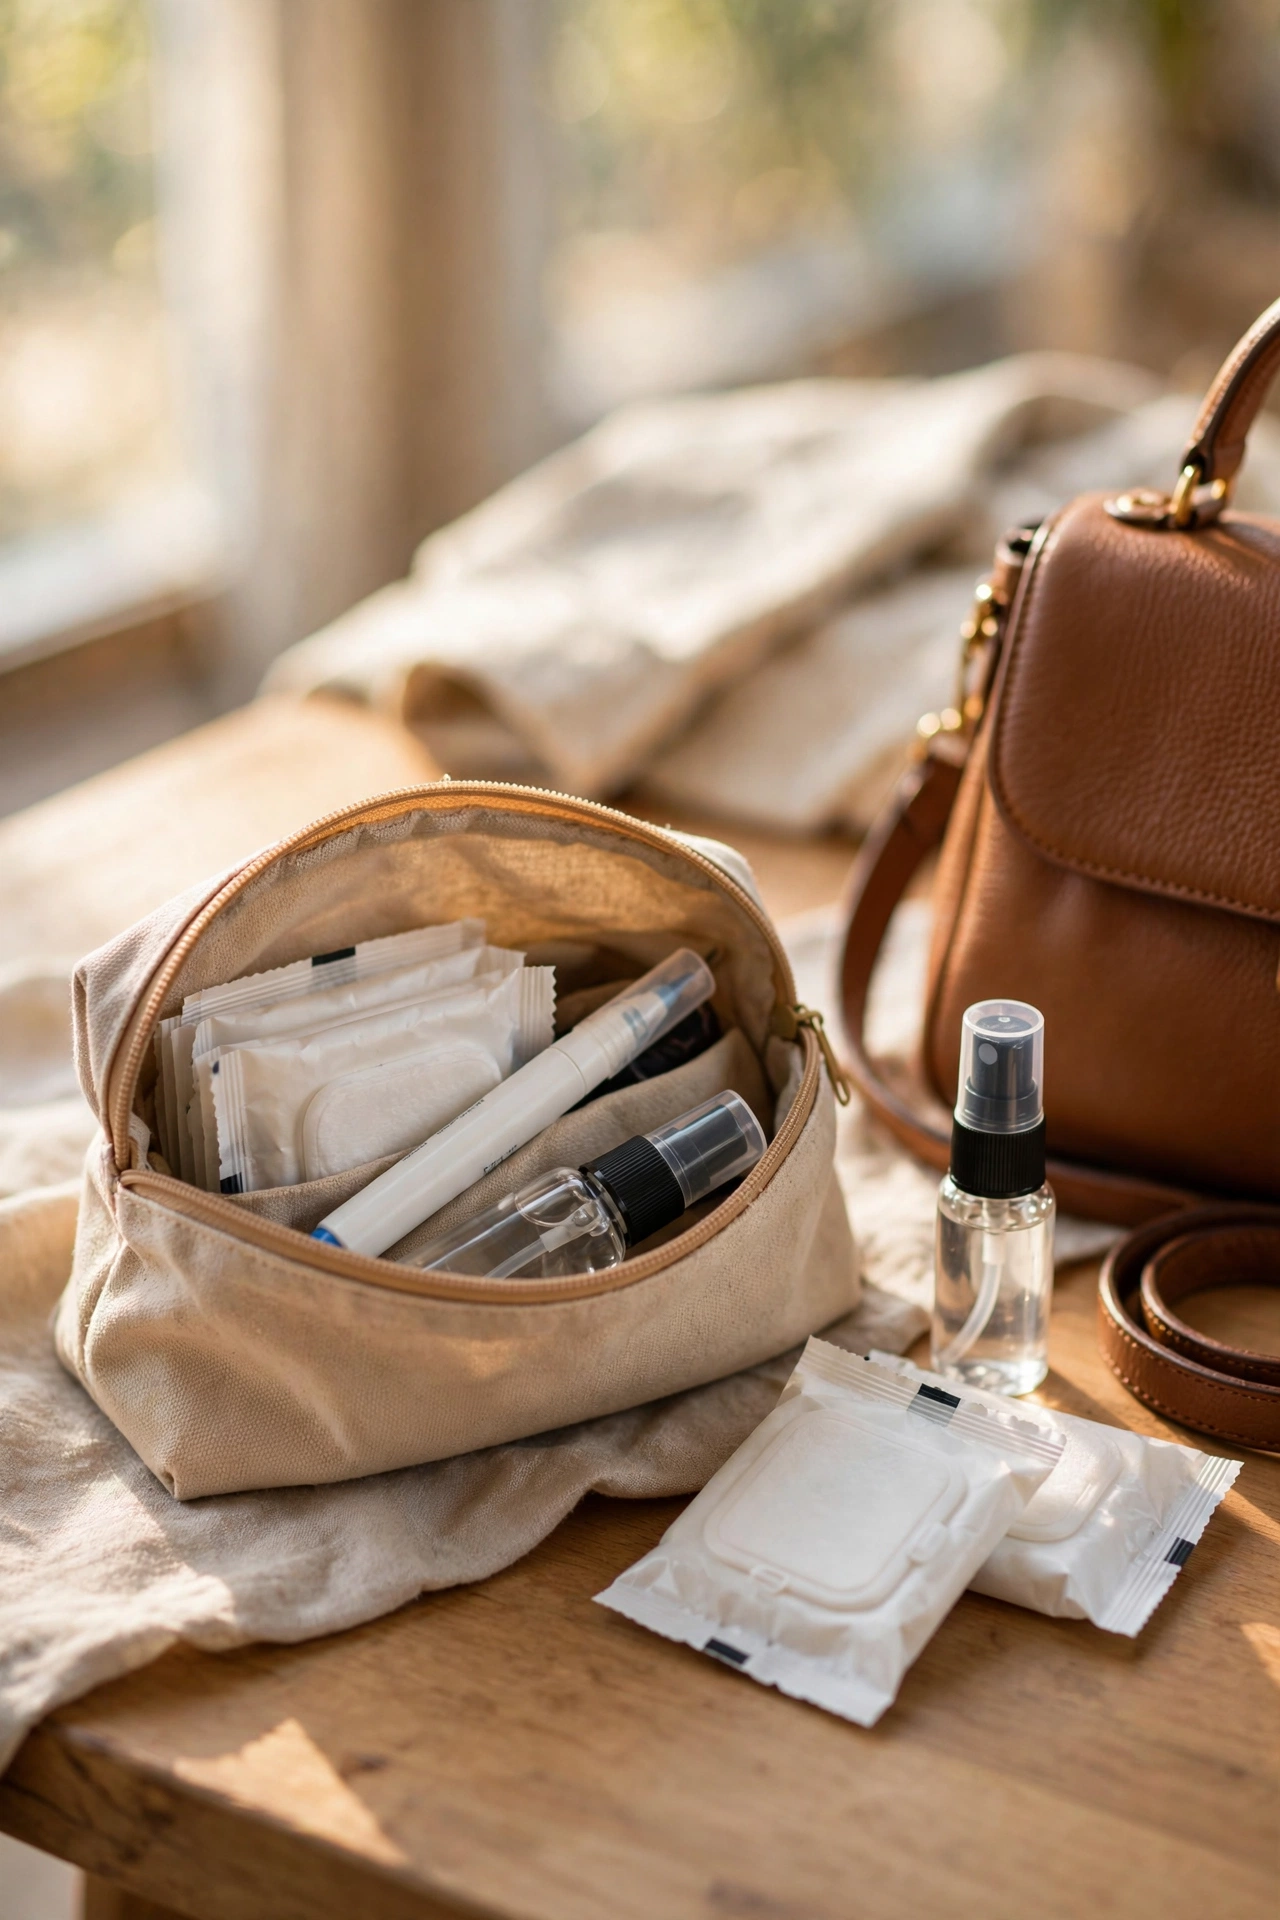
A little pouch with a stain pen, pre-treatment wipes, and a mini sprayer lives in my handbag so spills get treated within minutes instead of hours. The faster you treat a stain, the better your odds — blotting red wine at the restaurant beats soaking it at home every time. Pack the kit once: two stain wipes, one pen, and a tiny sprayer of water for rinsing. Restock it monthly because dried-out wipes are useless decoration. I tried relying on “remembering to treat it later” and ruined a good shirt with a coffee ring that set overnight. One mistake to avoid: rubbing instead of blotting. Rubbing grinds the stain deeper into the fibres; blotting lifts it out.
Cost: ~$4 · Time: 10 minutes
Found a favourite in this list? Save this idea for later — snap a photo of your laundry room first, then take this list on your next dollar store trip.
Nineteen finds, roughly eighty dollars all in, and a laundry room that finally works for its size instead of against it. Mine went from a cramped corridor of machines to a room where everything has a labelled place in about three weekends. Start with the gap cart and the over-washer shelf — those two unlock the most space for the least money.
More small-space storage wins: (see also: 25-dollar-store-organization-ideas-for-every-room) (see also: 23-dollar-store-living-room-finds-worth-grabbing) (see also: 17-dollar-store-wall-decor-ideas-that-look-expensive)
