23 Dollar Tree Garland Ideas for Every Season
Last spring my neighbour popped over with a garland strung across her mantel, tiny fabric flowers and not a wonky one among them, and when I asked where she had found it she laughed and said it was three dollars’ worth of supplies. That moment started my obsession with dollar tree garland, and I have been making them for every season since. This list gathers 23 of my favourite designs, from spring blooms to Christmas evergreens, each one cheap, cheerful, and simple enough to finish in an afternoon.
Coffee Filter Spring Bloom Garland
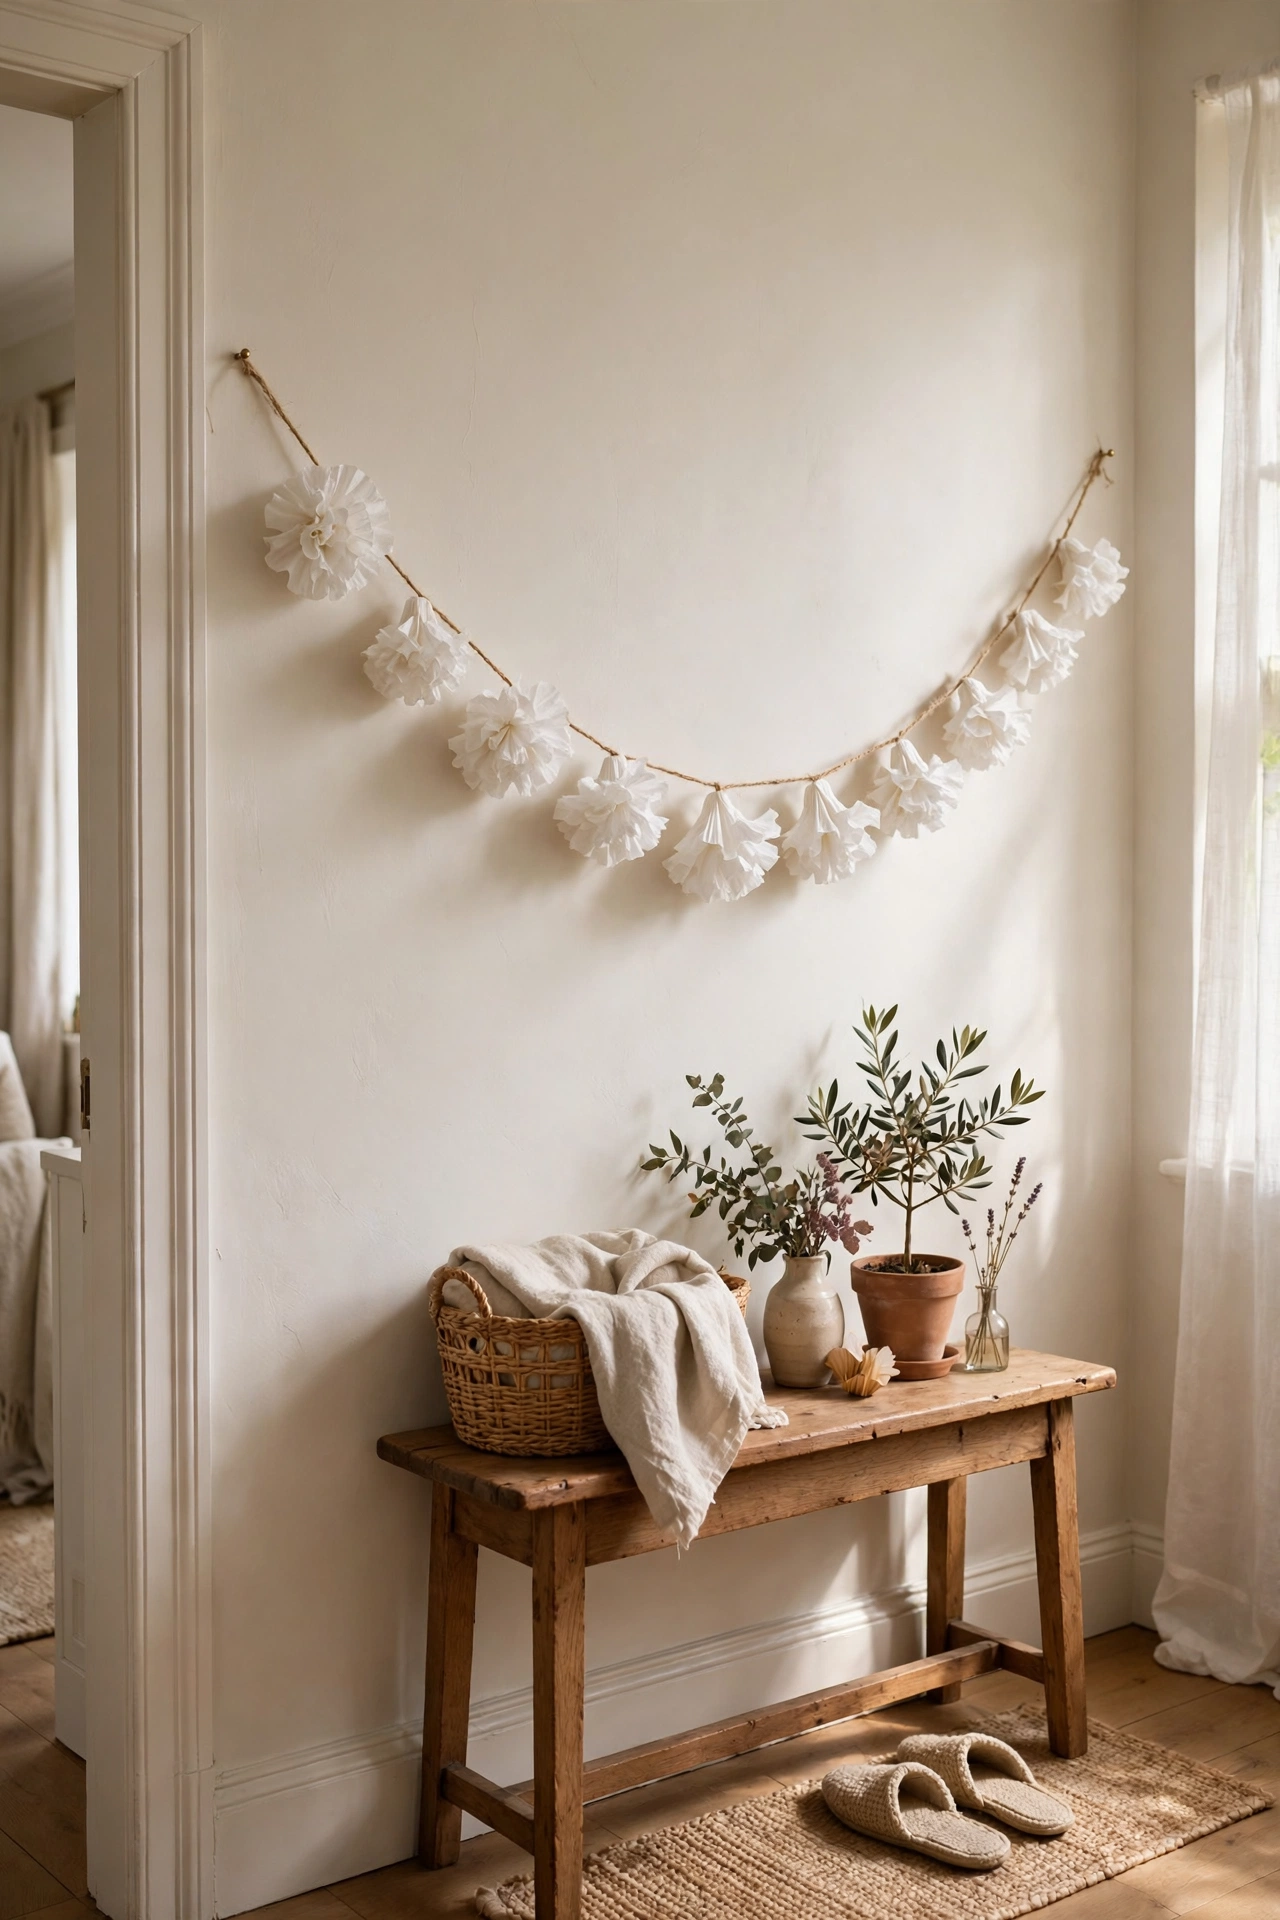
Coffee filters scrunch into the prettiest ruffled flowers you have ever seen. Flatten each filter, gather it in the middle with a twist tie, and fluff the edges into a bloom. String ten to twelve blooms onto twine with a needle, spacing them evenly, and tie small loops at each end for hanging. I tried this in my own hallway and guests assumed I had bought it from a boutique. One mistake to avoid: using scented filters transfers the smell to the whole garland, so stick to plain ones.
Cost: ~$4 · Time: 45 minutes
Painted Wooden Bead Spring Garland
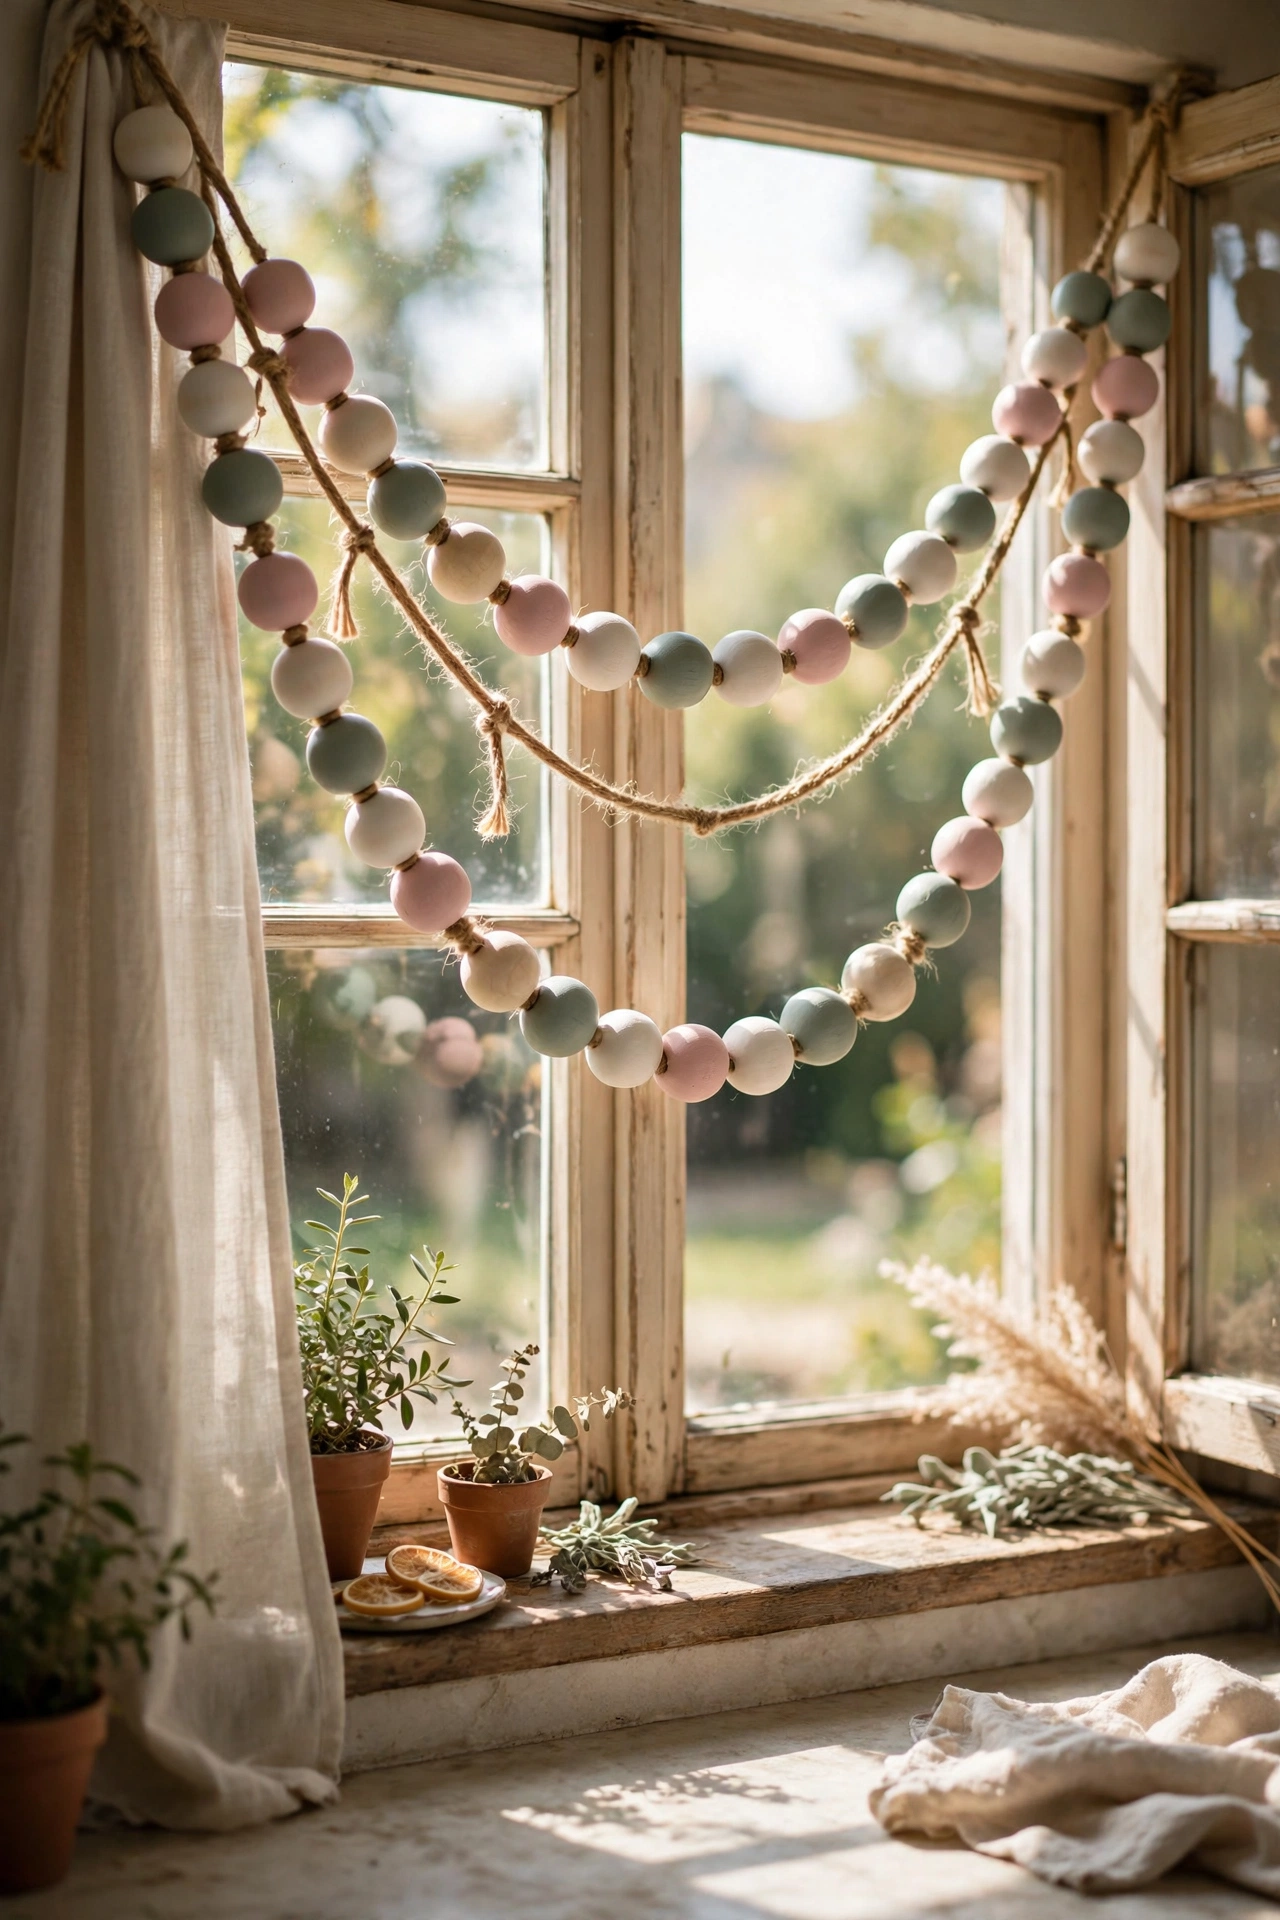
Wooden beads painted in pastel shades make a garland that works all spring long. Paint the beads in soft pink, sage, and cream, let them dry fully, then thread them onto jute twine with a large needle. Alternate bead sizes for a handmade look and knot the twine between every fifth bead so nothing slides. I tried this in my own kitchen window and it stayed up from March to June. One mistake to avoid: threading beads before the paint is bone dry smudges everything, so give them a full day.
Cost: ~$5 · Time: 1 hour
Plastic Easter Egg Garland
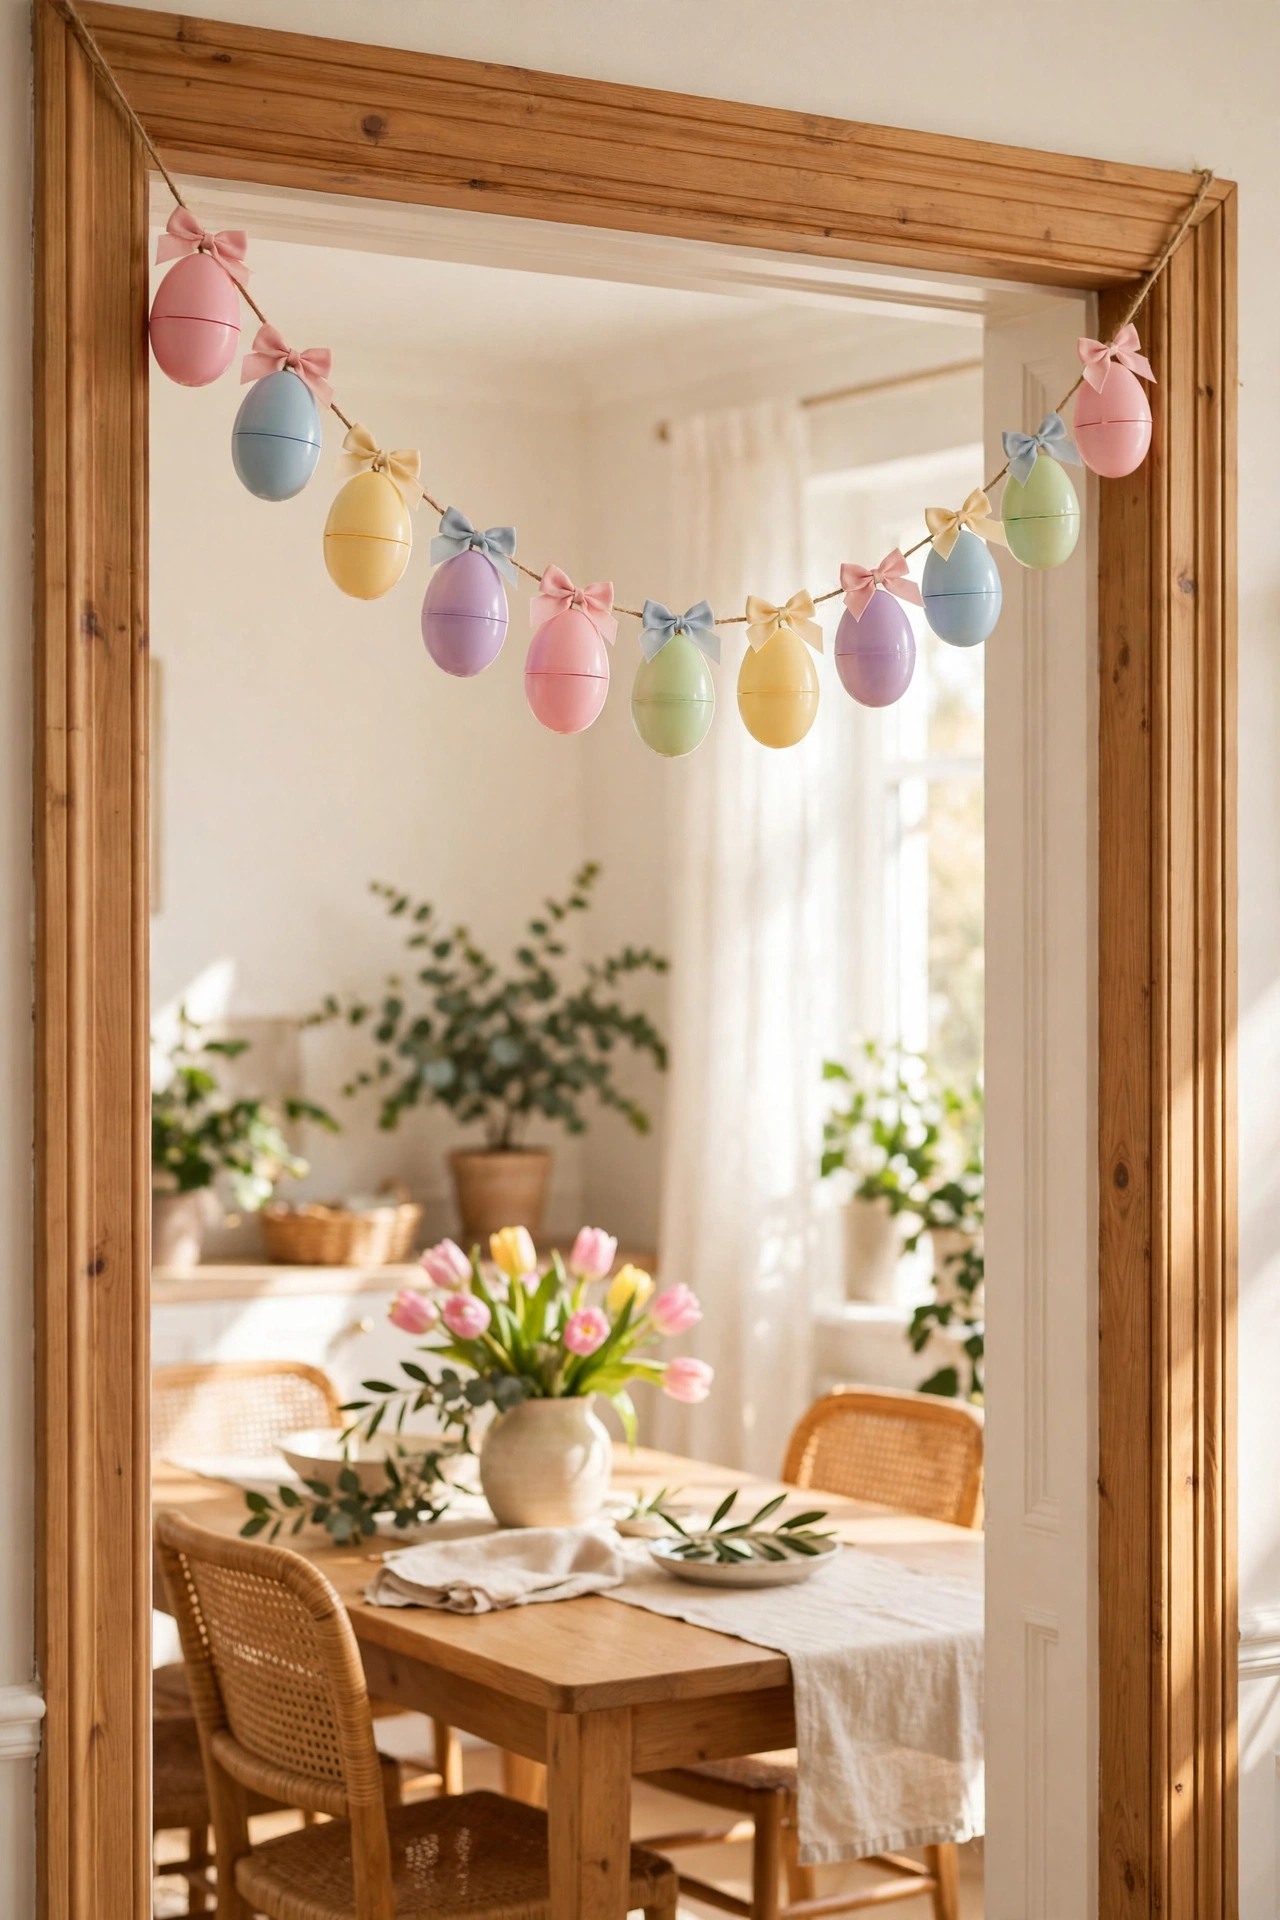
Those plastic Easter eggs are not just for egg hunts. Pop each egg open, thread the string through the hinge hole, and snap it shut around the twine so the eggs stay put. Alternate pastel colours and add a few small bows between eggs for extra charm. Hang it across a doorway or along the mantel for instant Easter cheer. I tried this in my own dining room and the kids refused to take it down after the holiday. One mistake to avoid: skipping the snap-shut step means eggs slide to the middle overnight, so make sure each one clicks.
Cost: ~$3 · Time: 20 minutes
Faux Tulip Garland for the Spring Mantel

Faux tulips wired onto a plain vine base look like fresh flowers that never wilt. Lay the vine flat, tuck small bunches of tulips along it, and secure each bunch with thin floral wire. Bend the wire tails flat so they do not scratch the mantel, and fluff the blooms to face outward. I tried this in my own living room and it fooled my mother-in-law completely. One mistake to avoid: buying stems in only one colour looks flat, so mix two or three shades for depth.
Cost: ~$8 · Time: 30 minutes
Seashell Summer Garland
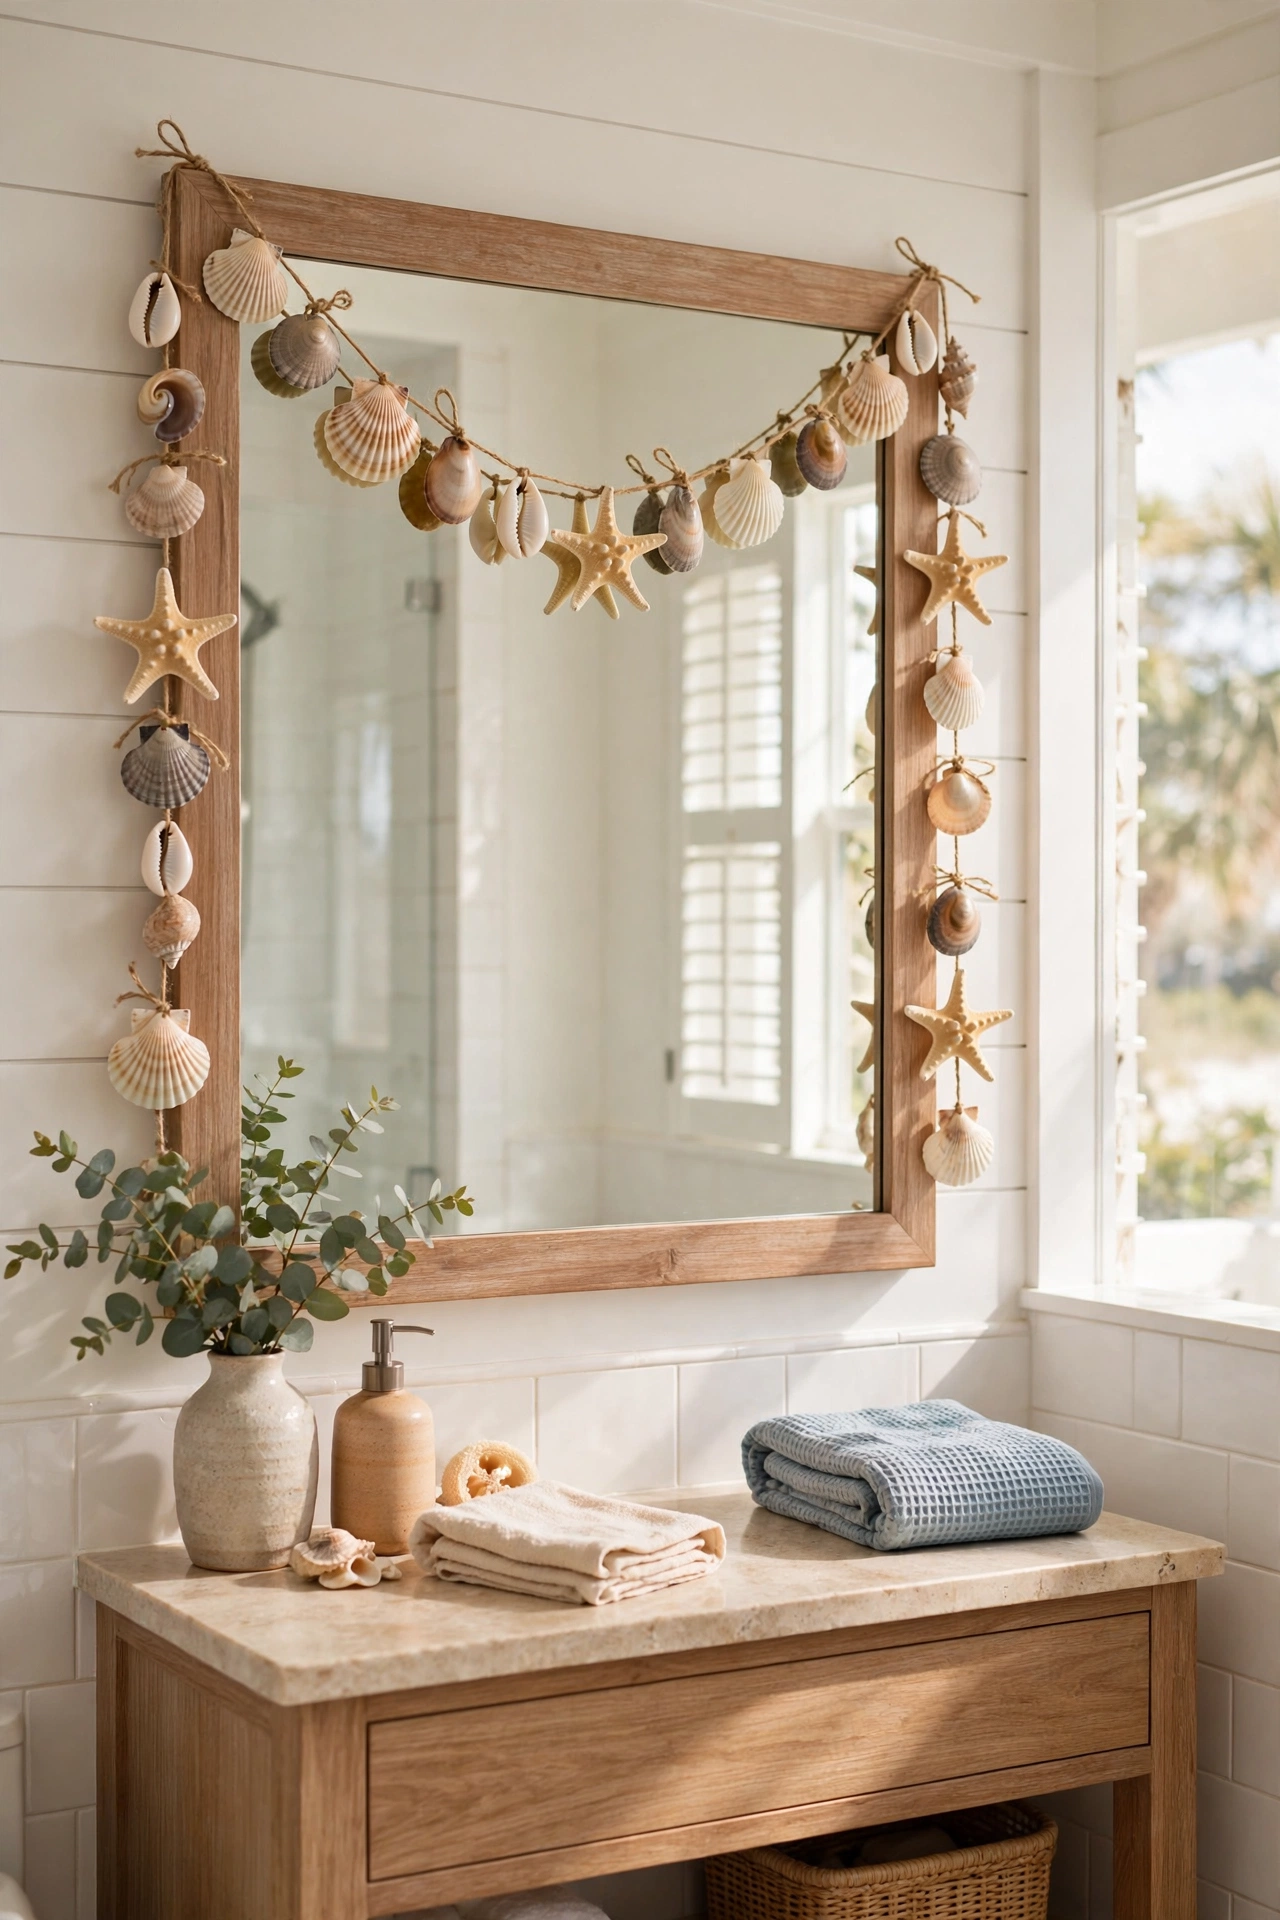
Bags of shells become a beachy garland that smells like holidays. Drill or pierce a small hole in each shell, or simply glue them to the twine with a hot glue gun for the easy route. Alternate large and small shells with a few starfish, spacing them so the twine shows between each piece. I tried this in my own bathroom mirror frame and it survived the whole summer. One mistake to avoid: glue that is not fully set will drop shells on the floor, so let it cure for an hour before hanging.
Cost: ~$4 · Time: 40 minutes
Patriotic Star Summer Garland
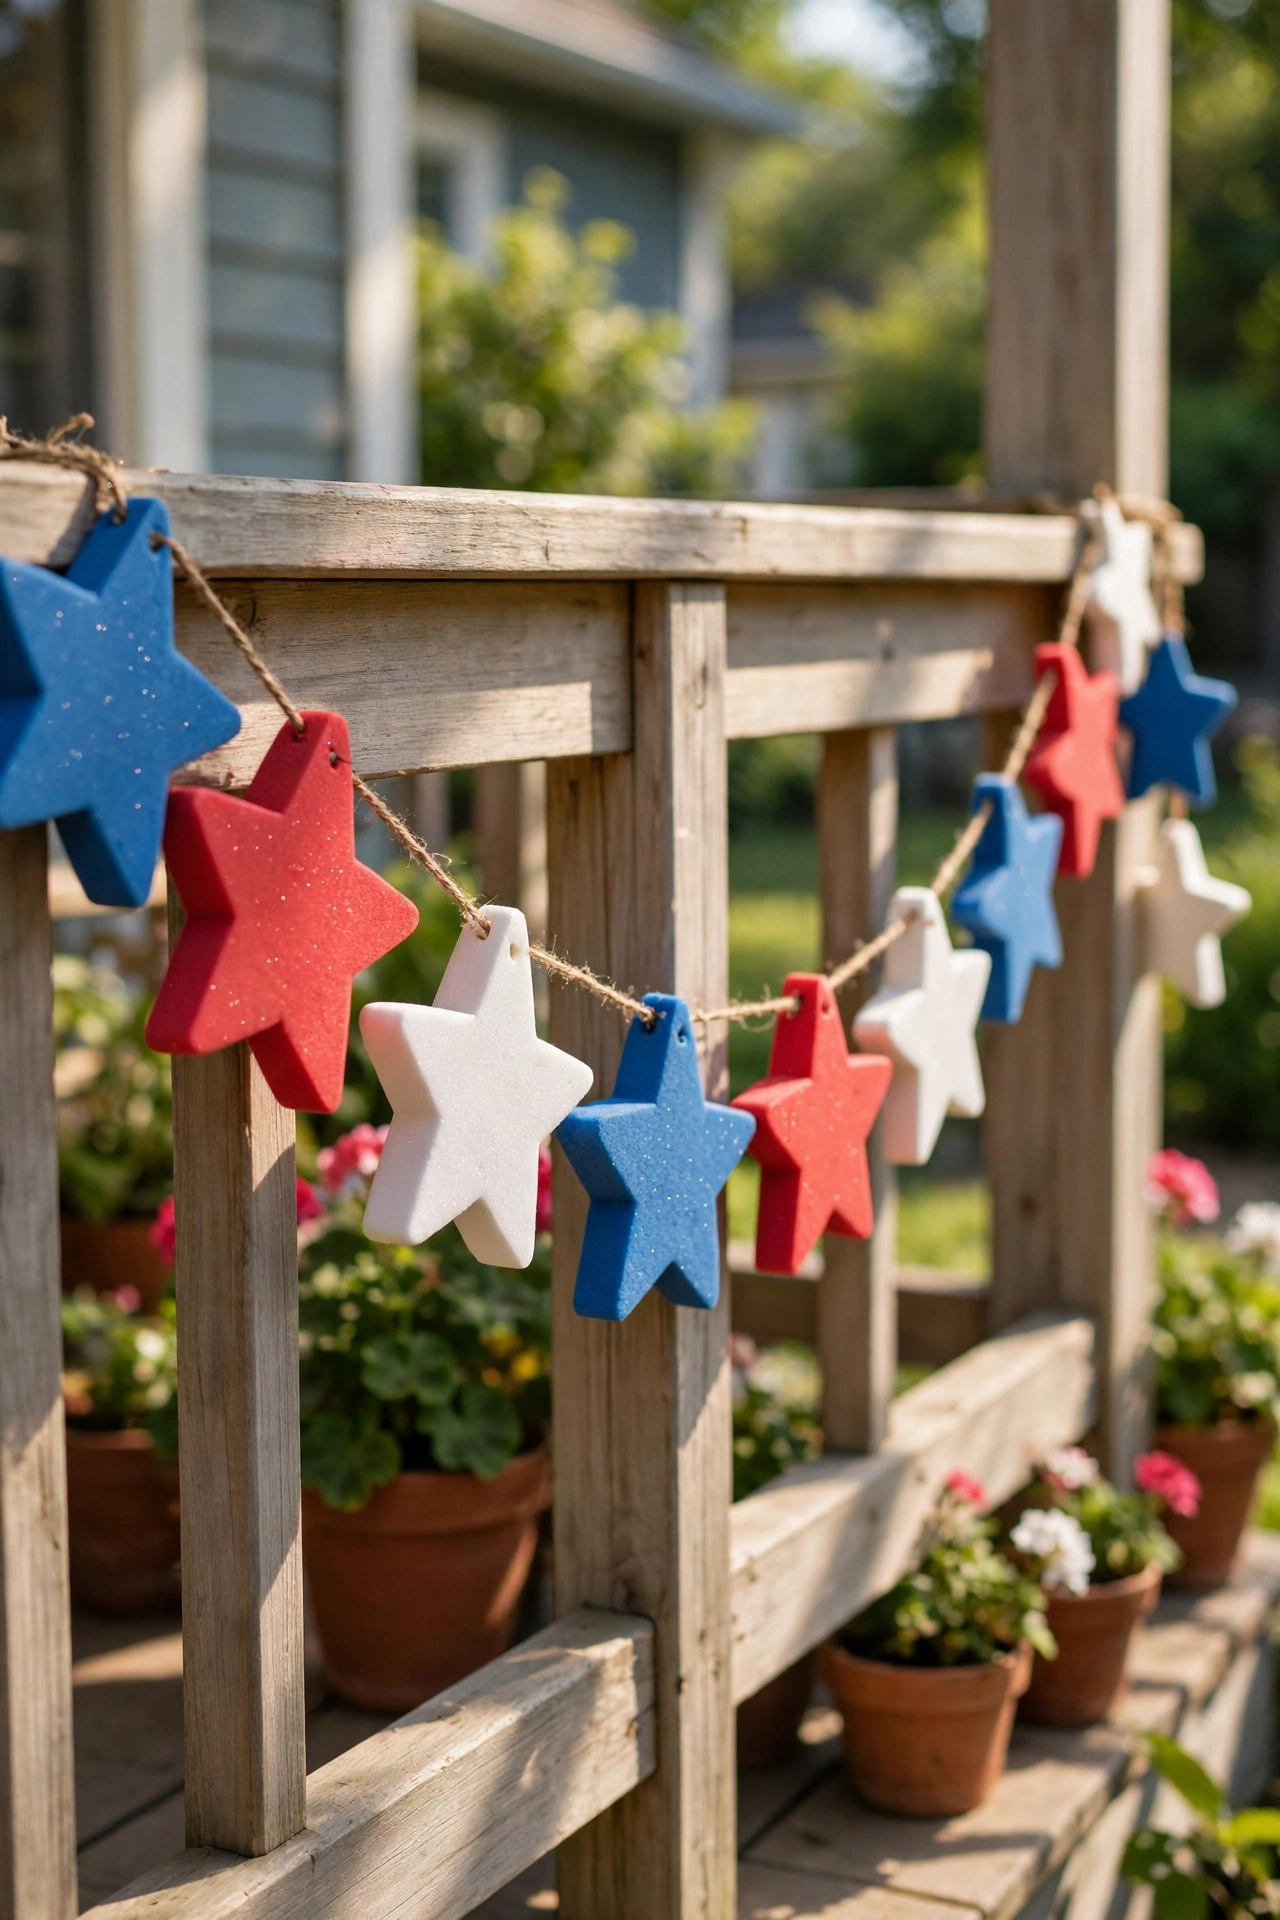
Foam stars in red, white, and blue strung on twine make easy summer party decor. Punch a hole in each star with a skewer, thread them in a repeating colour pattern, and knot the twine after every third star to hold the spacing. Drape it across the porch railing or the fence for instant celebration. I tried this in my own garden for a barbecue and it took all of fifteen minutes. One mistake to avoid: leaving foam stars out in heavy rain makes them soggy and limp, so bring the garland in after the party.
Cost: ~$3 · Time: 15 minutes
Sunflower Summer Garland

Faux sunflowers wired along a rope base bring pure sunshine indoors. Attach each bloom with a short piece of floral wire, tucking the stems under the rope so no ends poke out. Add a few sprigs of greenery between the flowers to fill the gaps and make it look full. I tried this in my own kitchen and it stayed bright right through August. One mistake to avoid: spacing the flowers too far apart leaves sad empty rope showing, so keep them close.
Cost: ~$7 · Time: 30 minutes
Fall Leaf Garland
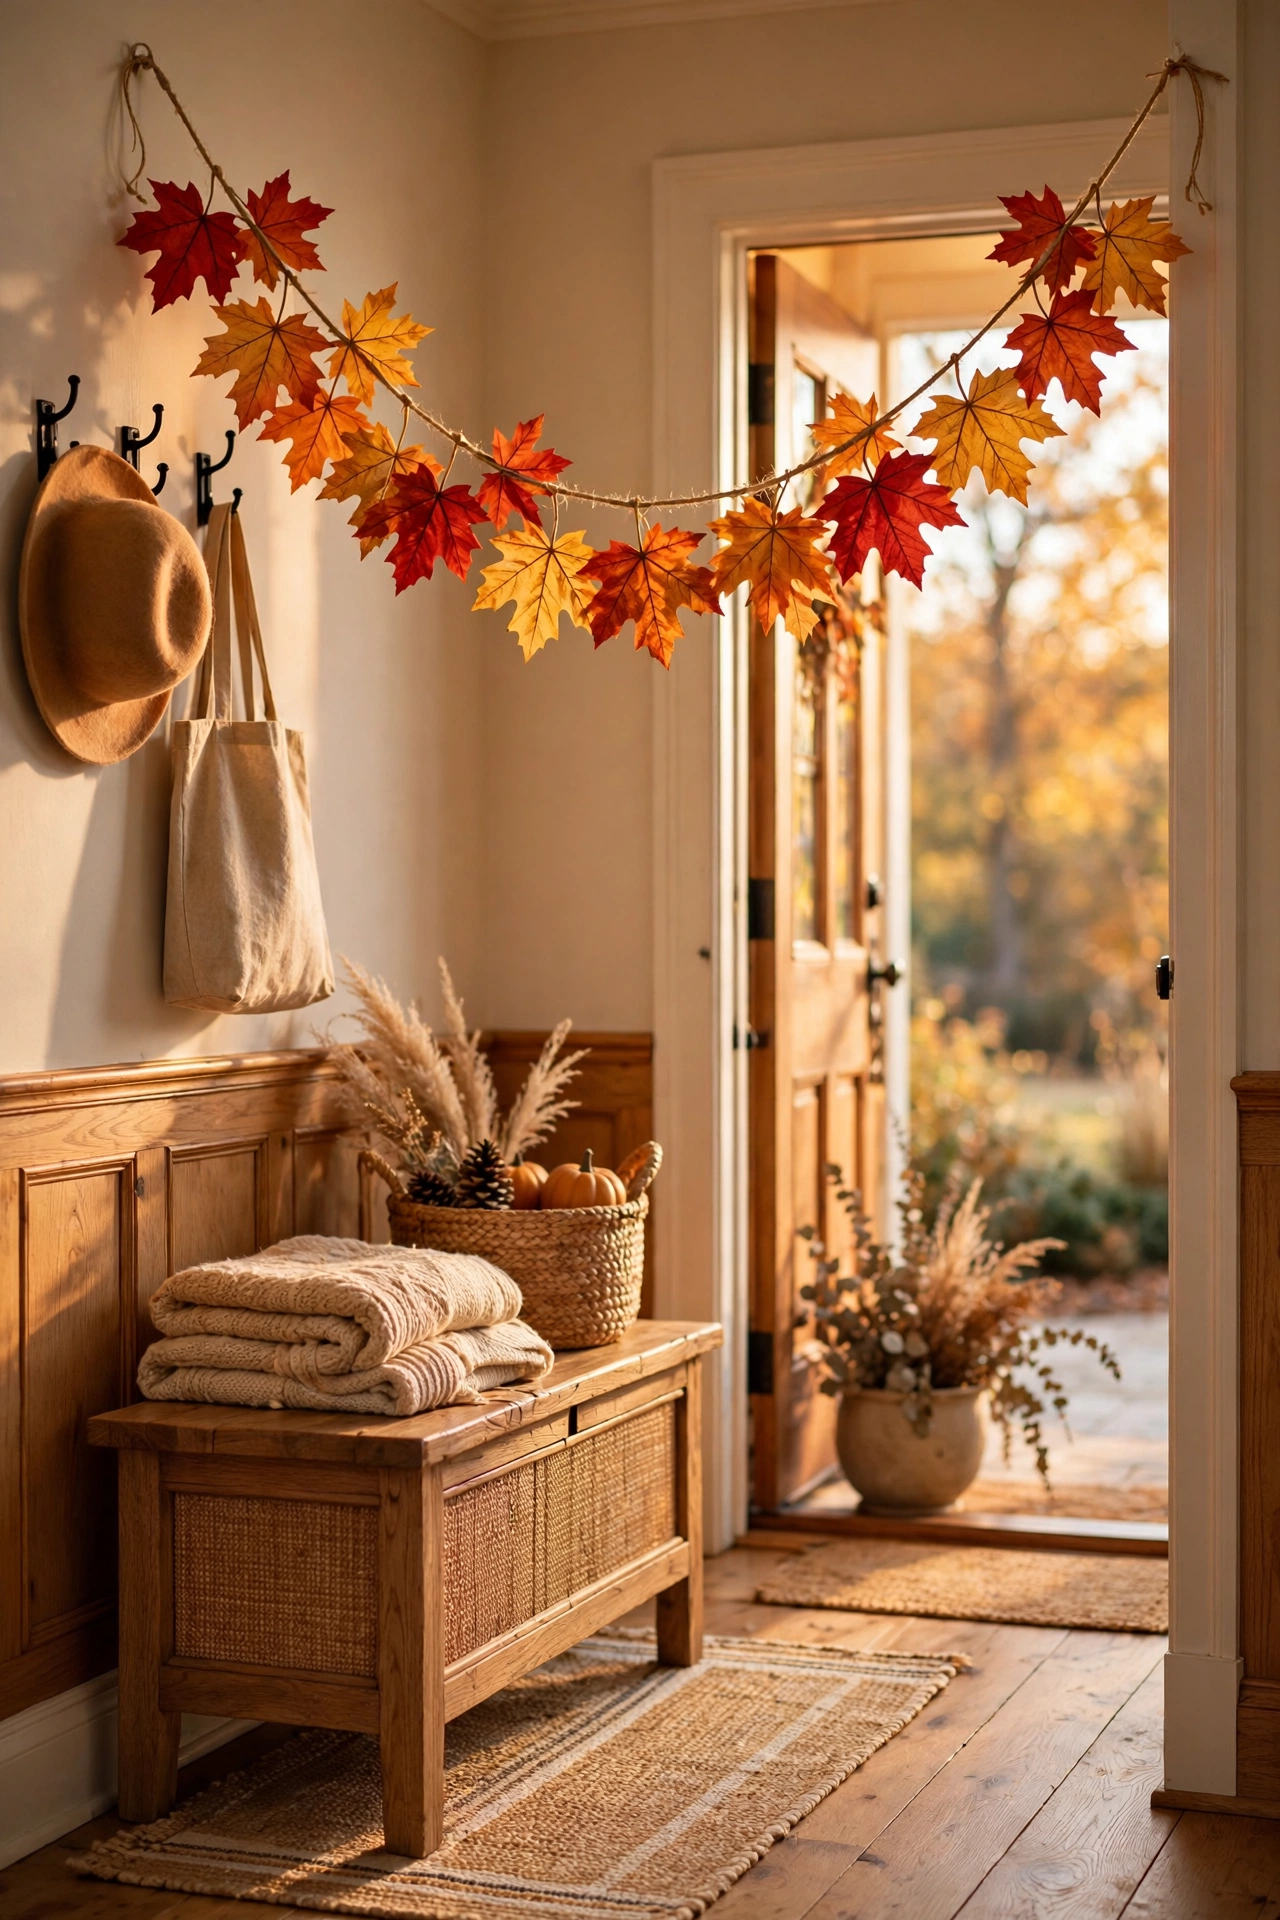
Faux maple leaves in autumn shades strung on twine are the easiest fall decor going. Thread the leaves by poking the twine through the stem end of each one, layering them so they overlap slightly like a real branch. Mix deep red, burnt orange, and gold for a rich look. I tried this in my own entryway and it stayed up until December. One mistake to avoid: threading through the leaf tip instead of the stem makes them spin and droop, so use the stem end.
Cost: ~$4 · Time: 25 minutes
If garlands on a budget are your thing, our (see also: 19-dollar-tree-garland-ideas-on-a-budget) roundup has even more thrifty designs.
Pinecone Autumn Garland
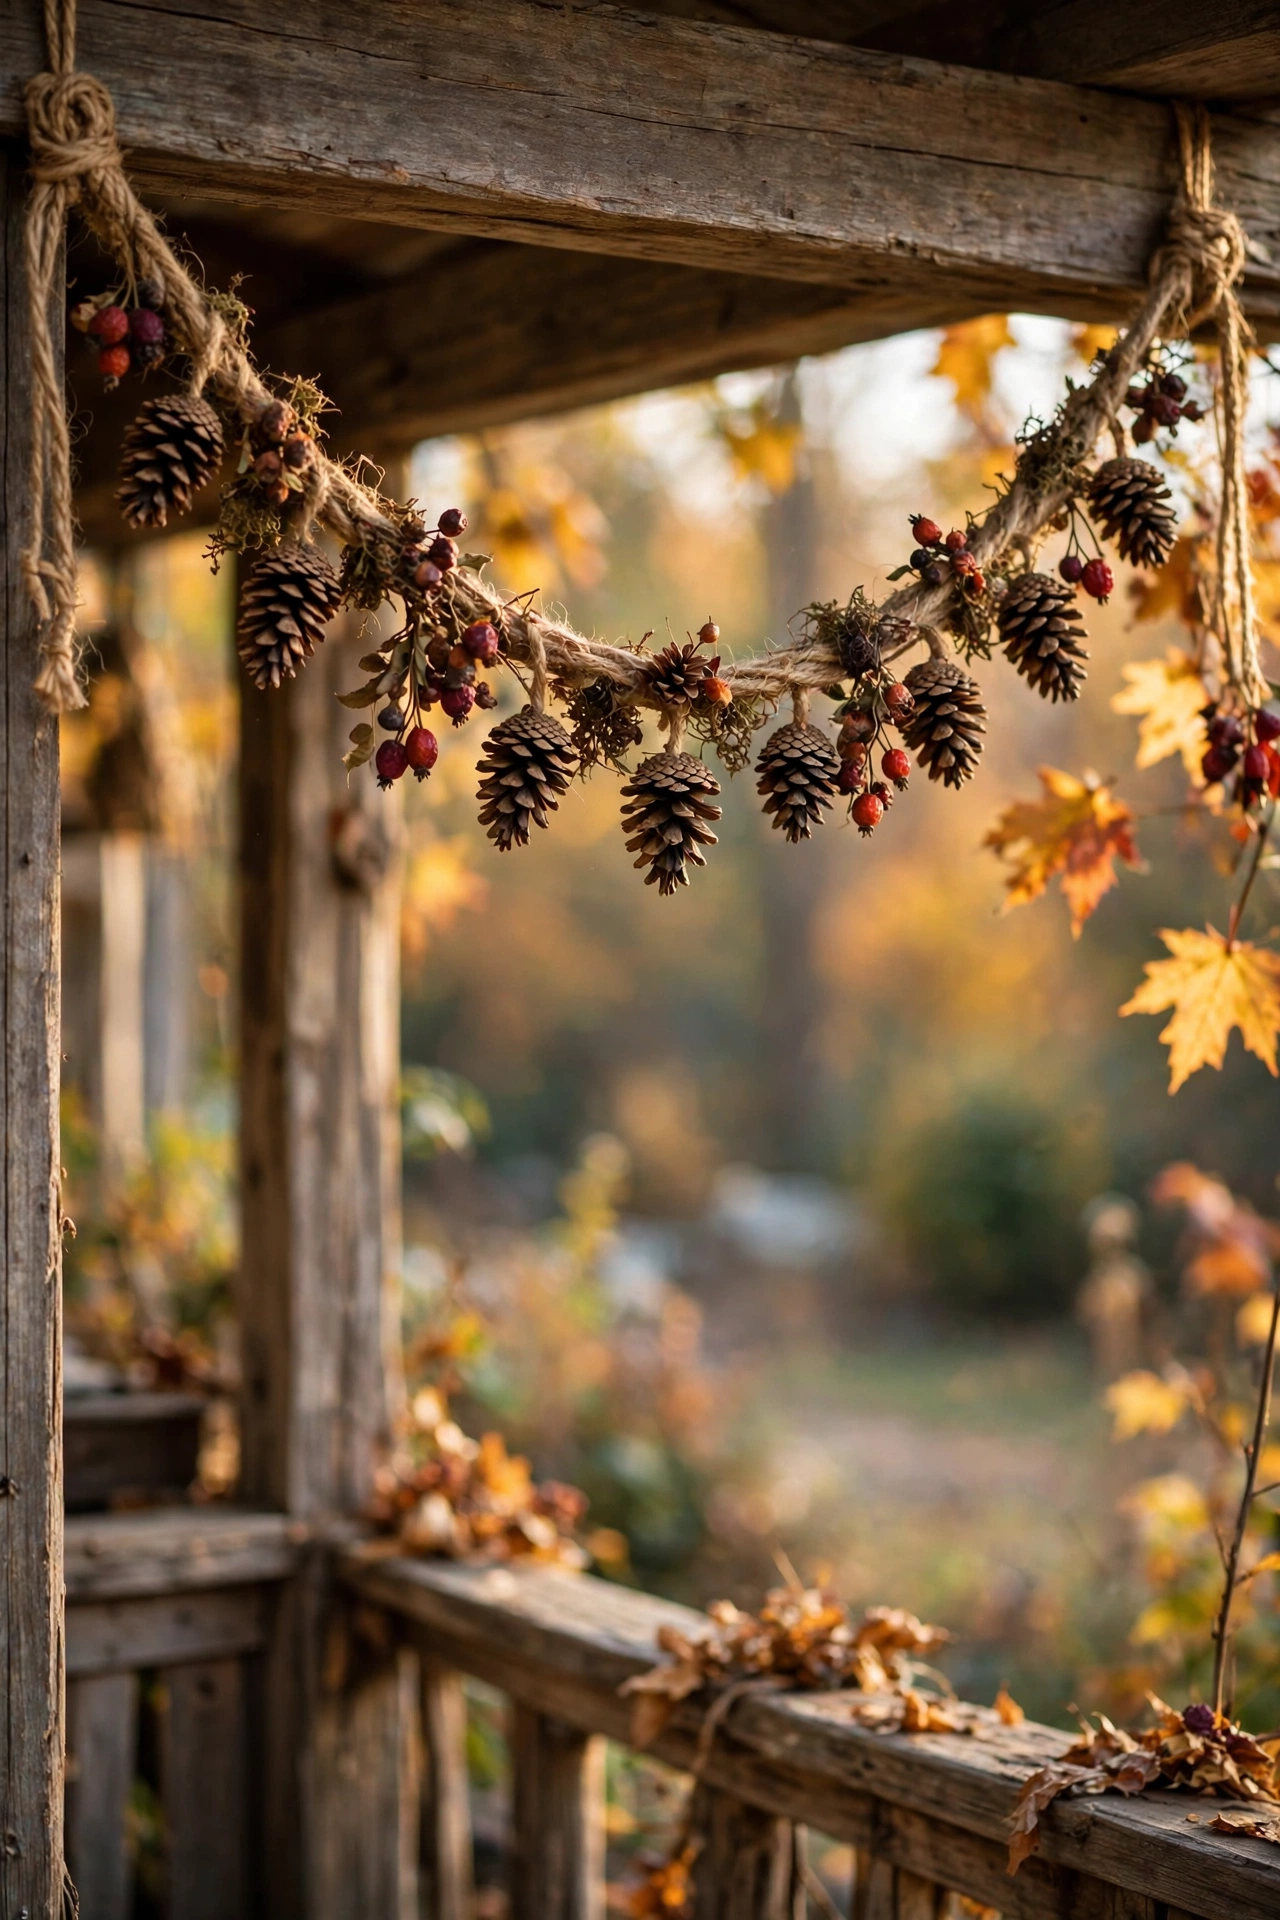
Small pinecones hot-glued along jute twine make a rustic garland that lasts for years. Wrap a short length of wire around the top of each cone, twist it onto the twine, and dab hot glue where they meet for extra hold. Alternate cone sizes and add a few dried berries for colour. I tried this in my own porch and it looked better the second year. One mistake to avoid: cones fresh from the yard need baking first to kill any bugs, so use store-bought ones or bake yours at low heat.
Cost: ~$5 · Time: 45 minutes
Mini Pumpkin Fall Garland

Tiny foam pumpkins threaded onto twine are fall in a nutshell. Poke a hole through each pumpkin with a skewer, slide them onto the twine, and separate them with knots or small wooden beads. Mix classic orange with white and sage pumpkins for a modern harvest look. I tried this in my own mantel display and it became the photo backdrop for every autumn visit. One mistake to avoid: foam pumpkins crack if you force the skewer, so warm it slightly and push gently.
Cost: ~$5 · Time: 20 minutes
Ghostly Halloween Garland
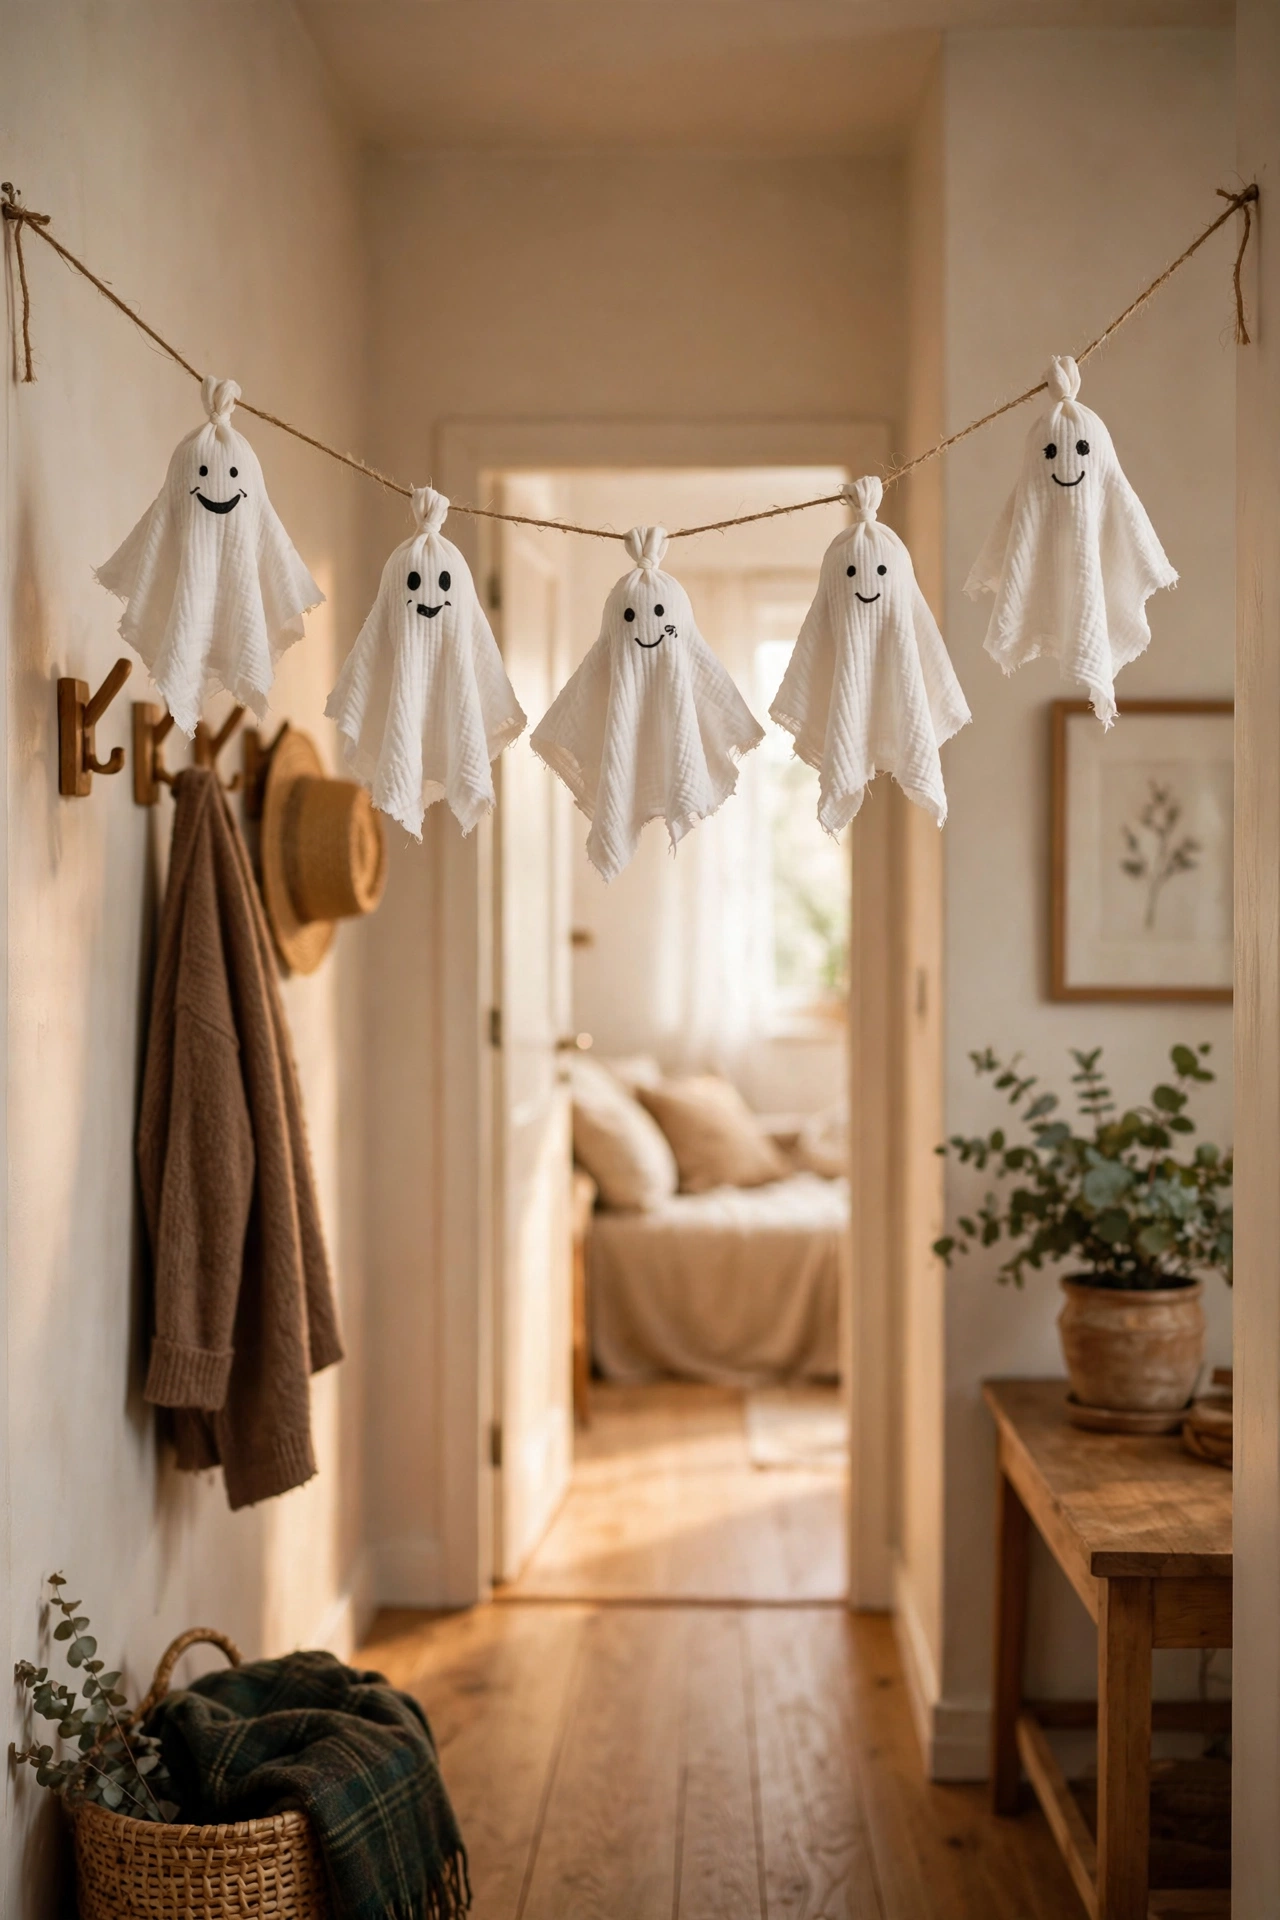
White fabric squares tied over cotton balls make the friendliest little ghosts. Place a cotton ball in the centre of each square, tie it off with string to form the head, and dot on eyes with a black marker. Thread the ghosts onto twine through the top of each head and hang them in a row. I tried this in my own hallway with my kids and they named every single ghost. One mistake to avoid: thin tissue paper tears when you tie it, so use proper fabric squares or cheesecloth.
Cost: ~$3 · Time: 30 minutes
Paper Bat Halloween Garland
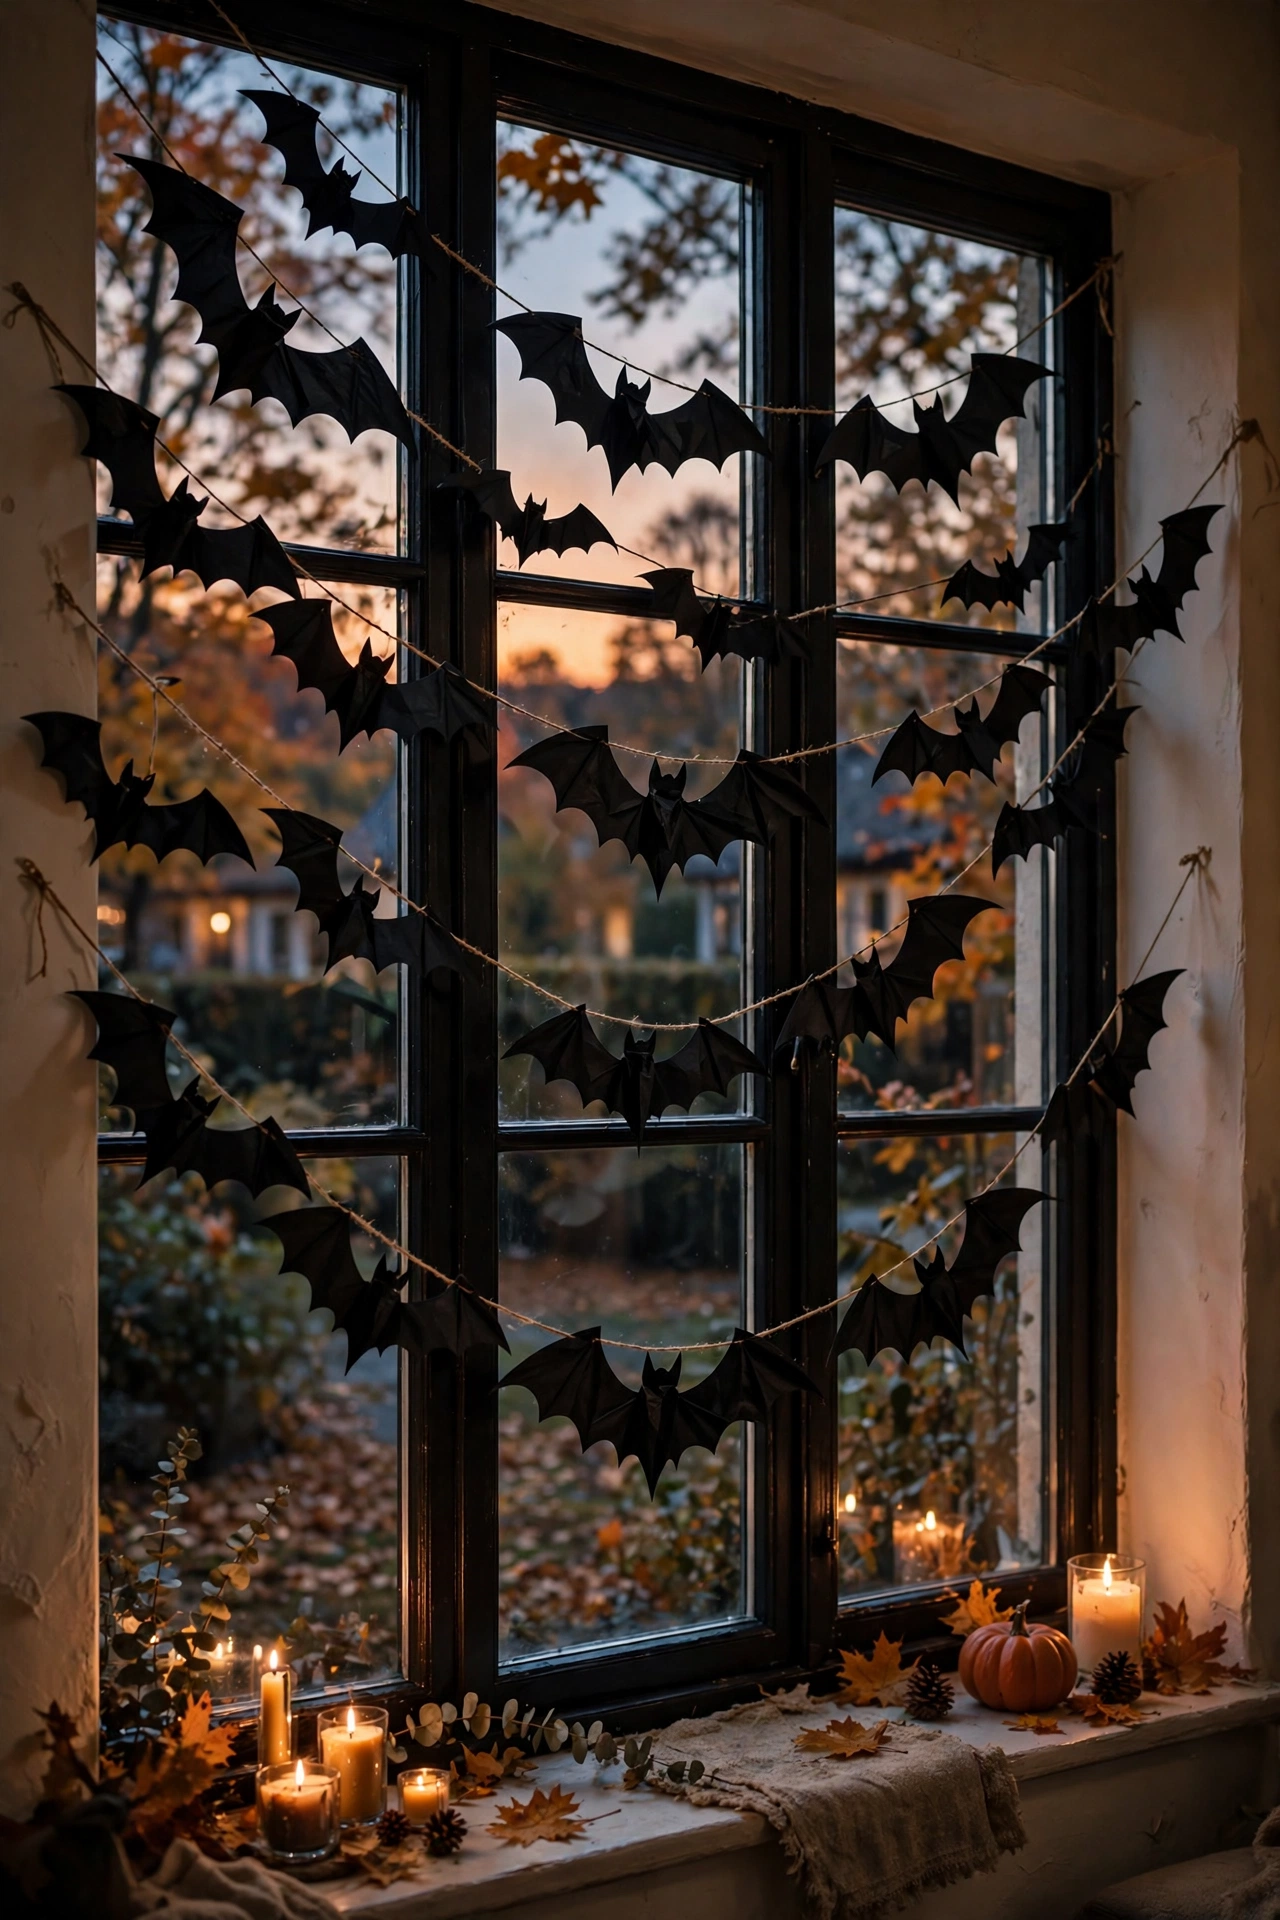
Black card bats strung across a doorway are instant spooky season. Fold the card in half, cut a bat shape so both wings match, and unfold for a perfect silhouette. Punch a hole at the top of each bat, thread them onto string, and let them hang at slightly different heights. I tried this in my own front window and the neighbours stopped to look. One mistake to avoid: flimsy paper bats curl in humidity, so use proper card stock for crisp wings.
Cost: ~$2 · Time: 25 minutes
Candy Corn Halloween Garland
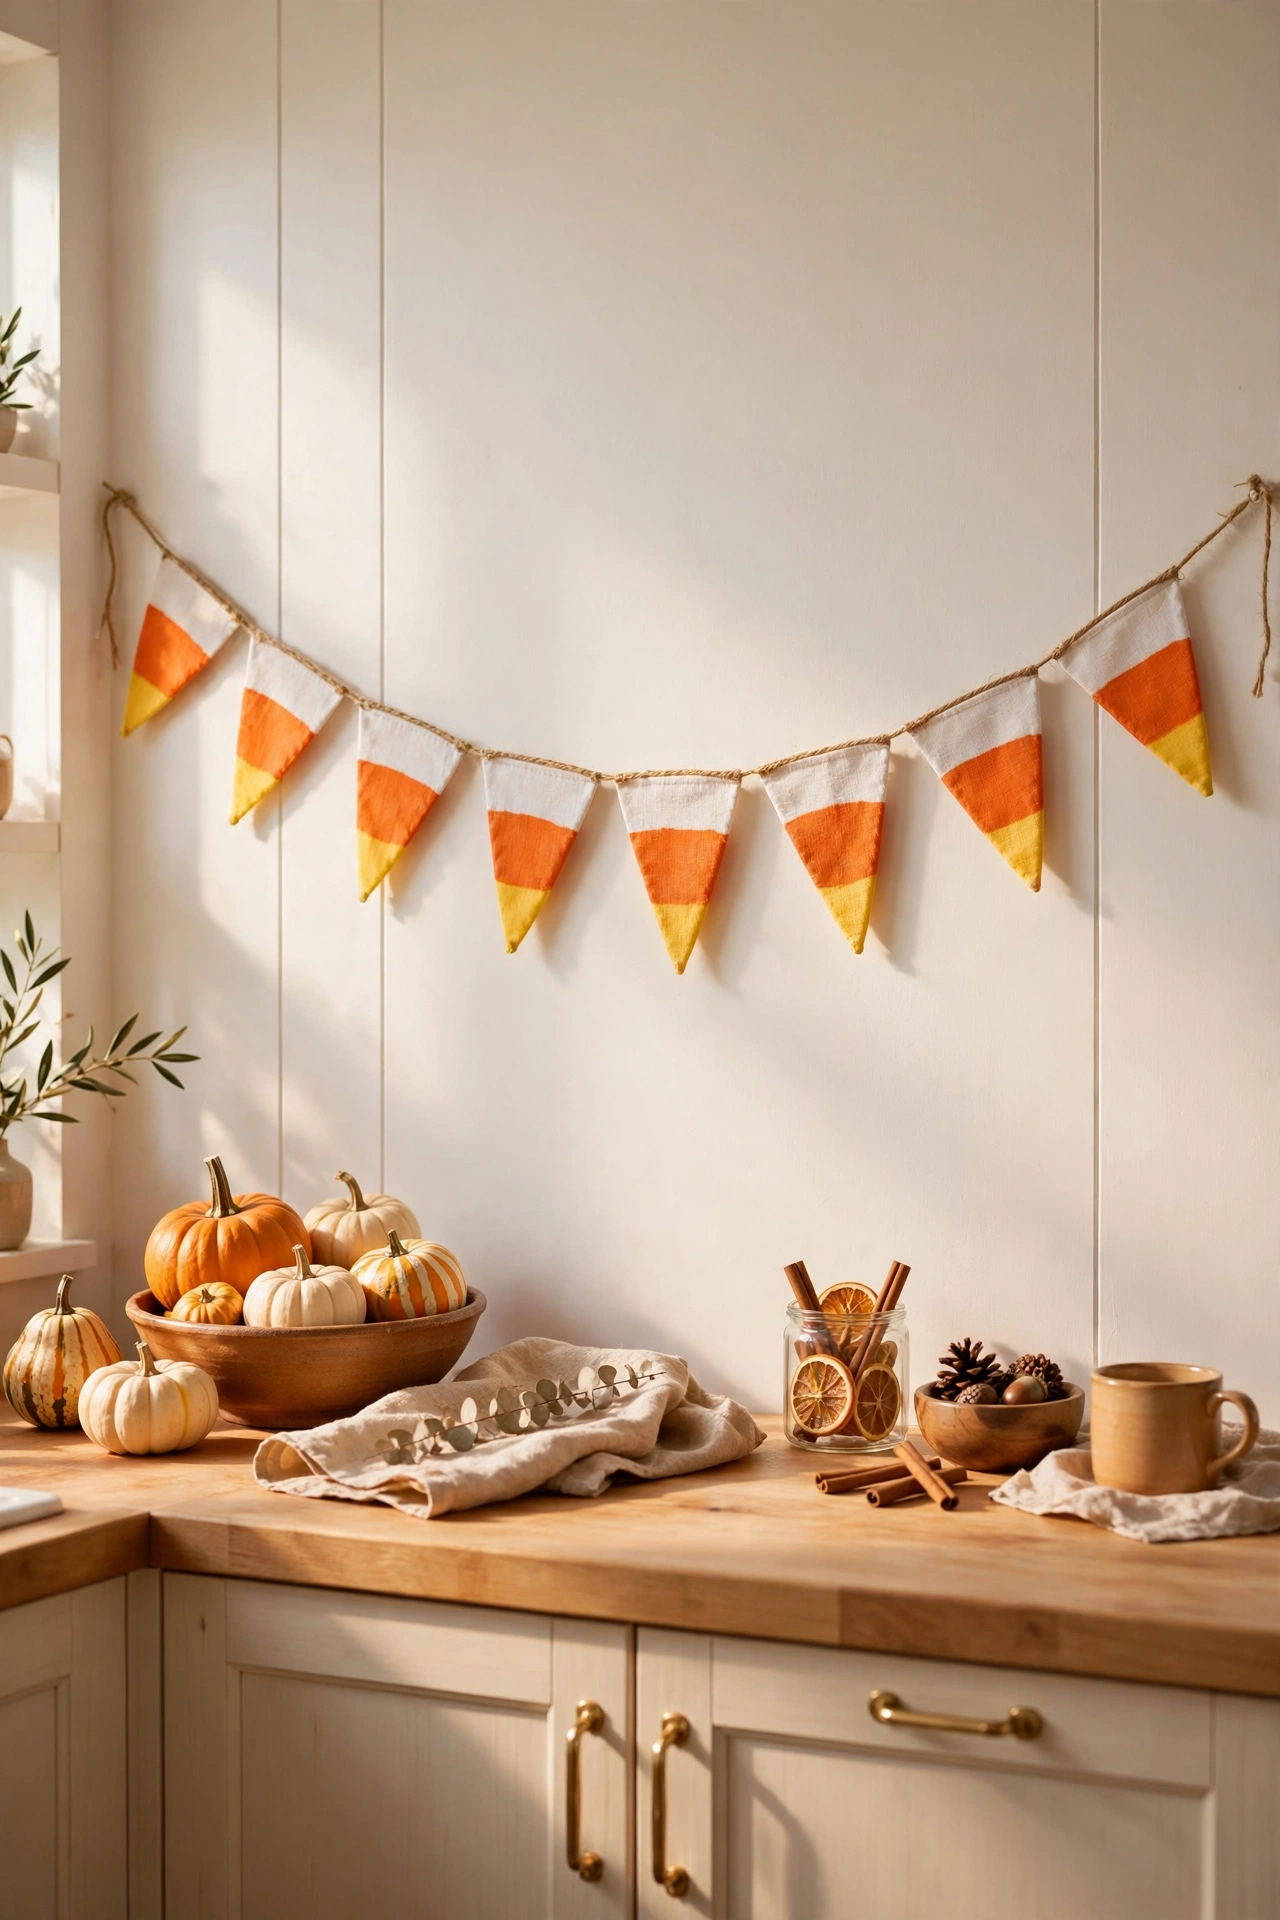
Triangle bunting painted like candy corn is the sweetest Halloween decor. Cut triangles from white card, paint the top third orange and the bottom tip yellow, letting each layer dry before the next. String the triangles point-down on twine with small gaps between them. I tried this in my own kitchen and it was up from October first to Halloween night. One mistake to avoid: painting all three colours at once makes them bleed together, so let each band dry fully.
Cost: ~$3 · Time: 40 minutes
Harvest Burlap and Corn Garland
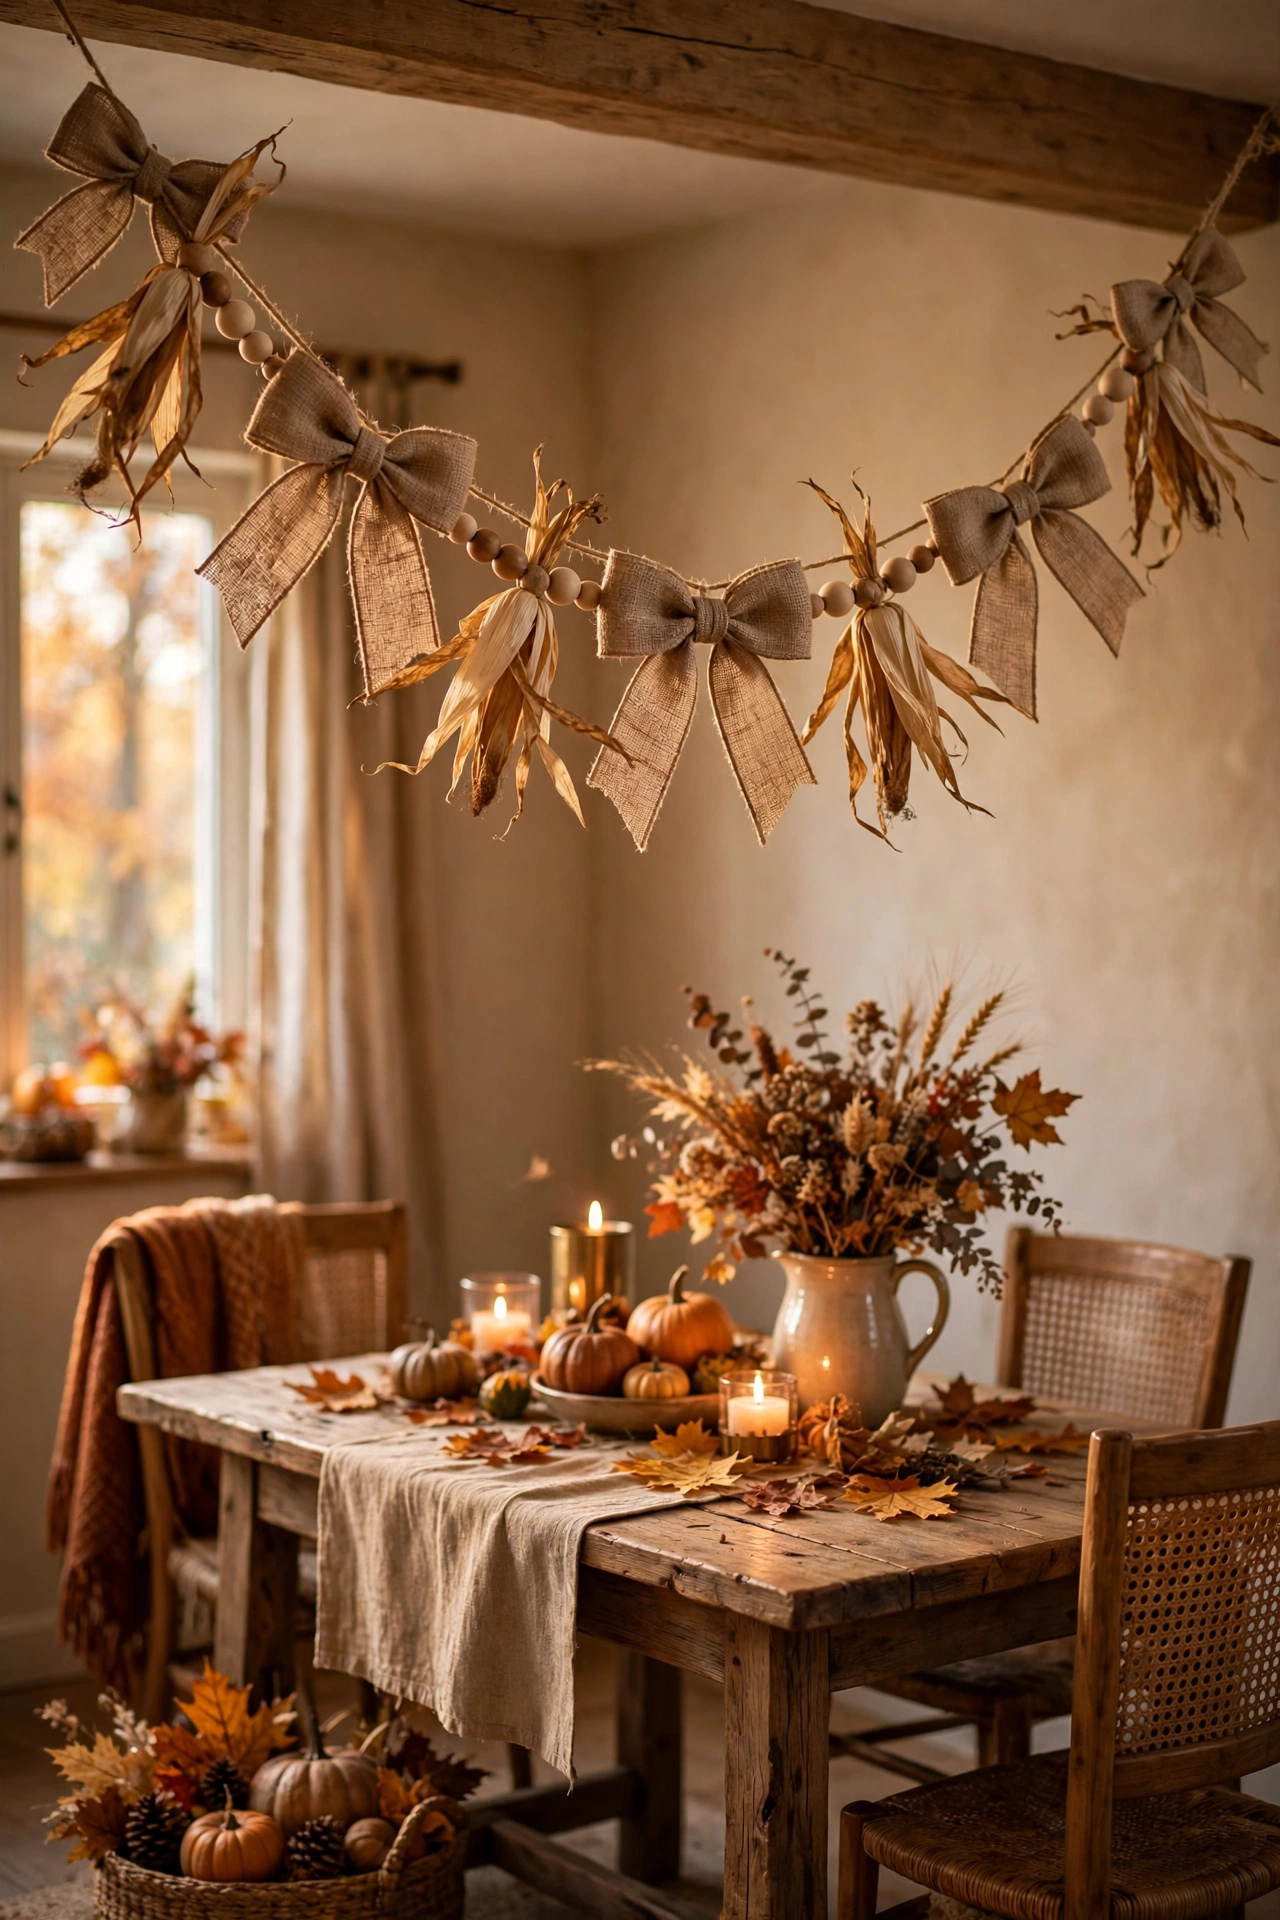
Burlap bows with dried corn husks strung together make a harvest garland with real texture. Tie small burlap bows, hot-glue a corn husk or two into each one, and thread them onto twine with wooden beads between them. The mix of rough burlap and golden husks looks wonderfully autumnal. I tried this in my own dining room for Thanksgiving dinner. One mistake to avoid: real corn husks shed bits everywhere, so shake them out well before assembling.
Cost: ~$6 · Time: 35 minutes
“Grateful” Letter Thanksgiving Garland

Card letters spelling out a word turn any mantel into a Thanksgiving statement. Cut large letters from kraft card or buy a letter banner kit, spell out GRATEFUL or THANKS, and thread the letters onto ribbon. Hang small leaves or acorns from the ends for a finishing touch. I tried this in my own living room and it sparked the best dinner conversation about what everyone was thankful for. One mistake to avoid: letters cut too small disappear across a wide mantel, so go big with at least four-inch letters.
Cost: ~$4 · Time: 30 minutes
Classic Evergreen Christmas Garland
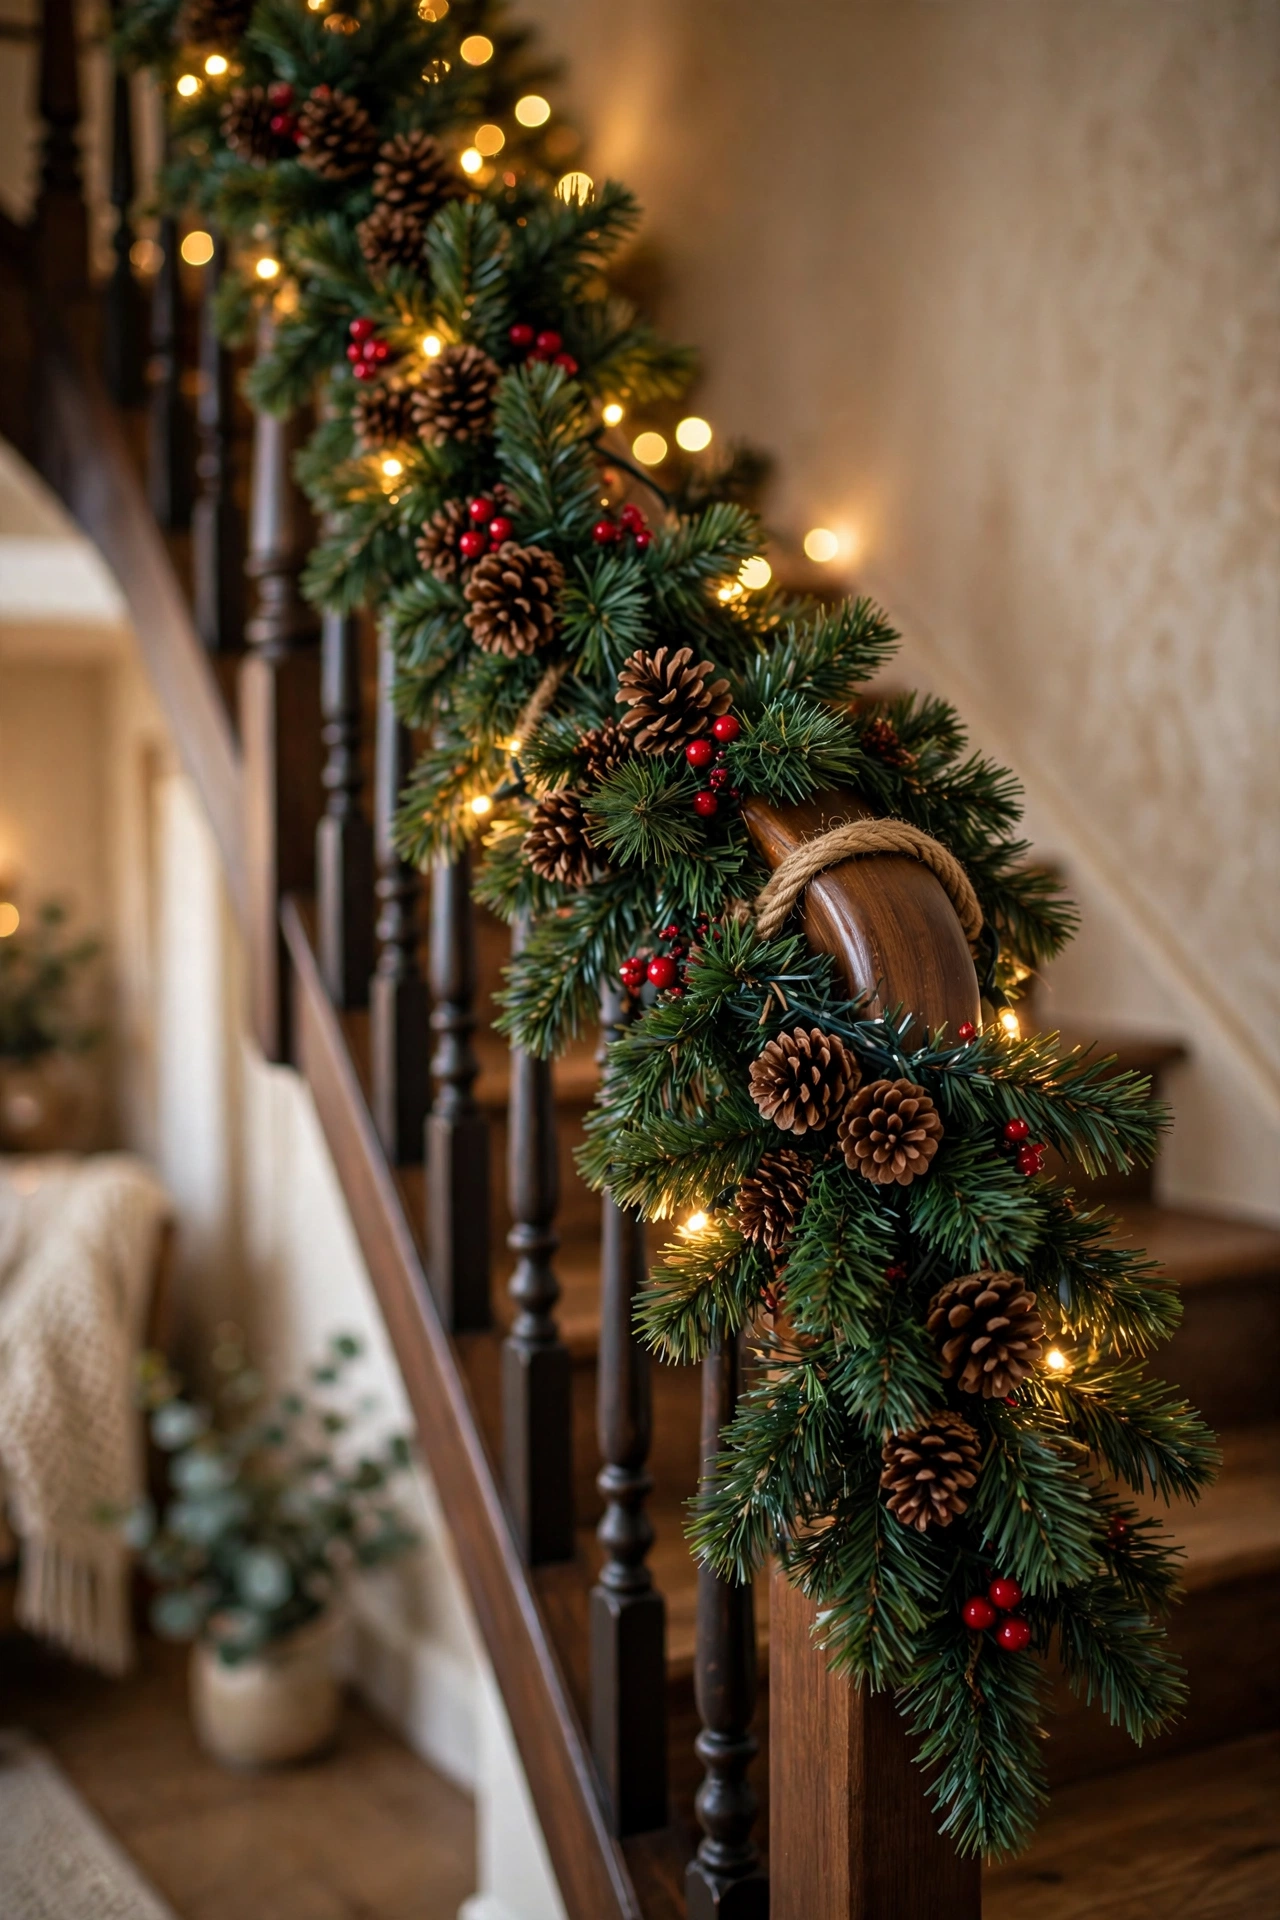
Faux pine sprigs wired onto a rope base make a Christmas garland that rivals the expensive ones. Overlap the sprigs along the rope, wrapping floral wire tightly around each join, and fluff the branches outward as you go. Add pinecones and red berries for a traditional finish. I tried this in my own stairway and it looked full and lush for the whole season. One mistake to avoid: wiring the sprigs too loosely leaves gaps that show the rope, so pull each wire tight.
Cost: ~$9 · Time: 50 minutes
Pair your garland with a matching wreath — our (see also: 23-dollar-tree-wreath-ideas-that-look-expensive) guide shows how to make wreaths that fool everyone.
Ornament Ball Christmas Garland

Shatterproof ornament balls threaded onto ribbon make a garland that sparkles like the tree. Remove the caps, thread the ribbon through the loop of each ornament, and replace the caps to lock them on. Mix sizes and finishes, shiny and matte, for depth. Drape it along the mantel or wind it through the tree itself. I tried this in my own living room in gold and champagne and it looked far pricier than it was. One mistake to avoid: glass ornaments shatter if the garland falls, so stick to shatterproof ones for peace of mind.
Cost: ~$7 · Time: 25 minutes
Popcorn and Cranberry Christmas Garland
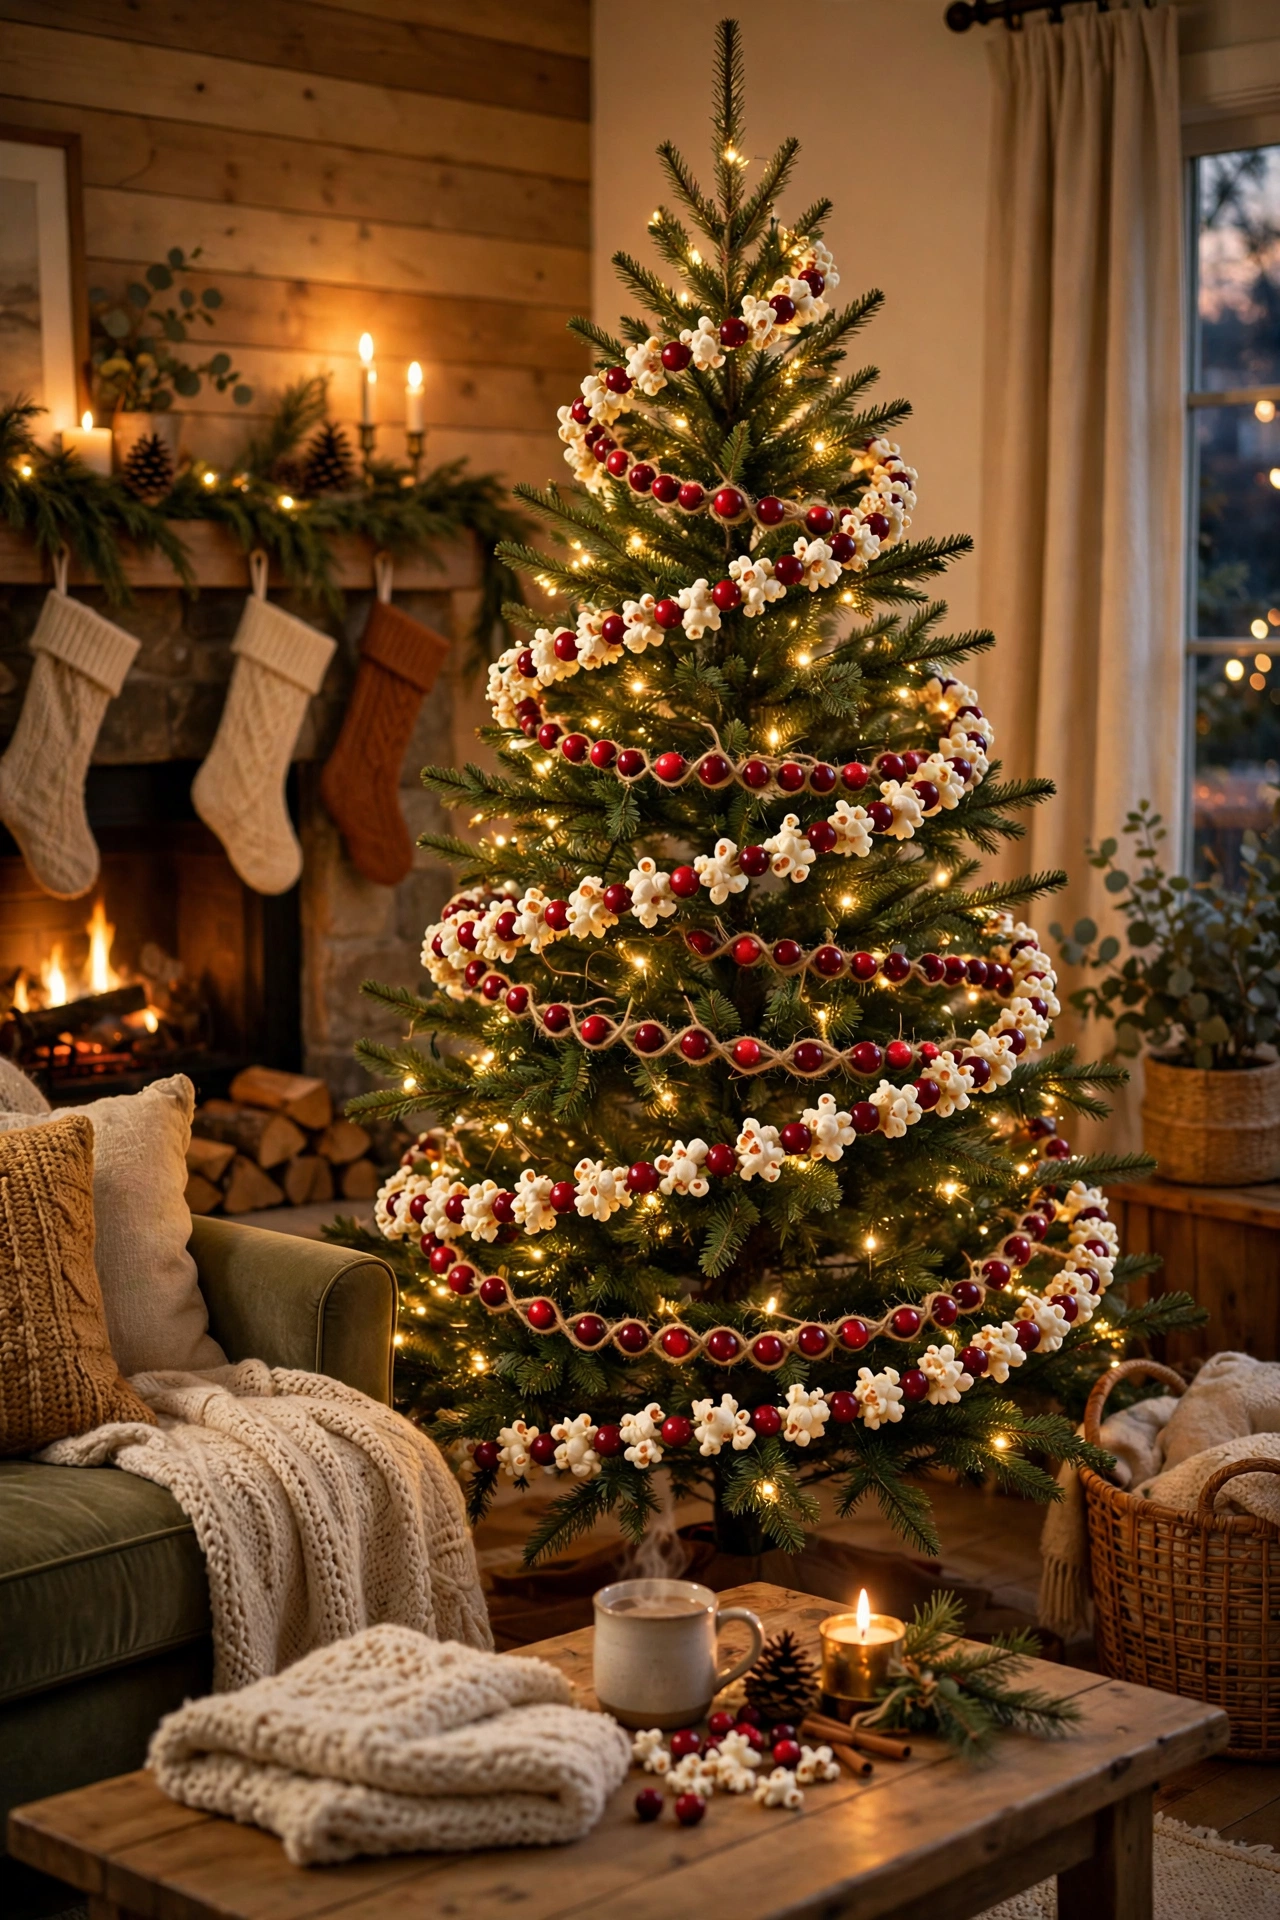
The old-fashioned classic still charms on a tree or a mantel. Pop plain popcorn without oil, thread a needle with sturdy string, and alternate popped kernels with fresh cranberries. Tie big knots at each end so nothing slides off, and keep the garland away from pets who will help themselves. I tried this in my own home as a child and still make one every December. One mistake to avoid: buttered or salted popcorn goes stale and greasy fast, so pop it plain.
Cost: ~$3 · Time: 1 hour
Snowflake Winter Garland
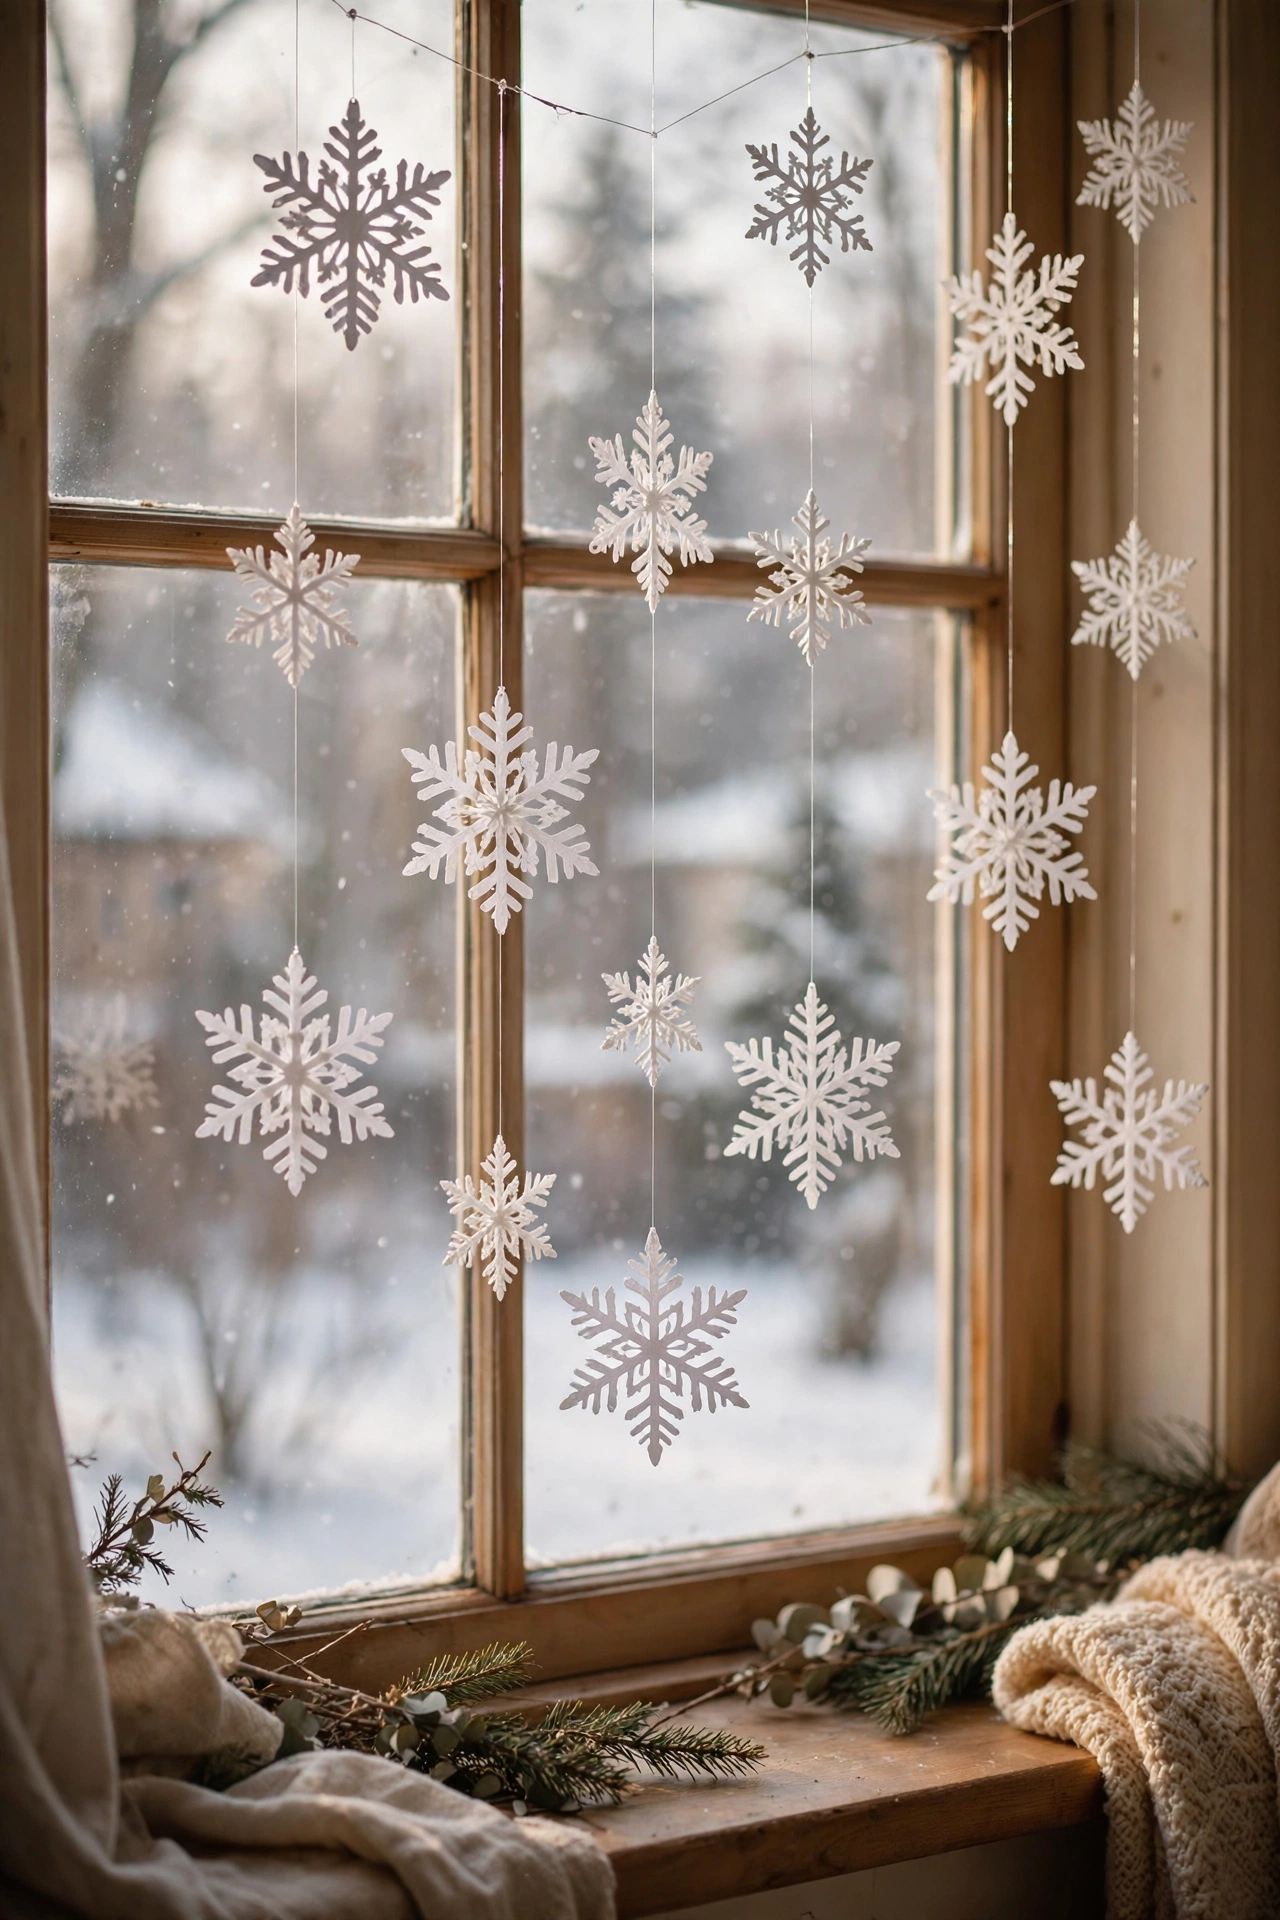
Foam or wooden snowflakes strung on clear fishing line look like falling snow indoors. Thread each snowflake onto the line, knot on either side to hold it in place, and hang the strands at different lengths in a window or doorway. The clear line disappears so the flakes seem to float. I tried this in my own front window and it carried the decor right through January. One mistake to avoid: hanging all the strands at the same length looks stiff, so vary them by several inches.
Cost: ~$4 · Time: 30 minutes
Felt Heart Valentine’s Garland

Felt hearts stitched or glued onto twine are sweet without being sickly. Cut heart shapes from felt in reds, pinks, and cream, glue two layers together for sturdiness, and thread them onto twine. Add tiny wooden beads between hearts for a crafted look. I tried this in my own bedroom doorway and left it up well past February. One mistake to avoid: single-layer felt hearts curl at the edges within days, so the double layer is worth the extra minute.
Cost: ~$3 · Time: 35 minutes
Eucalyptus Everyday Garland
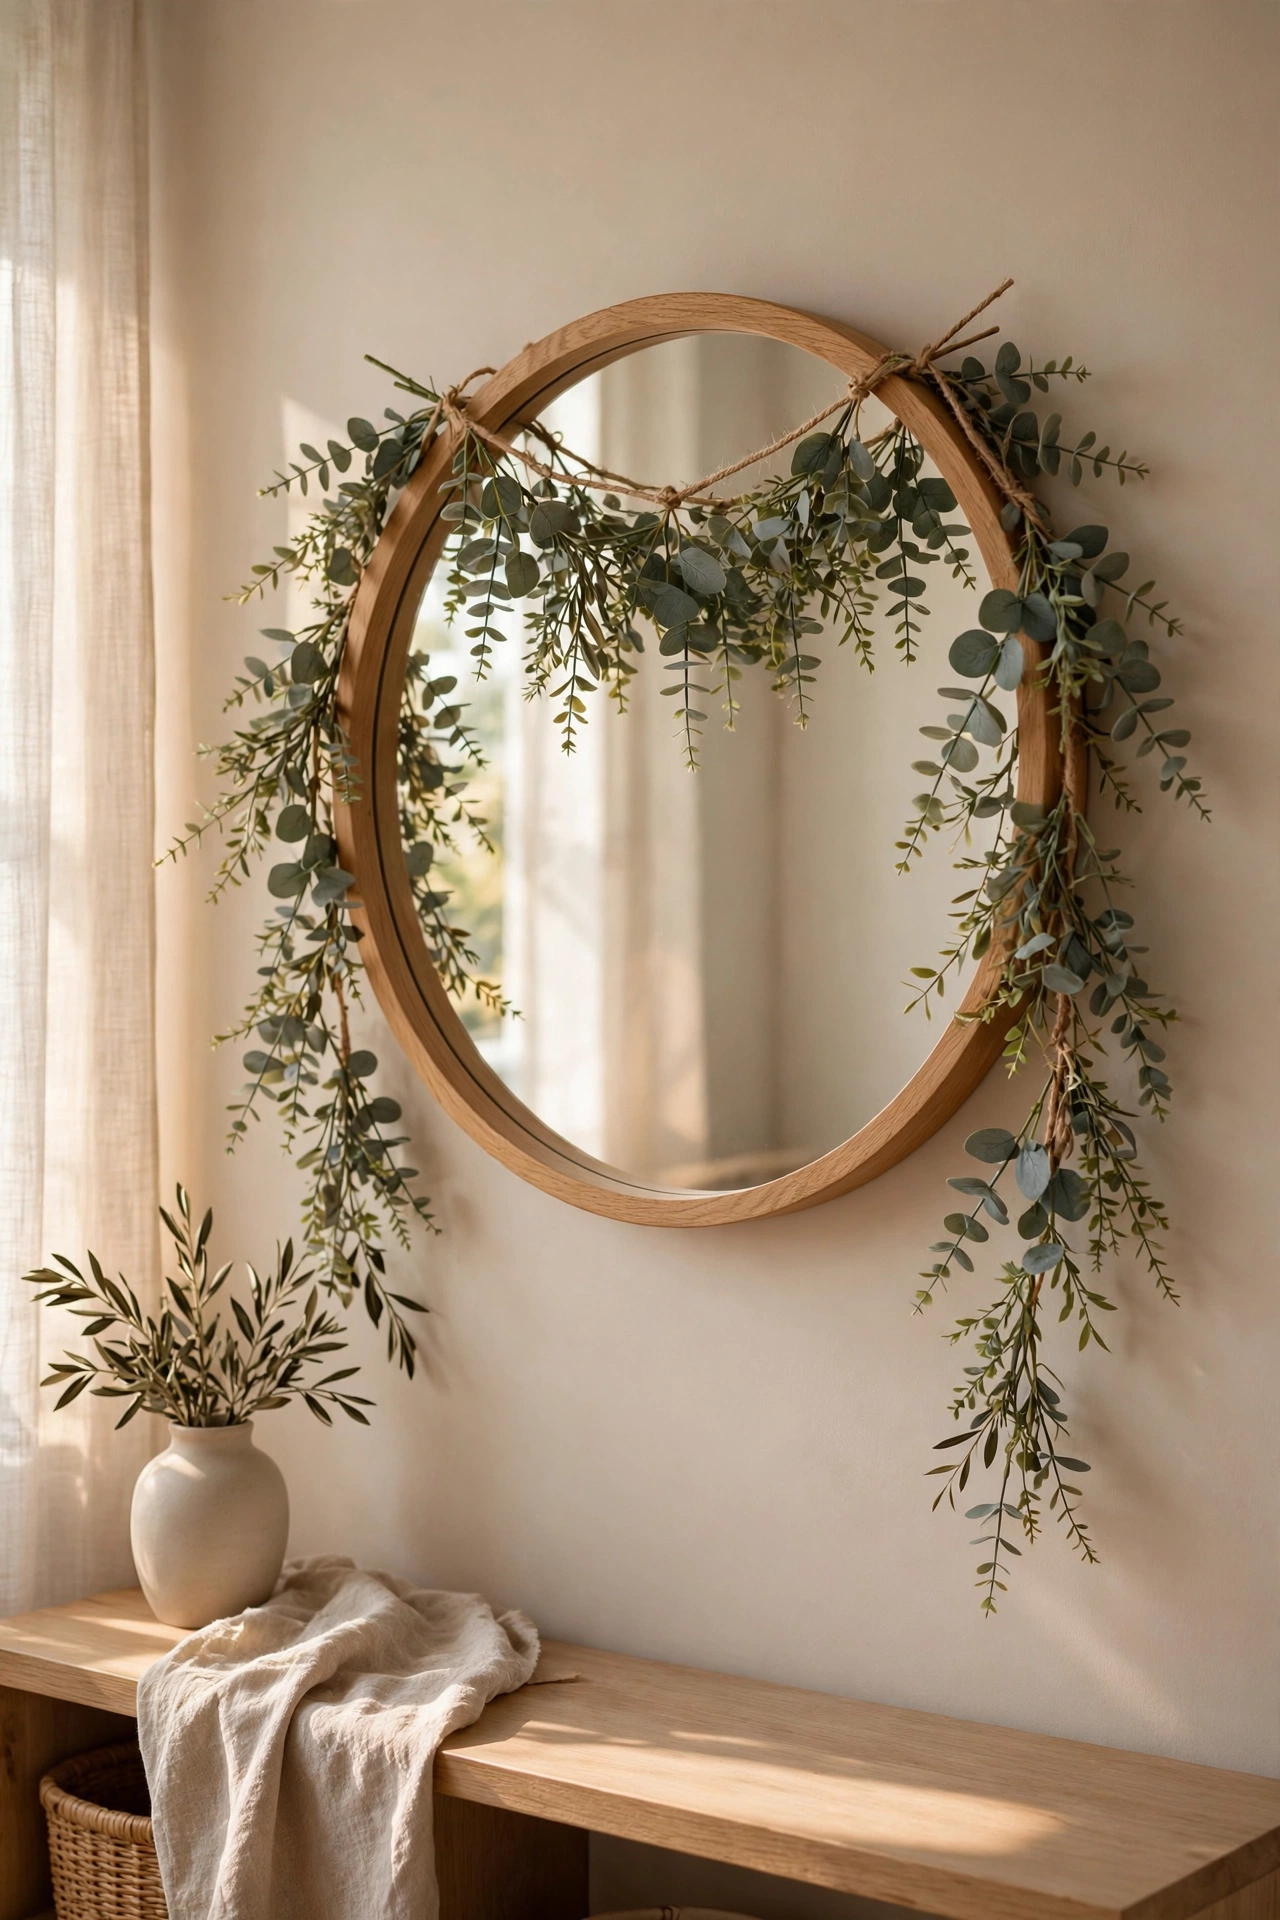
Faux eucalyptus sprigs on twine make a garland that suits any season. Tie the sprigs along the twine with small knots of jute, letting the stems trail naturally in both directions. Drape it over a mirror, a headboard, or a shelf for soft greenery year-round. I tried this in my own bathroom and it made the whole room feel calmer. One mistake to avoid: overcrowding the twine makes it look stuffed rather than airy, so leave breathing room between sprigs.
Cost: ~$6 · Time: 25 minutes
Rainbow Pompom Kids’ Garland
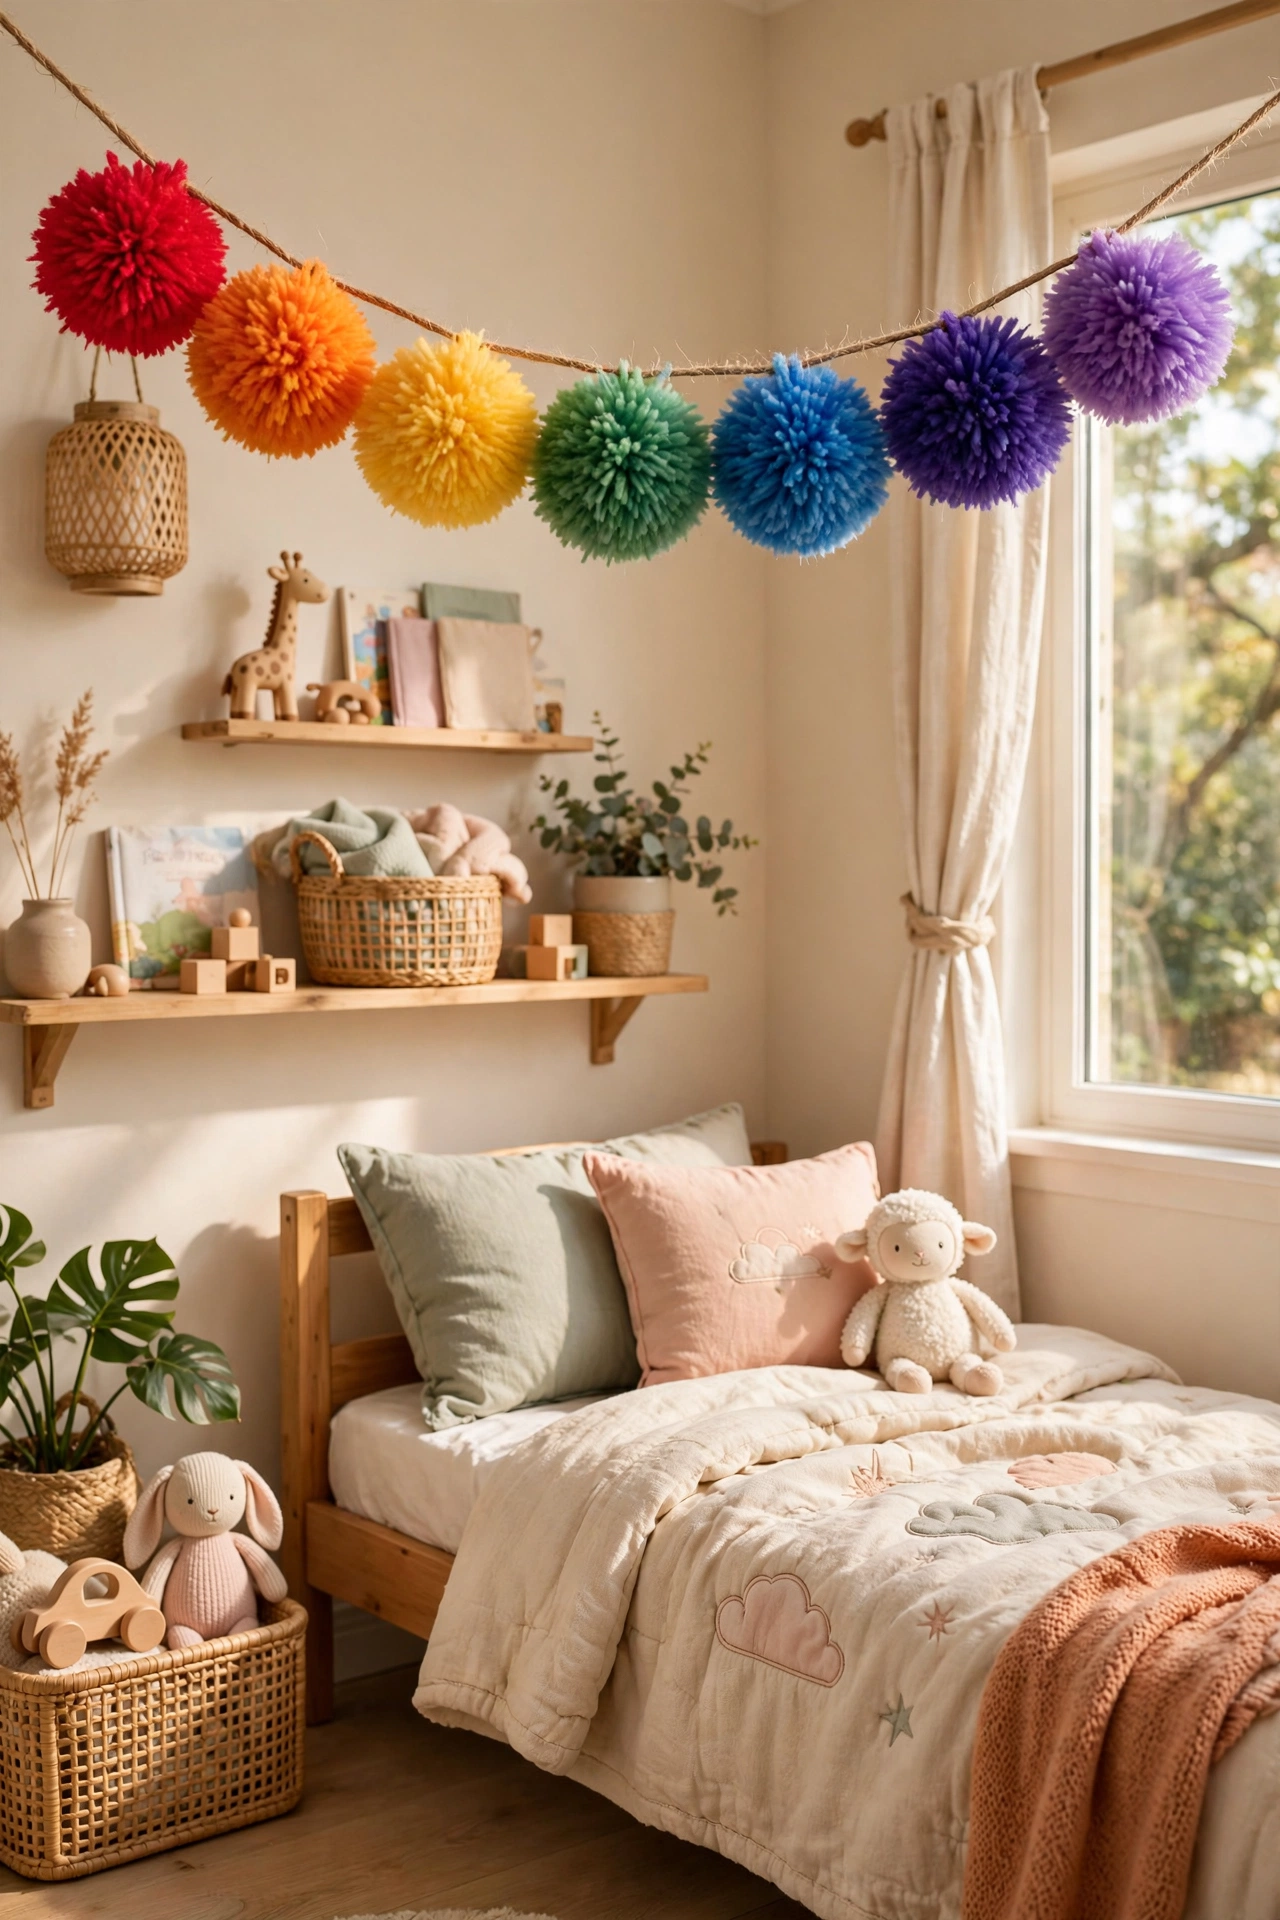
Fluffy pompoms in rainbow order make the happiest garland for a child’s room. Buy a bag of mixed pompoms or make your own from yarn, thread them onto twine with a large needle, and arrange them in colour order. Knot between every few pompoms so the rainbow stays in sequence. I tried this in my own daughter’s room and she rearranged the colours herself three times. One mistake to avoid: cheap glue-on pompoms shed constantly, so thread them through the middle instead of gluing.
Cost: ~$4 · Time: 30 minutes
More wreath inspiration here: (see also: 17-dollar-tree-wreath-ideas-on-a-budget) is full of matching seasonal designs.
Photo Clip Memory Garland
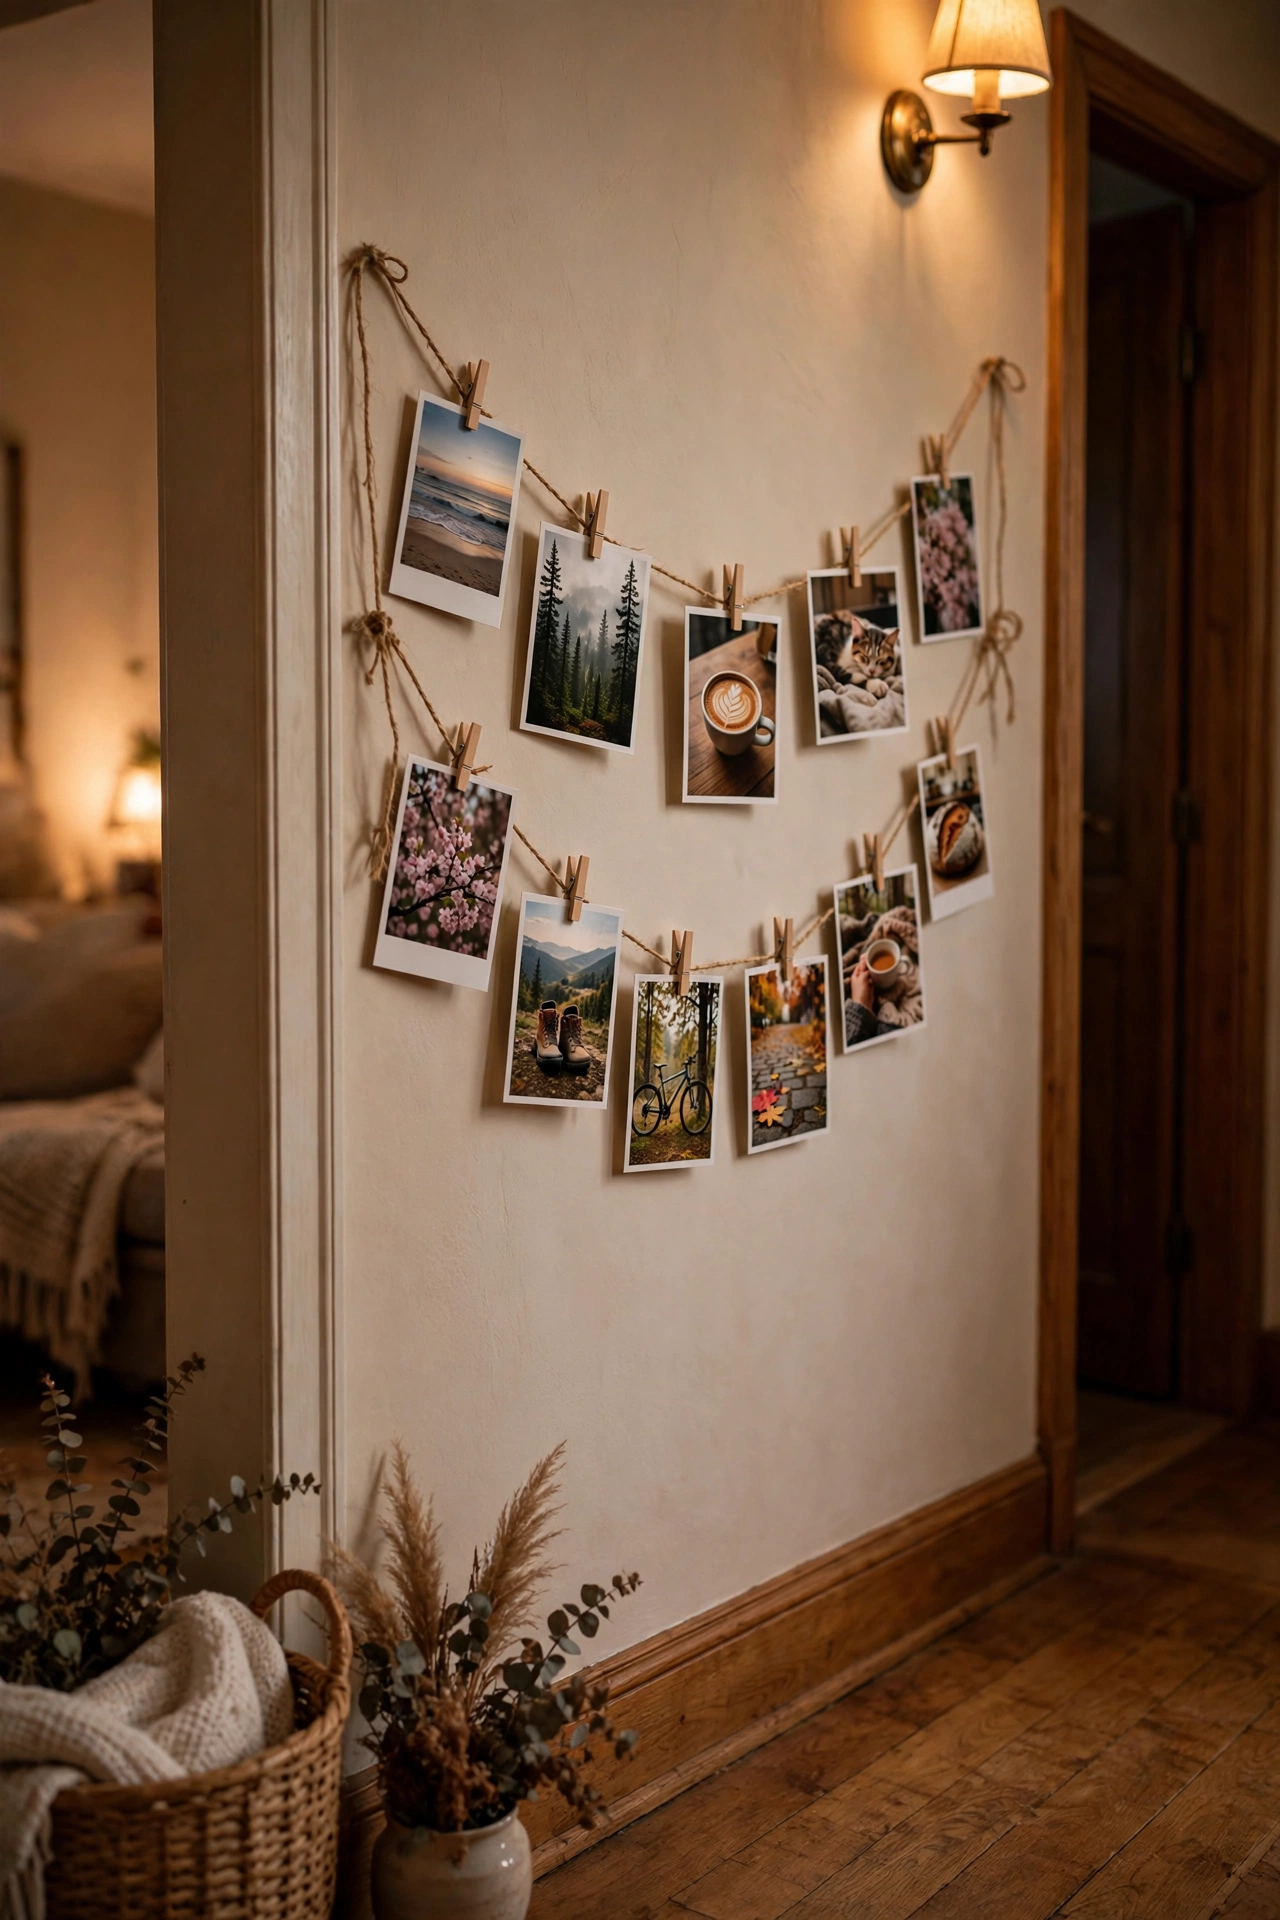
Mini pegs clipping favourite photos onto twine turn memories into decor. Print small photos at home or use instant prints, clip them onto the twine with mini wooden pegs, and hang the garland where you will see it daily. Swap photos with the seasons for a display that never gets old. I tried this in my own hallway and it became the first thing guests stopped to look at. One mistake to avoid: heavy frames or laminated prints pull the twine down, so keep the photos light and simple.
Cost: ~$4 · Time: 20 minutes
If any of these garlands caught your eye, save this post for later so it is waiting when the next season rolls around.
Start with the season staring you in the face, make one garland this weekend, and enjoy how much cheer three dollars of supplies can bring.
