17 Dollar Tree Wreath Ideas on a Budget
Two Christmases ago I stood in a homeware shop holding a wreath priced at £30, and I could not work out why it felt so familiar. Then it clicked: it was a foam ring wrapped in cheap ribbon with a few plastic berries hot-glued on. I had made almost the same thing at a craft night years before, except mine had cost about £3 in supplies. That was the moment I stopped apologising for my dollar tree wreath habit. A handmade wreath is not the poor relation of a shop-bought one; it is the same object, minus the markup, plus the fun of making it. Since then I have made wreaths for every season from dollar store supplies alone: foam rings, paper bags, coffee filters, pool noodles, and whatever pinecones my kids drag home from the park. These are seventeen ideas I have genuinely made and hung, with the mistakes noted so you can skip them.
Foam-Ring Fabric-Scrap Wreath
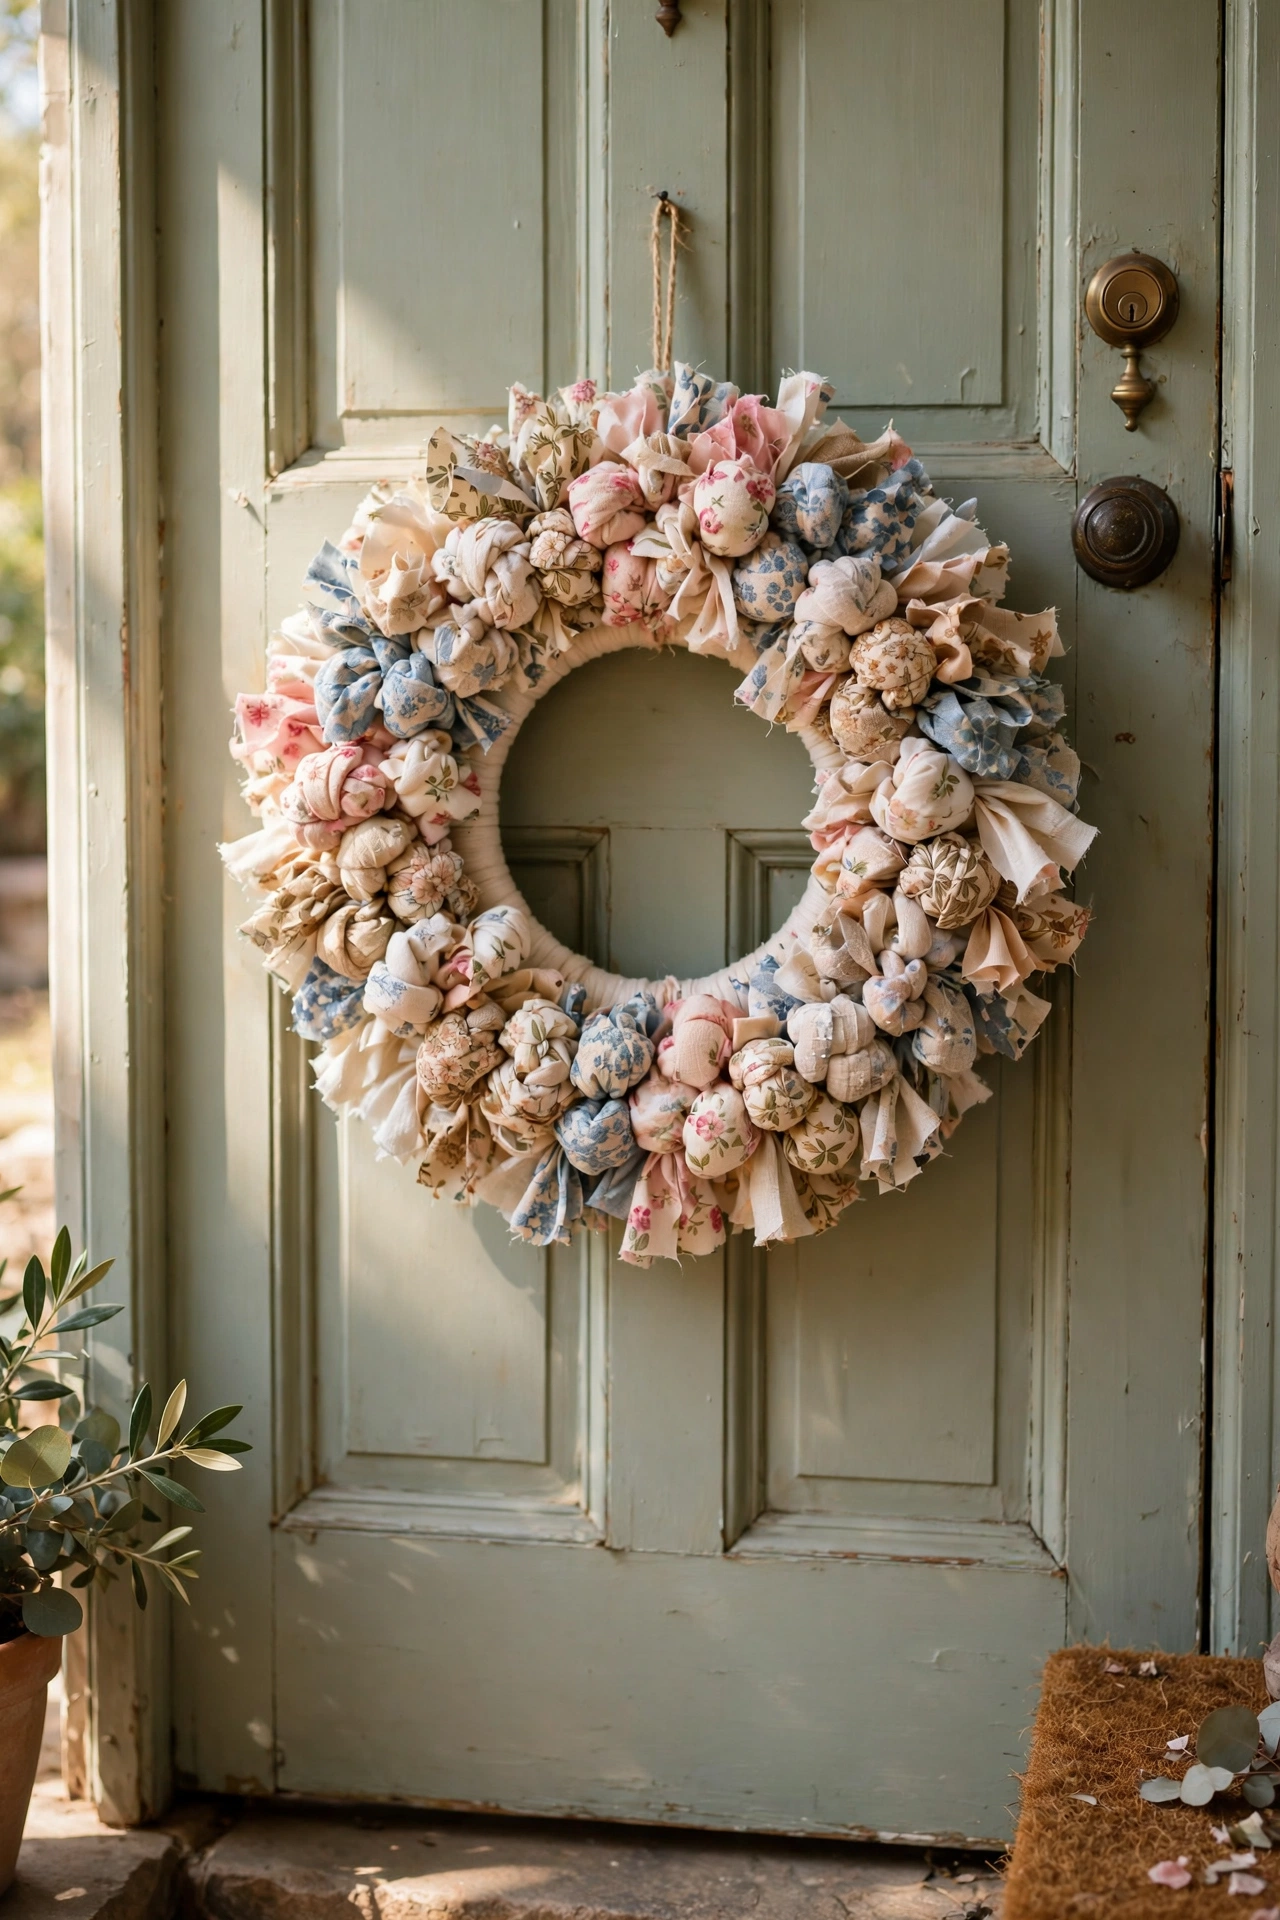
This is the one that started it all: a plain foam ring dressed in strips of scrap fabric until it looks like something from a boutique. Cut your fabric into strips about three centimetres wide and fifteen long, then tie each strip around the ring with a simple knot, pushing them tight together as you go. Keep the strips close and the ring will disappear under a fluffy, ruffled surface. I made mine from an old pair of curtains nobody missed, and the pattern of the fabric made it look far more designed than it was. One mistake to avoid: skimping on the strips leaves bald patches where the foam shows through, and you will spot it every time you walk past. Make more strips than you think you need, then make a few more.
Cost: ~$4 · Time: 45 minutes
Coffee-Filter Ruffle Wreath
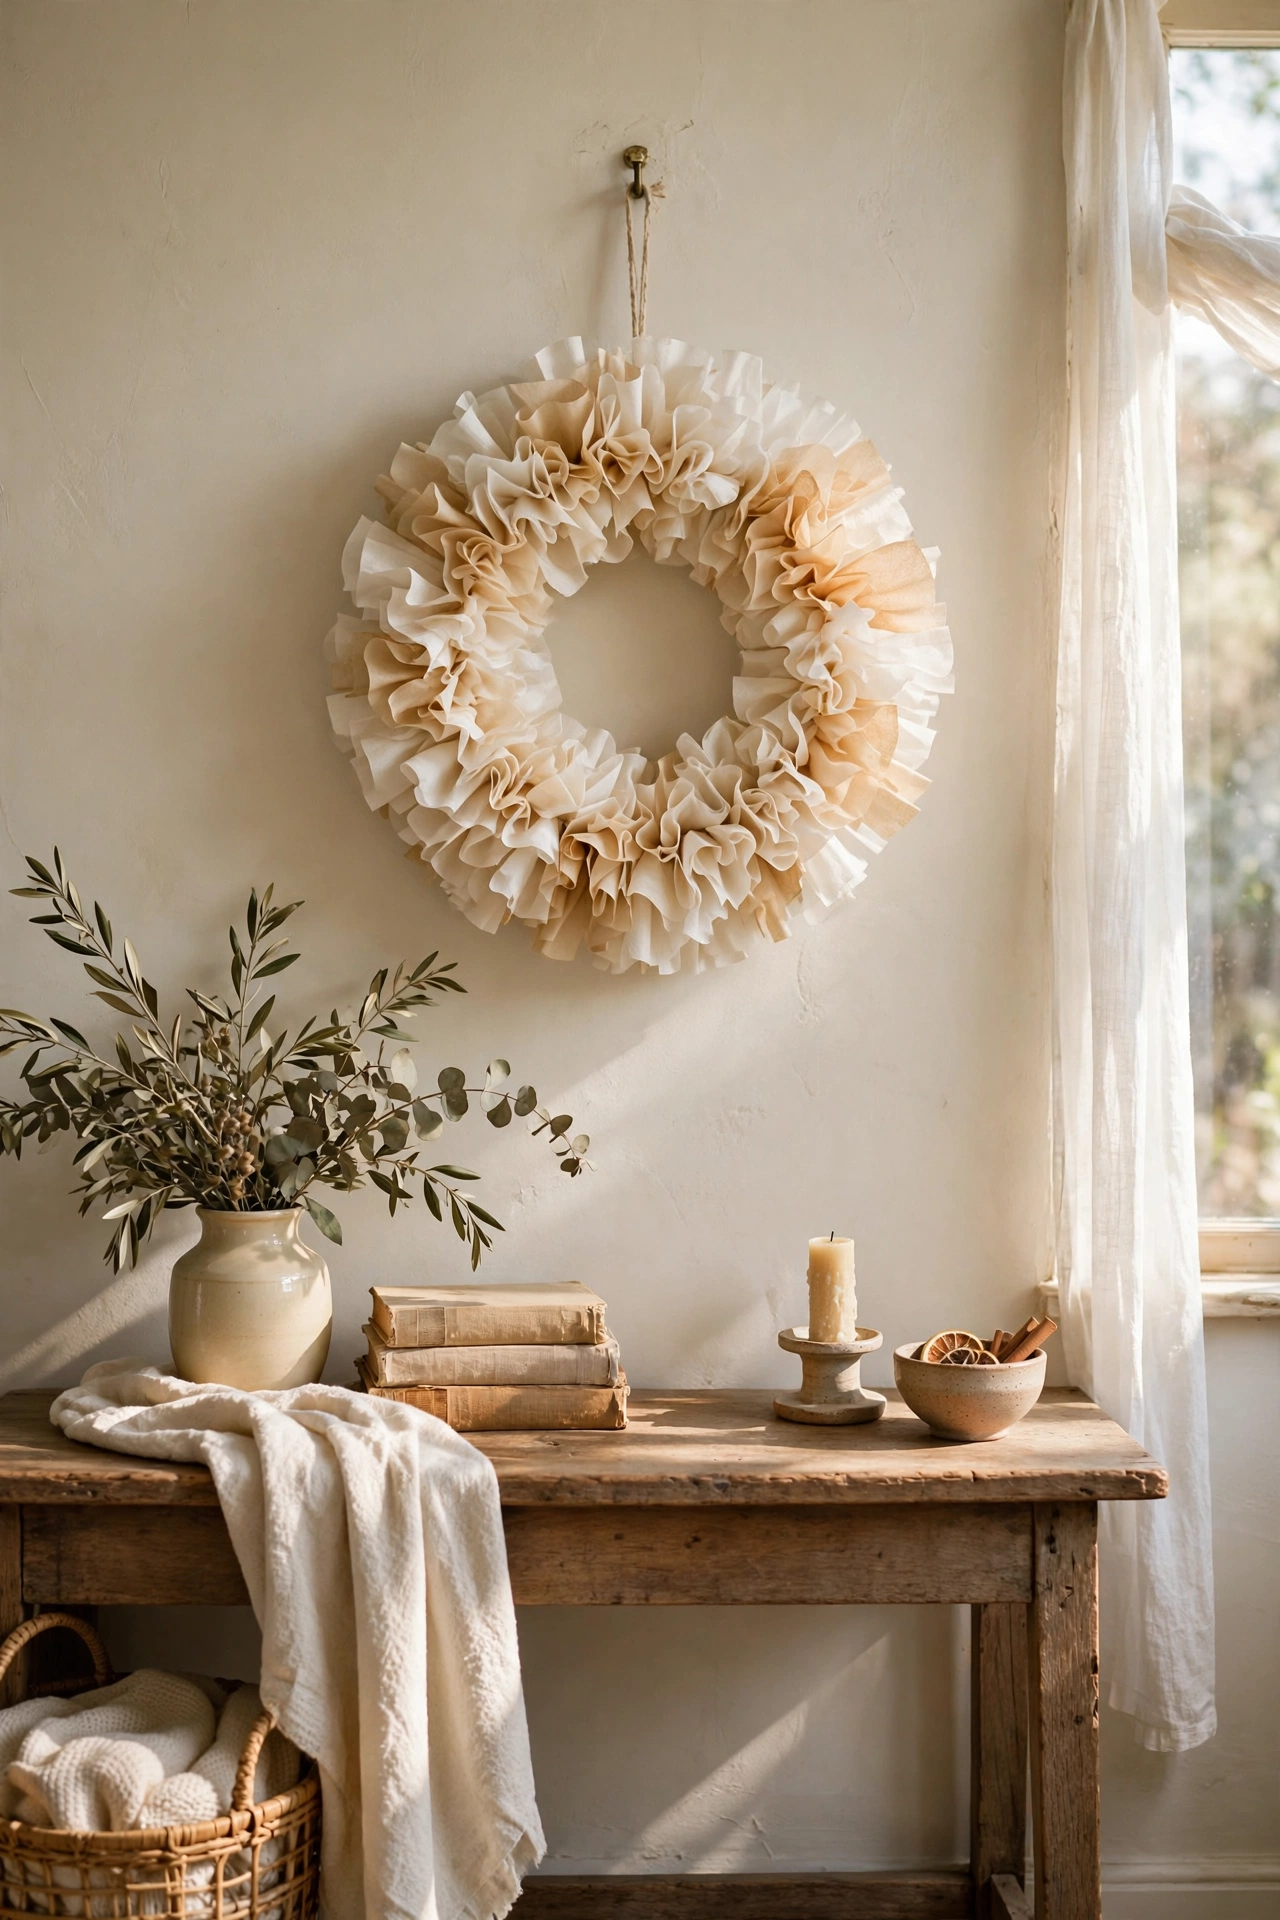
Coffee filters scrunch into the softest ruffled texture, and a whole wreath costs less than a takeaway coffee. Scrunch each filter into a loose flower shape, dab hot glue on the base, and press it onto a foam ring, working in tight rows so no foam peeks through. Overlap the filters generously for that full, cloud-like look. I soaked half of mine in cold tea first to give them an aged, vintage cream tone, and the two-tone effect looked deliberate and expensive. One mistake to avoid: spacing the filters evenly like soldiers makes it look flat; cluster them in a natural, irregular pattern instead. This is a perfect rainy-afternoon project with a film on in the background.
Cost: ~$3 · Time: 1 hour
Pool-Noodle Chunky Wreath

A pool noodle makes the fattest, most satisfying wreath base you can buy for a dollar. Bend the noodle into a circle, tape the ends together firmly with packing tape, then wrap the whole ring in chunky yarn or wide ribbon until the foam is hidden. Finish by hot-gluing on a few dollar store flowers, baubles, or a big bow. I made this one with my kids, and they loved how chunky it felt compared to the thin wreath forms. One mistake to avoid: a standard hot glue gun can melt pool-noodle foam on contact, so use a low-temperature setting or glue your decorations to the yarn wrapping instead of directly to the noodle.
Cost: ~$5 · Time: 40 minutes
Brown Paper-Bag Autumn Leaf Wreath
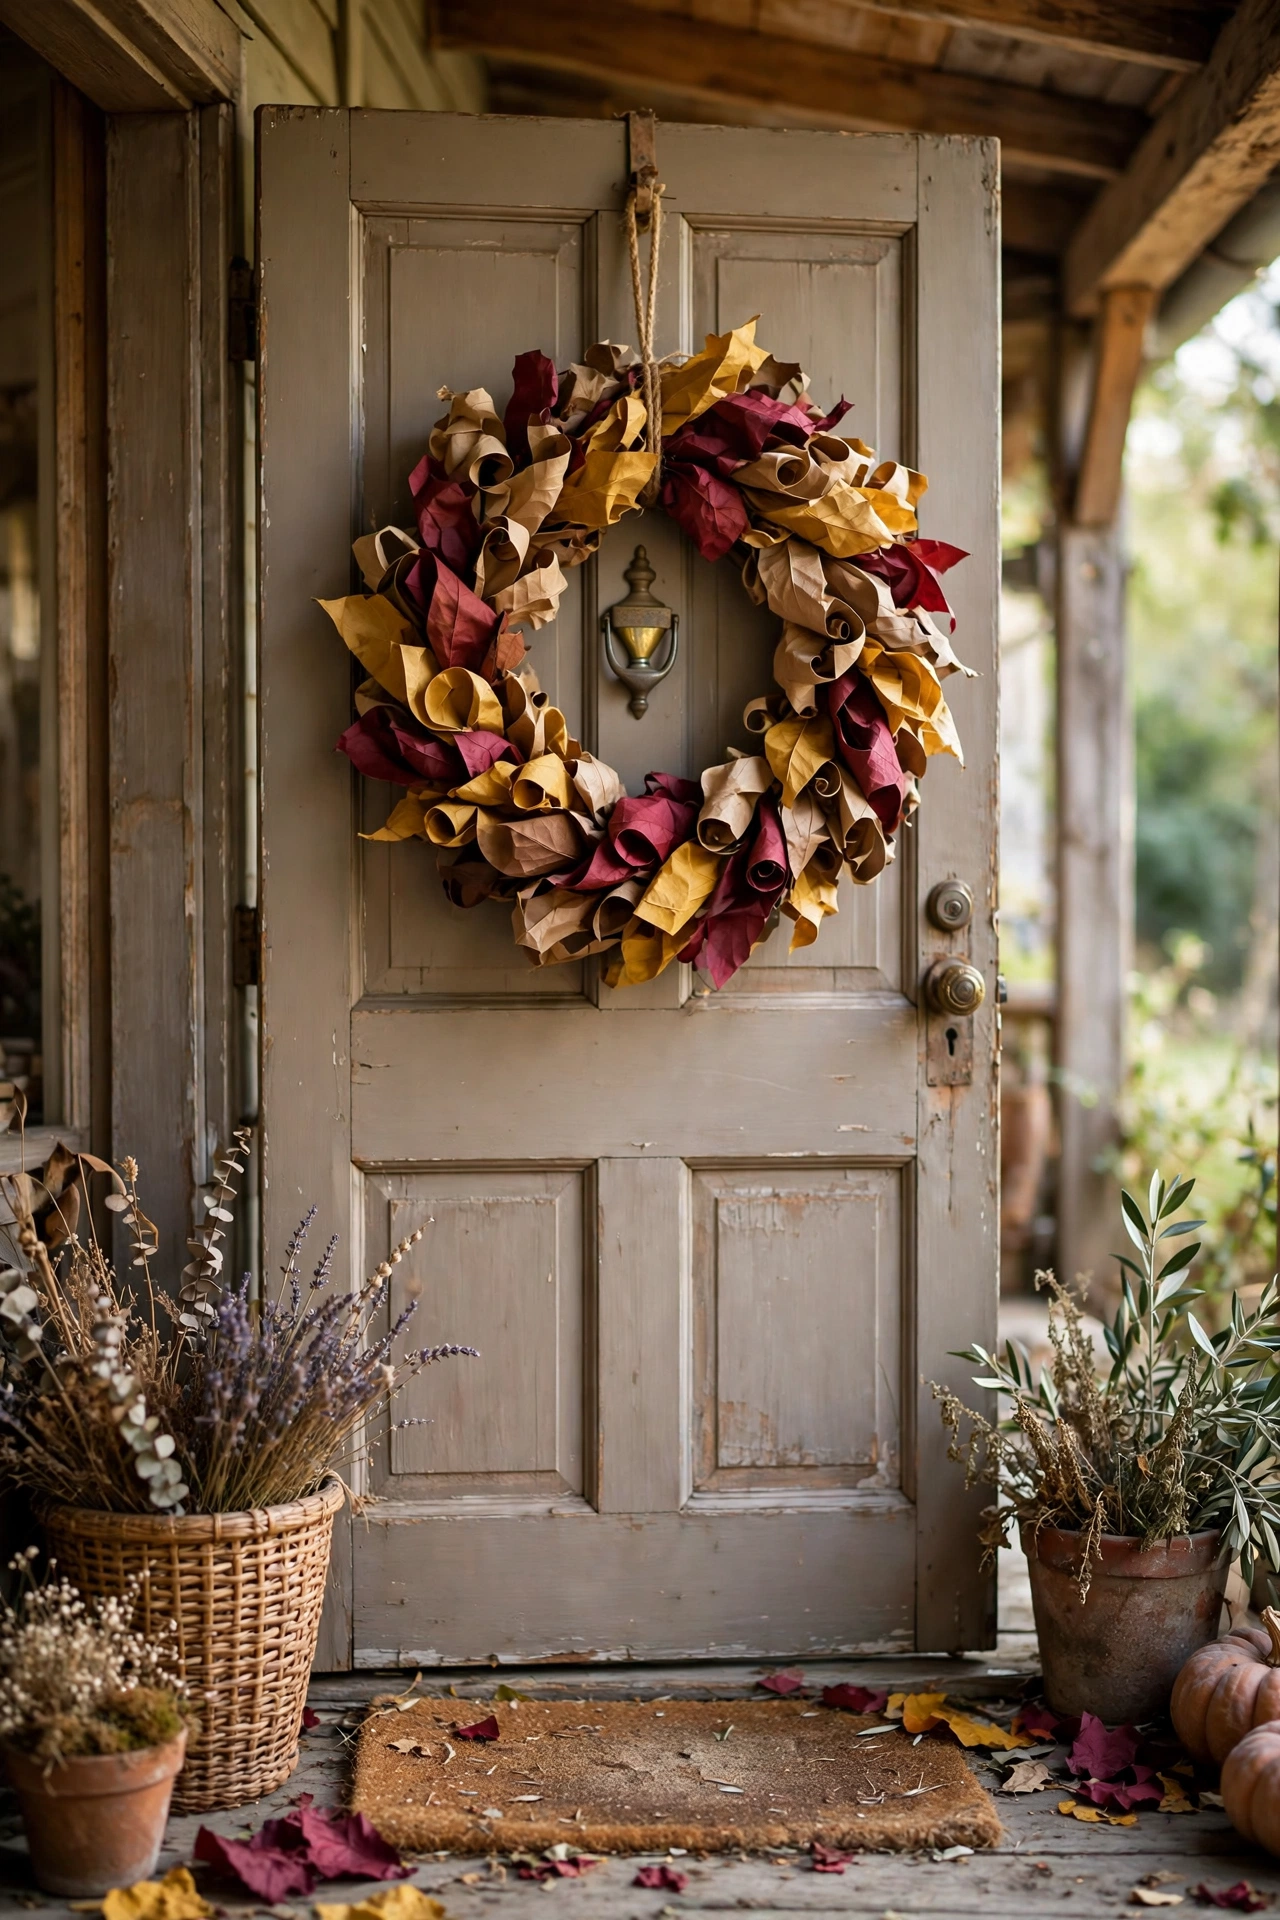
This one looks like it came from a rustic farmhouse shop, and it is literally made from paper bags. Cut simple leaf shapes from brown paper bags, gently curl the edges by rolling them around a pencil, then hot-glue them onto a cardboard ring in overlapping layers, starting from the outside edge and working inward. Mix in a few burgundy or mustard leaves cut from coloured paper for an autumn palette. I hung mine on the porch all through October and November, and visitors kept asking where I had bought it. One mistake to avoid: paper hates rain, so hang it under a covered porch or give it a light coat of clear matte spray to survive the odd damp day.
Cost: ~$2 · Time: 1 hour
Twig and Pinecone Rustic Wreath

Forage your supplies on a walk and this wreath is practically free. Start with a grapevine or wire wreath form, then wire on clusters of pinecones, tucking bendy twigs between them to fill the gaps. Work in odd-numbered clusters rather than spacing things evenly; nature is not symmetrical, and your wreath should not be either. I made mine entirely from the park behind our house, and the pinecones had that lovely weathered grey-brown tone you cannot buy. One mistake to avoid: bring the pinecones home and give them a good shake first, or you may find you have hung up a small spider hotel by the front door. A day in the sun sorts that out.
Cost: ~$3 · Time: 1 hour
Dried Orange Slice Christmas Wreath

This smells as good as it looks, and it is the Christmas wreath I get asked about most. Slice oranges about half a centimetre thick, lay them on a baking tray, and dry them in a very low oven for two to three hours until they are leathery and translucent. Wire or glue the slices onto a simple greenery wreath, mixing them with cinnamon sticks and a few pine sprigs. My kitchen smelled incredible for days while the slices dried, which felt like a bonus gift. One mistake to avoid: slicing too thick means the centres stay soft and can go mouldy on the wreath within a week, so keep those slices thin and dry them until no moisture remains.
Cost: ~$5 · Time: 3 hours (mostly the oven)
Bandana Wreath
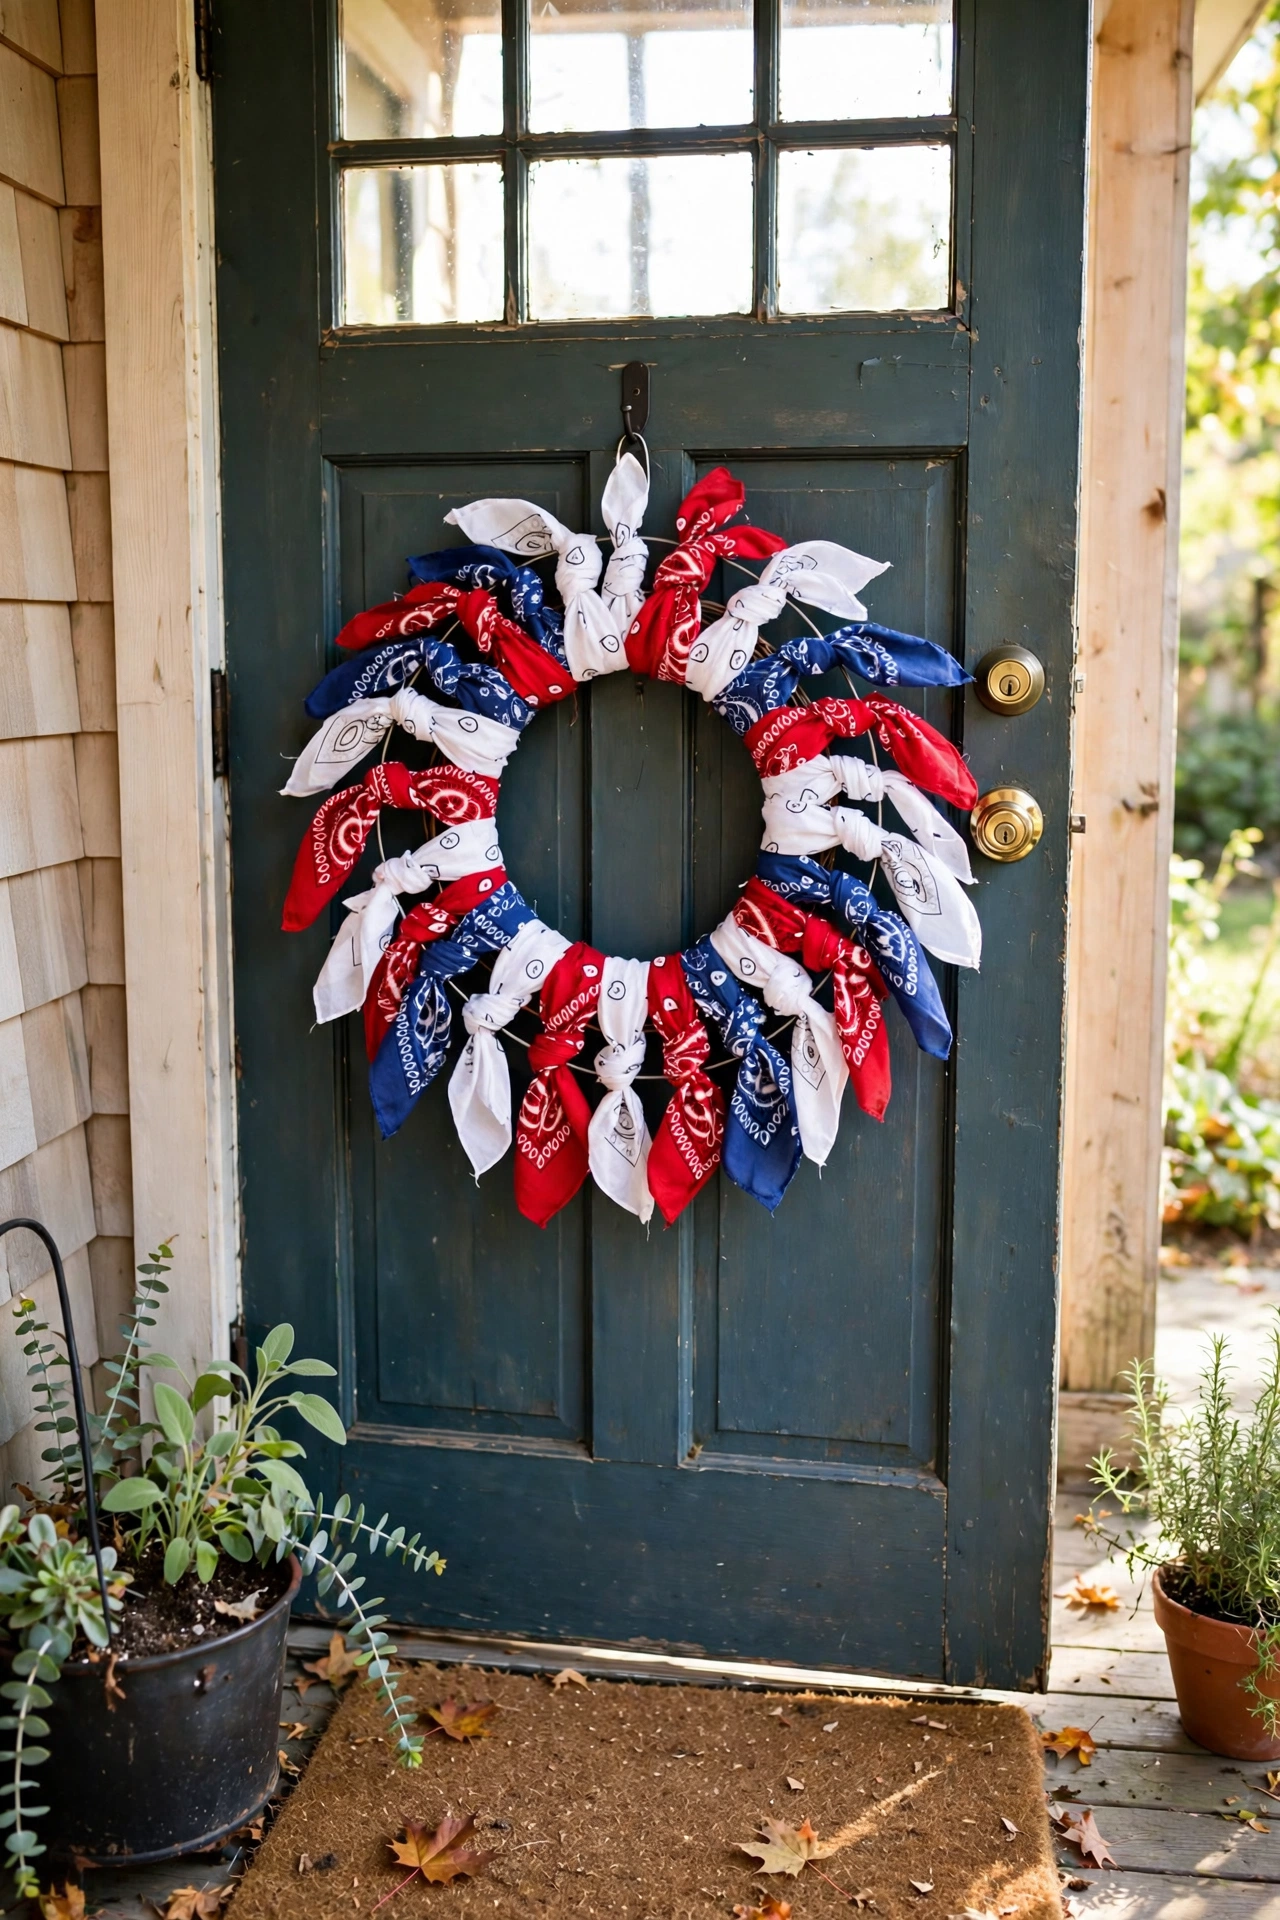
Bandanas make a brilliantly cheerful wreath with a casual, Americana feel. Cut bandanas into wide strips and tie them one by one around a wire wreath frame, knotting tightly and pushing them together until the frame is completely covered. Red, white, and blue is the classic combination, but I tried an all-navy version for my back door and it looked smart and modern. One mistake to avoid: tying the strips loosely means they slide and sag within days, leaving gaps. Really pull each knot tight, and give the wreath a good shake when it is finished; anything that moves needs retying now rather than later.
Cost: ~$8 · Time: 30 minutes
Burlap Ruffle Wreath

Burlap gives you that farmhouse texture everyone loves, and a wire frame makes the technique almost foolproof. Pinch a section of burlap ribbon, push the loop up through one of the wire frame’s slots, and keep adding pinched loops around every slot until the frame is full and ruffled. Tuck in a few faux cotton stems or eucalyptus sprigs for a styled finish. I hung mine above the mantel and the texture caught the firelight beautifully. One mistake to avoid: burlap sheds fibres everywhere while you work, so do this one outside or over a sheet you can shake out afterwards, or you will be finding stray fibres for a month.
Cost: ~$7 · Time: 45 minutes
Yarn-Wrapped Cosy Wreath
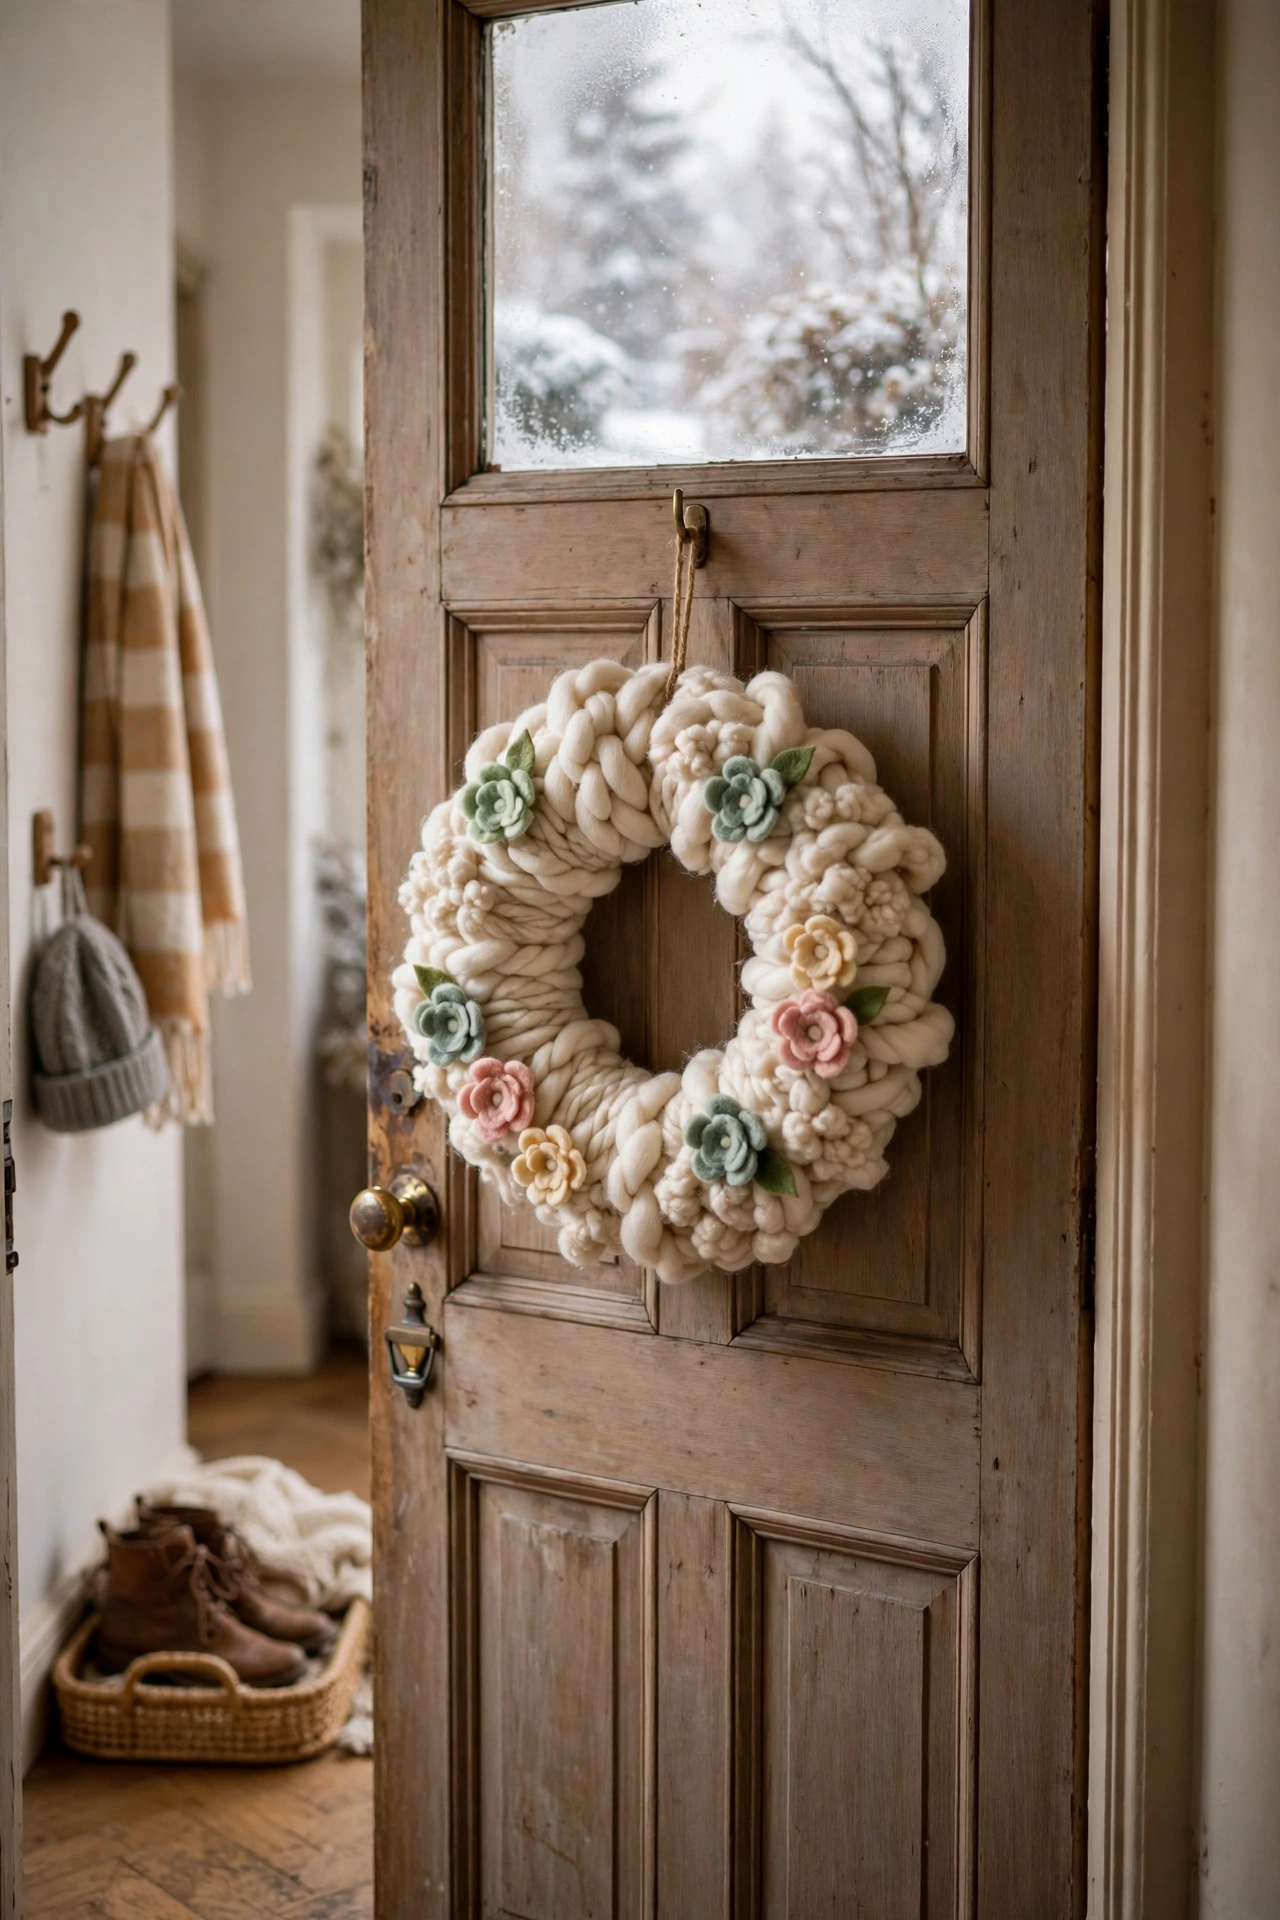
Nothing says winter like a wreath wrapped in chunky knit-look yarn. Anchor the yarn end to a foam ring with a pin, then wrap tightly around and around, overlapping slightly so no foam shows. Keep the tension firm and even as you go. Once wrapped, add a few felt flowers or wooden beads for detail. I made a cream one for January when the house felt bare after Christmas, and the soft texture made the hallway feel warm again. One mistake to avoid: thin yarn will not cover a standard foam ring properly and you will see foam winking through the gaps, so choose the chunkiest yarn you can find or wrap two layers.
Cost: ~$6 · Time: 1 hour
Felt Ball Wreath
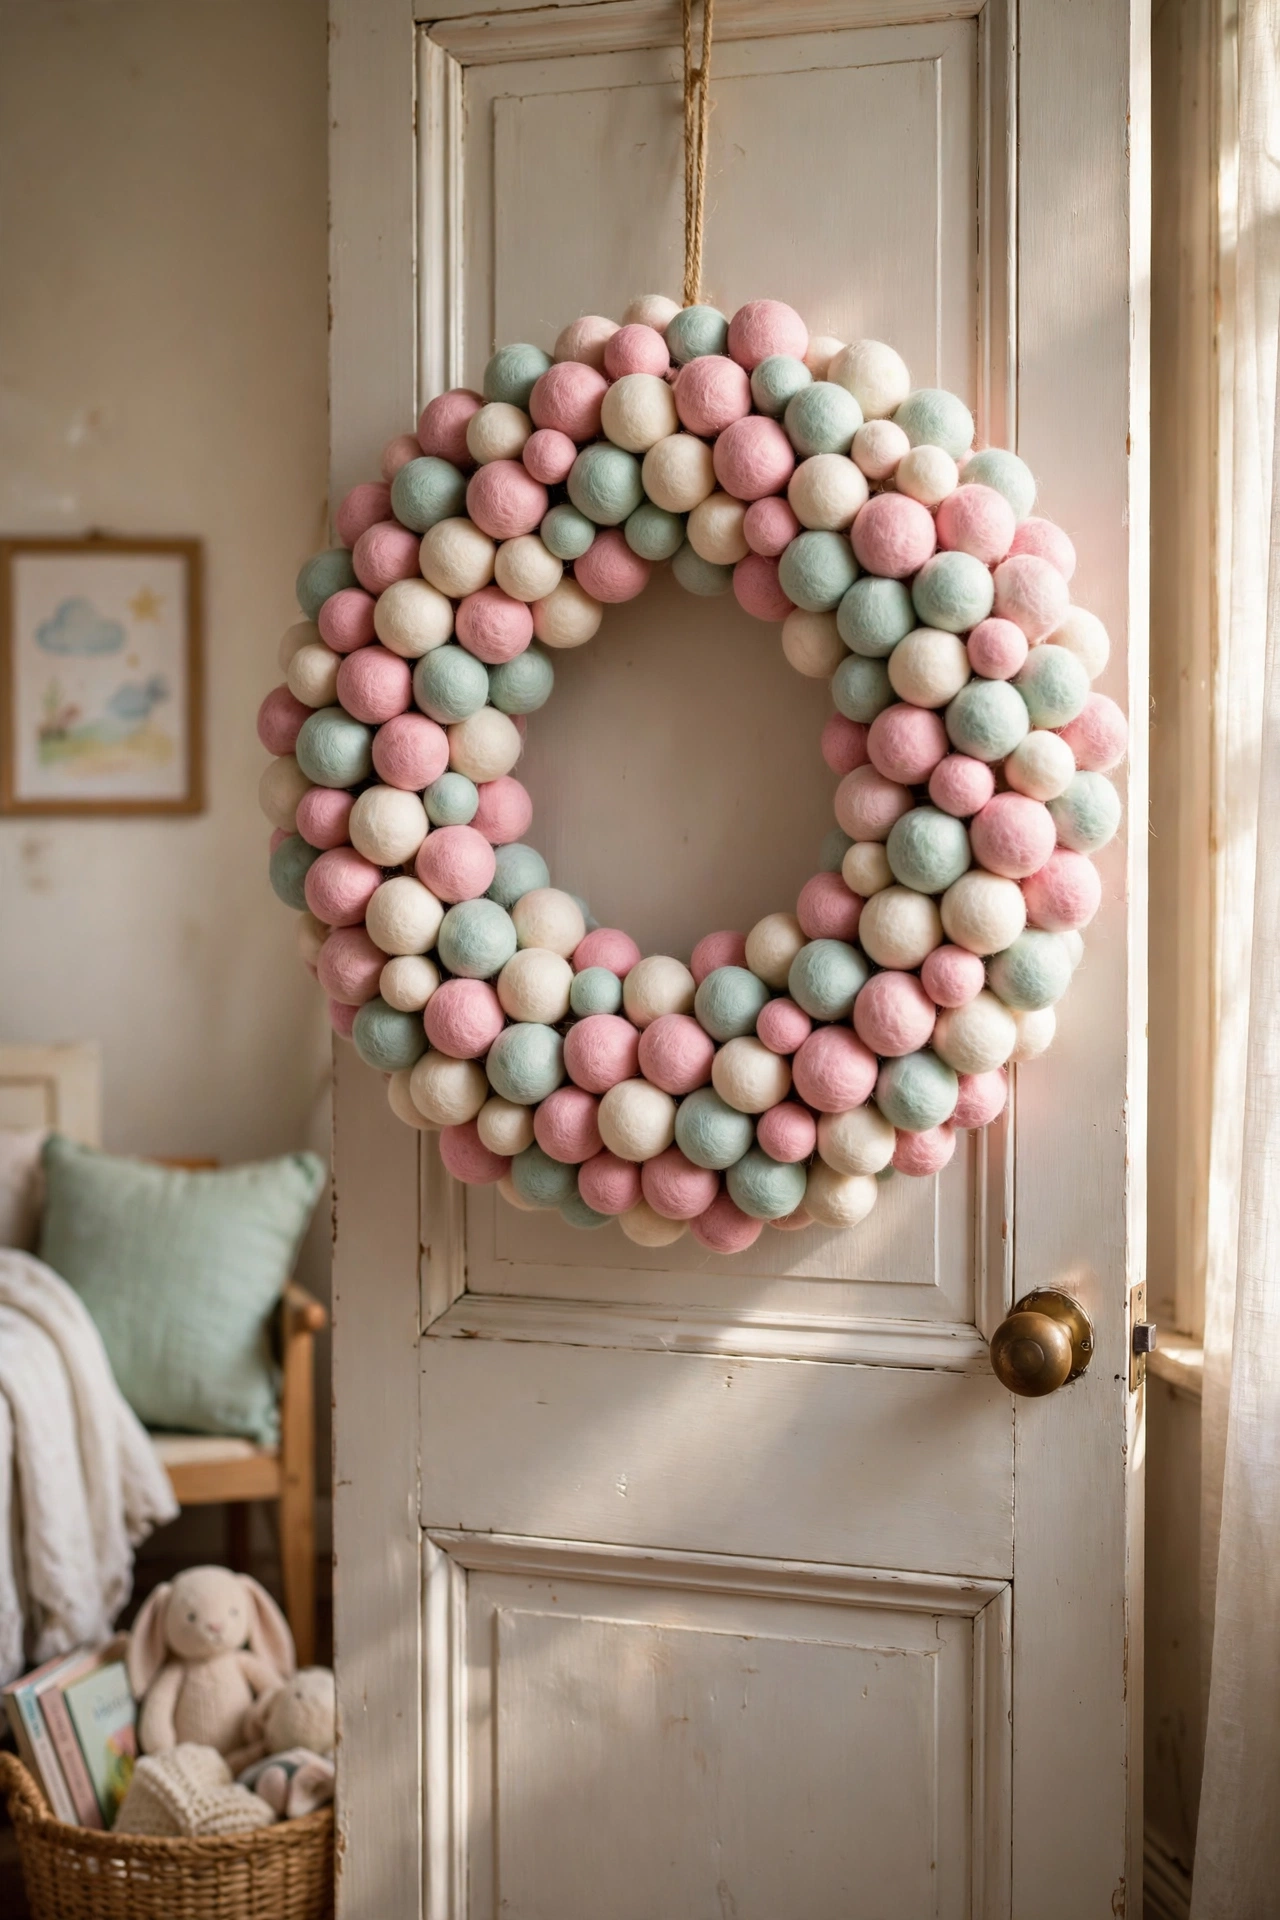
Felt balls give you a playful, modern wreath that looks like it cost twenty times the price. Hot-glue felt balls onto a foam ring in tight rows, filling every gap so the finished wreath is dense and plump. Arrange your colours in a pattern or go full rainbow. I made a pastel one for my daughter’s bedroom door, and it is still perfect a year later. One mistake to avoid: felt balls can bleed colour if they get damp, so keep this one strictly indoors and away from steamy bathrooms or dripping porches. It is a bedroom and interior-door wreath, not an all-weather one.
Cost: ~$9 · Time: 1.5 hours
Paper Flower Wreath
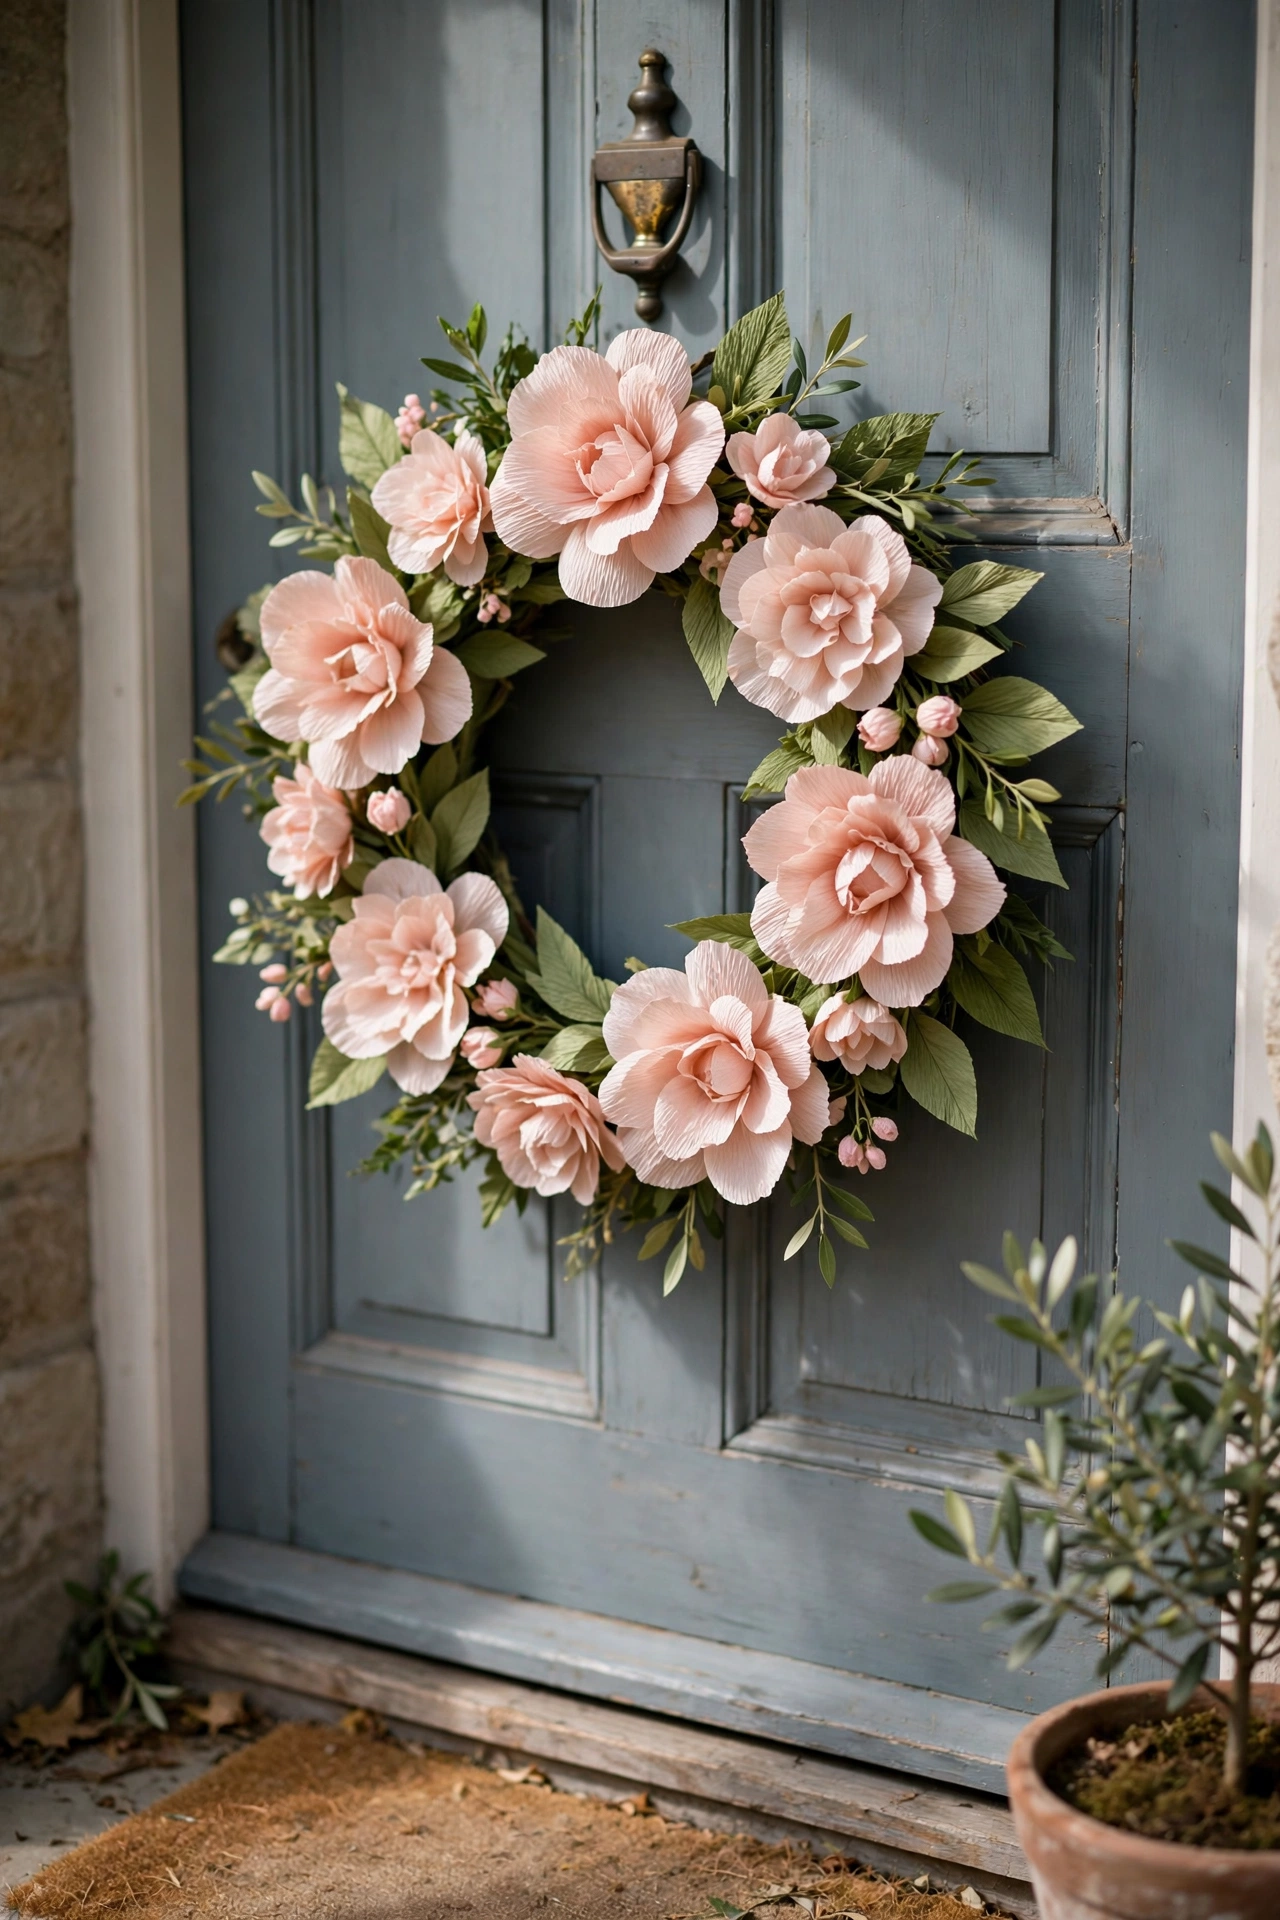
Crepe paper flowers are the secret behind those gorgeous spring wreaths all over Pinterest, and they are easy to learn. Cut petal shapes from crepe paper, twist a small ball of tissue into the centre of each flower, and hot-glue the finished blooms onto a foam or cardboard ring, layering leaves between them. Start with a simple five-petal flower and you will have the technique down within three blooms. I made a blush-pink one for Easter and photographed it more than I photographed the dinner. One mistake to avoid: crepe paper fades fast in direct sunlight, so hang it on a shaded door or inside, or your blush pink will be pale beige by June.
Cost: ~$4 · Time: 2 hours
Pompom Wool Wreath
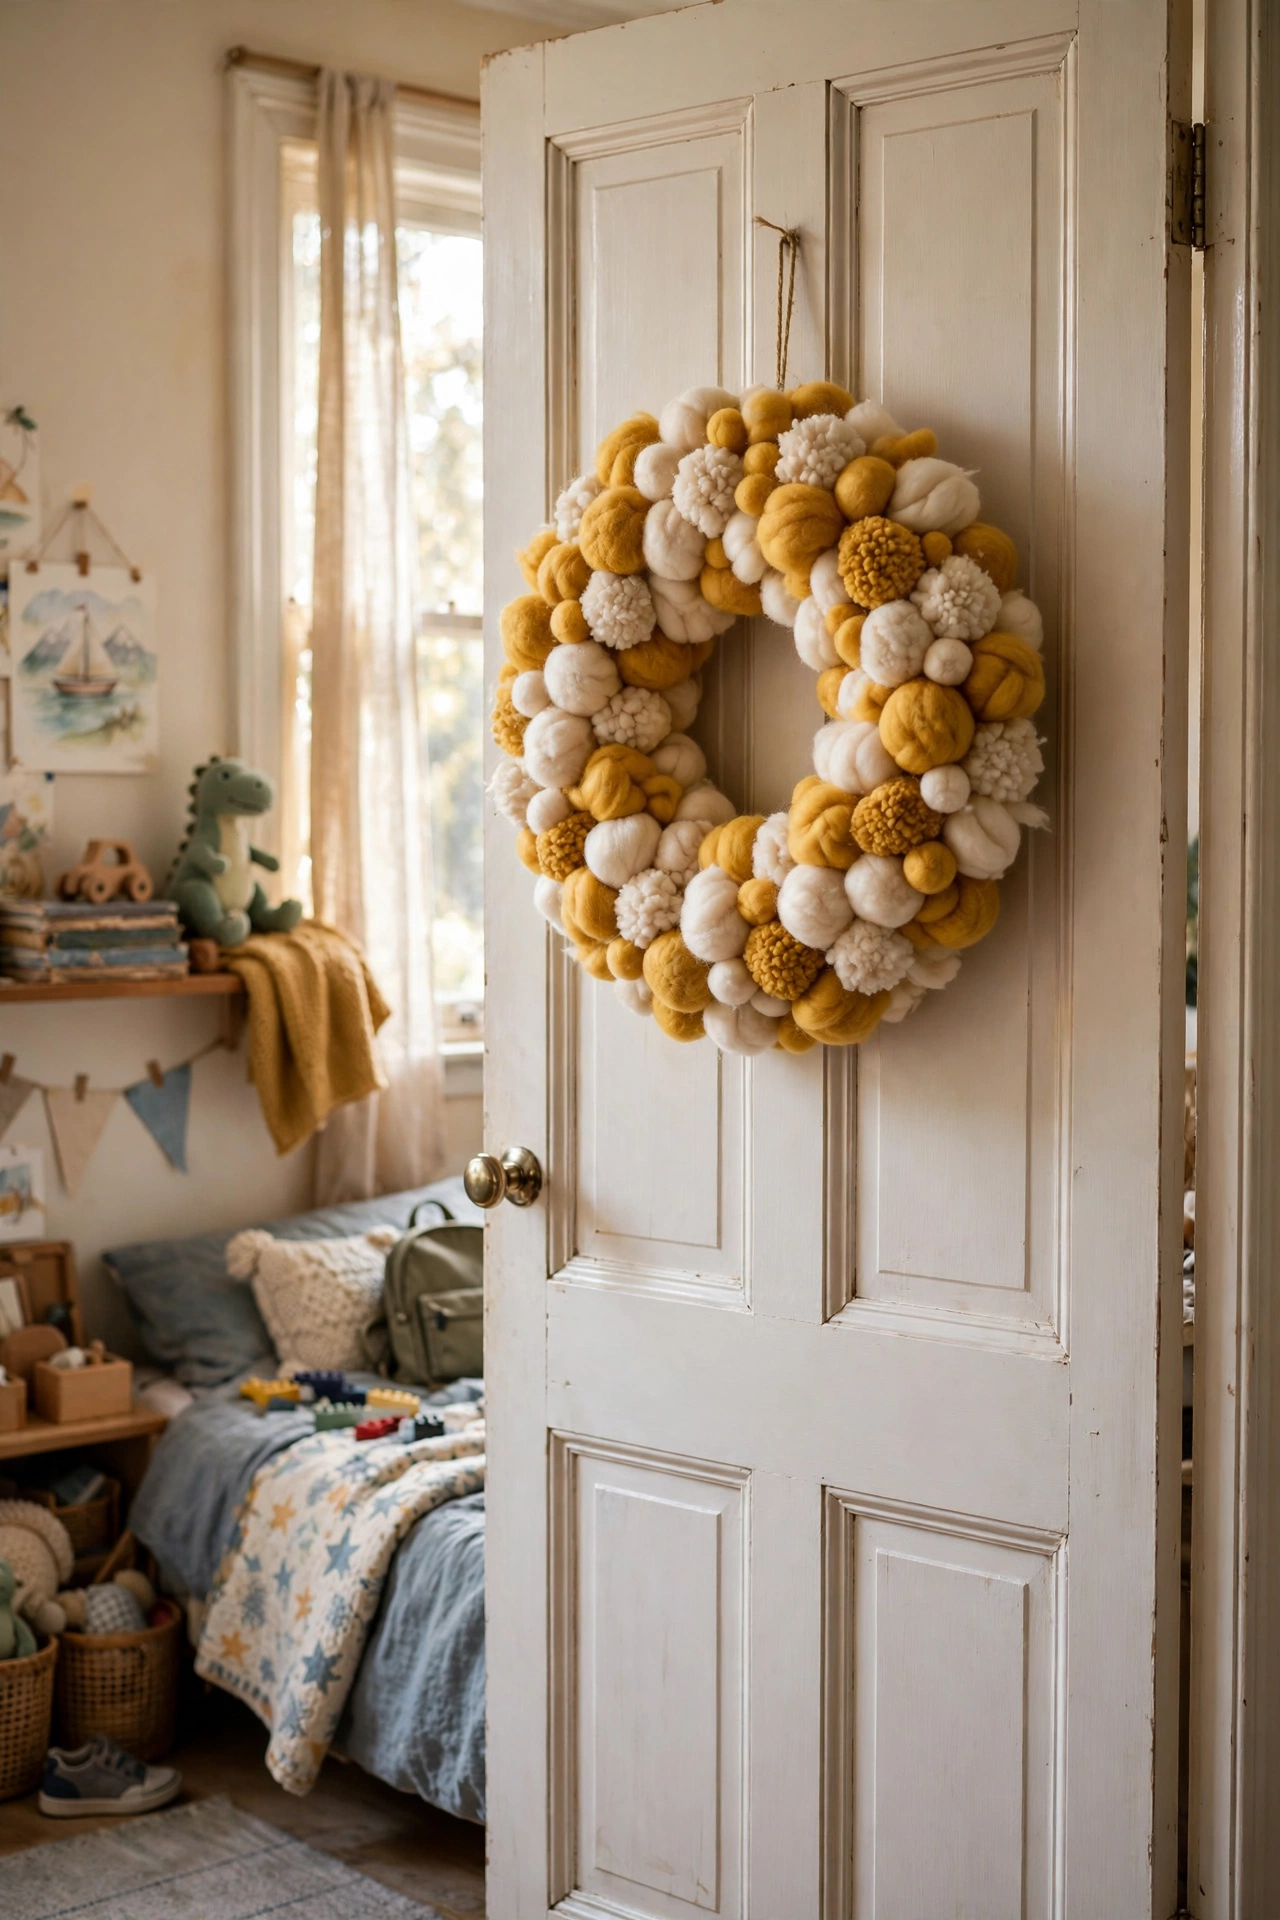
Pompoms are pure joy in wreath form, and the fork method makes them fast. Wrap yarn around the tines of a dinner fork twenty or so times, tie tightly around the middle, slide it off, and snip the loops to make a pompom, then trim it into a neat ball. Make a pile in two or three colours and hot-glue them onto a foam ring until it is completely covered. I made a mustard and cream one for my son’s room, and he chose the colours himself, which made him ridiculously proud. One mistake to avoid: untrimmed pompoms look straggly and homemade in the wrong way, so trim each one with sharp scissors until it is round and dense before gluing.
Cost: ~$5 · Time: 2 hours
Ribbon Loop Wreath

Looped ribbon makes the most luxurious-looking Christmas wreath for the least effort. Cut wired ribbon into equal lengths, fold each into a loop, and twist the centre onto a wire wreath frame, working all the way around until the frame is full and bouncy. Mix two ribbon colours or patterns for depth. I used red buffalo-check with gold, and it looked like the wreaths on the expensive gift catalogues. One mistake to avoid: only wired ribbon holds its loop shape; soft ribbon collapses within hours and the whole thing goes limp. Check the spool says wired before you buy, or you will be making a second trip.
Cost: ~$6 · Time: 40 minutes
Eucalyptus Hoop Wreath
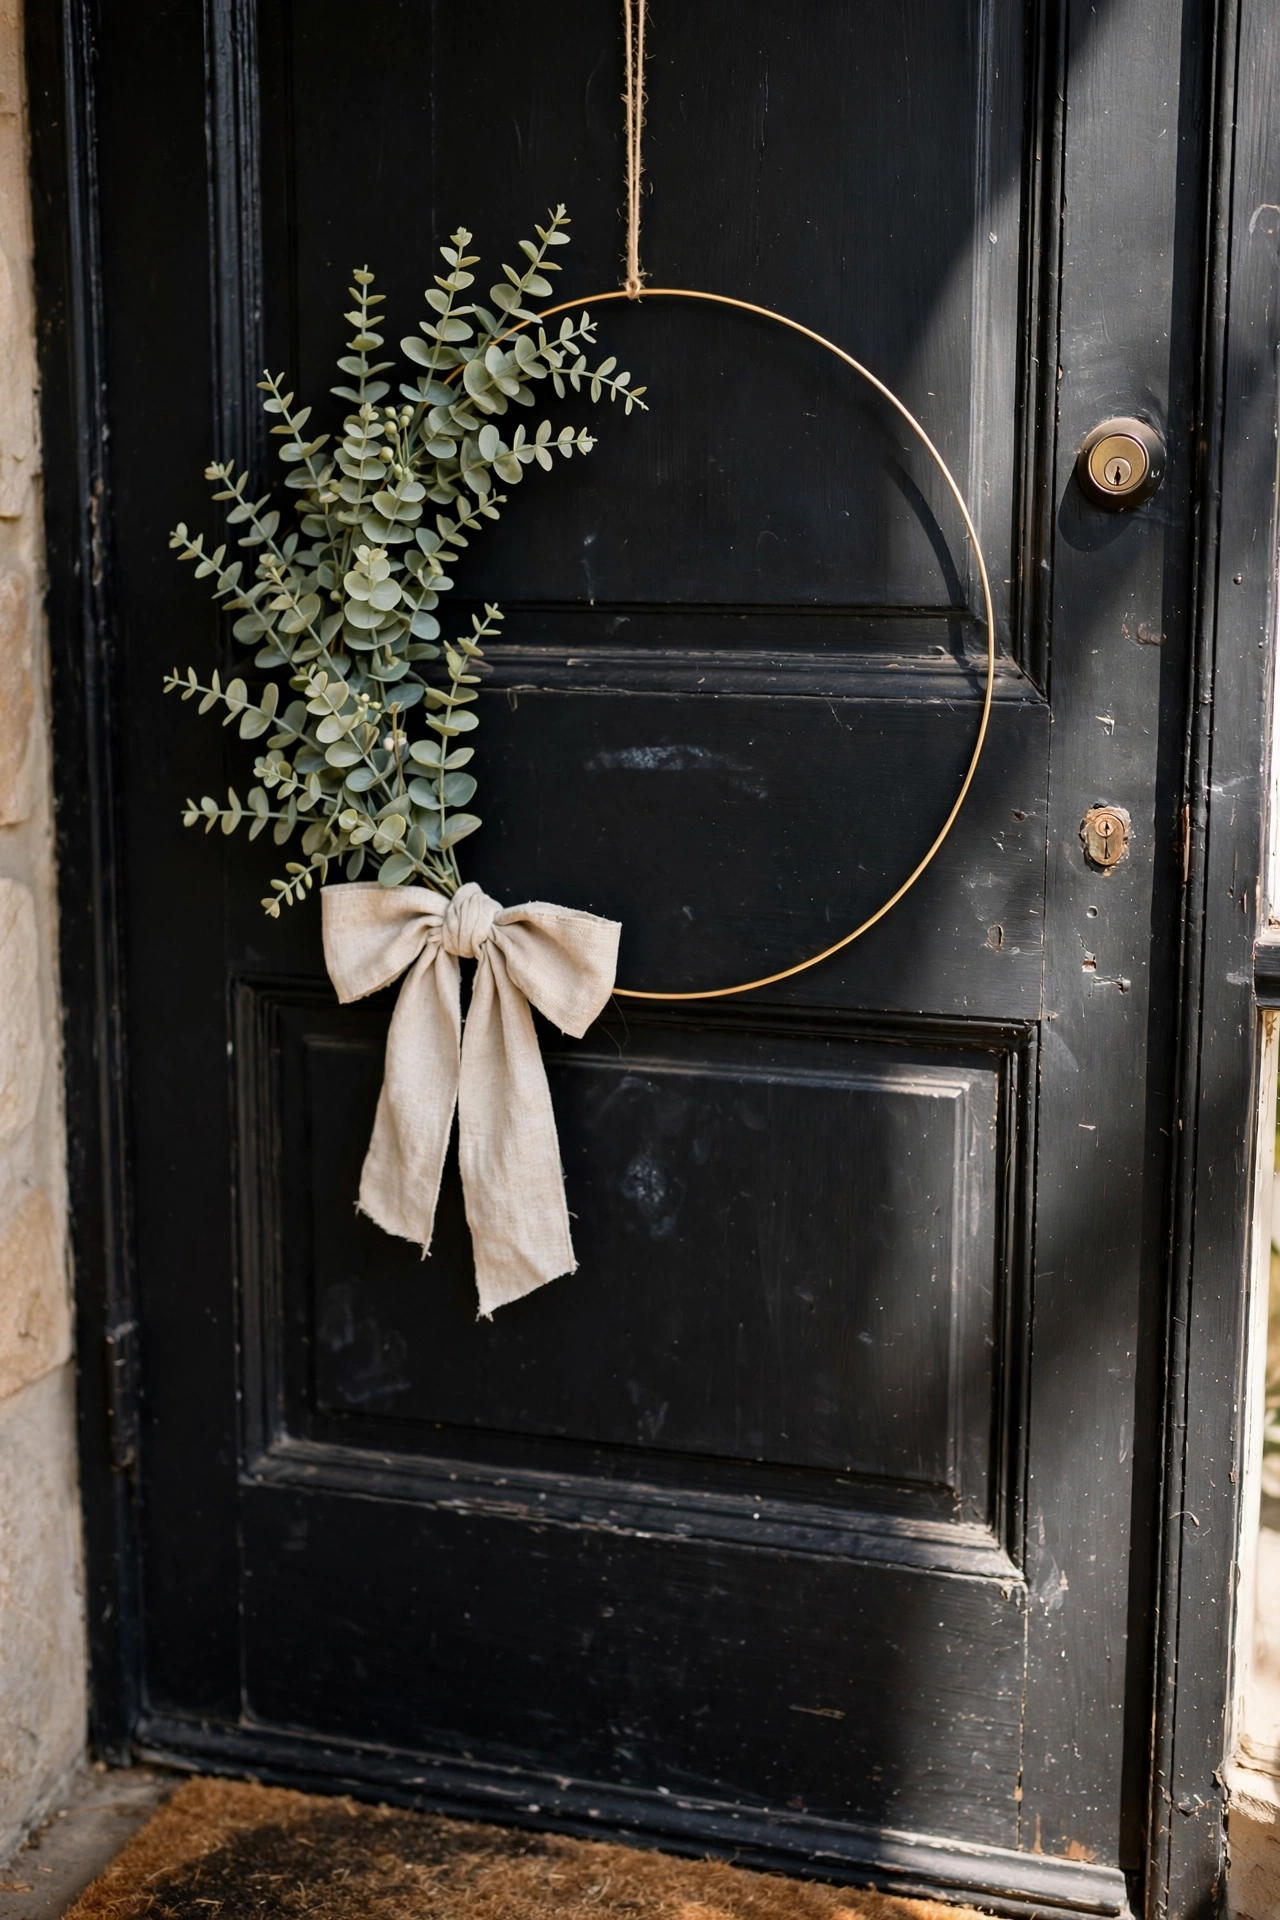
A thin gold hoop with eucalyptus clustered on one side is the minimalist wreath all over Instagram, and it takes twenty minutes. Attach faux eucalyptus sprigs to a metal or wooden hoop with floral wire, clustering them along the bottom third and letting a few sprigs trail. Tie a simple linen bow at the top for hanging. I have one on my front door right now, and the asymmetrical design looks intentional and modern against the black paint. One mistake to avoid: real dried eucalyptus looks lovely on day one but crumbles into sad fragments within weeks on a door that opens and closes; faux sprigs survive the movement and look identical from two steps away.
Cost: ~$7 · Time: 25 minutes
Seashell Coastal Wreath
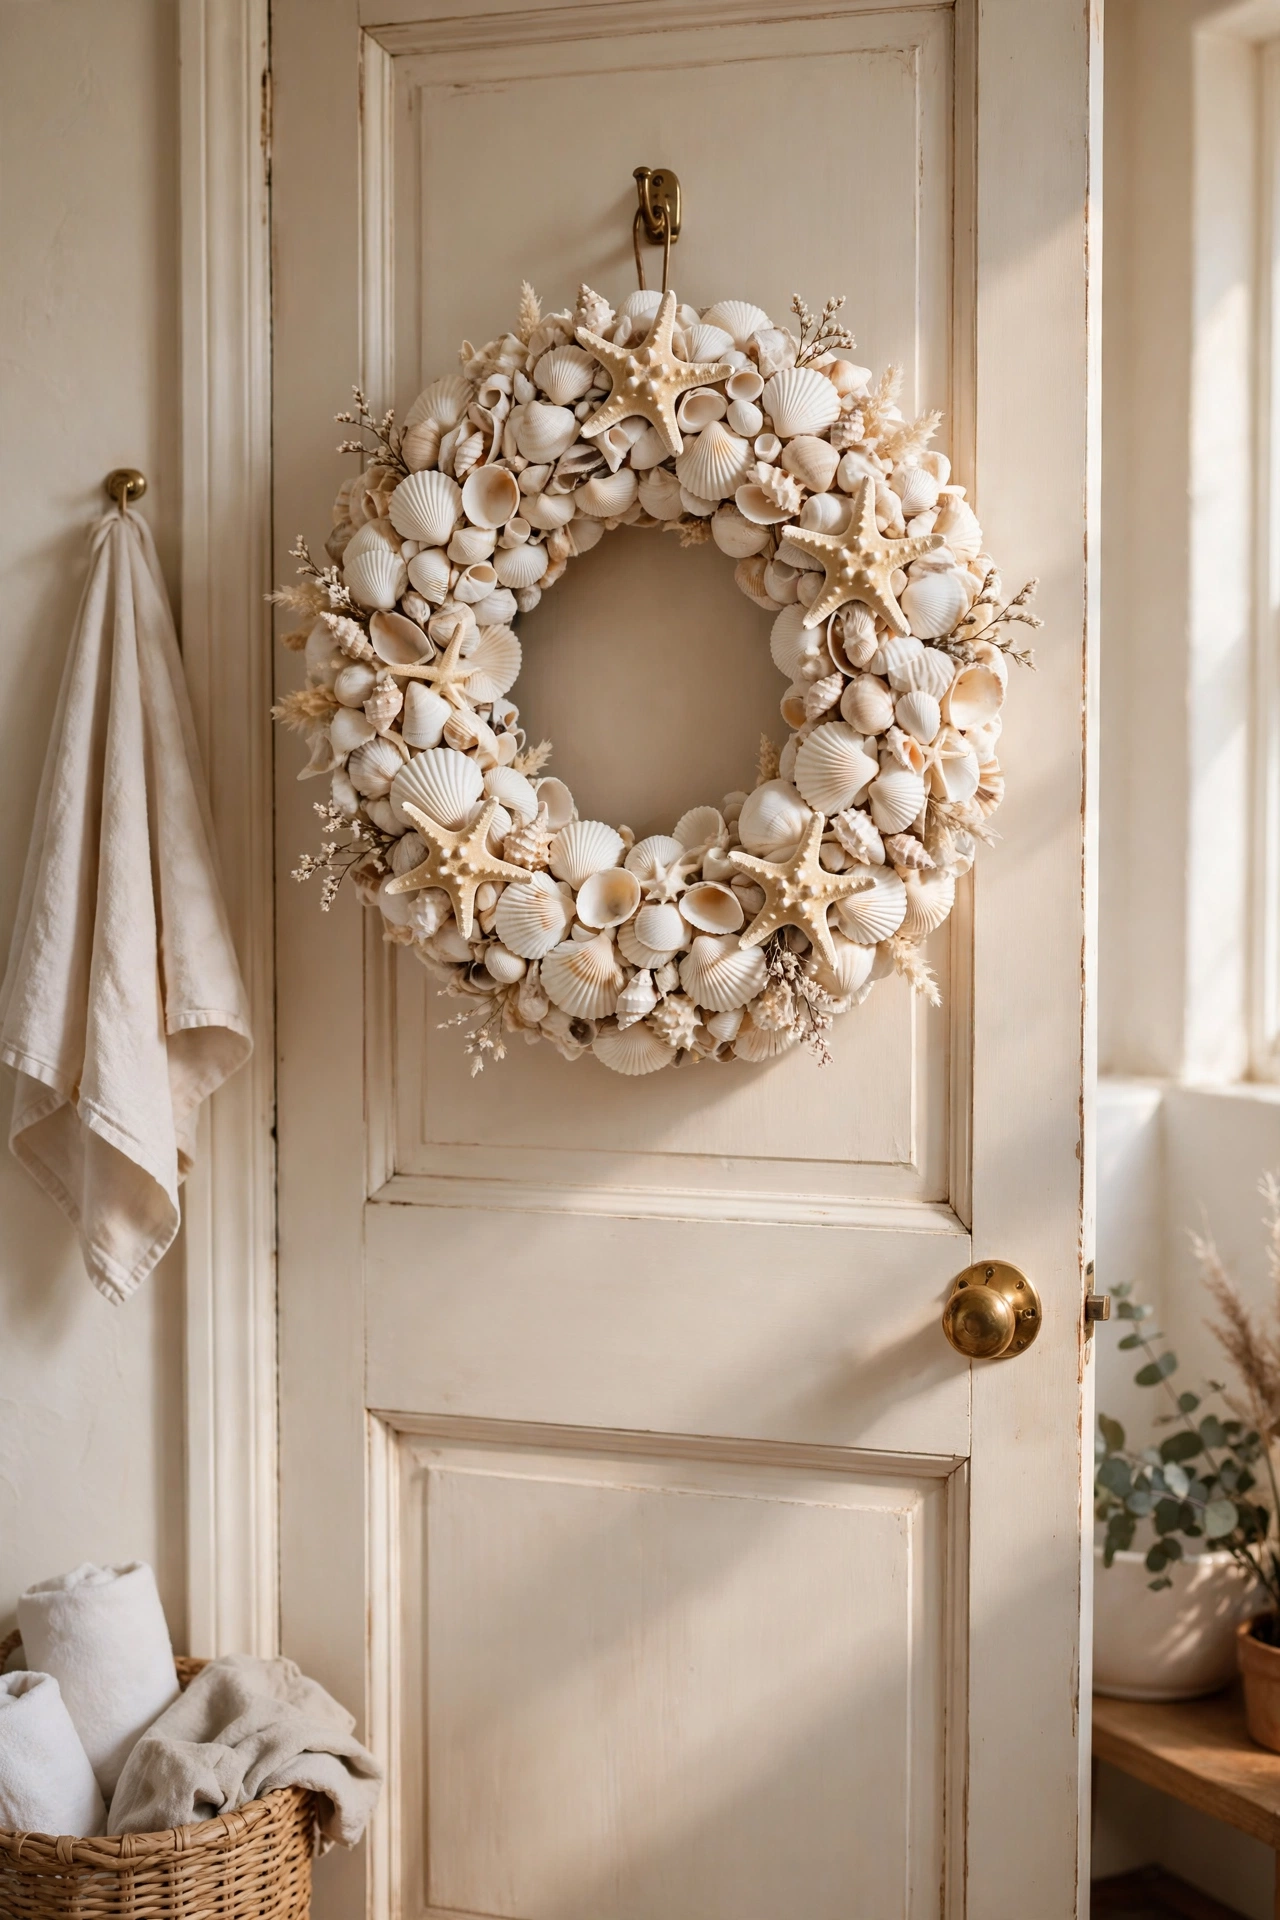
Bring the beach home with a wreath made from shells, whether you collected them on holiday or bought a bag from the dollar store. Hot-glue the largest shells onto a foam ring first, spacing them evenly, then fill every gap with medium and small shells until the ring is completely covered. A few starfish as accents finish it off. I made mine from shells my kids collected on a beach trip, so it is a memory as well as a decoration. One mistake to avoid: shells are heavy, and a wreath this dense needs a proper wall hook or over-door hanger rated for weight; a small adhesive hook will peel off the door within a day, taking paint with it.
Cost: ~$6 · Time: 1 hour
Heart-Shaped Valentine’s Wreath

February deserves a wreath too, and a heart shape makes it special. Wrap a foam heart form tightly in red or pink yarn, securing the end with a pin and keeping your wraps close together. Add small felt hearts or a gingham bow at the top dip of the heart. I hang mine on the first of February and it instantly makes the post-Christmas house feel festive again. One mistake to avoid: foam heart forms are thinner than round ones and can snap if you pull the yarn too hard; wrap firmly but not aggressively, and reinforce any wobbly spot with a strip of tape before you start.
Cost: ~$5 · Time: 45 minutes
Dried Cinnamon and Star Anise Wreath
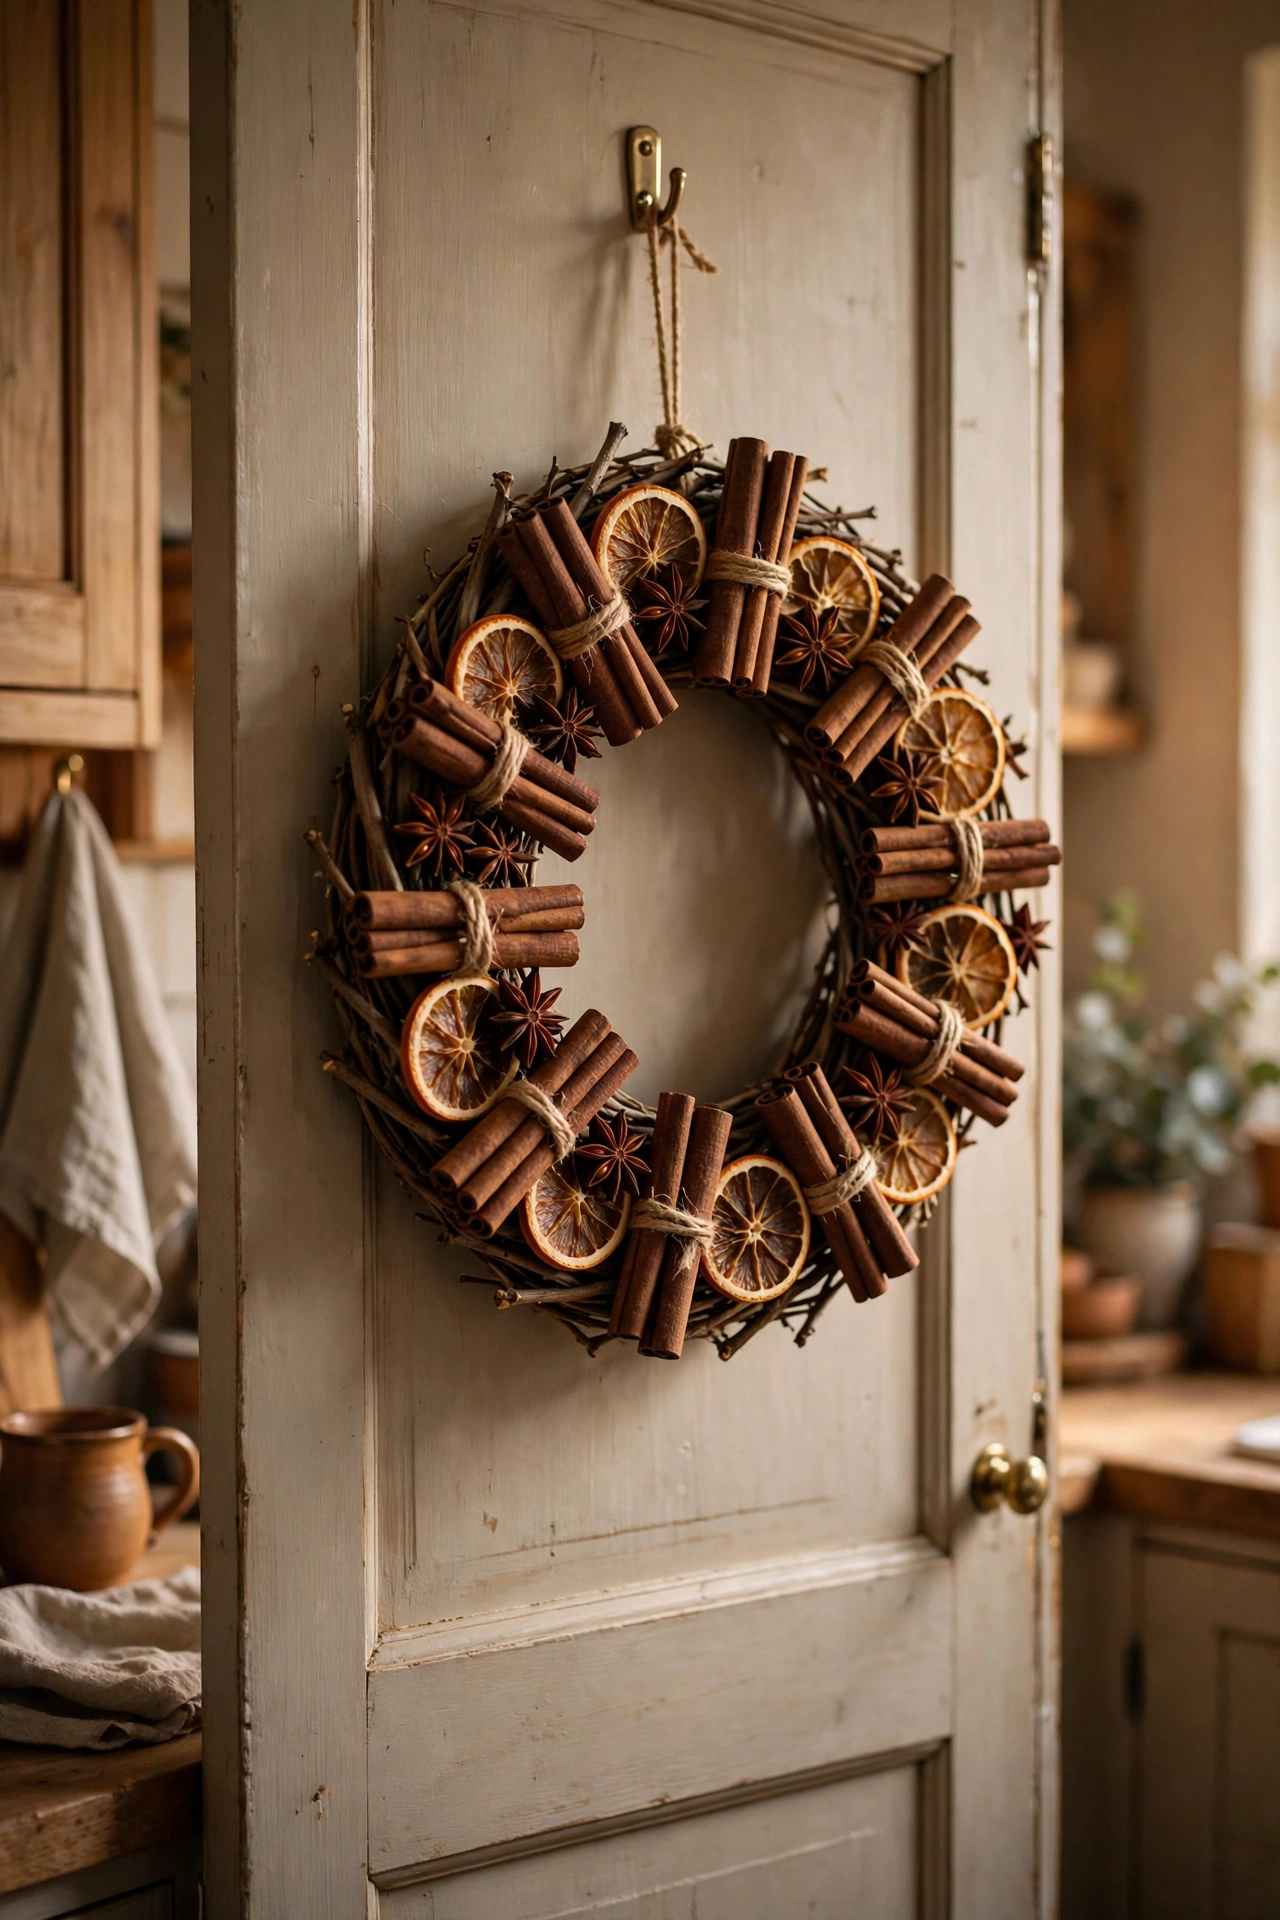
This one doubles as a natural air freshener and looks stunning on a kitchen door. Bundle cinnamon sticks in groups of three with thin wire, then wire or glue the bundles around a twig wreath base, tucking whole star anise between them. Add a few dried orange slices if you like. The scent hits you every time you walk past, and guests always comment on it. I made mine the first weekend of December and it is now my official start-of-Christmas ritual. One mistake to avoid: star anise darkens and stains where wet glue touches it, so use the tiniest dab of glue or wire them on instead, keeping the spice looking fresh and clean.
Cost: ~$8 · Time: 30 minutes
Seventeen wreaths, one glue gun, and not a single £30 price tag among them. The best part is that a handmade wreath never really goes out of style, because you made it for your door and your season. Pick the one that made you smile, gather your supplies this weekend, and enjoy the smug satisfaction of the handmade original.
Keep the dollar store creativity going: 15 Dollar Store Basket Organization Ideas That Hide Clutter and 25 Dollar Store Laundry Room Finds Worth Grabbing.
Save this post for later so you have the full list on your next dollar store trip.
