17 Dollar Store Entryway Decor Worth Every Penny
I used to walk past the dollar store decor aisle without a second glance, until a friend showed me her entryway and I refused to believe half of it came from there. Dollar store entryway decor works when you pick the right pieces and give them a little help, usually a coat of spray paint or a better home than the shelf they came on. Every idea below costs a few dollars at most, and I have tried nearly all of them in my own front hall. The trick is knowing which cheap finds look expensive and which ones just look cheap.
1. Dollar Store Framed Mirror Hack
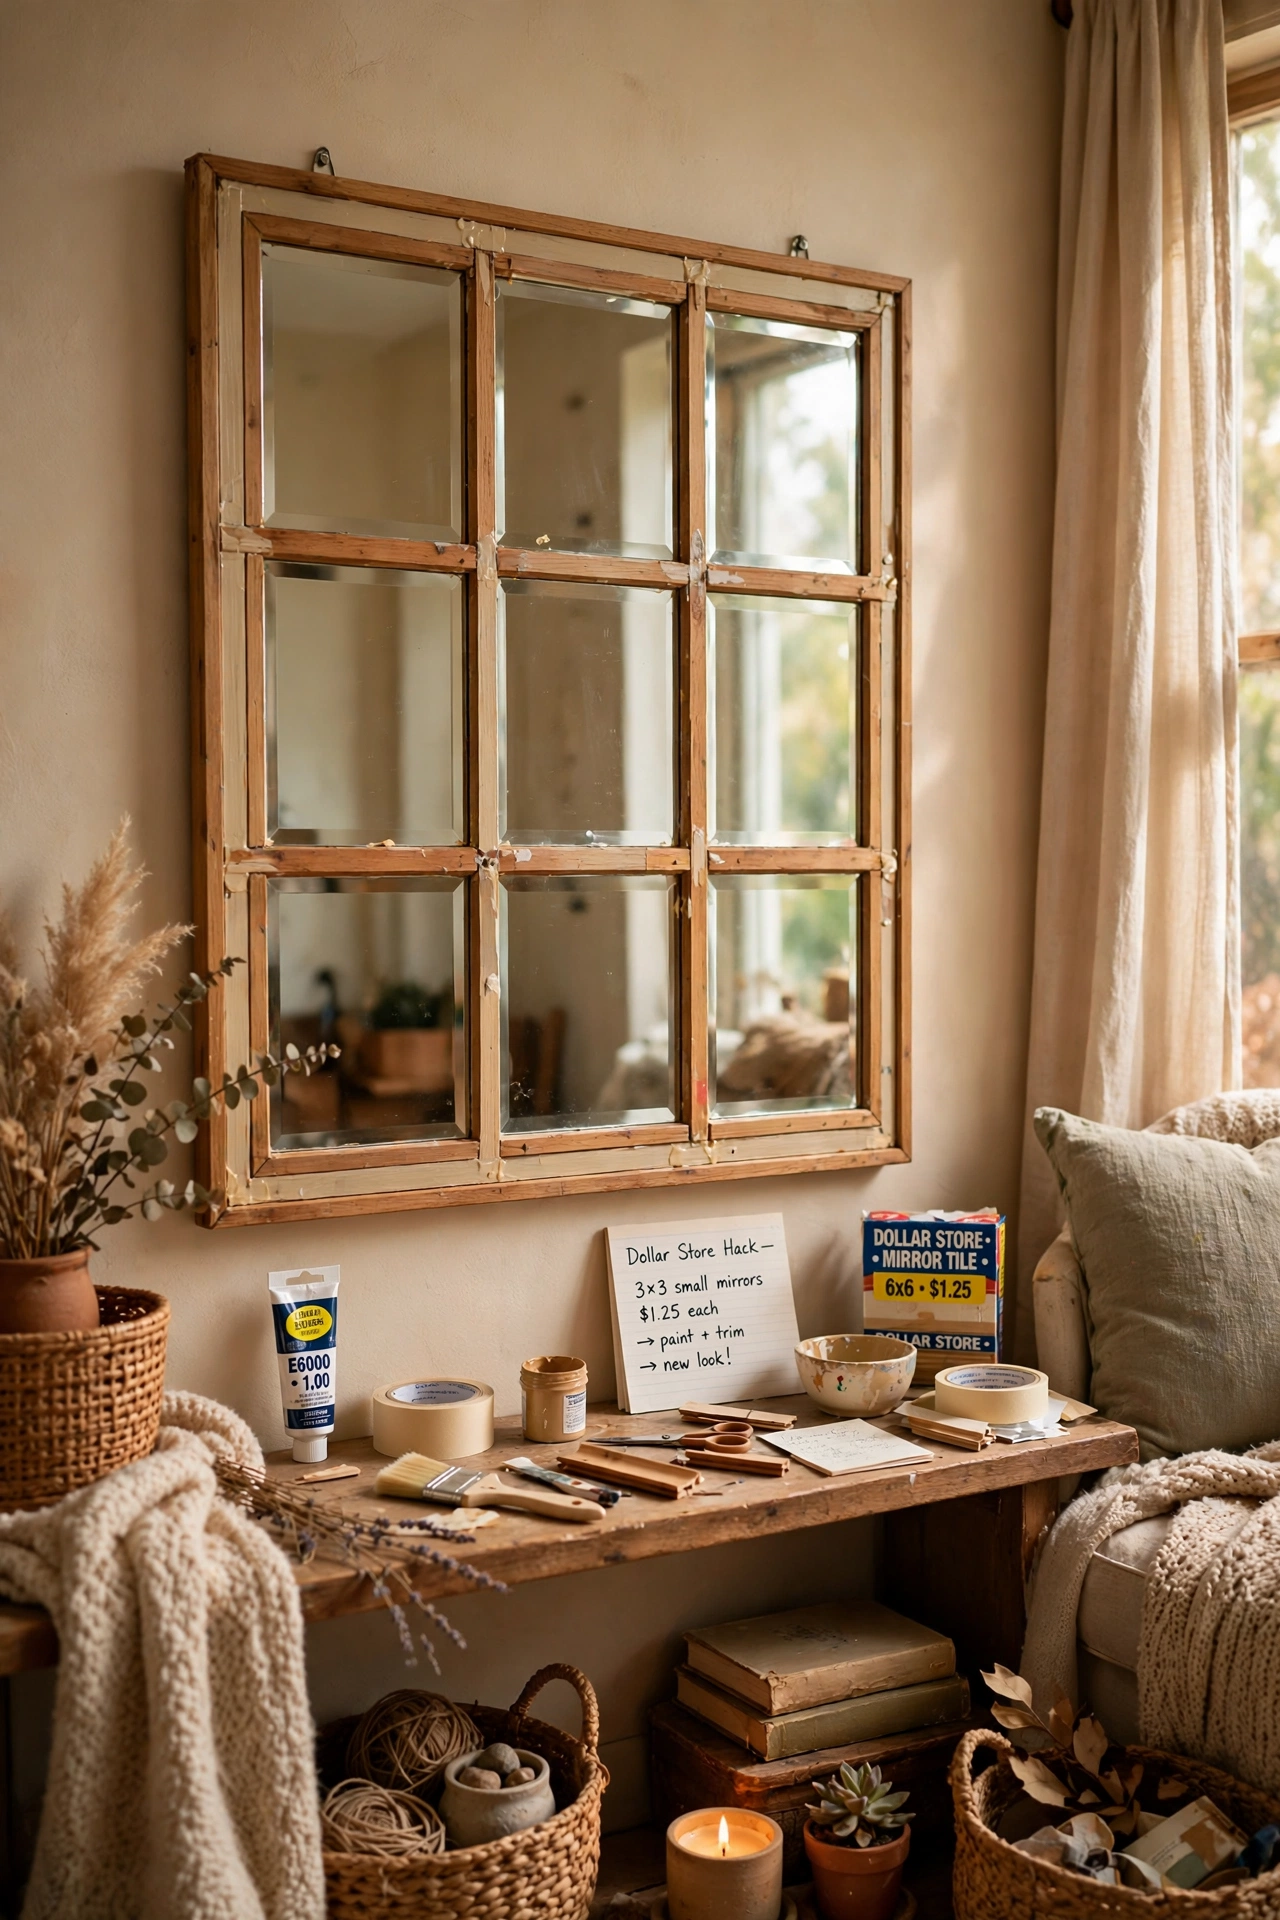
Those small square mirrors from the dollar store look plain on their own, but grouped in a grid of four or six they read like one big designer piece. I glued mine onto a foam board, spray-painted the frames matte black, and hung the whole panel over our console. Measure your wall first so the grid fits with room to breathe around it. The seams disappear once the frames are painted the same color. Guests assume it cost ten times what it did, and I never correct them.
Cost: ~$12 | Time: 60 minutes
2. Spray-Painted Ceramic Vases
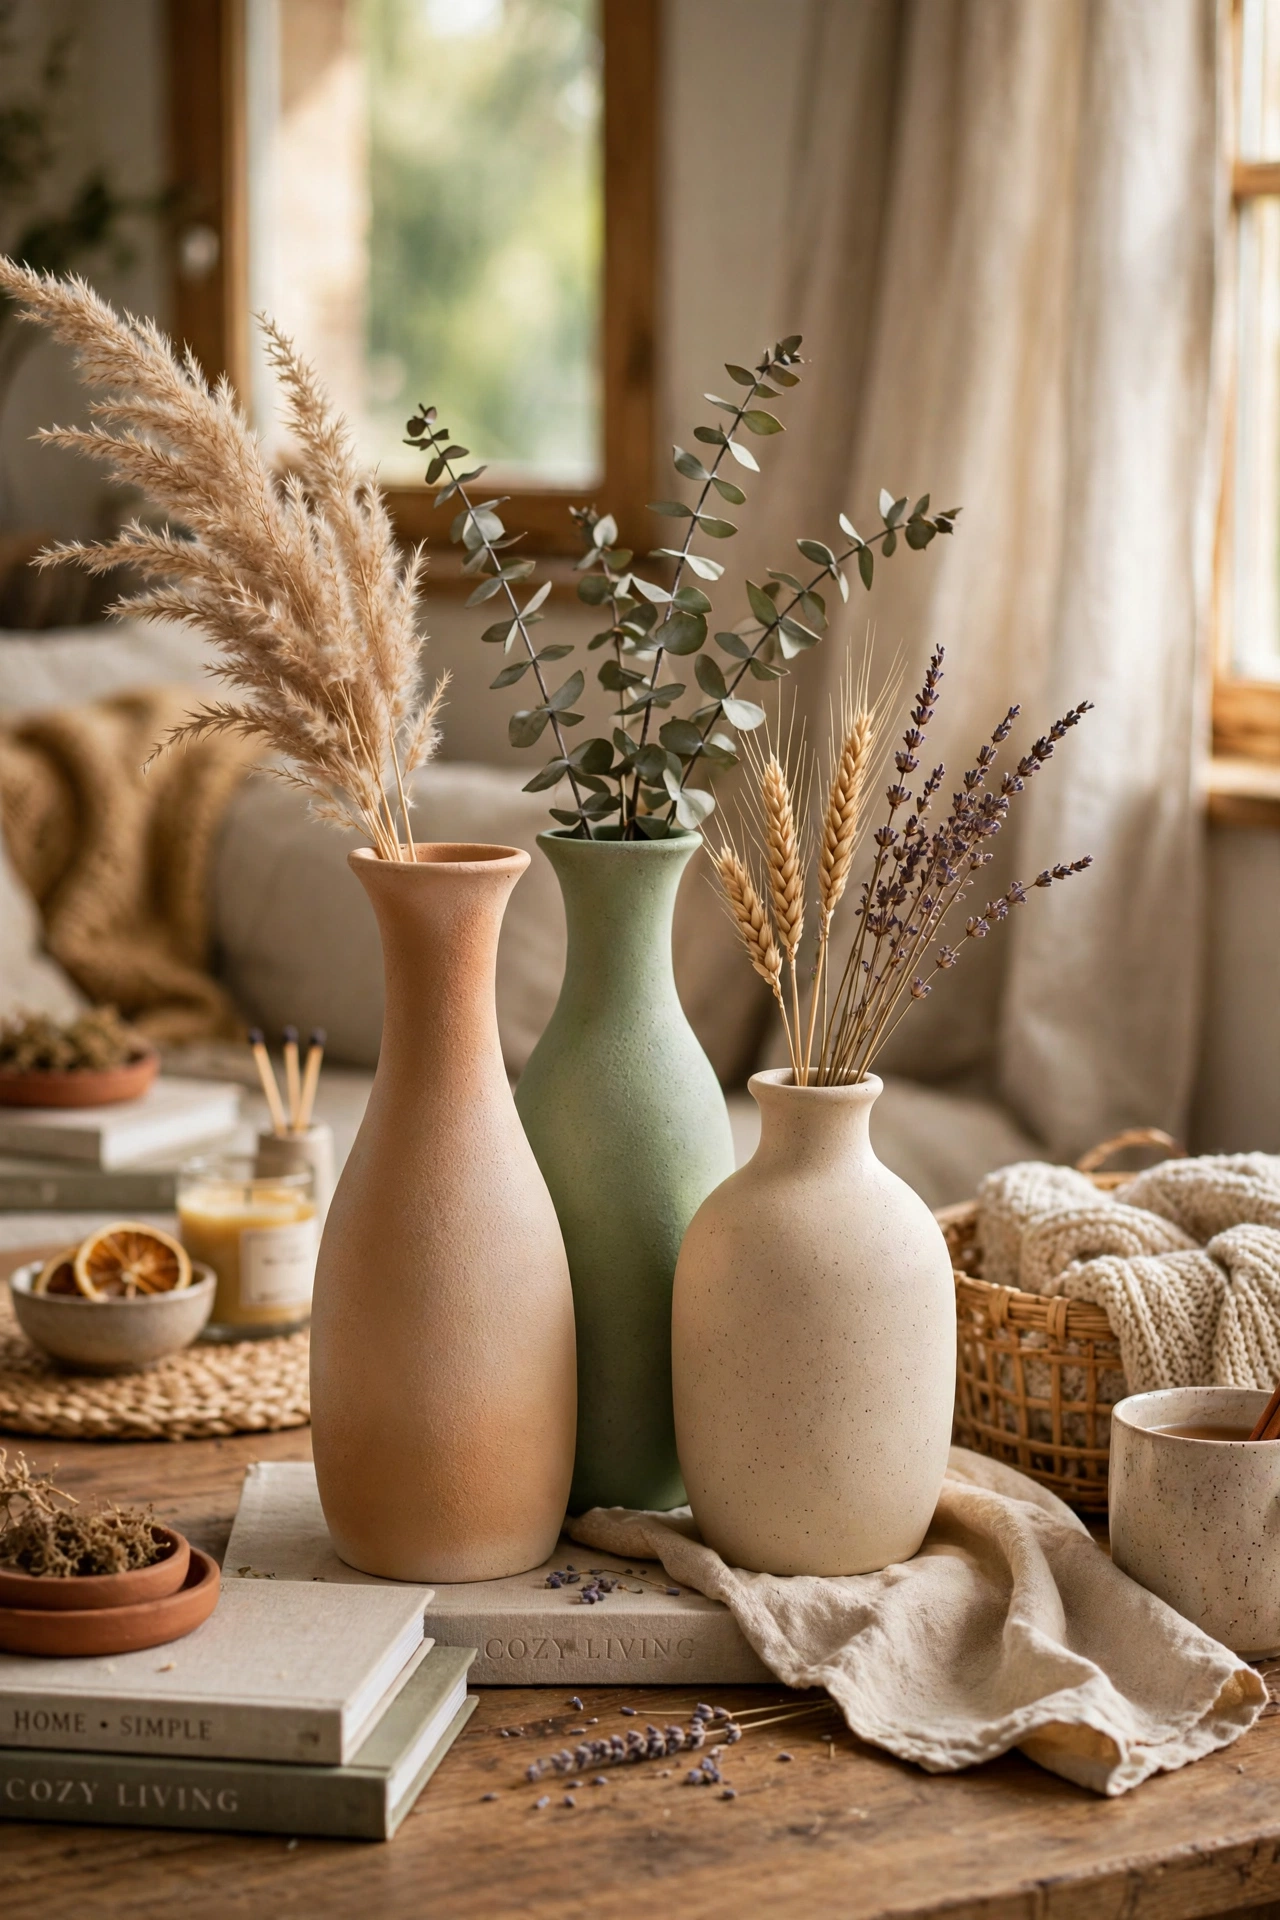
Plain white ceramic vases from the dollar store take spray paint beautifully, and one afternoon of painting can stock your whole entryway. I did three vases in a stone-textured spray and grouped them on the console with a few faux stems. Clean the vase, prime it lightly, then use thin coats so the paint does not drip. Let each coat dry fully, which tests my patience every time. The result looks like something from a boutique, not a bargain bin. My only regret is waiting so long to try it, since the whole thing cost less than a takeaway dinner.
Cost: ~$8 | Time: 40 minutes
3. Faux Eucalyptus in a Thrifted Pitcher
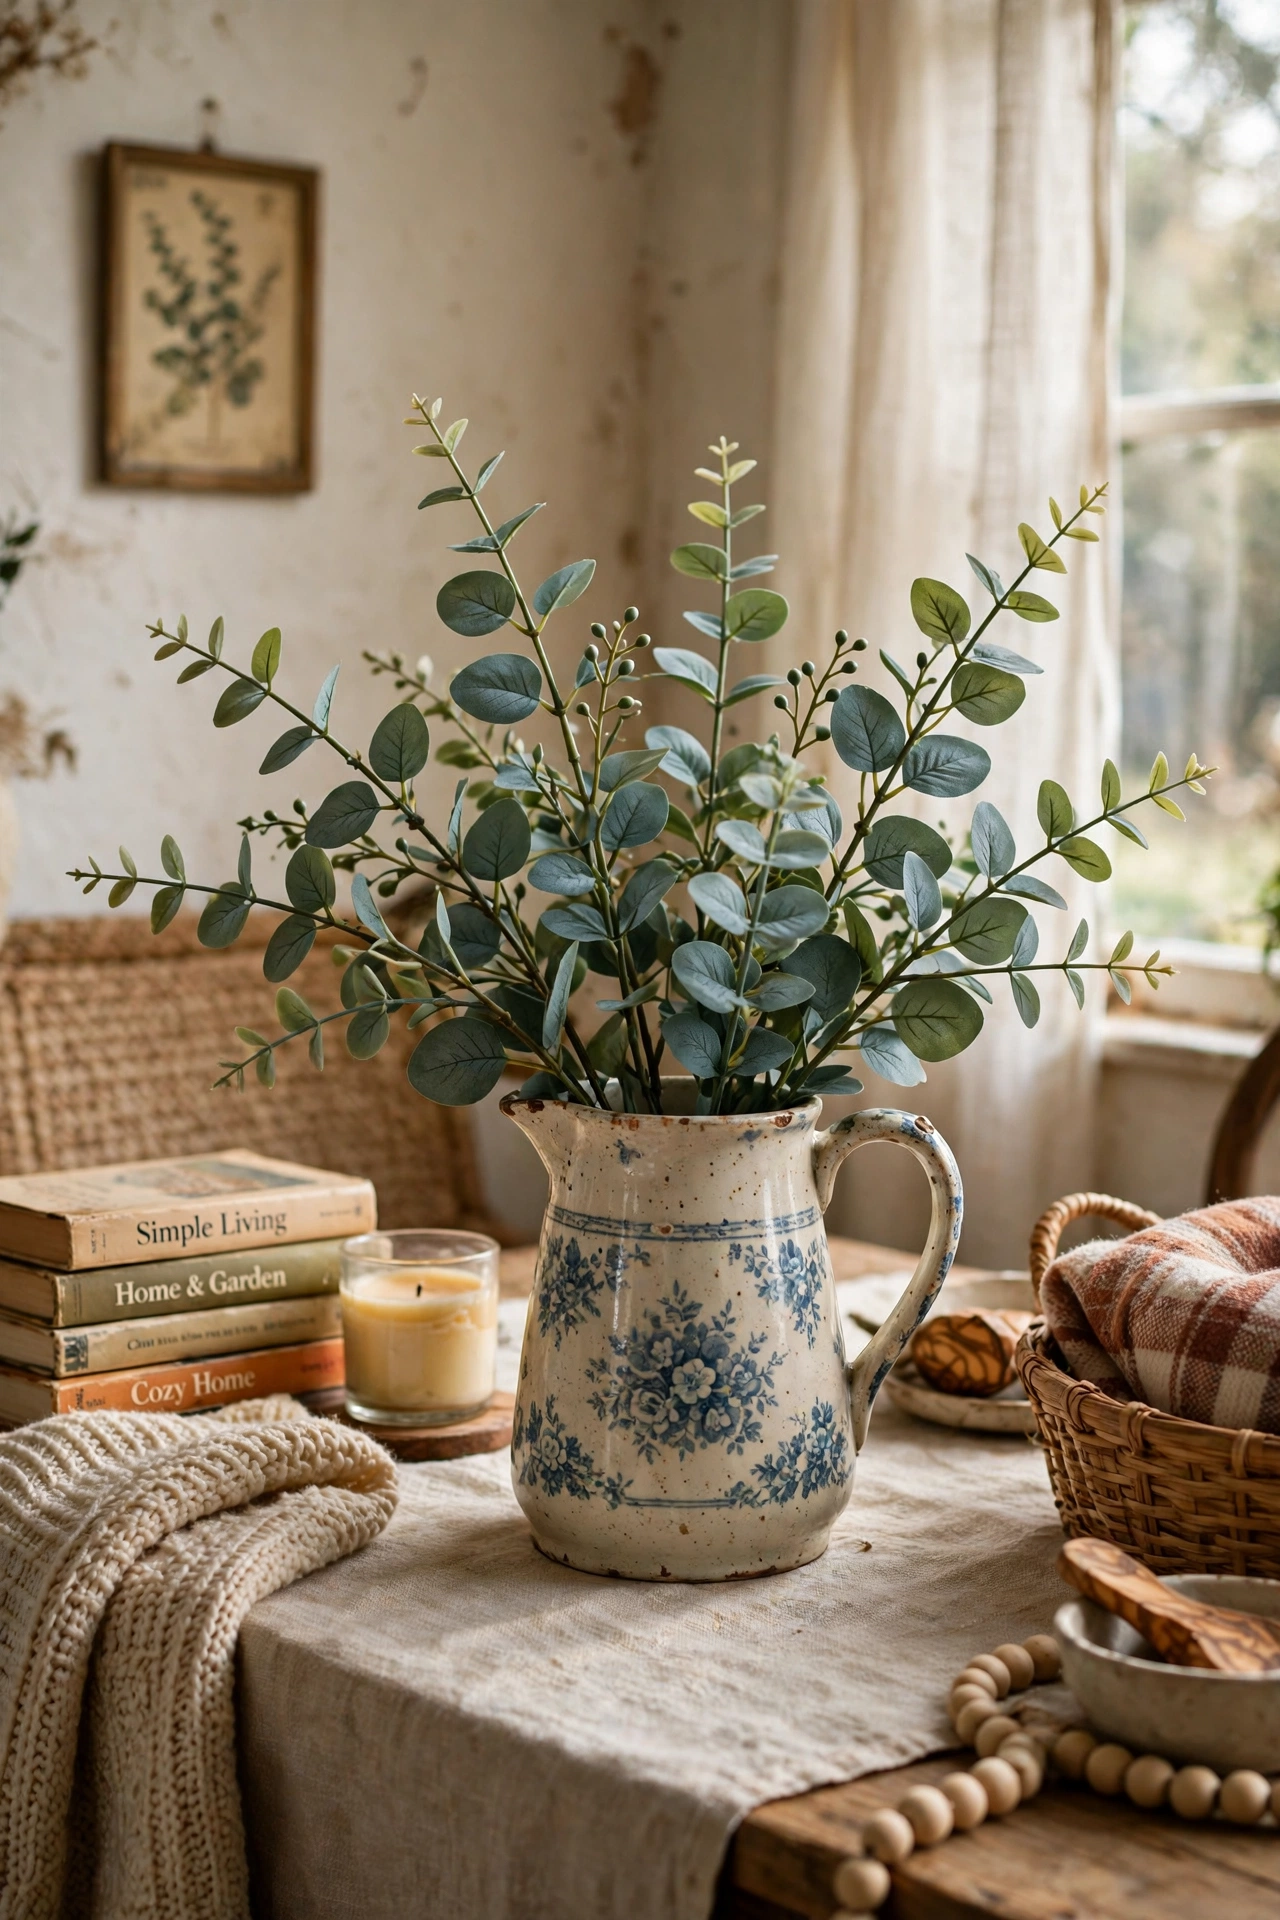
A bunch of dollar store faux eucalyptus in a tall pitcher gives you greenery that never wilts and never needs watering. I found a cream ceramic pitcher at a thrift shop for two dollars and it anchors our whole entry table. Trim the stems at different heights so the bunch looks natural, and bend a few outward. If the stems look too shiny, a light dusting of matte spray takes the plastic sheen off. It has survived three years and two moves so far. The trick is not to overthink it; the first attempt does not have to be perfect to look good.
Cost: ~$7 | Time: 15 minutes
4. Peel-and-Stick Tile Backsplash Accent
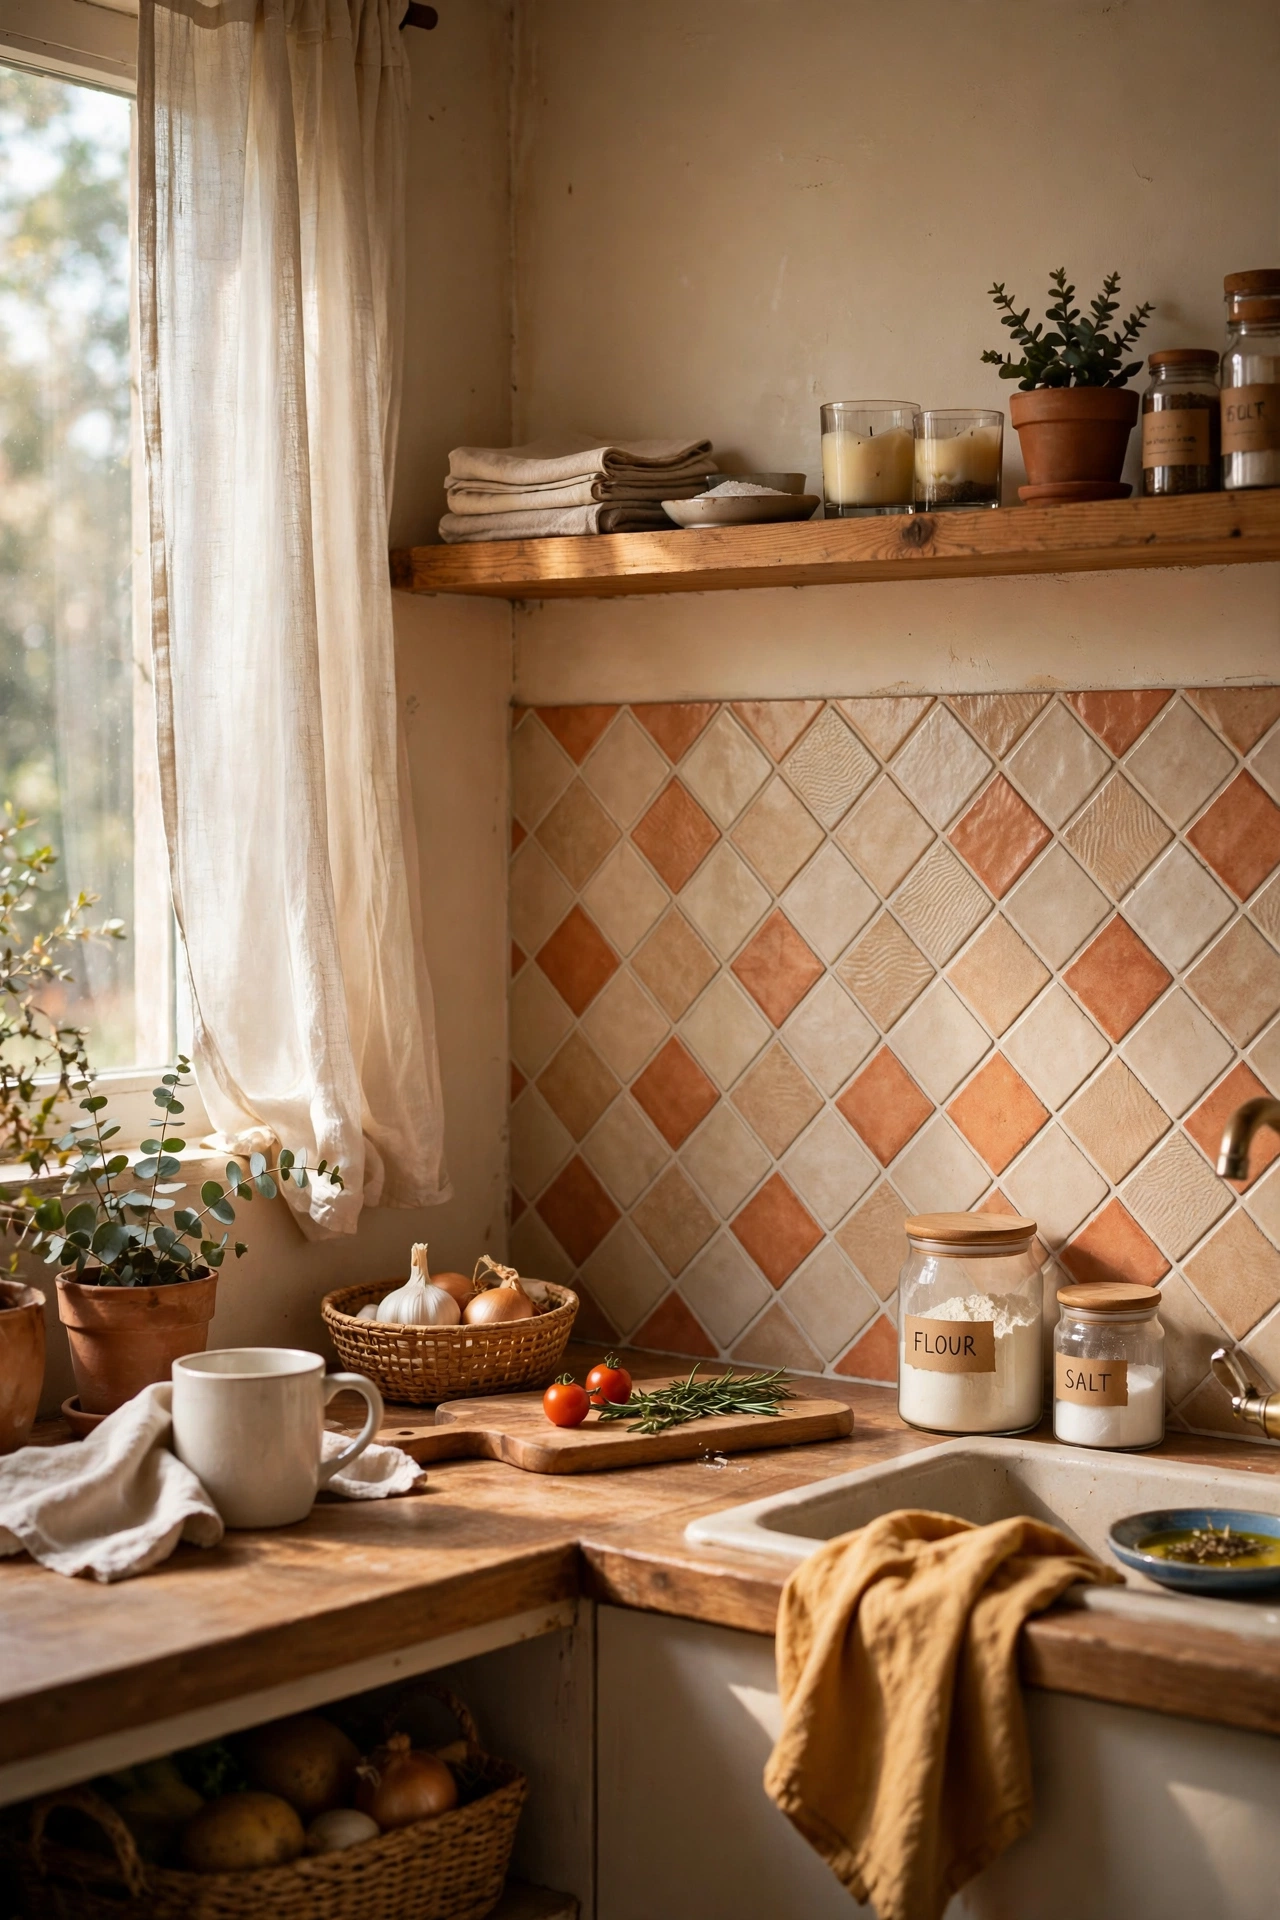
Peel-and-stick tiles are not just for kitchens. I ran a strip of marble-look tiles along the wall behind our console, and it gave the entryway a finished, intentional feel for almost nothing. Cut them with scissors, press firmly, and keep the pattern straight with a level on the first row. The adhesive holds well on smooth walls and peels off cleanly later. It is the closest thing to a renovation you can do in an afternoon with a pair of scissors. Do it on a Saturday morning while the coffee brews, and it will be done before lunch without eating the whole day.
Cost: ~$10 | Time: 45 minutes
5. Dollar Store Basket Wall Storage
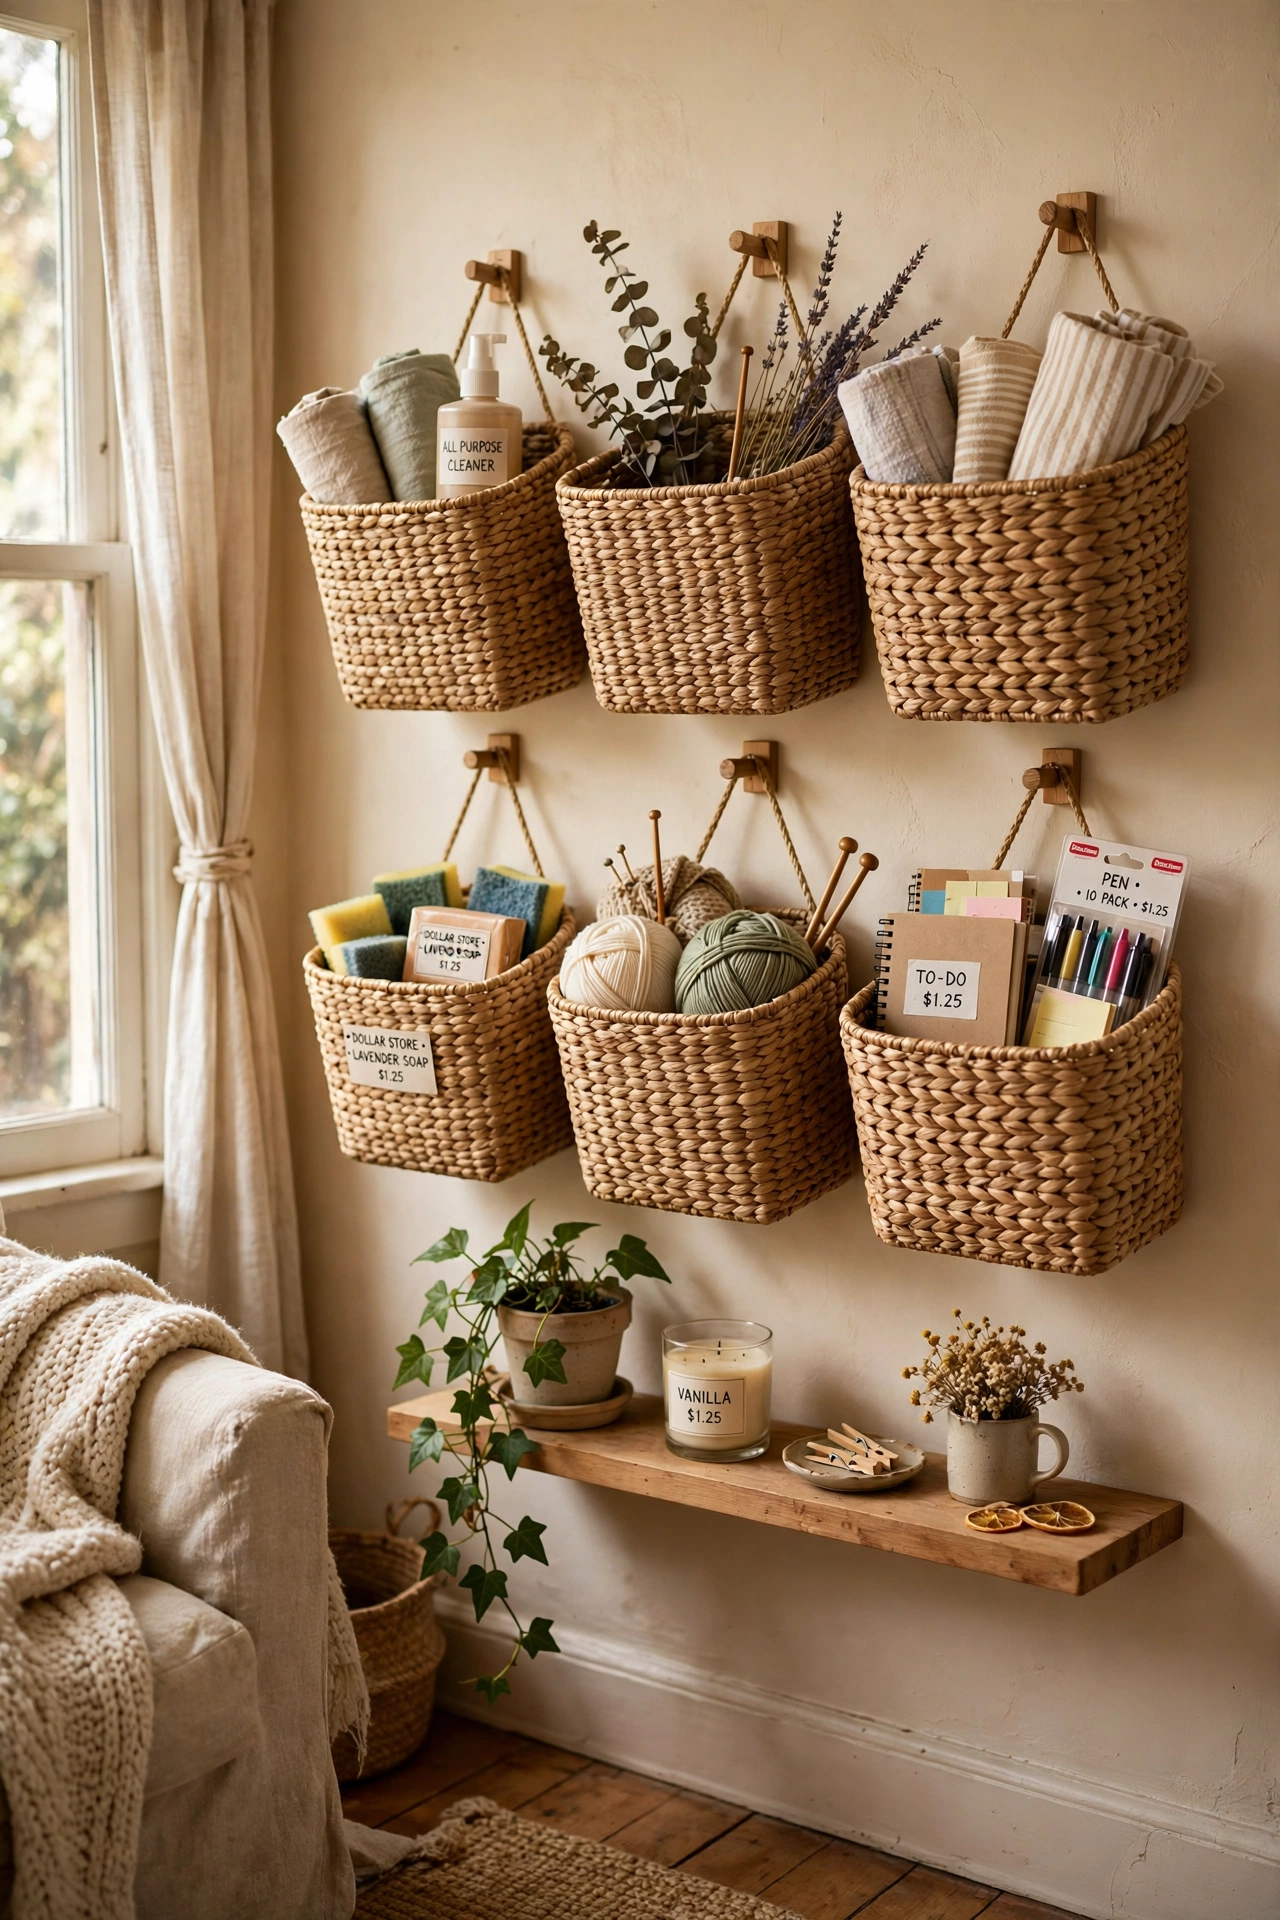
Flat-bottomed baskets hung on the wall hold scarves, hats, and dog leashes without taking a single inch of floor. I mounted three woven baskets in a row by our door using picture-hanging hooks, and the clutter that used to live on the console vanished. Pick baskets with a flat back so they sit flush, and label nothing, because the contents are obvious. When a basket gets shabby, replacing it costs a dollar, which is a freedom expensive storage never gives you. It sounds small, but coming home to a tidy, welcoming entry genuinely changes how the rest of the evening feels.
Cost: ~$6 | Time: 20 minutes
6. DIY Chalkboard Key Holder
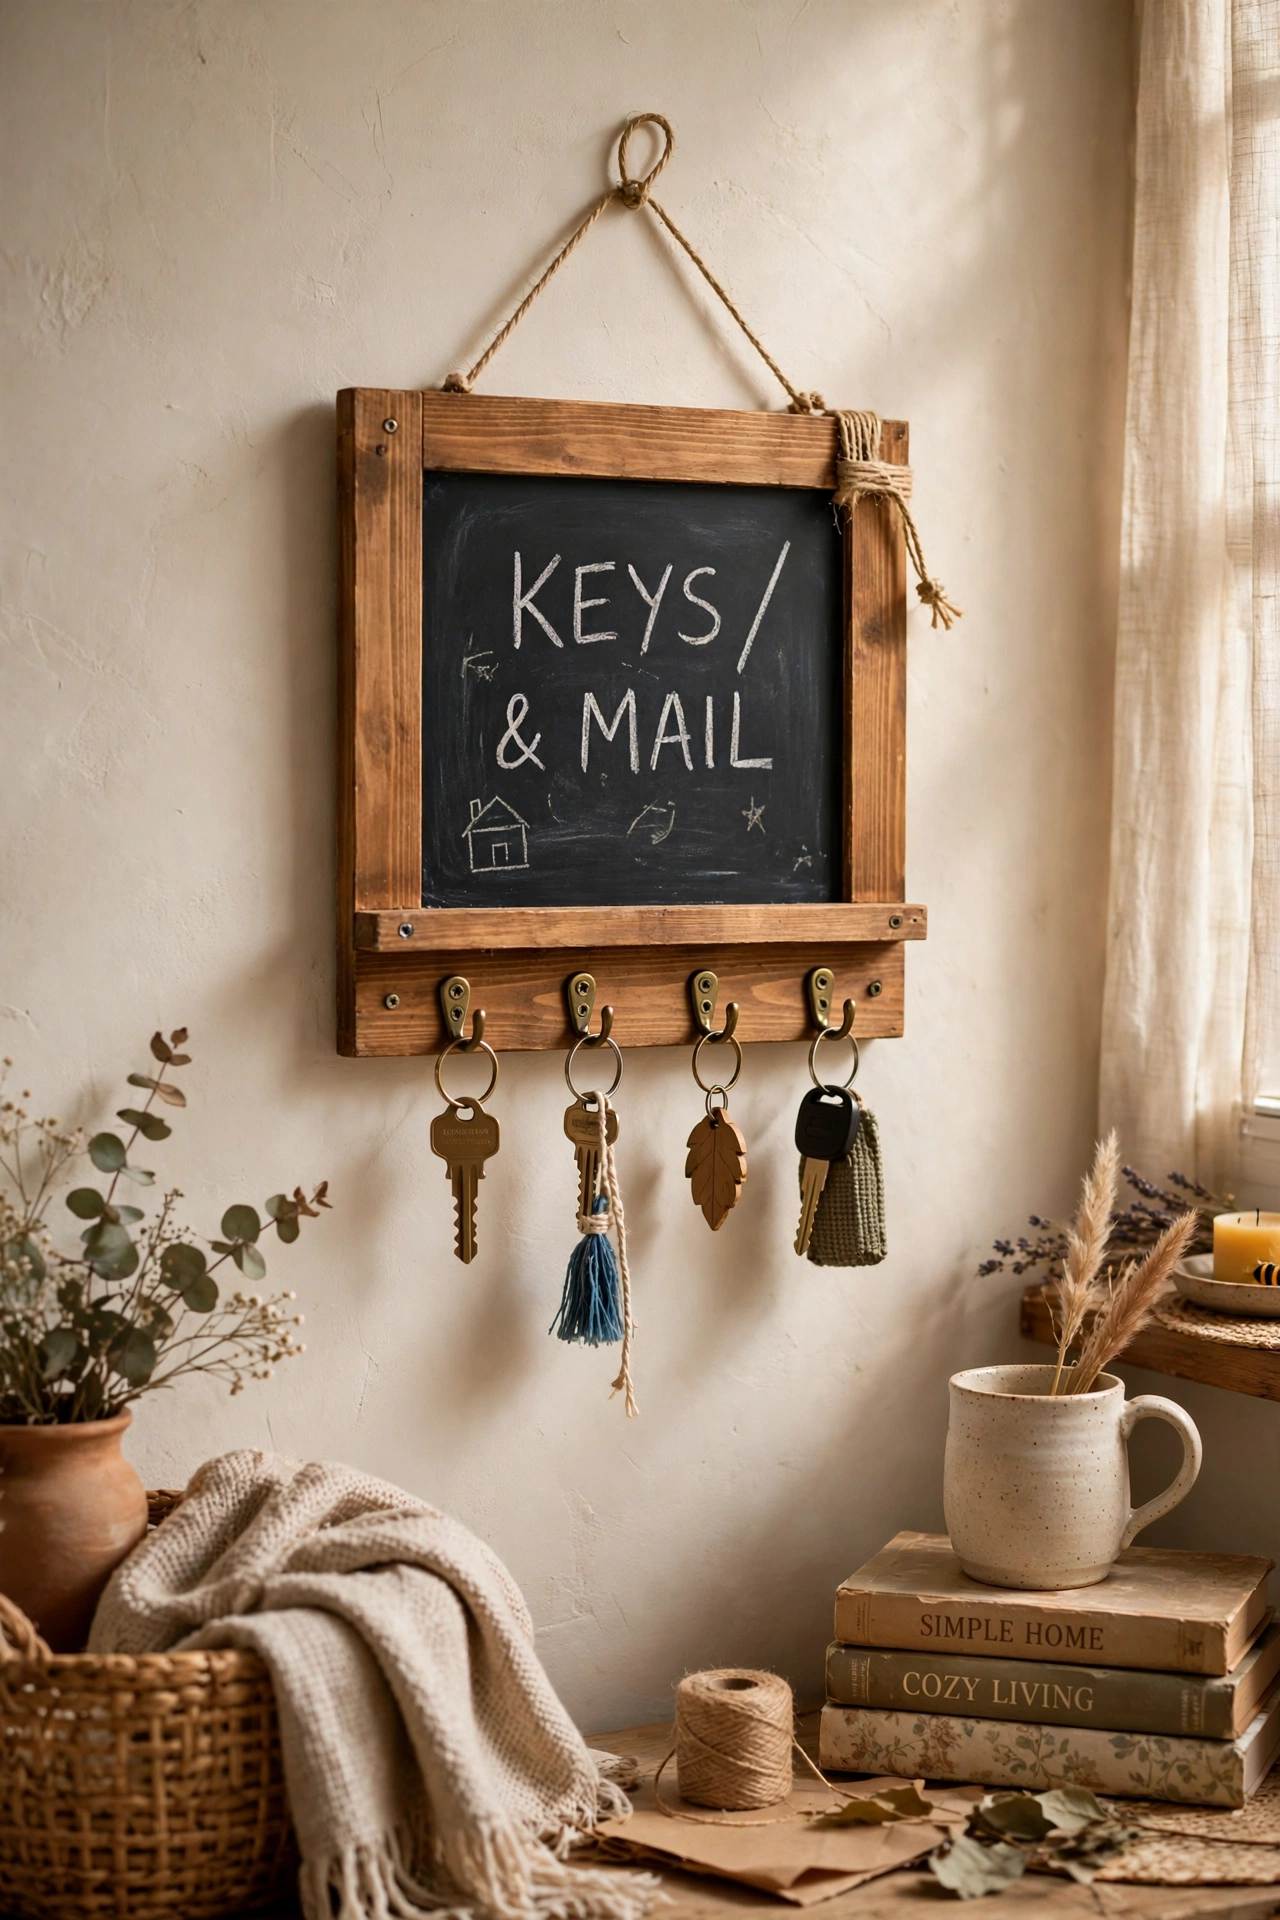
A small chalkboard with hooks screwed into the bottom edge is a key holder and a message board in one. I made ours from a dollar store frame, chalkboard paint, and four cup hooks, and it hangs right where we walk in. Write the week’s reminders on it, hang keys below, and never lose either again. The chalk dust wipes off with a damp cloth, and swapping the message takes ten seconds. My kids leave notes on it now, which was not the plan but is the best part.
Cost: ~$9 | Time: 50 minutes
7. Gold Spray-Painted Picture Frames
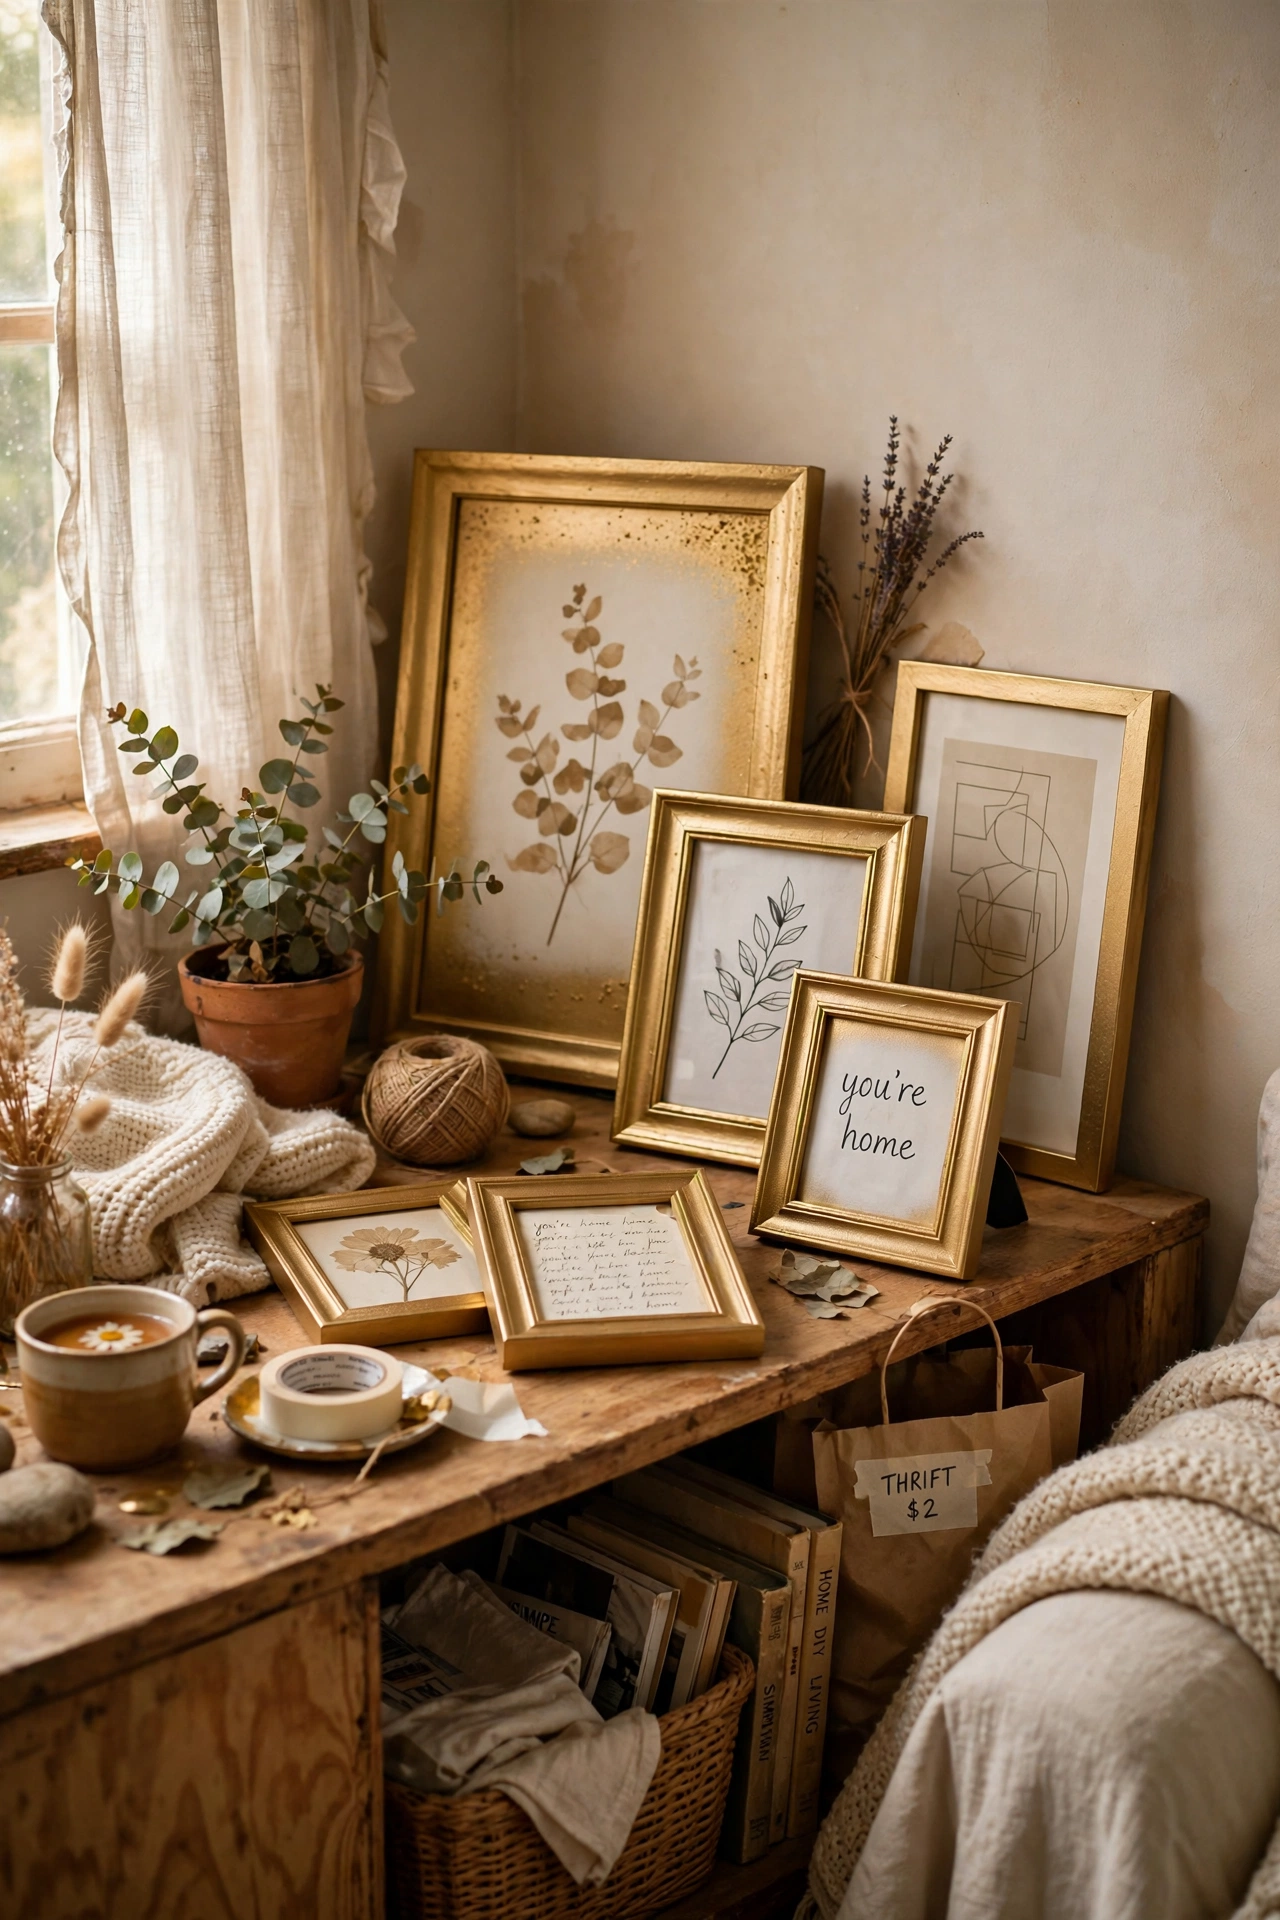
Plain black dollar frames turn gold with two coats of metallic spray paint, and gold frames instantly make hallway art look deliberate. I painted six frames, printed black-and-white photos at home, and hung them in a straight row down our entry wall. Keep the spray light and even, and paint outside or in the garage. The frames look like they came from a home store, and the whole wall cost less than one framed print from a shop. I did this with the kids helping, and their slightly crooked contribution is still my favorite part of it.
Cost: ~$14 | Time: 60 minutes
8. Faux Marble Contact Paper Console Top
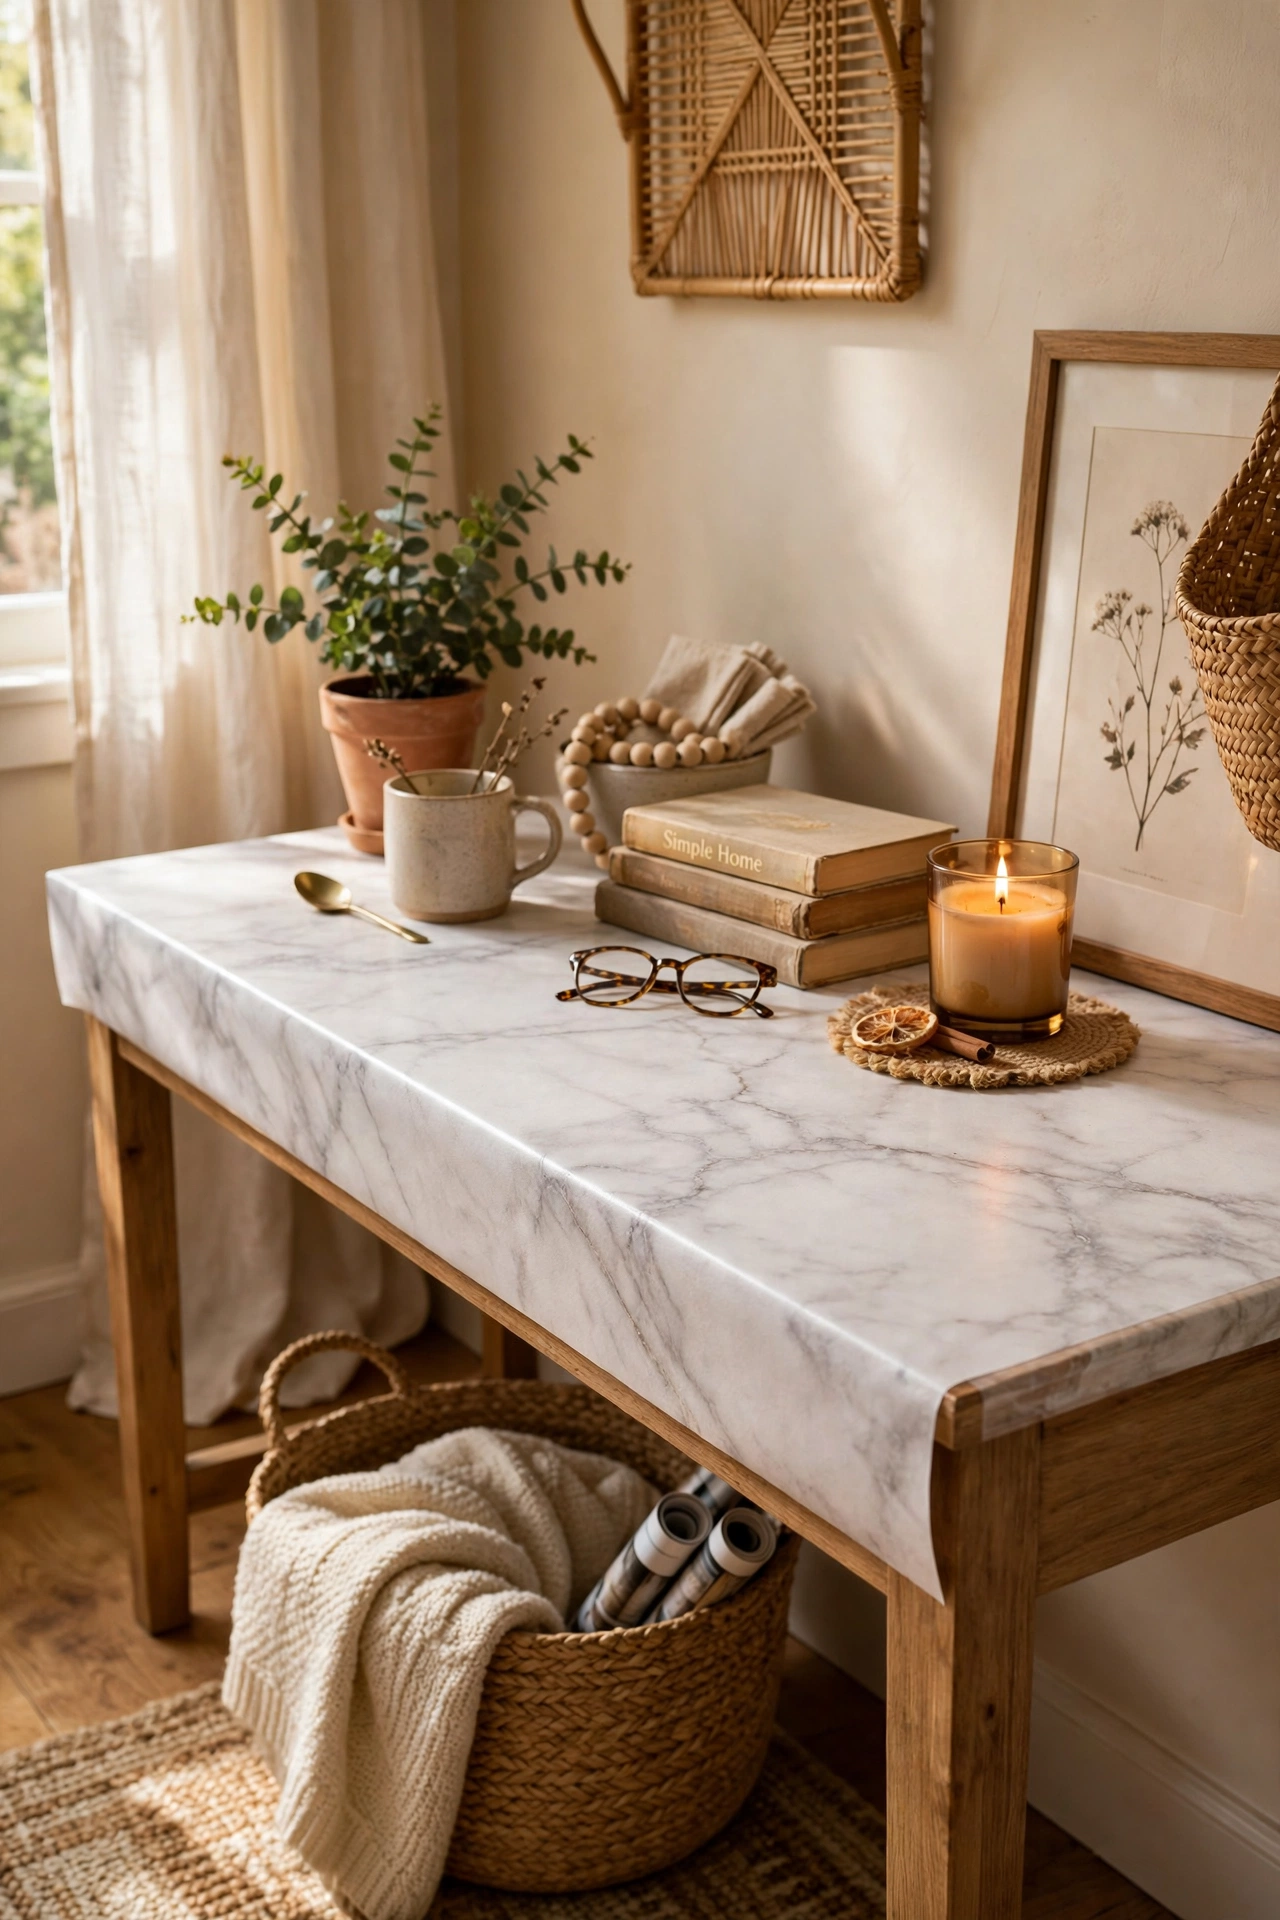
If your console table has seen better days, faux marble contact paper gives it a new top for the price of a coffee. I wrapped our scratched console top in one afternoon, smoothing out bubbles with a credit card as I went. Cut the paper an inch larger than the top, fold the edges under, and trim the corners neatly. It wipes clean and has held up for over a year. Nobody has guessed it is contact paper, and I only tell people because I am proud of it.
Cost: ~$6 | Time: 30 minutes
9. Dollar Store Candle Lanterns
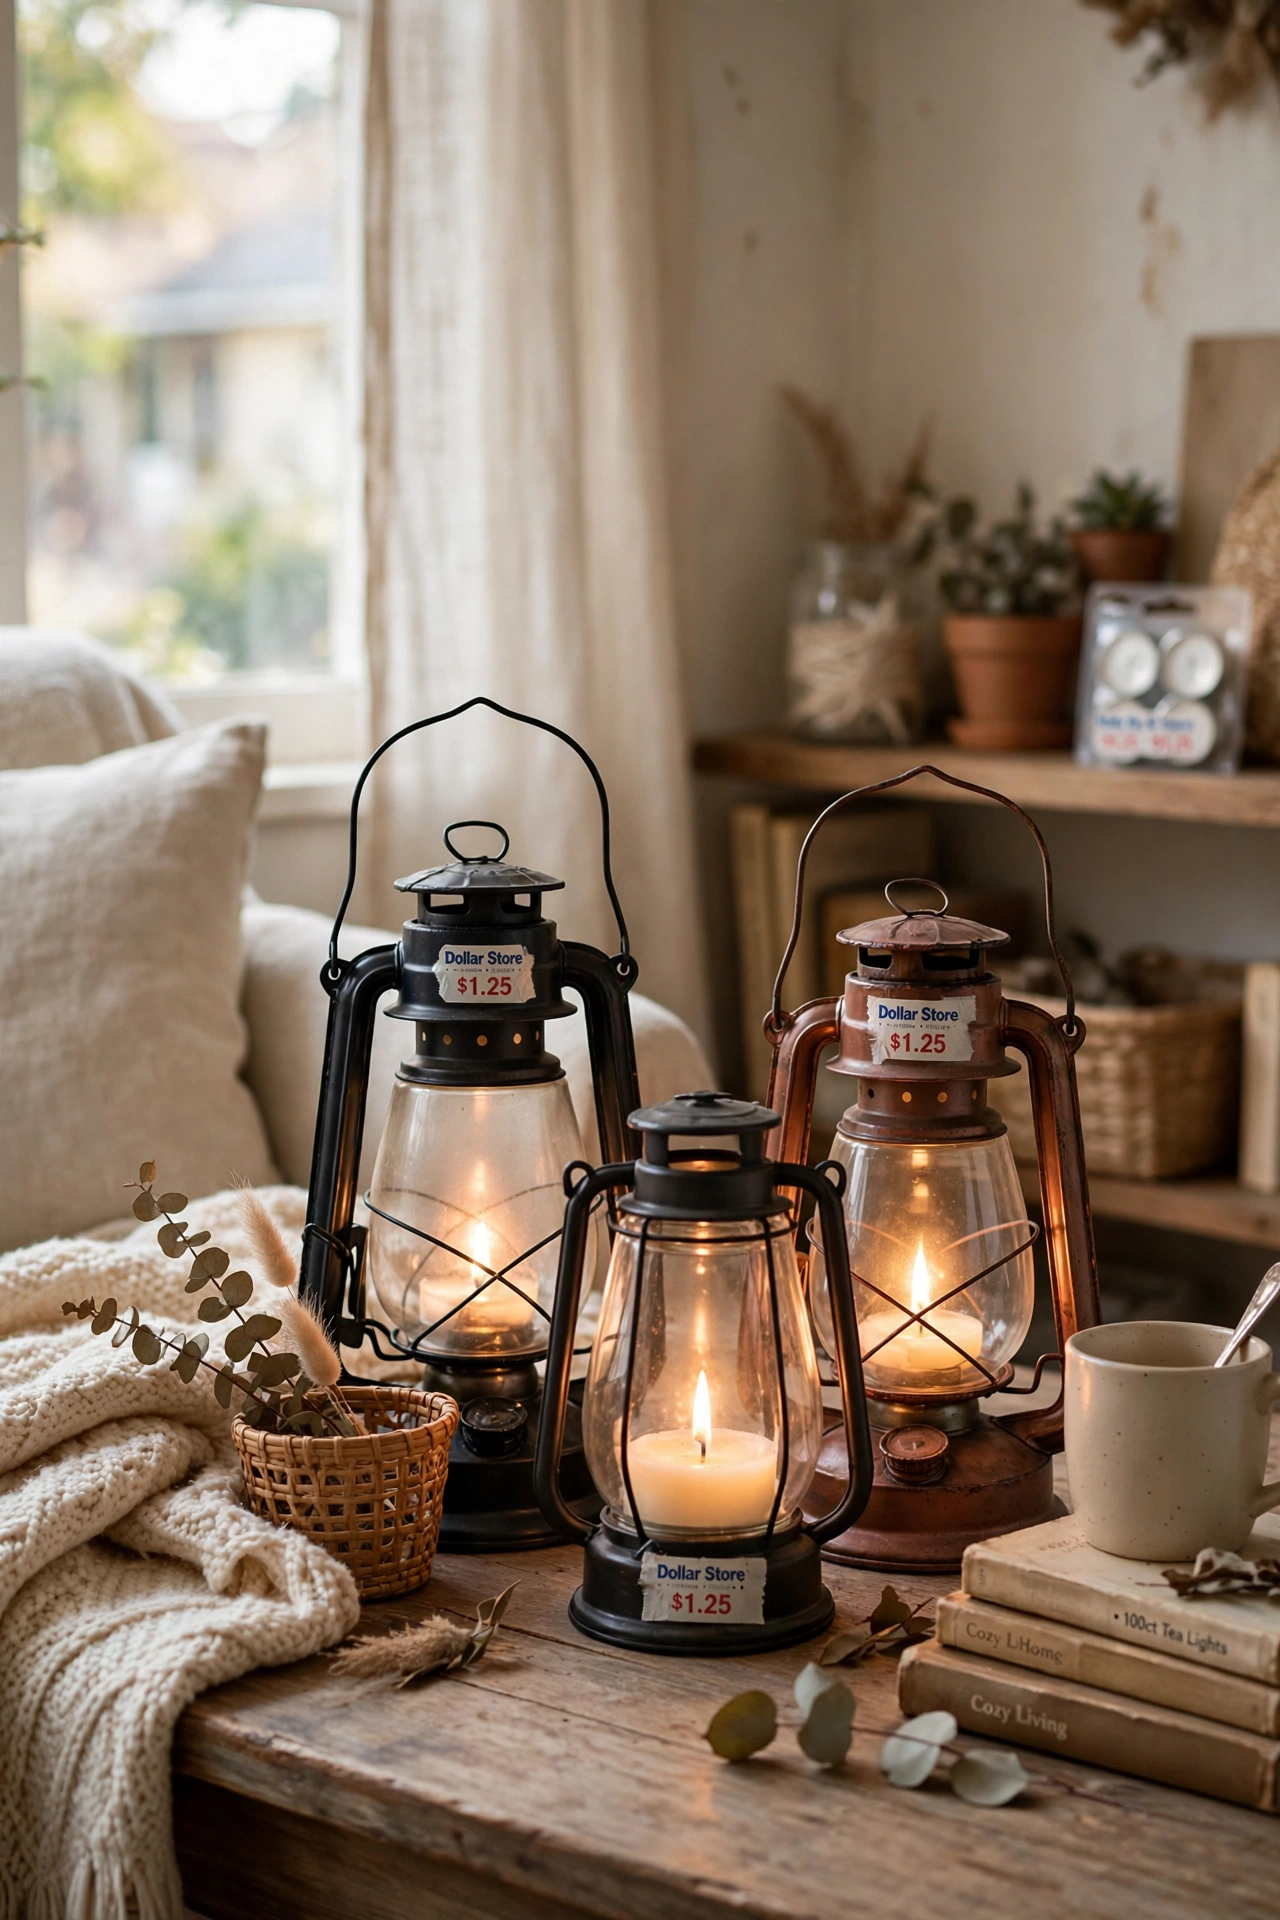
Glass lanterns from the dollar store look far more expensive once you add a pillar candle and set them on the floor by the door. I keep two flanking our console, and in the evening with the candles lit, the entryway glows like a much fancier house. Use battery candles if you worry about open flames near coats and bags. Wipe the glass now and then, because fingerprints show. This is my favorite five-minute upgrade in the entire house. I tried a fancier version first and came back to this simple one, because simple is what actually holds up.
Cost: ~$8 | Time: 10 minutes
10. Woven Seagrass Basket for Umbrellas
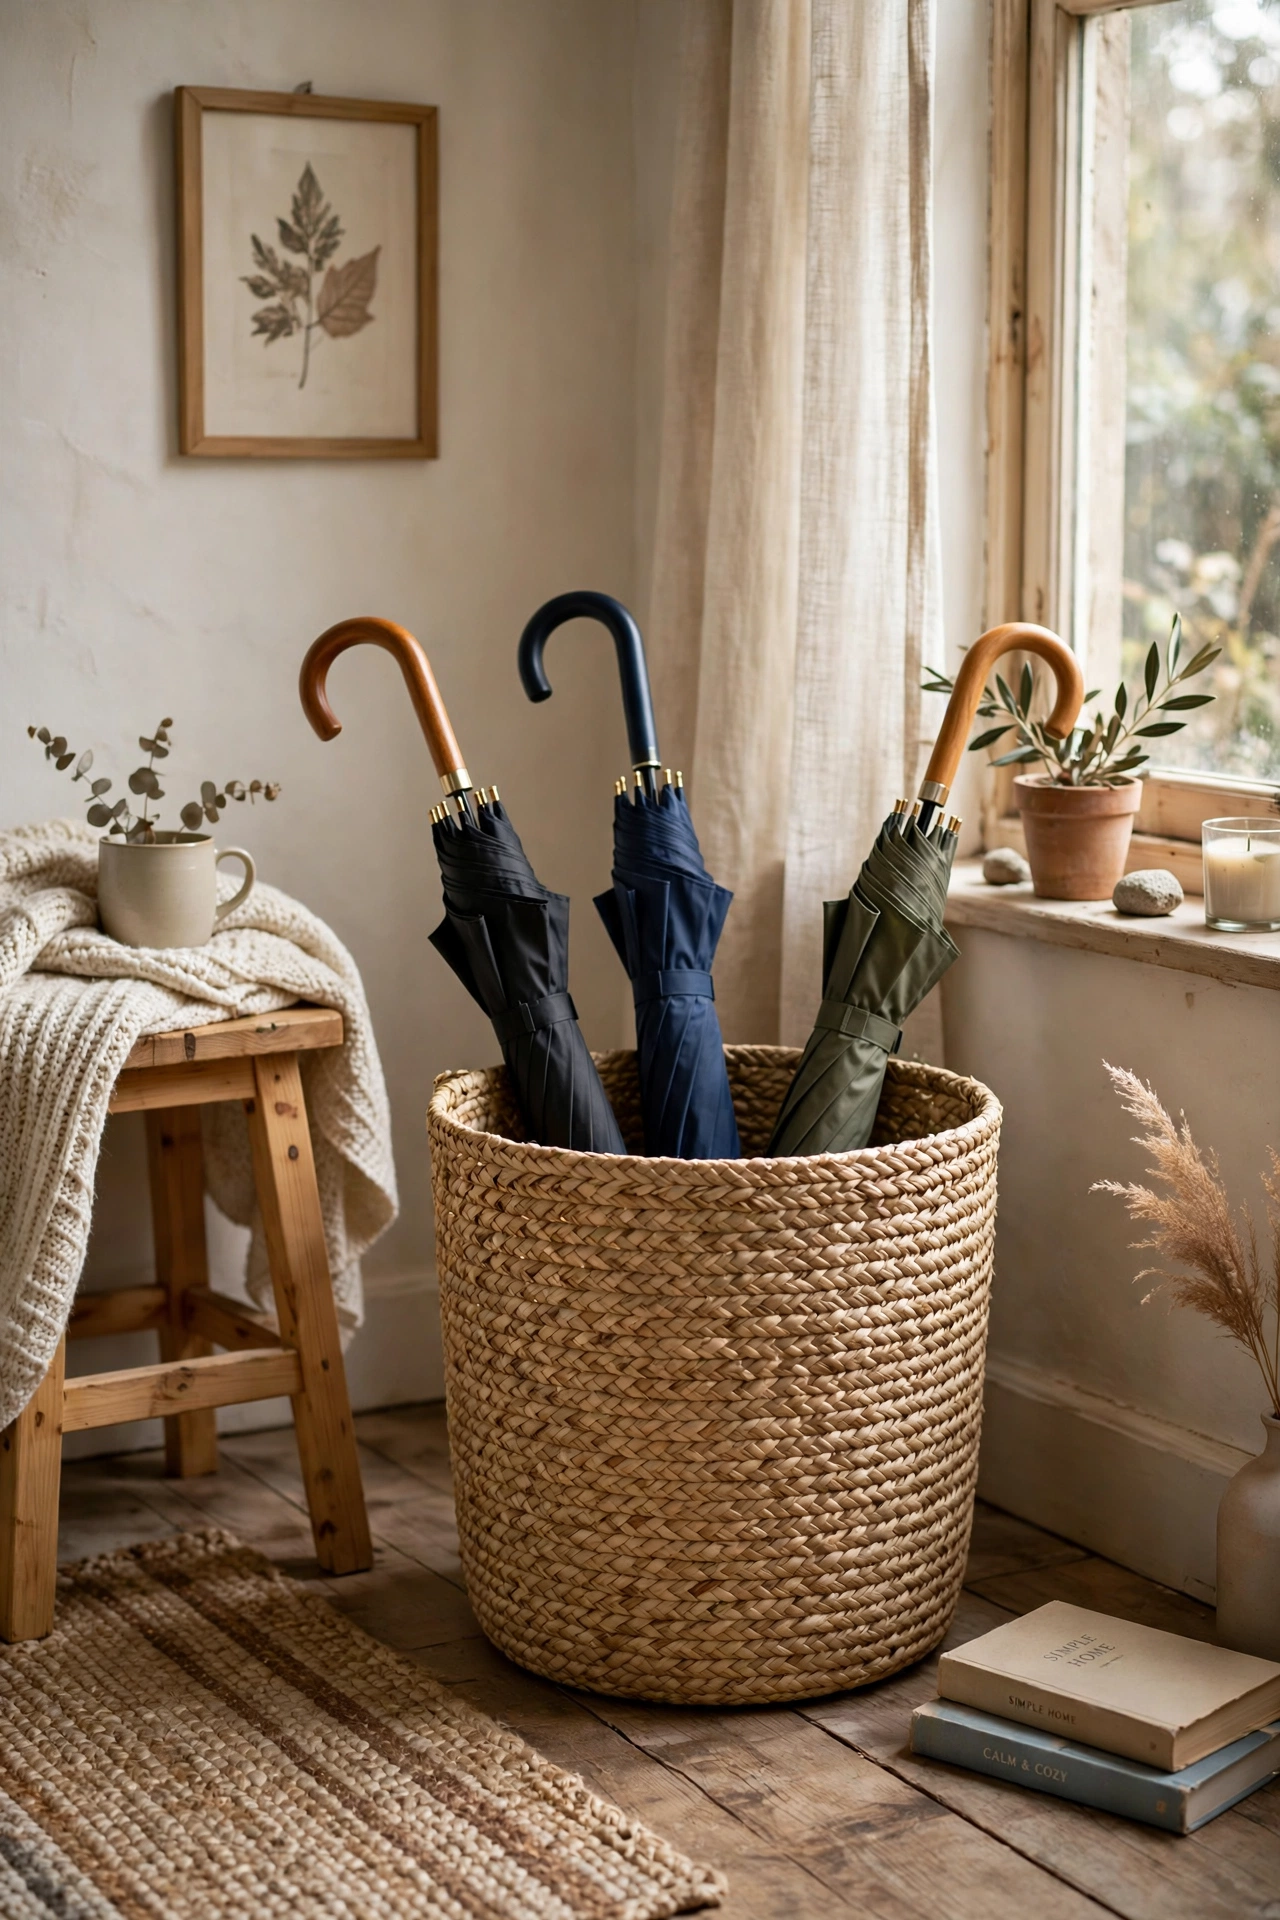
A tall seagrass basket by the door holds umbrellas, walking sticks, and rolled-up reusable bags without looking like storage at all. I tucked a plastic tray inside the bottom to catch drips, which keeps the basket from getting musty. Pick one tall enough that umbrellas do not tip out, and put it on the side of the door that does not swing. It replaced an ugly umbrella stand that cost ten times more and looked worse. I was skeptical until I saw it finished, and now I recommend it to anyone who complains about their entryway.
Cost: ~$5 | Time: 10 minutes
11. DIY Welcome Sign From a Wood Plank
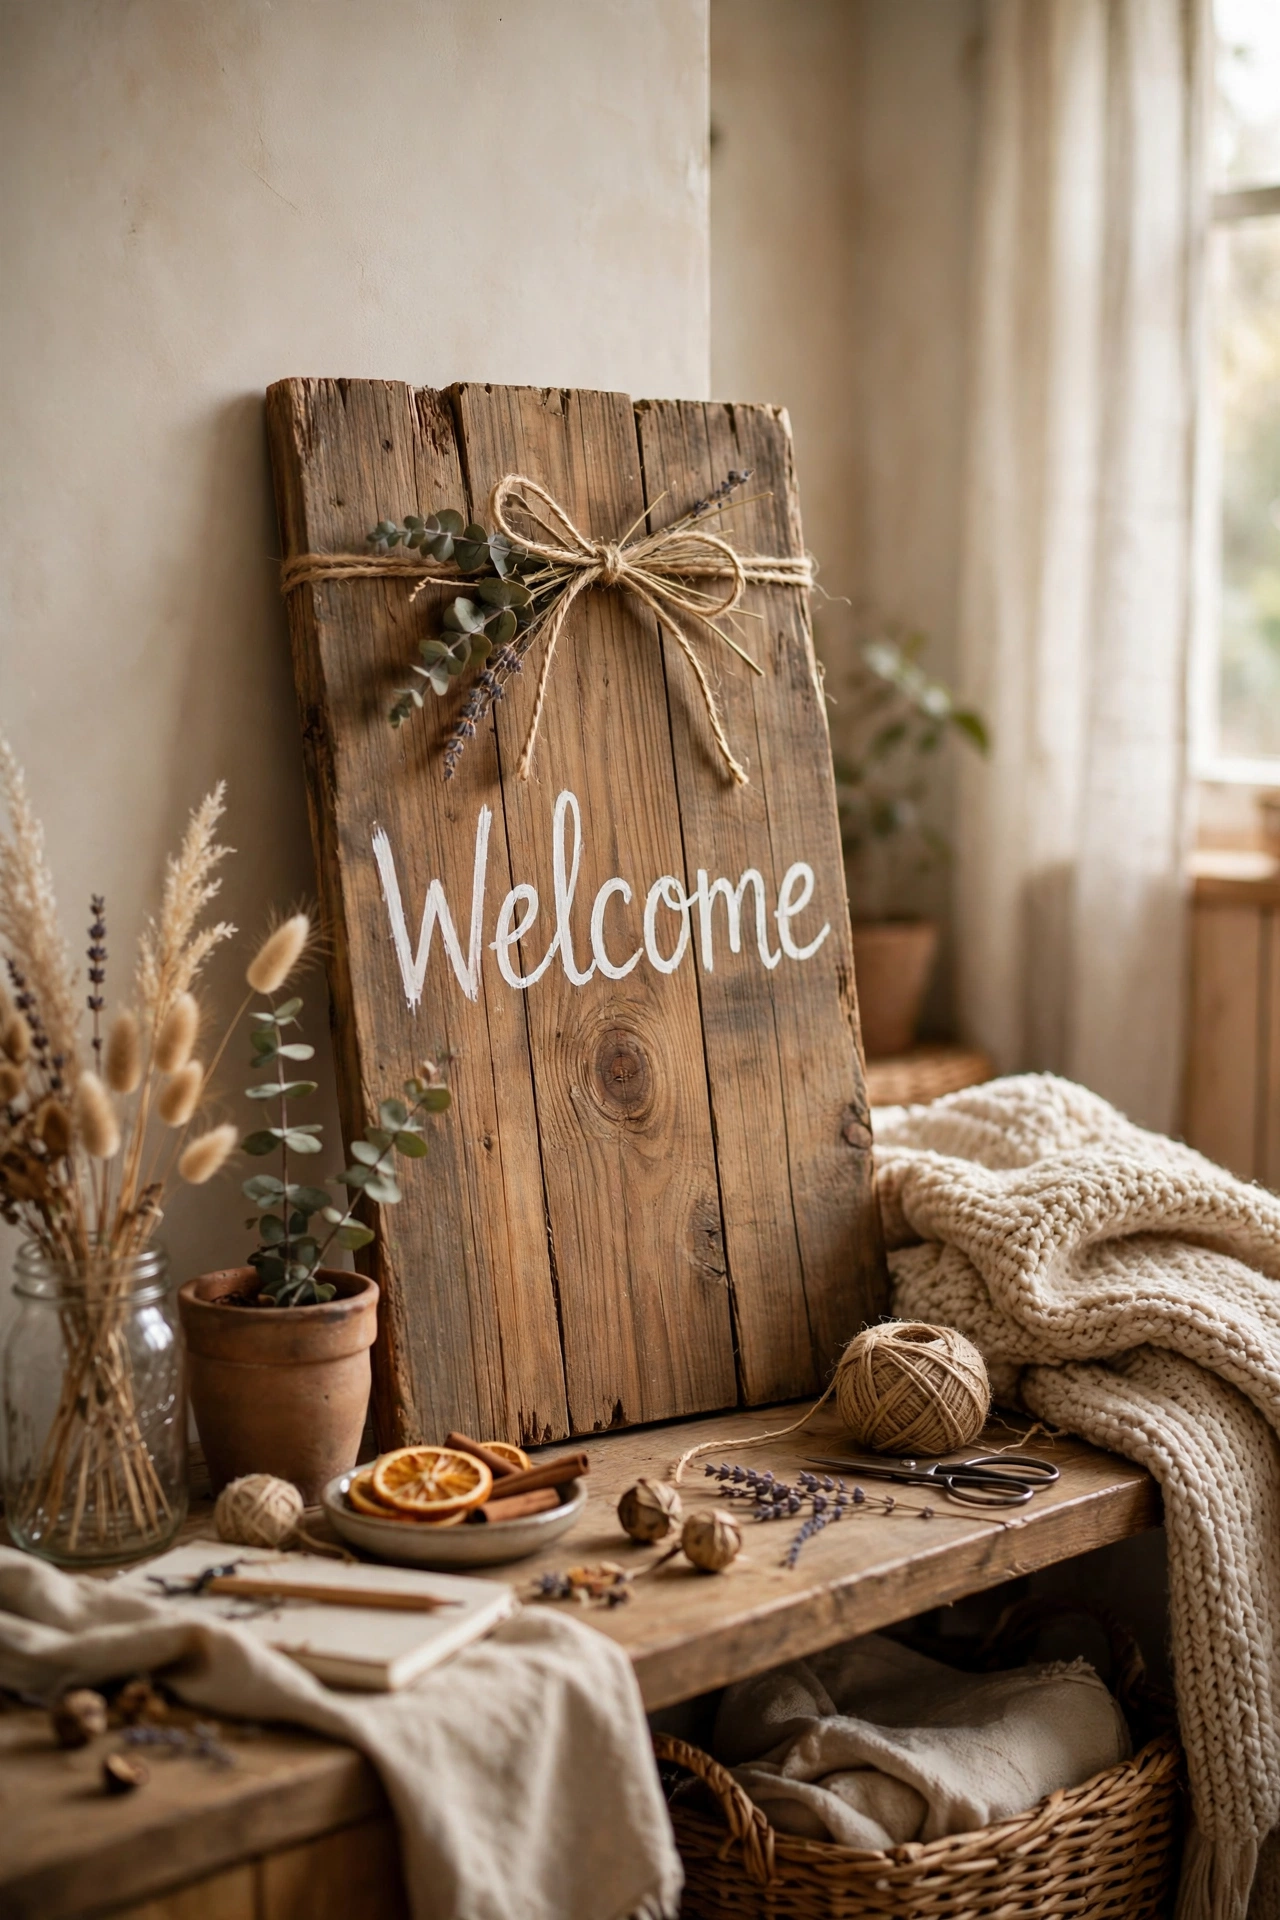
A plain wood plank, some stencils, and white paint make a welcome sign that looks handmade in the good way. I sanded a plank from the craft aisle, stenciled “welcome” in big letters, and leaned it against the wall by the door. Distress the edges lightly with sandpaper for a farmhouse feel. Lean it rather than hanging it so you can move it for holidays. Visitors read it and smile, which is exactly what a welcome sign should do. I still notice it every morning on my way out, and that is a rare thing for a project this small.
Cost: ~$7 | Time: 45 minutes
12. Faux Greenery Garland Over the Door
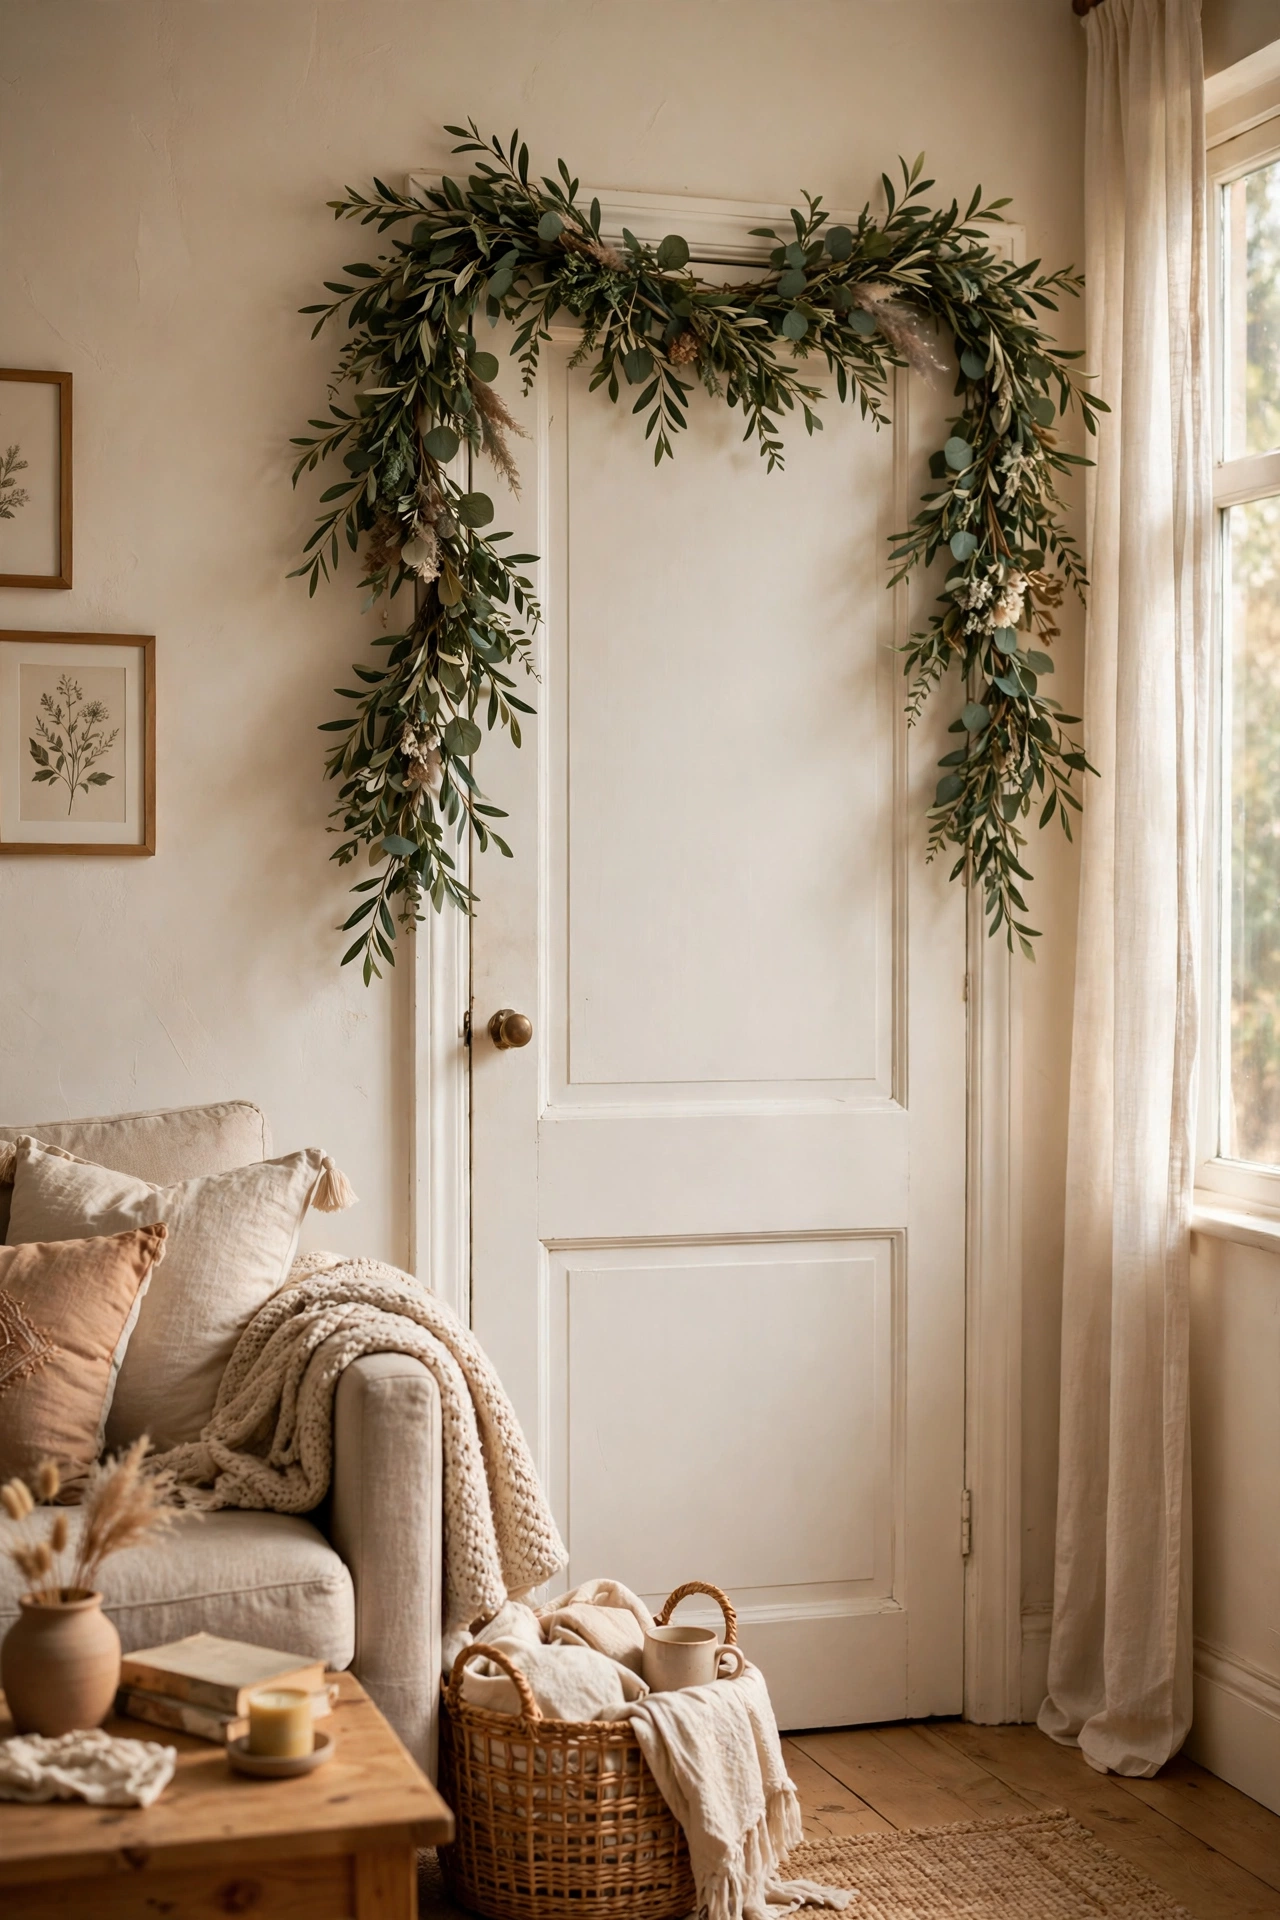
A faux greenery garland draped over the inside of the front door frame adds life to an entryway with zero maintenance. I bought two dollar store garlands, twisted them together for fullness, and hooked them over the trim with clear adhesive hooks. It stays up all year and I swap in small seasonal picks when I feel like it. The trick is twisting two together, because one alone looks thin and sad. Ours fools everyone until they touch it. My only regret is waiting so long to try it, since the whole thing cost less than a takeaway dinner.
Cost: ~$6 | Time: 20 minutes
13. Dollar Store Apothecary Jars for Small Items
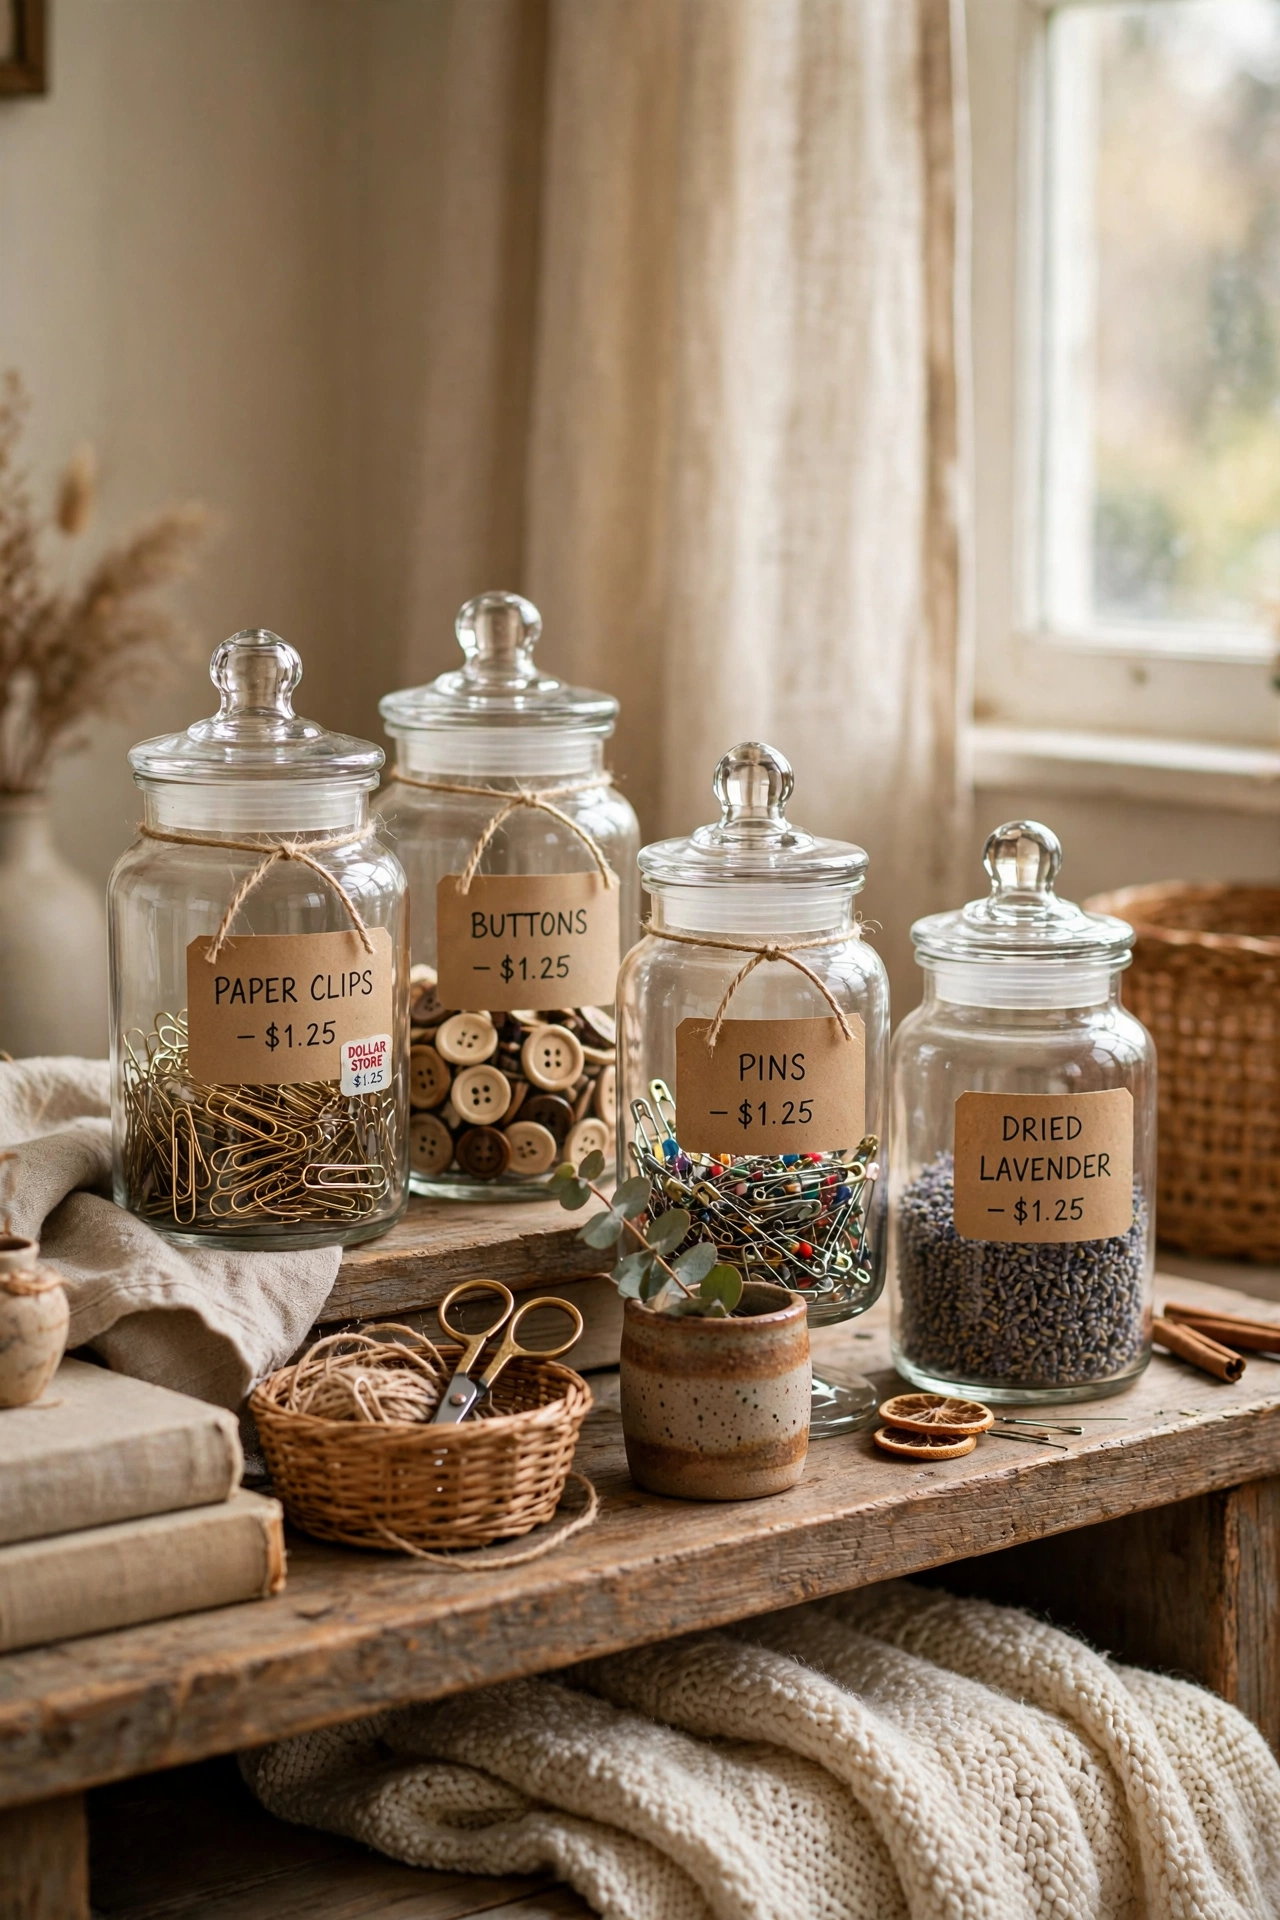
Apothecary jars with lids look like boutique storage, and the dollar store versions hold dog treats, spare change, and hair ties beautifully. I lined up three on our console in graduated sizes, and they turned everyday clutter into a display. Fill them only three-quarters full so they look curated, not stuffed. Label the bottoms if you must, never the fronts. It is a tiny change that makes the whole console look like someone styled it on purpose. The trick is not to overthink it; the first attempt does not have to be perfect to look good.
Cost: ~$6 | Time: 10 minutes
14. Rug Layering With Two Dollar Finds
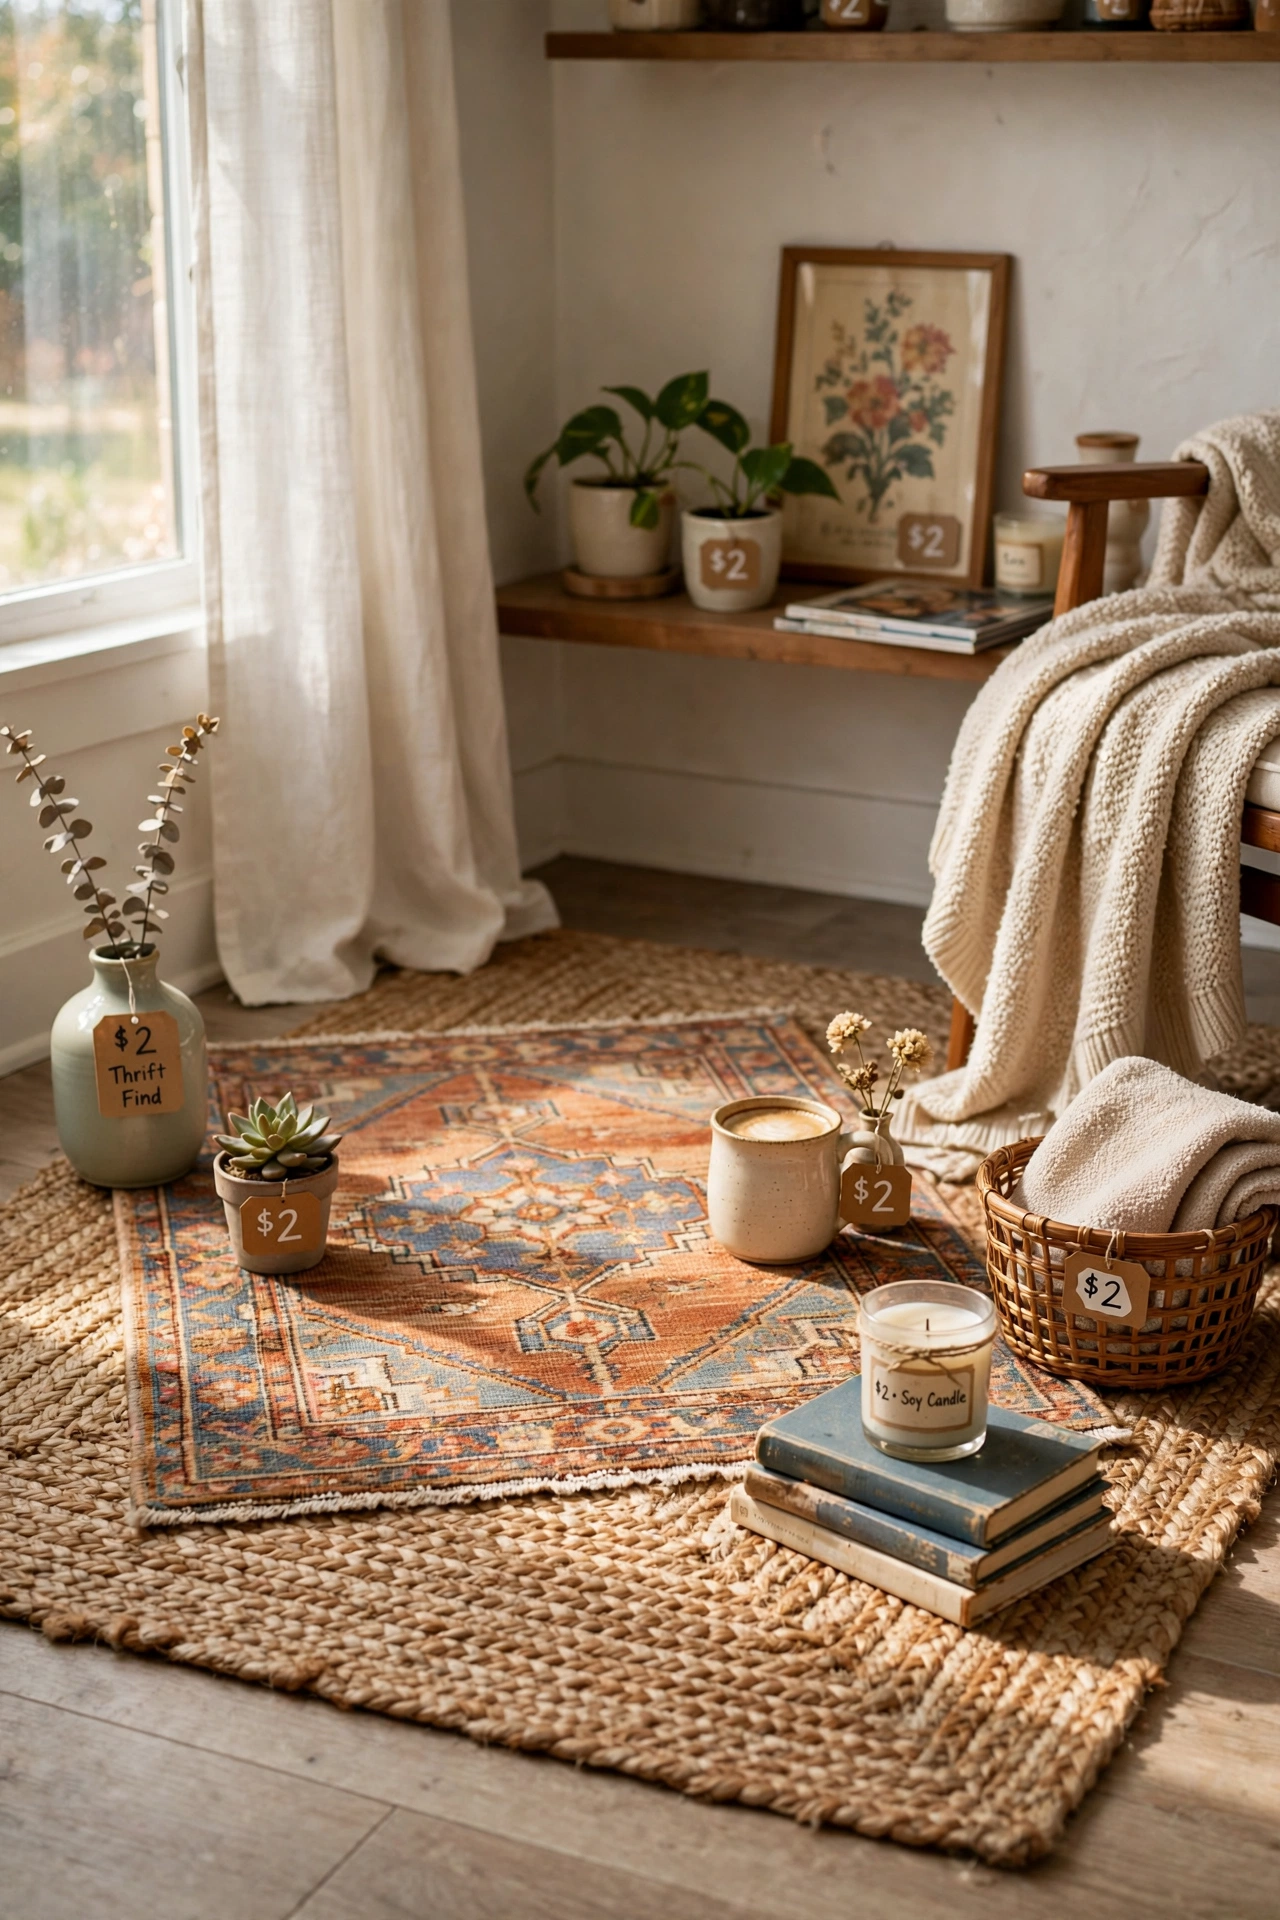
Layering works even on a dollar budget if you mix textures: a flat woven mat under a small patterned rug. I found both at the dollar store in one trip, and the layered look at our door now matches what I see in decor magazines. Shake them out weekly and swap the top layer when it wears out. The bottom mat should be slightly larger on all sides, and the top one should have a pattern that pops against it. For more entryway ideas that cost almost nothing, see our (see also: 19-small-foyer-ideas-that-feel-grand) post.
Cost: ~$4 | Time: 5 minutes
15. Spray-Painted Wire Basket Mail Holder
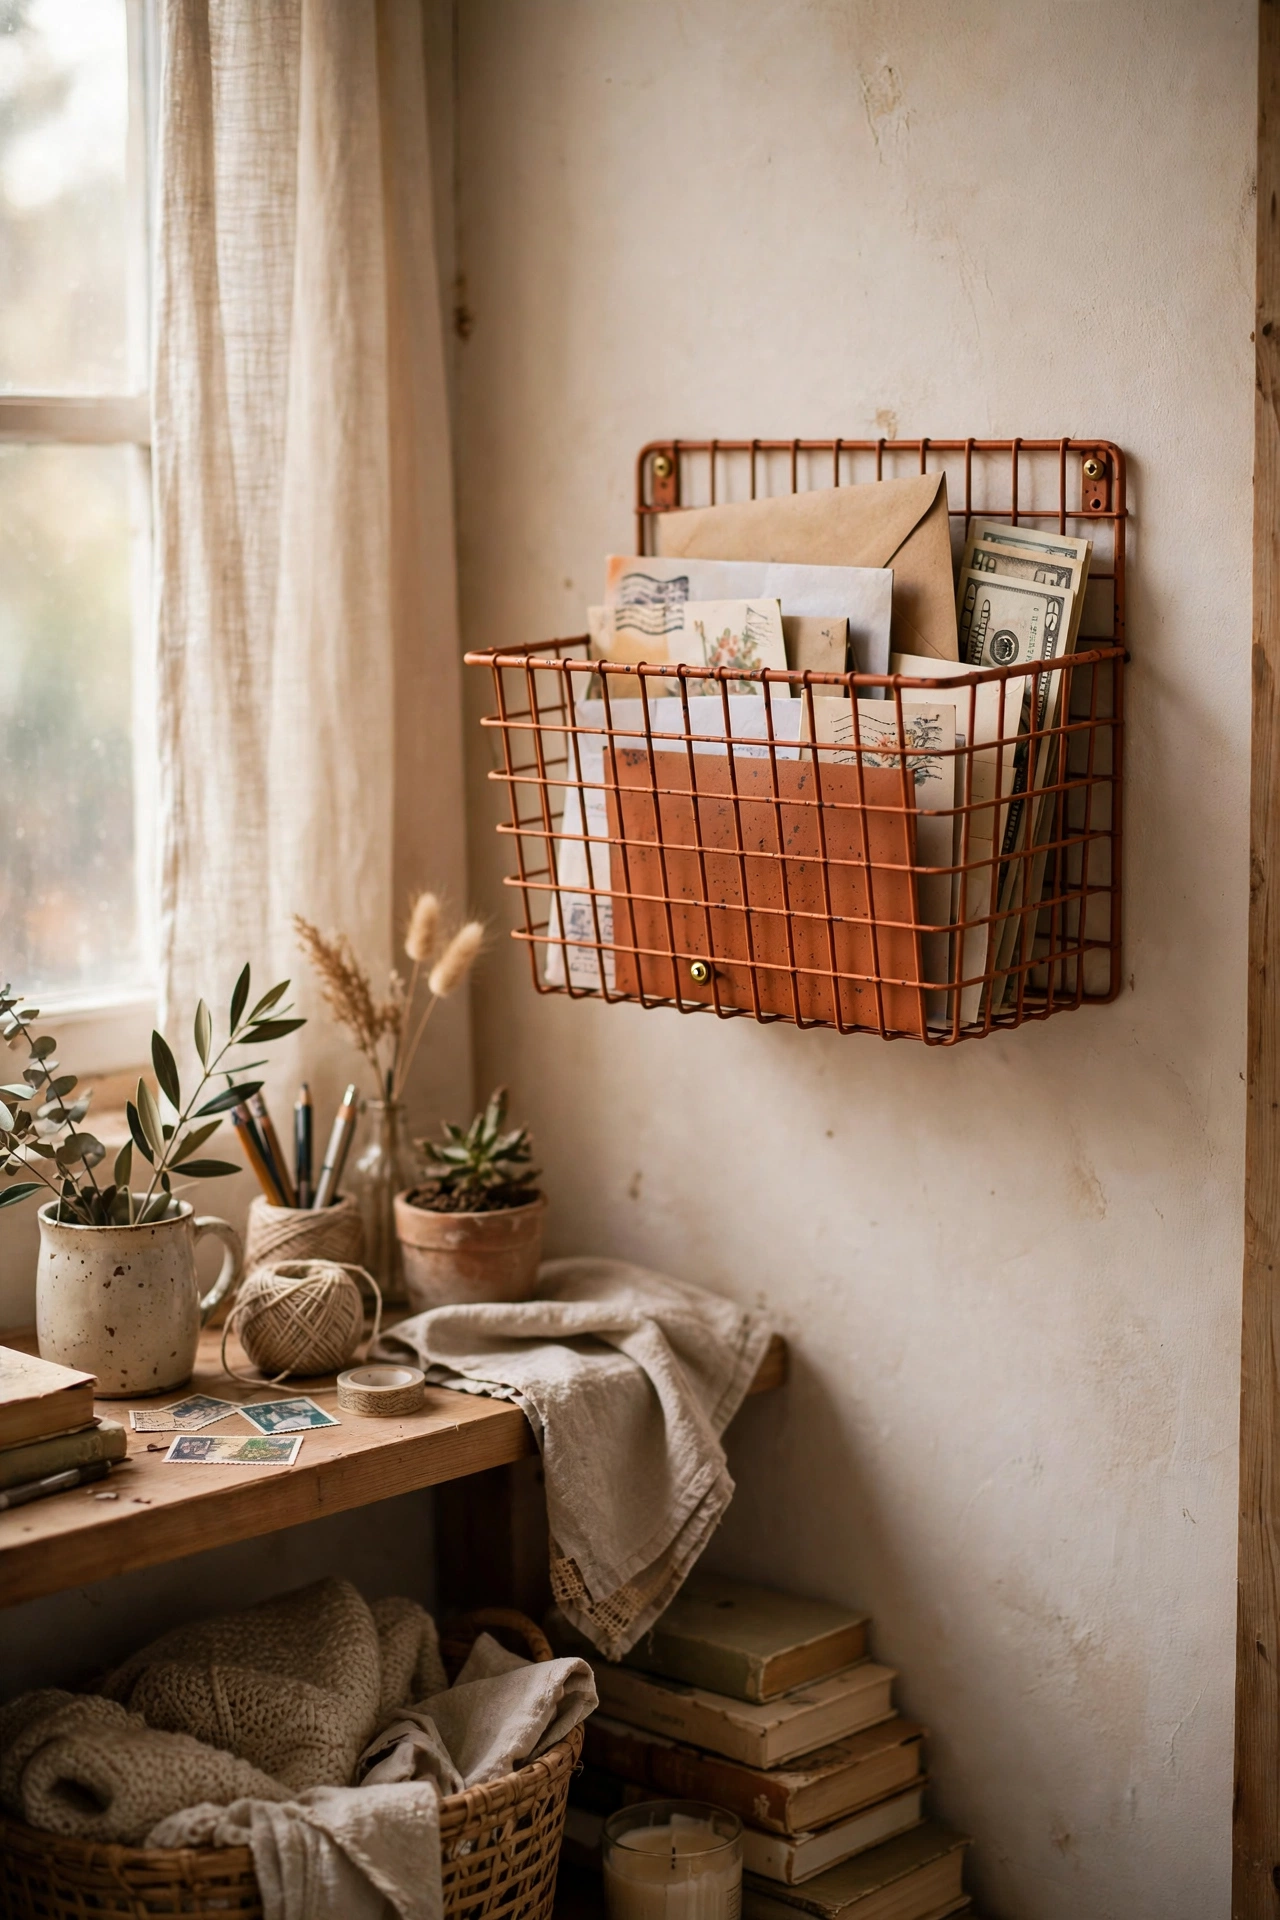
A wire basket spray-painted matte black and mounted on the wall becomes a mail holder that looks industrial and intentional. I hung ours next to the door at shoulder height, and mail goes straight in instead of piling on the console. Use two sturdy screws into a stud, because mail gets heavy by Friday. Line the bottom with a scrap of fabric if envelopes slide through the wires. It is the rare dollar project that looks better the more you use it. Do it on a Saturday morning while the coffee brews, and it will be done before lunch without eating the whole day.
Cost: ~$5 | Time: 25 minutes
16. Faux Leather Tray for Keys
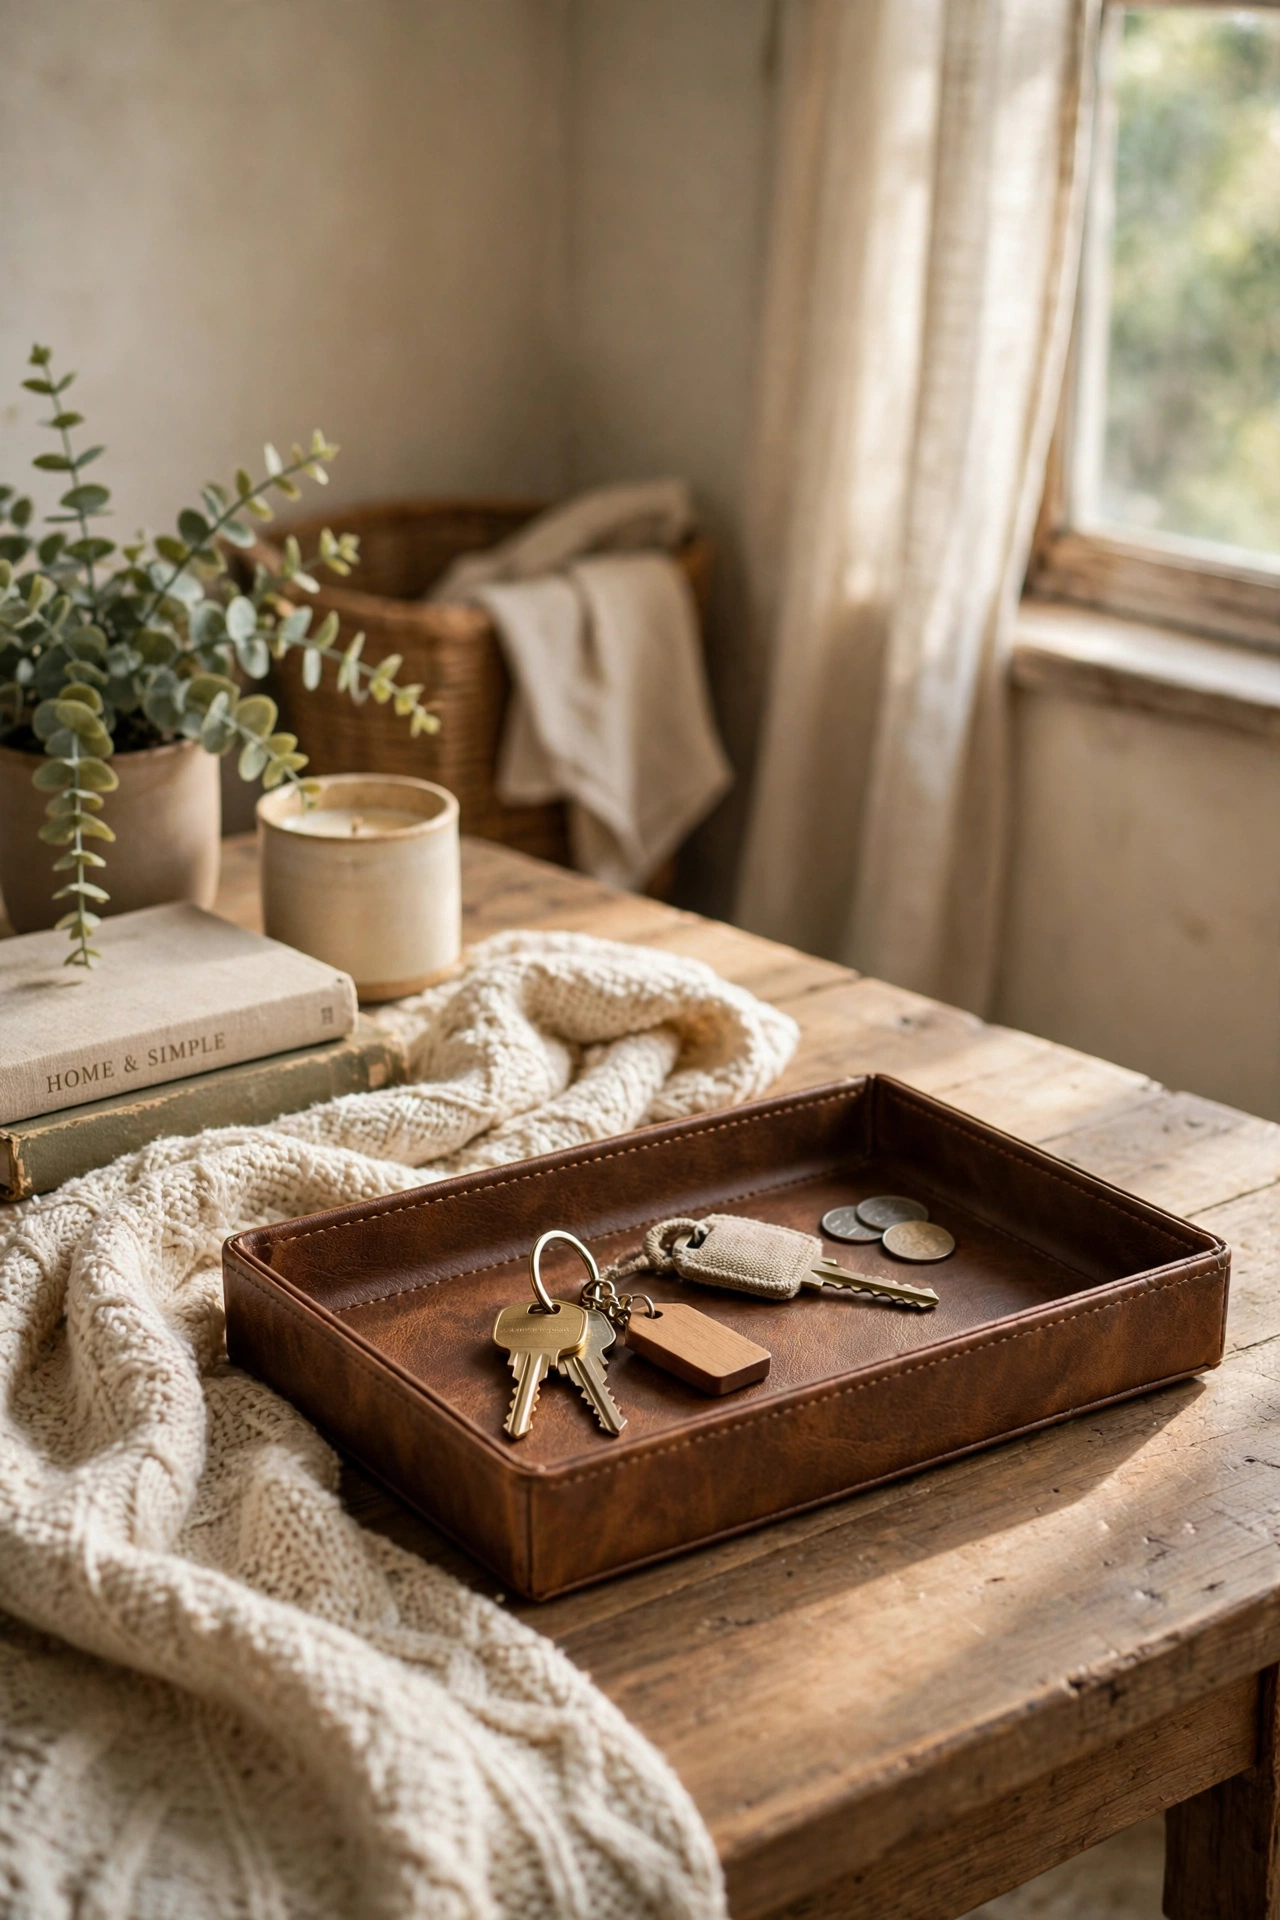
A small tray with a faux leather look corrals keys and sunglasses in a way that feels grown-up, even when the tray cost a dollar. I found a plain tray and lined it with a scrap of faux leather from the craft aisle, glued at the edges. Everything lands in the tray when we come home, and nothing migrates to the kitchen counter anymore. Keep it near the door but not so close that things fall off when the door swings. Simple, cheap, and it actually changed a daily habit.
Cost: ~$4 | Time: 15 minutes
17. Dollar Store Fairy Lights in a Jar
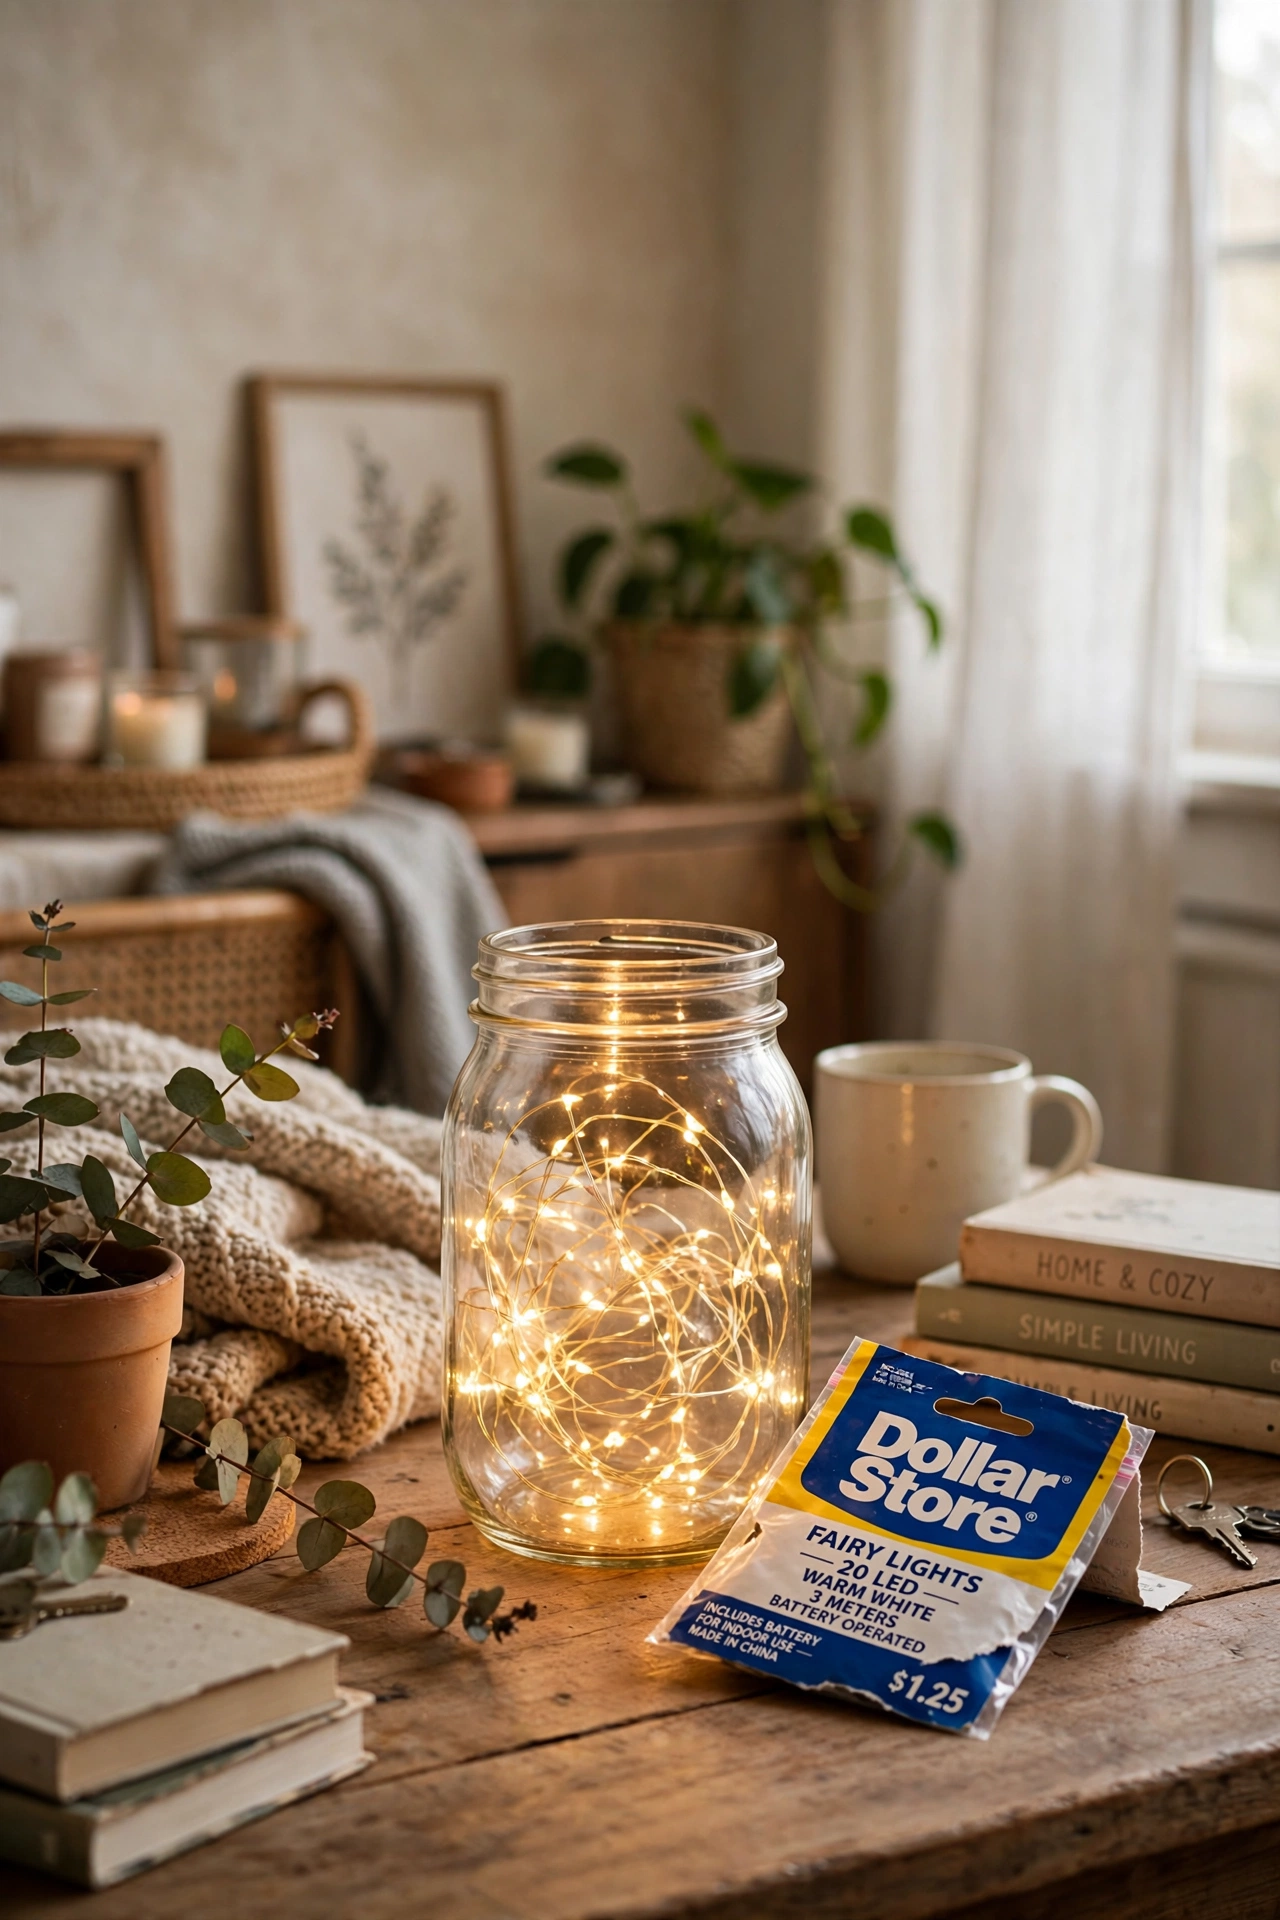
A jar filled with battery fairy lights is the coziest five dollars you will spend on your entryway. I set one on our console and it glows every evening on a timer, so we always come home to a warm light. Use a jar with a wide mouth so the battery pack hides inside, and coil the lights loosely so they look like fireflies, not a tangled mess. If you want more budget-friendly entry styling, our (see also: 25-foyer-decor-ideas-for-small-spaces) post has plenty of ideas that pair well with these.
Cost: ~$5 | Time: 10 minutes
Start with just one or two of these this weekend, and save this idea list for the next time you wander the dollar store aisles with a few dollars to spare.
