23 Narrow Hallway Decor Ideas That Don’t Feel Cramped
23 Narrow Hallway Decor Ideas That Don’t Feel Cramped
Our old house had a hallway so narrow that two people could not pass without one of them flattening against the wall, and for years I treated it as dead space. Then I started making small changes, one at a time, and the hallway stopped feeling like a tunnel. Narrow Hallway Decor Ideas That Don’t Feel Cramped all come down to the same principle: keep the floor clear, pull the eye upward, and let light do the heavy lifting. Here is everything that actually worked in our hallway.
1. Light Paint Colors That Open the Walls
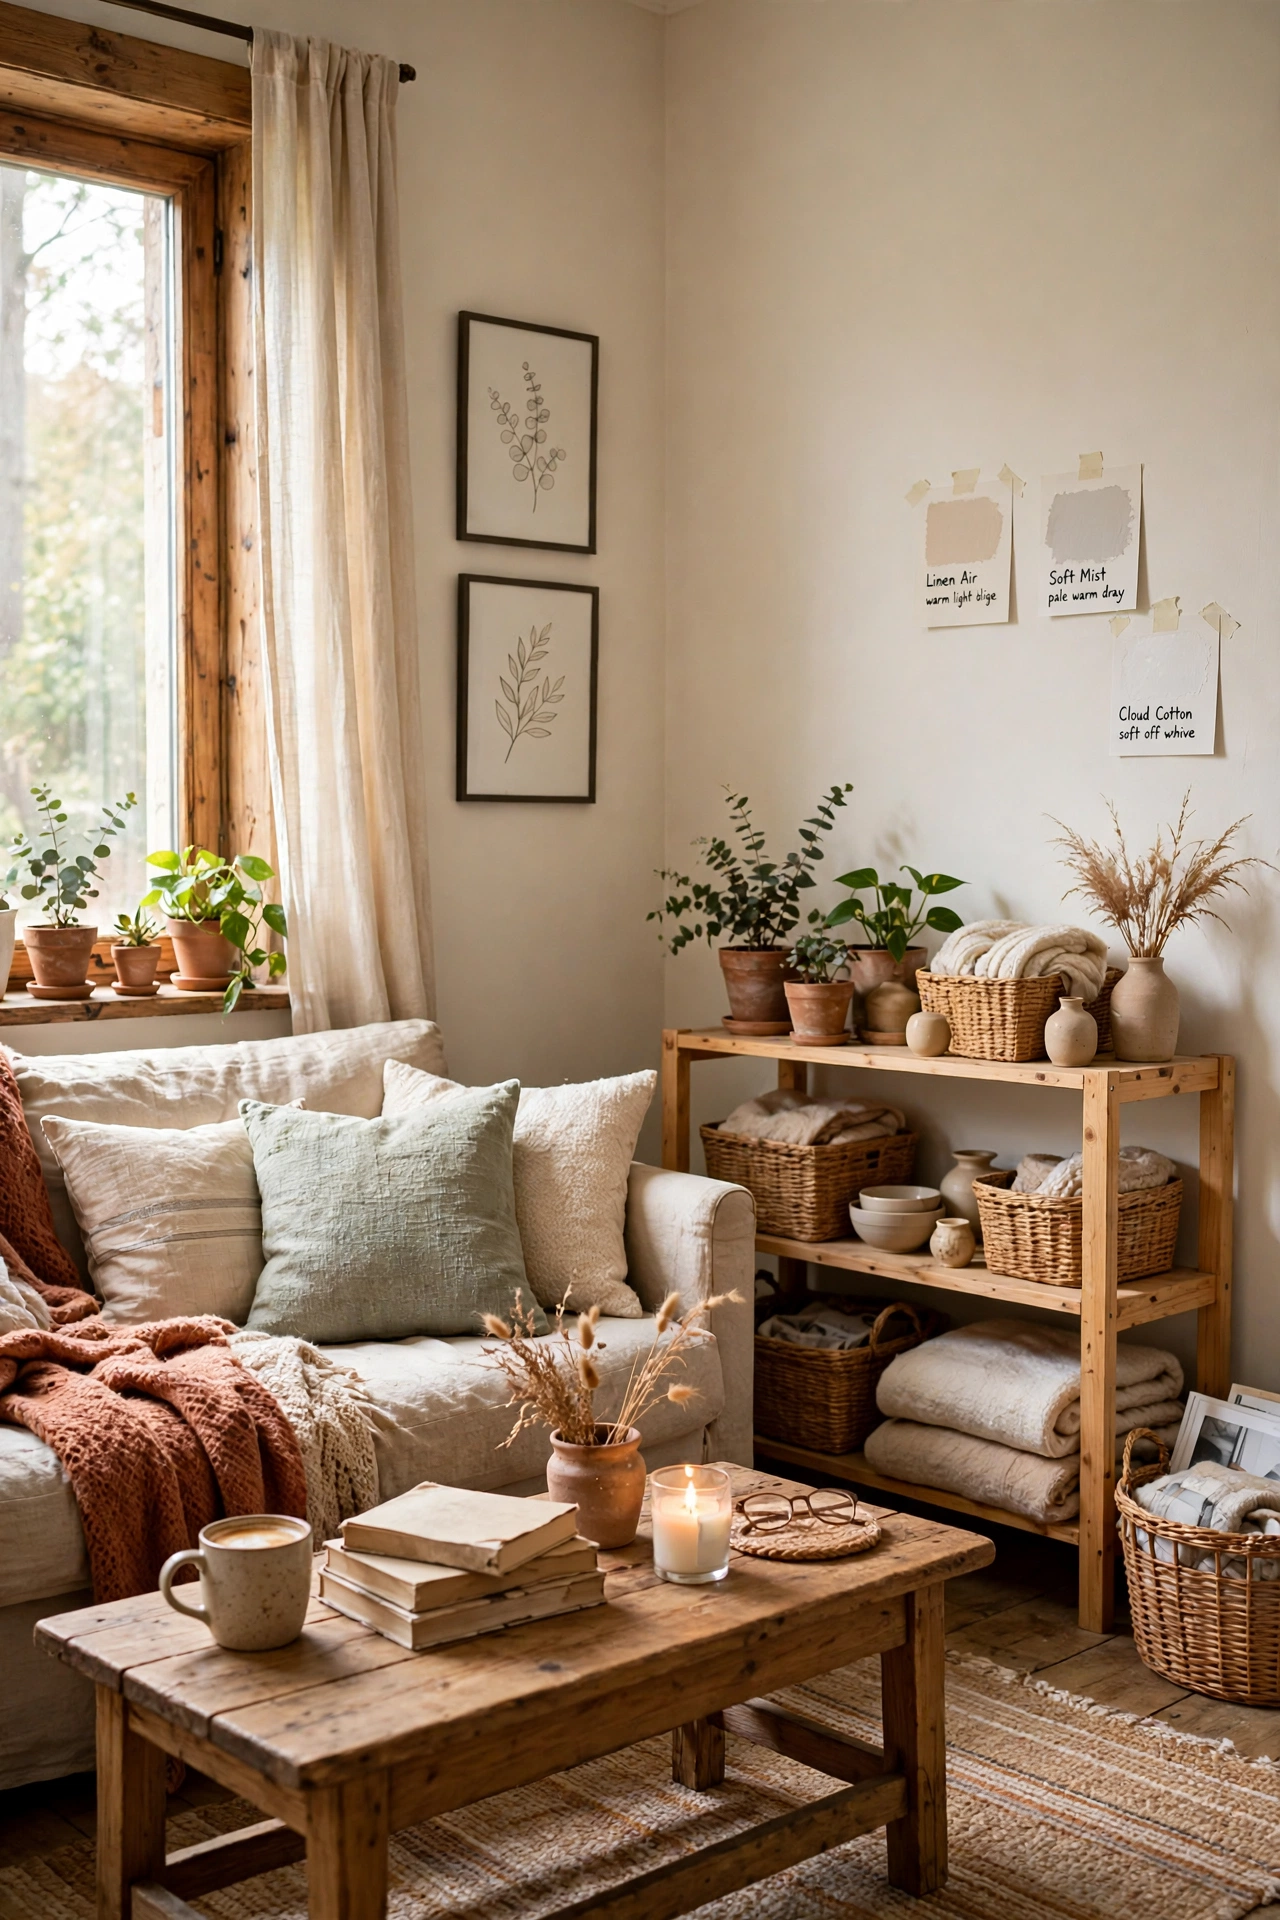
Painting a narrow hallway a light, warm white is the single biggest change you can make, because dark walls close in fast. I repainted ours from a muddy beige to a soft white and the hallway felt six inches wider overnight. Use a satin finish so scuffs wipe off, since hallway walls take a beating from bags and shoulders. Paint the trim the same color to blur where the wall ends, which tricks the eye into seeing more space. The best part is how little maintenance it needs; a quick wipe now and then is all it has ever asked for.
Pro tip: paint a sample swatch and check it at night under your hallway lighting before committing to a whole wall.
Cost: ~$40 | Time: 4 hours
2. Long Runner to Stretch the Space
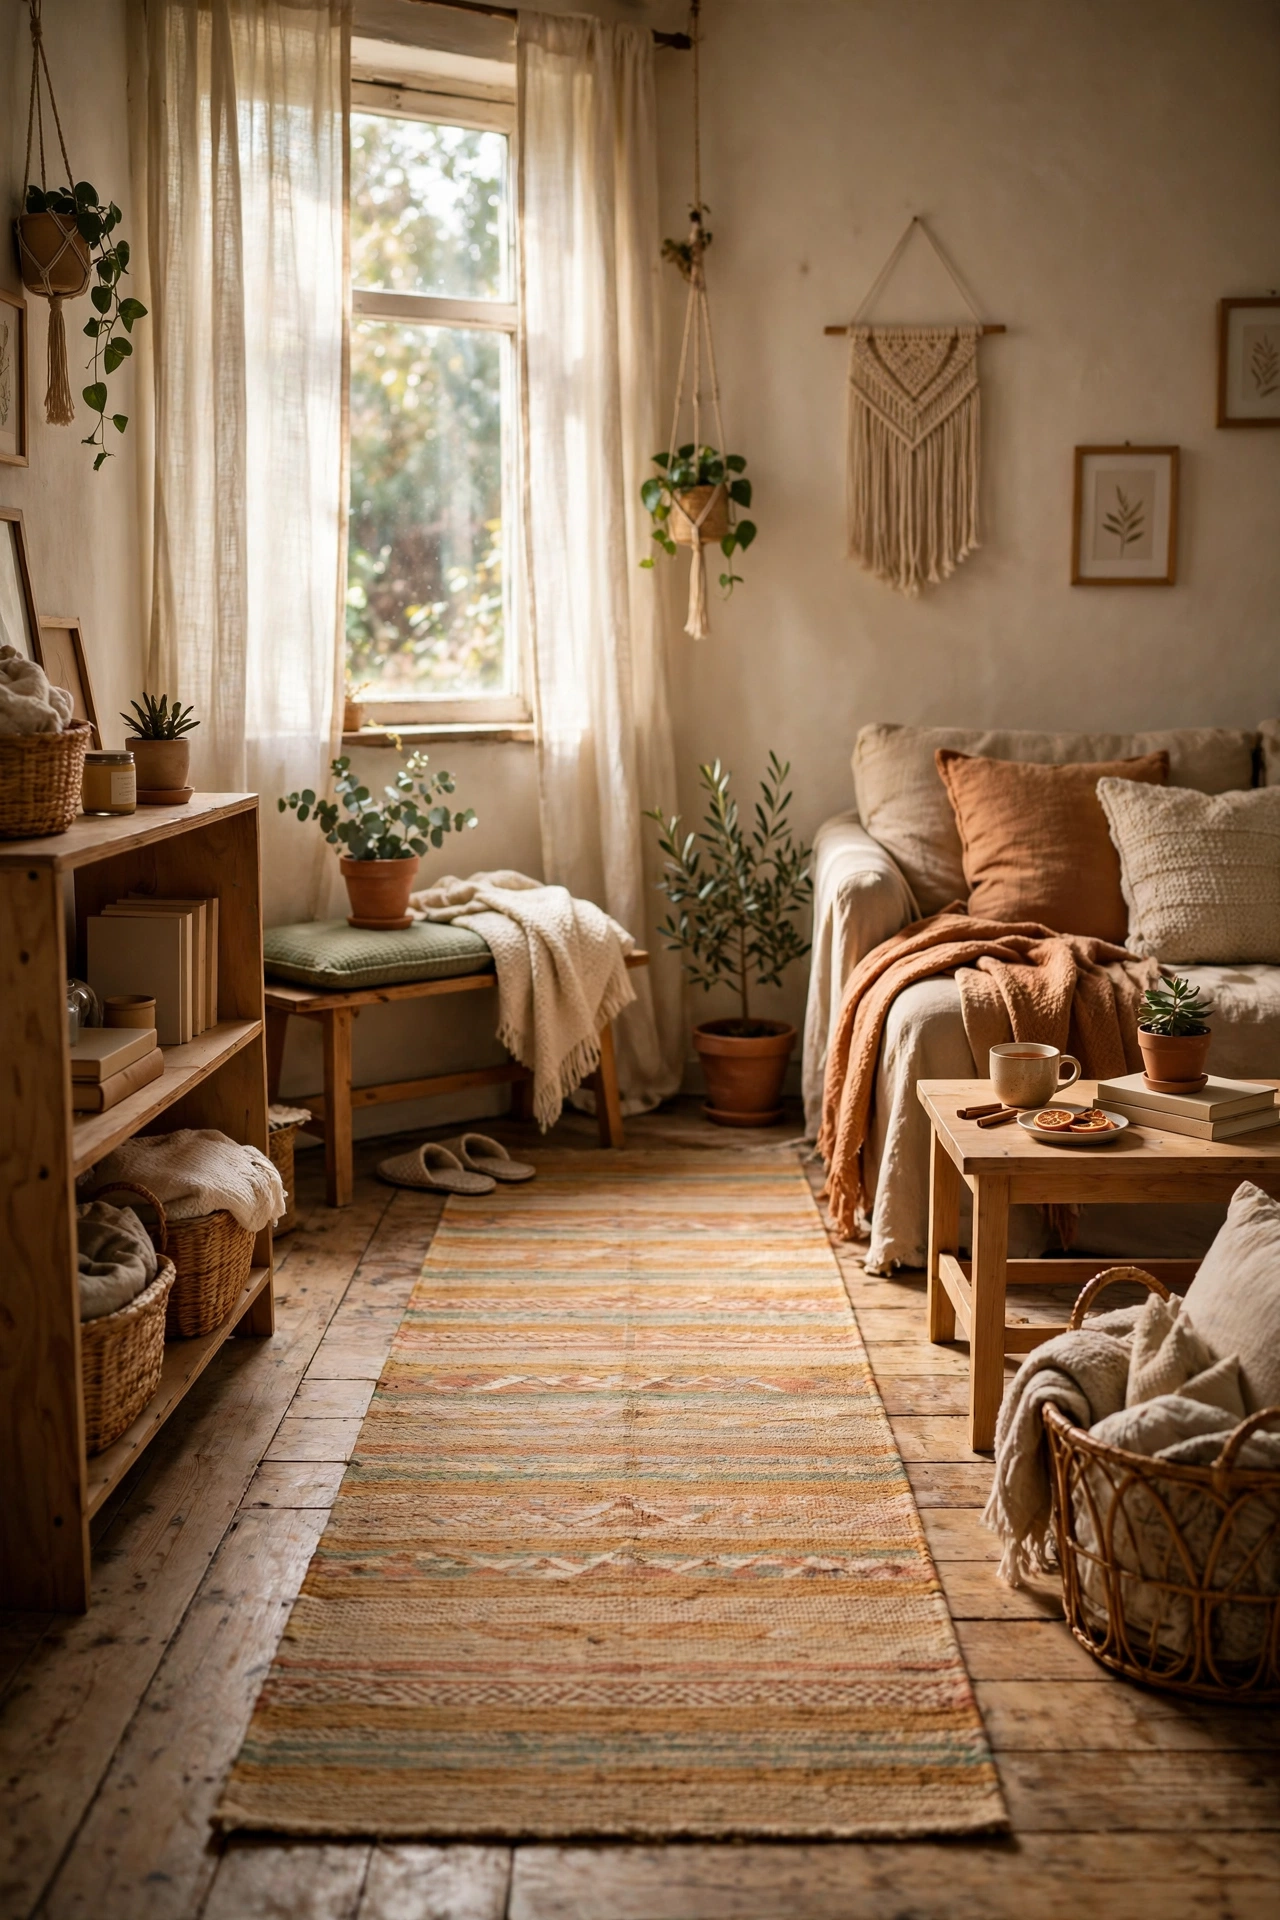
A runner that runs almost the full length of the hallway makes it feel longer and more intentional. I measured ours to leave about six inches of floor on each side and chose a pattern with a border that draws the eye forward. A rug pad underneath keeps it from bunching, which matters in a hallway where everyone walks the same line. Pick something washable, because hallway runners get more traffic than any other rug in the house. It pairs well with almost anything else on this list, so it is an easy first step if you plan to do more later.
Cost: ~$45 | Time: 15 minutes
3. Mirror Panels Along One Wall
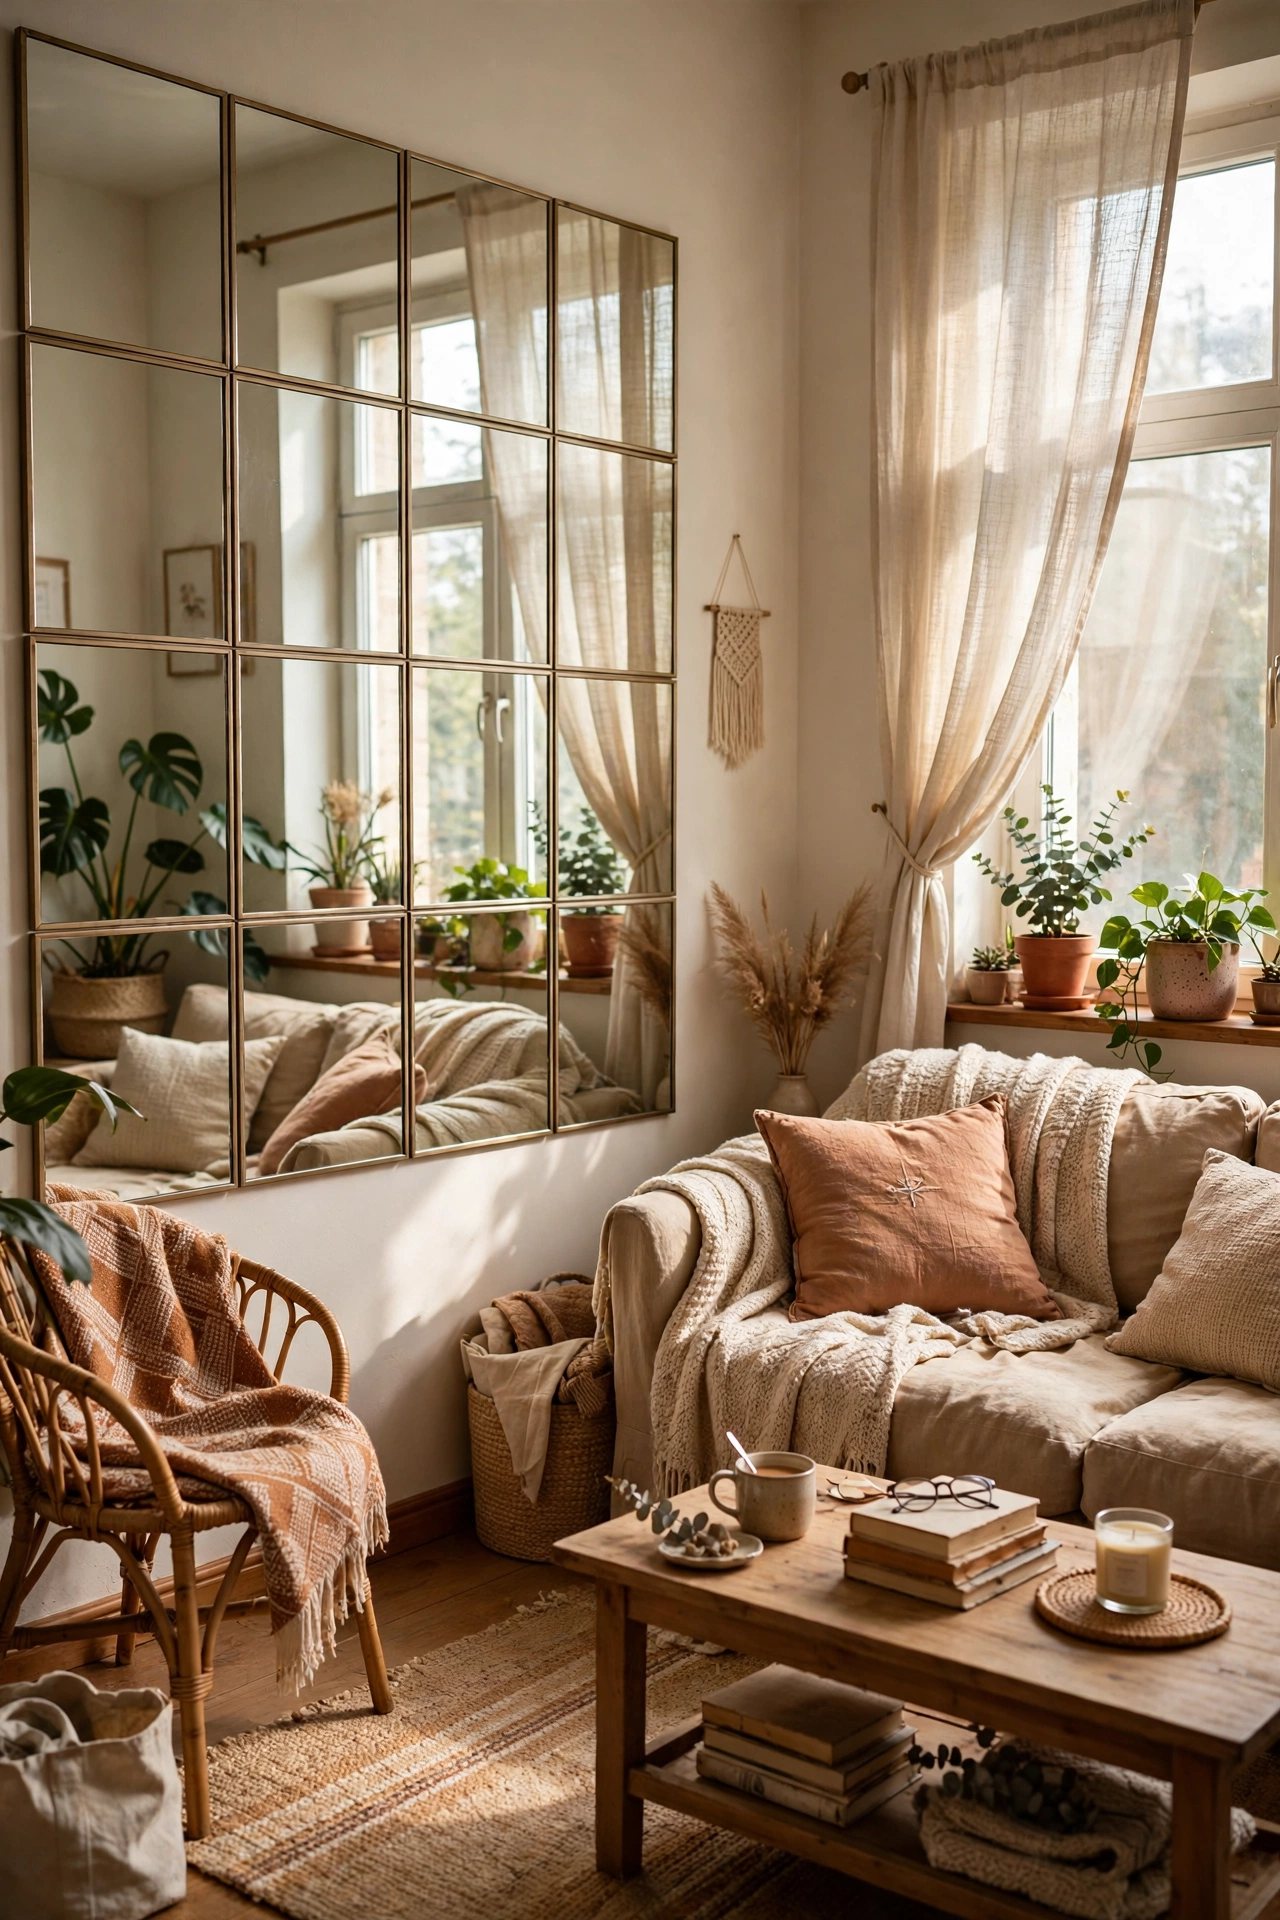
A row of mirror panels along one hallway wall reflects light and doubles the visual width. I hung three tall, narrow mirrors in a row, spaced evenly, and the hallway stopped feeling like a corridor. Keep the frames identical and thin so the mirrors read as one installation. Hang them at the same height and check with a level, because uneven mirrors in a row are worse than none at all. Keep the receipt for the supplies, because you will want to remember how little this cost when people ask.
Cost: ~$60 | Time: 60 minutes
4. Slim Picture Ledge Gallery
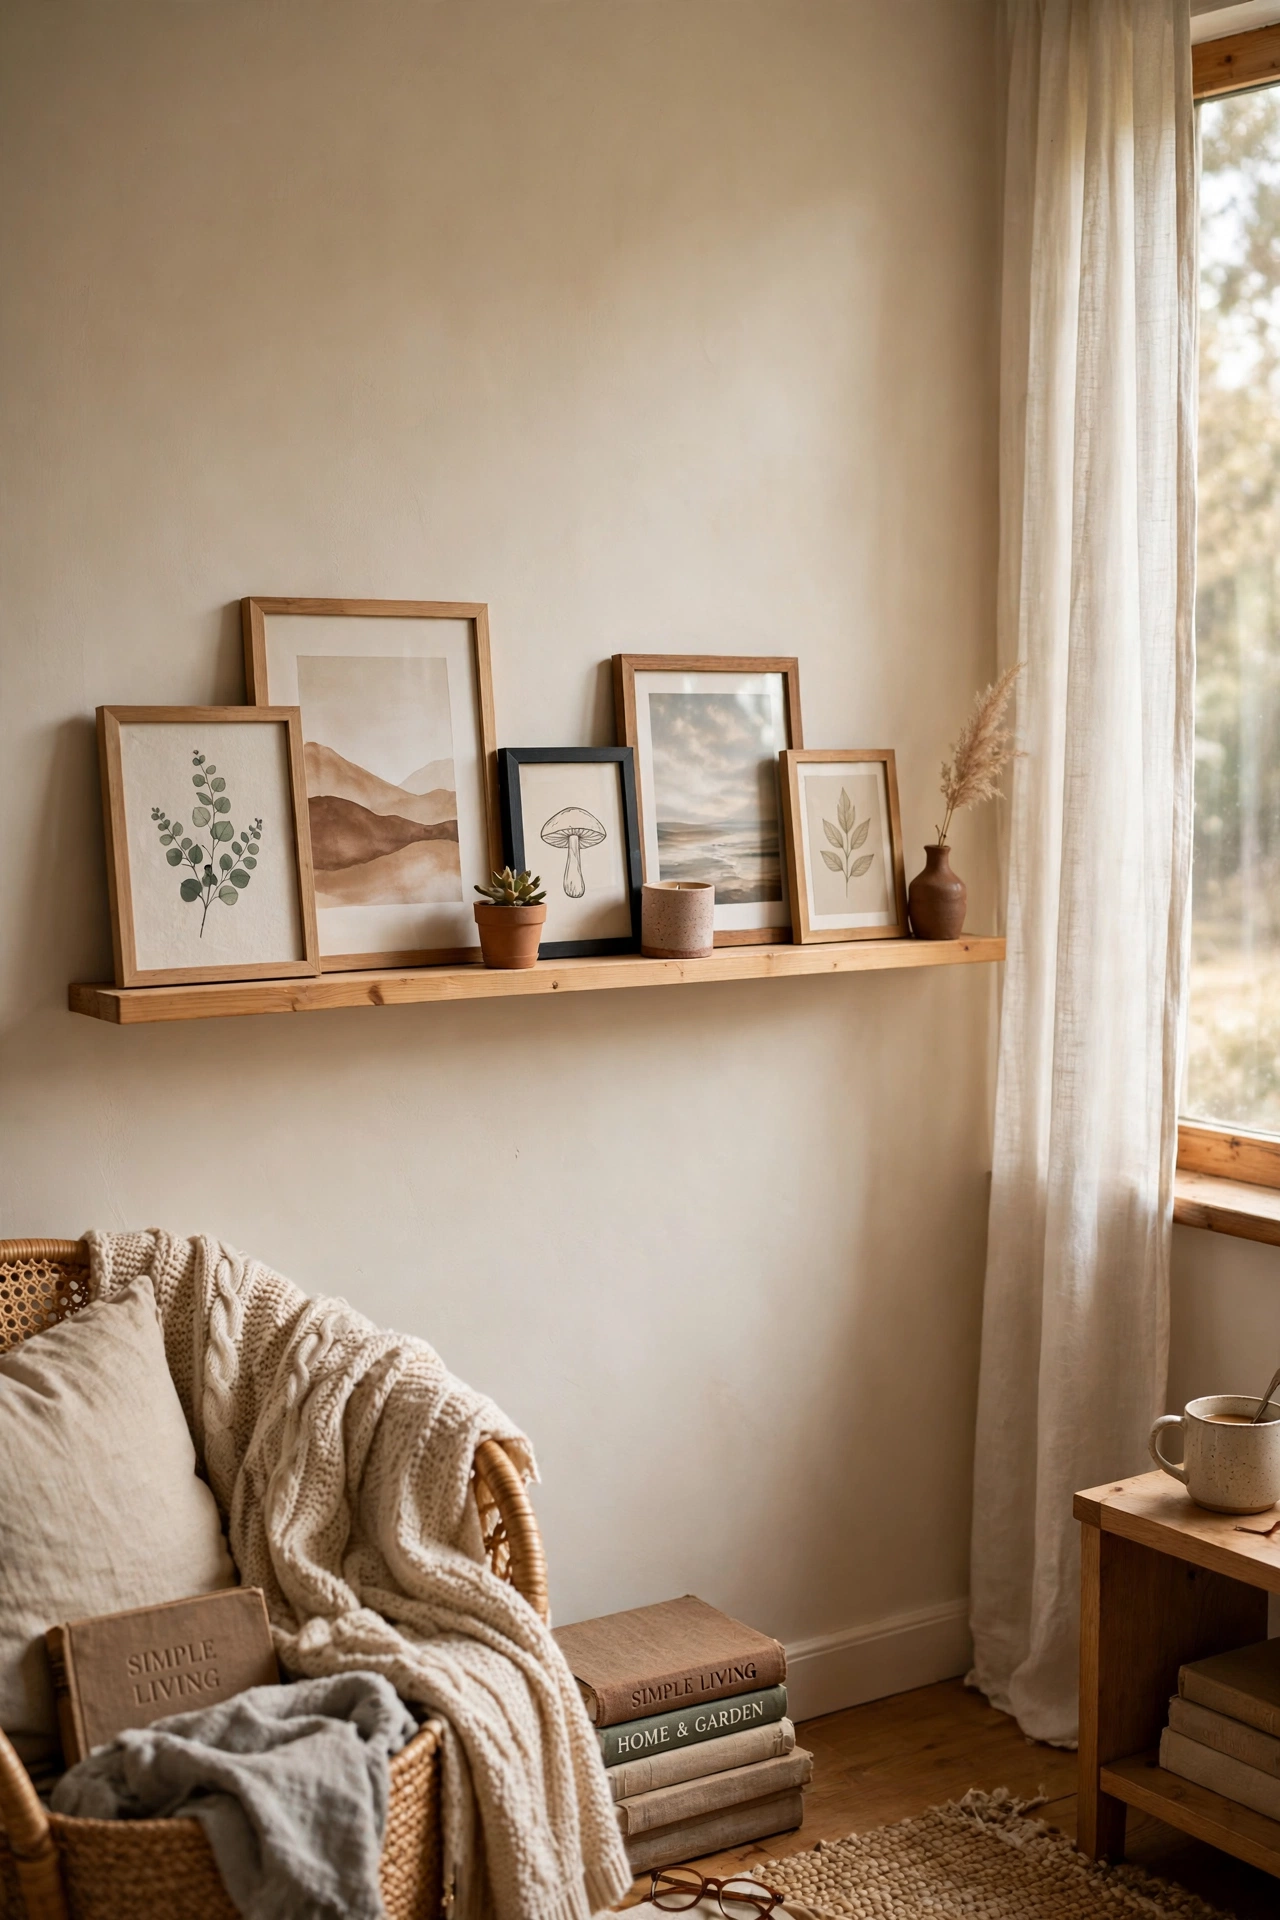
A picture ledge lets you display art in a hallway without frames jutting into the walkway. I installed one ledge at eye level and lean prints against it, swapping them when I get bored. The ledge sticks out only a couple of inches, so shoulders never catch on it. Layer a small frame in front of a larger one for depth, and keep the art light in color so the hallway does not feel heavier. The second time I did this, it took half as long, because I already knew which parts mattered and which parts I could skip.
Pro tip: lean the art instead of hanging it, so you can rearrange the whole gallery in five minutes without new holes.
Cost: ~$25 | Time: 30 minutes
5. Recessed Lighting Instead of Pendants
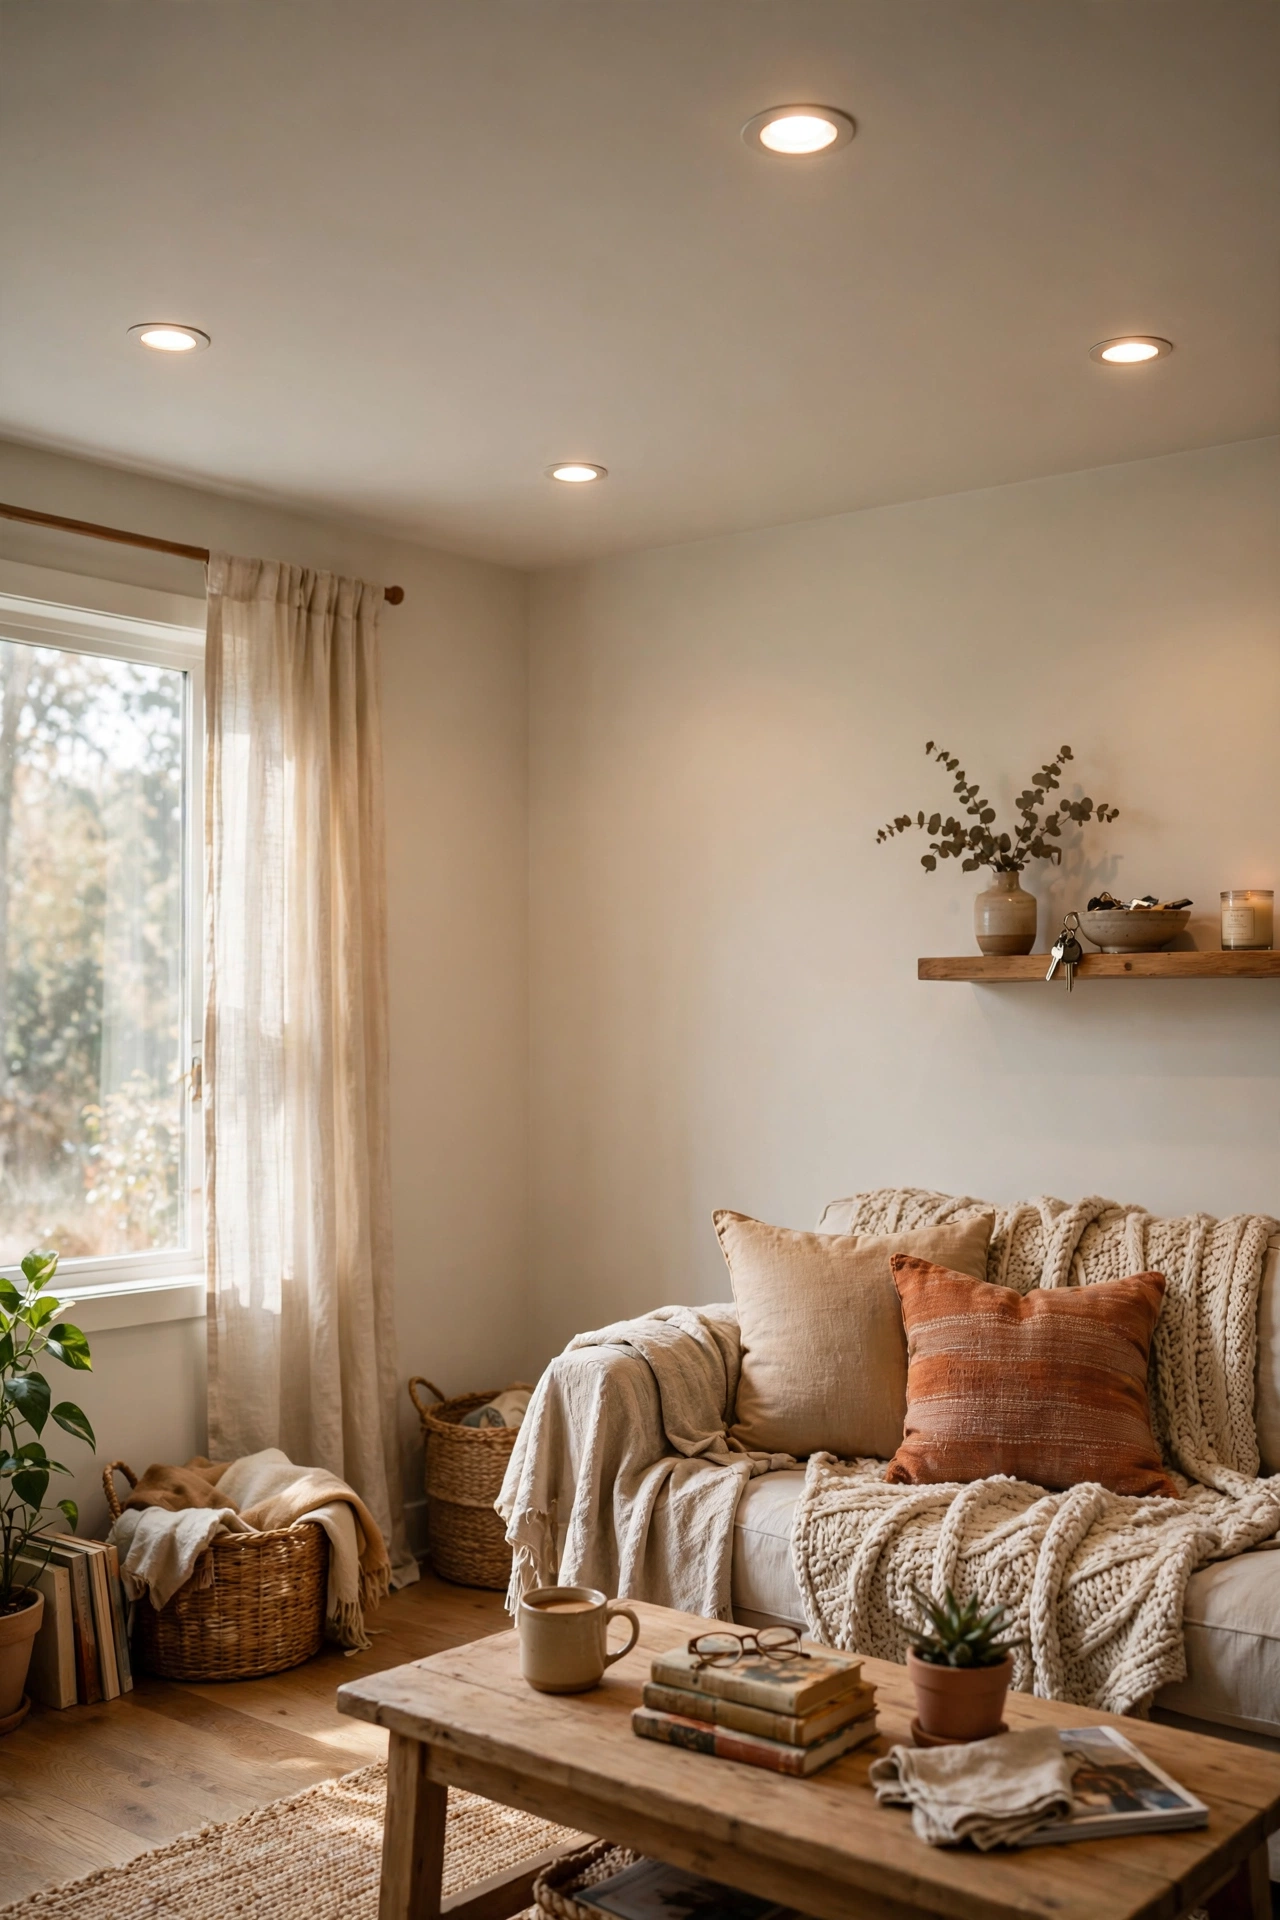
Recessed lights keep the ceiling clear in a narrow hallway, where anything hanging down feels like an obstacle. I replaced a low pendant with two recessed cans and the hallway felt taller immediately. If you cannot cut into the ceiling, flush-mount fixtures with a low profile give you nearly the same effect. Space the lights evenly so there are no dark patches, because shadows make a narrow space feel narrower. I took a photo of the finished result to show a friend, and she ended up doing the same thing the following weekend.
Cost: ~$50 | Time: 2 hours
6. Floating Shelves for Books and Plants
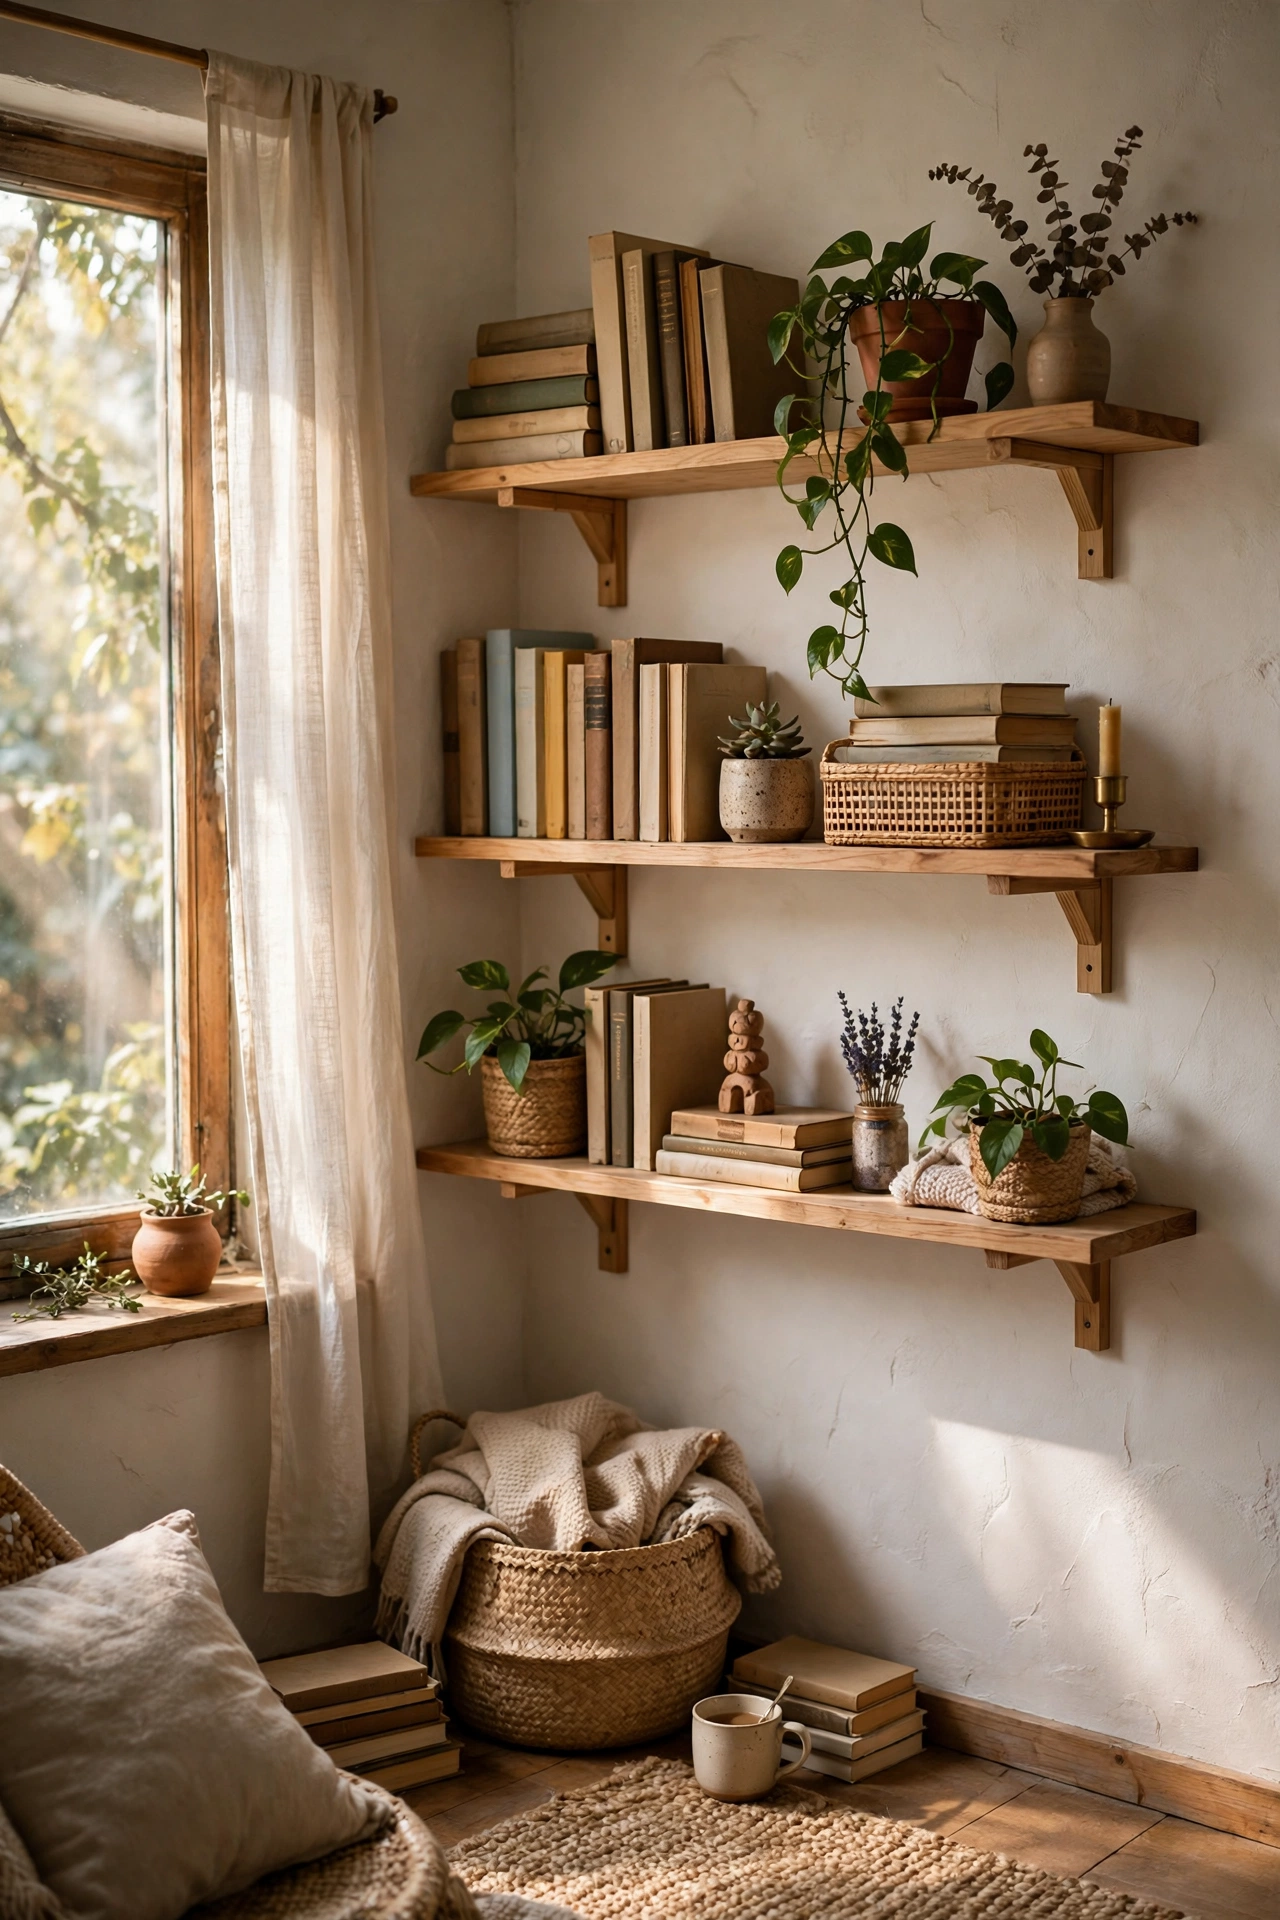
Floating shelves high on the wall give a hallway personality without touching the floor. I put two shelves above shoulder height with a few books and trailing plants, and the hallway finally had something to look at besides walls. Keep the shelves shallow and the objects small, because anything deep becomes a head-height hazard. Trailing plants soften the hard lines of a hallway better than almost anything else. I found most of what I needed already sitting in a cupboard, which made the whole project feel almost free.
Cost: ~$30 | Time: 40 minutes
7. Console No Deeper Than Ten Inches
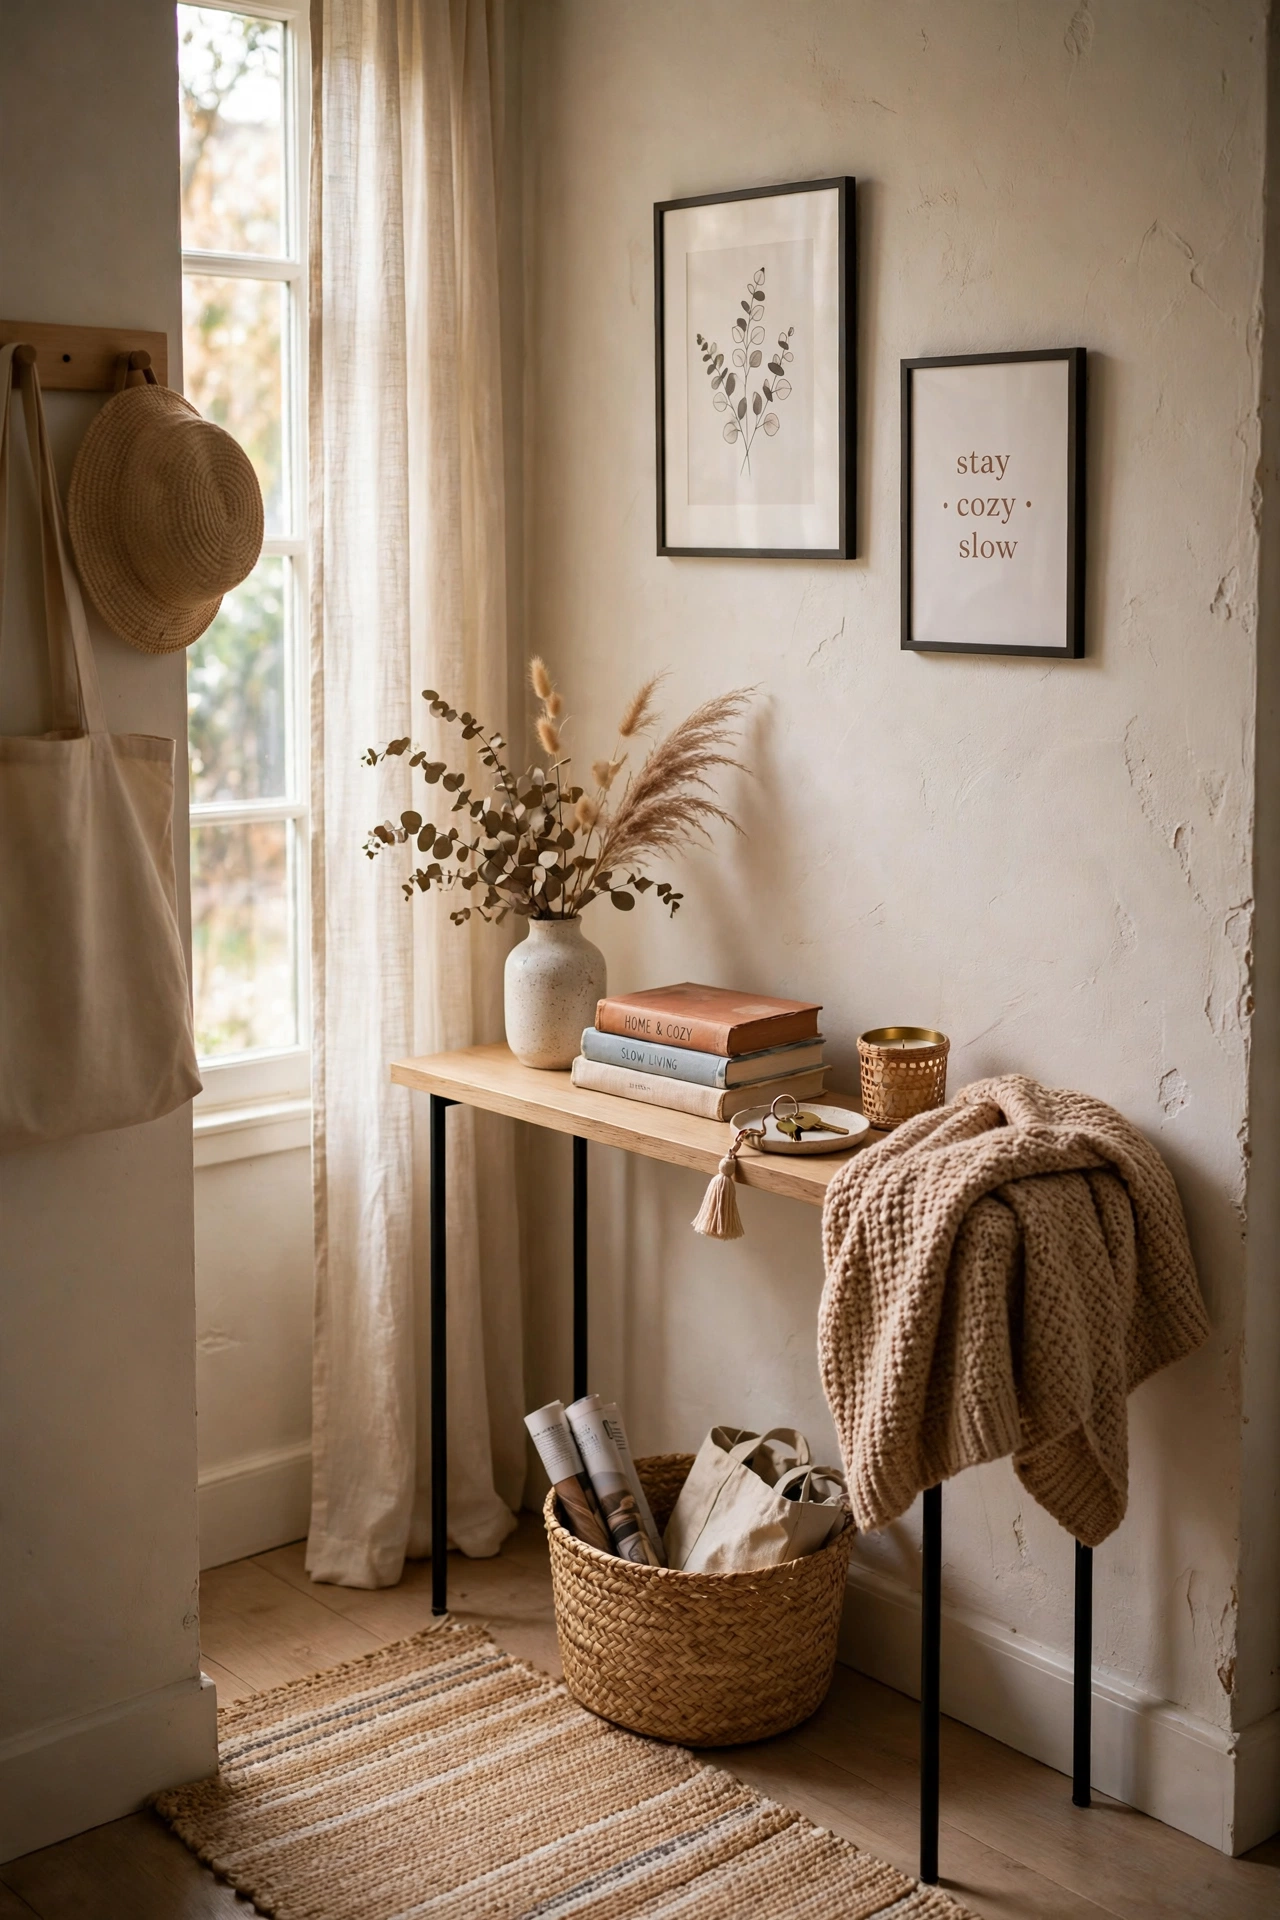
If you want a table in a narrow hallway, ten inches deep is the limit before it becomes an obstacle. I found a ten-inch console and it holds a lamp and a dish for keys without anyone sidestepping it. Measure your hallway and subtract at least thirty inches for walking, because that is the real budget. Anything left over is what your furniture can take, and in most hallways that is not much. I keep a spare of everything this project needs now, because friends keep asking me to help them do theirs.
Pro tip: tape the footprint on the floor with painter’s tape and live with it for a day before you buy anything.
Cost: ~$55 | Time: 25 minutes
8. Vertical Stripes to Lift the Ceiling
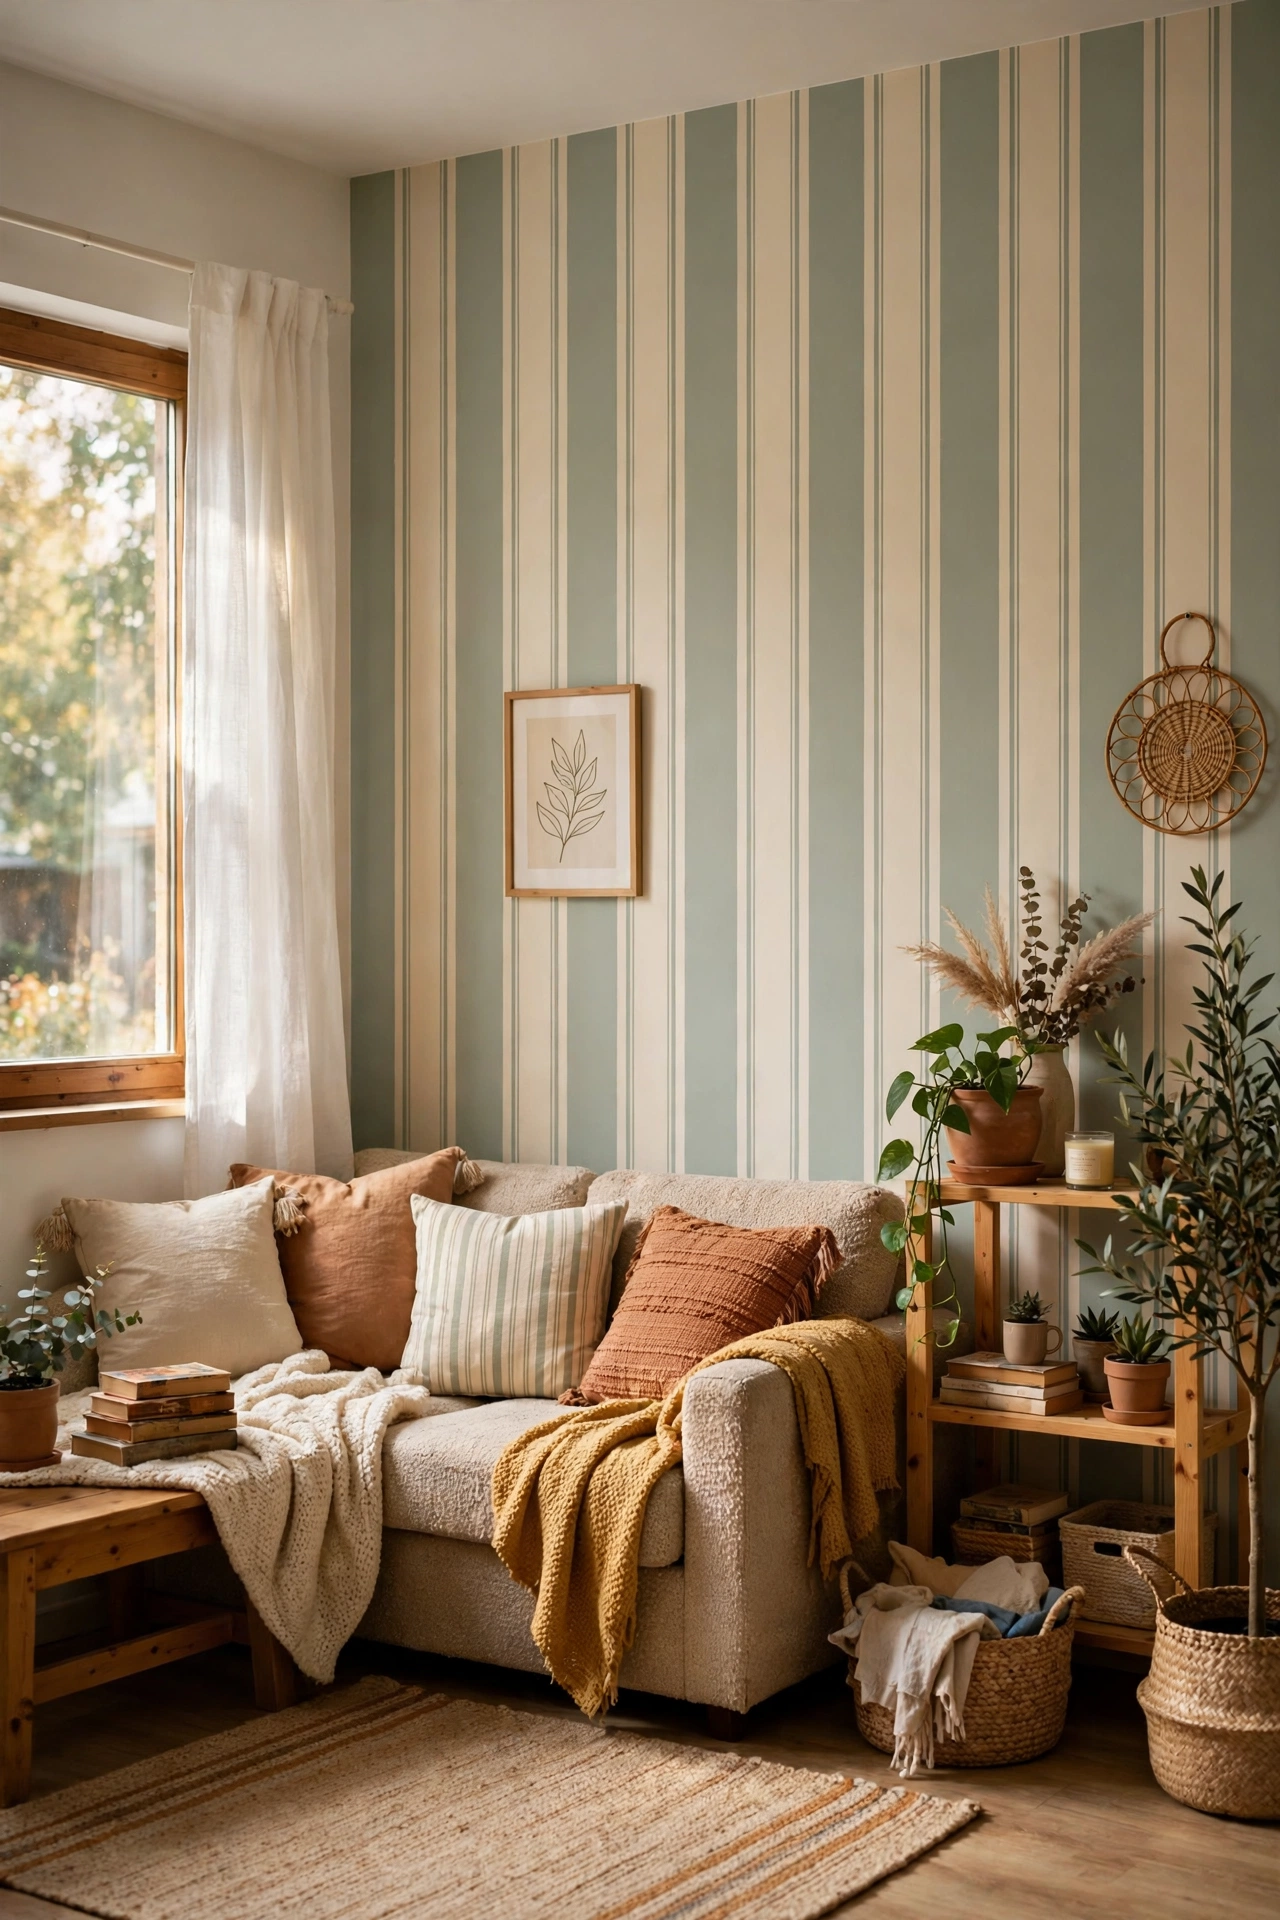
Vertical stripes, whether painted or peel-and-stick wallpaper, pull the eye upward and make a low hallway ceiling feel higher. I used a subtle tone-on-tone striped wallpaper on one wall and the effect was immediate. Keep the contrast low, because bold stripes in a narrow space can feel busy. If painting stripes, use a level and painter’s tape, and accept that the taping takes longer than the painting. This is the kind of project that looks far more expensive than it was, and I never correct anyone who assumes otherwise.
Cost: ~$35 | Time: 3 hours
9. Glass Doors to Borrow Light
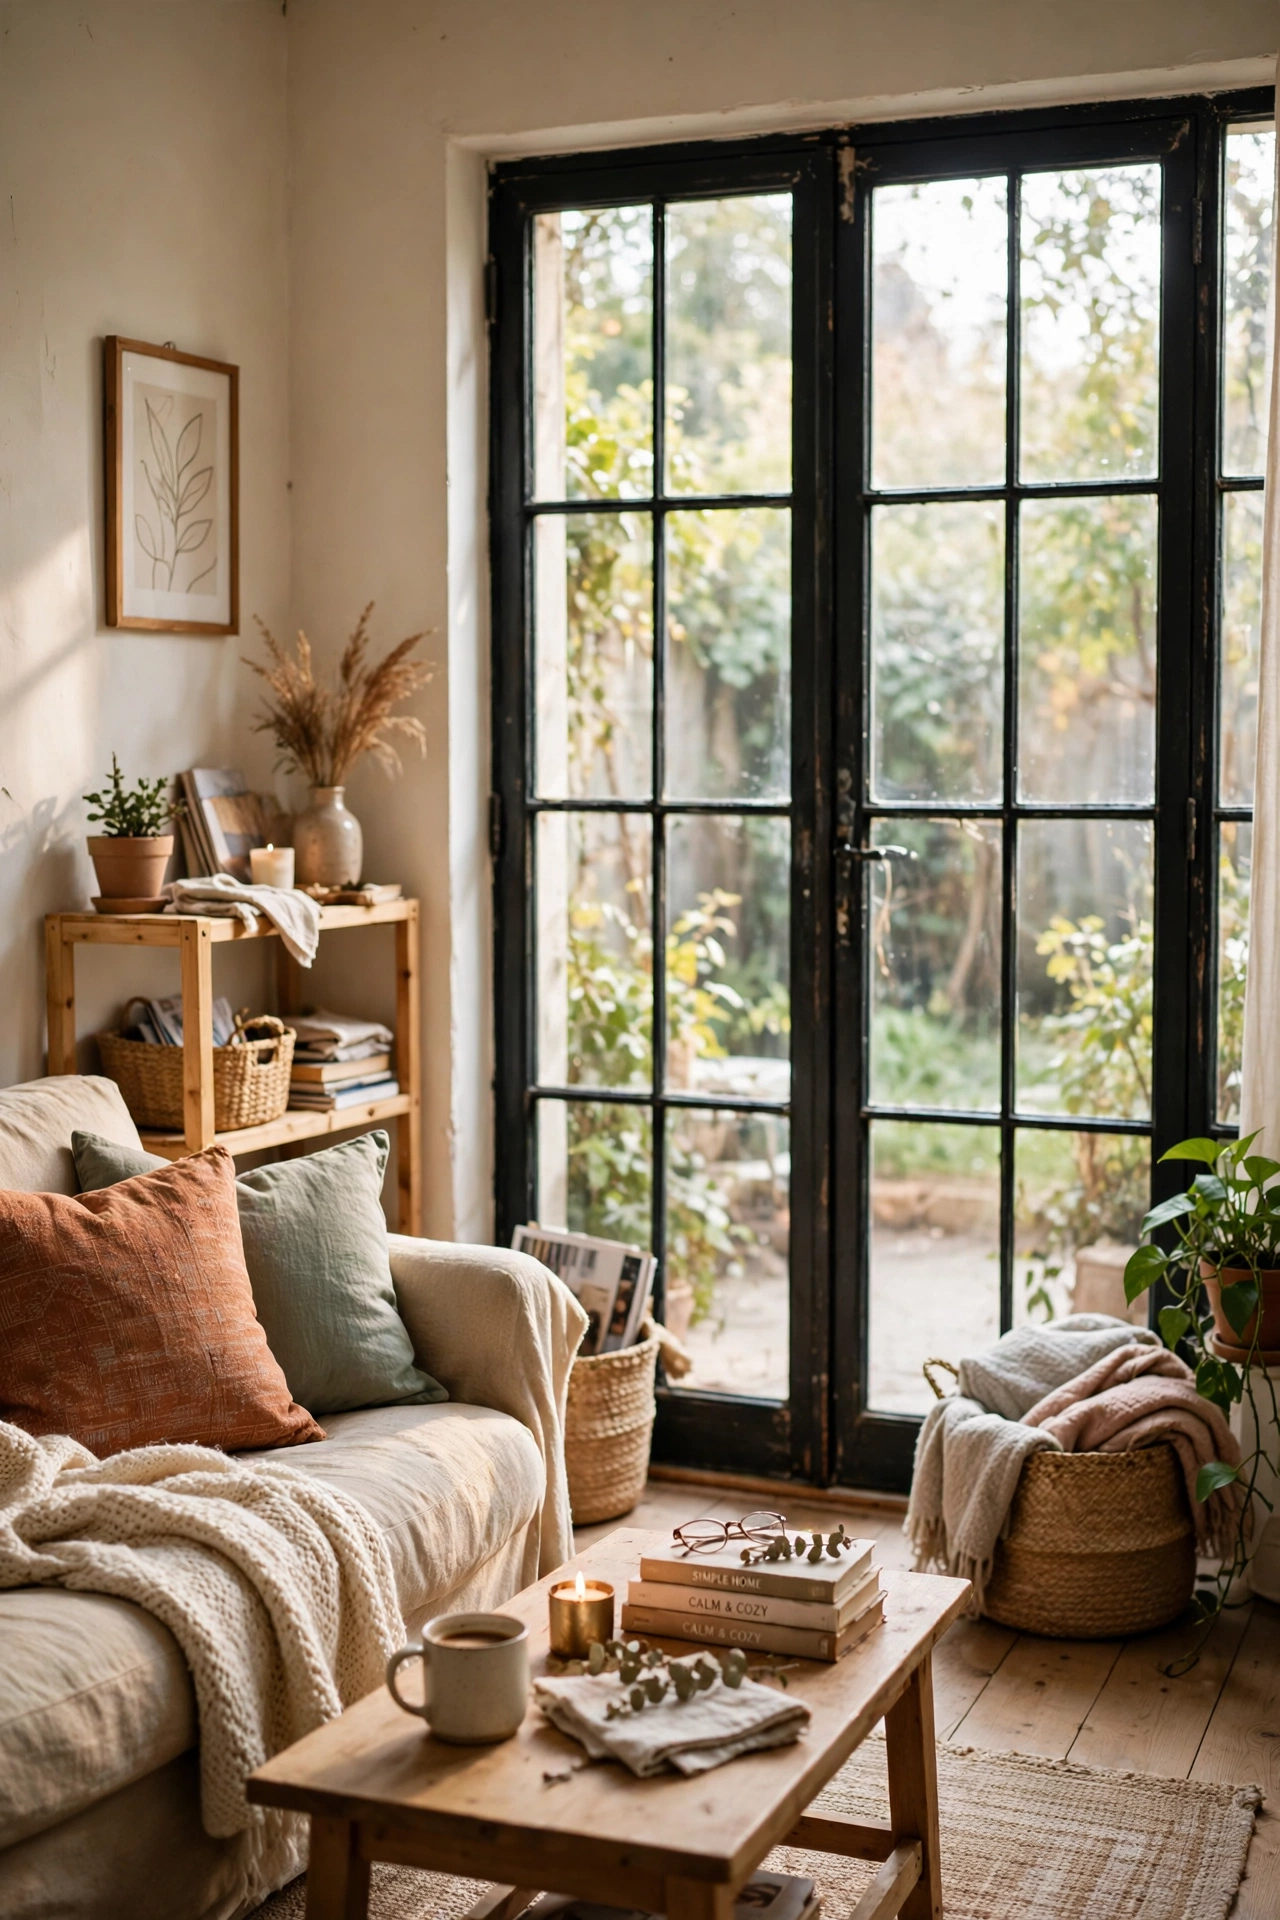
Replacing a solid interior door with a glass-paneled one lets light from the next room spill into a dark hallway. I swapped the door to our living room for one with frosted glass panels, and the hallway went from gloomy to bright without a single new light. Frosted glass keeps privacy while sharing light. If replacing the door is too much, removing it entirely and hanging a curtain gives you a similar effect for almost nothing. The best part is how little maintenance it needs; a quick wipe now and then is all it has ever asked for.
Cost: ~$120 | Time: 90 minutes
10. Wall Sconces That Wash Light Upward
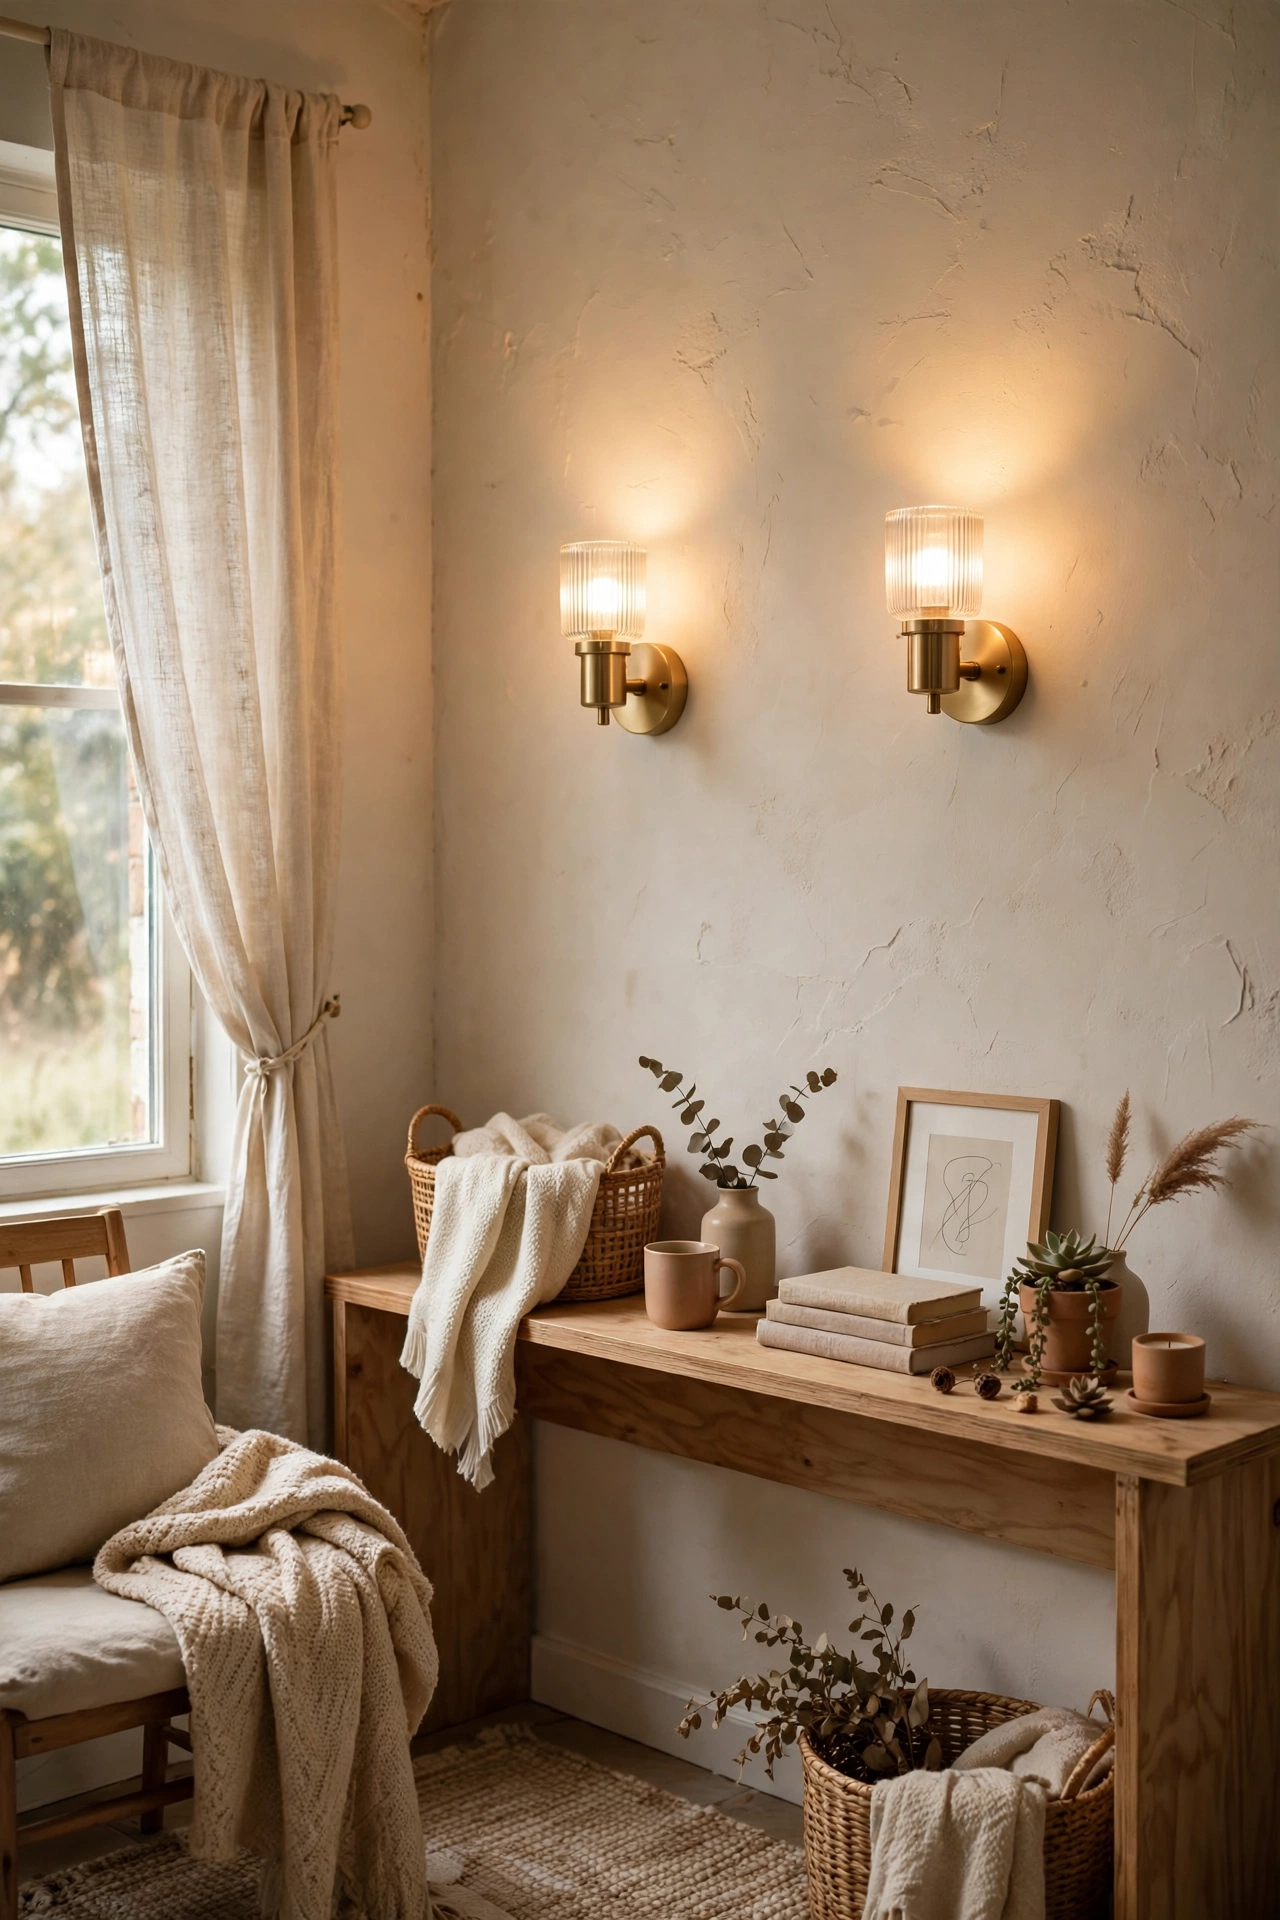
Sconces that wash light up the wall make a hallway ceiling feel higher and the space feel warmer. I mounted battery sconces that shine upward on both walls, staggered, and the hallway glows instead of glaring. Staggering them avoids a runway effect and keeps the light interesting. Battery sconces mean no wiring, and the remote means you never have to reach up to switch them off. It pairs well with almost anything else on this list, so it is an easy first step if you plan to do more later.
Pro tip: choose warm-white bulbs around 2700K, because cool light in a narrow hallway feels like an office corridor.
Cost: ~$40 | Time: 30 minutes
11. Built-In Bench With Cubbies
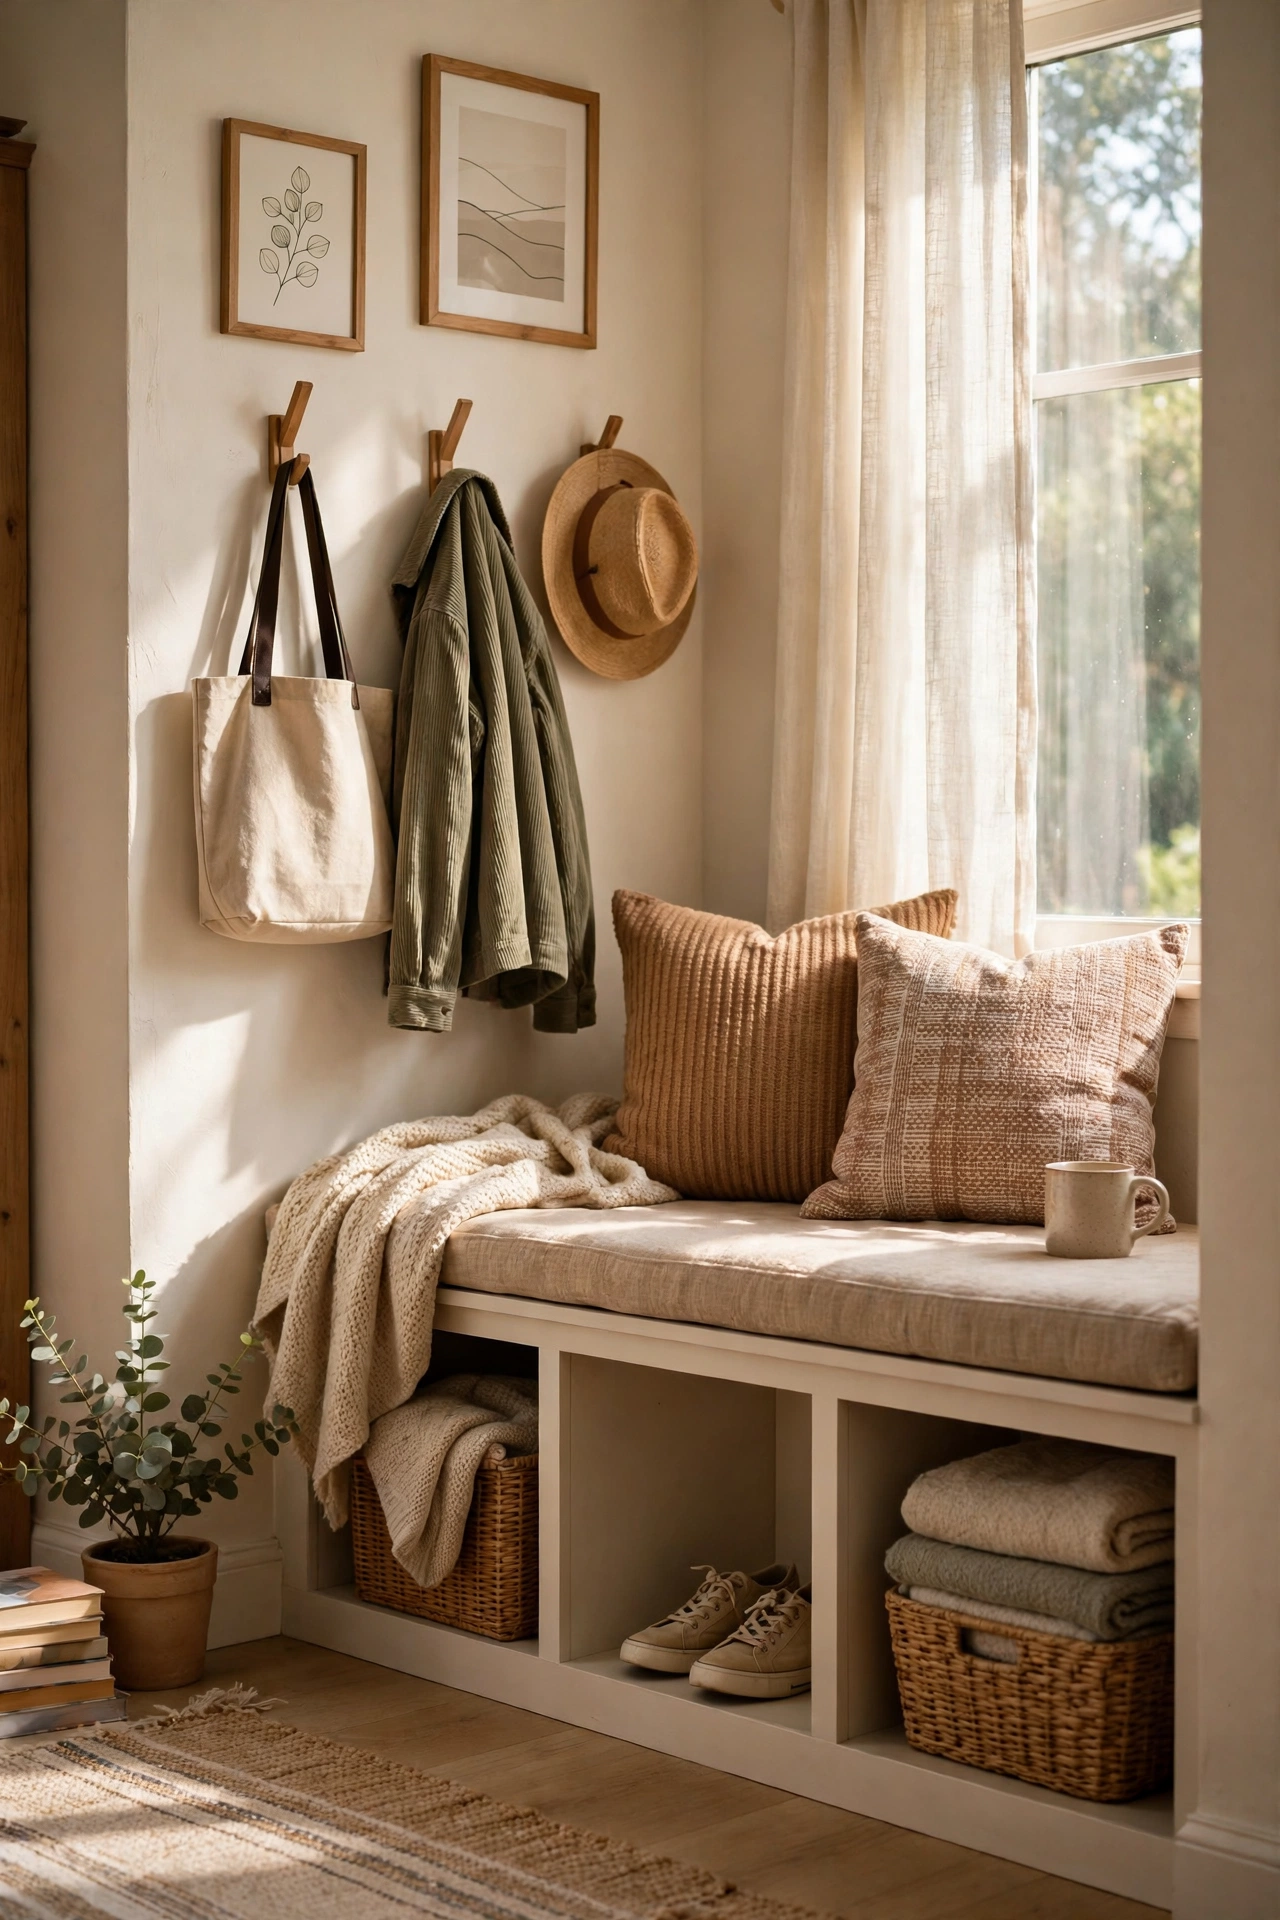
A built-in bench with cubbies underneath turns a hallway alcove into seating and storage without a single piece of freestanding furniture. I built ours into a nook by the door, and shoes, bags, and boots all live there now instead of in a trail down the hall. If you have no alcove, a low bench against one wall does the same job. Keep the bench height at sitting level, about eighteen inches, so it is actually comfortable. Keep the receipt for the supplies, because you will want to remember how little this cost when people ask.
Cost: ~$80 | Time: 4 hours
12. Art Hung at Eye Level Only
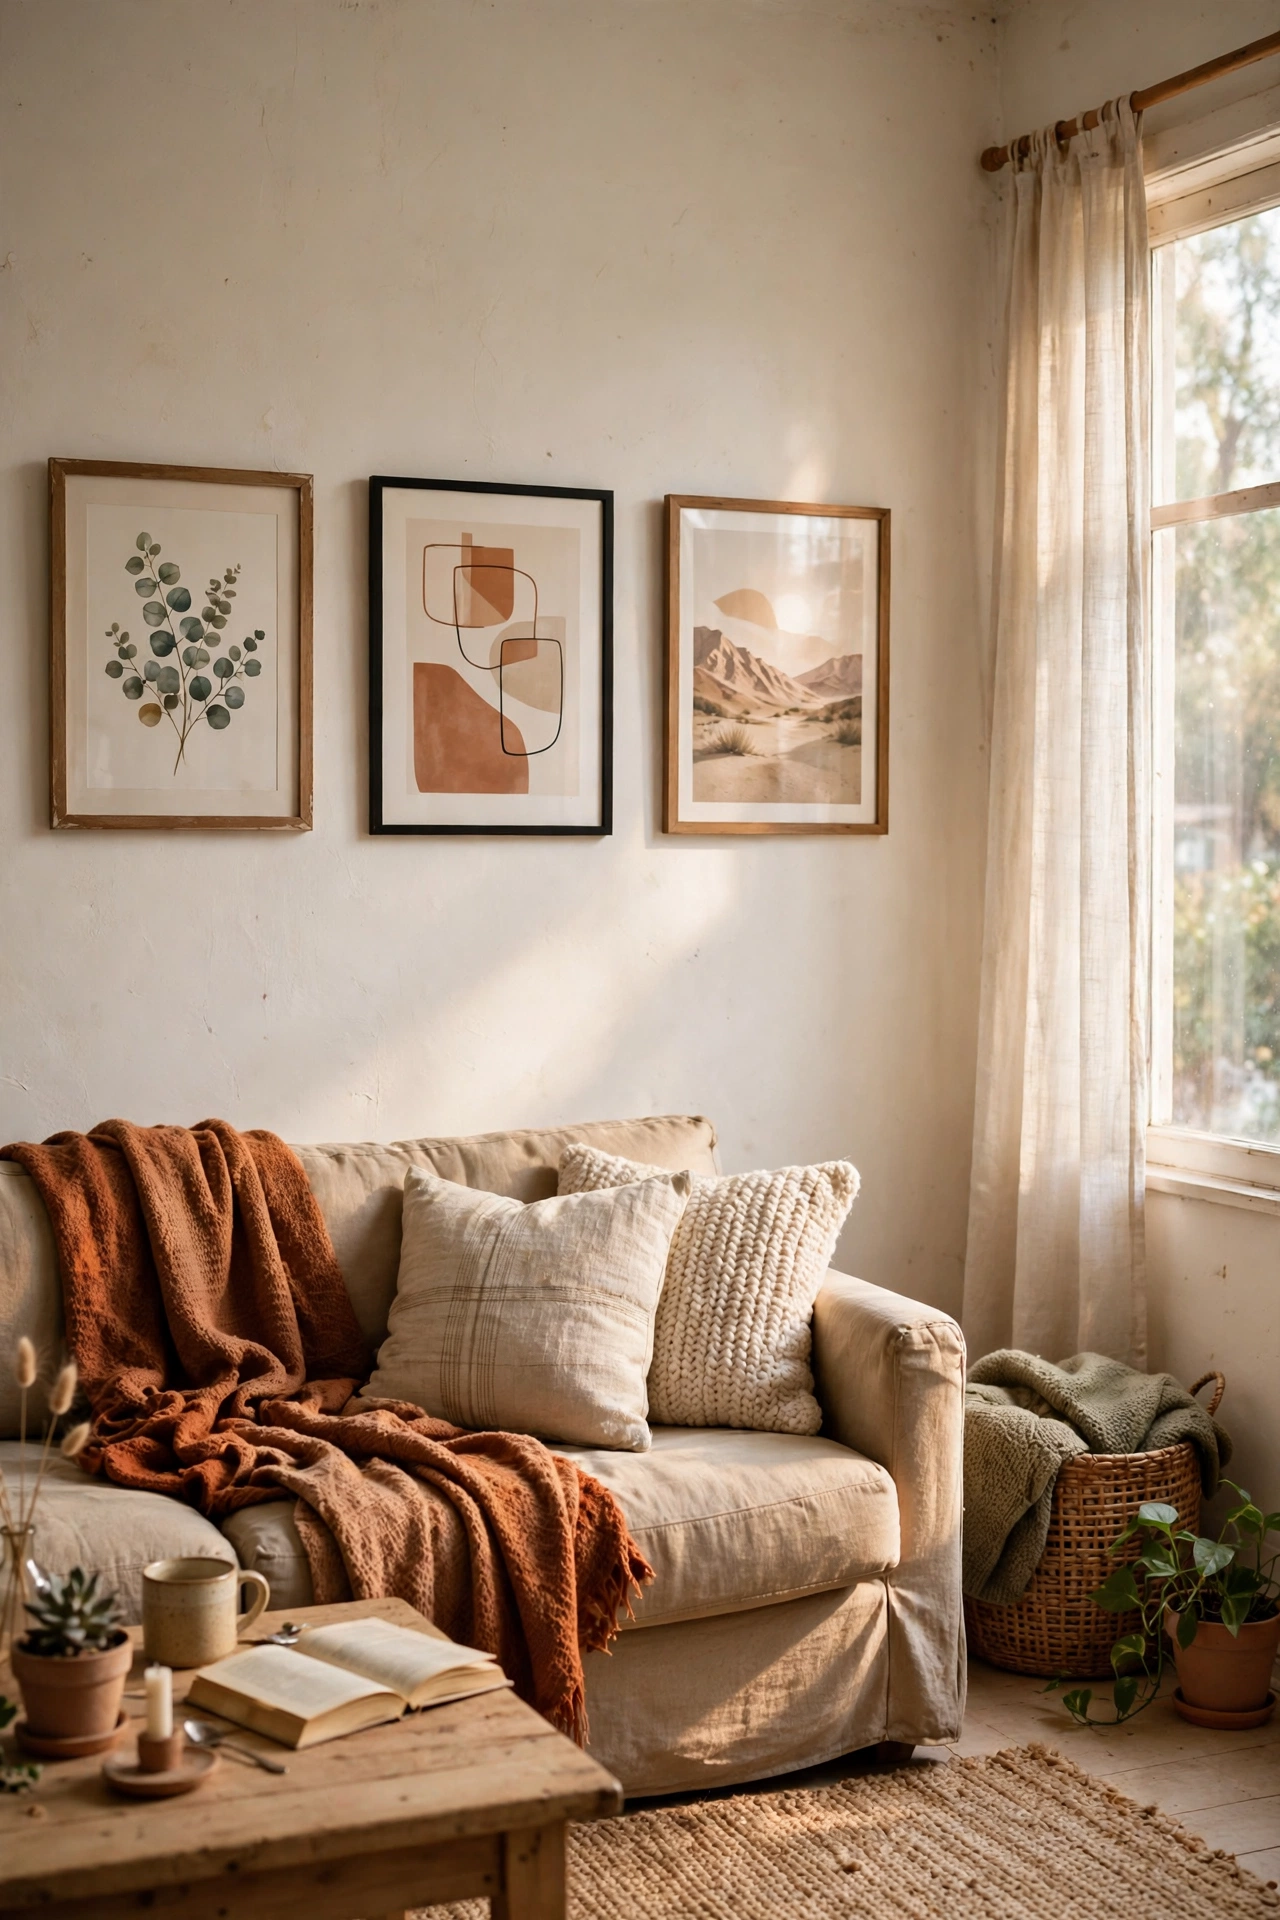
In a narrow hallway, art hung at eye level keeps the walls feeling balanced, while art hung high makes the space feel like a tunnel. I rehung our hallway prints so their centers sit at 57 inches, and the whole hall felt calmer. One row, one height, consistent frames, that is the whole formula. When every frame follows the same line, the hallway reads as designed instead of accidental. The second time I did this, it took half as long, because I already knew which parts mattered and which parts I could skip.
Cost: ~$10 | Time: 45 minutes
13. One Bold Accent Wall at the End
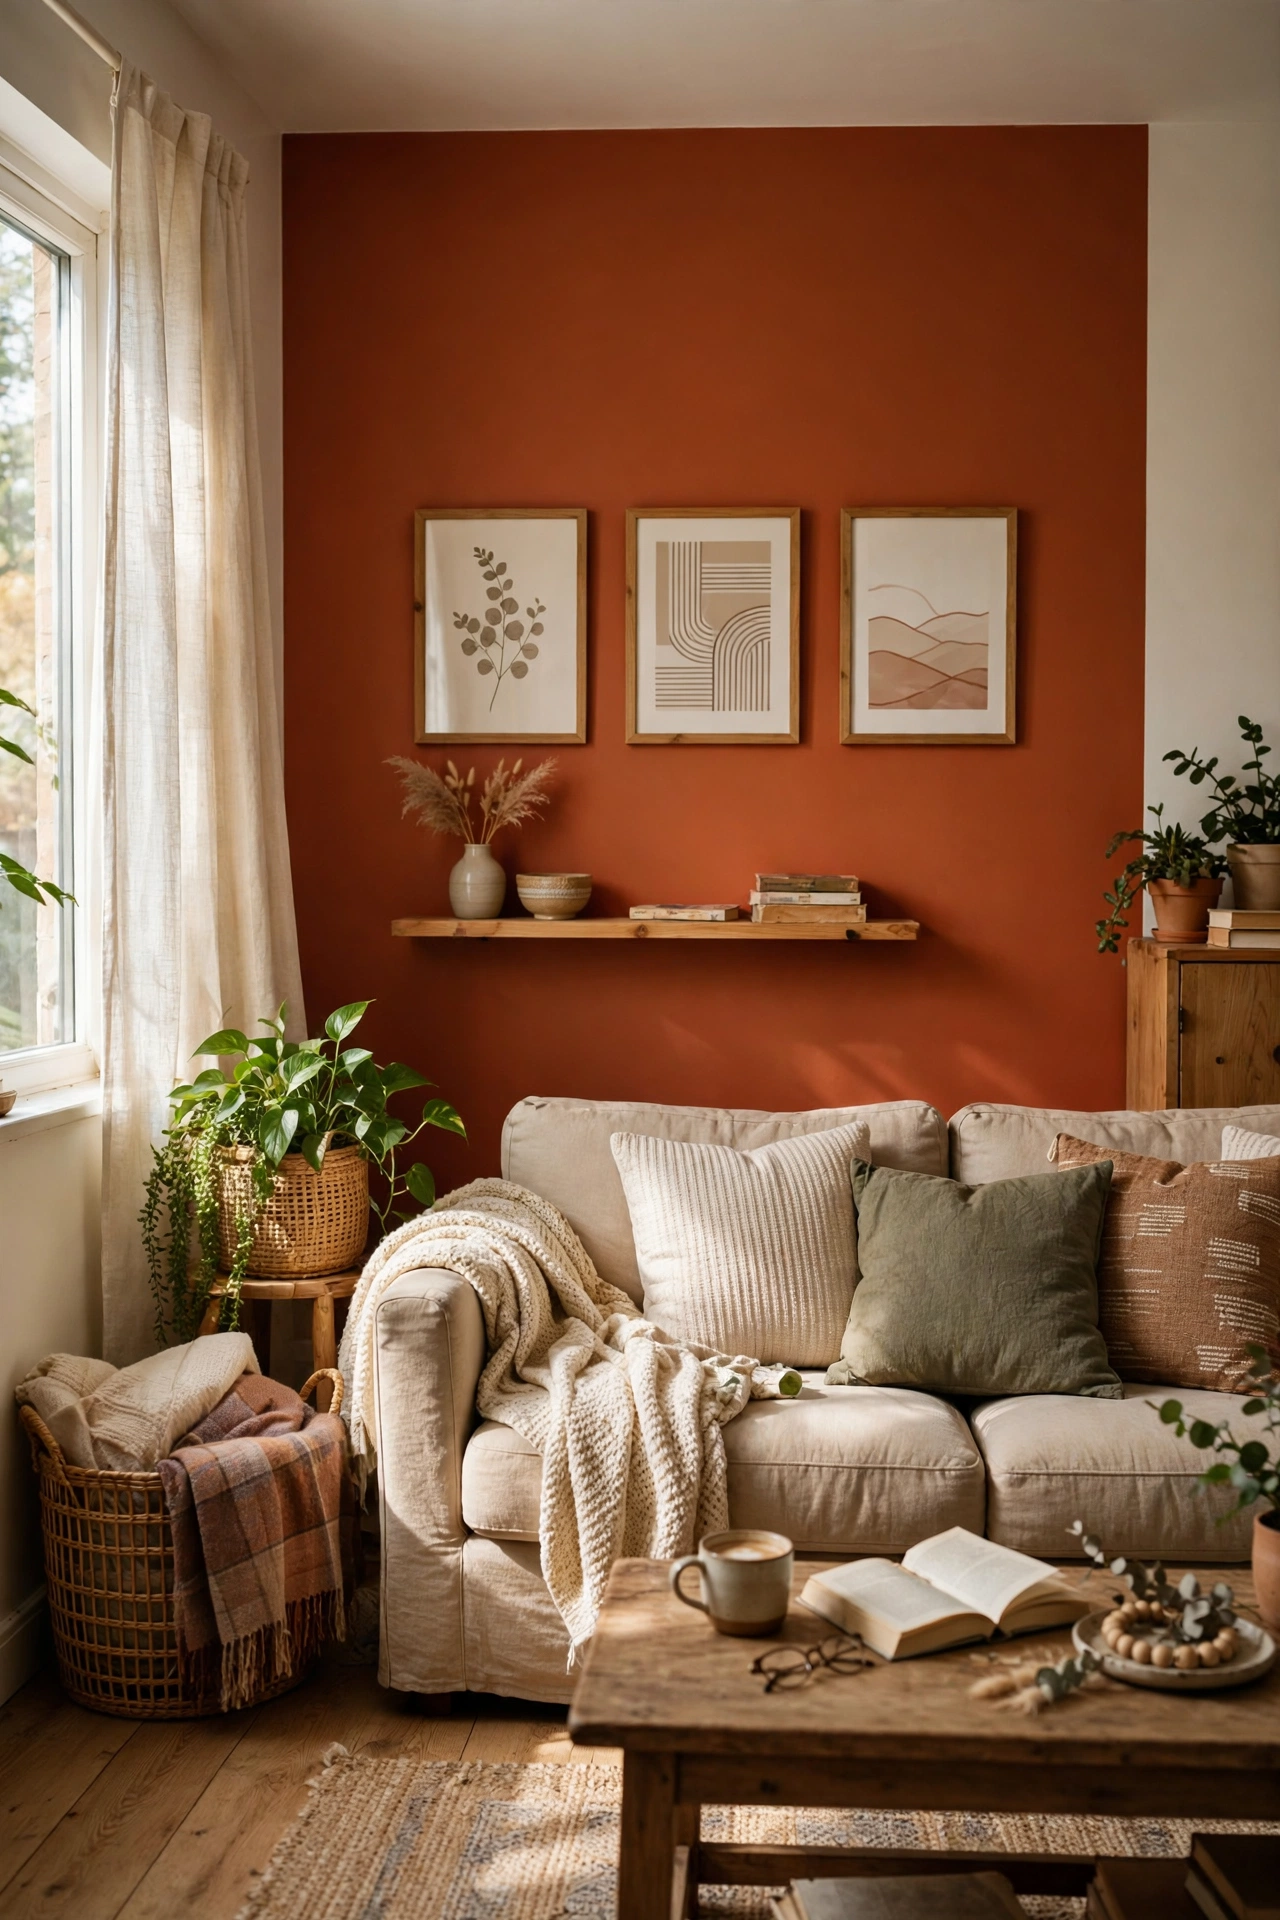
Painting the wall at the end of the hallway a bold color gives your eye a destination and makes the hallway feel like it leads somewhere. I painted ours a deep green and hung one large print on it, and the hallway suddenly had a point. Keep the side walls light so the end wall can carry the drama. This works especially well in hallways that end in a blank wall, which is most of them. I took a photo of the finished result to show a friend, and she ended up doing the same thing the following weekend.
Pro tip: the end wall is also the perfect spot for a mirror, because it bounces light straight back down the hall.
Cost: ~$25 | Time: 2 hours
14. Sliding Barn Door to Save Swing Space
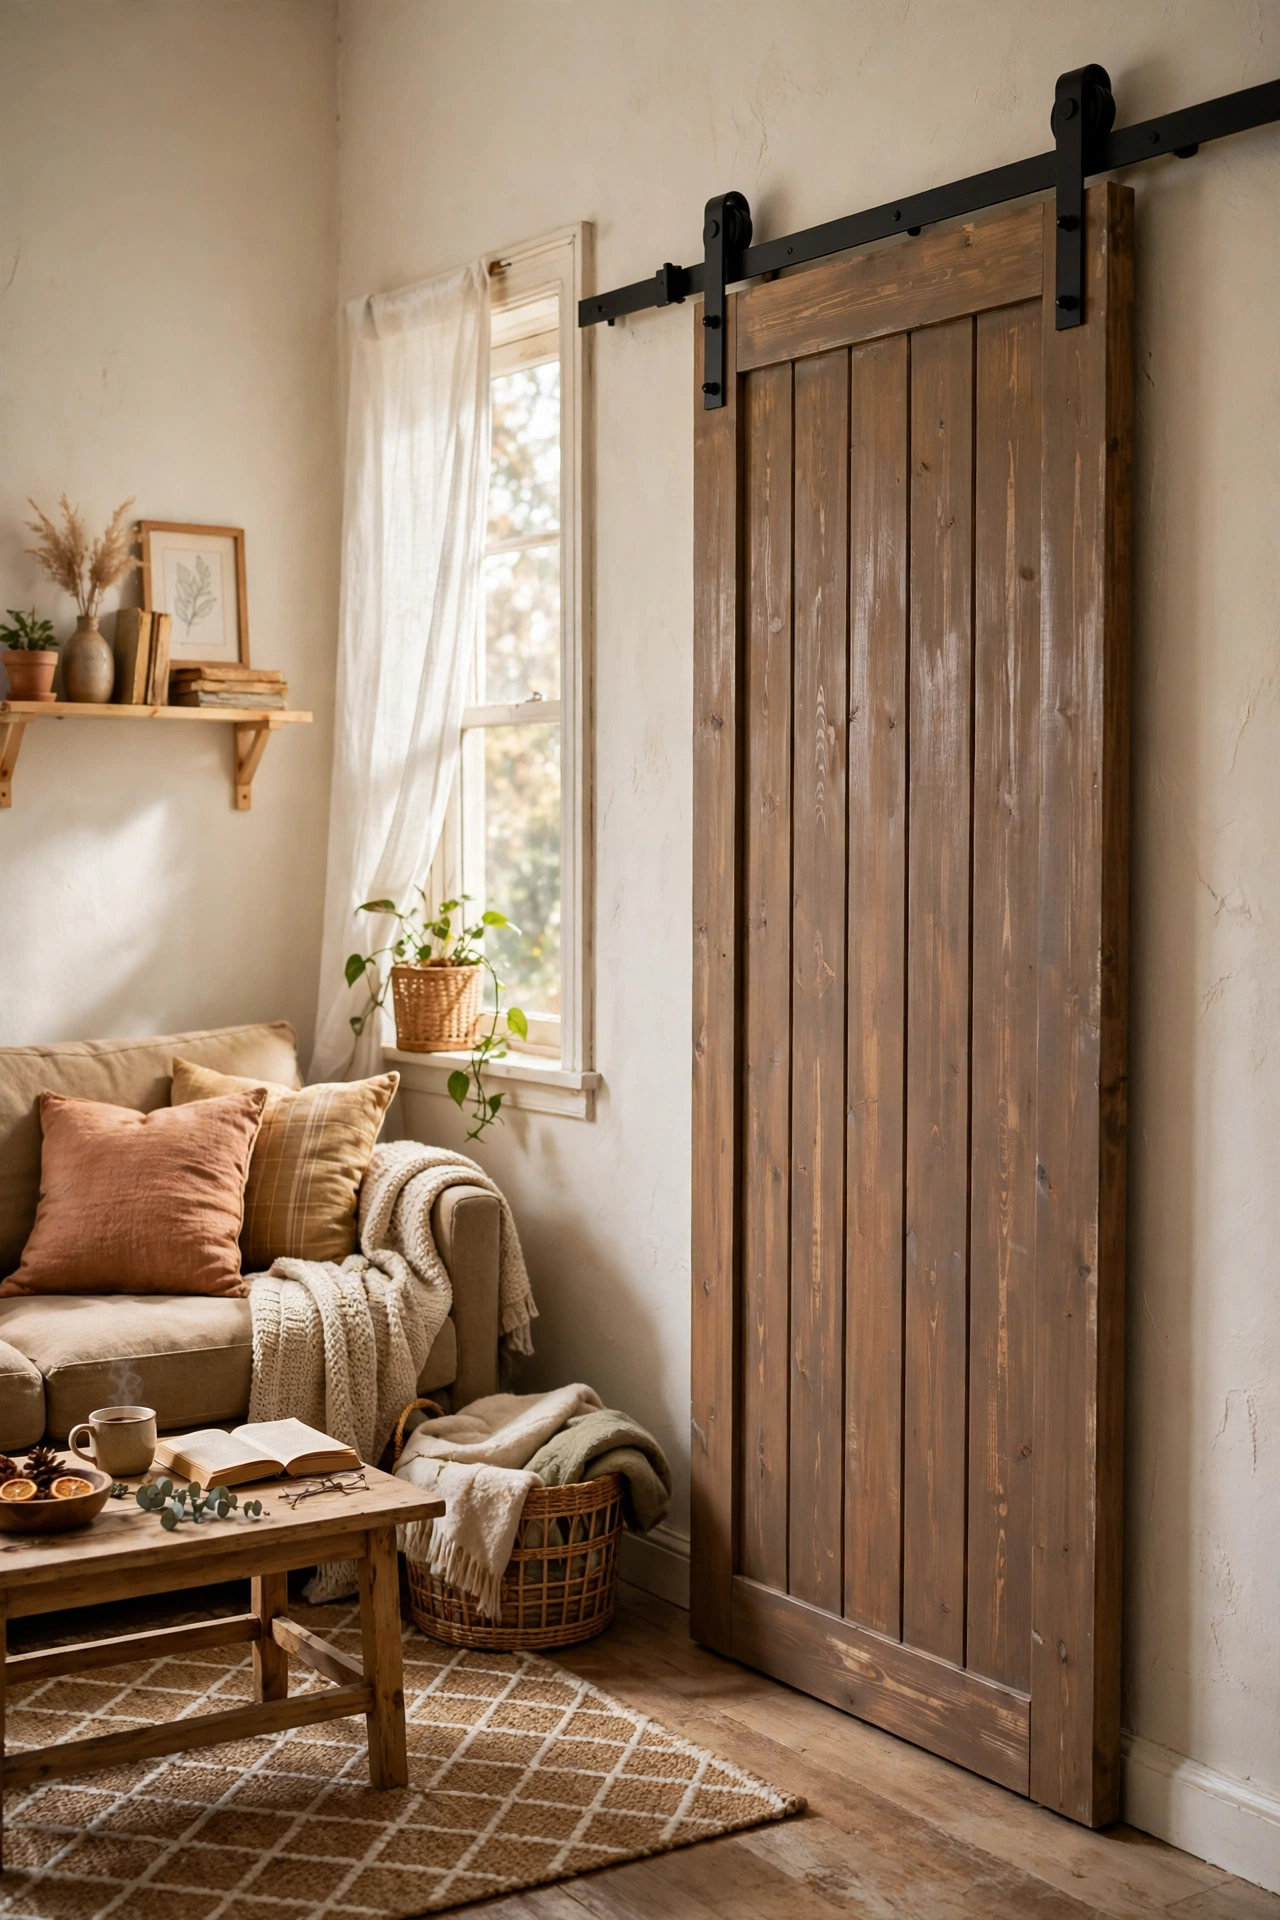
A sliding door saves the arc of floor a swinging door needs, which in a narrow hallway is precious space. I replaced a swinging door with a barn door on a rail, and the hallway gained back nearly three square feet. The rail mounts above the door frame, and the door slides along the wall. Make sure the wall beside the door is clear, because that is where the door lives when it is open. I found most of what I needed already sitting in a cupboard, which made the whole project feel almost free.
Cost: ~$90 | Time: 3 hours
15. Woven Baskets on High Shelves
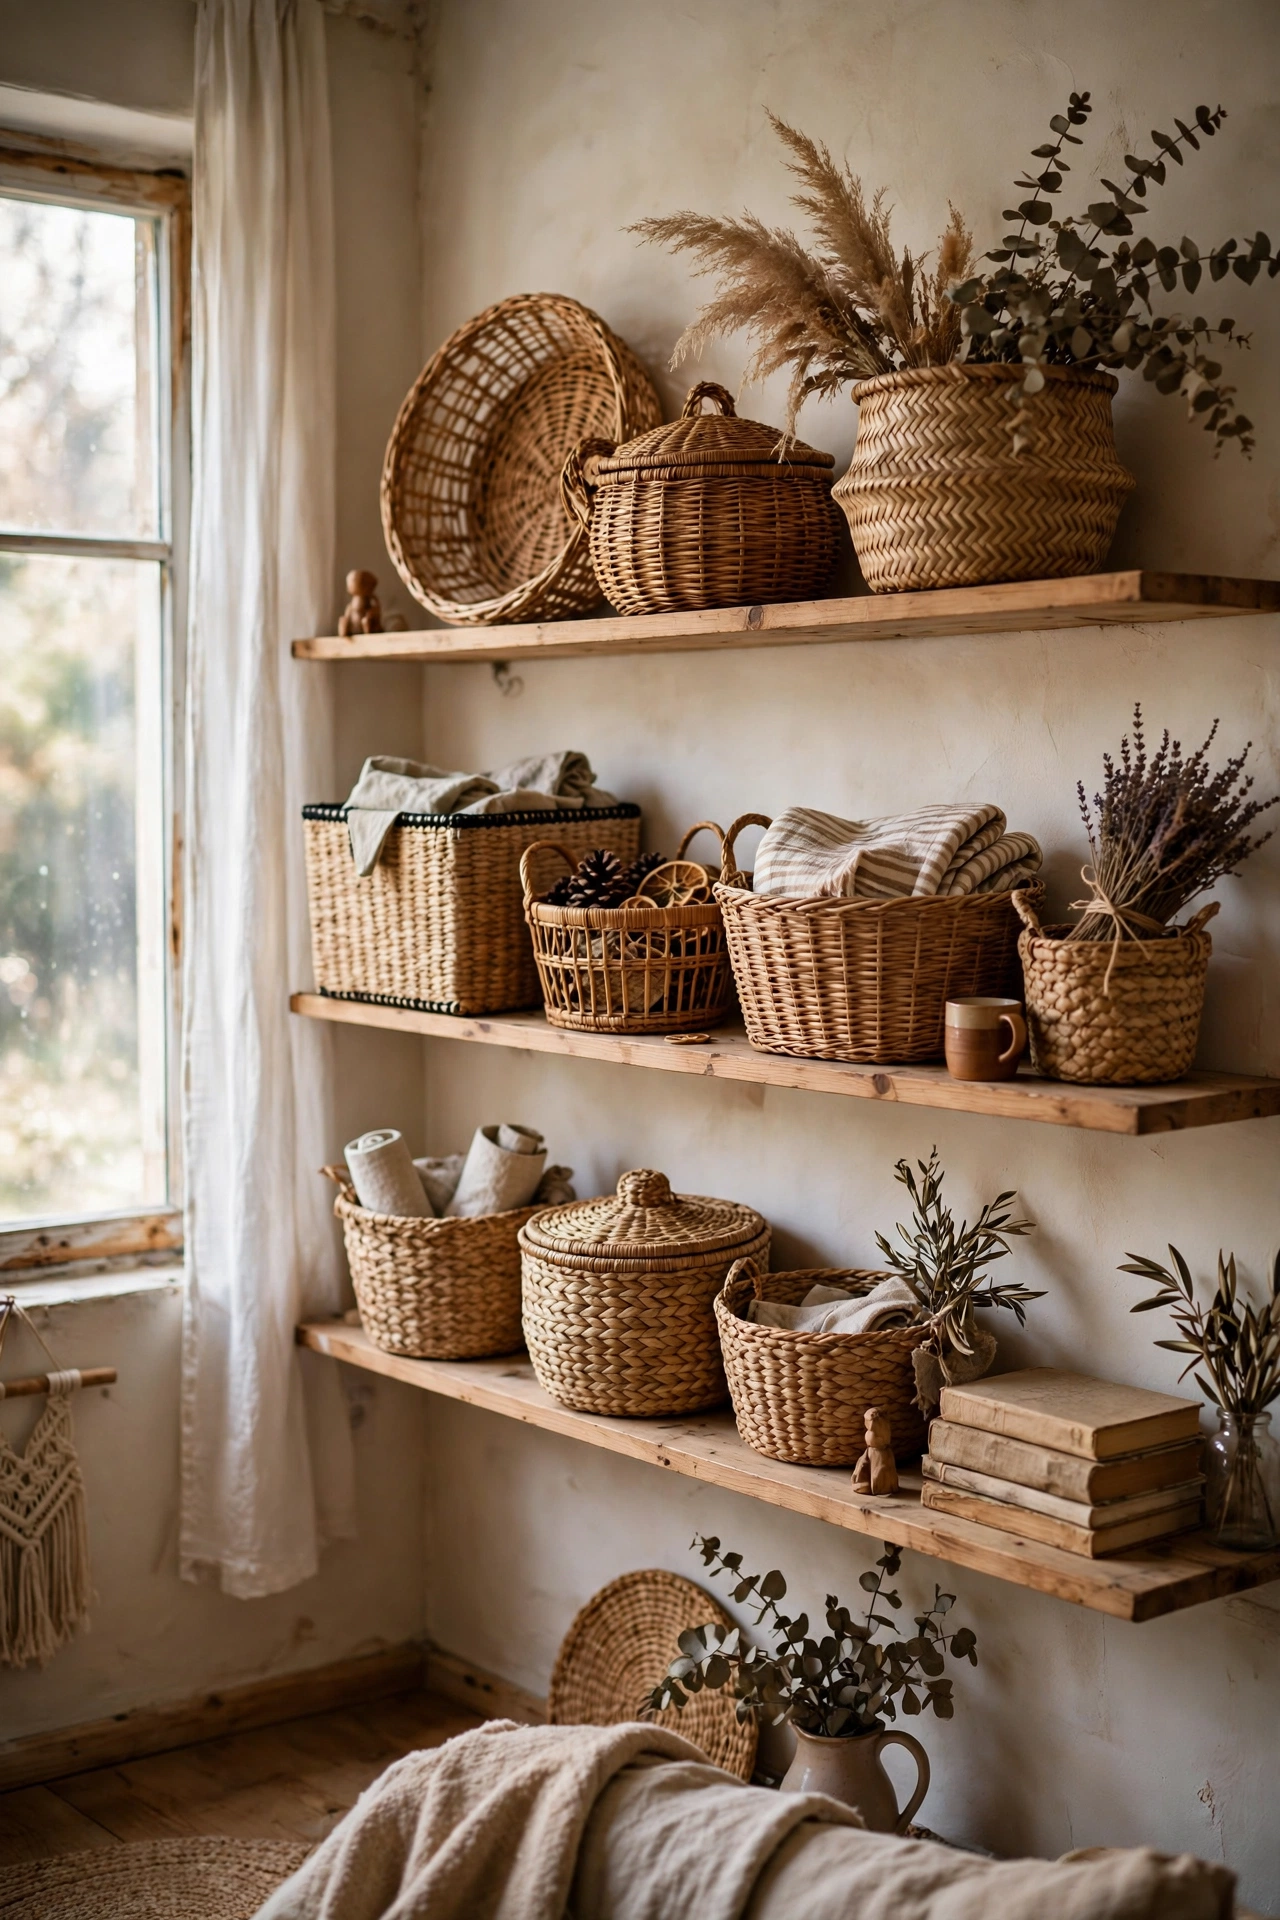
A high shelf with woven baskets stores out-of-season things where they never block the walkway. I mounted a shelf near the ceiling in our hallway with three baskets for hats, gloves, and spare linens. Label the baskets on the bottom edge so you can read them from below. High storage only works for things you do not need daily, so be honest about what goes up there. I keep a spare of everything this project needs now, because friends keep asking me to help them do theirs. It sounds small, but coming home to a tidy, welcoming entry genuinely changes how the rest of the evening feels.
Cost: ~$30 | Time: 45 minutes
16. Monochrome Flooring for Flow
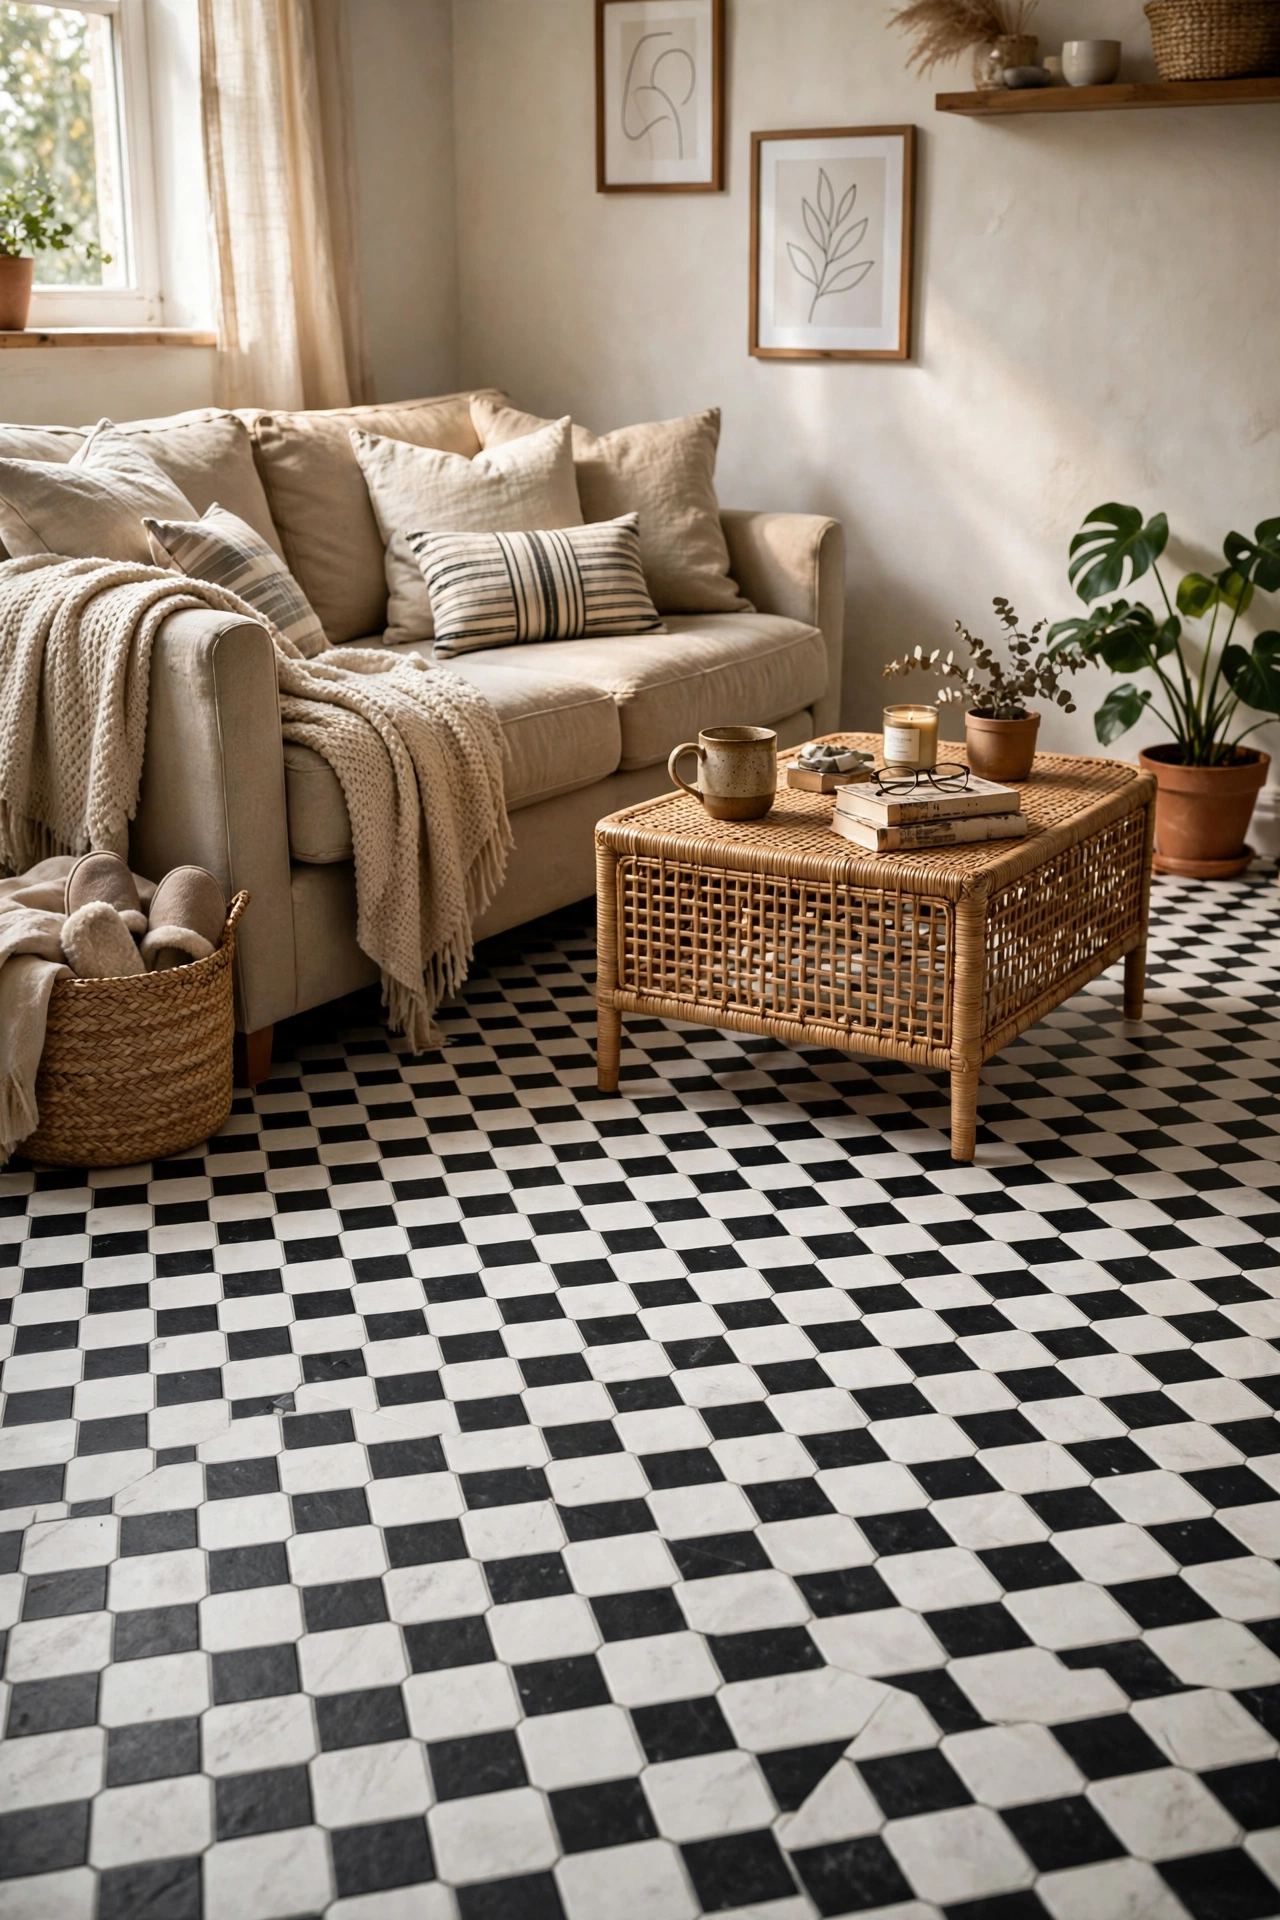
Running the same flooring from the hallway into the rooms on either side makes the hallway feel like part of a larger space instead of a separate tunnel. I could not replace floors, so I used a runner in the same tones as the adjoining rooms, which gave a similar effect. Avoid a sharp color change at the hallway entrance, because that change is what makes a hallway read as small and separate. This is the kind of project that looks far more expensive than it was, and I never correct anyone who assumes otherwise.
Pro tip: if your hallway floor is dated, a long runner in a neutral tone hides it completely for a fraction of replacement cost.
Cost: ~$45 | Time: 15 minutes
17. Slim Radiator Cover Shelf
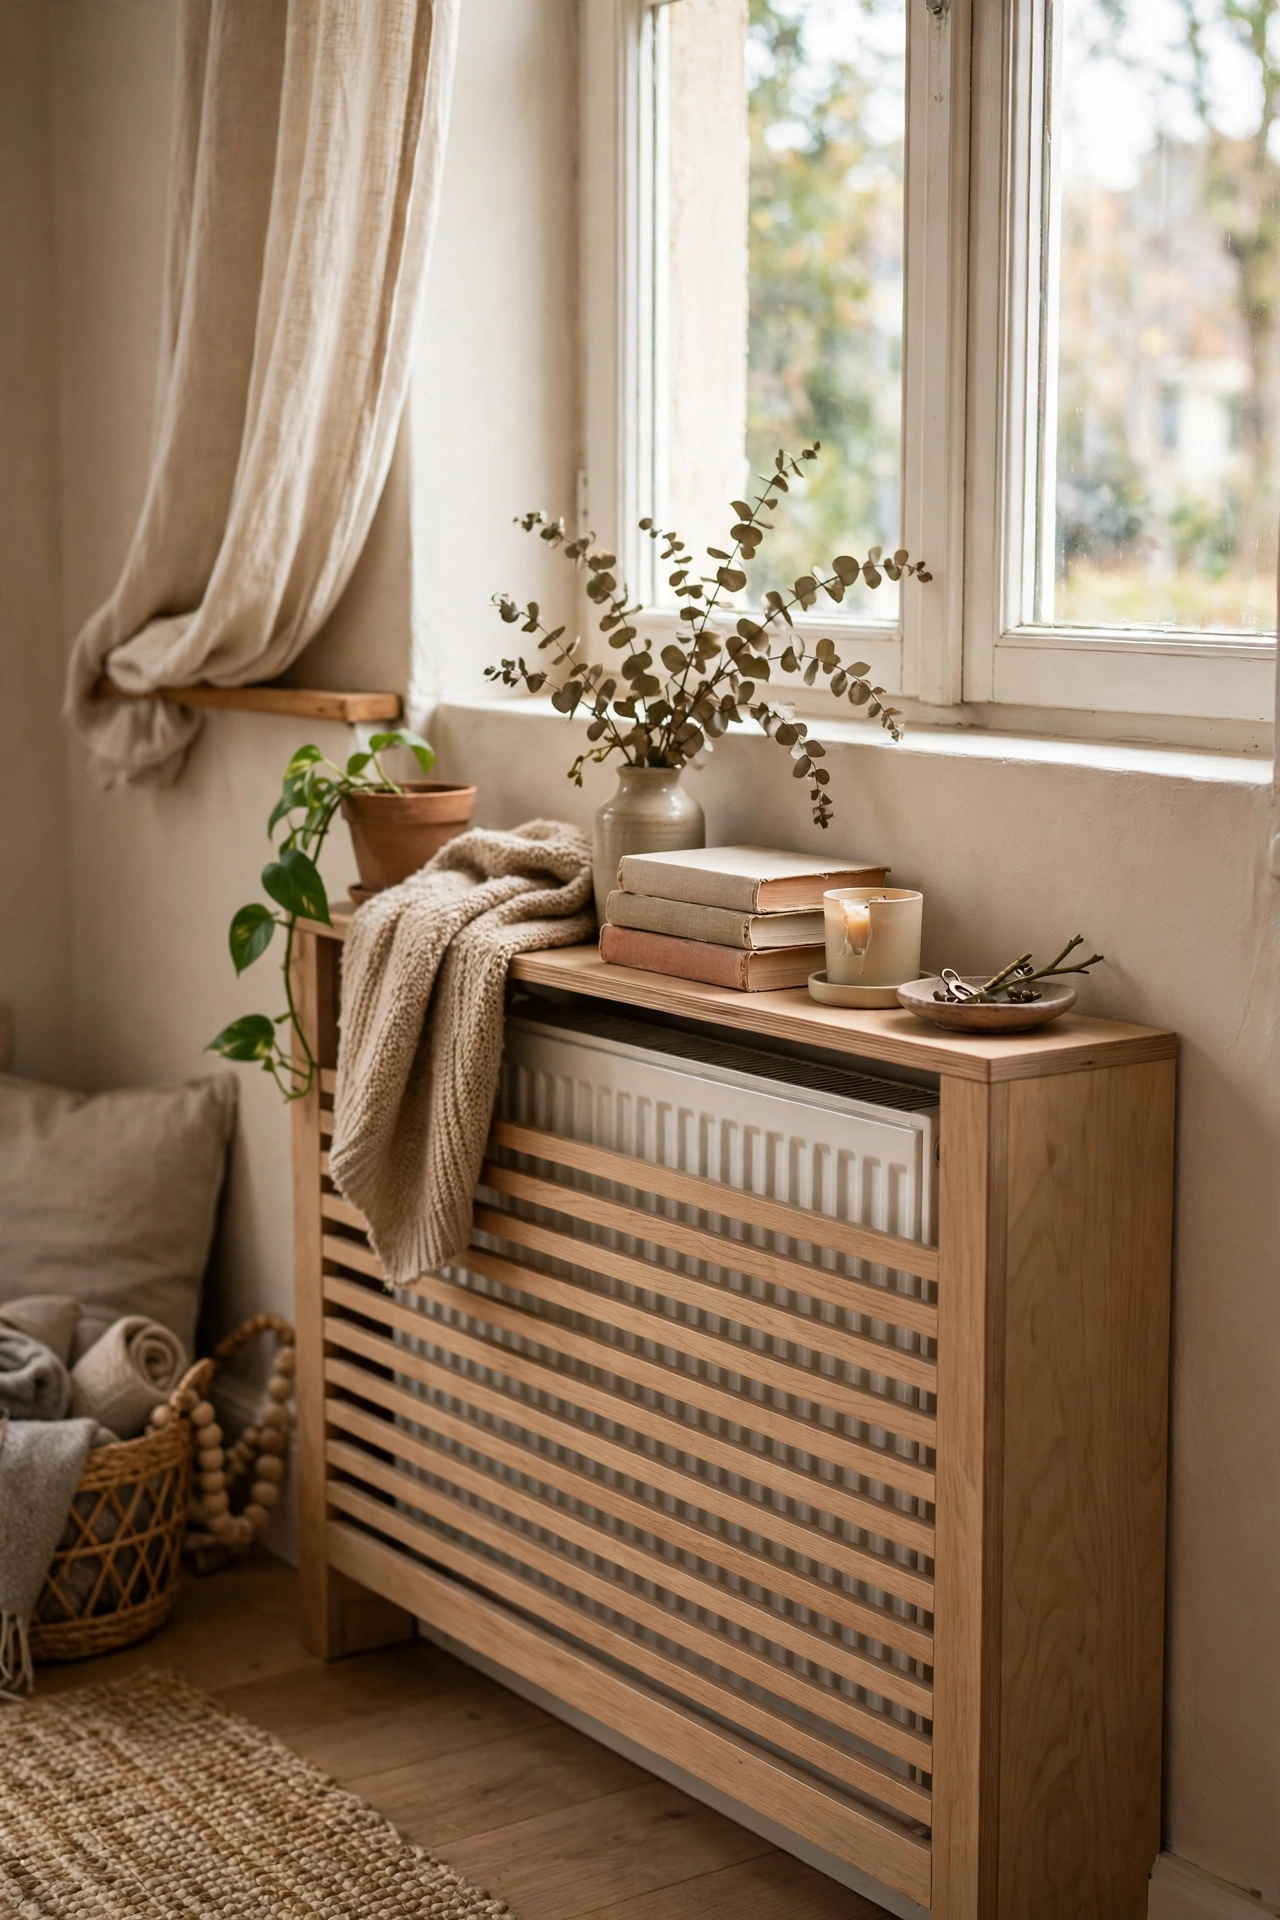
A radiator cover turns an awkward hallway radiator into a shelf for keys and mail. I built a simple slatted cover for ours, leaving gaps for heat to escape, and it gave us a landing spot we never had. Keep the top clear of anything heat-sensitive, and leave ventilation gaps on the front. It is one of those fixes that makes you wonder why you lived with a bare radiator for so long. The best part is how little maintenance it needs; a quick wipe now and then is all it has ever asked for.
Cost: ~$50 | Time: 2 hours
18. Plants That Trail From Above
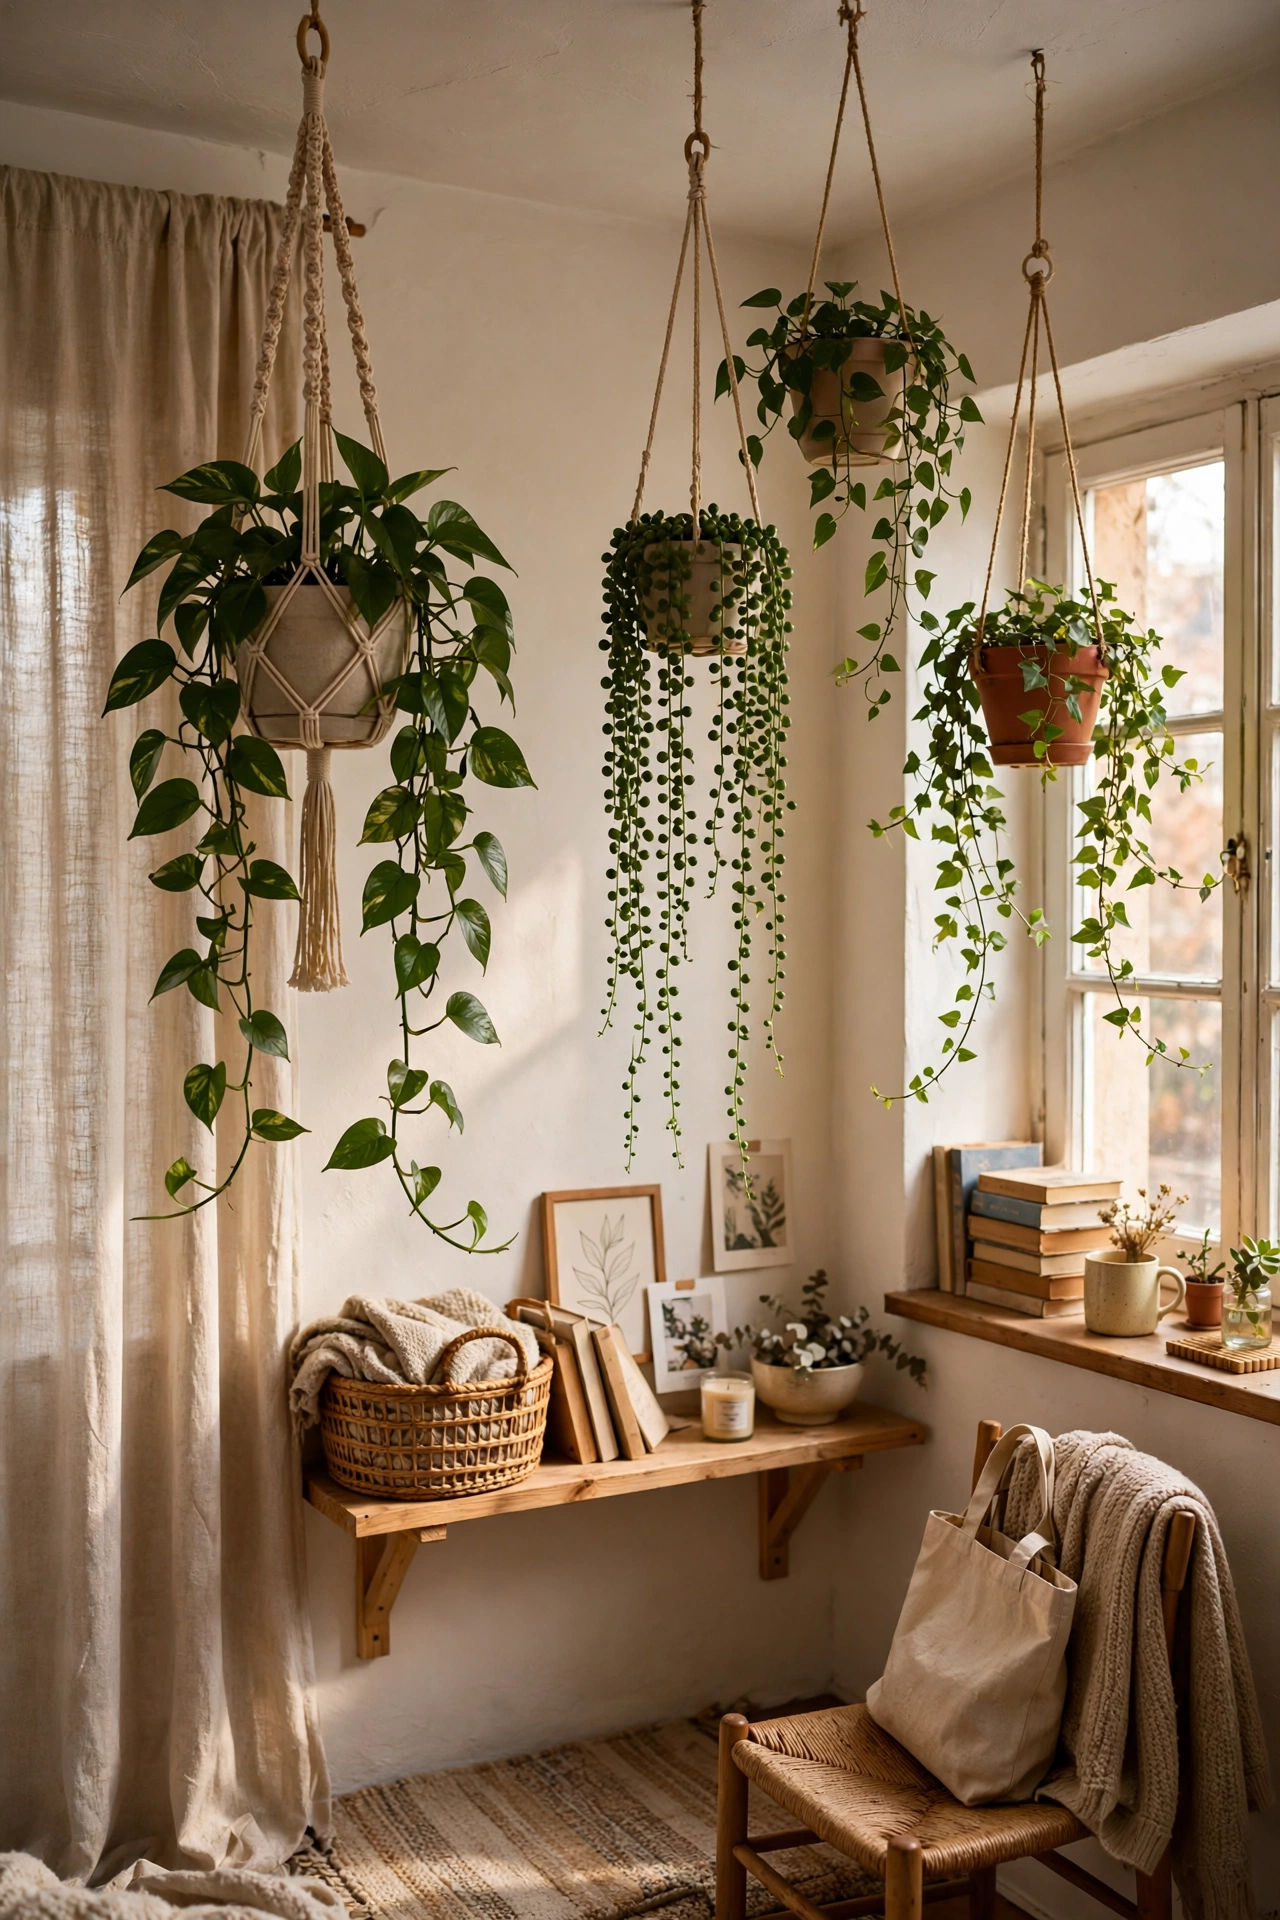
Trailing plants hung from the ceiling add life to a hallway without taking any floor or wall space at all. I hung two pothos in macrame hangers near the end of our hall, and their vines soften every hard line. Hang them high enough to walk under, and water them over a sink so drips never reach the floor. Pothos tolerates low light, which is good, because hallways rarely have much of it. It pairs well with almost anything else on this list, so it is an easy first step if you plan to do more later.
Cost: ~$25 | Time: 20 minutes
19. Clear Acrylic Console
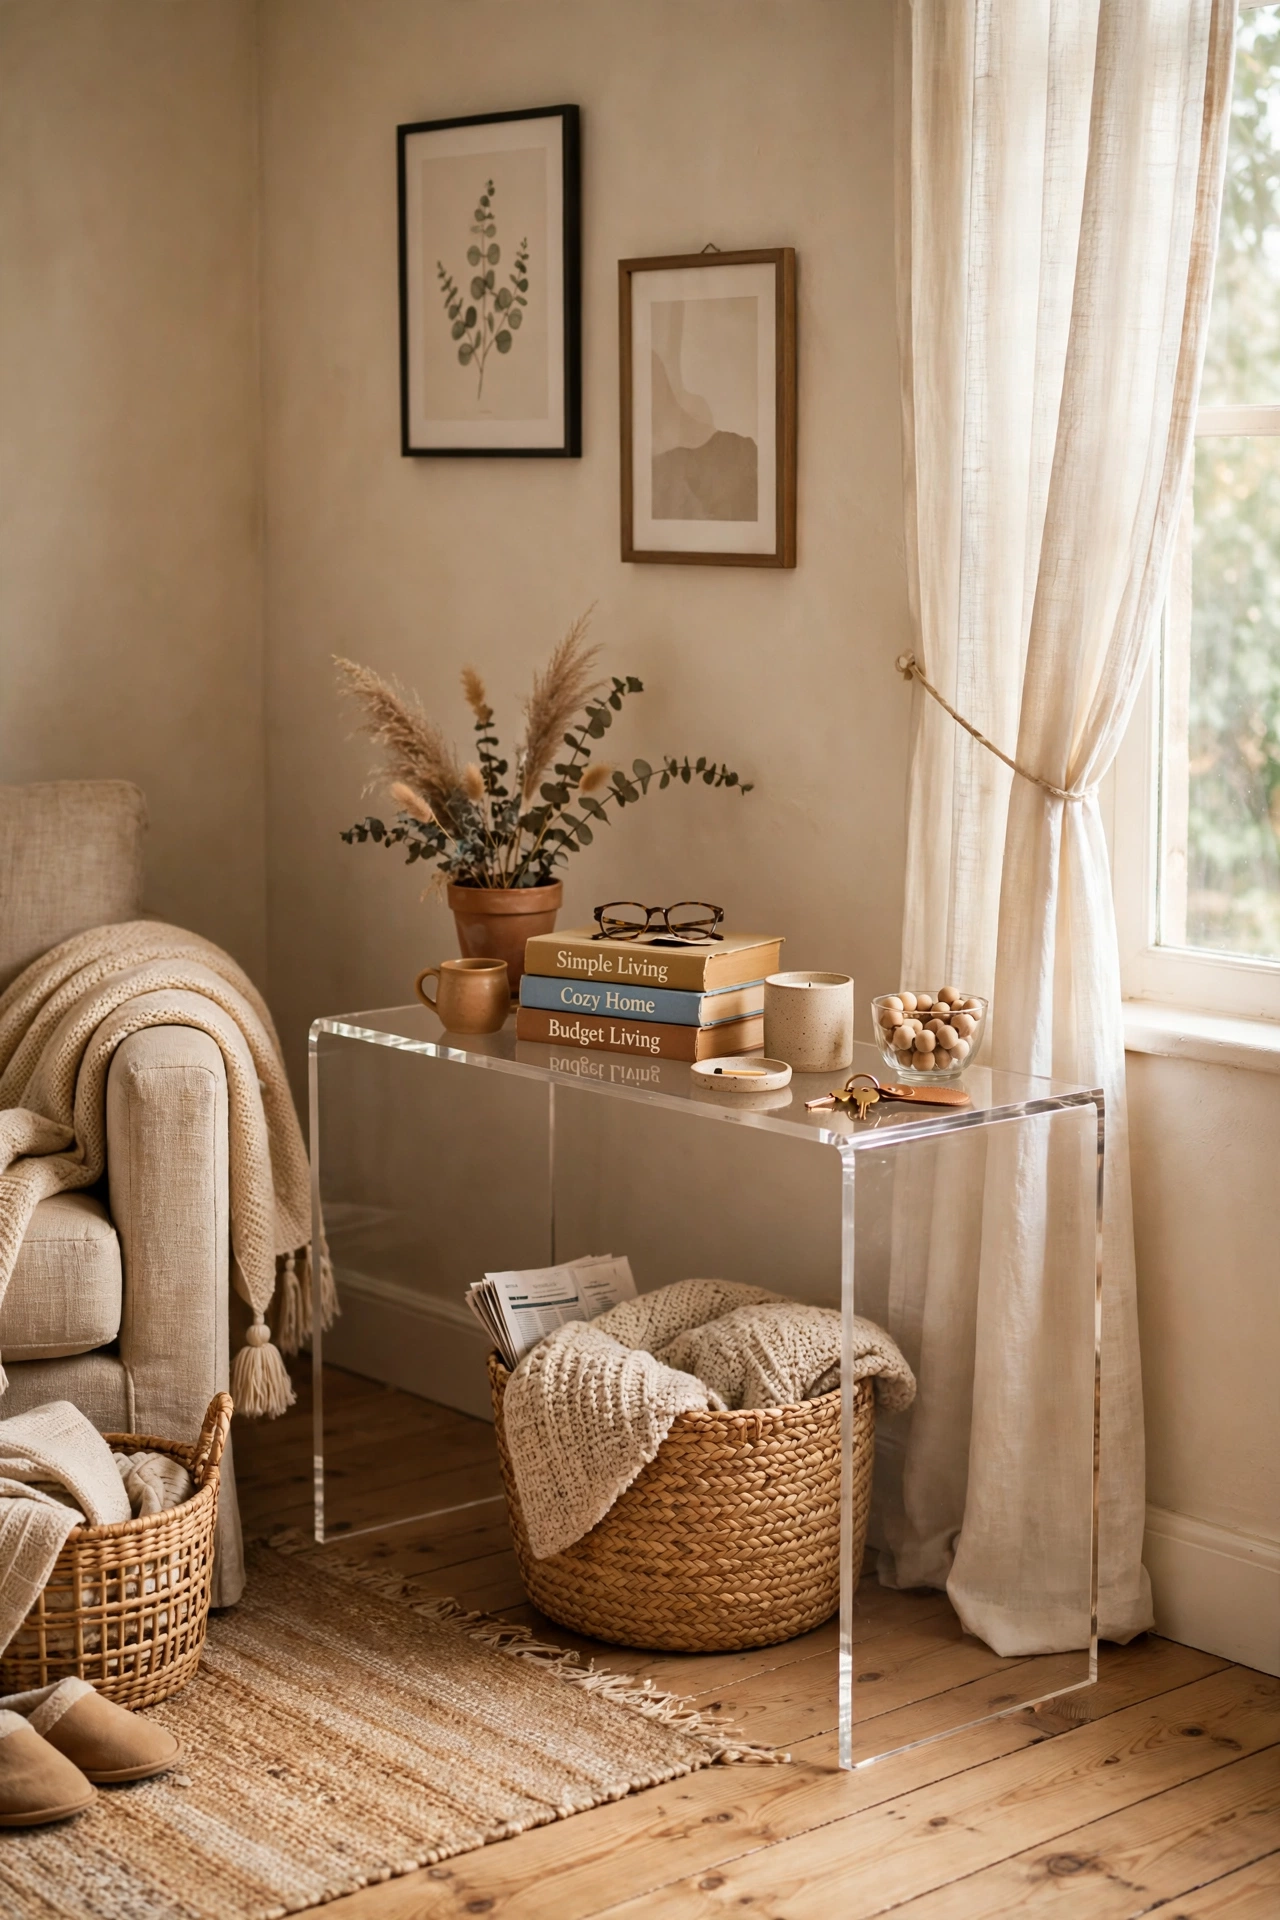
A clear acrylic console gives you a surface in a narrow hallway without adding any visual bulk. I used one in our tightest stretch and it practically disappears, so the hallway still feels open. Keep one or two objects on it at most, because clutter on a clear surface looks twice as messy. Dust it weekly, since acrylic shows every fingerprint. For more ideas on slim entry furniture, see our (see also: 25-foyer-decor-ideas-for-small-spaces) post. Keep the receipt for the supplies, because you will want to remember how little this cost when people ask.
Cost: ~$60 | Time: 15 minutes
20. Arched Mirror at the Hall’s End
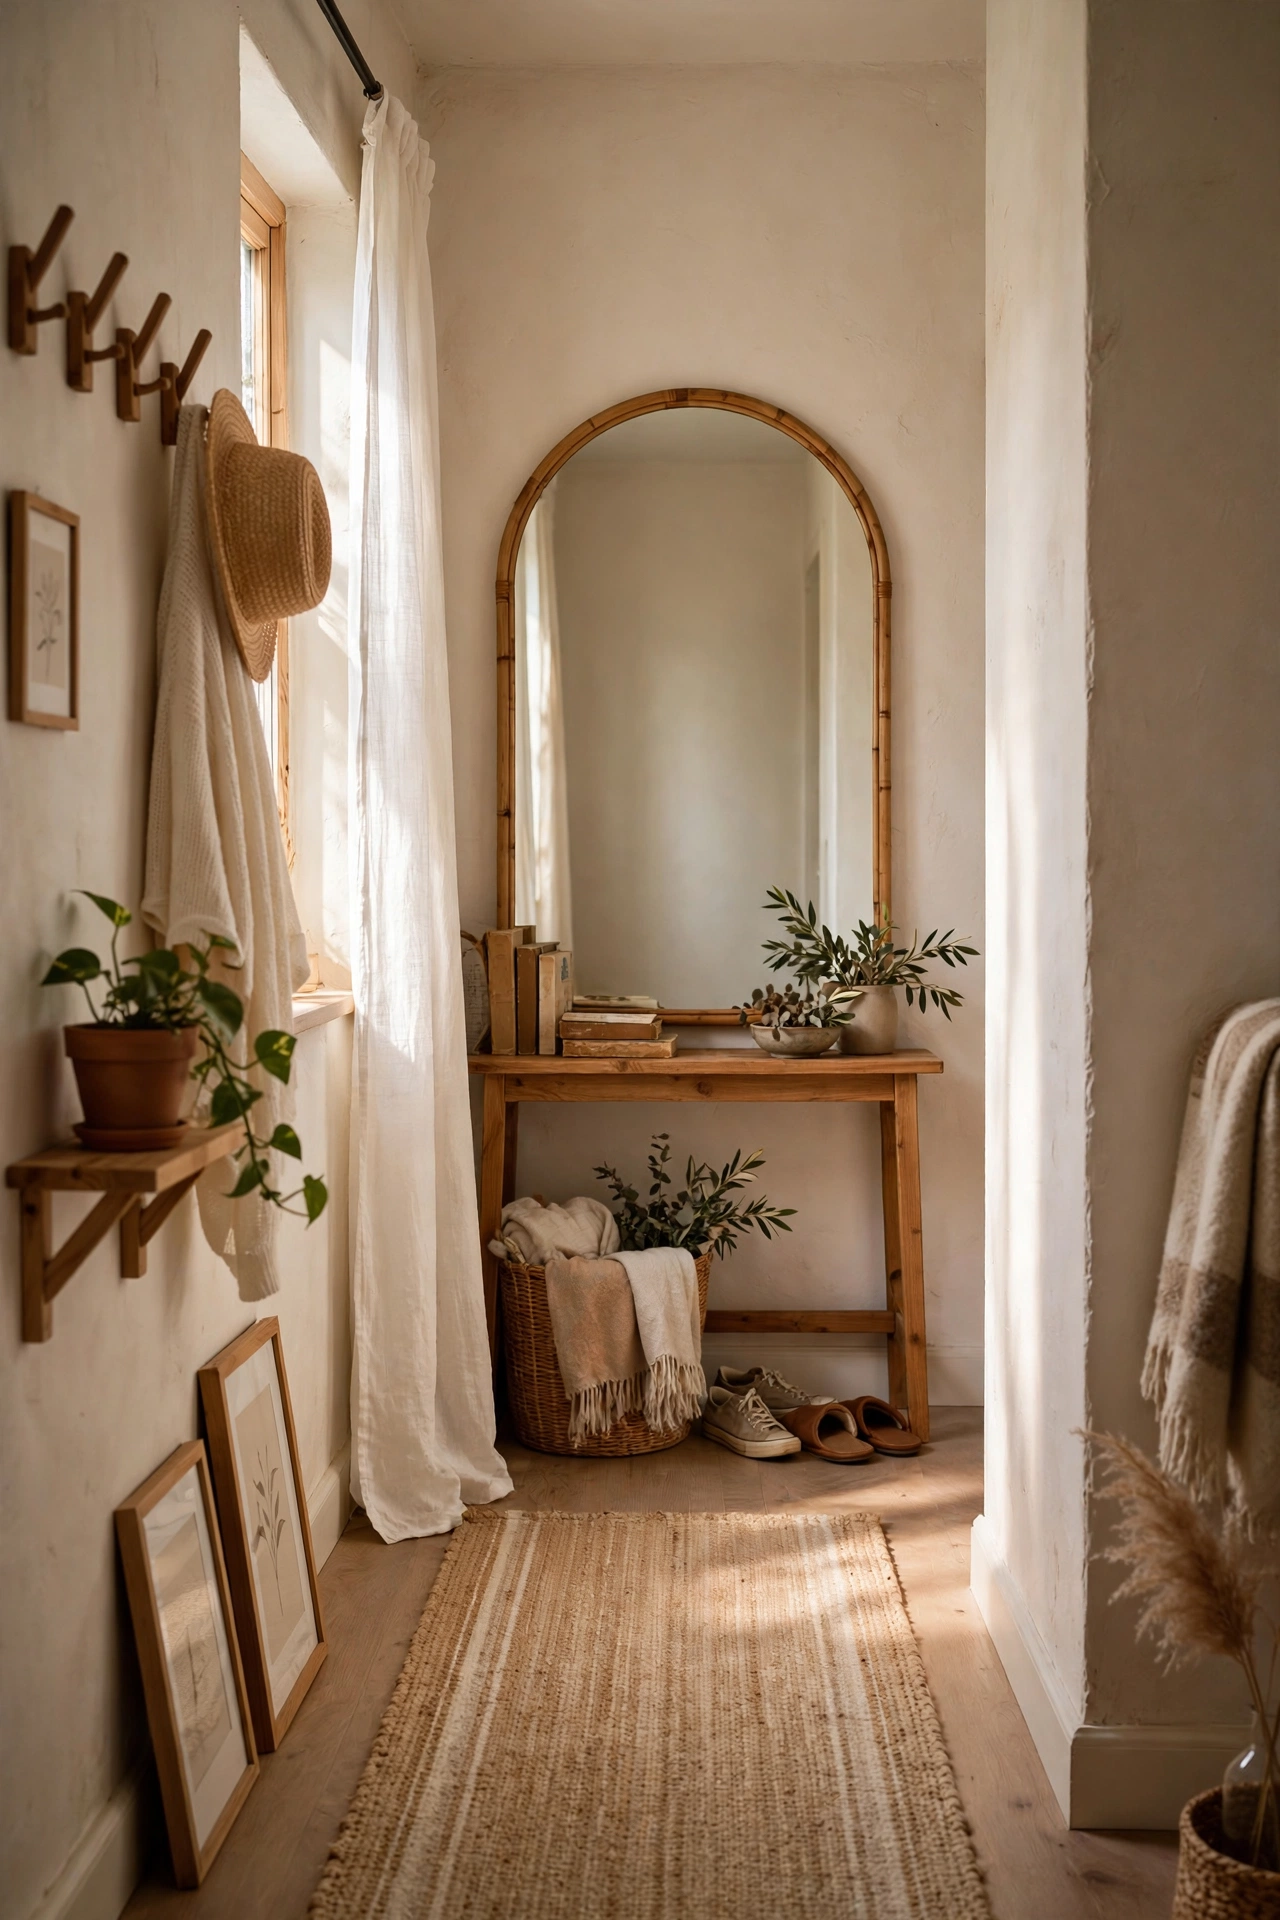
An arched mirror at the end of a hallway softens the tunnel effect and reflects light back toward the entrance. I leaned a tall arched mirror against the end wall and the hallway gained a focal point it never had. The arch shape matters, because it breaks up all the rectangles in a hallway. Anchor it for safety, and keep the wall around it simple so the mirror can carry the moment. The second time I did this, it took half as long, because I already knew which parts mattered and which parts I could skip.
Pro tip: an arched mirror also works at the end of a hallway that turns a corner, angled to catch light from the next room.
Cost: ~$55 | Time: 20 minutes
21. Coordinated Frames for a Calm Look
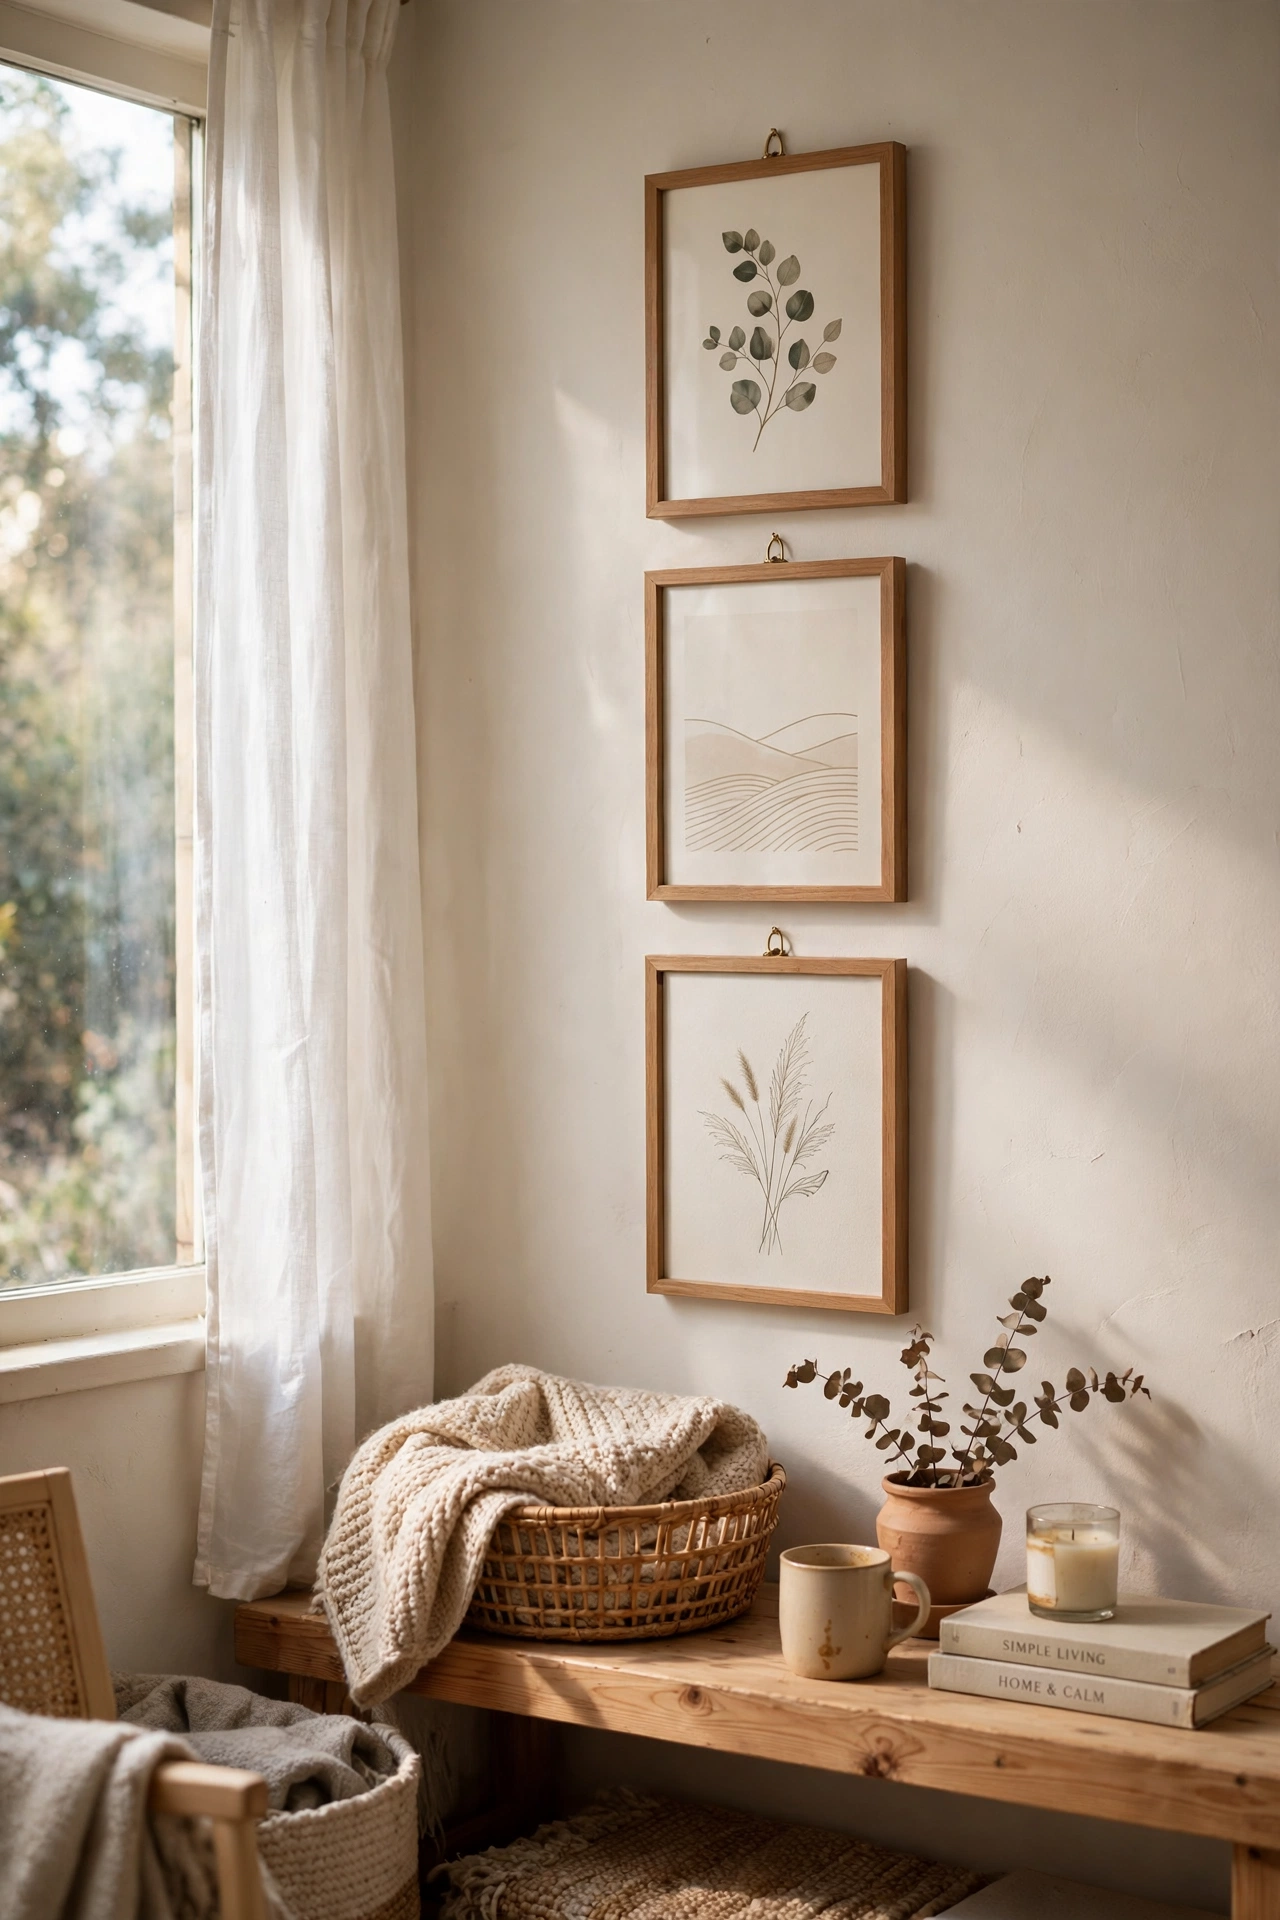
Using identical frames for all hallway art keeps a narrow space feeling calm instead of chaotic. I swapped our mismatched frames for simple black ones in two sizes, and the hallway instantly looked more deliberate. Same frame, same mat, same spacing, that is the rule. When the frames match, the art itself can be varied without the wall feeling busy. I took a photo of the finished result to show a friend, and she ended up doing the same thing the following weekend. The trick is not to overthink it; the first attempt does not have to be perfect to look good.
Cost: ~$30 | Time: 60 minutes
22. Under-Bench Shoe Drawers
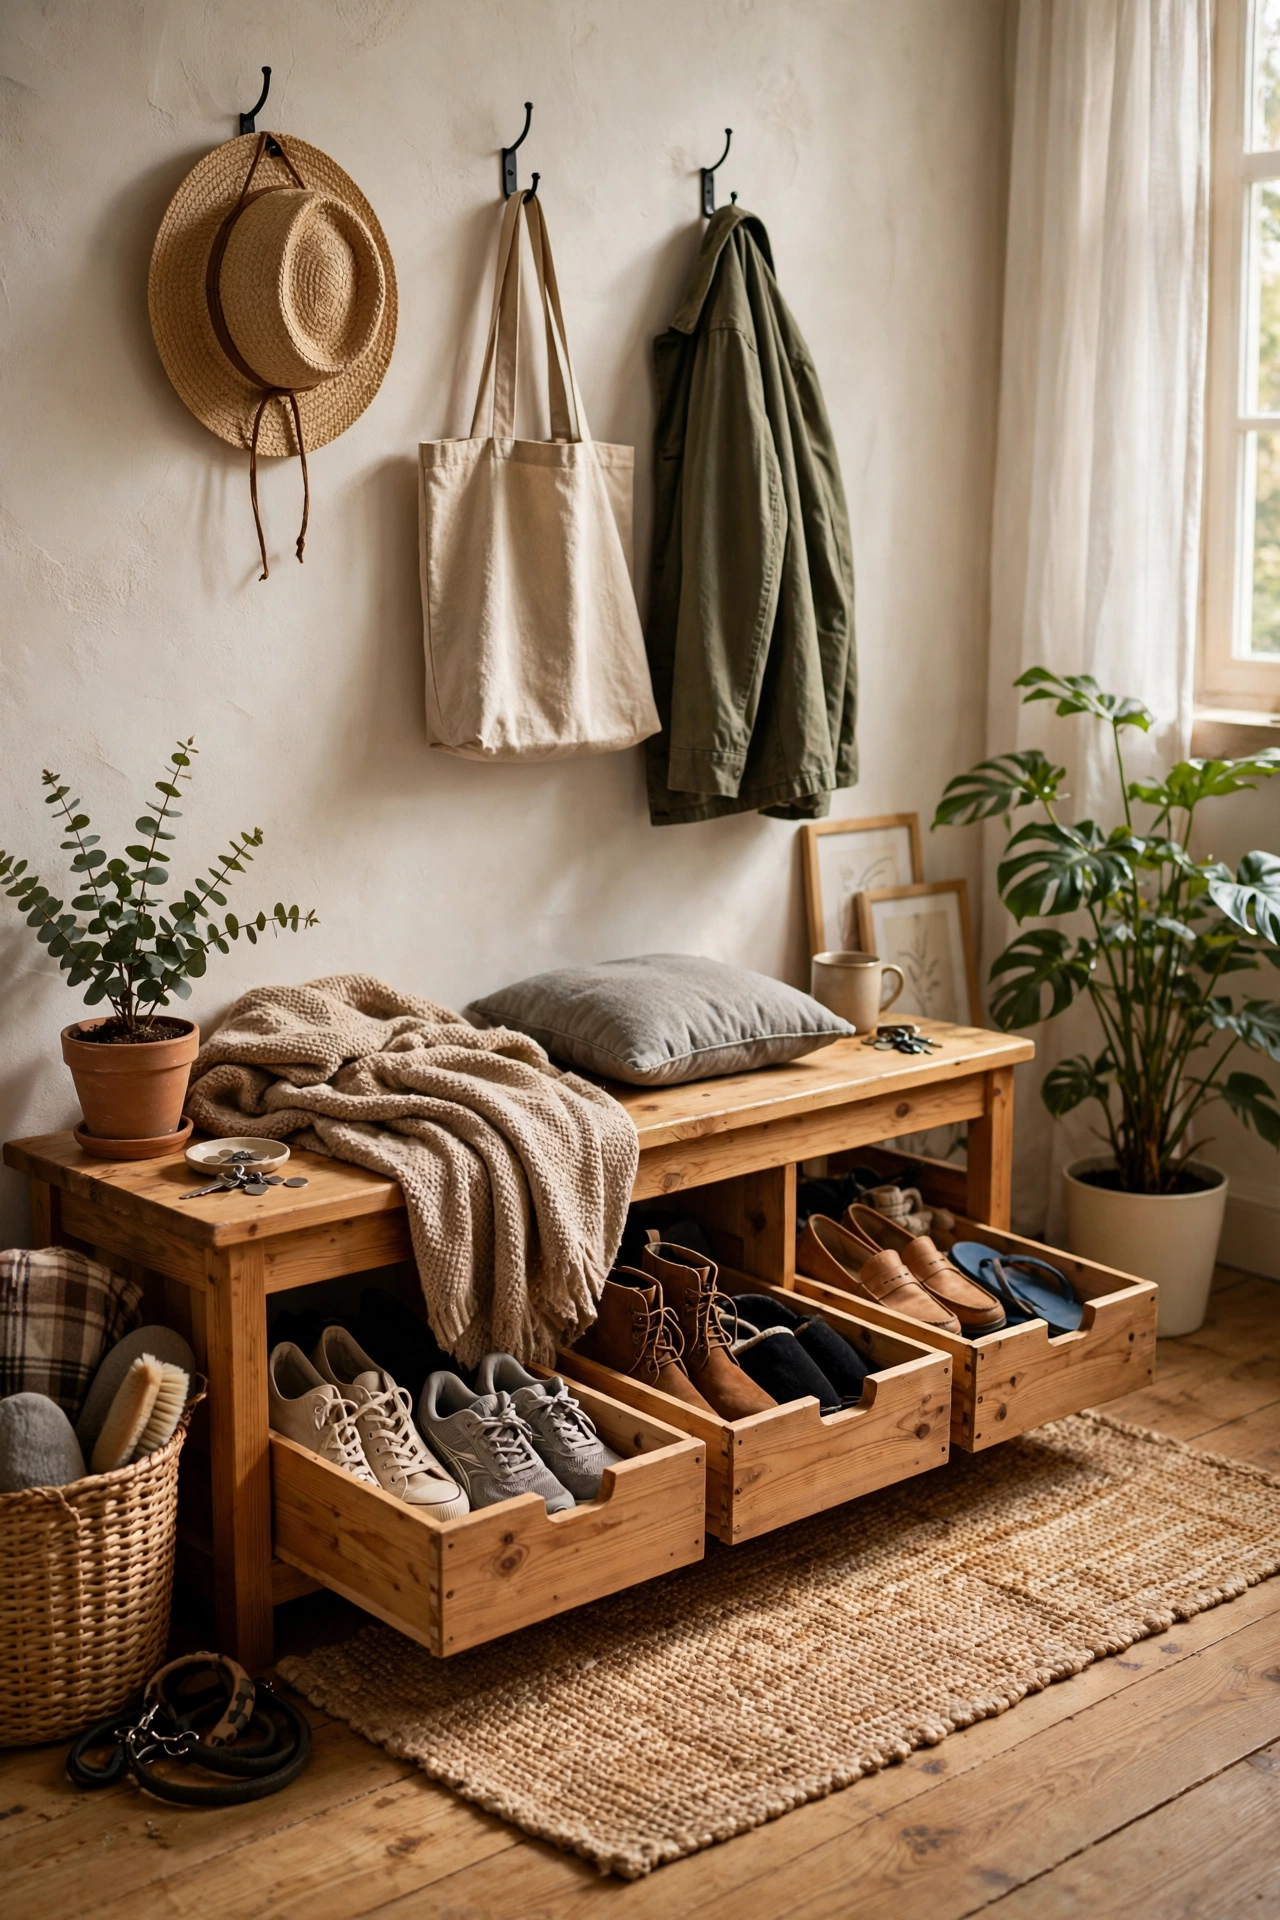
Drawers under a hallway bench hide shoes completely, which beats open cubbies if you prefer a tidy look. I added two shallow drawers under our bench and the shoe pile that used to live by the door vanished. Shallow drawers work better than deep ones here, because shoes stack awkwardly in deep drawers. Label nothing, since everyone in the house knows their own drawer by position within a week. I found most of what I needed already sitting in a cupboard, which made the whole project feel almost free.
Cost: ~$70 | Time: 2 hours
23. Ceiling Color One Shade Lighter
Painting the hallway ceiling one shade lighter than the walls, or just bright white, lifts the ceiling visually. I painted ours pure white while the walls stayed warm white, and the difference was subtle but real. Ceilings in hallways are often dingy from years of dust, so a fresh coat alone helps. For more small-space entry ideas that pair with these hallway fixes, see our (see also: 19-small-foyer-ideas-that-feel-grand) post. Keep the finish flat so it does not reflect every flaw. I keep a spare of everything this project needs now, because friends keep asking me to help them do theirs.
Cost: ~$20 | Time: 2 hours
If your hallway has been driving you quietly crazy, pick the fix that bugs you most and save this post to work through the rest whenever you have a free afternoon.
