25 Small Pantry Organization on a Dime
A small pantry does not need money thrown at it, it needs a plan and a few cheap habits that stick. Every idea below costs a few dollars or nothing at all, and together they turn a cramped cupboard into a pantry you can actually cook from. These small Pantry organization ideas work in rented kitchens too, since none of them need drilling, painting, or permanent changes.
1. Decant Flour and Sugar Into Matching Jars
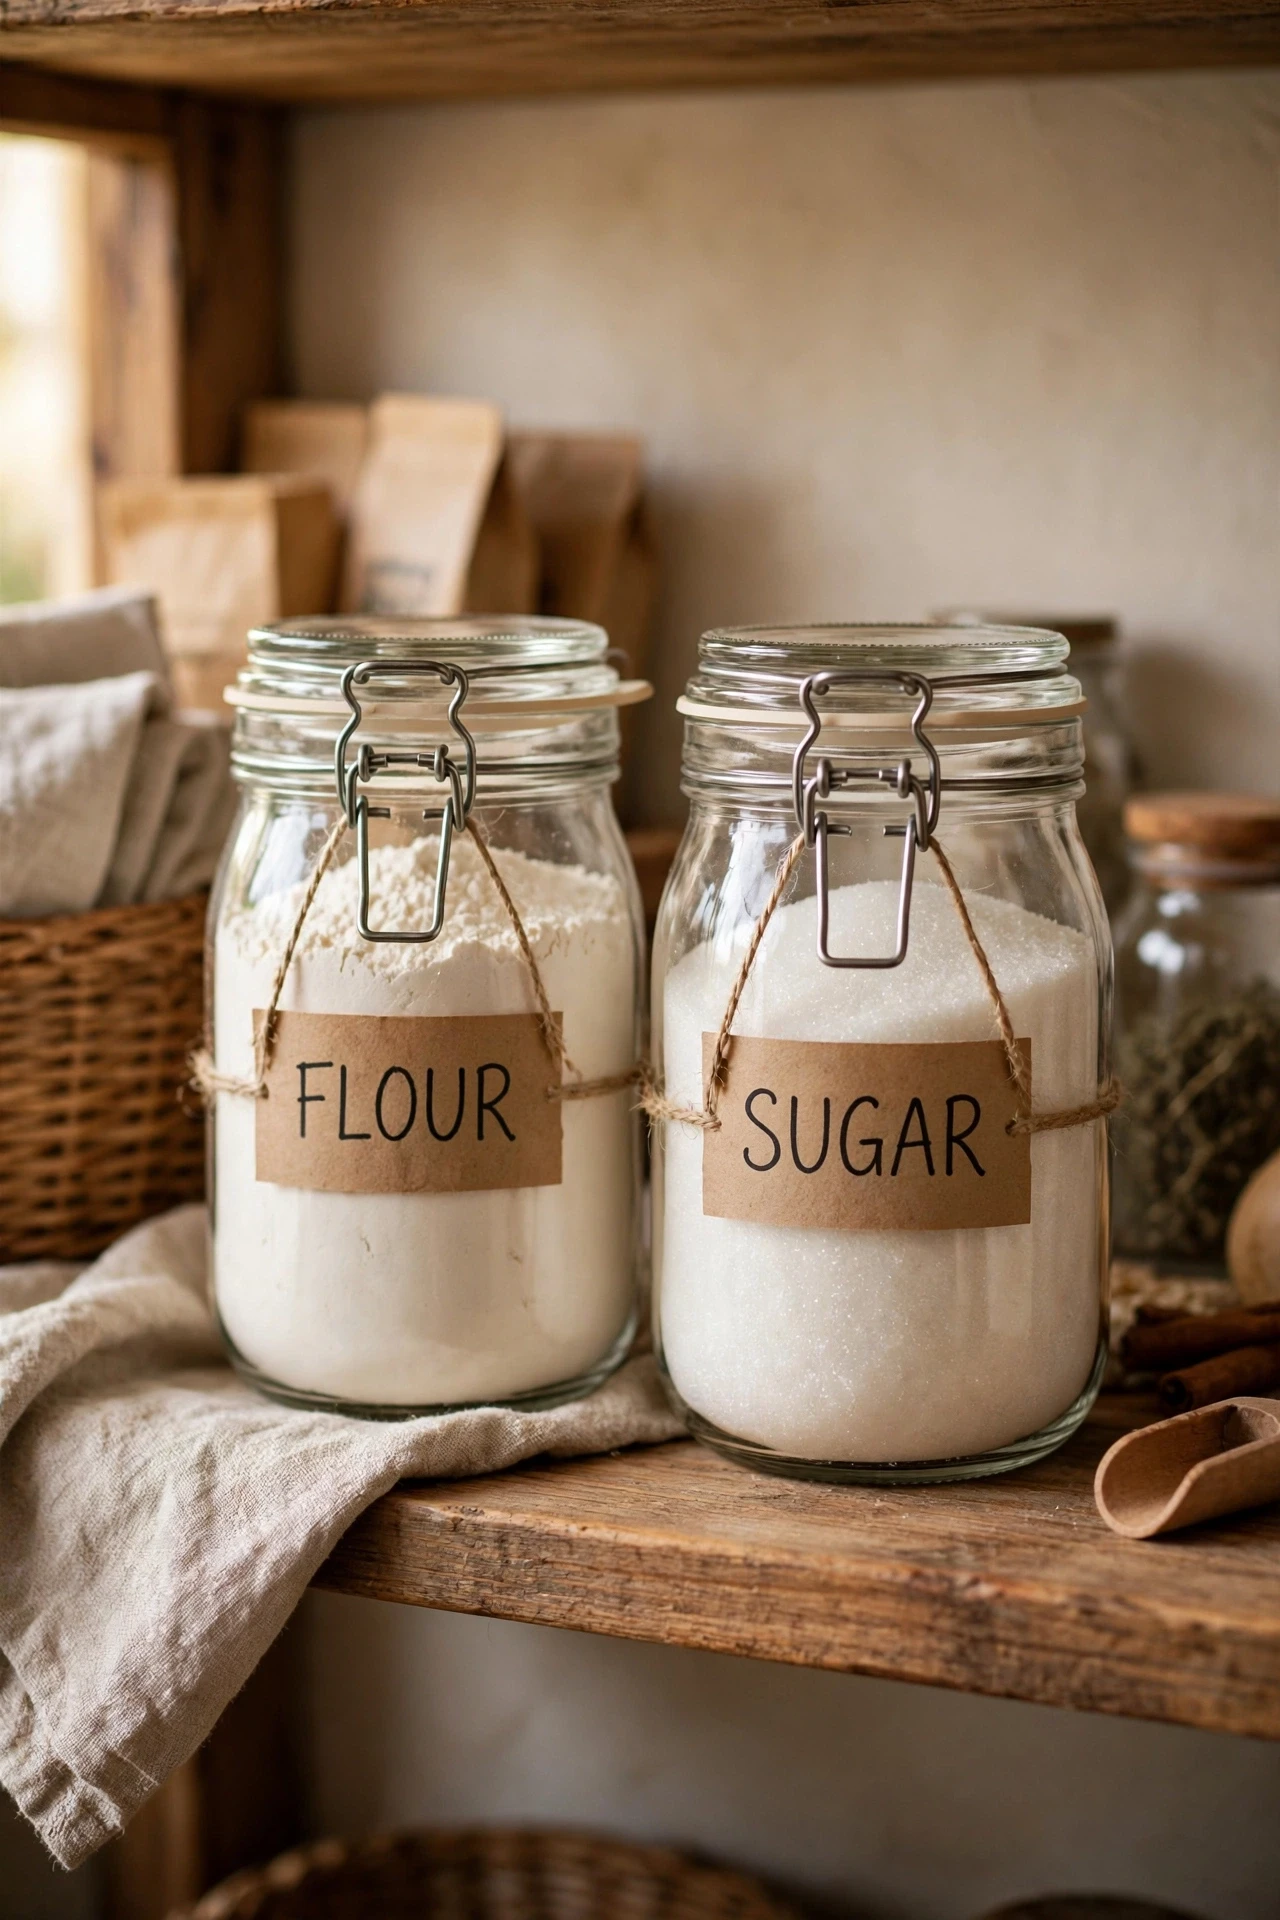
Matching jars make flour and sugar easy to find, easy to scoop, and easy to see at a glance. Pour each staple into its own jar, label the front clearly, and line the jars up where you reach most often. I decanted my flour, sugar, and oats into matching jars, and my pantry shelf suddenly looked calm instead of chaotic. Use jars with wide mouths, since narrow jars make scooping flour a frustrating mess. I tried this with tall thin bottles once, and half the flour ended up on the counter. Keep a scoop inside each jar, so you never hunt for a measuring cup mid-baking.
Cost: ~$6 | Time: 20 minutes
2. Line Up Cans by Expiry Date
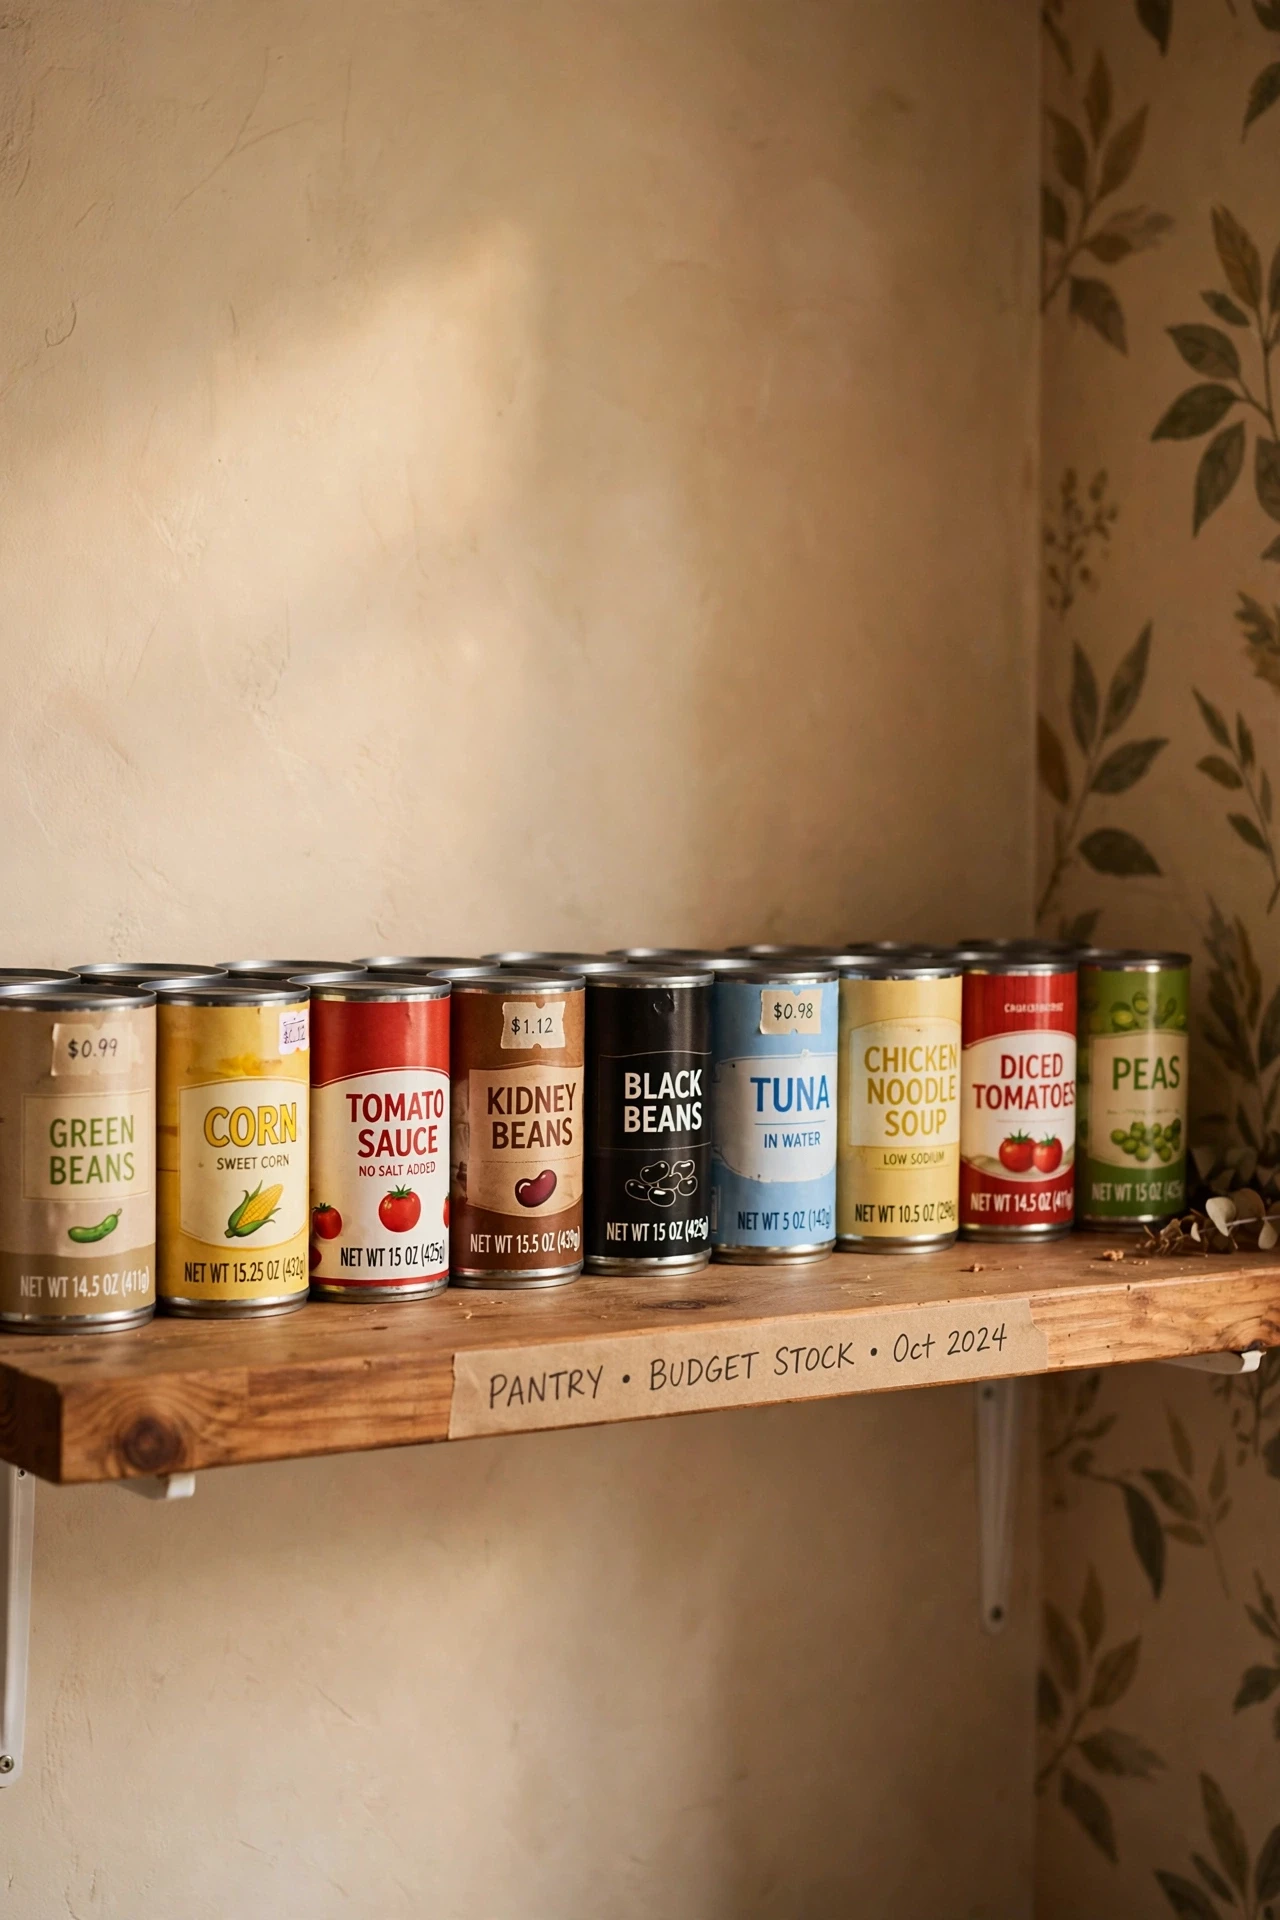
Putting the earliest expiry dates at the front stops food from expiring quietly at the back of the shelf. Pull every can out, check the dates, and put the soonest dates forward with newer cans behind them. I did this once a month, and I stopped throwing away tins I had forgotten I owned. Shop from the front first, since the front row is your use-it-next list. I made the mistake of just pushing new cans in front of old ones, and the old ones expired untouched. Write the month on the lid in marker if the printed date is hard to read.
Cost: ~$0 | Time: 15 minutes
3. Use a Turntable for Deep Corner Shelves
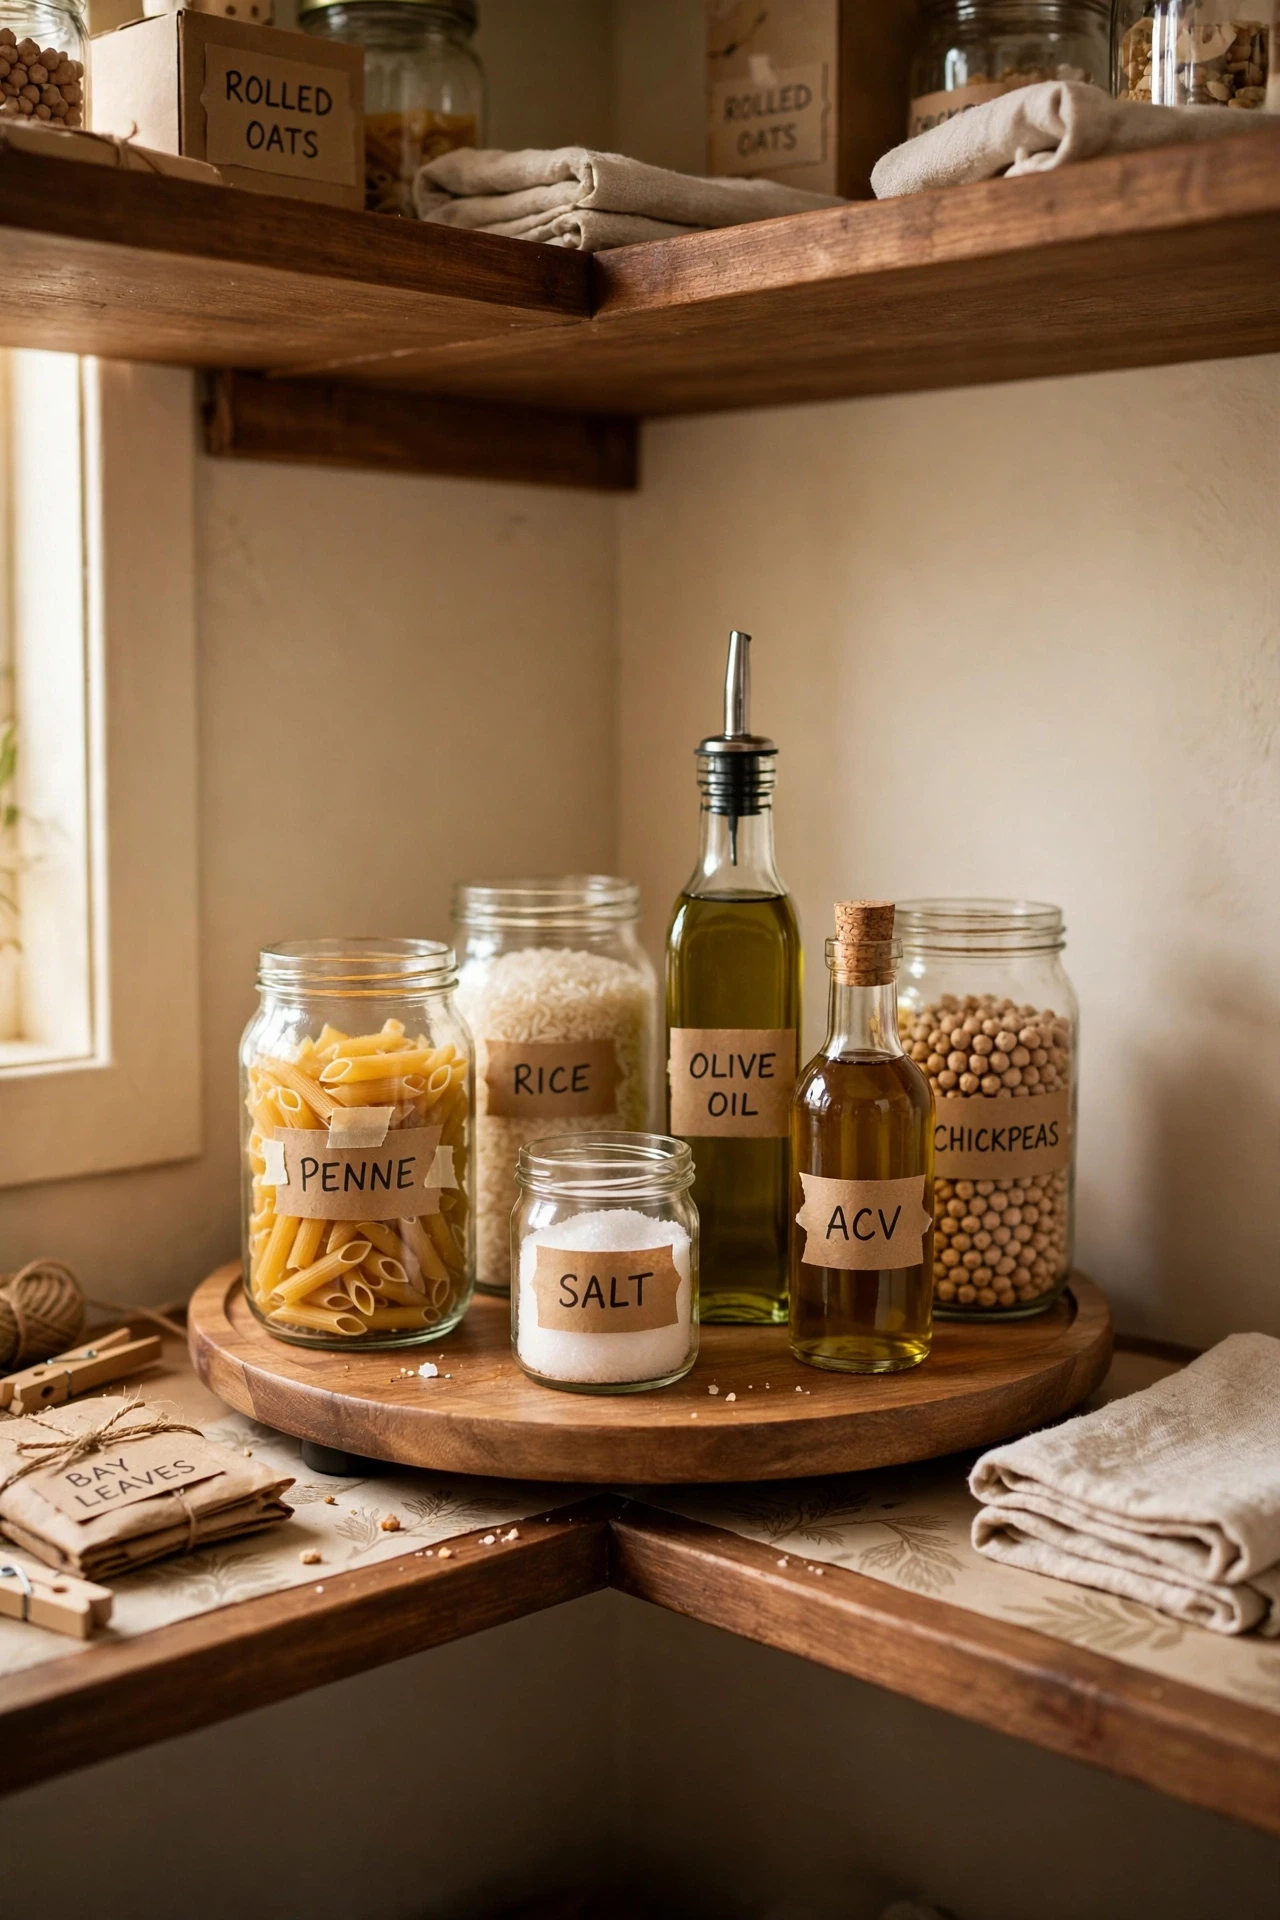
Deep corner shelves hide everything past the front row, and a cheap turntable brings it all within reach. Place the turntable in the corner, group similar bottles together on it, and spin gently to find what you need. I added one to my deepest shelf, and the jars at the back finally got used instead of gathering dust. Keep tall bottles in the centre, since bottles on the edge tip when the turntable spins fast. I learned this after a bottle of vinegar toppled and soaked the shelf. Wipe the turntable monthly, since sticky rings stop it spinning smoothly.
Cost: ~$3 | Time: 10 minutes
4. Group Breakfast Foods in One Bin
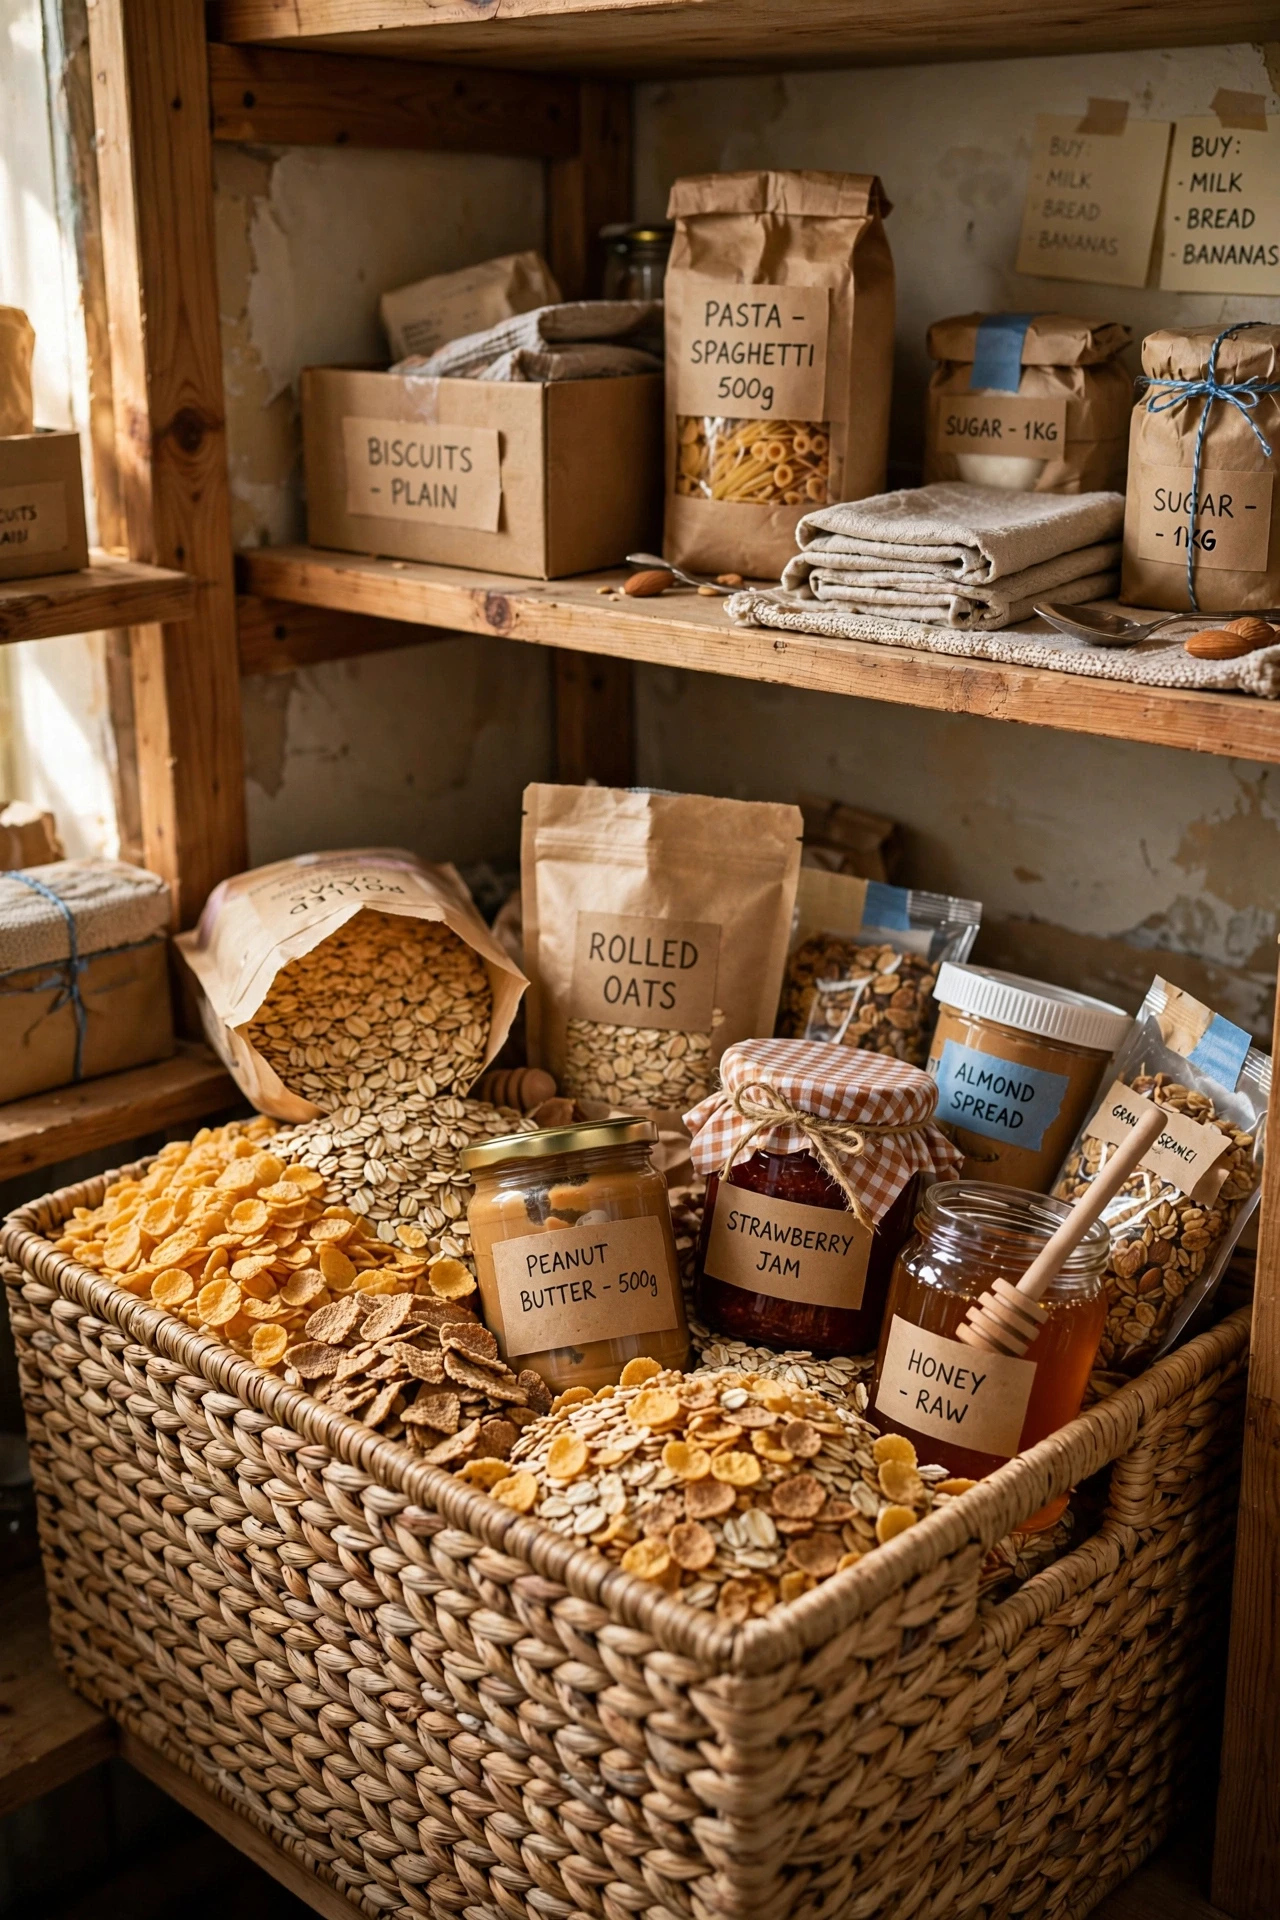
Breakfast scattered across the pantry makes mornings slower, so one bin for cereals, oats, and spreads fixes that. Gather everything you eat before work or school into a single bin, label it breakfast, and keep it at easy reach. I made a breakfast bin for my household, and mornings stopped starting with four cupboard doors opening at once. Keep the bin light enough to lift, since a heavy bin never gets pulled out. I overloaded mine with jars once, and nobody bothered lifting it after the first week. Restock the bin on shopping day, so it is ready before the morning rush.
Cost: ~$2 | Time: 15 minutes
5. Keep Snacks at Kid Height in a Basket
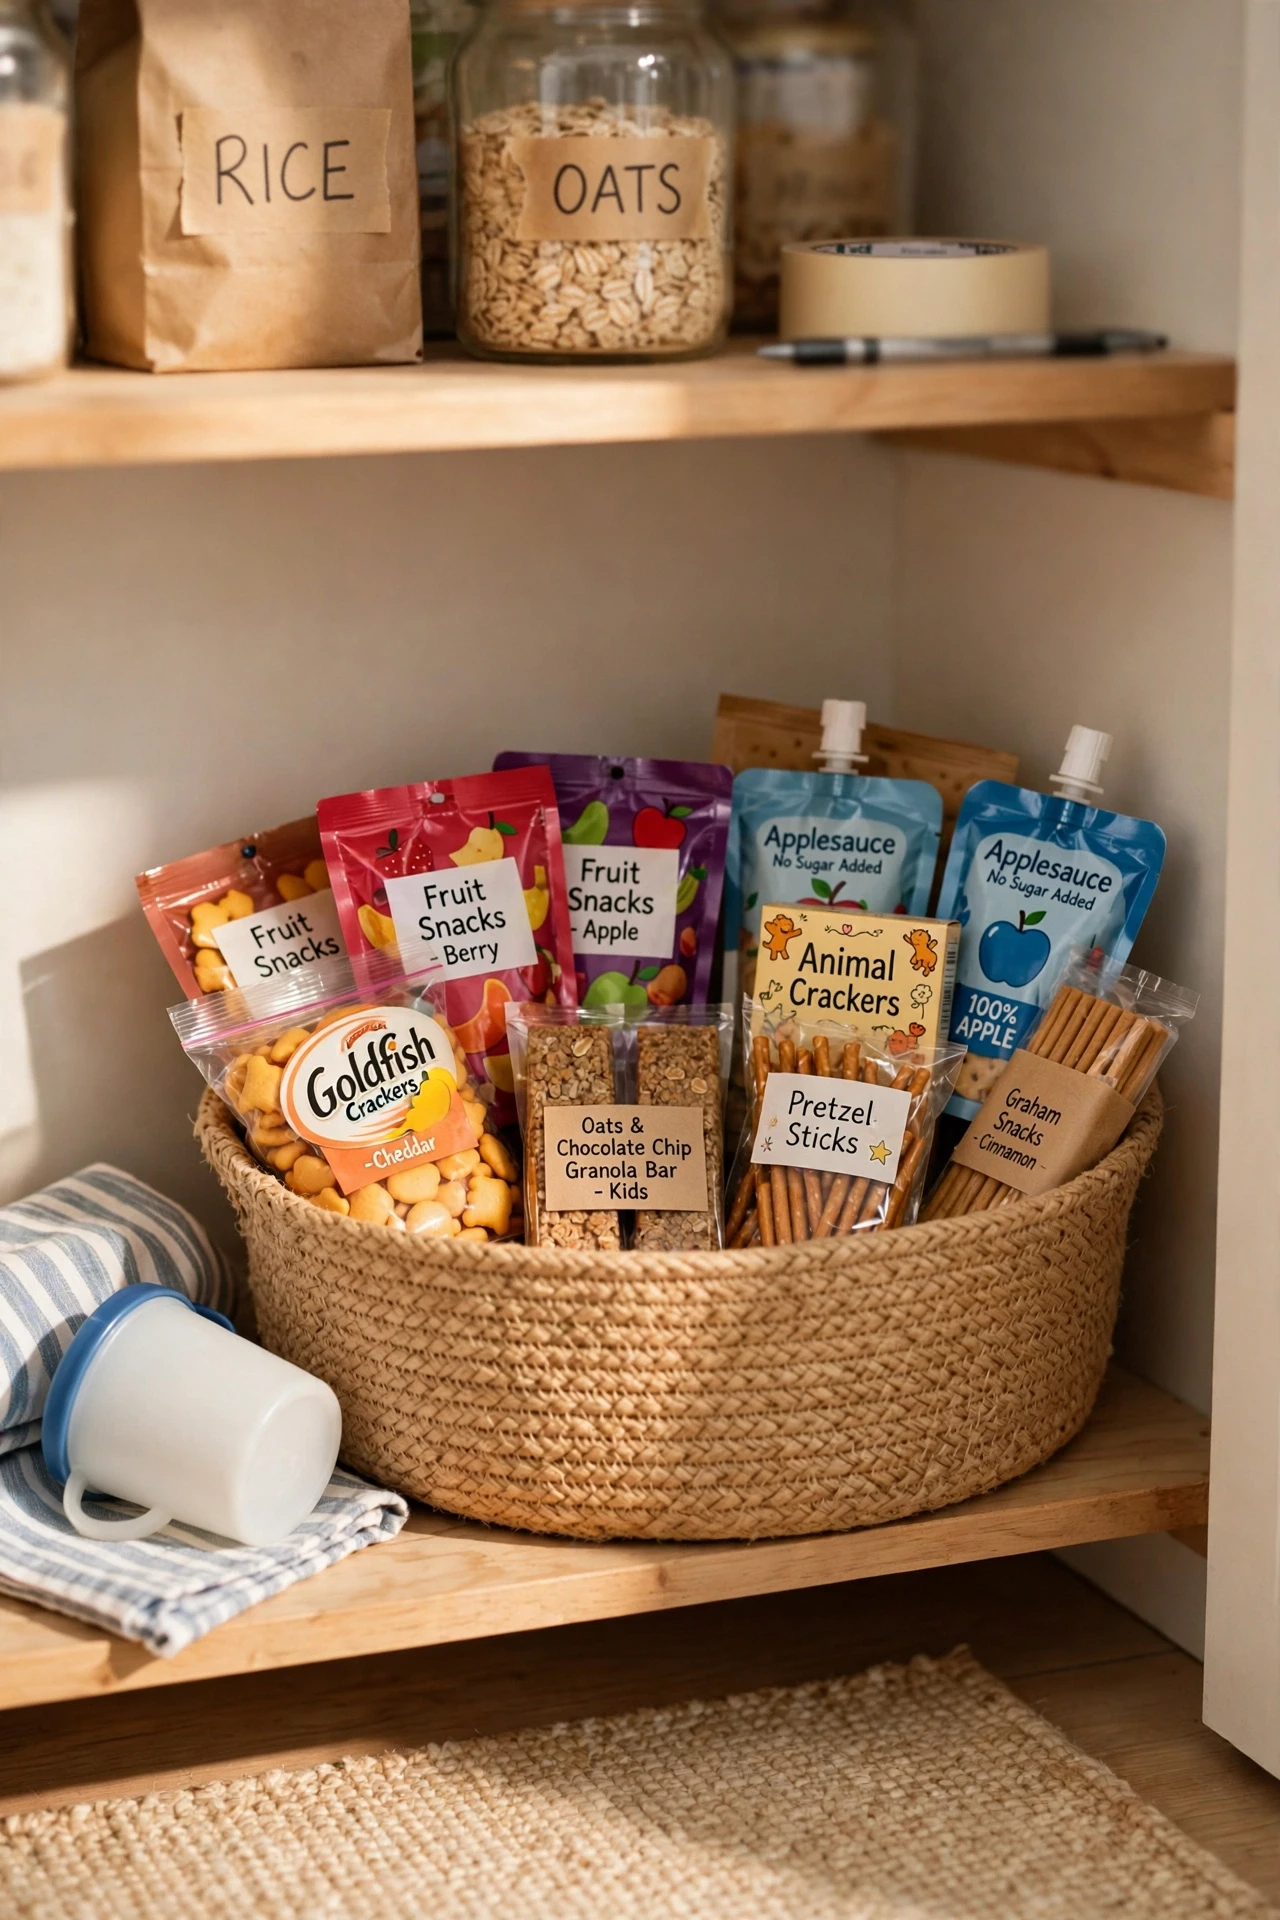
Snacks on a low shelf in one basket let kids help themselves without climbing or pulling everything down. Choose a sturdy basket, fill it with approved snacks, and place it where small hands can reach safely. I set up a snack basket at kid height, and the pantry stopped looking raided after every school afternoon. Refill it once a week, since an empty basket sends kids hunting through every other shelf. I forgot to refill mine one week, and crisps ended up in three different cupboards again. Keep the basket shallow, so nothing hides underneath and goes stale unnoticed.
Cost: ~$2 | Time: 10 minutes
6. Store Baking Sheets Vertically With a File Sorter
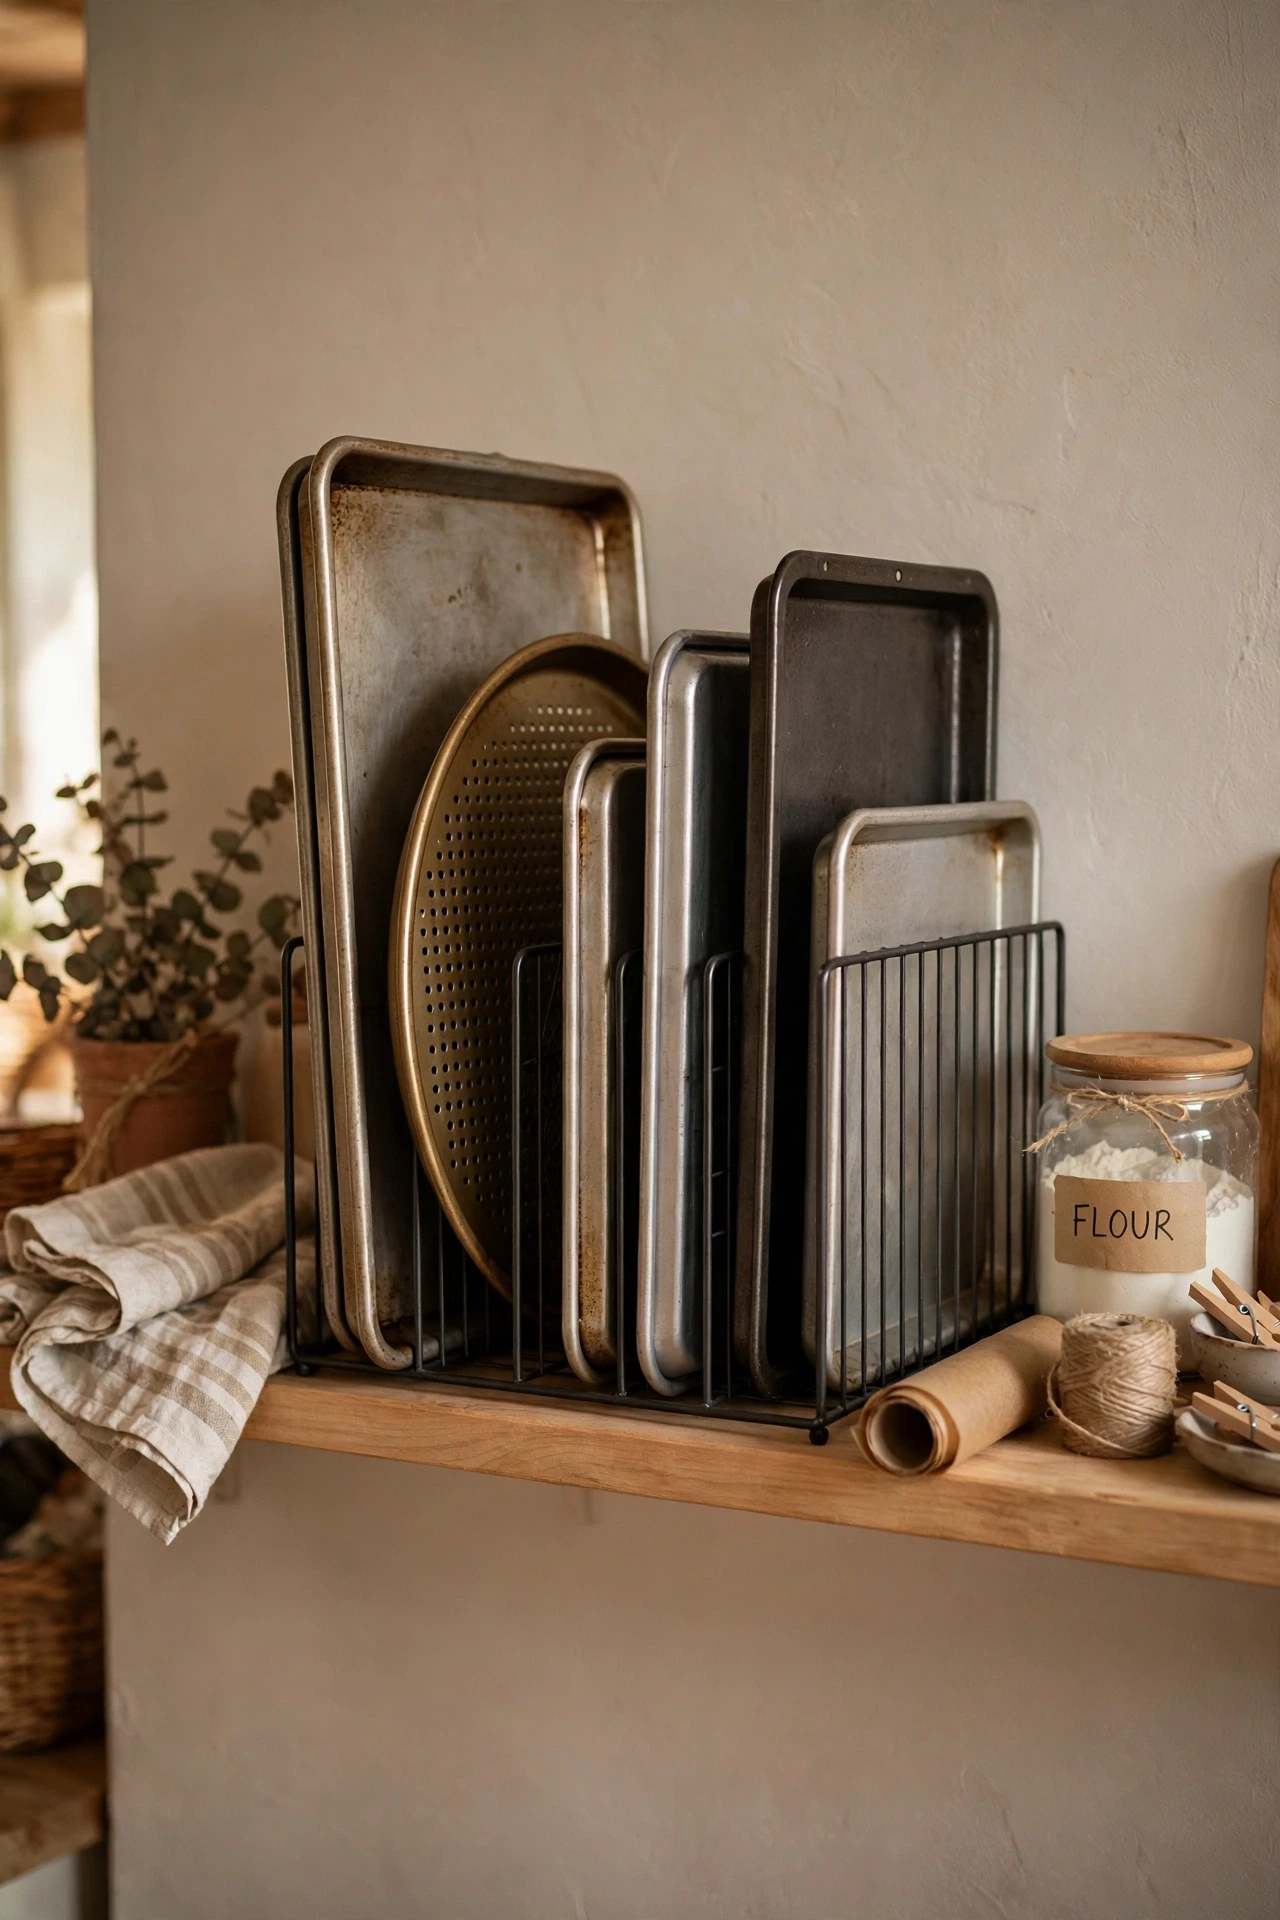
Baking sheets stacked flat mean lifting the whole pile to reach the bottom one, so standing them upright changes everything. Stand a cheap file sorter on a shelf, slide each sheet and tray in vertically, and pull out only the one you need. I tried this with my trays and muffin tins, and the clattering pile finally disappeared. Measure your tallest tray first, since a sorter that is too short lets trays flop sideways. I bought one too small at first, and my largest tray would not fit at all. Keep the most-used tray at the front, so weeknight cooking never starts with a search.
Cost: ~$3 | Time: 10 minutes
7. Hang Measuring Cups on One Hook
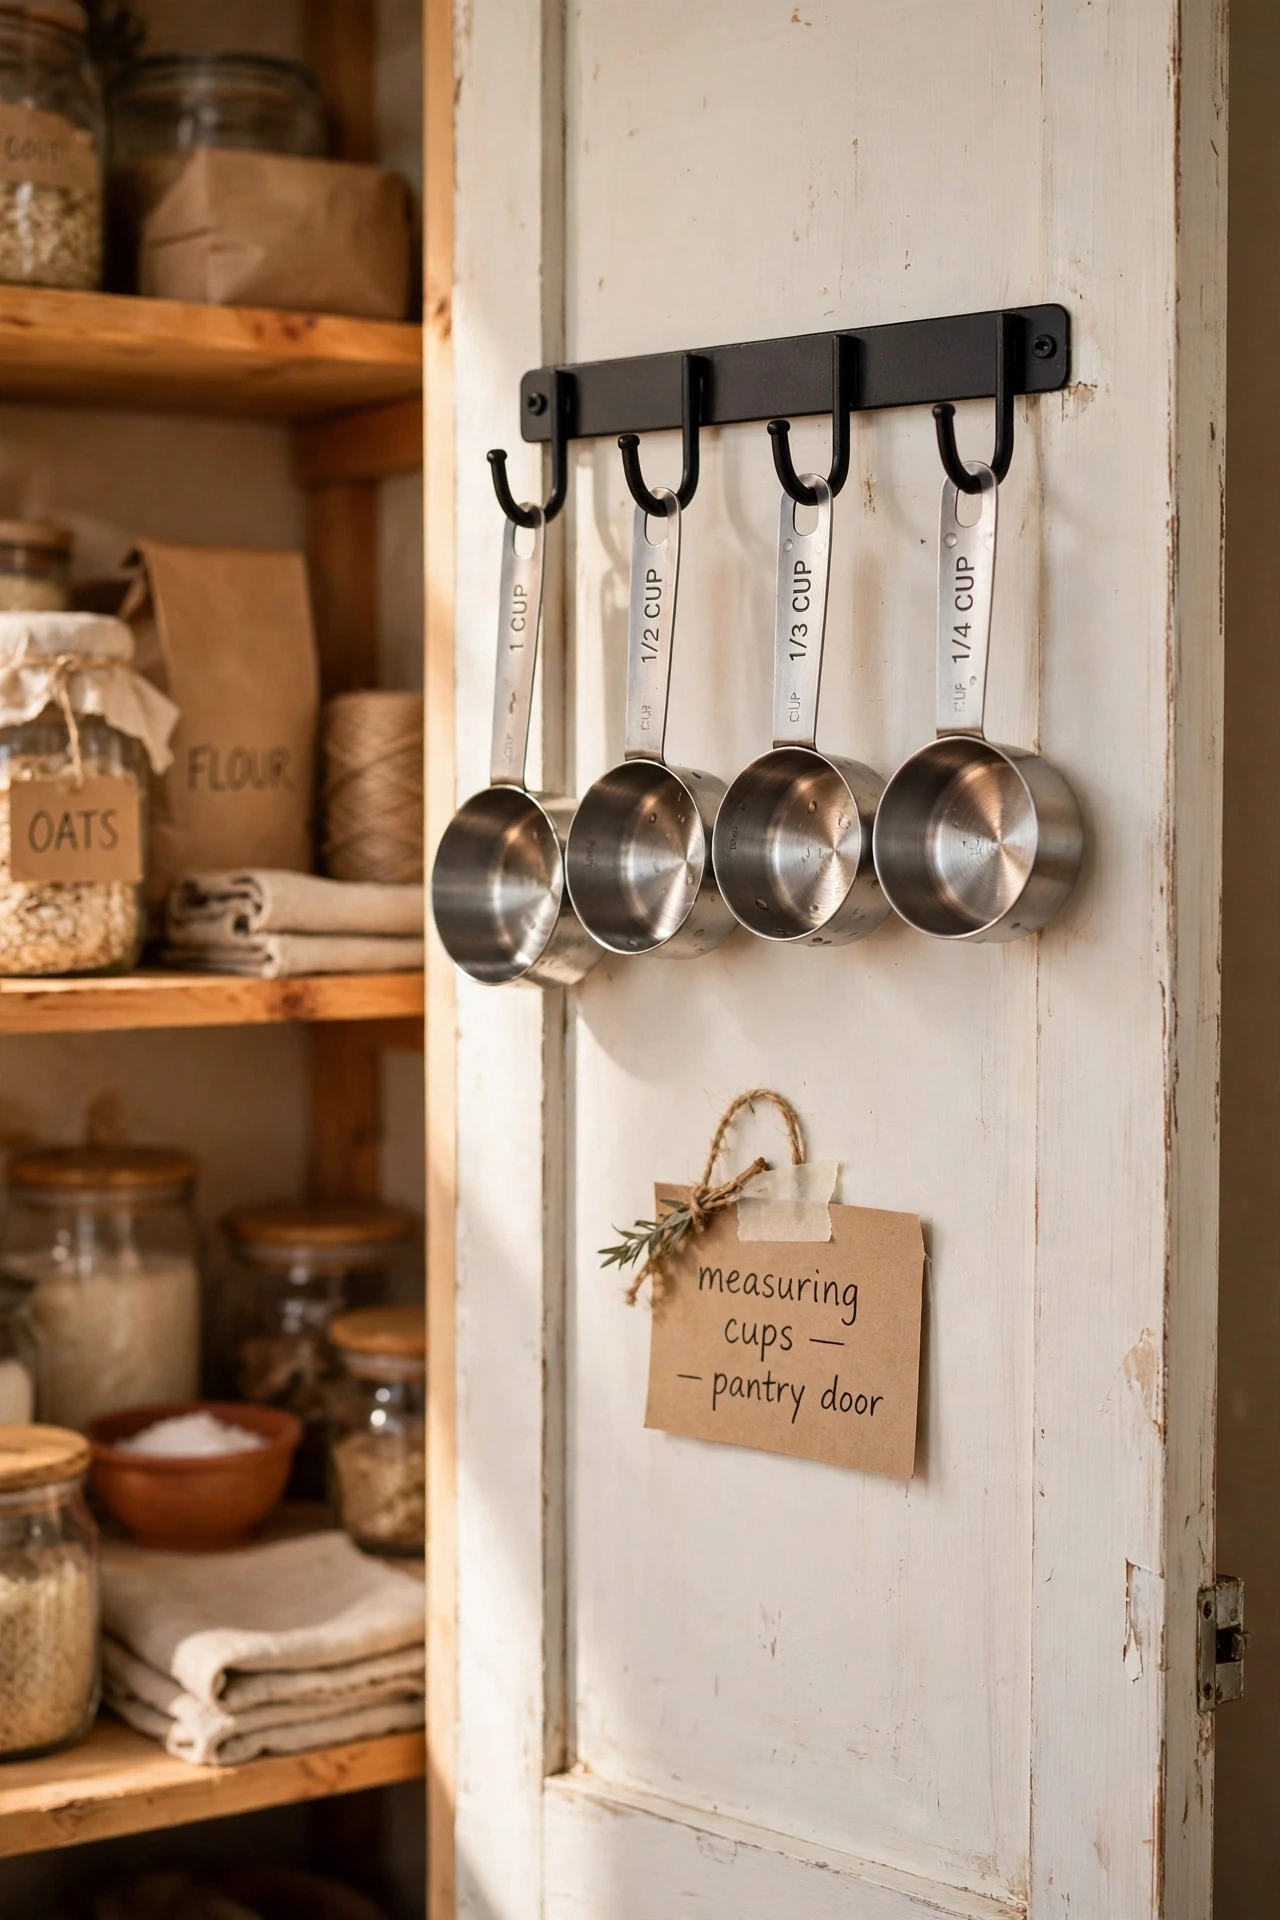
Measuring cups loose in a drawer nest together and vanish, but one hook inside the pantry door keeps the whole set together. Screw or stick a hook inside the door, thread the cups onto a ring, and hang the ring on the hook. I hung my cups this way, and I stopped buying replacement sets because the old ones were buried. Keep the hook at eye level, since cups hung too high get ignored and the drawer fills up again. I tried a low hook once, and the cups swung into the door frame every time. Use a sturdy ring, since thin rings bend under a full metal cup set.
Cost: ~$1 | Time: 5 minutes
8. Label Jars With Painter’s Tape
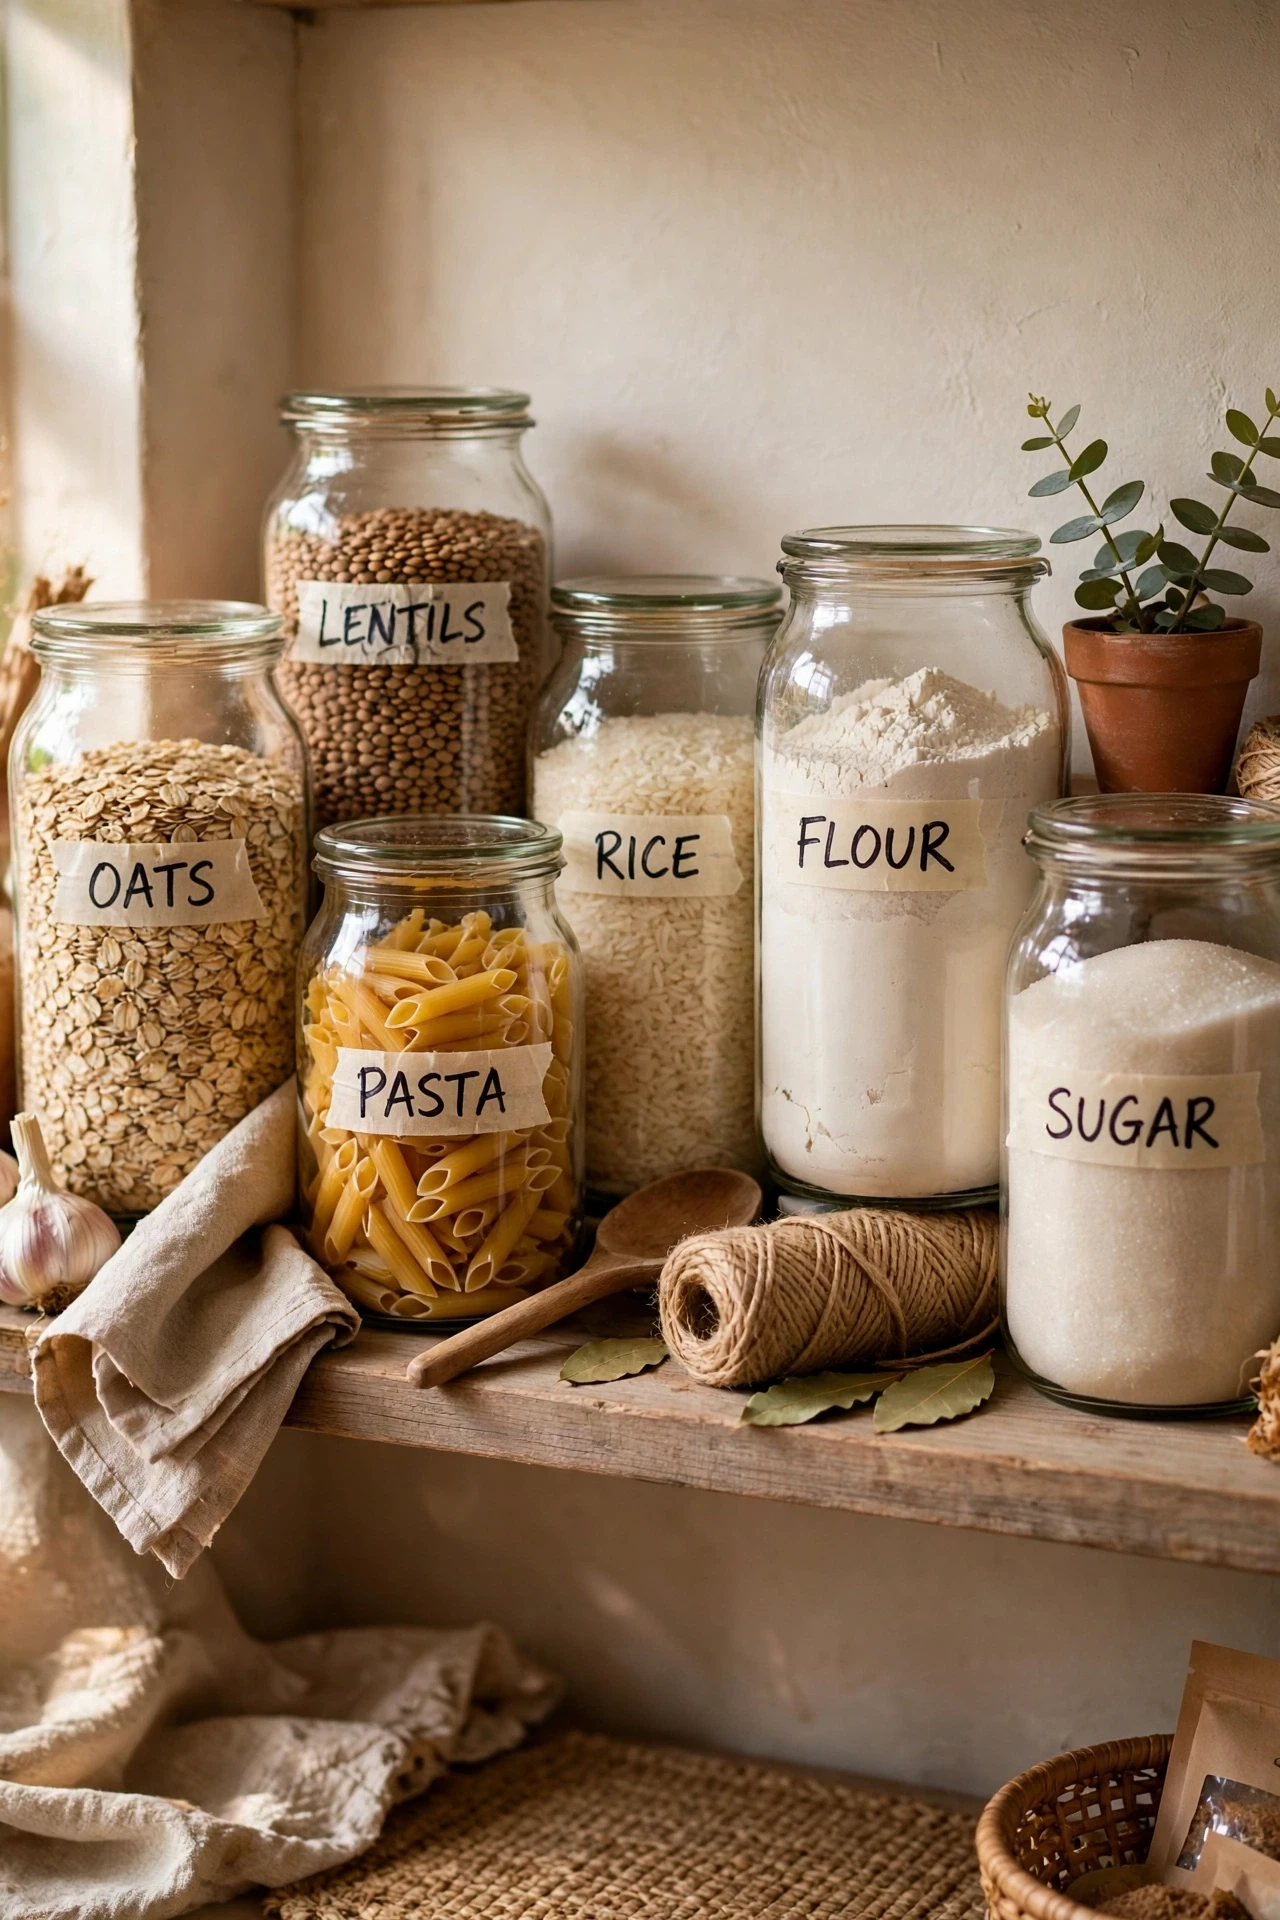
Painter’s tape labels peel off cleanly when a jar changes contents, which makes them perfect for a pantry that changes often. Tear a strip, write the contents in thick marker, and press it onto the jar where you can read it easily. I labelled my jars with painter’s tape, and I stopped opening five jars to find the cumin. Replace the tape when it gets stained, since a smudged label is worse than no label. I left stained tape on my spice jars once, and I seasoned a curry with cinnamon by mistake. Keep the tape roll in the pantry, so labelling a new jar takes seconds.
Cost: ~$1 | Time: 10 minutes
See also: 23 small pantry organization ideas that stay tidy
9. Use Small Baskets for Packets and Sachets
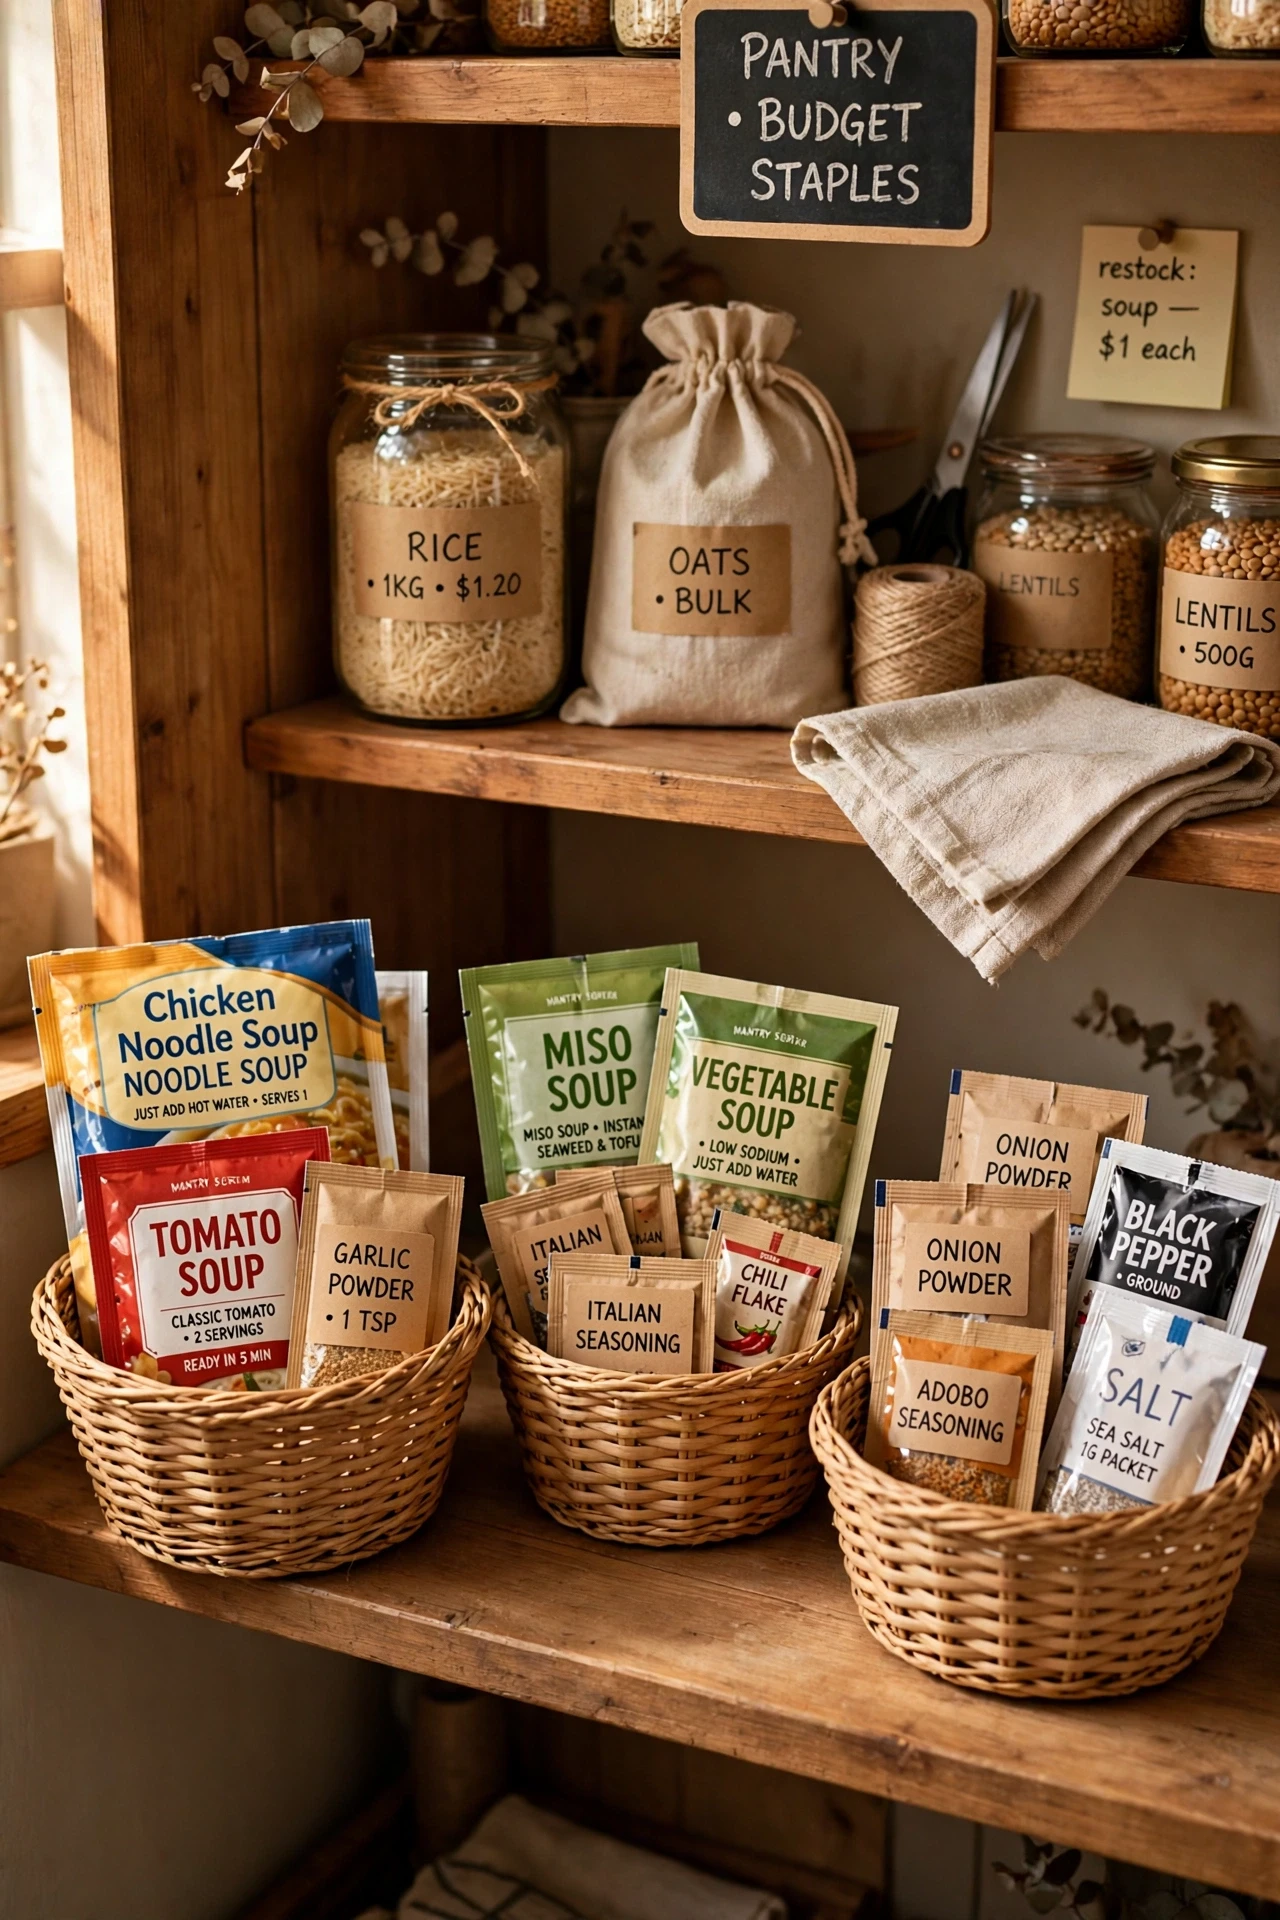
Small packets and sachets slide into every gap in a pantry, so little baskets are the only thing that keeps them contained. Sort packets by type, soups, sauces, and seasonings each get a basket, and stand the baskets where you can see inside. I binned my gravy and sauce packets this way, and they stopped falling out every time I opened the door. Keep the baskets small, since a big basket lets packets sink to the bottom and vanish. I used one large basket first, and the sachets at the bottom expired before I found them. Label each basket, so anyone cooking can find the right packet fast.
Cost: ~$3 | Time: 15 minutes
10. Keep Oils Near the Stove End of the Pantry
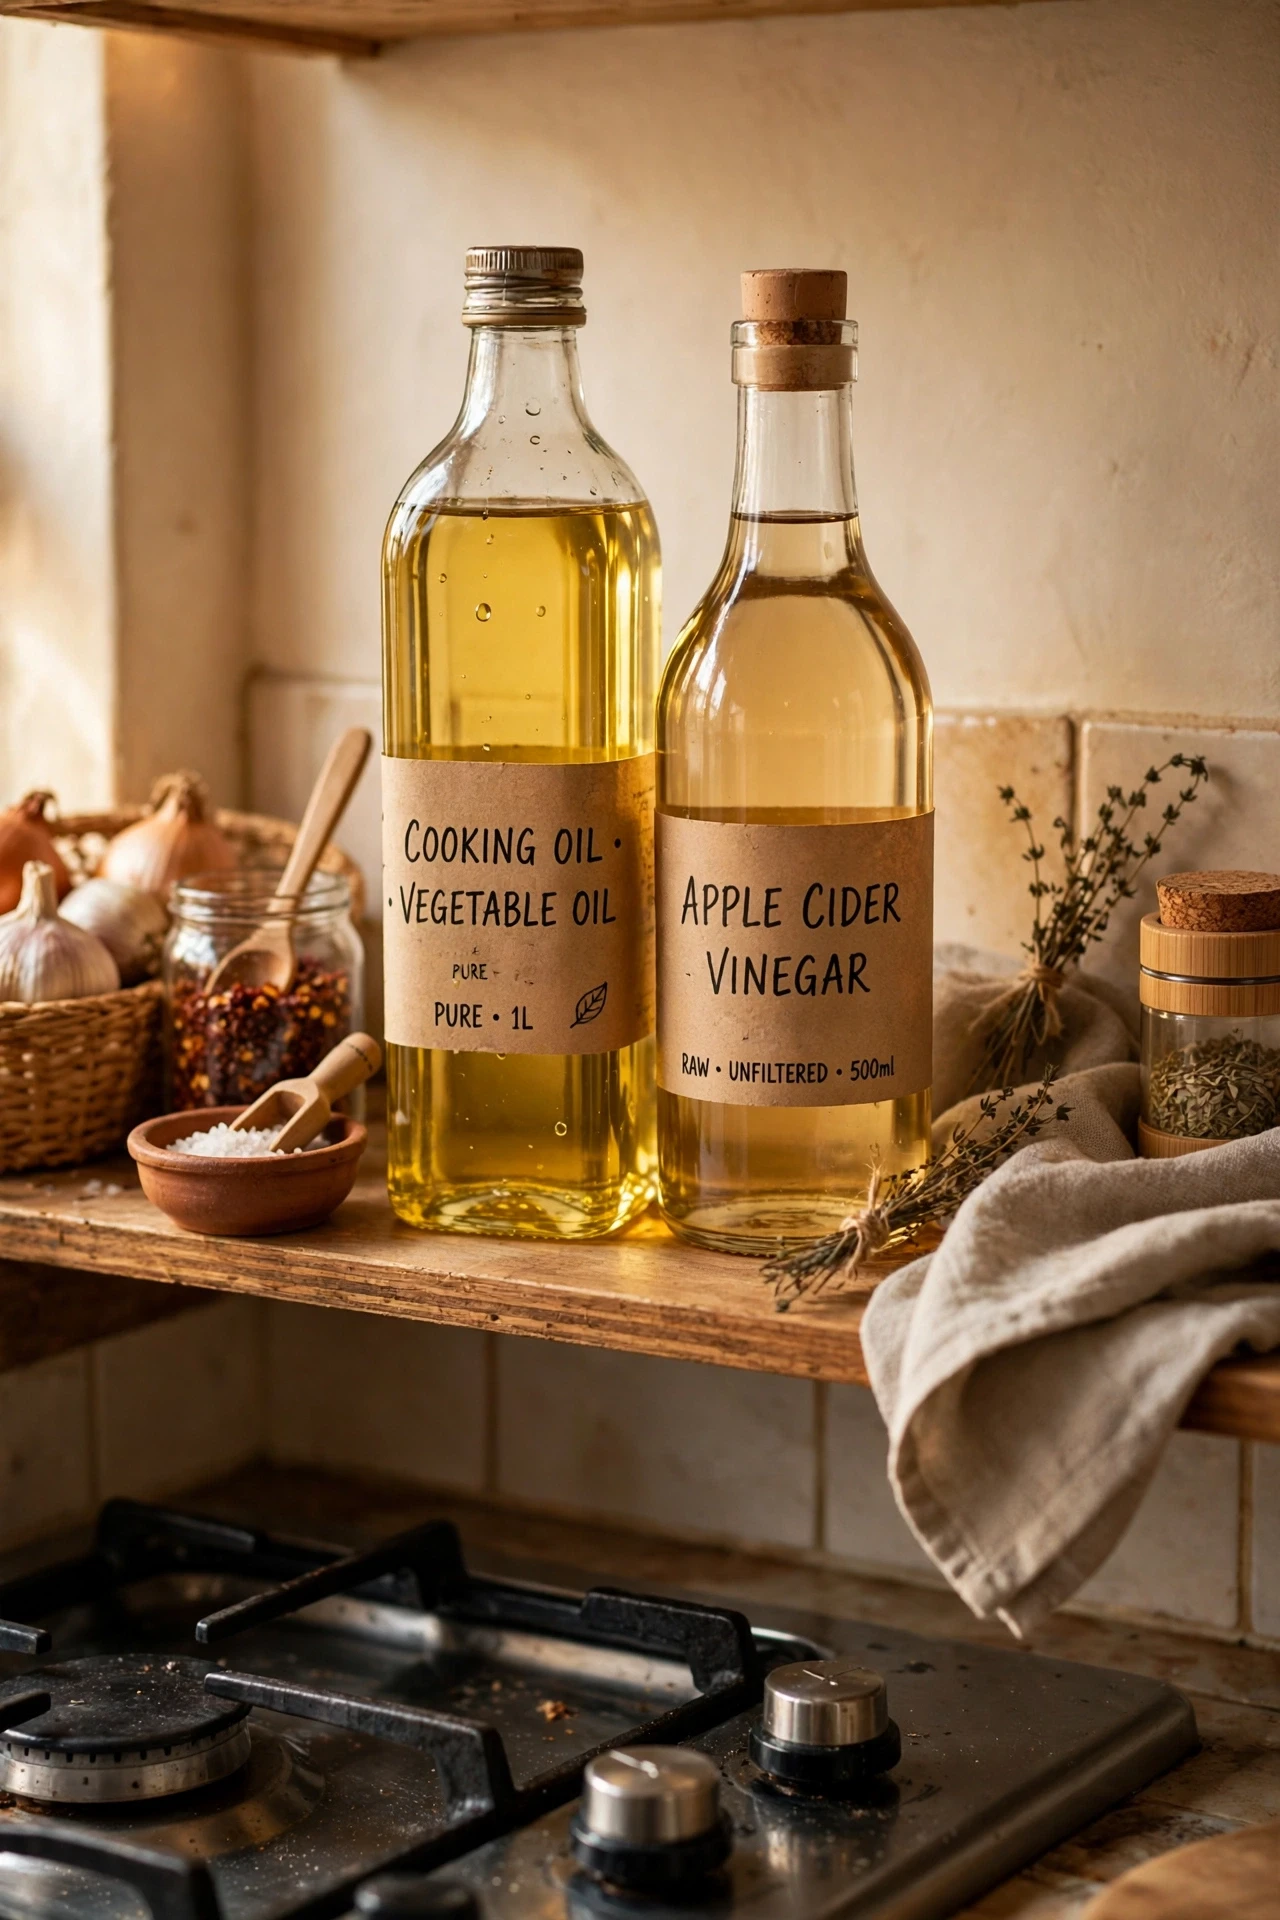
Oils stored near the stove end of the pantry are right where cooking happens, so you stop trekking across the kitchen mid-recipe. Move cooking oils, vinegar, and soy sauce to the shelf closest to the stove, and keep baking oils elsewhere. I shifted my oils to the stove end, and weeknight cooking felt smoother because the basics were always within reach. Wipe bottle necks before putting them back, since drips make shelves sticky and bottles hard to grip. I skipped wiping once, and a bottle slipped from my hand onto the floor. Keep oils away from direct heat, since heat near the stove shortens their shelf life.
Cost: ~$0 | Time: 10 minutes
11. Sort Spices Alphabetically on One Shelf
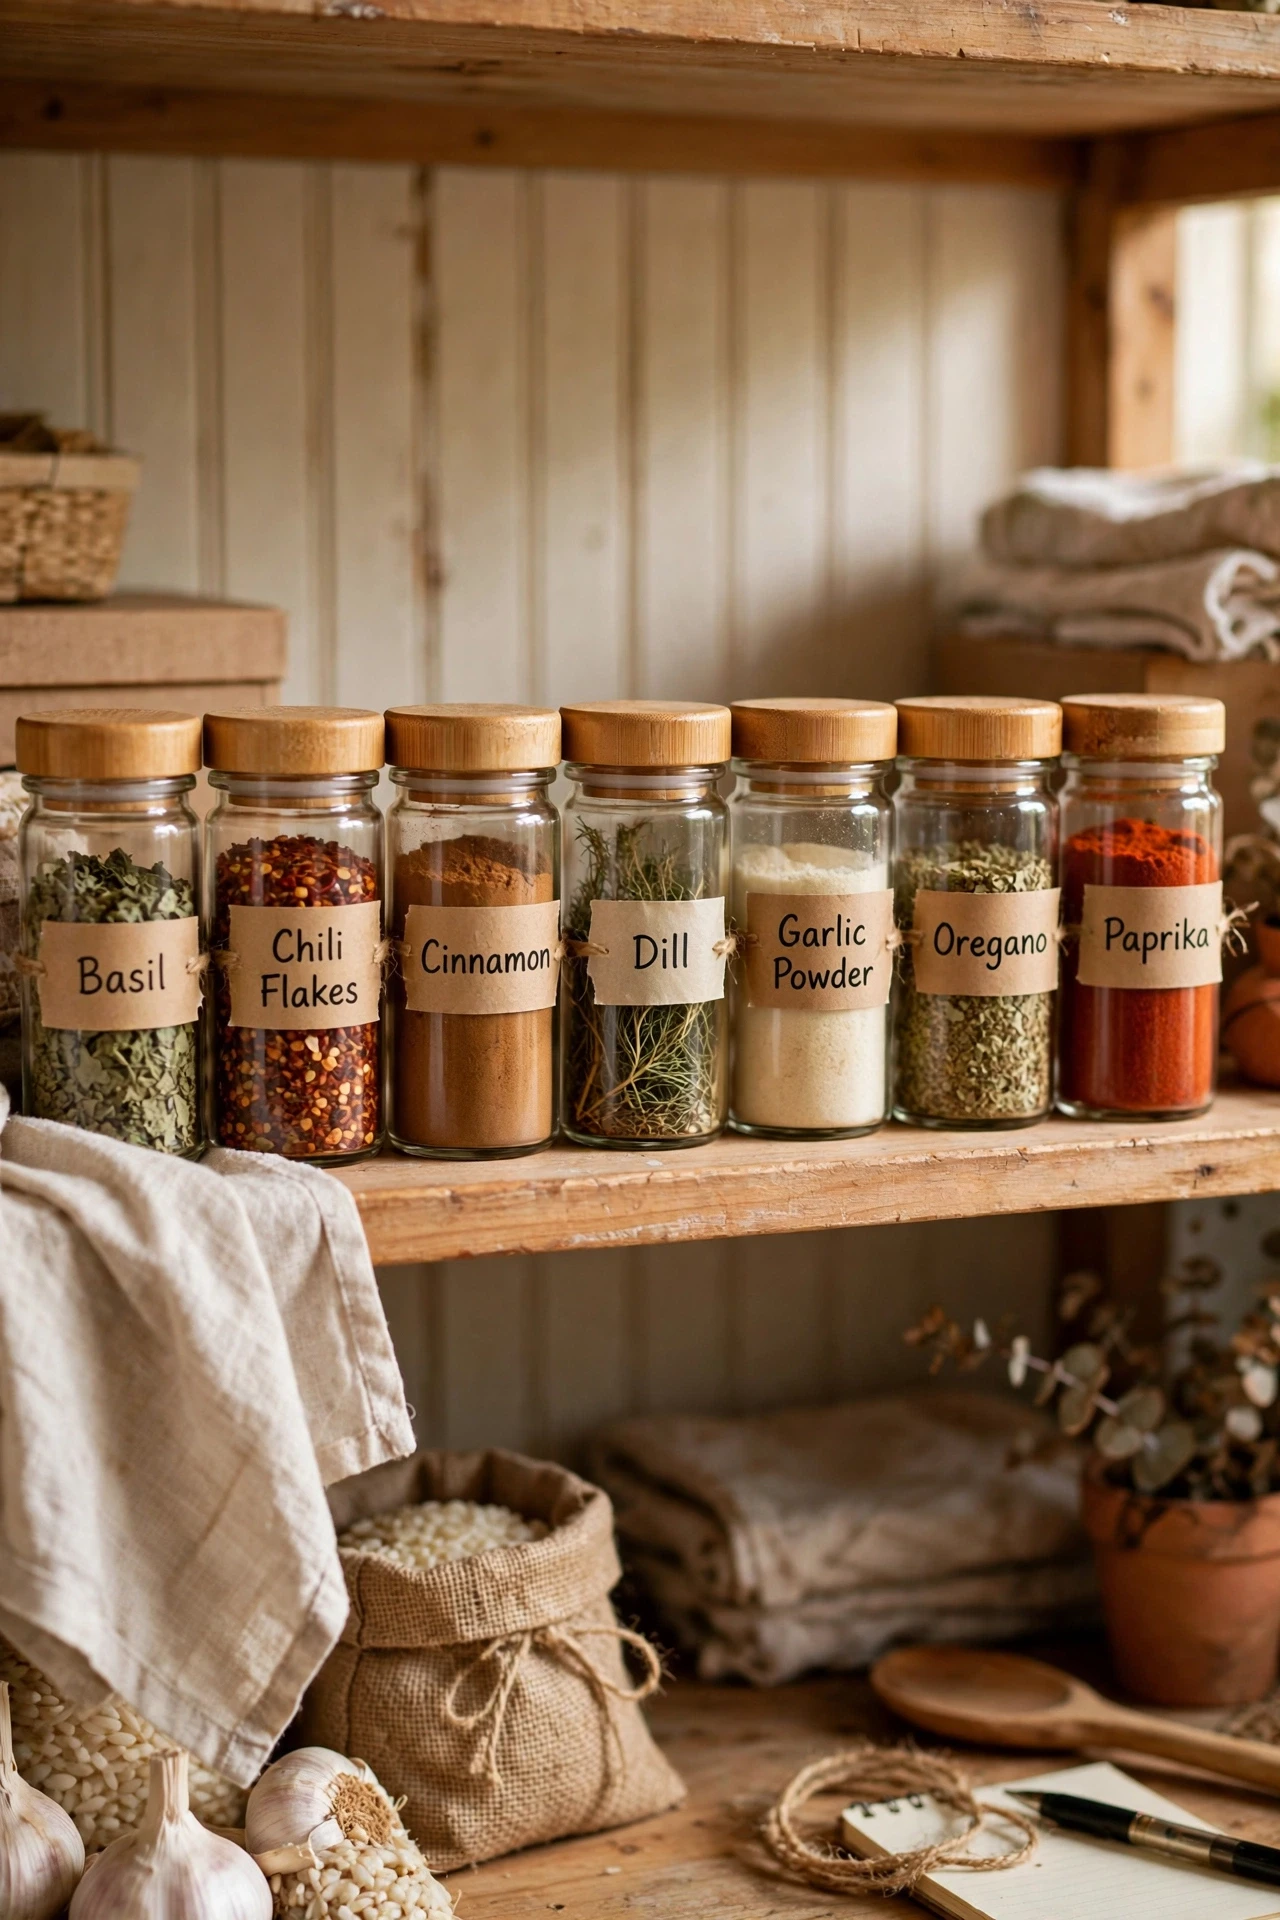
Spices sorted alphabetically sound fussy, but they end the daily hunt for the one jar you need right now. Pull all your spices out, arrange them from A to Z on a single shelf, and keep the labels facing forward. I sorted mine alphabetically, and finding garam masala stopped taking a full minute of scanning. Keep the most-used spices at the front of their letter group, since pure alphabetical order still buries daily jars behind rare ones. I tried strict alphabetical order first, and my daily cumin hid behind caraway I use twice a year. Re-sort after a big shop, since new jars slip in out of order fast.
Cost: ~$0 | Time: 20 minutes
12. Put Rarely Used Appliances on the Top Shelf
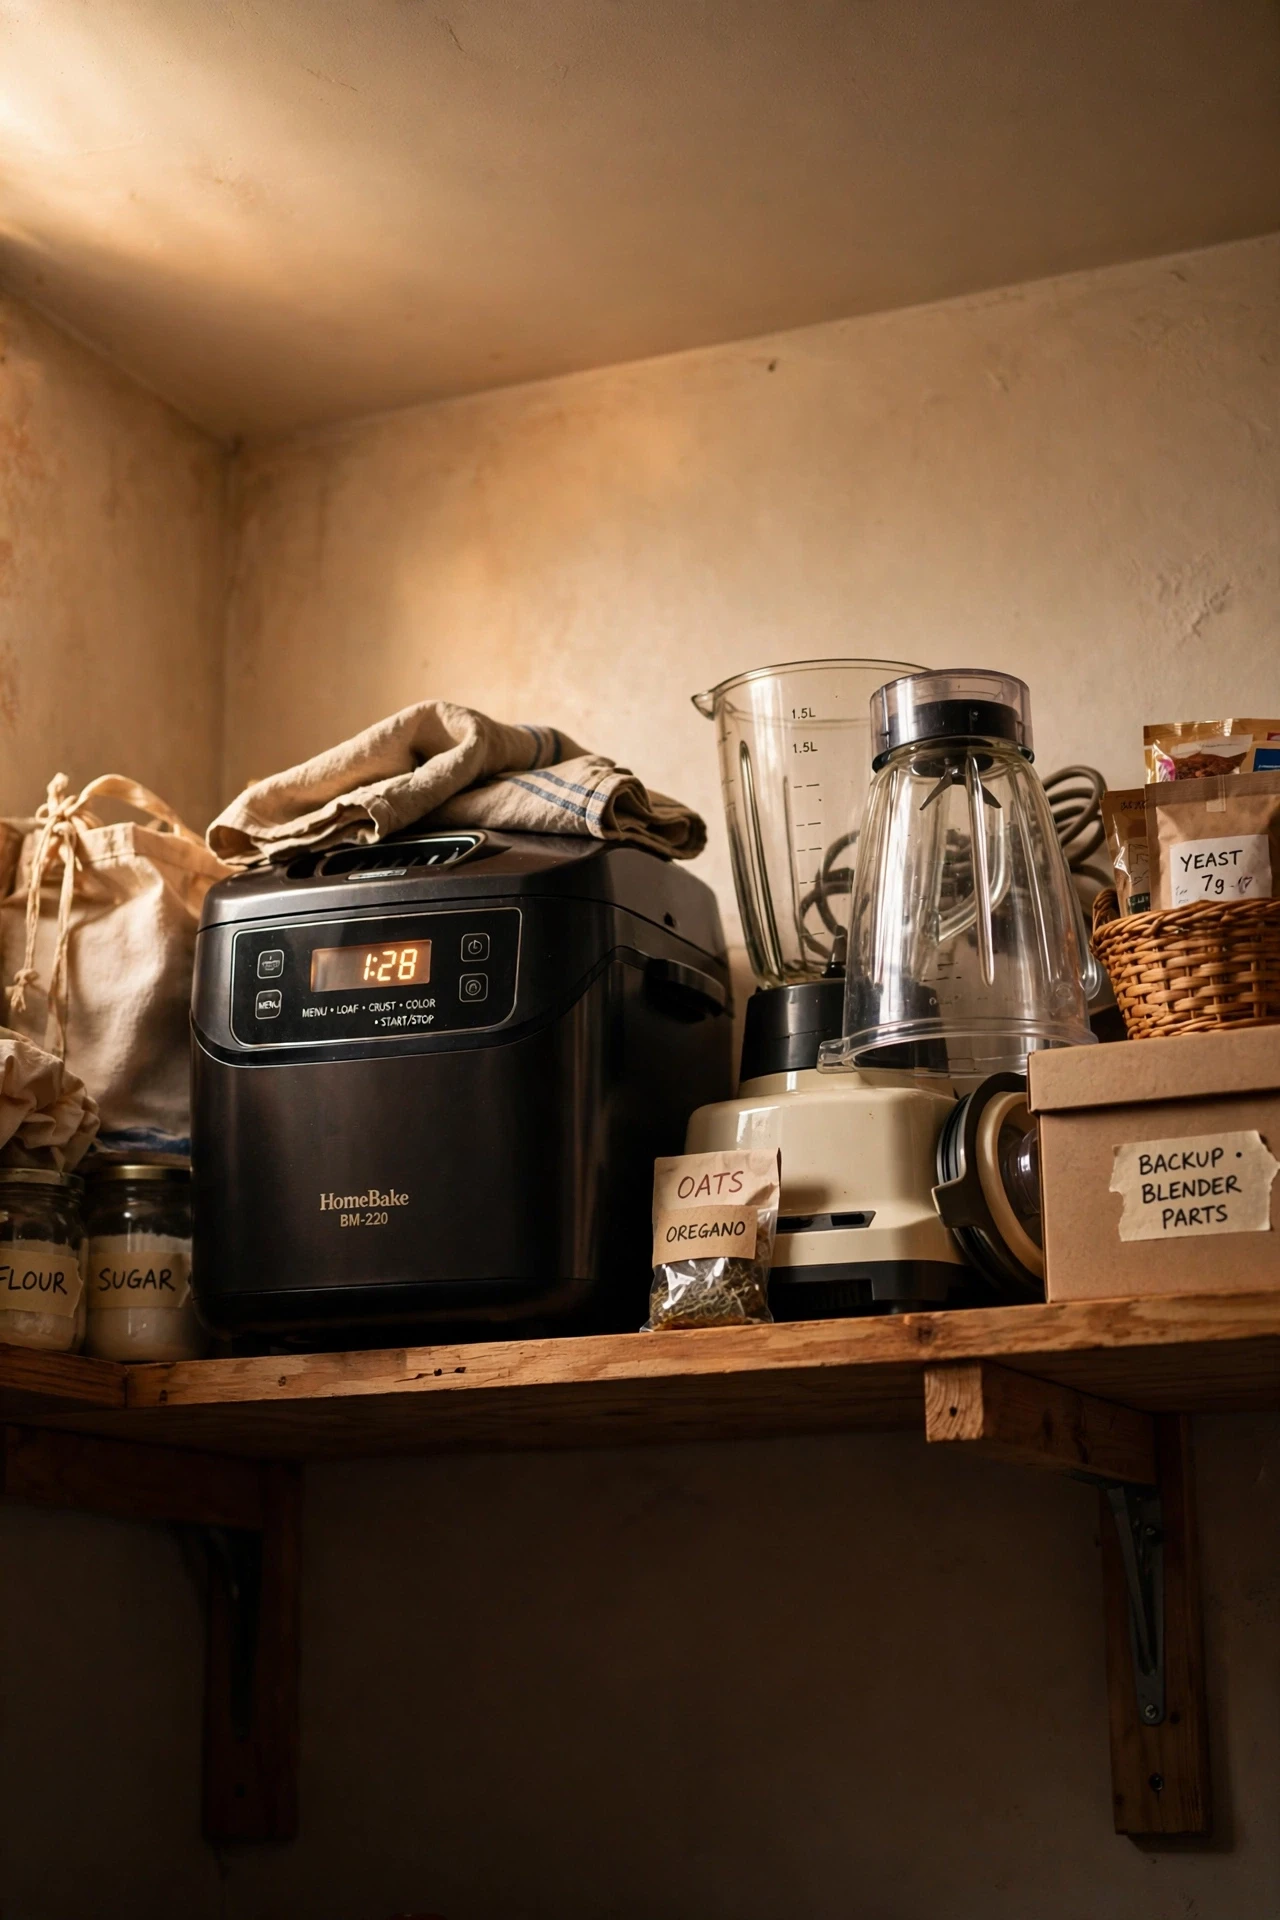
Rarely used appliances hog the easy shelves, so moving them to the top frees prime space for daily food. Lift the bread maker, waffle iron, and spare blender to the highest shelf, and keep daily ingredients where you can reach them. I moved my bread maker up top, and a whole shelf opened for cereals and canned goods. Use a sturdy step stool when you need them, since stretching for a heavy appliance is how shelves get pulled down. I tried reaching for mine once, and the whole top shelf nearly came with it. Dust the top shelf quarterly, since appliances up there collect dust unnoticed.
Cost: ~$0 | Time: 15 minutes
13. Use a Shoe Organizer for Small Packets
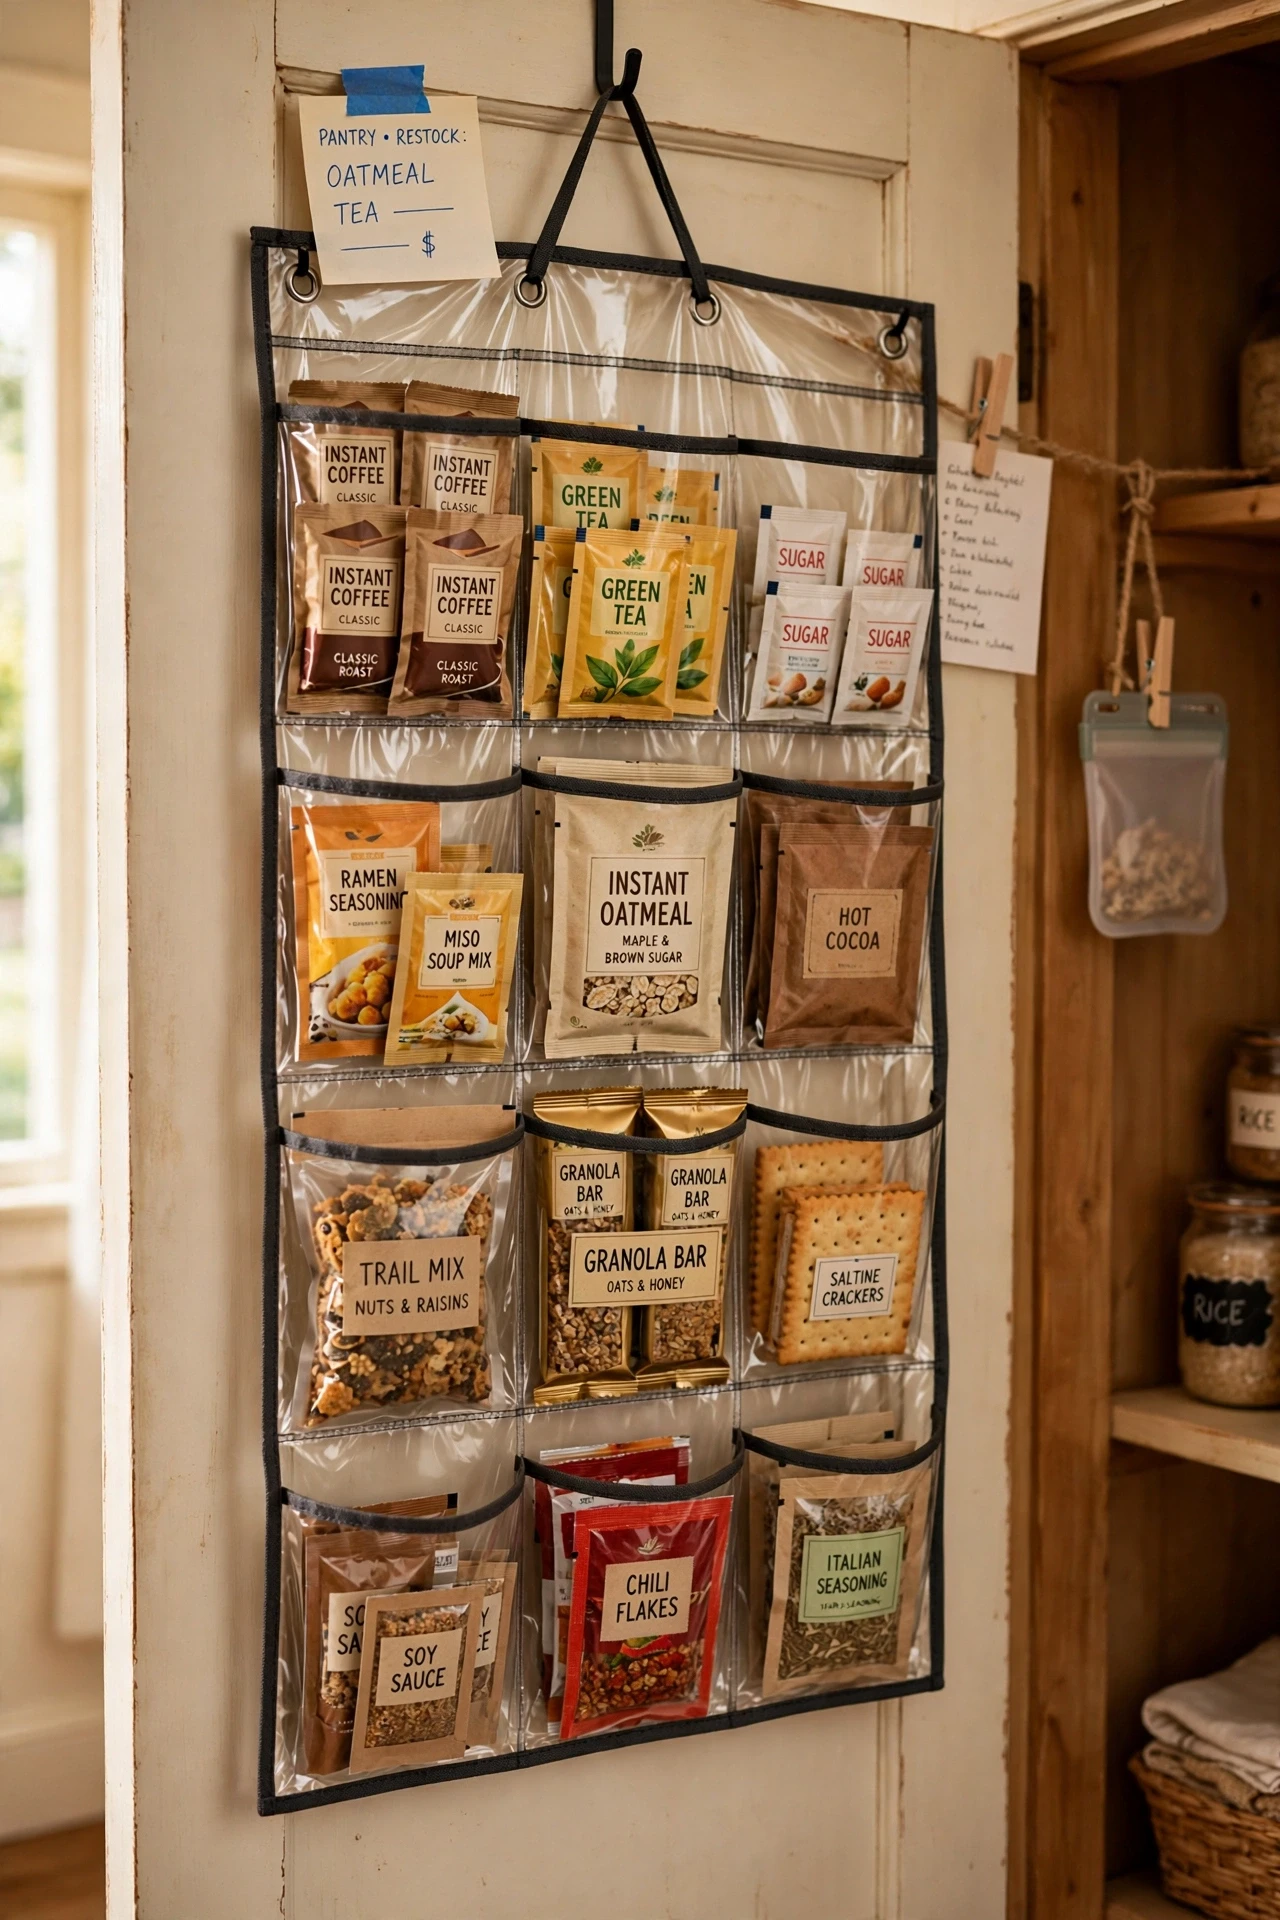
A clear shoe organizer on the pantry door holds dozens of small packets in pockets you can see through, using space nobody else wants. Hang it over the door, sort packets into pockets by type, and grab what you need without opening a single box. I hung one for seasoning mixes and snack bars, and a drawer full of loose packets emptied in one go. Keep heavy items out of the top pockets, since weight at the top swings the door open. I loaded mine with jars at first, and the door would not close properly. Check the pockets monthly, since small packets expire quietly when they are out of sight.
Cost: ~$5 | Time: 15 minutes
14. Keep a Donation Box for Duplicates
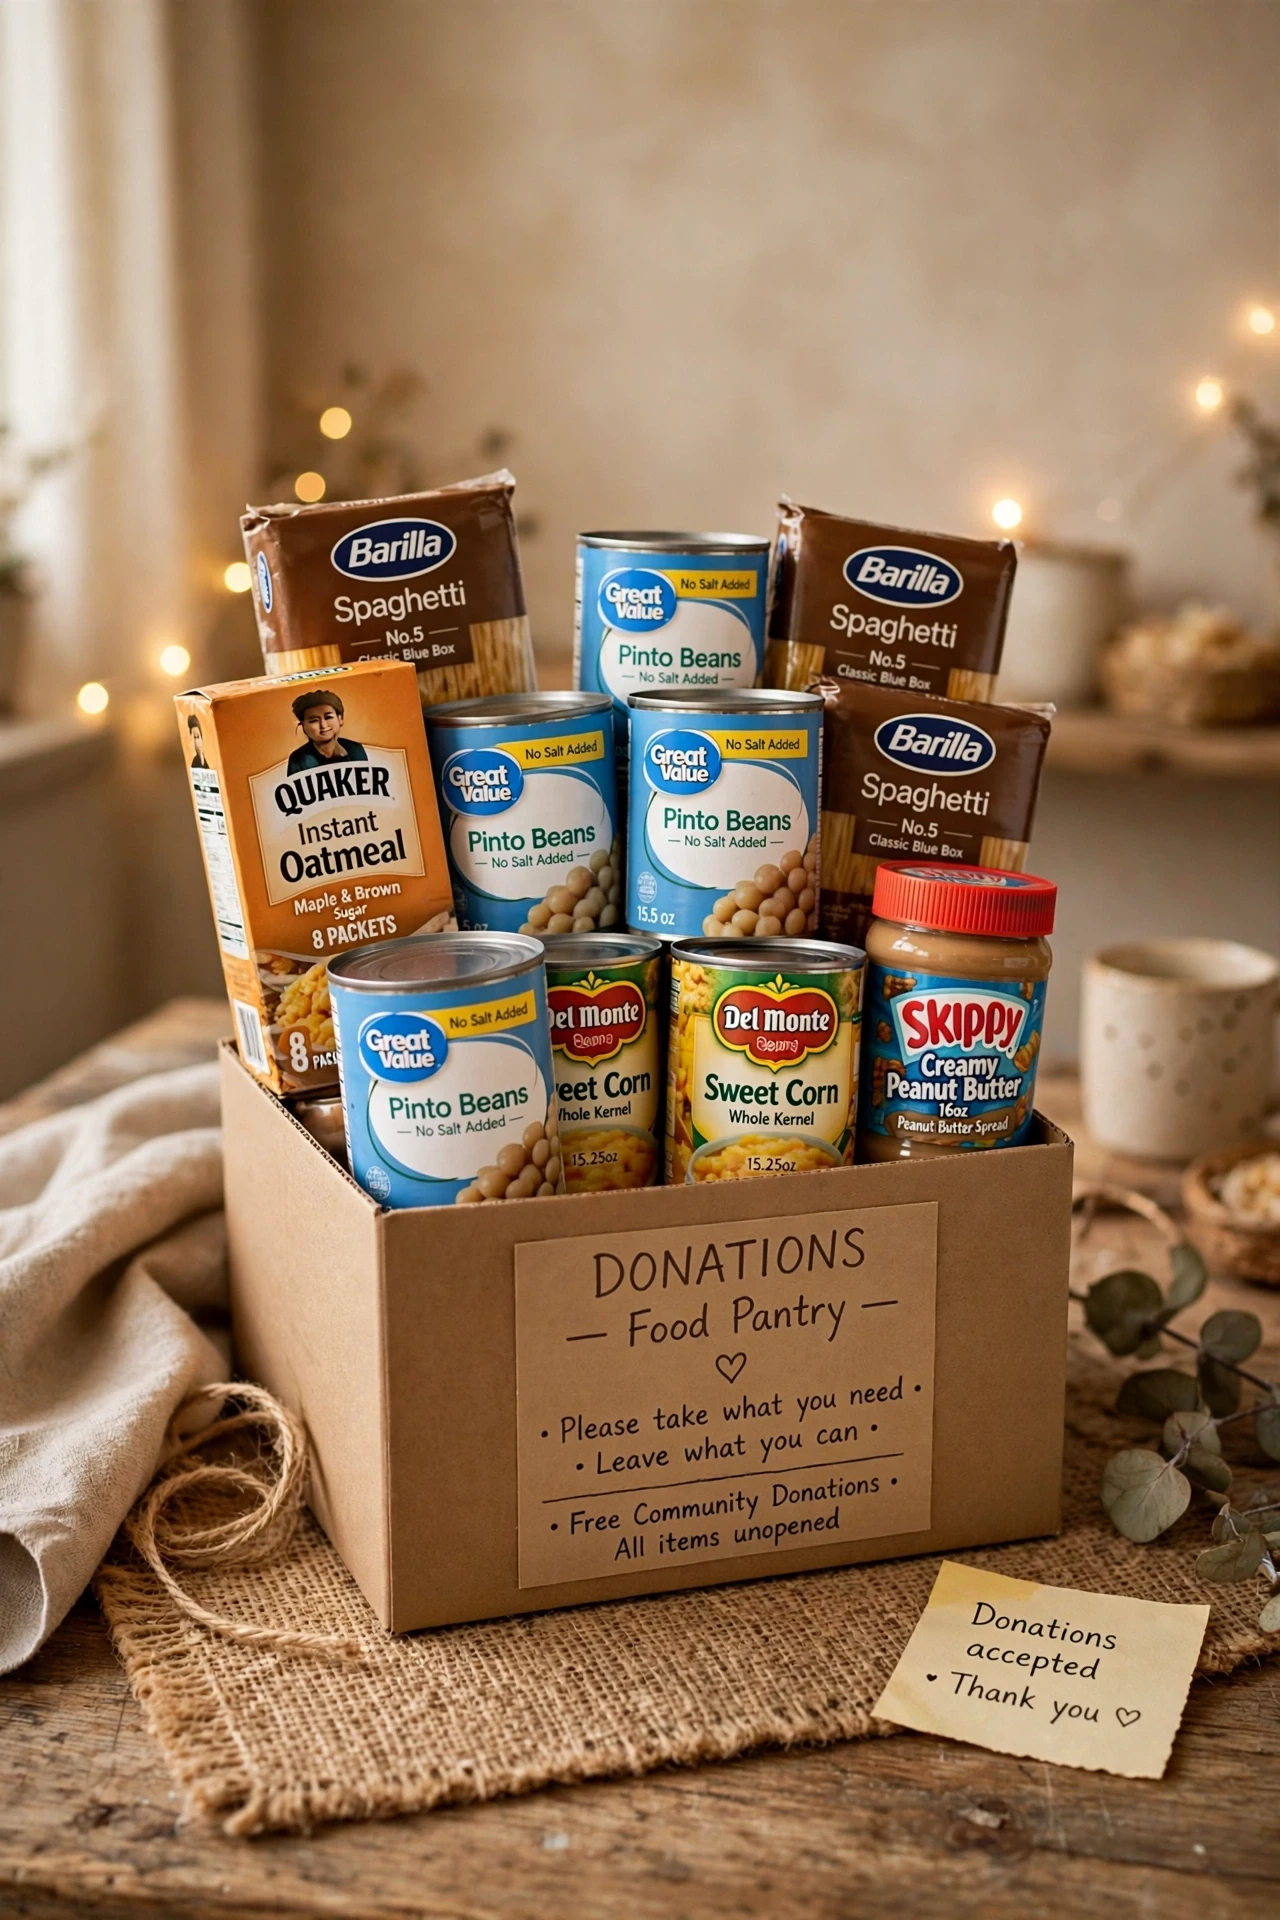
Duplicates pile up in small pantries, so a donation box catches extras before they take over a shelf. Place a small box or bag in the pantry, drop in unopened duplicates and items you will not use, and donate it when it fills. I started a donation box, and my pantry stopped growing a second row of the same soup. Check dates before donating, since food banks cannot accept expired items. I once donated a bag without checking, and half of it had to be thrown away. Keep the box visible, since a hidden box never gets filled until the pantry overflows.
Cost: ~$0 | Time: 5 minutes
15. Store Rice and Grains in Tall Sealed Containers
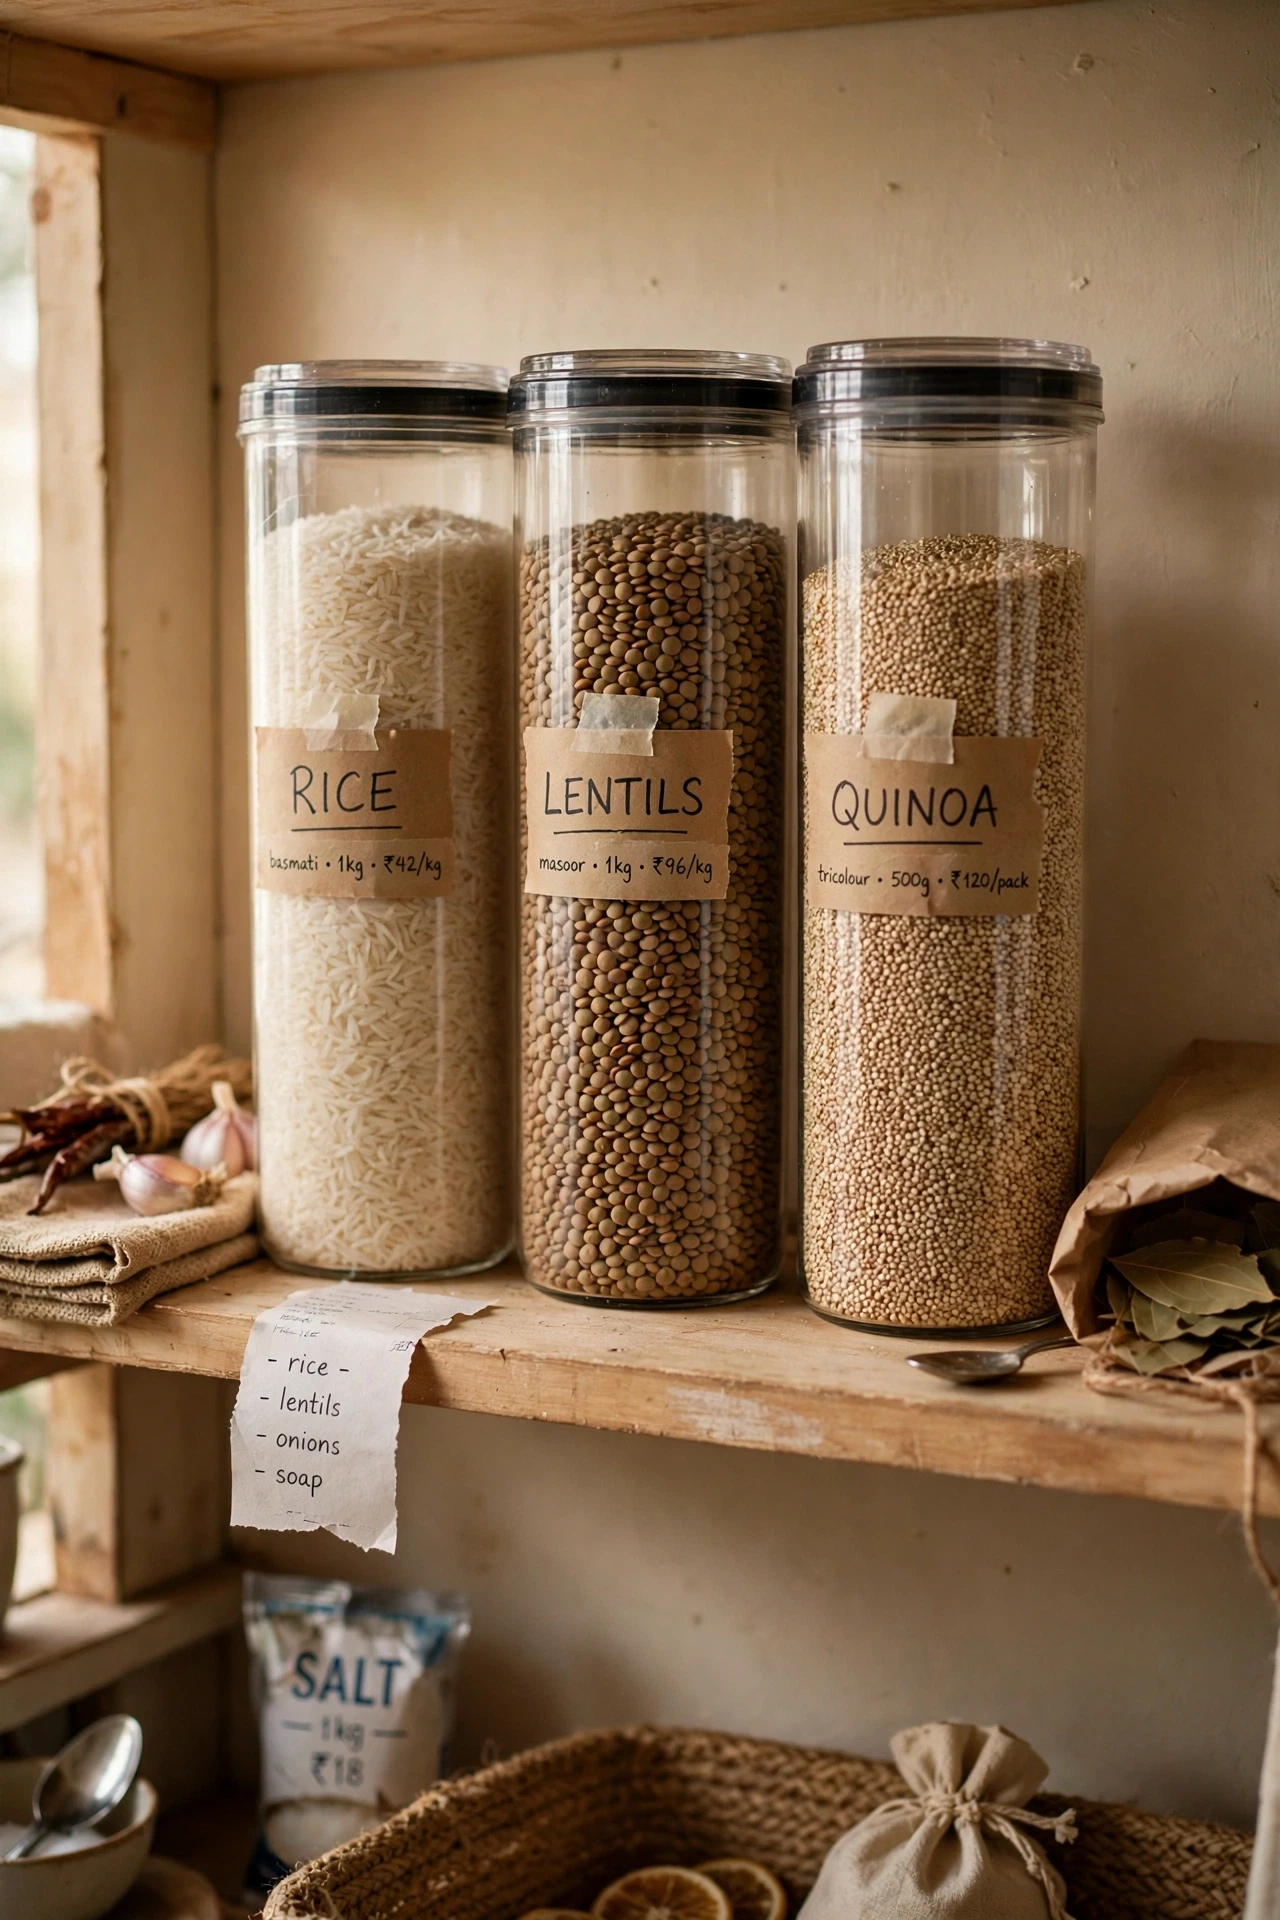
Tall sealed containers keep rice and grains fresh, bug-free, and easy to pour without spilling half the bag. Pour each grain into its own tall container, seal the lid firmly, and line the containers up like books on a shelf. I switched my rice, lentils, and quinoa to tall containers, and the pantry stopped smelling faintly of open bags. Dry the containers fully before filling, since trapped moisture clumps grains and invites mould. I filled a damp container once, and my lentils stuck together in a solid mass. Label the containers clearly, since rice and quinoa look identical through frosted plastic.
Cost: ~$7 | Time: 20 minutes
16. Group Canned Tomatoes and Beans Together
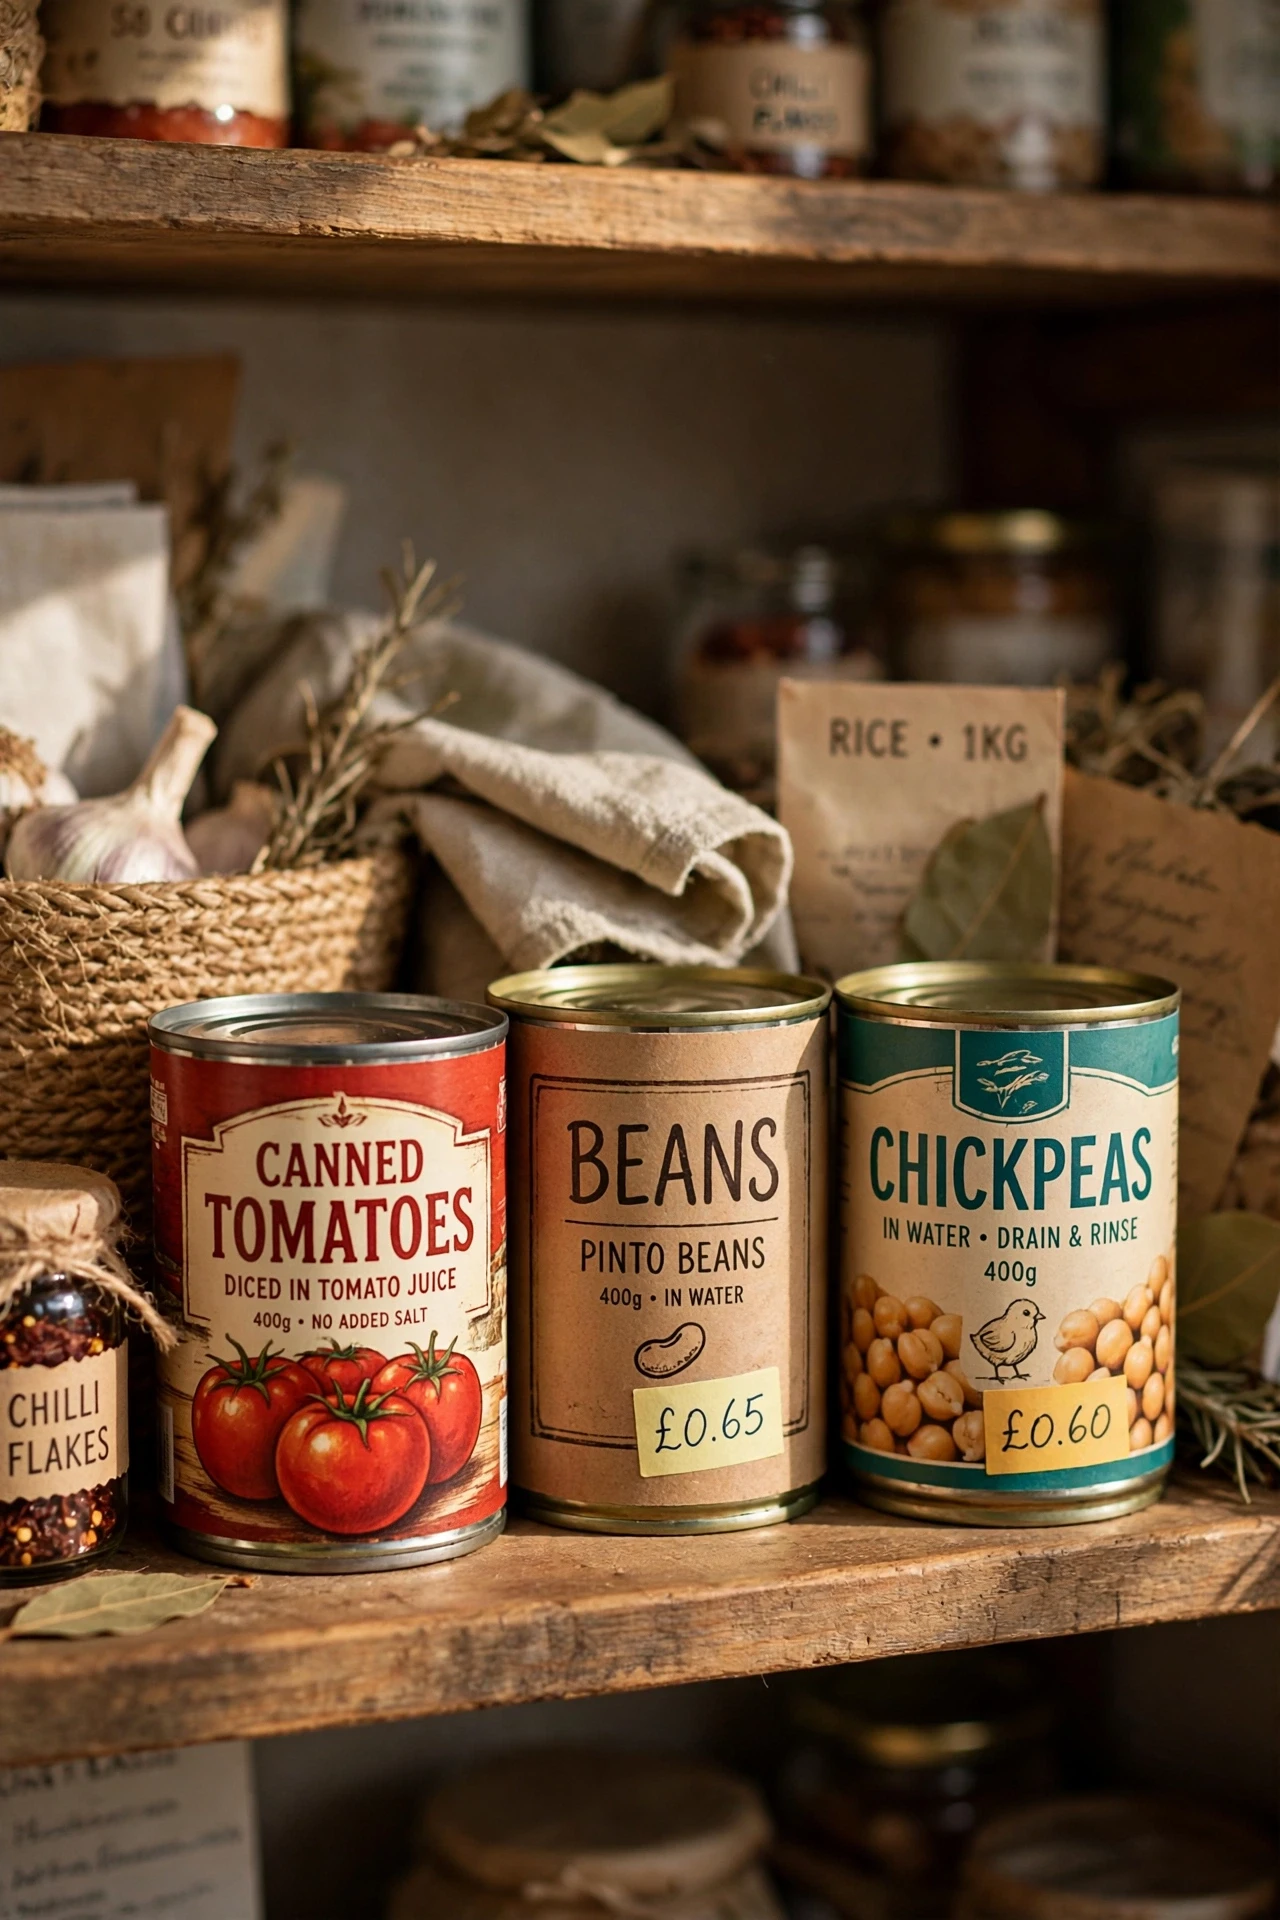
Canned tomatoes and beans belong together because they anchor most weeknight meals, so grouping them saves a daily search. Put tomatoes, beans, and chickpeas on one shelf section, arrange them by type, and keep the labels facing out. I grouped mine together, and building a pasta sauce or a chilli started with one shelf instead of three. Rotate new cans to the back, since older cans hidden behind new ones expire unnoticed. I forgot to rotate once, and I found three tins past their date at the back. Keep a small gap at the end of the row, so new cans always have somewhere to go.
Cost: ~$0 | Time: 15 minutes
See also: 25 small kitchen organization ideas on a budget
17. Add a Small Step Shelf for Short Jars
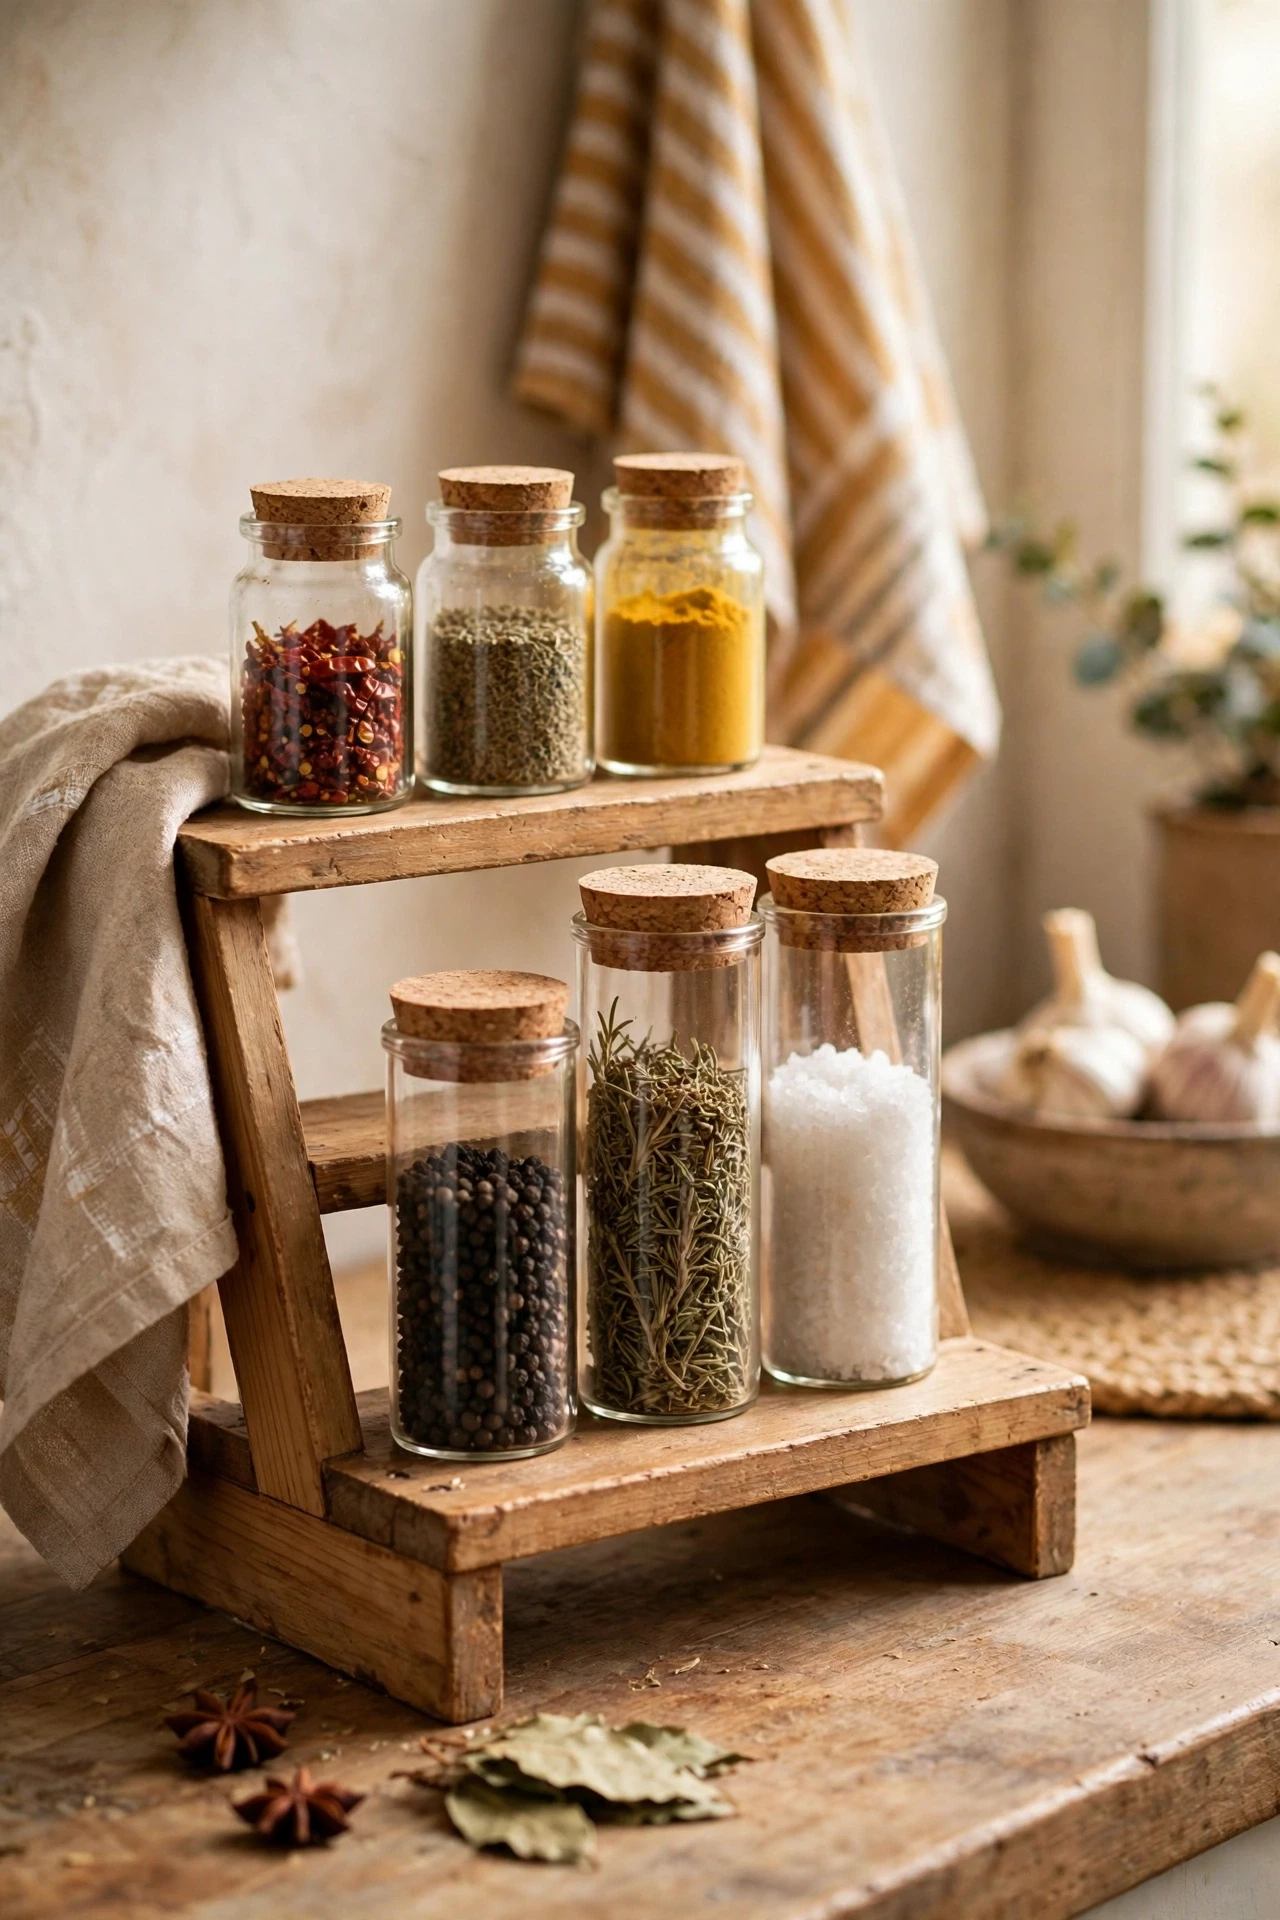
Short jars at the back of a shelf disappear behind taller ones, and a small step shelf lifts them into view. Place the step shelf at the back, put short jars on the raised step, and keep taller jars in front on the lower level. I added a step shelf for my small spice jars, and I stopped knocking over tall bottles reaching for a tiny jar. Measure the shelf depth first, since a step that is too deep wastes the front row entirely. I bought one too deep once, and it blocked the whole shelf behind it. Keep the step near the front on shallow shelves, so short jars stay visible.
Cost: ~$4 | Time: 10 minutes
18. Keep Tea and Coffee in One Caddy
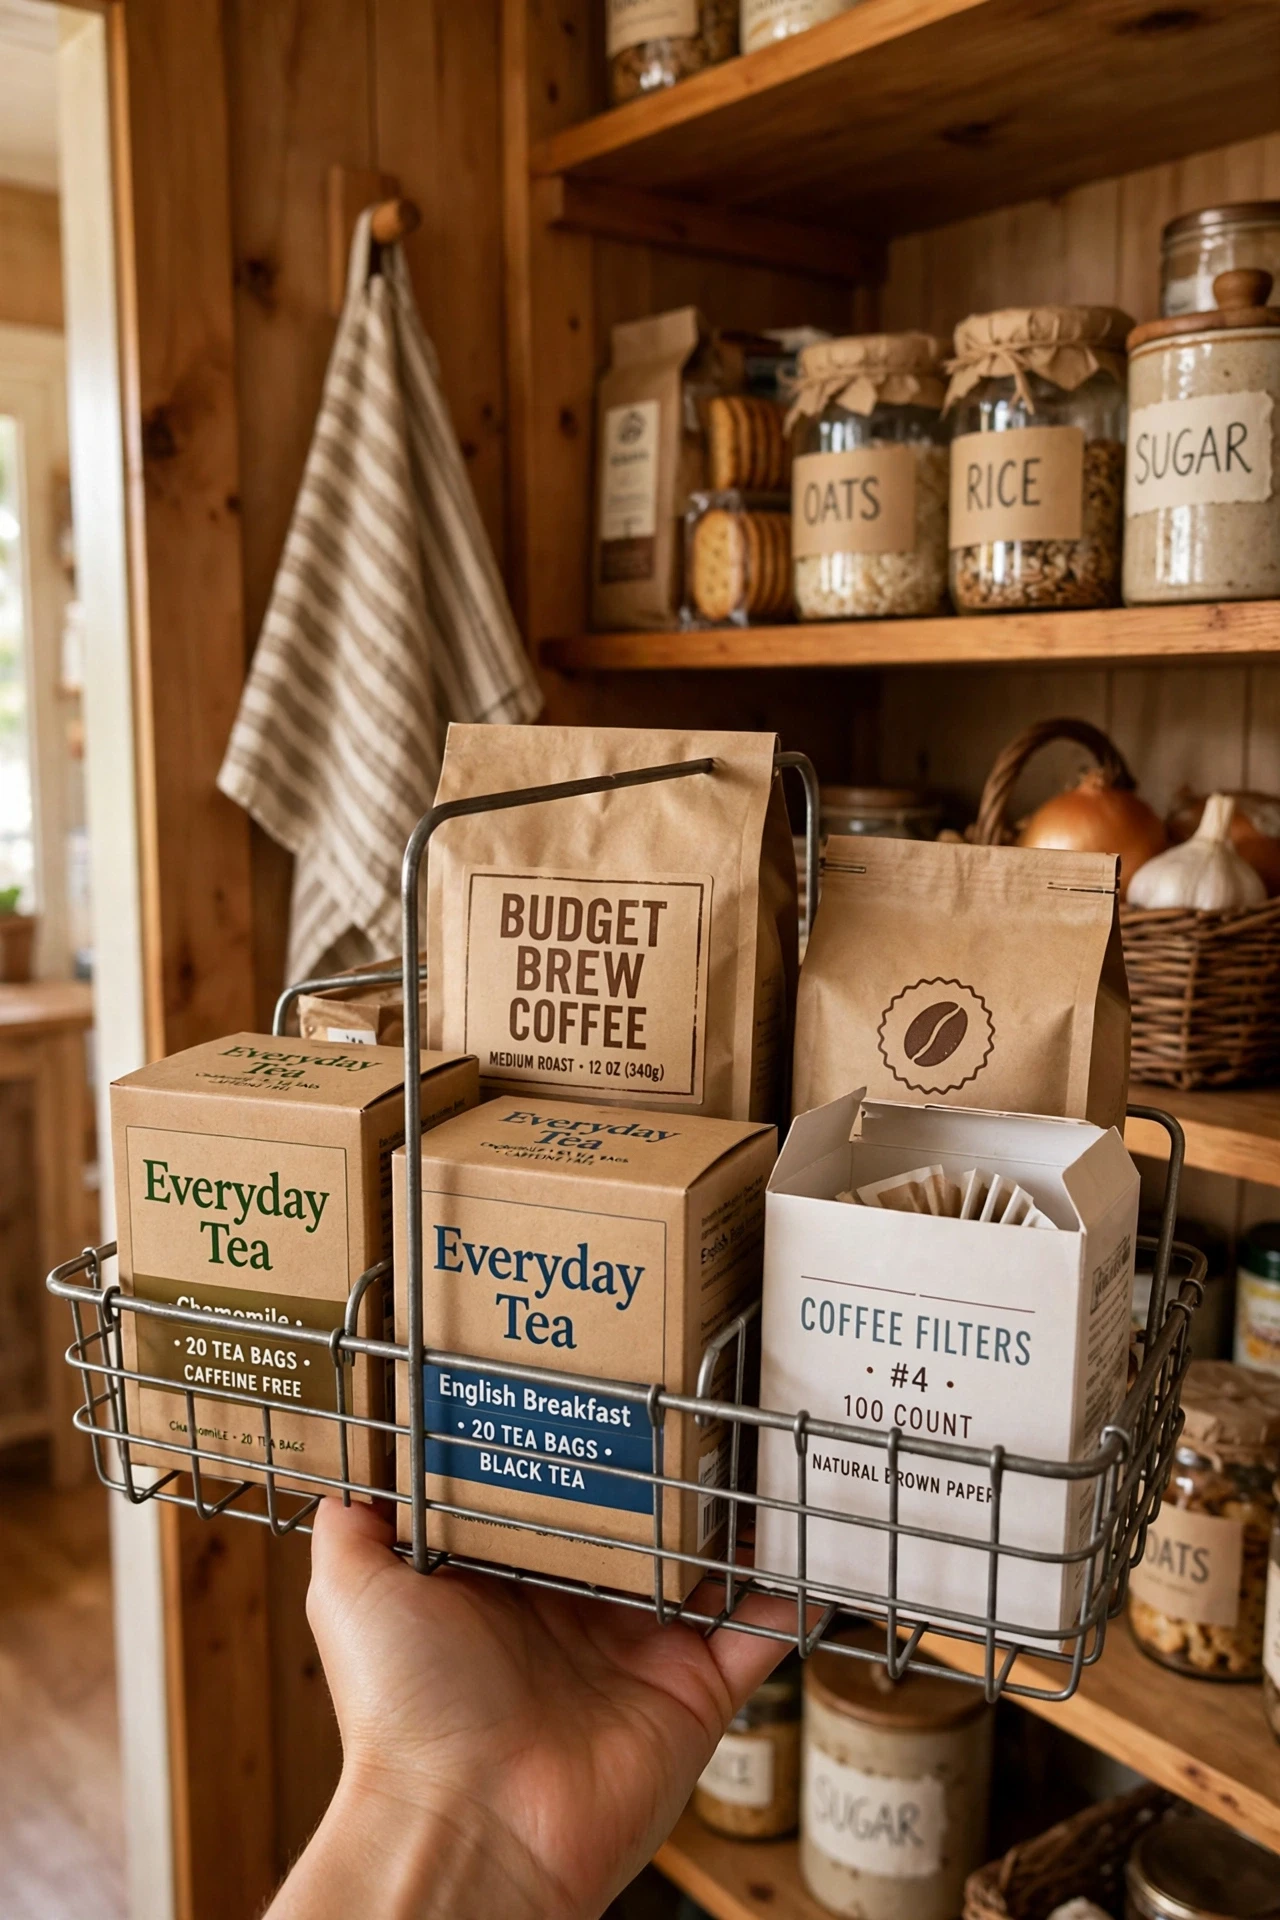
Tea and coffee scattered across shelves mean hunting for filters at seven in the morning, so one caddy fixes the whole ritual. Gather tea boxes, coffee, filters, and sweeteners into a single caddy, and keep it near the kettle end of the pantry. I made a drinks caddy, and my mornings got calmer because everything for a cuppa lived in one place. Restock the caddy on shopping day, since an empty caddy sends you hunting through shelves again. I skipped restocking once, and the filters were in a different cupboard by Monday. Keep the caddy light enough to carry, since a heavy caddy never leaves the shelf.
Cost: ~$3 | Time: 10 minutes
19. Use Binder Clips to Seal Open Bags
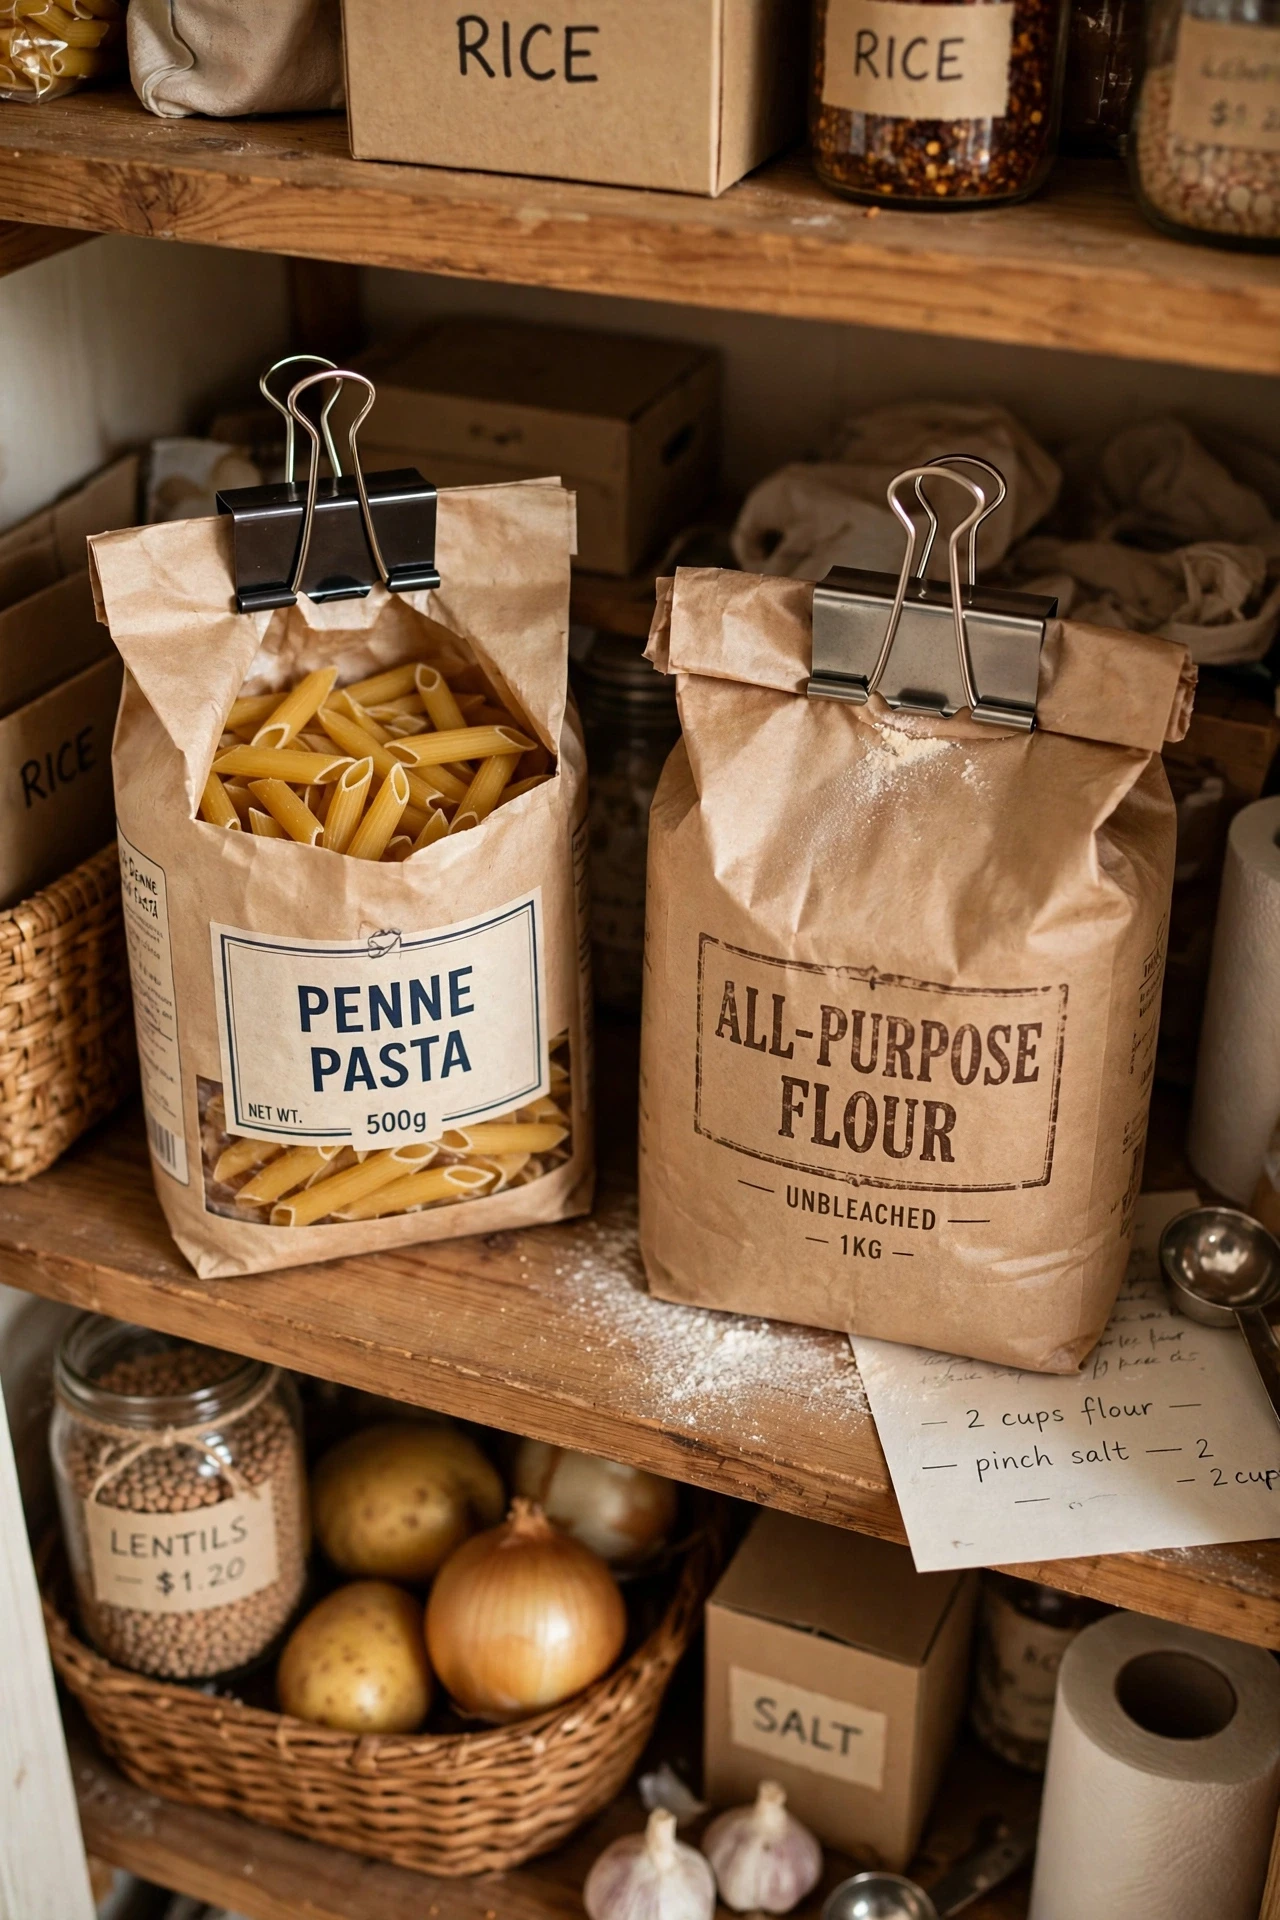
Open bags go stale fast in a pantry, and big binder clips seal them tighter than folding ever does. Fold the bag top down twice, clip it firmly across the fold, and stand the bag upright so it cannot spill. I clipped my open pasta and flour bags, and they stayed fresh weeks longer than folded bags ever did. Use large clips for thick bags, since small clips pop off flour bags under pressure. I tried small clips first, and my sugar bag burst open inside the cupboard. Keep a jar of spare clips in the pantry door, so sealing a new bag takes seconds.
Cost: ~$1 | Time: 5 minutes
20. Store Wraps and Foil in a Magazine Holder
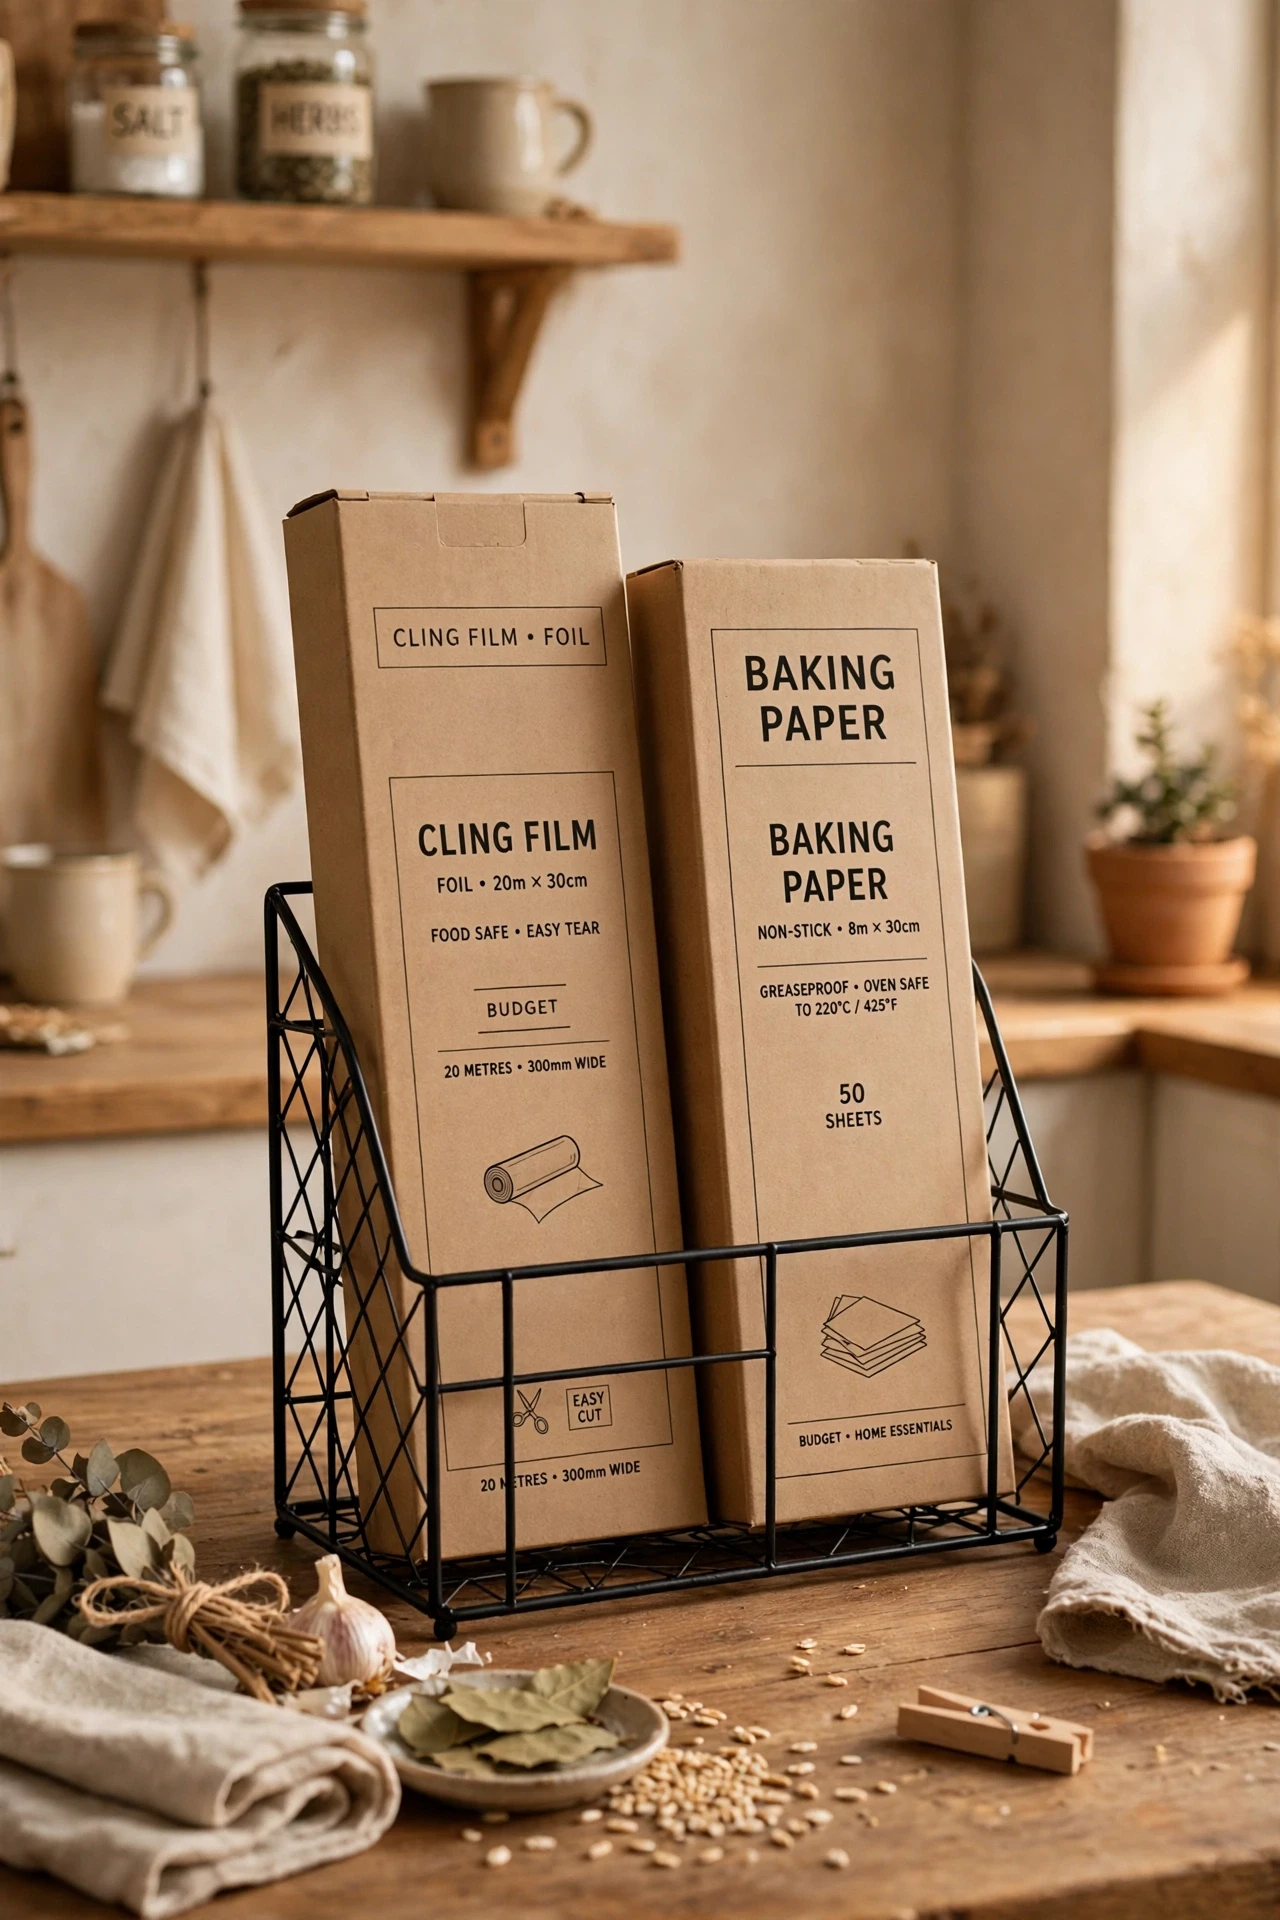
Cling film, foil, and baking paper boxes slide around in drawers, but a magazine holder stands them upright and easy to grab. Stand the holder on a shelf or inside the door, slide each box in with the cutter edge facing up, and pull out only the box you need. I moved my wraps into a holder, and the drawer they left behind finally closed properly. Keep the cutter edges facing the same way, since mixed directions lead to torn foil and wasted sheets. I stored mine sideways once, and every sheet tore jaggedly for a week. Label the holder if you share the kitchen, so wraps always go back to the same spot.
Cost: ~$2 | Time: 10 minutes
21. Keep a Shopping List Pad on the Door
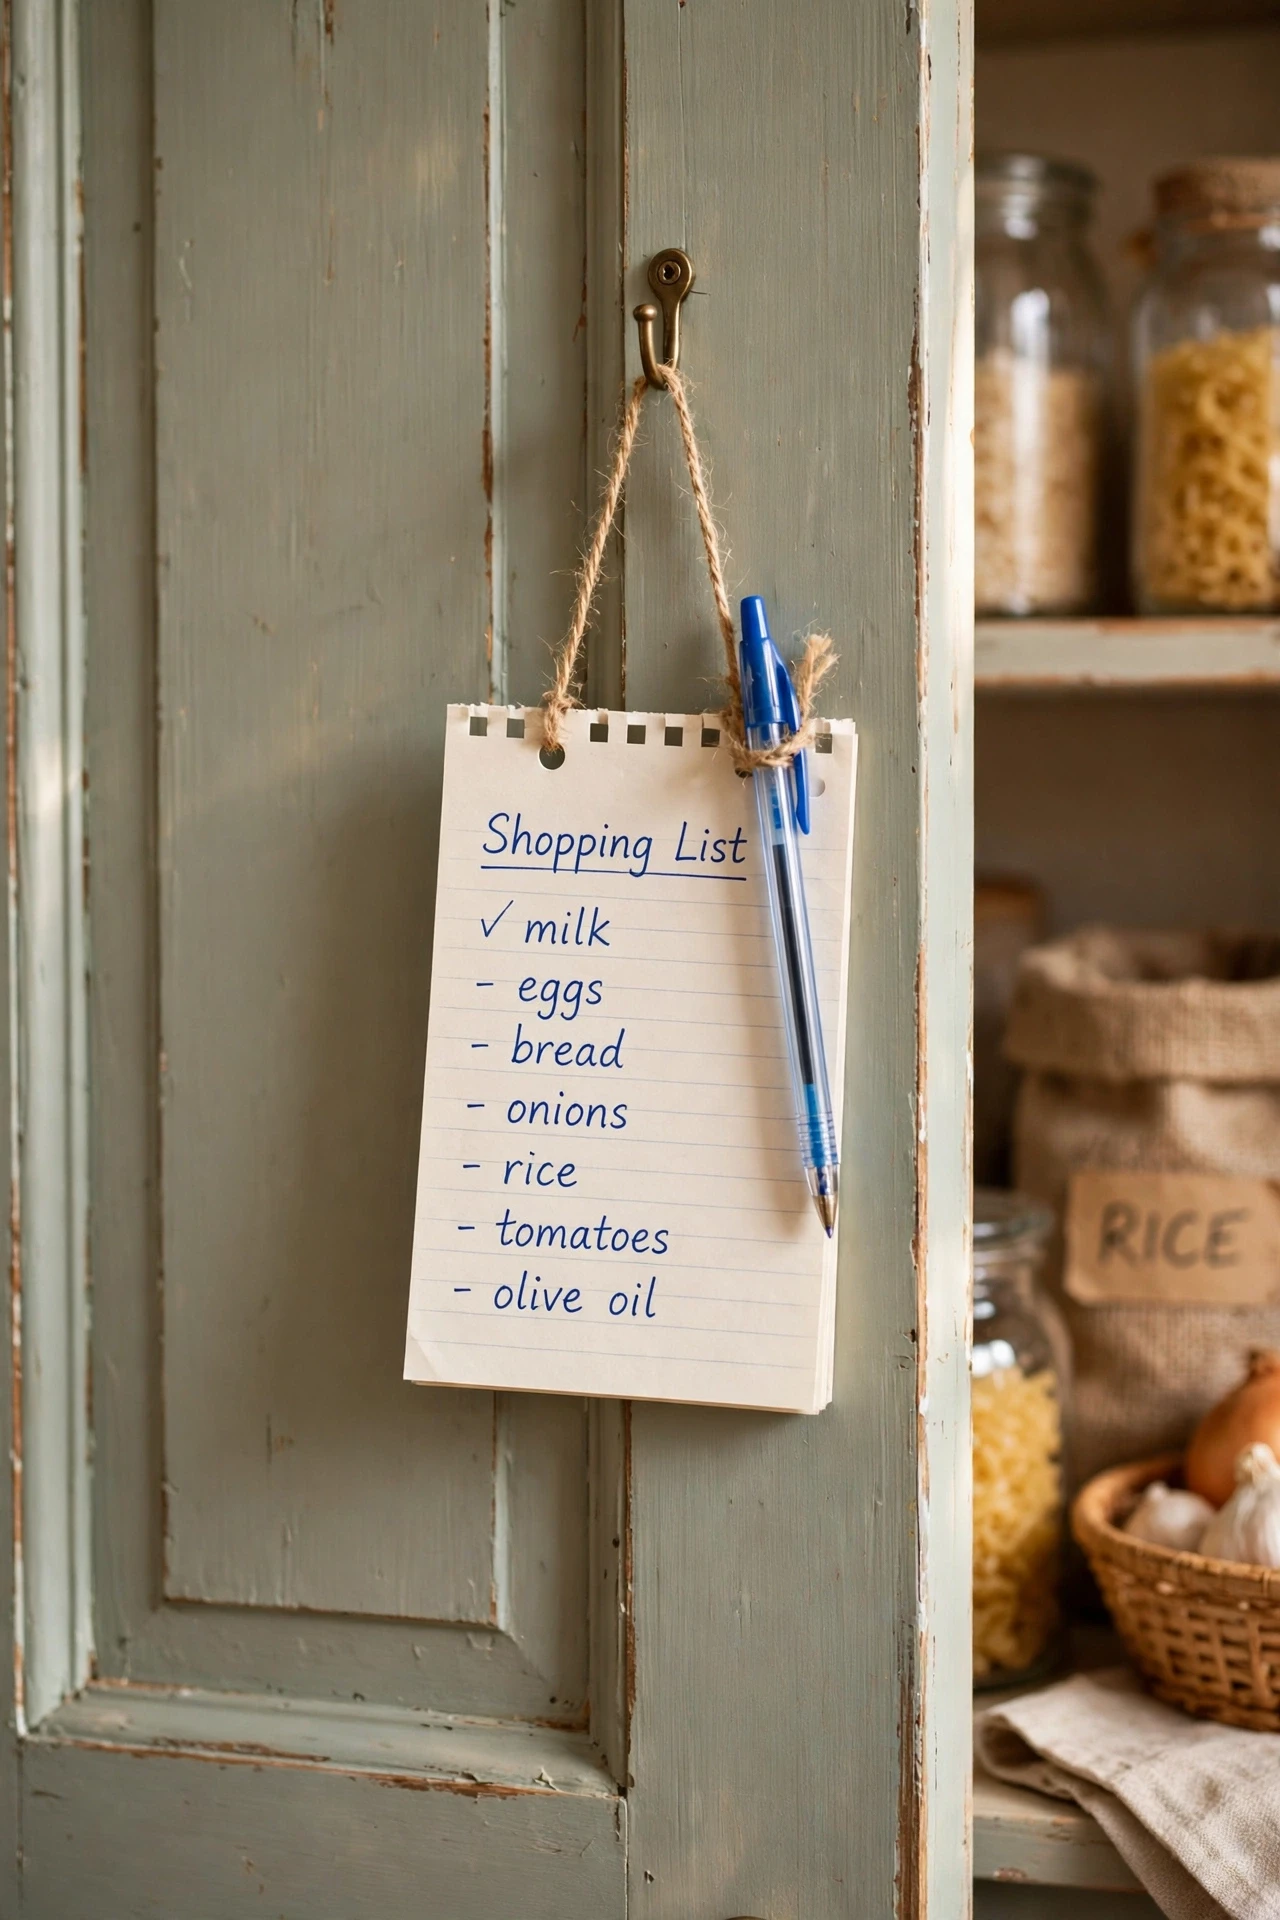
A shopping list pad on the pantry door catches items the moment you run out, instead of relying on memory at the shop. Hang a small pad and pen on the door, write items down as soon as you notice them, and tear the list off before shopping. I stuck a pad on my pantry door, and forgotten staples dropped sharply because the list wrote itself all week. Keep the pen attached with string or a clip, since a pad without a pen never gets used. I hung a pad without a pen once, and it stayed blank for a month. Check the pad before every shop, since a list left on the door helps nobody.
Cost: ~$1 | Time: 5 minutes
22. Place Heavy Items Low and Light Items High
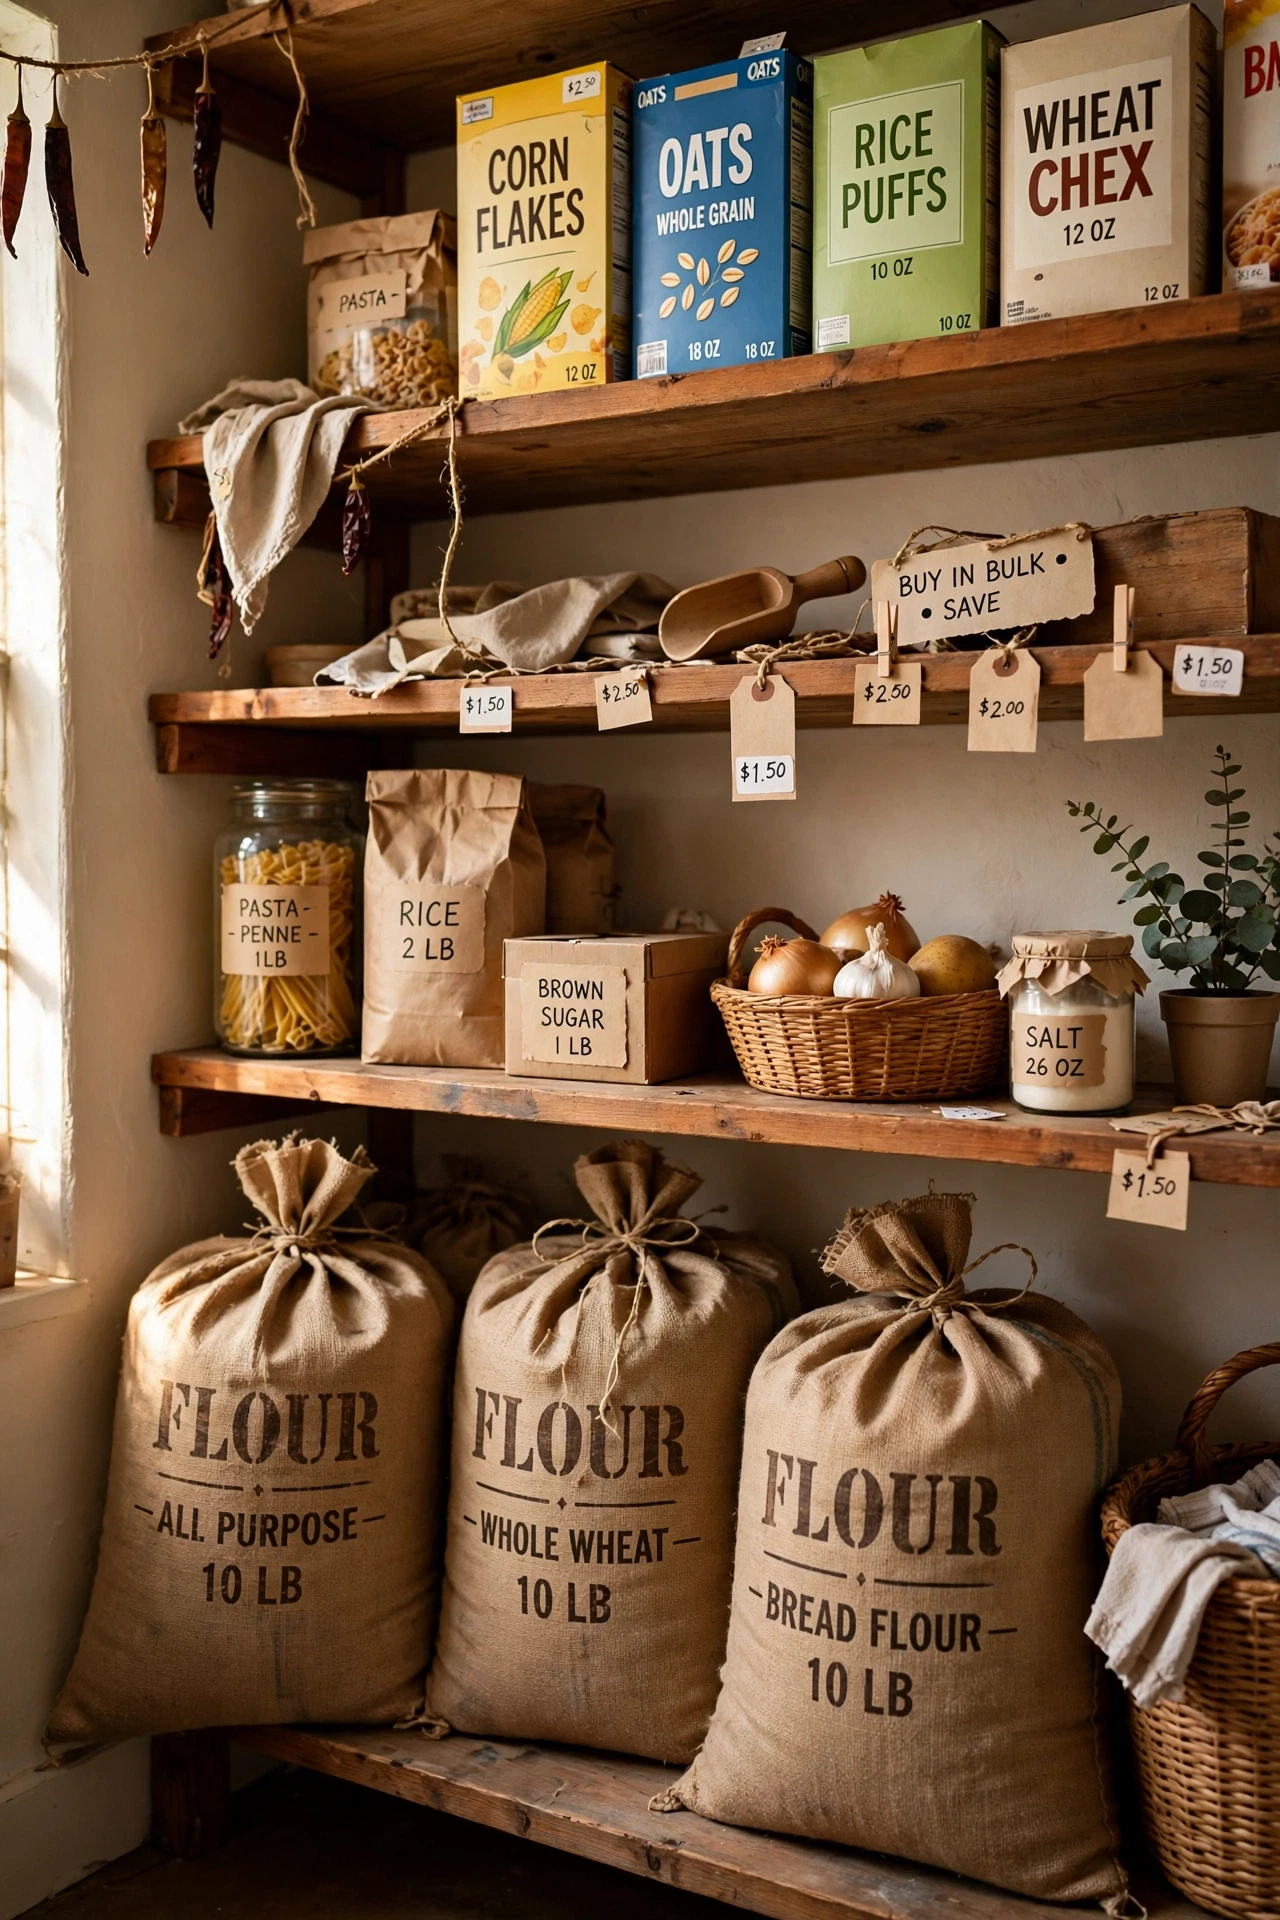
Heavy items stored high are a safety risk and a daily strain, so the simple rule is heavy low and light high. Move flour sacks, big oil bottles, and bulk cans to the lowest shelves, and lift cereals, crackers, and snacks to the top. I rearranged my pantry by weight, and reaching for daily items stopped feeling like a workout. Keep the heaviest items at waist height if you can, since floor-level lifting strains backs too. I stored flour on the floor once, and every baking day started with an awkward lift. Re-check after a big shop, since heavy bulk buys creep back onto high shelves.
Cost: ~$0 | Time: 20 minutes
23. Photograph the Pantry When It Looks Good
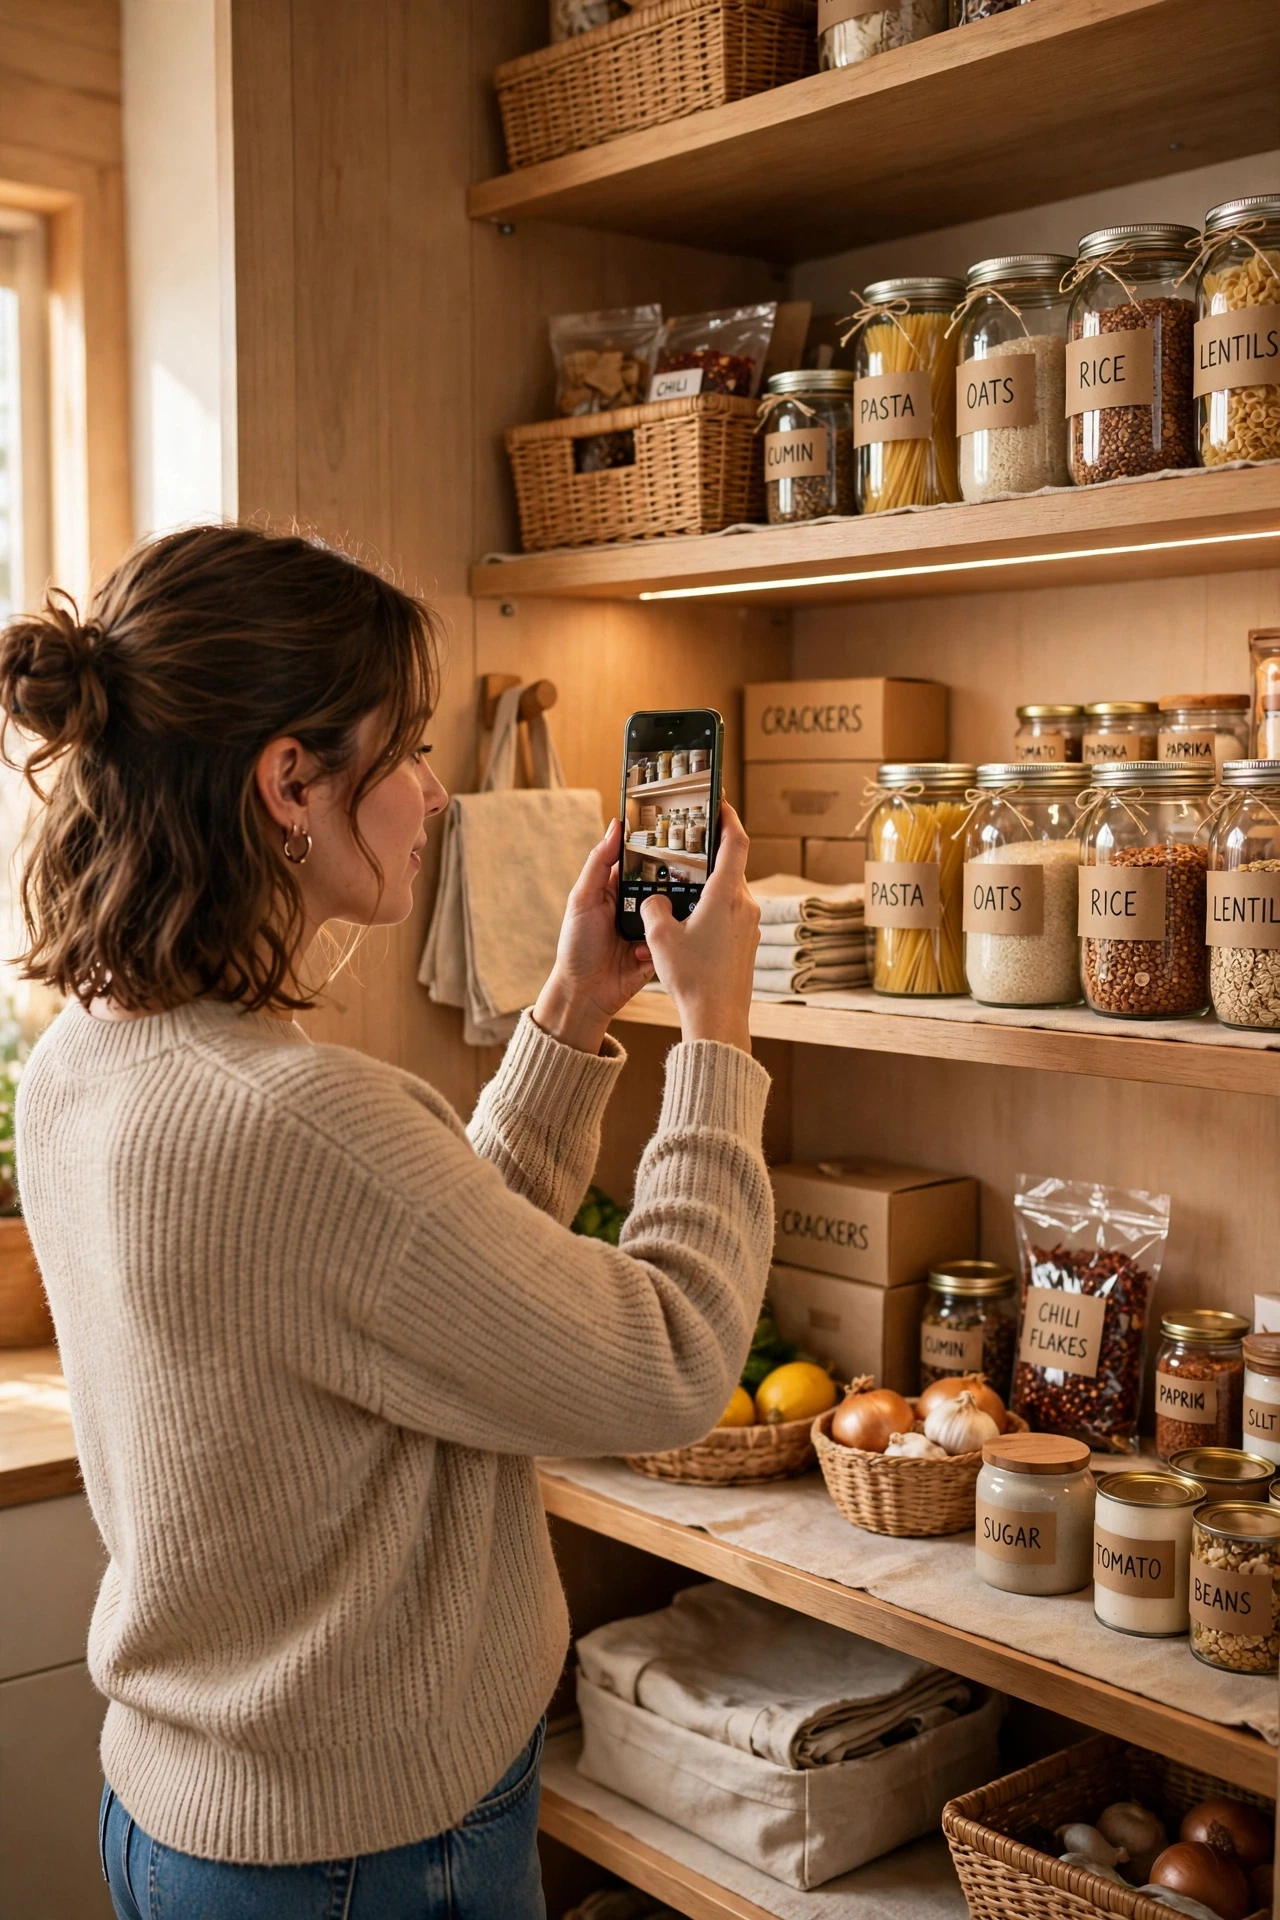
A photo of your pantry at its best becomes the standard you reset to, which makes tidying faster because you know the target. Take the photo after organising, keep it on your phone, and compare it when the pantry starts drifting. I photographed mine after a full sort-out, and resets took ten minutes instead of an hour. Update the photo when you change the system, since an outdated photo sets the wrong target. I kept an old photo once, and I kept resetting to a layout I no longer wanted. Share the photo with the household, so everyone knows where things belong.
Cost: ~$0 | Time: 5 minutes
24. Keep One Empty Bin for Overflow
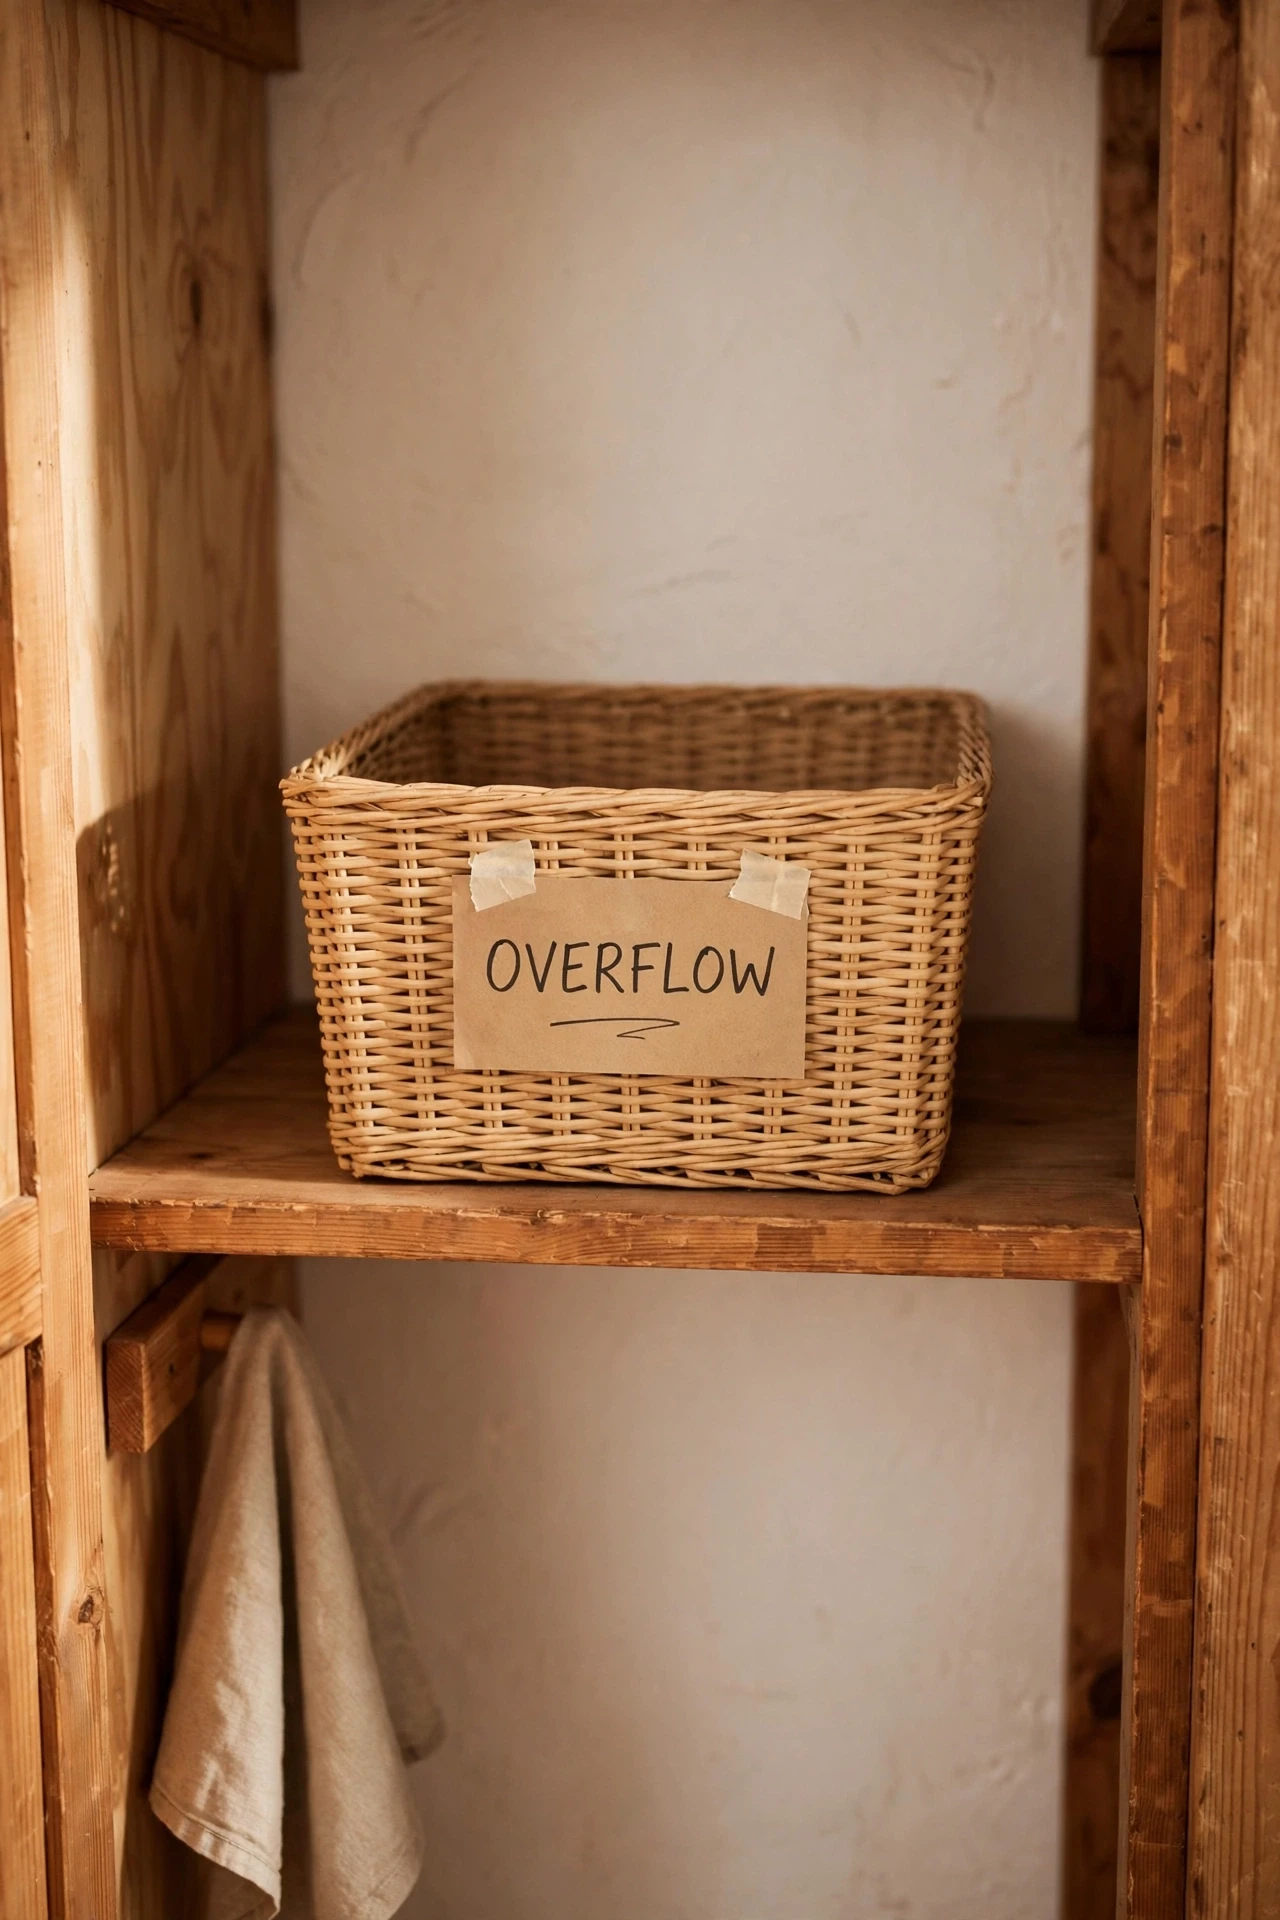
A pantry with no spare space breaks the moment shopping arrives, so one empty bin is the buffer that saves the system. Leave a single bin empty on an easy shelf, drop overflow items there after a big shop, and sort them properly within a few days. I kept an overflow bin, and grocery days stopped ending with bags piled on the kitchen counter. Empty the bin weekly, since a bin left full becomes just another cluttered shelf. I forgot mine for a month once, and it turned into a permanent junk bin. Keep the bin clearly labelled overflow, so nobody mistakes it for regular storage.
Cost: ~$2 | Time: 5 minutes
25. Do a Monthly Ten-Minute Pantry Reset
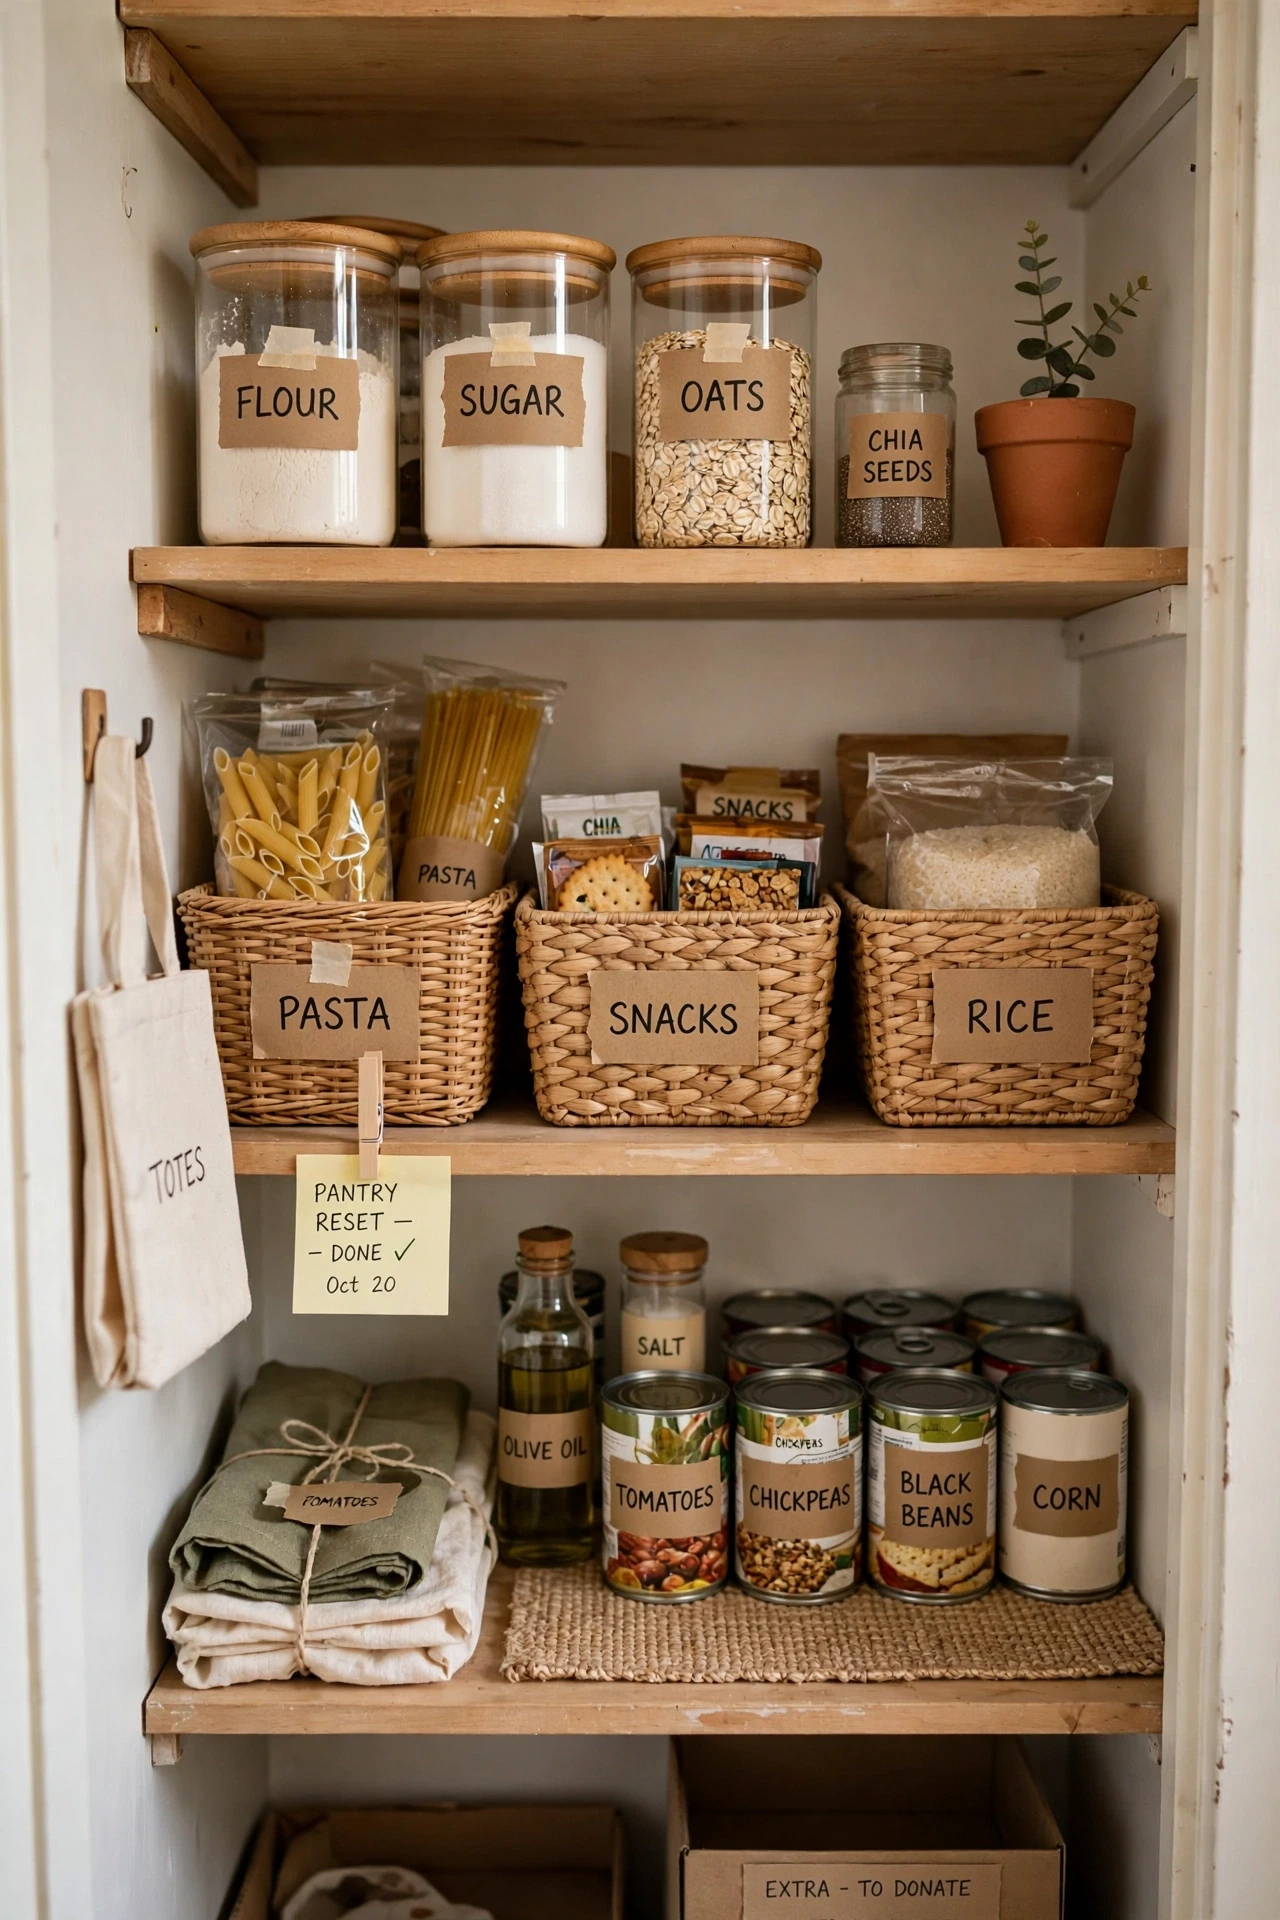
A ten-minute monthly reset keeps a small pantry from sliding back into chaos, and it costs nothing but a calendar reminder. Once a month, toss expired items, wipe one shelf, return strays to their bins, and check the donation box. I do mine on the first Saturday of each month, and my pantry has stayed organised all year instead of collapsing. Pair the reset with the shopping list, since you will spot gaps while you tidy. I skipped two months once, and the reset turned into a full afternoon project. Keep a bag nearby during the reset, so expired items leave the pantry immediately.
Cost: ~$0 | Time: 10 minutes
See also: 25 spice rack ideas that save counter space
Frequently Asked Questions
How can I organise a small pantry without spending much?
Start with free habits first: sort by category, put heavy items low, and line cans up by expiry date. Then add one or two cheap tools, like a turntable or a few bins, only where they solve a real problem.
What is the first step for a pantry that feels overwhelming?
Empty one shelf completely, toss anything expired, and put back only what belongs there. One finished shelf builds momentum, and the rest of the pantry feels doable after that.
How do I keep a small pantry organised long term?
Pair a monthly ten-minute reset with a shopping list pad on the door. The reset fixes drift, and the list stops duplicate buying, which is what clutters small pantries fastest.
Save this idea for your next pantry clear-out if your shelves are bursting at the seams.
A small pantry organised on a dime beats a big pantry with no system. Start with the free habits, add cheap bins and hooks where they help most, and keep the monthly reset going. Your pantry will cost less than a takeaway dinner, and it will cook better than a system ten times the price.
