21 Tiny Bathroom Ideas for Renters
Renting with a tiny bathroom taught me that the best upgrades are the ones you can peel off on moving day. These tiny Bathroom ideas for renters all skip drilling, skip damage, and still make a cramped bathroom feel calmer and easier to use. I once lived with a bathroom so small the door nearly hit the sink, and the fixes that worked were never the big renovations, they were small holders, hooks, and carts in exactly the right spots. Pick three or four ideas below, try them this weekend, and keep your deposit safe while you do it.
1. Over-Toilet Shelving Unit
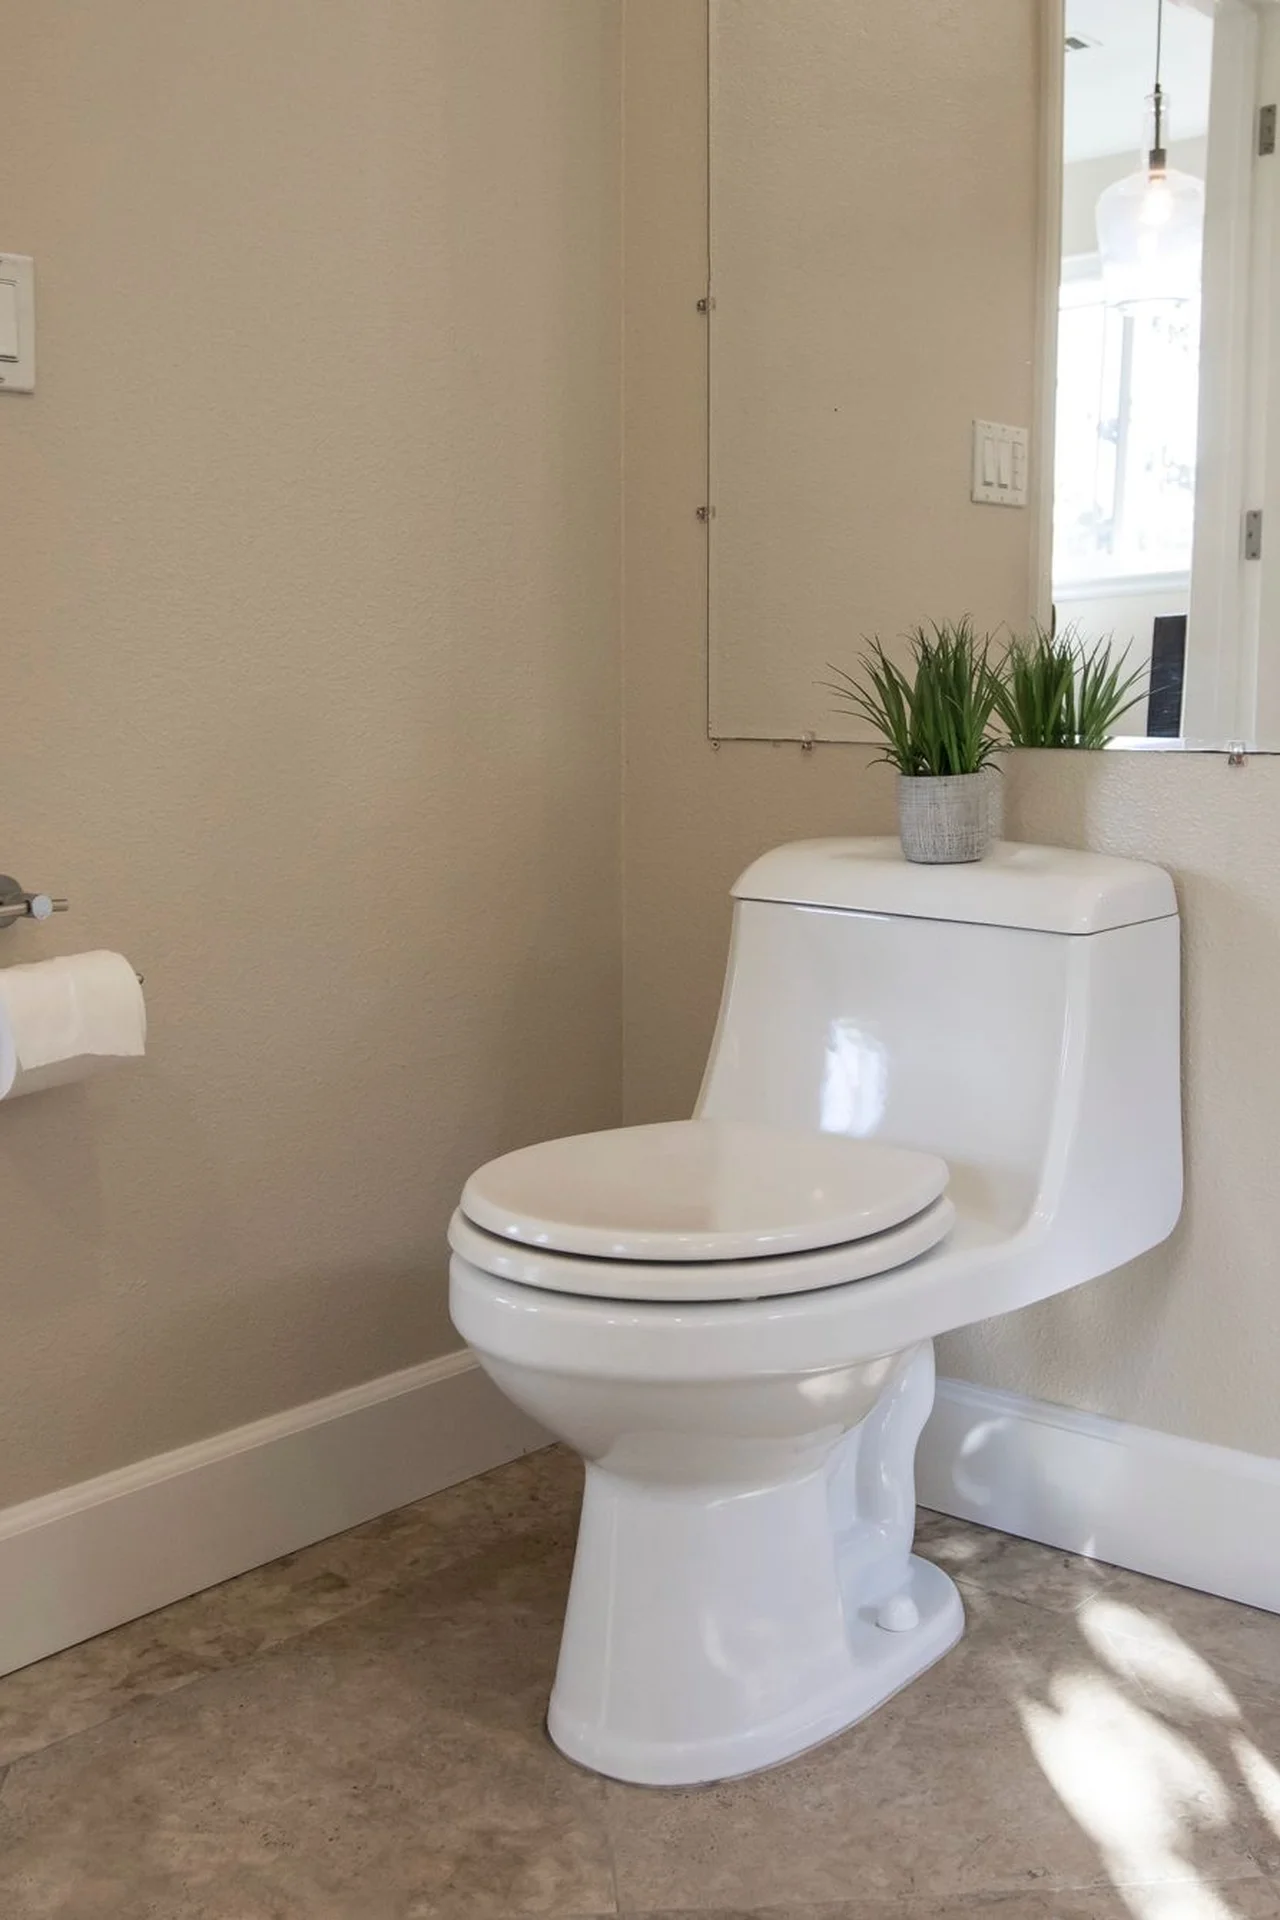
An over-toilet shelf unit uses the empty wall above the tank, which is usually the biggest wasted space in a tiny bathroom. Stand the unit over the toilet, add folded towels on the lower shelf, toiletries in a basket on the middle shelf, and a plant or candle up top. Keep daily items at arm height and spare rolls where you can reach them without climbing. I tried this after my toiletries lived on the tank lid and fell off constantly, and the shelf ended the daily rescue mission. The mistake to avoid is a unit that wobbles, so check the feet sit flat before you load it.
Cost: ~$35 | Time: 30 minutes
💰 Budget win: A freestanding unit needs no drilling and moves with you to the next rental.
2. No-Drill Shower Caddy
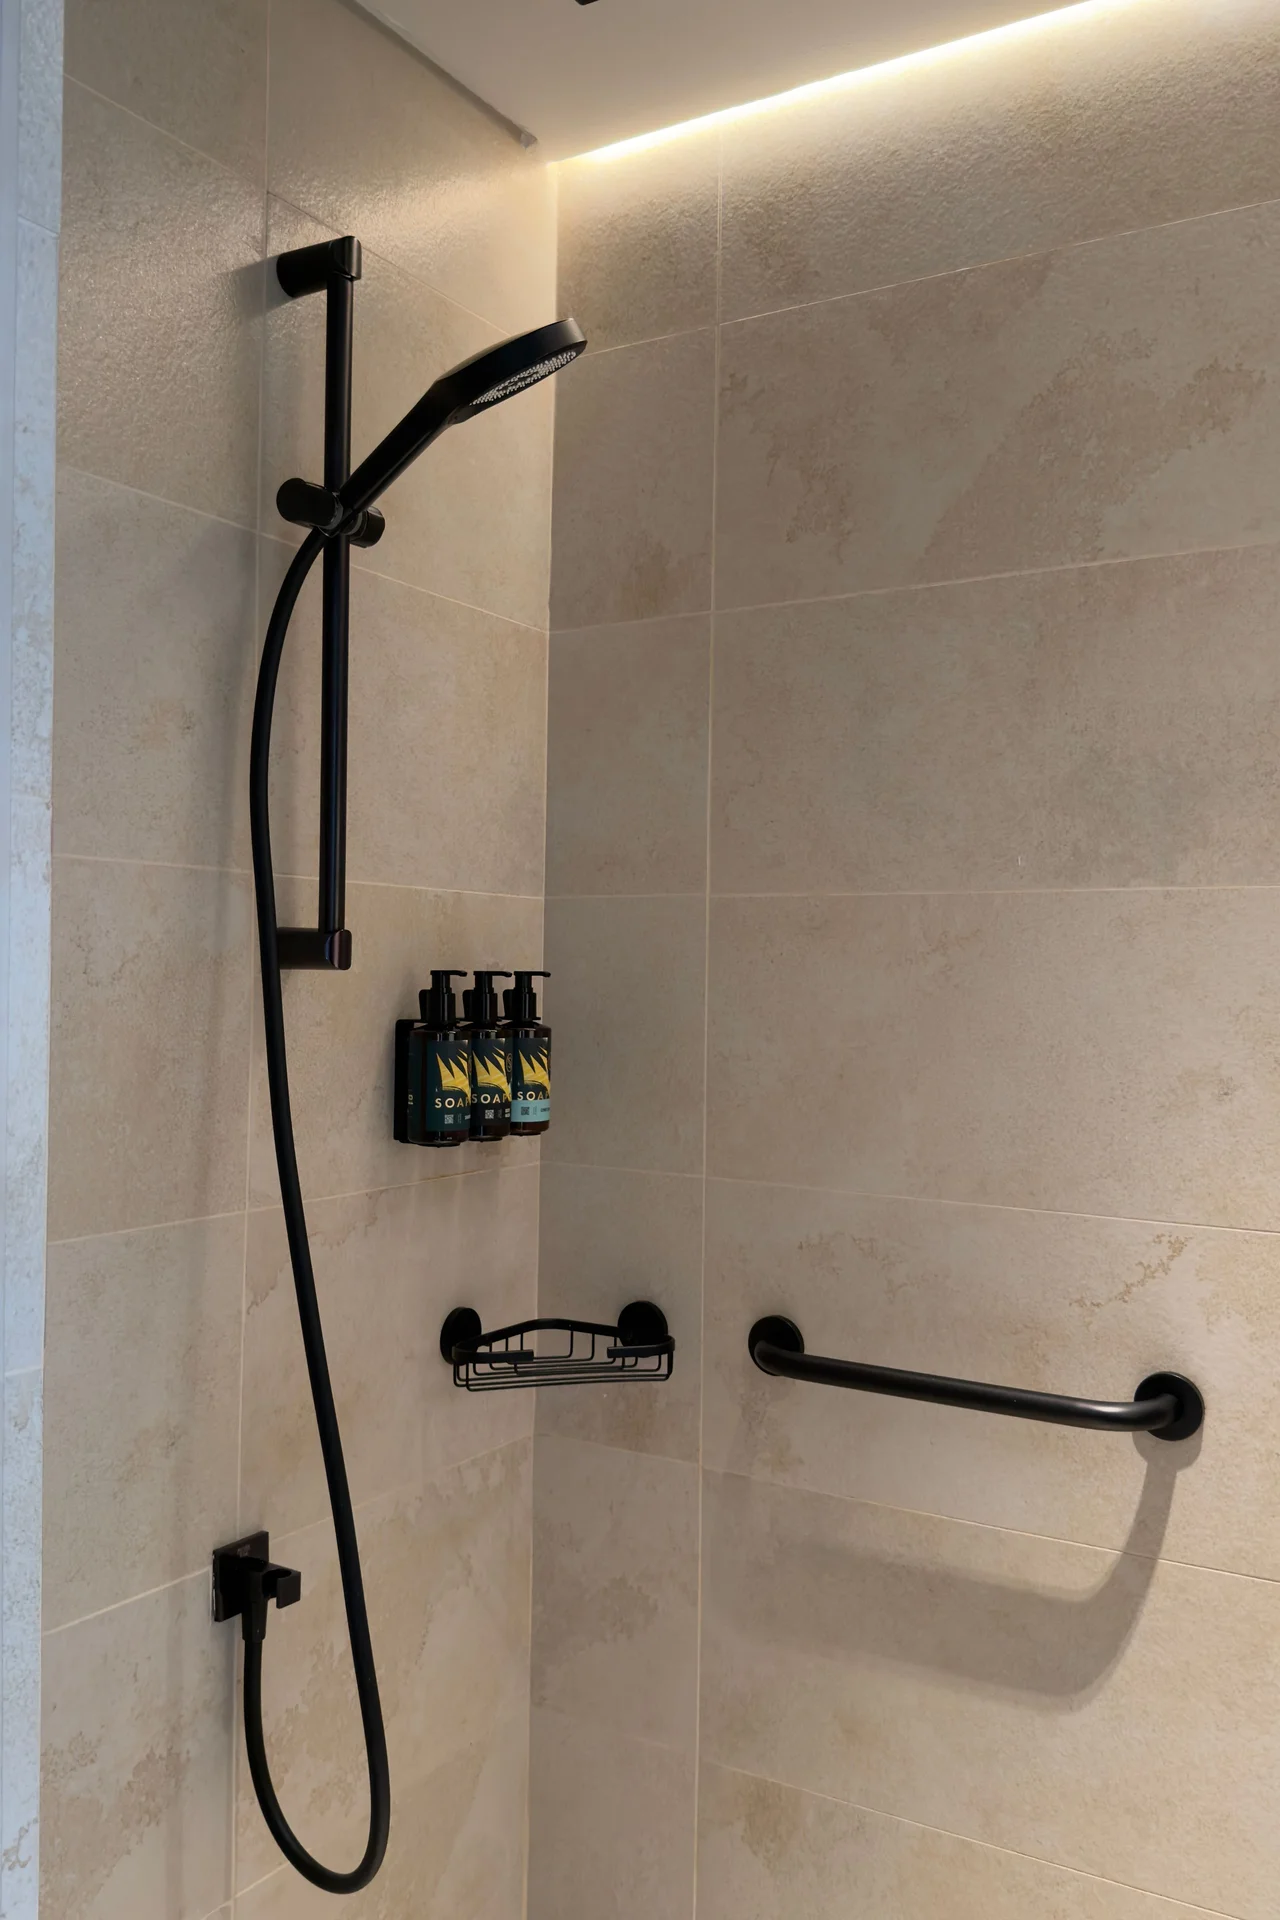
A shower caddy that hangs over the showerhead or grips with suction cups keeps shampoo and soap off the tub edge. Hang it where the spray does not hit it directly, sort bottles by person or by use, and wipe the cups weekly so they keep their grip. A caddy with drainage holes stops bottles sitting in water, which keeps them cleaner and less slimy. I tried this after my bottles lived on the tub rim and fell in every shower, and the caddy felt like a small luxury. The mistake to avoid is overloading one suction cup, because it will give way at the worst moment.
Cost: ~$18 | Time: 15 minutes
3. Suction Cup Corner Shelves
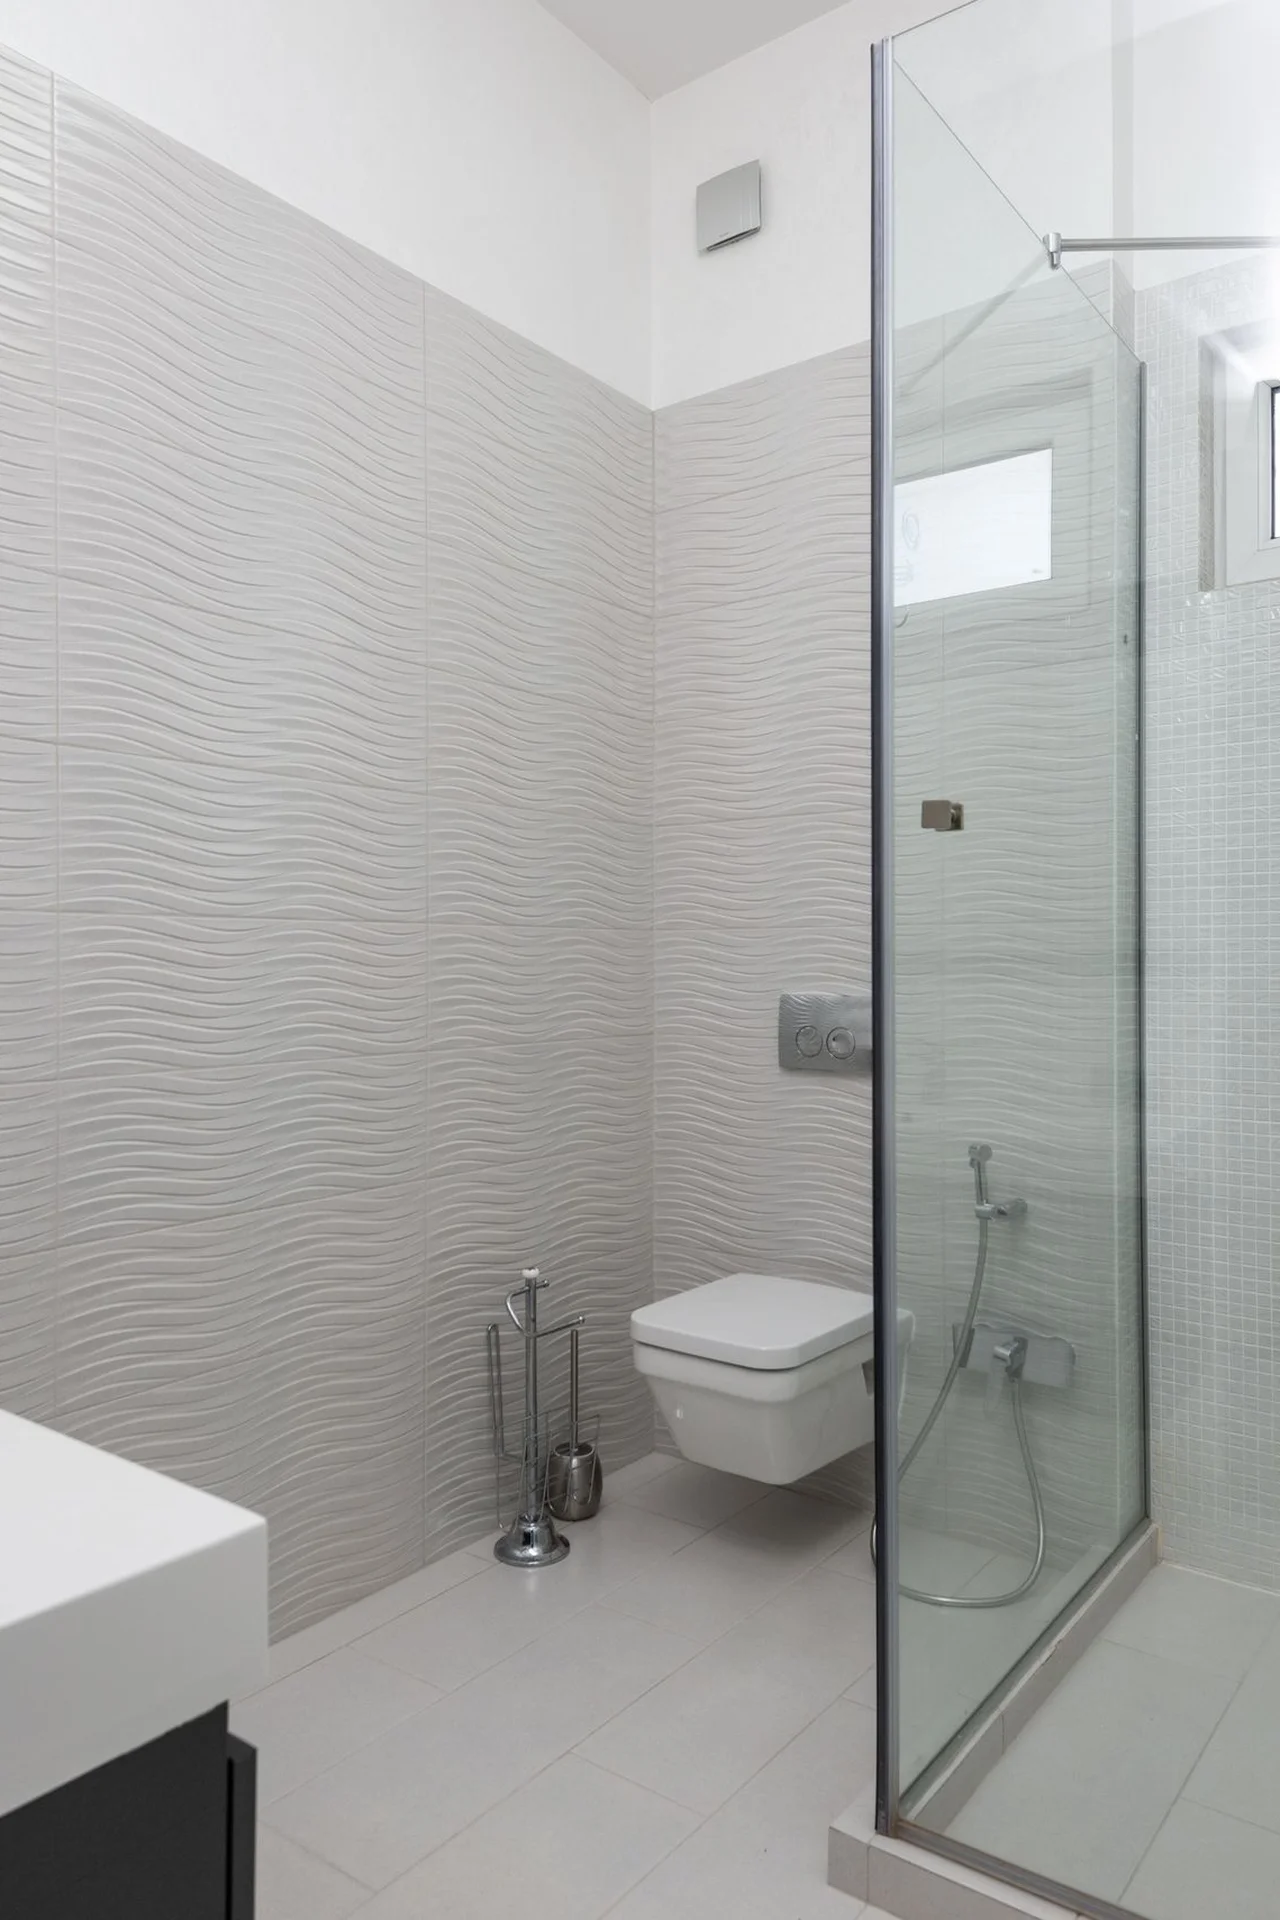
Suction cup corner shelves turn an unused shower corner into storage for soap, razors, and washcloths. Press each cup onto clean dry tile, wait a few minutes before loading, and keep the shelf light so the cups hold. Two small shelves beat one large one, because weight spreads out and the shelves stay put longer. I tried this in a rental with slick tiles that rejected adhesive hooks, and suction shelves were the only thing that held. The mistake to avoid is sticking cups onto grout lines, because they need smooth tile to seal properly.
Cost: ~$14 | Time: 15 minutes
💰 Budget win: Suction shelves cost less than a drilled shelf and leave zero marks behind.
4. Adhesive Hooks Behind the Door
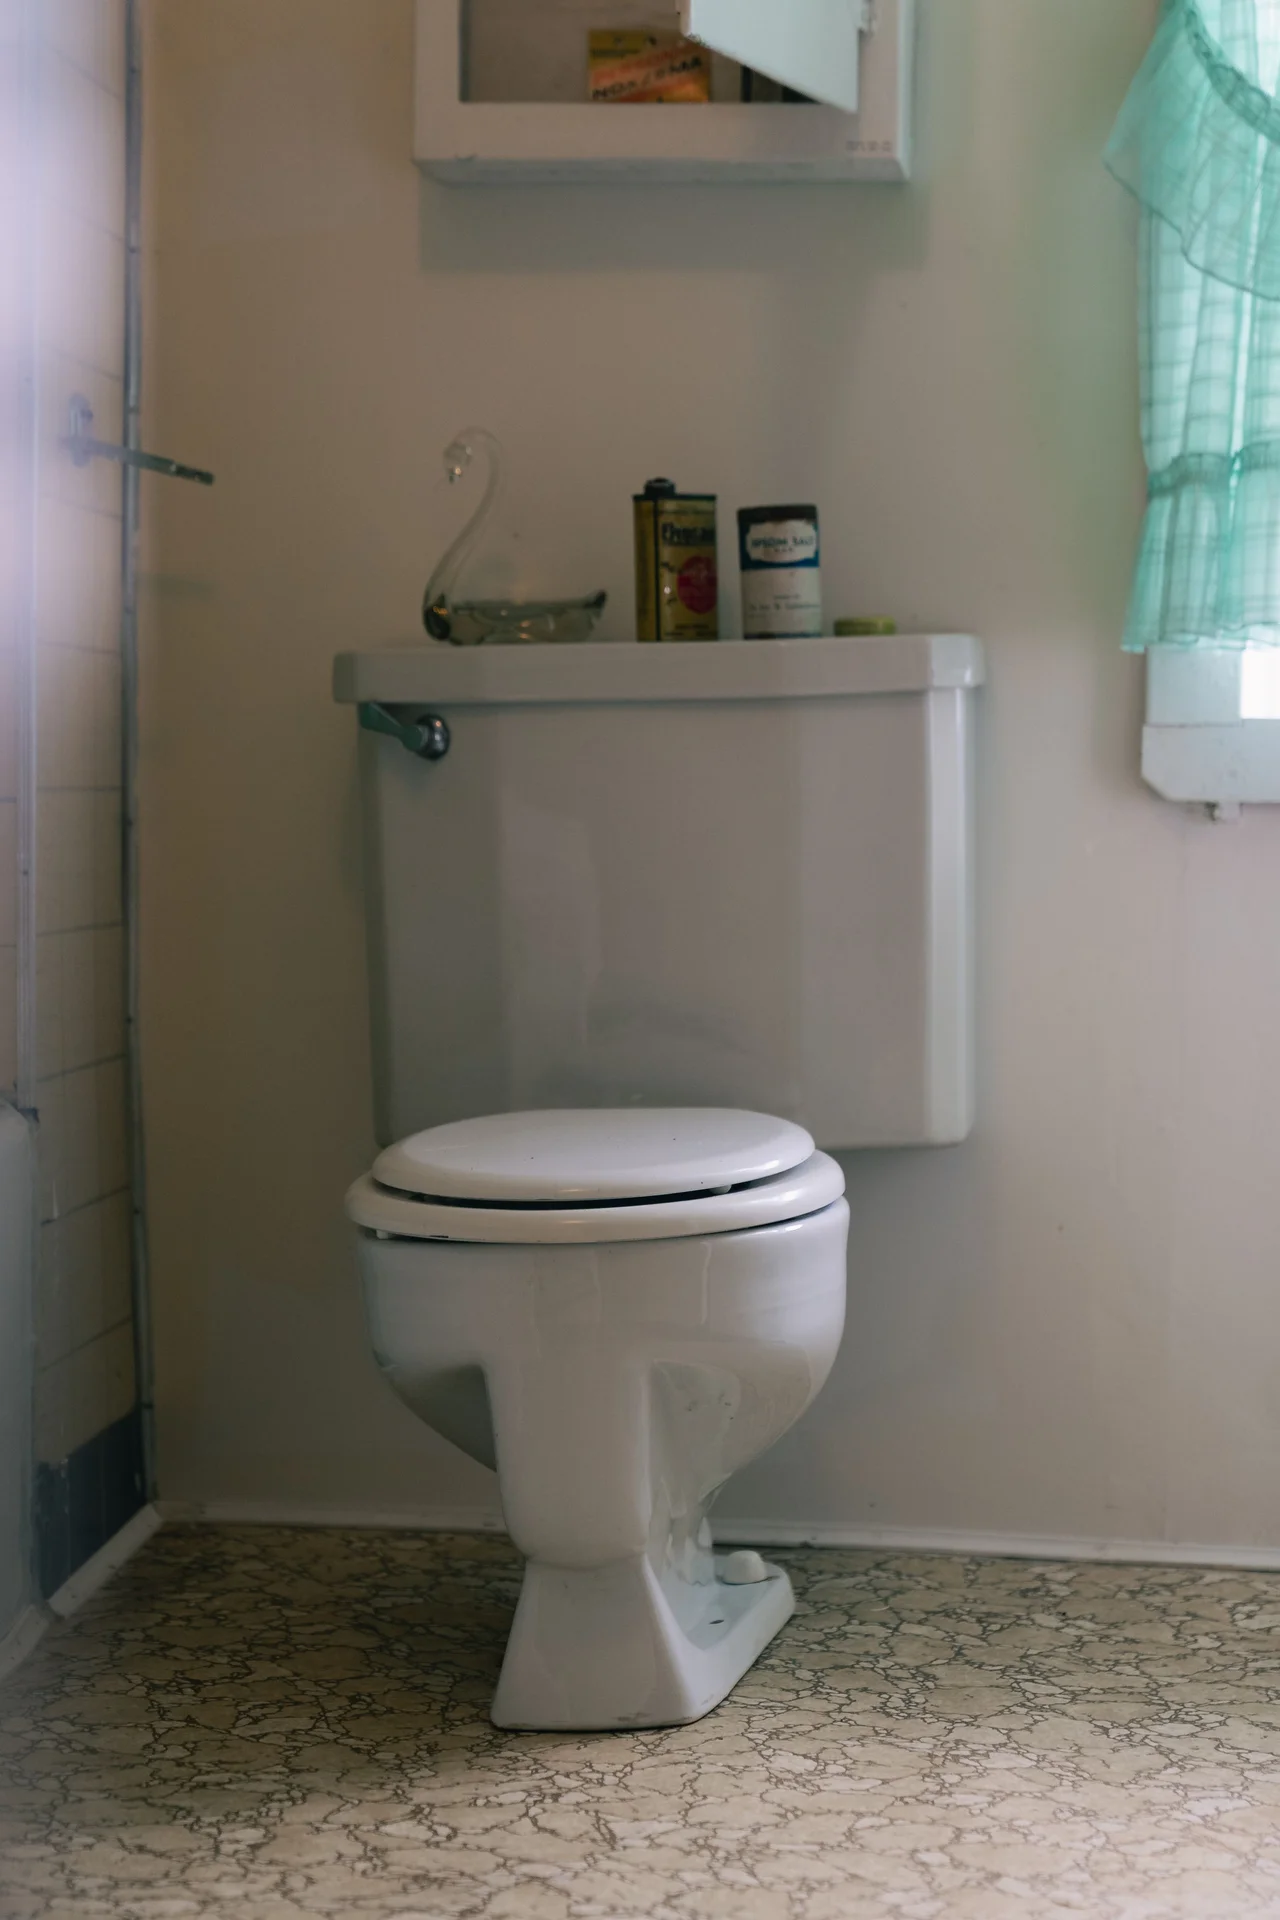
The back of the bathroom door is free real estate for robes, towels, and bags, and adhesive hooks claim it without a single hole. Stick three or four strong hooks at different heights, hang your robe on one, a hand towel on another, and a toiletry bag on the third. Check the hook weight rating before you hang anything heavy, and clean the door surface first so the adhesive bonds well. I tried this after my robe lived on the bedpost, and the door hooks made mornings feel organized. The mistake to avoid is hooks on a damp door, because steam weakens adhesive fast.
Cost: ~$8 | Time: 10 minutes
5. Slim Rolling Cart Beside the Toilet
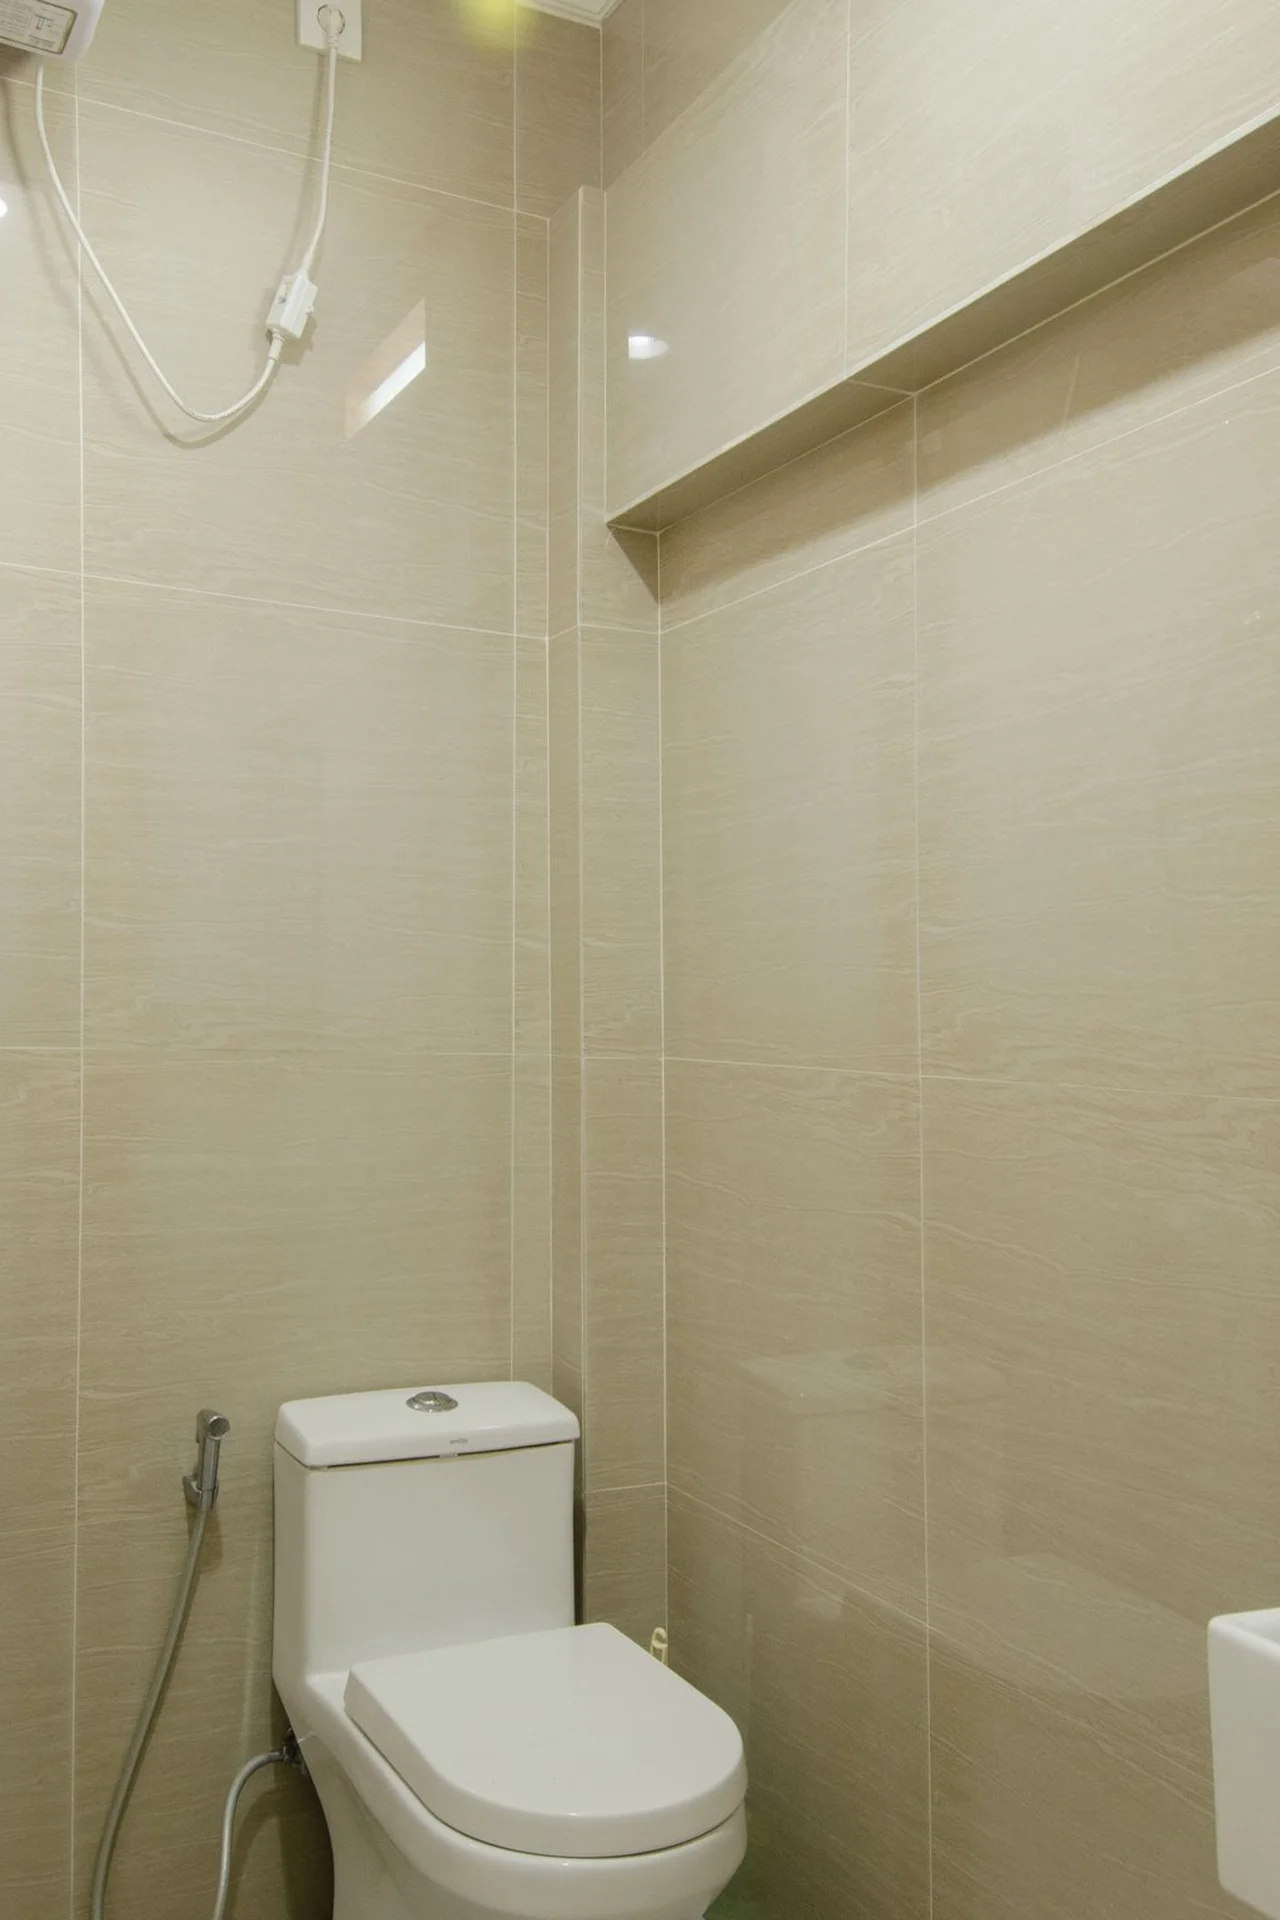
A slim rolling cart slides into the gap beside the toilet or sink and holds everything that will not fit on the counter. Load the top tier with daily toiletries, the middle tier with cleaning supplies, and the bottom tier with spare rolls and towels. Pull it out when you need something, roll it back when you are done, and wipe it weekly so it stays fresh. I tried this in a bathroom with no cabinet at all, and the cart became my vanity, linen closet, and cleaning cupboard in one. The mistake to avoid is a cart wider than your gap, so measure twice before ordering.
Cost: ~$25 | Time: 20 minutes
💰 Budget win: A rolling cart replaces a cabinet you cannot install in a rental, for a fraction of the price.
6. Tension Rod Under the Sink
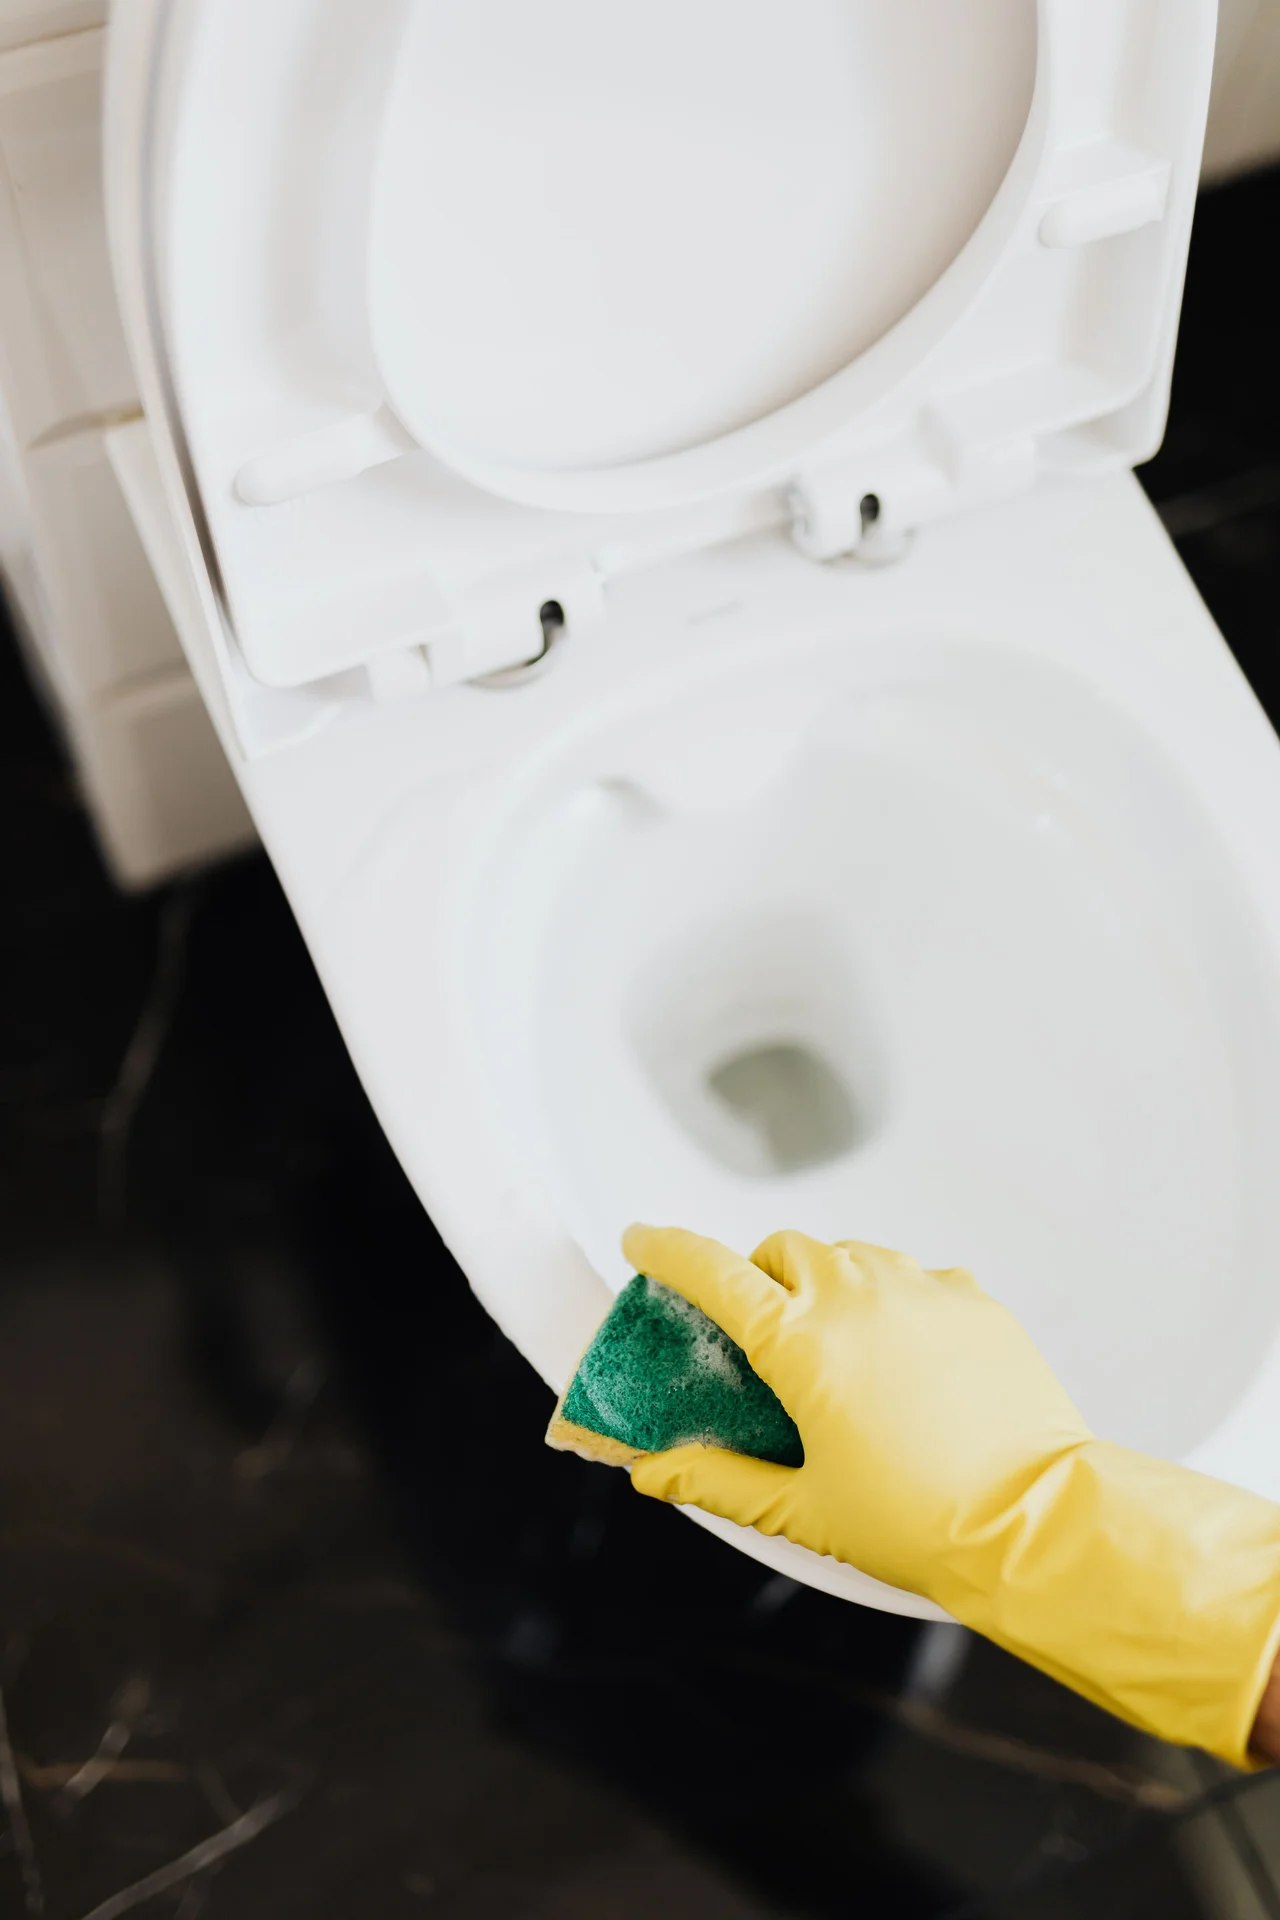
A tension rod fixed inside the sink cabinet, or under the sink itself, creates a hanging rail for spray bottles and a shelf for everything else. Hang cleaning sprays by their triggers from the rod, stack bins below for sponges and cloths, and keep the front clear so you can reach things fast. This trick costs almost nothing and doubles a cabinet that usually holds one jumbled pile. I tried this after my under-sink cabinet became a swamp of bottles, and the rod turned it into rows I could actually see. The mistake to avoid is a rod that is too loose, so give it a firm tug before loading.
Cost: ~$7 | Time: 15 minutes
7. Leaning Towel Ladder
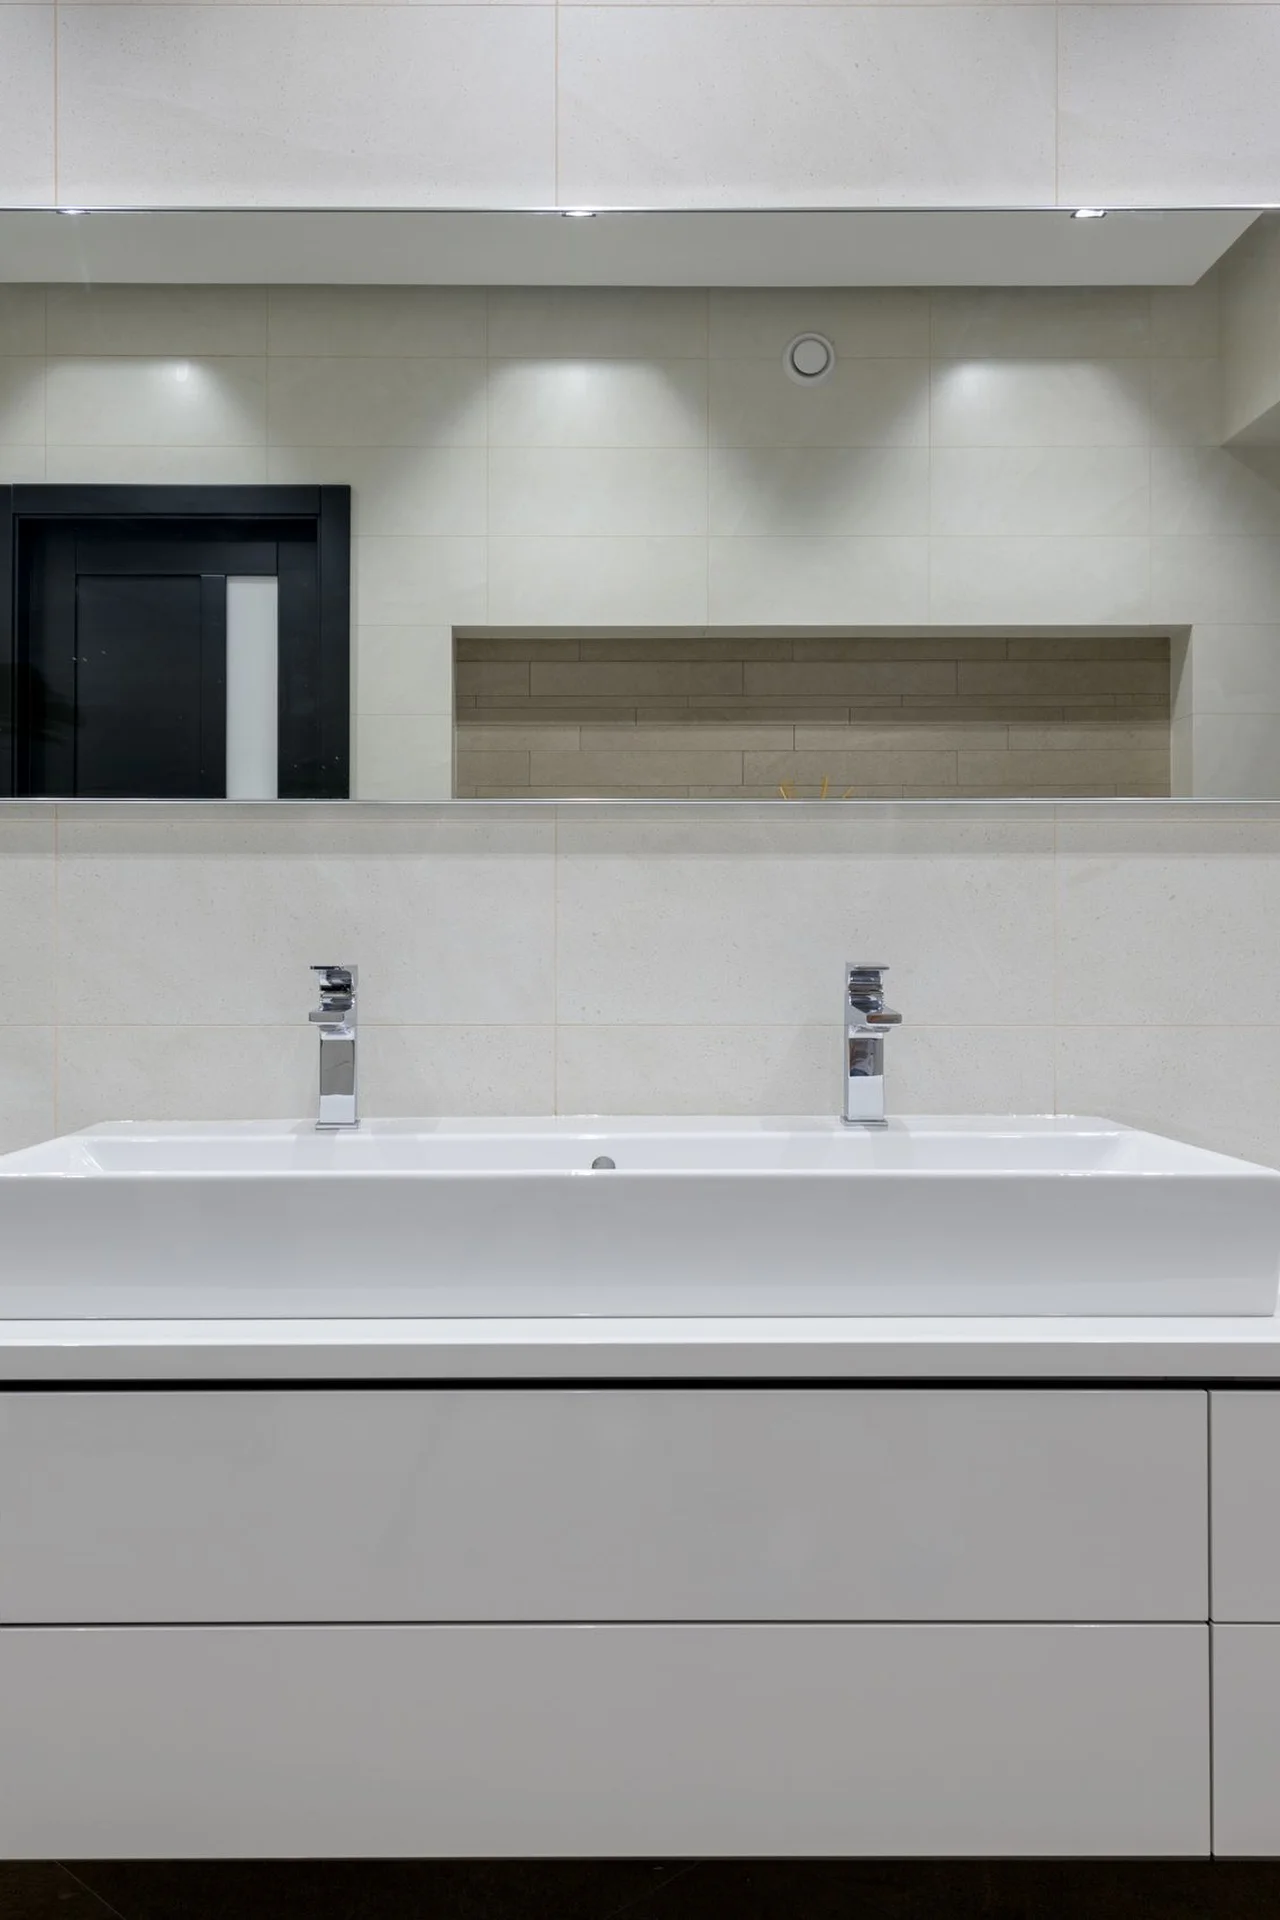
A leaning towel ladder gives you four or five towel rails in the footprint of a broom, and it needs no drilling at all. Lean it against a free wall, drape a towel over each rung, and keep the bottom rung for hand towels. A ladder looks intentional in a bathroom, unlike towels draped over doors and chairs, and it dries towels faster because air moves around them. I tried this after my towels lived on a single over-door hook in a heap, and the ladder made the bathroom look like a small spa. The mistake to avoid is a ladder with no grip pads, because it will slide on tile floors.
Cost: ~$30 | Time: 10 minutes
(see also: 25-bathroom-ideas-for-small-apartments-for-renters)
8. Basket on the Toilet Tank
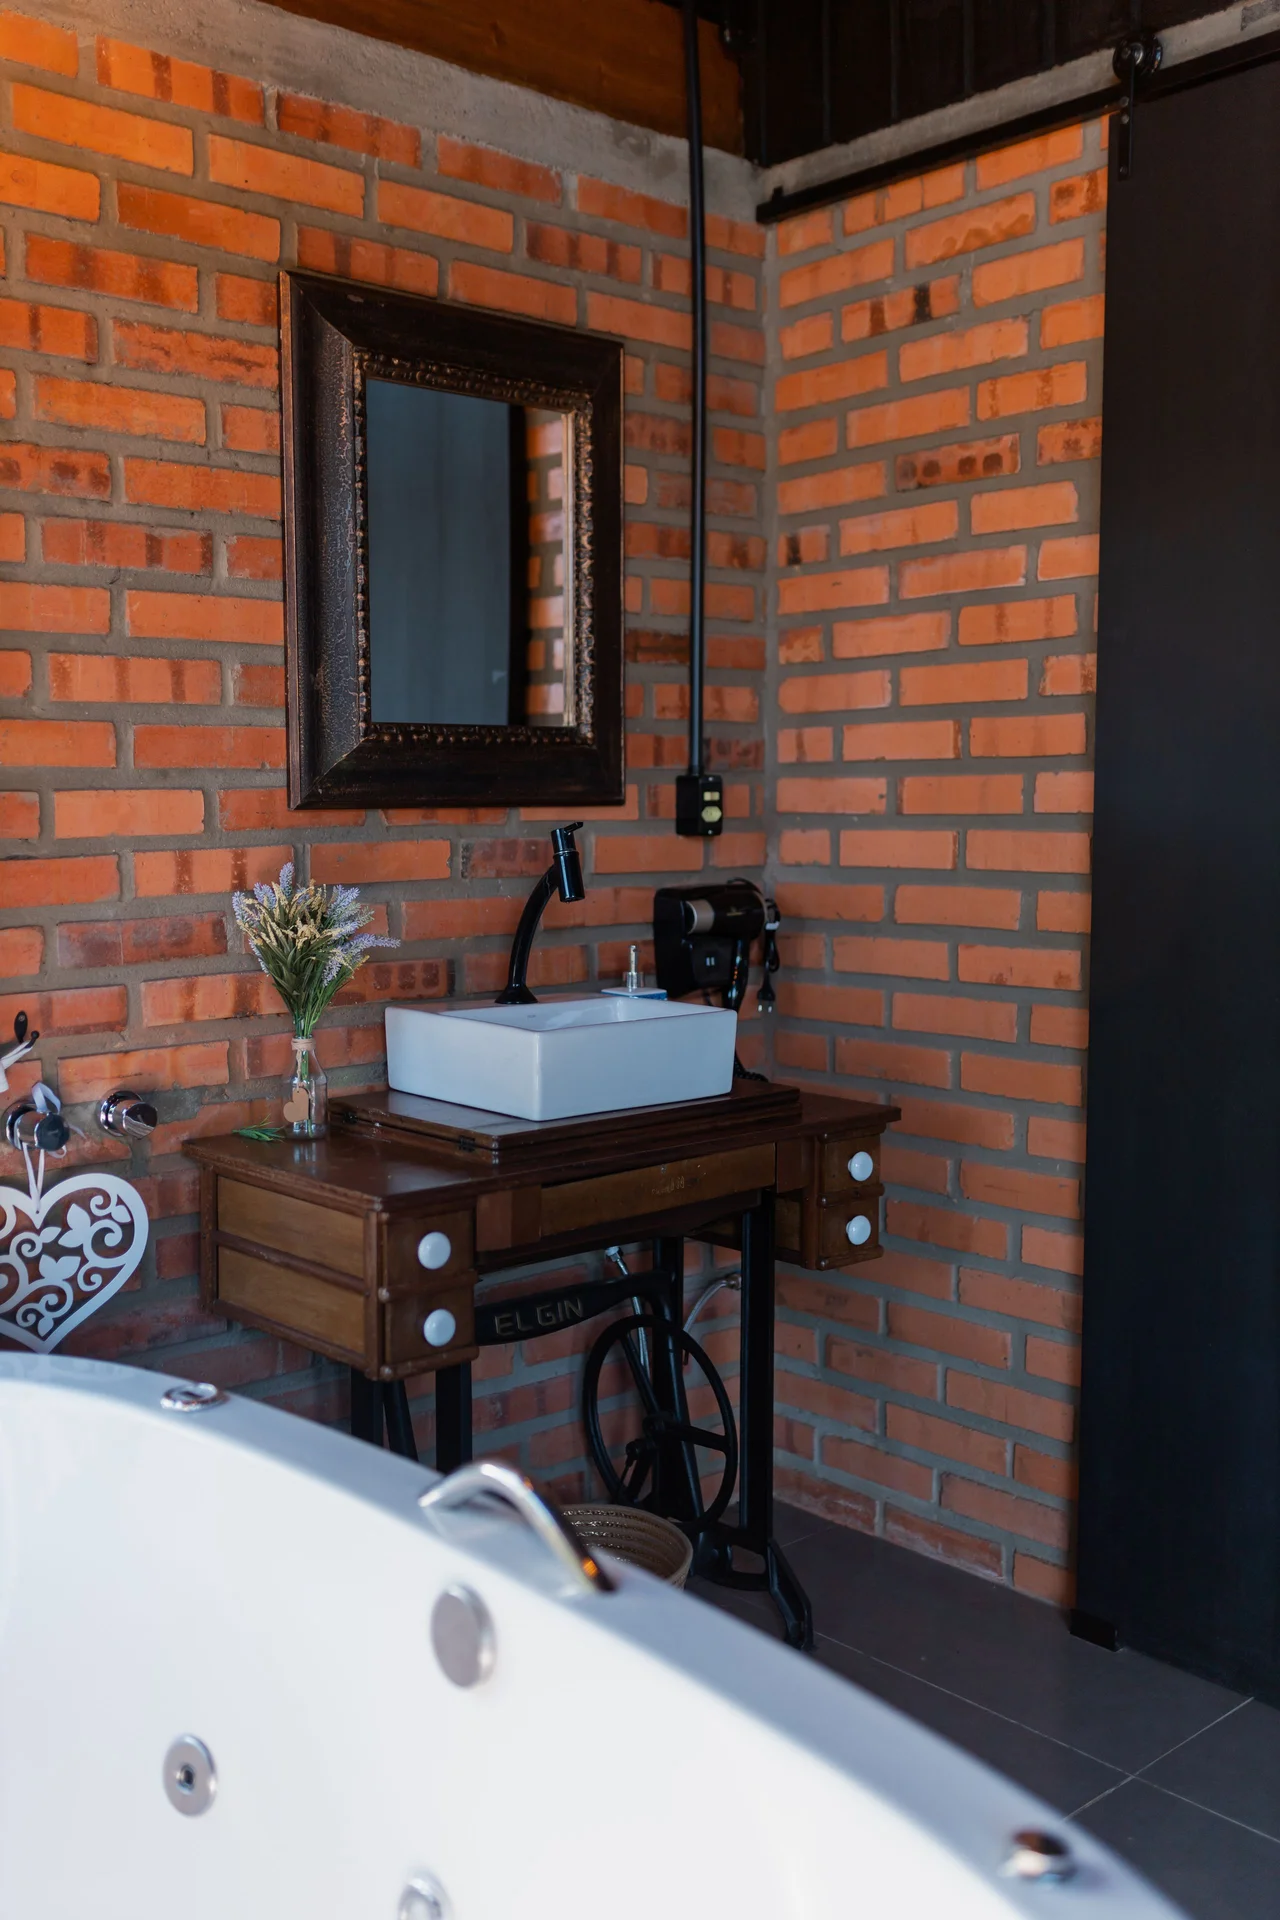
A small basket on the toilet tank lid holds a rolled hand towel, a candle, and a spare roll in one tidy spot. Pick a basket with a flat bottom so it sits steady, keep it small enough to leave room for the flush button, and choose washable materials in case of splashes. This turns a dusty tank top into a styled surface without buying any furniture. I tried this after my tank lid held a random pile of bottles, and the basket made the pile look deliberate. The mistake to avoid is a basket so large it blocks the flush, because guests will fumble for it.
Cost: ~$10 | Time: 10 minutes
💰 Budget win: A basket you already own works here, so this zone can cost nothing at all.
9. Stackable Clear Bins Under the Sink
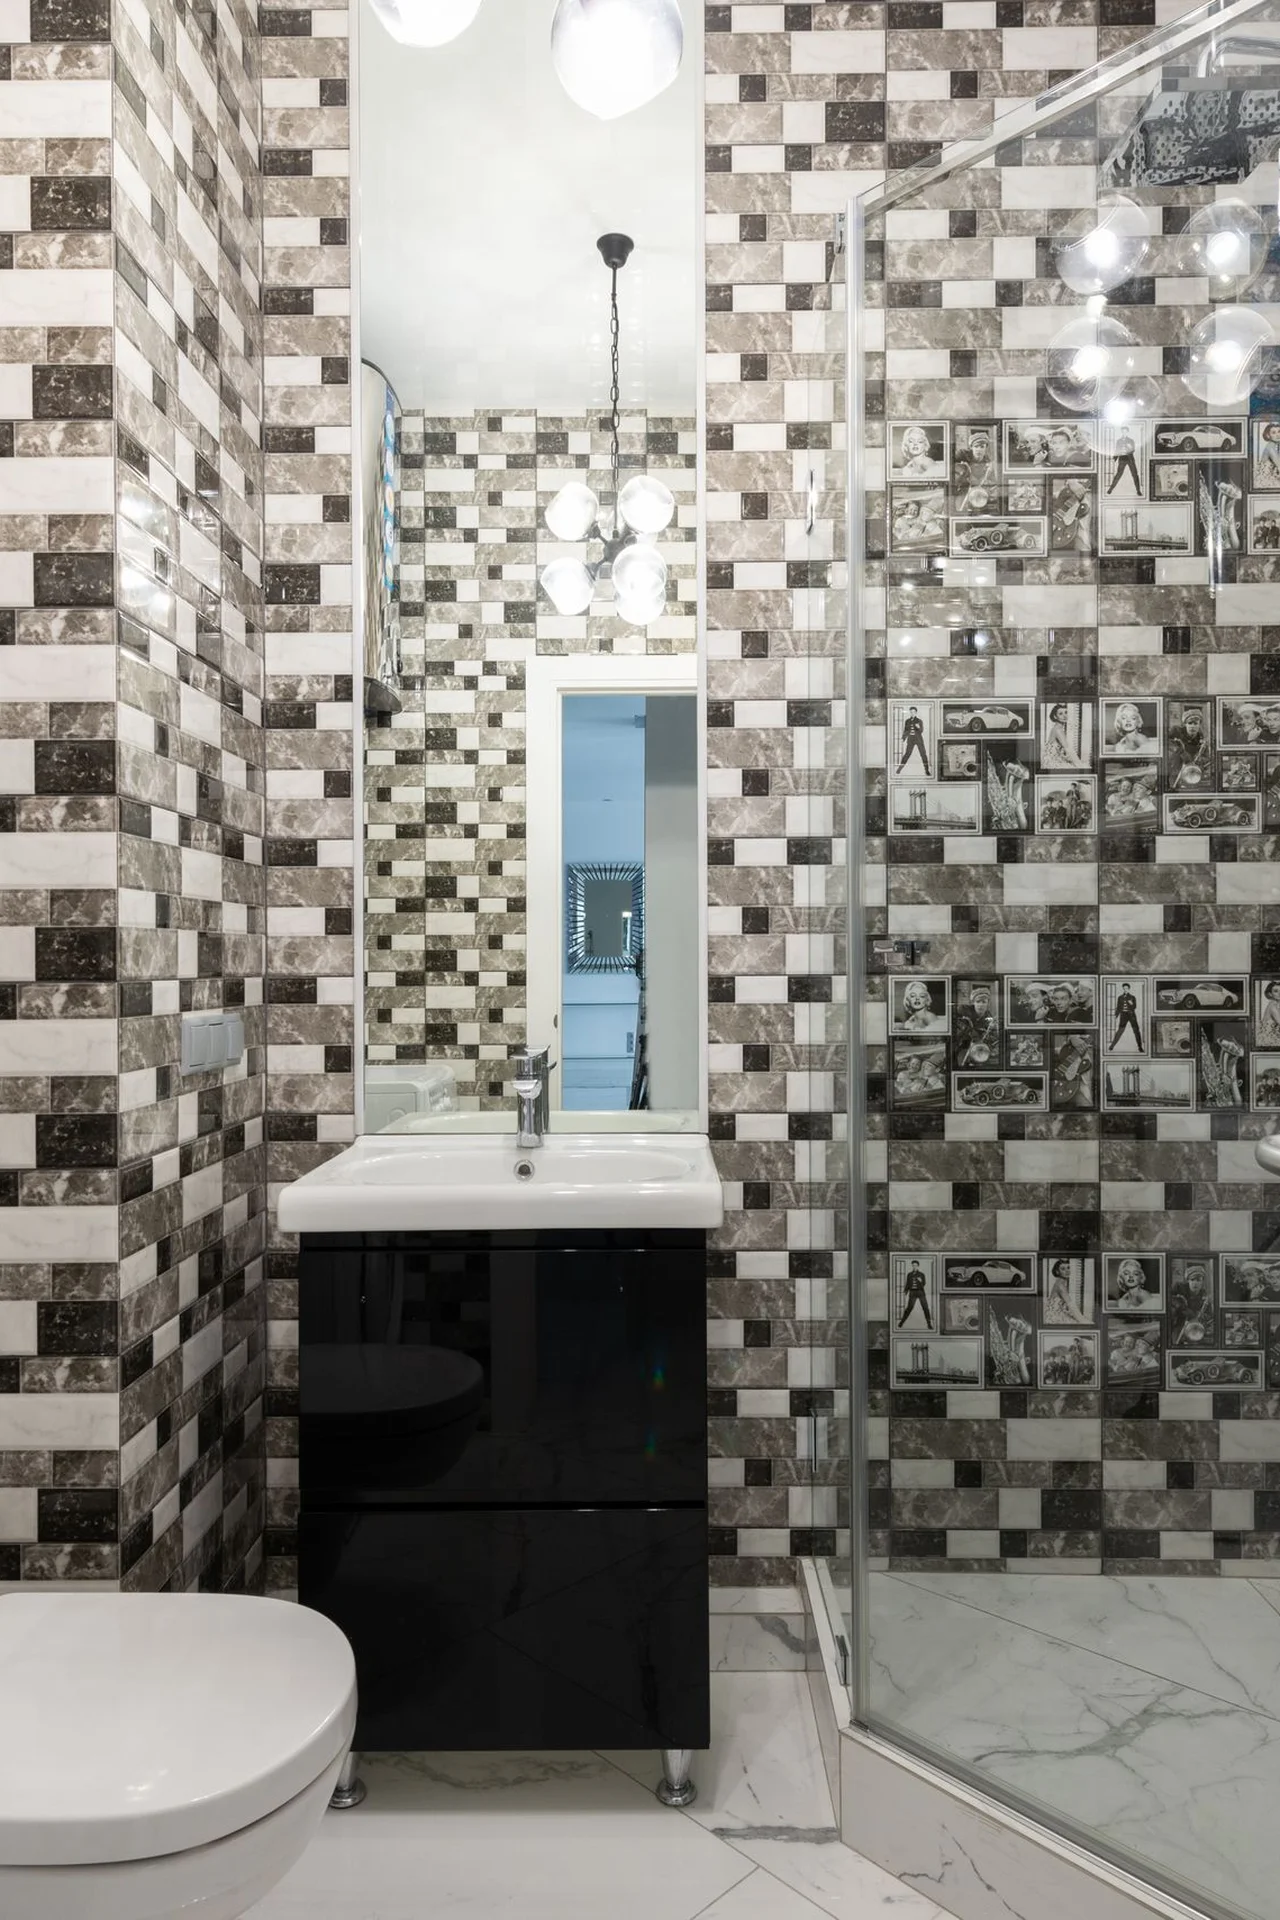
Clear stackable bins under the sink turn a dark cabinet into labeled zones you can pull out and see into. Sort hair tools in one bin, cleaning supplies in another, and first aid in a third, then label each bin on the front edge. Clear bins matter here, because opaque boxes just hide the same mess in a neater shape. I tried this after losing a hair dryer in my own cabinet for a week, and the bins ended the mystery. The mistake to avoid is bins with no handles, because you will dread pulling them out of a deep cabinet.
Cost: ~$18 | Time: 25 minutes
10. Magnetic Strip for Bobby Pins Inside the Cabinet
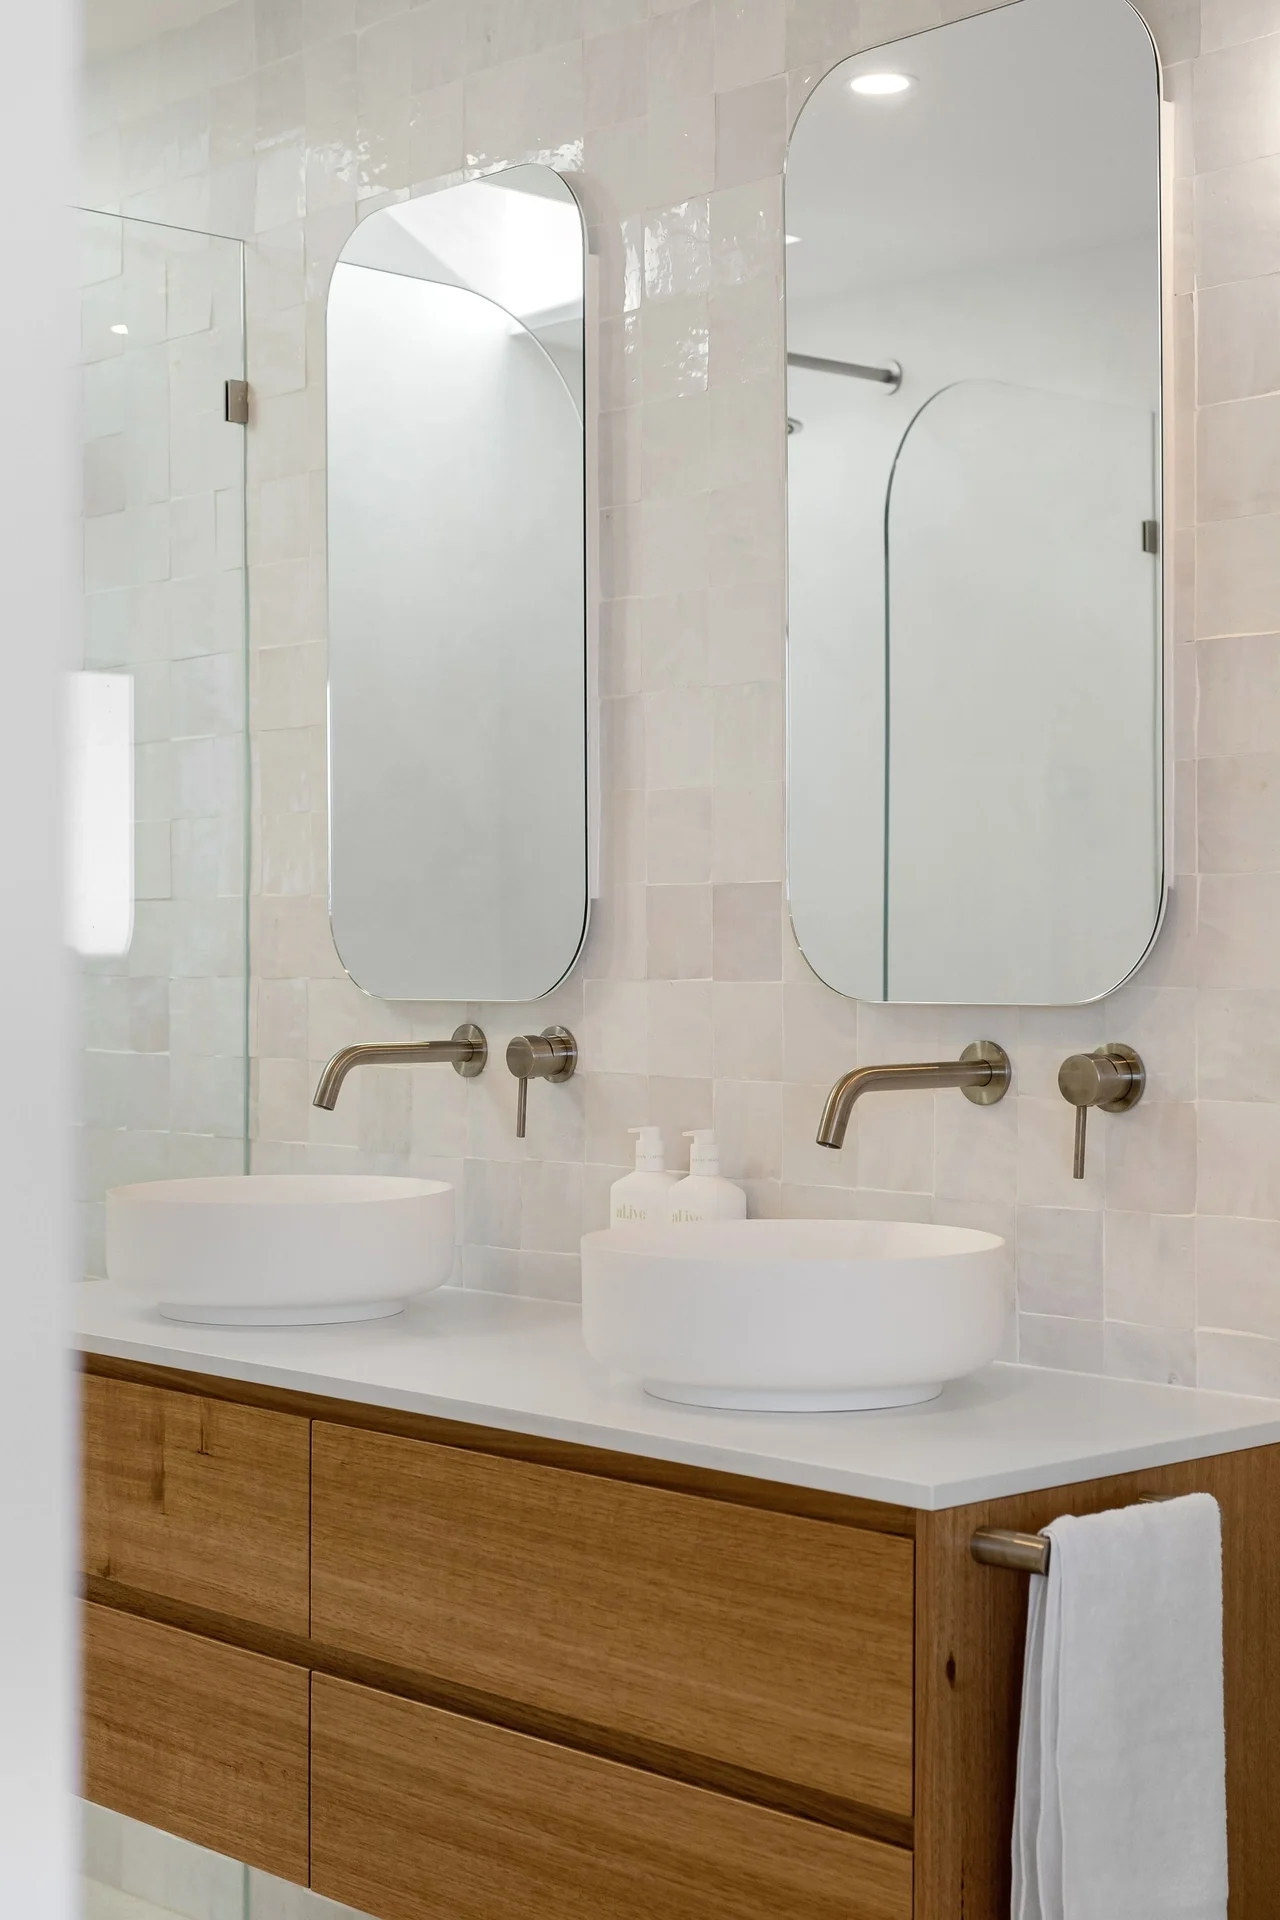
A small magnetic strip stuck inside a cabinet door catches bobby pins, clips, and tweezers that usually vanish into drawers. Fix the strip with adhesive, not screws, press pins onto it after use, and keep the strip at eye level so you actually use it. This tiny trick saves the daily hunt through a drawer for one pin, and it keeps sharp things away from kids and pets. I tried this after buying my third pack of pins in a month, and the strip paid for itself in a week. The mistake to avoid is a strip placed too low, because pins will slide off when the door slams.
Cost: ~$6 | Time: 10 minutes
💰 Budget win: One cheap magnetic strip ends the endless repurchase of lost bobby pins.
11. Hanging Organizer on the Cabinet Door
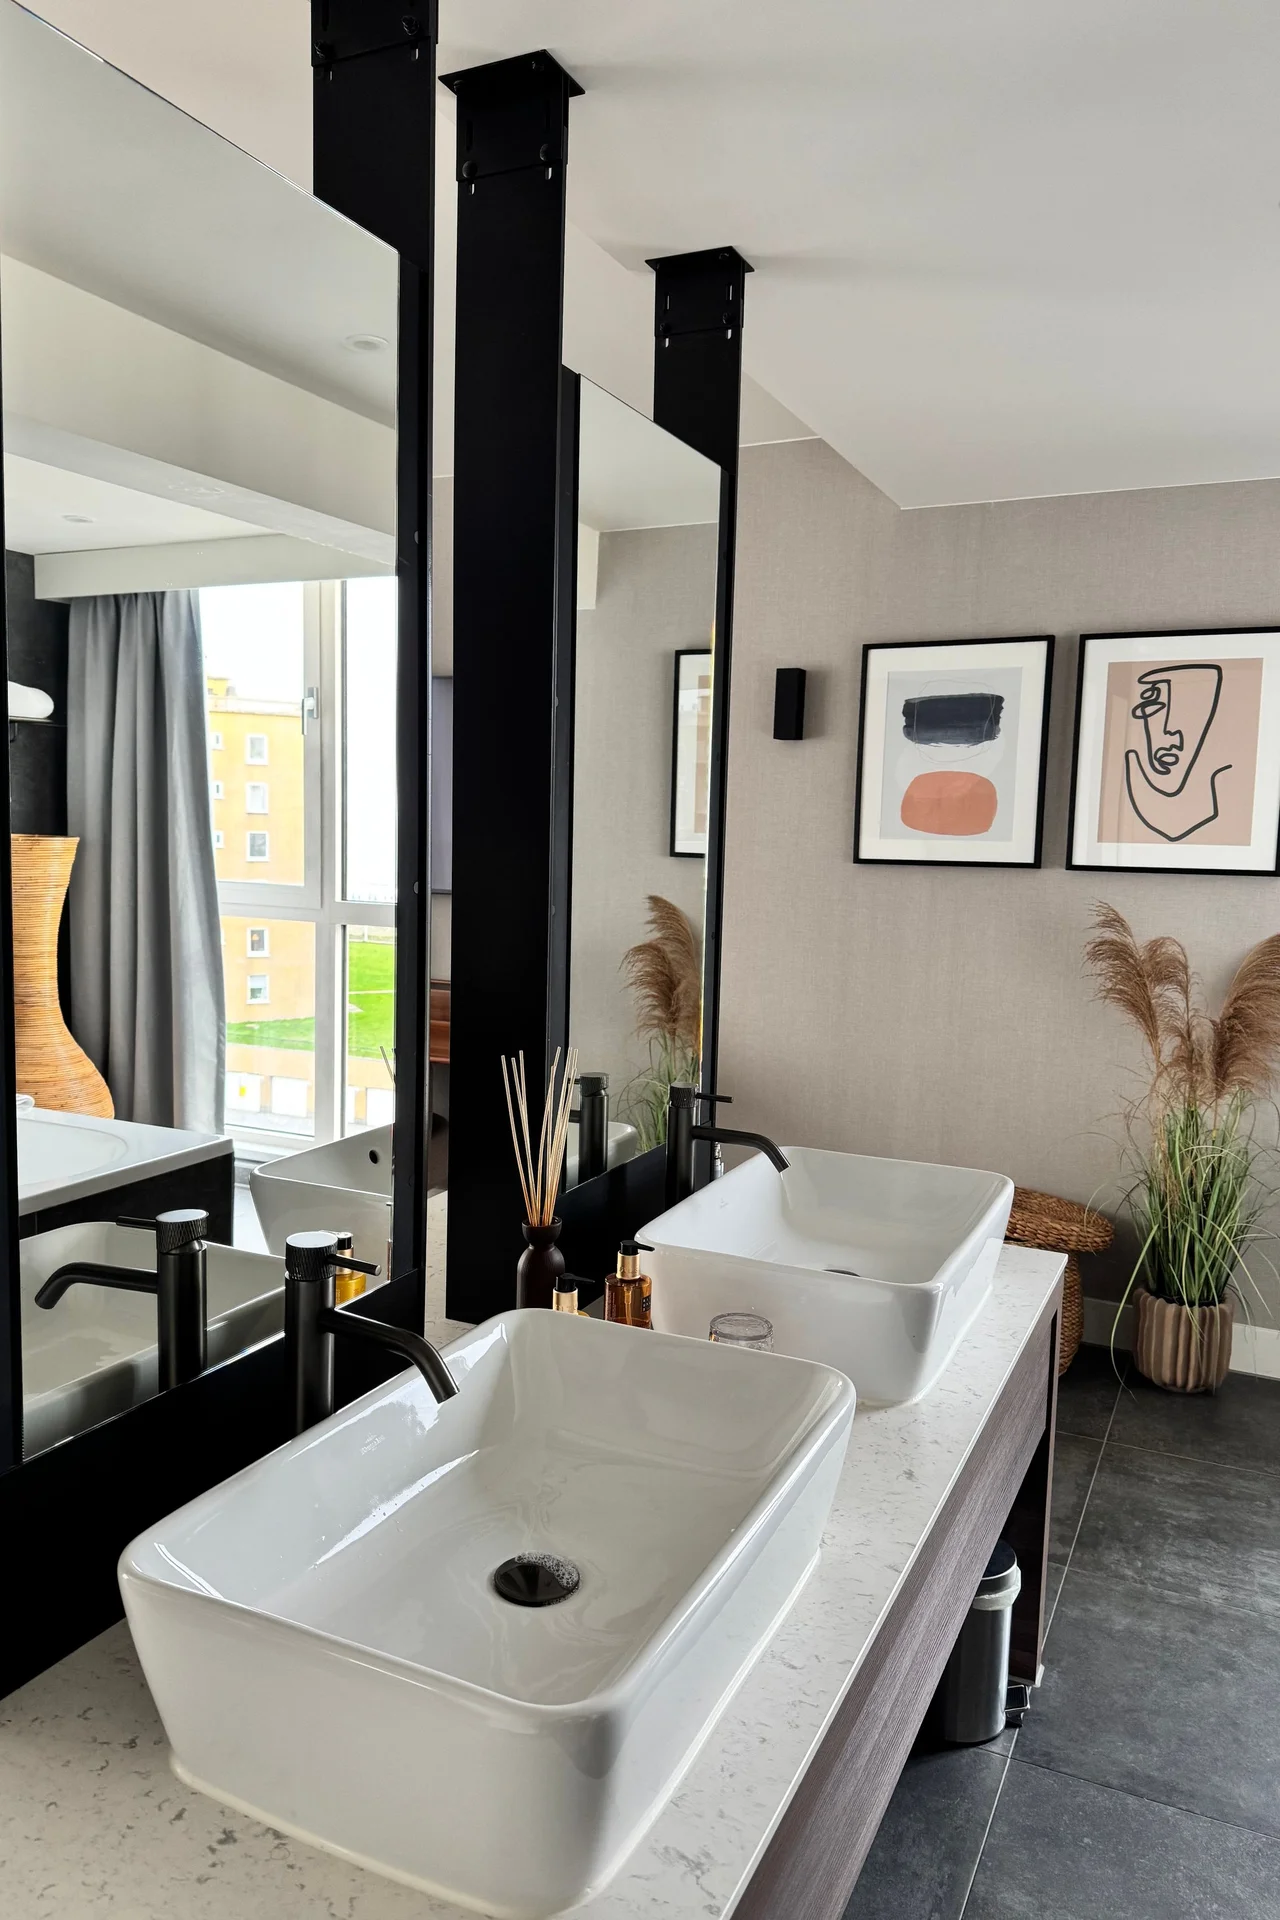
A hanging organizer that hooks over a cabinet door adds pockets for brushes, creams, and tools without drilling. Hook it over the inside of the door so it stays hidden, sort items by use in the pockets, and keep heavy bottles at the bottom so the door closes easily. Clear pockets help you find things fast, and the organizer moves to your next rental in seconds. I tried this after my cabinet shelf held a leaning tower of bottles, and the door pockets freed half the shelf. The mistake to avoid is overloading the top pockets, because a heavy door organizer will swing and bang.
Cost: ~$12 | Time: 10 minutes
12. Tiered Tray on the Counter
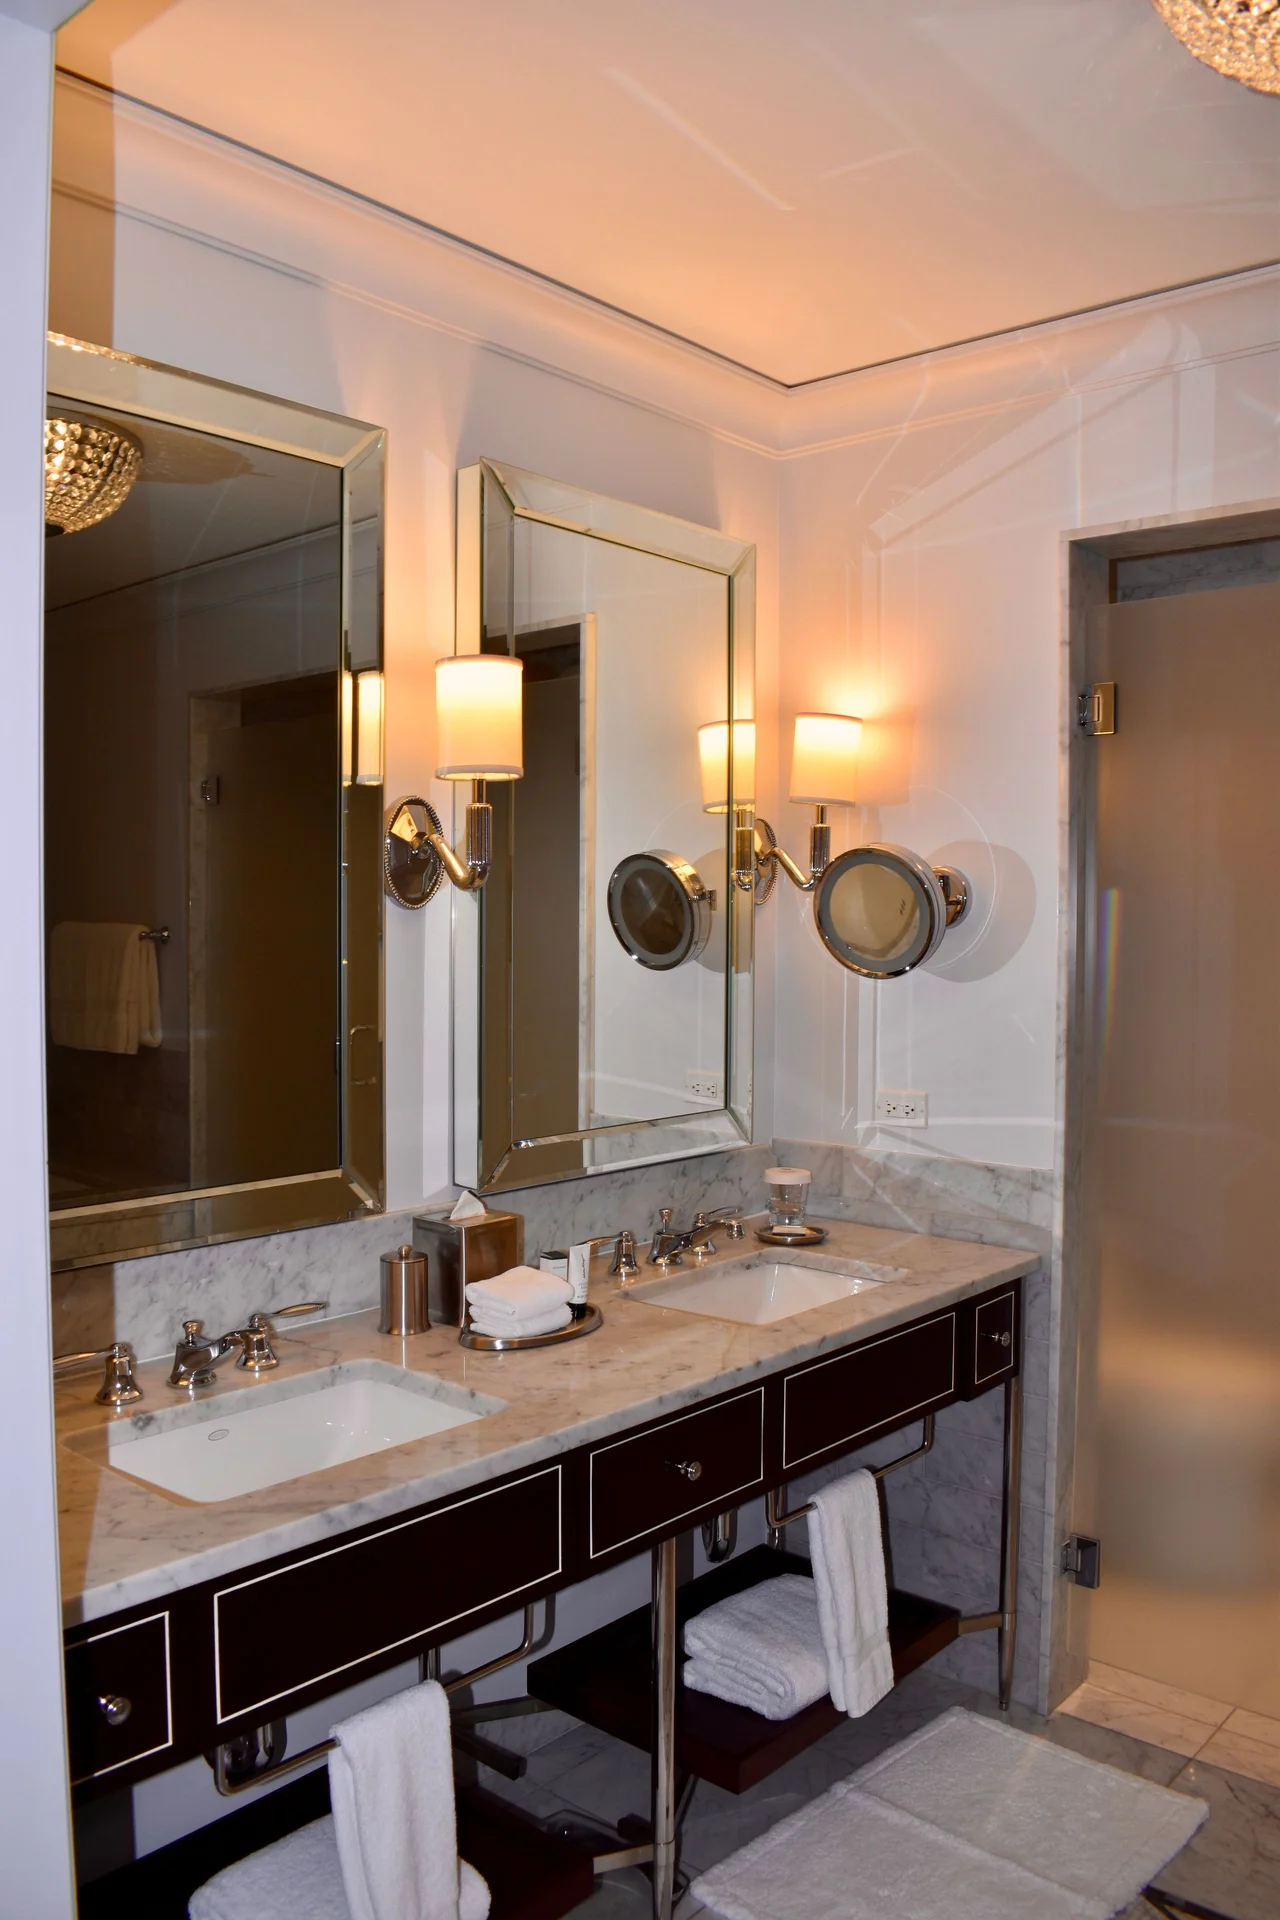
A two-tier tray on the bathroom counter groups daily items in one spot and leaves the rest of the counter clear. Put soap and moisturizer on the bottom tier, lip balm and a small plant on the top tier, and keep the tray near the mirror where you actually use things. A tray with a lip stops bottles sliding off, and a round tray fits corners that a rectangular one cannot. I tried this after my counter held a scattered line of bottles, and the tray made the scatter look styled. The mistake to avoid is a tray that grows into a junk pile, so clear it once a week.
Cost: ~$15 | Time: 10 minutes
💰 Budget win: A kitchen tiered tray works just as well here, so check your cupboards before buying new.
13. Adhesive Wall-Mounted Dispenser Bottles
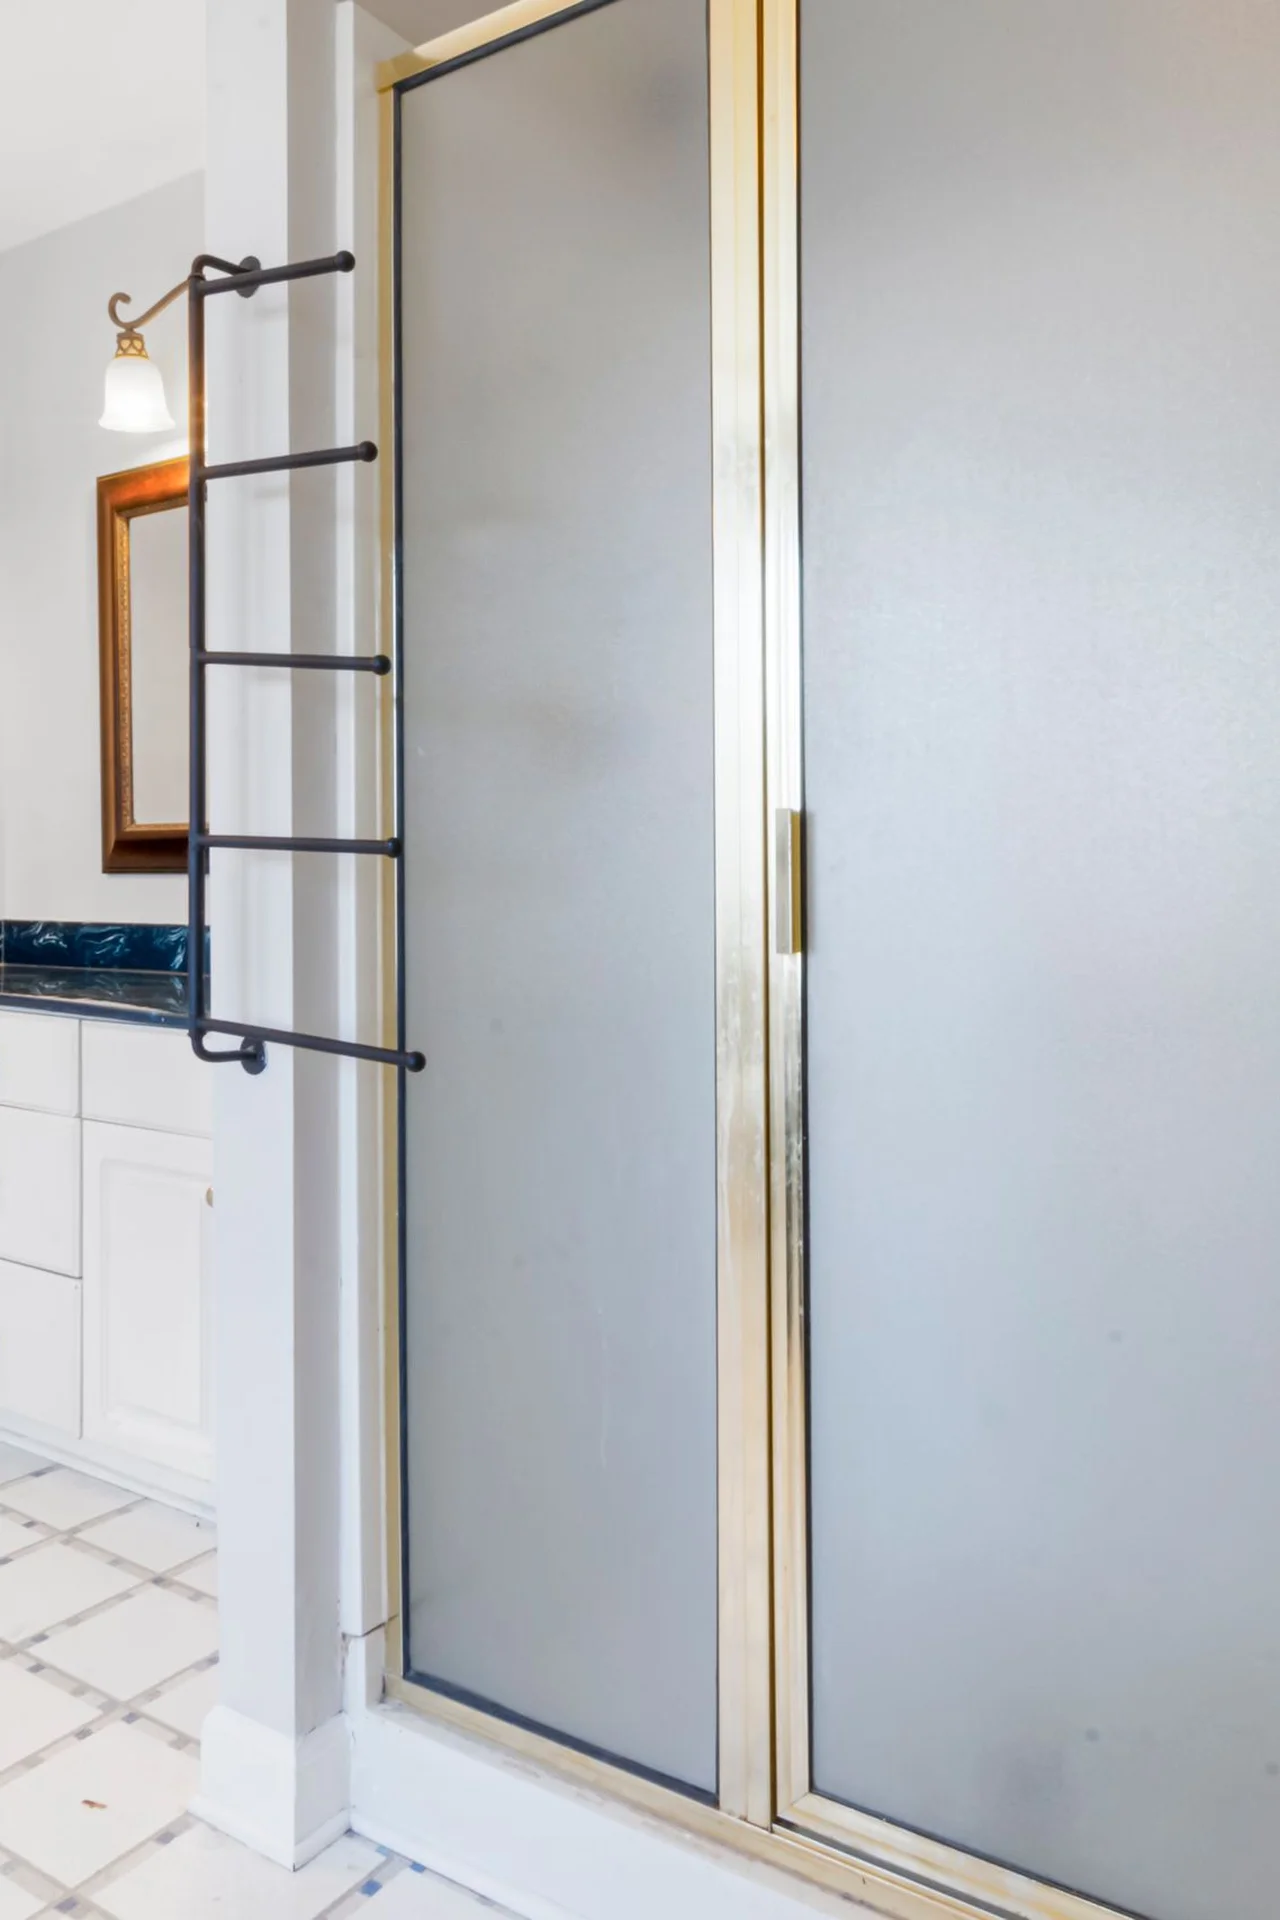
Adhesive dispenser bottles mounted on the shower wall replace a shelf full of shampoo bottles with three neat pumps. Stick the holder to clean tile, fill each bottle and label it clearly, and refill from large bottles stored elsewhere. This frees shower ledges completely, which makes cleaning the shower much faster. I tried this after my shower ledge held seven bottles that fell over weekly, and three pumps felt like a hotel upgrade. The mistake to avoid is weak adhesive on textured tile, so test one holder empty for a day before filling it.
Cost: ~$20 | Time: 20 minutes
14. Shower Curtain Rings for Extra Hanging Storage
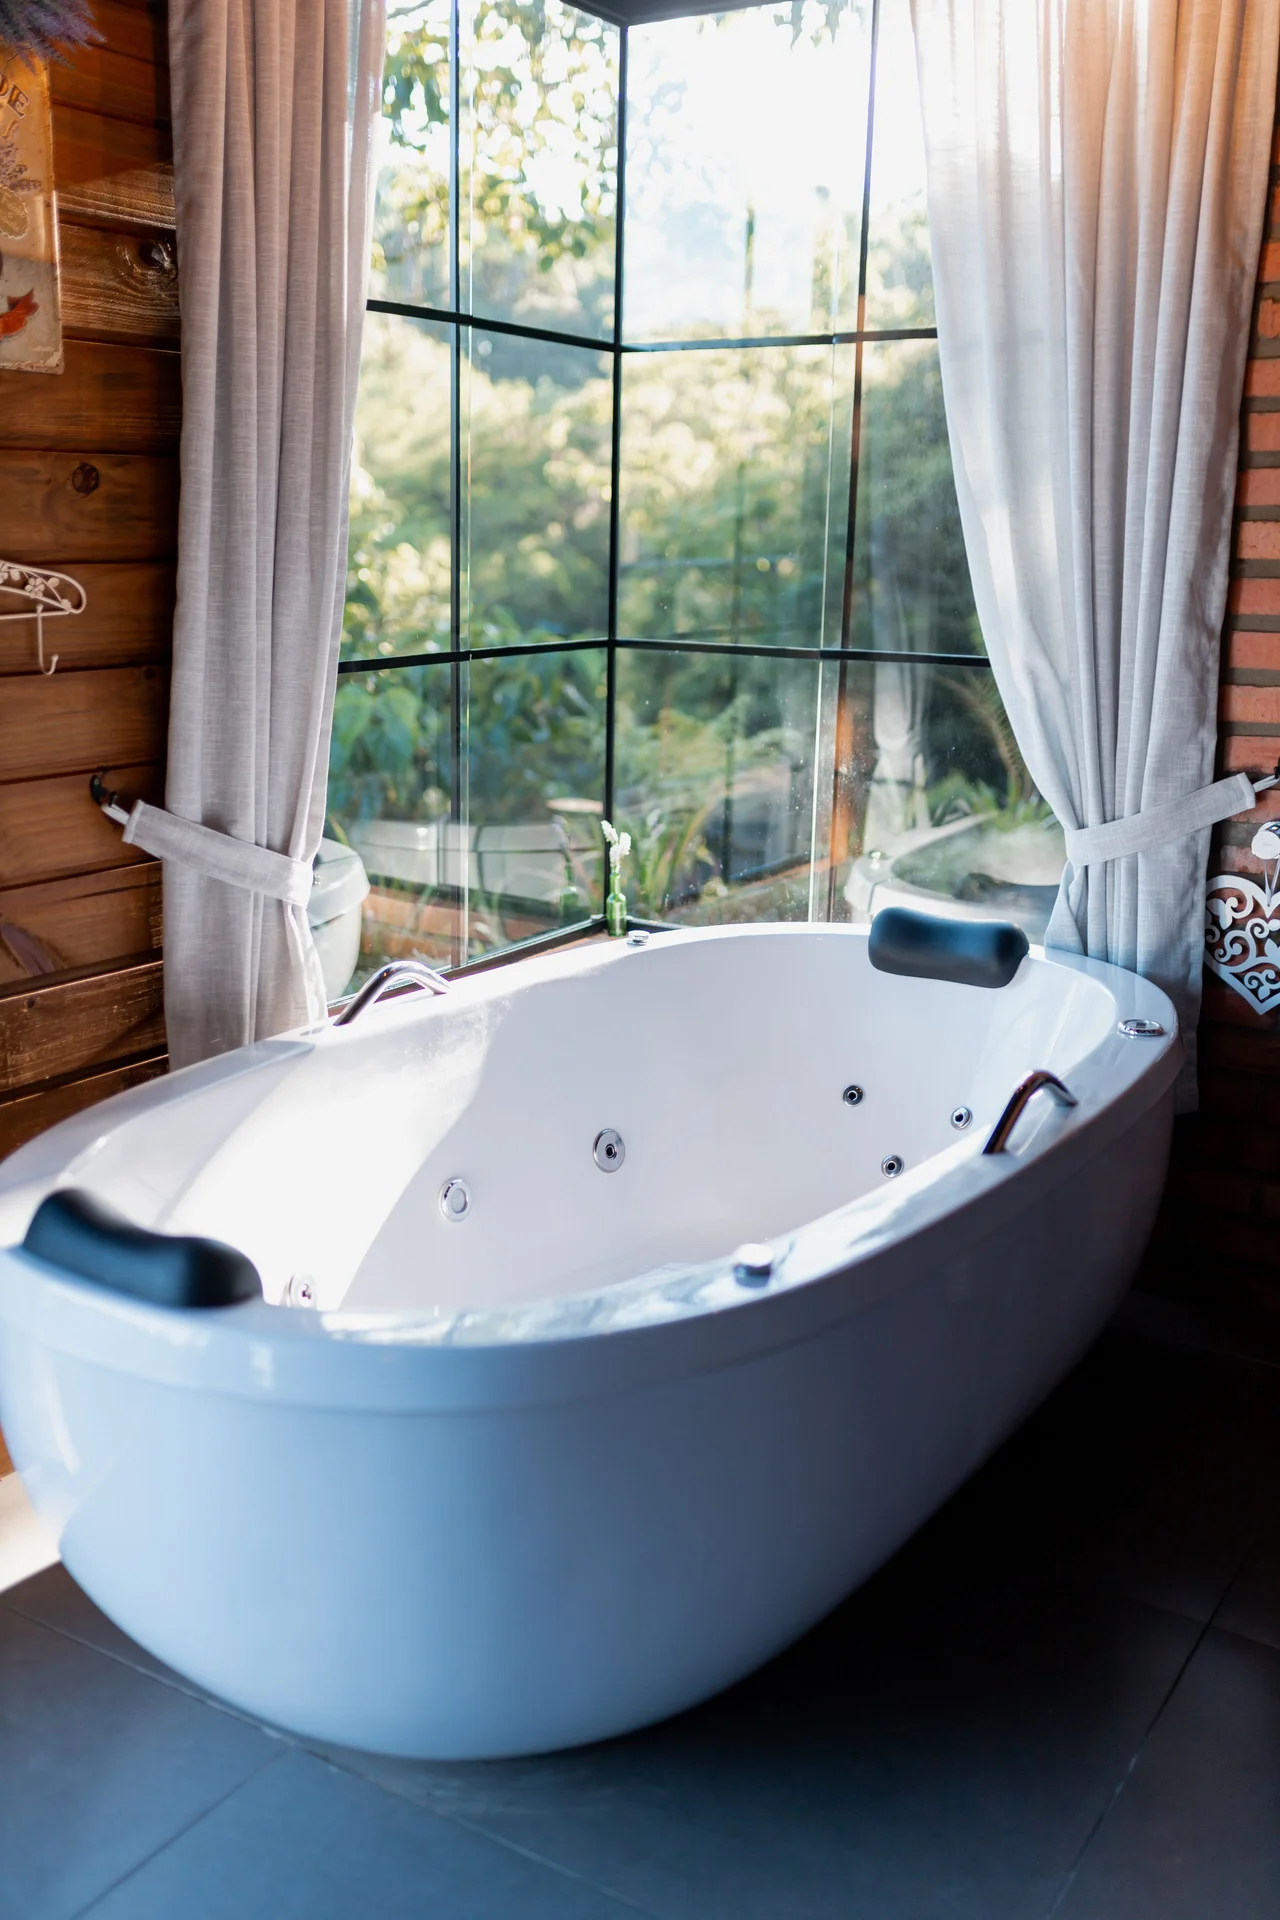
Extra shower curtain rings, clipped onto the existing rod, hold mesh bags, a loofah, and a small caddy without any new hardware. Clip two or three rings beside the curtain, hang a mesh bag for bath toys or sponges, and keep the rings near the wall end so they do not crowd the curtain. This trick works in rentals because it uses hardware that is already there. I tried this after my shower toys lived on the tub edge in a puddle, and the mesh bag dried them properly. The mistake to avoid is hanging heavy items here, because the rod will sag and the curtain will drag.
Cost: ~$5 | Time: 10 minutes
(see also: 15-tiny-bathroom-ideas-that-live-large)
15. Foldable Step Stool With Storage
A foldable step stool that opens into a small storage box gives short renters a boost and a hiding spot in one piece. Keep it folded by the sink for reaching high shelves, open it to grab spare towels or cleaning cloths stored inside, and fold it flat again when guests come. A stool with a non-slip top matters in a wet bathroom, so check the grip before you buy. I tried this after standing on the toilet lid to reach a high shelf, which I do not recommend, and the stool made the whole bathroom safer. The mistake to avoid is a stool that does not fold flat, because it will eat the floor space it was meant to save.
Cost: ~$22 | Time: 5 minutes
💰 Budget win: Save this idea if you are short and your rental has high shelves, because it solves two problems at once.
16. Laundry Hamper That Doubles as a Stool
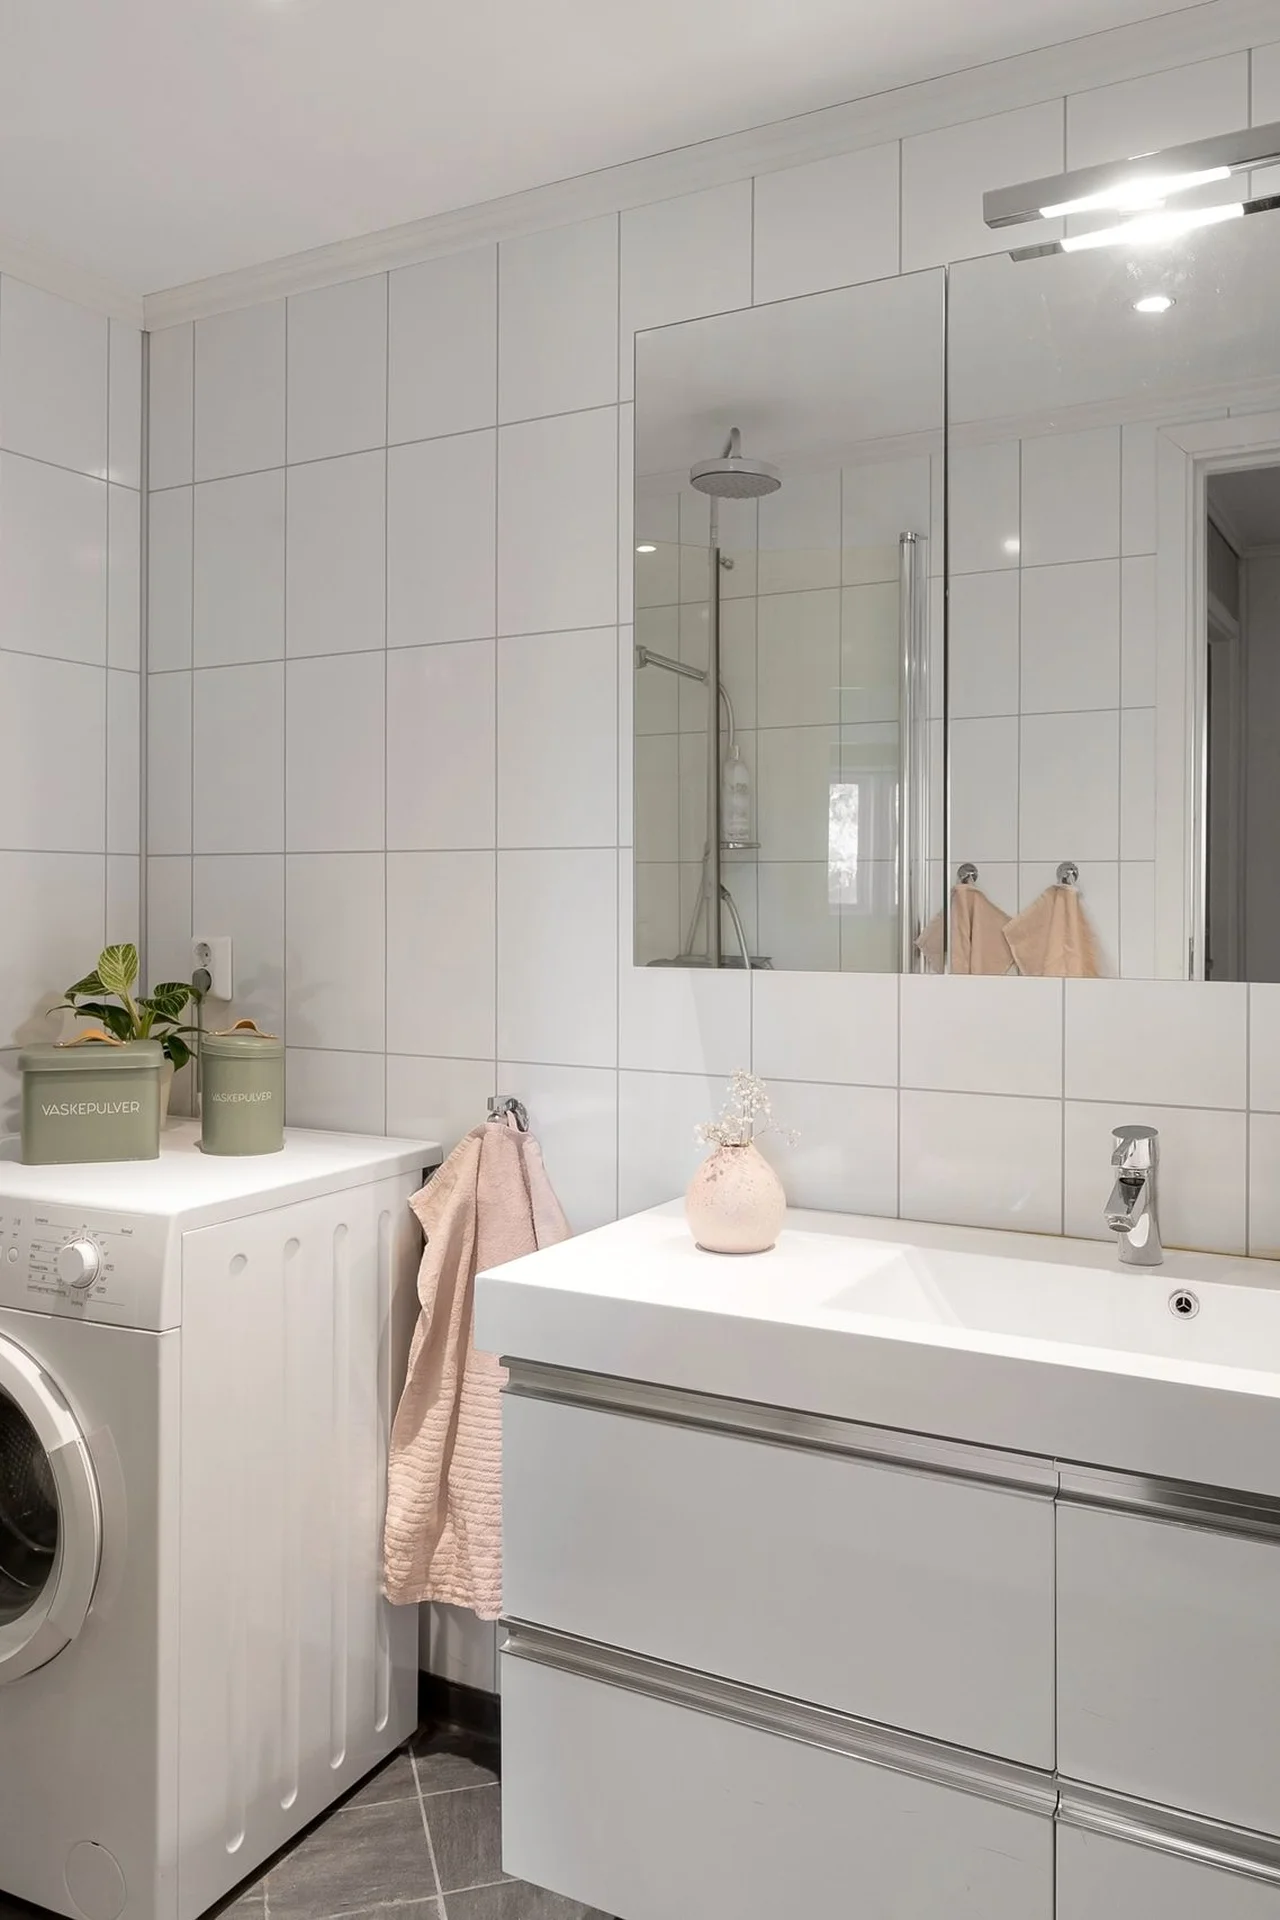
A sturdy lidded hamper with a flat top works as a seat, a side table, and laundry storage in a tiny bathroom. Put dirty clothes inside, close the lid, and use the top for a folded towel or a candle when you need a surface. Choose a hamper with ventilation holes so clothes do not get musty, and wipe the lid weekly. I tried this in a bathroom with no chair and no floor space, and the hamper became the spot where I sat to put on socks. The mistake to avoid is a flimsy hamper with a soft lid, because it will collapse the first time someone sits on it.
Cost: ~$28 | Time: 5 minutes
17. Corner Stand for the Dead Corner
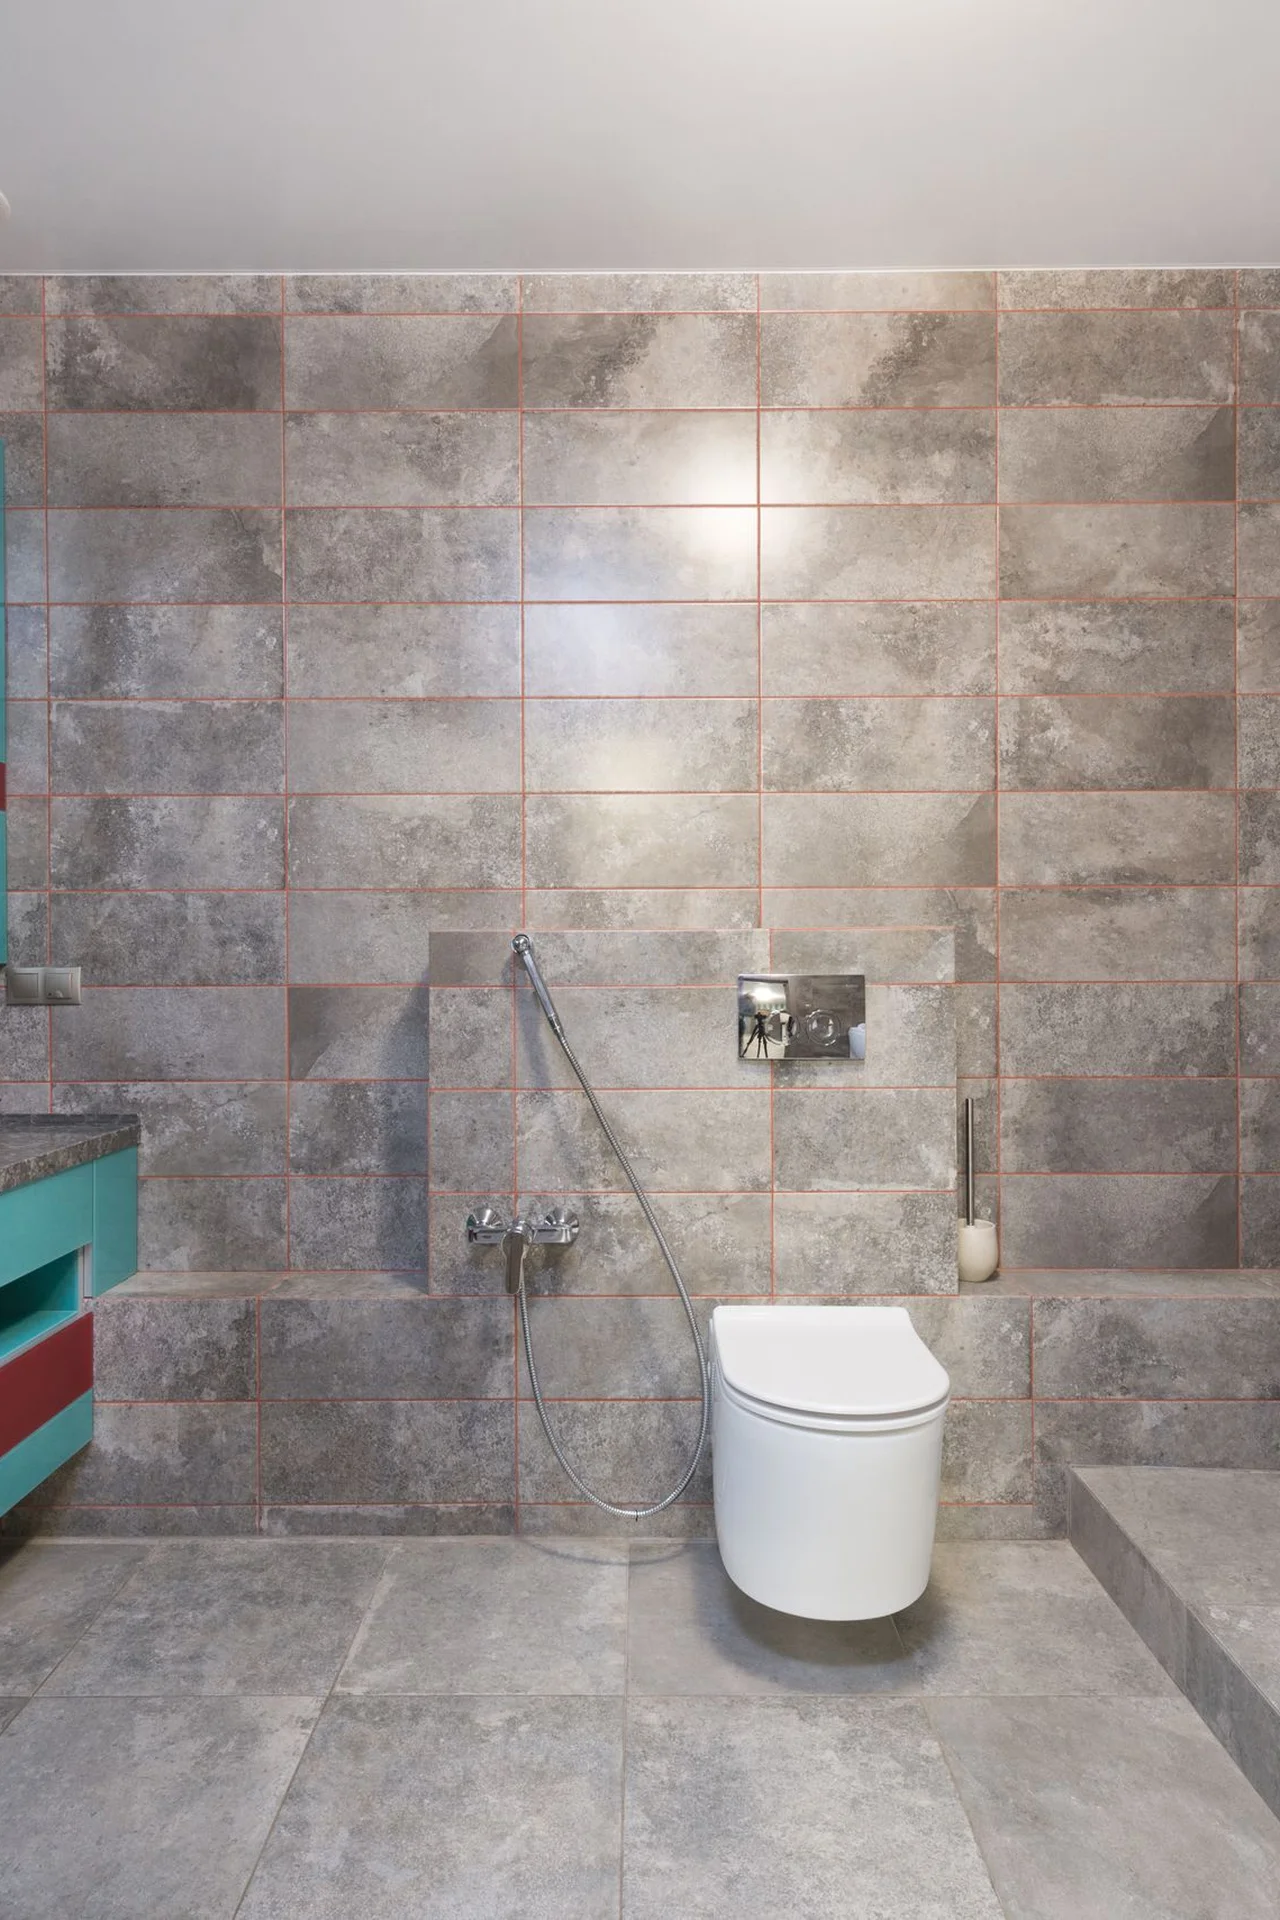
Every tiny bathroom has a dead corner where nothing fits, and a triangular corner stand claims it perfectly. Slide the stand into the corner, put tall bottles on the bottom shelf, daily items in the middle, and a plant on top. A corner stand uses space that a square shelf cannot, and it keeps items visible instead of buried in a cabinet. I tried this beside my sink where a round basket had always wobbled, and the triangular shape finally sat flush. The mistake to avoid is a stand taller than the mirror, because it will block light and make the corner feel cramped.
Cost: ~$24 | Time: 15 minutes
💰 Budget win: A corner stand costs less than a new vanity and uses space you were already wasting.
18. Over-Door Towel Bars
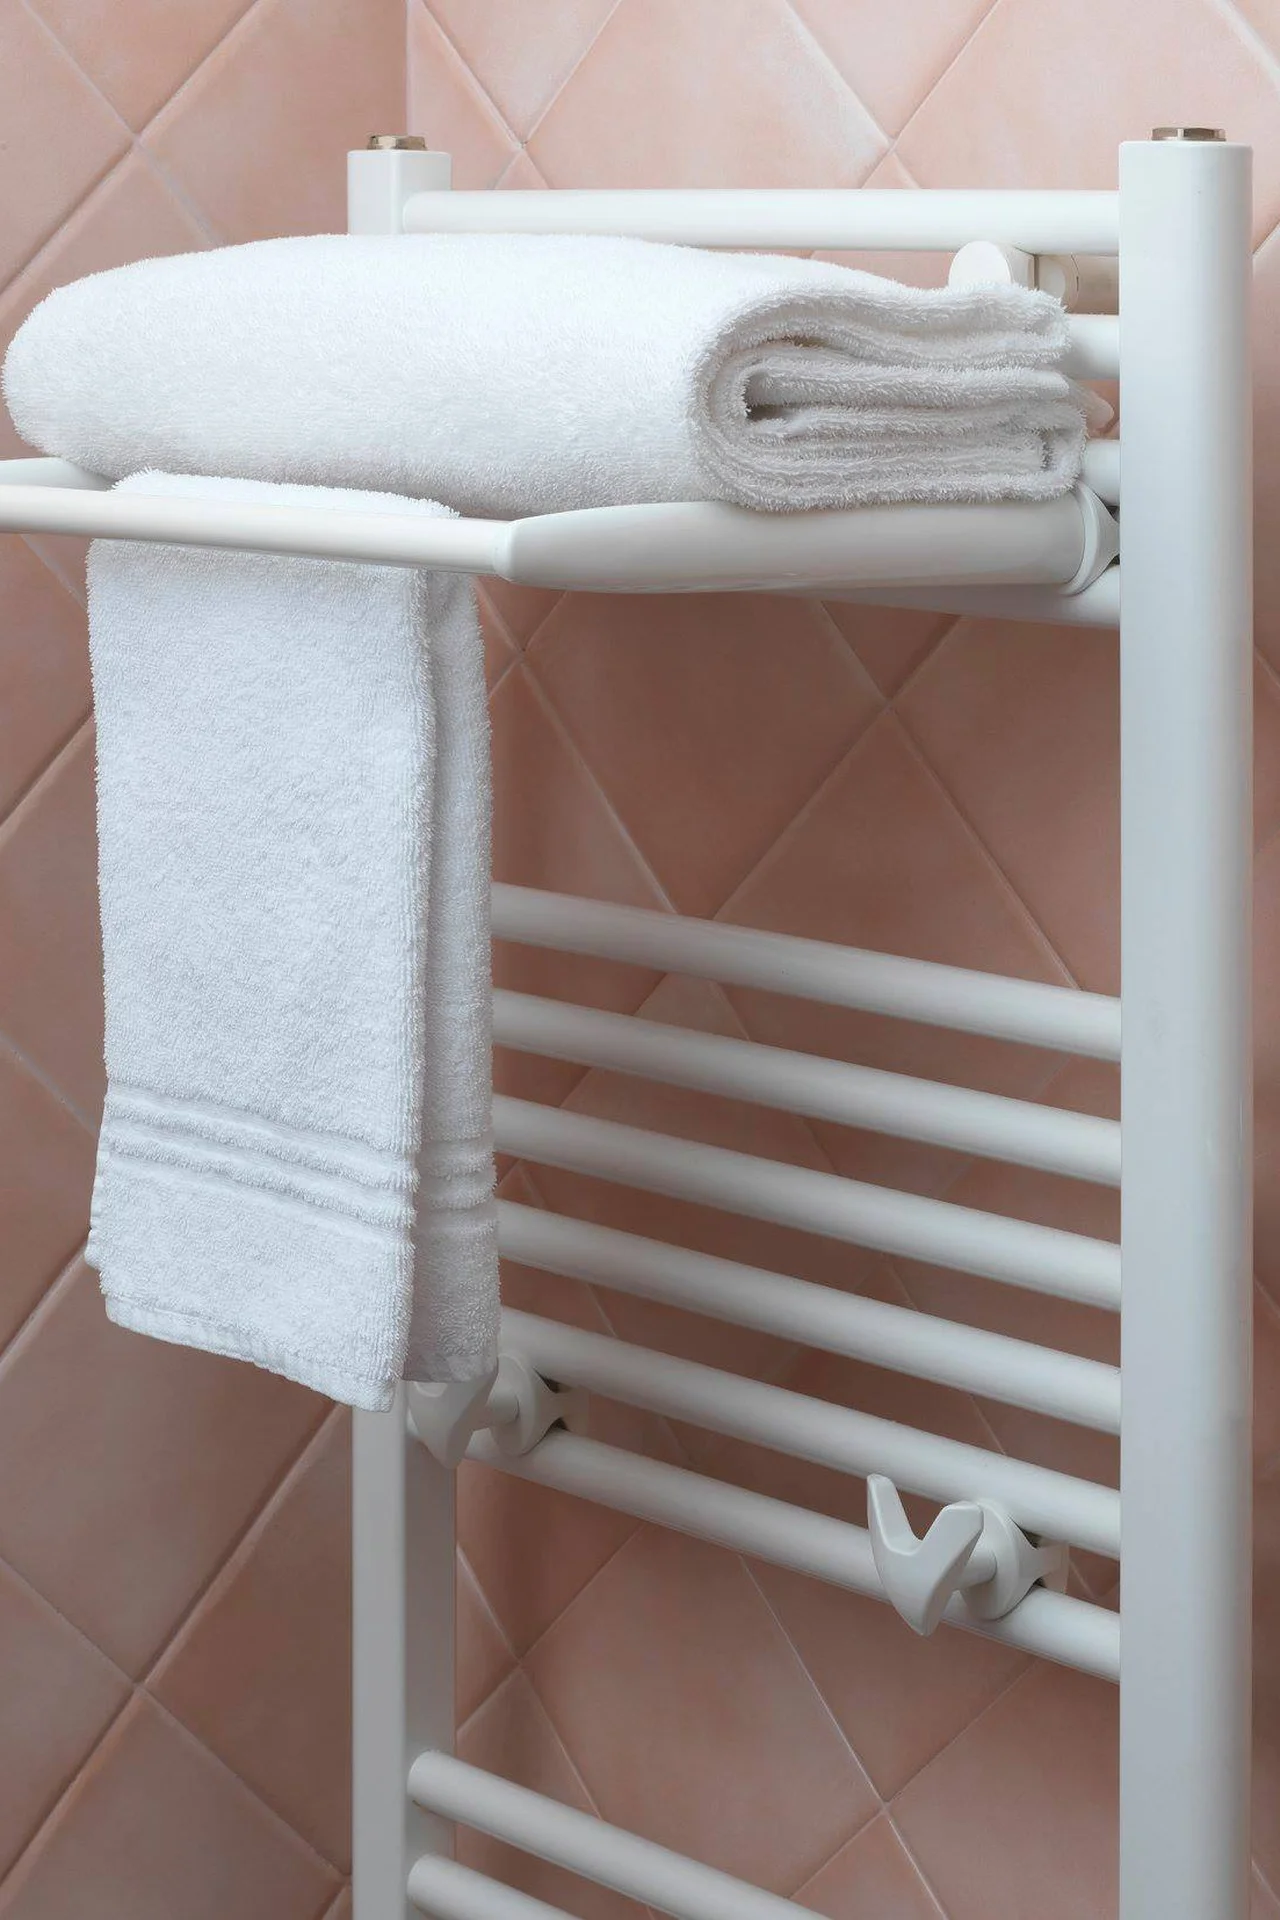
Over-door towel bars add two or three drying rails to a bathroom with no wall space to spare. Hook them over the bathroom door, hang a bath towel on the outer bar and a hand towel on the inner one, and keep the door free to open fully. This beats draping towels over the shower rod, where they block the curtain and stay damp. I tried this after my towels lived on a chair in the bedroom, and the door bars got them drying properly again. The mistake to avoid is bars that rattle when the door moves, so add small felt pads where they grip.
Cost: ~$14 | Time: 5 minutes
19. Small Stool With Hidden Storage
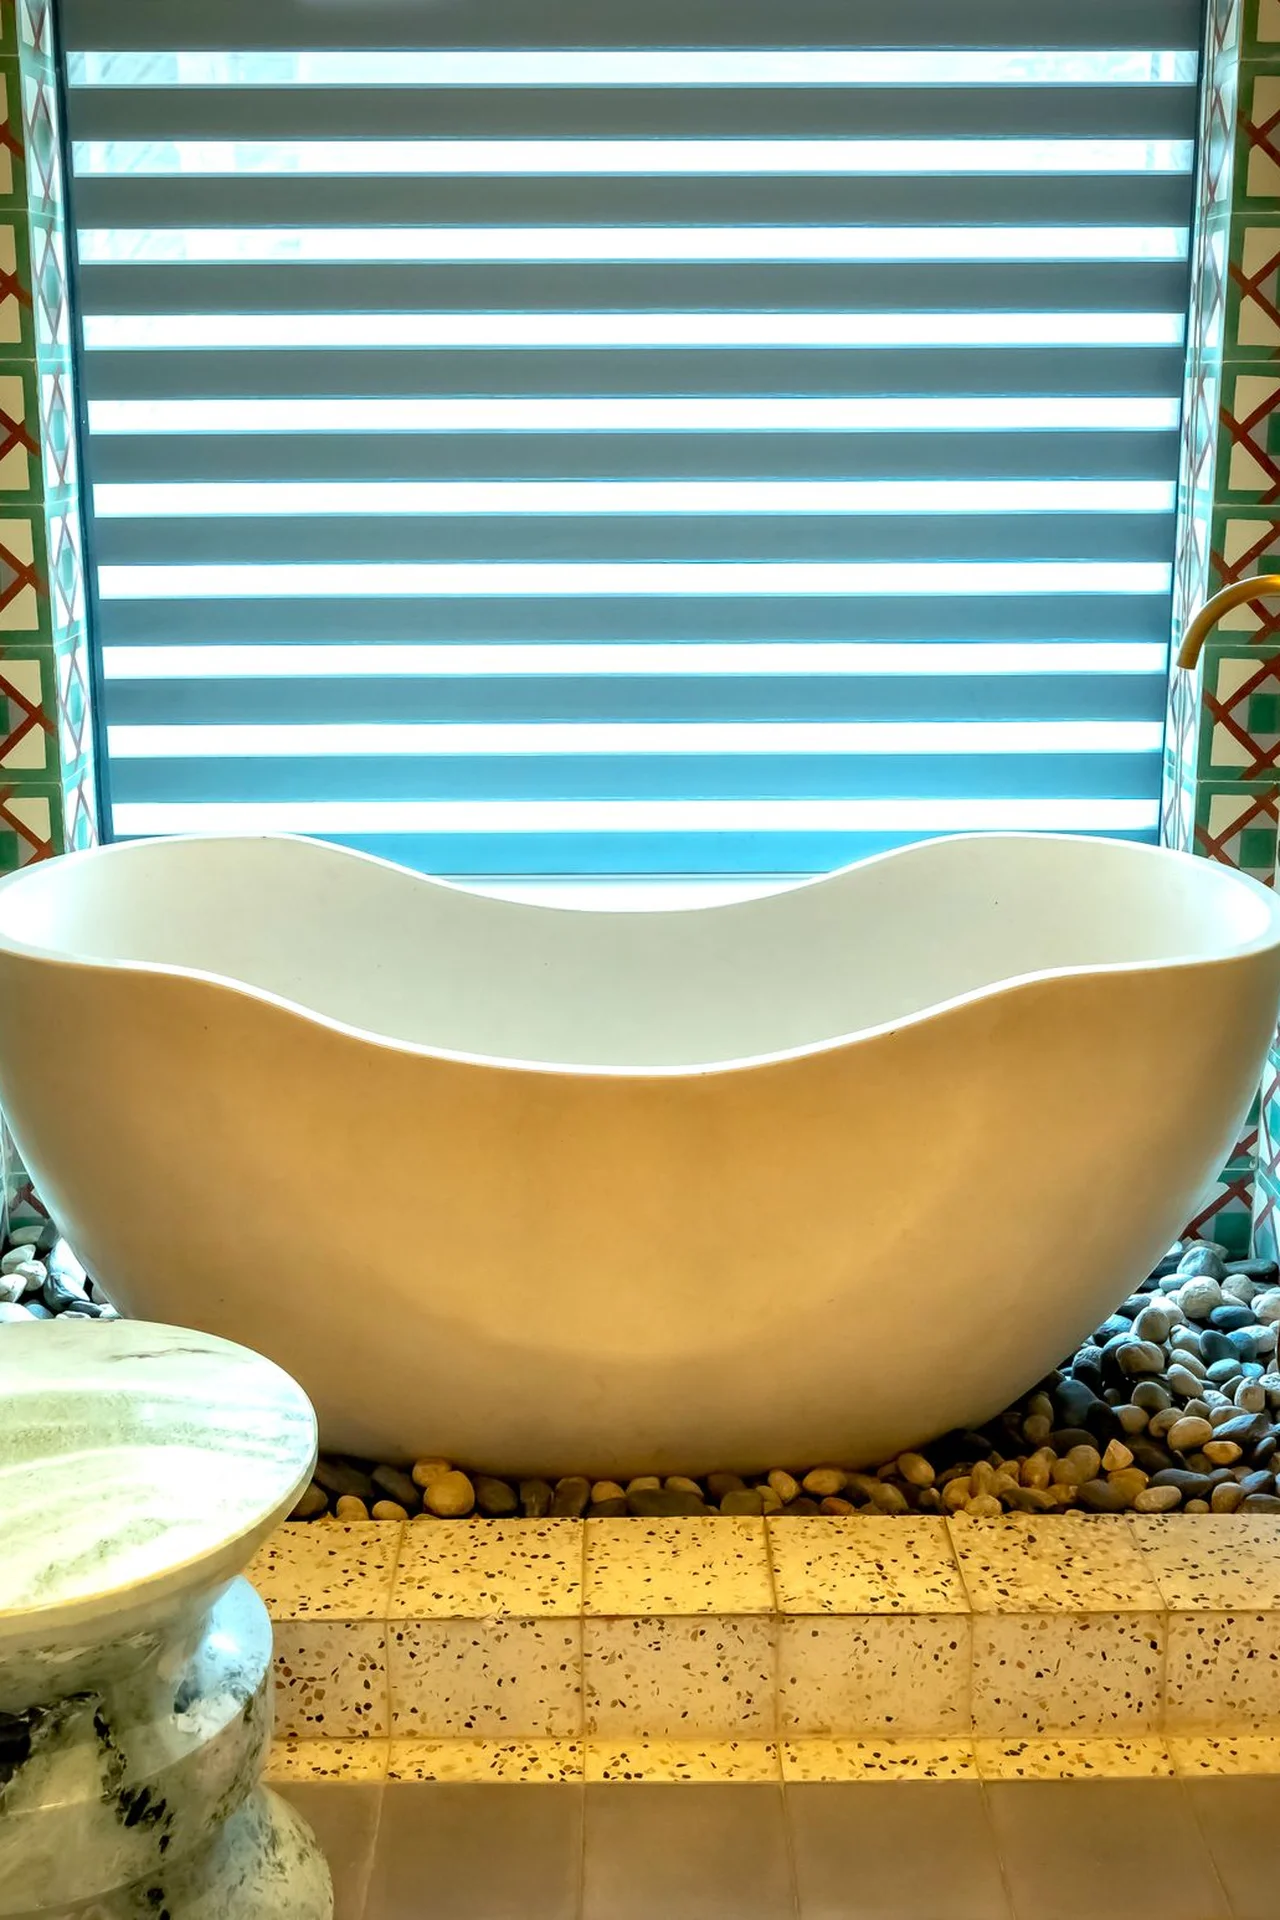
A small stool with a lift-off lid hides spare rolls, cloths, and first aid supplies, and gives you a seat or a side table too. Tuck it beside the tub or under a window, keep daily items on top in a tiny tray, and store the rest inside where guests never see it. A waterproof or wipeable stool works best in a bathroom, since splashes happen. I tried this after my spare rolls lived in a plastic bag on the floor, and the stool made the bathroom look grown up. The mistake to avoid is a fabric stool in a steamy bathroom, because it will absorb moisture and smell.
Cost: ~$26 | Time: 5 minutes
💰 Budget win: A storage stool replaces a cabinet, a seat, and a side table in one small buy.
20. Large Leaner Mirror for Light
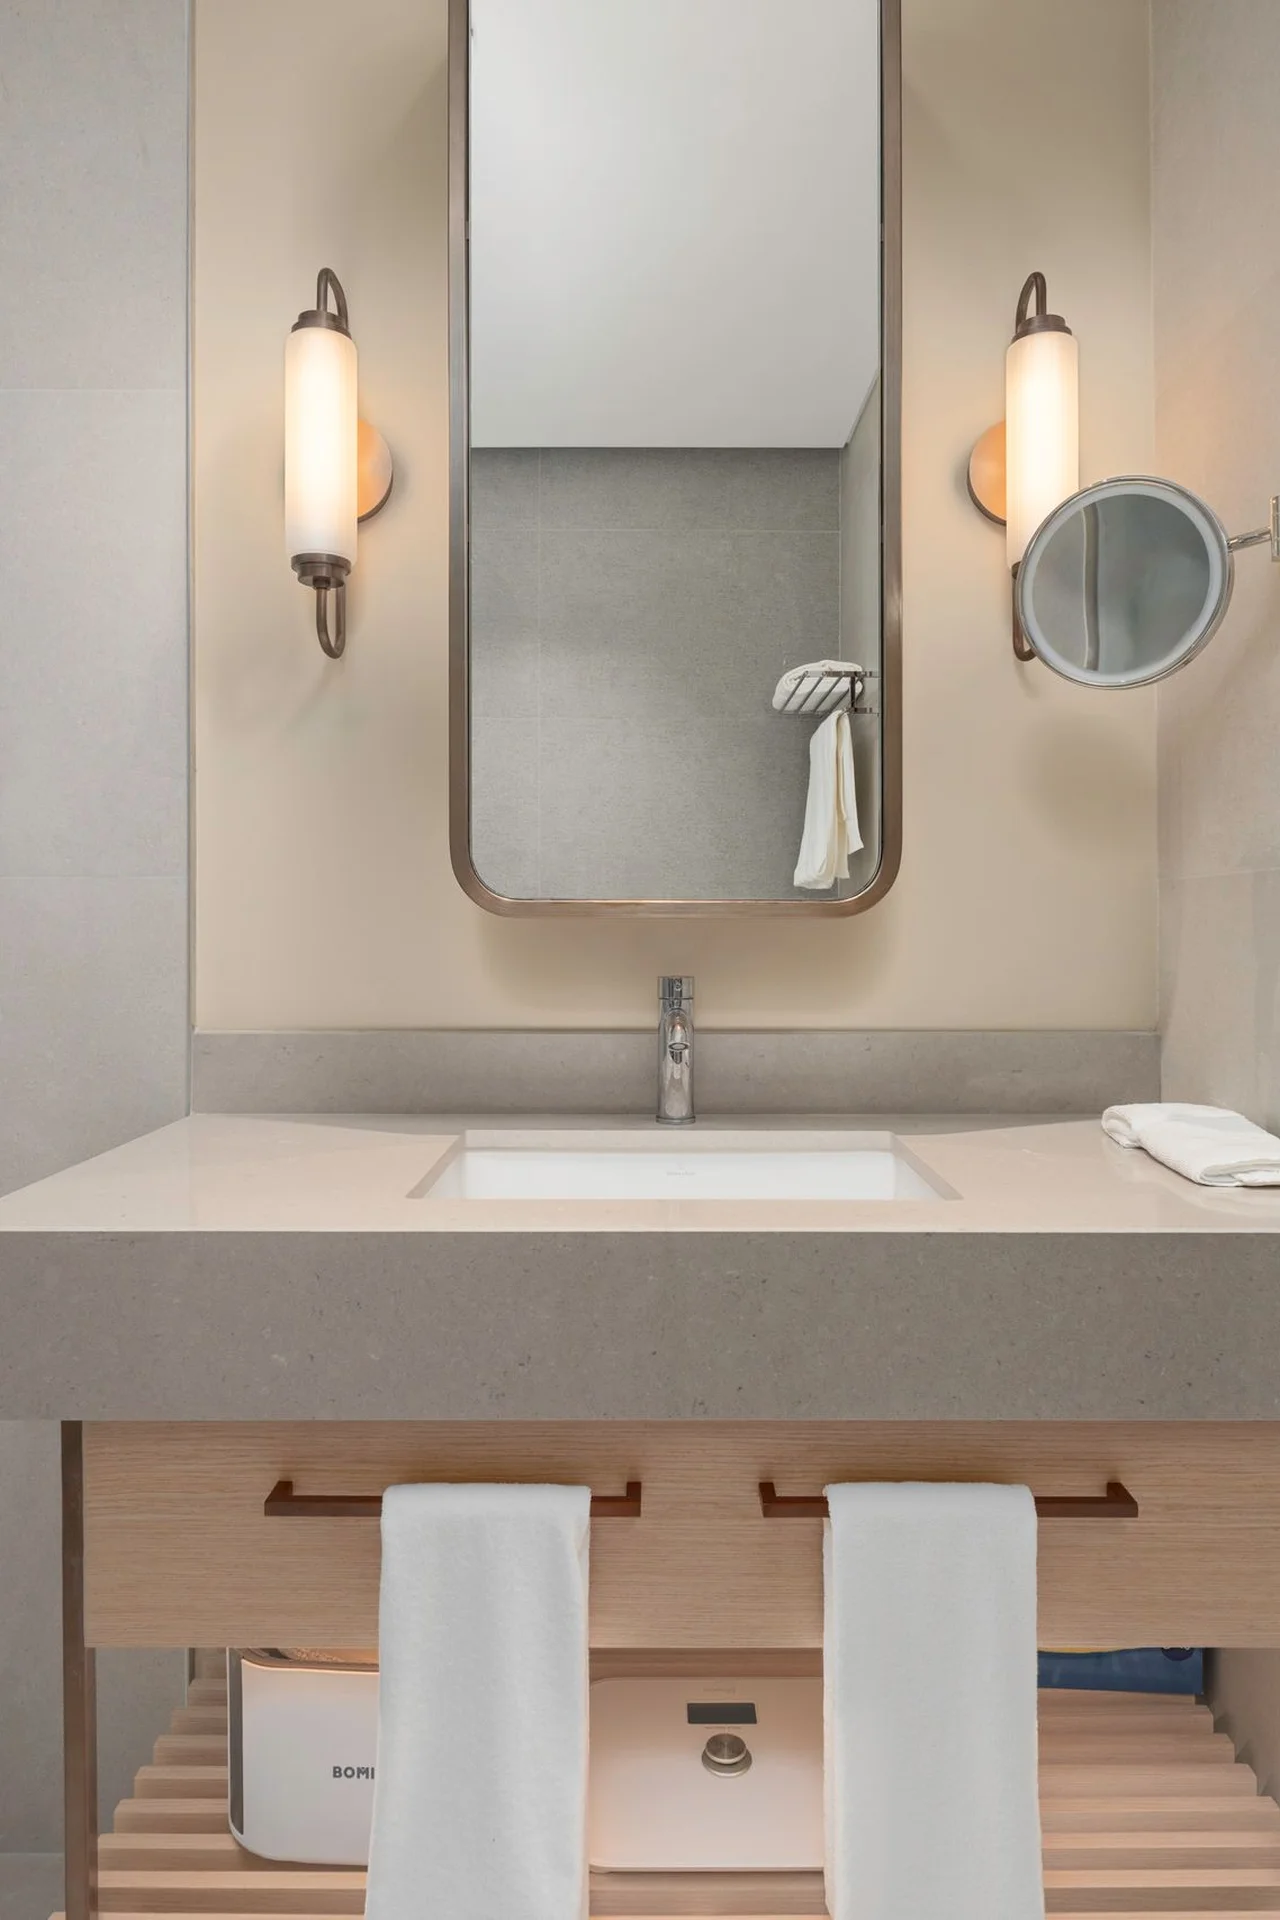
A large mirror leaned against the wall opposite the window bounces light around a tiny bathroom and makes it feel twice as big. Choose a mirror tall enough to reflect the window, secure the top with an adhesive anchor for safety, and keep the area in front of it clear so the reflection stays open. No drilling, no damage, and the change is instant. I tried this in a windowless-feeling bathroom with one small window, and the leaner mirror was the single biggest difference of any idea here. The mistake to avoid is leaning a heavy mirror unsecured in a house with kids or pets, so anchor it always.
Cost: ~$40 | Time: 15 minutes
(see also: 17-small-bathroom-ideas-for-apartments-on-a-budget)
21. Peel-and-Stick Tile Accent Wall
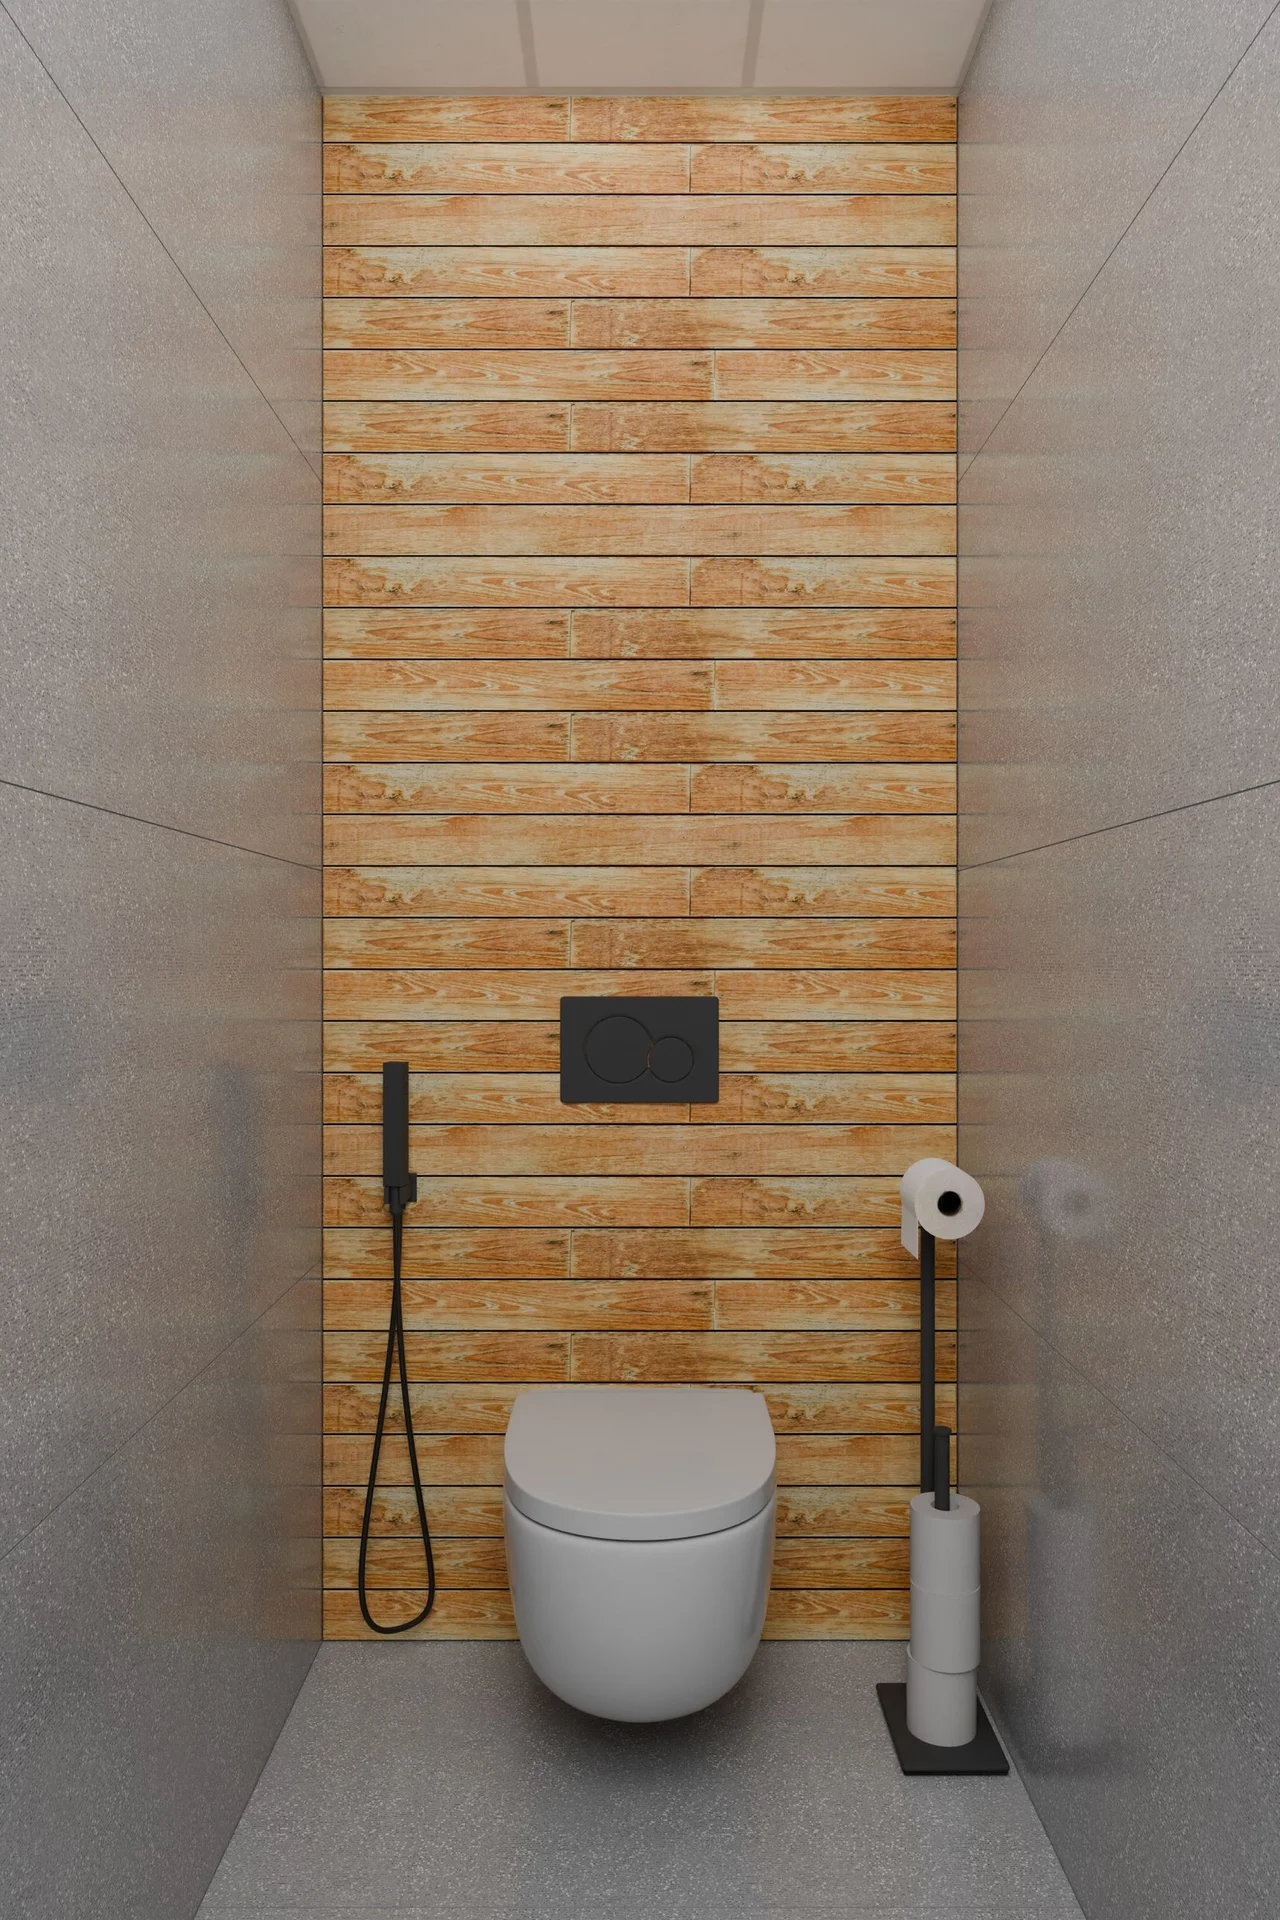
Peel-and-stick tiles on one accent wall, usually behind the sink or toilet, give a rental bathroom a fresh look without grout or damage. Clean the wall well, start from the centre and work outward, and press each tile firmly so edges seal. Pick a light colour or a simple pattern, because busy tiles shrink a tiny room visually. When you move out, peel the tiles off slowly with a hair dryer to soften the adhesive. I tried this behind my sink, and visitors assumed I had renovated, when I had spent one afternoon. The mistake to avoid is sticking tiles over damp or peeling paint, because they will lift within weeks.
Cost: ~$30 | Time: 90 minutes
💰 Budget win: One accent wall uses far fewer tiles than a full room, so the cost stays low and the impact stays high.
Mini FAQ: Tiny Bathrooms for Renters
Can I really organize a tiny bathroom without drilling?
Yes, almost everything here uses suction, adhesive, tension, or freestanding pieces, so you can set it up on a Saturday and remove it all on moving day with no holes to fill. Just test adhesives on your tile type first, and anchor anything tall for safety.
What should I fix first if I only have twenty dollars?
Start with adhesive hooks and a slim rolling cart or an over-door rack, because those three pieces alone clear the counter, the door, and the floor gap. Add a tension rod under the sink next, since it costs under ten dollars and doubles a cabinet.
How do I keep a tiny bathroom from looking cluttered after organizing?
Use matching baskets, keep one surface completely clear, and store anything you do not use daily behind a door or inside a bin. A tidy bathroom is less about buying more holders and more about giving every item one home and clearing the extras weekly.
A tiny rental bathroom does not need a renovation, it needs a few holders in the right places and one clear surface to breathe. Start with the hooks, the cart, and the over-toilet shelf, then add the pretty touches like the mirror and the peel-and-stick tiles once the basics work. Your mornings will feel easier, your deposit stays safe, and the room will finally feel like yours.
