15 Vertical Storage Ideas for Tiny Apartments
Vertical Storage Ideas for Tiny Apartments changed my apartment more than any furniture I ever bought, because my floor was full but my walls were completely empty. I used to stack boxes beside the sofa and call it storage, until a friend pointed at six feet of bare wall above my head and asked why I was living on the floor. That week I put up two shelves, hung a rack on a door, and moved half a closet onto the wall. If your tiny apartment feels crowded, look up before you buy anything bigger, because the space you need is probably already there.
Cheapest wins first: start with these if money is tight this week.
- Over-the-door rack: about $12, holds shoes, cleaning sprays, or pantry jars.
- Adhesive hooks row: about $8, turns dead wall space into bag, hat, and coat storage.
- Tension rod tiers inside a cabinet: about $10, doubles shelf space without drilling.
- Hanging closet shelves: about $15, adds five shelves to a closet you already own.
Walls That Work Hard
1. Floor-to-Ceiling Bookshelf Wall
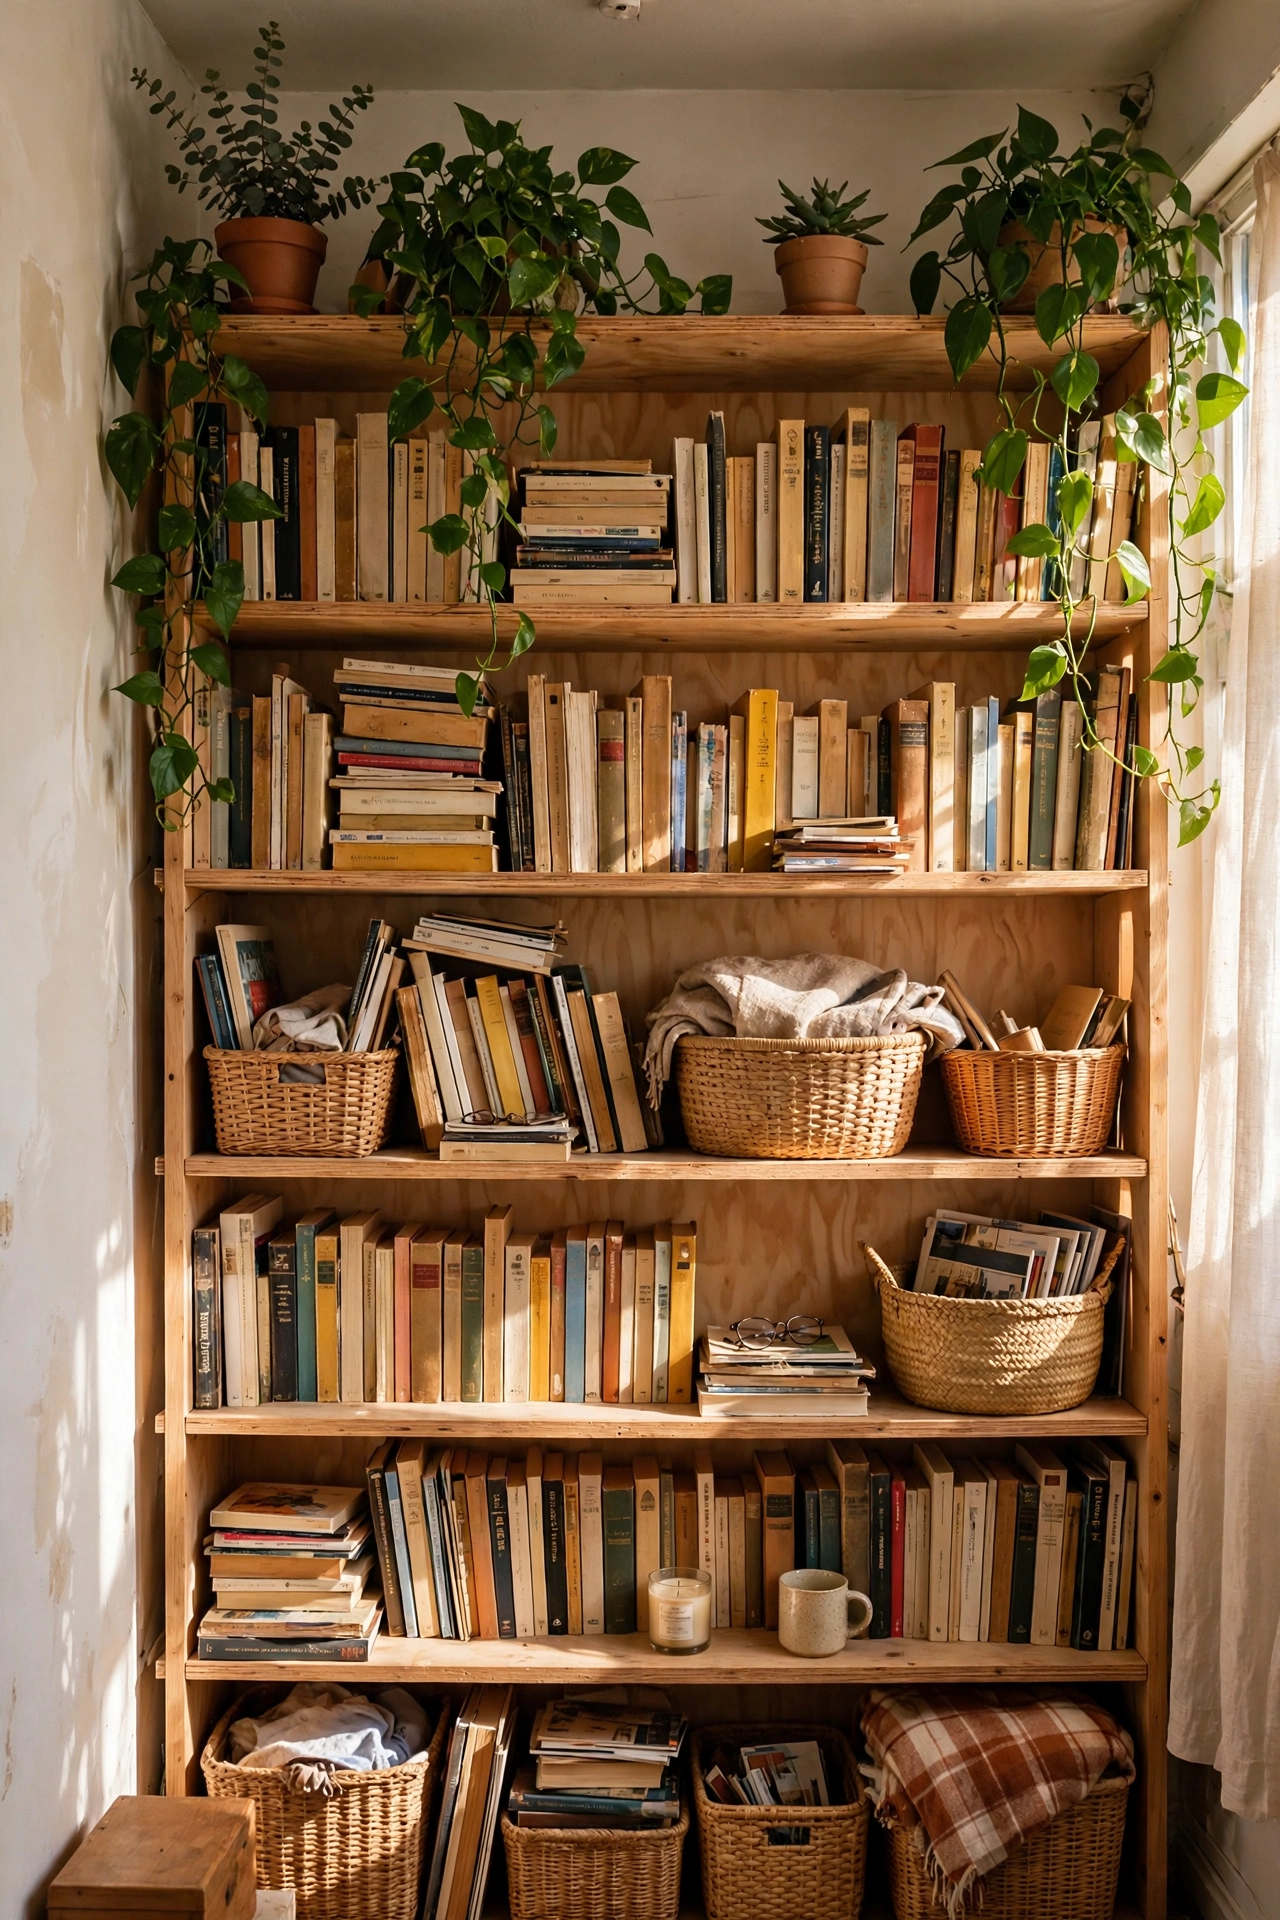
One tall bookshelf wall holds what three short bookcases would, and it uses wall space you were ignoring. Anchor the shelf to the wall for safety, put heavy books low and light decor high, and leave a few open spots so the wall does not look crammed. Baskets on the middle shelves hide clutter, while the top shelf holds things you rarely need. I tried this after my books lived in piles on the floor, and the room felt taller the moment the shelf went up. The mistake to avoid is a shelf that is not anchored, because a tall shelf full of books can tip badly.
Cost: ~$60 | Time: 60 minutes
2. Floating Shelves Above the Sofa
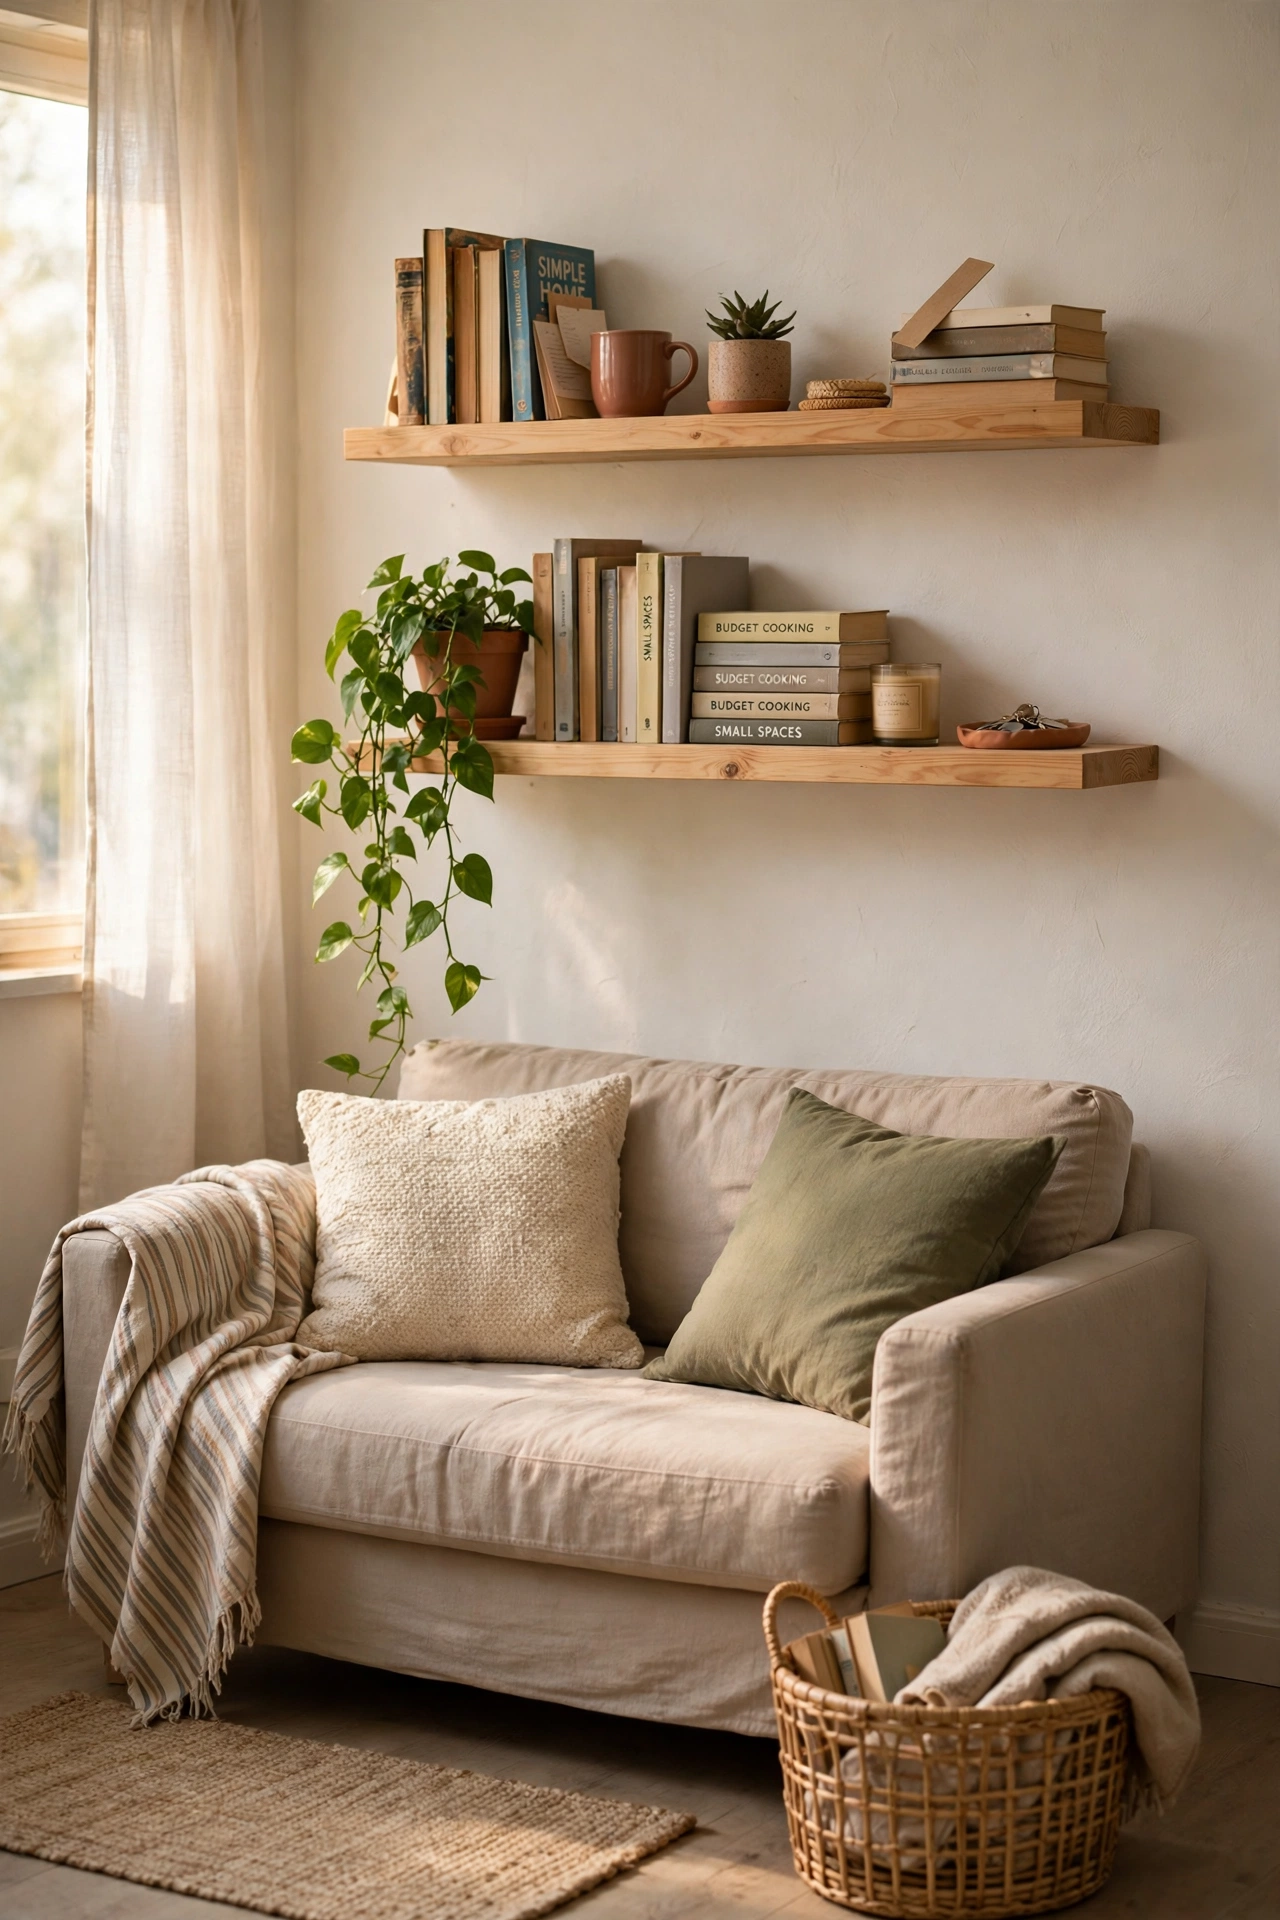
Floating shelves above the sofa turn dead wall into display and storage without touching the floor. Fix two shelves at a height you can reach from a step stool, style them with books, plants, and a basket, and keep heavy items off the top shelf. The shelves draw the eye upward, which makes a small living room feel taller and more finished. I tried this with one shelf first, then added a second, and the pair looked intentional instead of random. The mistake to avoid is hanging shelves so low that tall guests bump their heads when they stand up.
Cost: ~$35 | Time: 45 minutes
3. Pegboard Wall in the Kitchen
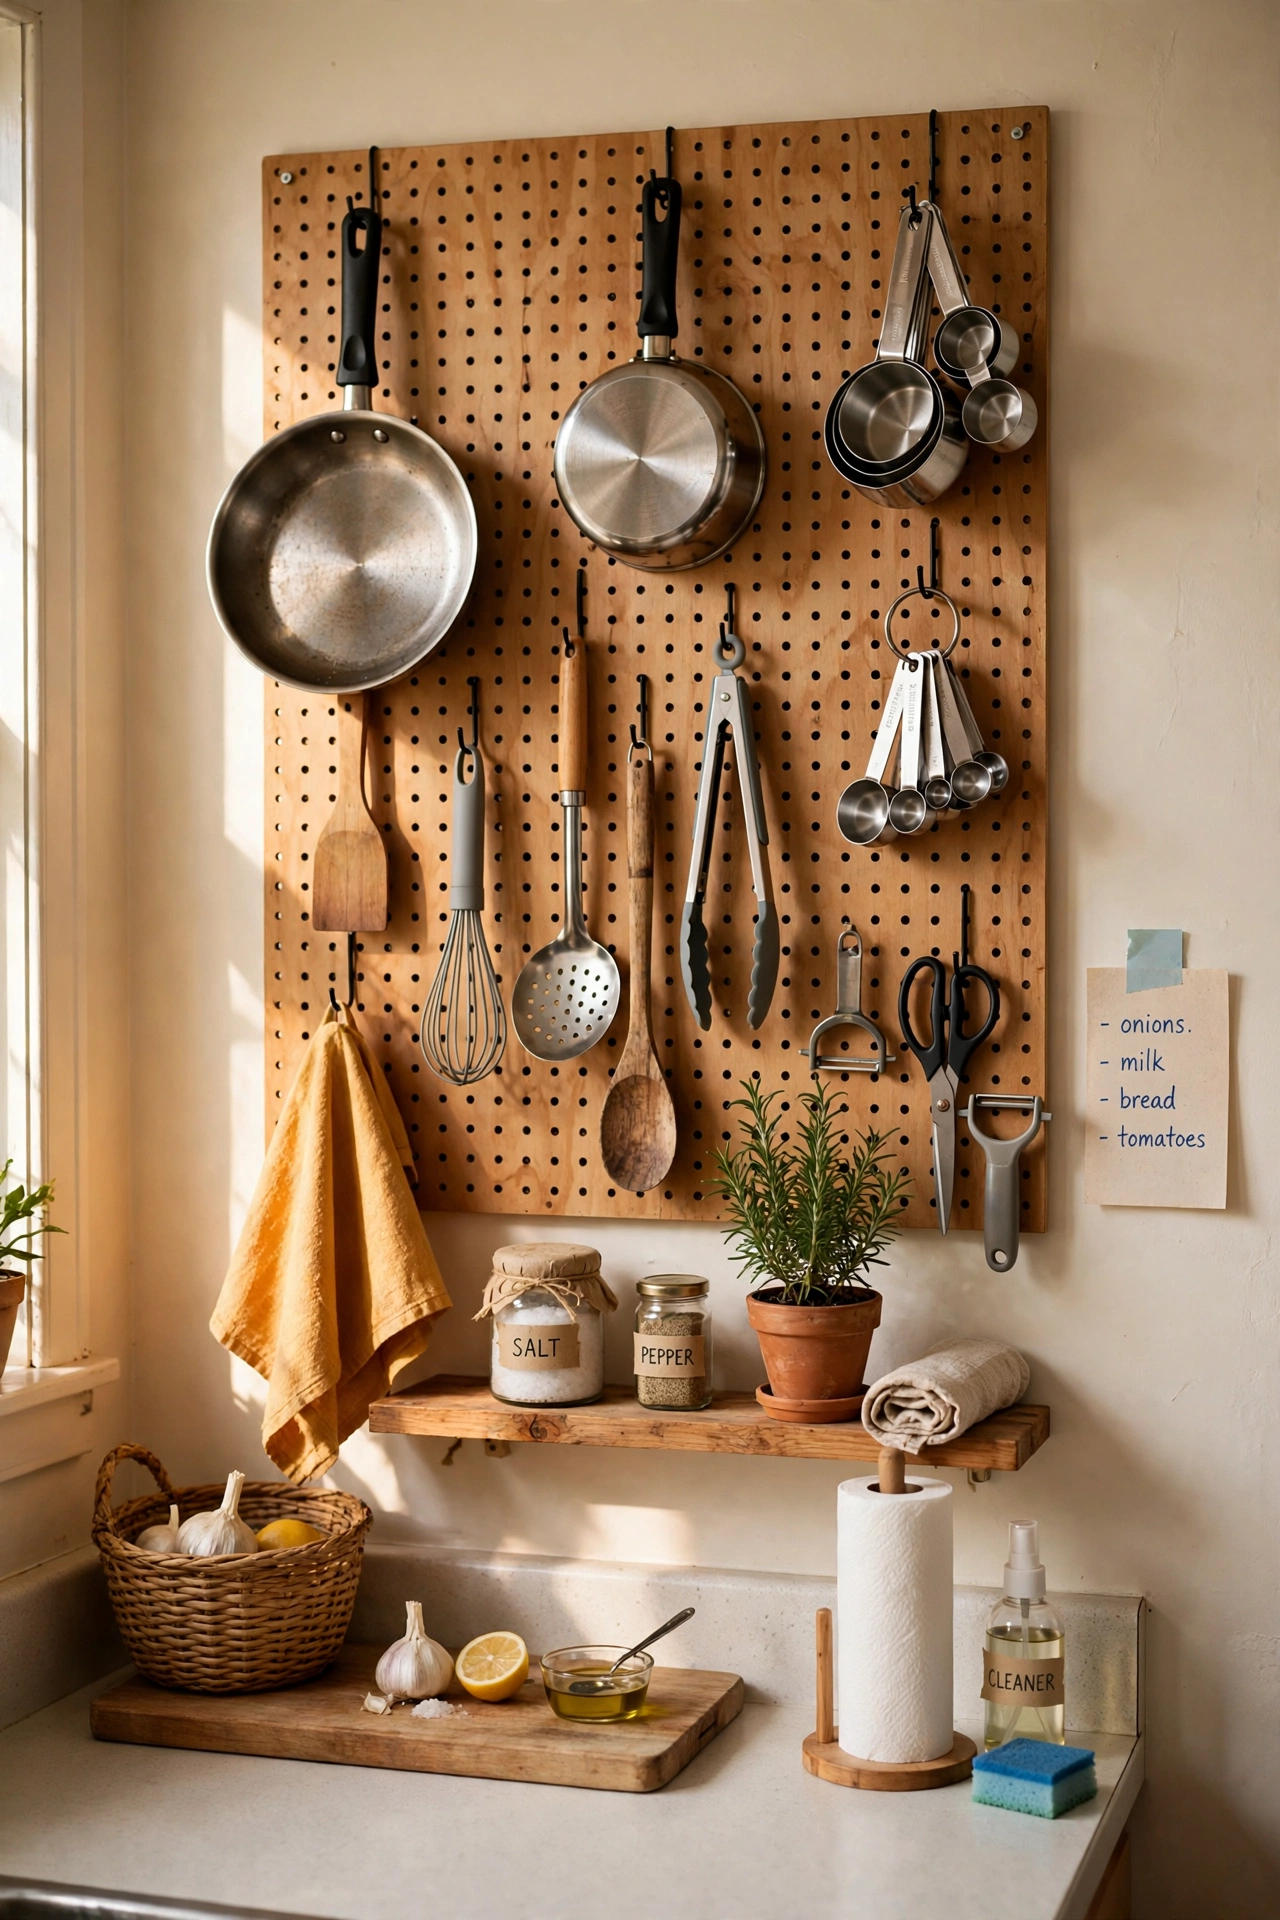
A pegboard wall in the kitchen holds pans, utensils, measuring cups, and scissors in plain sight, and it frees a whole drawer. Hang the board on the wall near your prep area, add hooks in different sizes, and trace the outline of each tool so everything has a home. Keep daily tools at arm height and rarely used items higher up. I tried this after my utensil drawer jammed for the last time, and cooking got faster because I could see everything. The mistake to avoid is overloading the board until hooks bend, so spread heavy pans across two boards if needed.
Cost: ~$28 | Time: 50 minutes
4. Magnetic Knife Strip and Spice Wall
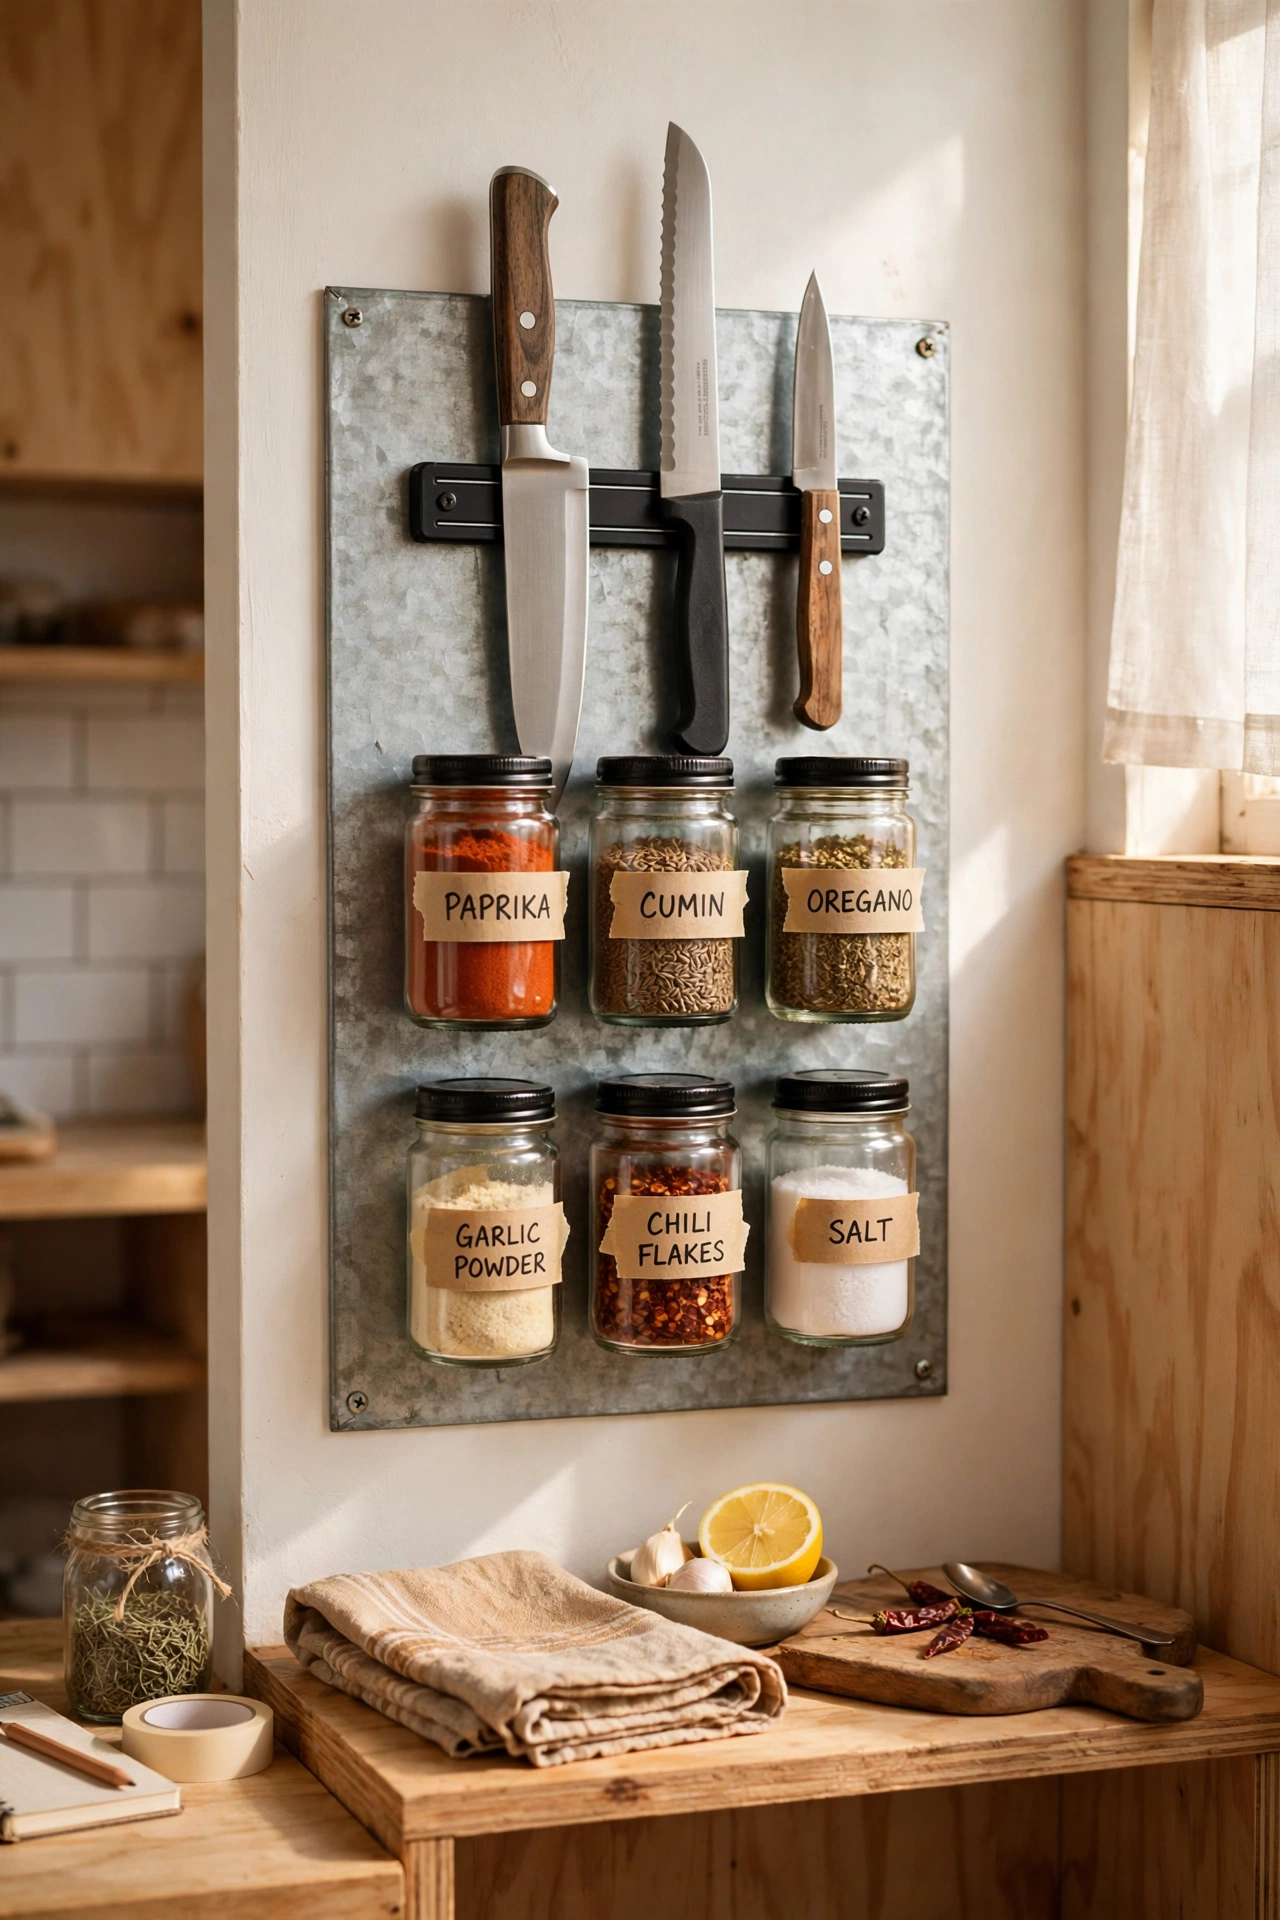
A magnetic strip for knives plus small magnetic spice jars on a metal sheet moves two clutter magnets off the counter and onto the wall. Fix the strip at a safe height away from little hands, stick spice jars to a framed metal sheet beside it, and label each jar clearly. Cooking feels easier when you can grab what you need without opening three cupboards. I tried this after my spice bottles fell over every time I opened the cabinet, and the wall version has never spilled once. The mistake to avoid is a weak magnet strip, because knives that slide off are a real hazard.
Cost: ~$25 | Time: 40 minutes
5. Vertical Pantry Shelves on a Narrow Wall
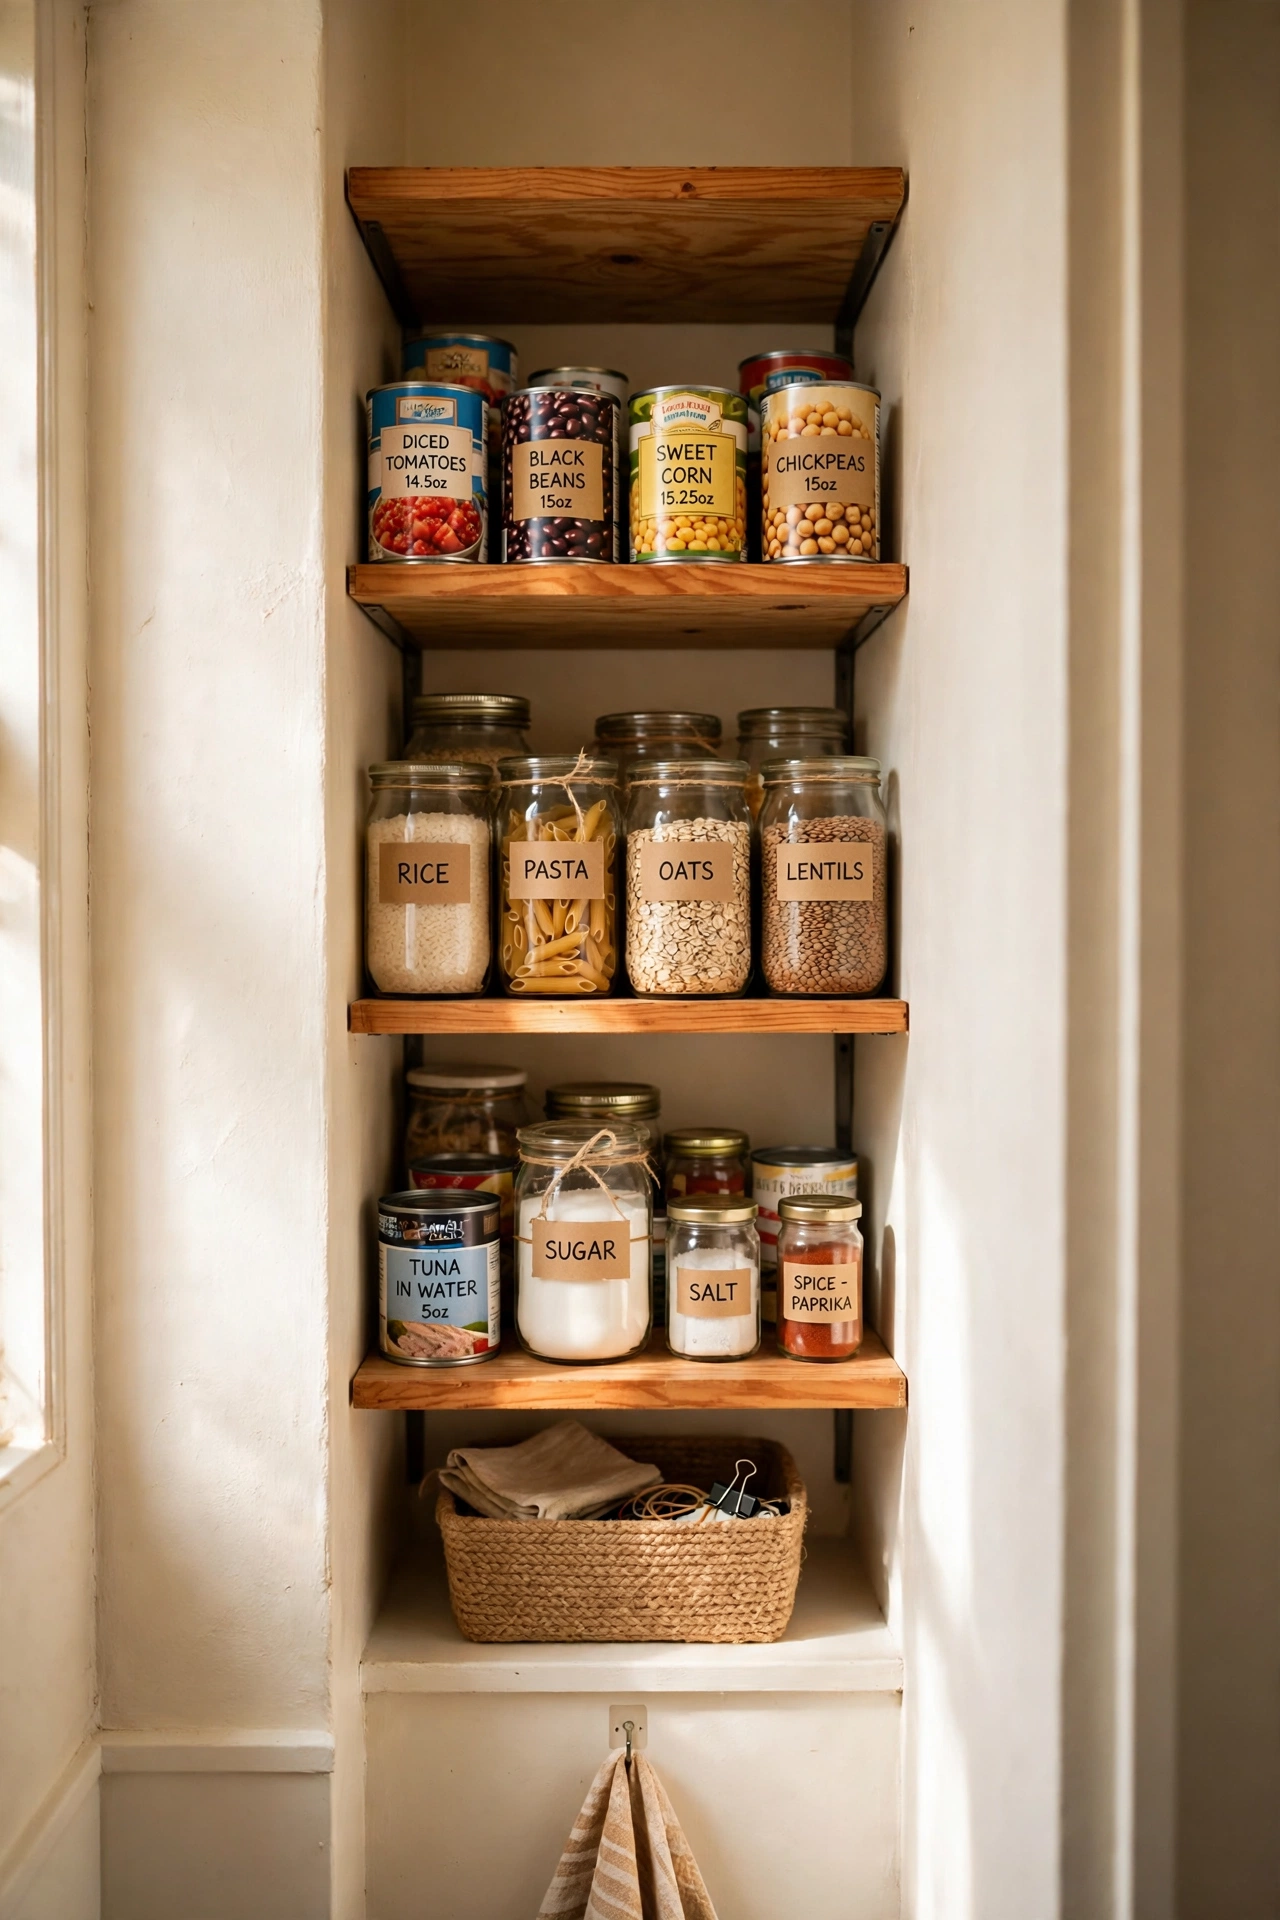
A narrow wall in the kitchen, even one barely a foot wide, can hold slim shelves for cans, jars, and boxes stacked by height. Use shallow shelves so nothing gets lost behind a front row, group items by meal type, and label the shelf edges if it helps. Tall narrow shelving keeps pantry goods visible, which means you stop buying duplicates you already own. I tried this on the wall beside my fridge, and a strip I had ignored for a year now holds a week’s worth of food. The mistake to avoid is deep shelves here, because deep shelves just hide cans at the back.
Cost: ~$30 | Time: 45 minutes
(see also: 17-small-space-storage-ideas-on-a-budget)
Doors, Corners, and Tall Furniture
6. Over-the-Door Rack in Every Room
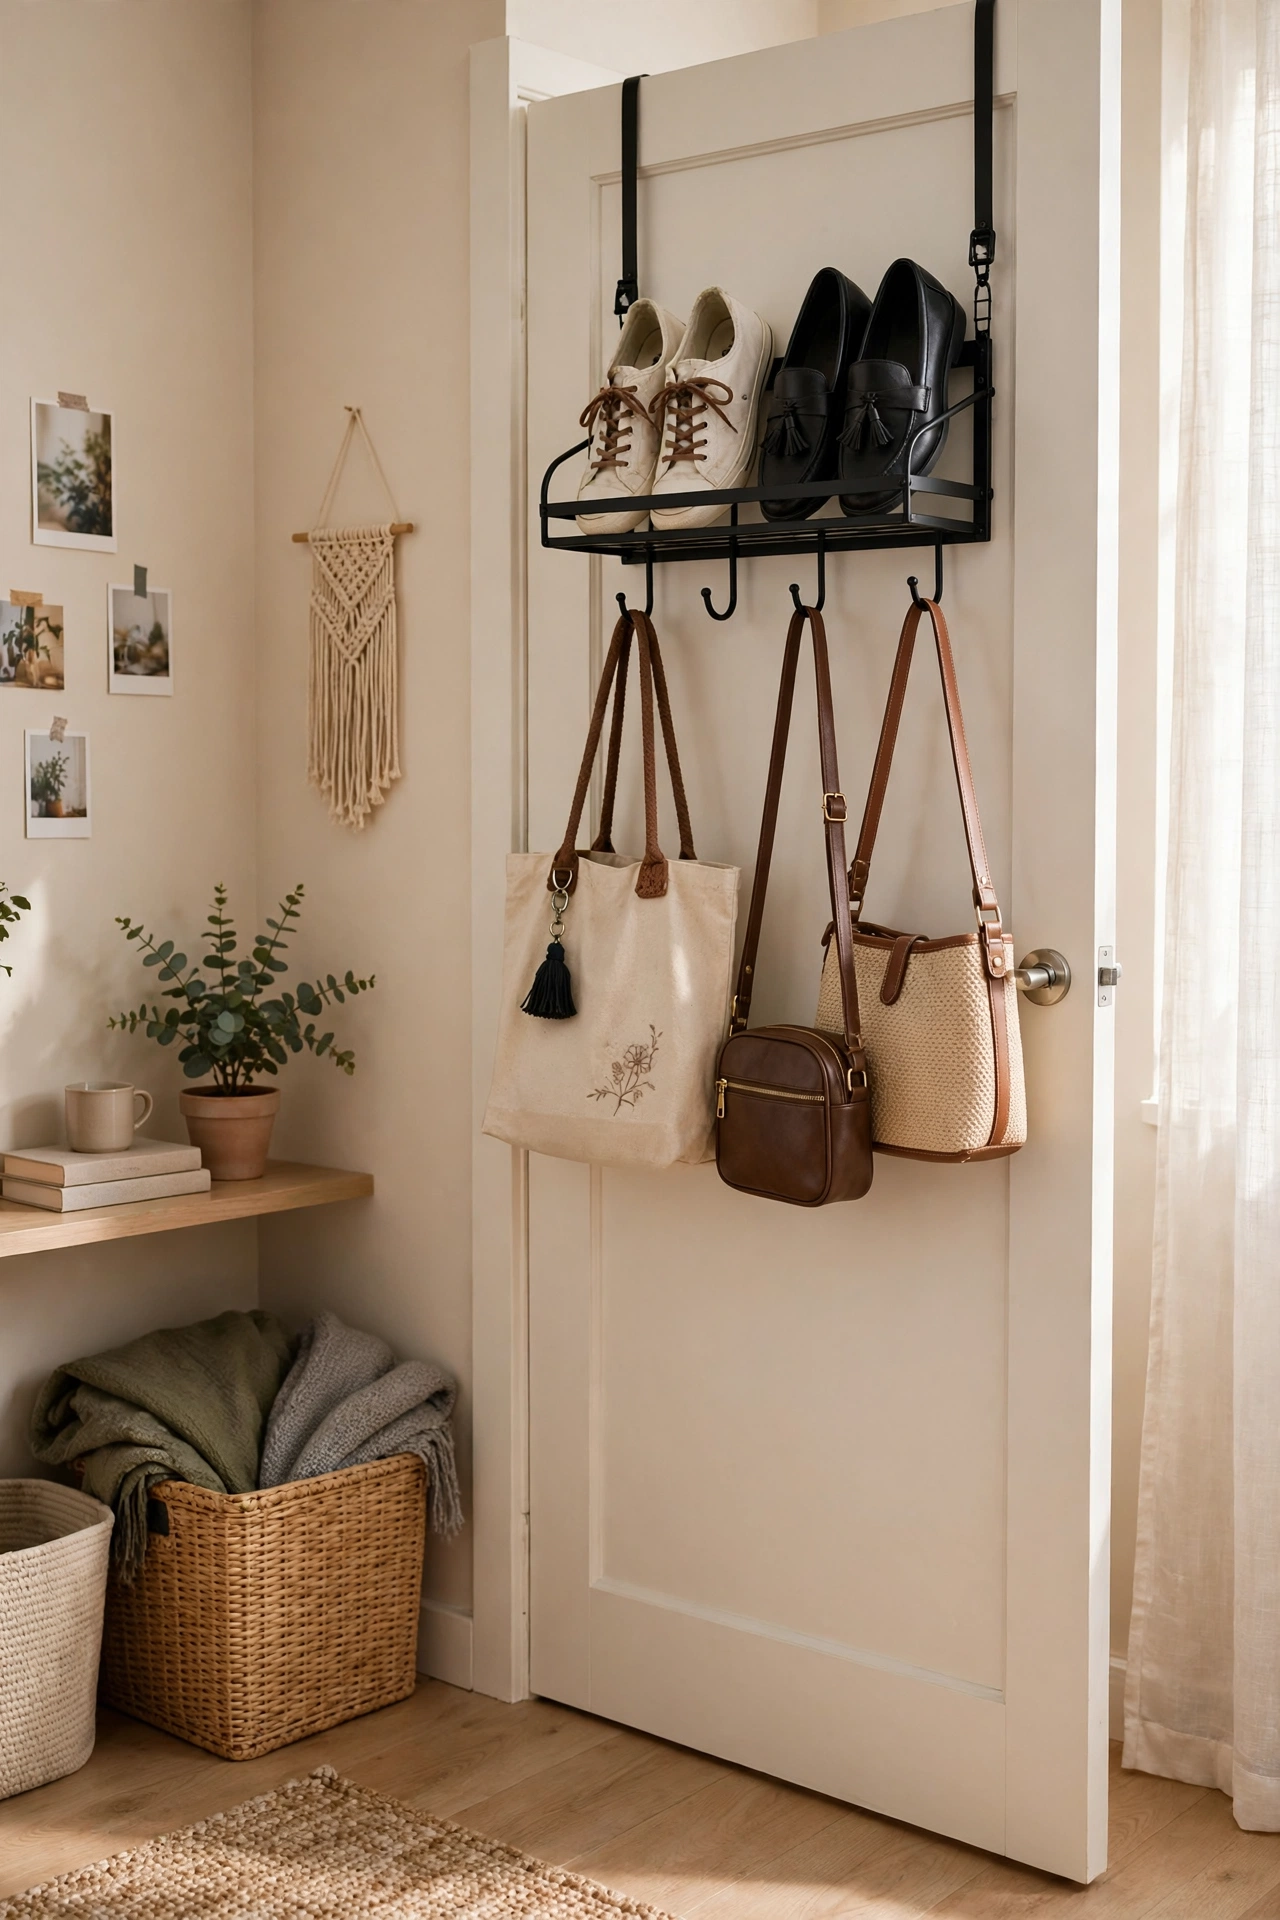
An over-the-door rack needs no drilling, costs very little, and adds a whole shelf or row of hooks to any door. Use one in the bedroom for shoes, one in the bathroom for sprays and towels, and one in the kitchen for foil and wraps. Pick racks that fit your door thickness so the door still closes properly. I tried this on my bedroom door first, and it swallowed shoes that had lived in a hallway pile for months. The mistake to avoid is hanging heavy items on a hollow door rack, because the hooks will bend and the door may not close.
Cost: ~$12 | Time: 10 minutes
7. Tall Narrow Ladder Shelf
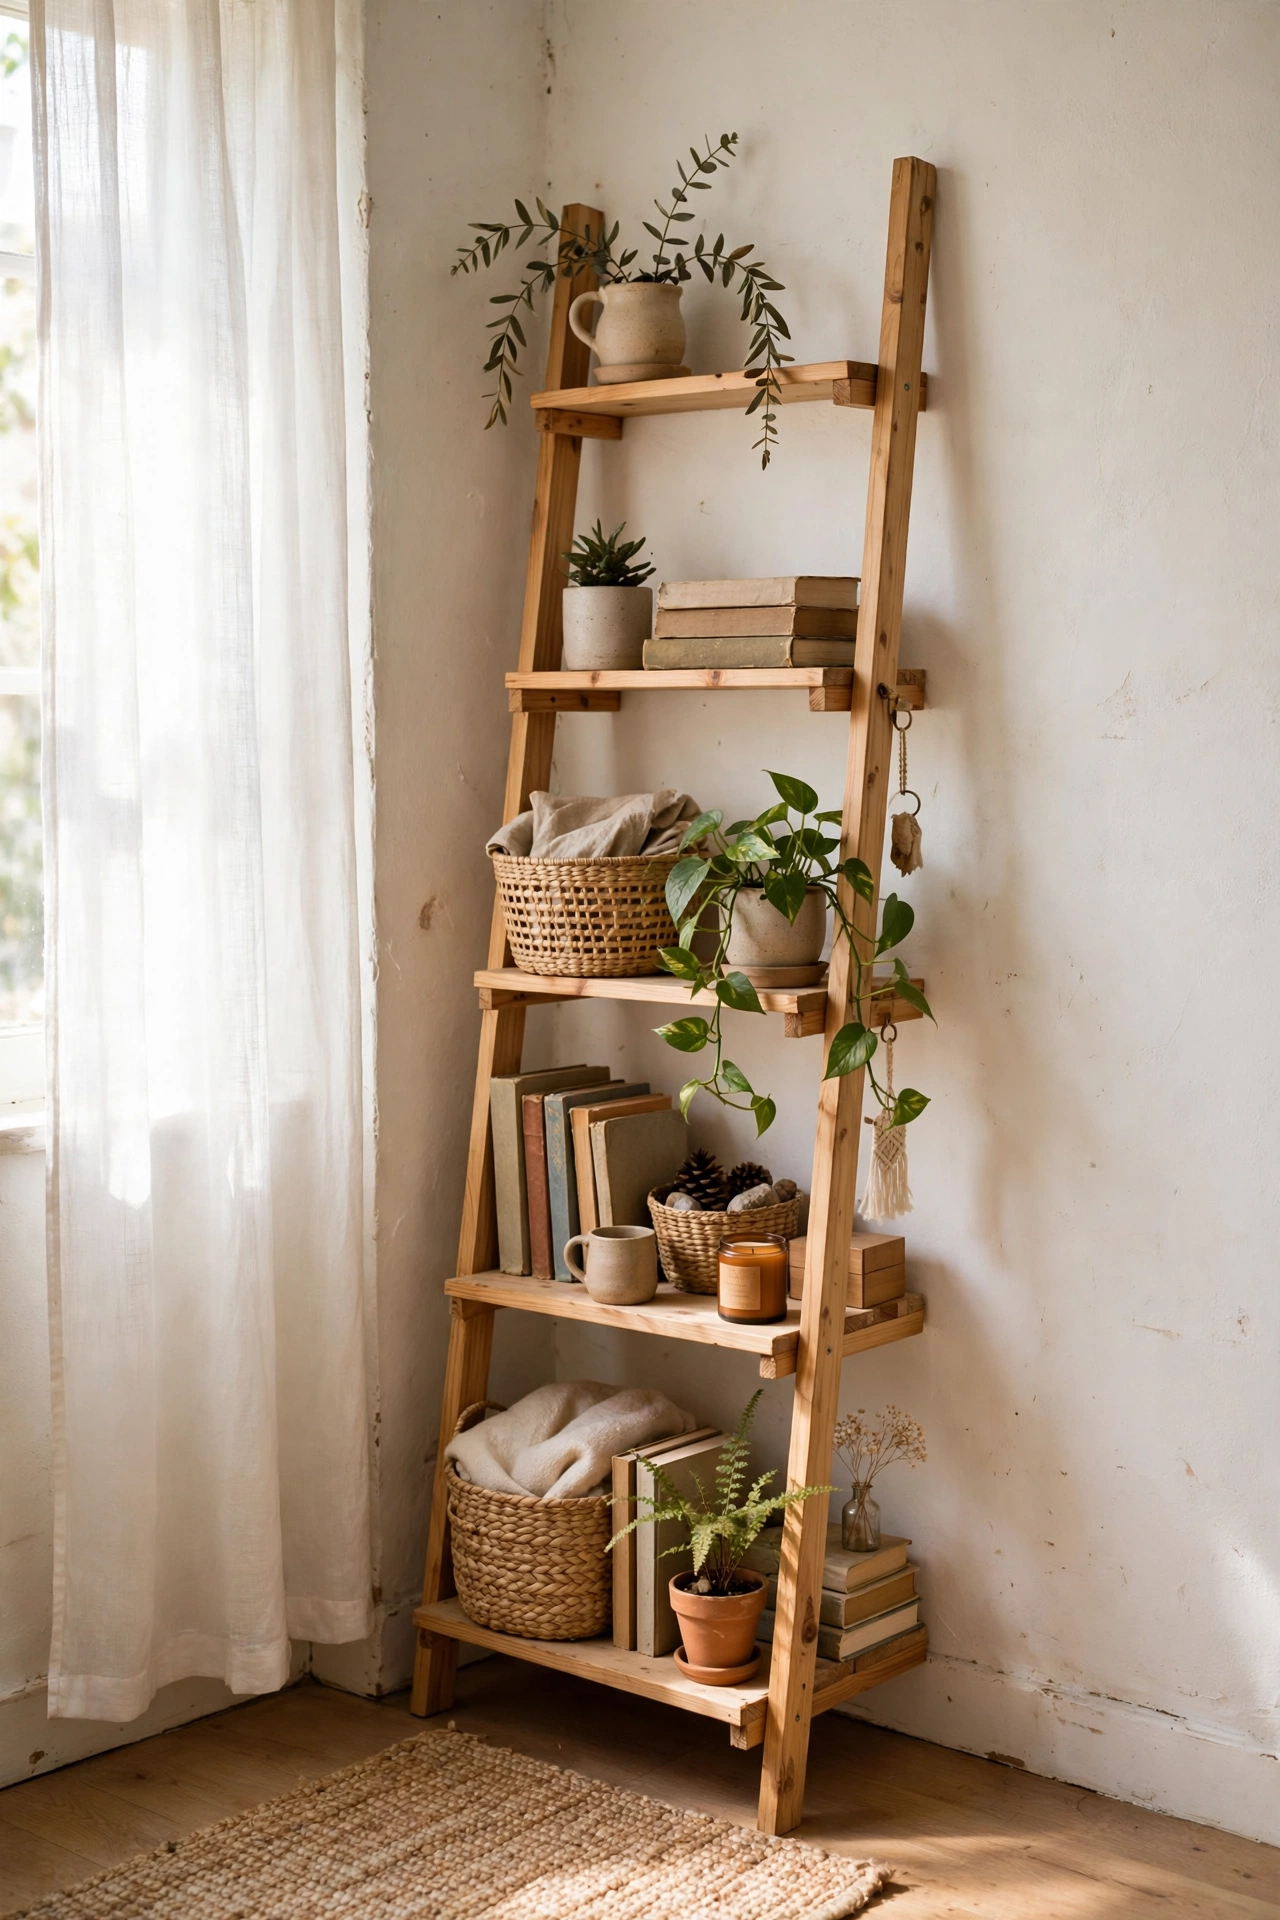
A ladder shelf leans against the wall, rises five or six tiers high, and fits corners that are too narrow for a bookcase. Put plants and books on the middle tiers, baskets on the lower tiers, and light decor up top where it is hard to reach. The open design keeps a small room feeling airy, unlike a solid cabinet that blocks light. I tried this in a bathroom corner first, and it held towels, candles, and a plant without crowding the floor. The mistake to avoid is placing it on a slippery floor with no grip pads, because a leaning shelf needs to stay put.
Cost: ~$45 | Time: 35 minutes
8. Tall Bathroom Tower Shelf
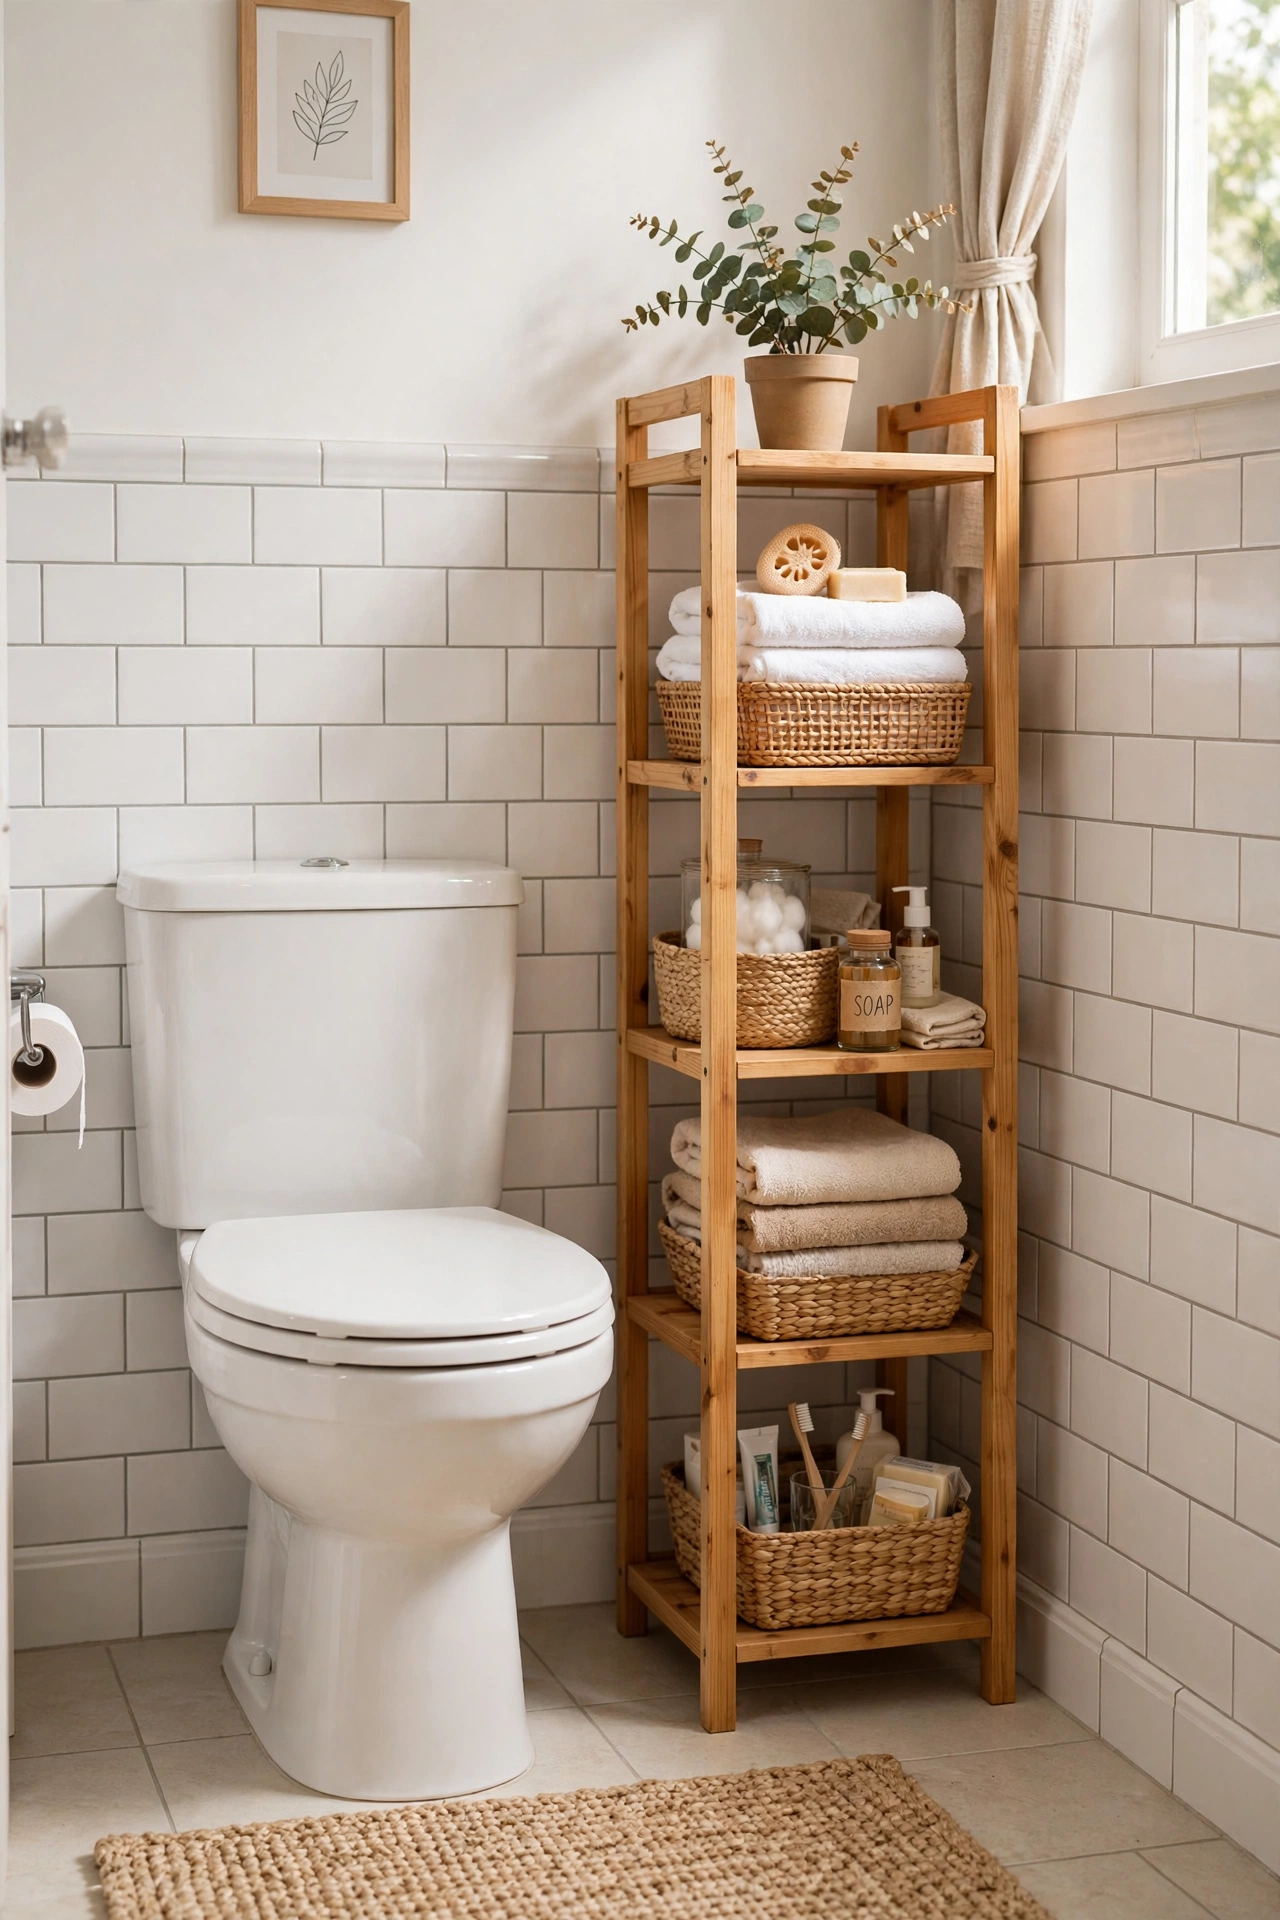
A tall narrow tower shelf beside the toilet or sink uses vertical space in the smallest room of the apartment. Stack towels on the lower shelves, toiletries in baskets on the middle shelves, and spare rolls up top. Choose a tower that fits your bathroom width with a little air on each side, so cleaning stays easy. I tried this after my bathroom counter held every bottle I owned, and clearing it made mornings calmer. The mistake to avoid is a tower made of raw wood in a steamy bathroom, because it will warp unless it is sealed.
Cost: ~$38 | Time: 30 minutes
9. Wall-Mounted Shoe Rail Near the Ceiling
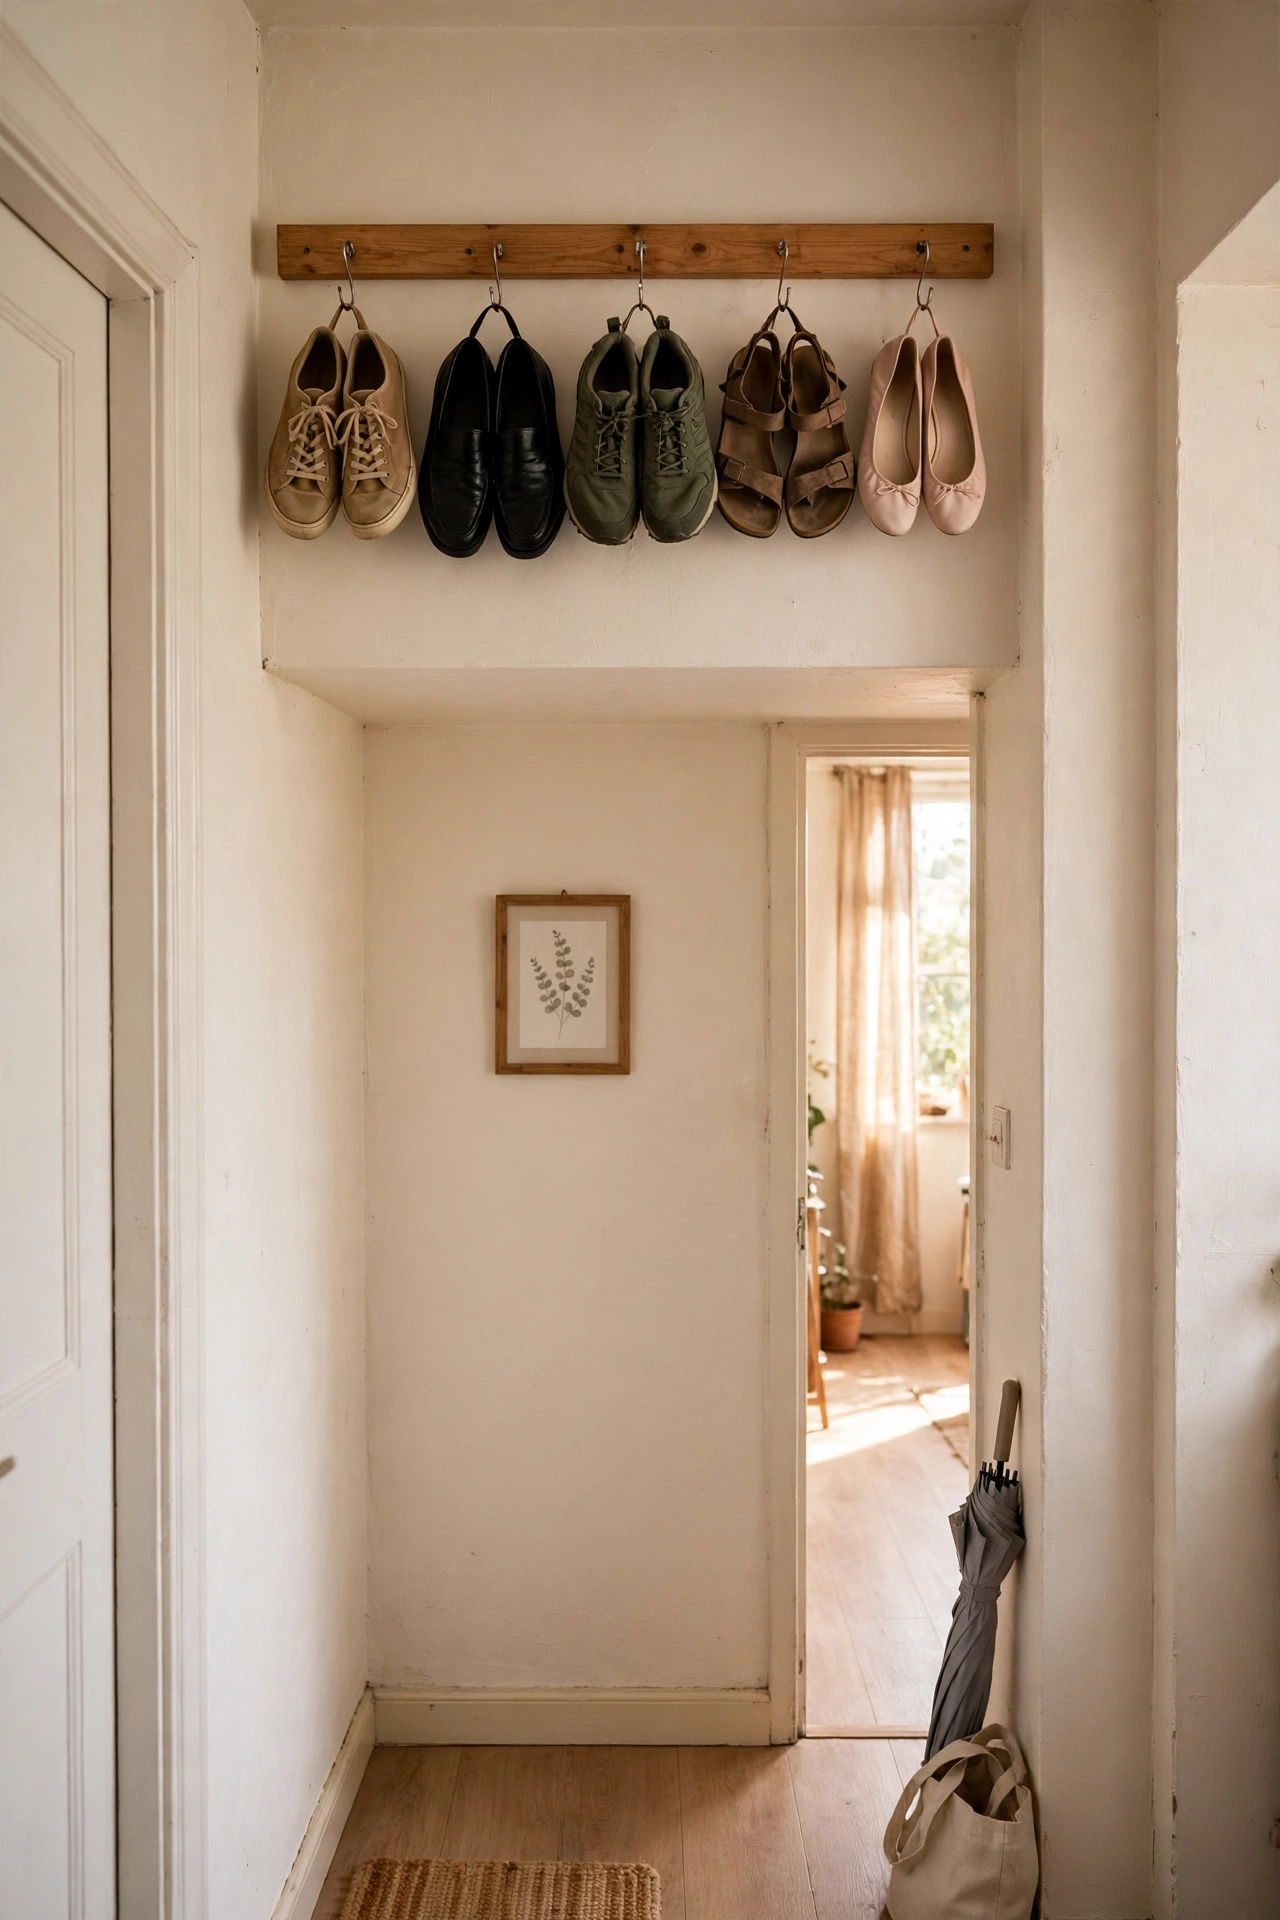
A shoe rail fixed high on a hallway or bedroom wall stores pairs you wear less often, like boots and dress shoes, up where they are out of the way. Use a simple rail or a row of strong hooks, hang shoes by their heels, and keep daily shoes by the door instead. This frees closet floor space for bags and boxes that are harder to hang. I tried this for winter boots in a studio with no closet, and the hallway finally stayed clear. The mistake to avoid is hanging muddy shoes above clean clothes, so keep this rail away from the wardrobe.
Cost: ~$18 | Time: 35 minutes
10. Hanging Closet Shelves That Double Your Rod
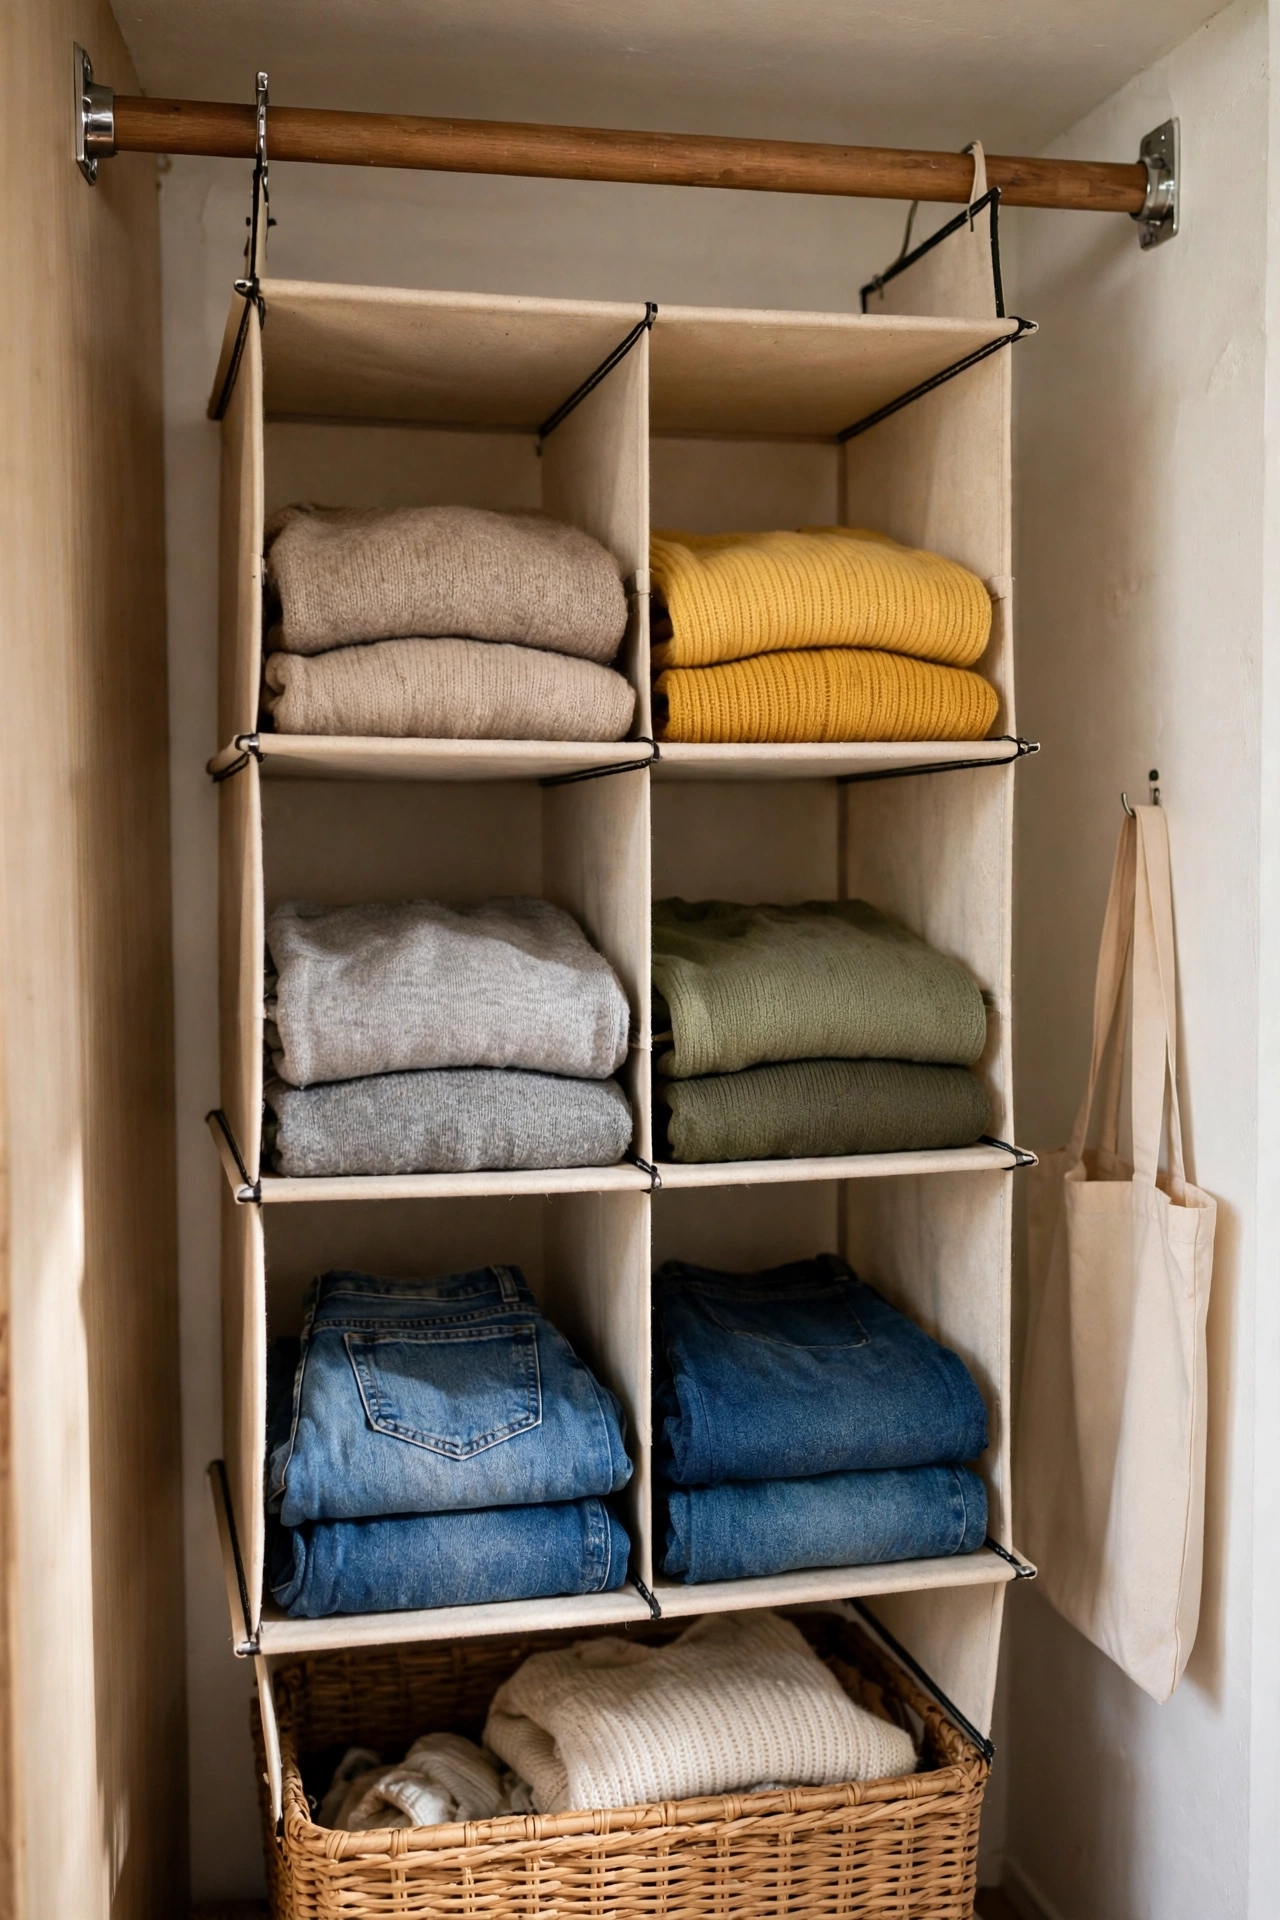
Hanging fabric shelves that hook over a closet rod add five shelves to a closet without any tools. Fold sweaters, jeans, and T-shirts into the compartments, put shoes in the bottom section, and keep a small bin on one shelf for accessories. This works best in closets with a long rod and empty air below the hanging clothes. I tried this after my closet floor became a mountain of folded clothes, and the shelves turned that mountain into neat stacks. The mistake to avoid is stuffing each shelf so full it sags, because sagging shelves hide everything below them.
Cost: ~$15 | Time: 15 minutes
(see also: 23-small-closet-organization-with-dollar-store-finds)
High, Hidden, and Hanging Storage
11. Ceiling-Hung Pot Rail in the Kitchen
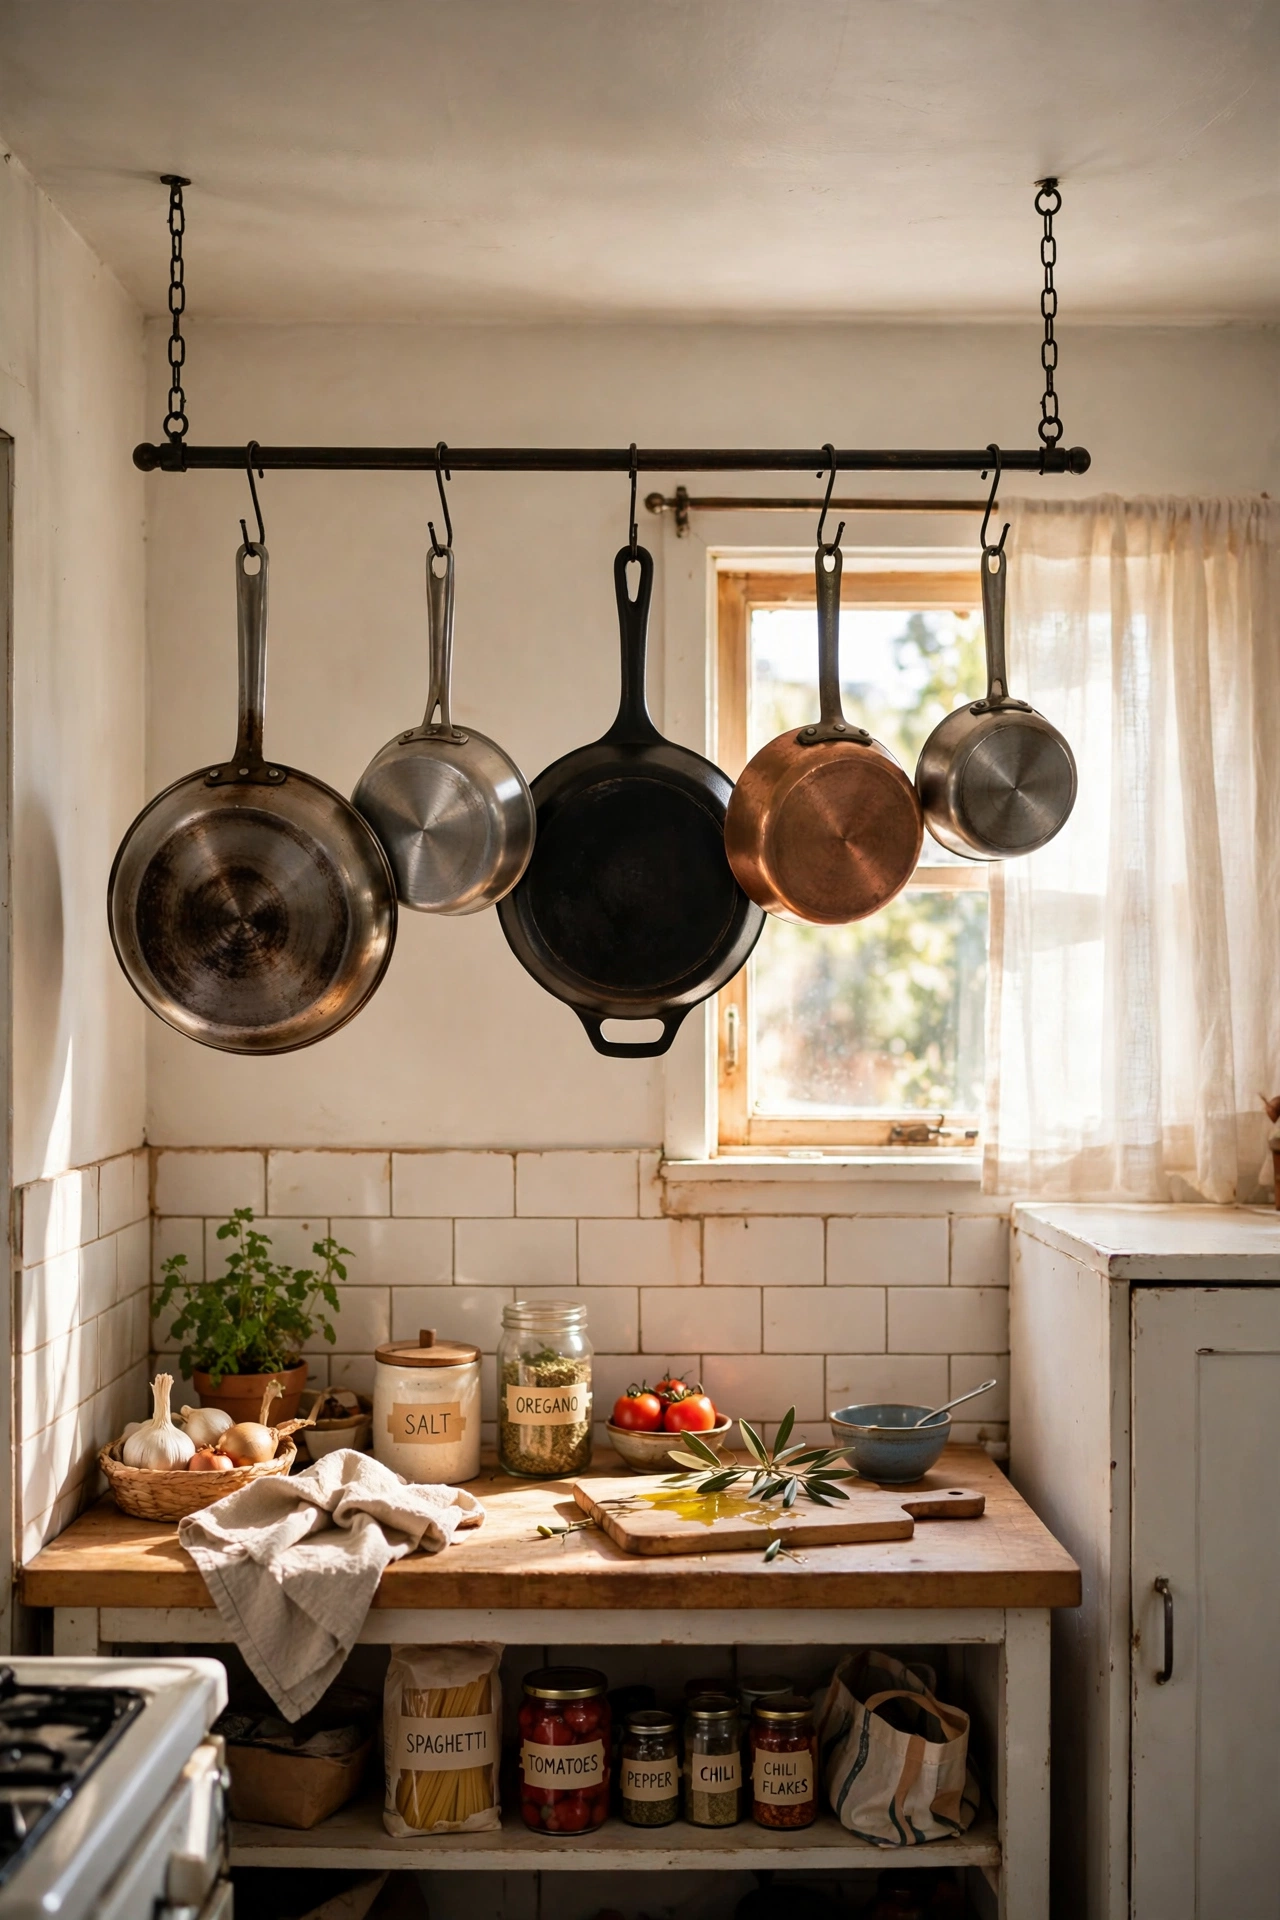
A pot rail hung from the ceiling frees a whole cabinet and puts pans where you can grab them while cooking. Fix the rail into ceiling joists, not just plaster, hang pans by their handles, and keep the heaviest pans nearest the wall brackets. A rail over an island or a counter works best, so drips land on a surface you can wipe. I tried this after my pans lived in a deep cabinet I dreaded opening, and cooking became quicker overnight. The mistake to avoid is hanging the rail too low, because tall cooks will bump their heads constantly.
Cost: ~$32 | Time: 50 minutes
12. Stackable Bins Rising to the Ceiling
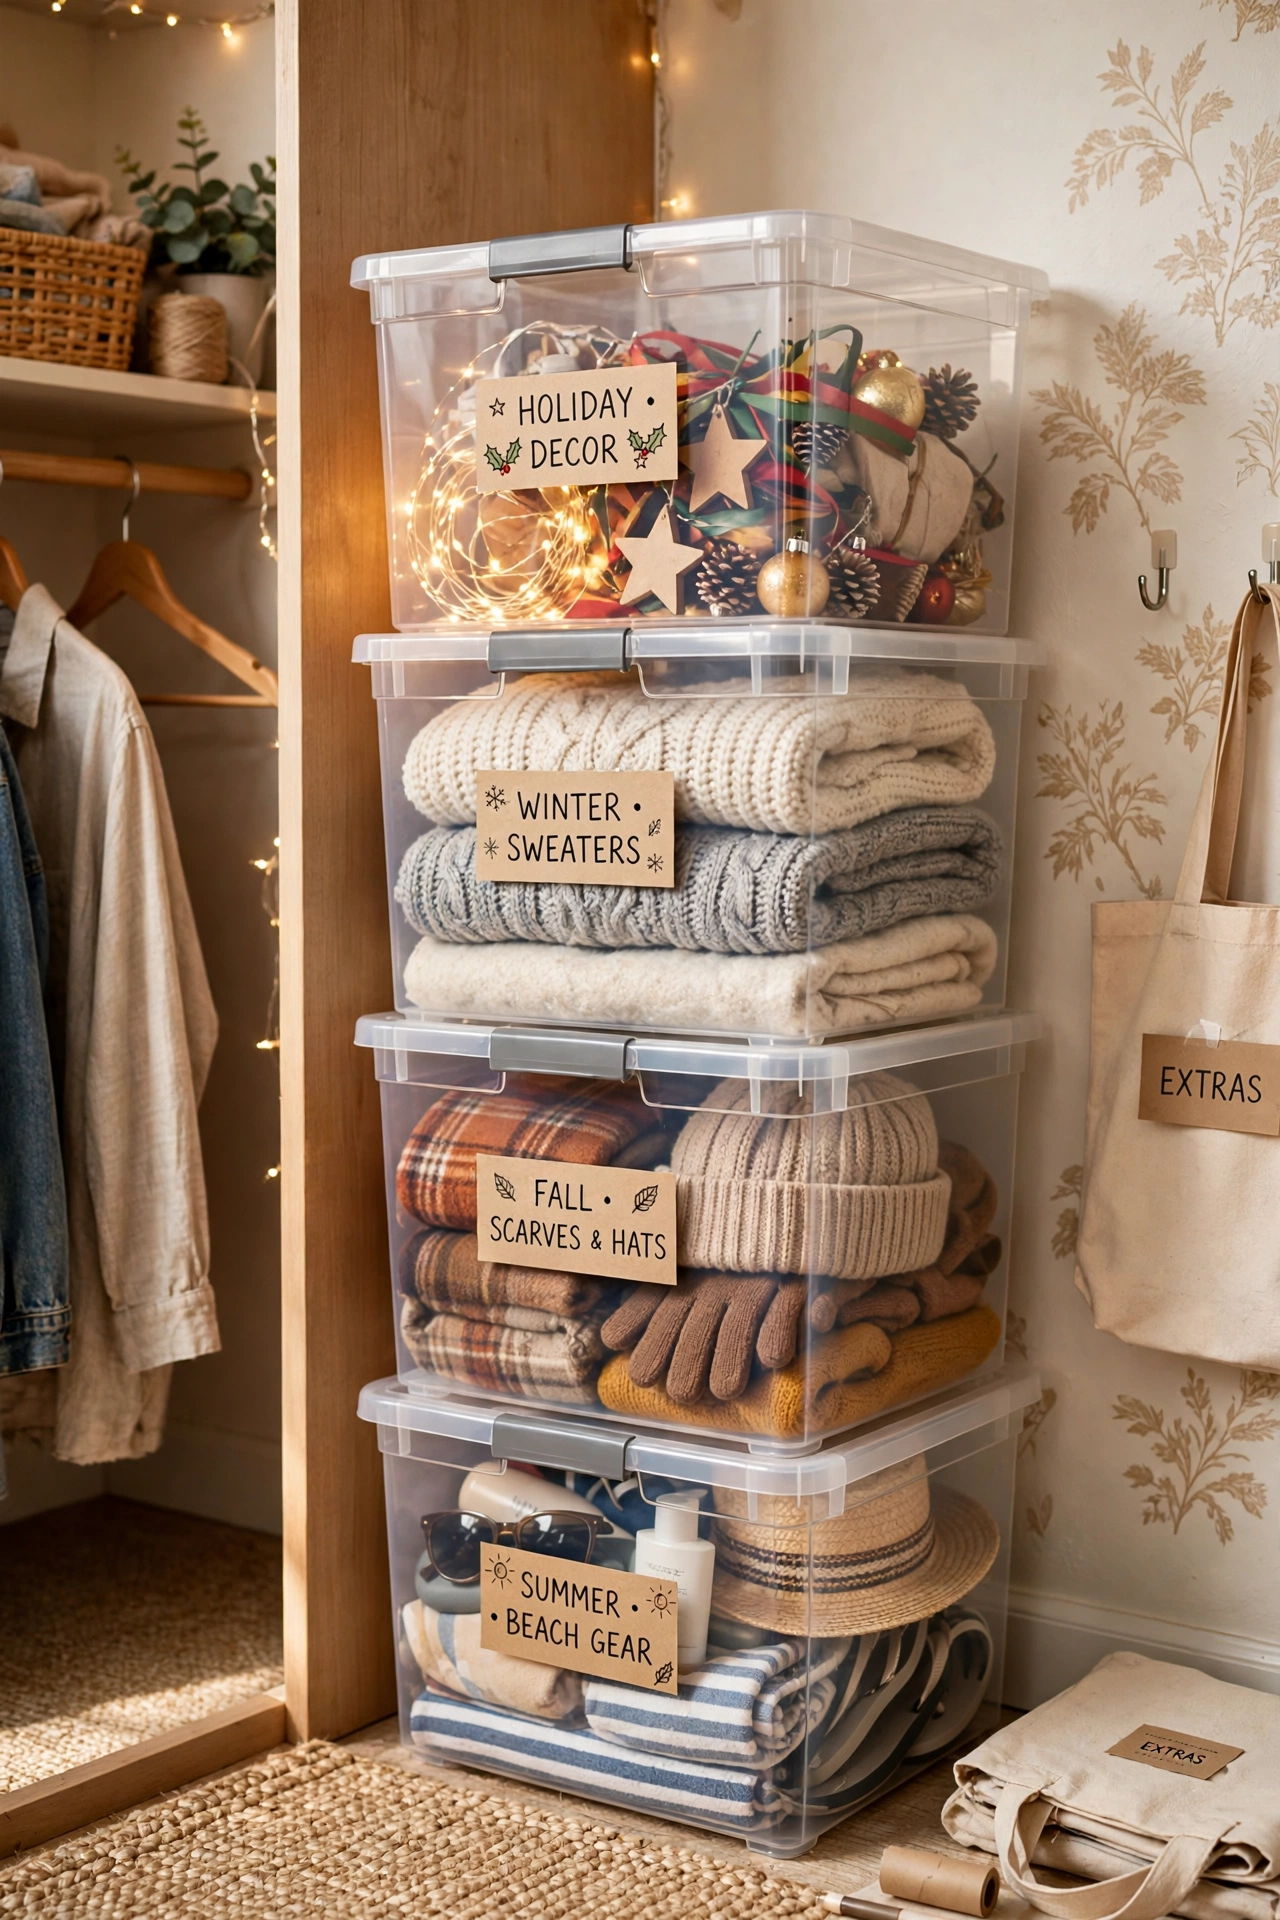
Stackable bins in a closet or a utility corner turn a pile into a tower you can actually use. Label each bin by contents and season, put the bins you need most at waist height, and store out-of-season items at the top. Clear bins help because you can see what is inside without pulling the whole tower apart. I tried this for craft supplies and winter gear, and finding anything went from a dig to a glance. The mistake to avoid is stacking bins higher than you can safely reach, because the top bin will fall on you eventually.
Cost: ~$28 | Time: 30 minutes
13. Tension-Rod Tiers Inside a Cabinet
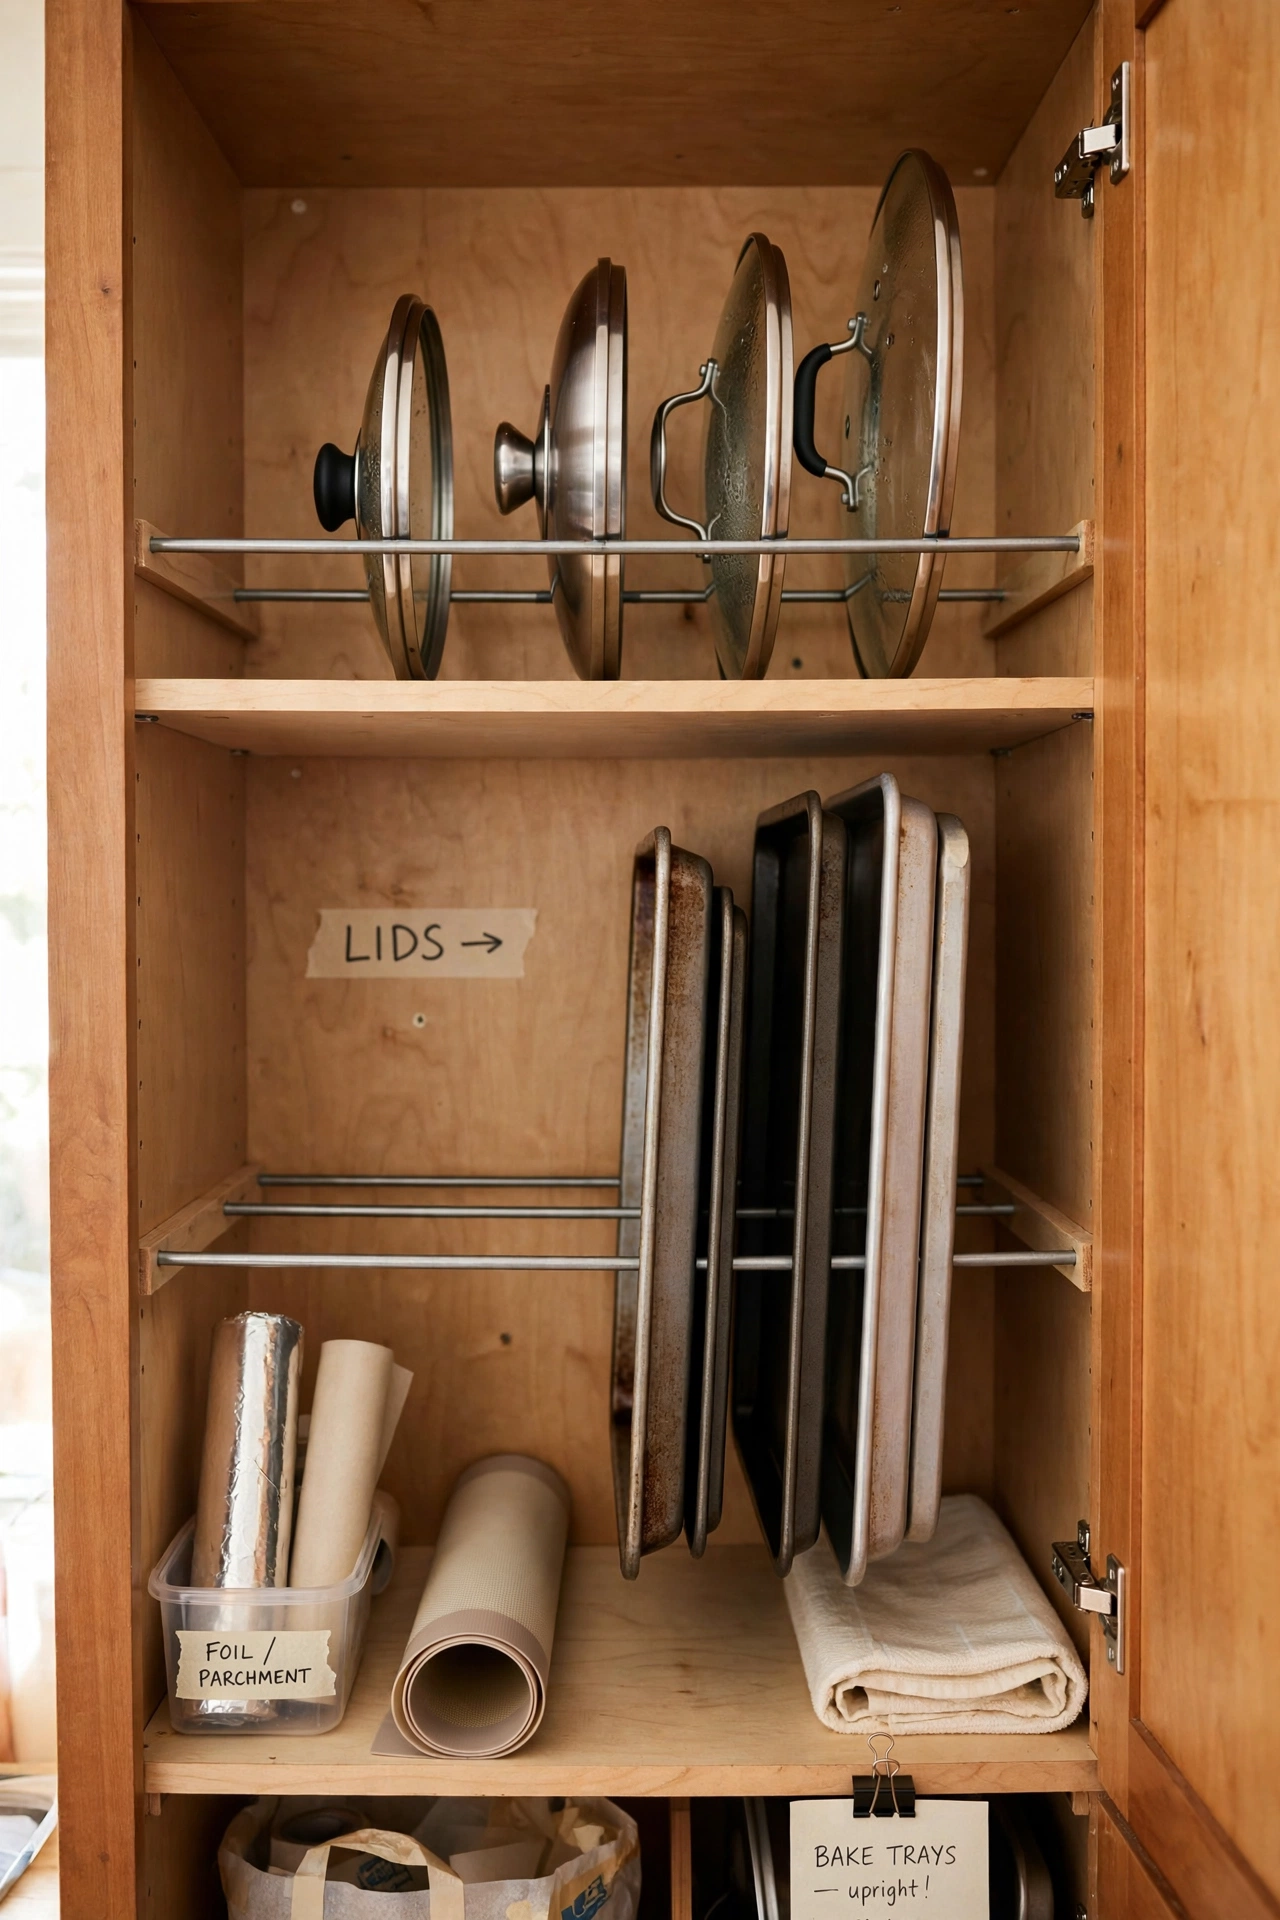
Tension rods fixed vertically or horizontally inside a cabinet create extra tiers for lids, cutting boards, and baking trays. Slide rods into place to divide the space, stand boards upright between them, and keep lids in a row instead of a jumbled pile. This trick costs almost nothing, needs no drilling, and works in kitchens and bathrooms alike. I tried this under my sink after years of lid avalanches, and the cabinet finally opens without anything falling out. The mistake to avoid is rods that are too loose, so test them with a firm tug before you load them.
Cost: ~$10 | Time: 20 minutes
14. Adhesive Hook Row Near the Ceiling
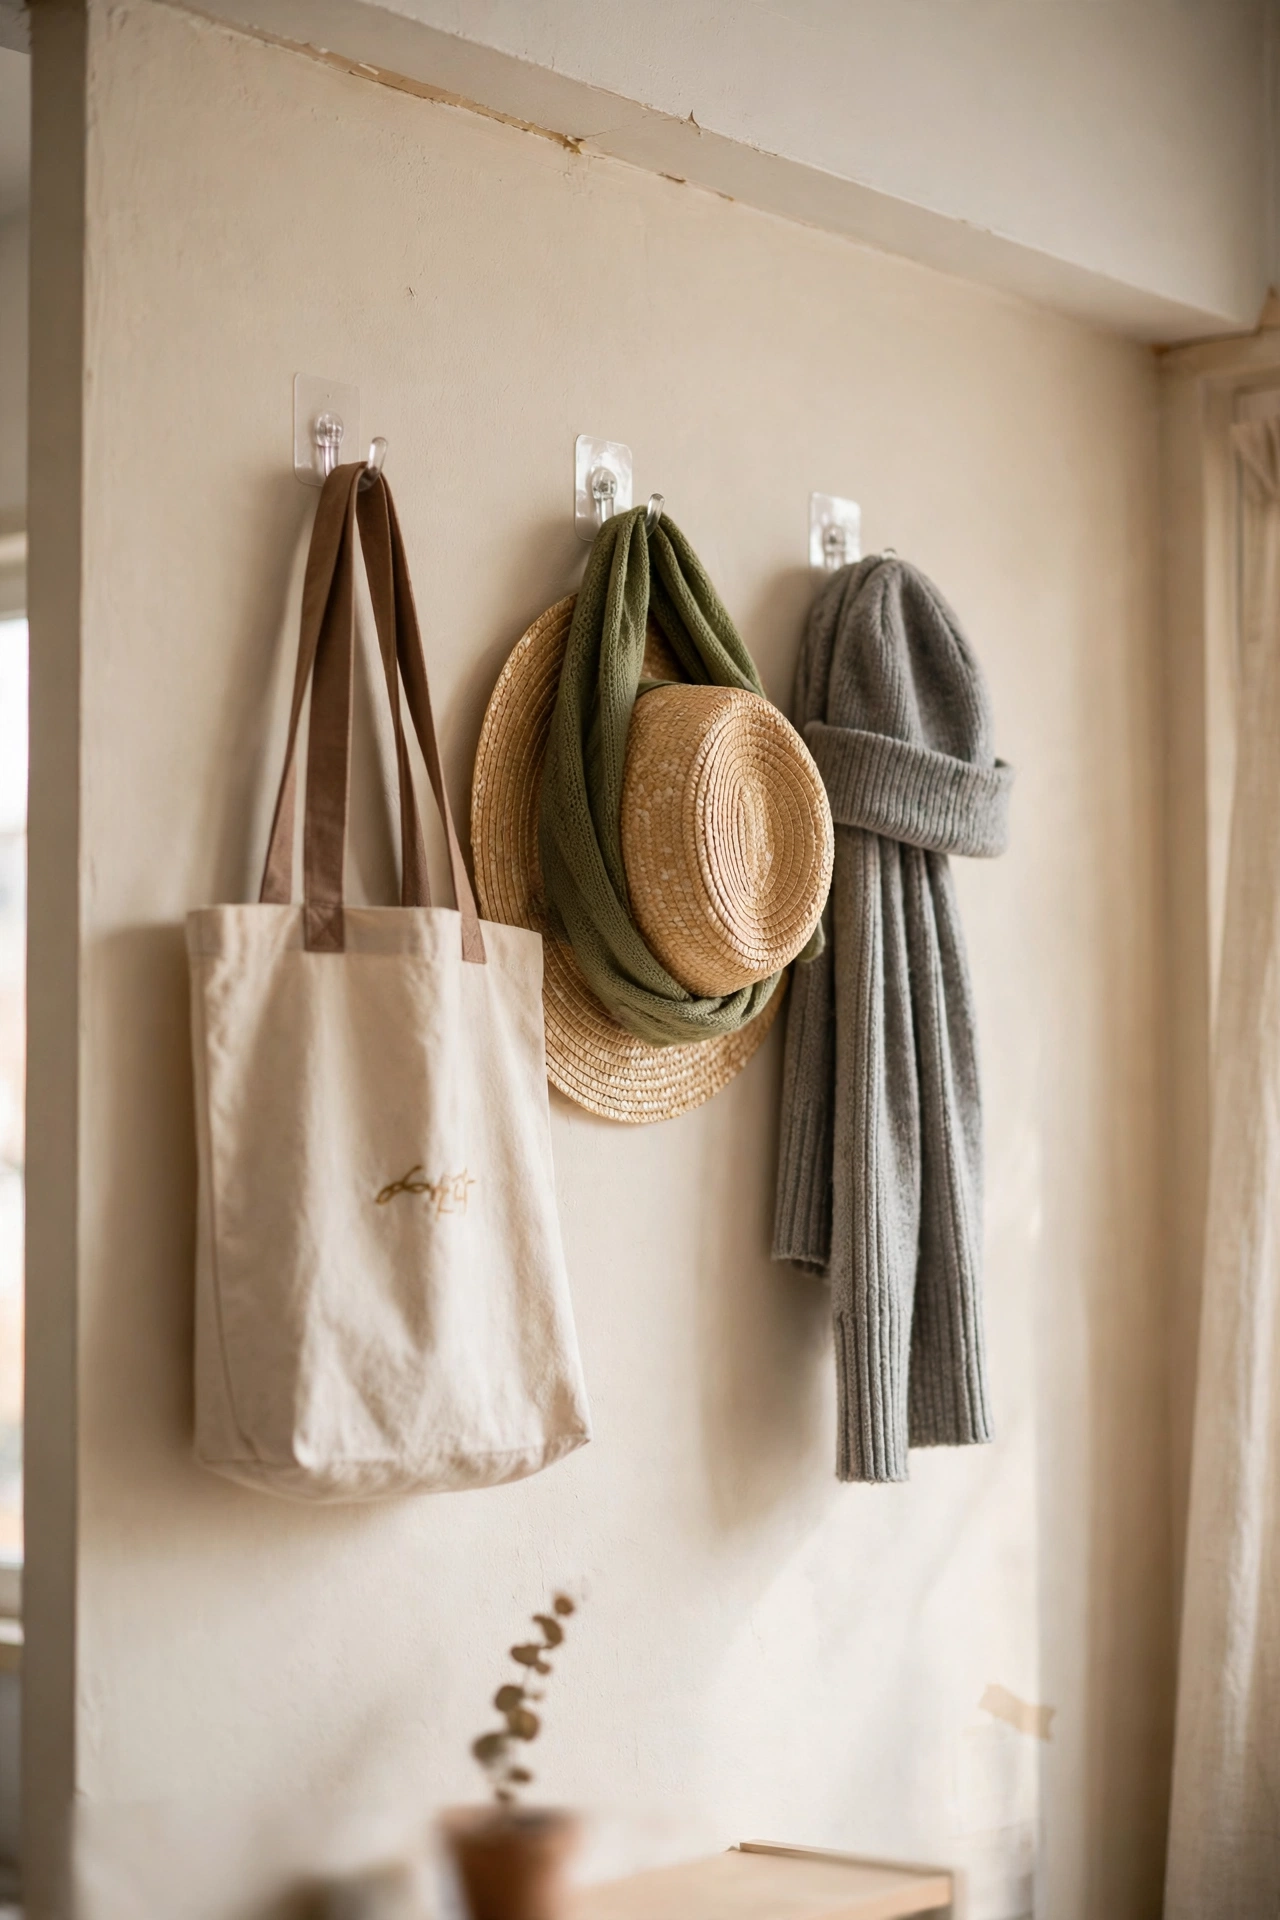
A row of strong adhesive hooks fixed high on a wall holds bags, hats, scarves, and tote bags that otherwise eat closet space. Space the hooks a hand-width apart, keep heavy bags on the end hooks nearest the wall studs if possible, and rotate seasonal items to the front. This is renter-friendly storage that peels off cleanly when you move, which matters in a tiny apartment. I tried this above my desk for tote bags, and five bags vanished from my chair in one afternoon. The mistake to avoid is cheap hooks on textured walls, because they peel off and drop everything overnight.
Cost: ~$8 | Time: 15 minutes
15. Above-Door Shelf Ledge
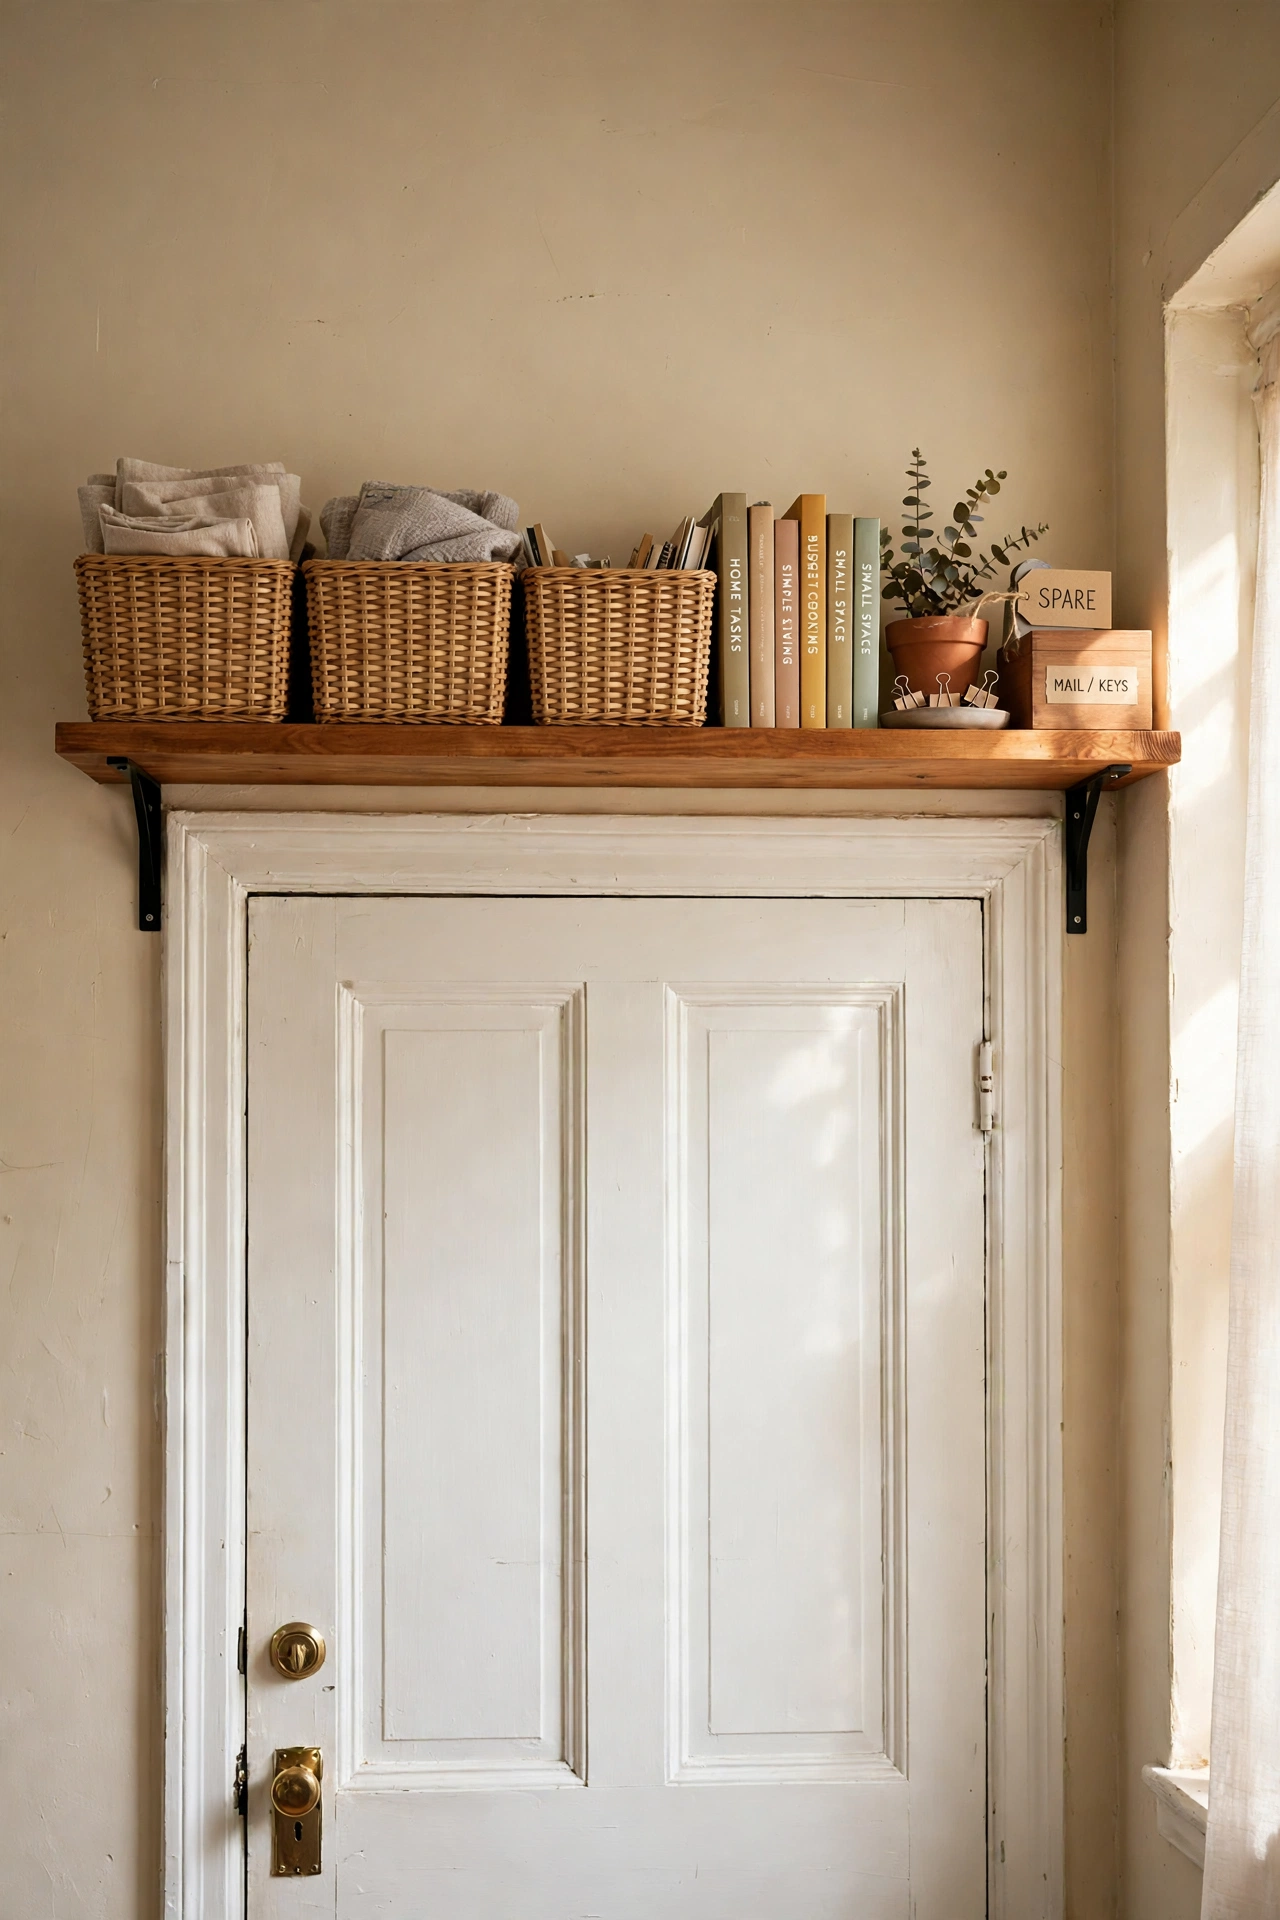
The space above a door is almost always empty, and a single shelf there holds books, baskets, or out-of-season gear beautifully. Fix a sturdy shelf above an interior door, use matching baskets so the display looks tidy, and keep only light items up there for safety. This shelf works best for things you need a few times a year, not daily items you will climb for constantly. I tried this above my bedroom door for photo boxes, and a dead strip of wall became real storage. Save this idea if your walls are full but your doorways still have air above them, because that air is free.
Cost: ~$22 | Time: 40 minutes
Look up, then look at your walls with fresh eyes, because tiny apartments rarely lack space, they just lack shelves in the right places. Start with the cheapest wins, add one tall piece at a time, and keep anything heavy low and anything light high. Your floor will thank you, and so will your future self on moving day.
