21 Curtain Ideas for the Living Room on a Tight Budget
Consider this my go-to curtain ideas living room list: 21 ways to dress your windows for less. Curtains are the most underrated budget upgrade in the home — they add height, softness, color, and privacy for less than almost any other change. Every idea below works on a tight budget: clever ways to hang, affordable sources for panels that don’t look cheap, and DIY tricks that read custom. Most cost under $20 per window, and each one makes the room feel more finished.
You’ll find ideas covering everything: how high to hang, where to buy, no-sew fixes, renter-friendly rods, and dye and stencil projects. Each one includes the real cost per window and the mistake to avoid. Measure your windows before you shop, pick two or three ideas that fit your style, and here’s how to dress your windows without draining your wallet. I’ve used nearly all of these in my own home, so the advice comes from real windows, not theory.
1. Hang Them High and Wide
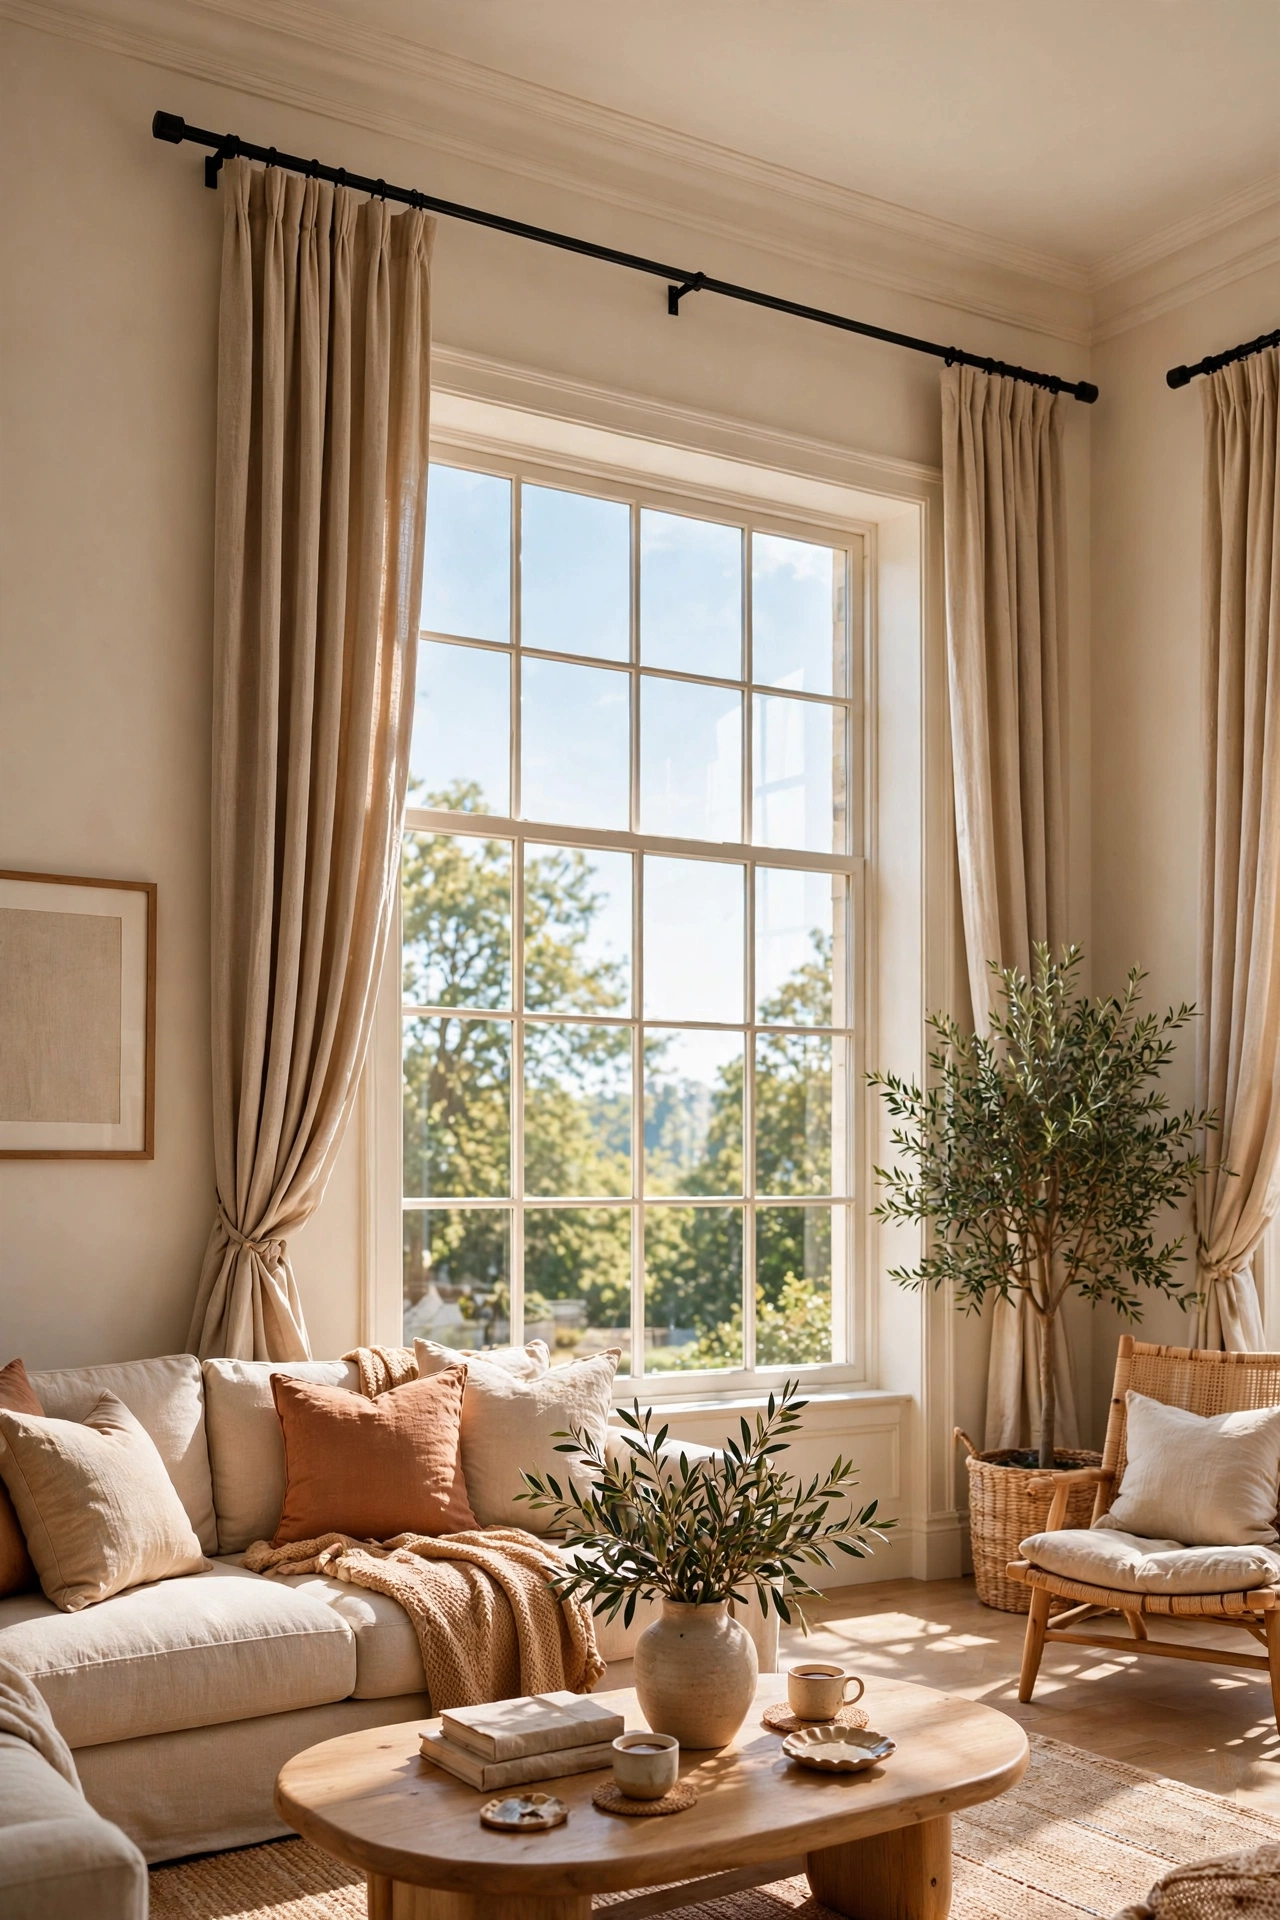
The cheapest curtain trick is free: mount the rod 4-6 inches above the frame and 6-10 inches wider on each side. I did this with my existing curtains and my standard windows looked twice as grand overnight. The curtains cover wall instead of glass, so more light comes in. Pro Tip: use a level when mounting. A crooked rod ruins the illusion instantly, and it’s the one detail everyone notices. I marked my drill spots with painter’s tape — it prevents wall chips too.
2. IKEA RITVA Curtains
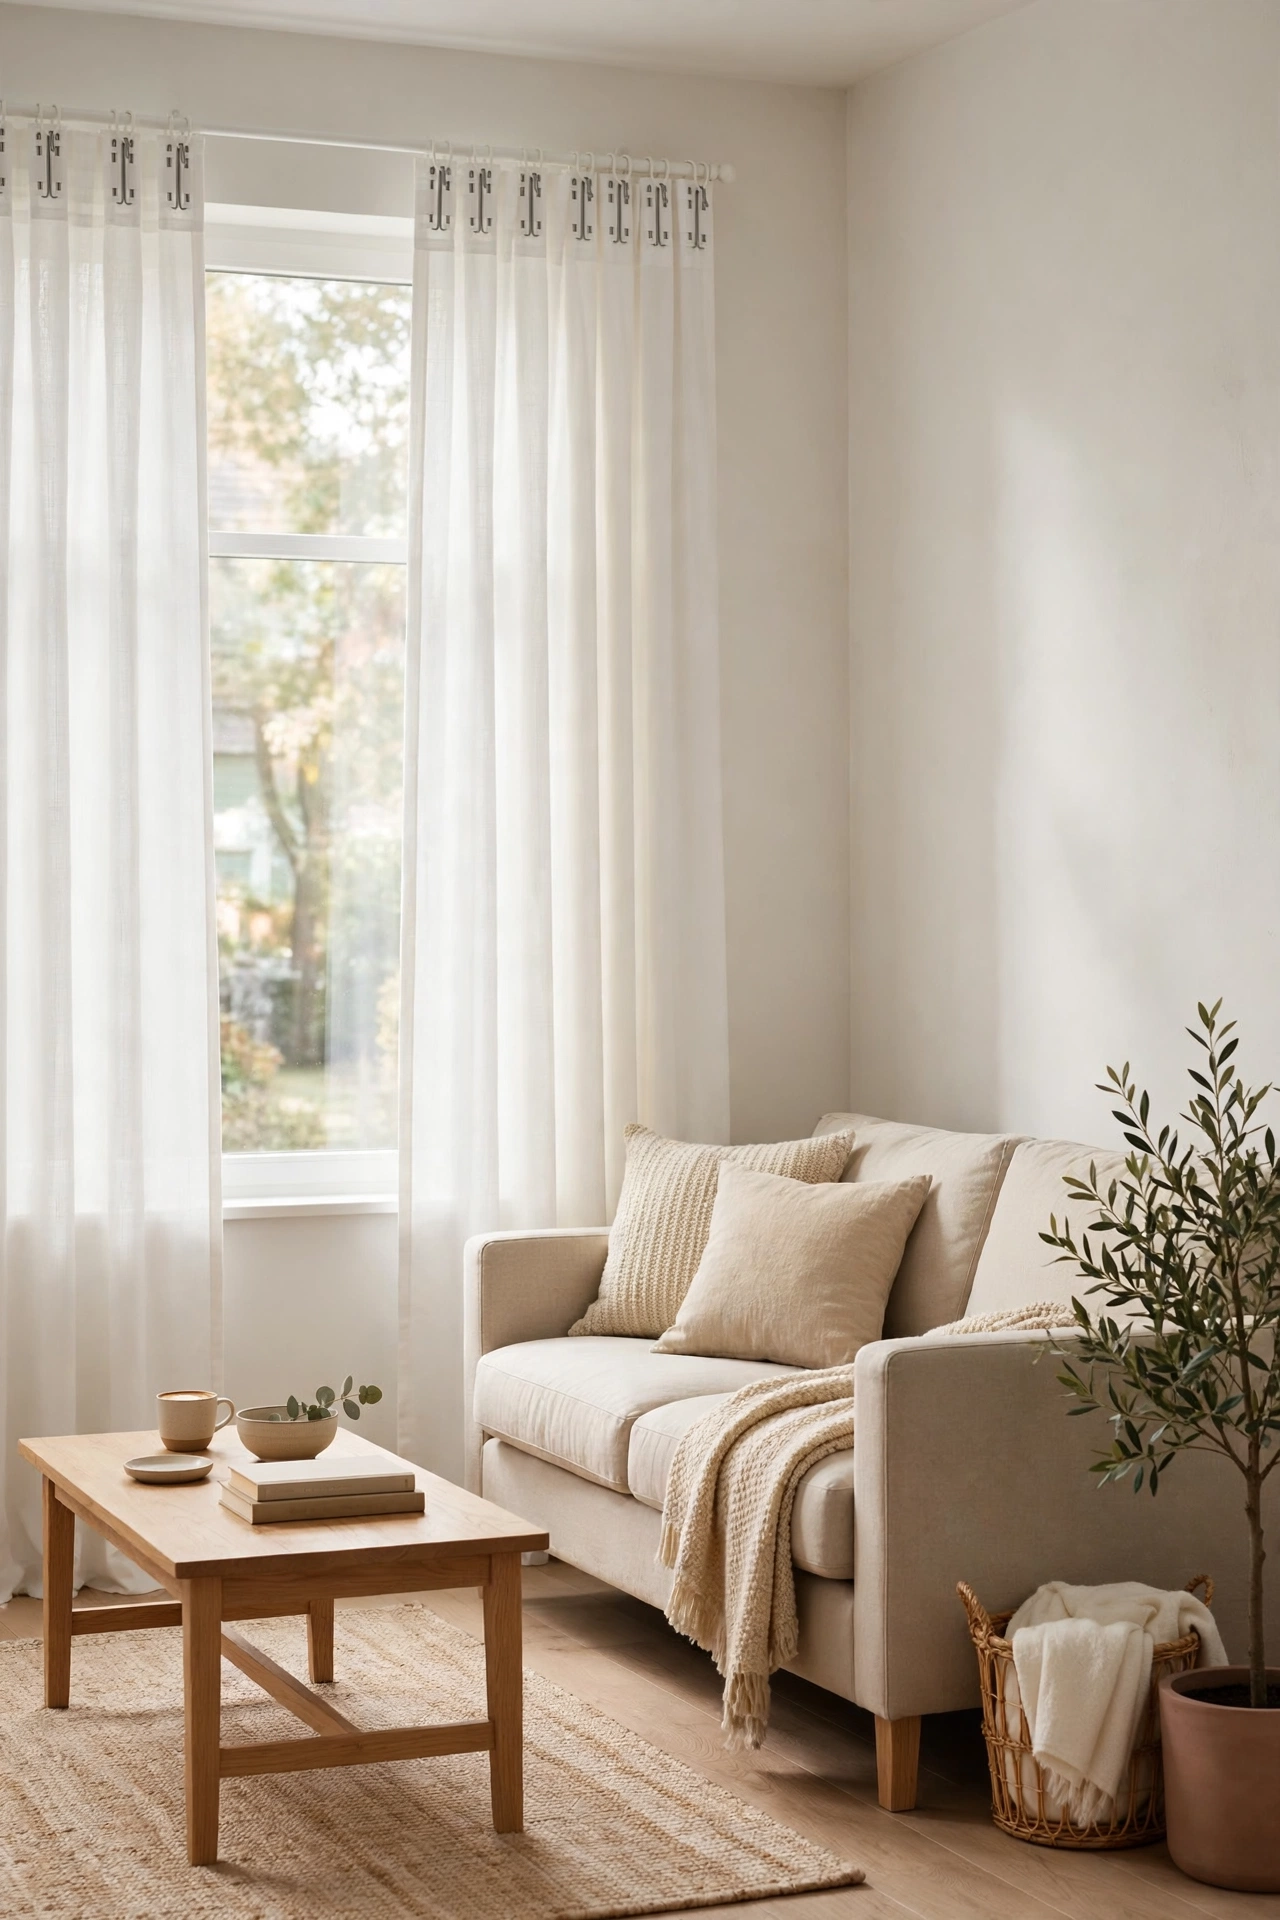
IKEA’s RITVA curtains cost about $13 a pair, come in white and natural, and look far more expensive once hemmed to the right length. I have them in three rooms — they’re the budget decorator’s secret weapon. They wrinkle out of the package, so wash and hang them damp. Mistake to avoid: don’t skip hemming. Pooling or high-water RITVAs look cheap; hemmed to just kiss the floor, they look custom. I buy the 98-inch length — extra fabric gives a more luxurious gather.
3. Drop Cloth Curtains

Canvas drop cloths from the hardware store ($12-15 each) make fantastic curtains with a natural linen look. I clipped two to rings with curtain clips, and they hang with beautiful weight and texture. Wash them first — they’re stiff out of the package and smell like a warehouse. Pro Tip: the 6×9 foot size fits most windows perfectly. Bigger sizes work for wide sliders; measure before you buy. I chose the 8-ounce weight — lighter ones hang limp, heavier ones overwhelm.
4. Double Up Panels for Fullness
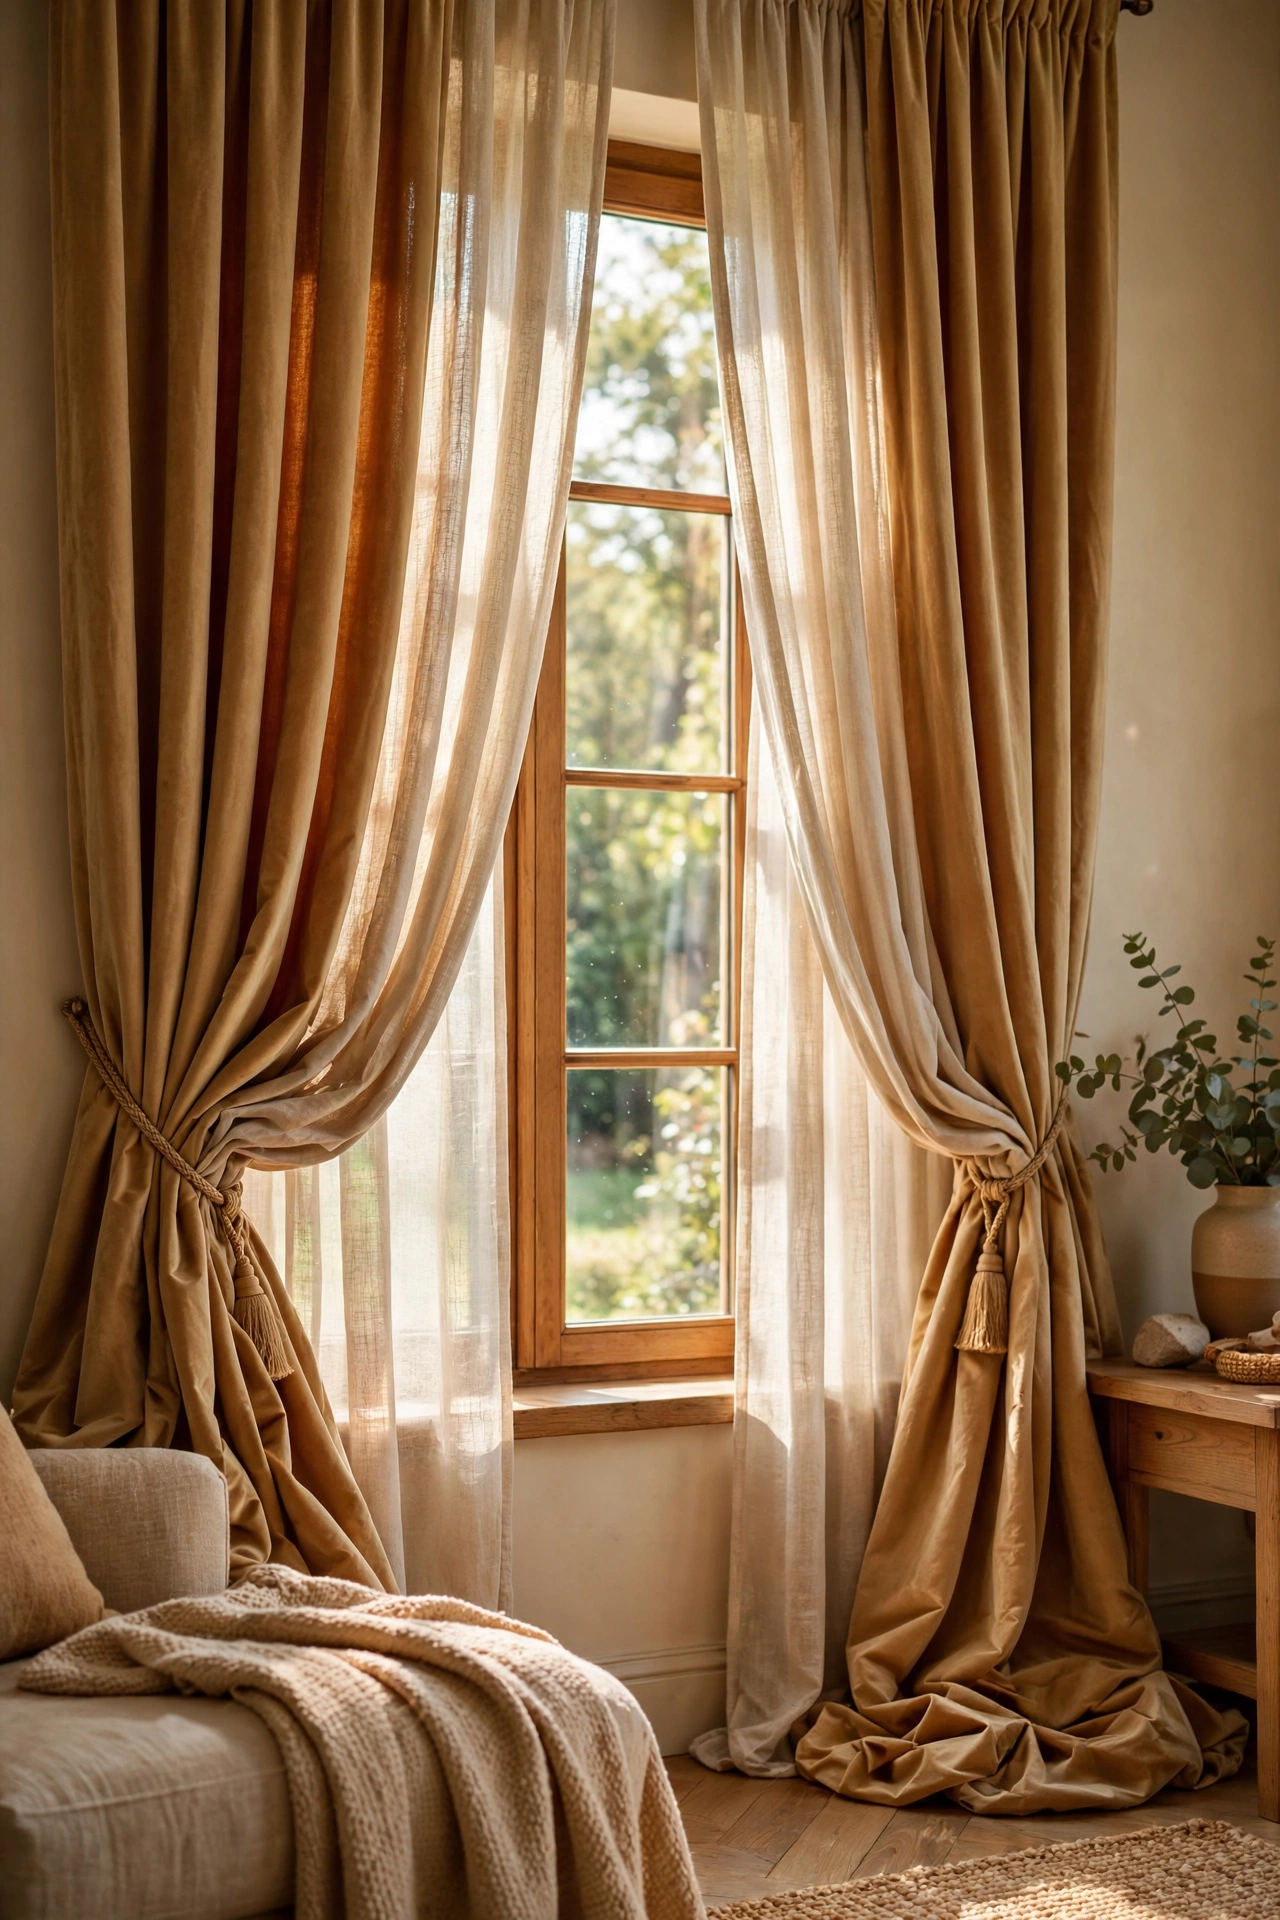
Skimpy curtains look cheap; full curtains look expensive. The fix is doubling: use two panels per side instead of one. I bought four $7 panels instead of two, and the gathered fullness looks luxurious. This works with any cheap curtain — fullness hides thin fabric. Mistake to avoid: don’t double up on a rod that’s too short. You need the extra width; otherwise the doubled panels just cover the glass and block light. I safety-pin the extra panels together at the back — they move as one.
5. Thrifted Curtains Plus Dye
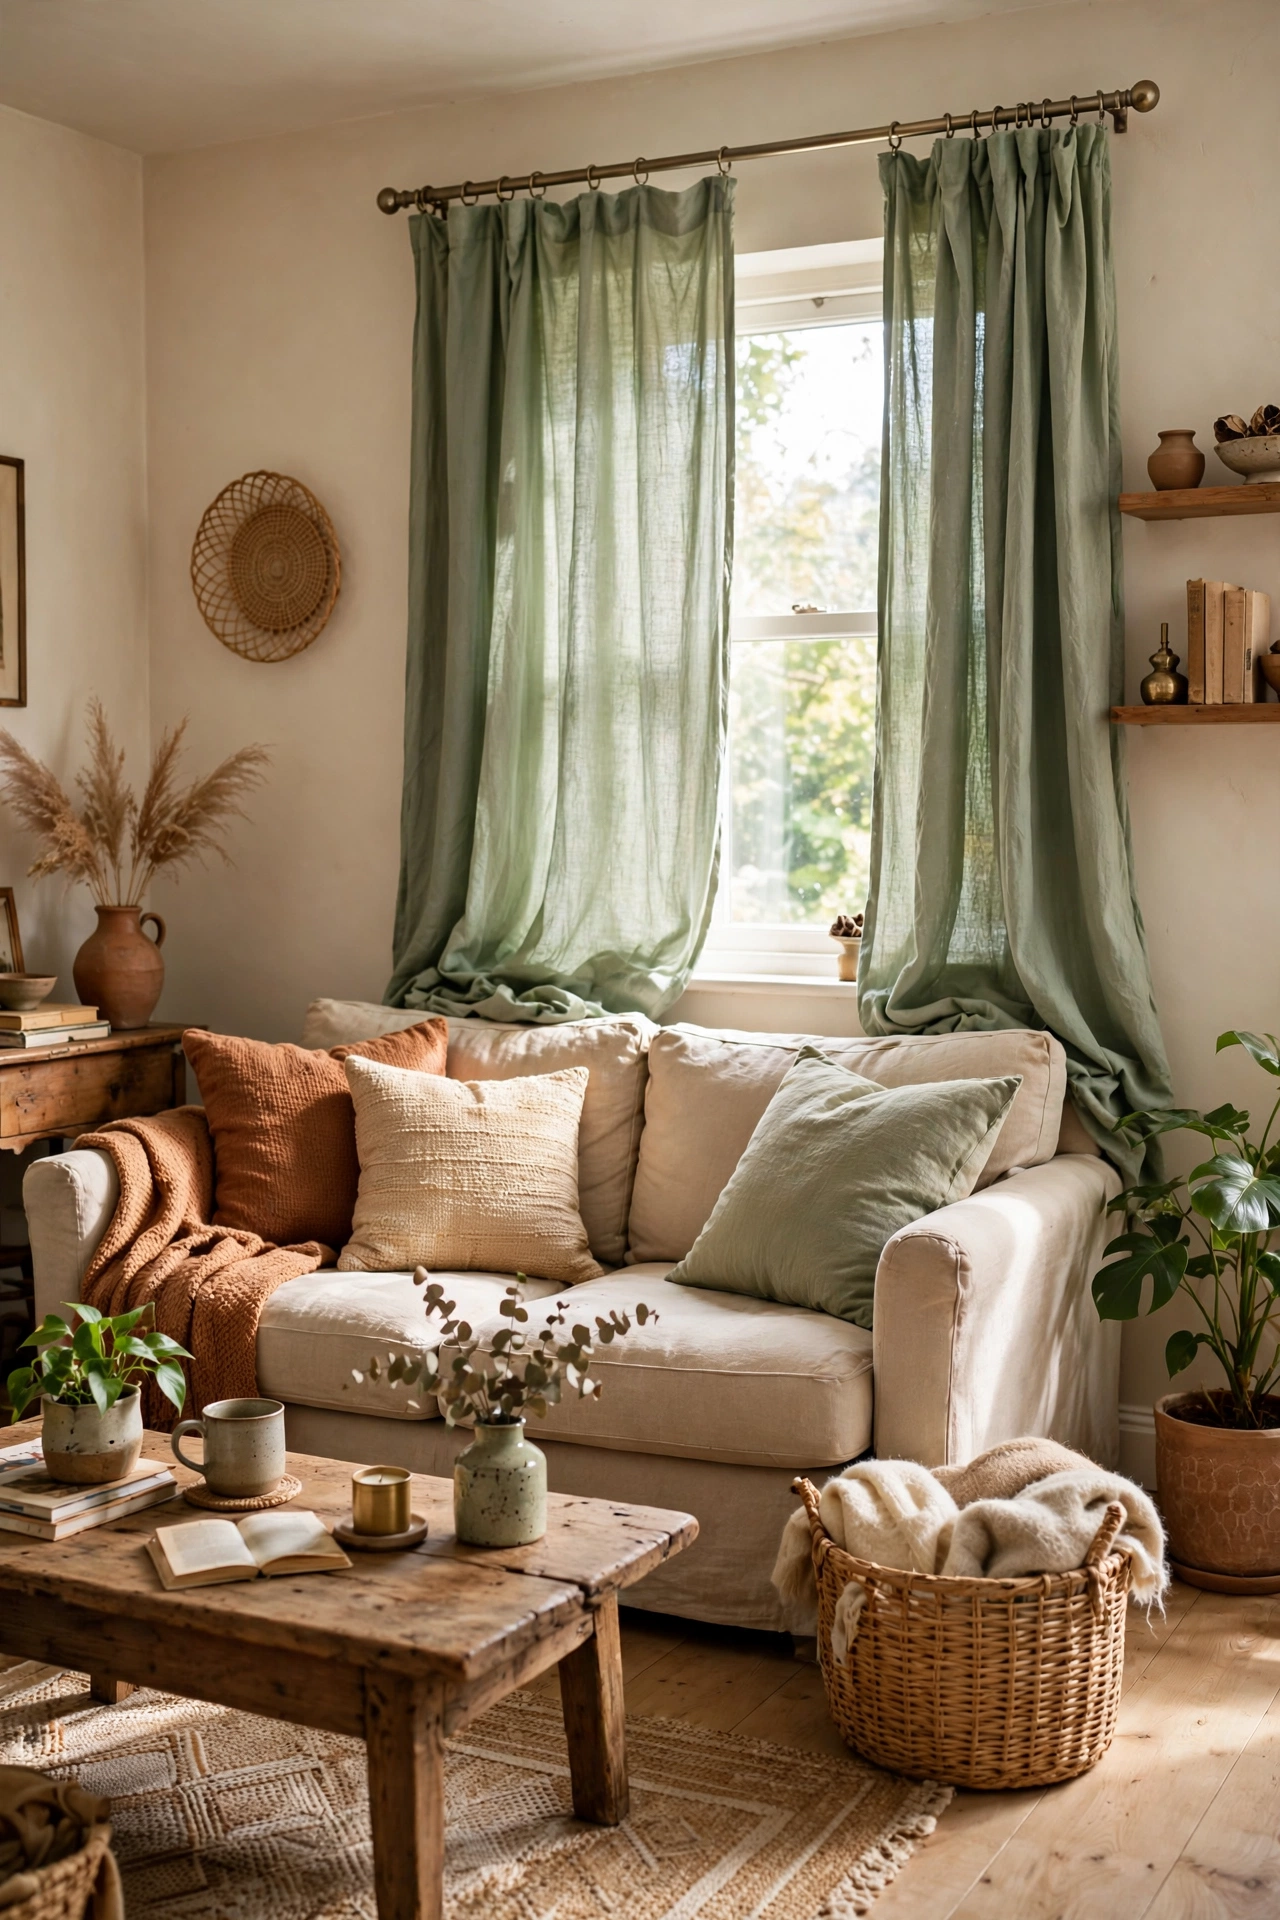
Thrift stores sell curtains for $3-5 a pair — dye them to match your room with a $4 box of fabric dye. I dyed beige thrifted curtains a soft sage, and they look like they were made for my living room. Dye in the washing machine for even color, and dye all panels together. Pro Tip: dye goes darker than the box suggests on already-colored fabric. Test on a hidden hem first, or embrace a deeper tone than planned. I run an empty cycle after dyeing — nobody wants sage-tinted whites next.
6. No-Sew Hem with Iron Tape
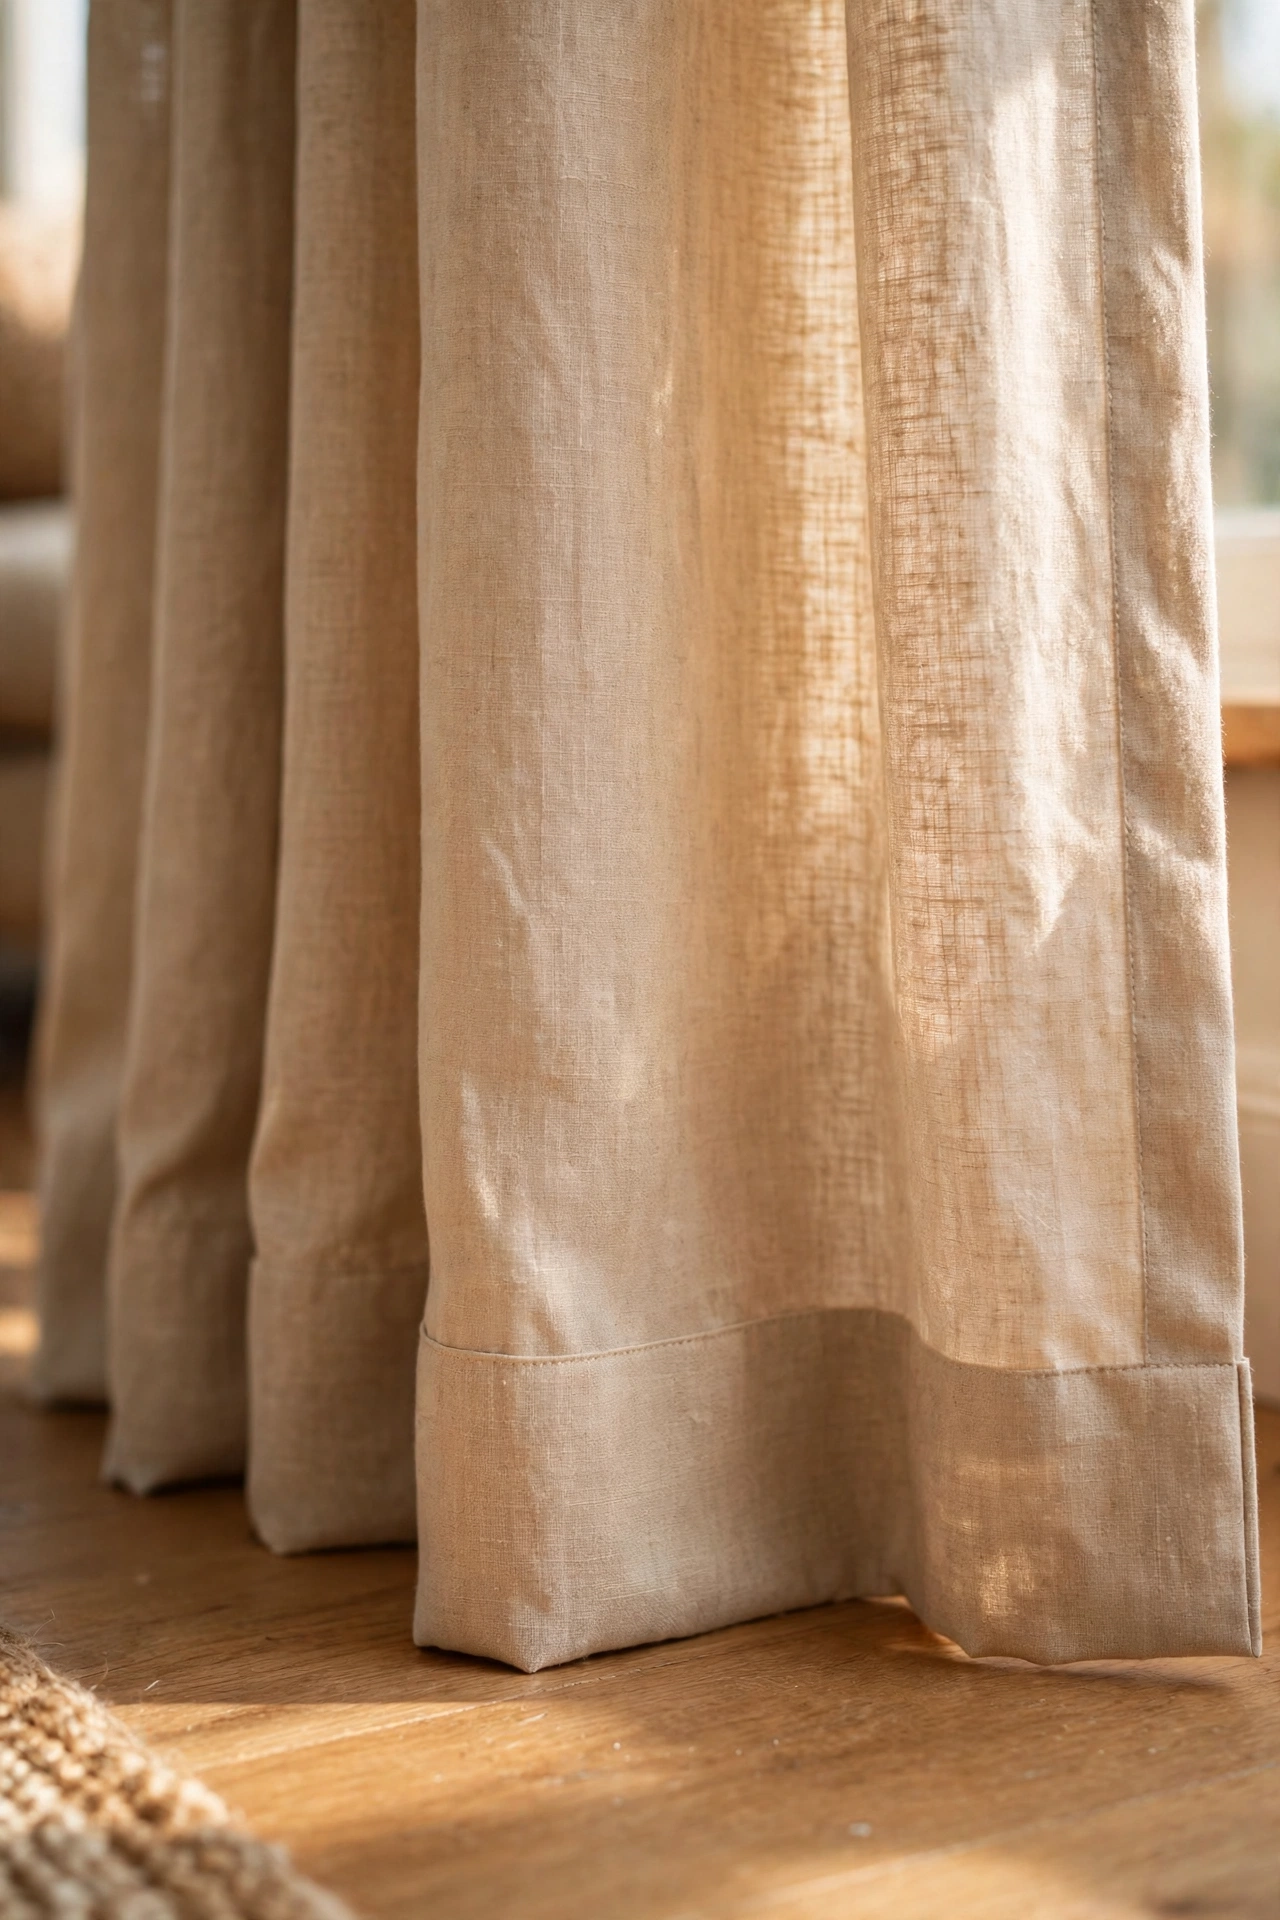
Iron-on hem tape ($4) hems curtains without a sewing machine — perfect length every time. I hemmed all my living room curtains in an afternoon: fold, iron the tape in, done. The bond holds through washing if you use enough heat. Mistake to avoid: don’t rush the ironing. I skimped on heat the first time and the hem peeled after one wash; a full 30 seconds per section with a hot iron makes it permanent. I hem with the curtains hanging — gravity gives you the truest length.
7. Sheer Plus Blackout Layering
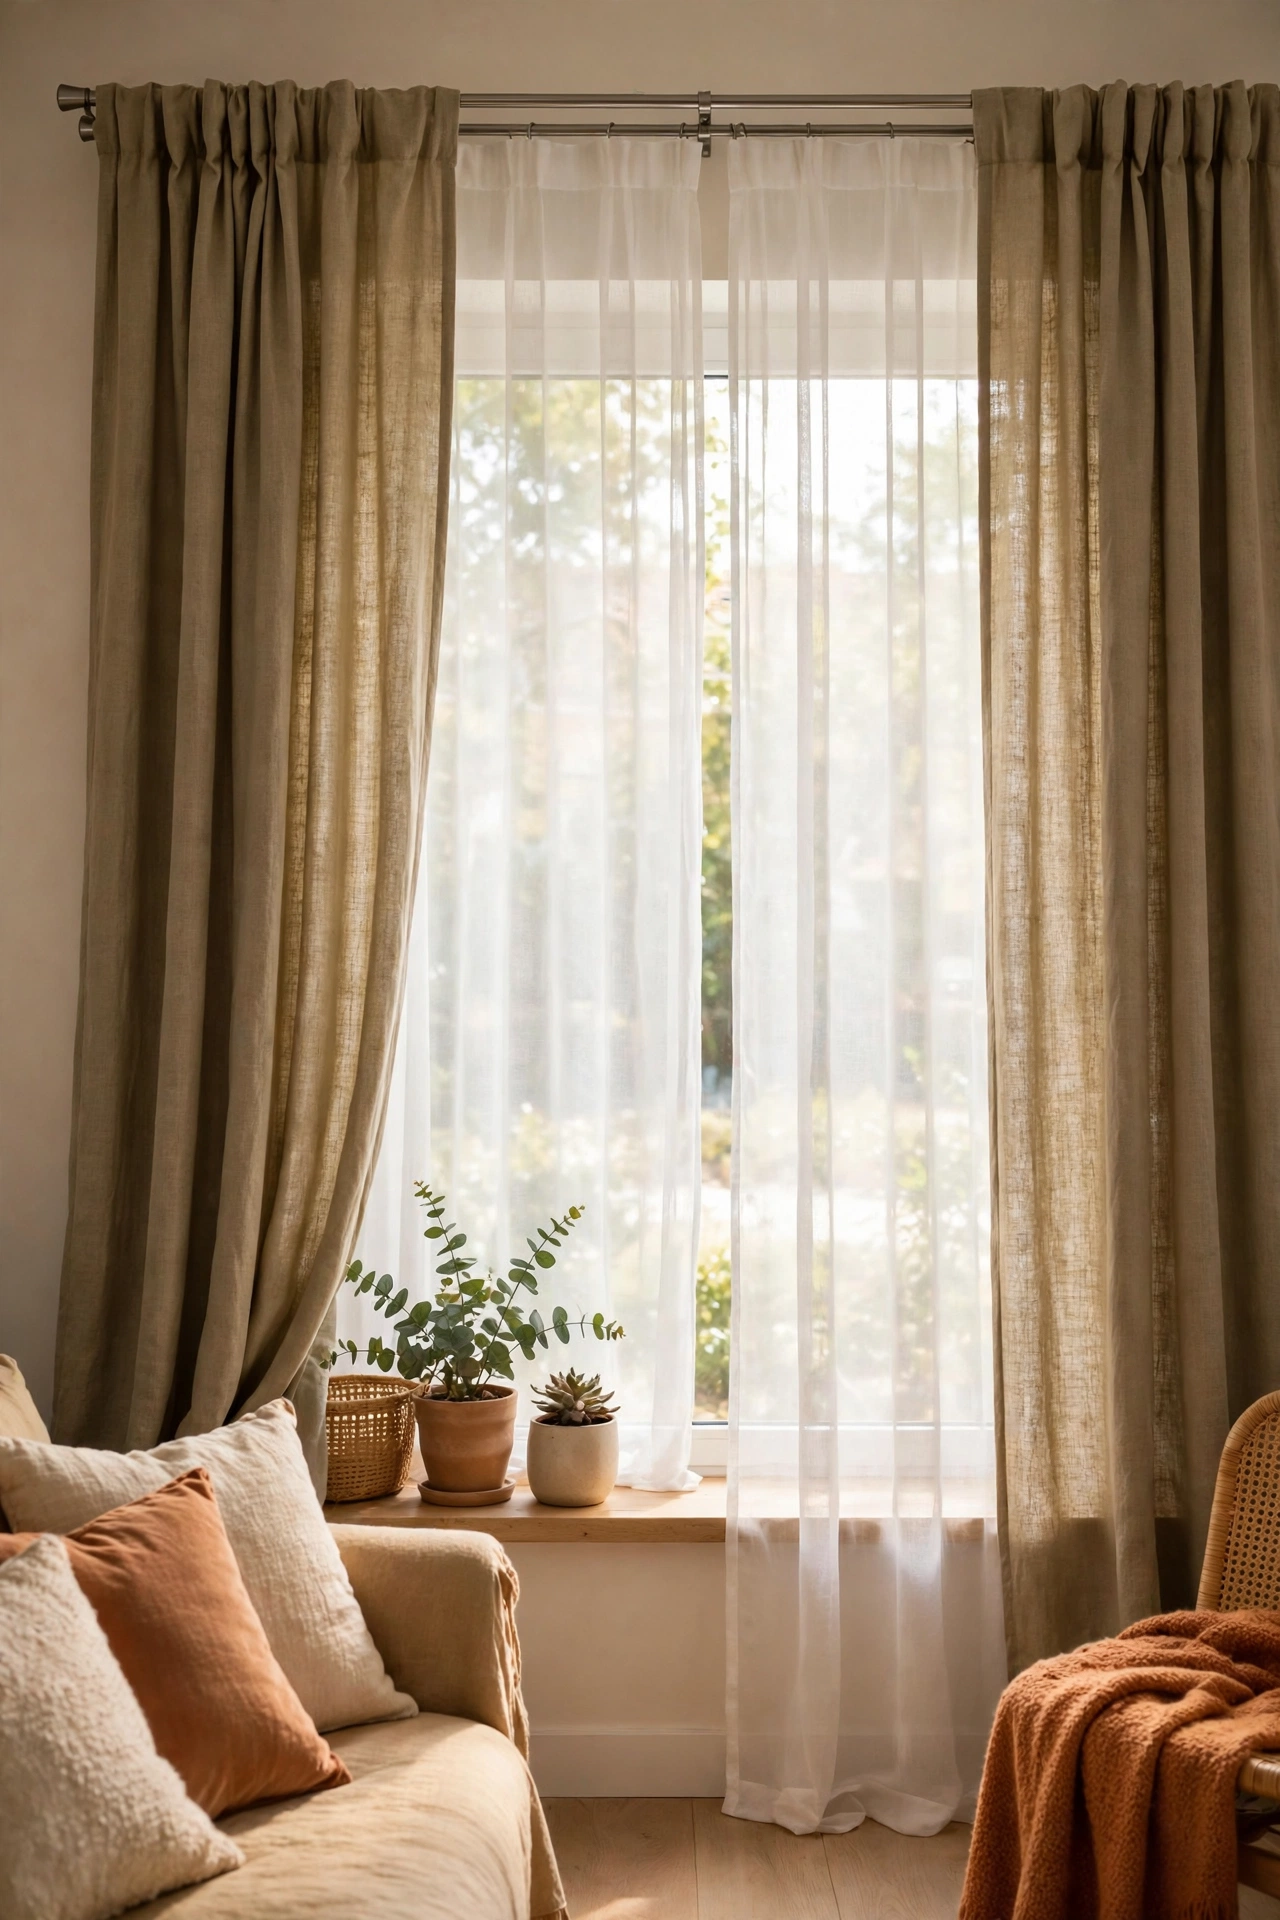
Layer sheers behind heavier curtains on a double rod ($15) for the best of both worlds: daytime privacy with light, nighttime darkness. I did this in my street-facing living room — sheers closed by day, blackouts drawn at night. It looks professionally layered. Pro Tip: hang the sheer rod slightly inside the main rod. The layers should sit close together, not six inches apart, or the window looks cluttered. I close the sheers when I work from home — privacy without gloom.
8. Curtain Ring and Clip Upgrade
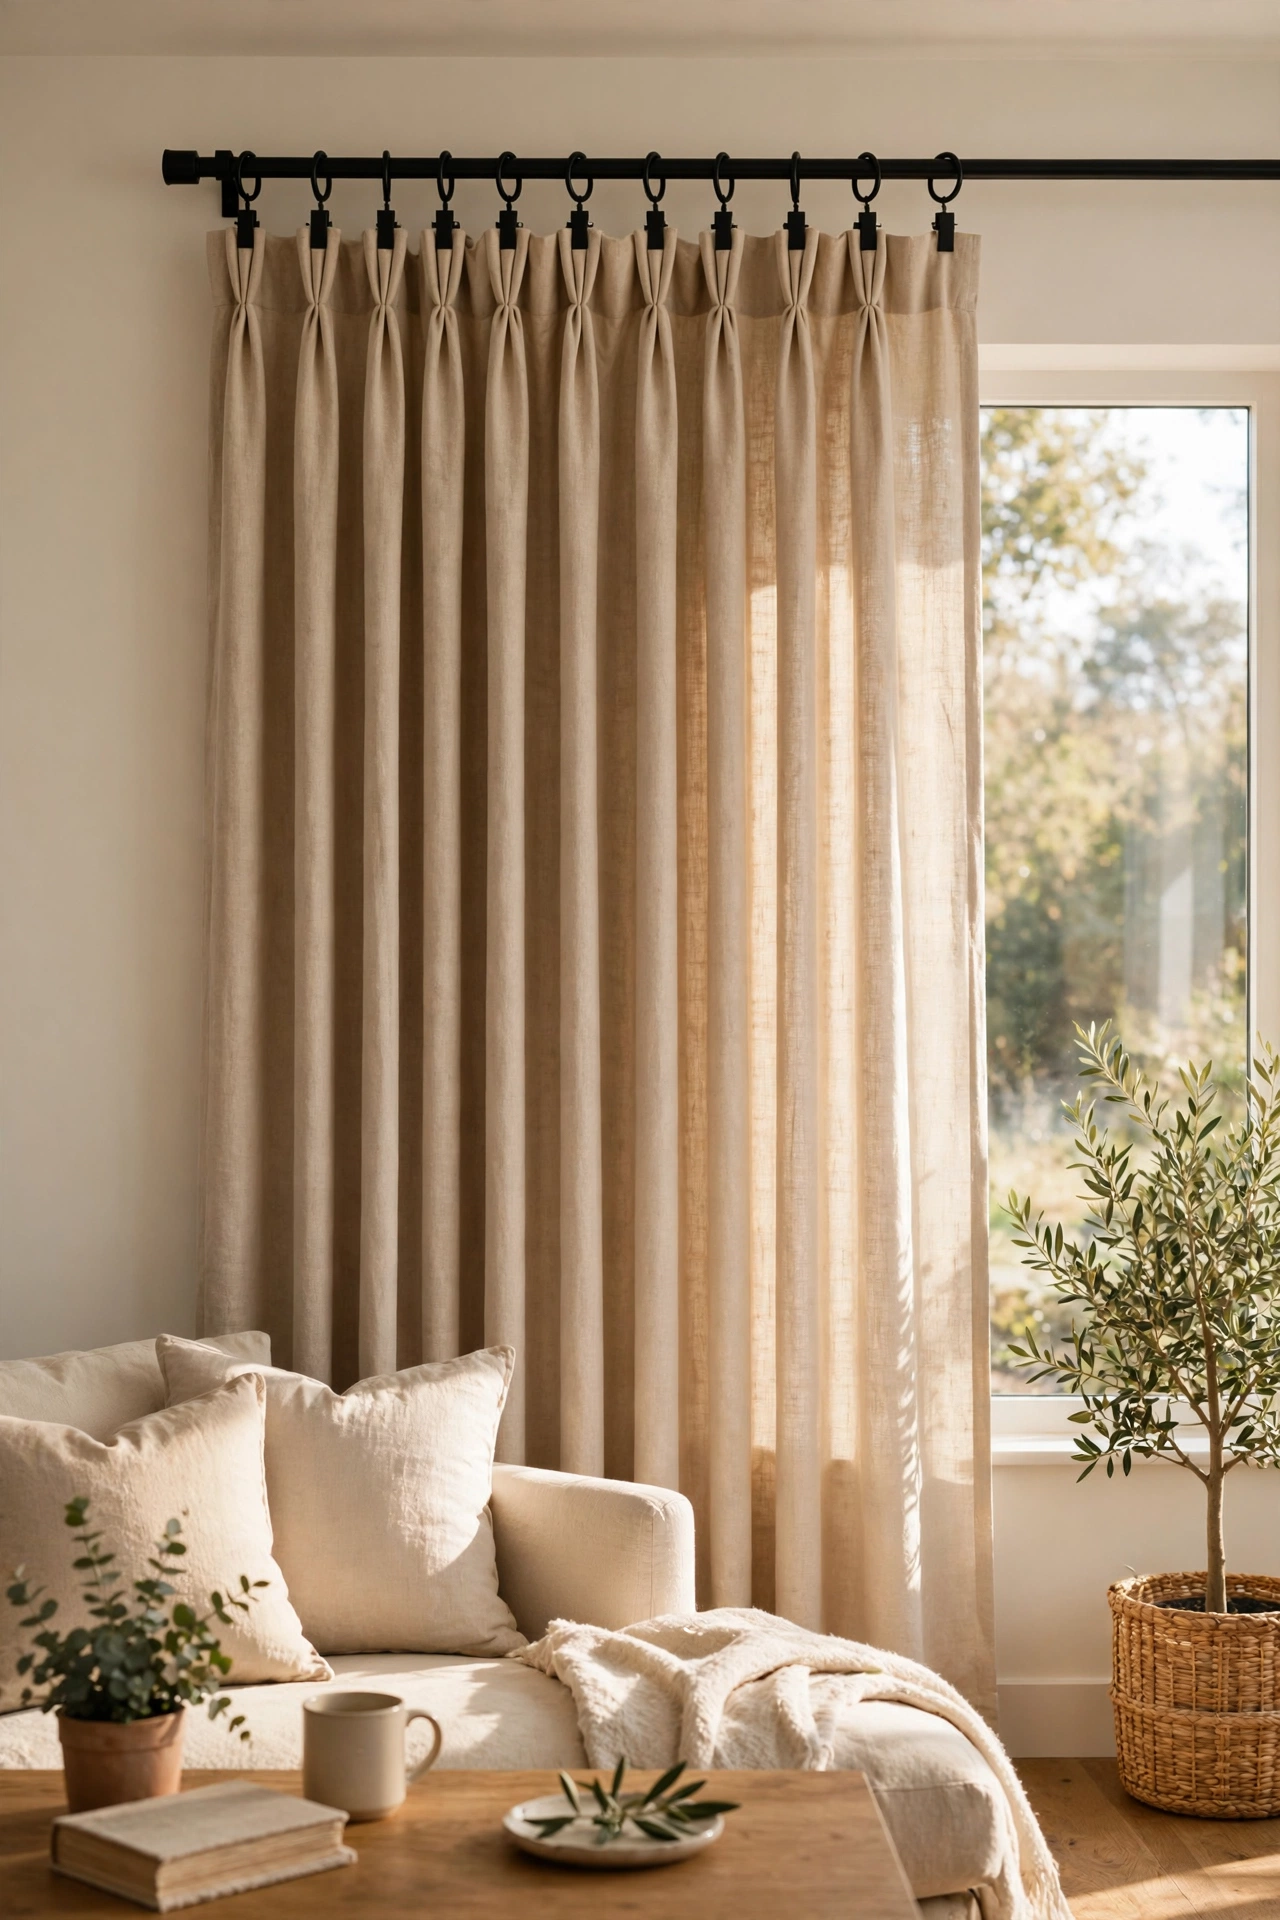
Swapping basic rod pockets for curtain rings with clips ($8 for a pack) instantly modernizes any curtain. I clipped my flat panels to matte black rings, and the pleated tops look tailored and expensive. The clips also make curtains glide easier. Mistake to avoid: space the clips evenly — about 4 inches apart. Uneven clips make the top wavy; even spacing creates those perfect soft pleats. I bought matte black to match my rod — matching metals look intentional. Mixed metals on one window just look like you ran out.
9. Tie-Backs for Shape
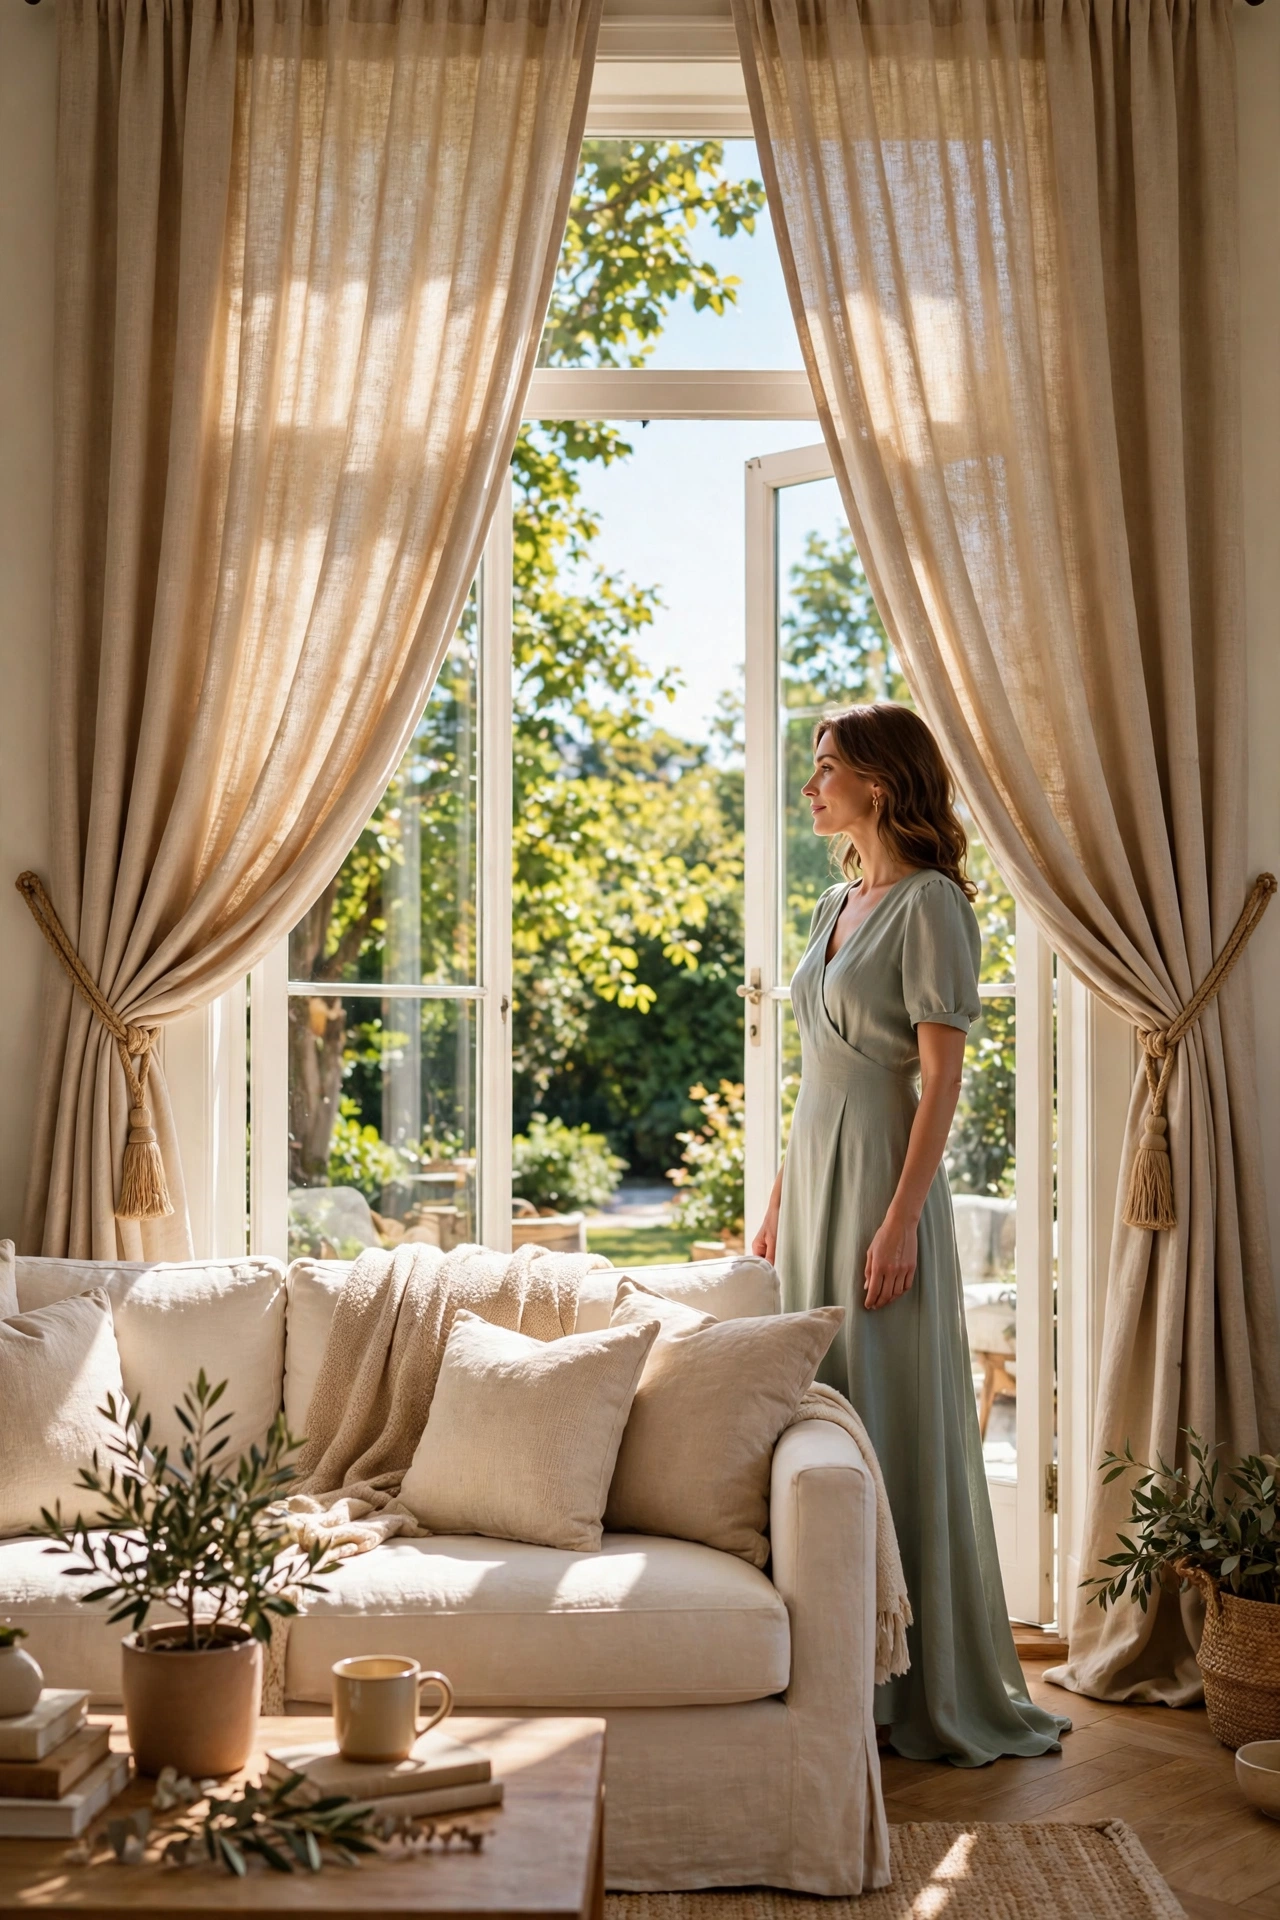
Simple tie-backs ($5-10 a pair) pull curtains into an elegant shape and let in maximum light. I use rope tie-backs on my living room curtains, hooked at about two-thirds height. The swooped shape looks intentional and dressed. Pro Tip: hook tie-backs at different heights to see what flatters your window. Two-thirds up is classic, but halfway creates a more casual, modern swoop. I made mine from jute rope — $4 for the whole window, and they look artisanal. Rope tie-backs suit casual rooms; for formal ones, fabric sashes drape more elegantly.
10. Tablecloth Curtains

Large tablecloths — especially white or linen-look ones — work as curtain panels for $8-12 each. I used two 70-inch round tablecloths (folded over the rod, no sewing) on my small living room windows, and the weight and drape are lovely. Look for tablecloths with finished edges all around. Mistake to avoid: check the dimensions carefully. Tablecloths come in odd sizes; measure your window and buy the size that gives you the right drop. I fold mine over the rod twice — the double fold hides the tablecloth shape.
11. Tension Rod Inside the Frame
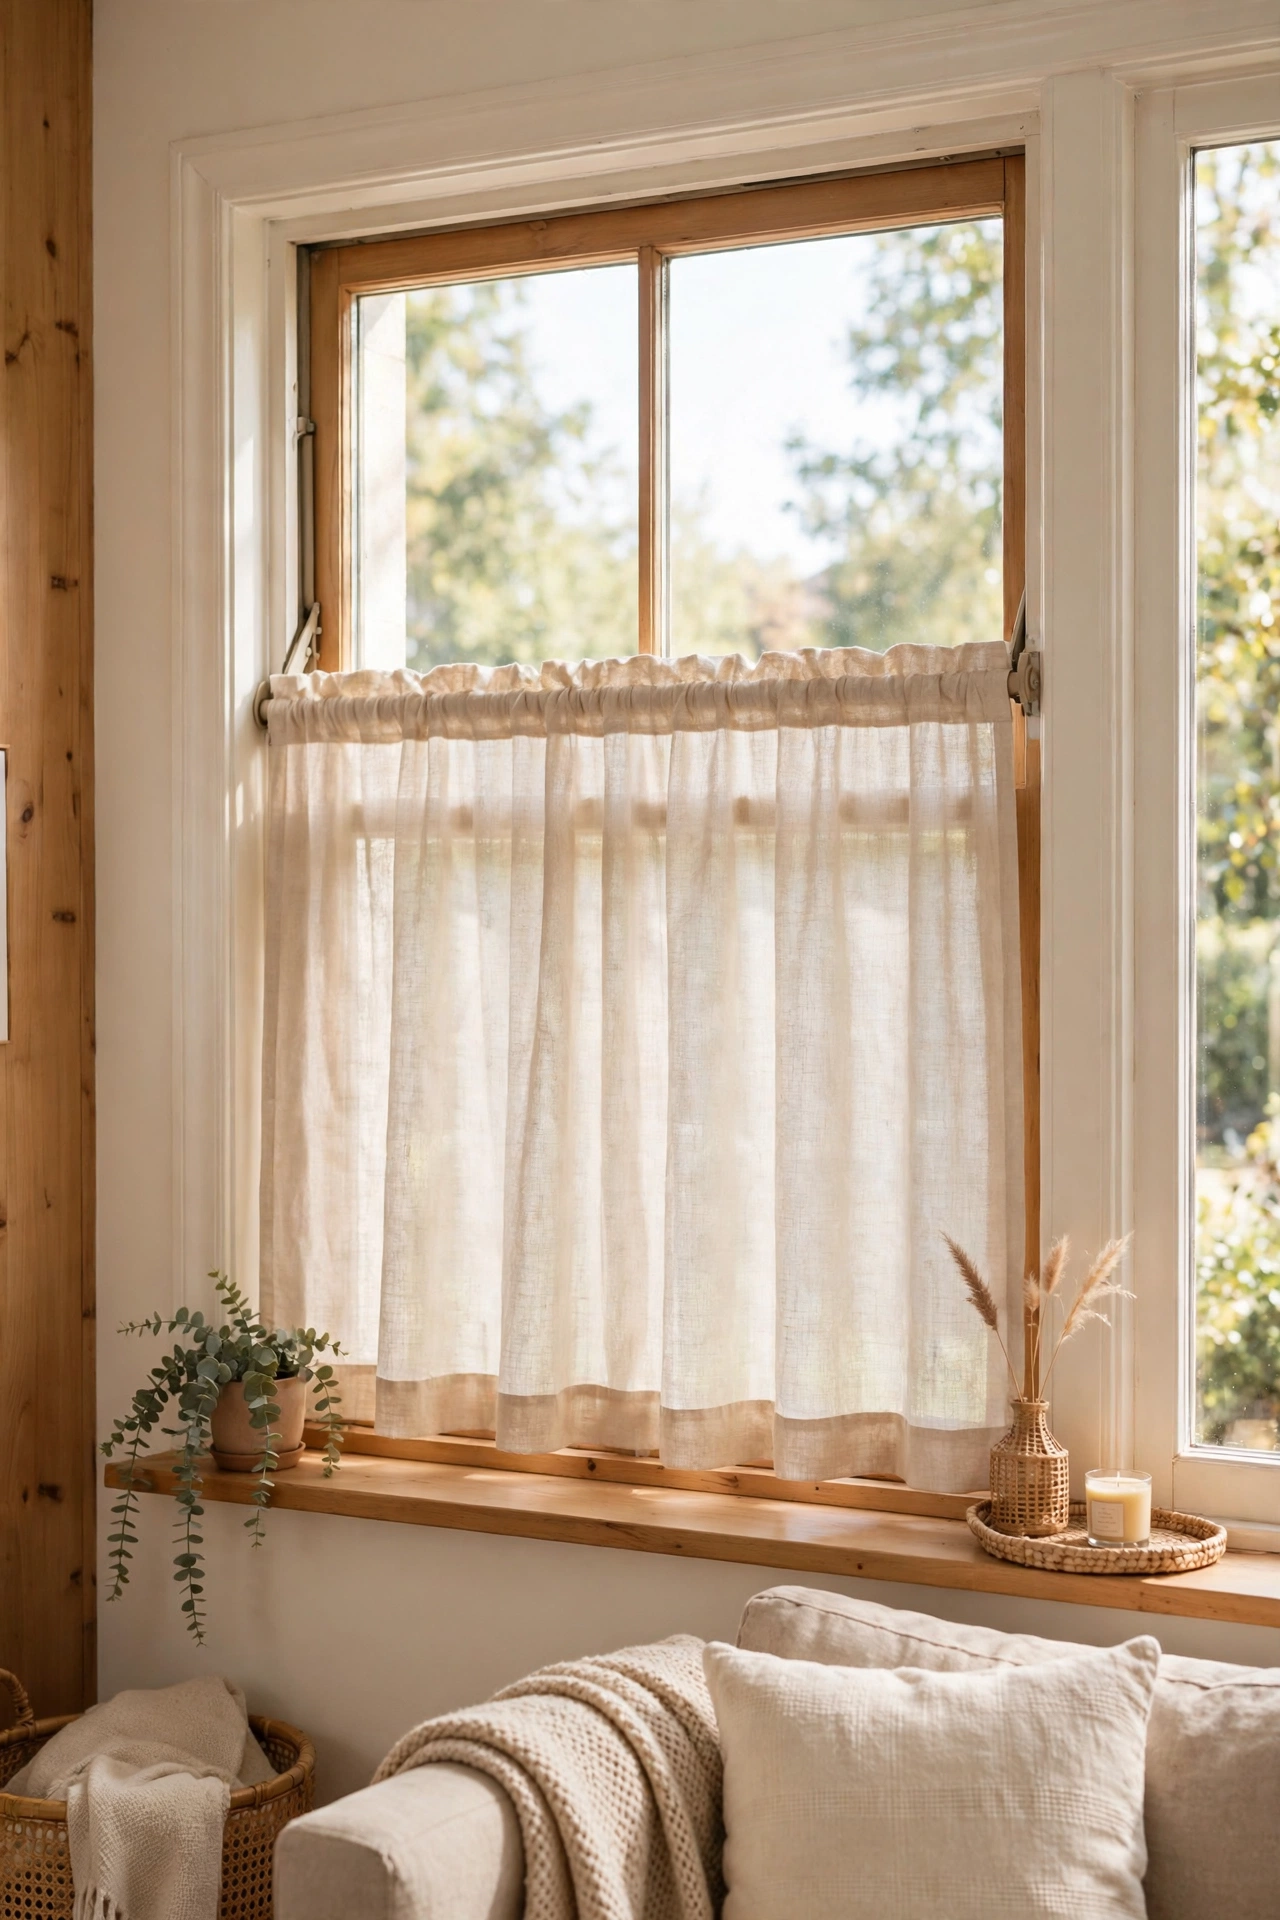
A tension rod ($6) inside the window frame needs no drilling — perfect for rentals. I used one for a cafe curtain in my kitchen-adjacent window, and it took literally two minutes to install. Twist to expand until it’s snug; the spring holds it. Pro Tip: don’t hang heavy curtains on tension rods. They’re for sheers and light panels only — I learned this when a heavy panel slowly slid my rod down the frame overnight. I use two rods for extra-wide windows — one rod sags in the middle.
12. Cafe Curtains for Half Coverage

Cafe curtains cover just the lower half of the window — privacy where you need it, light where you want it. I hung them in my street-facing living room window for $14 total, and the top half pours in daylight. They suit casual and cottage styles perfectly. Mistake to avoid: hang the rod at the window’s midpoint, not higher. Too high and they look like a mistake; the true halfway point is the classic placement. I sewed a simple pocket — ten minutes with hem tape, no machine needed.
13. Linen-Look Panels from Target
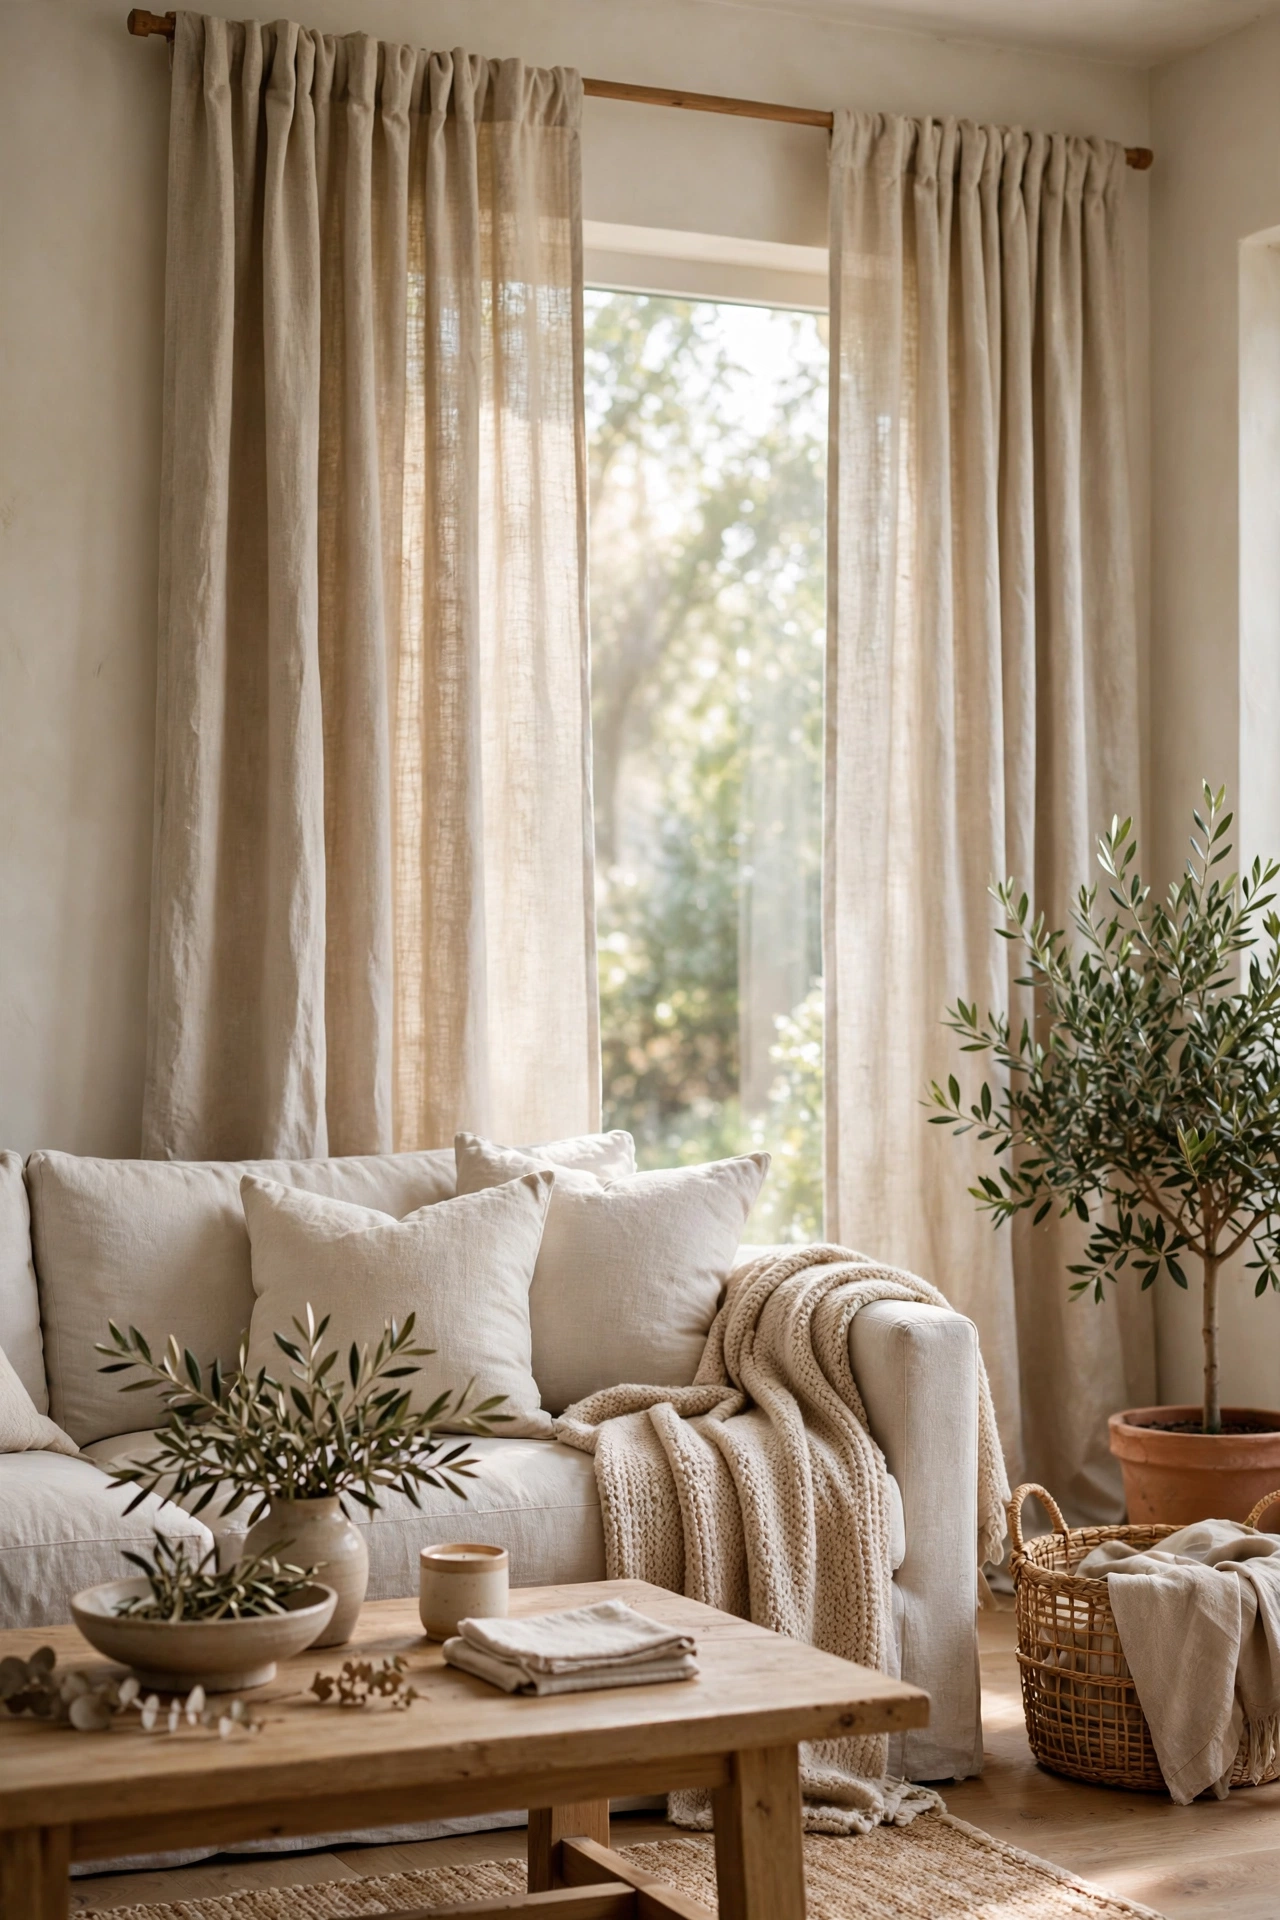
Target’s linen-look curtain panels ($20-25 a pair) hit the sweet spot of affordable and genuinely nice. I have the natural-colored ones in my living room — the texture reads as real linen from a few feet away. They come in good lengths, so hemming is often unnecessary. Pro Tip: buy one extra panel beyond what you think you need. The fuller look is worth the $10, and you’ll have fabric for tie-backs or repairs. I wash mine before hanging — they soften beautifully after one wash.
14. Curtain as Room Divider
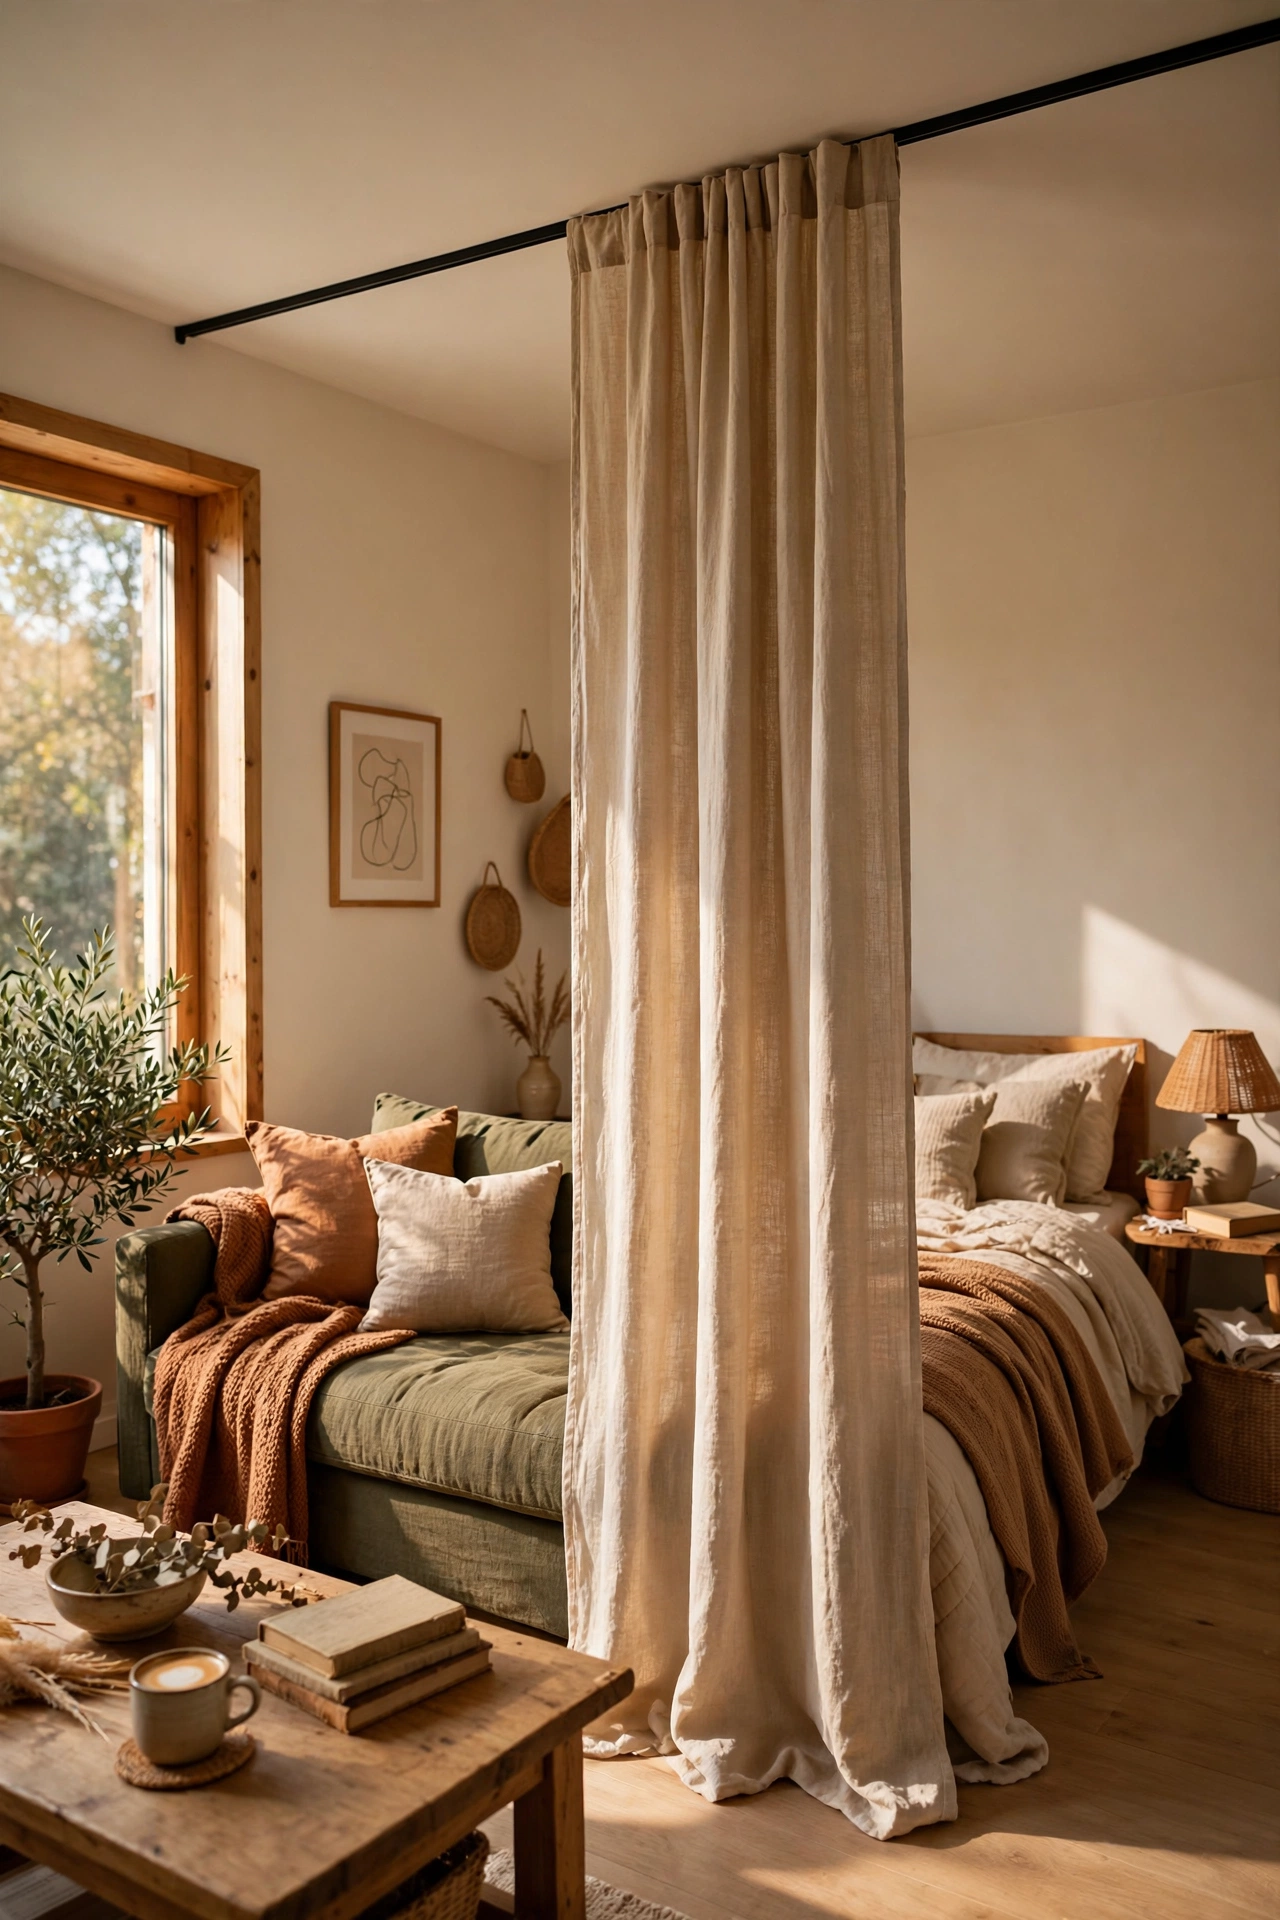
A ceiling-mounted curtain ($20 for rod and panels) divides a studio or open living room without construction. I hung a linen-look curtain to separate my sleeping area from the living space in a studio apartment, and it created a “bedroom” overnight. Use a ceiling track or wire for a clean look. Mistake to avoid: don’t use a flimsy fabric that blows around. A medium-weight curtain hangs straight and actually divides; sheers just suggest. I weighted the hem with washers — it hangs straight even with the AC on.
15. Stenciled Pattern on Plain Curtains

Stencil a pattern onto plain curtains with fabric paint ($8 for paint and stencil) for custom-looking panels. I stenciled a subtle Greek key border along the bottom of my white curtains, and they look designer-made. Use a light touch — barely-loaded stencil brush prevents bleeding. Pro Tip: practice on the back of the hem first. Stenciling has a learning curve, and the hidden hem is your practice canvas. I used leftover wall paint instead of fabric paint — it worked perfectly. Just heat-set it with an iron and it survives washing.
16. Dip-Dye Ombre Curtains
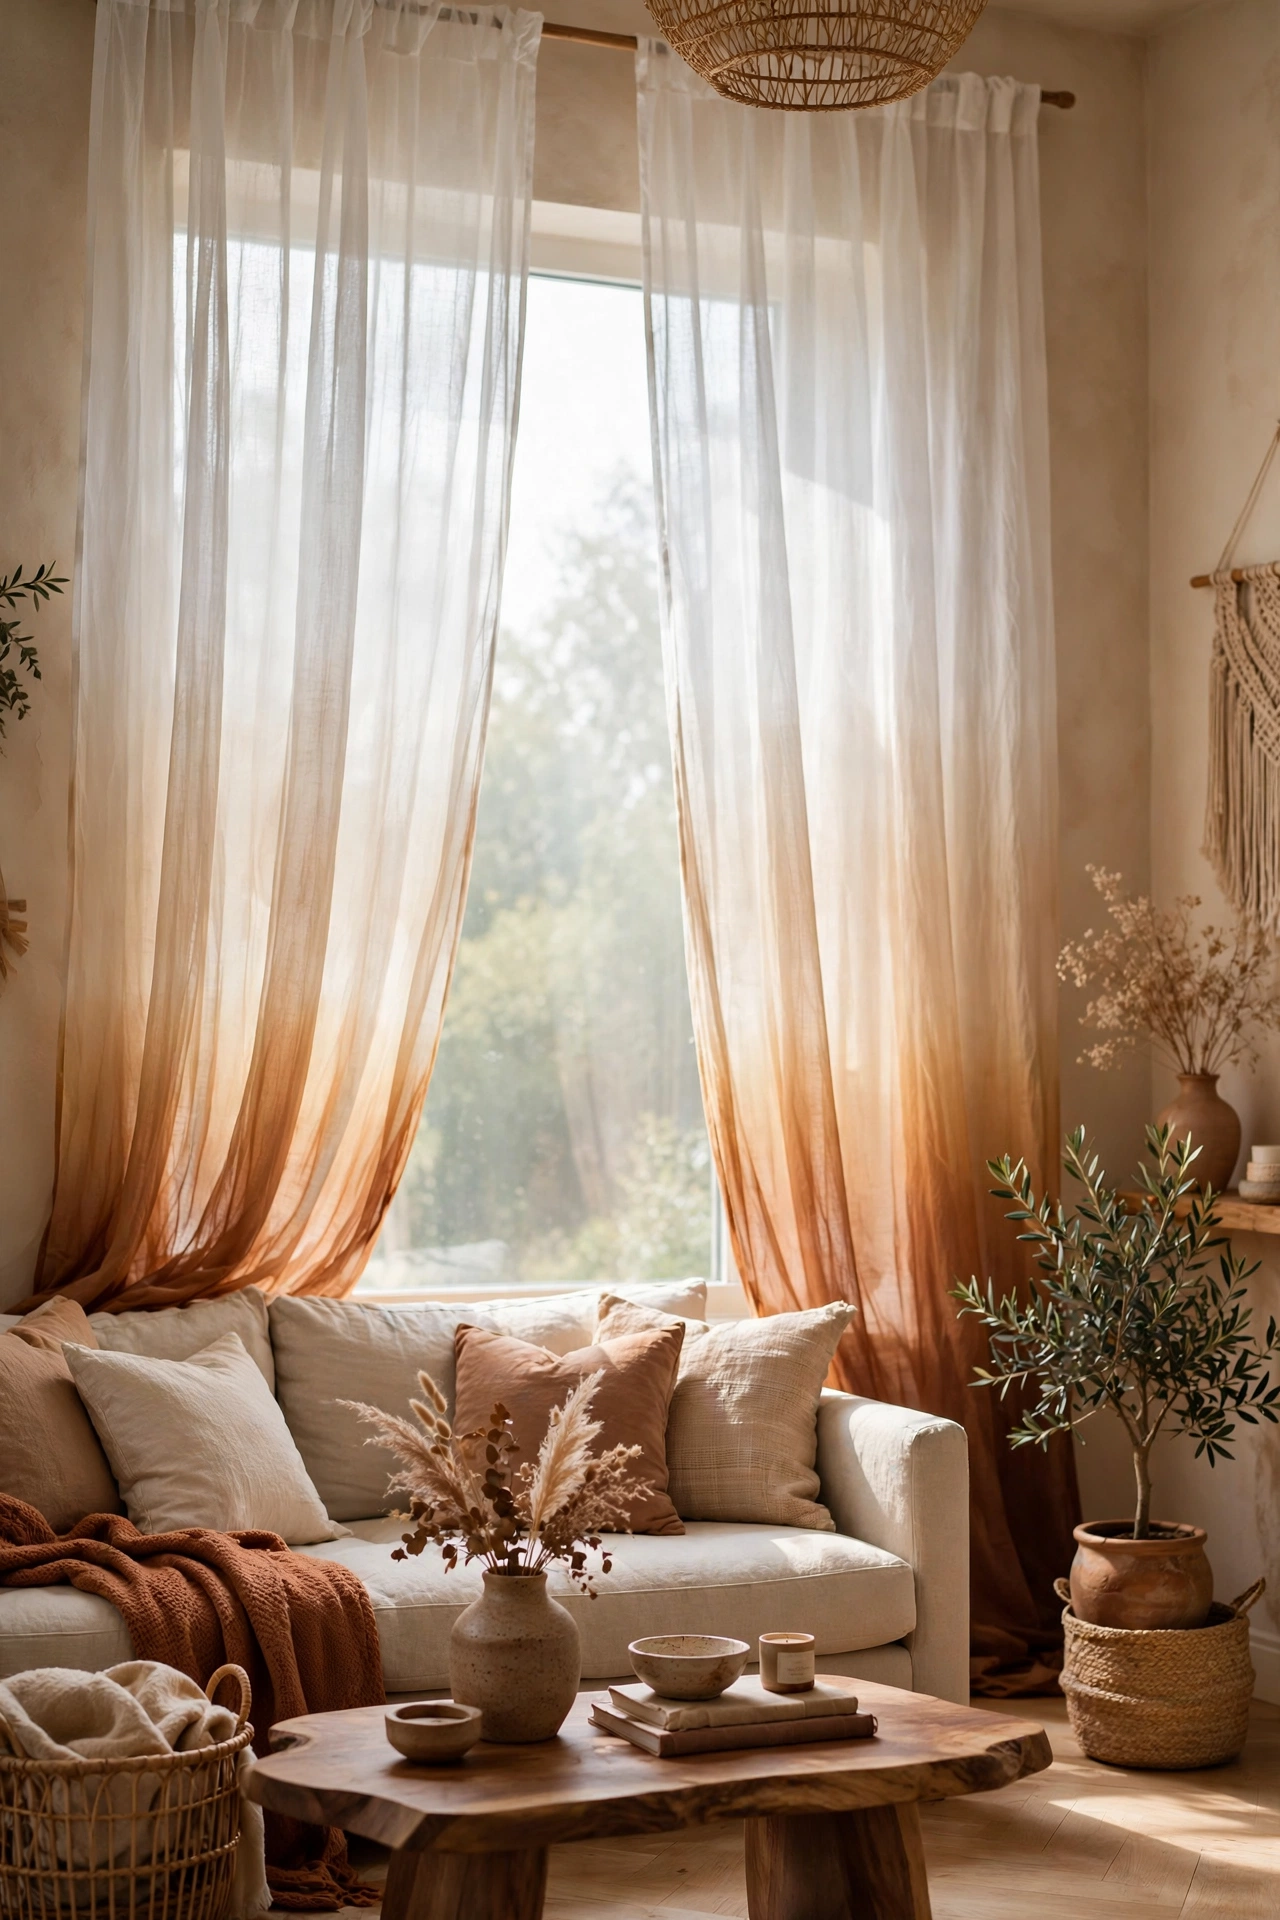
Dip-dye white curtains in fabric dye for an ombre effect — about $6 of dye per pair. I dipped the bottom third of my sheer curtains in tea-colored dye, and the gradient looks beautifully custom. Dip in stages for a smooth gradient: deepest at the bottom, lighter as you go up. Mistake to avoid: don’t skip the salt or fixative the dye calls for. I did once and the color washed out unevenly on the first laundry day. I hung mine while still damp — gravity smooths the gradient beautifully.
17. Burlap-Look Panels

Burlap-look curtains add rustic texture for $10-15 a pair — much cheaper than real linen with a similar vibe. I hung them in my farmhouse-style living room corner, and the nubby texture warms up the window. Real burlap sheds and smells; the burlap-look polyester versions don’t. Pro Tip: pair them with something soft nearby, like a knit throw. All-rough textures feel scratchy visually; one soft element balances them. I cut mine to puddle slightly — the rustic texture looks best with softness. Crisp hems fight the casual vibe burlap wants.
18. Floor-Puddle Styling

Letting curtains puddle 2-3 inches on the floor looks luxurious and romantic — and it hides imperfect hems. I ordered my panels extra-long intentionally, and the puddle at the bottom looks like a design magazine. This works best with heavier fabrics that hold the fold. Mistake to avoid: don’t puddle in high-traffic areas or with pets. My dog’s favorite nap spot was right in the puddle; I switched to just-kissing-the-floor on that window. I trained the folds with loose ties for a week — they hold the shape now.
19. Double Rod for Layered Look
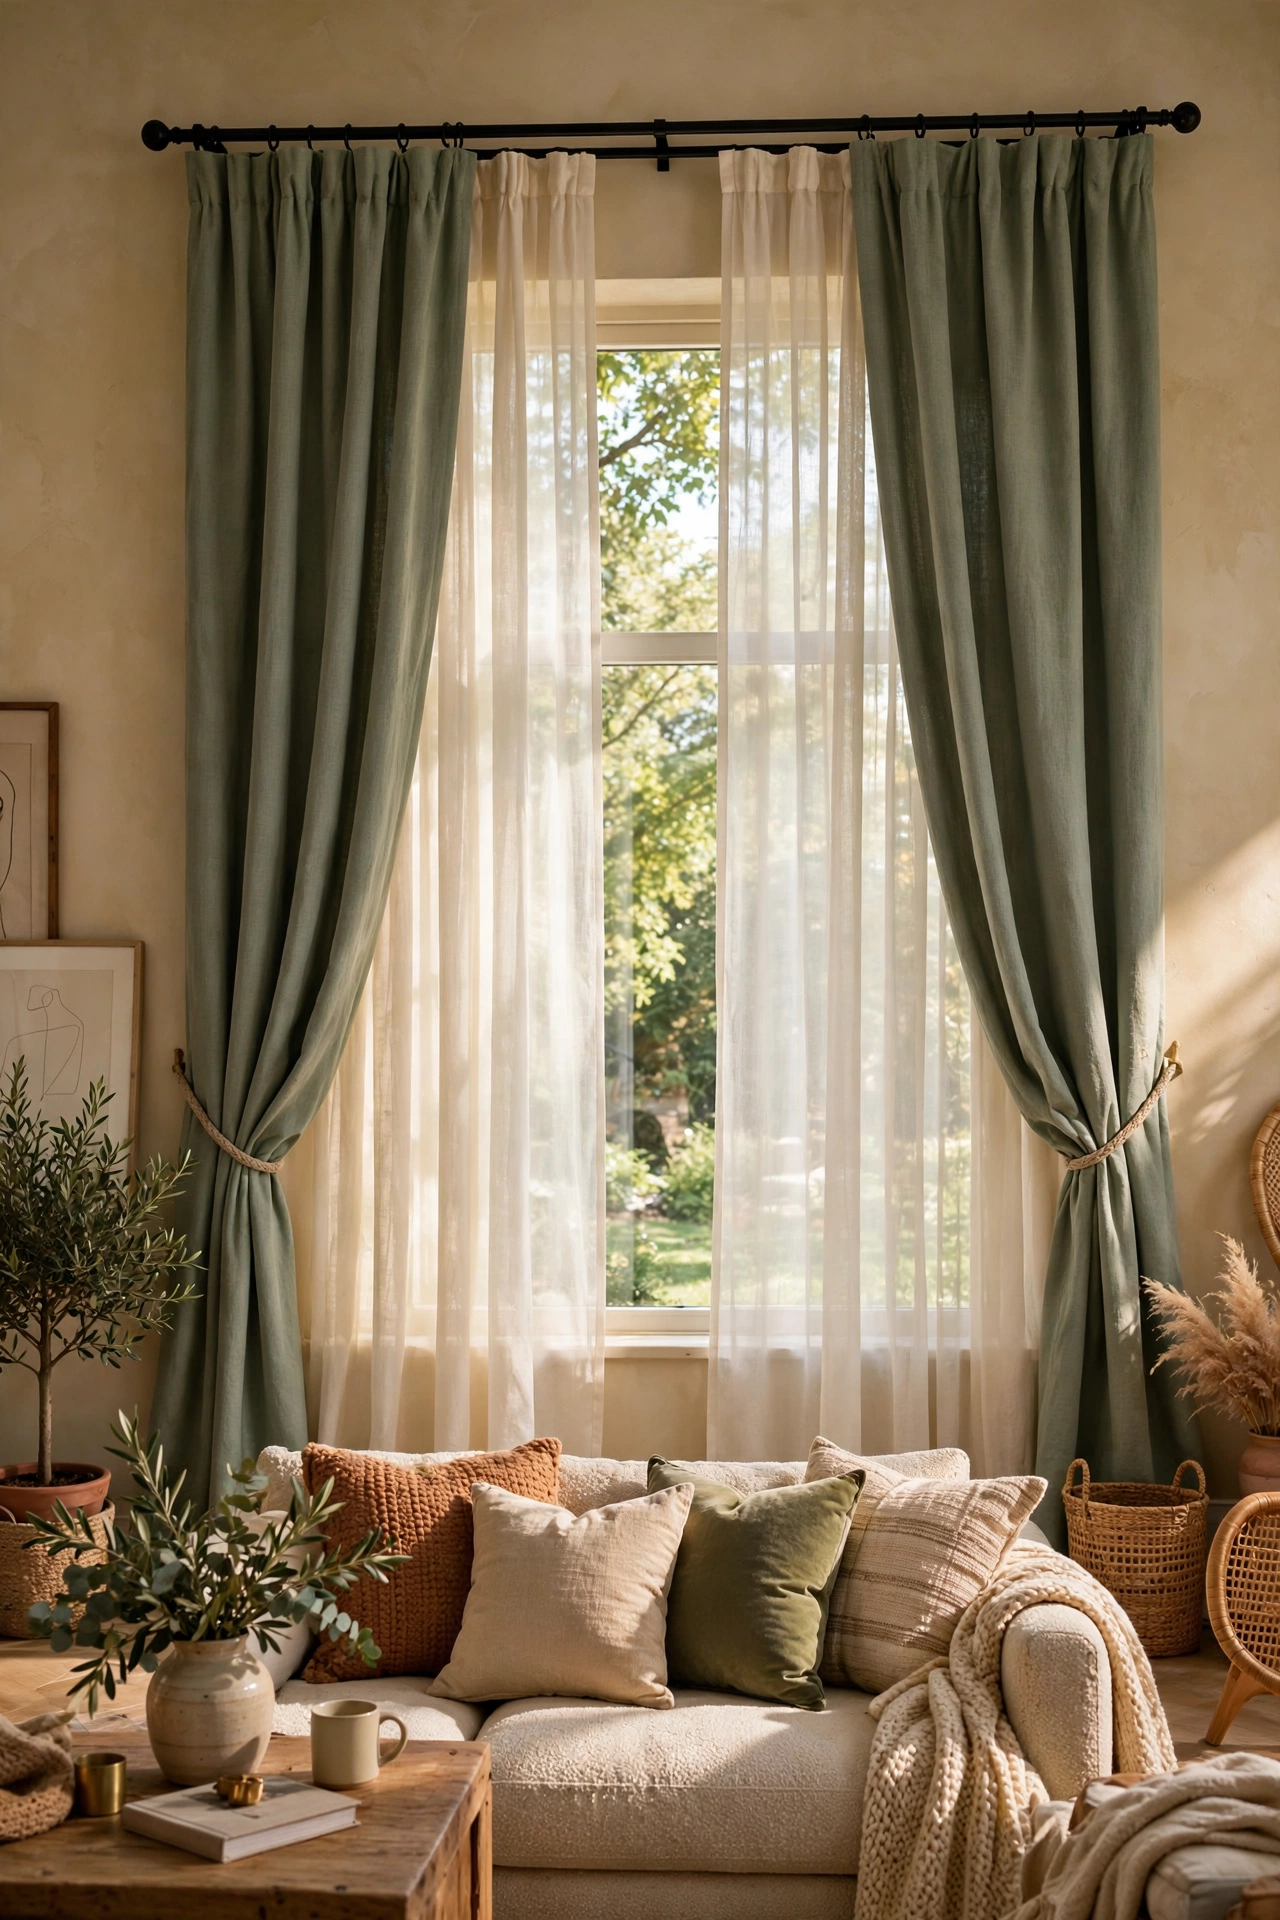
A double curtain rod ($15-20) lets you layer sheers behind drapes on one window — the layered look designers charge for. I installed one in my living room with ivory sheers behind sage drapes, and the depth is gorgeous. Install the bracket securely; double rods carry twice the weight. Pro Tip: put the heavier curtain on the back rod’s sturdier setting. I reversed mine at first and the front rod bowed within a week. I centered the bracket on a stud — double rods are heavy when loaded.
20. Fabric Remnant Valance
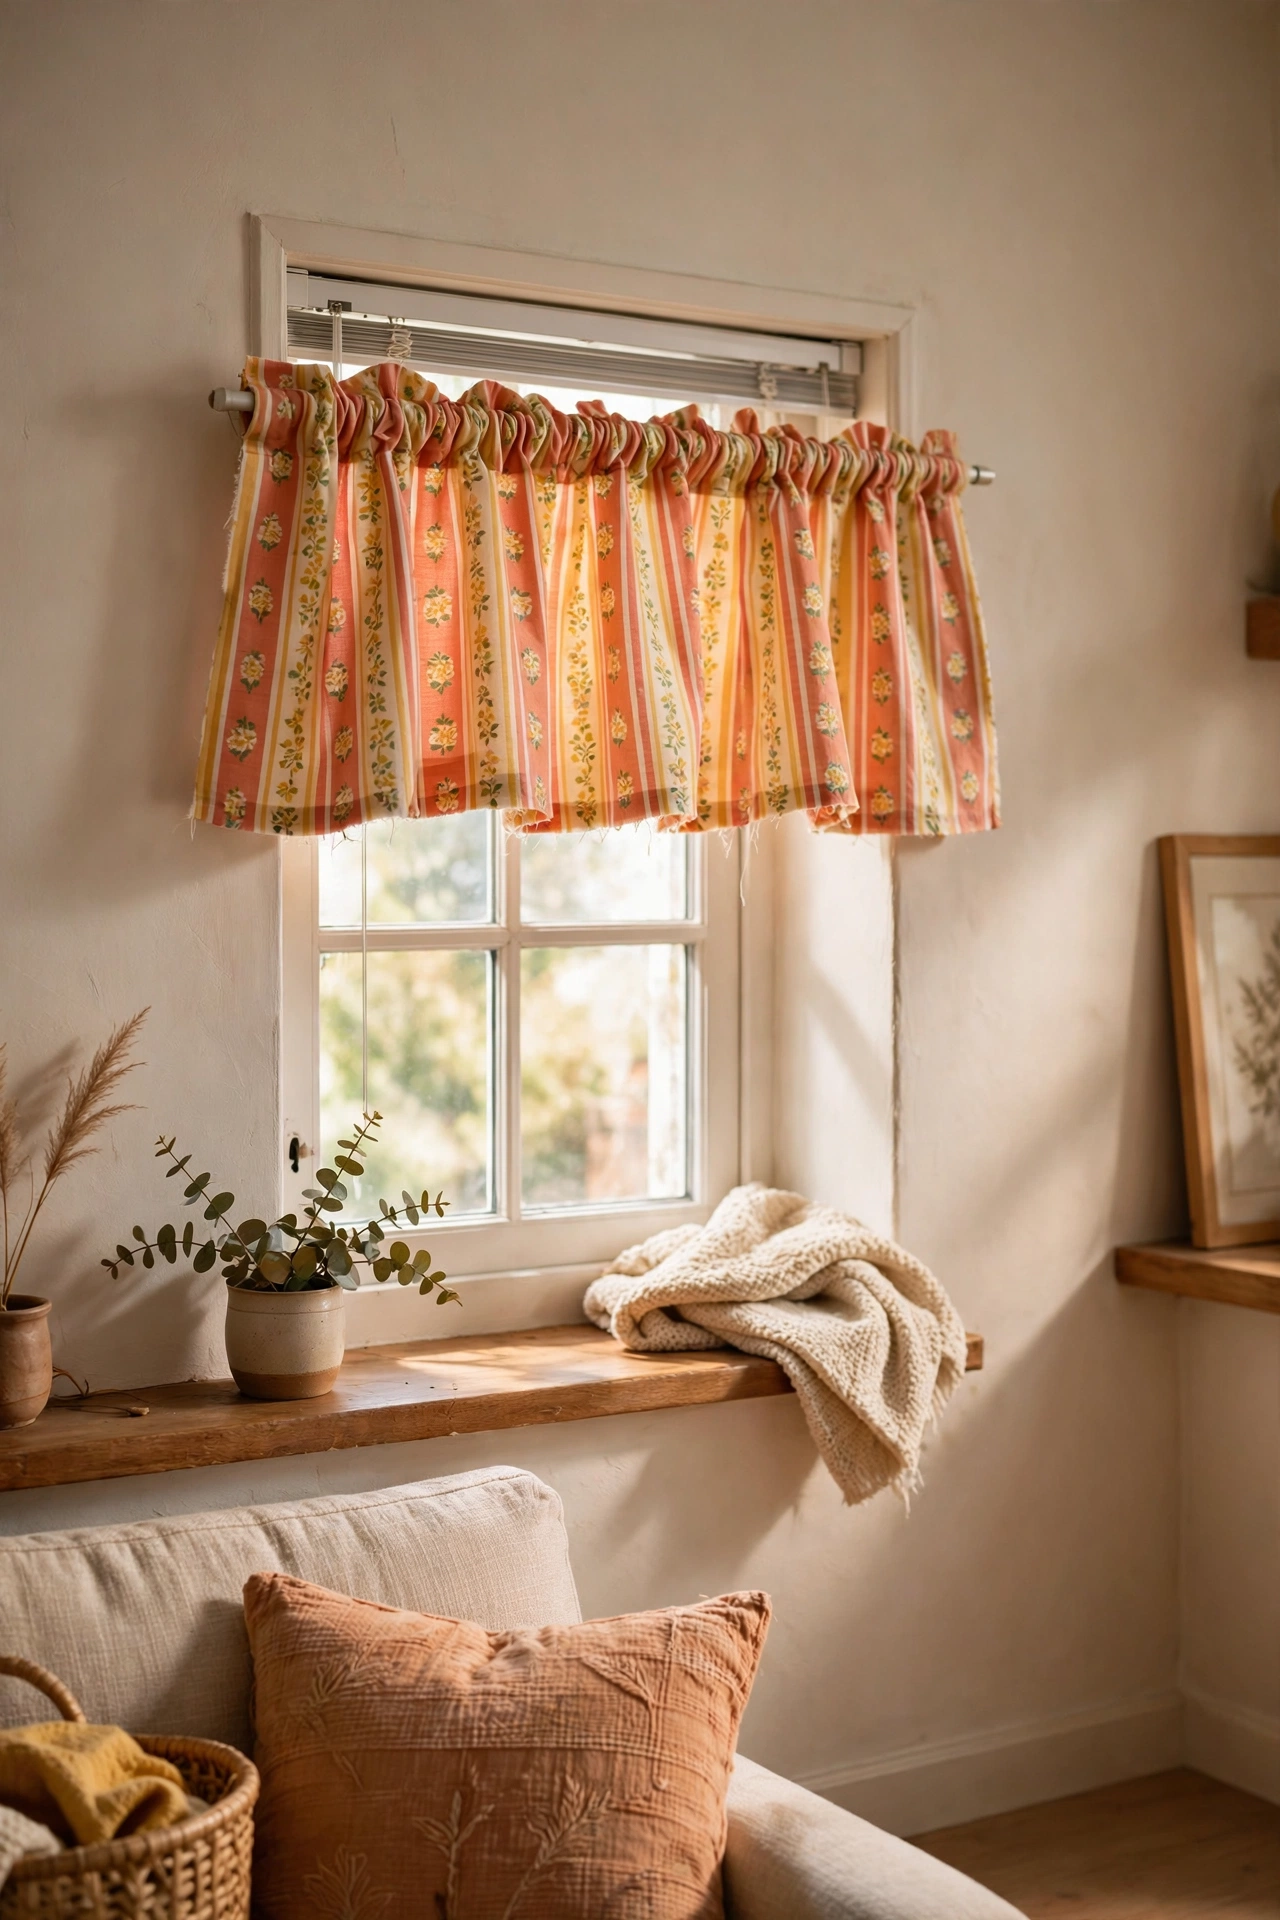
A fabric remnant ($3-5) hung as a valance softens the top of a window without full curtains. I used a striped remnant on a tension rod over my small living room window — it adds pattern and hides the blind hardware. No sewing needed: fold over the rod and let it hang. Mistake to avoid: keep valances shallow — 10-12 inches deep maximum. Deeper valances swallow the window and make it look smaller. I starch mine lightly — it holds the shape without looking stiff.
21. Seasonal Curtain Swap

Keep two sets of curtains — light sheers for summer, heavier drapes for winter — and swap them seasonally. I store my off-season set in a vacuum bag; the swap takes 20 minutes and the room feels new twice a year. Label the bags so you remember which is which. Pro Tip: wash the stored set before hanging. They’ll smell fresh and any wrinkles from storage release with a quick wash and hang-dry. I note the swap date on my calendar — otherwise I forget until July.
📌 Pin your favorite idea before you go — great windows deserve great curtains!
For more window-adjacent ideas, see my (see also: 15-apartment-living-room-ideas-that-feel-spacious) and (see also: 23-living-room-wall-decor-ideas-on-a-budget).
Curtains prove that the details are the design. The right hang height, the right fullness, the right length — none of it costs extra, but all of it reads as expensive. Pick the one trick your windows need most, try it this weekend, and watch how dressed your living room suddenly feels. Your windows have been waiting. The best part? Most of these ideas take an afternoon, not a renovation. Hang them high, keep them full, let them kiss the floor — and enjoy the most polished room in the house.
