23 Living Room Wall Decor Ideas on a Dime
Blank walls are the number one thing that makes a living room feel unfinished — and living room wall decor ideas are the number one thing people assume they can’t afford. I believed that too, until I decorated an entire wall for less than the cost of one framed print from a home store. Walls are actually the cheapest part of a room to decorate, because so much of wall decor is about arrangement, not price. A ten-dollar frame hung well beats a hundred-dollar print hung badly.
Here are 23 living room wall decor ideas on a dime — every single one costs little or nothing, and most take under an hour. We’re covering gallery walls, thrifted frames, printable art, and a few tricks that use things you already own. Each idea comes with a real cost and time estimate. Grab your hammer (or your Command strips) and let’s fix those blank walls.
1. Thrifted Frame Gallery Wall
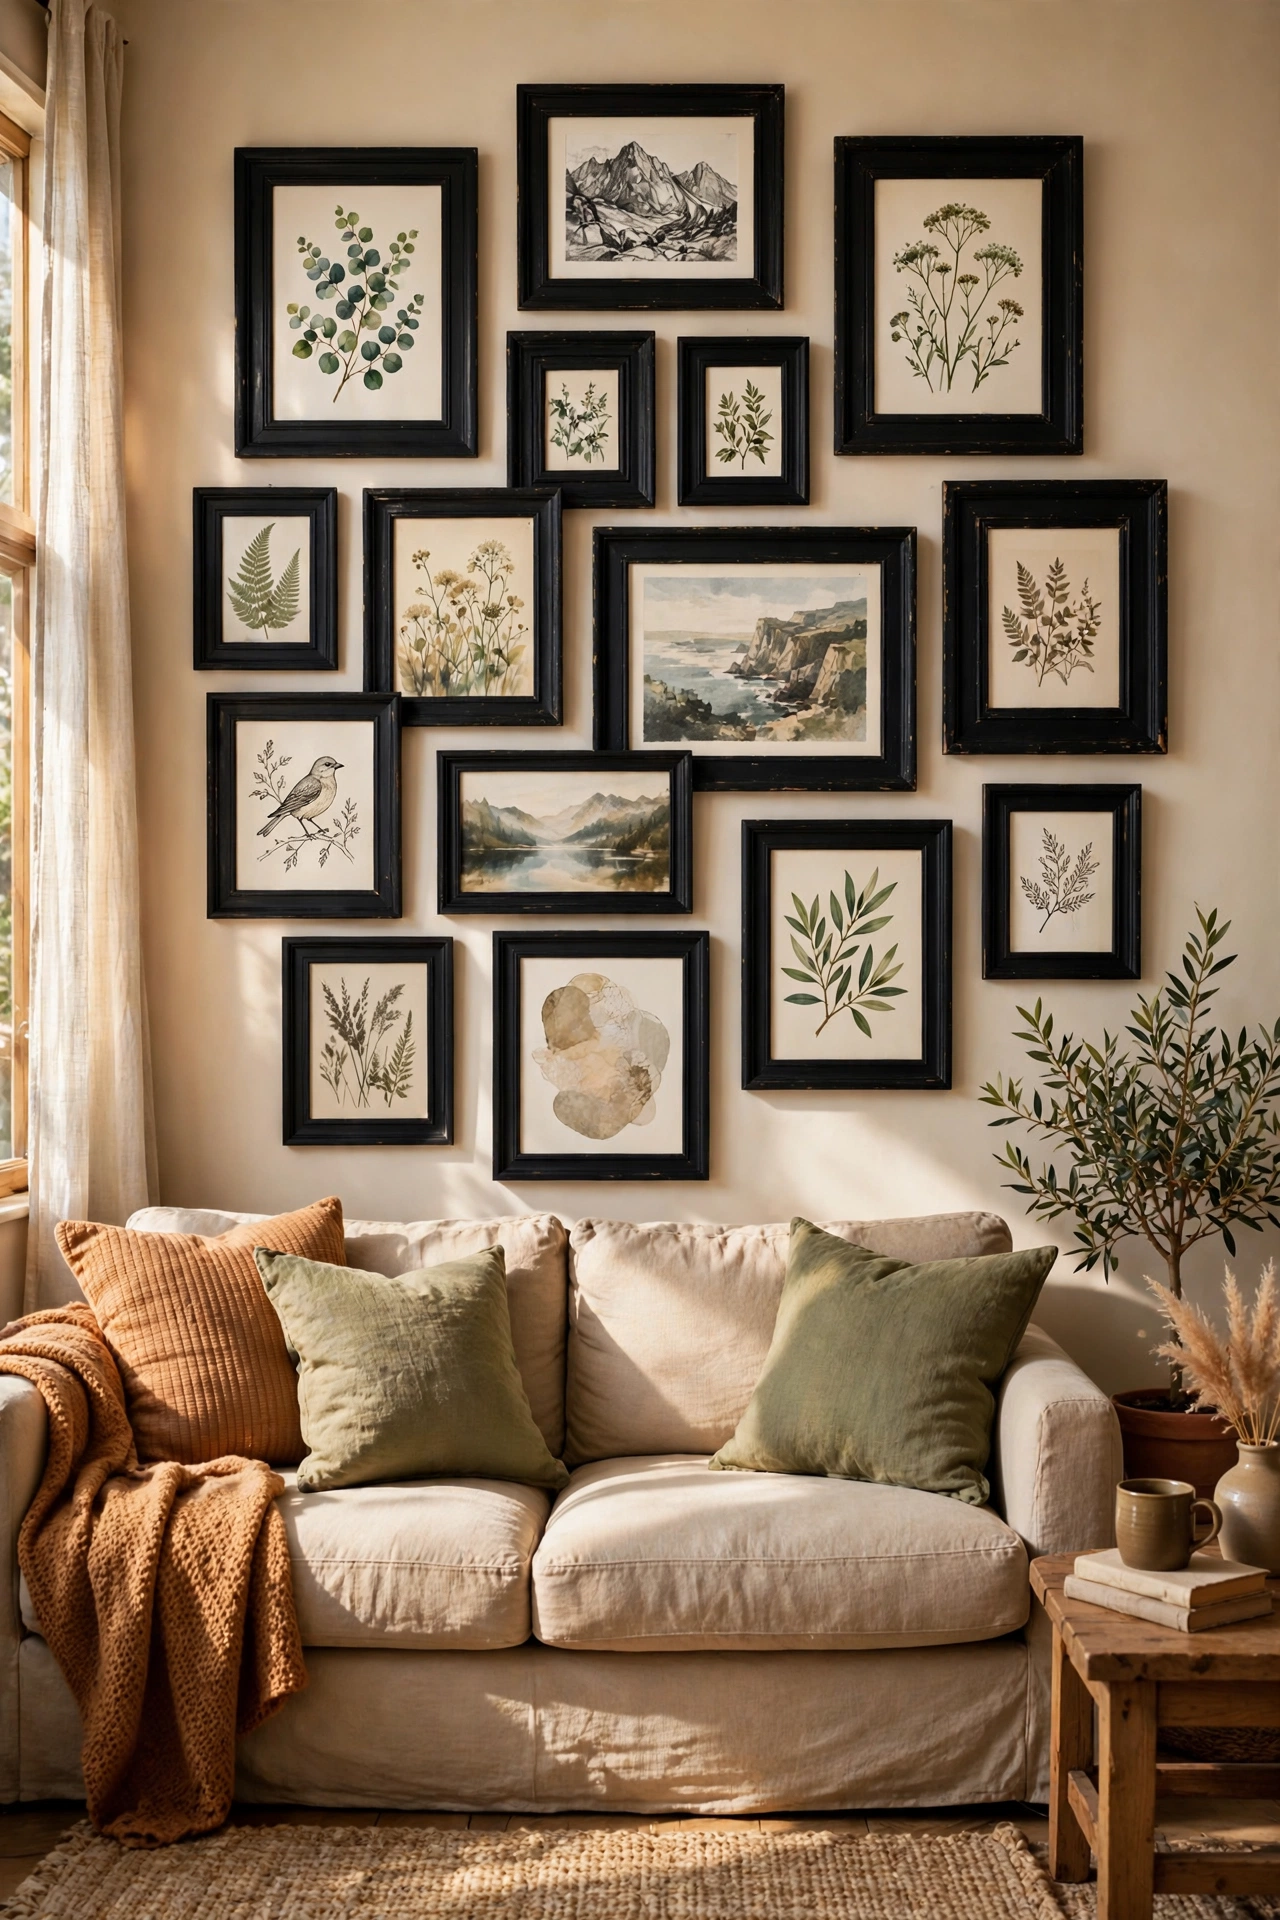
Thrift stores sell frames for one to three dollars, and a wall of them — mixed sizes, unified by paint — looks like a collected gallery. I spray-painted eight mismatched frames matte black, filled them with free printable art and family photos, and hung them in a loose grid. Total cost: under twenty dollars. Lay the arrangement on the floor first and photograph it; rearranging on the floor is free, rearranging on the wall leaves holes. My wall gets complimented more than anything else in the room.
Cost: ~$15–20 | Time: 2 hours
2. Free Printable Art Prints
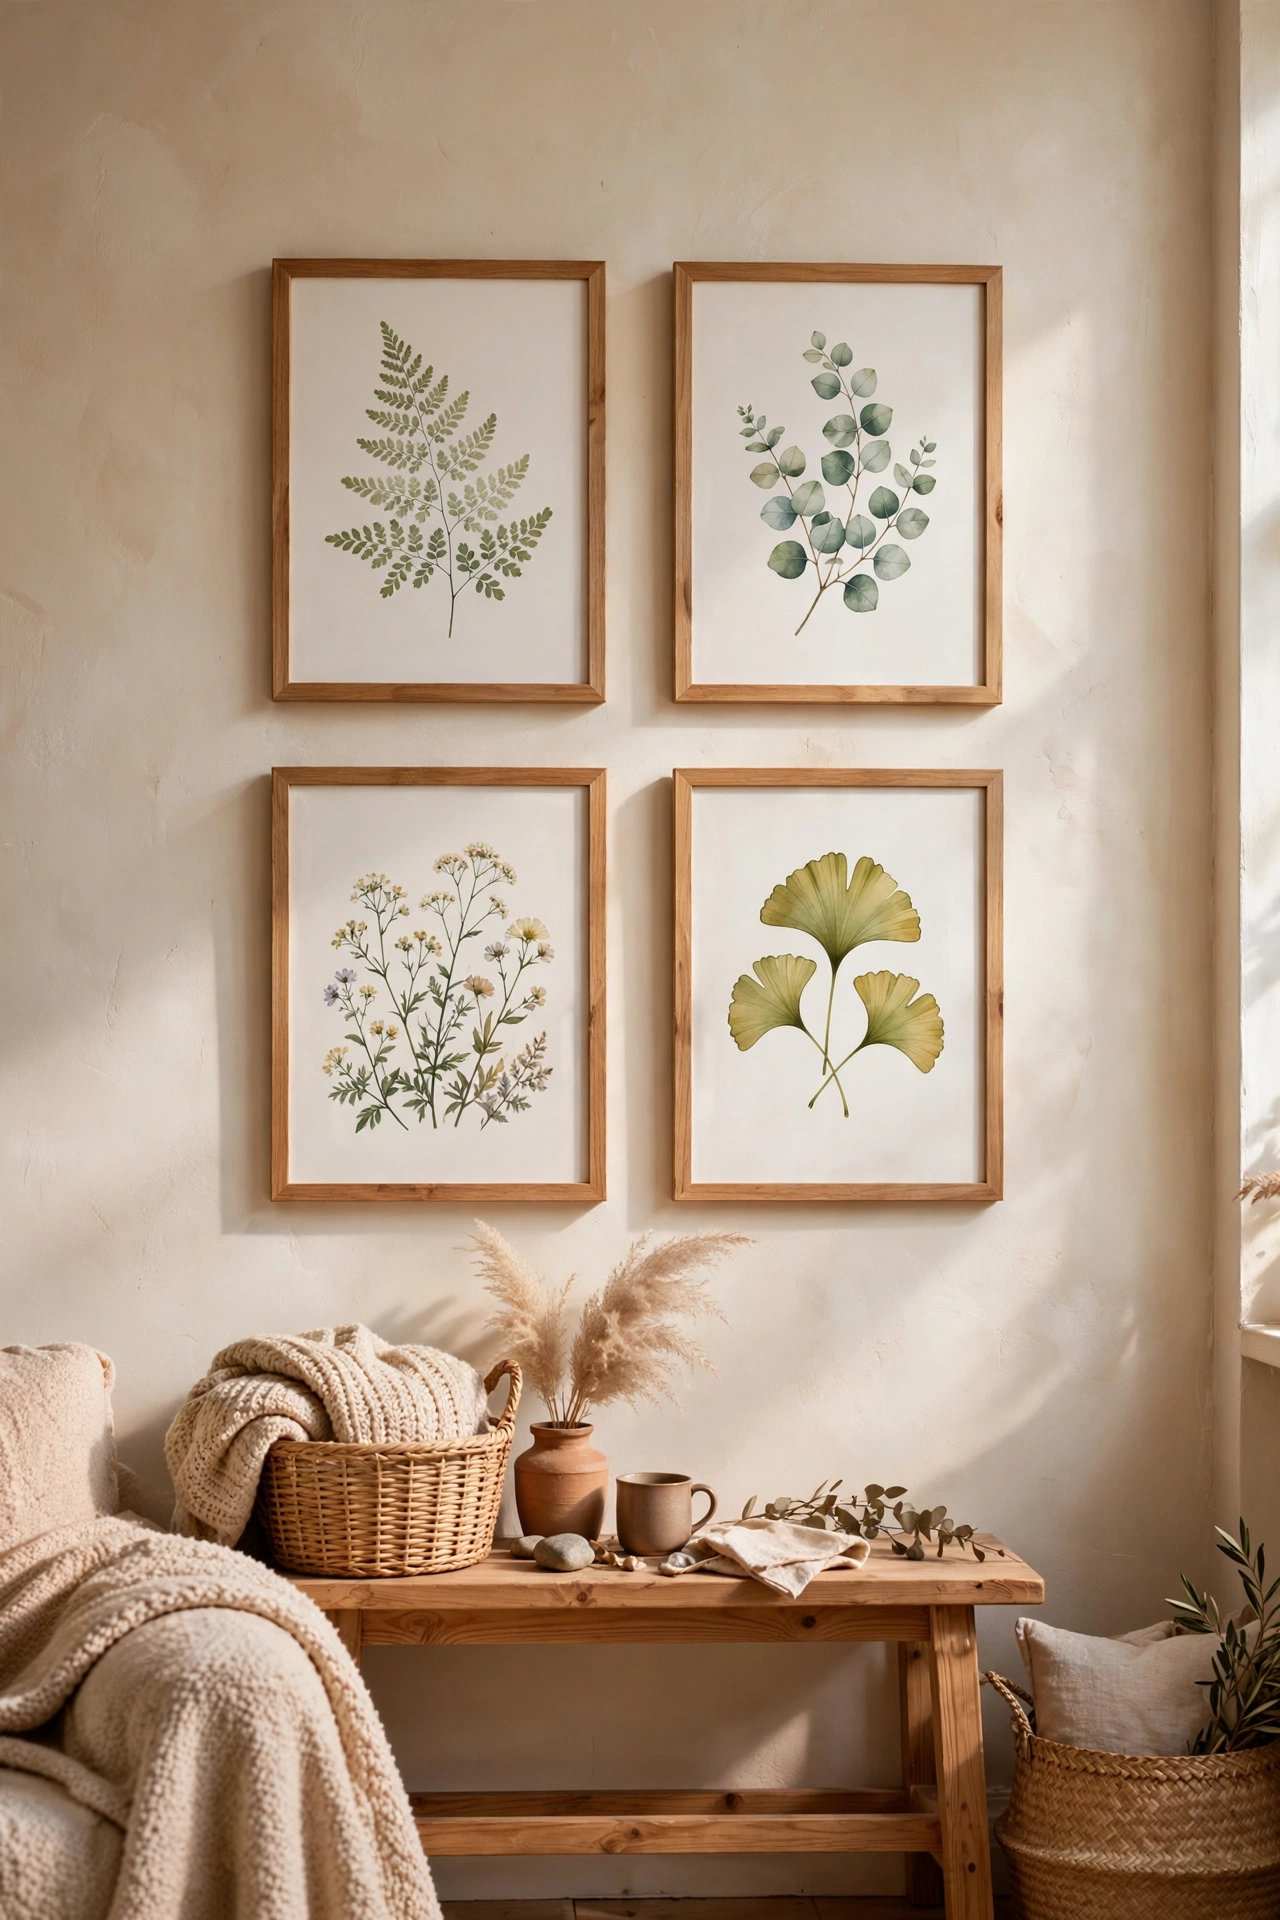
The internet is full of genuinely beautiful free printable art — botanical illustrations, abstract landscapes, vintage posters. Download, print at the library or drugstore for a dollar or two per page, and frame. I printed four botanical prints for six dollars total and they look like real art because, framed well, they are real art. Search for public domain artwork if you want museum-quality images free. My dining wall is currently a free Van Gogh sketch. The museum charges millions. Mine cost $1.50.
Cost: ~$2–8 | Time: 30 minutes
3. Plate Wall Display
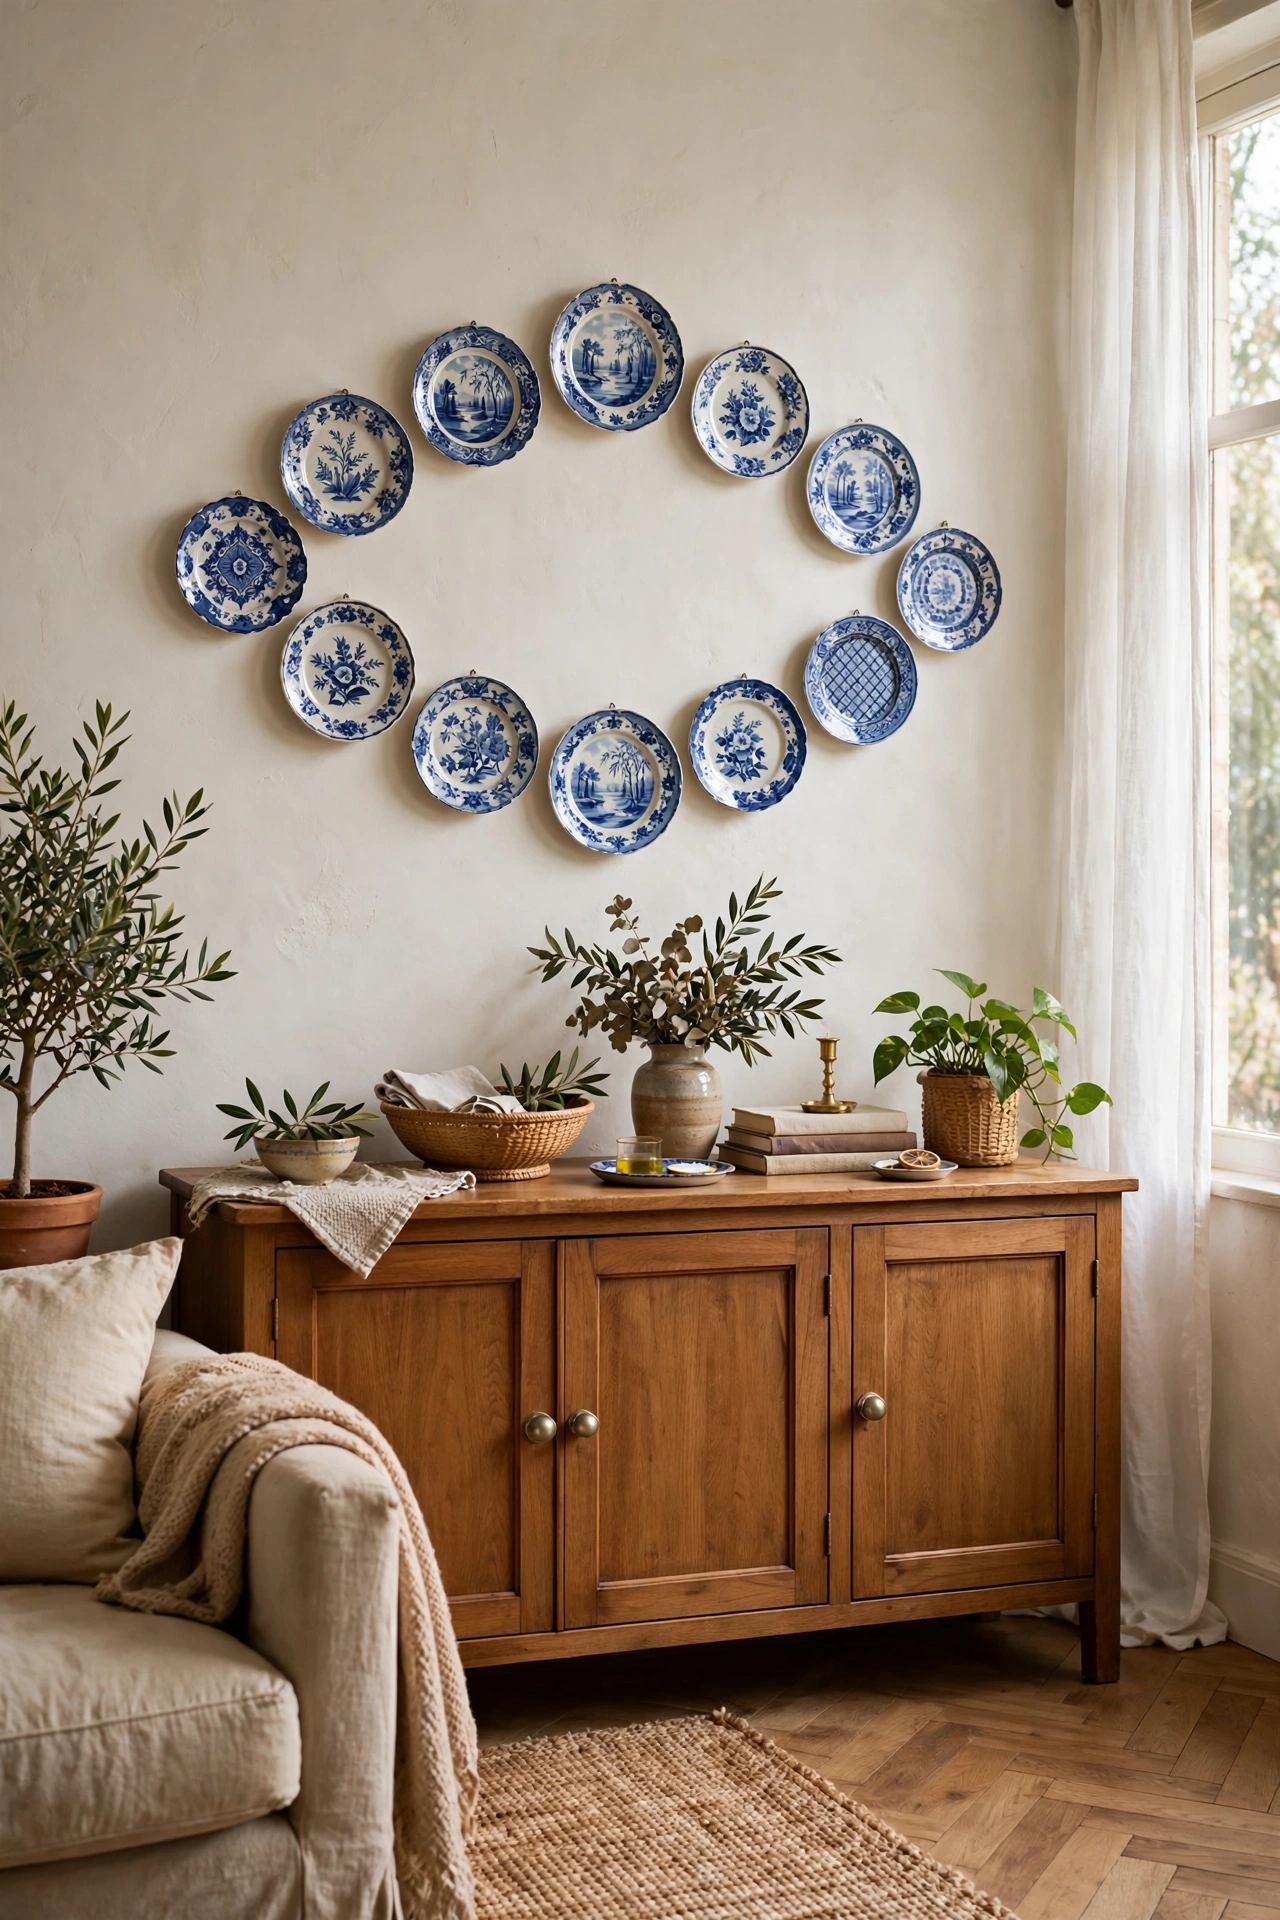
Decorative plates hung in a cluster make a gorgeous, dimensional wall display — and thrift stores sell pretty plates for a dollar each. Use plate hangers or hot-glue a soda tab to the back for hanging. I hung nine blue-and-white plates above my sideboard in an oval arrangement. It adds pattern and shine that flat art can’t. Mix sizes for the best effect, and don’t be afraid of chipped edges — they add character. Mine cost nine dollars total. A plate wall this size retails for hundreds.
Cost: ~$9–12 | Time: 1 hour
4. Washi Tape Frame Gallery
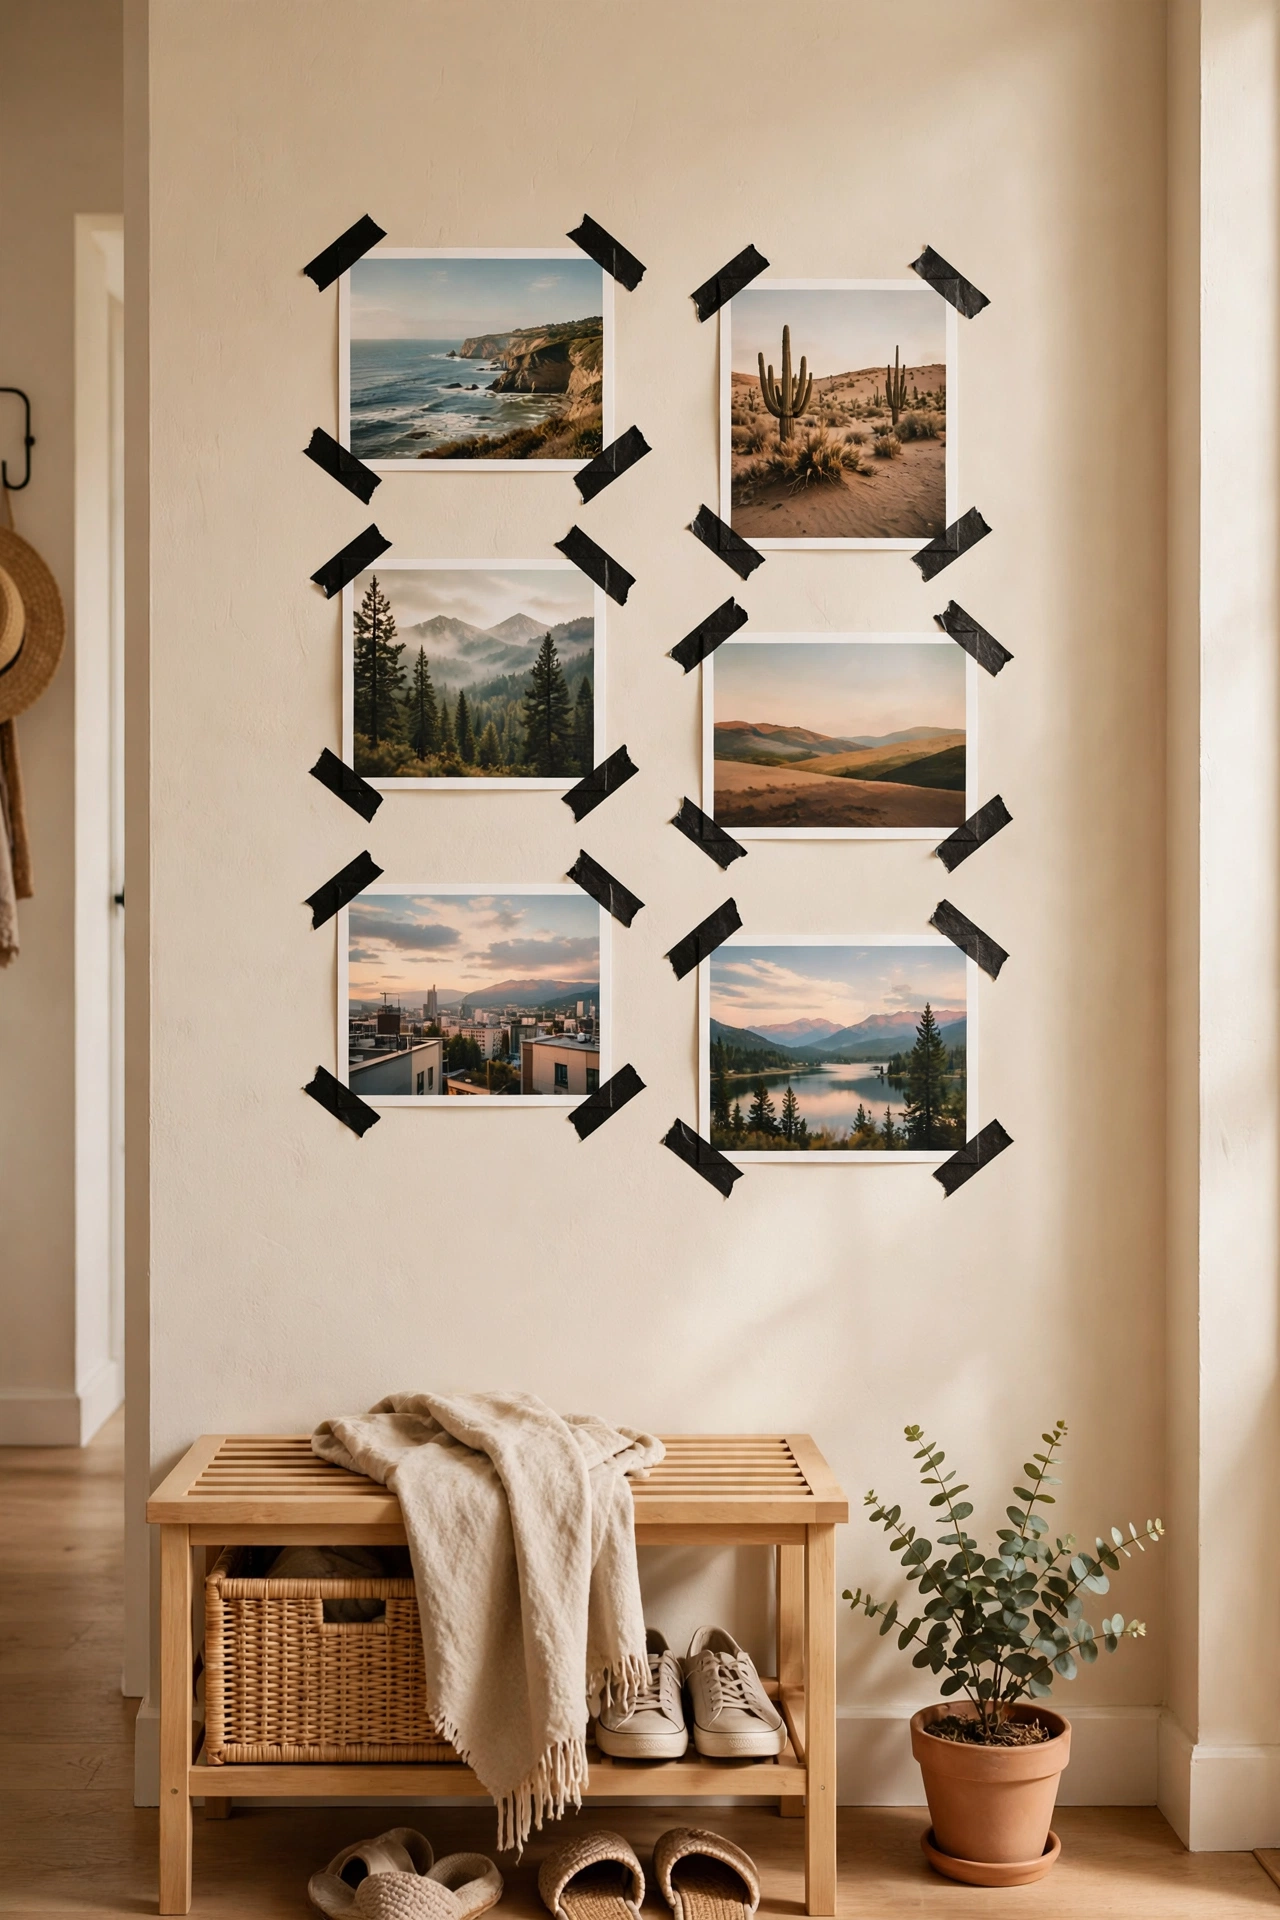
No frames? No problem. Use washi tape to create “frames” directly on the wall around prints, photos, or kids’ art. A roll costs three dollars and the tape peels off cleanly, so it’s perfect for renters. I did a washi gallery in my hallway with black tape — geometric borders around postcards — and it looked sharp and modern. The trick is keeping your lines straight and your spacing even. Measure twice, stick once. When you move, it all peels away.
Cost: ~$3–5 | Time: 1 hour
5. Oversized Thrifted Mirror
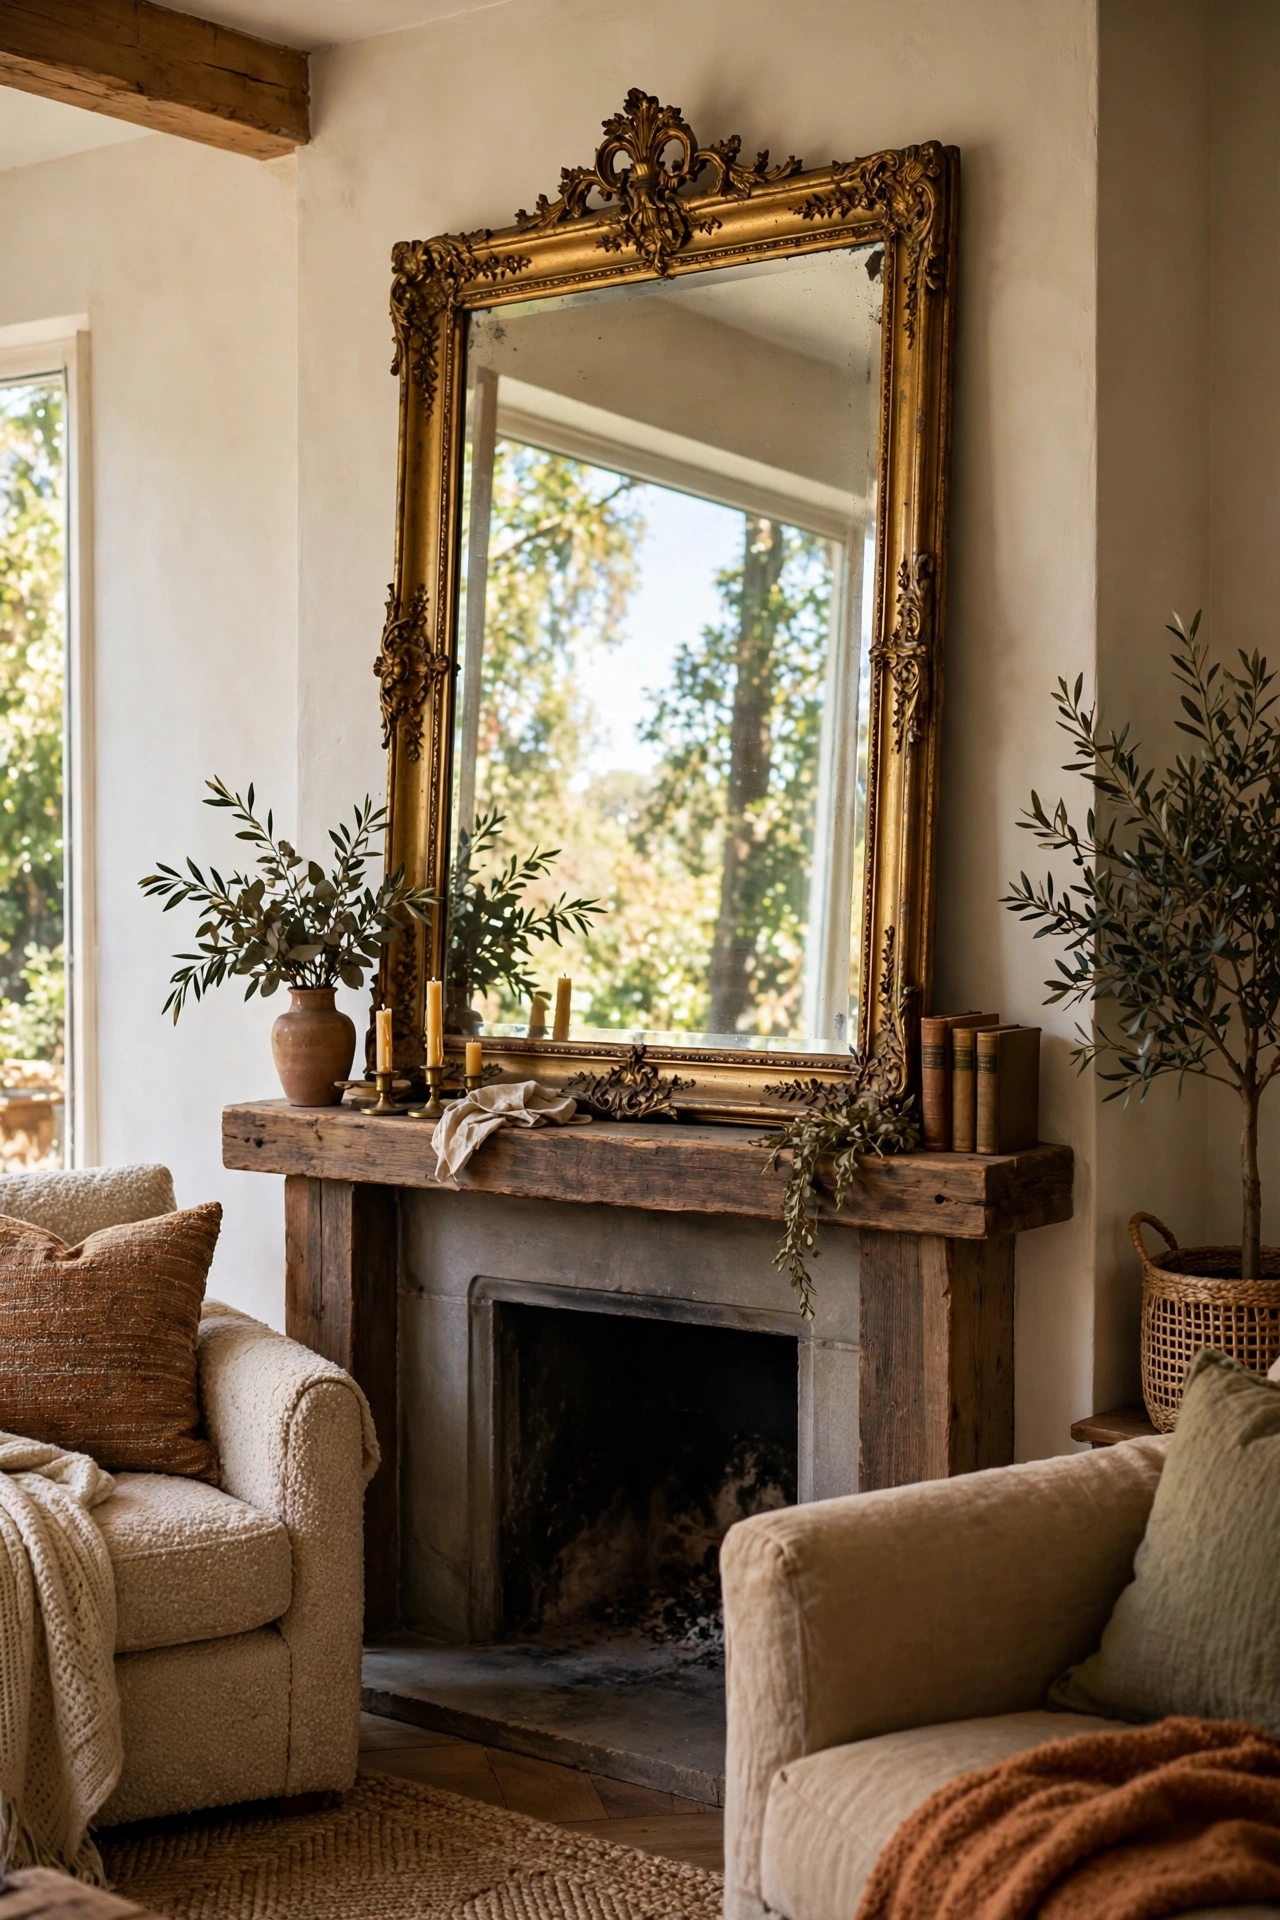
A big mirror doubles your light and your sense of space, and thrift stores are full of them for ten to twenty dollars. Hang it opposite a window for maximum effect. I found a huge gilt mirror for fifteen dollars — the frame was scratched, so I touched it up with gold paint and it looks intentional now. Lean it on the mantel if hanging feels daunting; leaning mirrors are very on-trend. Mine makes my small living room feel twice as big. Best fifteen dollars I ever spent.
Cost: ~$10–20 | Time: 20 minutes
6. DIY Abstract Canvas Trio
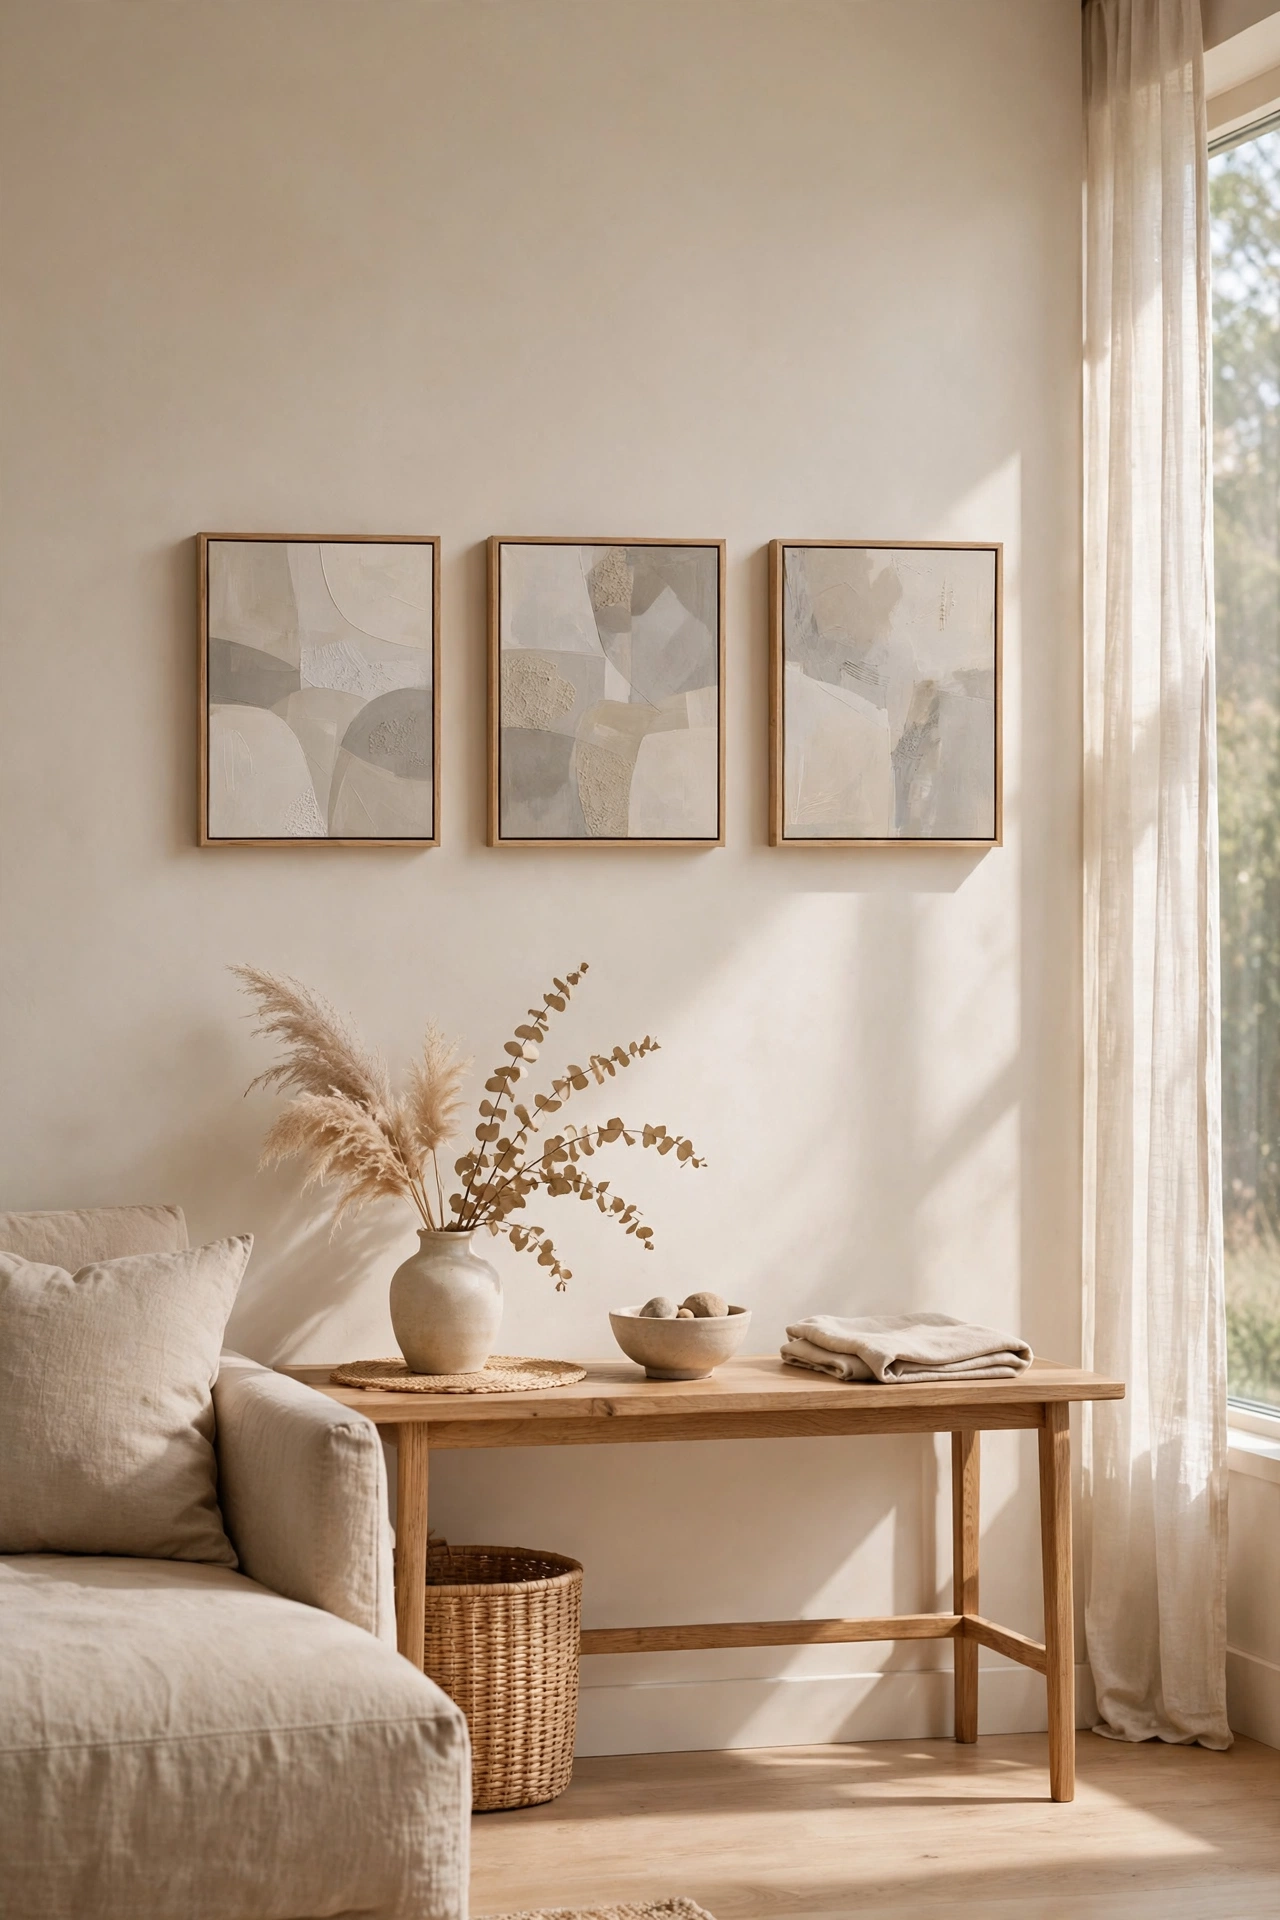
Three small canvases painted in the same palette, hung in a row, read as one intentional art installation. I bought a three-pack of 12×16 canvases for fourteen dollars and painted simple brushstroke abstracts in beige, white, and soft gray. They took an hour and they look like a set from a gallery. Keep each canvas simple — three bold strokes, lots of negative space. When the three hang together, the simplicity becomes the style. My trio hangs over the console and anchors the whole wall.
Cost: ~$14–18 | Time: 1.5 hours
7. Floating Photo Ledge
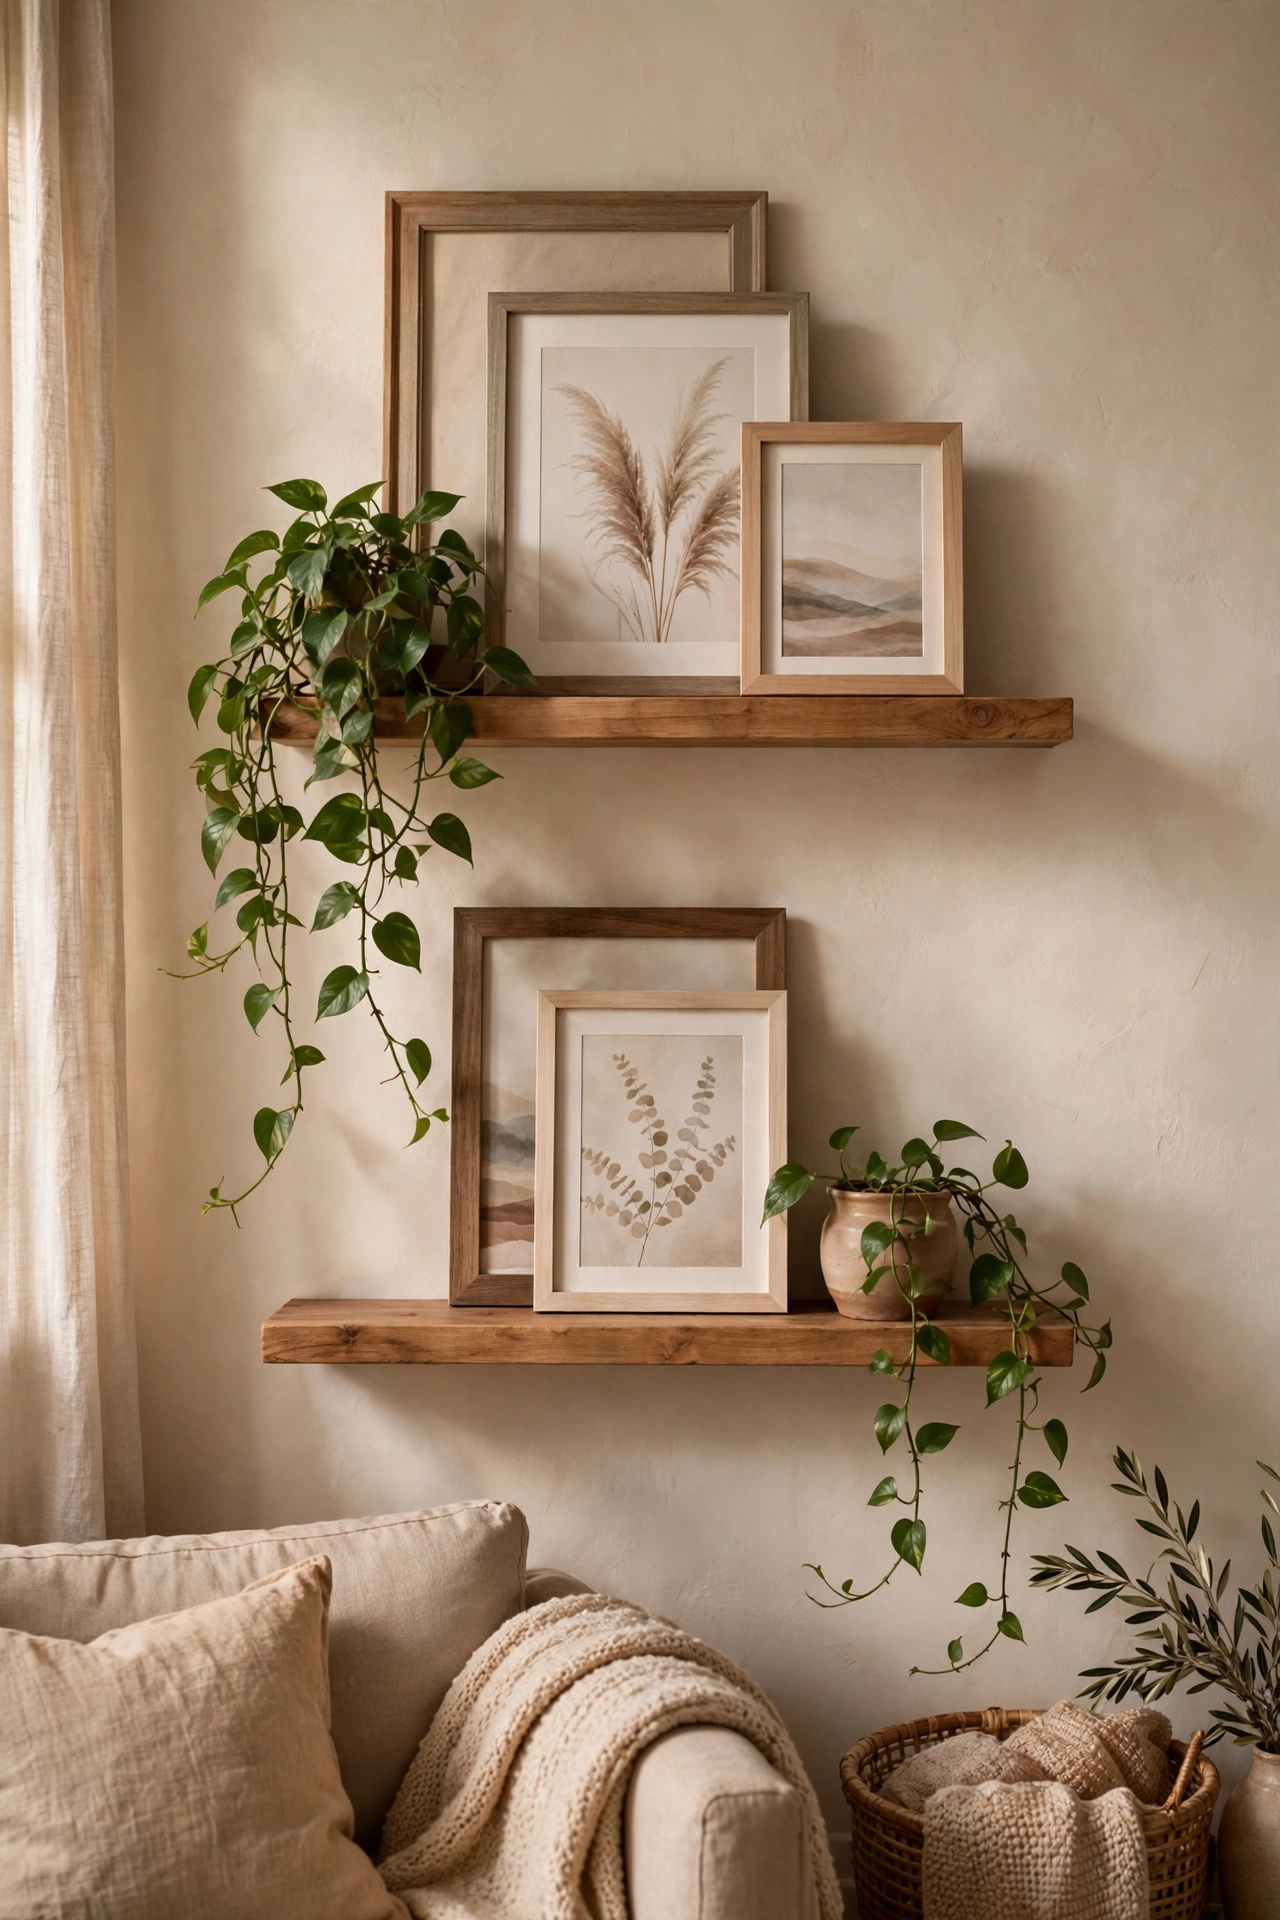
A single picture ledge lets you layer frames, lean art, and swap pieces without new holes in the wall. IKEA’s are about ten dollars each. I mounted two in my living room and styled them with leaning frames, a small plant, and a candle. The layered look is effortlessly chic, and changing the display for seasons takes five minutes. Lean larger pieces at the back, smaller in front. No measuring grids, no commitment. The renter’s gallery wall.
Cost: ~$10–20 | Time: 30 minutes
8. Fabric Wall Hanging
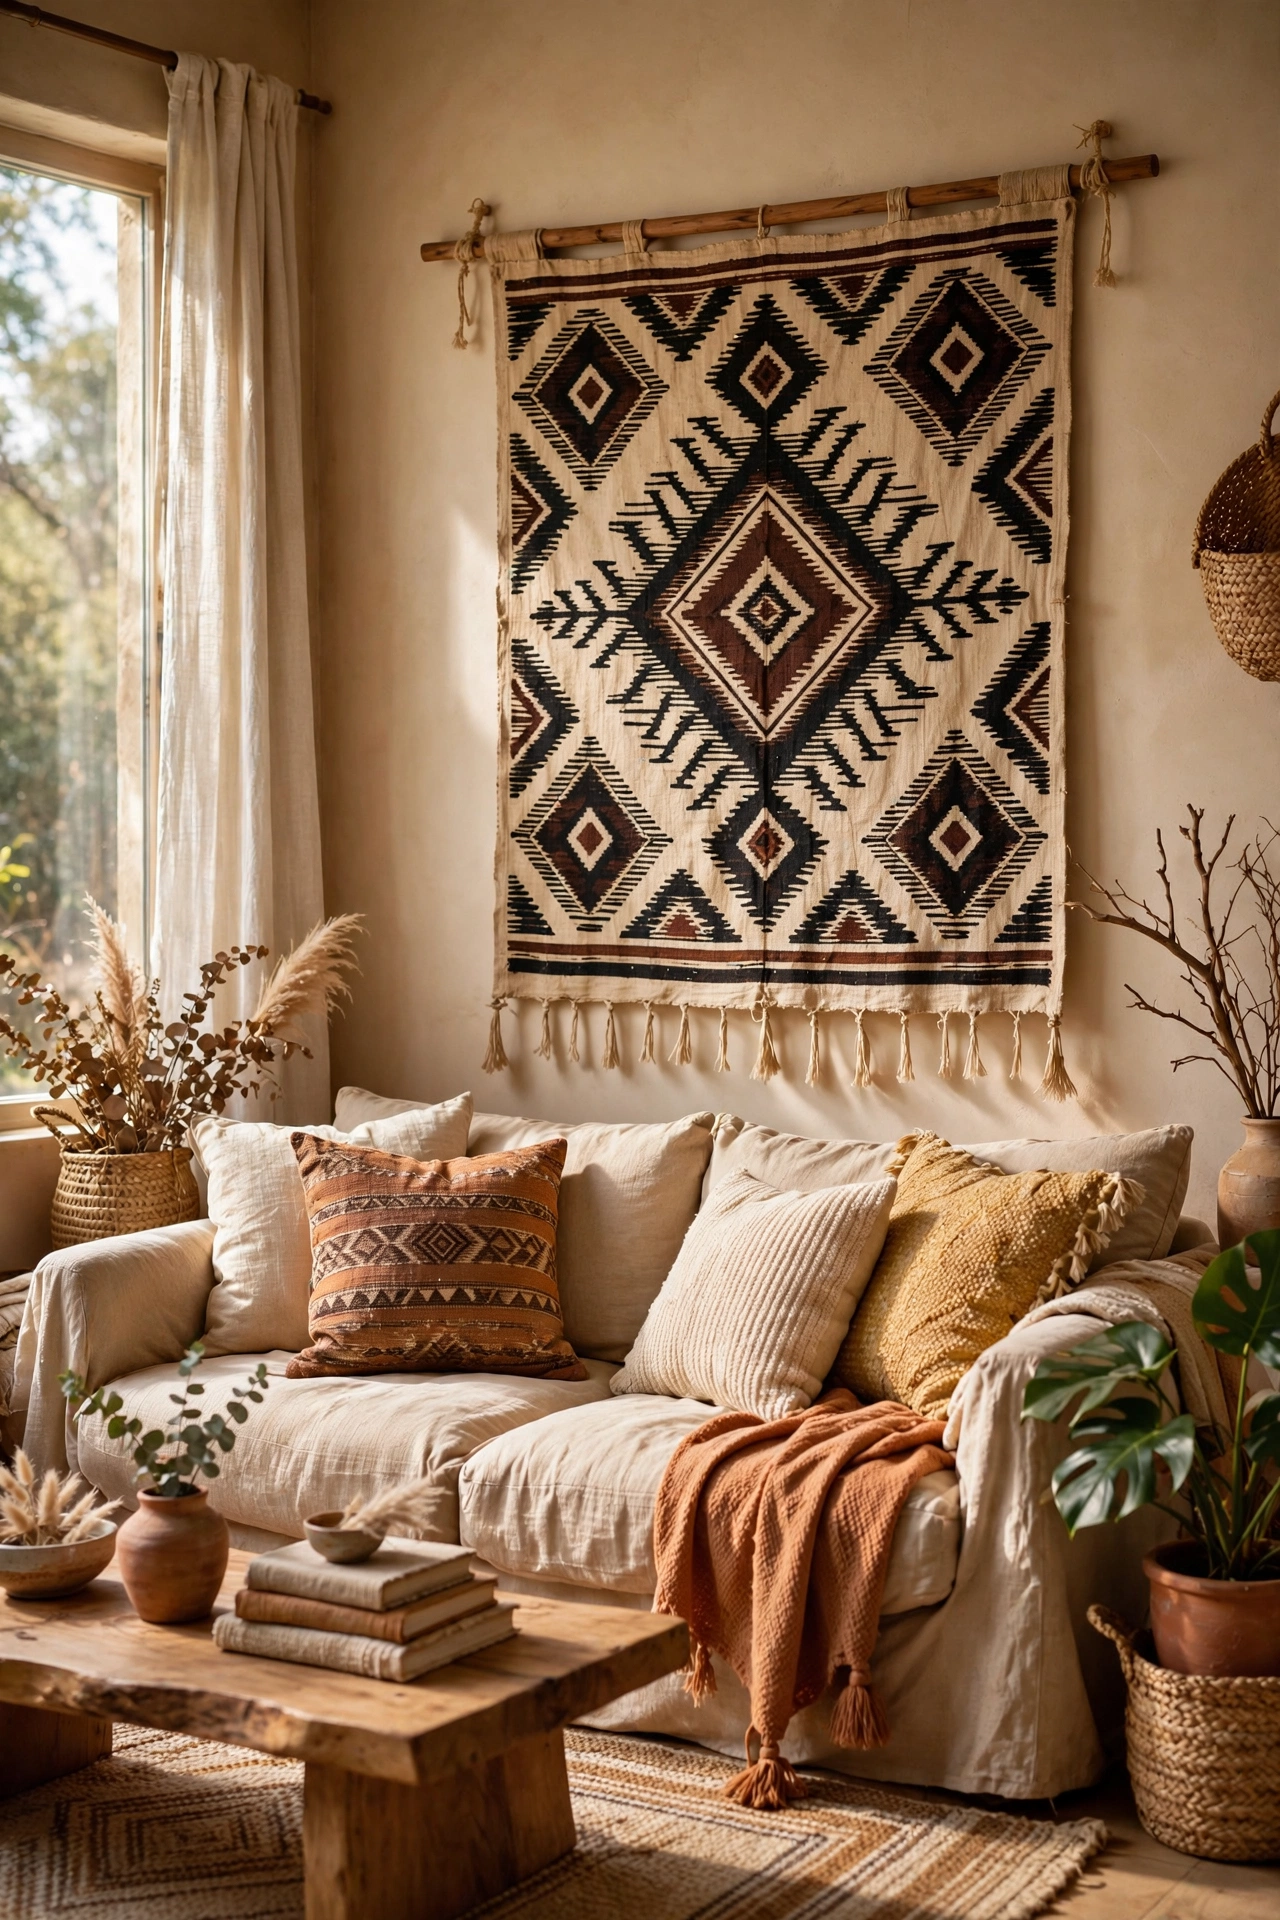
A beautiful piece of fabric hung from a wooden dowel makes a soft, textural wall hanging for almost nothing. I used a yard of mudcloth-look fabric from the craft store — eight dollars — hemmed the top into a pocket, and slid in a dowel with string for hanging. It adds warmth and pattern without the formality of framed art. Tapestries this size sell for sixty dollars. Mine took twenty minutes and a dowel. The fabric does all the work.
Cost: ~$8–12 | Time: 25 minutes
9. Painted Arch Accent
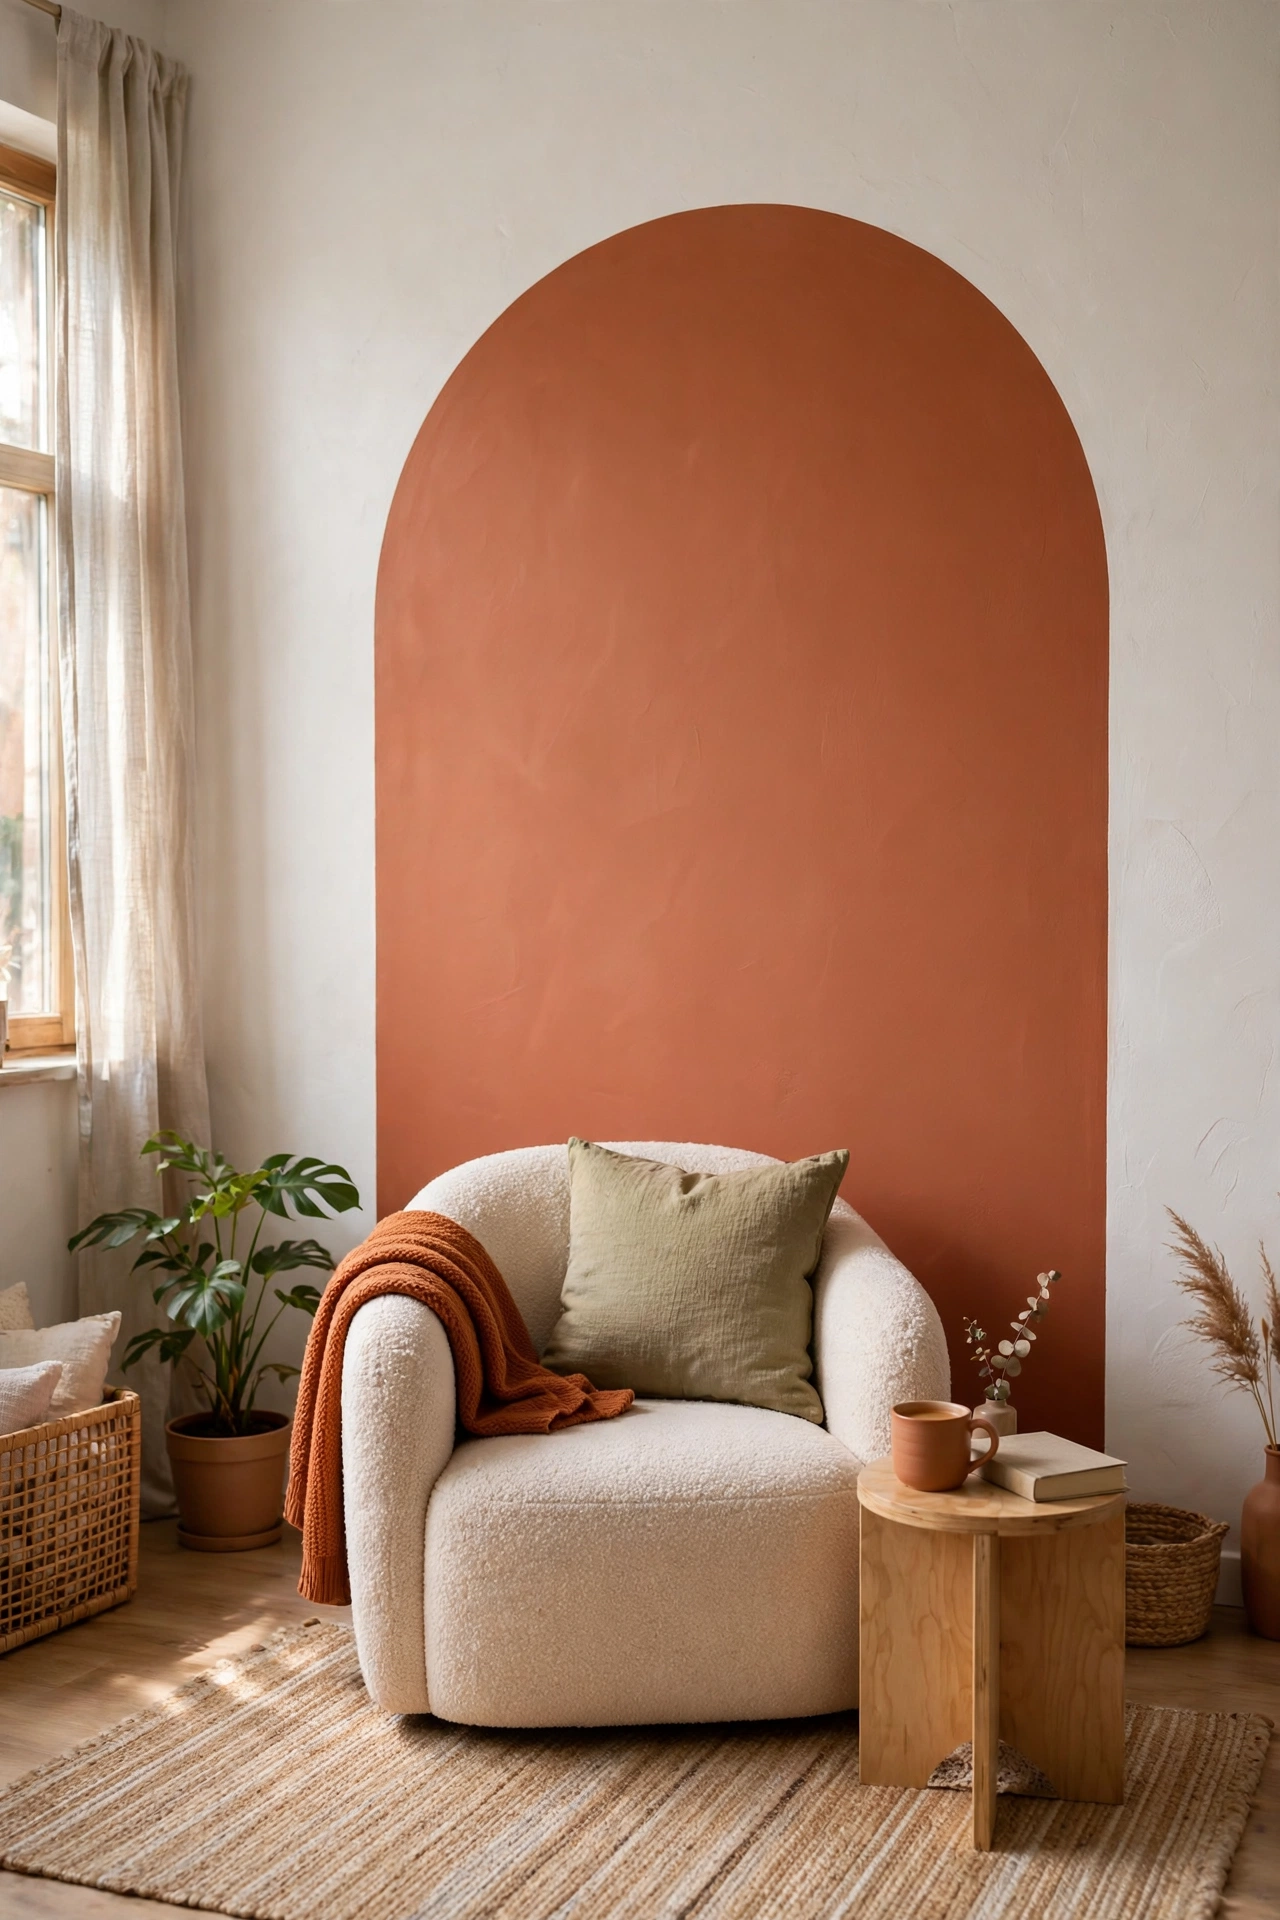
Paint a large arch directly on the wall behind a console or chair — it’s the trendy mural look for the cost of a sample pot. I painted a warm terracotta arch behind my reading chair and it created a focal point out of thin air. Trace the arch with a pencil tied to a string for a perfect curve, then fill in with a small roller. Five dollars of paint, one afternoon, massive impact. It photographs beautifully too, if you’re into that.
Cost: ~$5 | Time: 2 hours
10. Basket Wall Collection
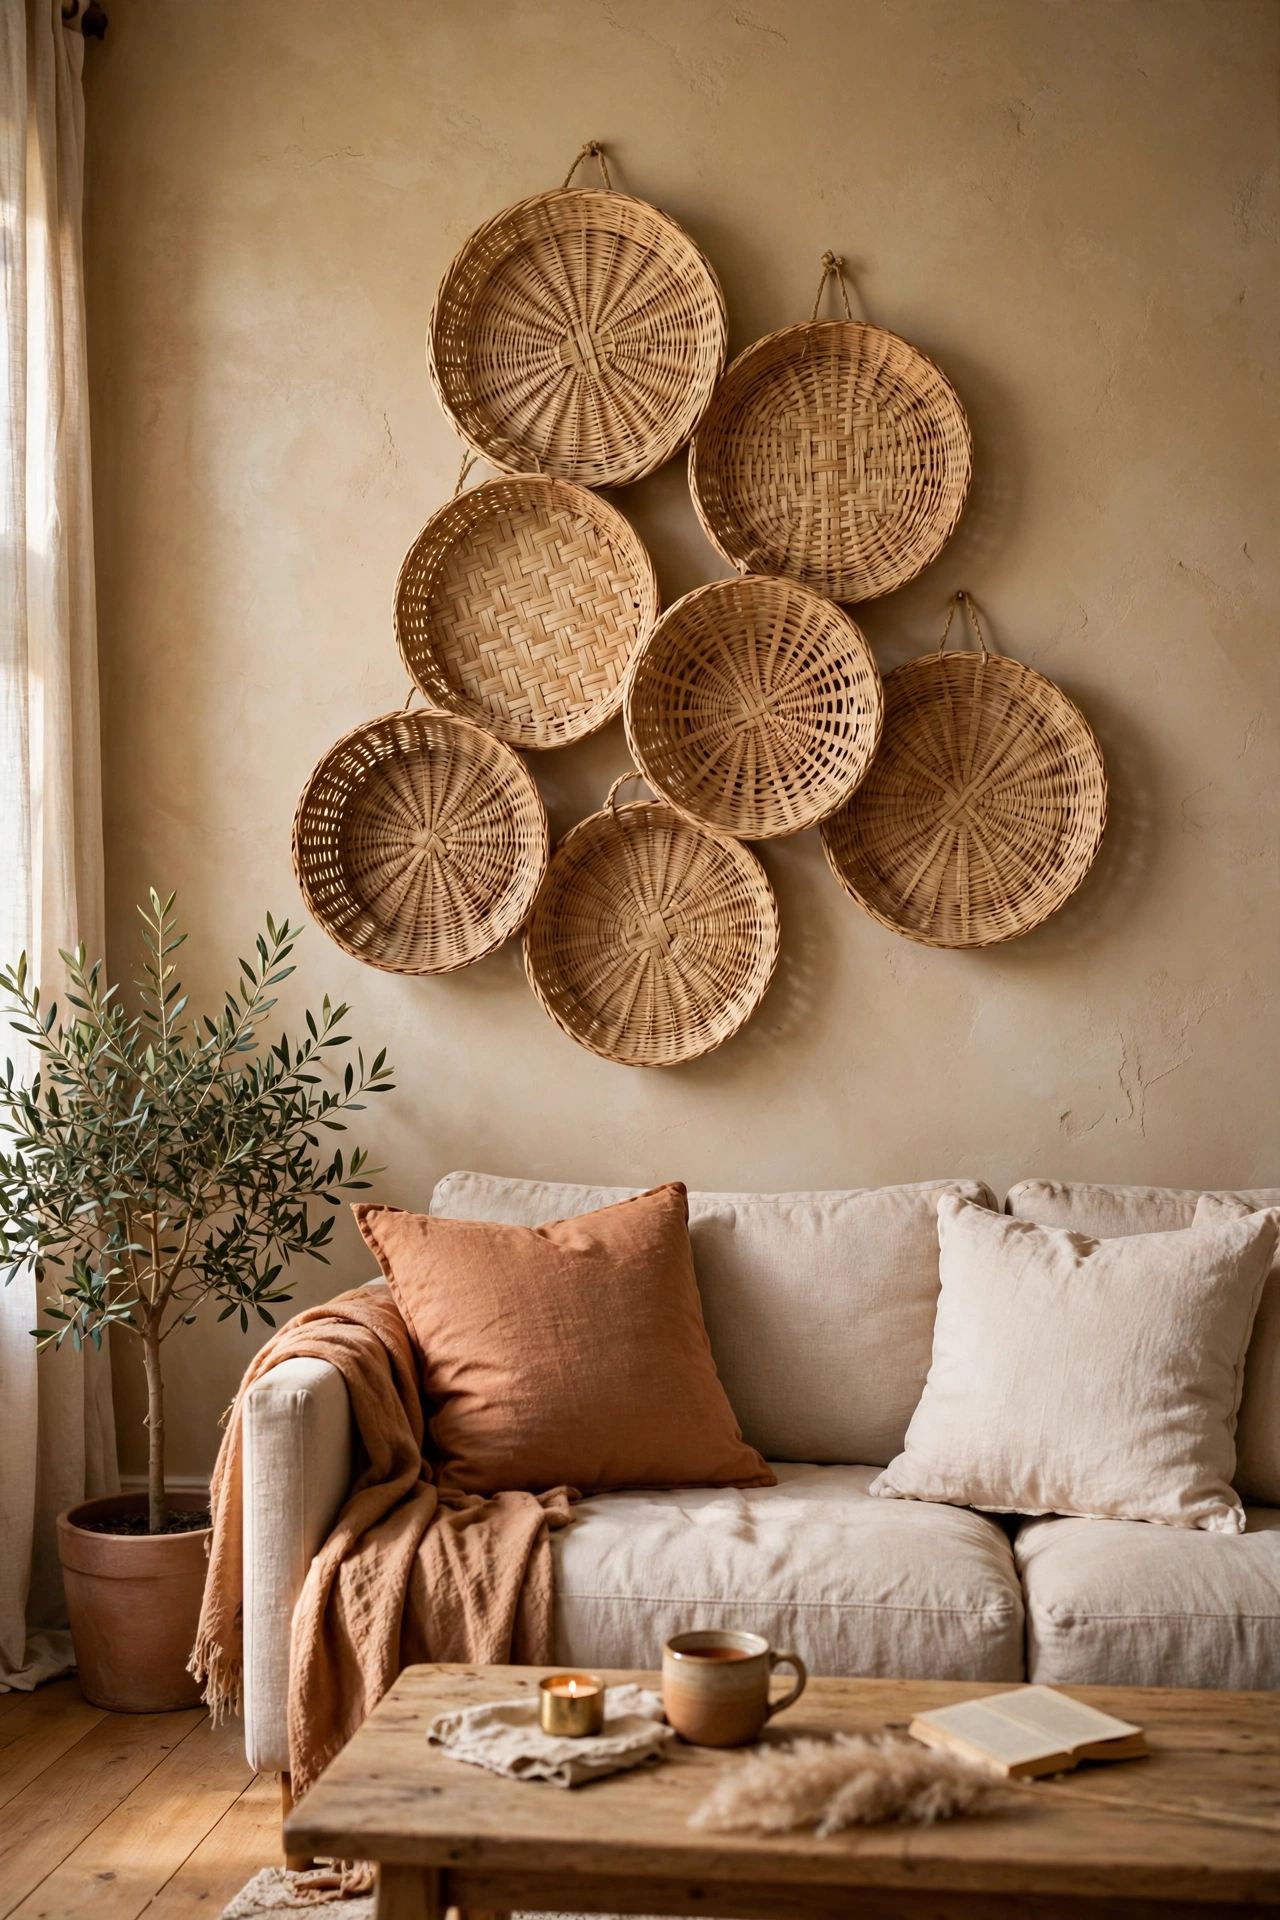
Flat woven baskets hung in a cluster add texture and warmth that flat art can’t match. Thrift them for two to four dollars each, or buy new at discount stores. I hung seven above my sofa in an organic arrangement — no grid, just pleasing spacing. The natural tones work with everything and the shadows they cast add dimension. Hang the biggest in the center and work outward. Mine cost eighteen dollars total and it’s the wall everyone asks about.
Cost: ~$15–20 | Time: 45 minutes
11. Framed Kids’ Art Gallery
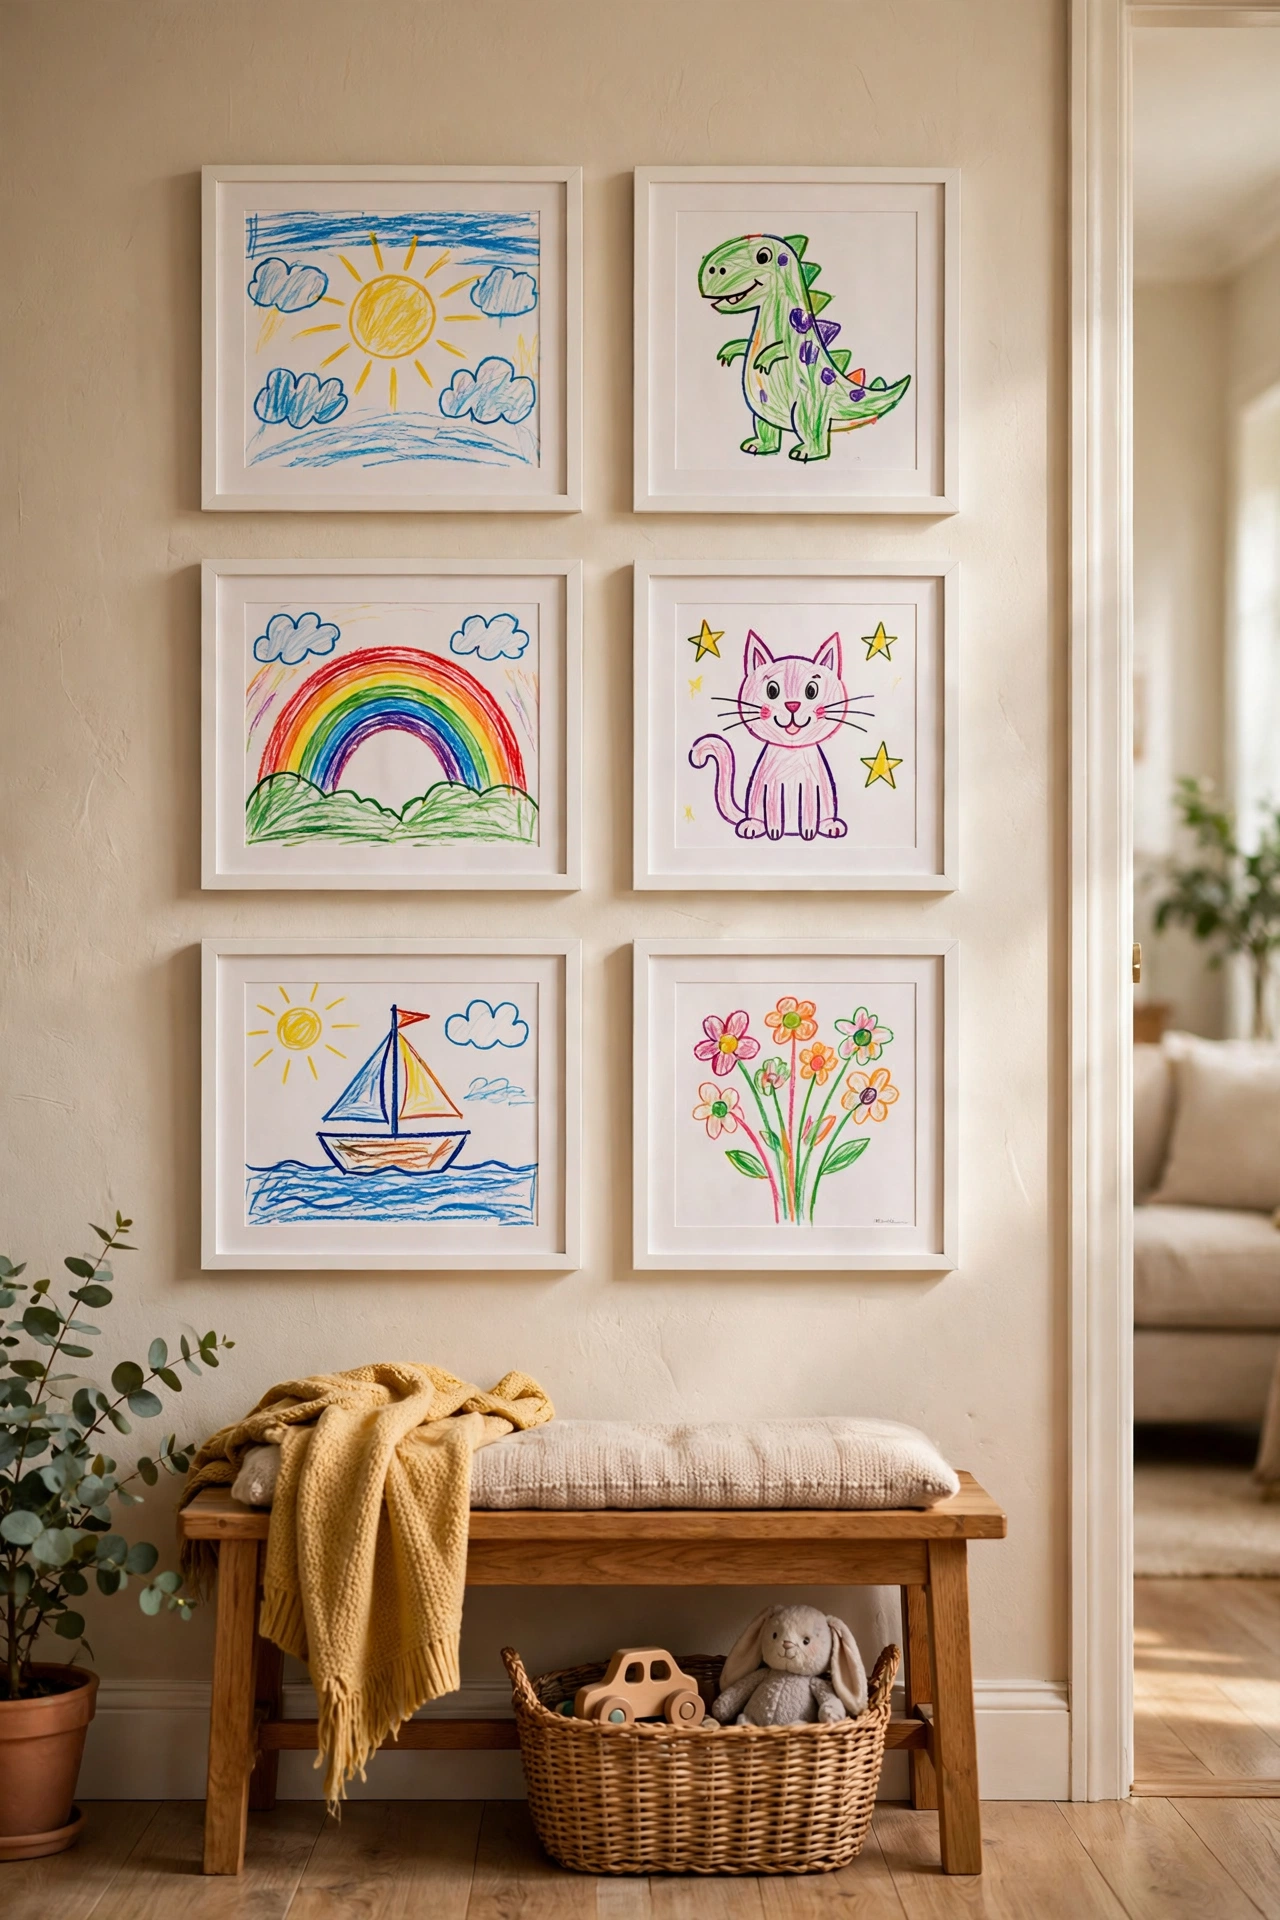
Your kids’ best artwork, framed simply in matching frames, makes the sweetest gallery wall — and it’s deeply personal in a way store-bought art never is. I framed six pieces in white frames from the dollar store and hung them in the hallway. Guests always stop to look. Choose pieces with similar colors for cohesion, or embrace the rainbow chaos. Either way, it’s free art with a story. My daughter’s dinosaur painting is the centerpiece. Obviously.
Cost: ~$8 | Time: 45 minutes
12. Peel-and-Stick Wallpaper Panel
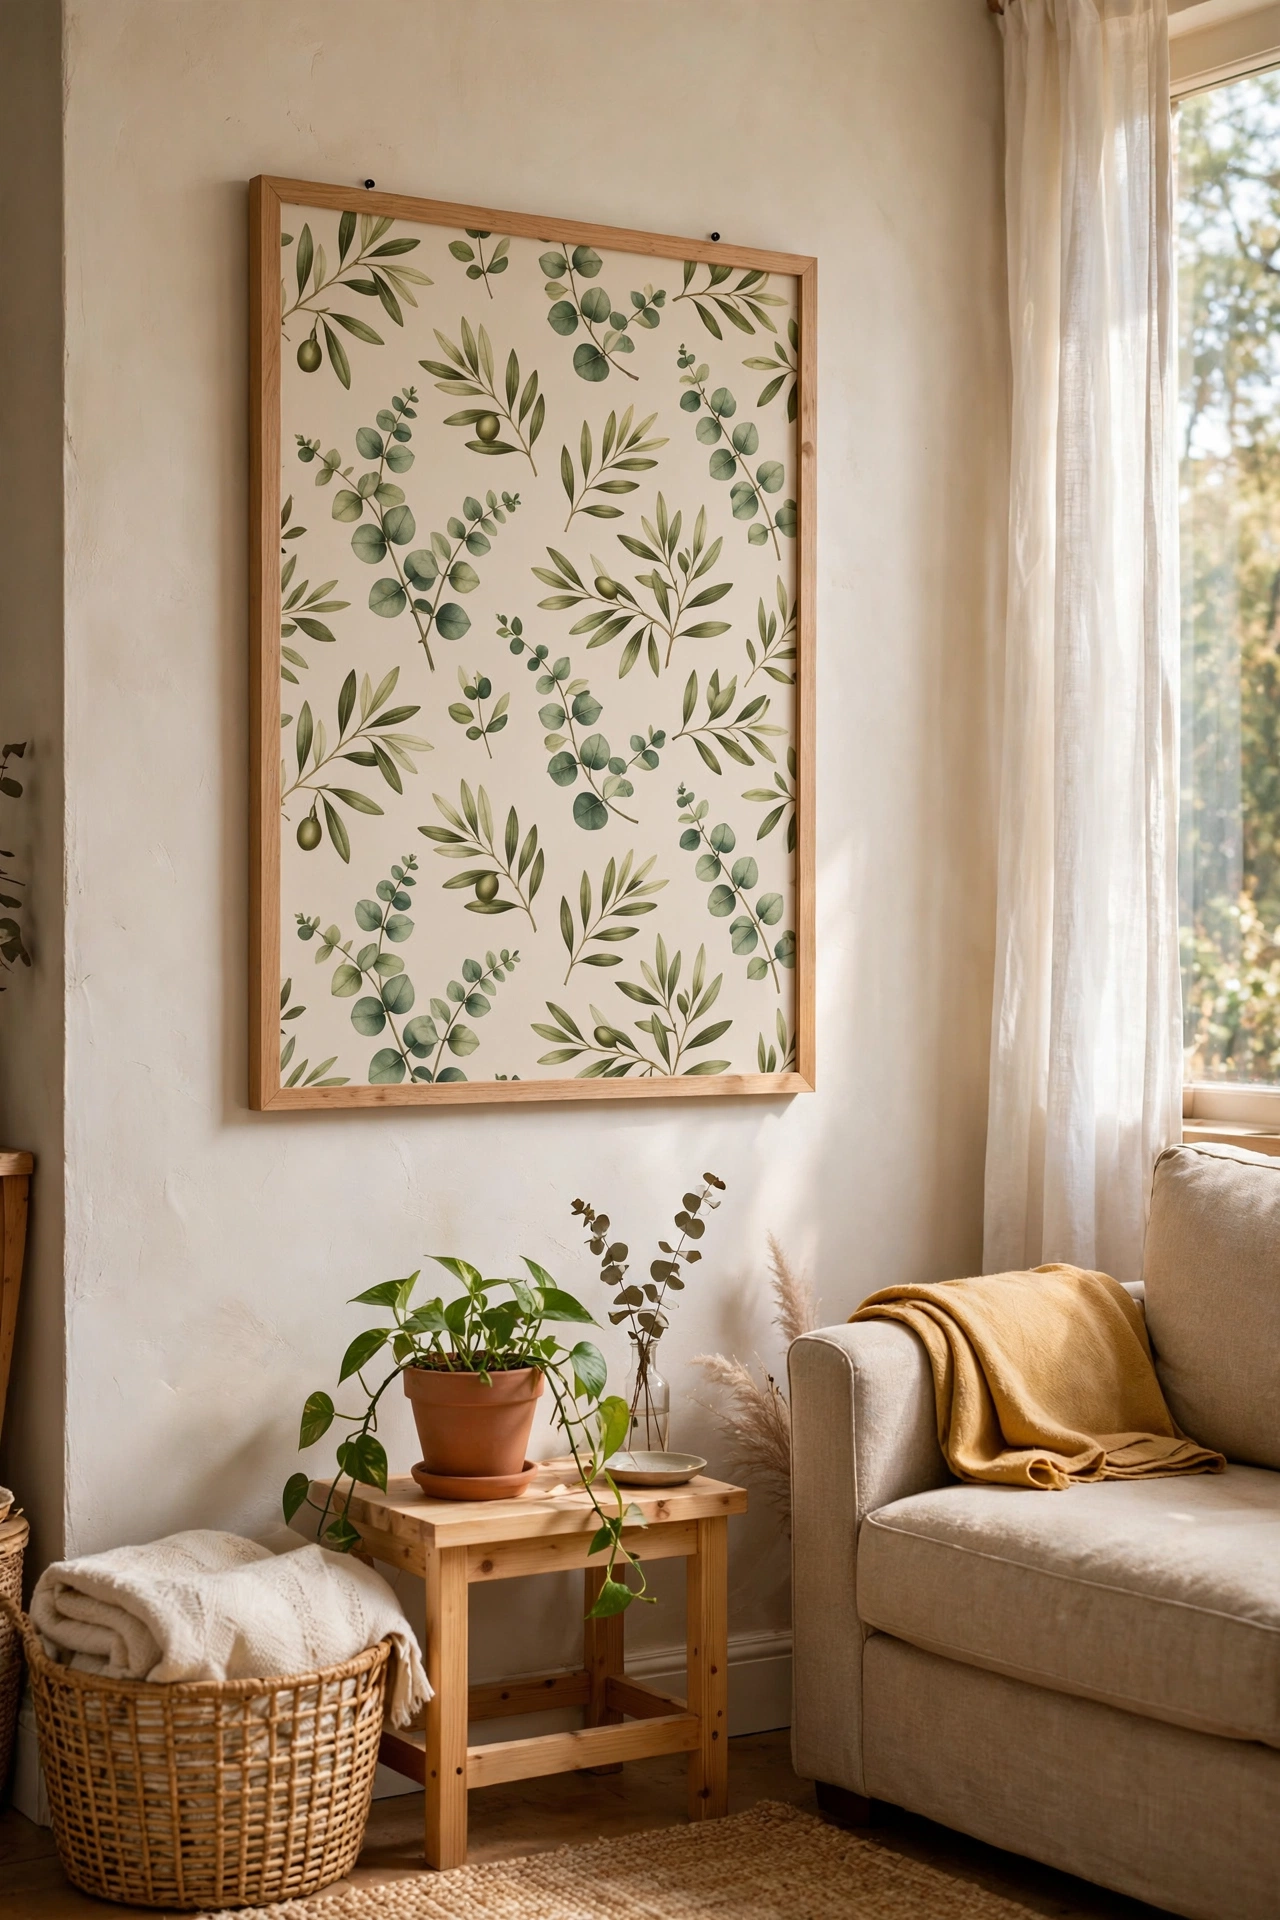
You don’t need to wallpaper a whole wall — one framed panel of peel-and-stick wallpaper makes stunning art. I framed a 2×3 foot section of botanical wallpaper in a thrifted frame and it looks like an expensive print. One roll gives you multiple panels, so the cost per piece is tiny. It’s also renter-friendly and endlessly changeable. My panel has been three different patterns in two years. The frame stays; the wallpaper swaps. Genius system, if I say so myself.
Cost: ~$10–15 | Time: 30 minutes
13. Vintage Map as Art
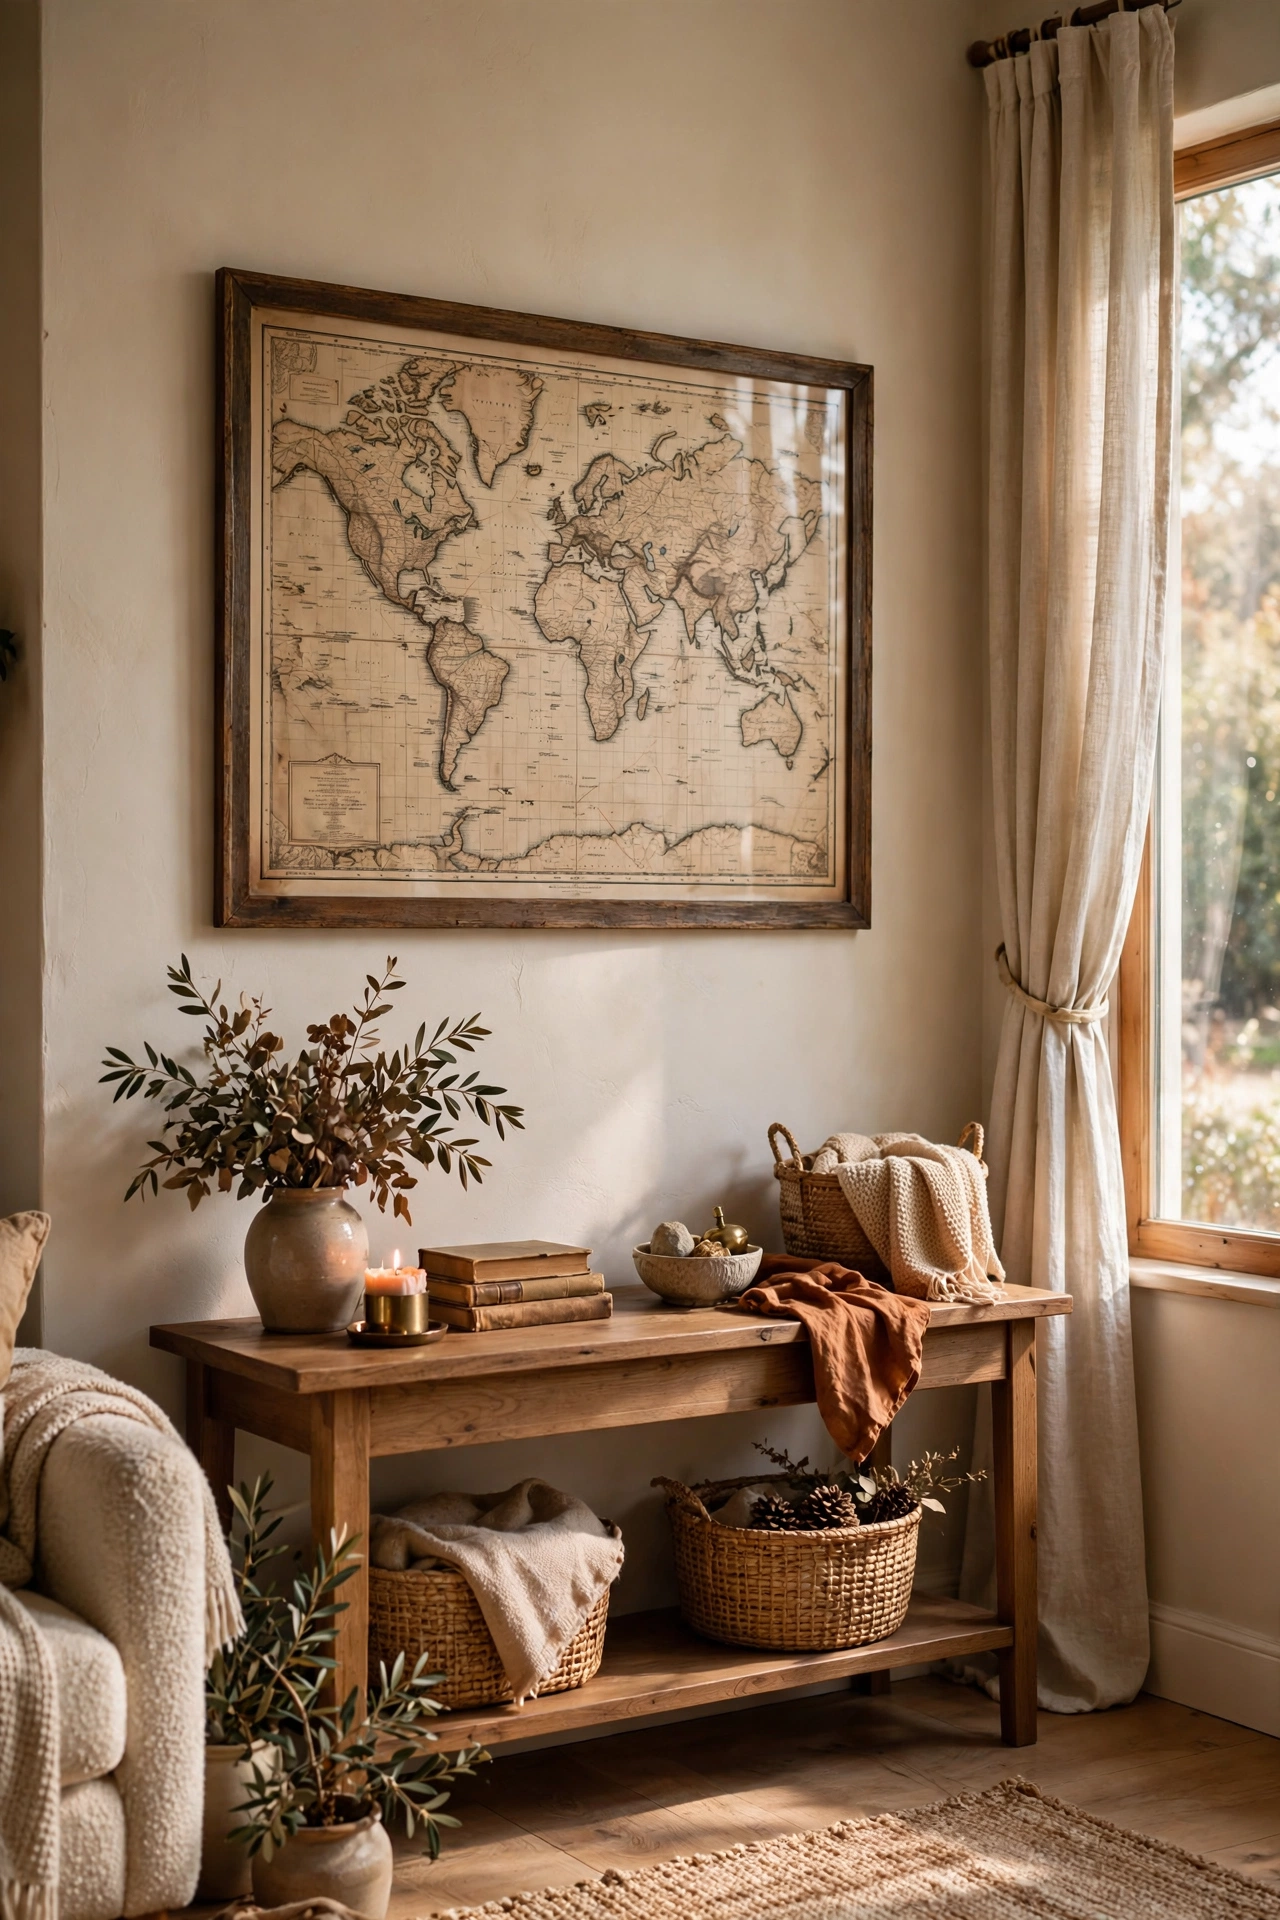
An old map — of your city, a favorite trip, anywhere meaningful — framed large makes personal, interesting wall art. Thrift stores sell old atlases for a dollar; tear out a good page or print a map at the library. I framed a vintage map of our state in a fifteen-dollar frame and it hangs in the living room. Guests always find their hometown on it. It’s a conversation piece disguised as decor. Maps have built-in visual interest — all those lines and labels — so they never look empty.
Cost: ~$5–16 | Time: 20 minutes
14. Floating Shelves with Styled Decor
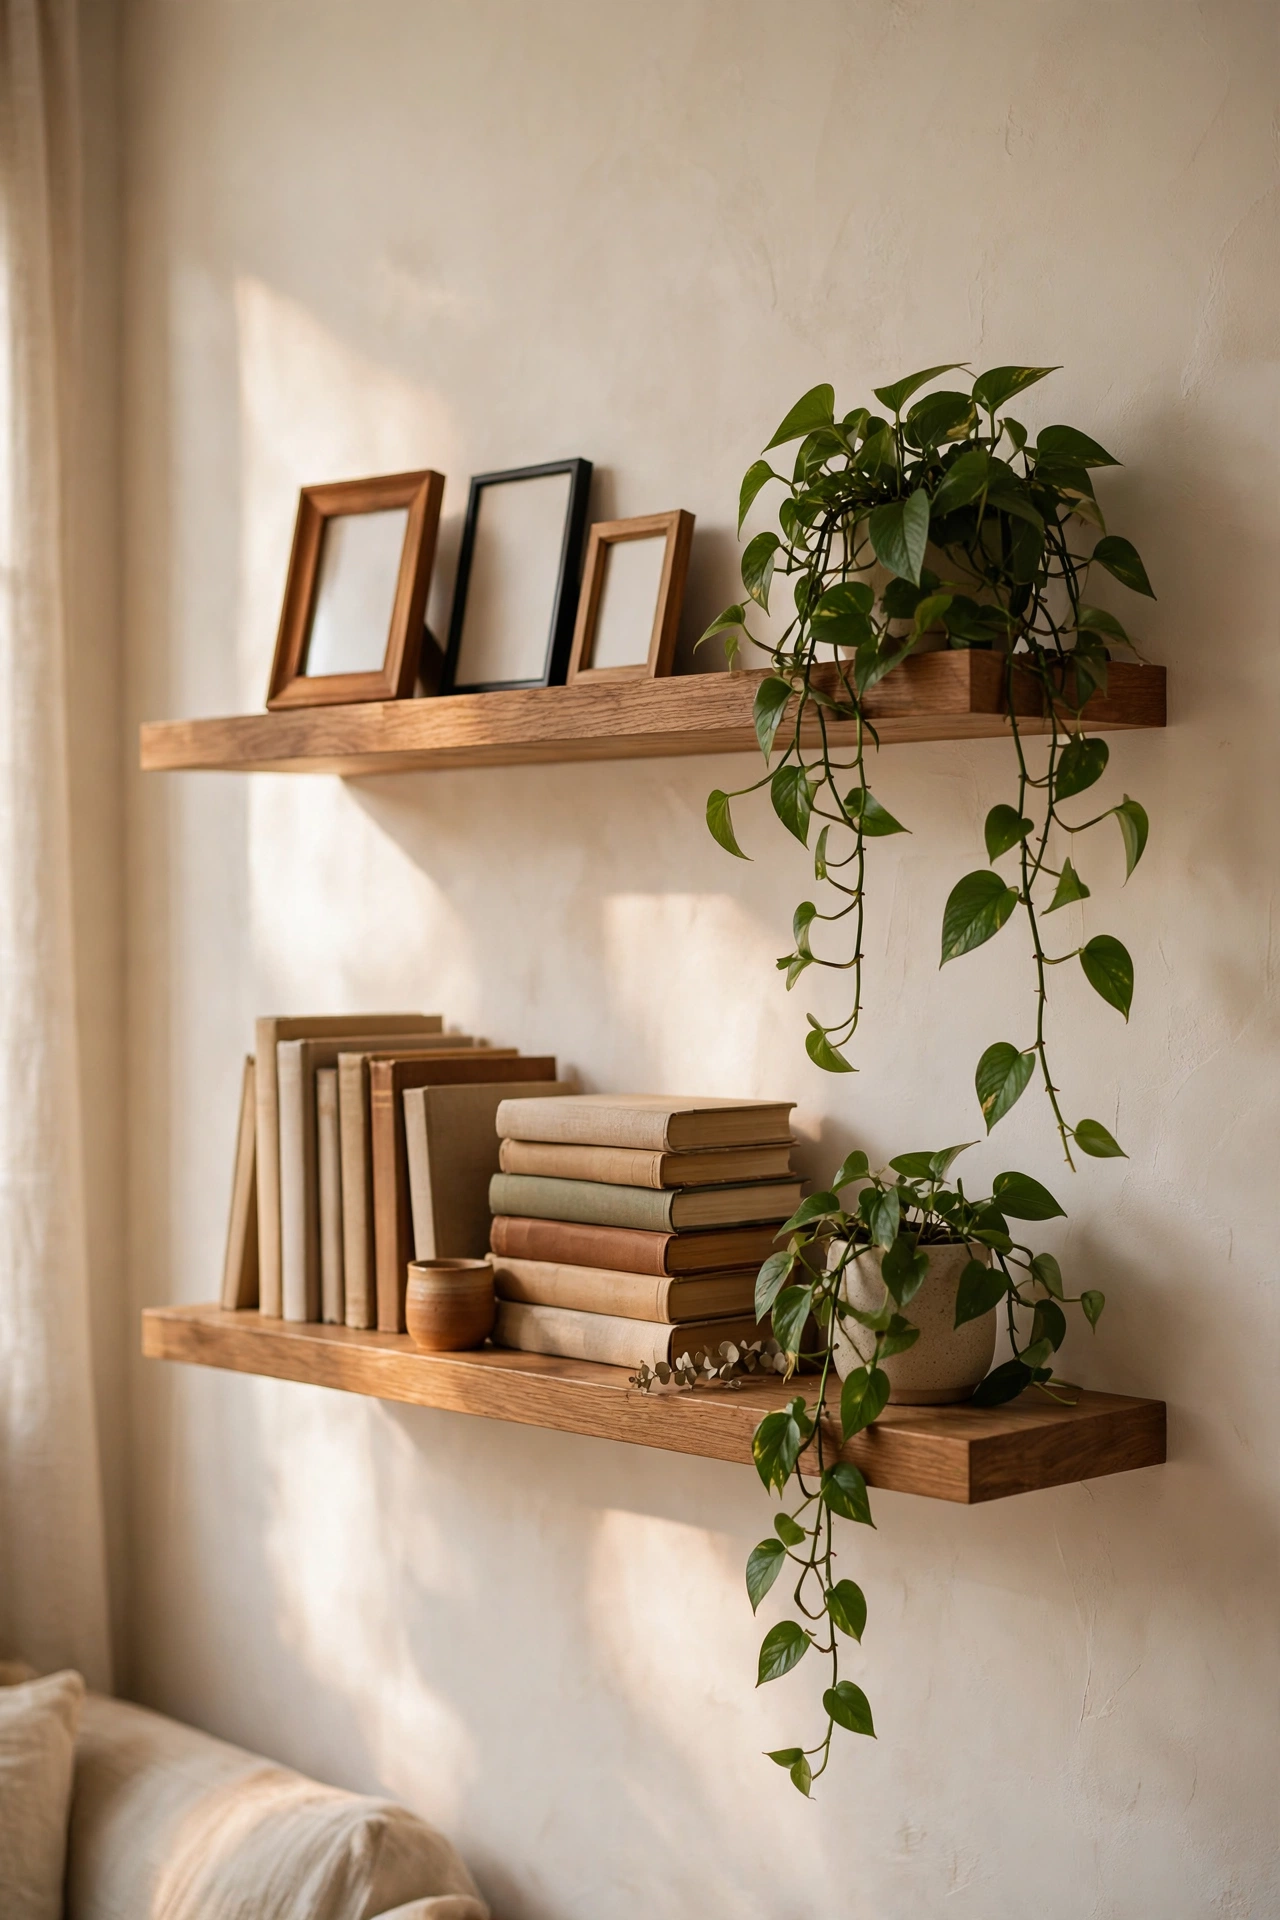
Two floating shelves turn a blank wall into a display — and the styling possibilities are endless. The shelves themselves run ten to fifteen dollars each. I styled mine with a mix of small frames, a trailing plant, and a stack of books. The secret is varying heights and leaving negative space; a crammed shelf looks like storage, a curated shelf looks like decor. I rearrange mine seasonally in about ten minutes. It’s a gallery wall you can restyle without a hammer.
Cost: ~$20–30 | Time: 1 hour
15. DIY Chalkboard Wall Section
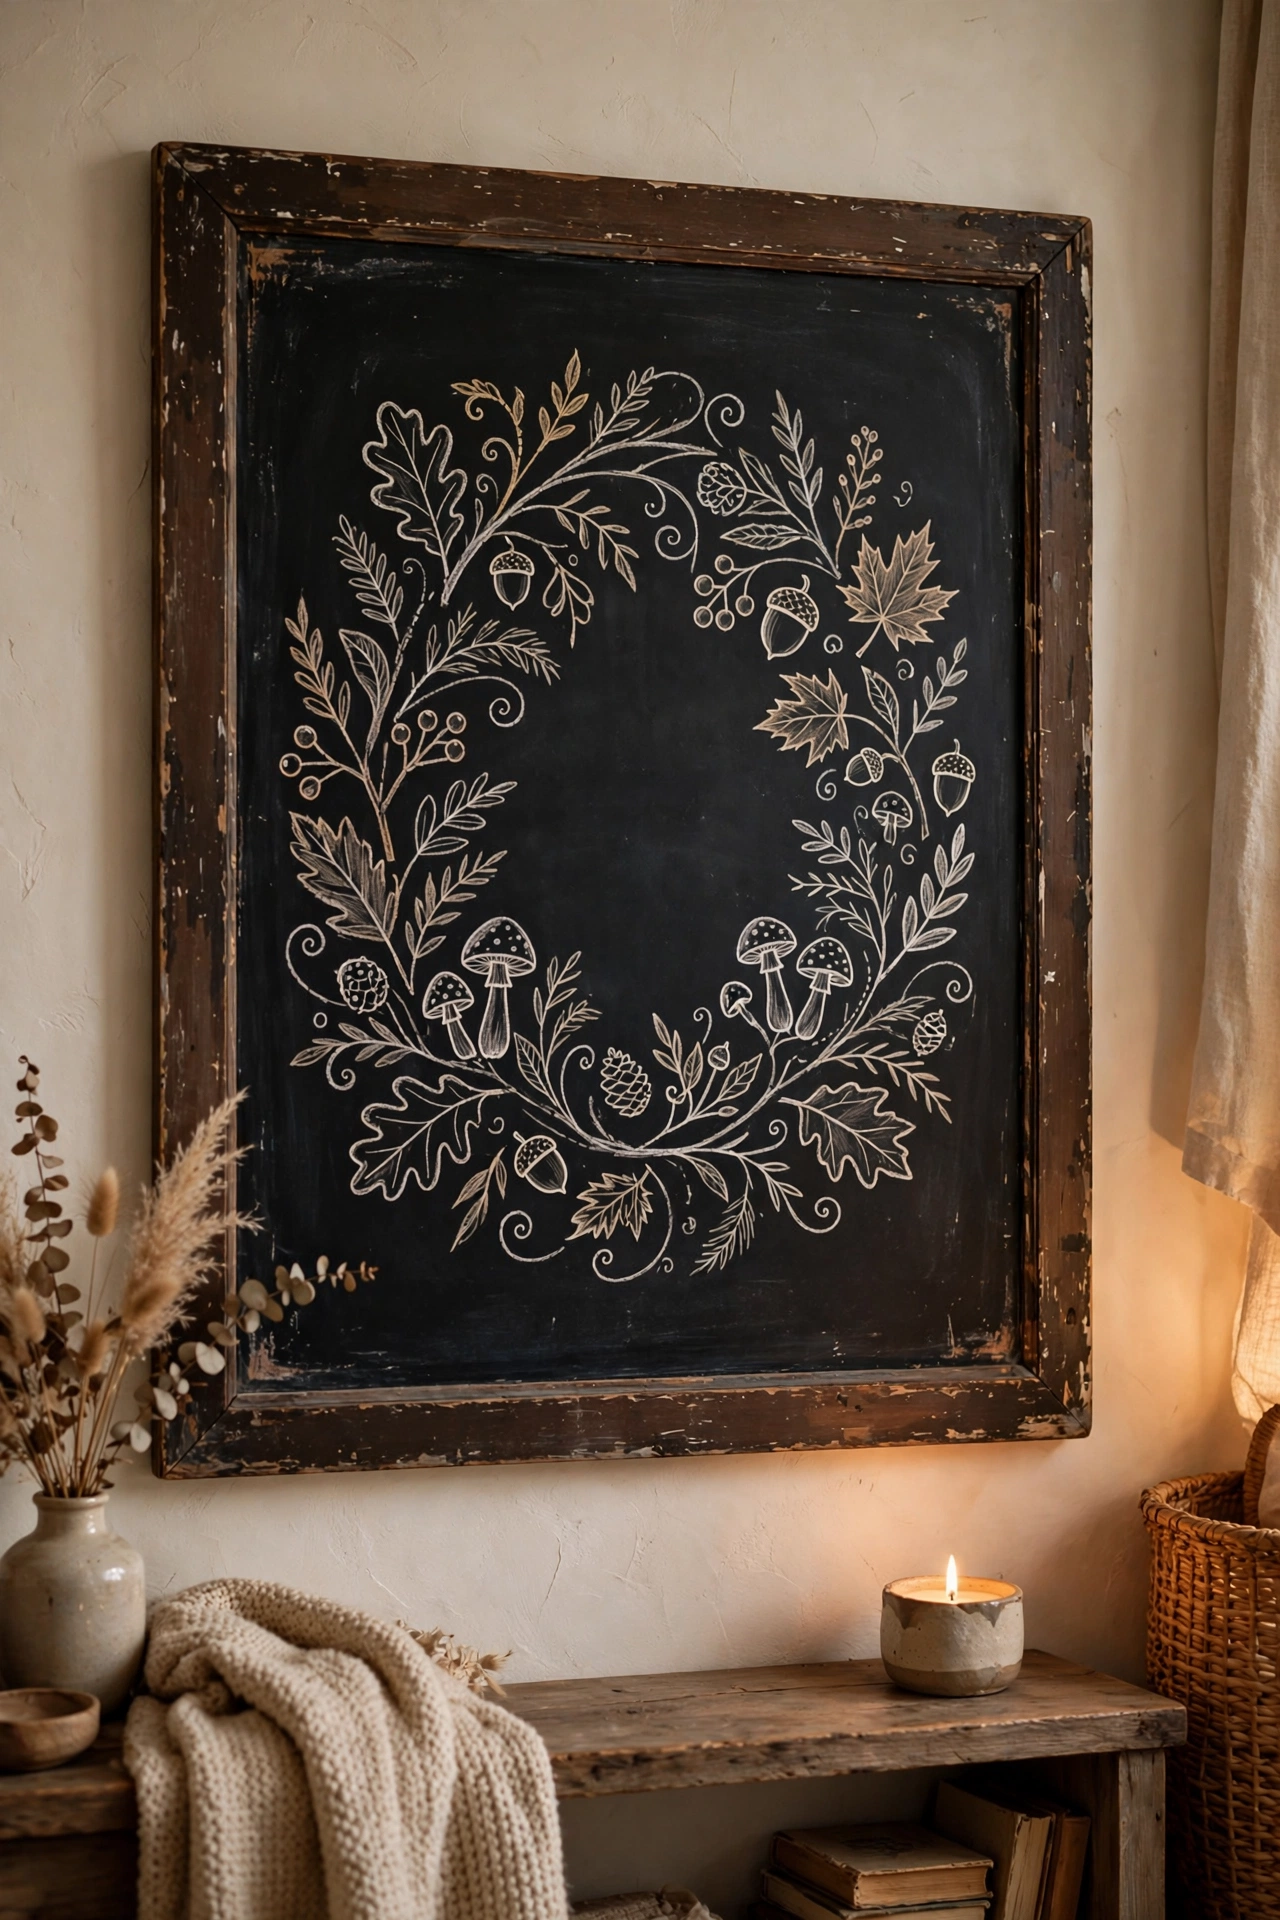
Chalkboard paint on a small wall section — or inside a large frame — gives you changeable art and a family message board in one. I painted the inside of a big thrifted frame with chalkboard paint and hung it in the kitchen nook. We draw seasonal art, write grocery lists, leave notes. It costs about ten dollars and it’s never boring because it changes. In the living room, use it for quotes or simple line drawings. Functional art for the win.
Cost: ~$10 | Time: 1 hour plus drying
16. Hat Wall Display
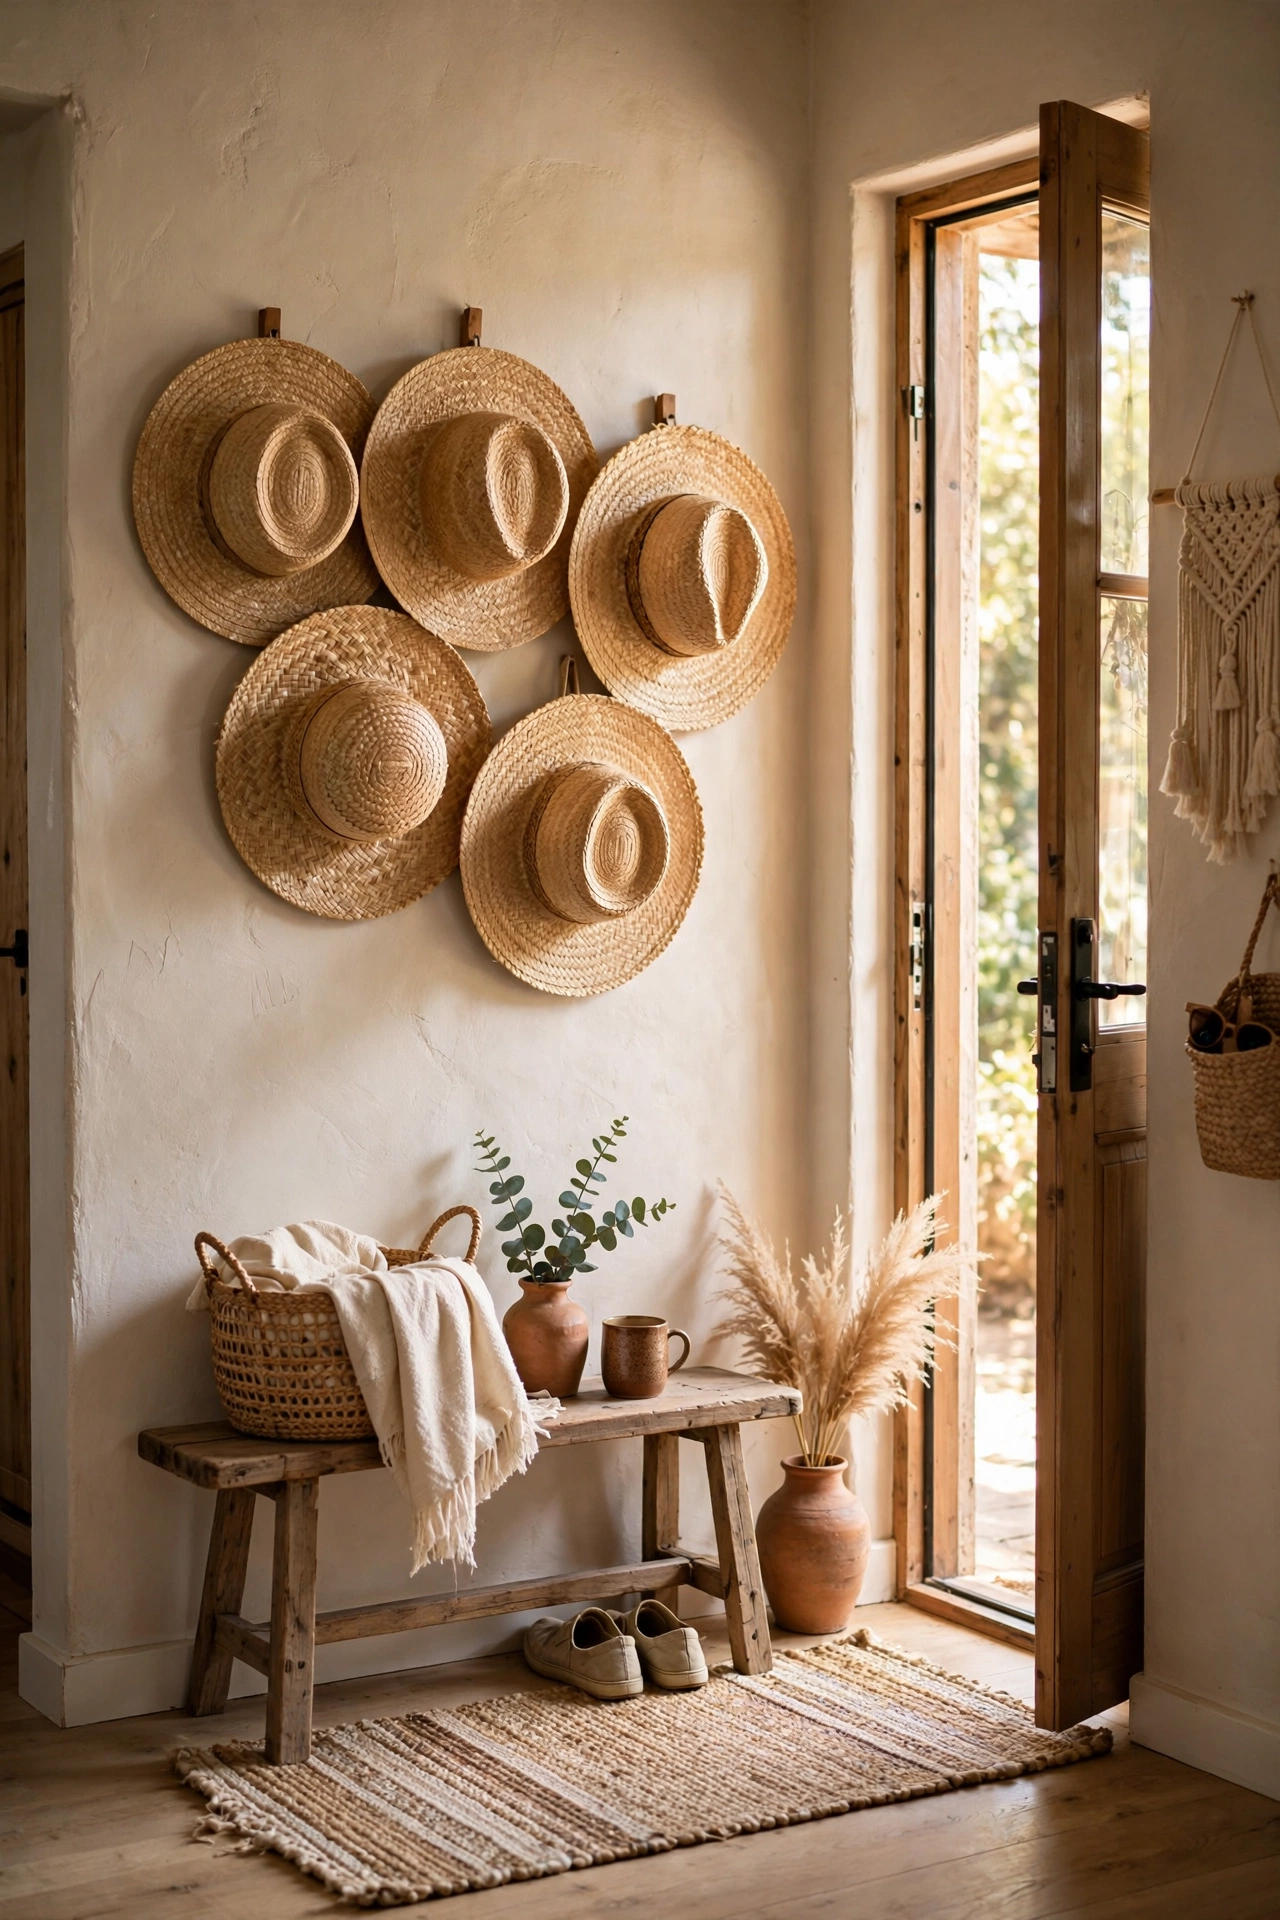
Straw hats hung on the wall make a beautiful, boho display — and if you already own the hats, it’s free. I hung five hats I actually wear in a cluster by the entryway using small nails through the inner band. It looks intentional and keeps the hats from getting crushed in a closet. Mix sizes and tones for the best look. Mine are all thrifted, none over four dollars. A hat wall adds texture and personality that no print can match.
Cost: $0–15 | Time: 30 minutes
17. String Light Photo Display
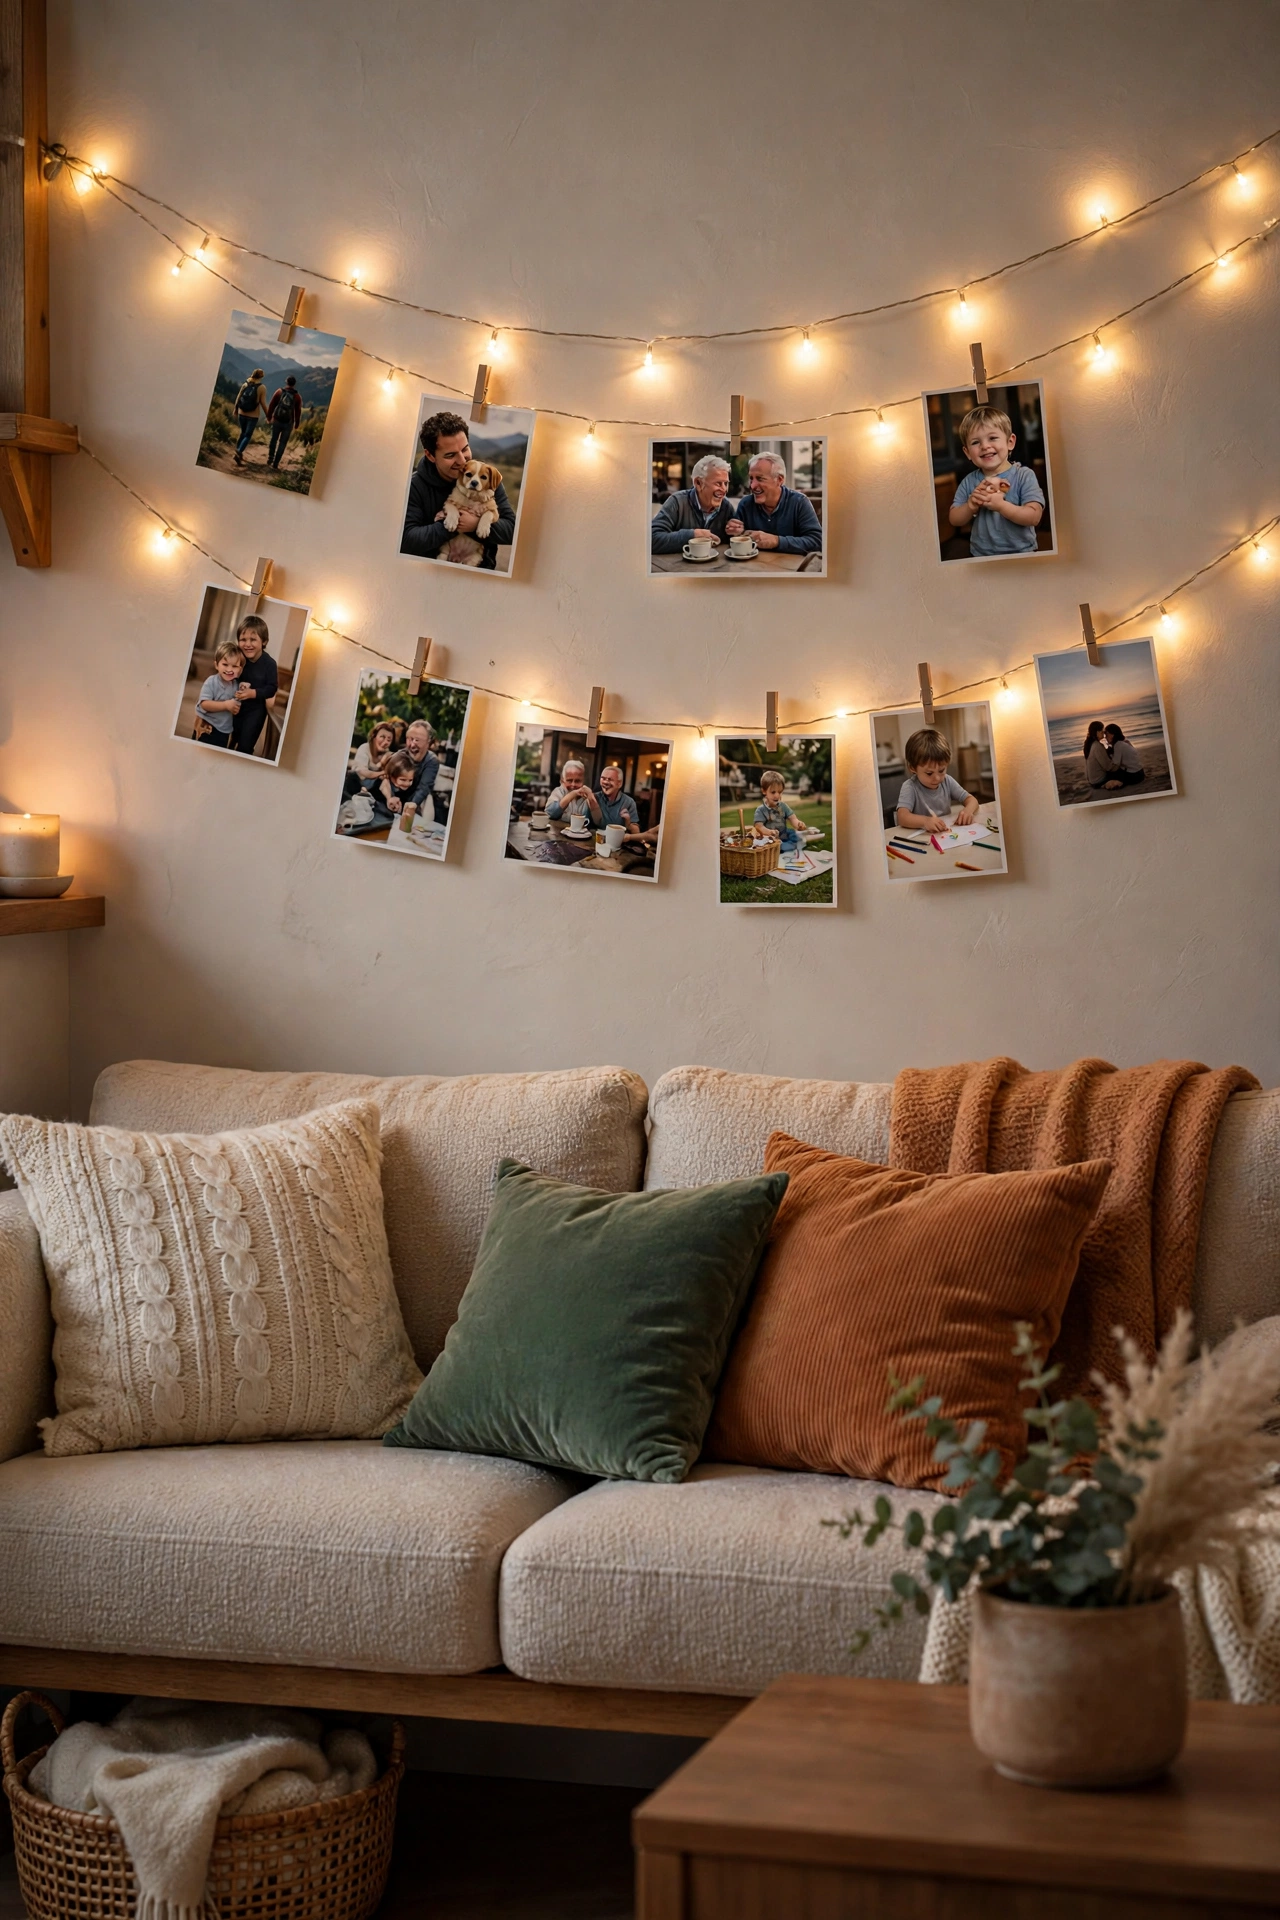
Clip your favorite photos to a string of warm fairy lights and hang it across a wall — instant cozy gallery that glows at night. I used mini clothespins and two strings of lights, total cost about eight dollars. The photos can be swapped in seconds, so the display stays fresh. It looks magical in the evening and charming during the day. My version hangs above the sofa and it’s everyone’s favorite spot for photos. Photos of photos. Very meta.
Cost: ~$8 | Time: 30 minutes
18. Large-Scale Calendar Art
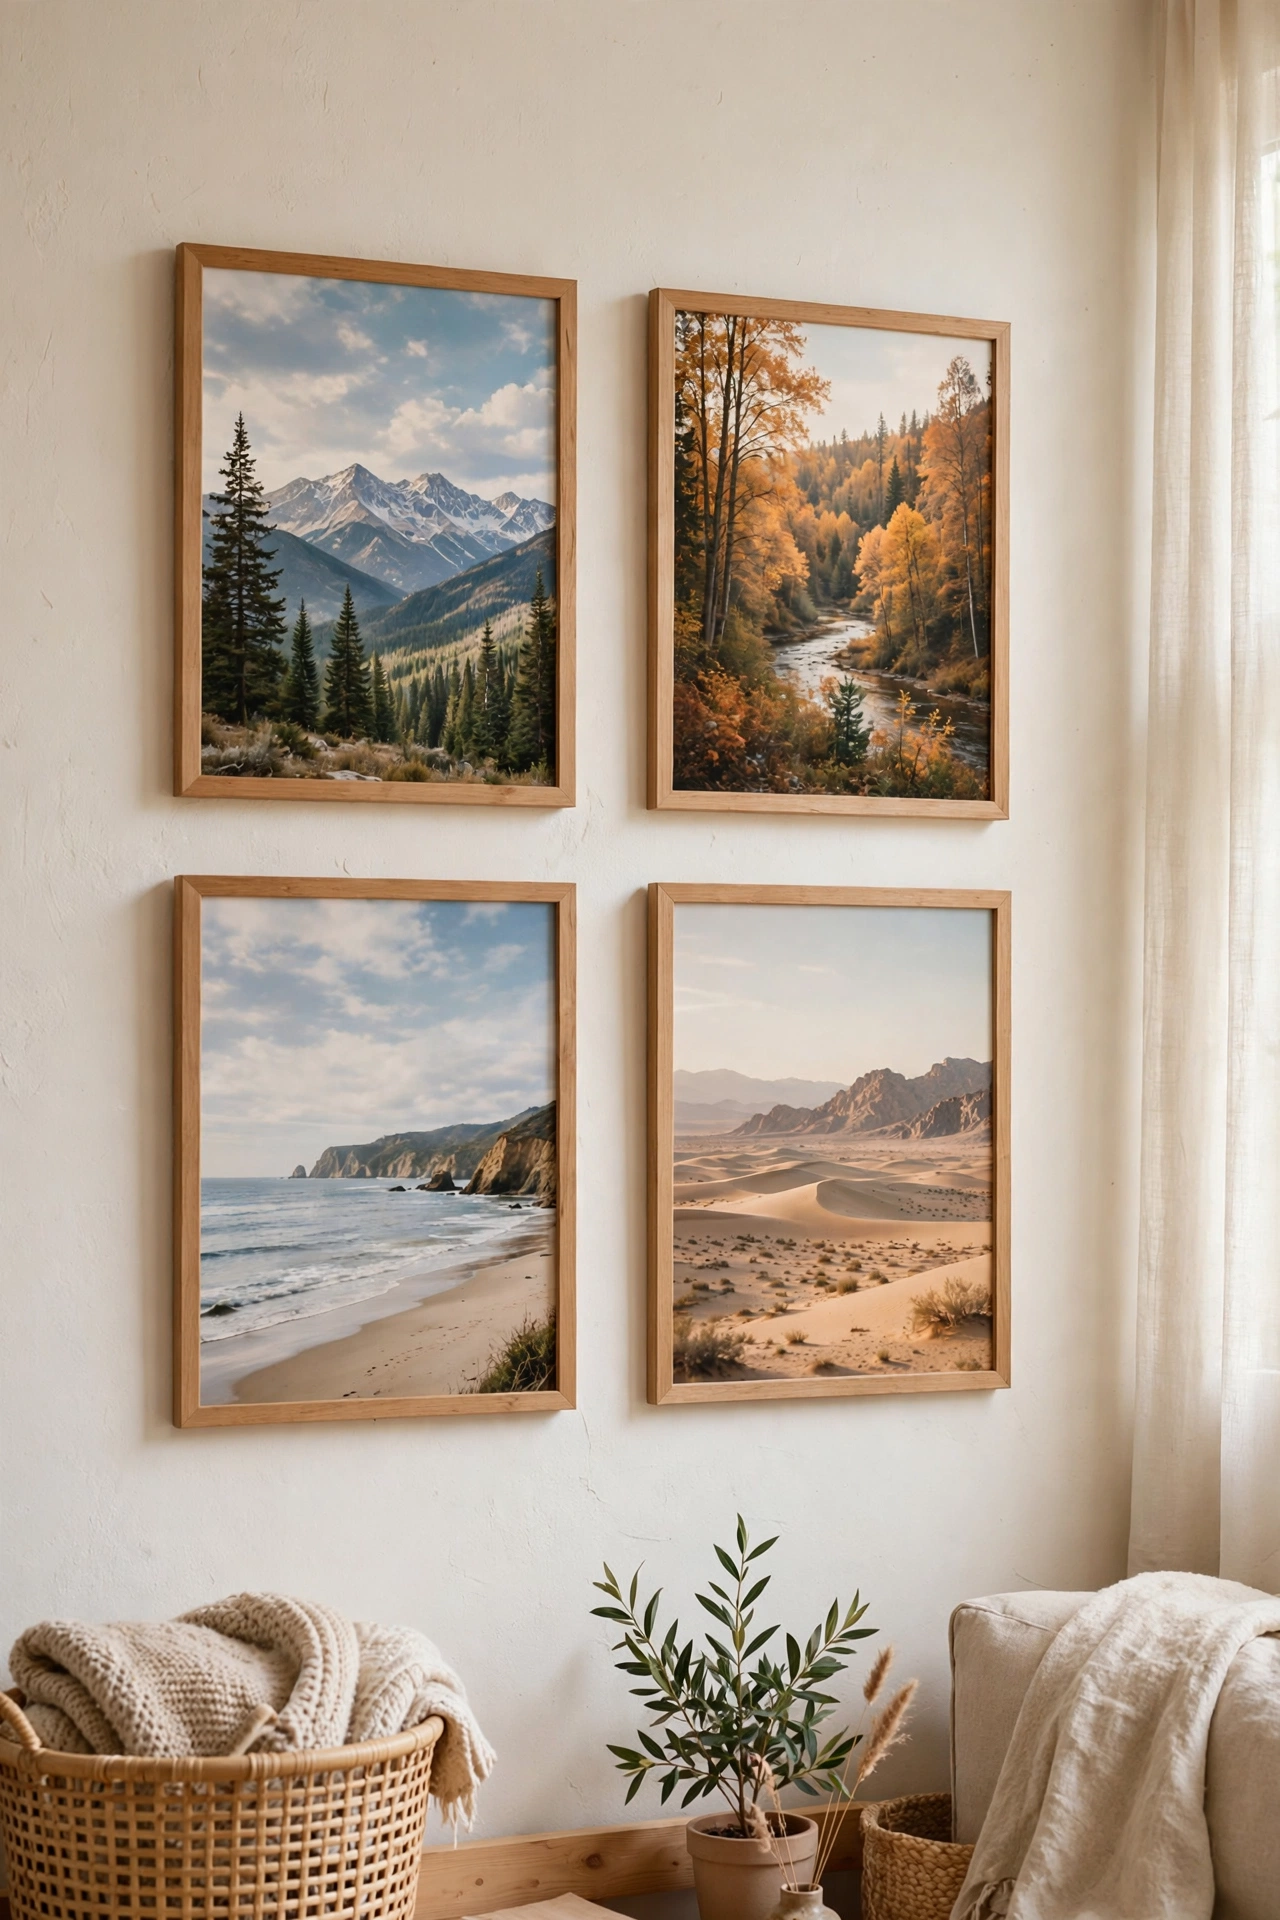
Those gorgeous wall calendars go on clearance in January for almost nothing — and each month is a ready-made art print. I bought a landscape calendar for two dollars and framed four months in matching frames. Instant seasonal art rotation: swap the print every few months and the wall always feels fresh. Frame the whole calendar and you’ve got a year of decor for two dollars. My current display is a national parks series. It looks like I planned it. I did not.
Cost: ~$5–10 | Time: 20 minutes
19. Painted Canvas Drop Cloth Art
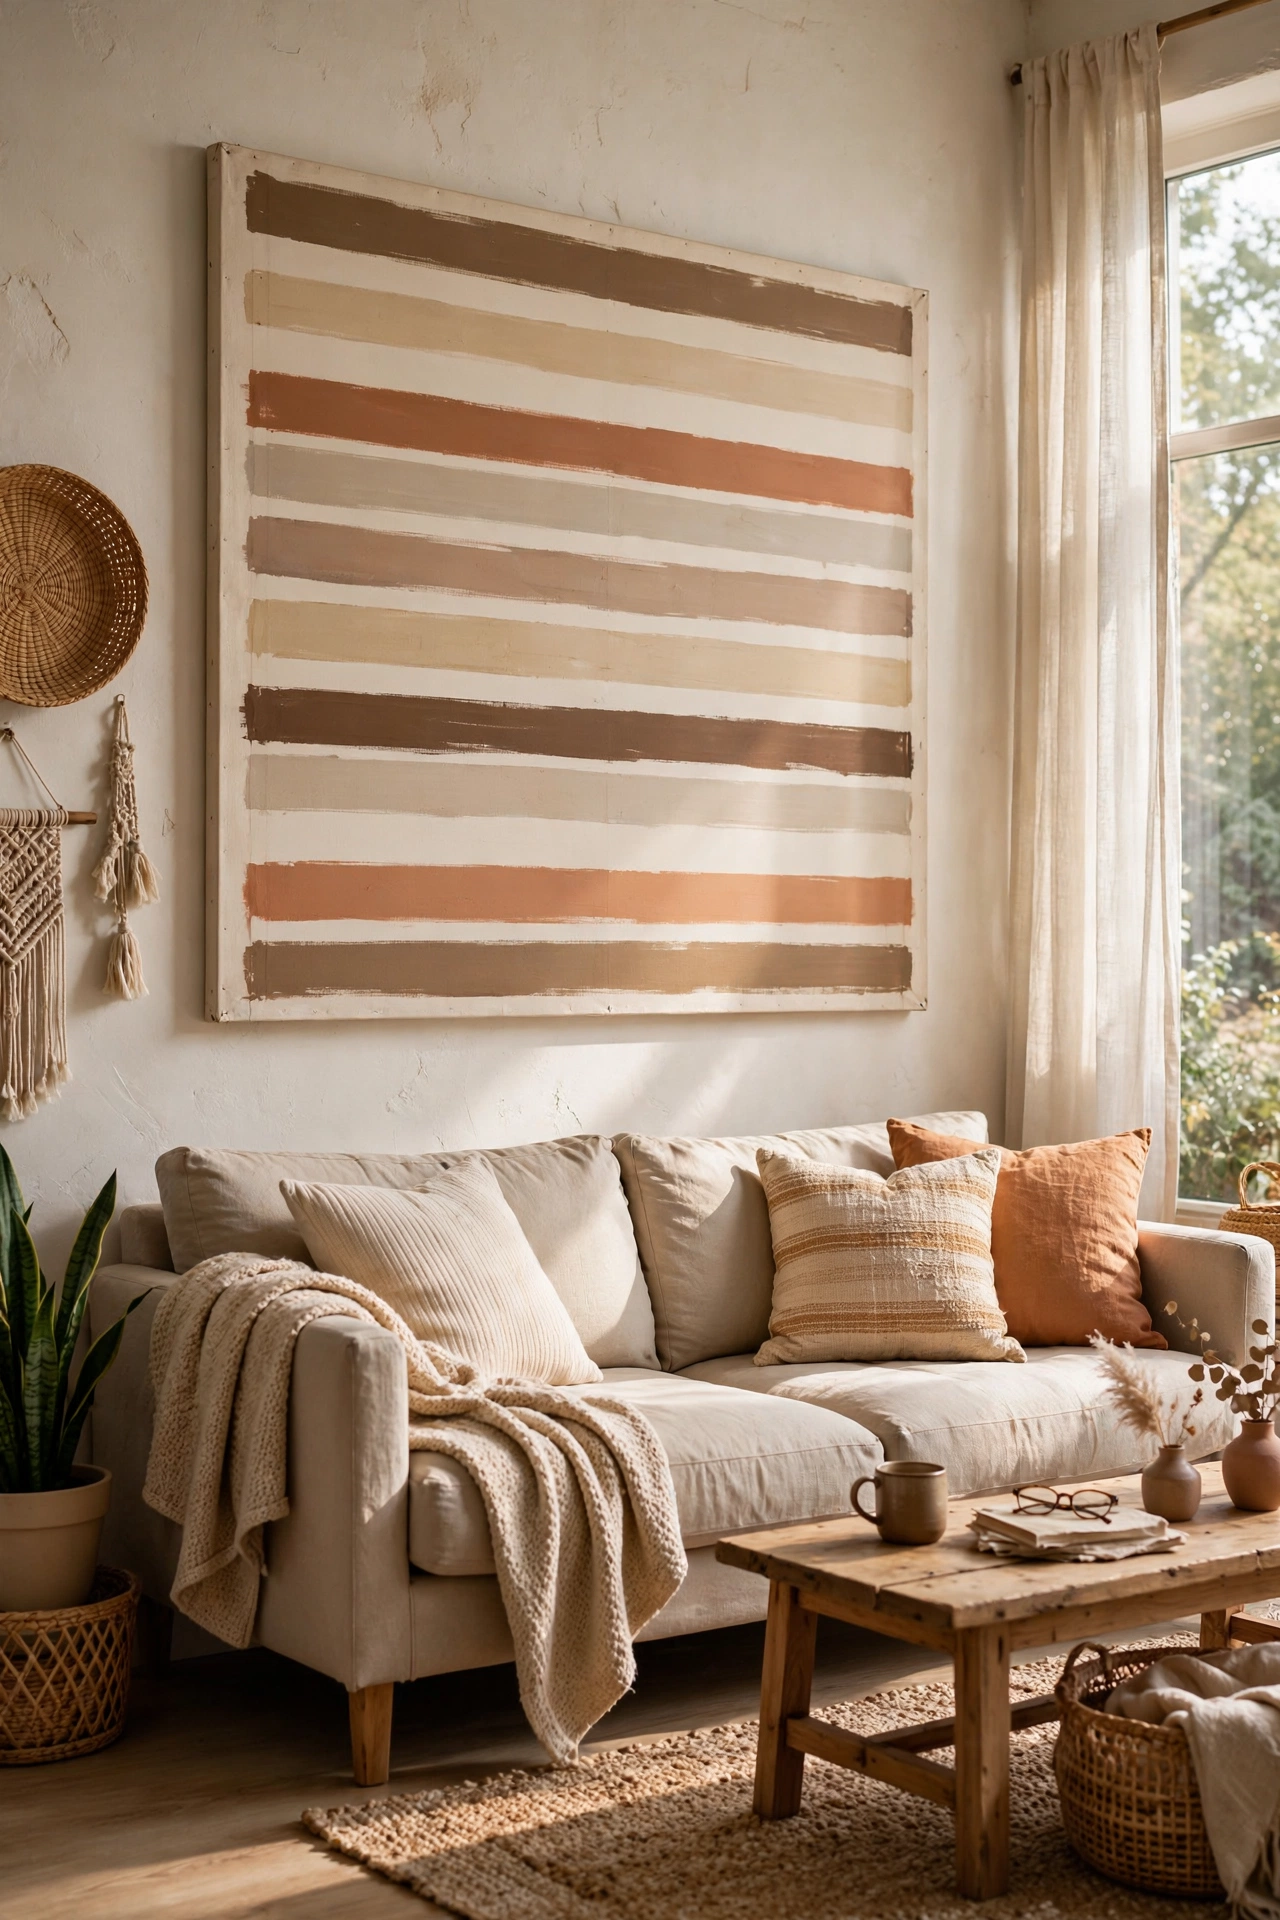
Stretch a canvas drop cloth over a simple wood frame and paint a simple design — stripes, an abstract, even just a wash of color. The nubby canvas texture makes even simple paint look artistic. I stretched a drop cloth over 1×2 boards, painted wide cream stripes on natural canvas, and hung it over the sofa. Total cost: twelve dollars for a huge piece. It looks like the expensive textured art from home stores. The drop cloth did all the heavy lifting.
Cost: ~$12 | Time: 2 hours
20. Mirror Gallery Mix
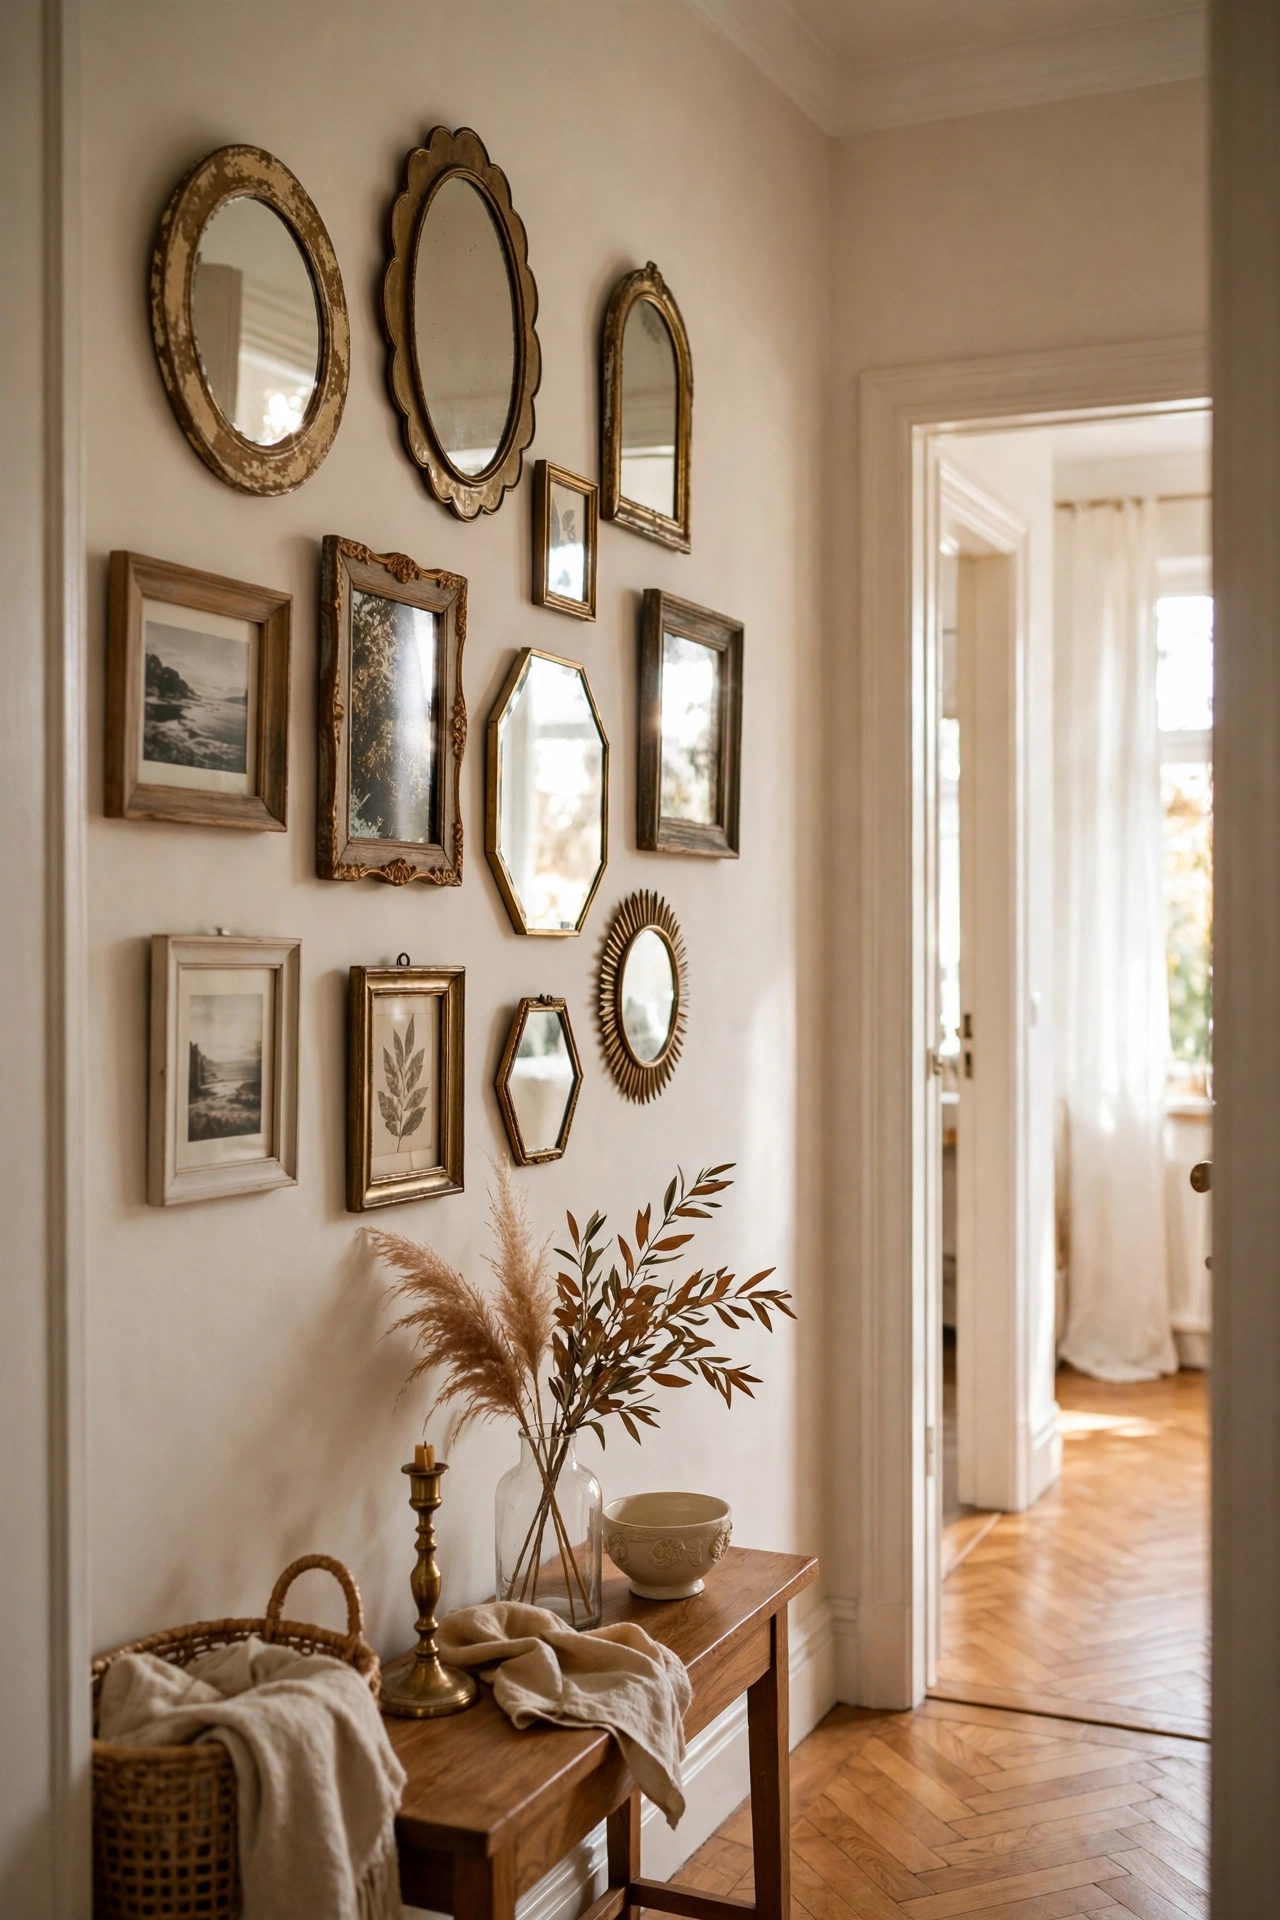
Mix small thrifted mirrors with framed art in a gallery wall — the mirrors bounce light and add sparkle among the prints. I collected six small mirrors for under ten dollars total and mixed them with family photos in matching frames. The variety of reflective surfaces makes the wall feel dynamic and bright. Hang them at the same height as the art so it reads as one composition. My dark hallway is now the brightest spot in the house. Mirrors are magic.
Cost: ~$10–15 | Time: 1 hour
21. Book Page Bunting
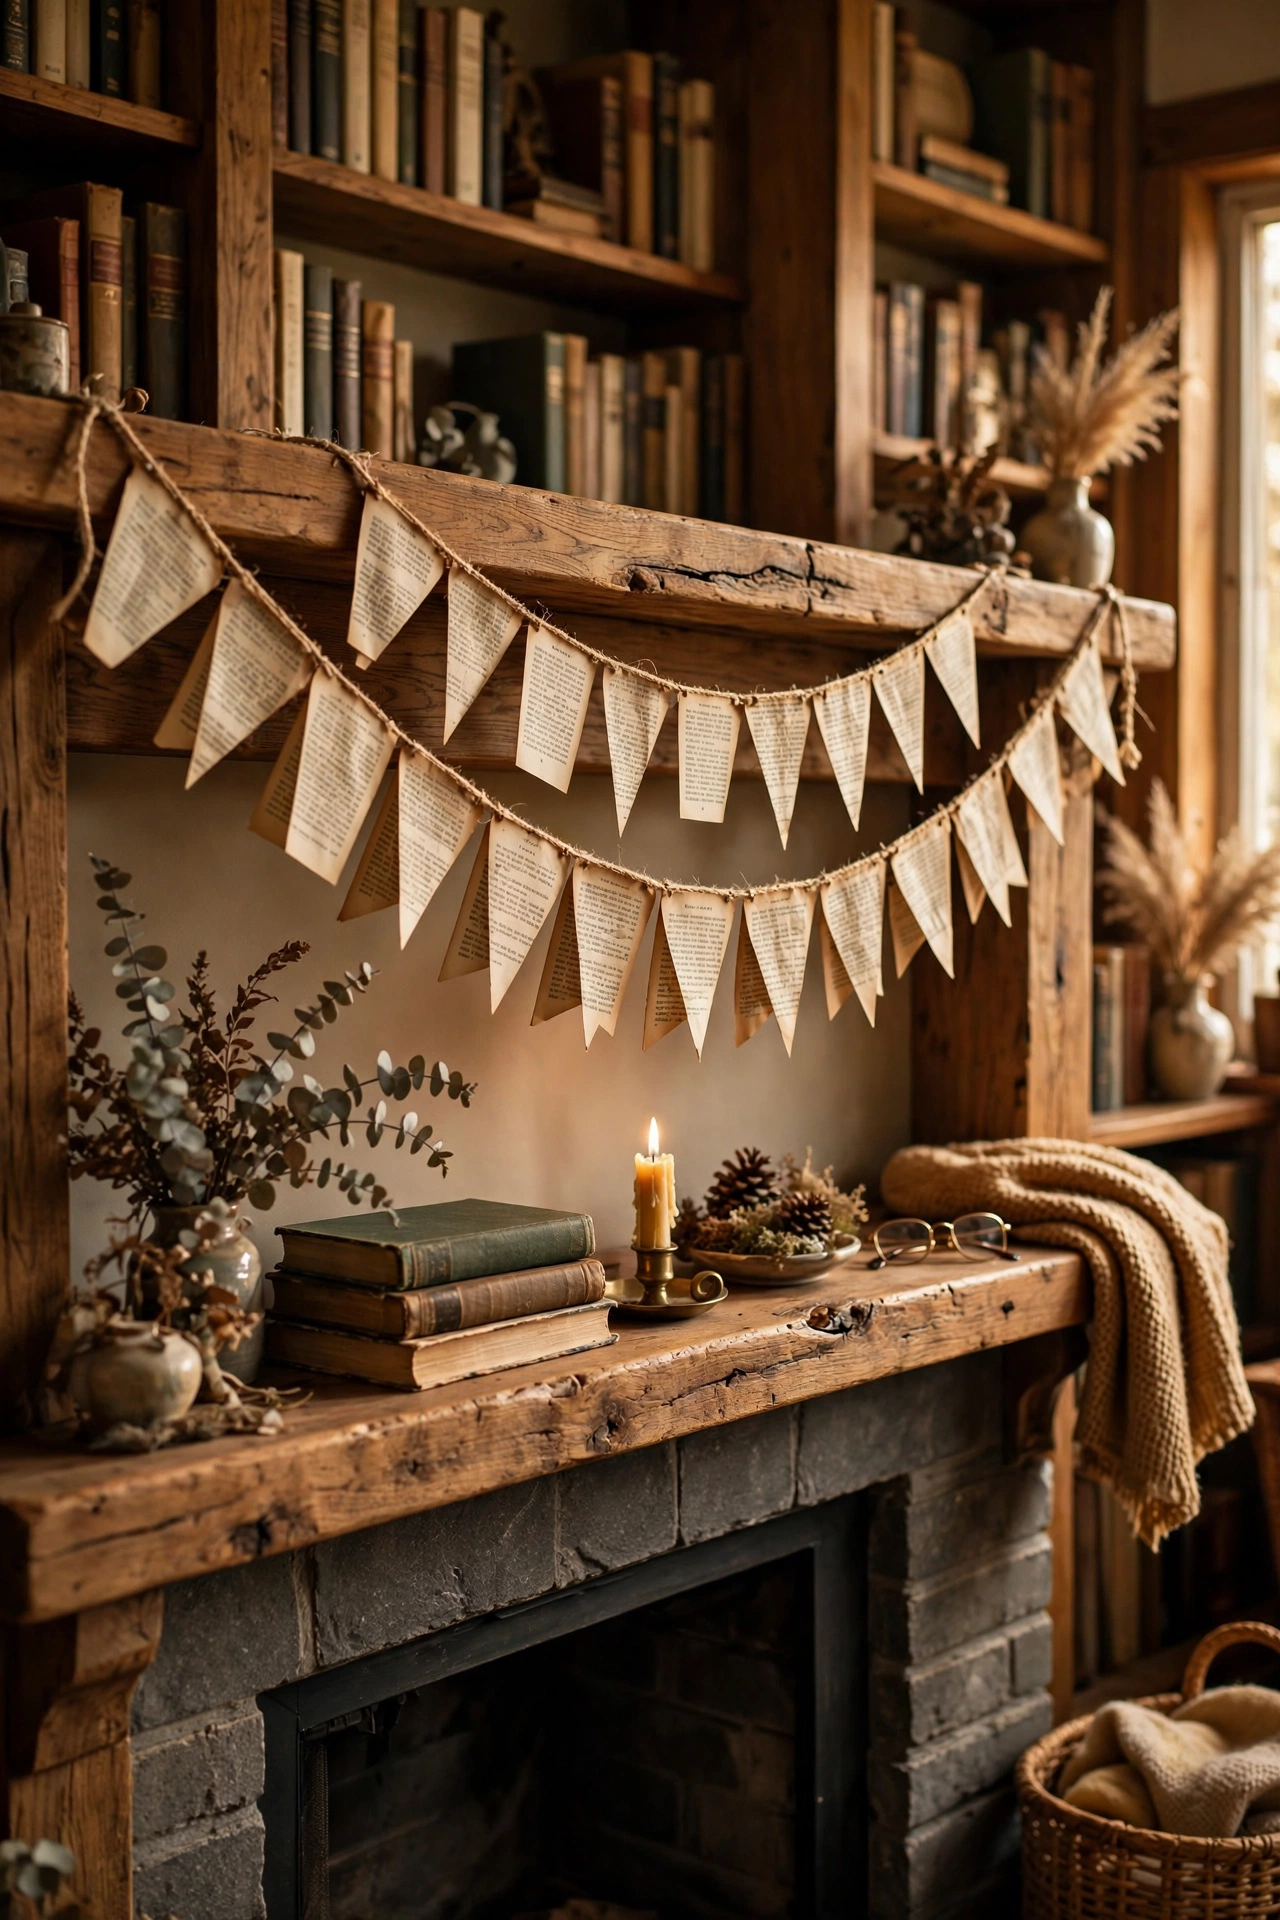
Cut triangles or flags from old book pages, string them on twine, and hang across a wall or mantel. It’s literary, charming, and costs almost nothing. I made mine from a damaged dictionary — the definitions visible on each flag are a lovely detail. Hang it with small nails or Command hooks. It adds softness and movement to a wall without any weight. Mine has been up for a year and I still love it. A damaged book’s second act.
Cost: ~$2 | Time: 45 minutes
22. Oversized Clock as Art
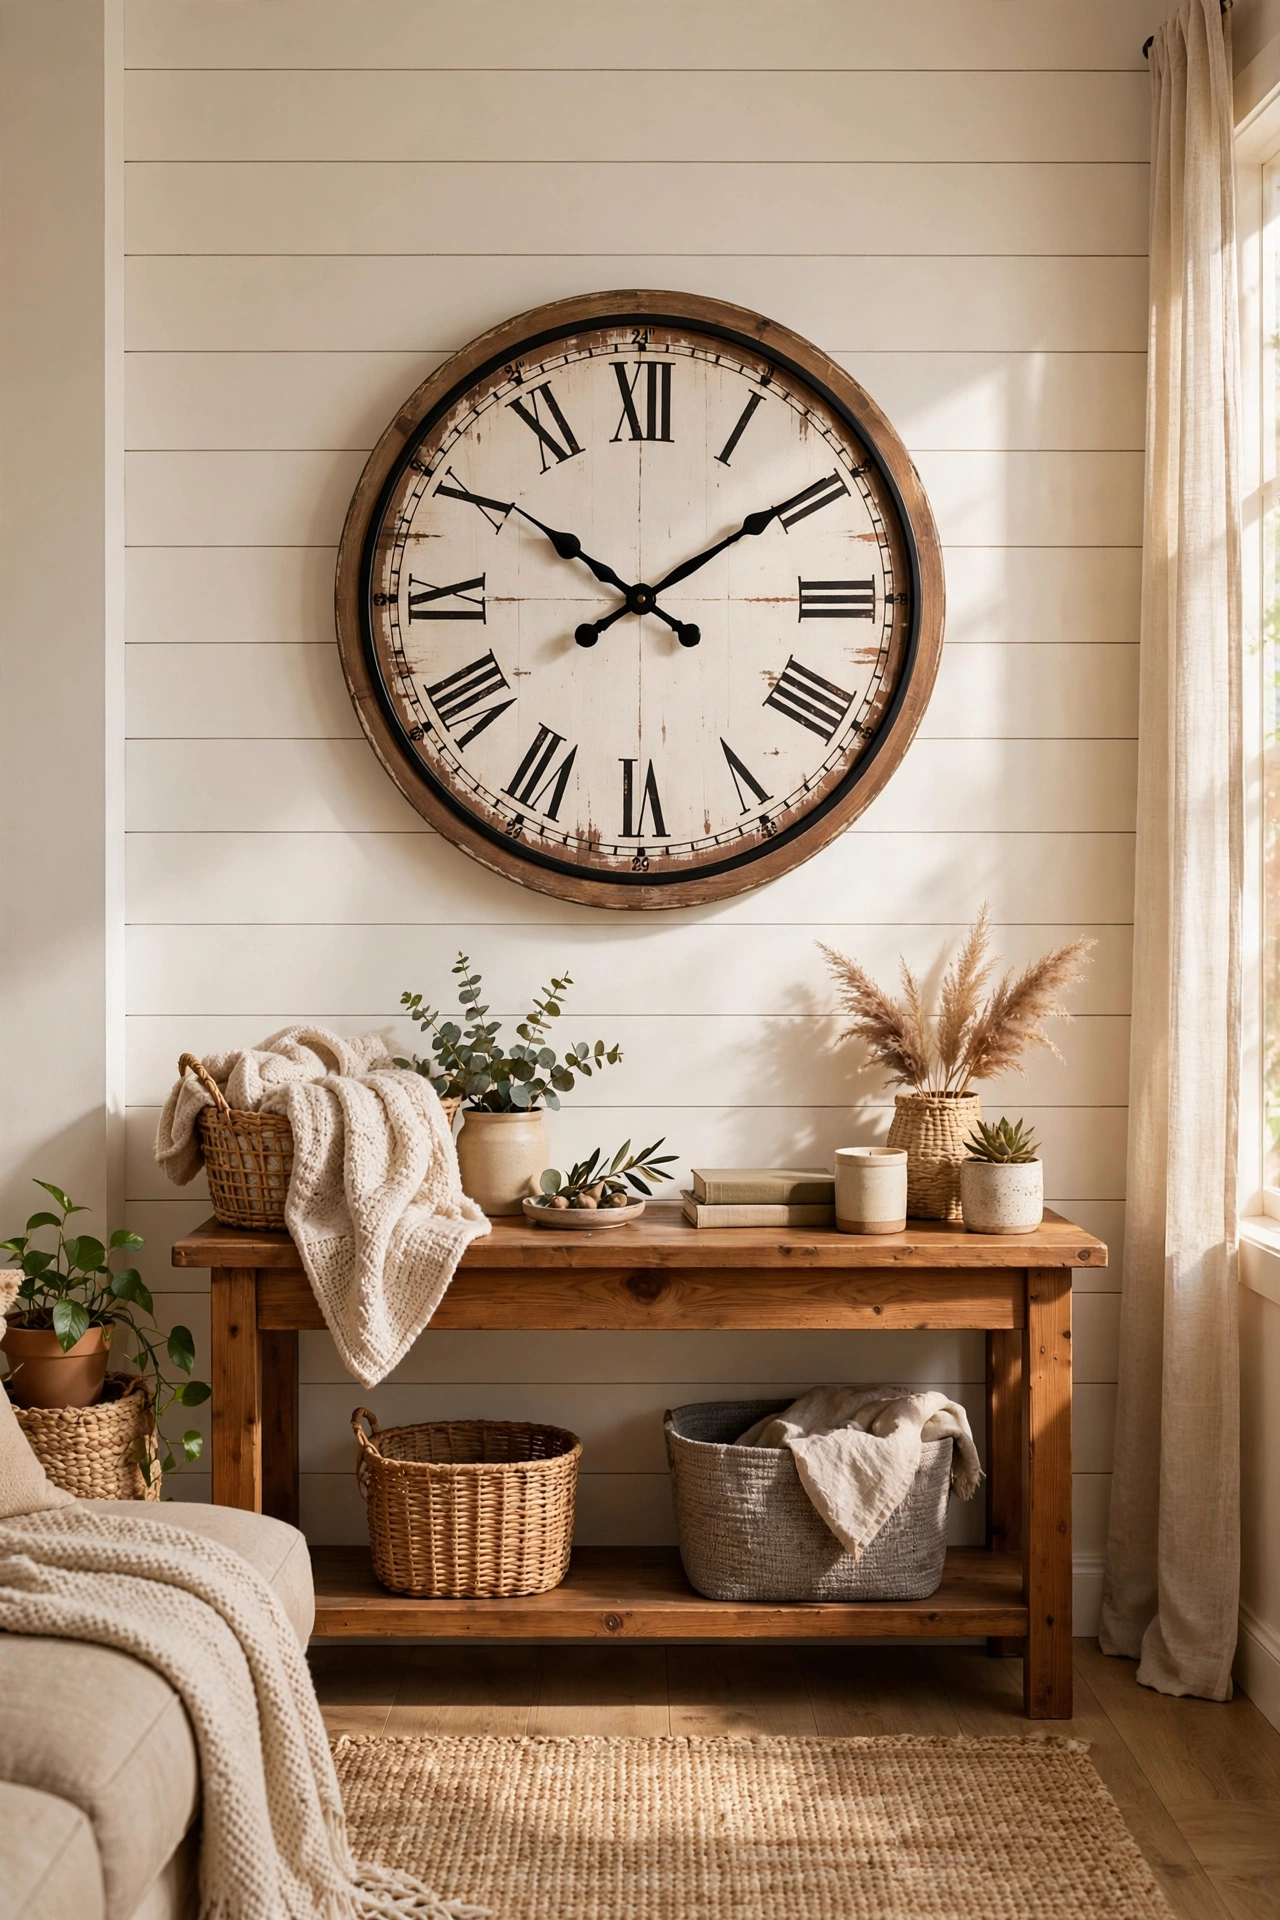
A big wall clock fills a large empty wall like art — and it tells time, which art rarely does. Discount stores sell oversized clocks for fifteen to twenty-five dollars. I hung a 24-inch farmhouse clock on my biggest blank wall and it anchored the whole room. It’s functional decor at its best. Choose a style that matches your room and hang it at eye level, centered on the wall or furniture below. Mine gets more comments than any print I own.
Cost: ~$15–25 | Time: 15 minutes
23. The “Shop Your House” Wall
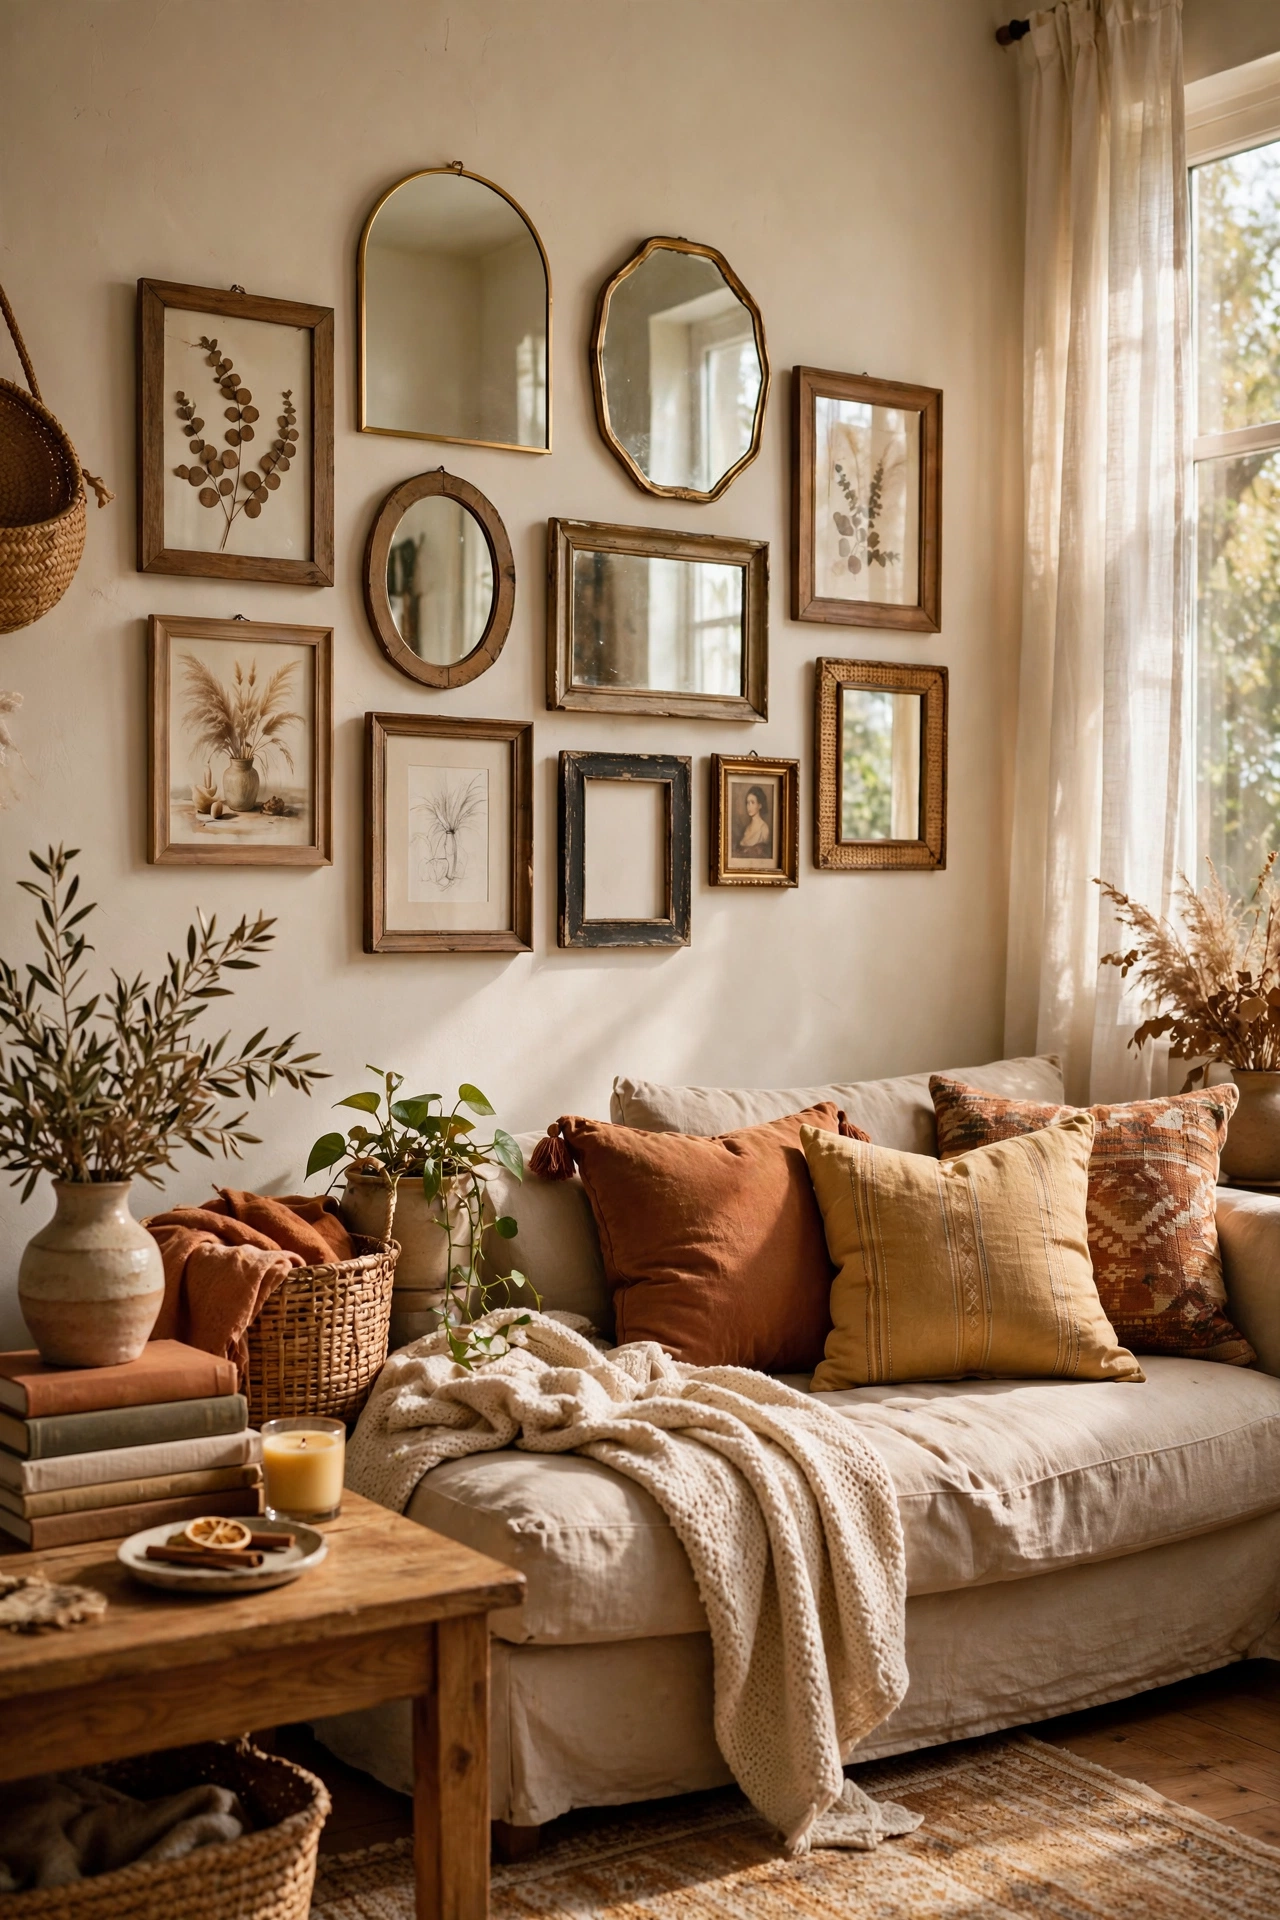
Walk through your house and gather every frame, mirror, small shelf, and wall-worthy object you own. Lay them all on the living room floor and build one great wall from pieces you forgot you had. I did this on a Saturday and created a gallery wall entirely from relocated items — zero dollars spent. Things look different in a new context; a bedroom print becomes living room art. Before spending a dime on wall decor, shop your own house. You’ll be amazed.
Cost: $0 | Time: 2 hours
📌 Pin your favorite idea before you go!
Wall decor is just the start — see (see also: 23-gallery-wall-ideas-for-the-living-room-on-a-tight-budget) for gallery-specific layouts, and (see also: 21-dollar-store-living-room-decor-that-look-designer) for the cheapest frames and art supplies around.
The Blank-Wall Takeaway
Here’s the truth about wall decor: nobody can tell what you paid once it’s hung well. Spacing, grouping, and a level hang matter more than price tags. Start with one wall — the one you see first when you walk in — and build from there. Thrift the frames, print the art, hang it straight. Your walls don’t need a big budget. They just need you to stop waiting and start hanging.
