15 Renter-Friendly Bathroom Upgrades You’ll Love
15 Renter-Friendly Bathroom Upgrades You’ll Love
I rented a bathroom with beige tile, a wobbly towel bar, and a landlord rule that basically said do not touch anything permanent, so for months I just lived with it. Then I learned that renter friendly bathroom ideas do not have to mean living with ugly — they just have to come off clean when you move. I started testing swaps that needed no drilling, no paint, and no begging for permission, and slowly the room started to feel like mine. This list has the 15 upgrades that actually stuck, from peel-and-stick tiles to a showerhead I changed with one wrench. Each one is cheap, reversible, and honest about what worked and what peeled off by Tuesday.
1. Peel-and-Stick Tiles That Come Off Clean
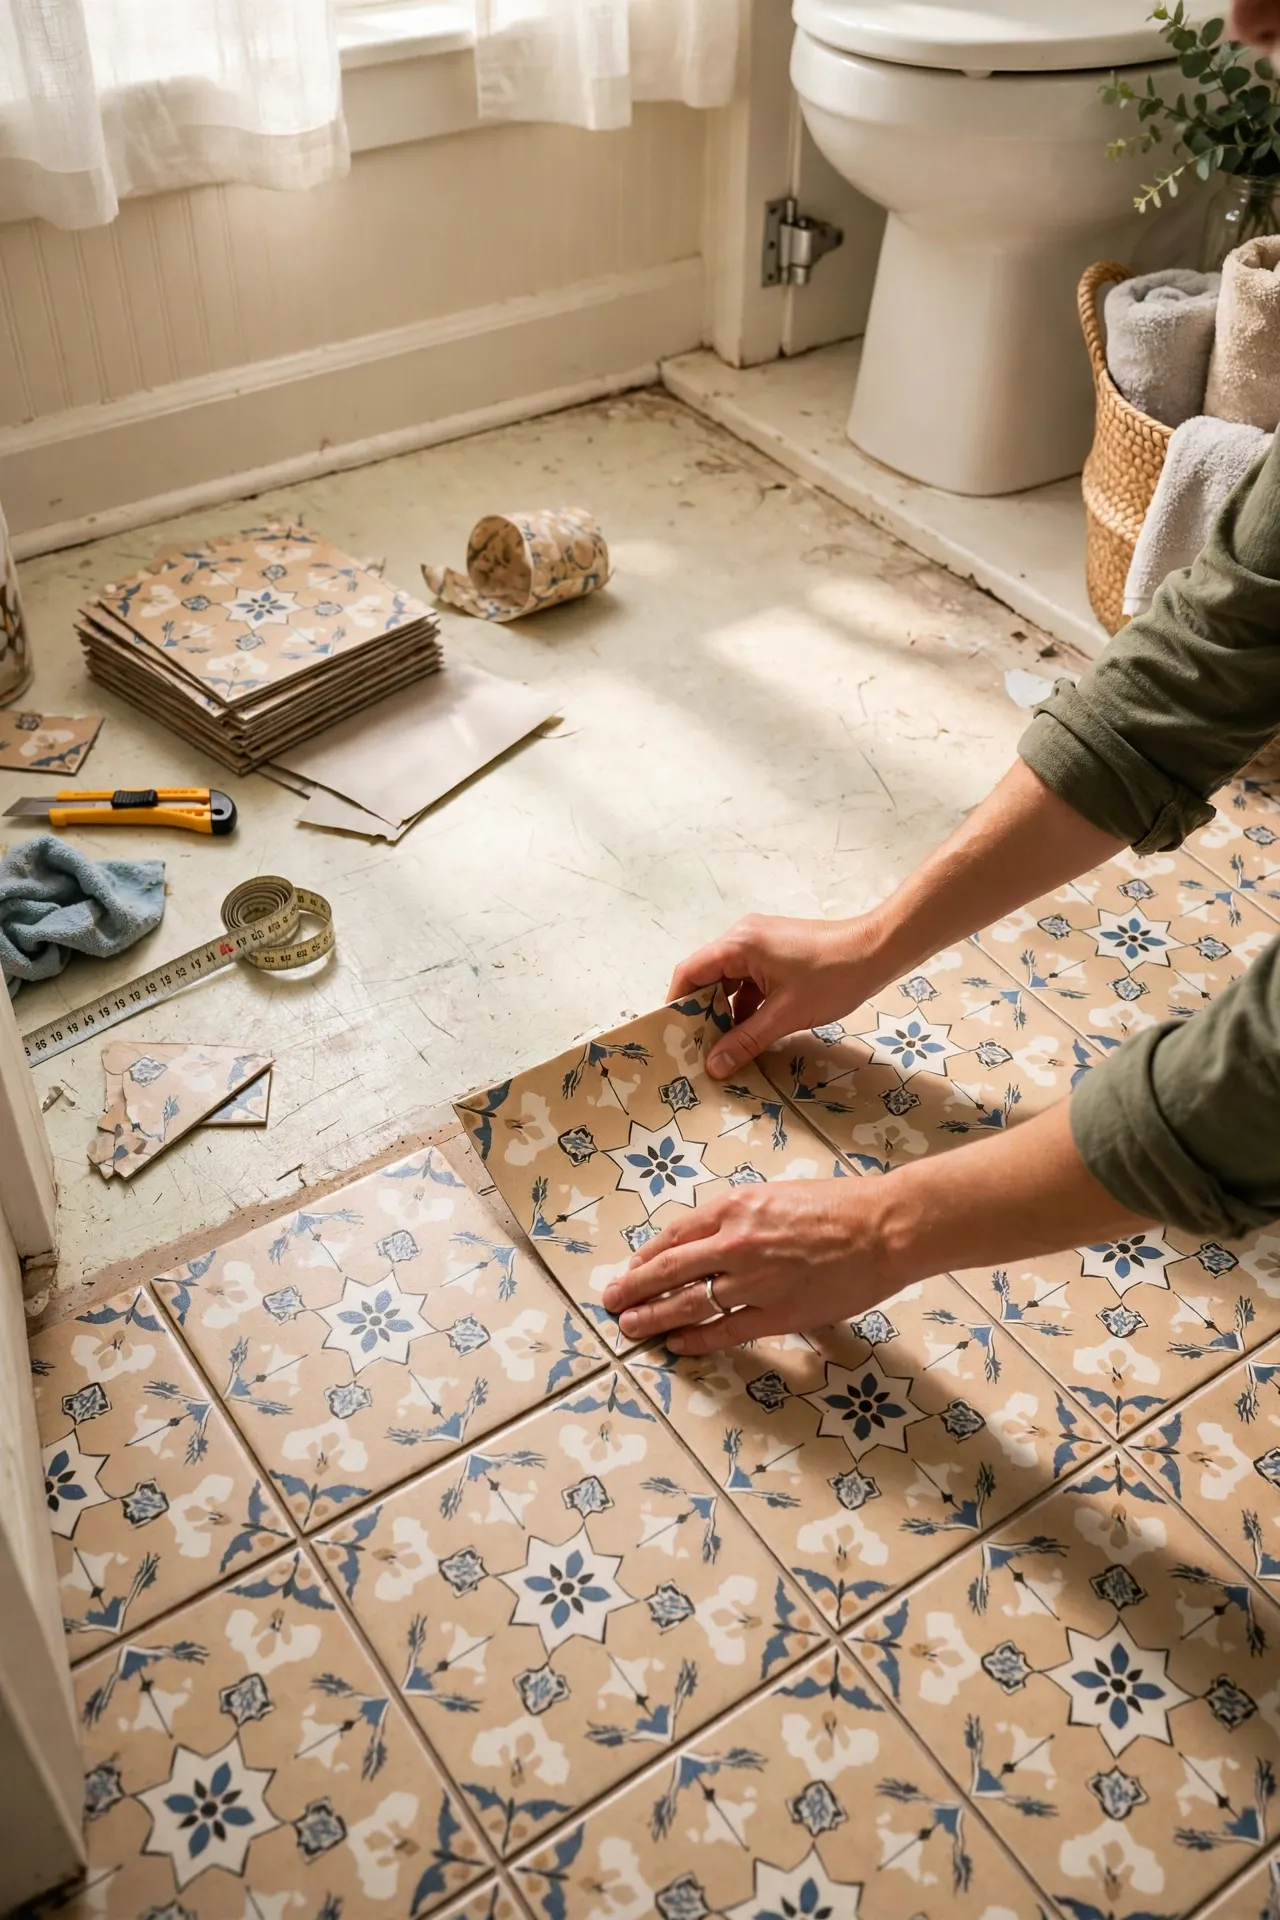
Peel-and-stick tiles are the renter’s best friend when the floor or backsplash is stuck in another decade. Start by cleaning the surface with a dry cloth, then peel a corner and press the tile on slowly, smoothing from the centre outward so no bubbles get trapped. Line up the next tile edge to edge, and trim the last piece with a craft knife for a neat finish. I tried this — the mistake to avoid is laying tiles over a dusty or damp surface, because they lift at the corners within days. Wait until the floor is fully dry, press firmly, and give them a day before you mop. When you move, warm them gently and peel them off.
Cost: ~$12 | Time: 45 minutes
💰 Budget win: Cover only the most visible strip of floor or wall instead of the whole room, and one box often does the job.
2. Tension Rod Shower Curtain in Linen Look
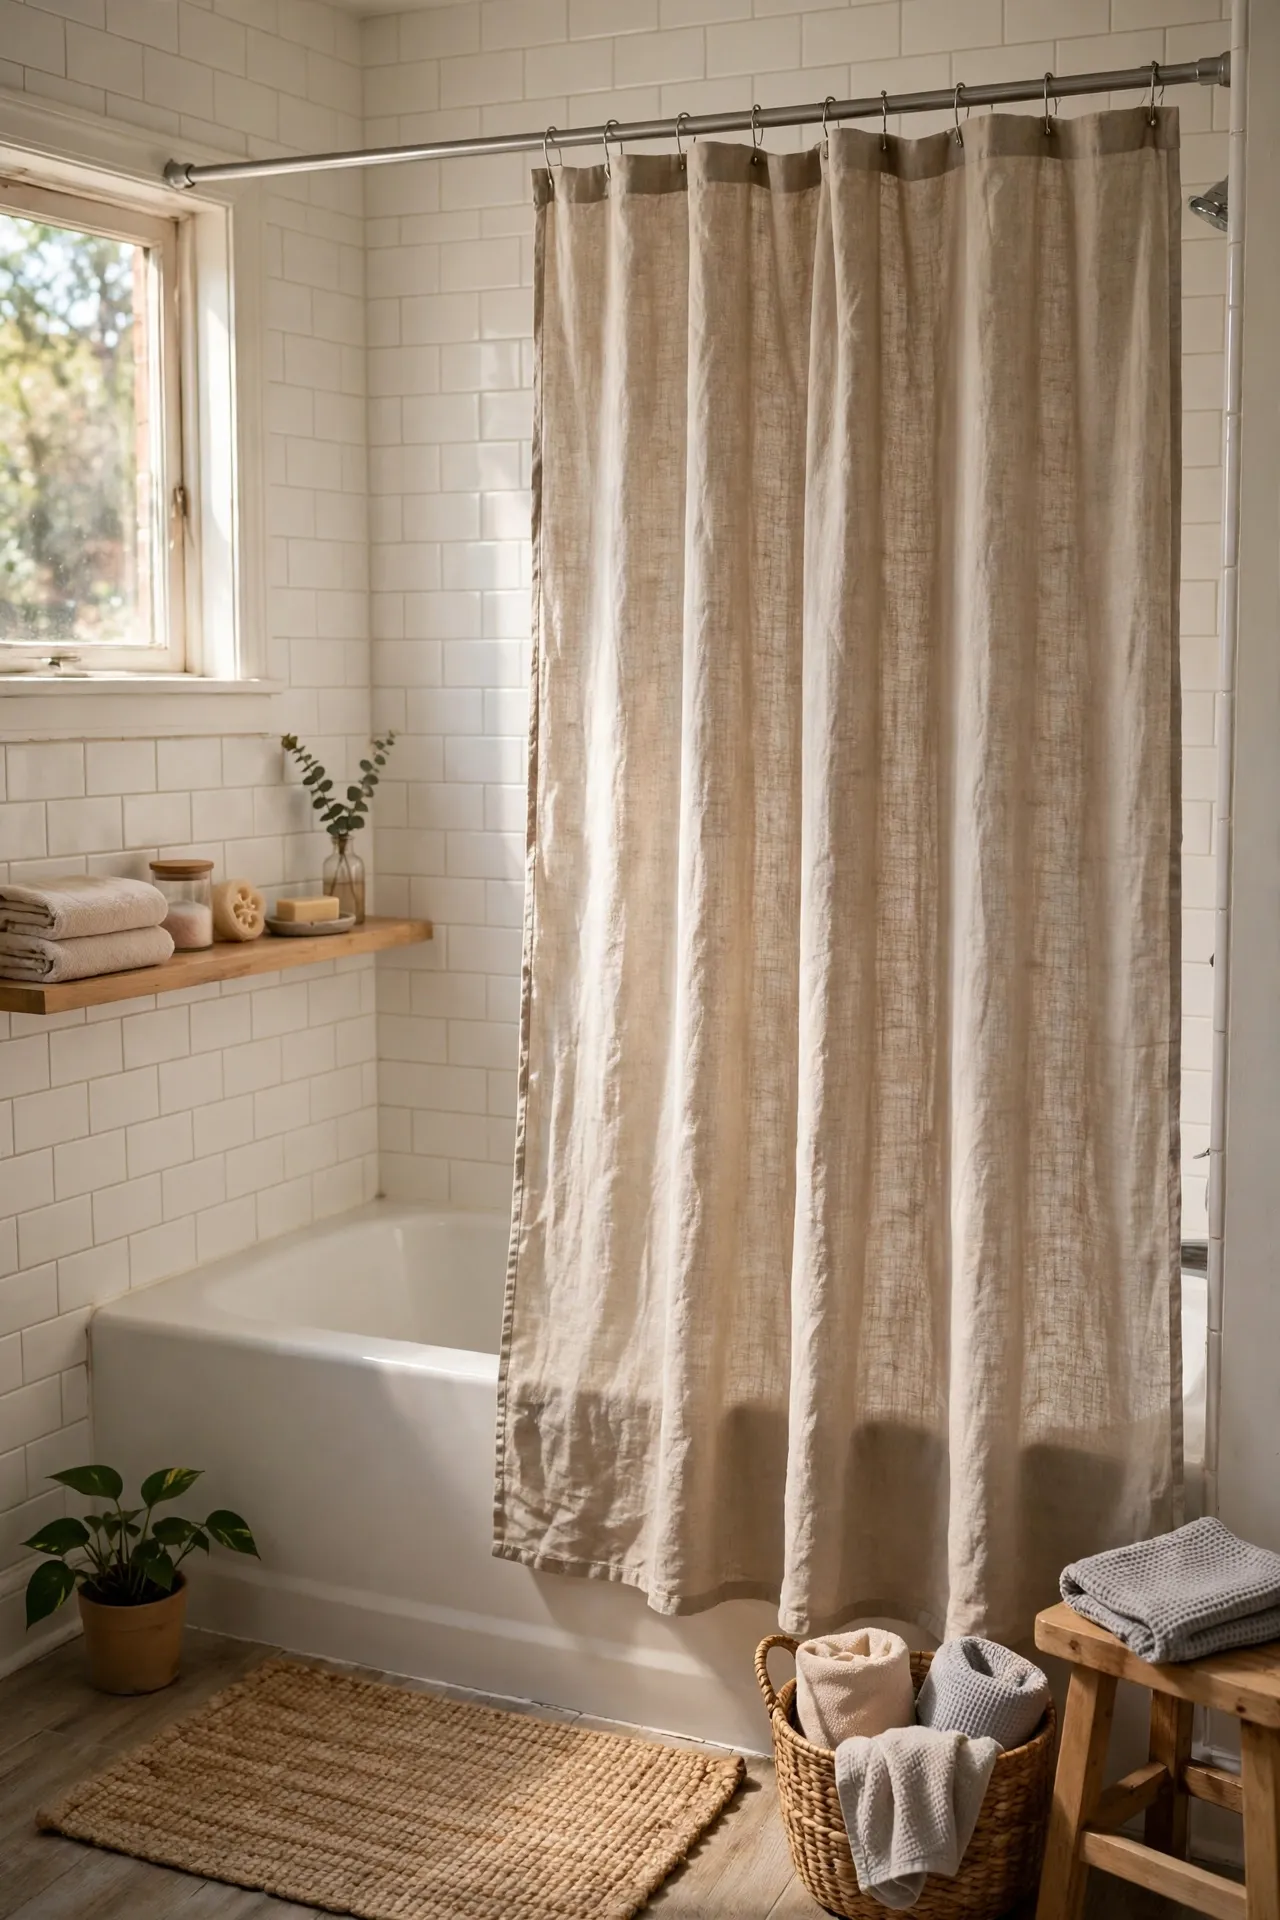
A linen-look shower curtain on a tension rod softens the whole room without touching the walls at all. Twist the rod to length, wedge it firmly between the walls above the tub, and hang the curtain so it falls just inside the tub edge. Add a plain liner behind it to keep water in. I tried this — the mistake to avoid is hanging the curtain too high, because then the bottom swings out and soaks the floor every shower. Keep the hem a couple of inches inside the tub, test the rod by tugging it before you shower, and tighten it again after the first week. A good curtain changes the mood more than paint ever could.
Cost: ~$10 | Time: 15 minutes
💰 Budget win: Keep your old rod and liner and swap only the outer curtain, so the refresh costs half as much.
3. Command Hook Towel Bars Without Drilling
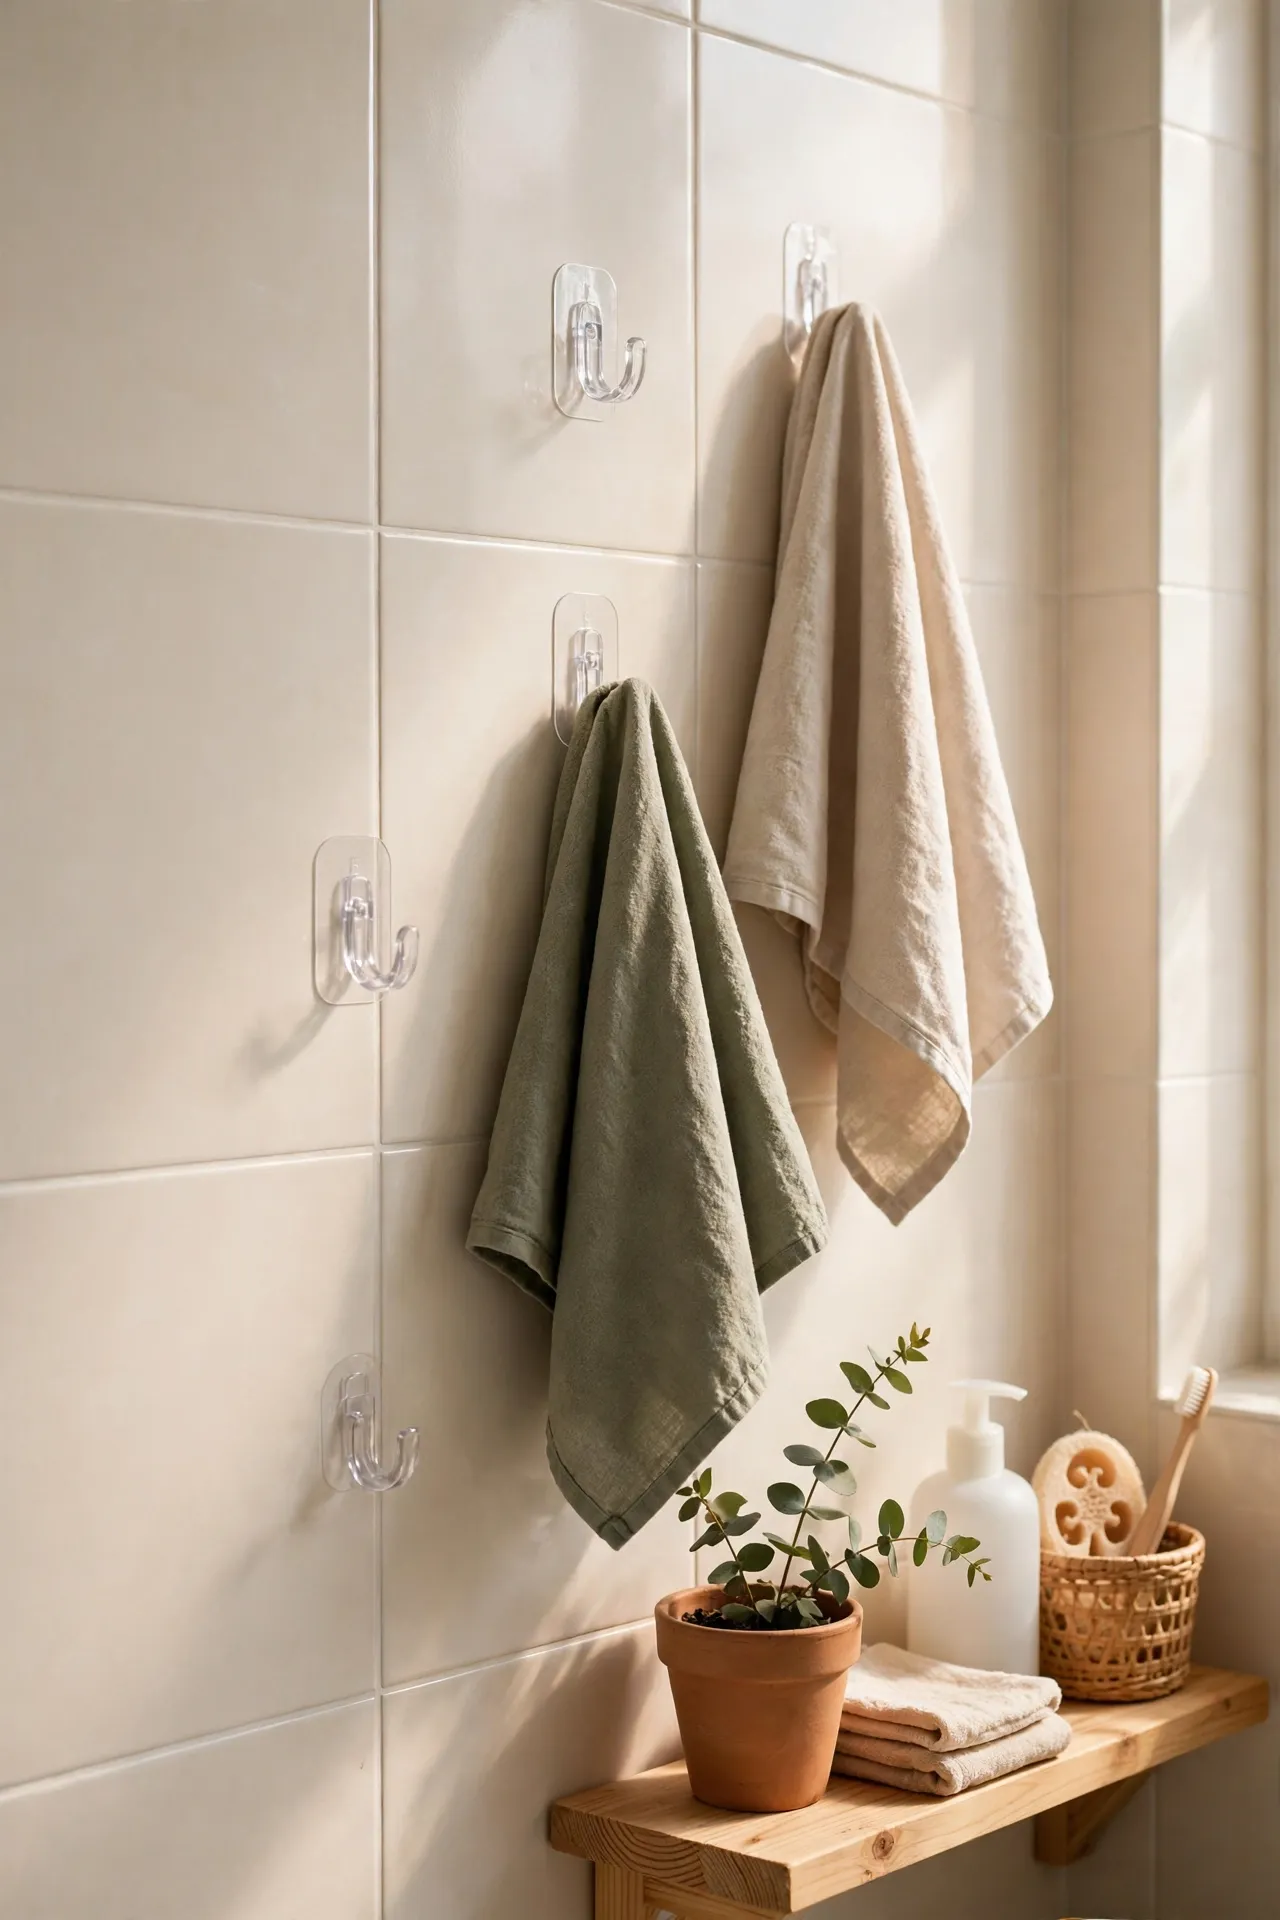
Adhesive towel bars and hooks let you hang towels exactly where you need them, with no holes to fill later. Clean the tile with rubbing alcohol, let it dry completely, and press the strip firmly for thirty seconds before you hang anything. Wait a full hour before loading a towel so the bond sets properly. I tried this — the mistake to avoid is sticking the hook on grout lines or textured tile, because the strip cannot grip evenly and slides down overnight. Choose smooth tile, follow the weight limit honestly, and use two hooks for a heavy bath towel. When moving day comes, pull the tab slowly and the wall stays clean.
Cost: ~$8 | Time: 15 minutes
💰 Budget win: A pack of adhesive hooks costs less than one wall bar plus anchors, and you can reuse the hooks in your next place.
4. Removable Wallpaper on One Accent Wall
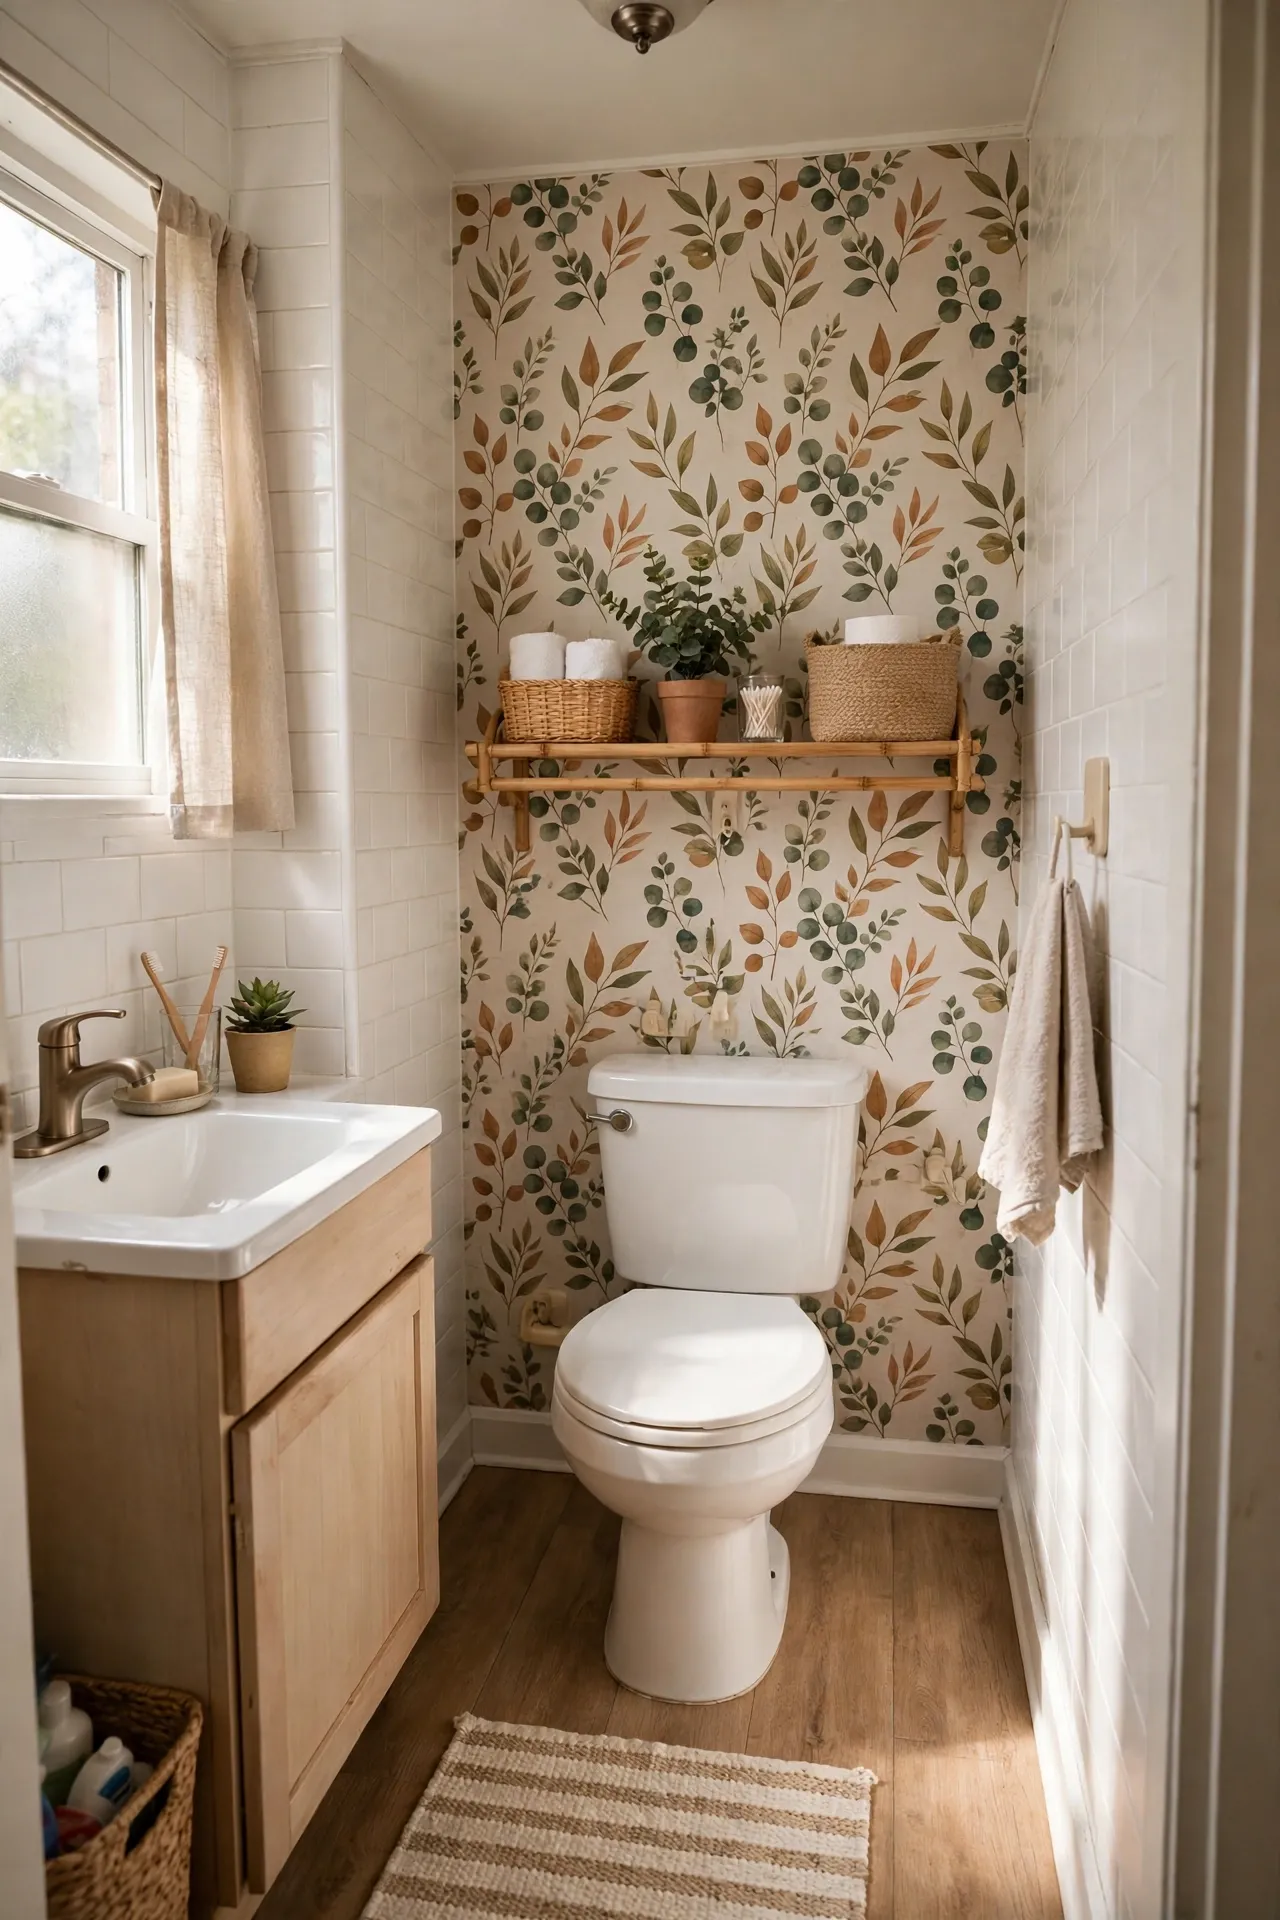
One wall of removable wallpaper turns a plain rental bathroom into a room with personality, and it peels off when your lease ends. Measure the wall, cut panels a little long, and smooth each panel from top to bottom with a plastic card to push out bubbles. Match the pattern at the seams by overlapping slightly and trimming carefully. I tried this — the mistake to avoid is wallpapering a wall that gets direct shower spray, because steam loosens the edges fast. Pick the wall opposite the shower, keep the room ventilated, and the paper will stay smooth for your whole tenancy. See also (see also: small-bathroom-ideas-under-100) for more low-commitment wall ideas that landlords usually accept.
Cost: ~$15 | Time: 60 minutes
💰 Budget win: Wallpaper a single accent wall instead of all four, so one roll covers the project and the budget stays small.
5. Over-the-Toilet Storage Rack That Needs No Screws
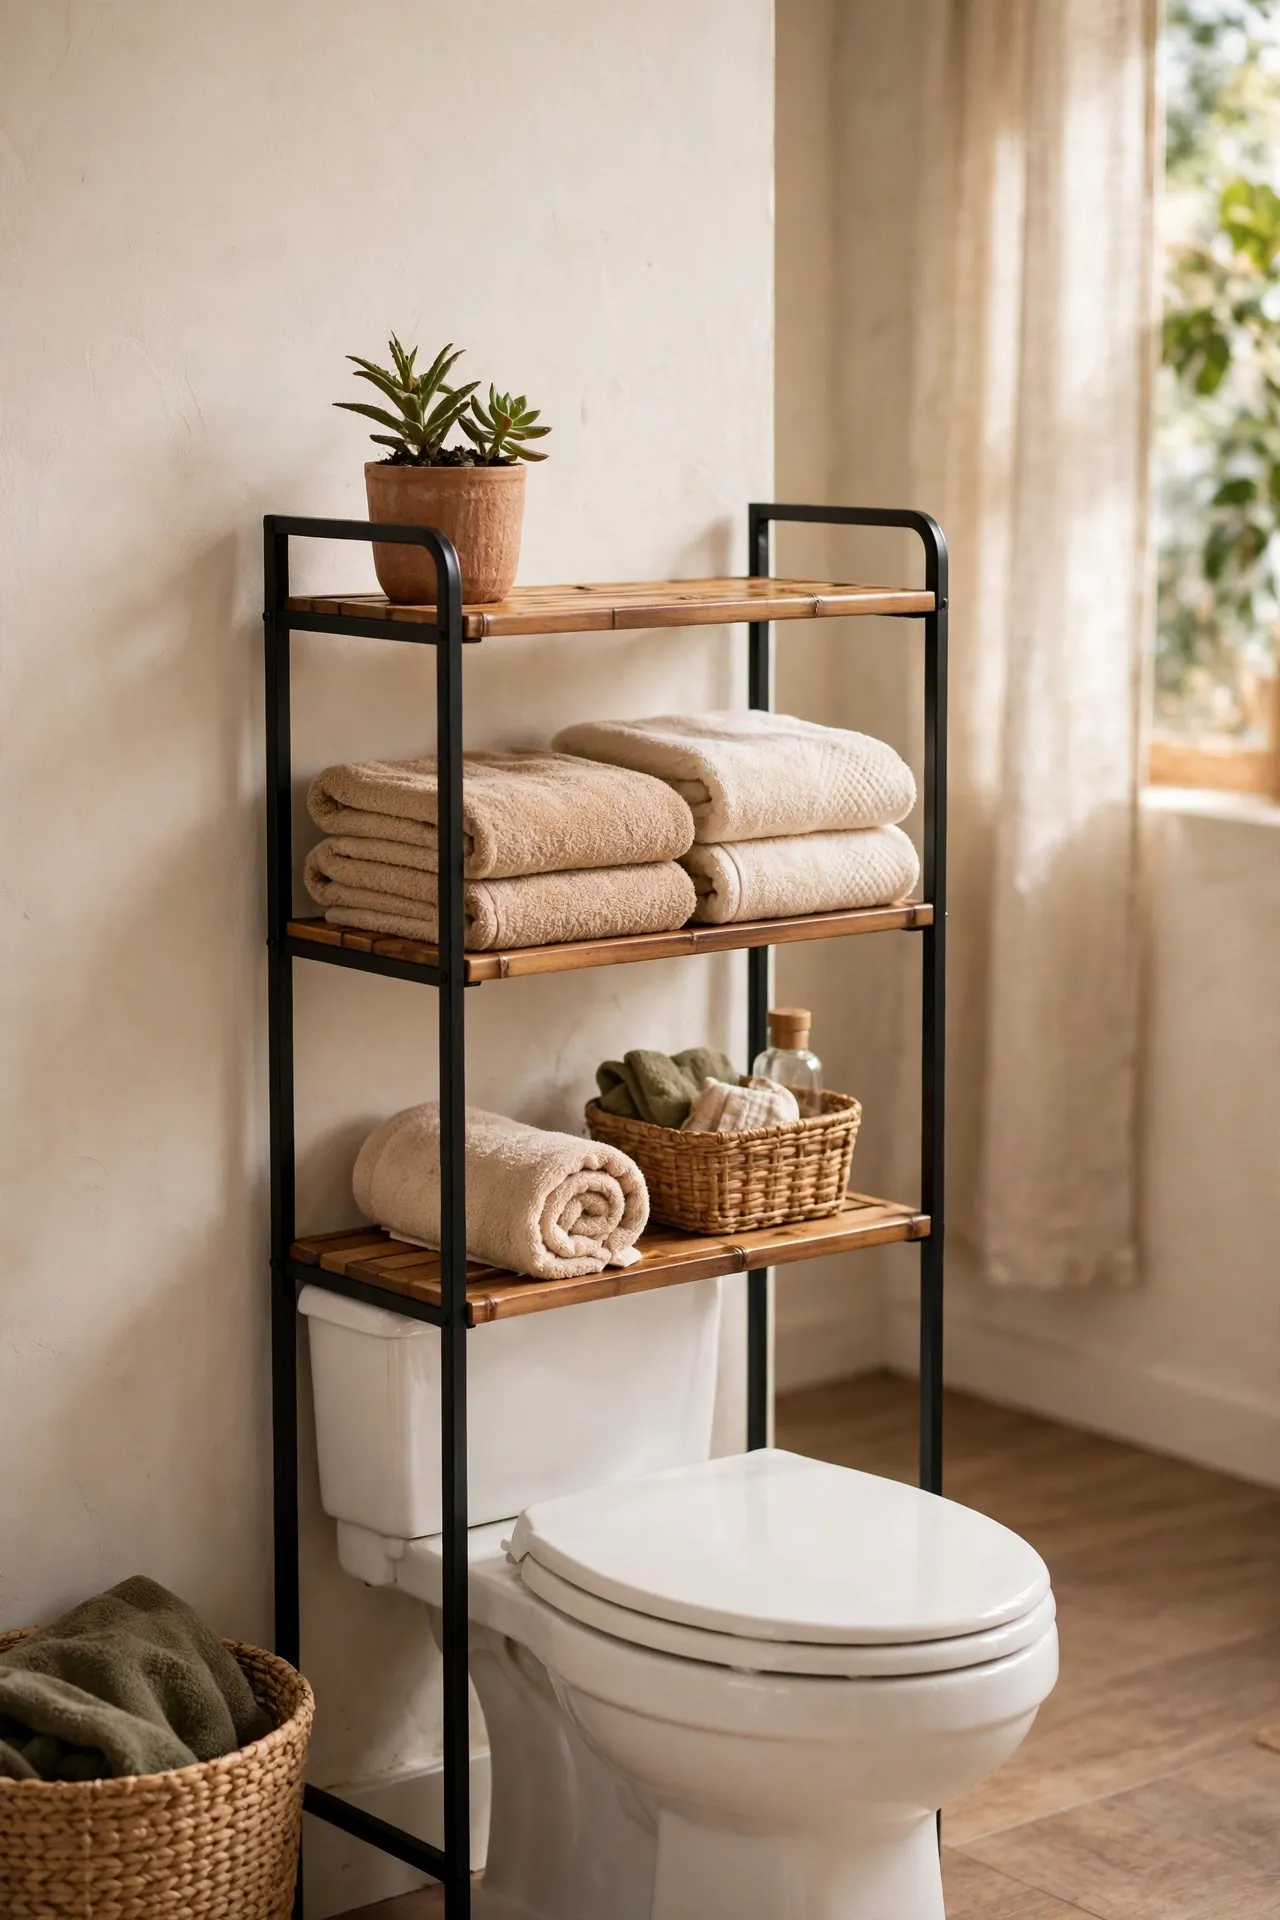
An over-the-toilet rack adds three shelves of storage in a spot that was doing nothing at all. Slide the legs around the toilet base, check that the rack stands level, and tighten the feet so it does not wobble. Put everyday items on the middle shelf, spare rolls below, and a plant or candle up top. I tried this — the mistake to avoid is loading the top shelf with heavy bottles, because the rack gets top-heavy and leans forward. Keep heavy things low, light things high, and leave space around the toilet lid so you can lift it easily. It is the fastest storage win I have found in any rental bathroom so far.
Cost: ~$18 | Time: 20 minutes
💰 Budget win: One freestanding rack replaces a wall cabinet, so you skip both the cabinet cost and any repair bill for holes.
6. Peelable Mirror Frames in Matte Black
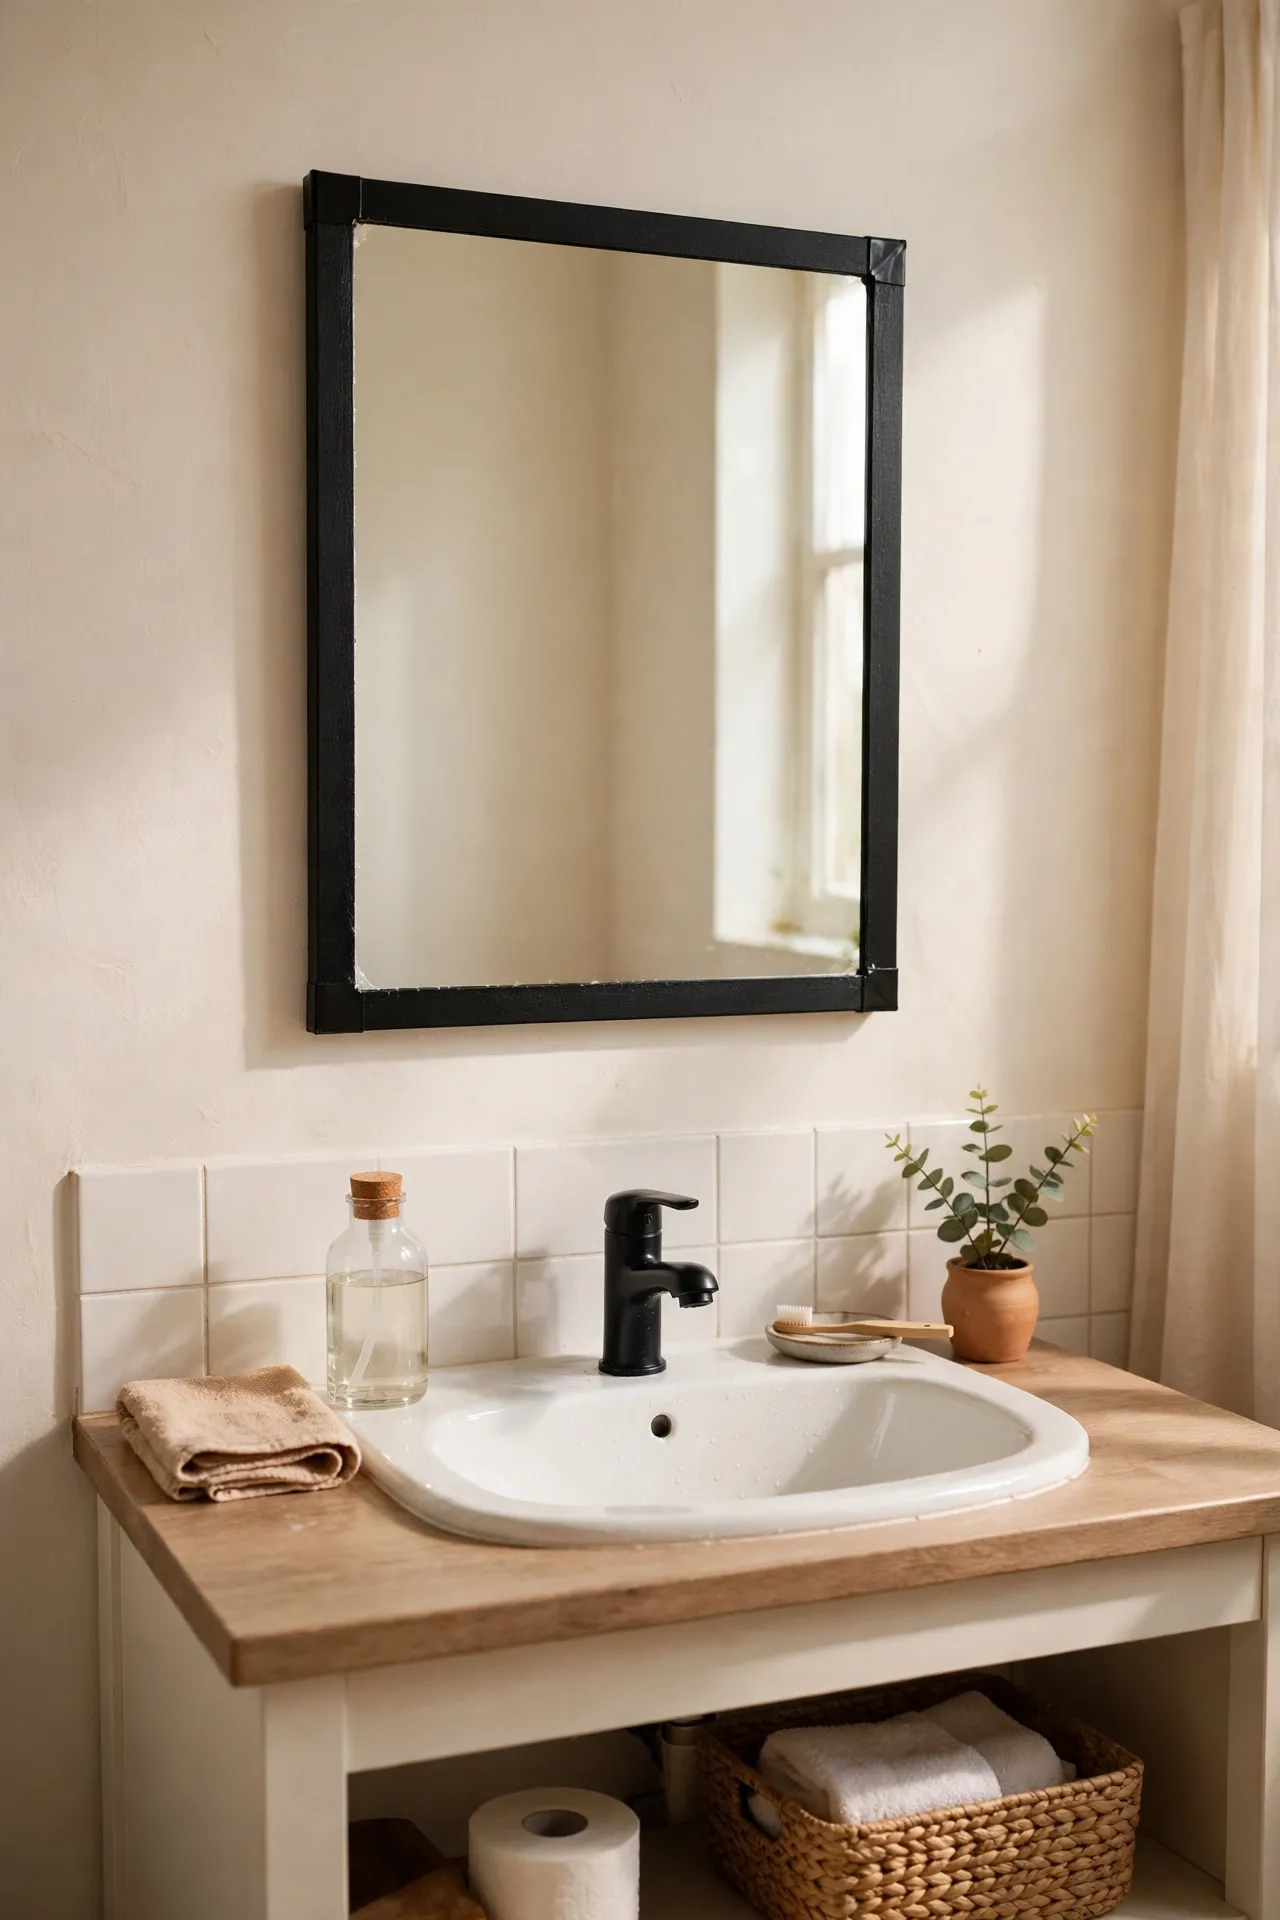
A peelable frame around a flat builder mirror makes it look custom, and you can remove it without a trace later. Measure each side of the mirror, cut the frame strips to fit, and press them on from one corner, working slowly to keep them straight. Press the corners together neatly so no mirror edge shows through. I tried this — the mistake to avoid is cutting all four strips before test-fitting one, because mirrors are rarely perfectly square and one strip ends up short. Cut, fit, adjust, then cut the next, and the frame will sit flush all the way around. Matte black works with almost every faucet finish, which helps in a rental.
Cost: ~$9 | Time: 25 minutes
💰 Budget win: Frame the mirror for under ten dollars instead of replacing it, which would cost ten times as much.
7. Non-Slip Bath Mat That Actually Stays Put
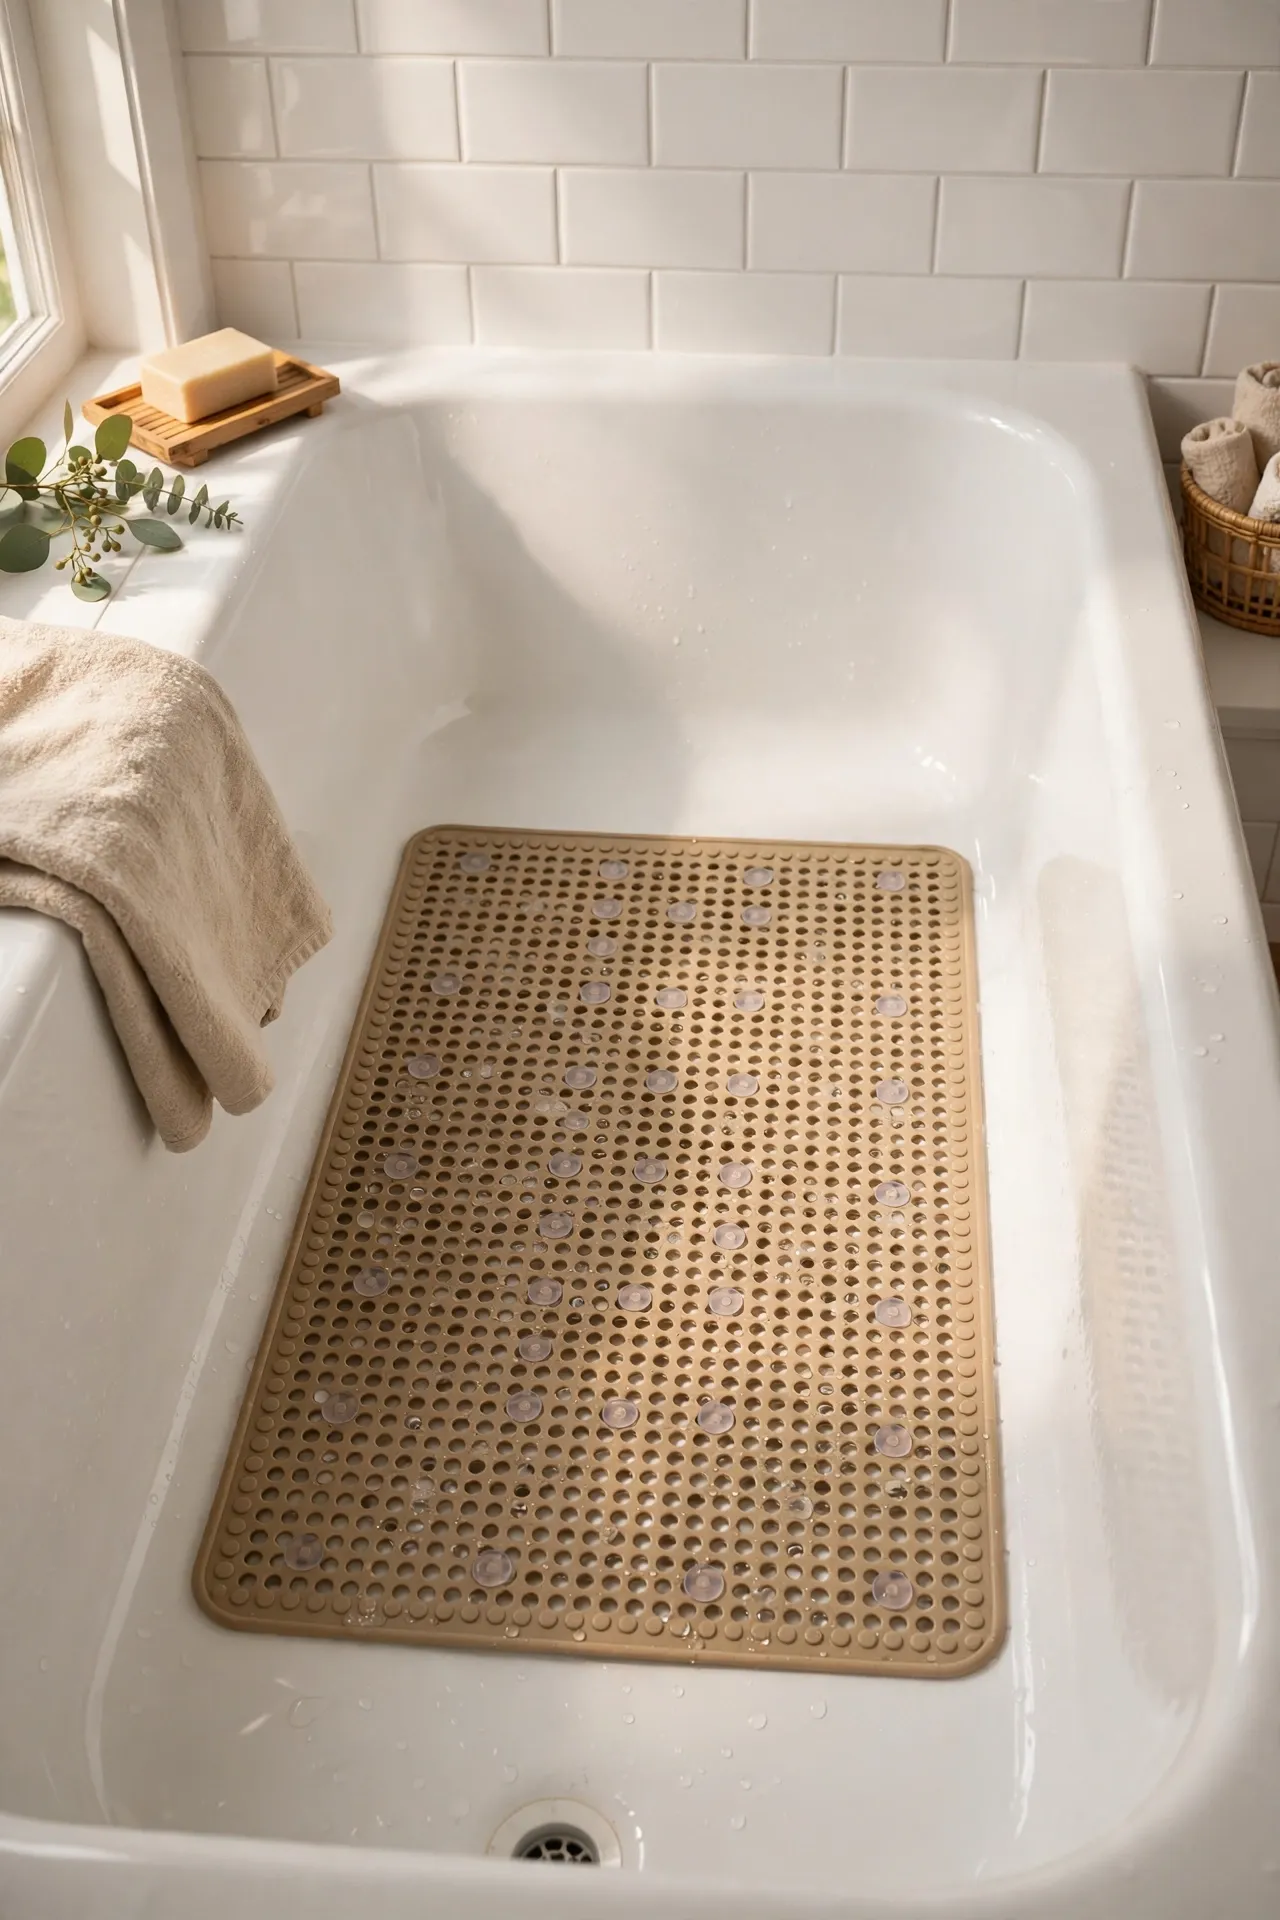
A good non-slip mat keeps you safe and stops the daily dance of a mat that bunches up under your feet. Rinse the tub floor first so grit does not sit under the mat, press the mat down firmly from the centre outward, and smooth the suction cups one by one. Lift and rinse it weekly so soap film does not loosen the grip. I tried this — the mistake to avoid is buying a mat that is too small for your tub, because it slides sideways and leaves half the floor exposed. Measure your tub before you order, choose a mat that covers most of the base, and it will stay put through real showers, not just the first one.
Cost: ~$7 | Time: 5 minutes
💰 Budget win: Wash and reuse one quality mat instead of replacing cheap mats that curl and peel every few months.
8. Swap the Showerhead in Ten Minutes Flat
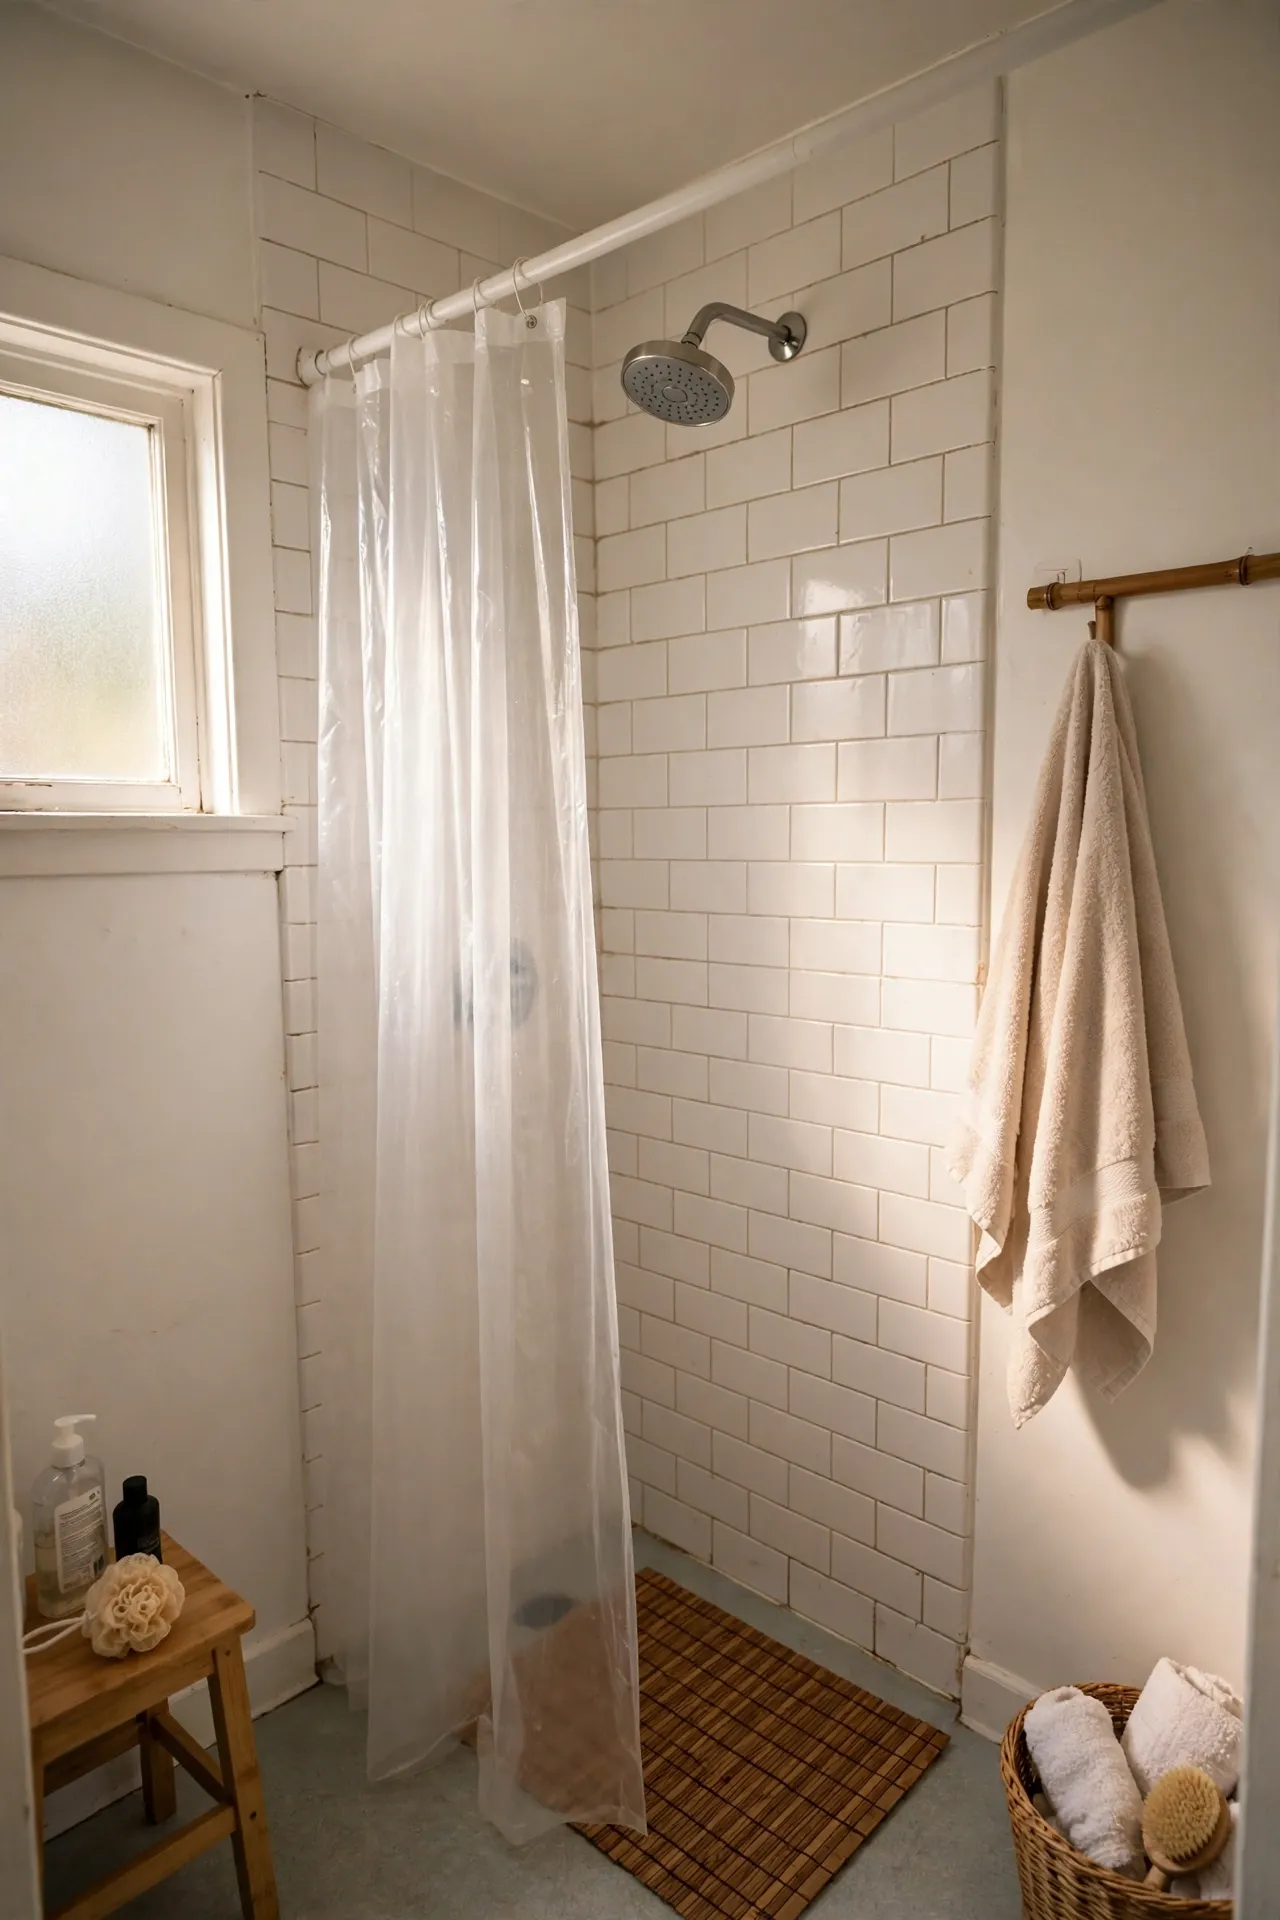
Swapping the showerhead is the single upgrade that changes how your mornings feel, and you can put the old one back in minutes. Wrap the pipe thread with plumber’s tape, twist the old head off by hand or with a wrench wrapped in cloth, and screw the new head on snugly. Run the water and check for drips at the joint before you step in. I tried this — the mistake to avoid is overtightening the new head, because it cracks the washer and causes a slow leak you only notice later. Hand-tight plus a quarter turn is plenty. Keep the original head in a bag under the sink so move-out day takes five minutes, not a hardware run.
Cost: ~$15 | Time: 10 minutes
💰 Budget win: A water-saving head cuts your water use, so it can pay for itself on utility bills over a year.
9. Clip-On Vanity Lights for Better Mornings
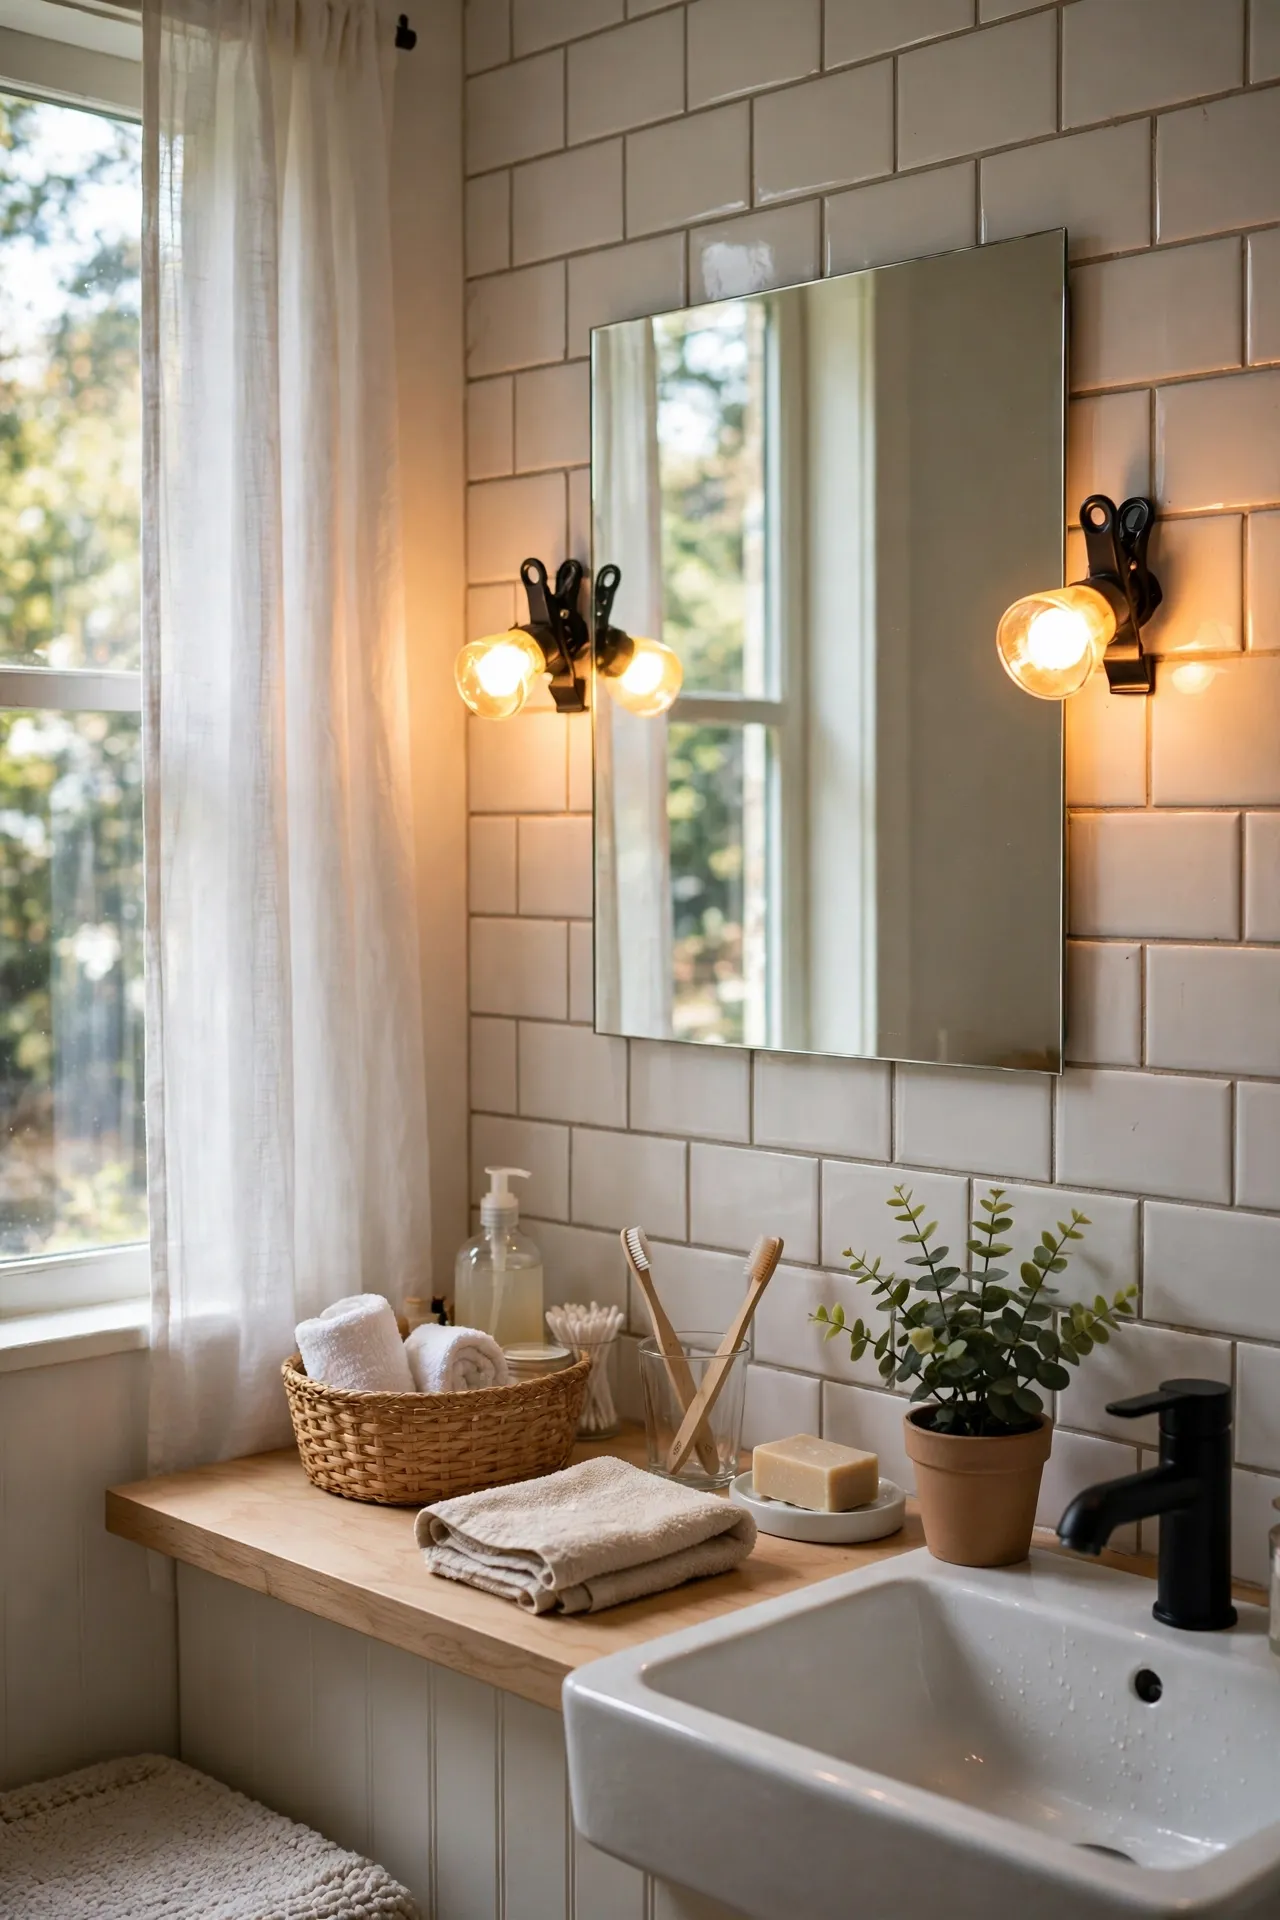
Clip-on or adhesive vanity lights fix harsh rental bathroom lighting without calling an electrician or touching any wiring. Clip the light bar above the mirror or stick small puck lights on either side, then check your face in the mirror from your normal standing distance. Warm white light flatters skin far better than cold overhead light. I tried this — the mistake to avoid is placing a single bright light directly above your head, because it casts shadows under your eyes and makes mornings look worse. Put light on both sides of the mirror instead, keep it warm and even, and suddenly makeup and shaving get much easier. Pin this one for move-in weekend — you’ll be glad you saved it before the boxes pile up.
Cost: ~$12 | Time: 15 minutes
💰 Budget win: Battery lights avoid electrician fees entirely, and rechargeable ones cost pennies per month to run.
10. Rolling Cart for Extra Storage Beside the Tub
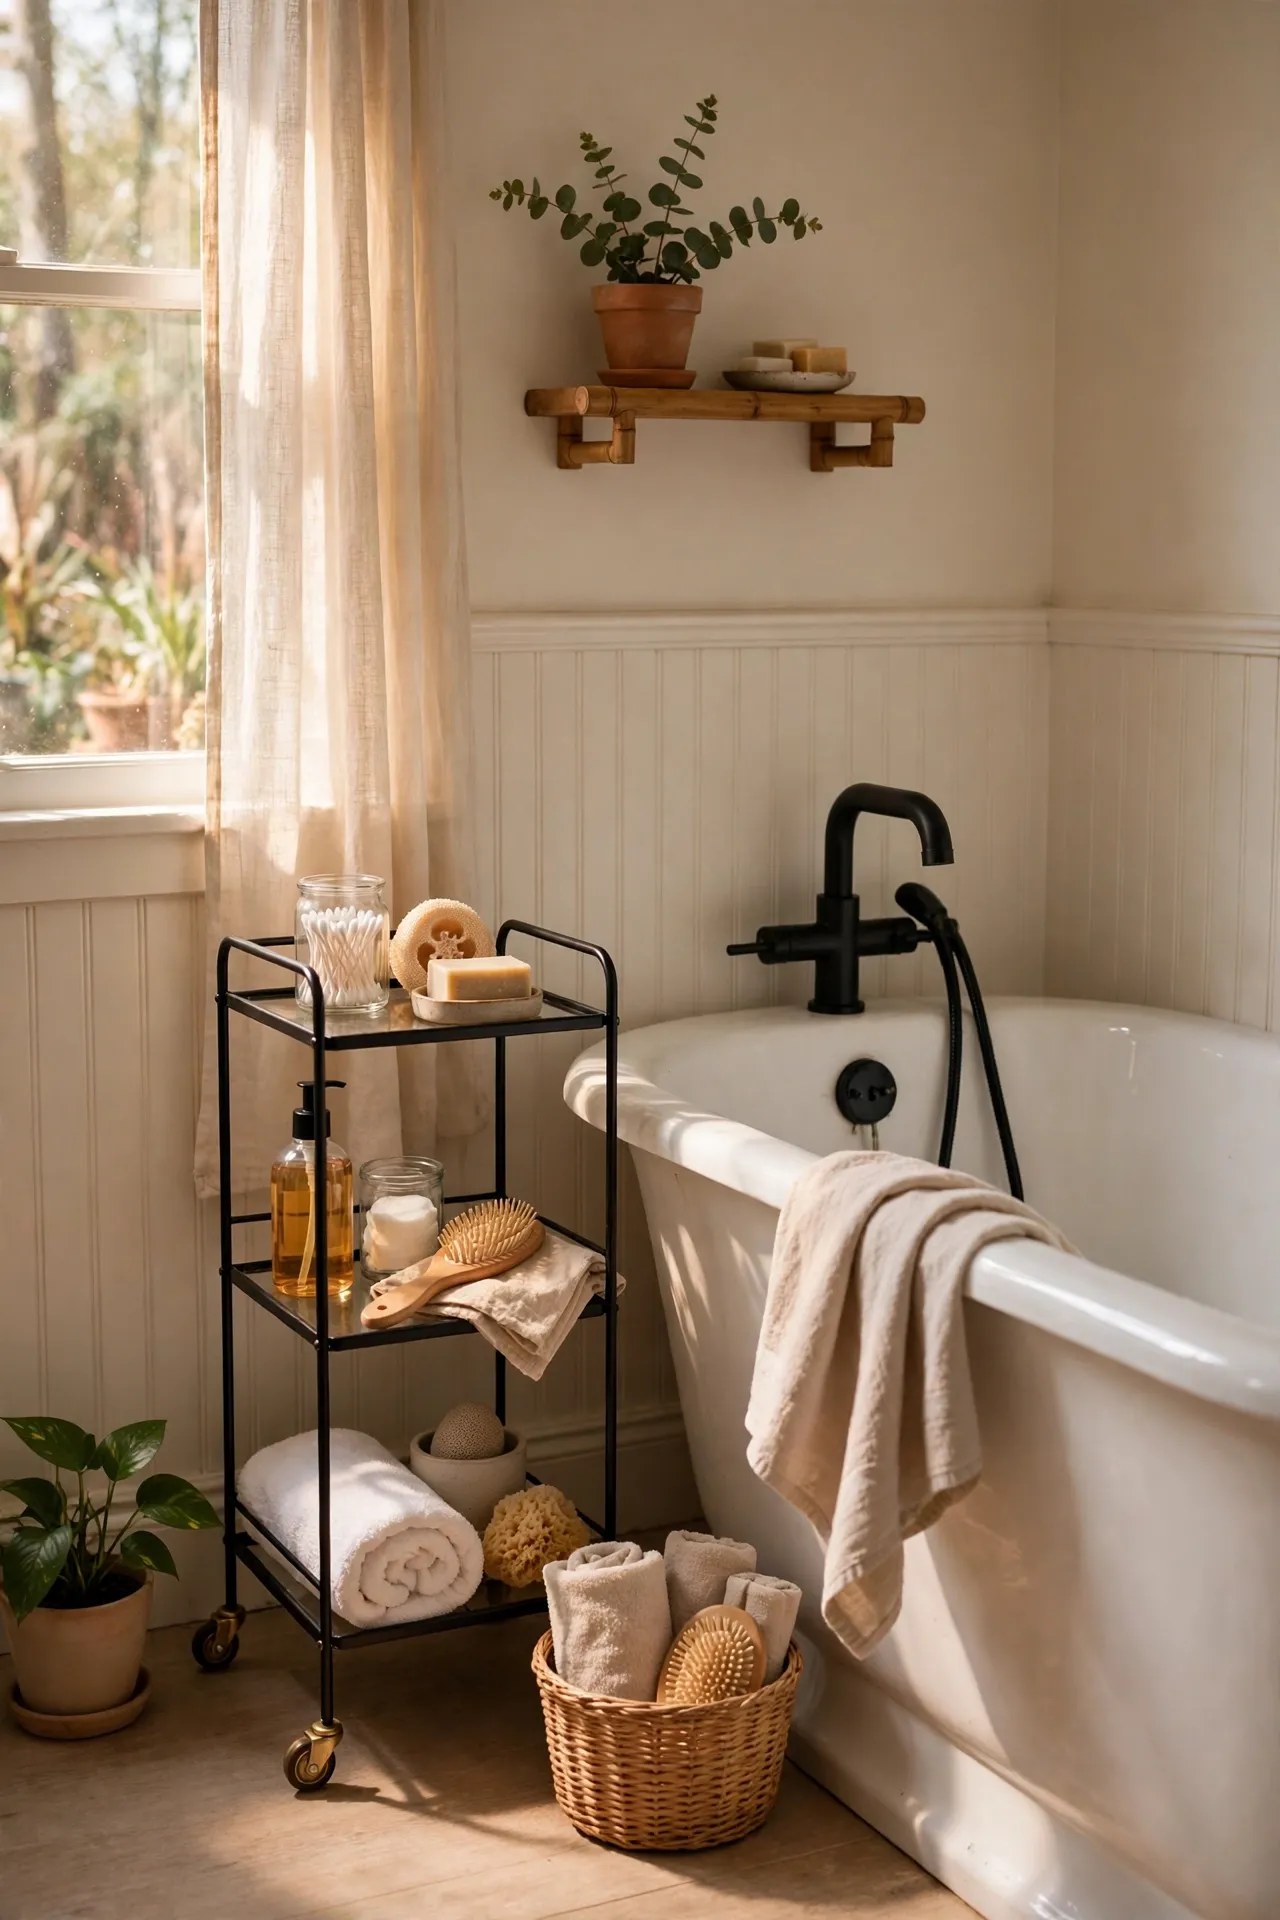
A slim rolling cart slides into the gap beside the tub or toilet and holds everything that never had a home. Assemble the cart, check that it rolls smoothly, and load heavy bottles on the bottom tier so it does not tip. Put daily items on top where you can reach them, and spare supplies in the middle. I tried this — the mistake to avoid is buying a cart wider than your gap, because I once measured the gap at the top and forgot the baseboard, so the cart would not fit at the bottom. Measure at floor level, leave a little wiggle room, and the cart will glide in and out for years. See also (see also: renter-friendly-bathroom-storage-ideas) for more narrow-gap storage that fits awkward rental layouts.
Cost: ~$16 | Time: 20 minutes
💰 Budget win: One cart holds toilet paper, cleaning supplies, and toiletries together, so you skip buying three separate bins.
11. Temporary Faucet Covers in Brushed Nickel
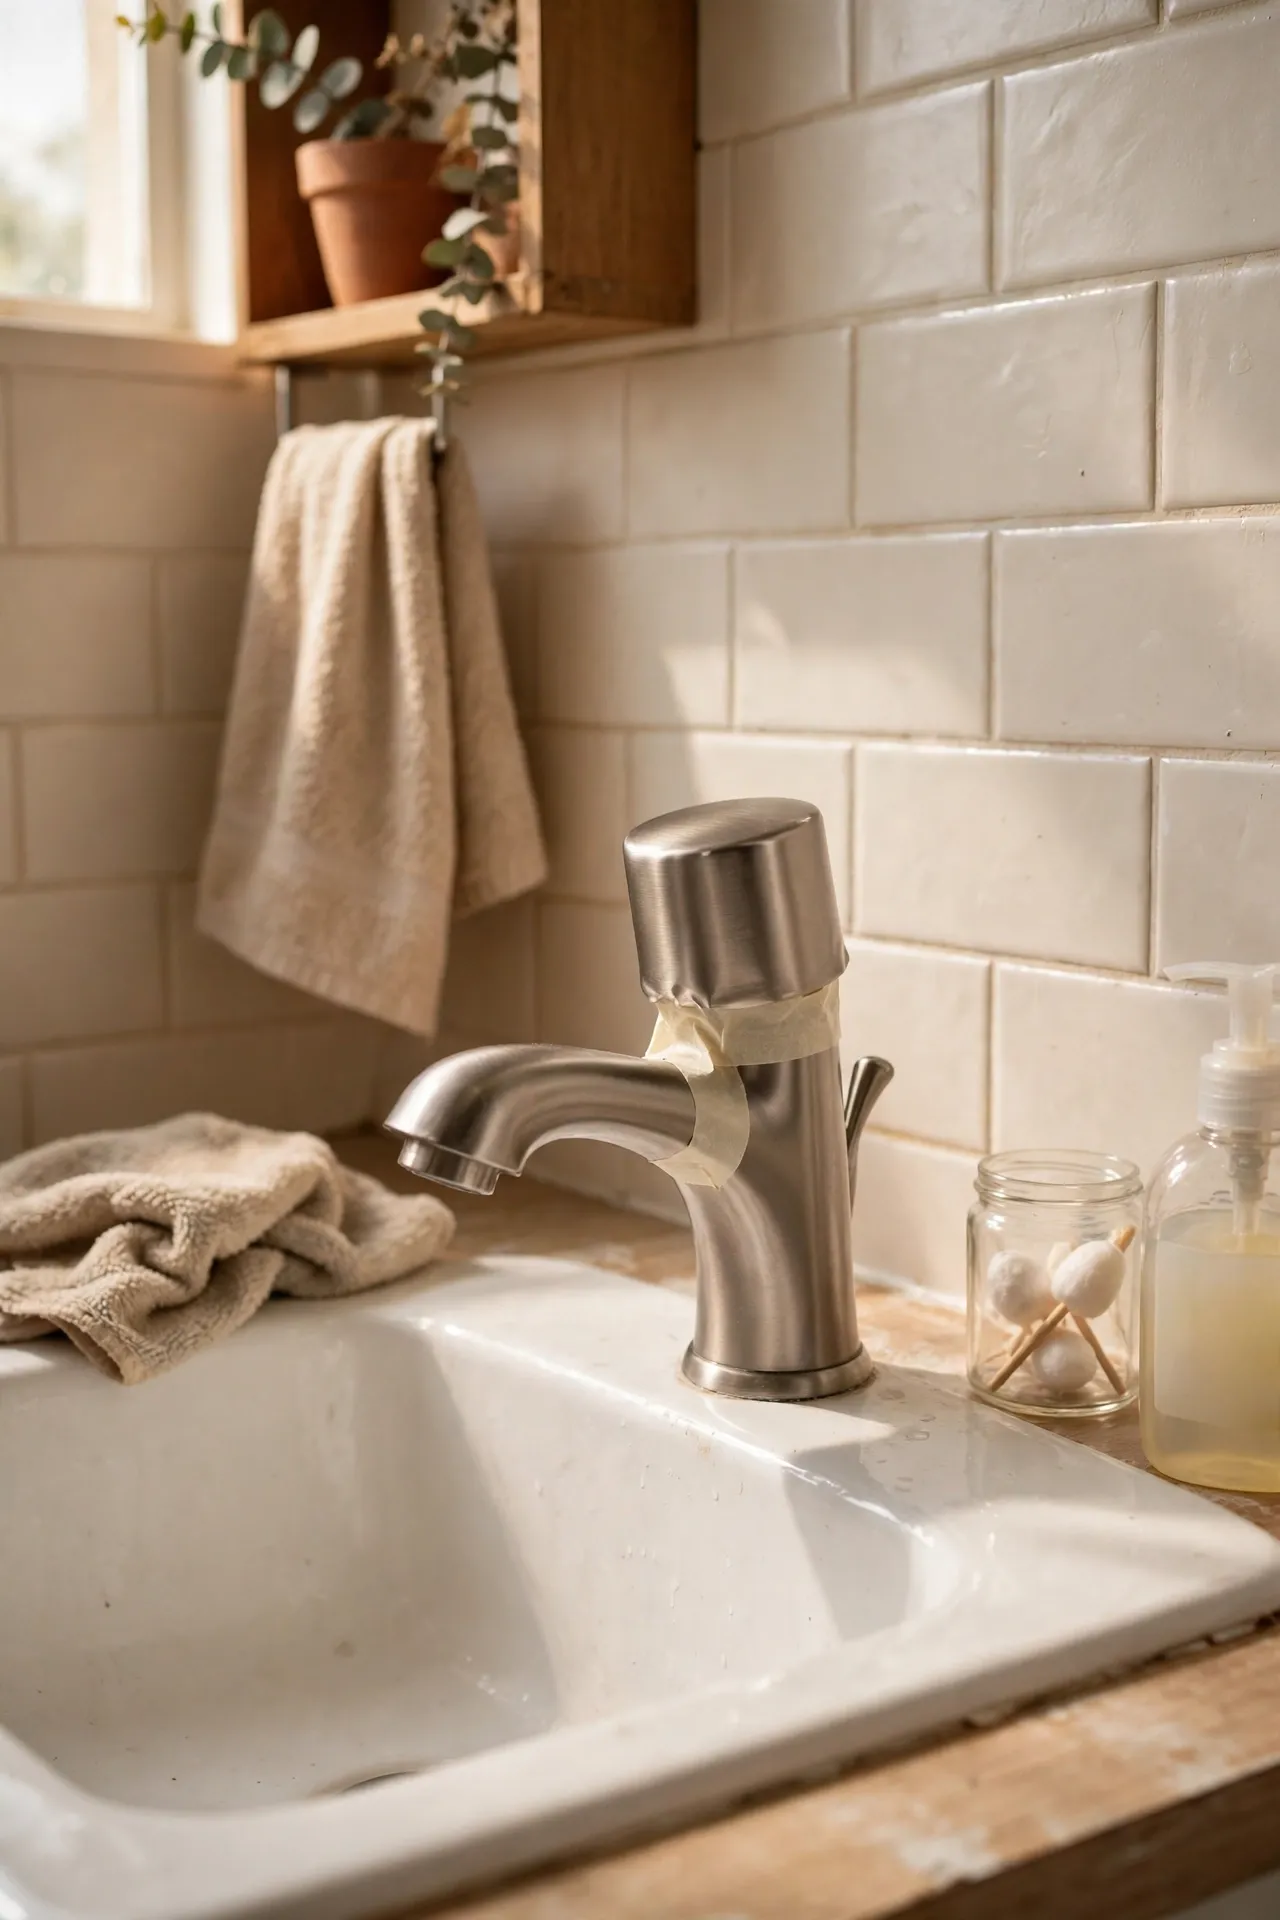
Temporary faucet covers and slip-on handles hide dated chrome or chipped finishes without replacing any plumbing. Slip the cover over the faucet handle or spout, check that it fits snugly, and secure it with the small set screw if one is included. Wipe it weekly so water spots do not build up underneath. I tried this — the mistake to avoid is forcing a cover that is slightly too small, because it cracks and scratches the faucet underneath. Measure your faucet diameter first, buy the right size, and the cover will look like part of the original fixture. It is a small change, but it makes the whole sink area feel newer in minutes.
Cost: ~$8 | Time: 10 minutes
💰 Budget win: Covers cost a fraction of a new faucet, and you take them with you instead of leaving the upgrade behind.
12. Woven Laundry Hamper That Doubles as Decor
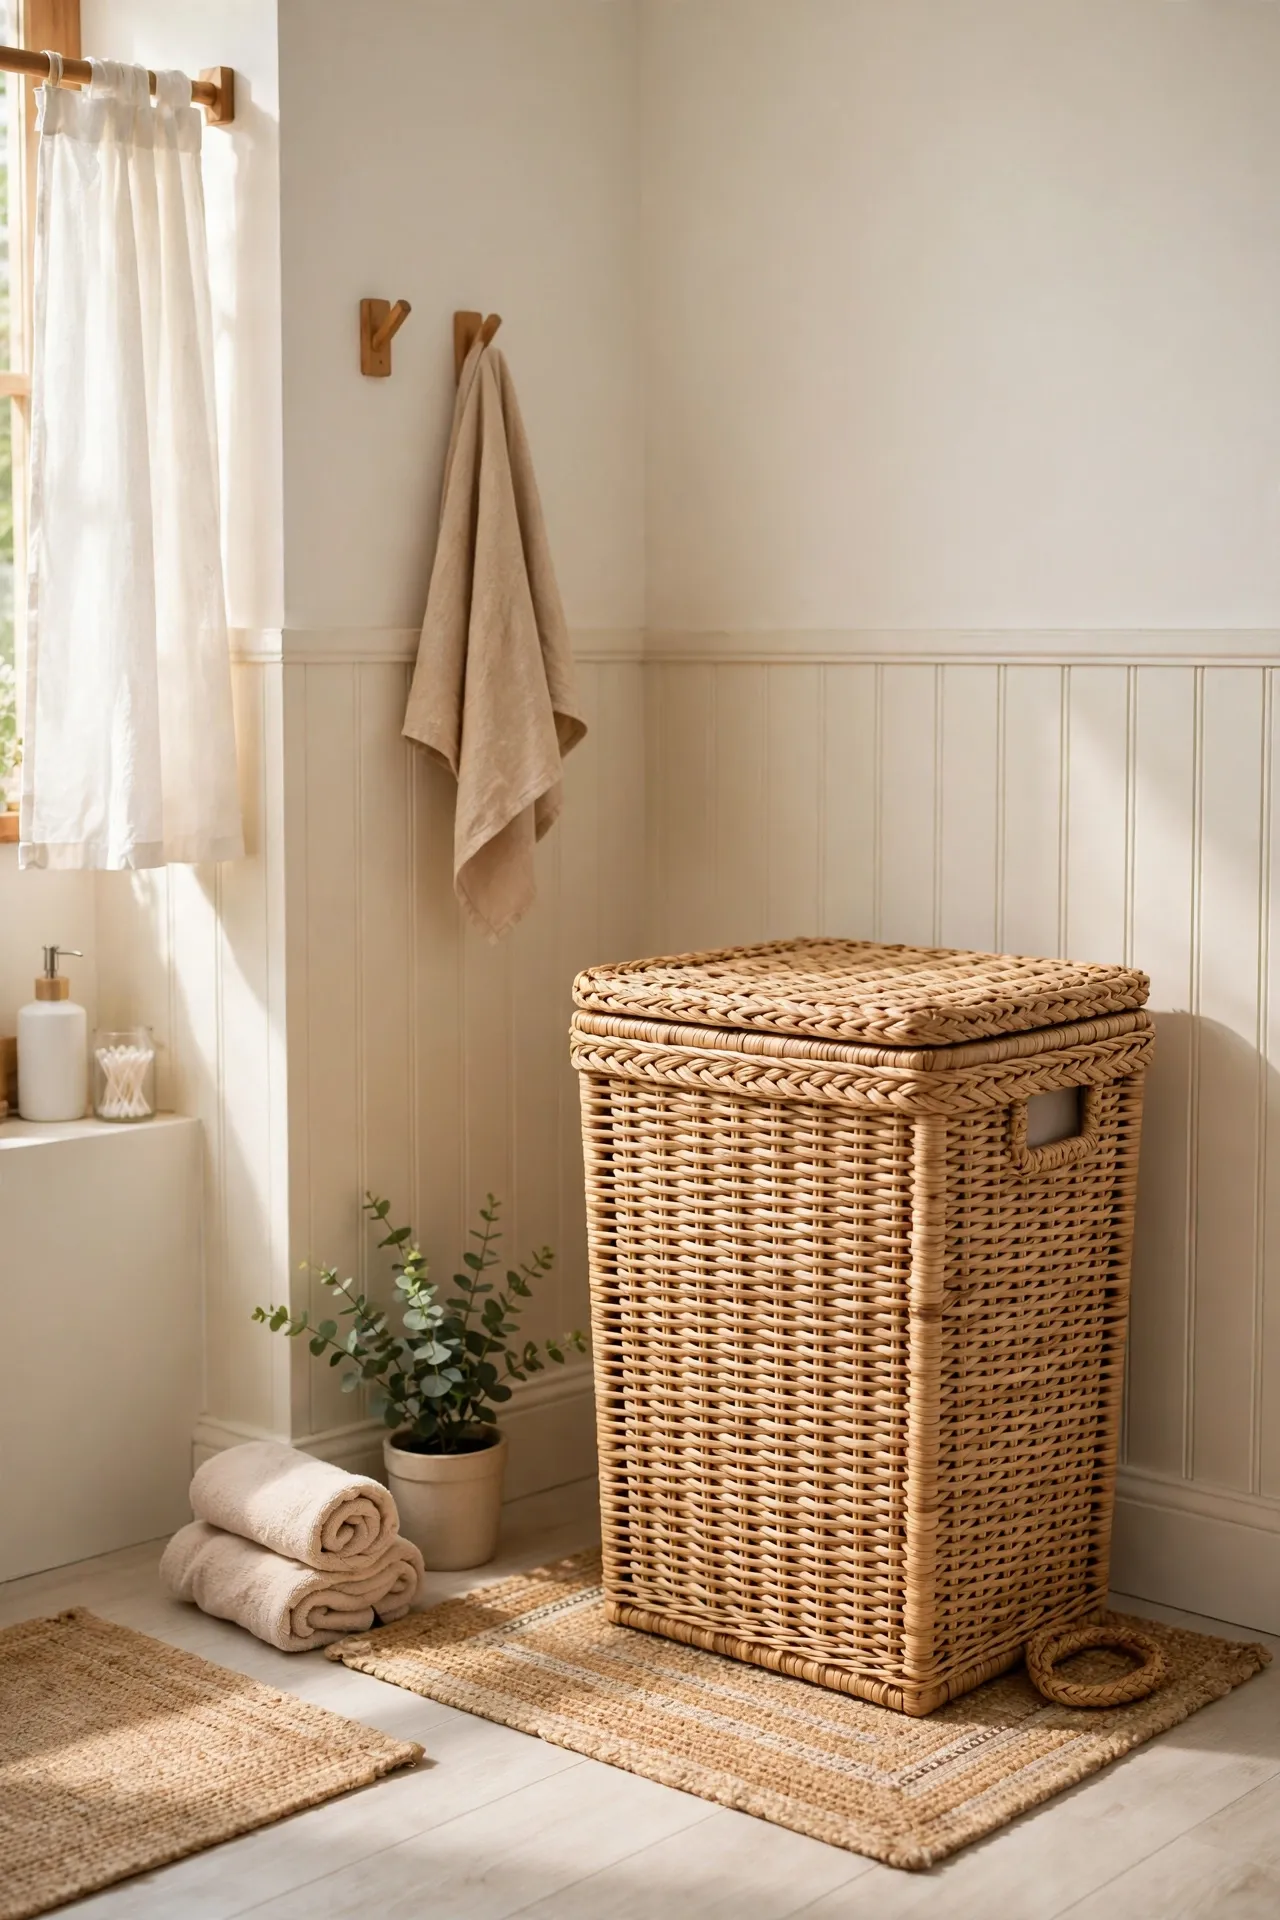
A woven hamper keeps dirty laundry out of sight and looks like decor, not a chore waiting to happen. Place it in the corner by the door where you naturally undress, line it with a washable bag, and empty it twice a week so it never overflows. Choose a size that fits your space, not the biggest one in the shop. I tried this — the mistake to avoid is buying a hamper without a liner, because damp towels make the weave smell musty within weeks. A removable liner washes easily and keeps the basket fresh. A pretty hamper means the bathroom looks tidy even on laundry day, which is a small daily kindness to yourself.
Cost: ~$14 | Time: 5 minutes
💰 Budget win: One hamper with a washable liner replaces disposable laundry bags and lasts through several moves.
13. Suction Cup Shelves for the Shower Wall
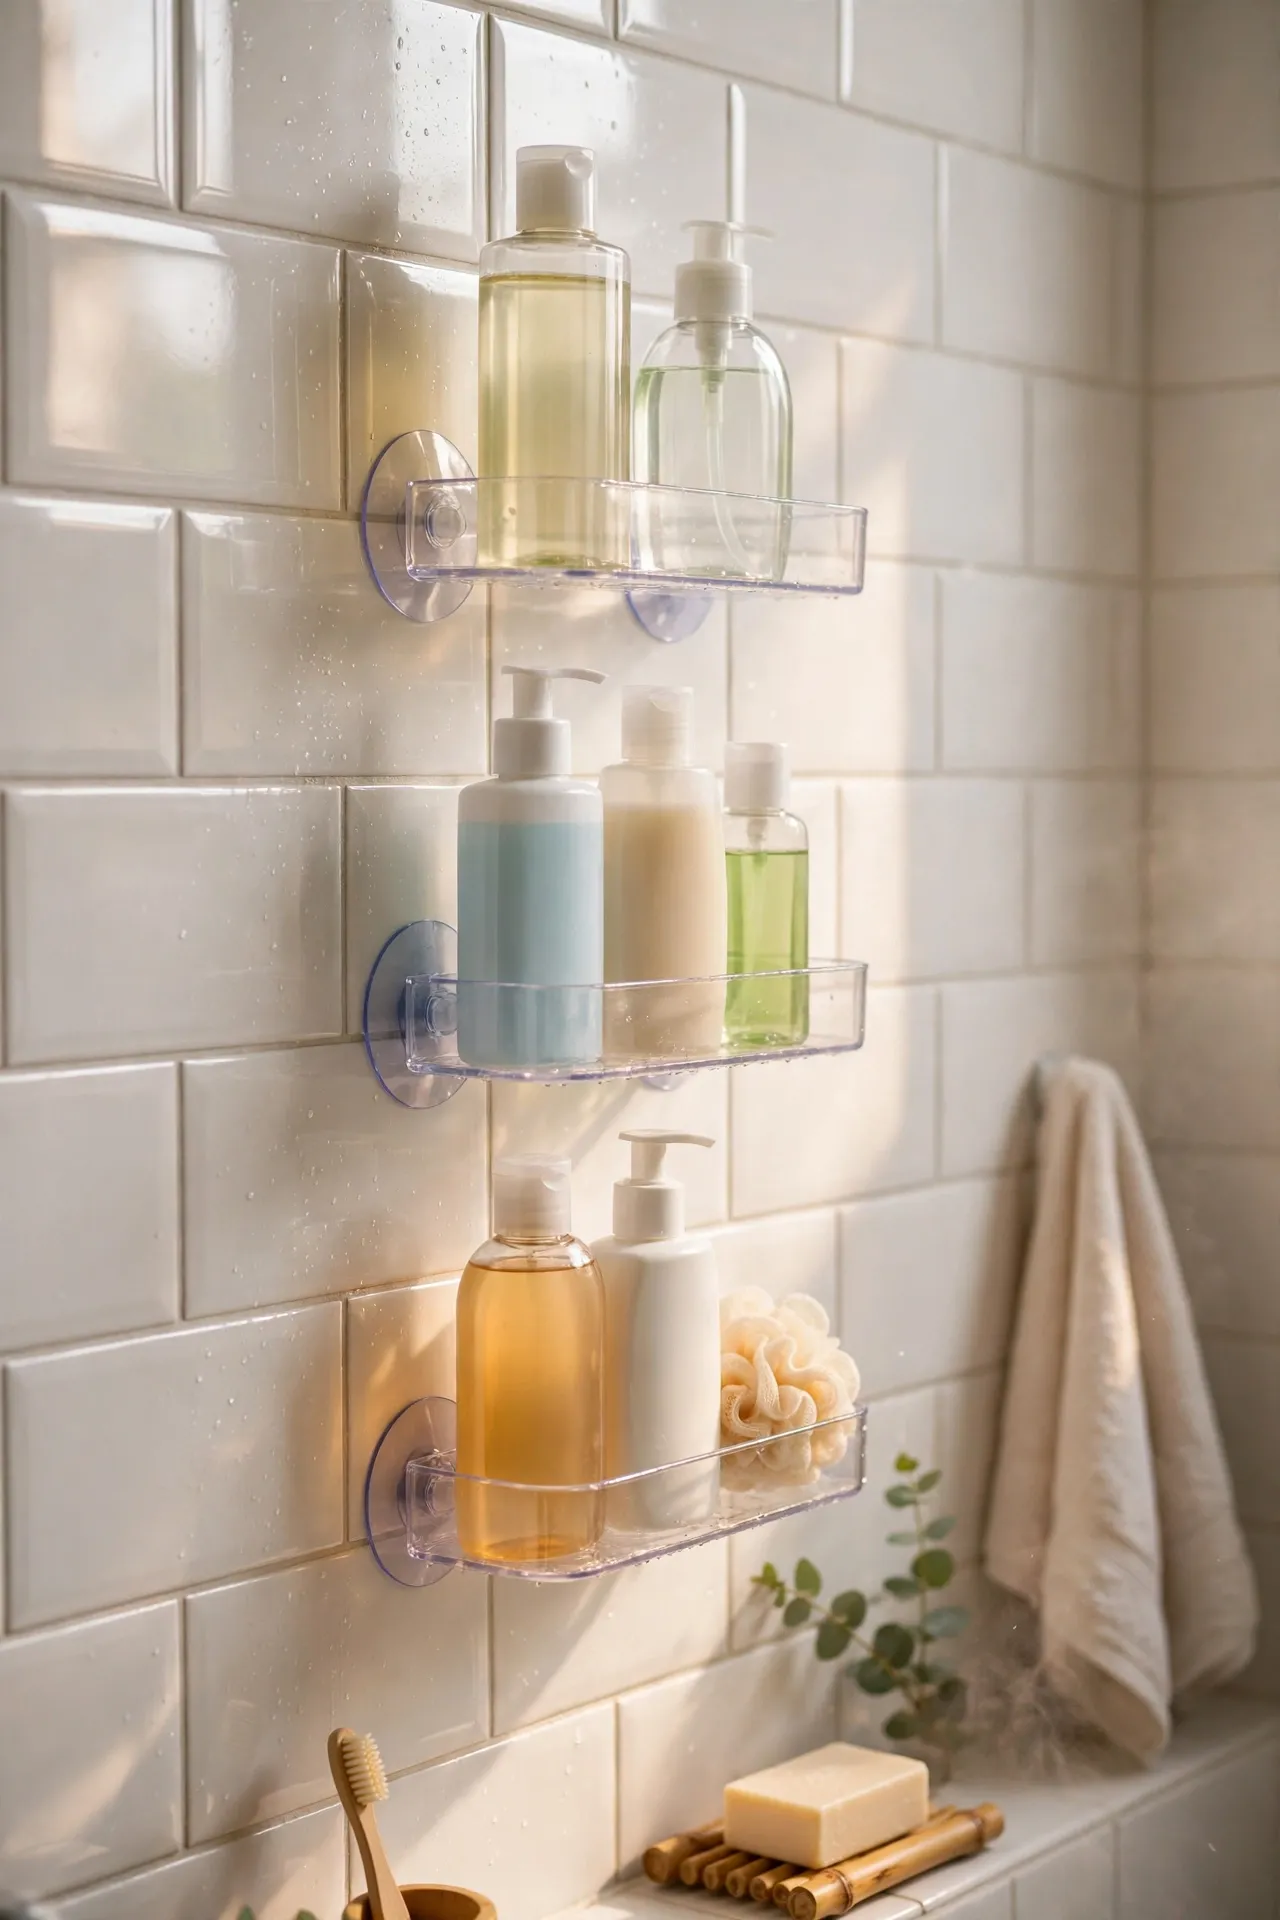
Suction cup shelves give you a place for shampoo and soap right where you shower, with no drilling and no rusty caddy. Clean the tile, press each suction cup firmly and twist to lock it, and wait a few hours before loading the shelf. Start with light bottles and add heavier ones only after the grip proves itself. I tried this — the mistake to avoid is sticking suction cups on grout or matte tile, because they need smooth, glossy tile to seal properly. Test one cup empty overnight first, and if it holds, the shelf will hold too. Move the shelf to a new spot anytime by releasing the cups and pressing them again.
Cost: ~$9 | Time: 10 minutes
💰 Budget win: Suction shelves move with you to the next rental, so you buy them once instead of once per bathroom.
14. Fabric Shower Curtain Liner Swap for Instant Softness
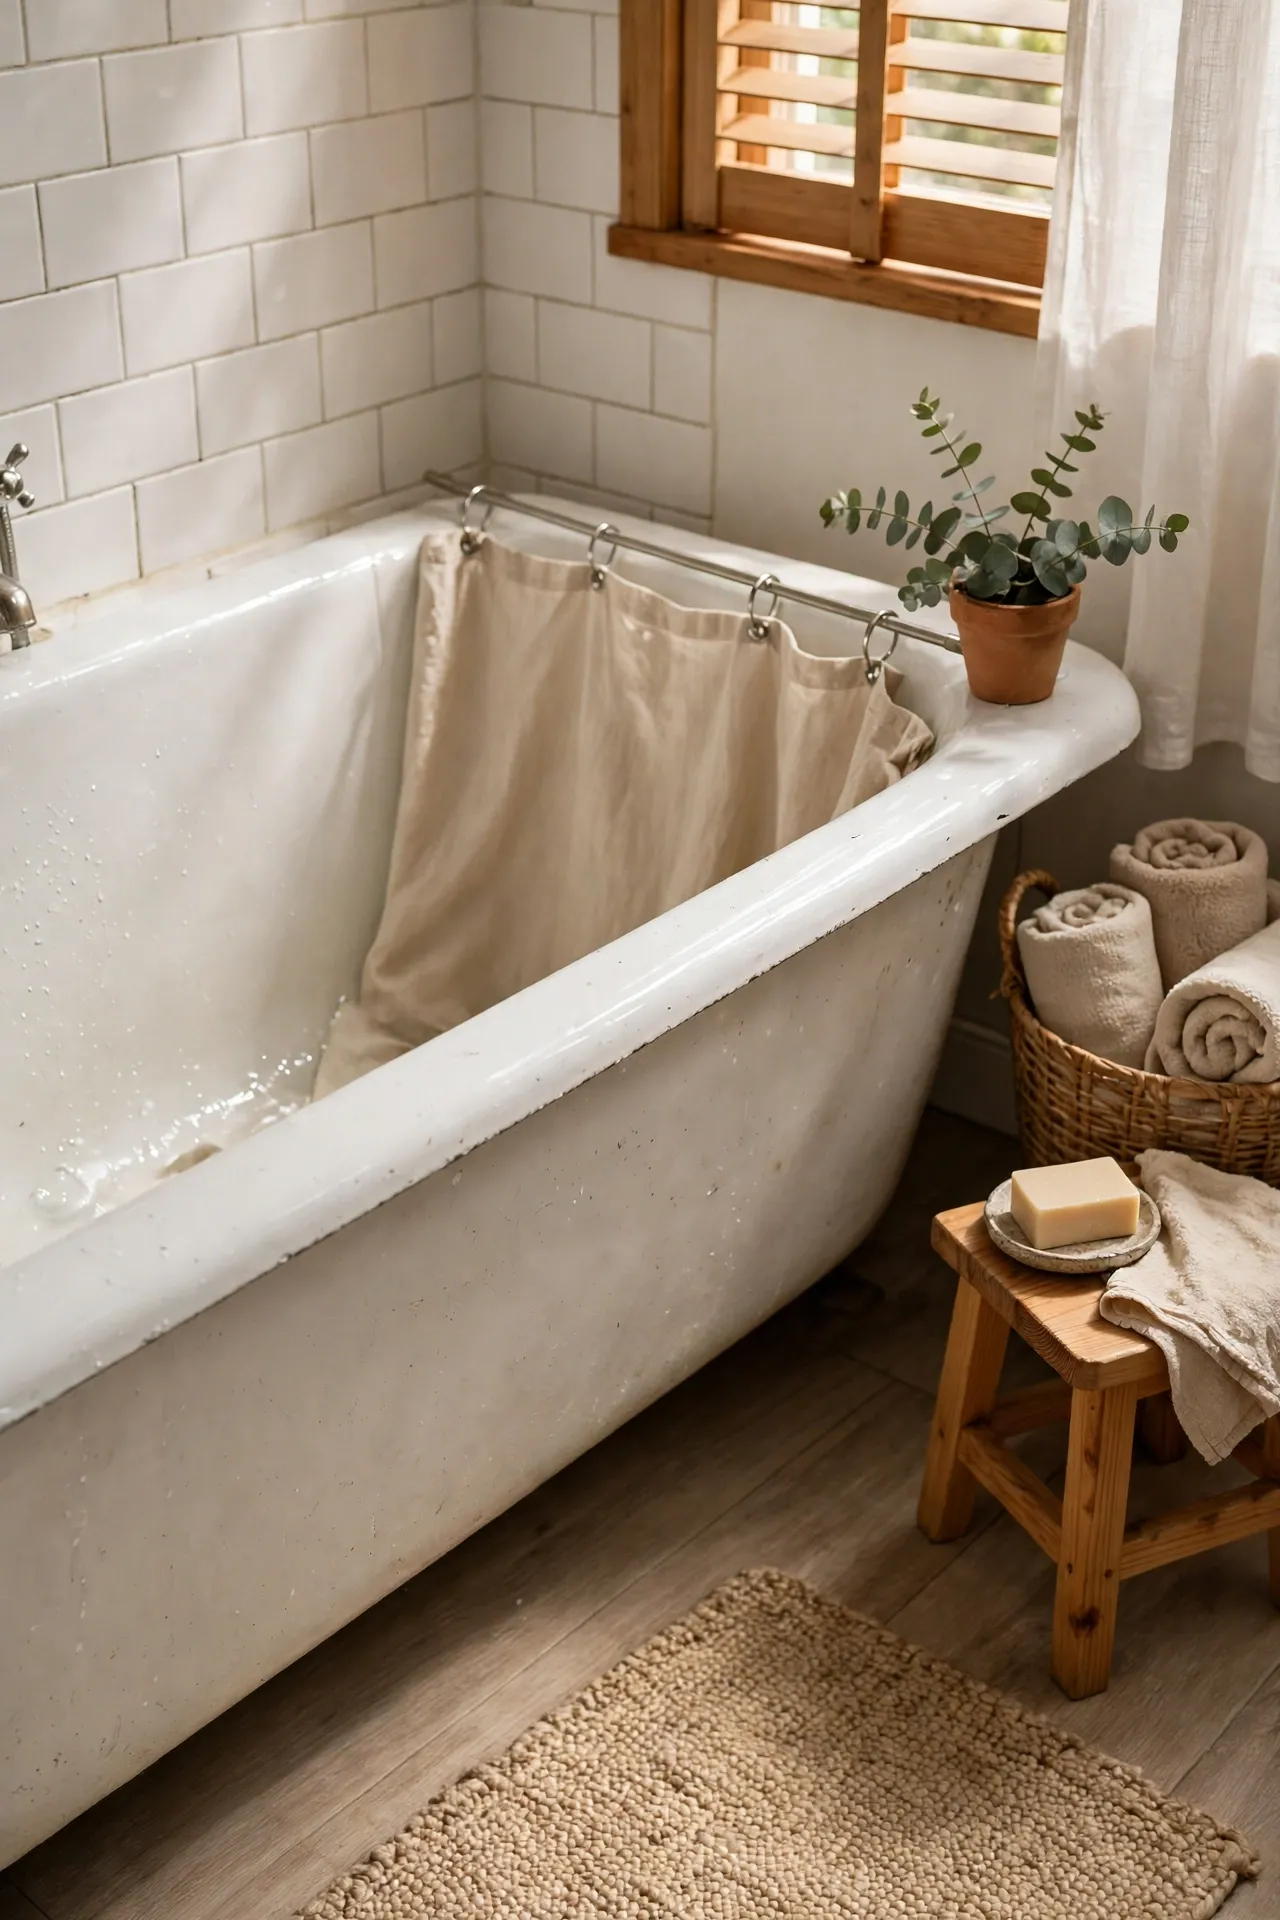
Swapping a crinkly plastic liner for a fabric one makes the shower feel softer and quieter, and it washes easily when it needs freshening. Unhook the old liner, clip the fabric liner in its place behind your decorative curtain, and let it hang straight so it dries between showers. Wash it monthly on gentle to keep mildew away. I tried this — the mistake to avoid is letting the fabric liner hang outside the tub, because it wicks water onto the floor all night. Tuck the bottom inside the tub edge every time, and the floor stays dry. See also (see also: bathroom-vanity-organization-ideas) for more soft, renter-safe swaps that do not need tools or permission.
Cost: ~$11 | Time: 10 minutes
💰 Budget win: A washable fabric liner lasts far longer than disposable plastic liners you replace every few months.
15. Removable Decals for a Plain Tile Floor Border
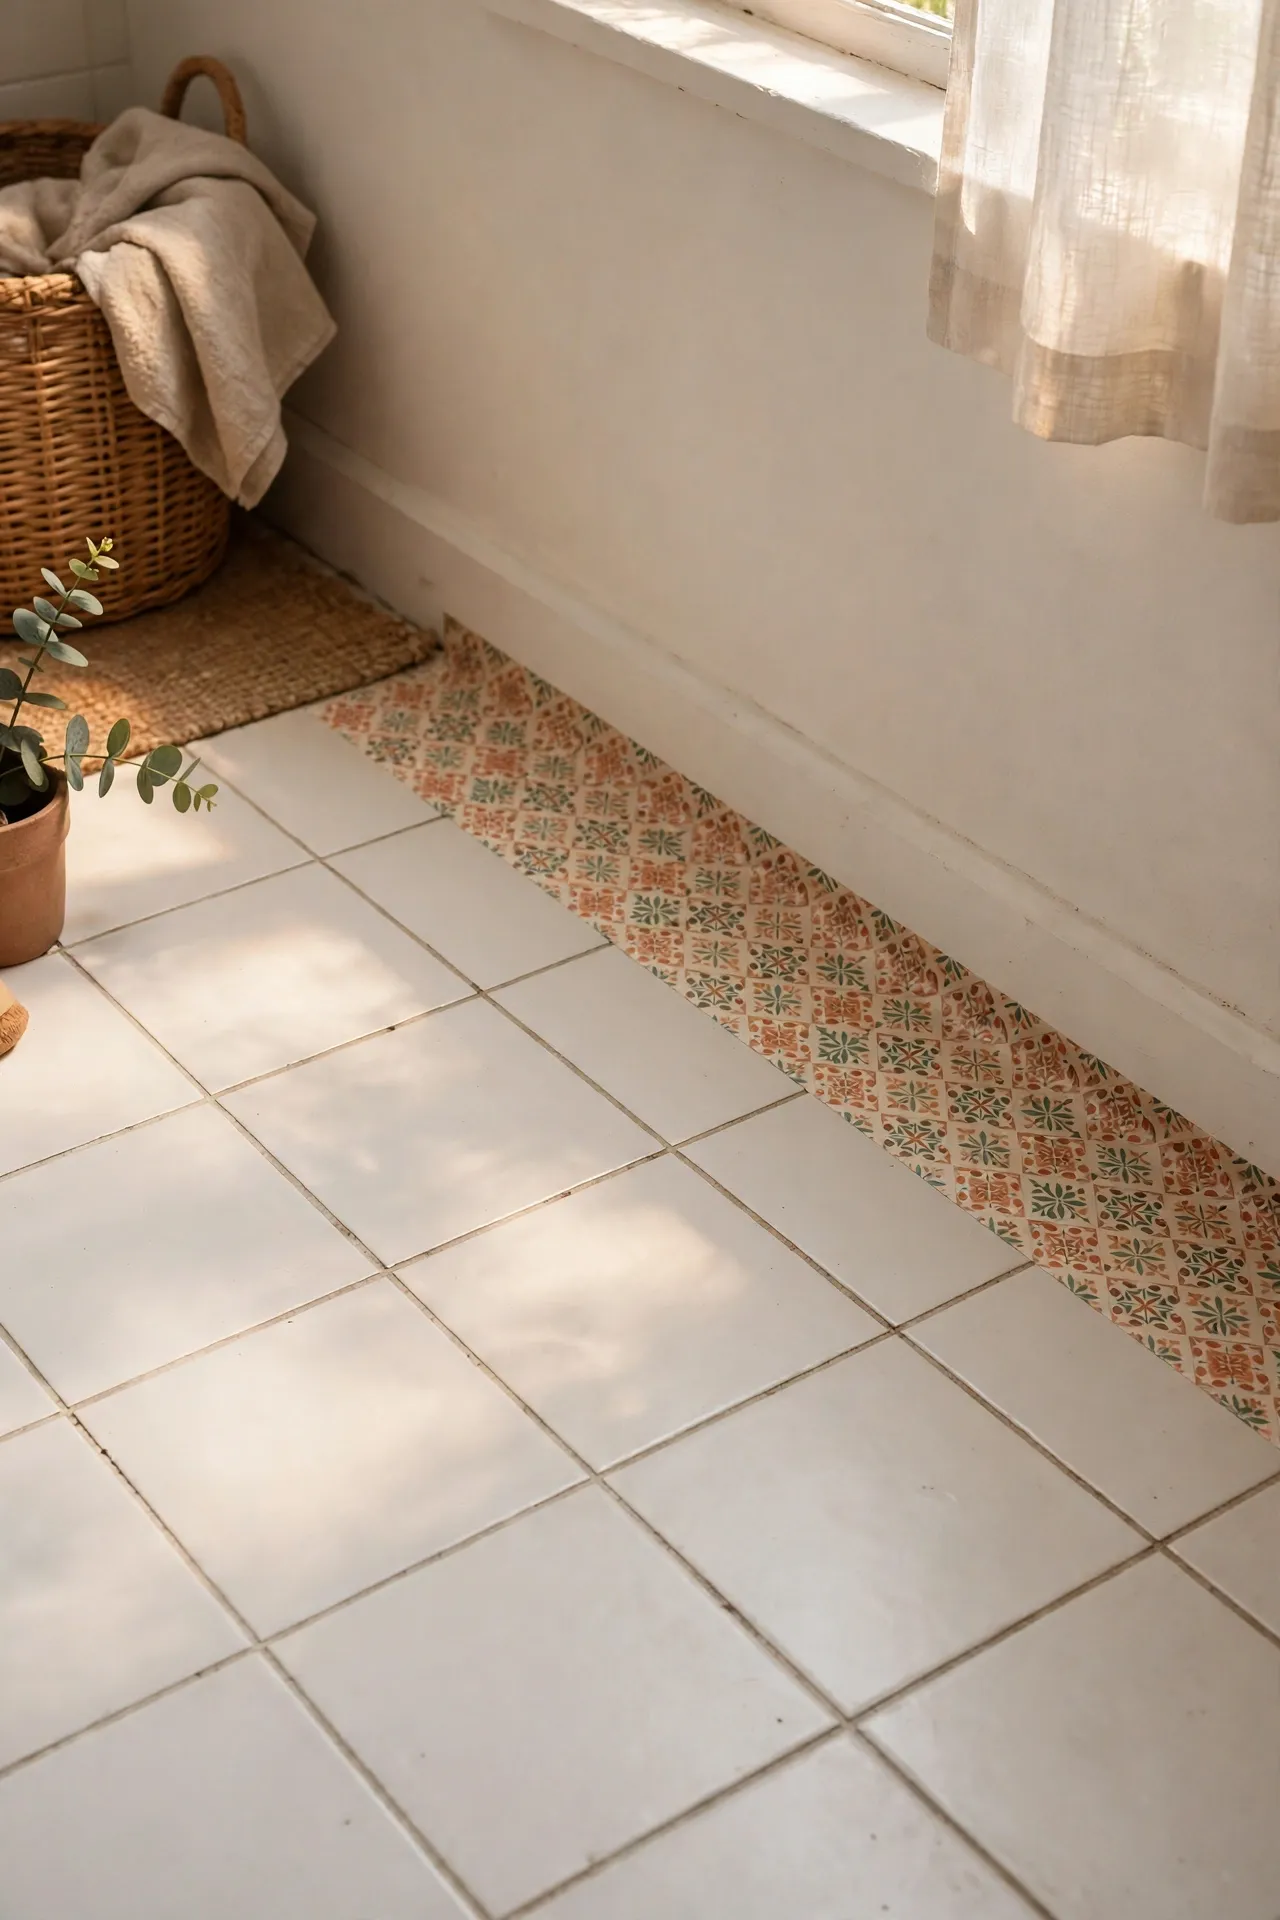
Removable floor decals add a patterned border to plain tile and peel up cleanly when you leave. Clean and dry the floor, lay the border decals along the edge of the room, and press each one firmly, smoothing out air pockets as you go. Keep the border straight by working from one corner and checking alignment every few decals. I tried this — the mistake to avoid is placing decals where you step every single time you enter, because constant foot traffic wears the pattern faster. Run the border along the wall edge or around the tub instead, where it gets seen but not trampled. It frames the room beautifully for very little money.
Cost: ~$10 | Time: 30 minutes
💰 Budget win: Decal a border only, not the whole floor, so one pack covers the room and you save the cost of full tile stickers.
Quick Questions, Answered
Will my landlord mind peel-and-stick tiles or wallpaper? Most landlords accept removable products because they come off without damage, but check your lease wording first and keep the original packaging. Test a small hidden corner before covering a whole wall, and photograph the room before and after. If a product leaves residue, warm water and gentle peeling usually remove it cleanly.
How do I remove adhesive hooks and shelves without damaging tile? Pull adhesive tabs slowly along the wall, not outward, and use dental floss behind stubborn strips to release them gently. For suction cups, lift the release tab and twist rather than yanking. Wipe any residue with warm soapy water, and the tile should look exactly as it did on move-in day.
What upgrade should a renter do first? Start with the showerhead and the shower curtain, because those two change how the room feels every morning for under thirty dollars combined. Add adhesive hooks next for towel storage, then a rolling cart if you still need space. Do the visible, daily-use wins first and save decorative borders for last.
Pick two or three upgrades from this list, try them this weekend, and notice how quickly the bathroom starts to feel like yours. Renting does not have to mean settling for beige and bare walls — it just means choosing clever, reversible changes. When move-out day comes, you can take most of these with you, leave the place spotless, and start fresh in the next bathroom with a little more confidence.
