23 Kitchen Decor Ideas Under $25 Without Renovating
My kitchen was perfectly functional and completely joyless — beige walls, tired cupboards, a light fitting I hated. A renovation wasn’t happening, but I was done waiting to love the room I cook in every day. So I set myself a challenge: kitchen decor ideas under $25, no power tools, no landlord drama, nothing I couldn’t undo in an afternoon. I spent a month testing cheap upgrades one by one, and some genuinely changed how the room feels. These are the 23 that worked — every one costs less than a takeaway for two and takes an evening at most.
1. Peel-and-Stick Backsplash Tiles Behind the Hob
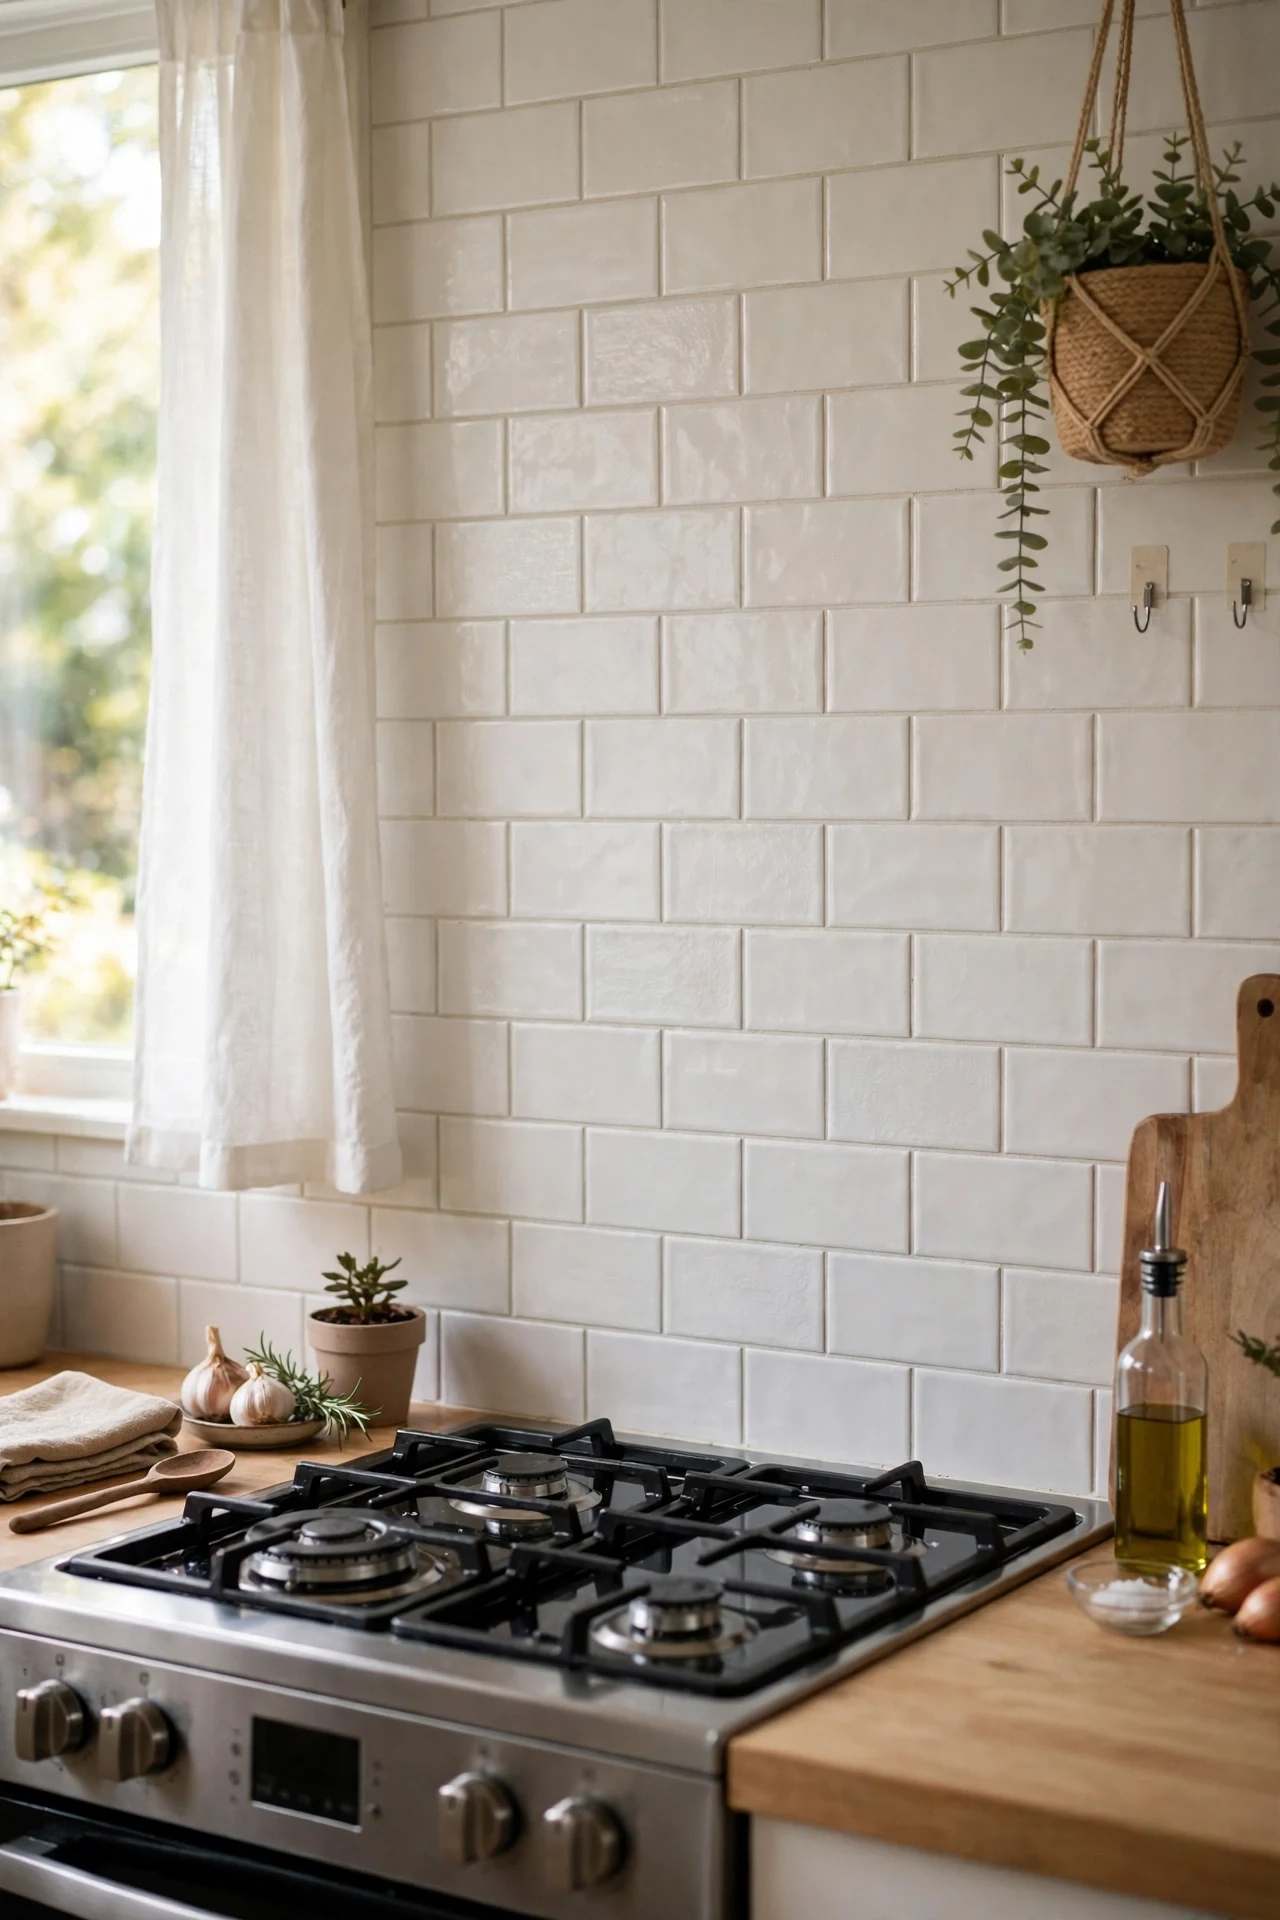
The fastest visual upgrade I found was peel-and-stick backsplash tiles behind the hob — the greasiest, most visible stretch of wall in the kitchen. A pack covering a few square feet costs under twenty dollars, and the subway-tile patterns look convincingly real from normal distance. The steps: degrease the wall properly (sugar soap is your friend), peel, stick, and press out bubbles with a credit card. I did mine on a Sunday morning and stood back genuinely shocked at the difference. If your landlord panics at the word “tiles”, these peel off cleanly — which is exactly why (see also: peel-and-stick-kitchen-backsplash-ideas-renters-swear-by) exists. The mistake to avoid is sticking them over grime; they need a clean surface or the edges curl within weeks.
Cost: ~$18 | Time: 1 hour
2. Cabinet Knob Swap for a Custom Look
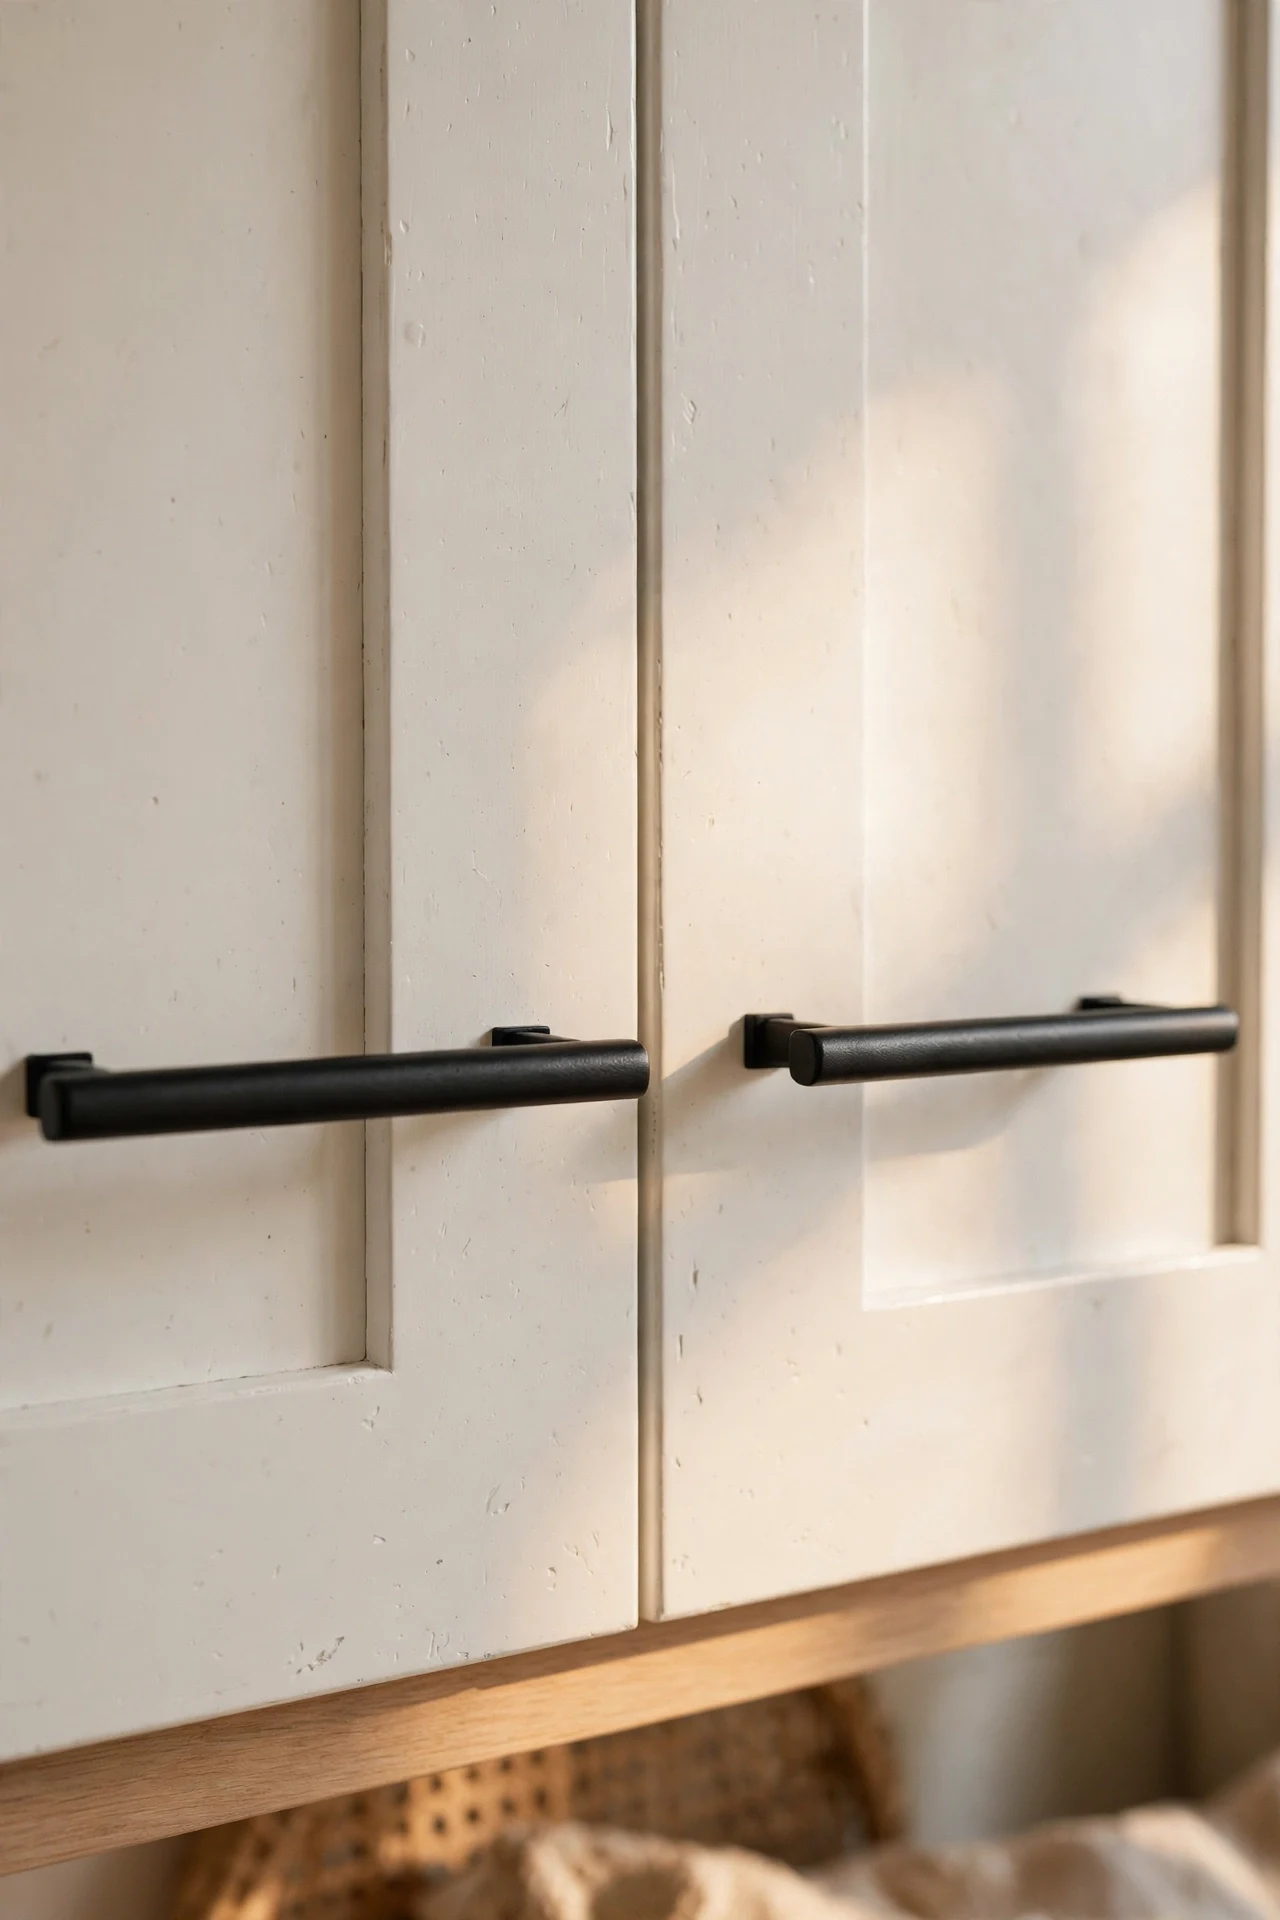
Cupboard knobs are the jewellery of the kitchen, and swapping them is a twenty-minute job that reads as a full refresh. I replaced my dated wooden knobs with matte black bar pulls — about a dollar each in multipacks — and the cupboards looked instantly more modern. The steps: unscrew one old knob, measure the hole spacing, buy pulls that match so there’s no drilling, then swap them all with a screwdriver while listening to a podcast. I tried this in my rental and the landlord didn’t even notice the upgrade, only that the kitchen “looked nicer”. The mistake to avoid is mixing finishes — pick one metal and commit, or it looks like you raided a hardware lucky dip.
Cost: ~$12 | Time: 20 minutes
3. Café Curtains on a Tension Rod
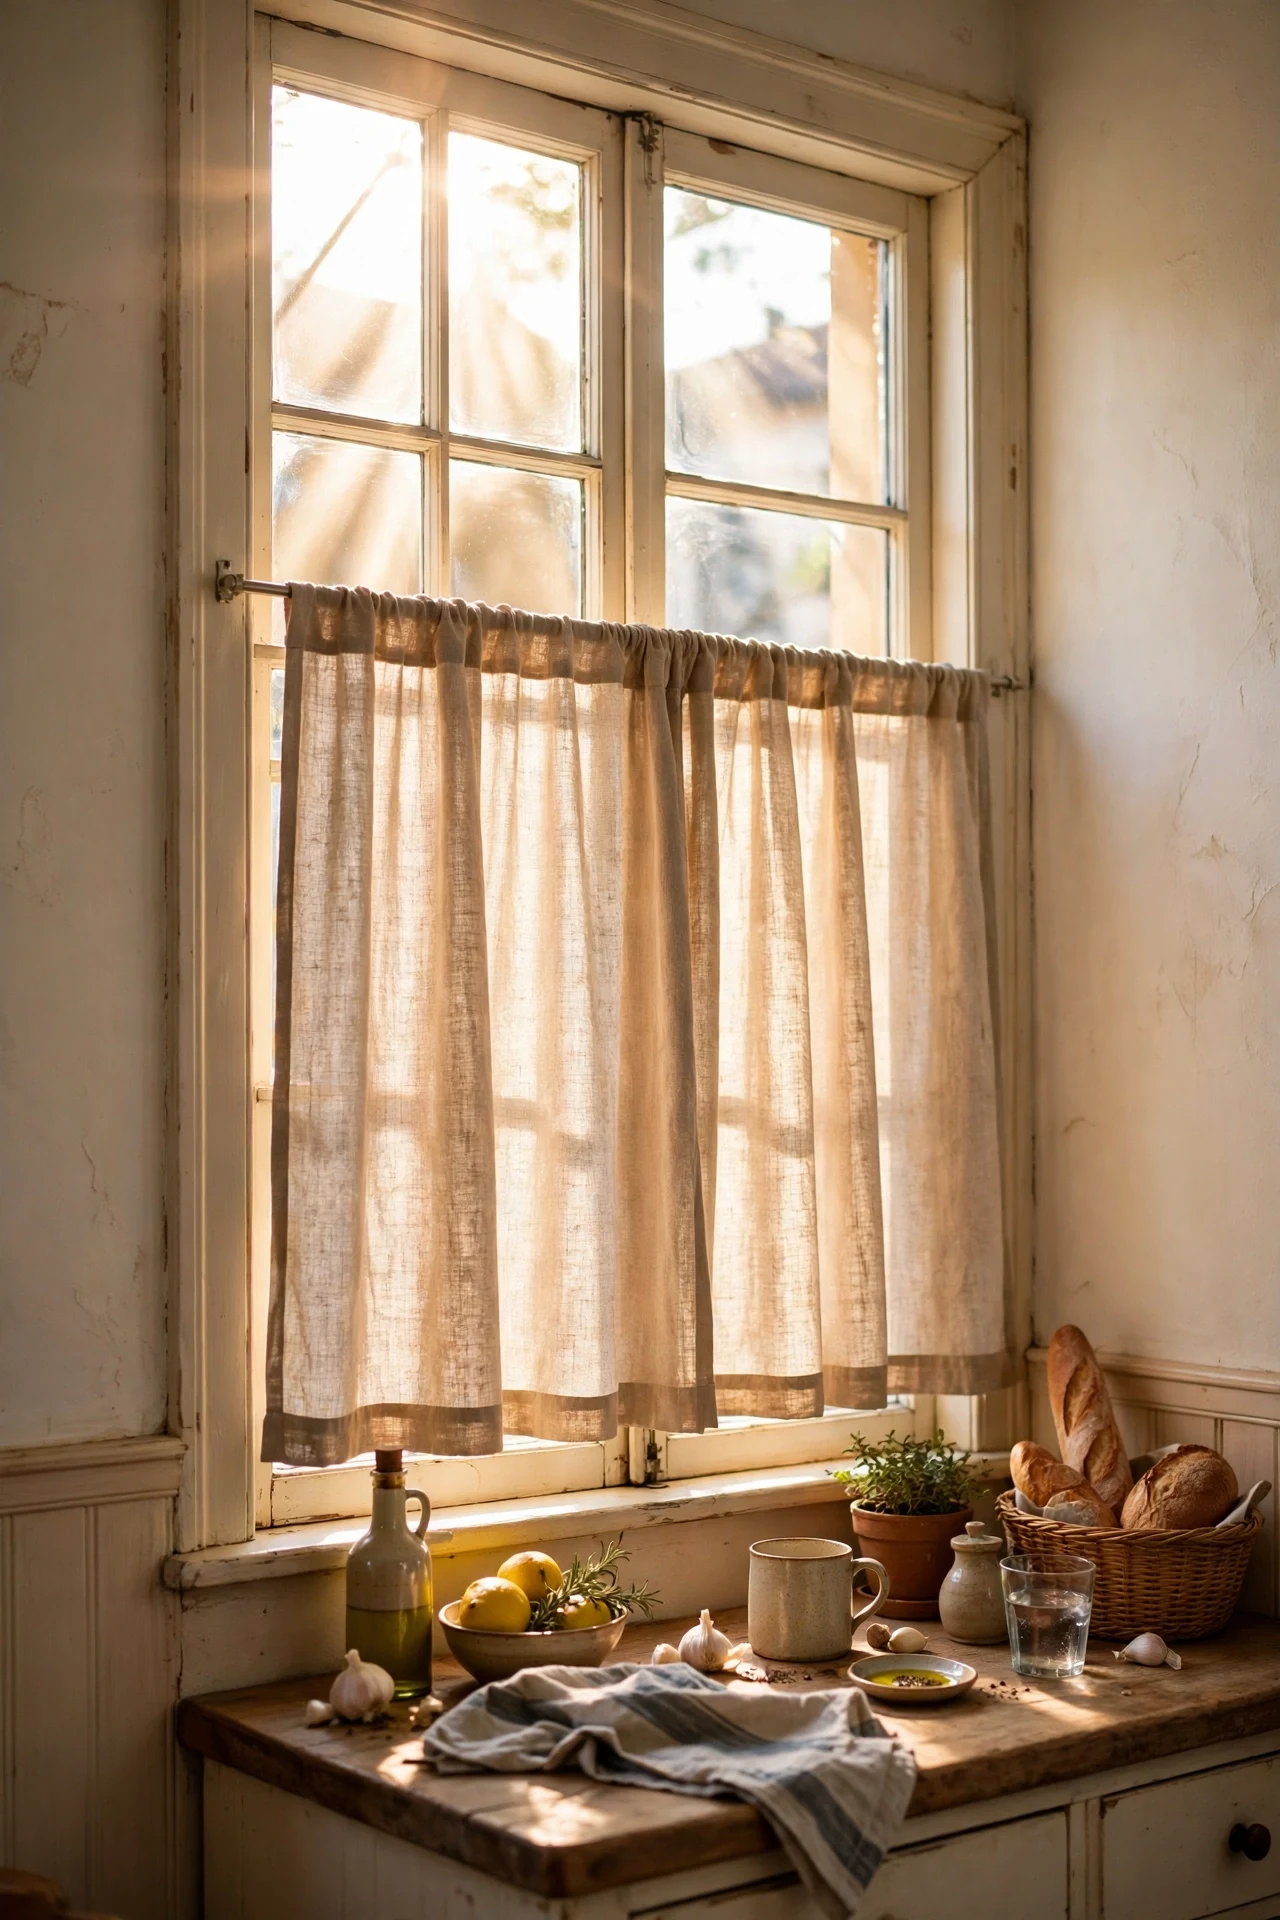
Full-length kitchen curtains can feel fussy and block precious light, but café curtains — the half-height kind — are charming and cost almost nothing. A tension rod inside the window frame plus a metre of inexpensive fabric gives you privacy at the bottom and daylight at the top. The steps: measure the window width, twist the rod to fit, then hang the fabric with clip rings so it’s easy to wash. I made mine from a twelve-dollar curtain panel cut in half, and the kitchen feels like a French bistro now. The mistake to avoid is fabric that puddles; café curtains should just kiss the sill, not pool on it.
Cost: ~$14 | Time: 30 minutes
4. Styled Open Shelves with What You Already Own
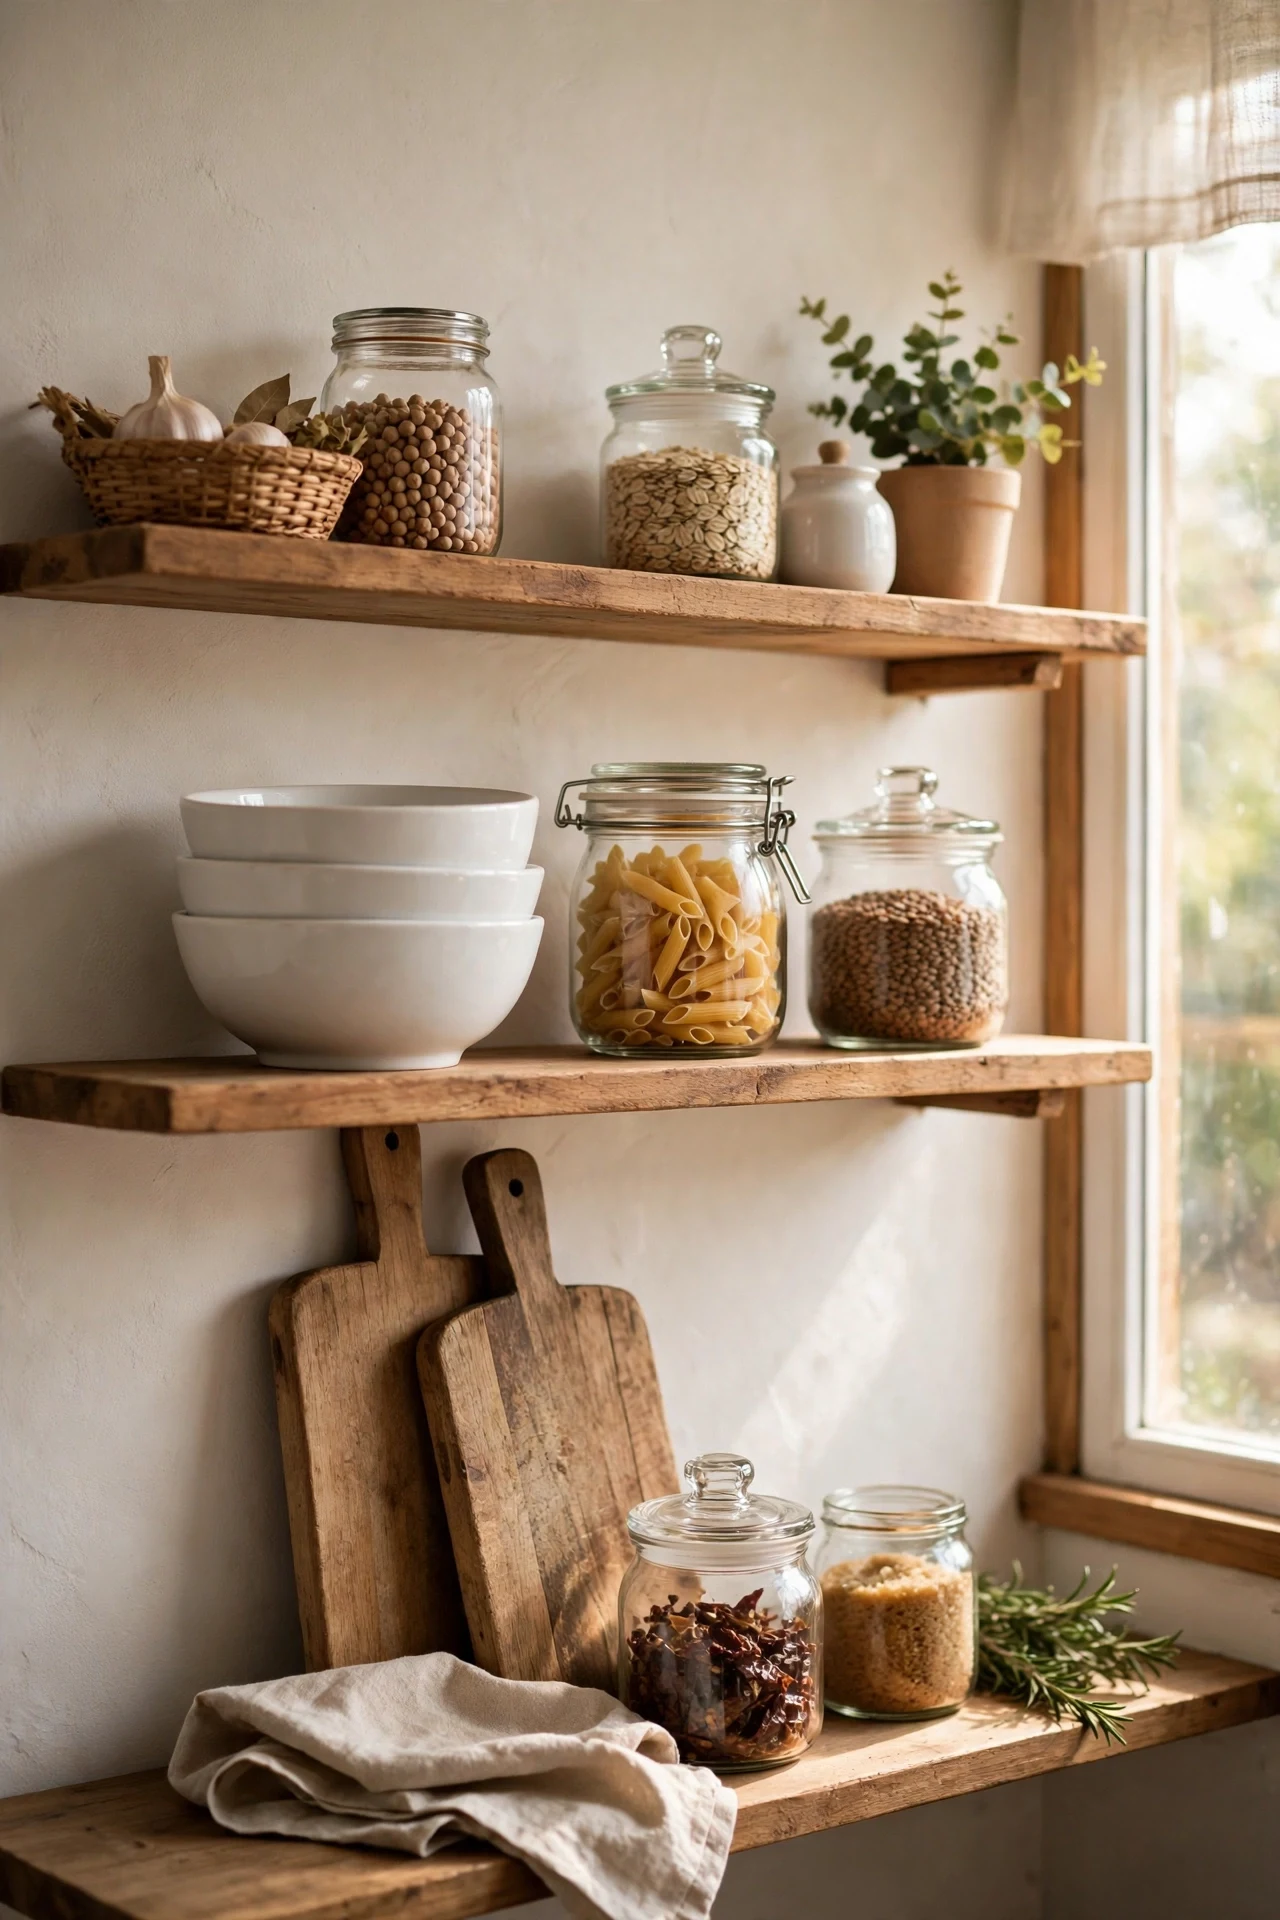
If you have one open shelf — or the courage to remove a cupboard door — styling it costs next to nothing. Pull out your prettiest everyday items: the white bowls, the wooden chopping boards, the glass jars of pasta. The steps: group in odd numbers, vary heights (stack two bowls, lean a board), and leave breathing room — negative space is what separates “styled” from “cluttered”. I styled my shelf three times before it clicked; the trick was removing half of what I’d put out. I tried copying a magazine shelf first and it looked wrong because those aren’t my things. The mistake to avoid is dusting denial — open shelves need a weekly wipe or they go grimy fast.
Cost: ~$5 | Time: 45 minutes
5. Framed Free Printables as Kitchen Art
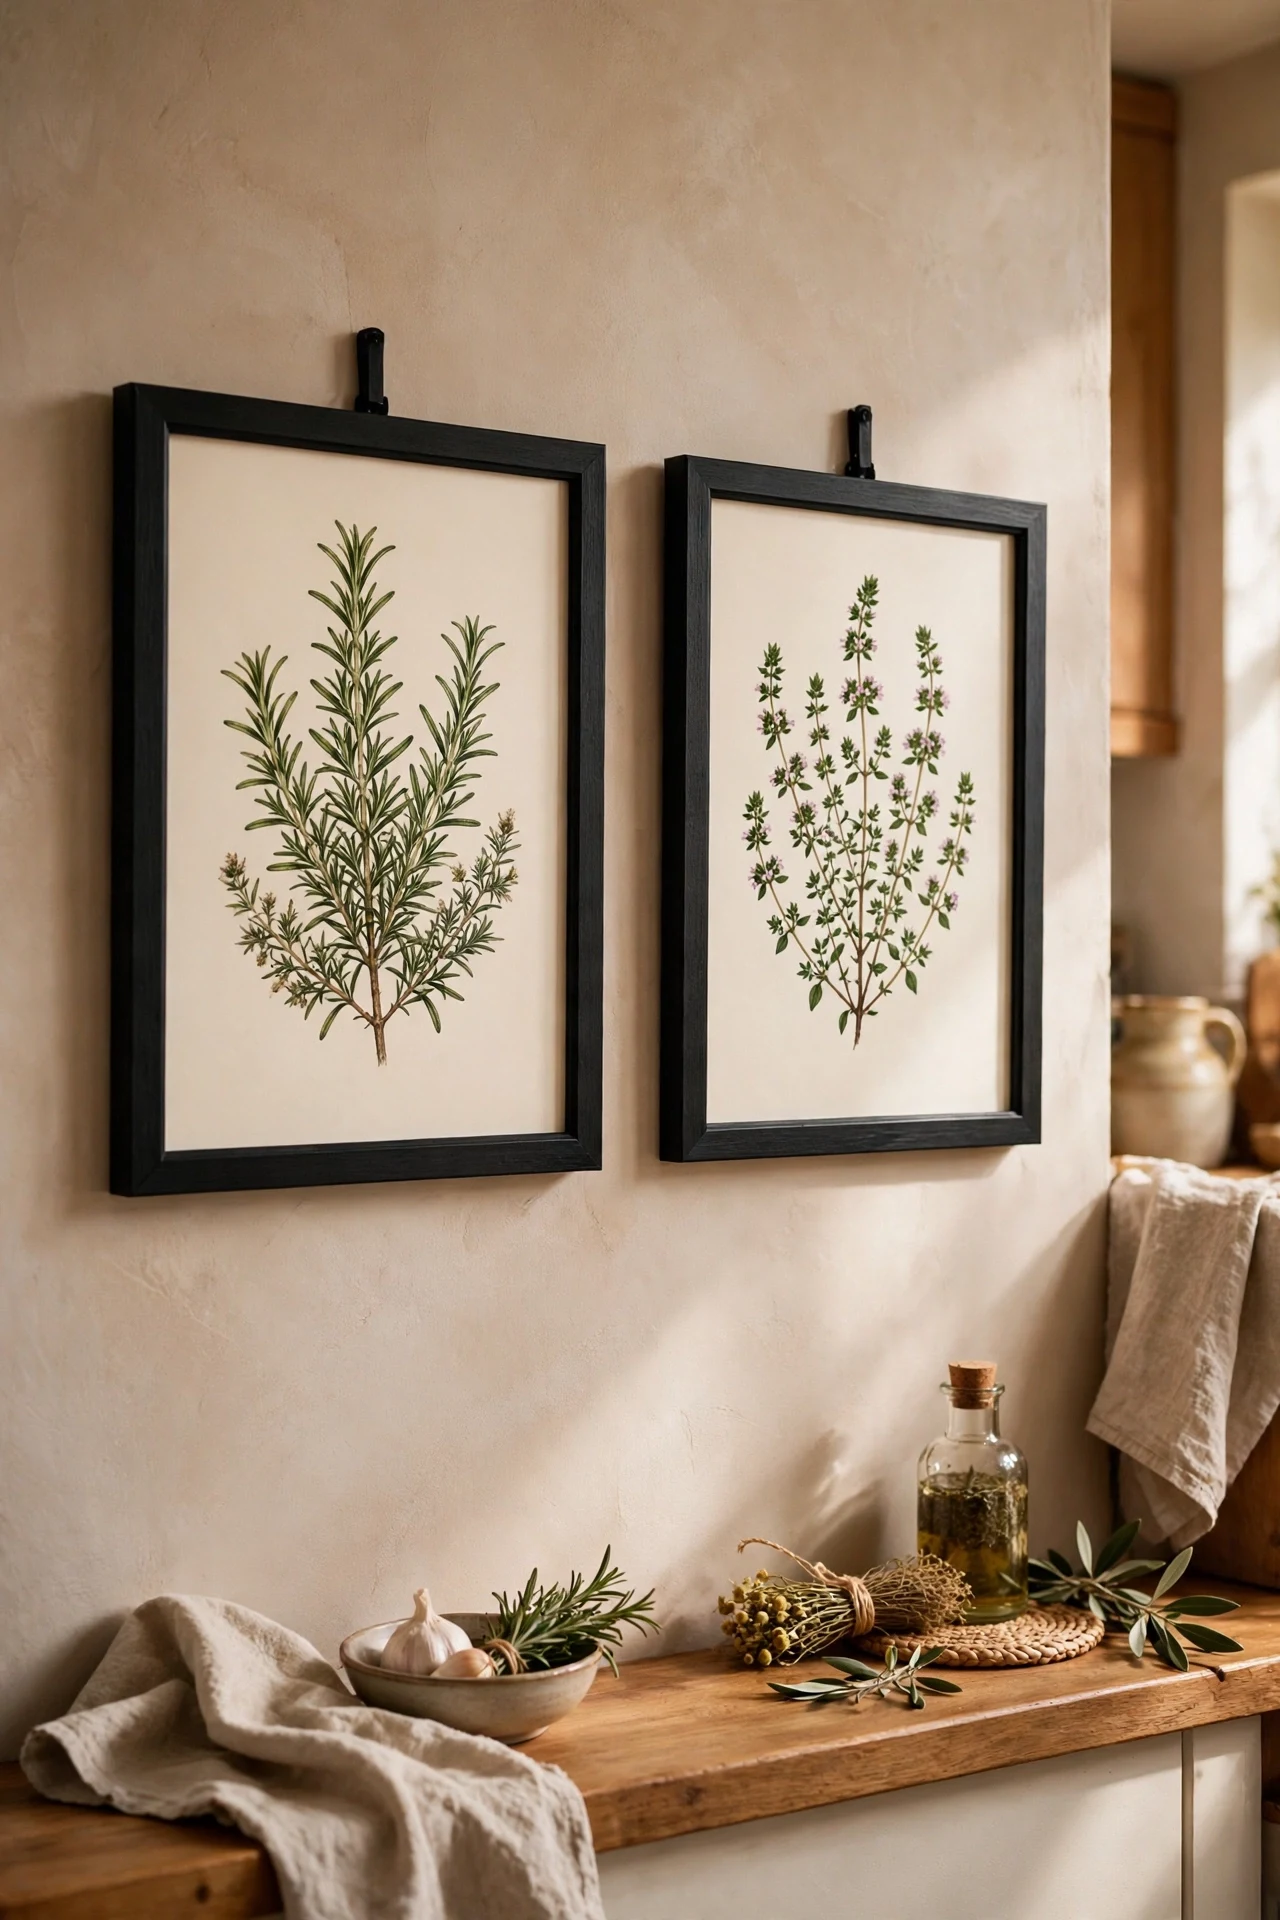
Bare kitchen walls make the whole room feel unfinished, and art doesn’t have to cost gallery money. I printed two free botanical prints at the library for pennies and framed them in matching black frames from the discount store — total under ten dollars. The steps: search for free printable kitchen art, print at the largest size your printer handles, trim to fit, and hang as a pair at eye level. I chose simple herb illustrations and they pull the whole wall together. The mistake to avoid is the lone tiny frame lost on a big wall — go bigger than feels safe, or hang two. Small art on a big wall just emphasises the emptiness.
Cost: ~$10 | Time: 30 minutes
6. Potted Herbs in Mismatched-Cohesive Pots
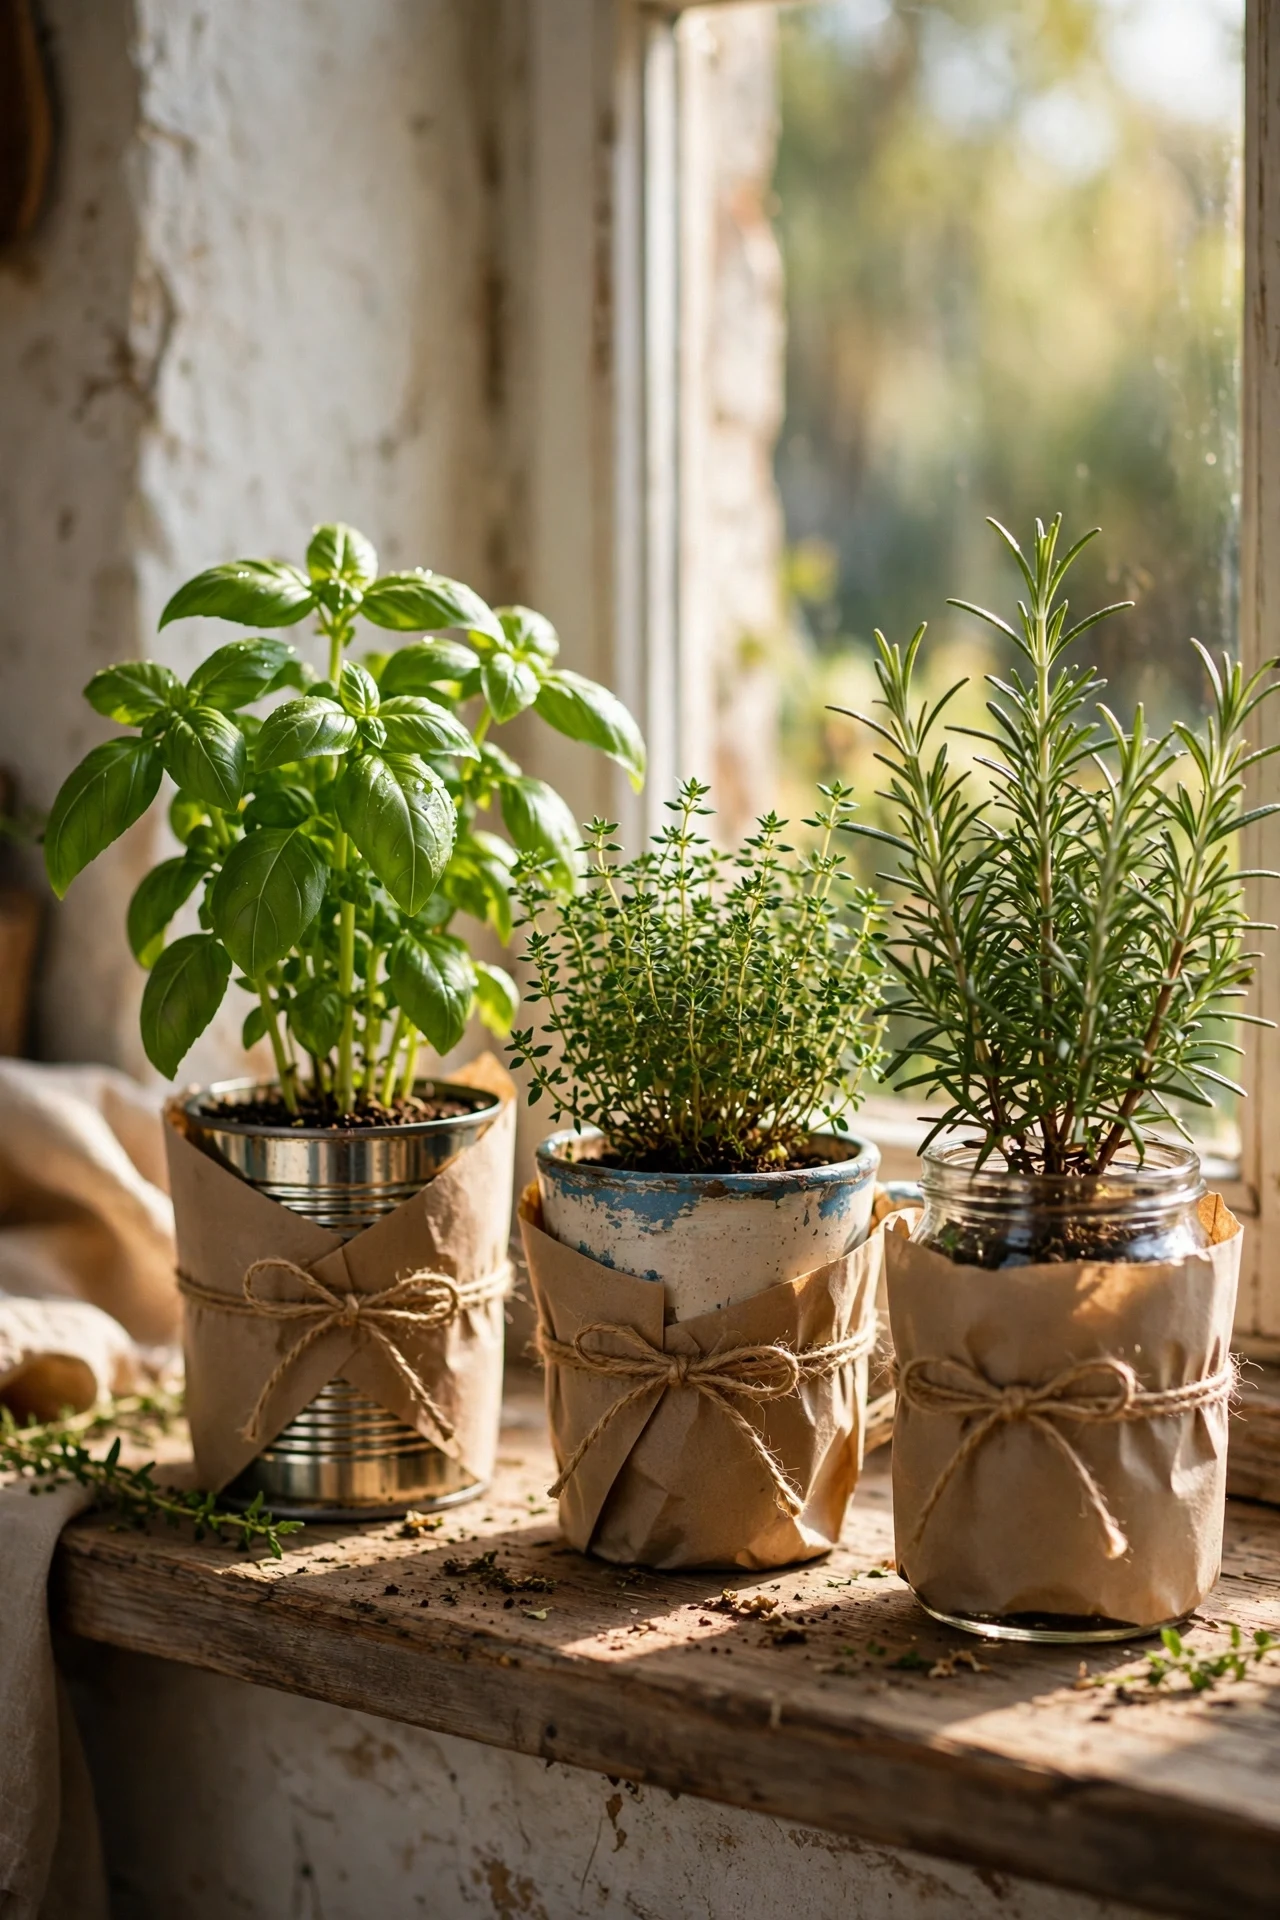
A row of living herbs on the windowsill is decor that pays you back in flavour. I bought three herb plants for a few dollars each and potted them in containers I already had — a tin can, a chipped mug, a small bowl — unified by wrapping each in the same kraft paper and twine. The steps: choose herbs you actually cook with, pot them with drainage (pebbles in the bottom if there’s no hole), and give them the sunniest sill. I tried basil, thyme, and rosemary; the basil died twice before I learned it hates cold draughts. The mistake to avoid is the one giant pot of everything — herbs have different water needs and the thirsty one always wins.
Cost: ~$12 | Time: 30 minutes
7. Battery LED Strip Lights Under the Cabinets
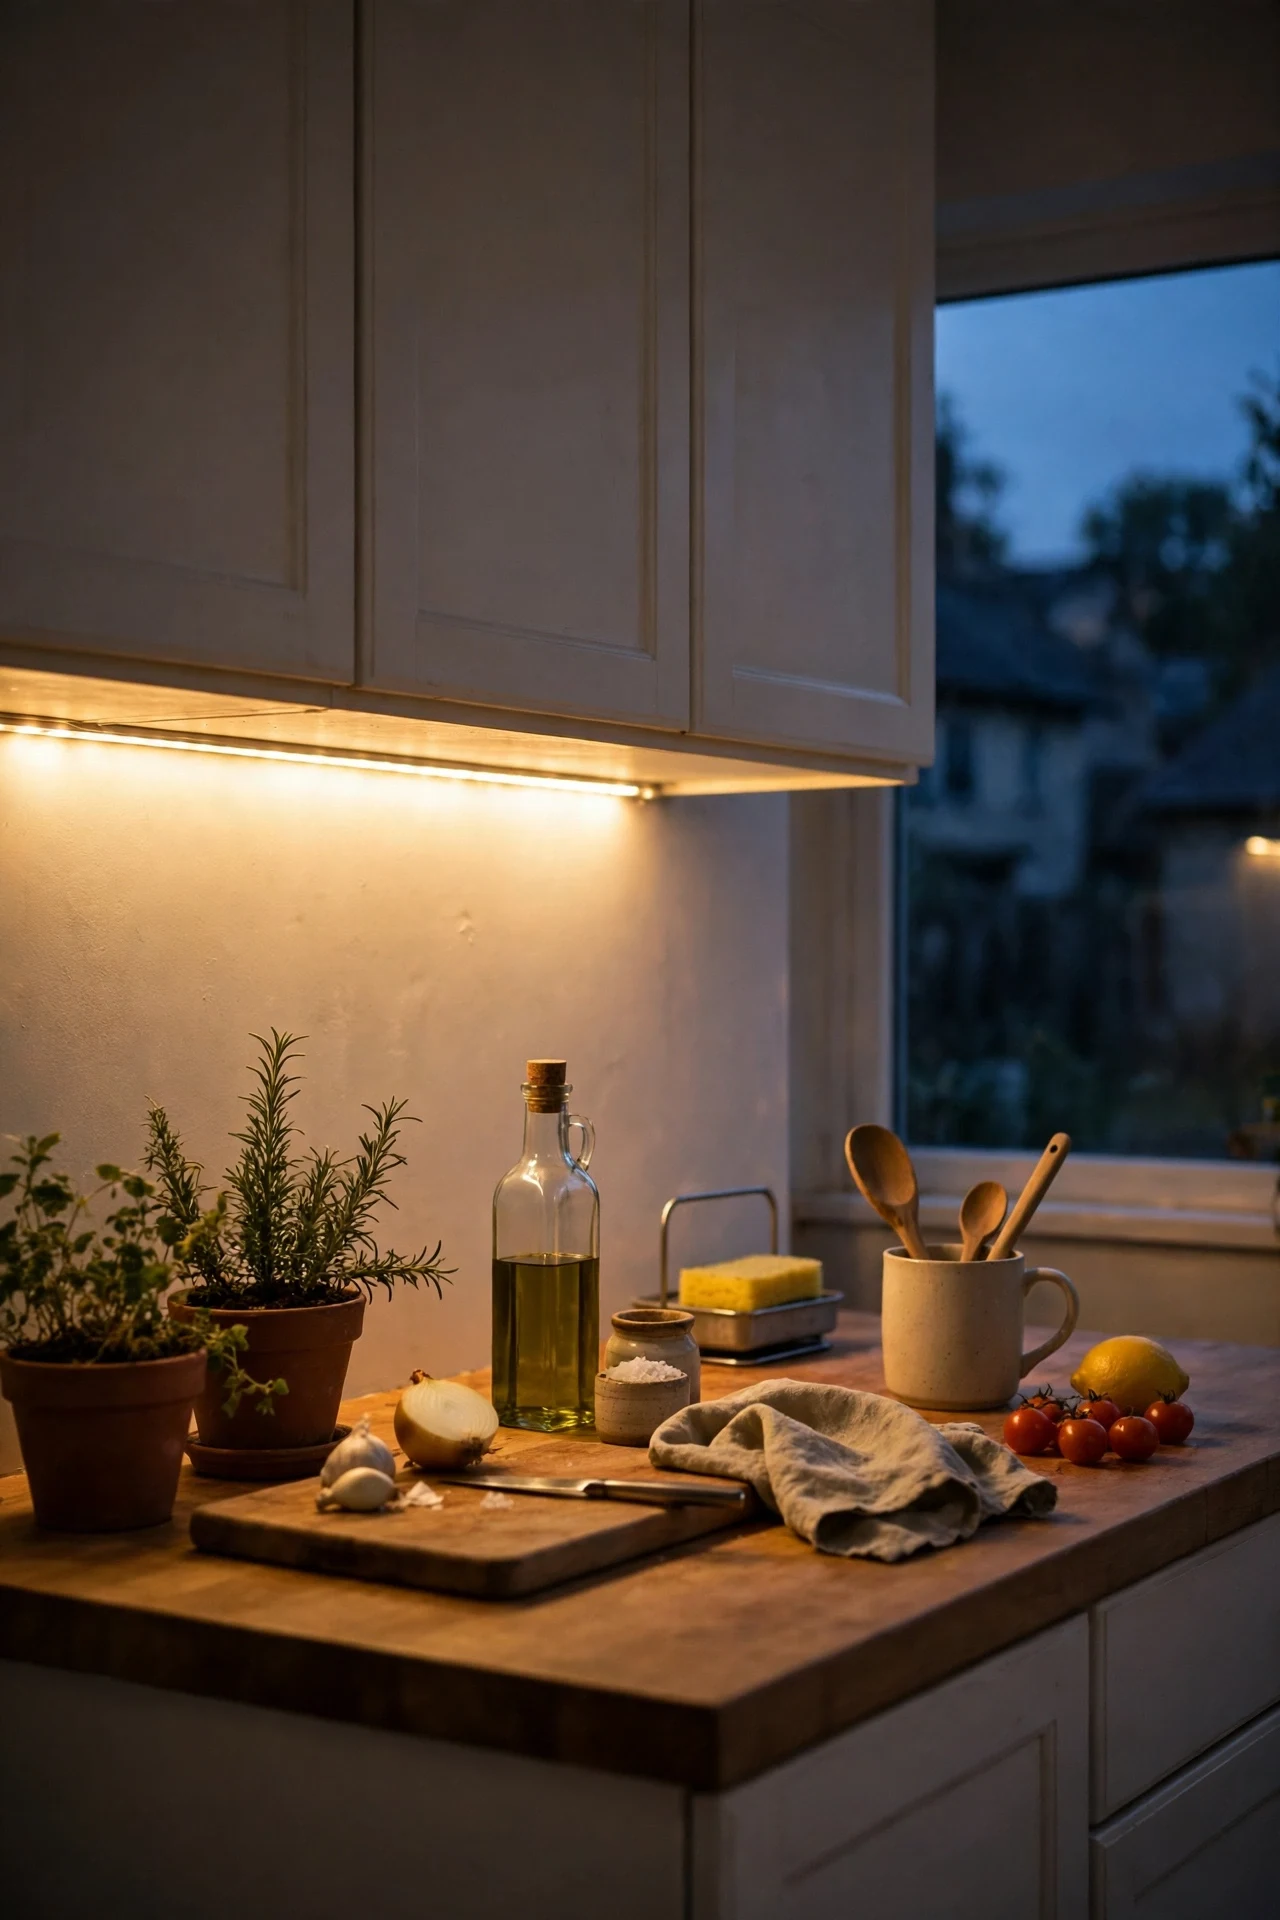
Nothing makes a kitchen feel expensive after dark like under-cabinet lighting, and battery strips mean no electrician. A ten-dollar strip with adhesive backing and a remote stuck under my wall cabinets gave me warm task lighting and a whole evening mood. The steps: wipe the cabinet undersides, stick the strip toward the front edge so the light washes the worktop, and hide the little battery pack behind something. I tried the cool-white setting first and it made the kitchen feel like a laboratory; warm white is the only answer. The mistake to avoid is cheap strips with visible dots — look for COB style or a diffuser, or you’ll see every LED reflected in the kettle.
Cost: ~$10 | Time: 20 minutes
8. A Washable Runner by the Sink
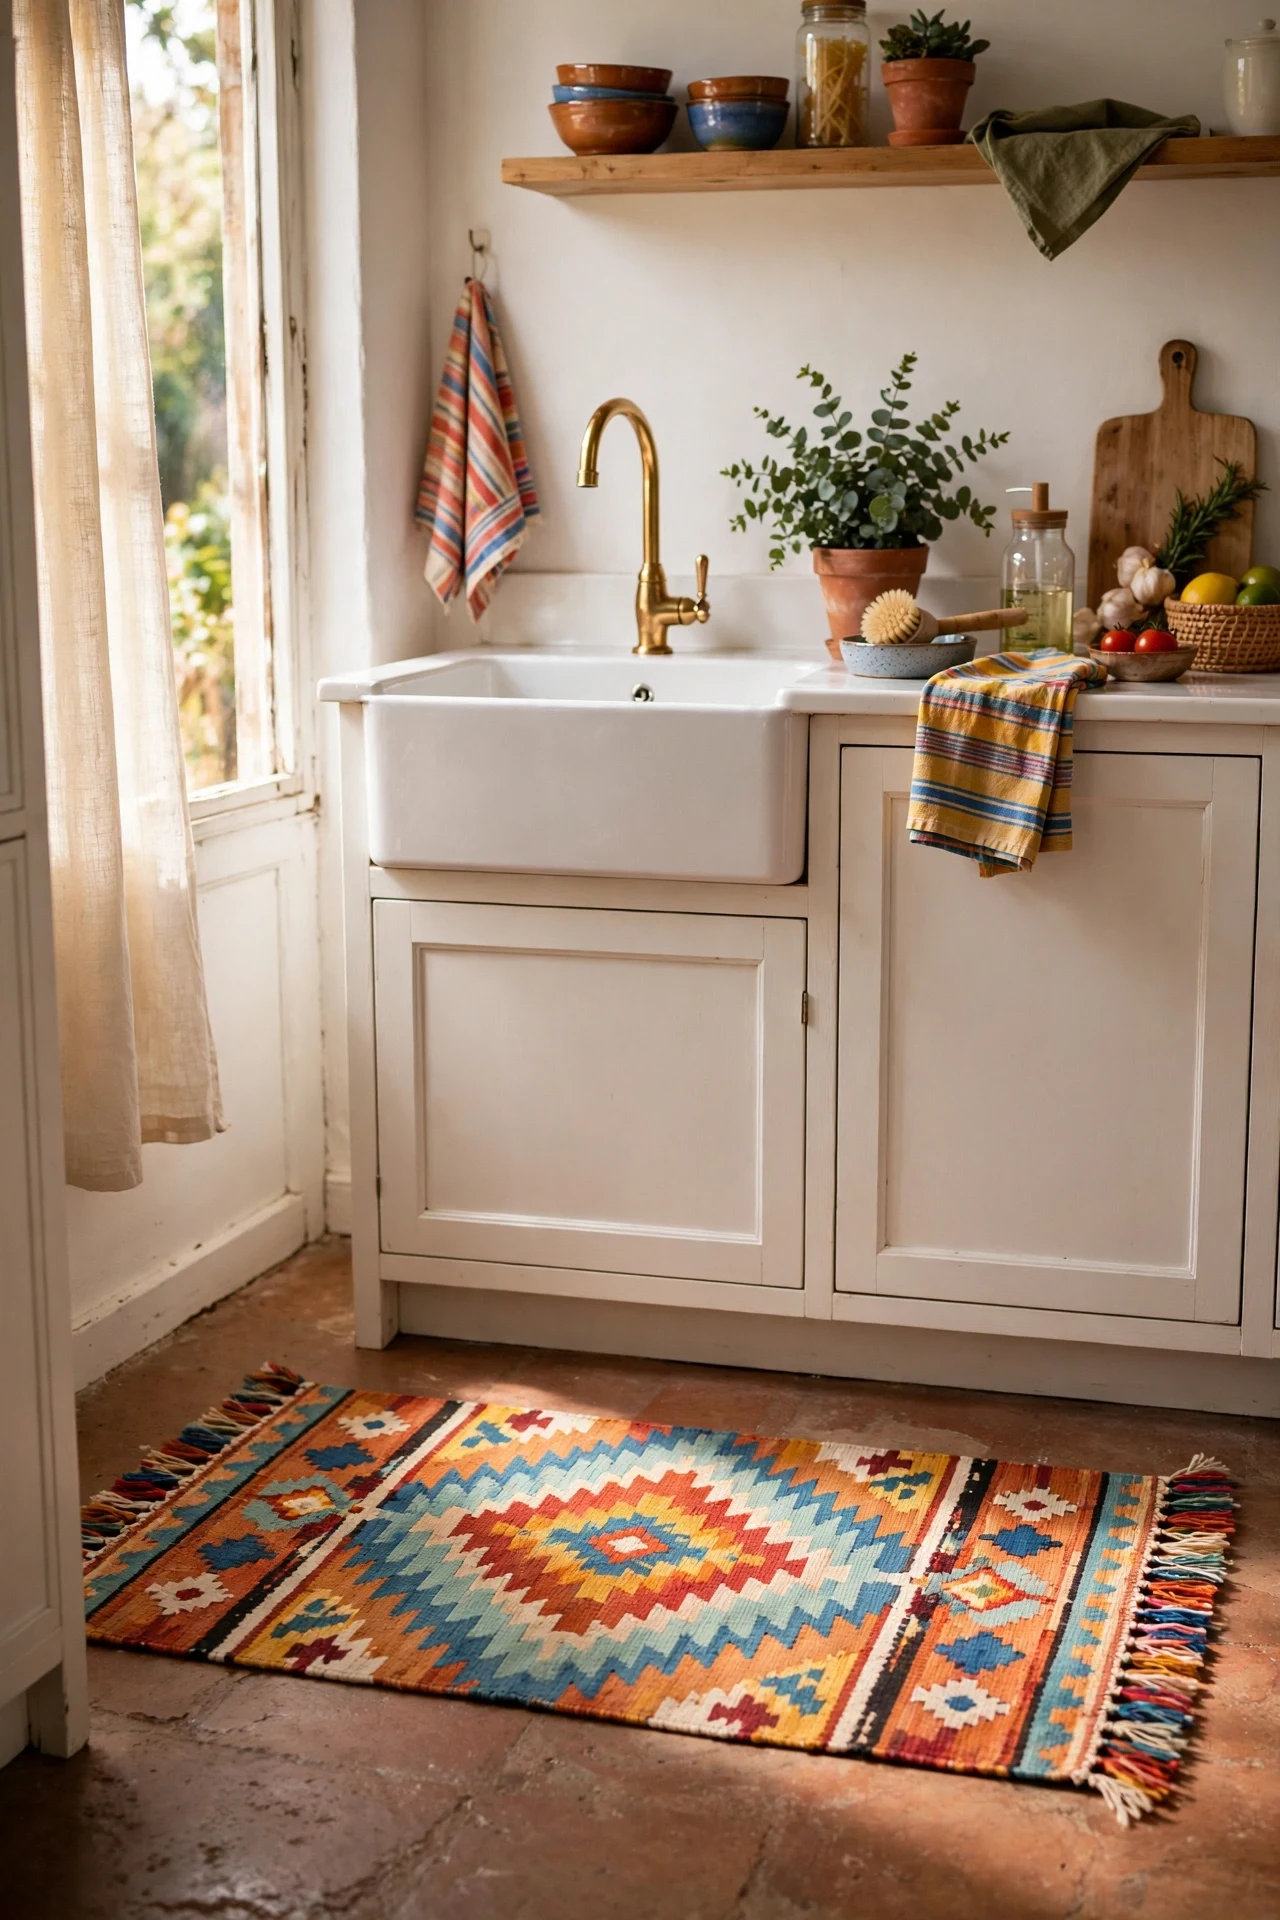
The floor in front of the sink takes the most abuse in the kitchen, and a washable runner there adds colour, comfort, and camouflage for splashes. I found a low-pile runner for under twenty dollars that goes straight in the washing machine — crucial, because kitchen rugs get filthy. The steps: measure the run of your sink and cooker, choose a pattern that hides crumbs (busy beats plain), and put a non-slip pad underneath. I tried a pretty jute-look rug first and it stained within a month; washable was the lesson. The mistake to avoid is a rug that curls at the edges — it’s a trip hazard and it drives you mad. Flat-weave or proper backing only.
Cost: ~$18 | Time: 15 minutes
9. The One-Tray Counter Rule
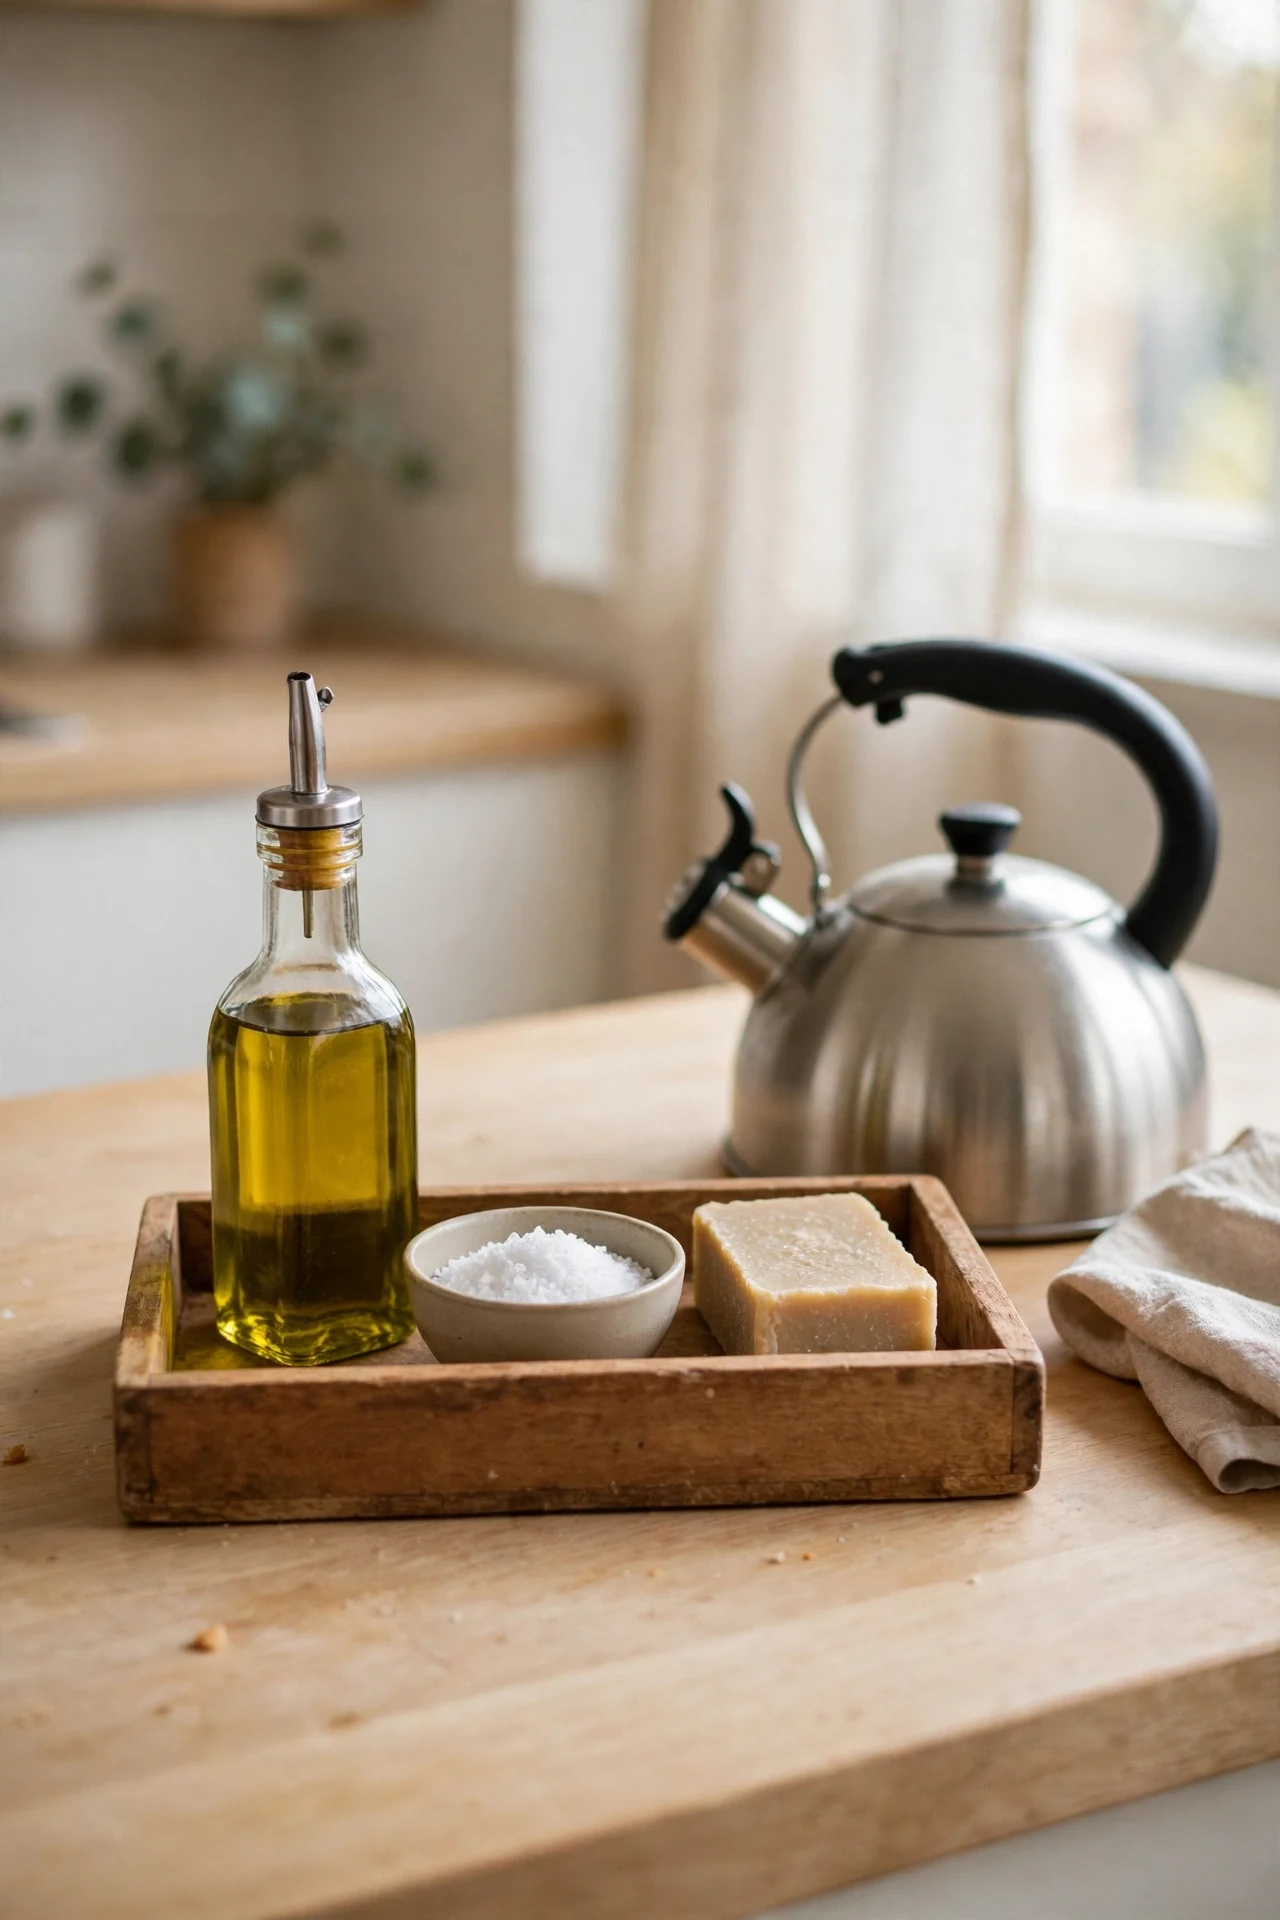
Cluttered counters make even a nice kitchen feel chaotic, and the fix is embarrassingly simple: one tray, everything else put away. I set a wooden tray by the kettle and allowed it to hold only the daily essentials — oil, salt, the washing-up liquid. The steps: clear the entire counter, wipe it down, then reintroduce only what earns tray space. The visual calm was instant. If your counters tend toward chaos, (see also: kitchen-counter-decor-ideas-that-look-styled-not-cluttered) has more tricks in this vein. I tried the “a little of everything out” approach for years and it just looked messy. The mistake to avoid is tray creep — the moment the tray holds twelve things, it’s not a tray anymore, it’s a shelf. Edit ruthlessly.
Cost: ~$12 | Time: 30 minutes
10. Coordinated Tea Towel Set
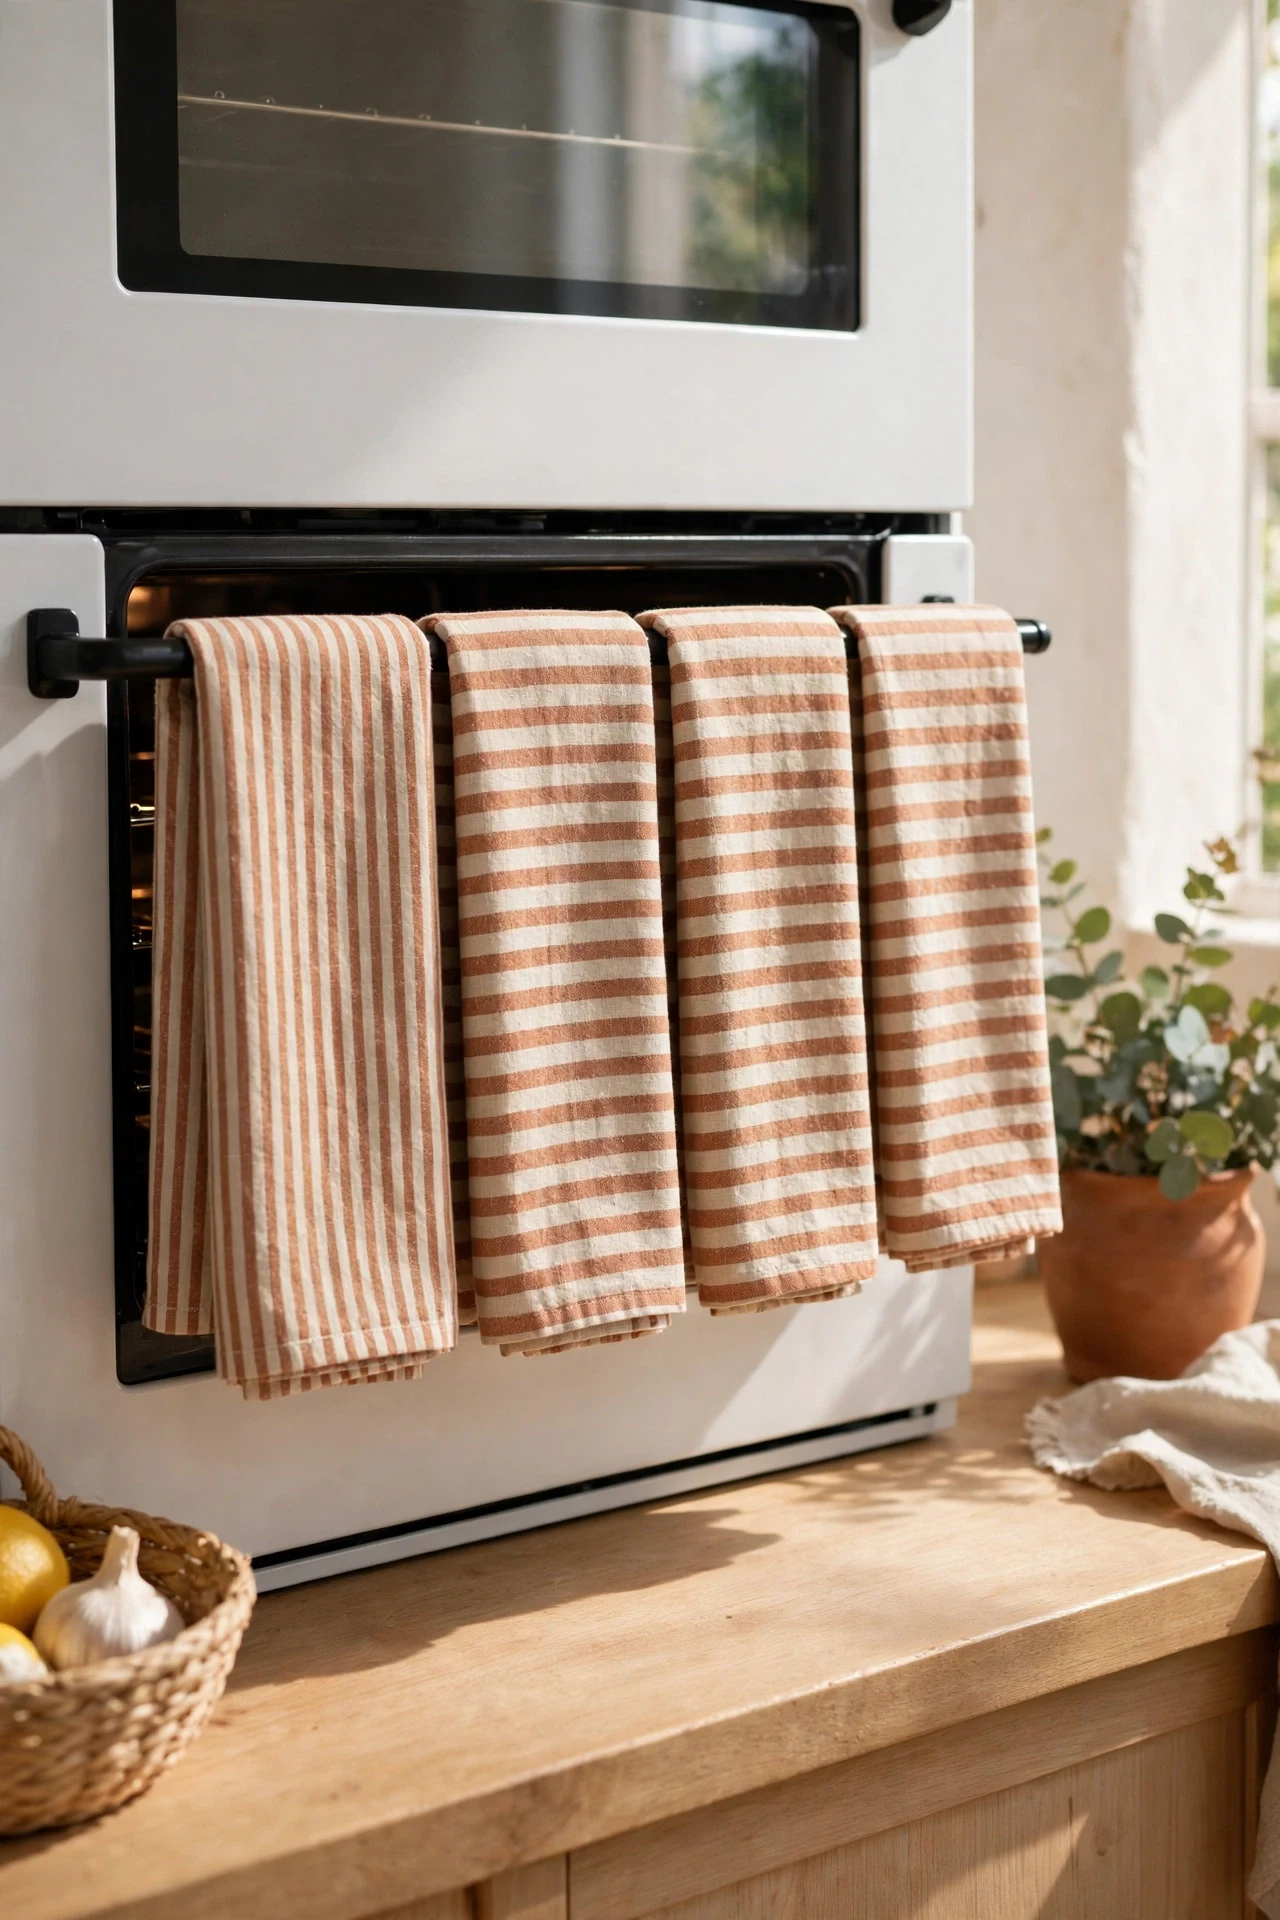
This is the cheapest decor swap on the list and it genuinely works. I replaced my rag-tag collection of freebie tea towels with a set of four in one colour story — stripes in the same palette — for about twelve dollars, hung on the oven rail. The steps: pick one palette that suits your kitchen, fold them uniformly, and retire the stained ones to cleaning duty. It sounds absurd that tea towels change a room, but the visual noise of clashing patterns is real. I tried this on a whim and my sister asked if I’d redecorated. The mistake to avoid is “too nice to use” syndrome — they’re tea towels, use them, and keep one good set for when guests come.
Cost: ~$12 | Time: 10 minutes
11. Paint Just the Island
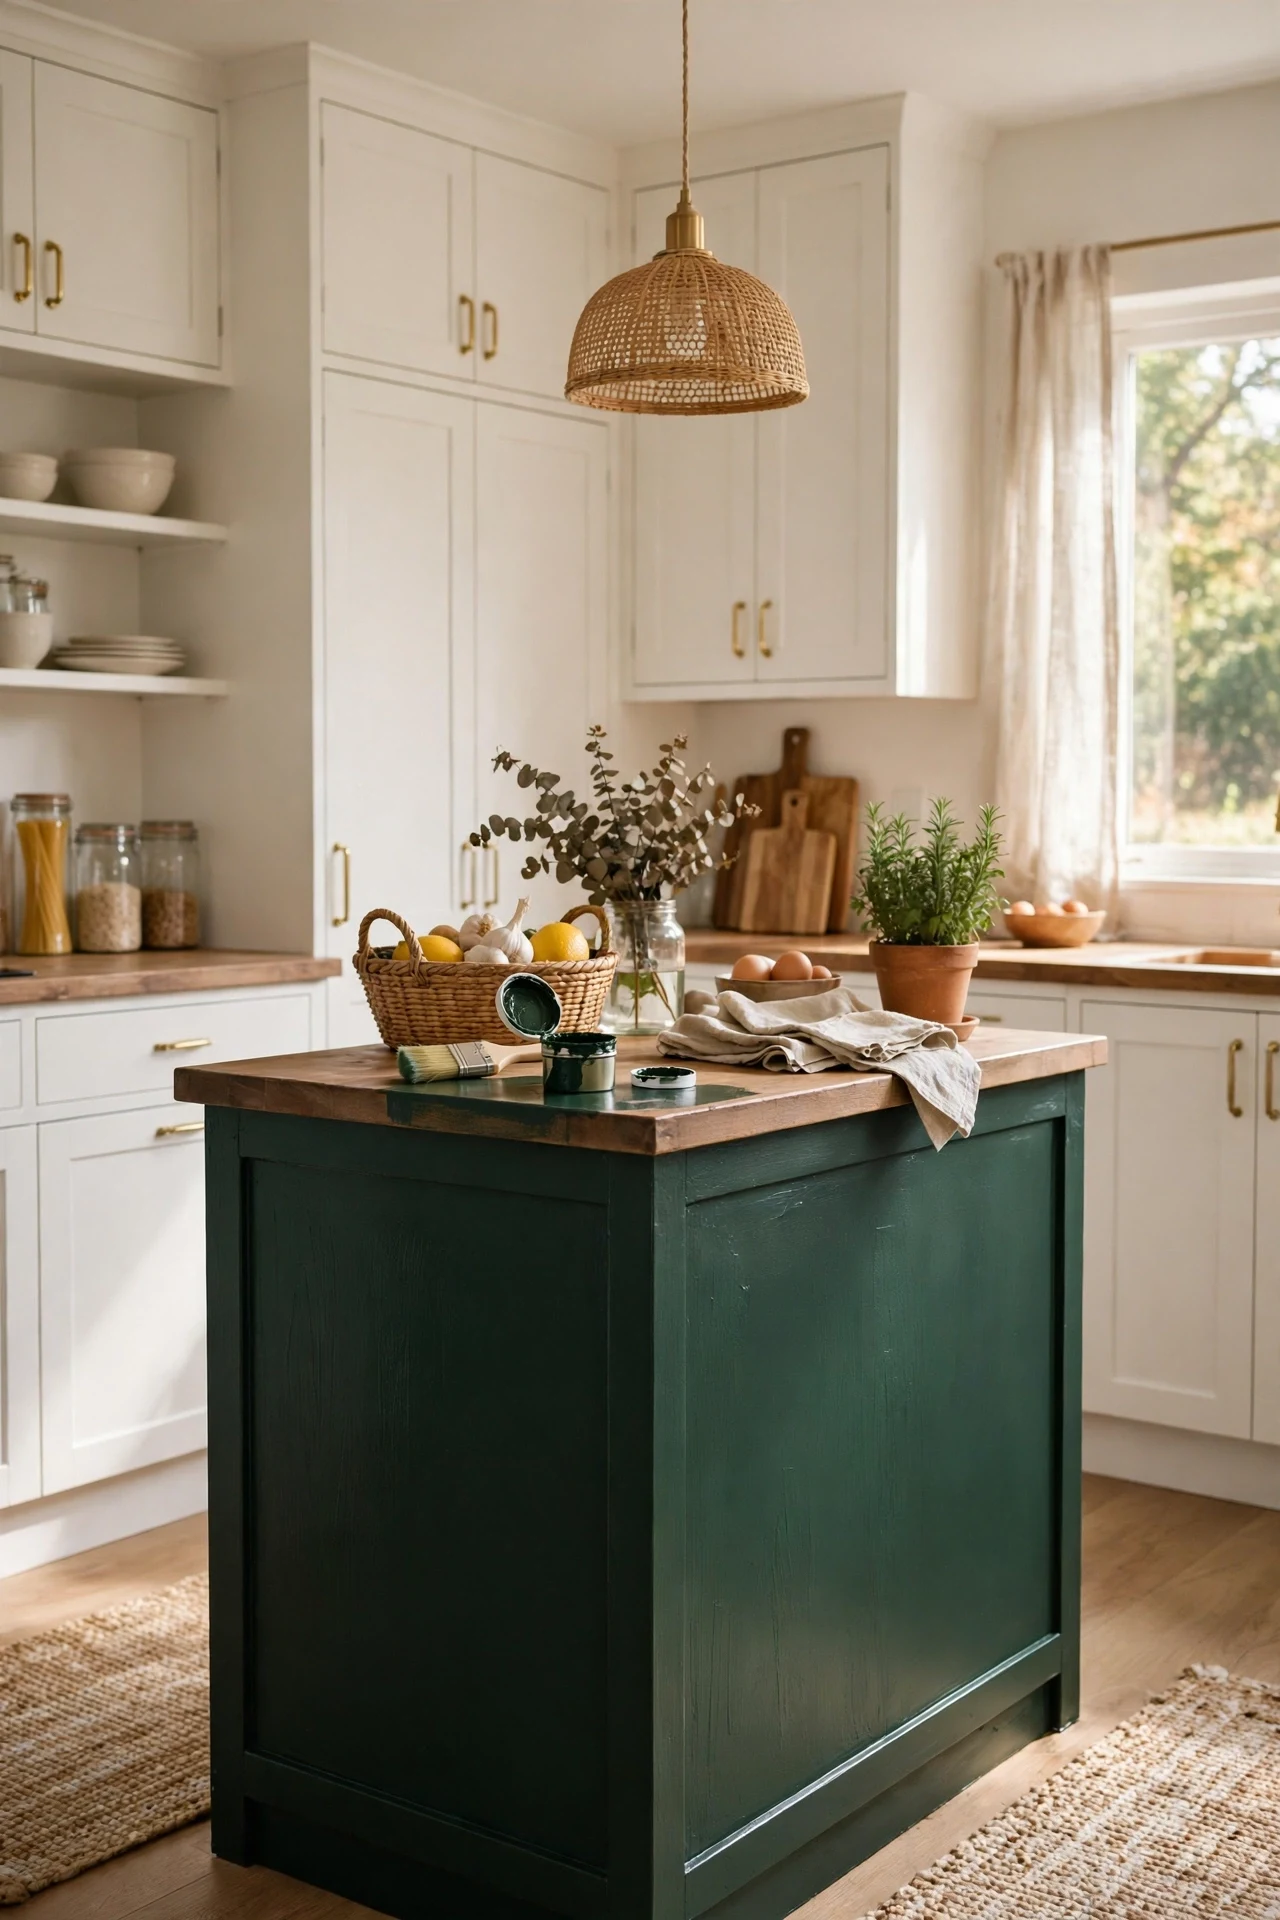
Painting a whole kitchen is a weekend and a half; painting just the island is an afternoon and a sample pot. I painted my island a deep forest green for the cost of one tester tin — about eight dollars — and it became the focal point the room was missing. The steps: clean and lightly sand, use a primer if the surface is glossy, then two thin coats with a small roller for a smooth finish. If you’re nervous about colour, (see also: 21-black-and-white-kitchen-ideas-on-a-dime) is full of proof that bold contrast works on a budget. I tried navy first and chickened out; green felt right and I’ve loved it for two years. The mistake to avoid is skipping the prep — paint over grease and it peels within months, no matter how good the colour.
Cost: ~$8 | Time: 2 hours
12. Peel-and-Stick Paper Inside Glass Cabinets
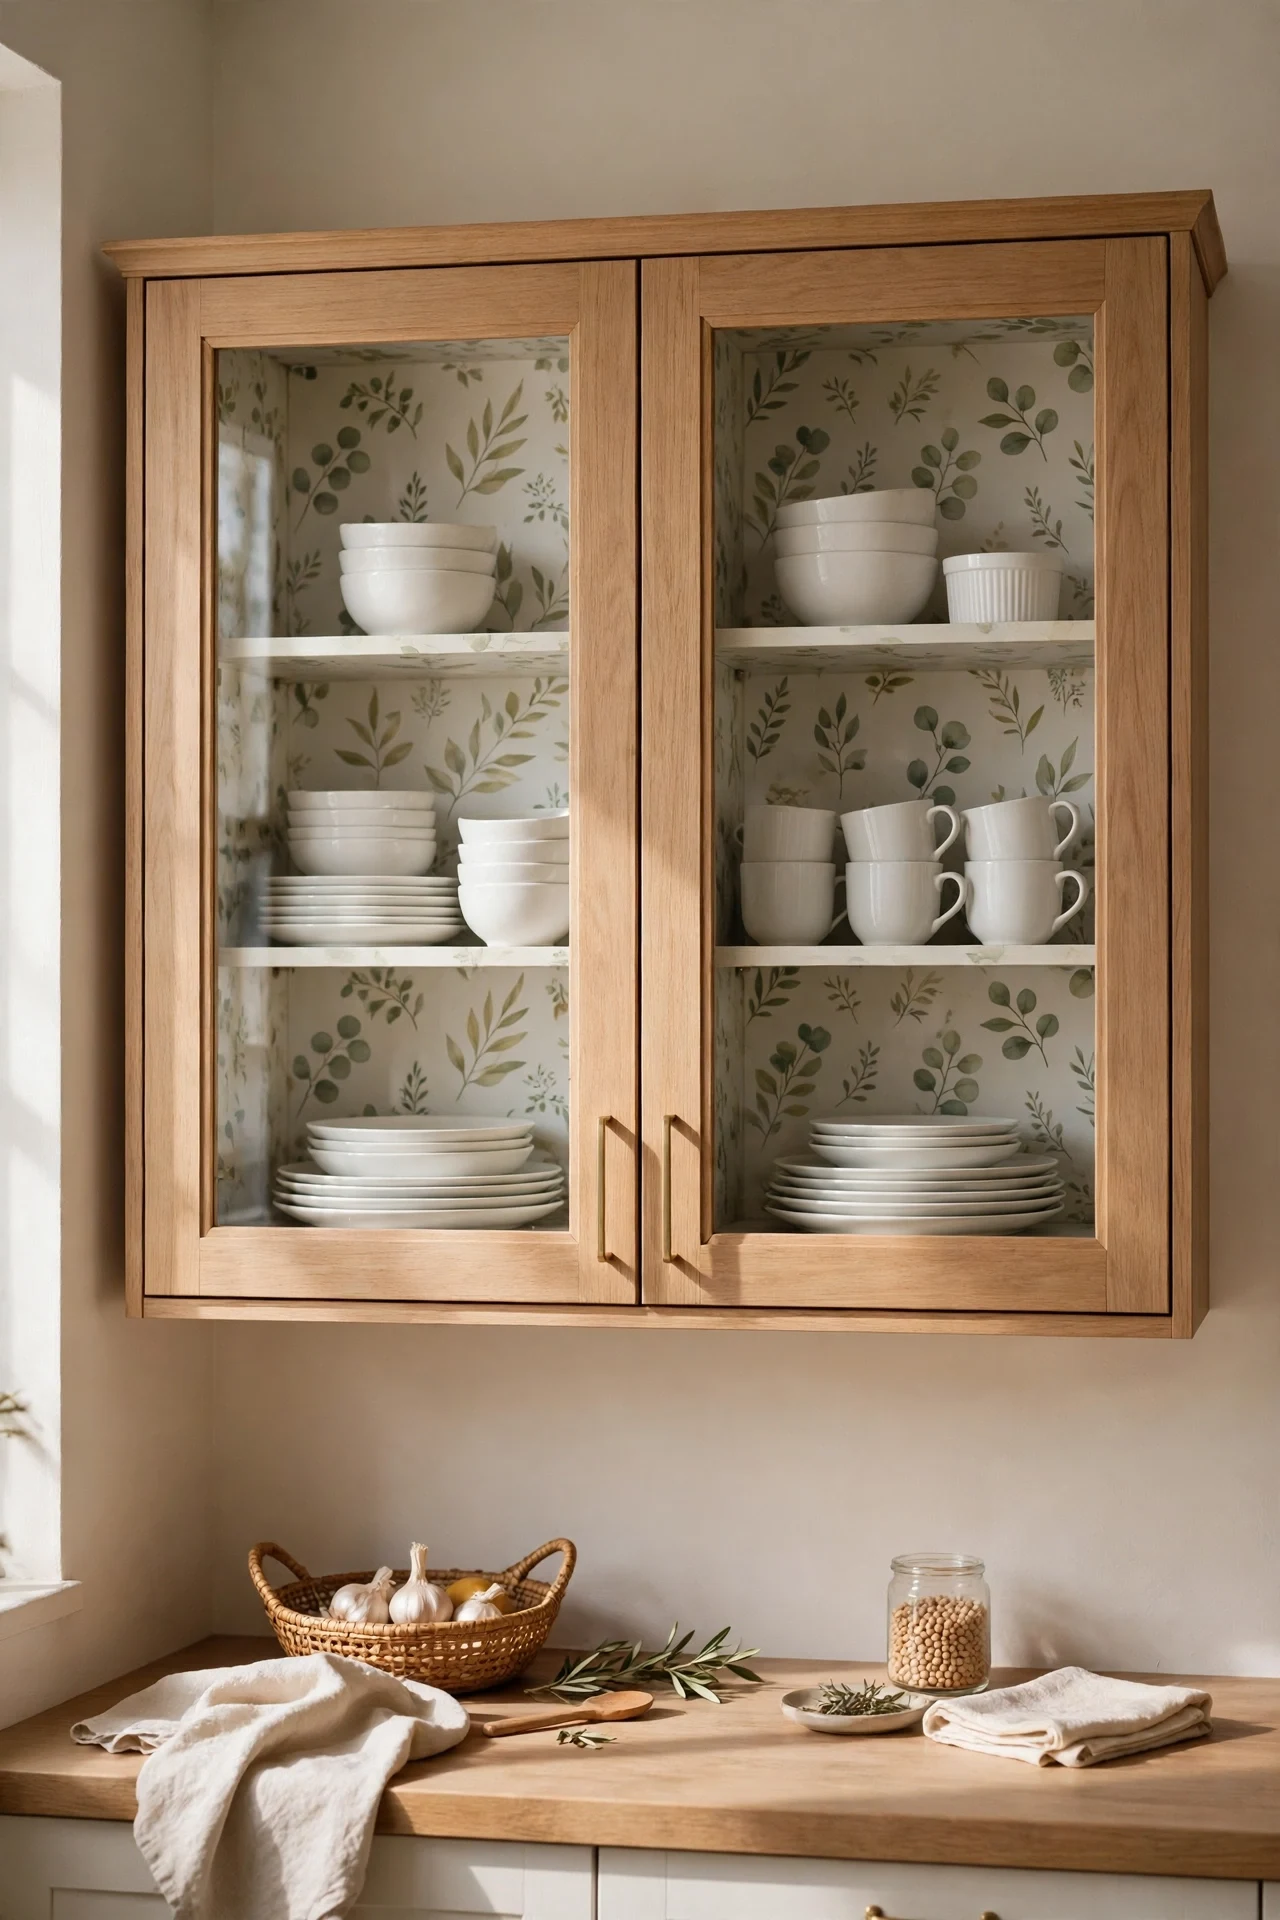
Glass-fronted cabinets show everything, including the boring backs. Lining the inside backs with peel-and-stick wallpaper or wrapping paper turns them into display cases for about five dollars. The steps: measure each back panel, cut the paper slightly oversized, peel and smooth from the centre out, then trim the edges. I used a subtle botanical print and my plain white dishes suddenly looked curated. I tried this in a rental and peeled it off cleanly when I left — the landlord never knew. The mistake to avoid is busy patterns behind busy dishes; if your crockery is patterned, keep the paper plain, and vice versa.
Cost: ~$5 | Time: 45 minutes
13. A New Pendant Shade Over the Island
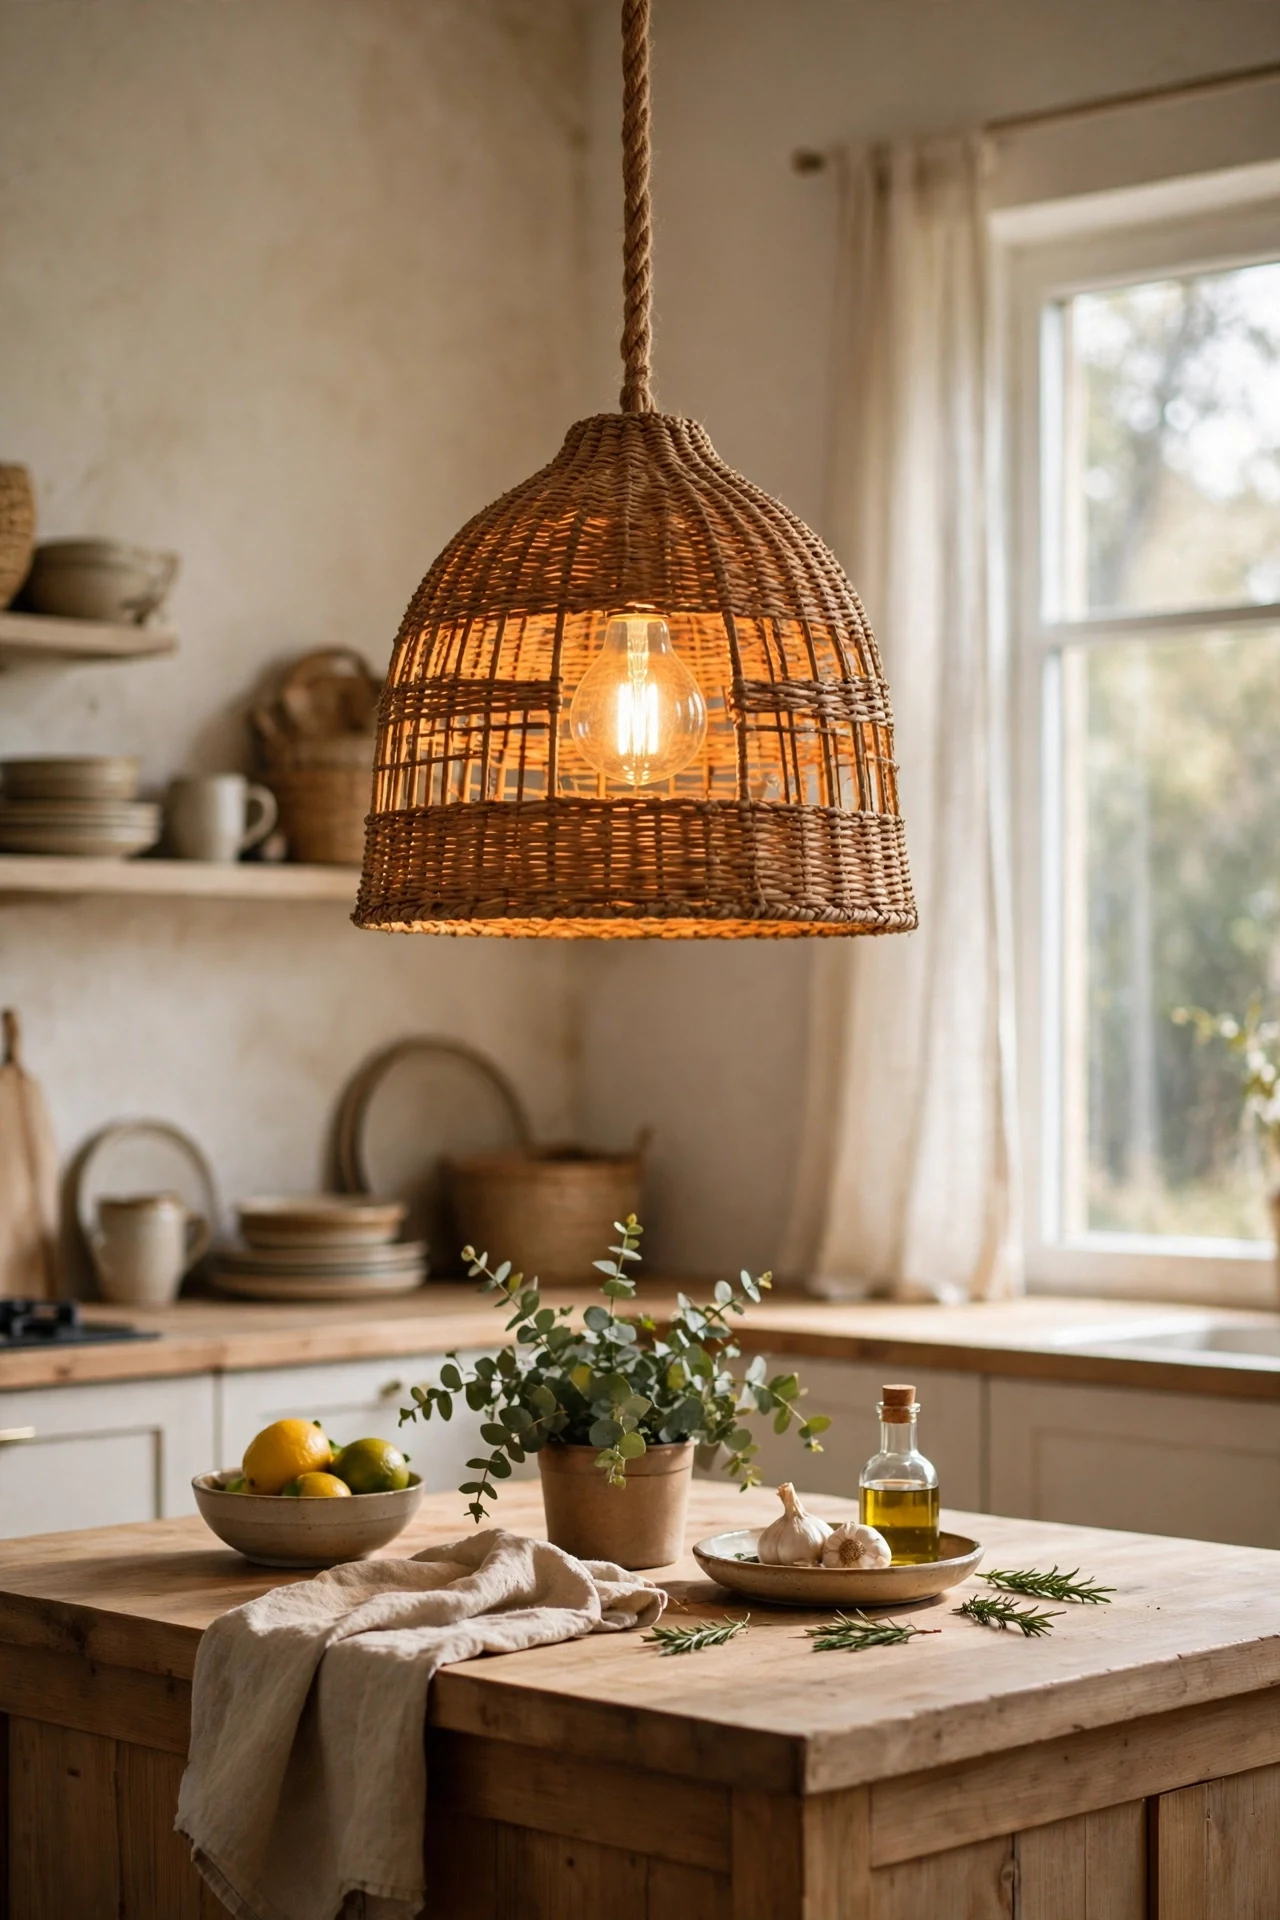
The light fitting is the first thing your eye finds, and swapping just the shade is a renter-friendly upgrade. I replaced a sad flush-mount with a fifteen-dollar woven pendant shade — no wiring, it just hangs over the existing fitting with the bulb inside. The steps: check the shade’s fitting type matches your bulb holder, hang it at the right height (about 75cm above the worktop), and use a warm bulb. The texture of the weave throws the loveliest shadows. I tried the industrial metal shade first and it felt cold; the woven one made the kitchen feel human. The mistake to avoid is hanging it too high — a pendant floating near the ceiling looks lost. Bring it down to where it belongs.
Cost: ~$15 | Time: 20 minutes
14. Floating Spice Shelf
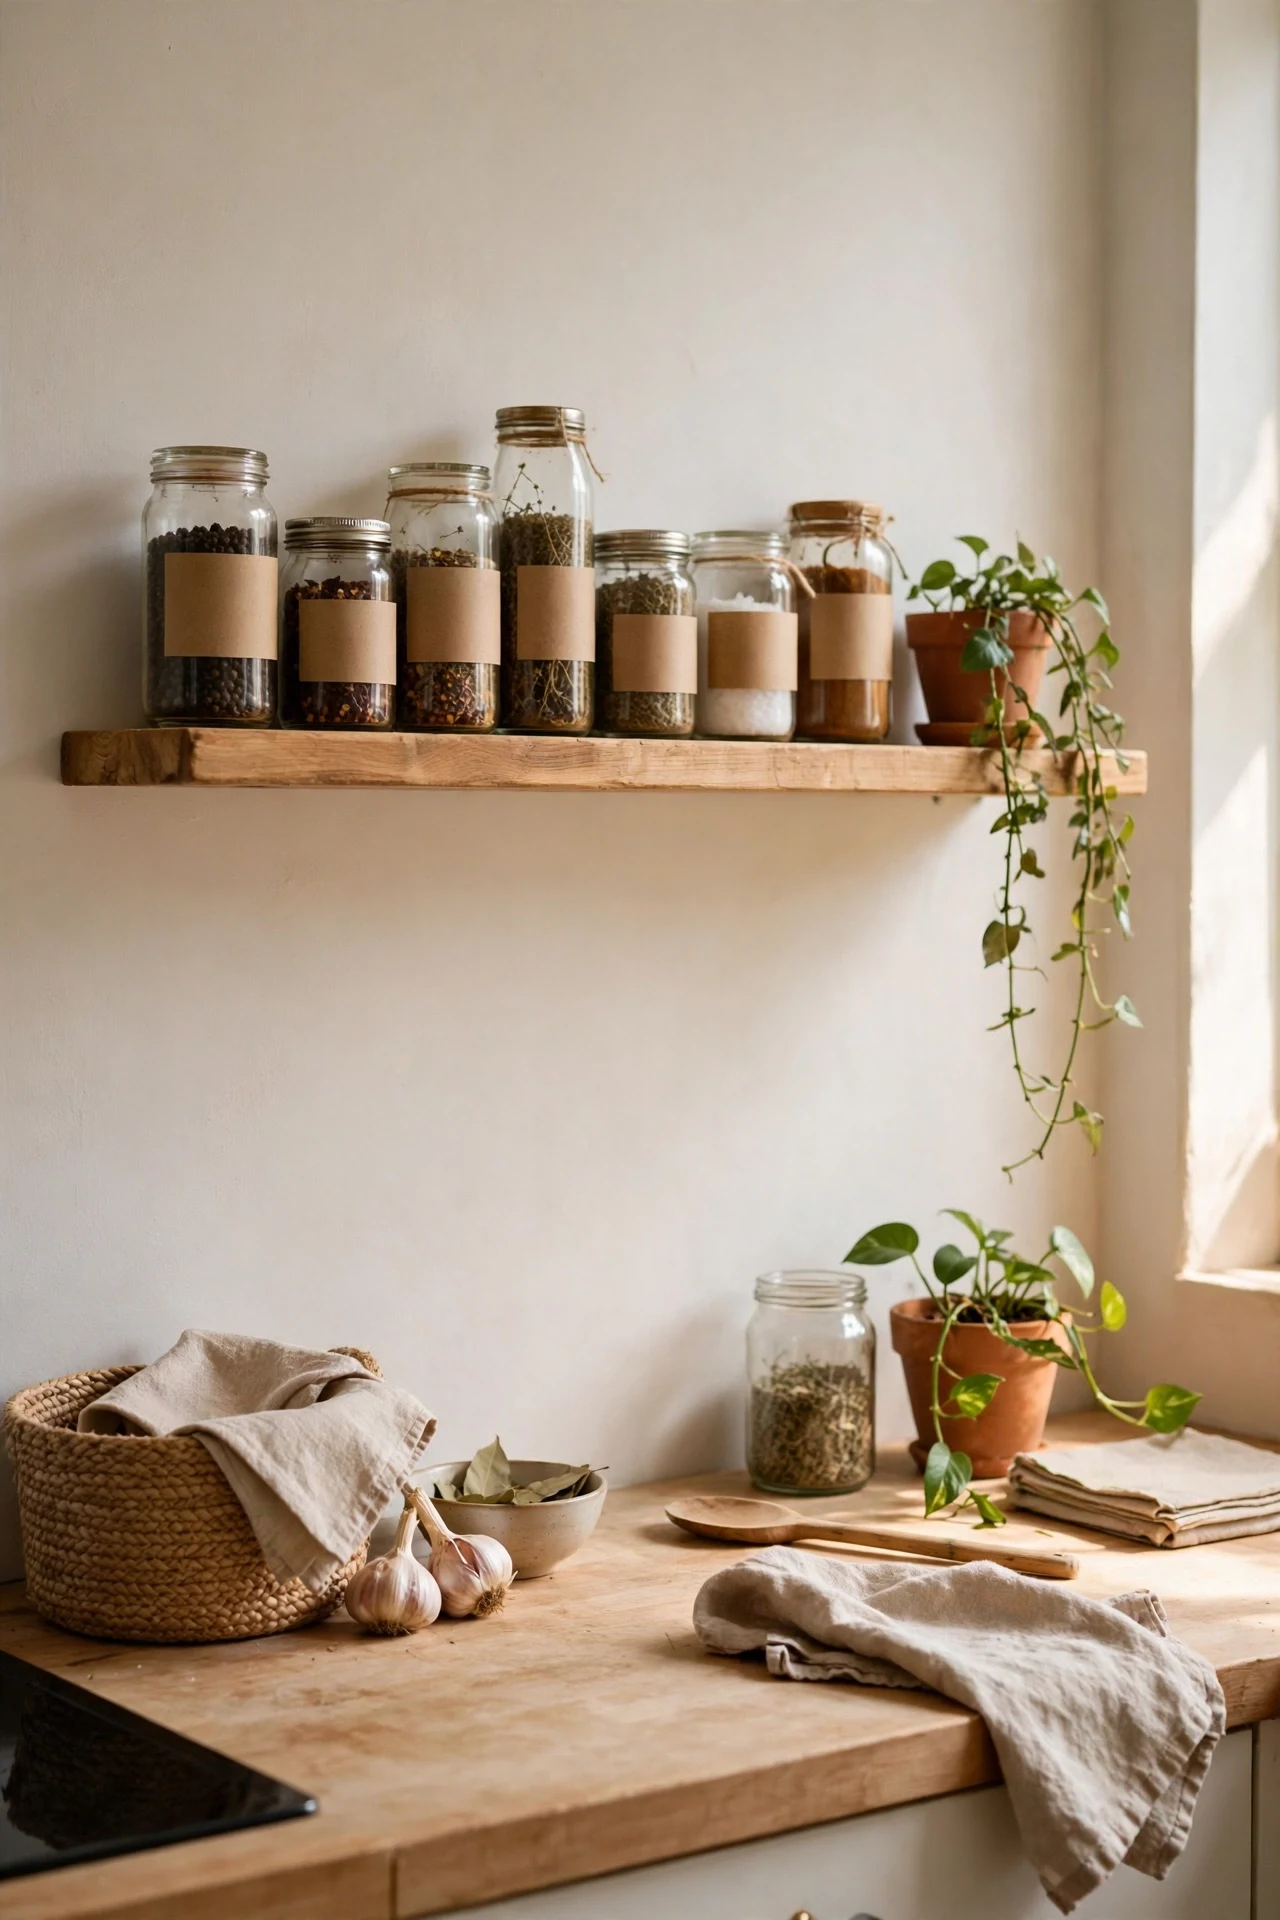
A single floating shelf above the worktop, styled with spice jars and a small plant, adds both storage and character for under twenty dollars. The steps: find the studs (or use proper plasterboard fixings — this matters), level the shelf obsessively, then arrange jars with the labels facing out and leave one end for something pretty. I put mine beside the hob and reaching for paprika finally feels like cooking in a real kitchen. I tried skipping the stud-finder once and the shelf slowly tilted over a month — learn from my laziness. The mistake to avoid is overloading it; a spice shelf is for the daily dozen, not the entire collection.
Cost: ~$18 | Time: 1 hour
15. A Big Vintage-Style Wall Clock
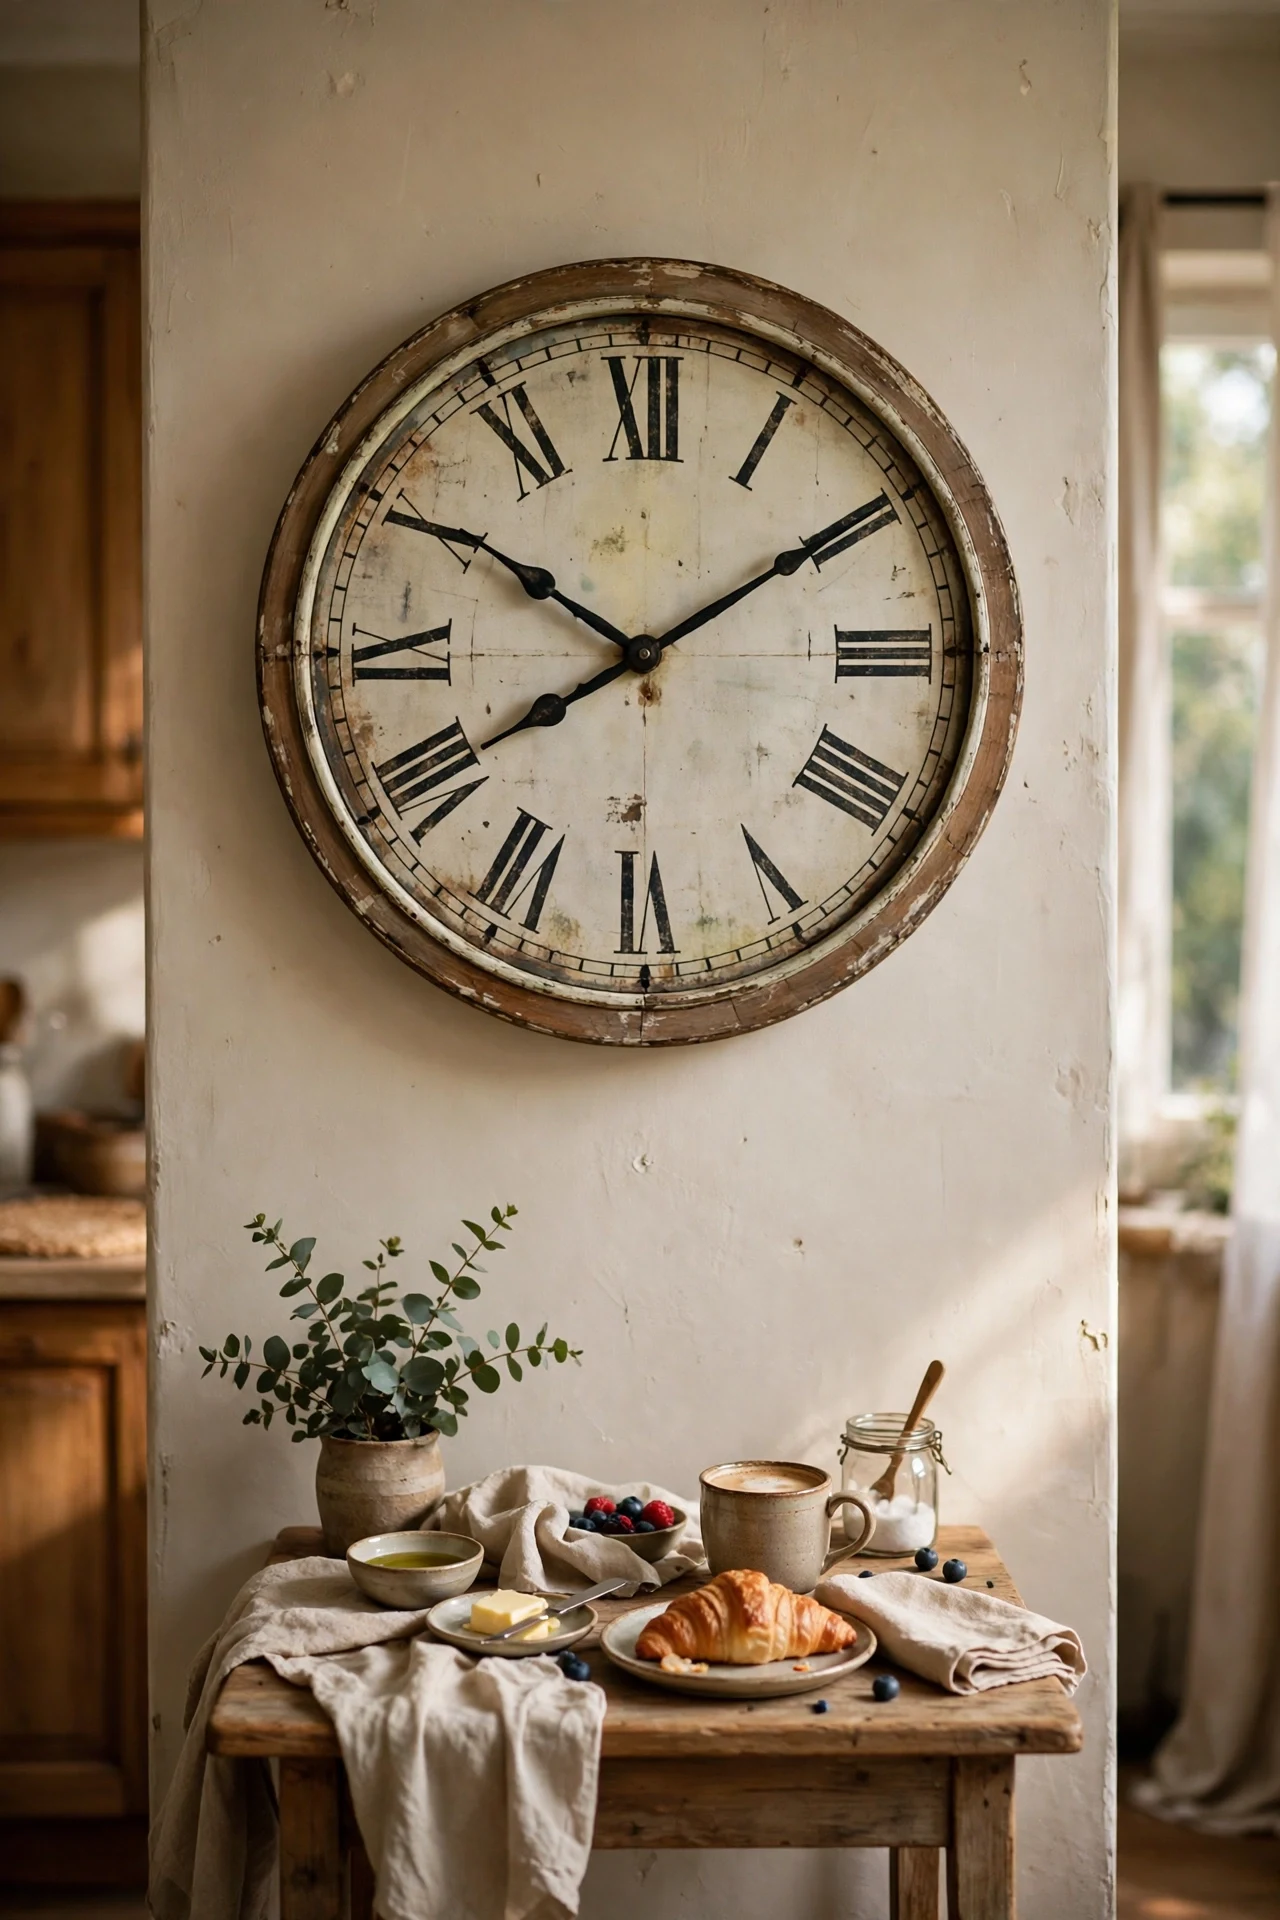
Kitchens swallow small decor, so go big on the wall: a large vintage-style clock fills dead wall space and actually gets used. I found a 40cm clock with a distressed face for eighteen dollars, and it anchors the wall above my little breakfast table. The steps: hang it where you can see it from the hob (you’ll time pasta by it), centre it on the wall rather than squeezing it into a gap, and use a proper hook — big clocks are heavier than they look. I tried a tiny cute clock first and it vanished on the wall. The mistake to avoid is the ticking kind if you’re sound-sensitive — check it’s silent-sweep before you buy, or it’ll drive you mad by Tuesday.
Cost: ~$18 | Time: 20 minutes
16. Chalkboard Menu Board
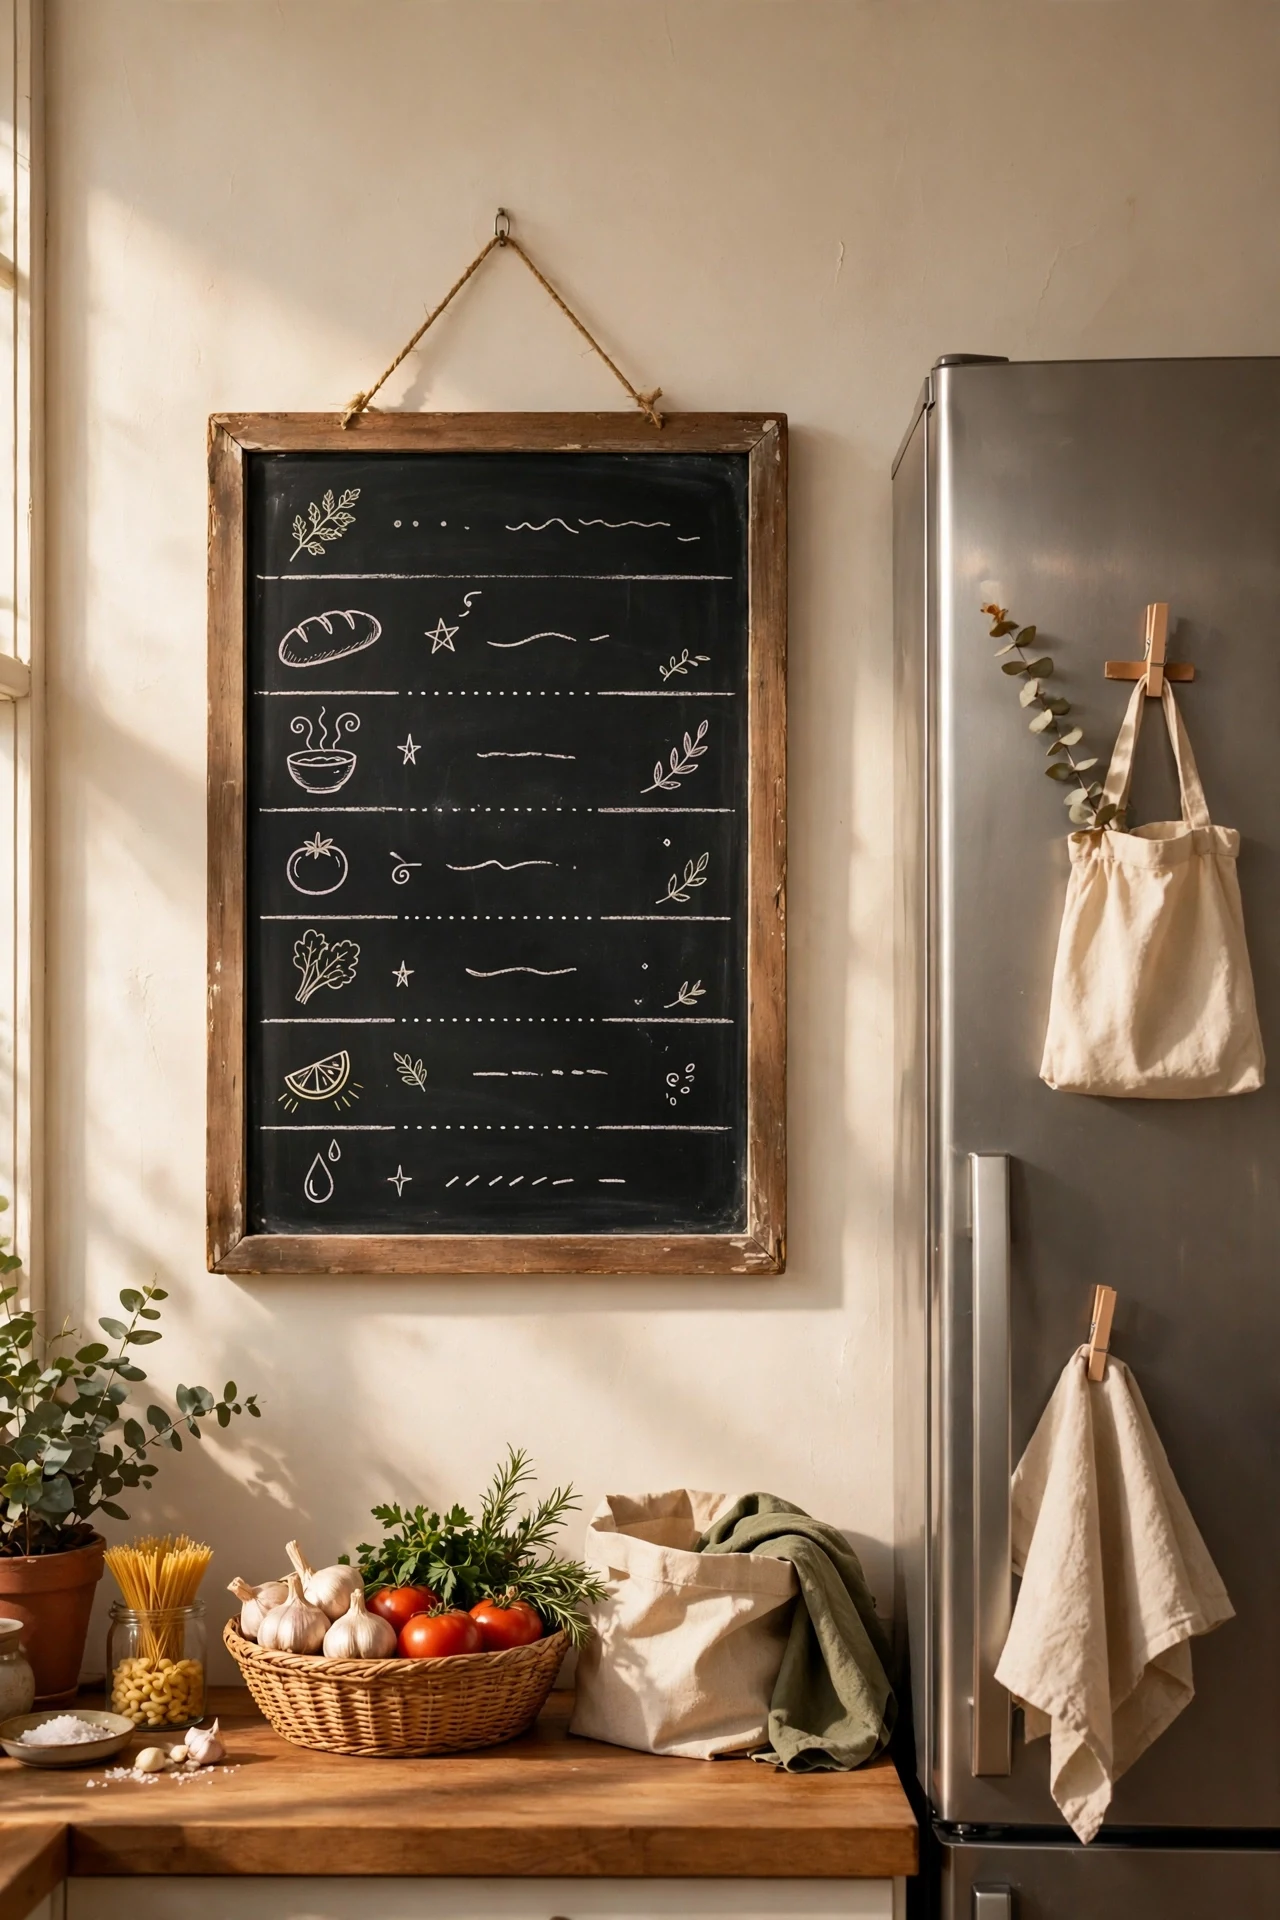
A chalkboard on the kitchen wall — weekly menu, shopping list, or just a funny quote — adds personality for the price of a frame and chalk paint. I painted the inside of a charity-shop frame with chalkboard paint, total cost about eight dollars, and hung it by the fridge. The steps: two coats of chalkboard paint with drying time between, “season” it by rubbing chalk all over and wiping off, then write the week’s dinners every Sunday. I tried the meal-planning app route and never opened it; the board I see fifty times a day actually works. The mistake to avoid is chalk markers on a whim — some stain permanently. Test yours in a corner first.
Cost: ~$8 | Time: 1 hour
17. The Wooden Fruit Bowl Moment

A proper wooden bowl piled with fruit is the oldest styling trick in the book because it works: colour, texture, life, and a snack. I bought a simple acacia bowl for twelve dollars and keep it stocked with whatever’s in season — the changing colours keep the counter feeling fresh. The steps: choose a bowl big enough to look generous, pile fruit in odd numbers, and put it where the light hits. I tried the fake fruit route in my twenties and it collected dust and judgement. The mistake to avoid is the fruit bowl of good intentions — if it sits there rotting, it’s not decor, it’s compost. Buy what you’ll actually eat.
Cost: ~$12 | Time: 10 minutes
18. Decanted Soap and Oil Bottles
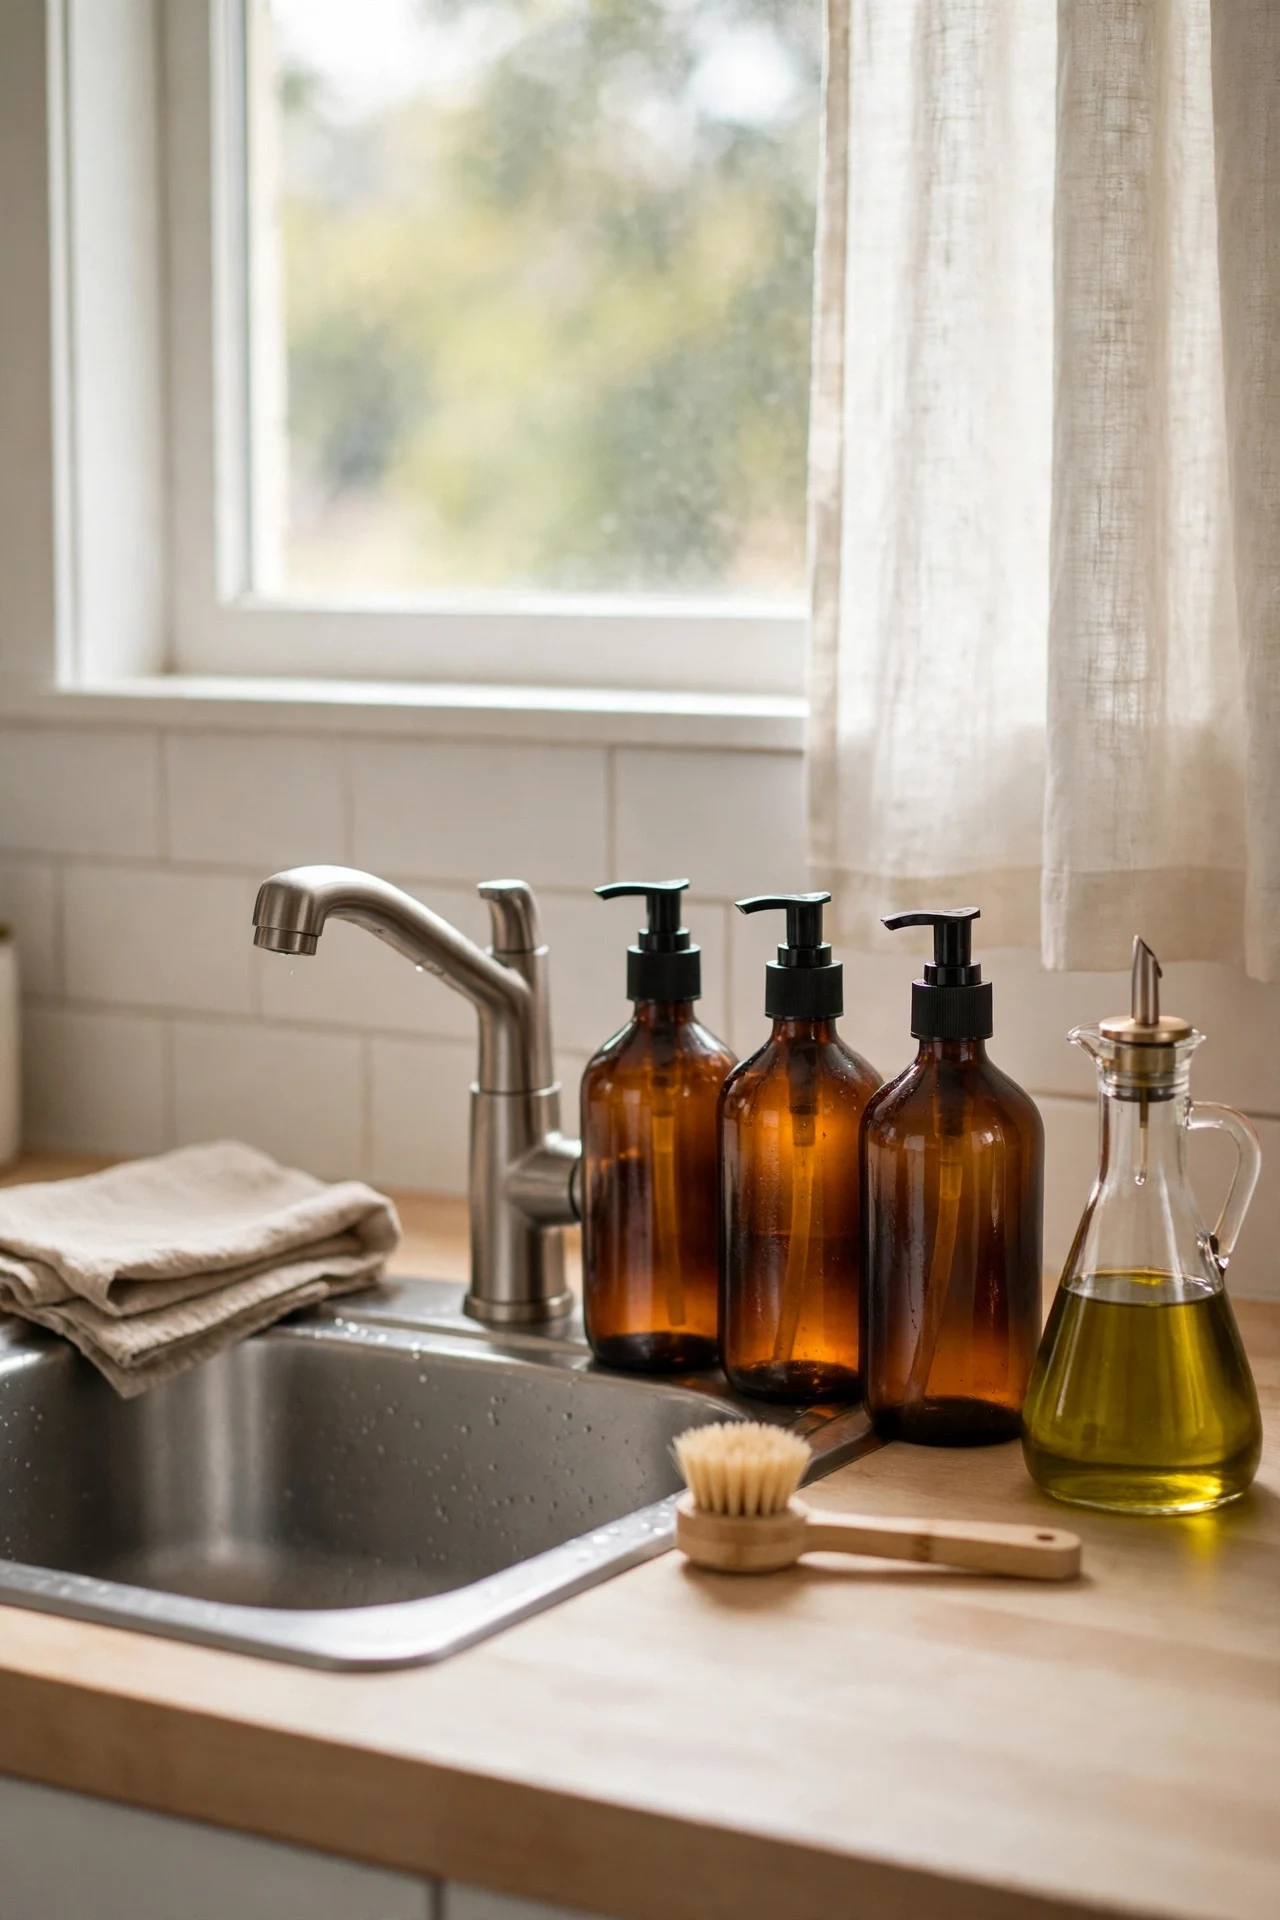
The visual noise of branded bottles — the washing-up liquid, the olive oil, the hand soap — is real, and decanting fixes it for under fifteen dollars. I bought two amber glass pump bottles and one oil pourer, and the sink area went from cluttered to calm. The steps: choose bottles that suit your style, label them if you’re forgetful (chalk pen wipes off), and keep the originals under the sink for refills. I tried decanting everything in the kitchen once and it became a part-time job; the sink trio is the sweet spot. The mistake to avoid is decanting things you can’t identify by look — mysterious clear liquids are how cooking accidents happen.
Cost: ~$14 | Time: 20 minutes
19. Patterned Drawer Liners
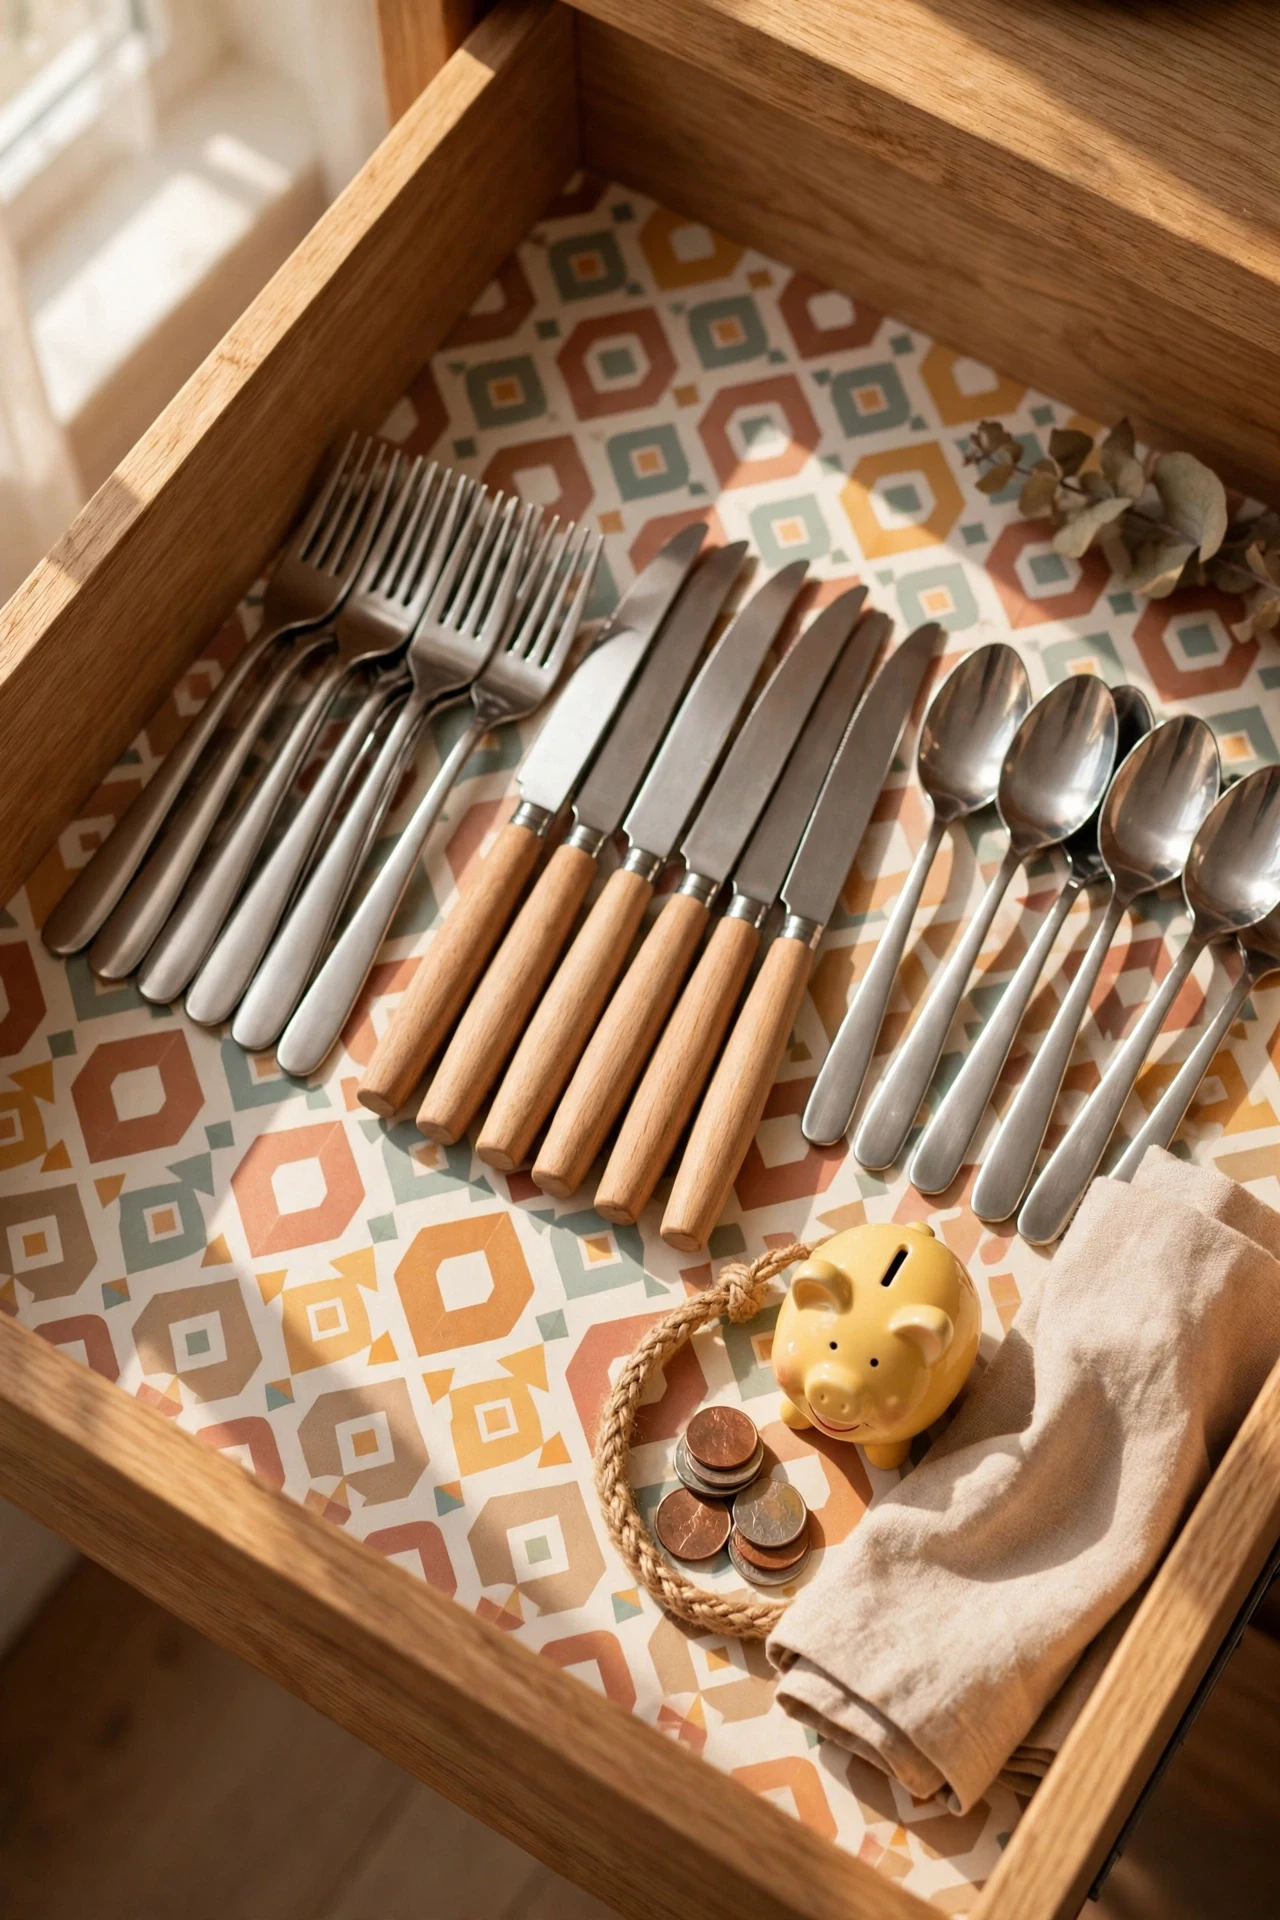
Open a drawer and see a flash of pattern instead of stained wood — it’s a tiny joy, several times a day, for about six dollars a roll. I lined my cutlery and utensil drawers with a simple geometric print, and every time I open one it feels like a little gift. The steps: measure, cut slightly generous, smooth from the centre, and trim around the edges with a craft knife. I tried the adhesive kind first and regretted it when I wanted to change the pattern; the non-adhesive liner stays put under the weight of cutlery and lifts out easily. The mistake to avoid is lining drawers you never open — start with the two you use most and see if it makes you smile.
Cost: ~$6 | Time: 45 minutes
20. A Bold Kettle as Counter Jewellery
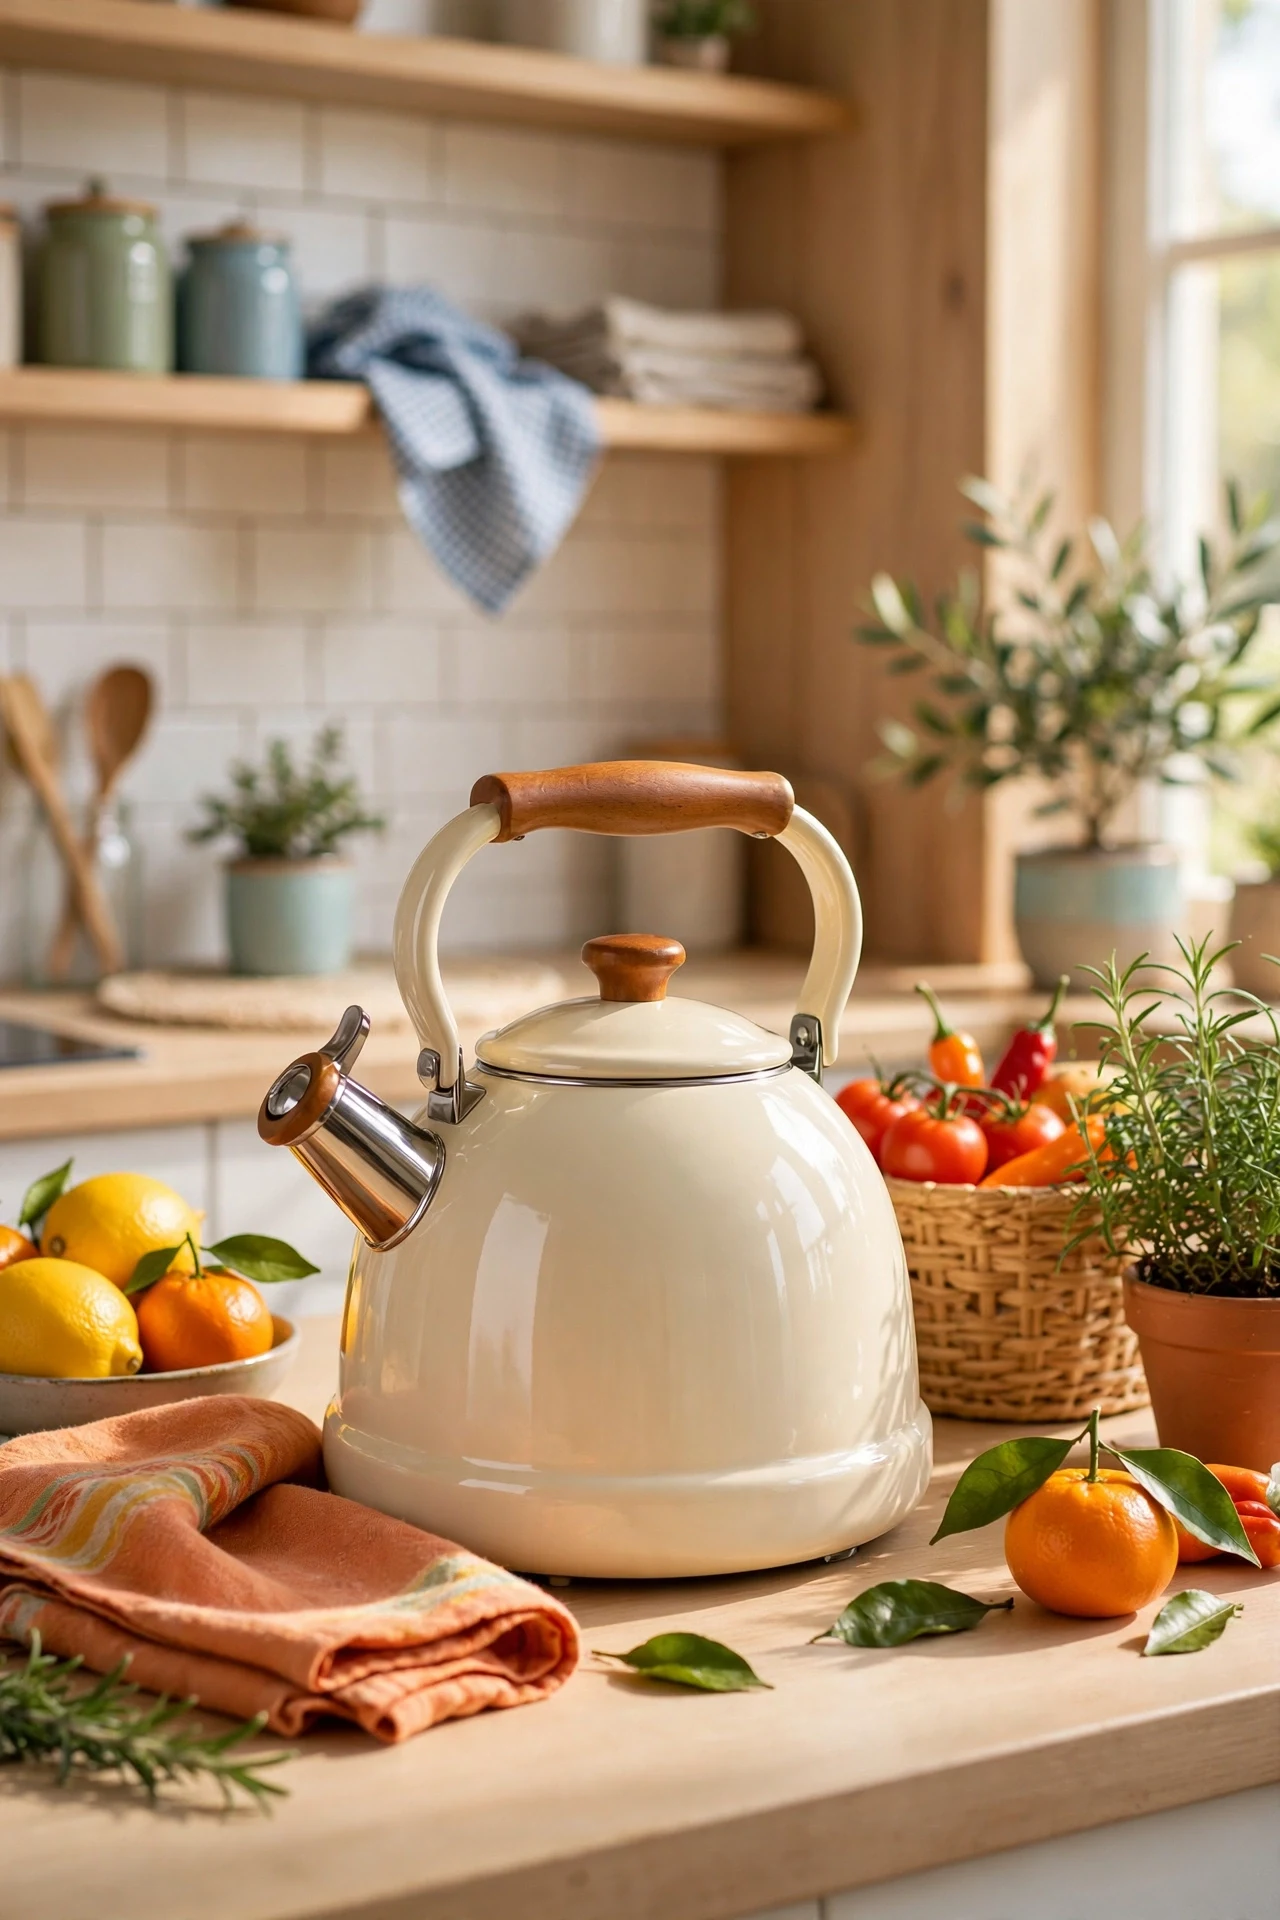
If your kettle lives on the counter — and let’s be honest, it does — make it earn its keep visually. I replaced my dull grey kettle with a cream retro-style one for twenty-two dollars, and it’s now the prettiest thing in the kitchen. The steps: pick a colour that repeats somewhere else in the room (mine matches the tea towels), keep it descaled so it stays handsome, and let it be the one colourful thing on that stretch of counter. I tried hiding the old kettle in a cupboard first, but I use it five times a day — visibility won. The mistake to avoid is buying purely on looks; check reviews for pour quality and noise, or your beautiful kettle will annoy you daily.
Cost: ~$22 | Time: 10 minutes
21. Hanging Plate Wall
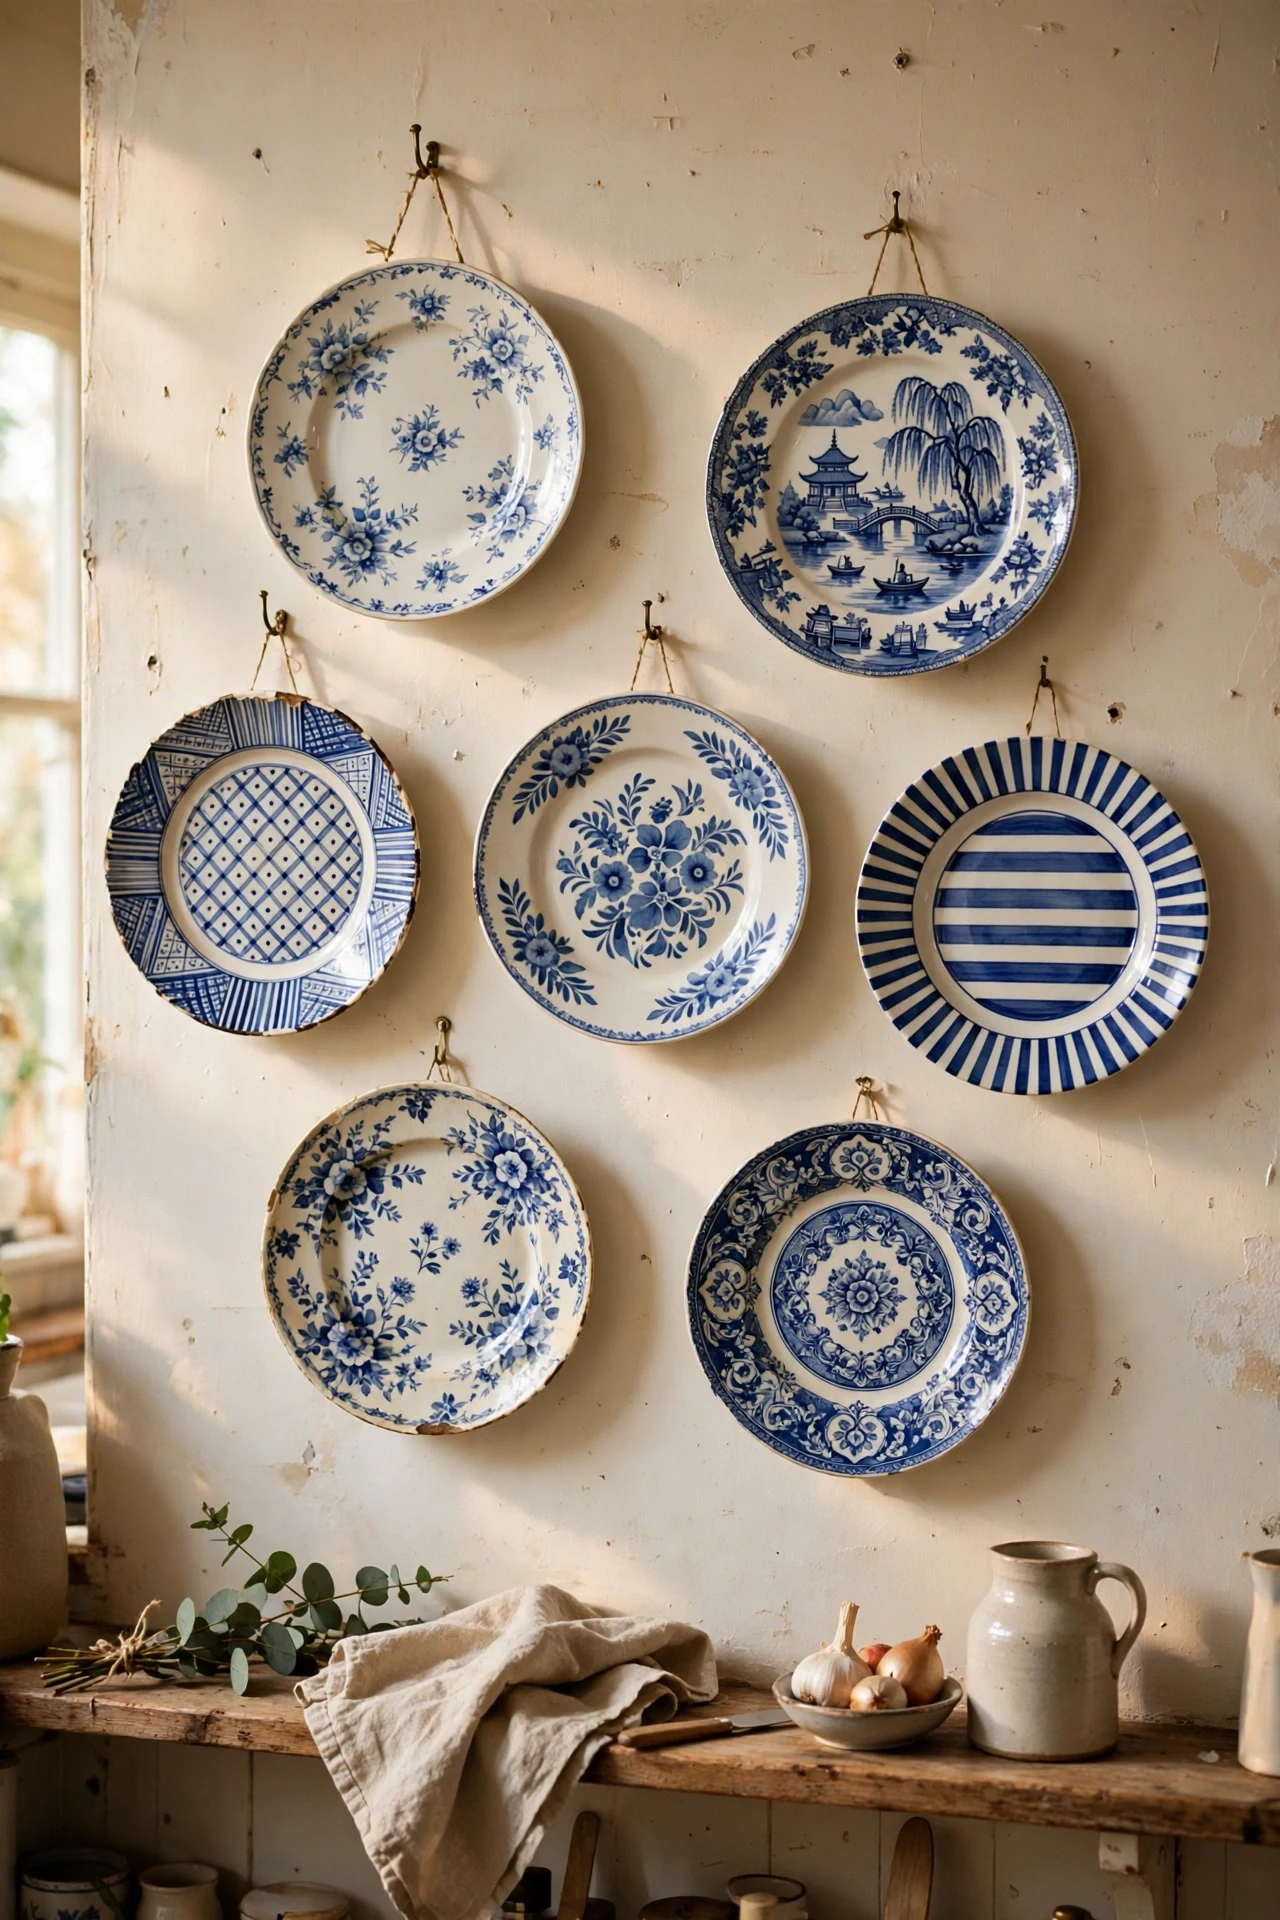
A wall of hung plates — charity-shop finds, odd pretty saucers, that one plate you love — is art for the price of plate hangers. I hung seven mismatched blue-and-white plates in a loose cluster above my sideboard for under ten dollars total. The steps: lay the arrangement on the floor first and photograph it, transfer to the wall with proper hooks, and start from the centre outward. I tried eyeballing it directly on the wall and ended up with eleven holes; the floor-first method is non-negotiable. The mistake to avoid is hanging your everyday plates — you’ll be unhanging them constantly. This is for the pretty ones, the display team.
Cost: ~$10 | Time: 1 hour
22. Warm Bulbs, Instant Atmosphere
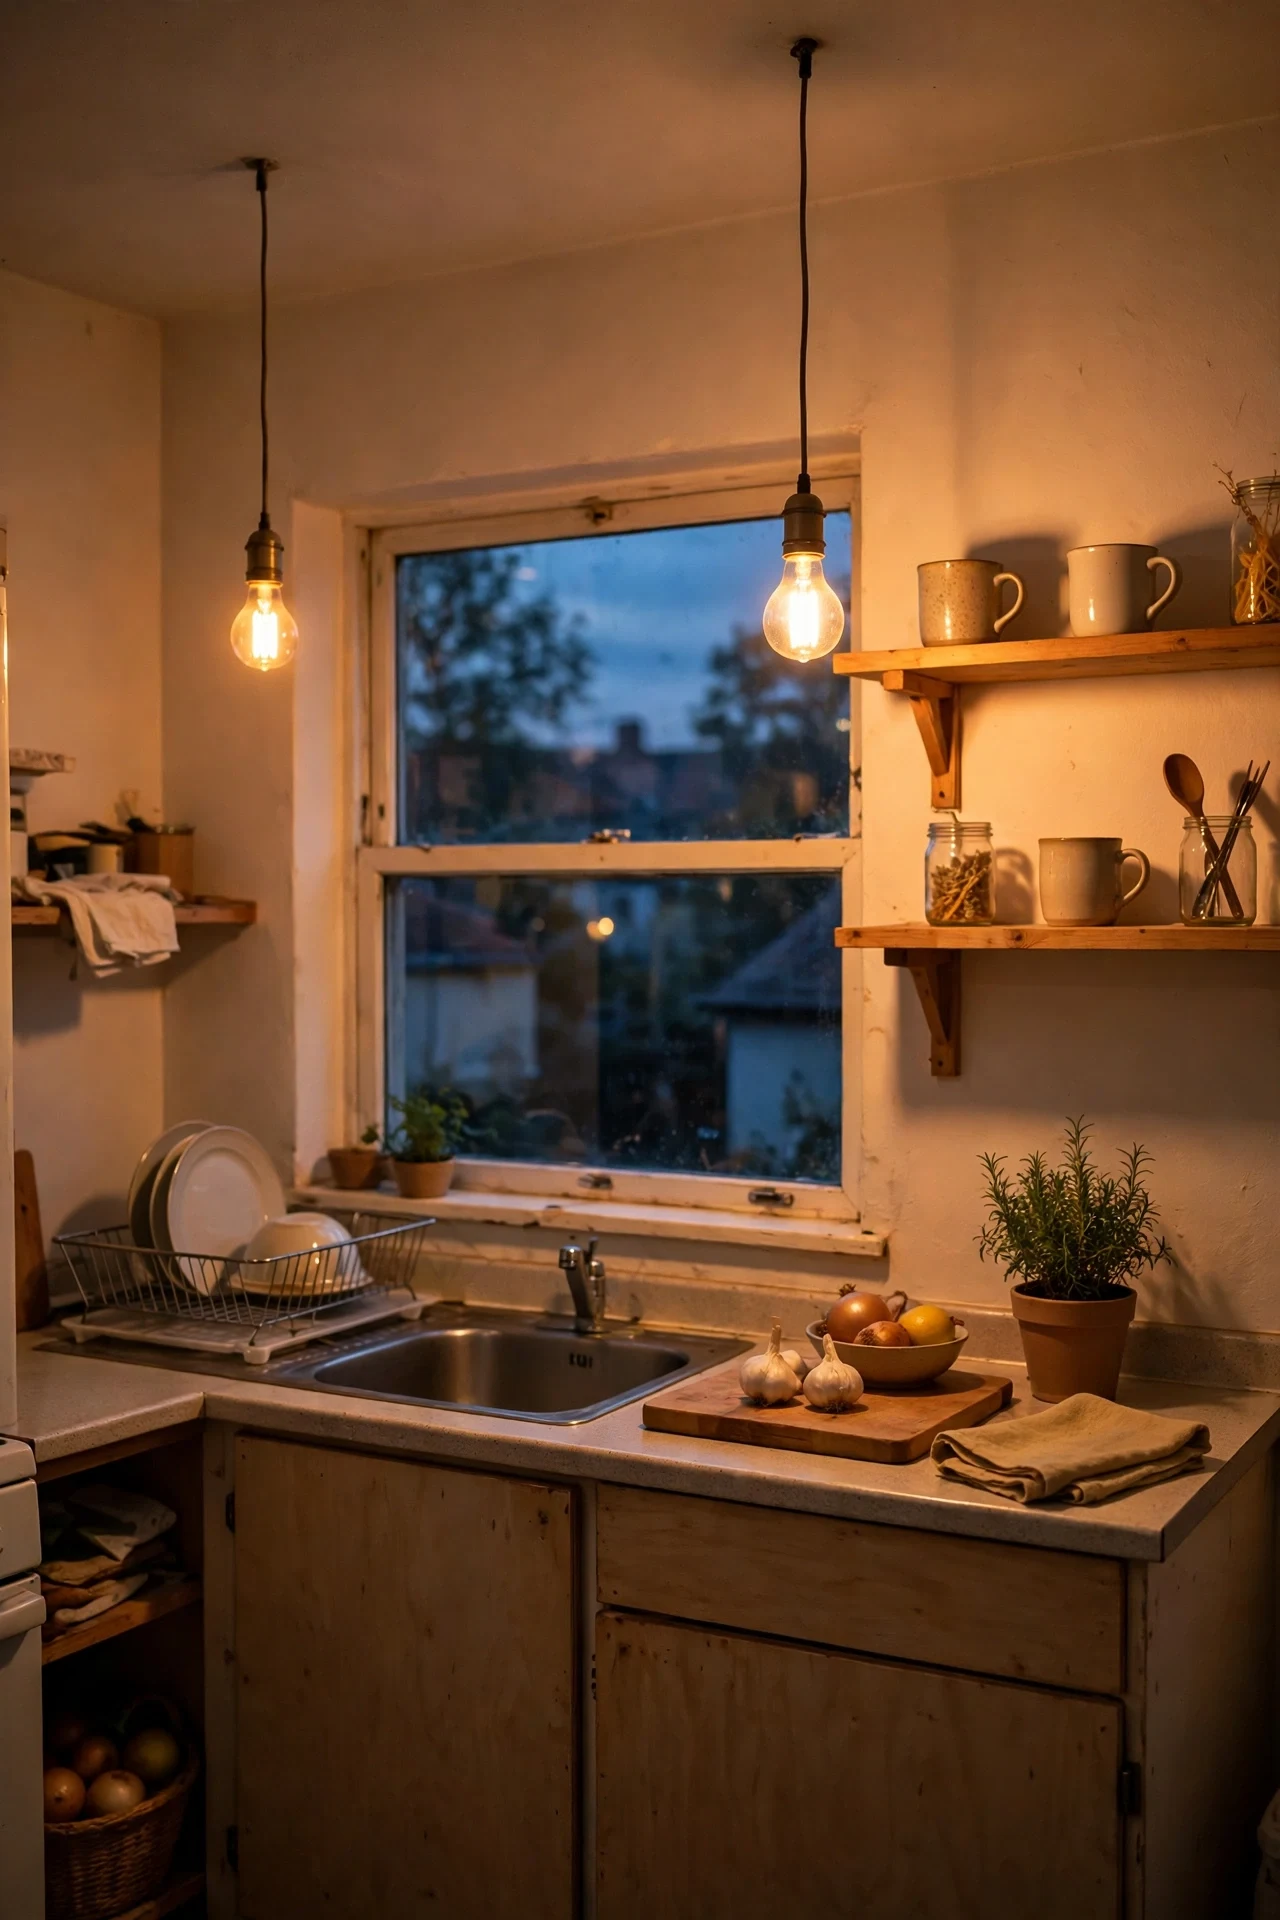
This is the lowest-effort idea here: swap your kitchen bulbs to warm white (2700K) and watch the room soften. I changed three bulbs for about nine dollars total, and the evening kitchen went from interrogation-room to candlelit — same fittings, same everything else. The steps: check your fitting type, buy warm-white LEDs (they last years and sip electricity), and replace them all at once so the colour is consistent. I tried living with one warm and two cool bulbs for a week and the mismatch bothered me more than the original cold light. The mistake to avoid is “daylight” bulbs in a kitchen you eat in — 5000K belongs in a garage, not over your dinner.
Cost: ~$9 | Time: 15 minutes
23. A Styled Coffee Corner
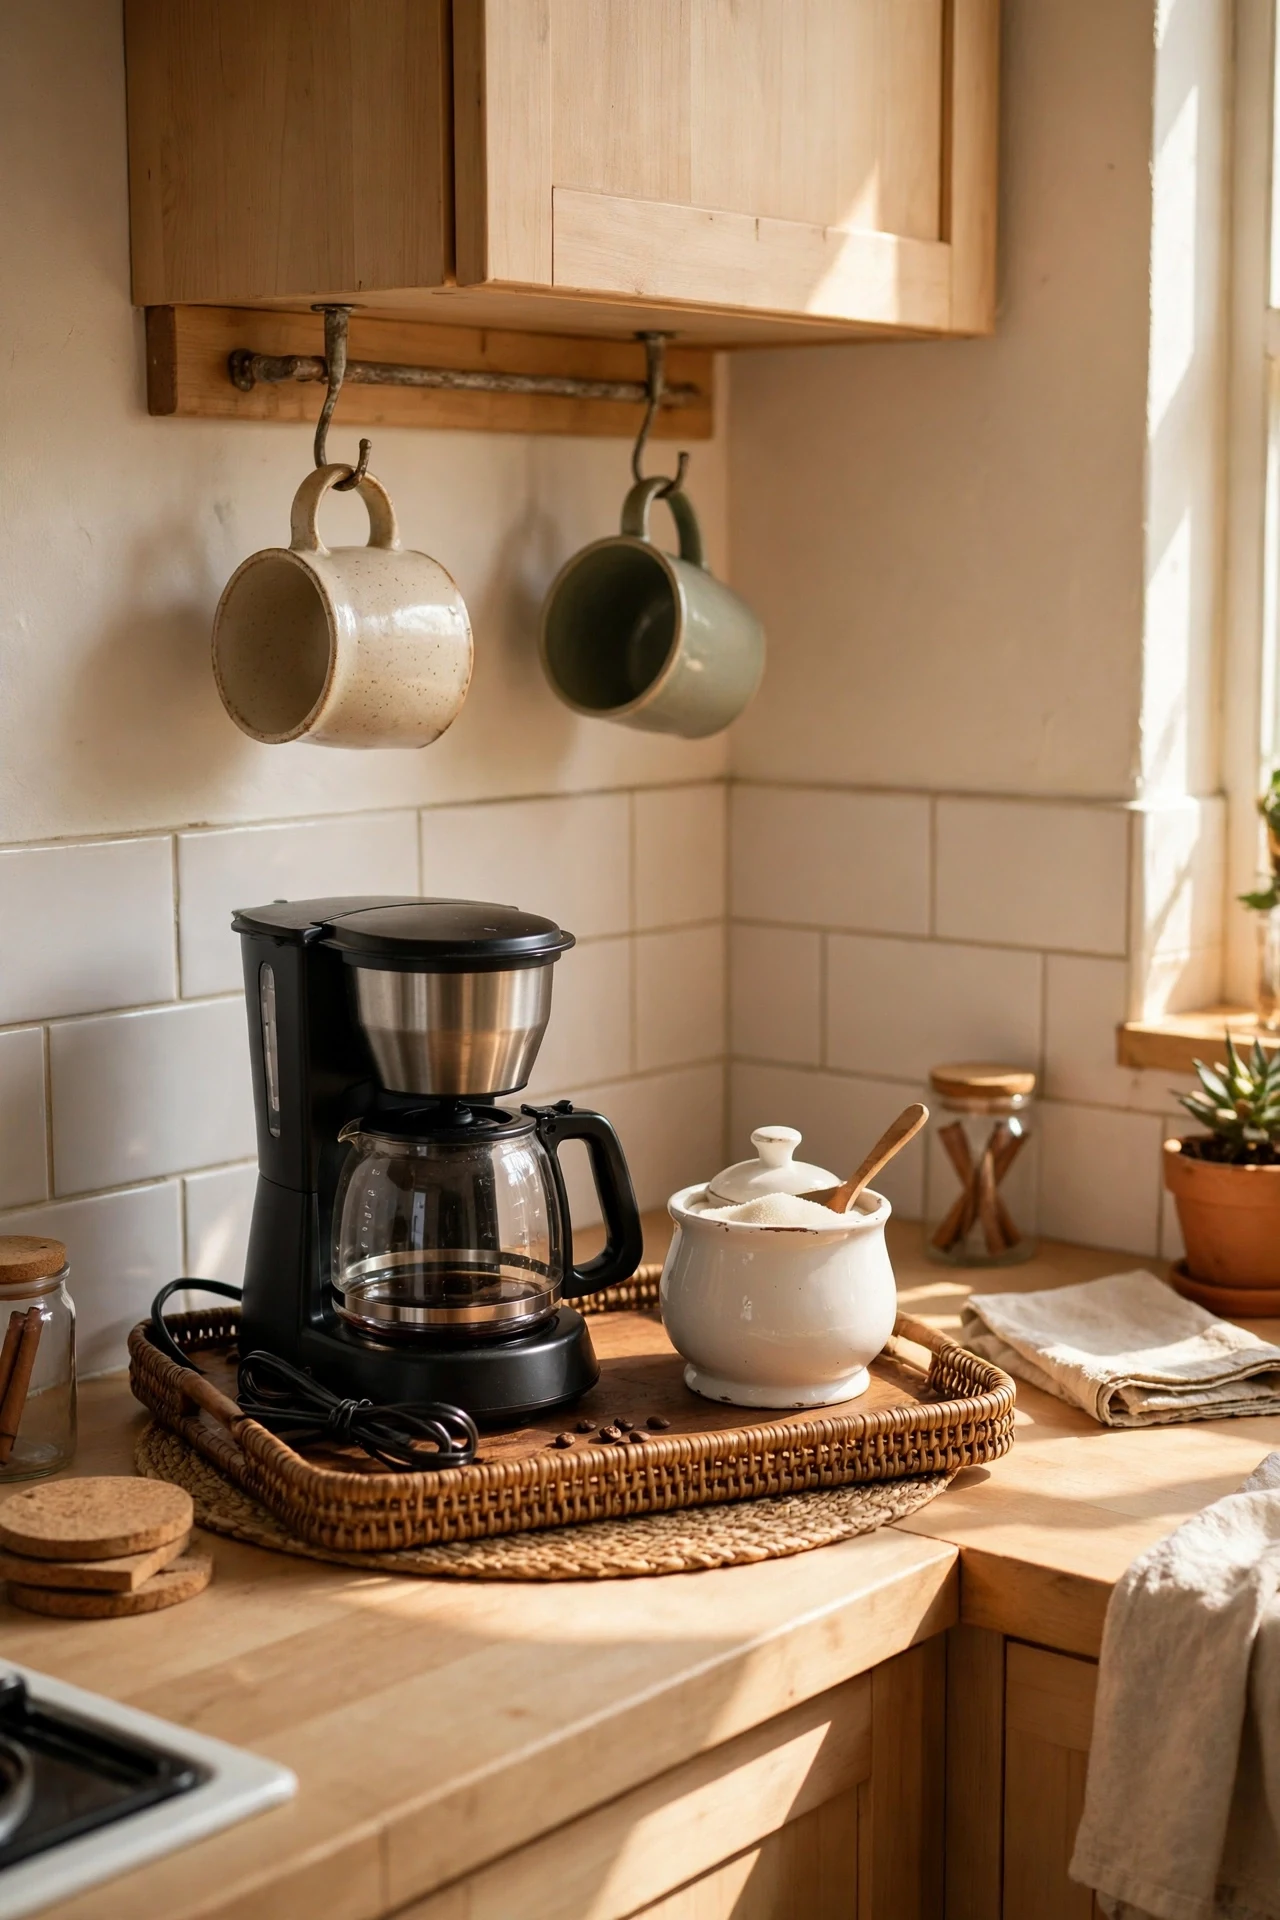
Give your morning routine a dedicated corner and it becomes decor: a small tray with the coffee maker, two mugs on hooks, the sugar bowl, done. I carved mine out of a dead corner of worktop for the cost of a ten-dollar tray — everything else I already owned. The steps: choose the corner nearest the kettle or machine, contain it all on one tray so it reads as intentional, and hang two mugs above on adhesive hooks. I tried spreading coffee things across the whole counter and it just looked like clutter with a purpose. The mistake to avoid is letting the corner sprawl — if it escapes the tray, it’s not a coffee corner anymore, it’s a coffee occupation.
Cost: ~$10 | Time: 30 minutes
Kitchen Decor Under $25 FAQs
Can you really redecorate a kitchen for under $25?
Yes — if you pick high-impact swaps rather than trying to change everything. A new bulb colour, a runner, a tray, or a tin of sample-pot paint each costs under $25 and each one visibly shifts how the room feels. The trick is cohesion: three small changes in the same colour story read as a redesign, while ten random cheap buys just read as clutter.
How do I make my kitchen look expensive without renovating?
Expensive-looking kitchens share three traits: a consistent palette, clear worktops, and layered light. Pick two colours and repeat them (towels, kettle, art), hide everything that doesn’t earn counter space, and add one warm light source under a cabinet or in a corner. None of that needs renovating — it needs editing, which is free.
Will peel-and-stick products damage my walls or cabinets?
Usually not, but test first. Quality peel-and-stick tiles and wallpaper are designed to remove cleanly from smooth, painted surfaces — I took mine off a rental wall with zero damage. The risk is fresh paint (wait at least three weeks after painting), textured walls, and cheap no-name products. Stick a small test piece somewhere hidden for a week before committing to the whole wall.
Liked one of these? Save this post before you forget — the next time you’re standing in a home store with twenty dollars and no plan, you’ll know exactly what to grab.
Twenty-three ideas, not one needing a drill, a landlord’s permission, or more than twenty-five dollars. Pick the one that made you nod along — and enjoy cooking in a kitchen that finally feels like yours.
