25 Budget Bathroom Mirror Ideas That Instantly Upgrade the Space
When I redid my bathroom on a tight budget, the mirror was the last thing I thought about, and that was a mistake. A good mirror can make a small bathroom feel twice as big, bounce light into dark corners, and turn a plain vanity into something that looks designed. These Budget Bathroom Mirror Ideas That Instantly Upgrade the Space are all cheap, renter-friendly where possible, and doable in a weekend. You do not need a new vanity or new tiles. Start with the mirror, and the rest of the room follows.
1. Hang a Large Round Mirror to Double the Light
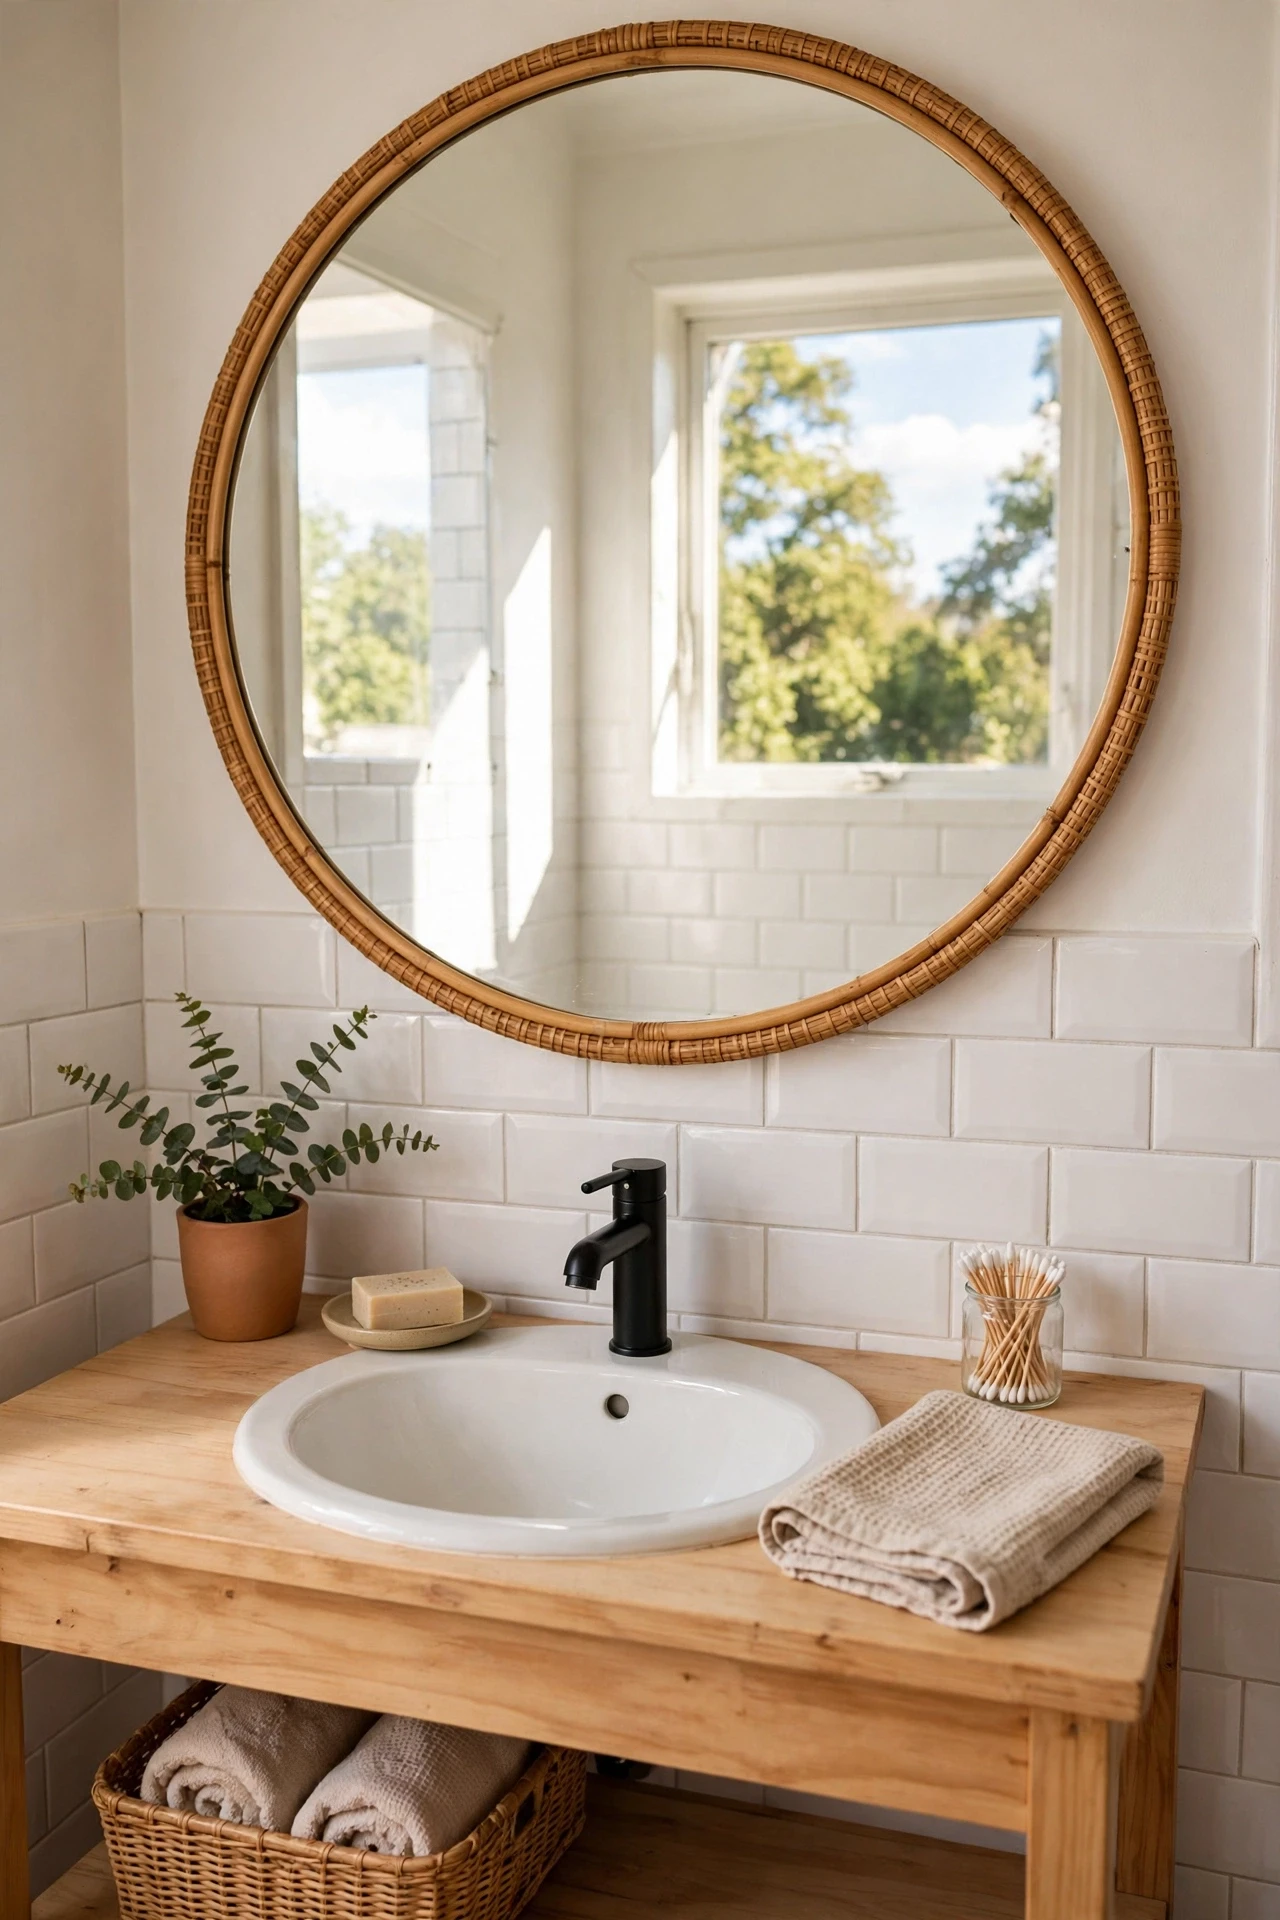
A large round mirror softens all the hard rectangles in a bathroom — the sink, the tiles, the cabinet — and bounces light across the room in a way a small square never does. Go as big as the wall allows, leaving at least a few inches clear on each side so it does not look squeezed in. Hang it centred over the sink at eye level, and check it from the doorway, not just up close. I swapped a tiny rectangle for a thirty-inch round mirror, and the room felt brighter the same afternoon. The mistake to avoid is hanging it too high, which cuts off your chin in the reflection.
Cost: ~$35 | Time: 30 minutes
Pro tip: If you are between sizes, go bigger — a mirror that is slightly too large looks generous, while one that is slightly too small looks like an afterthought.
2. Frame a Plain Builder Mirror With Wood Trim
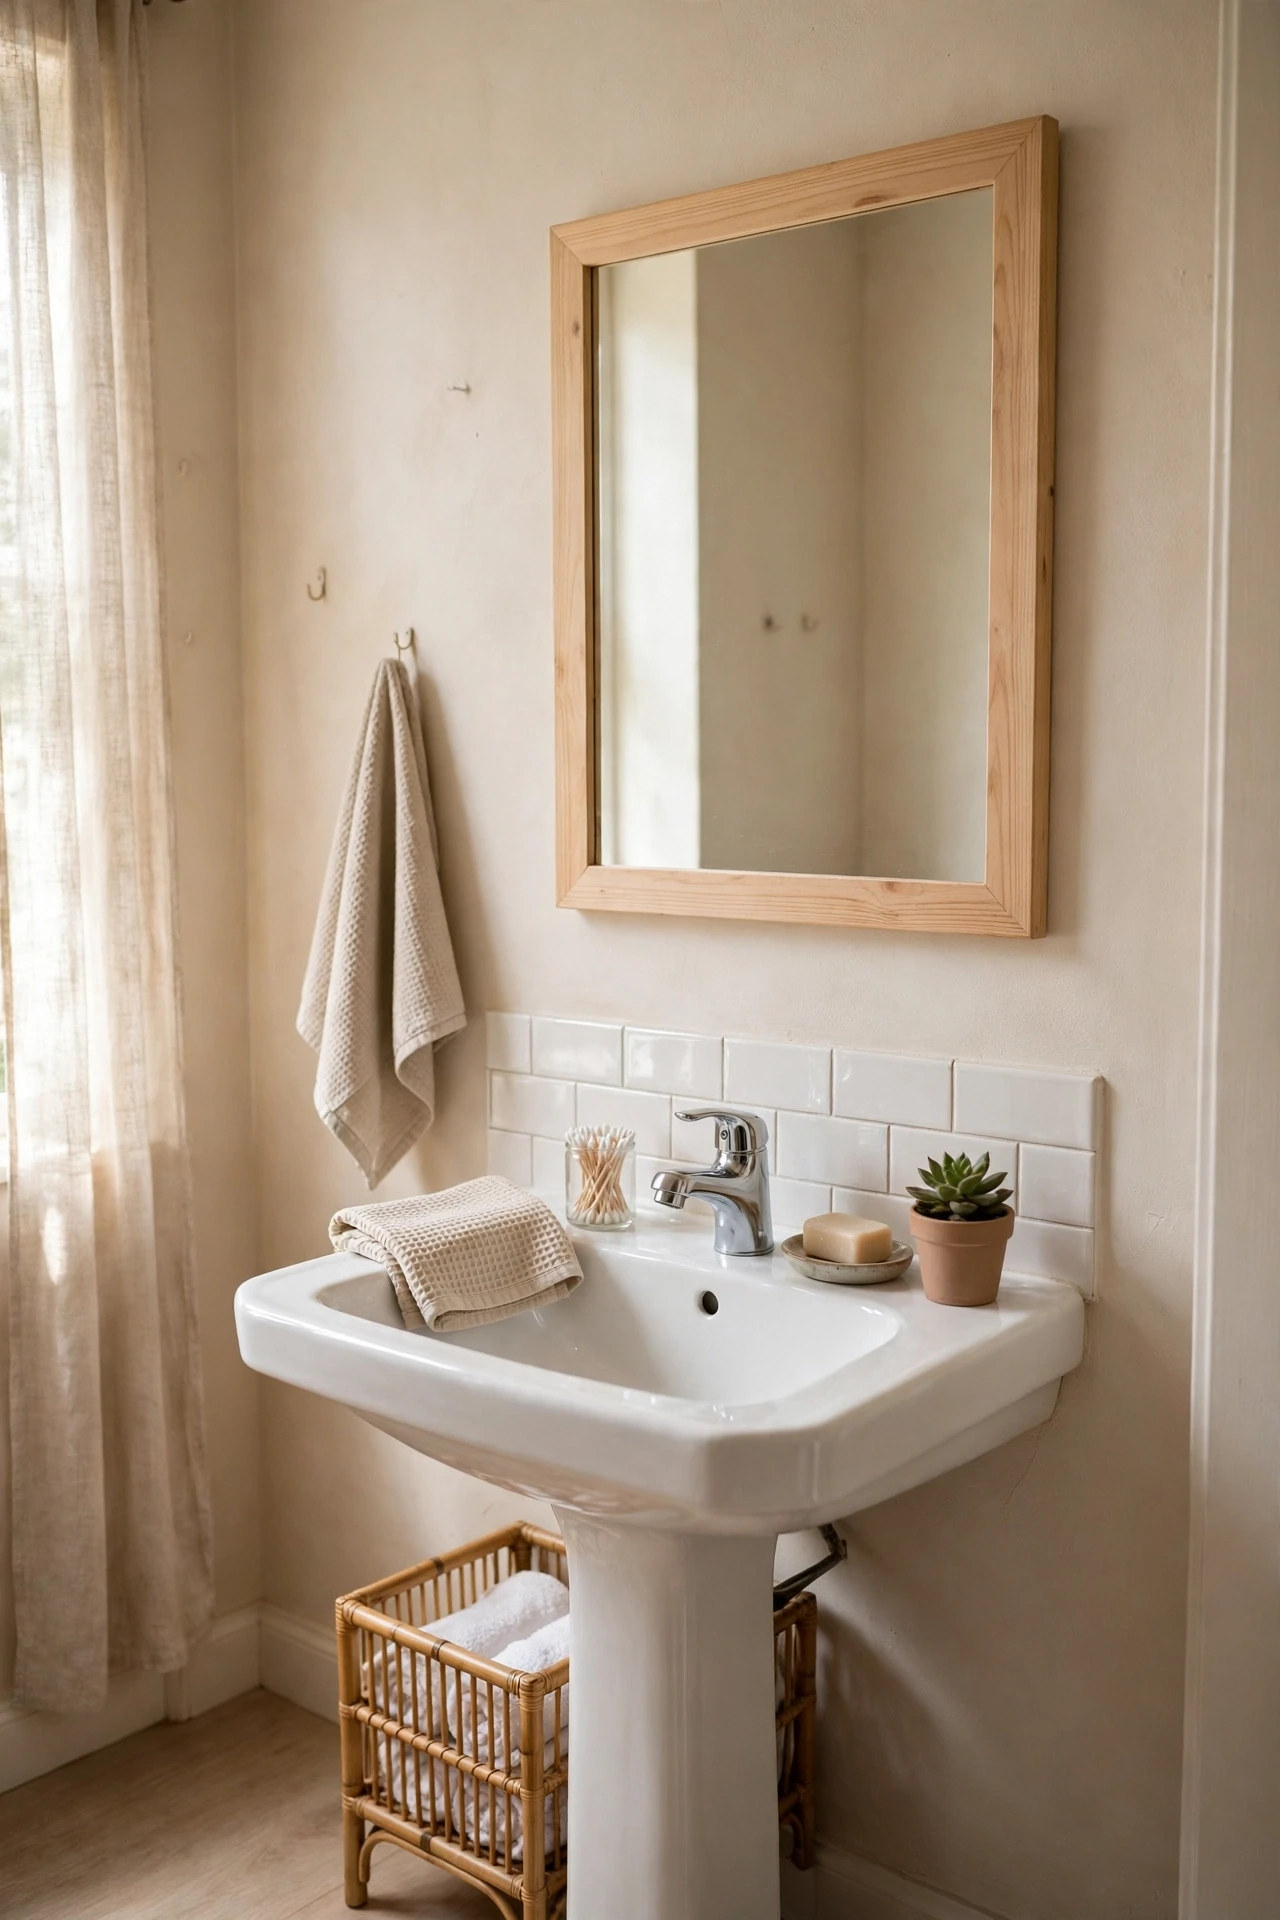
Most bathrooms come with a flat, frameless builder mirror glued to the wall, and wood trim is the cheapest way to make it look custom. Cut four pieces of thin pine or MDF to fit the edges, paint or stain them, and stick them on with mirror-safe adhesive. Mitre the corners if you can, or use simple butt joints for a modern look. Measure twice, since a gap at the corner ruins the whole effect. I framed mine in an afternoon with pre-cut trim from the hardware shop, and visitors assumed it was a new mirror entirely.
Cost: ~$18 | Time: 2 hours
💰 Budget win: Trim and adhesive cost less than a tenth of a new framed mirror, and the old mirror stays put.
3. Add Peel-and-Stick Gold Trim for Instant Glamour
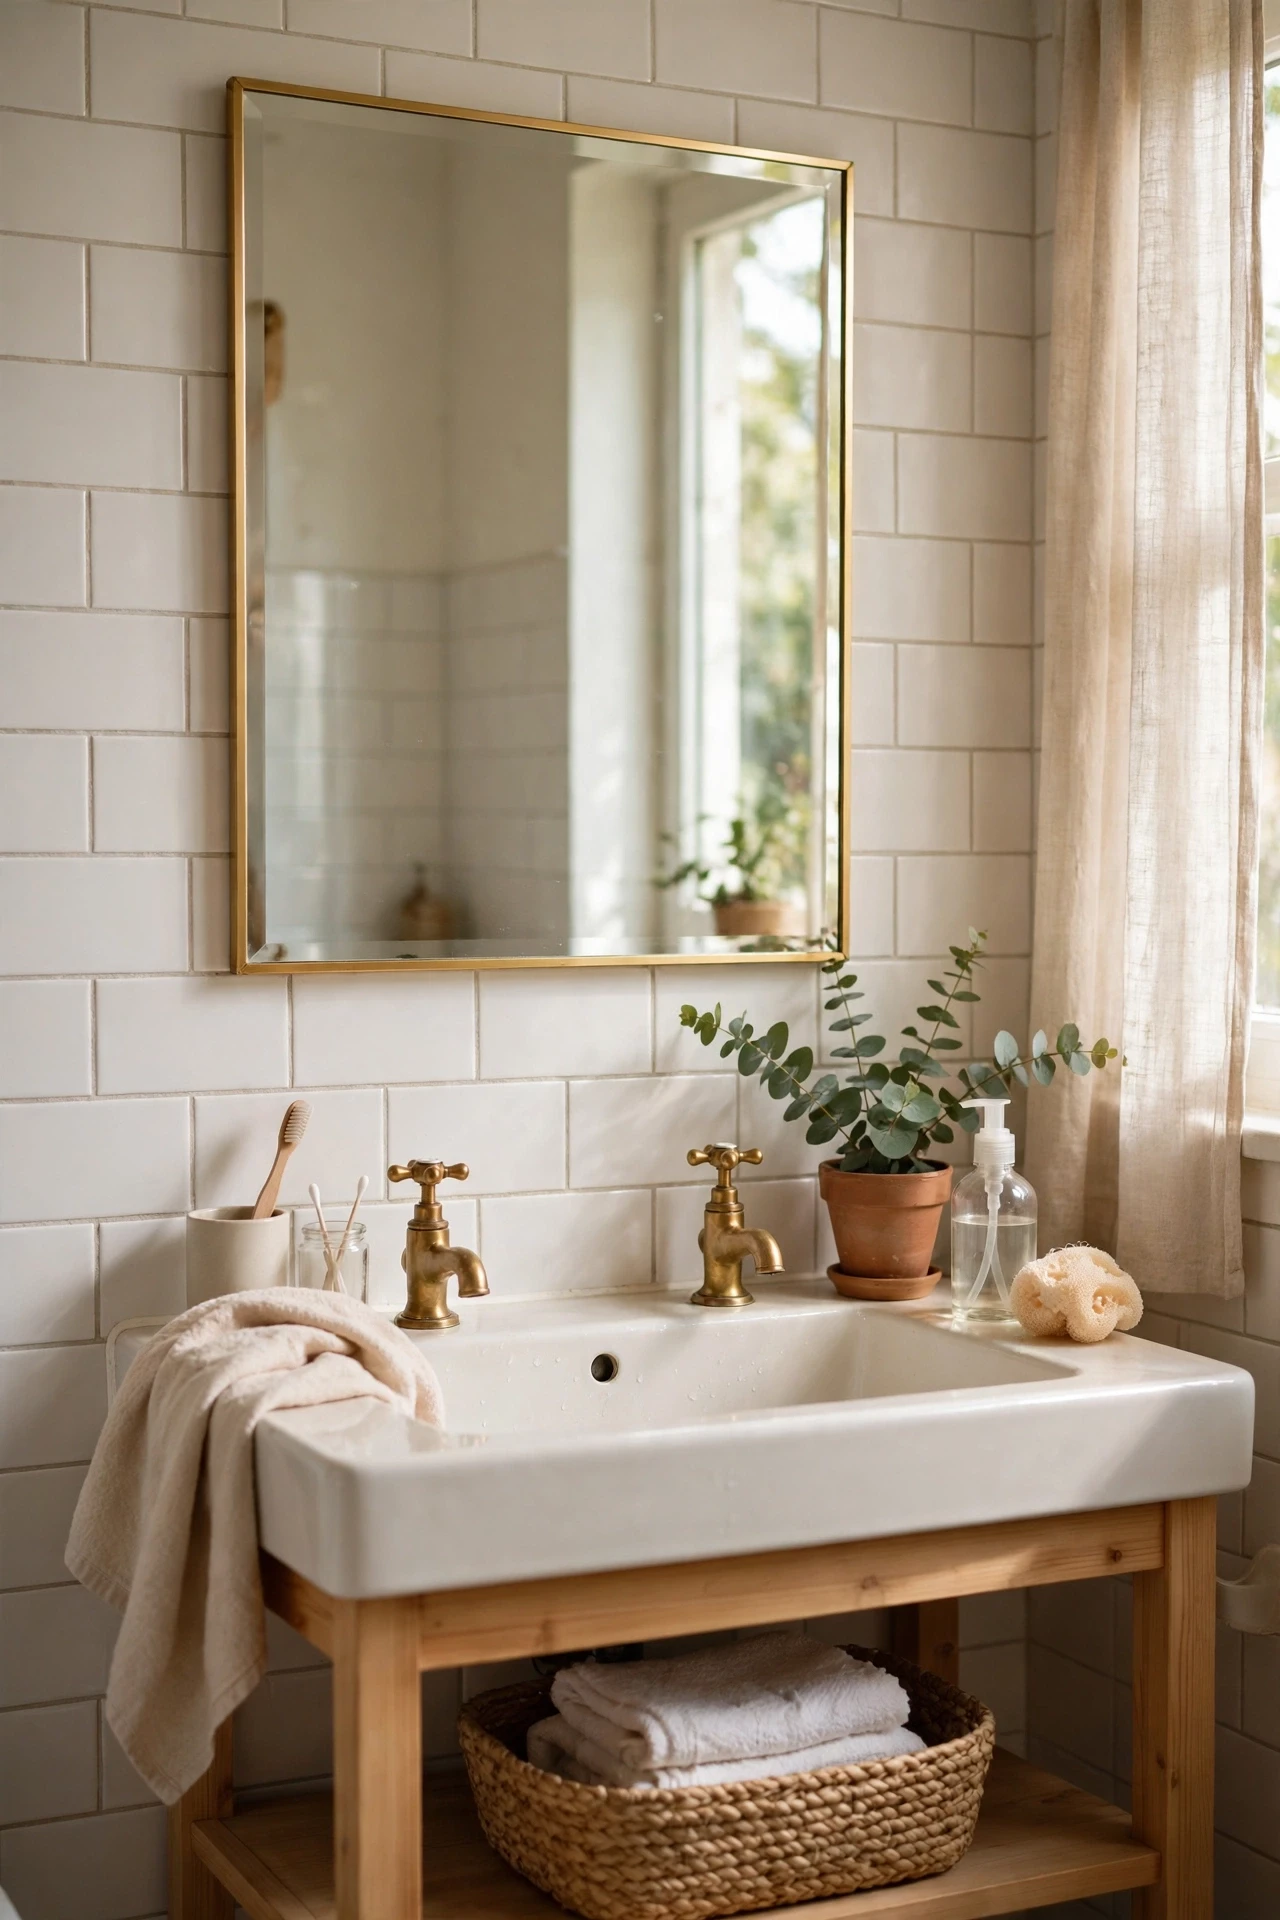
Peel-and-stick metallic trim is the fastest glamour upgrade for a plain mirror, and it peels off cleanly when you move out. Run a thin gold or brass strip around the edge of the mirror, pressing firmly as you go and trimming the corners neatly with scissors. Keep the line straight by working in short sections rather than one long strip. It pairs beautifully with warm towels and brass taps. I used it in a rental and got my full deposit back, because the trim left no marks at all. Wipe the mirror edge first so the adhesive grips properly.
Cost: ~$6 | Time: 20 minutes
Pro tip: Warm gold suits cream and beige bathrooms, while silver trim suits cool grey and white ones — match the metal to your taps.
4. Layer a Small Decorative Mirror Over a Large One
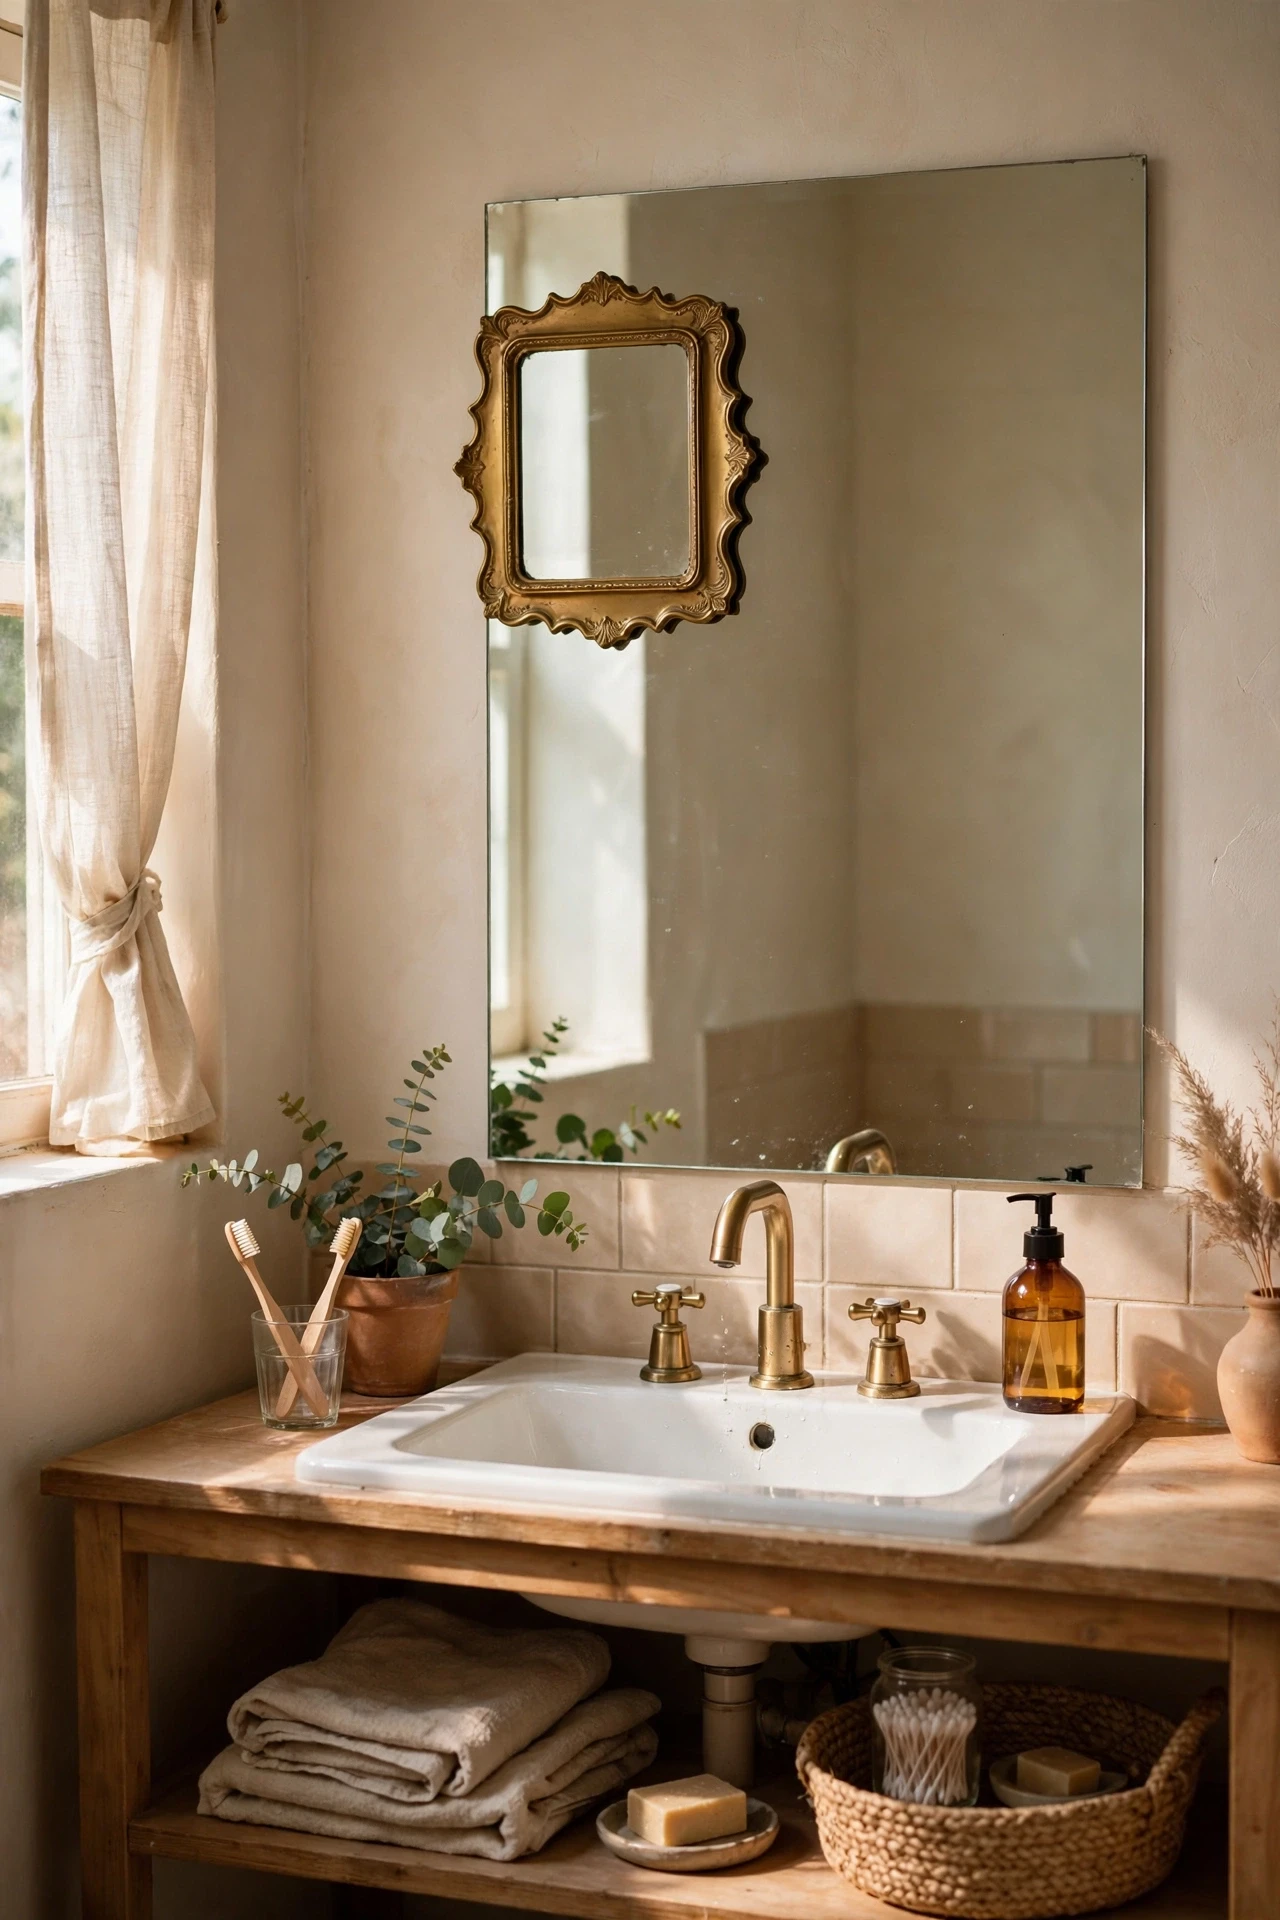
Layering sounds odd until you see it done well: a small shaped mirror hung slightly off-centre over a large plain one adds depth and a boutique-hotel feel. Use a lightweight decorative mirror on a suction hook or a small adhesive hanger, and keep the overlap modest so you can still use the main mirror. An arched or round shape over a rectangle works best. I tried this with a thrifted brass mirror, and it became the most photographed corner of the bathroom. The mistake to avoid is covering the centre, where you actually need to see yourself.
Cost: ~$14 | Time: 15 minutes
💰 Budget win: A thrifted small mirror plus a suction hook gives a layered designer look for the price of lunch.
5. Hang Your Mirror Opposite the Window
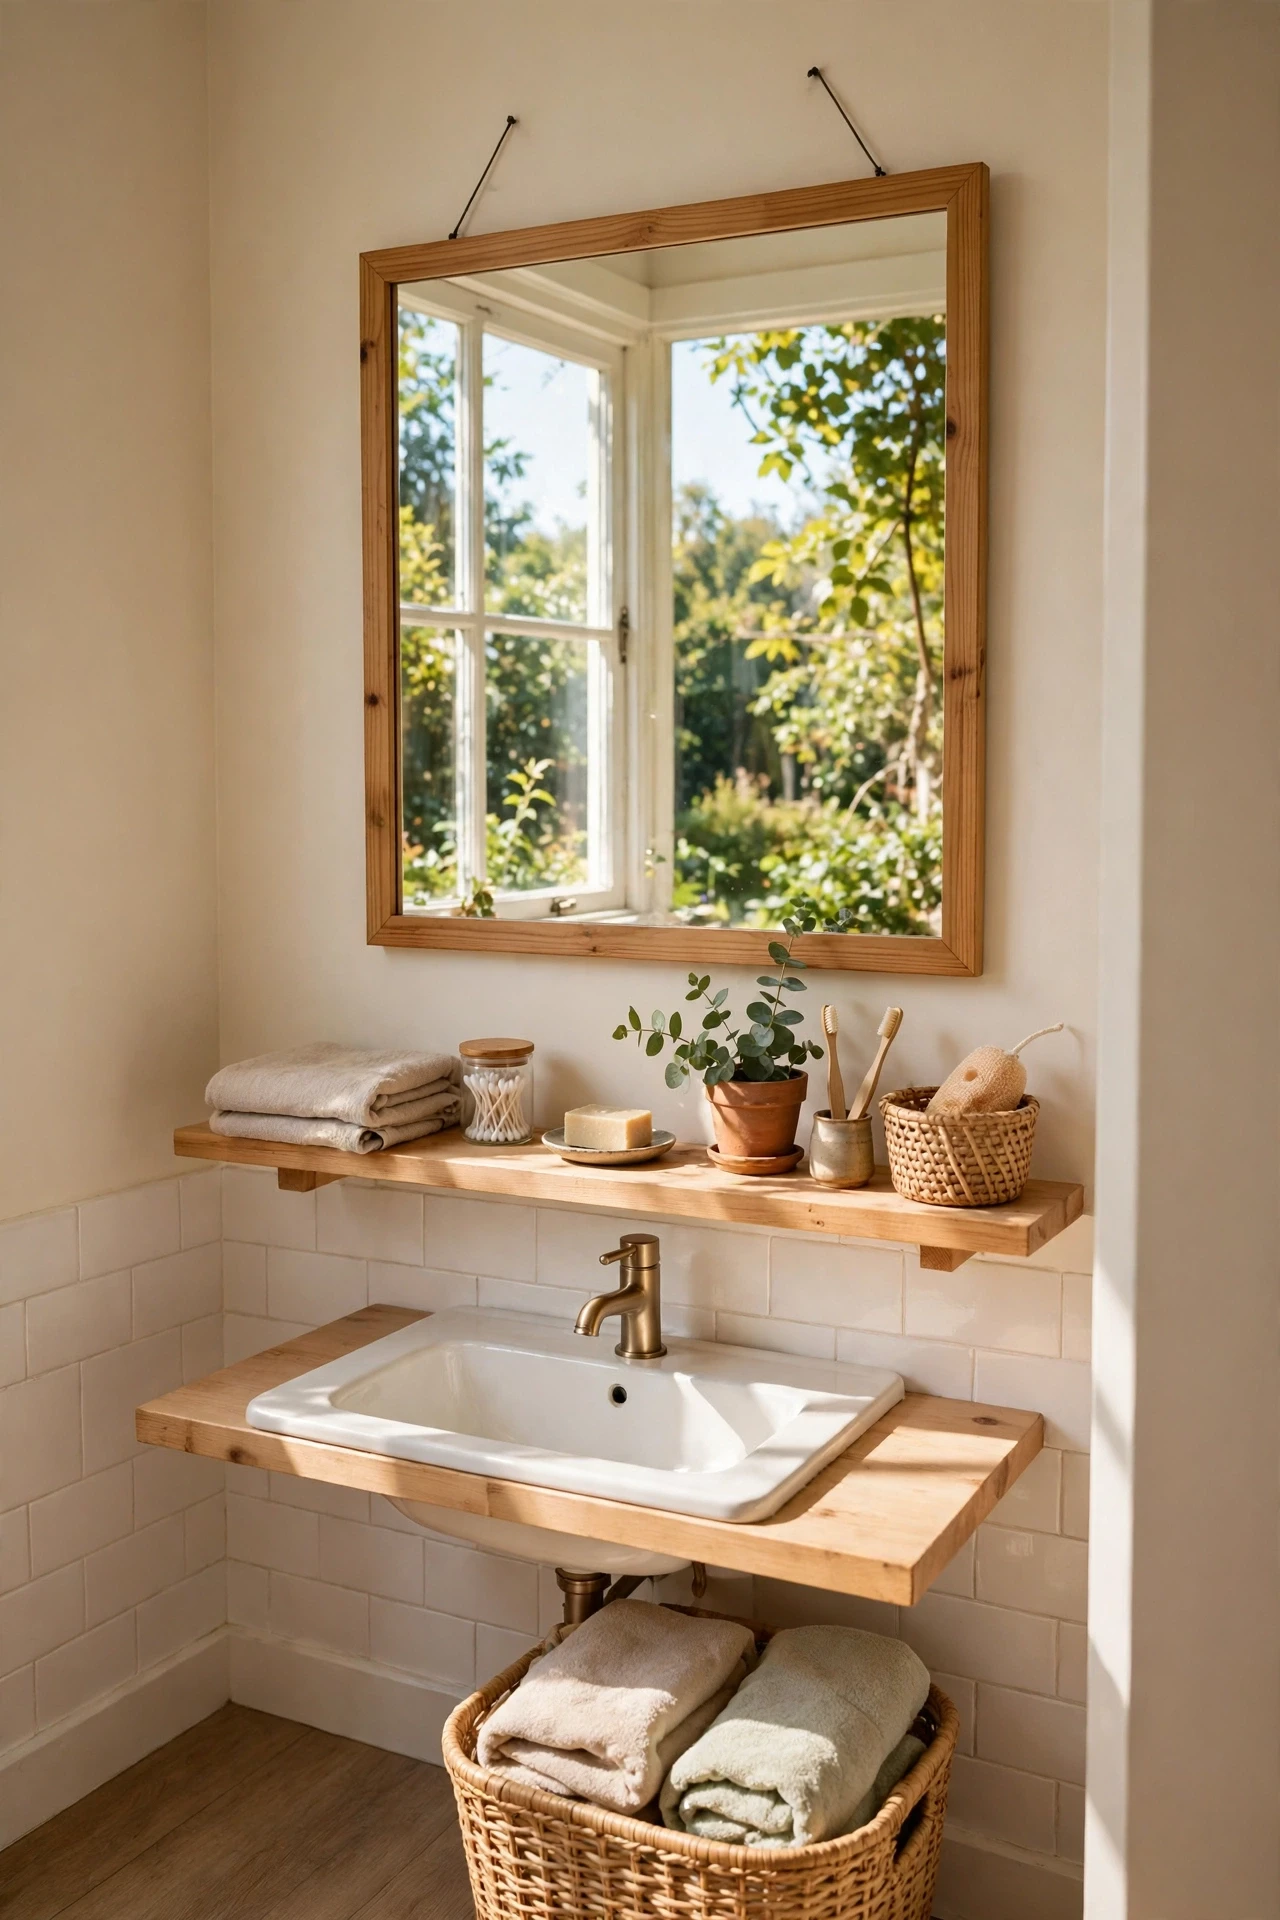
Placement costs nothing and changes everything: a mirror opposite a window doubles the daylight and the view, while a mirror on the same wall as the window does almost nothing. If your sink is not opposite the window, add a second small mirror on that wall instead of moving the plumbing. Stand in the doorway and check what the mirror reflects — a window view is ideal, a blank wall is a wasted chance. I moved a mirror six feet across a bathroom once, and the room went from gloomy to bright without spending a penny.
Cost: ~$0 | Time: 30 minutes
Pro tip: If there is no window, hang the mirror opposite the brightest light or a piece of art so it reflects something worth doubling.
6. Add Warm Puck Lights Around the Frame
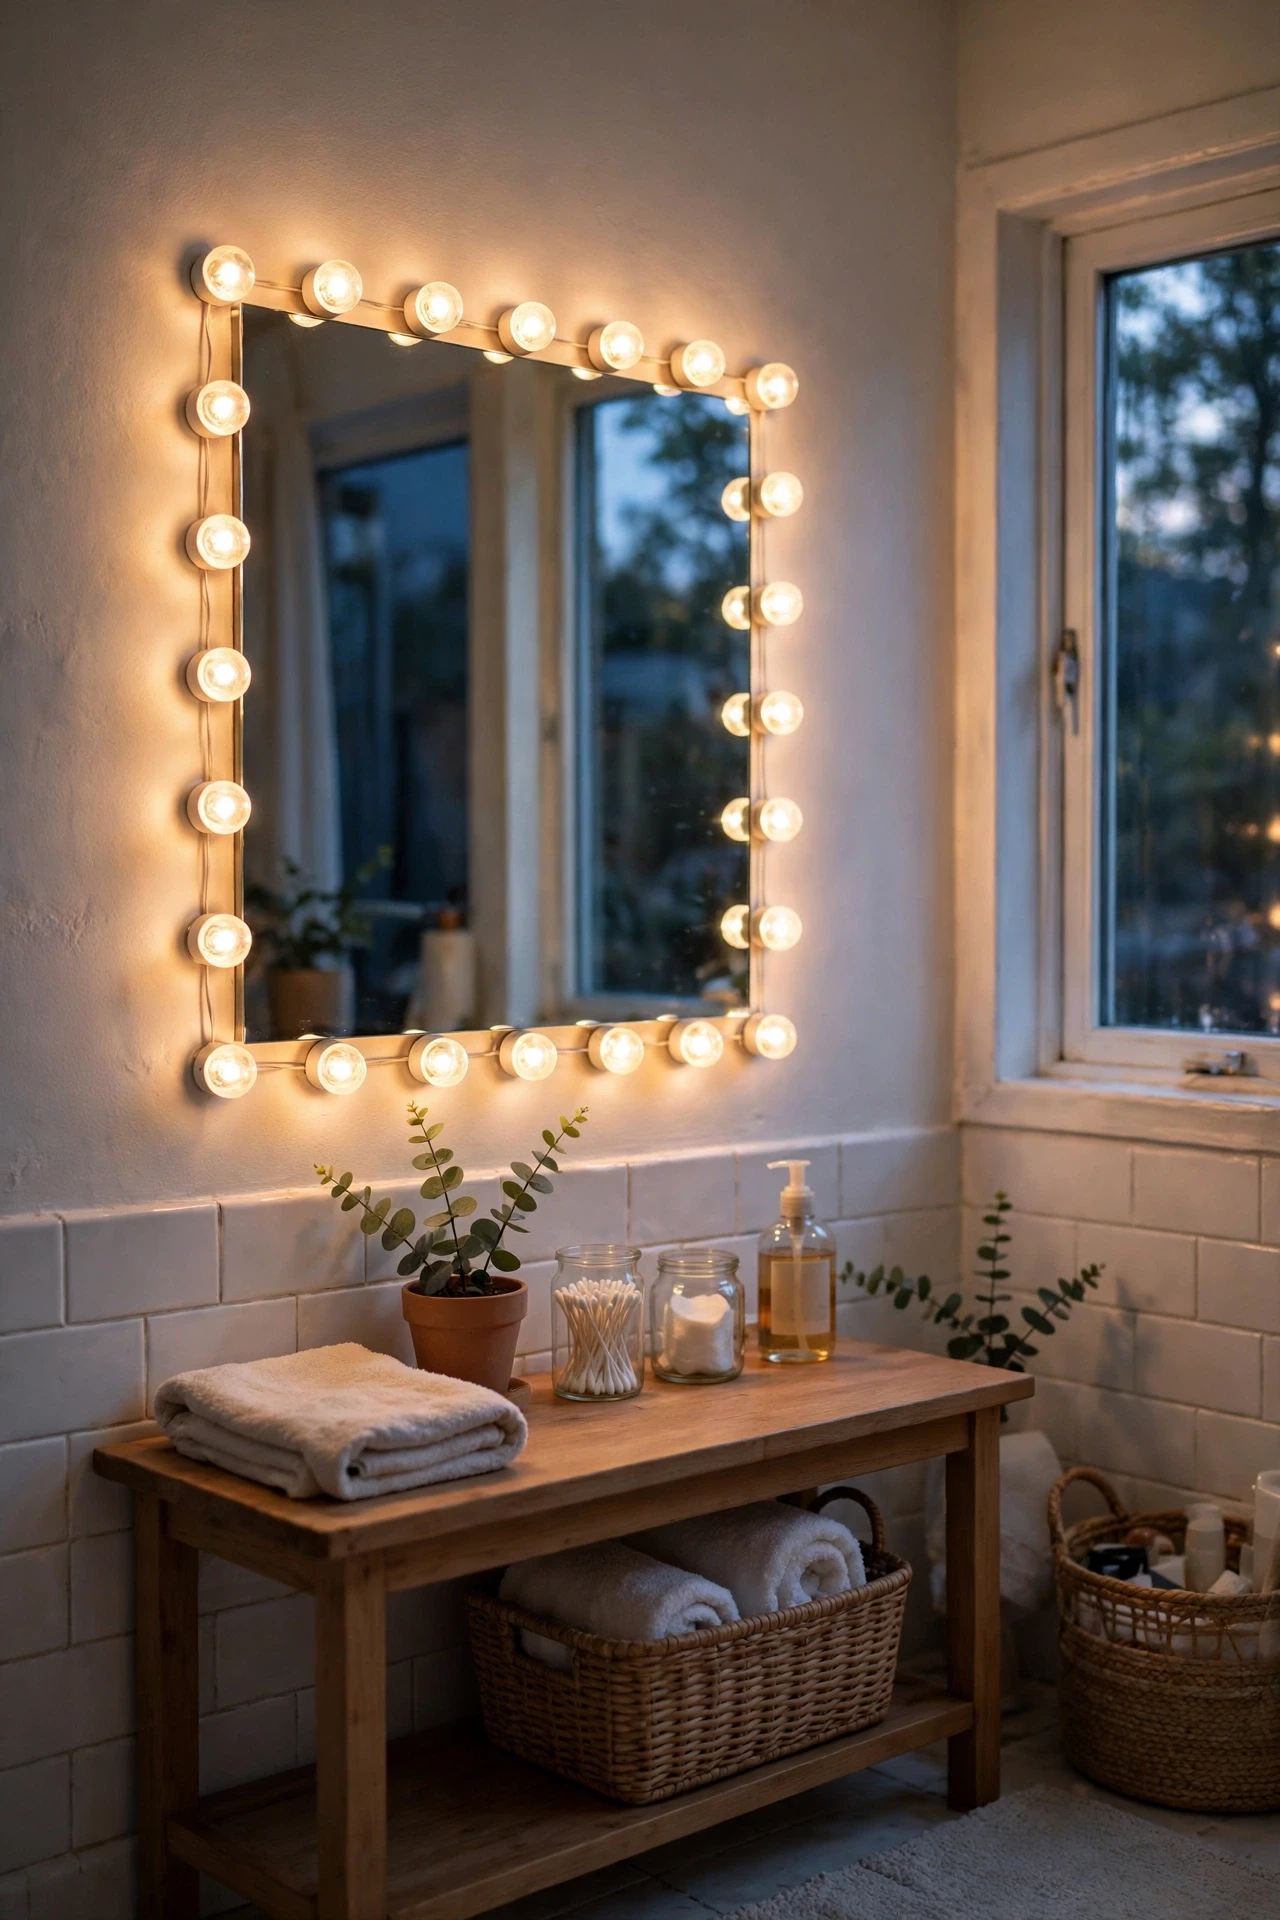
Battery puck lights stuck around a mirror frame give you soft, even face lighting without any wiring, which is perfect for rentals and old houses. Space four to six lights evenly around the frame, use warm white rather than harsh daylight bulbs, and keep them off the glass itself so they do not glare. Remote-controlled pucks let you dim them for evening baths. I added these before a party and guests asked if I had installed new wiring, when all I had done was stick on six lights. Change the batteries together so they dim evenly.
Cost: ~$12 | Time: 20 minutes
💰 Budget win: A pack of battery pucks costs less than one electrician call-out and needs no holes in the wall.
7. Swap a Rectangle for a Soft Arched Mirror
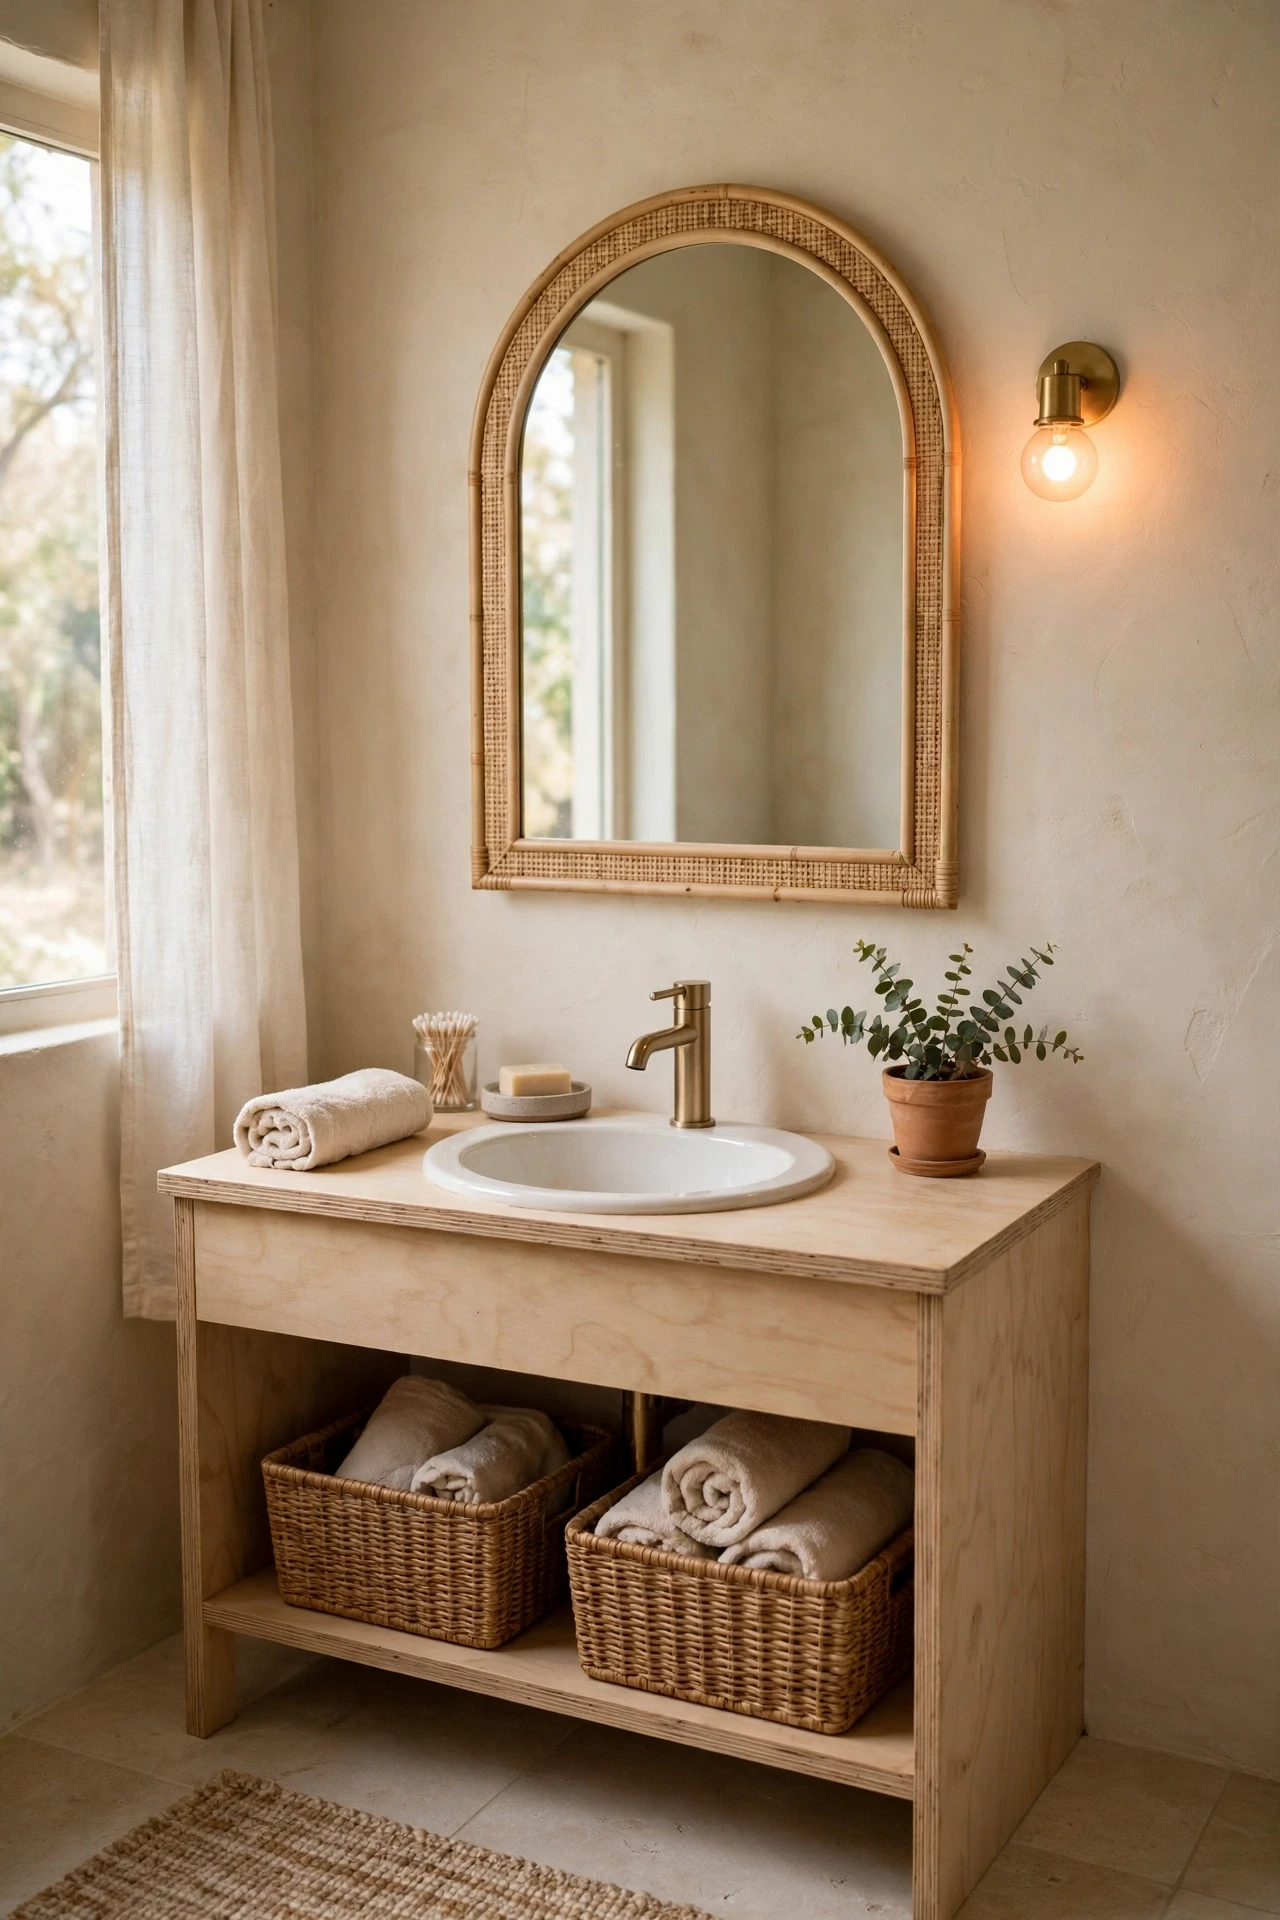
An arched mirror breaks up all the straight lines in a bathroom and adds a gentle, expensive-looking curve for very little money. Arched mirrors are widely available now at budget prices, especially in smaller sizes that suit a single sink. Hang it so the arch sits above eye level, with the flat bottom near the splashback. It pairs well with round basins and curved taps. I swapped a harsh rectangle for an arch and the whole vanity area felt calmer, almost like a spa corner. For more vanity styling, see my (see also: budget-bathroom-vanity-ideas) roundup.
Cost: ~$30 | Time: 30 minutes
Pro tip: Keep the wall around an arched mirror plain — busy wallpaper fights the curve and makes the room look cluttered.
8. Hang a Mirror From a Leather Strap
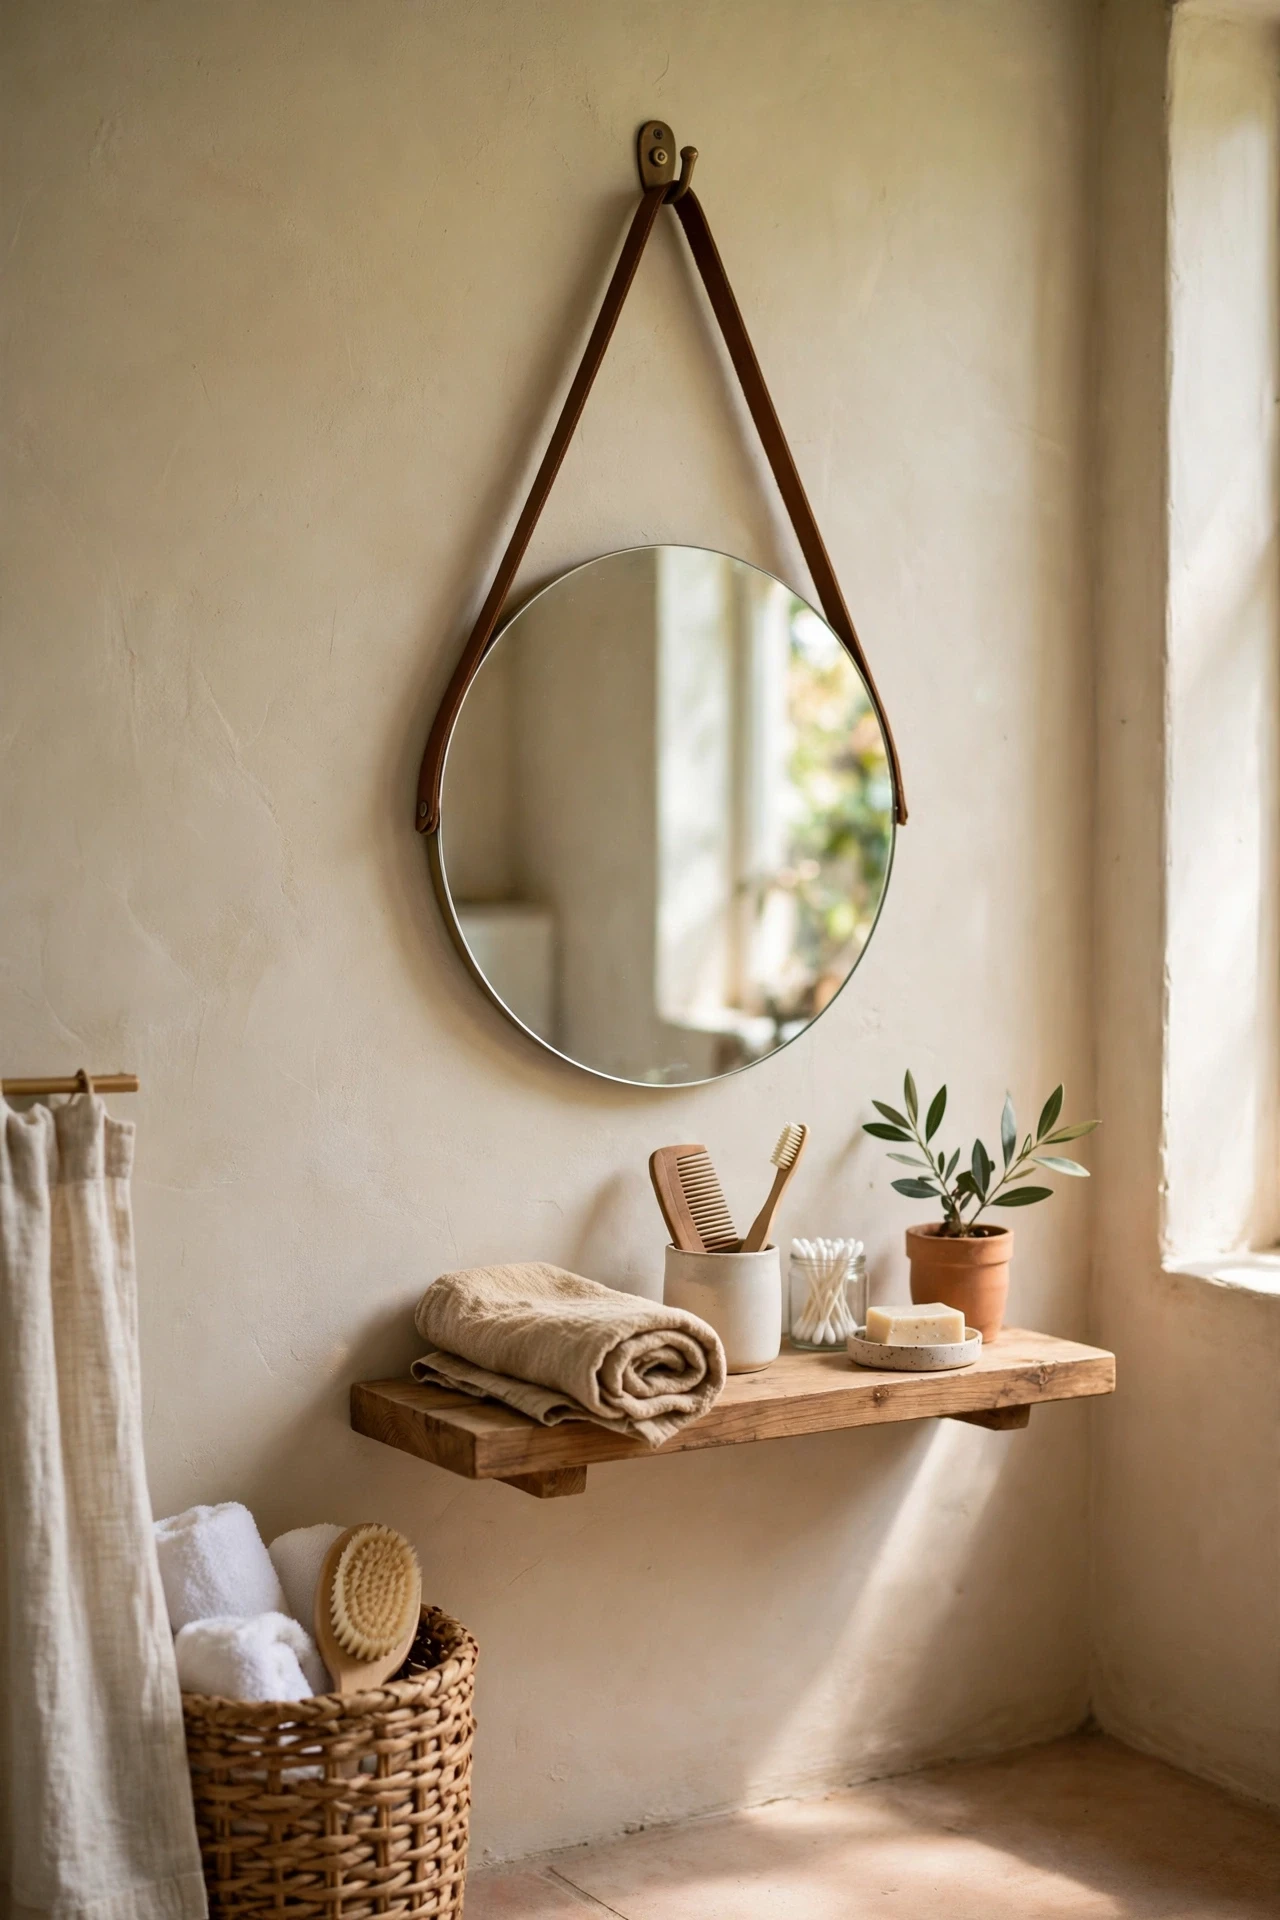
A round mirror hung from a leather strap looks like something from a design shop, but you can make it with a thrifted mirror and a belt. Loop a leather strap or a wide belt through a hook, attach the ends to the back of the mirror, and hang the loop from a single wall hook. The strap adds warmth and texture that a metal chain never gives. Make sure the hook is anchored into a stud or a proper wall plug, since mirrors are heavier than they look. I used an old belt and a ten-dollar mirror, and it still gets compliments years later.
Cost: ~$15 | Time: 30 minutes
💰 Budget win: An old belt and a plain round mirror beat a store-bought hanging mirror that costs five times as much.
9. Turn a Vintage Window Frame Into a Mirror
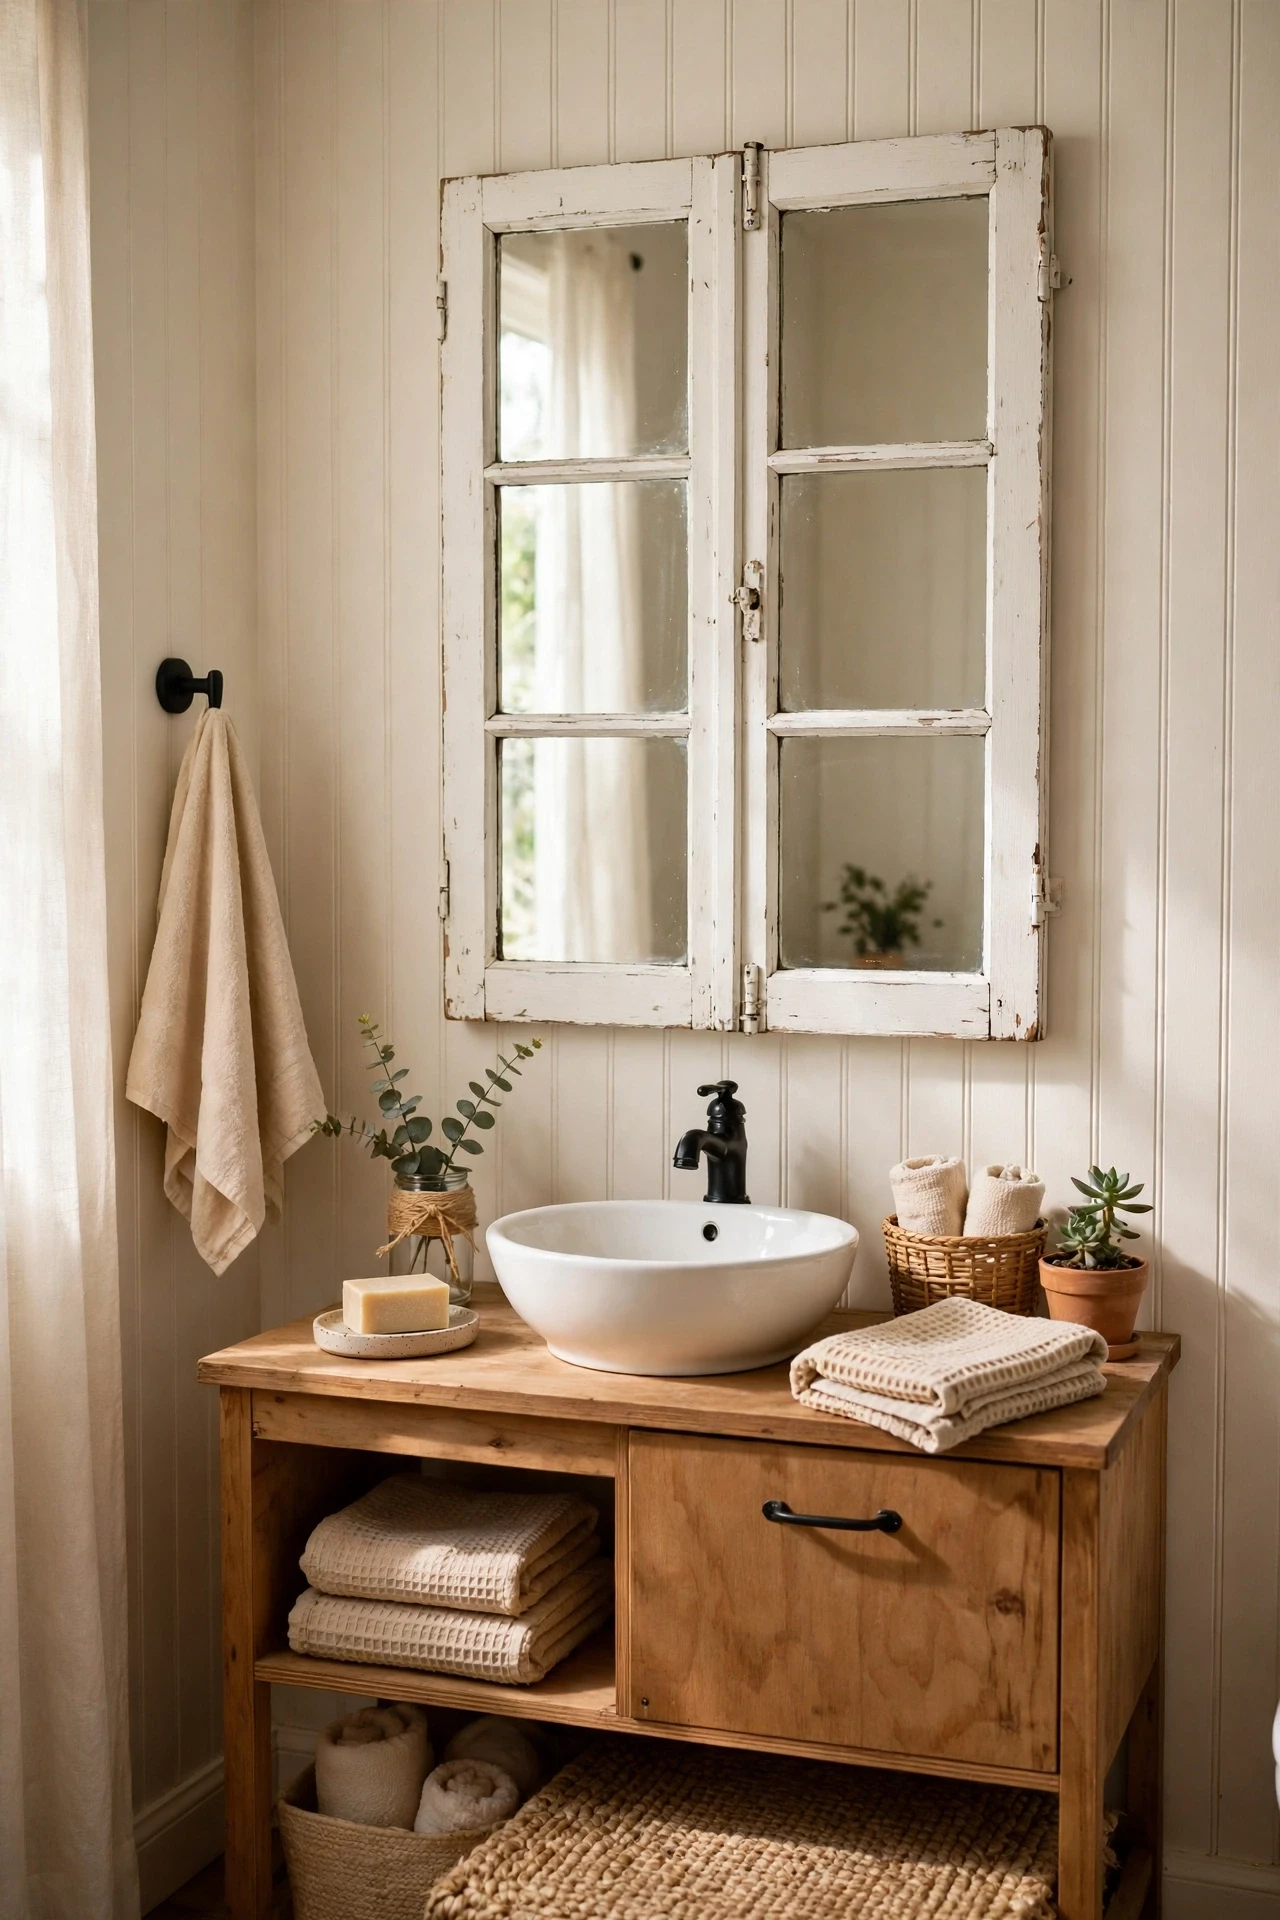
A vintage window frame with mirror panes instead of glass turns a bathroom wall into a feature, and thrift shops sell old frames for very little. Have a glazier cut mirror pieces to fit, or buy a mirrored window-style mirror ready-made if cutting sounds like too much work. Paint the frame white, sage, or matte black to match the room, and hang it securely with two hooks. The divided panes reflect light in interesting ways and hide water spots better than one big sheet. Check the frame for rot before buying, since damp wood will not hold screws.
Cost: ~$40 | Time: 2 hours
Pro tip: Seal a painted vintage frame with clear varnish, since bathroom steam peels ordinary paint within months.
10. Add a Slim Shelf Under the Mirror
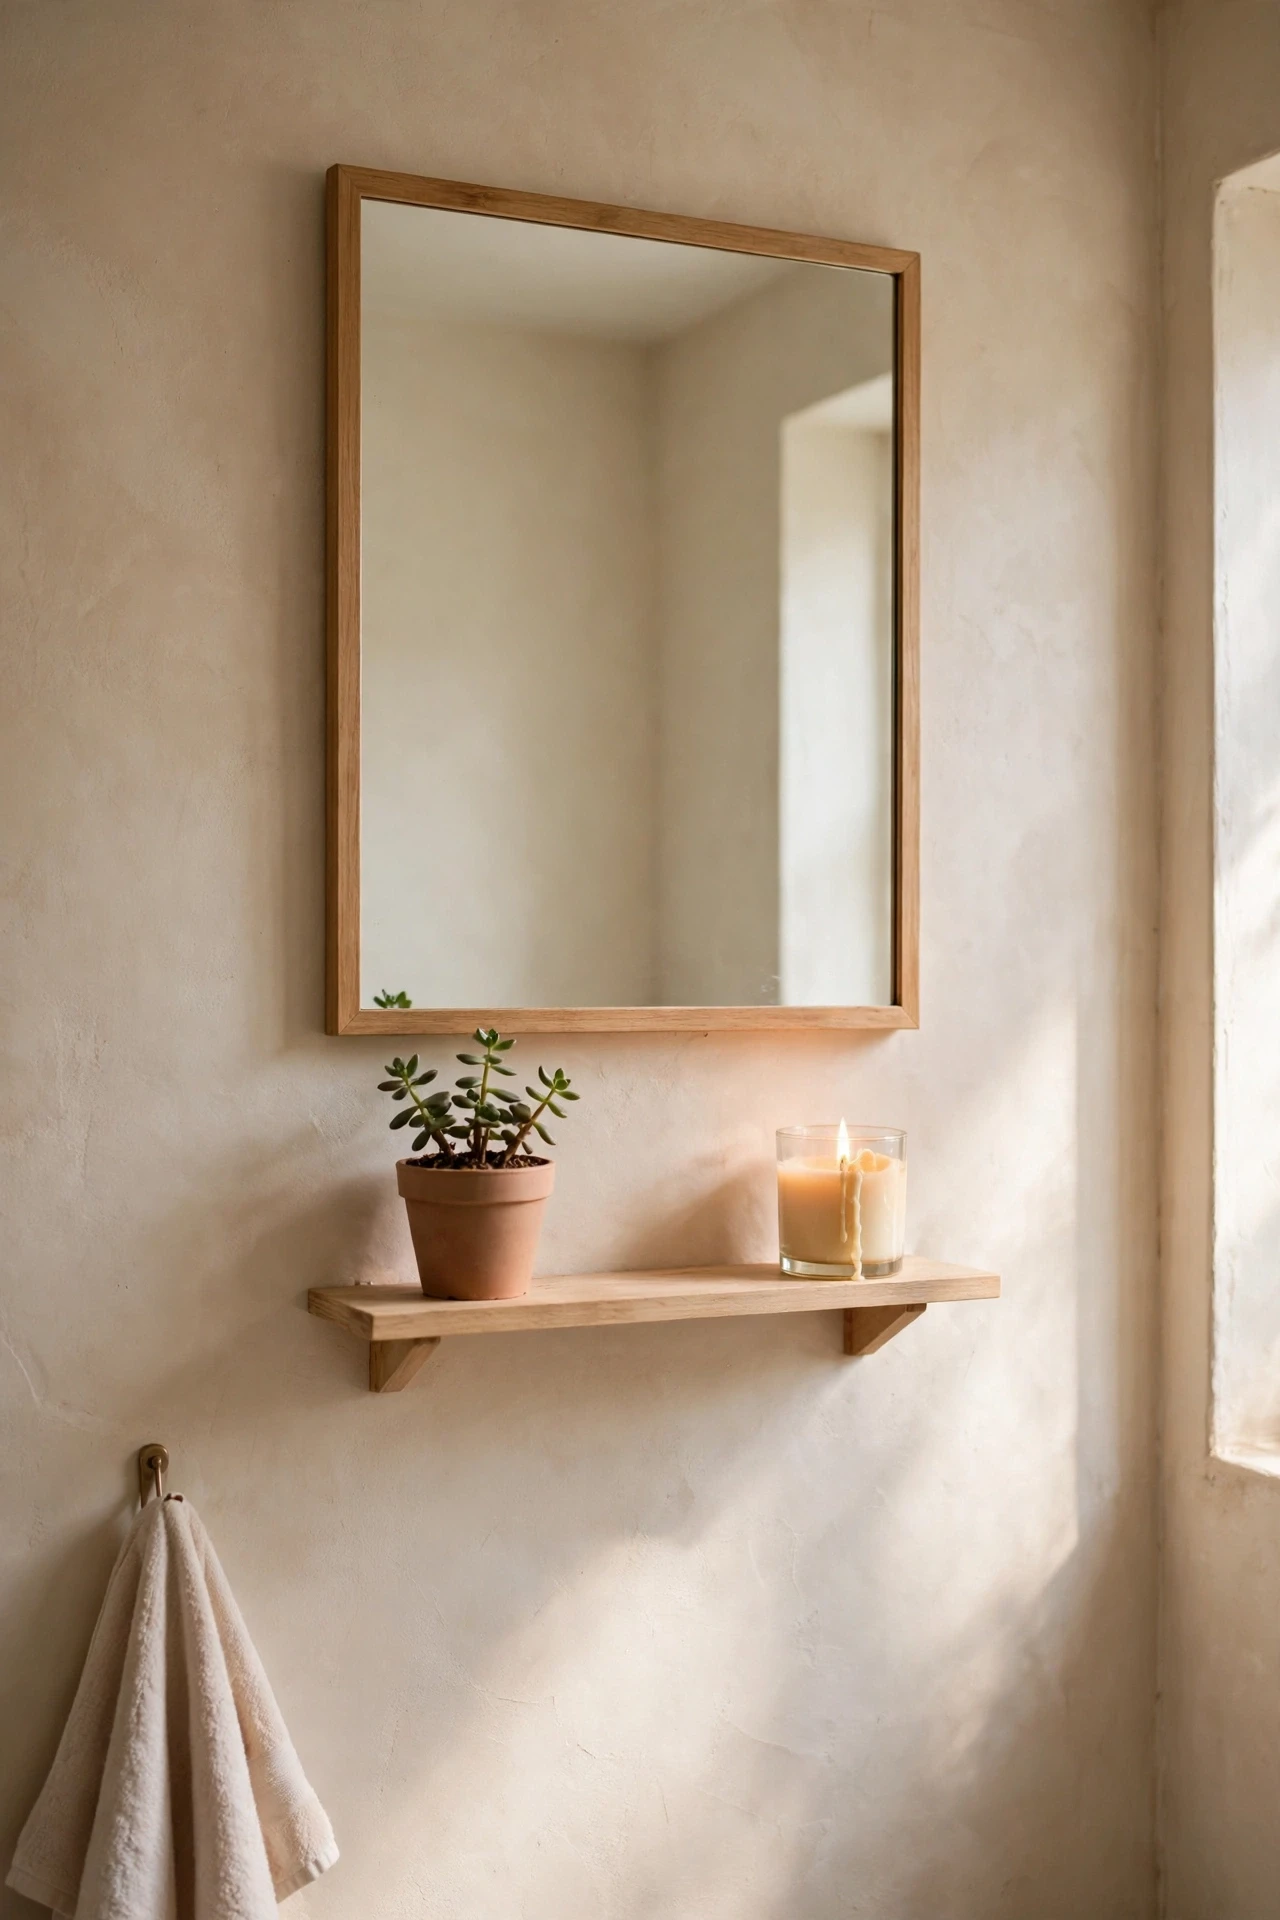
A slim shelf mounted just under the mirror keeps daily essentials within reach and frees the sink edge from clutter. Choose a shelf no deeper than four inches so you do not bump your head, and mount it a few inches below the mirror frame. Keep only the prettiest items on it — a small plant, a candle, your favourite serum — and hide the rest in a cabinet. I added a shelf and suddenly the sink stayed clear, because everything had a home. Save this idea for your bathroom organisation board, since it is the cheapest clutter fix on this list.
Cost: ~$16 | Time: 45 minutes
💰 Budget win: One shelf replaces a countertop organiser and a wall cabinet, and it makes the mirror look built in.
11. Paint the Existing Frame Matte Black
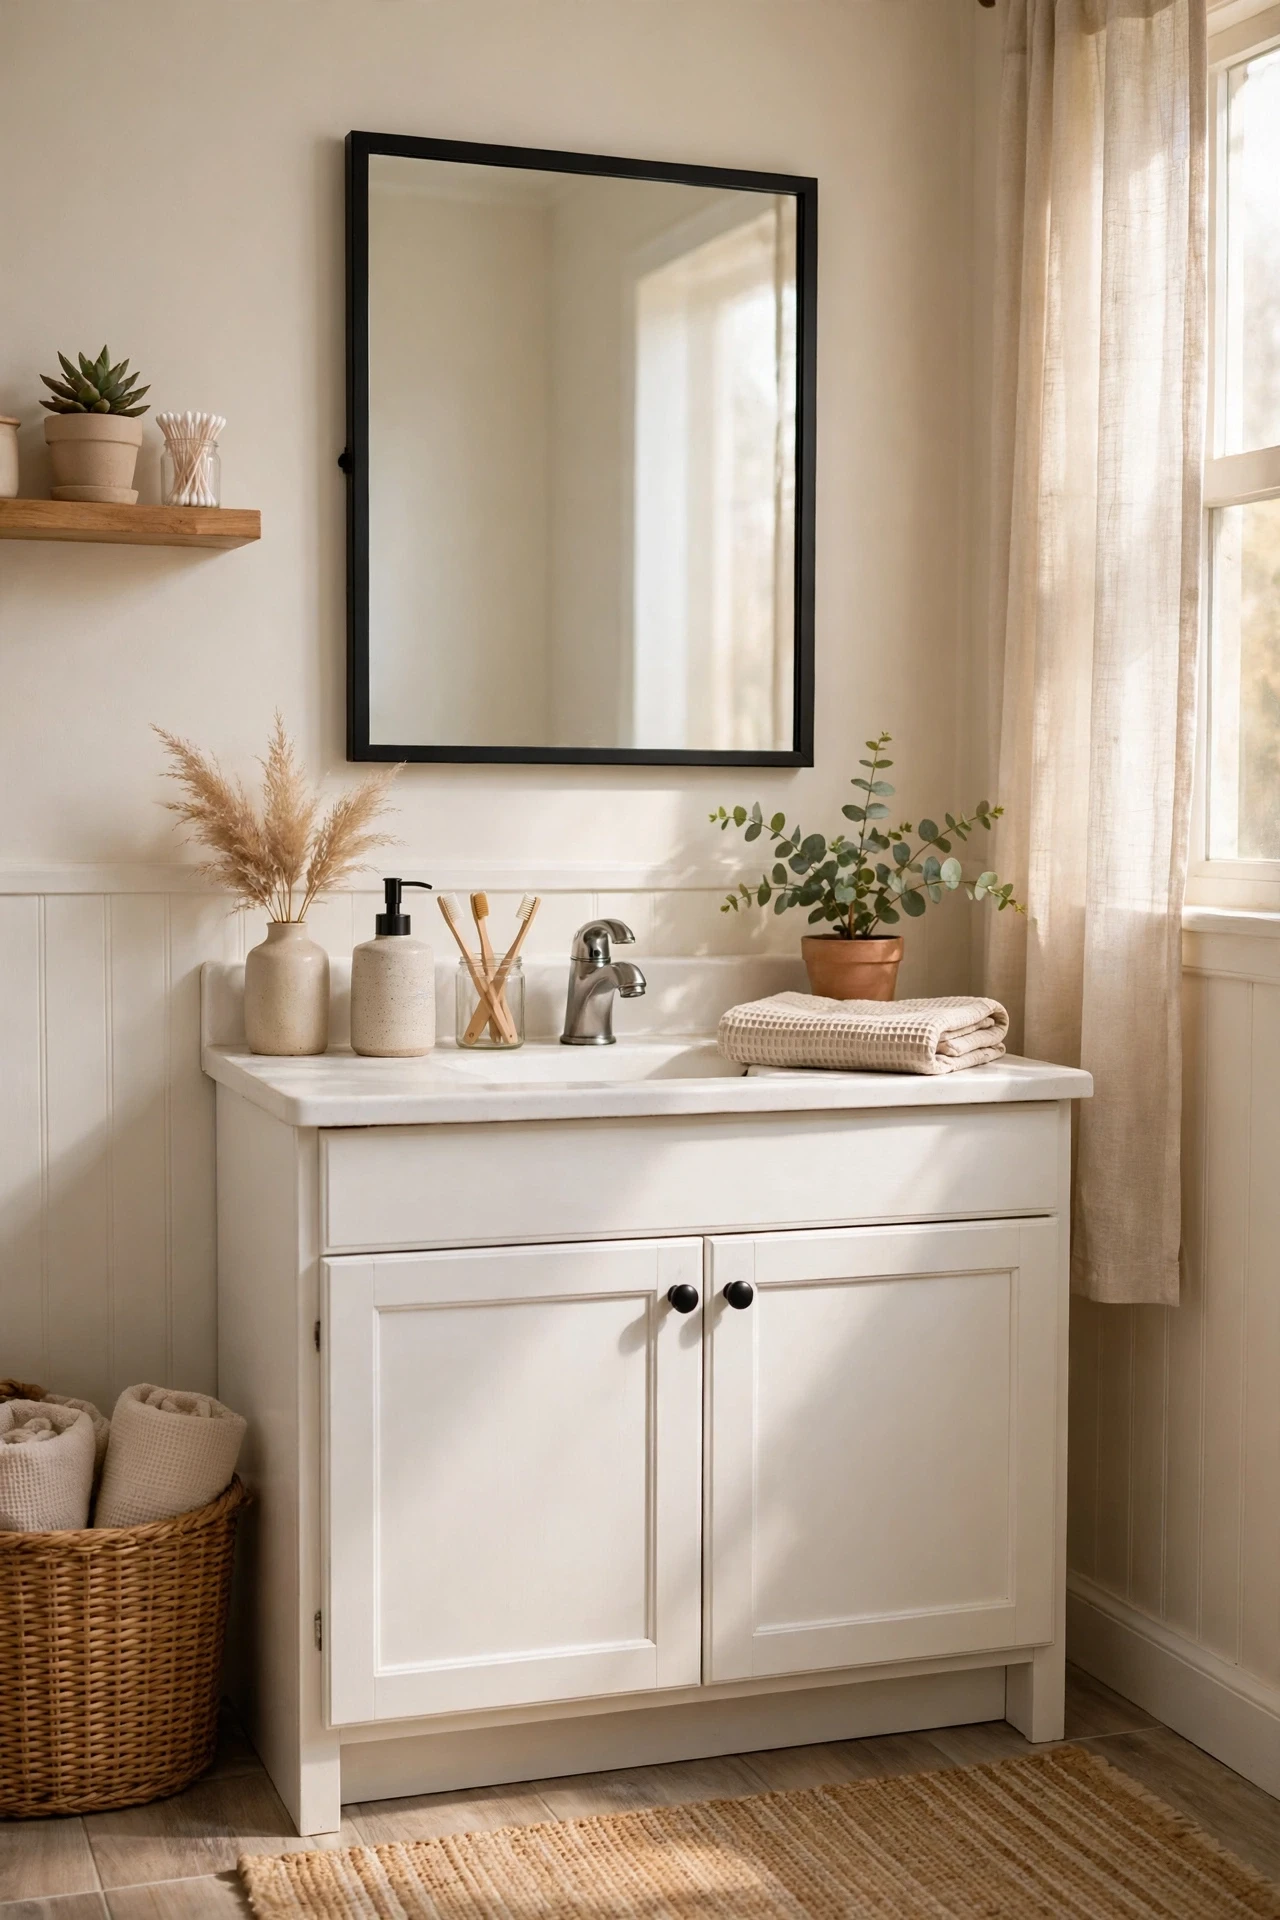
A dated gold or pine mirror frame can look brand new with a coat of matte black spray paint, and it is the easiest refresh on this list. Remove the mirror from the wall, clean the frame, lightly sand it, and spray two thin coats in a well-ventilated space. Let each coat dry fully, since thick wet paint drips and shows brush marks. Matte black suits almost every bathroom style, from modern to farmhouse, and pairs with black taps or black hardware. I painted a shiny brass frame I hated, and it looked like a different mirror the same day.
Cost: ~$8 | Time: 1 hour
Pro tip: Mask the mirror glass with painter’s tape and newspaper before spraying — overspray on glass is a pain to scrape off.
12. Hang Twin Matching Mirrors Over a Double Sink
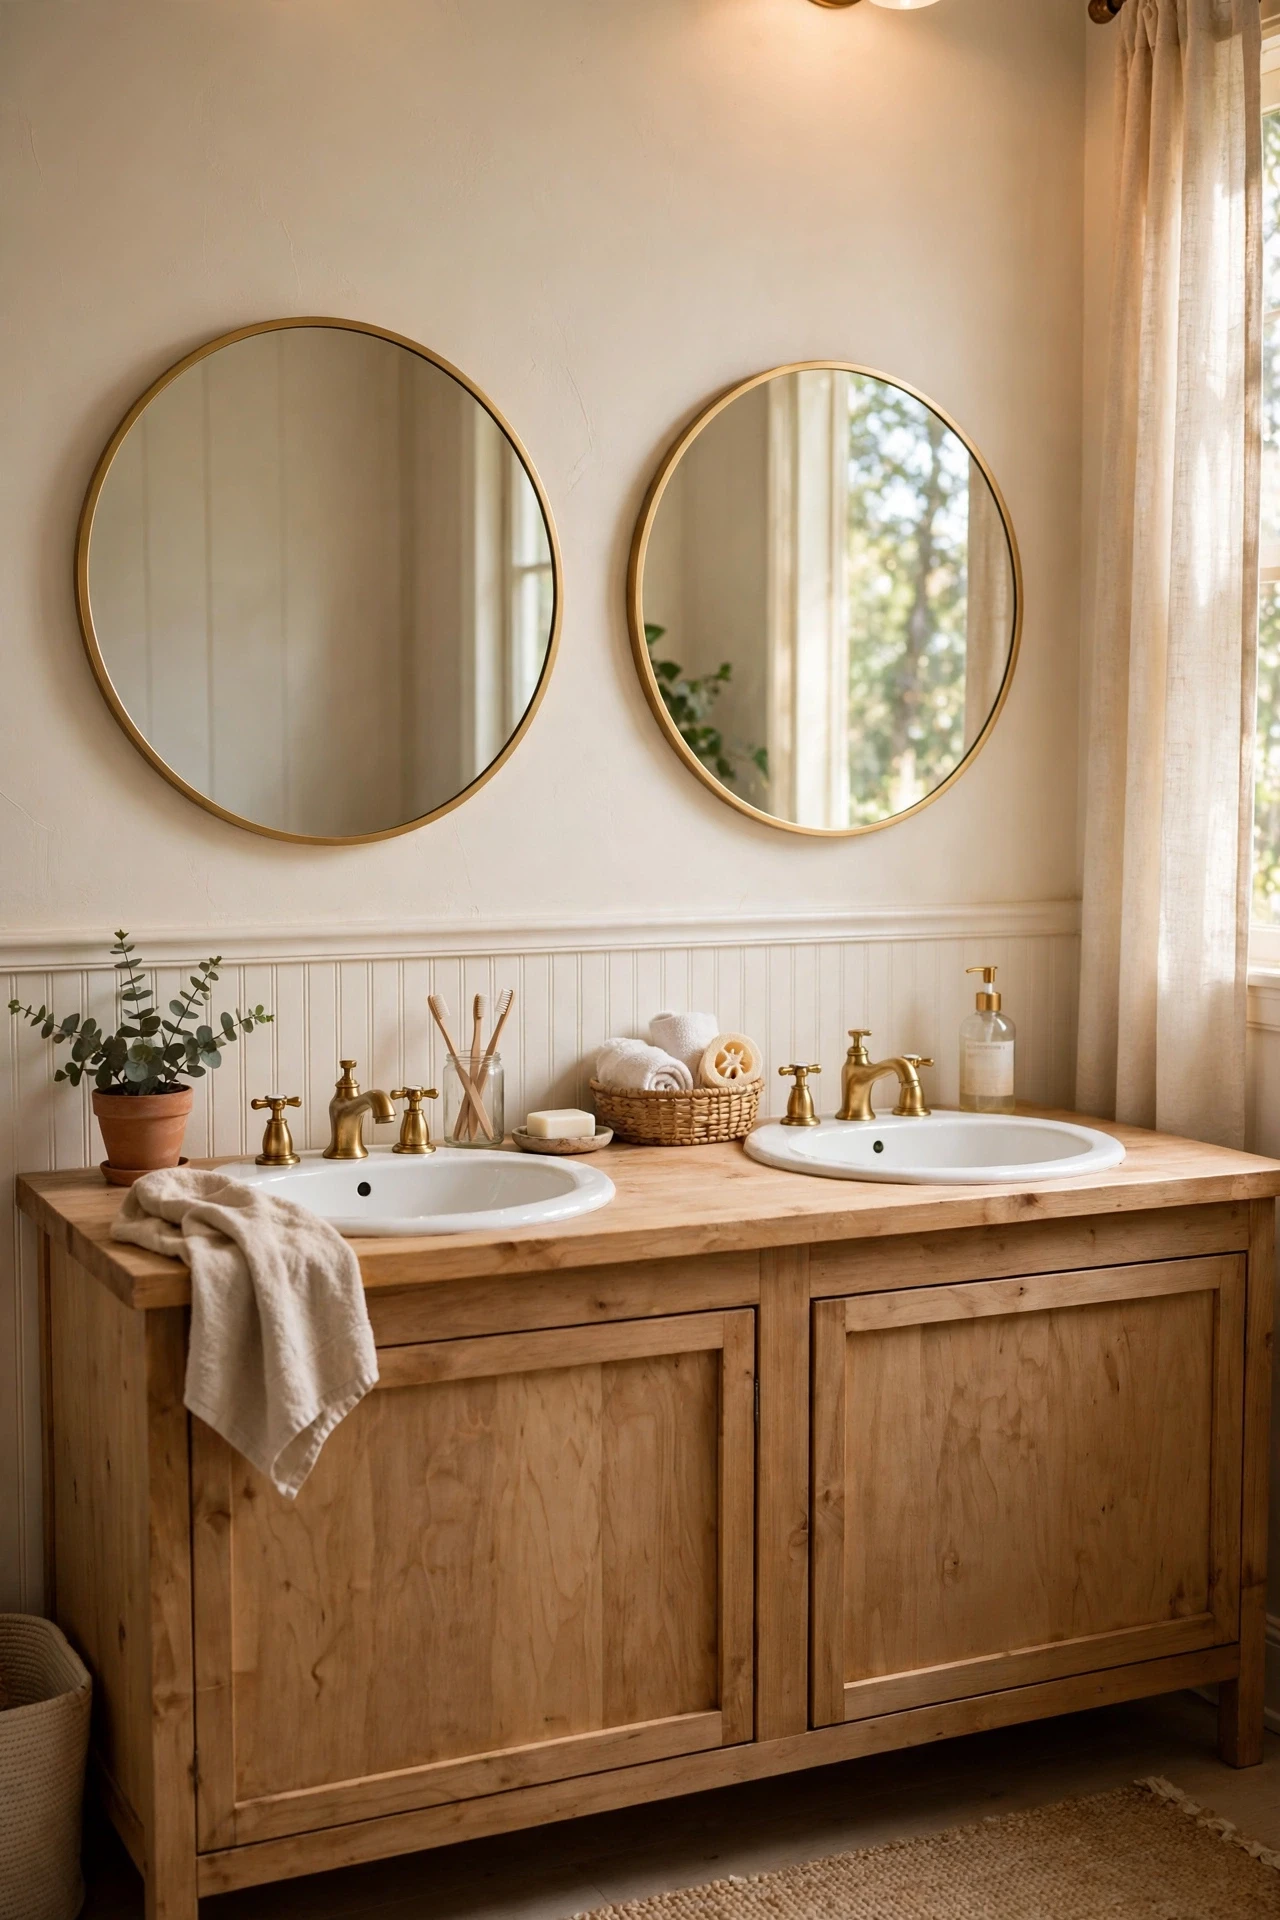
One long mirror over a double sink makes two people share one reflection, while twin matching mirrors give each sink its own focal point. Hang one centred over each basin, at the same height, with a small gap between them for a sconce or a small shelf. Matching mirrors look intentional, while mismatched ones look like a mistake. Measure from the centre of each sink, not from the wall edges, since vanities are rarely perfectly centred. I did this in a shared bathroom and the morning routine got noticeably calmer, because nobody was jostling for mirror space.
Cost: ~$50 | Time: 1 hour
💰 Budget win: Two budget mirrors cost less than one wide custom mirror, and you can replace one later without redoing both.
13. Add a Swing-Arm Magnifying Mirror Beside the Main One
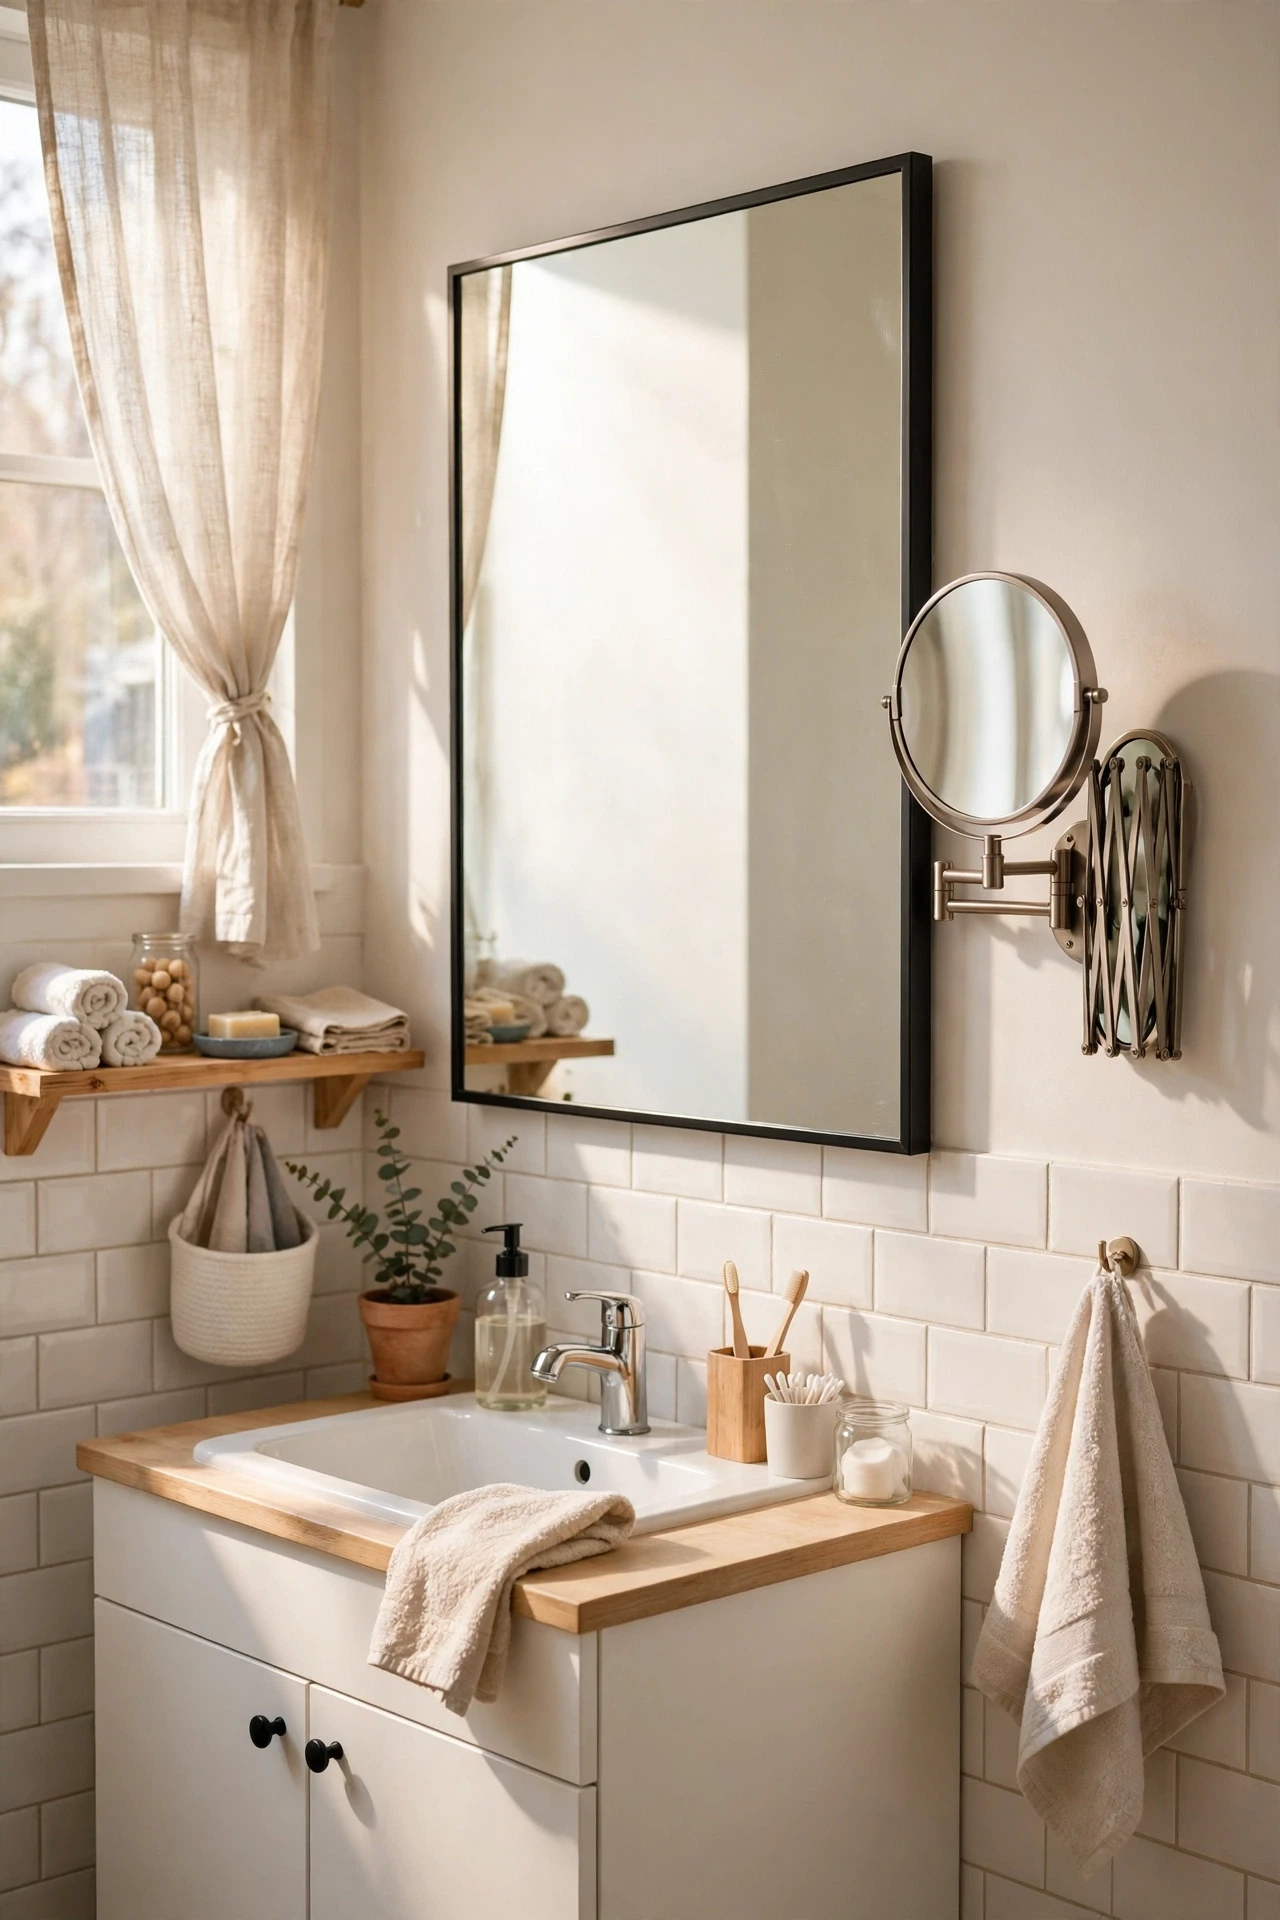
A swing-arm magnifying mirror beside the main mirror is a practical luxury that costs far less than it looks. Mount it at face height to one side of the main mirror, fold it flat against the wall when not in use, and pull it out for shaving, makeup, or contact lenses. Choose a model with its own light if your bathroom is dim. Keep it on the side of your dominant hand so you reach for it naturally. I resisted buying one for years, then wondered how I had managed without it, especially on dark winter mornings.
Cost: ~$22 | Time: 30 minutes
Pro tip: Pick a magnification of five times or less for everyday use — stronger mirrors distort your face and make makeup tricky.
14. Border the Mirror With Leftover Subway Tile
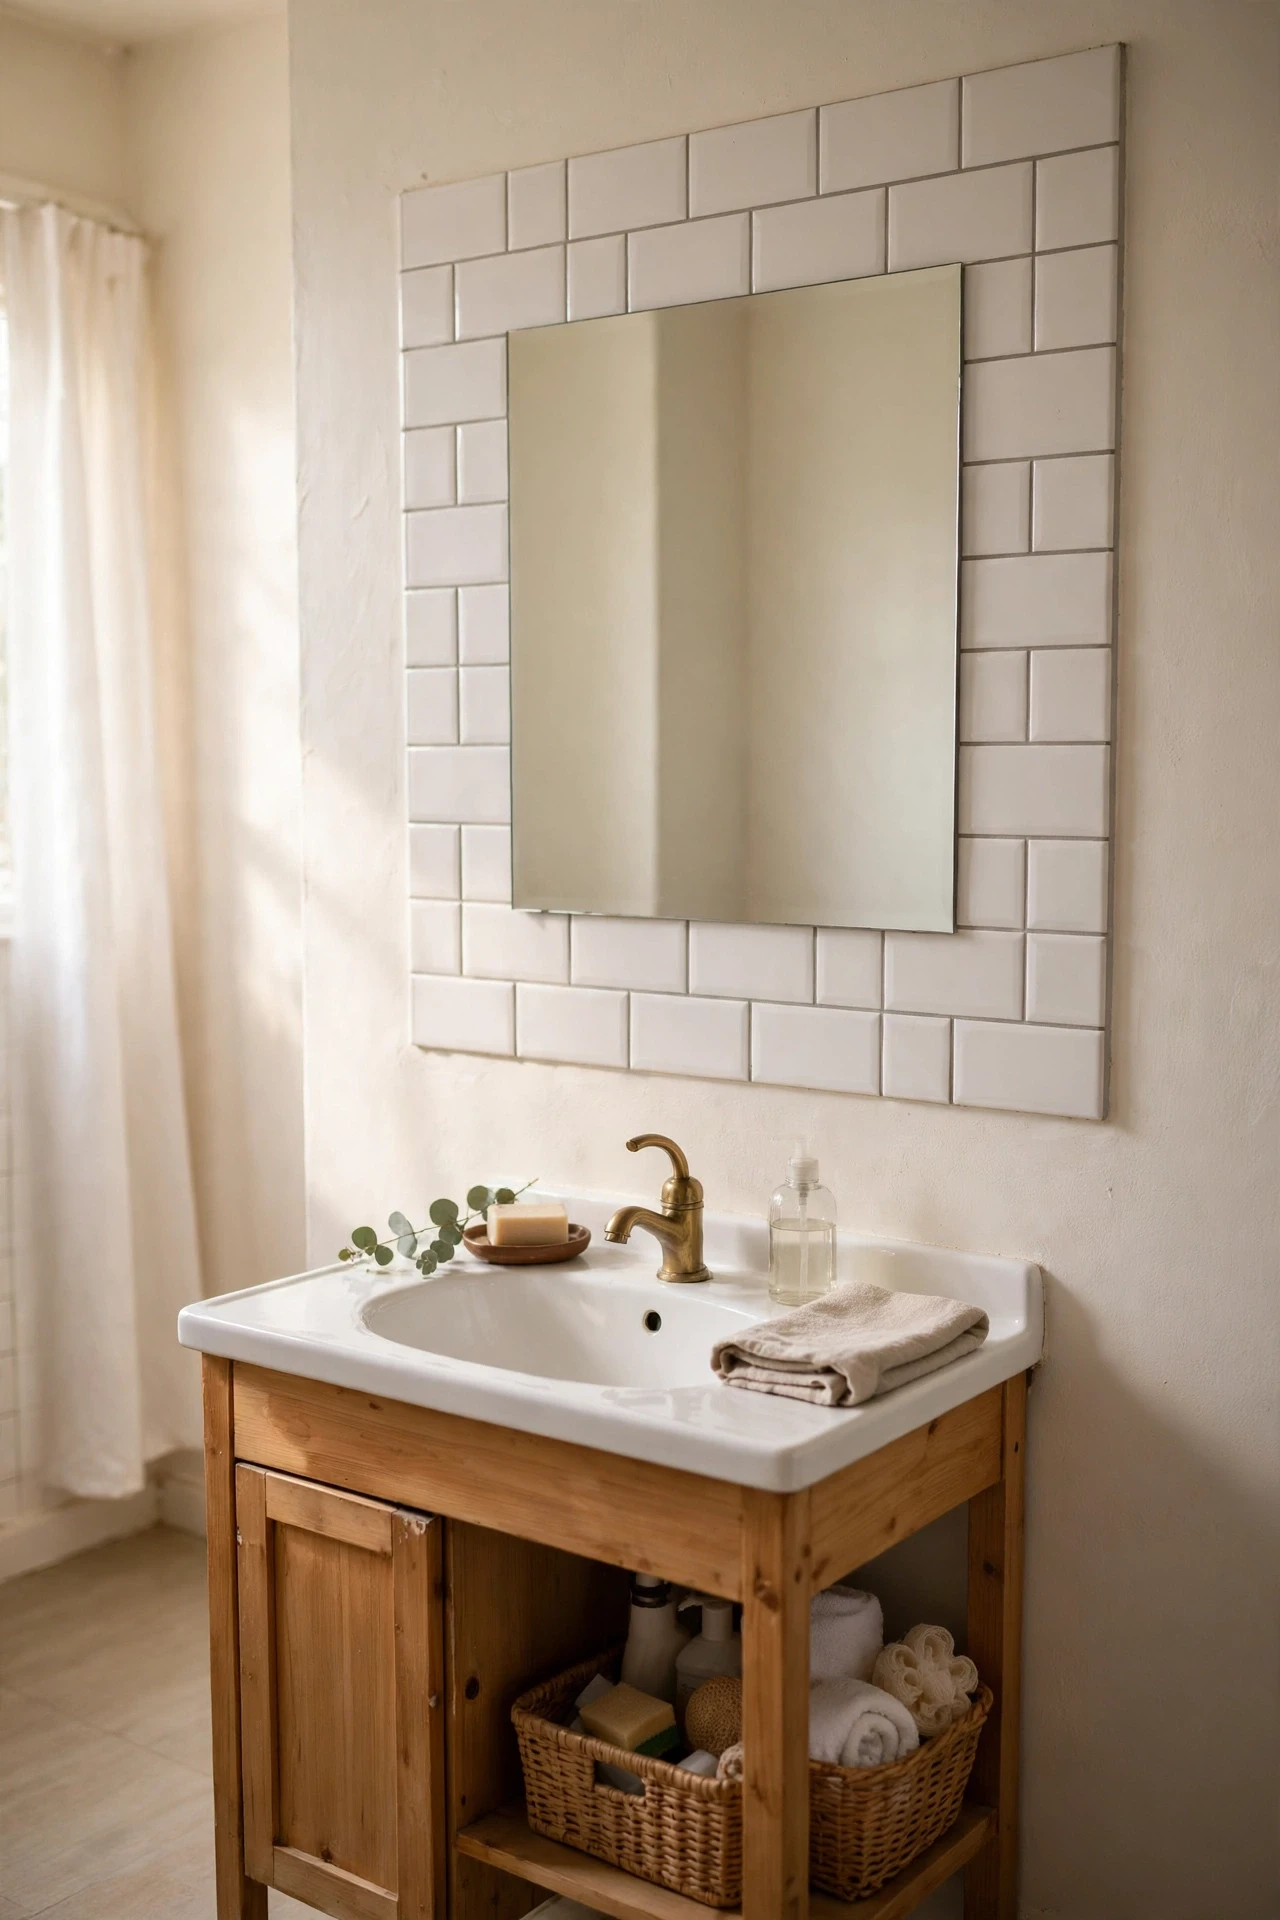
A border of leftover subway tile around a plain mirror makes it look built into the wall, like a tiled niche. Use tiles left over from a backsplash or buy a single box, stick them around the mirror with tile adhesive, and grout in a matching colour. Keep the border one tile wide so it frames rather than overwhelms. This works best on a mirror that is already fixed to the wall, since you tile right up to its edge. I used tiles from a kitchen project, and the bathroom mirror suddenly looked like part of a renovation, not an afterthought. For more tile tricks, see my (see also: budget-bathroom-tile-ideas) guide.
Cost: ~$20 | Time: 3 hours
💰 Budget win: Leftover tiles from another room turn a plain mirror into a custom feature for the cost of grout and adhesive.
15. Hang the Mirror Slightly Higher to Stretch the Wall
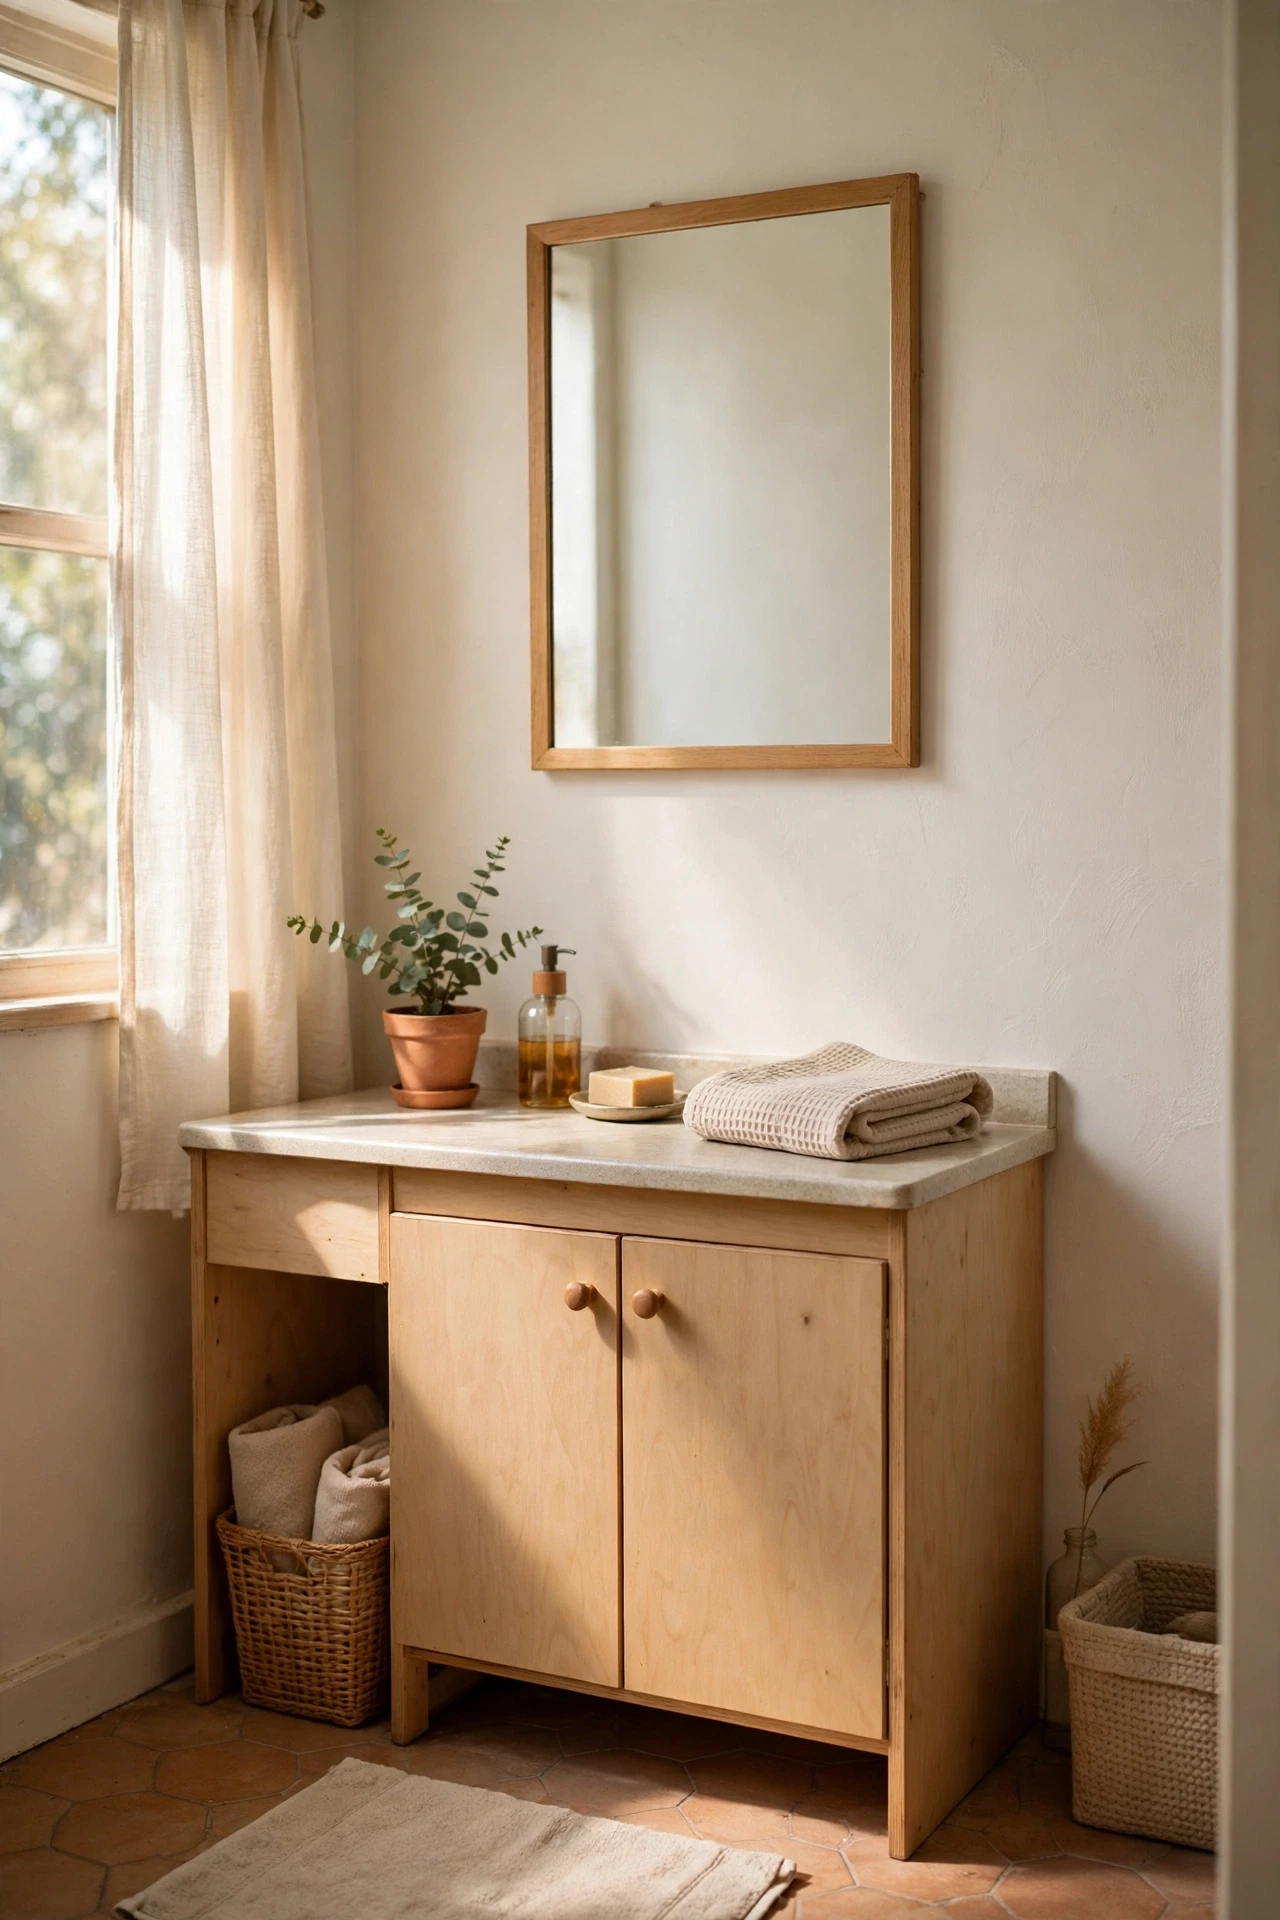
Hanging a mirror a few inches higher than usual draws the eye upward and makes a low-ceilinged bathroom feel taller. The trick is keeping the bottom of the mirror close enough to the splashback that it still works for shorter people, usually around six inches above the sink. Test the height with a helper holding the mirror while you stand at the sink and check the reflection. I raised mine by four inches and the wall suddenly looked longer, even though nothing else changed. The mistake to avoid is going so high that children or shorter guests see only the top of their heads.
Cost: ~$0 | Time: 20 minutes
Pro tip: If the mirror must stay low for practical reasons, hang a tall narrow mirror instead — vertical shapes stretch a wall just as well.
16. Drape Faux Eucalyptus Over One Top Corner
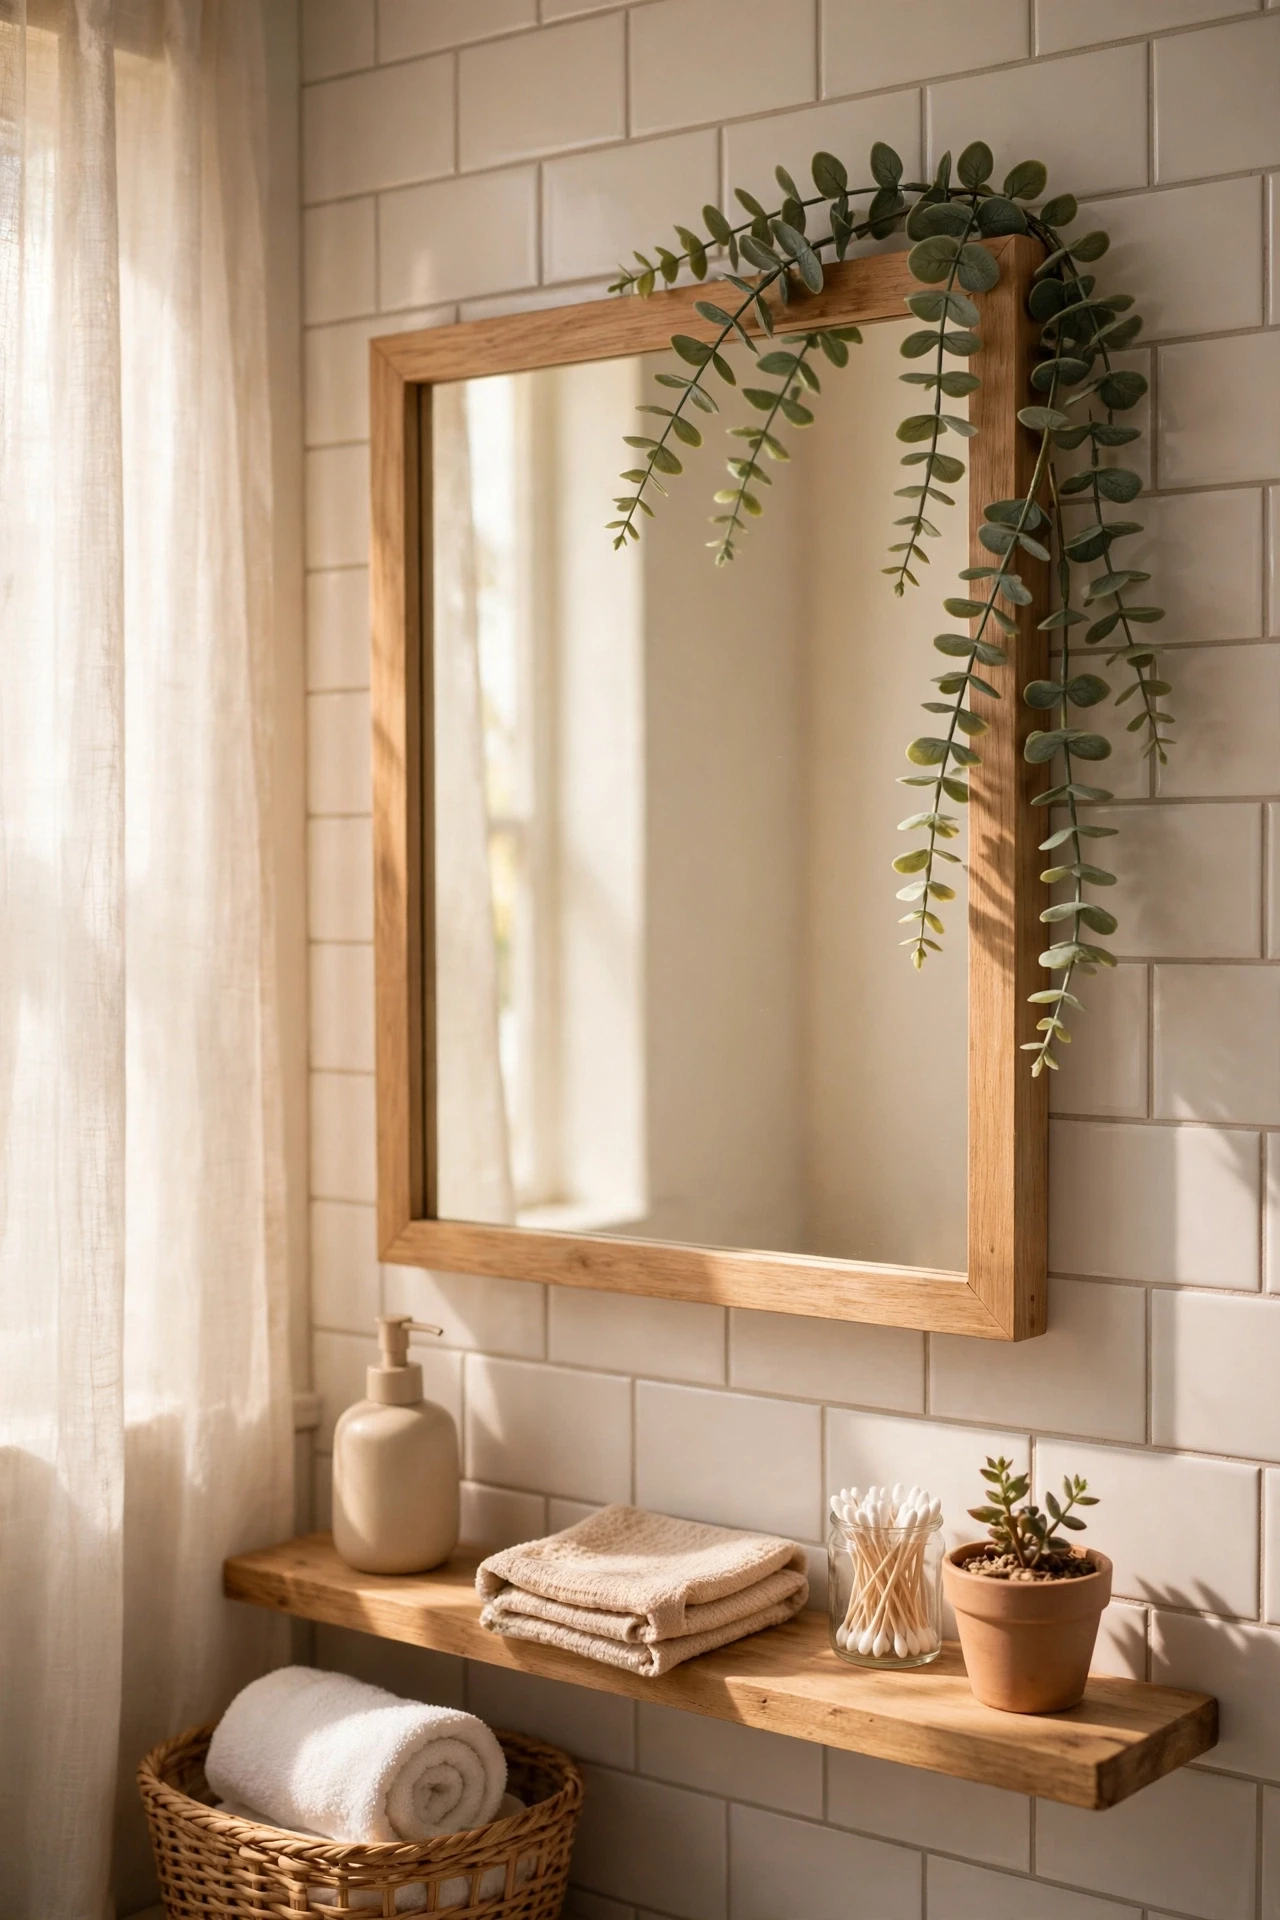
A sprig of faux eucalyptus draped over one top corner of the mirror softens the frame and adds a touch of nature without any watering. Use a single long sprig, secure it with a small clear hook behind the frame, and let it fall naturally down one side. Keep it to one corner, since greenery on all sides looks like a jungle and blocks the reflection. Faux beats fresh here, because bathroom steam wilts real eucalyptus fast. I change my sprig with the seasons — eucalyptus in spring, pine in winter — and the mirror never looks tired.
Cost: ~$7 | Time: 10 minutes
💰 Budget win: One faux sprig lasts for years and costs less than a bunch of fresh flowers that dies in a week.
17. Make a Sunburst Mirror the Room’s Focal Point
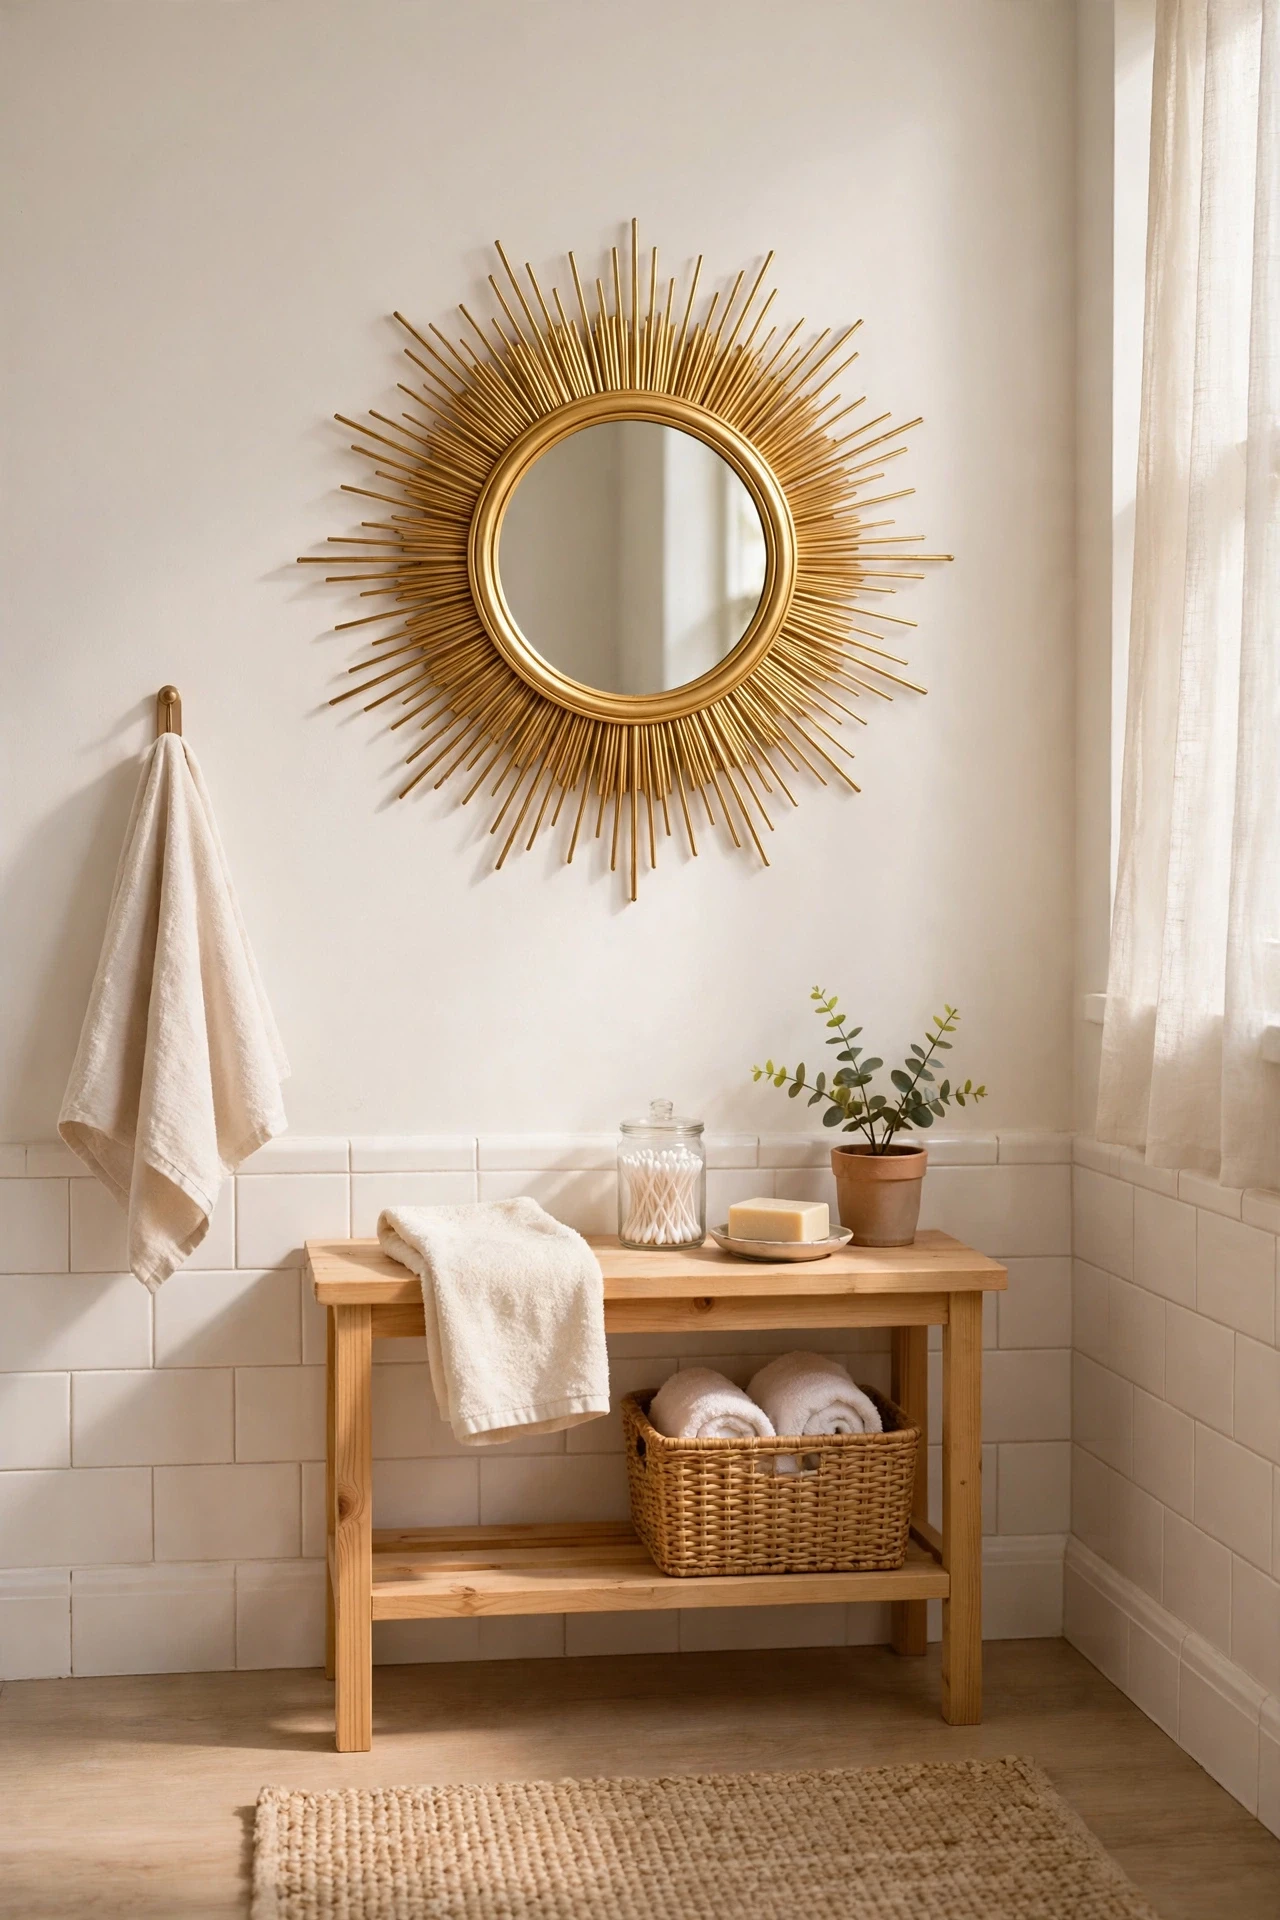
A sunburst mirror, with rays radiating from a round centre, turns a plain bathroom wall into a talking point and needs no other decoration around it. Hang it centred over the sink or on the main wall, and keep the surrounding wall bare so the rays stand out. Gold sunbursts suit warm bathrooms, while natural wood rays suit neutral ones. Size matters: too small and it looks lost, too large and it overwhelms a tiny room. I hung a medium sunburst in a windowless bathroom, and guests noticed it before the new towels or the paint.
Cost: ~$28 | Time: 20 minutes
Pro tip: In a very small bathroom, hang the sunburst on the wall opposite the sink mirror, not above it, so the two mirrors do not compete.
18. Add a Backlit LED Strip Behind the Mirror
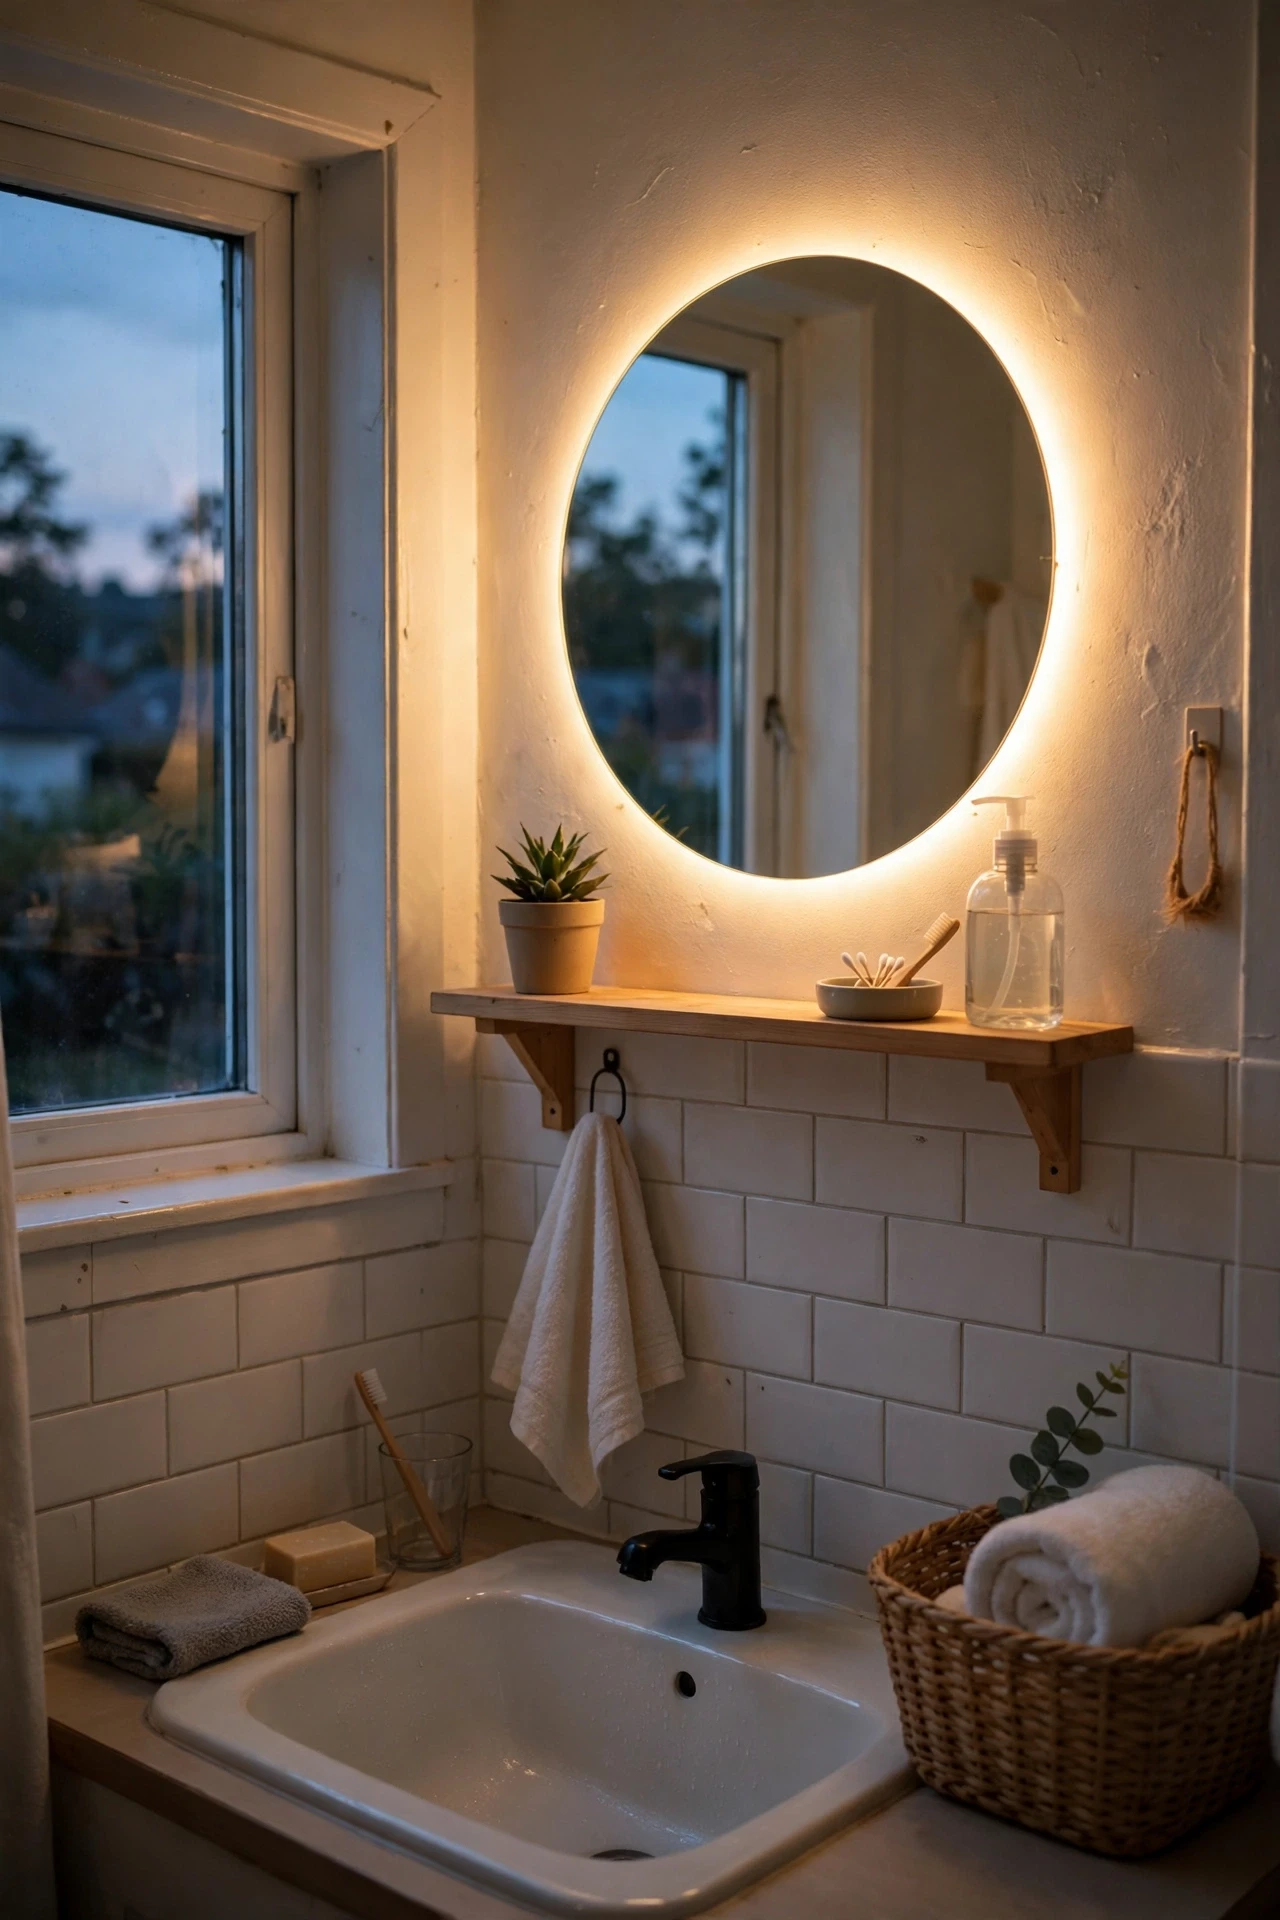
A warm LED strip stuck to the back of a mirror creates a soft halo glow on the wall behind it, which looks high-end and costs very little. Mount the mirror slightly off the wall on small spacers, run the LED strip around the back edge, and hide the battery pack or plug behind the vanity. Warm white looks flattering, while cool white looks clinical. I added a strip behind a frameless mirror and the evening bathroom suddenly felt like a hotel, with no electrician involved. Keep the strip fully behind the mirror so you see glow, not bulbs.
Cost: ~$14 | Time: 45 minutes
💰 Budget win: A ten-dollar LED strip gives the same halo effect as a backlit mirror that costs ten times as much.
19. Wrap the Frame in Natural Rattan or Rope
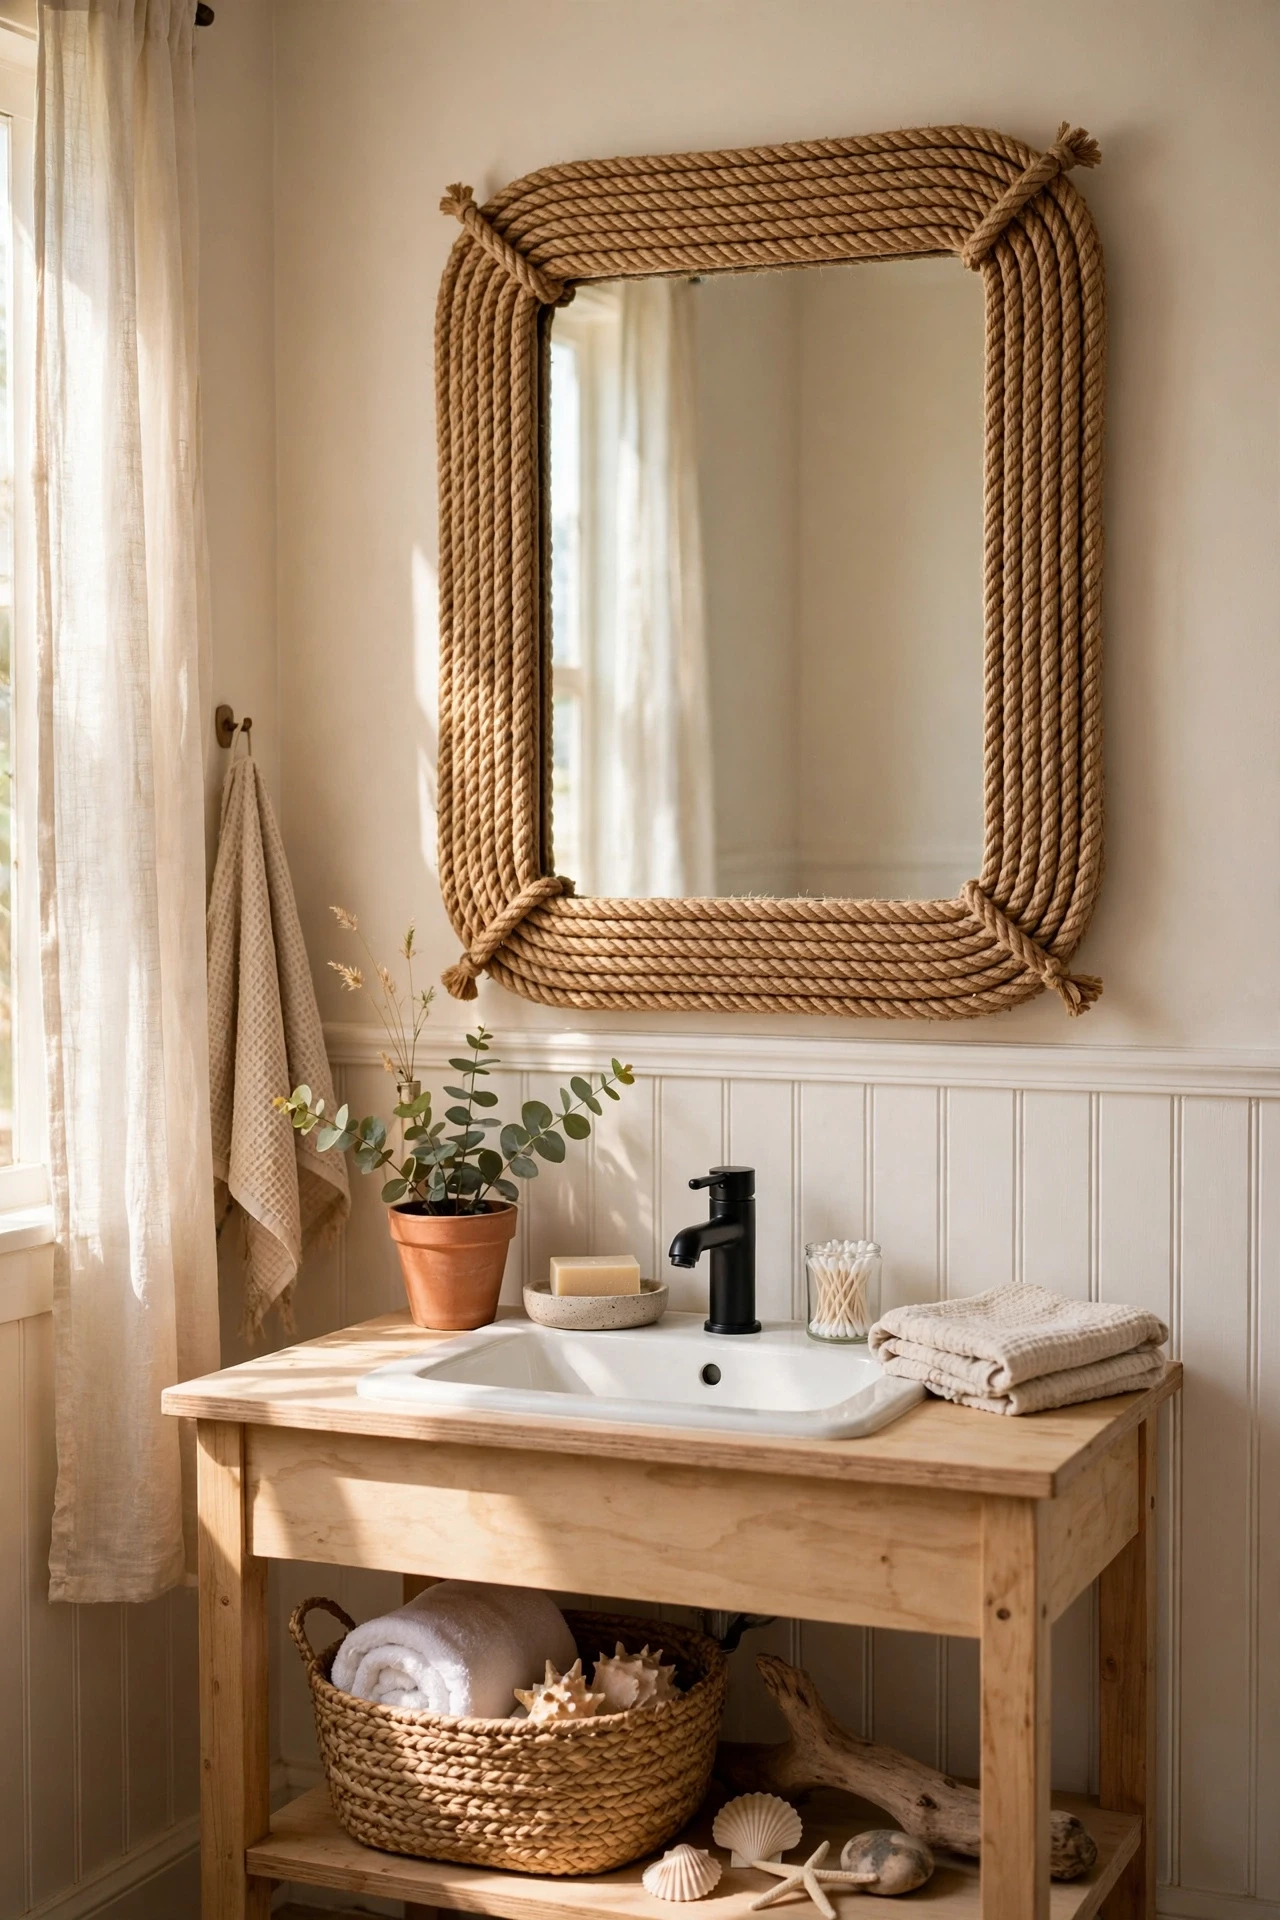
Wrapping a plain mirror frame in rattan webbing or thick natural rope adds coastal texture and warmth for very little money. Glue the material around the frame in neat rows, overlapping slightly so no bare frame shows, and trim the ends cleanly at the corners. Rope suits a beachy bathroom, while rattan suits a warmer, boho one. Work slowly with a hot glue gun, since rushed glue leaves lumps that show. I wrapped a thin black frame in jute rope and it went from forgettable to the best-looking thing in the room.
Cost: ~$11 | Time: 1 hour
Pro tip: Seal rope or rattan with a clear matte spray in a bathroom, since steam and splashes stain natural fibres fast.
20. Lean a Tall Floor Mirror Against the Wall
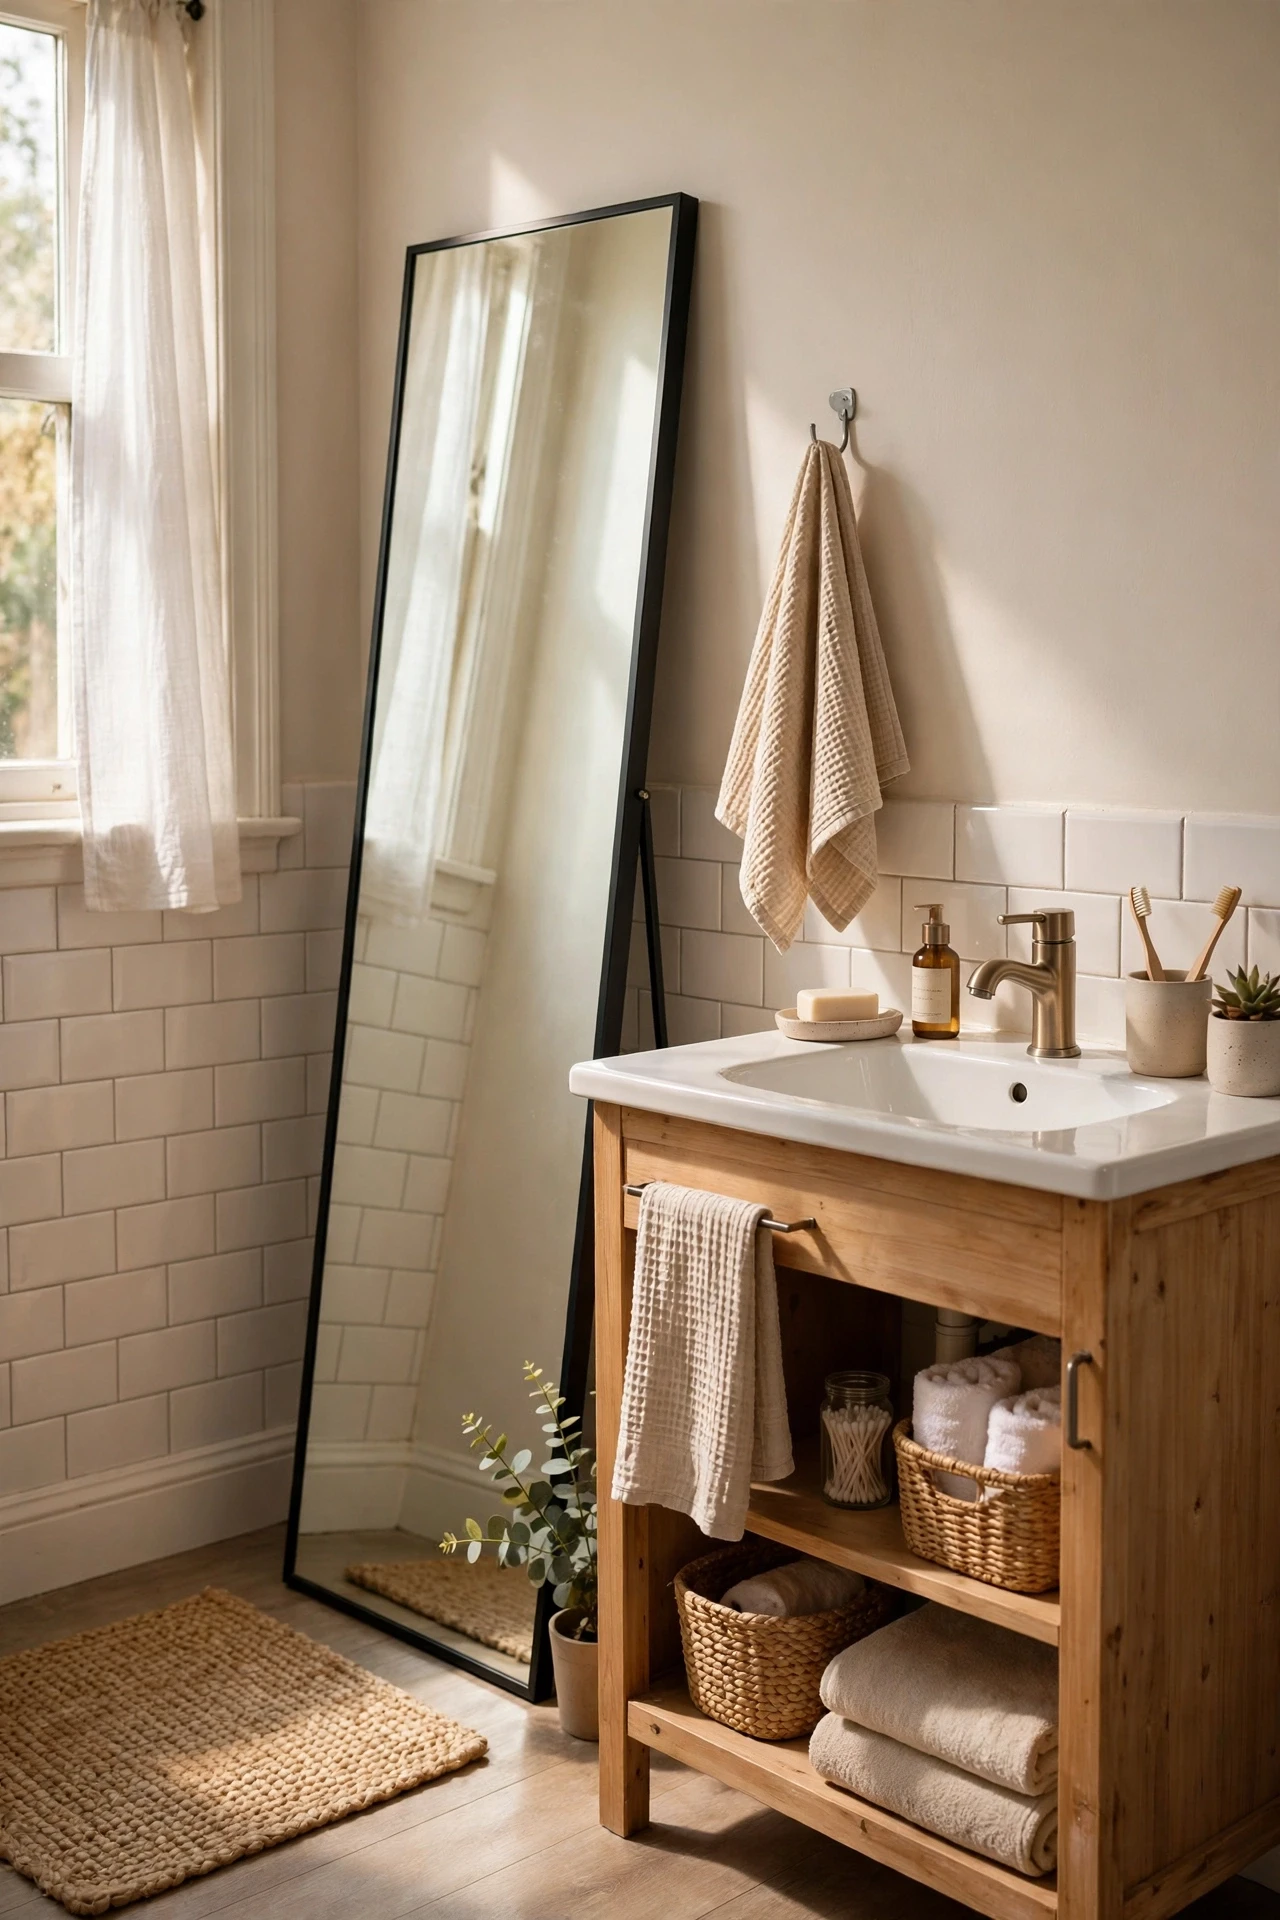
If your bathroom has floor space, a tall mirror leaned against the wall makes the room feel much larger and gives a full-length reflection no vanity mirror can. Lean it at a slight angle, secure the top to the wall with a small bracket or adhesive pad so it cannot slip, and keep the floor in front clear. This works best in larger bathrooms or dressing areas attached to a bathroom, not in a cramped shower room. I leaned a thrifted full-length mirror beside the vanity, and getting dressed in the morning got easier and the room looked twice as big.
Cost: ~$45 | Time: 20 minutes
💰 Budget win: A thrifted leaning mirror costs far less than a wall-mounted full-length mirror plus installation.
21. Add a Mirrored Tray on the Vanity to Echo the Mirror
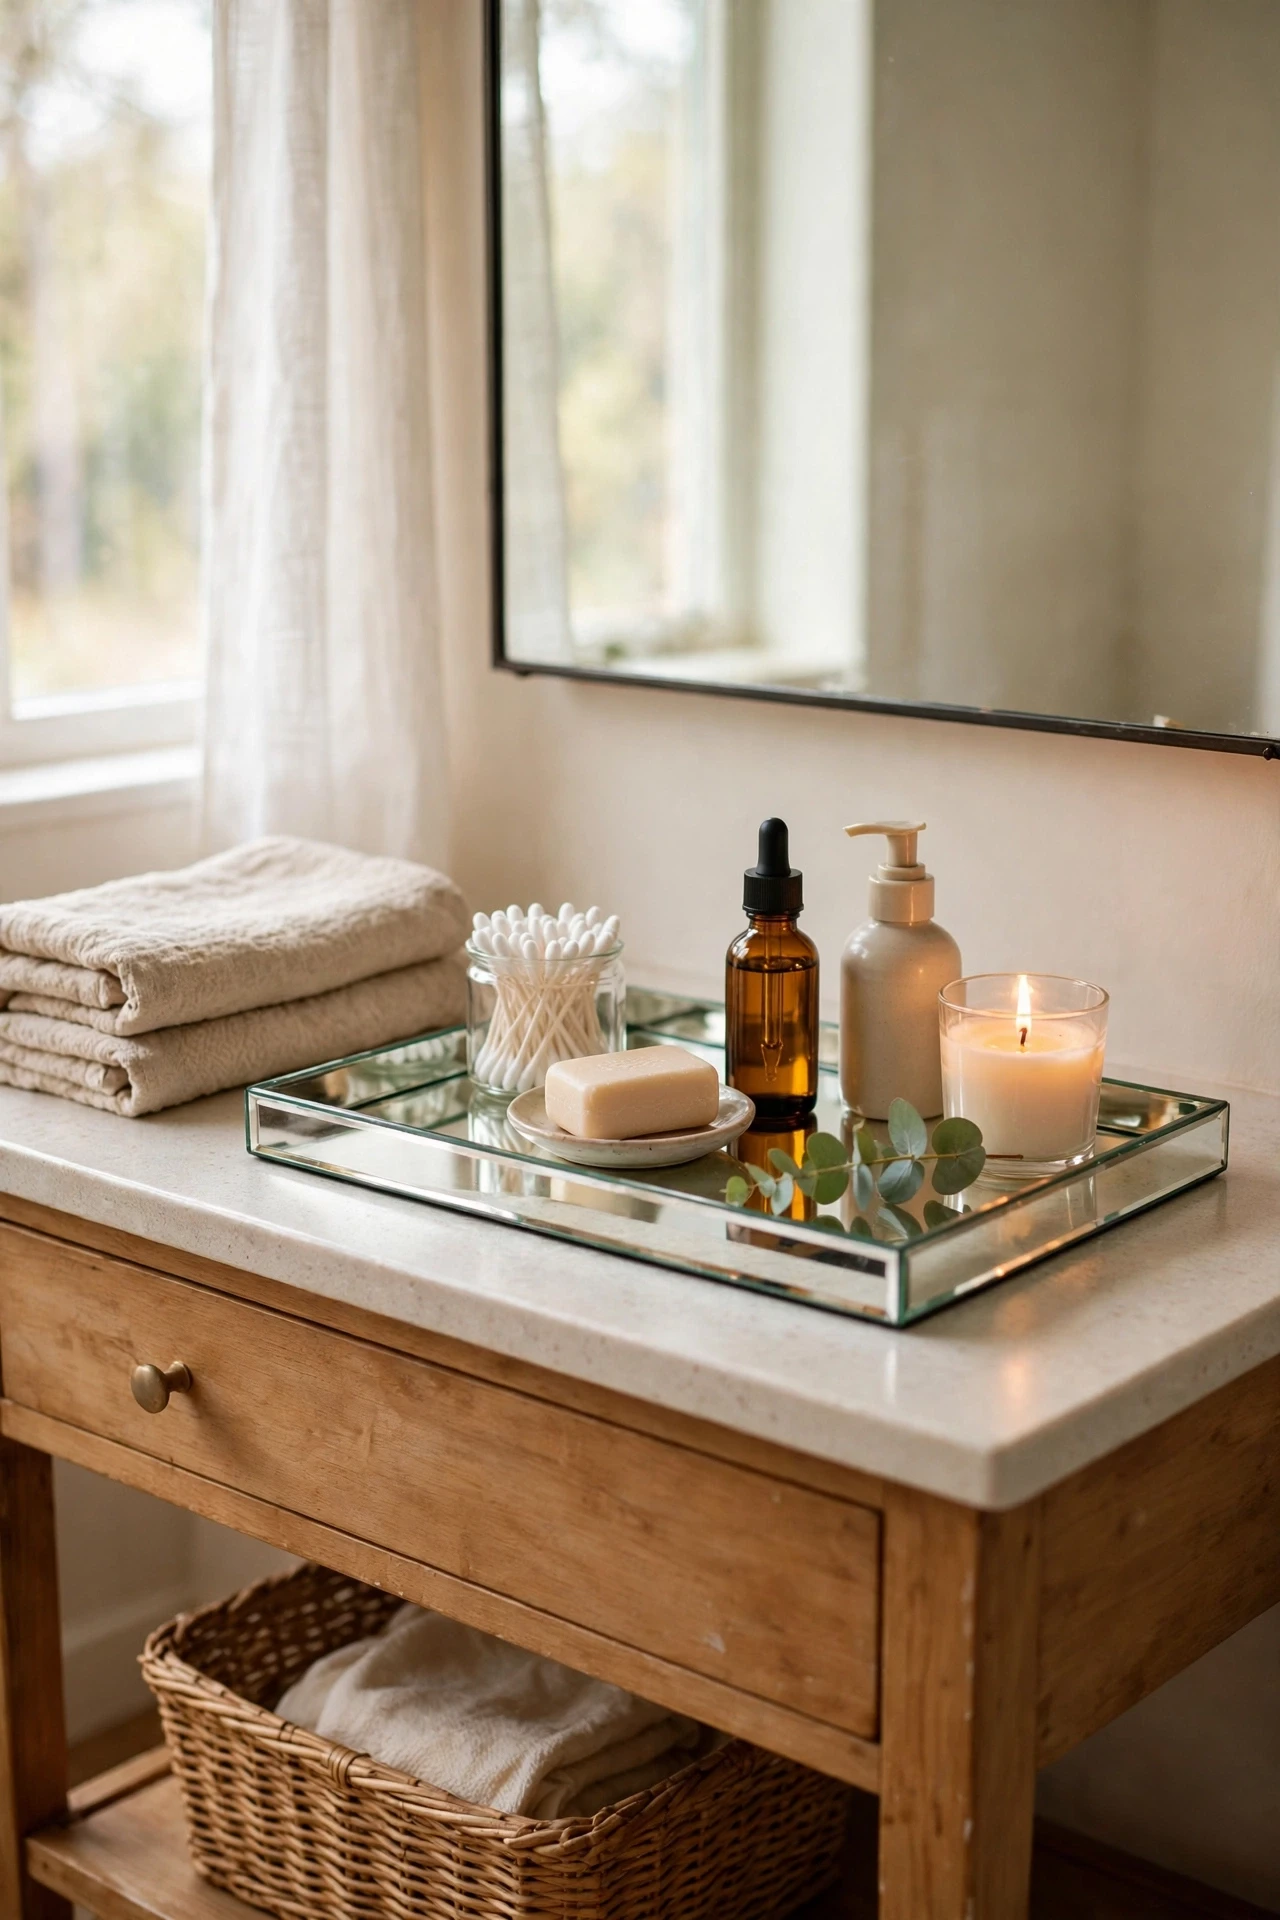
A small mirrored tray on the vanity echoes the wall mirror and pulls the whole sink area together. Set your prettiest bottles and a candle on the tray, and keep it near the mirror so the reflections play off each other. The tray also protects the counter from spills and makes cleaning faster, since you lift one tray instead of ten bottles. Choose a tray with a raised edge so nothing slides off. I found mine at a charity shop for a few dollars, and it made ordinary toiletries look like a curated display overnight.
Cost: ~$9 | Time: 5 minutes
Pro tip: Keep only three to five items on a mirrored tray — a crowded tray reflects clutter twice over.
22. Use a Bevelled Mirror for a High-End Edge
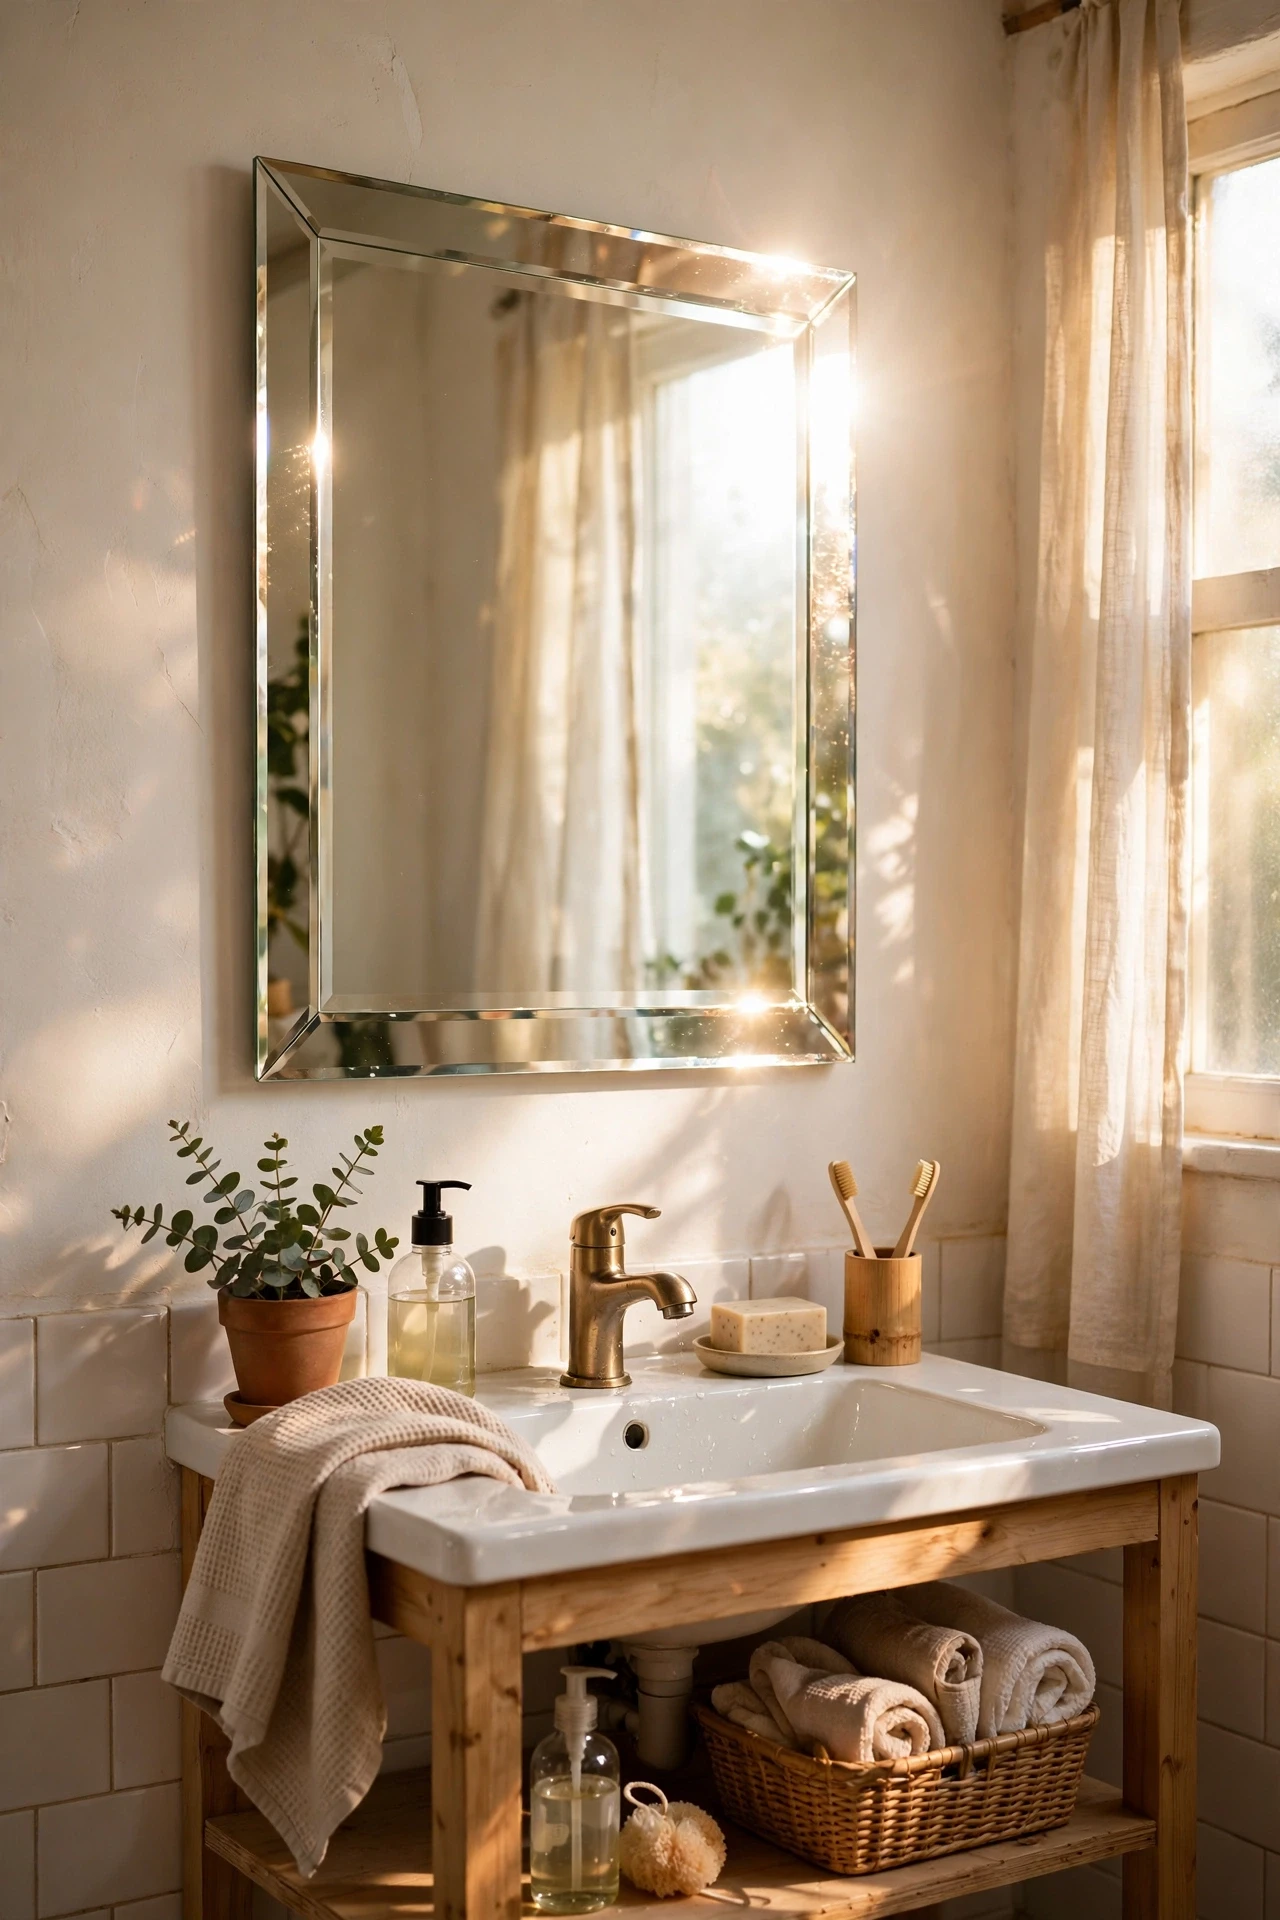
A bevelled edge, where the mirror glass slopes down at the border, catches light and looks far more expensive than a flat edge. Bevelled mirrors are now common at budget prices, especially in standard sizes, so you do not need a custom order. Hang it with the bevel visible, not hidden behind a frame, and keep the wall colour calm so the edge detail shows. It pairs beautifully with simple taps and plain tiles, since the mirror itself becomes the detail. I swapped a flat mirror for a bevelled one and the vanity area instantly looked more finished, like a jeweller’s display.
Cost: ~$32 | Time: 30 minutes
💰 Budget win: A stock bevelled mirror gives a custom-glass look without the custom-glass price tag.
23. Hang a Mirror With Picture Ledge Clips for Easy Swaps
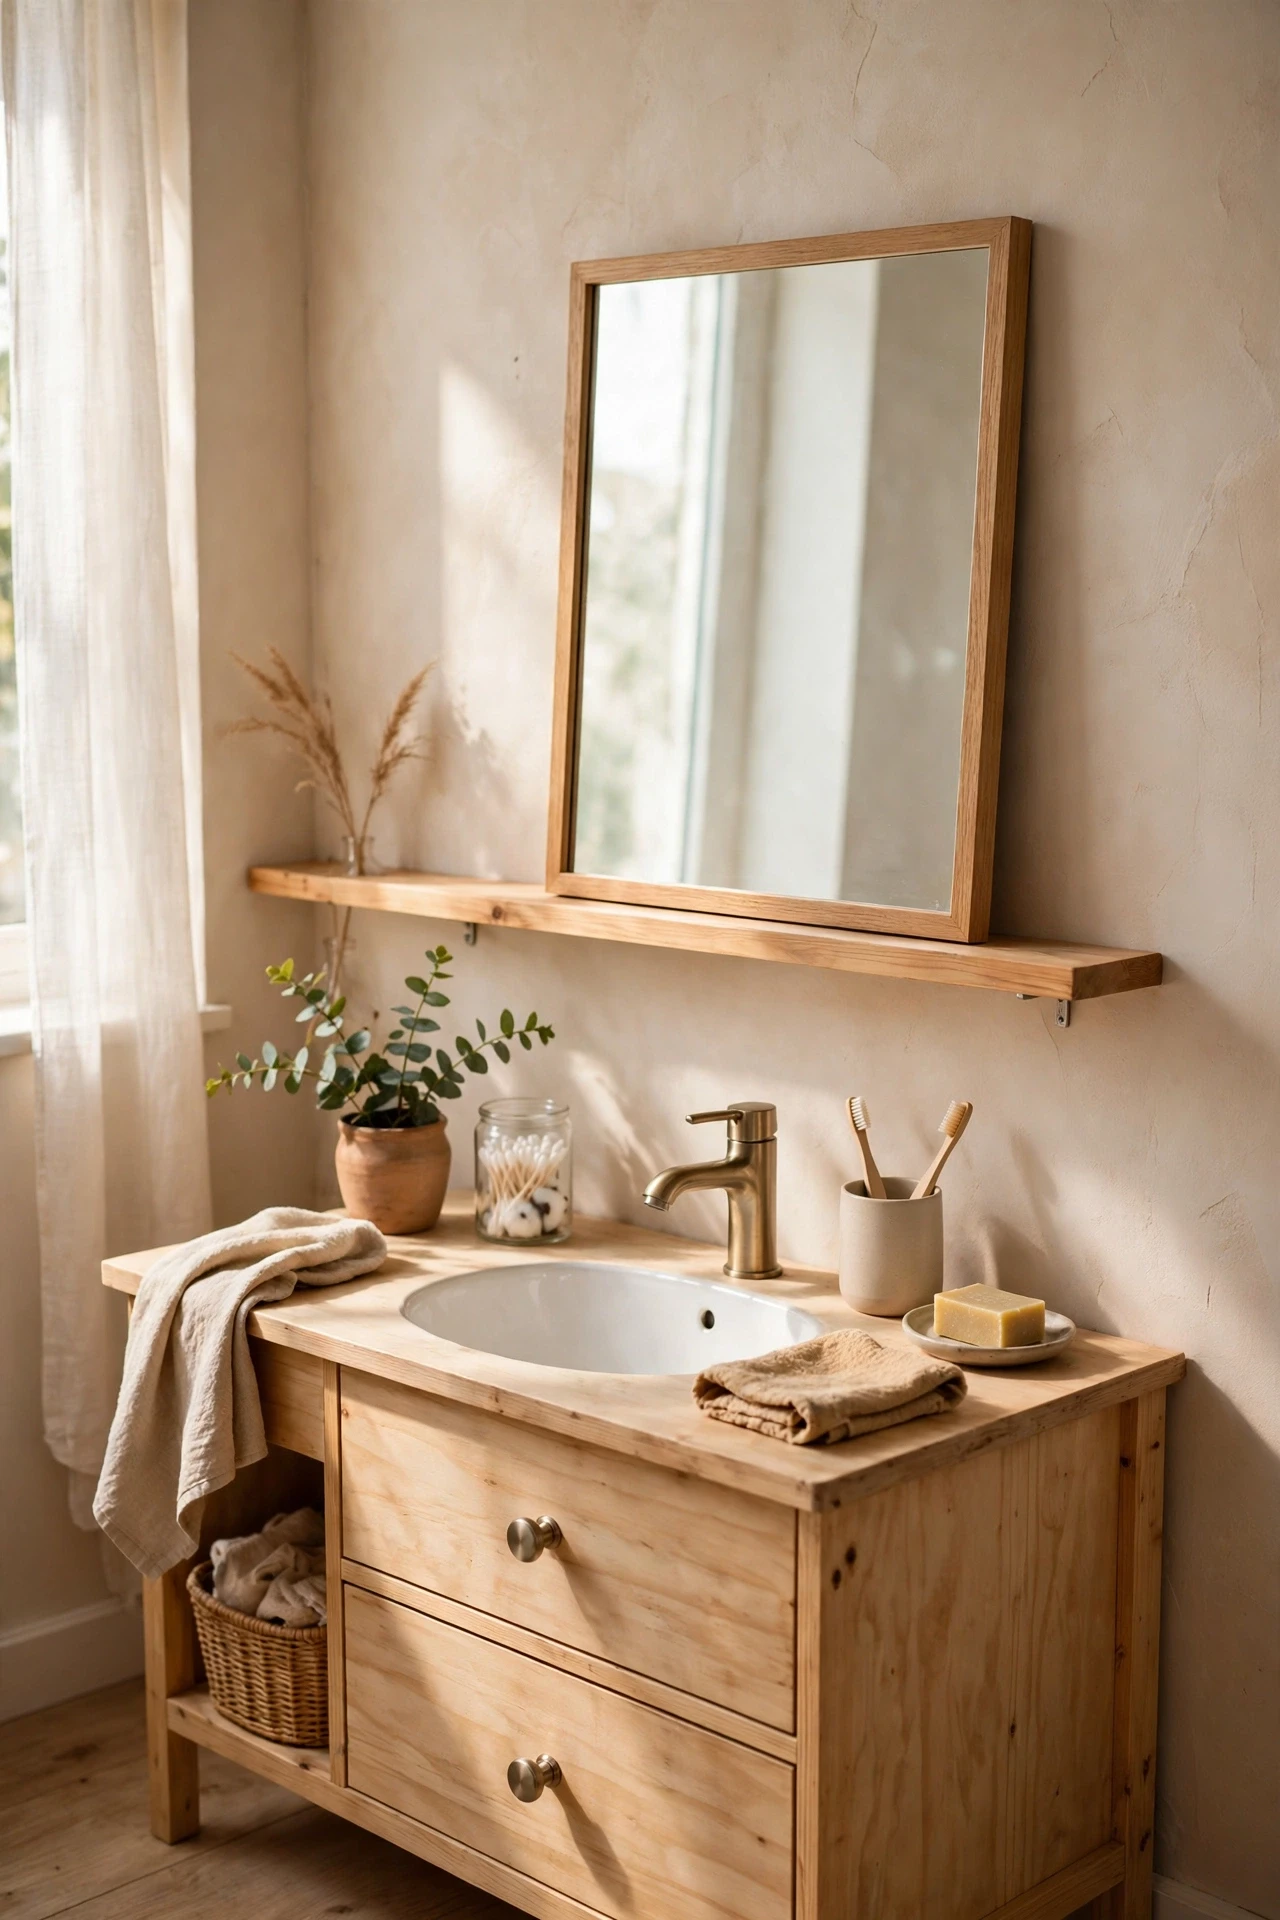
Picture ledge clips or French cleats let you swap mirrors with the seasons without drilling new holes each time. Mount a cleat or ledge once, then hang different mirrors from it as your taste changes — a round one in summer, an arched one in winter. This is ideal if you like to redecorate often or live in a rental where every hole counts. Make sure the cleat is rated for the mirror’s weight, and test it with a gentle tug before letting go. I use a cleat in my bathroom and have swapped mirrors three times without touching the wall again. For renter-friendly hanging ideas, see my (see also: budget-bathroom-decor-ideas) roundup.
Cost: ~$10 | Time: 40 minutes
Pro tip: Mark the cleat position with painter’s tape first, so the mirror hangs level on the first try.
24. Add Frosted Film to the Lower Half for Privacy and Style
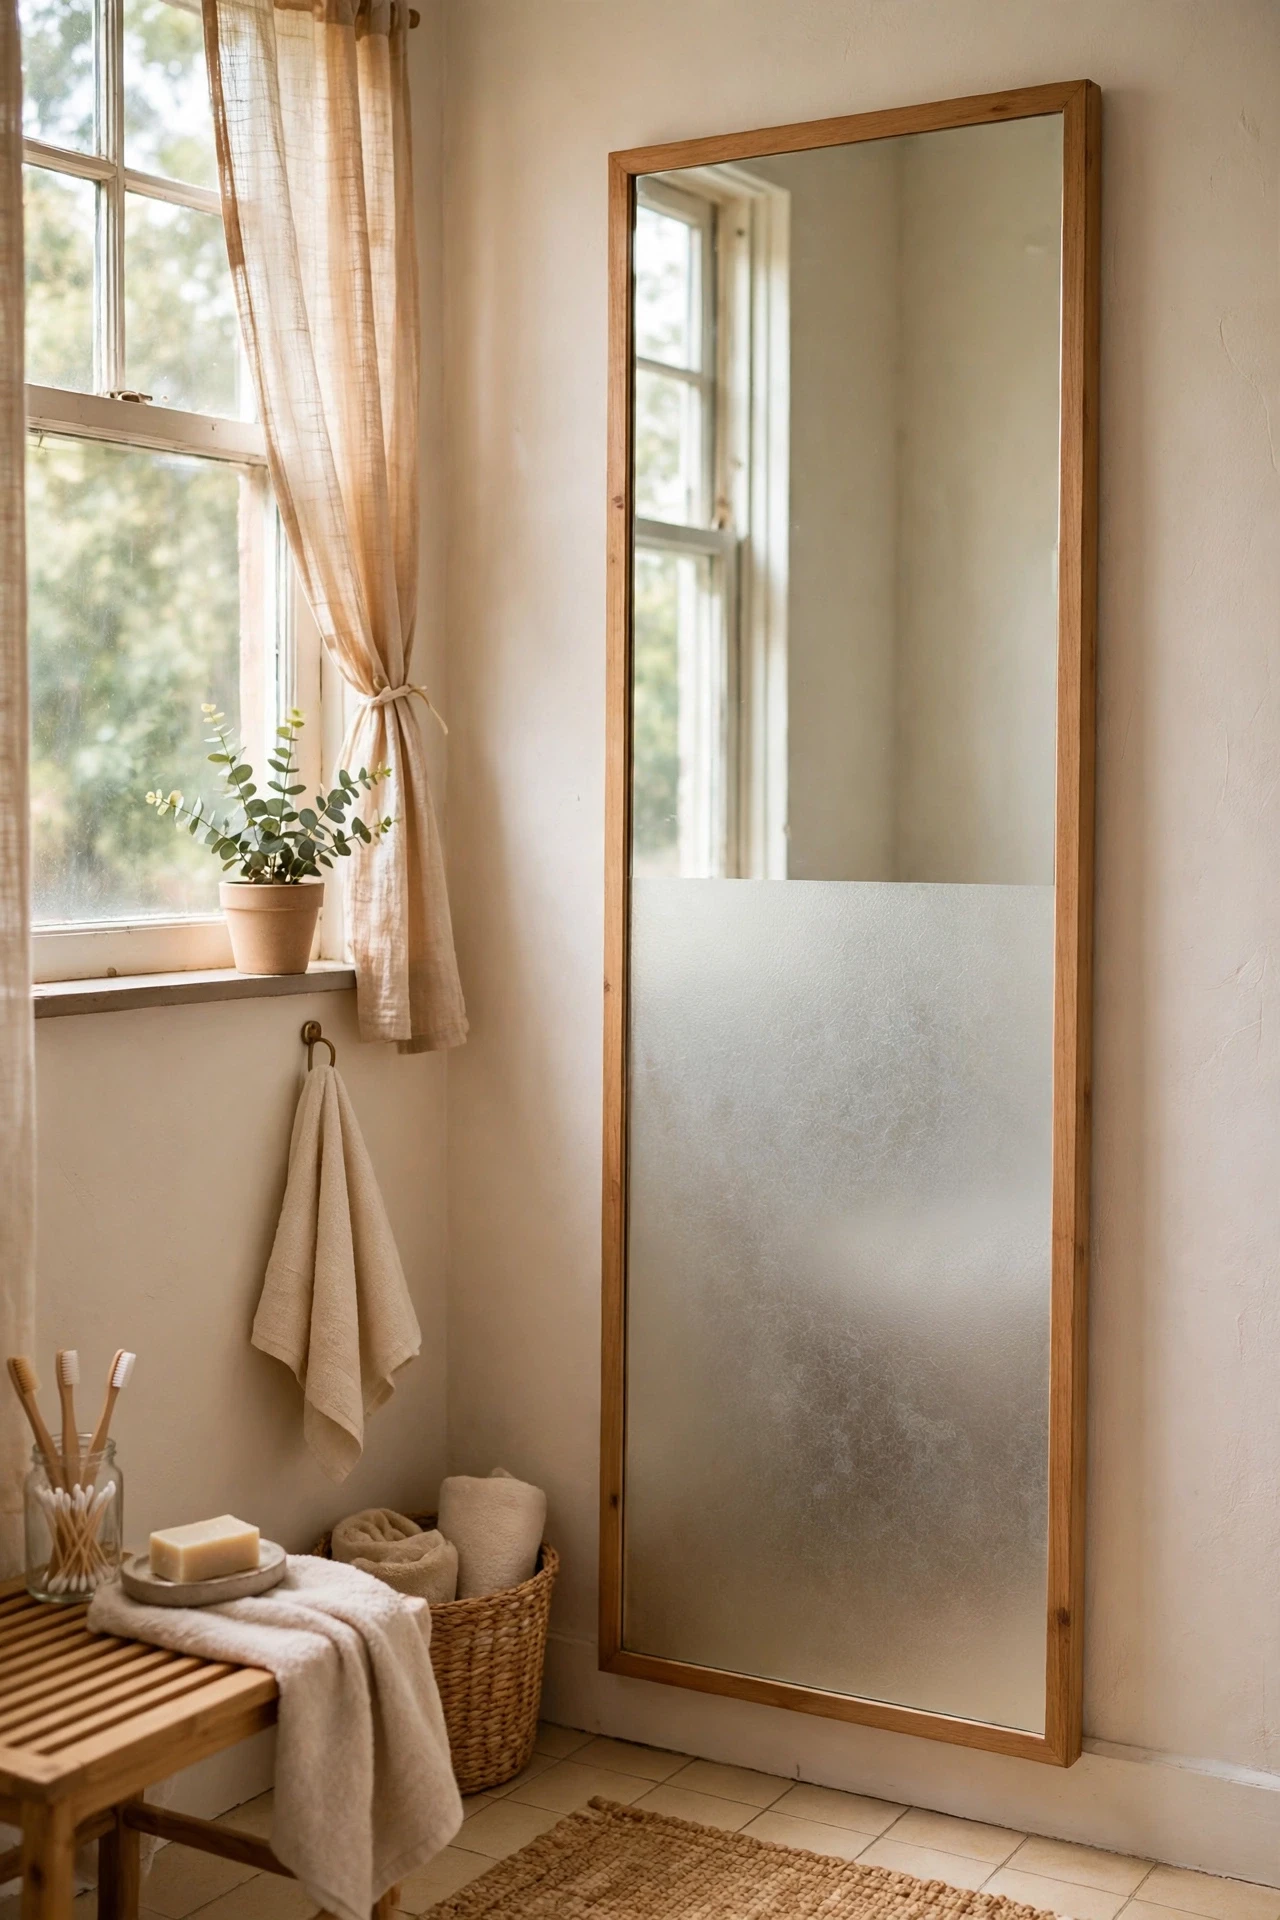
Frosted window film on the lower half of a tall mirror, or on a mirror facing a window, adds privacy and a designer detail at the same time. Cut the film to size, apply it with soapy water and a squeegee, and trim the edge neatly with a craft knife. A straight horizontal line looks modern, while a wavy or arched edge looks softer. This is especially useful in a bathroom with a window opposite the mirror, where the reflection can feel exposed. I used frosted film on a mirror in a ground-floor bathroom, and it solved the privacy worry without curtains.
Cost: ~$8 | Time: 30 minutes
💰 Budget win: One roll of frosted film covers a mirror and a small window, so you get two upgrades for one purchase.
25. Keep the Mirror Spotless With a Weekly Two-Minute Wipe
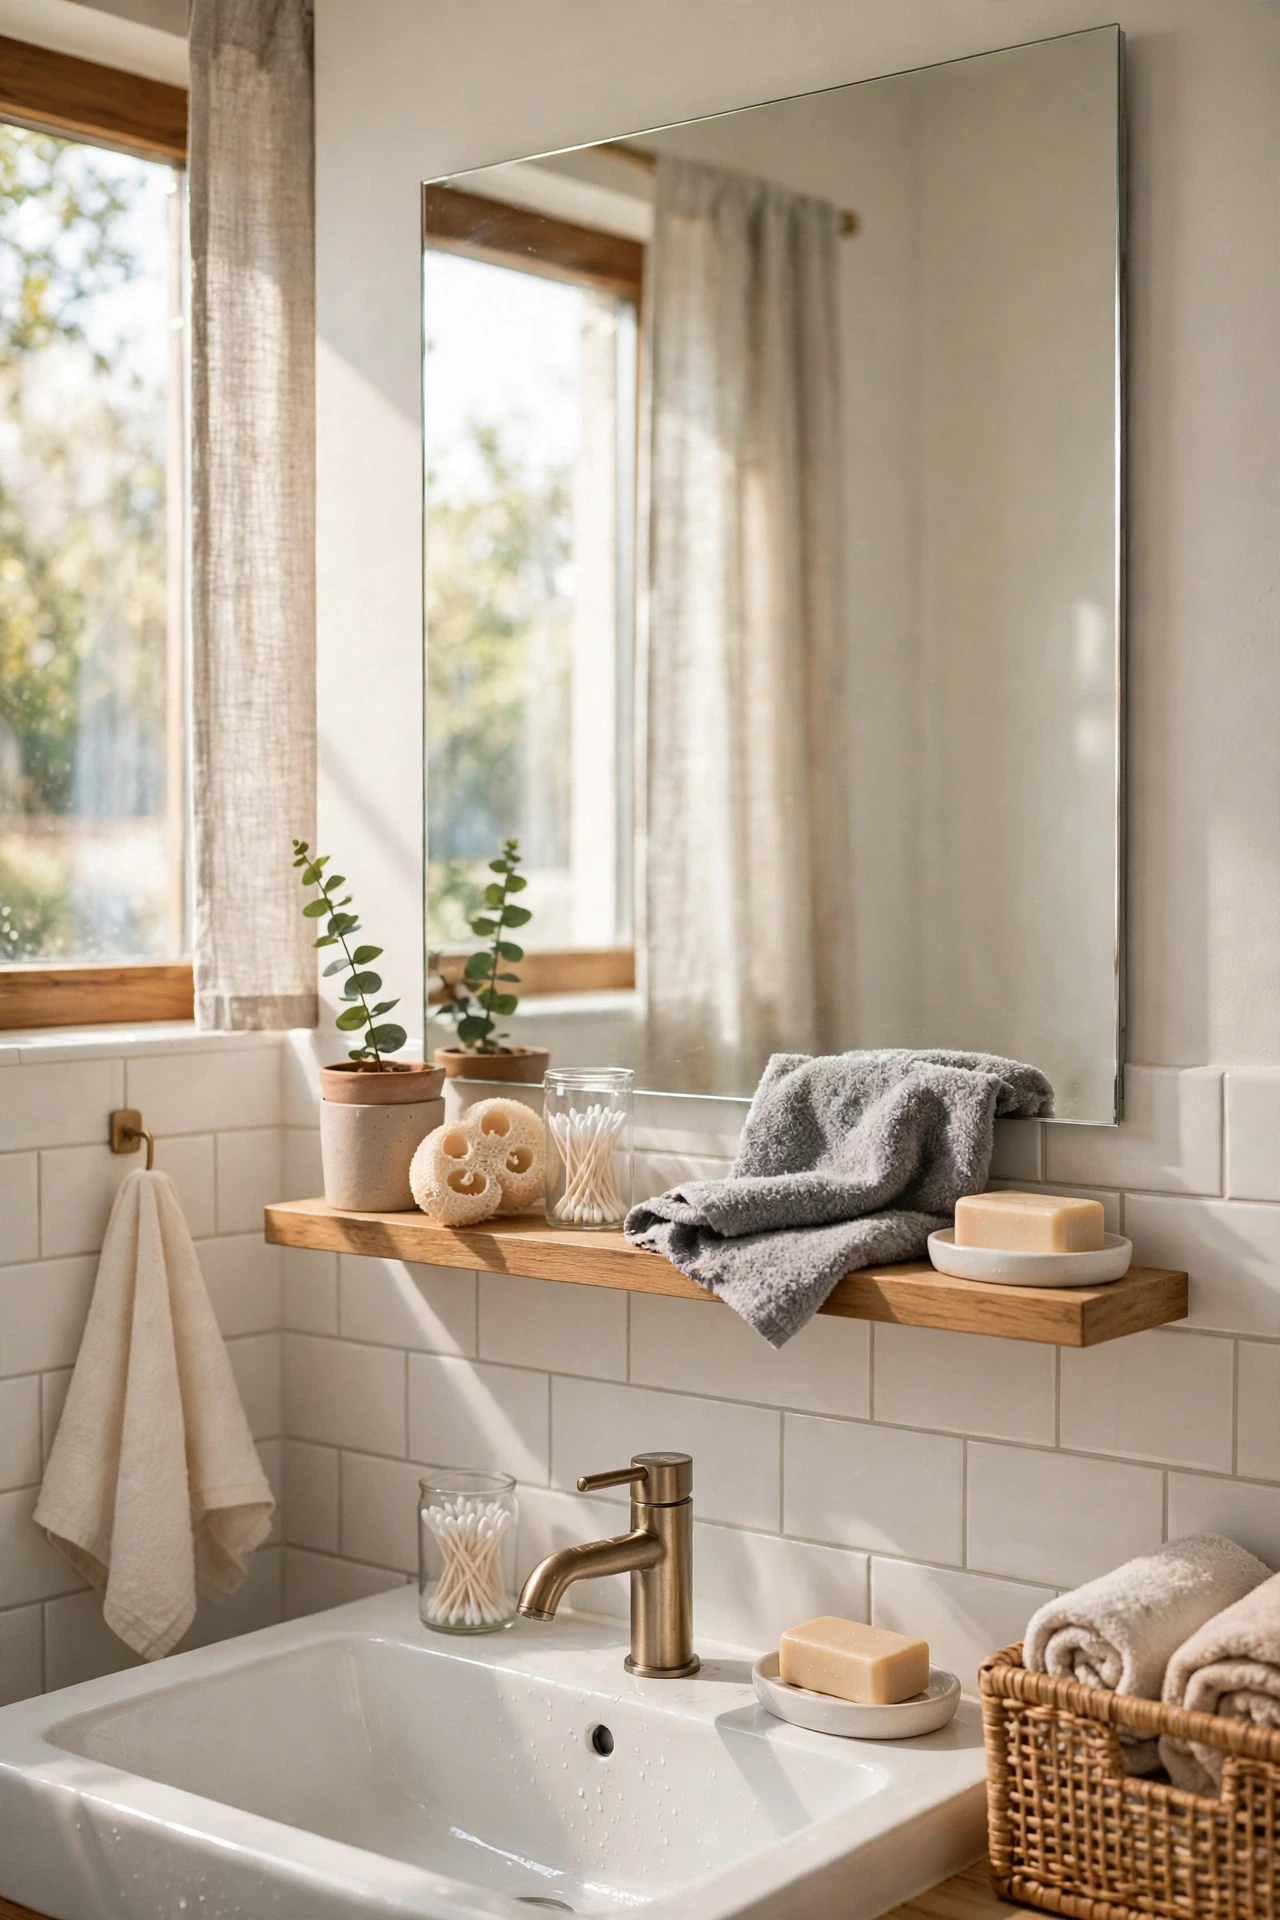
The cheapest mirror upgrade of all is simply keeping it clean, since toothpaste splatter and steam spots dull even the prettiest mirror. Once a week, wipe the glass with a microfibre cloth dampened with water and a drop of washing-up liquid, then buff dry with a second cloth. Clean the frame at the same time so dust does not creep onto the glass. I keep a cloth under the sink just for the mirror, and the two-minute habit means the mirror always looks new. No new purchase beats a clean mirror for instant brightness, and it costs nothing at all.
Cost: ~$0 | Time: 5 minutes
Pro tip: Wipe mirrors in the evening after the steam has cleared, so you are not fighting condensation while you clean.
The mirror is the hardest-working piece in your bathroom, and it deserves more thought than whatever the builder left behind. Pick one idea that fits your wall, your budget, and your skill level, and try it this weekend. A bigger, brighter, better-framed mirror will make the whole room feel new, long before you ever touch the tiles or the taps.
