21 Living Room Wall Decor Ideas That Cost Almost Nothing
Big empty walls are the fastest way to make a living room feel unfinished, and they are also the cheapest thing in the room to fix. I spent years staring at a blank wall above my sofa, convinced that filling it would cost hundreds. Then I discovered that the best living room wall decor ideas are the ones that cost almost nothing, because walls respond to scale, grouping, and confidence, not price tags. A giant piece of free printable art in a charity-shop frame beats a tiny expensive print every single time.
Every idea below costs less than a takeaway dinner, and most of them use things you already own or can find for pennies. The secret is committing to one big move per wall rather than scattering small bits everywhere. Pick your favourite three, do them this weekend, and your living room will look like a different room by Sunday night.
Frame Free Printable Art in Charity Shop Frames
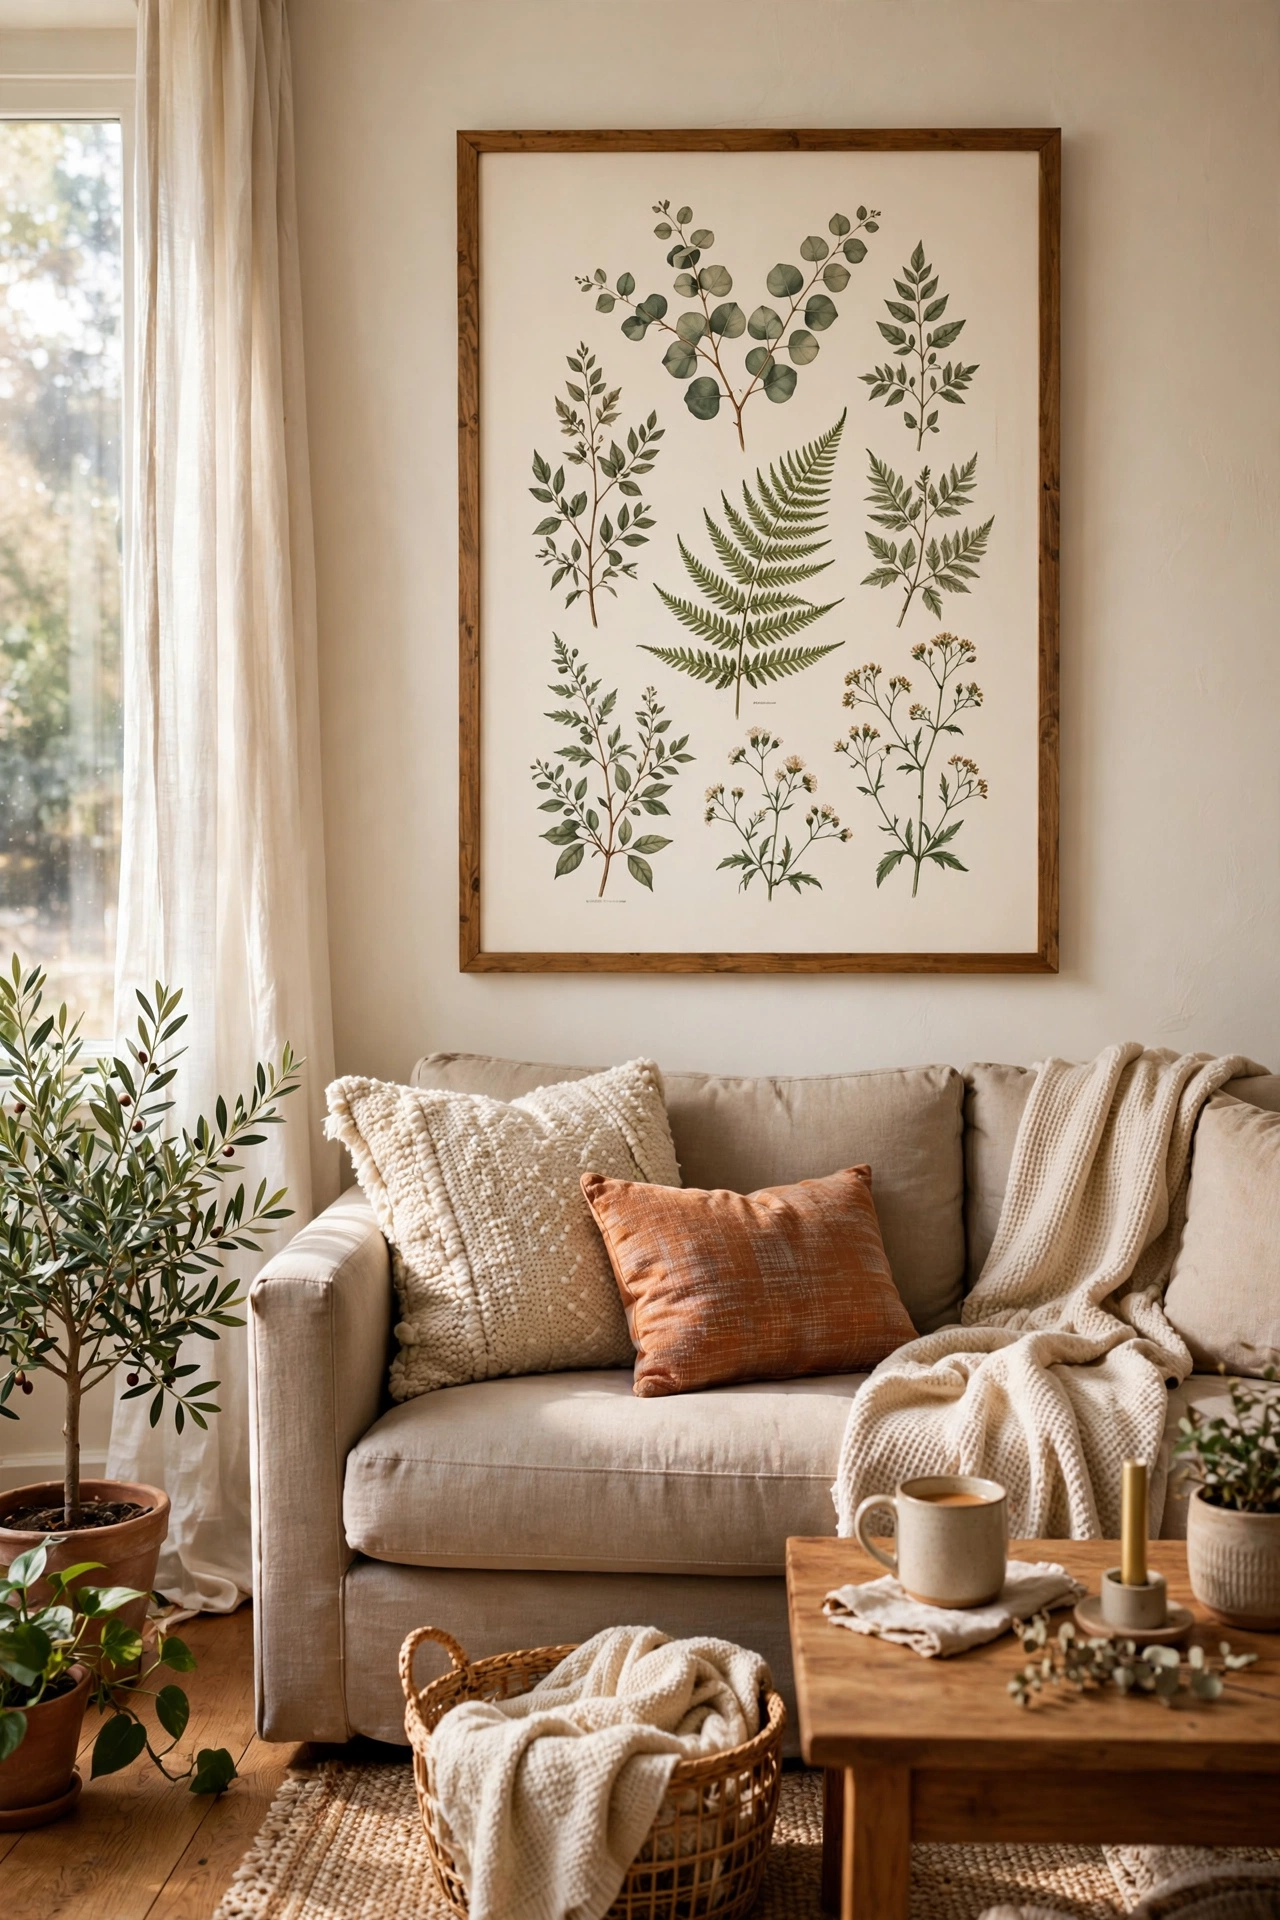
Free printable art is everywhere online, from botanical prints to abstract landscapes, and a charity shop frame turns it into real wall decor. Download a high-resolution print, get it printed at a copy shop for a couple of pounds in a large size, and frame it in the nicest secondhand frame you can find. I tried this with a huge botanical print above my sofa, and visitors assumed it was from a proper gallery. My mistake was printing it on thin home-printer paper first, which buckled in the frame within a week. Get it printed on proper stock at a copy shop and it lies flat and looks rich. One oversized piece beats four small ones.
Cost: ~$9 | Time: 30 minutes
Pro tip: print in black and white if colour printing is dear. Monochrome art looks intentional and expensive in any frame.
Washi Tape Geometric Pattern Straight on the Wall
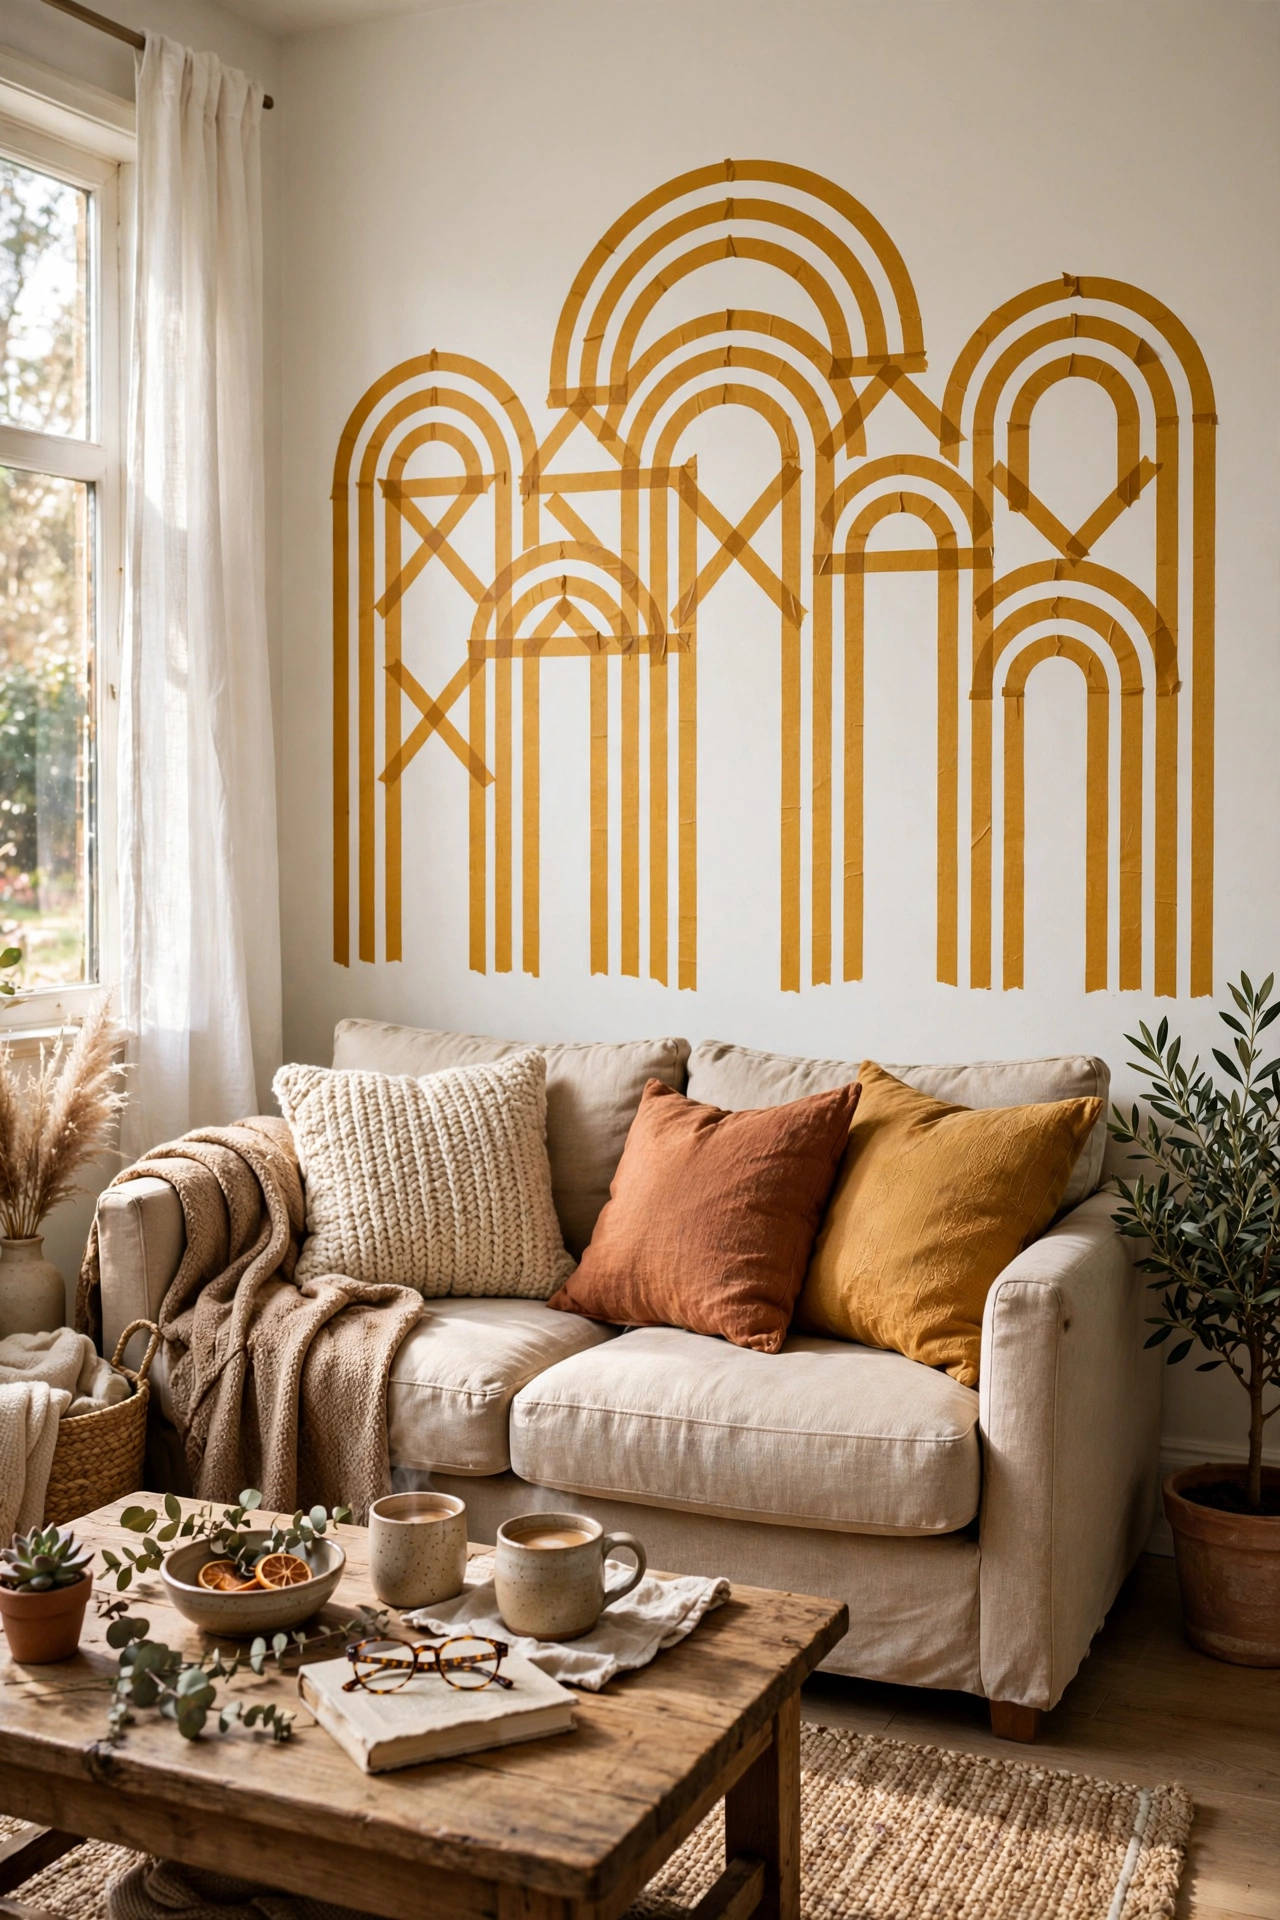
Washi tape is the renter’s paintbrush. Use it to create a big geometric pattern, a grid, an arch, or a faux frame outline directly on the wall, and peel it off when you move. Measure lightly with a pencil, then lay the tape in straight lines. I tried a huge arch behind my sofa in mustard washi tape, and it became the backdrop of every photo taken in that room. My mistake was pressing the tape down too hard on textured paint, which pulled a little paint off when I removed it. Press it firmly but not aggressively, and test a hidden spot first. When you are bored of it, peel and redesign.
Cost: ~$6 | Time: 45 minutes
Pro tip: use two tape widths for depth. A thick line with a thin line running inside it looks like proper wall panelling.
Hanging Plate Collection From the Charity Shop
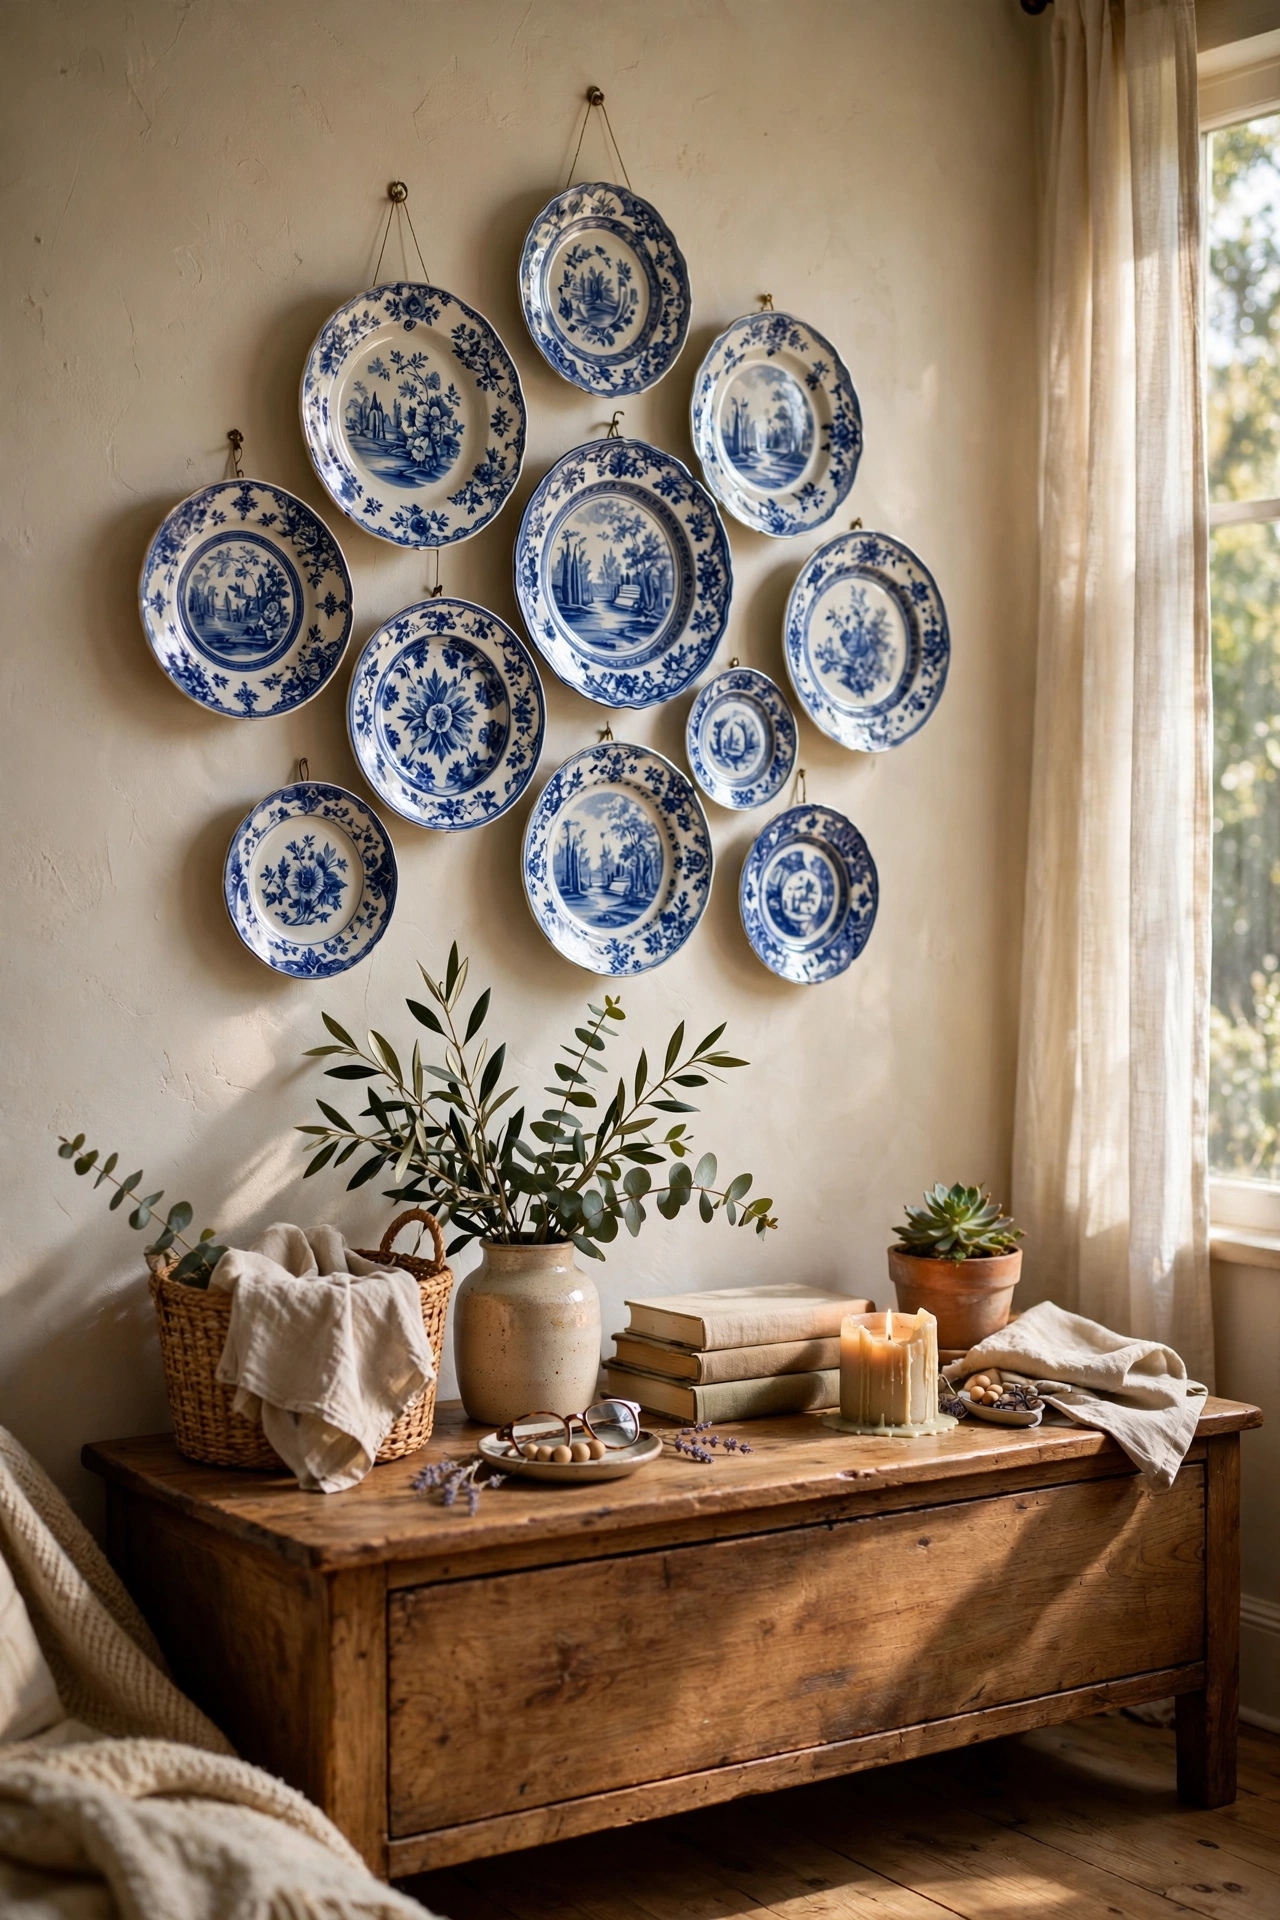
Decorative plates hung in a cluster are a classic for a reason, and charity shops sell them for next to nothing. Collect five to nine plates in coordinating colours, buy adhesive plate hangers, and arrange them in an organic cluster or a neat grid above a sideboard. I tried this with blue and white plates I found over two months of thrifting, and the wall went from blank to collected in an afternoon. My mistake was hanging them with the little wire hangers visible at first, which looked messy. Adhesive disc hangers sit flat and invisible, and the plates look like they are floating.
Cost: ~$12 for plates and hangers | Time: 1 hour
Pro tip: lay the arrangement on the floor first and photograph it. What looks good flat usually looks good on the wall.
Clipboards as a Rotating Art Display
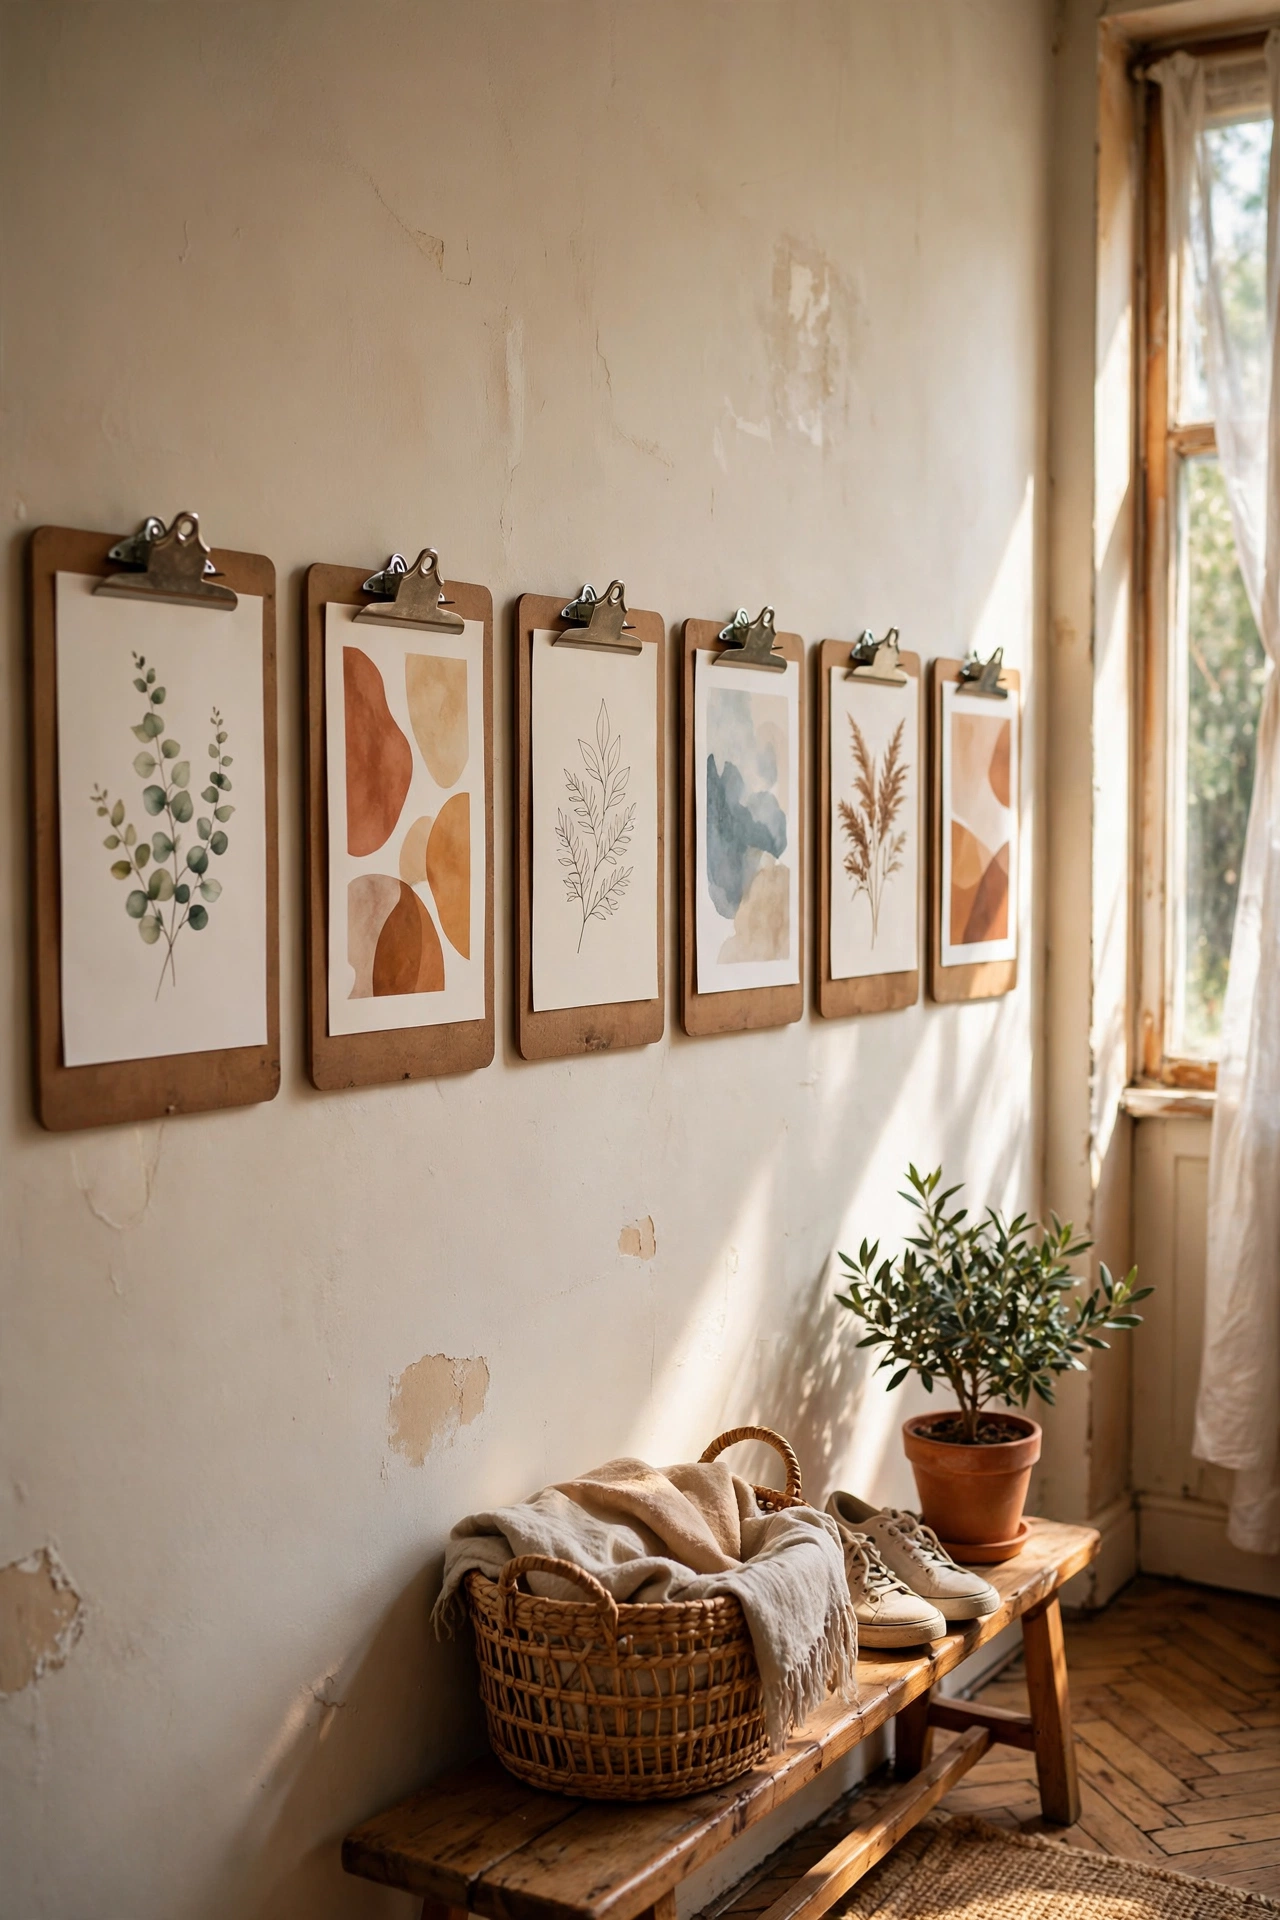
A row of clipboards on the wall gives you a gallery you can change in seconds. Hang three to five clipboards in a row with small nails or adhesive hooks, and clip in prints, photos, kids’ drawings, or pages torn from magazines. Swap the contents whenever you fancy a change. I tried this in the hallway leading to my living room, and it became the most complimented wall in the house because it was always different. My mistake was using flimsy thin clipboards that warped. Get the sturdy hardboard ones, they lie flat and look deliberate. It is a gallery wall without the commitment.
Cost: ~$8 | Time: 20 minutes
Pro tip: clip in wrapping paper or fabric offcuts between art rotations. Pattern alone can carry a clipboard beautifully.
Oversized Calendar Page as Instant Art
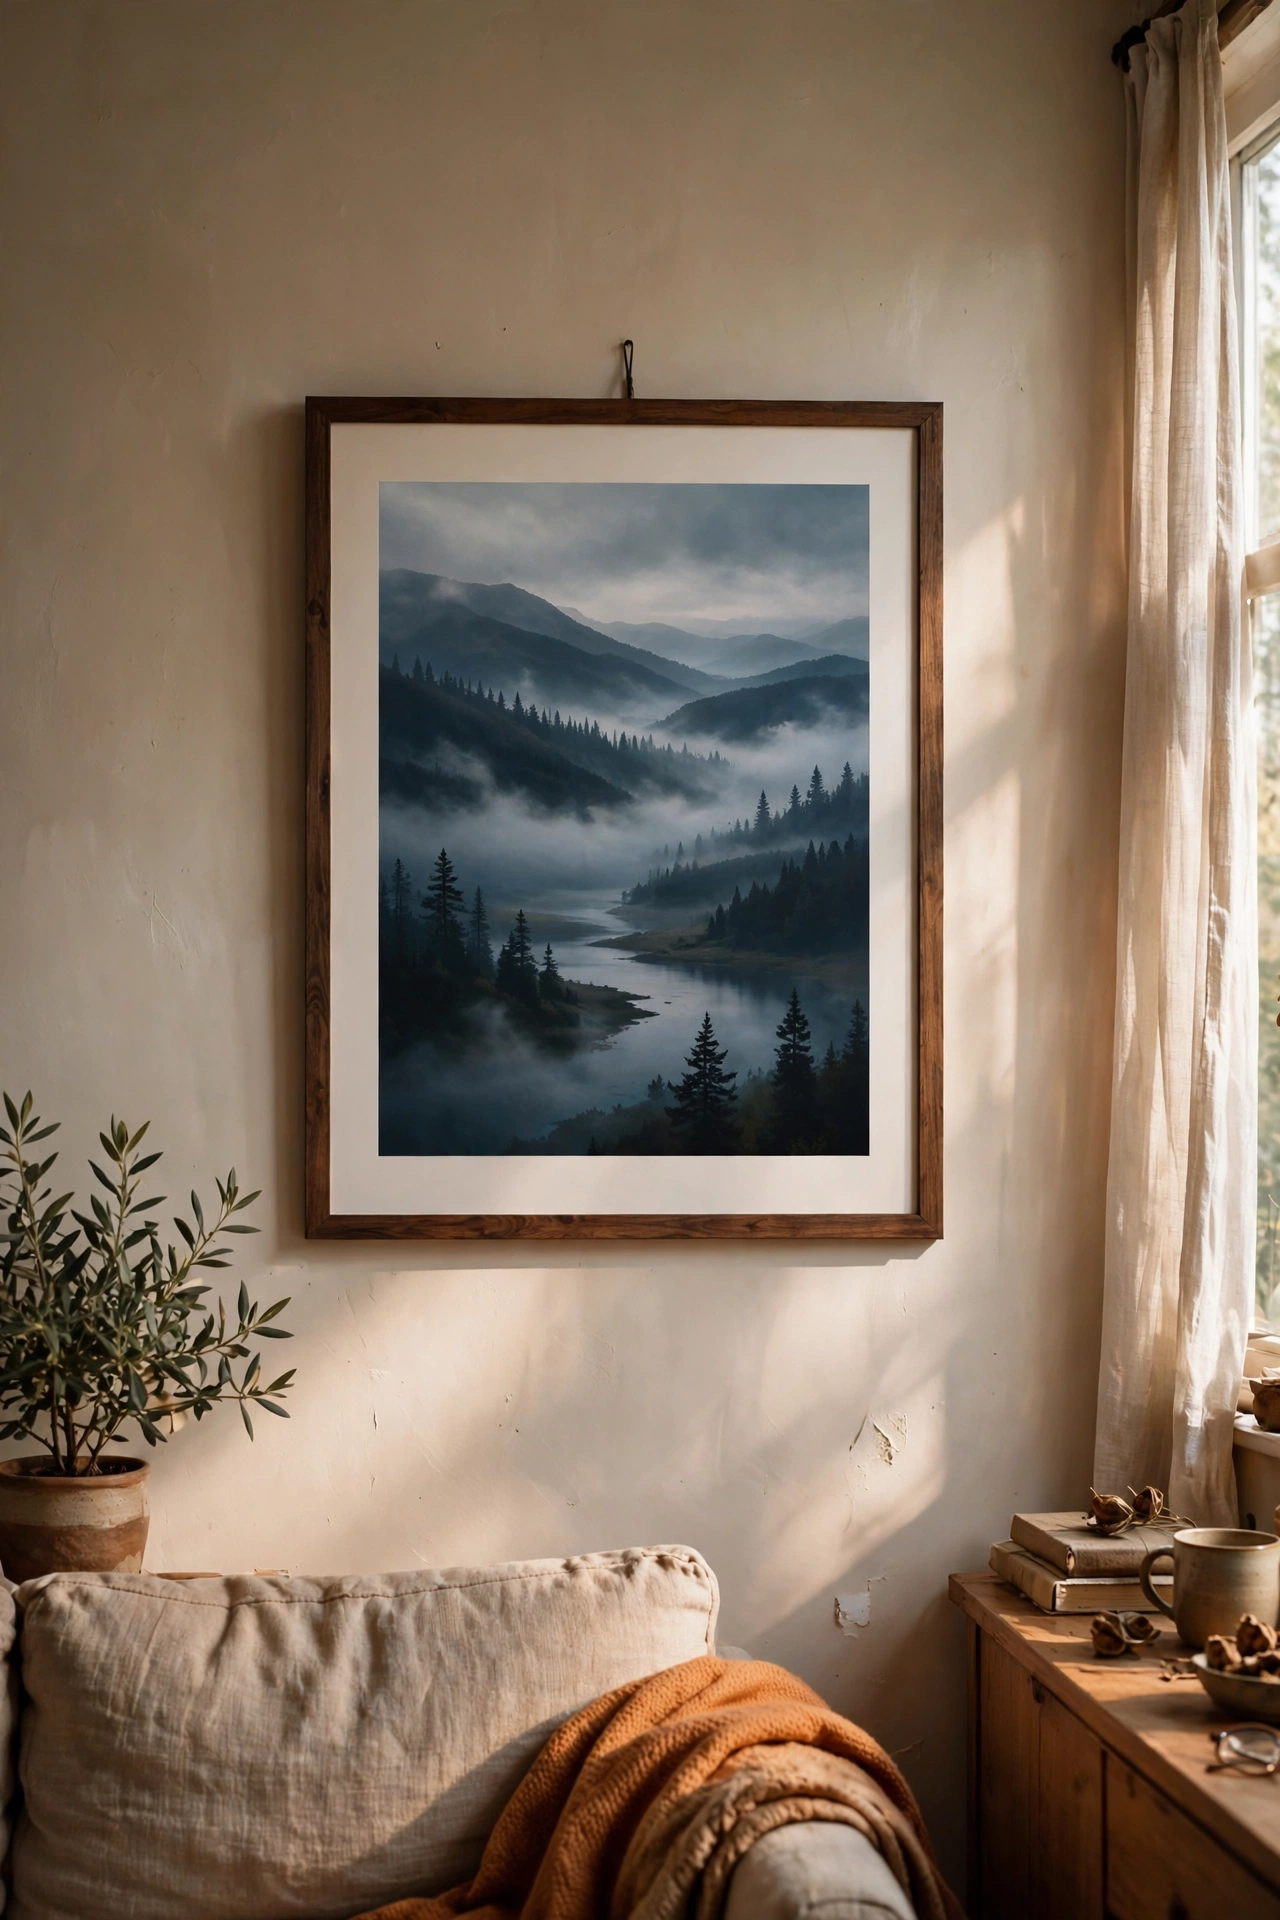
Last year’s wall calendar is a stack of free large-format art prints. Pick the best landscape or photography page, trim it neatly, and frame it or clip it to a hanger. Calendar images are printed on decent stock and sized generously, which is exactly what walls want. I tried this with a moody Scottish coastline page from a charity shop calendar, and nobody believed it cost me fifty pence. My mistake was hanging a page with the month grid still attached at the bottom, which ruined the illusion. Trim ruthlessly, right up to the image edge, and it reads as a proper print.
Cost: ~$2 | Time: 15 minutes
Pro tip: charity shops sell old calendars for pennies in January. Stock up and you have art for the whole house.
Fabric Stretched Over Old Canvas Frames
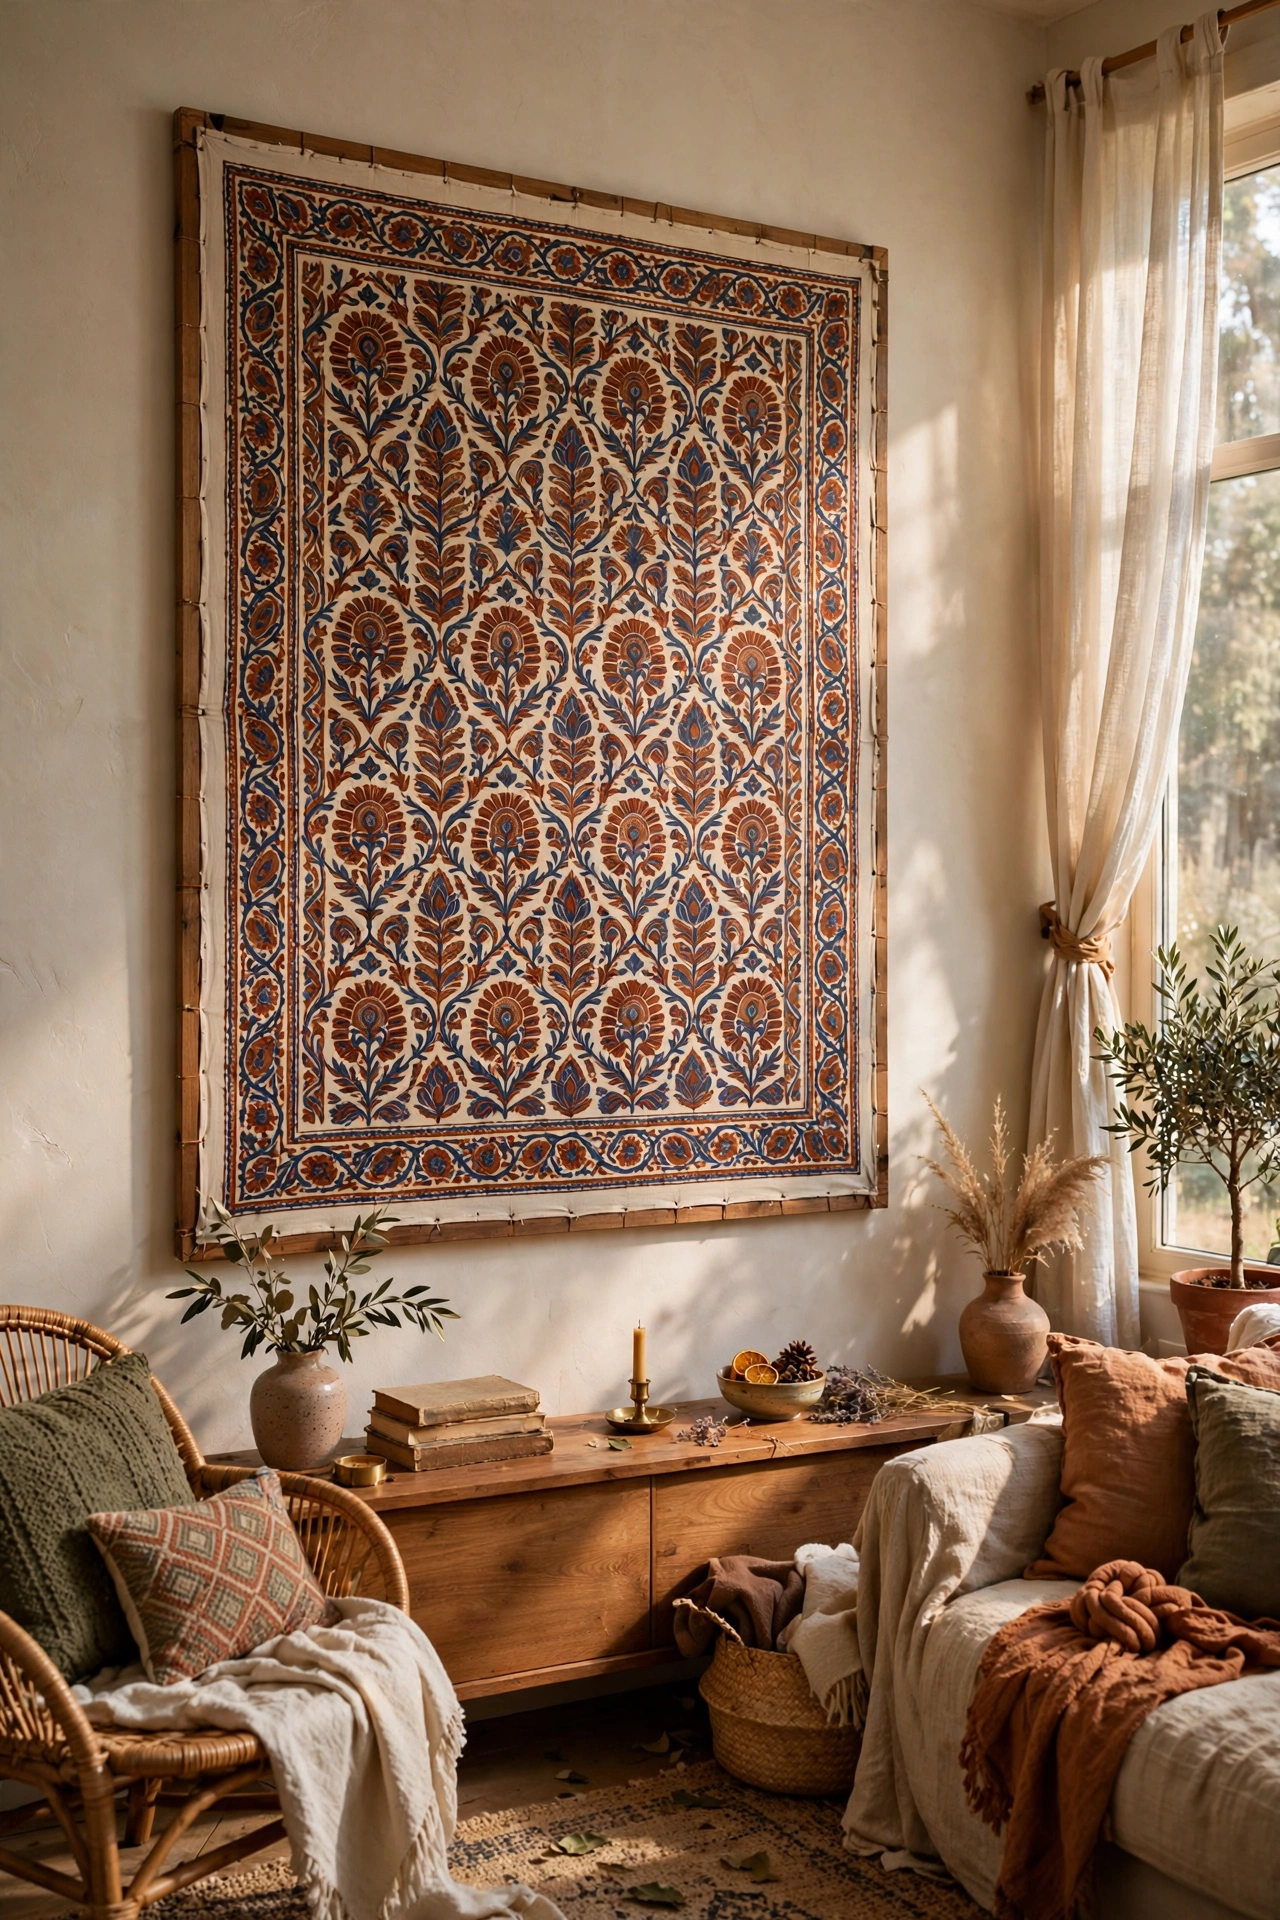
A piece of beautiful fabric stretched over a frame becomes textile art with real presence. Find old canvases at car boot sales, or buy cheap stretcher frames, and wrap them tightly with fabric, stapling at the back. Bold patterns, natural linen, even a favourite scarf works. I tried this with a metre of block-print fabric I had been hoarding, and the texture it added to the wall beat every flat print I owned. My mistake was stretching it loosely the first time, and it sagged within a month. Pull it drum-tight and staple every few centimetres. The fabric grain catches light in a way paper never does.
Cost: ~$10 | Time: 30 minutes
Pro tip: iron the fabric first. Creases show through once it is stretched, and you cannot fix them afterwards.
Paint Sample Cards Arranged in an Ombre Grid
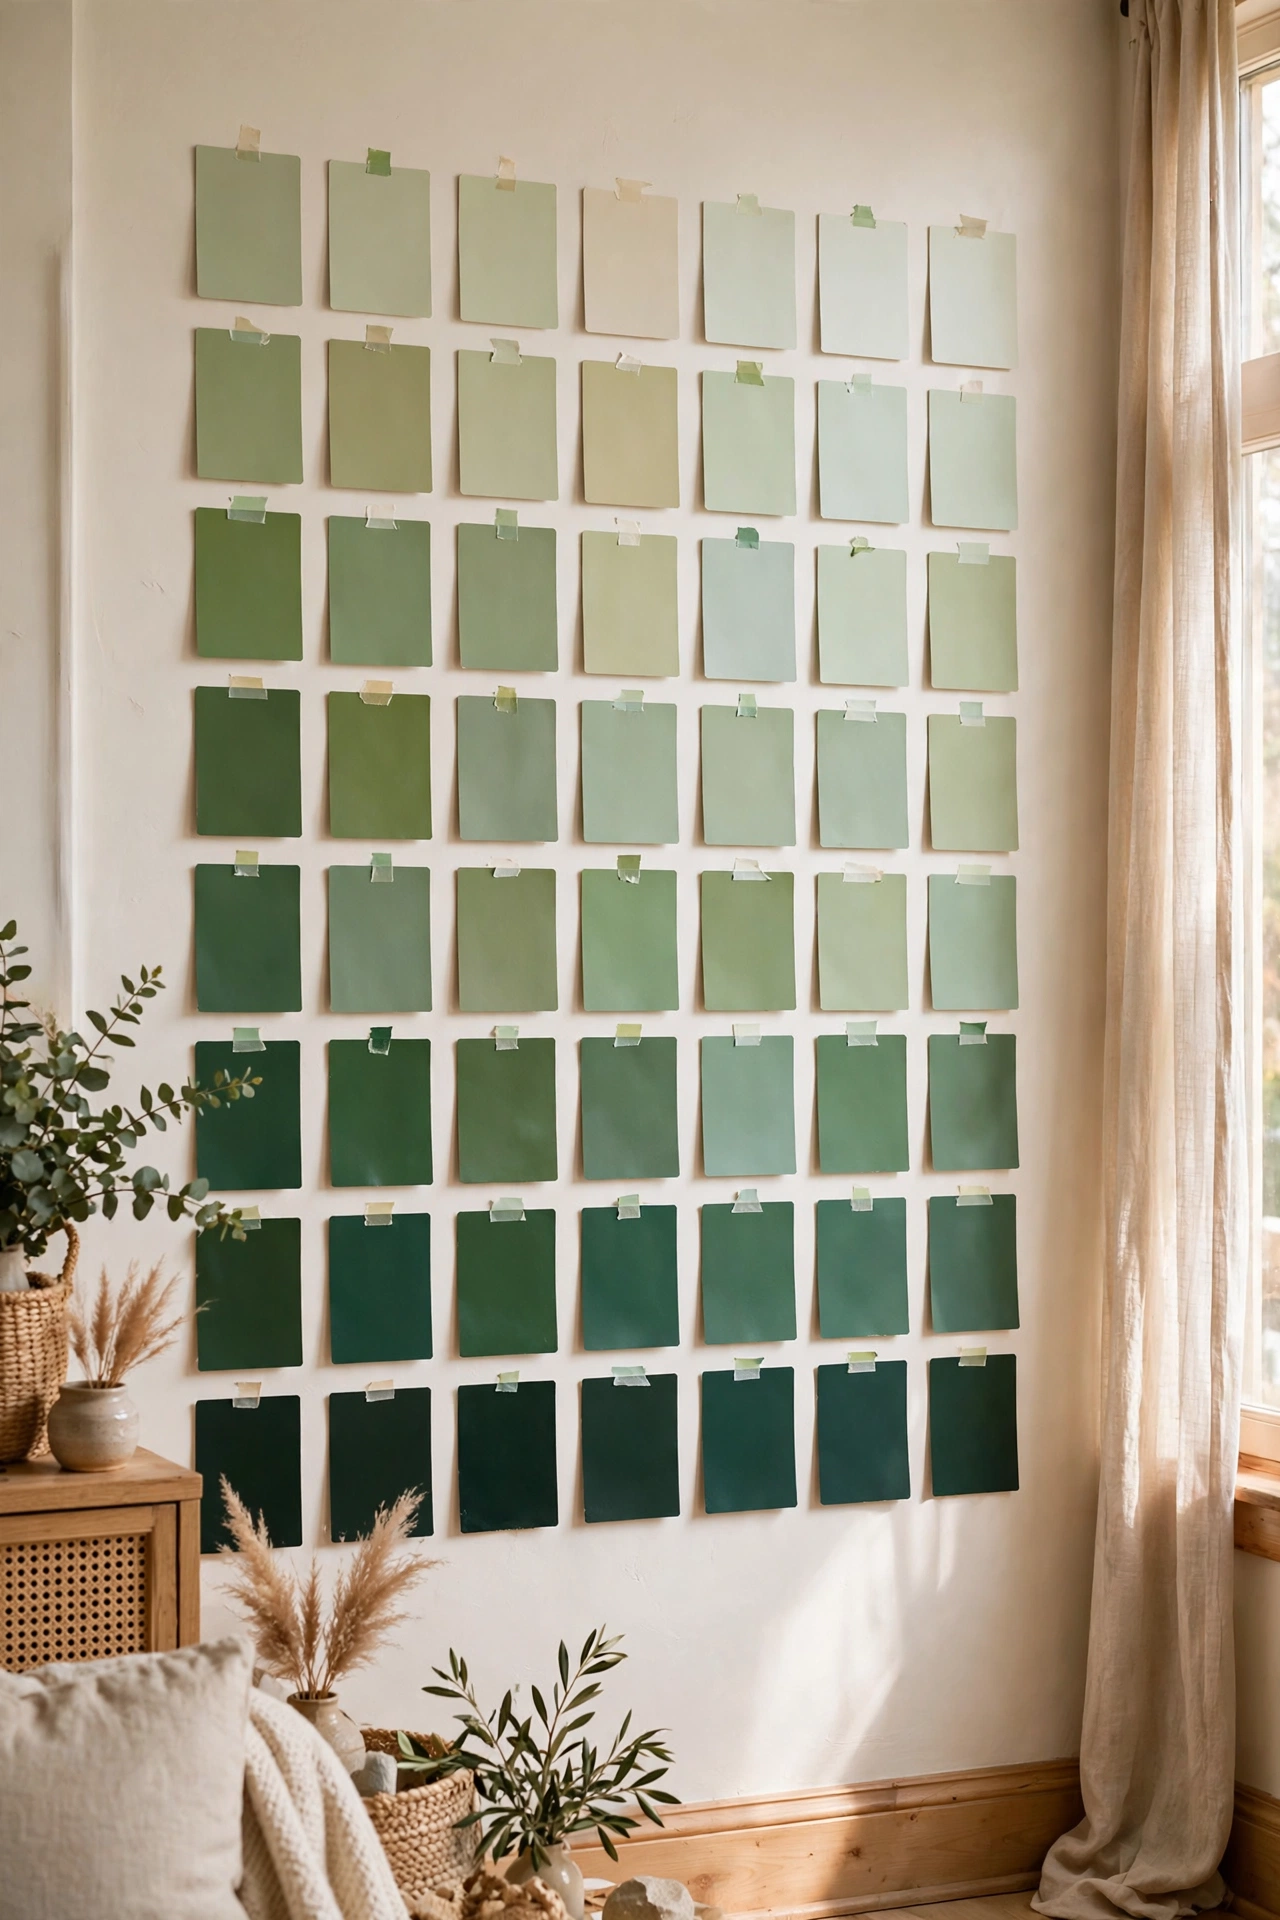
Those free paint sample cards become a genuinely striking ombre installation when you collect enough of them. Grab a gradient of cards in one colour family, from deep to pale, and stick them to the wall in a tight grid with small adhesive dots. I tried this in shades of green above my desk, forty cards in a five-by-eight grid, and it looked like a proper art installation. My mistake was mixing warm and cool tones, which made it look muddy. Stay in one temperature family and the gradient flows. It is free, it is bold, and guests always touch it.
Cost: ~$0 | Time: 45 minutes
Pro tip: use a spirit level app on your phone for the first row. If the top row is straight, the rest follows.
Engineer Prints of Family Photos
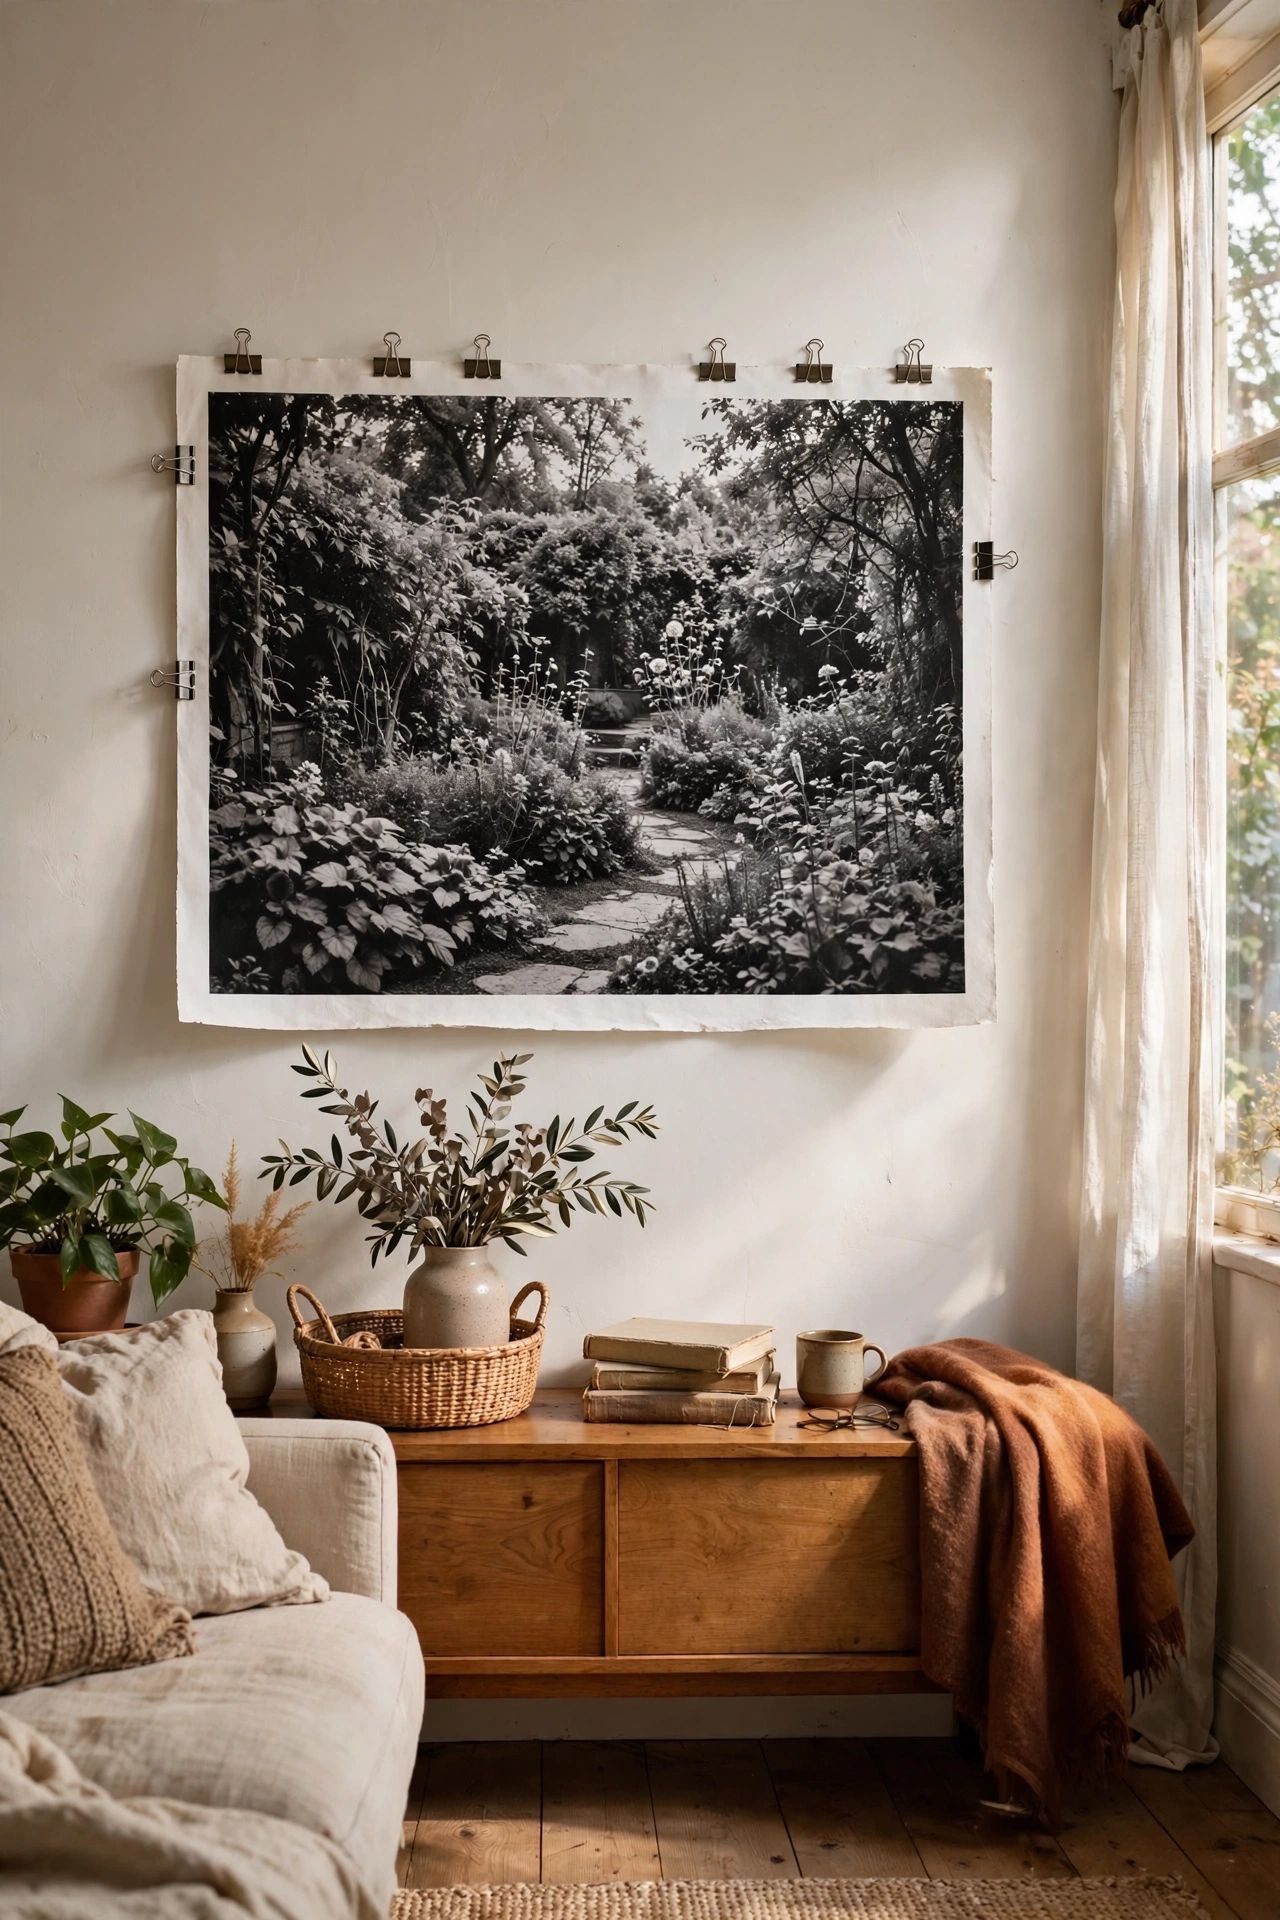
Engineer prints are huge black-and-white prints on thin paper that copy shops make for a few pounds, and they turn family photos into dramatic wall art. Pick a favourite photo, have it printed at two by three feet, and hang it with binder clips, washi tape, or a cheap magnetic hanger. I tried this with a photo of my grandmother’s garden, and the scale made everyone stop and look. My mistake was choosing a low-resolution phone photo that went blurry at that size. Use the highest resolution original you have, and black and white hides a multitude of sins. It feels like a gallery exhibition of your own life.
Cost: ~$7 | Time: 20 minutes
Pro tip: hang it slightly lower than you think. Oversized prints look best when their centre sits at eye level.
Floating Shelf Styled With Books and Vases
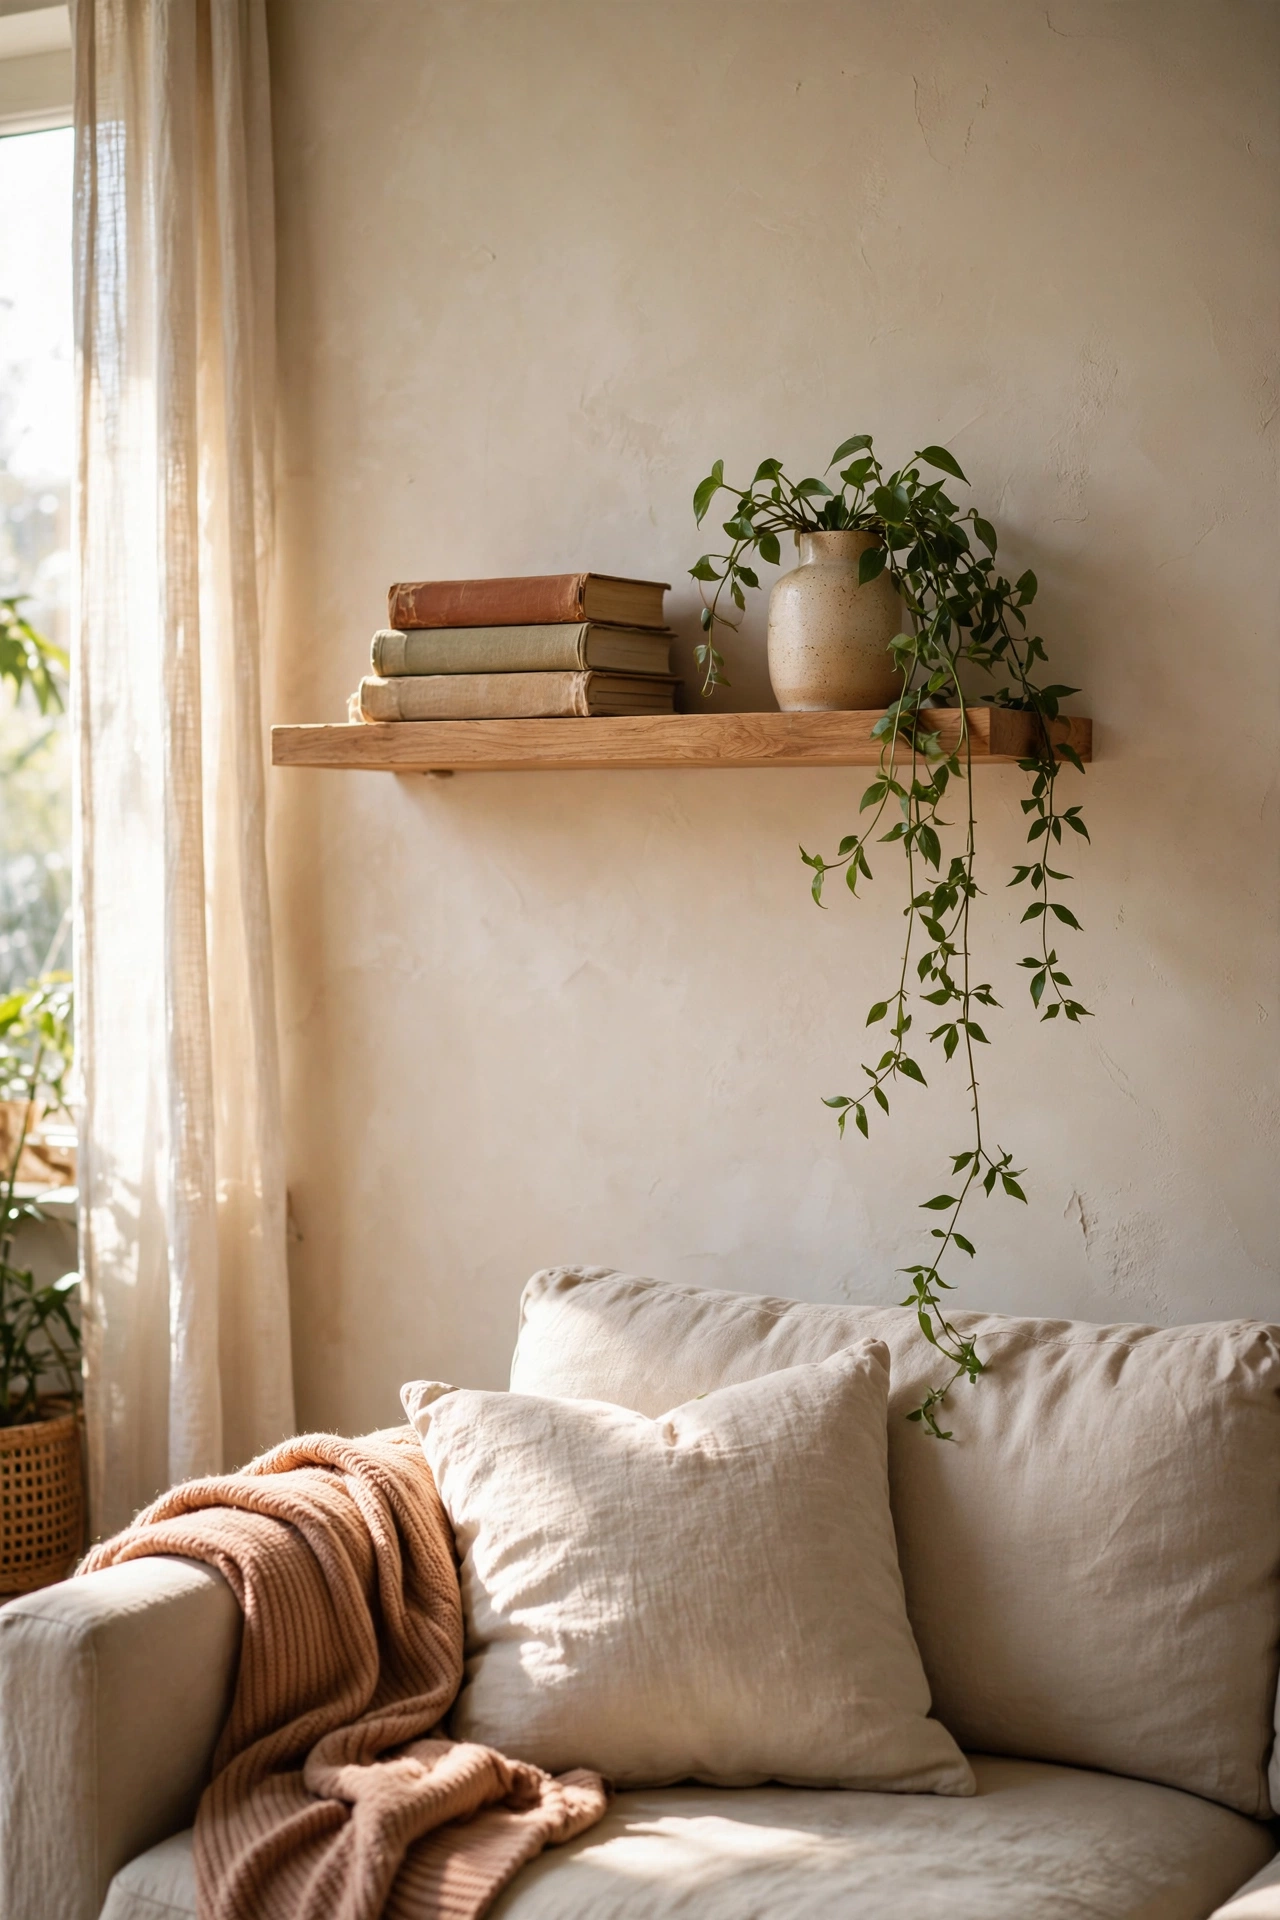
A single floating shelf gives you a whole vignette instead of one flat thing on the wall. Mount one long shelf above the sofa or sideboard, and style it with a stack of books, a small vase, and one trailing plant. The shelf itself costs little, and you already own the styling props. I tried this when I could not commit to a gallery wall, and the shelf became my seasonal display spot that I restyle four times a year. My mistake was overloading it the first time, which made it look like storage. Three groupings with breathing room between them is the formula. Less is genuinely more here.
Cost: ~$14 | Time: 30 minutes
Pro tip: put the heaviest item in the middle. It anchors the shelf visually and keeps the balance right.
Vintage Maps From Library Book Sales
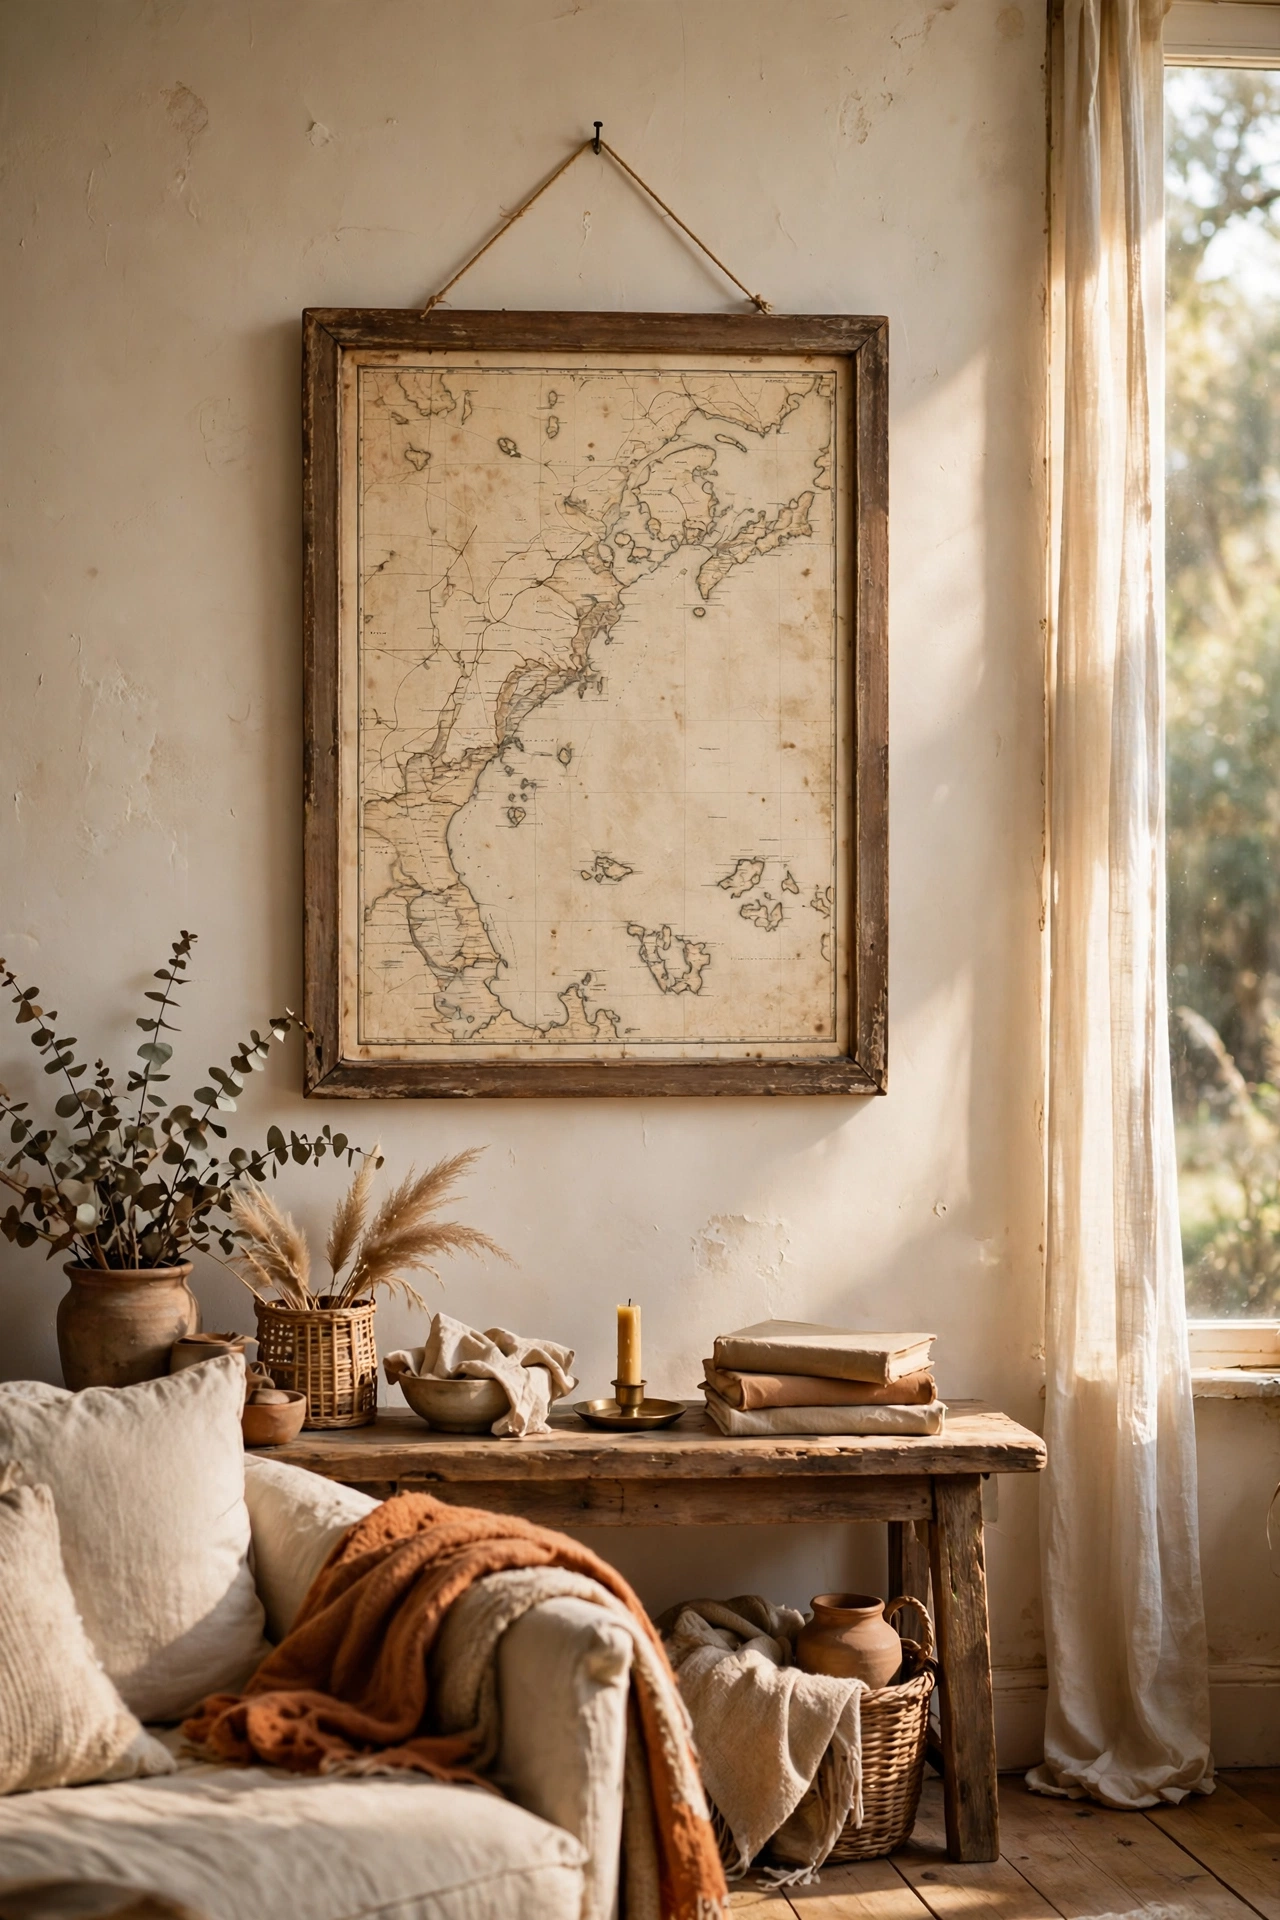
Old atlases and National Geographic maps from library sales are wall art with a story built in. Buy a battered atlas for a pound, carefully remove the best pages, and frame the ones that mean something to you. A map of somewhere you have been, or dream of going, beats generic art. I tried this with a 1960s atlas and framed a map of the coastline where I grew up. My mistake was framing a page with a big crease down the middle that I thought would flatten out. It did not. Choose flat, clean pages, and the aged paper colour does half the decorating work for you.
Cost: ~$5 | Time: 25 minutes
Pro tip: frame two facing pages together in one wide frame. The centre seam looks intentional and doubles the impact.
DIY Macrame Wall Hanging From Cotton Cord
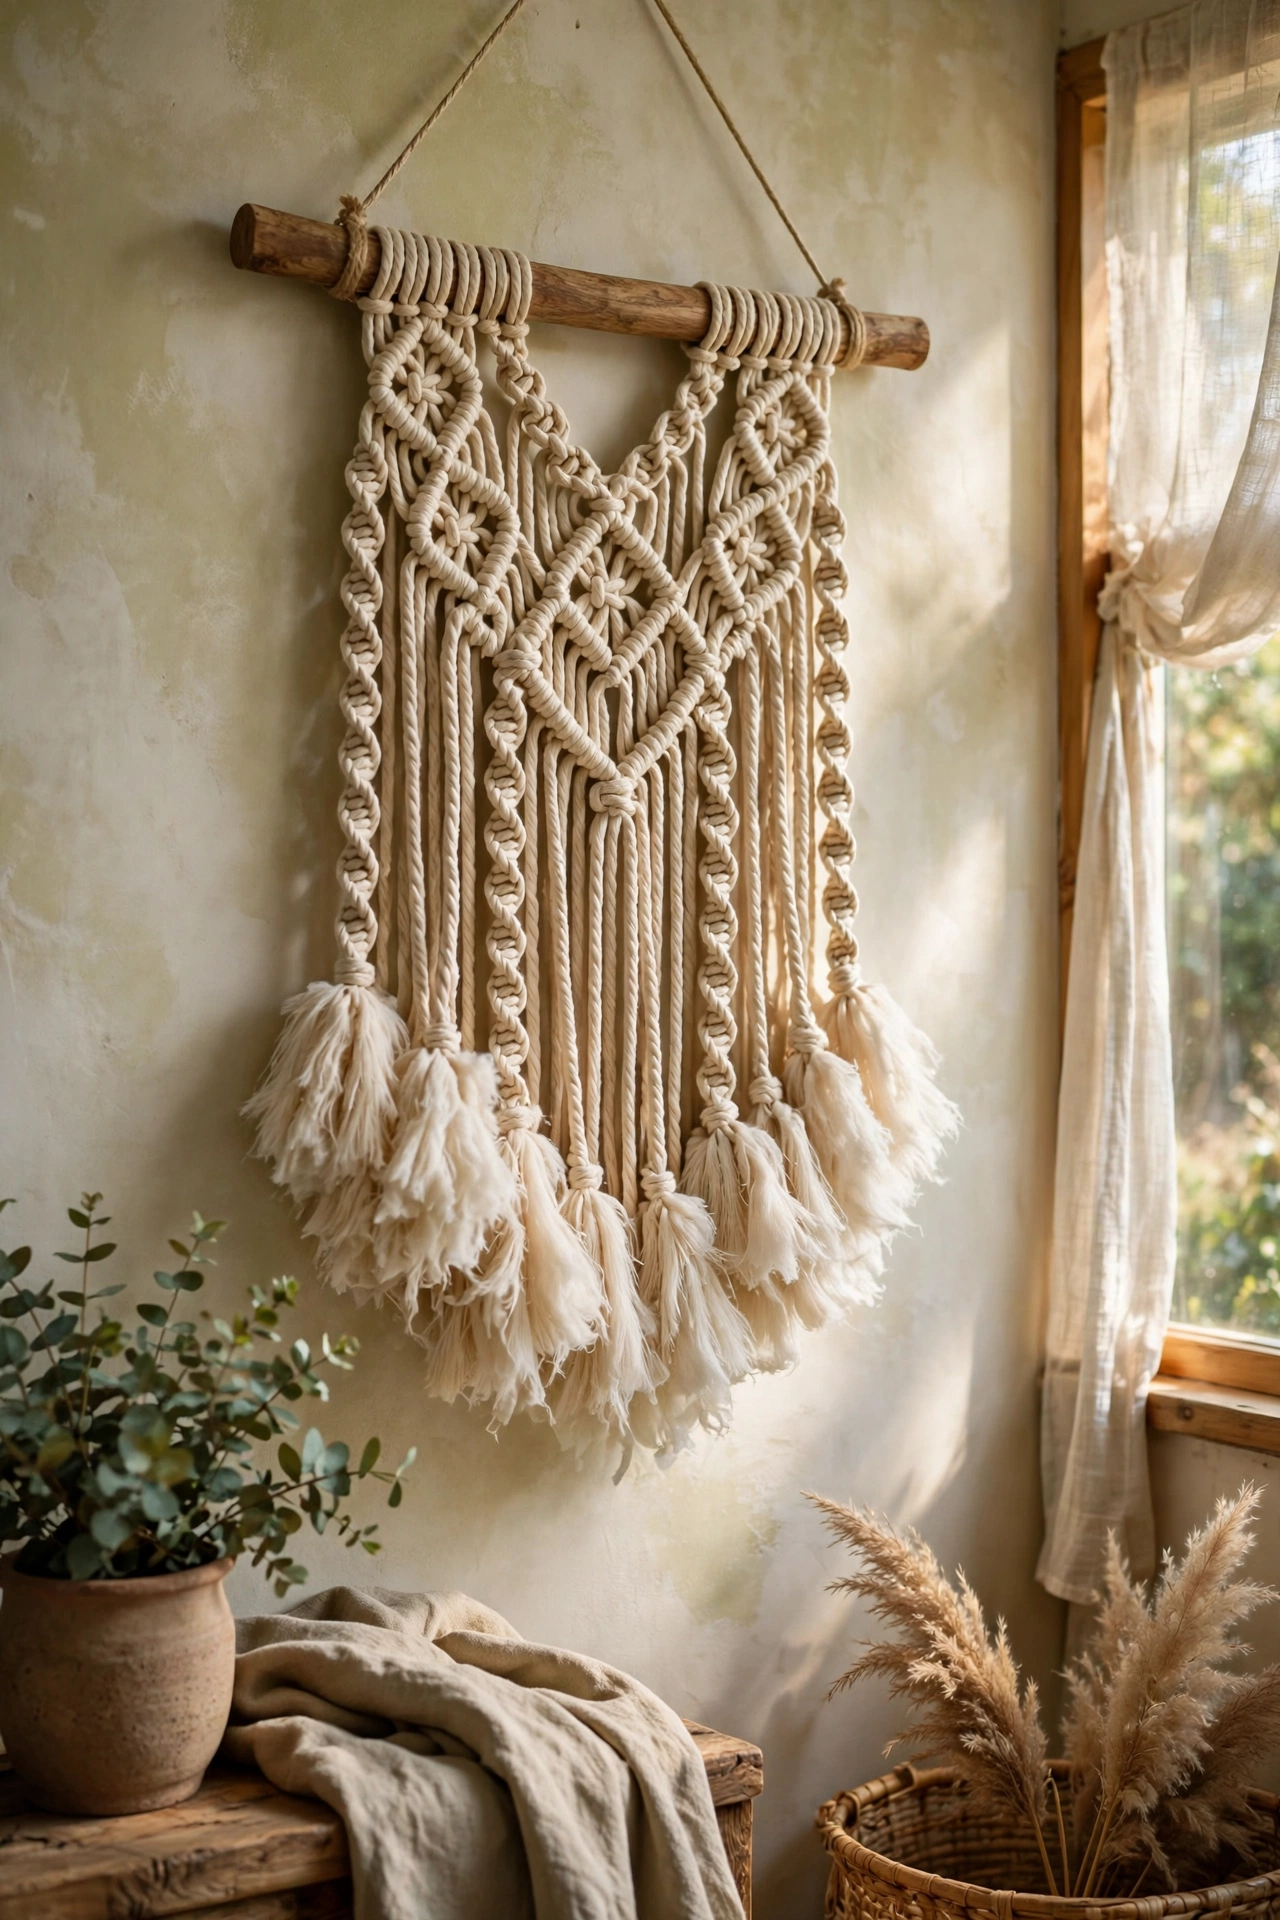
A simple macrame wall hanging needs only cotton cord, a wooden dowel, and a free tutorial video. Learn three knots, square knot, lark’s head, and double half hitch, and you can make a respectable hanging in an evening. I tried this convinced I had no craft skills, and my first attempt now hangs in my living room where everyone assumes I bought it. My mistake was buying thin cord that made a flimsy, sad little piece. Thick 5mm cord gives you presence with far less knotting. It adds the handmade texture that makes a room feel collected rather than decorated.
Cost: ~$11 | Time: 2 hours
Pro tip: comb out the fringe at the bottom with a pet brush. Fluffy fringe looks professional; uncombed looks unfinished.
Wooden Crate Shelves in a Stacked Arrangement
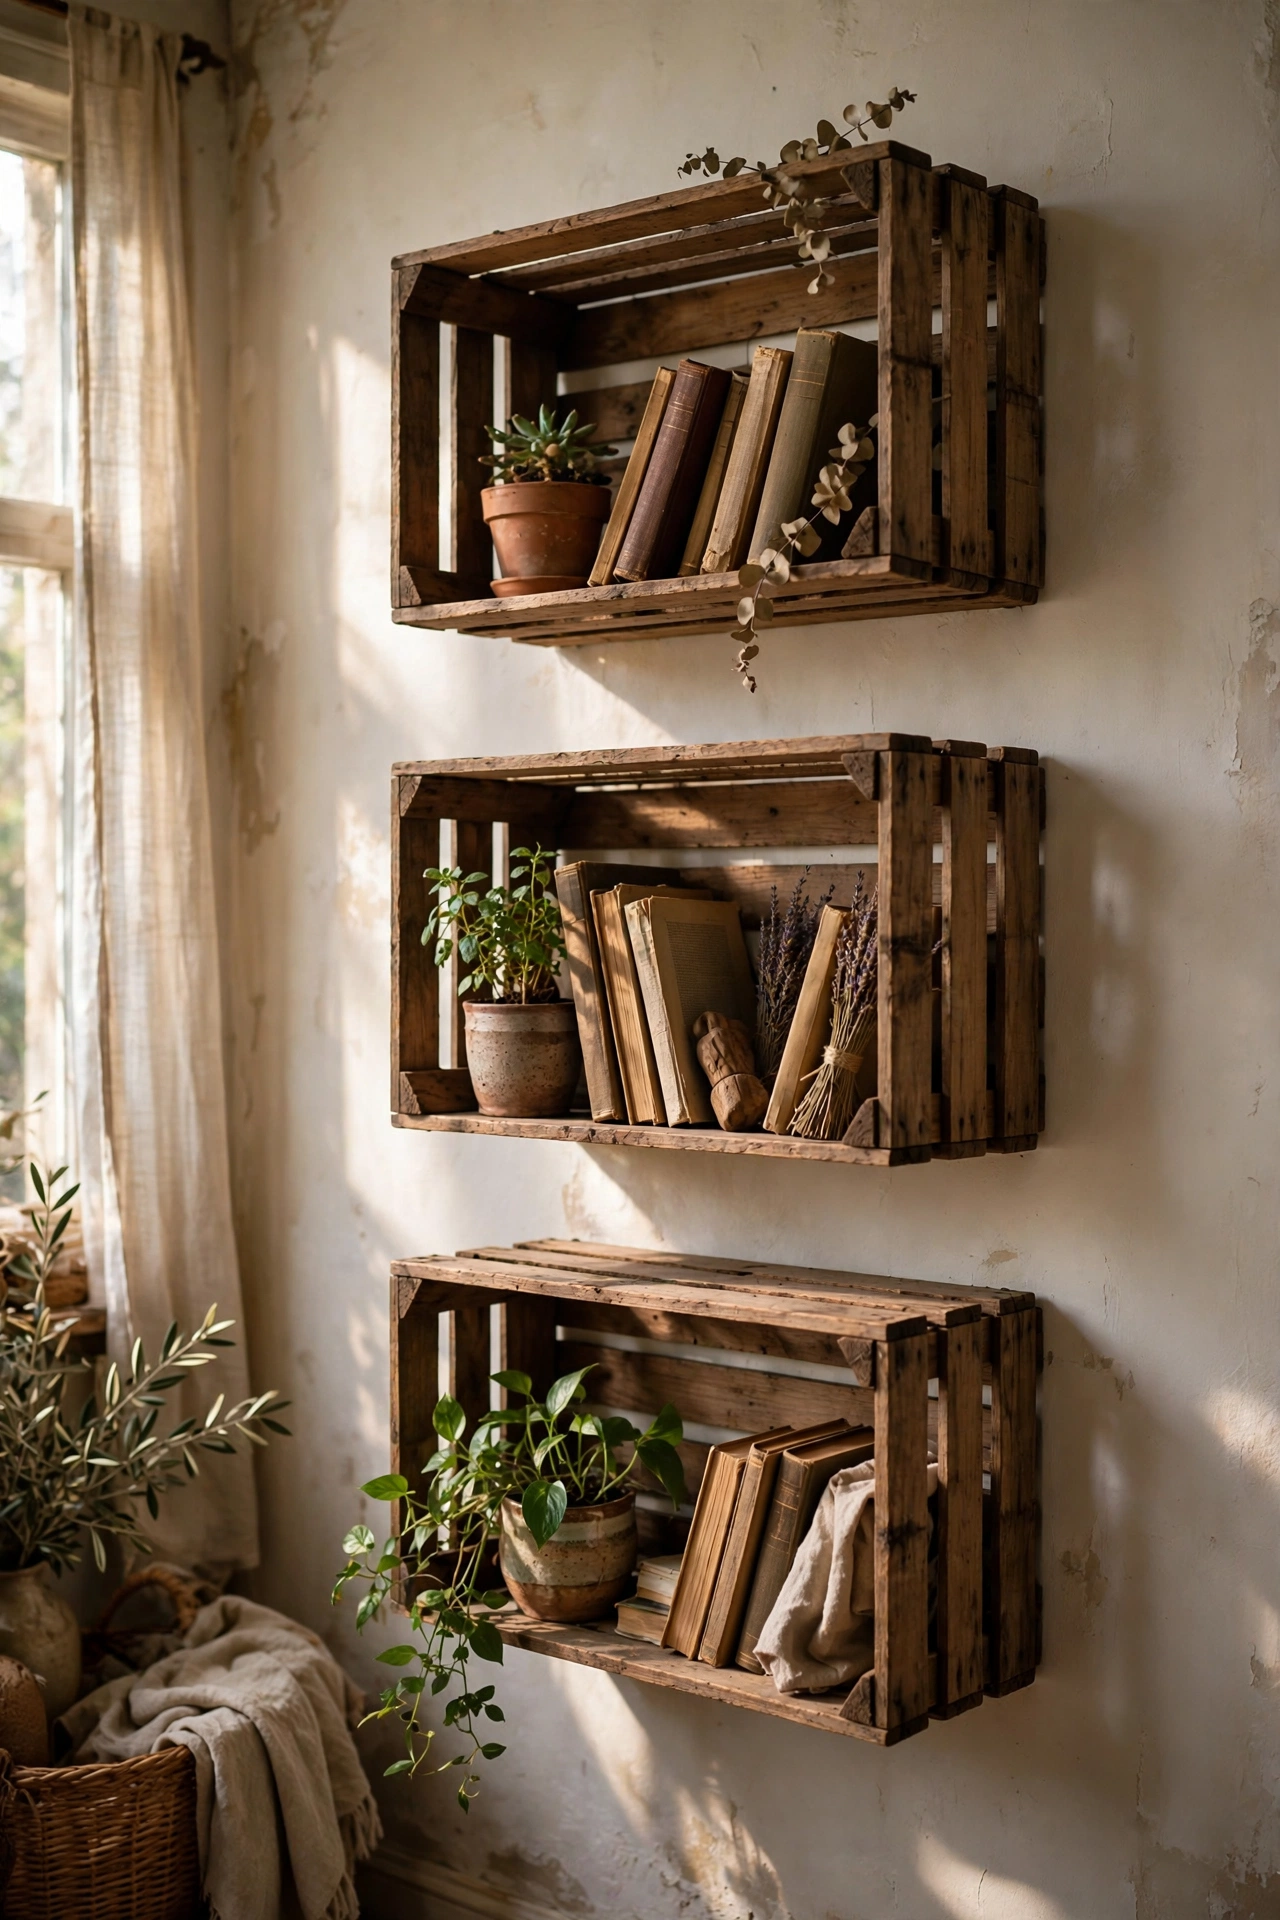
Wooden crates from the greengrocer or craft shop become rustic wall shelves when you mount them in a cluster. Sand them lightly, stain or paint if you like, and fix them to the wall in an asymmetric arrangement. They hold books, plants, and small objects while looking like decor themselves. I tried this in a reading corner with three crates, and it cost less than one shop-bought shelf unit. My mistake was mounting them without checking they were level, and everything slowly slid to one side. A small level is worth the faff. Fill them loosely, half empty is the look you want.
Cost: ~$15 for three crates | Time: 1 hour
Pro tip: leave one crate empty on purpose. Negative space is what separates styling from storage.
Chalkboard Paint Accent Square for Rotating Messages
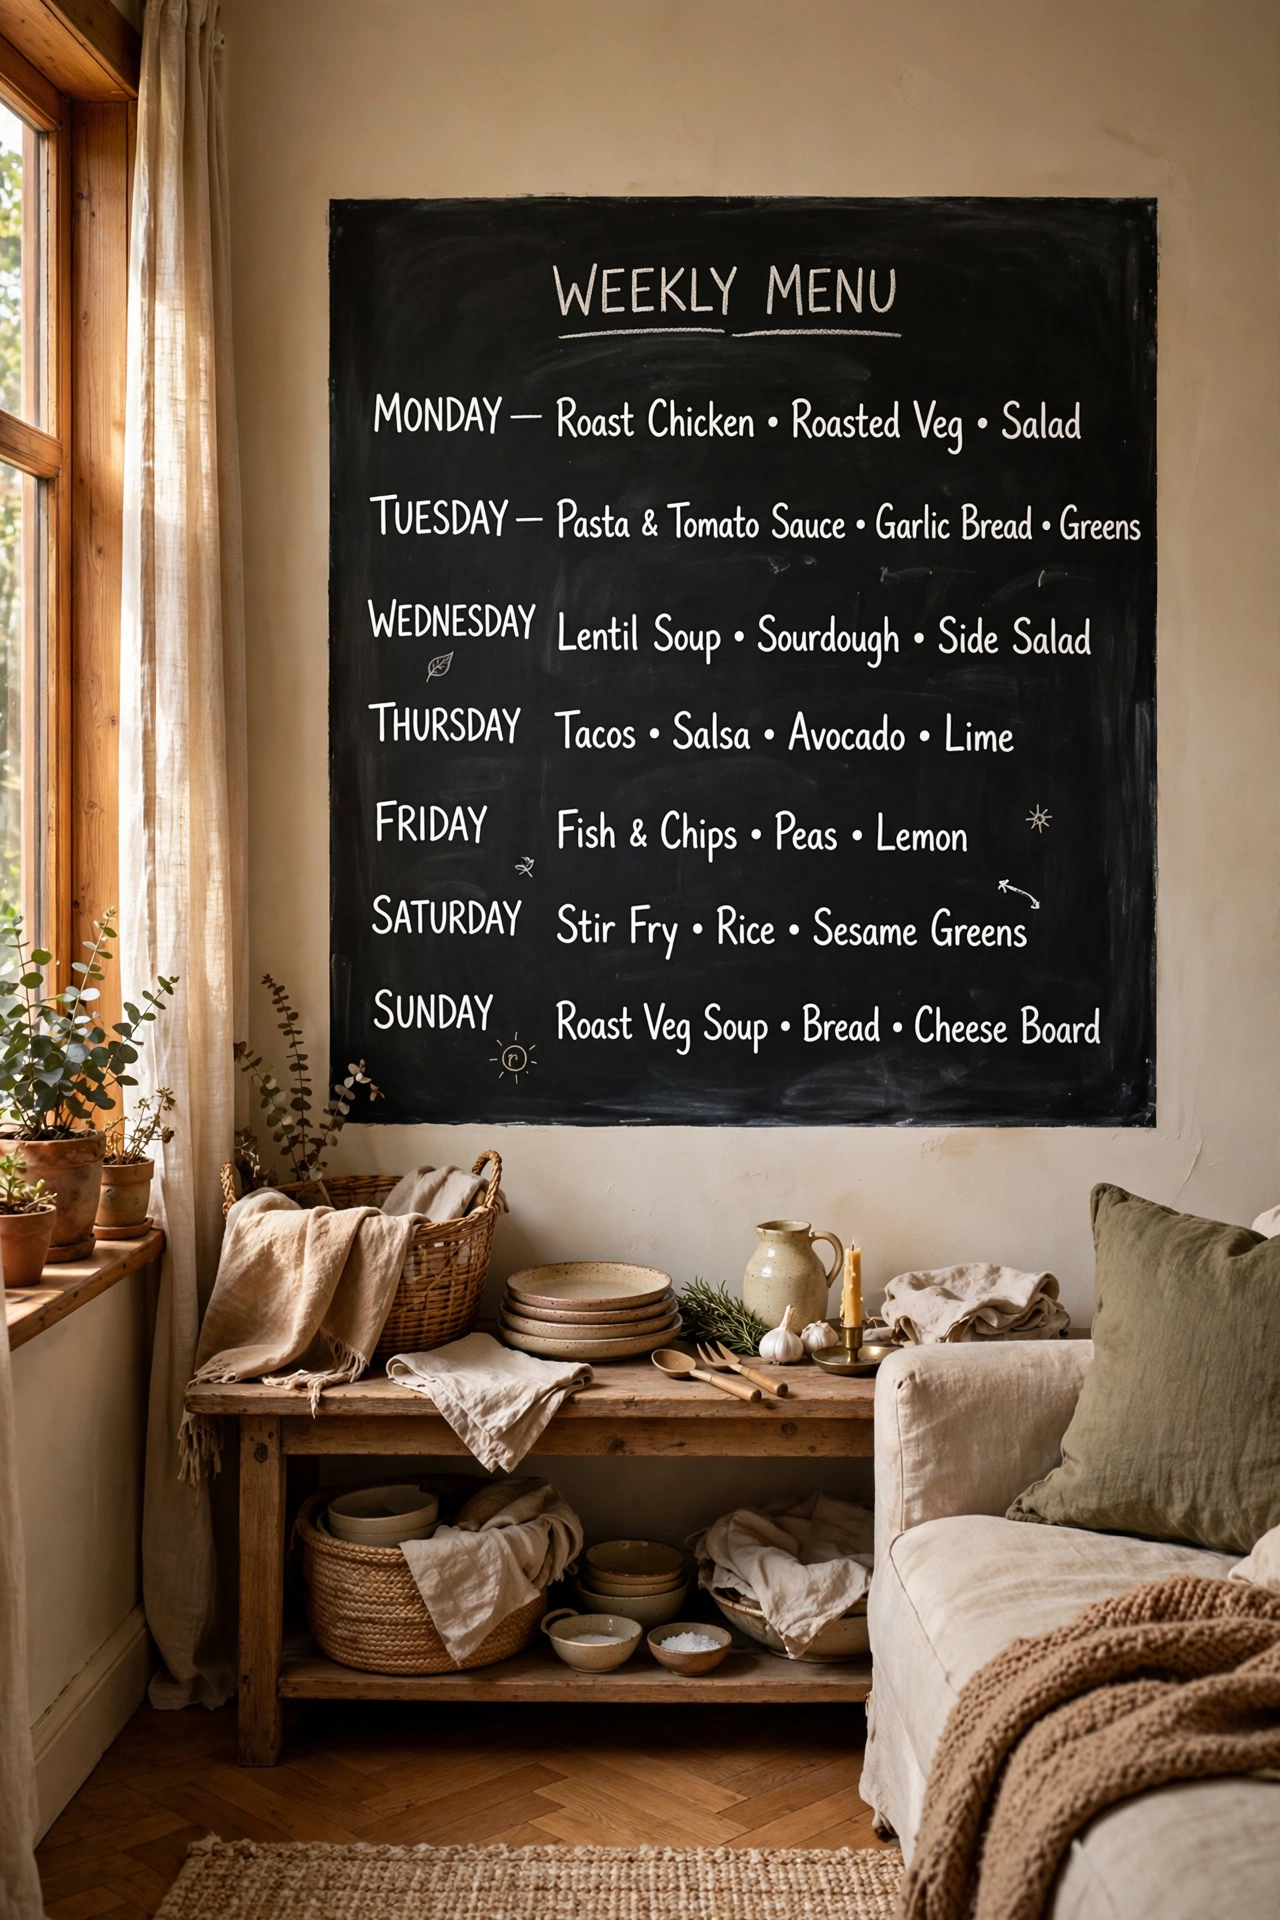
A square of chalkboard paint on the wall is a living piece of decor you can redraw forever. Tape off a neat square or rectangle, apply two coats of chalkboard paint, and condition it by rubbing chalk all over once. Then write quotes, draw, list the week’s menu, whatever suits. I tried this in my kitchen-living open plan, and it became the family noticeboard, art piece, and conversation starter. My mistake was painting it too small the first time, a timid little square that looked like a mistake. Go bold, at least two feet square, and frame the edge with thin washi tape for a finished look.
Cost: ~$10 | Time: 1 hour plus drying
Pro tip: use chalk markers instead of real chalk for crisp lines, then wipe clean with a damp cloth when you want a fresh start.
Dried Flower Shadow Boxes in a Row
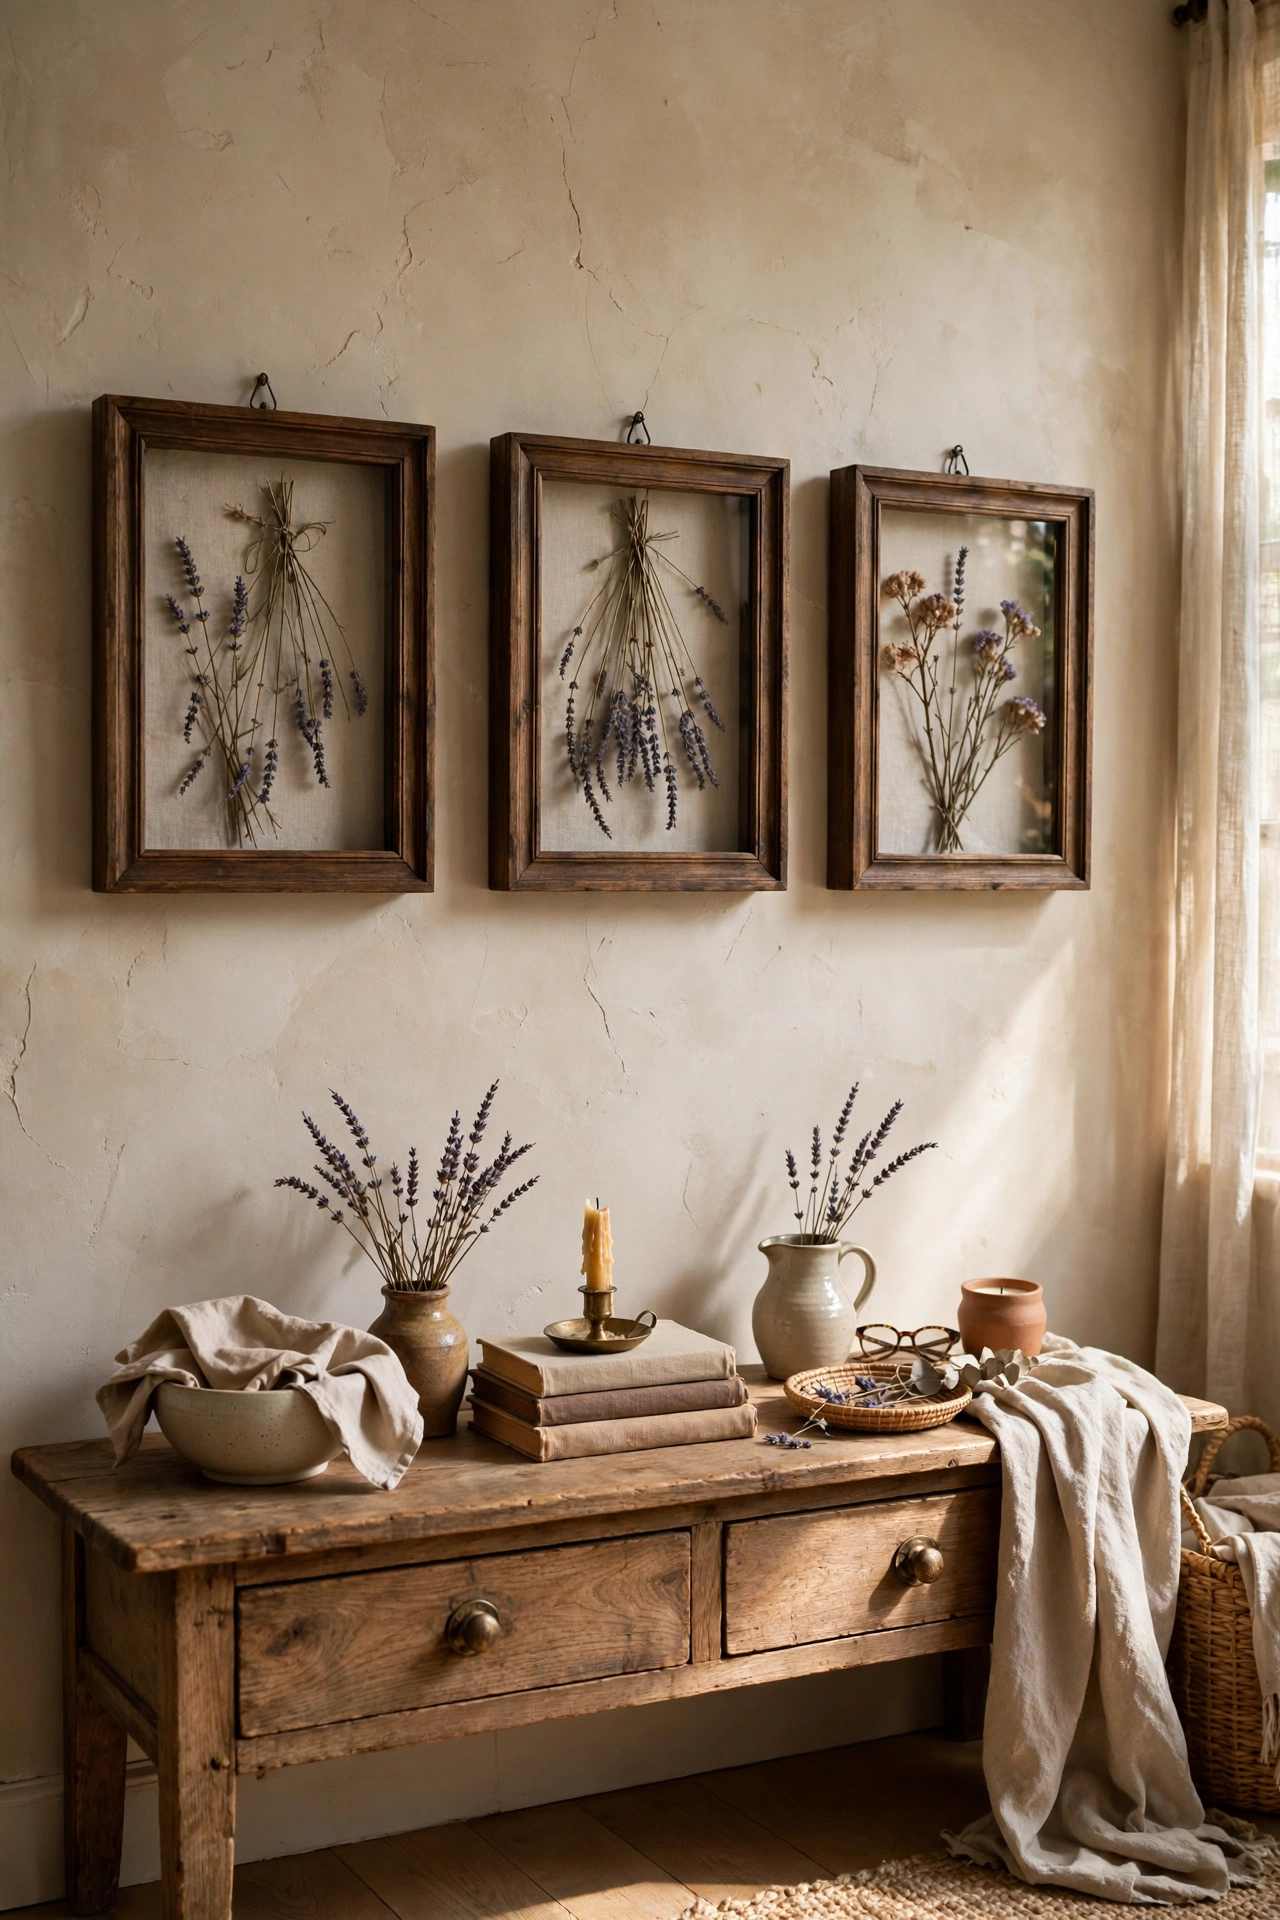
Dried flowers in deep box frames look like botanical specimens from a museum. Buy a few deep box frames from a pound shop, arrange dried lavender, wheat stems, or honesty seed heads inside, and hang them in a row. I tried this with lavender from my mum’s garden, and the scent when you walk past is a bonus nobody expects. My mistake was using fresh flowers that shrivelled and browned within days. Only use properly dried stems, they hold their shape and colour for years. Three in a row above a console table is the sweet spot.
Cost: ~$12 for three frames | Time: 30 minutes
Pro tip: spray dried flowers with hairspray before framing. It stops them shedding petals every time the door slams.
Pound Shop Mirrors Grouped as One Statement
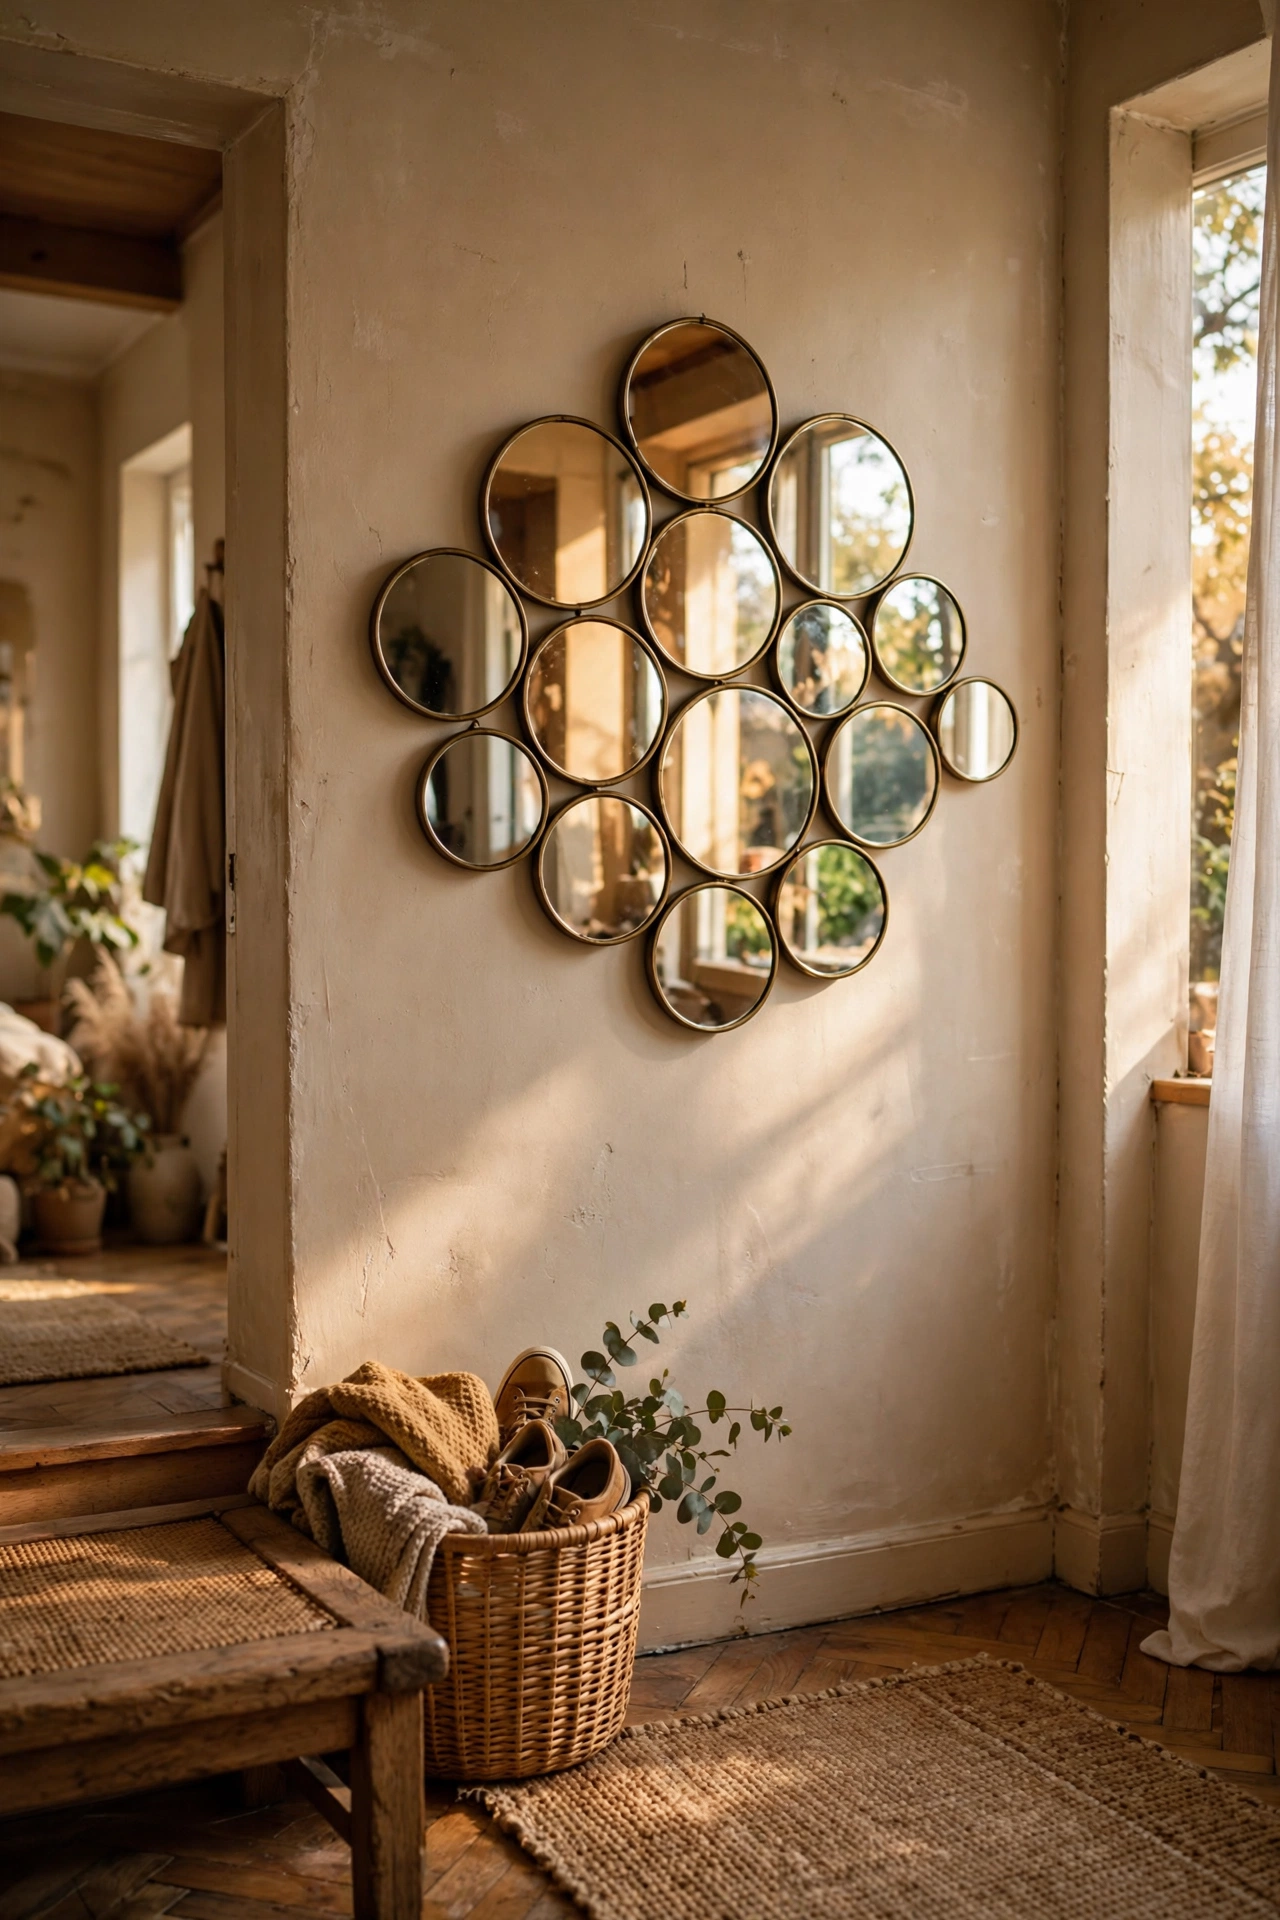
Five cheap round mirrors grouped tightly read as one expensive statement piece. Buy the small round mirrors from a pound shop, all the same size, and hang them in a honeycomb or tight grid formation. The repetition is what makes it look designed. I tried this in a dark hallway and it bounced light around like a much bigger window. My mistake was spacing them too far apart, which made them look like scattered afterthoughts. Keep the gaps under two inches and the group reads as a single piece. It doubles the light in any dim corner.
Cost: ~$8 | Time: 30 minutes
Pro tip: hang them where they reflect something pretty, a plant or a window, not a blank ceiling.
Pegboard Display Wall for Ever-Changing Decor
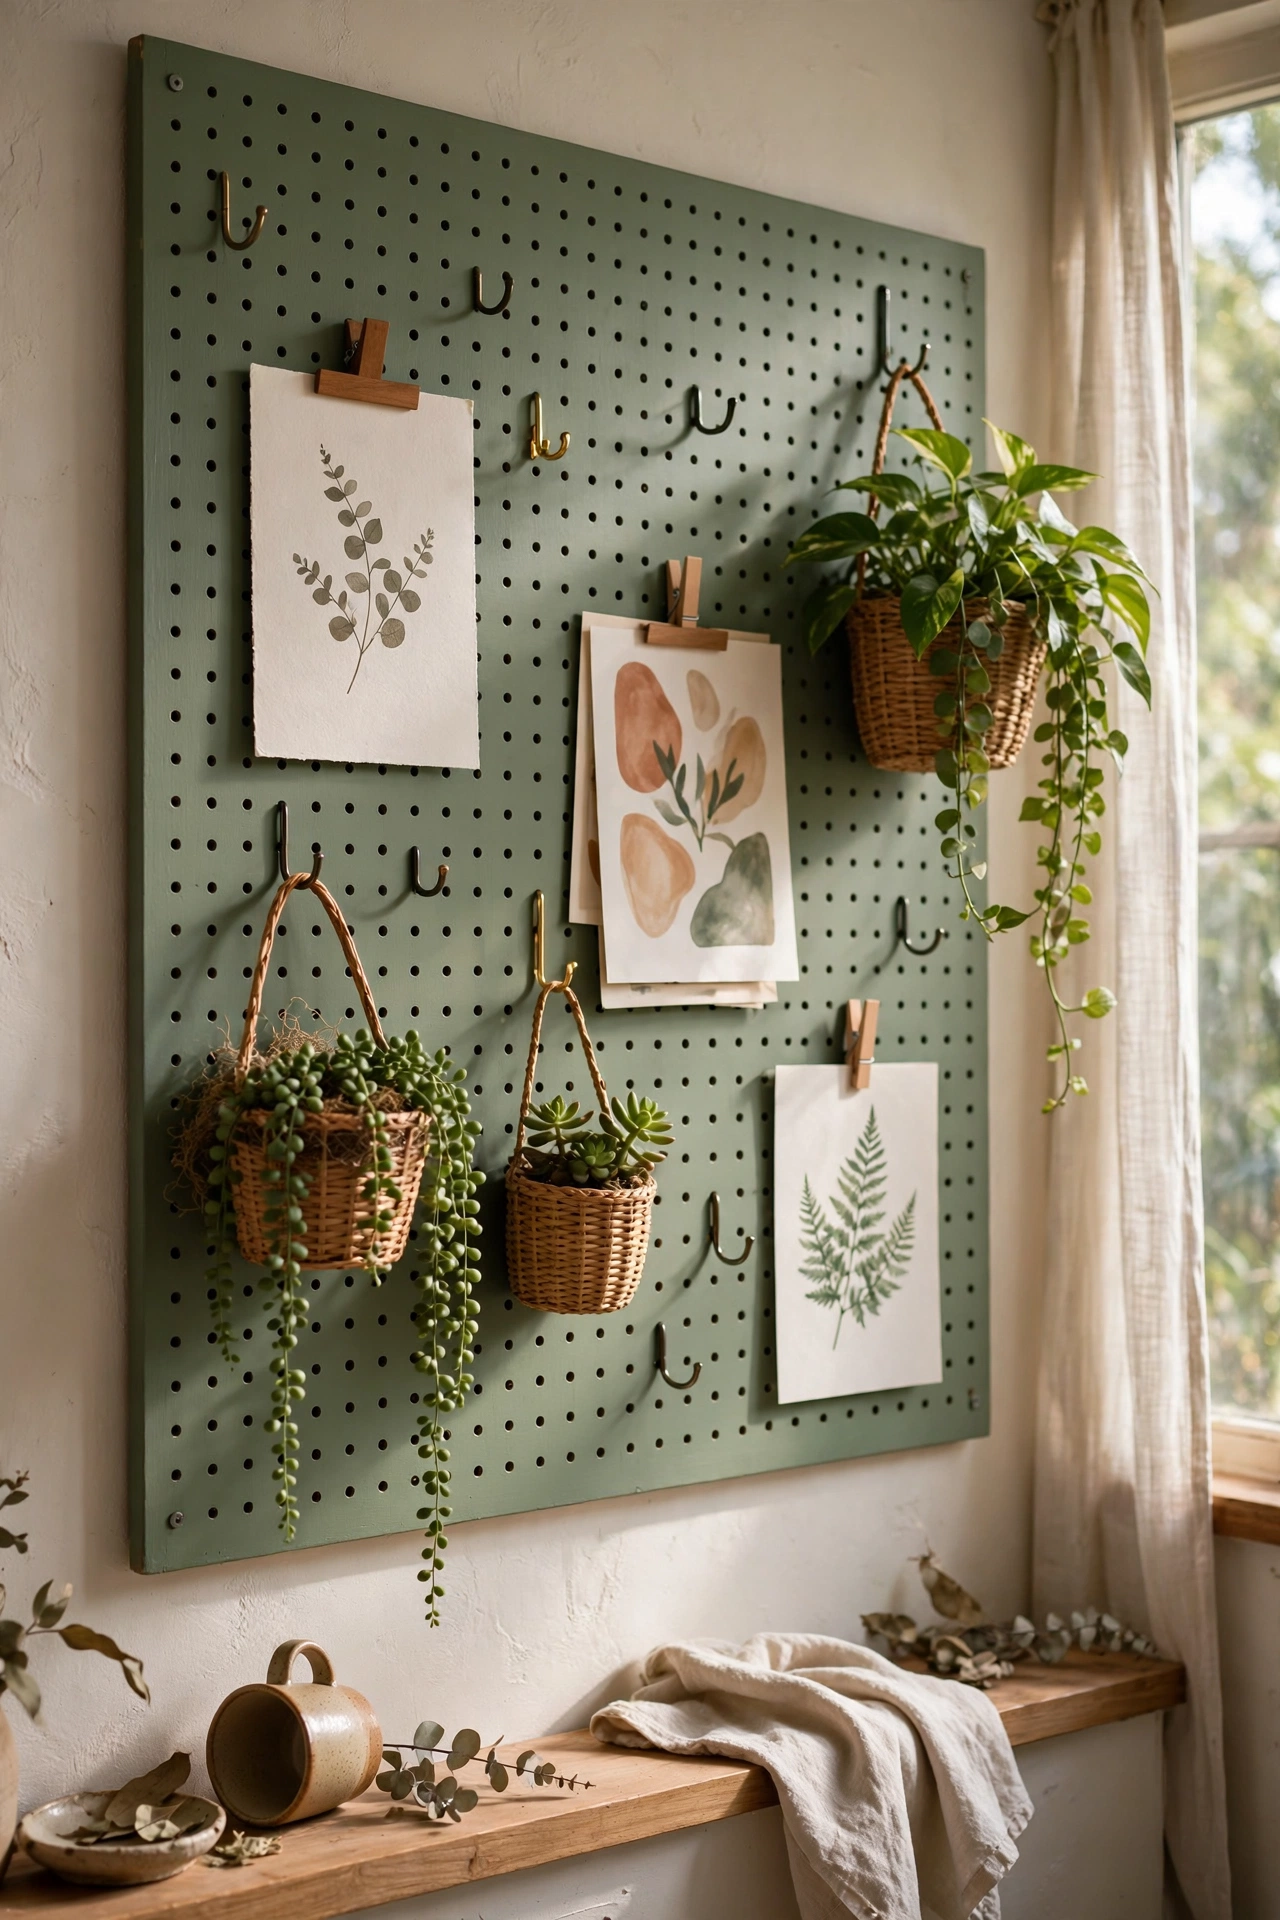
A pegboard panel on the wall is decor that rearranges itself whenever you are bored. Mount a large pegboard, paint it a colour you love, and fill it with hooks holding small art, plants, baskets, and mementos. I tried this above my desk and it became the most functional beautiful thing I owned. My mistake was buying tiny hooks that could not hold anything heavier than a postcard. Get the proper thick pegboard hooks and you can hang small shelves and baskets too. Restyle it seasonally in ten minutes flat.
Cost: ~$16 | Time: 45 minutes
Pro tip: paint the pegboard before mounting. Trying to paint around hooks and items is a miserable job.
Painted Arch Behind the Sofa in One Bold Colour
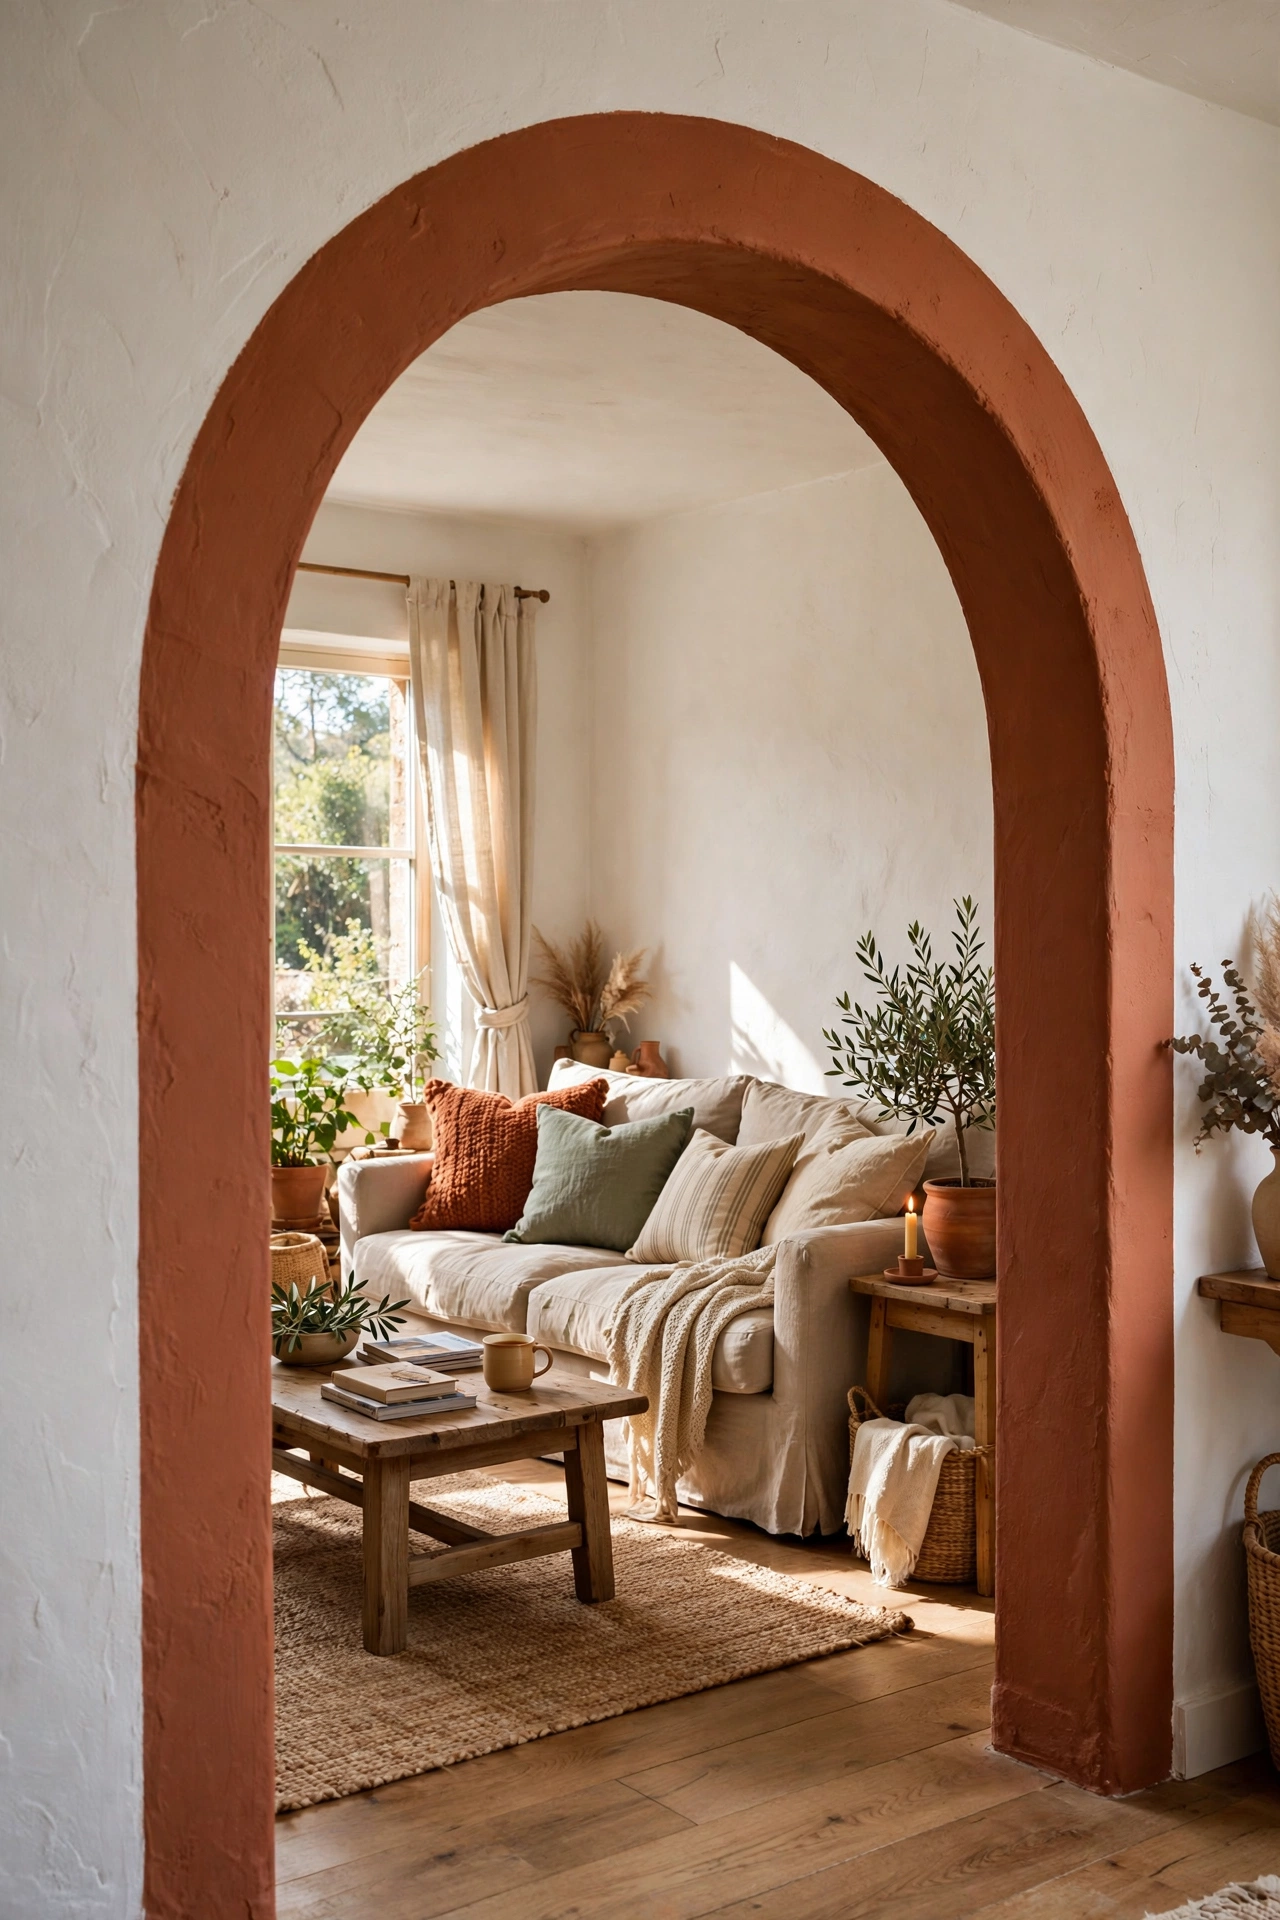
A painted arch on the wall behind your sofa creates a focal point that looks like architecture. Mark the arch with a pencil tied to a string, painter’s tape the edge, and fill it with one bold colour. It frames the sofa like a giant headboard for the room. I tried this in a deep terracotta and the whole living room suddenly had a centre. My mistake was freehanding the curve, which wobbled visibly. The pencil-and-string compass method gives you a perfect curve every time. One tin of sample paint is enough for most arches.
Cost: ~$8 for a sample tin | Time: 2 hours
Pro tip: extend the arch slightly behind the sofa so no white gap shows at the edges. Overlap beats underlap.
Woven Baskets Hung as Textured Wall Art
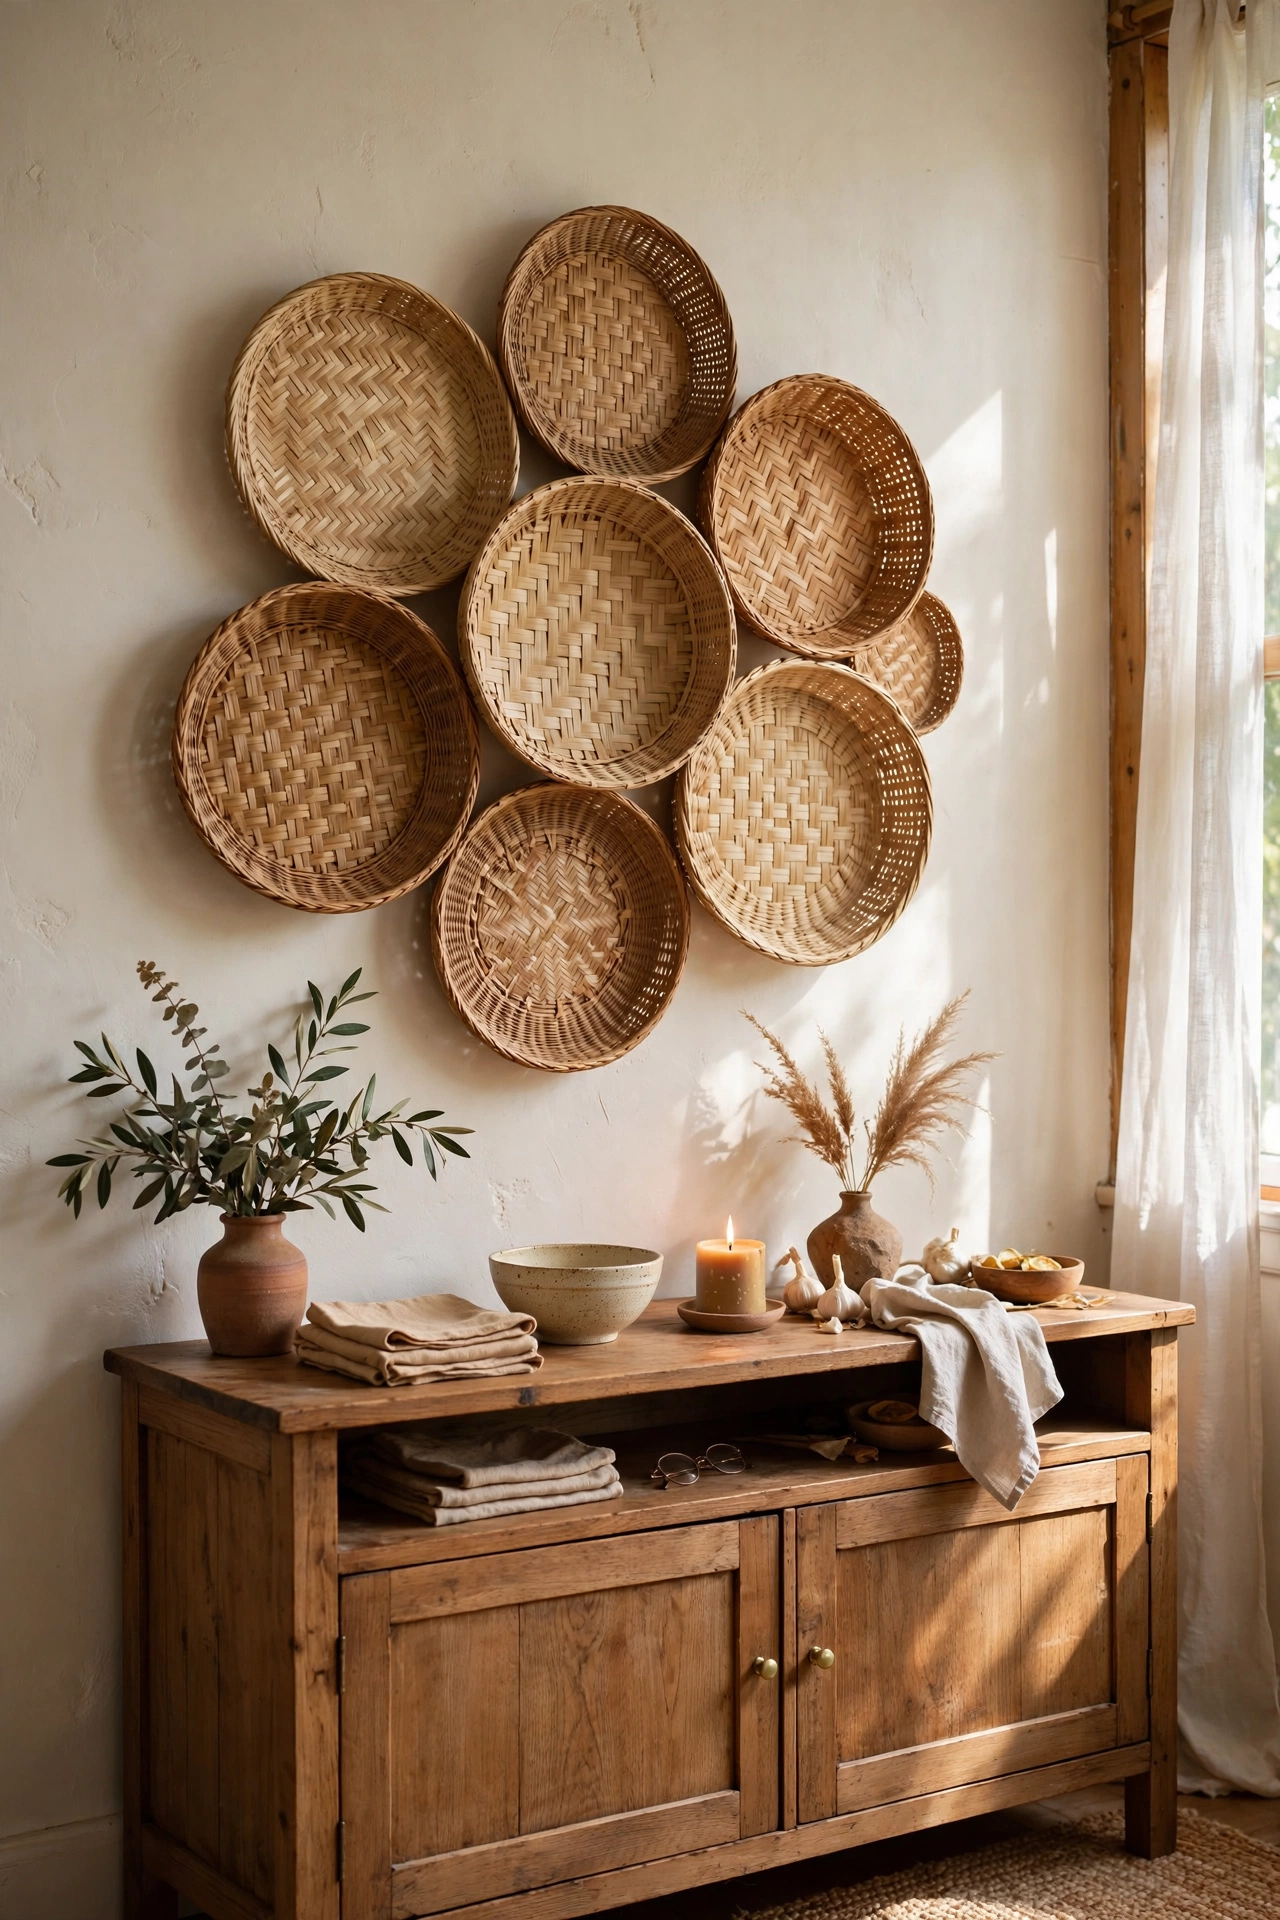
Flat woven baskets hung on the wall bring warmth and texture that flat art cannot. Collect baskets in natural tones from charity shops, varying the sizes, and hang them with a single nail each in a loose cluster. I tried this above my sideboard after seeing it in a restaurant, and it is the wall guests photograph most. My mistake was buying baskets all the same size, which looked like a shop display. Mix large, medium, and small, and overlap them slightly for a collected feel. The woven texture glows in evening light.
Cost: ~$10 | Time: 30 minutes
Pro tip: look for baskets with handles removed or flat backs. They sit flush against the wall instead of tilting forward.
String Lights Photo Clip Display
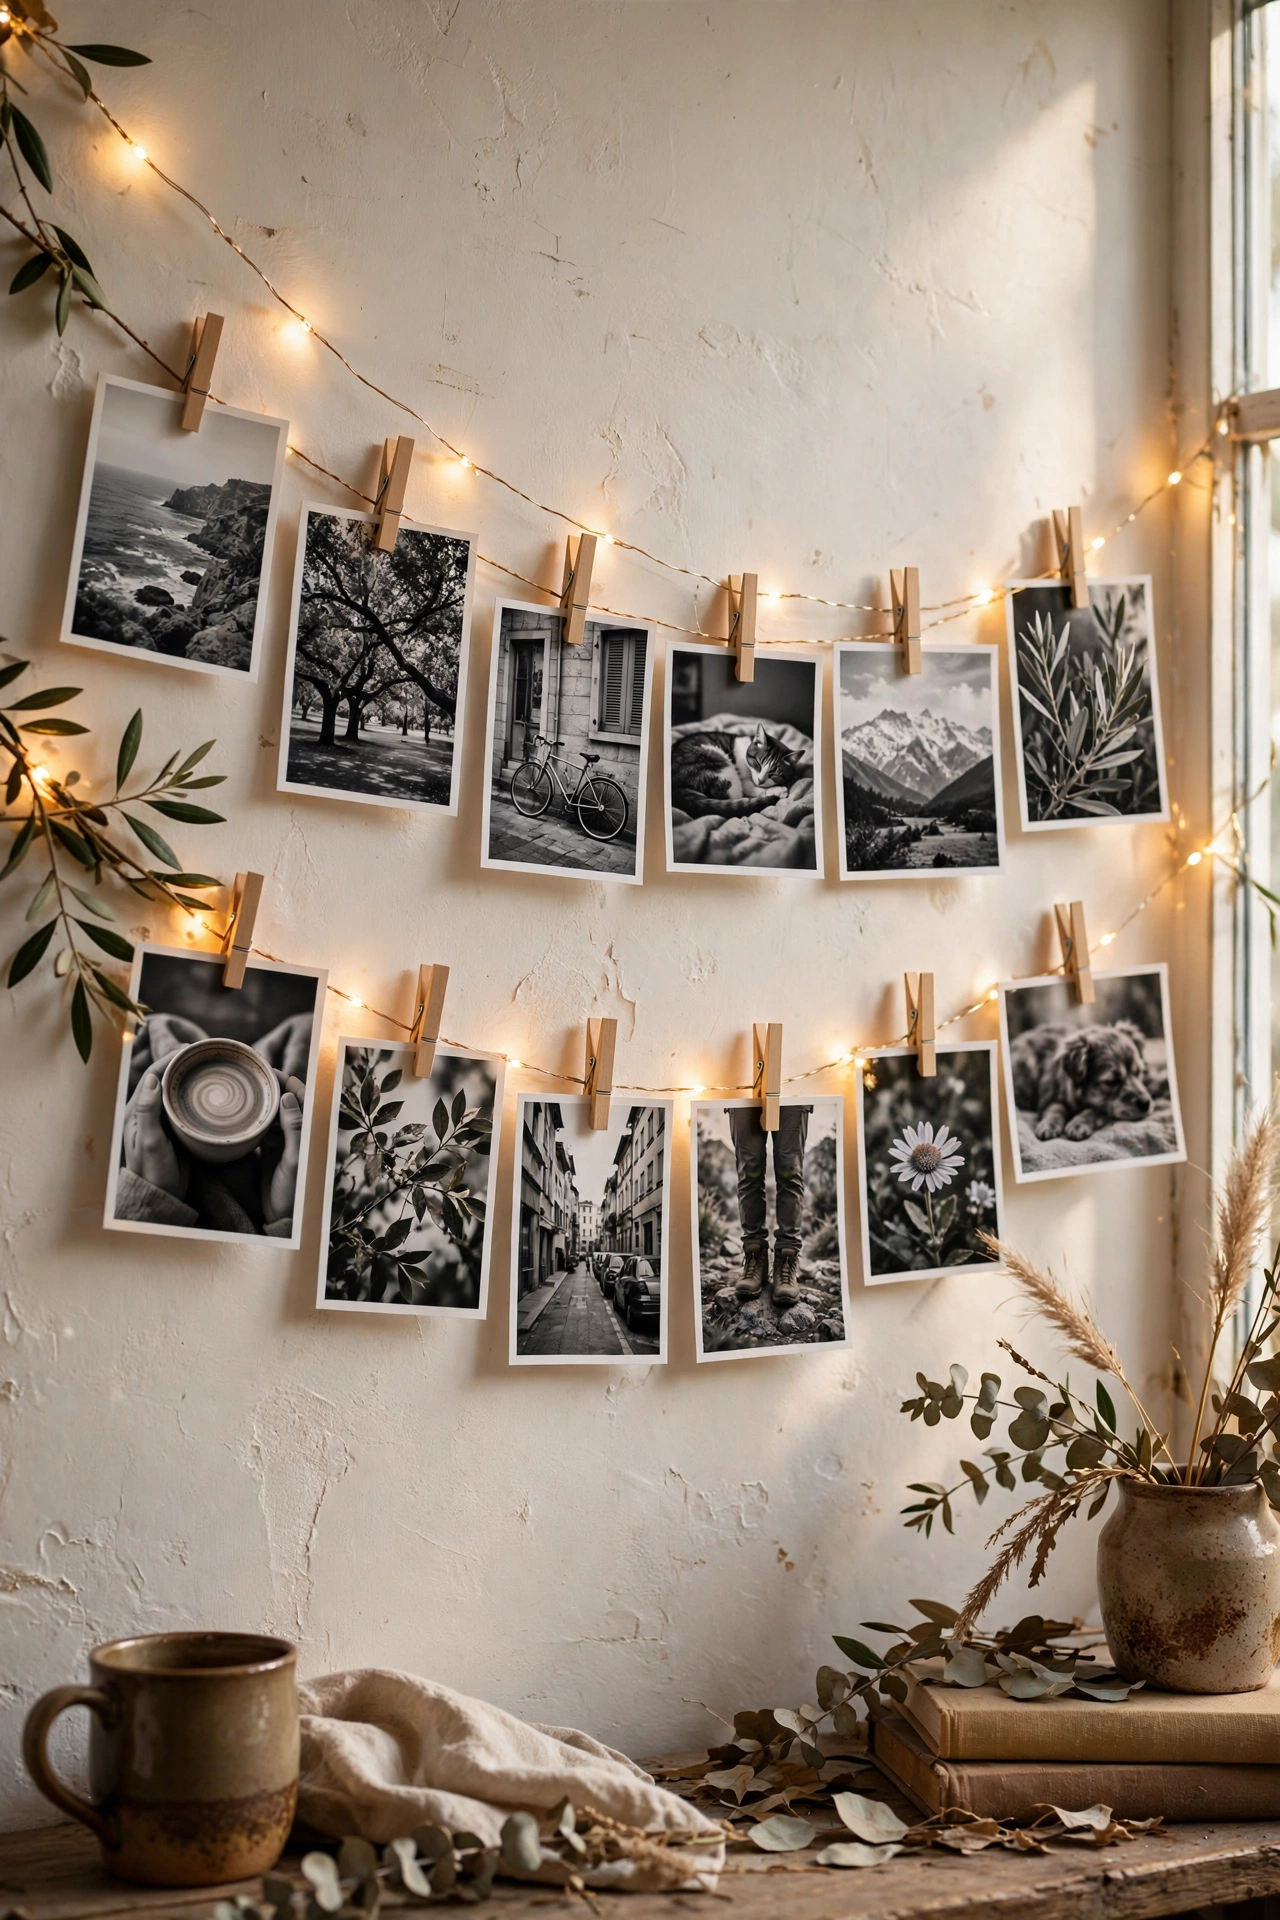
A string of fairy lights with small clips holding photos turns a blank wall into a glowing memory wall. Drape the light string in a loose swag, clip on printed photos, postcards, and ticket stubs, and plug it in. I tried this the winter I was homesick, and seeing friendly faces glowing on the wall every evening genuinely helped. My mistake was using heavy wooden clips that dragged the lights down. Tiny metal bulldog clips or mini pegs are light enough to keep the swag shape. Swap the photos seasonally to keep it fresh.
Cost: ~$9 | Time: 25 minutes
Pro tip: print photos in black and white for a cohesive look. Mixed colour snapshots can look chaotic on the lights.
Peel-and-Stick Wallpaper Panel as a Faux Headboard Wall
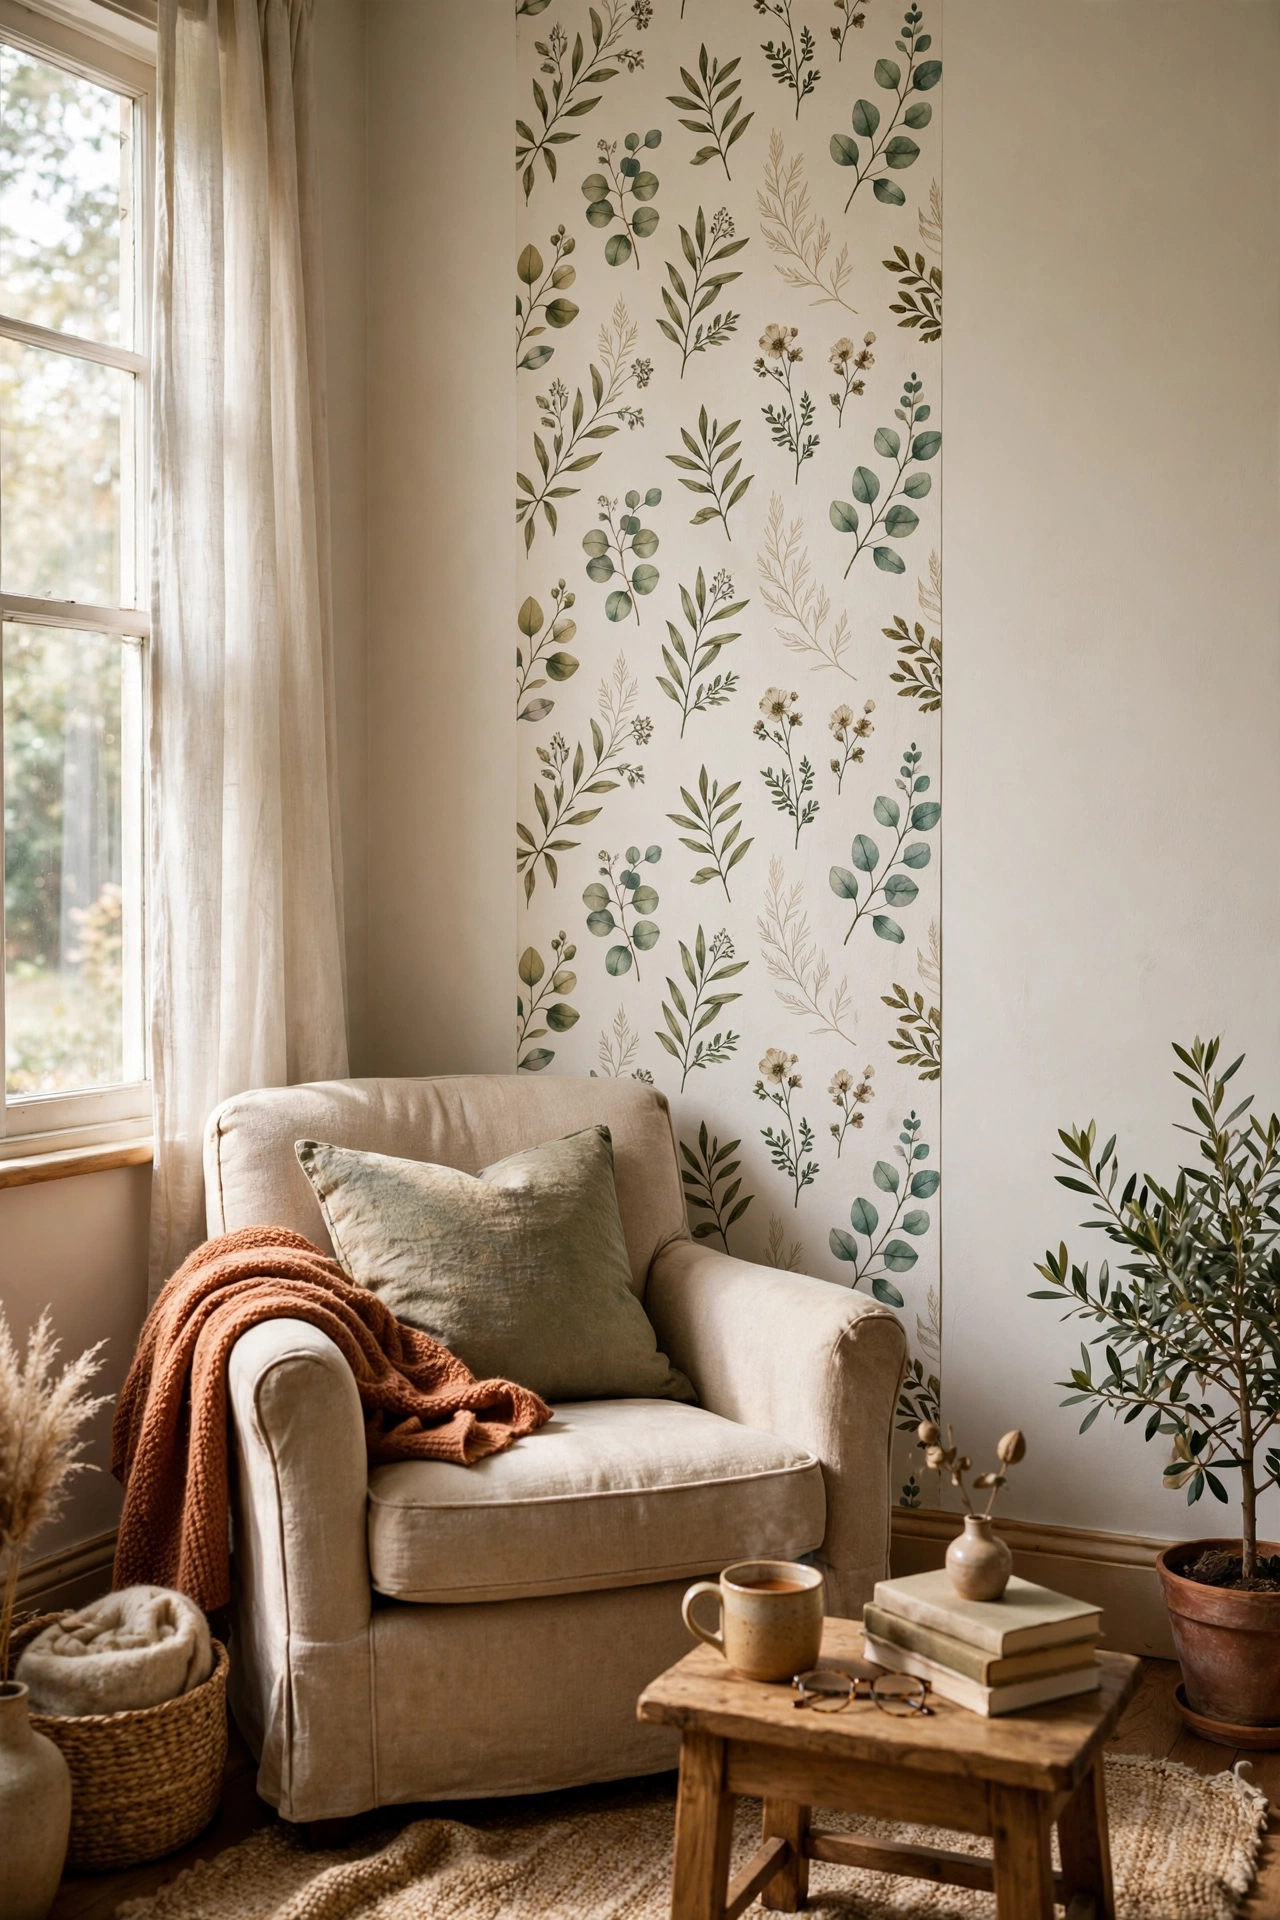
One panel of peel-and-stick wallpaper, just a metre or two wide, creates a feature wall moment without papering the whole room. Apply a single vertical panel behind the sofa or sideboard, smoothing as you go. I tried a botanical print panel behind my reading chair, and it defined the corner so completely that the chair finally looked like it belonged somewhere. My mistake was starting at the top without a plumb line, and the panel drifted sideways. Drop a weighted string first, align to that, and the pattern stays true. When you move, peel it off.
Cost: ~$18 for one roll | Time: 45 minutes
Pro tip: buy one roll more than you think you need. Pattern matching eats length, and running short mid-wall is miserable.
Painted Thrift Frames Gallery in One Colour
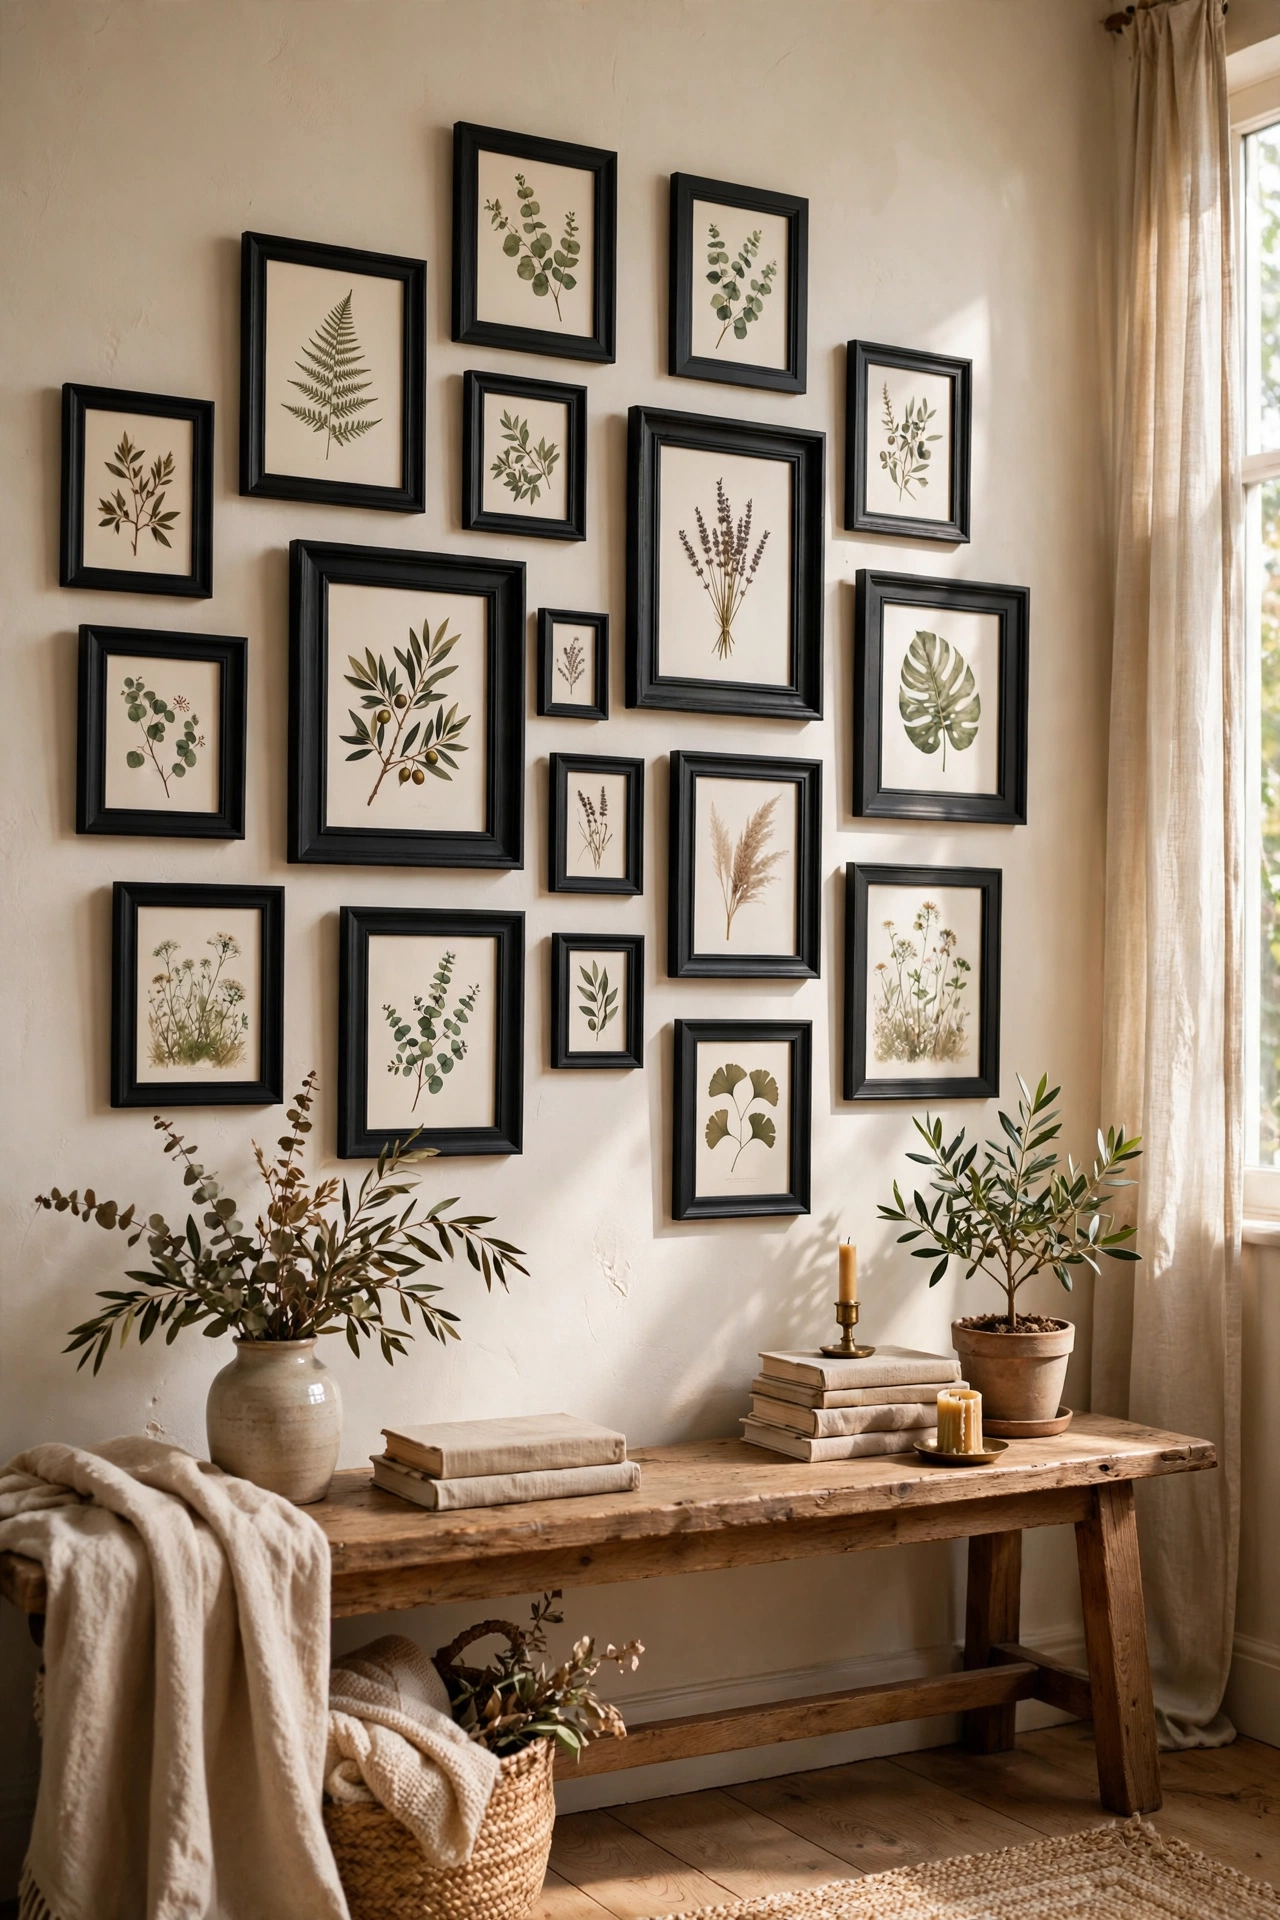
Mismatched charity shop frames all sprayed one colour become a cohesive gallery wall for the price of a can of paint. Collect frames in all shapes and sizes, lay them out, and spray them all the same shade, white, black, or gold. Fill them with prints, photos, and even fabric scraps. I tried this in matte black and the uniformity made the most random collection look curated. My mistake was skipping the primer on dark wood frames, and the old colour bled through within weeks. One coat of primer, two of colour, and they look bought as a set. It is the cheapest gallery wall there is.
Cost: ~$14 including spray paint | Time: 1.5 hours
Pro tip: hang the biggest frame first, slightly off-centre. Build everything else around it and the arrangement balances itself.
For more wall ideas, see 17 Gallery Wall Ideas for the Living Room on a Dime and 25 Living Room Wall Decor Ideas on a Tight Budget.
Pin this post before you forget, because blank walls have a way of staying blank for years unless you save the ideas somewhere.
