15 Dollar Store Kitchen Finds That Look Expensive
Here’s the thing nobody tells you about an expensive-looking kitchen: most of it is organisation dressed up nicely. The best dollar store kitchen finds aren’t gadgets — they’re the little containers, labels and lighting tricks that make everything look deliberate. Each idea below costs a few pounds and takes under an hour, and every single one photographs like a kitchen ten times the budget.
Matching Glass Canisters for the Countertop
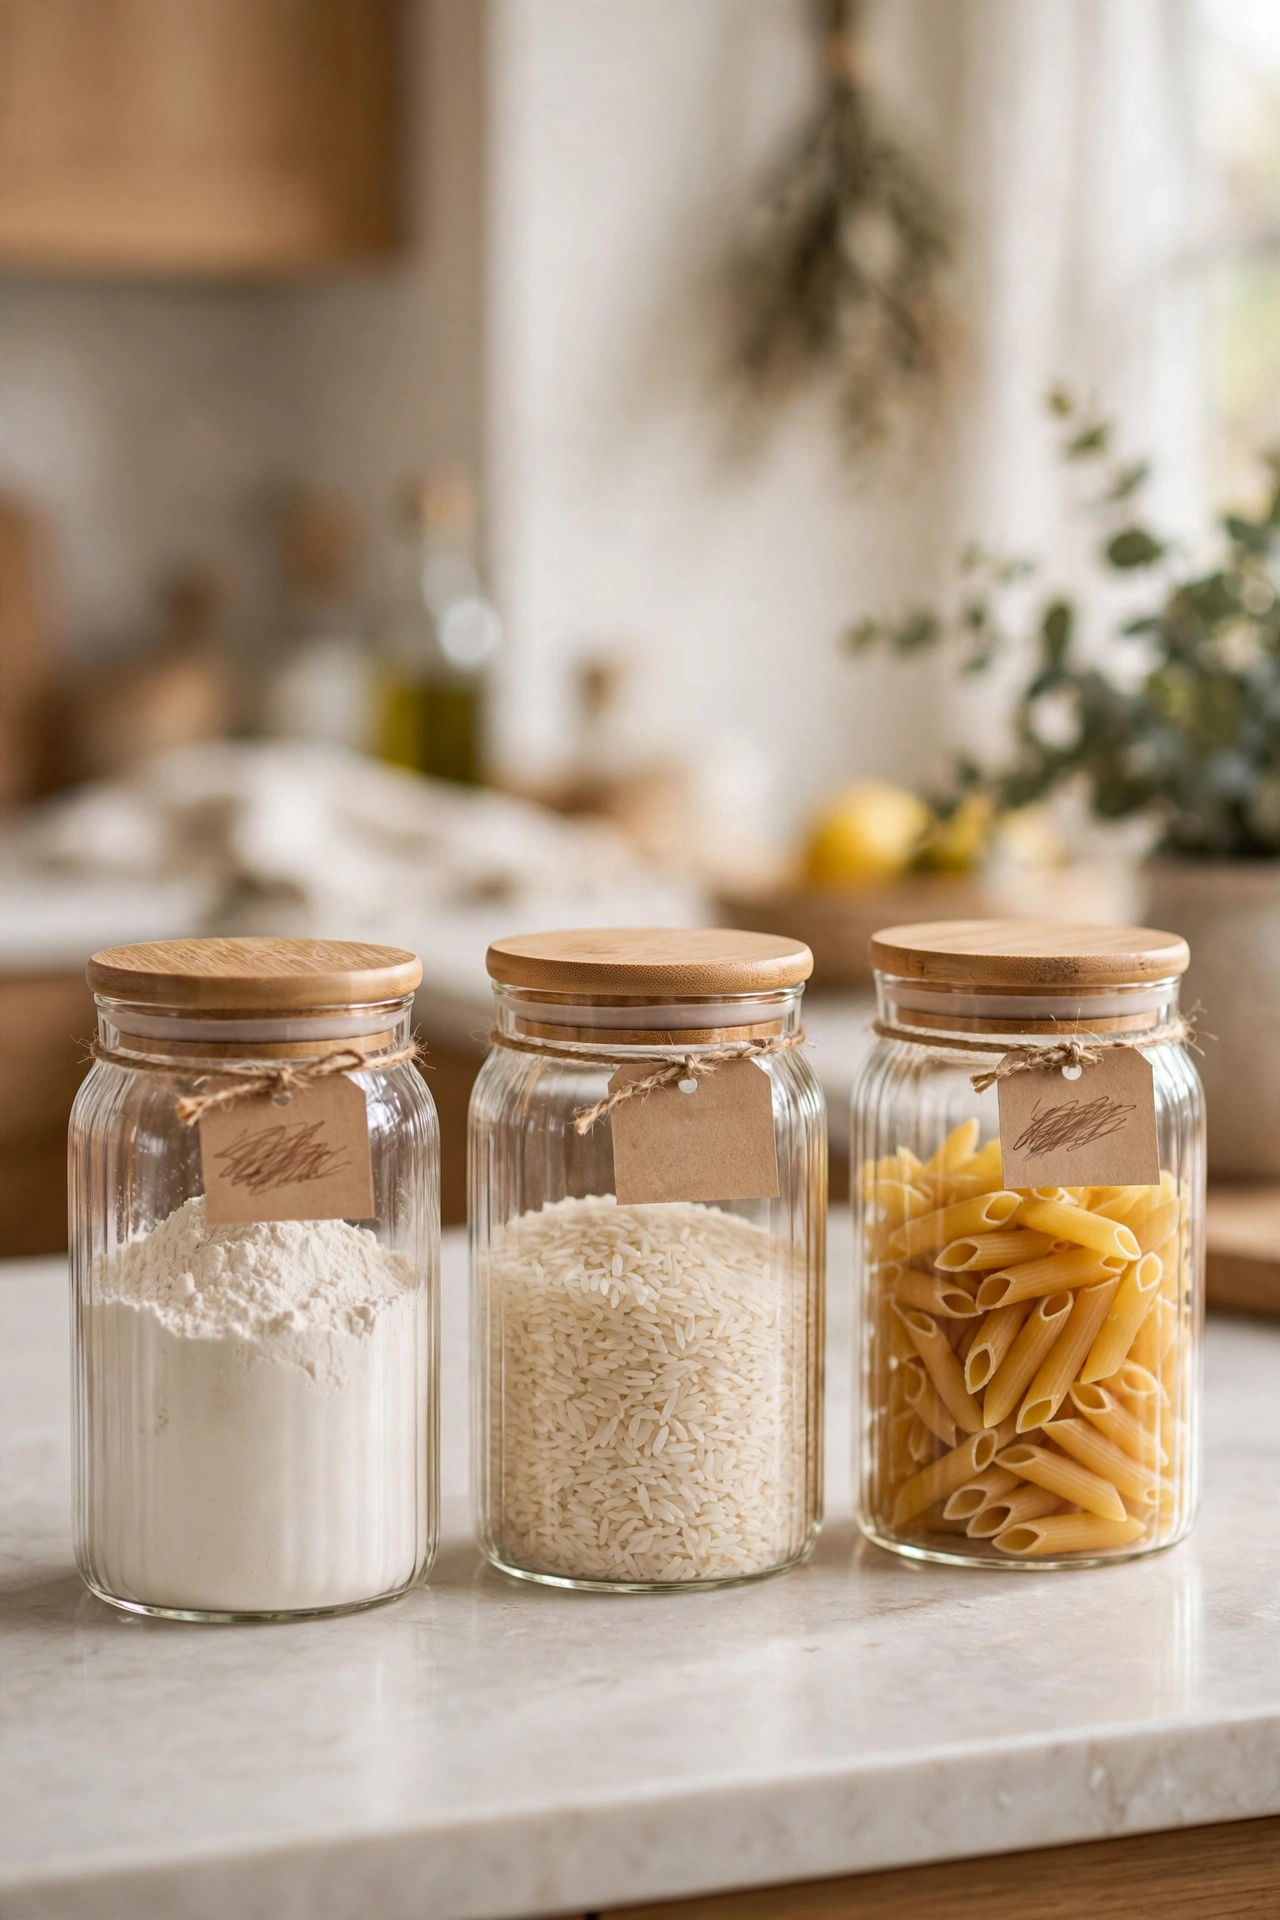
Cost: ~$9 · Time: 20 minutes
A mismatched row of half-empty packaging is what makes a counter look tired. Three matching glass canisters with bamboo-style lids — filled with flour, rice and pasta — turn that same counter into a styled vignette. Decant everything the day you buy them so the set matches from the start, and add small handwritten labels on the front so it looks custom rather than store-bought.
I tried this in my own kitchen and the difference in photos was honestly silly — same worktop, totally different kitchen. One mistake to avoid: don’t buy canisters bigger than what you actually store, because half-empty jars look worse than no jars at all. Keep the trio to daily-use staples so they earn their counter space every day.
Bamboo Cutting Board Upgraded With Food-Safe Oil
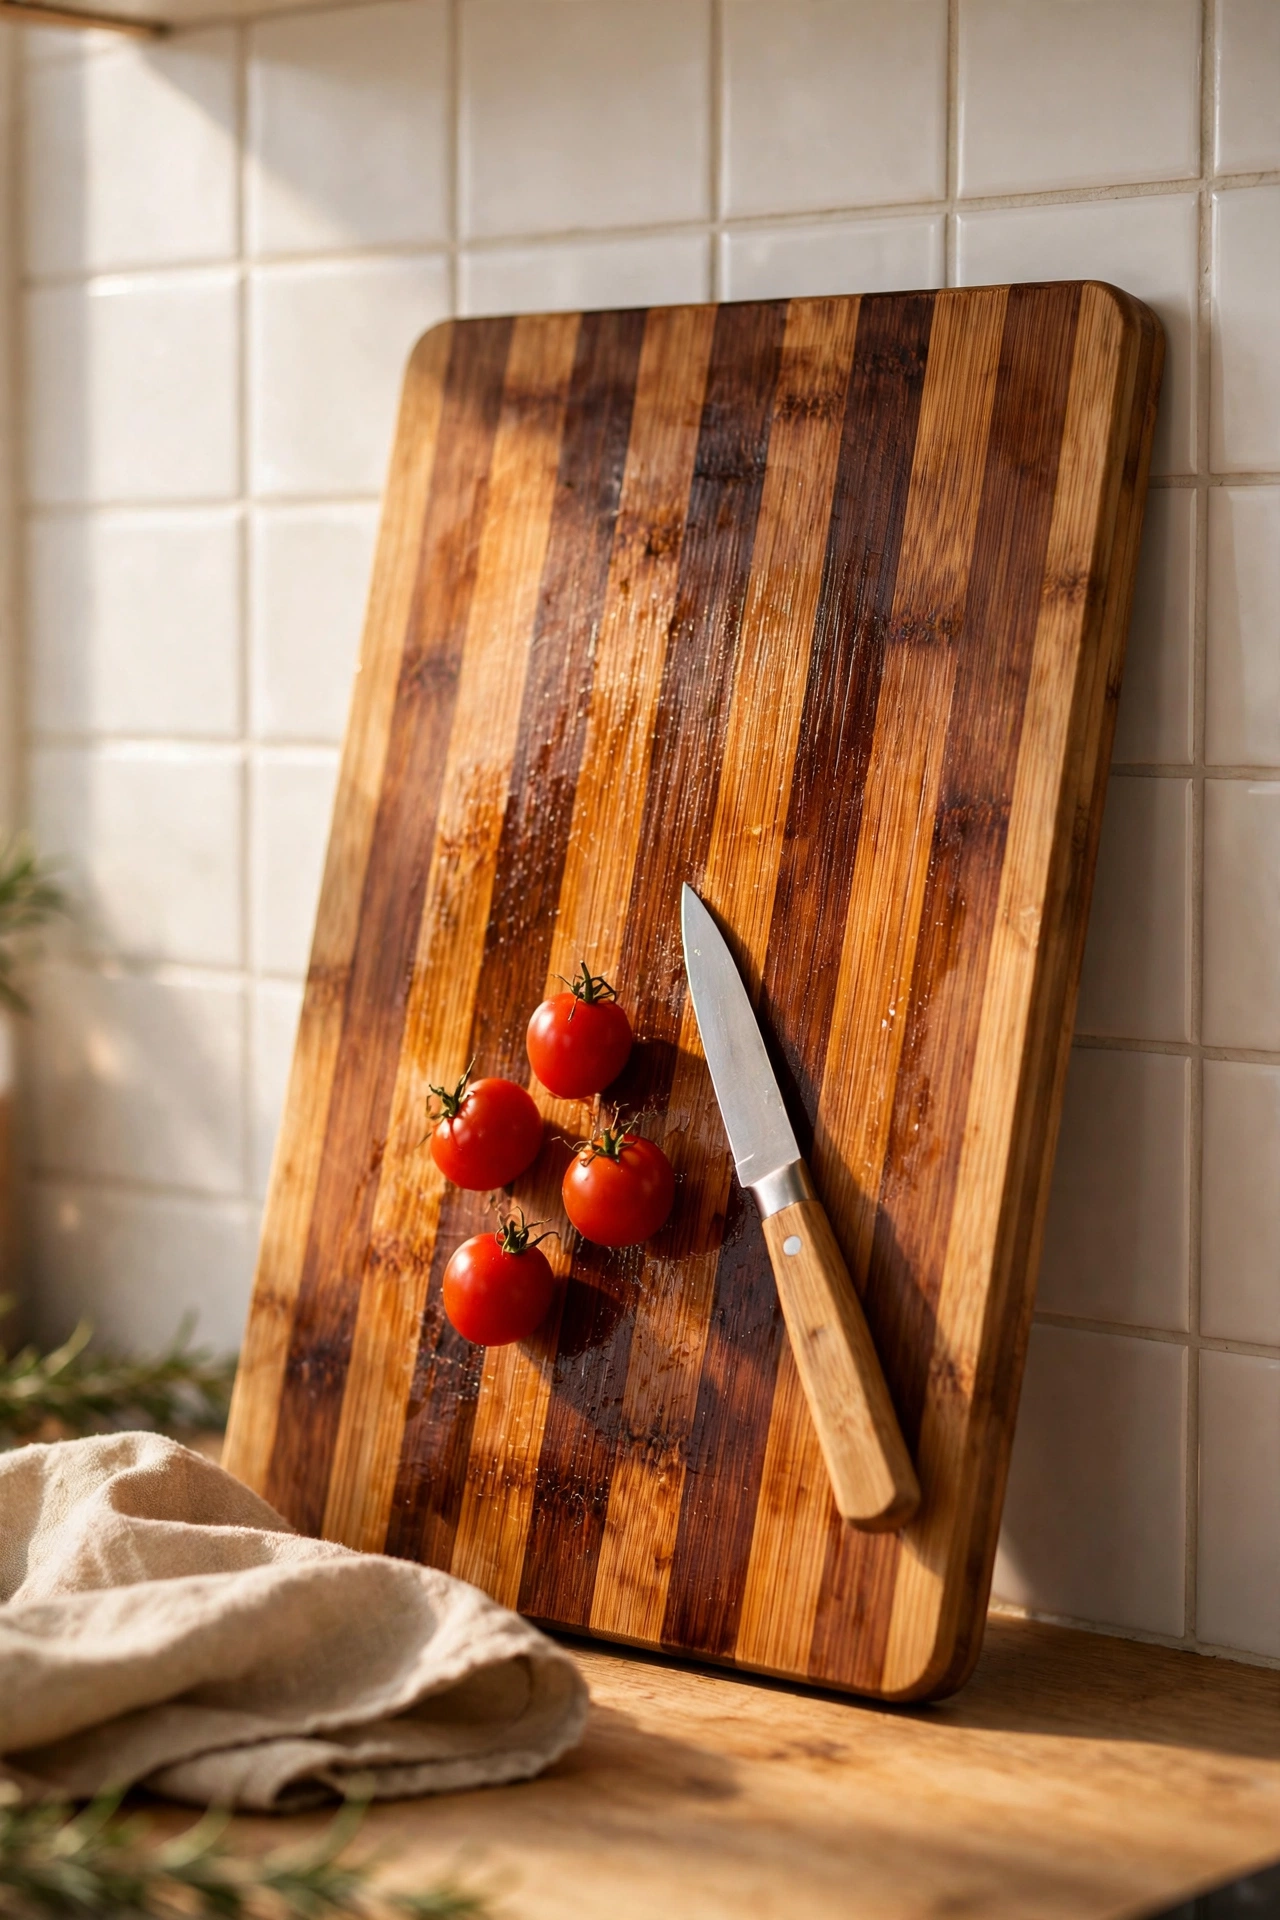
Cost: ~$3 · Time: 15 minutes
The plain bamboo boards at the dollar store look flat and thirsty on the shelf, but one coat of food-safe mineral oil brings out a deep, rich grain that reads like a far pricier board. Rub the oil in with a soft cloth, let it soak for ten minutes, then buff off the excess. Repeat once more if the board drinks the first coat — some of them are very dry.
I tried this in my own kitchen and my two-pound board now looks like the expensive one in the cookery shop window. One mistake to avoid: use mineral oil or a proper board conditioner, not olive oil — cooking oils go rancid on the wood. Once it’s oiled, lean the board against the splashback between uses so it doubles as kitchen styling.
Stackable Drawer Organisers in Every Drawer
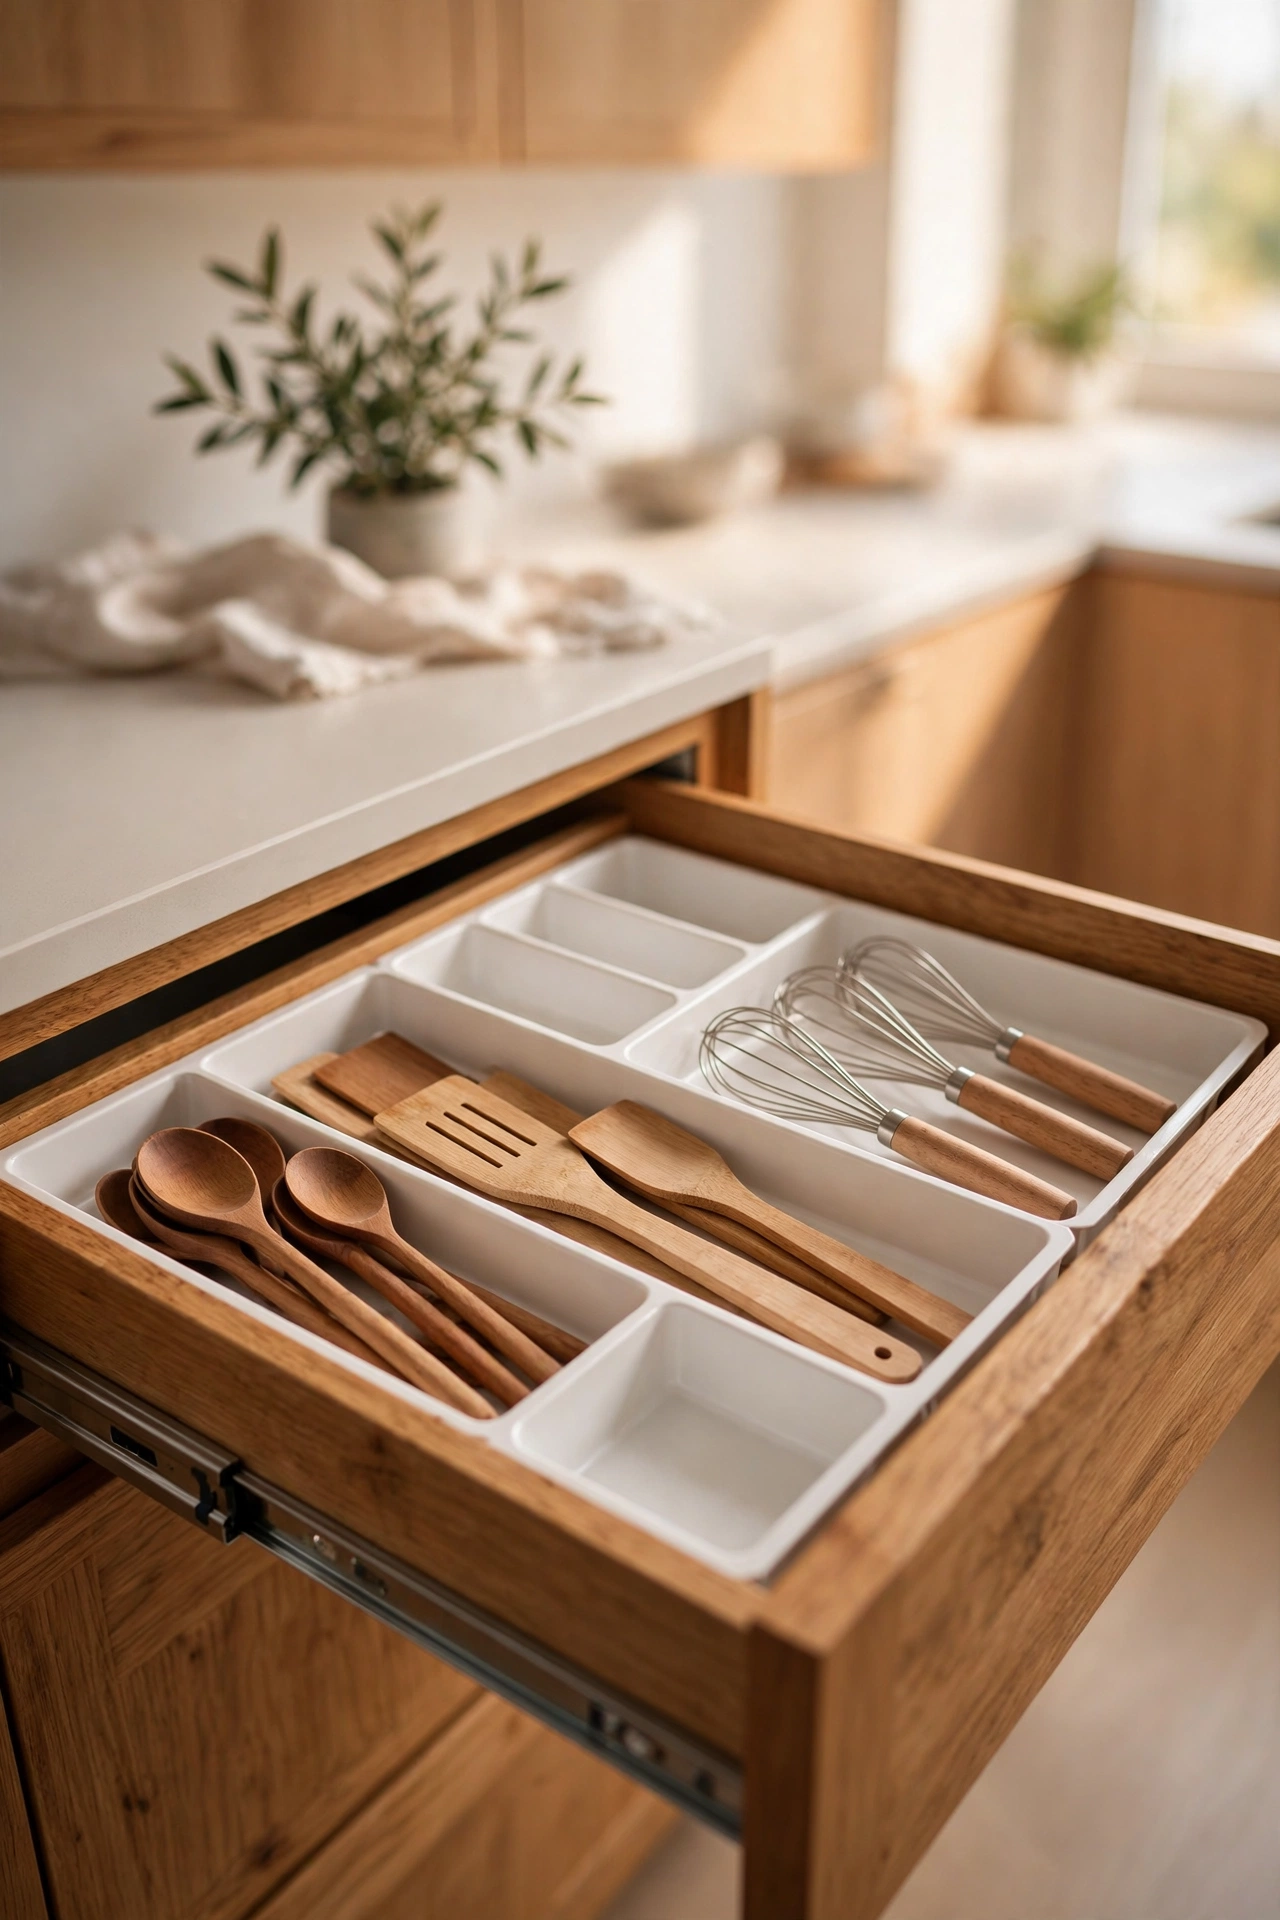
Cost: ~$5 · Time: 30 minutes
The utensil drawer is where cheap kitchens hide their chaos. A handful of shallow plastic organisers — mix square and rectangular to fill the drawer with no dead gaps — gives every spatula and whisk its own compartment. Empty the drawer first, lay the organisers in dry, then assign a zone to each: cooking tools left, serving tools right, the odd bits in the small centre tray.
I tried this in my own kitchen and opening that drawer now feels oddly satisfying. One mistake to avoid: measure the drawer depth before you shop, because tall organisers jam under some drawer runners. Keep the liners light-coloured so crumbs show up and you actually wipe them out monthly.
Uniform Spice Jars With Handwritten Labels
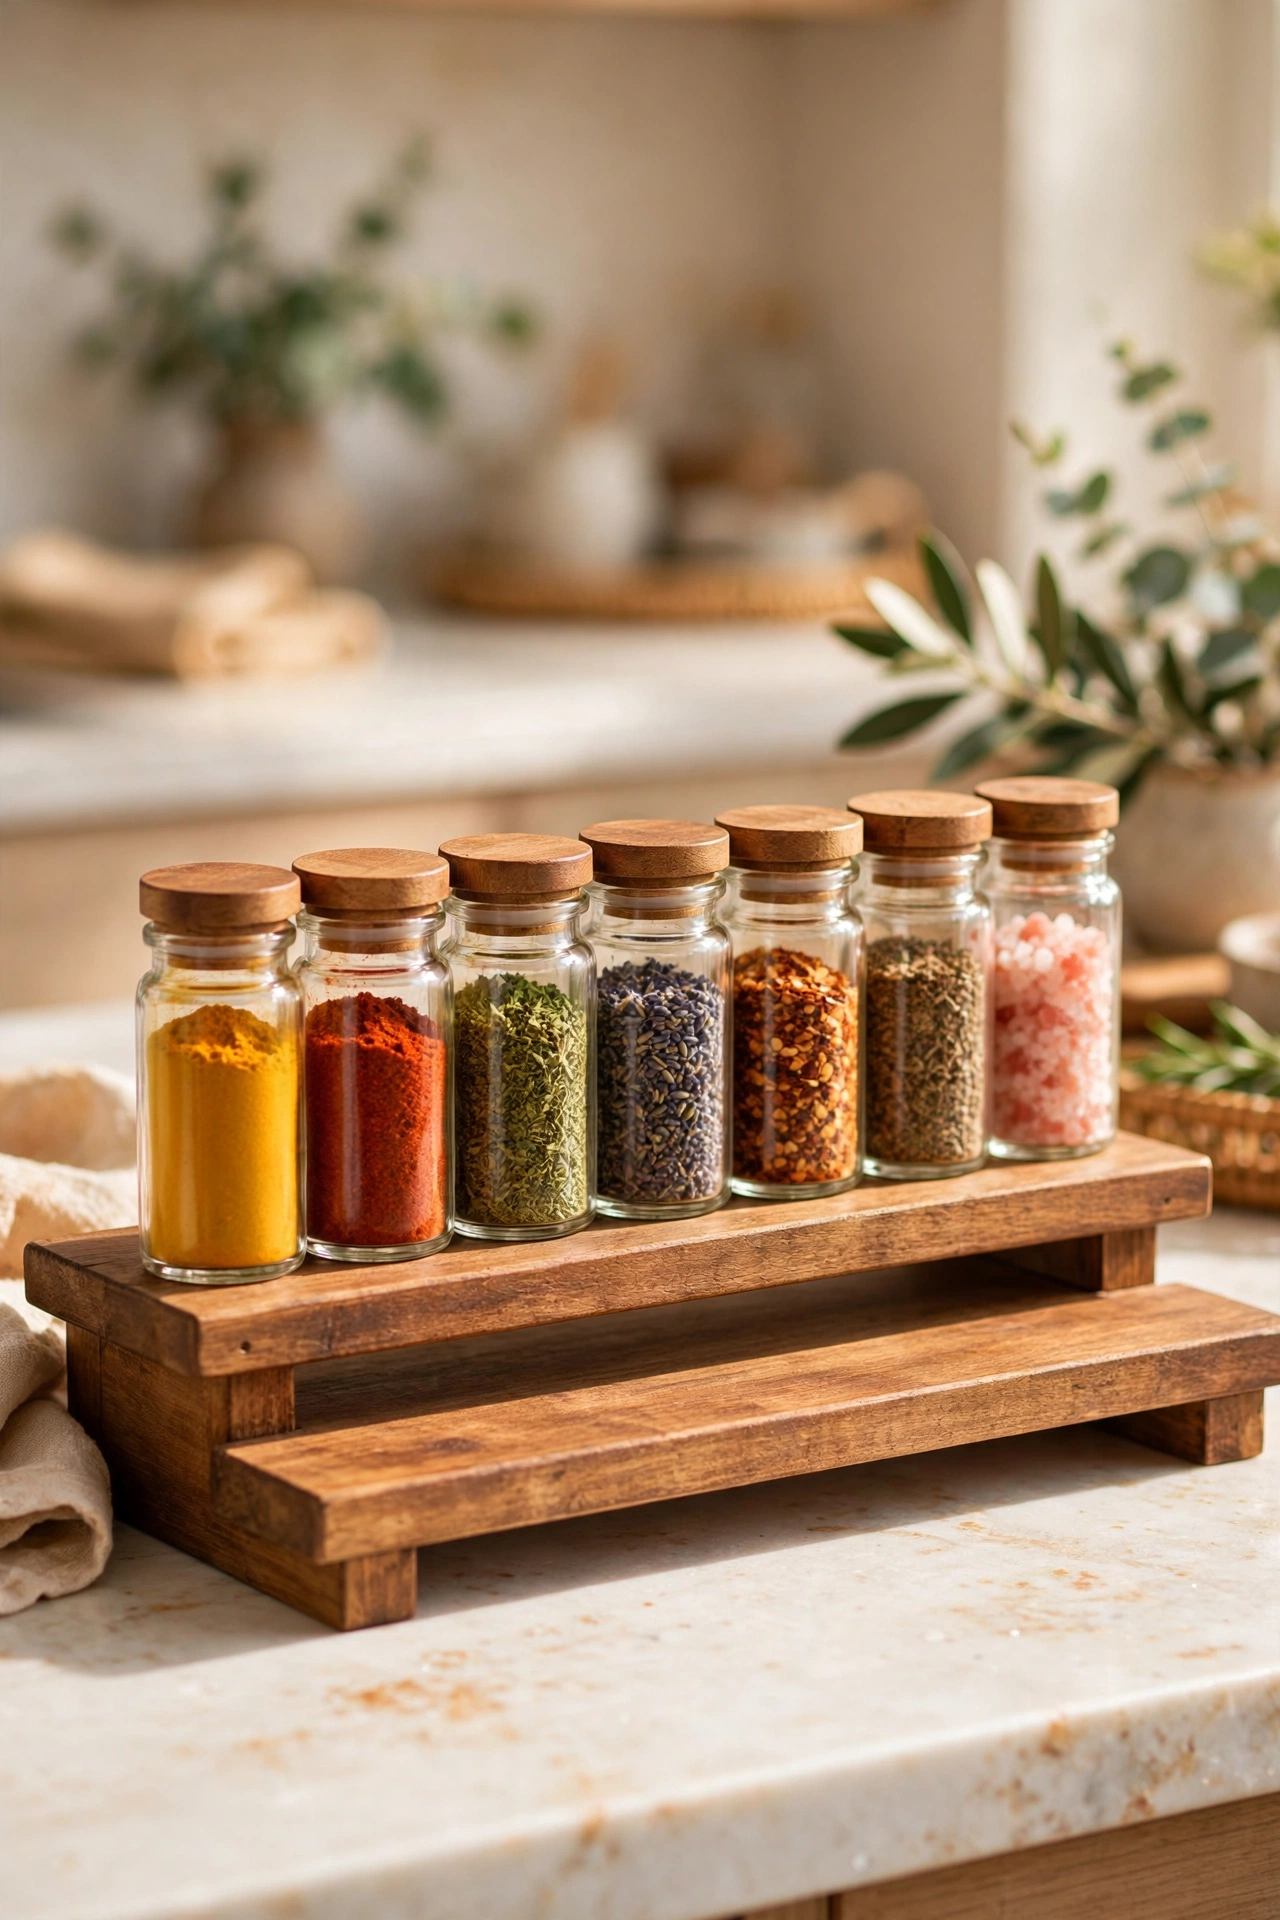
Cost: ~$8 · Time: 40 minutes
Nothing says “I have my life together” like a row of identical spice jars. Decant your mismatched jars into a set of small glass ones with matching lids, then label each with a paint pen or a label maker in the same handwriting style. Line them on a small tiered riser — also a dollar store find — so the back row isn’t hiding behind the front.
I tried this in my own kitchen and it took one Sunday afternoon, most of which was sniffing mystery jars to identify them. One mistake to avoid: label before you fill, not after — paprika and cayenne look identical in glass. Buy two extra jars so the set stays uniform when you add new spices later.
Battery-Operated Under-Cabinet Lights
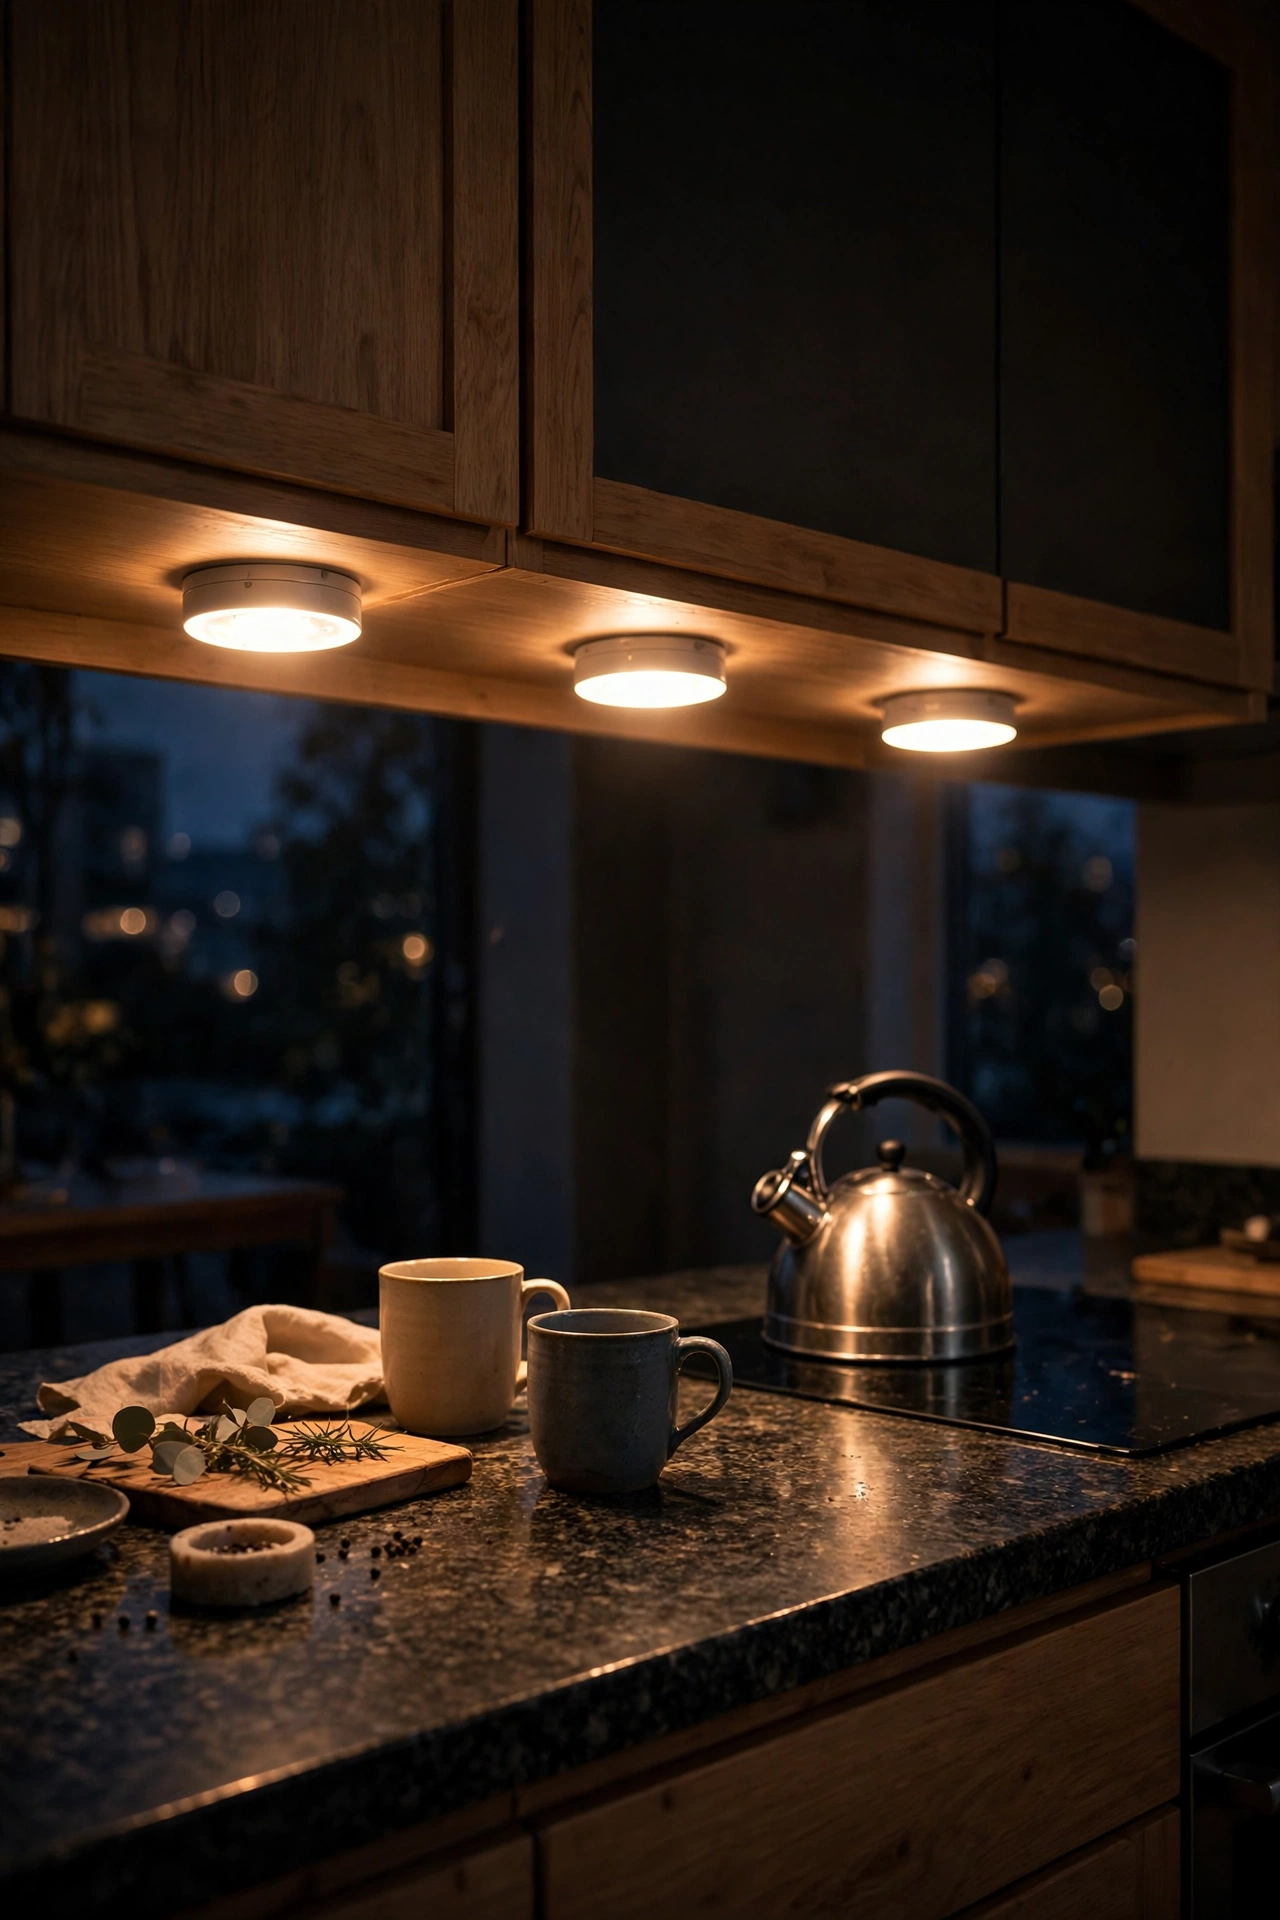
Cost: ~$6 · Time: 25 minutes
Lighting is the single fastest way to make a kitchen feel high-end, and puck lights do it with zero wiring. Stick three warm-white battery pucks under the wall cabinets, spaced evenly, and the worktop glows like a showroom after dark. Most come with a remote now, so you can dim them or set a timer without reaching behind the toaster.
I tried this in my own kitchen and evening cooking feels like a different room entirely. One mistake to avoid: buy warm white, not daylight — the cool blue tone makes food look clinical. Wipe the cabinet underside with alcohol before sticking, or the adhesive gives up within a month. If you love budget kitchen upgrades, (see also: 17-best-dollar-store-kitchen-finds-under-5) has more tiny-budget wins.
Marble-Print Contact Paper for Shelves and Drawers
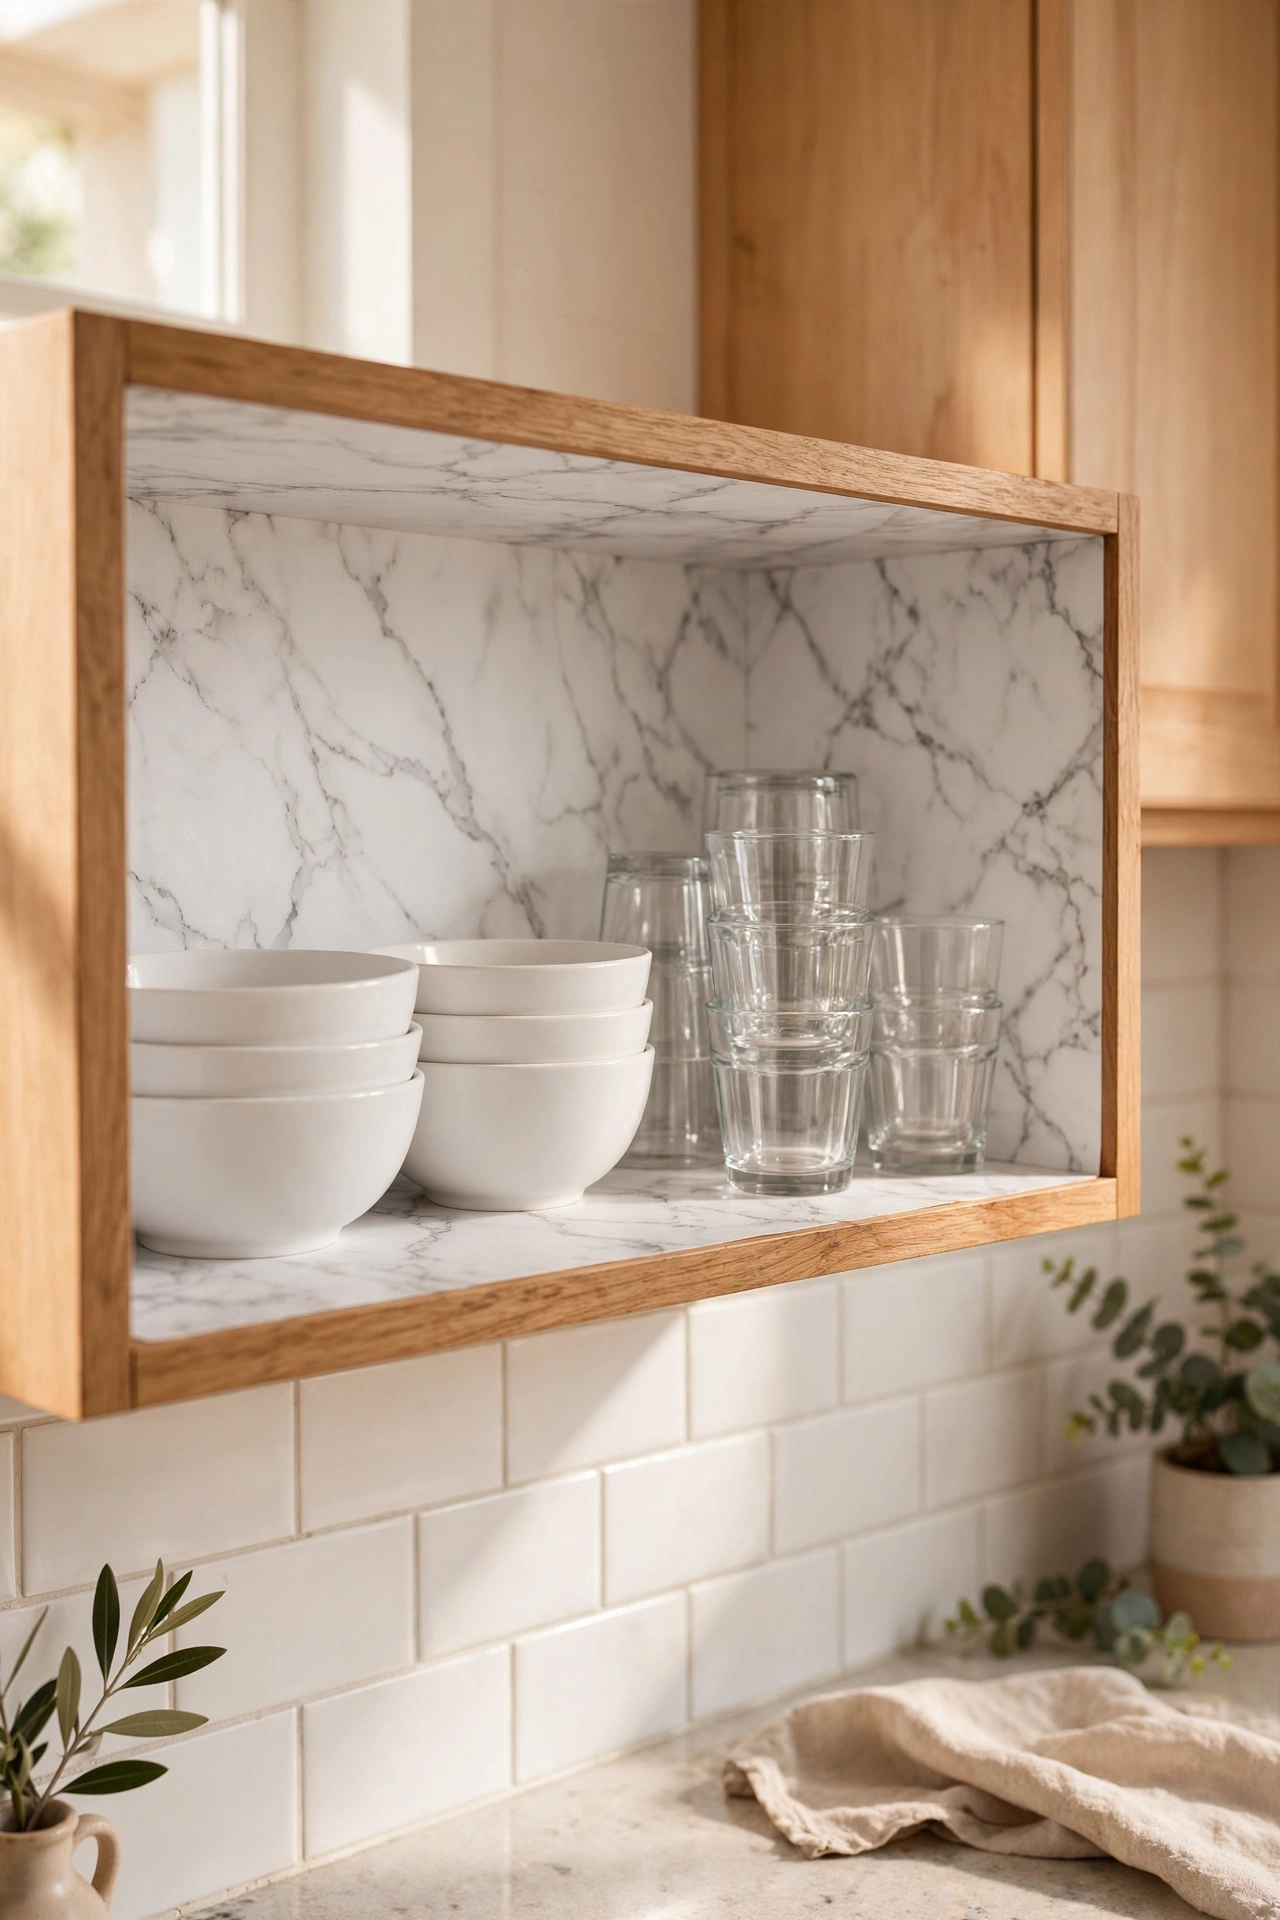
Cost: ~$3 · Time: 35 minutes
Peel-and-stick marble contact paper inside open shelves, on drawer bases, or wrapped around a plain tray turns bargain shelving into something that looks stone-clad. Cut it a centimetre oversized, smooth it down with a credit card to chase out bubbles, then trim the edges with a craft knife. The trick is restraint — one lined shelf reads luxe, six lined shelves read busy.
I tried this in my own kitchen on the inside of a glass-front cabinet and guests genuinely tapped it to check. One mistake to avoid: don’t line shelves that get direct heat or constant water — the adhesive softens. Keep it to display shelves and drawer bottoms, where it stays pristine for years.
Ceramic-Look Utensil Crock by the Hob
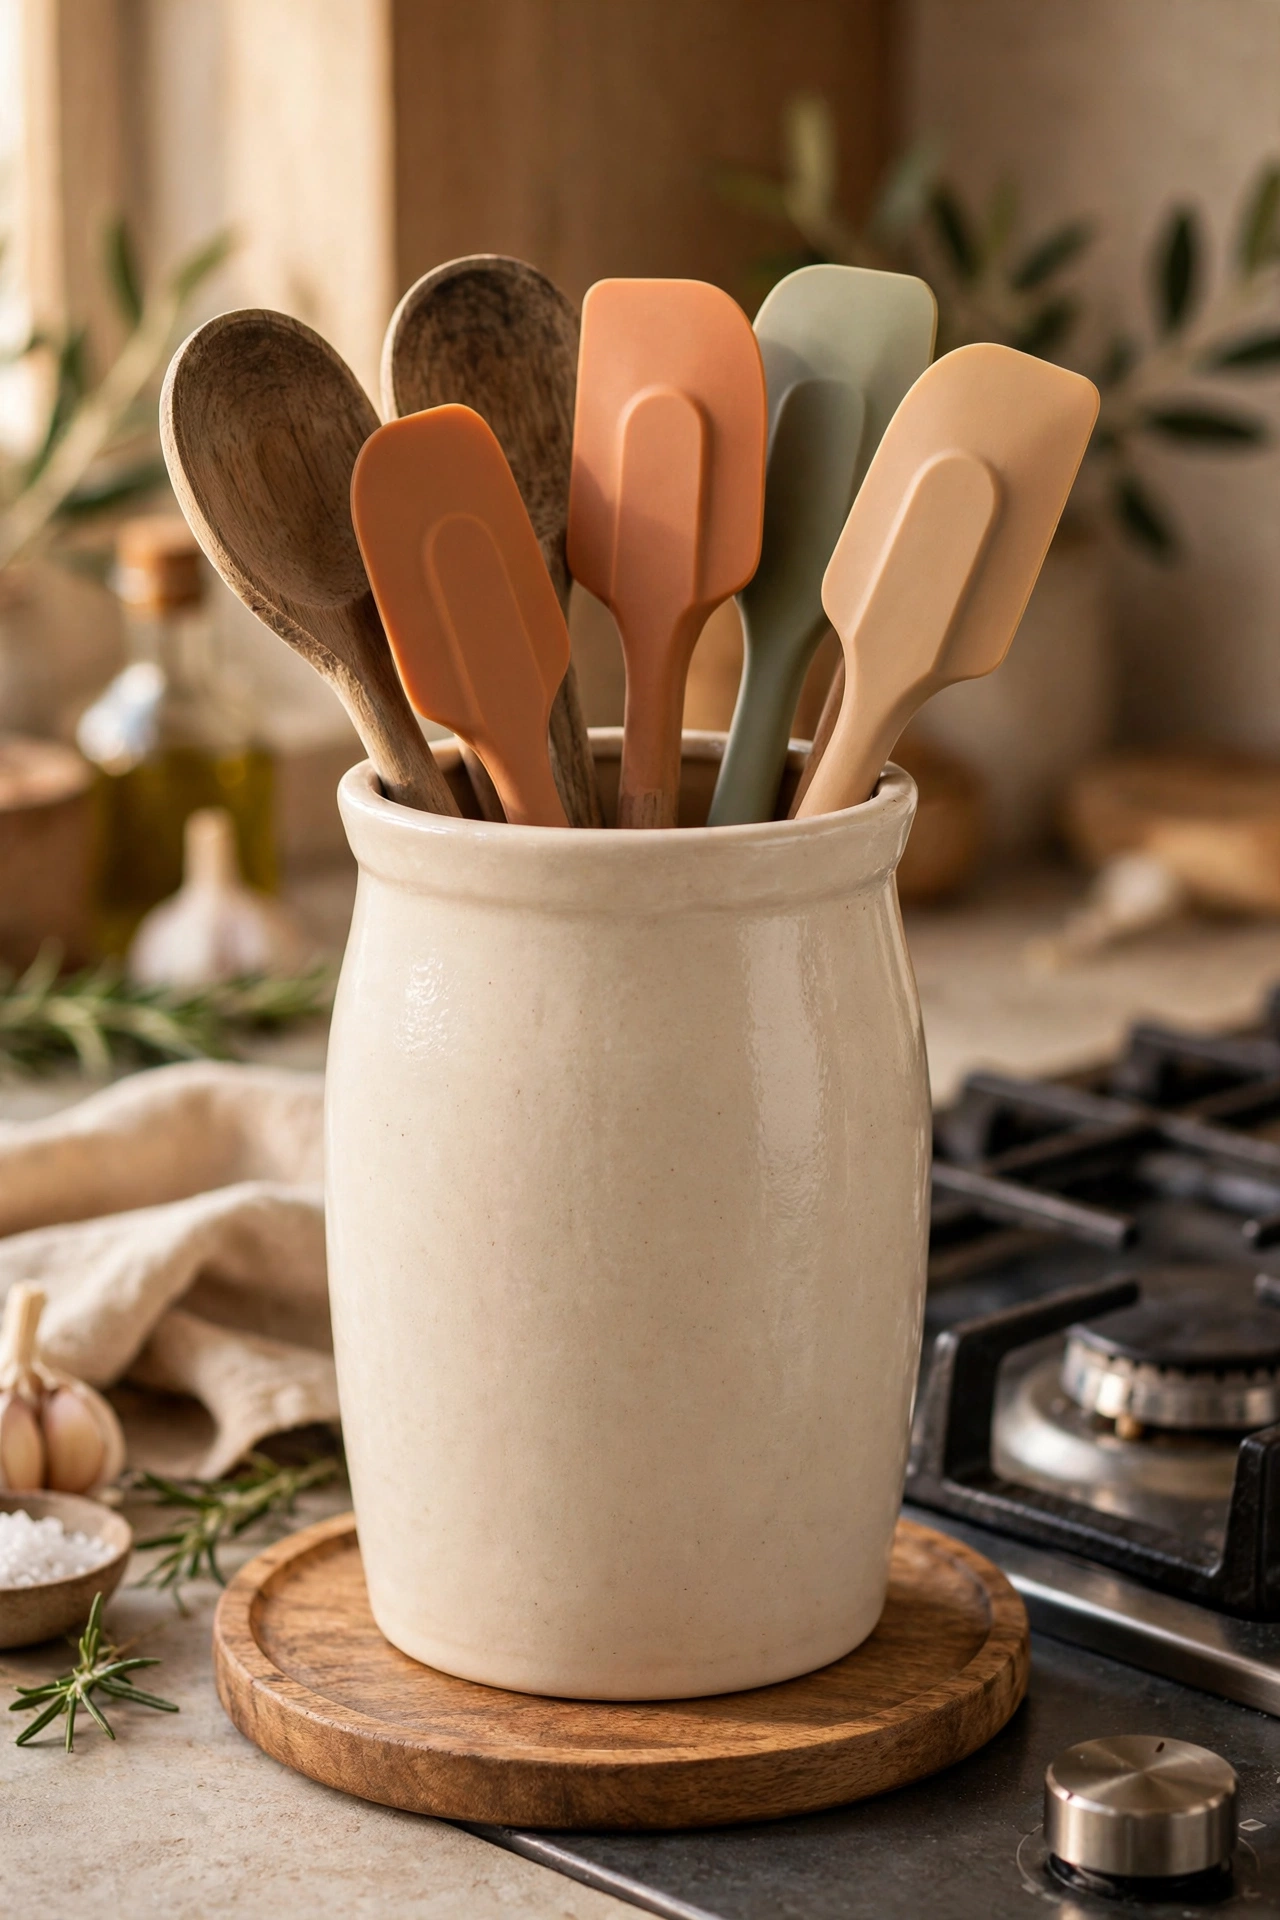
Cost: ~$3 · Time: 10 minutes
A heavy crock full of wooden spoons by the hob is pure farmhouse-kitchen energy, and the ceramic-look ones at the dollar store pass at a glance. Pick a tall one so long-handled tools don’t topple out, and fill it with your most-used wooden and silicone pieces — the ones you actually grab daily. Set it on a small round tray to catch drips and contain the footprint.
I tried this in my own kitchen and my drawer organisers suddenly had room to breathe. One mistake to avoid: don’t cram in the whole drawer — twelve tools max, or it becomes a bristling mess. Keep the metal whisks in a drawer instead; they chip the crock’s finish and rattle.
Two-Tier Fruit and Veg Stand for the Worktop
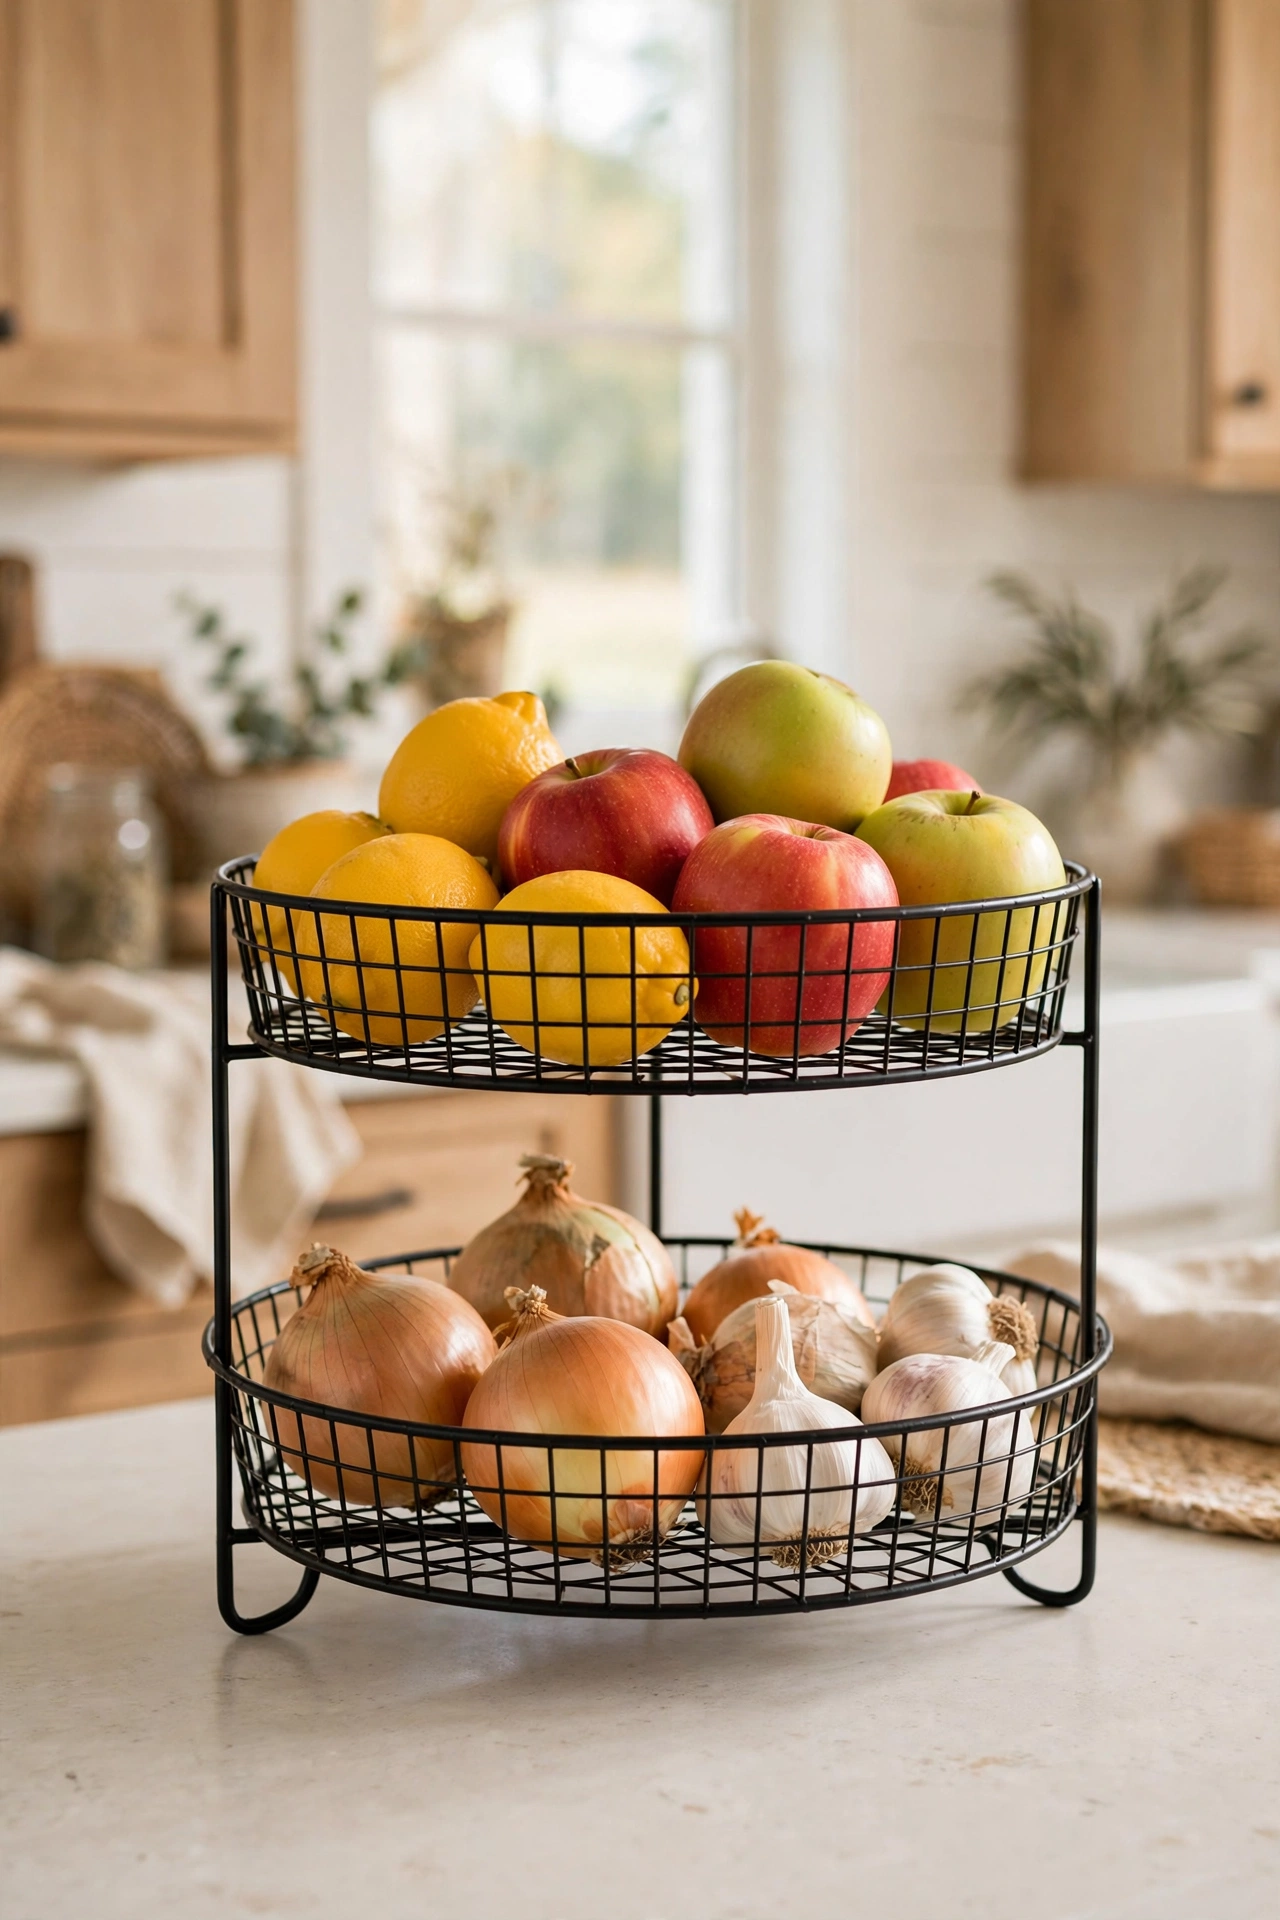
Cost: ~$7 · Time: 15 minutes
Countertop clutter instantly looks intentional when it’s stacked vertically. A two-tier metal or wire stand corrals fruit, onions and garlic into one tidy column instead of a sprawling bowl-and-bag situation. Assemble it — most are a simple twist of two plates and a centre rod — then group produce by type: fruit up top, veg below.
I tried this in my own kitchen and it freed up a full arm’s width of worktop. One mistake to avoid: keep onions and potatoes apart, not together on the stand — onions release gases that sprout the spuds. The bottom tier is the perfect home for the garlic bulbs that otherwise roll into corners.
Coffee Station Tray That Corrals the Chaos
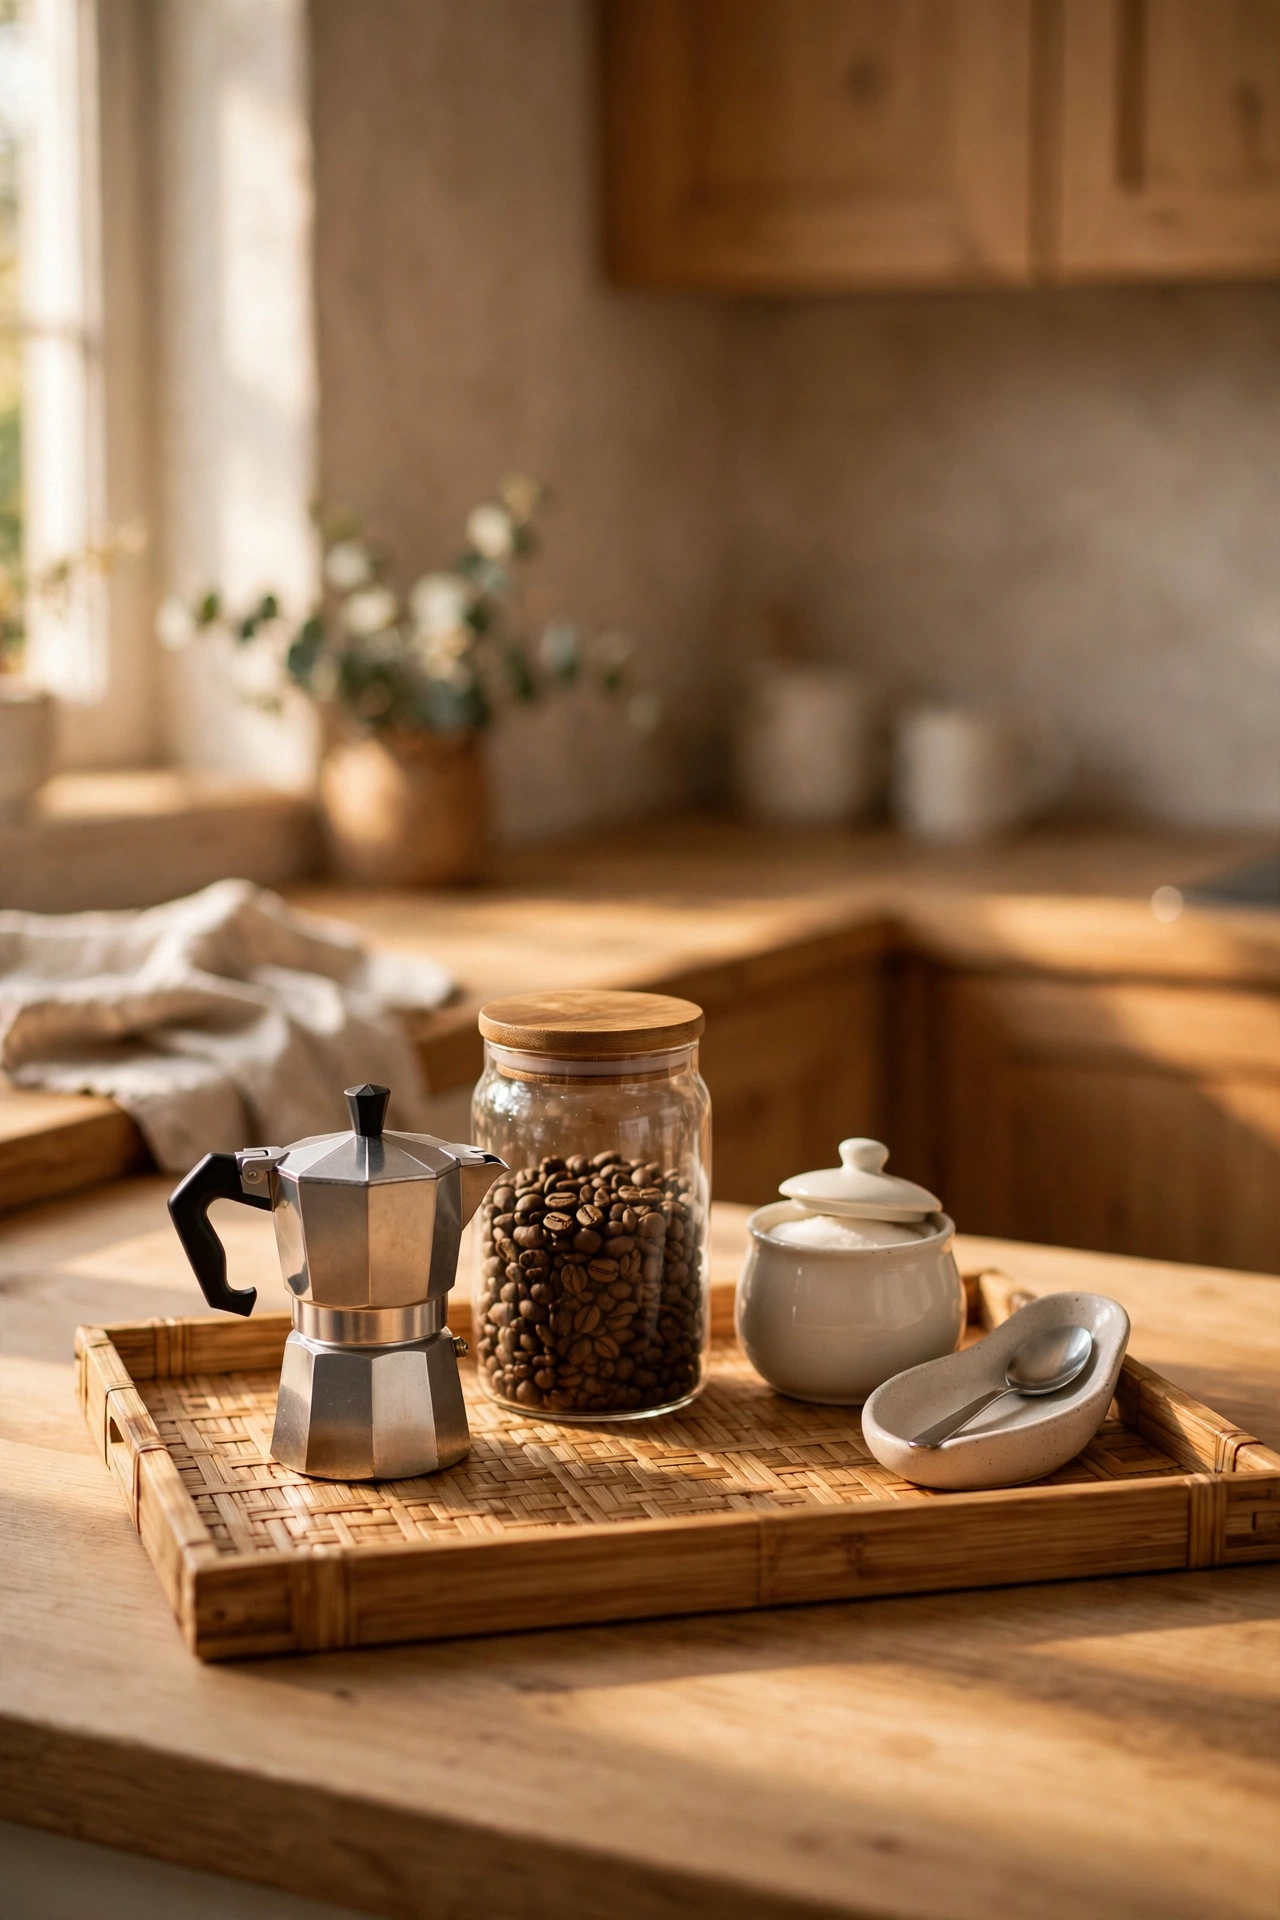
Cost: ~$5 · Time: 15 minutes
A coffee maker plus its jars, sugar and spoons scattered across the counter reads cluttered; the same items on one tray read curated. Grab a rectangular wooden or bamboo tray and arrange the machine, a small jar of beans, the sugar and a spoon rest on it in a loose triangle. The tray’s edge does the visual containing for you — everything inside looks placed on purpose.
I tried this in my own kitchen and my morning corner finally looks like the photos I save. One mistake to avoid: size the tray generously, because a cramped tray makes the machine hang off the edge and ruins the effect. More coffee-corner inspiration is in (see also: 21-dollar-store-kitchen-finds-on-a-budget).
Glass Soap Dispensers for Sink-Side Style
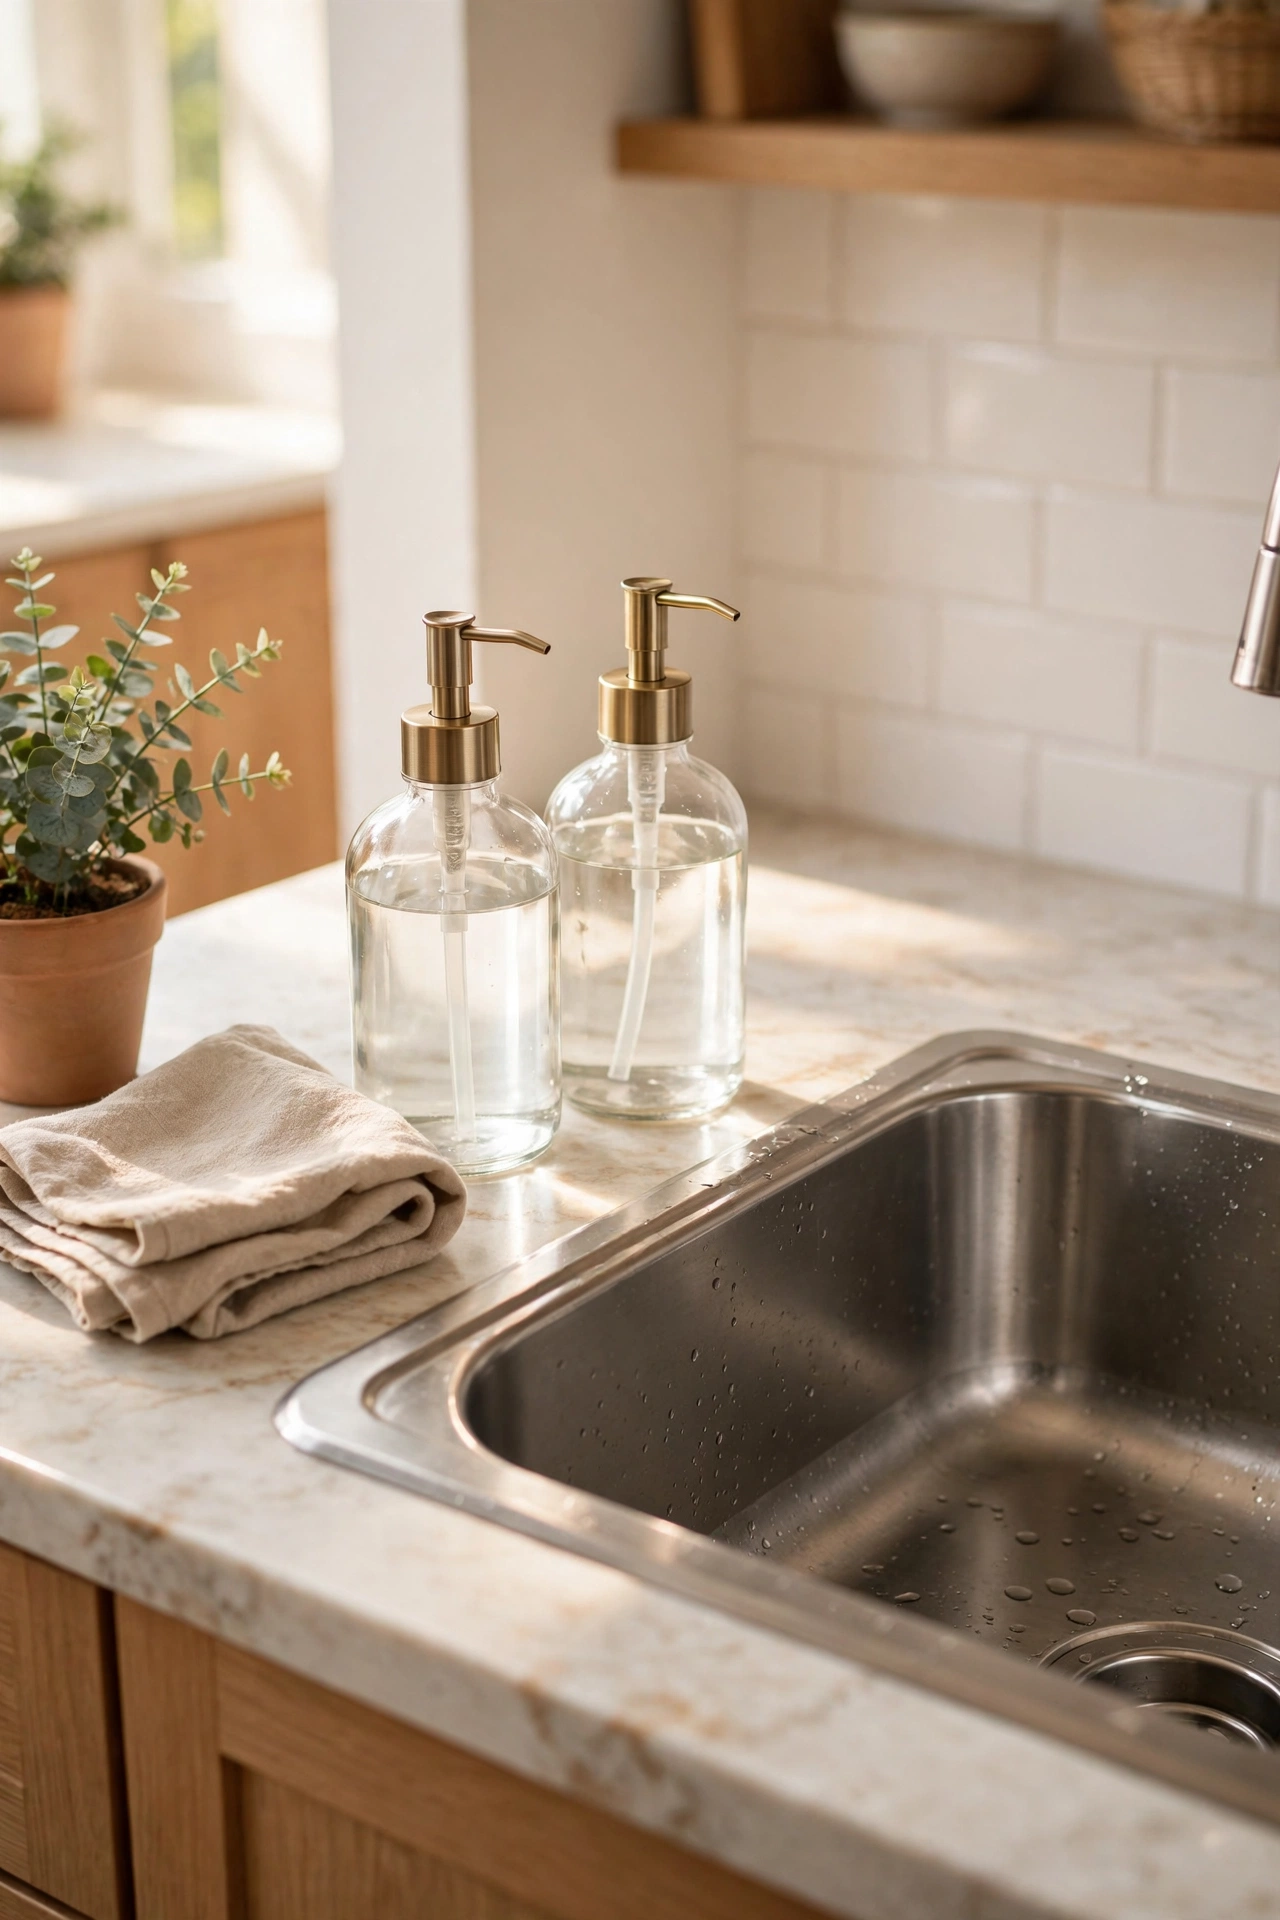
Cost: ~$4 · Time: 10 minutes
The neon washing-up liquid bottle is the cheapest-looking thing in most kitchens. Decant it into a clear glass pump dispenser — two pumps’ worth fills it — and the sink area immediately looks calmer. Keep a second matching dispenser for hand soap so the pair looks deliberate, and refill both from the big value bottle stored under the sink.
I tried this in my own kitchen and it’s the smallest change with the biggest visual payoff on this list. One mistake to avoid: rinse the dispenser between refills, because old soap residue gunks up the pump over time. Choose a pump with a metal collar rather than plastic — it survives years of wet hands.
Mini Herb Pots on the Windowsill
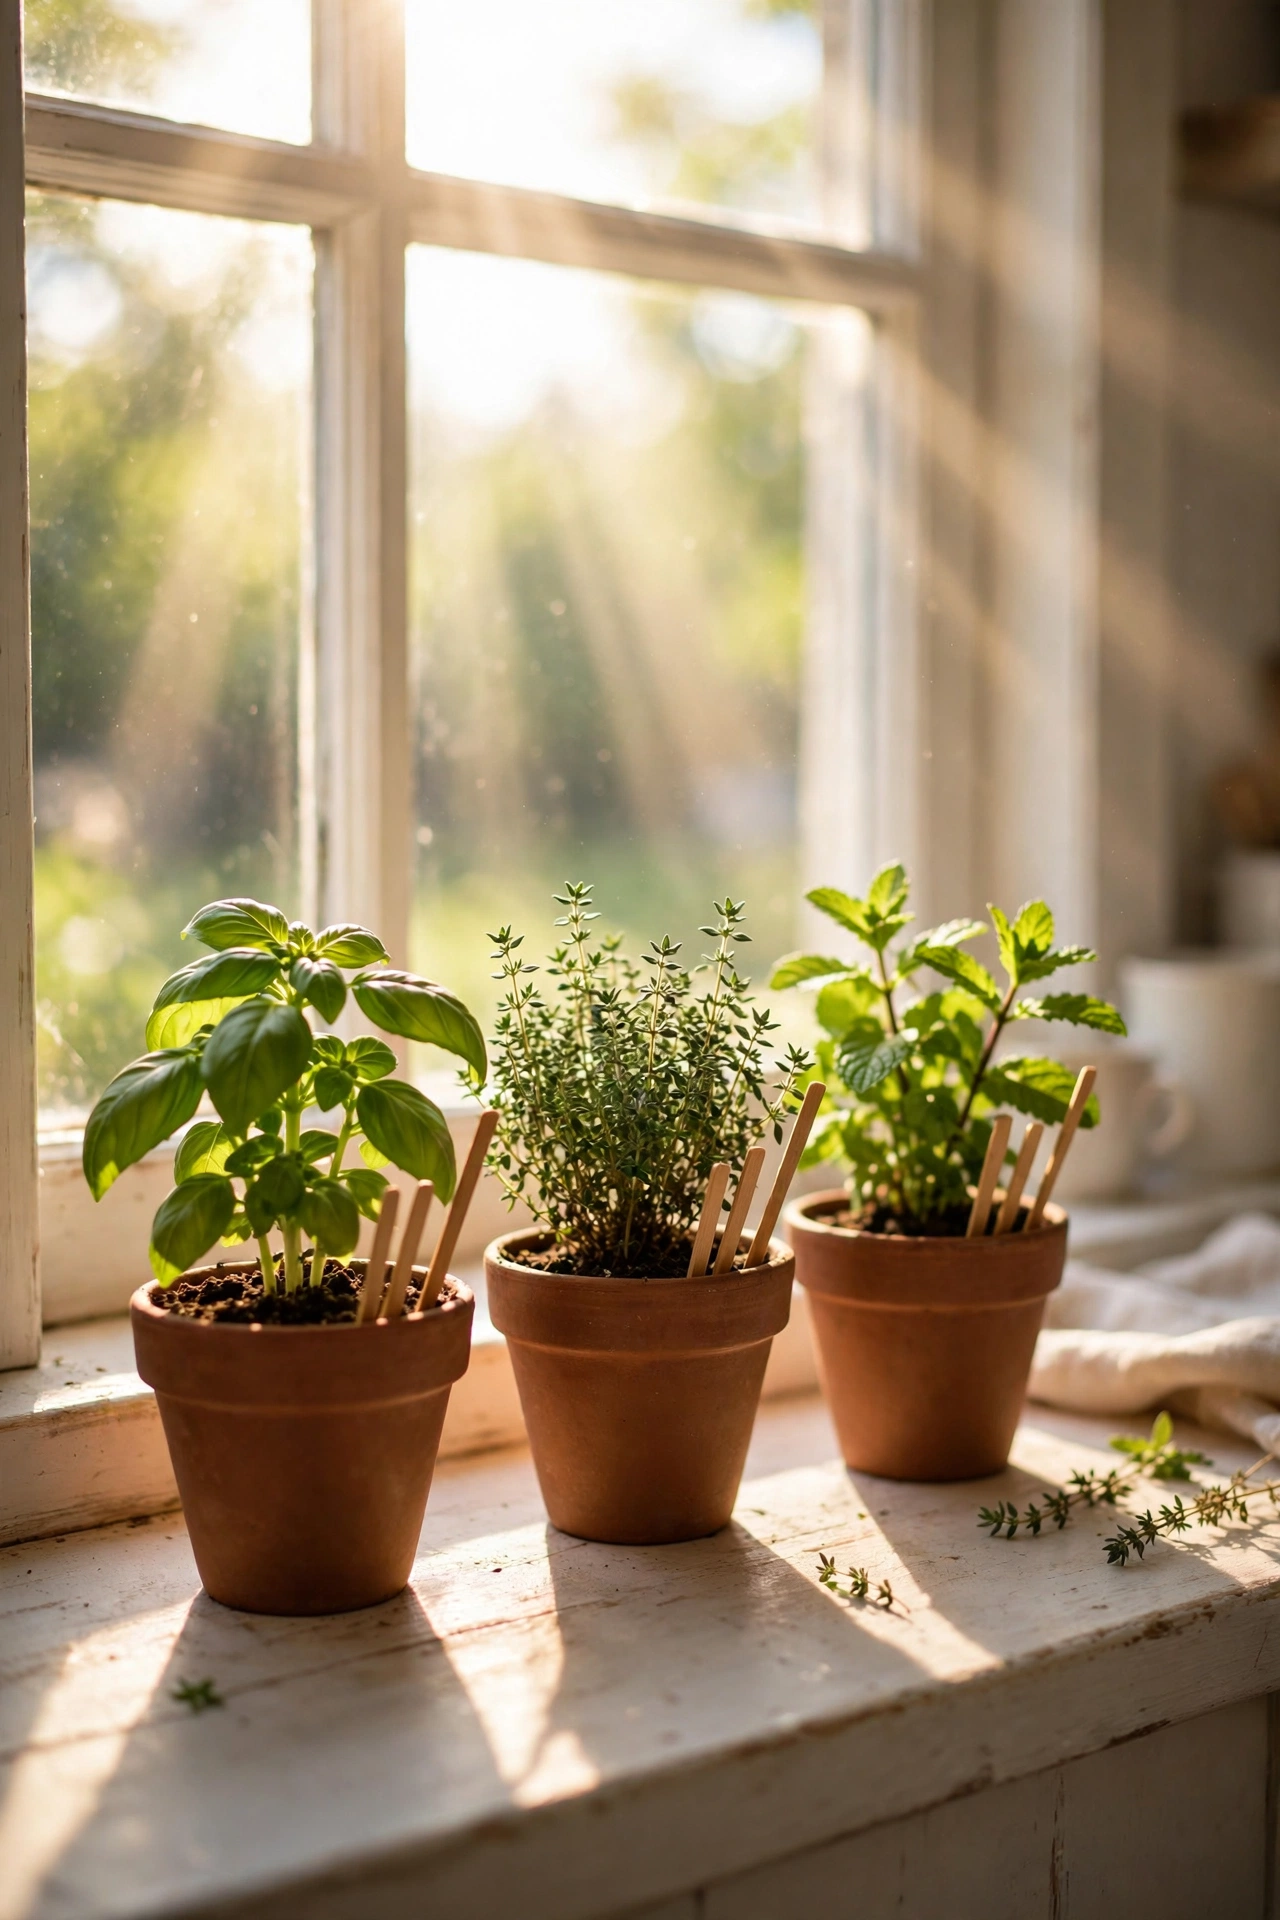
Cost: ~$6 · Time: 20 minutes
A row of small terracotta-look pots with basil, thyme and mint on the windowsill is the classic “expensive kitchen” signal, and the pots plus the soil discs both live at the dollar store. Plant three or four pots, water them in, and give each a tiny label stick so it looks like a proper little kitchen garden. They need only a bright sill and a weekly water to keep going.
I tried this in my own kitchen and the basil has survived far longer than I deserved. One mistake to avoid: don’t plant mint with the others — it takes over the pot and bullies the thyme. Give mint its own pot, and snip herbs regularly, because regular cutting keeps them bushy rather than leggy.
New Cabinet Knobs Swapped in an Afternoon
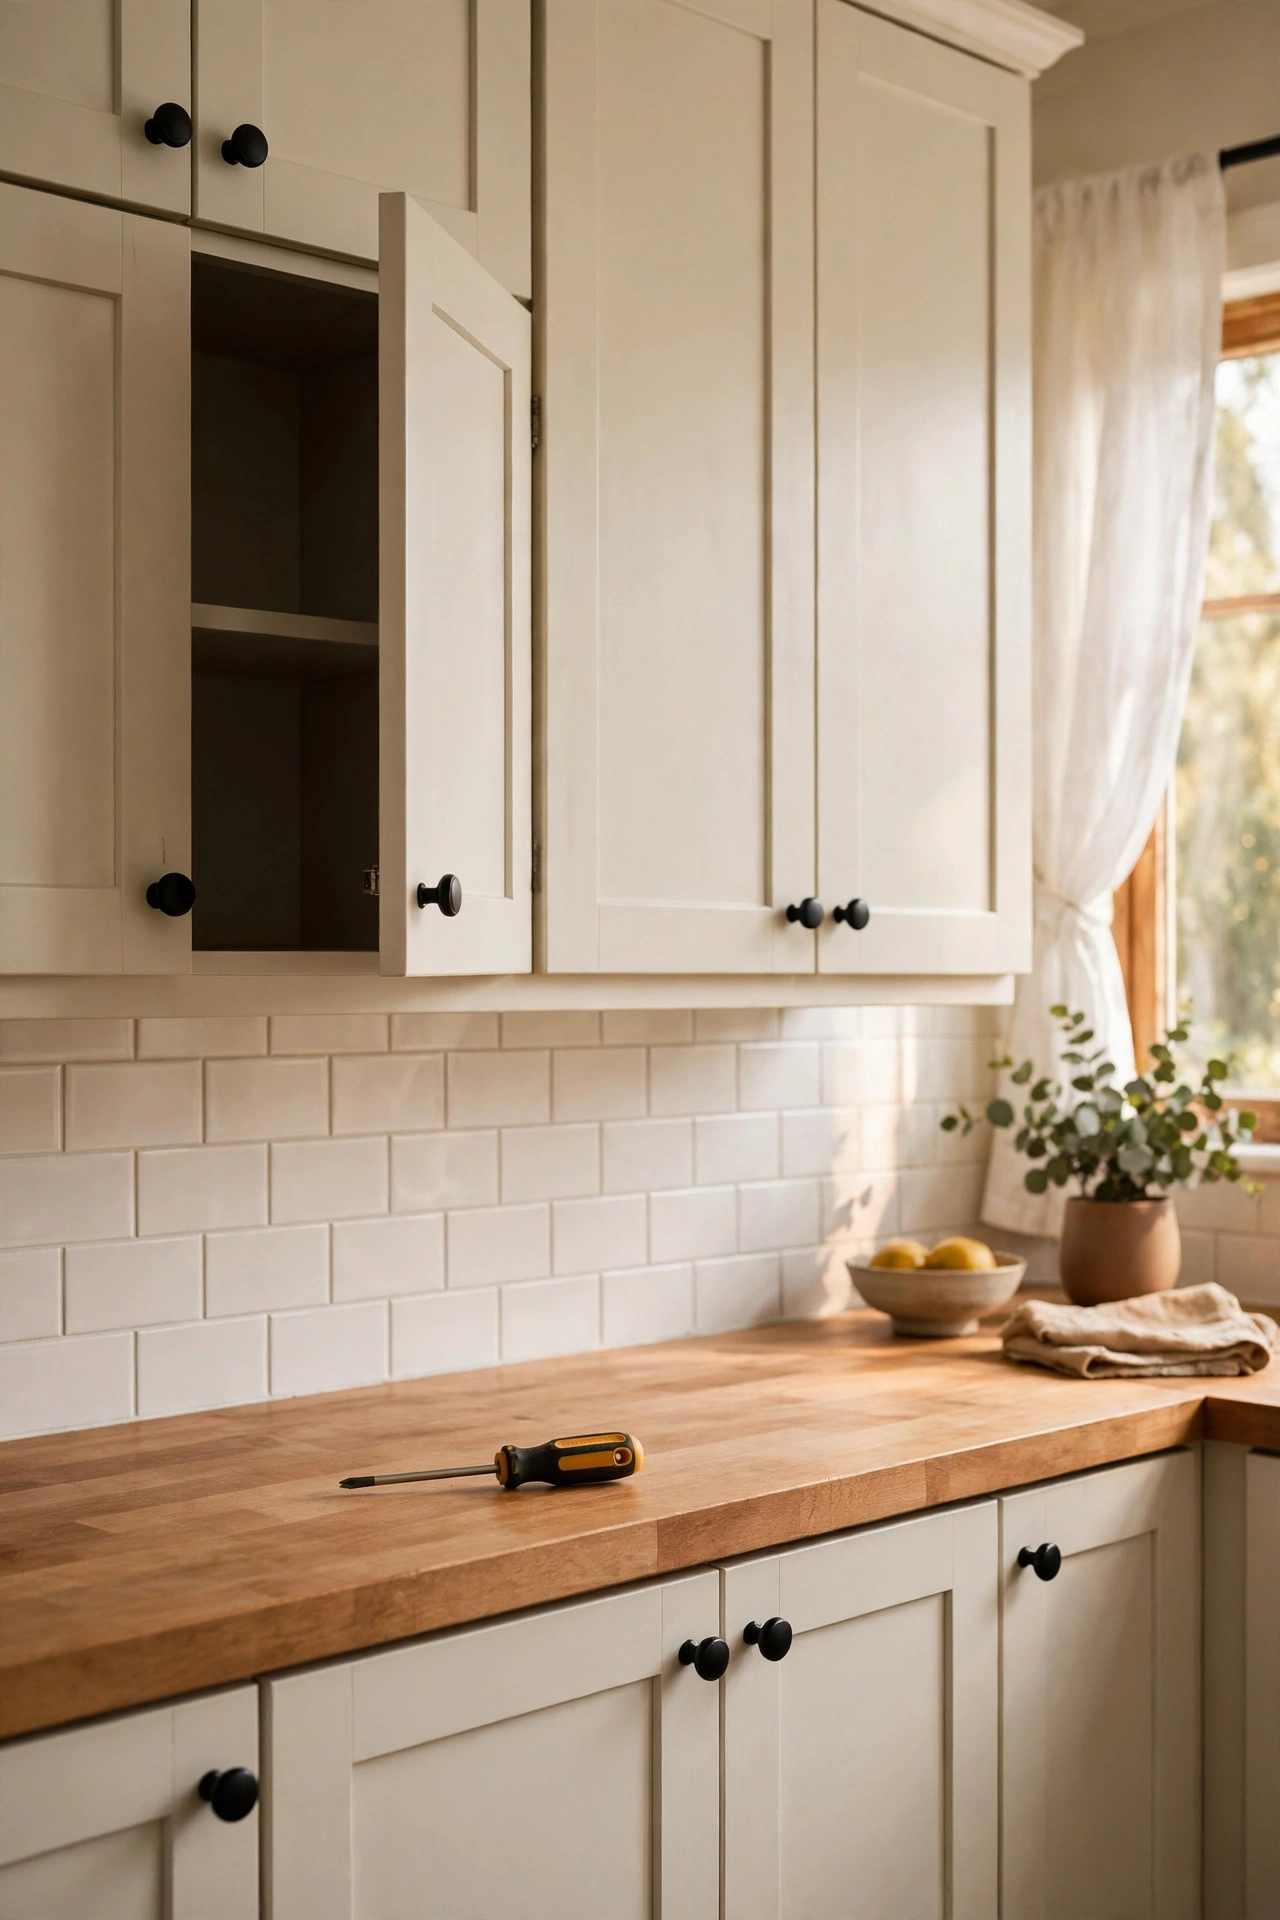
Cost: ~$10 · Time: 45 minutes
Cabinet hardware is the jewellery of the kitchen, and a full set of new knobs costs less than a pizza. Unscrew the old ones, match the hole spacing, and fit brushed-nickel or matte-black knobs in their place — a screwdriver is the only tool you need. Do one door first as a test fit, then work through the kitchen in batches so you don’t end up with half the doors knobless at dinner time.
I tried this in my own kitchen and the dated cabinets looked two decades newer by teatime. One mistake to avoid: count every knob and pull twice before you shop — there’s always one drawer you forget. Keep the old knobs in a bag in case a landlord ever wants the originals back.
Over-Sink Roll-Up Dish Drying Rack
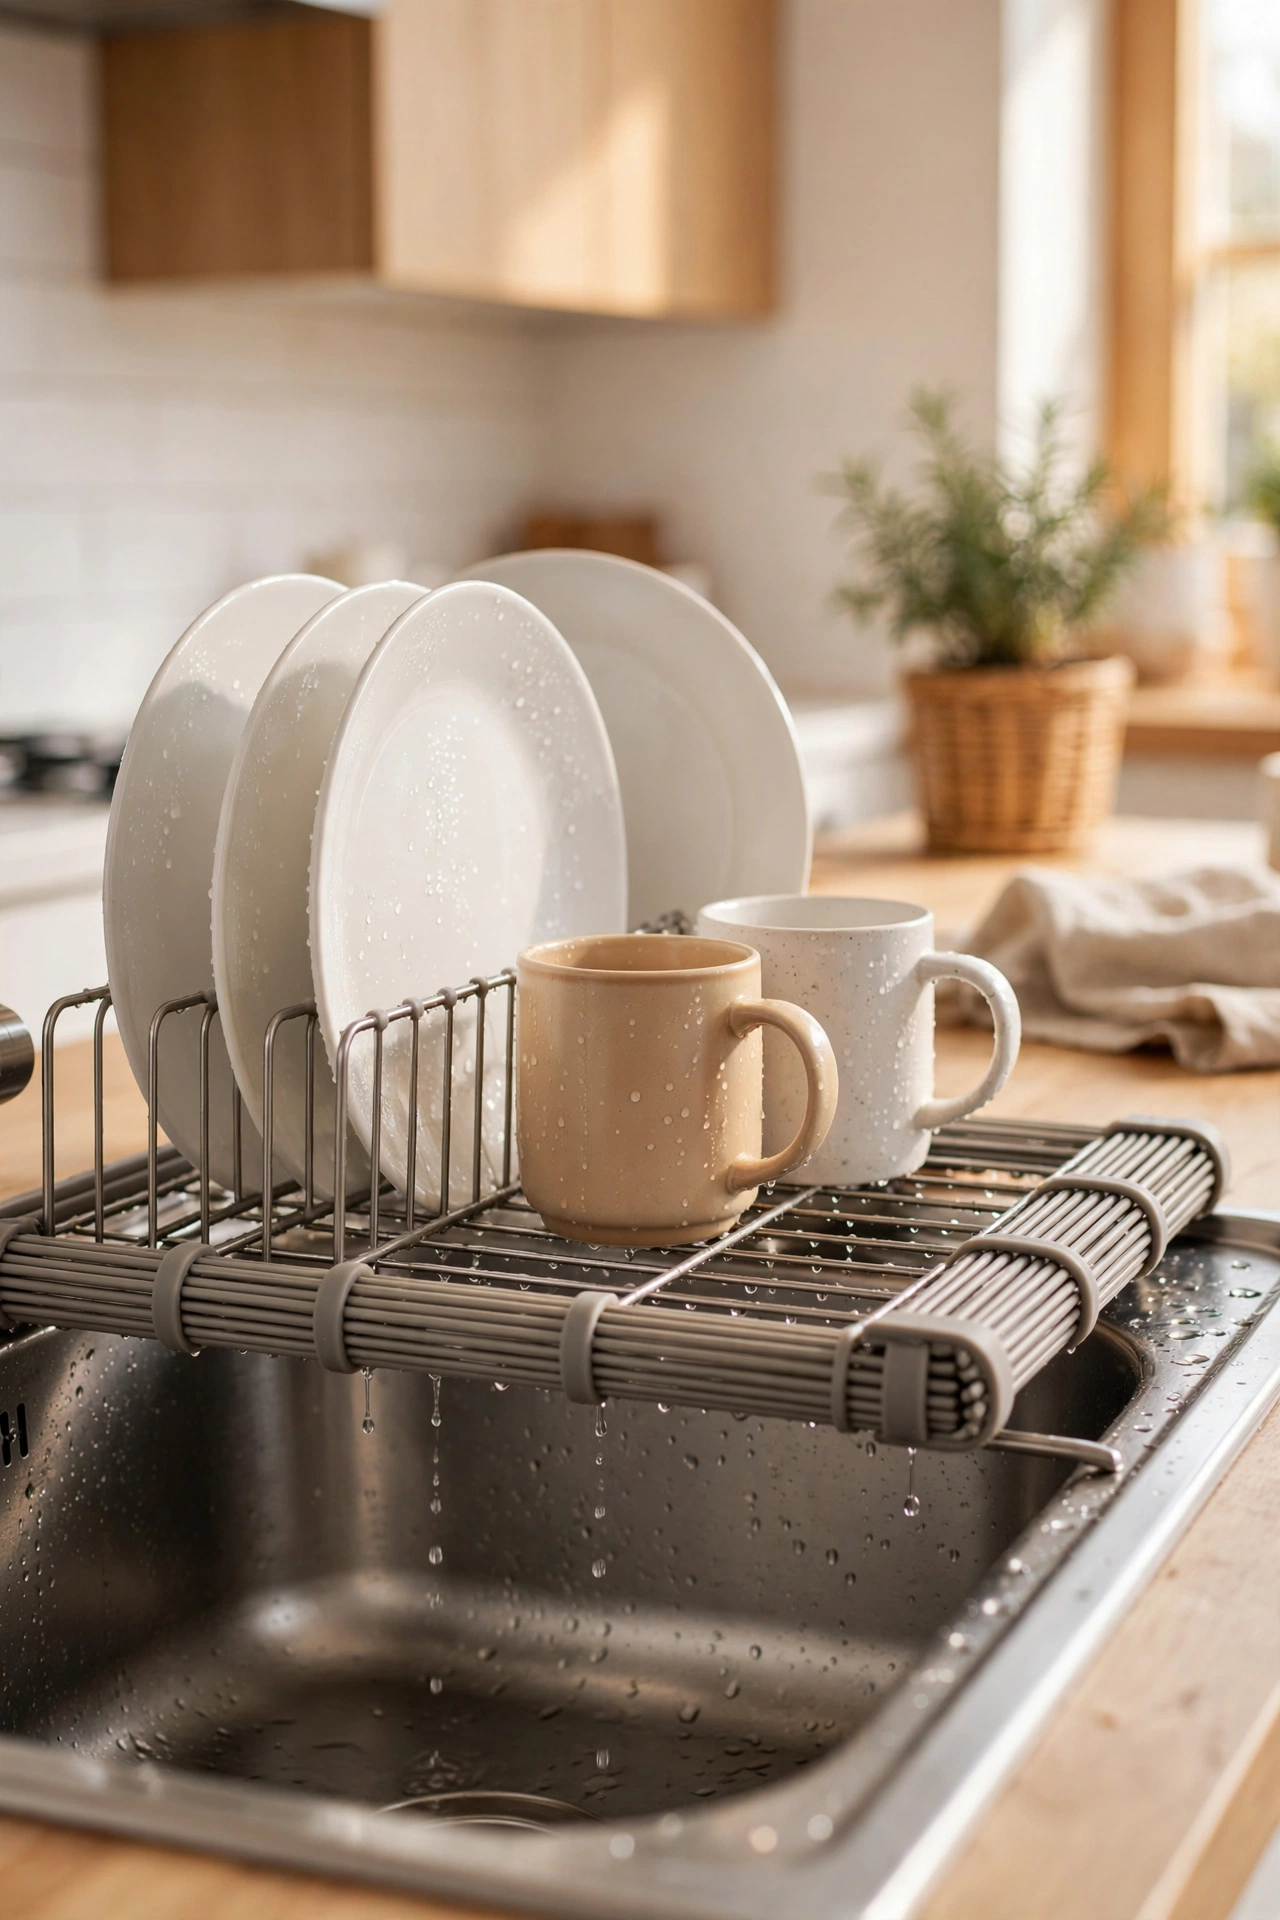
Cost: ~$8 · Time: 10 minutes
The bulky plastic drainer hogging the worktop is a visual black hole. A roll-up rack that sits across the sink itself dries dishes over the basin and rolls away into a drawer when dinner’s done. Unroll it, rest the silicone-coated bars on the sink edges, and load plates along the bars — water drips straight where it belongs.
I tried this in my own kitchen and the reclaimed worktop space feels like an extension. One mistake to avoid: check your sink width before buying, because the bars need to rest securely on both rims. Rinse it after use and stand it to dry, or hard-water marks build up on the silicone.
Woven Placemats as a Table Runner
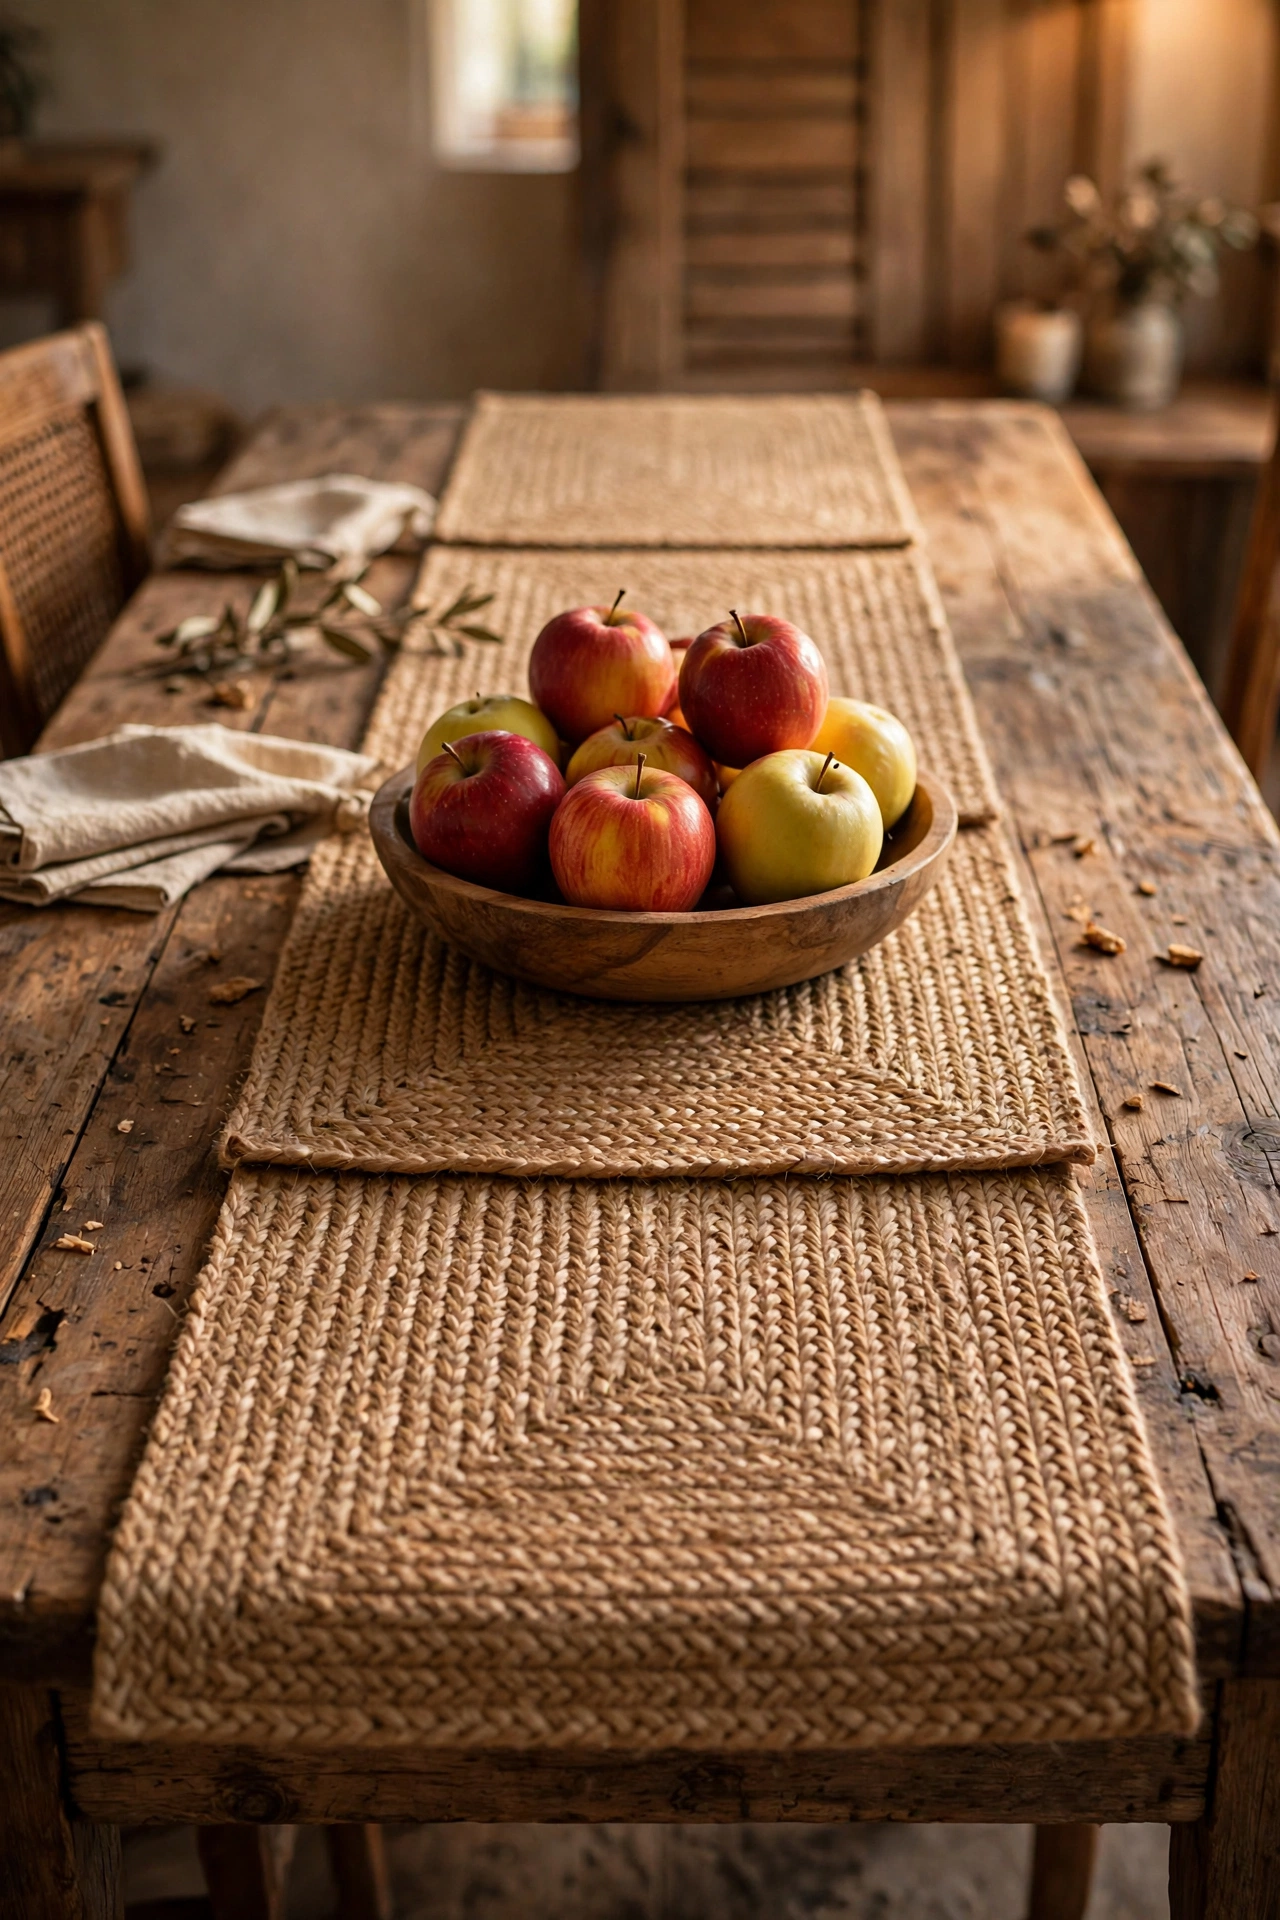
Cost: ~$6 · Time: 10 minutes
Three or four woven placemats laid end to end down the middle of the table make a runner that looks hand-loomed for a fraction of the price. Overlap each mat by a few centimetres so the join disappears, and iron them flat first if they’ve been folded in the packet. Add a small bowl of fruit or a candle in the centre and the table looks set even between meals.
I tried this in my own kitchen and it’s survived countless Sunday roasts with a quick shake-out. One mistake to avoid: skip the plastic-coated ones for this trick — they curl at the edges and never lie flat. The plain woven cotton or jute-style mats sit beautifully and wipe clean. For more table styling on a budget, see (see also: 21-dollar-tree-centerpiece-ideas-that-look-expensive).
Magnetic Knife Strip on the Splashback
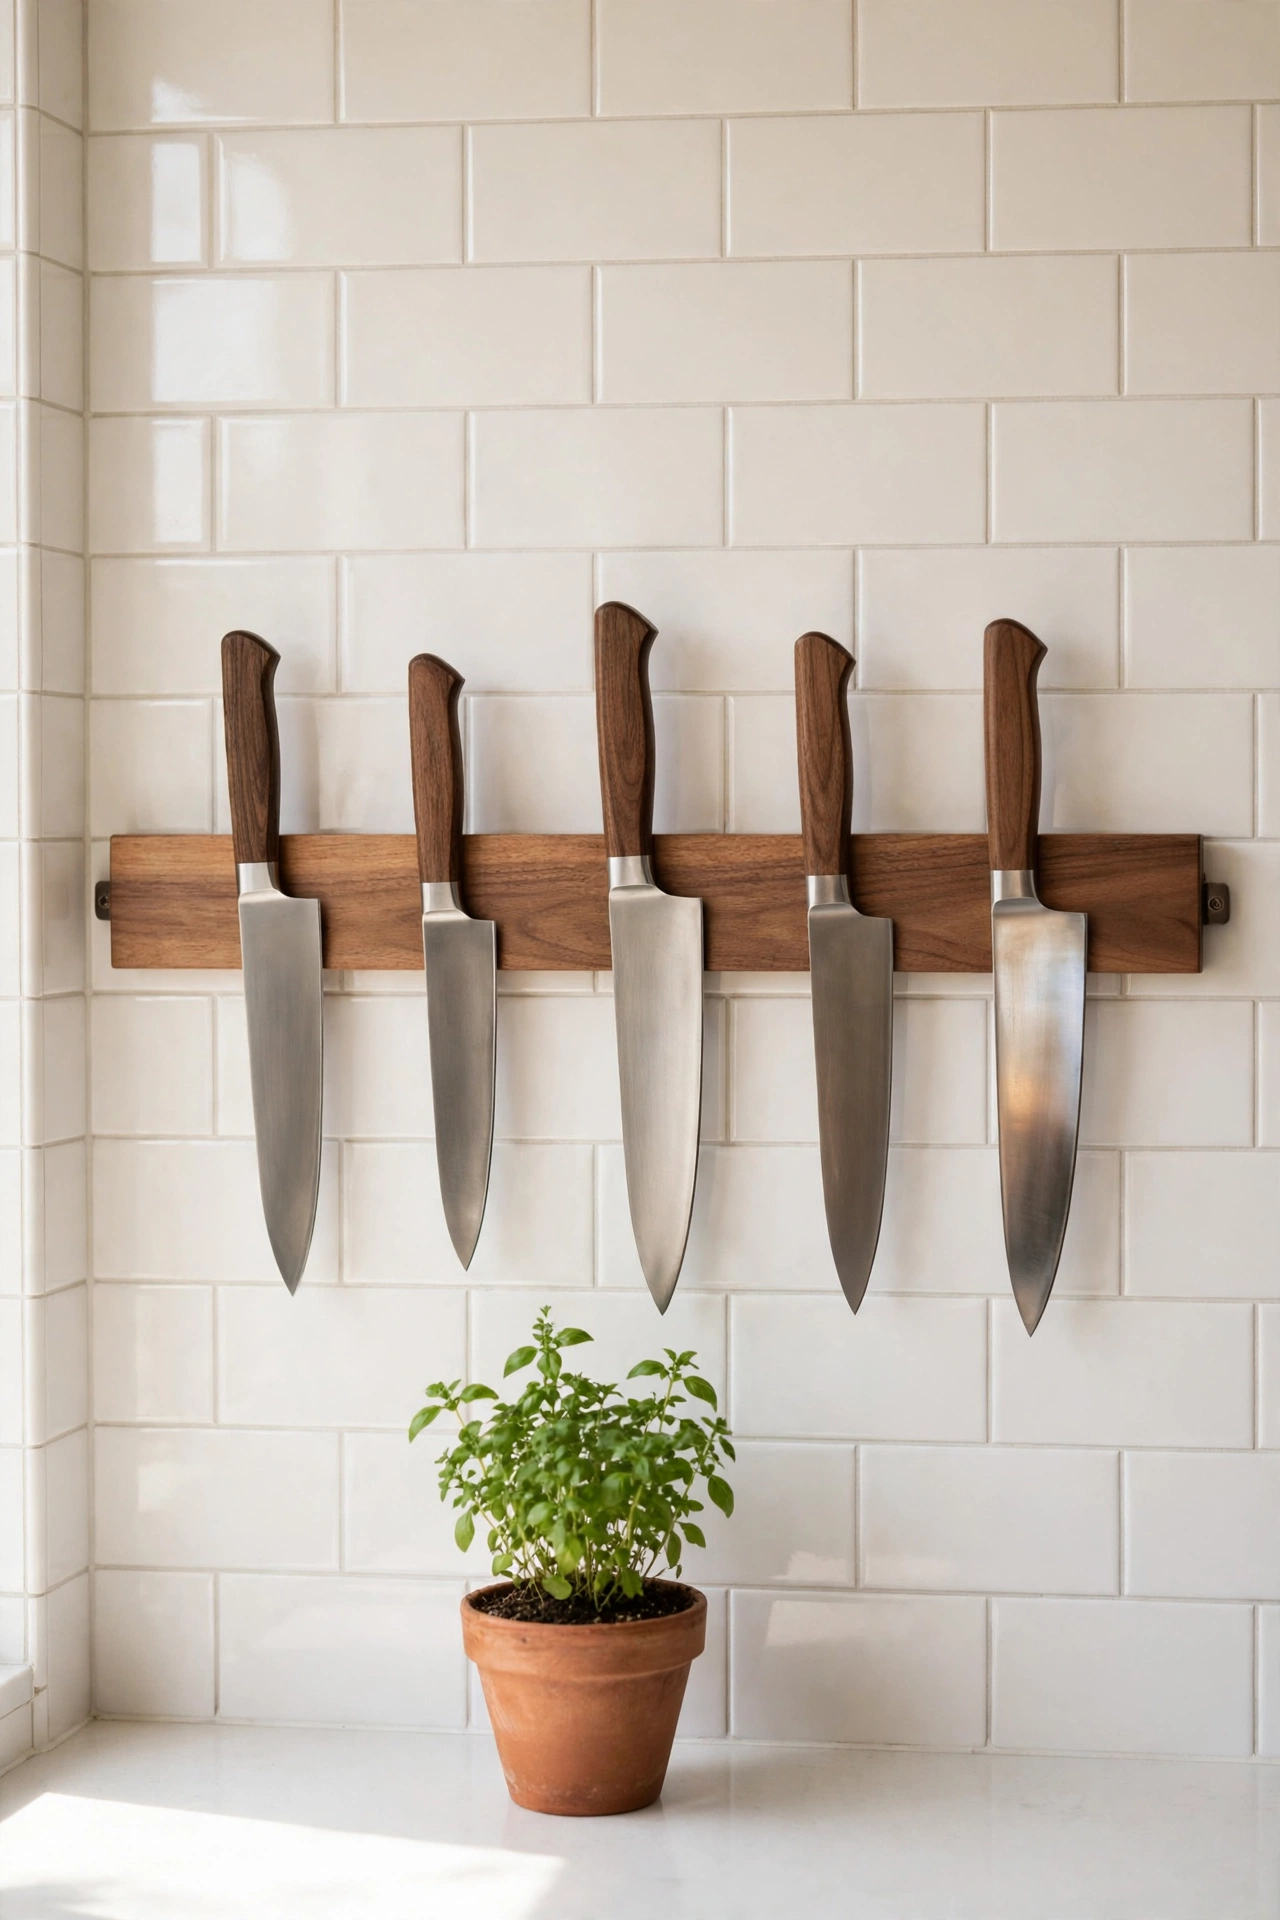
Cost: ~$4 · Time: 20 minutes
A magnetic knife strip mounted on the splashback turns your knives into wall art and frees an entire drawer. Fix the strip at a comfortable reach height with the screws provided, then place knives spine-first, spaced evenly along it. The clean line of blades reads like a chef’s kitchen.
I tried this in my own kitchen and reaching for the right knife mid-cooking is genuinely faster now. One mistake to avoid: mount it away from the hob’s heat and steam, which dull blades and weaken adhesive over time. And save this idea for later — pin it before your next store run, because the kitchen aisle is where the best upgrades hide.
Fifteen finds, one kitchen that looks like it cost a fortune. Pick the one that bugs you most — the drawer, the counter, the sink — and start there. The rest will follow, one tiny upgrade at a time.
