23 Dollar Store Bedroom Decor Worth Every Penny
23 Dollar Store Bedroom Decor Worth Every Penny
My bedroom used to look like a place I just slept in, not a place I actually liked, and the budget was laughably small. Then I walked down the decor aisle at the dollar store one bored Sunday and realised dollar store bedroom decor is not the sad, plastic-looking stuff I remembered from years ago — the frames, glassware, and faux greenery in there now are genuinely good. I spent $34 that day and changed the whole feel of my room.
Everything in this list is something I have tried in my own bedroom or seen work in a friend’s. None of these ideas cost more than $15, most are under $8, and each one comes with what I paid, how long it took, and the bit I got wrong so you don’t repeat it. If your bedroom needs personality without the price tag, start at idea one and don’t skip the fairy lights.
1. A Matching Frame Gallery Wall From Dollar Store Frames
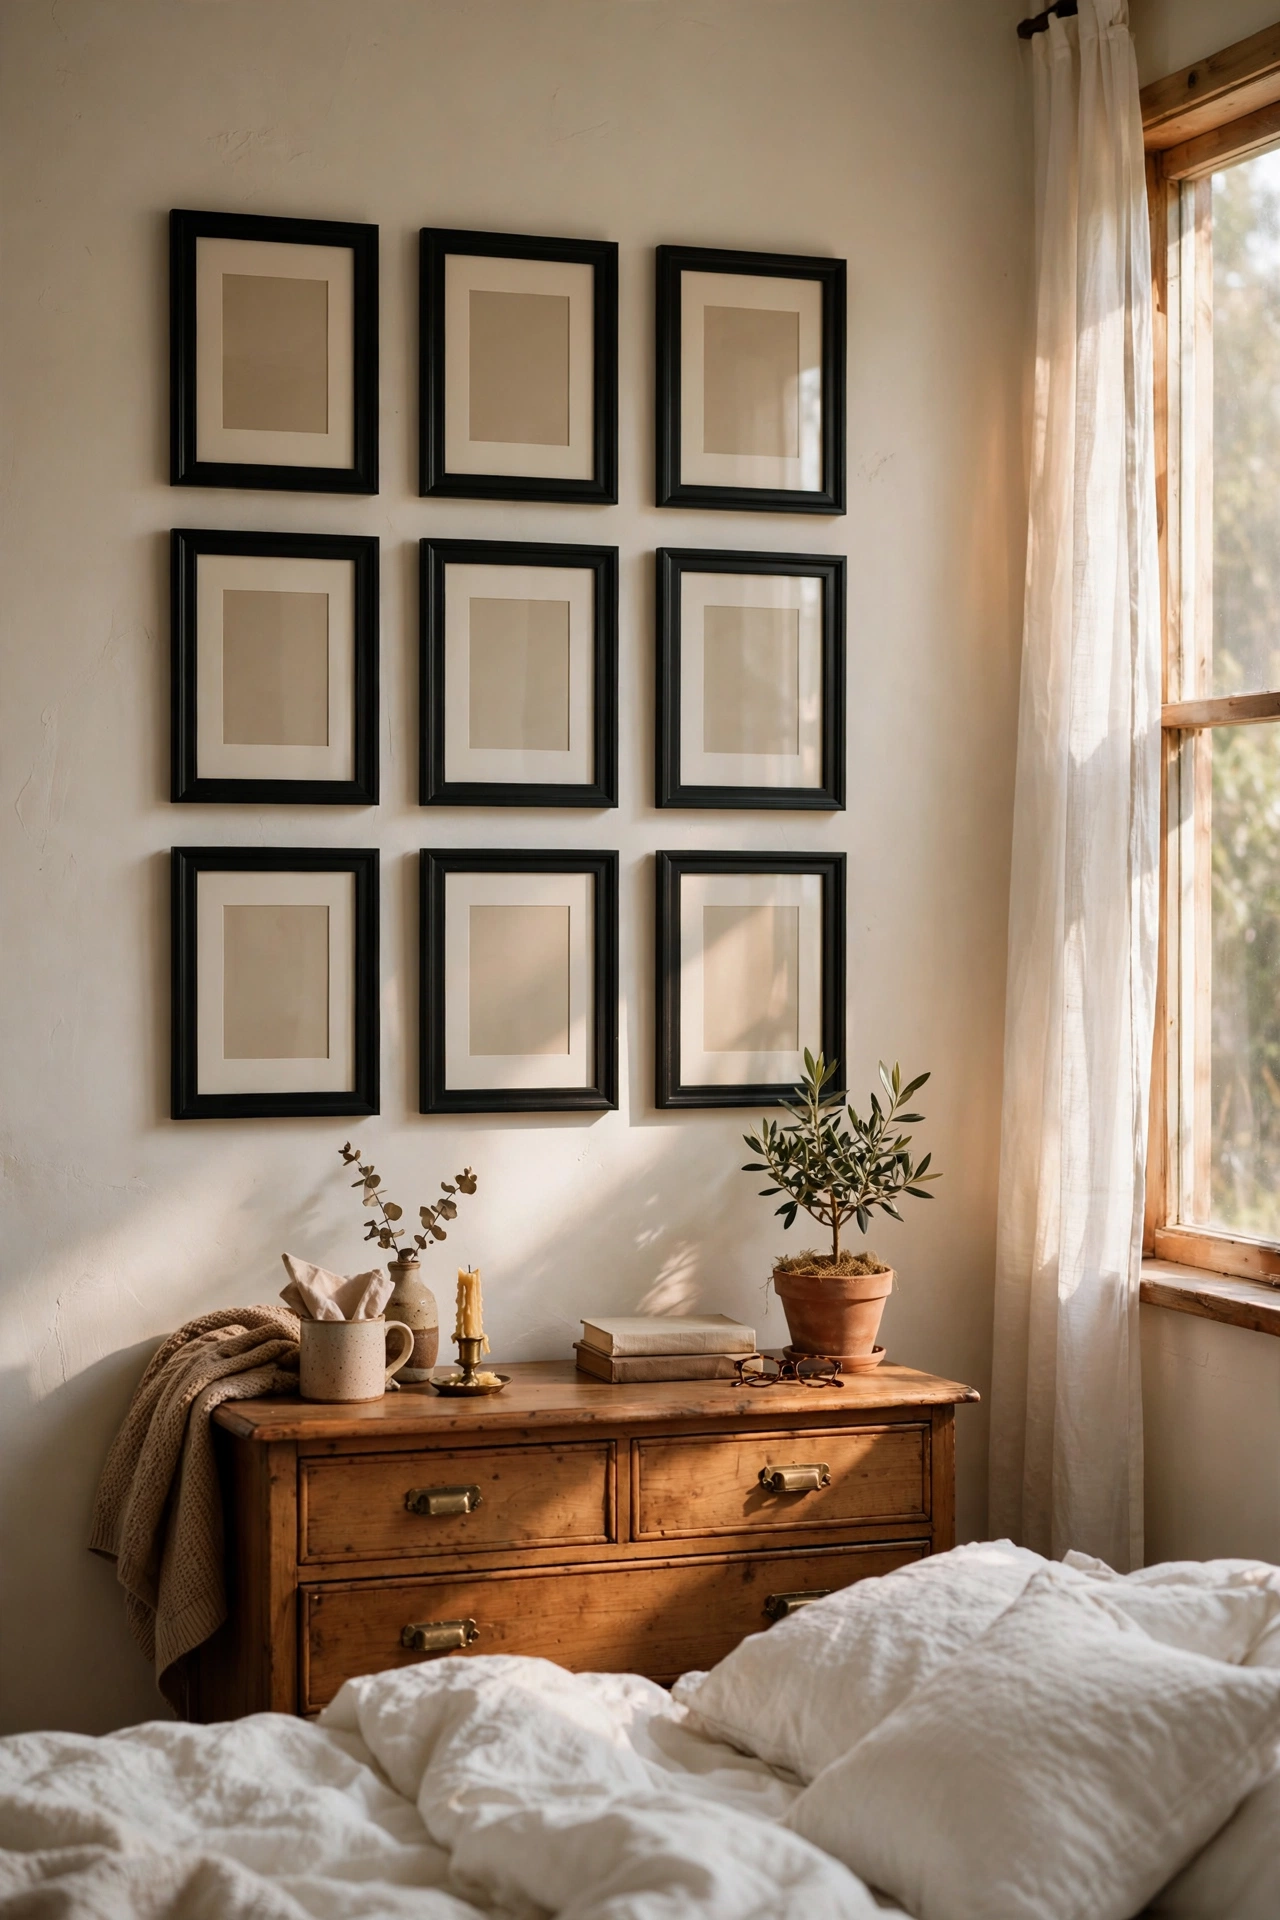
A gallery wall only looks expensive when the frames match, and that is exactly what dollar store frames are for. I bought nine identical black 8×10 frames for $1.25 each, printed free art and family photos at the library for a few cents a page, and laid the whole grid out on my bedroom floor before touching a nail. Use paper templates taped to the wall to plan spacing, keep two inches between every frame, and hang with small picture hooks instead of the flimsy tabs in the packet. My first attempt I hung frames one by one and the whole wall drifted crooked to the right, so the templates are non-negotiable now. Total spend was under $14 and it is the first thing people notice.
Cost: ~$12-15 | Time: 1 hour
2. Fairy Lights in a Glass Jar
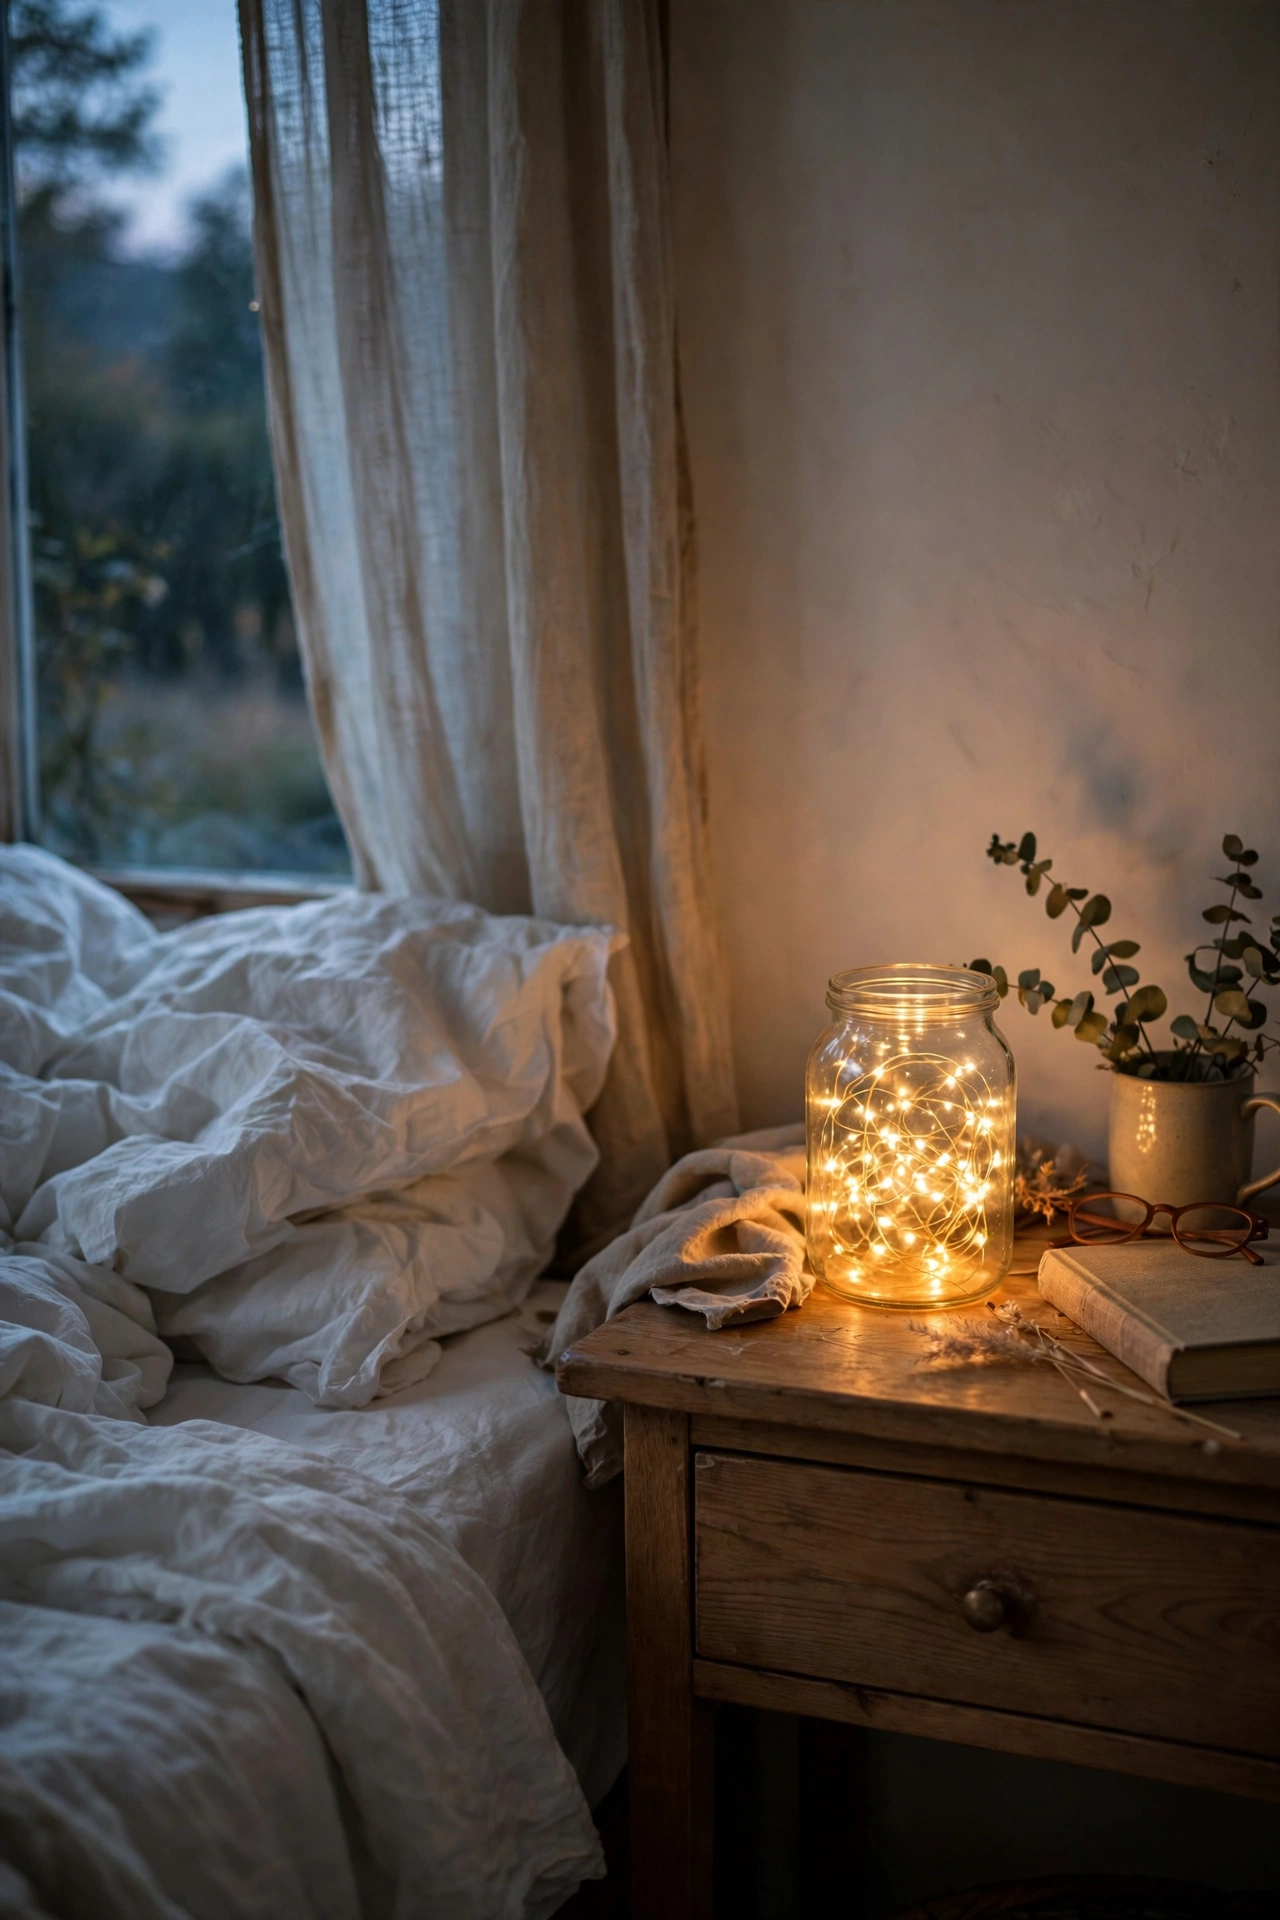
Fairy lights in a glass jar is the oldest dollar store trick and it still works because warm light flatters everything. Grab a pack of battery fairy lights and a tall glass jar or vase from the dollar store, drop the light strand in first, and let it pool naturally at the bottom before tucking the battery pack behind the jar. Put it on your nightstand or dresser and switch it on an hour before bed. I made the mistake of buying cool white lights the first time and my room felt like a dentist’s office. Warm white only. The whole thing cost me about $4 and takes two minutes, and it is my favourite way to wind down without the overhead light blaring.
Cost: ~$3-5 | Time: 5 minutes
3. Faux Plants Repotted Into Dollar Store Pots
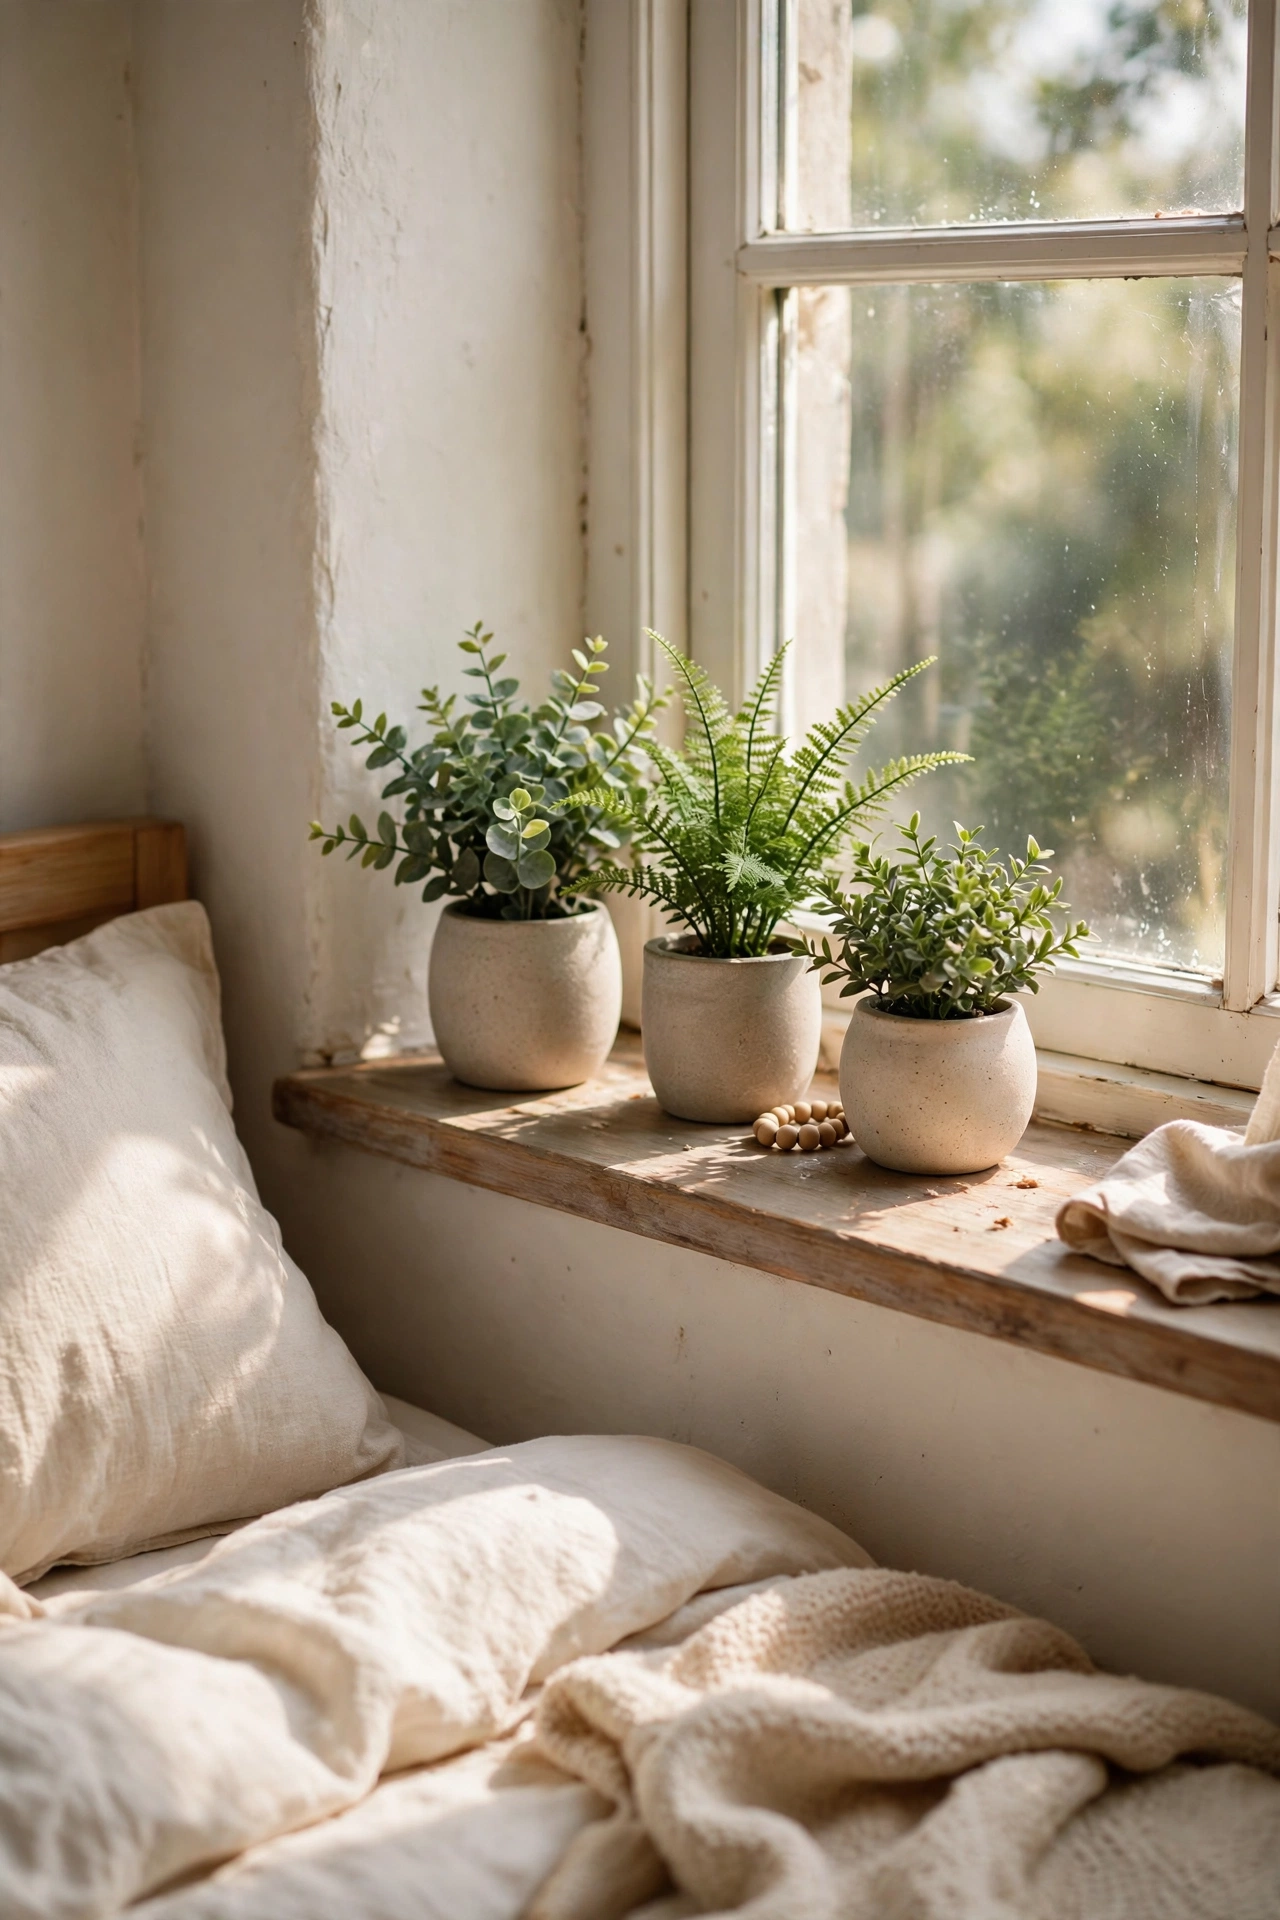
Dollar store faux plants look cheap in their plastic nursery pots, but repotted they pass as the real thing from across the room. I bought three small faux plants and three ceramic-look pots for $1.25 each, pulled the plants out, and set them into the new pots with a bit of crumpled tissue to hold them steady. Fill the top with a little moss or pebbles from the craft aisle so you never see the plastic base. Keep them out of direct comparison with real plants, because side by side the fake loses every time. I keep mine on the windowsill and the dresser, and my mum genuinely asked which one was real. All in, about $8 for three.
Cost: ~$7-10 | Time: 20 minutes
4. A Candle Cluster in Three Heights
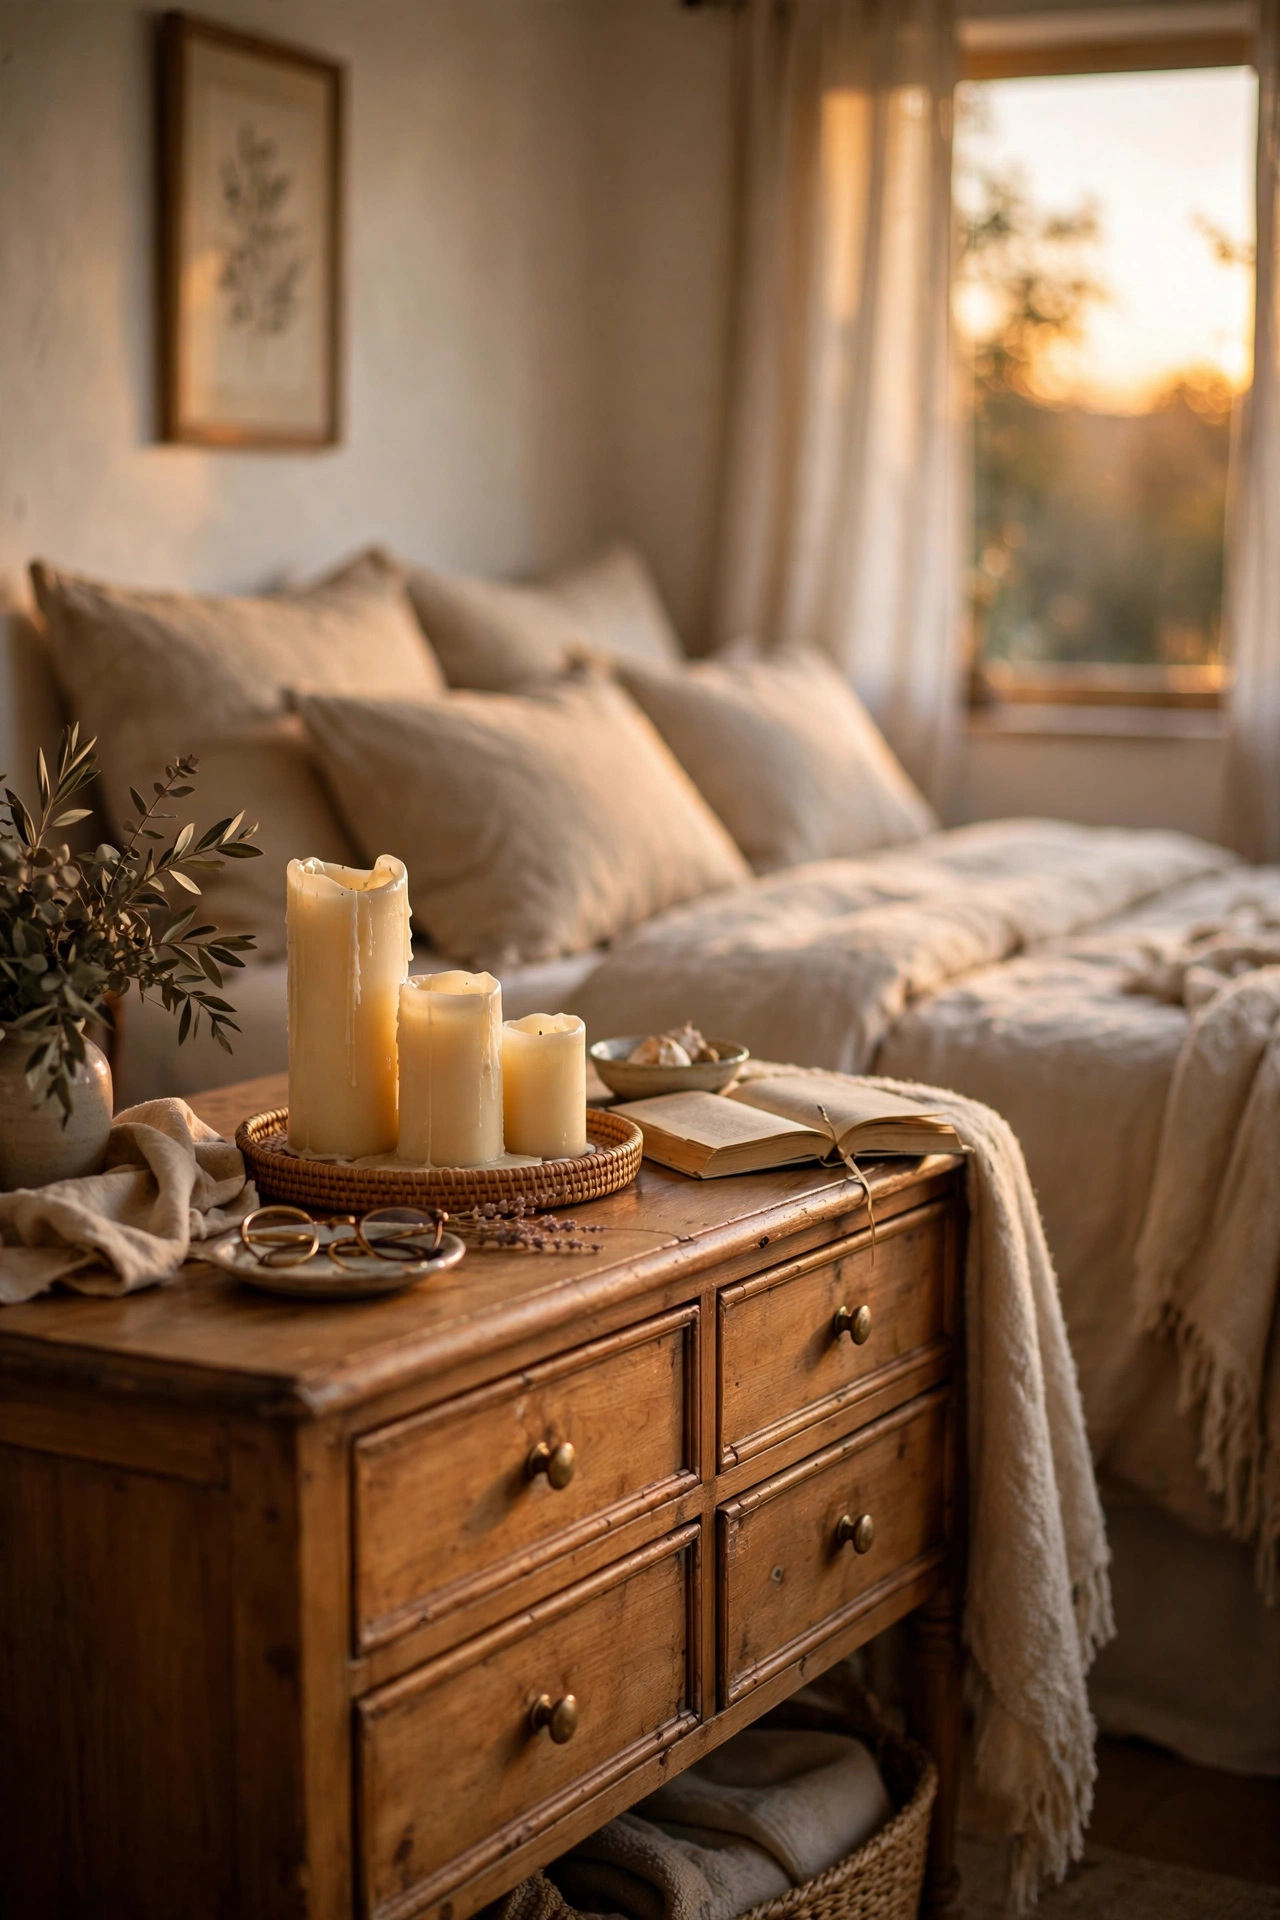
One candle looks like an afterthought, but three candles in different heights look like a decision, and the dollar store sells all of them. I picked up a tall pillar, a medium one, and a short votive, all in the same warm ivory, and grouped them on a small saucer from the kitchen aisle. Keep them in odd numbers and vary the heights by at least two inches so the grouping reads intentional. I lit mine on a dark Tuesday and my whole bedroom felt different, even though nothing else had changed. Safety first: never leave them burning when you leave the room, and trim the wicks to a quarter inch. The whole cluster cost me under $5.
Cost: ~$4-6 | Time: 10 minutes
5. Clear Glass Vases, Styled Three Ways
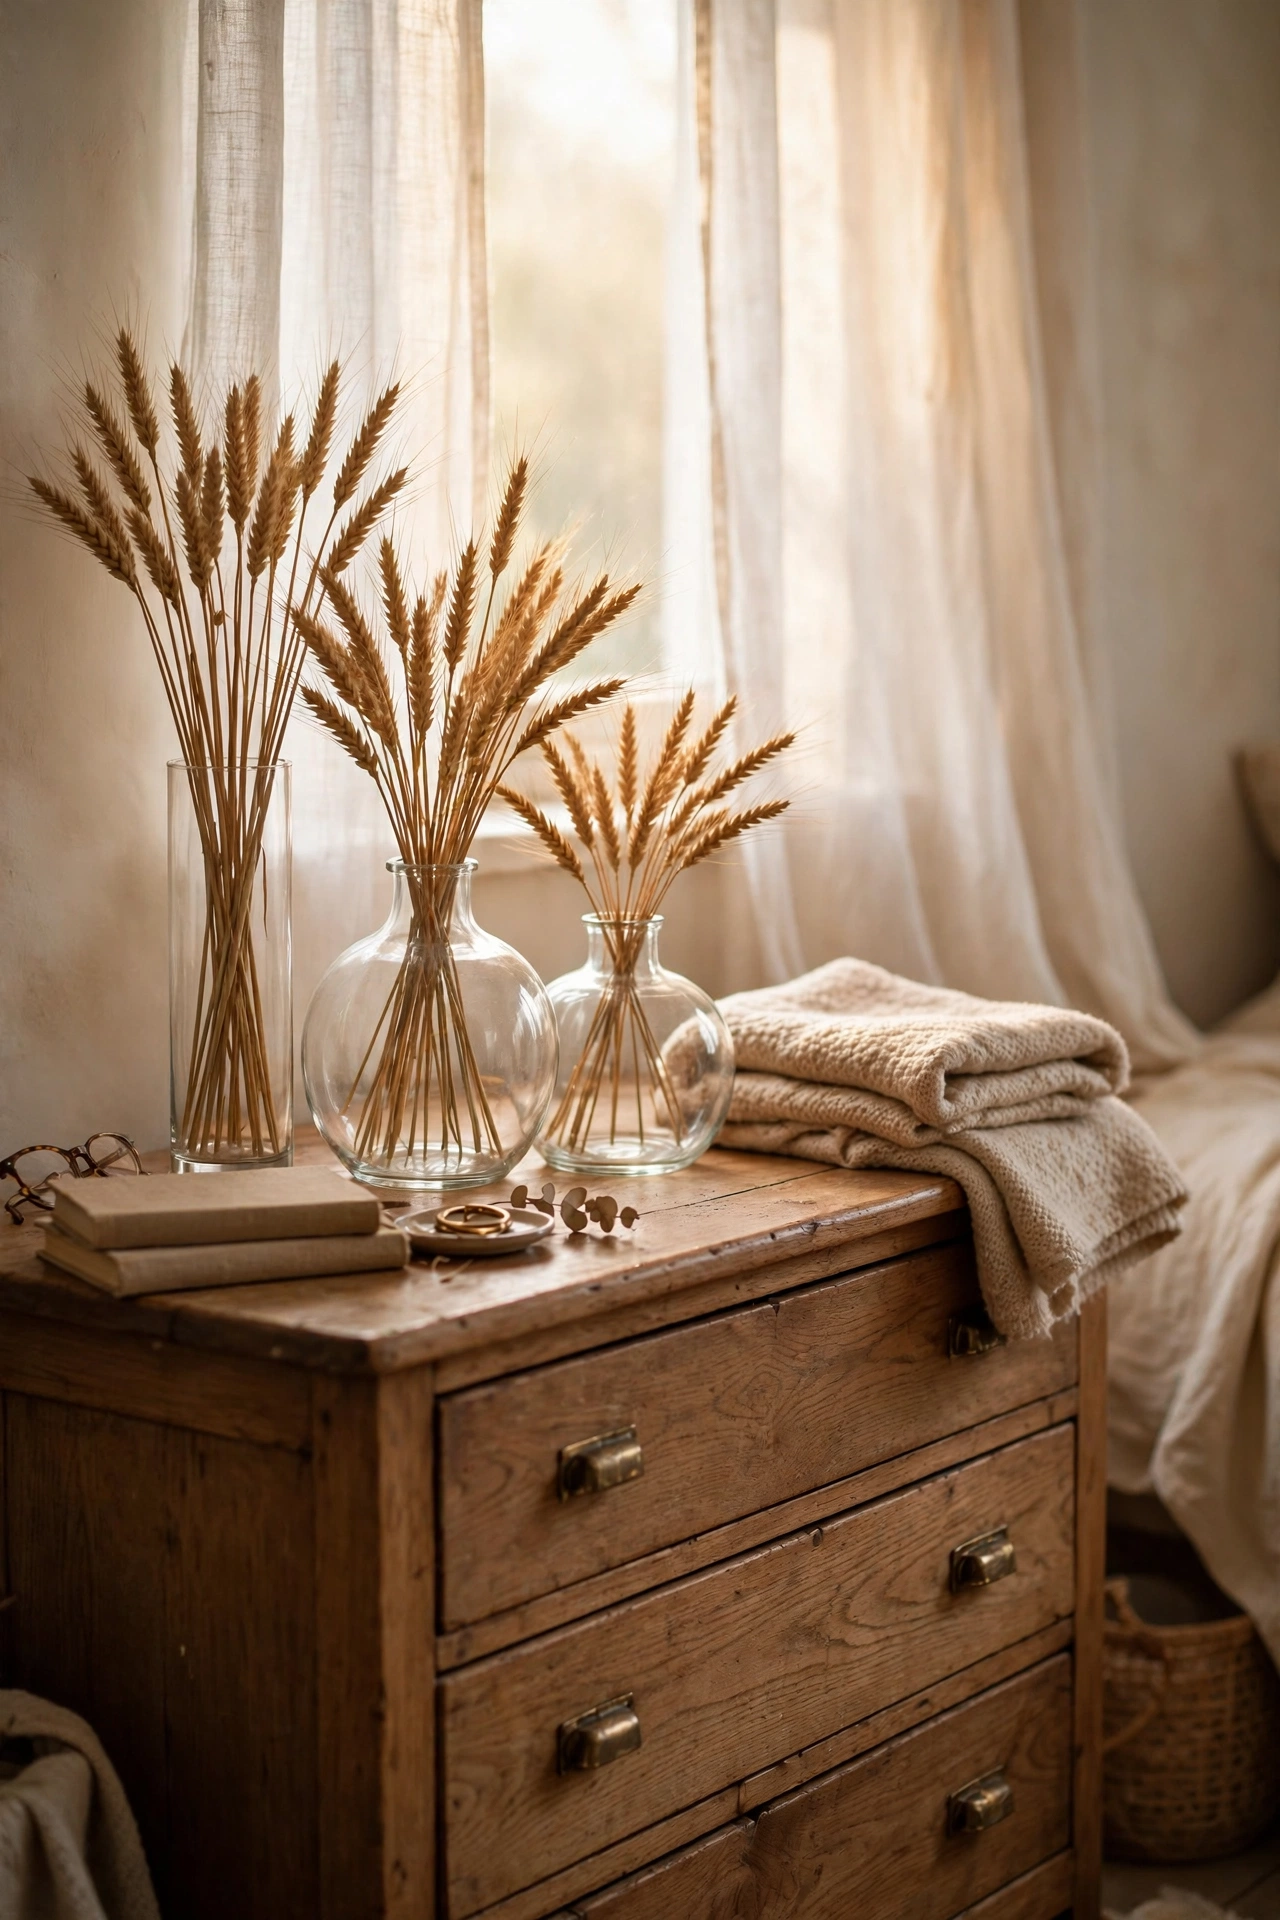
Clear glass vases from the dollar store are shape-shifters, because what you put in them changes the whole mood. I bought three in different shapes for $1.25 each and rotate them through the seasons: dried wheat stems in autumn, bare branches with a string of tiny fairy lights in winter, and nothing at all in spring, because an empty vase catching window light is quietly beautiful. Rinse them with warm water and a drop of vinegar to keep the glass sparkling, since cloudy glass gives the game away. I used to think vases needed flowers, but the branches cost me nothing from my mum’s garden and get the most compliments. Three vases, endless looks, under $5.
Cost: ~$4-6 | Time: 15 minutes
6. A Wooden Tray to Corral the Nightstand
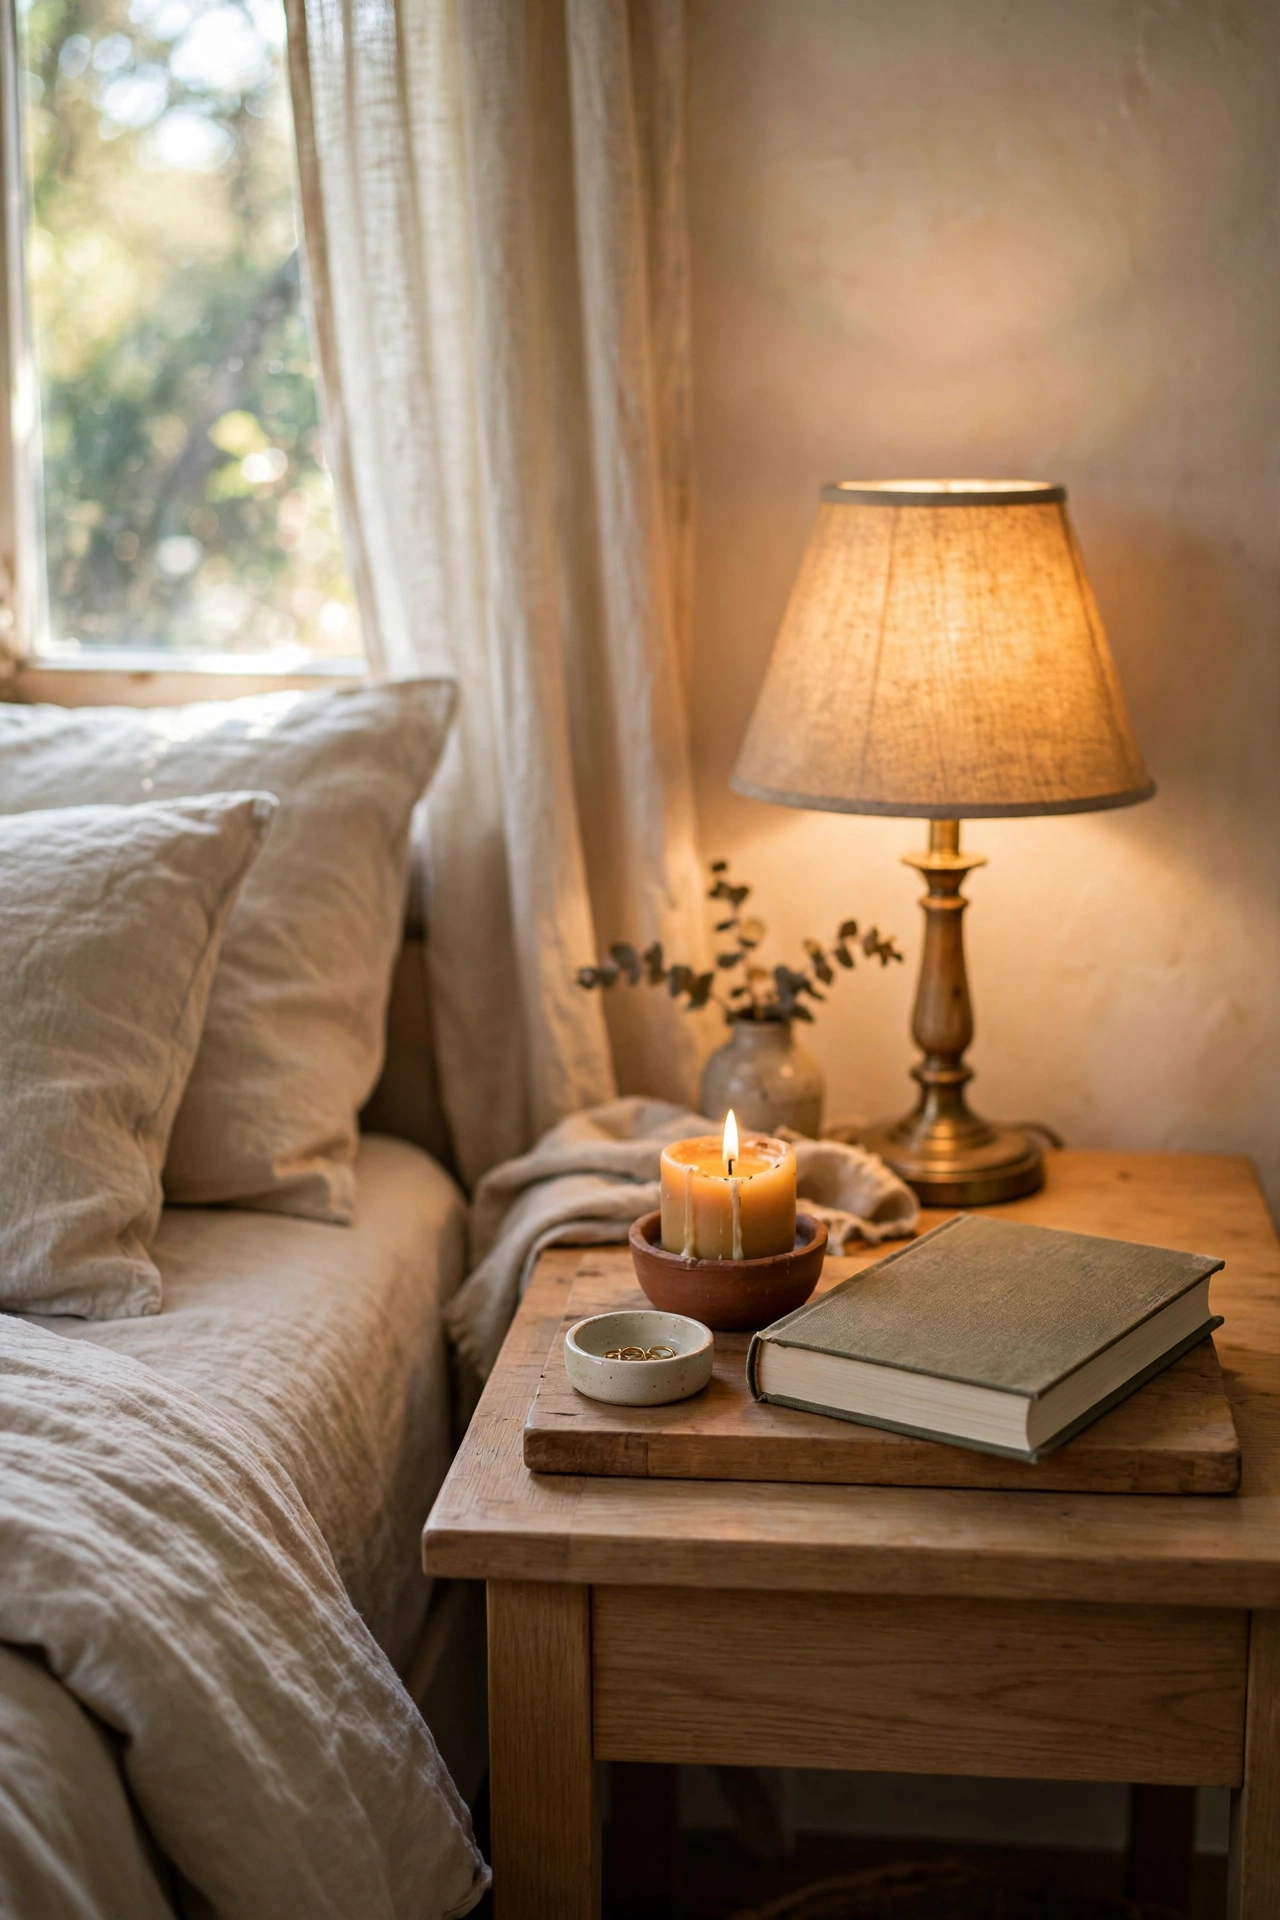
My nightstand used to be a graveyard of lip balm, remotes, and glasses, until a $1.25 wooden tray from the dollar store turned it into a vignette. Put the tray down first, then arrange only what fits inside it: your lamp behind, a small candle, your book, and a tiny dish for rings. Anything that does not fit on the tray does not belong on the nightstand. That one rule cleaned up my clutter faster than any organising video I have watched. I stained mine with a leftover bit of walnut stain, but it looked fine plain too. It takes five minutes and makes the whole corner of your bedroom look considered.
Cost: ~$1-3 | Time: 10 minutes
7. Under-Bed Storage Bins, Labelled
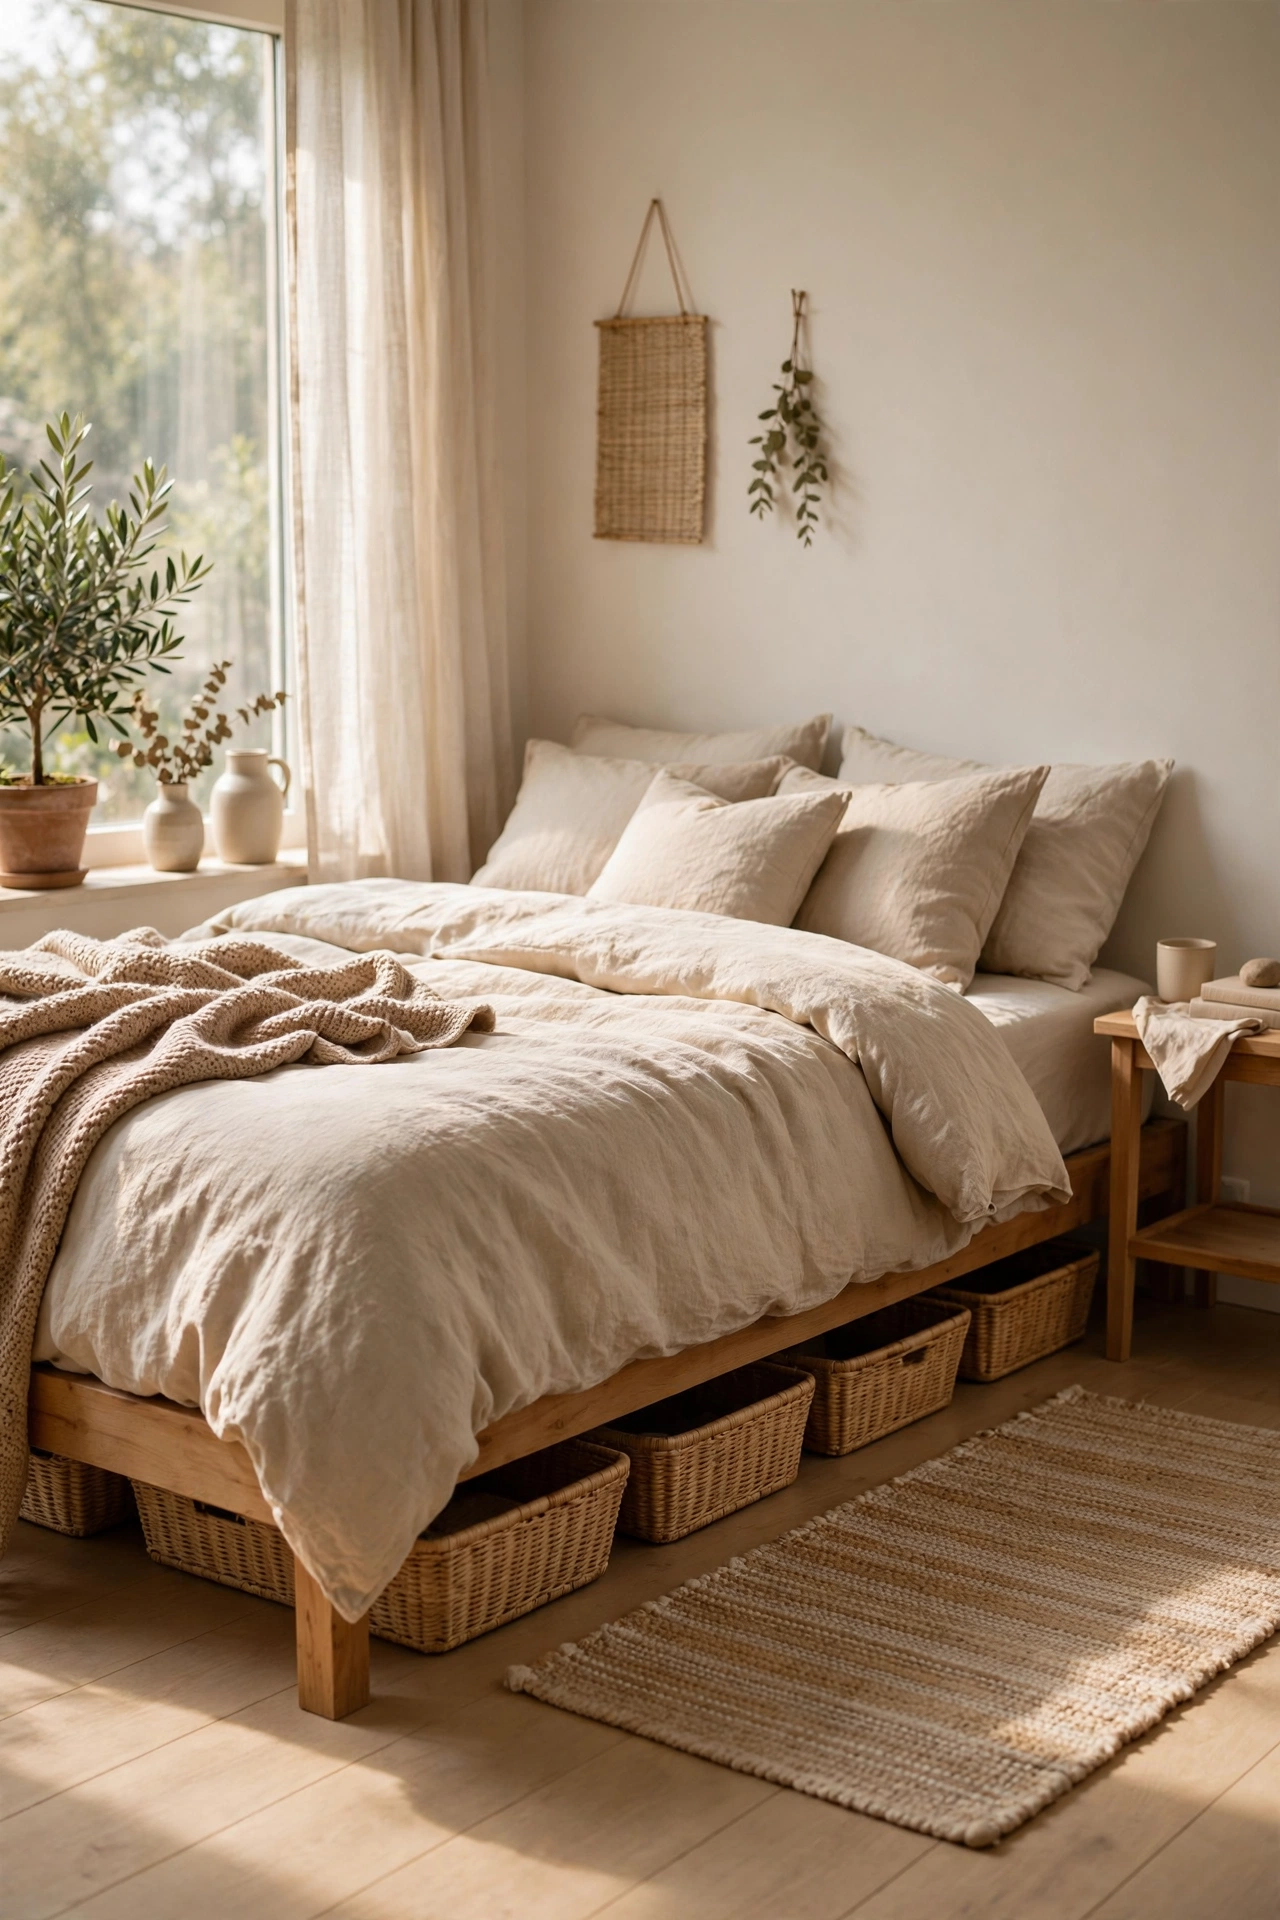
The space under your bed is free storage, and dollar store bins with labels make it look deliberate instead of desperate. I bought four shallow bins with lids for $1.25 each and wrote labels on kraft paper tags tied with string: winter jumpers, spare bedding, gift wrap, chargers and cables. Slide them under the bed with the labels facing out so you can grab the right one without pulling out all four. My mistake was buying bins without measuring first, and one was too tall to slide under. Measure the clearance, then shop. About $6 total for what feels like a whole extra cupboard.
Cost: ~$5-8 | Time: 30 minutes
8. Peel-and-Stick Mirror Tiles as a Vanity Backsplash
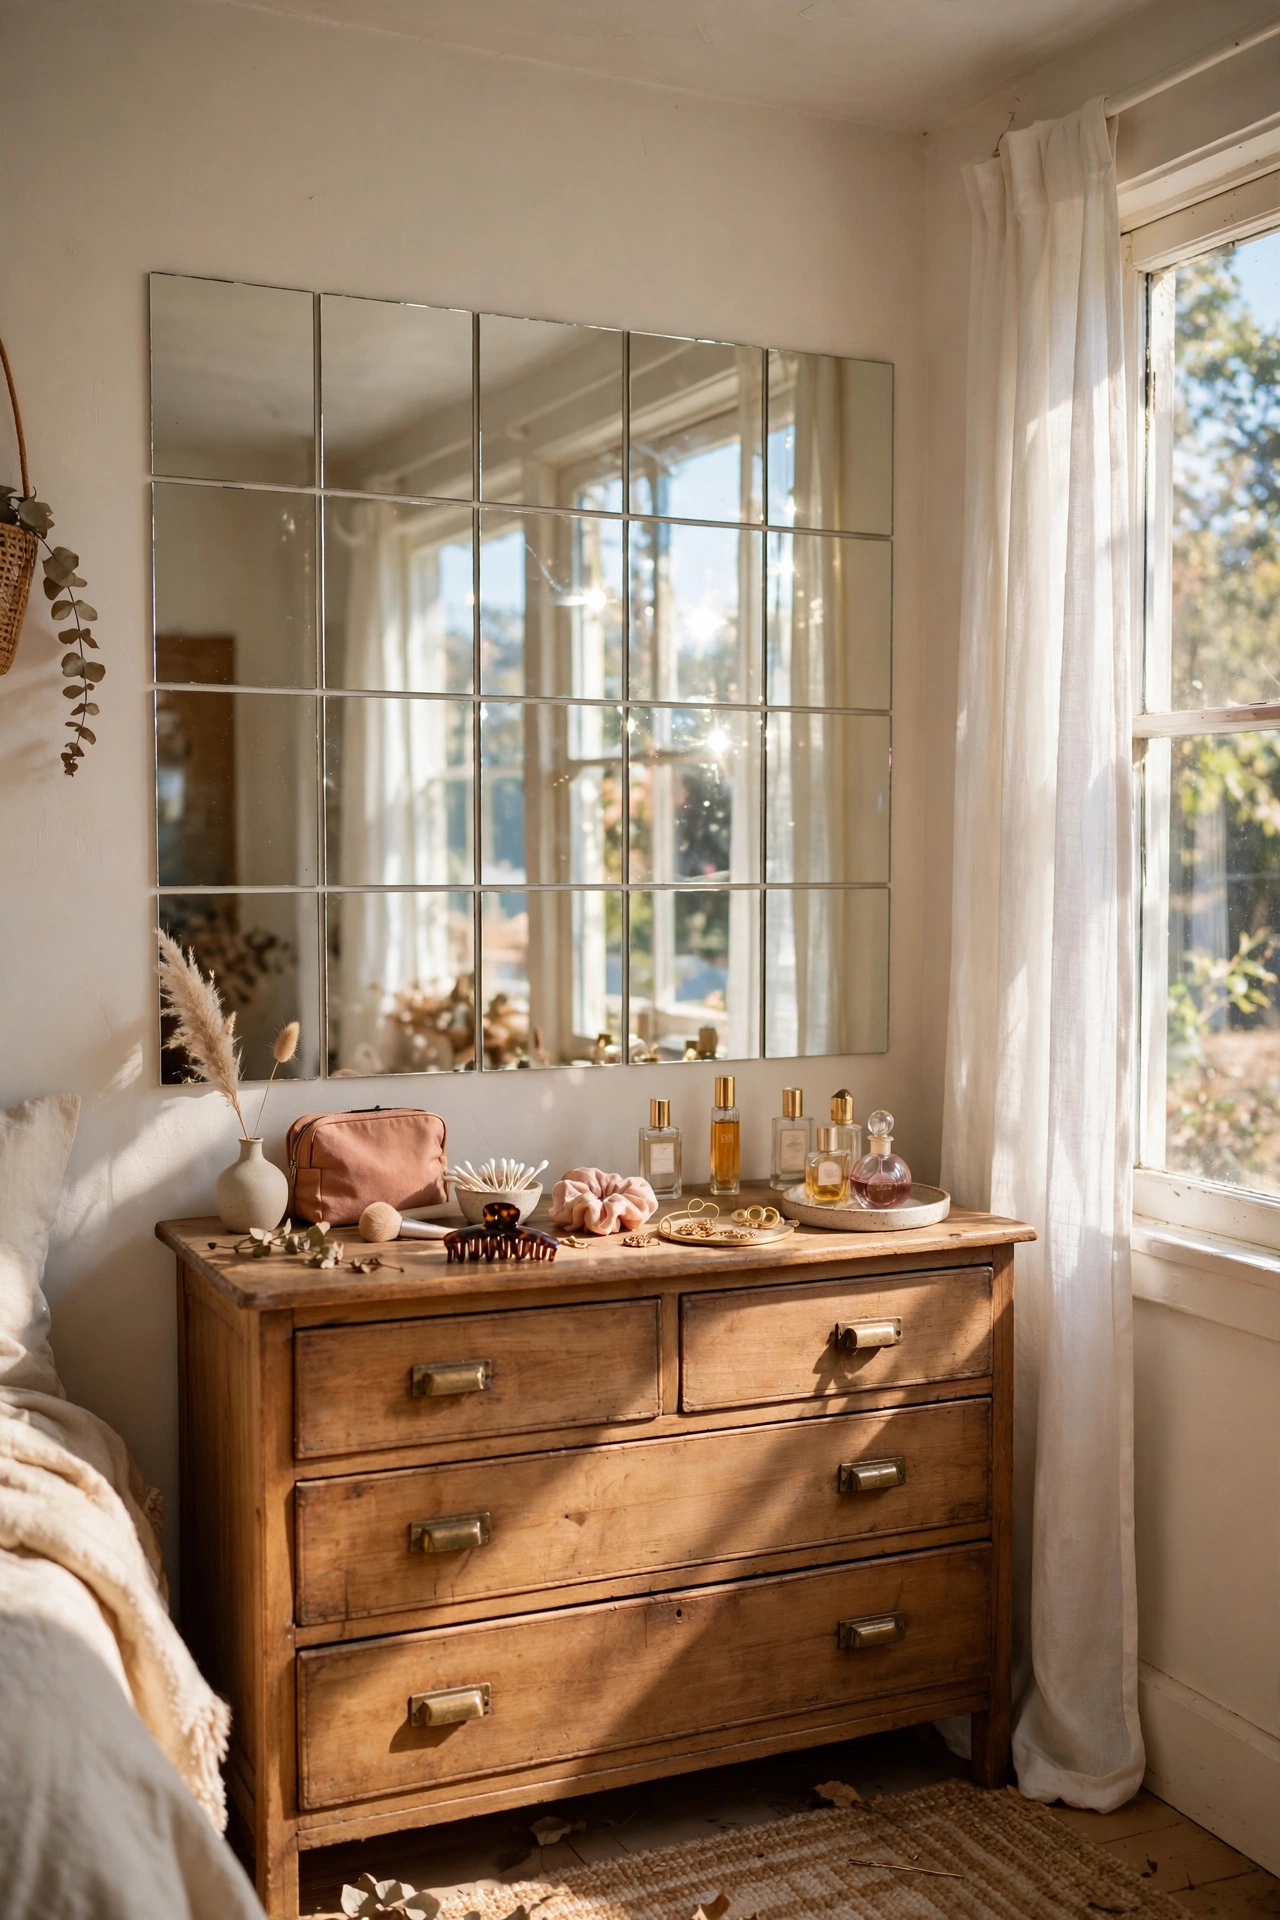
Peel-and-stick mirror tiles turn a plain dresser corner into a vanity that catches the light beautifully. I bought two packs of square mirror tiles from the dollar store and stuck them in a tight grid on the wall behind my dresser, using a level and a pencil grid so the lines stayed straight. Press each tile firmly for ten seconds and wipe them with a microfibre cloth as you go, because fingerprints on mirrors show up instantly in photos. My first row went up crooked and I had to peel it off and start over, so take the grid slowly. It cost about $5 and makes my little makeup corner feel twice as bright.
Cost: ~$4-6 | Time: 45 minutes
Pro tip: Pro tip: check the dollar store’s seasonal aisle first — that’s where the frames, glass jars, and candle stock rotate fastest, so the good stuff goes quickly.
9. A Faux Eucalyptus Garland on the Headboard
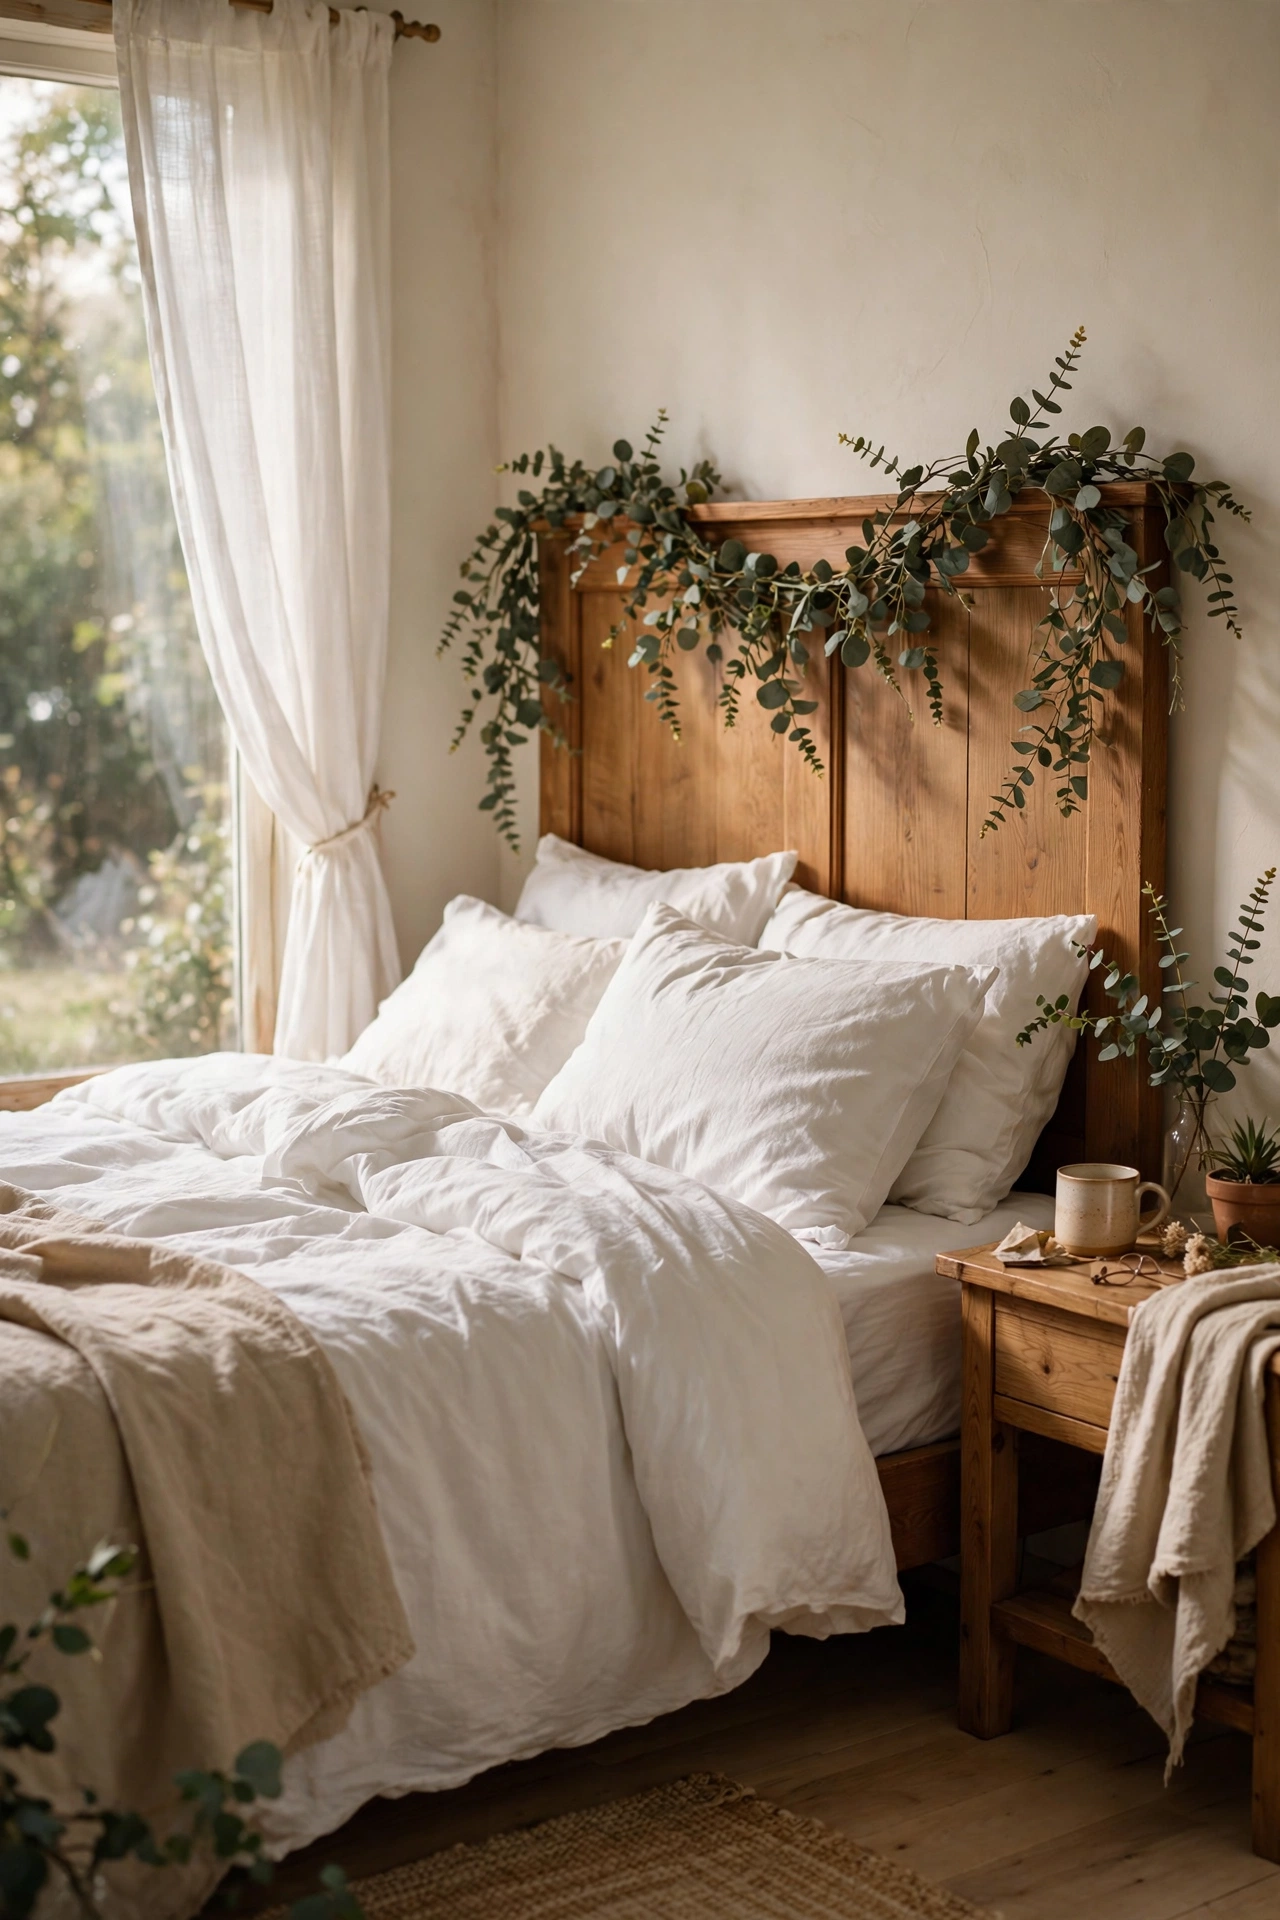
Draping a faux eucalyptus garland across the top of your headboard softens the whole bed in seconds. I bought two garlands from the dollar store for $1.25 each, twisted them together for fullness, and hooked the ends over the top corners of my headboard with small adhesive hooks. Let the middle dip slightly so it looks natural rather than stretched tight. I tried stapling it once and regretted it the moment I wanted to change things. The garland has survived two years without fading, and in photos it genuinely looks like the real thing. Under $4 for the cosiest two-minute upgrade in this list.
Cost: ~$3-5 | Time: 10 minutes
10. Woven-Look Baskets for the Closet
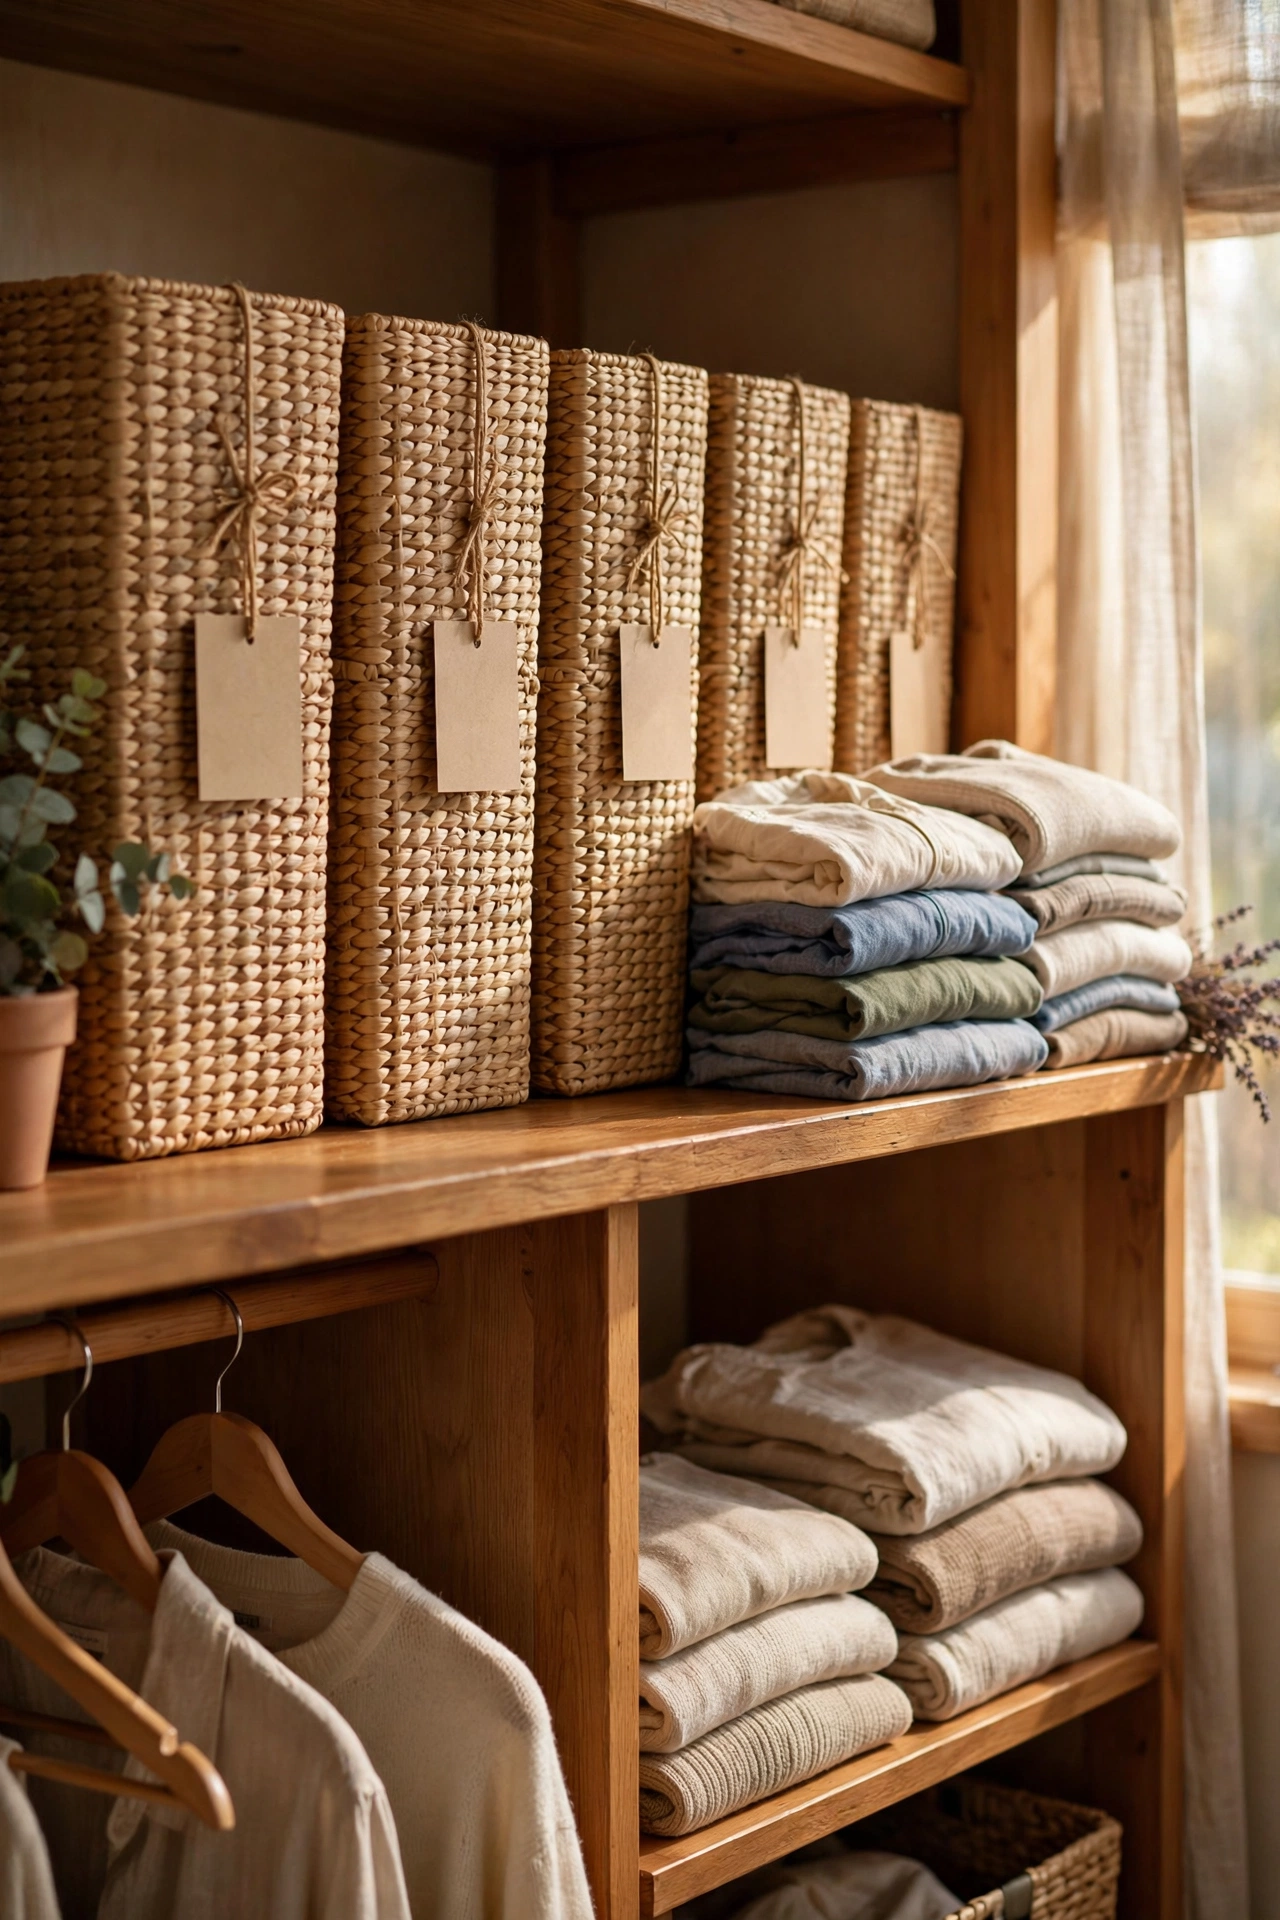
Dollar store woven-look baskets make an open closet look like you hired someone to organise it. I bought six in the same size and finish, and assigned each one a job: socks, scarves, belts, pyjamas, swim things, and the mysterious drawer of cables. Keep them all the same size and colour on one shelf, because matching is what reads as expensive here. I labelled the front of each with a small kraft tag so I don’t have to pull out all six to find my scarves. My closet shelf went from chaos to catalogue in twenty minutes. Six baskets cost me under $8, which is less than one storage box from a home store.
Cost: ~$7-10 | Time: 20 minutes
11. Picture Ledge Shelves for Rotating Prints
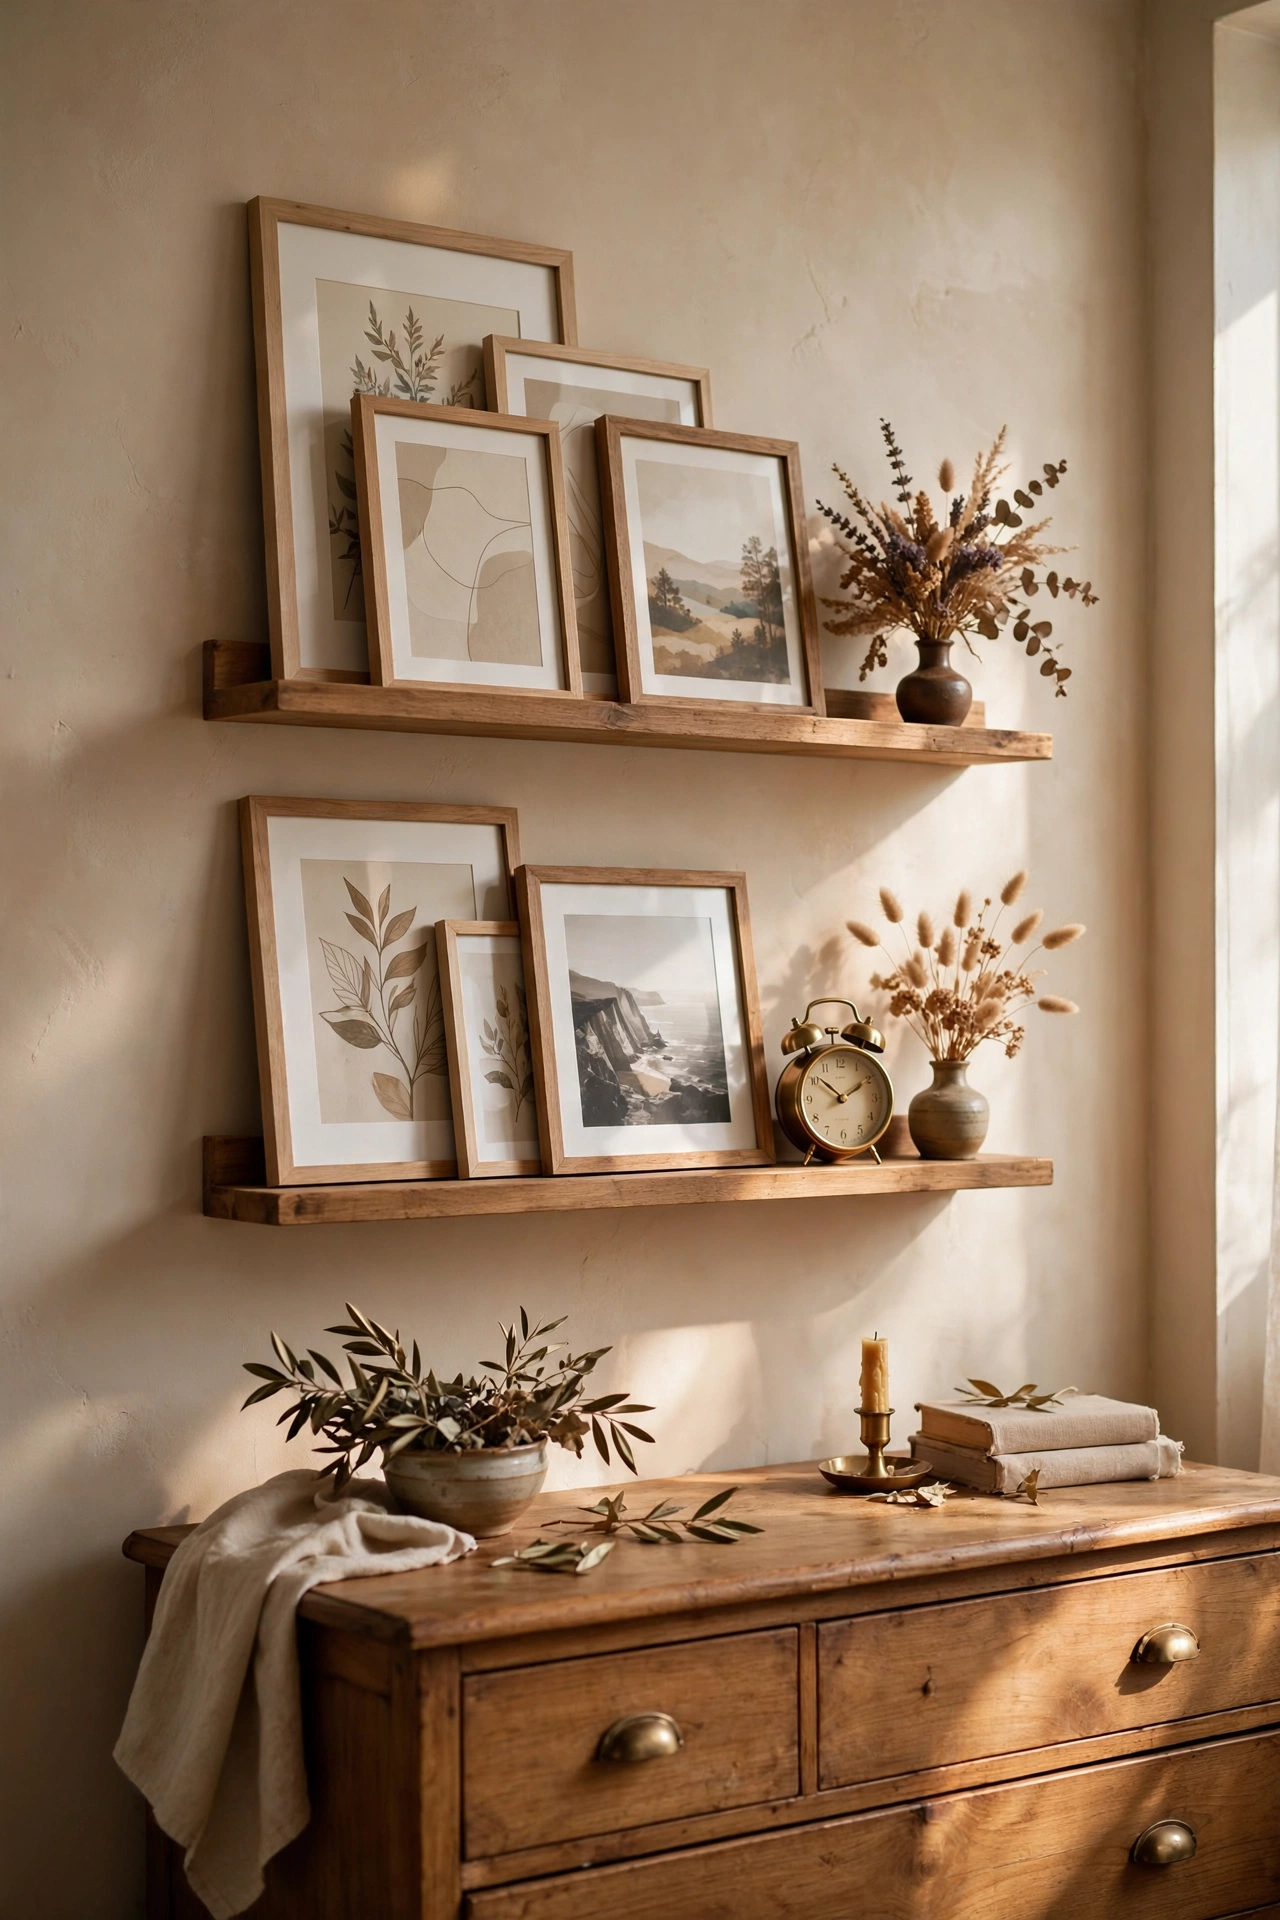
Picture ledges let you rest art against the wall instead of hammering nails, which makes rotating prints painless. I bought two narrow ledges from the dollar store, mounted them above my dresser with the included hardware, and leaned framed prints, a small clock, and a dried flower bundle against the wall. Overlap the frames slightly and put the tallest piece at the back. I change the prints with the seasons, which takes five minutes and makes the room feel new without spending anything. My first mounting attempt I skipped the wall anchors and the ledge sagged within a week, so use them. Two ledges cost about $3.
Cost: ~$2-4 | Time: 30 minutes
12. A DIY Wall Clock From a Dollar Store Kit
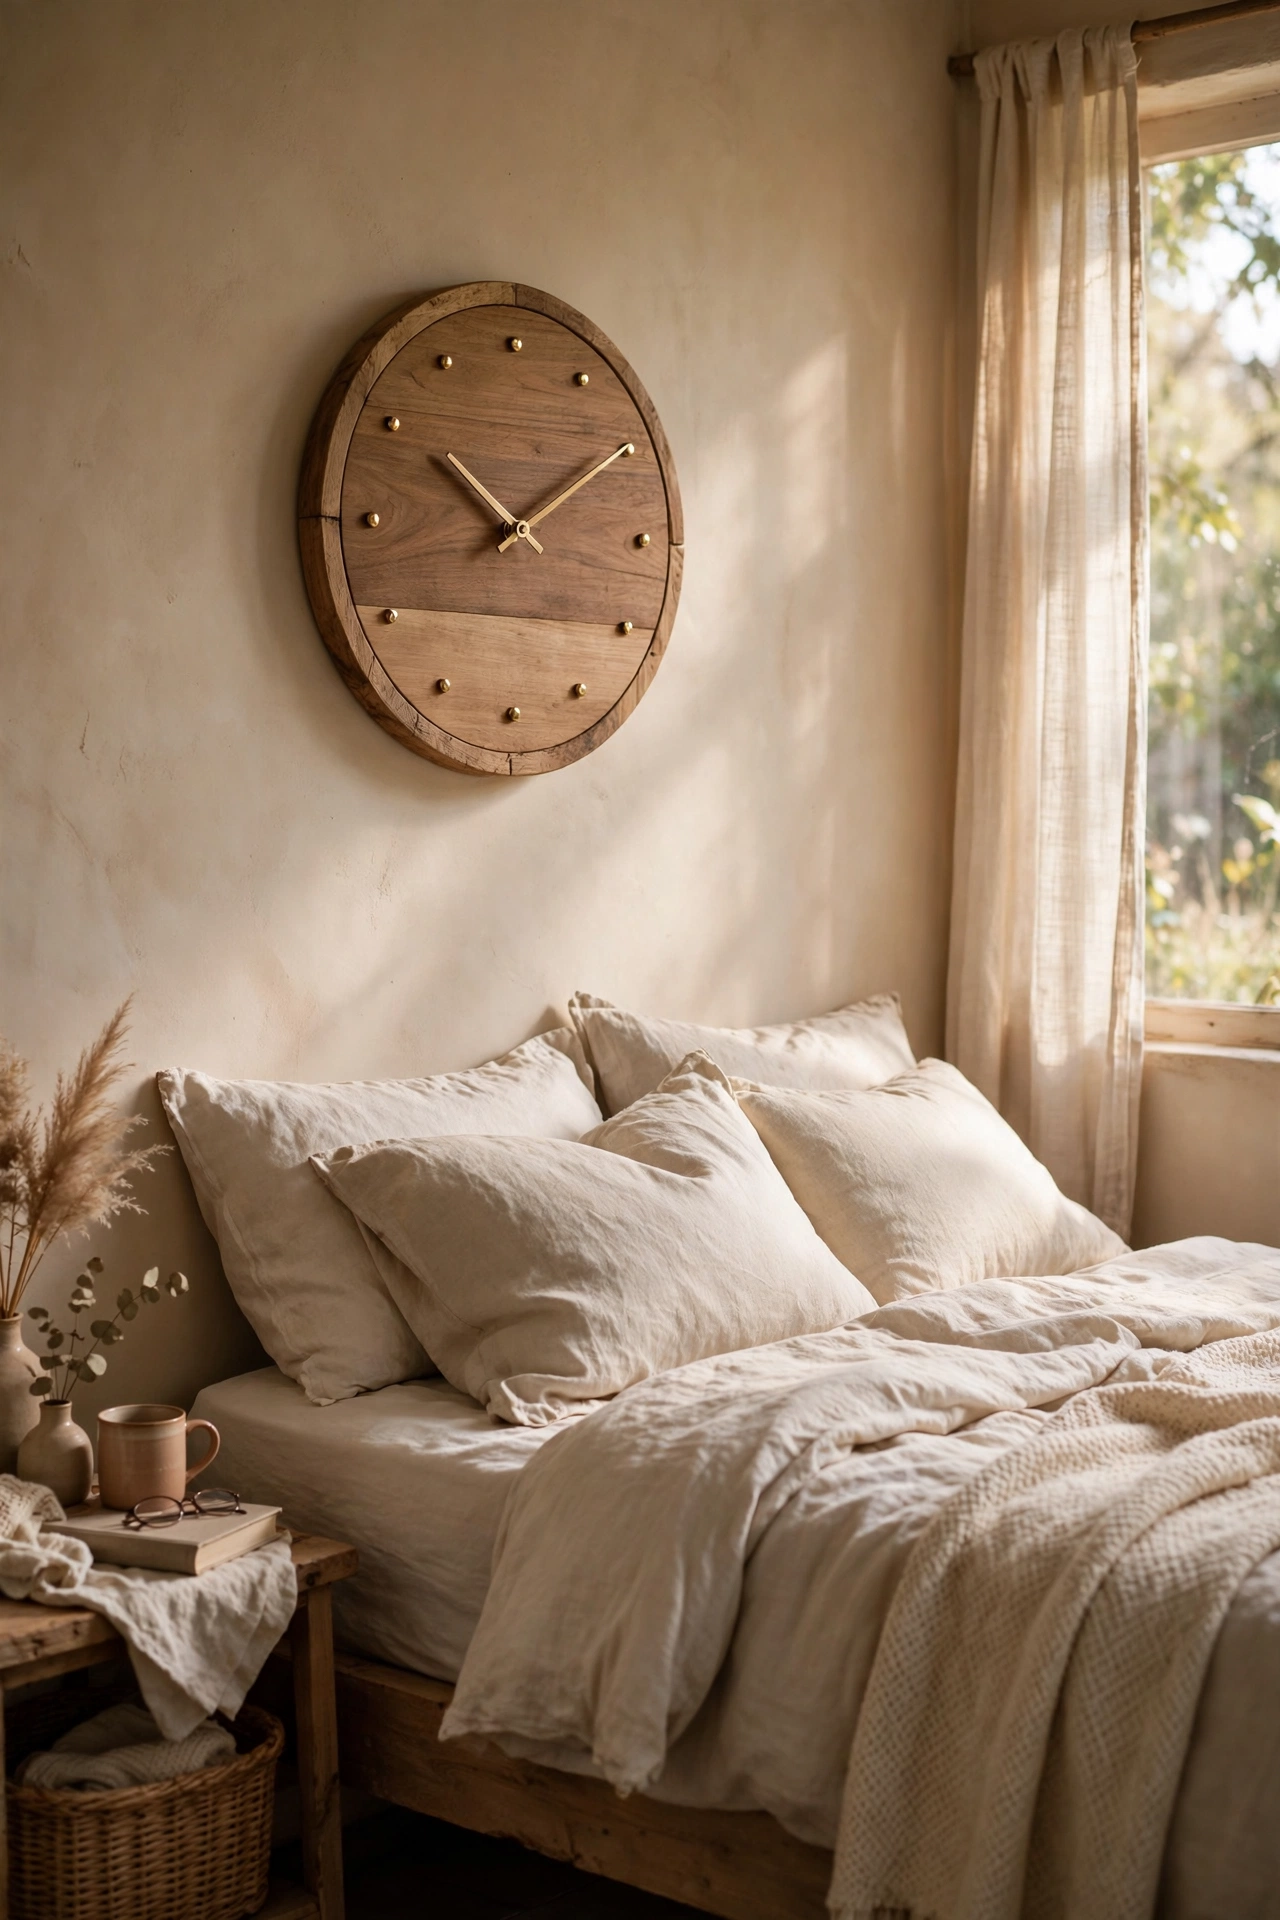
The dollar store sells clock kits with the movement and hands, and you supply whatever face you fancy. I used a round wooden plaque from the craft aisle as my clock face, marked the hours with small brass tacks, and popped the kit’s movement through a drilled centre hole. Use a ruler to mark the 12, 3, 6, and 9 first, then fill in the rest, because eyeballing the hours is how clocks end up lying about the time. My hands were slightly loose and the minute hand drooped, so a tiny dot of glue behind the nut fixed it. Hang it where you see it from bed. About $4 for a clock that looks like a boutique find.
Cost: ~$3-5 | Time: 45 minutes
13. Over-the-Door Hooks for Robes and Bags
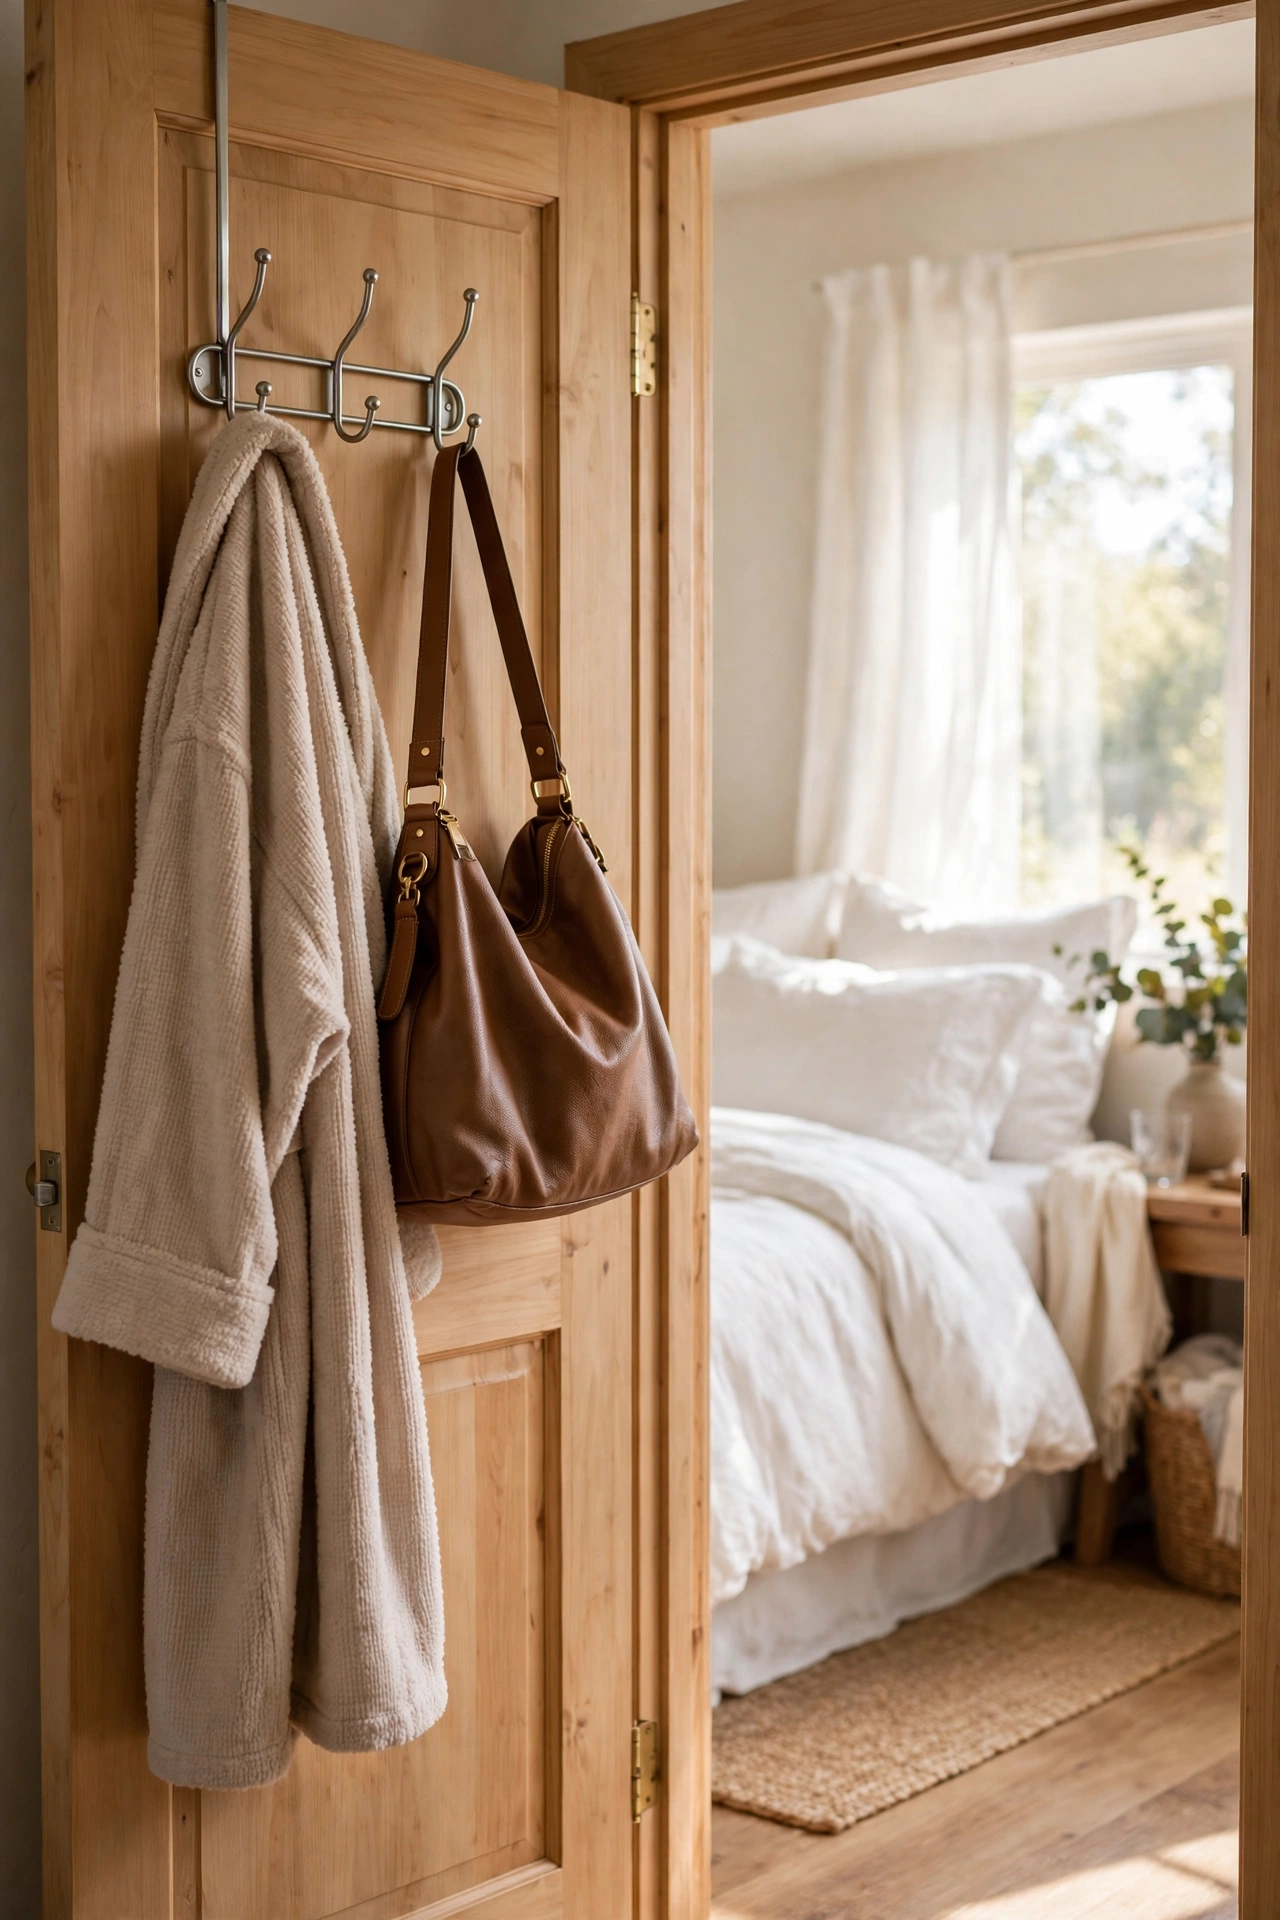
Over-the-door hooks are the easiest extra storage your bedroom will ever get, and the dollar store sells sturdy metal ones. I hung one over my bedroom door for my dressing gown and one over the closet door for my handbag and tomorrow’s outfit. Check the door still closes properly after hanging, because thick hooks can stop a door latching. I learned that the hard way at 2am when my bedroom door wouldn’t shut. Put felt pads on the back of the hook bracket so it doesn’t scratch the paint. Two hooks cost me about $3 and cleared my chair of the daily clothes pile in one move.
Cost: ~$2-4 | Time: 5 minutes
14. A Shower Curtain as a Window Curtain, the Trick
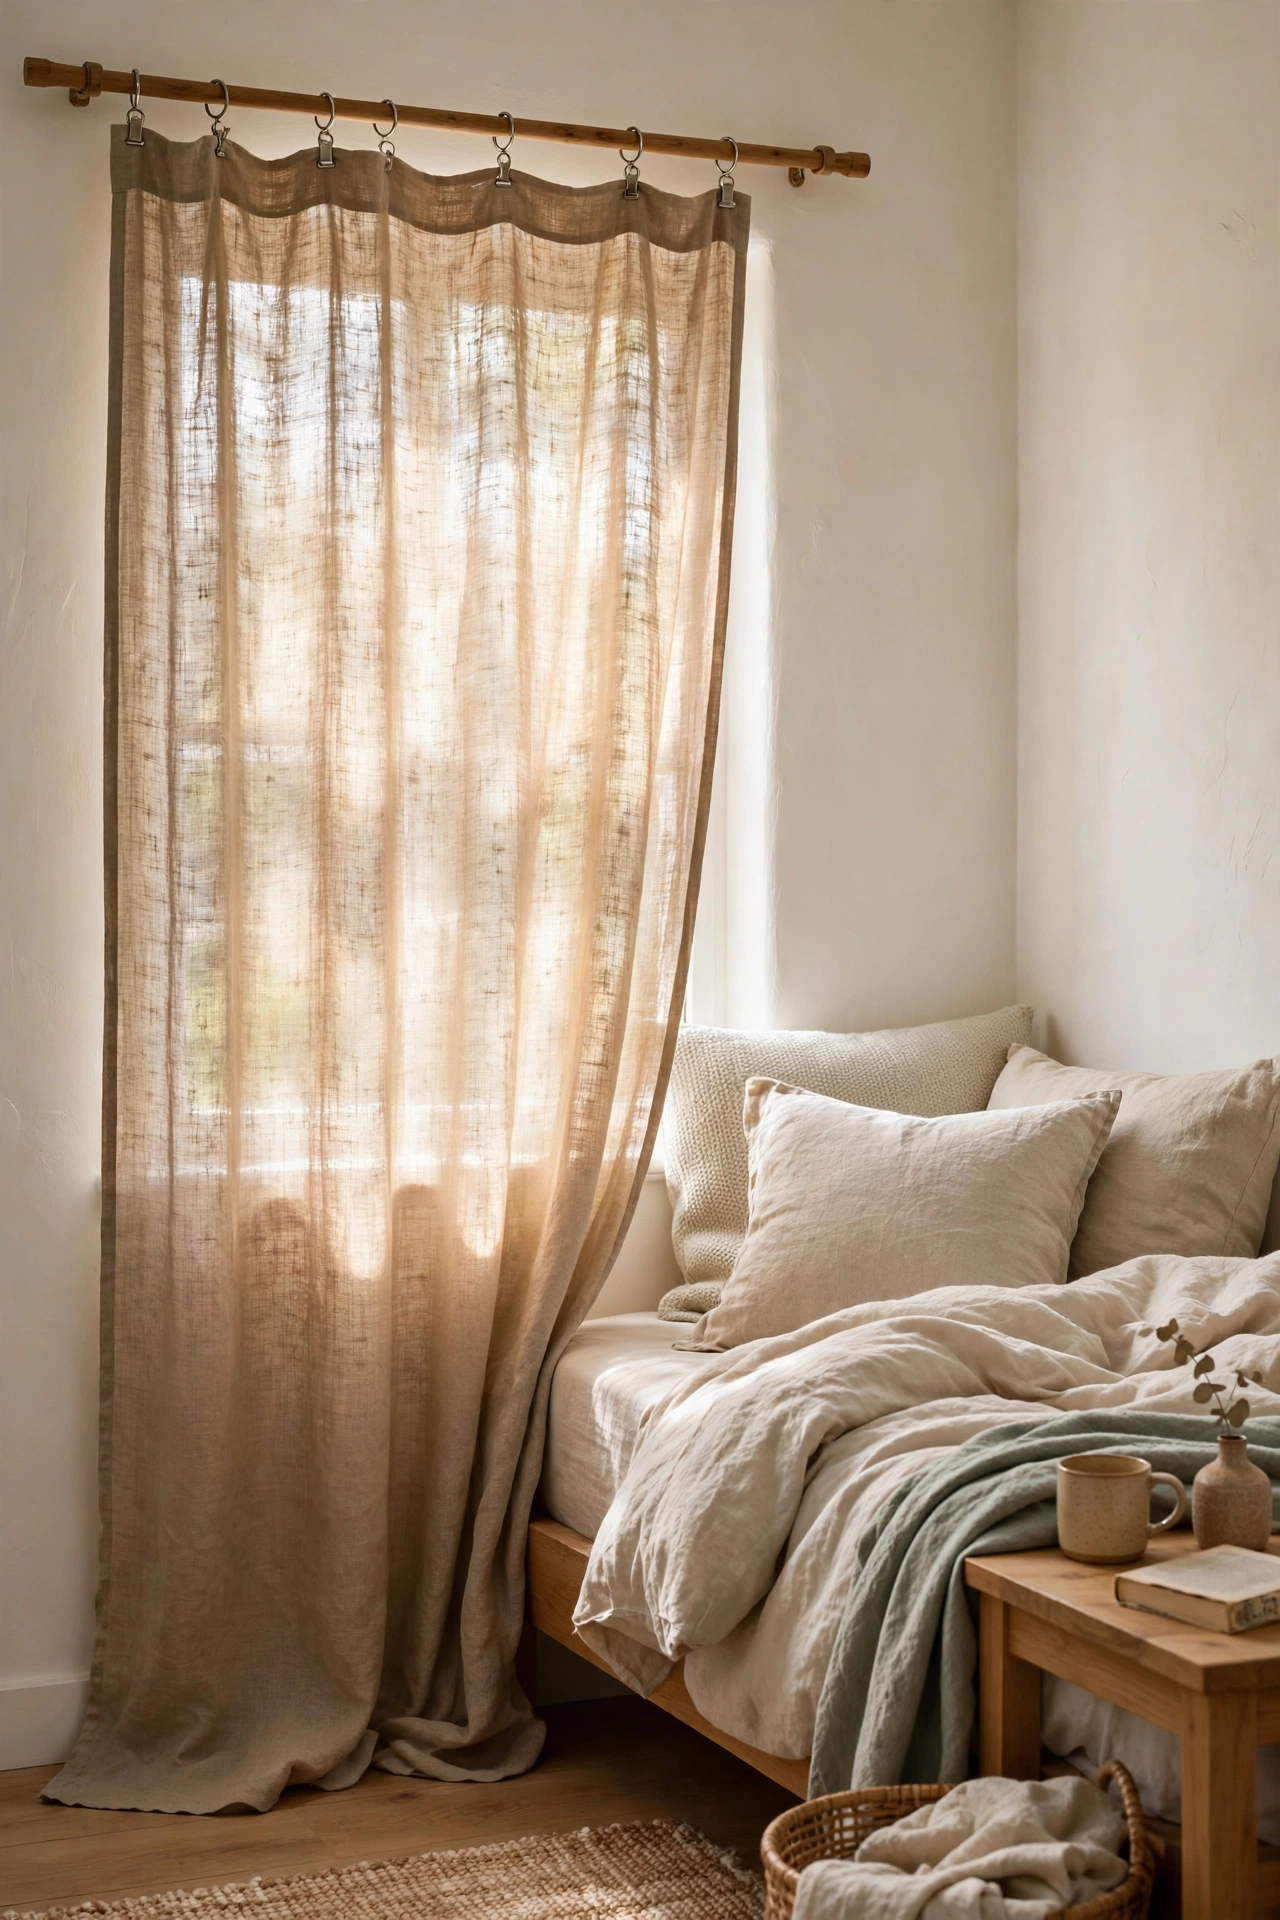
A fabric shower curtain is just a wide curtain panel in disguise, and the dollar store sells them in surprisingly pretty patterns. I bought a linen-look shower curtain, clipped it onto a curtain rod with ring clips from the same aisle, and hung it at my bedroom window for the price of a coffee. The width covers a standard window perfectly with one curtain. Wash it first so it hangs softly, and trim the bottom if it pools too much, because shower curtains run long. Mine looked so good that my sister asked which shop it was from. She did not believe me. About $4 total, rings included.
Cost: ~$3-5 | Time: 20 minutes
15. Charger Plates as Wall Decor
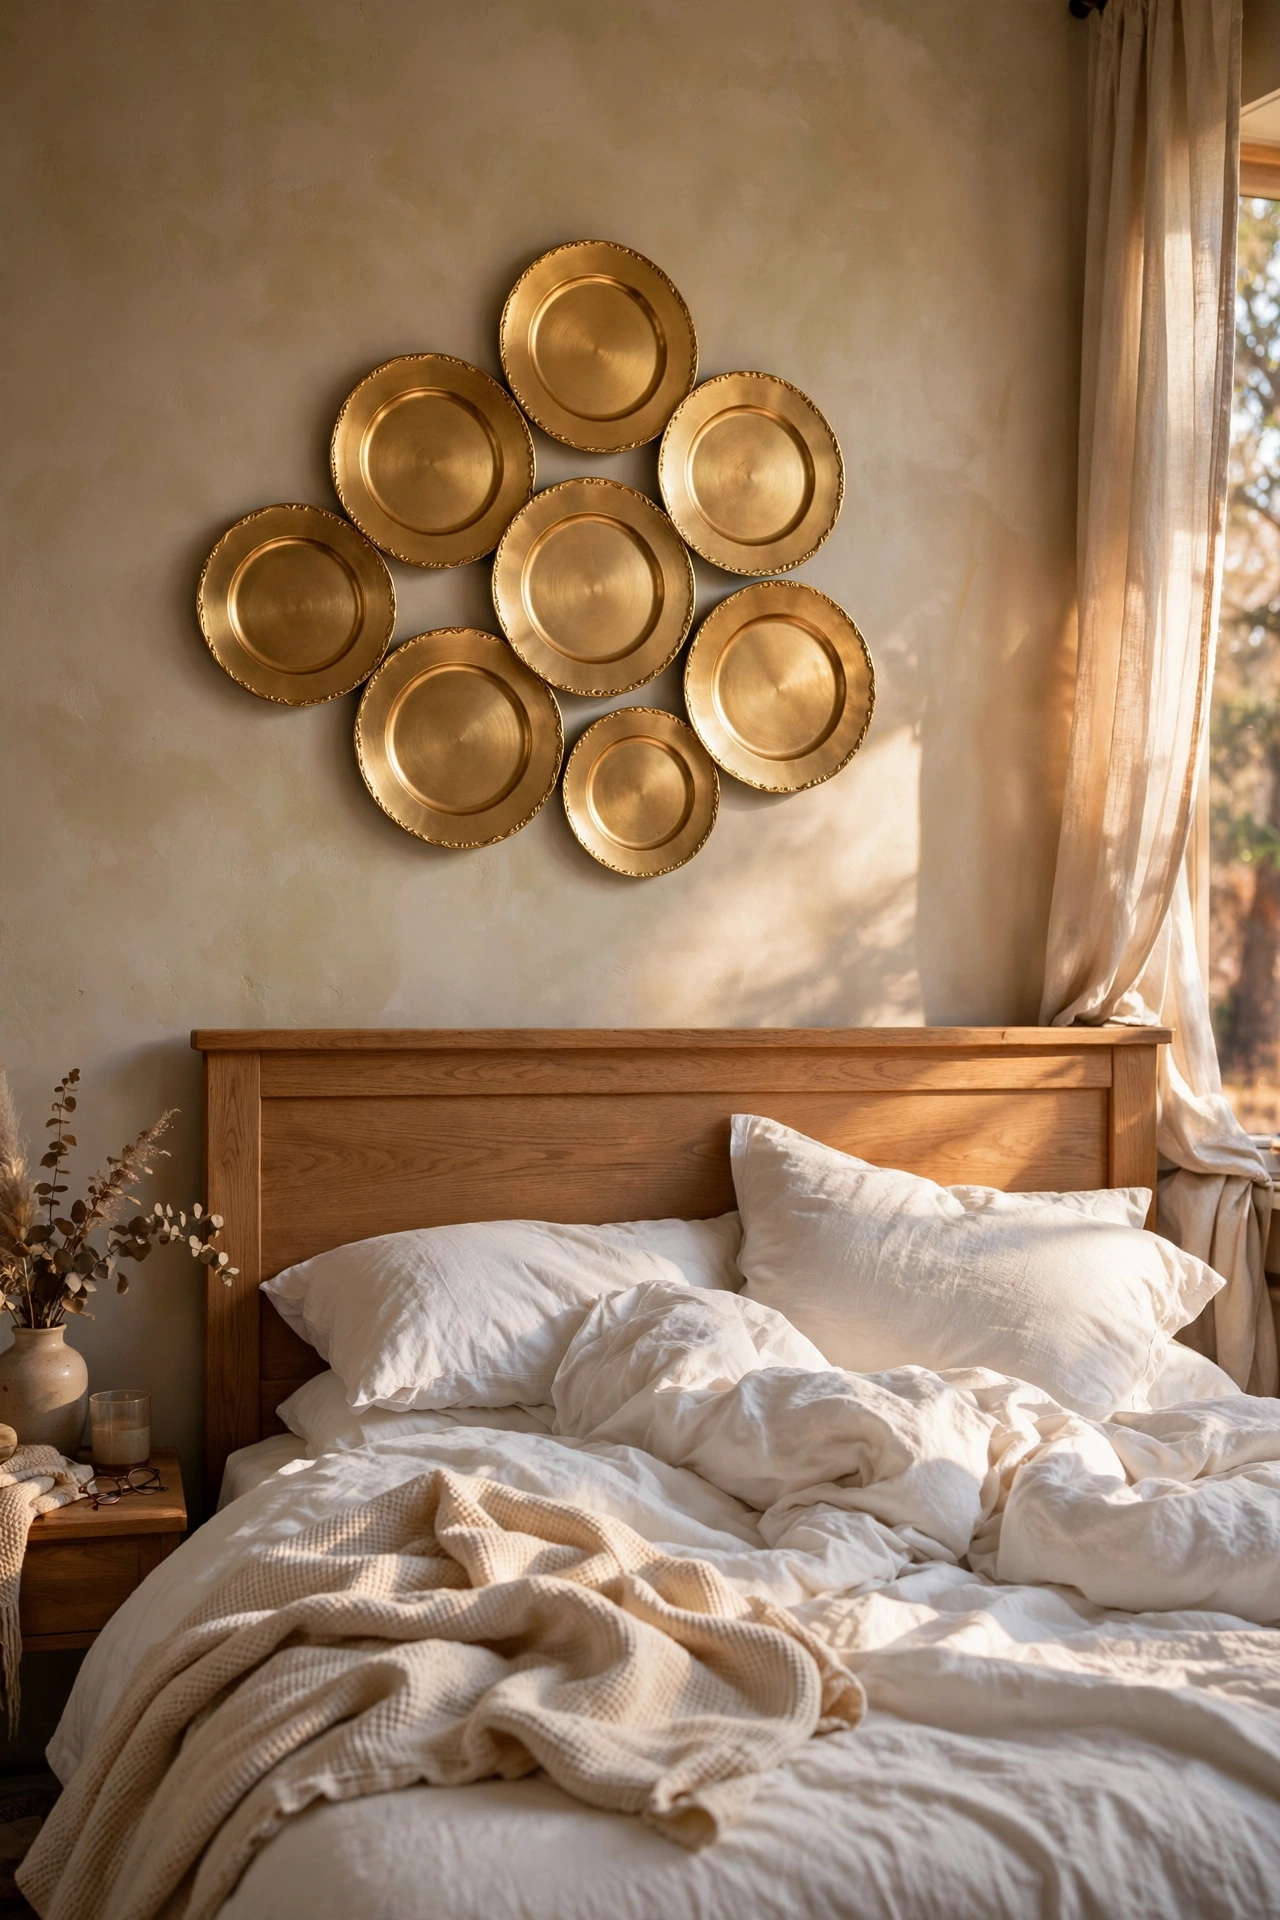
Charger plates from the dollar store were never meant for the wall, but their gold and beaded edges look made for it. I bought five matching gold chargers, stuck a plate hanger on the back of each, and arranged them in a loose cluster above my bed. Mix two finishes, like gold and hammered silver, if you want it to look collected rather than matchy. I hung mine slightly too high the first time and the cluster floated oddly above the headboard, so keep the lowest plate about six inches above the headboard top. Five plates cost me $6.25 and the wall went from bare to finished in half an hour.
Cost: ~$6-8 | Time: 30 minutes
16. Bookends From Painted Dollar Store Finds
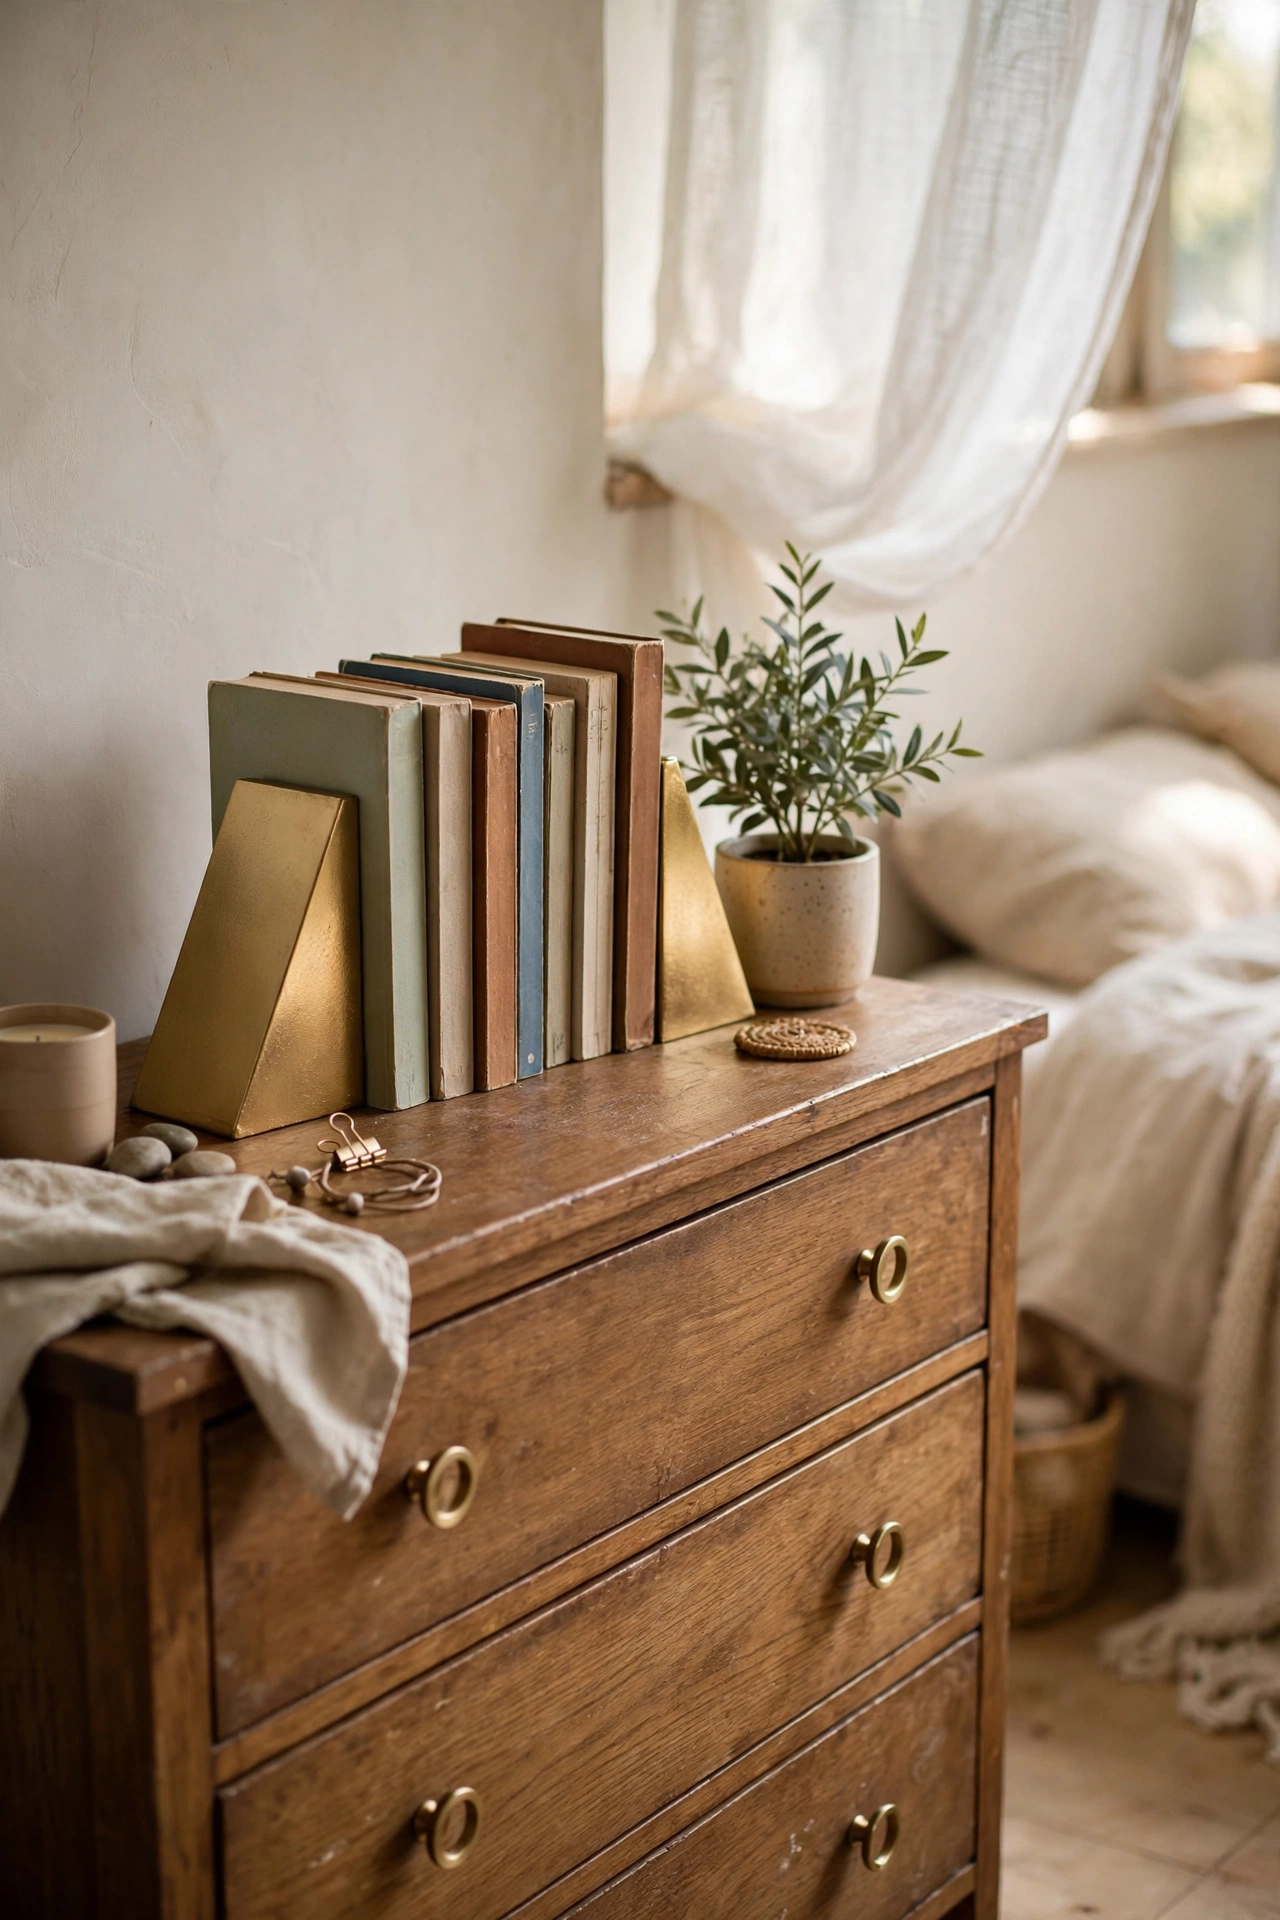
Bookends are wildly overpriced for what they are, so I made mine from two dollar store bookend blanks and a tin of gold spray paint. Lightly sand the blanks, wipe them clean, and spray in thin coats from about eight inches away, letting each coat dry before the next. I rushed my first coat and got drips that took longer to fix than the whole project. Two thin coats give that smooth metallic finish that looks shop-bought. Mine hold up my row of paperbacks on the dresser and cost about $4 all in. Guests pick them up expecting a price tag and find a dollar store sticker instead.
Cost: ~$3-5 | Time: 1 hour plus drying
Pro tip: Pro tip: grab a small tube of super glue on the same trip — half of these ideas need it and the dollar store tube works just as well as the pricey brand.
17. Drawer Organisers for the Nightstand
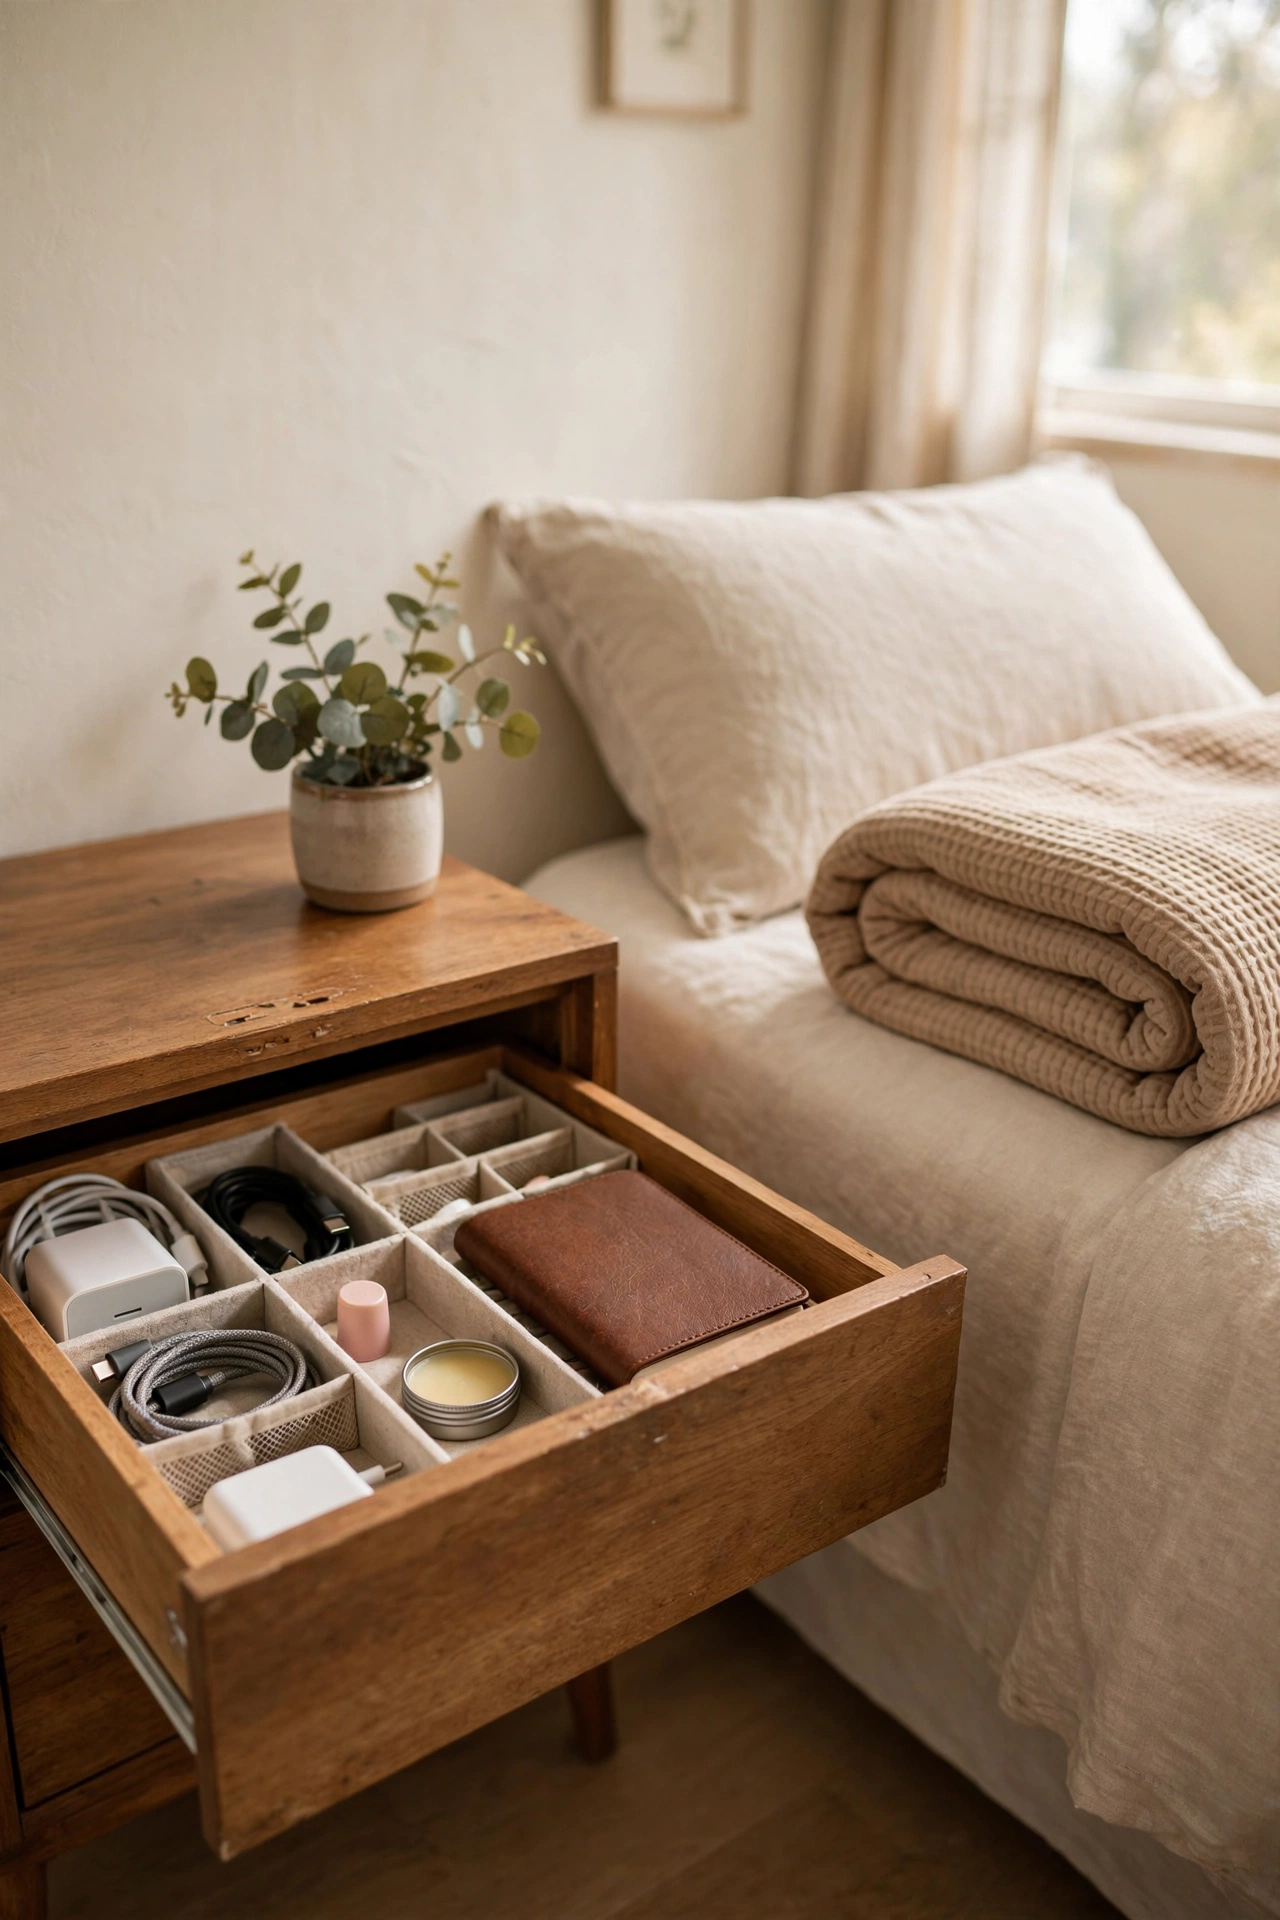
Nightstand drawers are where small things go to vanish, and dollar store drawer organisers fix that in minutes. I bought a set of small plastic trays, measured my drawer first, and arranged them like a puzzle: one for chargers, one for lip balm and hand cream, one for the notebook and pen, and one for everything random. The rule that changed things for me was giving every item a home, because a tray without a purpose just becomes a fancier junk drawer. I can find my earplugs in the dark now, which is the true test. The whole set cost me about $4 and took ten minutes to arrange.
Cost: ~$3-5 | Time: 15 minutes
18. Removable Wall Decals Behind the Bed
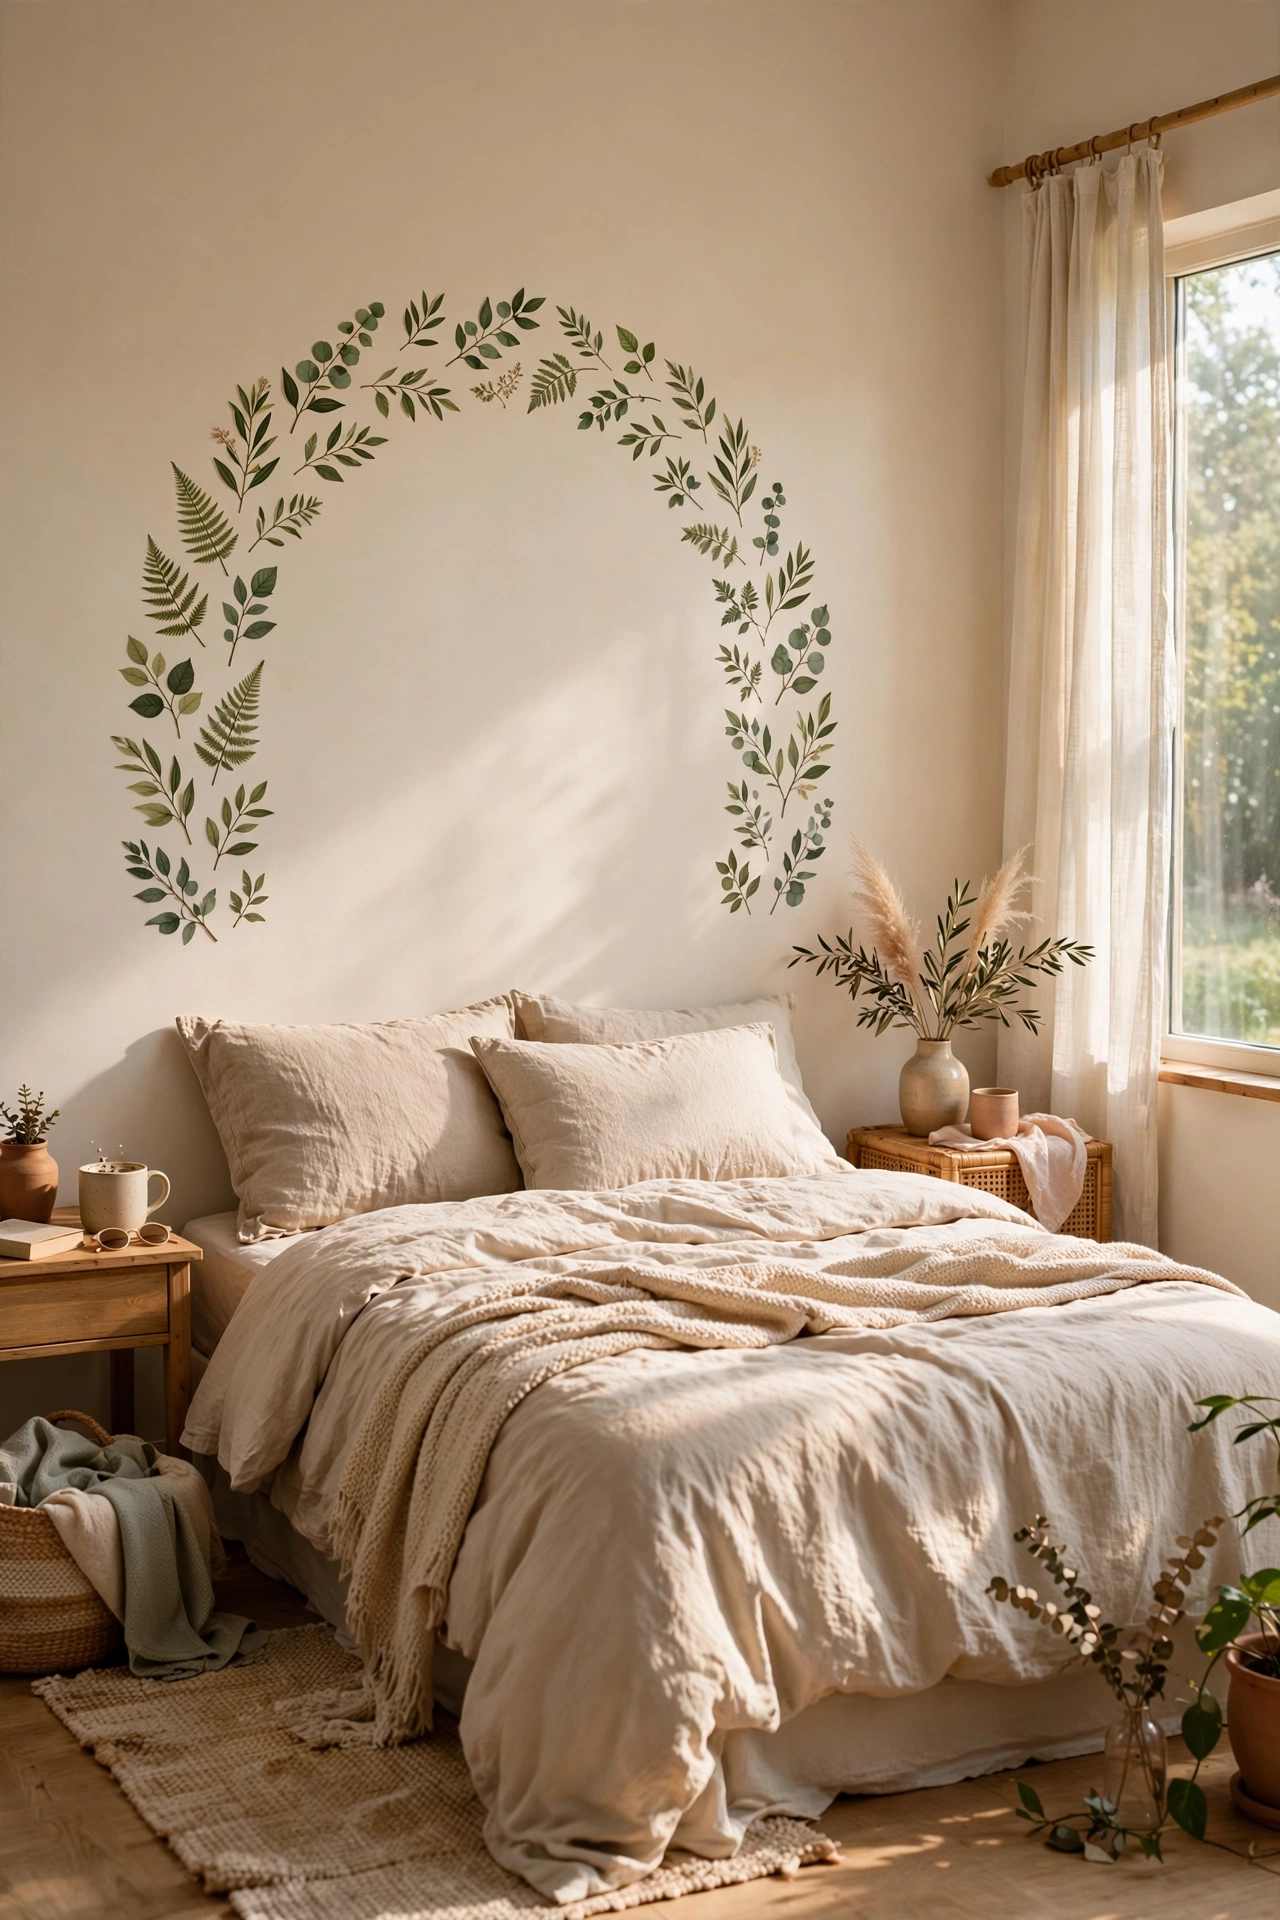
Removable wall decals give you a feature wall without paint, commitment, or landlord drama. I bought a pack of botanical decals from the dollar store and arranged them in an arch shape behind my bed, stepping back after every third decal to check the spacing. Peel them slowly and smooth from the centre outward to avoid bubbles. Mine have been up for a year and peel off cleanly when I tested one corner, which is the whole point of removable. I placed mine slightly off-centre the first time and the arch leaned, so use a pencil mark for the middle. About $4 for a whole headboard wall moment.
Cost: ~$3-5 | Time: 45 minutes
19. Scented Candles for the Evening Reset
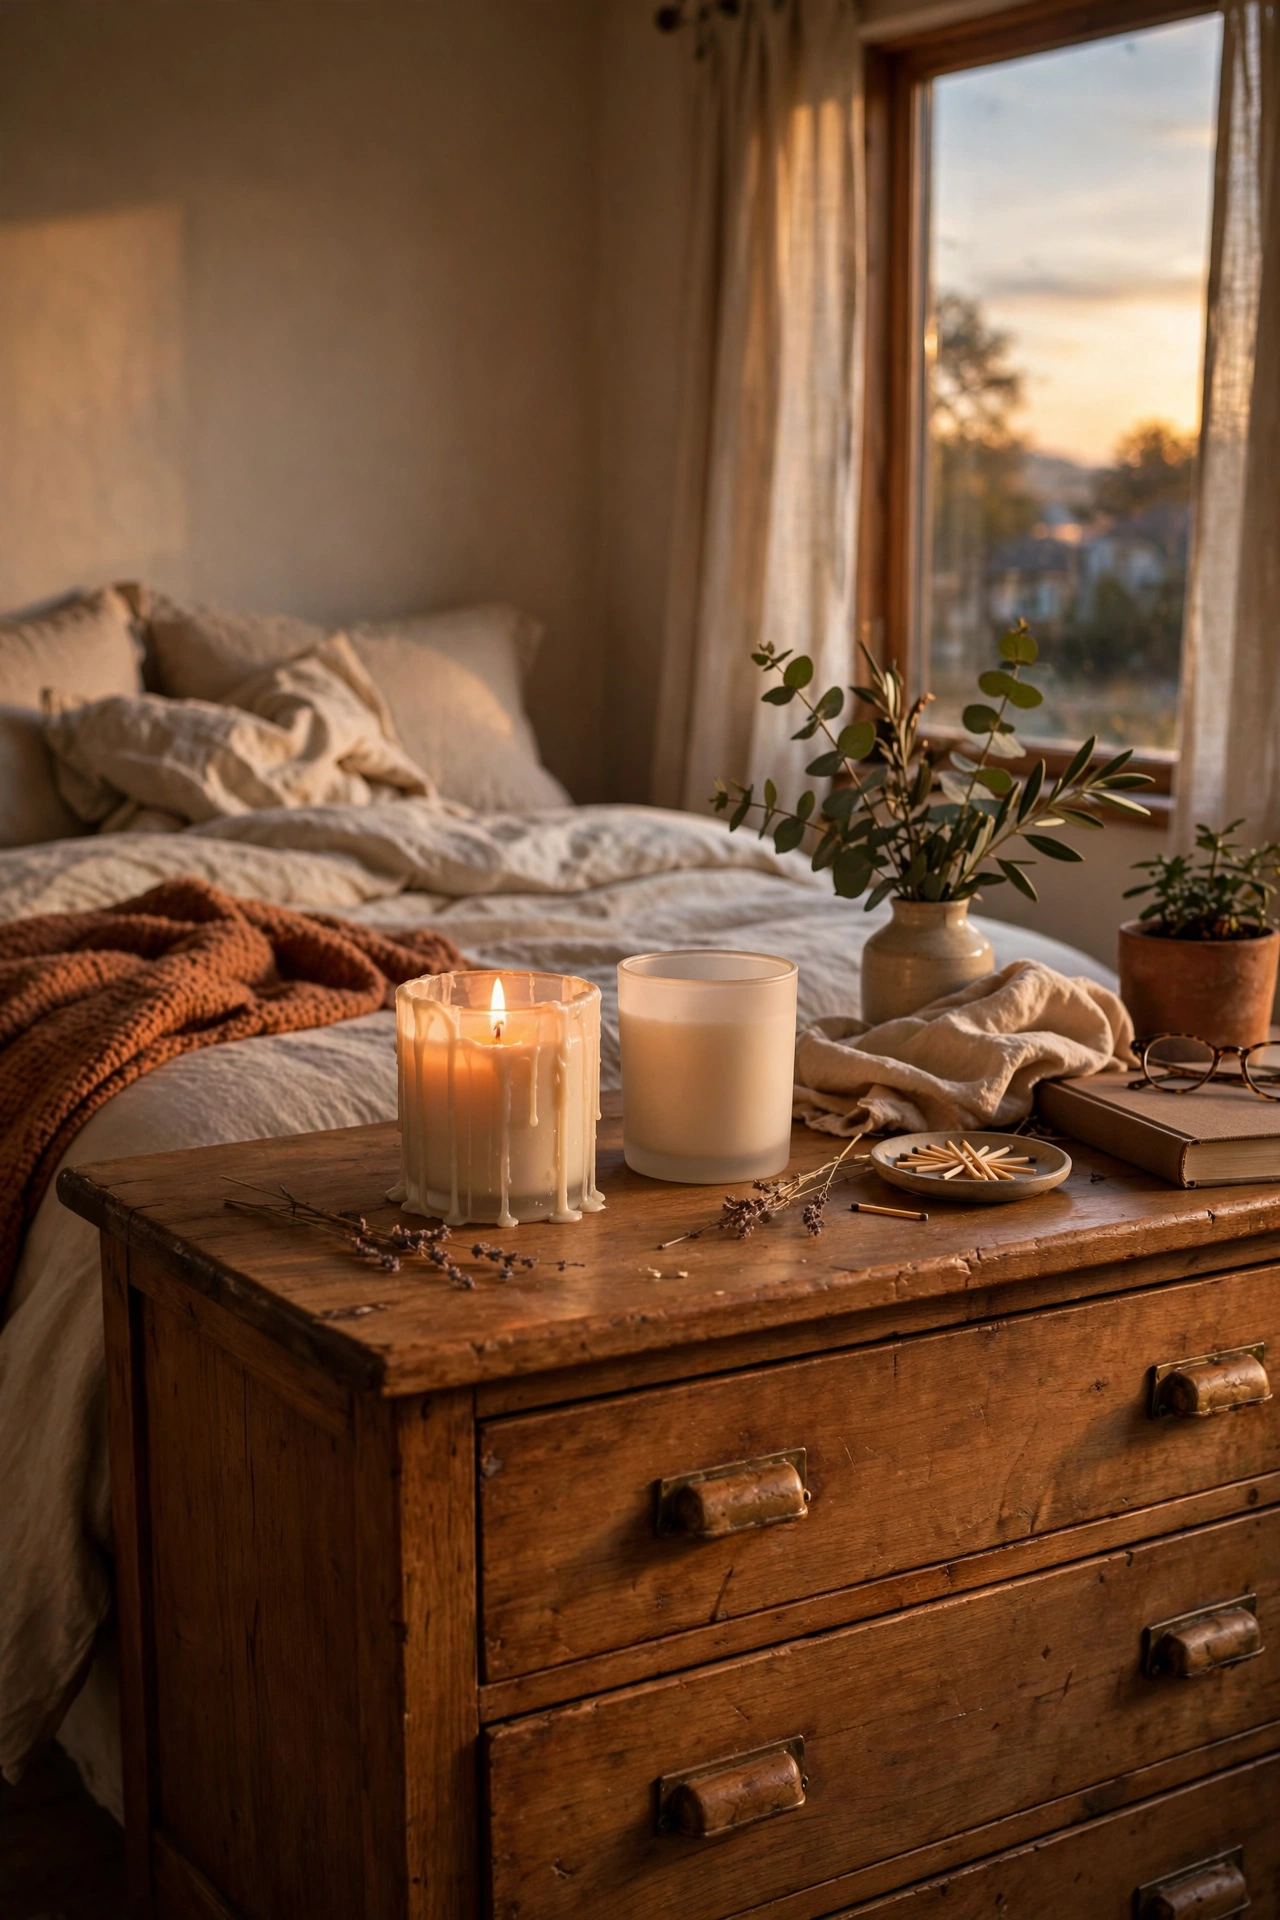
Scent is the cheapest atmosphere money can buy, and the dollar store candle aisle has come a long way. I keep two scented candles on my dresser, one fresh linen for mornings and one vanilla sandalwood for evenings, and lighting the evening one is my signal that the day is done. Look for candles with a deep wax pool and a cotton wick, because those burn evenly instead of tunnelling. I burned one too close to the wall once and learned about soot marks the annoying way, so give them six inches of clearance. Two candles cost me about $3 and my bedroom always smells like I have my life together.
Cost: ~$2-4 | Time: 5 minutes
20. Ribbon Tiebacks for the Curtains
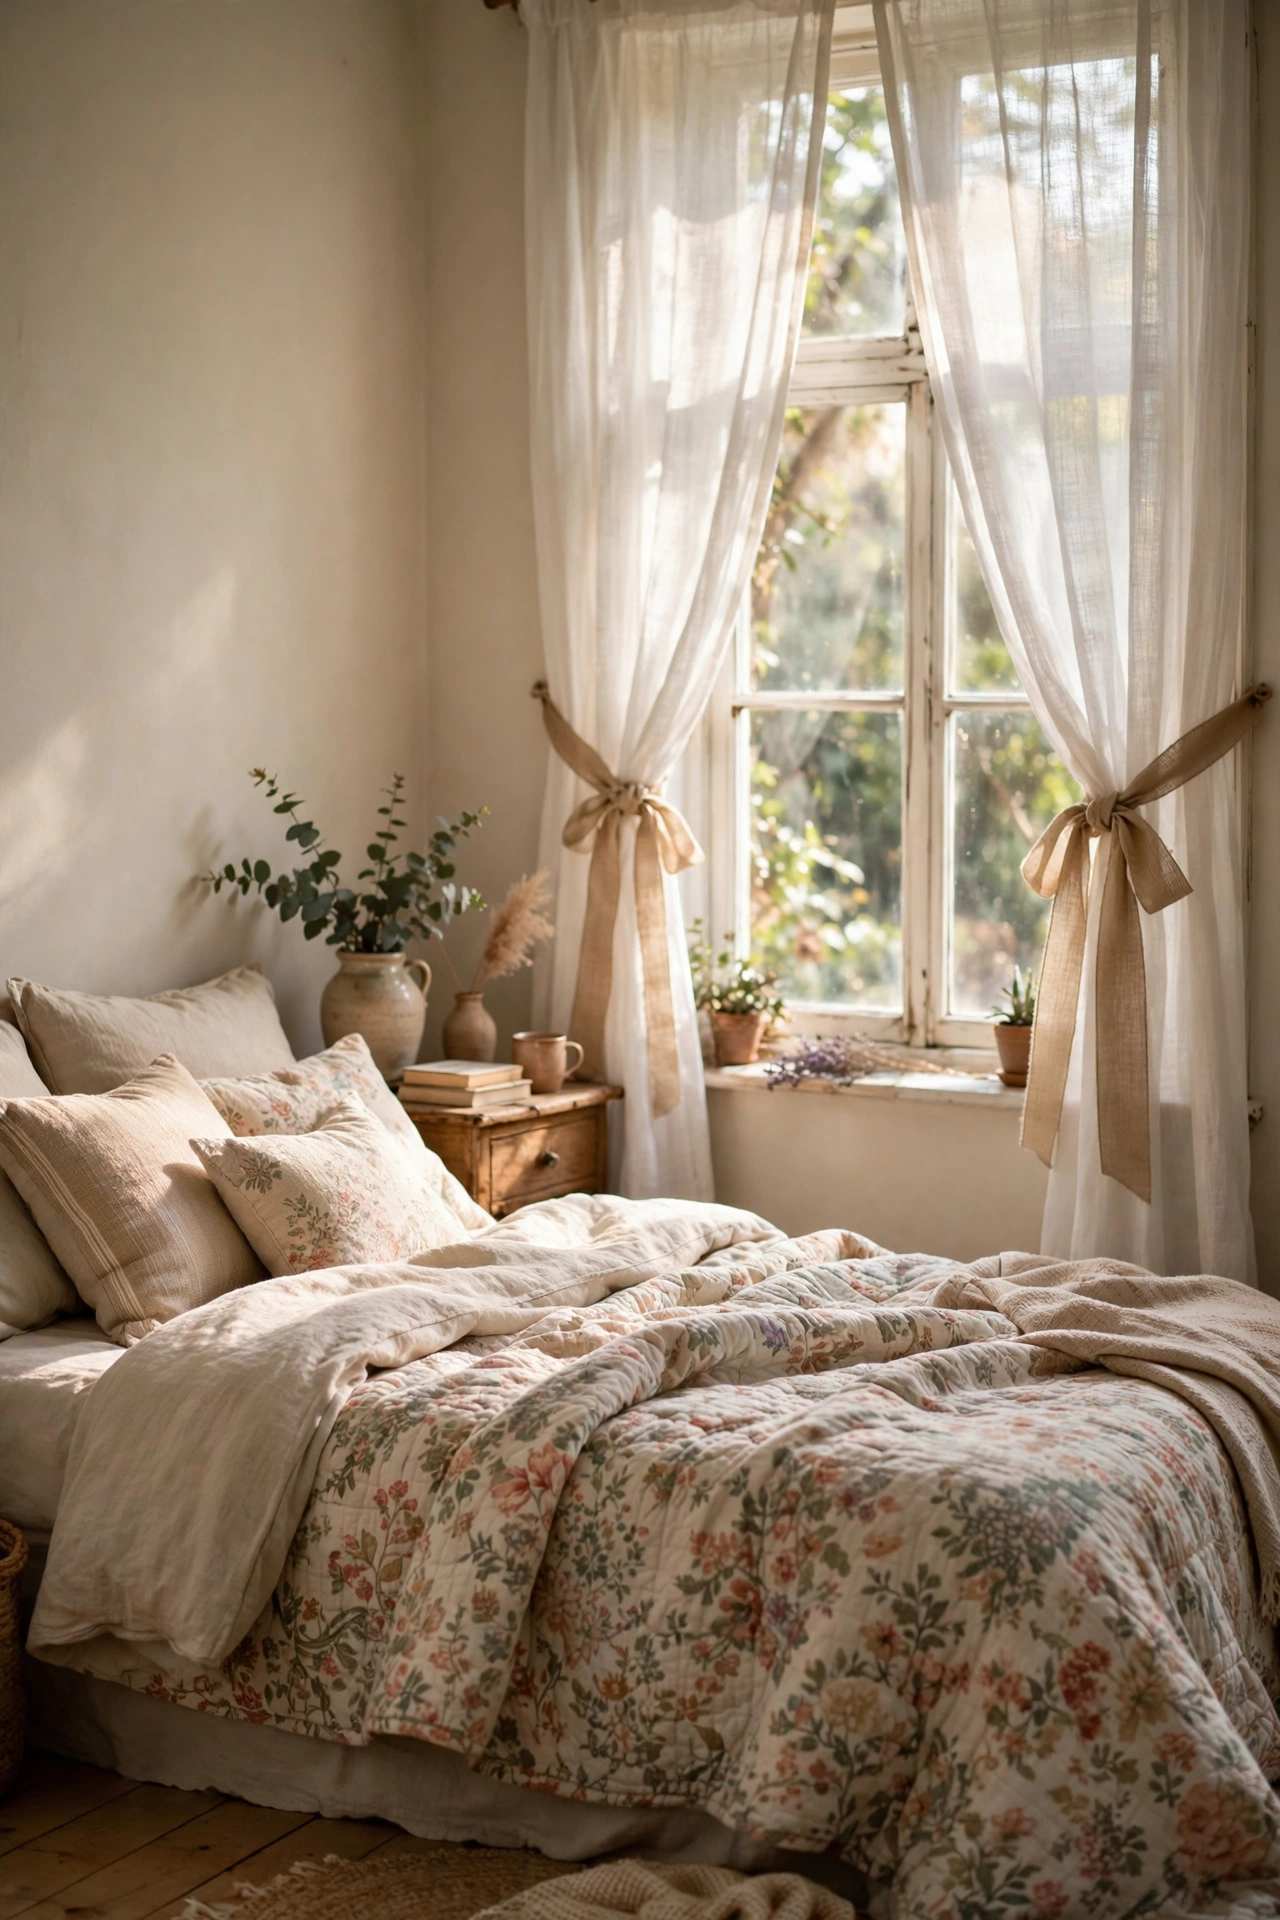
Ribbon tiebacks are the tiny detail that makes curtains look styled instead of just hung. I bought wide grosgrain ribbon from the dollar store craft aisle, cut two lengths of about a yard each, and tied my curtains back in a loose bow at about two-thirds height. Screw small hooks into the window frame sides to hold the ribbon, since ribbon alone slides down by lunchtime. I tried tying them without hooks first and spent a week retying. Match the ribbon to your bedding or go for a contrast colour if your curtains are plain. Two yards of ribbon cost me $2 and the window looks finished.
Cost: ~$2-3 | Time: 15 minutes
21. A Faux Marble Contact Paper Desk Refresh
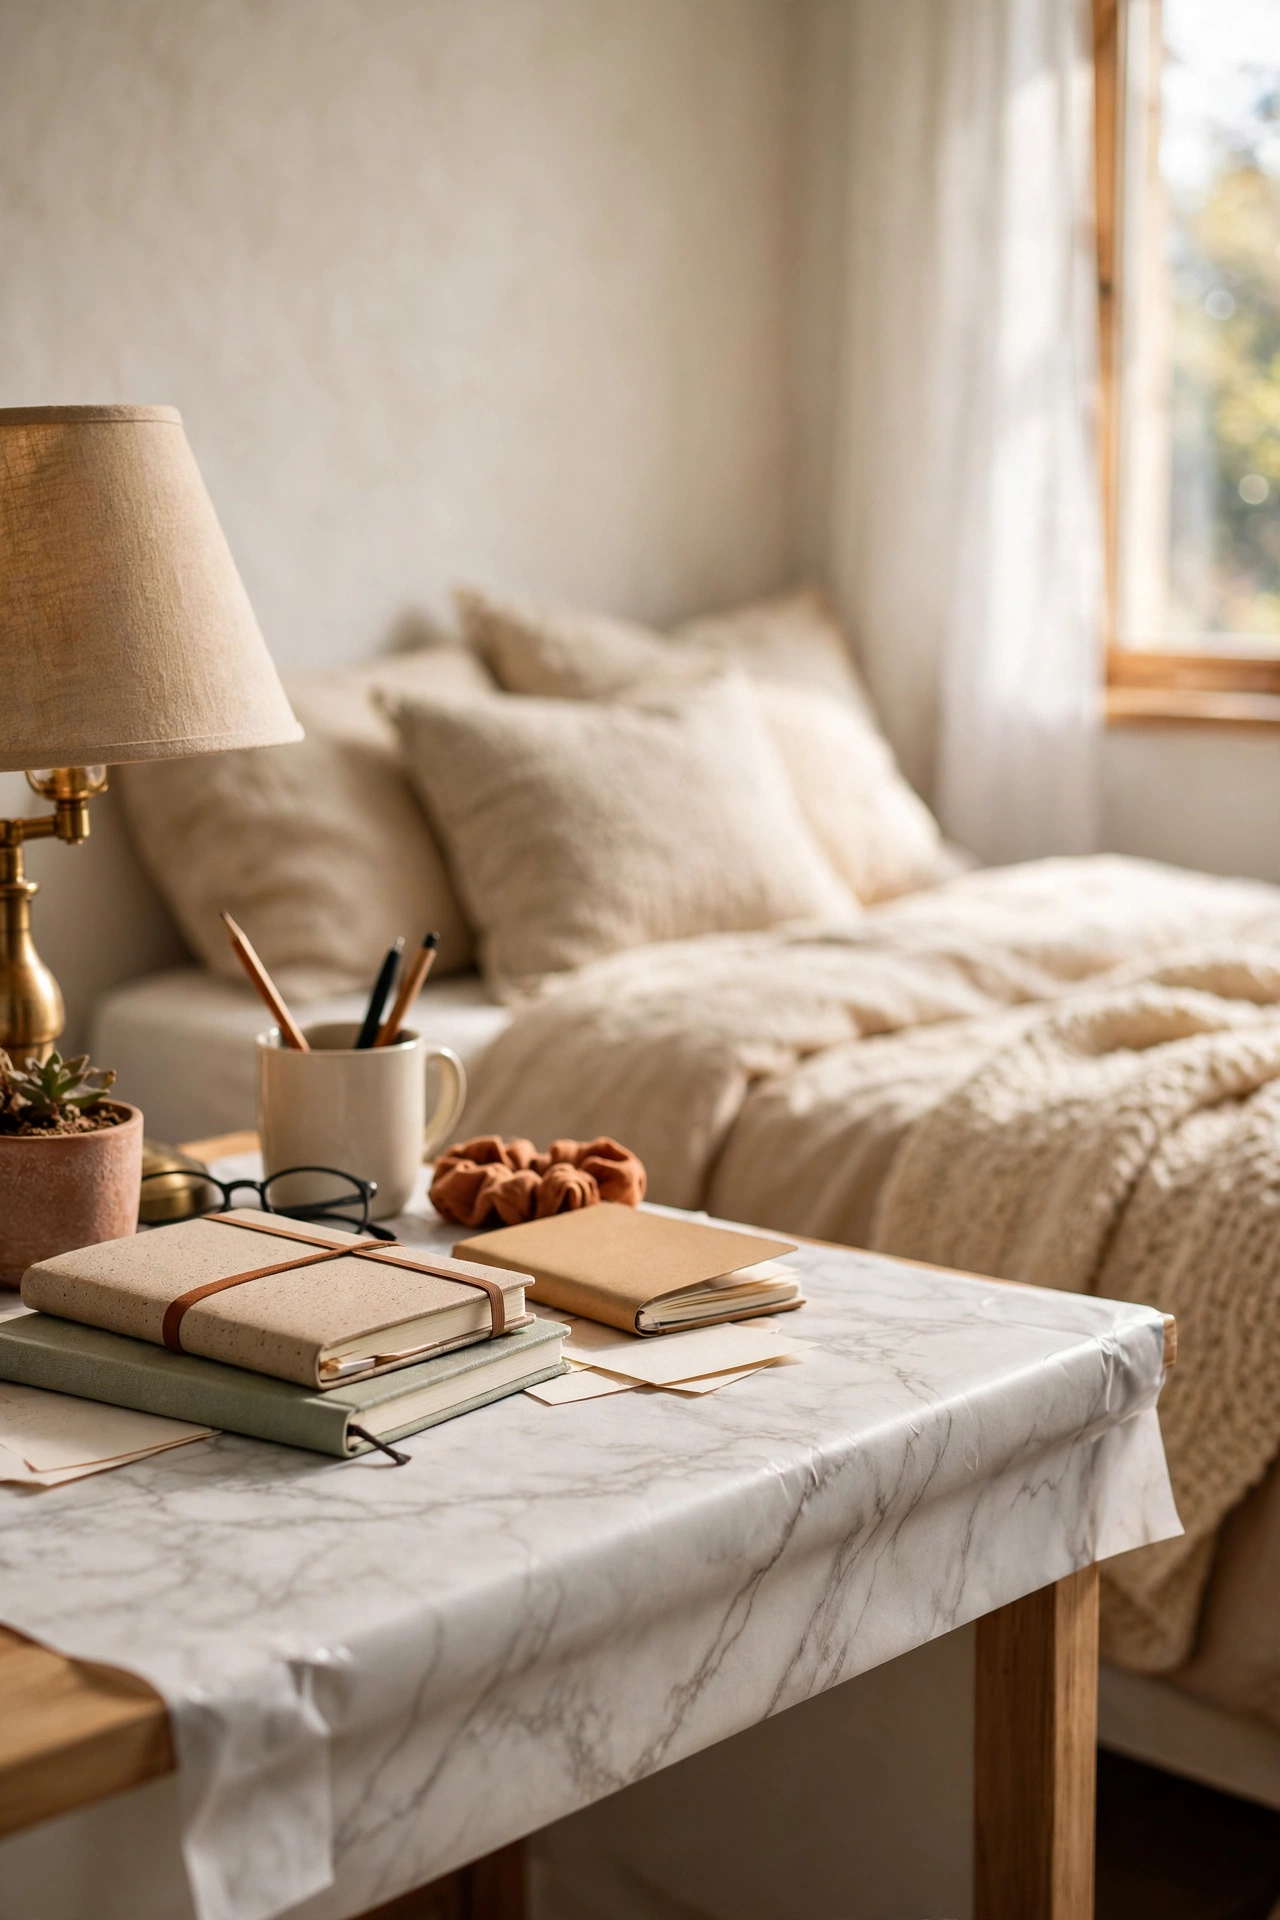
Faux marble contact paper turns a scratched desk into something that looks like it cost ten times more. I measured my small bedroom desk, cut the contact paper an inch bigger on every side, and smoothed it on from the centre outward with an old bank card to push out bubbles. Peel the backing back slowly as you go, because rushing is how you get wrinkles you cannot fix. I had to redo my first sheet after a giant bubble settled right in the middle, so slow wins here. Tuck the edges under with a craft knife for a clean finish. One roll cost me $1.25 and covered the whole desk.
Cost: ~$1-3 | Time: 30 minutes
22. A Jewellery Tray From a Soap Dish
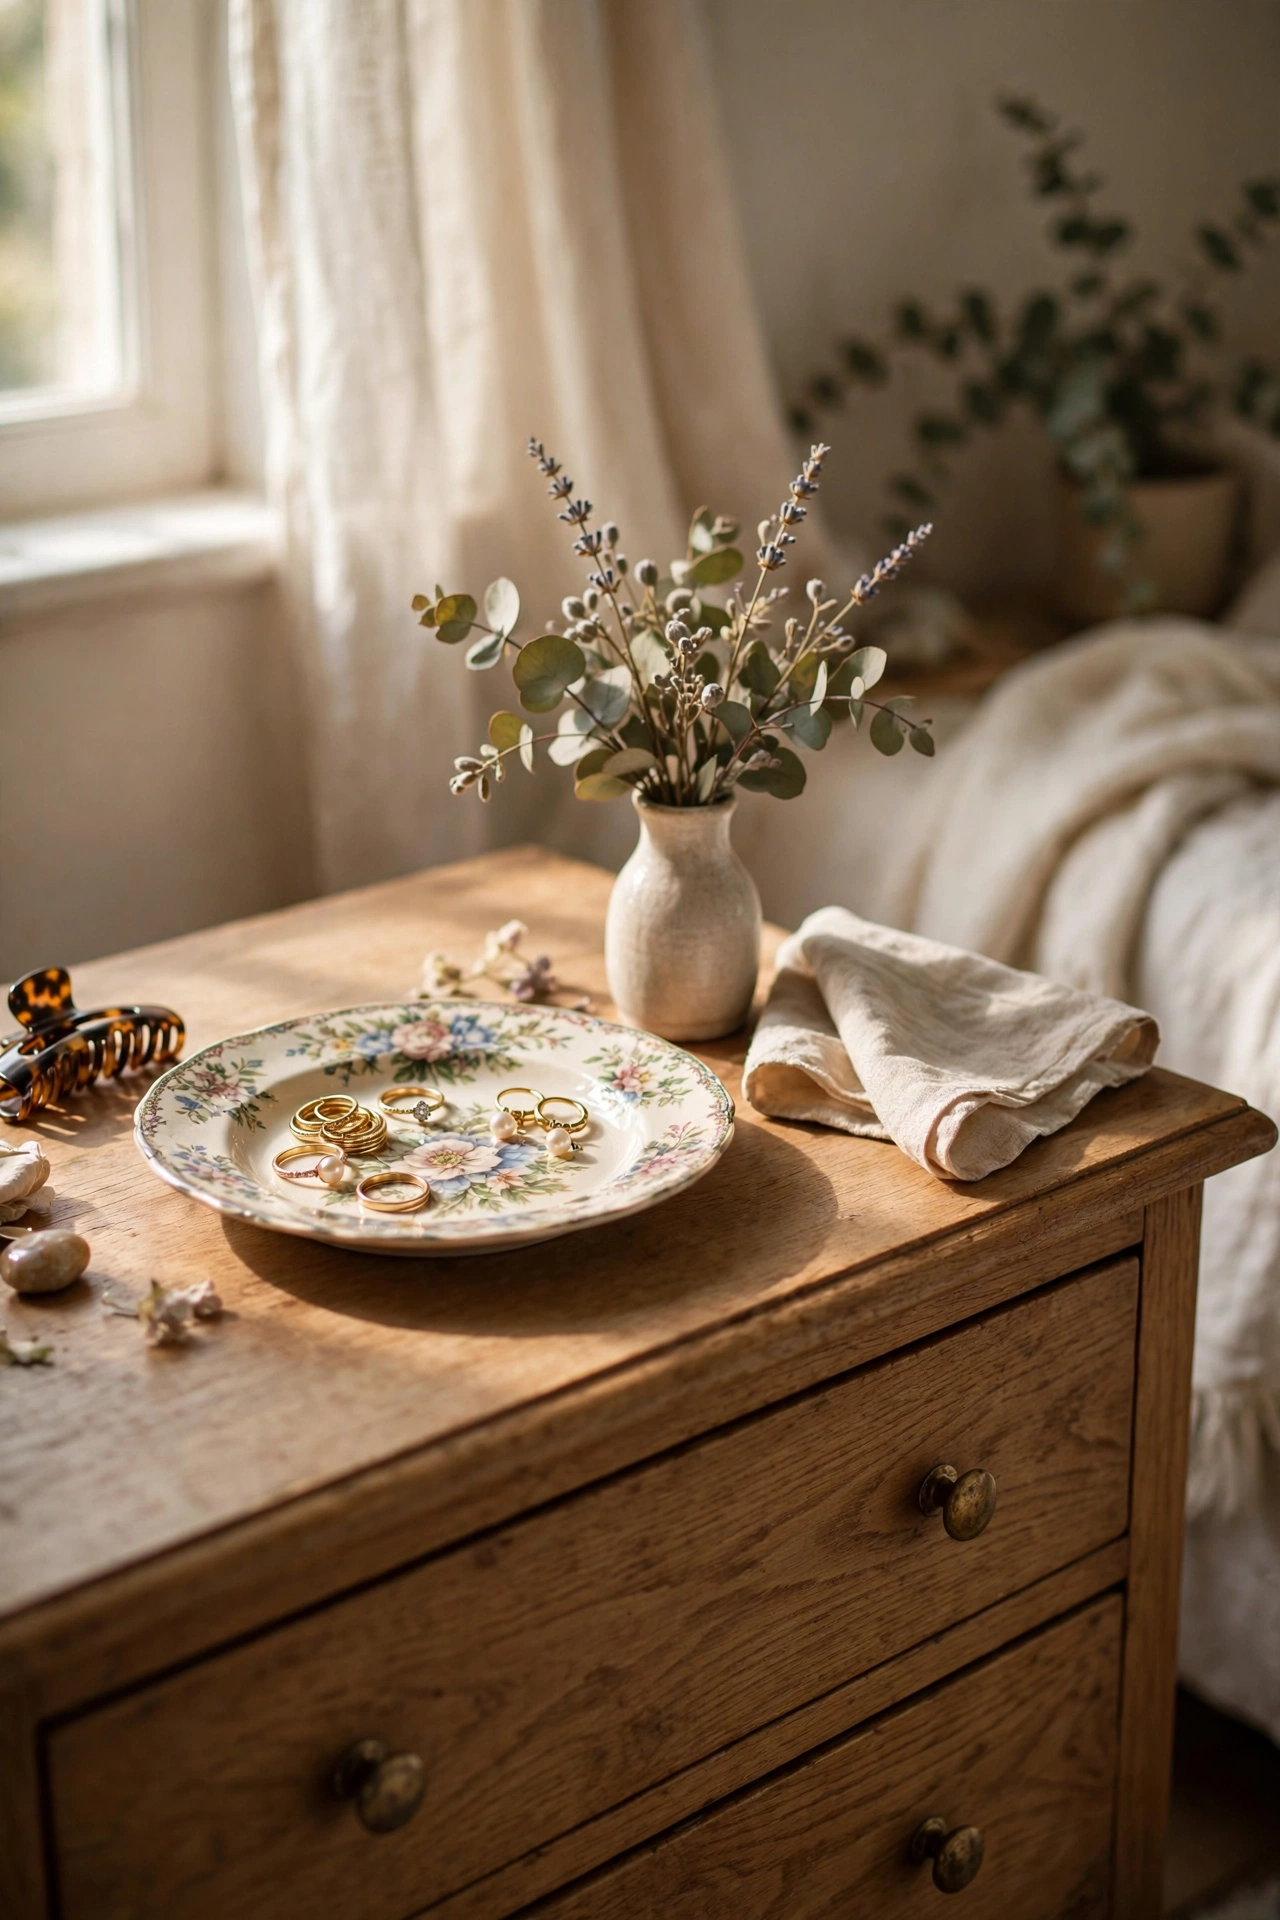
A ceramic soap dish is exactly the right size for a jewellery tray, and the dollar store sells them in pretty patterns. I bought a floral soap dish for $1.25, gave it a quick wash, and set it on my dresser for the rings and earrings I wear daily. Look for one with a slight lip so nothing rolls off, because flat dishes lose earrings to the floor. Mine sits next to the candle cluster and looks like it came from a gift shop. I keep my everyday pieces there and the rest in a box in the drawer, which means no more tangled necklaces. Under $2 for the prettiest little organiser on my dresser.
Cost: ~$1-3 | Time: 5 minutes
23. A Rope-Wrapped Laundry Basket Upgrade
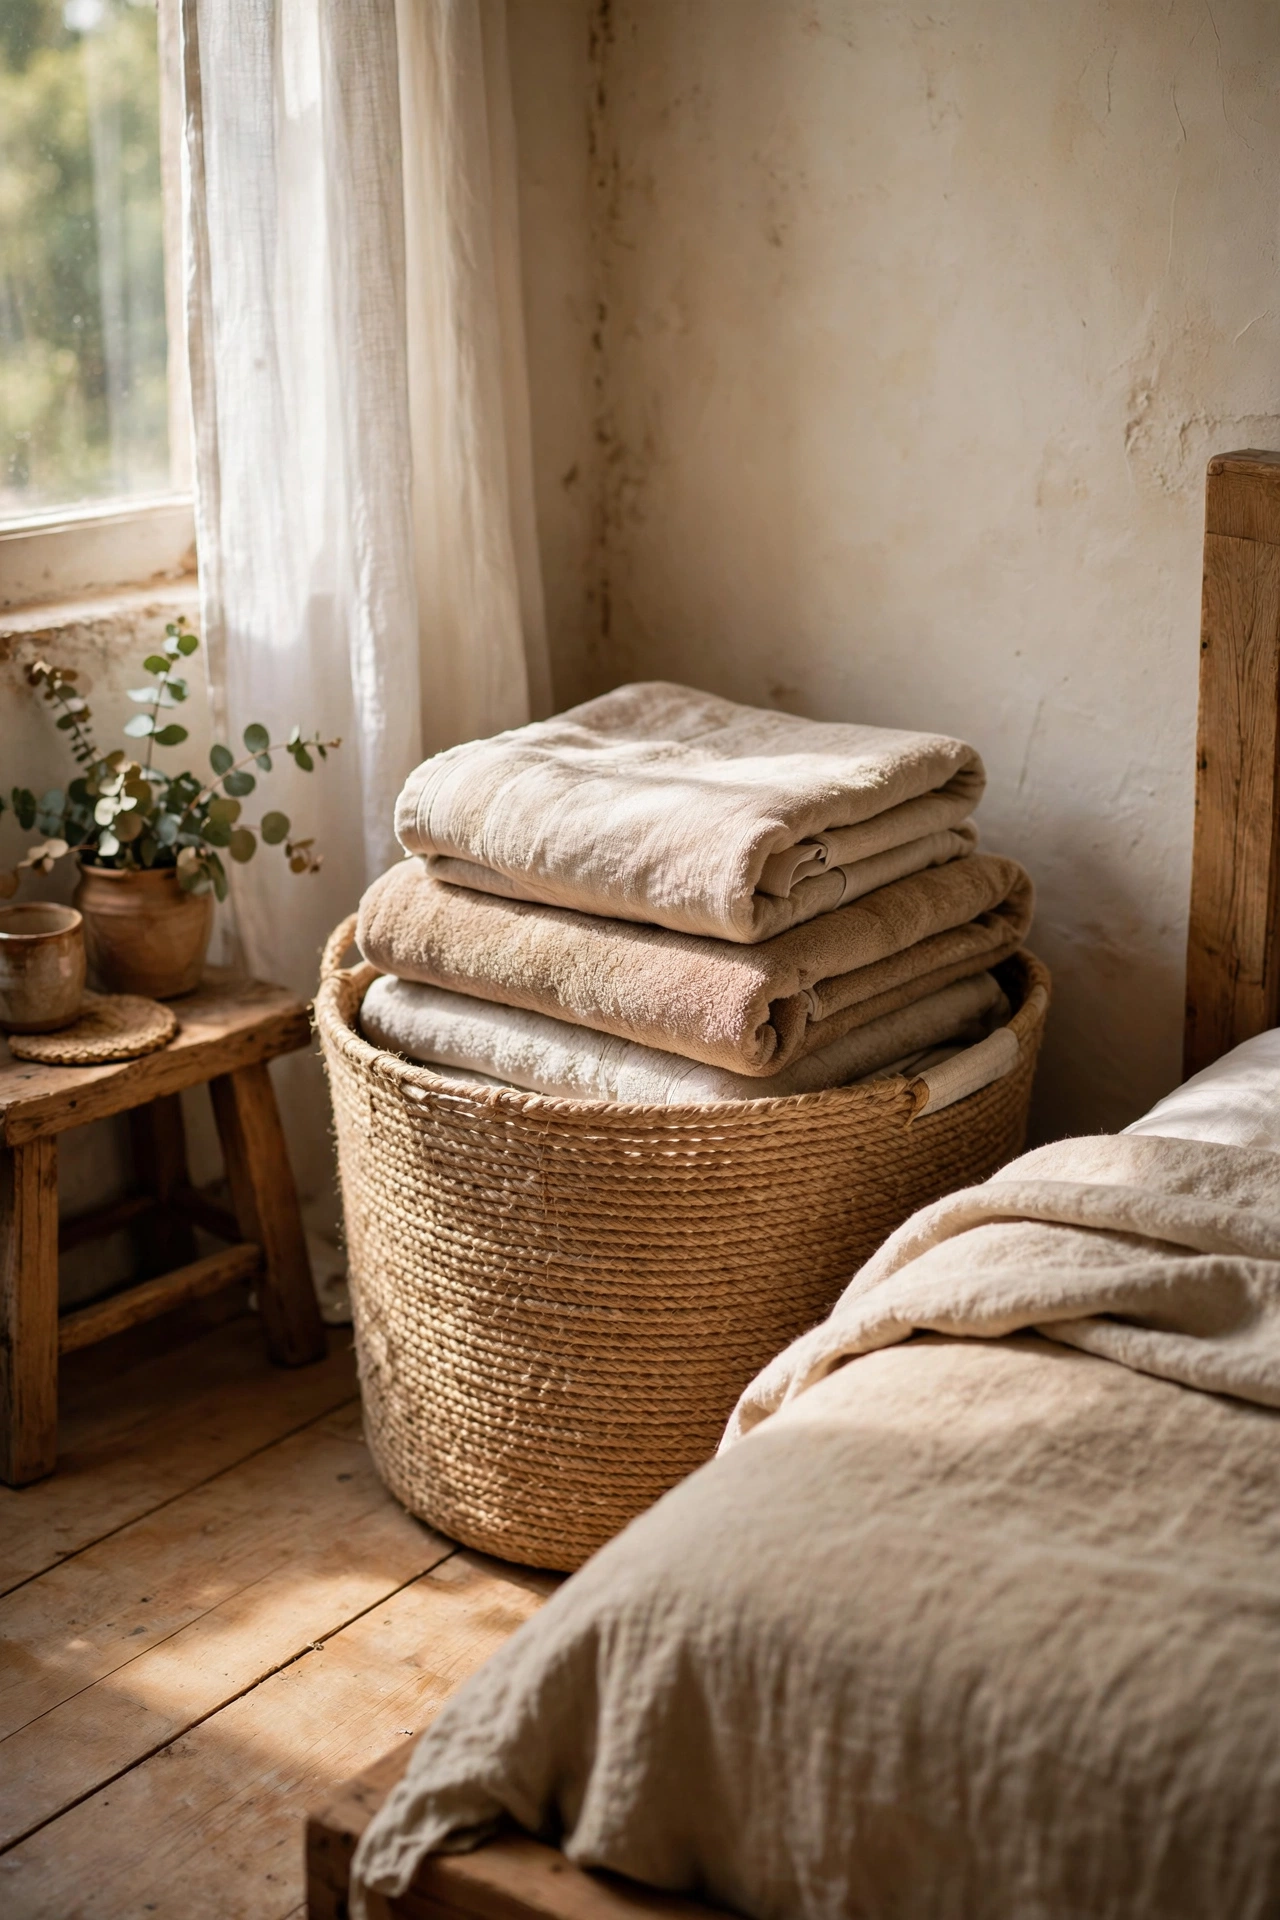
A plain plastic laundry basket looks a hundred times better wrapped in rope, and it is pure dollar store magic. I bought a simple basket and two packs of jute rope, and hot-glued the rope around the basket in tight rows starting from the bottom. Keep the rows snug with no gaps, because gaps are what give away the plastic underneath. My glue gun stringed everywhere on the first round, so work in small sections and press each row flat. It took one episode of my favourite show and about $4 in supplies. The basket now sits in the corner of my bedroom looking like a boutique storage piece instead of an eyesore.
Cost: ~$4-6 | Time: 1 hour
Quick questions, answered
Does dollar store decor actually last?
Honestly, it depends on the item. Frames, glassware, baskets, and trays hold up for years because there is nothing to break down. Faux plants and garlands last ages if you keep them out of direct sun, which fades the colour. The things to treat gently are anything with a glued joint or a battery compartment — those are the weak points. I have dollar store frames on my wall from three years ago that still look new, and a candle holder that lost its handle in month two. Buy smart, handle gently, and most of it outlasts its price.
How do I make dollar store finds look expensive?
Three rules: match, edit, and upgrade the finish. Matching sets of anything — frames, baskets, vases — always read as intentional. Edit ruthlessly, because five good pieces beat fifteen random ones. And a coat of spray paint or a nicer pot upgrades almost anything. I also swear by hiding the original packaging and removing price stickers, since those little details are what whisper cheap. Group items in odd numbers, keep a tight colour palette, and style them with one or two nicer pieces you already own. That mix is what makes the whole shelf look curated.
Which dollar store items should I avoid for the bedroom?
I steer clear of anything you sleep on or plug in overnight without checking it first. Cheap pillows go flat fast and bedding fades after a few washes, so I spend a little more on those. Extension leads and plug-in lights from the dollar store make me nervous for overnight use — battery fairy lights are fine, but mains-powered stuff should be a known brand. I also skip strong synthetic fragrances, since cheap scented items can be overpowering in a small bedroom. Decorative stuff is fair game; anything safety or comfort-related gets the real budget.
Which dollar store aisles are best for bedroom decor?
Start with the frame and craft aisles — that is where the gallery wall supplies, ribbons, and contact paper live. The glassware and candle aisle is gold for vases, jars, and candle clusters. Do not skip the storage aisle for bins and baskets, or the seasonal aisle, which rotates the best decor stock. I always do a final sweep of the kitchen aisle too, because trays, soap dishes, and saucers double as decor. Go on weekday mornings if you can, because the shelves get picked over by the weekend.
📌 Pin now and save this idea to your bedroom board before your next dollar store run!
More dollar store magic for the rest of the house: (see also: 15-dollar-store-living-room-decor-that-dont-look-cheap) (see also: 25-dollar-store-living-room-decor-worth-every-penny) (see also: 21-thrifted-bedroom-decor-that-look-designer)
