15 Peel and Stick Kitchen Backsplash Ideas That Look Like Real Tile
Peel and stick backsplash ideas have come a ridiculously long way — the good ones genuinely fool people now, and I’ve watched guests tap them in disbelief. No grout, no tiler, no mess, and if you hate it, it peels off. What’s not to love?
I’ve grouped these 15 ideas by style so you can find your look fast — classics, patterns, bold colours, and natural textures.
Classic and Timeless
1. Classic White Subway Tile Panels
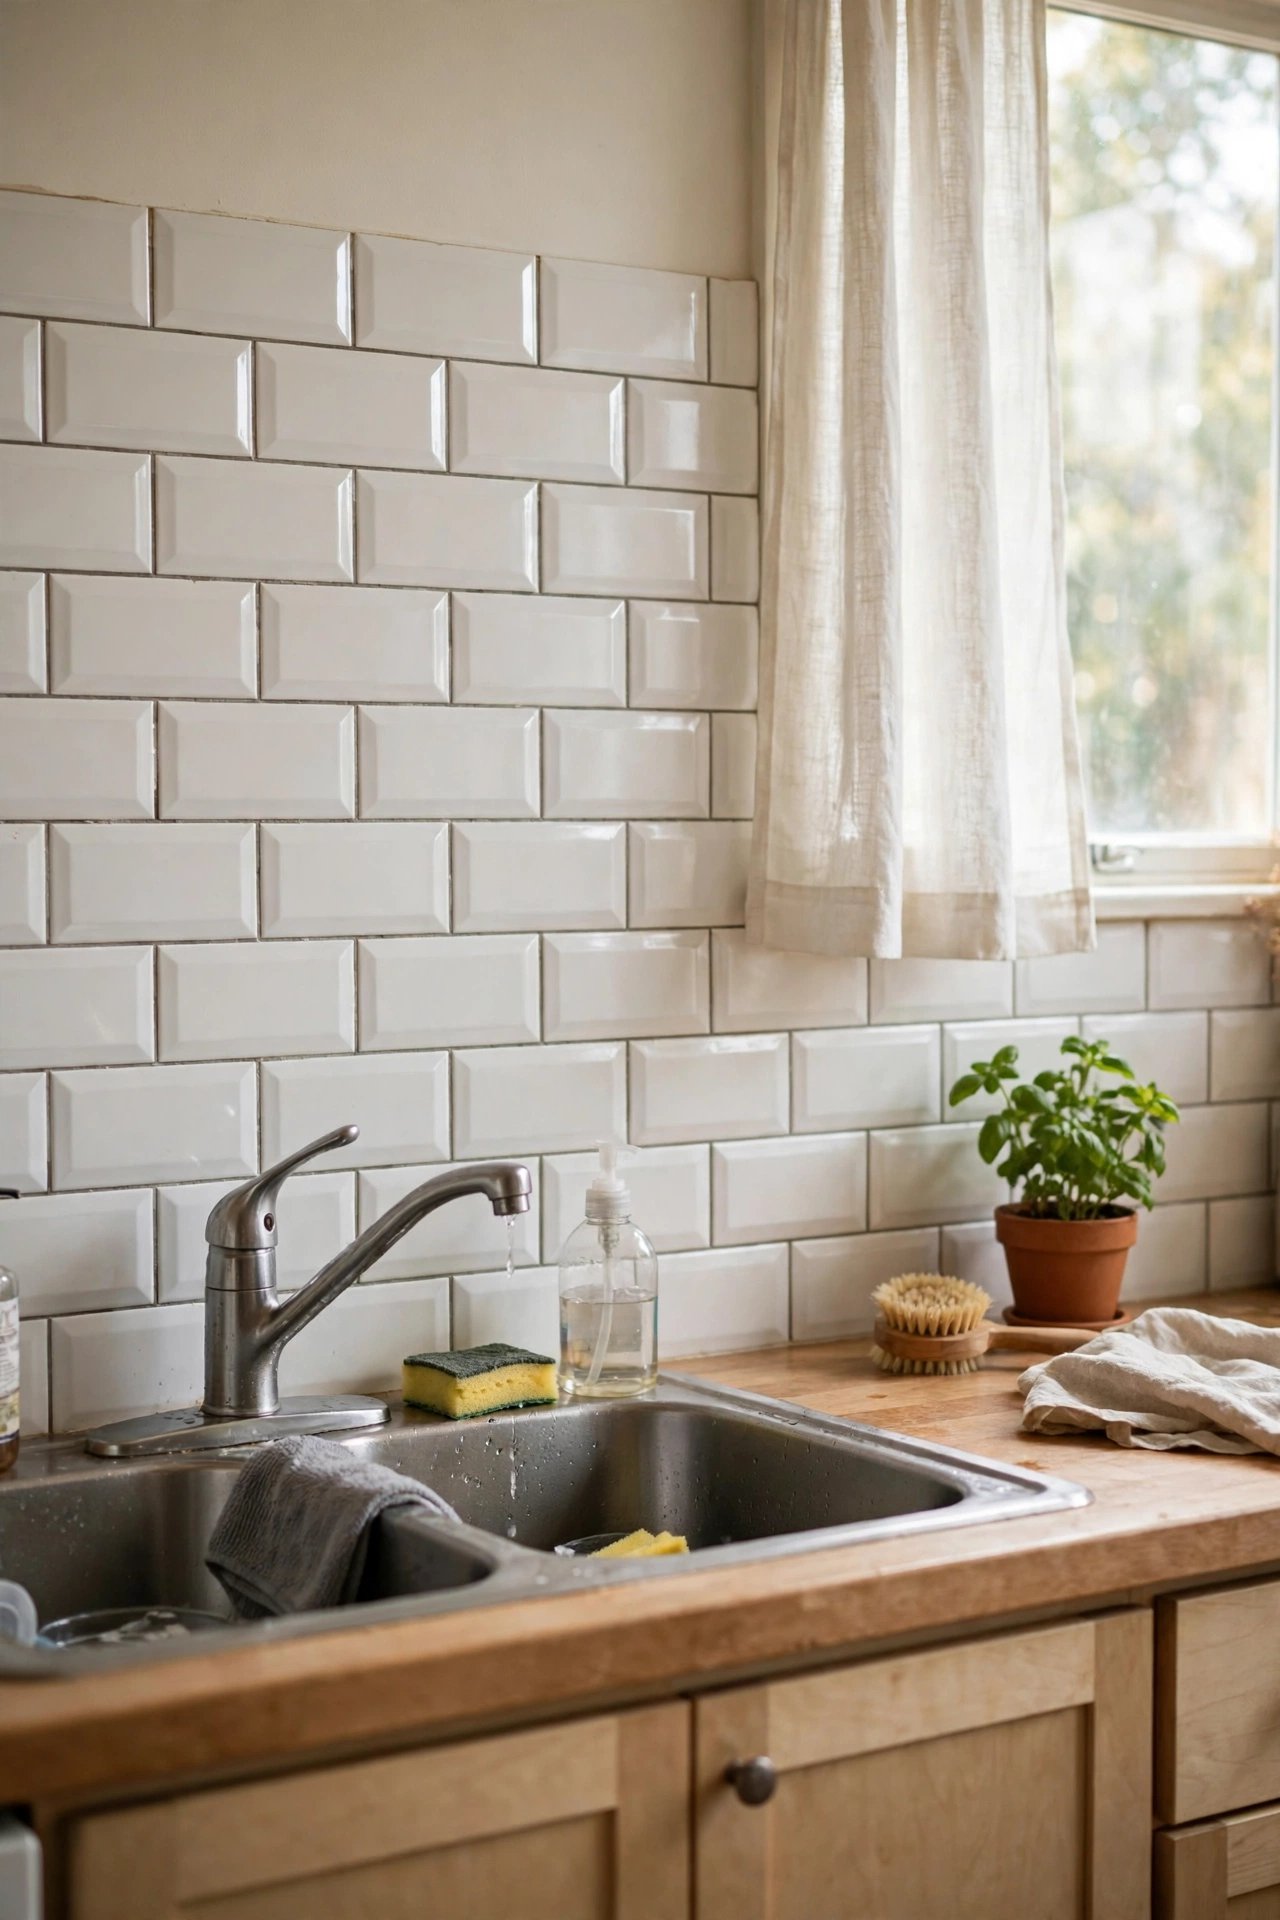
The white subway tile is the little black dress of backsplashes — it suits every kitchen and never dates. The peel-and-stick versions come in large panels with realistic bevelled edges and grout lines printed in. Clean the wall, start level at the bottom, and press out bubbles as you go. I tried this and the one mistake to avoid is starting crooked; even a two-degree tilt is visible across a whole wall. Use a spirit level for the first row and the rest follows.
Cost: ~$30 | Time: 2 hours
6. Beadboard-Look Panels Painted Cream
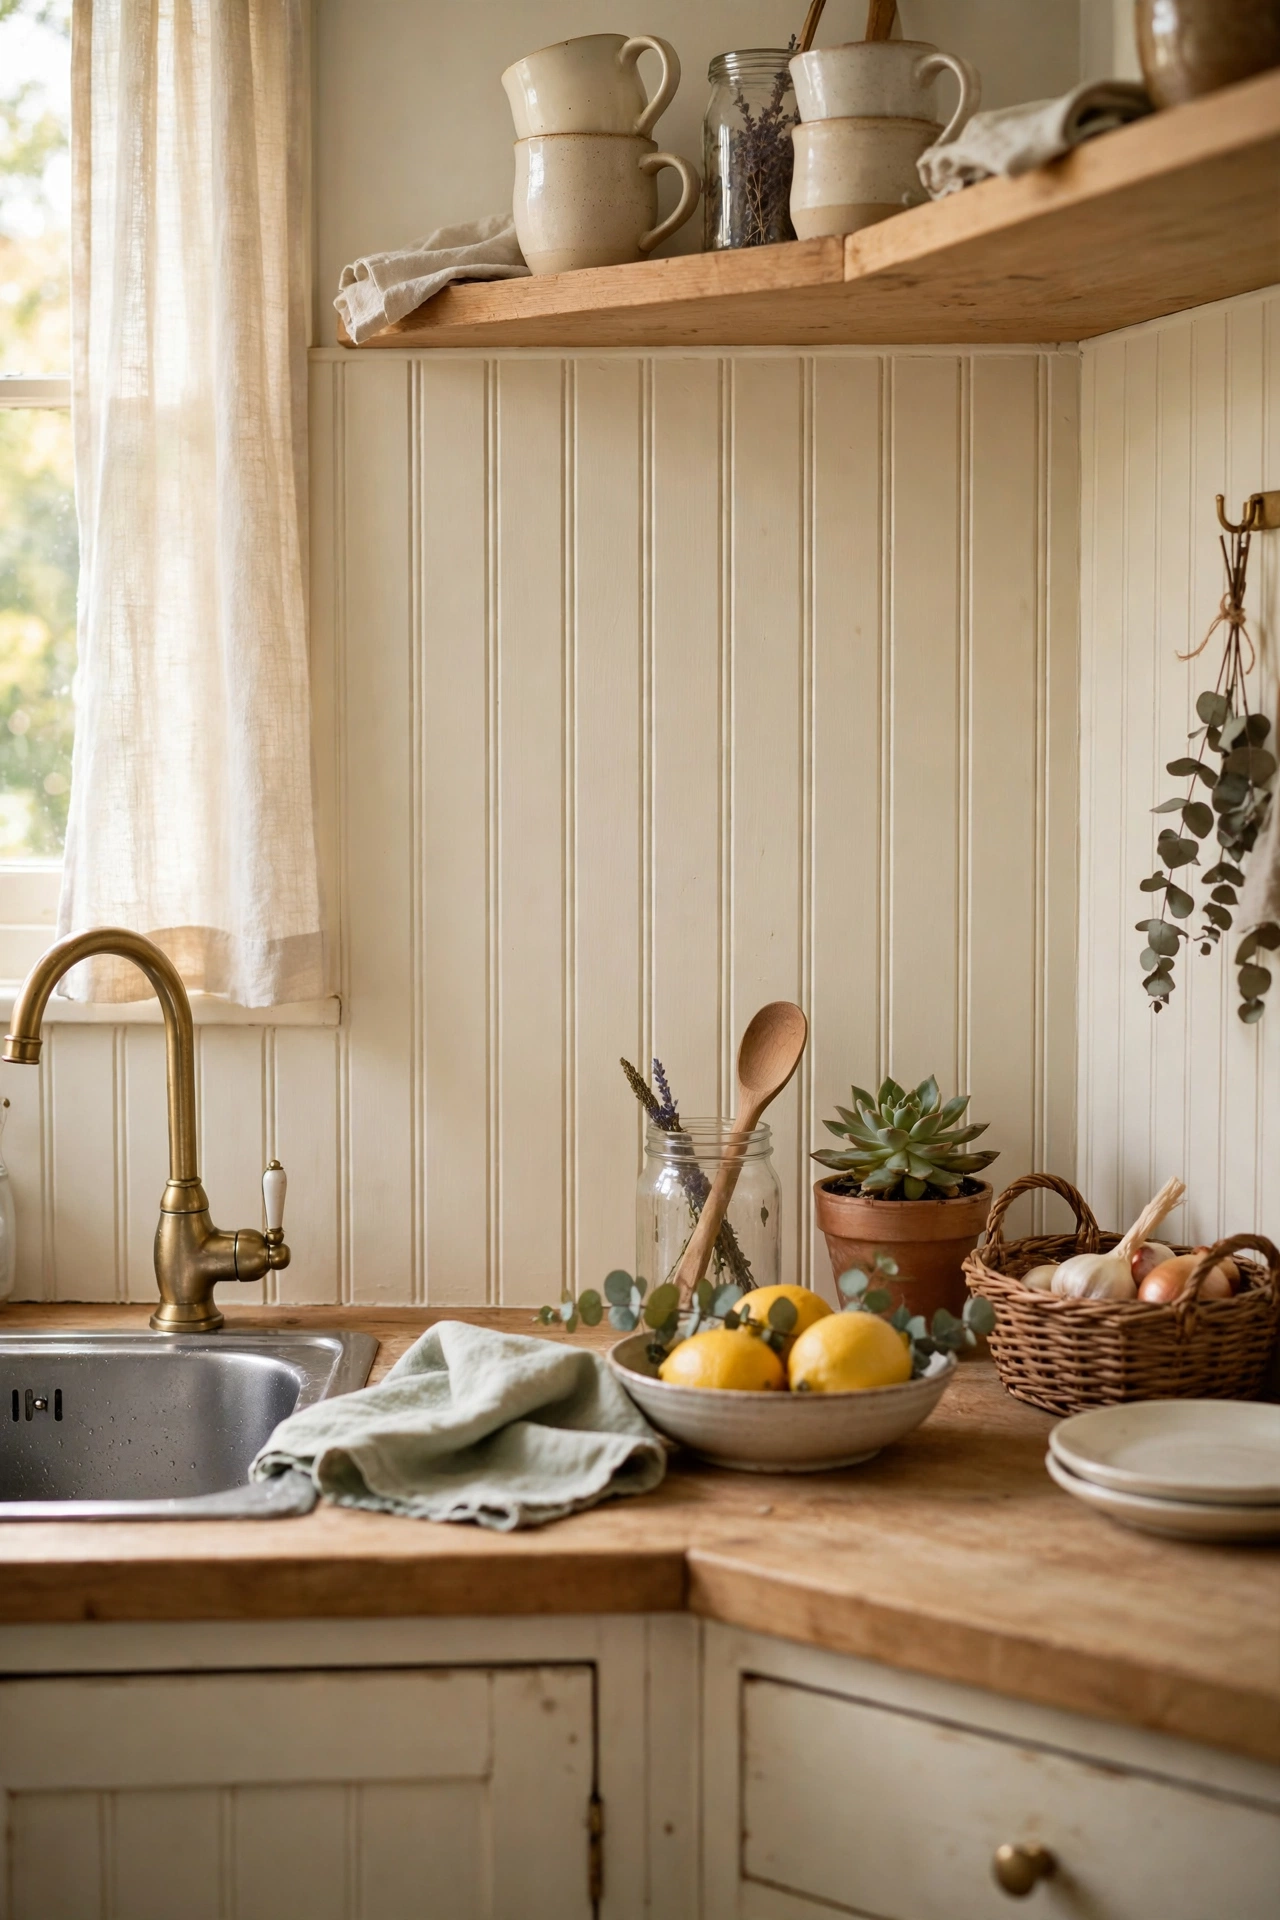
Peel-and-stick beadboard panels give you that cottage-kitchen texture without a single saw cut, and painted cream they glow against darker cabinets. The 3D versions with real grooves look far more convincing than the flat prints. I tried this and the one mistake to avoid is the flat printed kind; from across the room the illusion holds, but up close it looks like wallpaper. Spend a little more for the textured panels.
Cost: ~$28 | Time: 1 hour
13. Carrara Marble Slabs (Large Format)
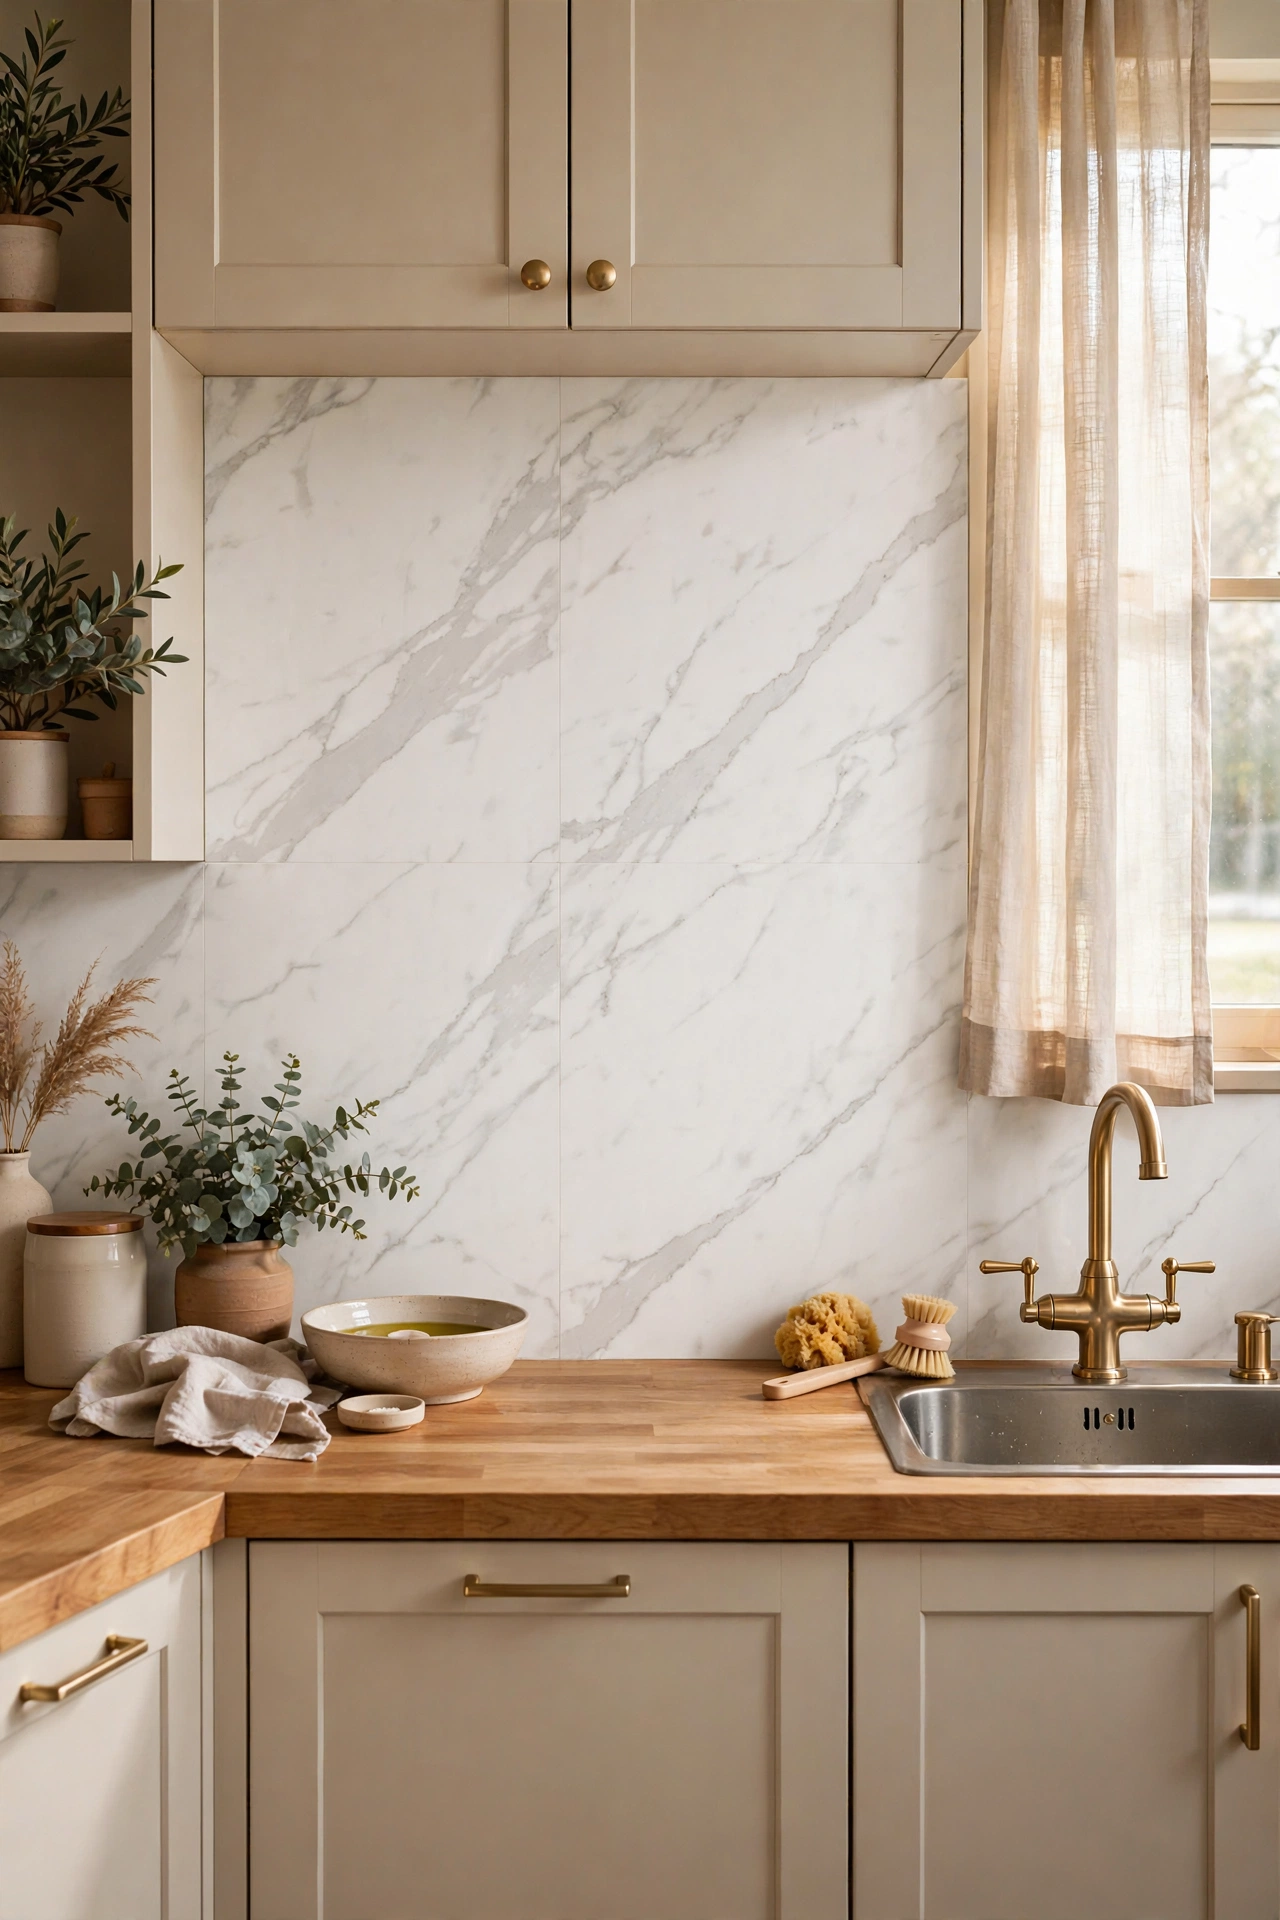
Large-format marble-look panels with minimal seams give you the luxury slab look for a tenth of the price. Fewer grout lines means a calmer, more expensive-looking wall. Match the veining across panels for the most convincing effect. I tried this and the one mistake to avoid is busy, high-contrast veining; the subtle grey-on-white patterns fool the eye, while dramatic dark veins scream “sticker” from across the room.
Cost: ~$45 | Time: 2 hours
Pattern and Personality
5. Moroccan Pattern Stickers
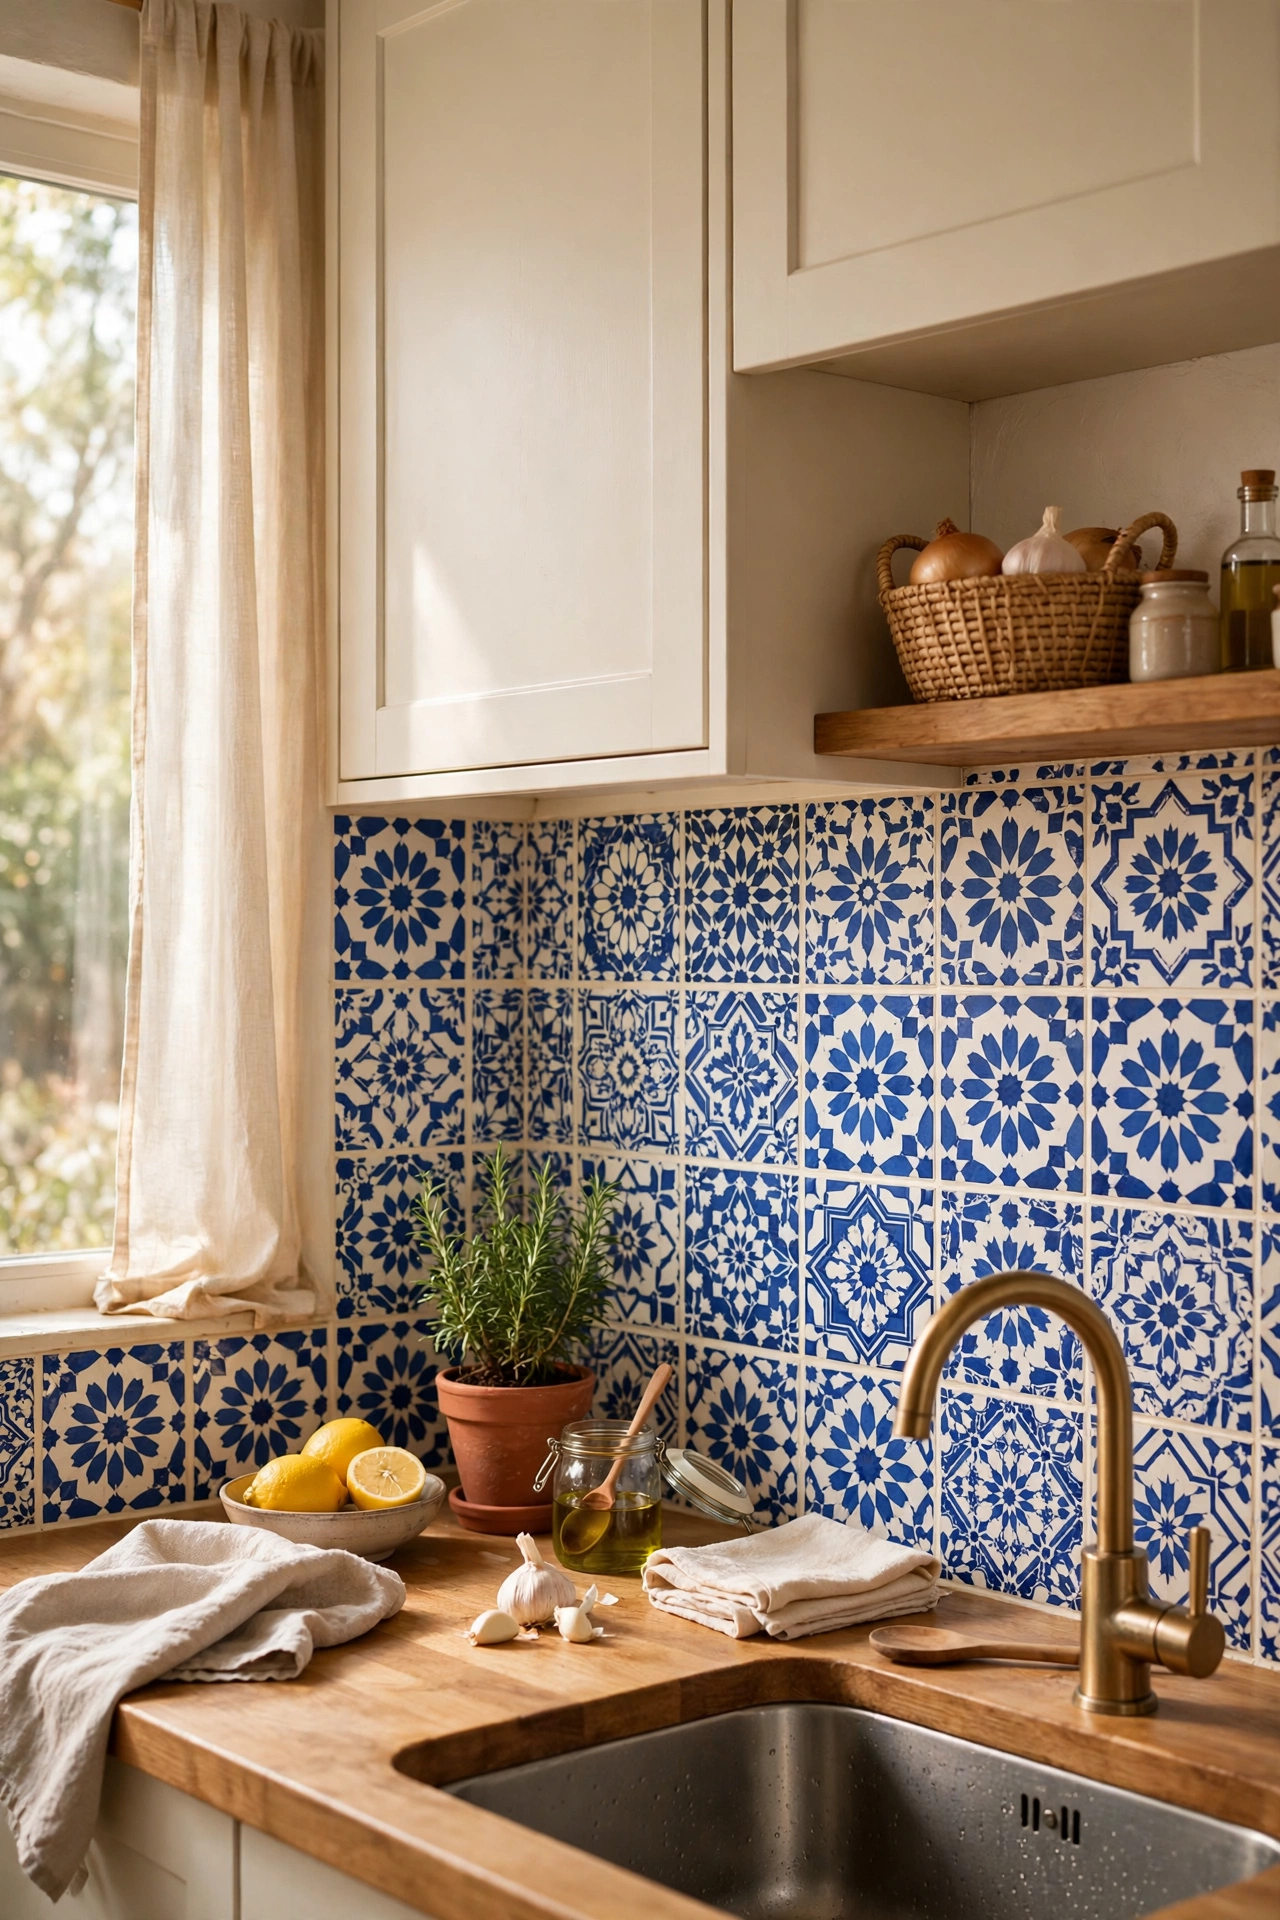
Moroccan and encaustic-look tile stickers over a plain existing backsplash — or straight onto painted wall — add pattern and colour for almost nothing. You can even apply them over old tiles you hate. Space them evenly and step back often. I tried this and the one mistake to avoid is mixing too many patterns; pick one design and repeat it. Two competing Moroccan prints in one kitchen is visual chaos.
Cost: ~$18 | Time: 1 hour
9. Tin Ceiling Tile Replicas
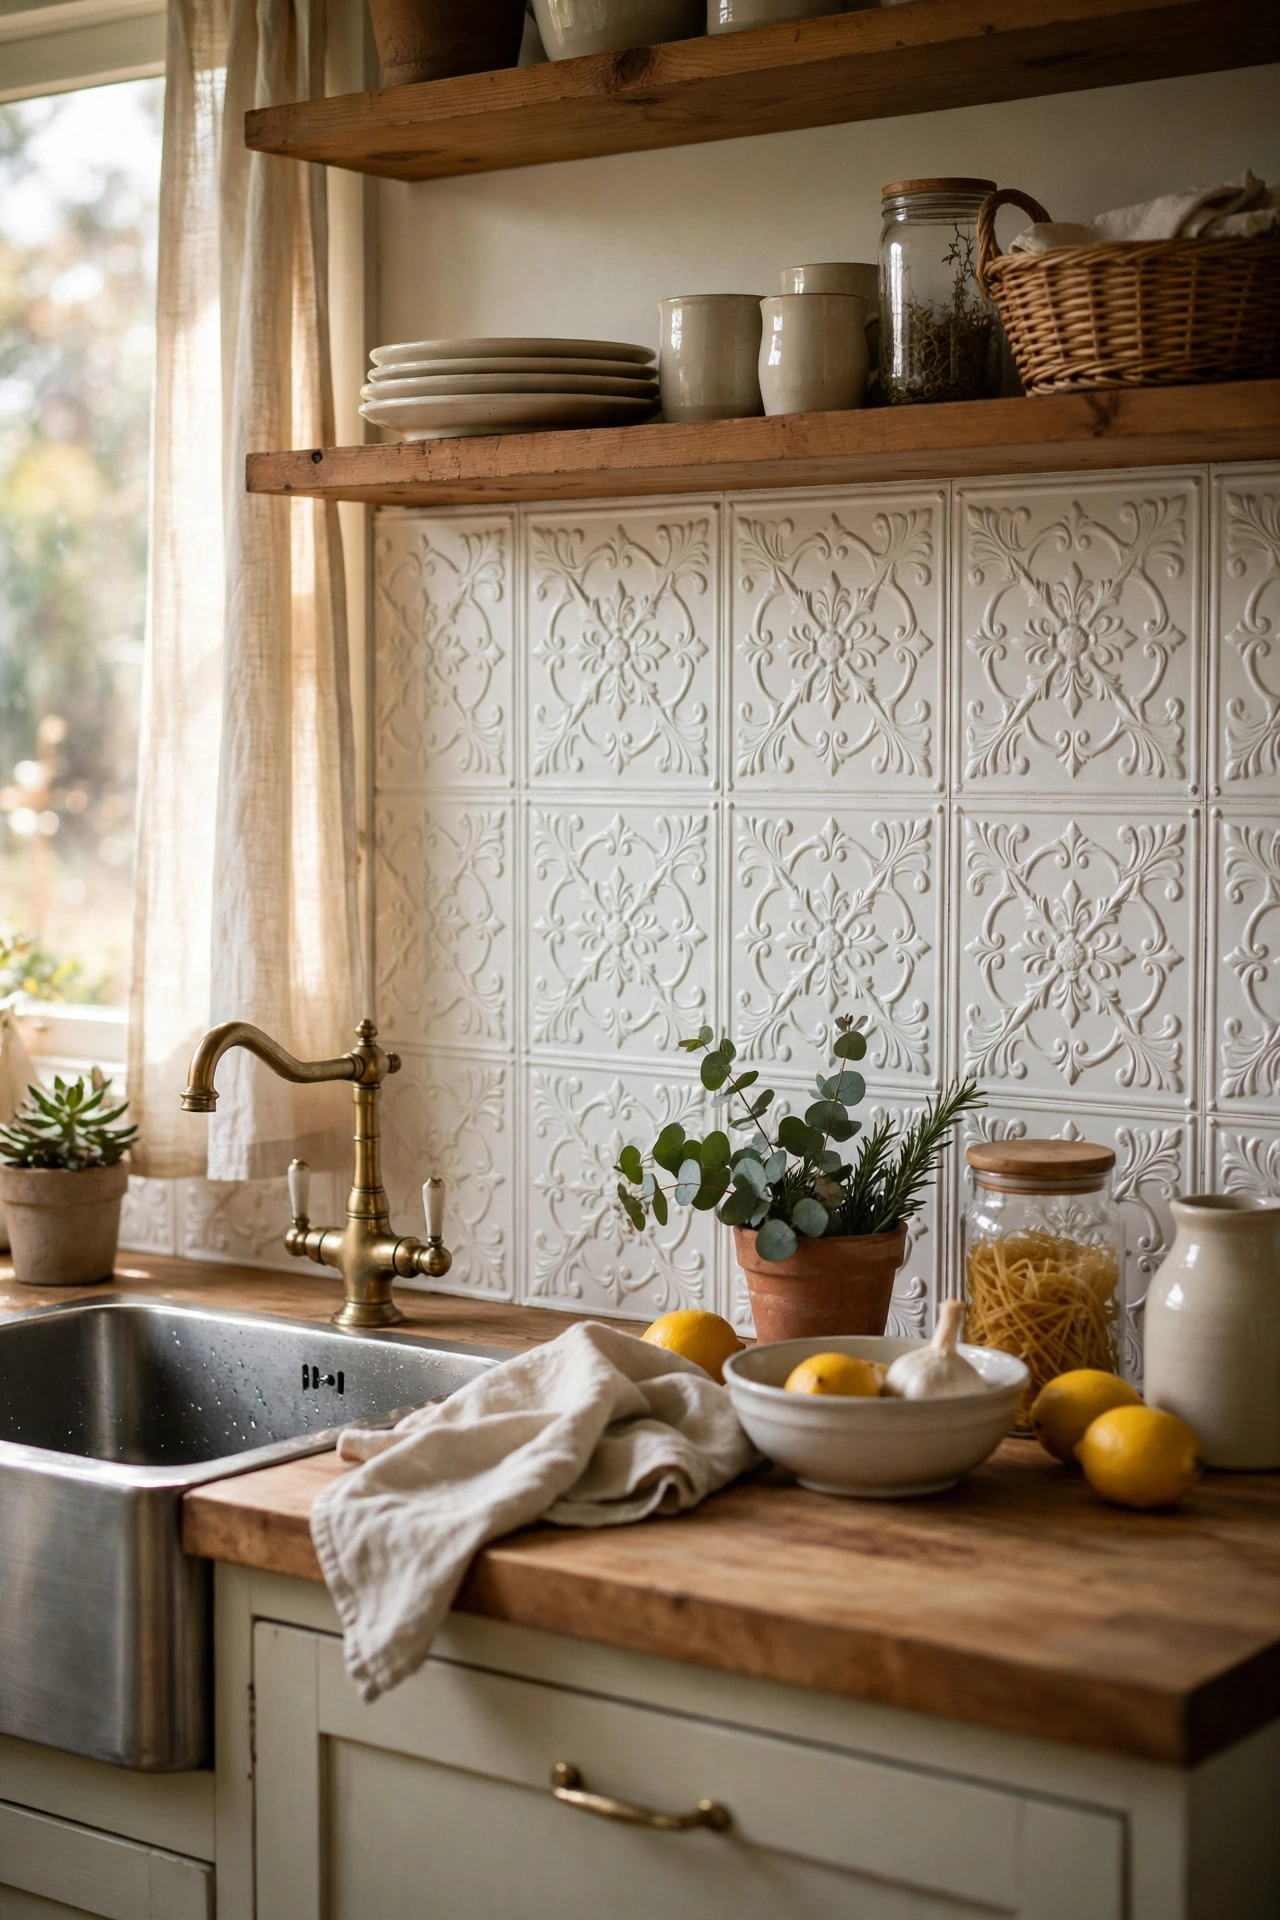
Pressed-tin-look panels in white or cream bring gorgeous vintage texture to the backsplash — they catch the light beautifully and suit farmhouse kitchens perfectly. The PVC versions are lightweight and wipeable. I tried this and the one mistake to avoid is the metallic silver finish; it looks like a sci-fi set. White or cream, painted look, is the one that reads as vintage.
Cost: ~$35 | Time: 2 hours
11. Brick-Effect Panels Behind the Hob
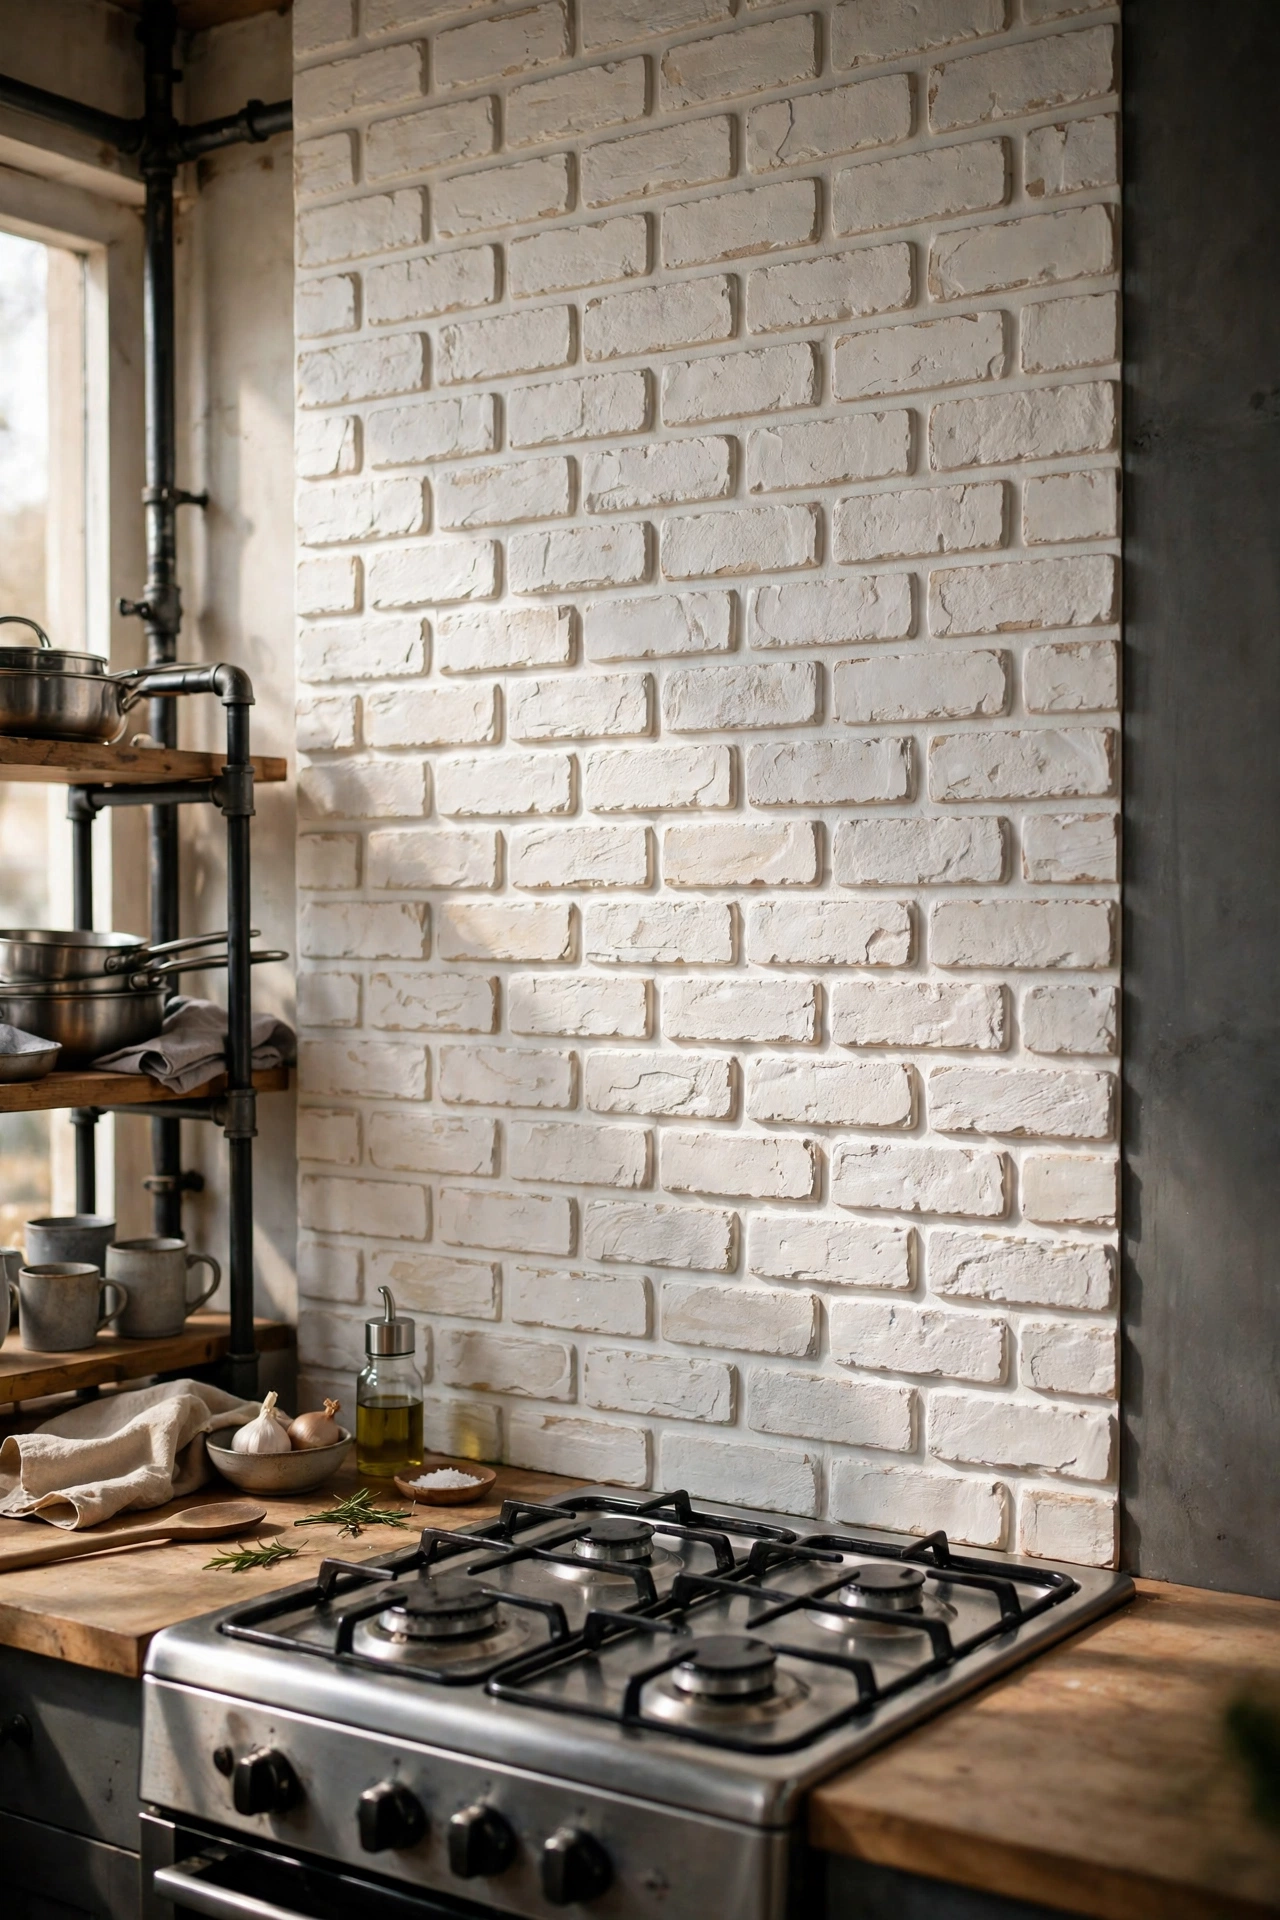
Brick-effect panels behind the hob give you that exposed-brick industrial look with zero structural work. The whitewashed versions are softer and suit more kitchens than the red brick. Seal the edges well against cooking splashes. I tried this and the one mistake to avoid is cheap flat prints with no texture; real-looking brick needs shadow and depth. The 3D foam panels are the convincing ones. For more hob-area ideas, (see also: 17-kitchen-decor-ideas-under-100-without-renovating) has the full under-$100 playbook.
Cost: ~$32 | Time: 2 hours
12. Fish Scale (Scallop) Tiles
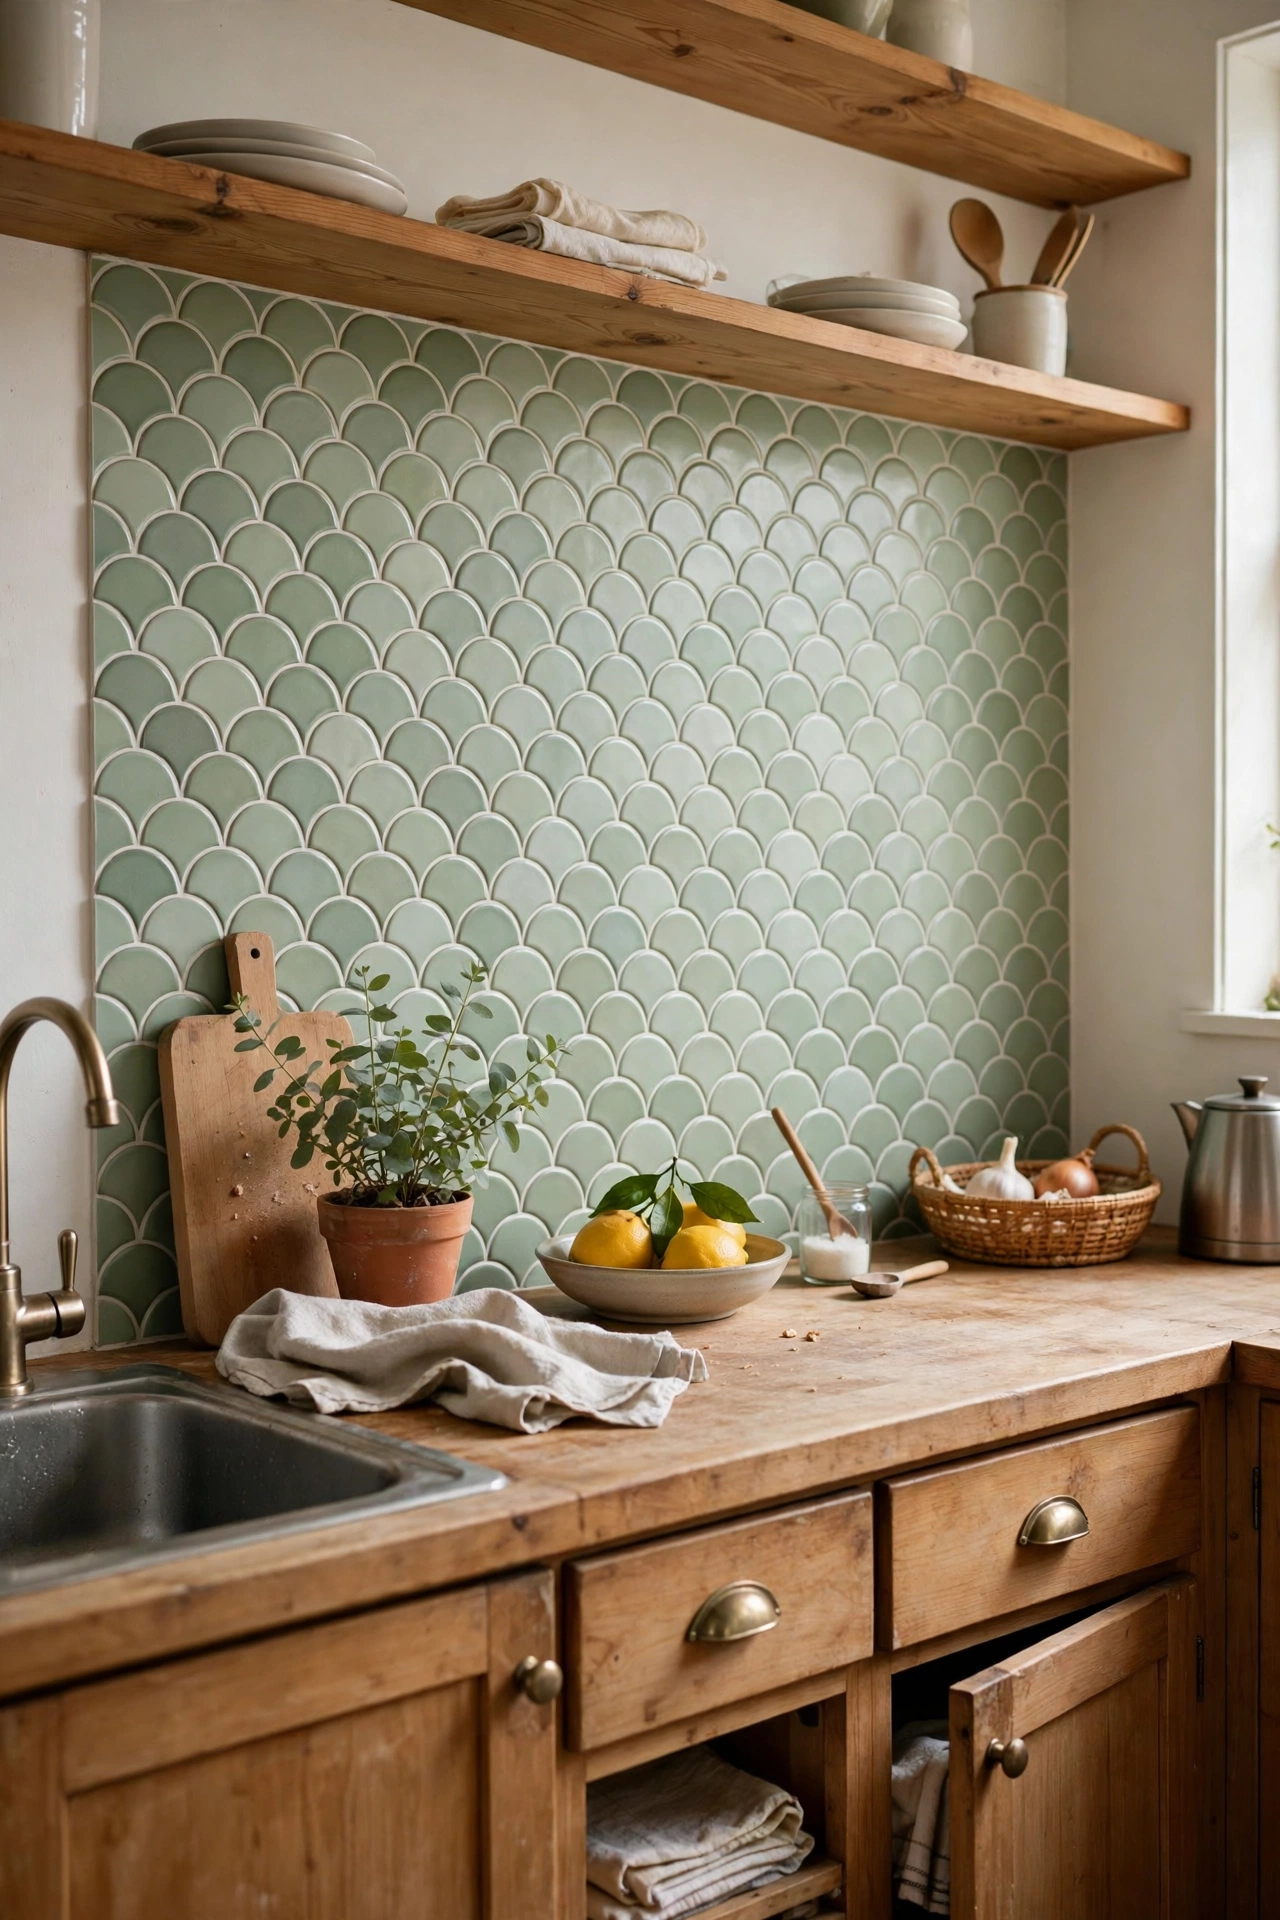
Scallop or fish-scale tiles are the playful, mermaid-y choice that looks far more expensive than it is — especially in soft greens, blues, or whites. The overlapping pattern hides imperfect cuts beautifully. Work from the bottom up so each row overlaps correctly. I tried this and the one mistake to avoid is a dark grout colour with light scallops; it outlines every tile and looks busy. Keep grout lines light and tonal.
Cost: ~$38 | Time: 2 hours
Colour and Drama
4. Matte Black Hexagon Tiles
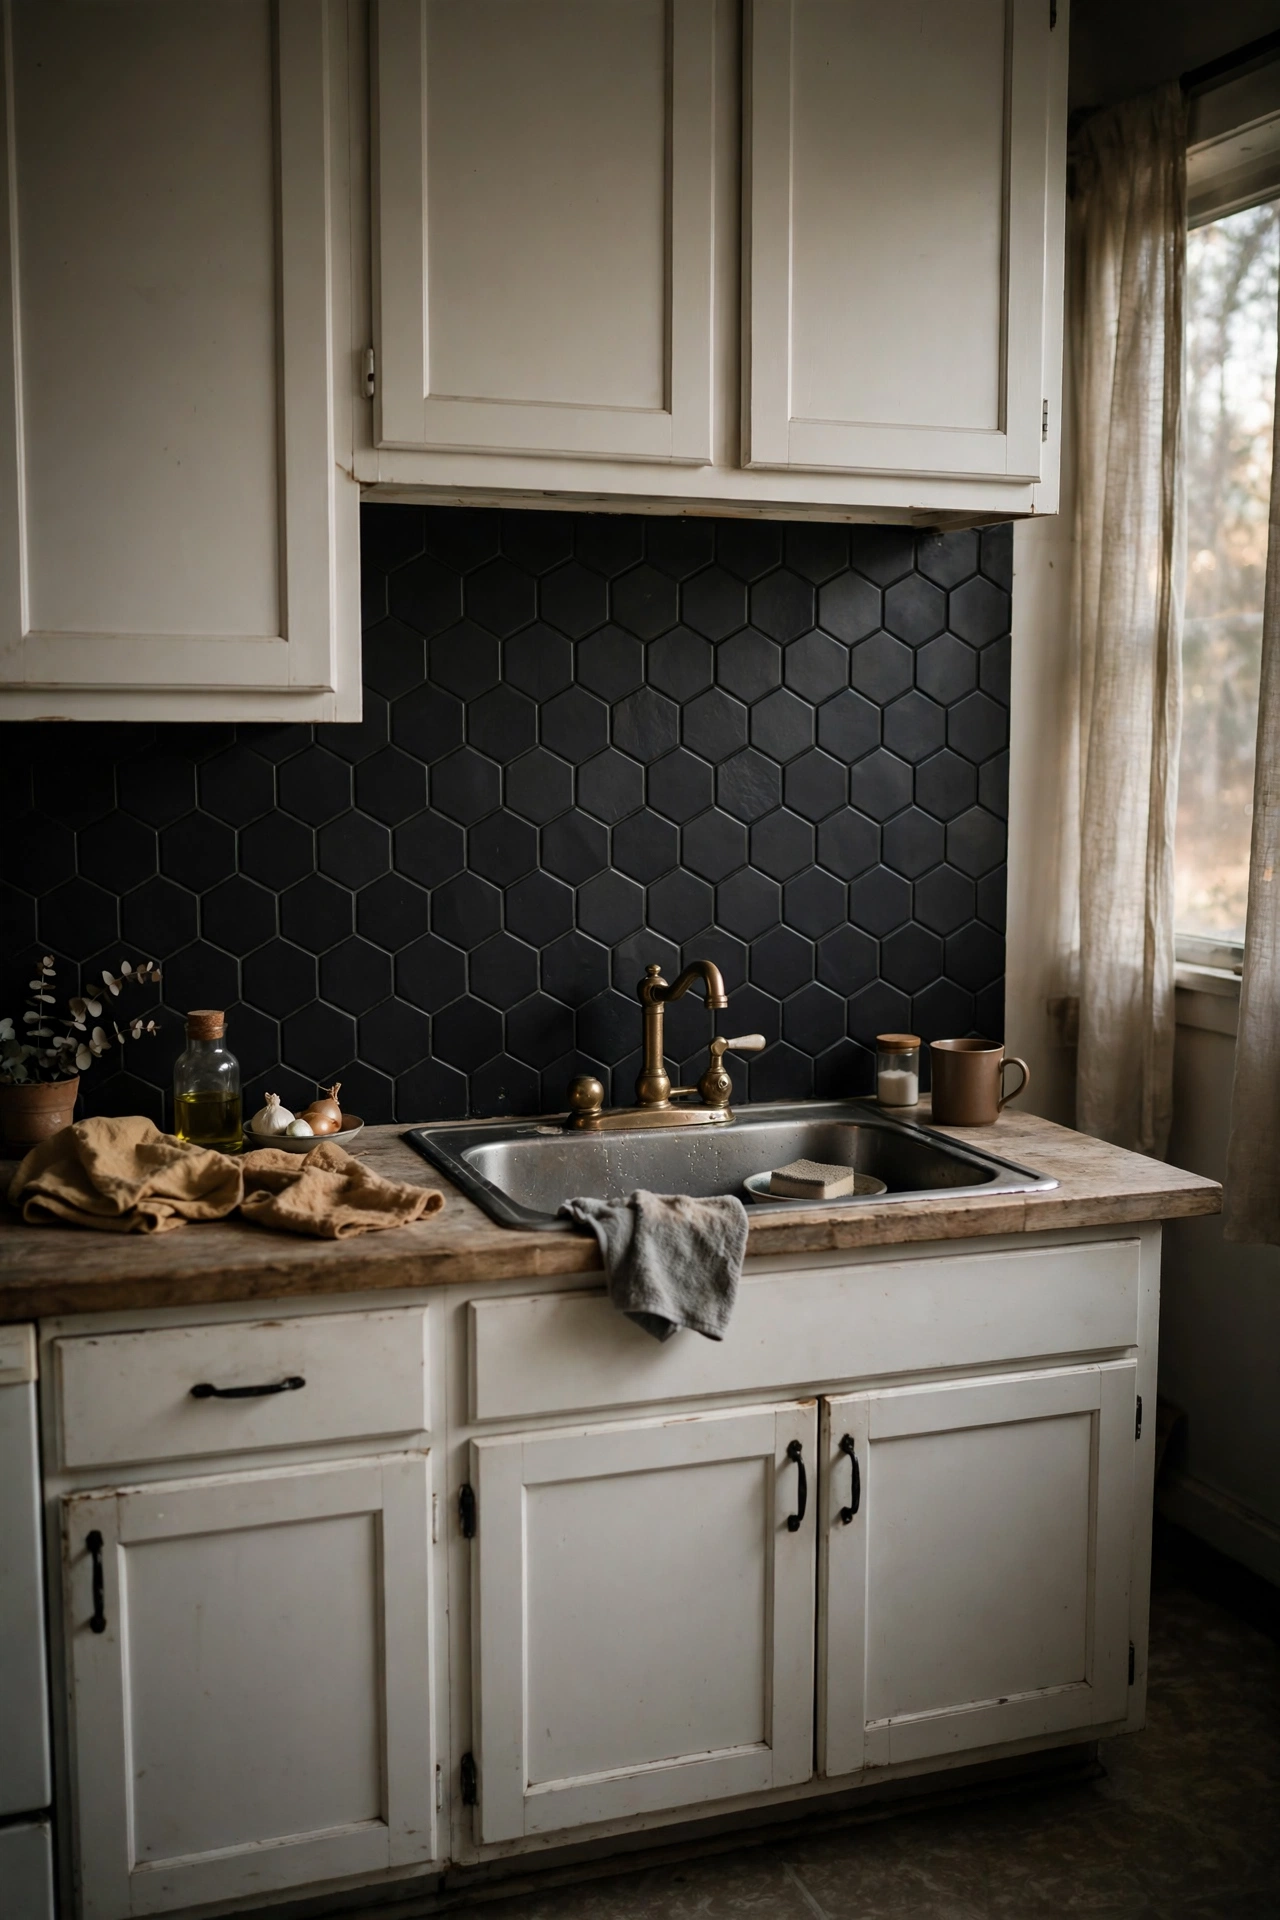
Matte black hexagons are the drama choice — moody, modern, and incredible against white cabinets and brass taps. The matte finish is key; glossy black shows every fingerprint. Keep the rest of the kitchen light so it doesn’t overwhelm. I tried this and the one mistake to avoid is black on black; against dark cabinets it just disappears into gloom. Black hexagons need light around them to shine.
Cost: ~$35 | Time: 2 hours
10. Sage Green Subway Tiles
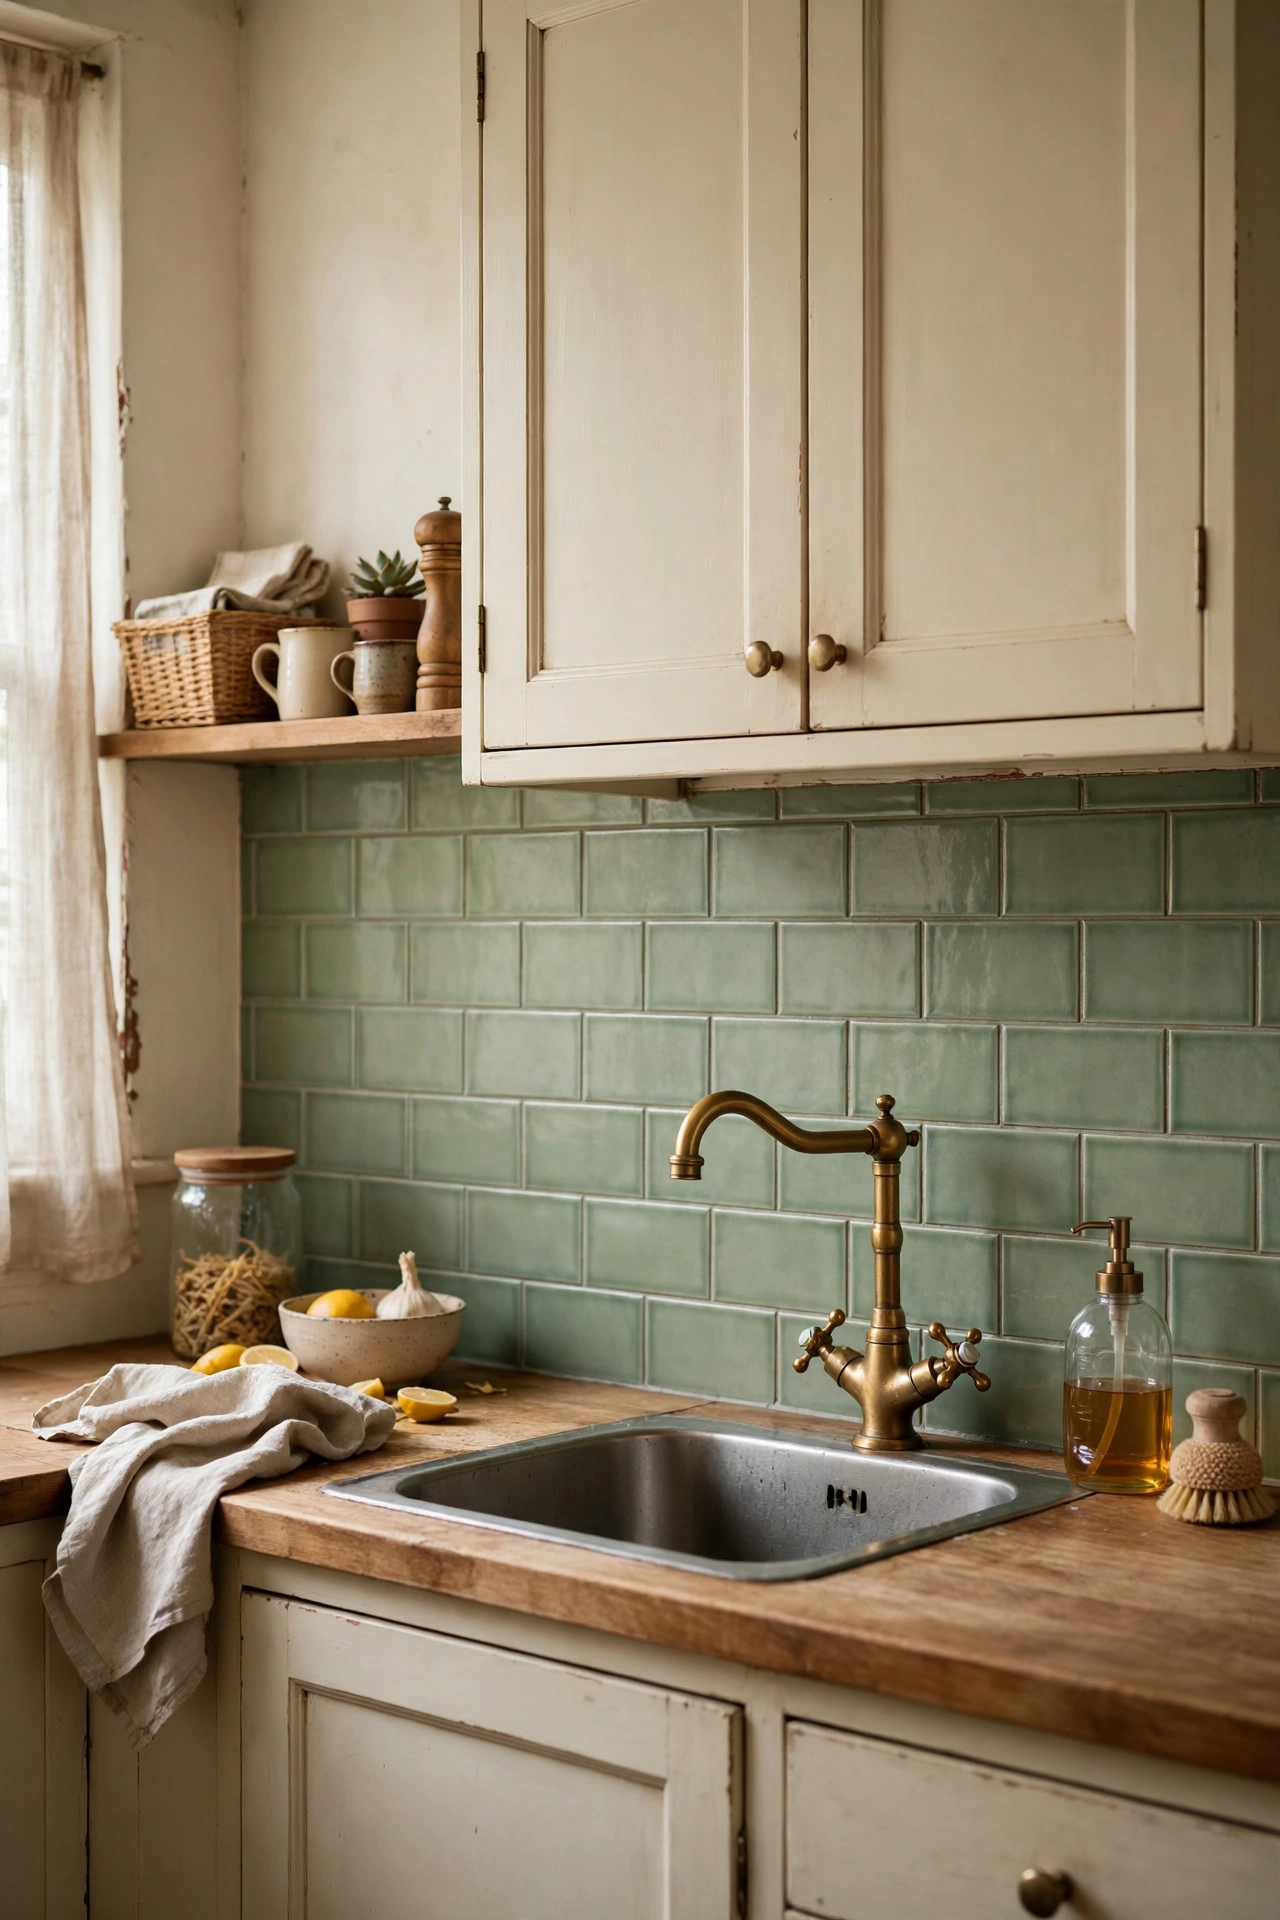
Sage green subway tiles are the colour trend that actually has vintage roots — they look like they’ve been in a French farmhouse for a century. The muted green is forgiving with crumbs and splashes too. Pair with cream cabinets and brass for the full effect. I tried this and the one mistake to avoid is a green that’s too minty; the grey-green sage tones look vintage, while mint reads as 1950s diner. Check the swatch in your own light.
Cost: ~$32 | Time: 2 hours
14. Navy Blue Gloss Rectangles
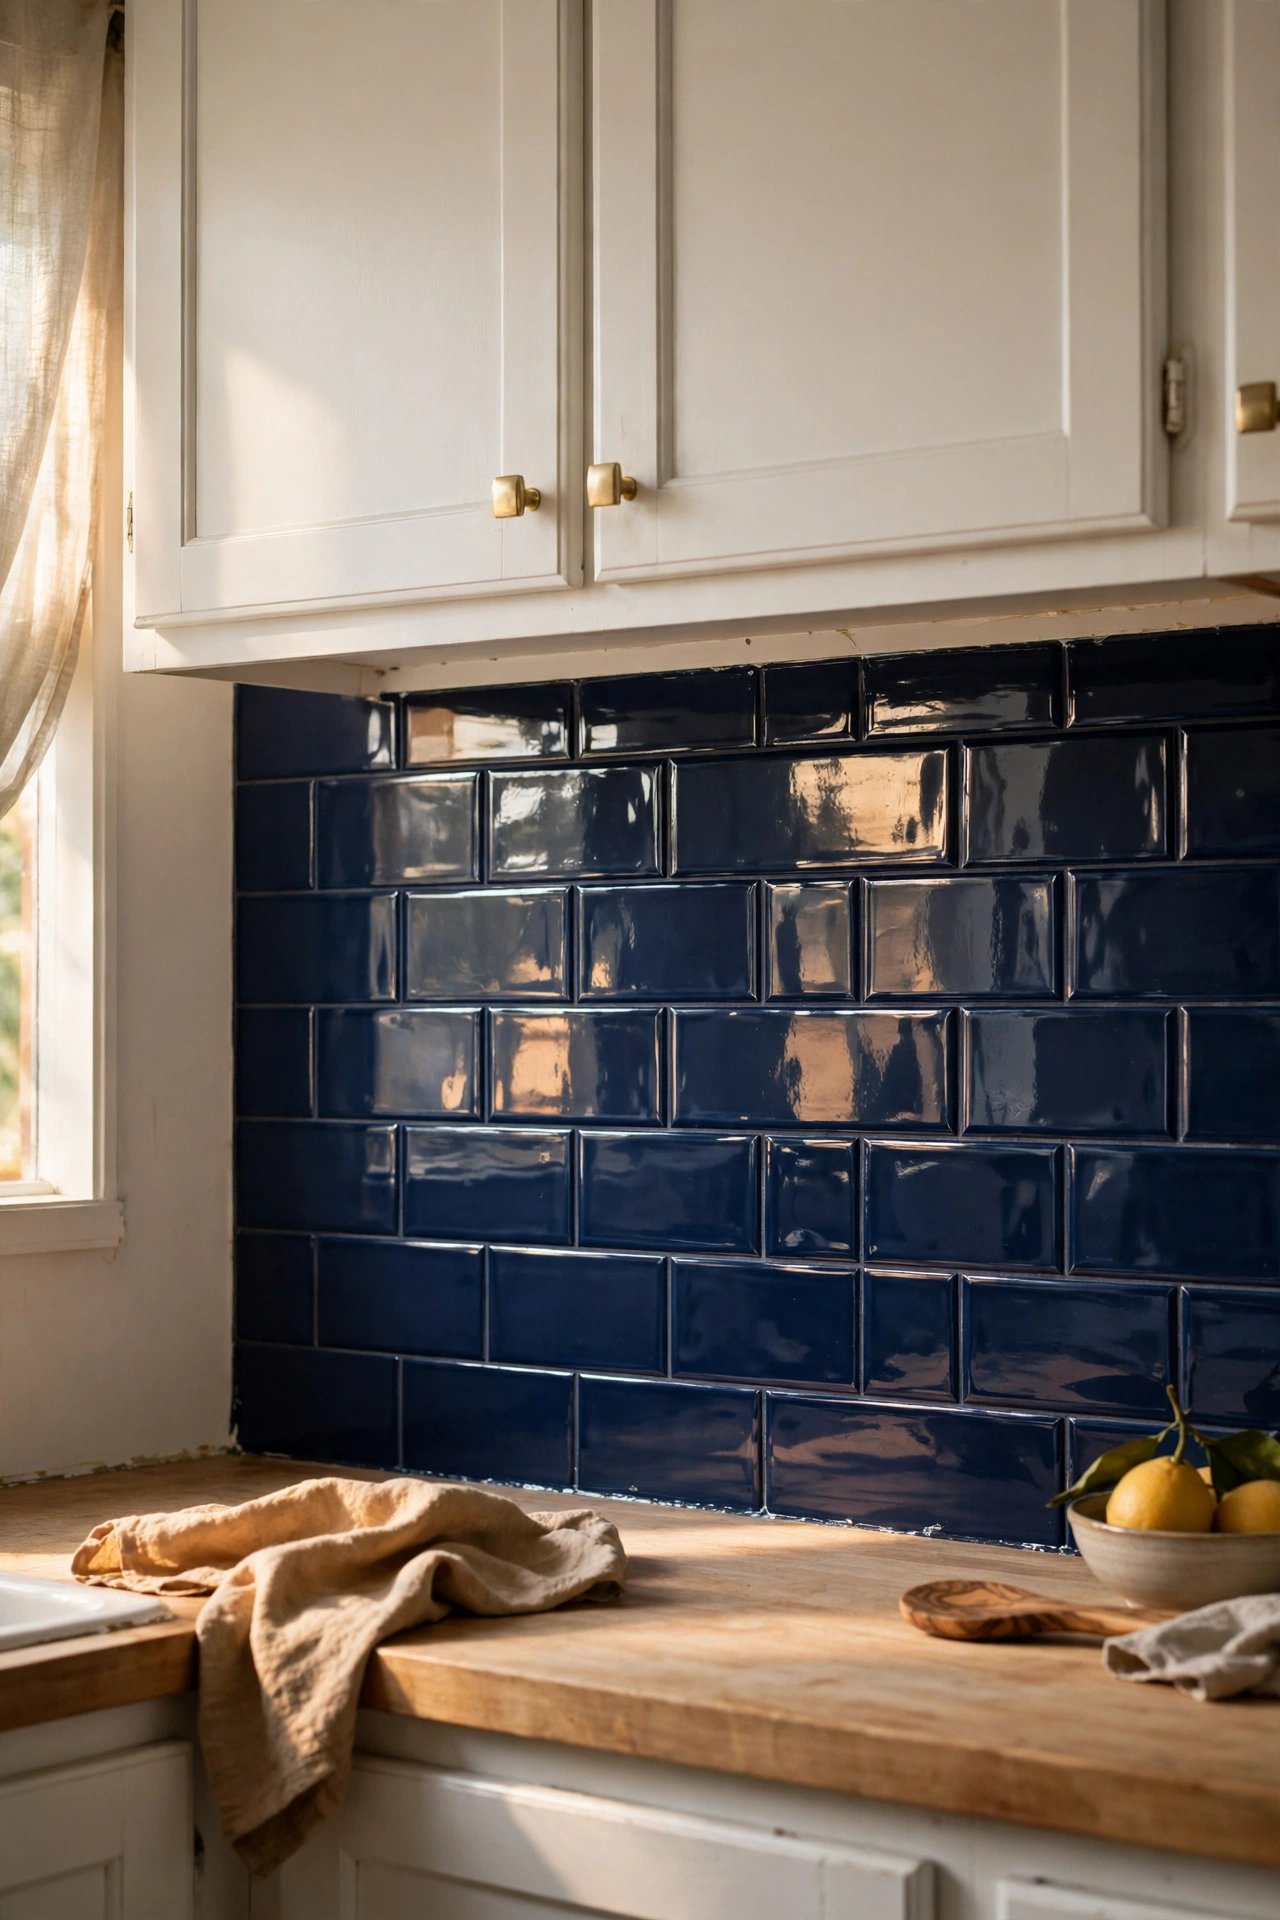
Glossy navy rectangles bounce light around the kitchen while adding rich, saturated colour — they’re stunning against white and marble-look worktops. The gloss finish wipes clean easily, which matters behind a hob. I tried this and the one mistake to avoid is navy in a north-facing kitchen with no other light; it can go very dark. Make sure you’ve got decent lighting or a bright window before committing.
Cost: ~$36 | Time: 2 hours
Natural and Textured Looks
2. Handmade-Look Zellige Squares
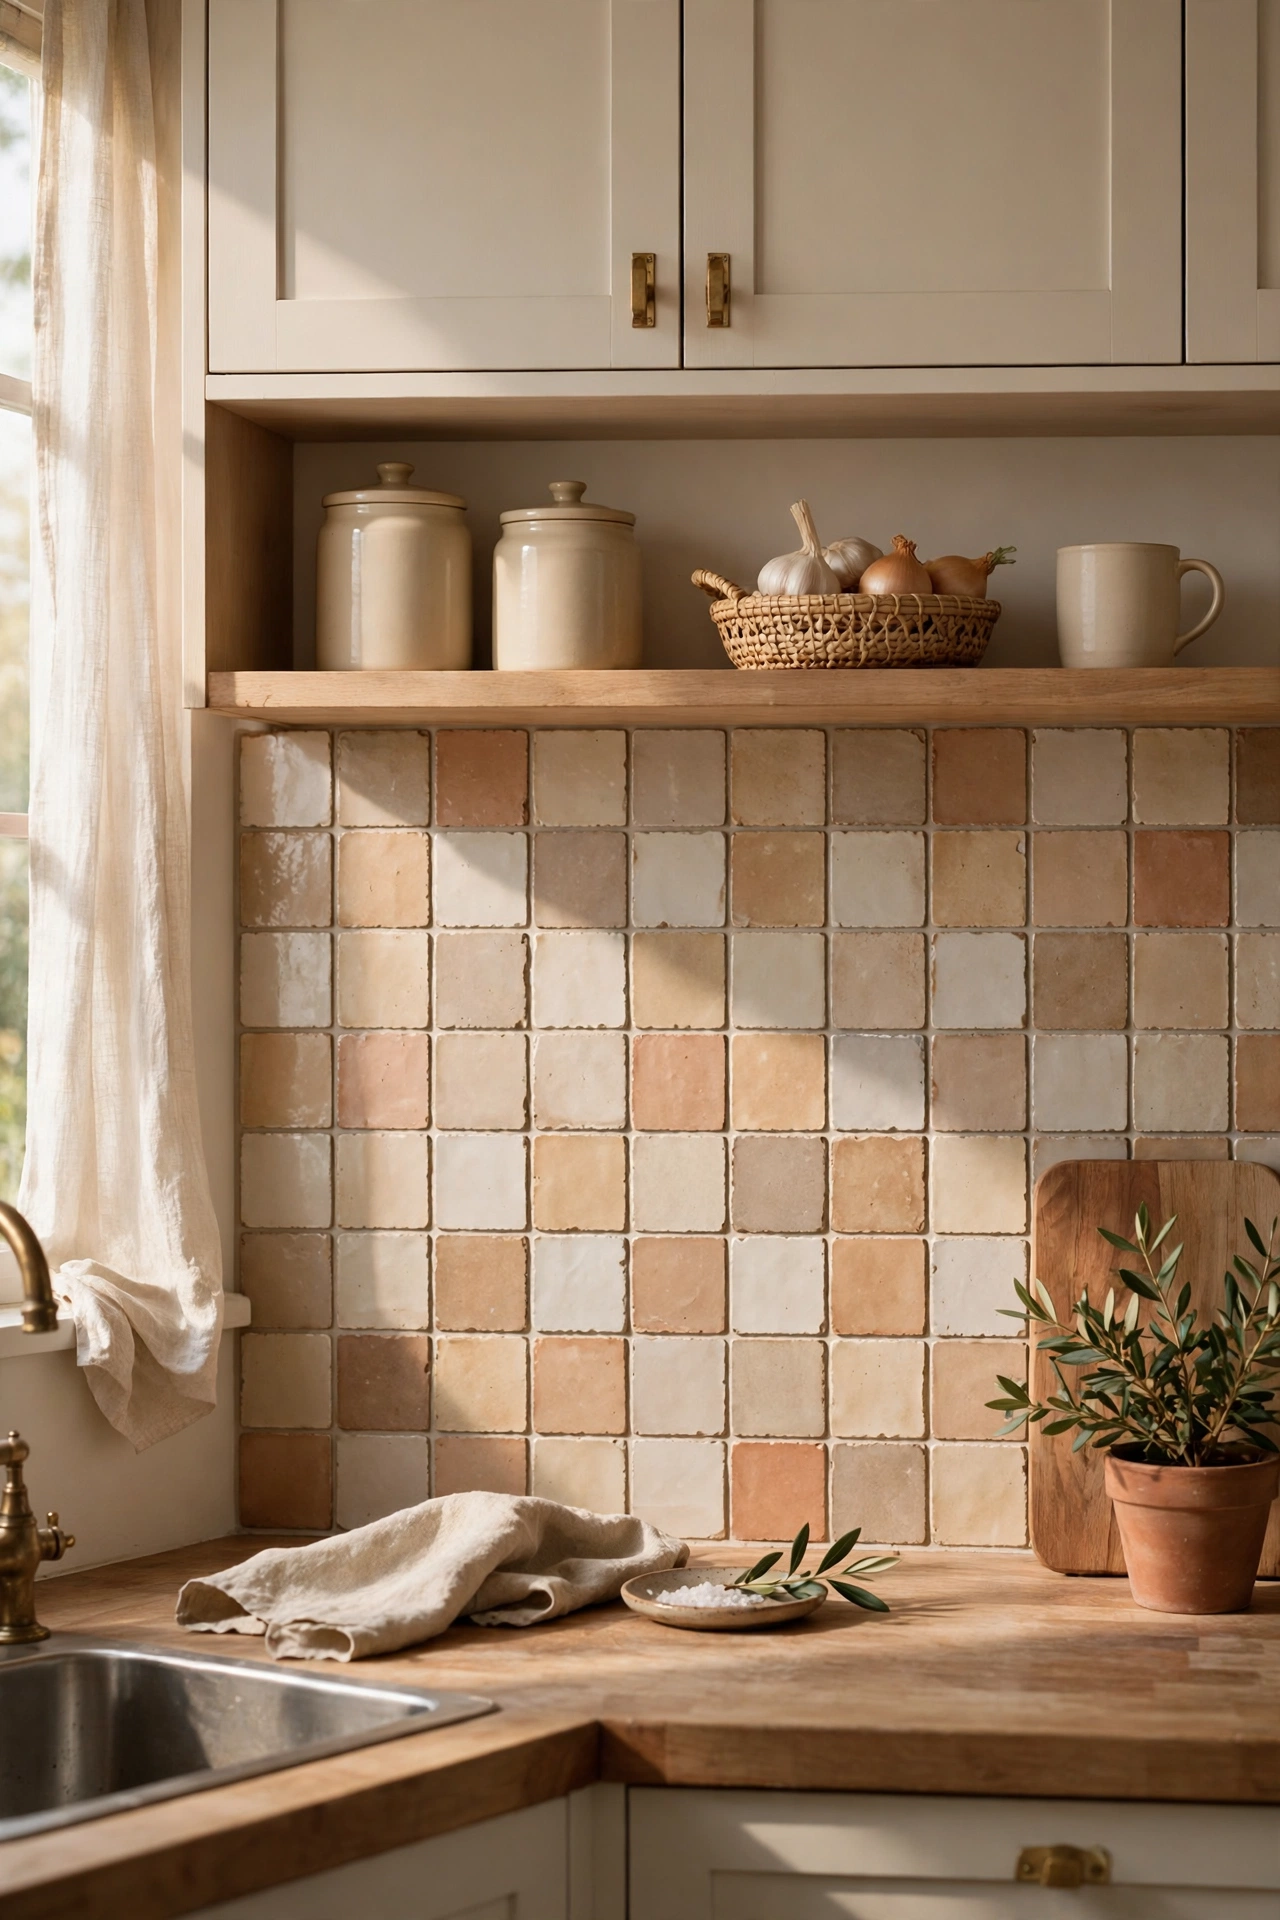
Zellige-look squares with their imperfect, handmade glaze variations are the designer choice — each tile looks slightly different, which is exactly the charm. The peel-and-stick versions capture the tonal variation surprisingly well. I tried this and the one mistake to avoid is lining them up too perfectly; the handmade look wants slight irregularity. Don’t stress about millimetre-perfect alignment — it defeats the purpose.
Cost: ~$40 | Time: 2 hours
3. Marble Herringbone Sheets
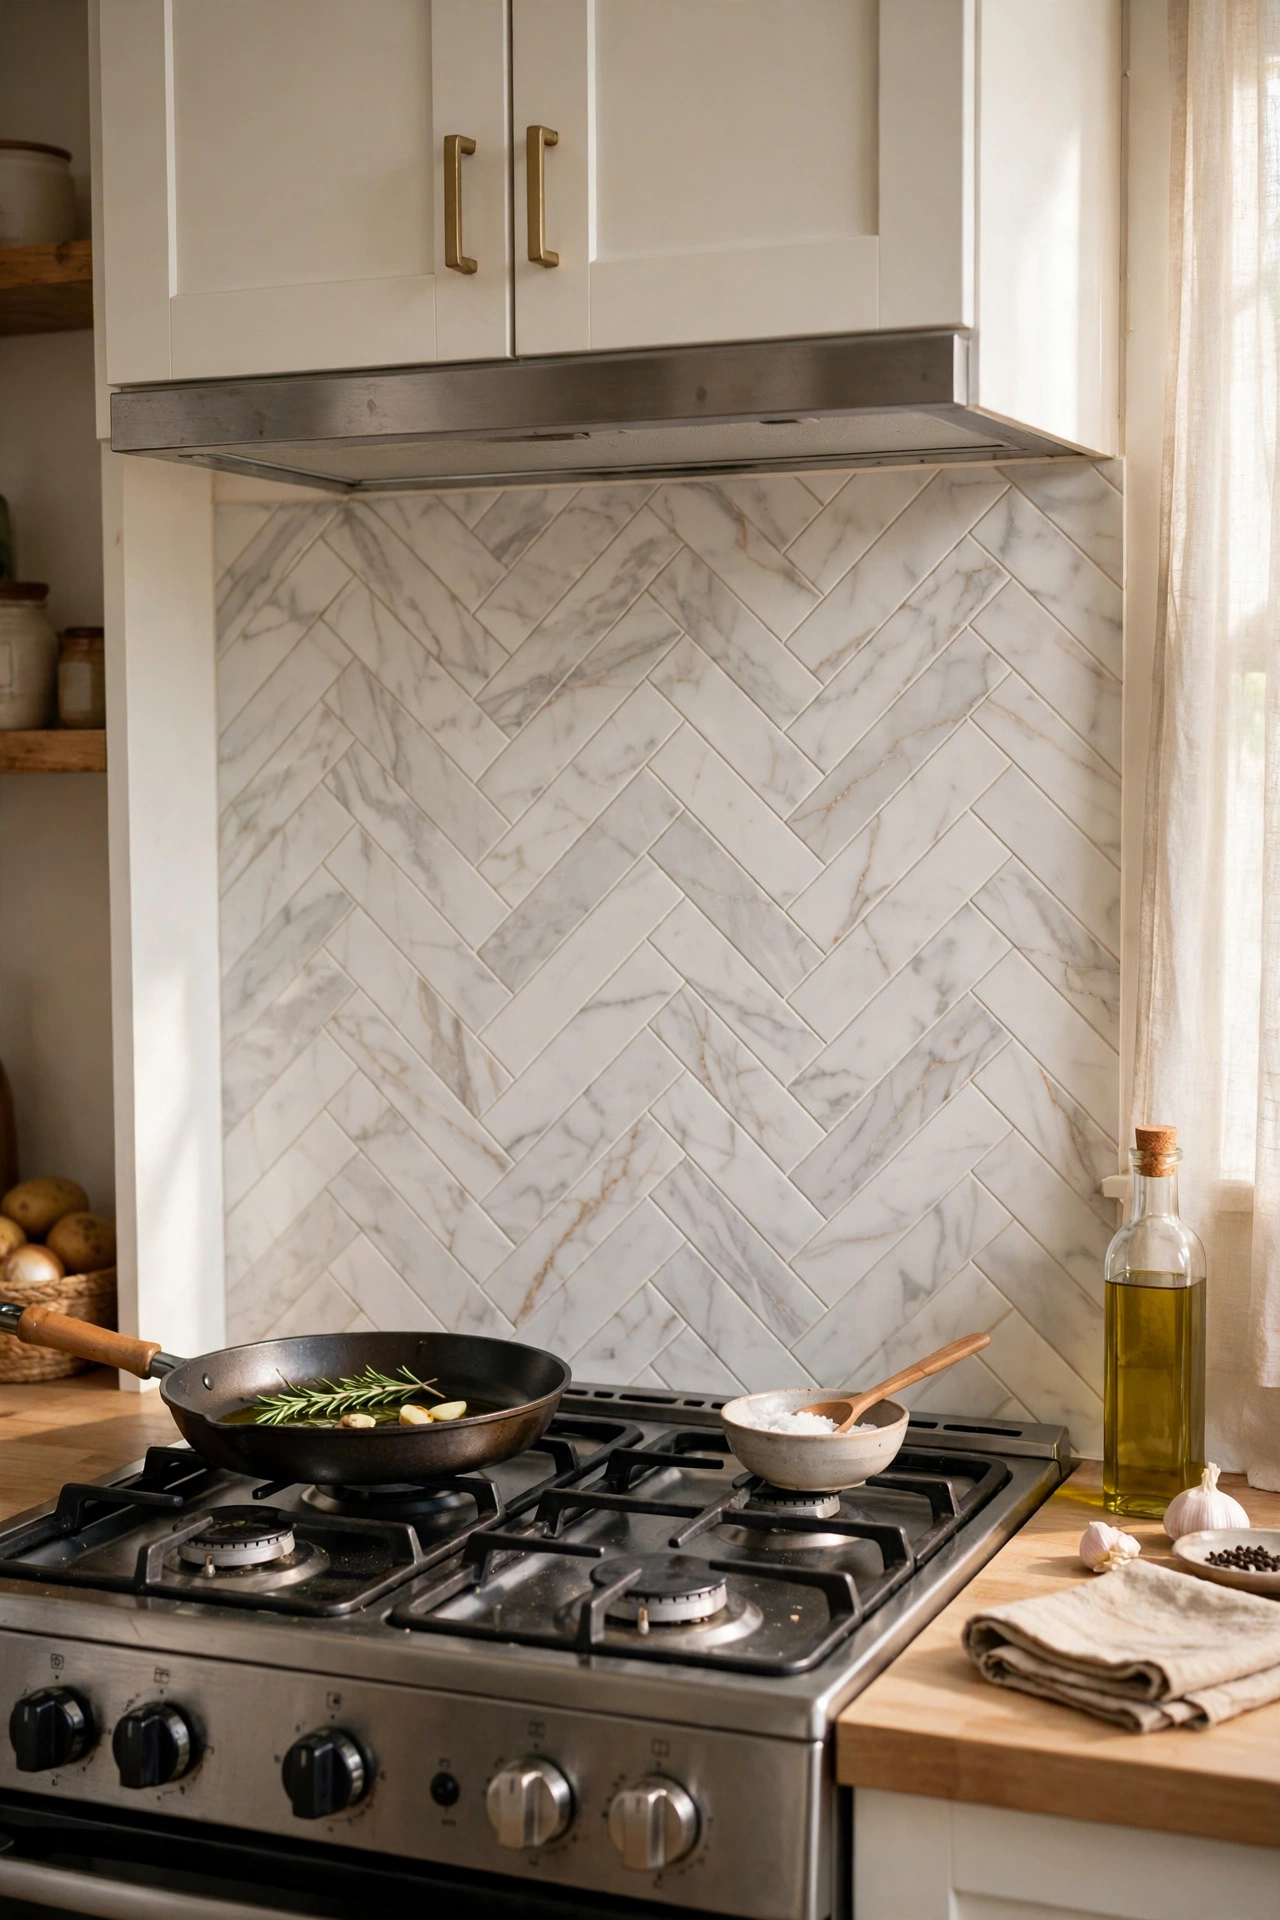
Herringbone in a marble look is the pattern that makes people ask who your tiler was. The sheets come pre-arranged so you don’t have to set each piece — just align the sheets carefully. Keep the pattern running in one direction for calm, or flip alternate sheets for energy. I tried this and the one mistake to avoid is stretching the sheets to fit; they distort and the pattern goes wonky. Cut to fit instead, even if it wastes a little.
Cost: ~$42 | Time: 3 hours
7. Terracotta-Effect Square Tiles
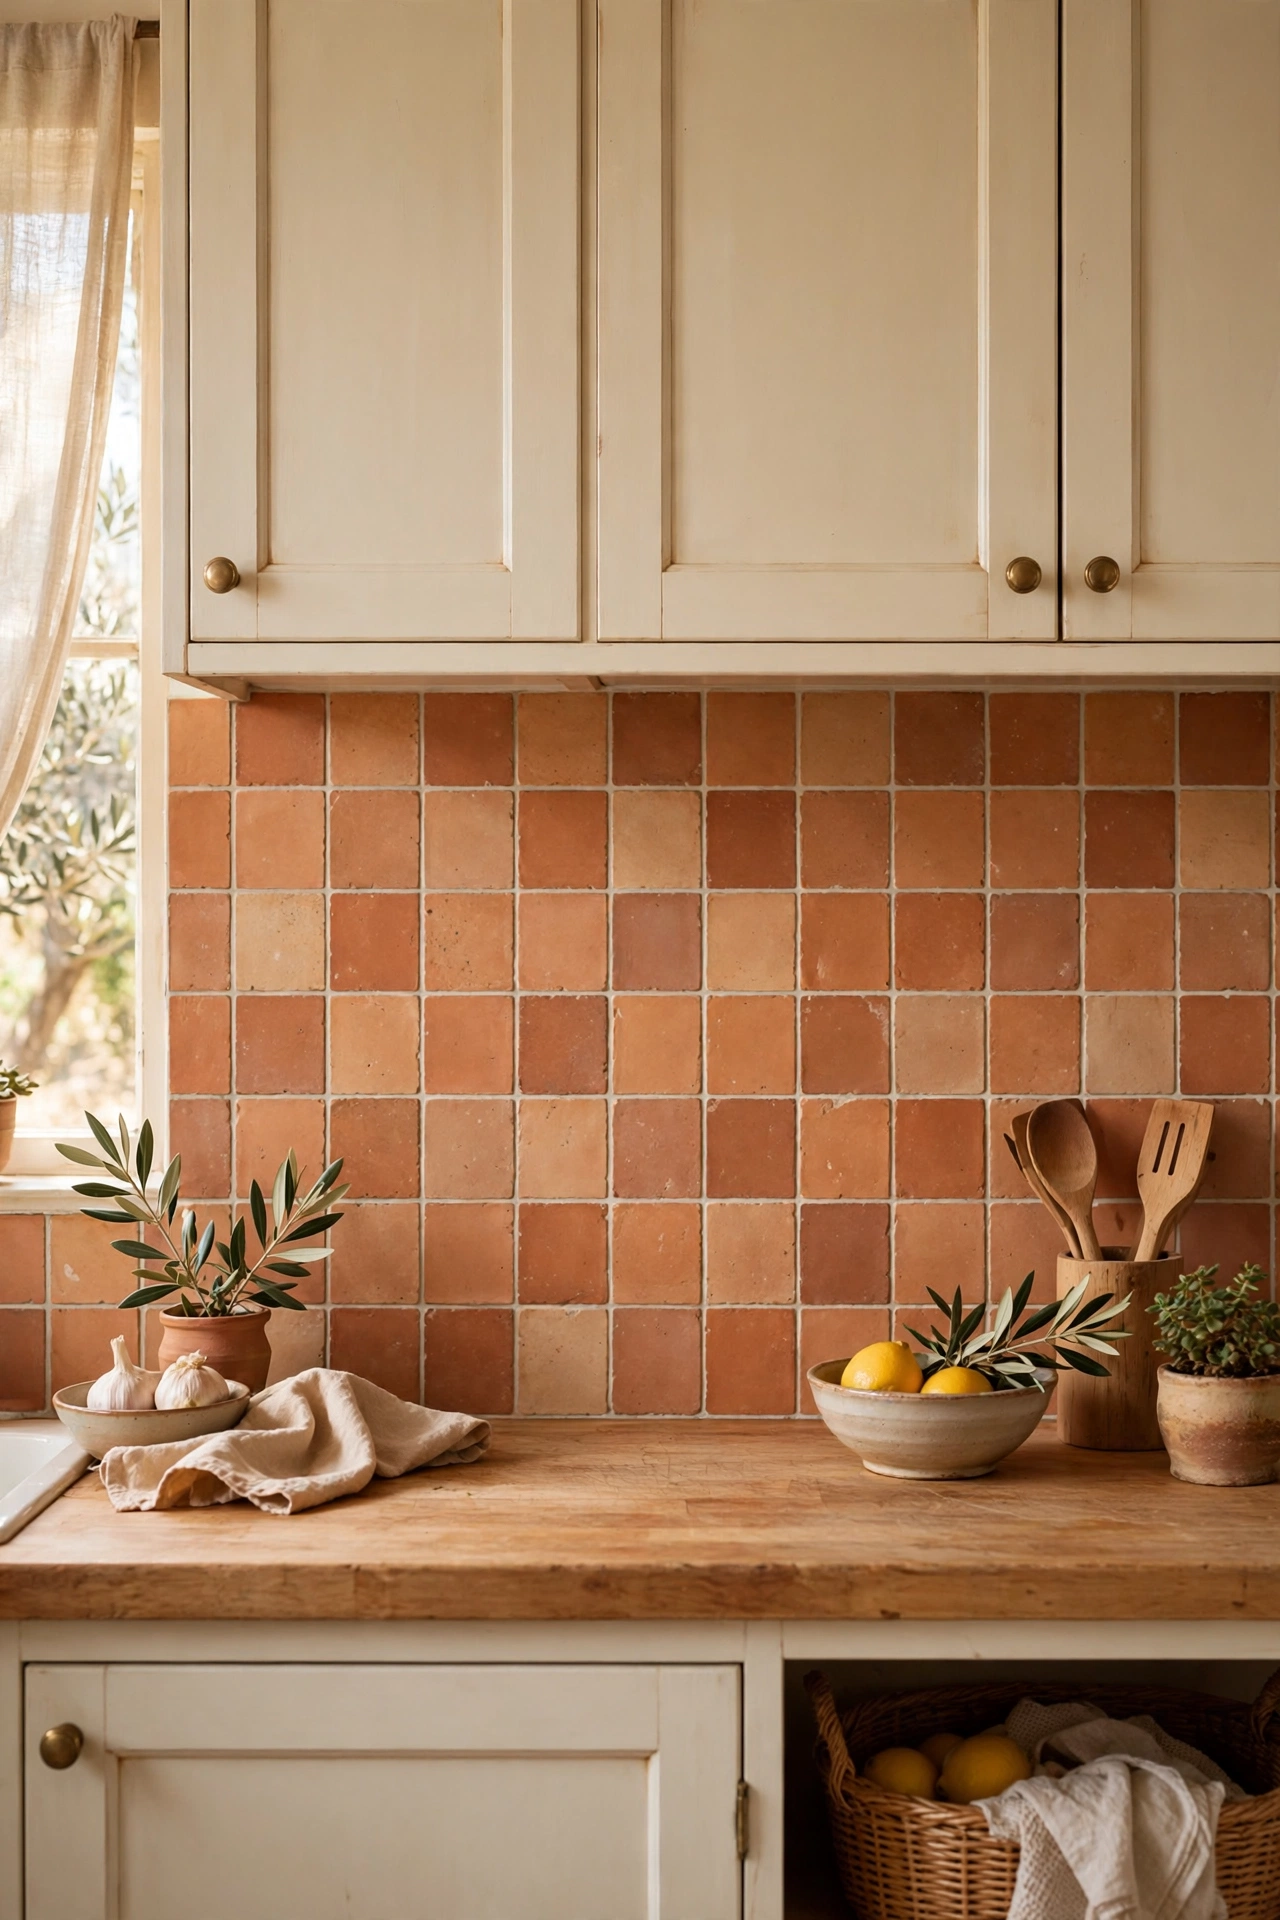
Terracotta-effect squares bring Mediterranean warmth to the backsplash — gorgeous with cream cabinets, wooden worktops, and trailing plants. The matte, slightly varied finish is what sells it. I tried this and the one mistake to avoid is pairing it with cool grey cabinets; terracotta needs warmth around it. Cream, wood, and sage green are its natural friends.
Cost: ~$30 | Time: 2 hours
8. Glass-Look Mosaic Strips
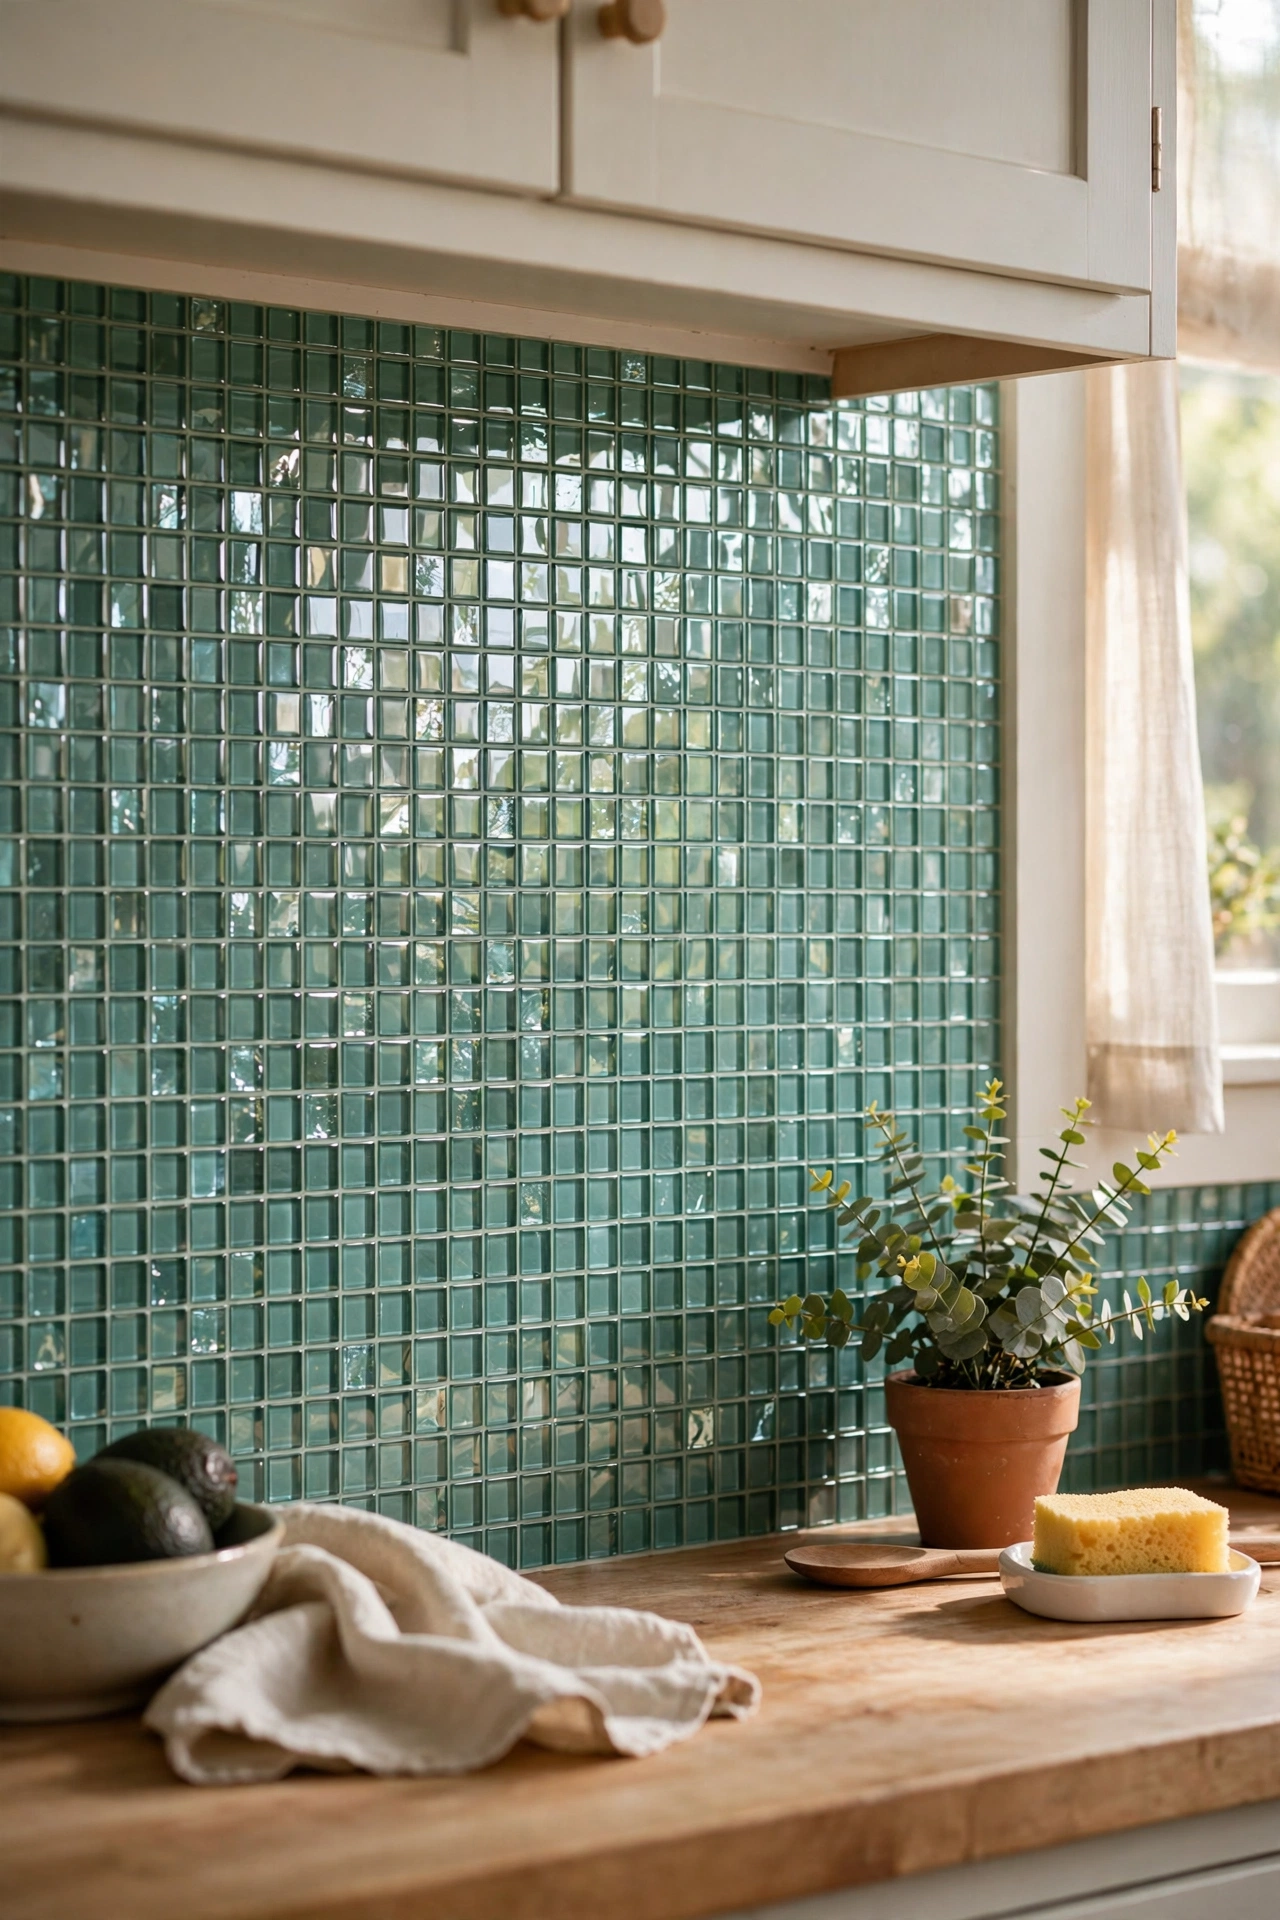
Glass-look mosaic strips in sea greens and blues add shimmer and light to the backsplash — lovely in a kitchen that needs brightening. The reflective surface bounces daylight around beautifully. Keep the colour palette tight for a calm look. I tried this and the one mistake to avoid is the rainbow mixed sheets; they look like a swimming pool. Pick one colour family and stick to it.
Cost: ~$34 | Time: 2 hours
15. Limestone-Look Textured Panels
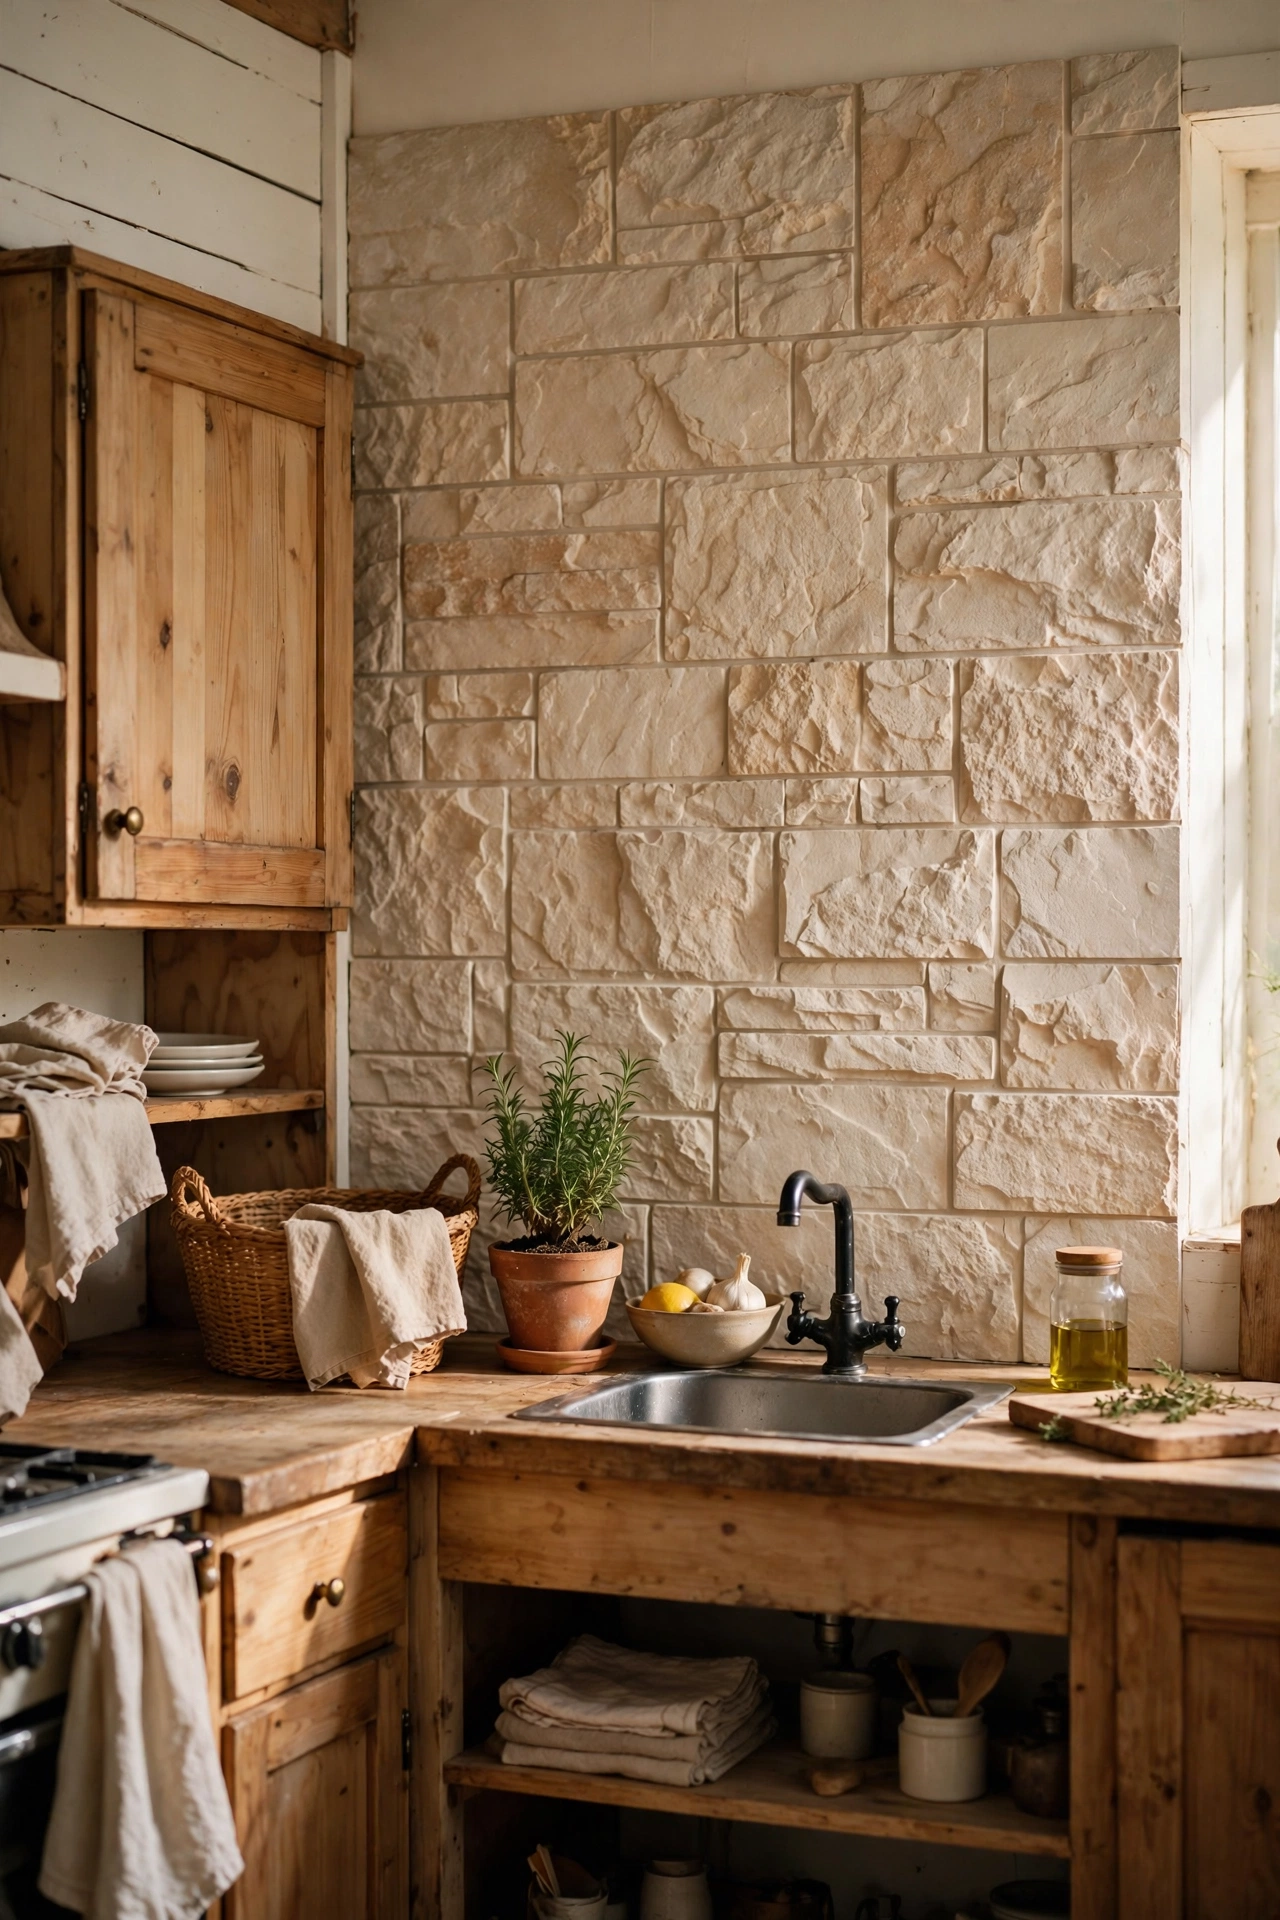
Textured limestone-look panels in warm neutrals give you a soft, natural stone feel that’s calm and timeless. The subtle texture catches light without shouting. They suit kitchens that lean rustic or Mediterranean. I tried this and the one mistake to avoid is the ultra-smooth flat versions; without texture, limestone-look just reads as beige plastic. The 3D surface is what makes it convincing. If you love natural textures, (see also: vintage-kitchen-decor-ideas) continues the theme.
Cost: ~$38 | Time: 2 hours
The right peel-and-stick backsplash genuinely fools people — I’ve had a tiler friend tap mine and go quiet. Pick the look that makes you happy, prep the wall properly, and take your time with the first row. Save this one for later — you’ll want it open when you’re comparing patterns in the shop.
