23 Under Cabinet Lighting Ideas on a Budget
Good light under the wall cabinets is the difference between a kitchen that feels gloomy and one that glows — and these under cabinet lighting ideas on a budget prove you don’t need an electrician or a big spend to get it.
Every option below is renter-friendly or DIY-simple, most cost under $25, and all of them make chopping, reading recipes and late-night tea-making noticeably pleasanter. For the wider lighting picture, see my budget kitchen lighting ideas and small kitchen ideas on a budget next.
1. Battery Puck Lights with Remote
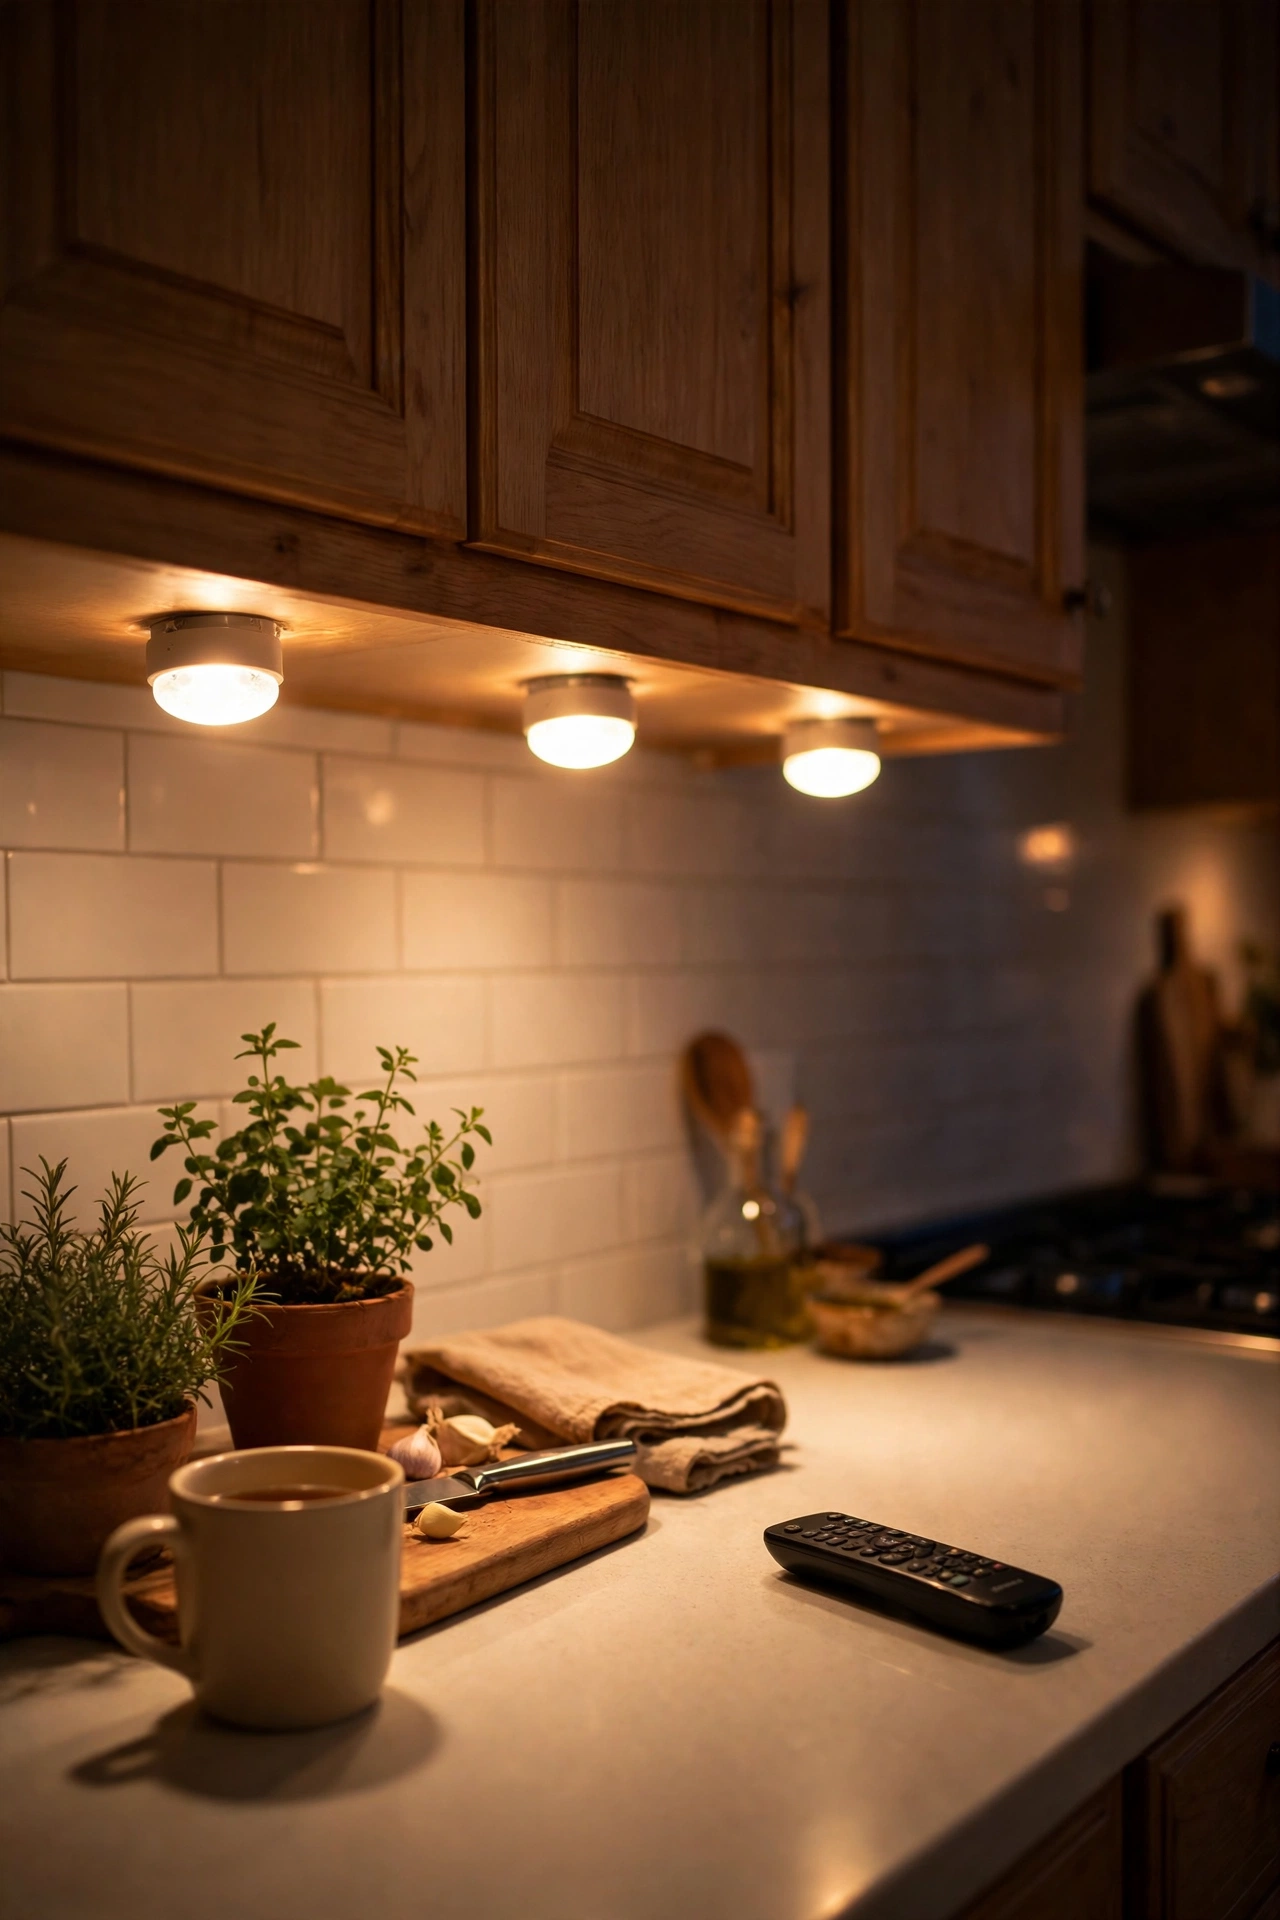
The classic starter option: round battery puck lights that stick under cabinets with adhesive pads and switch on with a tap or a remote. Place one every 40–50cm for even coverage, set slightly back from the front edge so you see light, not fittings. The remote sets let you dim them for evening ambience. They’re the cheapest way to test whether under-cabinet lighting suits your kitchen before spending more. I tried this and the one mistake to avoid is buying cool-white-only pucks; they cast a blue-grey tint that makes food look unappetising. Warm white is worth the tiny premium.
Cost: ~$14 | Time: 20 minutes
2. USB-Rechargeable LED Bars
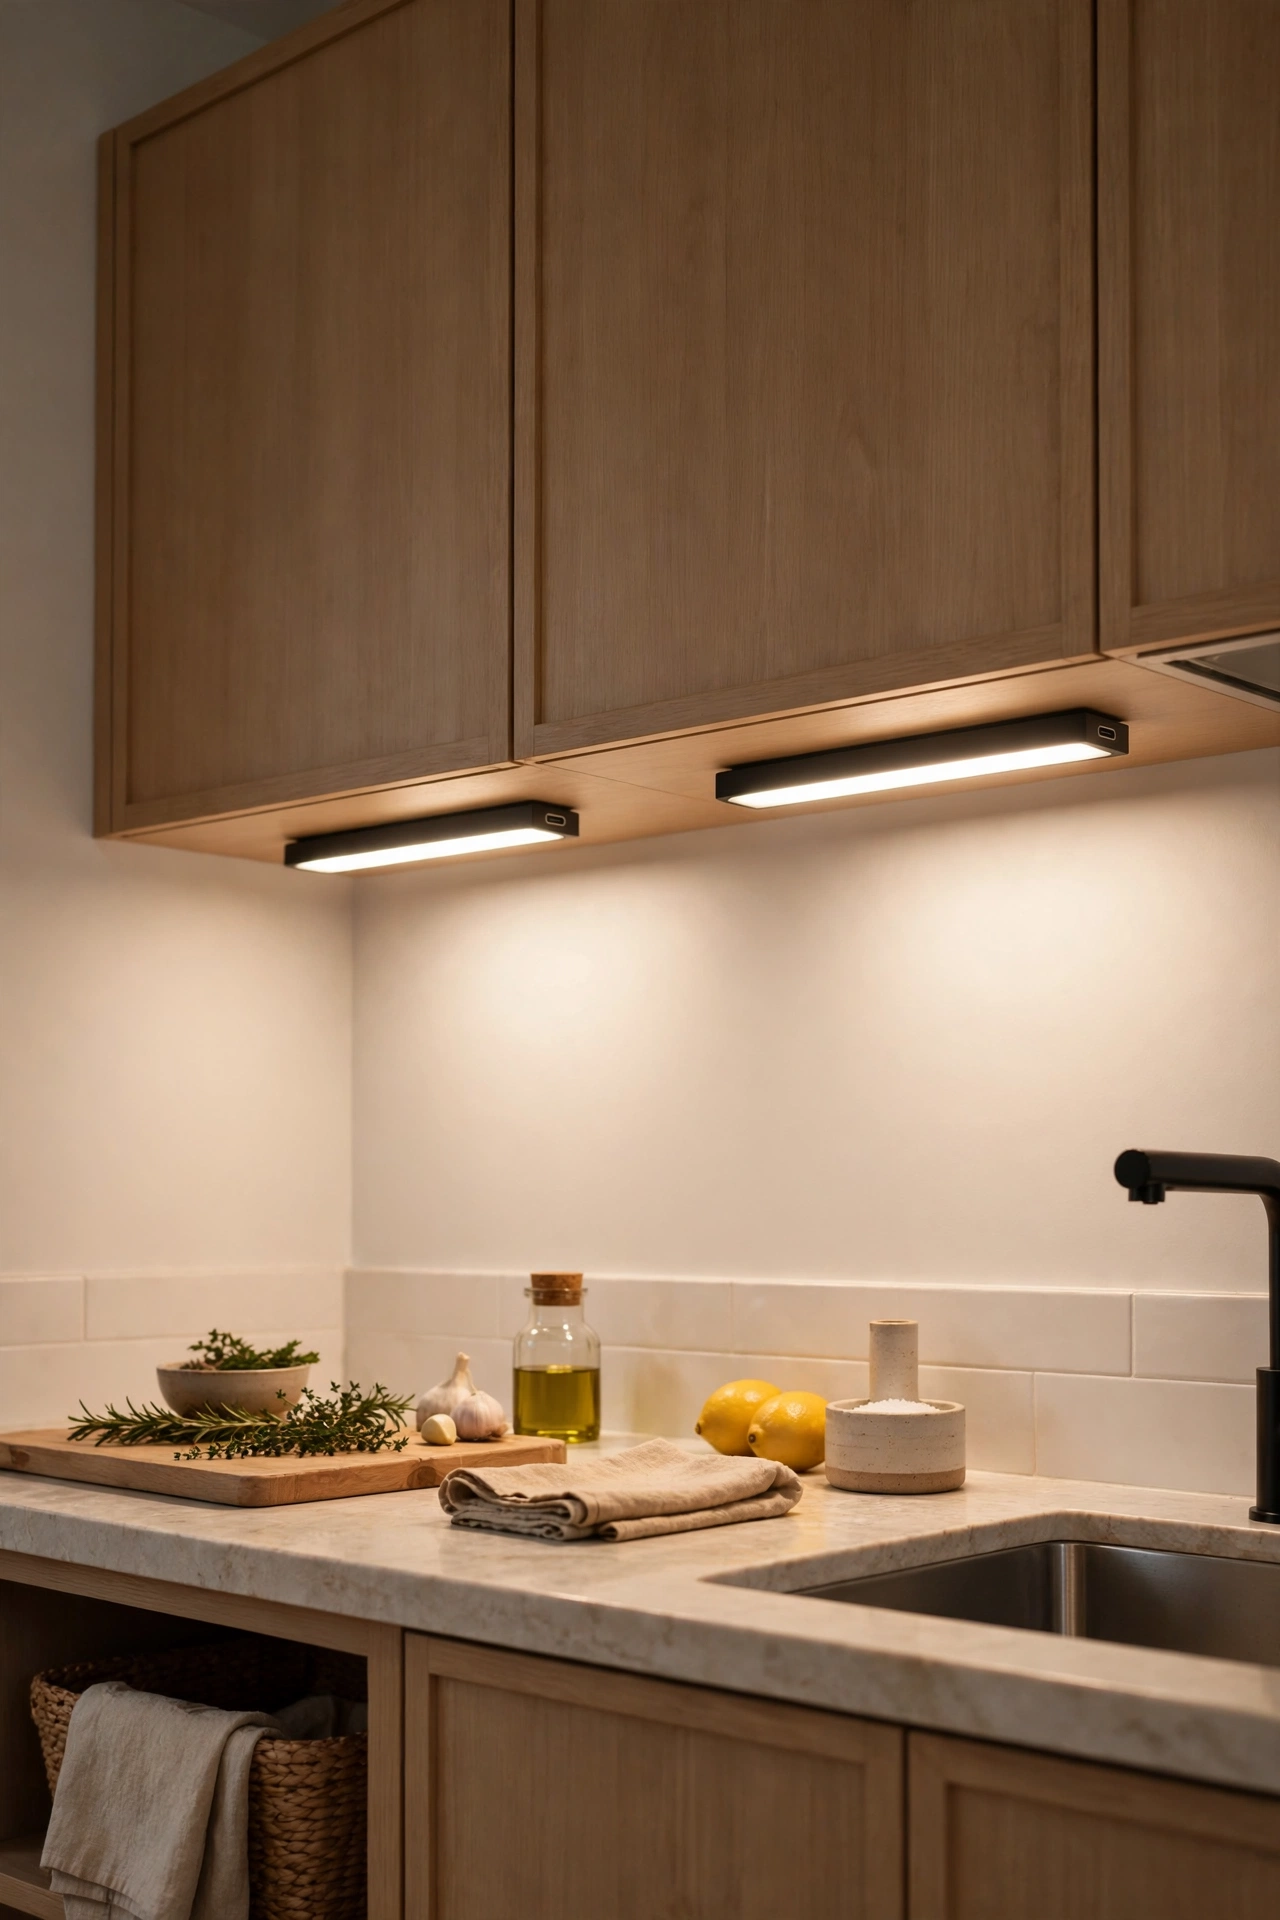
Slim LED bars that recharge via USB are the grown-up version of puck lights: brighter, more even, and no endless battery buying. Stick them up with the included magnetic mounts or adhesive strips, and recharge every few weeks depending on use. Many have three colour temperatures so you can switch from daylight-bright prep light to warm evening glow. The magnetic mounts are brilliant — pop the bar off to recharge, click it back on. I tried this and the one mistake to avoid is letting them run completely flat repeatedly; lithium batteries last far longer if you top them up before they die.
Cost: ~$22 | Time: 20 minutes
3. Peel-and-Stick LED Strip Lights
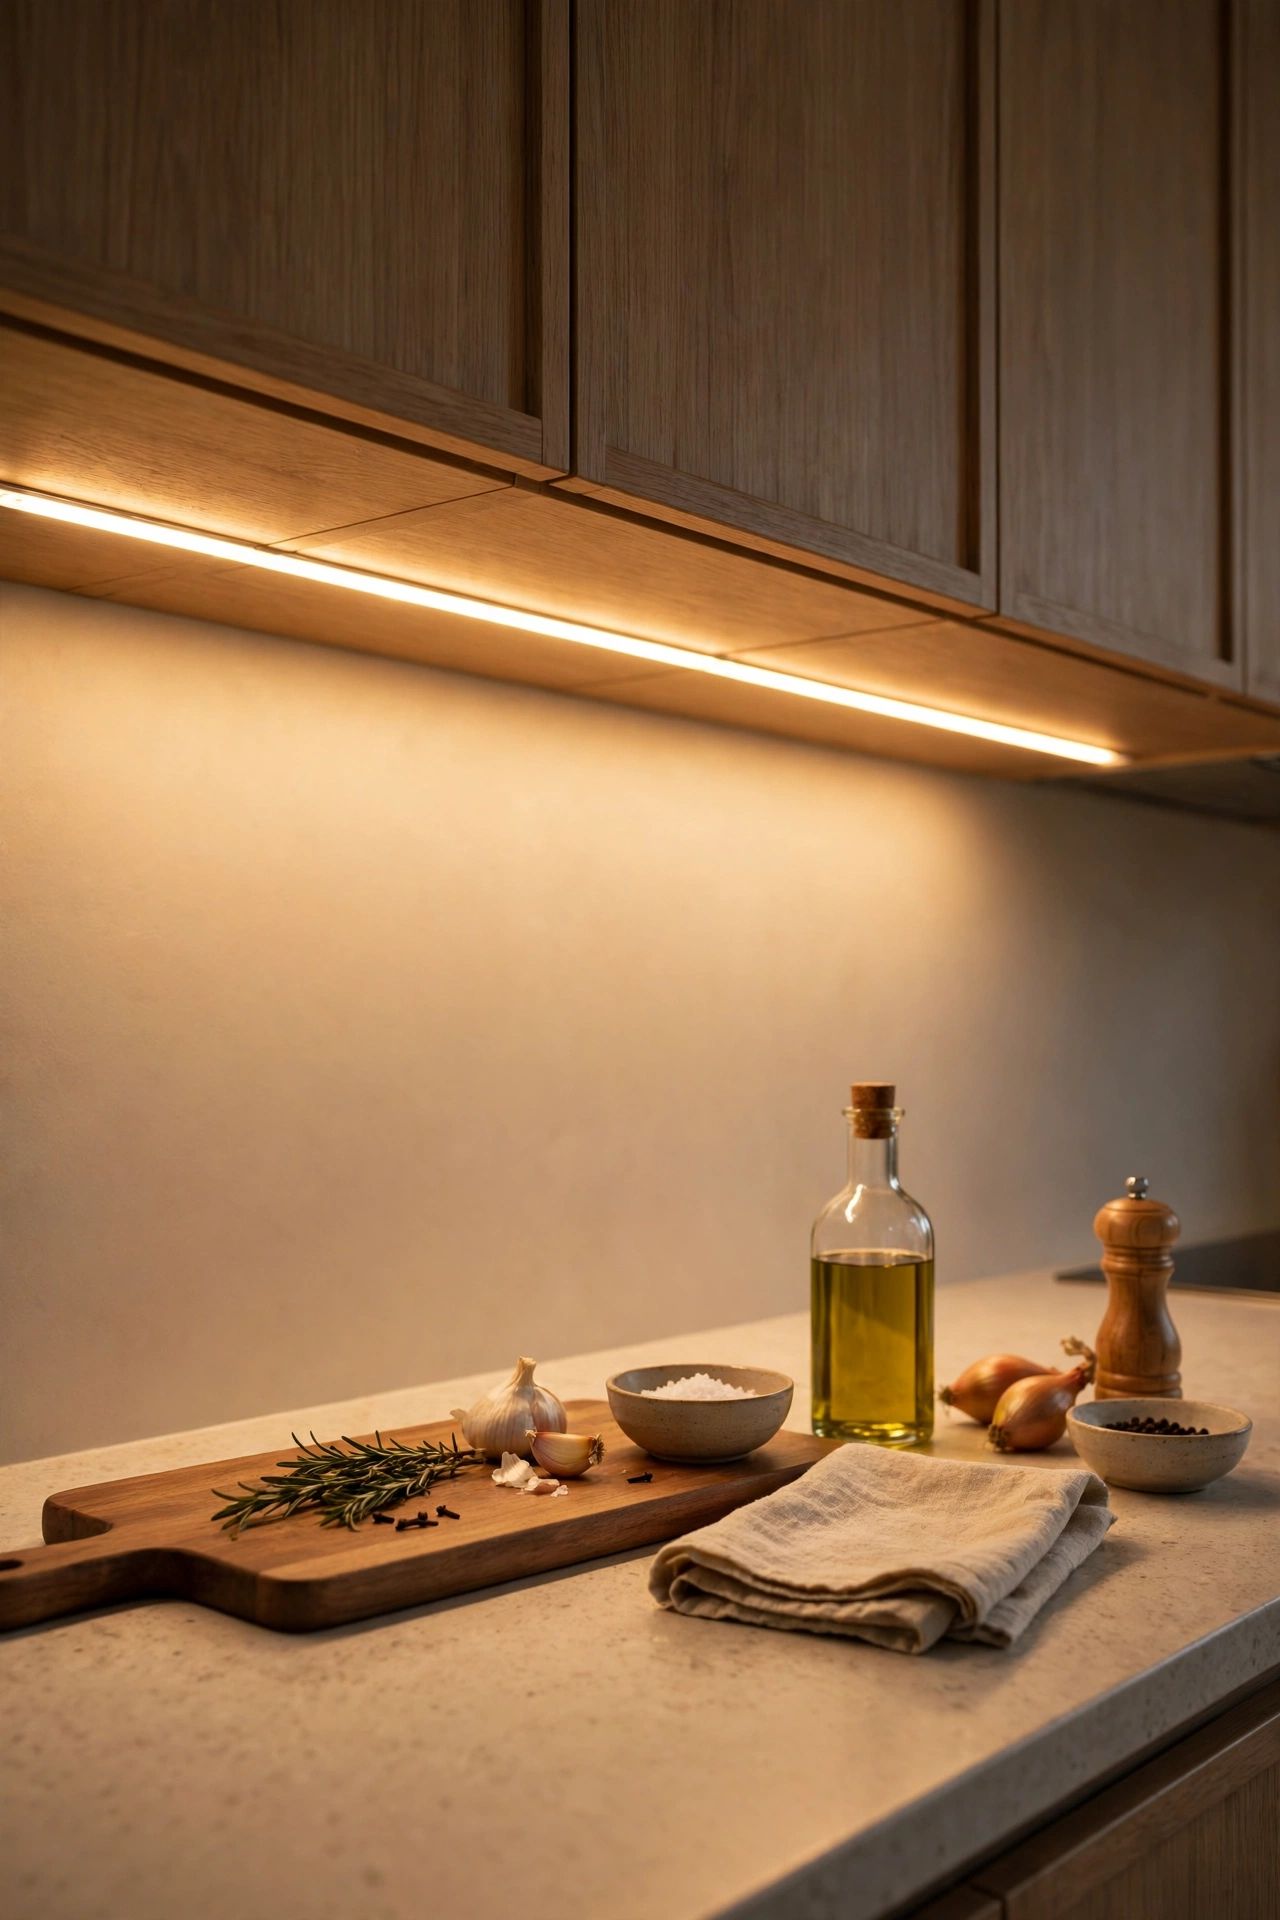
Self-adhesive LED strips give continuous, shadow-free light along the whole cabinet run — the most professional look for the least money. Clean the underside of the cabinets, peel the backing, and press the strip on in one smooth run, cutting only at the marked points. Battery or USB-powered versions need no wiring at all. The even wash of light makes worktops look wider and cleaner. I tried this and the one mistake to avoid is sticking the strip right at the front edge; set it back a third of the cabinet depth so the light washes the worktop instead of glaring into your eyes.
Cost: ~$16 | Time: 30 minutes
4. Motion-Sensor Cabinet Lights
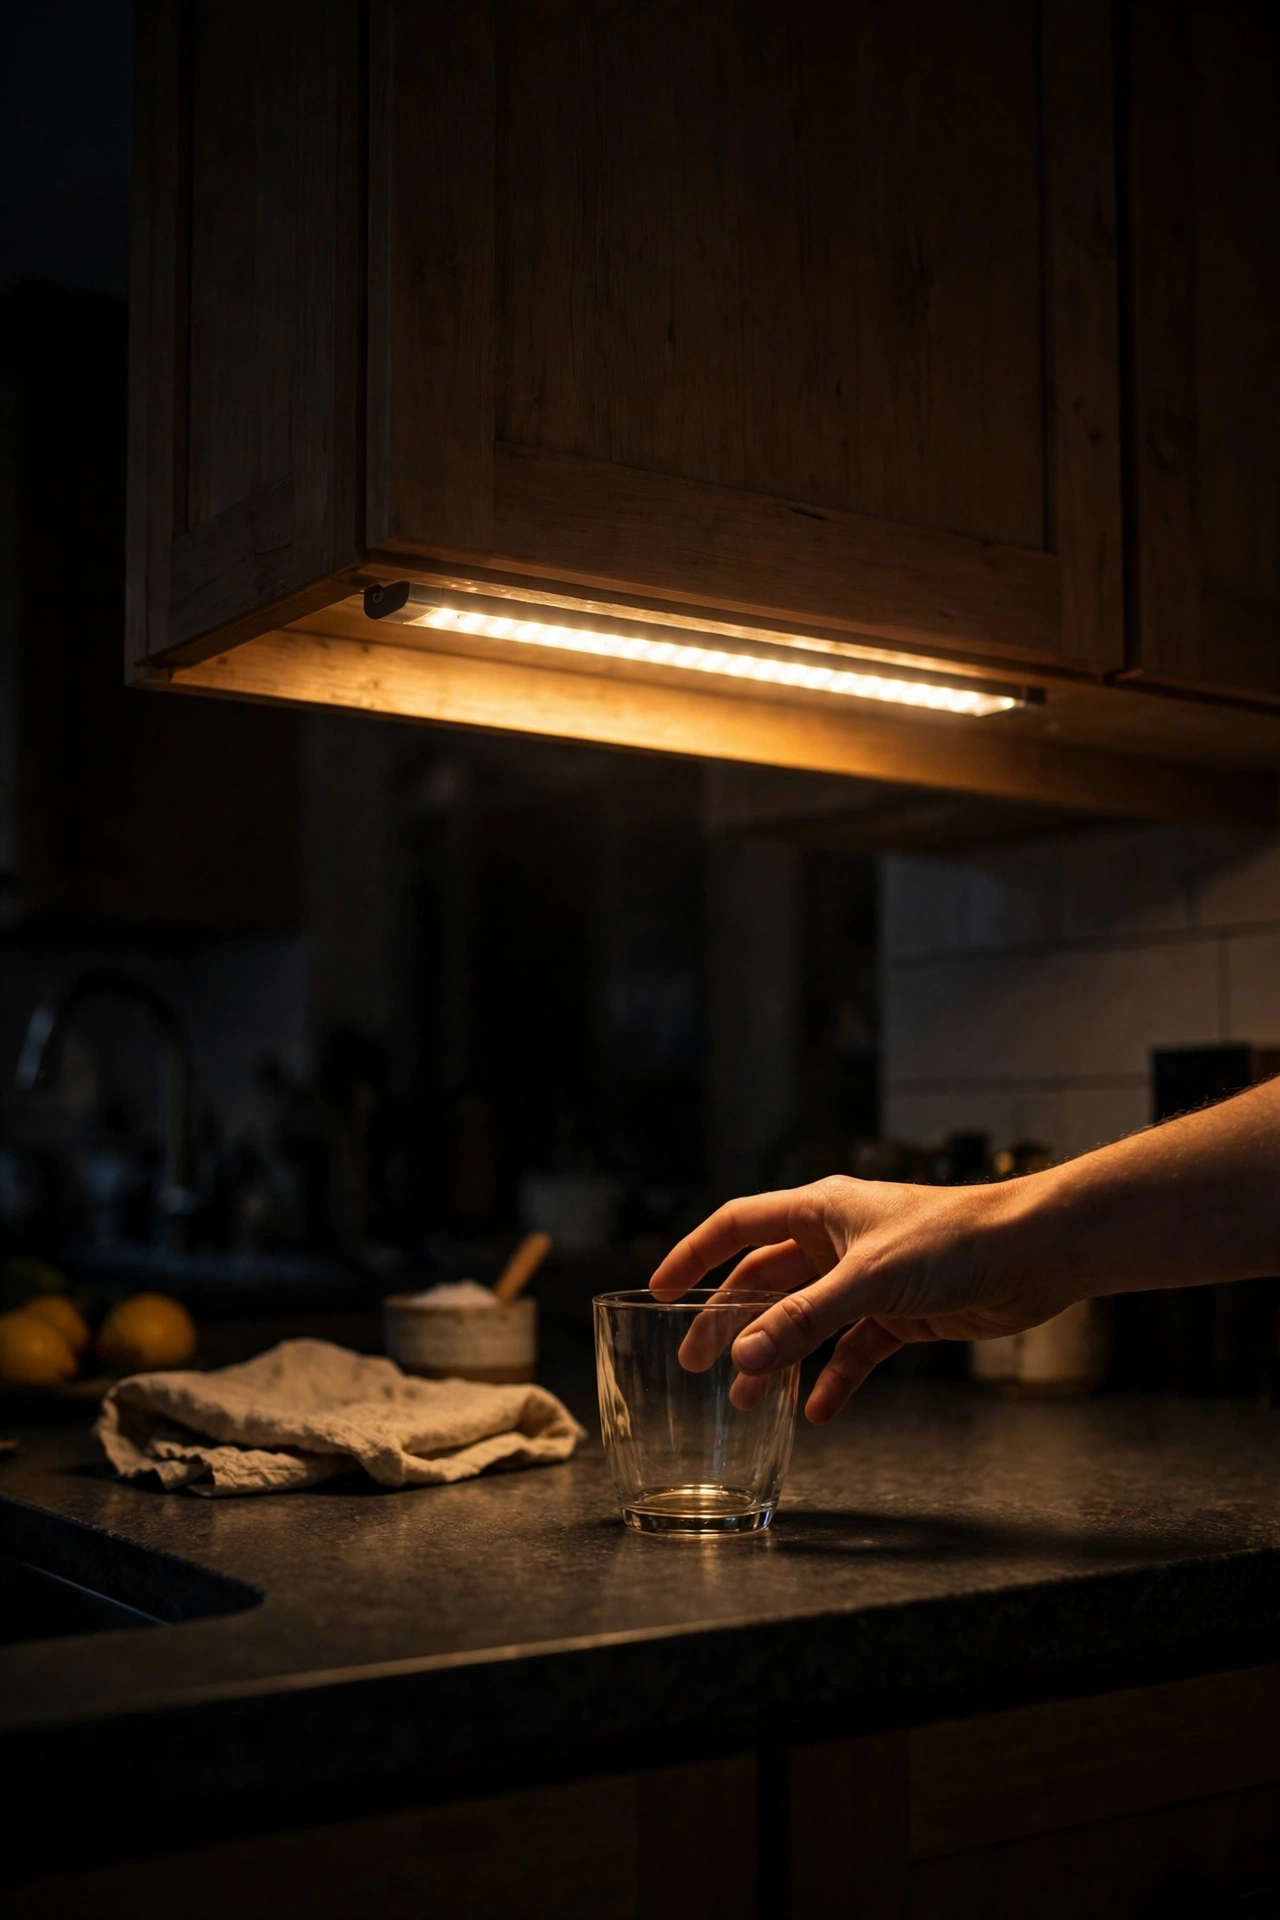
Motion-sensor bars that switch on as you approach are perfect for midnight water glasses and early-morning kettle duty. Stick one under each cabinet section, set the sensitivity, and forget about them — they light your way and switch off after you leave. They’re also brilliant inside deep pantries and under-stair cupboards. Battery life is good because they’re only on when needed. I tried this and the one mistake to avoid is mounting them where the cat’s nightly patrols trigger them; aim the sensor at human height and traffic paths, not pet highways.
Cost: ~$18 | Time: 15 minutes
5. Plug-In LED Light Bars
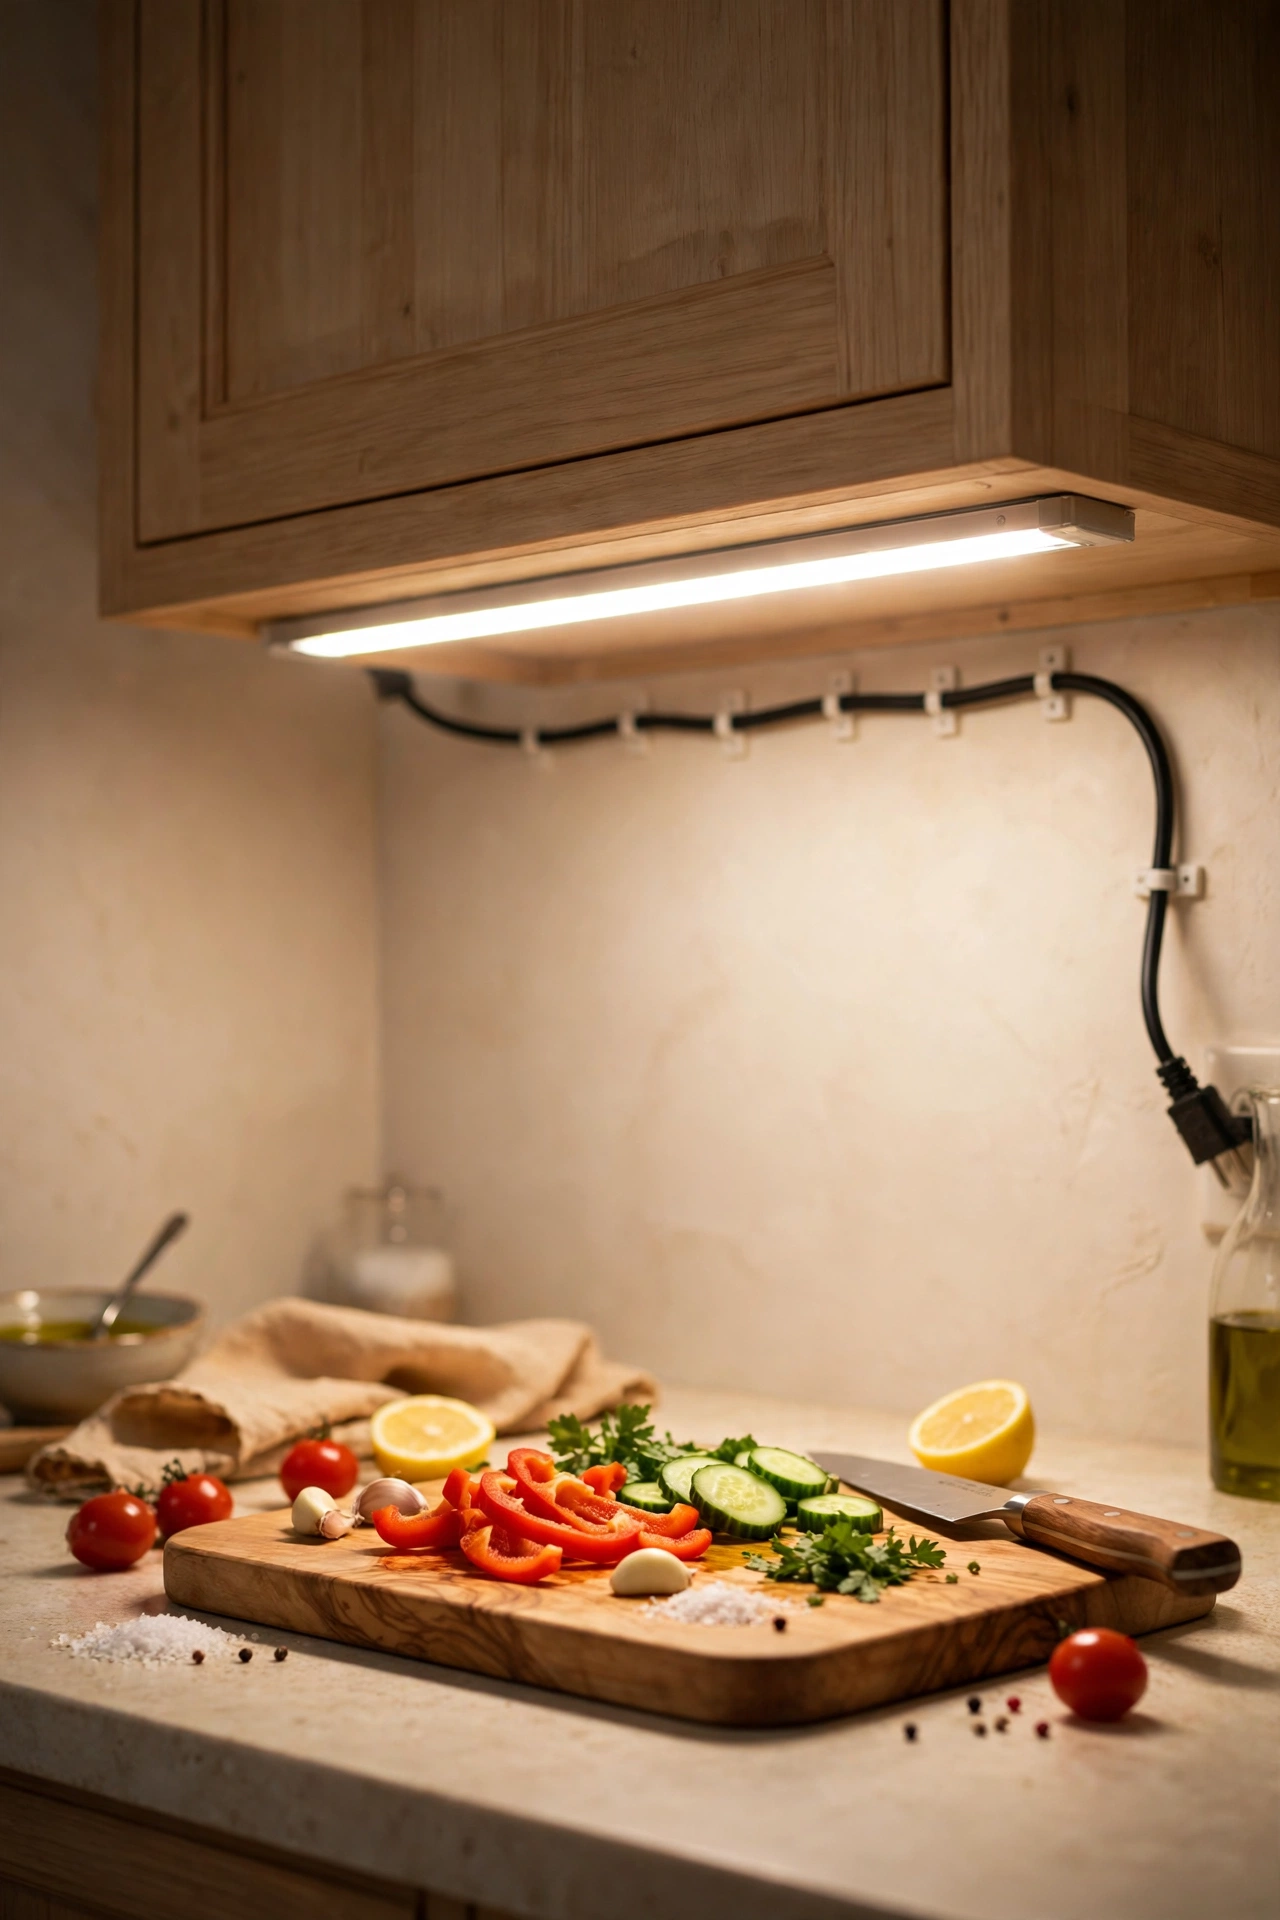
If you have a spare socket, plug-in LED bars are brighter and more reliable than any battery option — proper task lighting, not just ambience. Screw or stick the slim bar under the cabinet, run the cable discreetly along the back, and plug in. Many link together, so one plug can power a whole run. The light is strong enough to genuinely cook by. I tried this and the one mistake to avoid is leaving cables dangling where they’re visible; a few adhesive cable clips along the cabinet back keep everything invisible and tidy.
Cost: ~$25 | Time: 30 minutes
6. Warm White Strip for a Cosy Glow
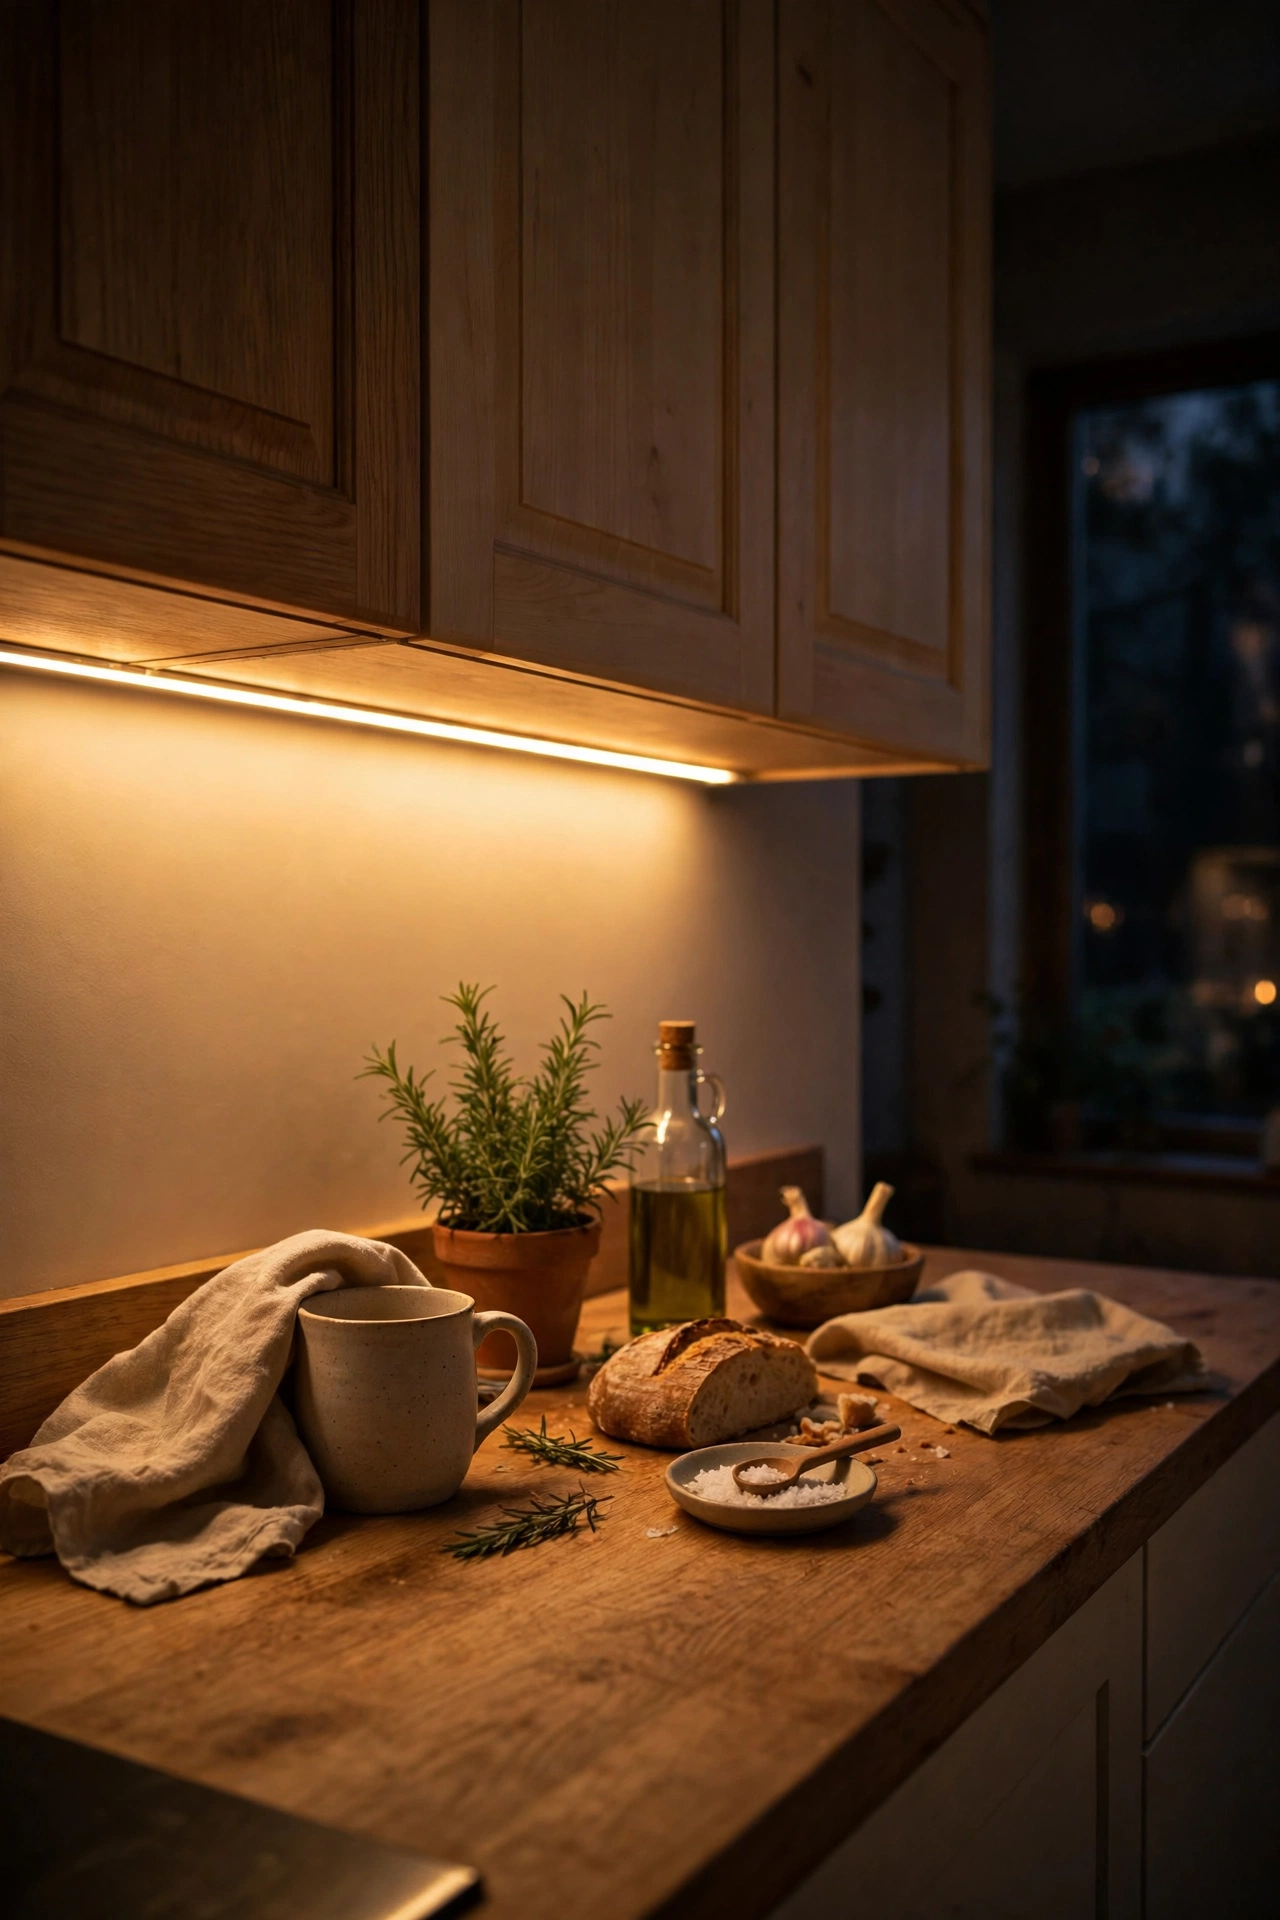
Colour temperature matters enormously: a 2700K warm-white strip makes a kitchen feel like candlelight, while 5000K daylight white feels like a laboratory. For under cabinets, warm white flatters food, wood and skin tones. If you can only buy one, buy warm. Better still, buy adjustable strips and tune them: bright and cool for Sunday meal prep, warm and low for evening. It’s the same fitting doing two jobs. I tried this and the one mistake to avoid is mixing temperatures along one run; one warm bar next to one cool bar looks broken. Pick a temperature per zone and keep it consistent.
Cost: ~$17 | Time: 25 minutes
7. Aluminium Channel Diffusers for Strips
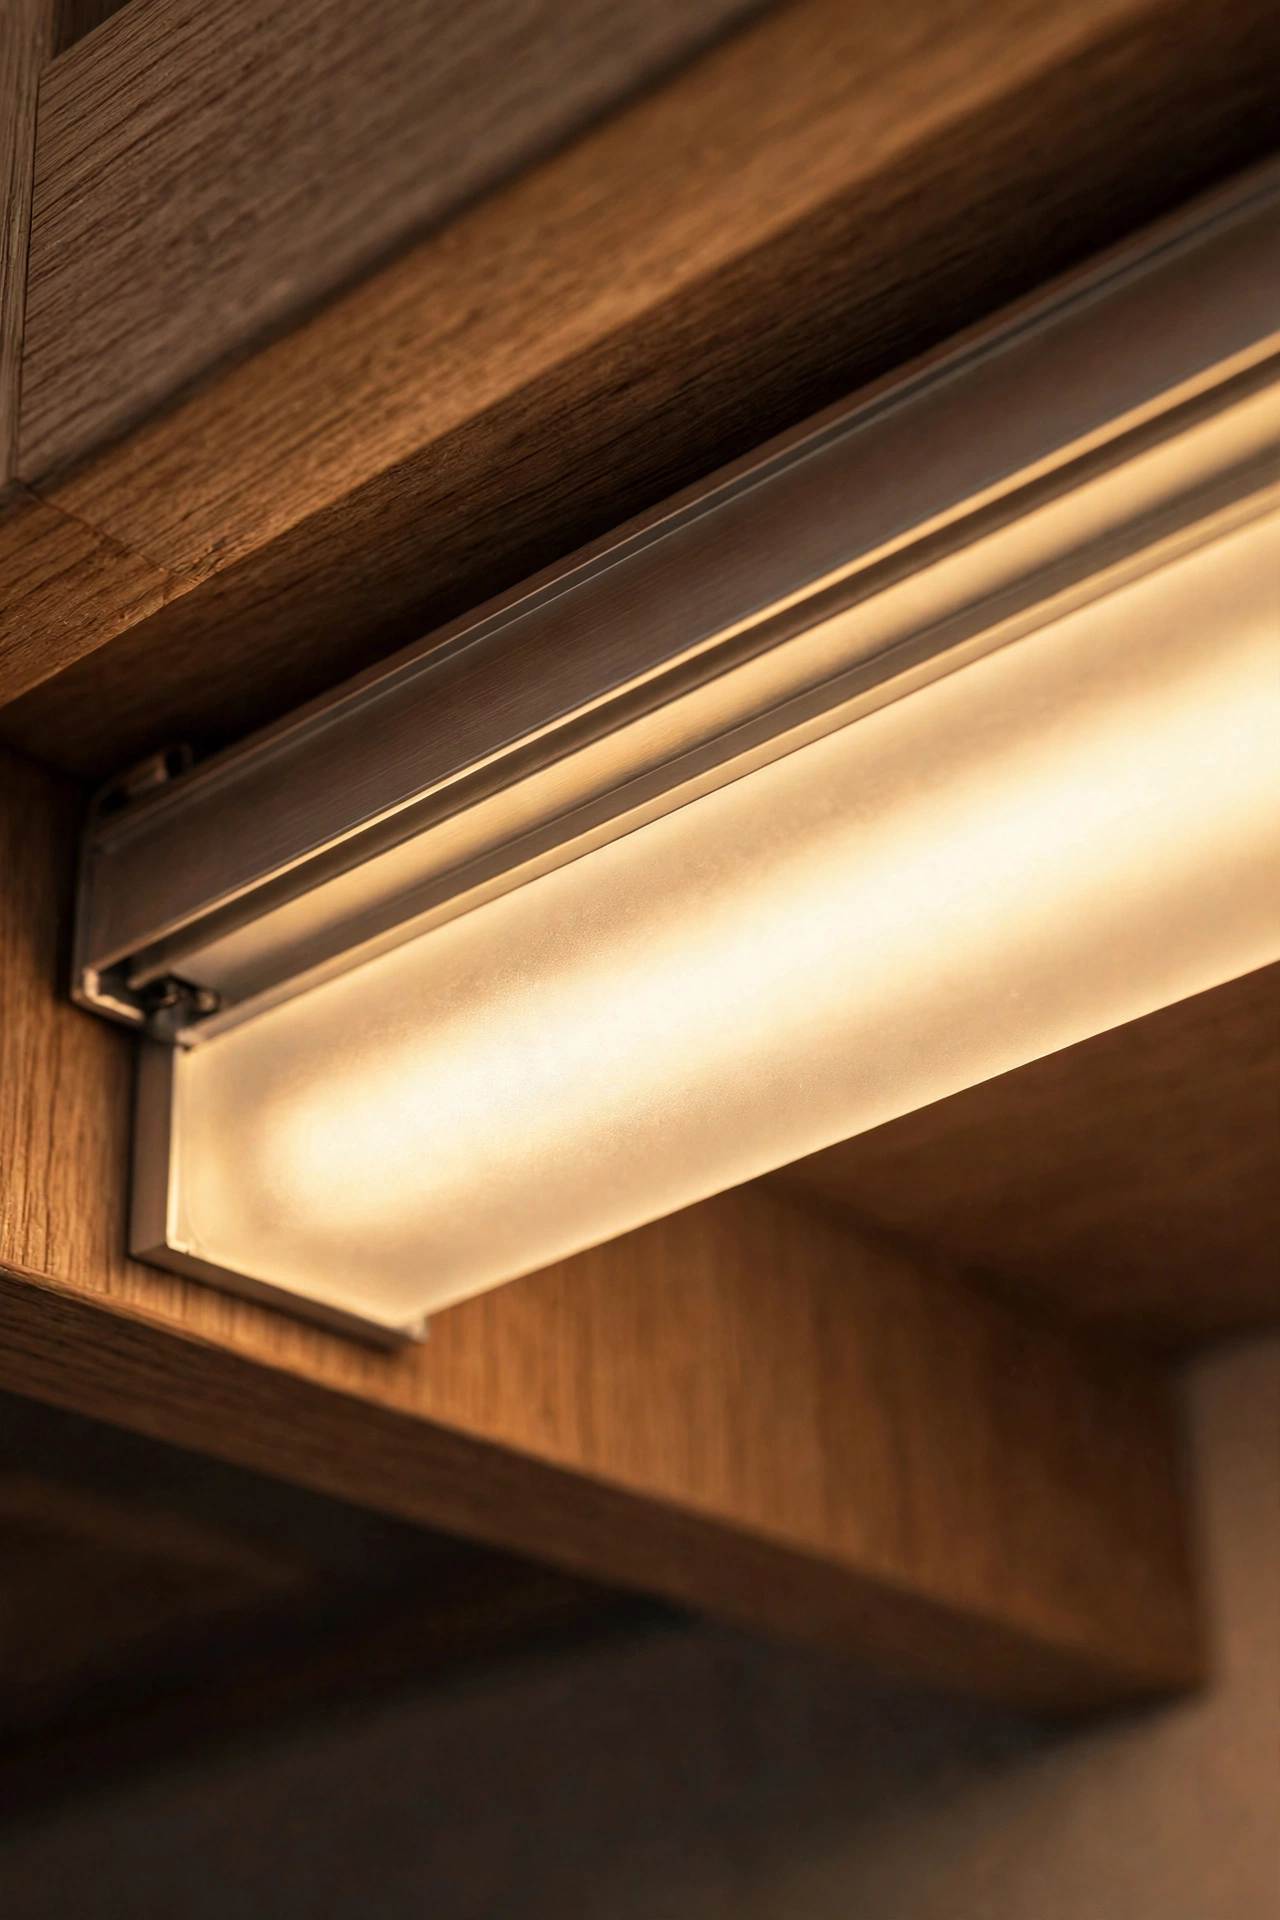
Bare LED strips show individual dots of light that reflect in glossy worktops. Slim aluminium channels with a frosted diffuser cover turn those dots into one smooth line of light — the difference between DIY and designer. The channels stick or screw under the cabinet, the strip sits inside, and the diffuser clicks over. It also protects the strip from cooking grease. It adds a few pounds to the project but multiplies the perceived quality. I tried this and the one mistake to avoid is buying channels too narrow for your strip; measure the strip width first, as 10mm and 12mm strips need different channels.
Cost: ~$12 (for channels) | Time: 40 minutes
8. Corner-Mounted LED Profiles
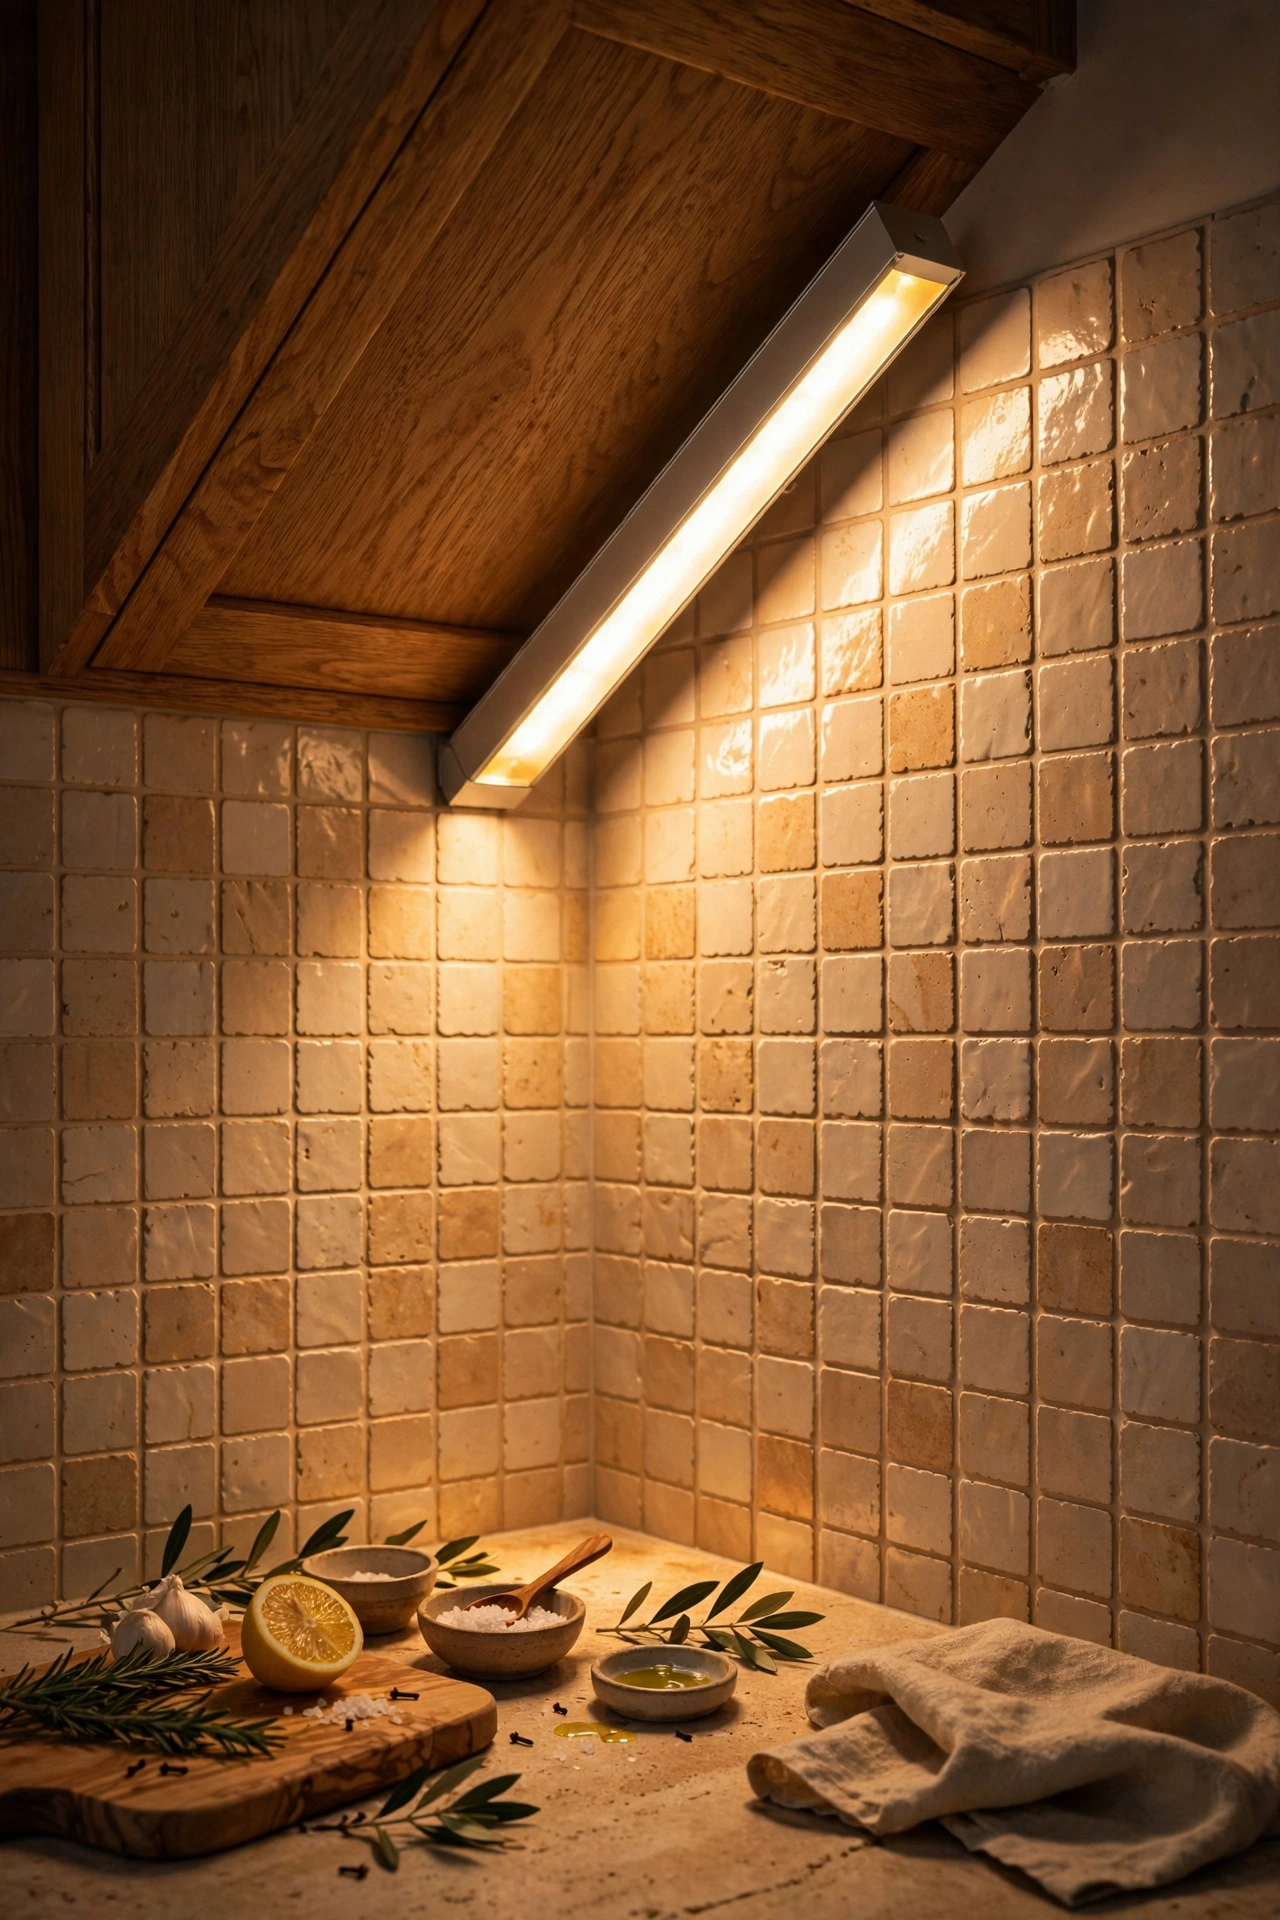
Angled LED profiles mount in the corner where the cabinet meets the wall, throwing light both down onto the worktop and back onto the backsplash. It lights the exact zone where you chop and read recipes, and it makes a tiled backsplash glow. The 45-degree angle is the sweet spot. They’re particularly good over sinks set into corners. I tried this and the one mistake to avoid is mounting them where they’ll shine directly into seated eyes at a breakfast bar; check sightlines from the stools before fixing them permanently.
Cost: ~$20 | Time: 35 minutes
9. Under-Cabinet Downlight Spots
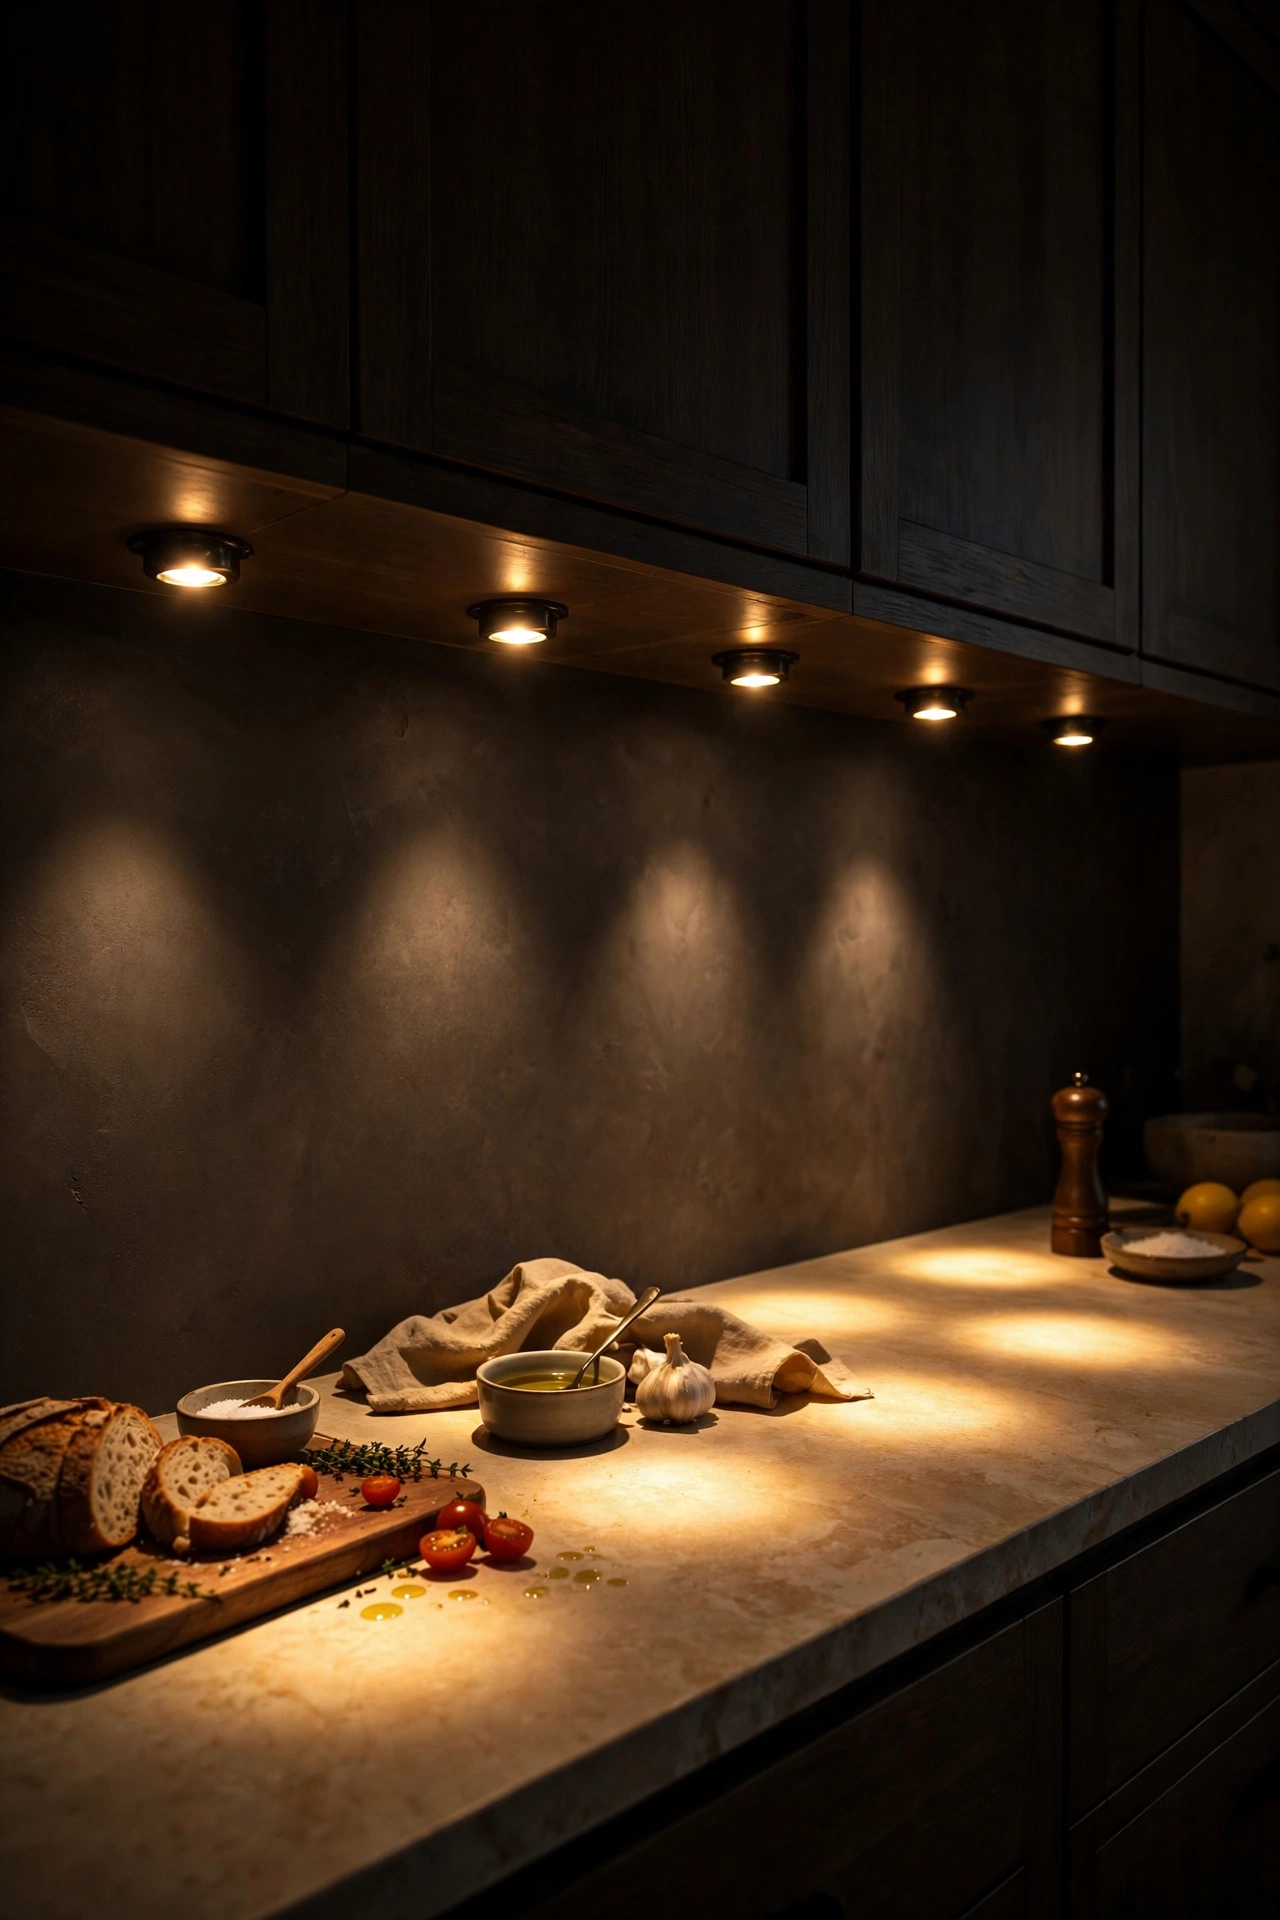
Recessed-look downlight spots — the surface-mounted puck kind, not cut-in ones — give pools of focused light exactly where you need them: over the chopping zone, the kettle, the recipe book. Space them evenly and they’ll read as a deliberate lighting design rather than an afterthought. Battery versions stick up in seconds; plug-in versions are brighter. They’re ideal when you want drama rather than a wash — light and shadow is what makes a kitchen feel designed. I tried this and the one mistake to avoid is spacing them by guesswork; mark the positions with painter’s tape and live with the dots for an evening before committing.
Cost: ~$19 | Time: 25 minutes
10. Toe-Kick Lighting Strips
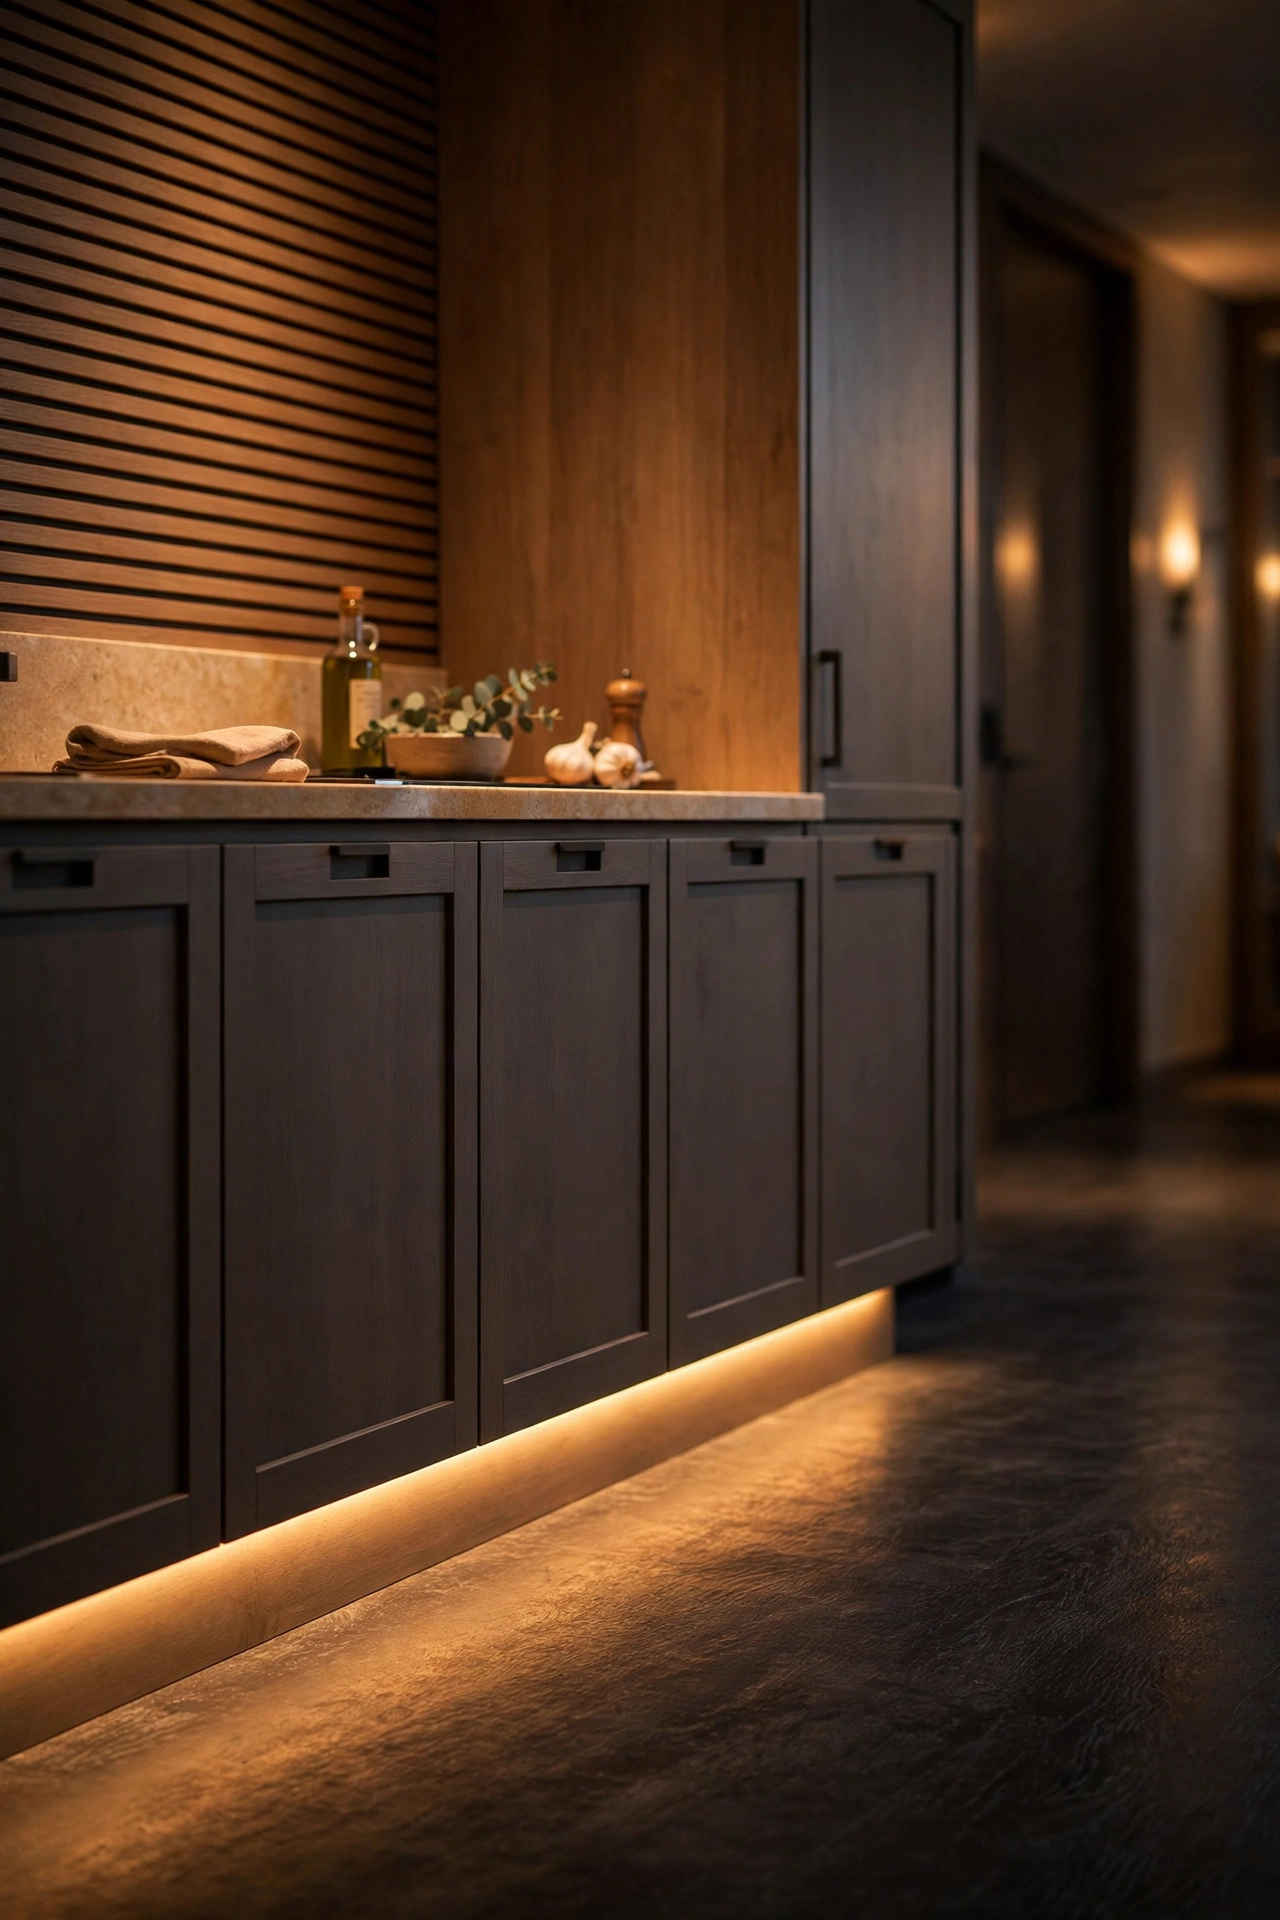
LED strips along the toe-kick — the recessed plinth at the bottom of base cabinets — make cabinets appear to float and give the kitchen a high-end hotel feel. It’s indirect light, so it never glares; it just lifts the whole room, especially in the evening. Battery strips work, but this is one place where a plug-in with a timer switch earns its keep, switching on at dusk automatically. The effect on dark floors is particularly striking. I tried this and the one mistake to avoid is using bright white here; toe-kick light should be warm and dim, a glow rather than a beam, or it looks like a runway.
Cost: ~$18 | Time: 30 minutes
11. Glass-Front Cabinet Interior Lights
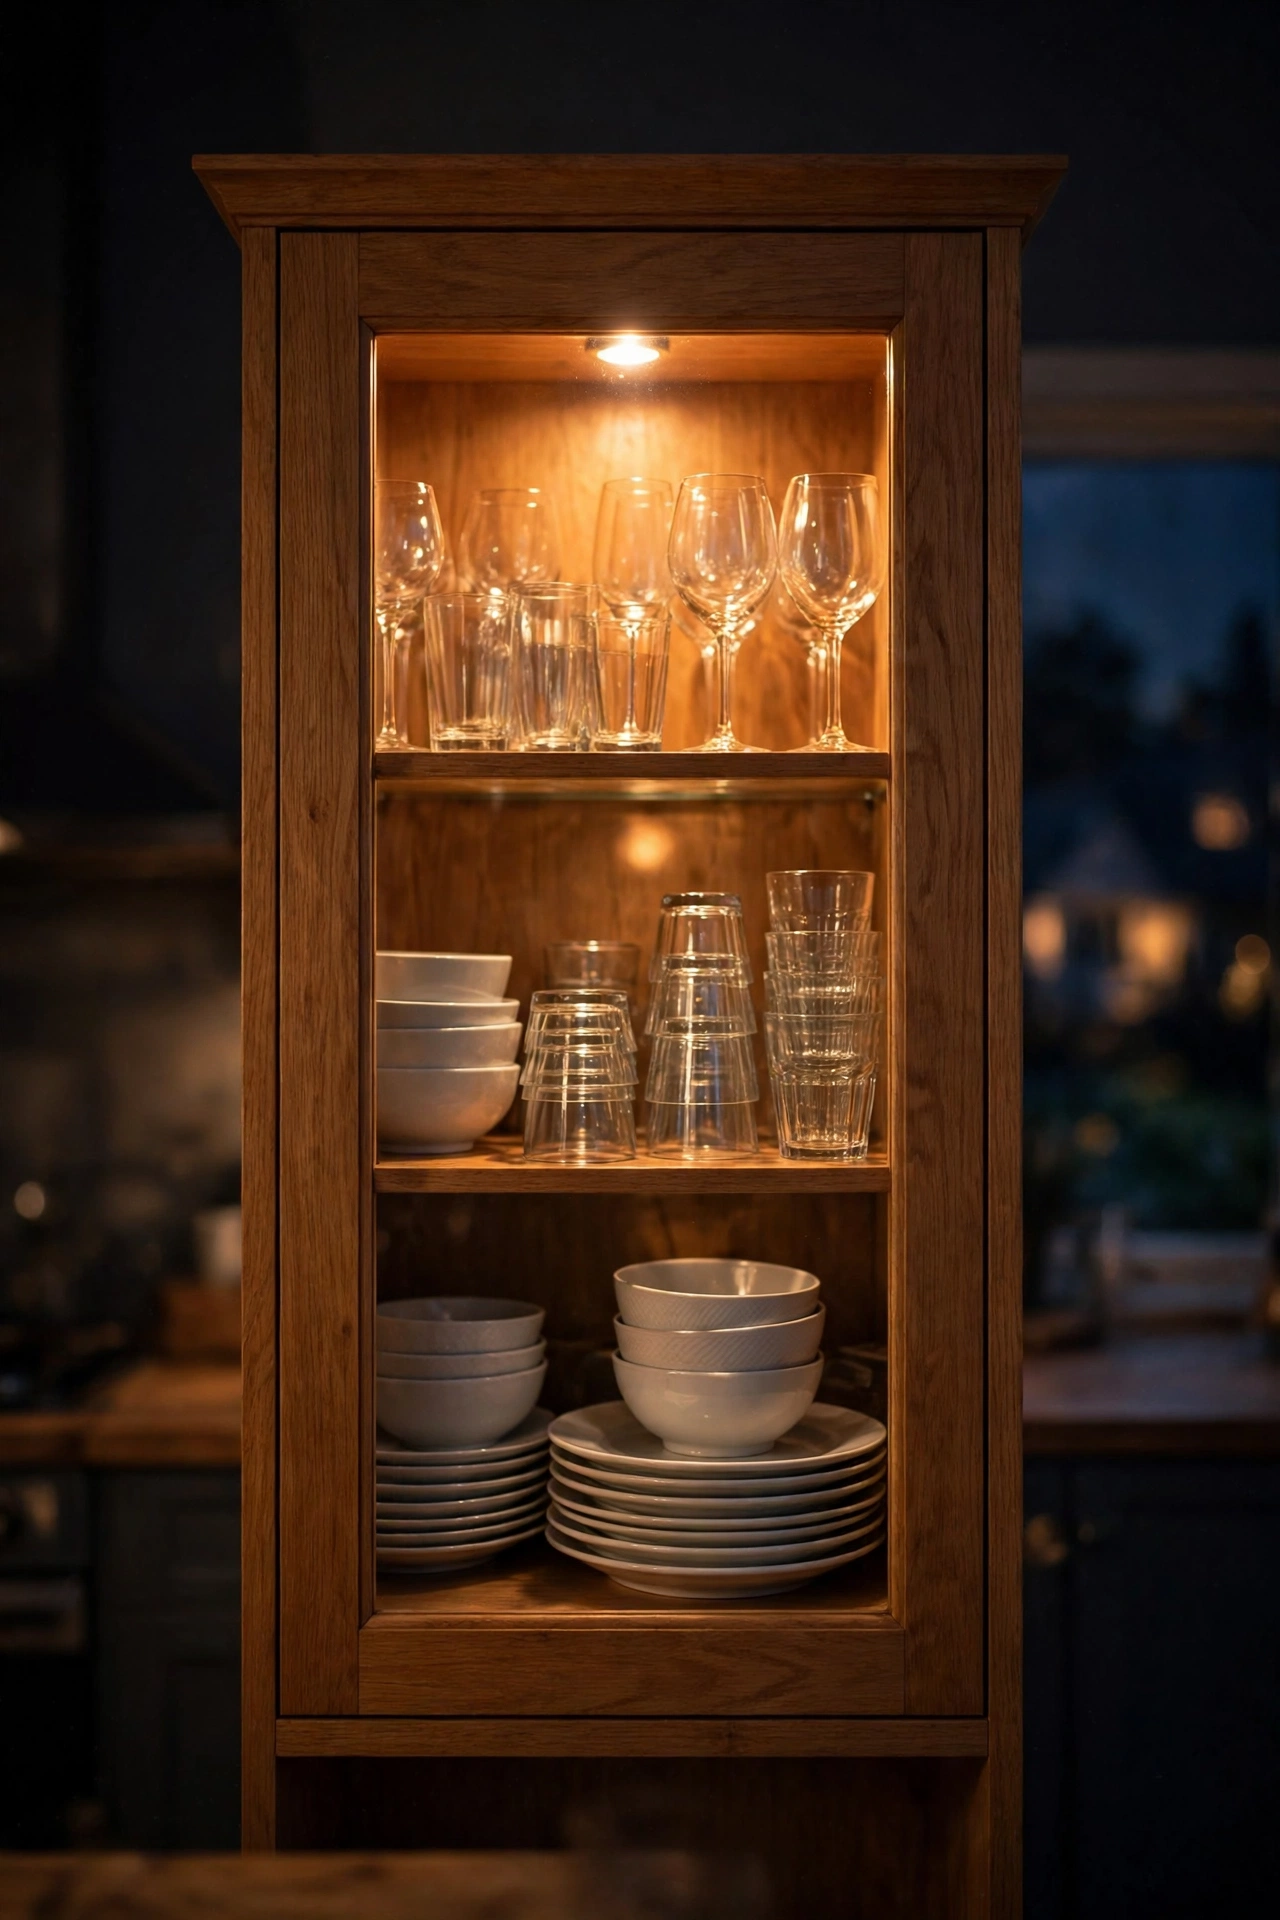
A tiny light inside a glass-fronted cabinet turns your dishes into a display. Battery puck lights or short strips stuck to the top interior of the cabinet shine down through the shelves — glass shelves work best, letting light cascade through. It makes the cabinet a focal point in the evening and helps you find things. Use warm white so the china glows. I tried this and the one mistake to avoid is lighting a cabinet full of mismatched plastic containers; light magnifies clutter. Style the lit cabinet with your prettiest pieces and keep the chaos elsewhere.
Cost: ~$10 | Time: 15 minutes
12. Over-Sink Task Light Bar
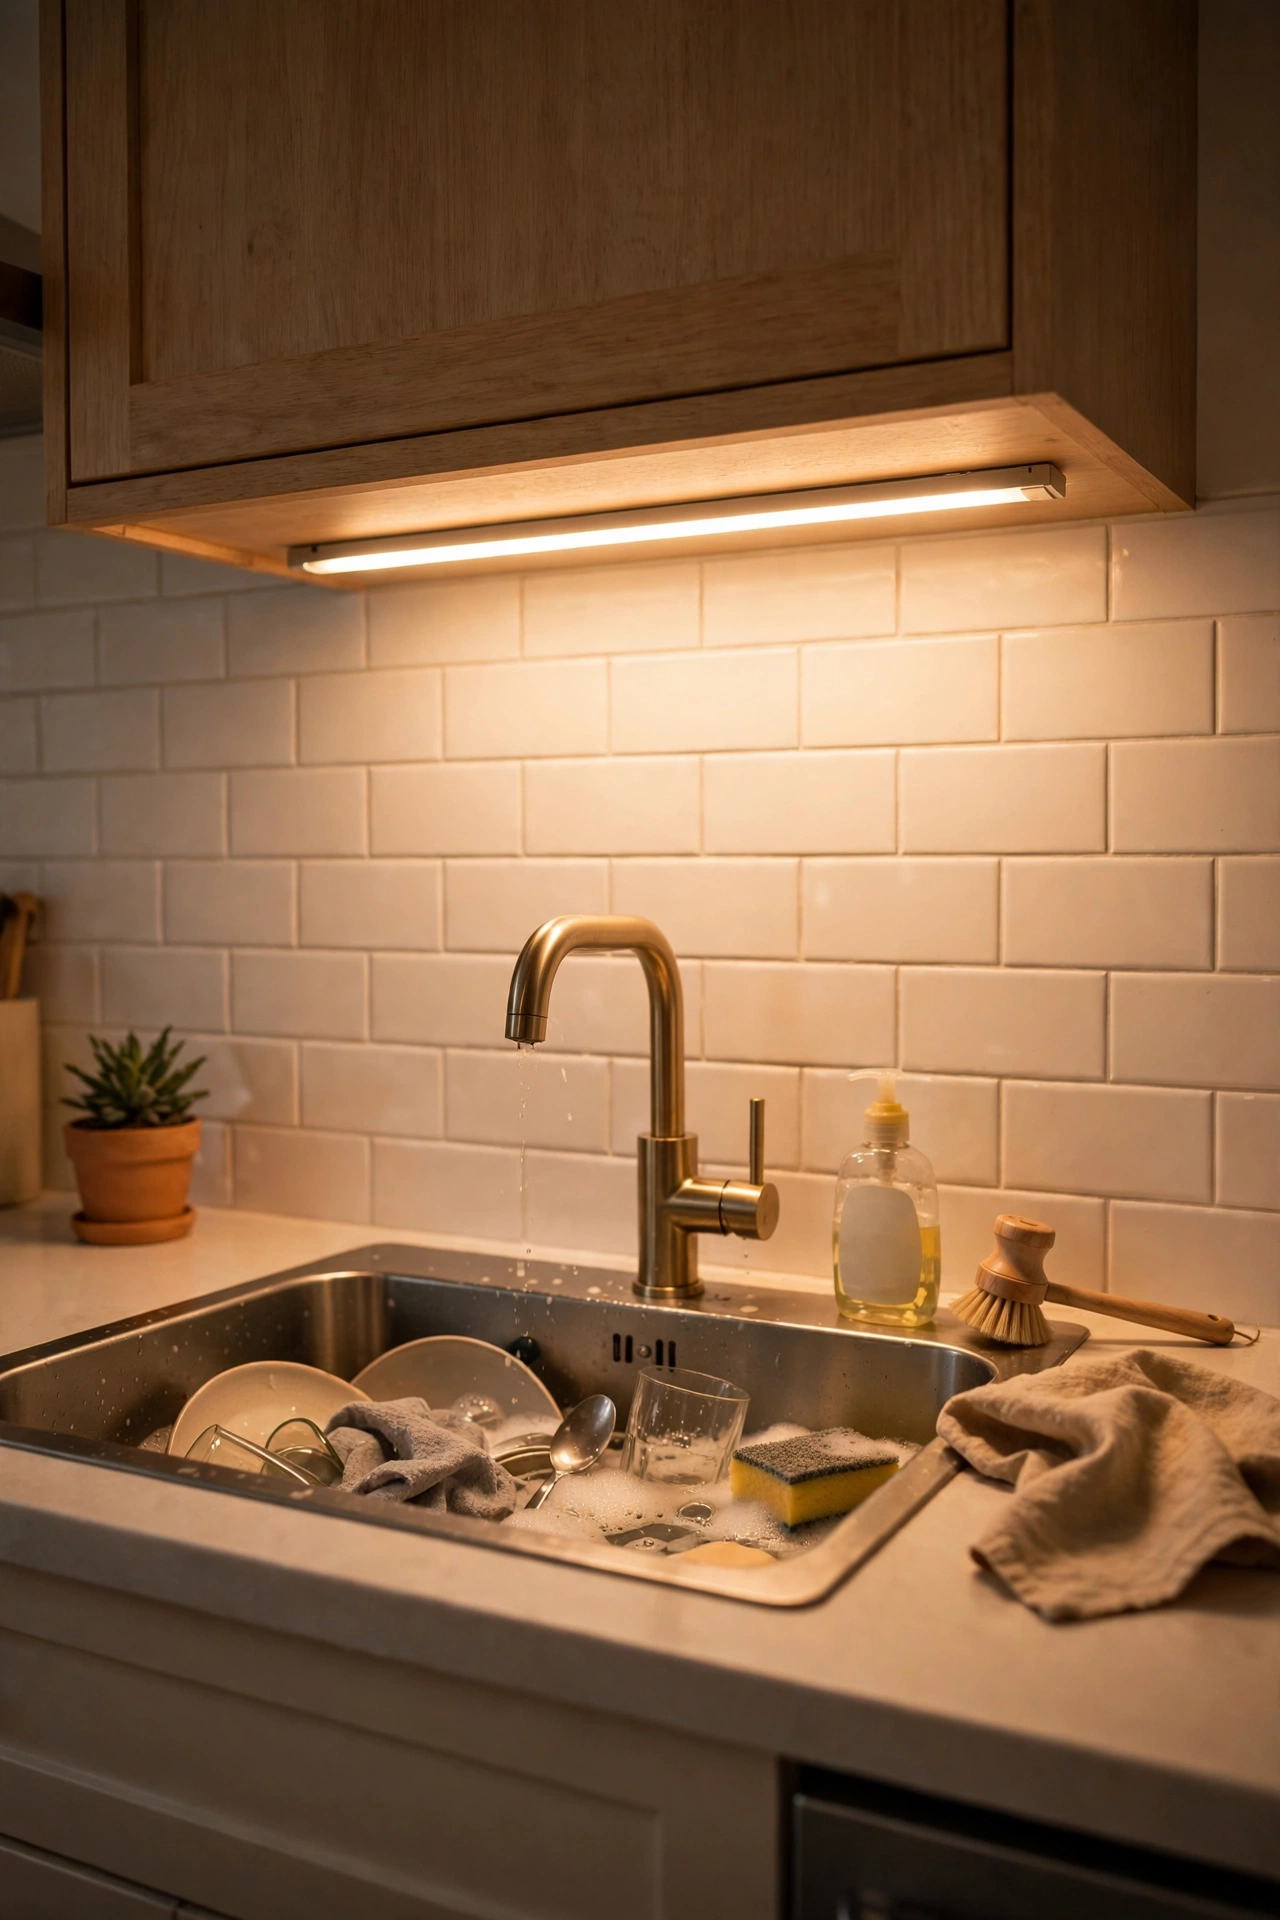
The sink is often the darkest spot in the kitchen — your body blocks the ceiling light exactly where you’re washing up. A dedicated bar under the cabinet above the sink fixes it. Go brighter here than elsewhere; this is task lighting, and you want to see what you’re scrubbing. A motion-sensor bar is ideal — hands are wet, so tap-to-turn-on is a nuisance. Position it to light the basin, not your eyes. I tried this and the one mistake to avoid is mounting it too far forward; water splashes upward, and a light sitting in the splash zone gets grimy fast. Set it back under the cabinet properly.
Cost: ~$16 | Time: 20 minutes
13. Dimmer Switch Plug-In Add-On
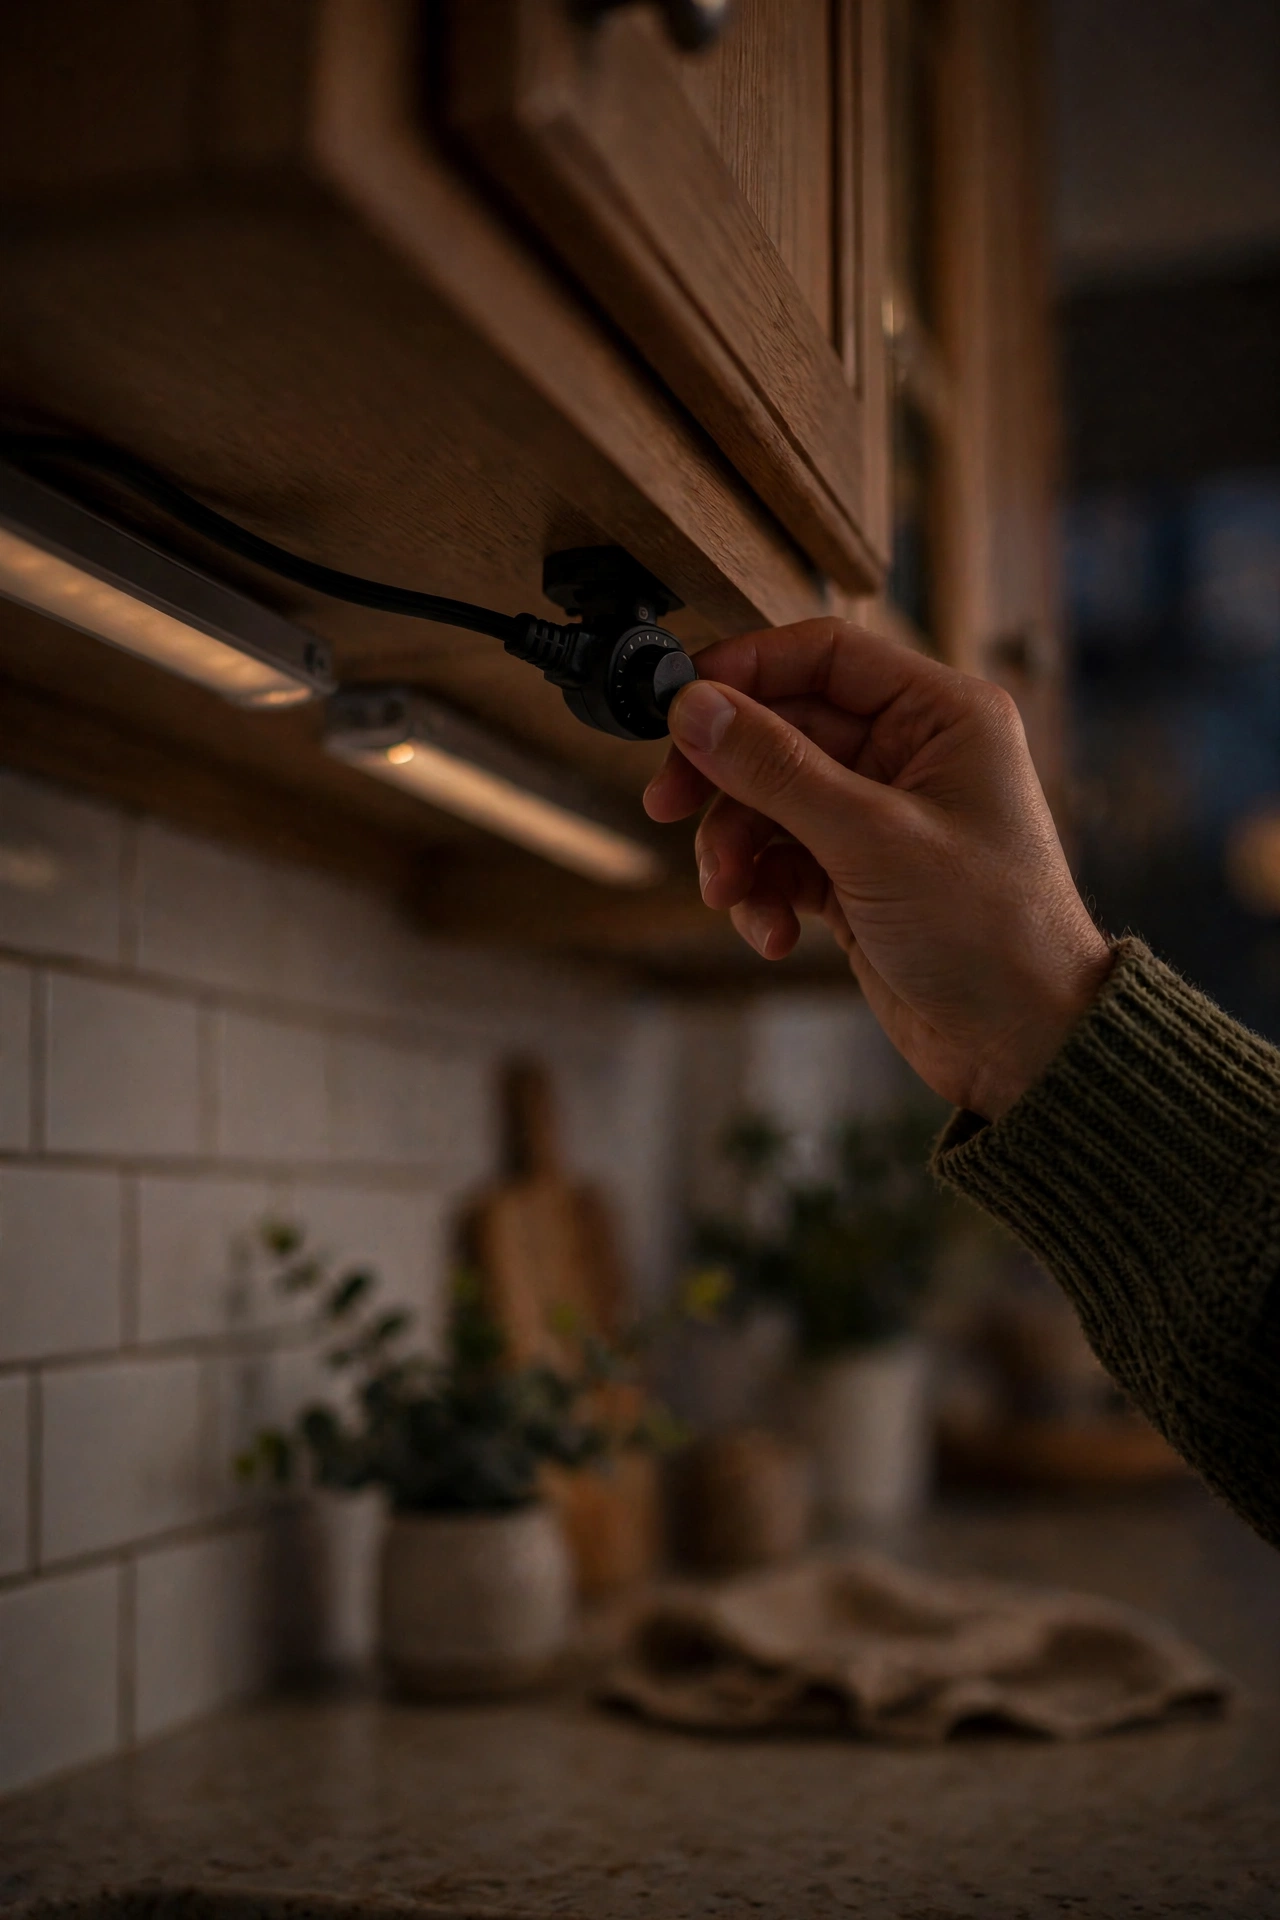
A plug-in dimmer between your light bars and the socket gives you brightness control without rewiring anything. Full brightness for cooking, a low glow for evening — one fitting, two moods. The inline dimmers cost very little and work with most plug-in LED bars. It’s the cheapest way to make budget lighting feel considered. Check compatibility with your lights before buying, as some very cheap LEDs flicker when dimmed. I tried this and the one mistake to avoid is dimming non-dimmable strips; they buzz, flicker and die young. The product listing will say dimmable — believe it.
Cost: ~$11 | Time: 10 minutes
14. Rechargeable Motion Light for Dark Corners
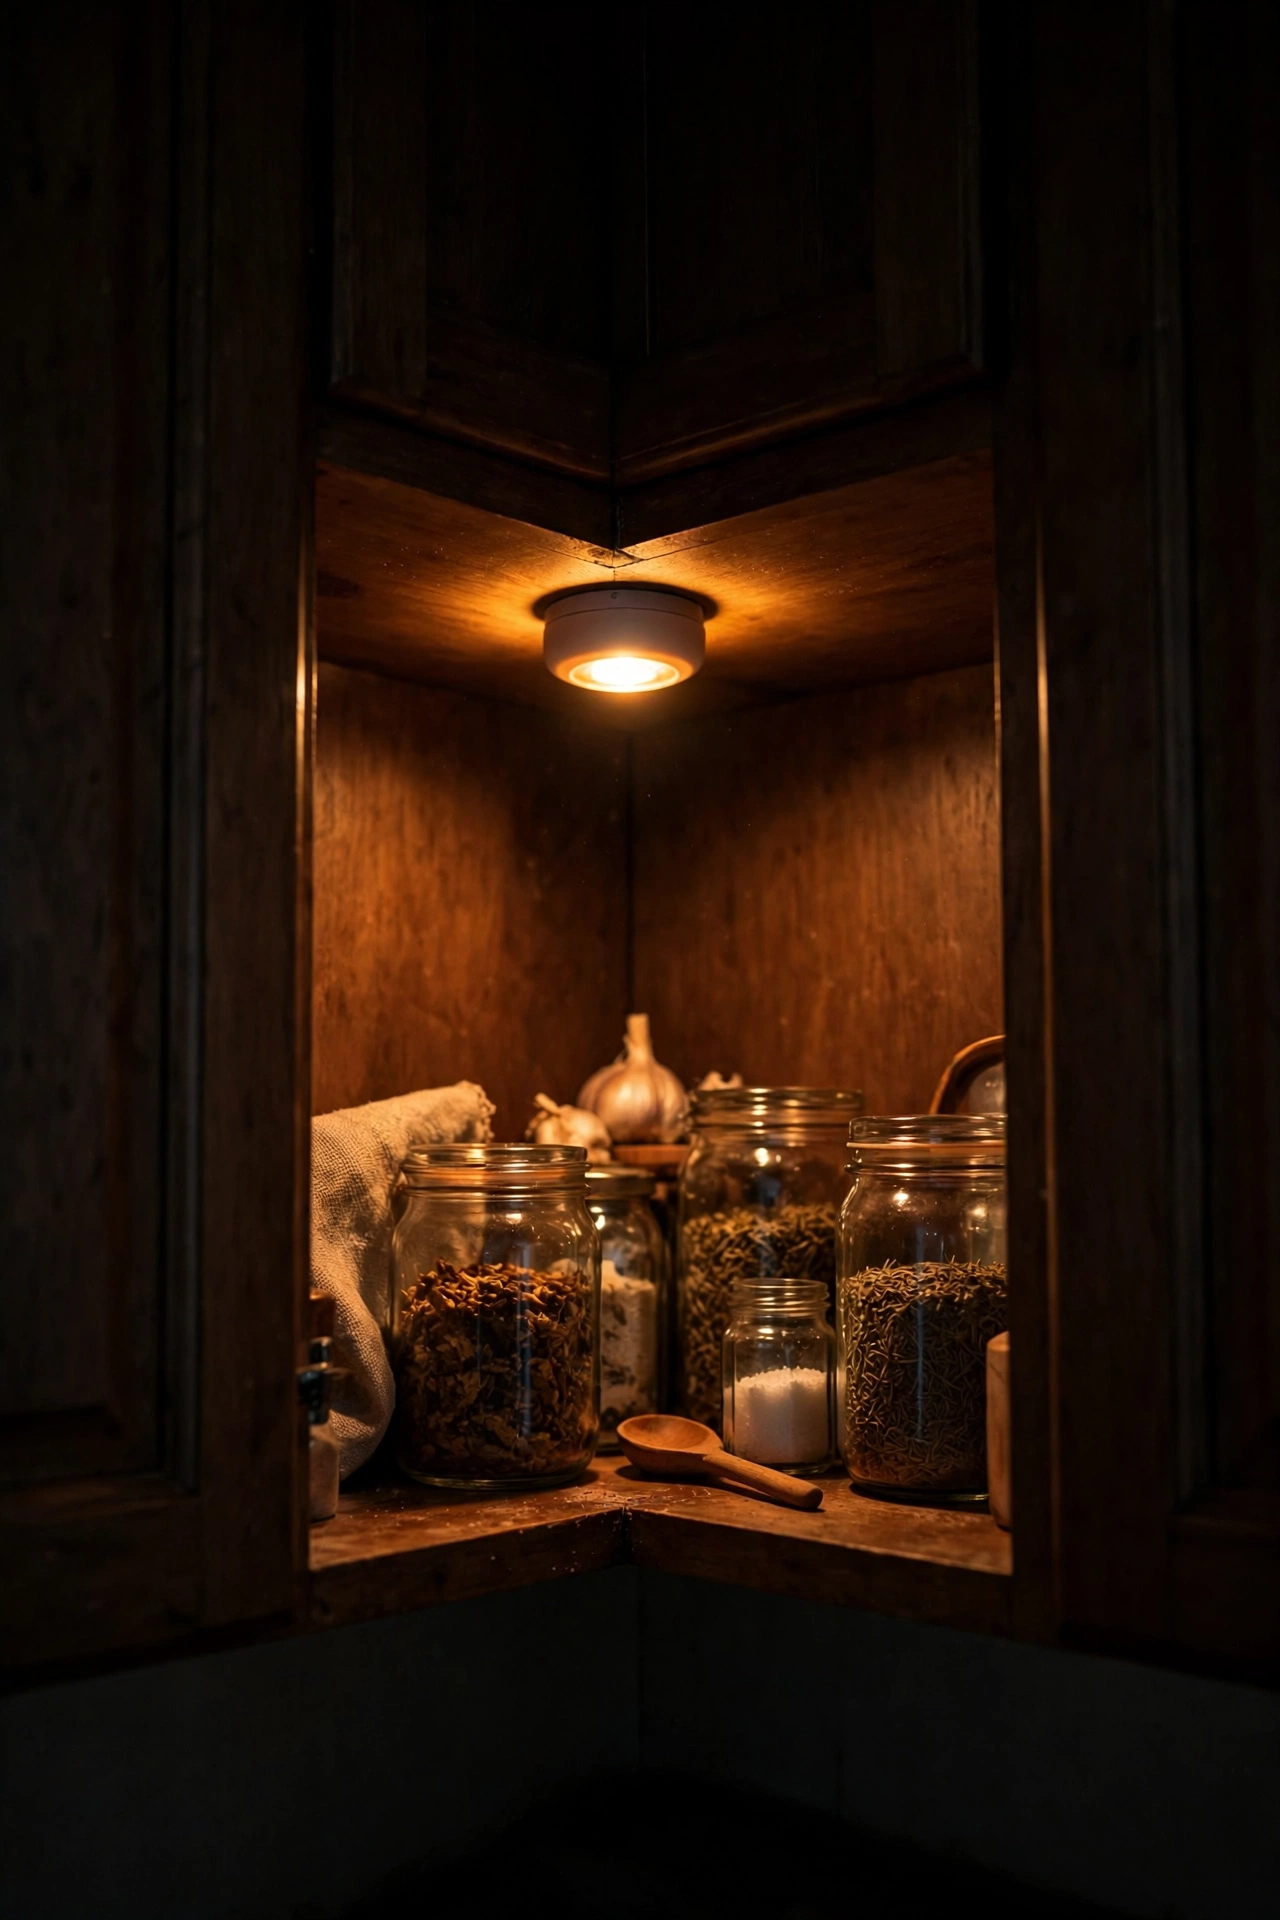
Every kitchen has a dead corner — under the stairs cupboard, the end of the pantry, behind the bin — where a small rechargeable motion light is transformative. Stick it up, and it greets you with light exactly when you need it, then switches off. No wiring, no batteries to buy, just a USB top-up every month or two. It’s the set-and-forget end of kitchen lighting. I tried this and the one mistake to avoid is buying one with a harsh cool-white output for a cosy corner; warm white keeps the dead corner feeling like part of the home, not a service corridor.
Cost: ~$13 | Time: 10 minutes
15. LED Rope Light Along the Pelmet
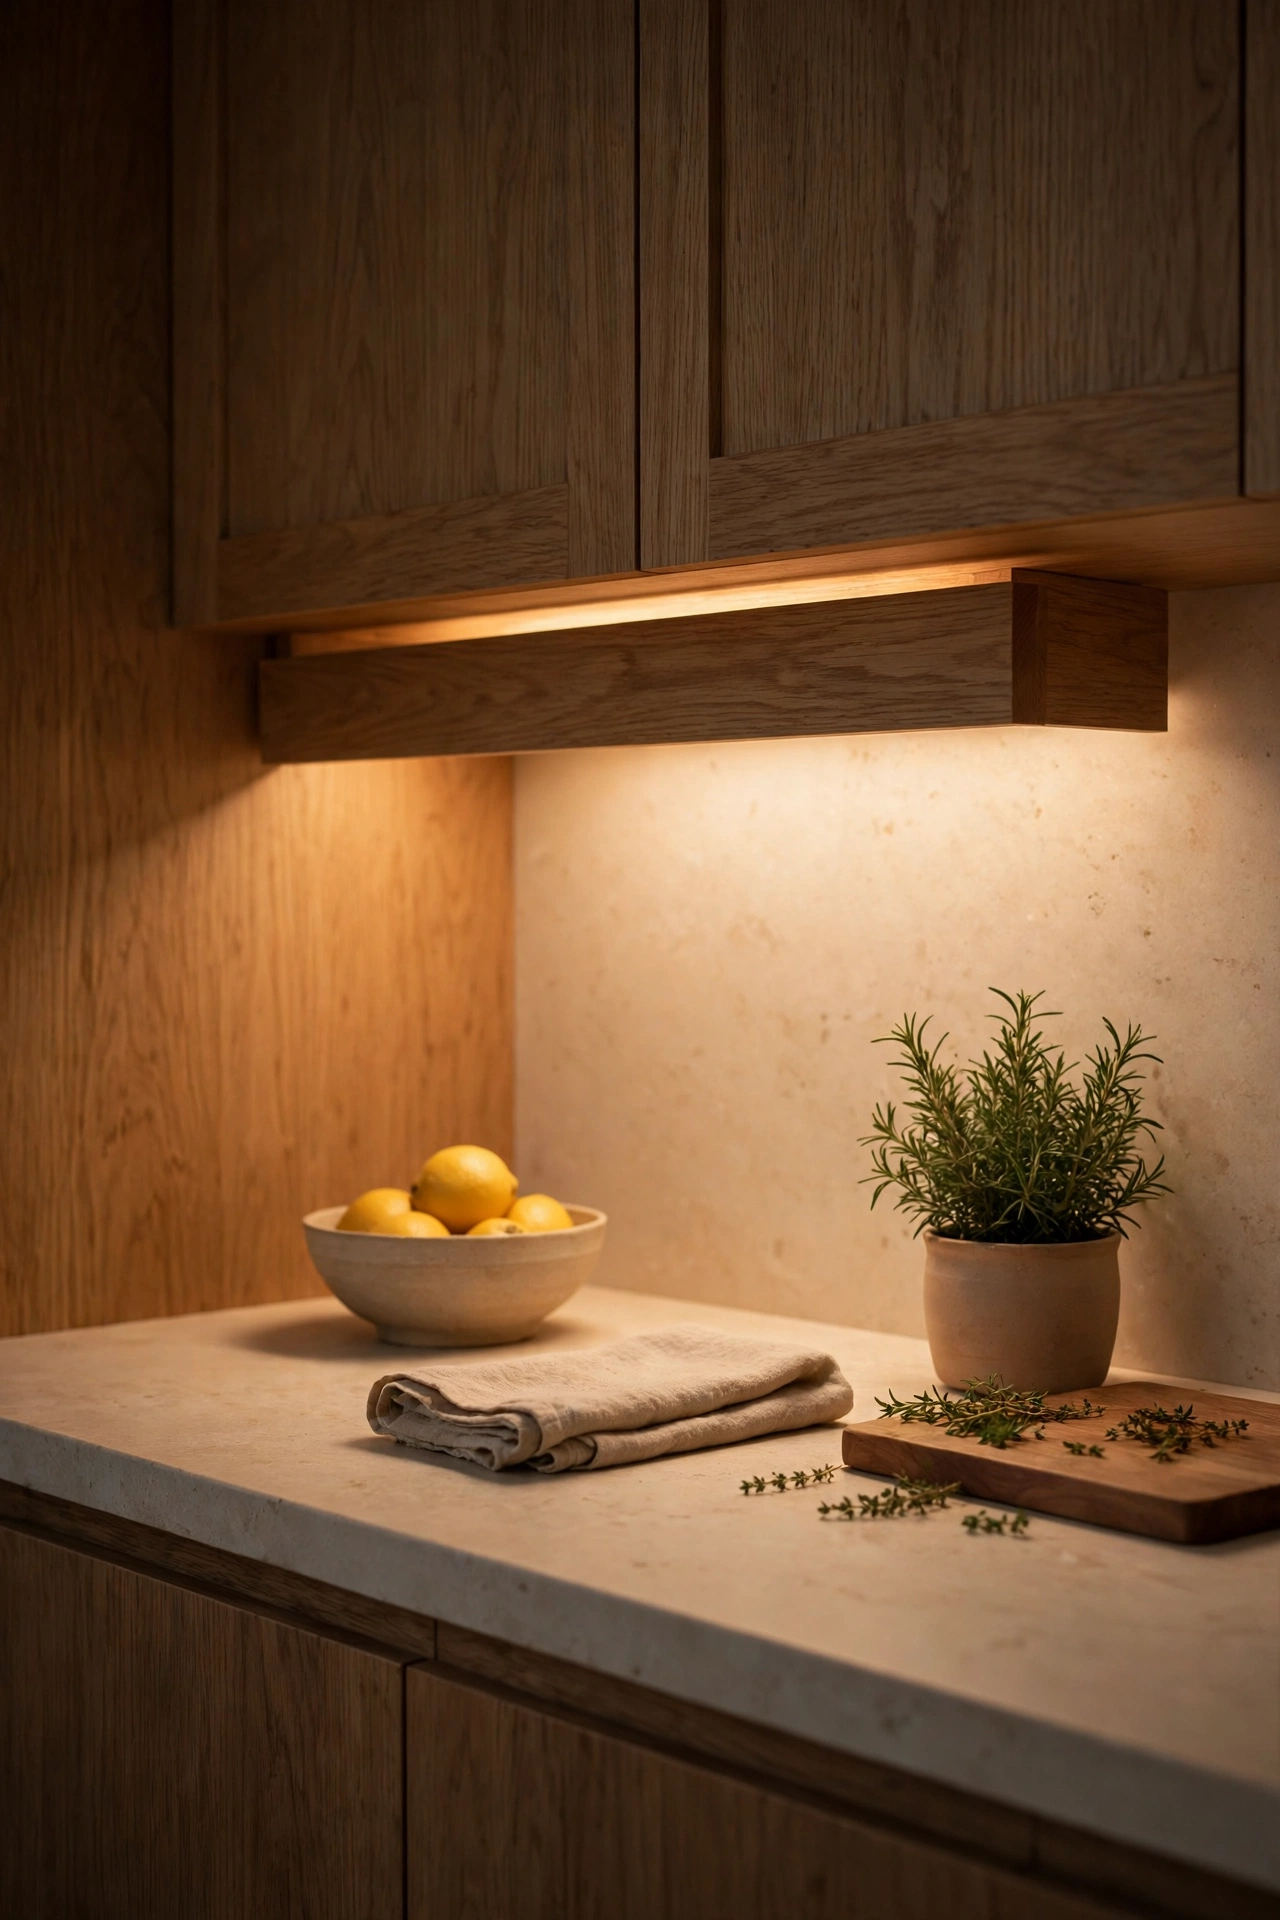
If your wall cabinets have a pelmet — the decorative trim along the bottom — tucking a slim LED rope behind it hides the fitting completely while washing the worktop in light. The pelmet becomes a natural diffuser, softening the output. It’s the neatest-looking install on this list because the light source is genuinely invisible. Warm white rope gives a gentle, even glow. I tried this and the one mistake to avoid is using thick rope that peeks below the pelmet line; measure the pelmet depth and buy slim, or the hidden light won’t stay hidden.
Cost: ~$15 | Time: 25 minutes
16. Under-Shelf Lights for Open Shelving
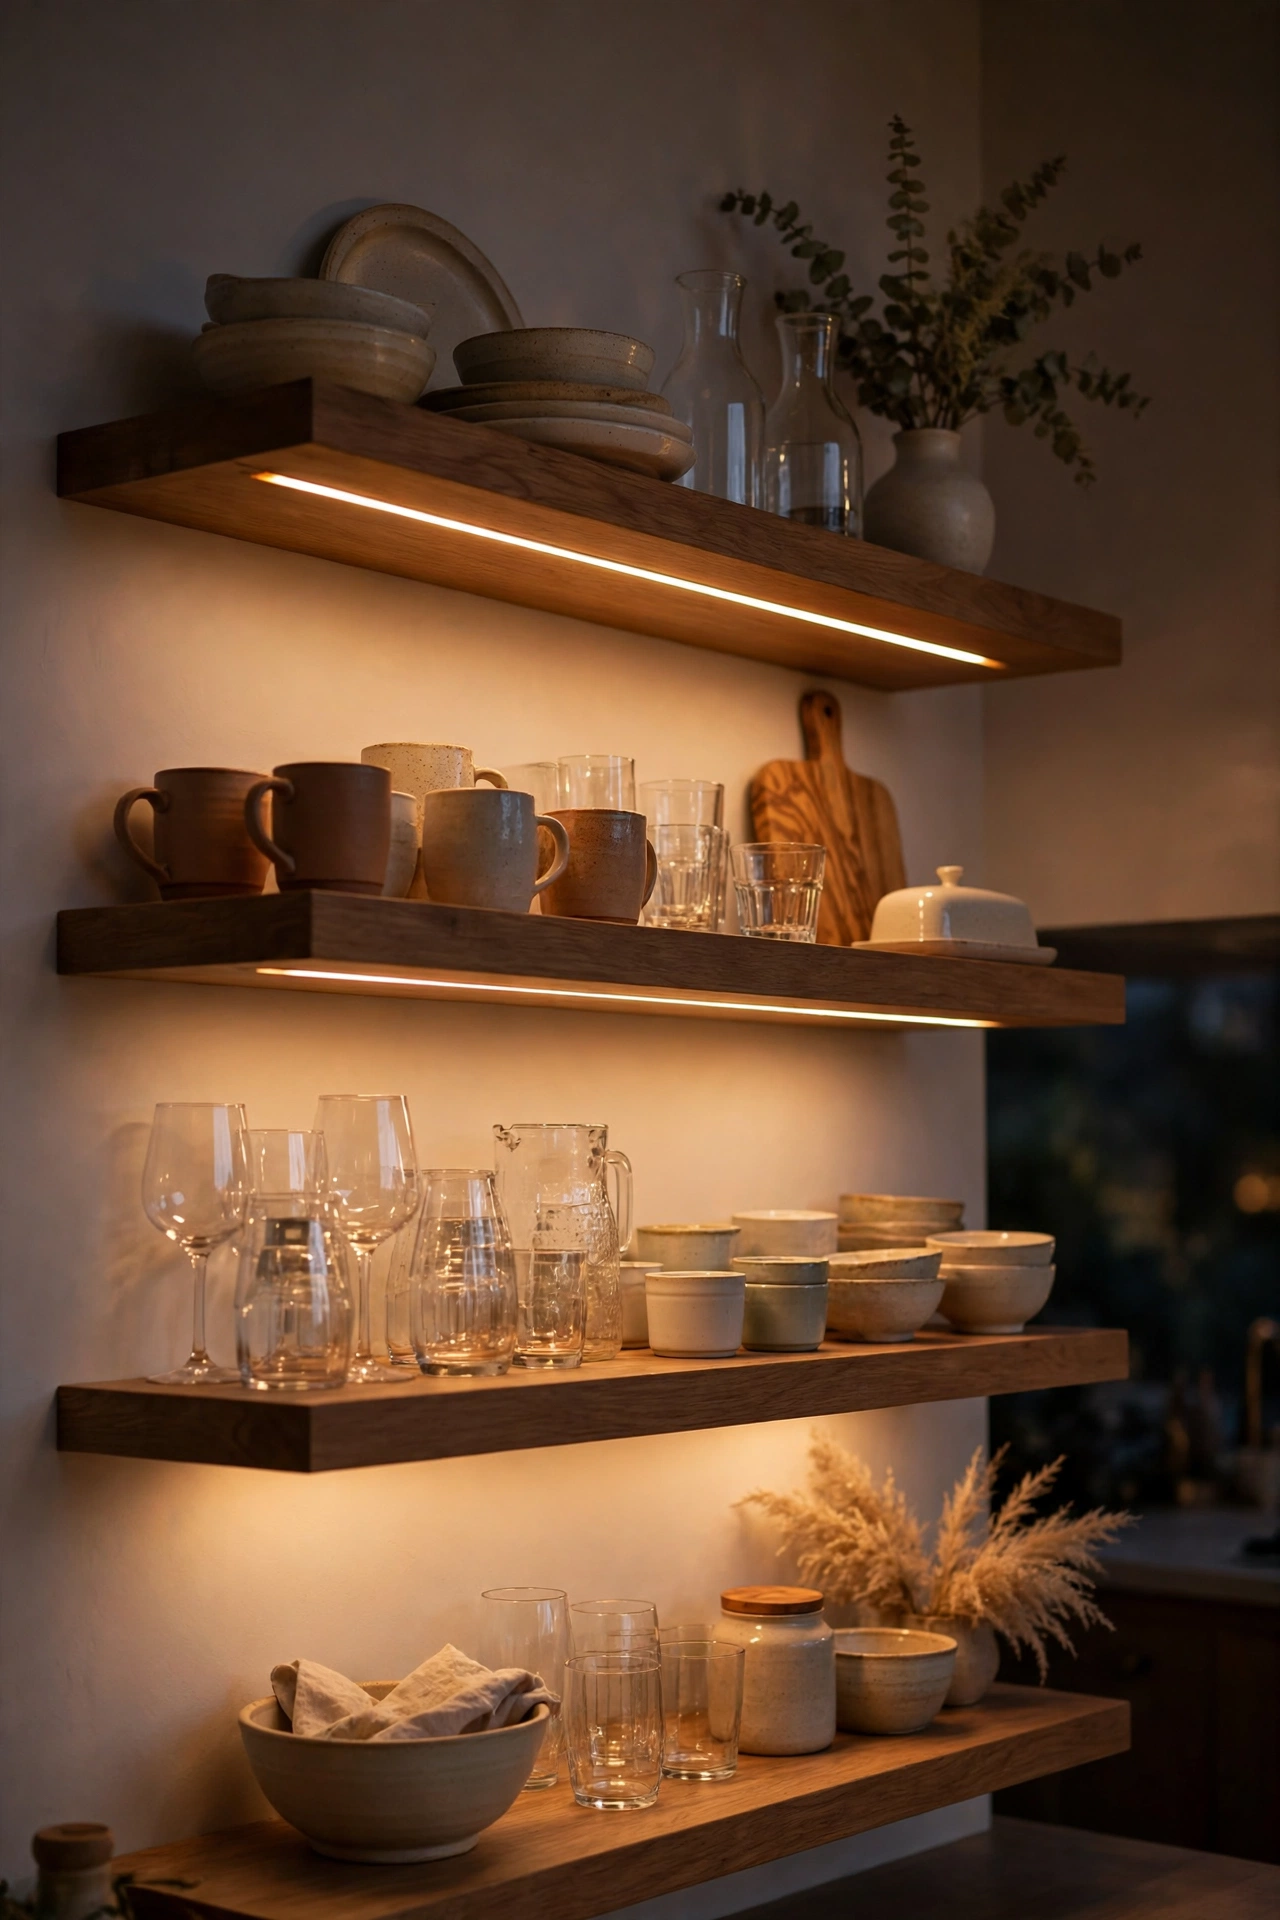
Open shelves look twice as good with a slim light under each one, picking out the ceramics and glassware. Tiny battery strips or pucks fit discreetly under a 20cm shelf and make styled shelves glow in the evening. It turns storage into display and adds layers of light to the room. Keep the colour temperature consistent across all shelves. I tried this and the one mistake to avoid is lighting shelves that hold the everyday clutter; light is honest, and it will spotlight the chipped mugs. Light the pretty shelves, leave the working ones alone.
Cost: ~$14 | Time: 20 minutes
17. Colour-Changing RGB Strips for Parties
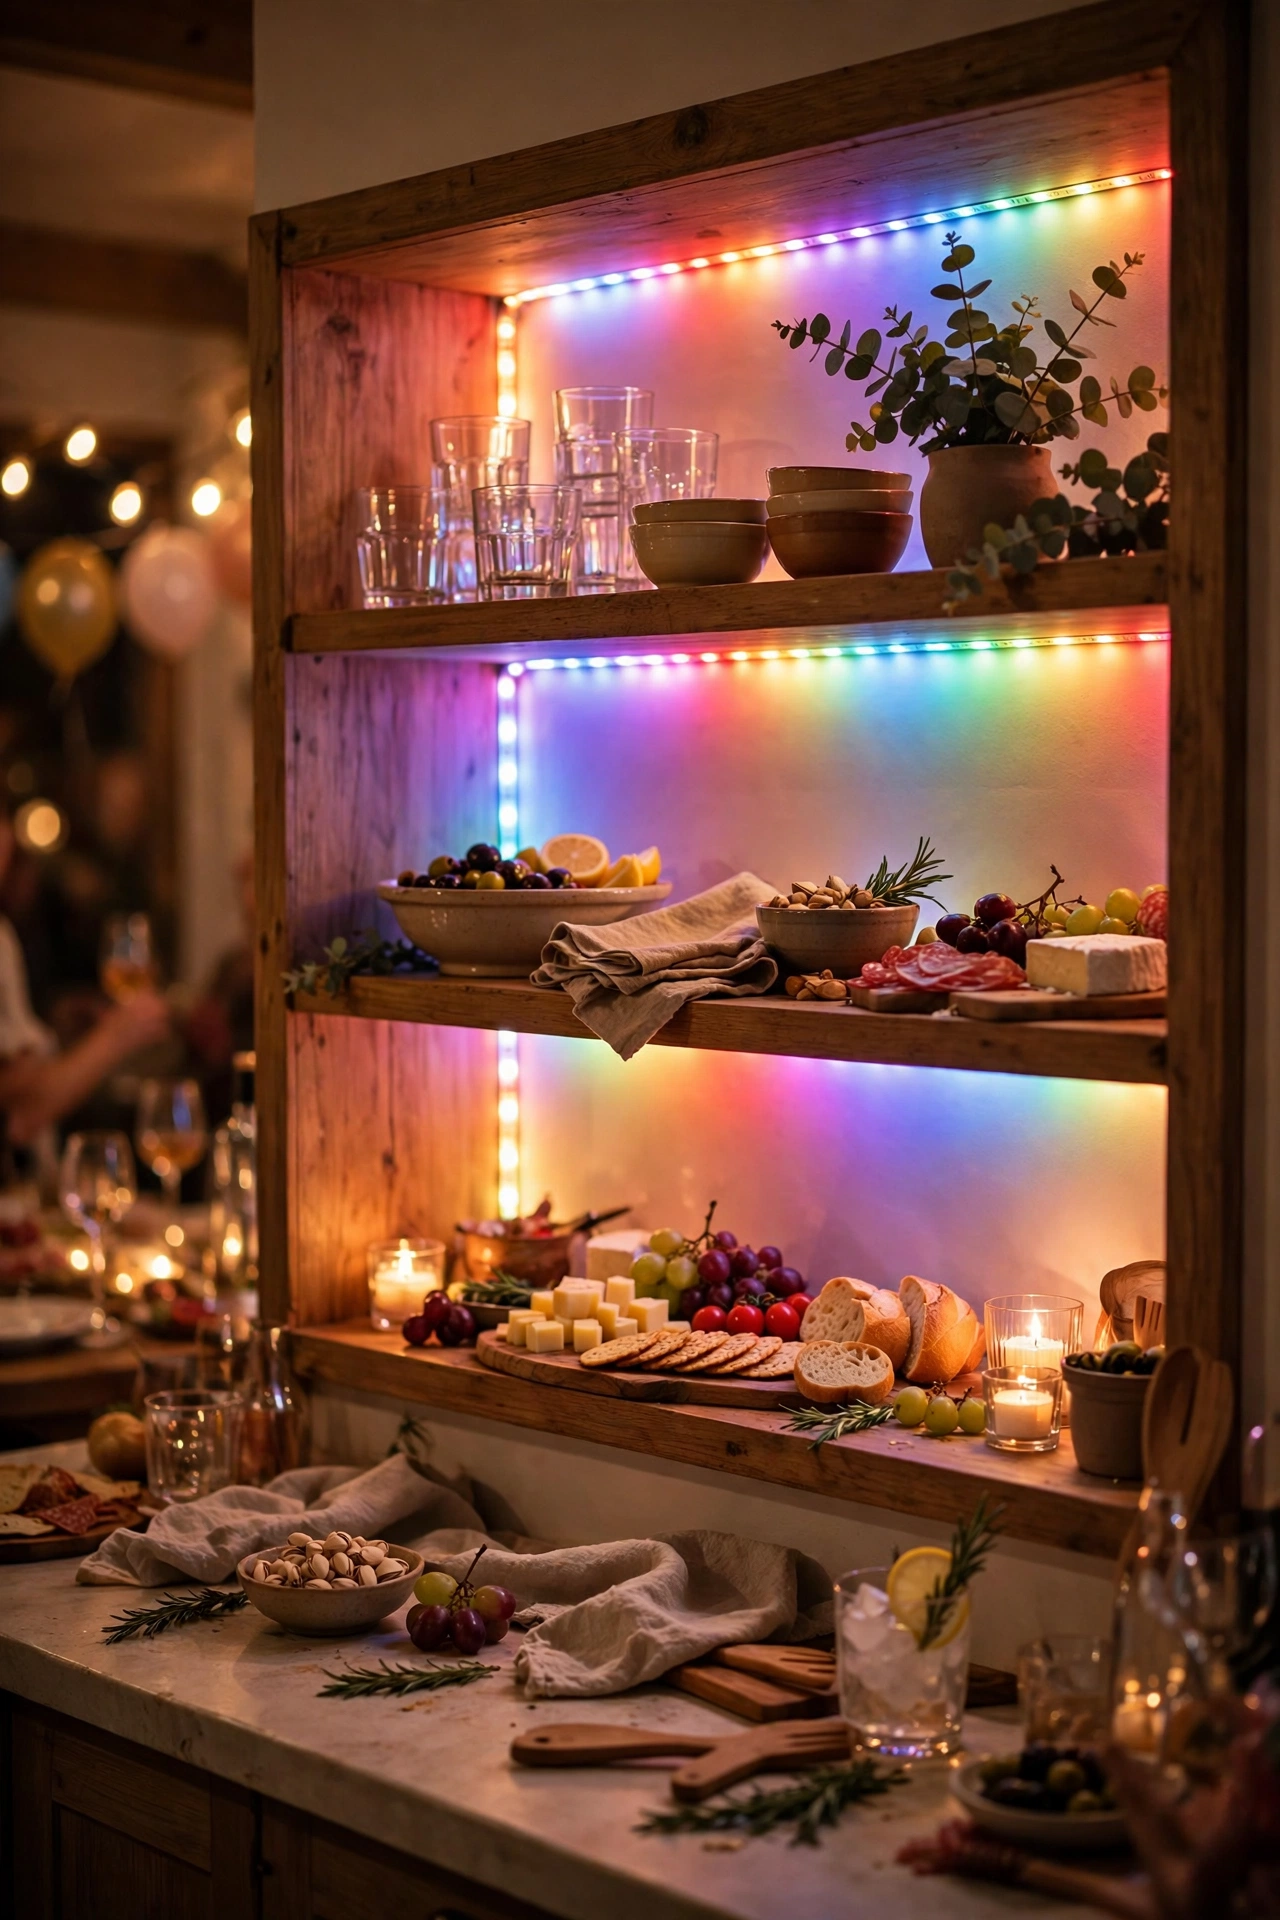
RGB strips that cycle through colours aren’t everyday lighting — they’re party lighting, and they’re enormous fun for very little money. Set them to warm white for daily use, then switch to colour for gatherings, holidays, or a teenager’s birthday. The app-controlled ones let you match the light to the occasion. Mount them where the colour wash shows: along the toe-kick or behind open shelving. I tried this and the one mistake to avoid is leaving them on colour permanently; novelty fades fast and coloured light makes food look strange. Warm white by default, colour for occasions.
Cost: ~$19 | Time: 25 minutes
18. Hardwired-Look Plug-In Valance Lights
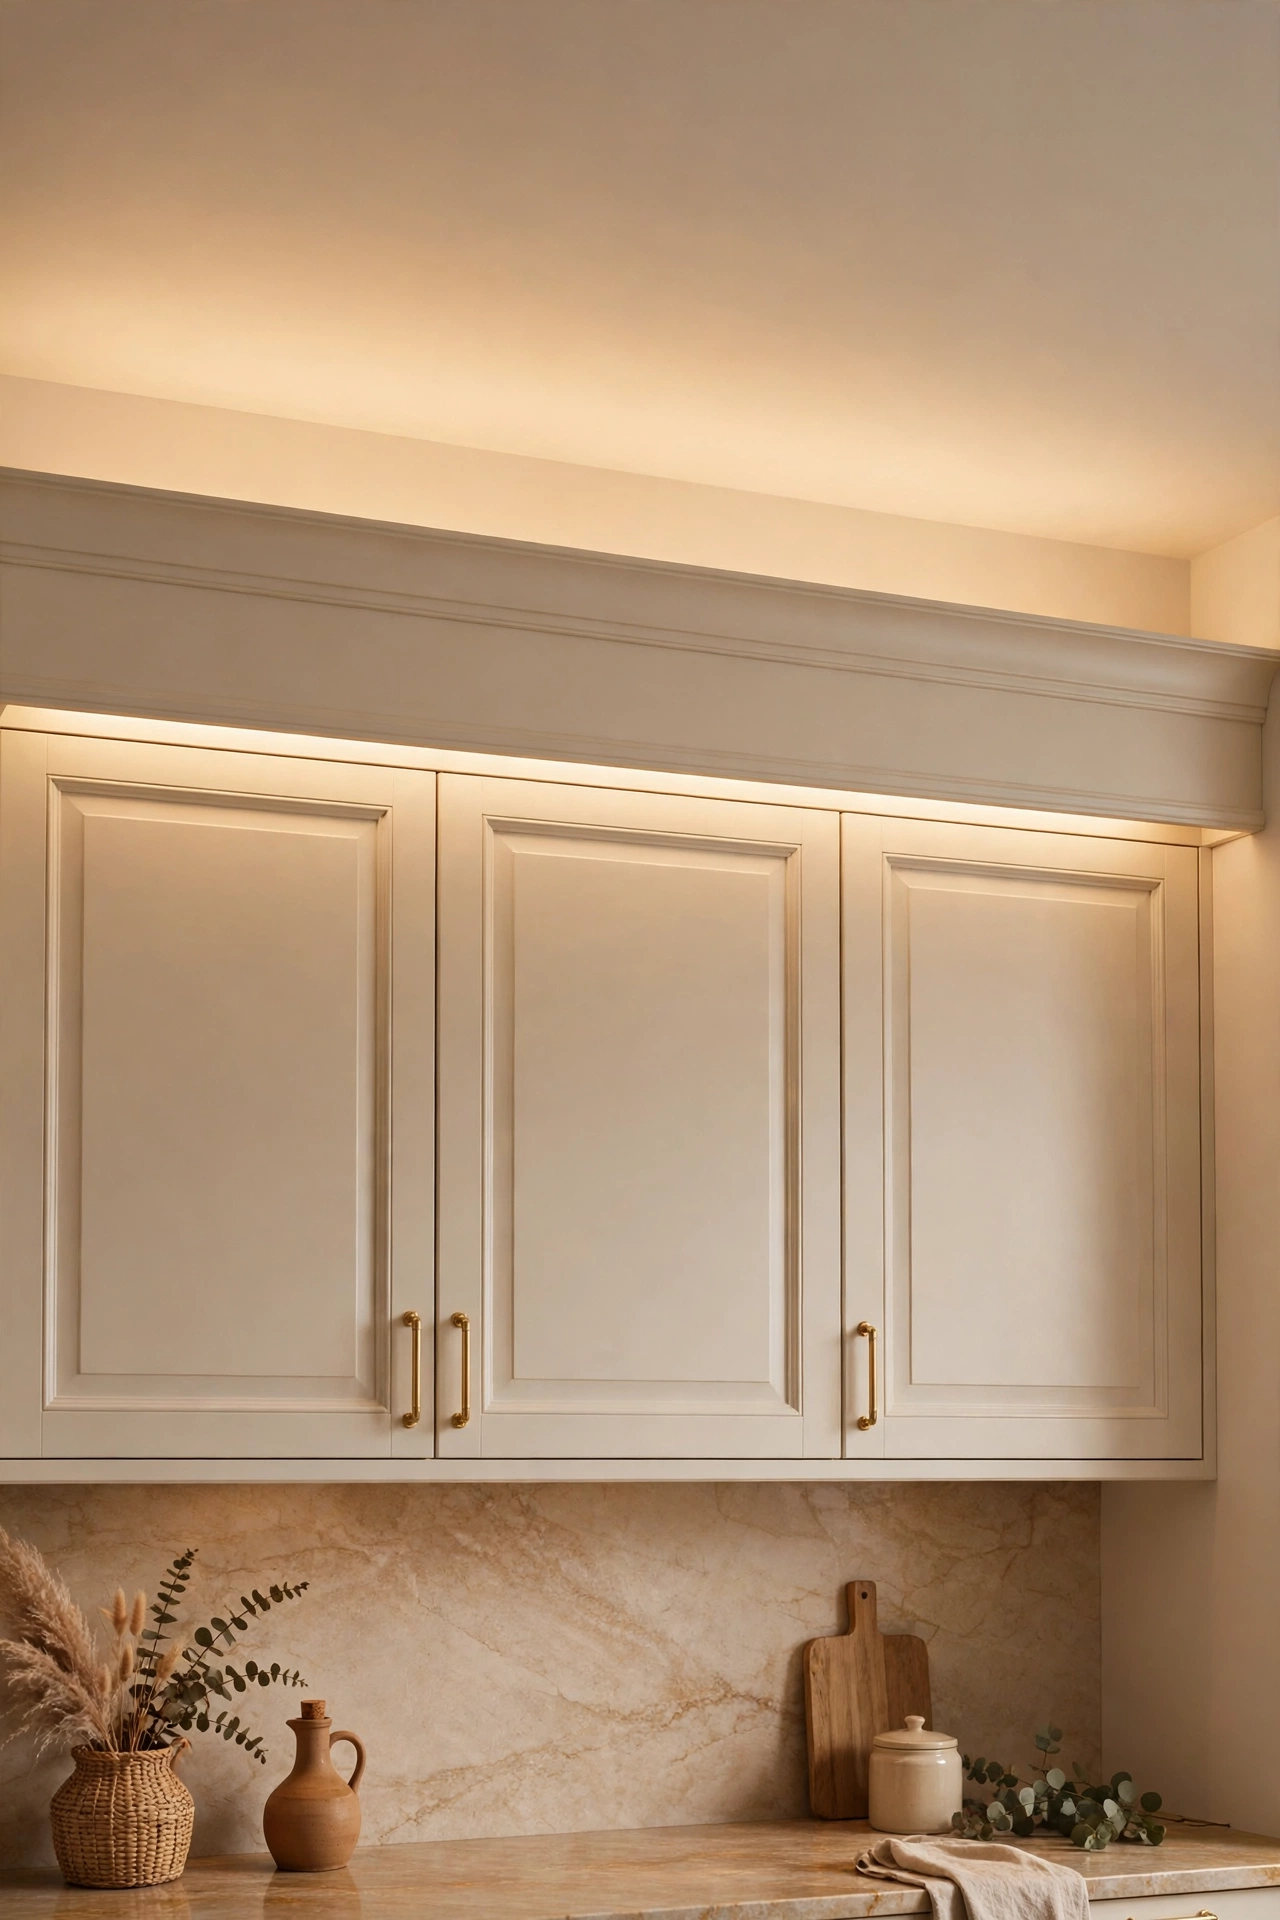
Linkable plug-in bars tucked behind a valance or cornice above the cabinets give the look of professionally wired lighting with none of the electrician’s bill. The valance hides the fittings; all you see is light washing the ceiling and glowing down. Run the linking cables behind the cabinets where they’re invisible. One plug powers the whole run. It’s the closest budget lighting gets to a showroom finish. I tried this and the one mistake to avoid is leaving the linking cables visible between bars; plan the cable route before you stick anything, and use the shortest link cables that reach.
Cost: ~$28 | Time: 45 minutes
19. Light the Inside of a Display Cabinet
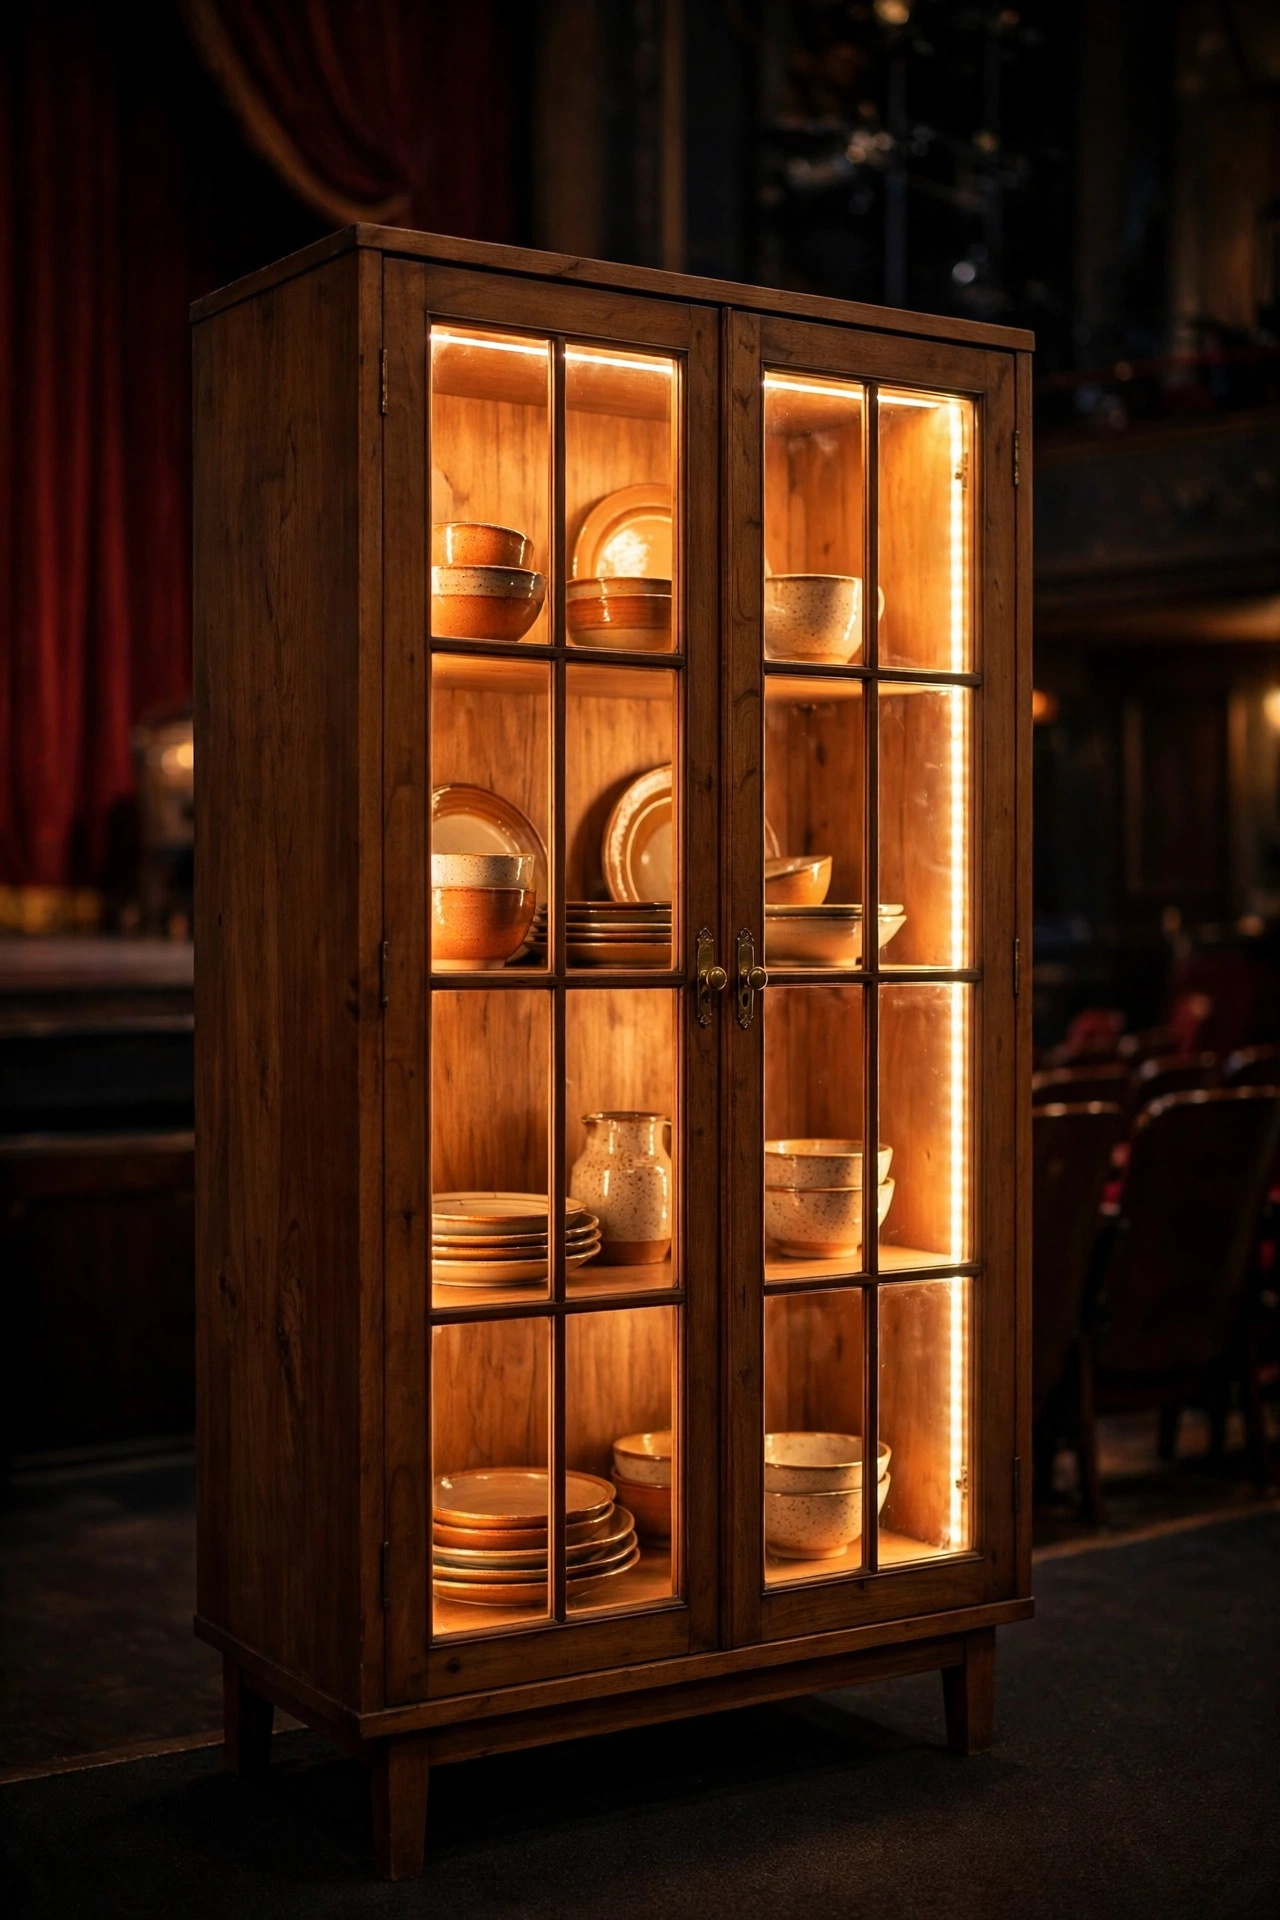
A freestanding dresser or hutch with glass doors becomes evening theatre with a battery strip along its top interior. The light falls through the shelves and turns everyday dishes into a still life. It’s the same trick as idea 11, but for furniture rather than fitted cabinets — ideal for renters who can’t touch the kitchen itself. A remote-control strip means no fumbling inside the cabinet. Save this one for later — it’s the finishing touch to add once the rest of your lighting is sorted. I tried this and the one mistake to avoid is using a strip so bright it washes out the china; dim is atmospheric, bright is interrogation.
Cost: ~$12 | Time: 15 minutes
20. Under-Cabinet Night Light on a Timer
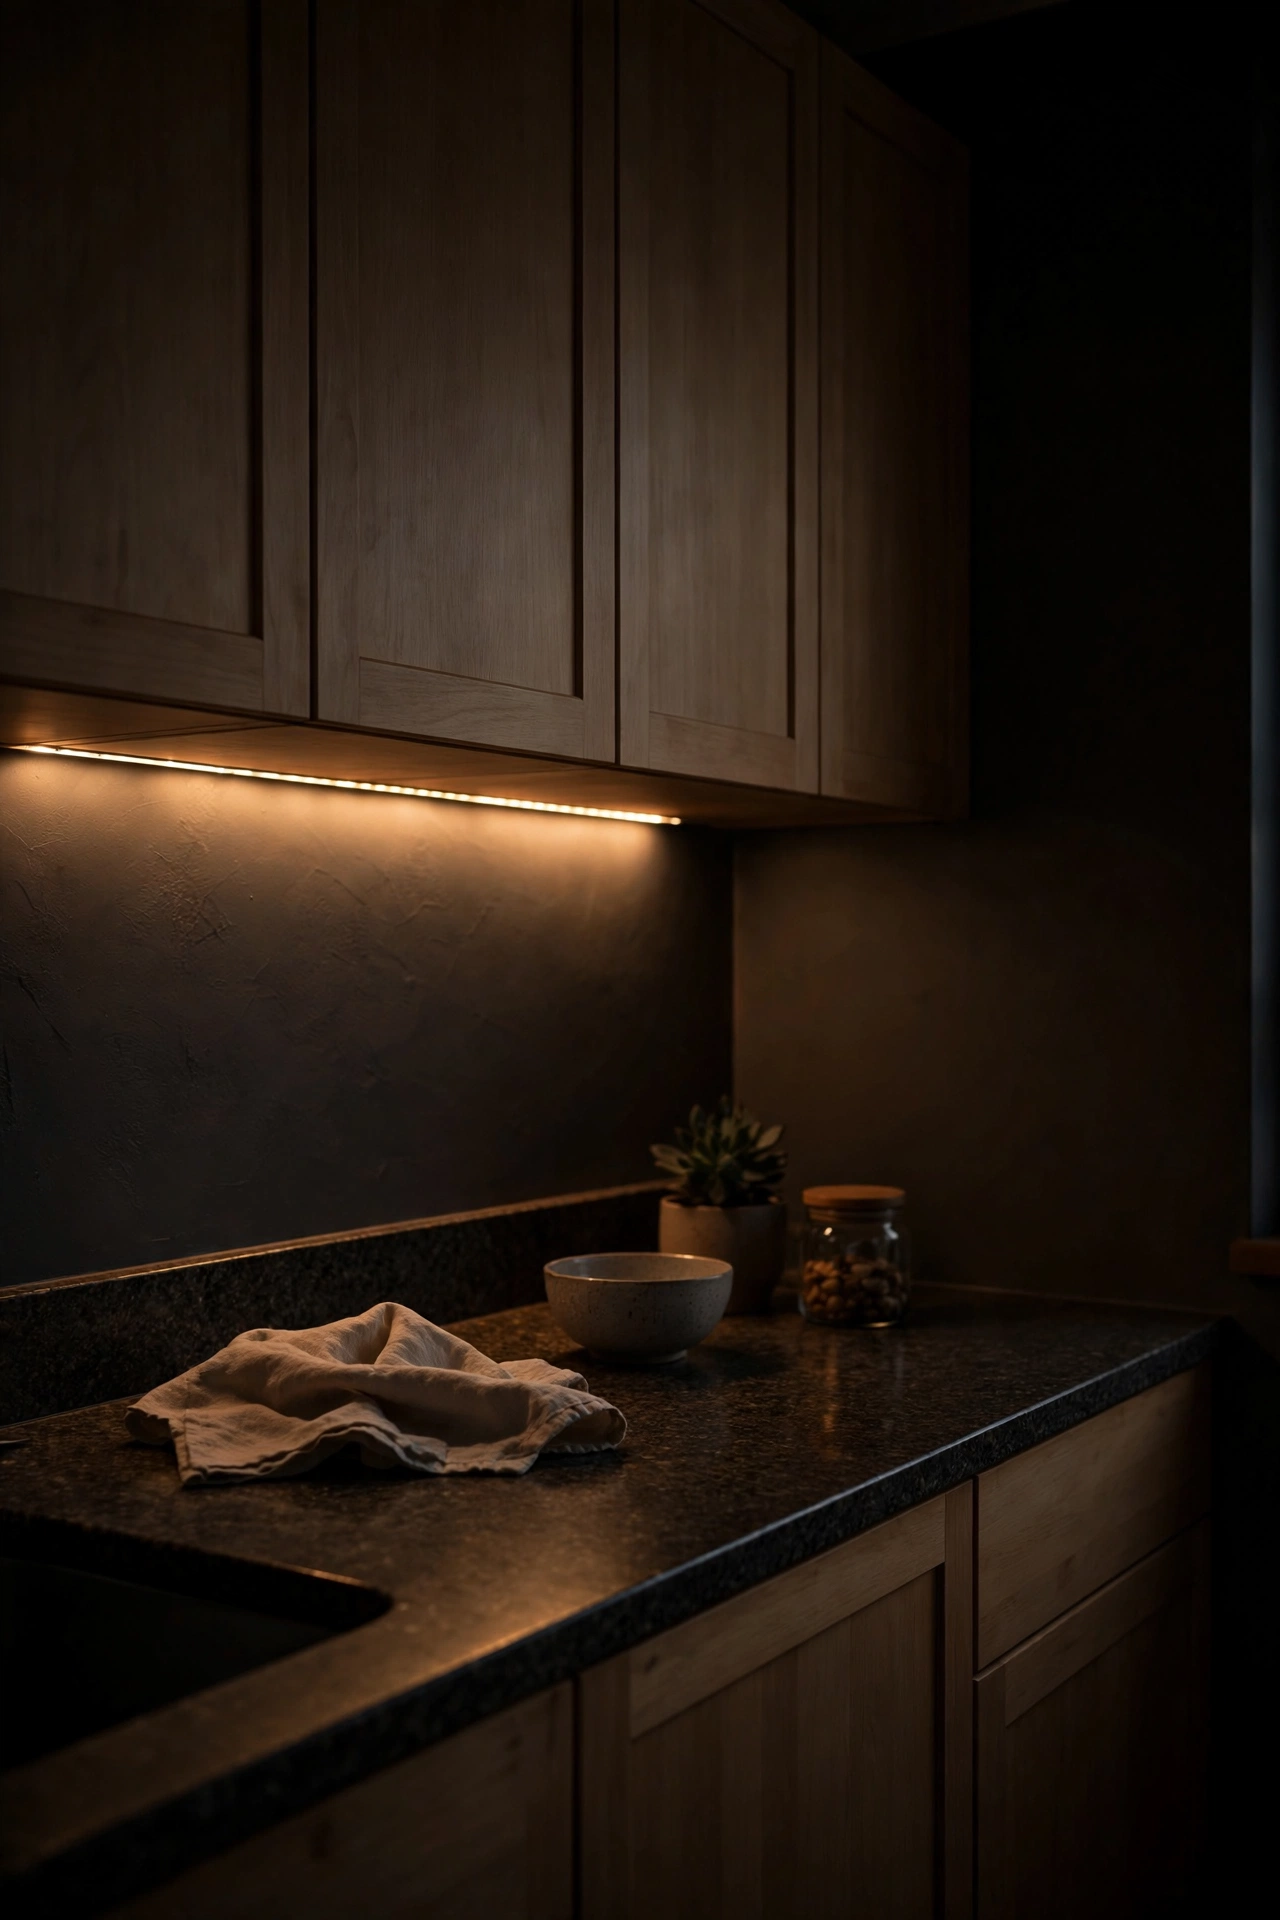
A very dim warm strip under the cabinets on a plug-in timer gives you a kitchen night light — enough to find the kettle at 6am without blasting the ceiling light. Set the timer for your waking hours, or use a dusk-to-dawn sensor plug. Keep it dimmer than you think necessary; its job is guidance, not illumination. It’s oddly comforting, like the house is awake before you are. I tried this and the one mistake to avoid is placing the timer where you’ll kick it; tuck it behind the microwave or inside a cabinet, and label it so nobody unplugs it for the phone charger.
Cost: ~$16 | Time: 20 minutes
21. Double-Sided Tape Light for Rental Kitchens
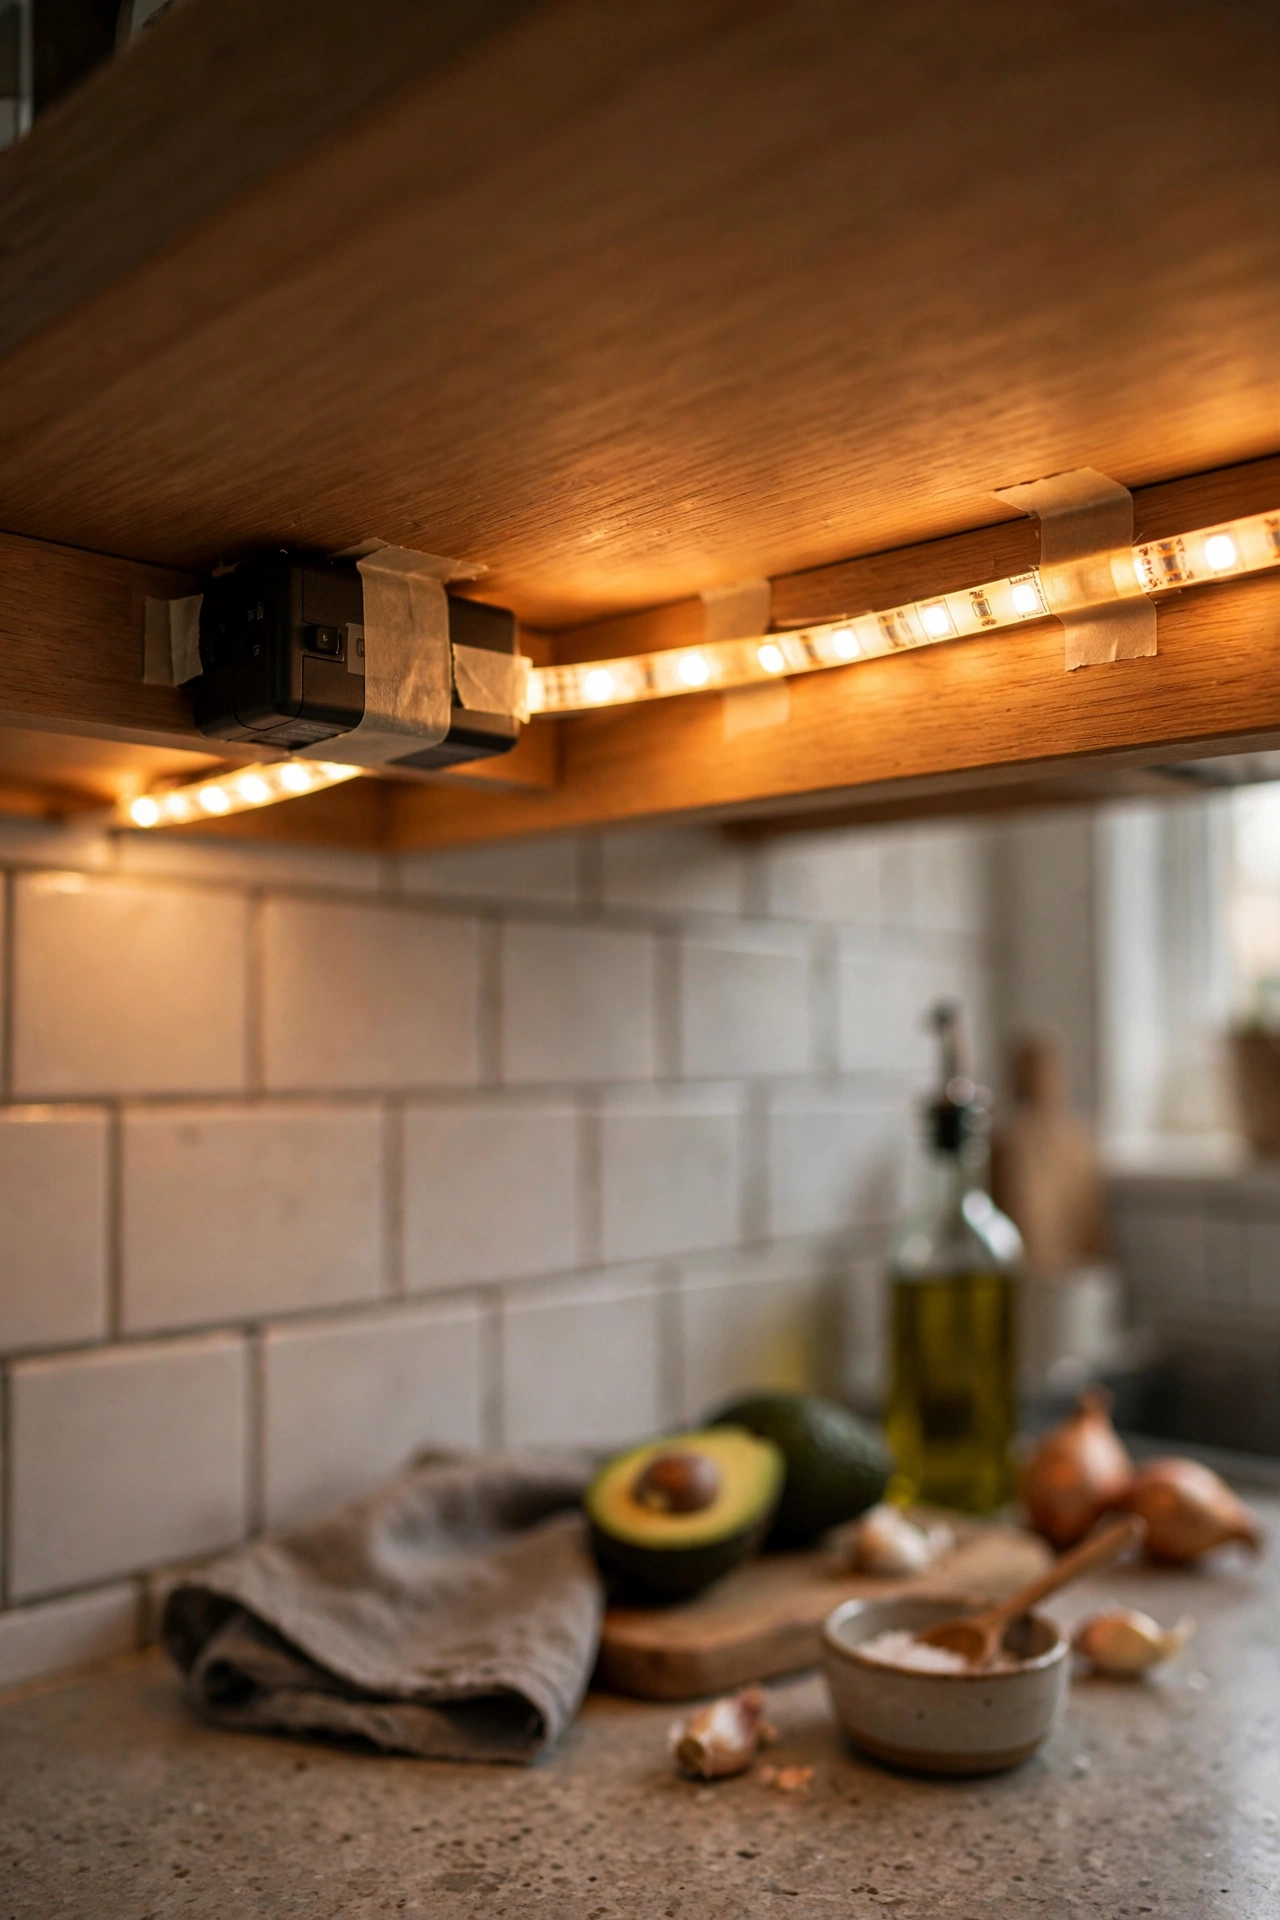
For the strictest rental agreements, there are LED strips designed to mount with heavy-duty removable tape and run on batteries — zero holes, zero wires, zero arguments with the landlord. They peel off cleanly on moving day. They’re not the brightest option, but as accent and ambience lighting they’re genuinely lovely. Use them where permanence is impossible: inside rented fitted wardrobes used as pantries, under shelves you don’t own. I tried this and the one mistake to avoid is cheap tape on a greasy surface; clean with alcohol first and even budget tape holds for years.
Cost: ~$13 | Time: 15 minutes
22. Linkable Light Bars for Long Runs
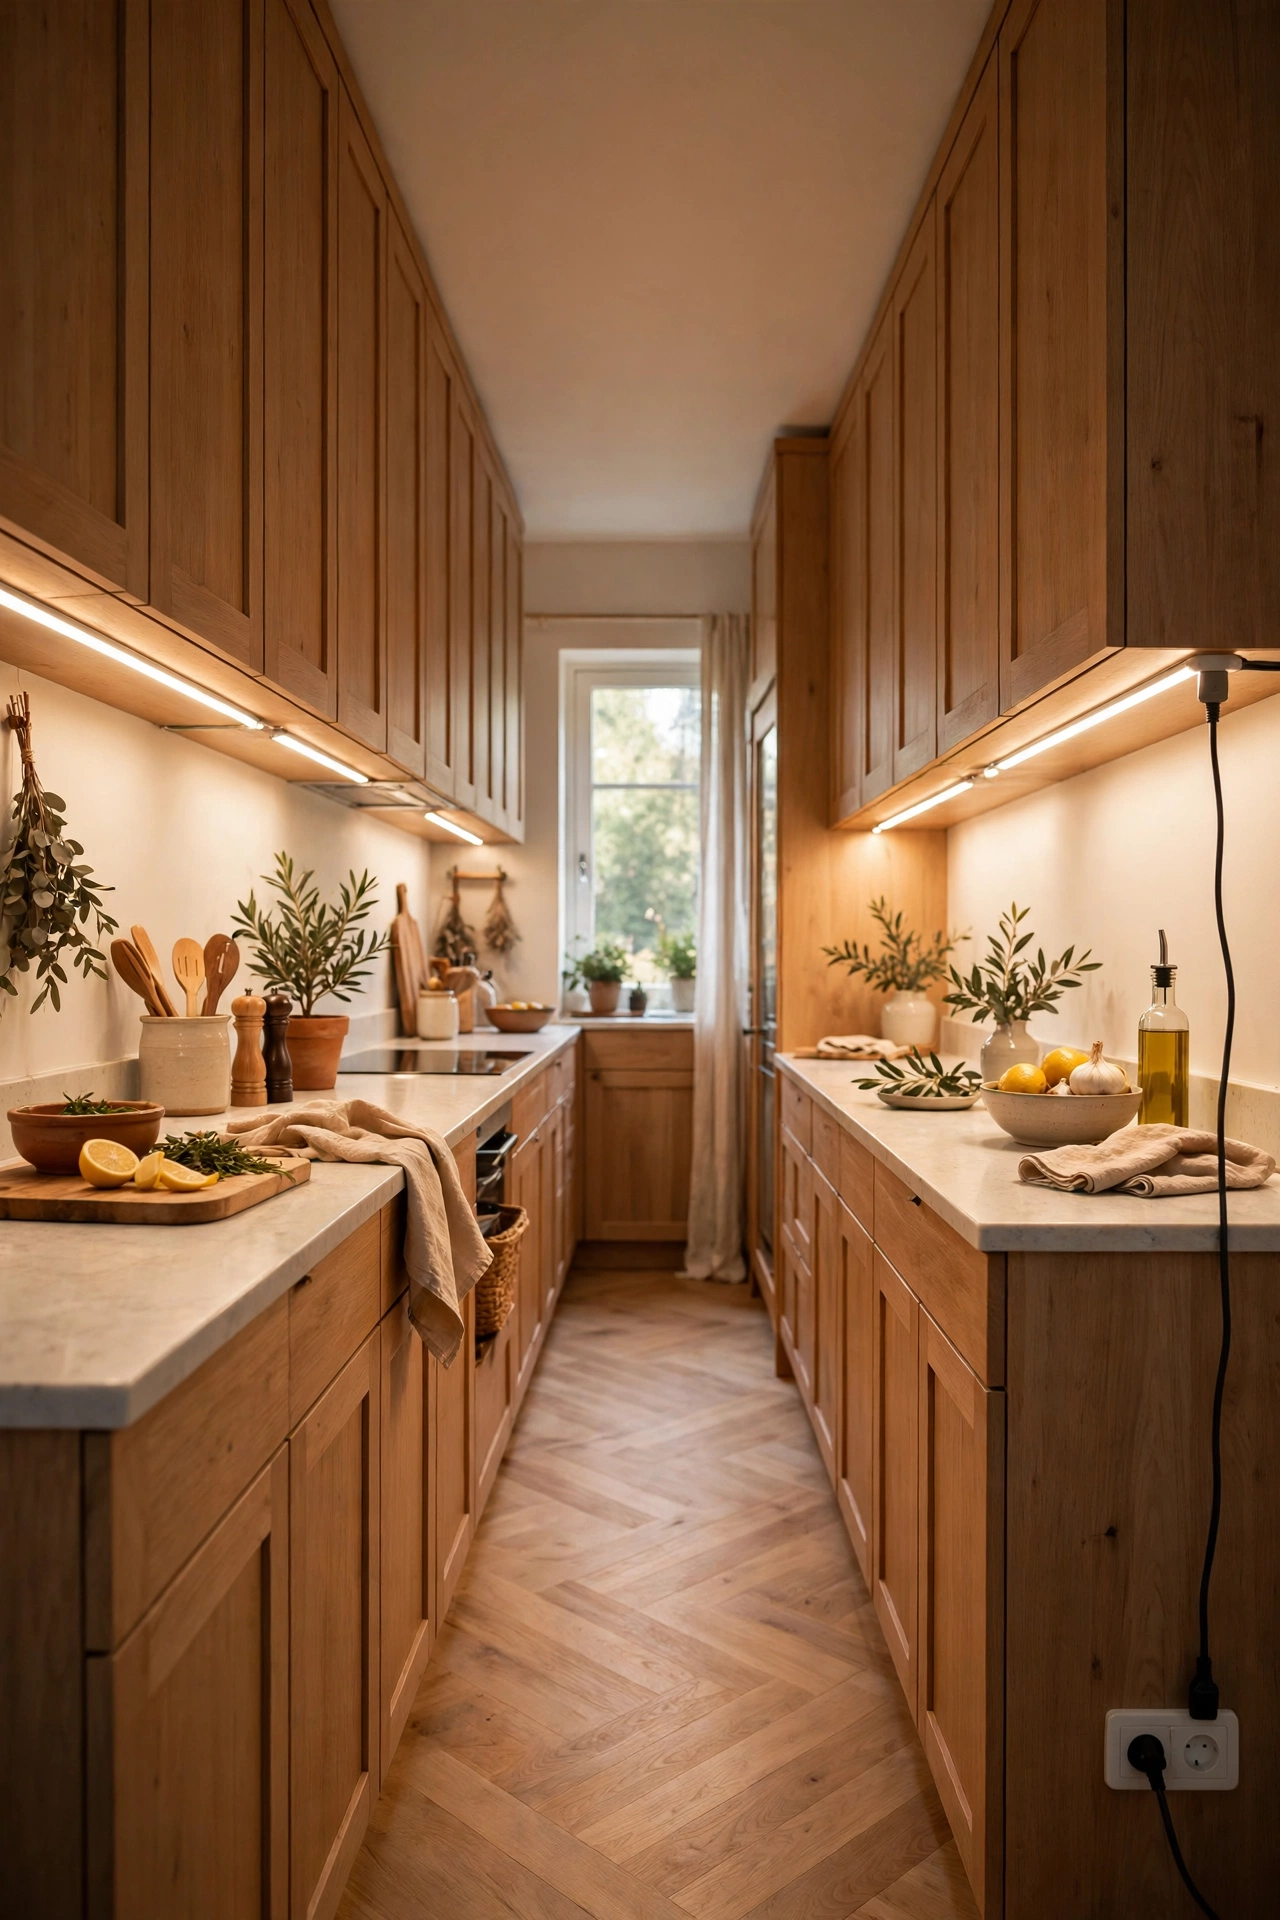
When one bar isn’t enough, linkable sets connect end to end with short cables, lighting a whole galley kitchen from a single plug. Plan the run on paper first: measure each cabinet section, count the bars, and check you have enough link cables. The result is beautifully even light with no dark patches between fittings. It’s the system to buy when you’re lighting the entire kitchen rather than one corner. I tried this and the one mistake to avoid is buying different brands for different sections; colour temperatures vary between manufacturers, and mismatched bars show. One brand, one purchase, one consistent light.
Cost: ~$32 | Time: 45 minutes
23. Above-Cabinet Uplighting for Ceiling Glow
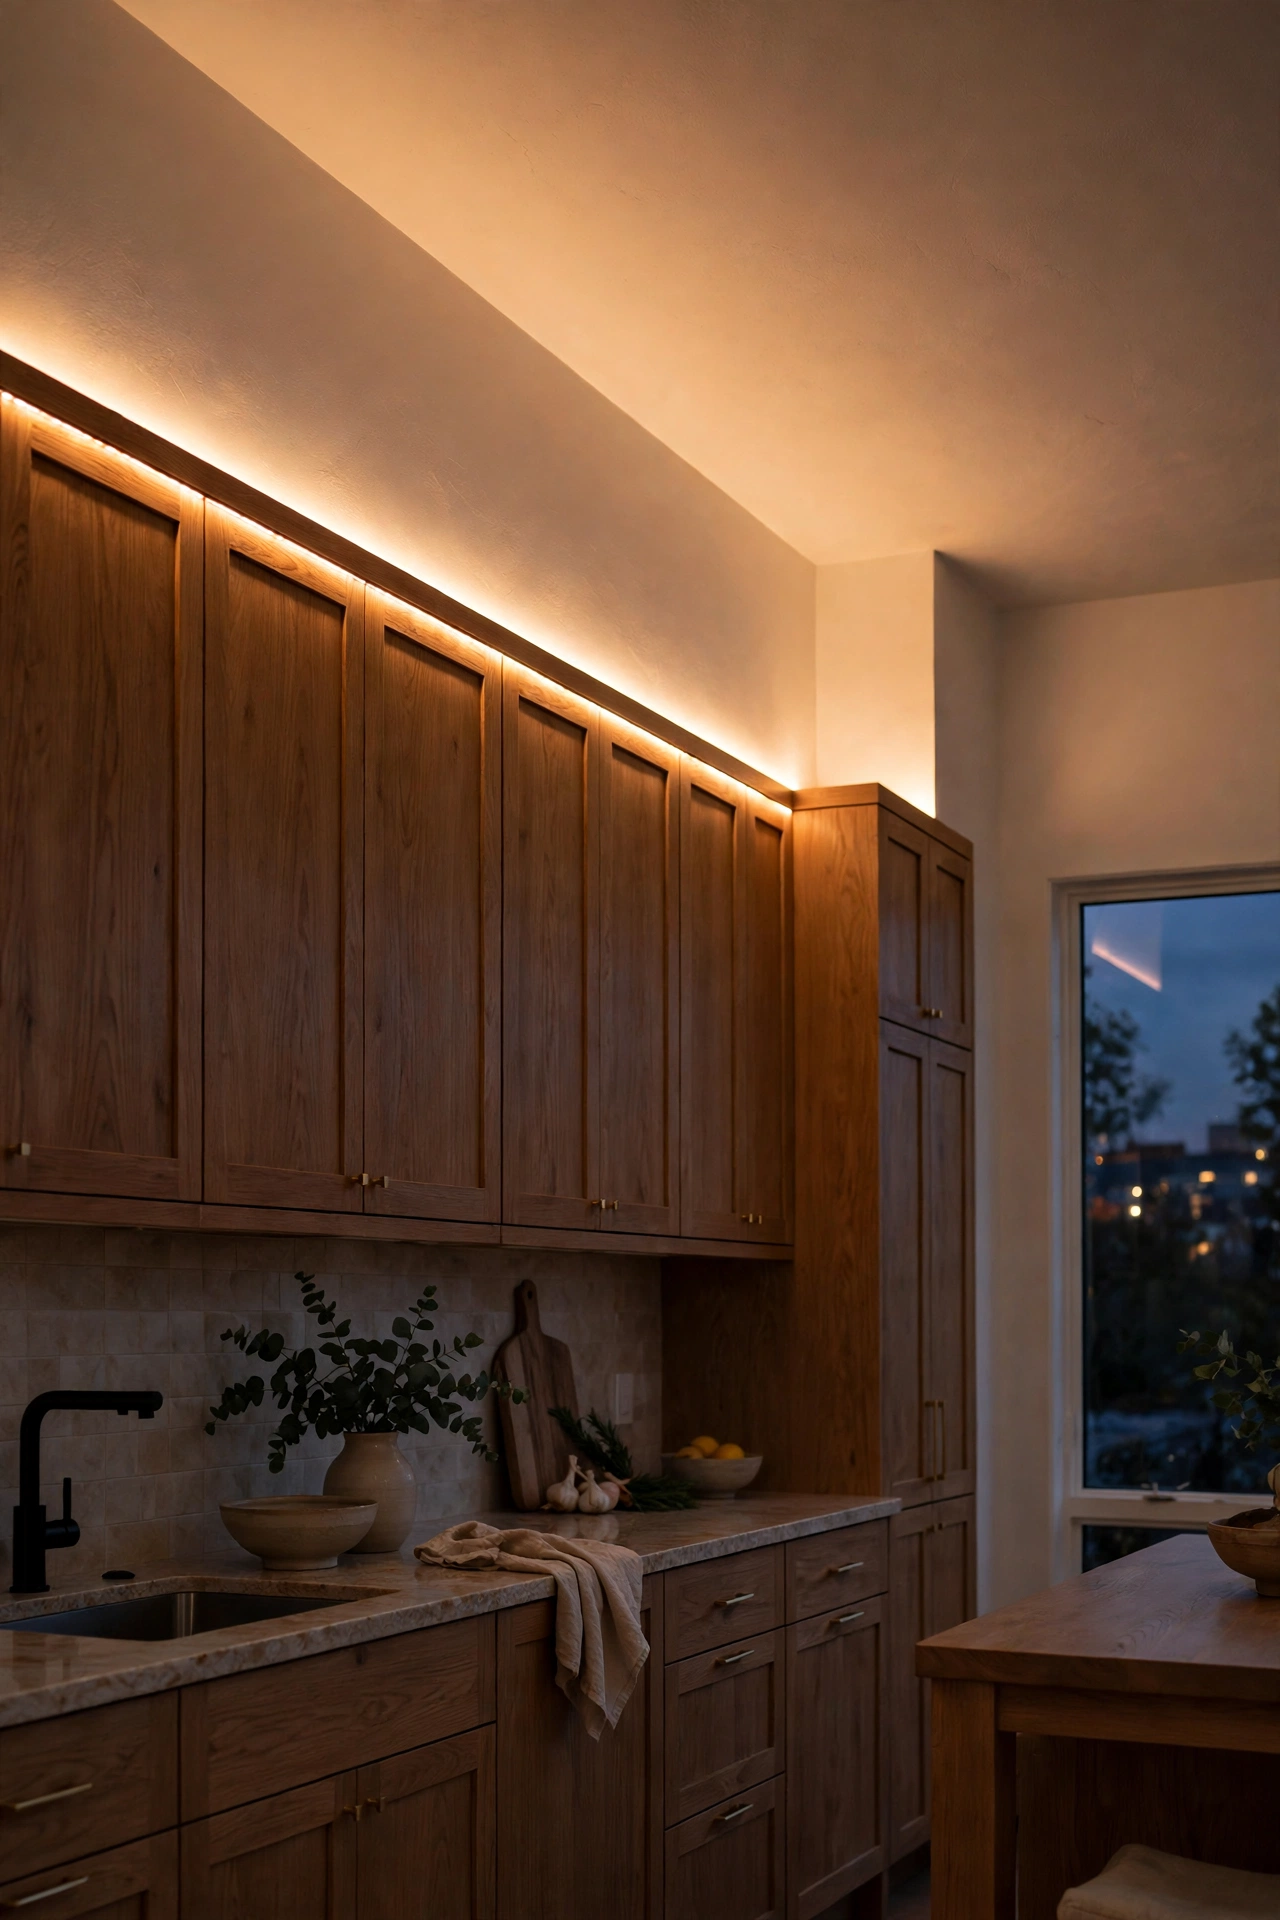
Strips laid on top of wall cabinets, shining up, bounce soft light off the ceiling and make the whole kitchen feel taller and calmer. You never see the fitting — just the glow. It’s pure ambience rather than task lighting, and it transforms evening kitchens. Battery strips work if you don’t mind recharging; plug-in with a timer is the effortless version. Dust the cabinet tops first, or you’ll be lighting a dust museum. I tried this and the one mistake to avoid is using it as your only lighting; uplighting flatters the room but leaves worktops dark. Pair it with one task-light idea from above.
Cost: ~$17 | Time: 25 minutes
Under Cabinet Lighting FAQs
Are battery lights bright enough for cooking?
For ambience, yes; for serious prep work, plug-in or USB-rechargeable bars are noticeably brighter. Many cooks use both — battery pucks for glow, a plug-in bar over the main chopping zone for real task light.
Warm white or cool white under cabinets?
Warm white (2700–3000K) for living and eating areas; it flatters food and feels cosy. Save cool daylight white for the one spot where you do detailed work, like over the chopping board, if you like that crisp look.
Will adhesive strips damage my rented cabinets?
Quality removable adhesive pads and magnetic mounts come off cleanly — clean the surface with rubbing alcohol before sticking so they hold well, and warm the adhesive with a hairdryer before removal on moving day.
How many lights do I need per metre?
As a rule of thumb, one puck every 40–50cm, or a continuous strip for the whole run. Continuous strips give the most even result; pucks give pools of light, which suits some kitchens better.
Twenty-three ways to light the worktop without calling an electrician — start with one battery bar over the sink and see how quickly you want the rest. For the full room, my renter-friendly kitchen upgrades cover everything else a rented kitchen needs.
