19 Apartment Kitchen Ideas on a Dime
Small rented kitchens ask for clever thinking, not big spending. These apartment kitchen ideas are all renter-safe, genuinely cheap, and tested in real flats with real landlords — nothing here risks your deposit, and most of it comes with you when you move.
Every idea below costs less than a weekly shop and needs no drilling, no permanent changes, and no permission slips. If you want the storage-focused companion list, see my apartment kitchen ideas that maximize storage and renter-friendly kitchen upgrades next.
1. Tension-Rod Under-Sink Curtain
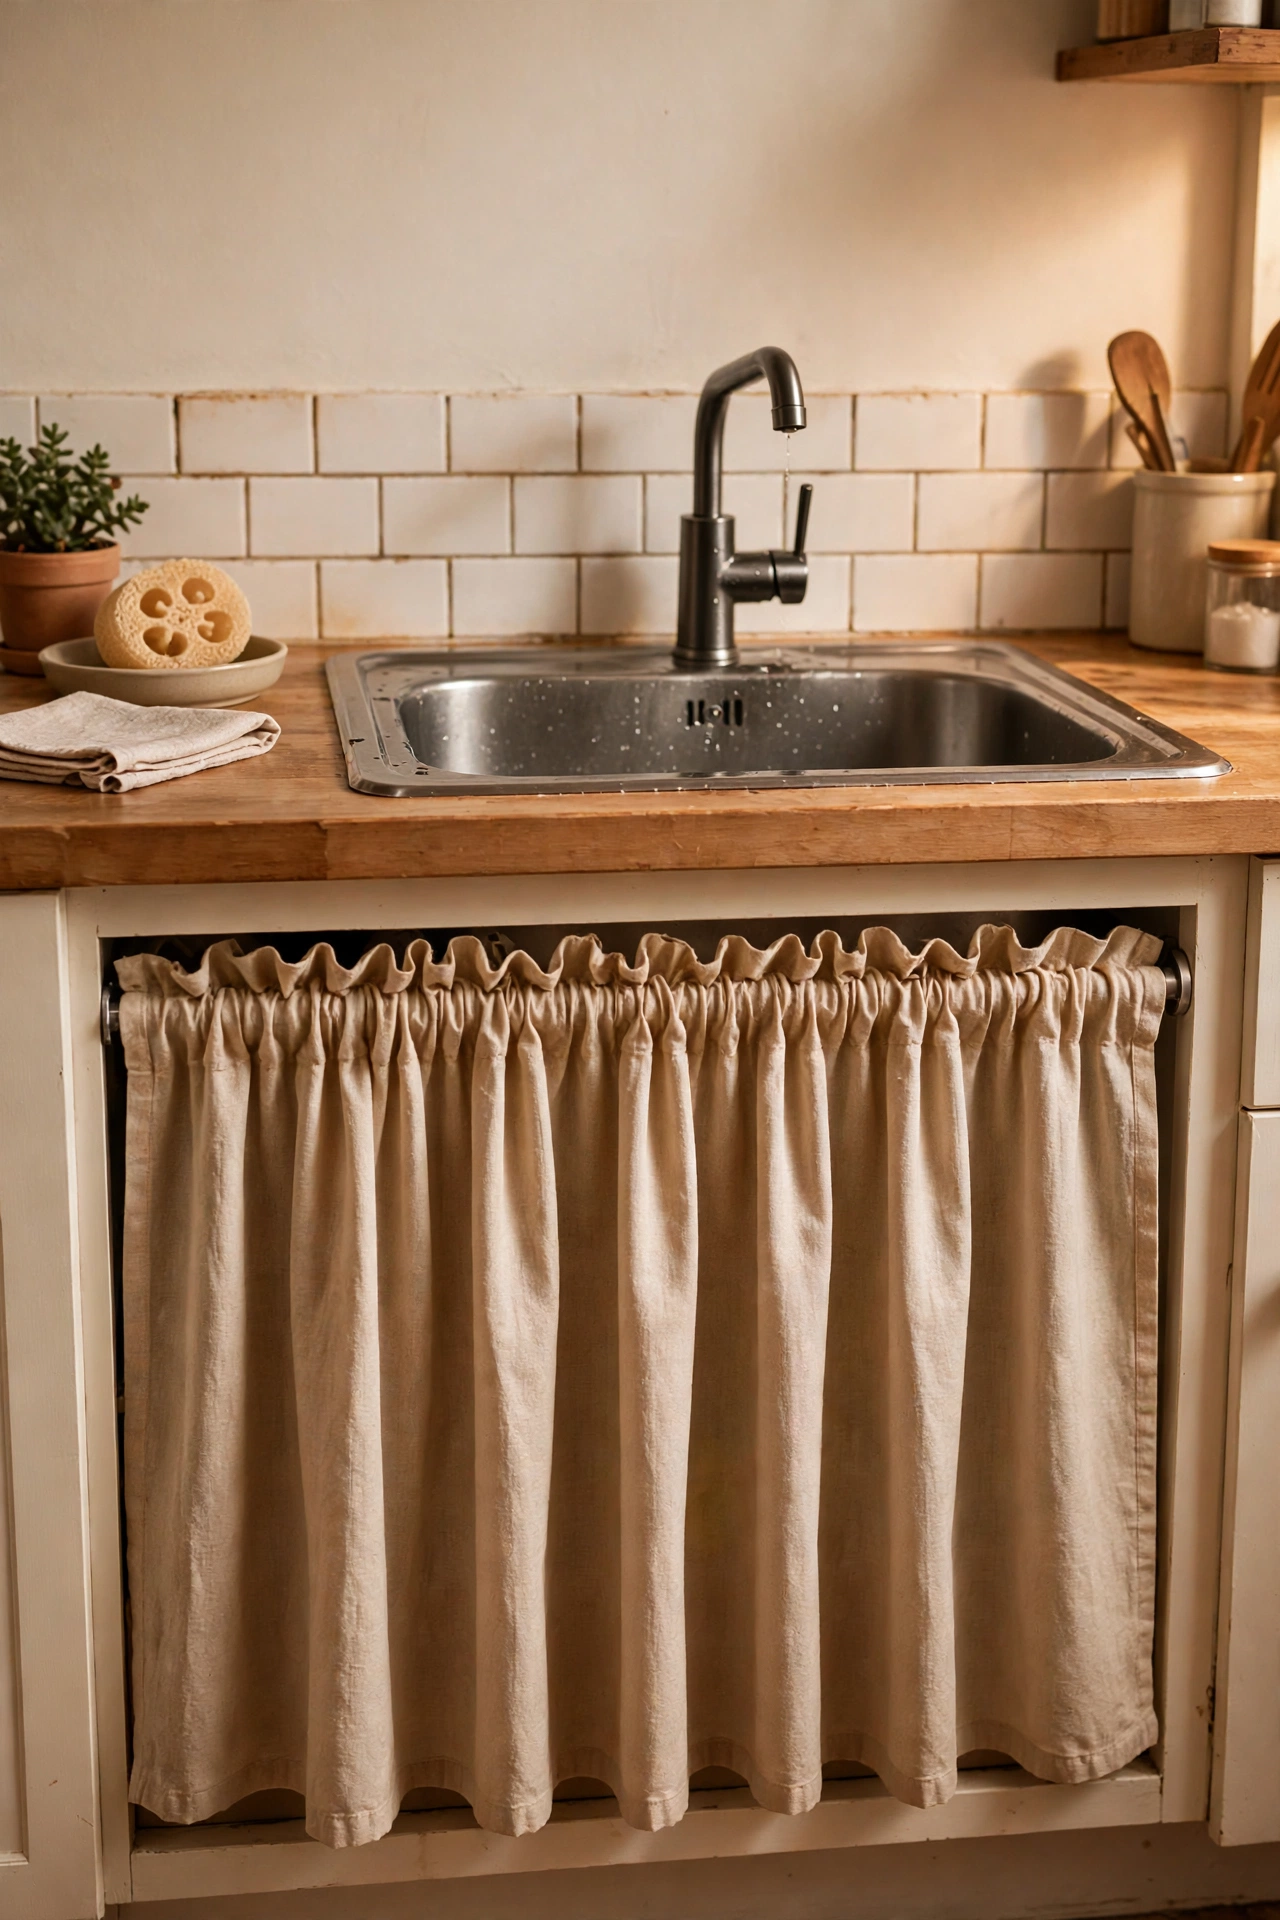
The cupboard under the sink is usually a jumble of bottles, and a tension rod with a small curtain hides it in minutes. Measure the opening, twist the rod to fit — no screws, no holes — and hang a hemmed piece of washable cotton. It turns an eyesore into a soft, finished detail and gives you a graceful way to conceal the bins. Choose a fabric that handles humidity, since the under-sink zone gets damp. When you move, the rod twists out and the curtain folds into your linen box.
Pro tip: fit the rod a few centimetres back from the front edge so the curtain hangs inside the frame line and doesn’t catch on the door.
Cost: ~$12 | Time: 20 minutes
2. Command-Hook Utensil Rail
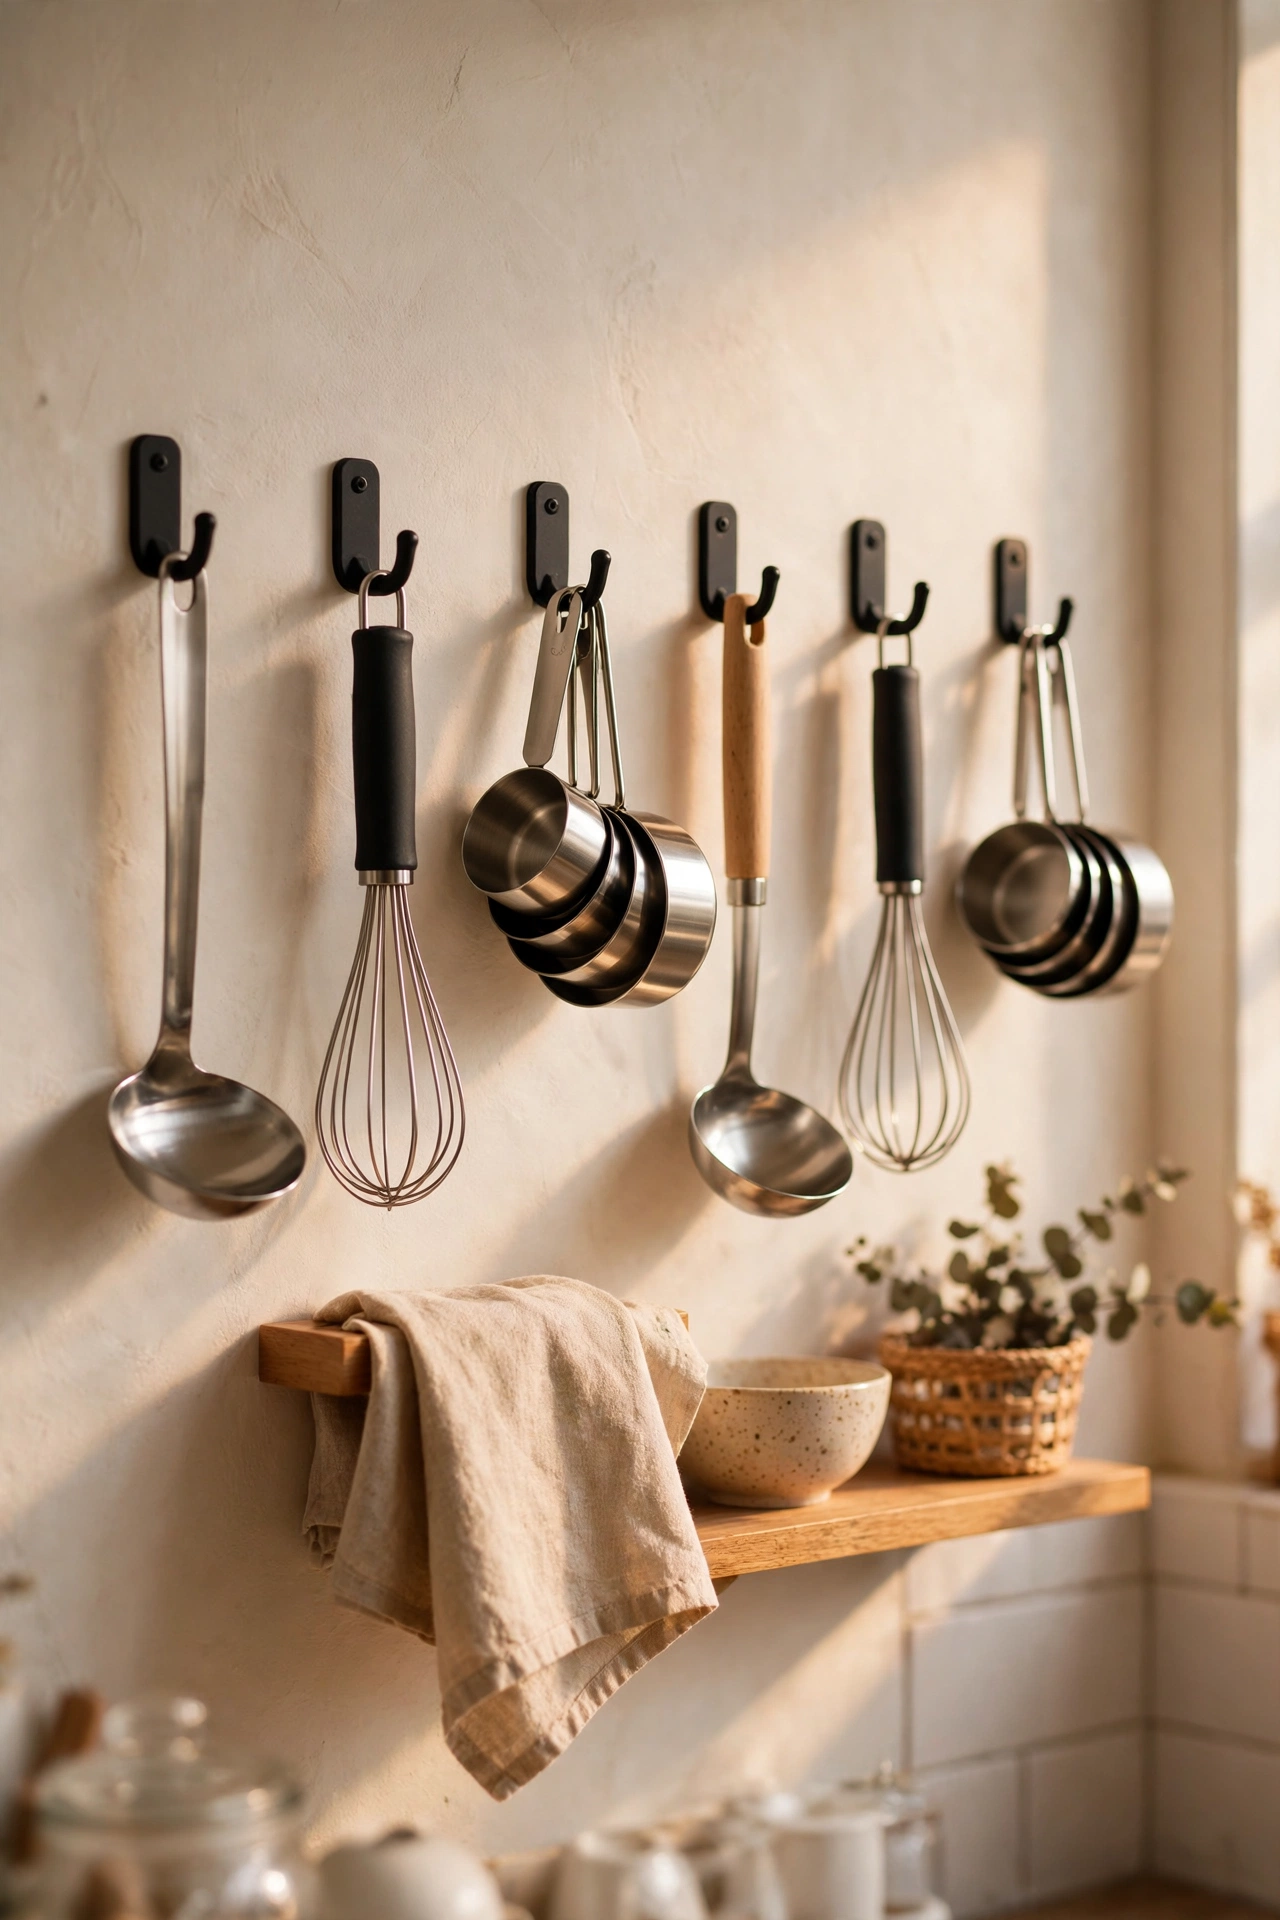
A row of large adhesive hooks on a free stretch of wall or the side of a cabinet becomes a hanging rail for ladles, whisks and measuring cups. Clean the surface with rubbing alcohol first so the adhesive bonds properly, press each hook firmly for thirty seconds, and wait the full recommended time before hanging anything. S-hooks through the utensil handles let you rearrange freely. It frees a whole drawer and keeps tools at arm’s reach. I tried this and the one mistake to avoid is overloading a single hook — spread the weight across several and they’ll hold for years.
Cost: ~$9 | Time: 15 minutes
3. Over-the-Door Pantry Organiser
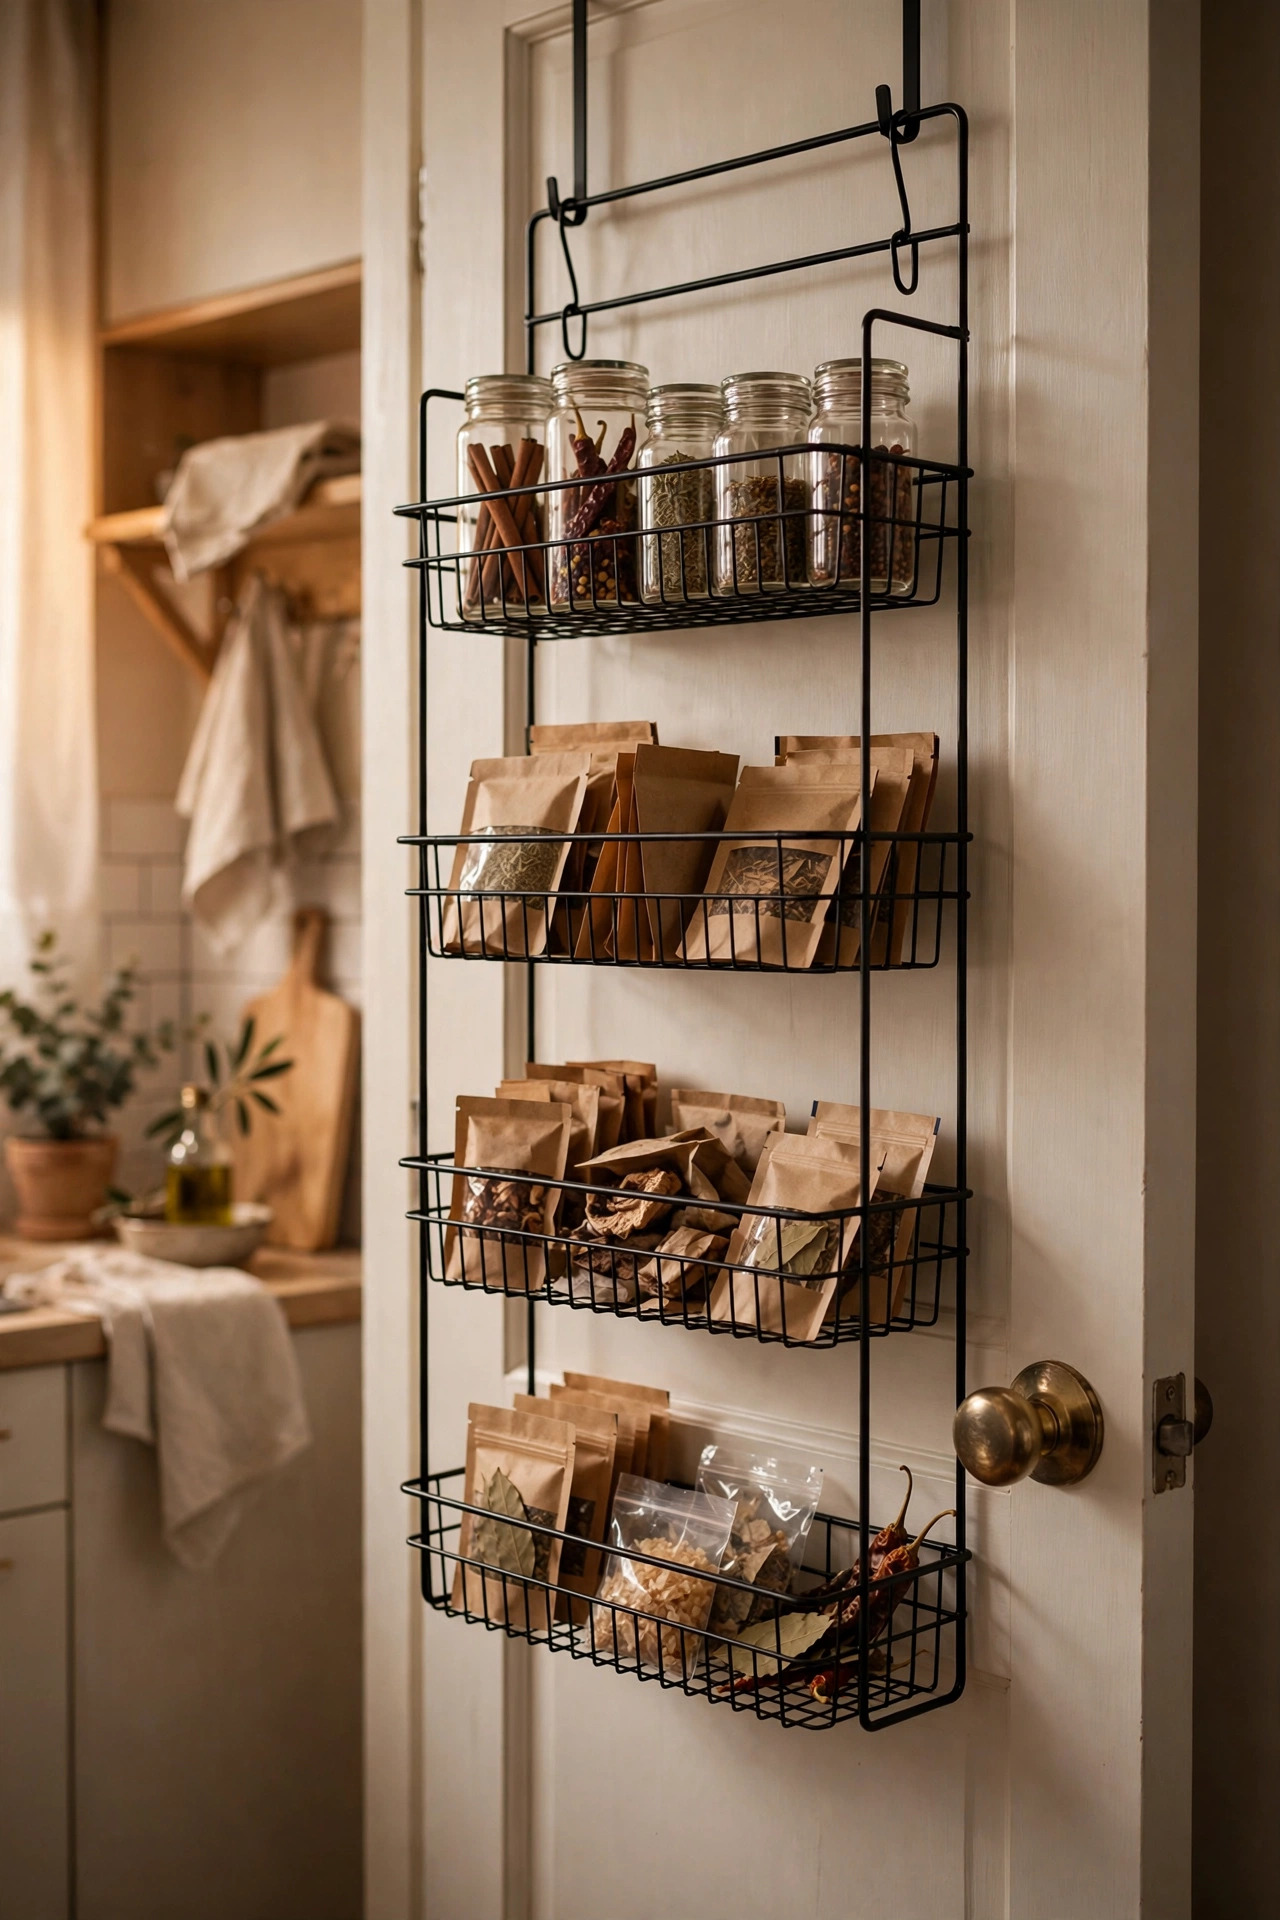
An over-the-door rack with slim baskets turns the back of any door into a spice and packet pantry. Hang it over the kitchen door or a tall cupboard door, checking first that the door still closes — most racks are designed for standard door thickness. Fill the baskets with spices, stock cubes, wraps and small jars, heaviest at the bottom. It adds the equivalent of a whole extra shelf without touching the walls. I tried this and the one mistake to avoid is buying one deeper than about 10cm; deeper racks stop the door closing properly and scrape the frame.
Cost: ~$18 | Time: 10 minutes
4. Magnetic Knife Strip with Damage-Free Mount
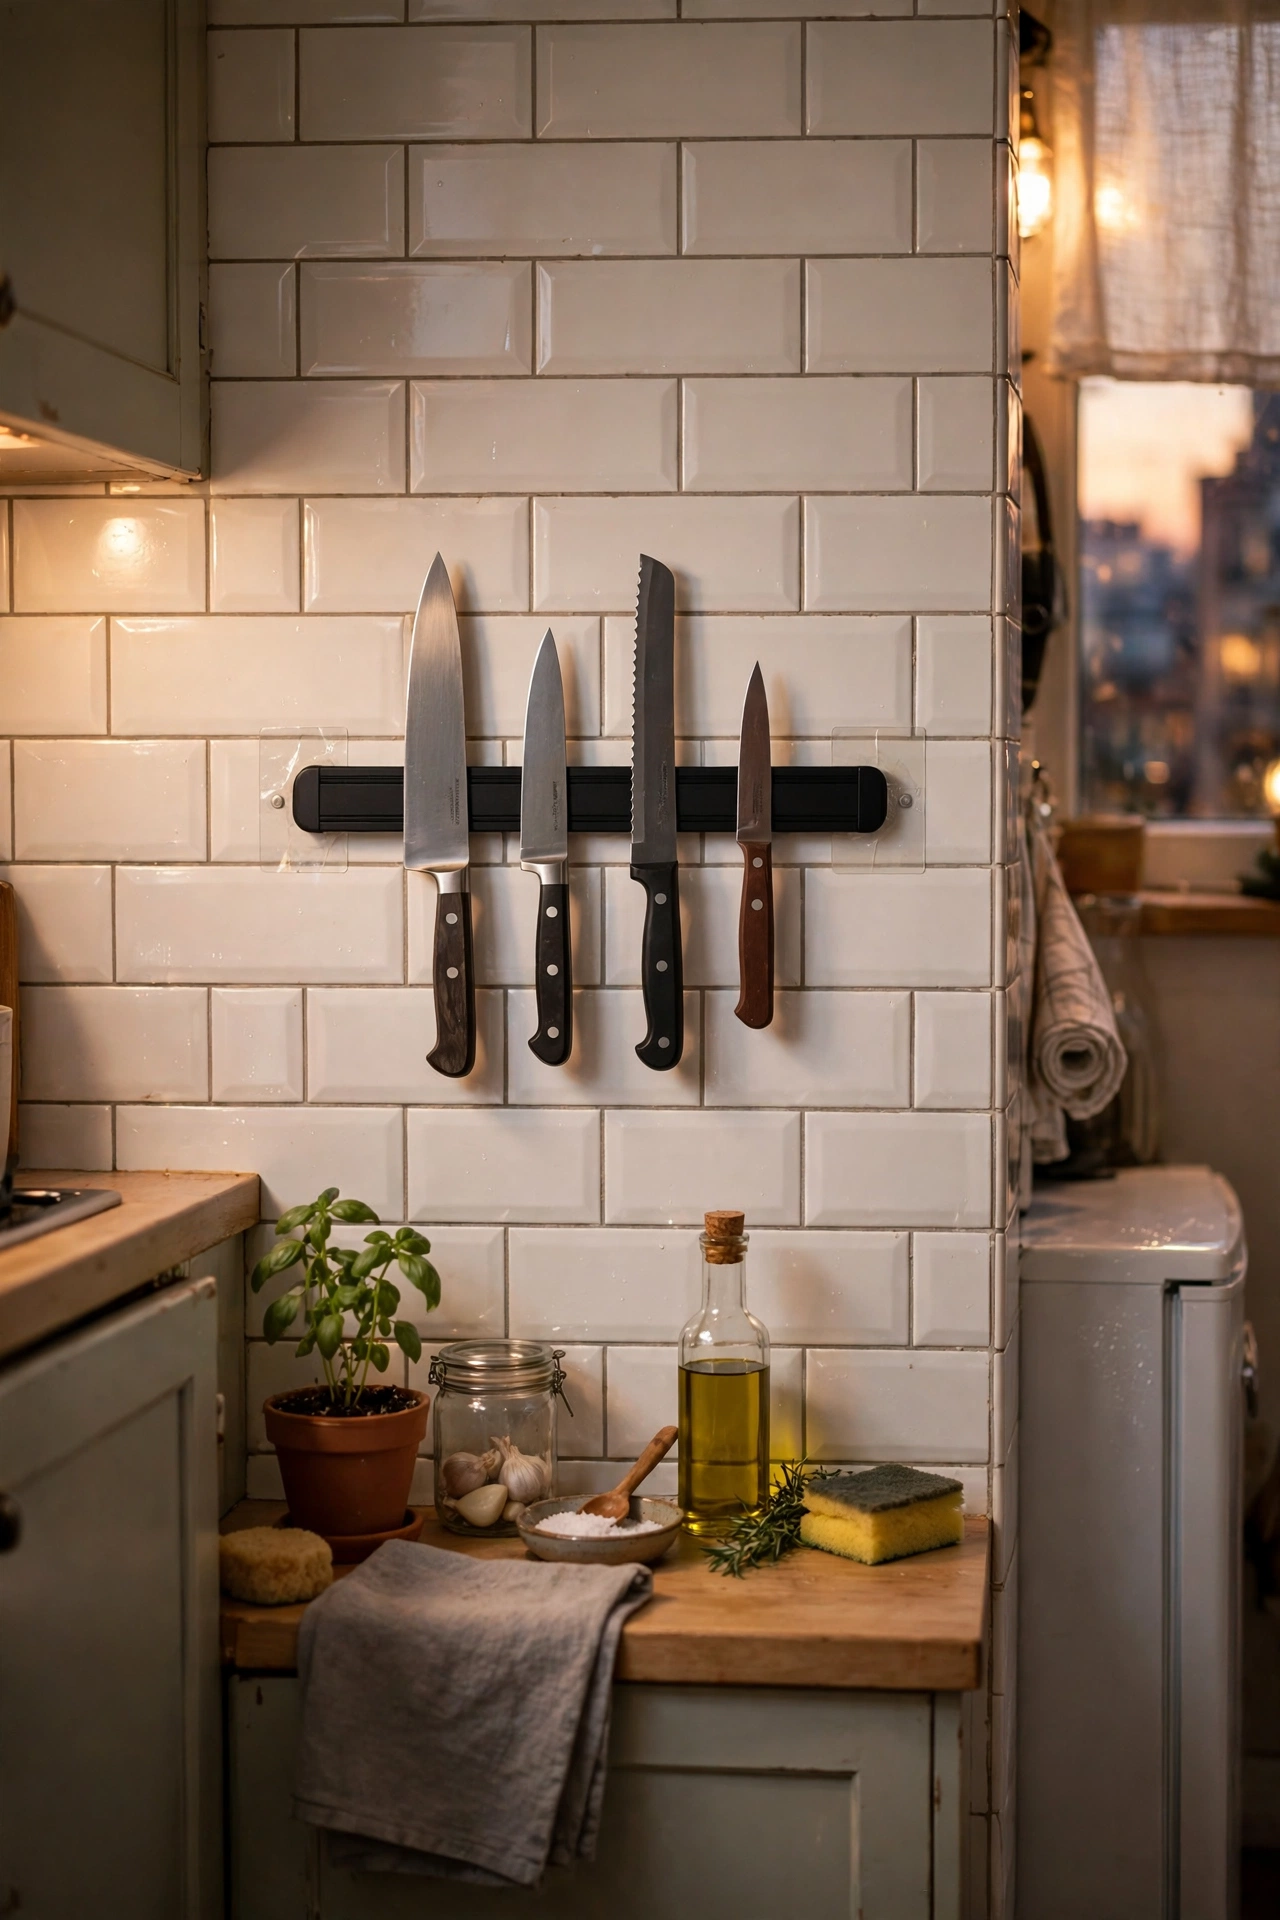
A magnetic knife strip keeps blades sharp, visible and off the worktop — and you can mount it without drilling by fixing it to the side of the fridge with strong magnets or to tiles with heavy-duty adhesive strips. Slide knives on spine-first, then roll the blade flat against the magnet; never slap them on edge-first. Keep it away from the hob’s heat and out of small children’s reach. It frees a drawer and looks properly professional. I tried this and the one mistake to avoid is mounting it where you’ll brush past with your hip — knives at hip height in a narrow galley kitchen are an accident waiting to happen.
Cost: ~$14 | Time: 15 minutes
5. Removable Wallpaper Accent Wall
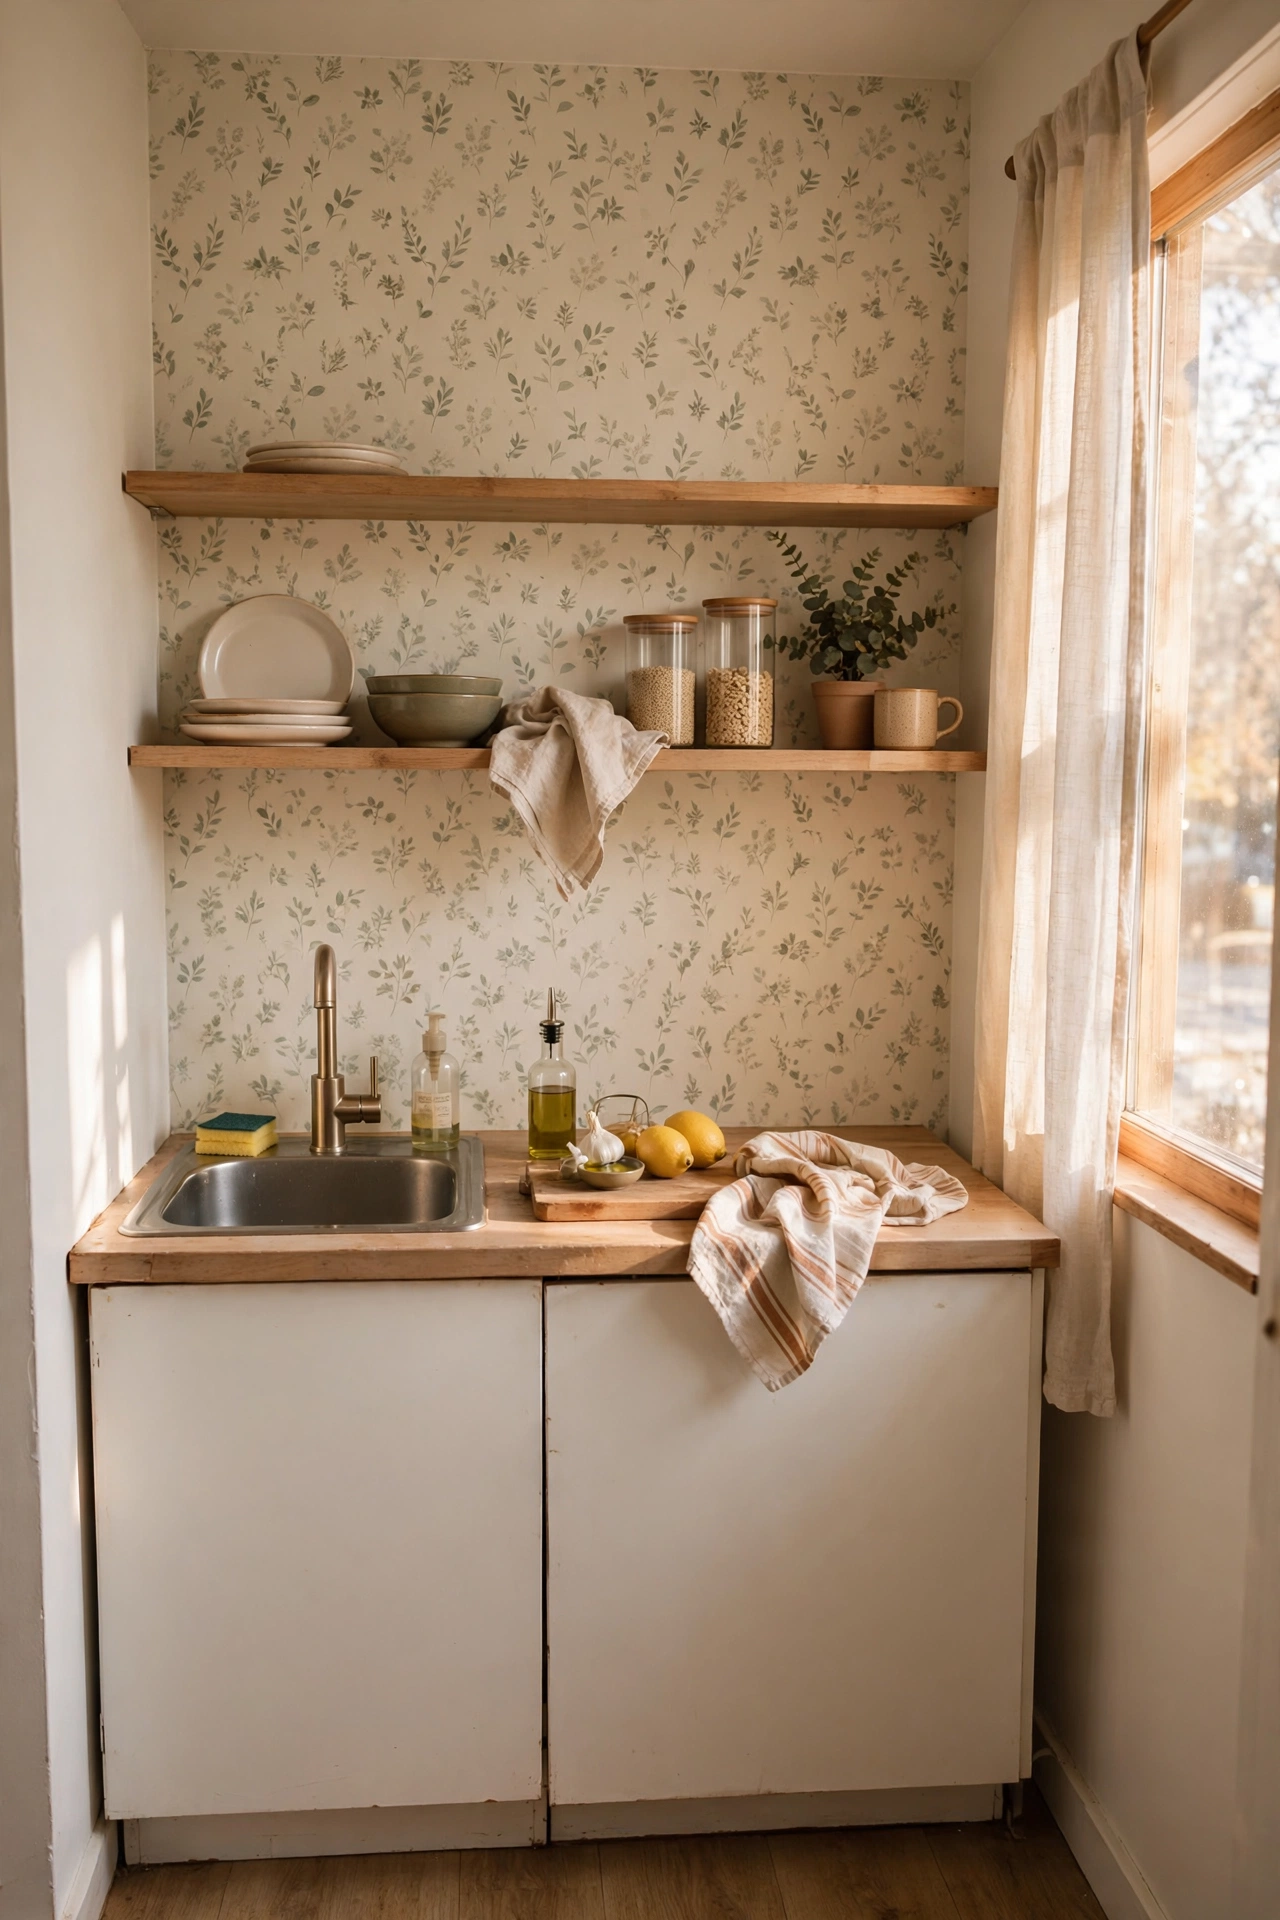
Peel-and-stick wallpaper on one wall — or even just the wall behind open shelves — gives a rented kitchen personality that peels off cleanly on moving day. Start at the top, peel a little backing at a time, and smooth with a soft cloth as you go. Patterns with a small repeat are easiest to match. Keep it away from direct hob splatter unless it’s rated wipeable. The transformation per pound is enormous: one roll can change the whole room. I tried this and the one mistake to avoid is wallpapering over textured or flaking paint; the adhesive needs a smooth, sound surface or the edges will lift within weeks.
Pro tip: order one extra roll beyond your measurements — pattern matching eats more paper than the maths suggests, and dye lots vary between batches.
Cost: ~$32 | Time: 2 hours
6. Rolling Cart Extra Counter Space
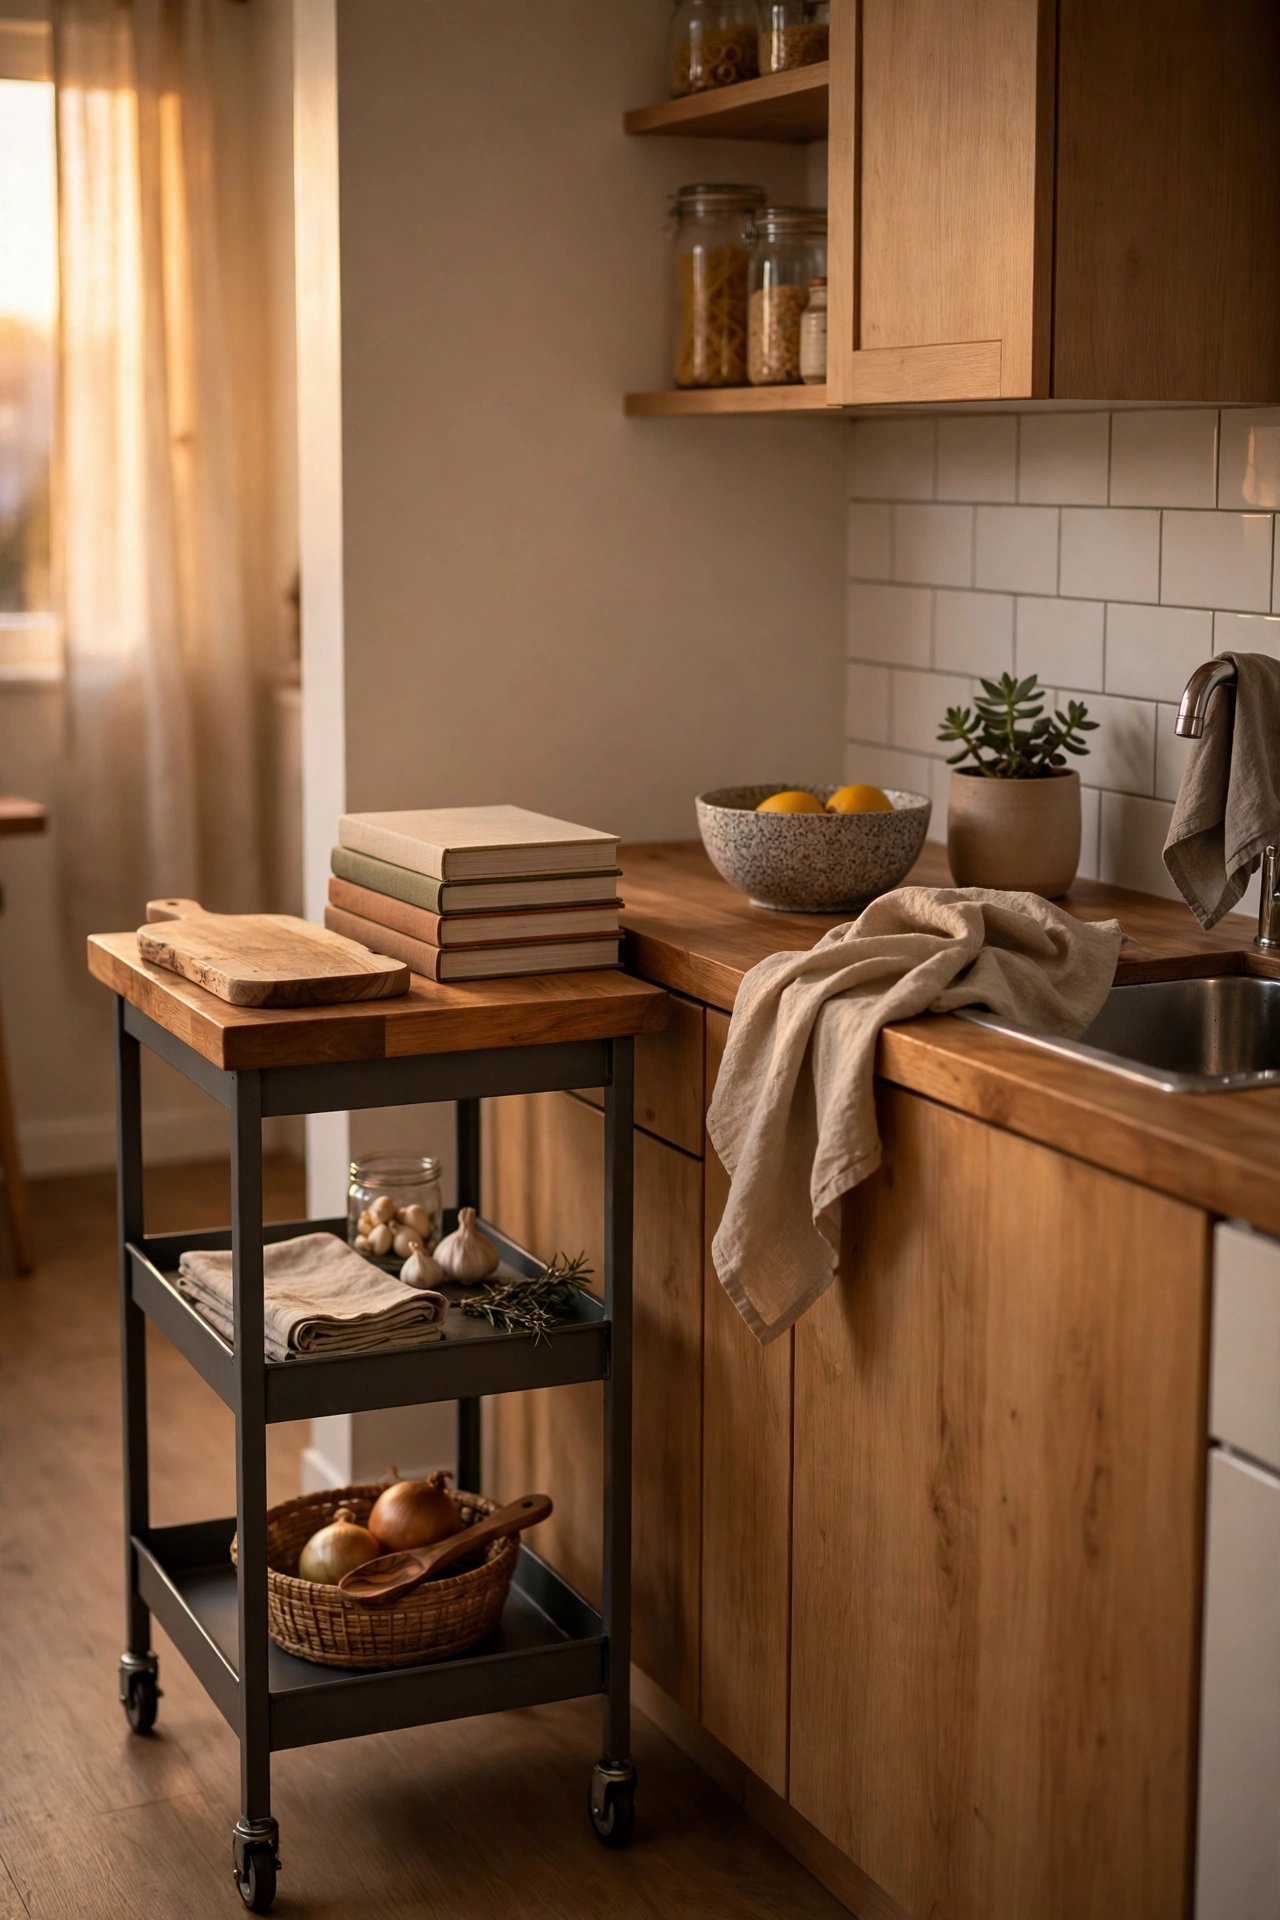
A slim rolling cart is the apartment cook’s extra worktop, pantry and serving trolley in one. Park it beside the counter for prep space, wheel it to the table at mealtimes, and tuck it into a corner when you need the floor back. Choose one with a solid top rather than slats — slats let crumbs through and wobble under a chopping board. The lower shelves hold the mixer, the oil bottles, the cookbooks. Lock the castors when you’re chopping. I tried this and the one mistake to avoid is buying one wider than your narrowest doorway; measure the route it will travel, not just the spot it will live.
Cost: ~$38 | Time: 30 minutes (assembly)
7. Stackable Shelf Risers in Cabinets
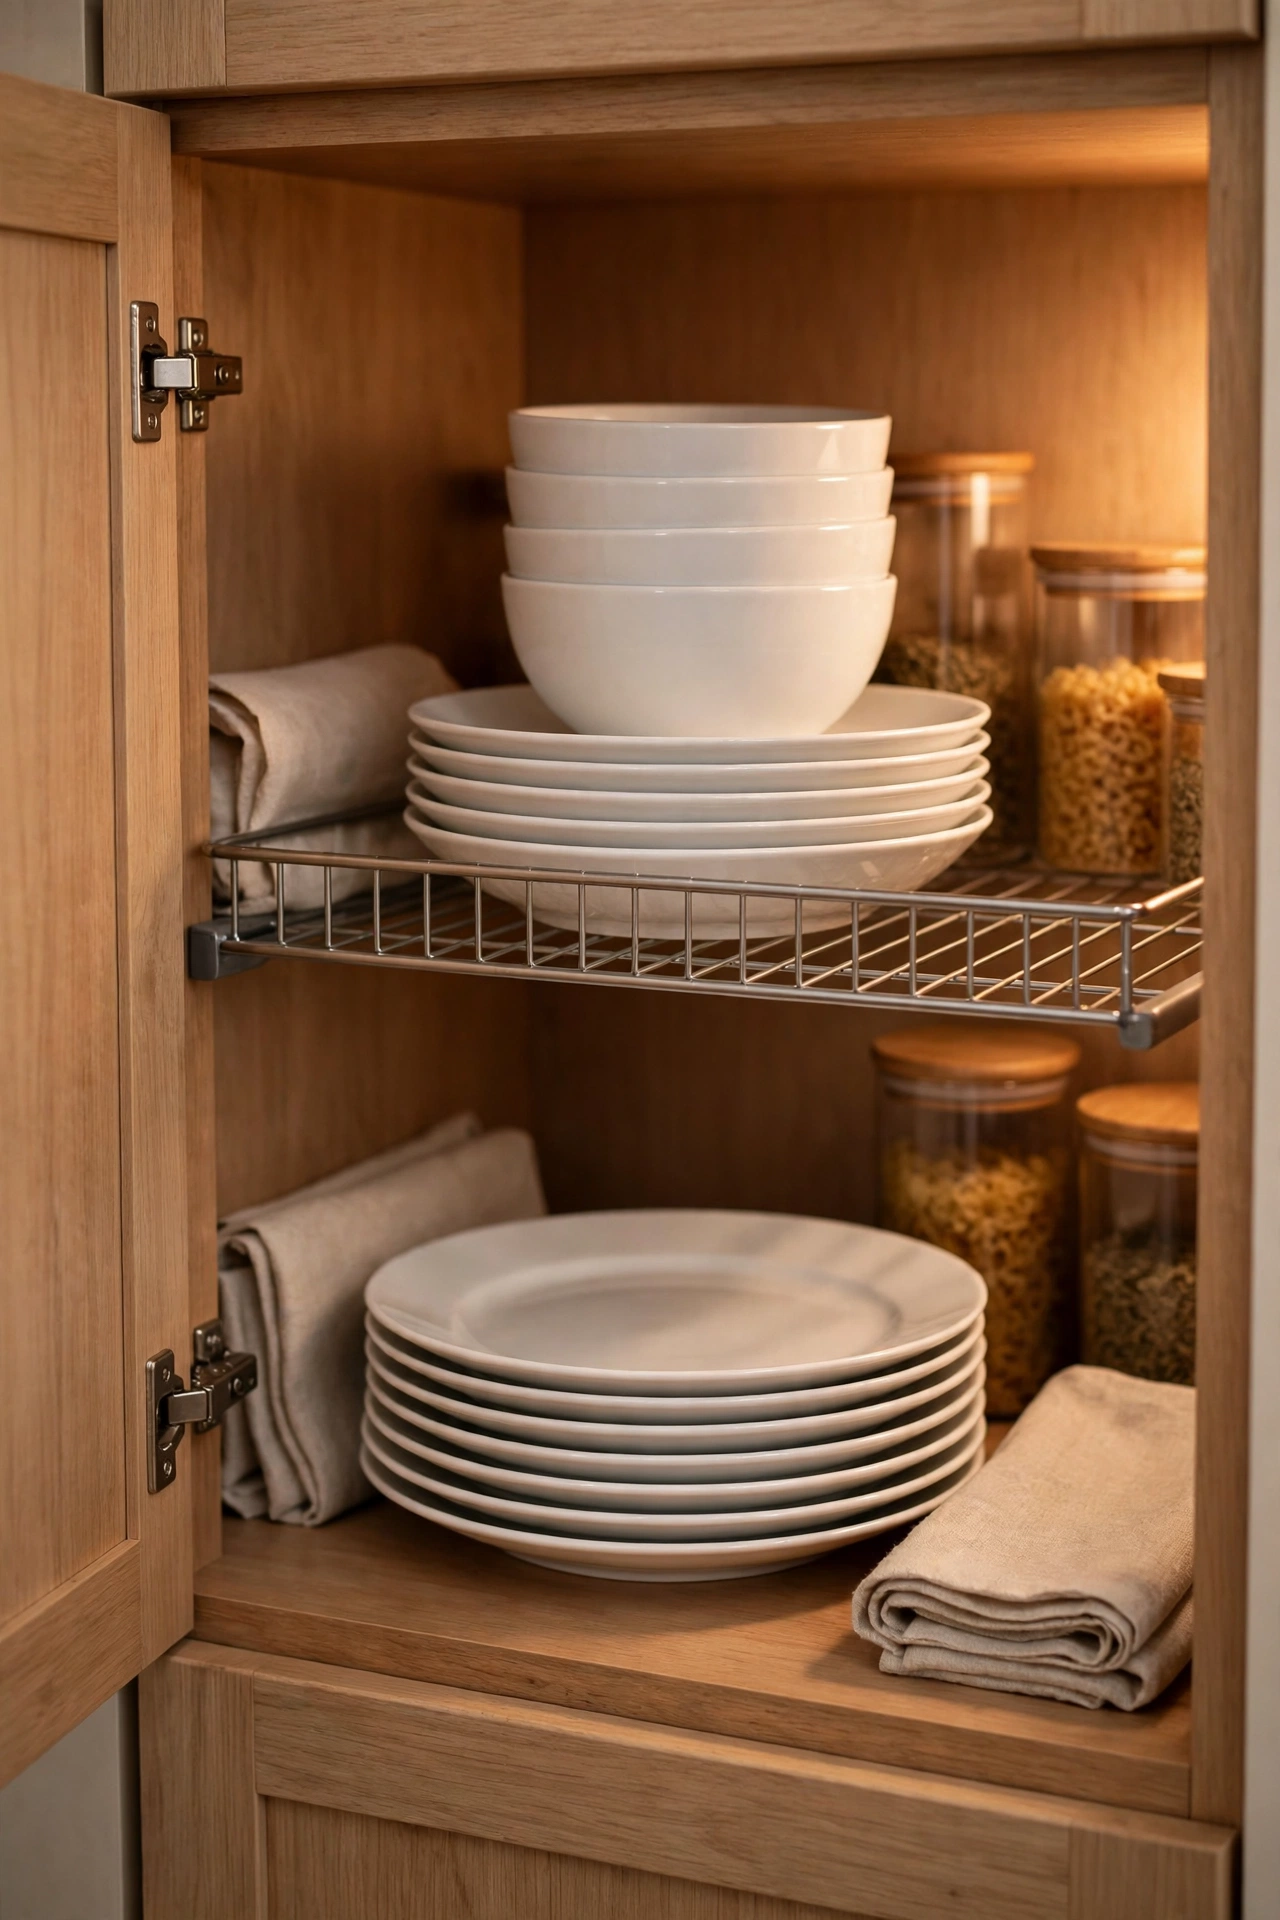
Cabinet shelves are usually spaced for giants, wasting the air above every stack of plates. Wire or bamboo shelf risers double the usable levels instantly: plates below, bowls above, mugs on top. They’re freestanding, so they move with you, and they cost very little for the storage they create. Measure your shelf height before buying — you need clearance for the tallest item on each level. Use them in the pantry for tins and jars too. I tried this and the one mistake to avoid is overloading the top tier with heavy cast iron; risers are sturdy but they’re not shelving, so keep the weight sensible.
Cost: ~$11 | Time: 10 minutes
8. Over-Sink Dish Drying Rack
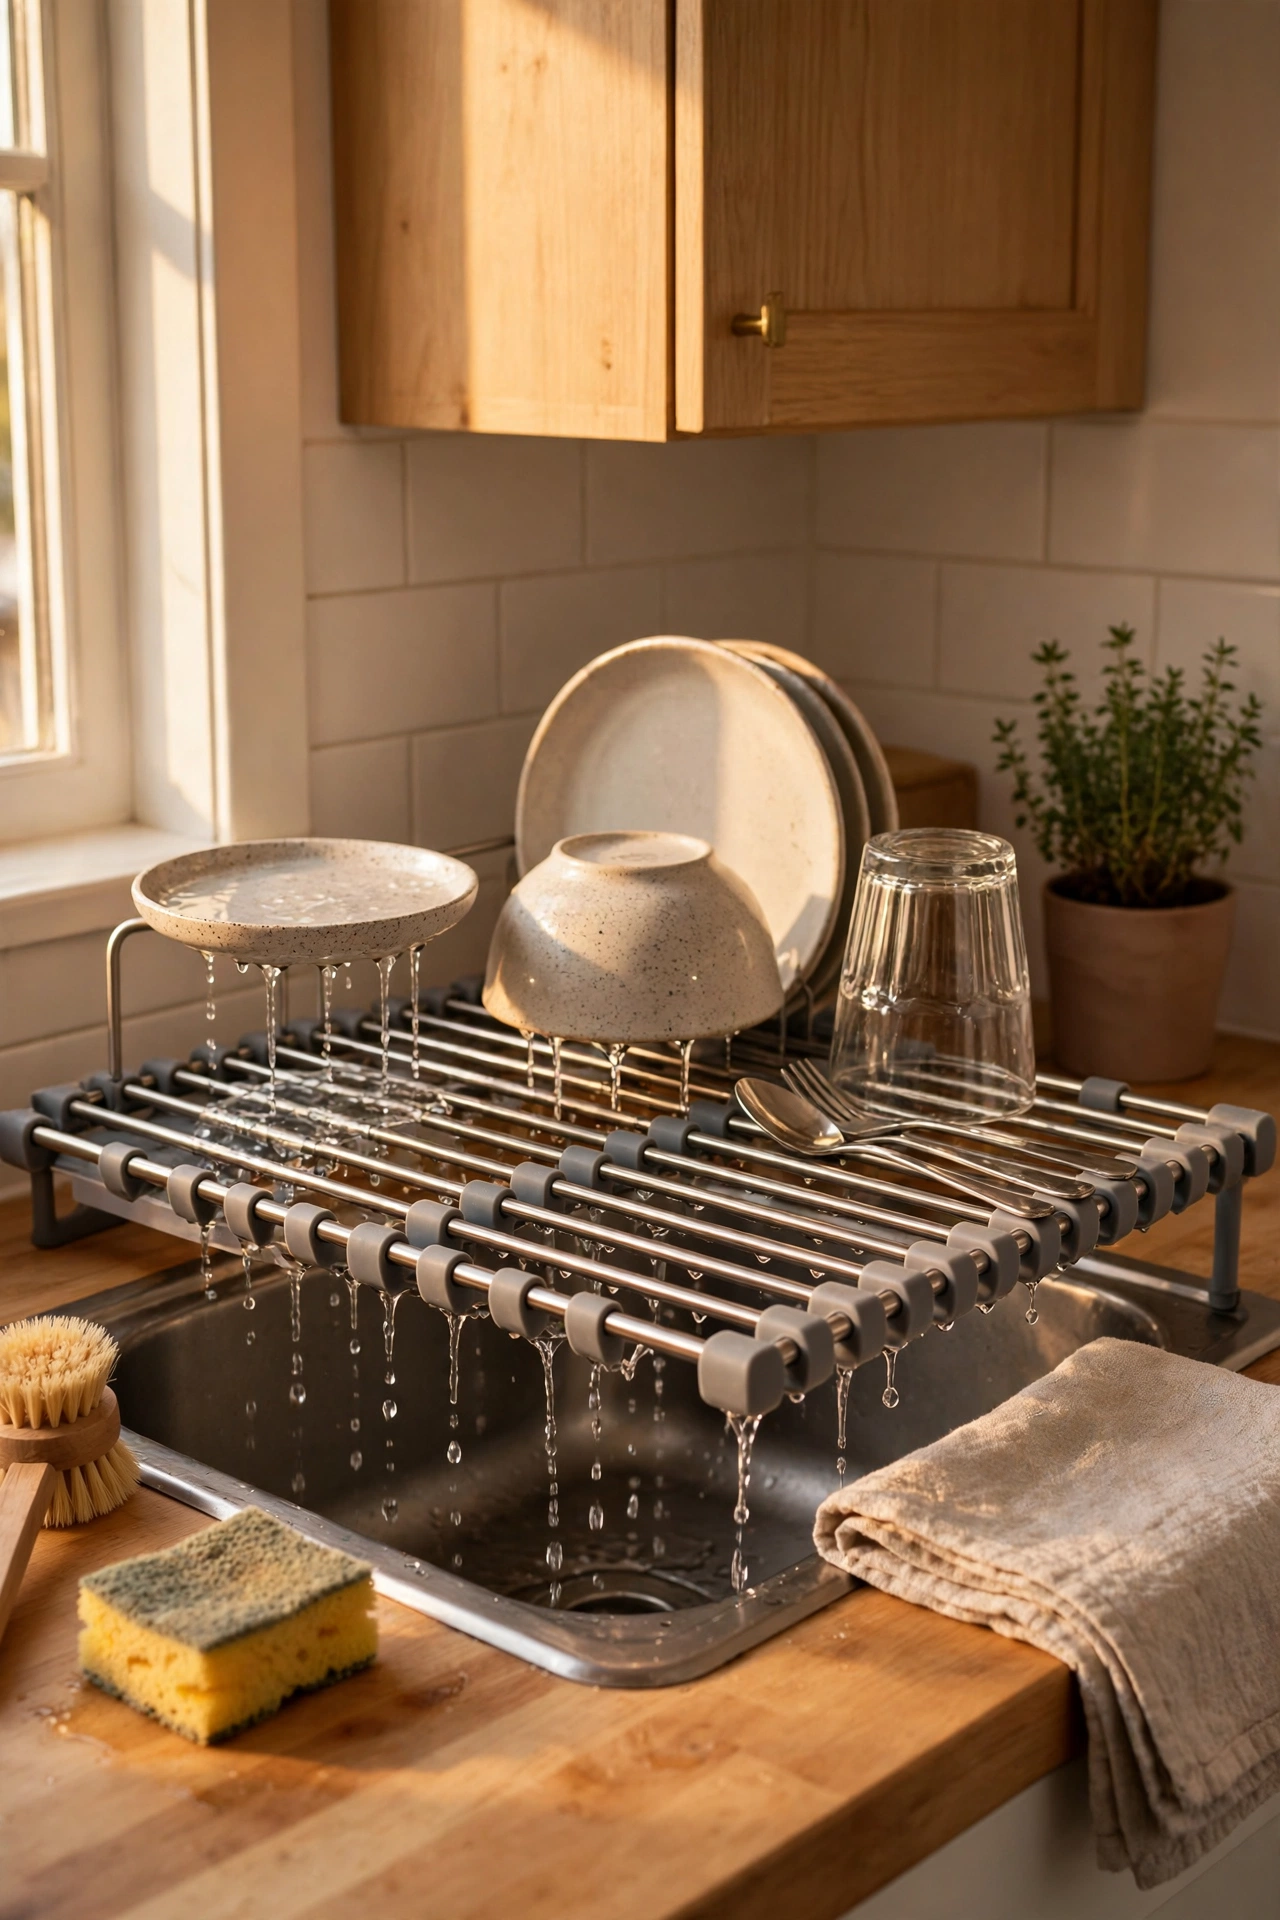
A roll-up or fixed rack that sits over the sink lets dishes drip straight into the basin, freeing the entire draining board for prep. The roll-up silicone-and-steel kind is brilliant for tiny kitchens — unroll it when you wash up, roll it away when you cook. It doubles as a trivet for hot pans and a rinsing station for veg. Check the width against your sink before buying. I tried this and the one mistake to avoid is leaving it permanently unrolled; it traps moisture underneath and gets grimy. Roll it up after dishes dry and wipe the sink rim.
Cost: ~$16 | Time: 5 minutes
9. Adhesive Hooks Inside Cabinet Doors
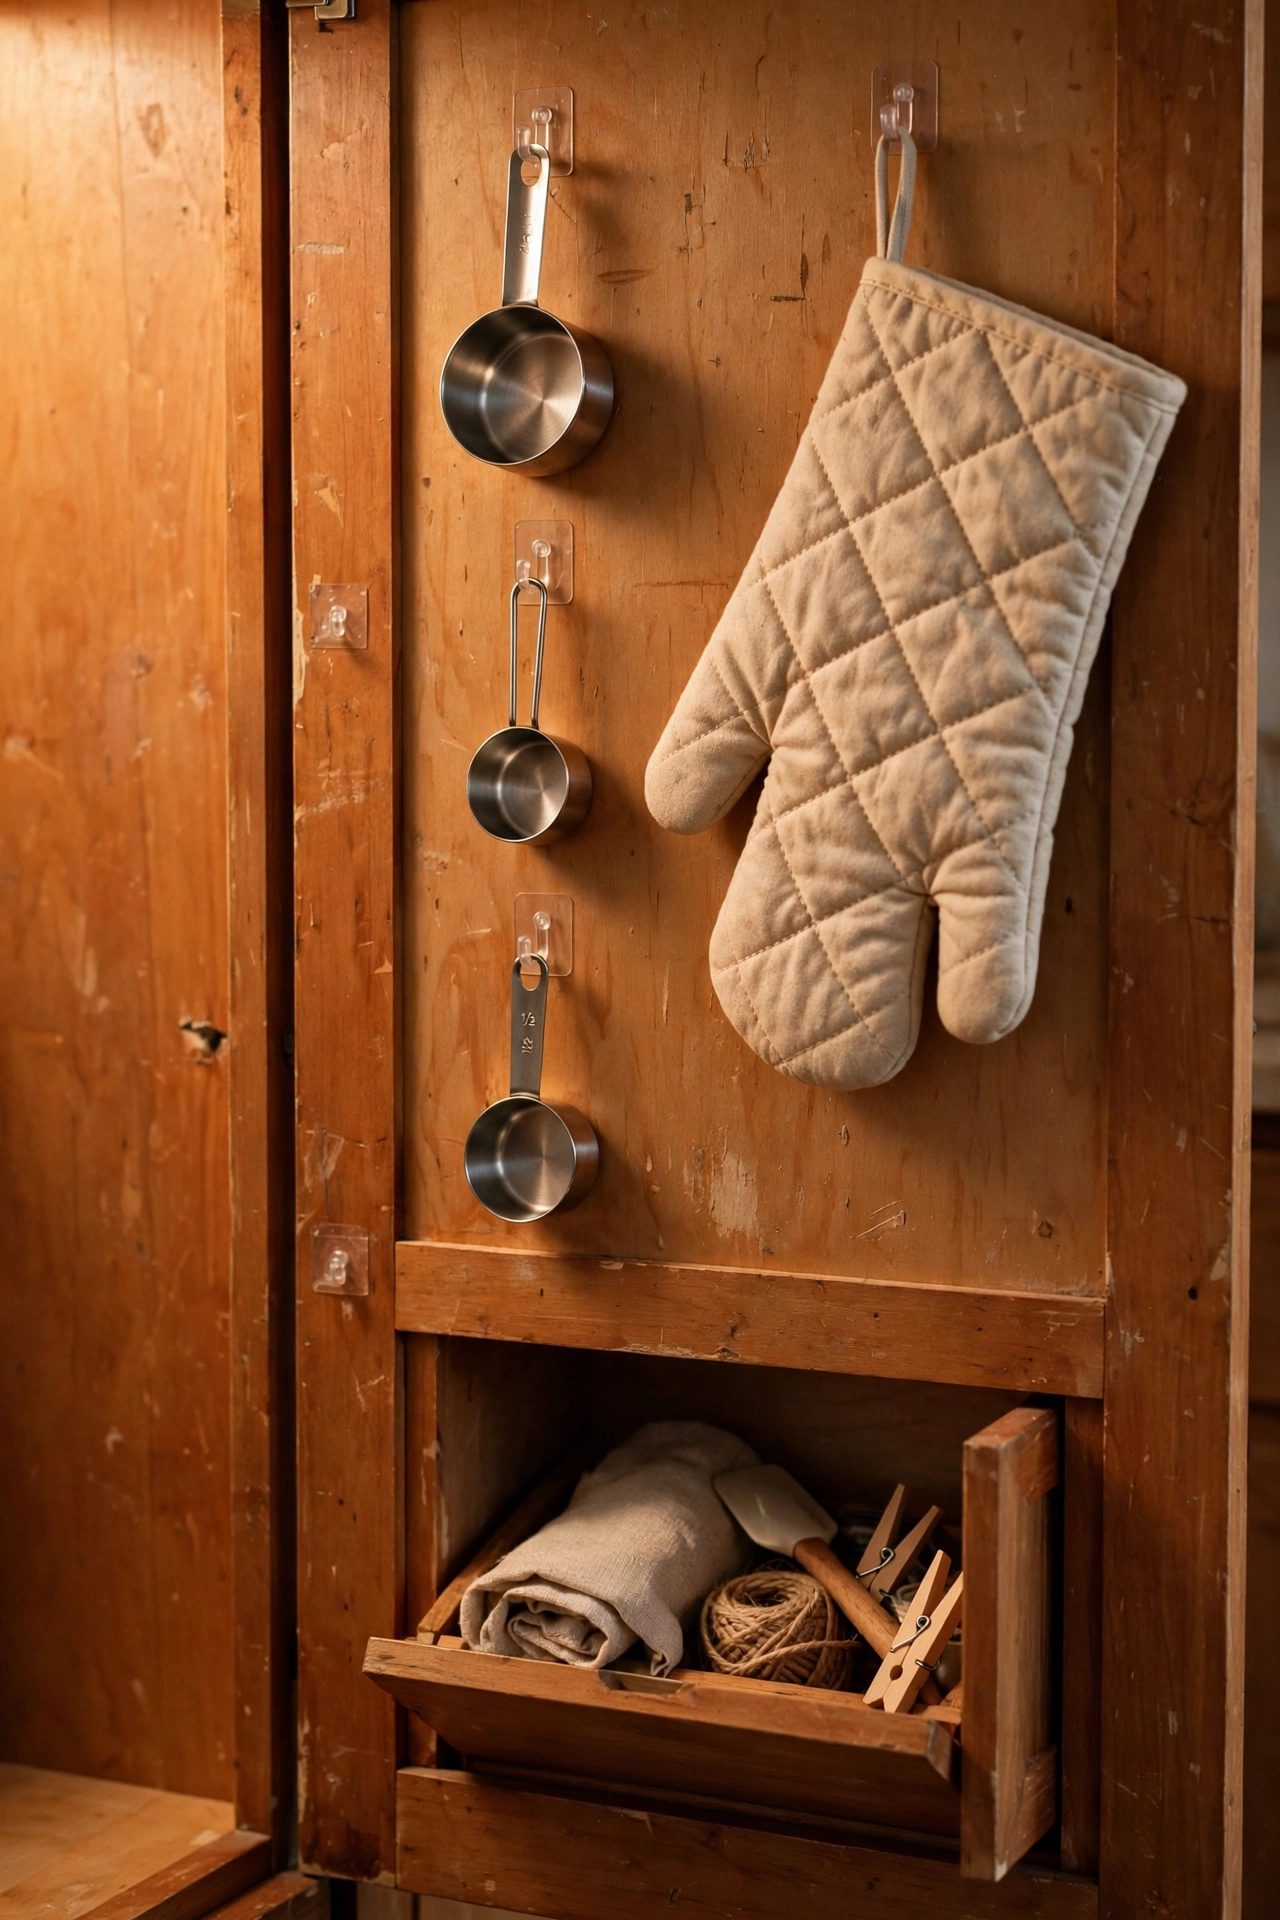
The insides of cabinet doors are wasted space in most flats. Small adhesive hooks there hold measuring cups, oven gloves, the dustpan brush, even the tablet you cook from. Clean the door surface first, let the adhesive cure the full time, and keep the weight light — these are for bits and pieces, not the cast-iron skillet. It’s invisible storage that costs almost nothing. I tried this and the one mistake to avoid is sticking hooks where they’ll clash with the shelf contents when the door closes; hold the door nearly shut and check the clearance before committing.
Pro tip: use the hooks to hang a small lidded bin for vegetable peelings — it keeps the worktop clear while you prep.
Cost: ~$7 | Time: 15 minutes
10. Folding Drop-Leaf Table
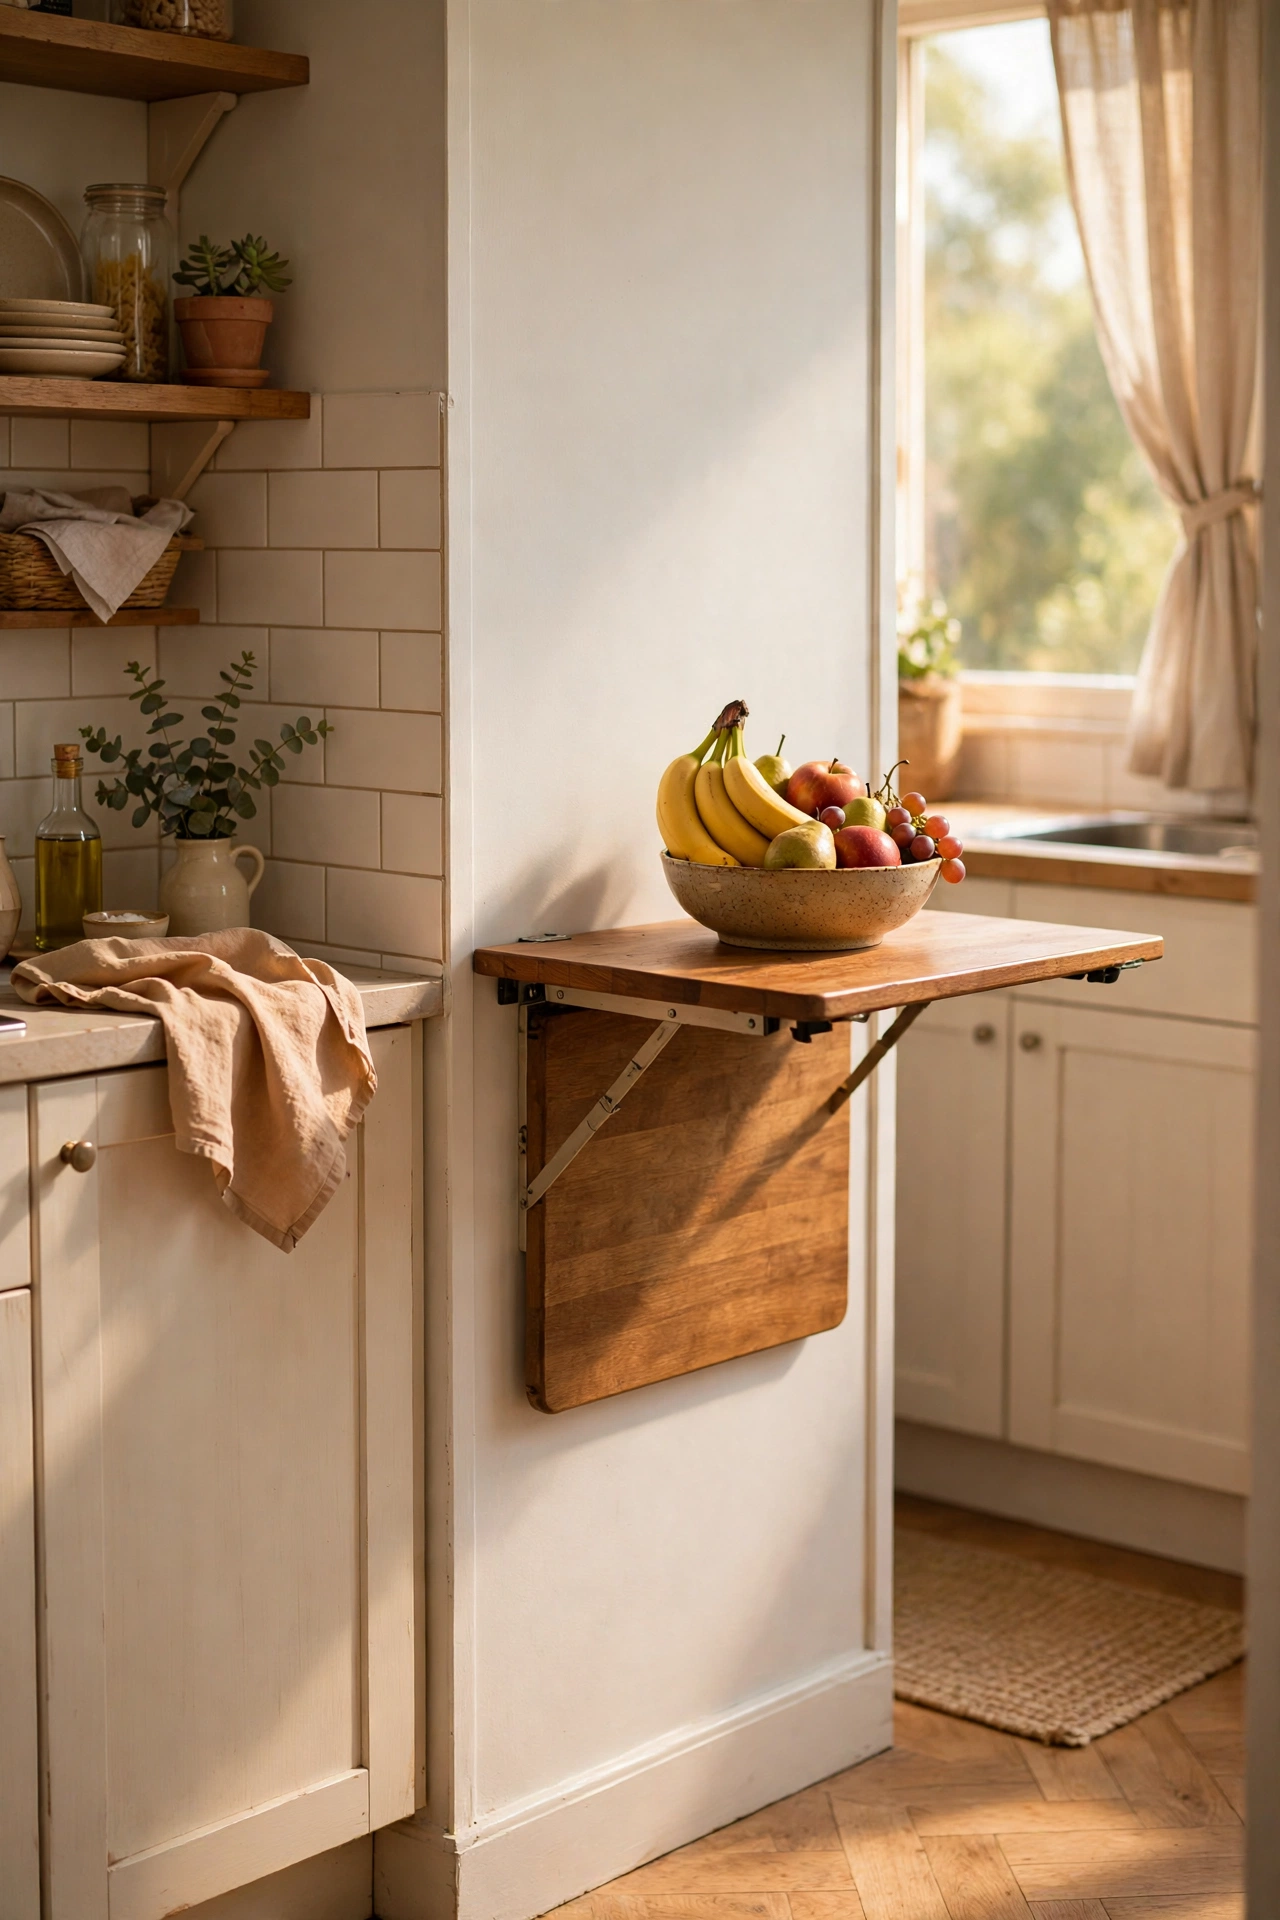
A drop-leaf table against the wall seats one for breakfast with a leaf down, and two or four with leaves up when friends come over. It’s the classic small-flat solution because it asks for almost no floor space most of the time. Look for one with a sturdy gate-leg mechanism rather than flimsy brackets — second-hand ones are often better made than new flat-pack. Keep one leaf permanently up against the wall as a console for the fruit bowl and post. I tried this and the one mistake to avoid is placing it where a leaf can’t open fully; check the swing room with a tape measure before you fall in love with the spot.
Cost: ~$45 (second-hand) | Time: 20 minutes
11. Peel-and-Stick Floor Tiles
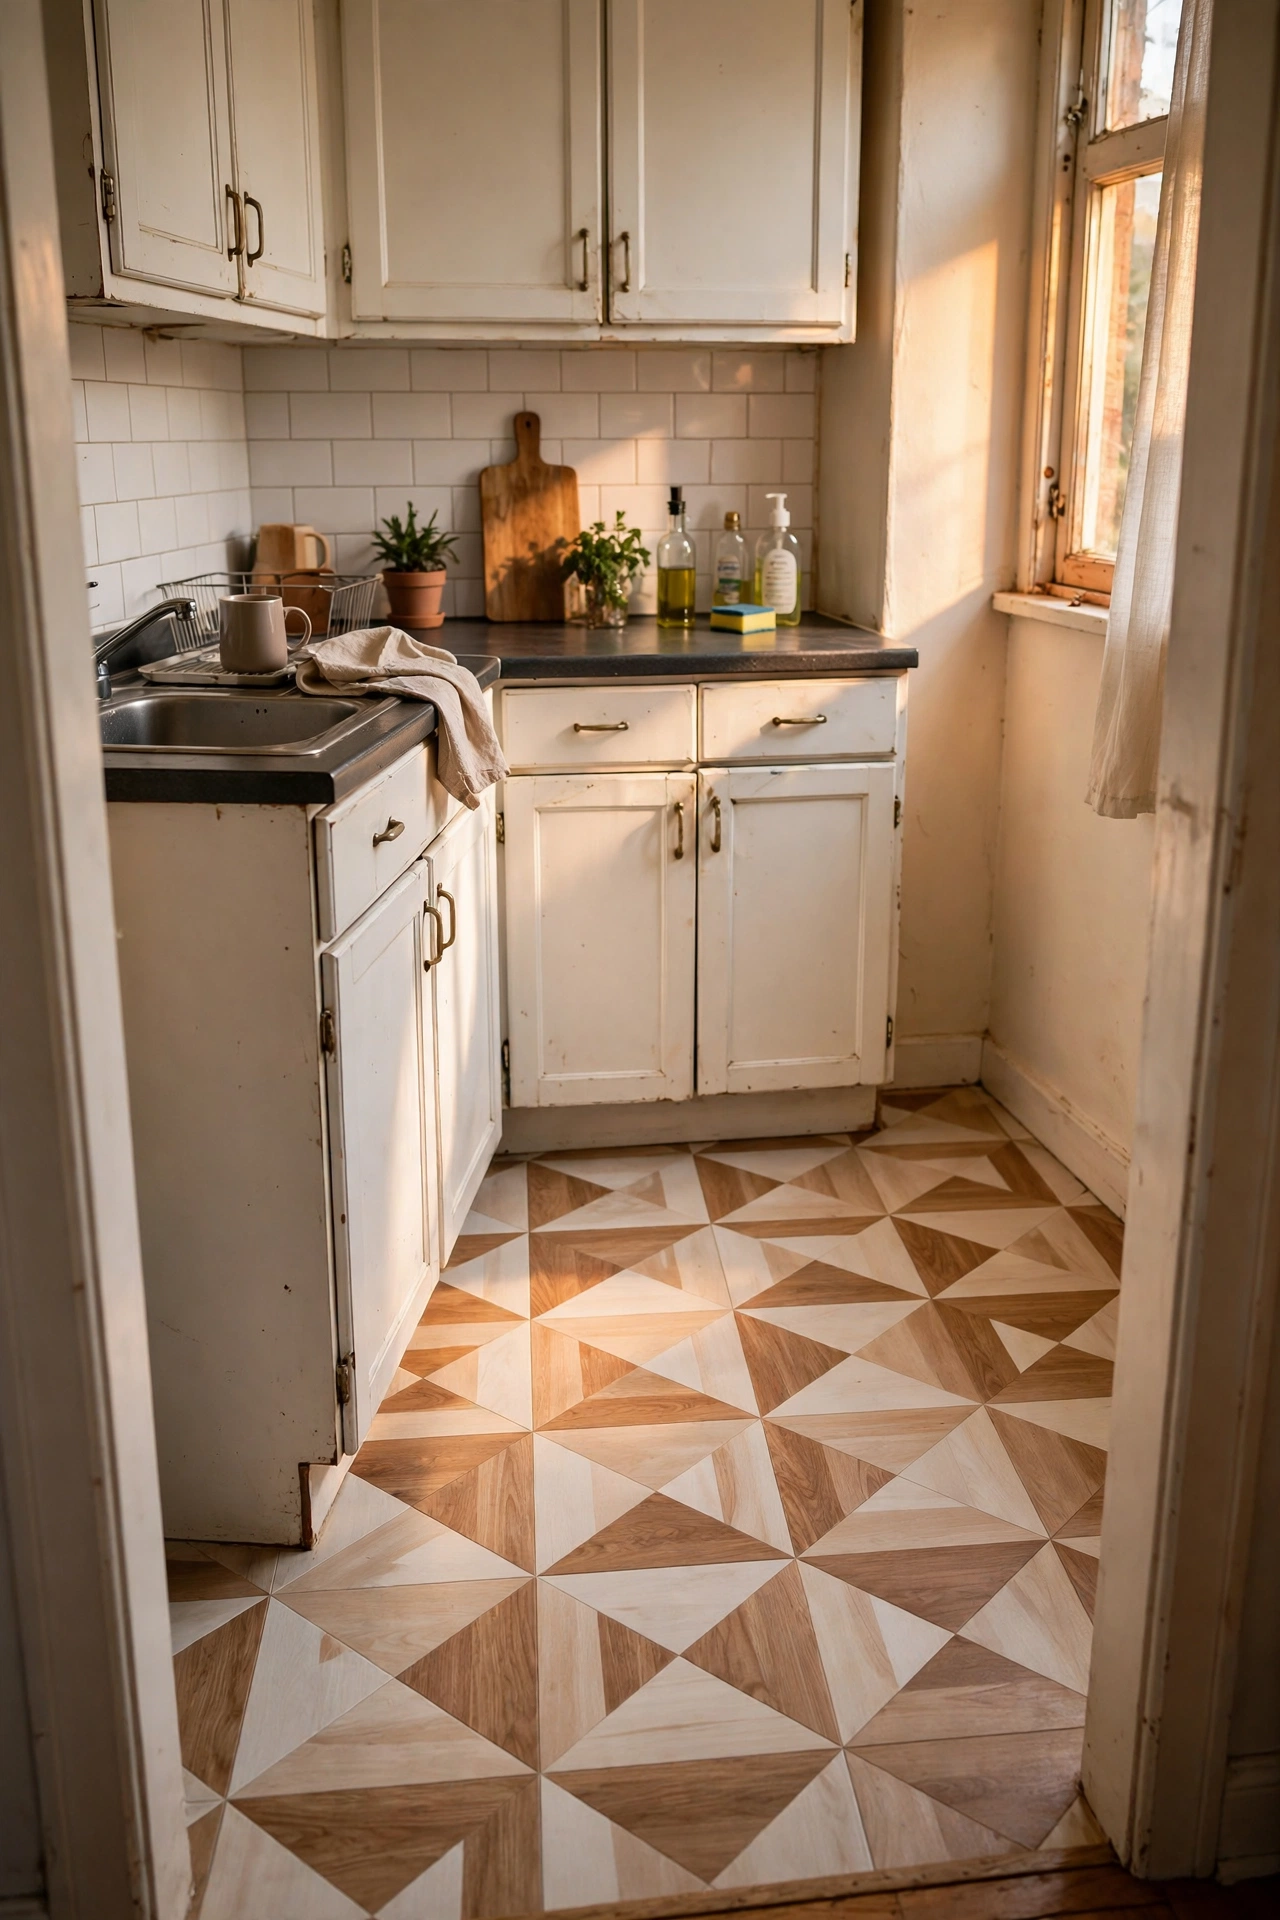
Tired rental lino or scuffed vinyl disappears under peel-and-stick floor tiles in a smart checkerboard or stone pattern. Clean the floor thoroughly, start from the centre of the room, and press each tile firmly, rolling out air bubbles. The thick vinyl kind handles kitchen traffic well and lifts off without residue when you leave — keep one spare tile to test removal on moving day. They mop clean and feel warmer underfoot than bare vinyl. I tried this and the one mistake to avoid is laying them over a damp or uneven floor; moisture underneath loosens the adhesive, so make sure the subfloor is dry and sound.
Cost: ~$40 | Time: 3 hours
12. Windowsill Herb Garden
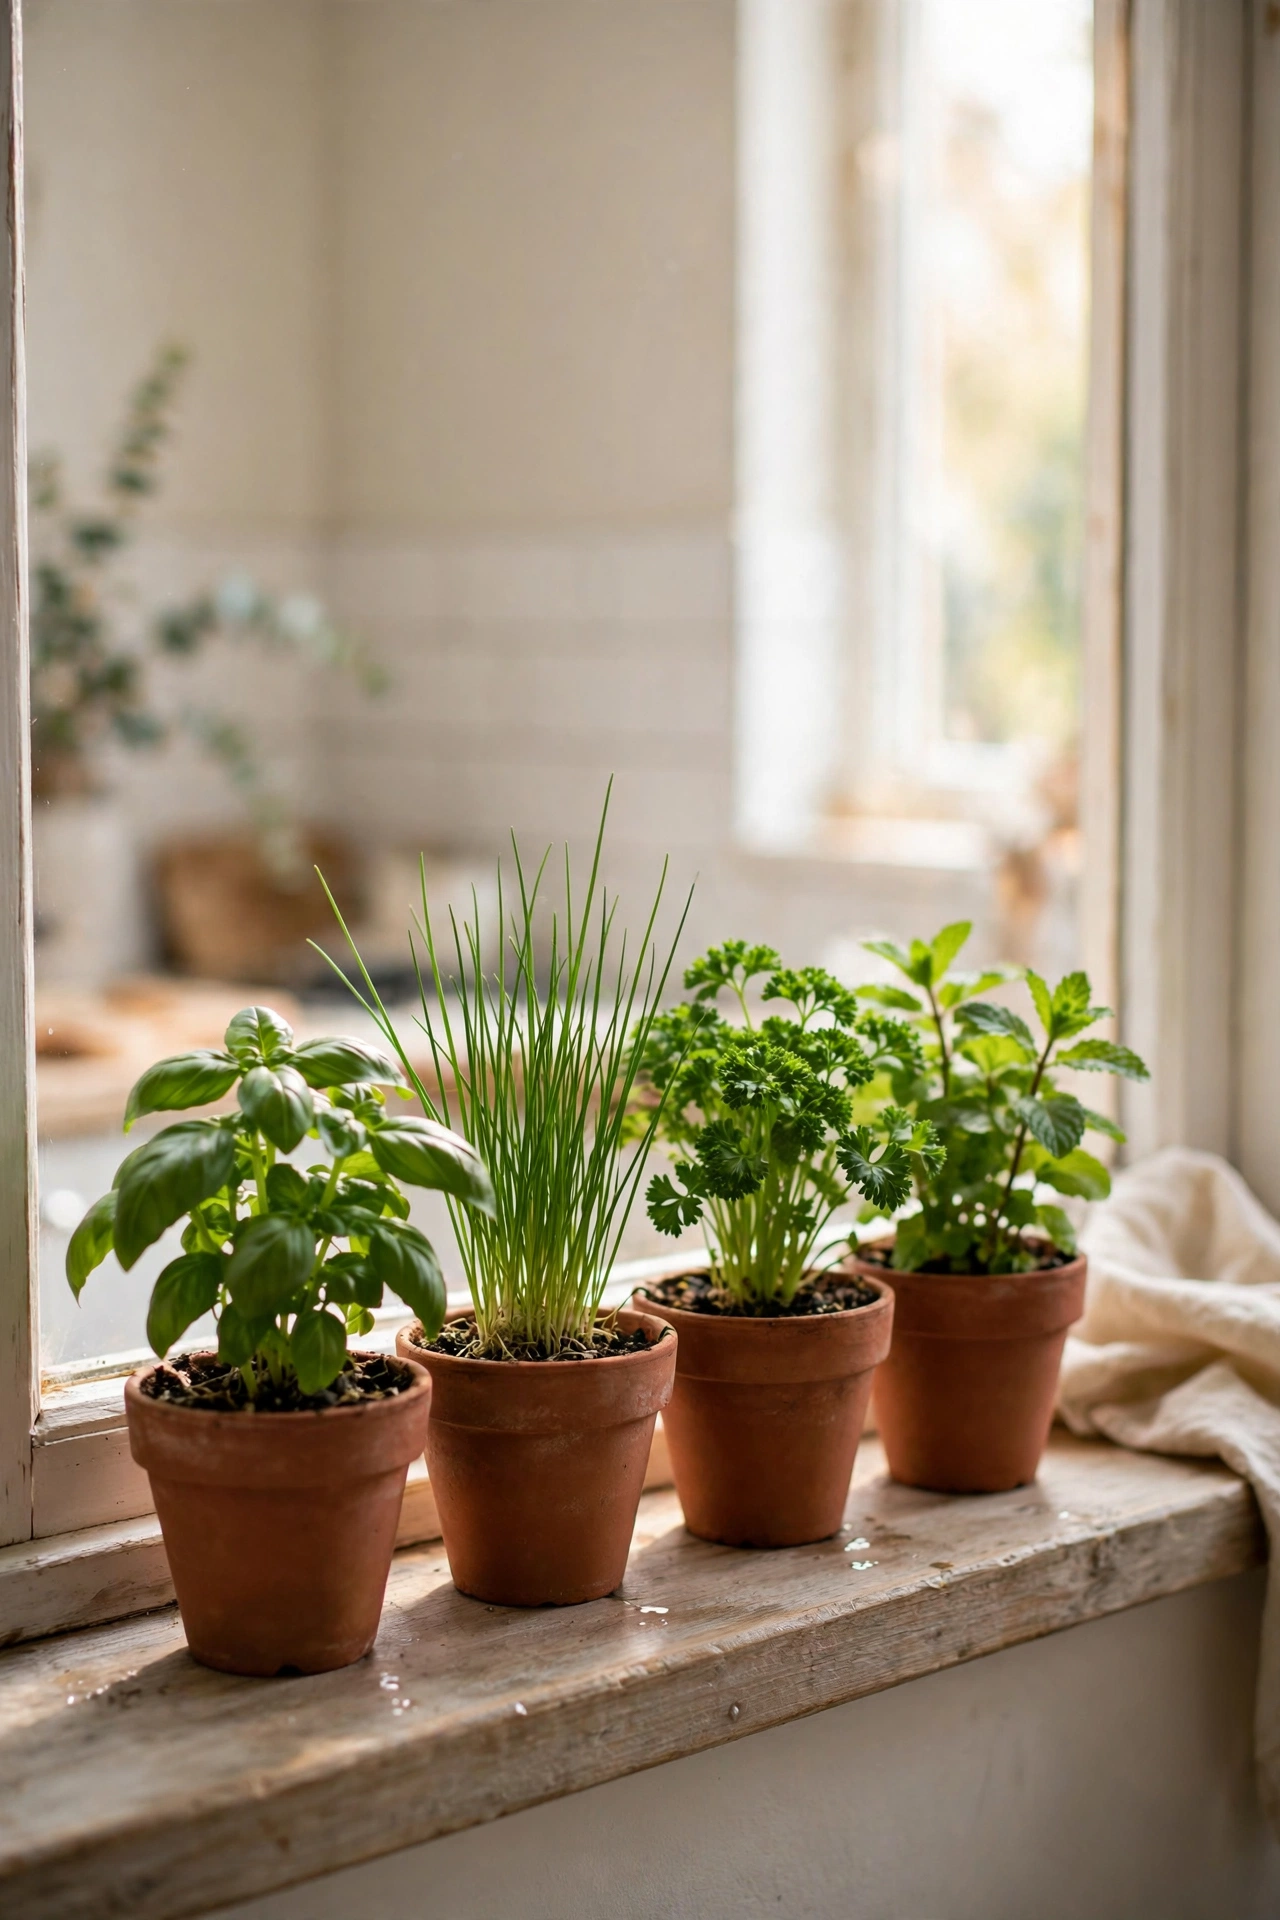
A sunny windowsill with a row of potted herbs is a garden that fits in a flat and pays for itself in garnishes. Basil, chives, parsley and mint all grow happily indoors with enough light. Use pots with drainage holes on a tray, water from below, and harvest little and often to keep plants bushy. A south-facing sill is ideal; in darker flats, rotate the pots weekly so all sides get light. It adds life to the kitchen for the price of a few seedlings. I tried this and the one mistake to avoid is buying full-size supermarket herb pots and expecting them to last; they’re overcrowded by design. Split each pot into two or three and repot.
Cost: ~$10 | Time: 25 minutes
13. Under-Shelf Hanging Mug Hooks
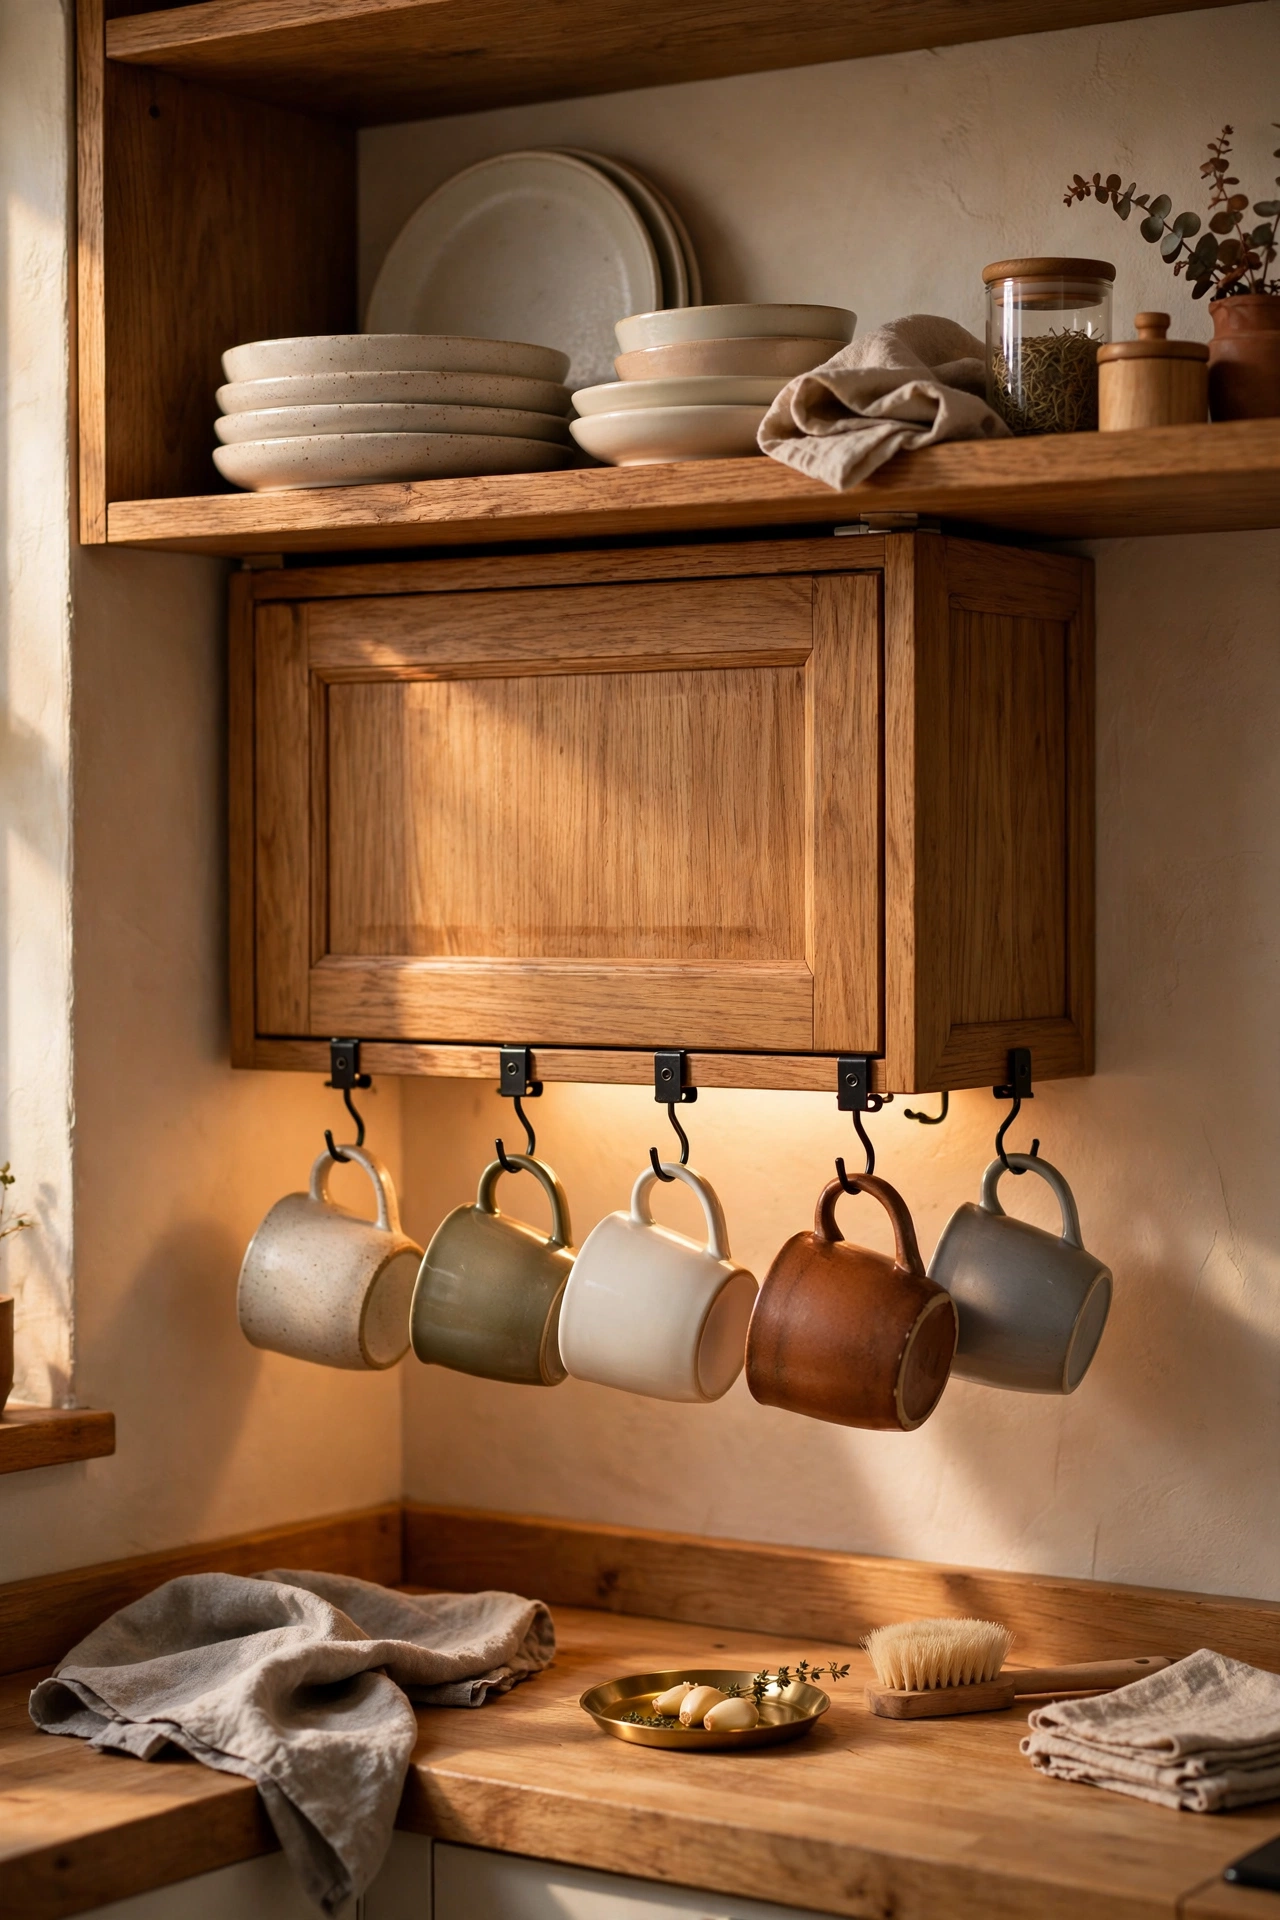
Screw-in or clip-on hooks under a wall cabinet turn dead air into mug storage. The clip-on kind grip the shelf with no tools at all — perfect for renters. Hang everyday mugs where you can grab them, and suddenly a whole shelf is free for plates or food. Space the hooks so mugs don’t clink together. It also keeps the worktop clear, which makes a small kitchen feel twice as big. I tried this and the one mistake to avoid is hanging heavy stoneware on lightweight clip hooks; check the weight rating and keep the hefty mugs on the shelf itself.
Pro tip: hang a small hook for the tea strainer and measuring spoons too — the fiddly bits that always vanish into drawers.
Cost: ~$8 | Time: 15 minutes
14. Lazy Susan for Deep Cabinets
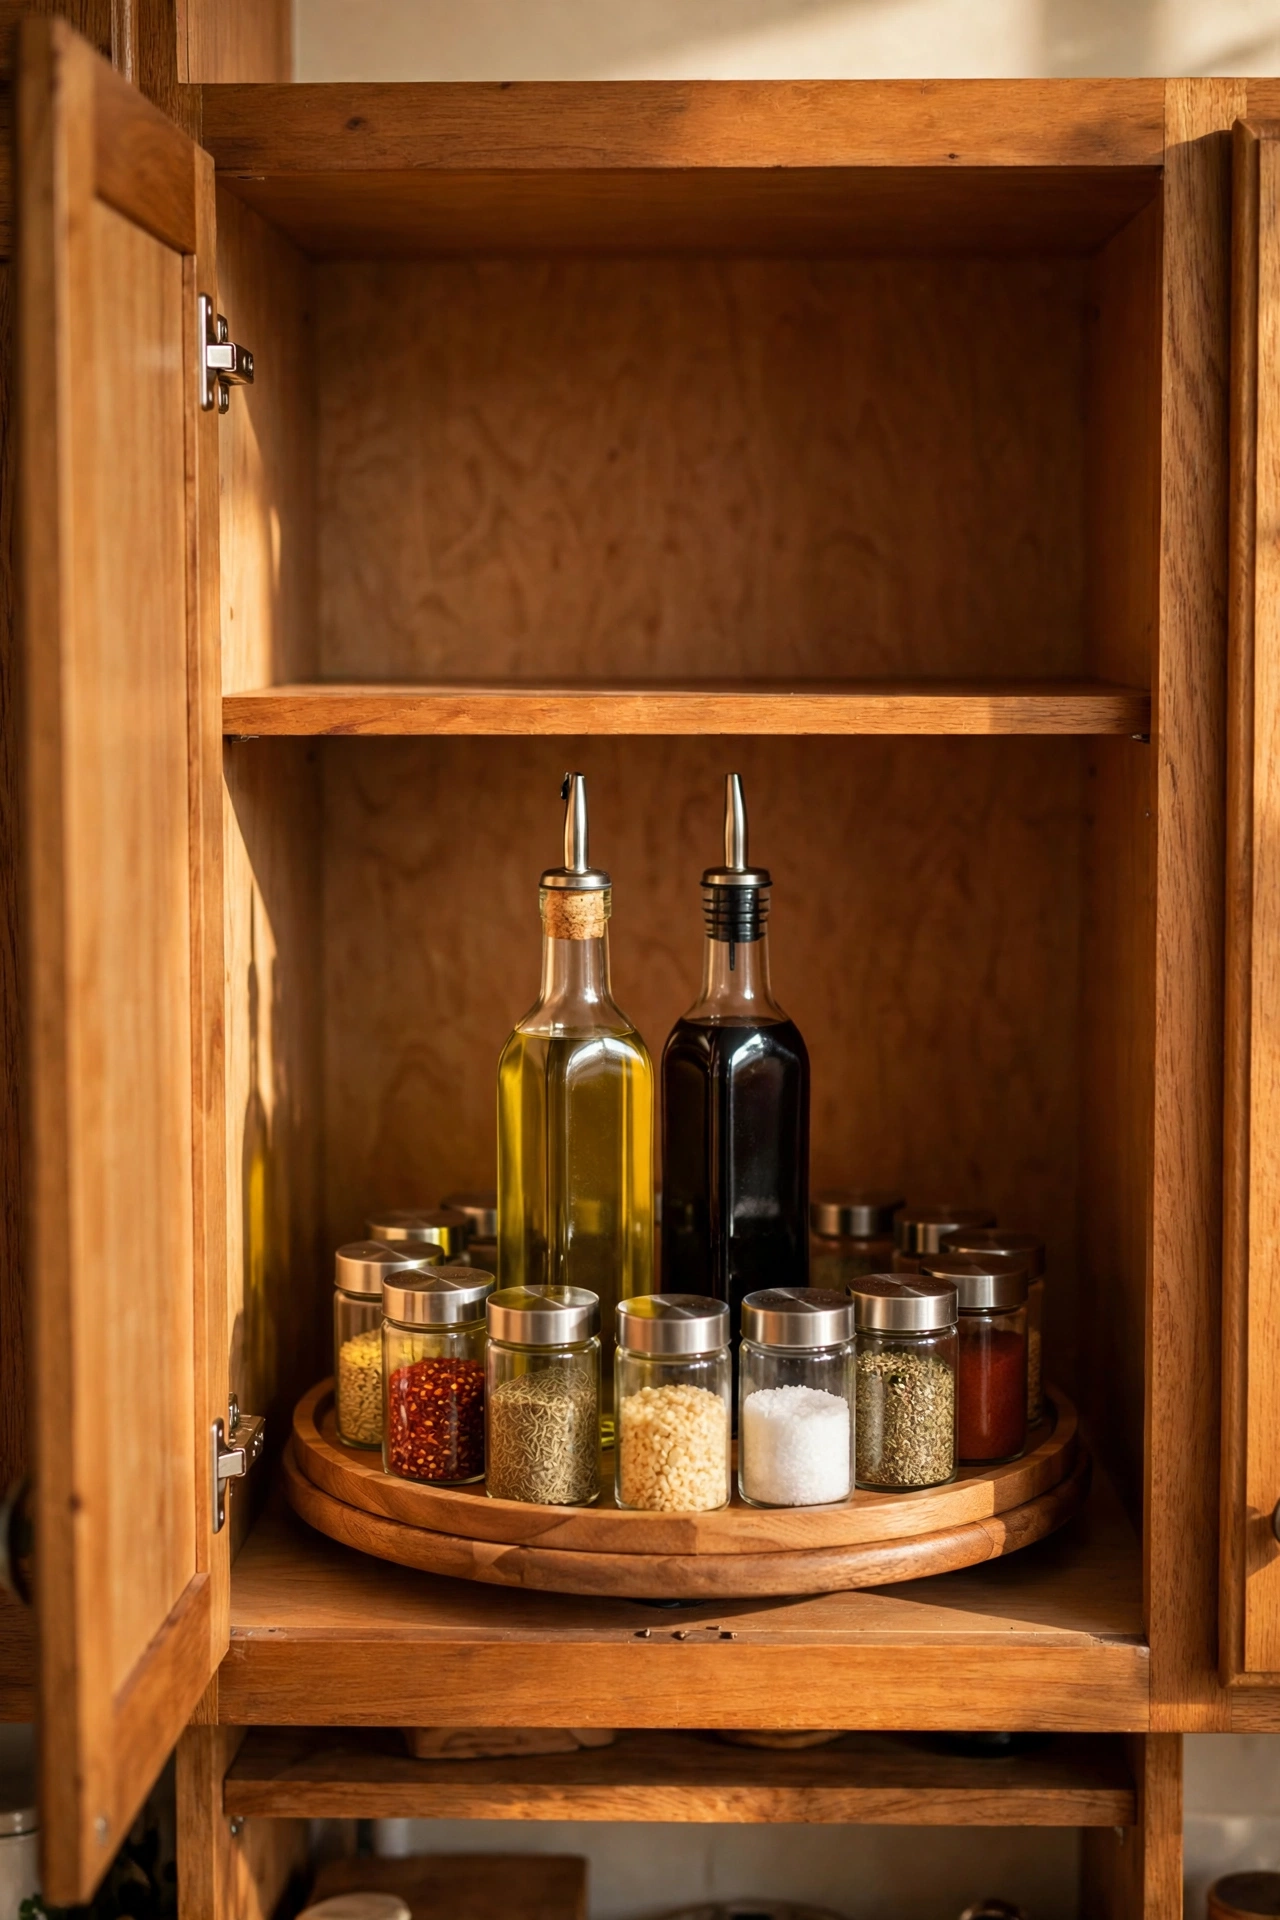
Deep corner cabinets swallow jars whole, but a lazy Susan turntable brings everything back with a spin. A non-skid surface stops things sliding, and a raised rim keeps bottles upright. Put oils and vinegars on one, spices on another. It’s the cheapest fix for the black hole of the corner cupboard and it moves with you. Measure the cabinet depth first — turntables come in several diameters. I tried this and the one mistake to avoid is buying one without a rim for a cabinet you open enthusiastically; unrimmed turntables launch soy sauce bottles like missiles. Rimmed, always.
Cost: ~$12 | Time: 5 minutes
15. Slim Rolling Gap Cart
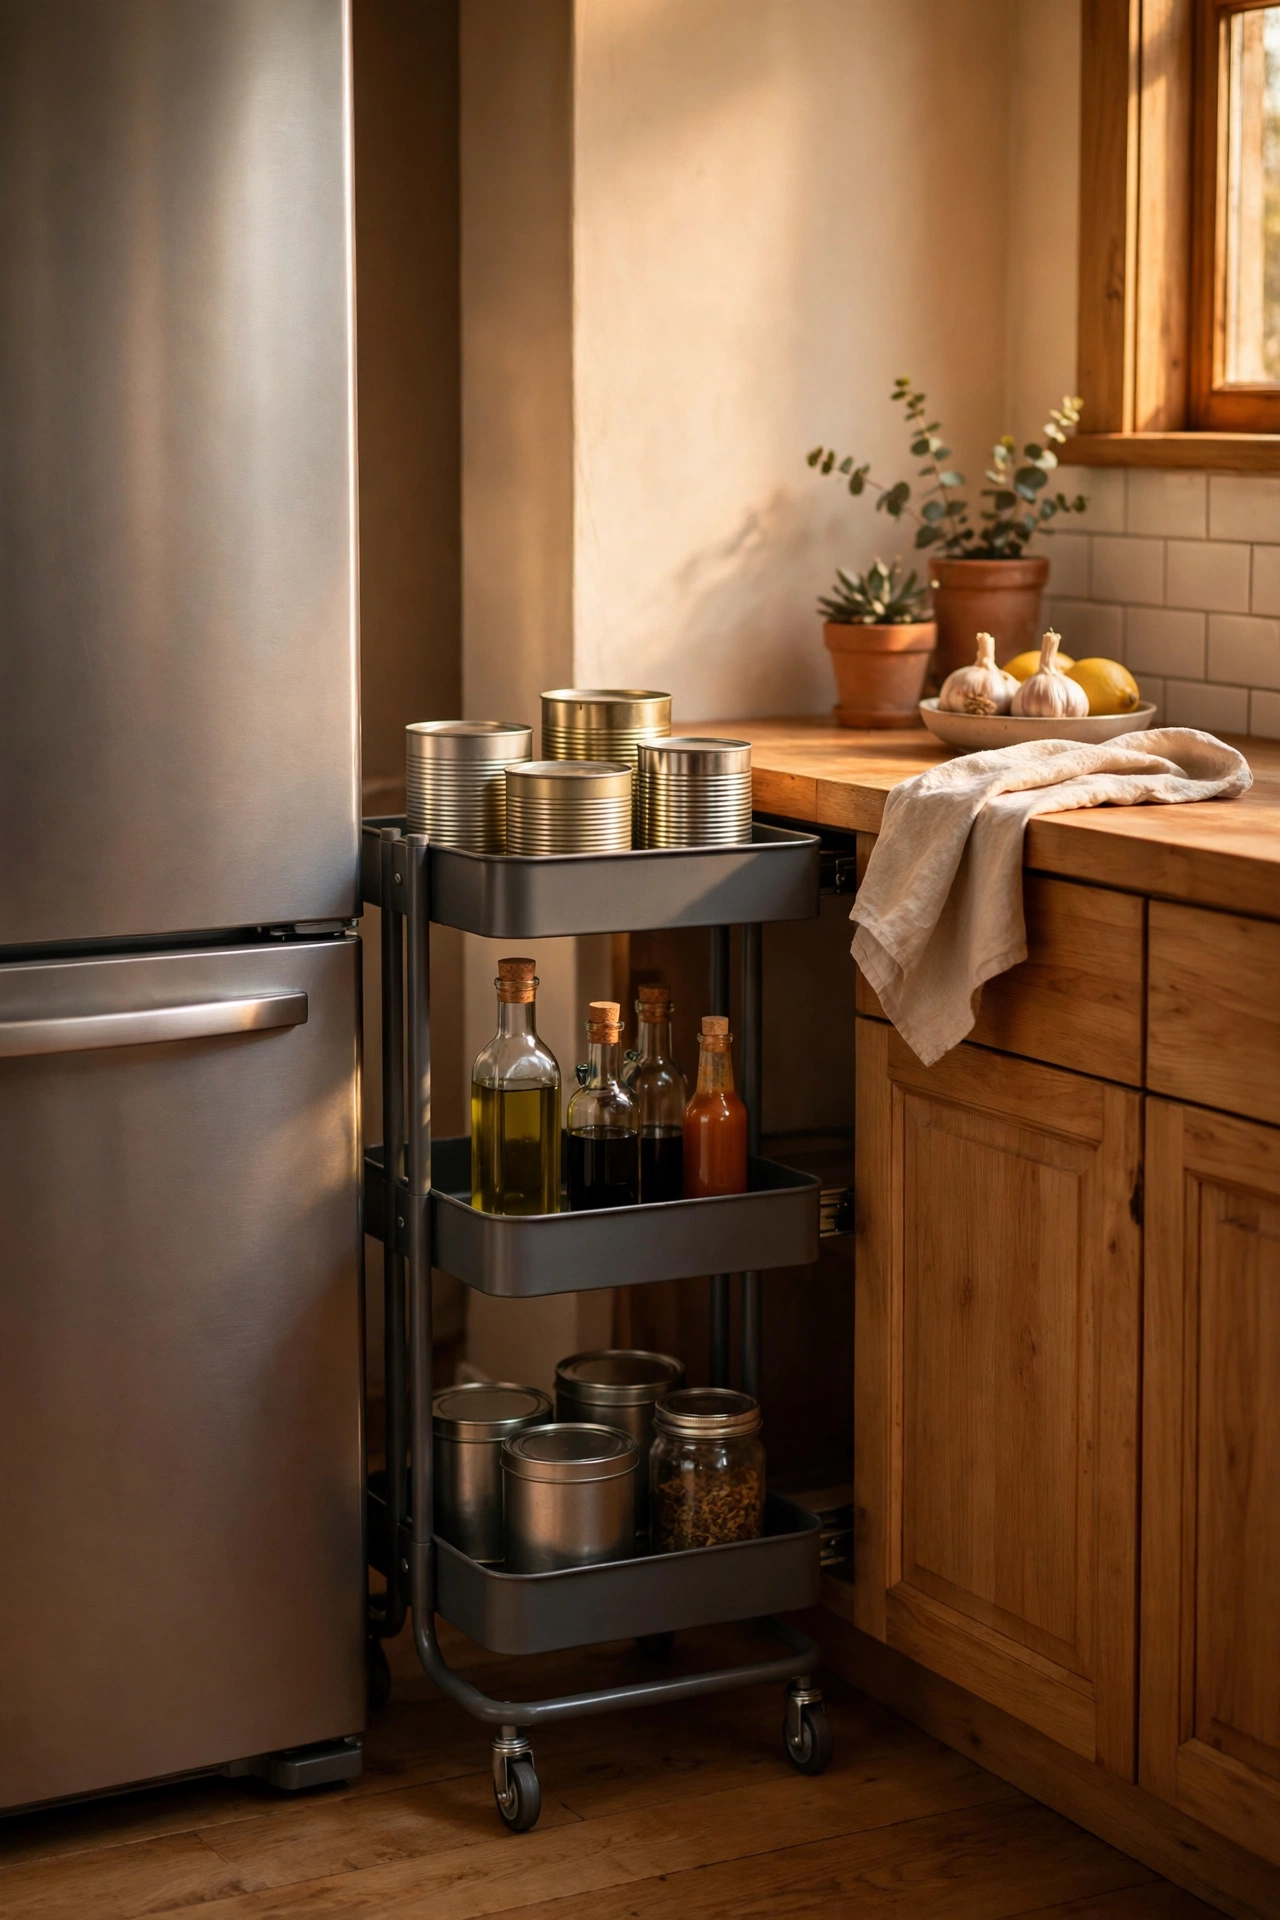
That wasted 15cm gap between the fridge and the counter is a pantry waiting to happen. Slim rolling carts are made exactly for it: tiered shelves for tins, bottles and packets that slide out when you need them and vanish when you don’t. Measure the gap at several heights — floors and walls are rarely straight — and buy a touch narrower. The top tier makes a handy landing spot for the things you grab daily. I tried this and the one mistake to avoid is overfilling the top shelf so it catches on the worktop overhang; keep tall bottles on the middle tiers.
Cost: ~$22 | Time: 20 minutes (assembly)
16. Fabric Shelf and Drawer Liners
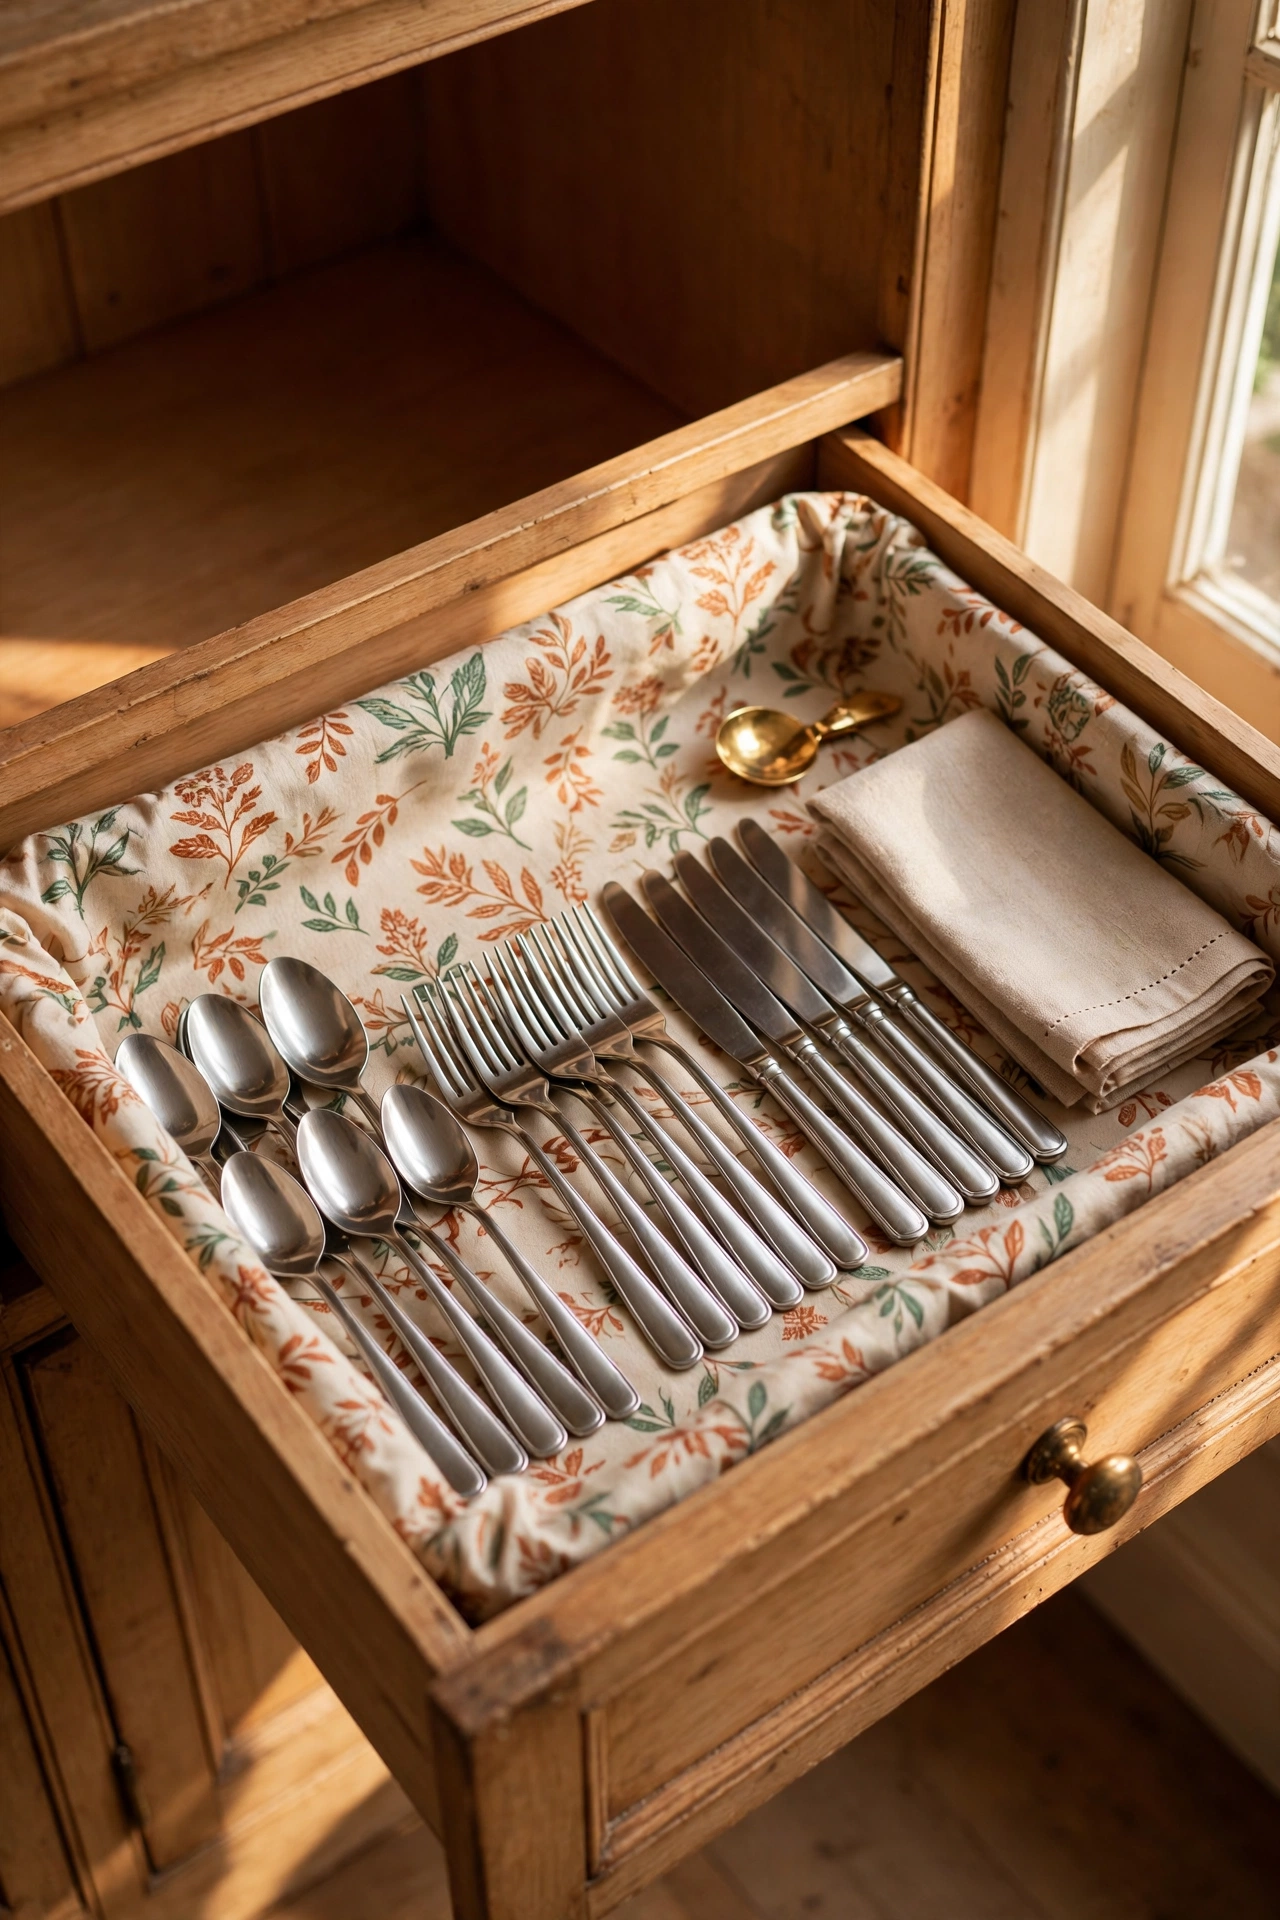
Lining shelves and drawers with washable fabric or wipeable liner instantly makes old rented cabinetry feel cared for. Cut to size, lay flat — no adhesive needed for fabric, and the weight of your things holds it in place. It protects the shelves, muffles clatter, and lifts out for washing. Choose a wipeable vinyl liner for under-sink areas where leaks happen, and pretty fabric everywhere else. It’s the kind of detail future-you will appreciate every single day. Save this one for later — it’s the first job to do in any new flat, before you unpack a single box. I tried this and the one mistake to avoid is using newspaper; the print transfers onto light crockery and it looks sad within a week.
Cost: ~$10 | Time: 1 hour
17. Battery Puck Lights Under Cabinets
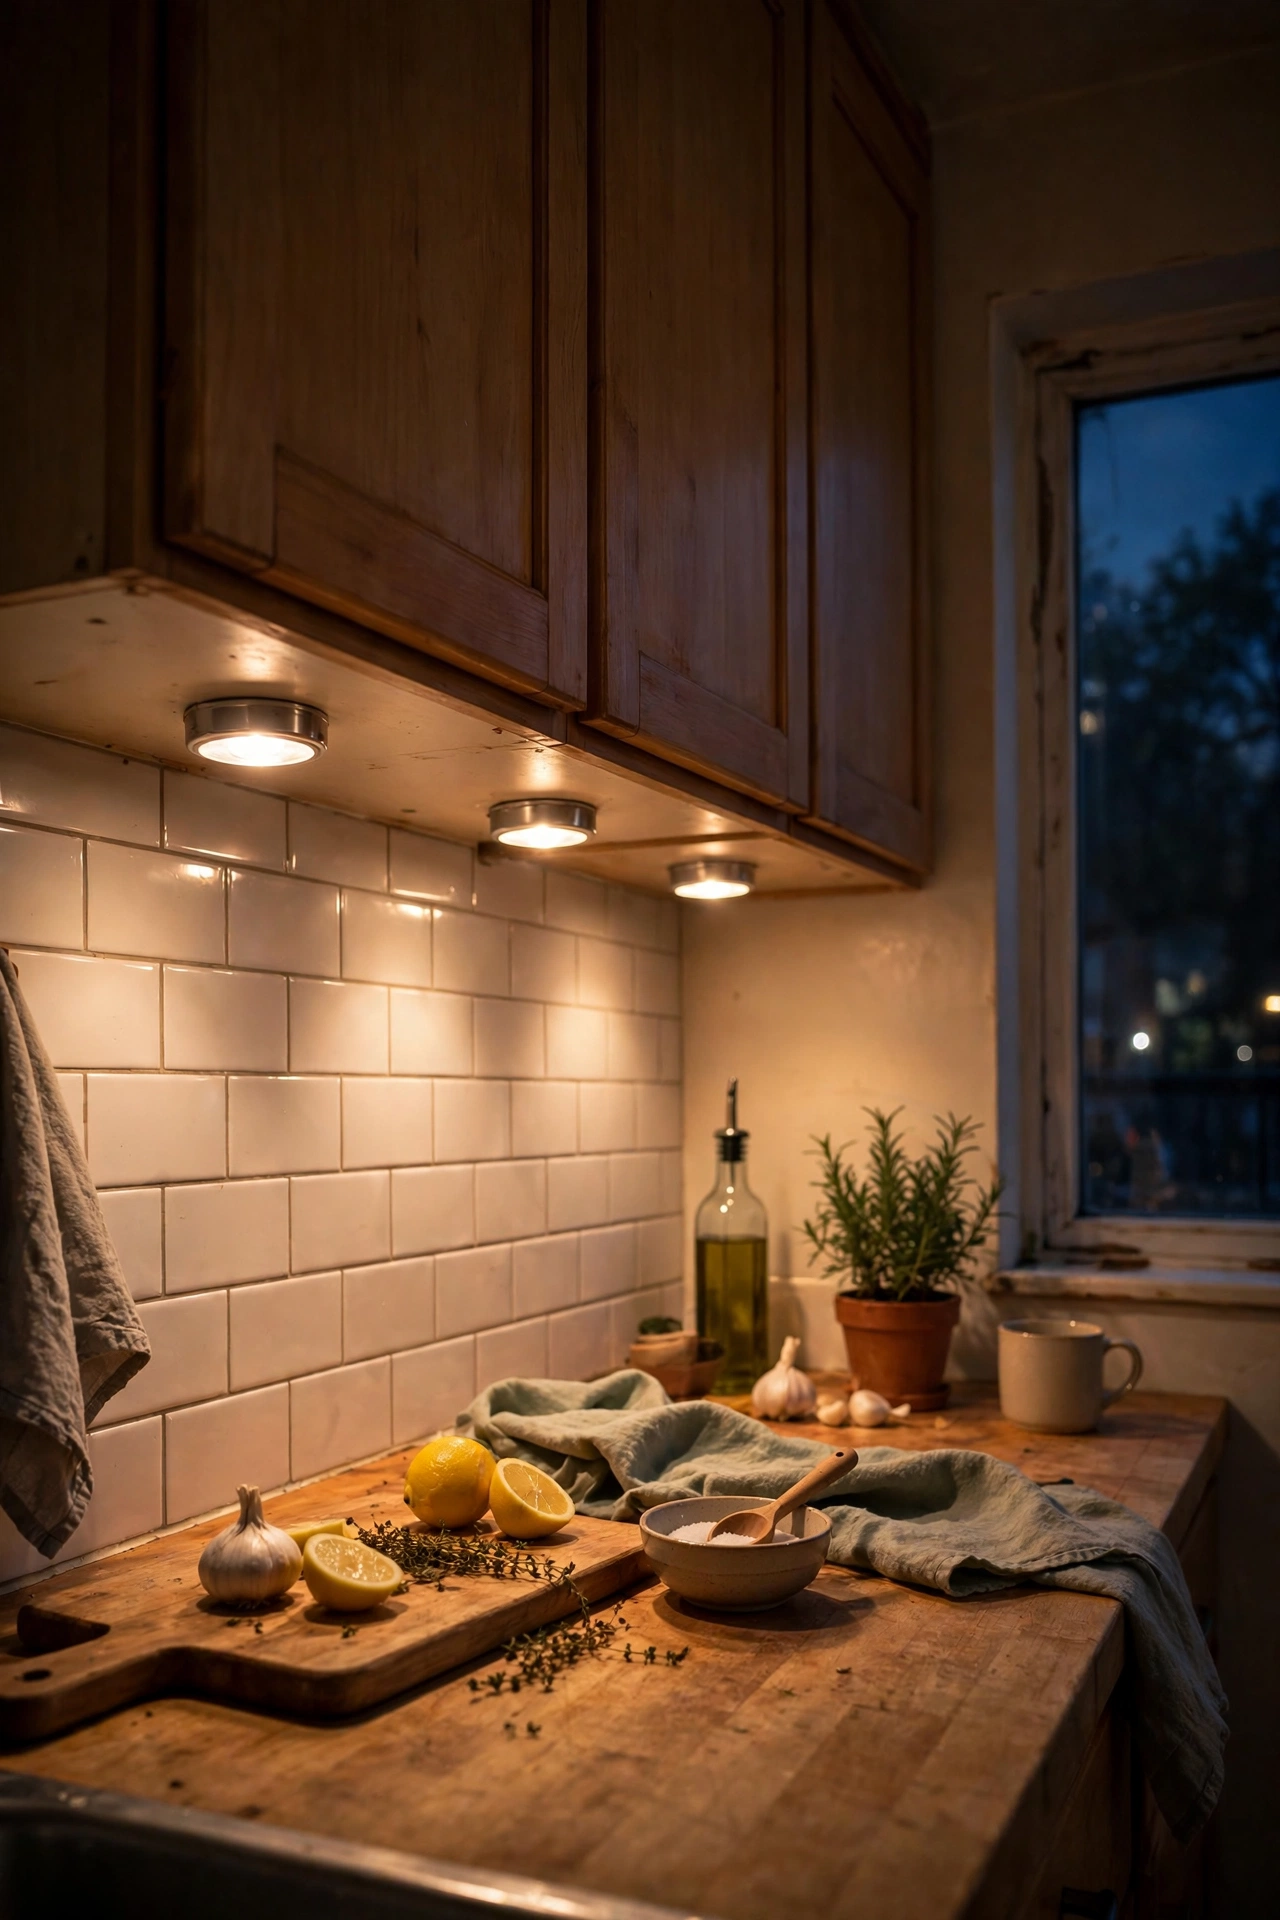
Stick-on battery puck lights under wall cabinets turn a gloomy rented kitchen into a properly lit workspace. Peel, stick, tap to turn on — no wiring, no landlord permission. The remote-control sets let you dim them for evening ambience. Place one every 40–50cm for even light, slightly back from the front edge so you don’t see the fitting. Rechargeable ones save a fortune in batteries over time. I tried this and the one mistake to avoid is buying the cheapest single-colour cool-white pucks; they make food look grey. Spend a fraction more on warm-white or colour-temperature-adjustable ones.
Pro tip: stick one inside the darkest cabinet too — you’ll finally see what’s lurking at the back of the spice cupboard.
Cost: ~$15 | Time: 20 minutes
18. Tension-Rod Paper Towel Holder
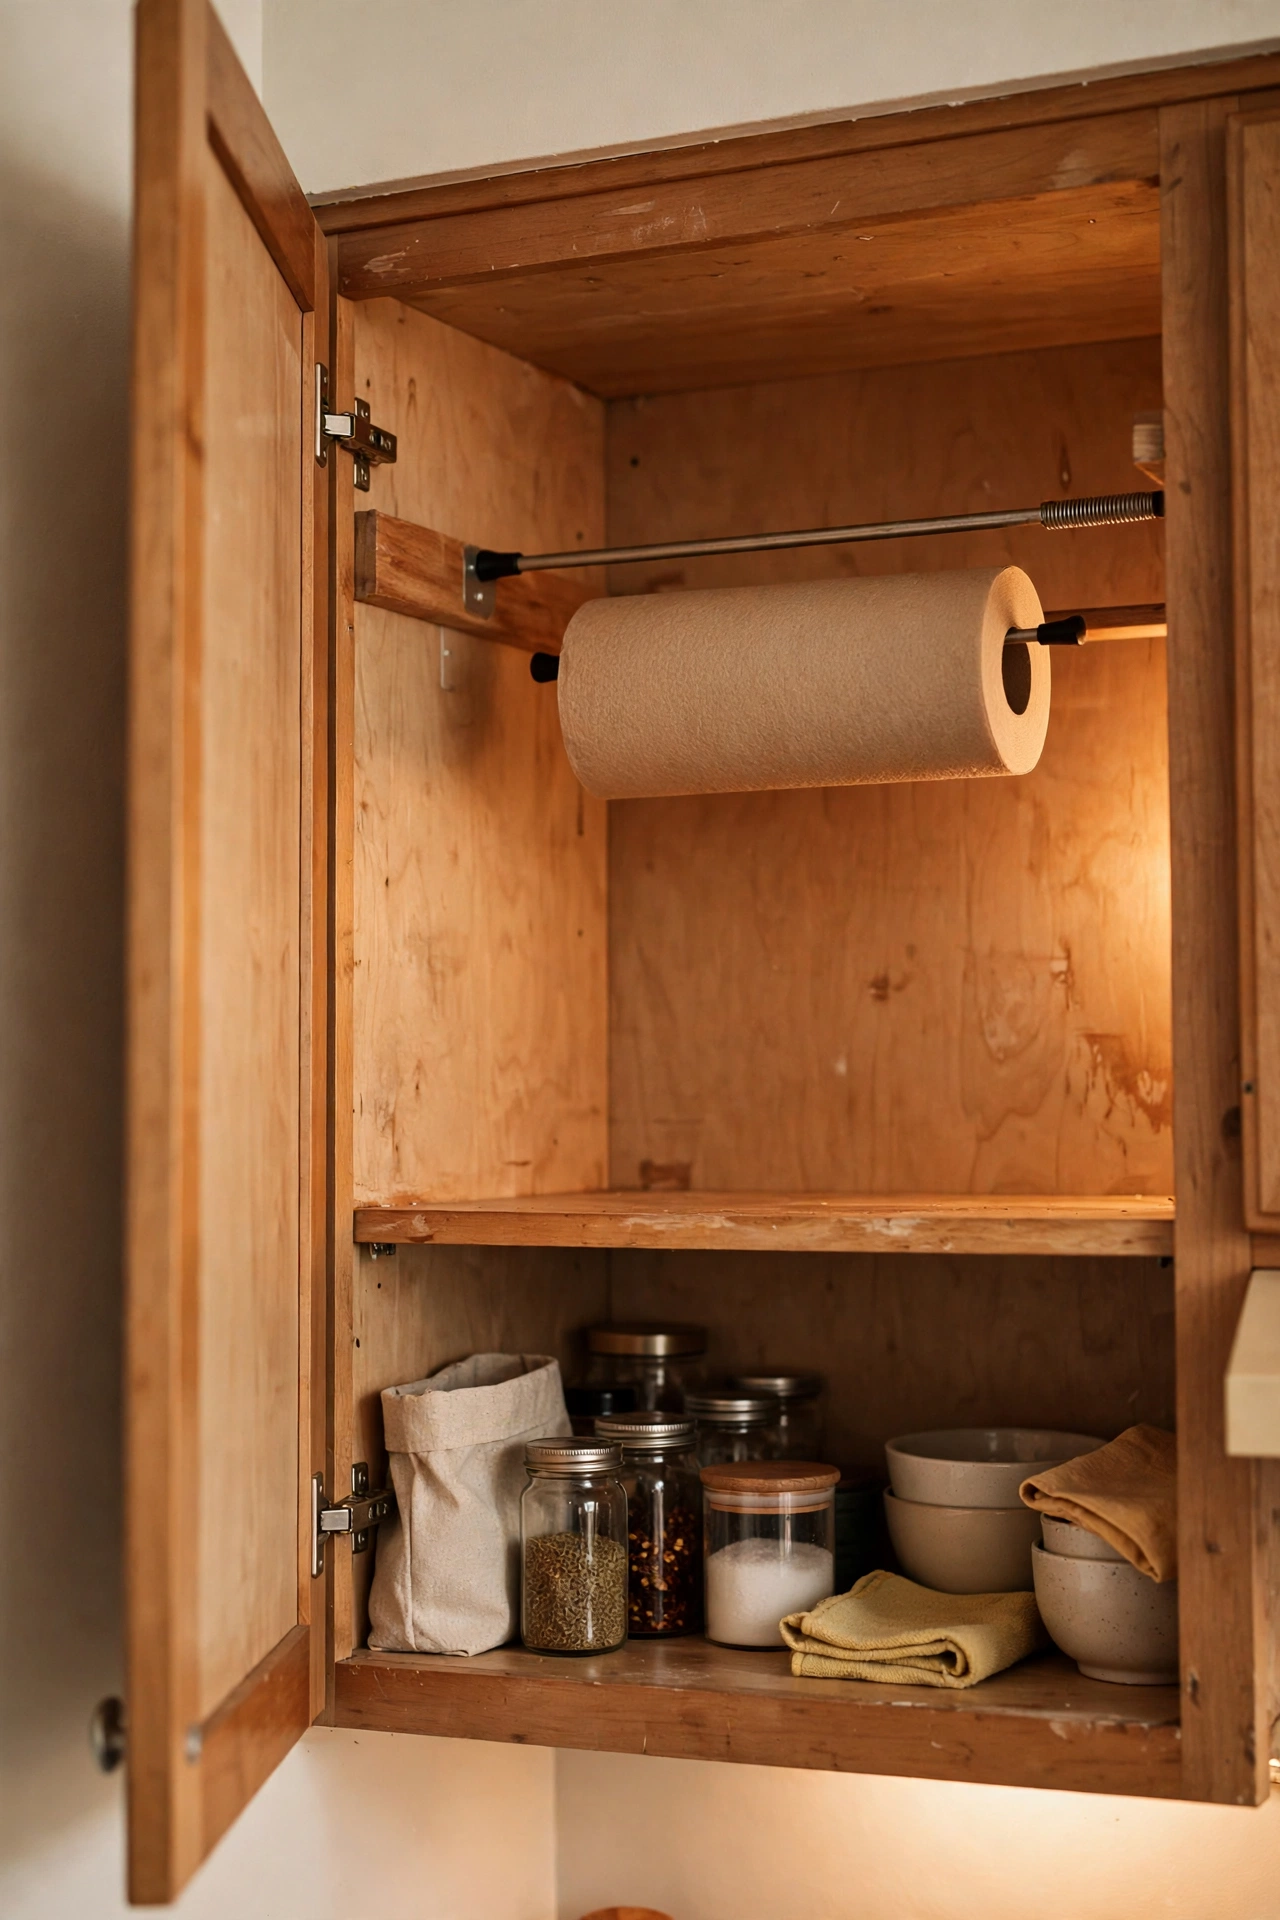
A short tension rod inside a wall cabinet or under the sink holds the kitchen roll where it’s handy but invisible. Twist it to fit between the cabinet sides at a height that clears the roll’s diameter, slide the roll on, and tear off one-handed against the rod’s tension. It beats a worktop holder that eats precious counter space in a tiny kitchen. The rod comes out without a trace on moving day. I tried this and the one mistake to avoid is fitting it too tightly; over-tensioned rods can bow thin cabinet sides. Snug, not strained.
Cost: ~$6 | Time: 10 minutes
19. Removable Backsplash Panels
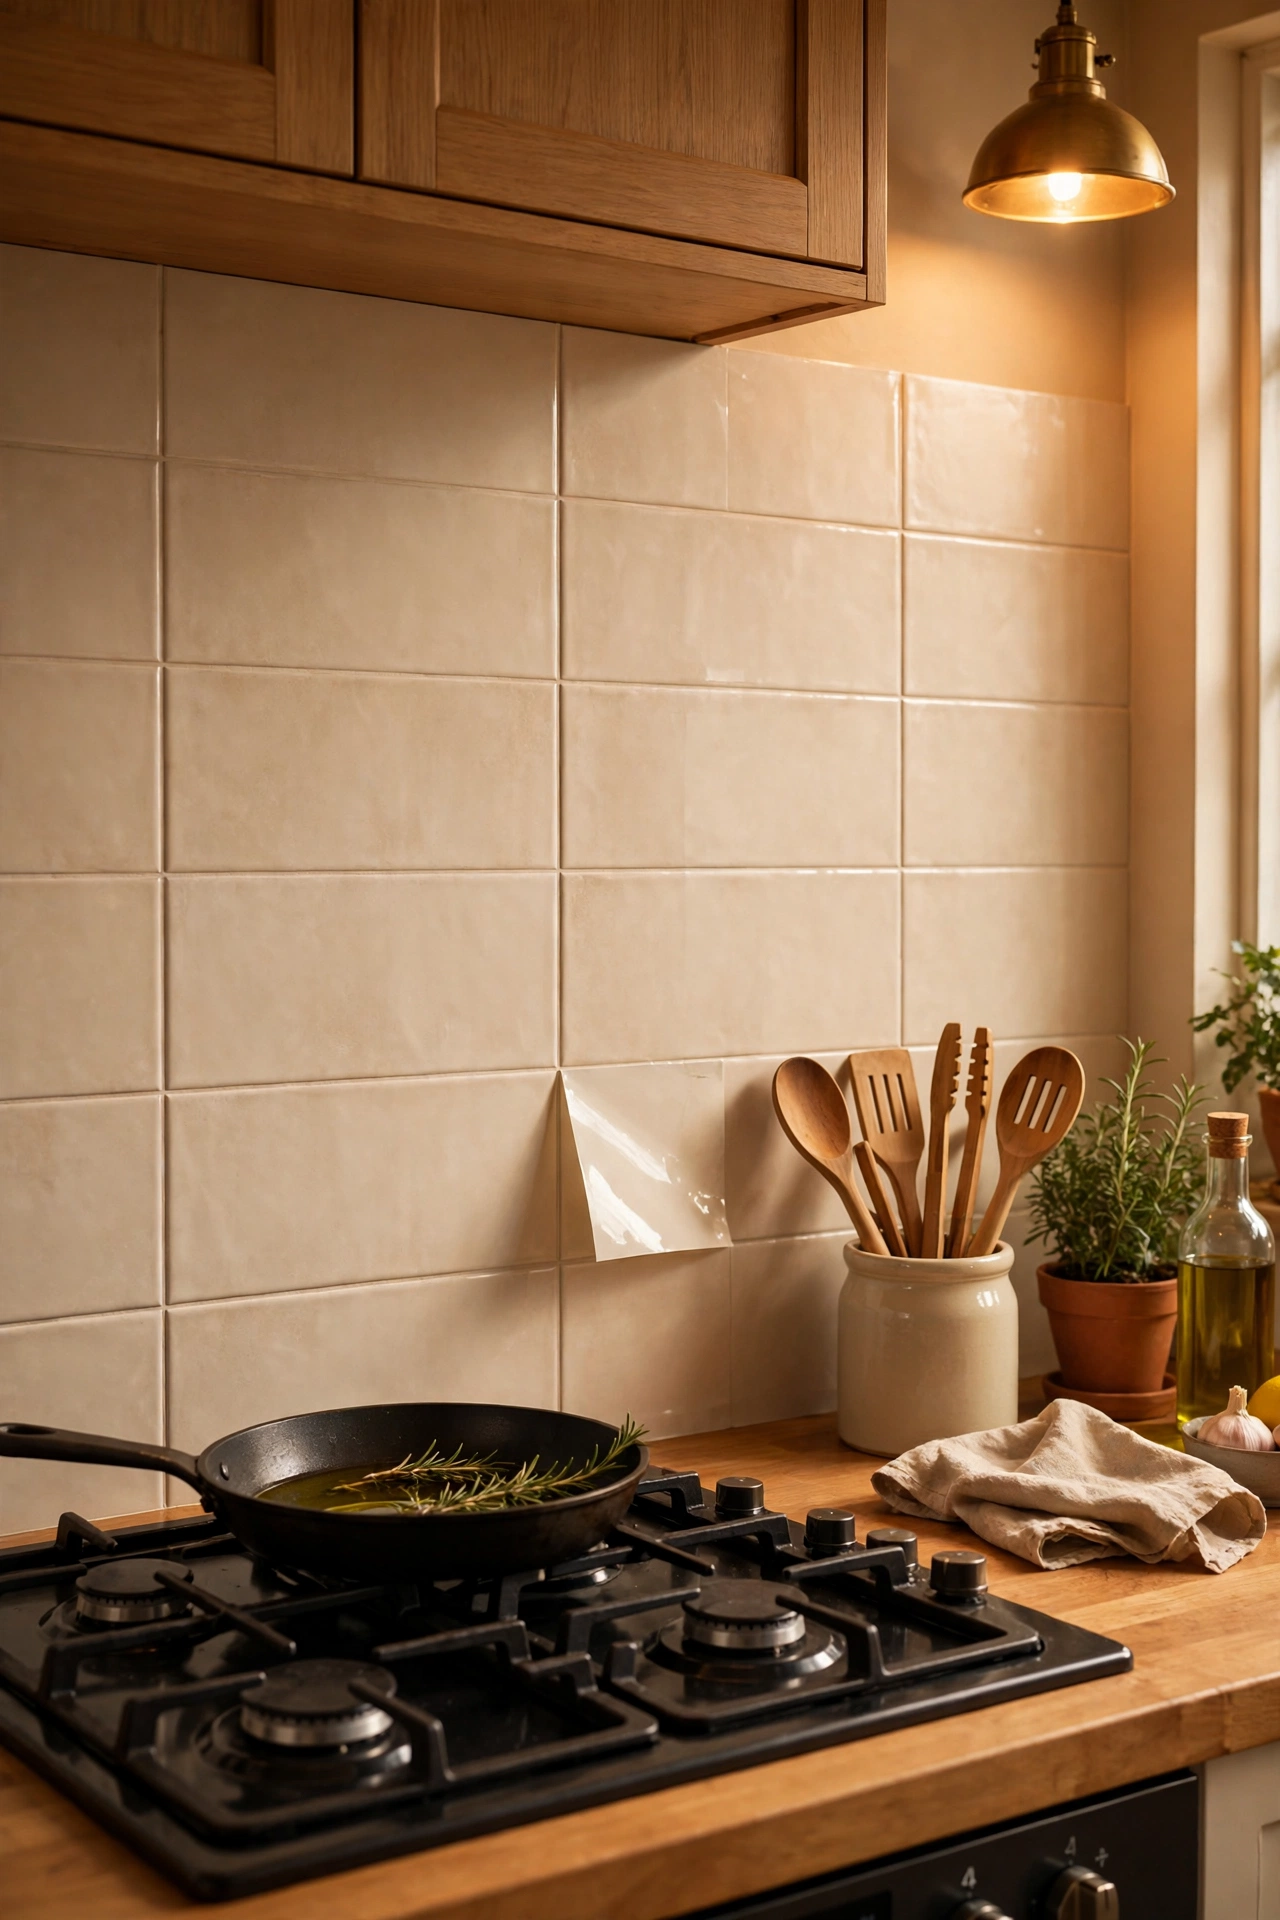
Large peel-and-stick backsplash panels — the kind that come as one sheet per run — cover the wall behind the hob and sink in an afternoon and peel off cleanly later. They’re thicker than individual stickers, so they read more convincingly as tile, and there are fewer seams to trap grease. Cut around sockets with a craft knife, and seal the bottom edge with a thin bead of removable caulk if your landlord is particular about water ingress. It’s the single biggest visual upgrade a renter can make. I tried this and the one mistake to avoid is butting panels tightly in a cold kitchen; leave a hairline gap for expansion or the seams can buckle when the heating kicks in.
Cost: ~$35 | Time: 2 hours
That’s the full nineteen — every one reversible, every one cheap, every one tested in real rented kitchens. Start with the lighting and the liners for instant impact, then work through the storage ideas as you live in the space and learn its quirks. For the bigger picture, my small kitchen organization ideas round up the systems that keep it all working.
