19 Dollar Store Organization Ideas for Small Spaces
My little flat used to defeat me before I’d even had coffee. Drawers that jammed, a pantry where things went to hide, and a bathroom counter that looked like a chemist’s shelf exploded. After years of testing in two rented kitchens and one very honest bathroom, these dollar store organization ideas are the ones I still use every single day. None of them need drilling, none cost more than a sandwich, and all of them were bought within a few pounds of here — because the best organiser is the one you’ll actually buy.
1. Stacking Clear Bins for Pantry Shelves
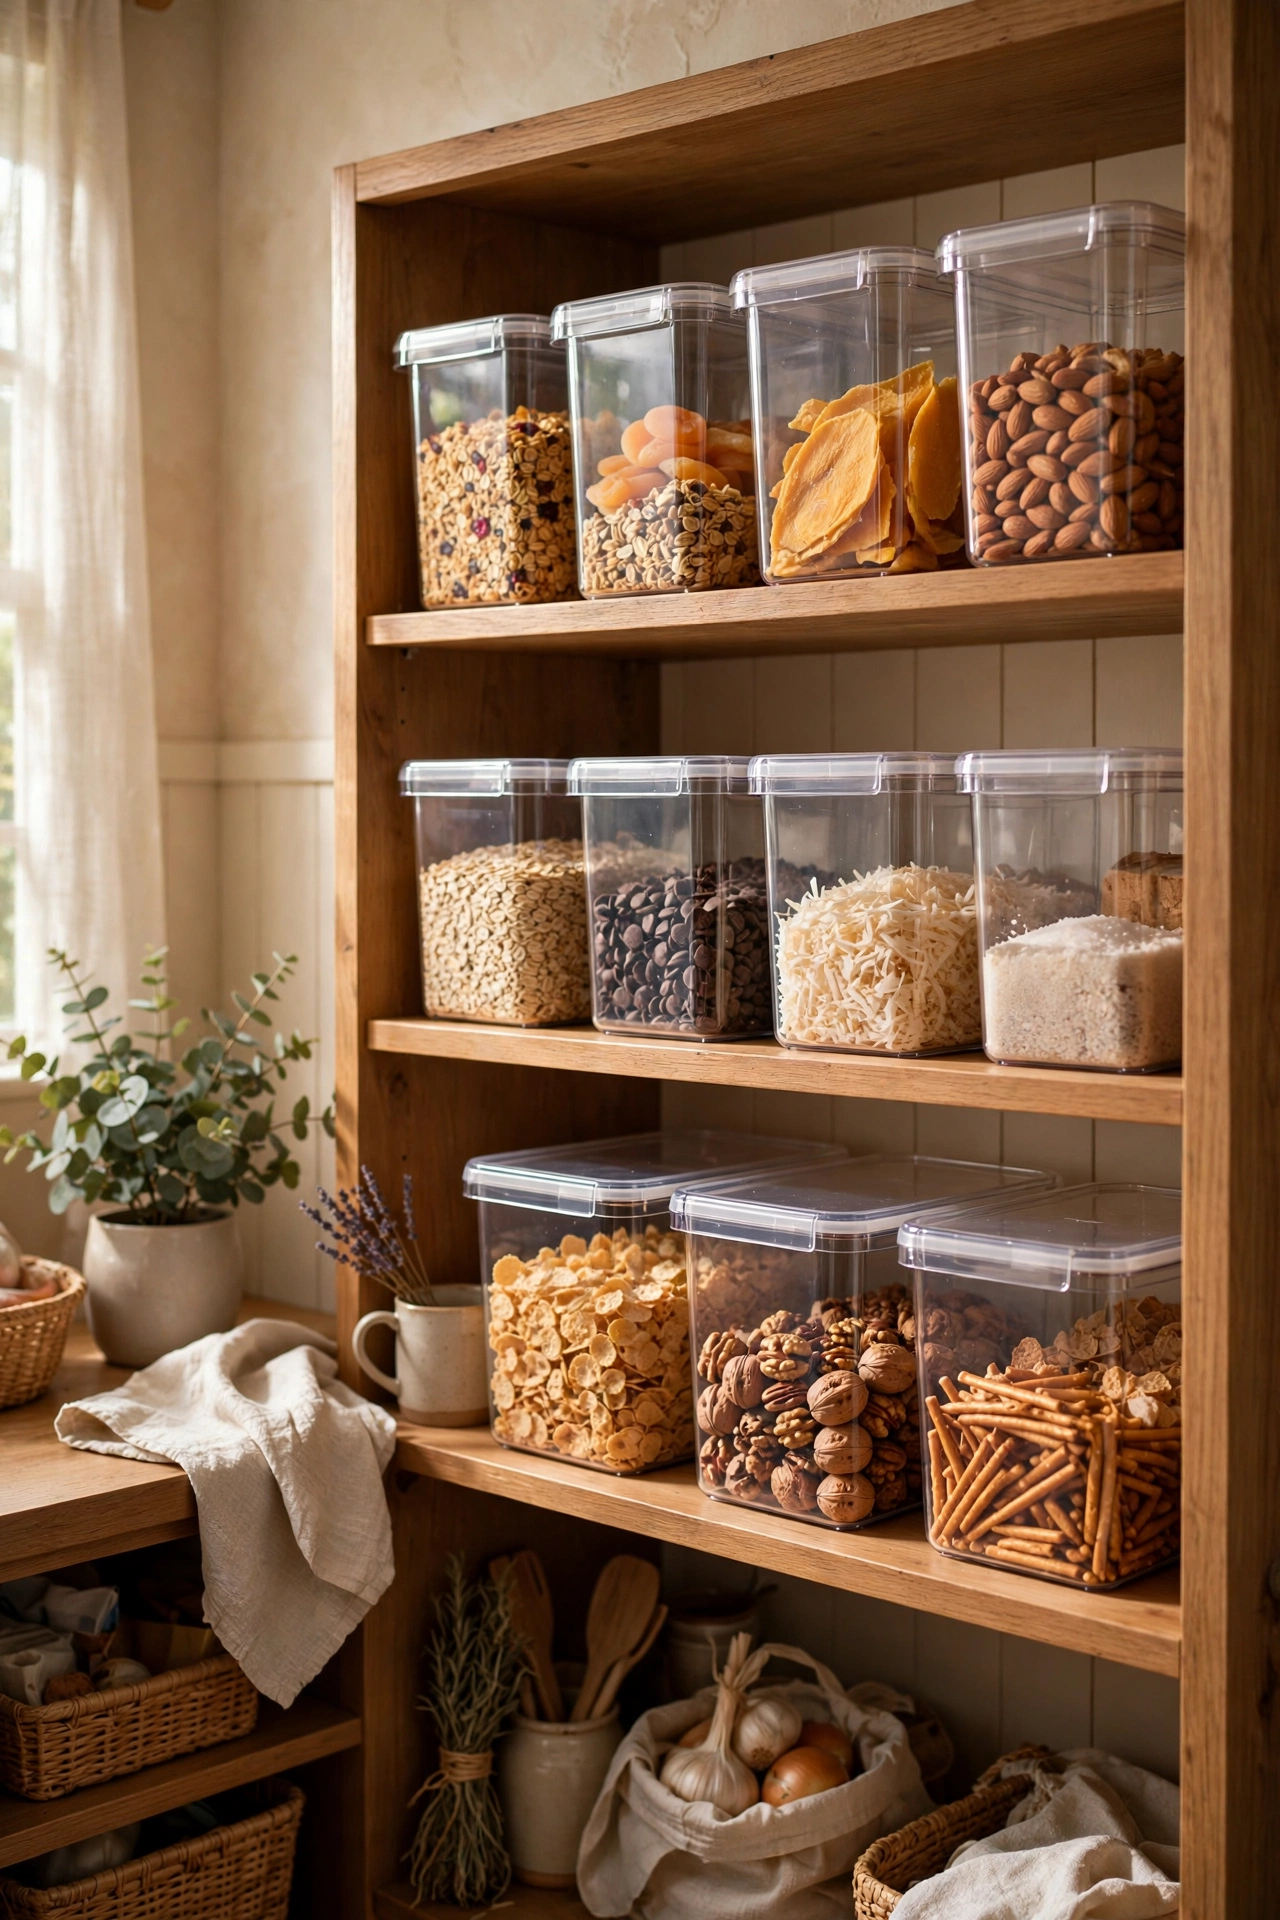
Cost: ~$4 · Time: 20 minutes
These deep clear bins turn a shallow pantry shelf into three tidy zones: snacks, baking, and breakfast. Measure the shelf depth first, then buy bins that leave a finger’s width at the front so they slide in and out. Decant one category at a time, and group the tall items at the back so nothing hides. I tried this in my own pantry and the real win wasn’t how it looked — it was stopping the habit of buying a second bag of rice because I couldn’t see the first. One mistake to avoid: buy all your bins in one trip so the sizes and shades match, because mismatched clear plastic somehow looks messier than no bins at all.
2. Over-the-Door Shoe Organiser for Pantry Storage
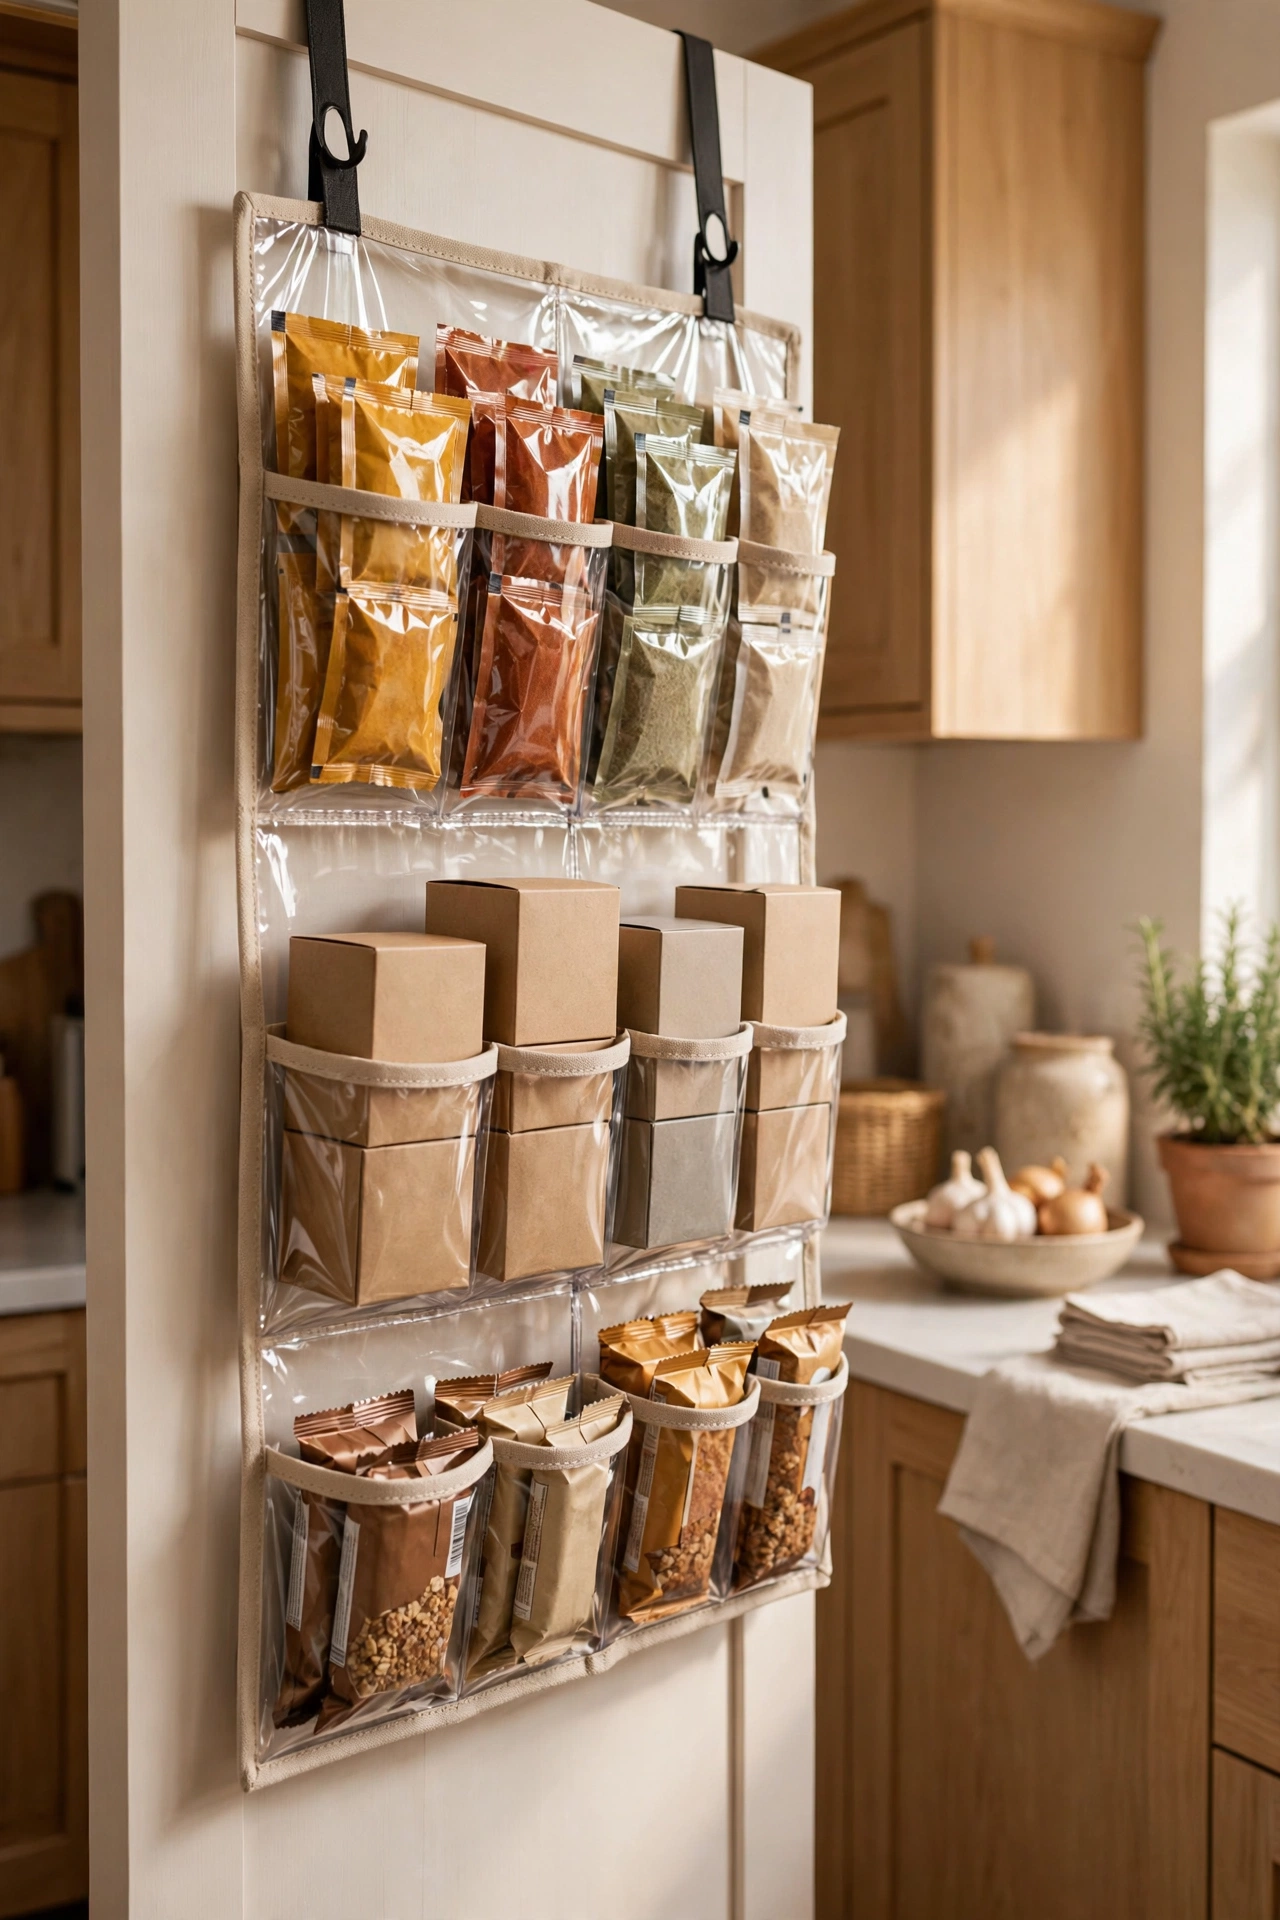
Cost: ~$3 · Time: 15 minutes
Forget shoes — those clear pocket organisers are pantry gold. Hook one over the inside of a pantry or cupboard door and fill the pockets with spice sachets, gravy mixes, snack bars and tea boxes. Sort by pocket row: cooking at the top, snacks at kid height, and the fiddly little packets at the bottom. I hung mine on a narrow pantry door that used to hold nothing but a tea towel, and it freed an entire shelf overnight. Just check the door still closes before you load it up; a fully stocked organiser adds more weight than you’d think, and I had to move mine after the latch refused to catch the first evening.
3. Adhesive Hooks Inside Cupboard Doors
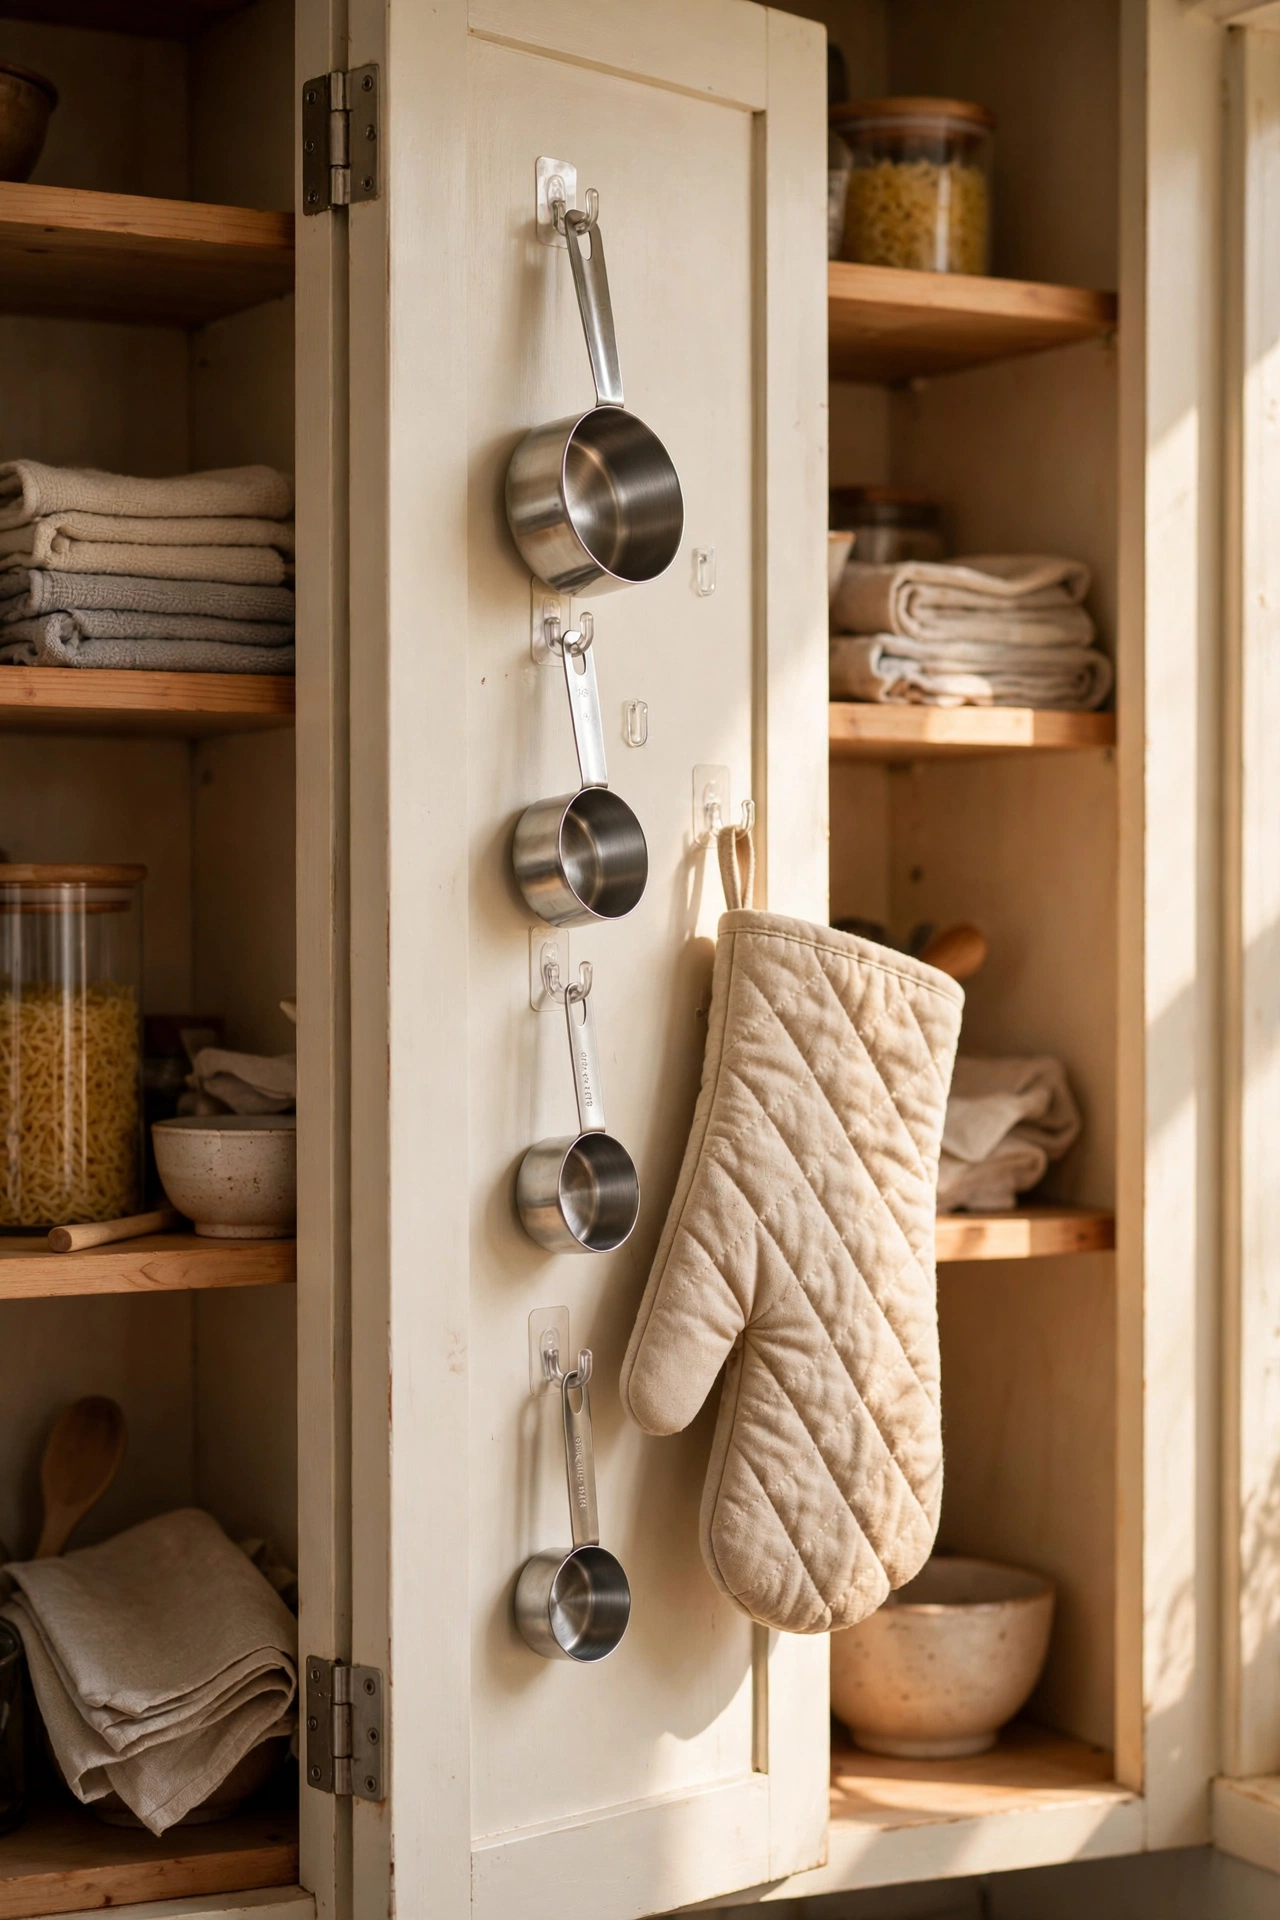
Cost: ~$2 · Time: 10 minutes
The inside of a cupboard door is dead space until you stick two or three small hooks on it. Use them for measuring cups, the oven glove, a small dustpan, or the re-usable shopping bags that multiply in the drawer. Wipe the surface with a dry cloth first so the adhesive actually grips, press each hook for a full thirty seconds, and wait an hour before hanging anything. I tried this in my own kitchen and the measuring cups finally stopped living in a tangled heap. One mistake to avoid: don’t hang anything heavier than the hook’s rating claims — my cast-iron trivet learned that lesson for all of us when it took a hook down at midnight.
4. Slim Rolling Trolley for Narrow Gaps
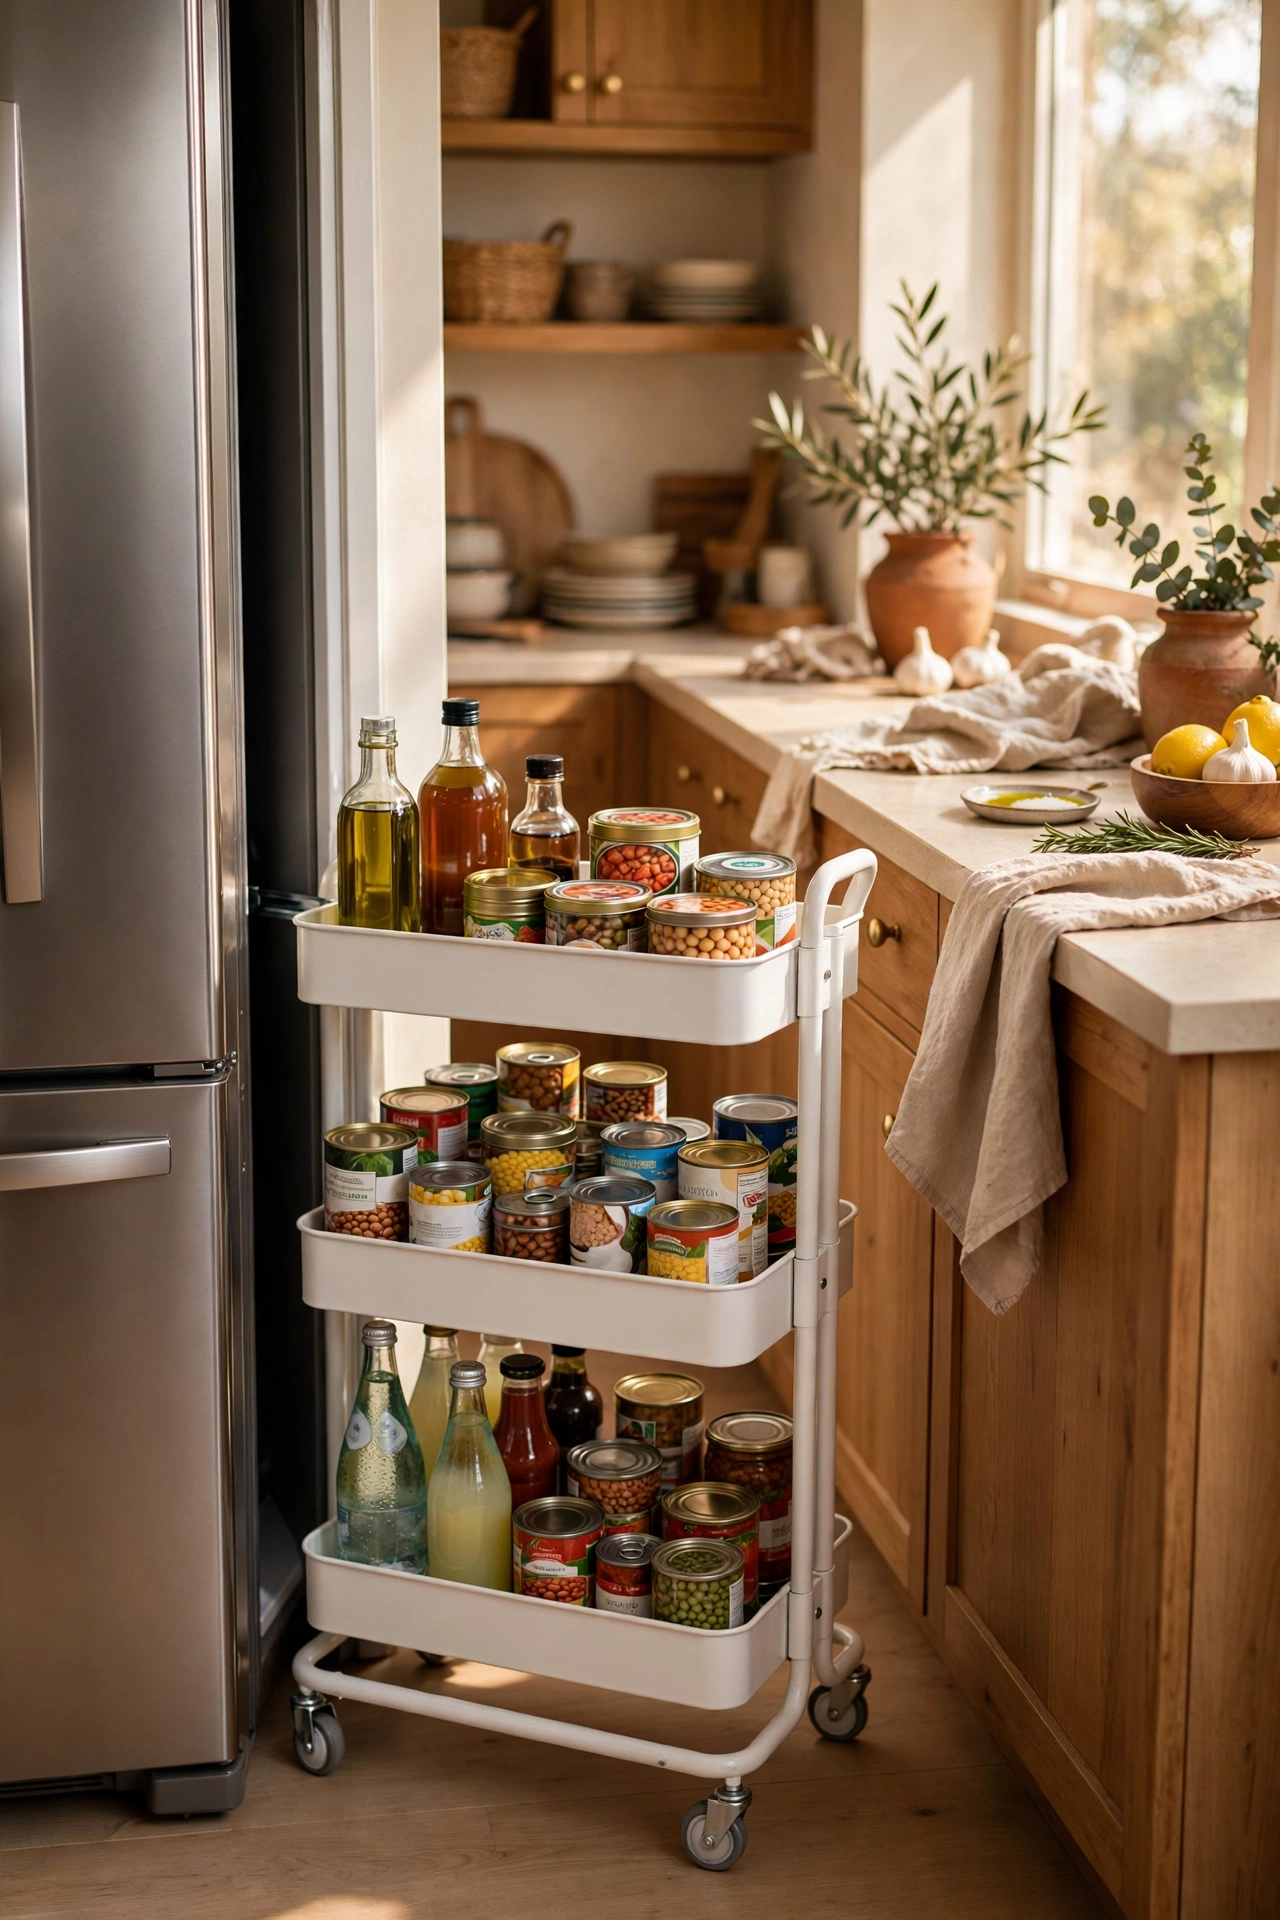
Cost: ~$8 · Time: 10 minutes
That awkward ten-centimetre gap between the fridge and the counter, or beside the loo, is where a slim rolling trolley earns its keep. Clip the tiers together, load the shelves with bottles, tins or loo rolls, and roll it out when you need something. I wedged one beside my washing machine for detergents and it turned a dust-trap into genuinely useful storage. The trick is keeping the heaviest items on the bottom tier so it doesn’t tip when you pull it out. It also comes apart flat if you ever need to move it, which is more than I can say for most flat-pack furniture I’ve owned.
5. Mason Jars for Bathroom Essentials
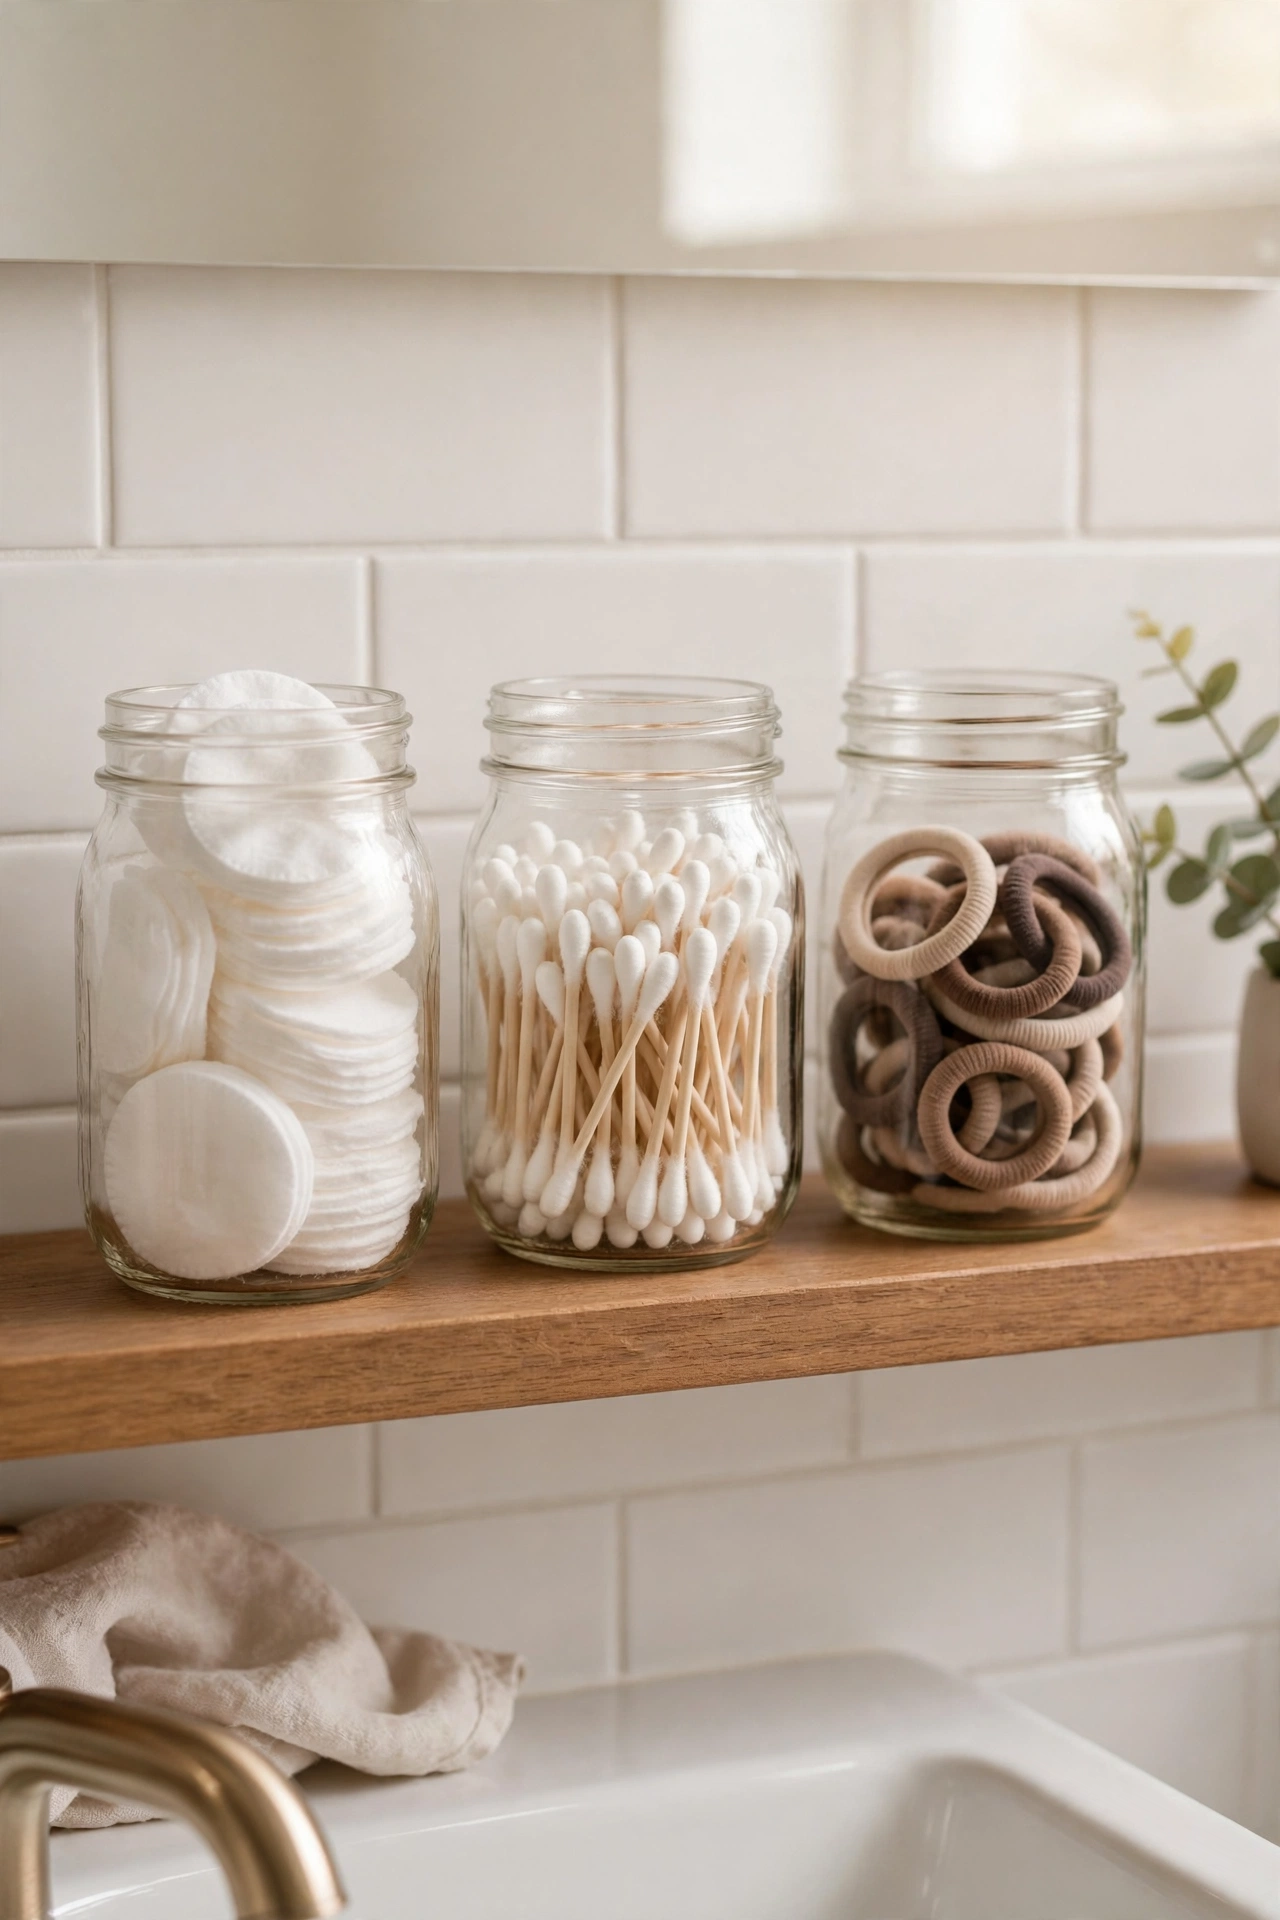
Cost: ~$3 · Time: 15 minutes
Three matching mason jars on the bathroom shelf — one for cotton pads, one for cotton buds, one for hair ties — instantly calm a cluttered counter. Wash and dry them thoroughly first, then fill with the bits that currently live loose in a drawer. I switched to jars after finding the same hair tie drought every single morning, and now I can see at a glance when something’s running low. Keep the lids on if your bathroom gets steamy, because cotton pads absorb moisture fast. One mistake to avoid is buying the decorative kind with painted lids; the paint flakes off within a month and ends up in your cotton buds.
6. Magazine Files for Upright Packet Storage
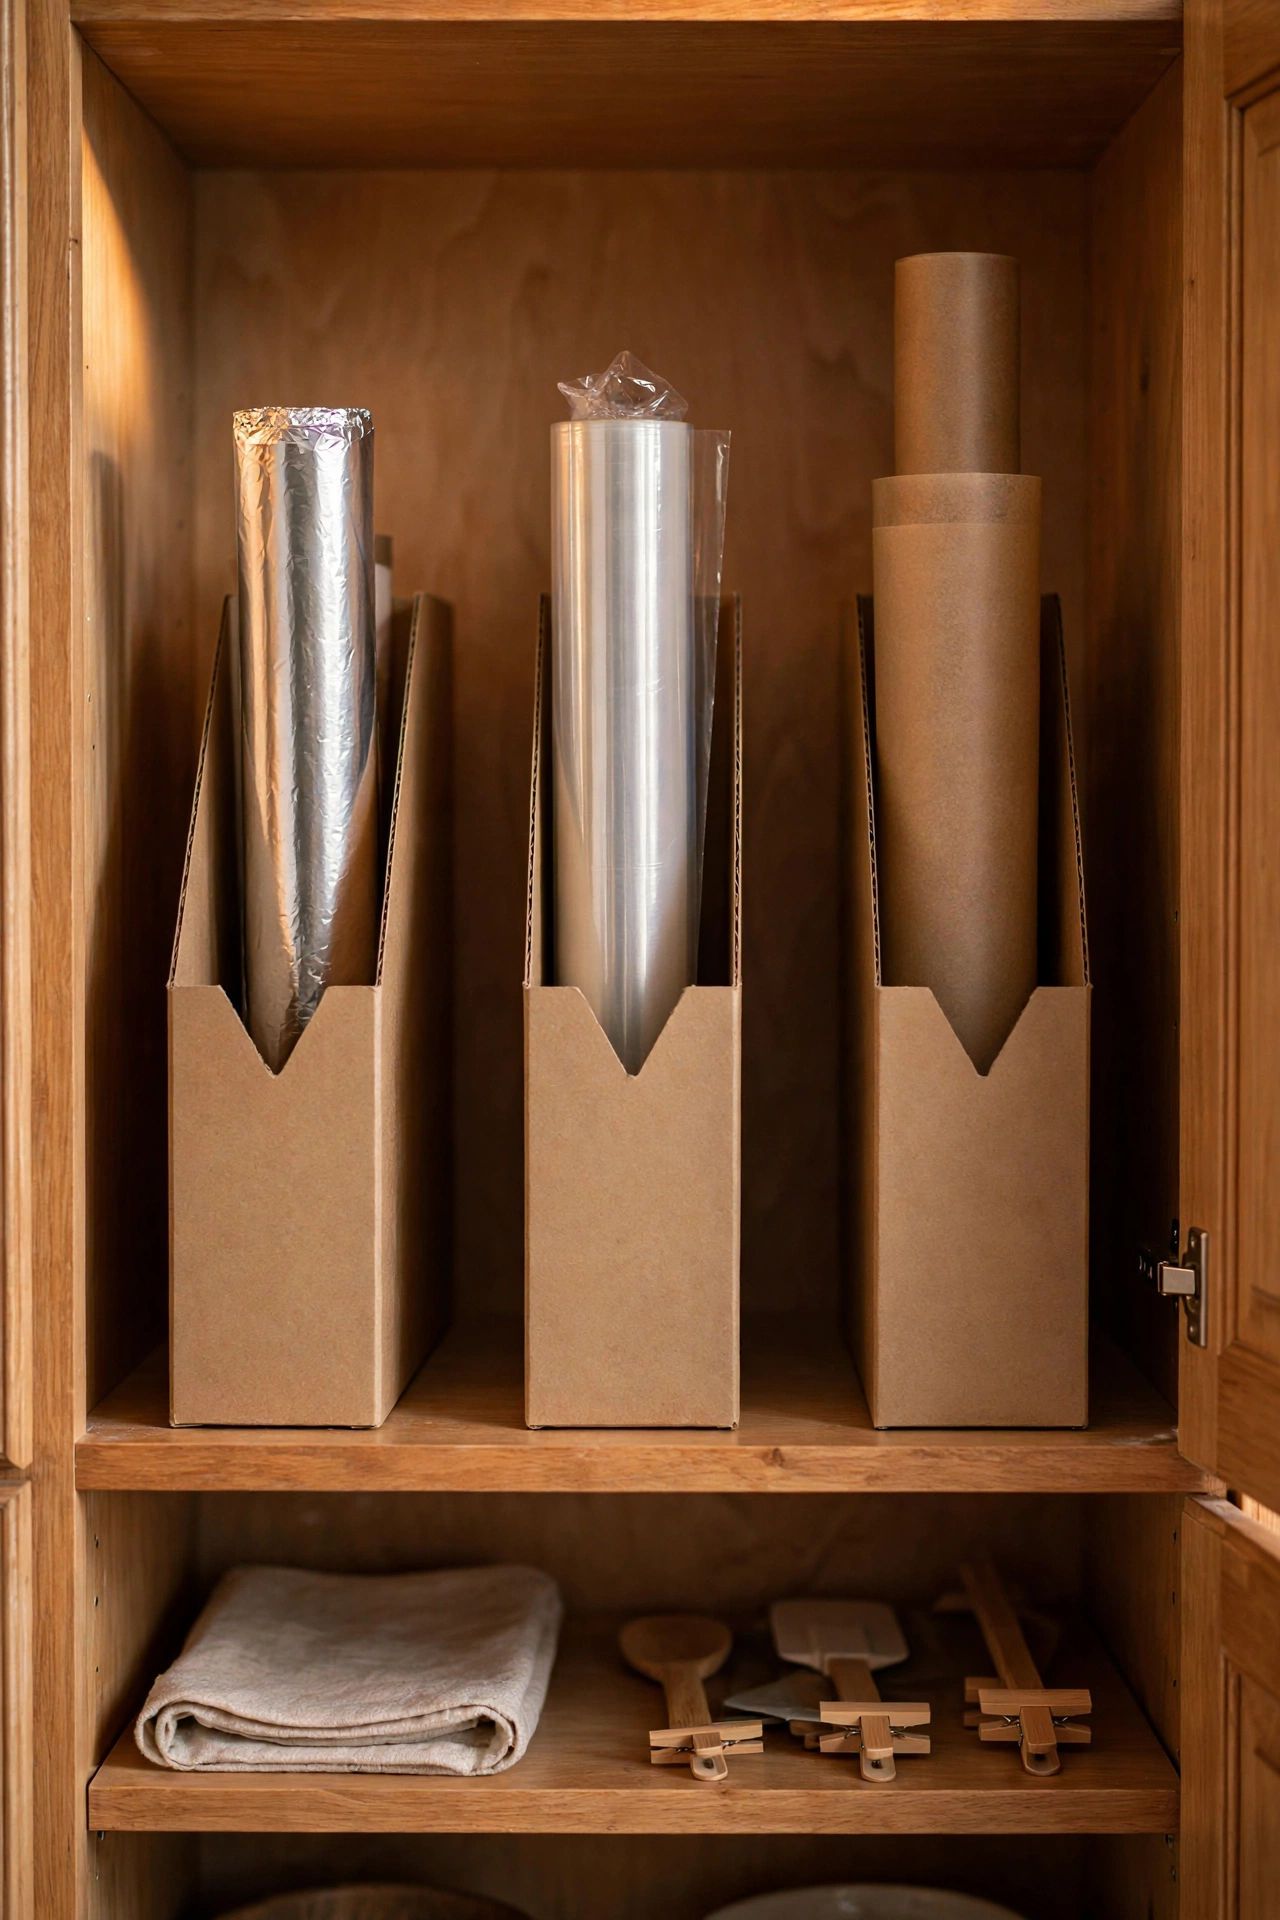
Cost: ~$2 each · Time: 10 minutes
Sturdy cardboard or plastic magazine files aren’t just for magazines. Stand them in a cupboard to file foil rolls, cling film, baking paper and zip-lock boxes upright like books on a shelf. Label the spine of each with a marker so you grab the right one first time. I lined four of them along the back of a deep cupboard and suddenly the graveyard of half-unrolled wrapping lived somewhere logical. Buy two more than you think you need — I tried this in my own kitchen and the files multiplied in usefulness once I started using them for chopping boards too, standing the boards upright between two files like bookends.
7. Expandable Drawer Dividers
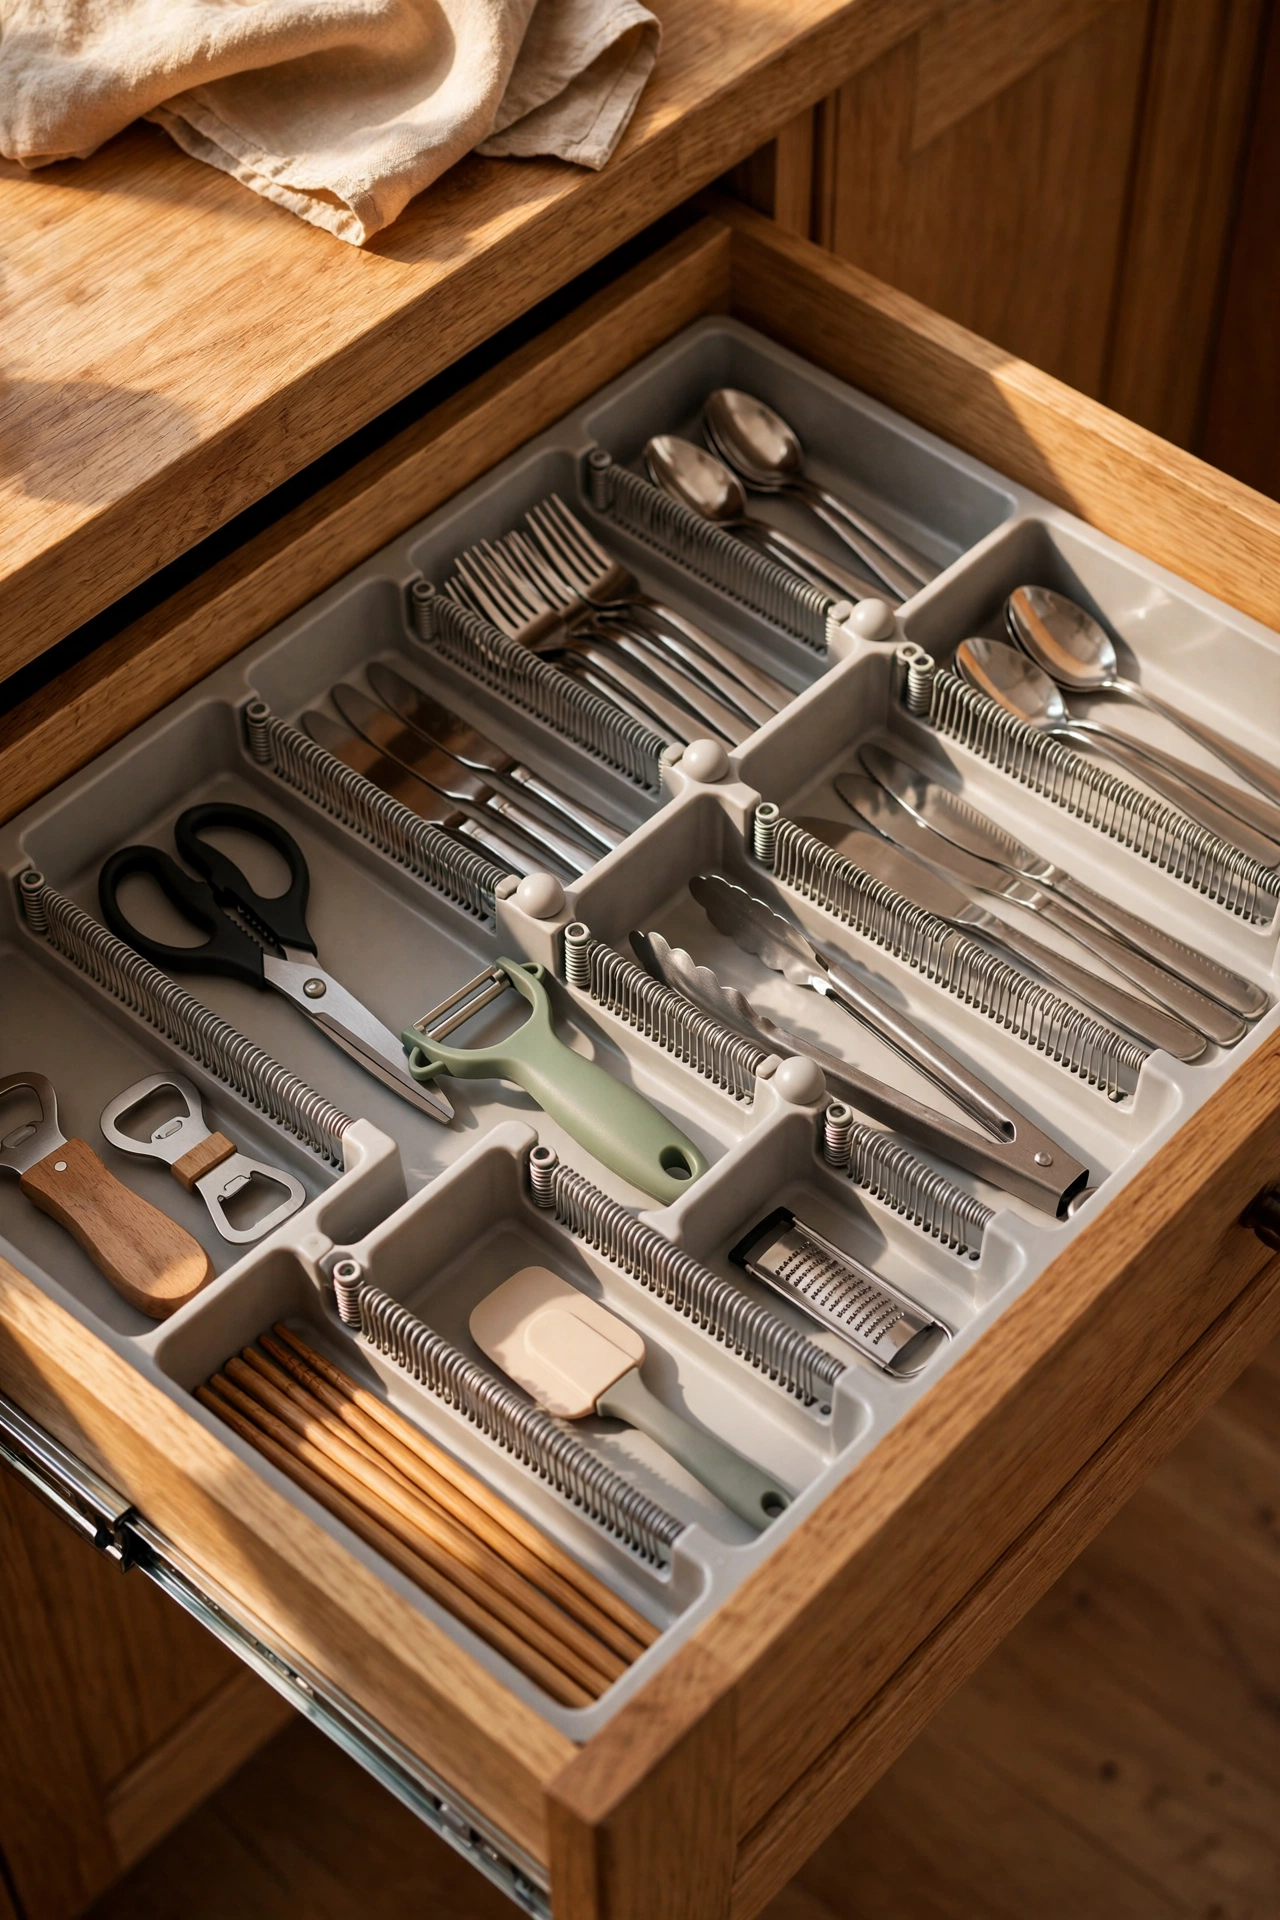
Cost: ~$3 · Time: 15 minutes
Spring-loaded dividers that wedge into a drawer turn chaos into compartments with no tools at all. Empty the drawer completely, wipe it out, then place two or three dividers to create zones: everyday cutlery, cooking tools, and the odd bits that need a home. I did this with my infamous junk drawer and found batteries from a torch I no longer own. The honest truth is you should measure the drawer depth before you shop — the dividers come in lengths and a too-long one will bow and pop out. Keep one zone deliberately empty, because small homes always produce new small things that need somewhere to live.
8. Tension Rod Under the Kitchen Sink
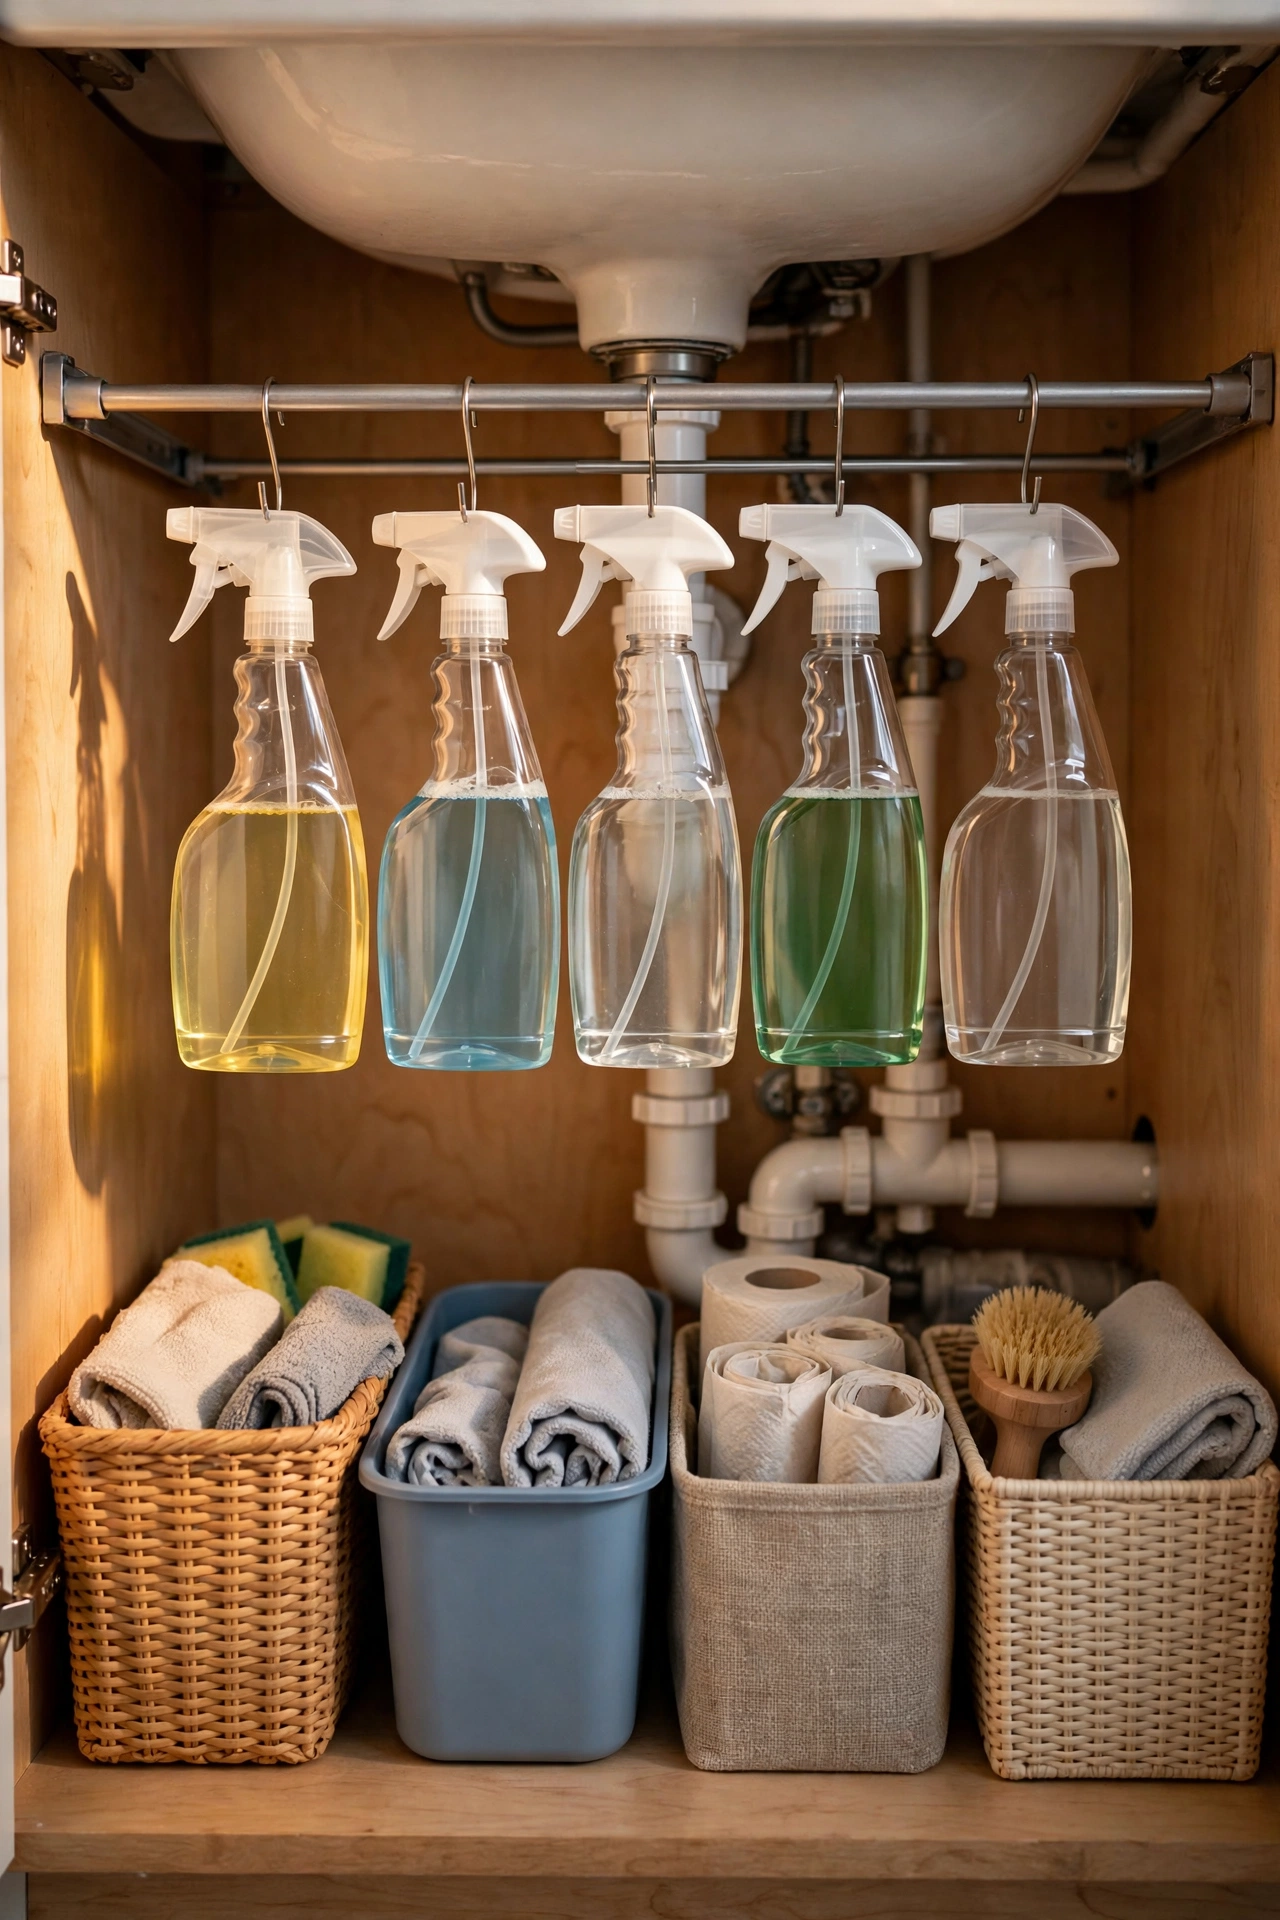
Cost: ~$2 · Time: 10 minutes
A small spring tension rod wedged across the under-sink cabinet becomes a hanging rail for spray bottles — hook their triggers over the rod and the cabinet floor is suddenly free for bins. Twist the rod until it’s snug, then give it a firm tug to test it before you load it. I fitted one in mine and the bottles that used to topple every time I reached for the bin bags now hang in a neat row. One mistake to avoid: measure the cabinet width at the front and the back, because cabinets taper and a rod that fits at the front can be too short at the back. It took me two rods to learn that.
9. Clip-On Under-Shelf Baskets
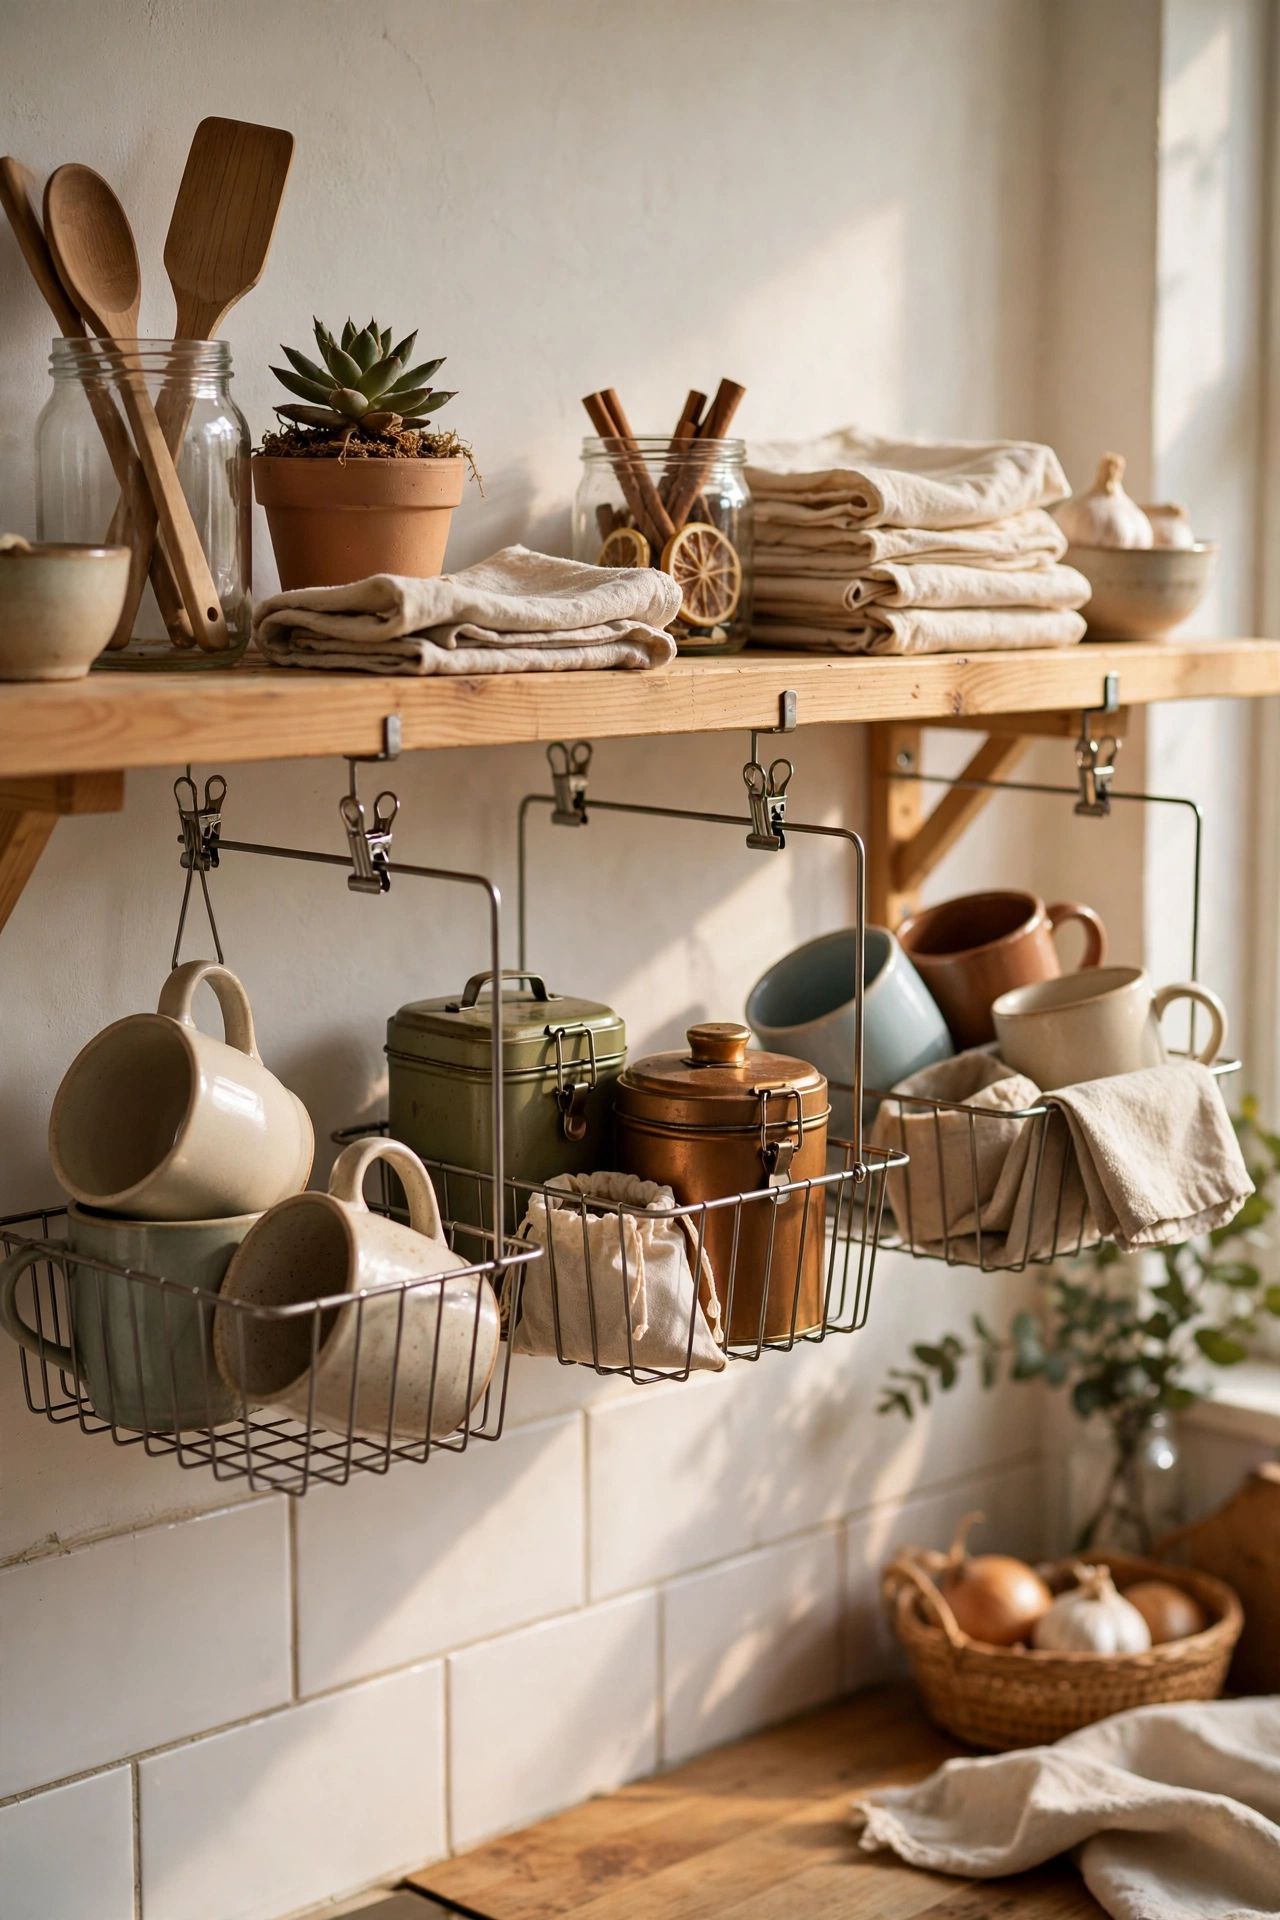
Cost: ~$3 · Time: 5 minutes
These wire baskets hook over an existing shelf to create a bonus layer underneath — perfect for mugs, small bowls or the tea collection that colonises the worktop. Slide the arms over the shelf edge, push them back until they grip, and load with light items only. I clipped two under a kitchen shelf and freed the entire front of the worktop. They also work brilliantly in a wardrobe for folded scarves or small bags. Just don’t overload them; they’re rated for light goods, and my first one sagged within a week because I filled it with tins.
10. Refillable Spray Bottles for Cleaning Mixes
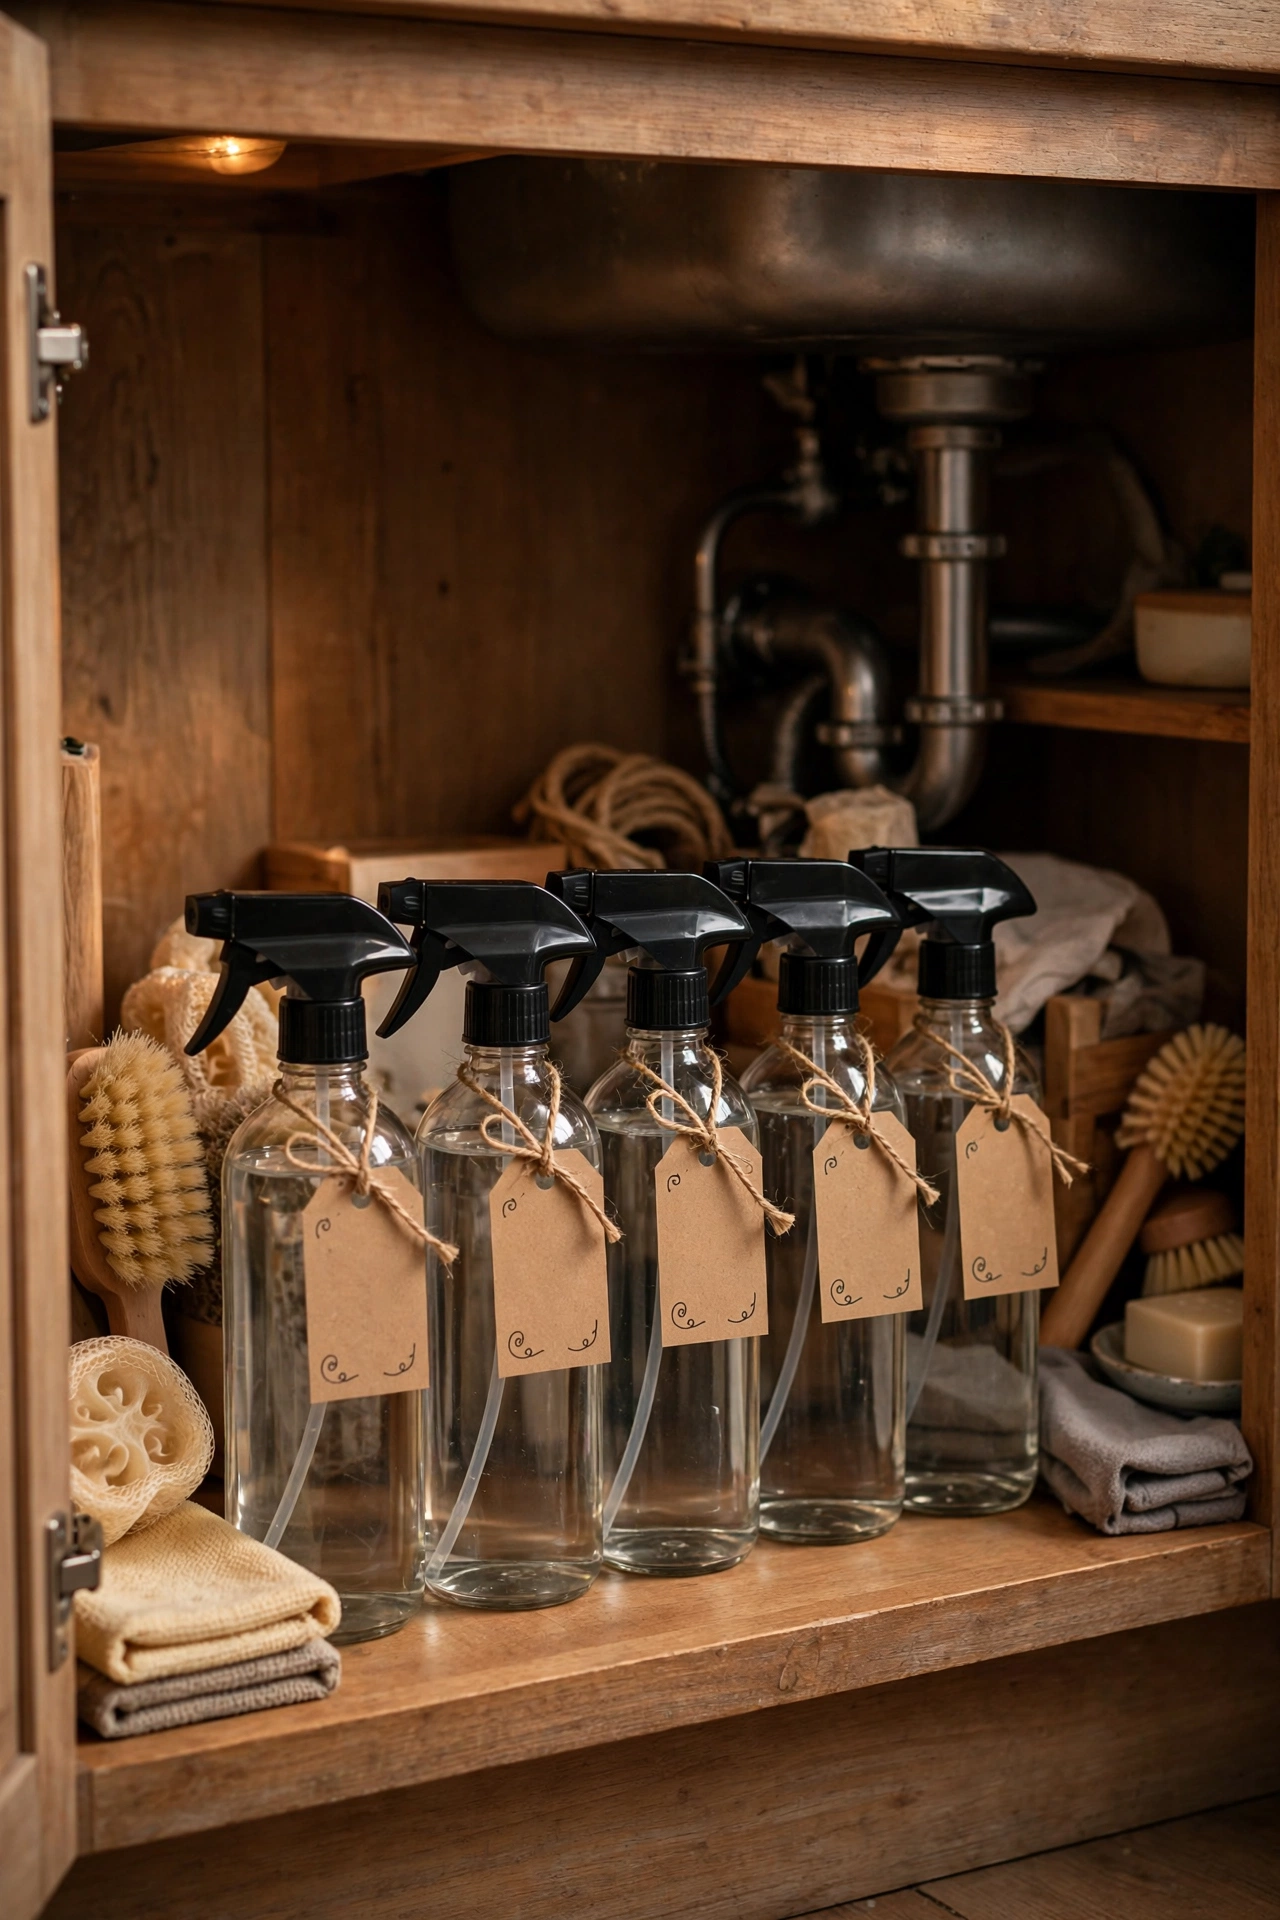
Cost: ~$2 each · Time: 10 minutes
Matching refillable spray bottles with simple hand-written labels make the under-sink look intentional instead of chaotic. Fill them with your diluted all-purpose mix, a vinegar solution for glass, and plain water for plants. Label before you fill — I speak from experience of mystery bottles — and keep the nozzle on a fine mist for most jobs. I tried this in my own flat and the real payoff was psychological: identical bottles make even a basic cleaning kit feel like you know what you’re doing. Buy a spare nozzle or two, because the cheap sprayers are the first thing to wear out, usually at the worst possible moment.
11. Stackable Paper Trays for the Desk
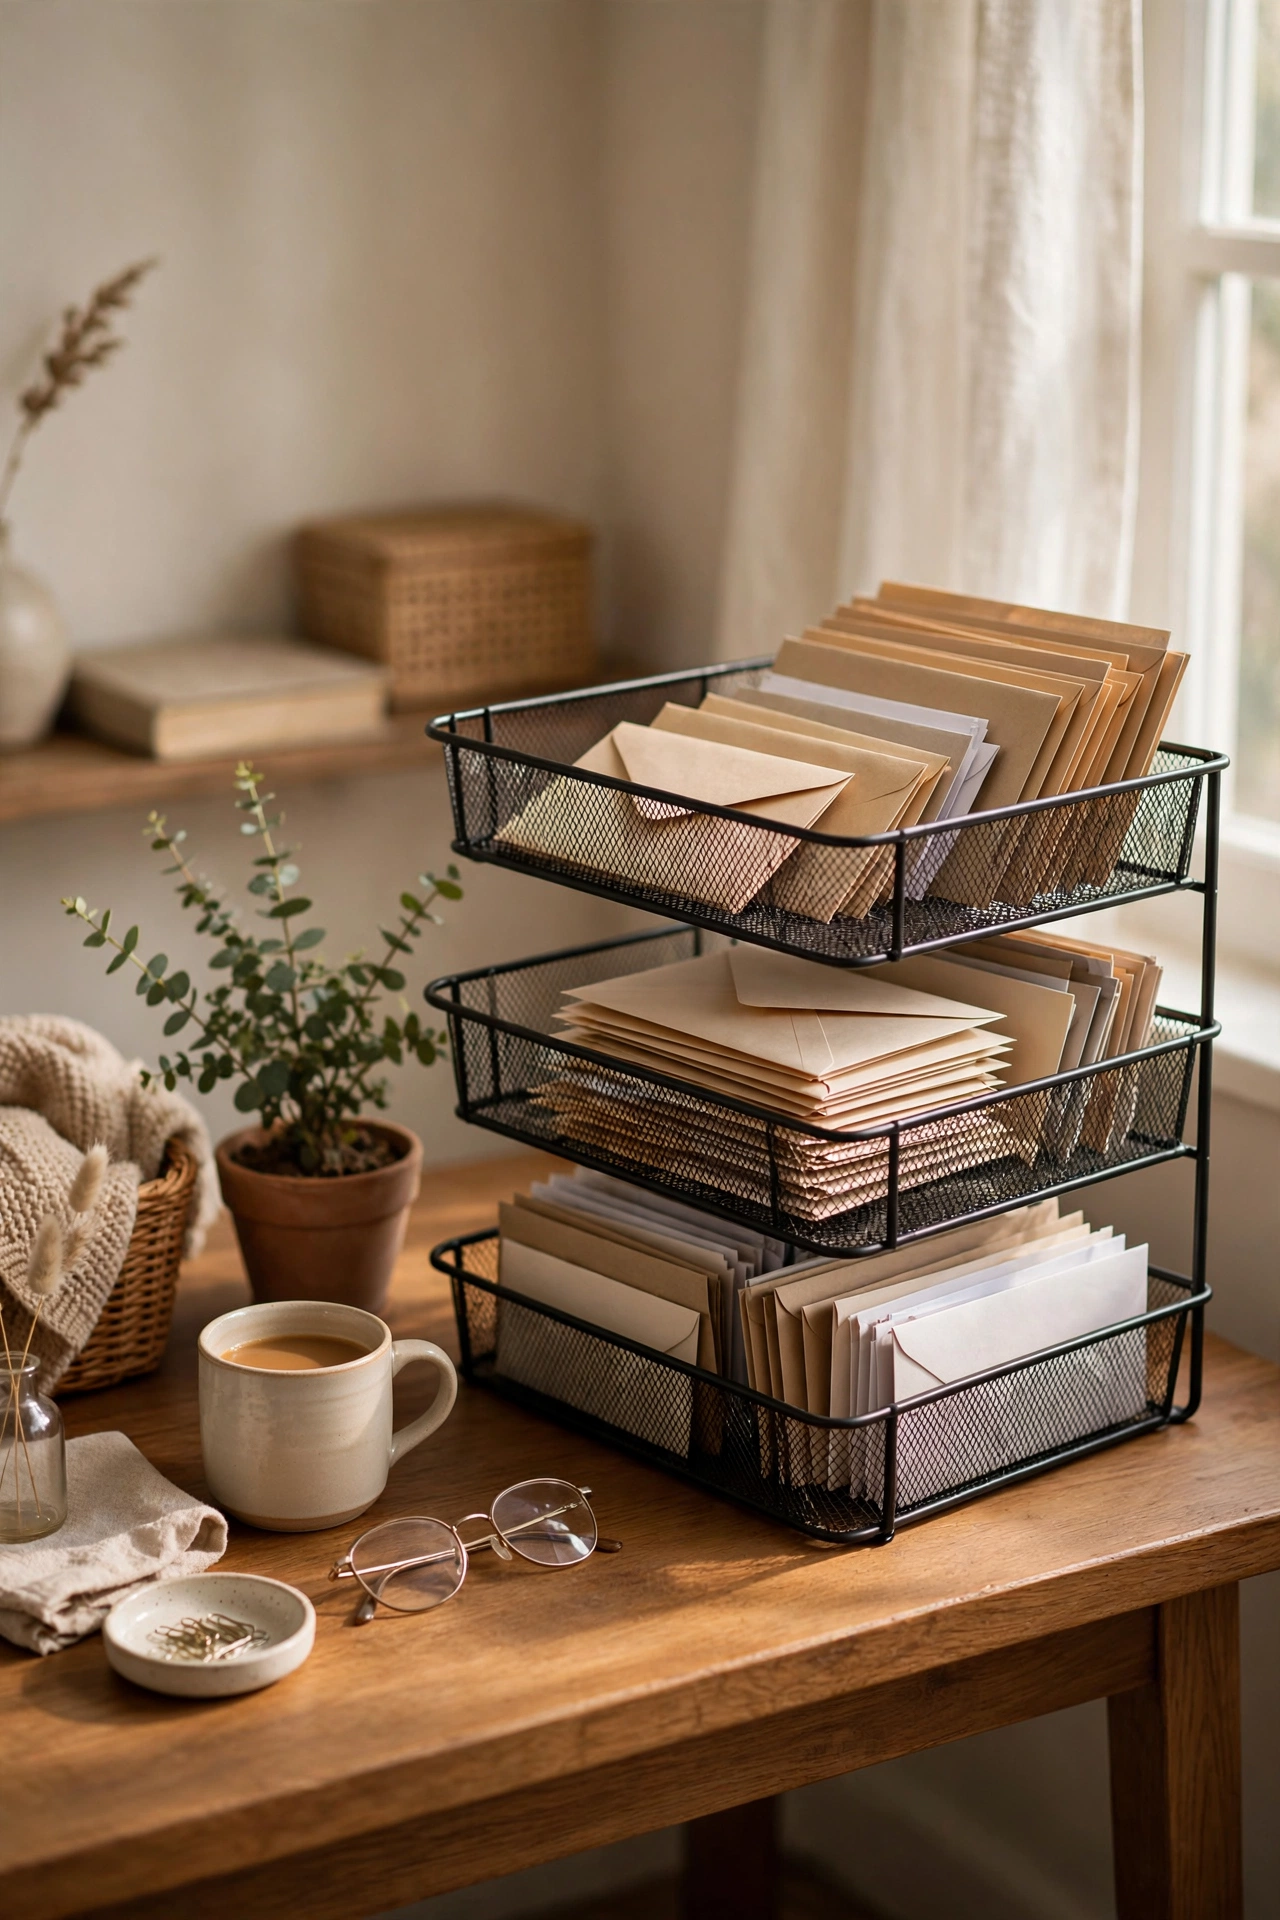
Cost: ~$4 · Time: 10 minutes
A set of three stacking letter trays sorts the paper drift of a small home: in-tray for post to deal with, middle tray for bills to file, bottom tray for things you’re keeping. Stack them on a corner of the desk or a shelf, and process the top tray once a week so it never becomes a fossil layer. I put mine on a bookshelf beside the front door and the kitchen table stopped doubling as a filing cabinet. One mistake to avoid is buying the flimsy wire kind that collapses under a phone book’s worth of paper — the solid plastic stackers cost the same and survive years longer.
12. Lidded Cable Box for Cord Clutter
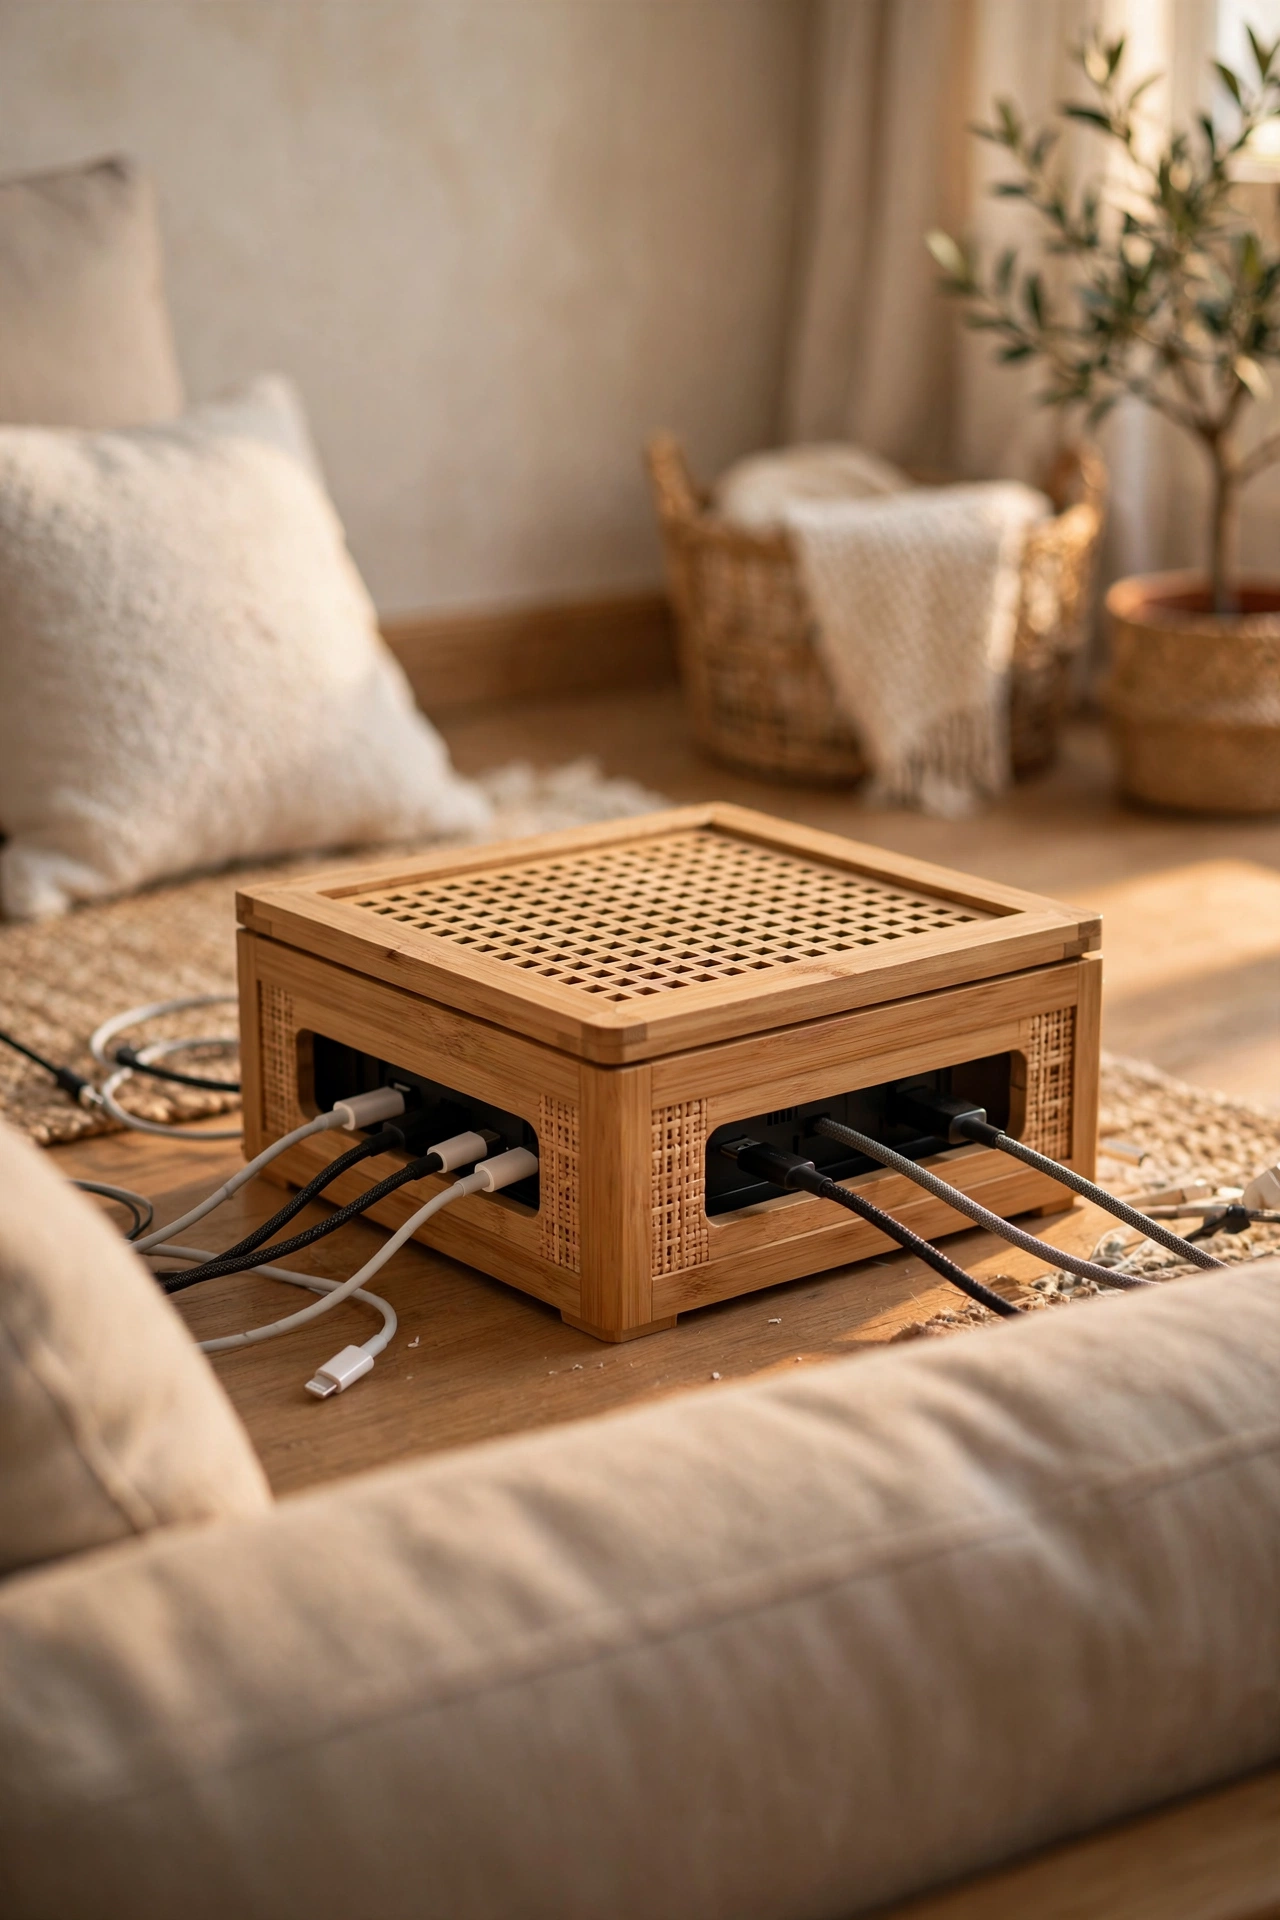
Cost: ~$4 · Time: 15 minutes
That knot of chargers behind the sofa or under the desk disappears into a ventilated cable box with slots in the sides. Coil each cable, feed the plugs through the slots, tuck the power strip inside, and close the lid. I did this behind my TV stand and the dust situation improved as much as the look — fewer cables lying flat means less dust settling on them. Leave the lid slightly ajar on the side with the strip’s switch if you turn things off at night. One mistake to avoid: don’t cram in more cables than the slots allow, because a stressed box pops open and you’re back to the spaghetti you started with.
13. Small Lazy Susan Turntable
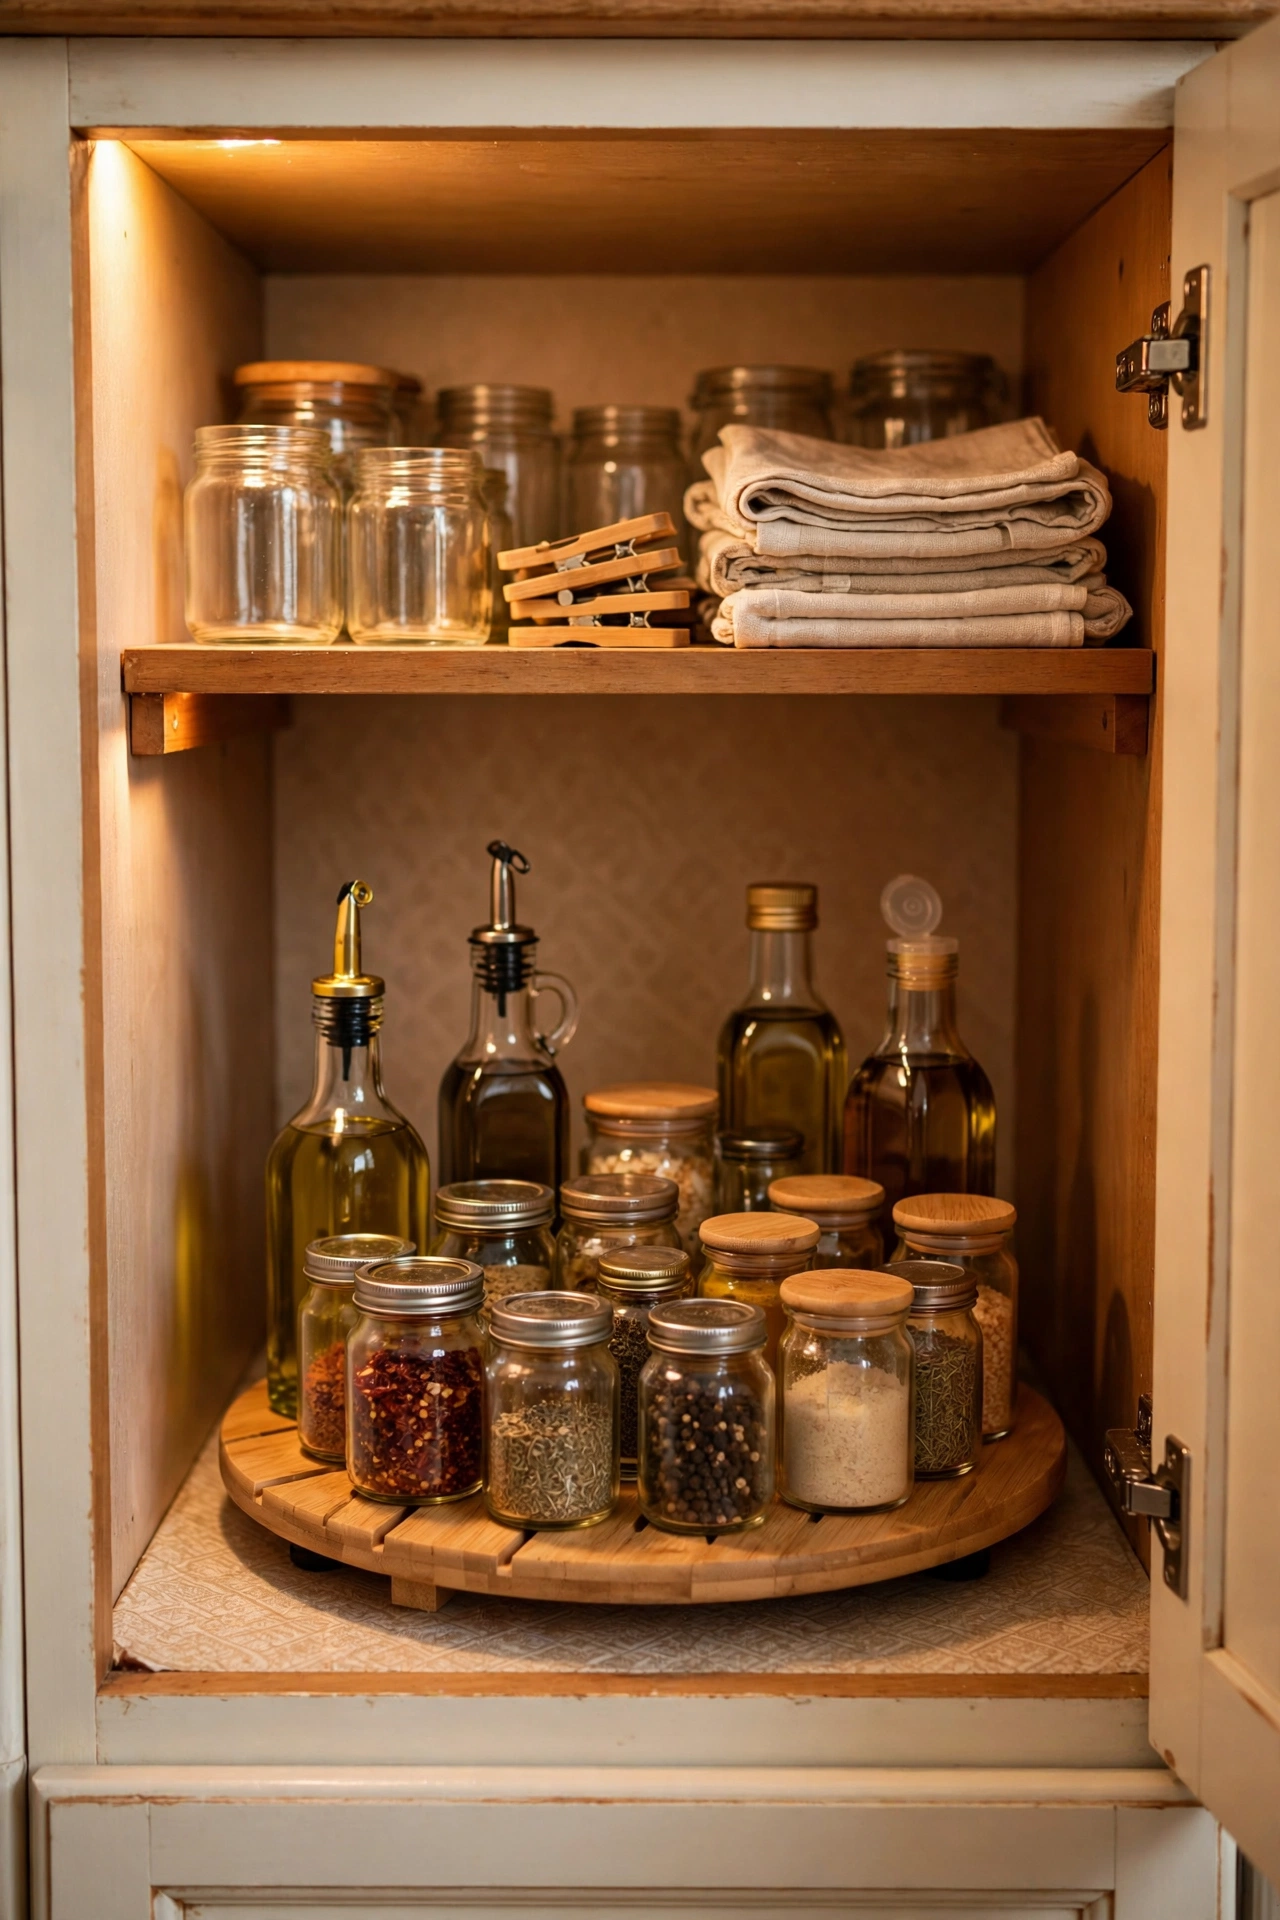
Cost: ~$3 · Time: 5 minutes
A little turntable in a deep cupboard means nothing hides at the back ever again. Set it on the shelf, load it with oils, vinegars, spices or bathroom bottles, and give it a spin to find what you need. I put one in my most annoying corner cupboard and stopped discovering duplicate jars of paprika. It works just as well on a bathroom shelf for skincare bottles, which is where mine ended up after the kitchen one proved the concept. (see also: 19-dollar-store-laundry-room-finds-for-small-spaces) Wipe the surface under it now and then, because crumbs and drips collect there invisibly and the turntable gives them excellent cover.
14. Wall-Mounted Mail Sorter
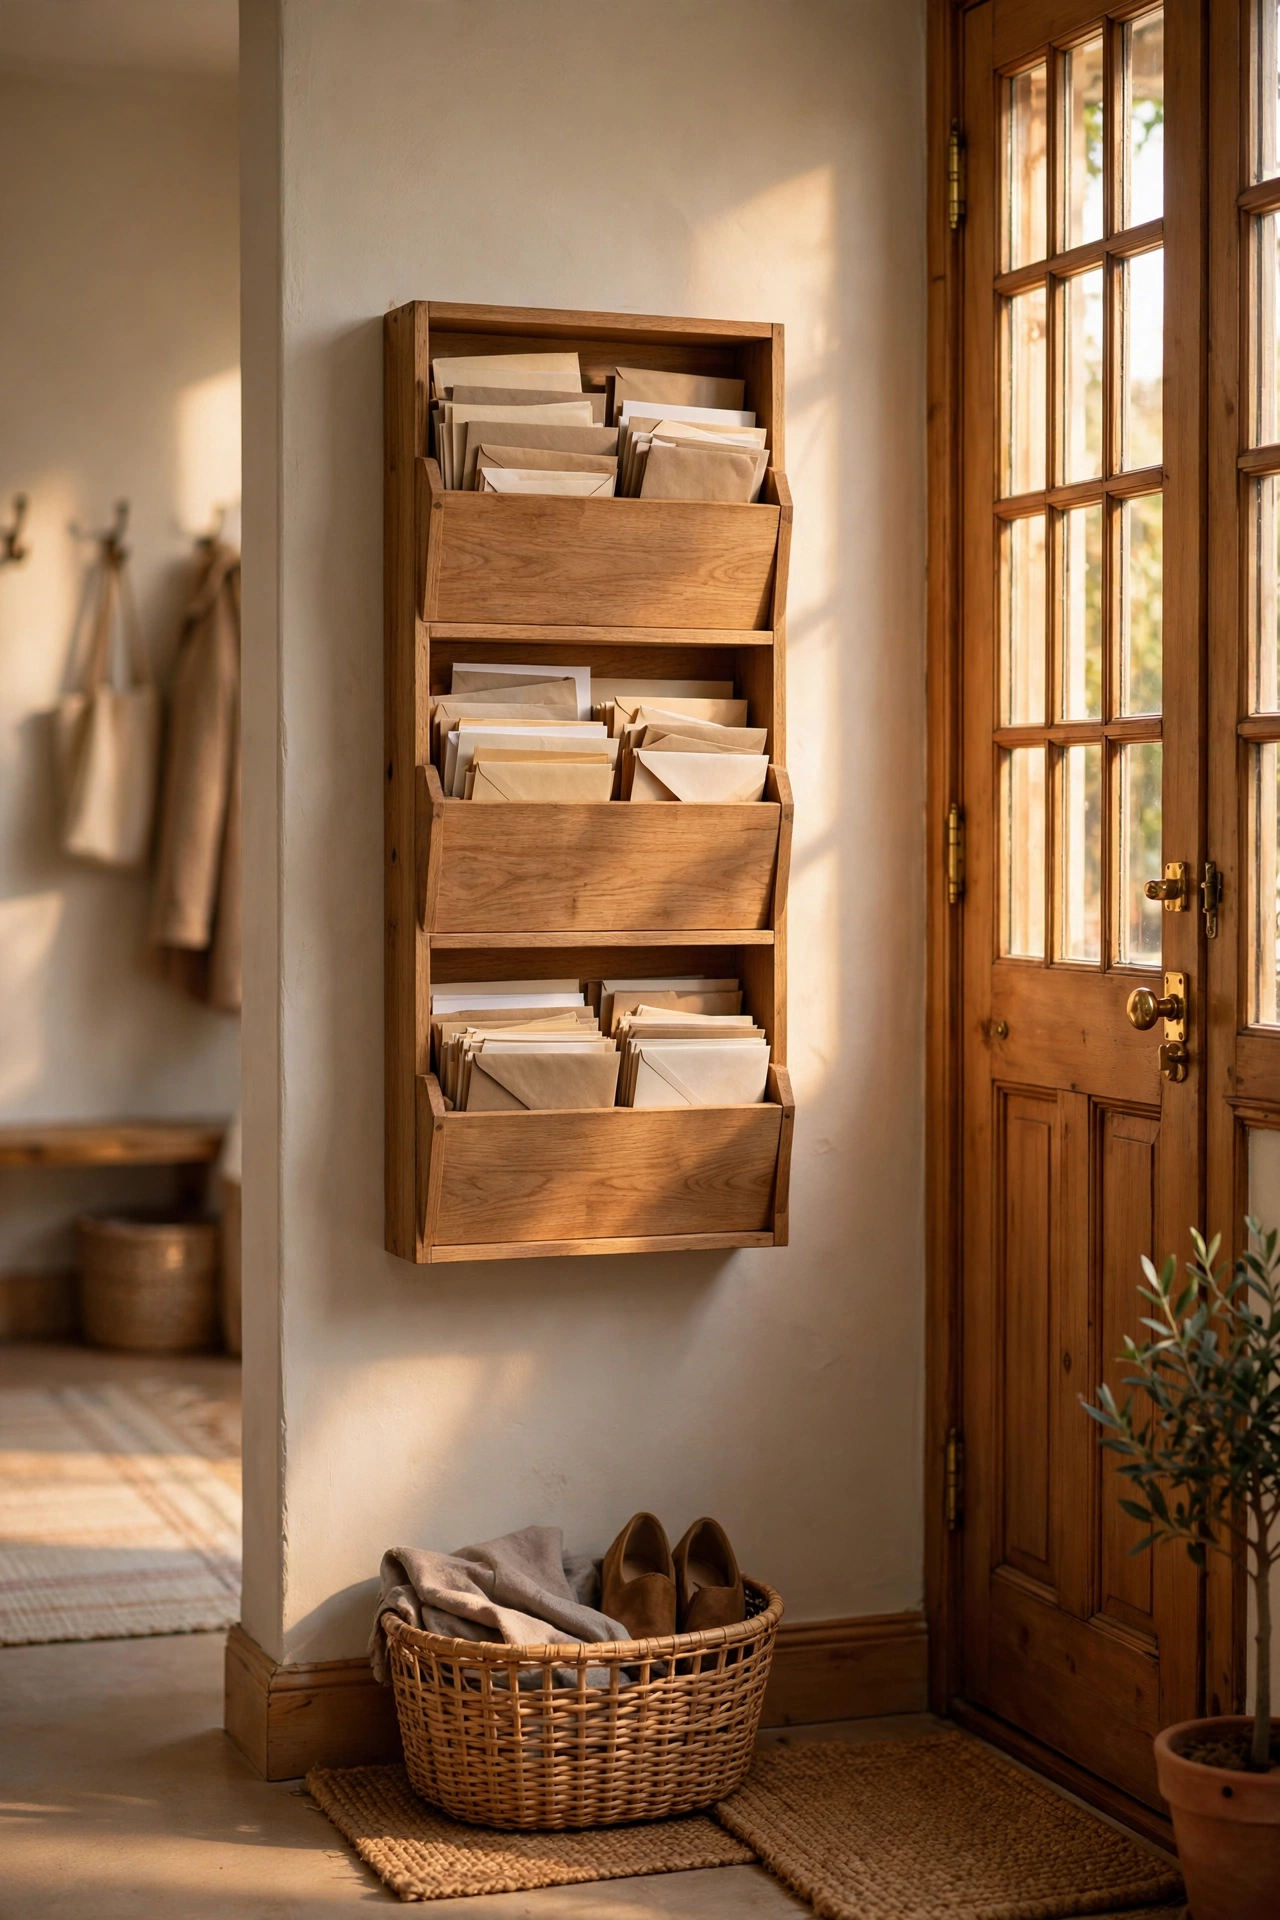
Cost: ~$4 · Time: 20 minutes
A wall-mounted pocket sorter by the front door gives every piece of post a slot: to action, to file, and for the other person in the house. Fix it with the included screws or a couple of sturdy adhesive strips if you’re renting, then sort post the moment you walk in — the thirty seconds it takes saves a kitchen-table paper mountain. I tried this in my own hallway and the “to action” pocket became my favourite weekly ritual, oddly satisfying in a way I didn’t expect. Keep the sorter shallow enough that envelopes don’t get lost behind it, and empty the file slot monthly so it doesn’t become a second junk drawer.
15. Under-Sink Cleaning Caddy
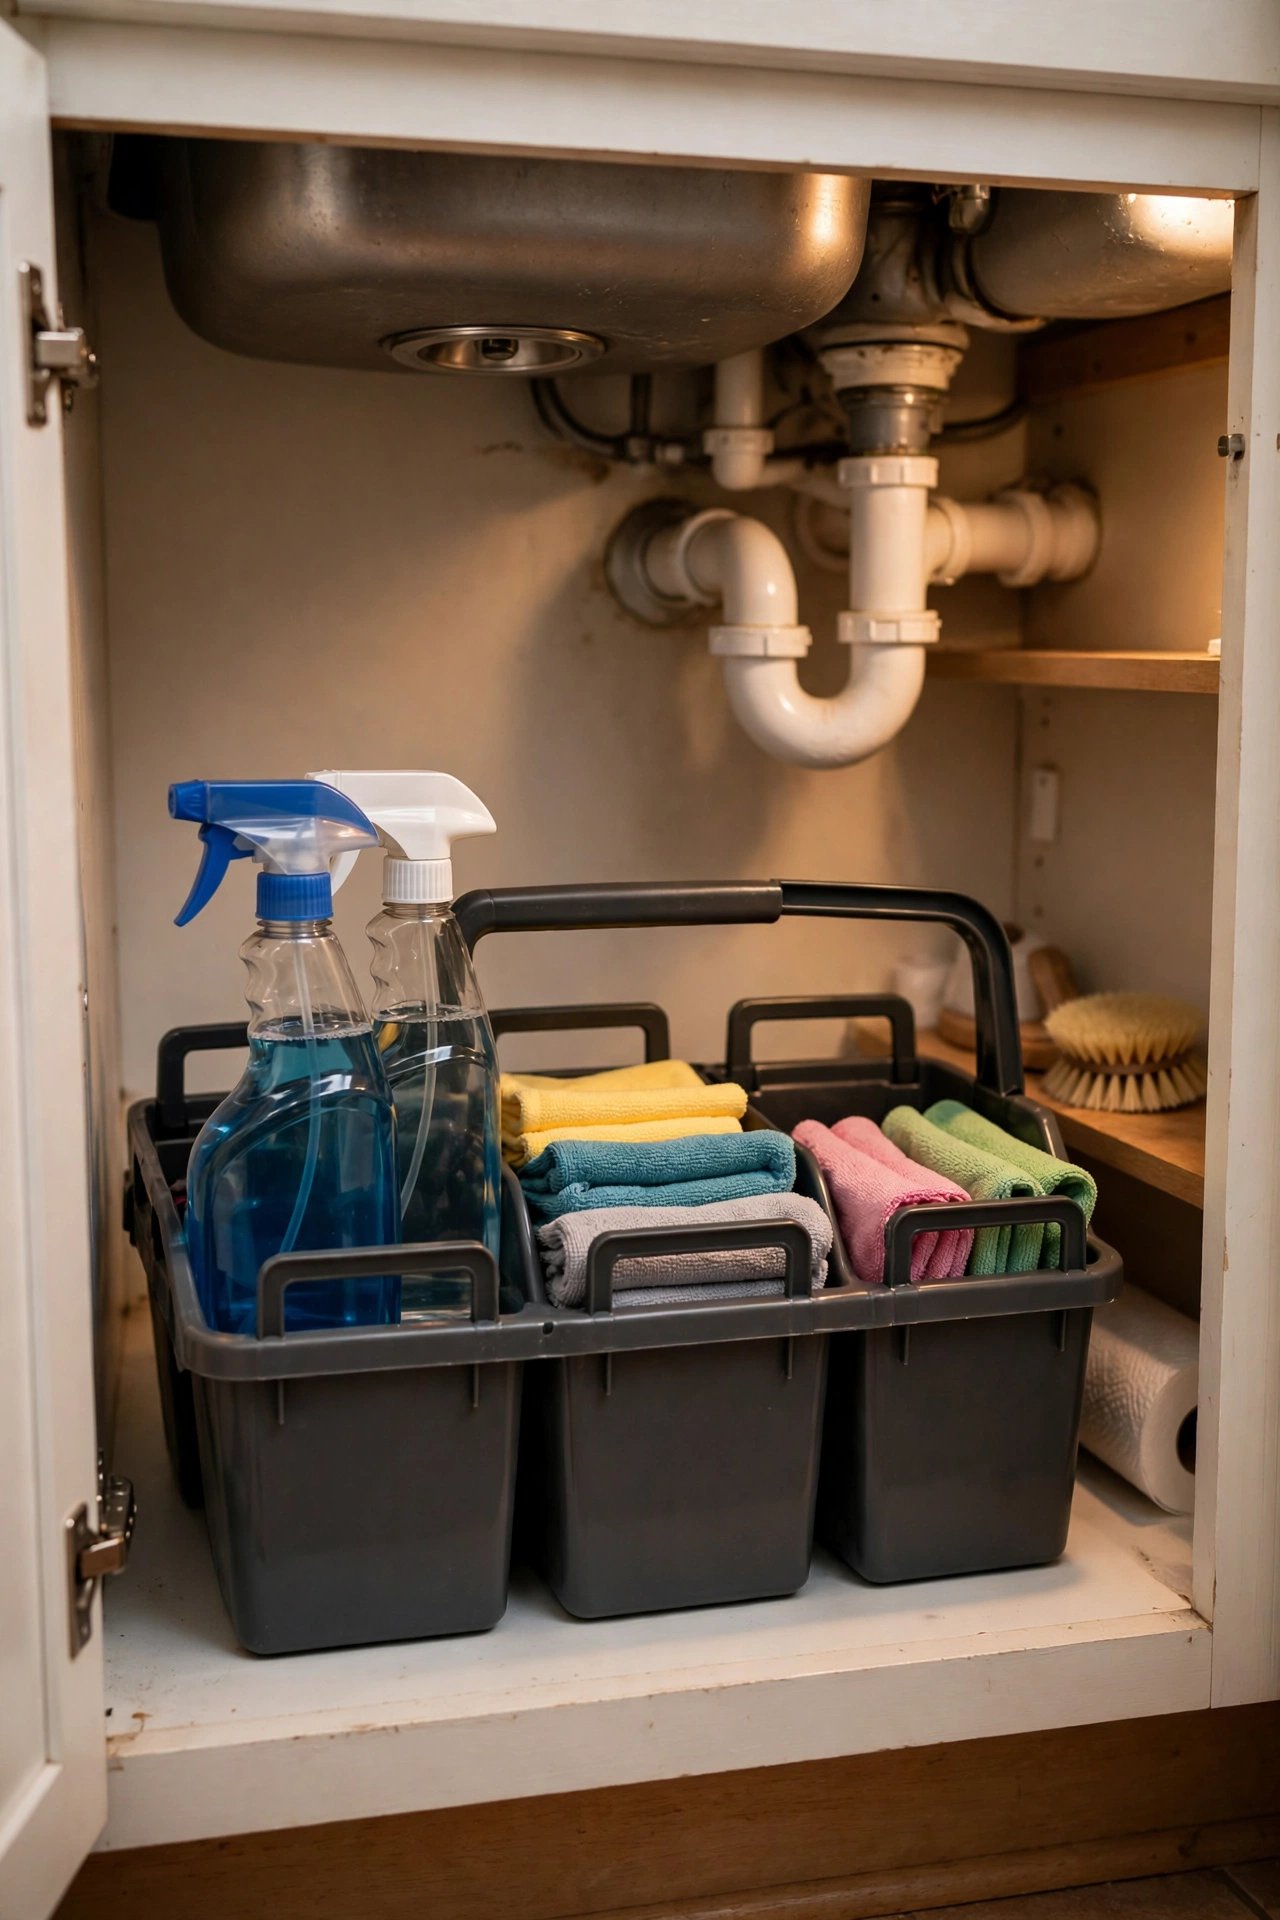
Cost: ~$3 · Time: 15 minutes
A handled caddy with a couple of compartments corrals every cleaning bottle into one grab-and-go unit under the sink. Group the bottles by task — bathroom, kitchen, floors — and keep cloths in the middle section so everything travels together. I keep mine by the sink and it means I actually clean more often, because there’s no excuse of “I can’t find the spray”. The handle is the whole point: carry the caddy to the bathroom instead of making five trips. One mistake to avoid is buying a caddy without a handle to save a pound — you’ll regret it the first time you try to carry four bottles and a cloth with two hands.
16. Divided Storage Boxes for Small Bits
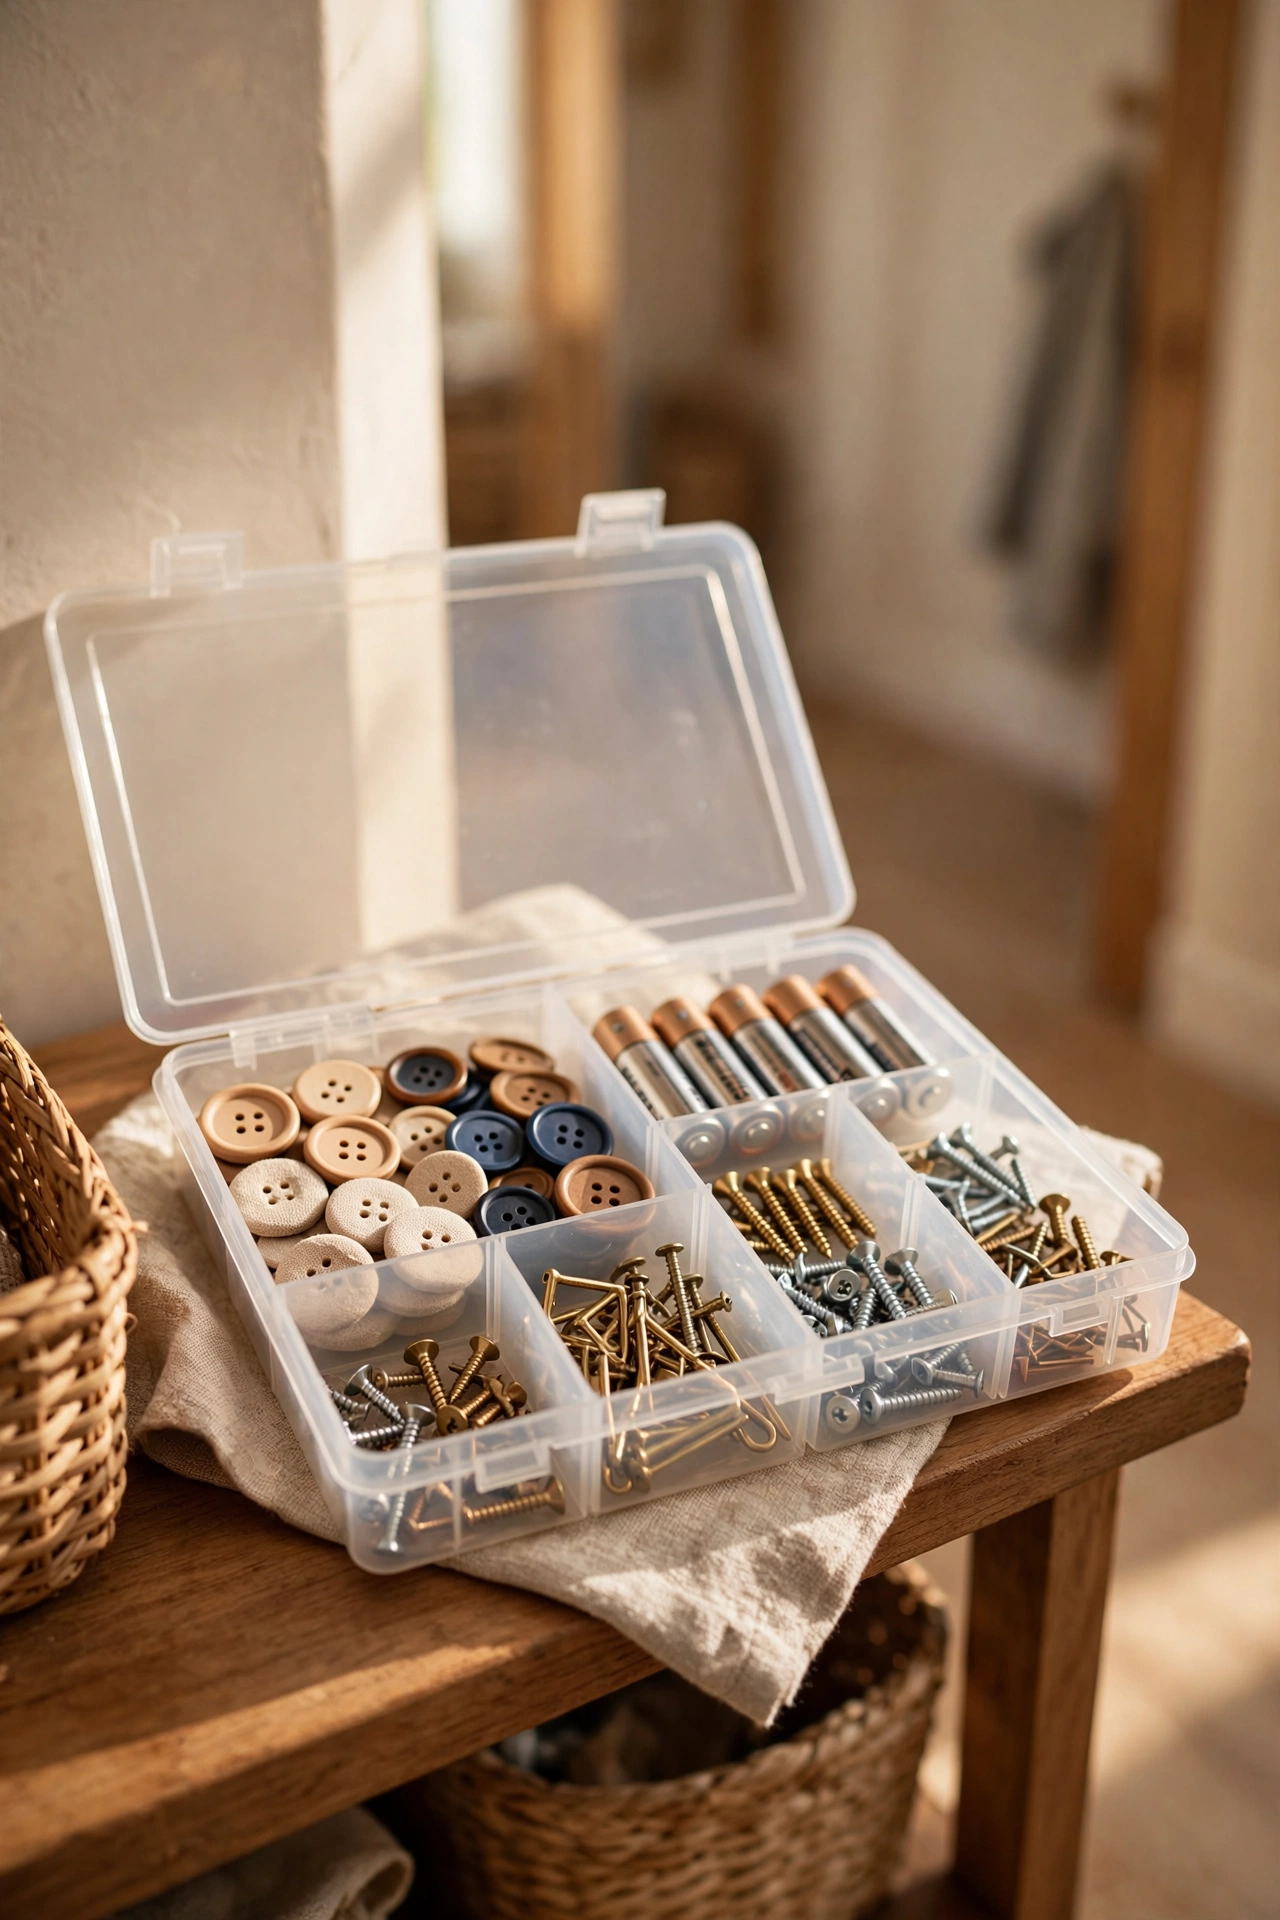
Cost: ~$3 · Time: 20 minutes
Those little compartment boxes — sold for beads or fishing tackle — are perfect for the tiny things that vanish in a small home: spare buttons, batteries, picture hooks, curtain rings, and the screws that come with flat-pack furniture. Sort one category per compartment and label the lid with a strip of masking tape. I tried this in my own flat and the “spare screws” box has paid for itself three times over in avoided hardware-shop trips. Keep the box somewhere sensible like the hallway cupboard, not the back of a wardrobe, because an organiser you can’t find is just a prettier version of the mess you had.
17. Foldable Fabric Cubes for Open Shelves
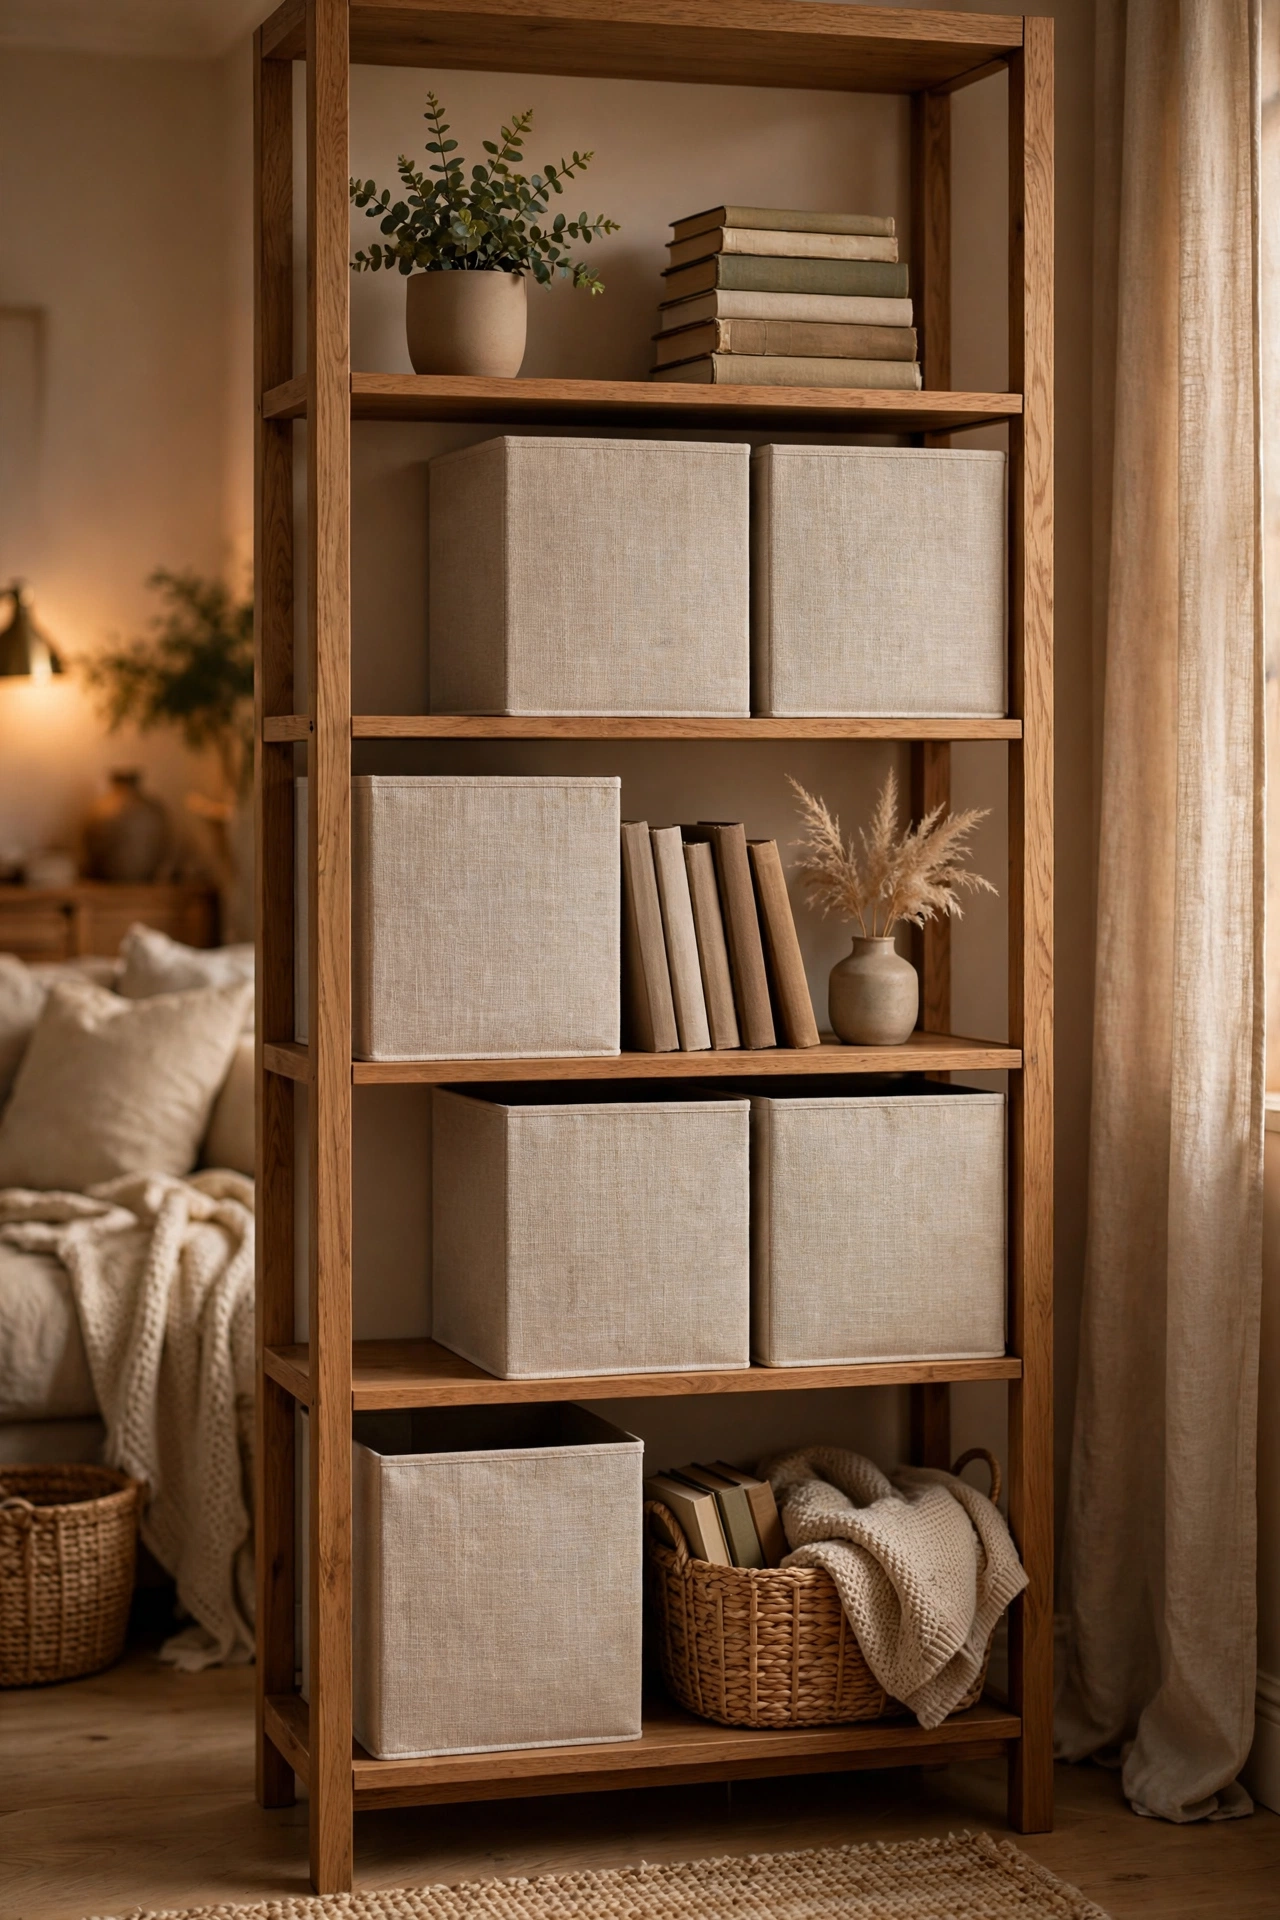
Cost: ~$3 each · Time: 10 minutes
Fabric storage cubes in a neutral colour hide the visual noise on open shelves — the charger collection, the spare lightbulbs, the things with no category. Pop them open, slot one per shelf cube, and label the front with a small tag if you’re sharing the space. I filled four on my living-room shelving and the whole wall looked twice as tidy without me actually tidying anything. The foldable ones are worth seeking out because they store flat when you don’t need them. One mistake to avoid: don’t buy the very cheapest without checking the base, because a saggy-bottomed cube on a low shelf looks worse than the clutter it replaced.
18. Clear Stackable Shoe Boxes
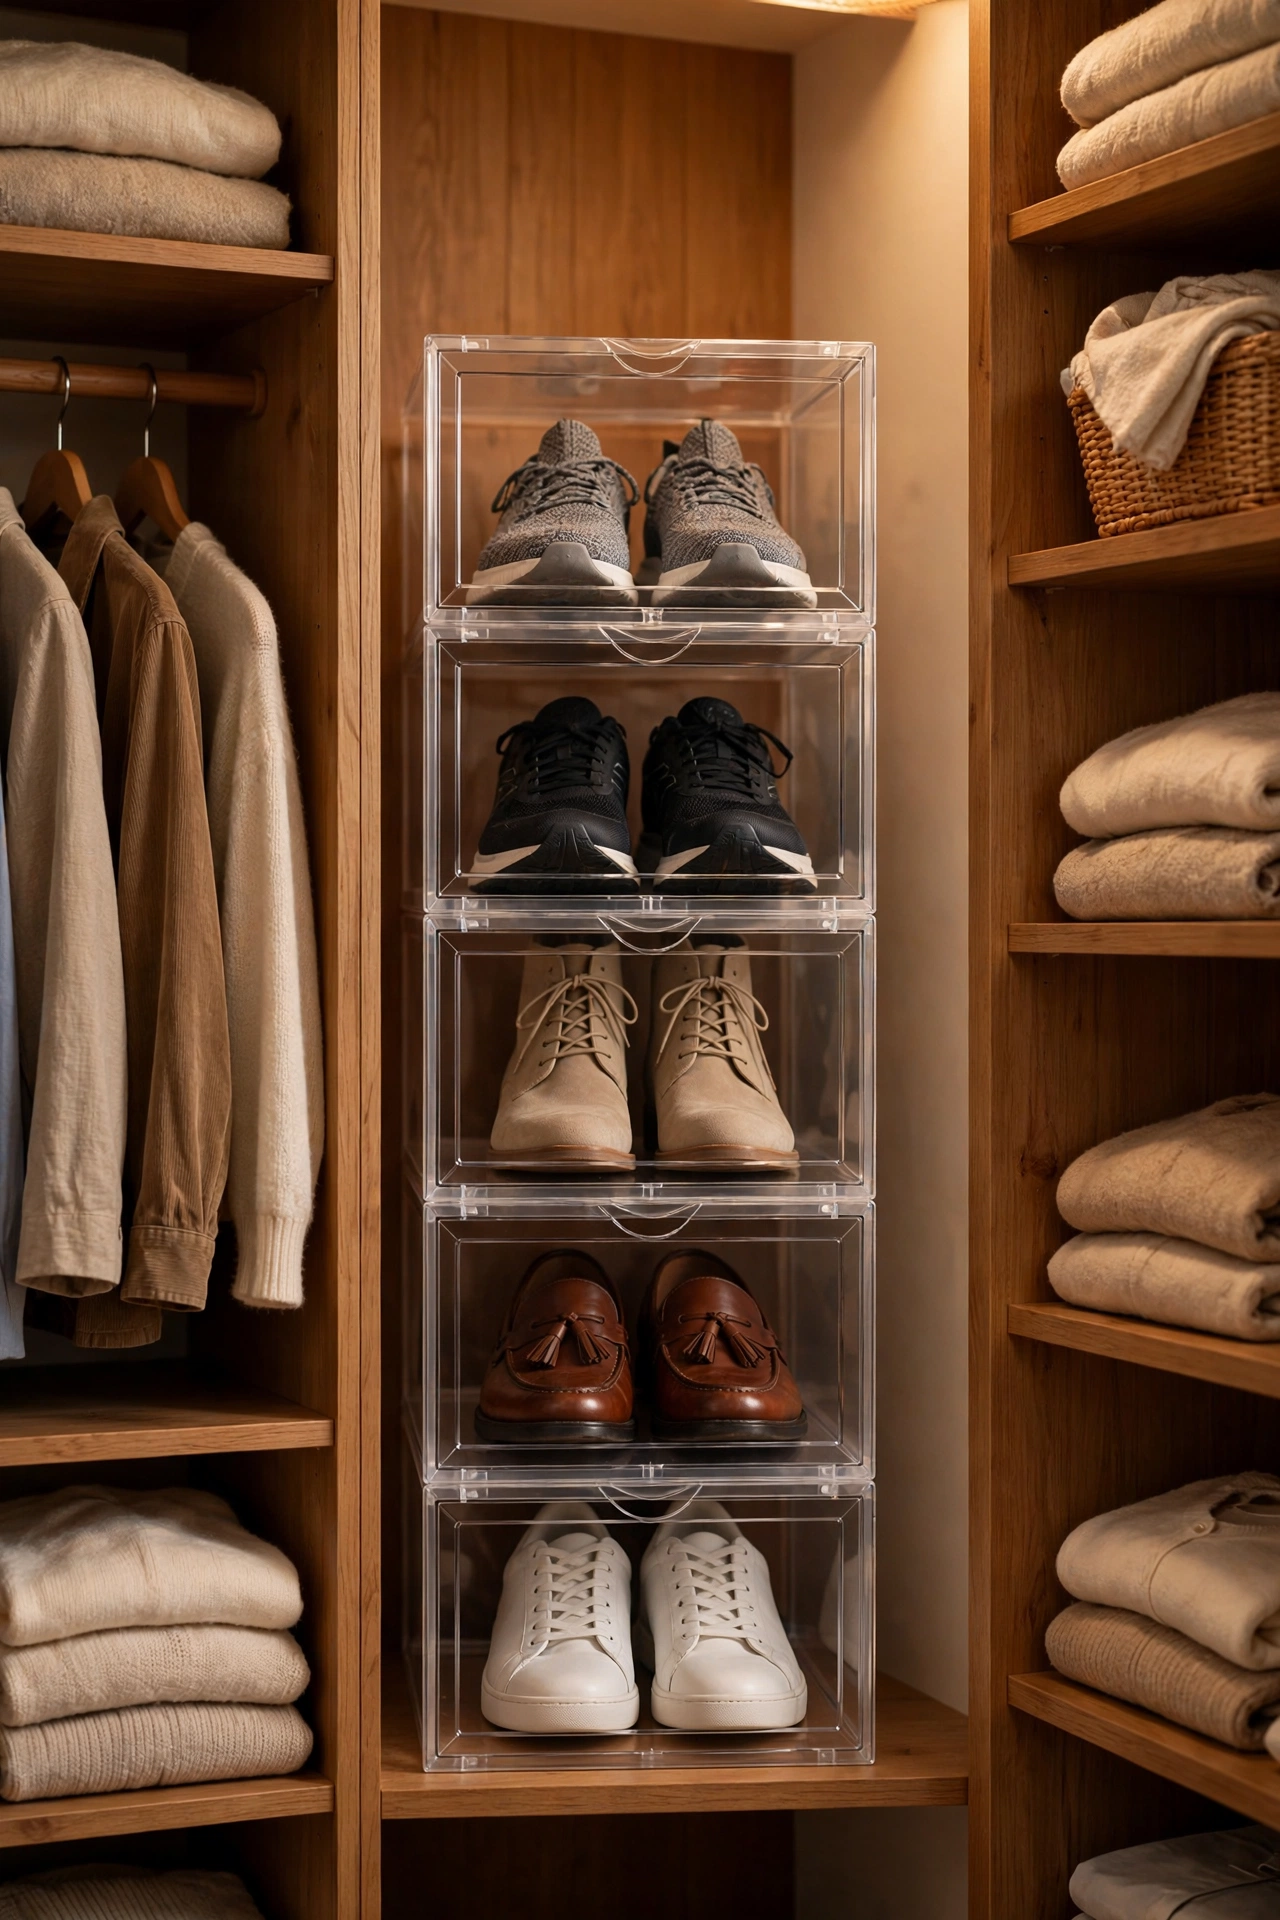
Cost: ~$2 each · Time: 20 minutes
Clear drop-front shoe boxes stack into a tidy tower at the bottom of a wardrobe and end the avalanche of pairs. One pair per box, toe-side in, and the clear fronts mean you never open six boxes to find the trainers. I stacked eight in a wardrobe alcove that used to hold a leaning tower of doom, and getting dressed got noticeably calmer. They also work for handbags and scarves if shoes aren’t your problem. Buy the drop-front style rather than the lift-off lids — I tried the lidded kind first and unstacking the whole tower to reach the bottom pair lasted exactly one week before I gave up on them.
19. Tiered Riser Shelf for the Bathroom Counter
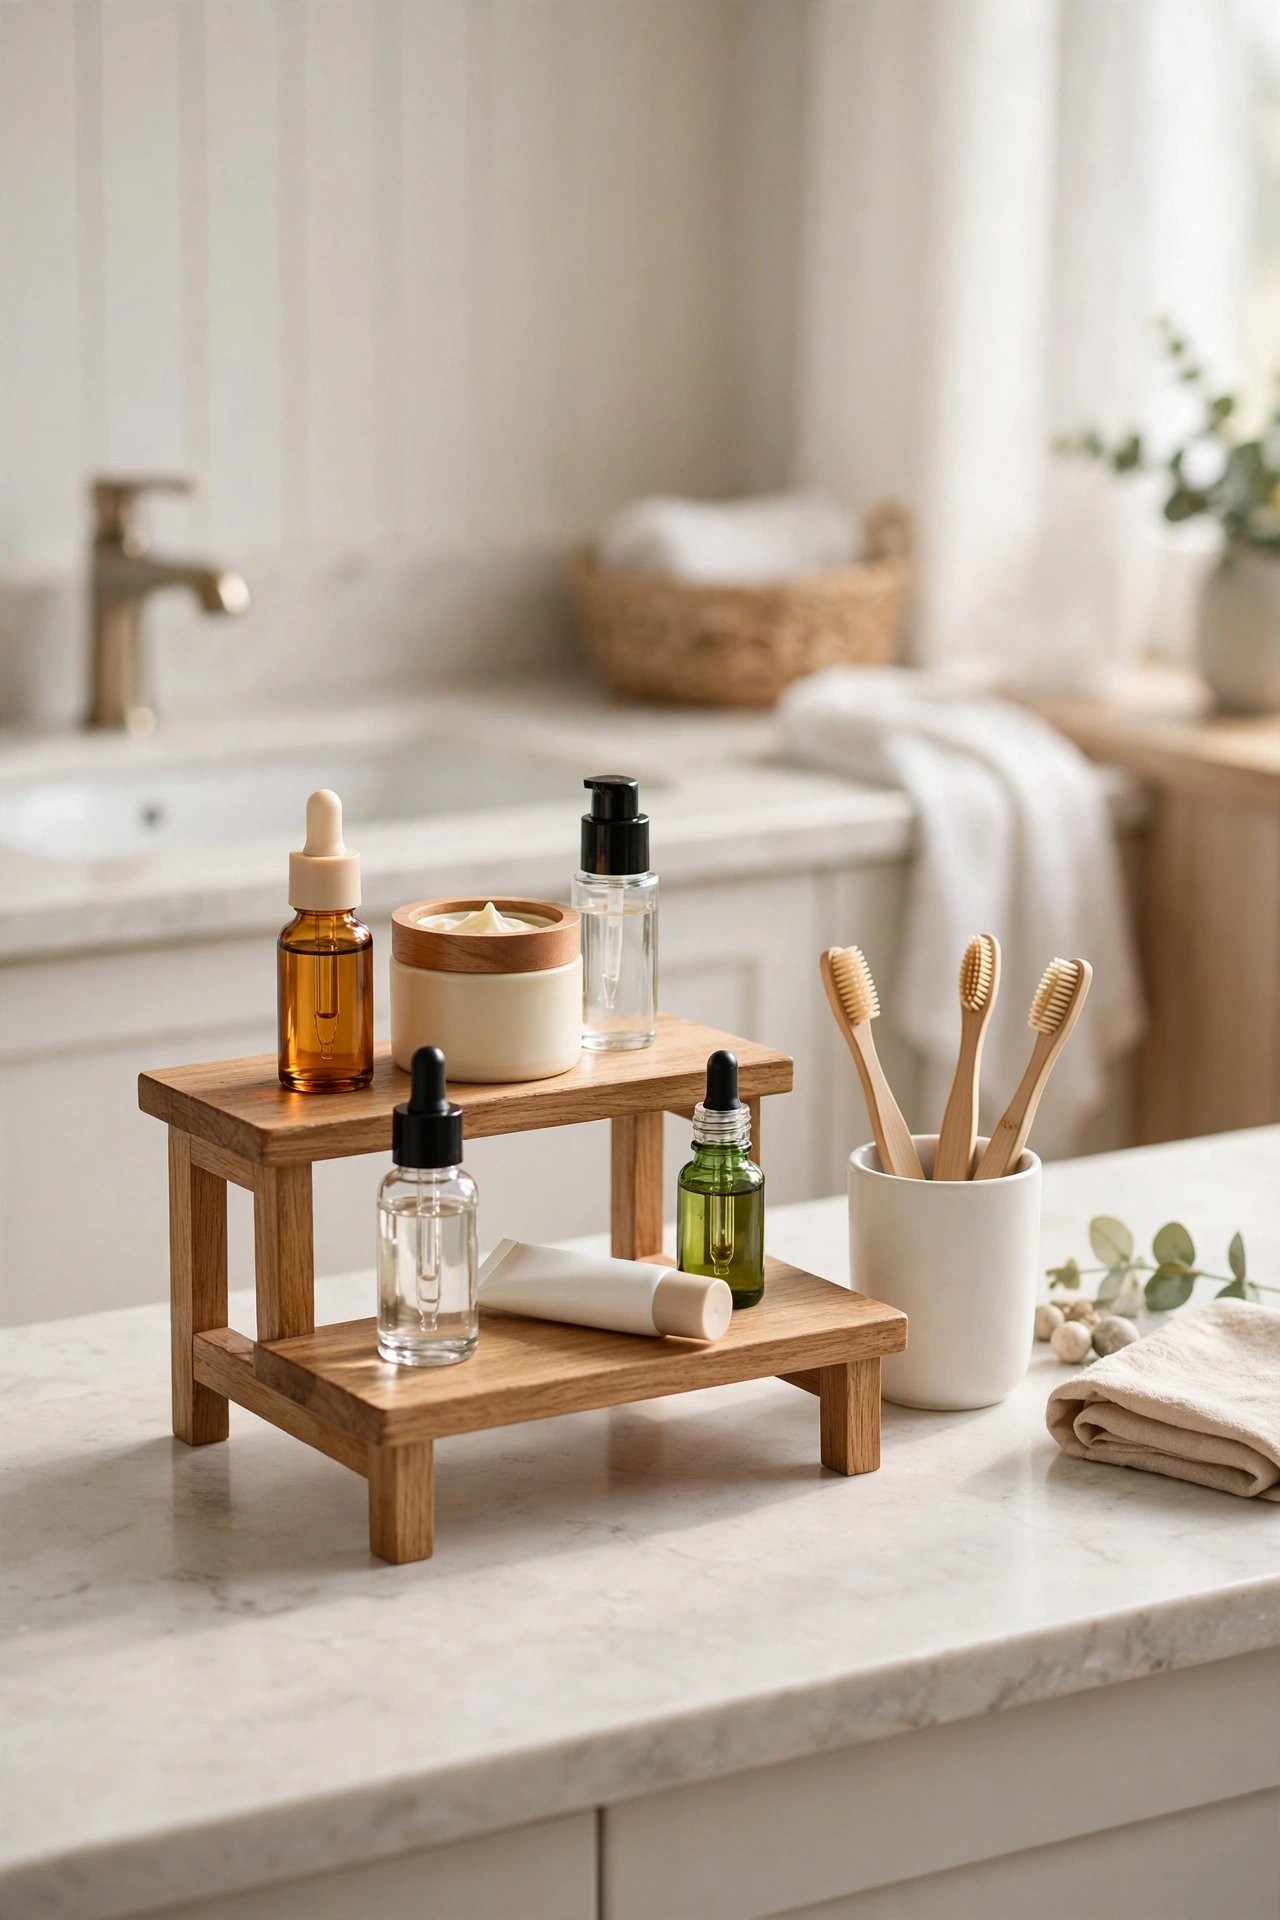
Cost: ~$4 · Time: 10 minutes
A small two-tier riser doubles the usable surface of a bathroom counter or shelf without taking any more footprint. Set it against the wall, put the tall bottles at the back of the top tier, and keep the everyday bits on the lower level where they’re easy to grab. I added one to my bathroom shelf and the toothbrush cup finally stopped getting shoved behind the moisturiser. It also works inside a kitchen cupboard for spice jars, so buy two if you can. One mistake to avoid is placing it right at the edge of the counter — risers need wall clearance at the back, and a wobbly riser with glass bottles on it is nobody’s idea of relaxing.
Save this post for later so you’ve got the full list to hand next time you’re in the pound shop with a basket and no plan.
If you want more ideas in the same spirit, browse (see also: 25-dollar-store-organization-ideas-for-every-room) for room-by-room inspiration and (see also: 19-dollar-store-laundry-room-finds-for-small-spaces) for utility-room storage that actually works.
Small spaces don’t need more storage furniture — they need smarter storage. Start with two or three of these finds this weekend and feel the difference by Sunday evening.
