25 Best Dollar Store Finds for Halloween Decorating
Halloween decorating gets expensive fast if you shop the seasonal aisles at big homeware stores — but dollar store Halloween decor has quietly become the smart money move. Skulls, candlesticks, faux webs and potion bottles all cost a pound or two each, and styled properly they look like a deliberate haunted-house scheme rather than a budget scramble. These 25 finds cover the porch, the windows, the mantel and the party table, plus a mini-FAQ at the end answering the questions everyone asks before their first dollar store Halloween haul.
1. Skull Garland for the Mantel
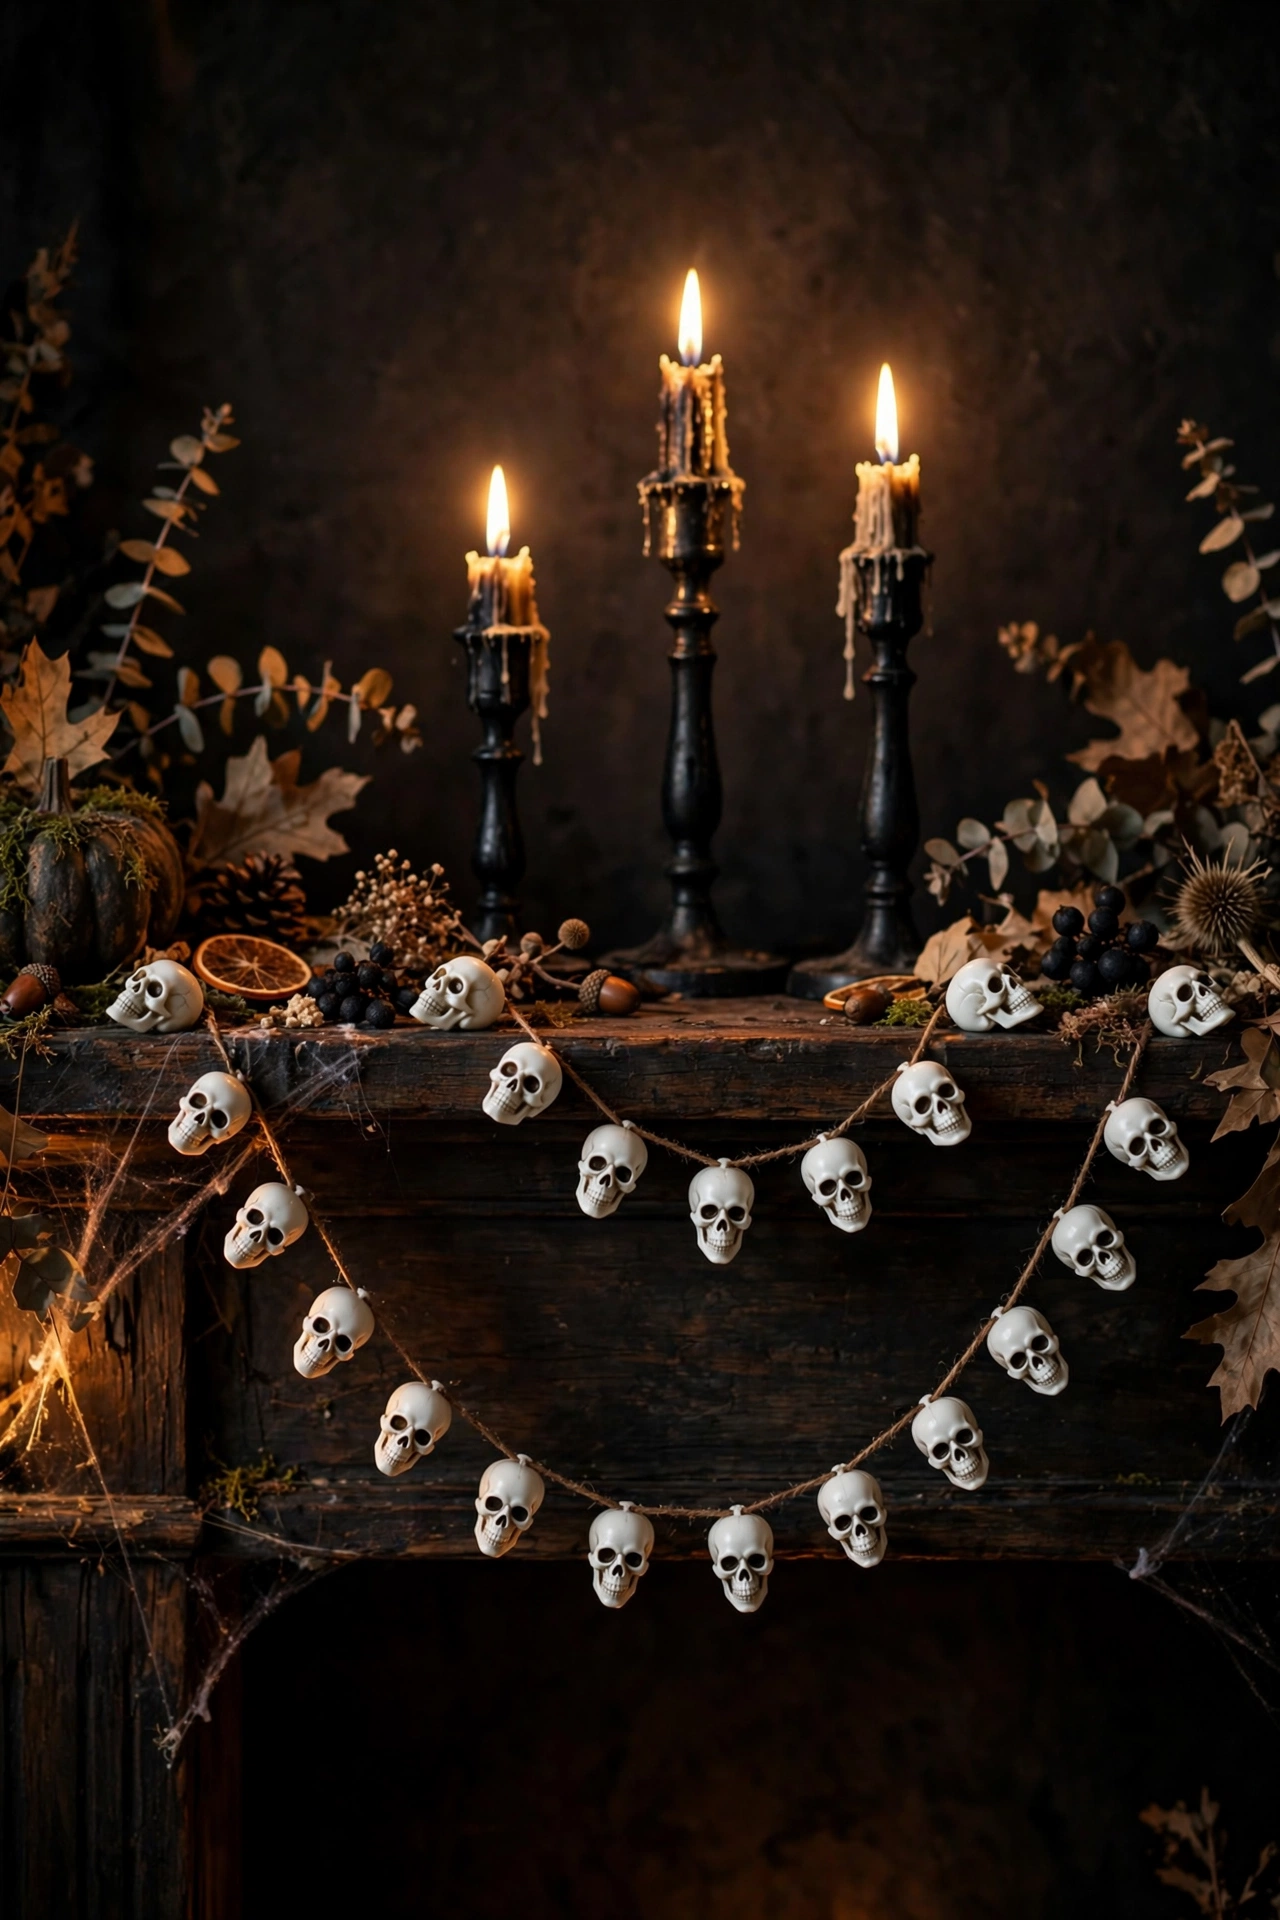
A string of small plastic skulls instantly turns a plain mantel into a Halloween focal point. Drape it in a loose swag across the mantelpiece, let the ends hang slightly lower at each side, and layer it over a dark table runner for contrast. Add a couple of candlesticks behind it for depth. I tried this in my own living room and it took five minutes to look properly spooky; one mistake to avoid: do not pull the garland taut, because a tight straight line looks like bunting while a relaxed drape looks like styling. Cost: ~$2 · Time: 5 minutes.
2. Black Taper Candlesticks
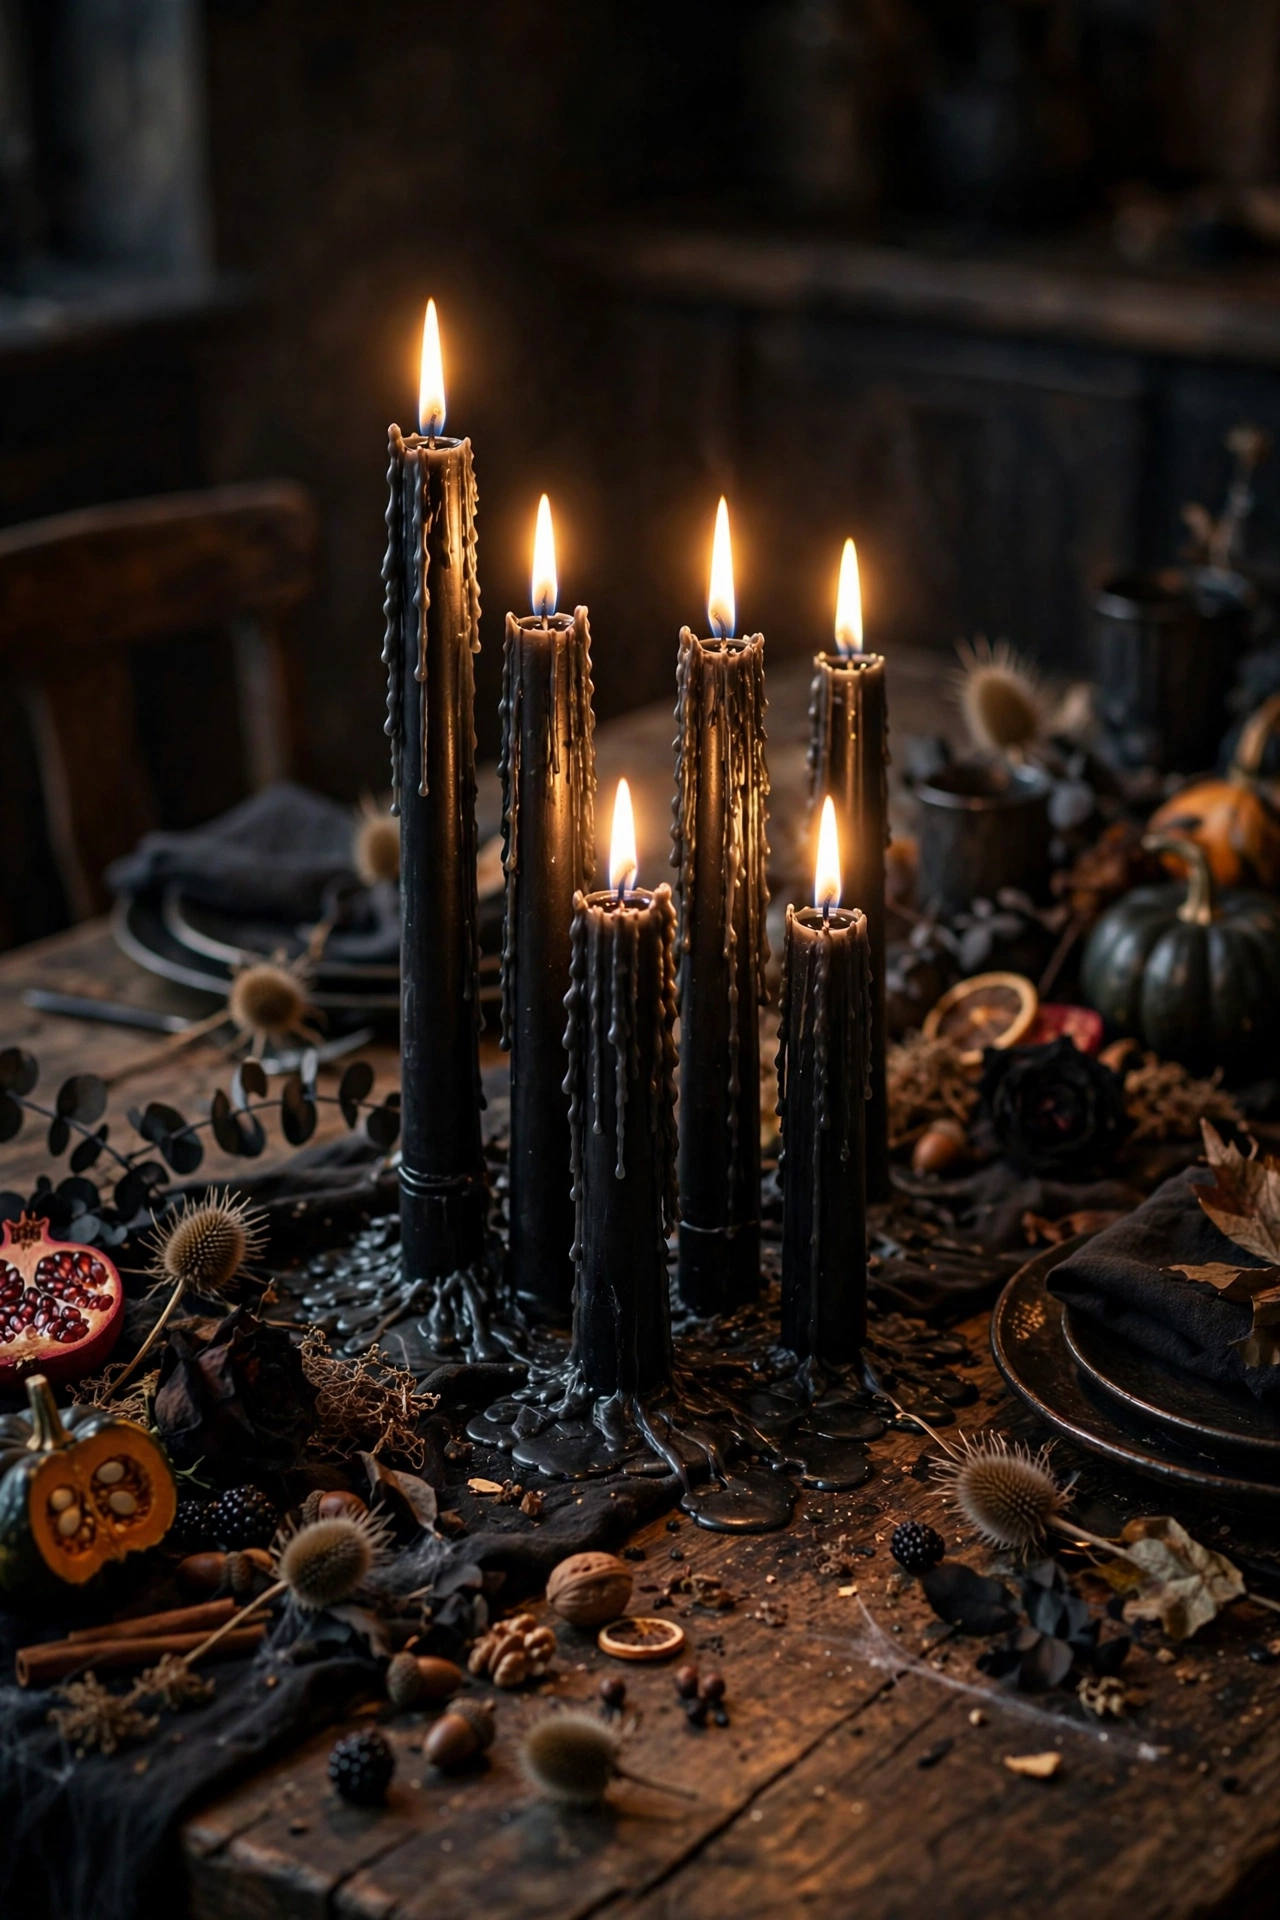
Black taper candlesticks in mixed heights are the backbone of grown-up Halloween styling. Group three or five together on the mantel or dining table, mixing tall and short for a collected look, and use the battery tea lights below for a safe glow. A few wax drips down the sides make them look authentically aged. I tried this in my own dining room and they stayed out through November as moody autumn decor; one mistake to avoid: do not use real flames near the faux webs or dried florals, because one stray spark ruins the whole display. Cost: ~$5 for a set · Time: 10 minutes.
3. LED Tea Lights Multipack
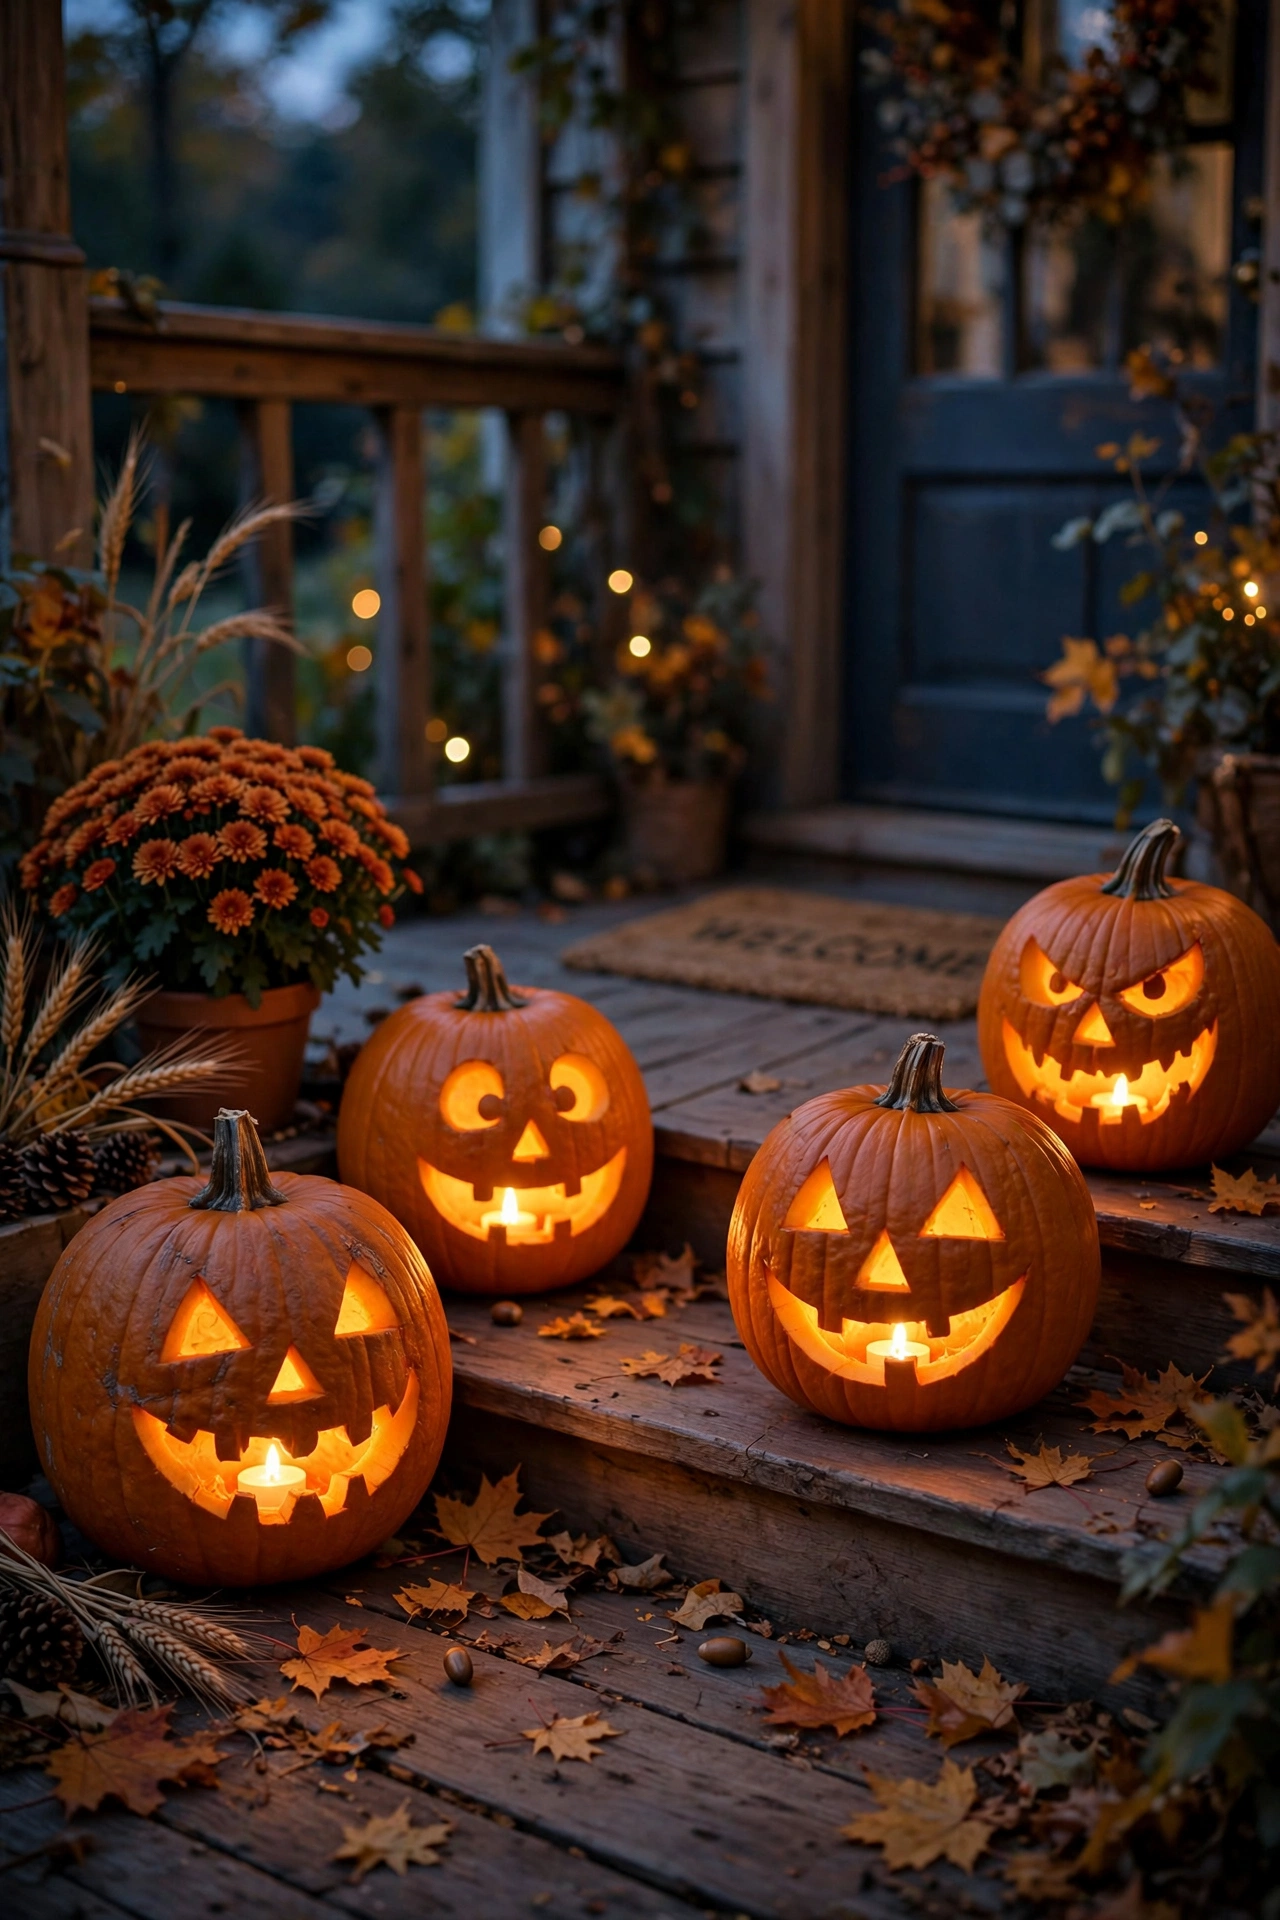
A multipack of flickering LED tea lights is the safest way to get candlelight everywhere — inside pumpkins, jars, lanterns and along windowsills. Switch them on at dusk, scatter them through your displays, and check the batteries before the big night. The flicker setting reads as real flame from across the room. I tried this in my own porch pumpkins and the glow fooled the neighbours; one mistake to avoid: buy one extra pack as spares, because half of them always seem to die on the 30th when the shops are picked clean. Cost: ~$3 · Time: 10 minutes.
4. Faux Spiderwebs With Spiders
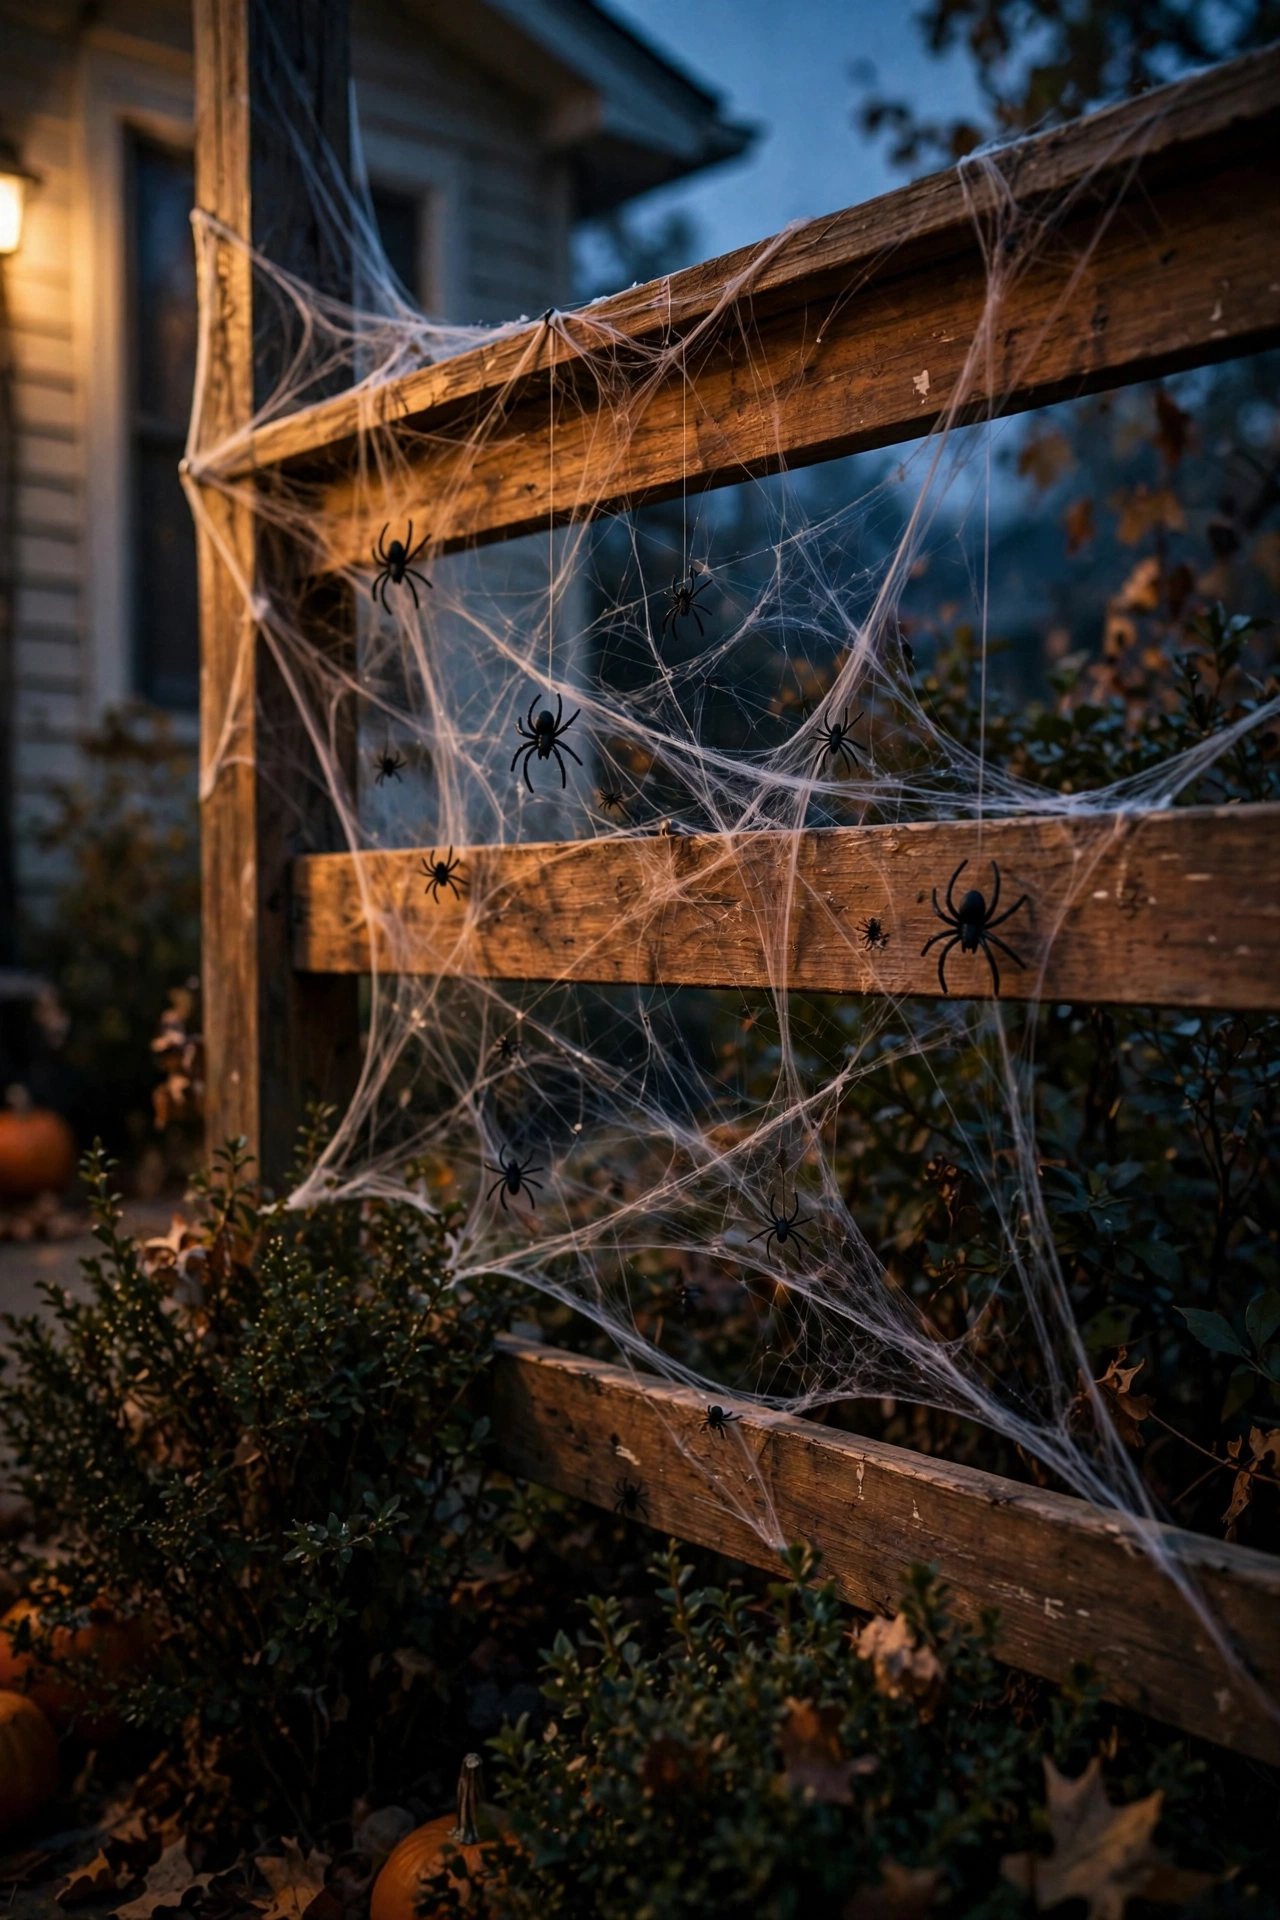
Stretchy faux webbing is the fastest Halloween transformation there is. Pull small clumps apart until they go wispy, stretch them over bushes, porch railings and window corners, then press the included spiders into the web. Less is more — sparse webs look creepy, thick clumps look like cotton wool. I tried this in my own front garden and it changed the whole house in twenty minutes; one mistake to avoid: do not stretch webs across walkways at face height, because trick-or-treaters walking into them is funny once and a complaint the second time. Cost: ~$2 · Time: 20 minutes.
5. Mini Foam Pumpkins
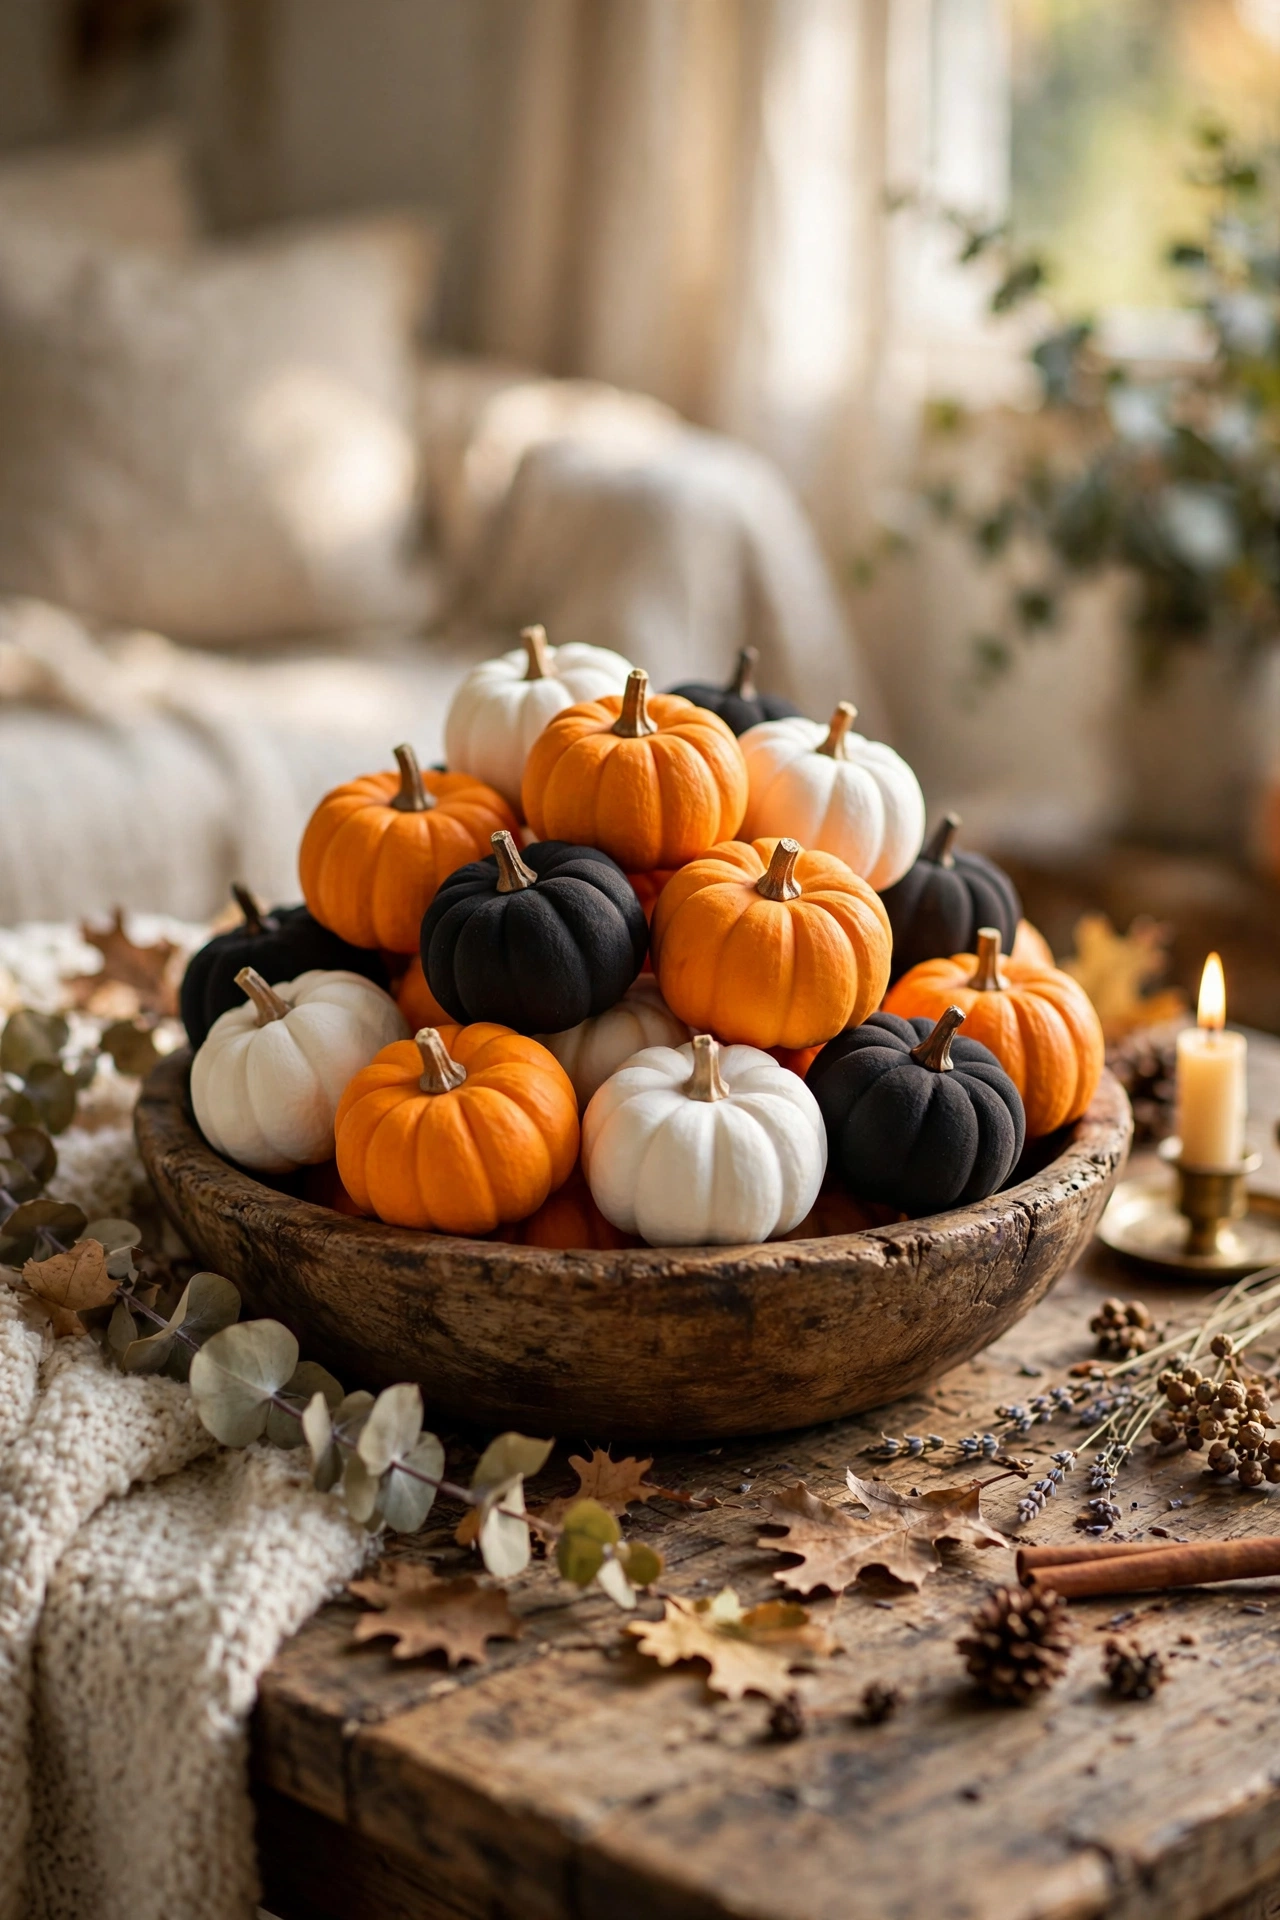
Mini foam pumpkins in orange, white and black are endlessly useful — bowl fillers, table scatter, porch steps, shelf styling. Pile them in a wooden bowl for the coffee table, line them along the porch steps in odd numbers, and tuck a few among your everyday bookshelves for subtle seasonal touches. I tried this in my own home and they bridged the gap between autumn and Halloween perfectly; one mistake to avoid: do not leave the foam ones outside in heavy rain, because they soak through and take days to dry. Cost: ~$4 for a bag · Time: 10 minutes.
6. Potion Bottles for the Shelf

Small glass-look bottles with cork stoppers become a witch’s apothecary shelf with almost no effort. Fill them with coloured water, dried beans, or bath salts in murky greens and purples, add handwritten labels like “eye of newt” and “moon water”, and cluster them with a candle. I tried this in my own kitchen shelf and it got more comments than the expensive decorations; one mistake to avoid: keep the coloured water away from light fabrics, because a knocked-over bottle of green “potion” stains for good. Cost: ~$5 · Time: 25 minutes.
7. Bat Window Clings
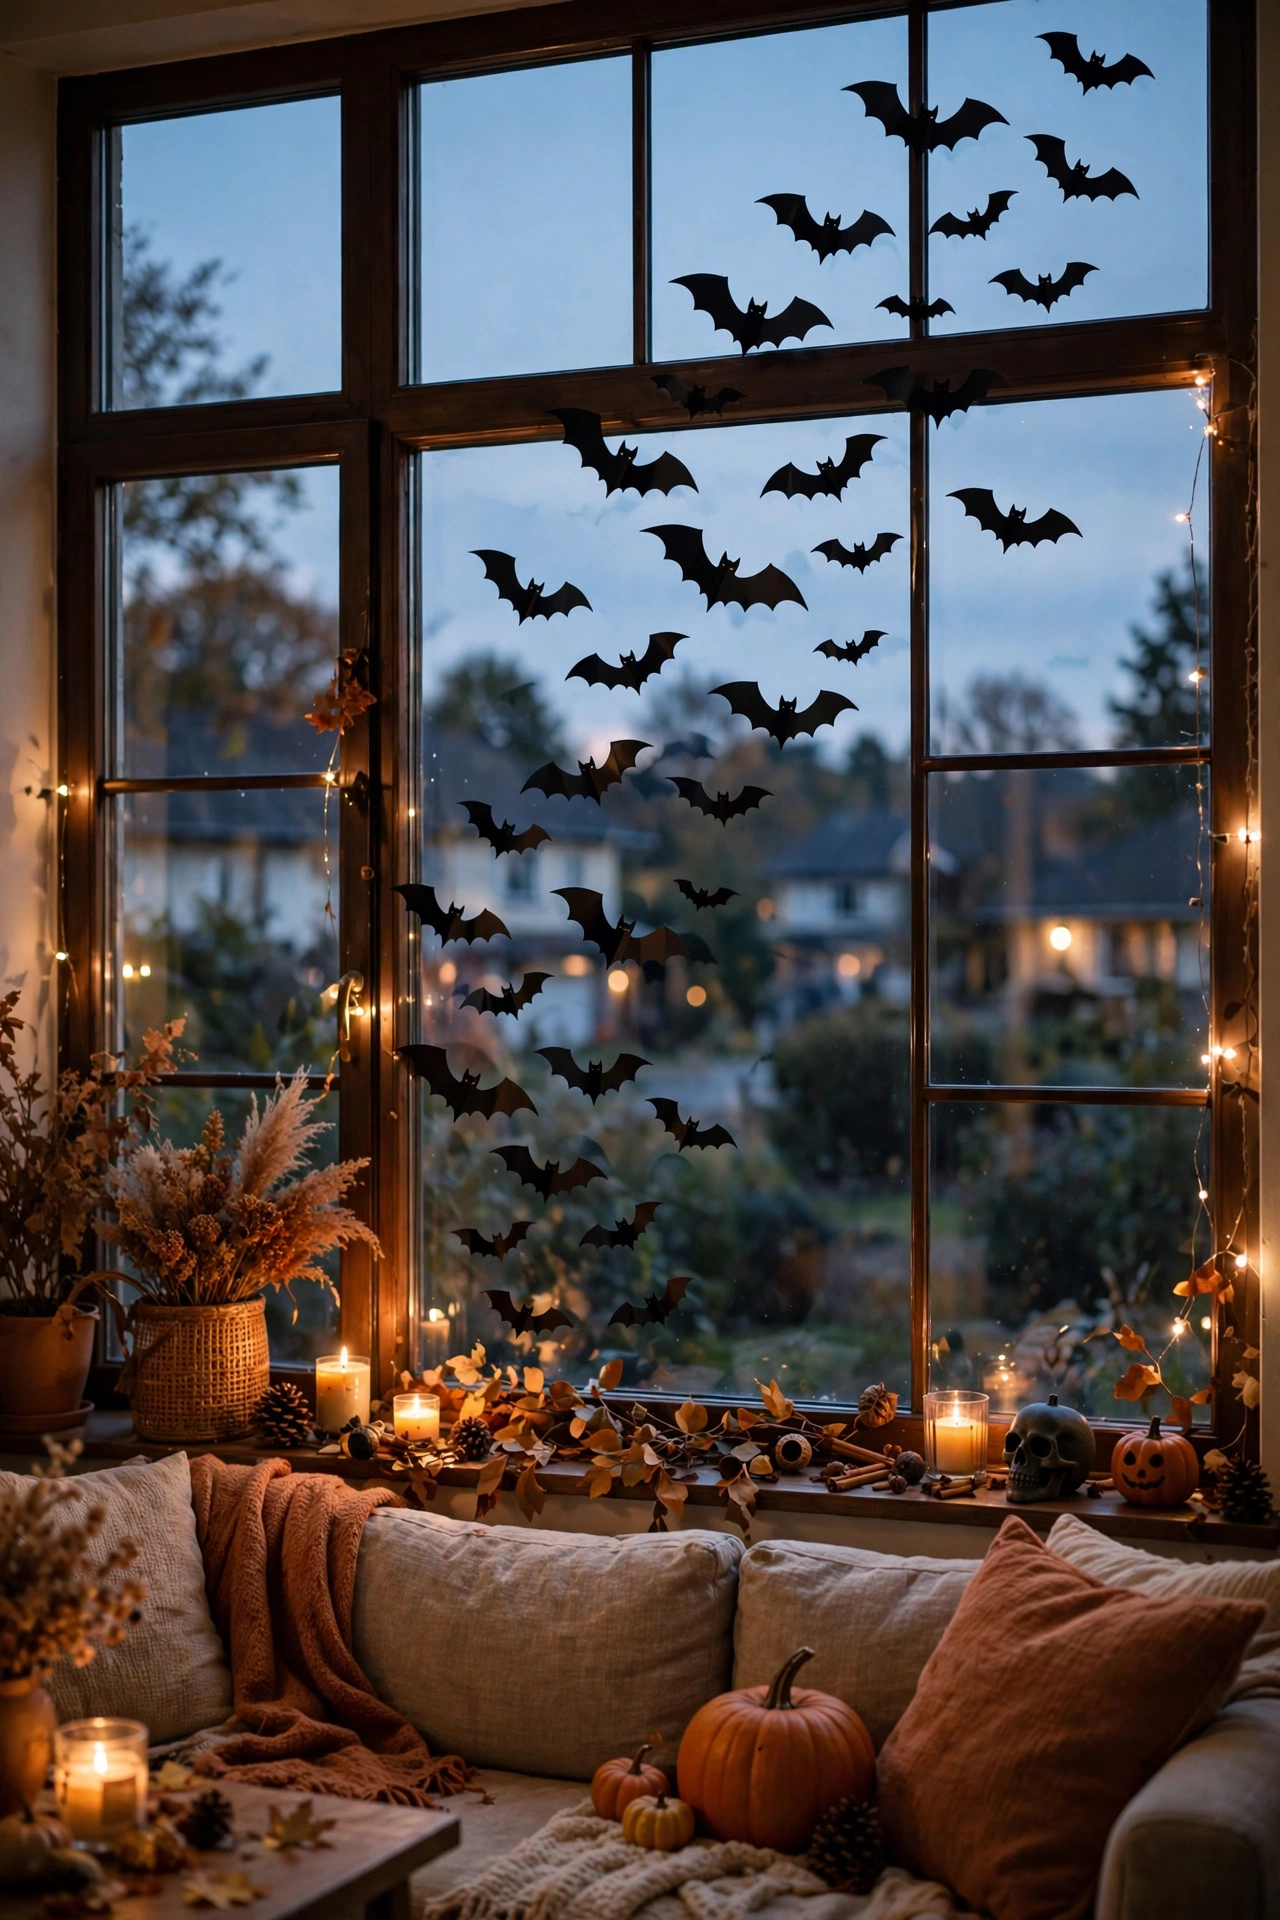
Bat window clings turn every window into part of the display, visible from the street. Clean the glass first so they stick properly, arrange the bats in a scattered flight pattern rising toward one corner, and press out any air bubbles. They peel off cleanly after the 31st. I tried this in my own front windows and the street view was brilliant; one mistake to avoid: do not place them where curtains brush against the glass, because the friction peels the edges up within days. Cost: ~$2 · Time: 15 minutes.
8. Skeleton Hands Serving Tray
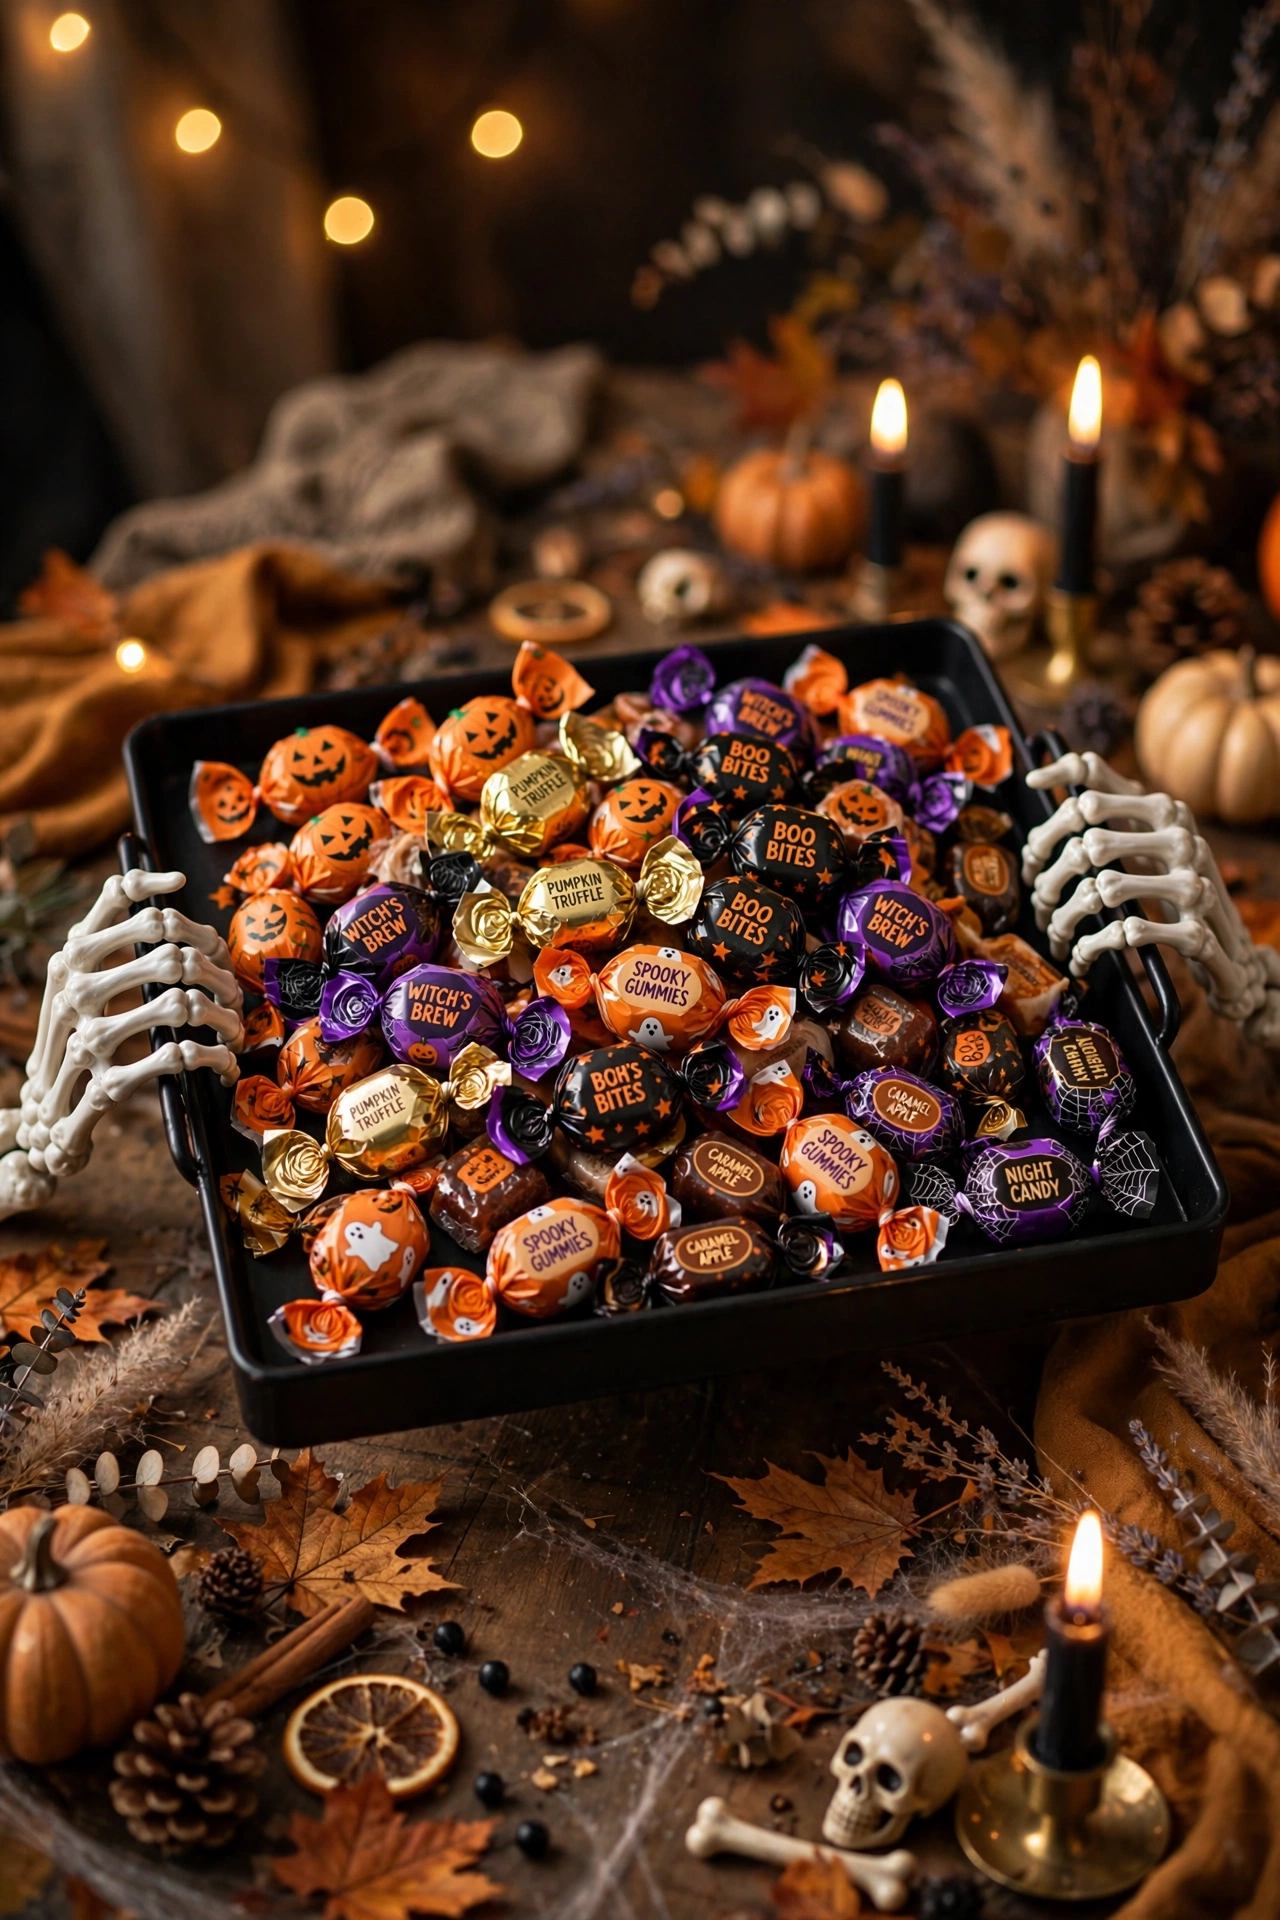
Plastic skeleton hands arranged around a black tray make a serving platter that guests remember. Lay a dark cloth or paper over a plain tray, position the skeleton hands gripping the edges as if holding it, and pile wrapped sweets or cupcakes in the middle. It is equal parts creepy and practical. I tried this at my own Halloween party and it was photographed more than the costumes; one mistake to avoid: keep unwrapped food off the plastic hands themselves, because the paint can transfer onto anything moist. Cost: ~$4 · Time: 10 minutes.
9. Black Lace Table Runner
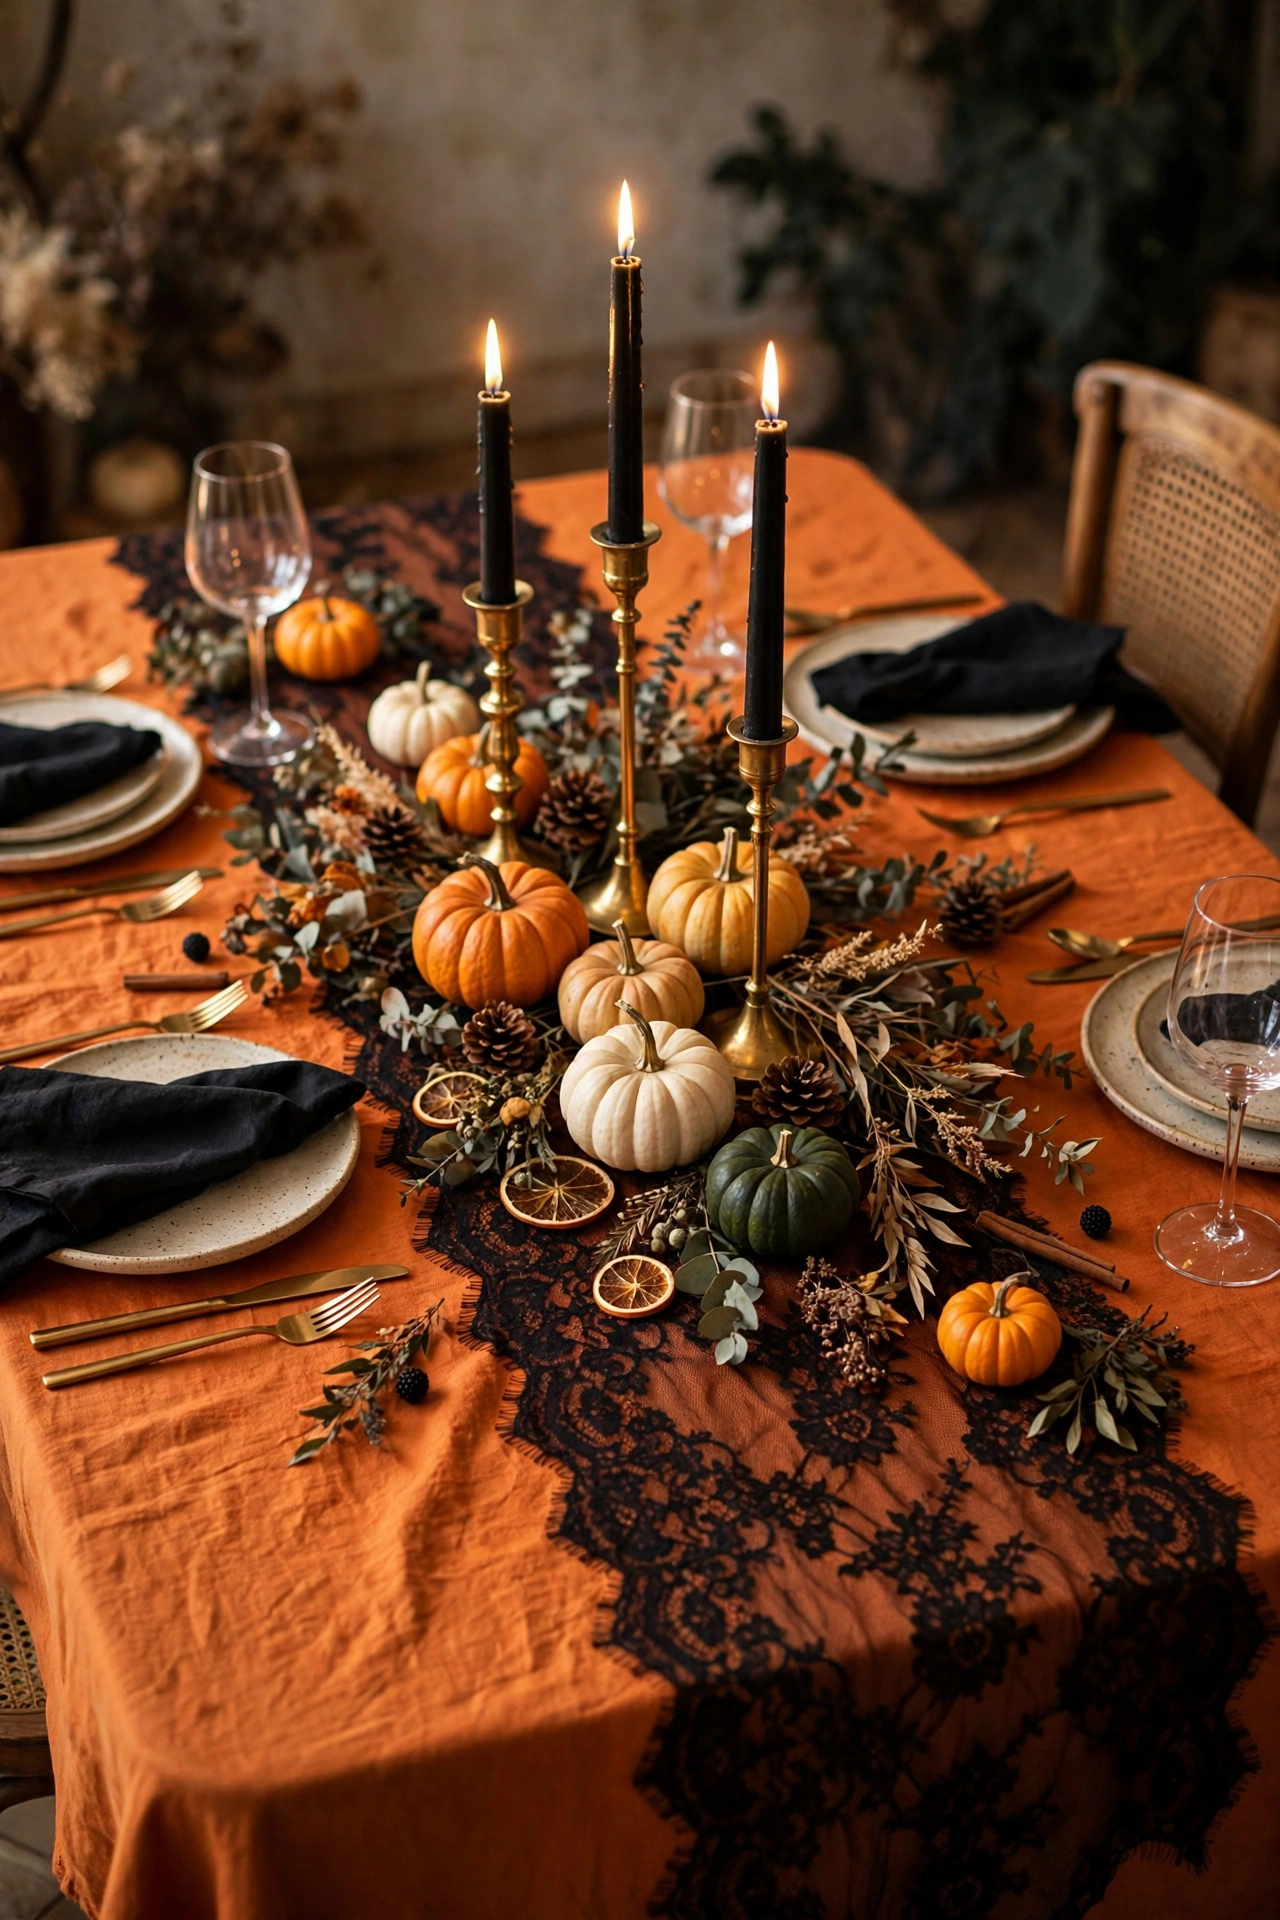
A black lace runner over an orange or dark tablecloth is instant Halloween elegance for the dining table. Lay it slightly off-centre for a relaxed look, then build your centrepiece on top — pumpkins, candlesticks and a few scattered leaves. It reads as gothic dinner party rather than fancy dress. I tried this in my own dining room and the table looked expensive; one mistake to avoid: do not iron the lace on high heat, because the synthetic fibres melt and go shiny at the creases. Cost: ~$3 · Time: 5 minutes.
10. Witch Hat Porch Stakes
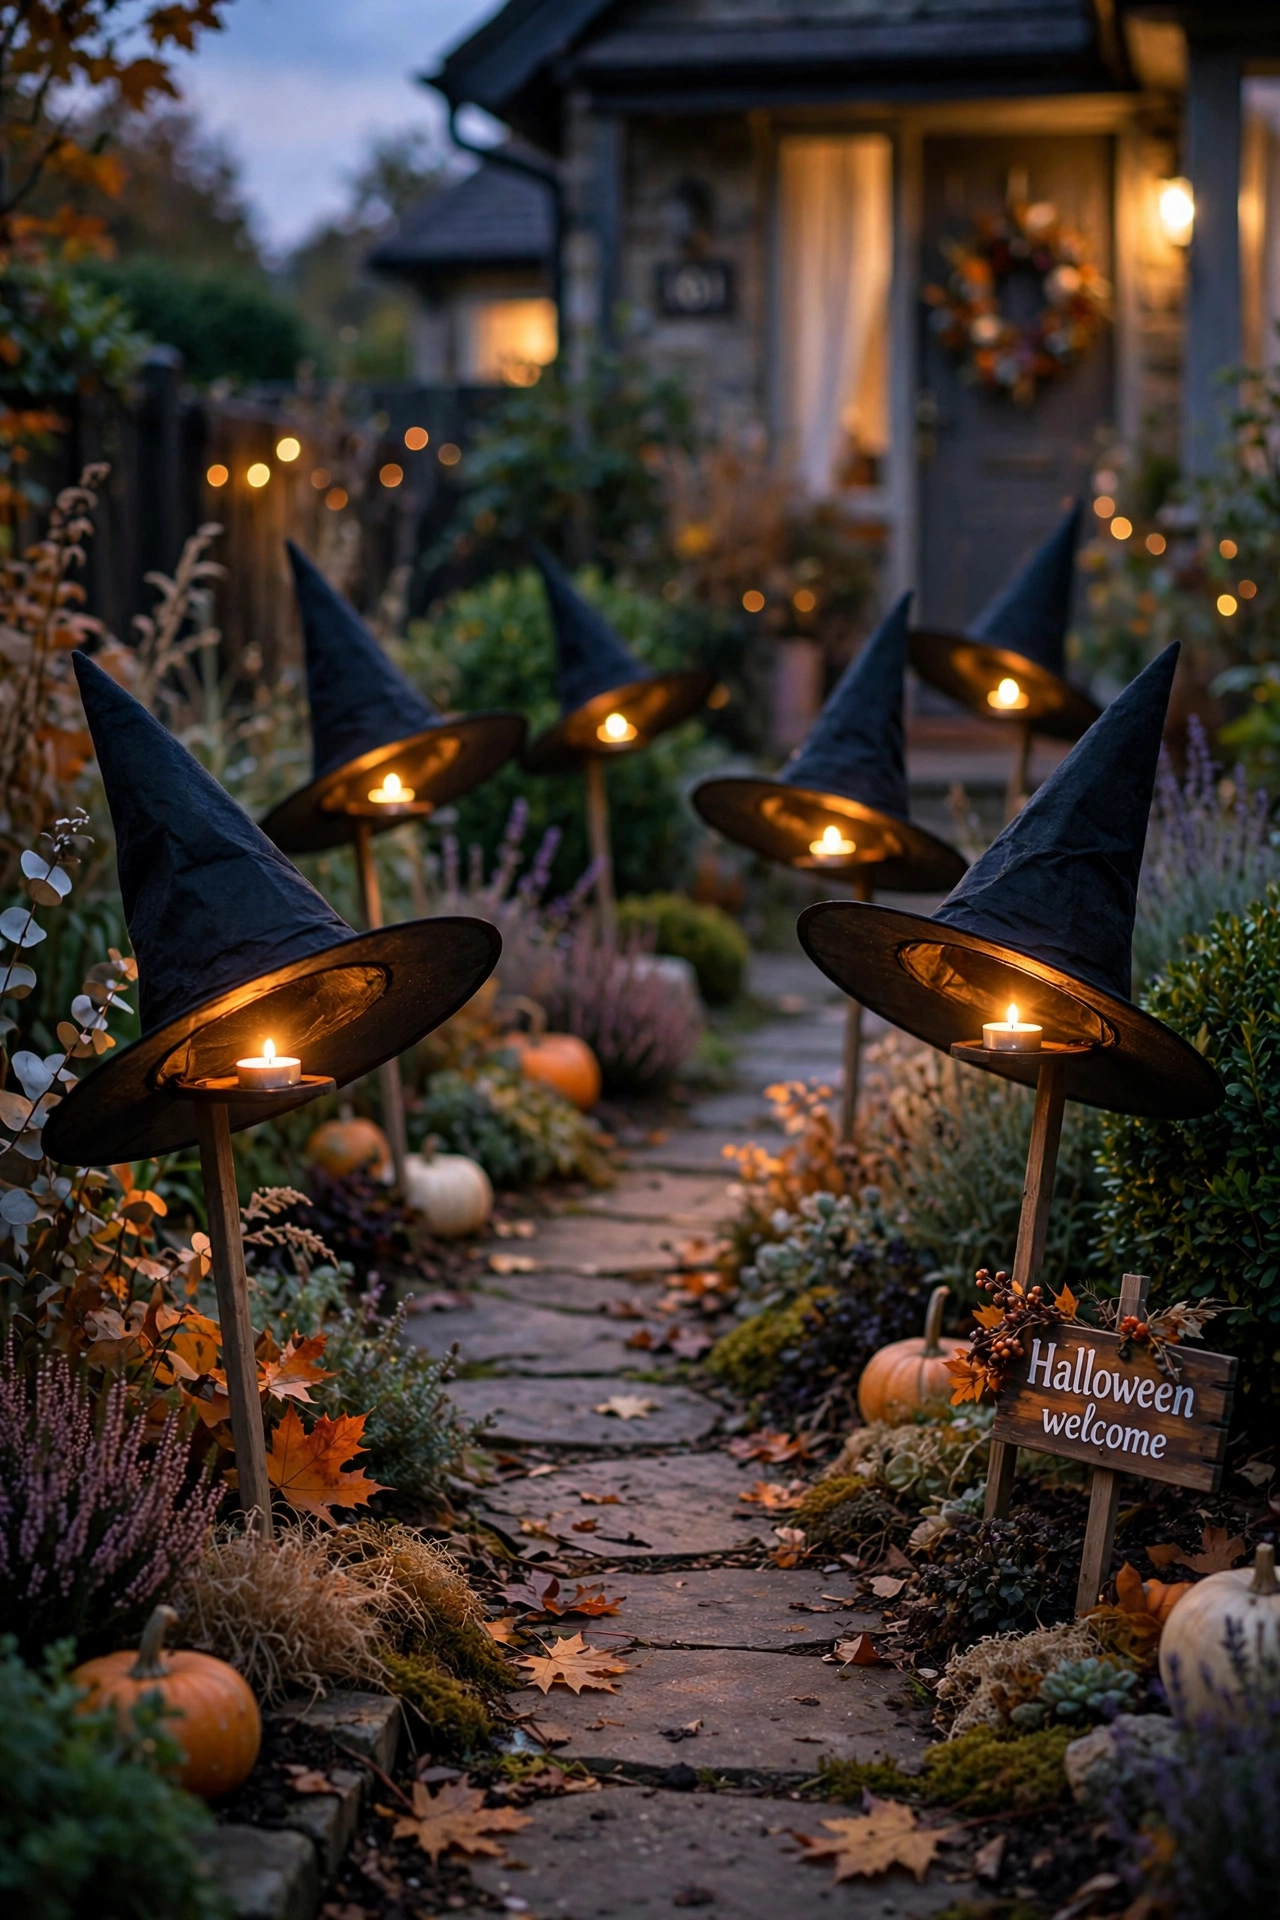
Witch hats on garden stakes lined along the front path greet every visitor with a grin. Push each stake firmly into the soil or a plant pot, tilt the hats at slightly different angles so they look playful rather than uniform, and add a tea light inside each for a glowing welcome after dark. I tried this along my own front path and the kids loved them; one mistake to avoid: do not place them where the postman walks, because a hat at shin height in the dark is a trip hazard. Cost: ~$6 for a set · Time: 15 minutes.
11. Flickering Fake Pillar Candles
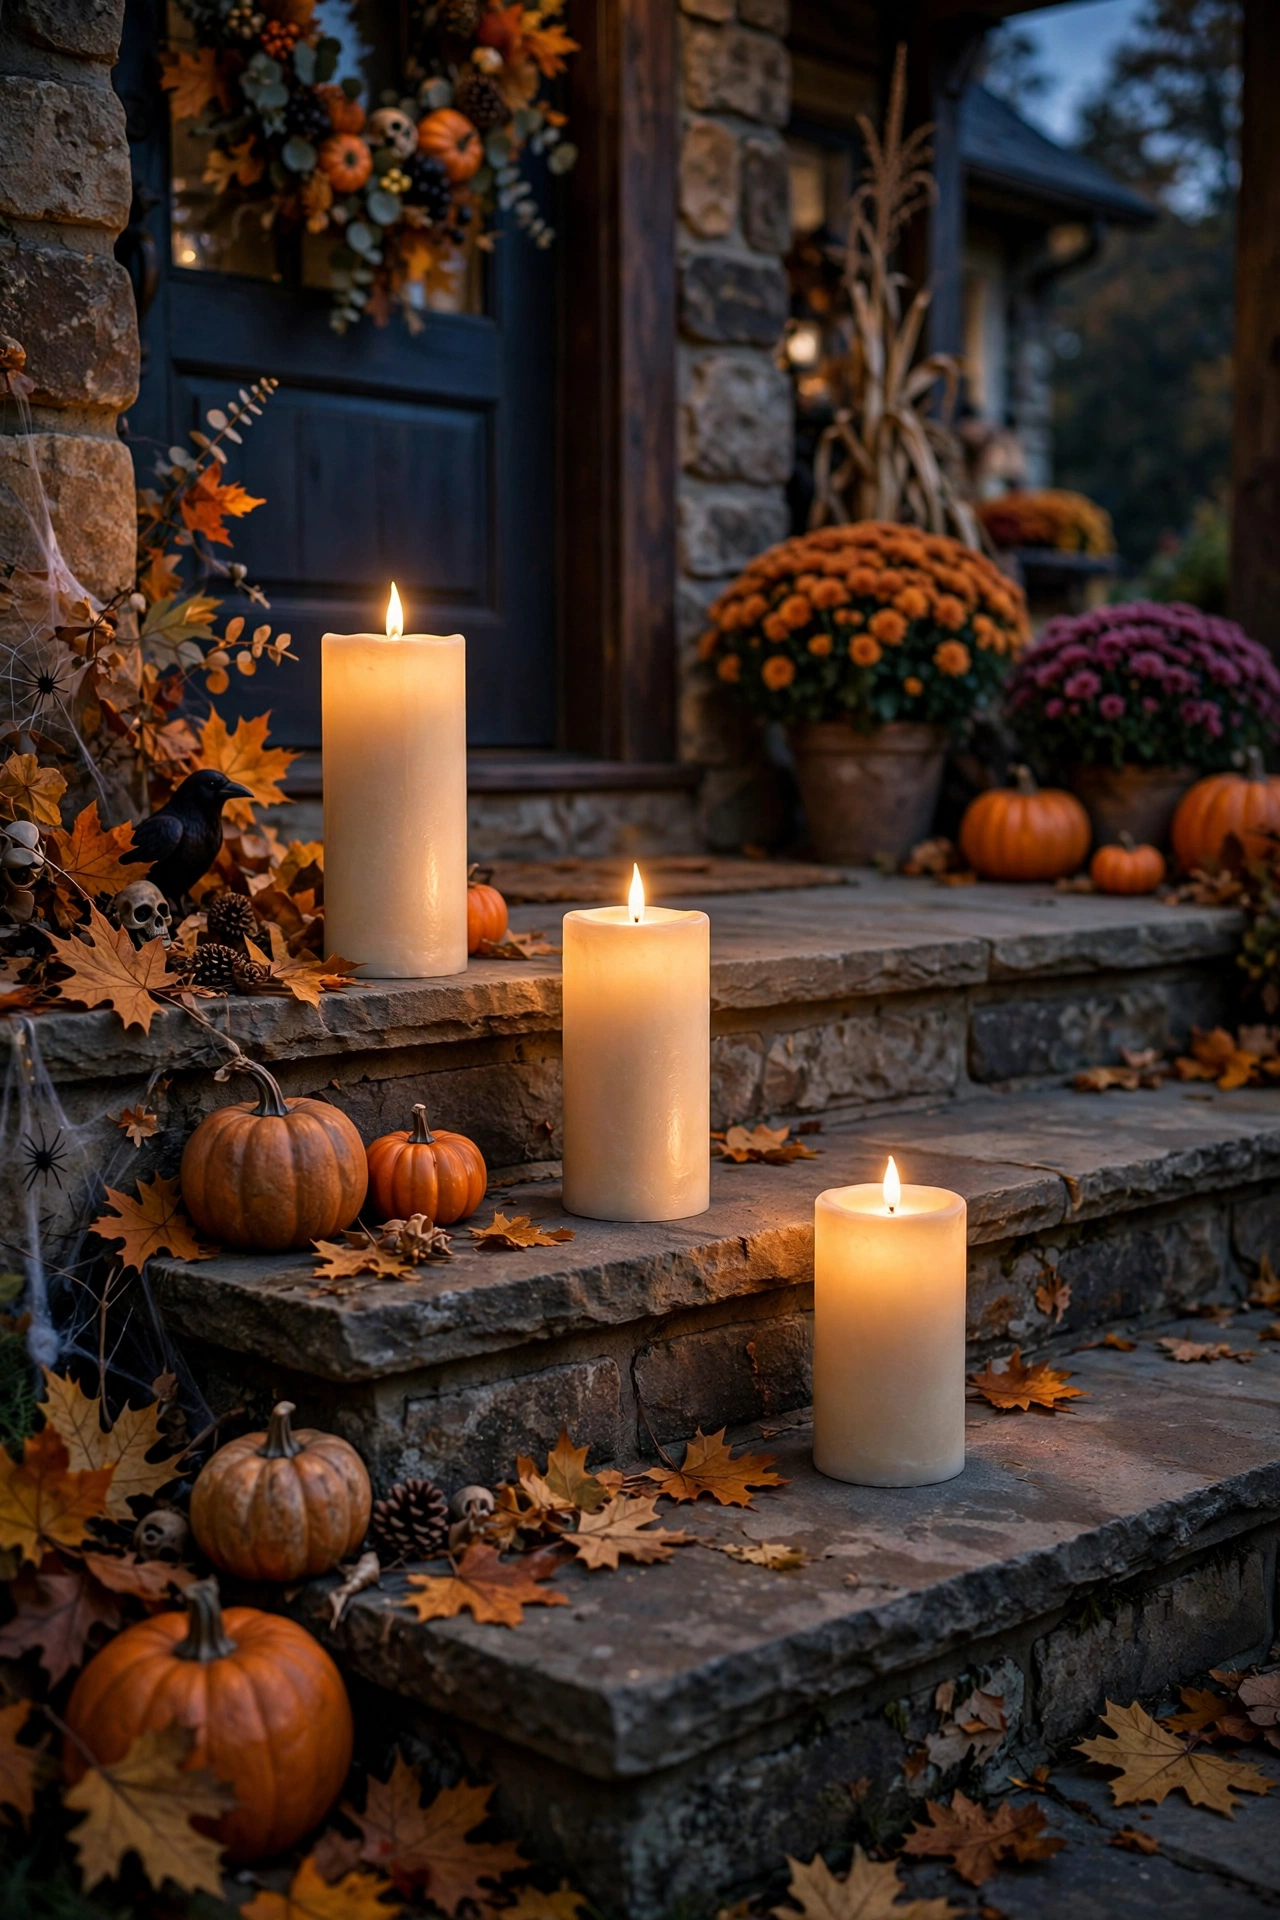
Fake pillar candles with a flicker effect and built-in timers give you evening atmosphere with zero effort. Set the timer so they switch on at dusk, group them in threes on the porch steps or windowsills, and mix heights for a natural look. They run for weeks on one set of batteries. I tried this on my own porch and left them running all October; one mistake to avoid: do not use them in exposed spots without checking they are weather-safe, because rain kills the battery compartment. Cost: ~$5 each · Time: 5 minutes.
12. Ghost String Lights
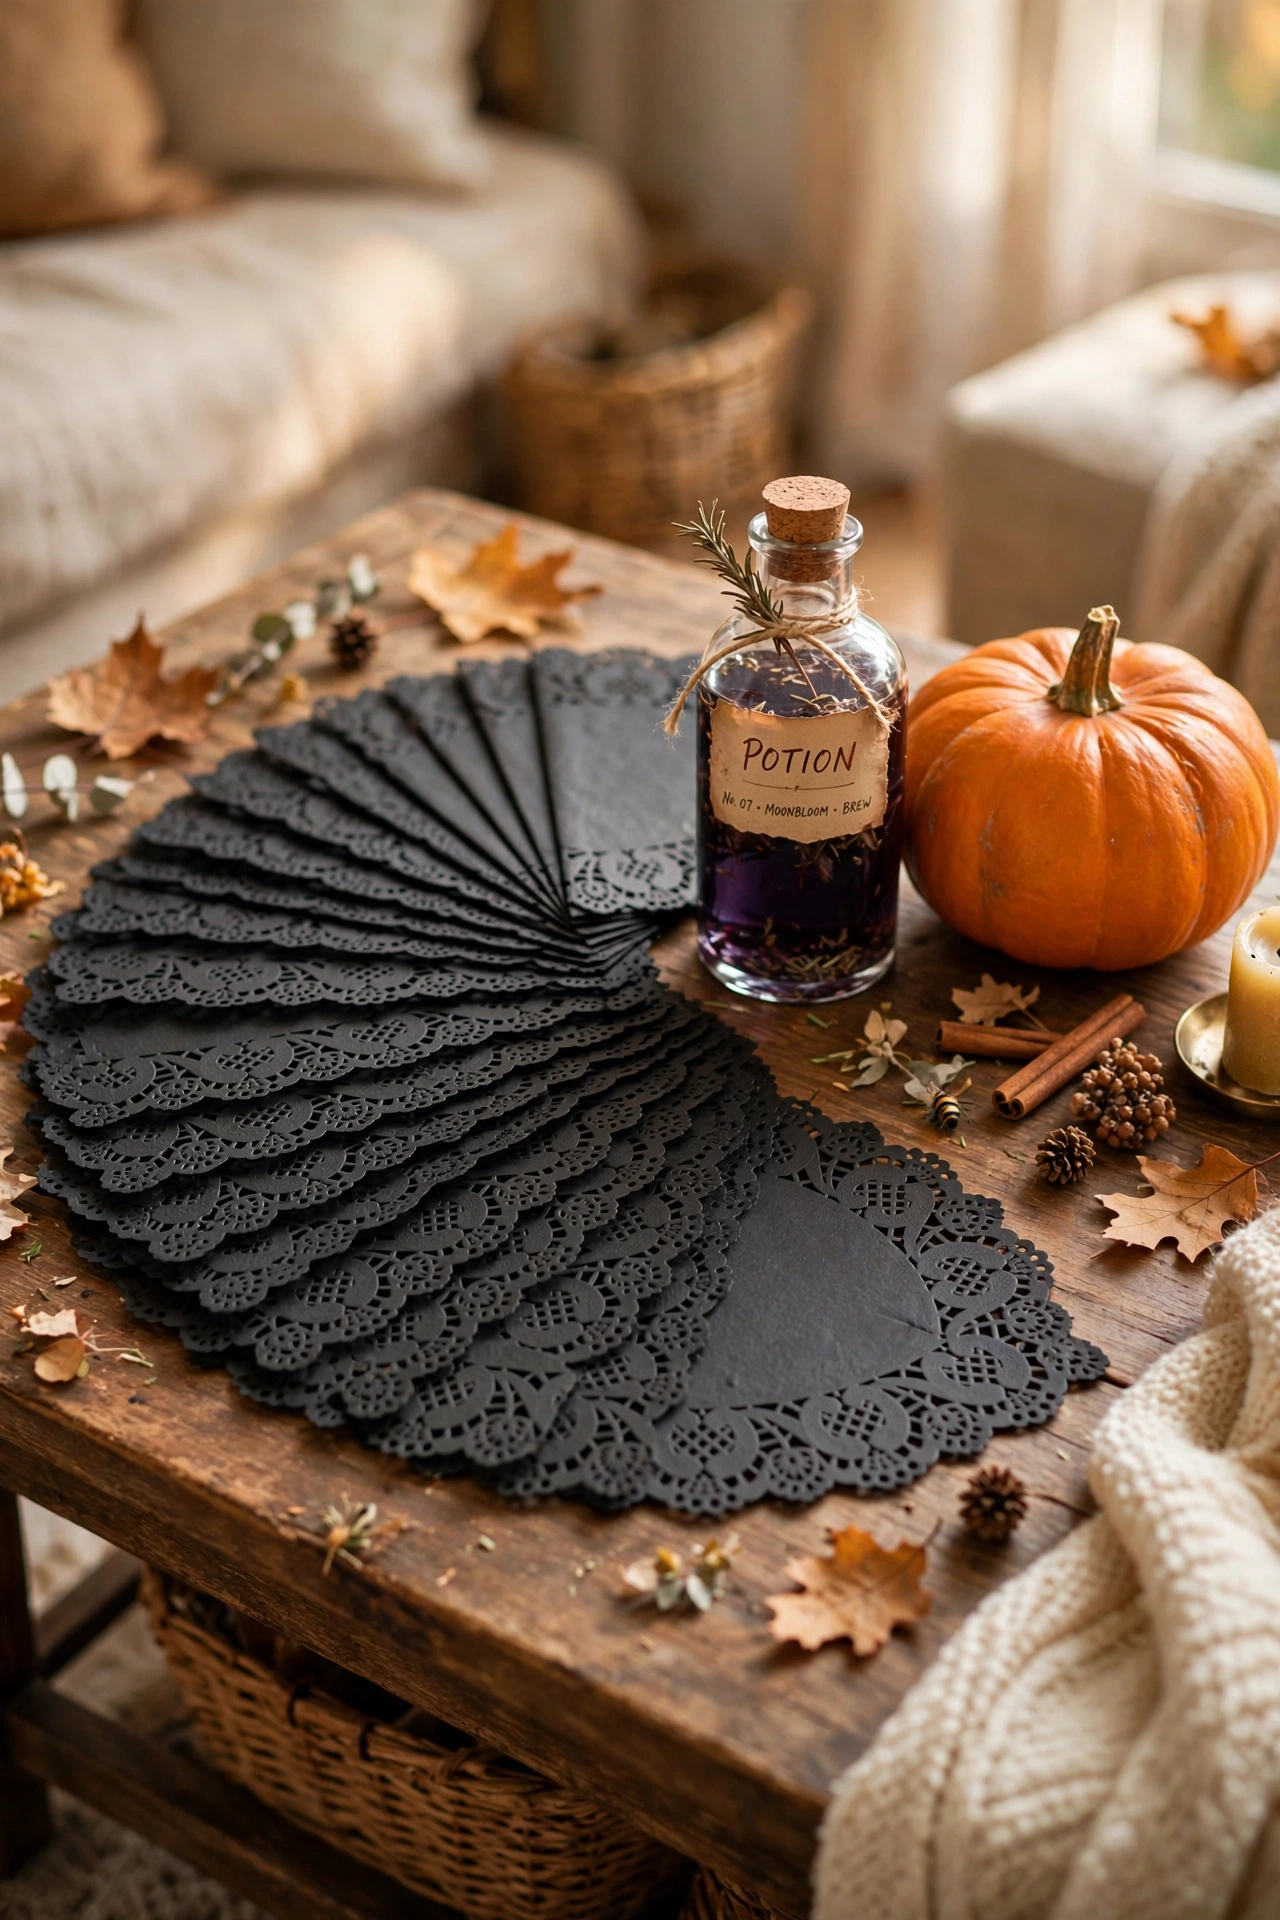
A string of little ghost lights draped over a mirror, headboard or porch railing adds a soft spooky glow. Hang them with small removable hooks, let the ghosts dangle at slightly different heights, and use the timer function so they come on automatically. They work indoors and on covered porches. I tried this over my own mantel mirror and the reflection doubled the effect; one mistake to avoid: do not overload one socket with multiple strings, because the cheap plugs get warm when daisy-chained. Cost: ~$4 · Time: 10 minutes.
13. Pumpkin Carving Kit
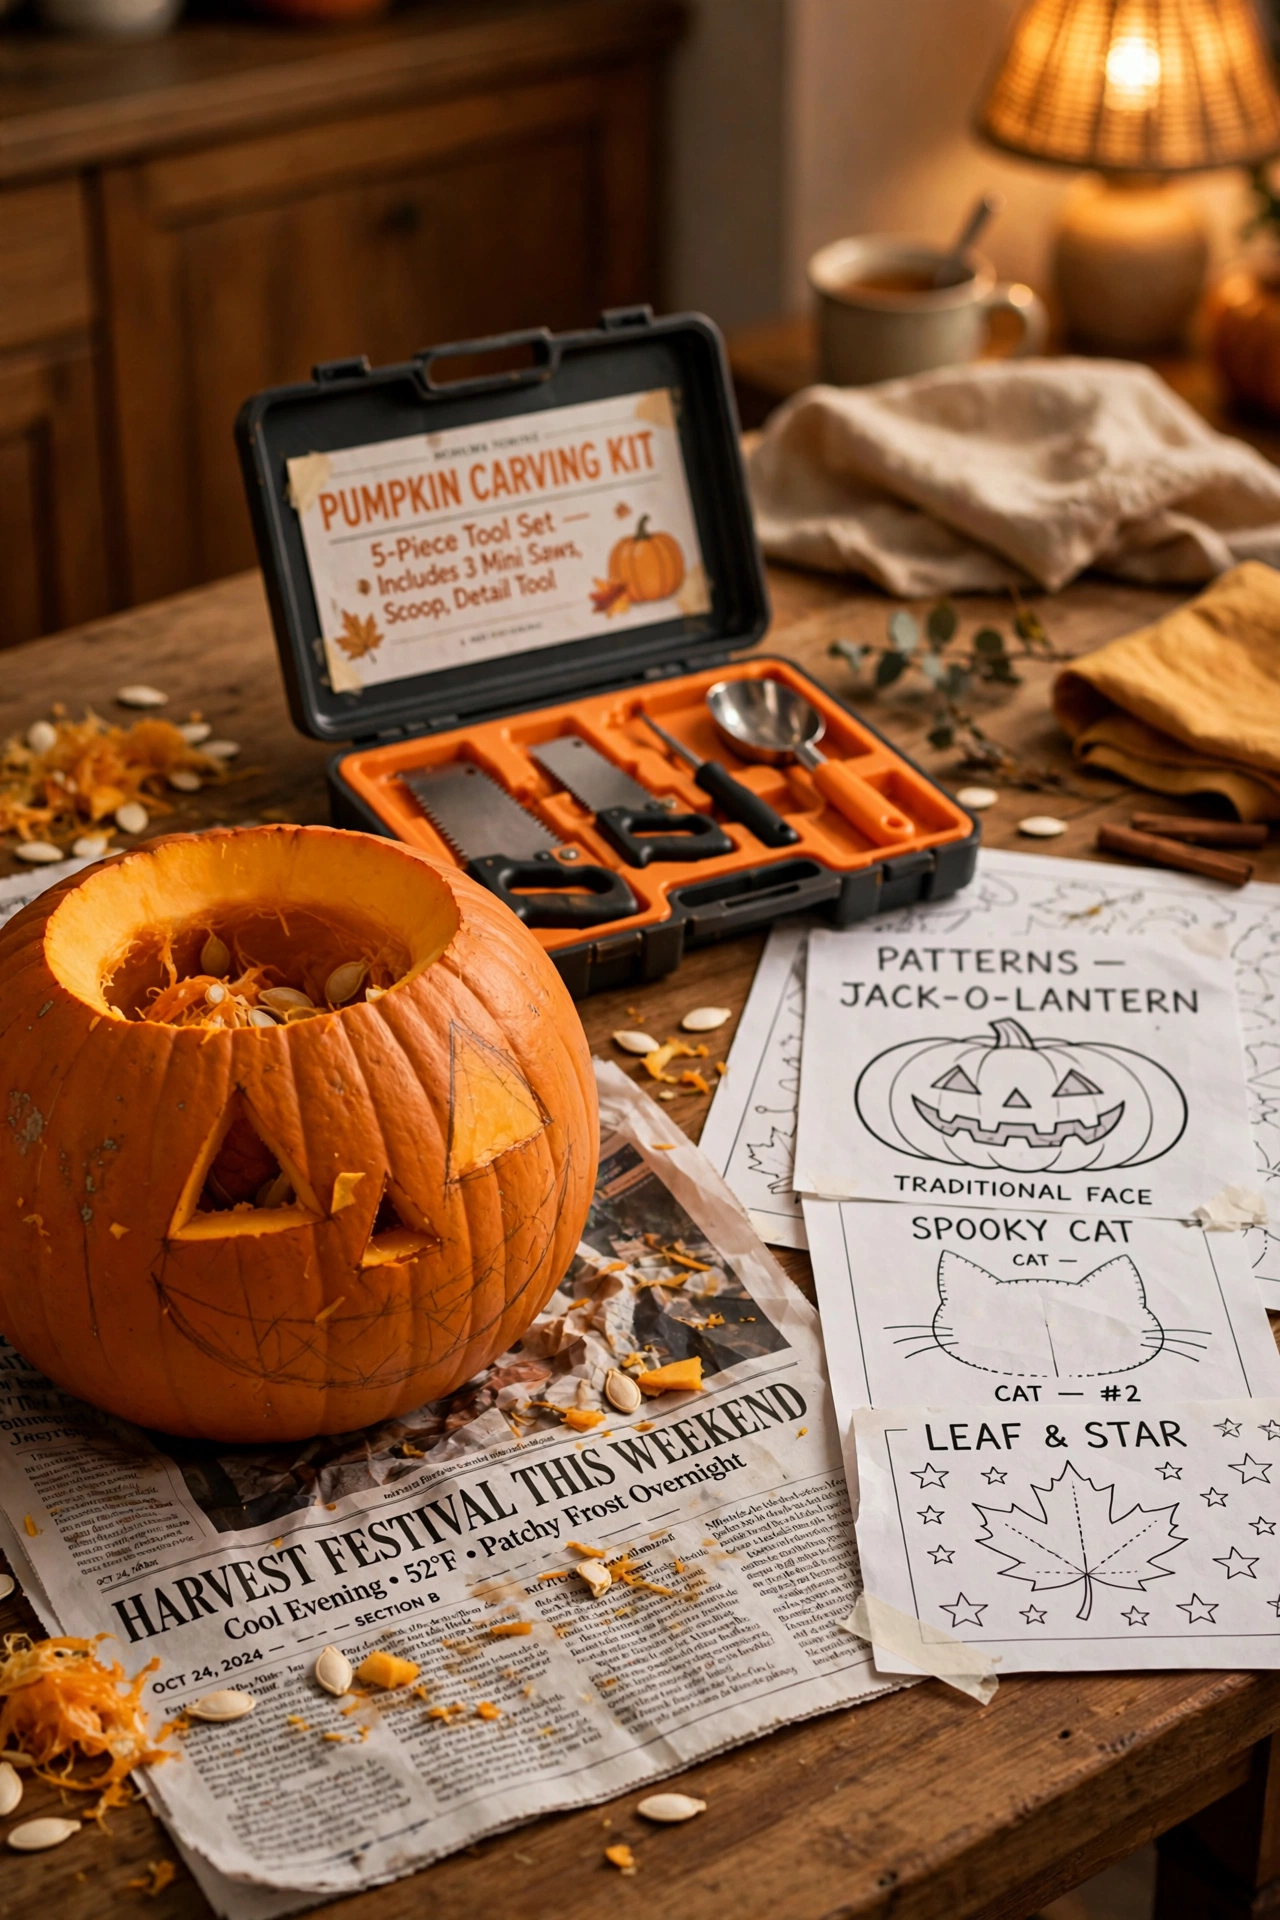
The dollar store carving kit — little saws, scoops and pattern sheets — is genuinely all you need for a proper jack-o’-lantern. Scoop the pumpkin clean first, tape the pattern on and poke the outline through, then saw slowly along the dots. A thin pumpkin wall carves far more easily than a thick one. I tried this with my own family pumpkins and the kit handled three of them; one mistake to avoid: do not let small children use the saws unsupervised, because they are sharper than they look. Cost: ~$2 · Time: 1 hour per pumpkin.
14. Mummy-Wrapped Mason Jars
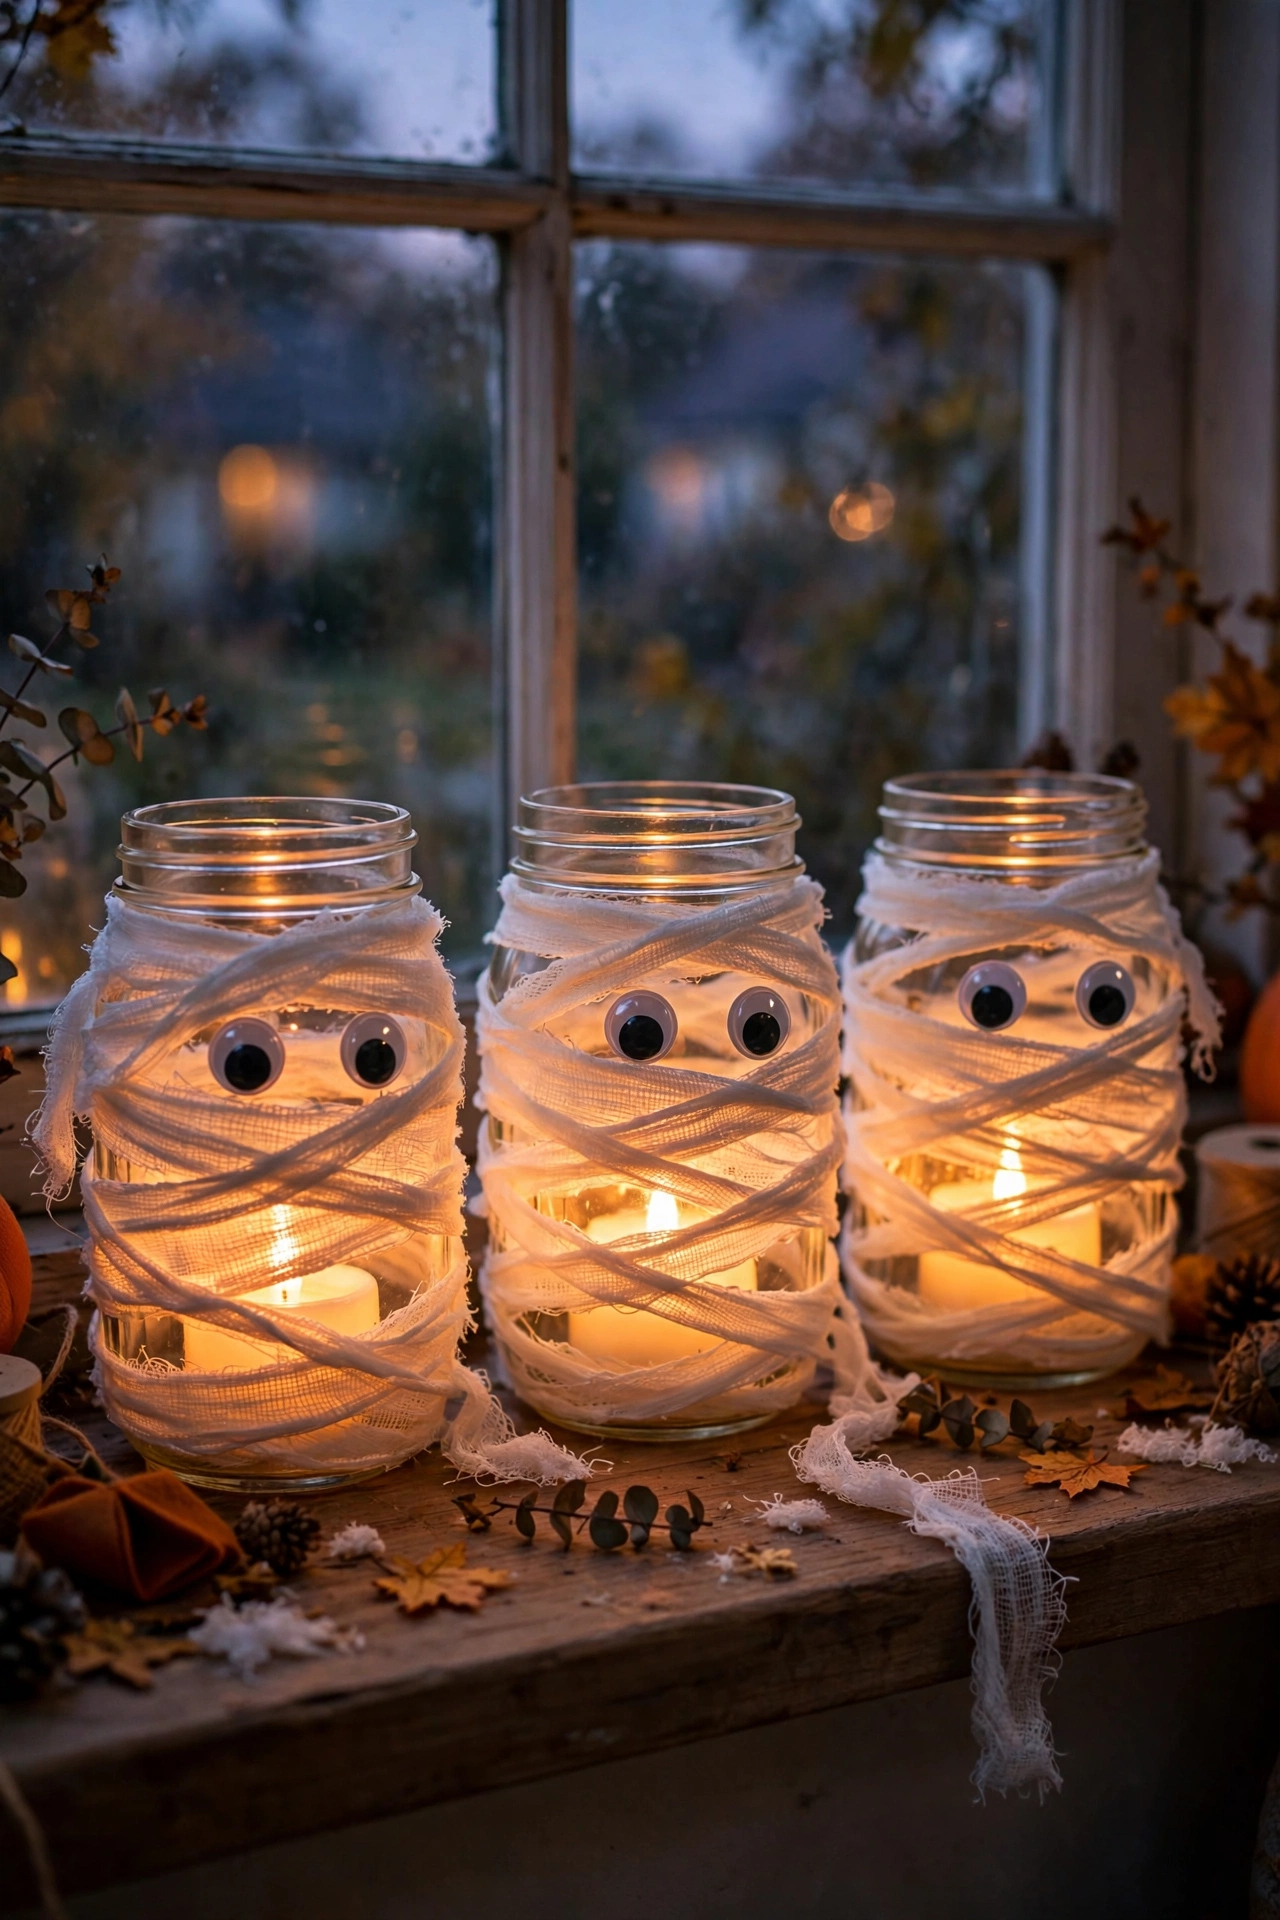
Plain jars wrapped in gauze bandage become glowing mummies with a tea light inside. Wrap the gauze loosely around the jar, leaving a gap for two googly eyes stuck on the front, and tuck the end under itself. Pop an LED tea light inside for a soft eerie glow. I tried this on my own windowsill and they looked brilliant lit up at night; one mistake to avoid: do not wrap the gauze too tightly, because it hides the light and you just get a white lump. Cost: ~$4 · Time: 15 minutes.
15. Haunted House Door Banner
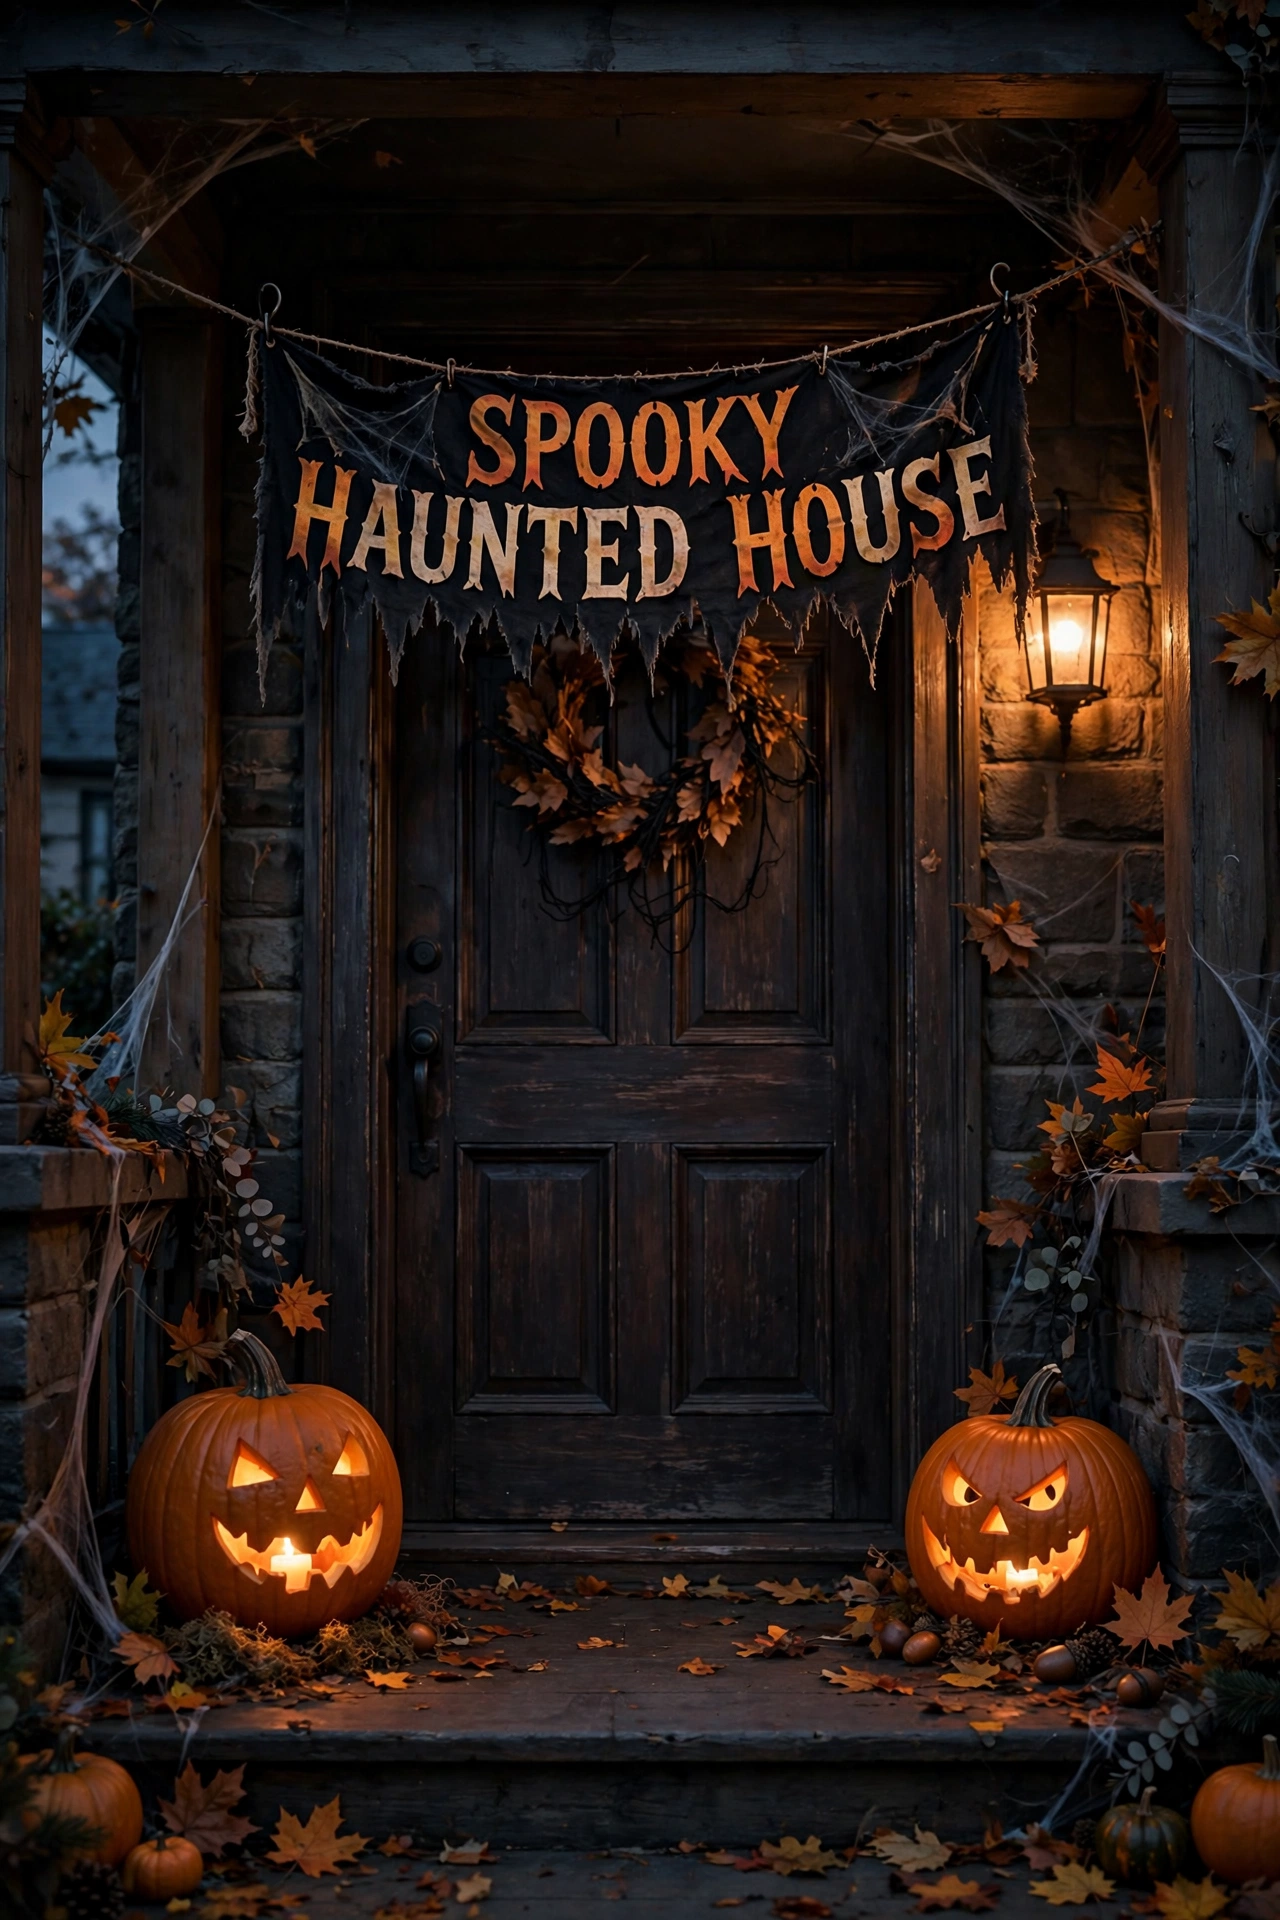
A haunted house banner across the front door sets the tone before anyone knocks. Hang it with removable adhesive hooks so the paint survives, centre it at eye level, and flank the door with a pumpkin on each side. It takes seconds and transforms the entrance. I tried this on my own front door and the trick-or-treaters queued up; one mistake to avoid: do not hang it with drawing pins on a uPVC door, because the holes are permanent and the landlord will notice. Cost: ~$2 · Time: 5 minutes.
16. Spider Wall Decals
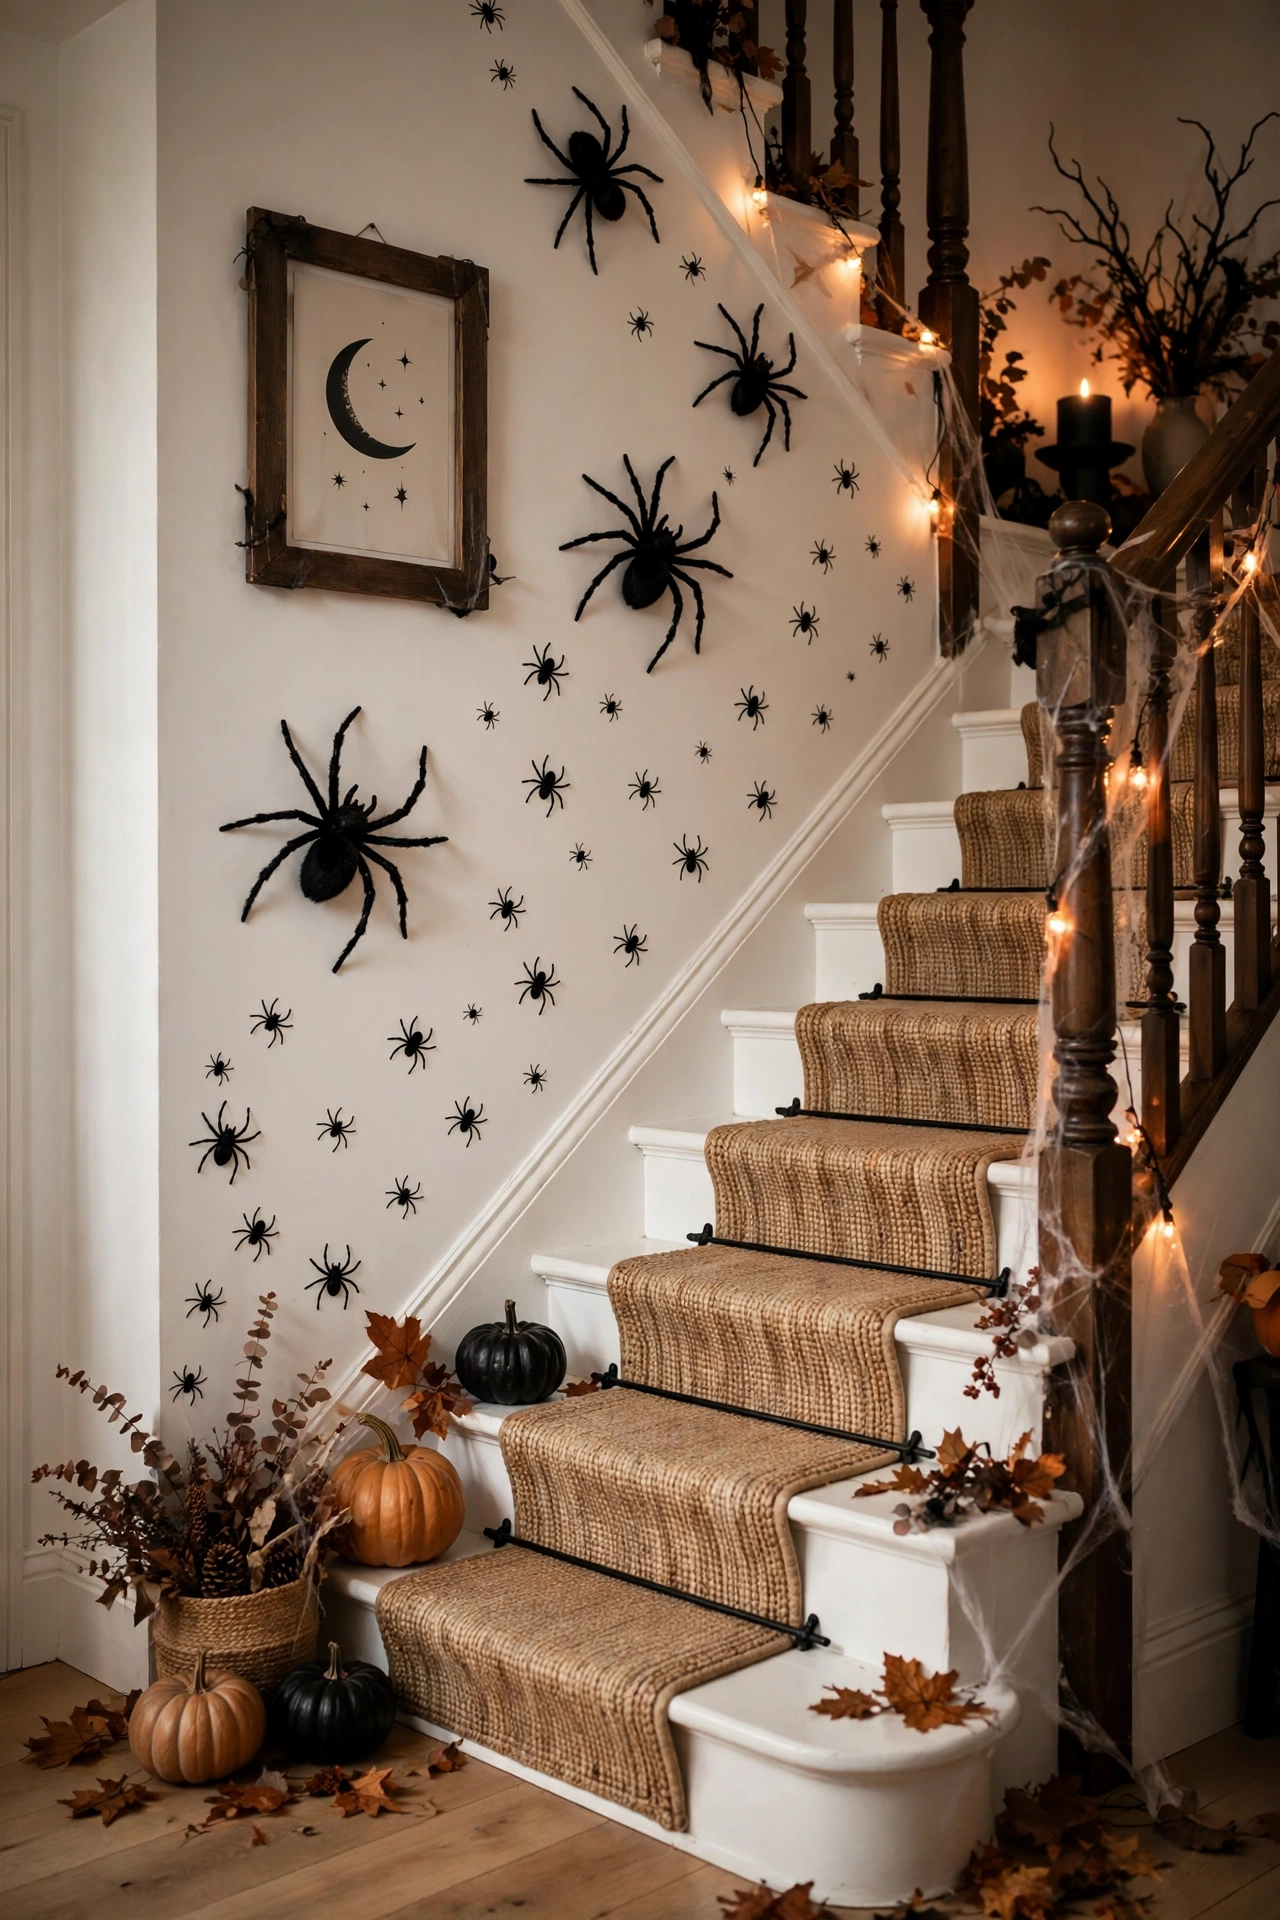
Big spider decals climbing the wall beside the front door or up the staircase look properly creepy for pennies. Plan the trail first – a few large spiders with smaller ones trailing behind – then smooth each decal down from the centre outward. They remove cleanly in November. I tried this up my own staircase wall and guests did double-takes; one mistake to avoid: do not apply them to freshly painted walls, because paint needs a full month to cure or the decal can pull it off. Cost: ~$2 · Time: 15 minutes.
17. Spider-Leg Candy Bowl
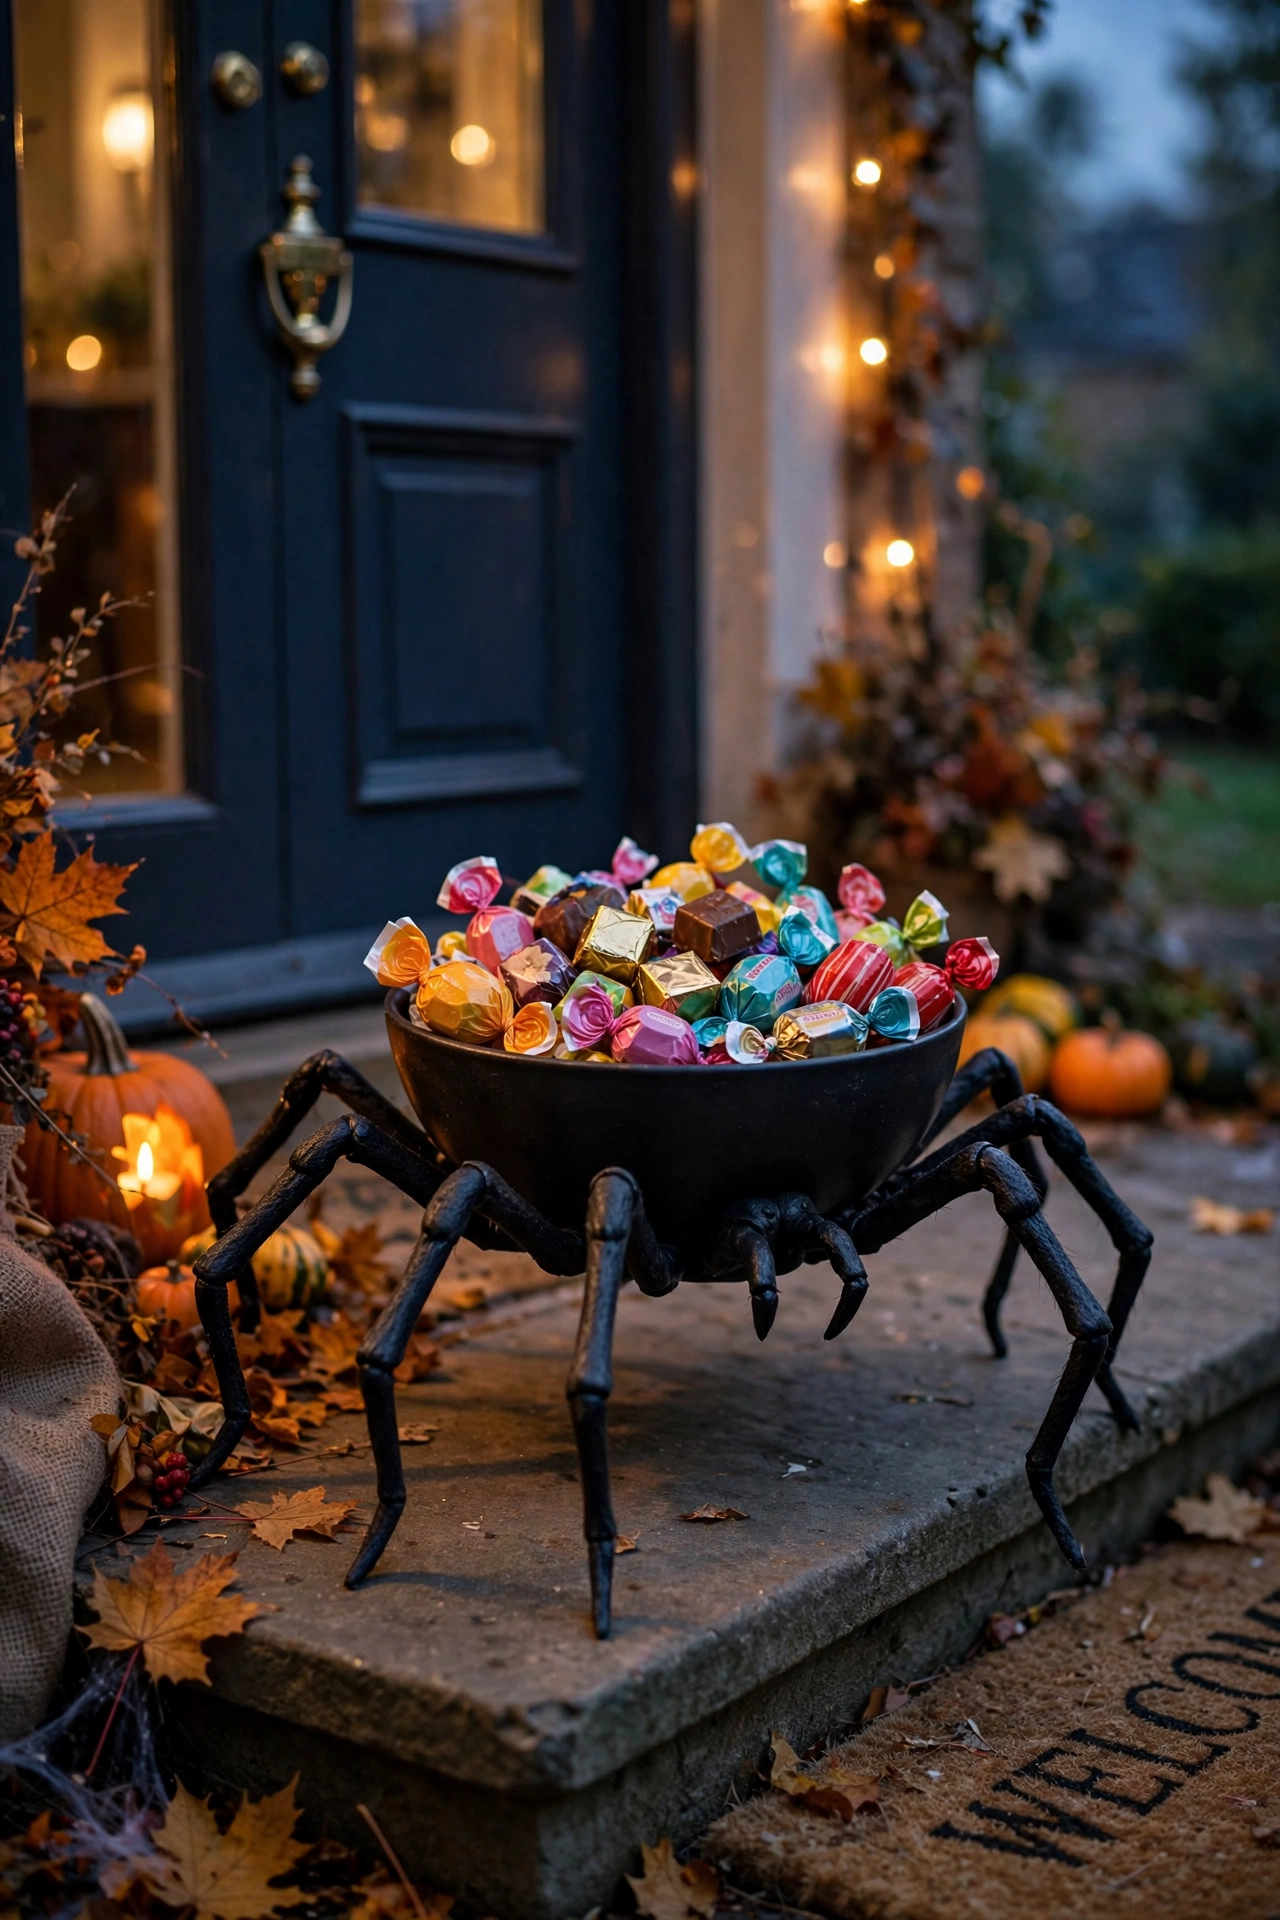
Bendy spider legs clipped around a plain bowl turn sweet-giving into a performance. Attach four legs on each side of a black bowl, bend them into a crouching pose, and fill the bowl with wrapped sweets. Kids reach in giggling every time. I tried this at my own door on Halloween night and it was a hit; one mistake to avoid: do not use a lightweight bowl, because excited small hands grabbing sweets will tip the whole spider over. Cost: ~$3 · Time: 10 minutes.
18. Black Feather Wreath
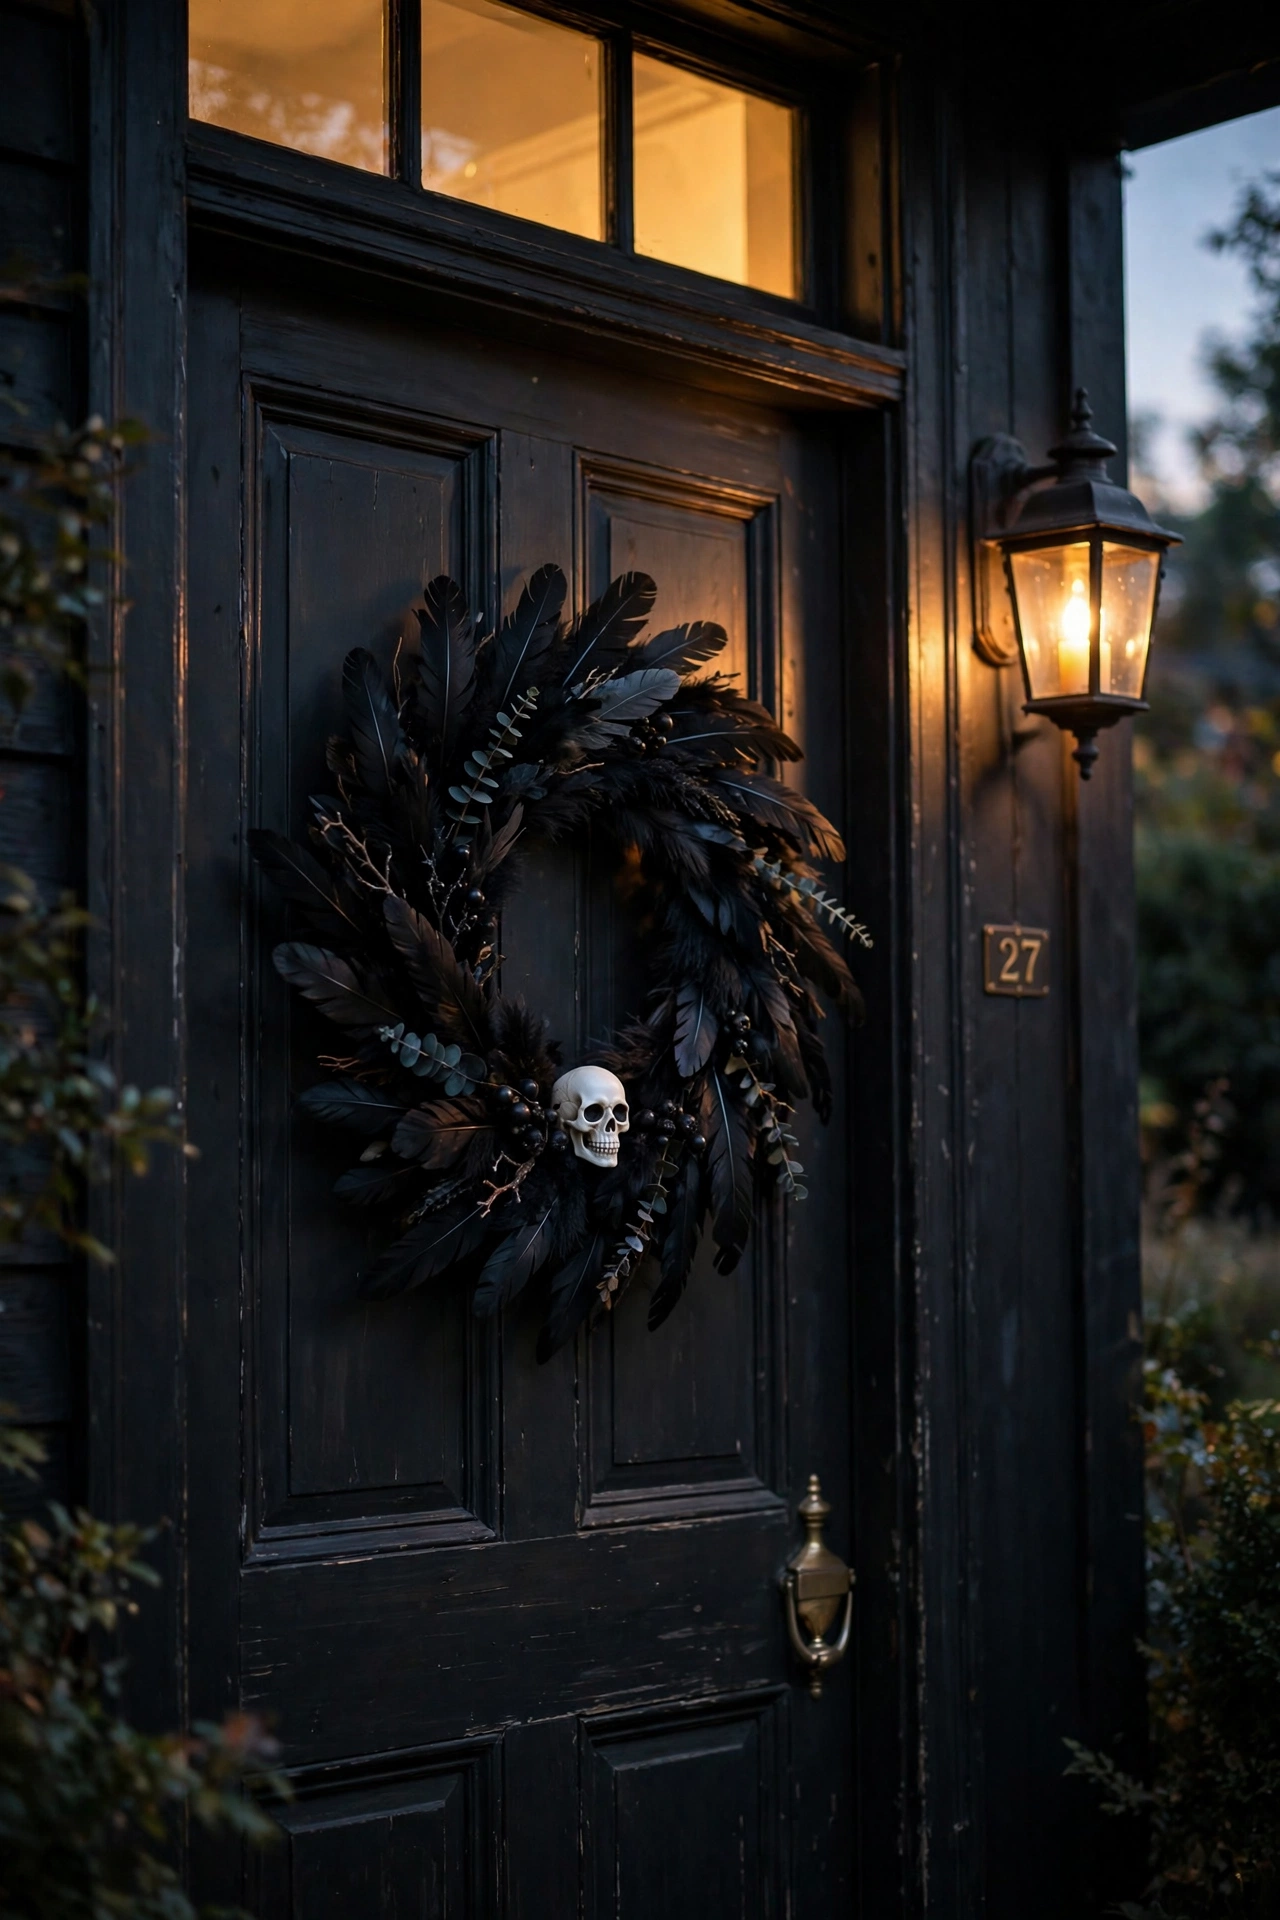
A black feather wreath on the front door is Halloween with actual style. Buy a plain foam wreath ring and a few packs of black feather boas, wrap the boas tightly around the ring overlapping as you go, and secure the ends with wire. Add a small skull or bow at the bottom. I tried this on my own front door and it looked far more expensive than it was; one mistake to avoid: do not hang it in an exposed spot in wind, because the feathers shed and you will be finding them in the garden for months. Cost: ~$6 · Time: 30 minutes.
19. Light-Up Pumpkin Buckets
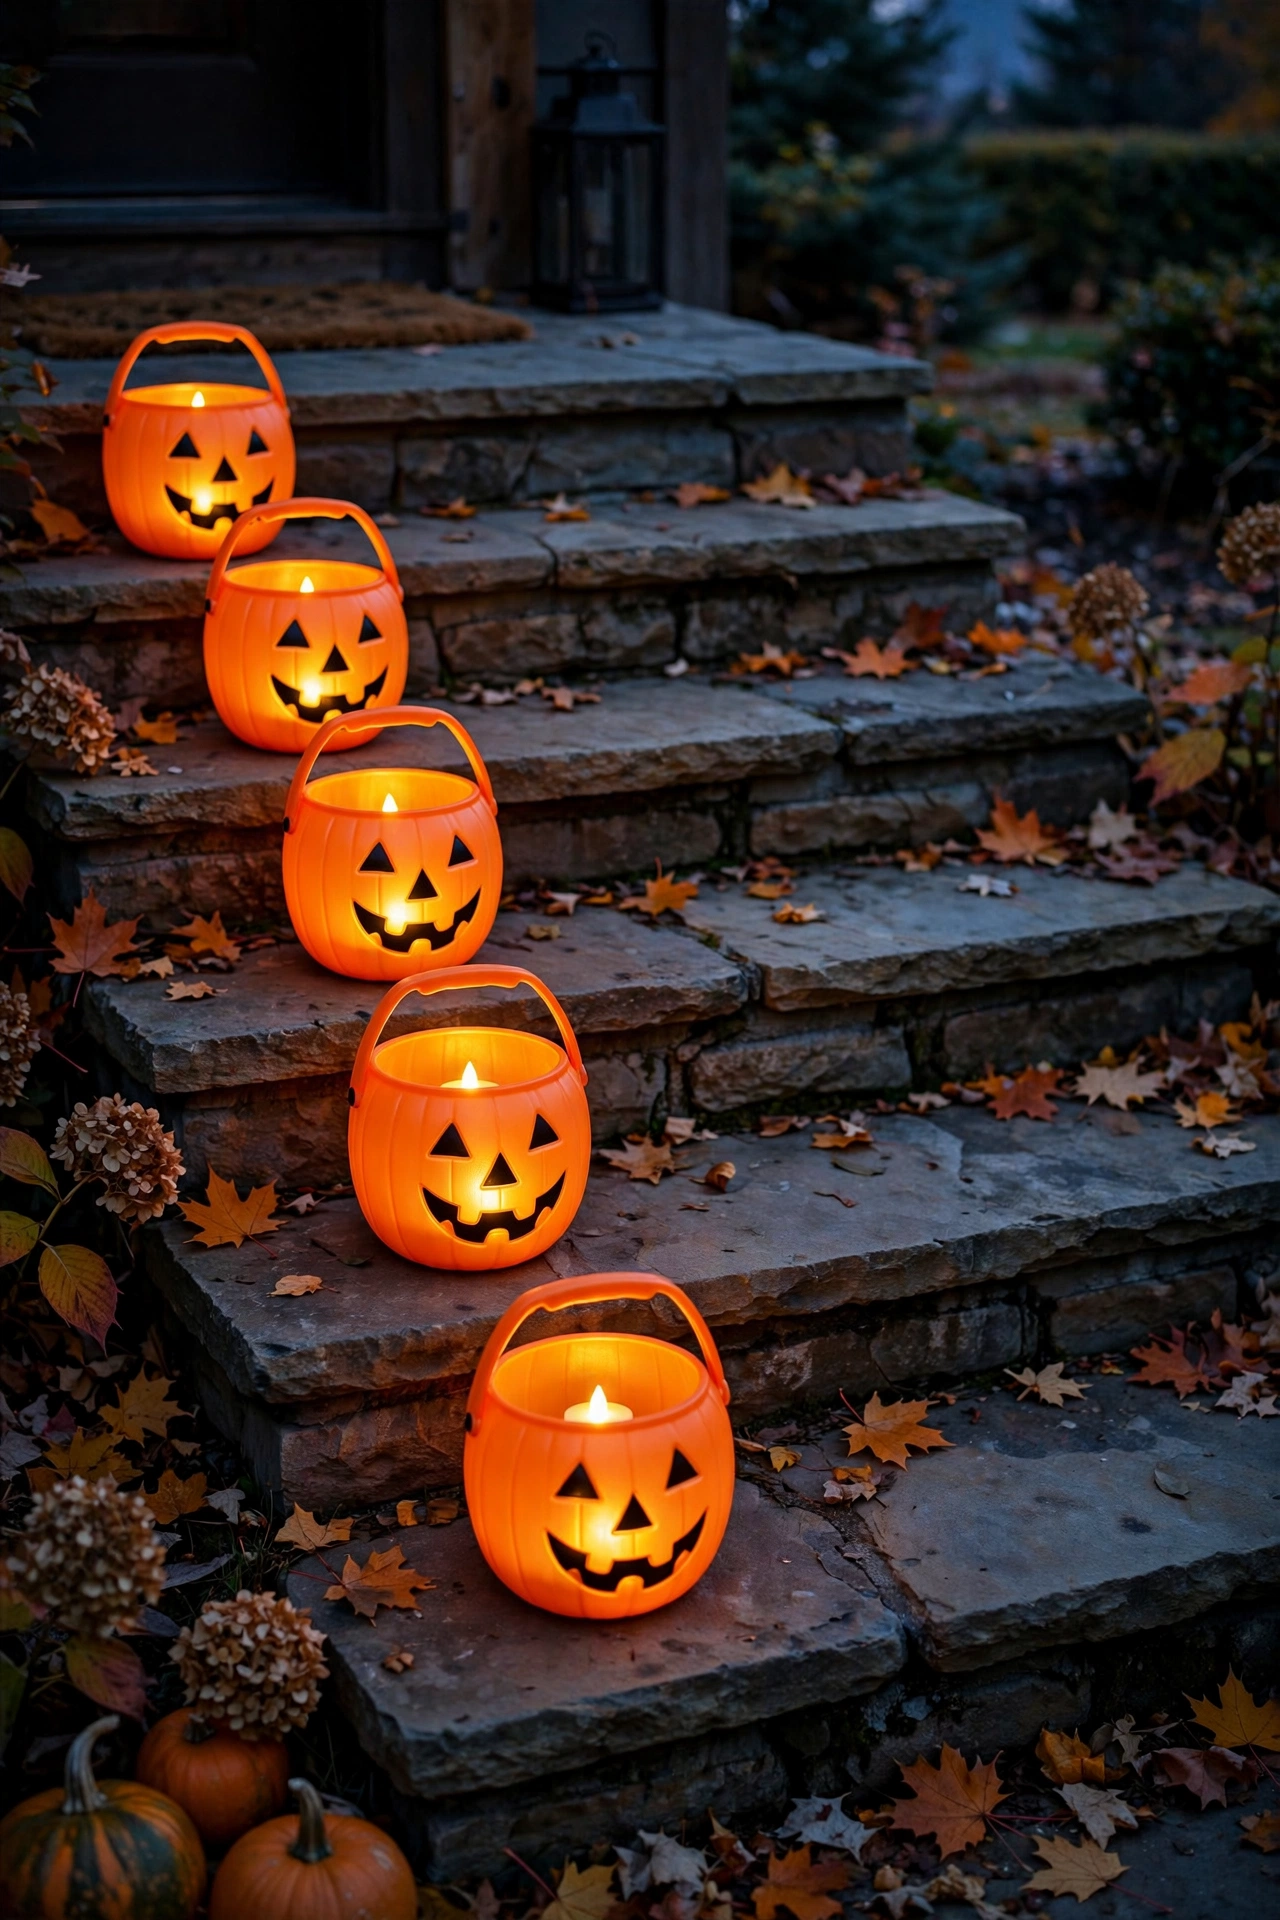
Plastic pumpkin buckets with a tea light inside become glowing porch markers. Line them along the steps or path, drop an LED tea light in each, and they light the way for visitors. They also double as sweet buckets for the kids. I tried this along my own front steps and the warm glow was lovely; one mistake to avoid: do not use real candles inside plastic buckets, because the plastic warps and in the worst case melts. Cost: ~$4 for a few · Time: 5 minutes.
20. Cauldron Candy Holder
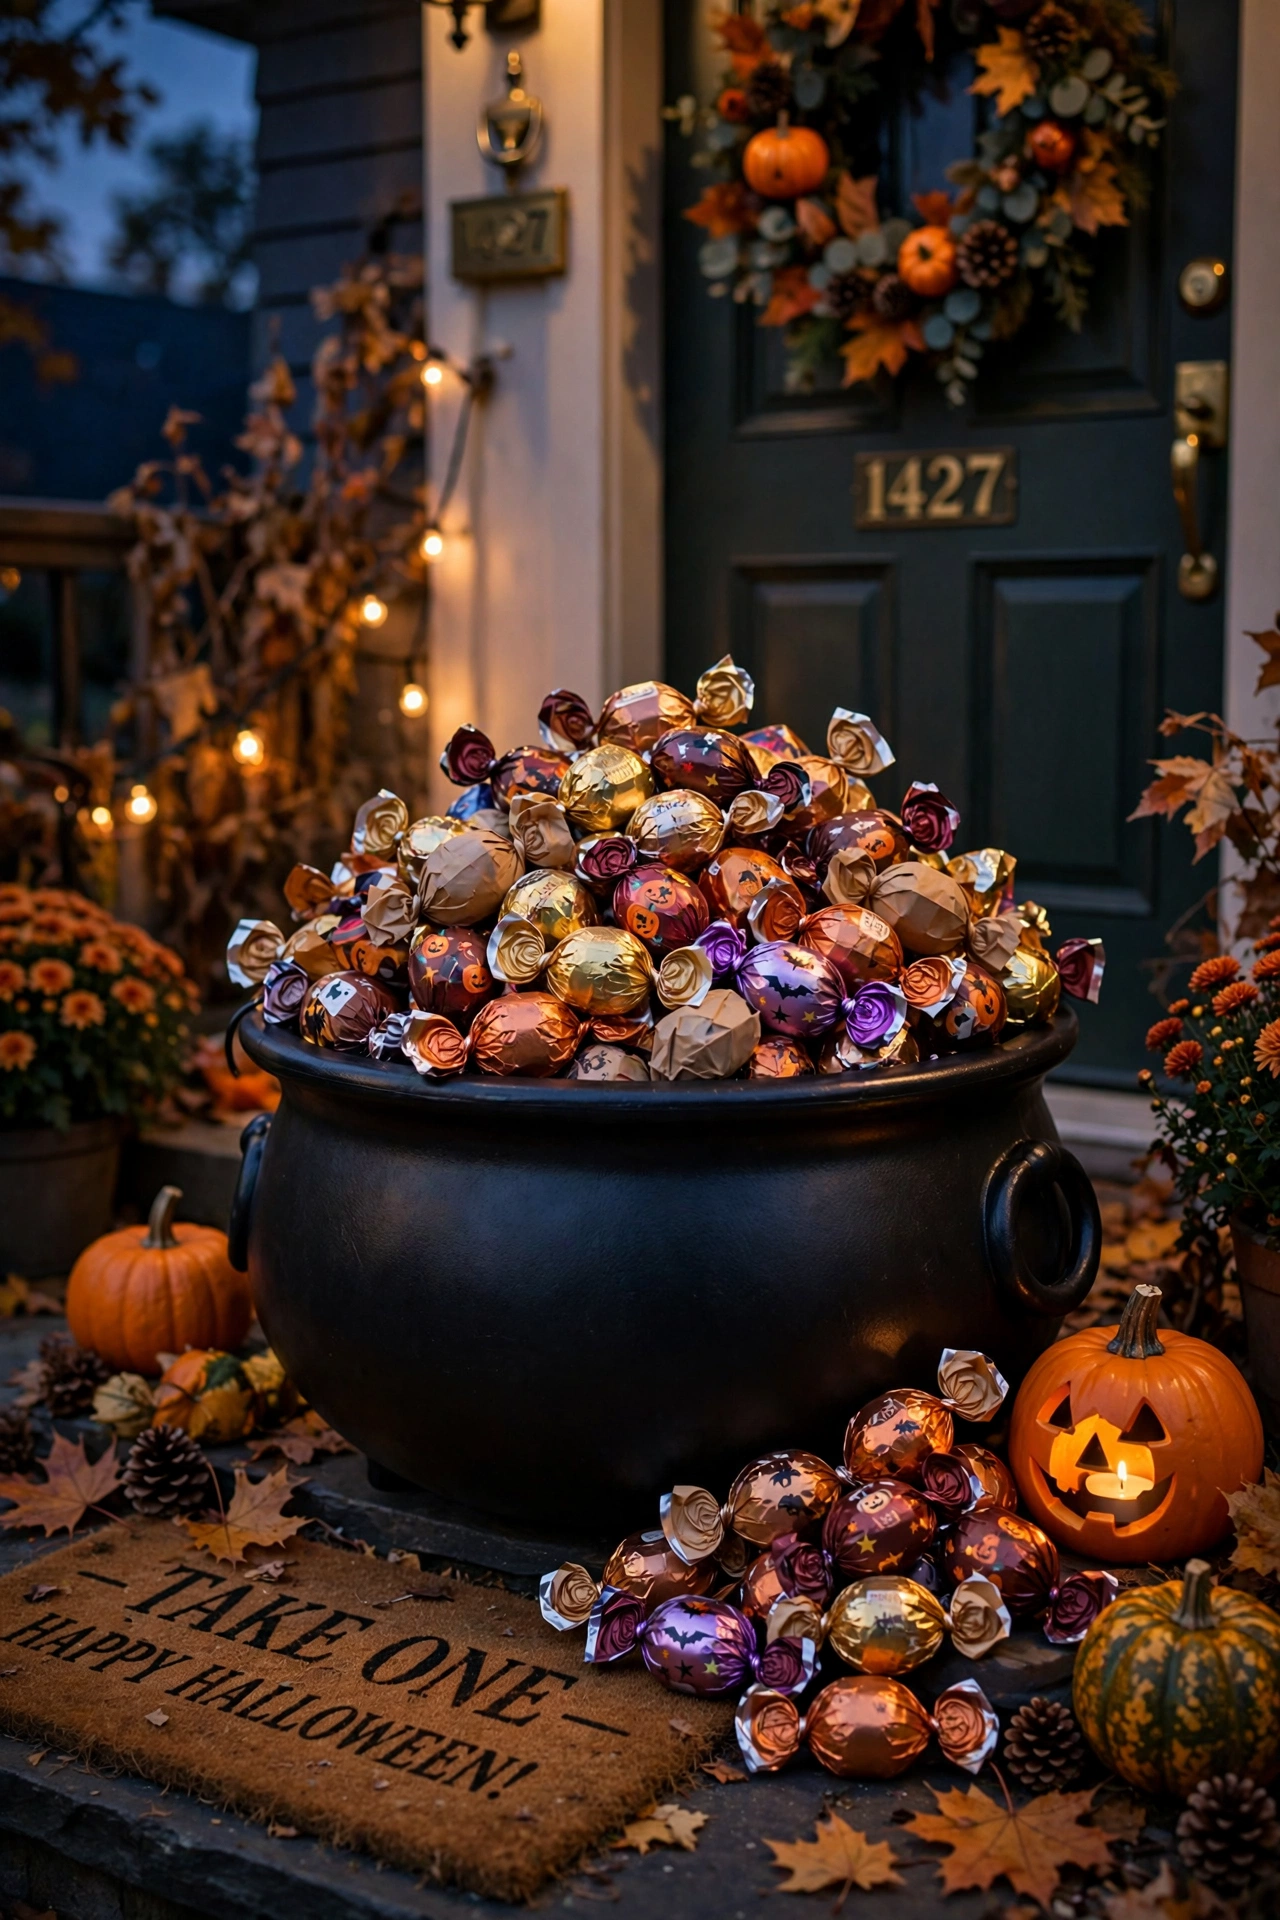
A black plastic cauldron piled with sweets is the classic Halloween serving piece for a reason. Fill the bottom with scrunched paper so the sweets sit high, arrange wrapped chocolates on top, and set it by the door with a ladle for self-service. I tried this at my own party and it emptied within the hour; one mistake to avoid: do not put dry ice where children can touch it, because it burns skin on contact. Cost: ~$3 · Time: 5 minutes.
21. Bloody Handprint Window Clings
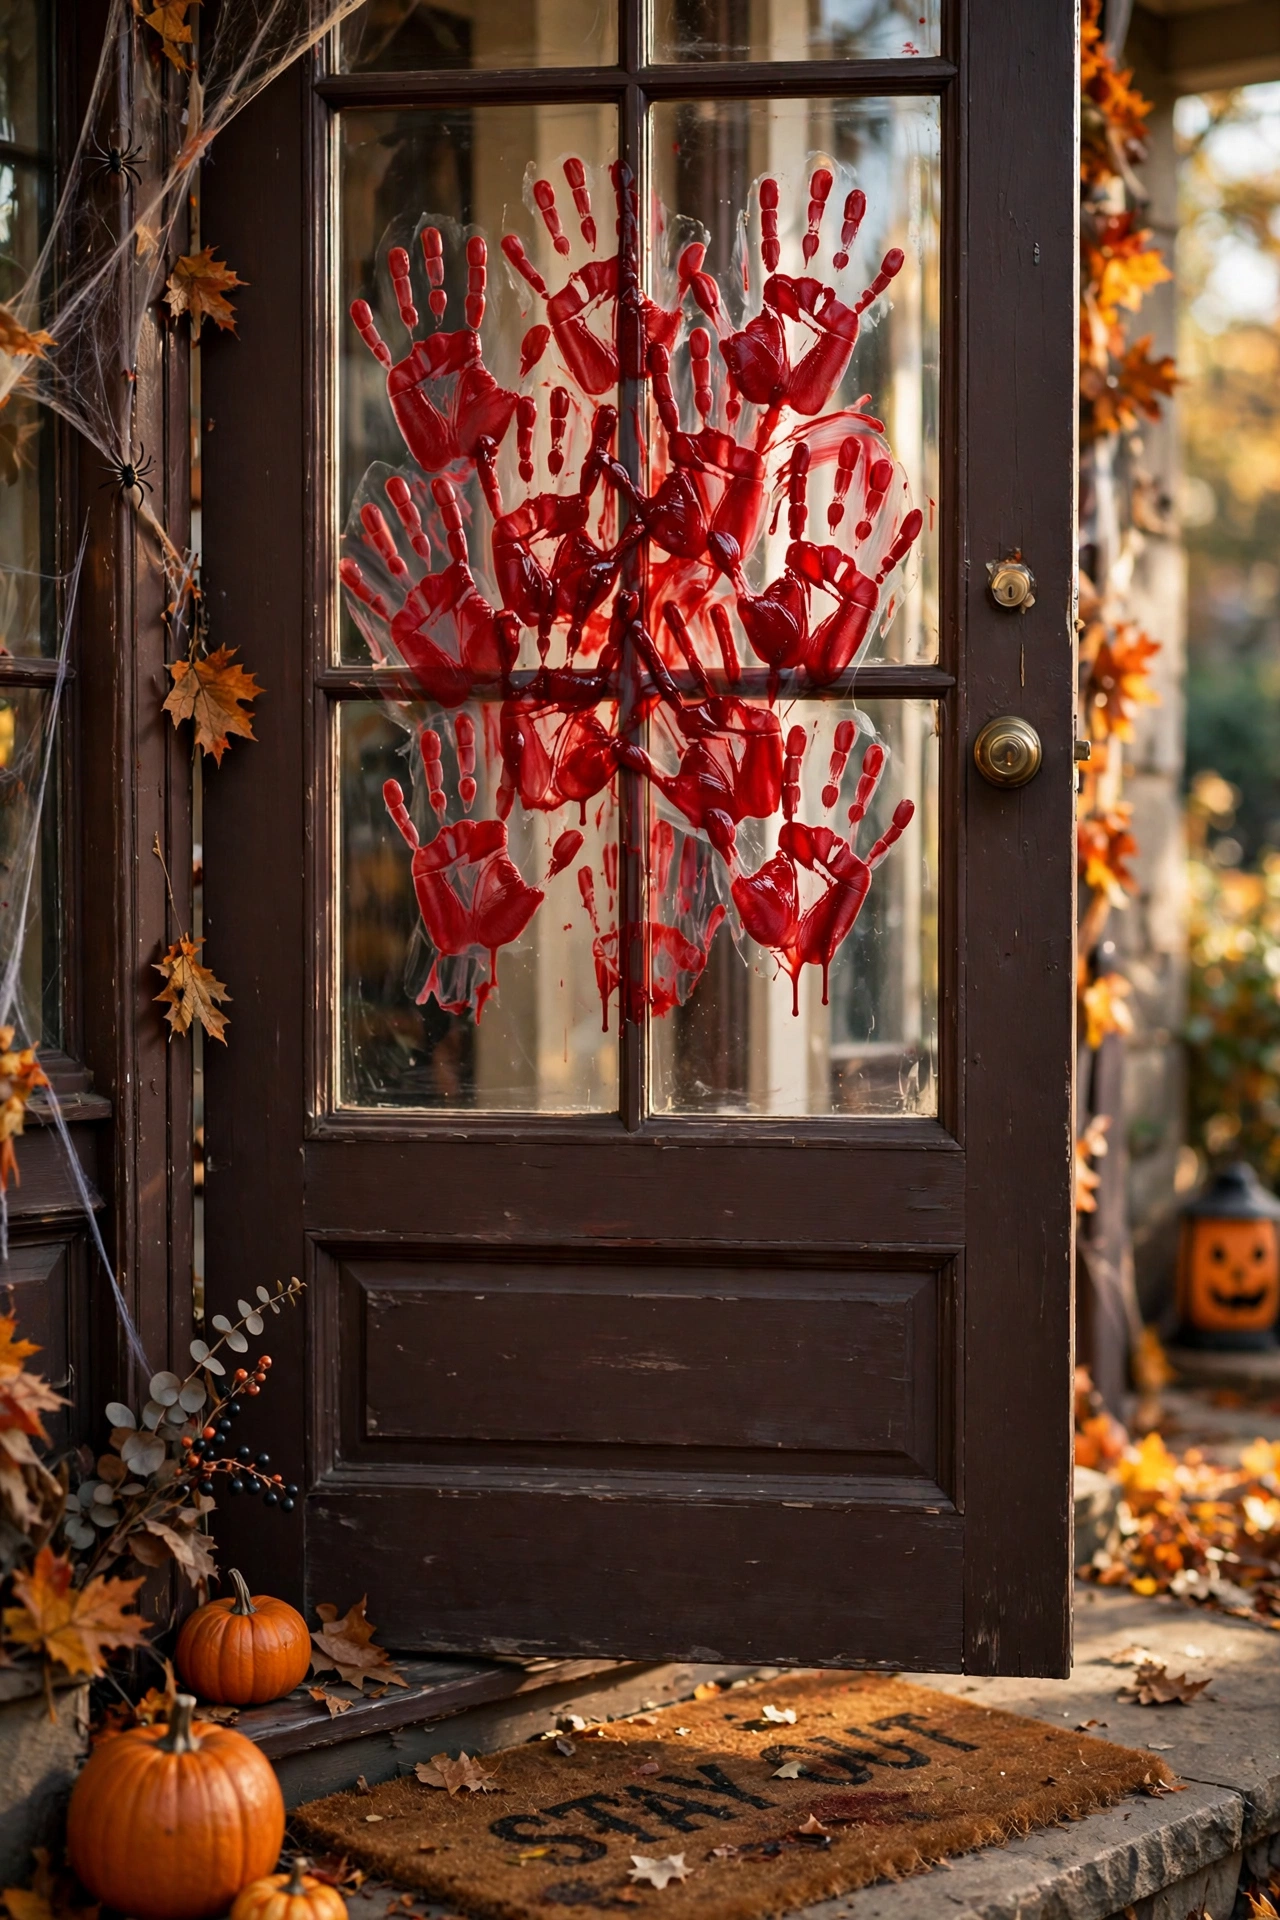
Bloody handprint clings on the front door glass or ground-floor windows give maximum shock for minimum spend. Clean the glass first, press each print down firmly from the centre, and cluster them as if someone was trying to get out – or in. They wash off with warm water. I tried this on my own front door and the postman jumped; one mistake to avoid: do not put them on a neighbour-facing window without warning, because one startled elderly neighbour is one too many. Cost: ~$2 · Time: 10 minutes.
22. Orange Fairy Lights for Bushes
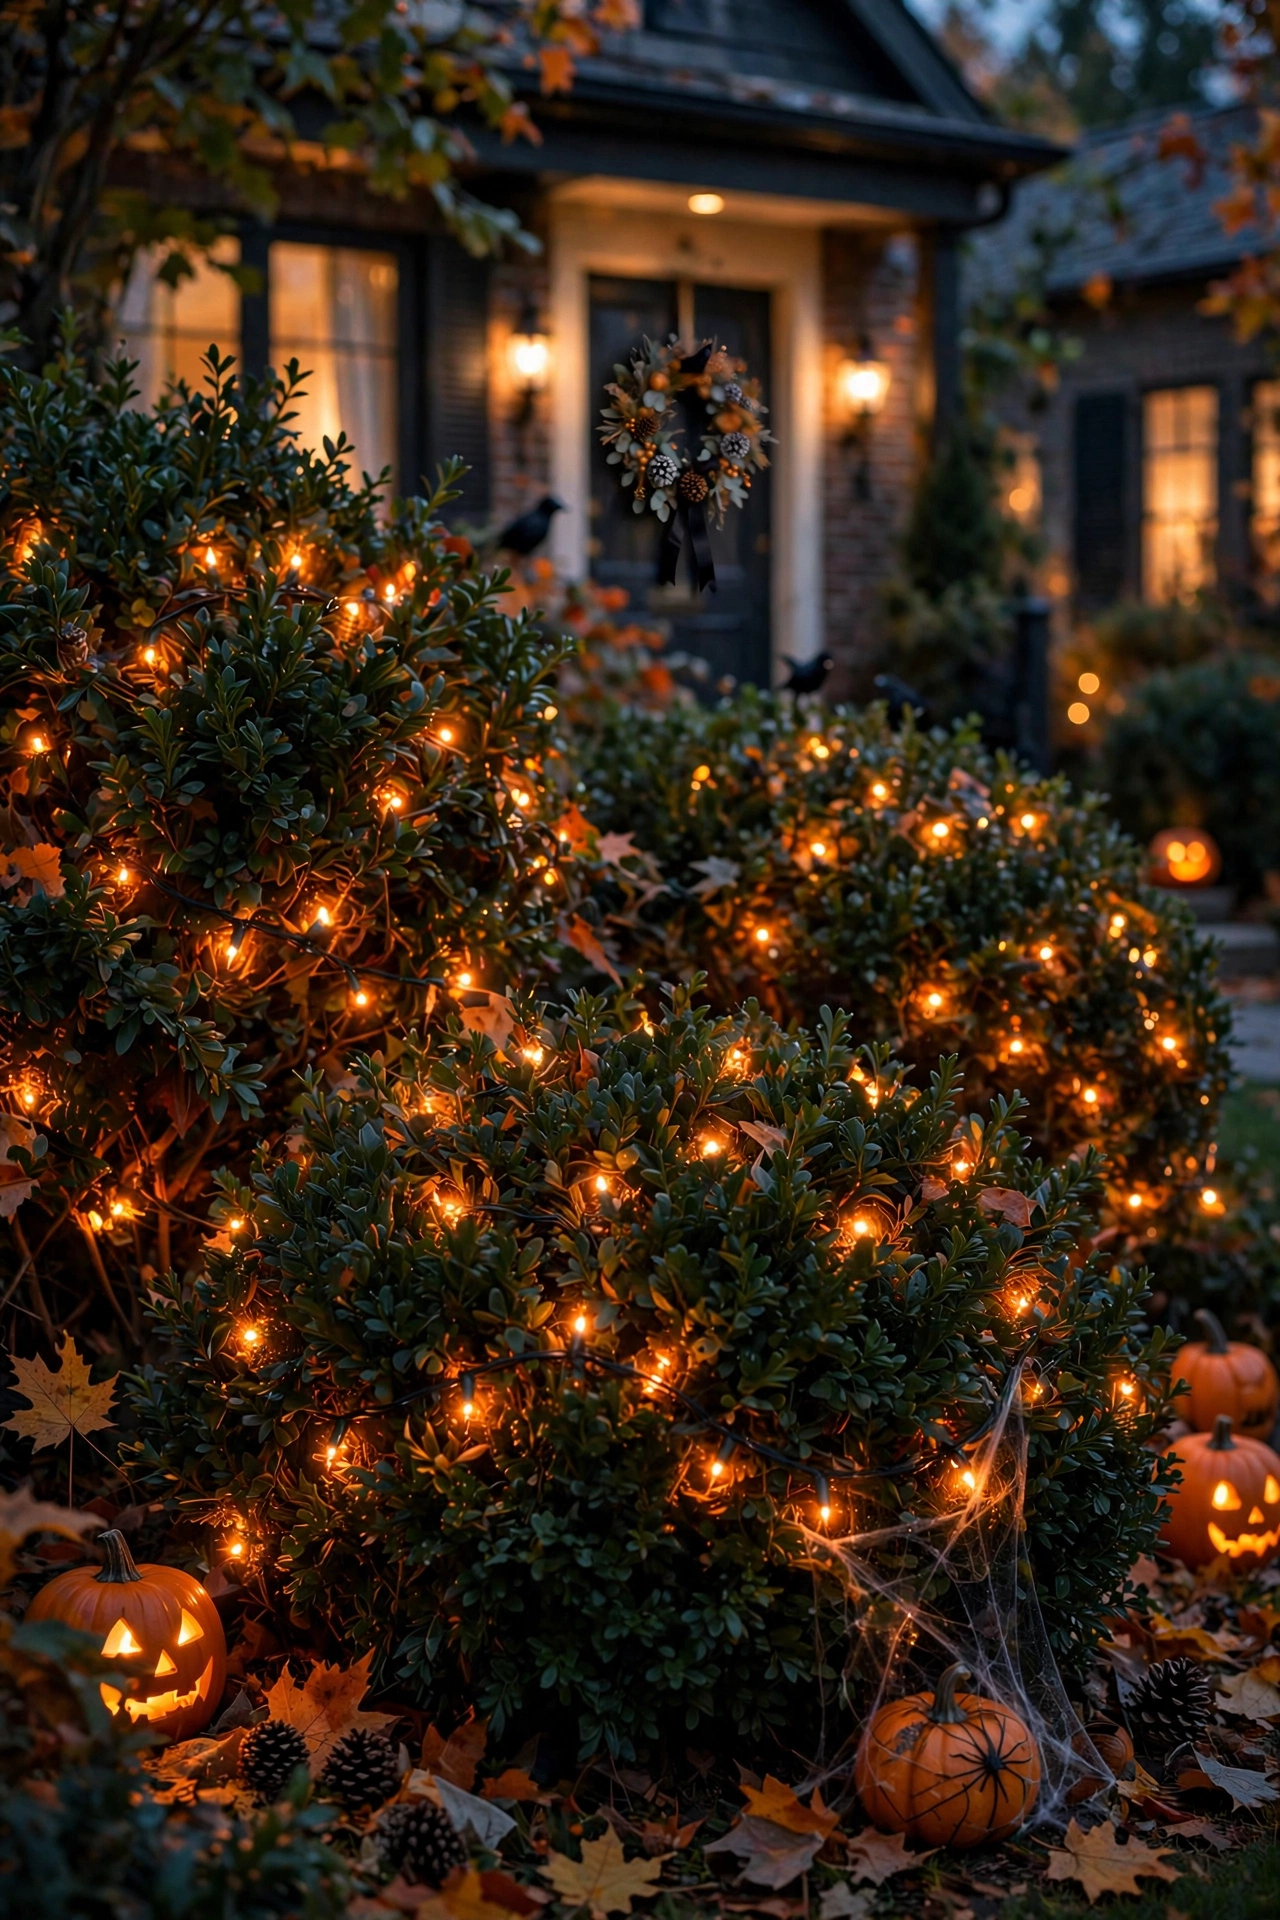
Orange fairy lights wrapped through the front bushes give the whole house a warm Halloween glow. Start from the plug end, weave the lights through the branches rather than just draping them, and use the timer so they switch on at dusk. They read as festive, not tacky, when they are tucked into greenery. I tried this in my own front garden and the house looked brilliant from the street; one mistake to avoid: do not leave the battery pack on the ground in rain, because water gets in and the whole string dies. Cost: ~$4 · Time: 20 minutes.
23. Paper Fan Decorations
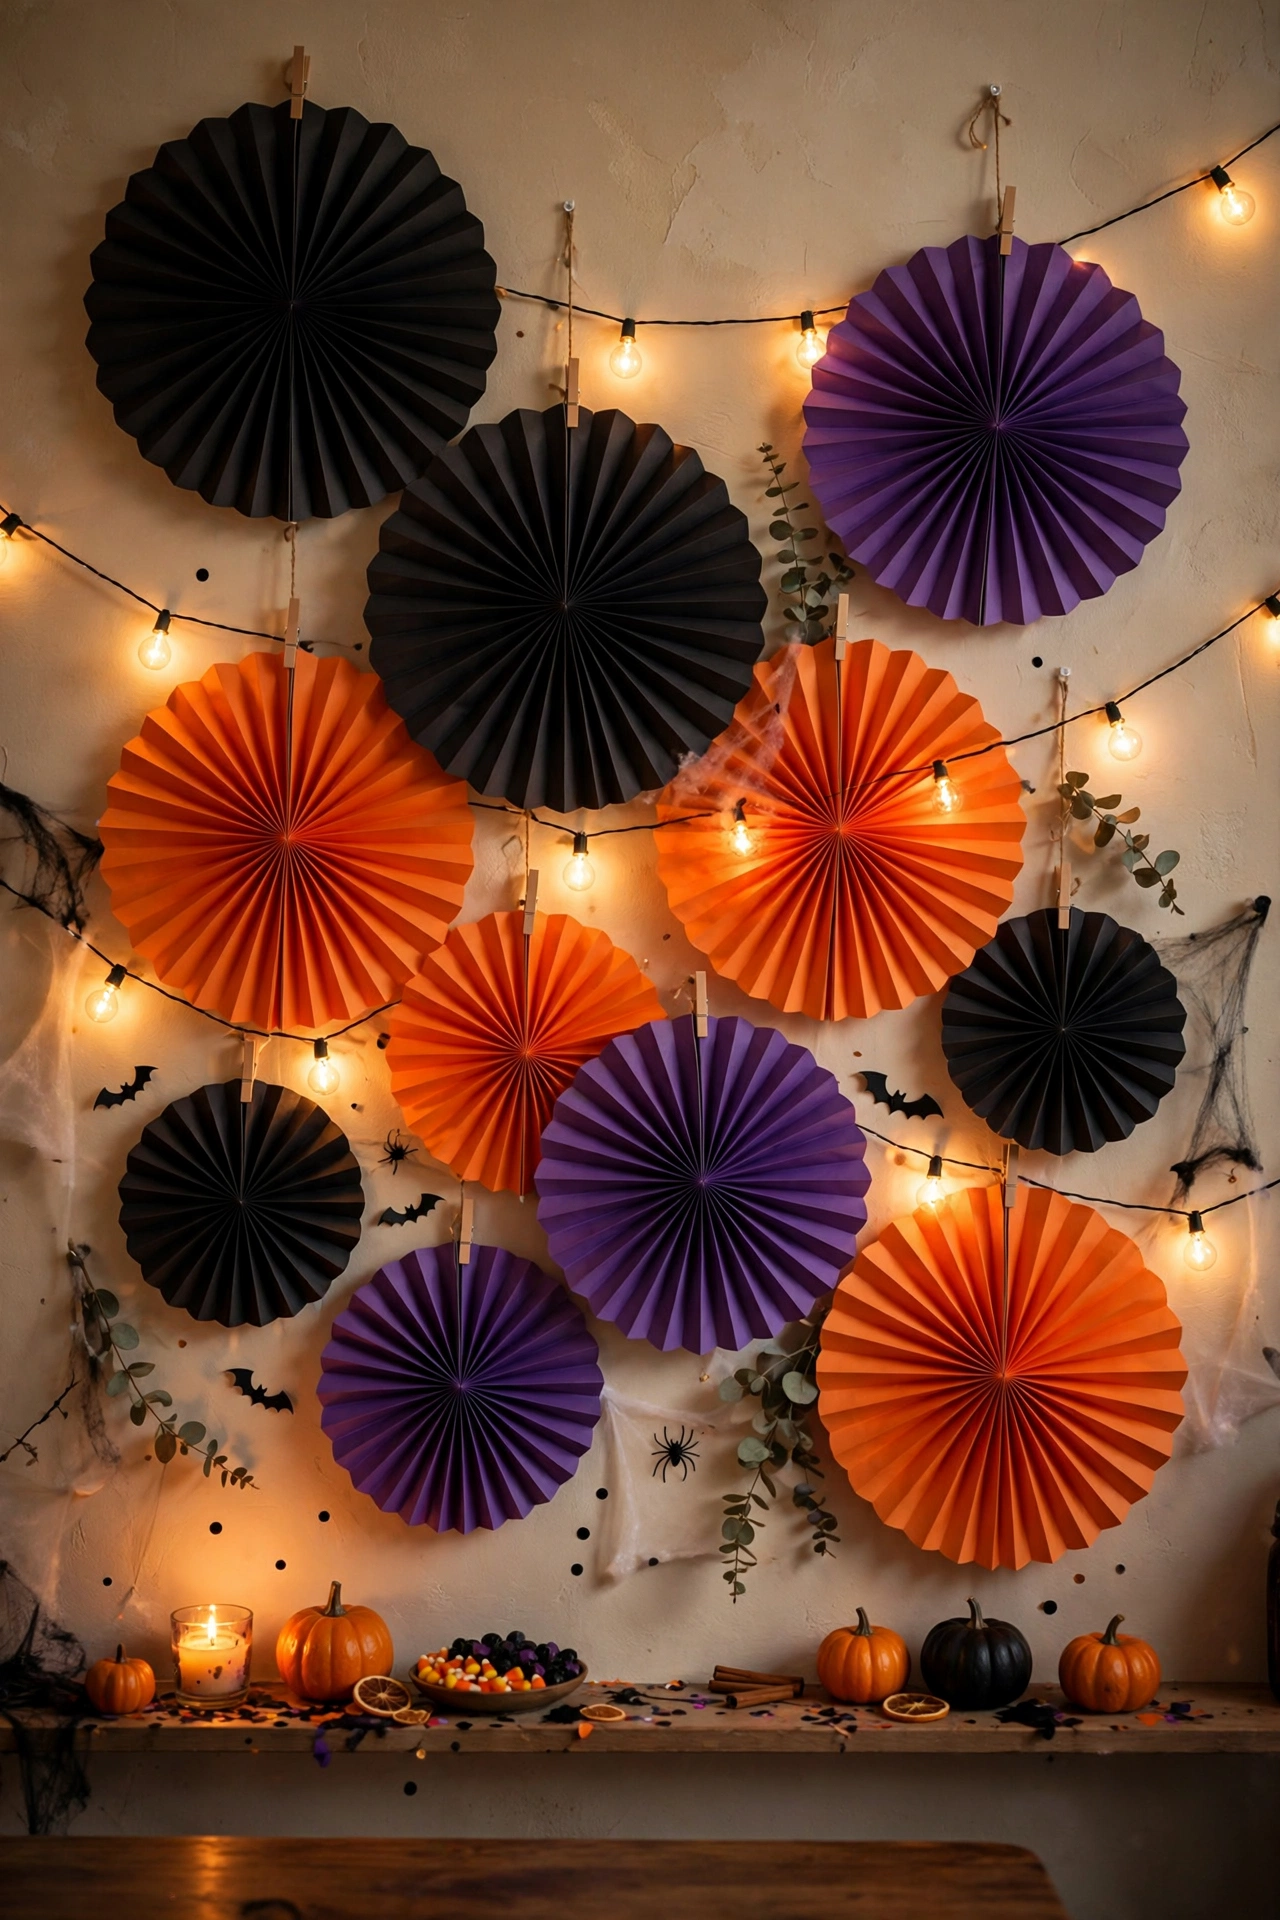
Black, orange and purple paper fans hung at different heights fill a party wall or porch ceiling cheaply and look fantastic in photos. Fan each one open, secure with the included clip, and hang with removable hooks at staggered heights. Mix sizes for a proper display. I tried this across my own party wall and it photographed brilliantly; one mistake to avoid: do not hang them in a draughty hallway, because they spin and tangle into each other within minutes. Cost: ~$4 for a set · Time: 15 minutes.
24. Skull Ice Bucket for Drinks
A large skull-shaped bowl filled with ice keeps drinks cold and doubles as a centrepiece. Line it with a food-safe bag first, fill with ice, and nestle bottles and cans into it. It sits perfectly on a drinks table or bar cart. I tried this at my own Halloween gathering and it was the talking point of the drinks station; one mistake to avoid: do not skip the liner, because the paint on novelty bowls is not food-safe against melting ice. Cost: ~$4 · Time: 5 minutes.
25. Tombstone Yard Signs
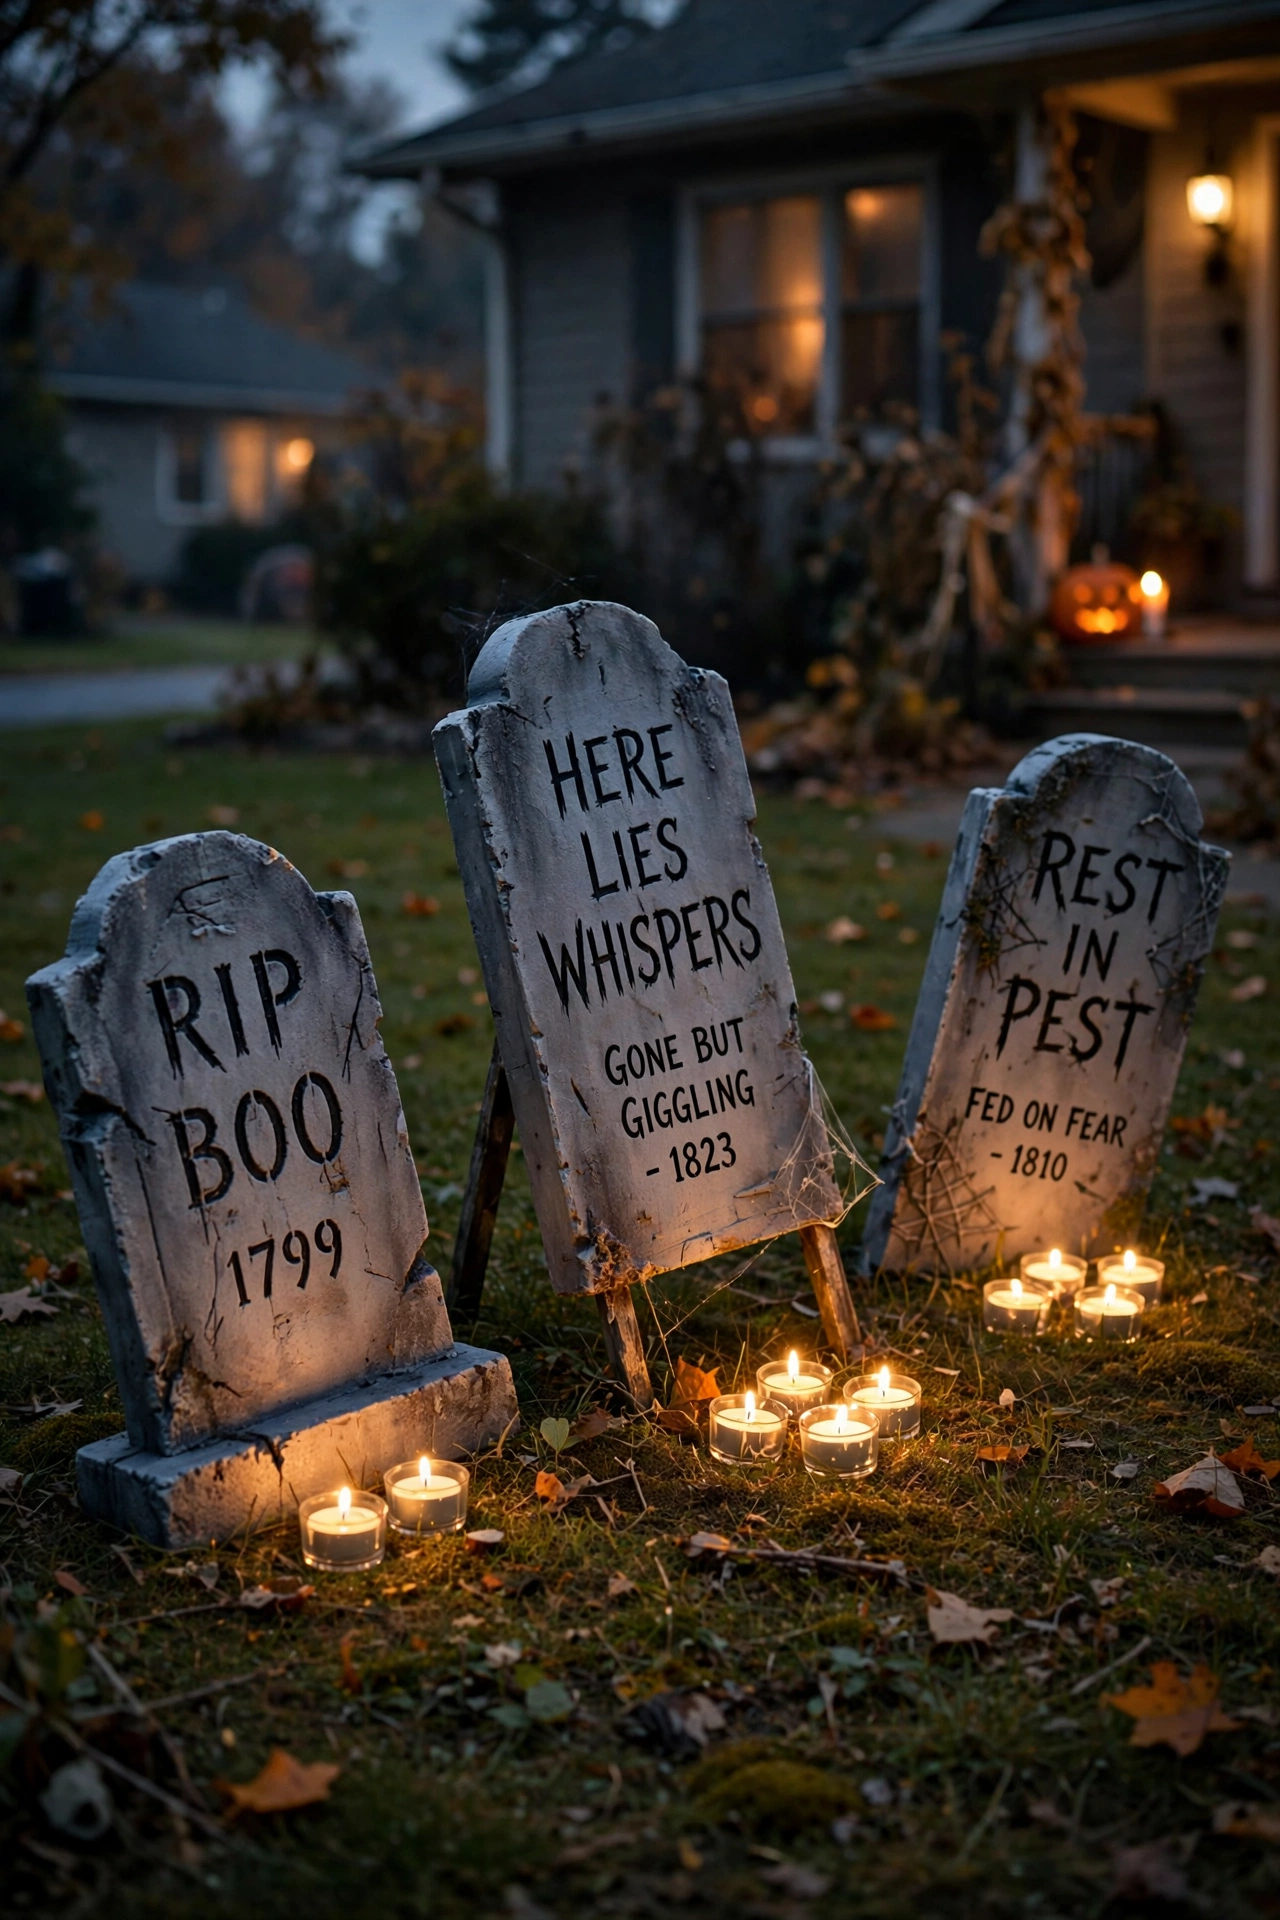
Foam tombstones staked into the front lawn are the finishing touch for a proper haunted house. Push the stakes in at slightly crooked angles – perfect rows look like a garden centre, crooked looks like a graveyard – and add a name and date to each with a marker. A few tea lights in front of them after dark complete the scene. I tried this in my own front garden and the whole street slowed down to look; one mistake to avoid: do not place them right at the pavement edge, because excited dogs and footballs will take them out. Cost: ~$6 for a set · Time: 15 minutes.
Halloween Dollar Store FAQ
How early should I buy Dollar Tree Halloween decor?
Buy as soon as it hits the shelves, which is usually late August. The good pieces – the black candlesticks, the decent garlands, the pumpkin buckets – sell out by early October, and restocks are patchy. I have learned this the hard way two years running: go in September with your list, buy everything at once, and store it in one labelled box so next year you just open the box instead of rebuying.
Are Dollar Tree Halloween decorations durable enough to reuse?
Most of them are, with a little care. Hard plastic pieces like skulls, cauldrons and potion bottles last for years if you box them with tissue. The fragile ones are the feather items, paper fans and anything with thin wire – those are realistically one or two seasons. Store everything dry and out of the loft’s damp corners, and your haul gets cheaper every year you reuse it.
What are the best dollar store Halloween decor dupes?
The black taper candlesticks are the standout dupe – they look identical to the boutique versions at ten times the price. Close behind are the LED pillar candles with timers, the glass-look potion bottles, and the mini foam pumpkins, which pass for the craft-store kind once styled. The items to skip as dupes are the faux florals and anything trying to look like aged metal; the finish gives them away up close.
How much should a full Halloween porch cost from the dollar store?
A convincing full porch – webs, pumpkins, lights, a wreath, tombstones and a banner – lands around $25 to $35 from the dollar store if you buy with a plan. The trick is deciding your scheme first: pick two or three colours, usually black plus orange plus one accent, and buy only pieces that fit. Random one-off purchases are what make a porch look cheap, not the price tags.
That is the full list – 25 finds that cover the whole house, inside and out, for less than one boutique decoration. The real secret is styling: group things in odd numbers, layer heights, and keep to a tight colour palette, and nobody will guess the total. For year-round versions of the same trick, see (see also: 21-high-end-dupes-from-the-dollar-store-worth-grabbing) and our wreath roundup (see also: 23-dollar-tree-wreath-ideas-that-look-expensive).
Save this post for later so you have the full list on your next dollar store trip.
