19 Olive Green Bedroom Decor Ideas on a Budget
I fell for olive green the autumn I painted a spare wall sample and could not stop staring at it. My bedroom at the time was all beige and tired, so I decided to build an Olive Green bedroom decor scheme around one quart of paint and a stack of thrift-store finds. The whole first round cost me under $120, and it taught me that olive pairs beautifully with cream, rattan, brass, and black. It is an earthy colour that feels calm in the morning and cosy at night.
Below are the nineteen ideas I actually used, in the order I would do them again. Every one stays friendly to a tight budget, with real costs and honest timings attached. Some are paint, some are plants, some are pure thrift luck. Mix the ones that fit your room, and you will have an olive bedroom that looks collected over years instead of bought in one weekend.
1. Olive Green Accent Wall Behind the Bed
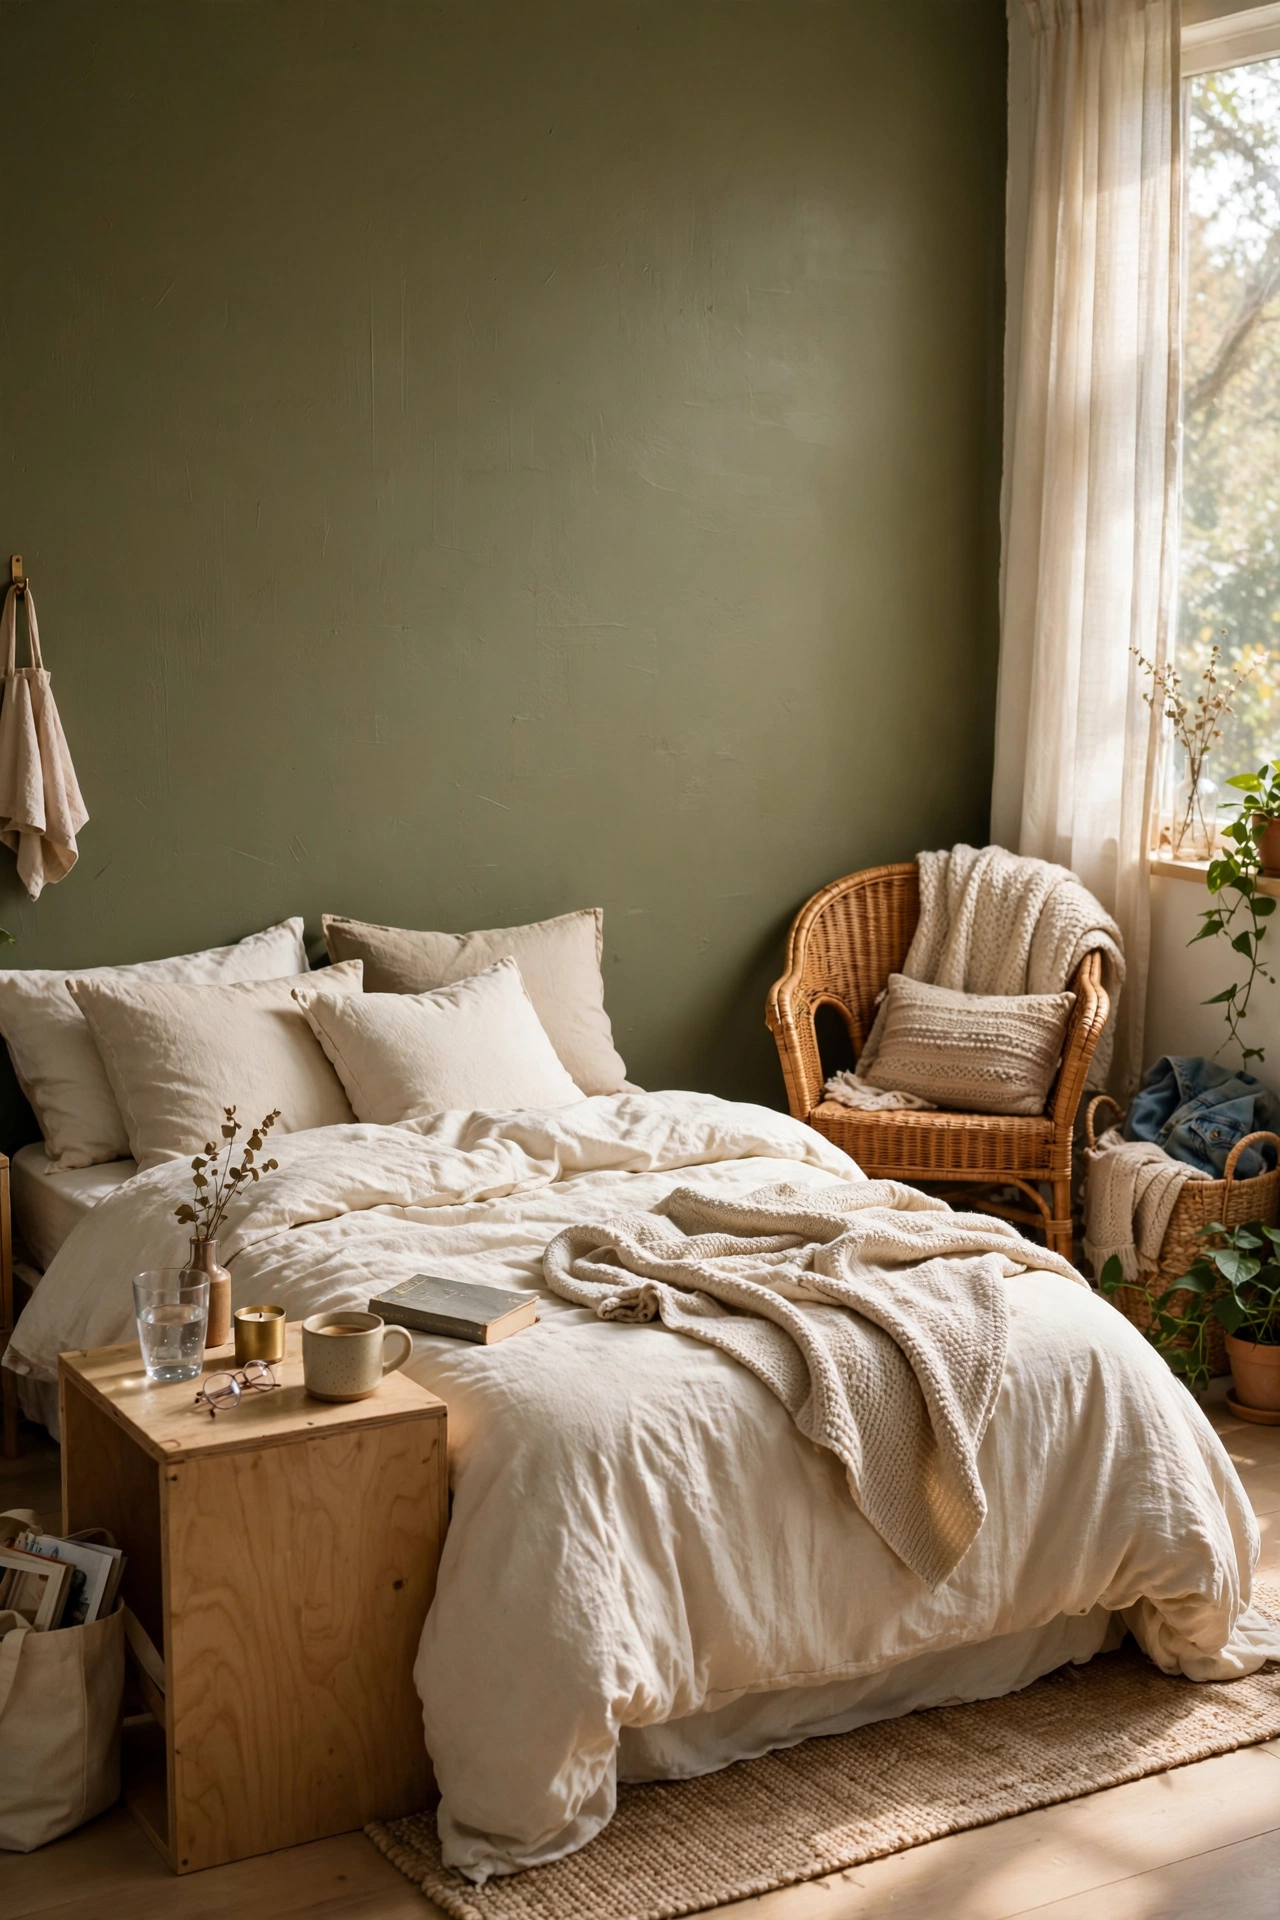
An olive green accent wall is the fastest way to make a bedroom feel grounded, and it cost me one quart of paint. I chose a muted olive with grey undertones, painted the wall behind the headboard, and did two thin coats with a roller, cutting in the edges with an angled brush. Test your swatch at noon and at dusk, because olive shifts dramatically with light. My first pick looked brown under warm bulbs. The second stayed a true earthy green all day. One quart covered the whole wall with paint to spare, and the room instantly felt like a countryside cottage instead of a rental box.
Cost: ~$9-15 | Time: 2 hours plus drying
2. Cream and Olive Layered Bedding
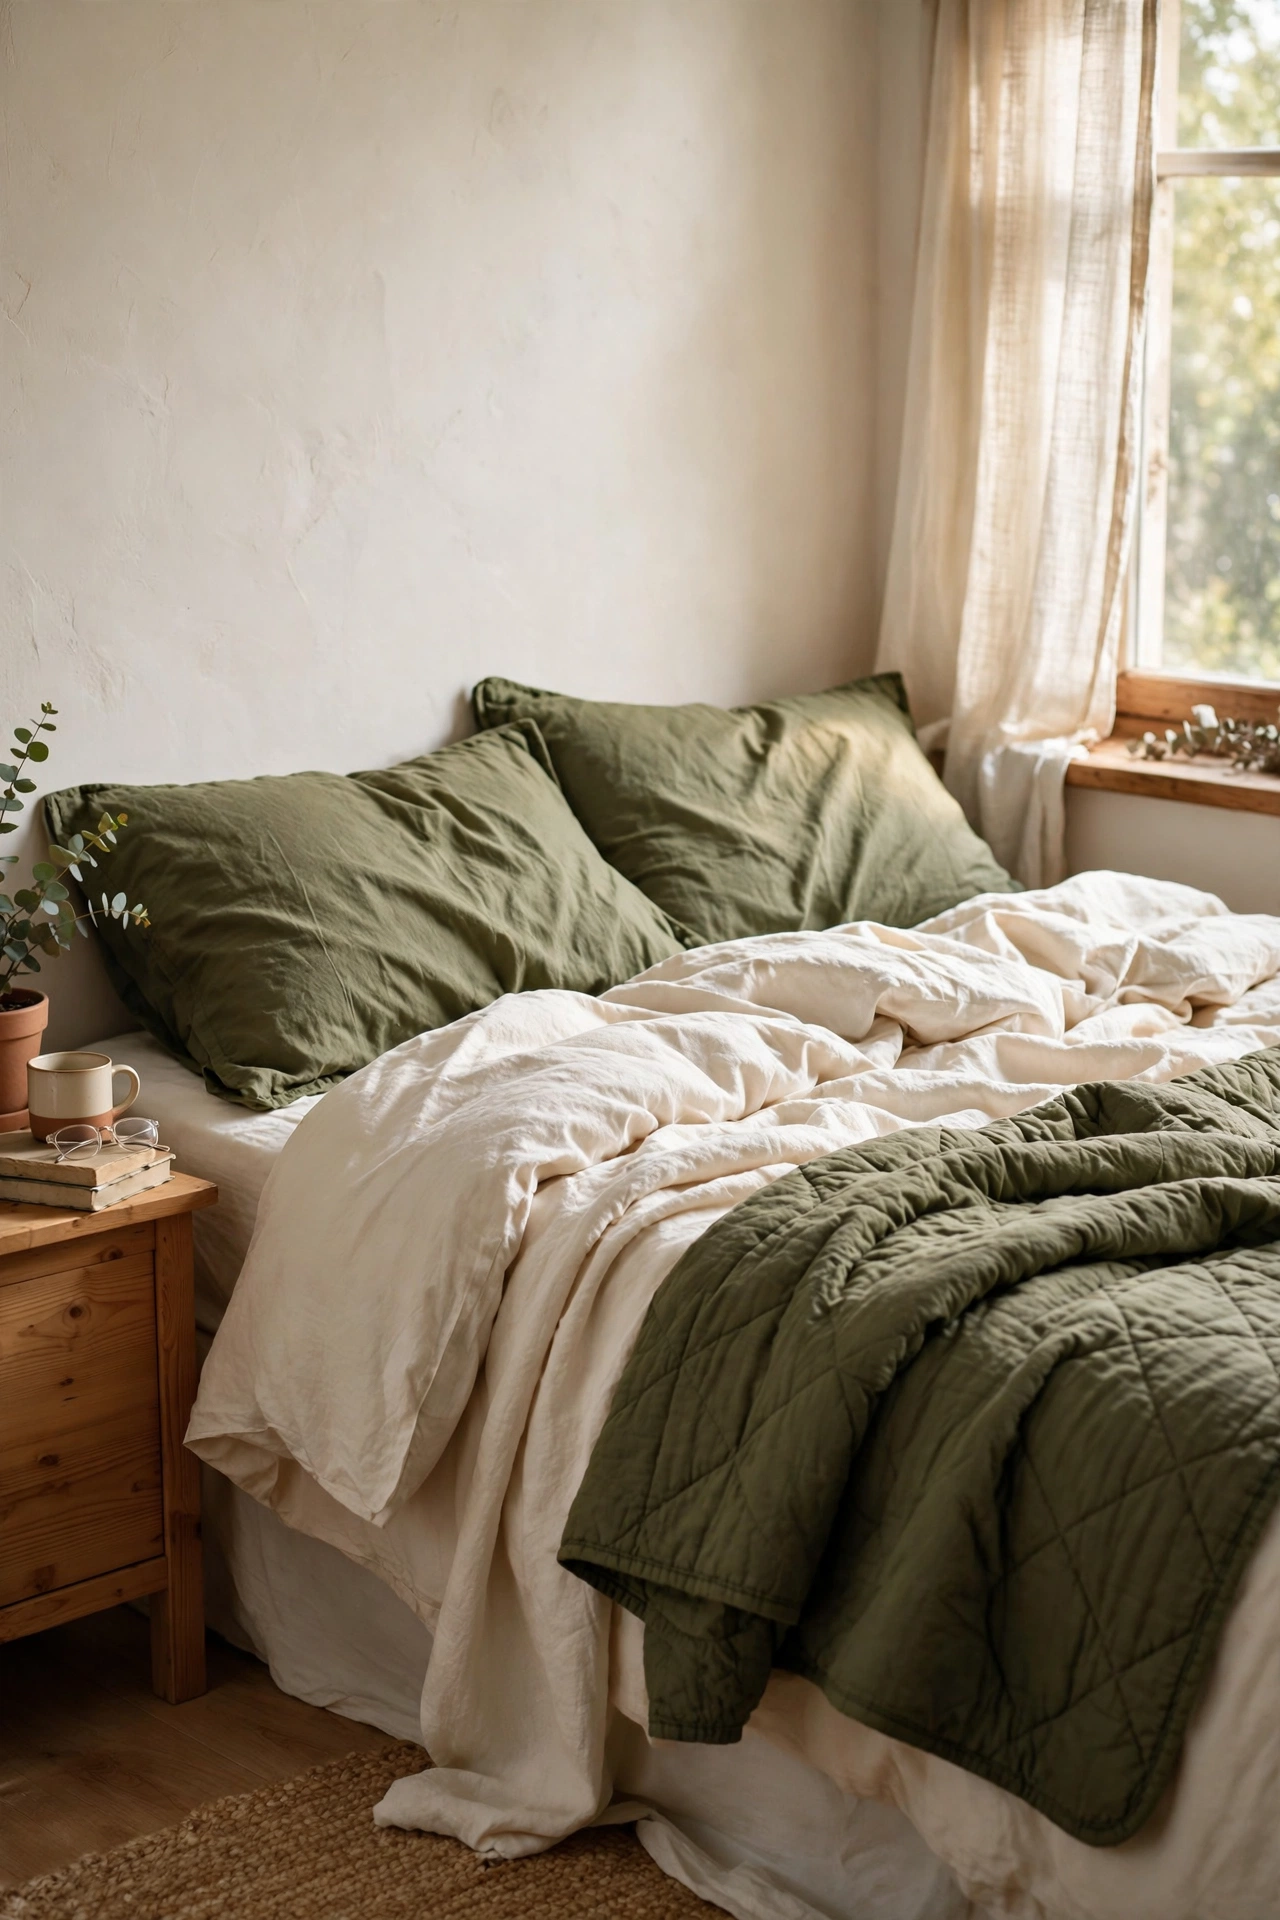
Bedding is where olive green feels soft instead of bold. I bought a cream duvet set on sale and added two olive pillowcases plus one olive quilt folded across the foot of the bed. Keep every piece in warm, earthy tones so the bed reads calm, not Christmas. The trick is proportion: let cream dominate and use olive as the accent, roughly a seventy-thirty split. I learned this the hard way when my first attempt was all olive and the bed looked like a jungle. Stepping back to mostly cream with olive touches made the whole room feel restful. Shop end-of-season sales and clearance racks for the best prices on cotton sets.
Cost: ~$25-40 | Time: 20 minutes
3. Thrifted Rattan Accent Chair
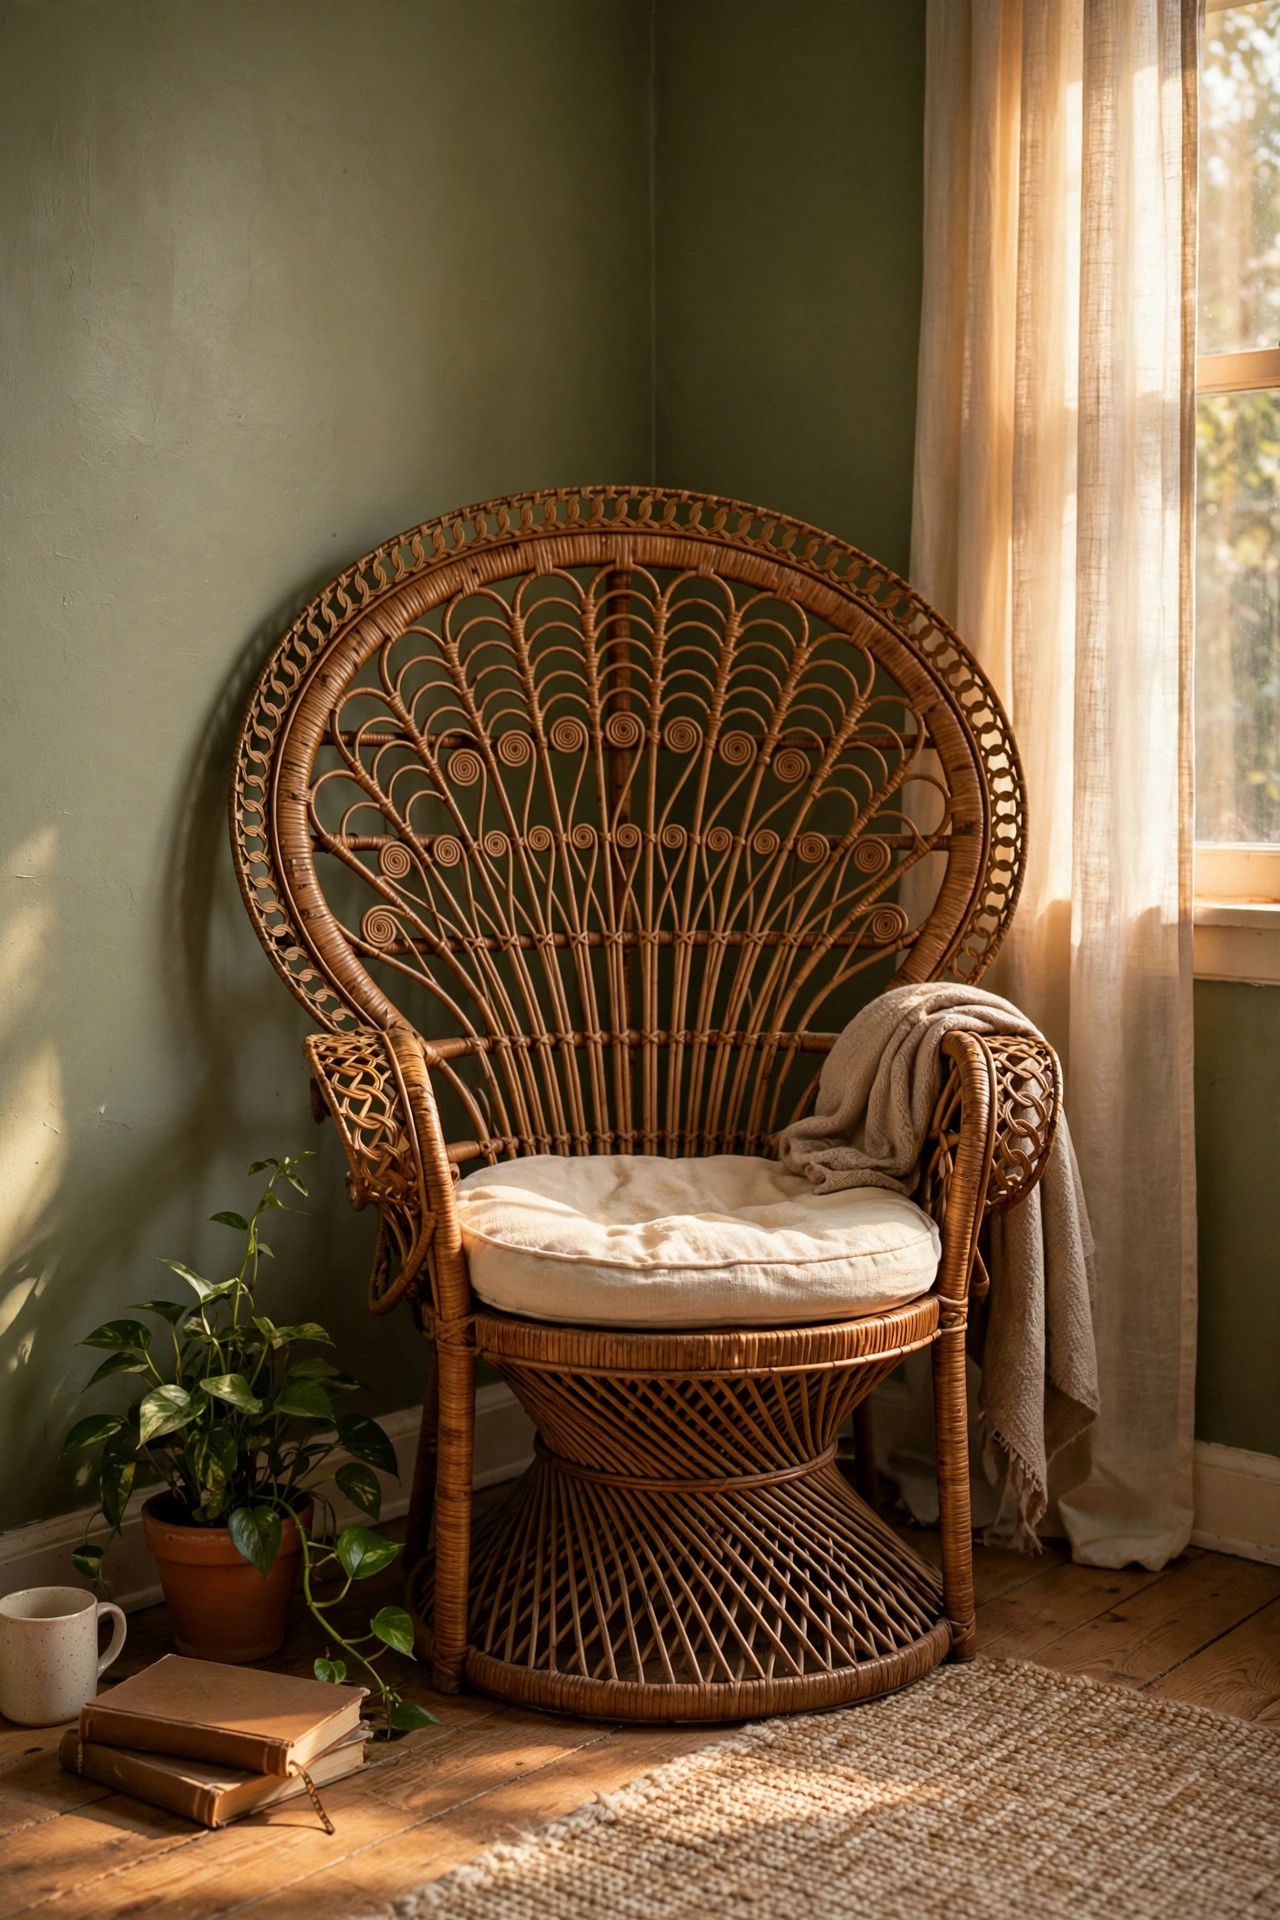
Rattan and olive green are a natural pair, and a thrifted chair is the cheapest way to bring the texture in. I found a peacock-style rattan chair at a charity shop for $25, wiped it down, and tucked a cream cushion onto the seat. Place it in the corner by the window so it catches natural light and becomes a reading spot. Check the joints before you buy, because loose rattan is hard to repair. Mine wobbled slightly, and I fixed it by tightening the screws and adding a dab of wood glue. It has become the seat everyone claims when they visit. Thrift stores restock midweek, so I check every Wednesday morning.
Cost: ~$25-35 | Time: 15 minutes
4. DIY Olive Botanical Wall Art
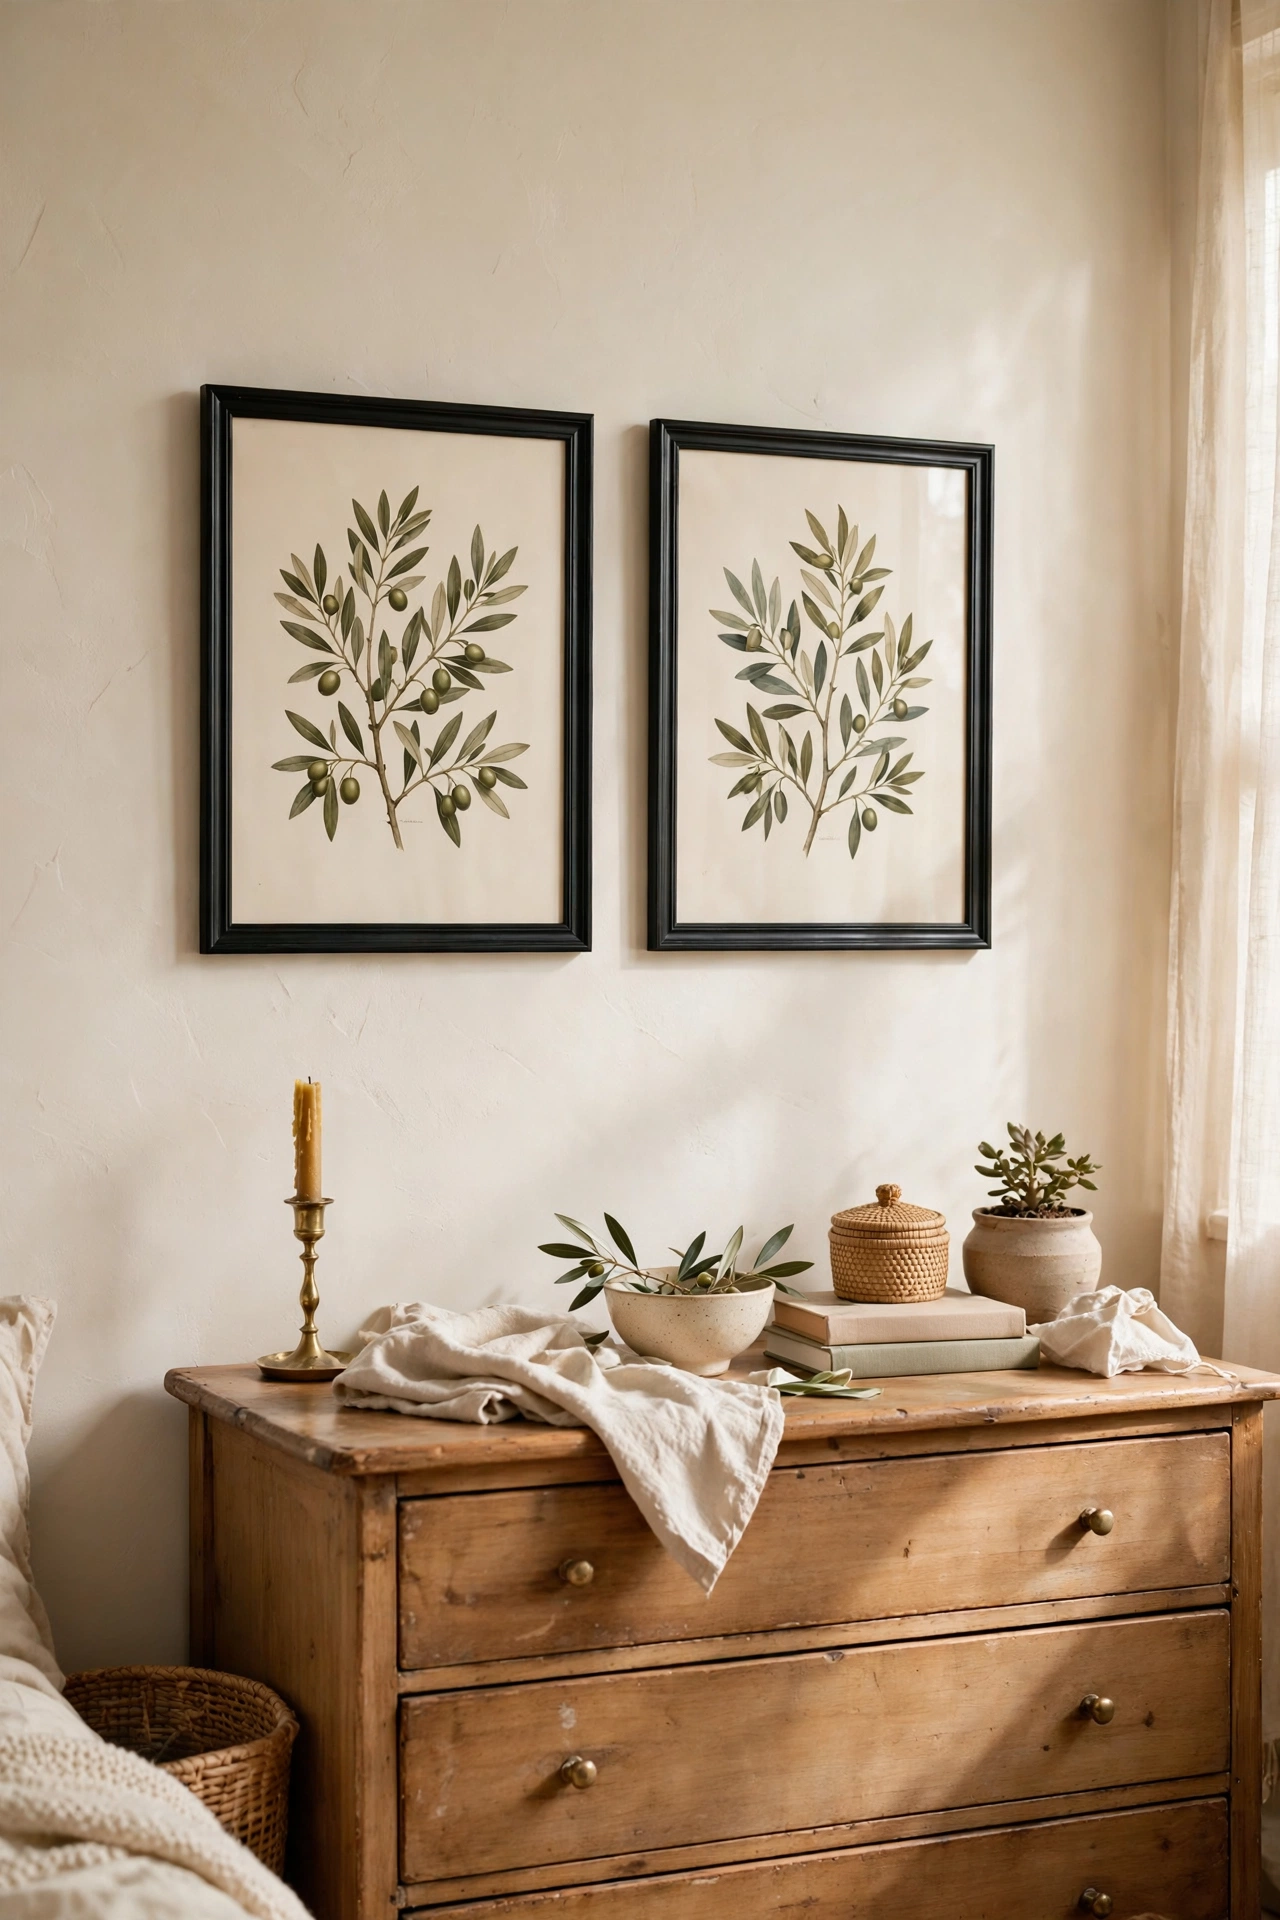
Framed botanical prints in olive tones add wall interest for the price of printing. I downloaded free vintage botanical illustrations, tinted two of them olive in a free photo editor, and printed them at the library for $1 each. Then I framed them in matching black thrift frames I found for $2 each. Hang them as a pair above the dresser or in a row of three over the bed. Keep the mats wide so cheap prints look expensive. My first attempt used mismatched frames from around the house and it looked cluttered. Matching black frames pulled the whole arrangement together in minutes.
Cost: ~$6-12 | Time: 30 minutes
5. Brass Table Lamp with a Warm Glow
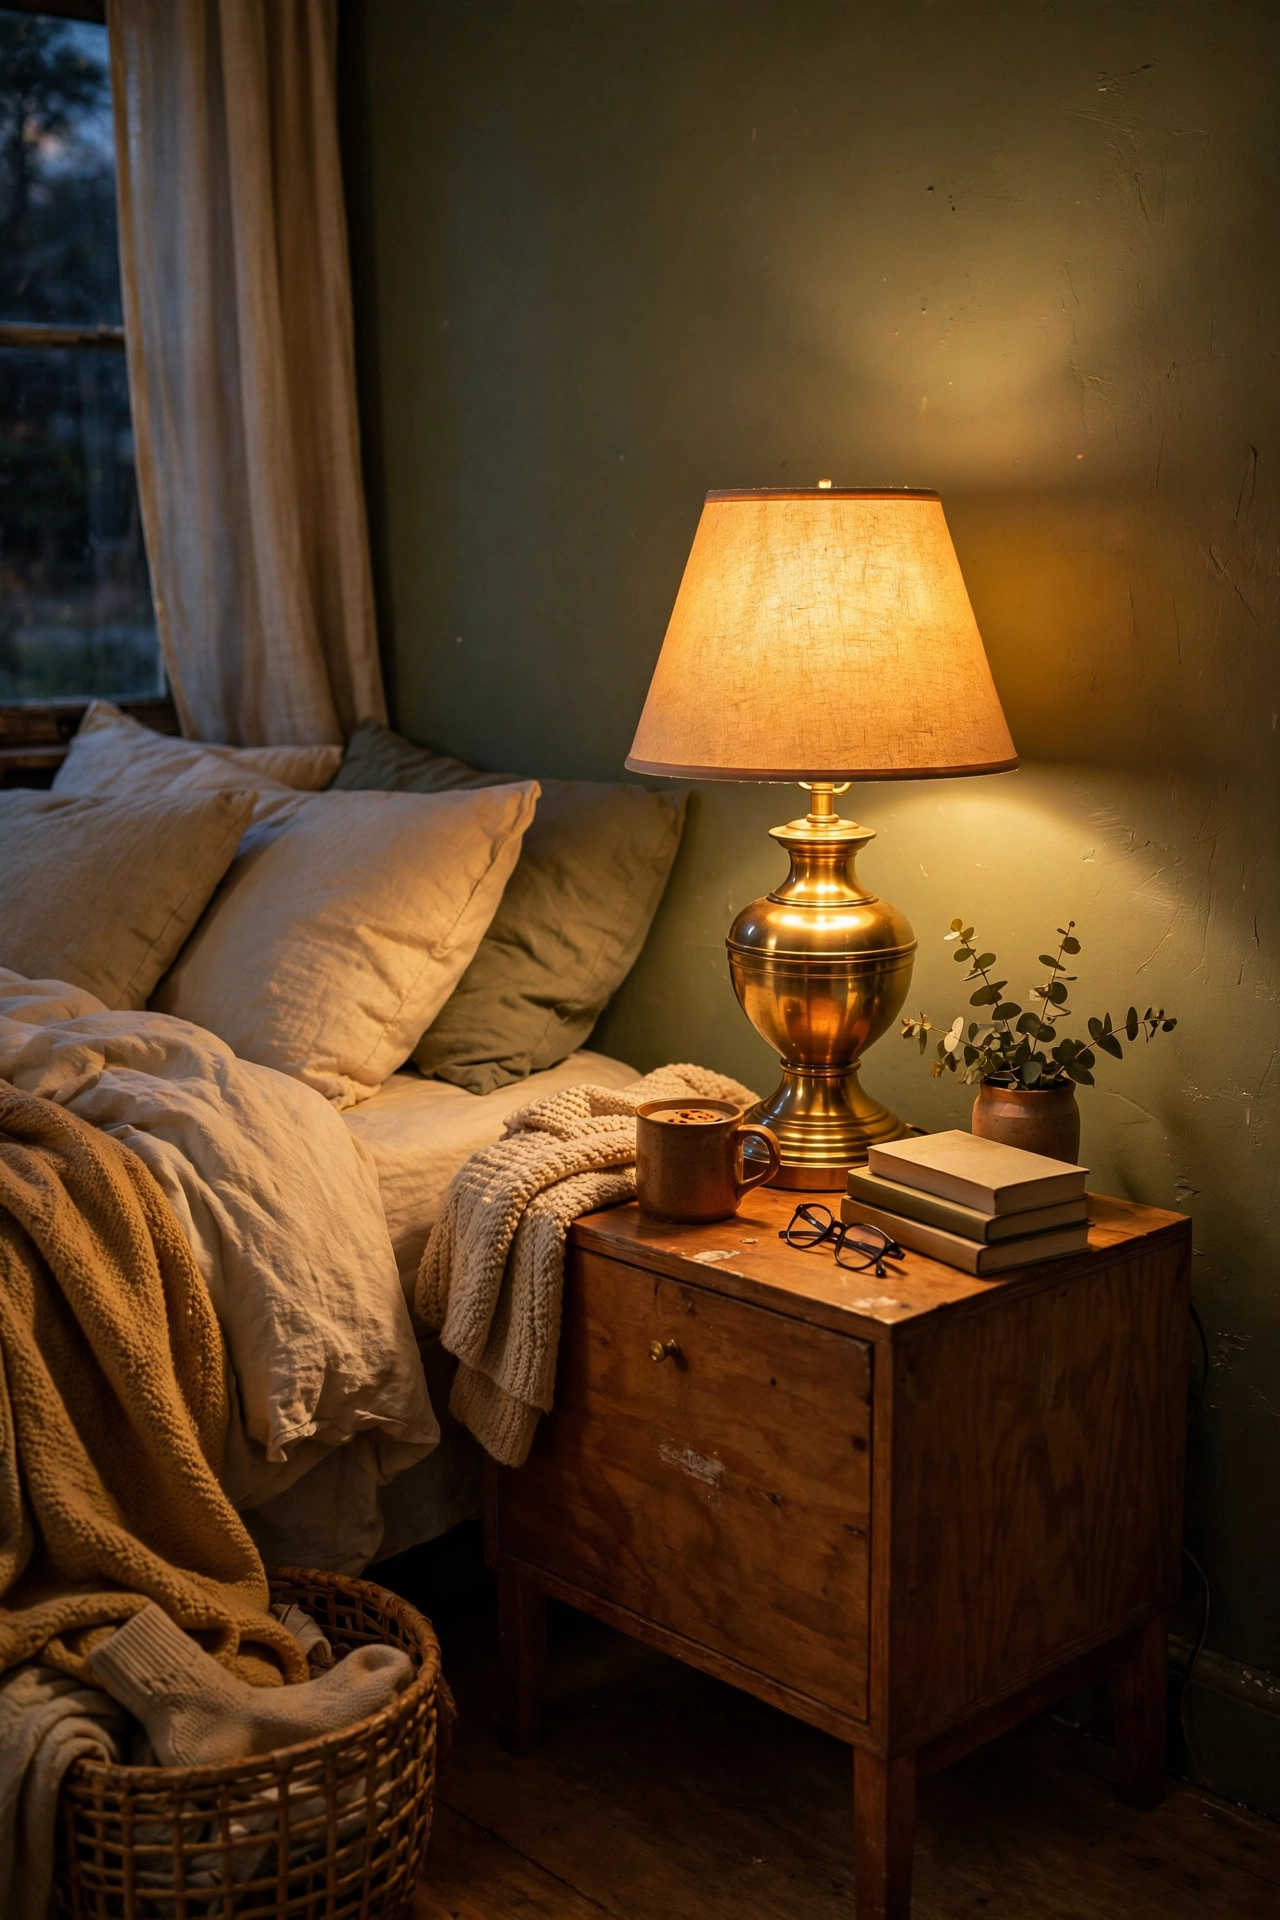
Brass glows against olive walls like candlelight, and you do not need a designer lamp to get the effect. I found a tarnished brass table lamp at a flea market for $12, polished it with vinegar and salt, and fitted a warm 2700K bulb. Place it on the nightstand so the golden light pools across the olive wall behind it. Skip cool-white bulbs here, because they turn olive grey-green and flat. My first bulb was daylight white and the wall looked muddy. The warm bulb transformed the corner into the prettiest reading light in the house. One lamp, ten minutes of polishing, done.
Cost: ~$14-20 | Time: 30 minutes
6. Olive and Cream Throw Pillow Covers
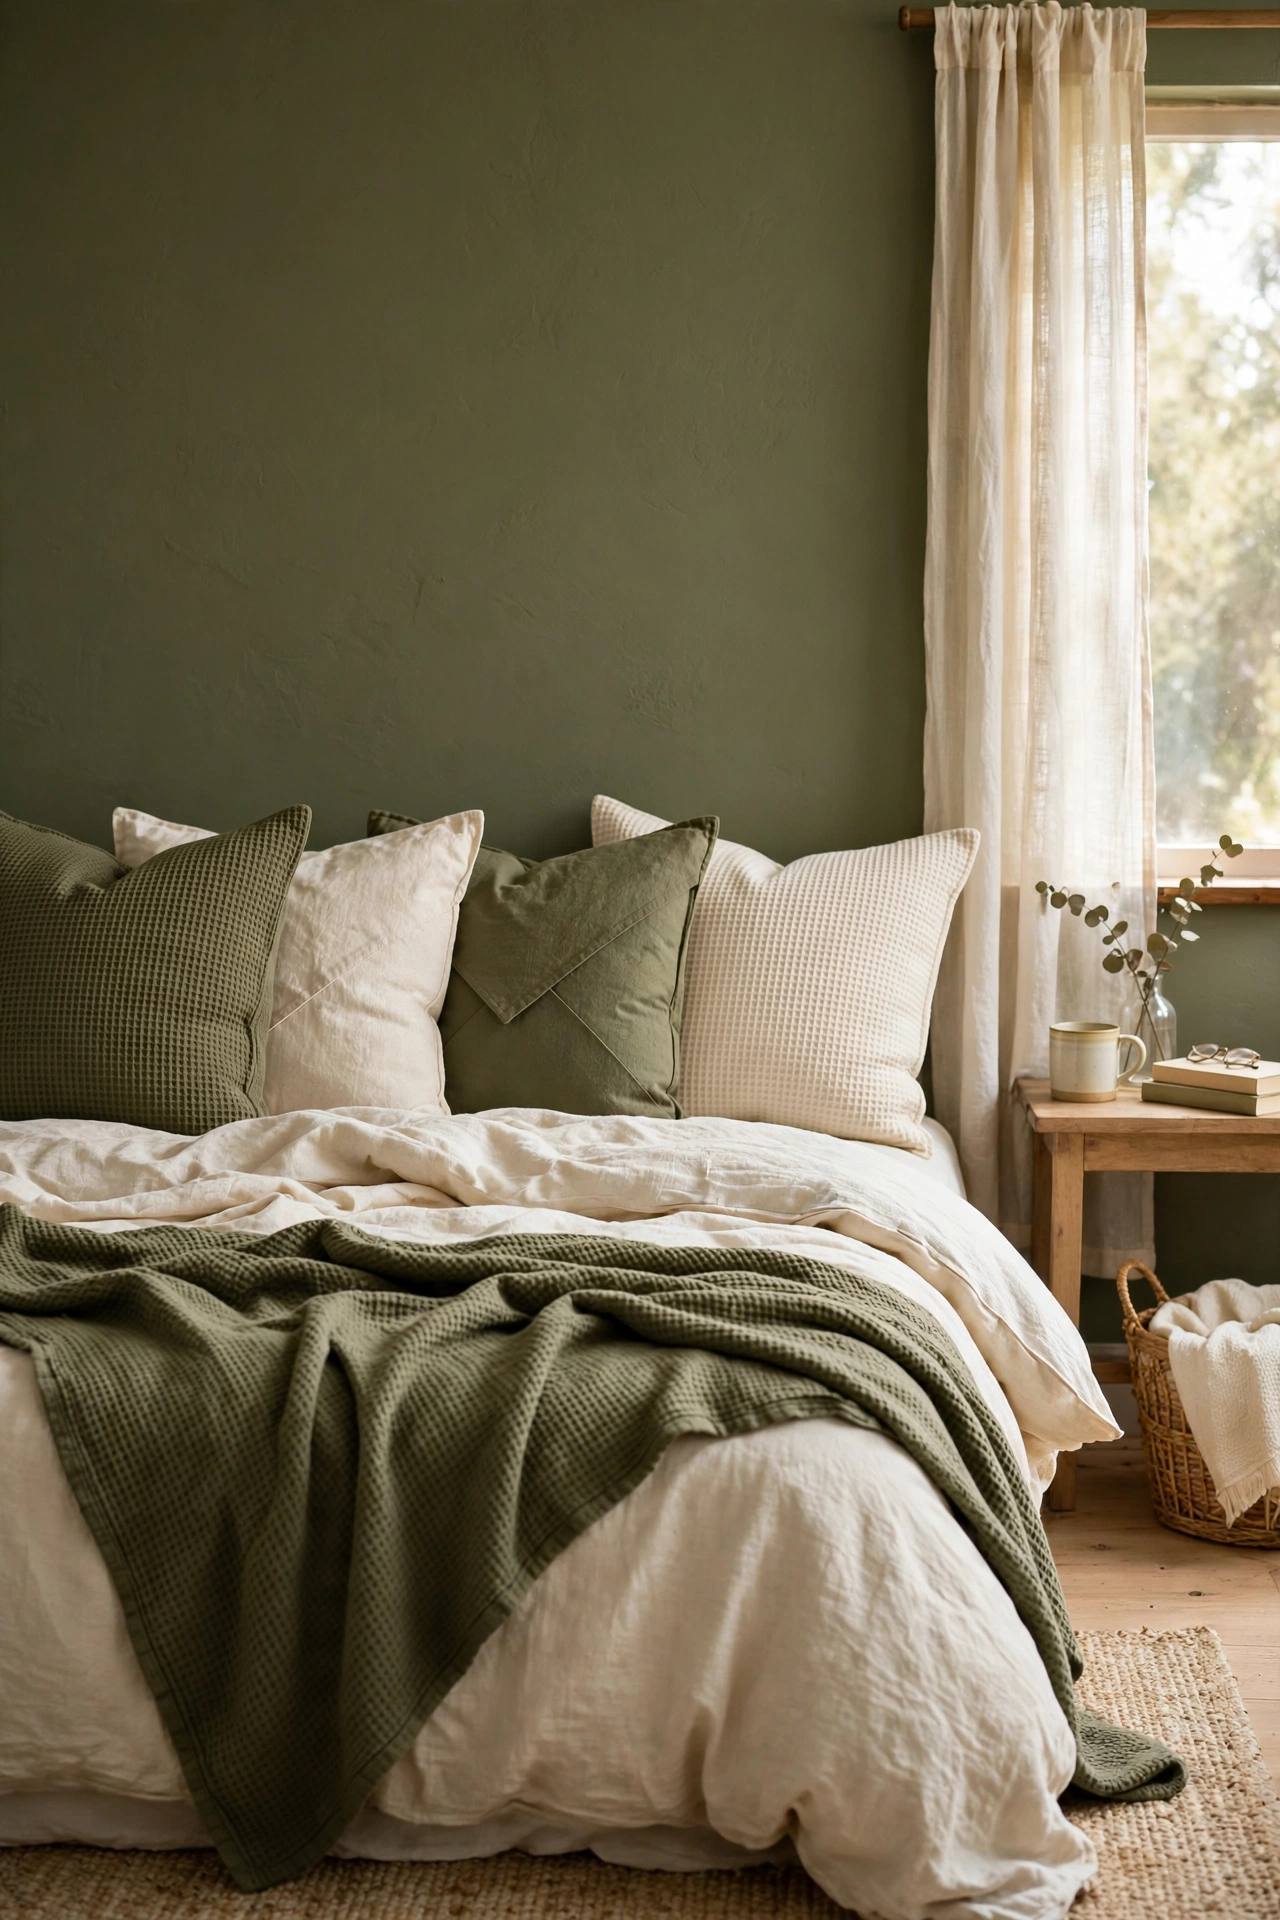
New cushion covers are the fastest colour change in a bedroom, no sewing needed. I bought four envelope-style covers in olive and cream for $6 each and swapped out my old patterned ones. Mix solids with one textured cover, like a waffle weave, so the bed does not look flat. Stick to the olive-cream pairing and avoid adding a third bold colour. I tried introducing terracotta pillows and the bed suddenly fought the walls. Removing them restored the calm. The old covers went into a donate bag, so the swap cost almost nothing and took fifteen minutes.
Cost: ~$20-28 | Time: 15 minutes
7. Woven Jute Rug Layering
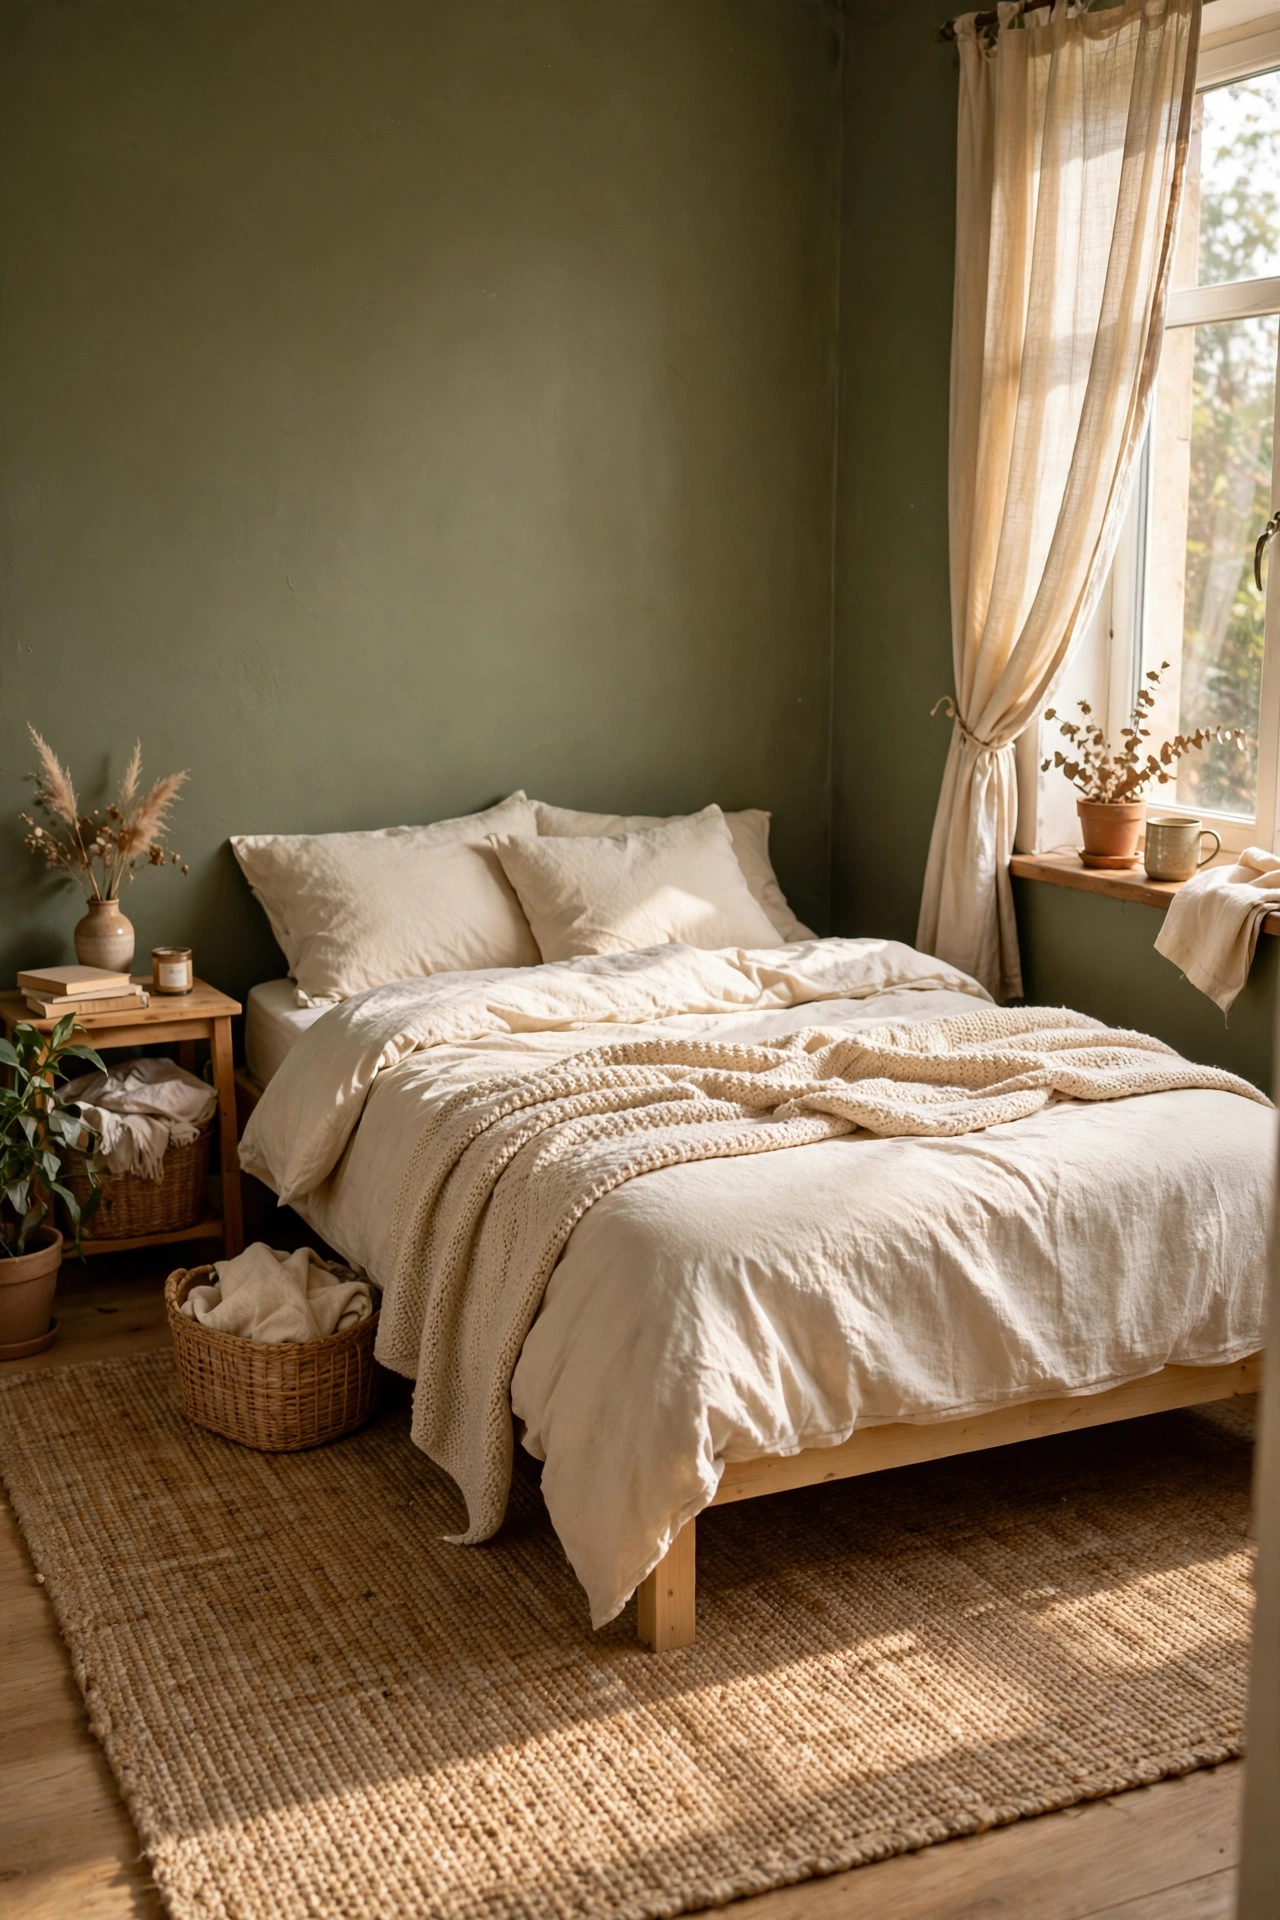
A jute rug brings the rattan texture down to floor level and warms up bare boards. I layered a 5×7 jute rug under my bed for $45 from a discount home store, positioning it so two-thirds sits under the bed and a wide border shows on each side. Jute sheds at first, so vacuum it twice in the first week and the shedding stops. I placed mine without measuring first and it looked like a bath mat lost under the bed. Pulling it out so the border shows made it look intentional. It is tough, natural, and pairs beautifully with olive walls.
Cost: ~$40-50 | Time: 15 minutes
8. Black Iron Picture Ledges
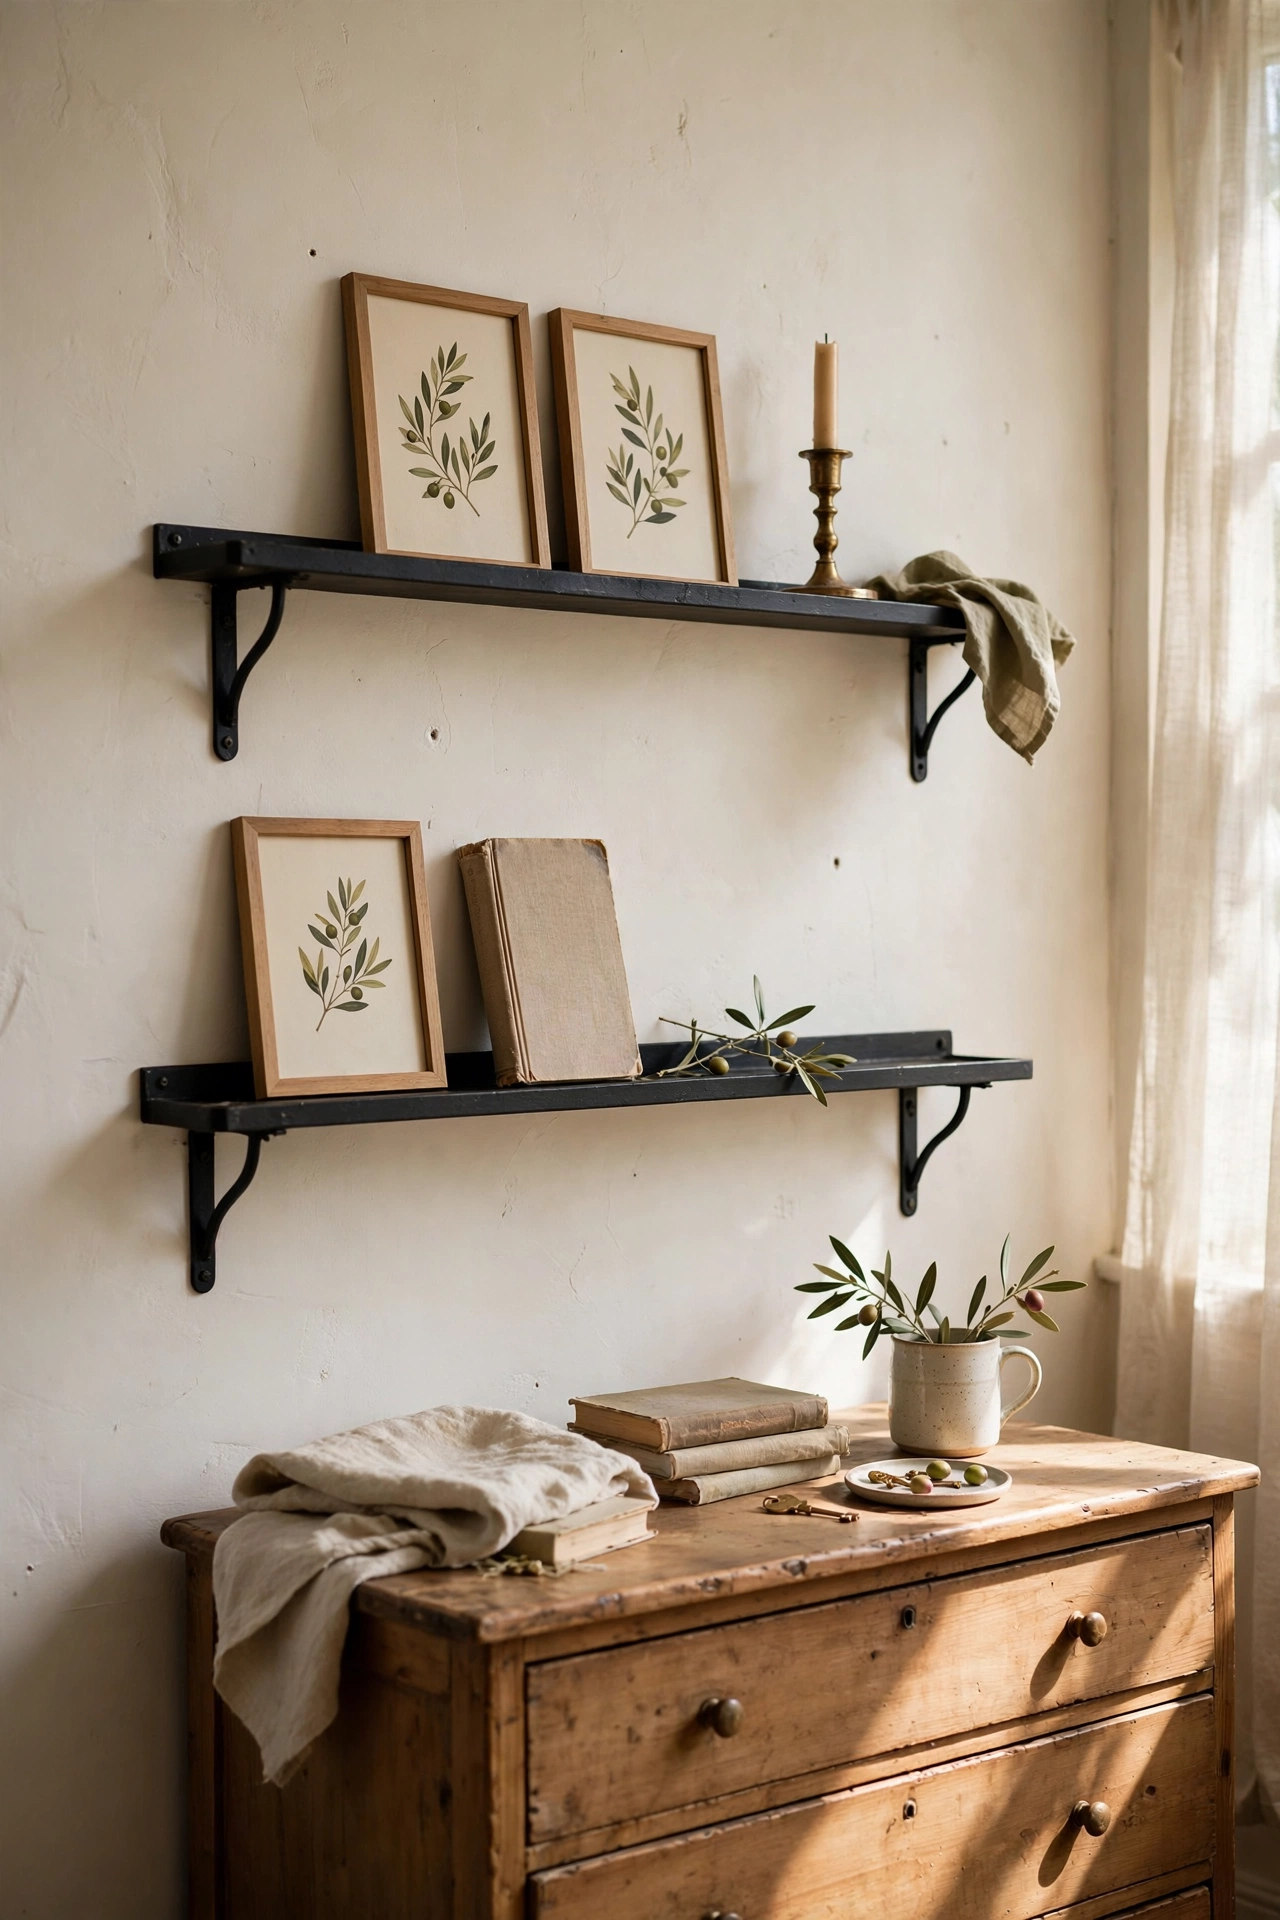
Black picture ledges let you rotate olive art without drilling a dozen holes. I mounted two 24-inch black iron ledges above the dresser for $9 each and styled them with small olive prints, a brass candlestick, and one leaning book. Keep the arrangement shallow so it reads curated, not crowded. Overlap the frames slightly for a relaxed gallery feel. My first attempt lined everything up like soldiers and it looked stiff. Letting two frames overlap casually made the ledge look like something from a design magazine. You can swap the art seasonally without touching the wall.
Cost: ~$18-25 | Time: 45 minutes
9. Painted Olive Nightstand Makeover
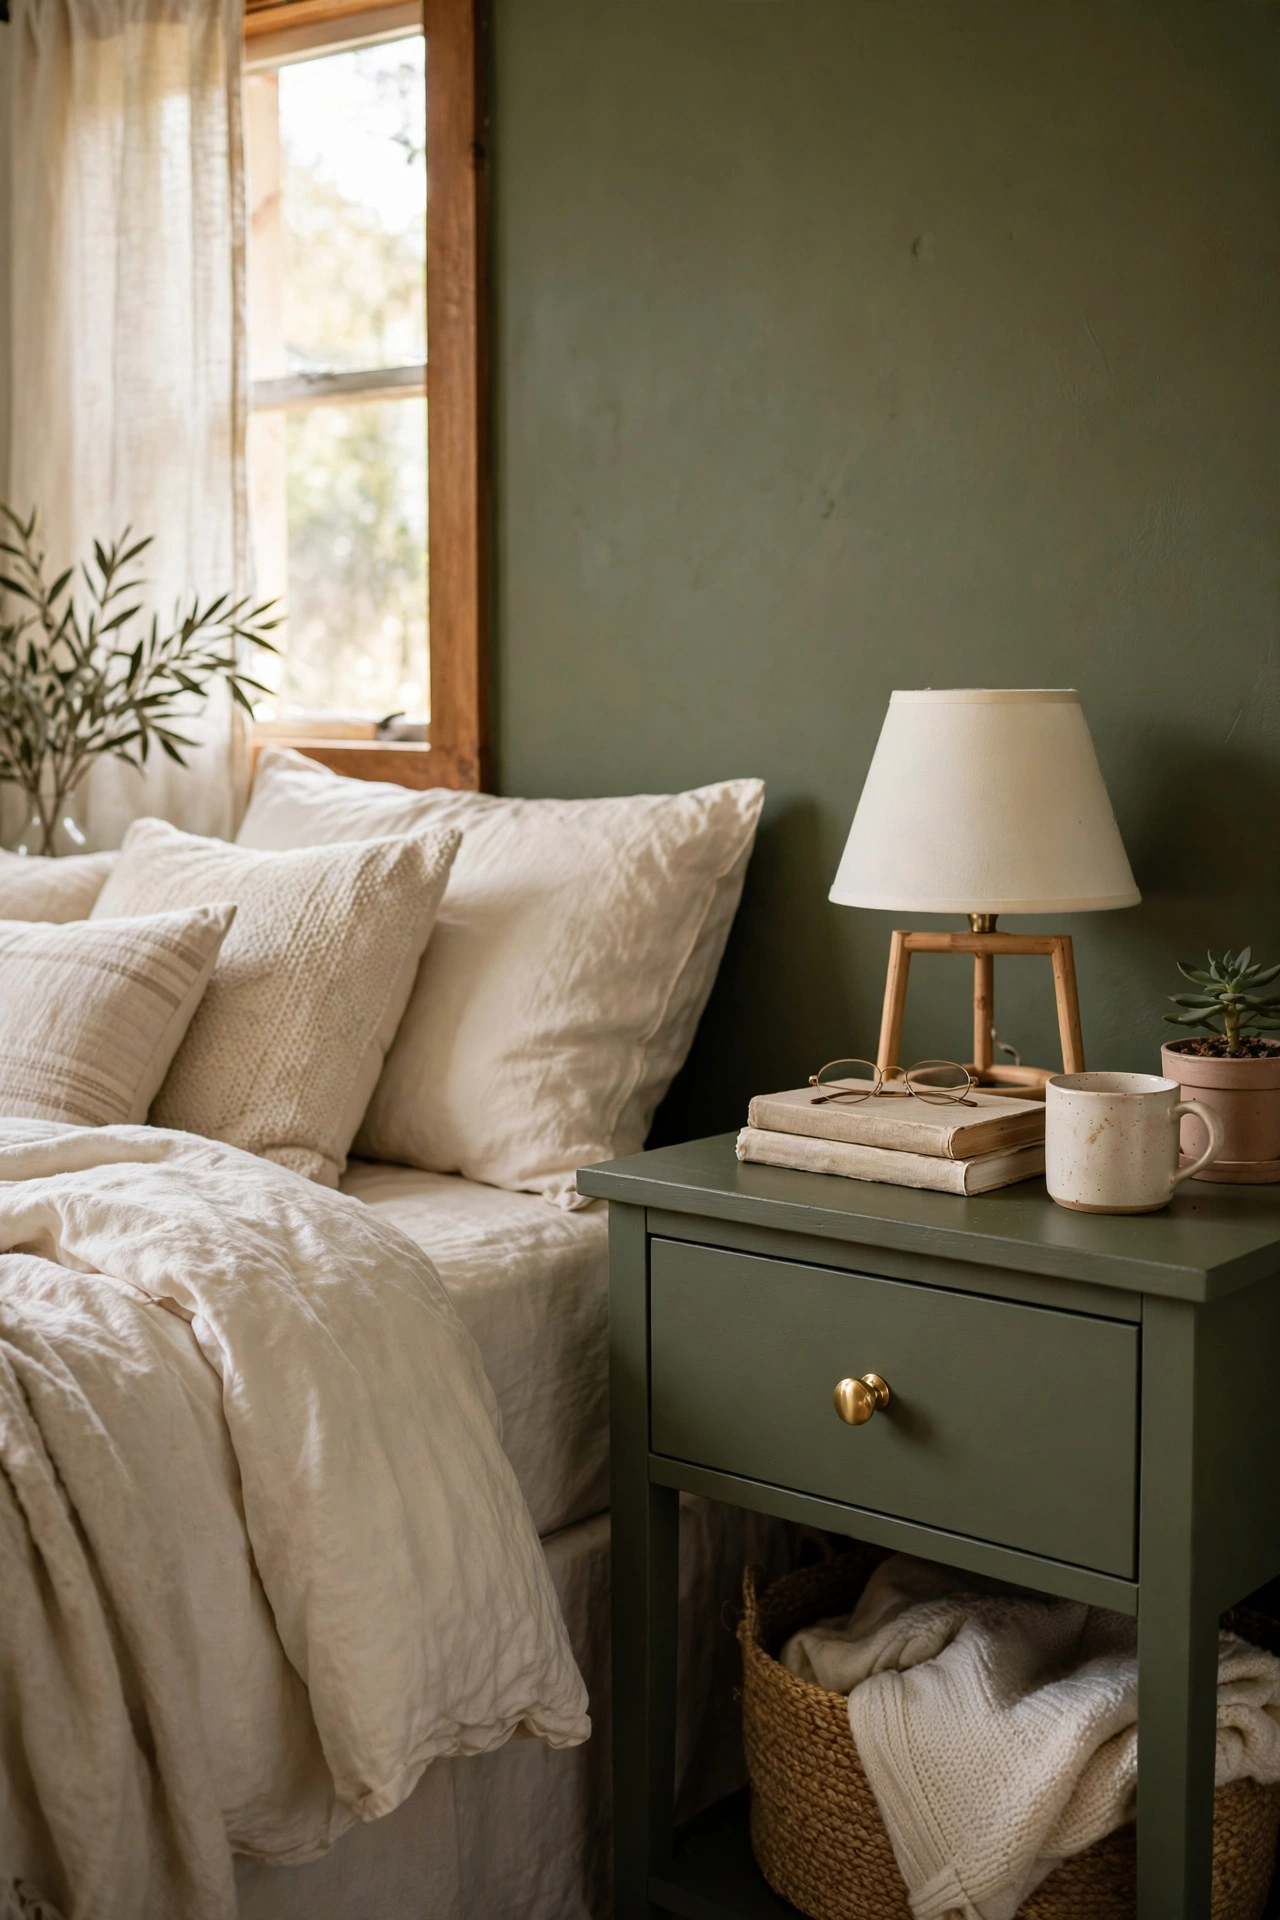
One mismatched nightstand can join the olive scheme with a coat of paint. I had a scratched brown nightstand that clashed with everything, so I sanded it lightly, applied two coats of the same olive wall paint, and sealed it with clear wax. Painting it with leftover wall paint meant the match was perfect and the cost was zero. Add a new brass knob for $3 and the whole piece looks custom. I skipped the sanding the first time and the paint peeled within a month. Light sanding takes ten minutes and makes the finish last for years.
Cost: ~$0-8 | Time: 1 hour plus drying
10. Olive Linen Curtain Panels
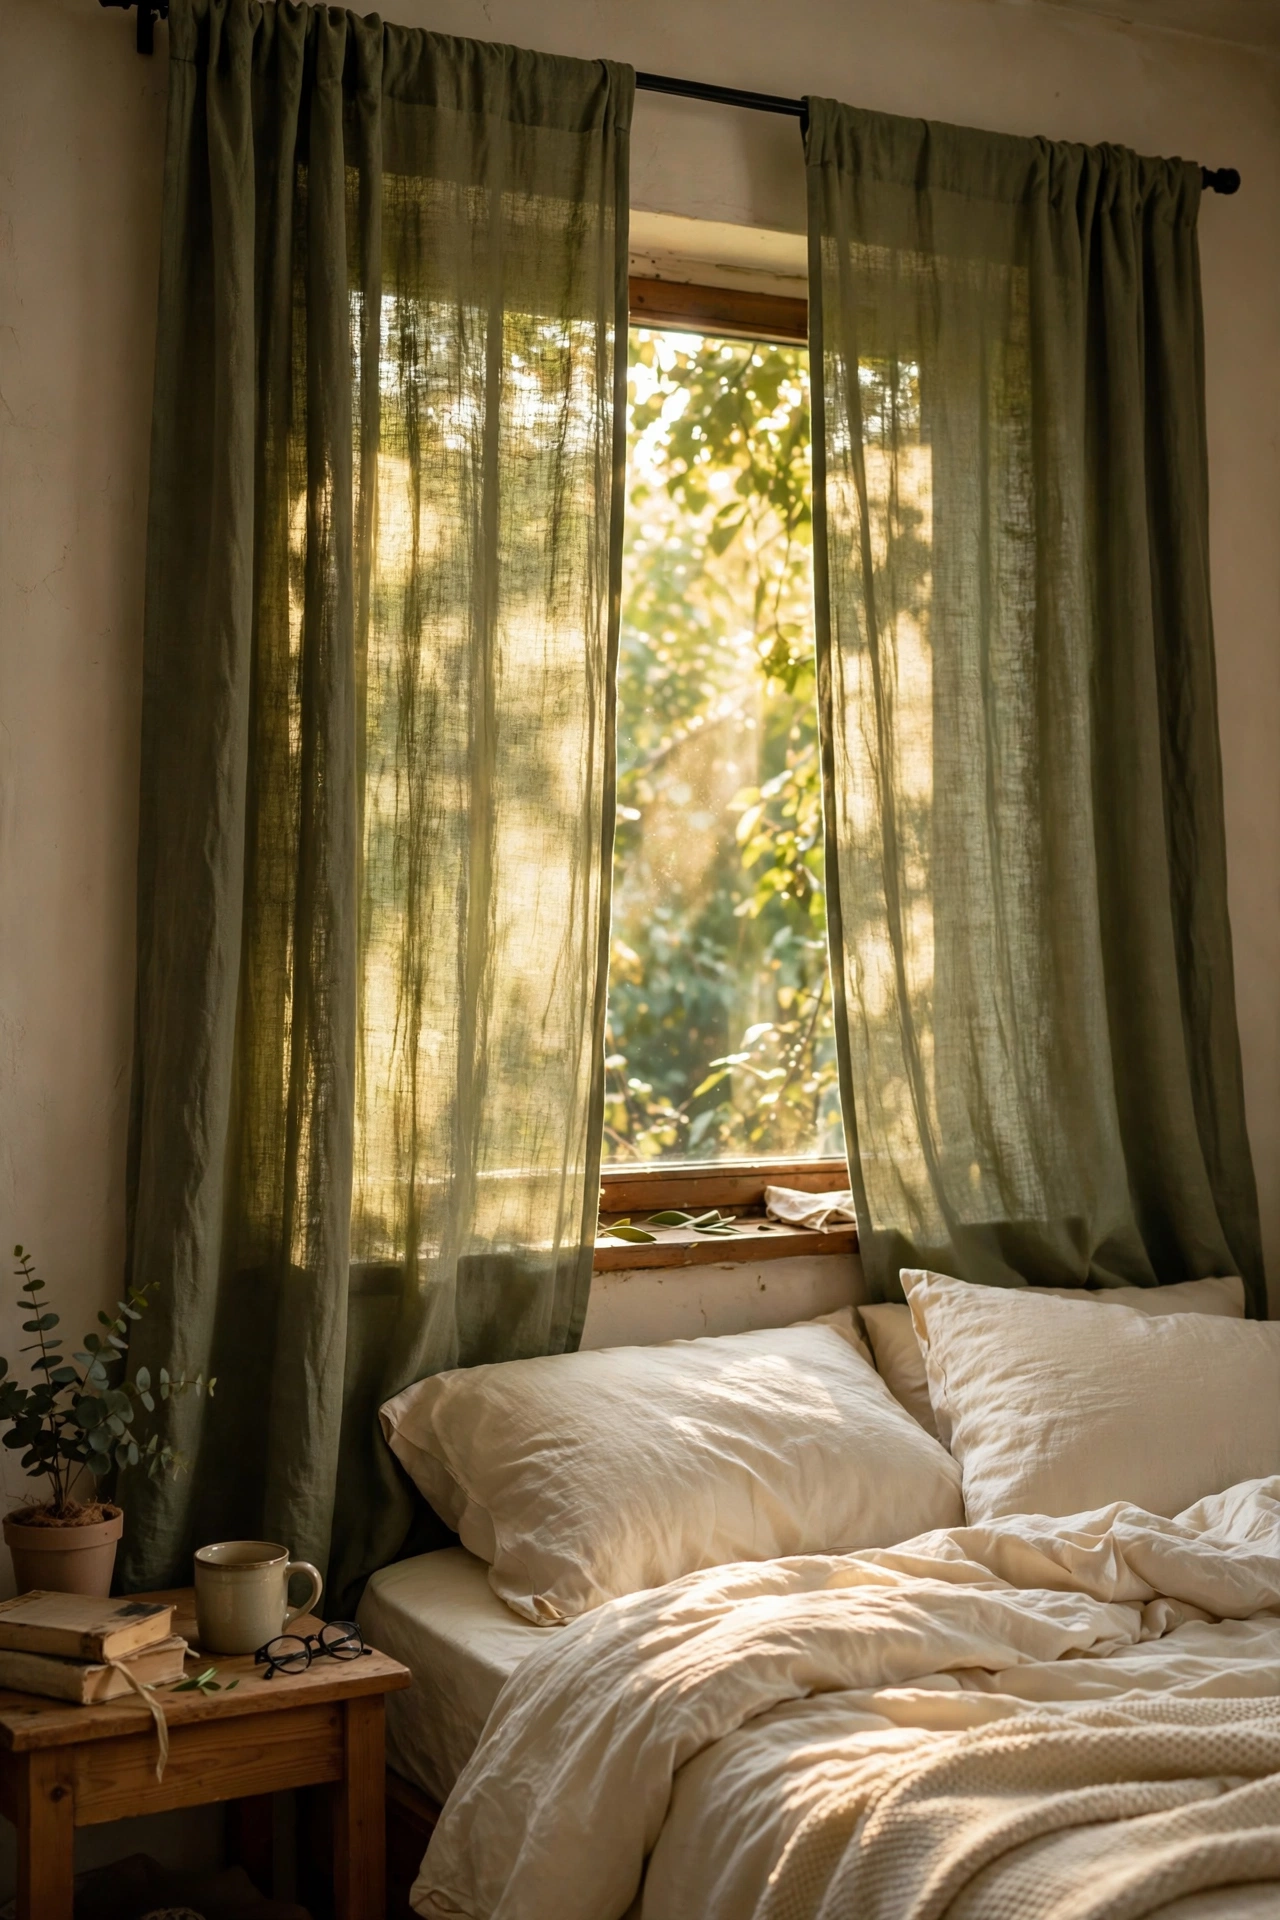
Olive curtains frame the window and echo the walls without matching them exactly. I hung two olive linen-look panels on my existing rod, mounted high and wide so the window feels larger. The panels were $14 each on clearance, and I hemmed them with iron-on tape since I cannot sew. Keep them slightly puddled on the floor for a relaxed look. I hung mine too short at first and they looked like they shrank in the wash. Lowering the rod placement fixed it. In the morning the light filters through in the loveliest green-gold glow.
Cost: ~$25-35 | Time: 20 minutes
11. Propagation Corner with Rattan Planters
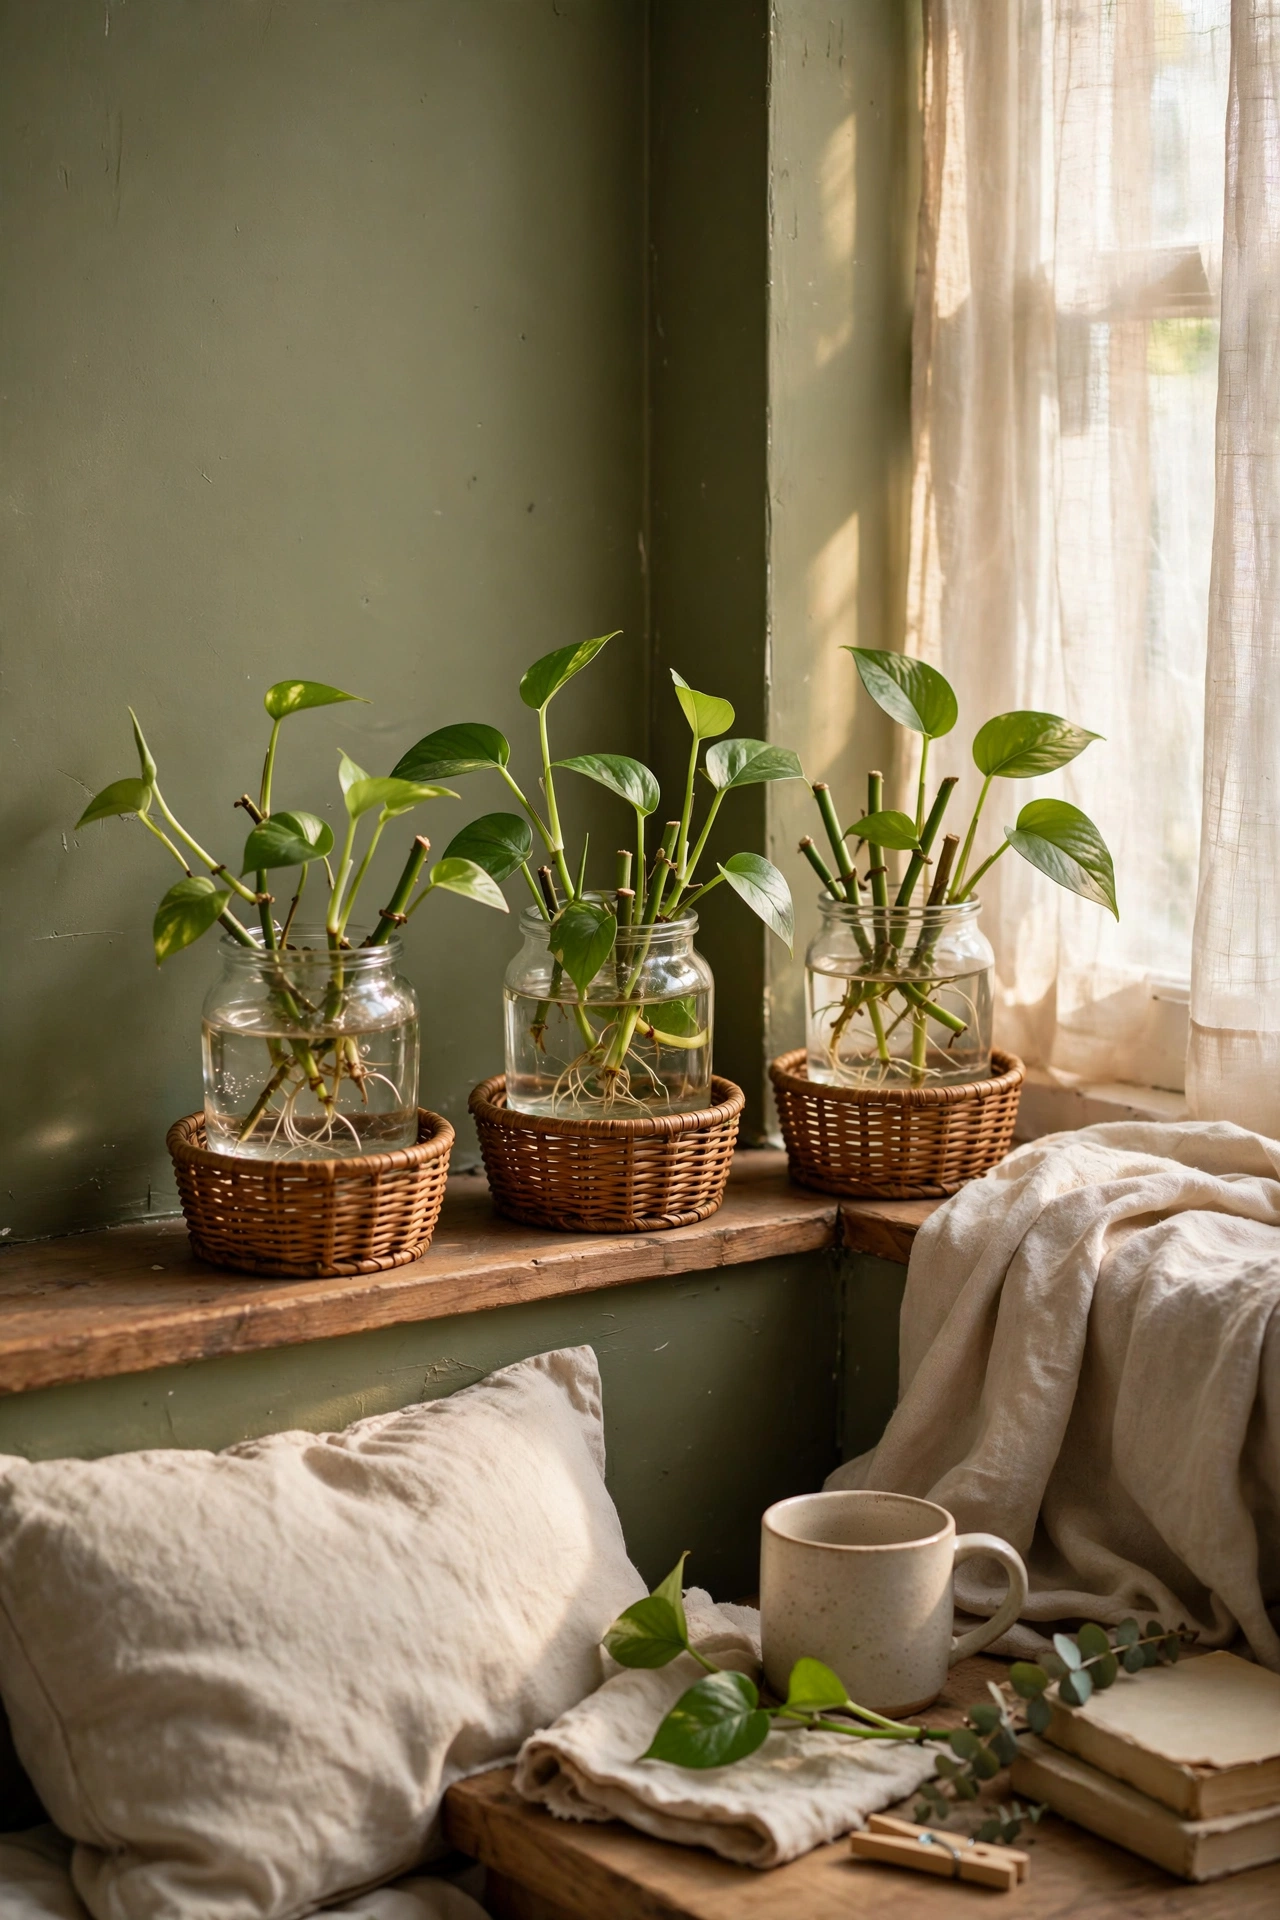
Olive walls make plants look incredible, so lean into it with a little propagation station. I grouped three rattan planters for $5 each in the corner by the window, filled them with pothos cuttings rooted in water. Rattan pots echo the chair and keep the corner from looking like a greenhouse shelf. Water the cuttings weekly and they will root within a month. My first attempt used mismatched plastic pots and the corner looked cluttered. Switching to matching rattan planters made it feel designed. Free cuttings from friends mean this whole idea costs less than a sandwich.
Cost: ~$10-18 | Time: 20 minutes
12. Brass Cabinet Knobs Swap
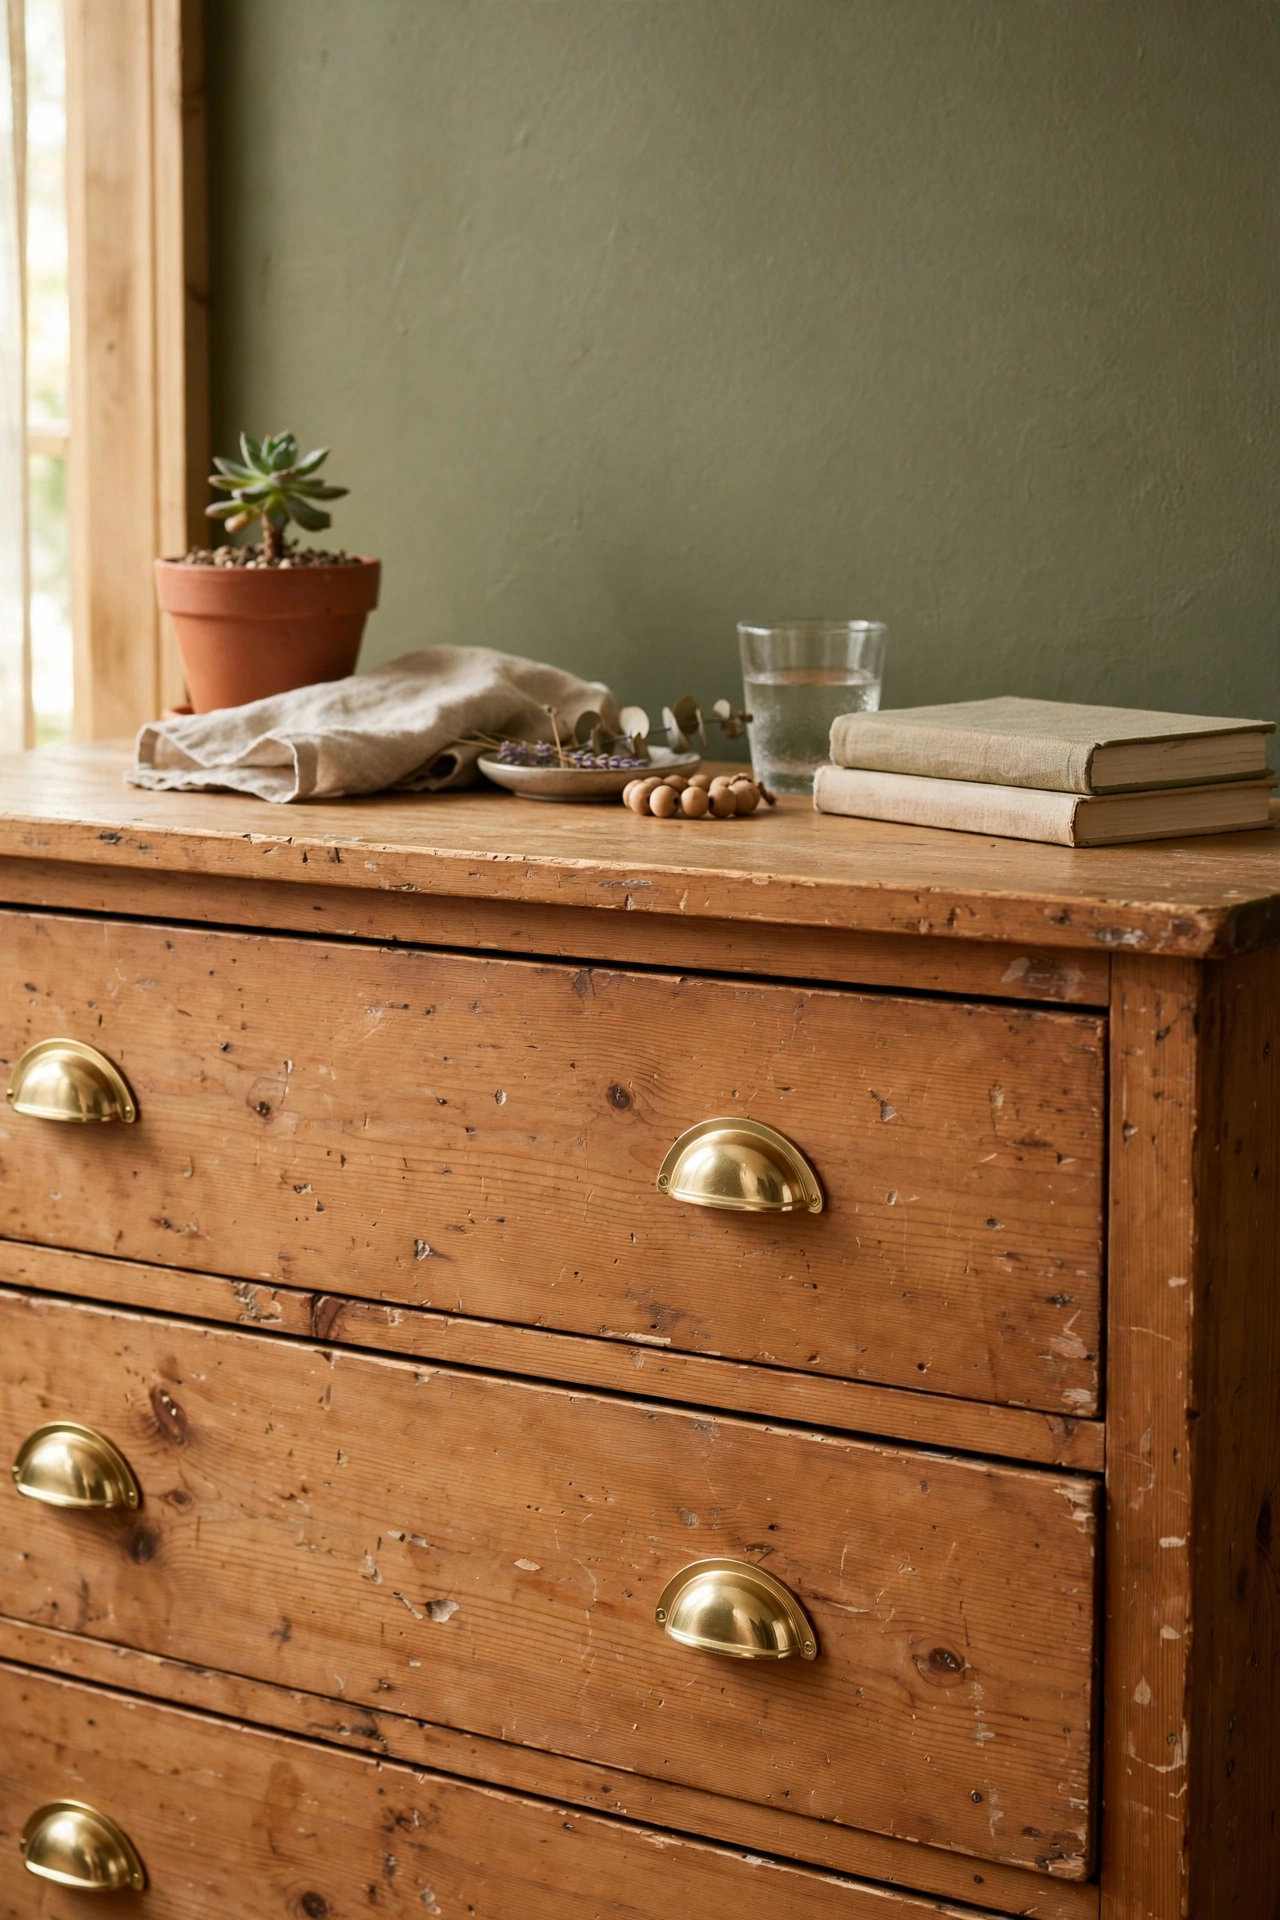
Swapping dull knobs for brass ones is a five-minute upgrade with outsized impact. I replaced the knobs on my dresser and nightstand with $2 brass cup pulls, and suddenly the plain furniture looked intentional against the olive walls. Measure the hole spacing before you order, because old furniture uses odd sizes. I bought the wrong size first and had to exchange them. One screwdriver, ten minutes, and the whole dresser looks custom. This is the highest-impact-per-dollar change in this entire list, so do it early in your refresh.
Cost: ~$8-14 | Time: 10 minutes
13. DIY Olive Headboard Using Peel-and-Stick Moulding
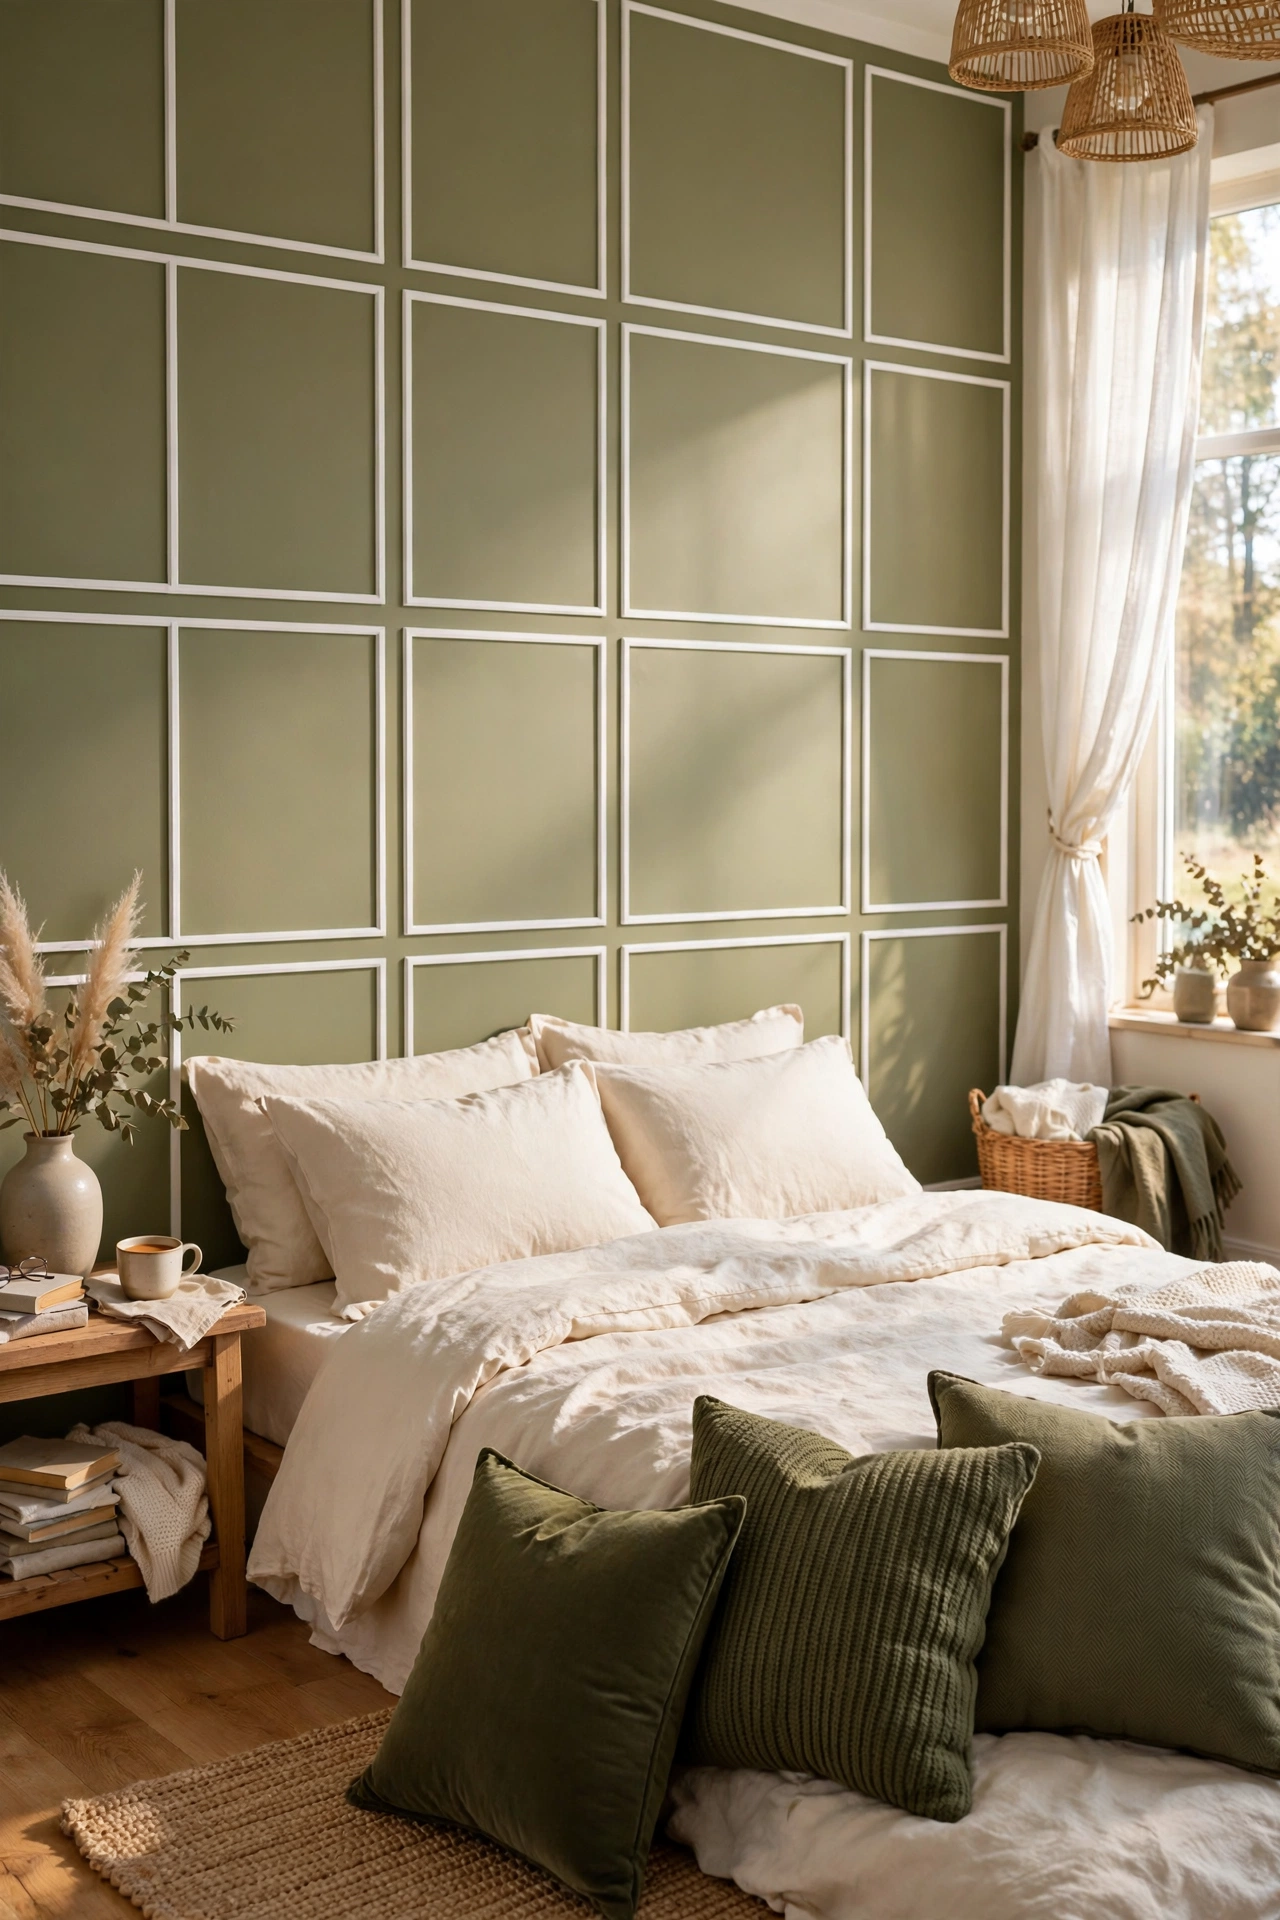
A paneled headboard wall looks expensive, but peel-and-stick moulding makes it a weekend project. I applied thin moulding strips in a rectangle grid on the olive accent wall, painted everything the same colour, and the flat wall suddenly had depth. Measure and level every rectangle, because crooked moulding shows badly. My first box was off by half an inch and I had to peel and redo it. One box of strips cost $18 and covered the wall behind a queen bed. The result looks like custom millwork and took one afternoon.
Cost: ~$18-25 | Time: 3 hours
14. Cream Throw Blanket Draped Over the Bed
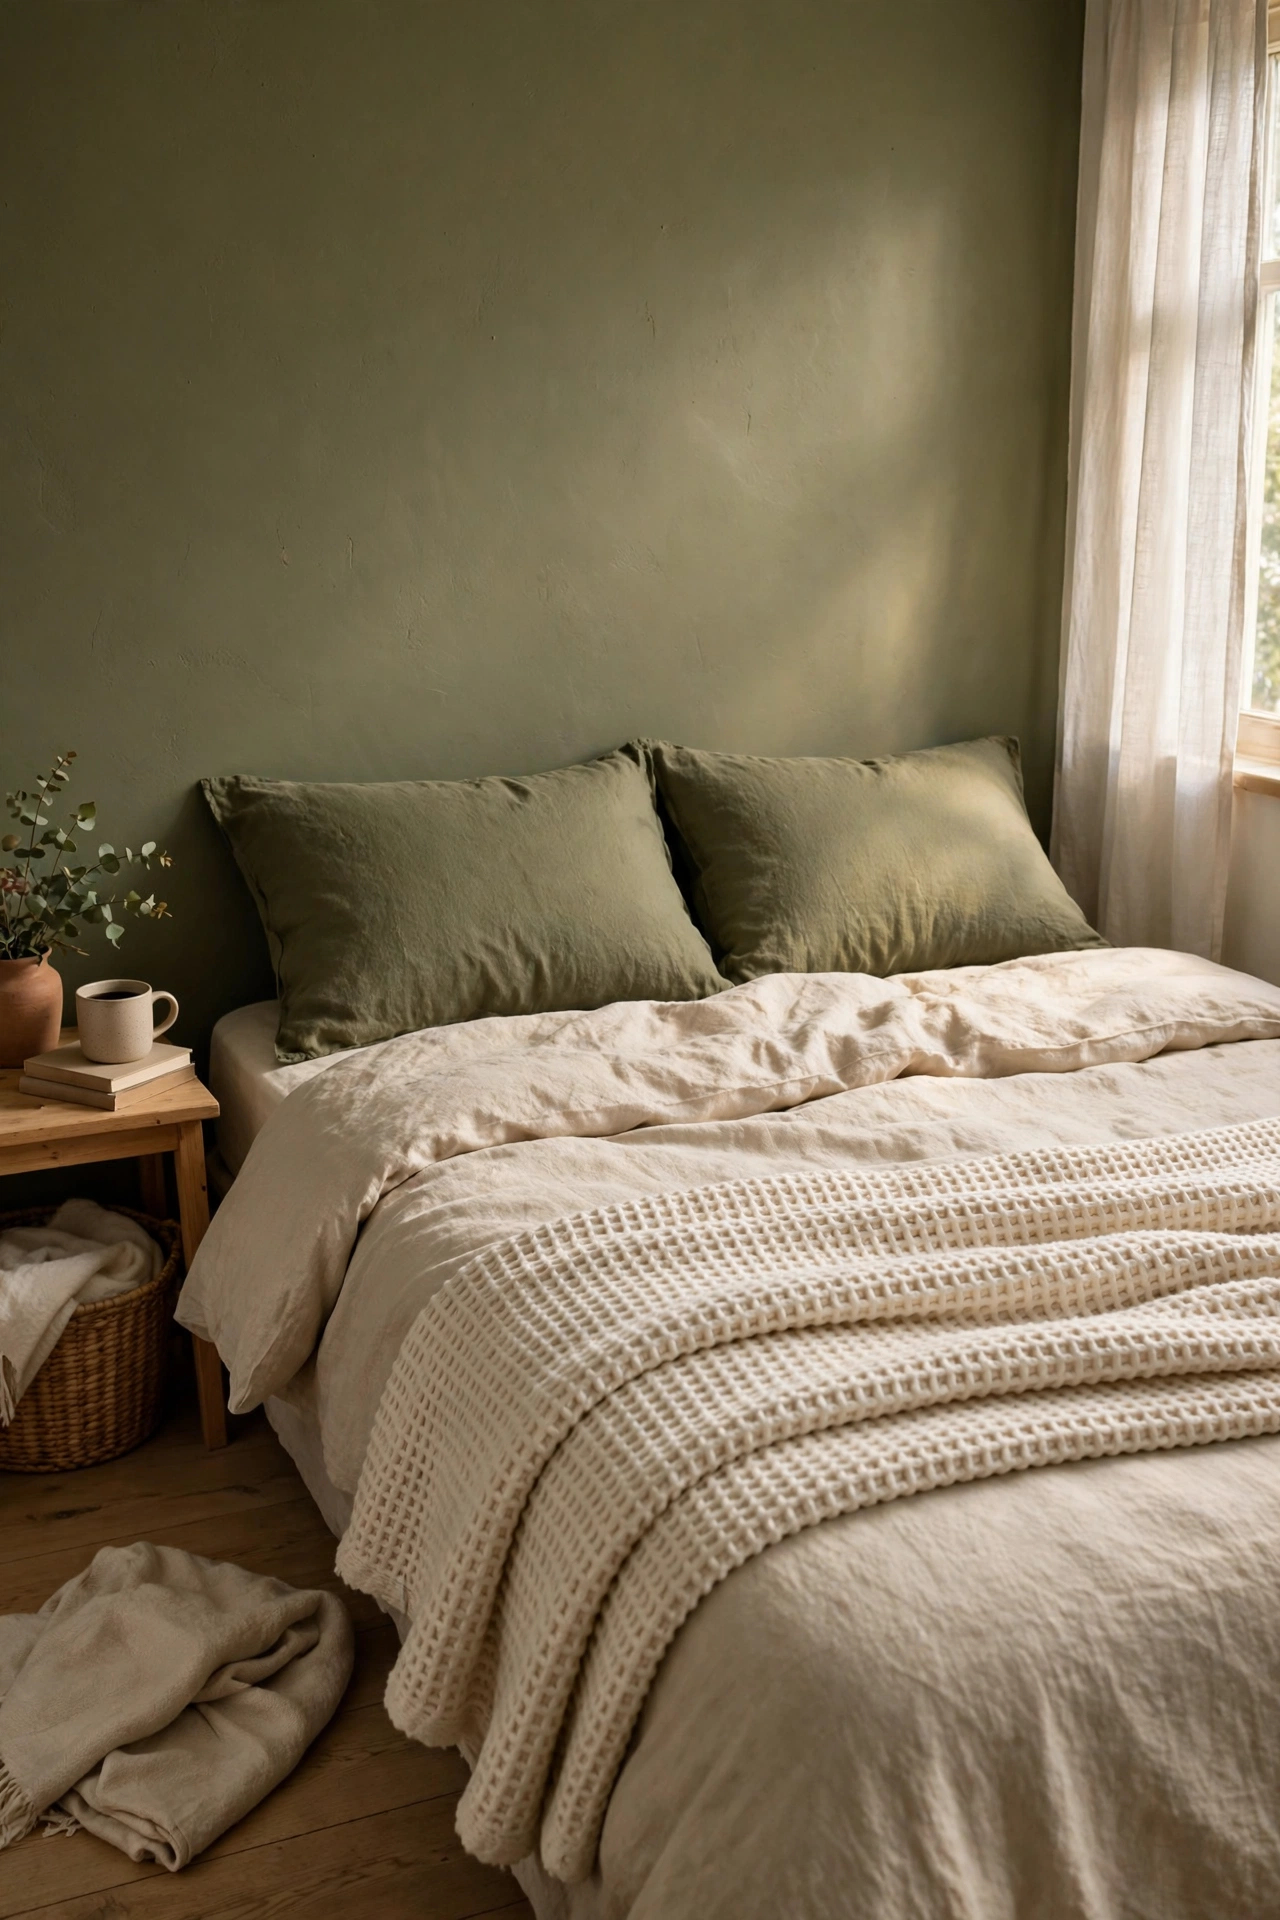
A chunky cream throw softens all that olive and adds the cosy factor. I folded a $20 waffle-weave throw across the lower third of the bed, letting the ends hang unevenly. The weight matters more than the pattern, so choose the thickest throw your budget allows. My first throw was a thin polyester one that slid off every night. Upgrading to a heavier cotton weave kept it in place and looked twice as inviting. This is the easiest idea on the list and the one guests always touch first when they walk in.
Cost: ~$18-25 | Time: 5 minutes
15. Thrifted Gold-Framed Mirror
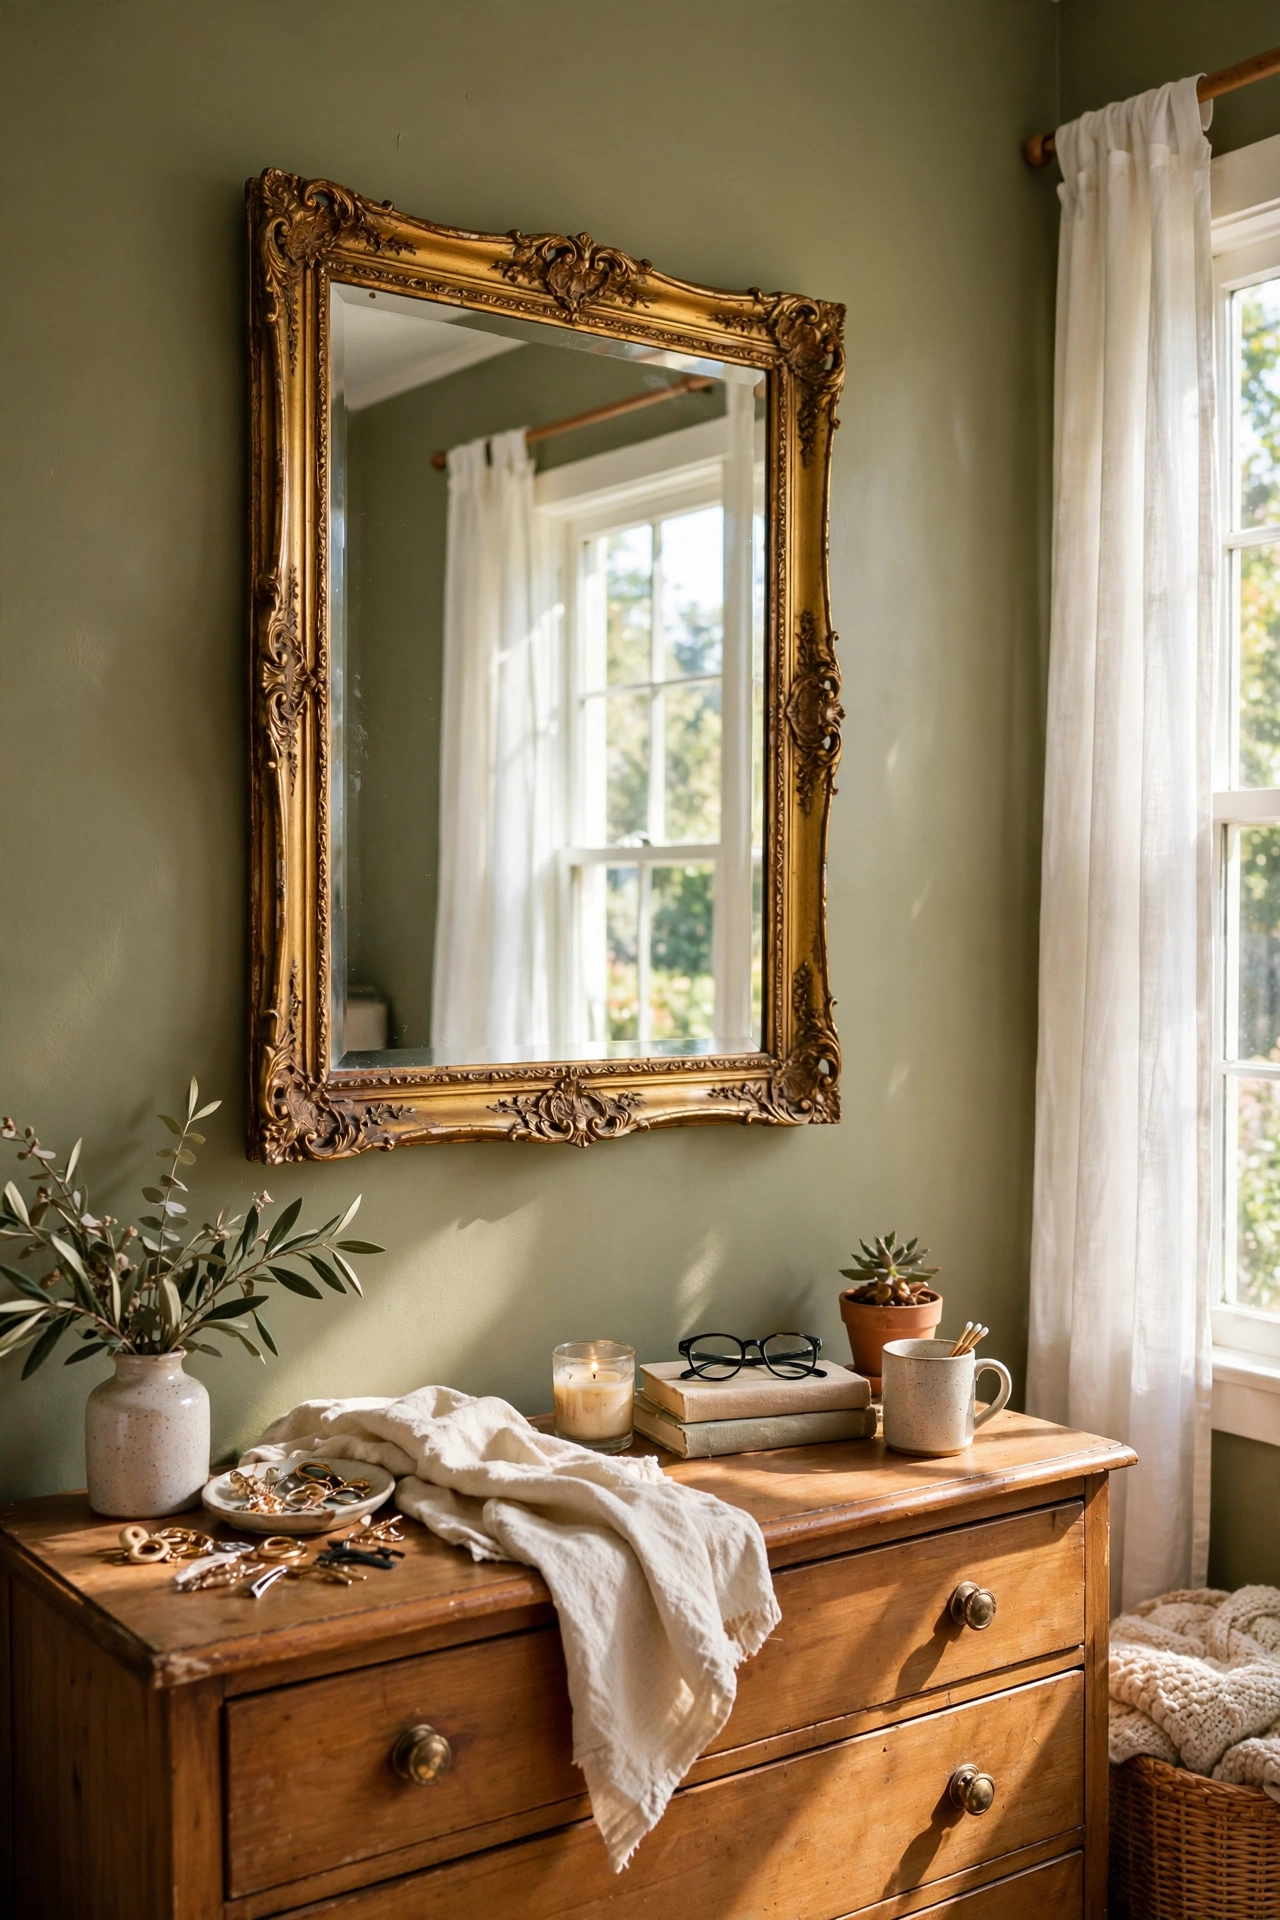
A gold-framed mirror bounces light and adds the brass note at eye level. I found an ornate gold mirror at a charity shop for $15, cleaned the glass, and hung it opposite the window so it doubles the daylight. Check the back before you buy, because loose hanging wire is common on thrifted mirrors. Mine needed new wire, which took five minutes with a $2 kit. Hung where it reflects the olive wall, it deepens the colour in the prettiest way. Large mirrors go fast at thrift stores, so grab one the moment you spot it.
Cost: ~$15-20 | Time: 20 minutes
16. Olive Painted Bookshelf Styling
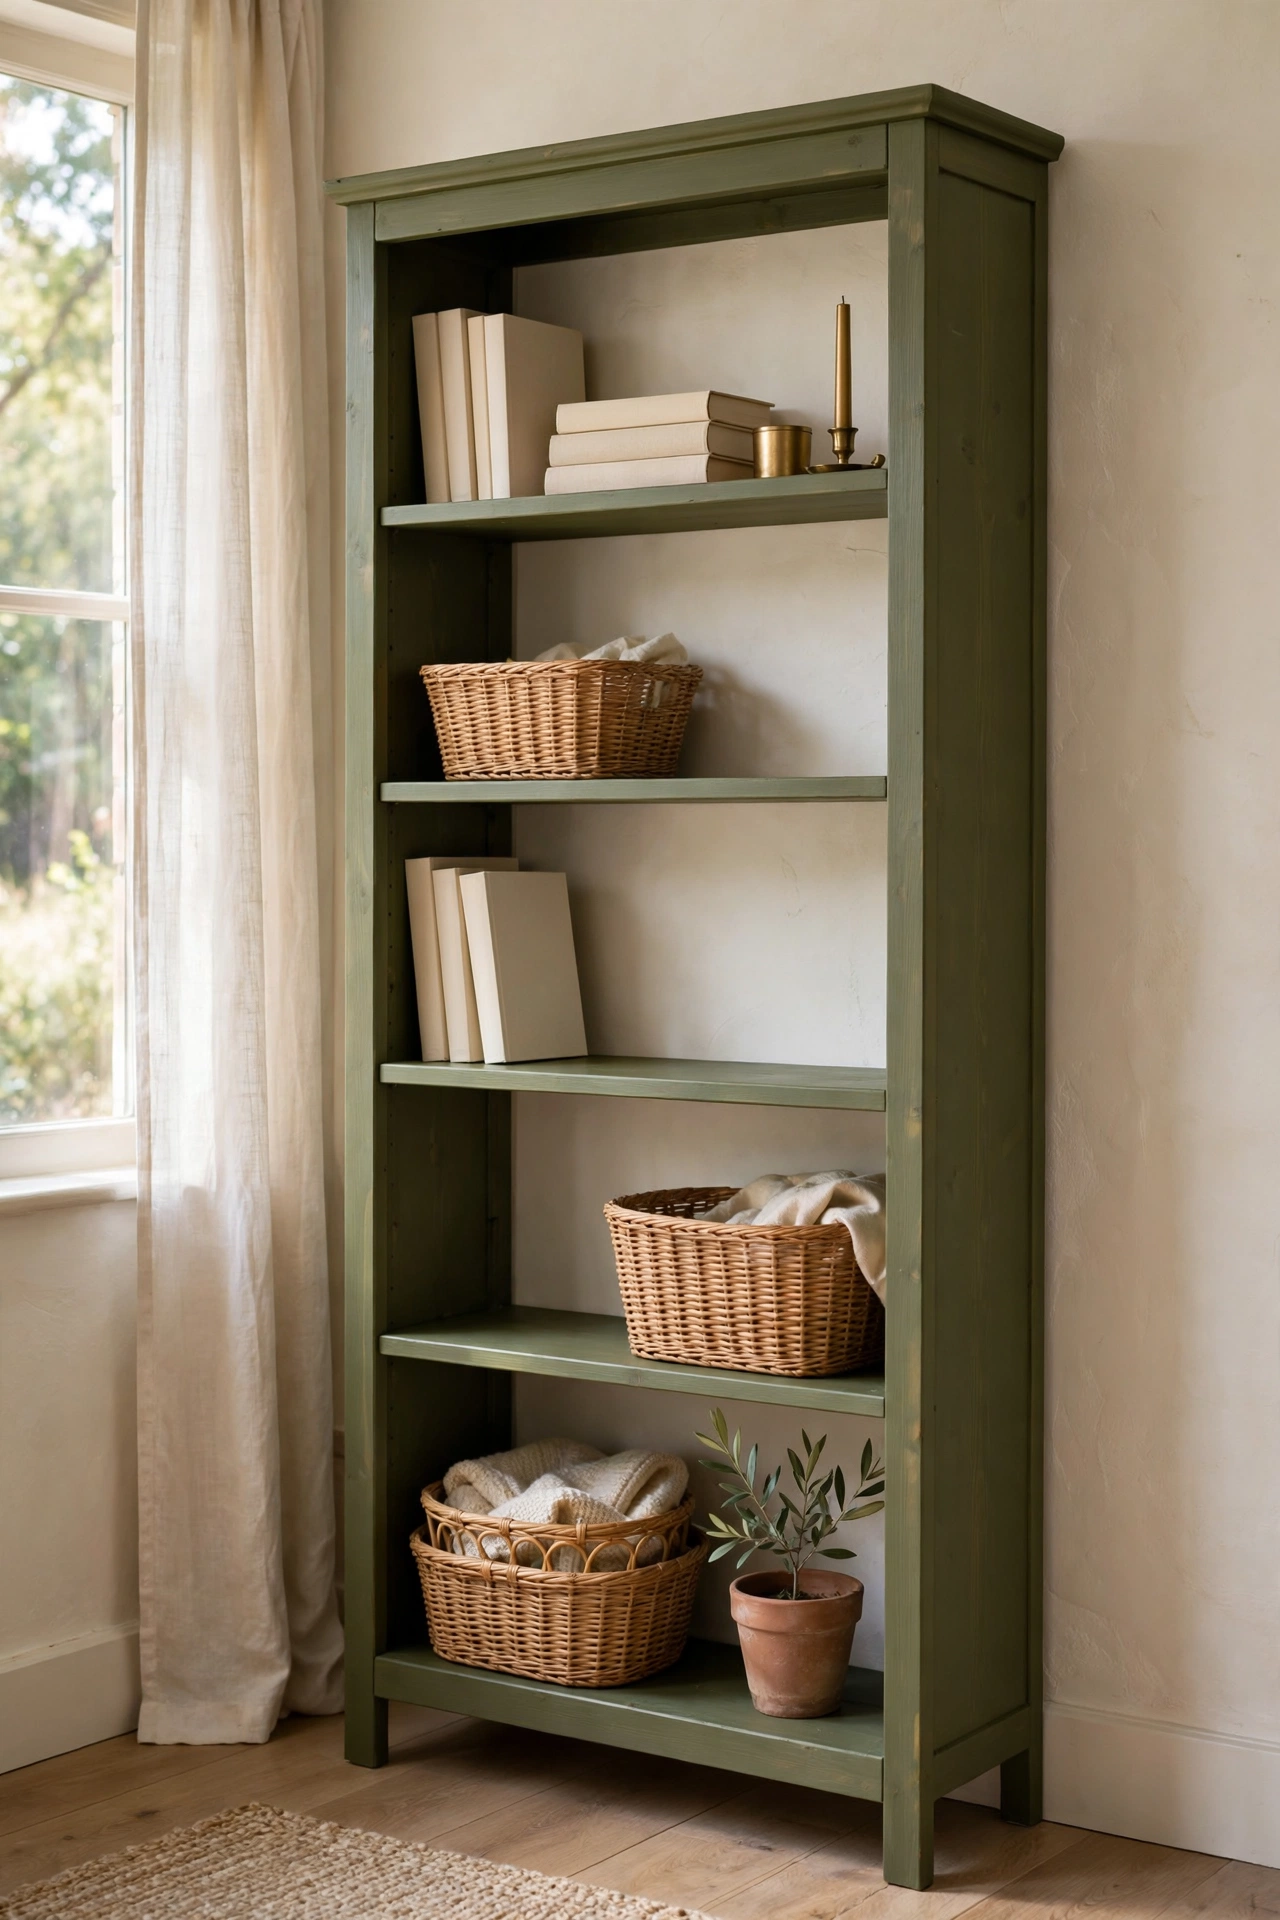
Painting a bookshelf olive turns storage into a feature wall. I had a tall pine bookshelf that looked tired, so I painted the whole thing with leftover olive wall paint and styled the shelves with cream books, one brass candle, and small rattan baskets. Leave breathing room on every shelf, because cramming kills the effect. My first styling attempt filled every inch and looked like a library sale. Removing a third of the items made the rest look deliberate. The baskets hide clutter and echo the rattan chair across the room. One coat of paint, one afternoon of styling.
Cost: ~$5-12 | Time: 2 hours plus drying
17. Warm LED String Lights Around the Bed
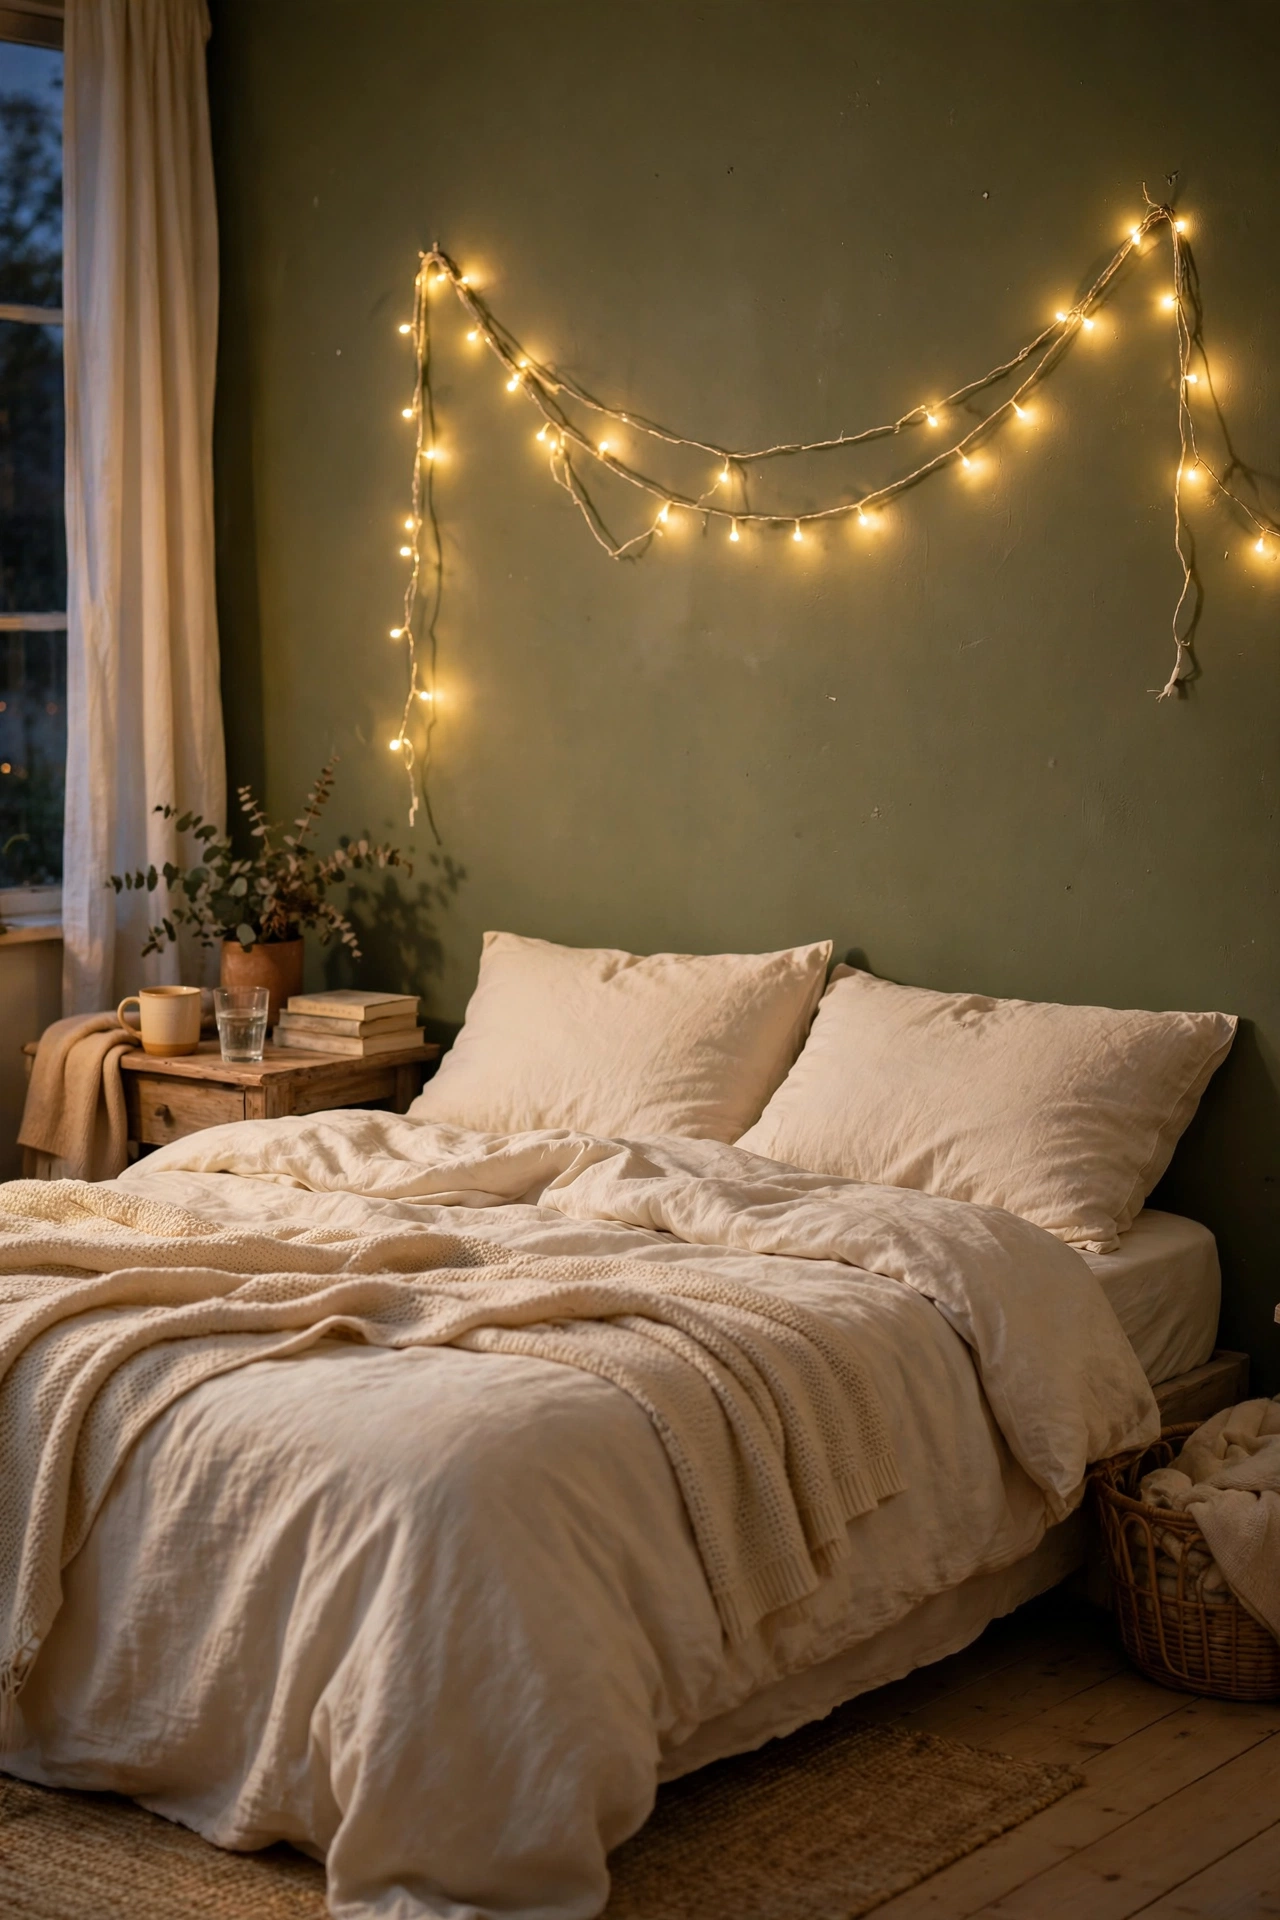
String lights in warm white make olive walls glow after dark. I draped a $9 warm-white LED strand along the top of my headboard wall, using clear clips so the wire disappears. Choose warm white, never cool, because cool LEDs turn olive walls grey and clinical. I bought the wrong colour temperature first and the room felt like a hospital ward. Swapping to 2700K fixed it instantly. Keep the strand loose and uneven rather than perfectly straight, because the relaxed drape suits the earthy mood. One strand, one remote, cosy evenings sorted.
Cost: ~$9-14 | Time: 20 minutes
18. Black and Olive Gallery Wall
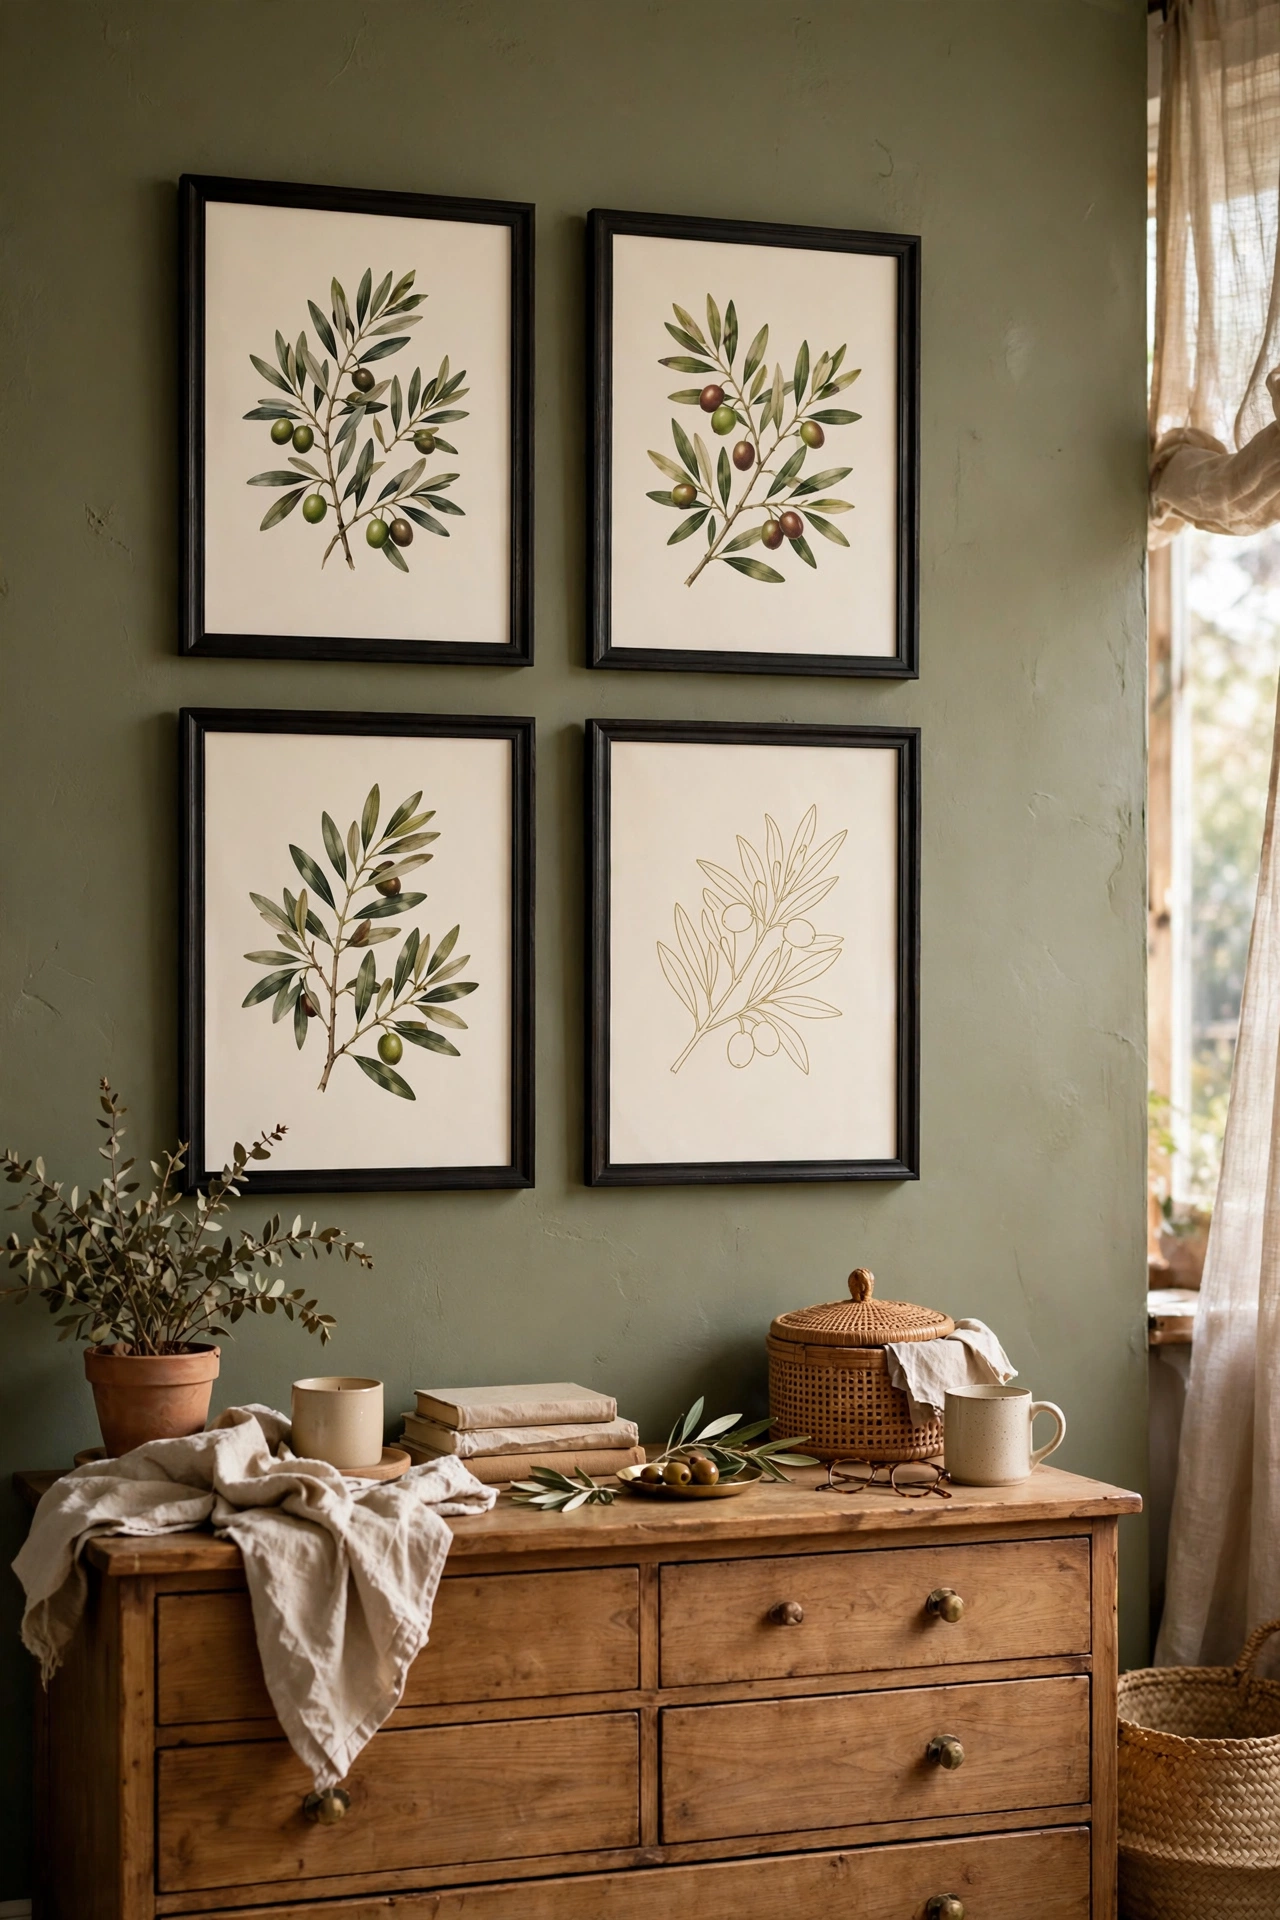
Black frames pop against olive paint, and a small gallery wall ties the scheme together. I hung four black-framed prints in a tight grid above my dresser, mixing olive botanicals with one cream line drawing. Keep the spacing even at two inches apart so the grid reads intentional. I hung mine freehand first and the gaps were all over the place. Using a paper template fixed it in twenty minutes. The black frames echo the picture ledges and the hardware, pulling the whole room into one palette. Free printables keep this wall under $15.
Cost: ~$10-15 | Time: 45 minutes
19. Small Styling Wins: Trays and Stacks
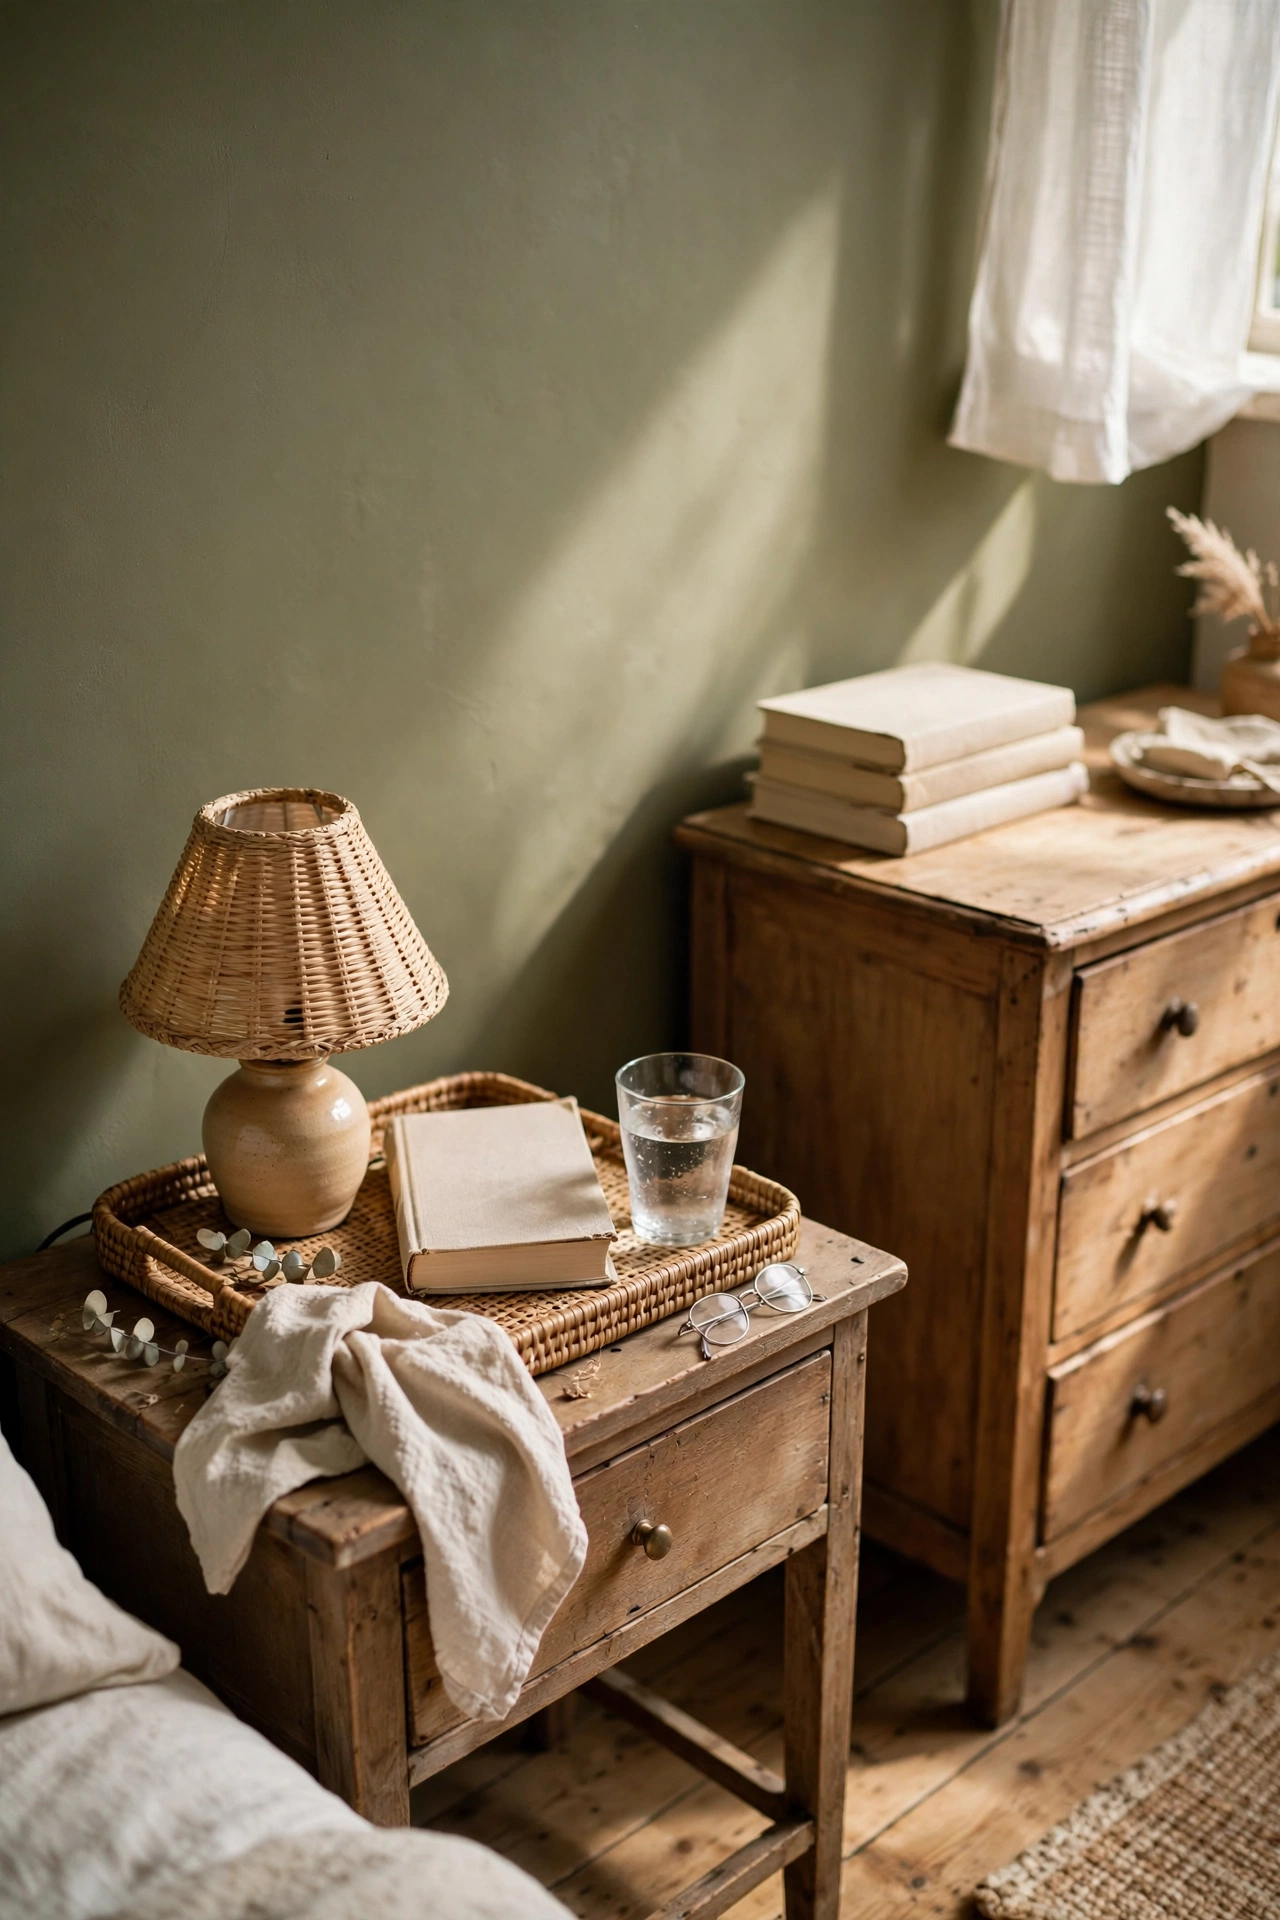
The final layer is styling, and it costs almost nothing. I placed a small rattan tray on my nightstand to corral the lamp, a book, and a water glass, then stacked two cream books on the dresser with a brass candle on top. Corralled groups look styled, while scattered singles look like clutter. My nightstand was a mess of random items until the tray gathered them into one composition. Walk through your room with fresh eyes and group loose items into threes on trays or books. This five-minute habit makes the whole olive scheme look finished.
Cost: ~$5-12 | Time: 15 minutes
📌 Love this palette? Pin this post now to save this idea for later, and your olive bedroom mood board will thank you.
Keep the earthy refresh going with these next: (see also: 19-green-living-room-ideas-on-a-budget/) (see also: 17-bedroom-decor-ideas-under-100-for-a-cozy-retreat/) (see also: thrifted-bedroom-decor-that-looks-designer/)
