23 Junk Drawer Organization Ideas That Actually Stick
Last winter I yanked my kitchen junk drawer open to find a battery, and the whole thing jammed halfway because a tape measure had wedged sideways across the track. I needed Junk Drawer Organization Ideas That Actually Stick, not another pretty photo of a drawer that would fall apart by Tuesday. I tugged, the drawer lurched free, and a tangle of cords, rubber bands, and old keys spilled onto the floor. That mess on my kitchen tiles was the moment I stopped buying more organizers and started building a system my family could actually keep.
The ideas below came from that cleanup and from the months after it, when I learned which fixes survived real life and which ones quietly failed. Each one is cheap, takes under an hour, and solves one small problem inside the drawer. You do not need to do all twenty-three at once. Start with the emptying and sorting steps, add a few dividers, and let the rest wait until the first changes are still holding a month later.
1. Empty the Drawer Completely Before You Judge It
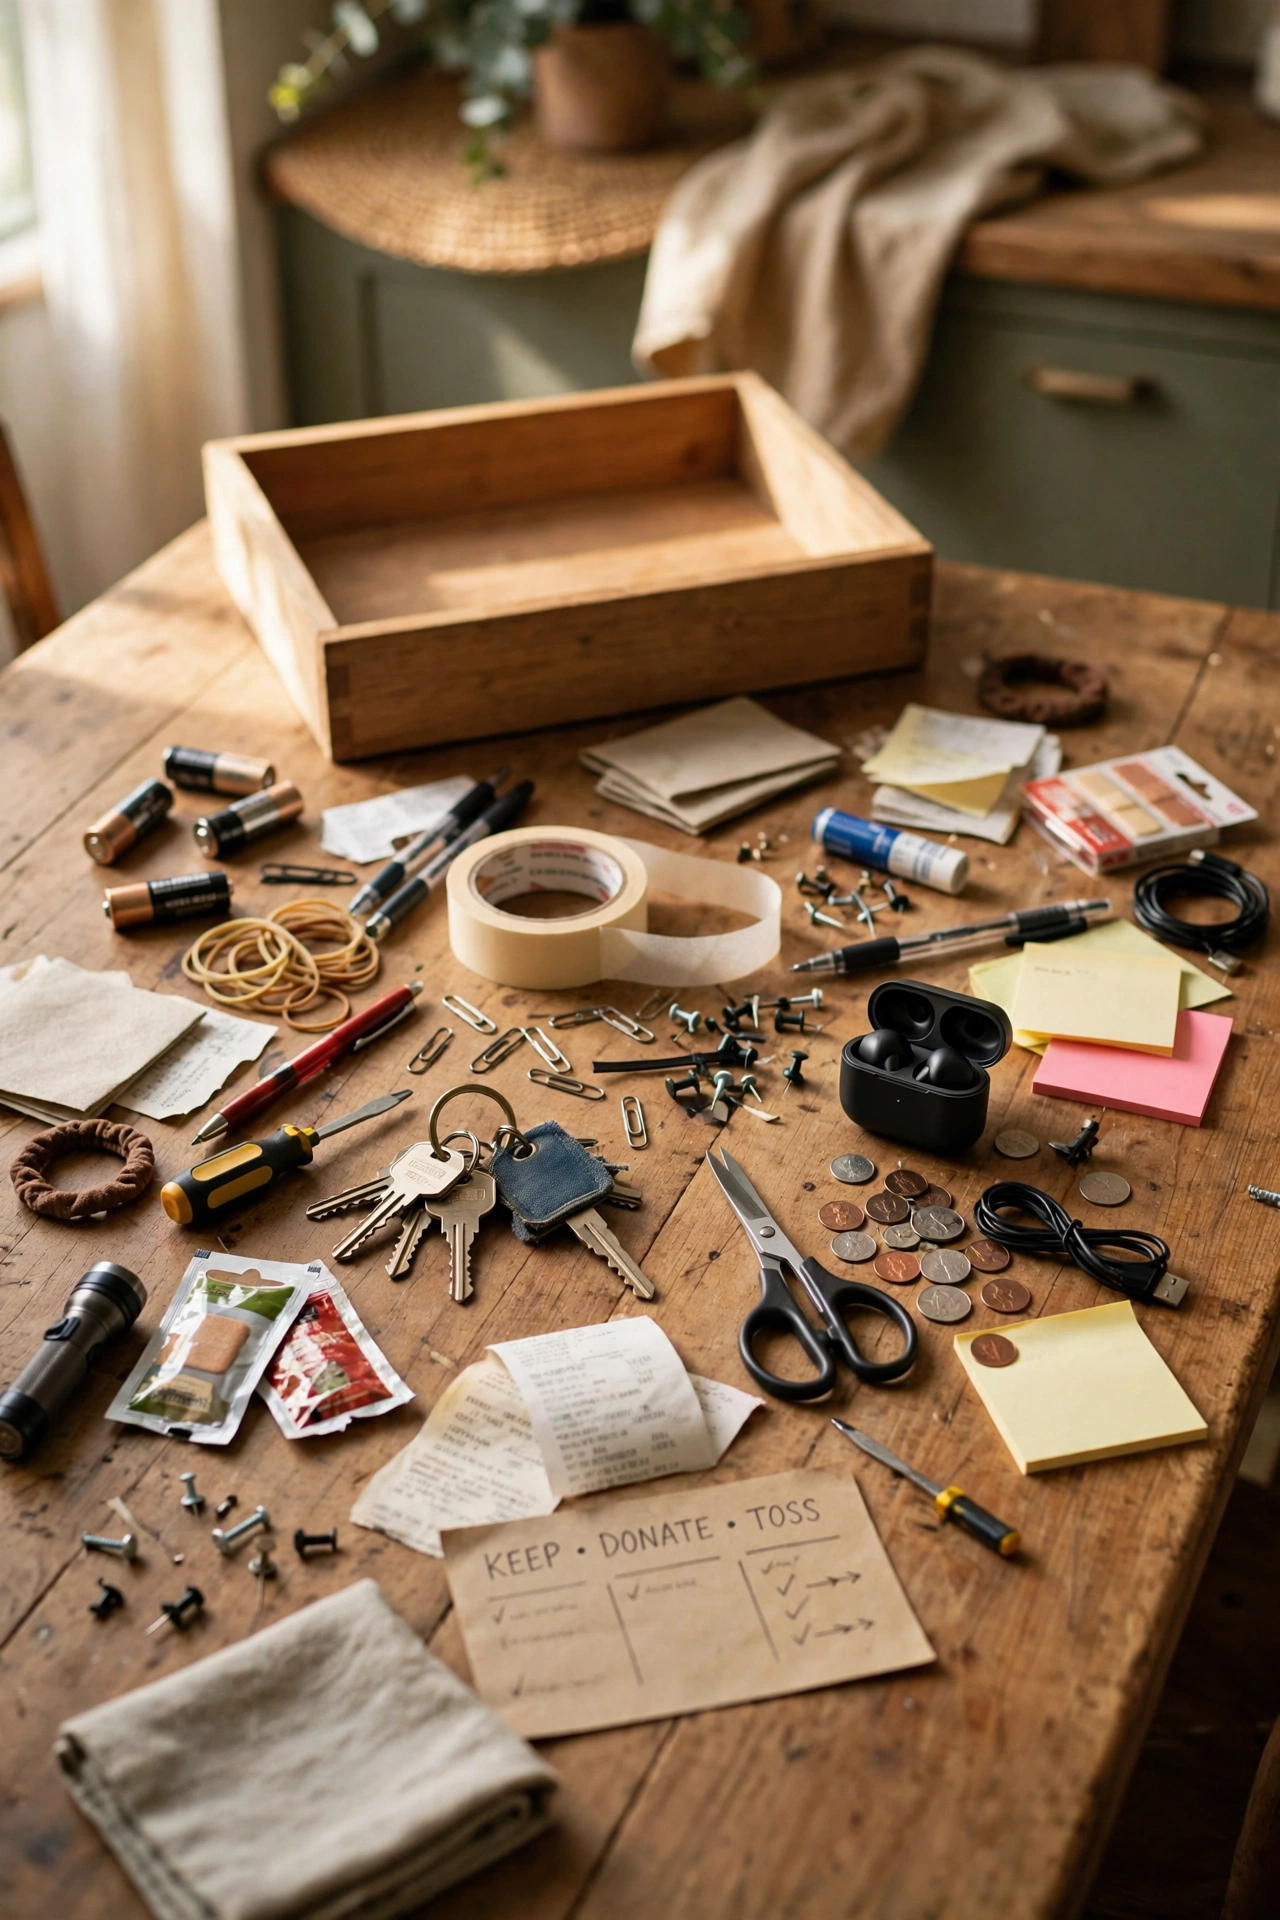
You cannot organize a drawer you cannot see, so the first step is always to take everything out and spread it on a table. First, pull the drawer all the way out and tip every item onto a clean counter or a towel. Second, wipe the empty drawer so you start from a clean base. Third, look at the pile honestly before buying a single divider. I tried this after years of shoving things in around the edges, and I found three pairs of scissors and a charger I had already replaced. My mistake the first time was trying to sort inside the drawer, which just moved the mess around, and emptying it fully is what finally showed me the real problem.
Cost: ~$0 | Time: 20 minutes
2. Throw Out the Obvious Trash First
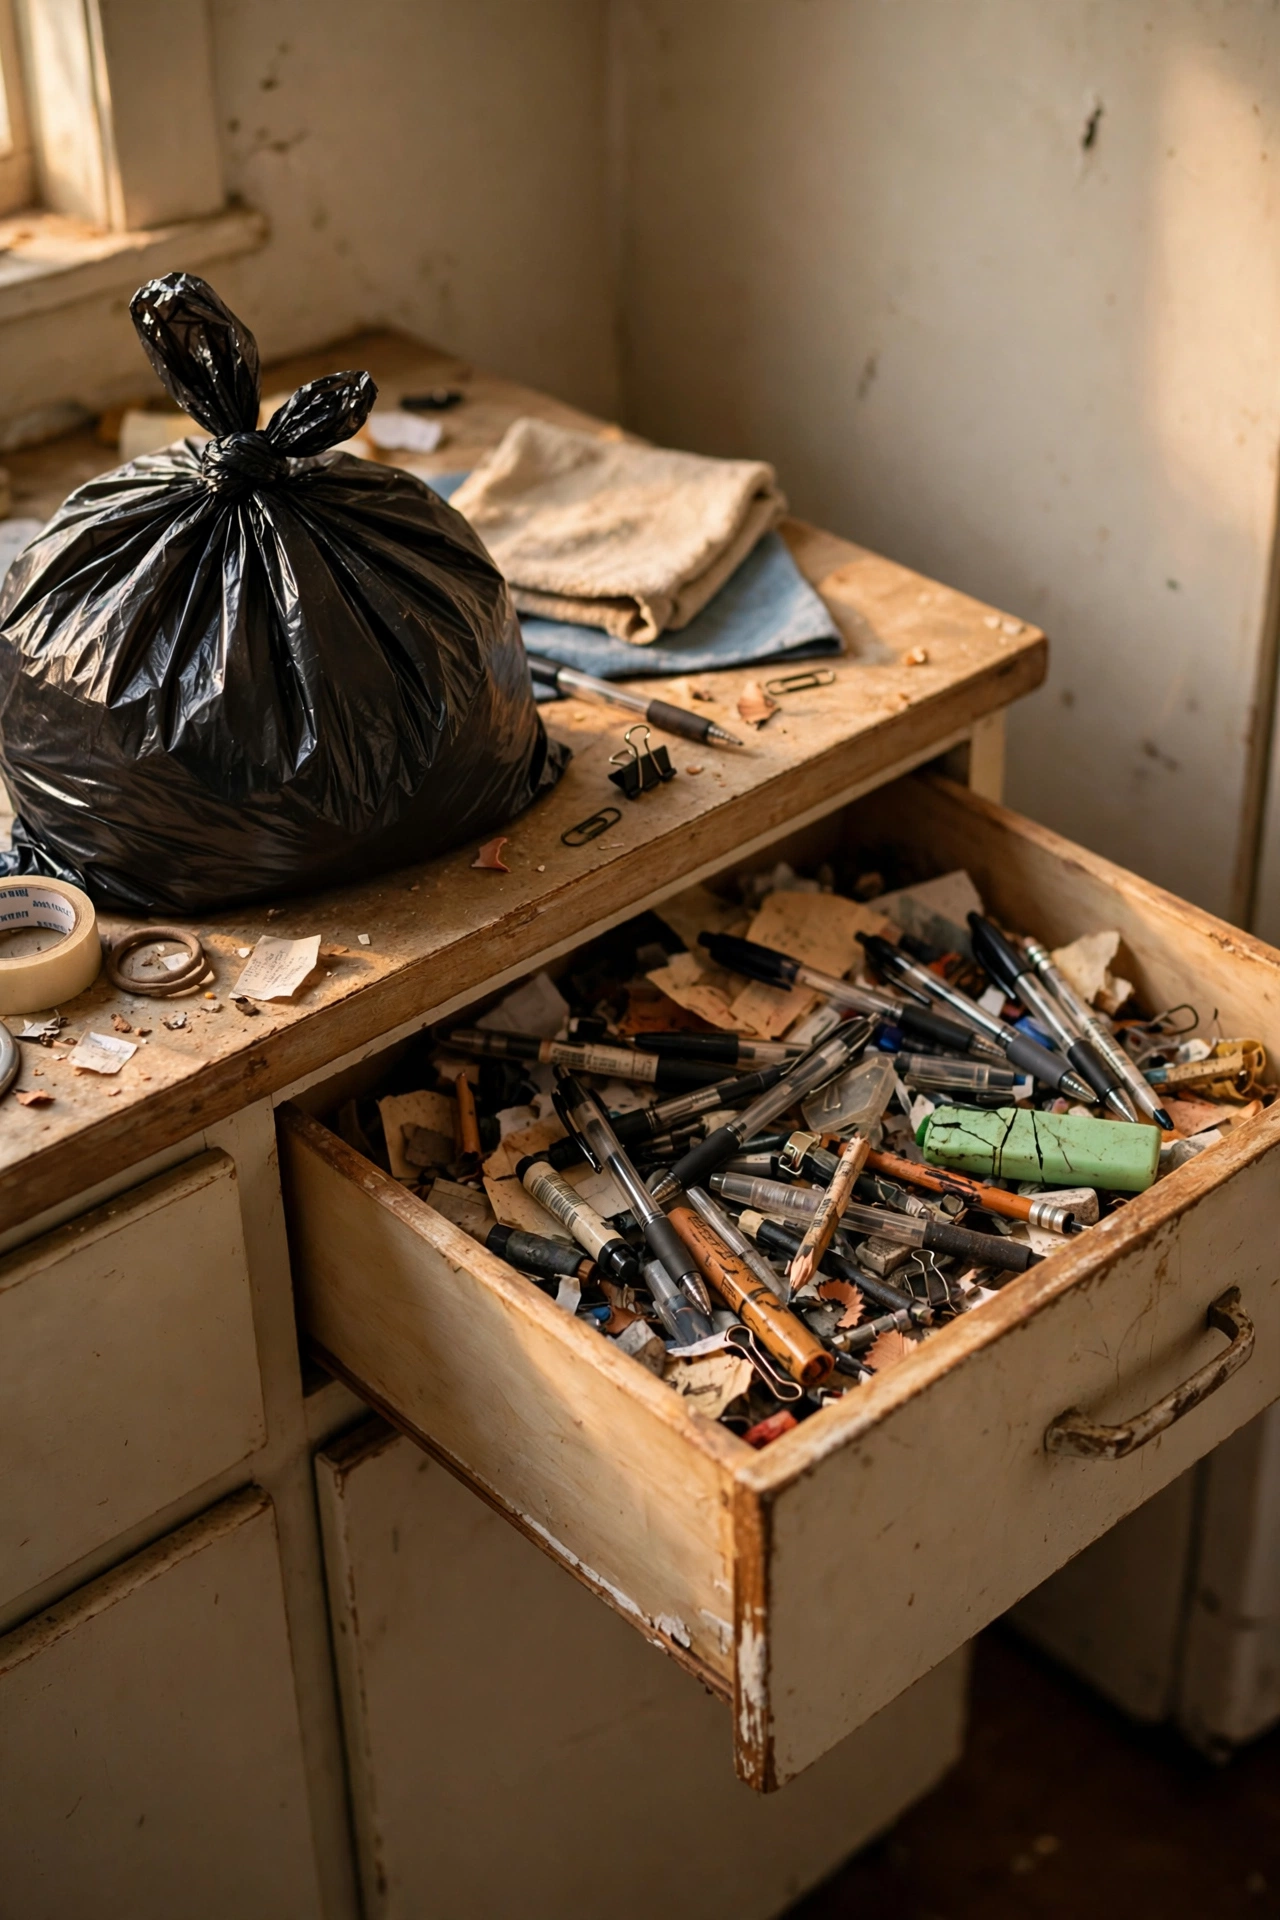
Every junk drawer holds dead batteries, dried-out pens, broken clips, and receipts nobody will ever need, and clearing those first makes the rest of the job feel smaller. First, grab a trash bag and pull out anything broken, empty, or clearly useless. Second, test pens on scrap paper and toss the ones that skip or leak. Third, recycle old batteries and paper properly instead of leaving them in a pile. I tried this during my big drawer cleanup, and one full bag of trash left me with half the pile I started with. My mistake was keeping dead pens just in case, which is how they multiplied, and now a pen that does not write goes straight in the bin.
Cost: ~$0 | Time: 15 minutes
3. Sort Everything Into Keep, Move, and Toss Piles
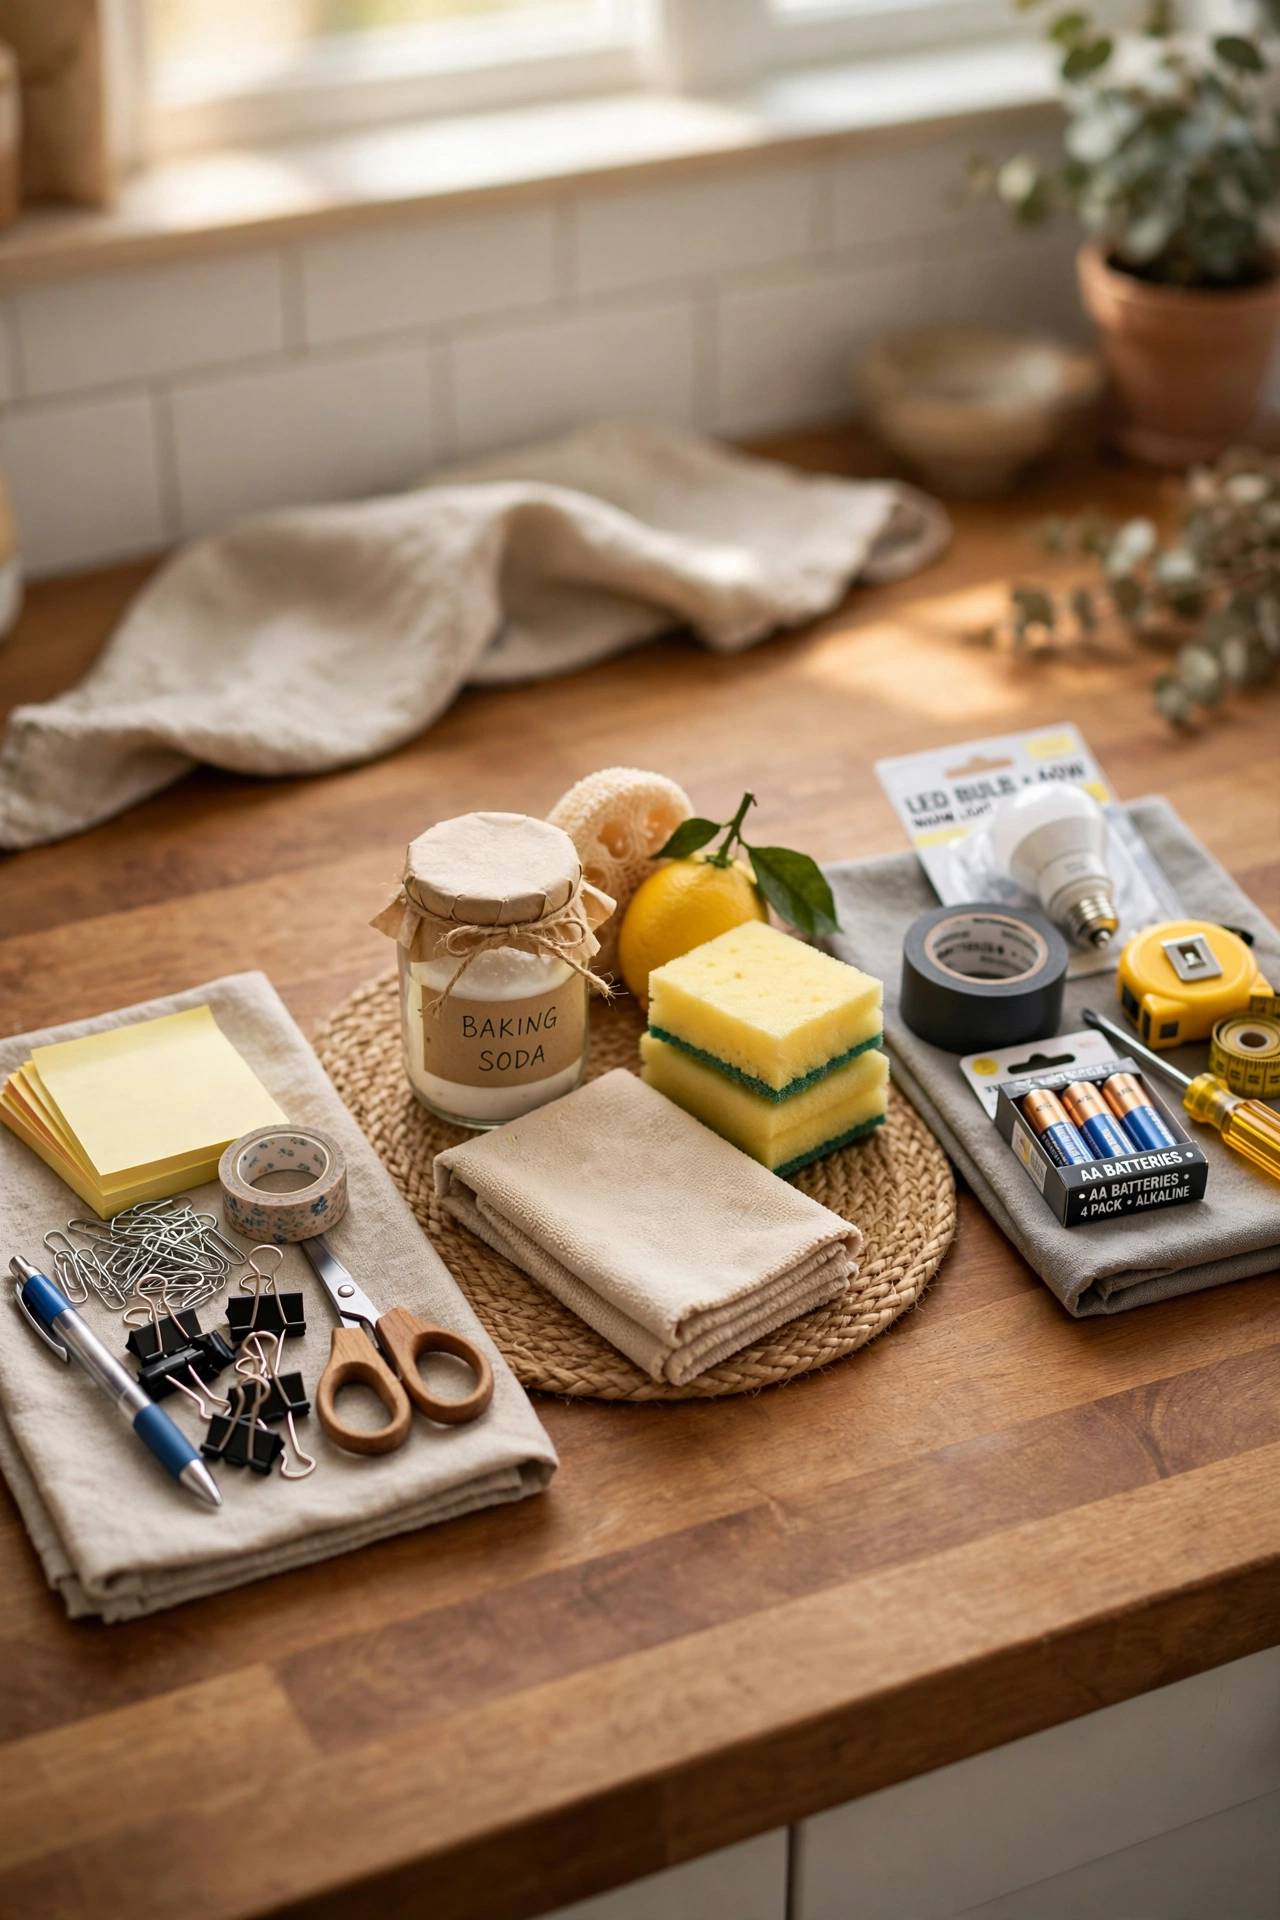
Once the trash is gone, sorting the rest into three piles stops you from putting things back just because they were there before. First, make a keep pile for items that truly belong in this drawer. Second, make a move pile for things that live better elsewhere, like tools in the toolbox or medicines in the bathroom. Third, make a toss pile for duplicates and mystery items nobody can identify. I tried this with my own drawer pile, and the move pile alone filled a whole shoebox. My mistake was creating a fourth maybe pile, which became a second junk drawer in a bag, so three piles only, with quick decisions, works best.
Cost: ~$0 | Time: 25 minutes
4. Line the Drawer With Grip Shelf Liner
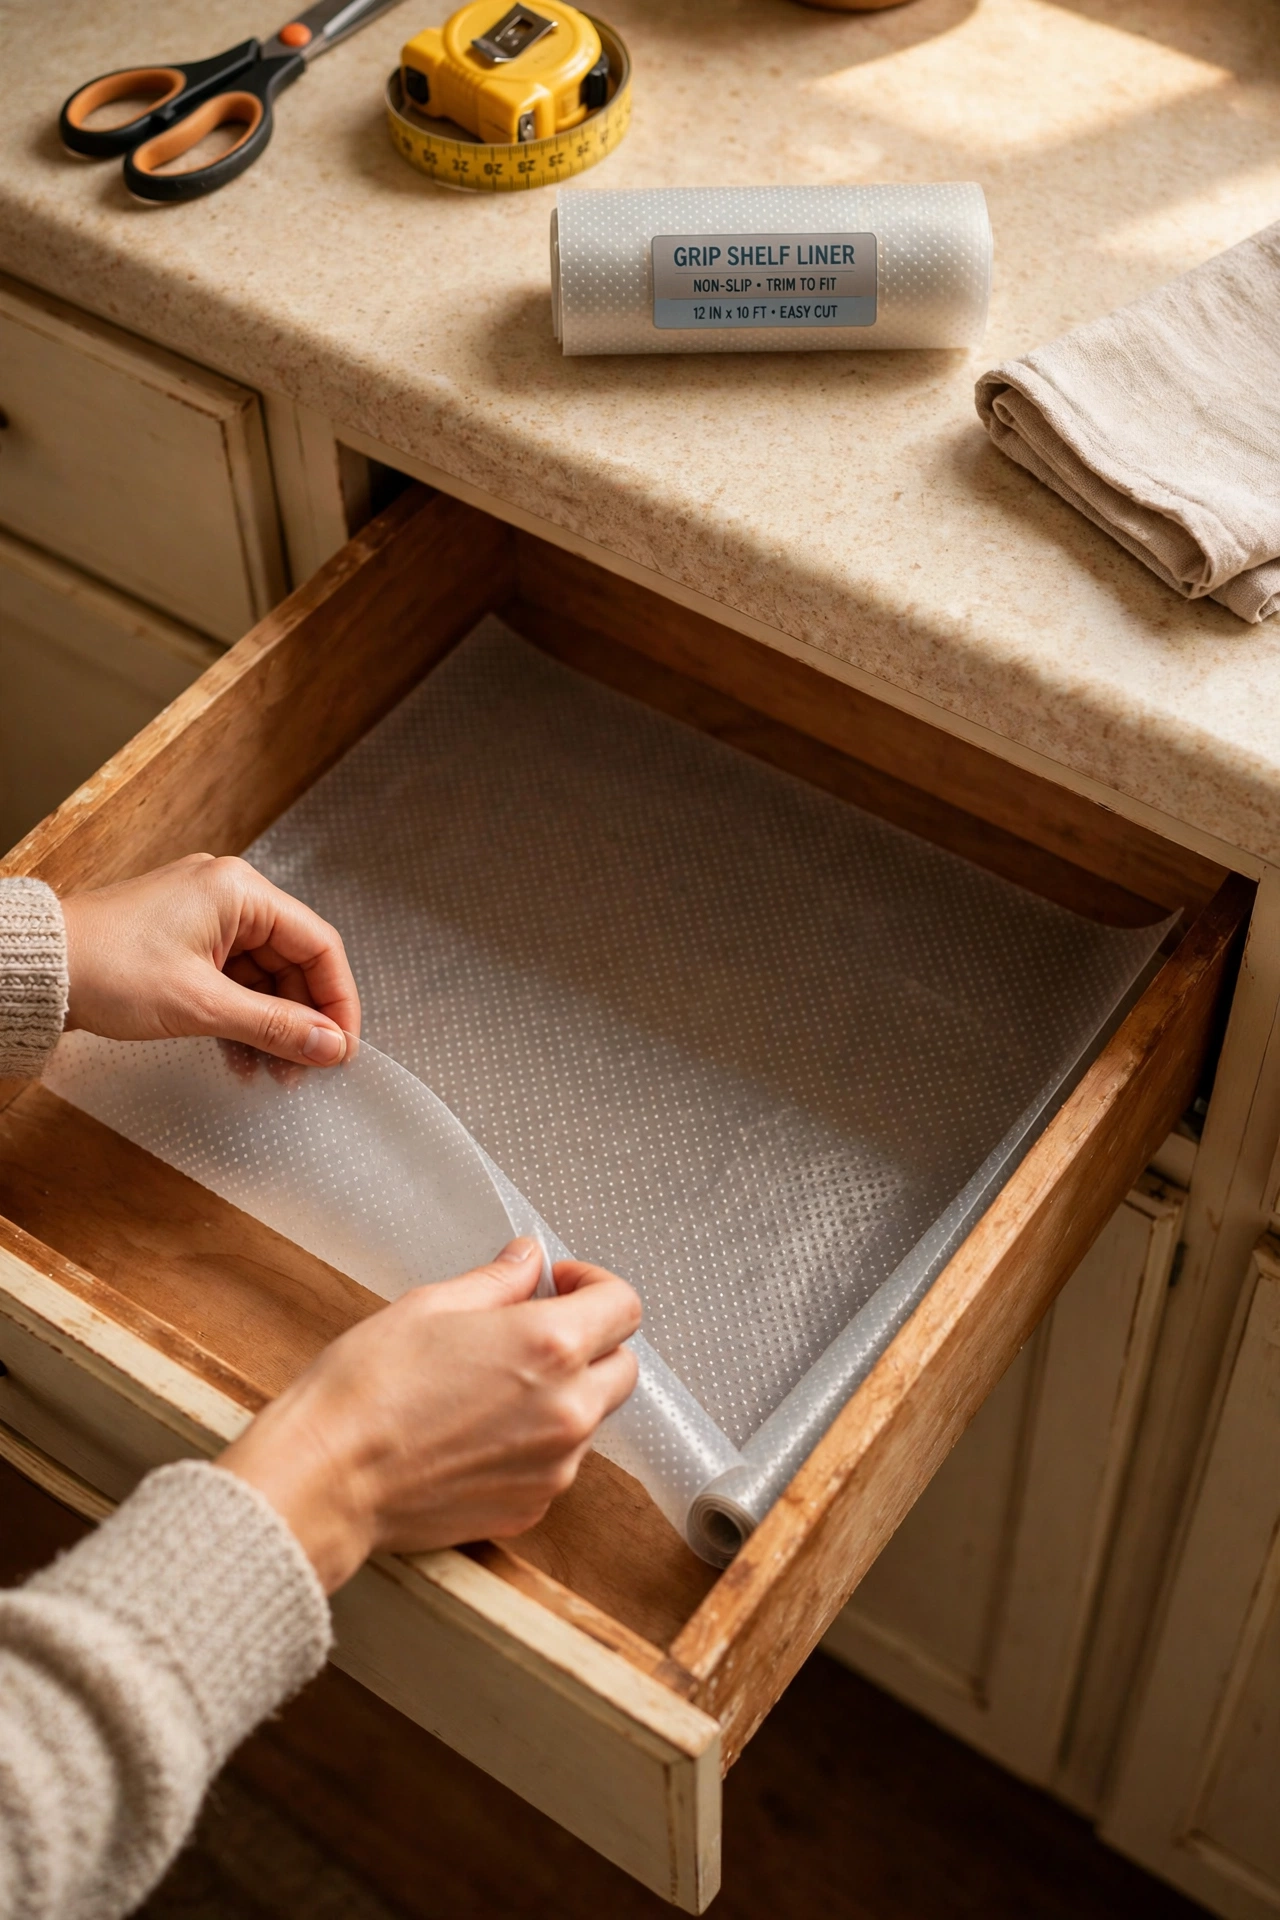
Small items slide every time a drawer opens and closes, but a sheet of grip shelf liner holds bins and tools in place. First, measure the drawer base and cut the liner to fit without bunching at the edges. Second, lay it flat and press it down so it grips the drawer bottom. Third, place your dividers on top so they sit on the liner, not on bare wood. I tried this after my neat rows kept sliding into a heap, and the liner stopped the drift almost completely. My mistake was using a smooth liner first, which looked nice but gripped nothing, so the slightly rubbery grip kind is the one that actually works.
Cost: ~$4 | Time: 10 minutes
5. Use Small Dollar Bins as Drawer Dividers
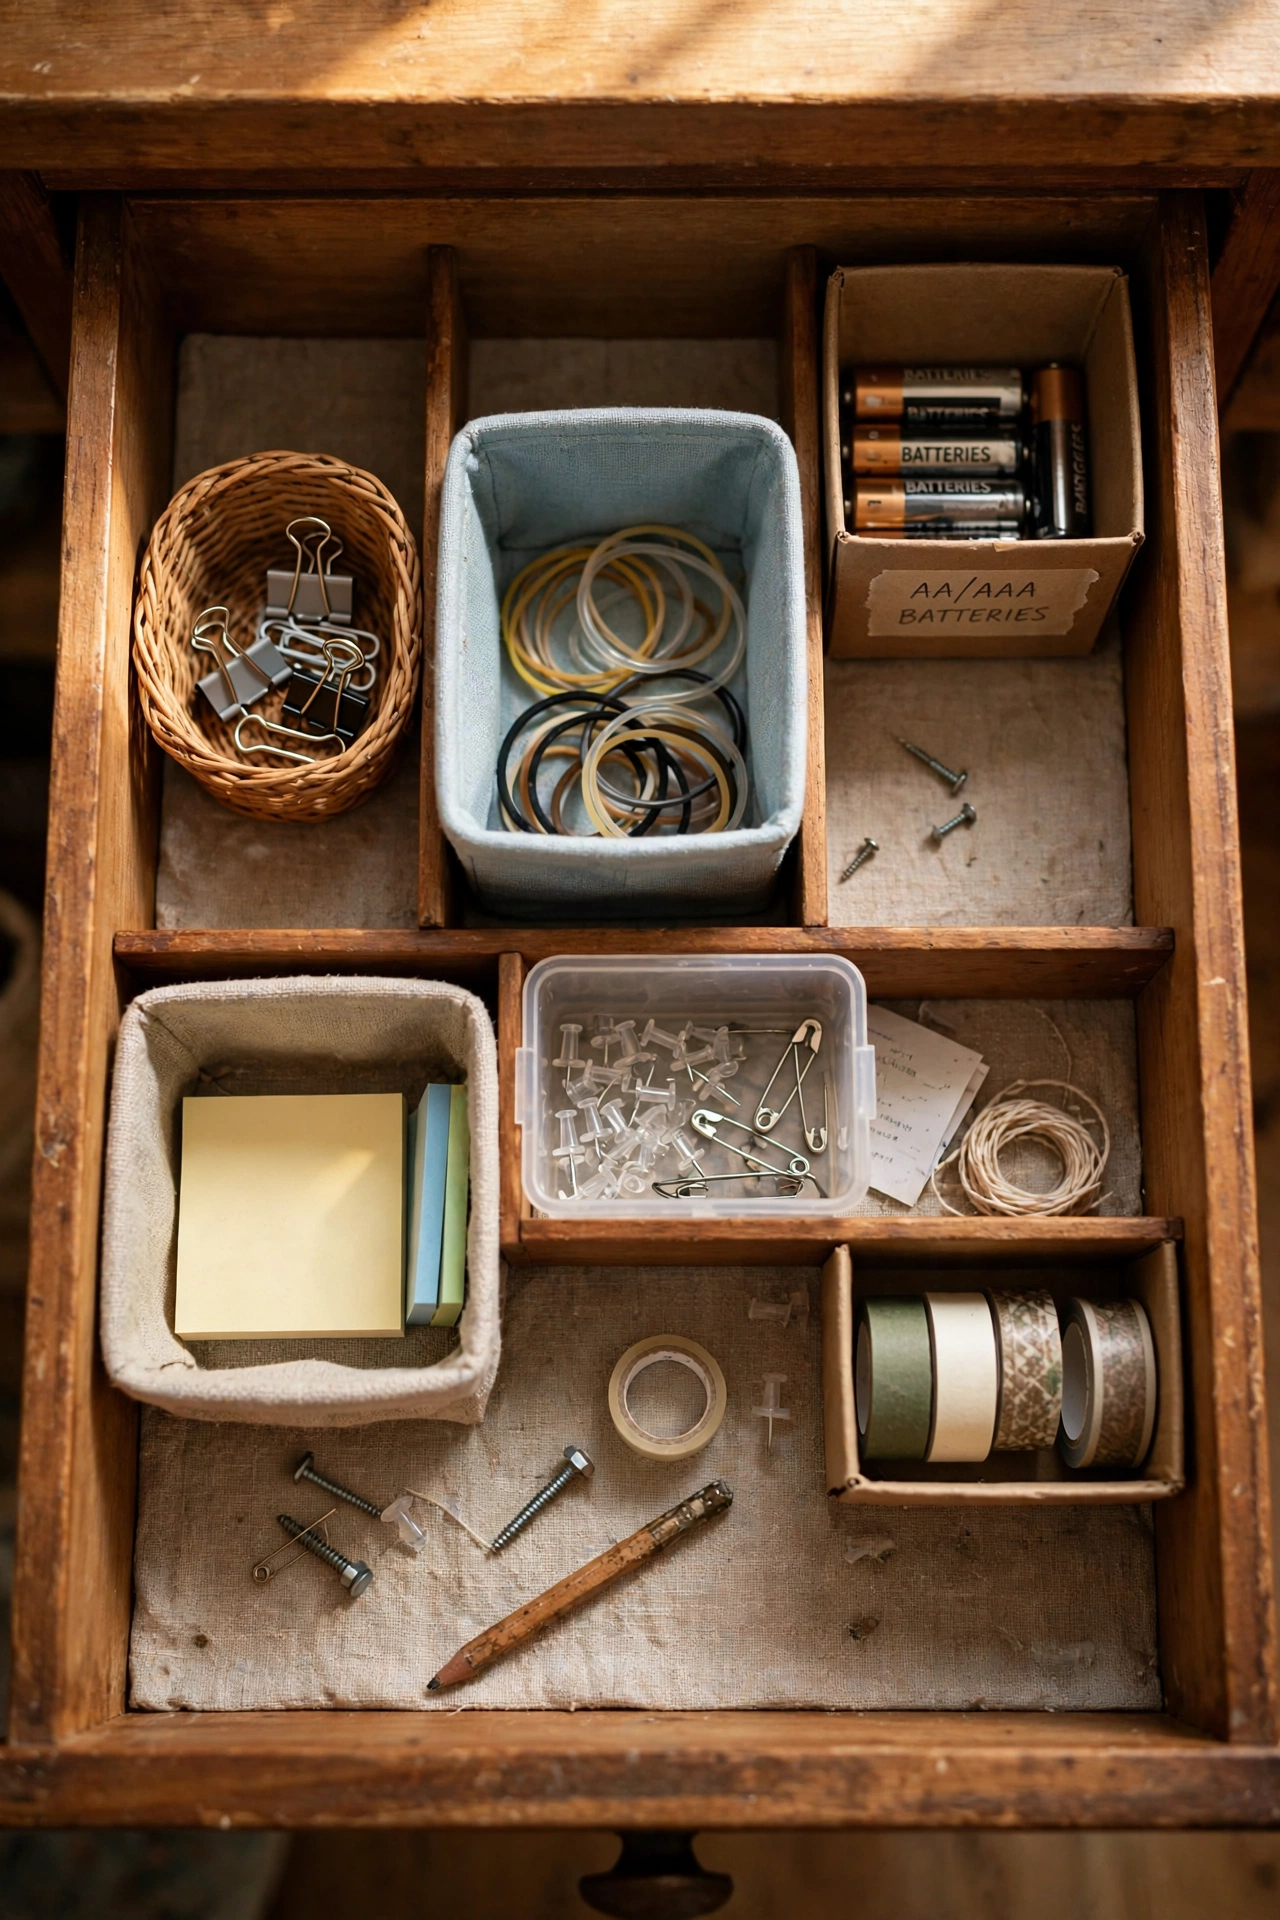
One big drawer with no dividers is just a box, but a handful of small bins turns it into a set of little rooms, each with one job. First, measure the drawer and buy bins that fit side by side without forcing. Second, assign each bin a category, like batteries, tape, or cords. Third, leave one bin empty for overflow so the system has breathing room. I tried this with bins from the dollar store, and my drawer finally looked like the photos, except it actually stayed that way. My mistake was buying bins that were too tall at first, so the drawer would not close, and low bins that clear the drawer frame are essential.
Cost: ~$5 | Time: 15 minutes
(see also: 19-bedroom-organization-ideas-on-a-dime)
6. Corral Batteries in a Labeled Pouch
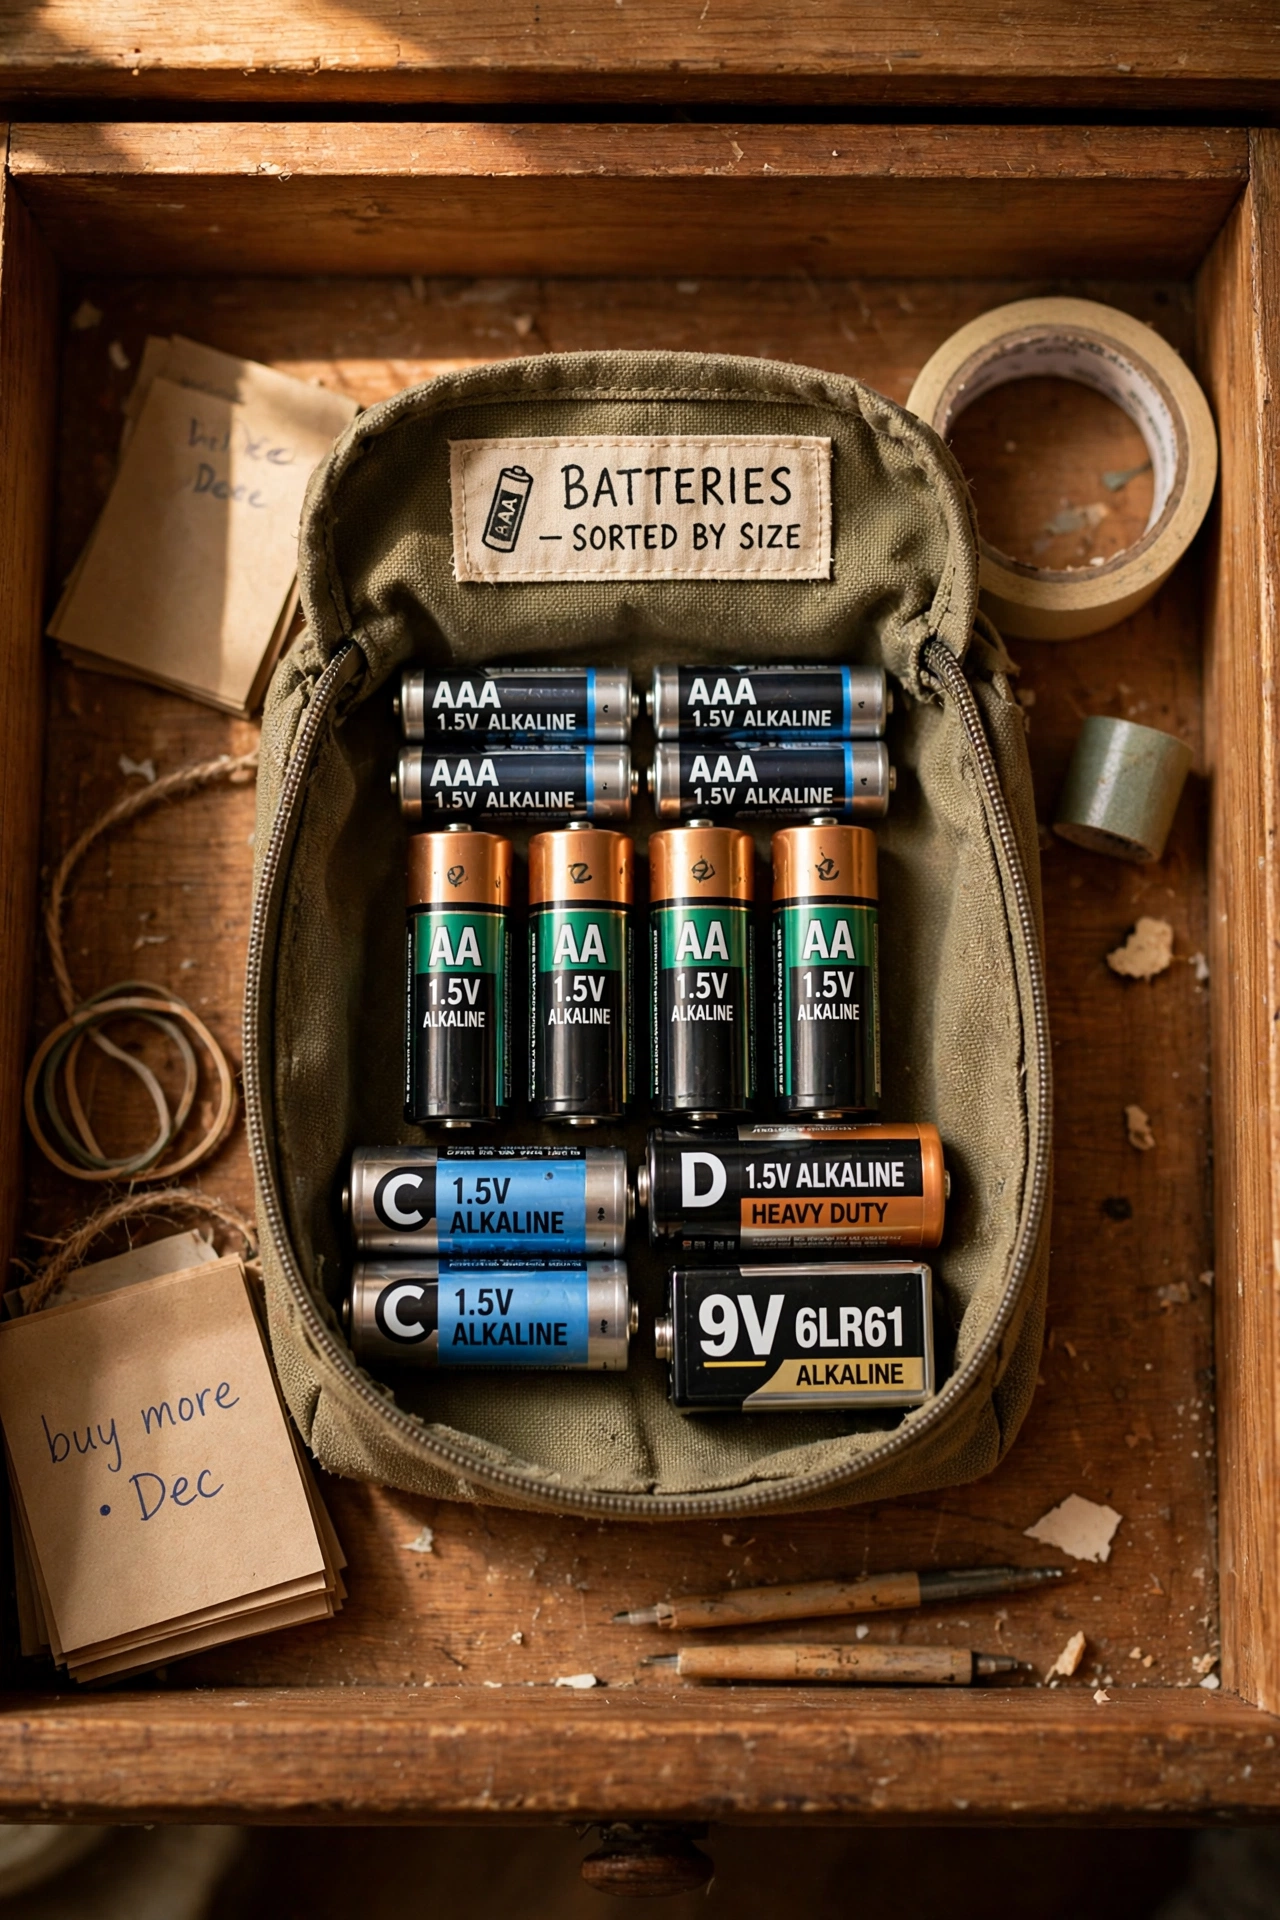
Loose batteries roll, leak, and hide at the back of the drawer, but a small zip pouch keeps them together and easy to check. First, gather every battery in the house into one spot and sort by size. Second, toss any that are leaking or swollen, and keep only fresh ones. Third, put the keepers in a labeled pouch or a small bin inside the drawer. I tried this after finding a leaking battery stuck to a tape roll, and I have not lost a good battery since. My mistake was mixing old and new batteries in the same pouch, which meant grabbing a dead one at the worst moment, so now I keep a tiny tester beside the pouch.
Cost: ~$2 | Time: 10 minutes
7. Keep One Small Tray for Everyday Carry Items
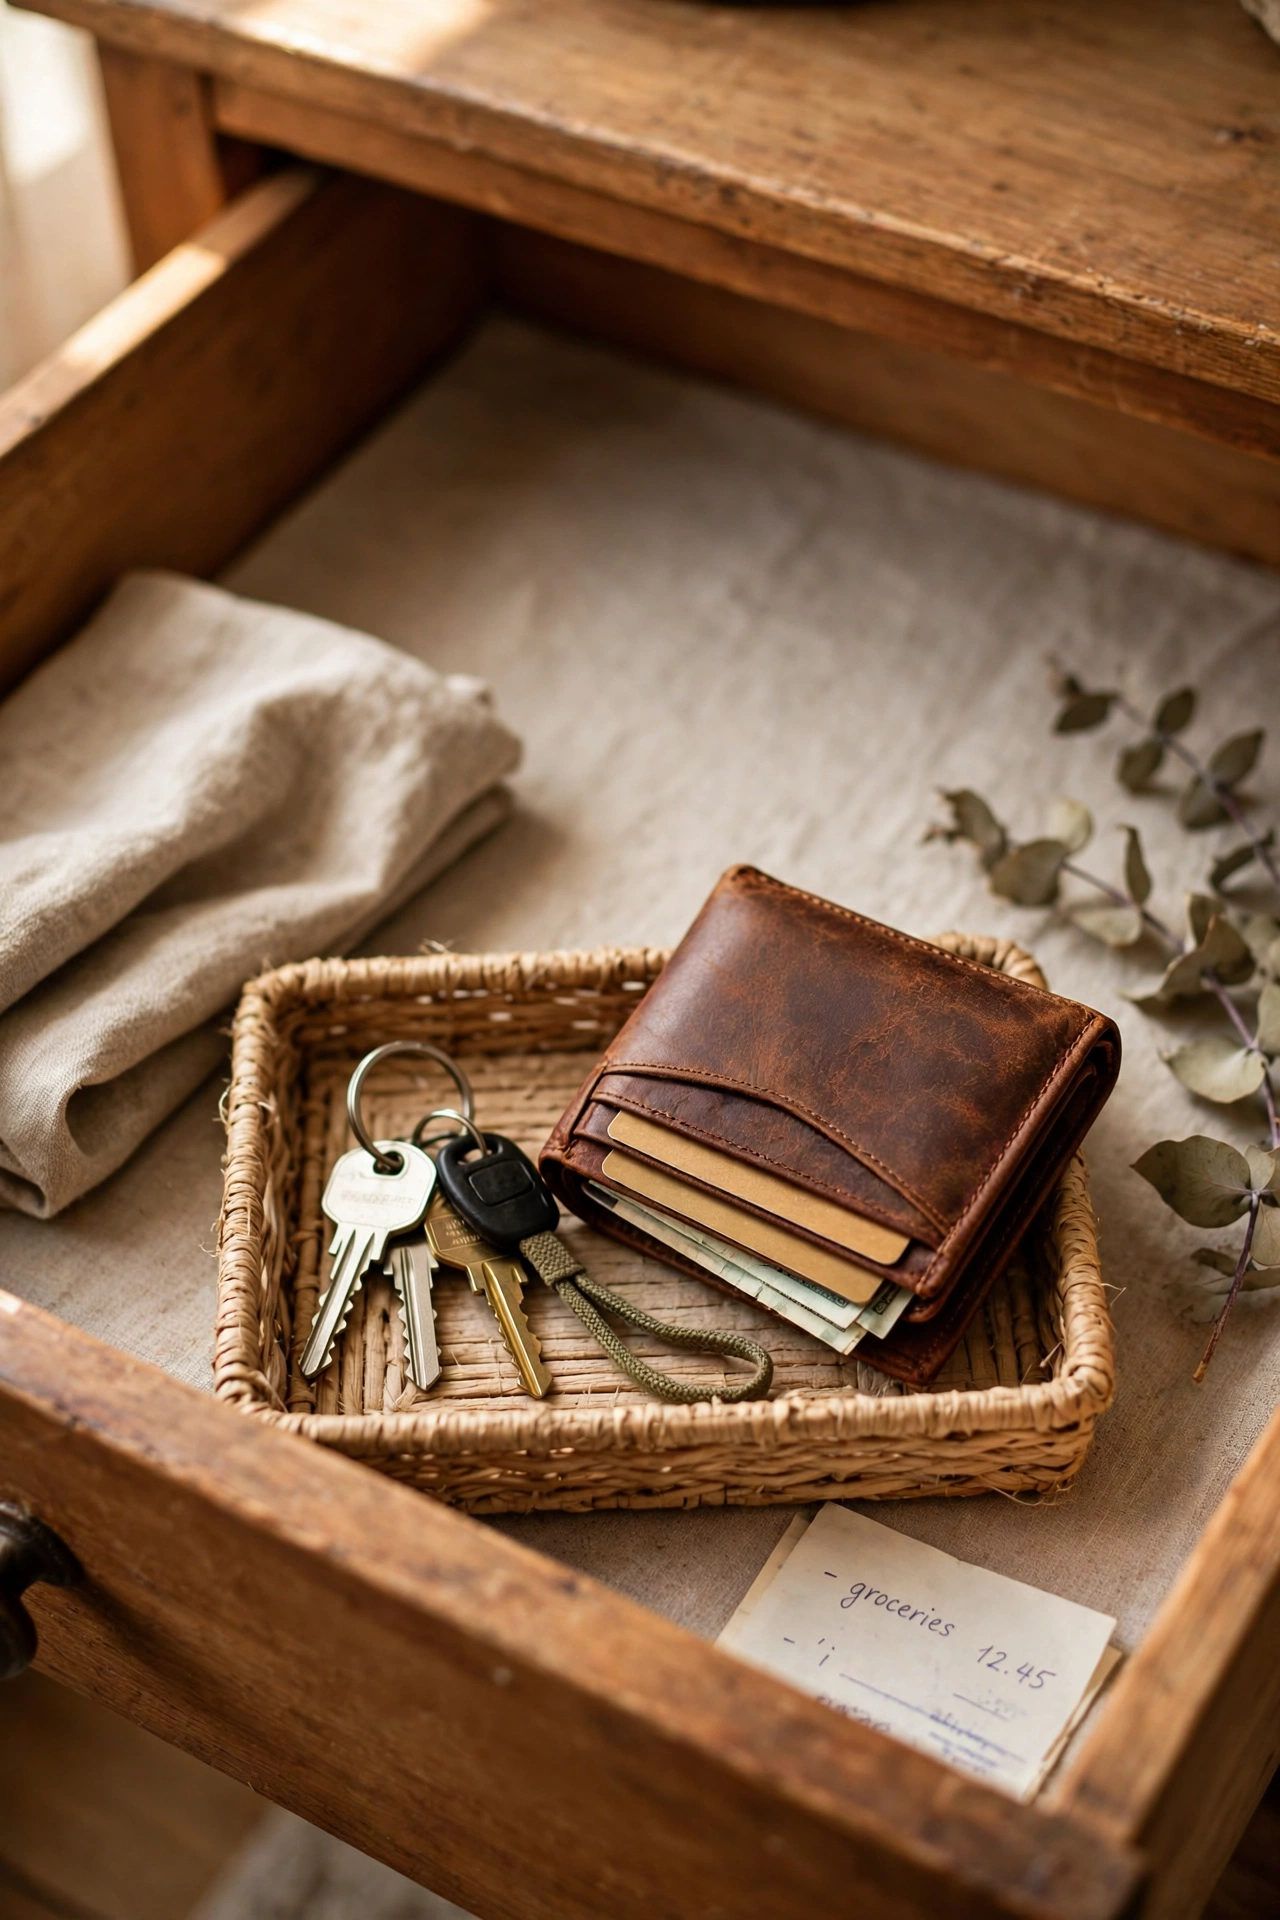
Keys, a wallet, and sunglasses land in the junk drawer when there is nowhere else obvious for them, but a shallow tray near the front gives them a landing spot. First, pick a tray that fits the front of the drawer and leaves room for other bins behind it. Second, put only the items you grab daily in that tray. Third, empty the tray each evening so it never becomes a second junk pile. I tried this by the back door drawer, and mornings got smoother because keys stopped hiding under rubber bands. My mistake was letting coins and receipts join the tray, which buried the keys again, so the tray now holds only the daily carry items.
Cost: ~$3 | Time: 5 minutes
8. Bundle Cords With Twist Ties and Labels
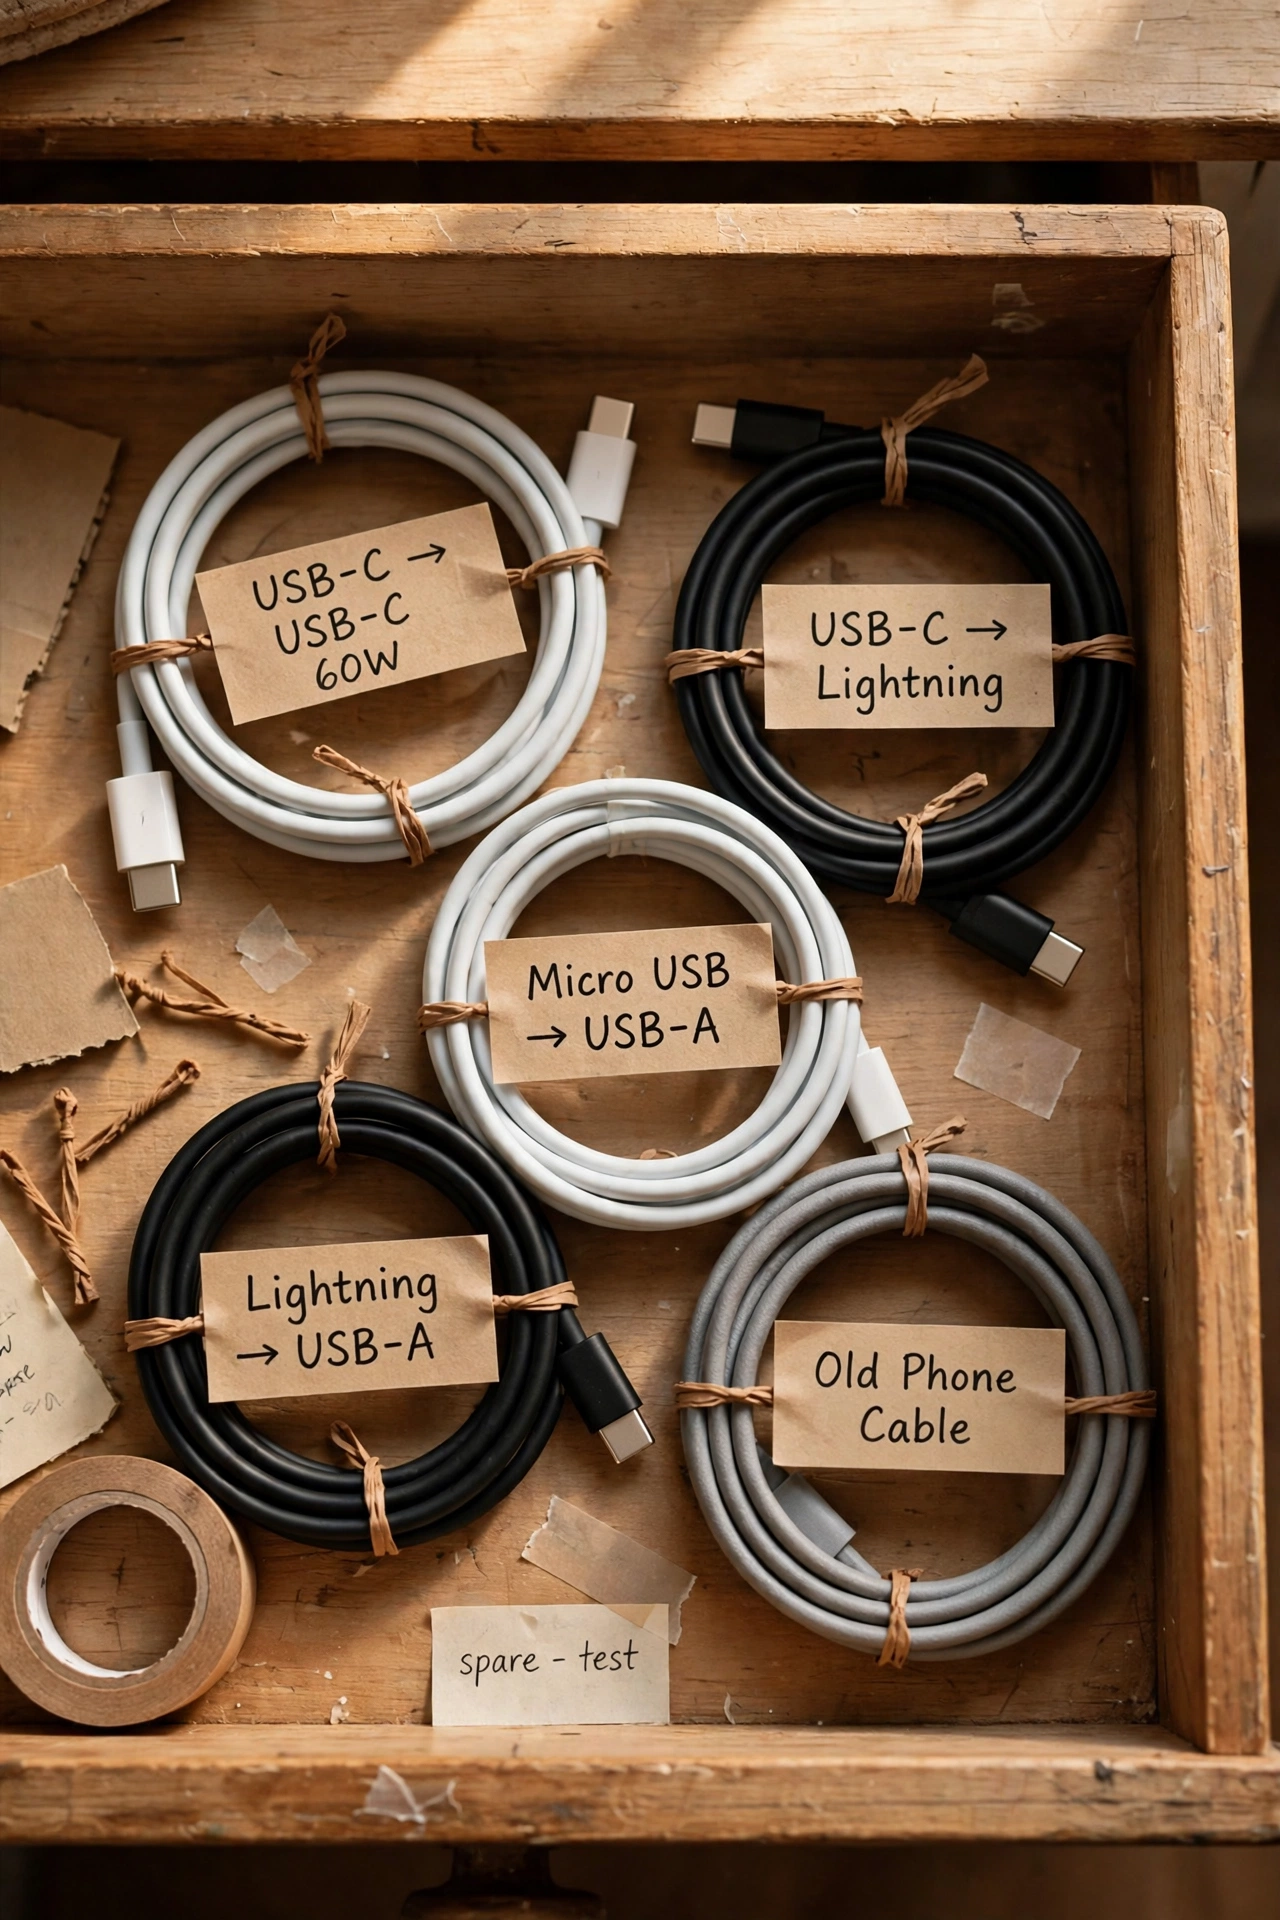
Charging cords tangle into a nest within days, but a twist tie around each cord and a small label turns the nest into a row of neat loops. First, untangle every cord and test which ones still work. Second, coil each working cord loosely and secure it with a twist tie or a velcro strap. Third, label each coil with masking tape so you grab the right charger first time. I tried this after spending ten minutes untangling a phone charger before work, and now I find the right cord in seconds. My mistake was coiling cords too tightly at first, which damaged one cable, so loose coils that keep their natural curve last much longer.
Cost: ~$2 | Time: 20 minutes
9. Give Scissors and Tape a Fixed Home
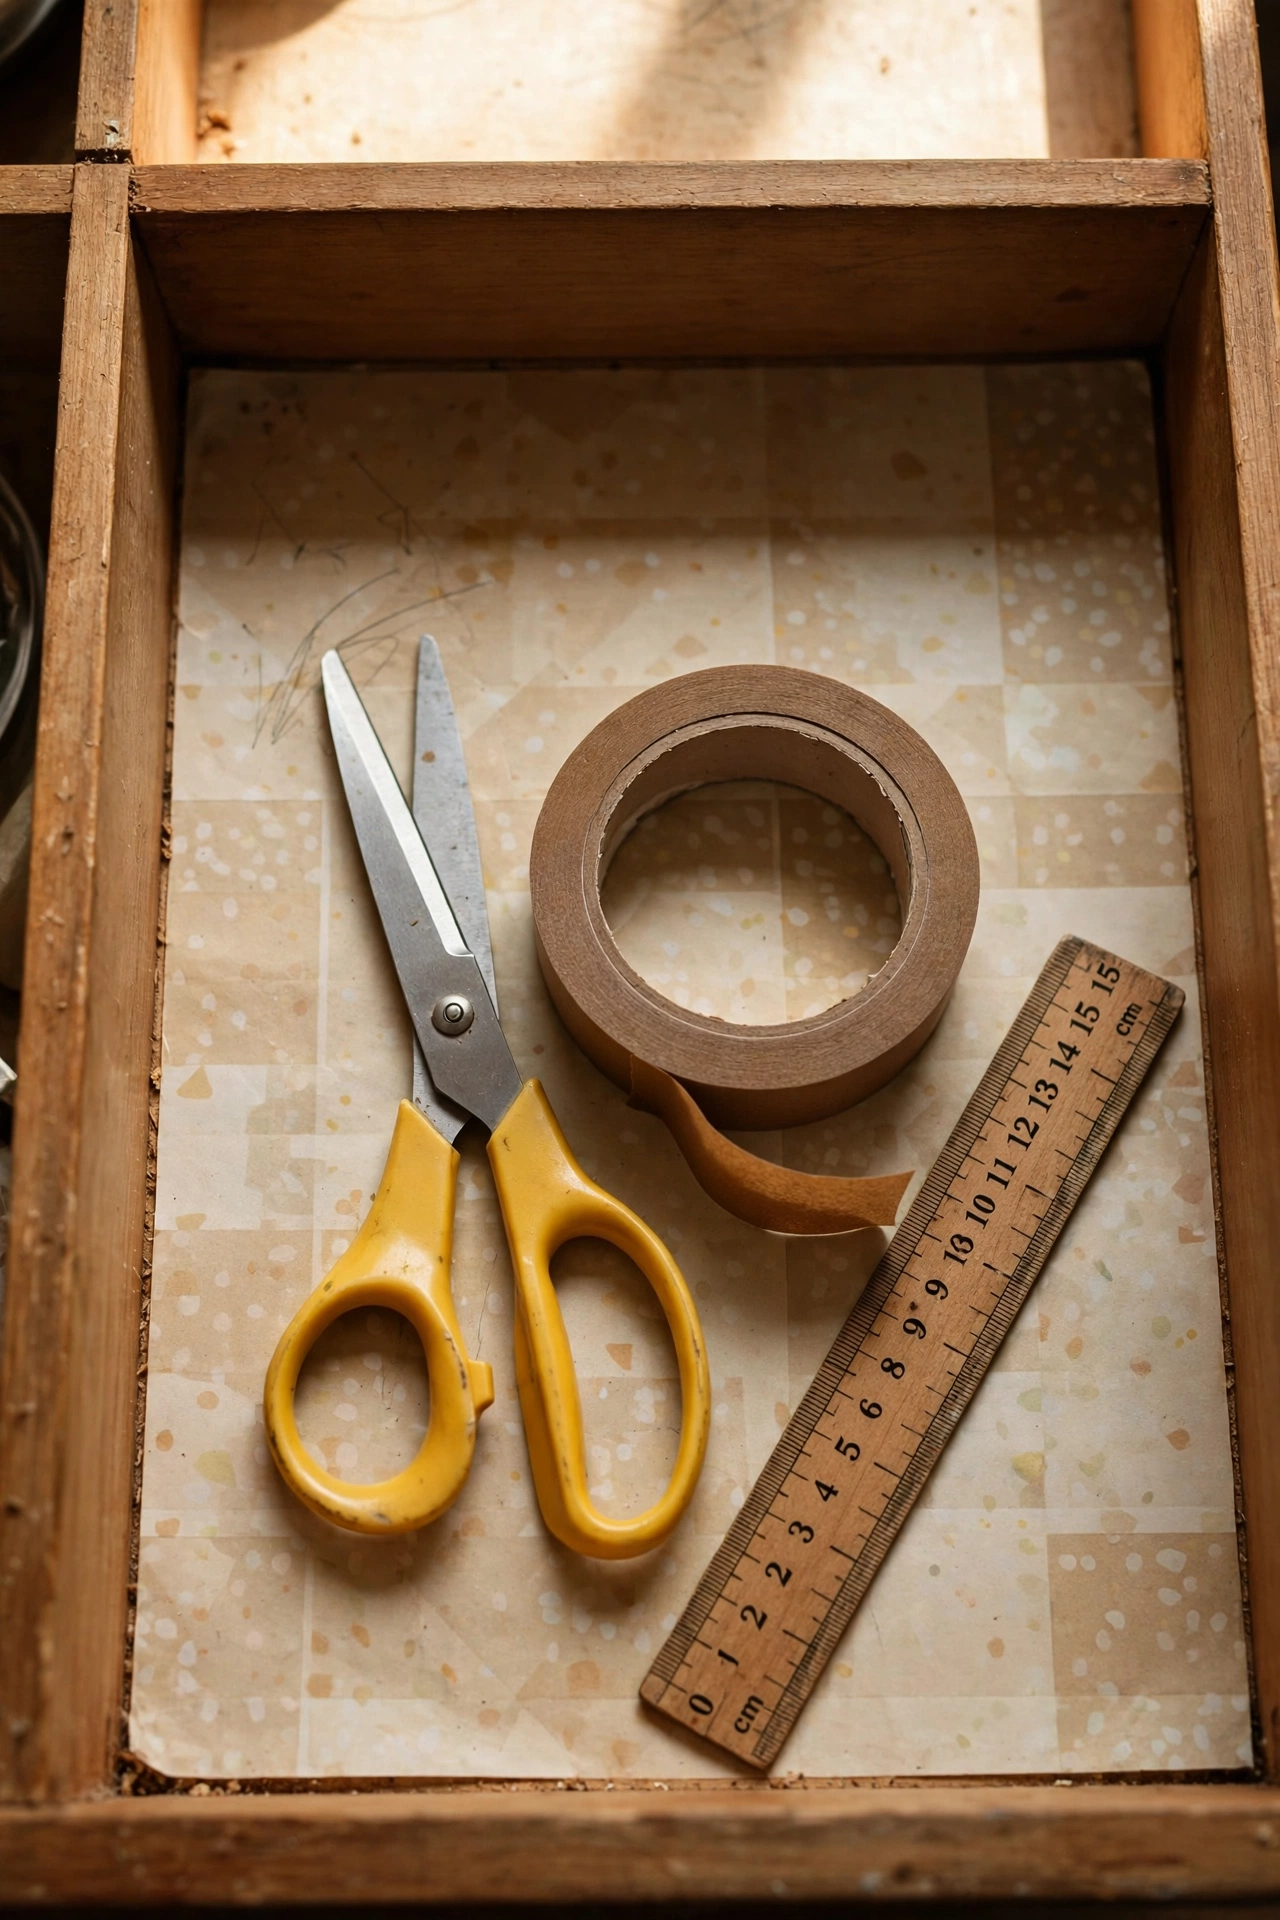
Scissors and tape are the two items everyone hunts for, which means they end up everywhere except where they belong, unless they have a fixed spot. First, pick one bin or section of the drawer just for cutting and sticking tools. Second, put the scissors, tape, and a ruler together in that section. Third, tell everyone in the house that this spot is the only home for those tools. I tried this after buying my fourth pair of scissors, and I have not bought another pair since. My mistake was keeping a second pair somewhere else just in case, which restarted the whole hunt, so one fixed home really does beat two backups.
Cost: ~$0 | Time: 10 minutes
10. Store Takeout Menus in One Slim Folder
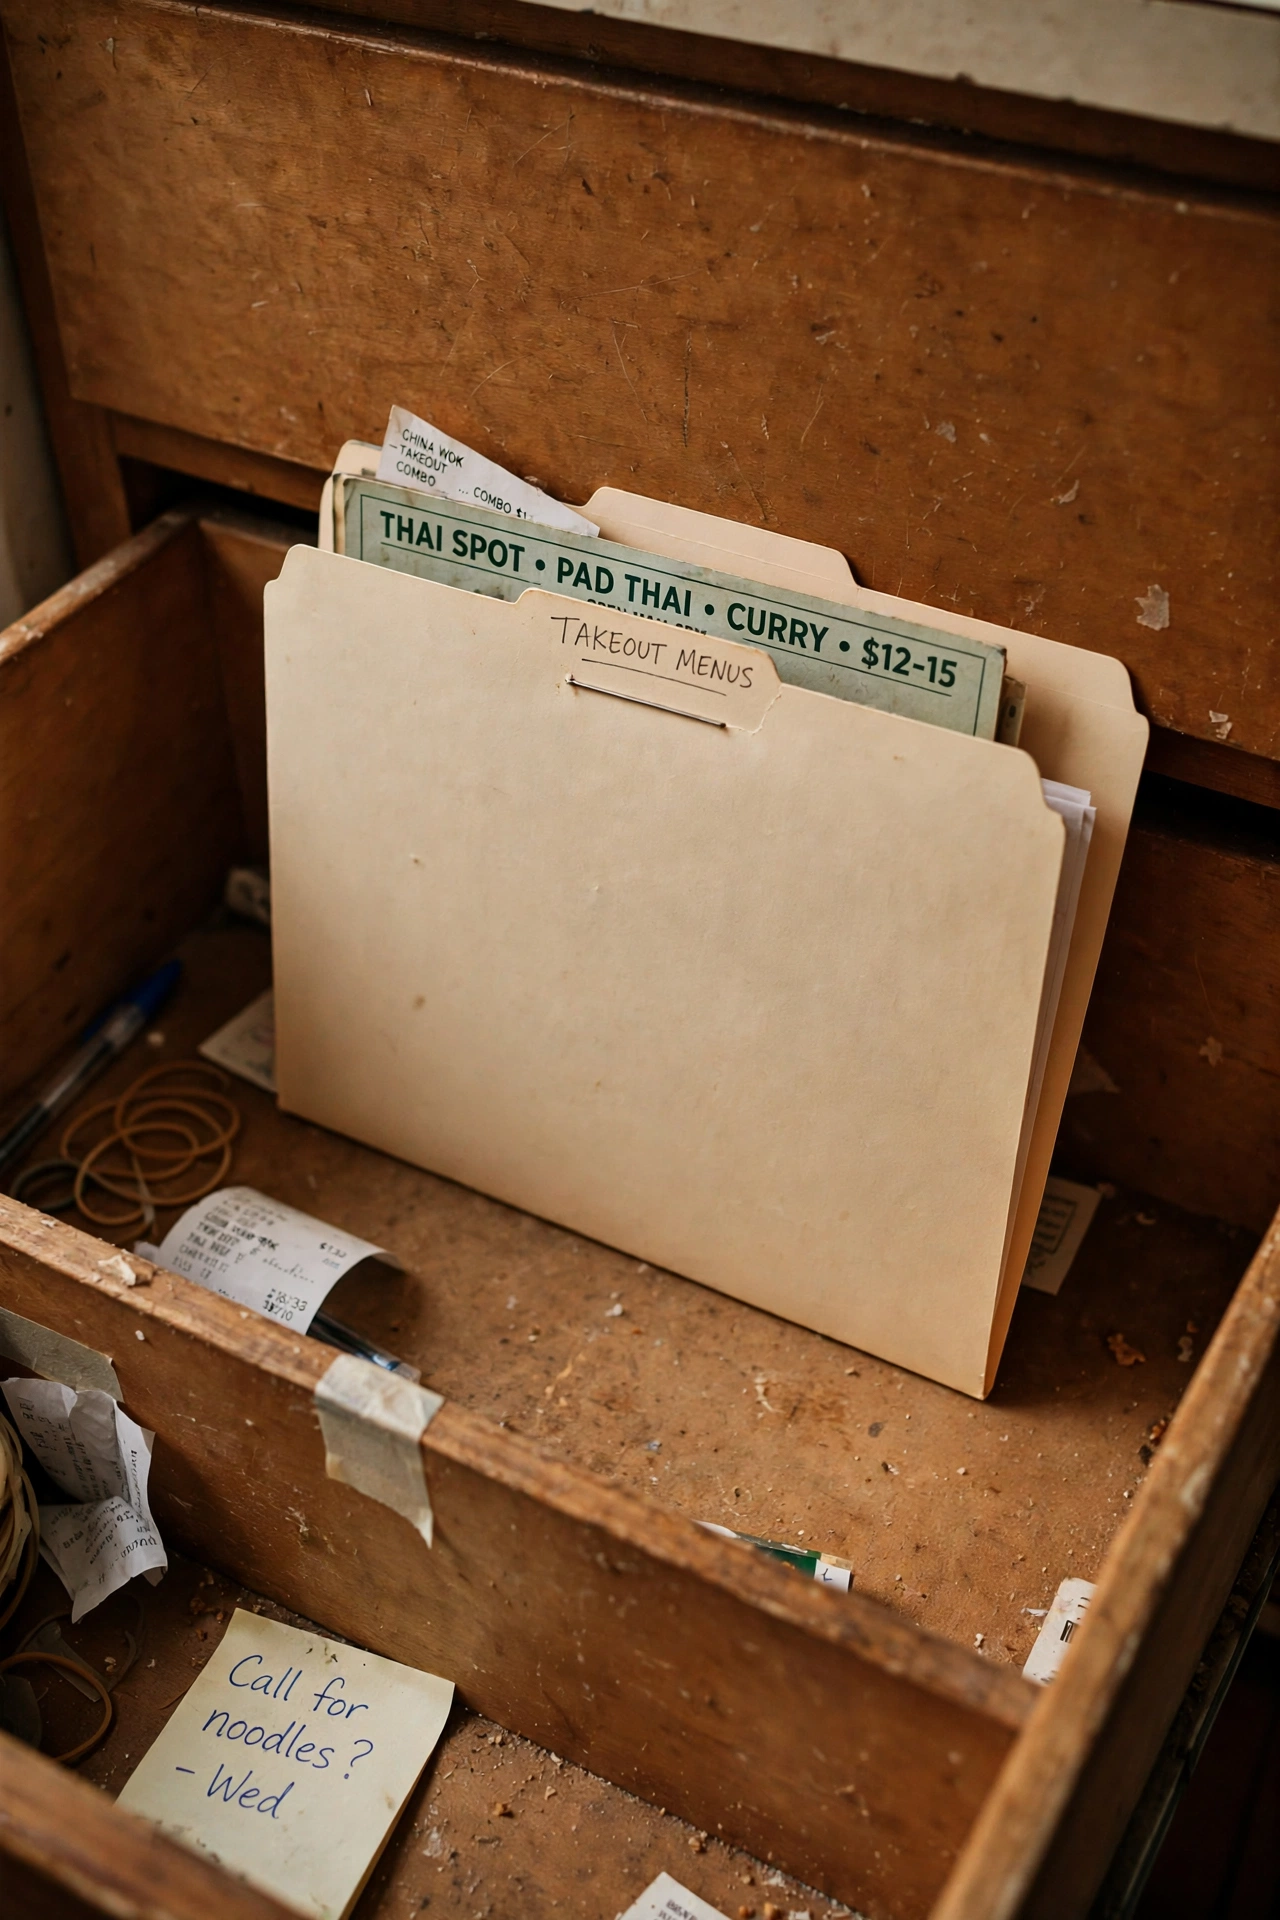
Takeout menus multiply fast and turn into a paper drift at the bottom of the drawer, but one slim folder holds only the places you actually order from. First, gather every menu and throw out duplicates and closed restaurants. Second, keep only the five or six menus you use regularly. Third, slide them into a slim folder or a large envelope at the back of the drawer. I tried this after finding menus from restaurants that closed years ago, and the drawer lost a whole layer of paper. My mistake was keeping menus just in case we might order there someday, which is how the pile grew, so now a menu earns its place by being used.
Cost: ~$1 | Time: 15 minutes
11. Create a Tiny Tool Kit Corner
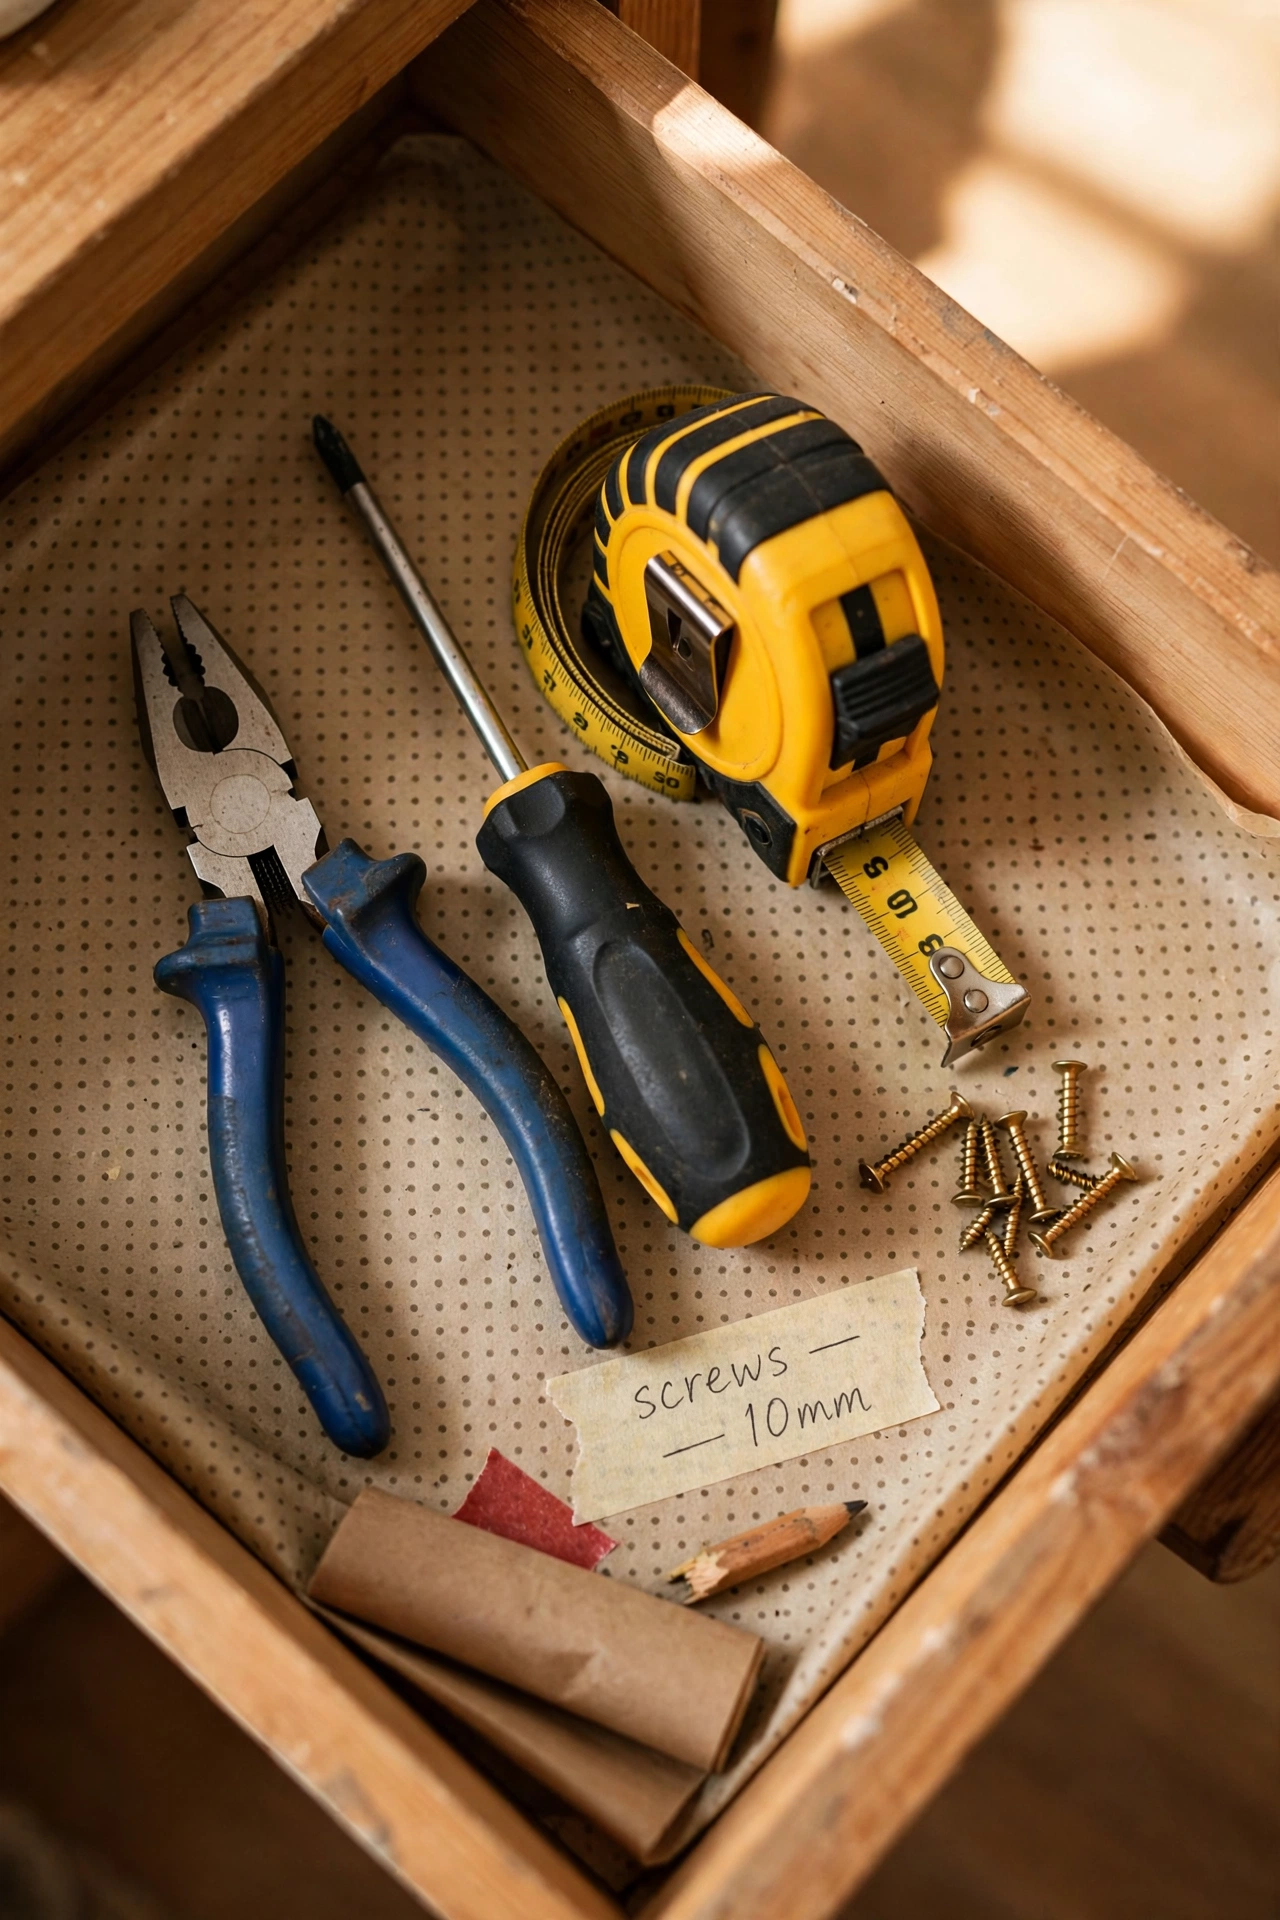
A junk drawer always ends up holding a screwdriver, a hammer, or an Allen key, but a small tool corner keeps those from wandering through everything else. First, pick a corner bin for the few tools you reach for most. Second, add a small screwdriver, a tape measure, a pair of pliers, and picture-hanging nails. Third, keep bigger tools in the real toolbox and resist adding them here. I tried this after hunting for a screwdriver while a shelf hung half off the wall, and now quick fixes take minutes. My mistake was letting the tool corner grow into a full toolbox, which crowded out everything else, so small and strict is the rule.
Cost: ~$0 | Time: 10 minutes
12. Keep a Single Pen Cup Instead of Loose Pens
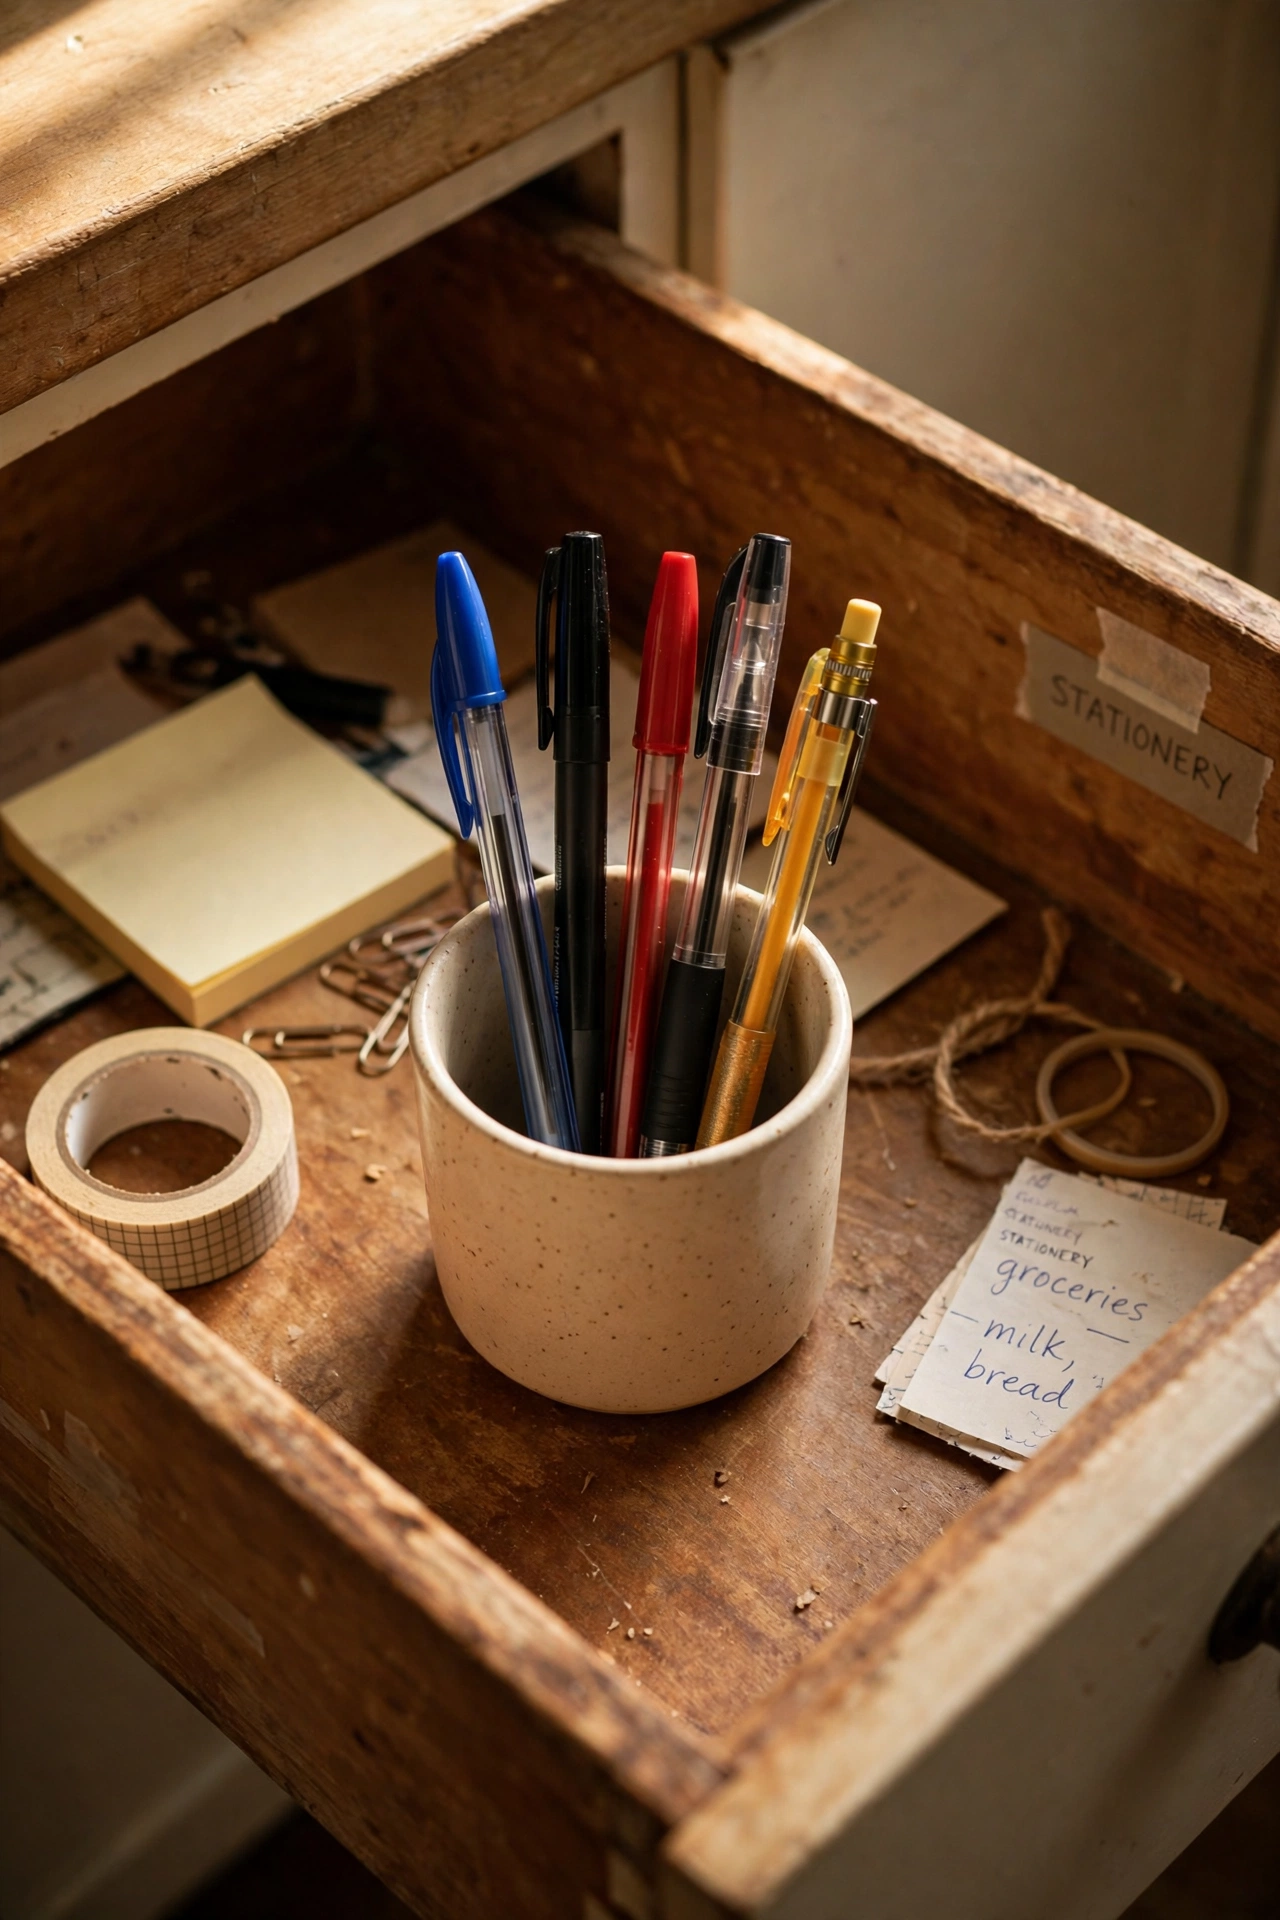
Loose pens roll to the back, leak on everything, and breed, but a single small cup standing in the drawer holds only the pens that work. First, test every pen and throw out the dead ones. Second, stand the keepers upright in a small cup or a short jar. Third, cap the cup at about eight pens so it never overflows. I tried this after counting twenty-seven pens in one drawer, most of them dead, and the drawer instantly felt calmer. My mistake was keeping a cup of pens plus a loose pile, which defeated the point, so now every pen in the drawer lives in the cup or leaves the drawer.
Cost: ~$1 | Time: 10 minutes
13. Use a Muffin Tin as a Cheap Divider Hack
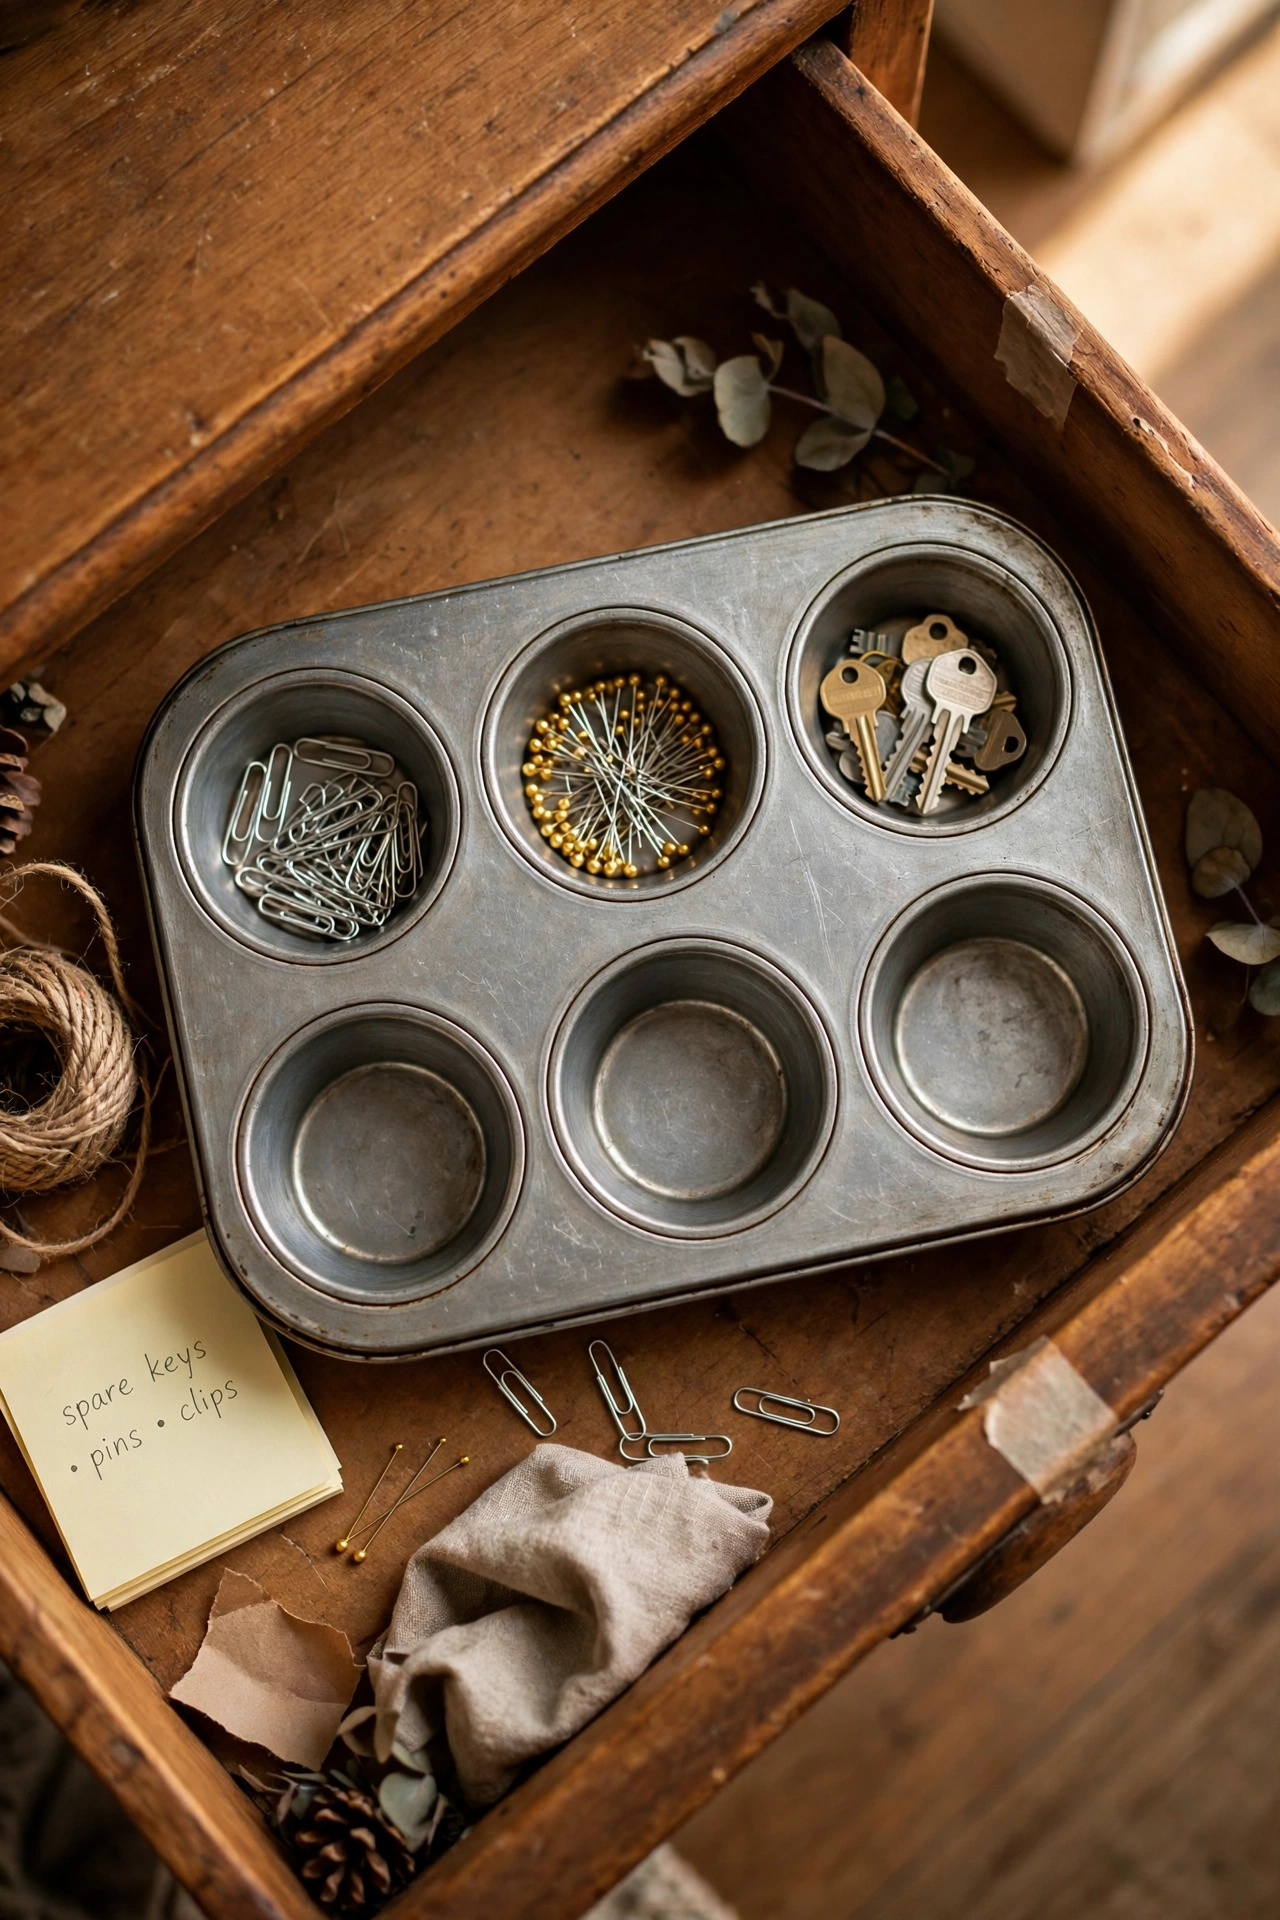
A spare muffin tin makes a surprisingly good drawer organizer, with one cup for each small category, and it costs nothing if you already own one. First, wash an old muffin tin and check that it fits the drawer with the drawer able to close. Second, assign each cup a category, like clips, pins, or spare keys. Third, drop small items into their cups instead of letting them roam. I tried this in a narrow kitchen drawer, and it worked so well that I kept it for months. My mistake was using a tin that was slightly too tall at first, so the drawer stuck, and a shallow tin or a silicone one that flexes is much safer.
Cost: ~$0 | Time: 10 minutes
14. Put Loose Change in a Small Jar

Loose coins spread through a drawer, jam the track, and make every search noisy, but a small jar at the back catches them all in one spot. First, gather every coin from the drawer and sort out any foreign coins. Second, put the keepers in a short jar with a lid so it cannot tip and spill. Third, empty the jar into a coin bank when it fills up. I tried this after a coin wedged my drawer shut, which was the last straw before my big cleanup. My mistake was using a lidless jar first, which tipped over and scattered coins everywhere, so a jar with a lid is non-negotiable for a drawer.
Cost: ~$1 | Time: 10 minutes
(see also: 15-small-laundry-room-ideas-on-a-budget)
15. Make a Charging Drawer With One Power Strip
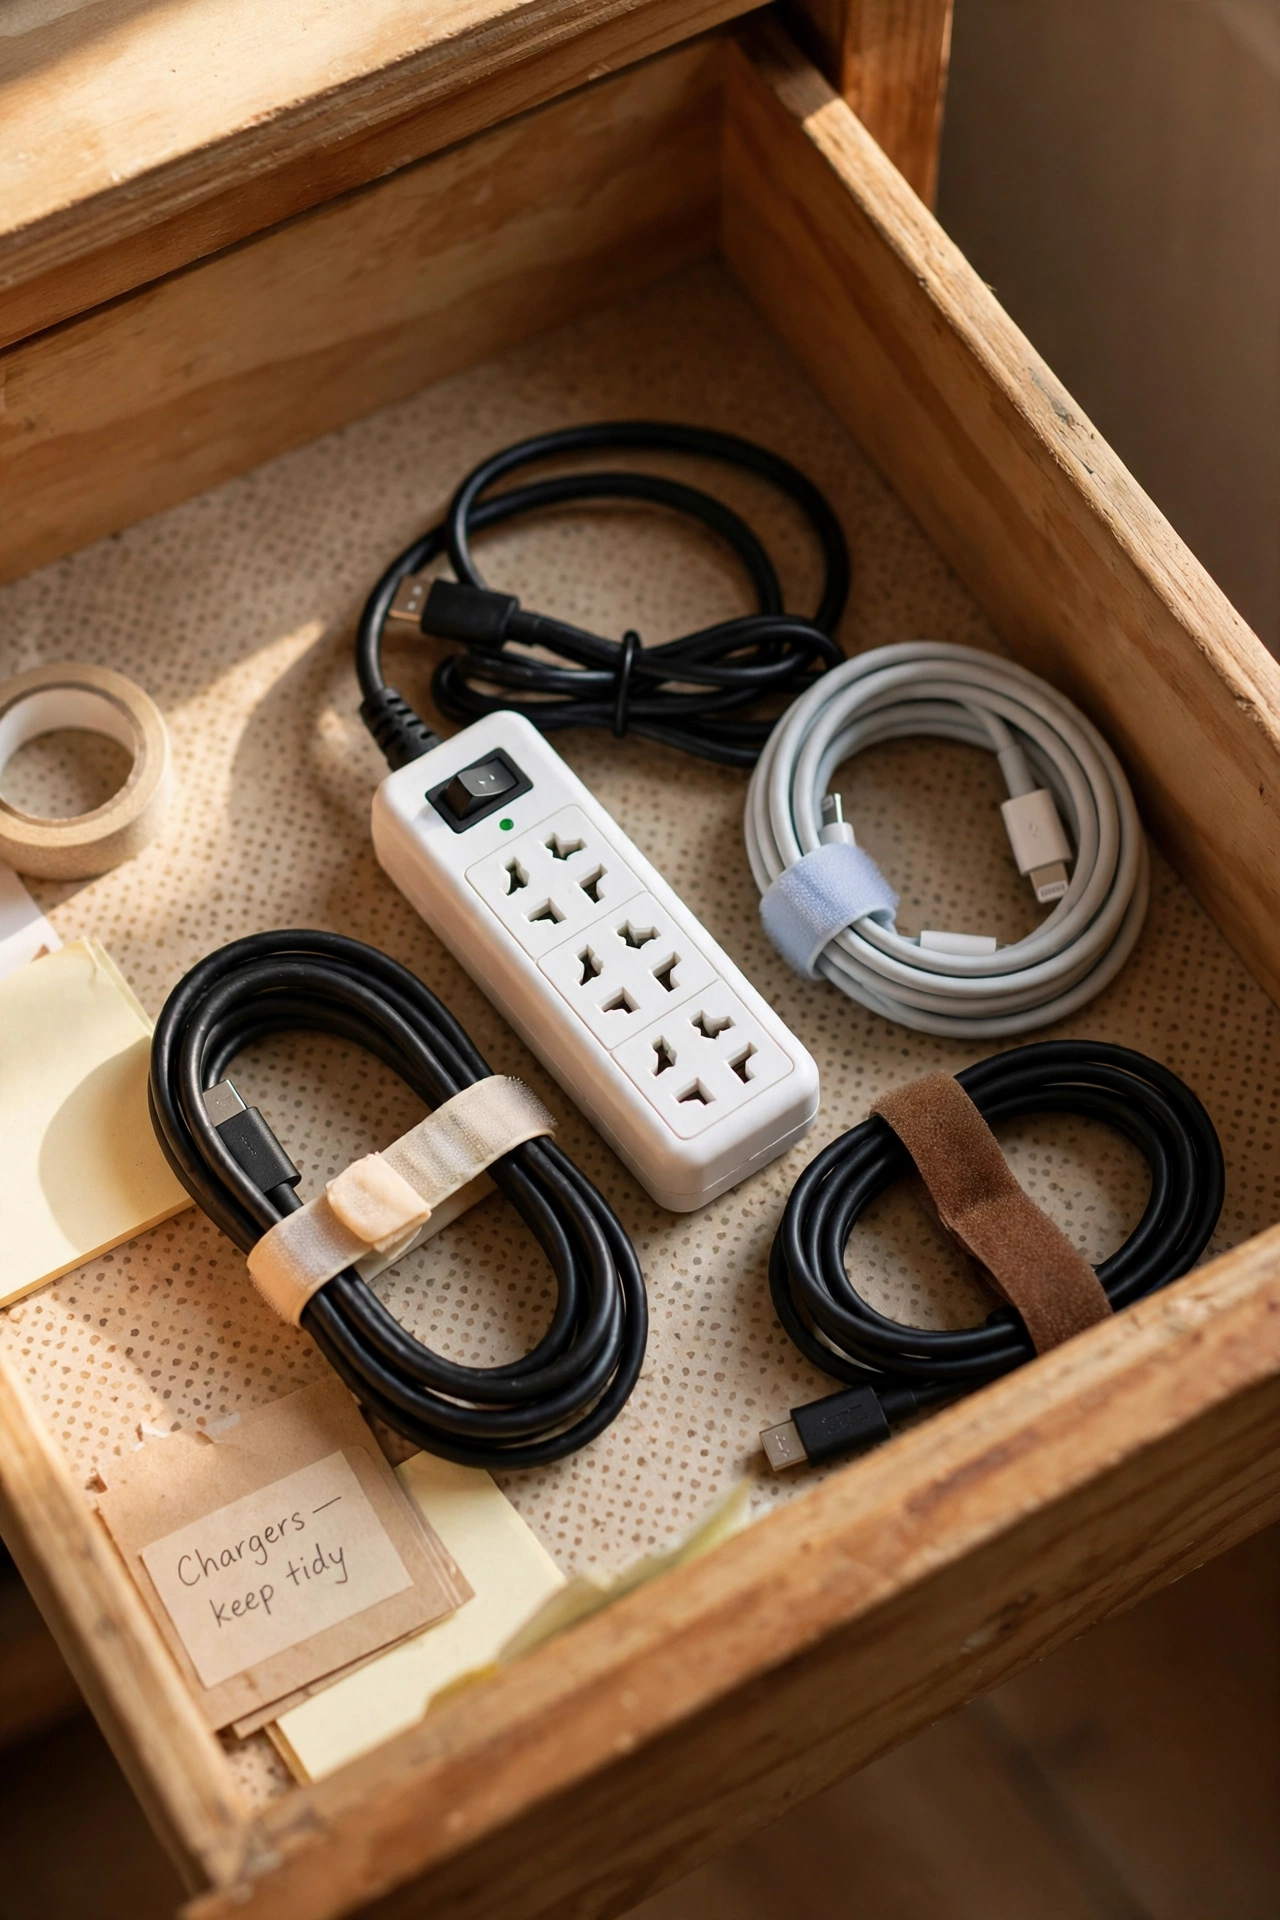
If chargers live in the junk drawer, give them a proper setup with one small power strip and a hole for the cable, instead of a tangled pile. First, check that the drawer is near an outlet and that a strip fits safely inside. Second, run the strip cable out the back of the drawer following the maker’s safety guidance. Third, coil each device cable beside the strip and label it. I tried this in a hallway drawer, and charging stopped being a hunt for a free outlet. My mistake was cramming three strips in at first, which overheated the idea and the drawer, so one strip with a few ports is plenty for a single drawer.
Cost: ~$12 | Time: 25 minutes
16. Keep a Notepad and Pencil by the Front
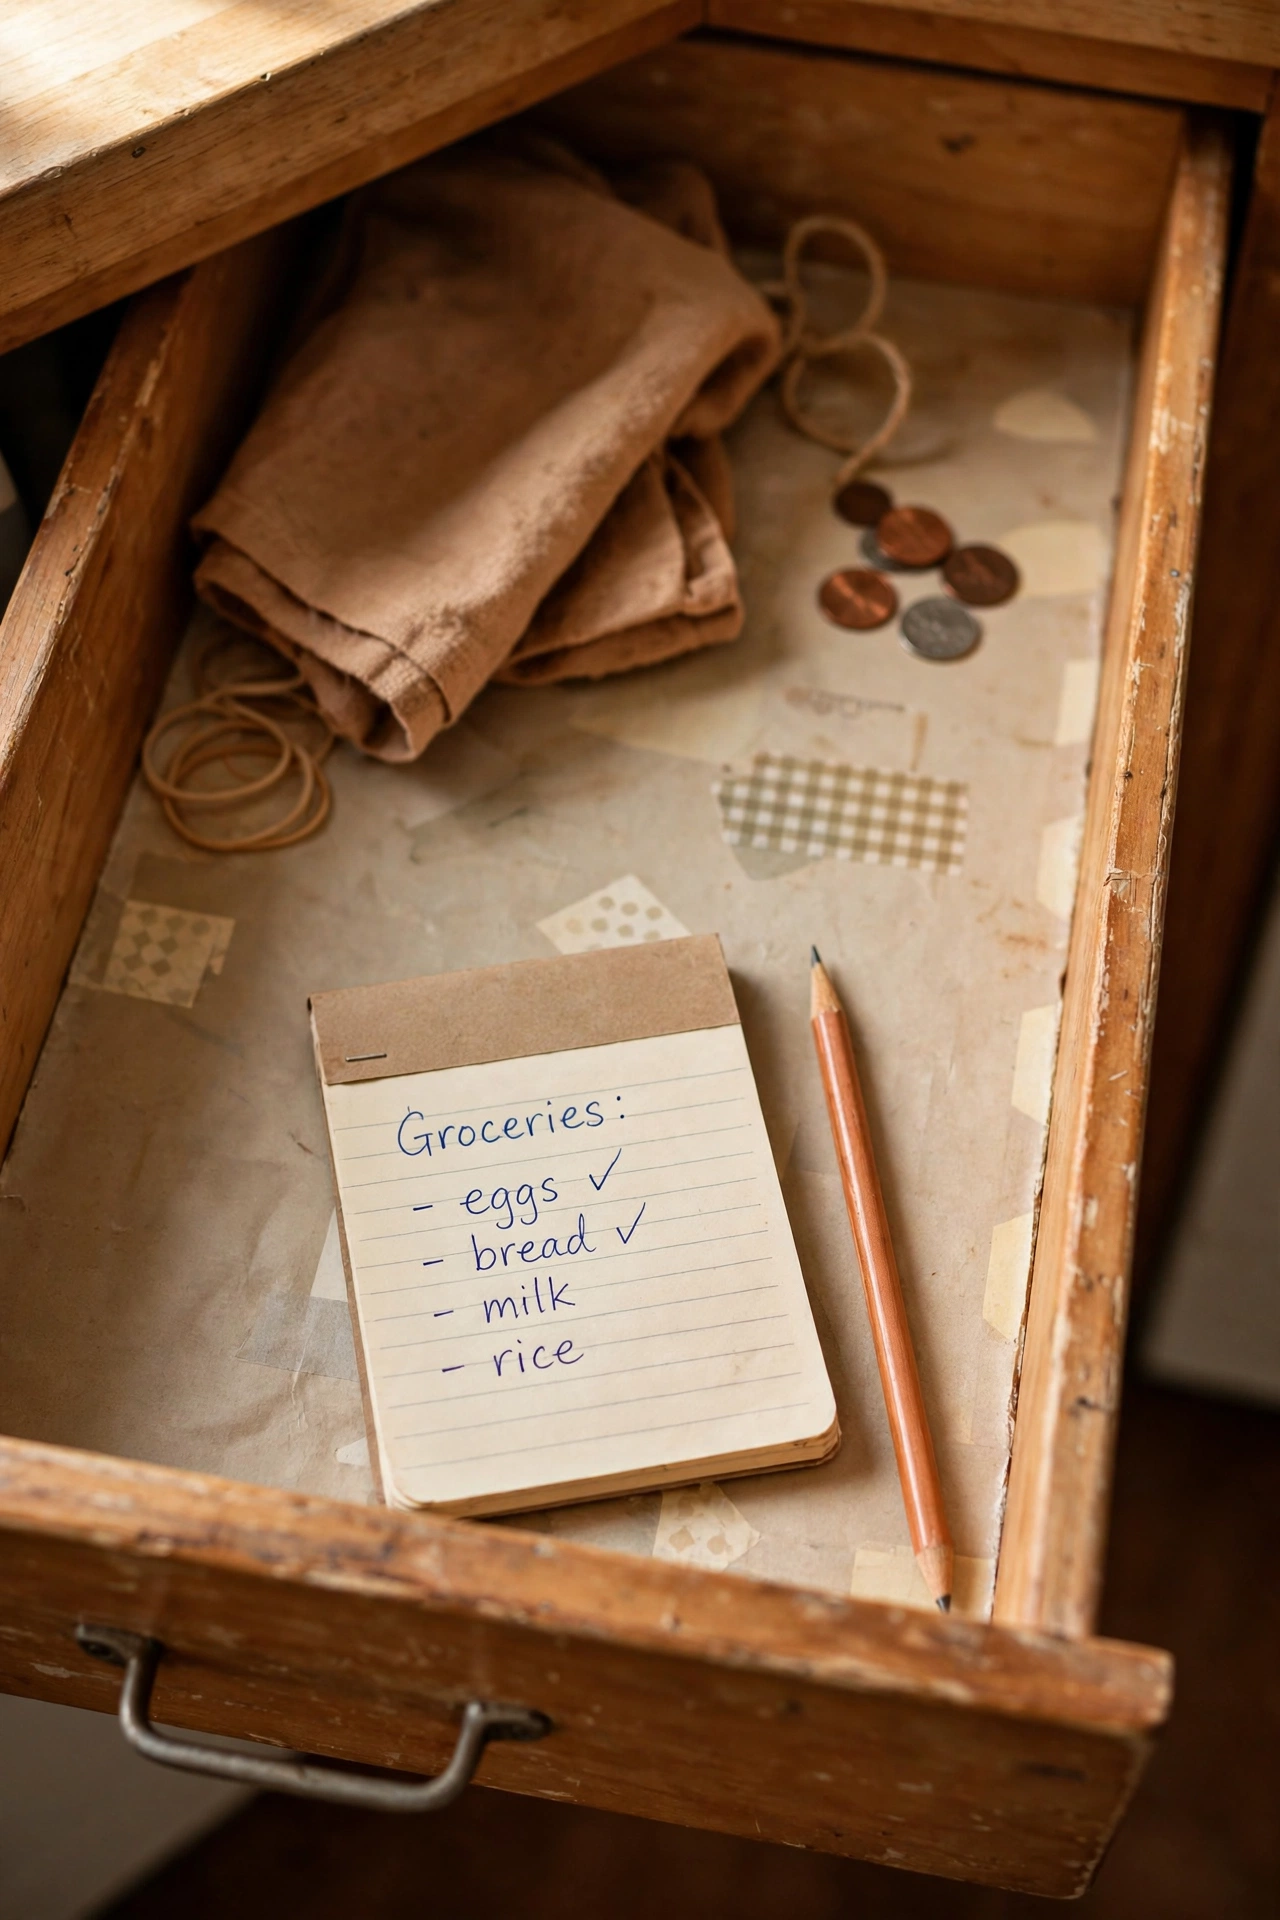
A junk drawer is where shopping lists and quick notes go to die, but a small notepad fixed at the front of the drawer turns it into a useful message spot. First, cut a notepad to fit the front section of the drawer. Second, attach a pencil with a short string or keep it in a tiny cup beside the pad. Third, tear off finished lists right away so old notes never pile up. I tried this after finding shopping lists from two years ago buried under tape rolls, and now the list is always where I expect it. My mistake was using loose sticky notes at first, which stuck to everything except the pad, so a bound notepad works far better.
Cost: ~$2 | Time: 5 minutes
17. Store Rubber Bands and Clips in a Jar
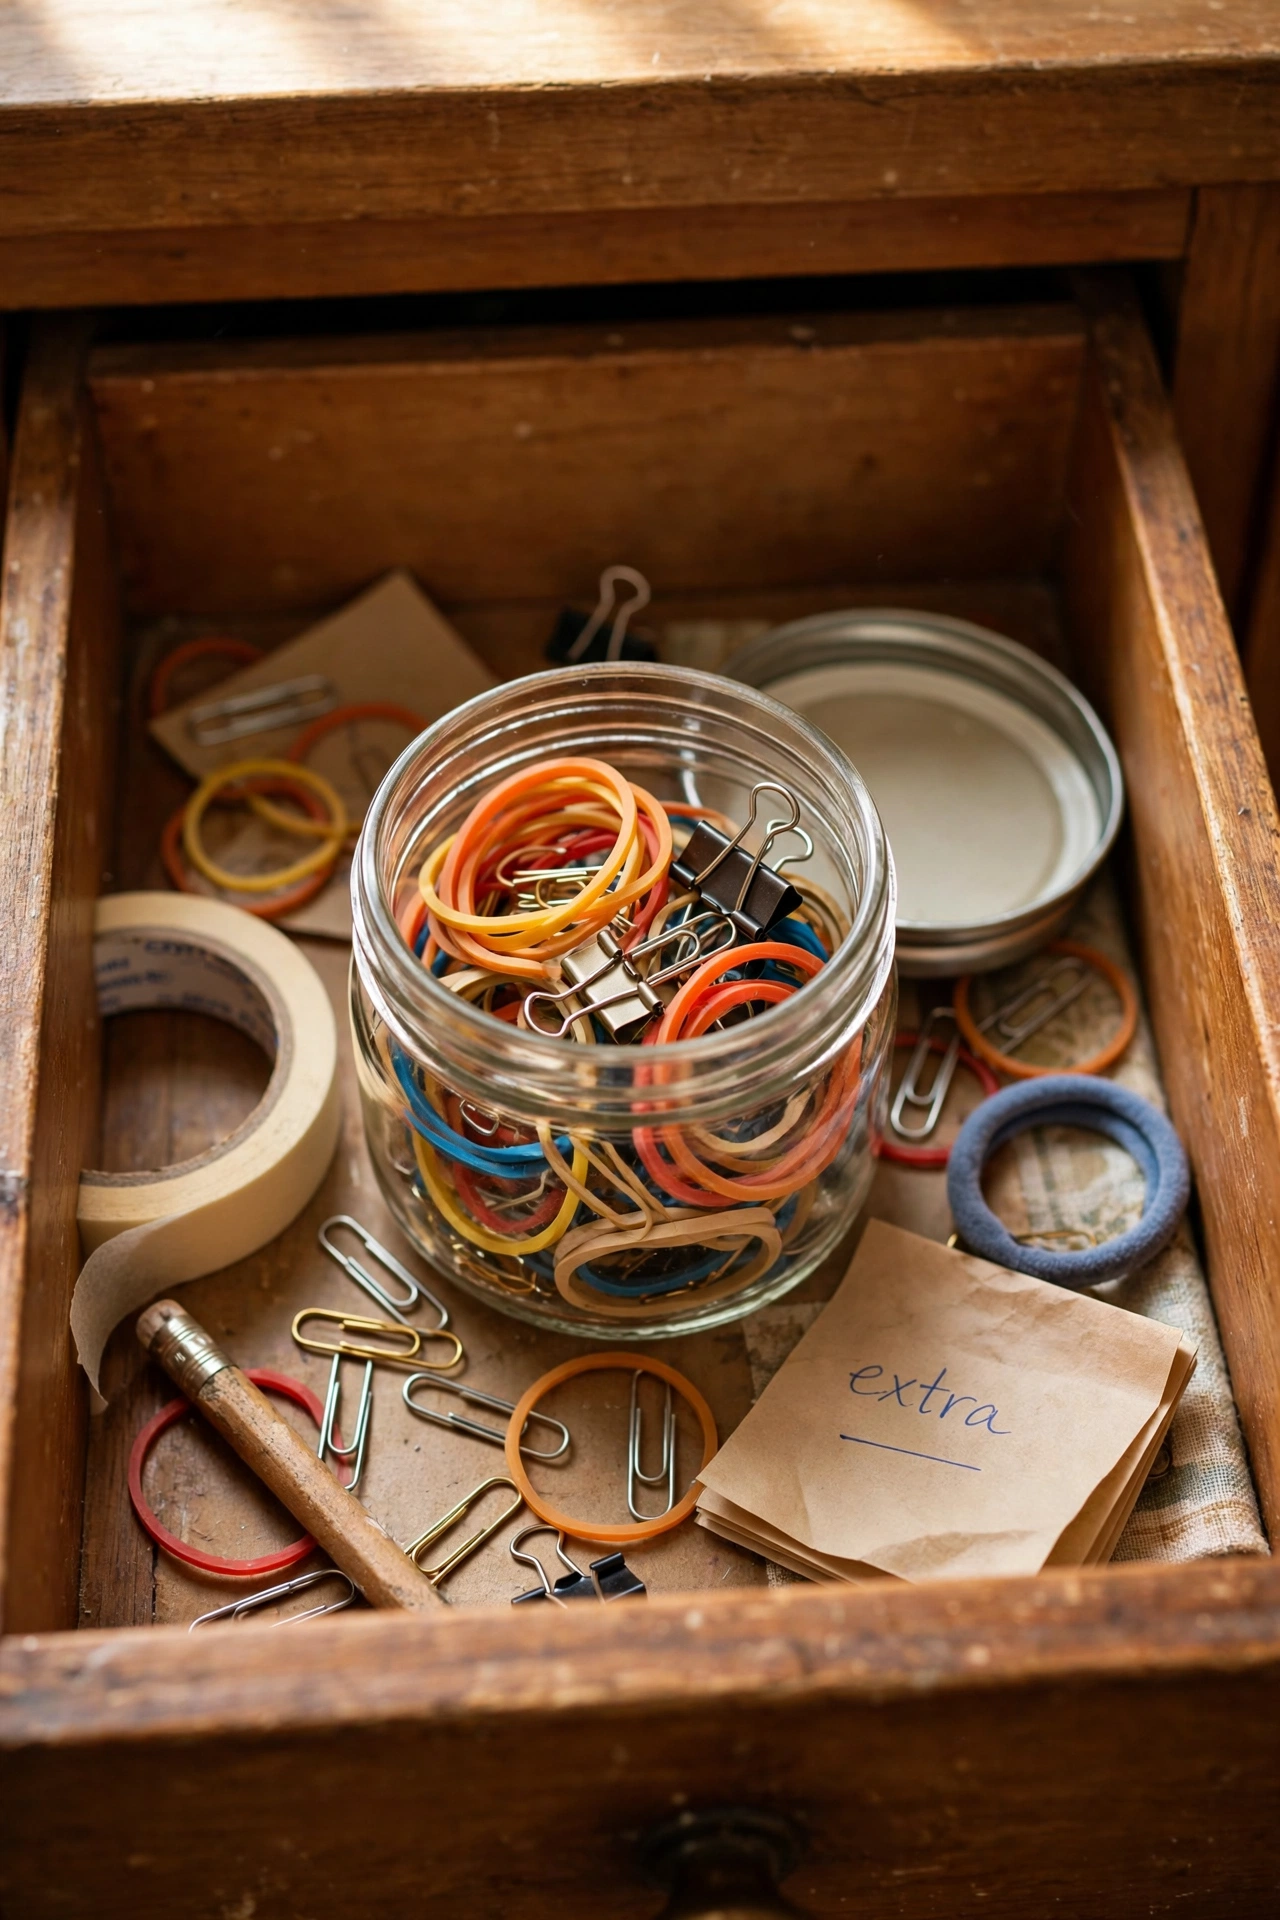
Rubber bands and clips escape everywhere and tangle with cords, but a small jar keeps them contained and visible at a glance. First, gather every rubber band, binder clip, and chip clip in the drawer. Second, toss stretched bands and broken clips, keeping only the useful ones. Third, put the keepers in a short jar with a lid near the back of the drawer. I tried this after a rubber band melted onto a battery, and the jar ended the sticky mess for good. My mistake was keeping a giant bag of bands just in case, which overflowed the jar, so now I keep only what fits and recycle the rest.
Cost: ~$1 | Time: 10 minutes
18. Set a One-In, One-Out Rule for the Drawer
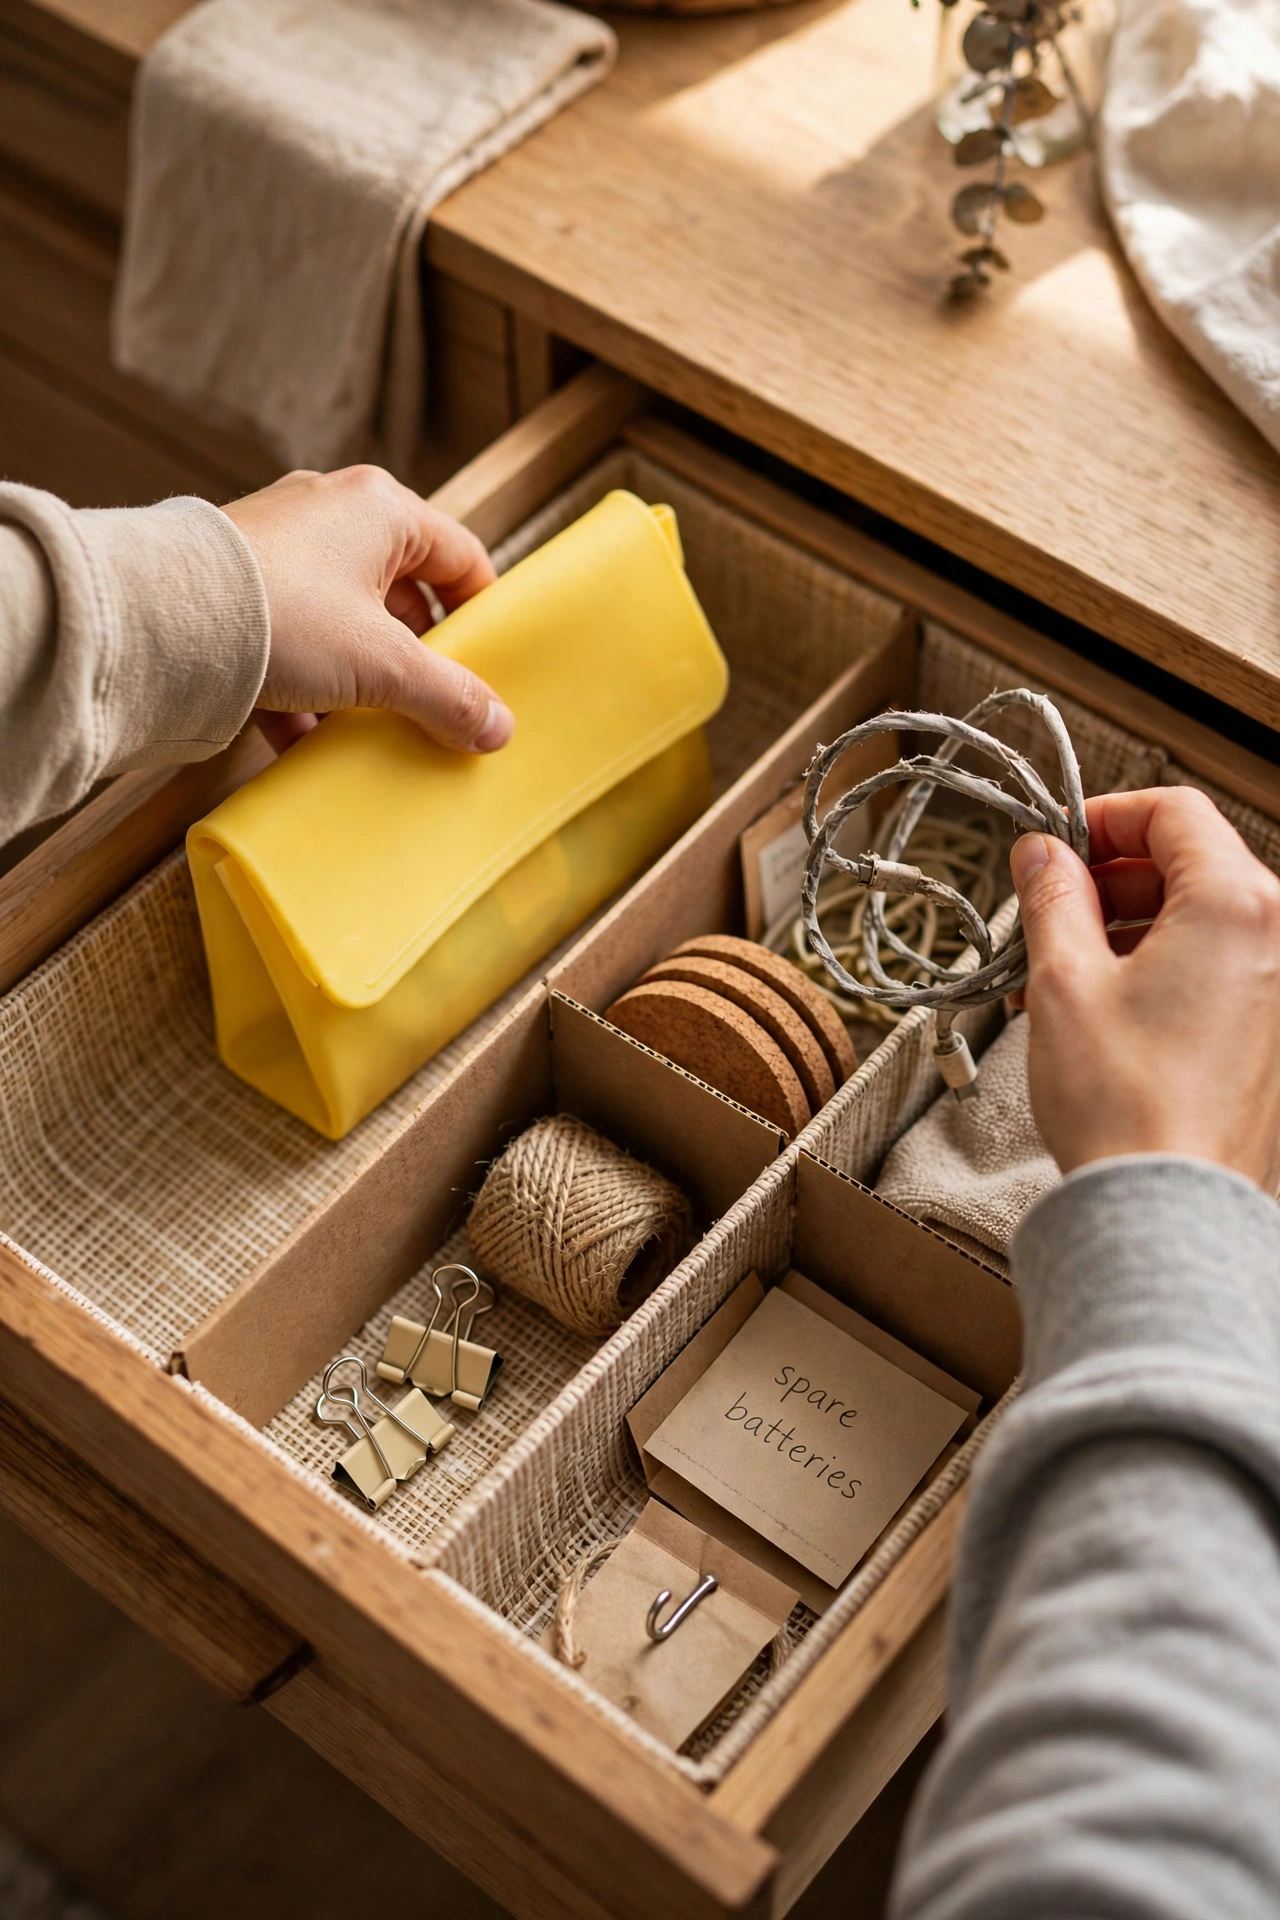
A drawer stays tidy only if something leaves whenever something new arrives, otherwise every addition slowly rebuilds the old mess. First, agree on the rule with everyone who uses the drawer. Second, when a new gadget or tool goes in, pick one old item to remove, donate, or relocate. Third, keep a small bag nearby for outgoing items so removal takes seconds. I tried this after my freshly organized drawer filled up again in six weeks, and the rule stopped the creep. My mistake was making exceptions for small items at first, which added up fast, so now even small items follow the rule without debate.
Cost: ~$0 | Time: 5 minutes
19. Label Each Section So Family Follows It
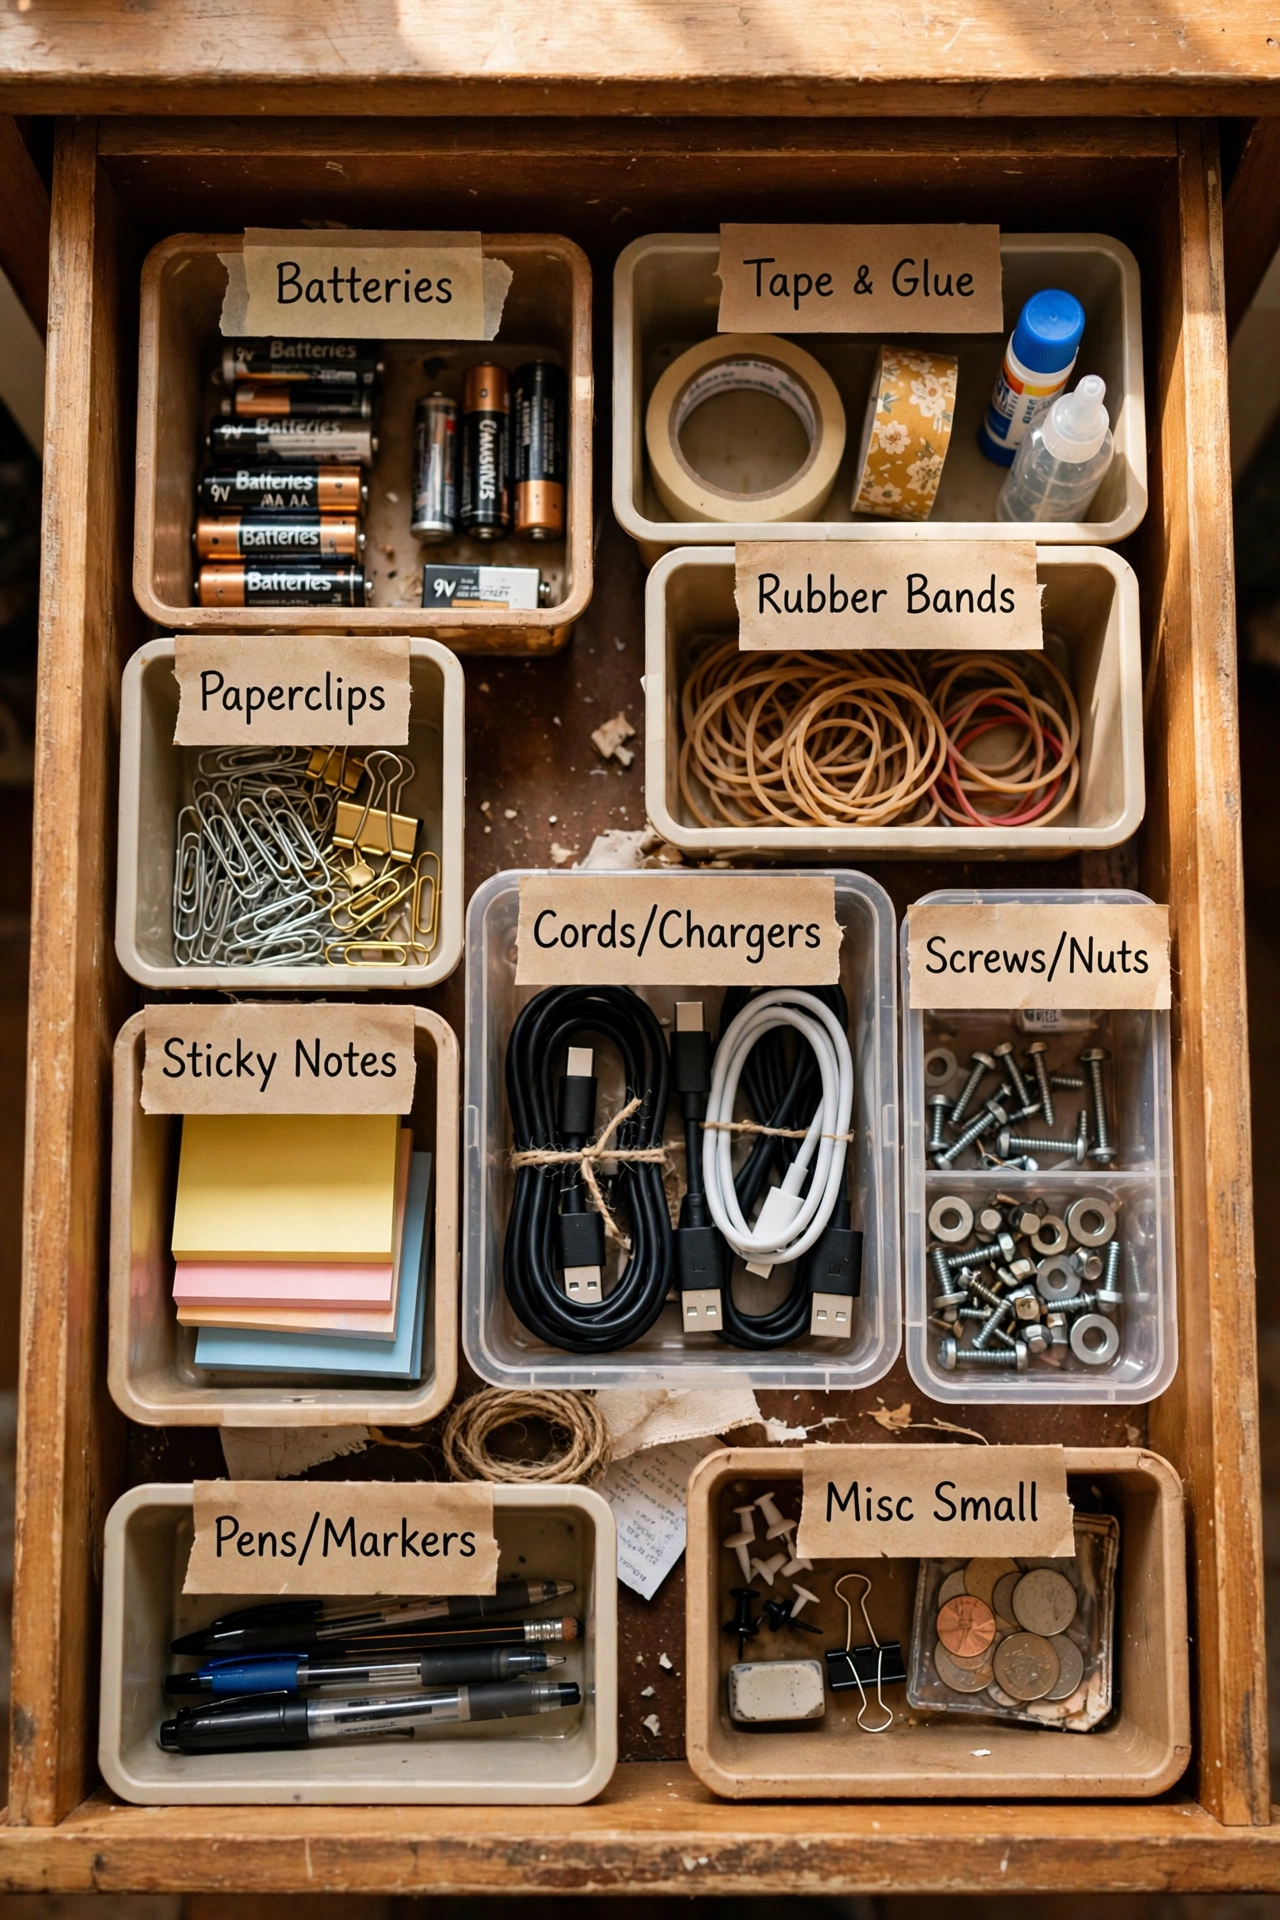
A system only you understand will be undone by the next person who opens the drawer, but clear labels make the system obvious to everyone. First, write short labels for each bin or section, like batteries, cords, or tools. Second, stick the labels where they are visible when the drawer opens. Third, walk the family through the layout once so nobody has to guess. I tried this after my tidy drawer lasted exactly three days with my family, and labels doubled how long it survived. My mistake was using fancy labels nobody could read at a glance, so plain words in large print beat clever wording every time.
Cost: ~$2 | Time: 15 minutes
20. Keep a Small Bag for Donations and Returns
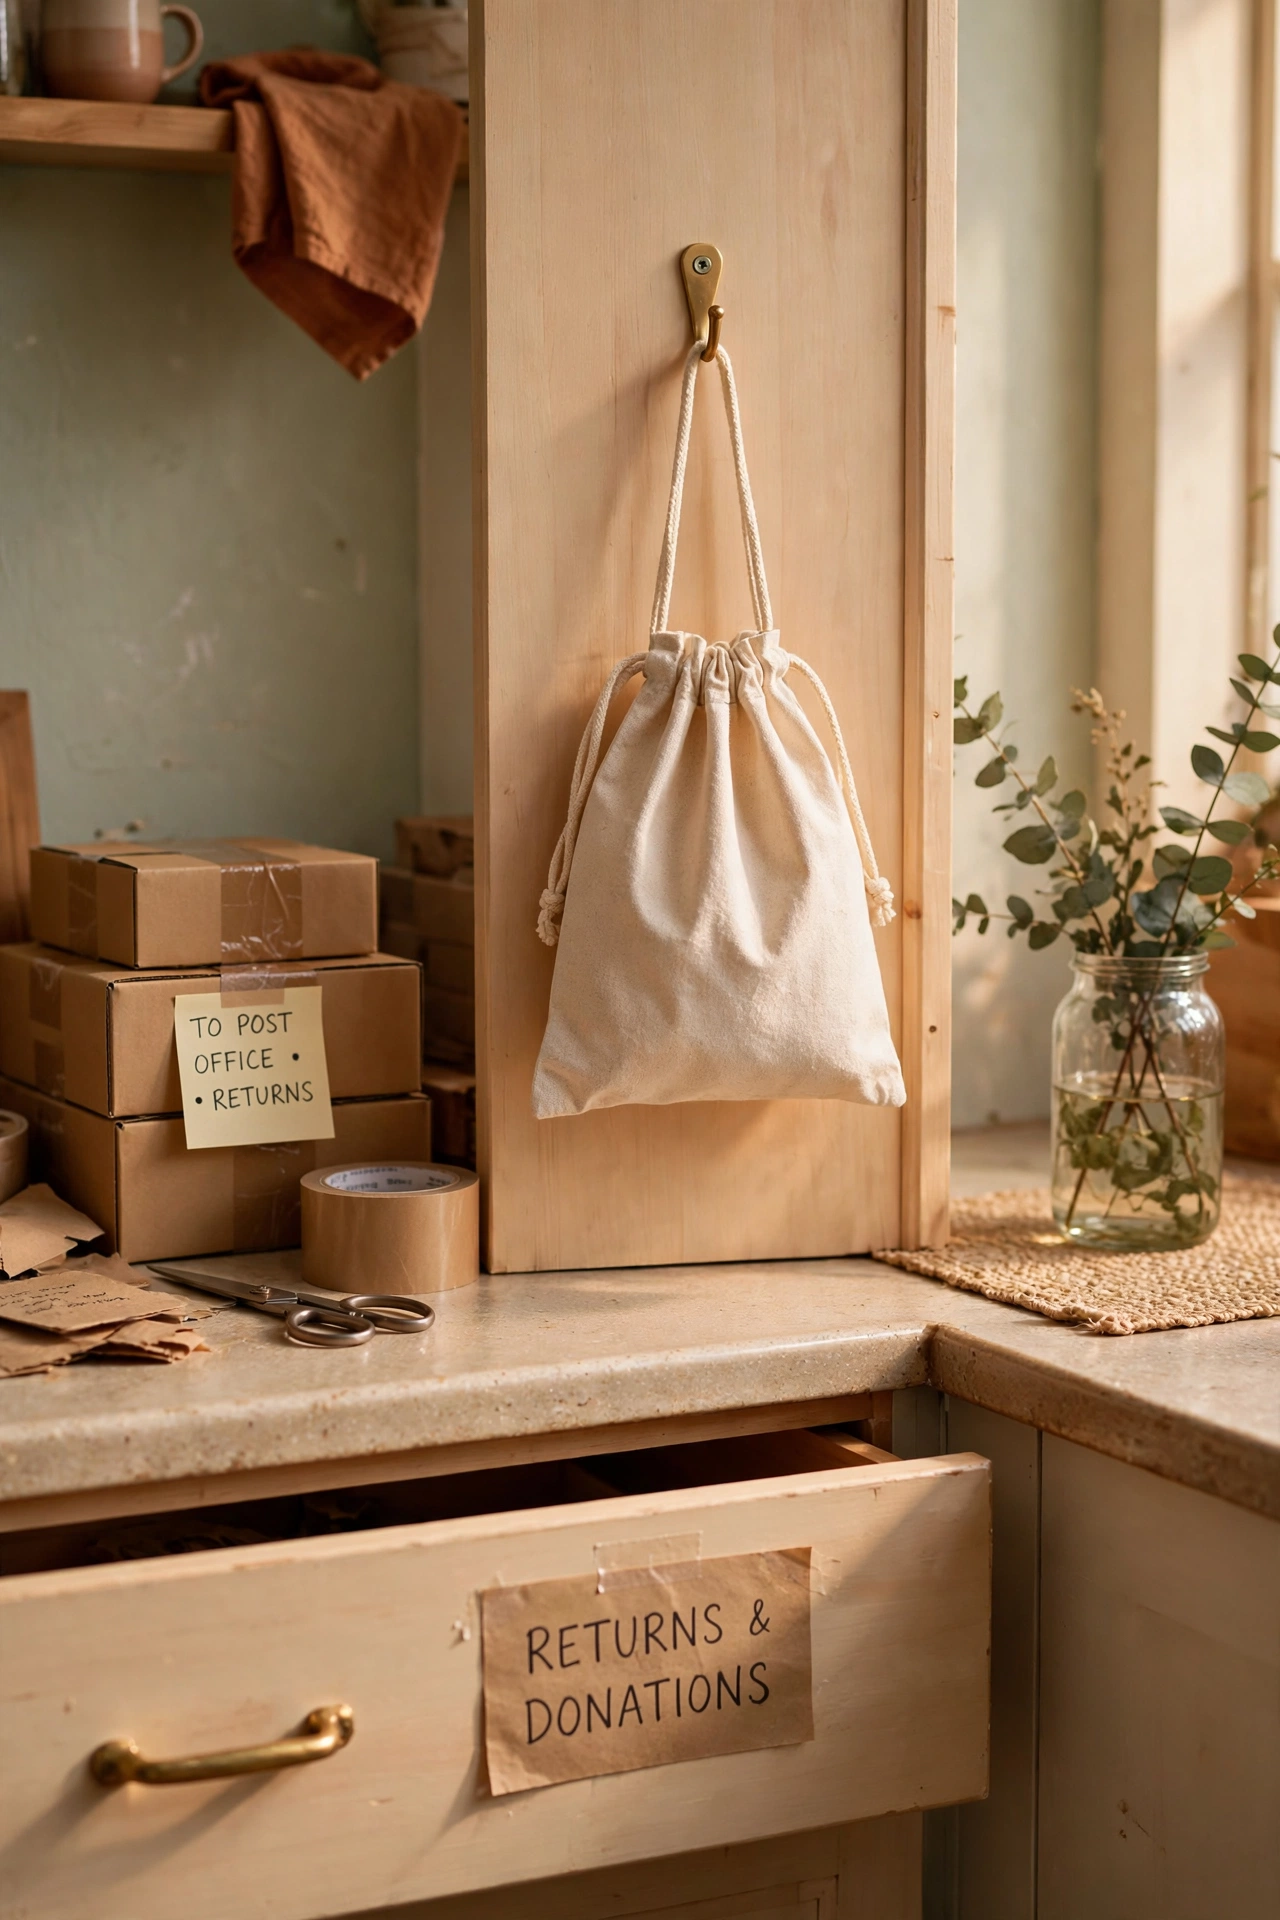
Items waiting to be returned or donated often sit in the junk drawer for months, but a small bag hung nearby gives them an exit route. First, hang a small bag on a hook near the drawer or inside a nearby cabinet. Second, drop return items, spare keys for old locks, and donation bits into the bag as soon as you spot them. Third, empty the bag weekly when you run errands. I tried this after finding a library card and a return receipt buried for a year, and the drawer stopped being a waiting room. My mistake was using a bag that was too big, which became storage itself, so a small bag that must be emptied often works best.
Cost: ~$1 | Time: 5 minutes
21. Photograph the Finished Drawer as Your Reset Guide
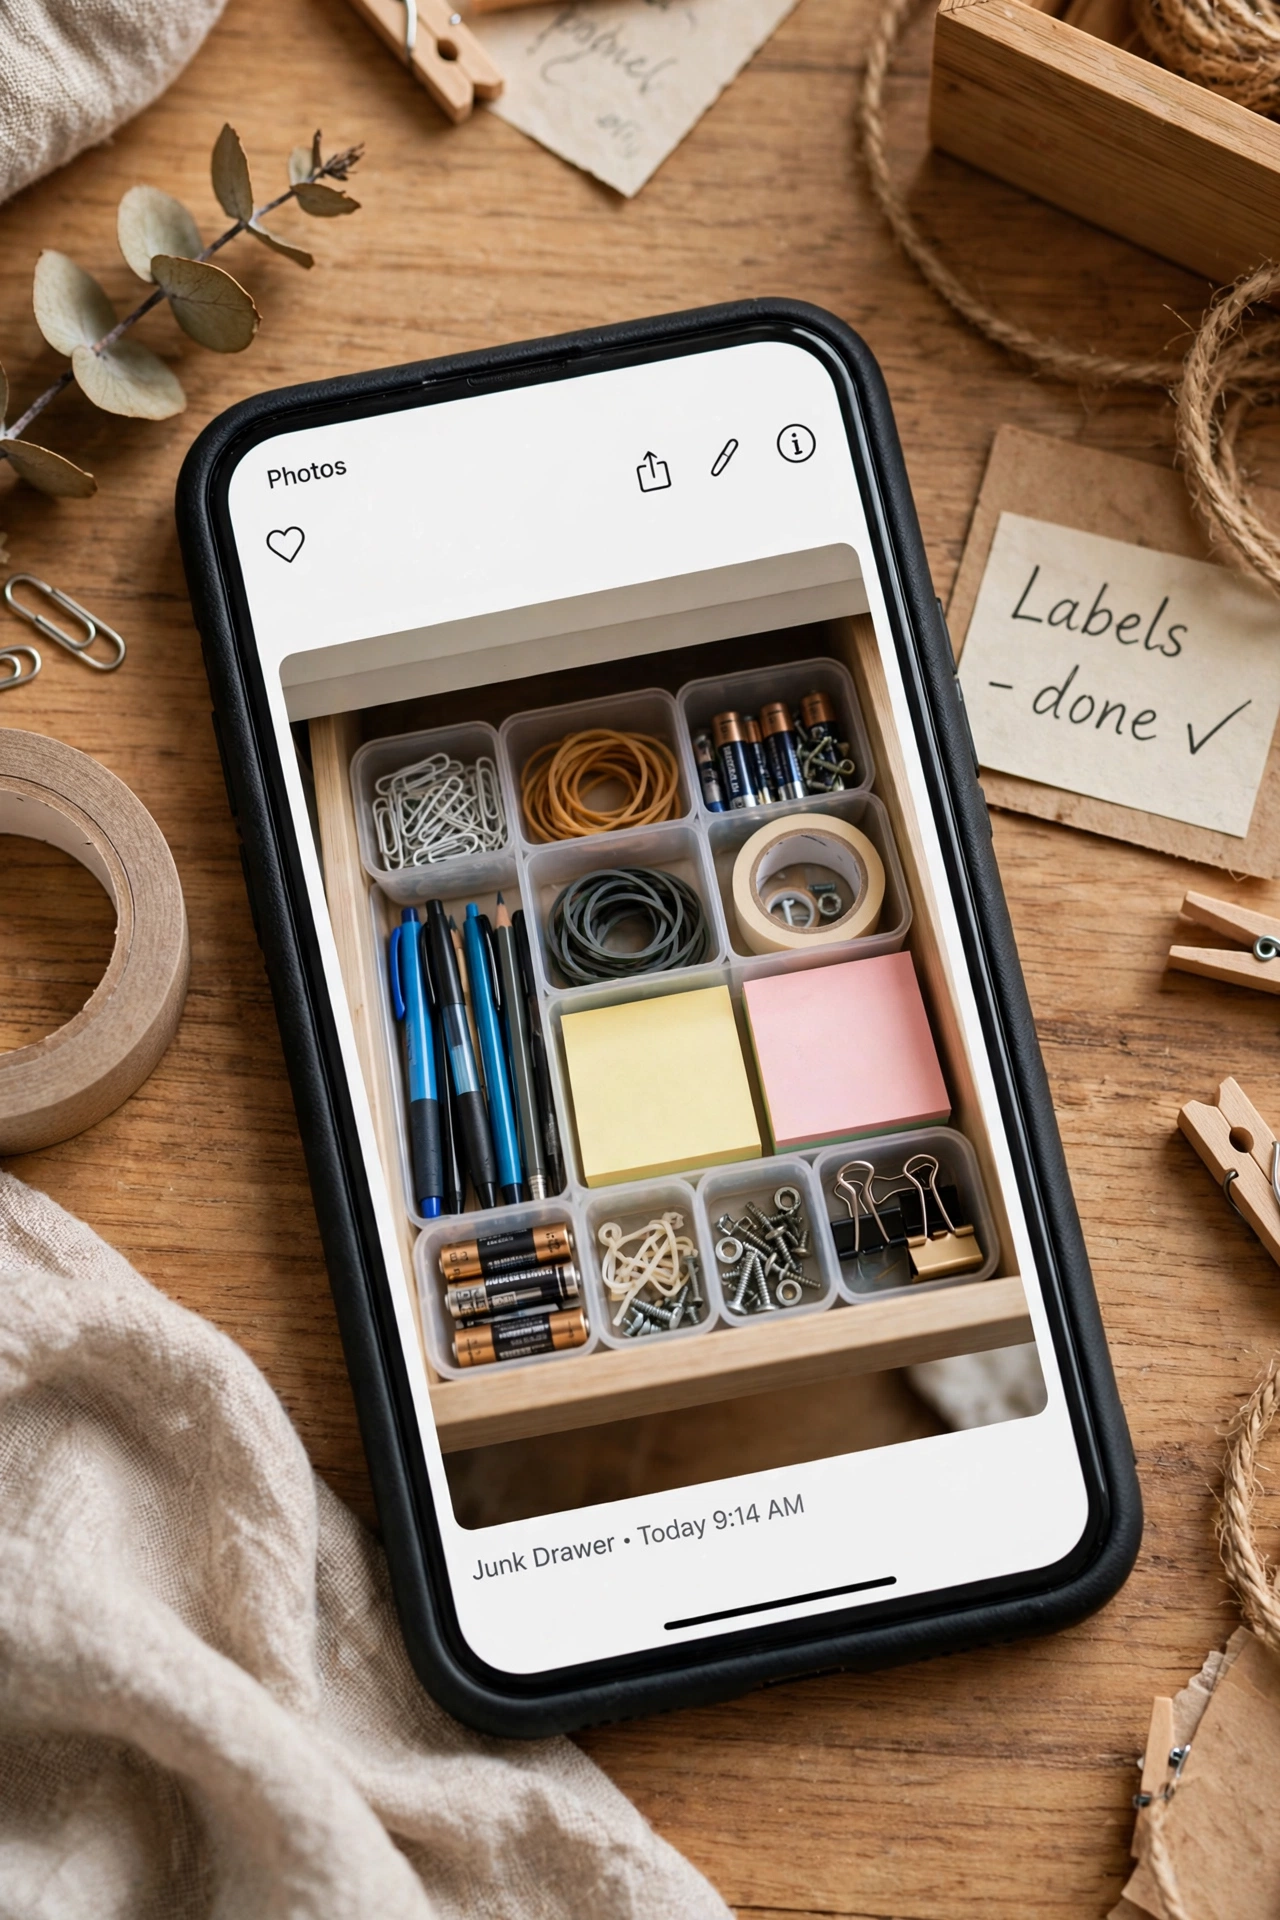
A photo of the drawer at its best gives you a target for quick resets, because you can compare the current mess to the finished version in seconds. First, take a clear photo from directly above once the drawer is organized. Second, save it on your phone in a spot you will actually find, like a home album. Third, use it whenever the drawer drifts, putting each item back to its photographed place. I tried this after my third reorganization, and resets dropped from an hour to about ten minutes. My mistake was keeping the photo only in my camera roll at first, where it got buried, so now it lives in a labeled album I can open fast.
Cost: ~$0 | Time: 5 minutes
(see also: 17-kitchen-organization-ideas-that-actually-work)
22. Check the Drawer for Five Minutes Every Sunday
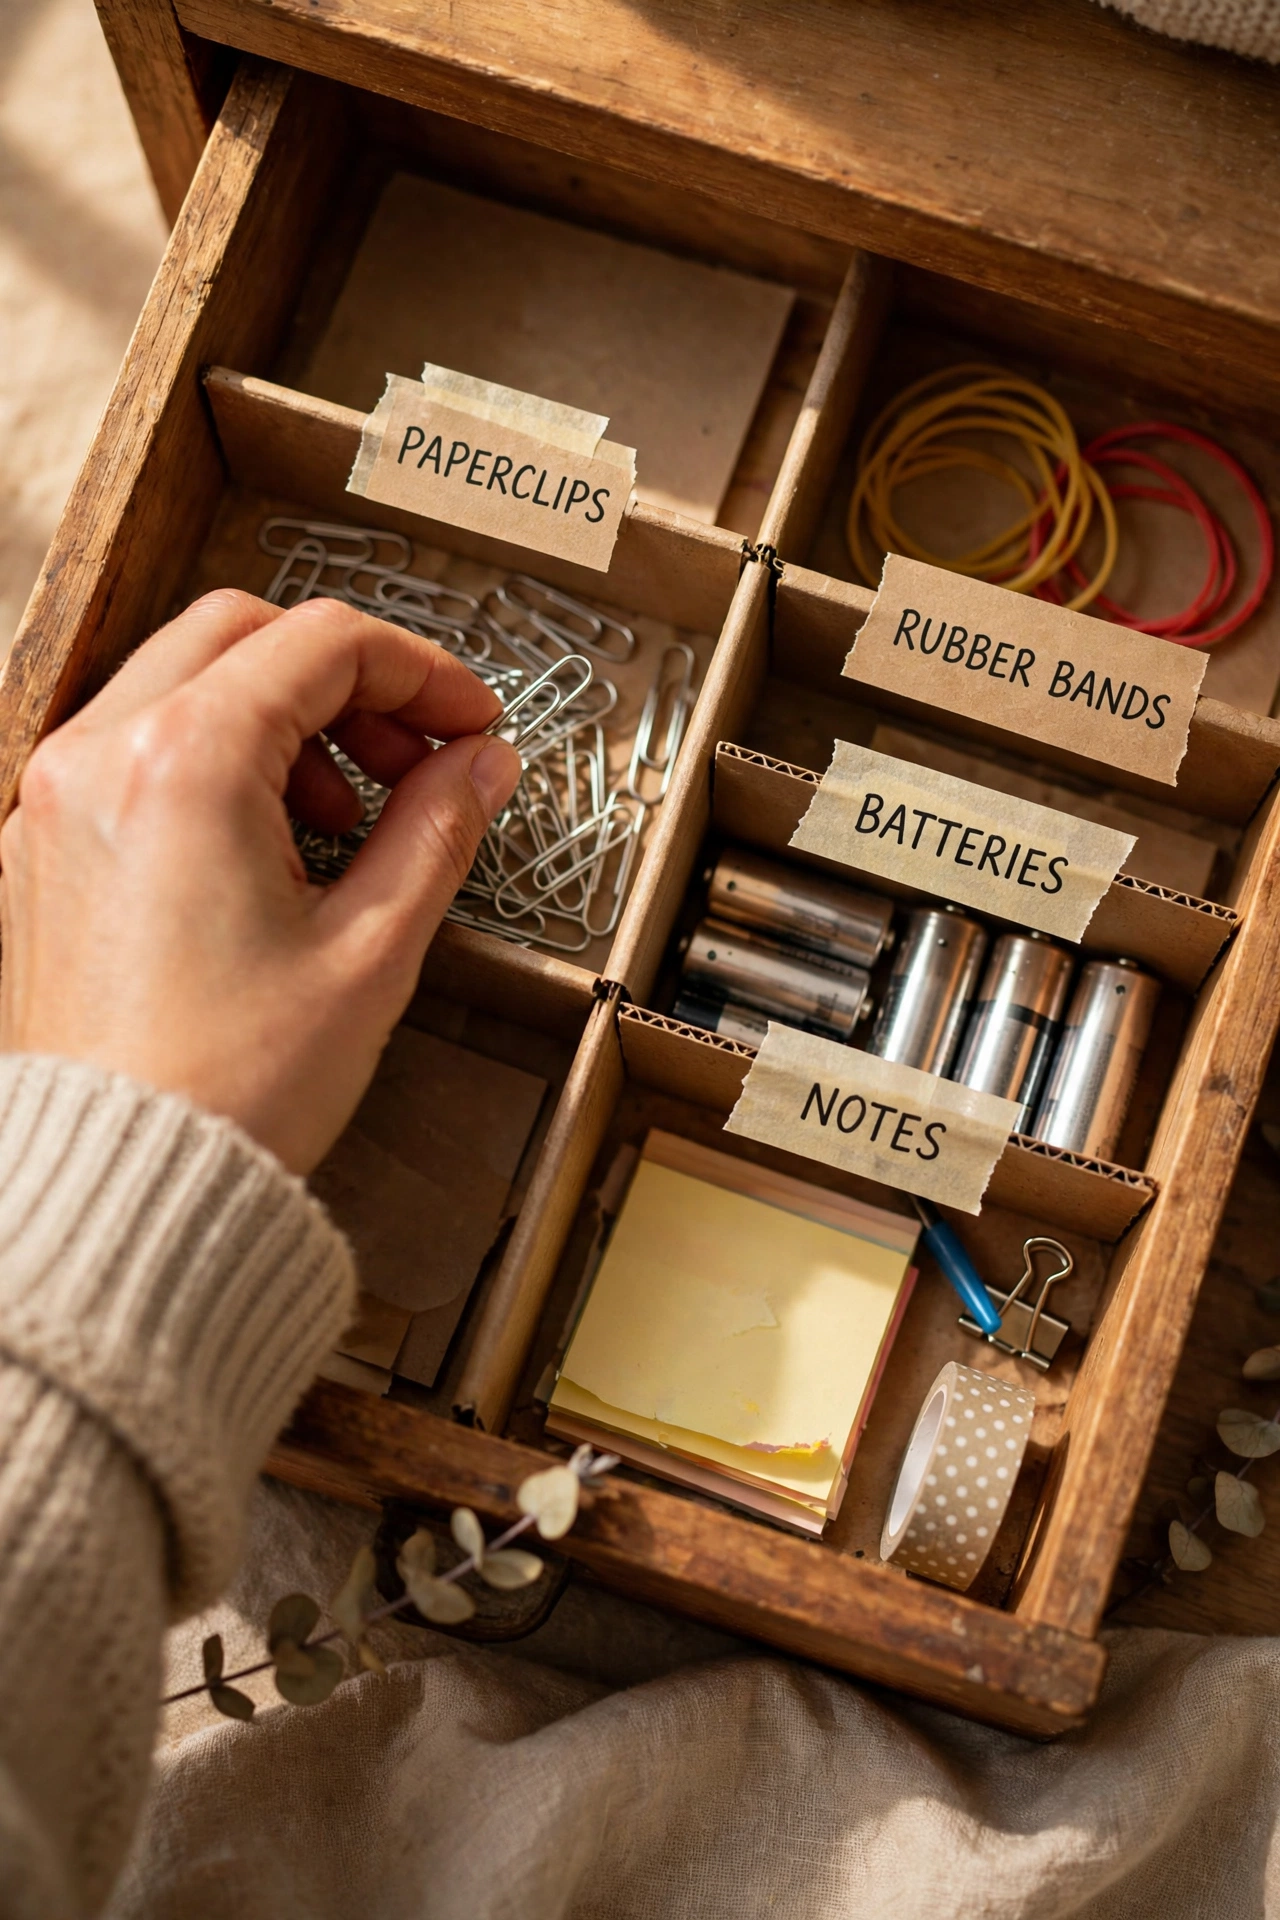
A weekly five-minute check catches drift before it becomes a full reorganization project, which is the real secret to a drawer that stays tidy. First, pick a regular time, like Sunday evening, and set a phone reminder. Second, open the drawer, toss obvious trash, and return any stray items to their labeled sections. Third, check that bins still fit and the drawer still closes smoothly. I tried this after my drawer slid back into chaos twice, and the weekly check is what finally broke the cycle. My mistake was scheduling a monthly deep clean instead, which I kept skipping, and five minutes weekly beats an hour monthly every time.
Cost: ~$0 | Time: 5 minutes
23. Keep the Drawer Half Empty on Purpose
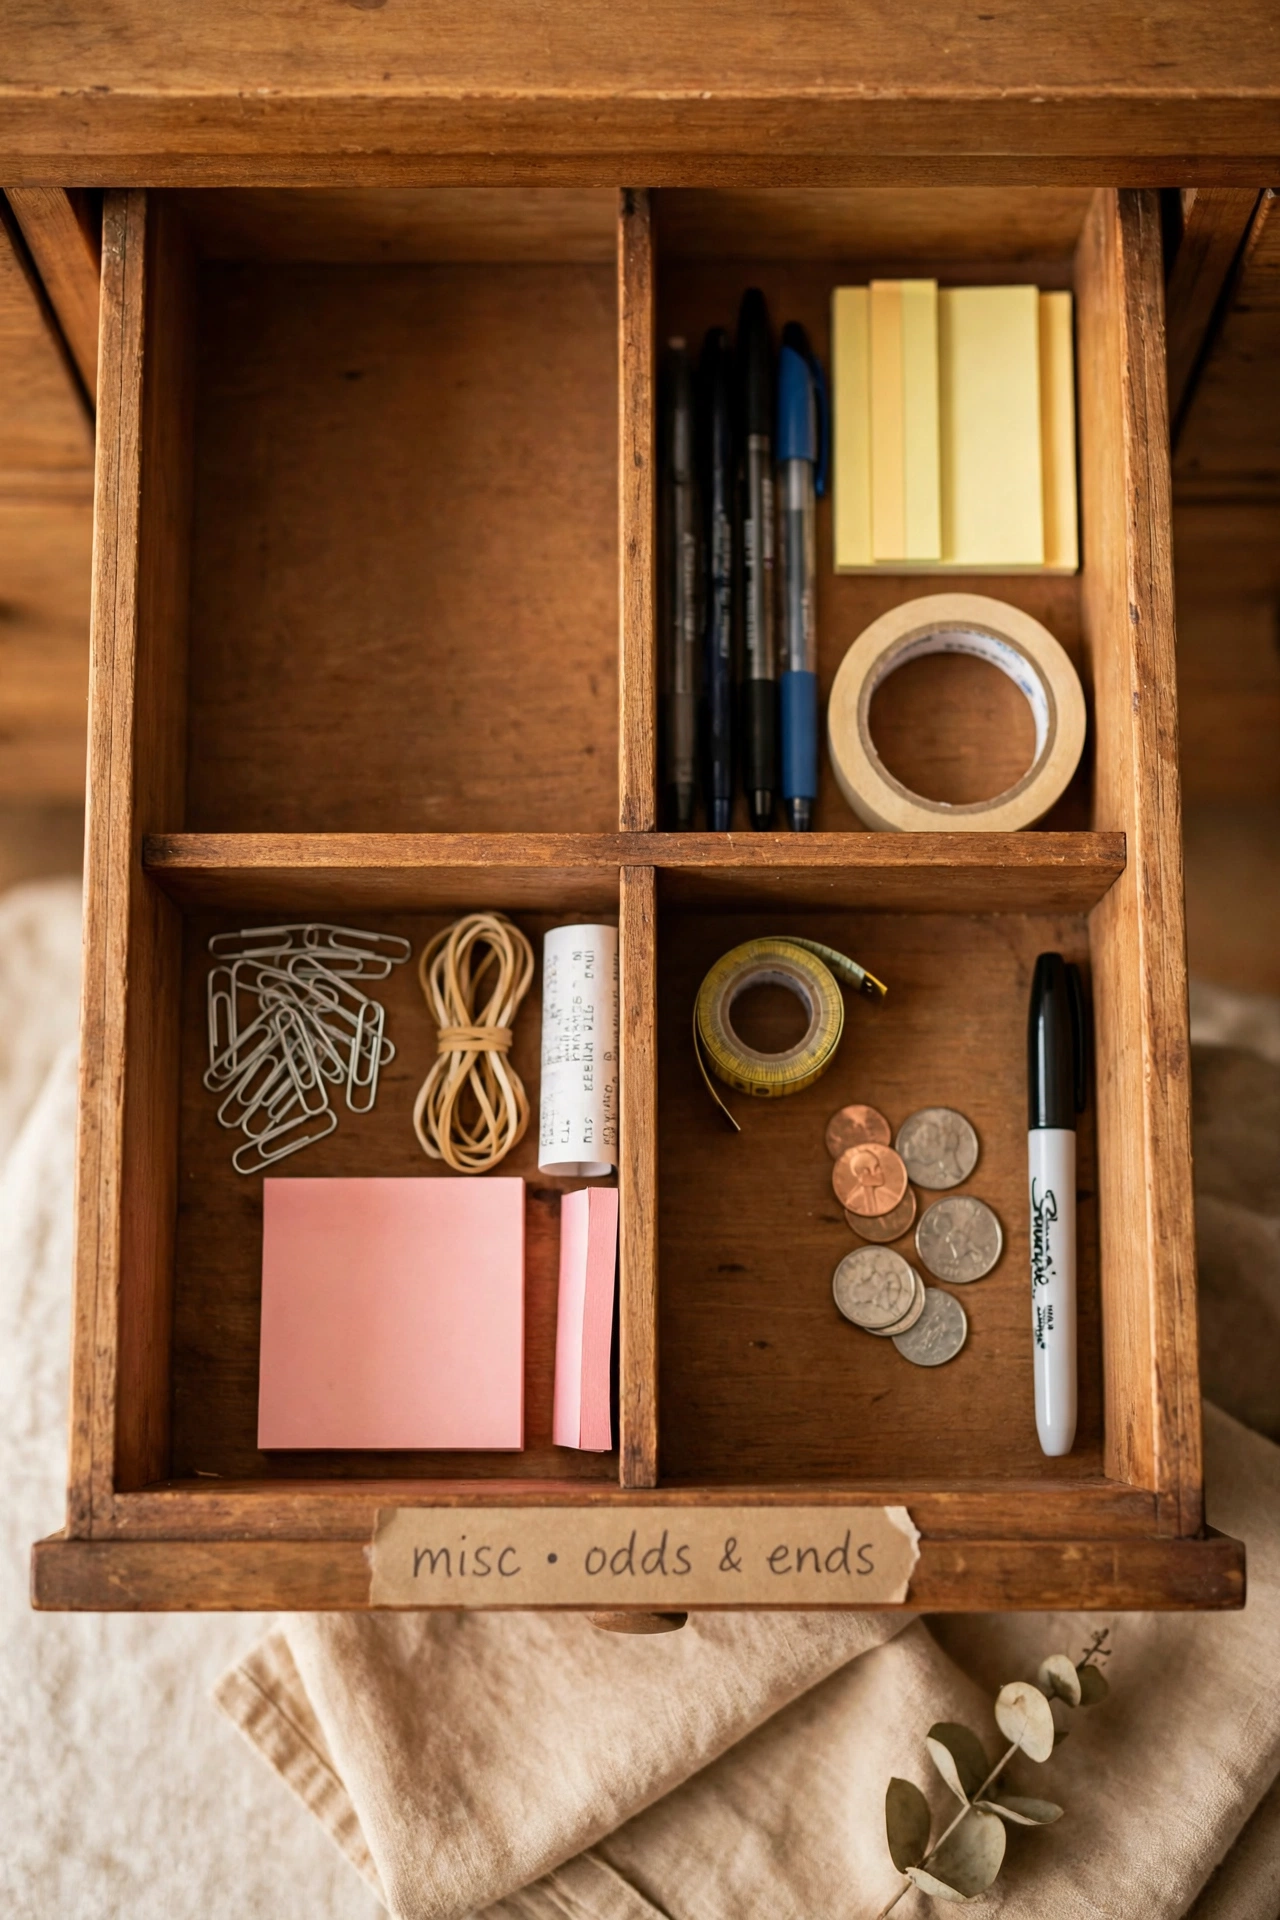
The most counterintuitive trick is also the most effective: leave part of the drawer deliberately empty, so new items have somewhere to go without breaking the system. First, choose one bin or one section to leave empty after organizing. Second, treat that empty space as breathing room, not as an invitation to fill it. Third, when the empty space fills up, sort it before it spills into other sections. I tried this after years of packing every drawer to the brim, and the empty space absorbed all the little extras that used to ruin my system. My mistake was filling the gap within a week the first time, so now I guard it like a fire lane that must stay clear.
Cost: ~$0 | Time: 5 minutes
Save this idea for your next kitchen clear-out if your junk drawer jams every time you open it.
That jammed drawer on my kitchen floor taught me that a junk drawer does not need to be perfect, it just needs a home for each thing and a habit that keeps it there. Start with the emptying and sorting steps this weekend, add bins and labels next, and guard the empty space like it matters, because it does. Six months from now, you will open that drawer and find the battery on the first try.
