23 Small Closet Organization With Dollar Store Finds
Small closets do not need expensive systems, they need cheap tools used well. Every idea below uses something you can buy at a dollar store, and the whole list costs less than one fancy closet system. These small closet organization ideas are grouped by zone, so you can fix the worst part of your closet first: the hanging rail, the shelves, the floor, or the door.
Hanging Rail Fixes
1. Add Shower Rings for Scarves and Belts
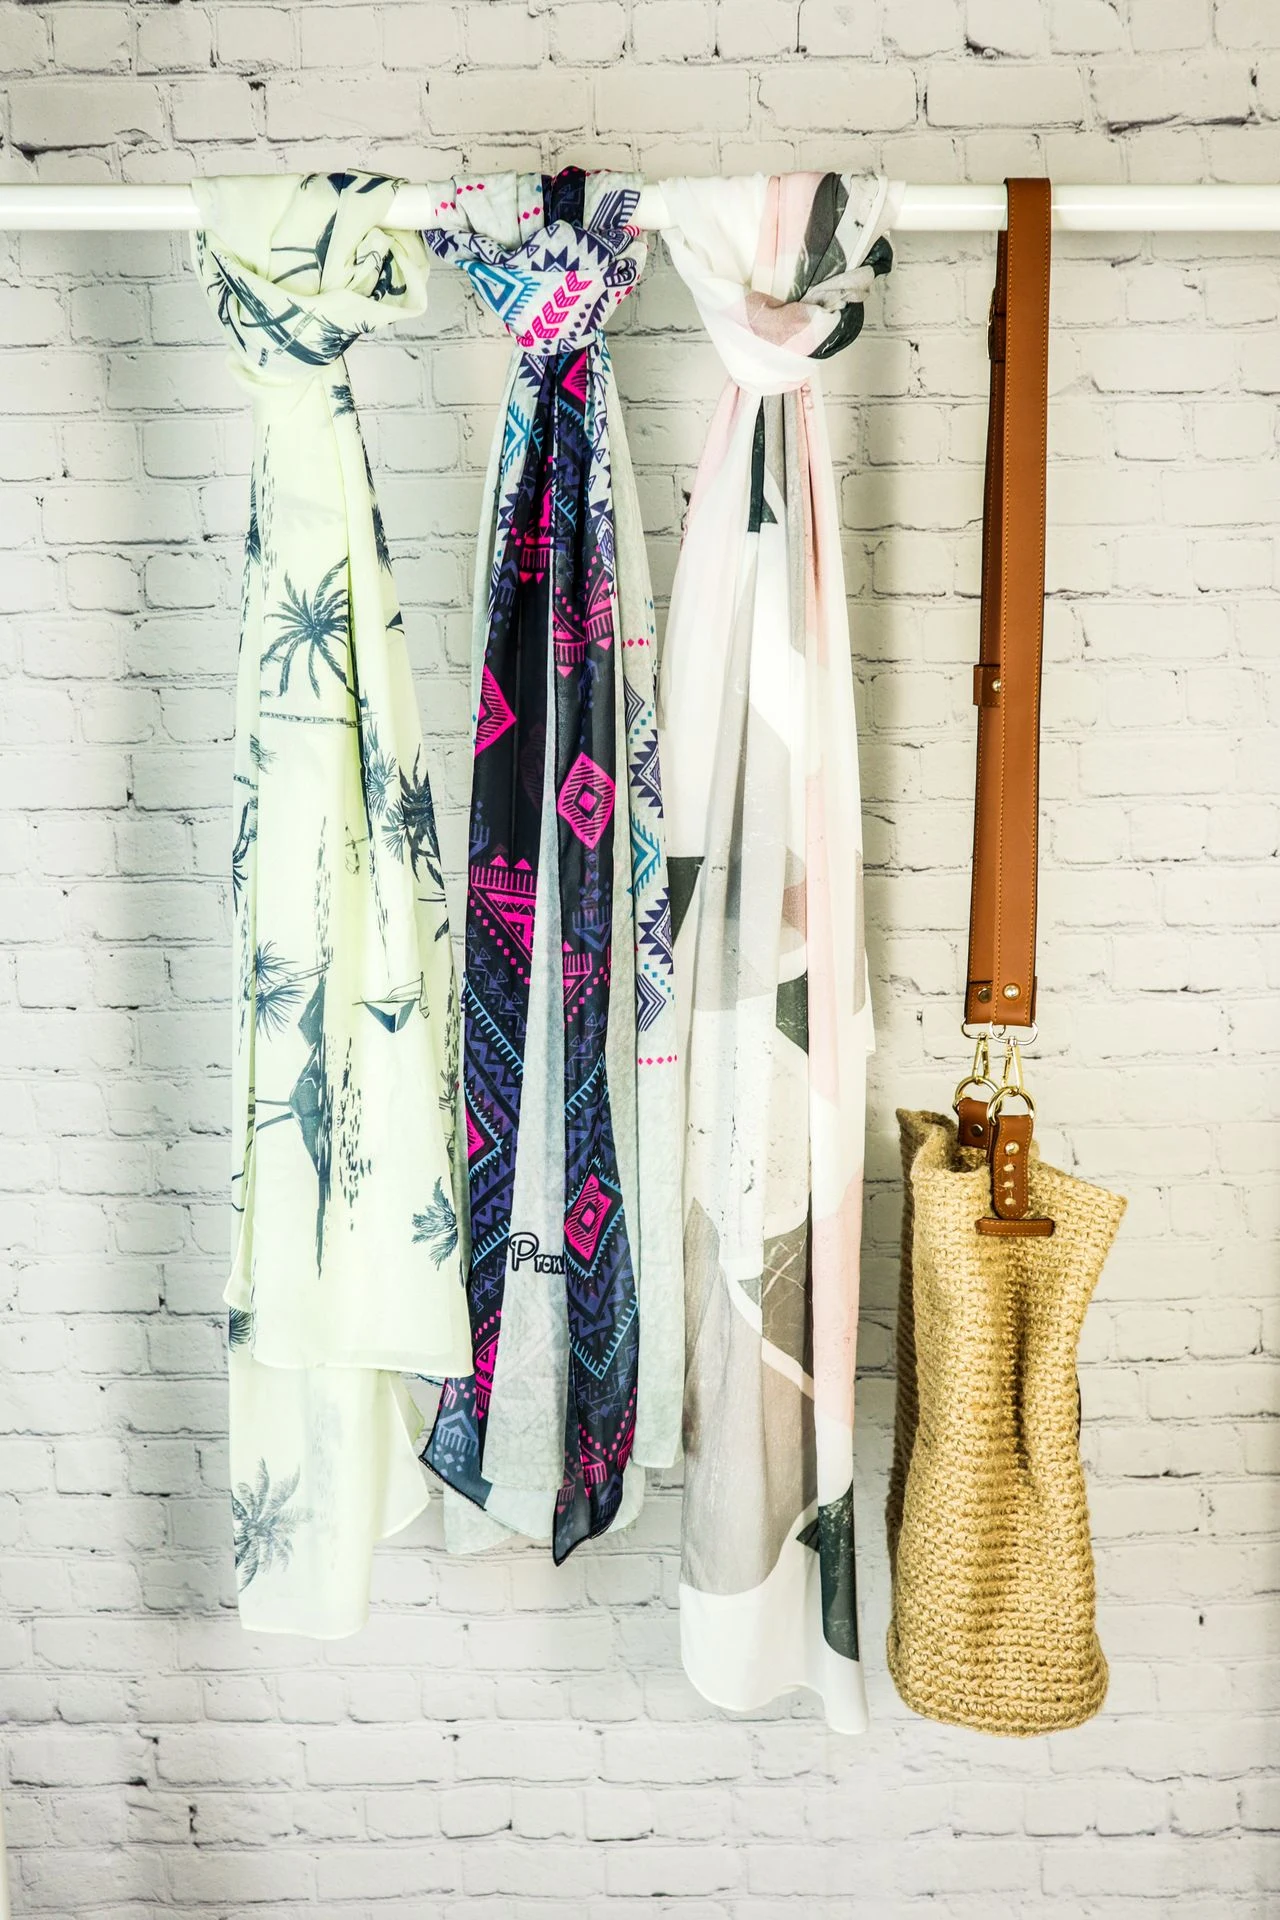
Dollar store shower curtain rings looped over the closet rail hold scarves, belts, and ties one per ring, so you can flip through them like a shop rail. Clip one item per ring, and hang the rings together on one section of rail. I organised thirty scarves this way for two dollars, and choosing one stopped being a drawer dig. Keep the rings on a short section of rail, since rings spread across the whole rail waste hanging space. I group the rings by colour family, so finding a scarf takes seconds, not minutes.
Cost: ~$2 | Time: 15 minutes
2. Use Soda Tabs to Double Hangers
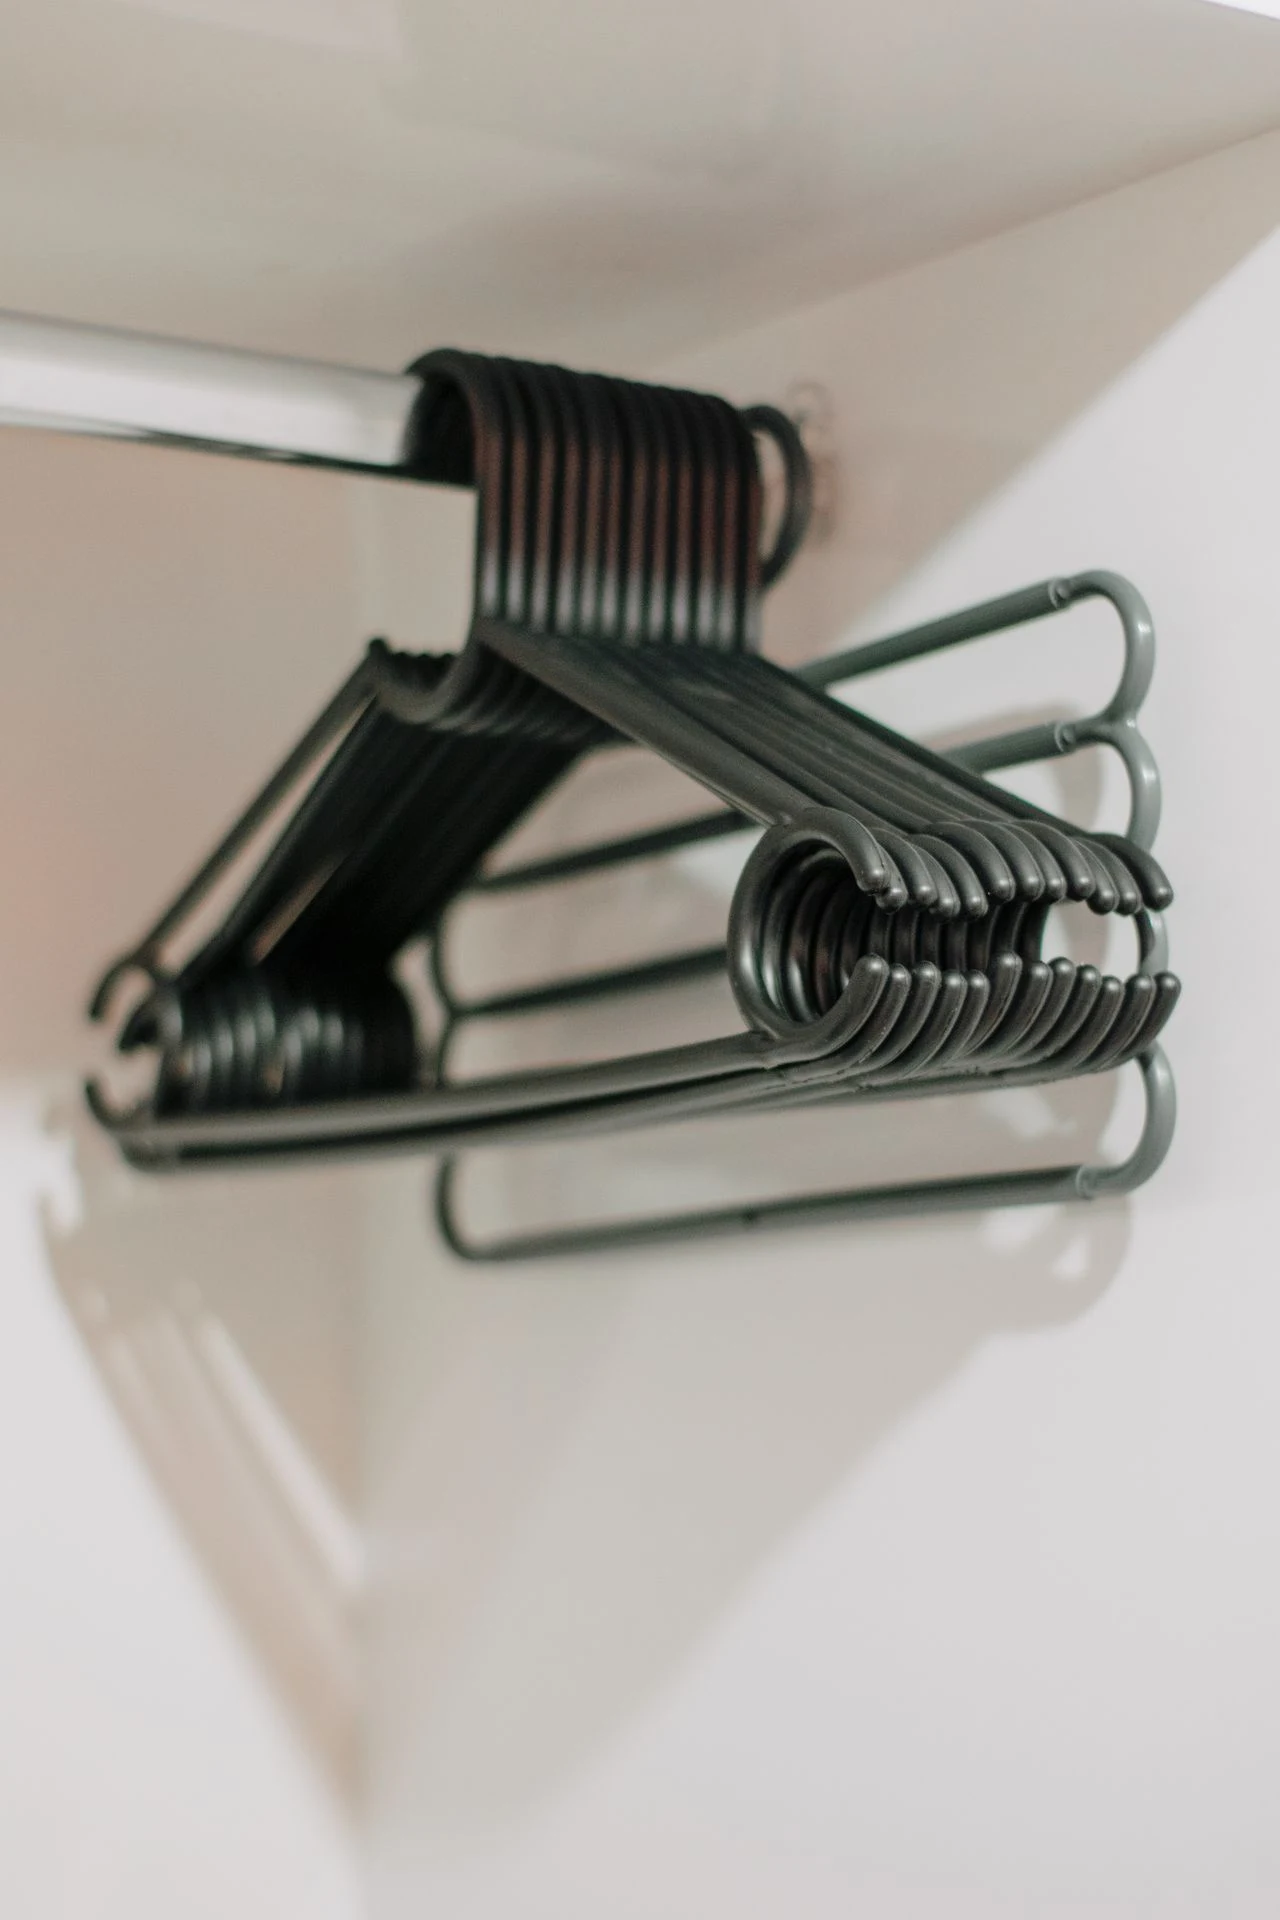
Soda can tabs looped over a hanger hook let you hang a second hanger below the first, doubling rail capacity for free. Slip a tab over the hook, hang another hanger from the tab’s second hole, and stagger the heights. I doubled a whole rail section this way, and it cost nothing but a few cans of soda. Use sturdy tabs, since thin ones bend under heavy coats. I stagger the second hangers slightly lower, since matching heights tangle the clothes.
Cost: ~$0 | Time: 20 minutes
3. Swap to Slim Velvet Hangers
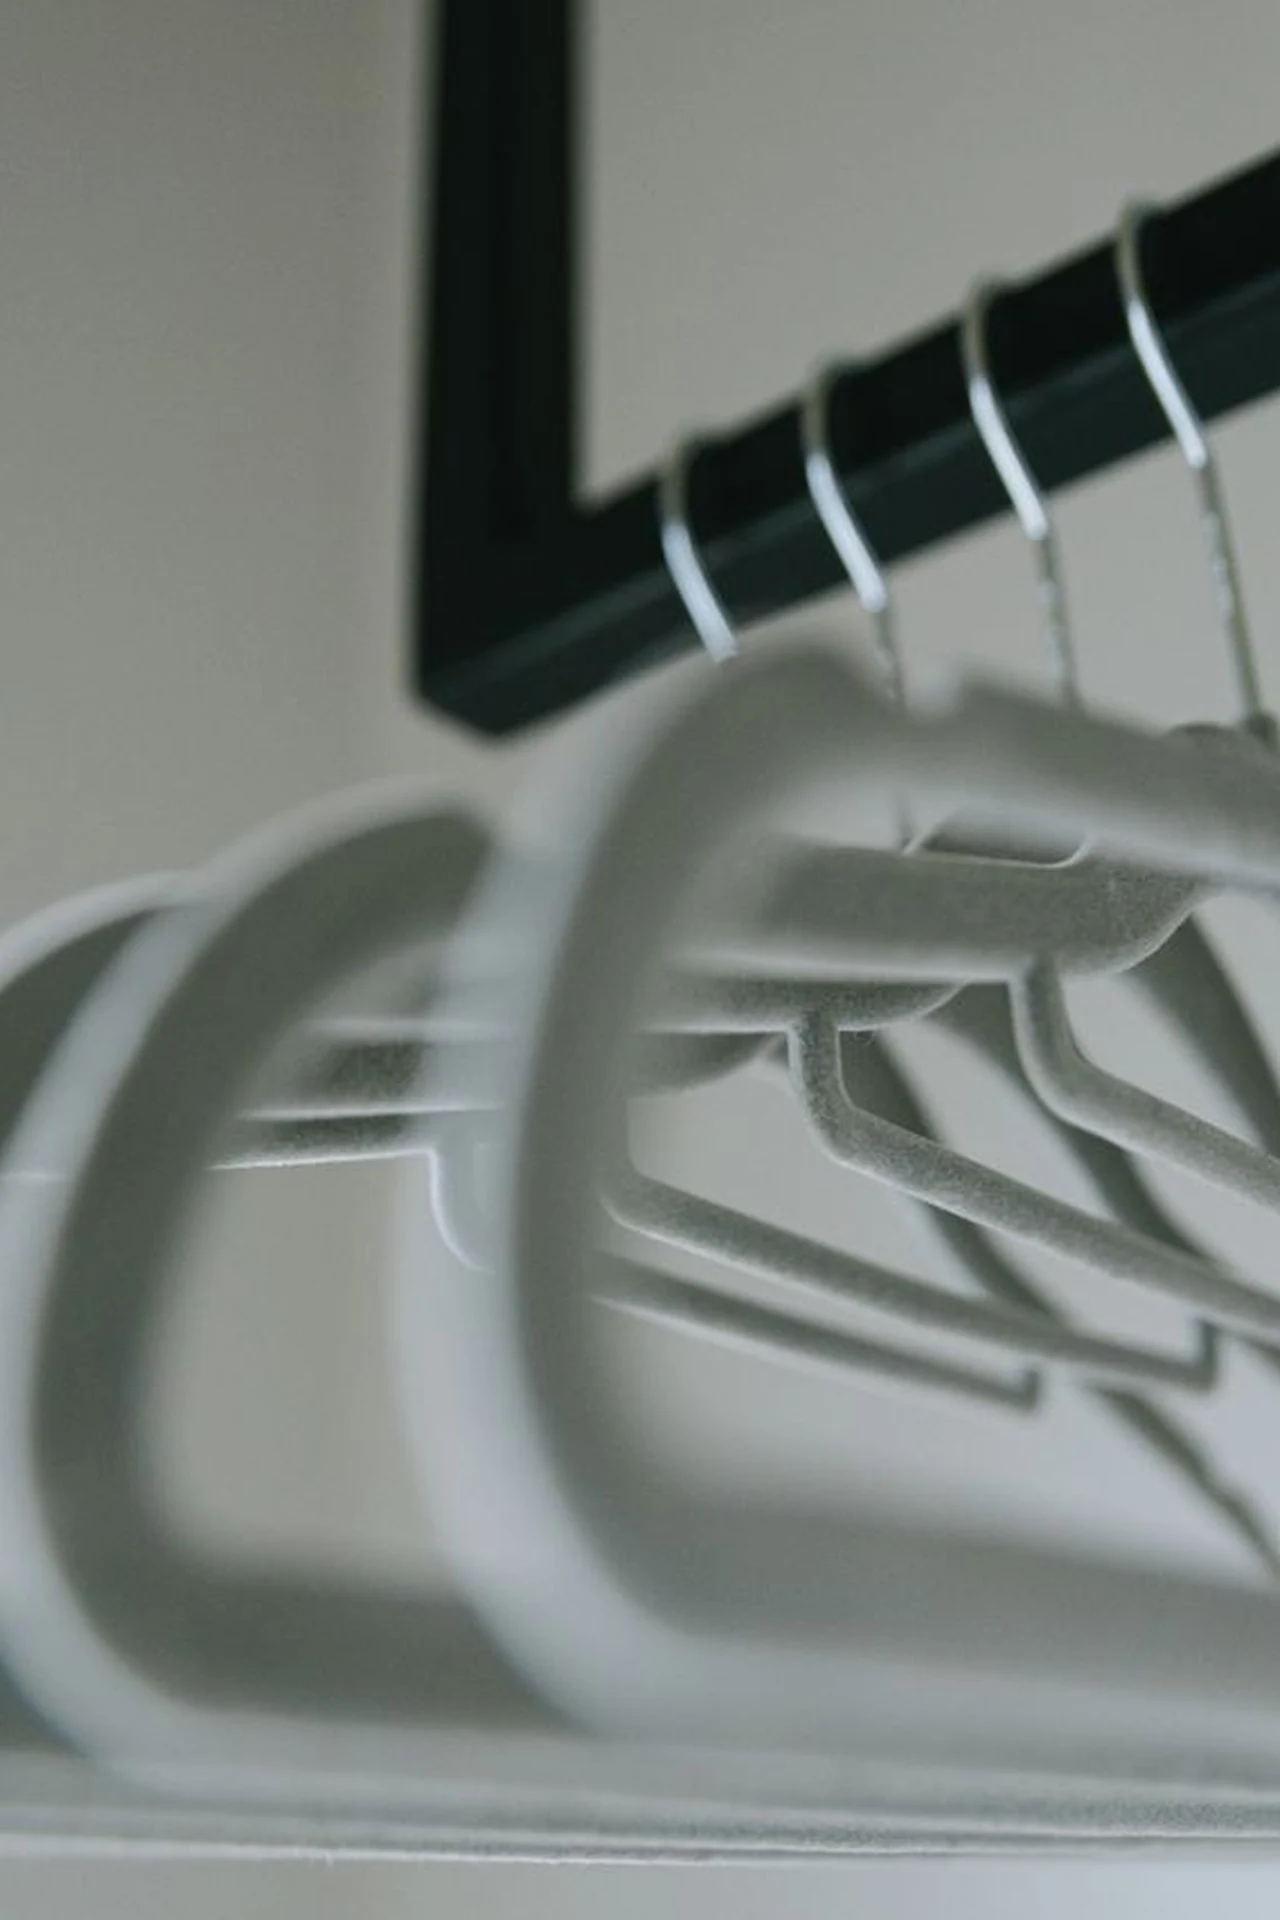
Slim velvet hangers from the dollar store take half the width of plastic ones and grip clothes so nothing slides off. Replace your hangers gradually, starting with the most crowded section, and donate the old ones. I swapped a whole closet for about ten dollars, and gained room for a dozen more garments. Keep a few sturdy hangers for heavy coats, since slim hangers bend under wool coats. I keep the old hangers for drying laundry, since velvet hangers should not get wet.
Cost: ~$10 | Time: 30 minutes
4. Hang a Multi-Tier Trouser Hanger
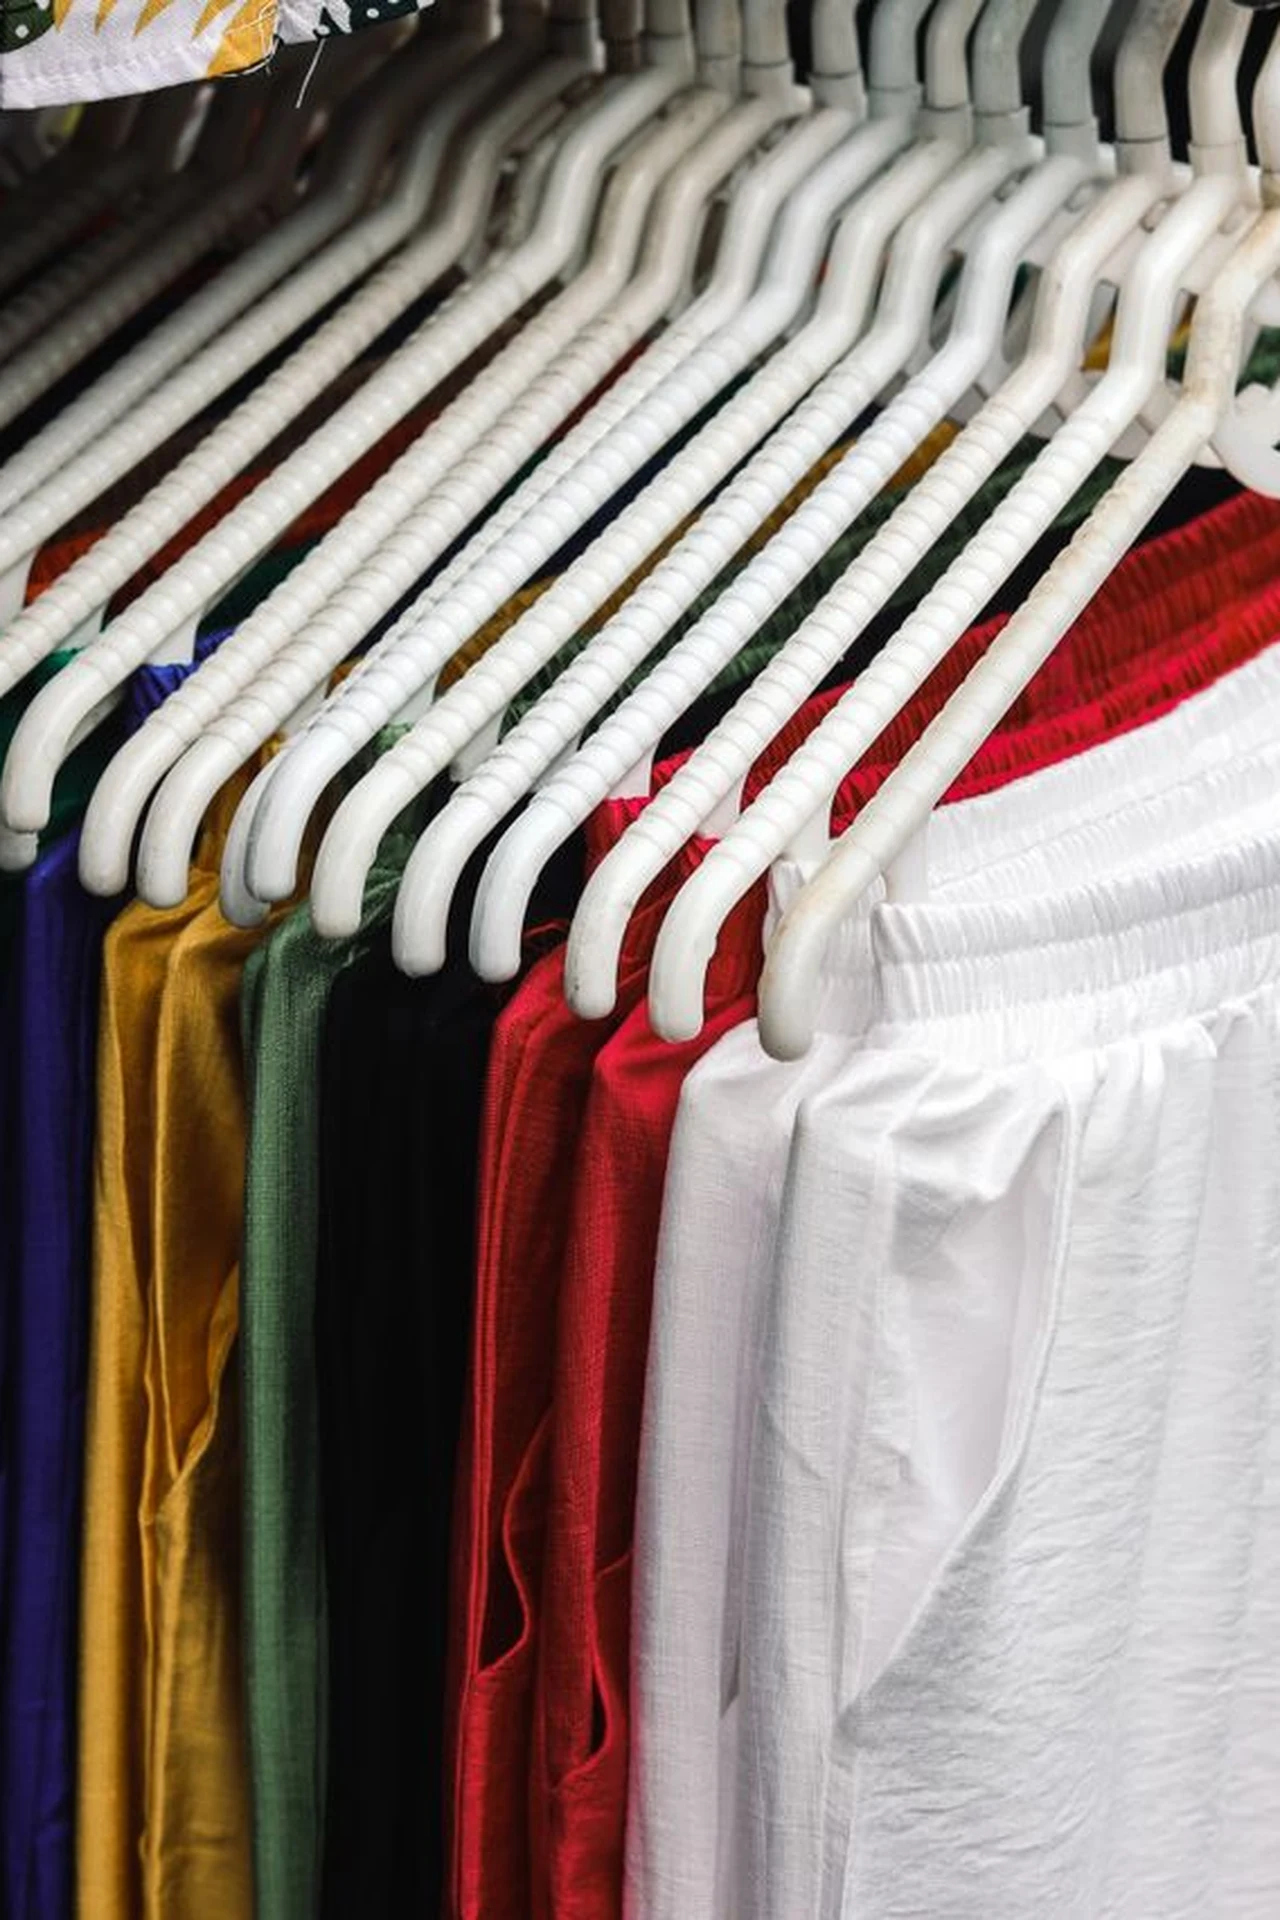
A multi-tier trouser hanger holds four or five pairs of trousers in the space of one, which is gold in a small closet. Drape one pair per bar, hang it on the rail, and pull out the pair you need without disturbing the rest. I freed a whole rail section with two of these hangers. Choose one with a swivel hook, since fixed hooks make the hanger awkward to remove. I hang work trousers together, since grouping by use makes mornings faster.
Cost: ~$3 | Time: 10 minutes
5. Clip Hats to a Ring Hanger
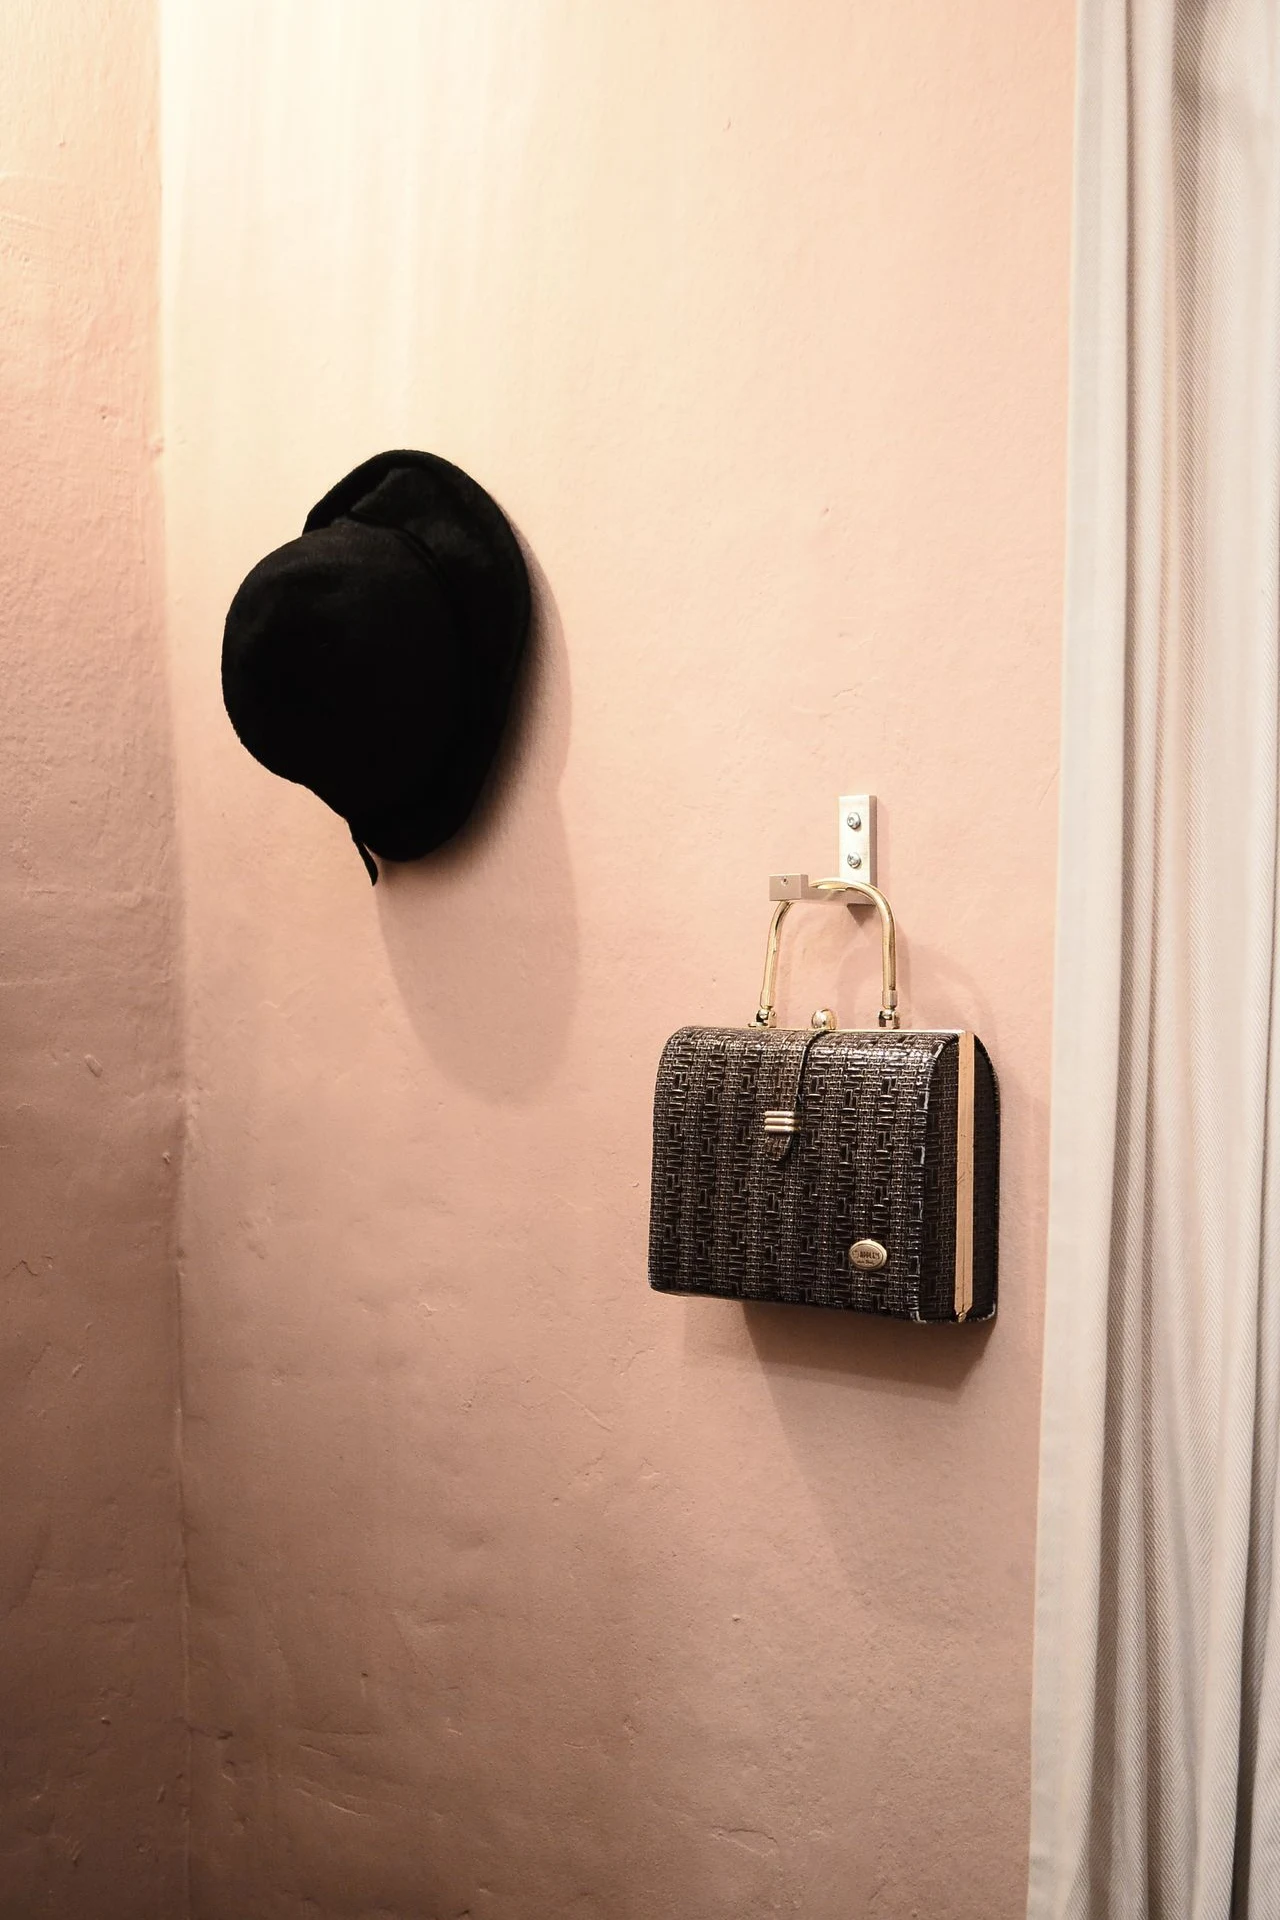
Shower rings or clips on a single hanger hold caps and hats in a row, instead of stacked in a pile that crushes them. Clip one hat per ring, hang the hanger on the rail, and grab the hat you want. I organised a dozen caps this way, and they stopped living on top of the wardrobe. This works for baseball caps best, since wide-brimmed hats need a different solution. I keep the hanger near the door, since hats are usually a last-minute grab.
Cost: ~$2 | Time: 10 minutes
(see also: 19-bedroom-organization-ideas-on-a-dime)
Shelf and Bin Tricks
6. Use Dollar Bins as Shelf Dividers
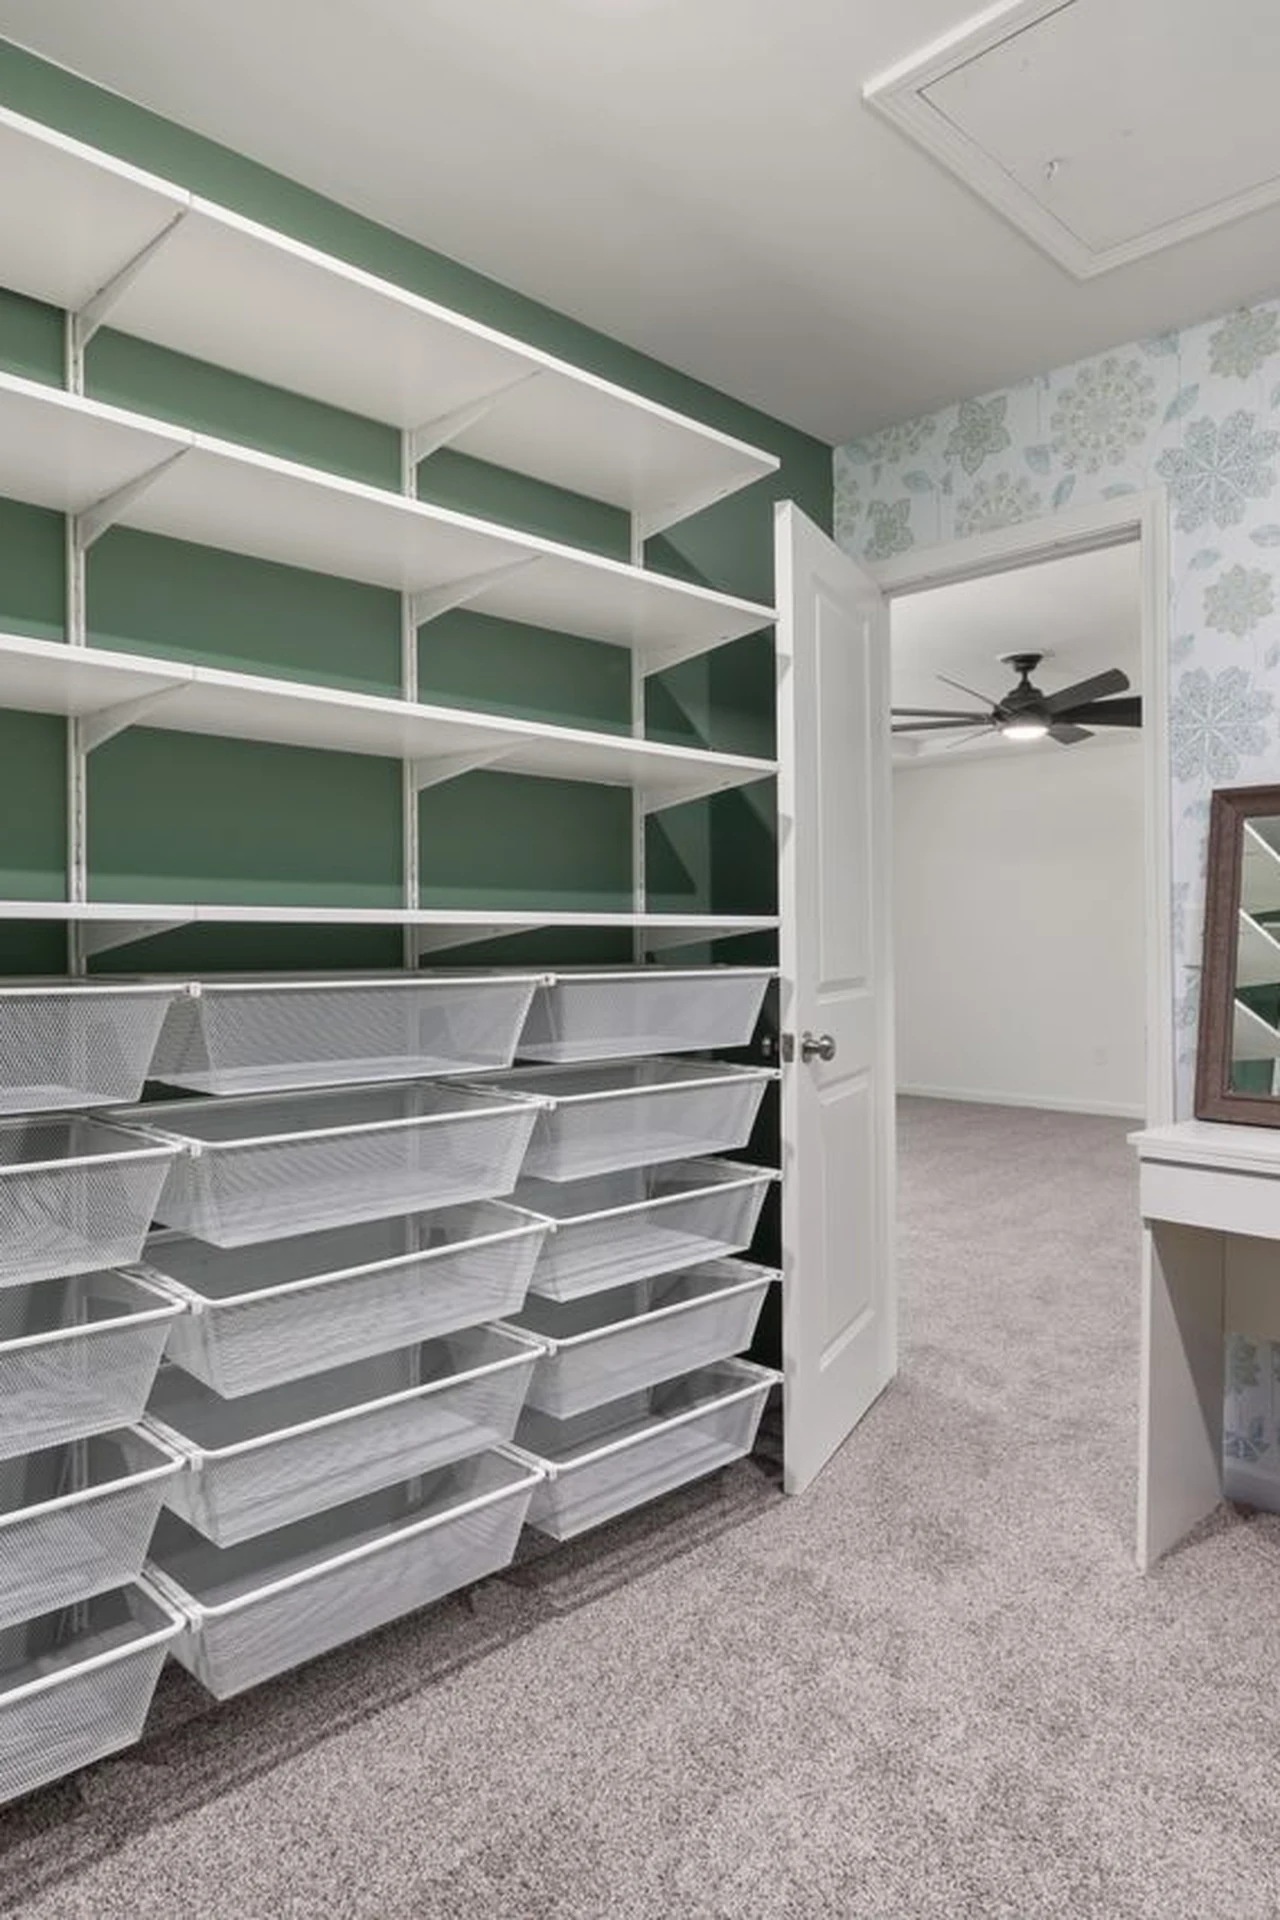
Small dollar store bins on closet shelves divide folded clothes into categories, so stacks stop toppling into each other. Place one bin per category, t-shirts, knitwear, workout clothes, and fold into the bins. I binned my top shelf, and folded stacks finally stayed put. Label the bins if you share the closet, since unlabelled bins become mystery boxes. I label each bin with masking tape, so the system survives even if I forget it. I keep one bin empty for overflow, since a system with no spare space always breaks.
Cost: ~$6 | Time: 20 minutes
7. Stack Clear Shoe Boxes on Shelves
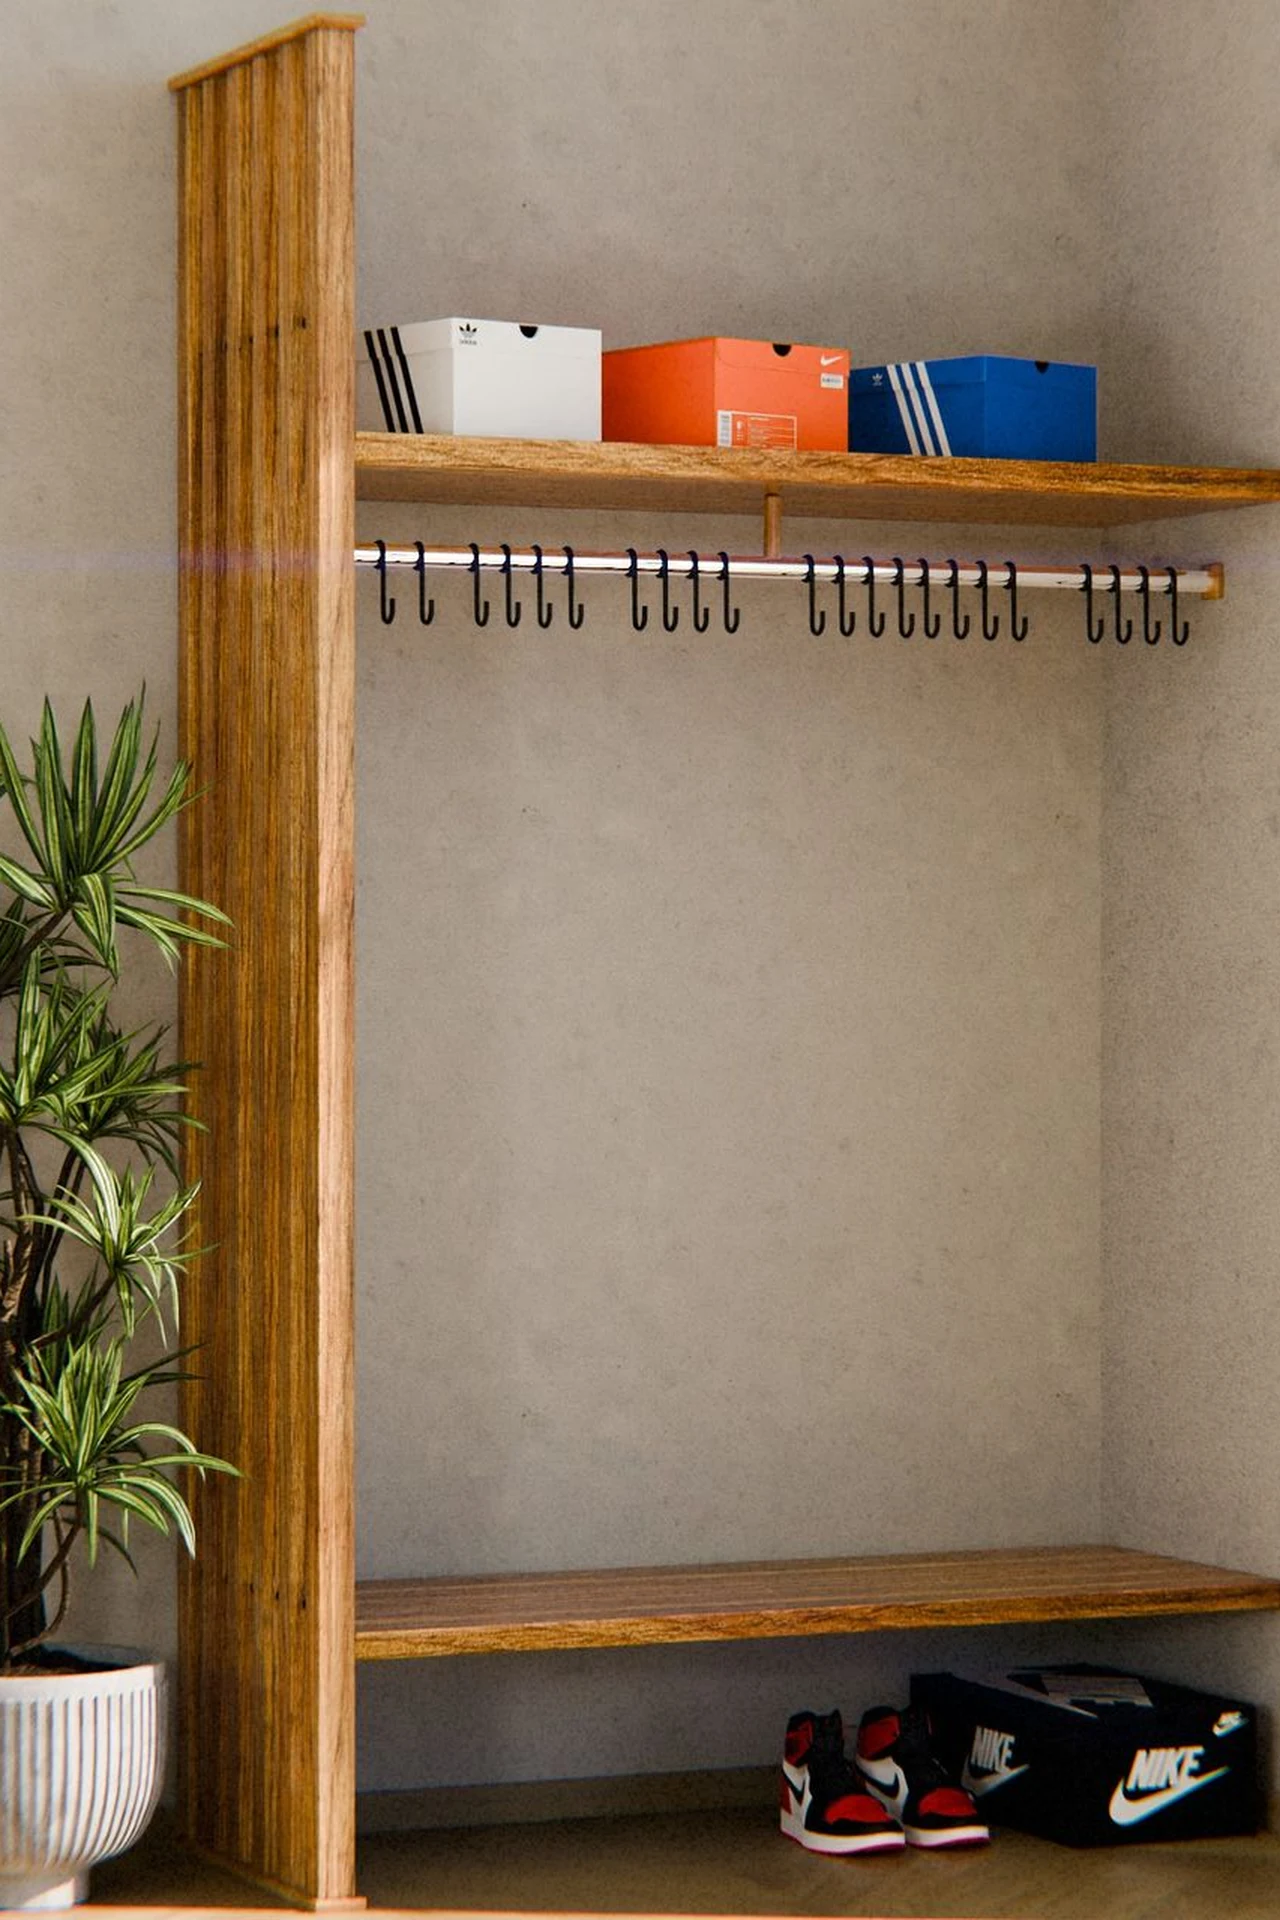
Clear dollar store shoe boxes stacked on a shelf hold shoes visibly and protect them from dust. Stack them two or three high, keep the most-worn pairs at the bottom, and label the ends if the boxes are not clear. I boxed my shoe collection, and the closet floor cleared completely. Measure your shelf height first, since tall boots need taller boxes. I stack them with the toes facing out, so finding the right pair is instant. I keep the most-worn pairs at the bottom, so daily shoes are always easiest to grab.
Cost: ~$8 | Time: 30 minutes
8. Roll Belts Into a Bin
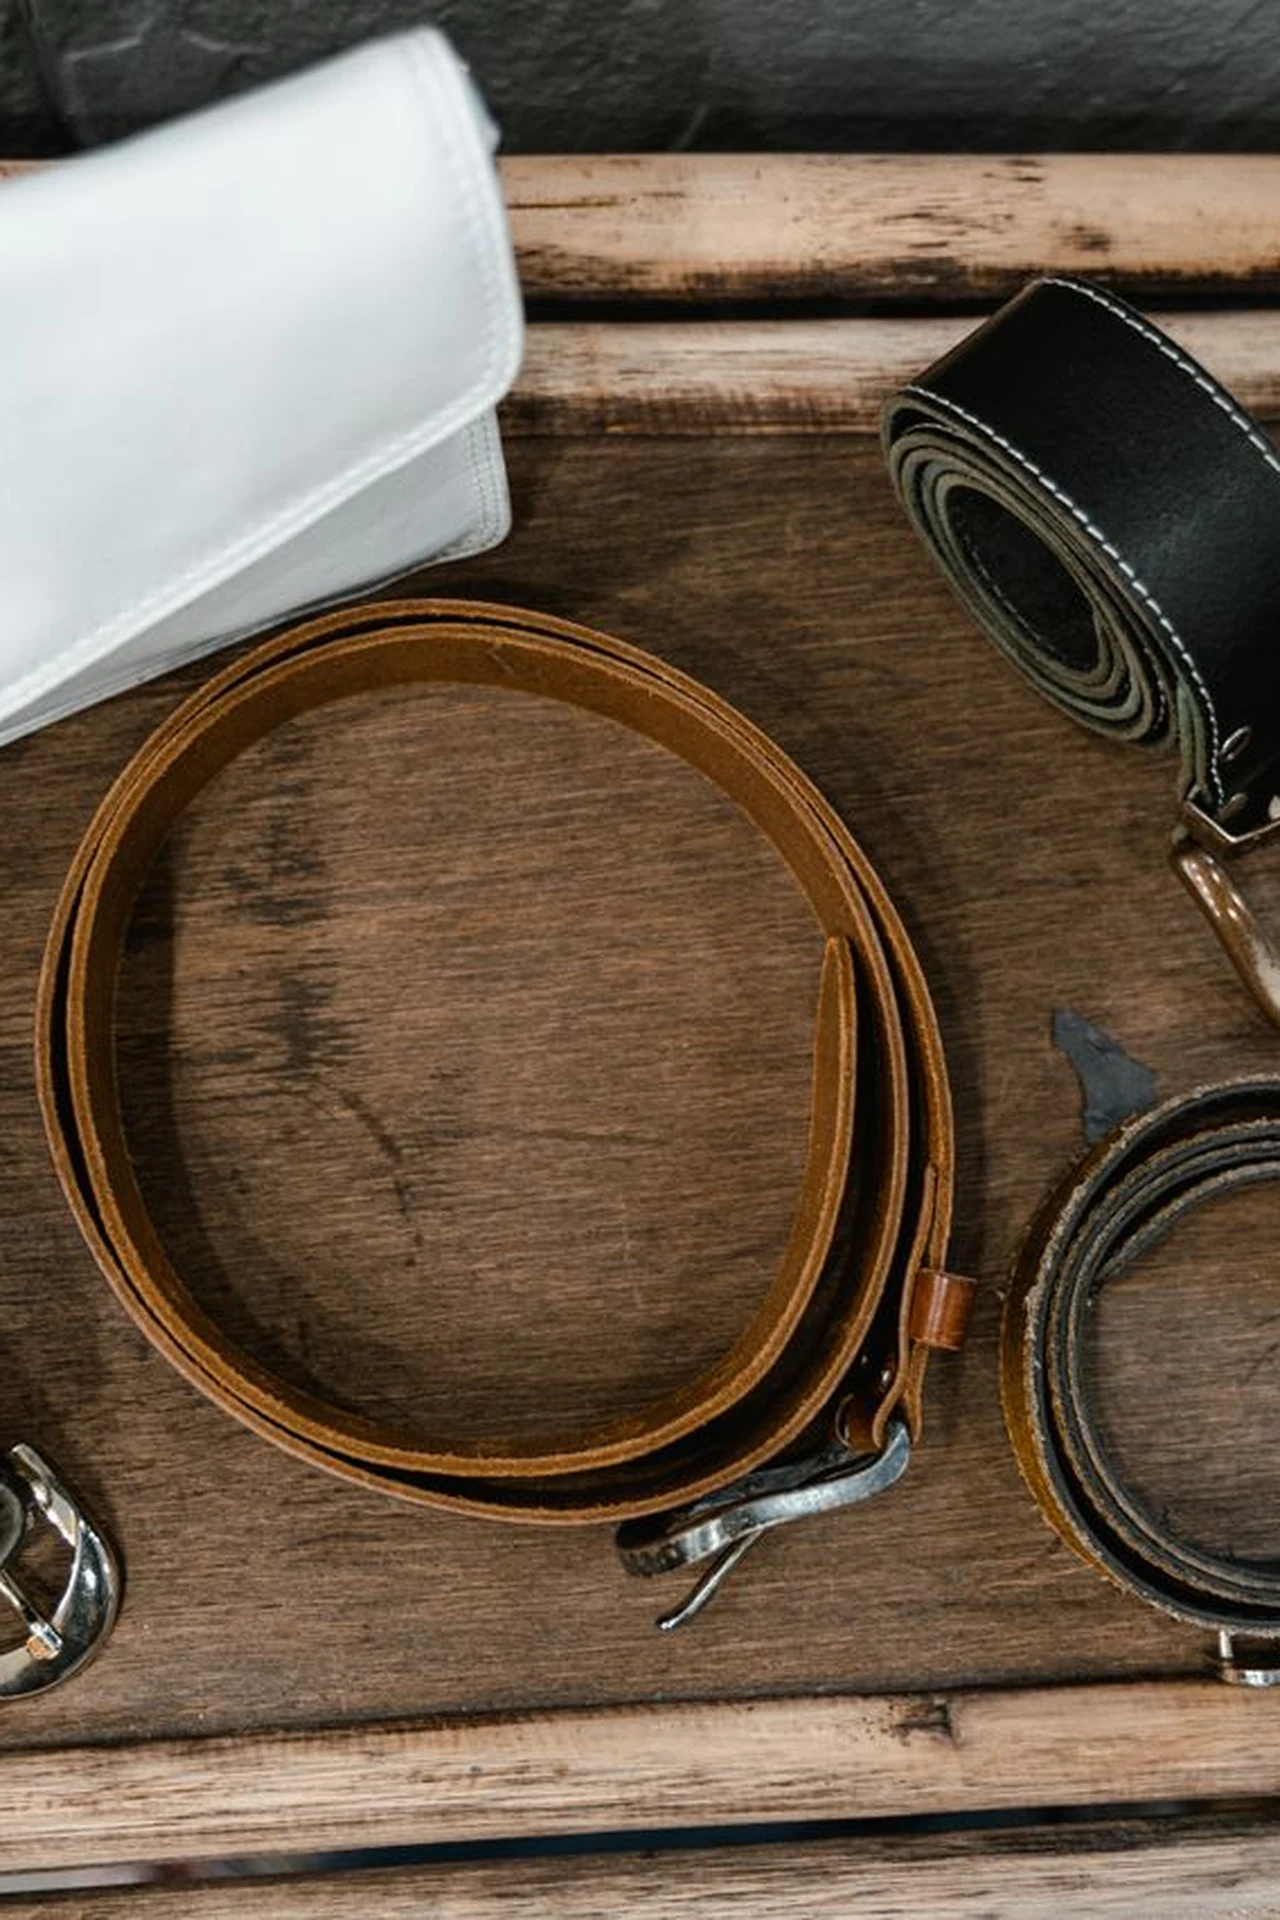
Belts rolled and stood upright in a small bin stay visible and untangled, unlike belts coiled in a drawer. Roll each belt tightly, stand them in a bin on a shelf, and pull out the one you need. I organised fifteen belts in a one-dollar bin, and they stopped being a knotted drawer mystery. Keep the bin small, since a big bin lets belts flop over. I keep the bin on the top shelf, since belts are light and easy to reach for.
Cost: ~$1 | Time: 15 minutes
9. Store Bags Stuffed With Tissue
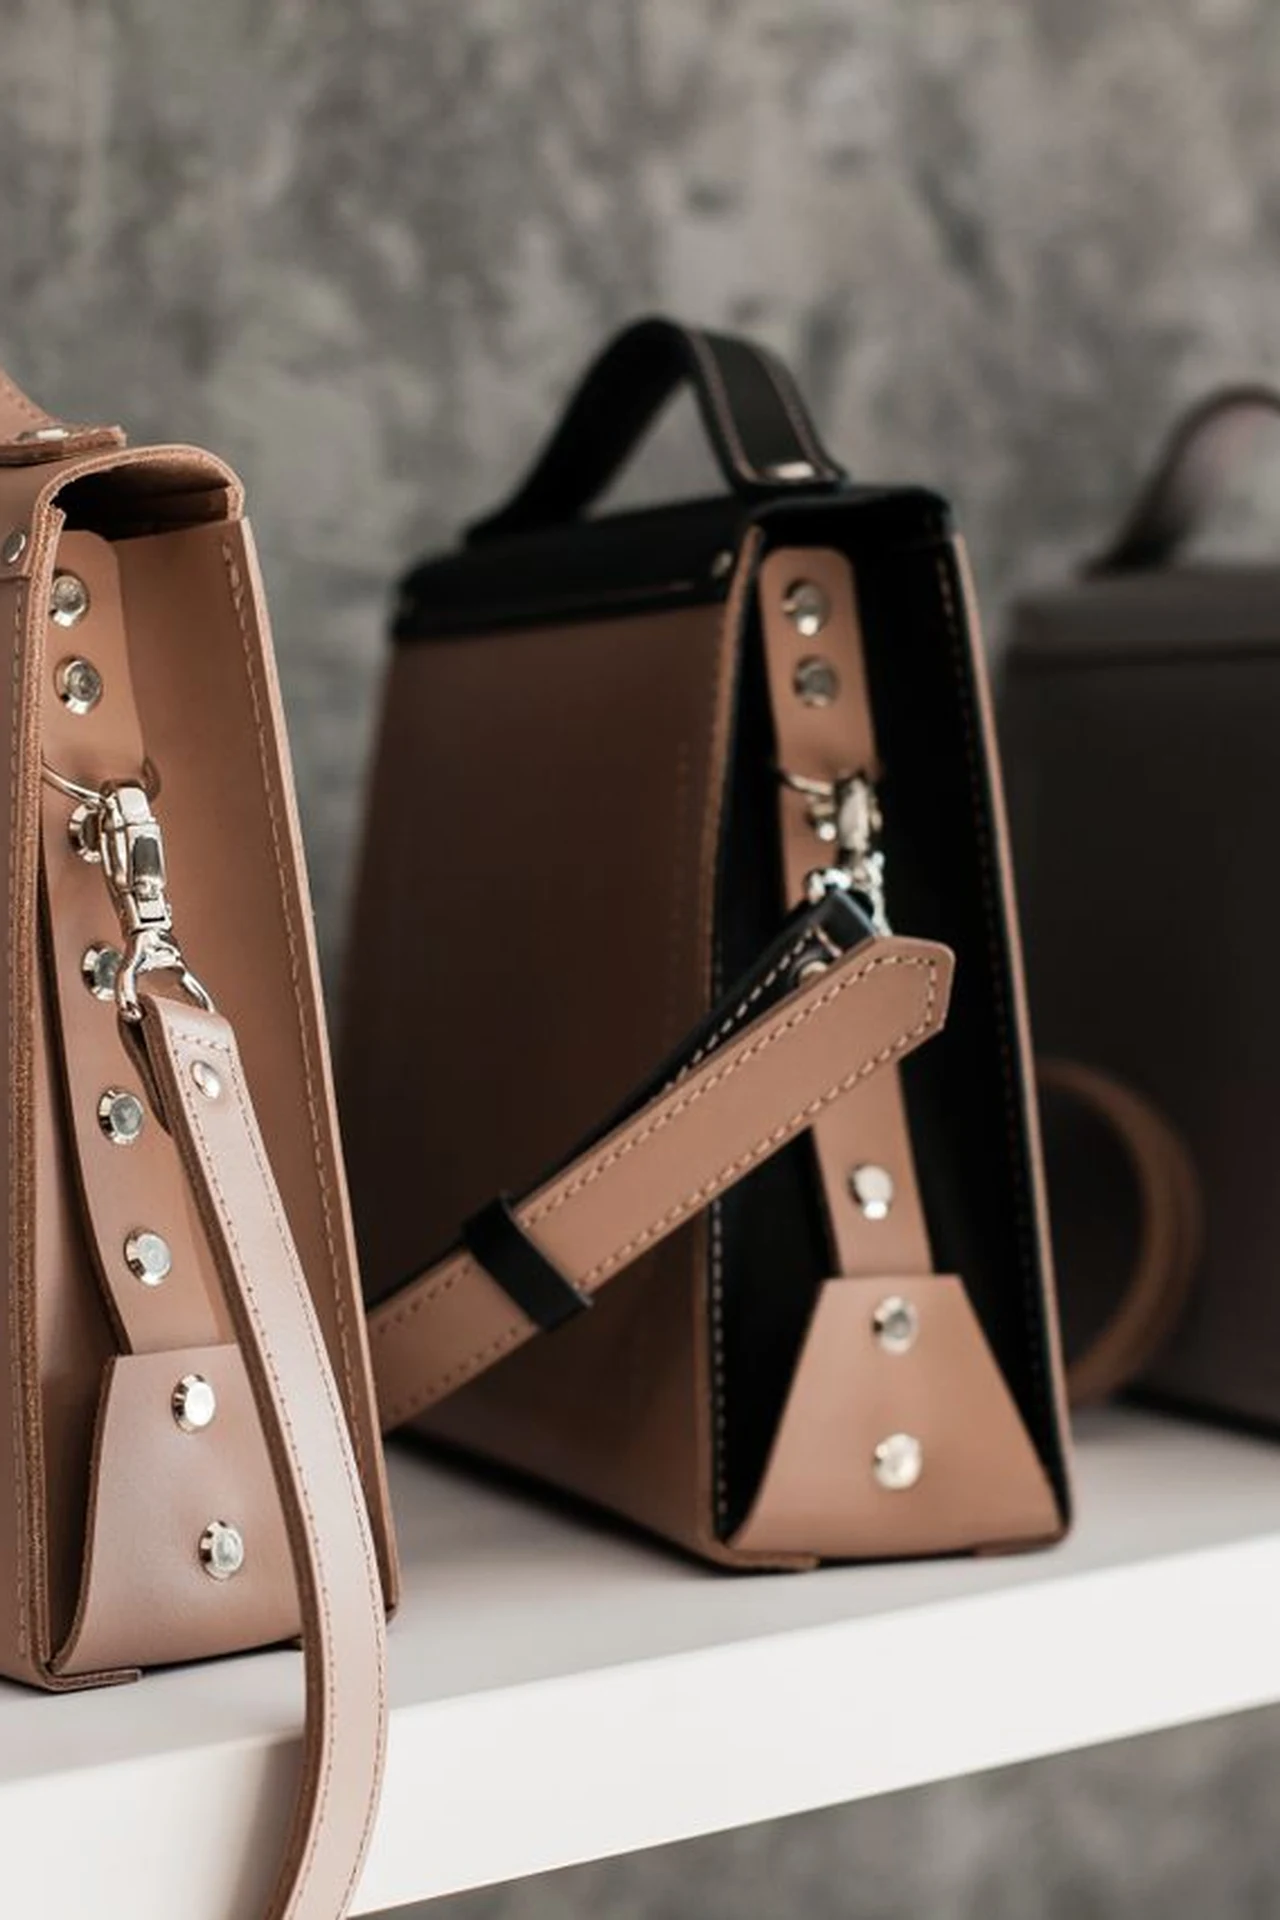
Handbags stuffed with tissue paper or old t-shirts keep their shape on a shelf, instead of collapsing into each other. Stuff each bag, stand them upright side by side like books, and keep dust bags on for protection. I stuffed my bags, and they looked new for years longer than my unstuffed ones did. Use acid-free tissue for good leather, since newspaper ink can transfer. I stand the bags upright like books, so none of them get crushed at the bottom.
Cost: ~$2 | Time: 20 minutes
10. Use a Tension Rod as a Shelf Divider
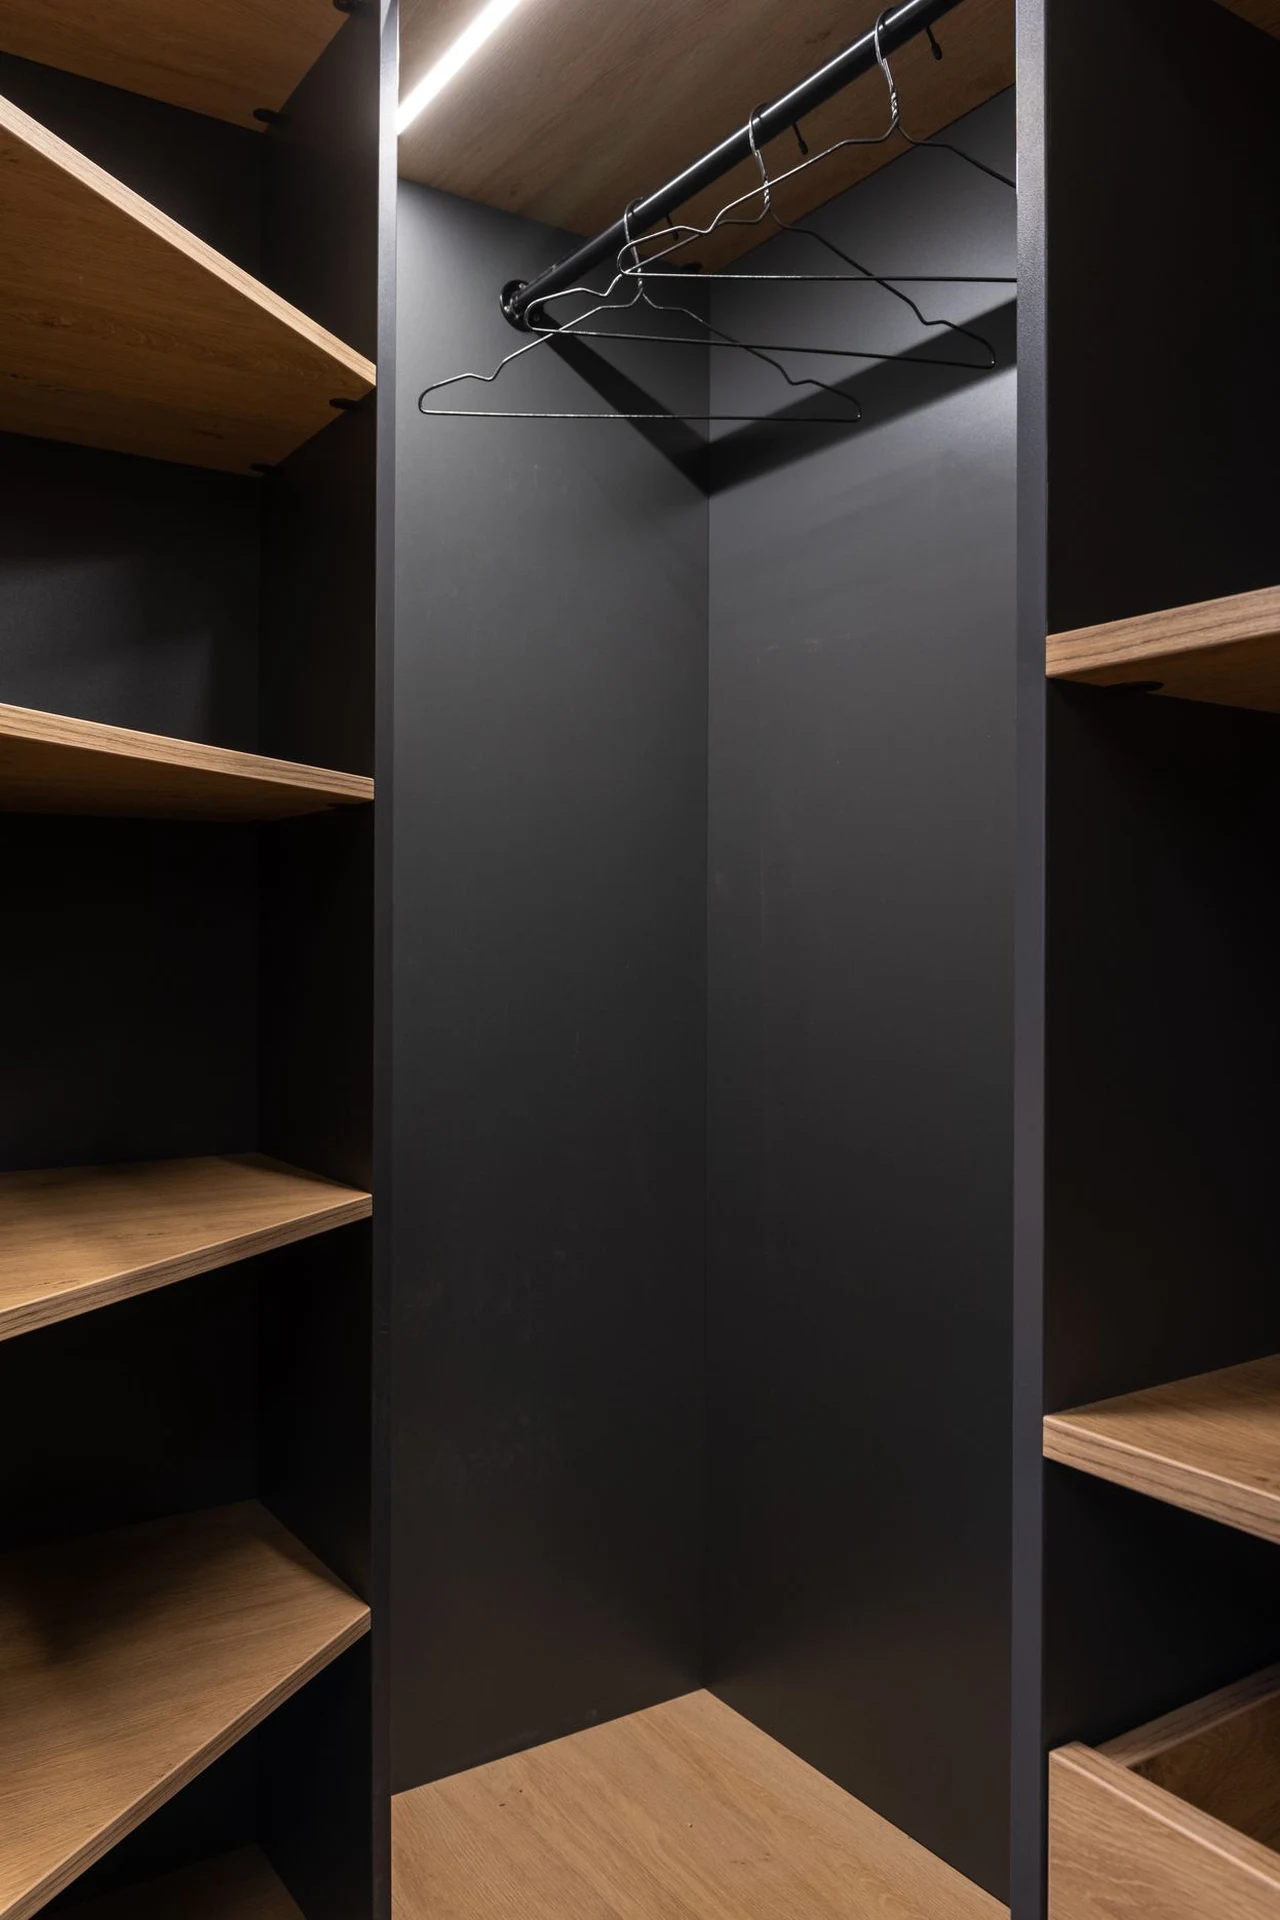
A tension rod stood vertically between shelf stacks acts as a divider that stops folded clothes from sliding sideways. Place one rod upright at the edge of each stack, and the stacks stay put. I used two rods on a wide shelf, and the folded piles stopped merging. This works best on shelves with a solid top above, since the rod needs something to grip. I check the rod tension monthly, since a slipping divider lets stacks merge again. I place the rod at the edge of each stack, so the piles stay neatly separated.
Cost: ~$3 | Time: 10 minutes
Floor and Door Solutions
11. Line the Floor With a Boot Tray
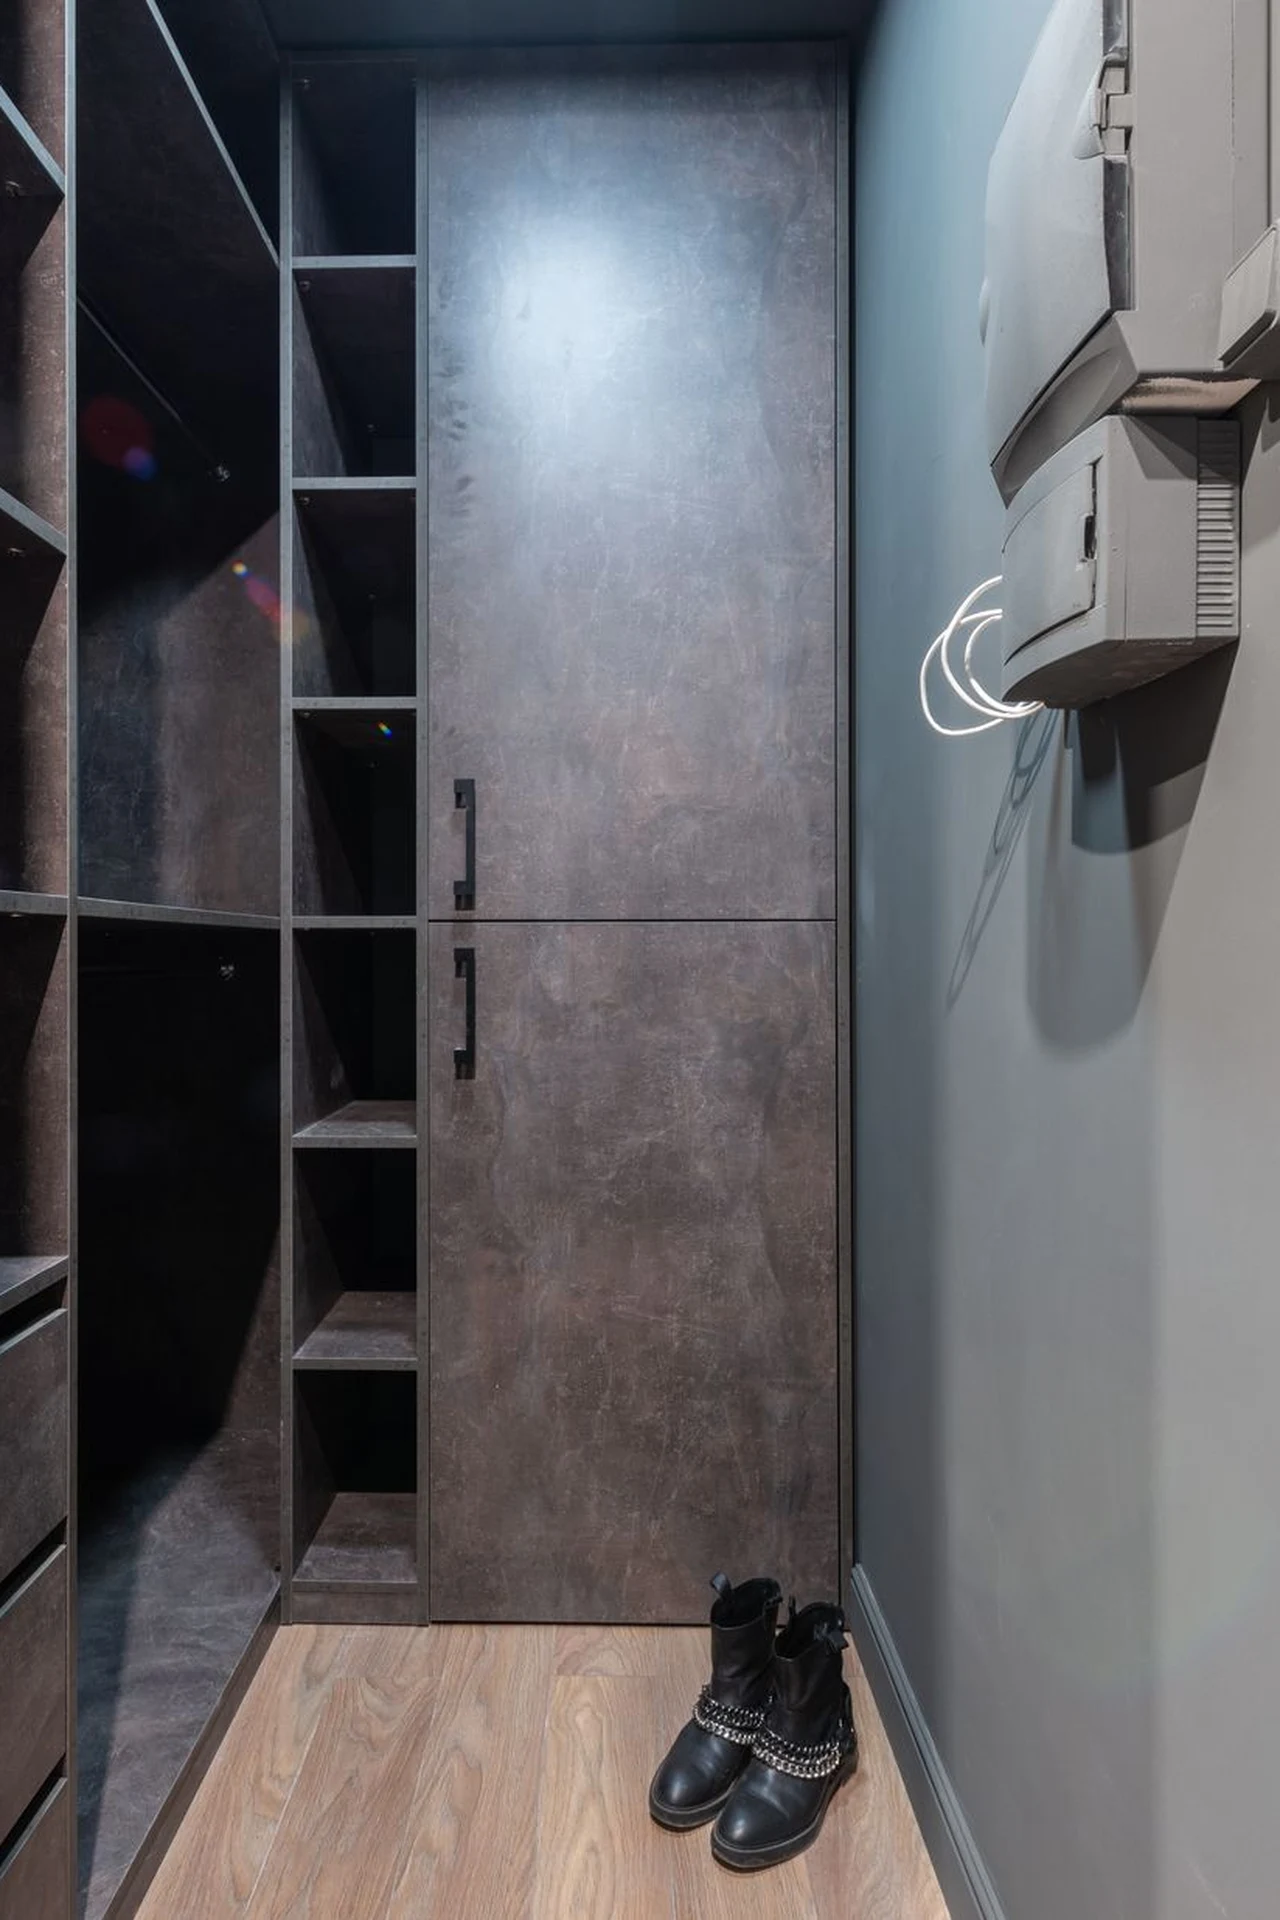
A dollar store boot tray on the closet floor catches dirt, holds shoes in a row, and protects the floor from wet soles. Place it at the entrance of the closet, line shoes up on it, and wipe it weekly. I added a tray, and the closet floor stopped being a dirt line. Choose a tray with a lip, since flat trays let water run off the edges. I wipe the tray every weekend, since closet floors collect dust surprisingly fast.
Cost: ~$3 | Time: 5 minutes
12. Hang a Shoe Organizer on the Door
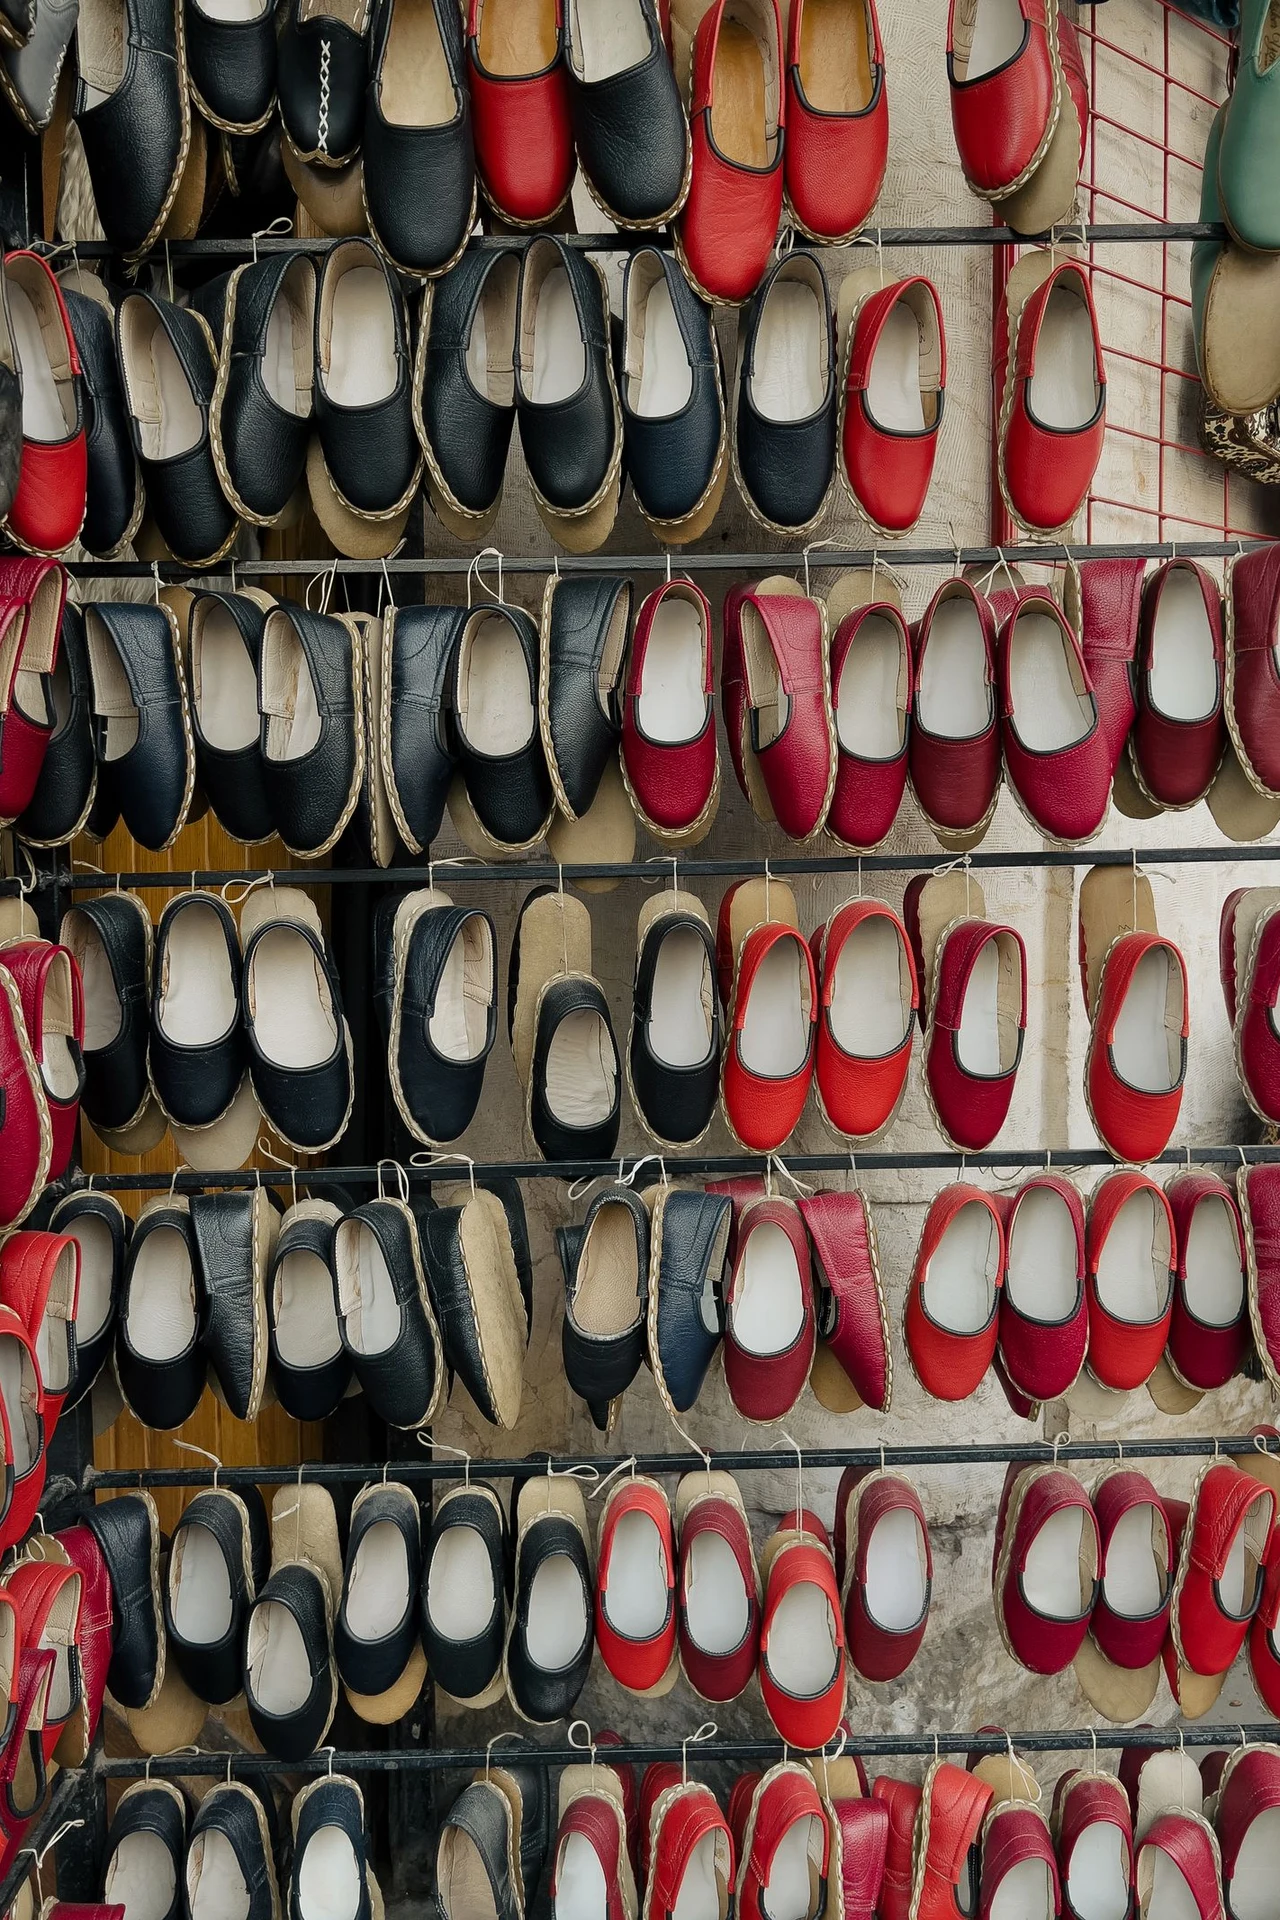
A pocket shoe organizer on the closet door holds shoes, accessories, or small items in clear pockets, using dead door space. Hang it over the door, fill the pockets, and free a shelf. I used one for shoes and scarves, and it swallowed a surprising amount of clutter. Keep heavy items low, since a top-heavy door organizer swings. I keep the heaviest shoes at the bottom, since a swinging door hates top weight. I keep daily shoes in the bottom pockets, since they get grabbed most often.
Cost: ~$5 | Time: 10 minutes
13. Use a Hanging Shelf for the Floor Gap
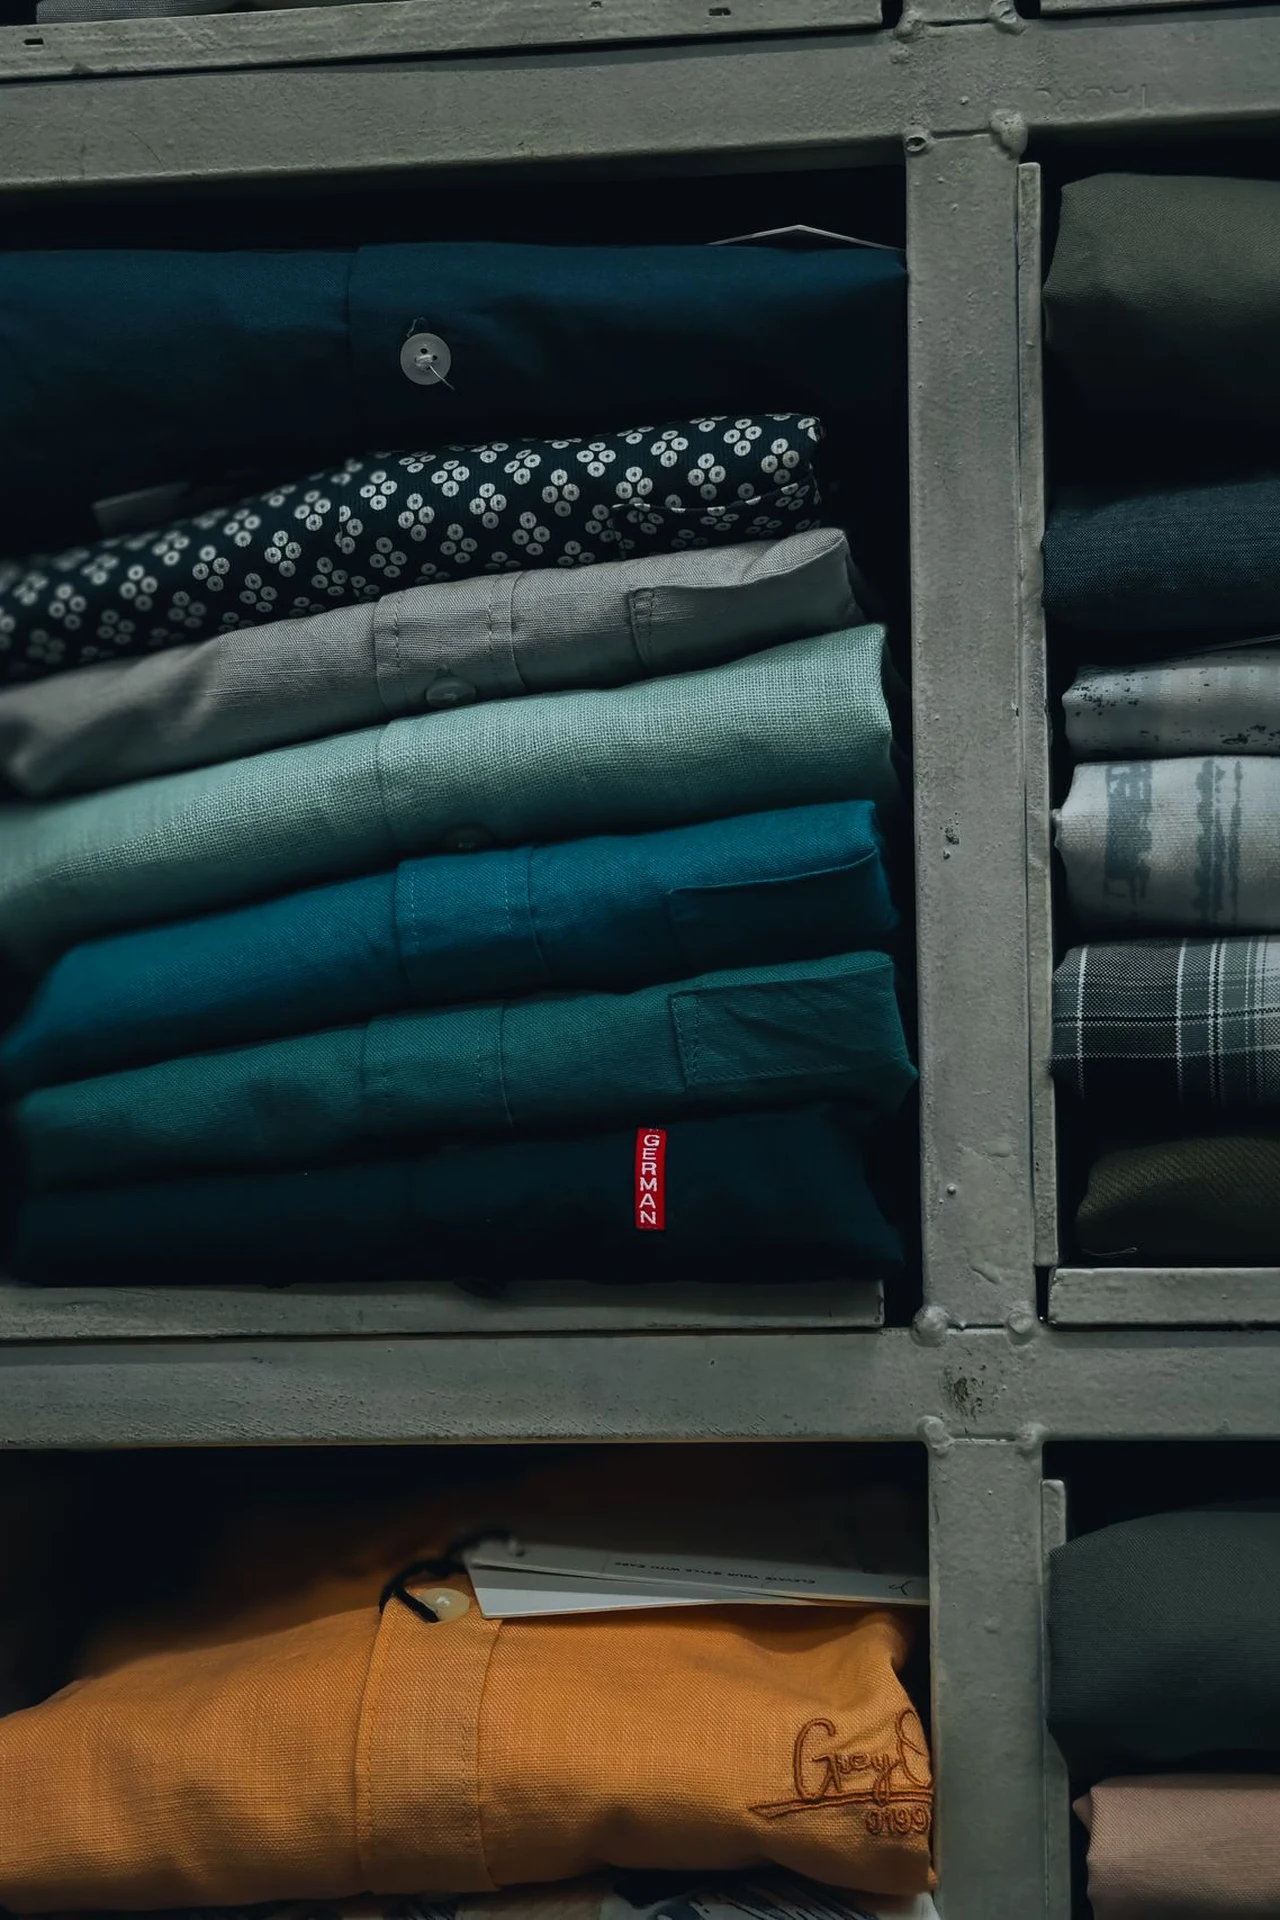
A hanging fabric shelf hung from the rail reaches down to the floor gap, turning wasted vertical space into cubbies for shoes, bags, or folded clothes. Hang it at the end of the rail, fill the cubbies, and reclaim the floor. I added one, and the closet’s dead corner became its most useful spot. Keep the bottom cubby for shoes, since they are heaviest. I use the top cubby for hats, since they are light and crush easily below. I keep the bottom cubby for shoes, since they are the heaviest things stored there.
Cost: ~$5 | Time: 10 minutes
14. Store Out-of-Season Shoes in a Bin
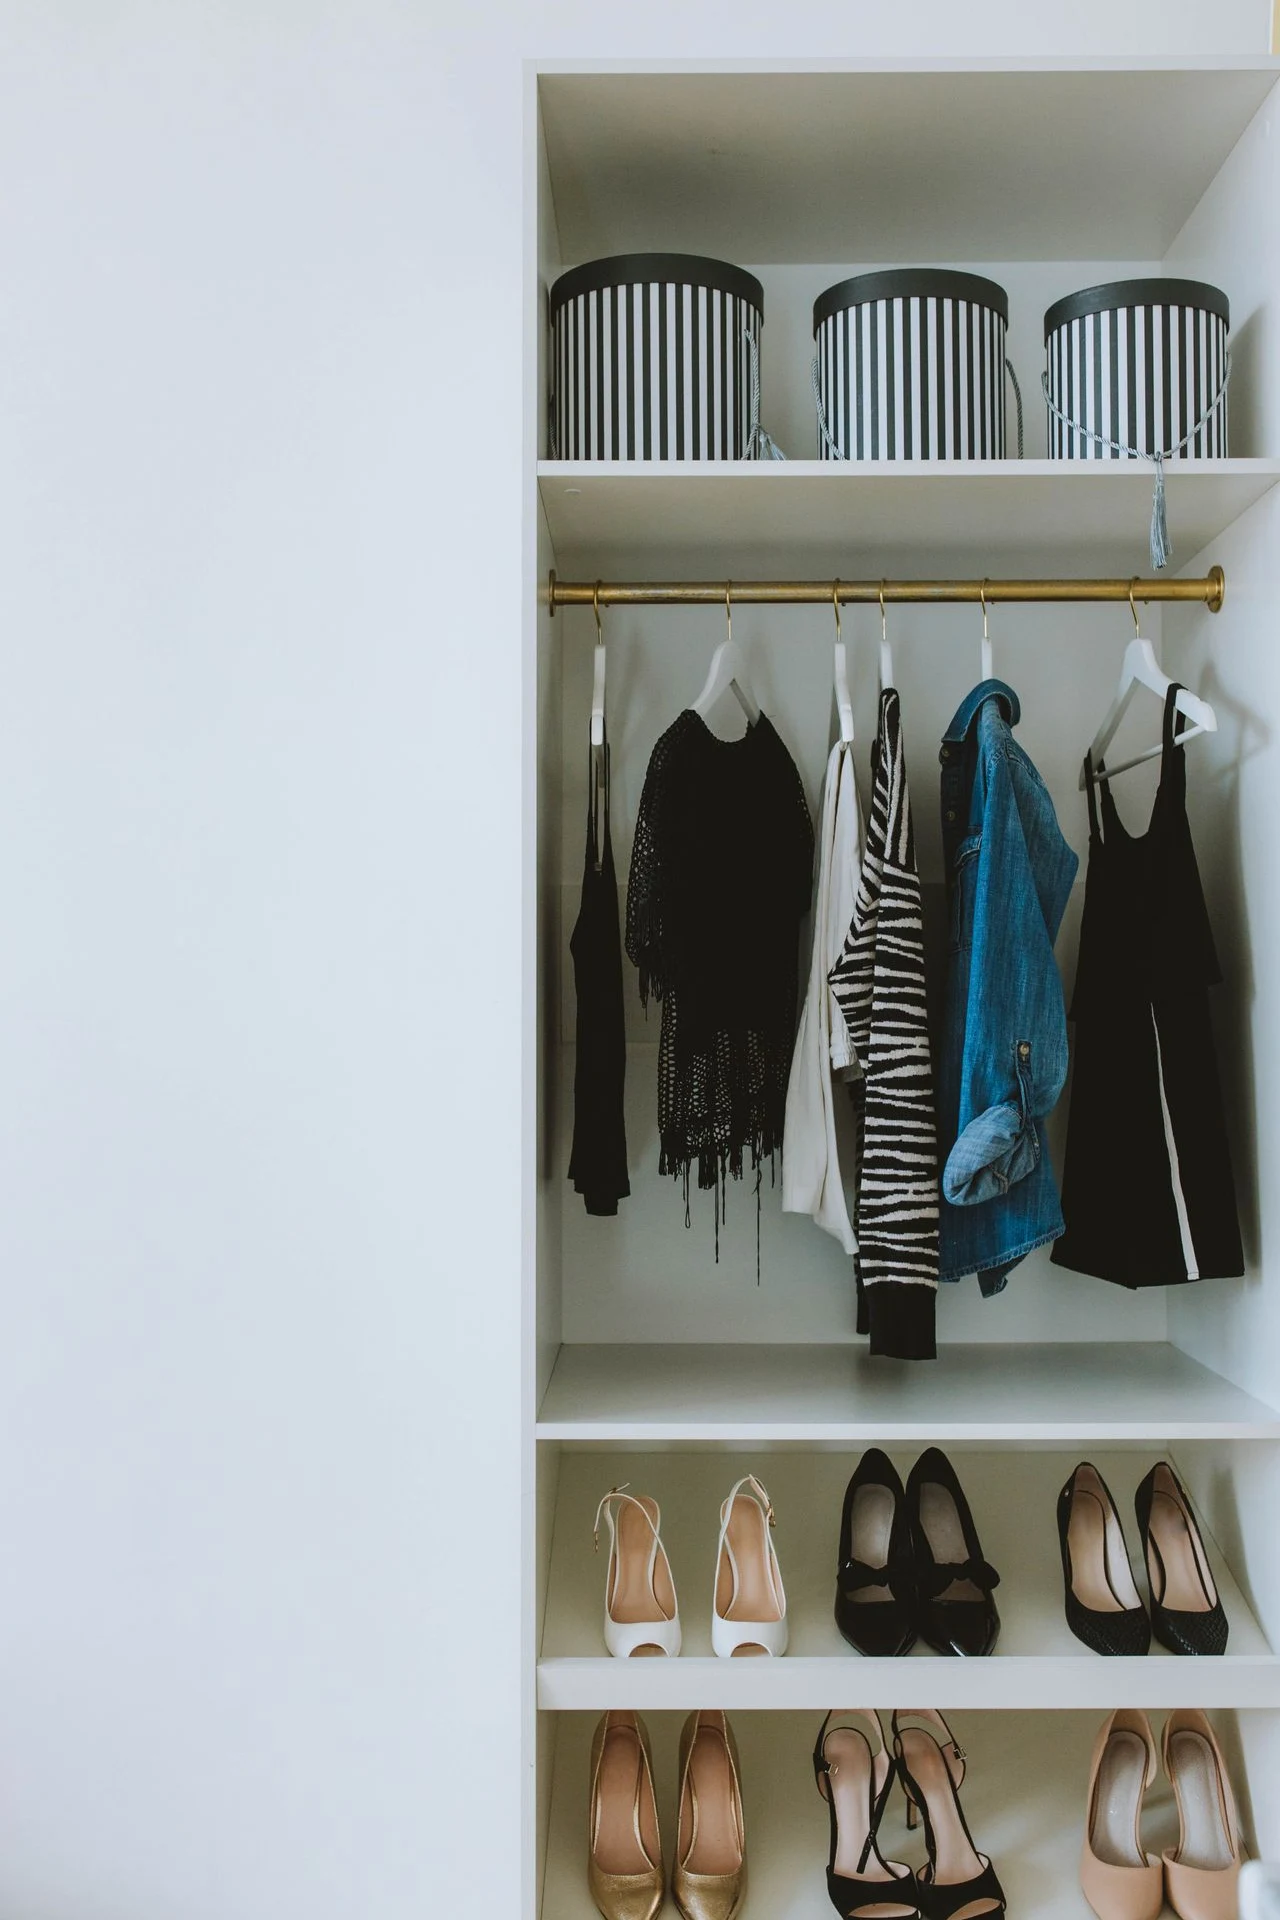
A lidded bin on the closet floor or top shelf holds out-of-season shoes together, so daily shoes have room. Clean the shoes first, stuff them with tissue, and label the bin by season. I rotated shoes seasonally this way, and my daily shelf finally fit my daily shoes. Keep the bin accessible, since a bin buried behind boxes never gets rotated. I clean the shoes before storing, since dirt stored all season stains permanently. I stuff the shoes with tissue first, so they hold their shape all season long.
Cost: ~$3 | Time: 20 minutes
15. Add Adhesive Hooks Inside the Door
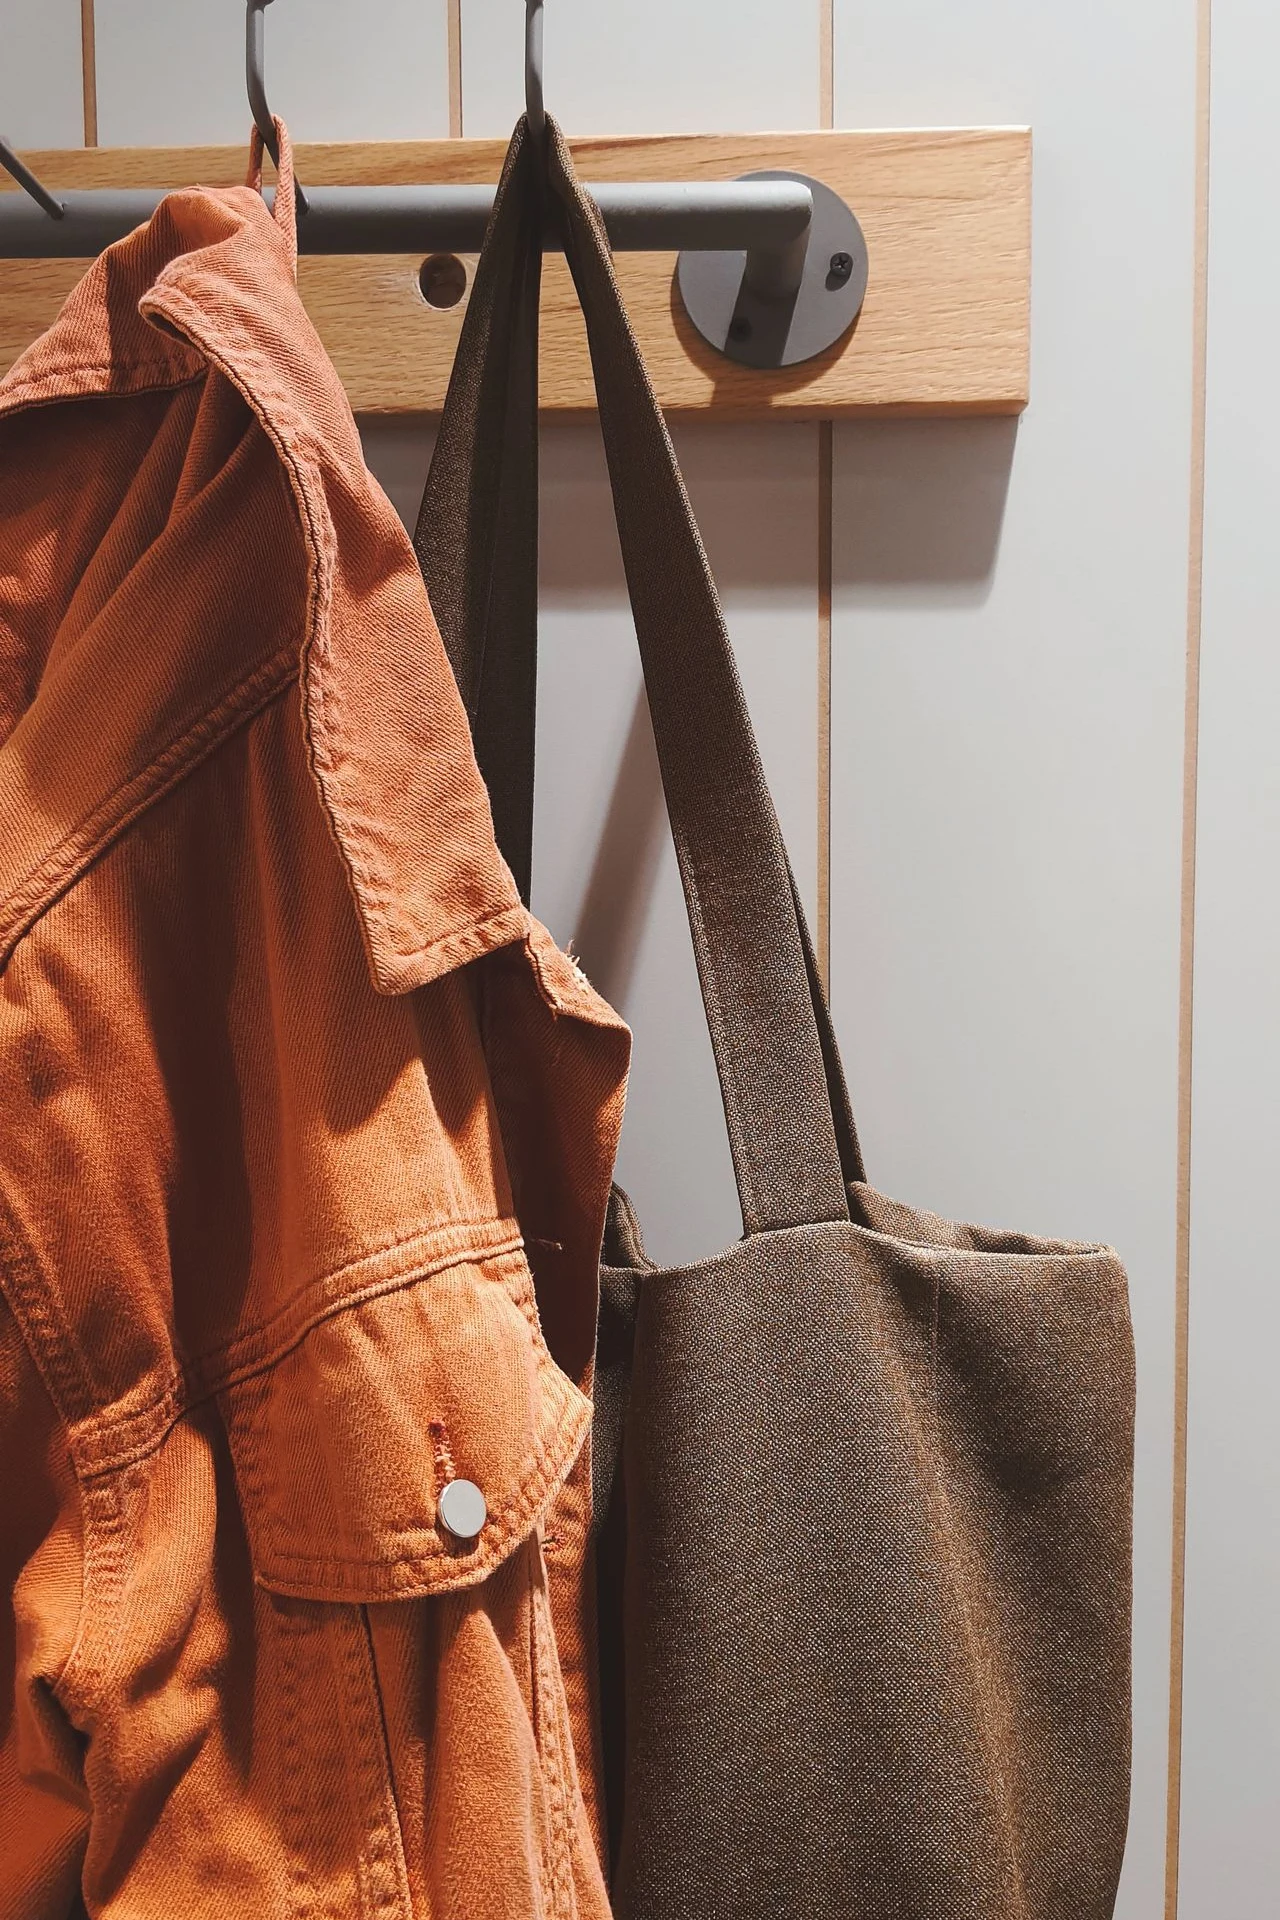
Adhesive hooks on the inside of the closet door hold tomorrow’s outfit, a bag, or a robe, using space nobody sees. Stick them at shoulder height, hang one outfit per hook, and get dressed faster in the morning. I put two hooks inside my door, and laying out outfits the night before became effortless. Wipe the door first, since dusty surfaces make adhesive hooks fail. I hang tomorrow’s outfit there each night, so mornings start without decisions. I wipe the door surface first, since dust makes adhesive hooks fail within days.
Cost: ~$2 | Time: 10 minutes
(see also: 15-small-laundry-room-ideas-on-a-budget)
Small Extras That Add Up
16. Use Binder Clips to Mark Hanger Gaps
Binder clips on the rail mark gaps for categories, so work clothes, casual clothes, and occasion clothes stay separated. Clip a coloured clip at each category boundary, and the rail reads like a shop. I marked my rail this way, and finding the right section took seconds. Use different colours per category, since same-colour clips blend into the rail. I use red clips for work clothes, since colour coding beats reading tiny labels. I clip them at the boundary of each section, so the rail reads like a shop display.
Cost: ~$1 | Time: 10 minutes
17. Keep a Lint Roller on a Hook
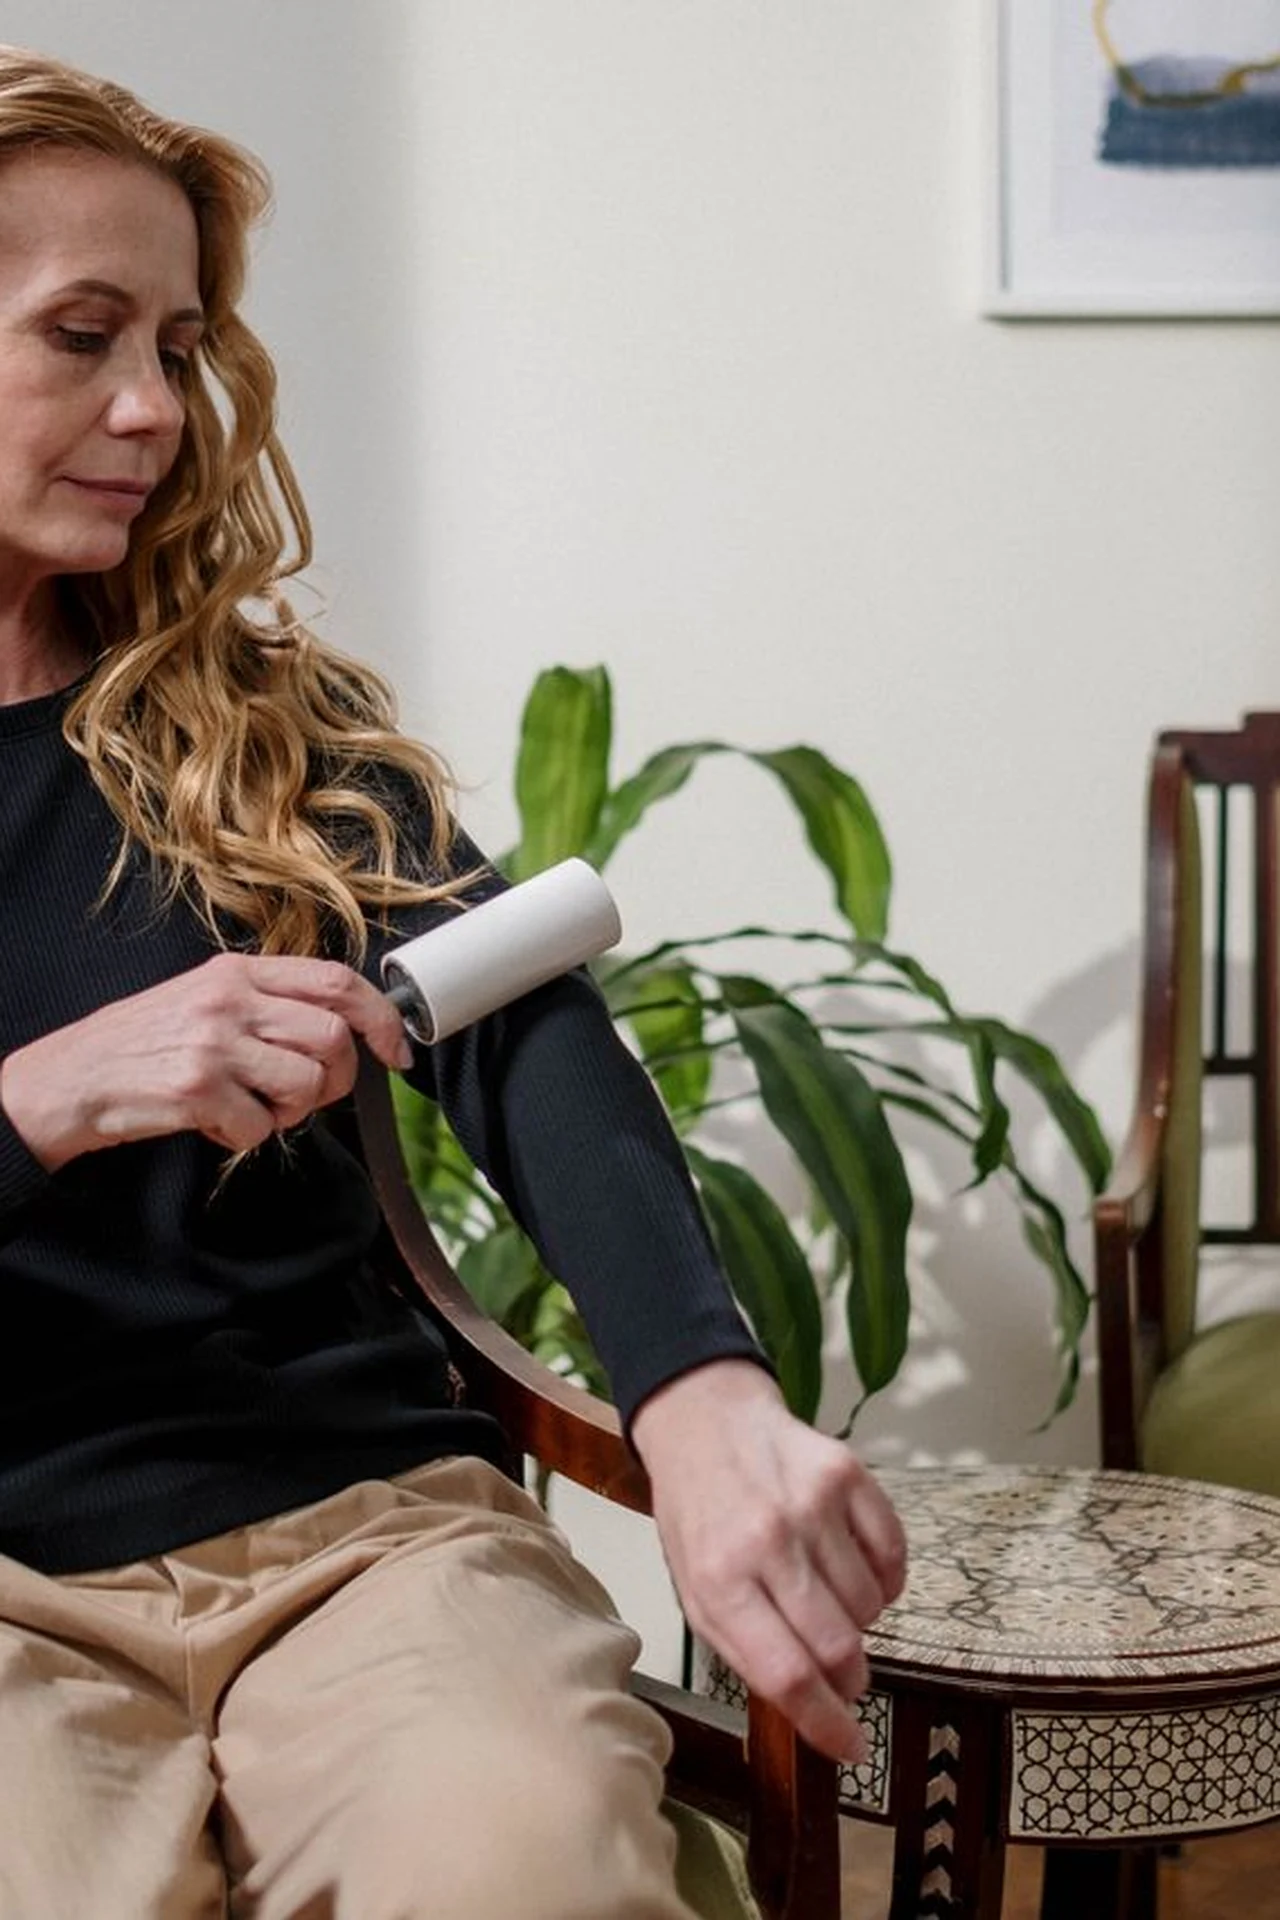
A lint roller hung on a hook inside the closet means you actually use it before leaving, instead of discovering pet hair at the office. Hang it at eye level near the door, and replace the roll when it runs out. I hung mine by the closet door, and lint emergencies dropped to zero. Keep a spare roll in a bin, since an empty roller is just decoration. I replace the roll before it runs out, since an empty roller helps nobody.
Cost: ~$2 | Time: 5 minutes
18. Use a Pillowcase for Delicate Storage
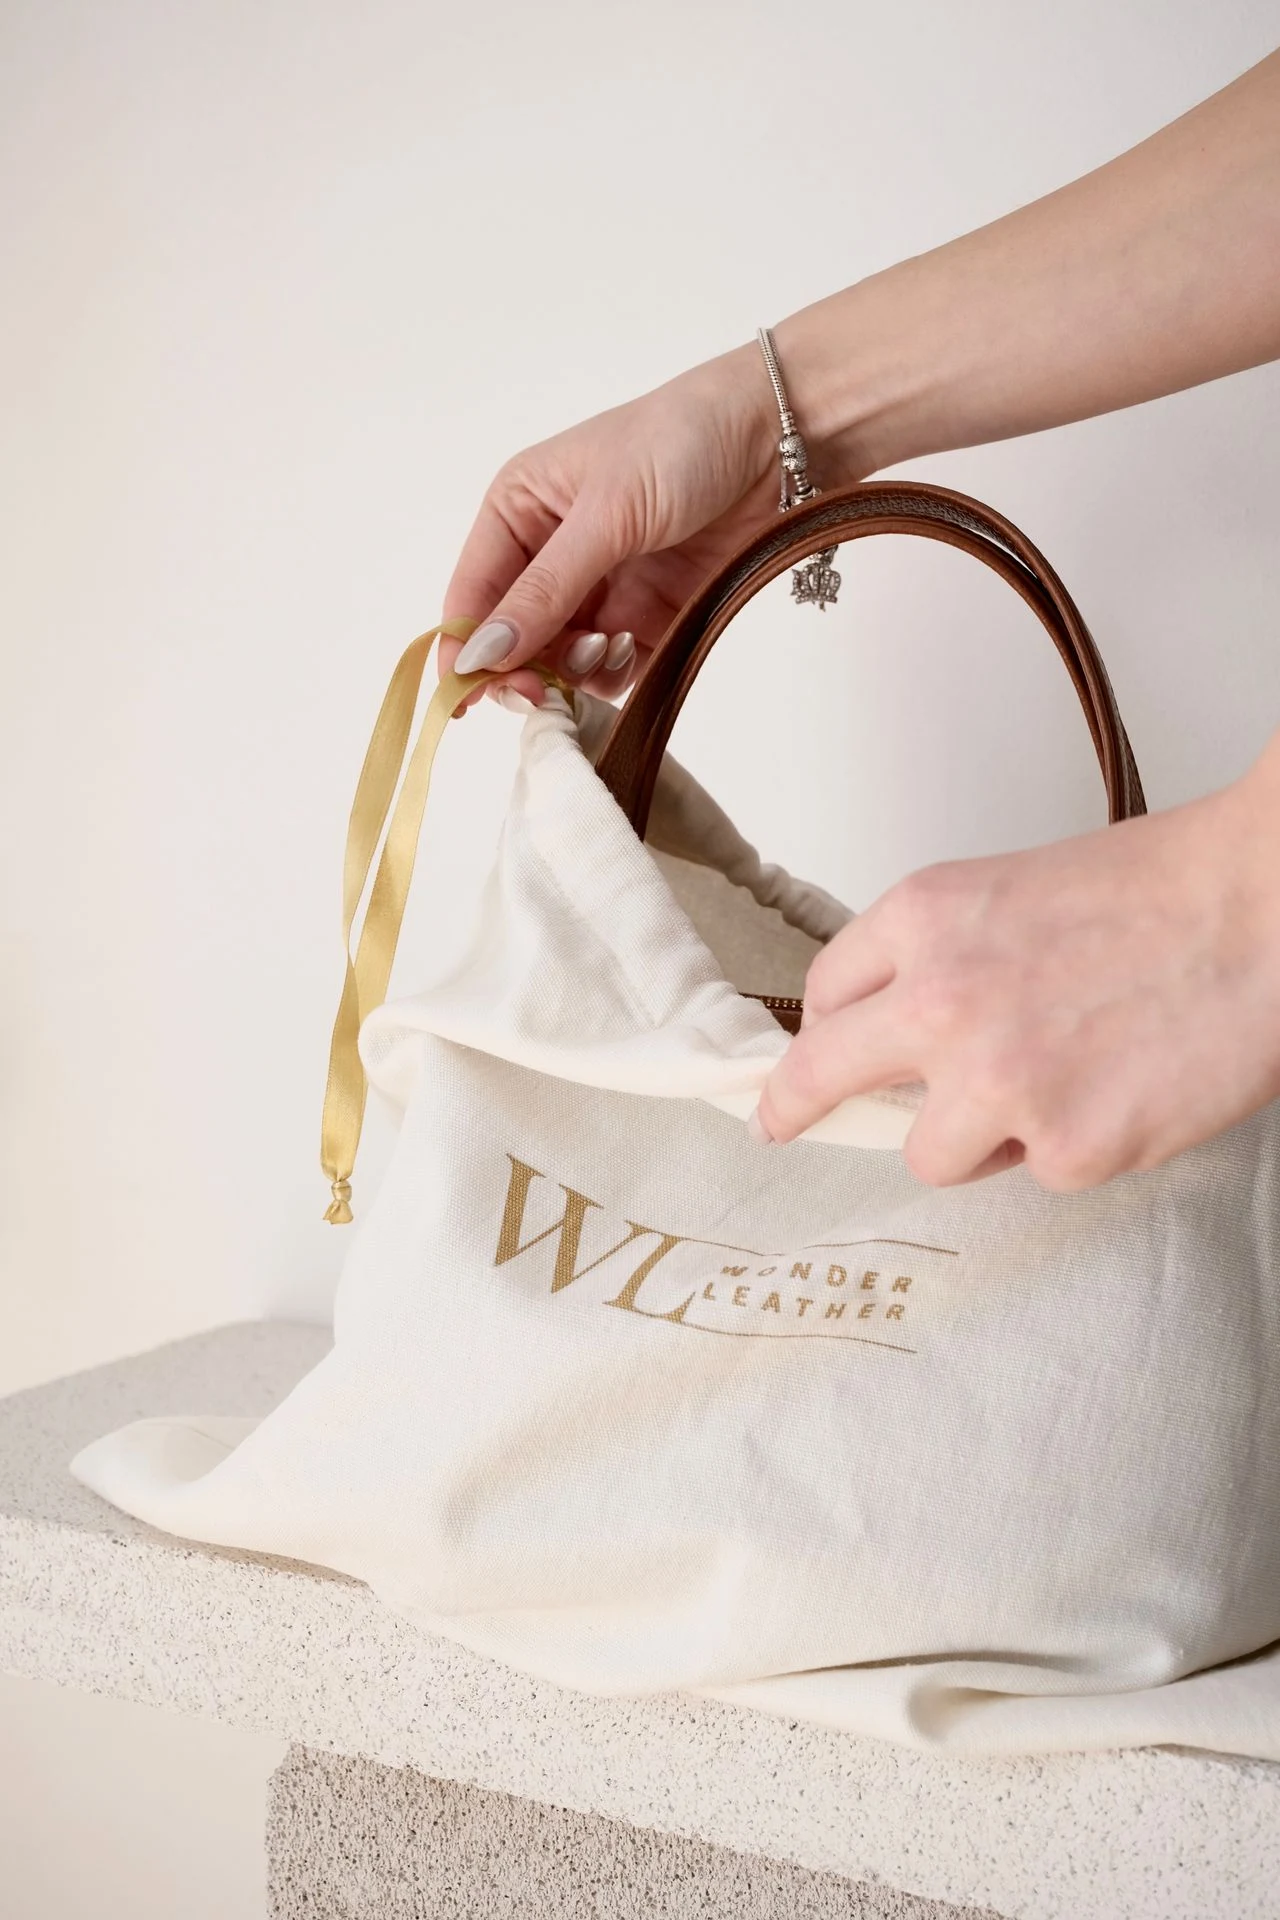
Old pillowcases make free dust bags for handbags, hats, or out-of-season clothes. Slip the item in, tie the end, and stack it on a shelf. I bagged my good handbags in pillowcases, and they stayed dust-free for years. Label the pillowcase if you bag several similar items, since identical cases hide their contents. I tie the pillowcase loosely, since a tight knot is annoying to undo later. I label each pillowcase with tape, since identical cases hide what is inside them.
Cost: ~$0 | Time: 15 minutes
19. Add Cedar Blocks for Freshness
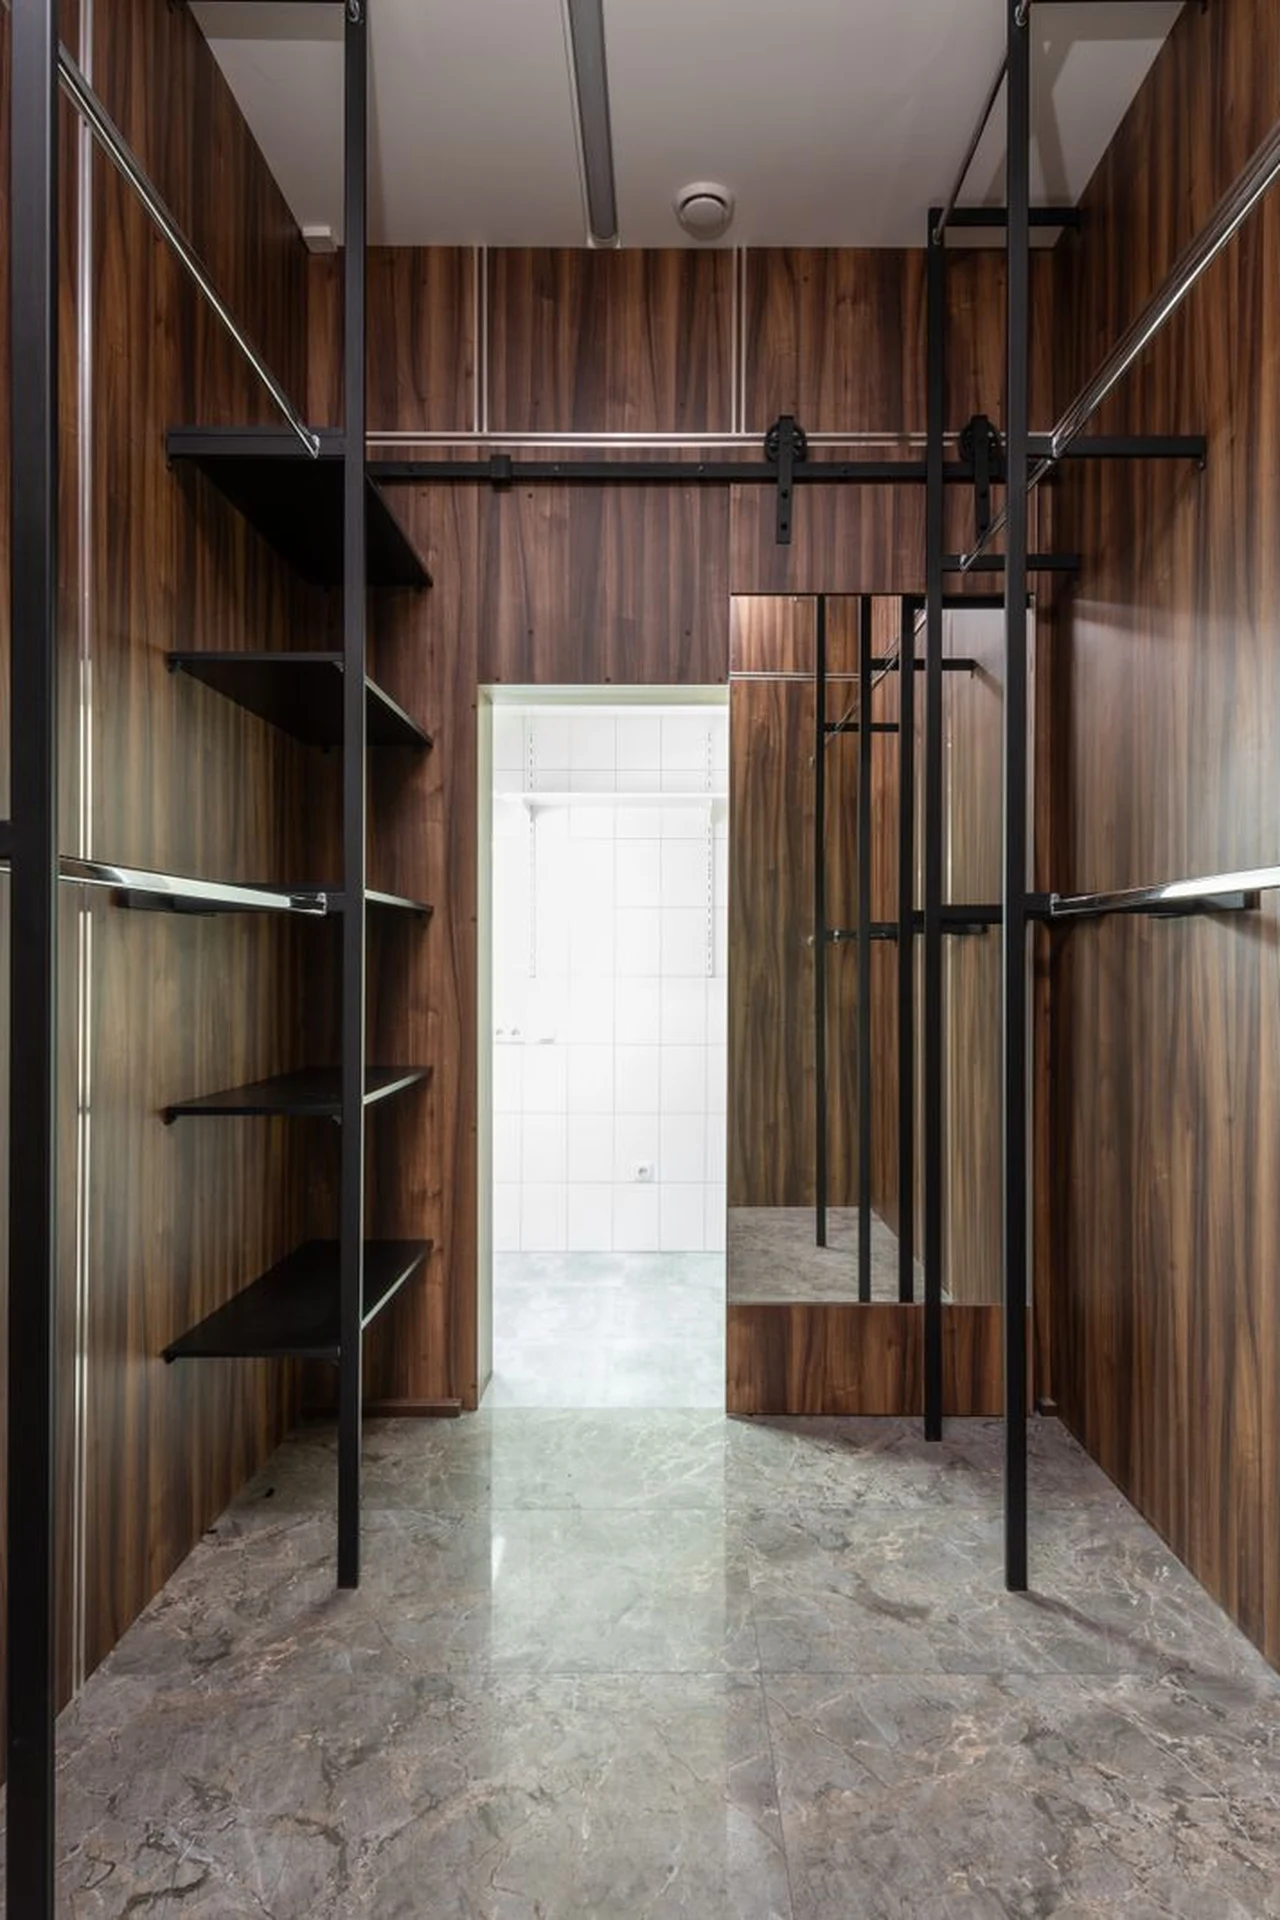
Cedar blocks or sachets from the dollar store keep a small closet smelling fresh and deter moths without chemicals. Hang them on the rail or tuck them into bins, and refresh them with sandpaper when the scent fades. I added cedar to my closet, and it smelled like a cedar chest instead of a closed box. Replace them yearly, since cedar loses its scent over time. I sand the blocks lightly each season, since fresh cedar surface restores the scent.
Cost: ~$3 | Time: 5 minutes
20. Photograph Your Closet When It Looks Good
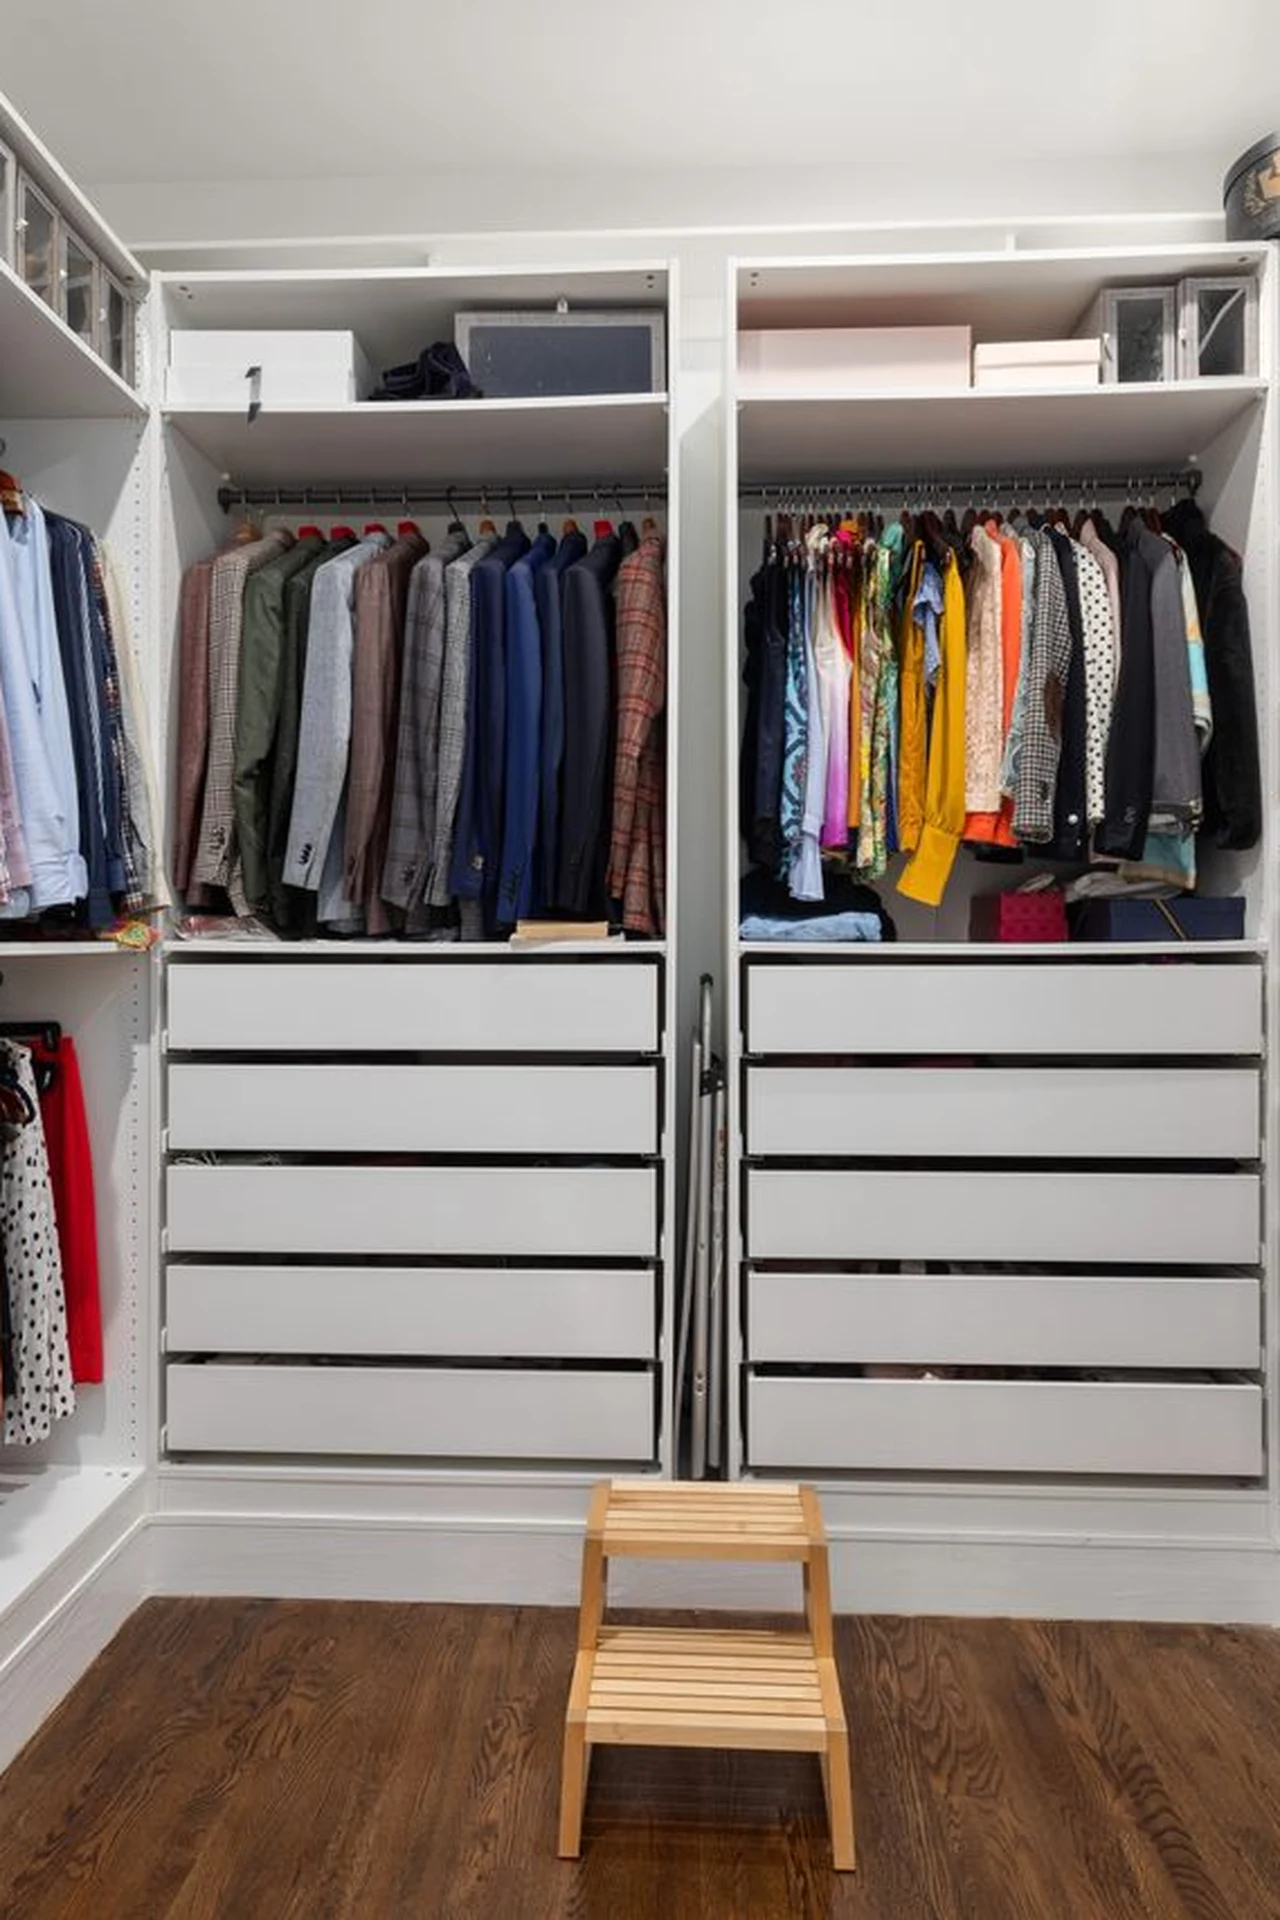
A photo of your closet at its best becomes the standard you reset to, which makes tidying faster because you know the target. Take the photo, keep it on your phone, and compare when the closet drifts. I photographed mine after organising it, and resets took ten minutes instead of an hour. Update the photo when you change the system, since an outdated photo sets the wrong target. I keep the photo as my phone wallpaper for a week, so the standard stays visible.
Cost: ~$0 | Time: 5 minutes
21. Keep a Donation Bag in the Closet
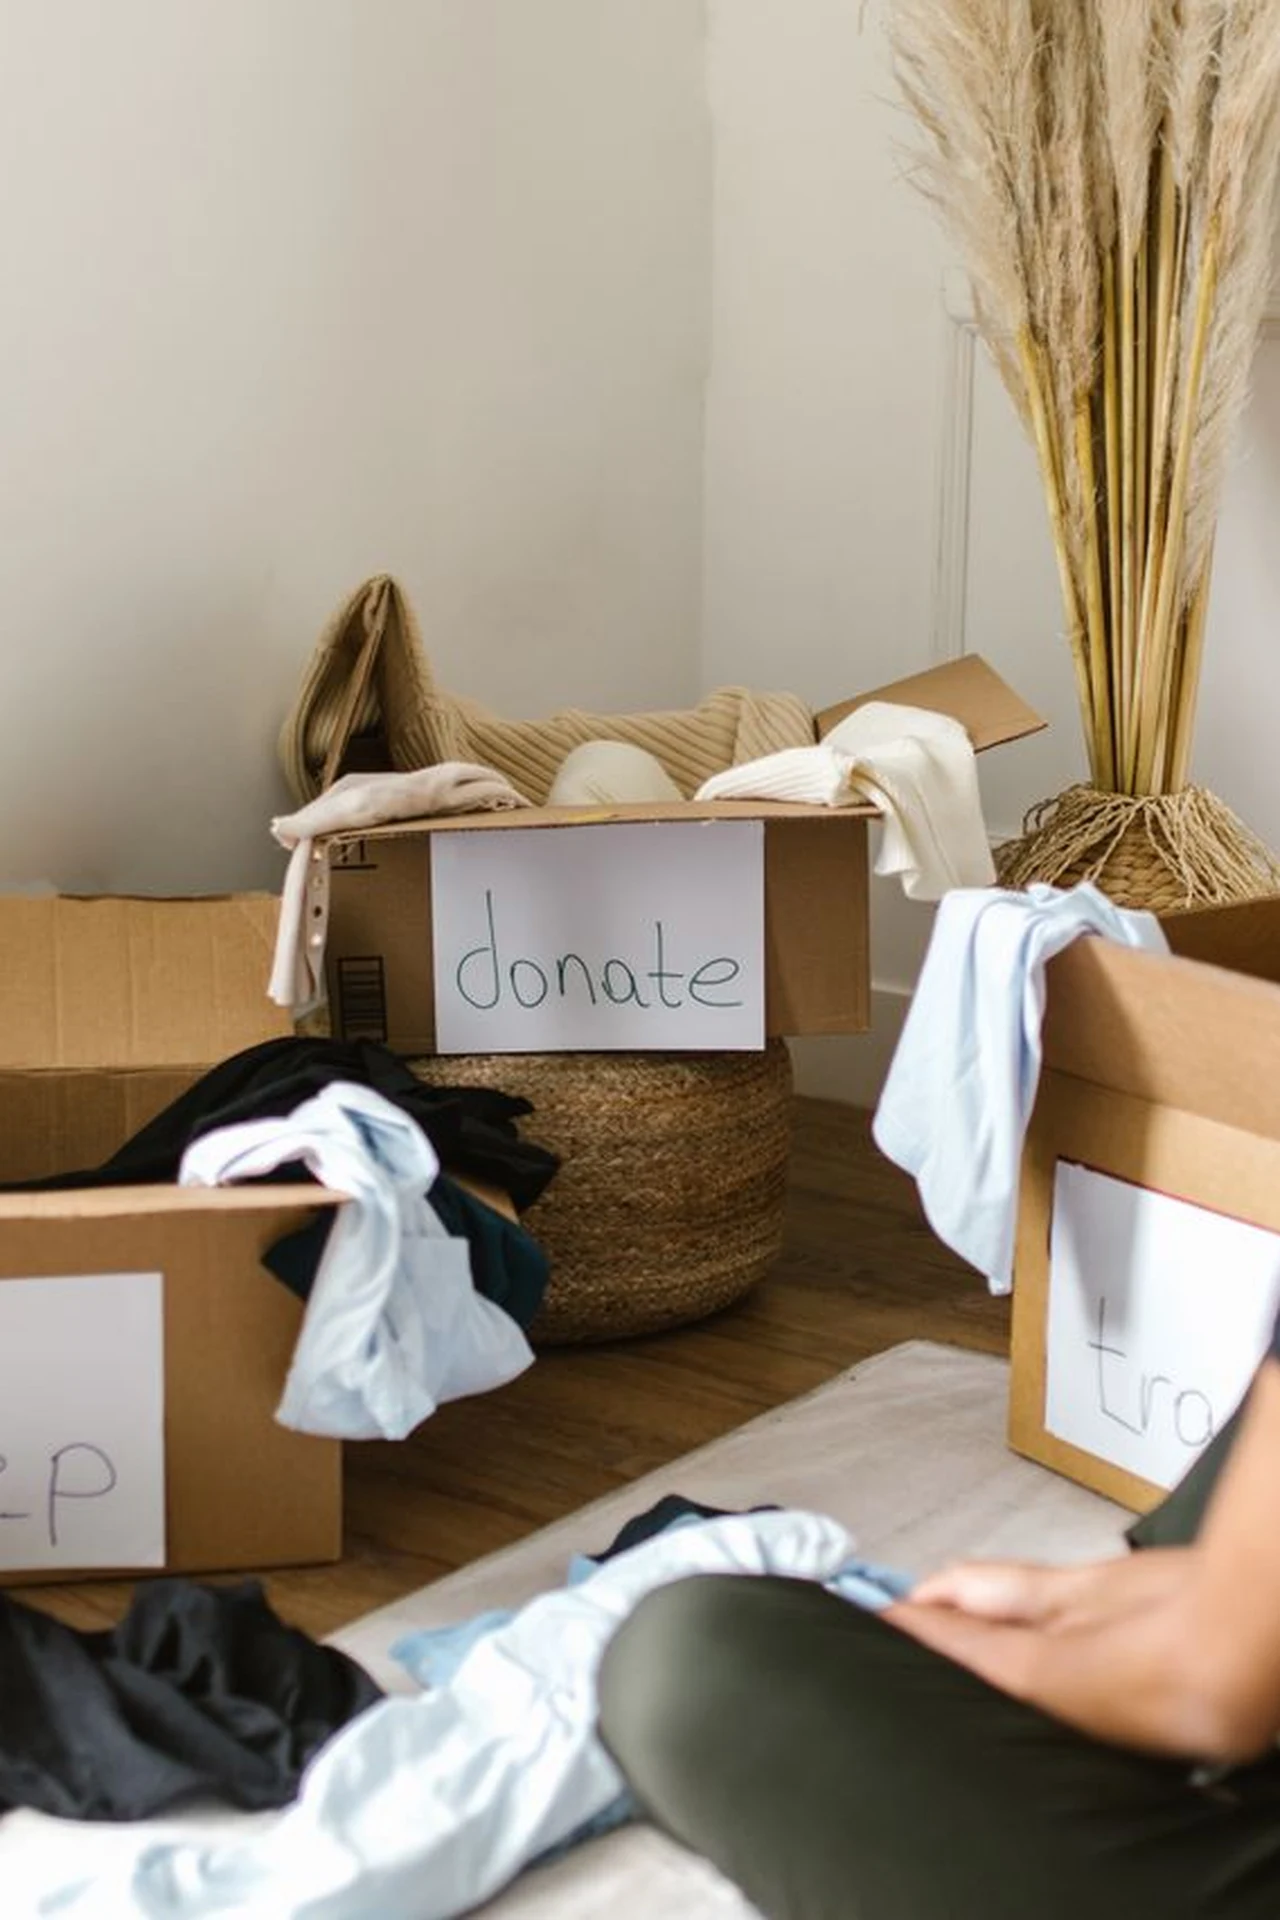
A bag hanging in the closet for donations catches clothes you no longer wear the moment you notice them, instead of letting them sit for years. When you try something on and dislike it, drop it in the bag. I kept one permanently, and my closet stayed at a steady size. Donate the bag when it fills, and replace it immediately, since a missing bag means the habit dies. I hang the bag where I undress, since donations happen at the moment of decision.
Cost: ~$1 | Time: 5 minutes
22. Use a Luggage Strap for Bulky Items
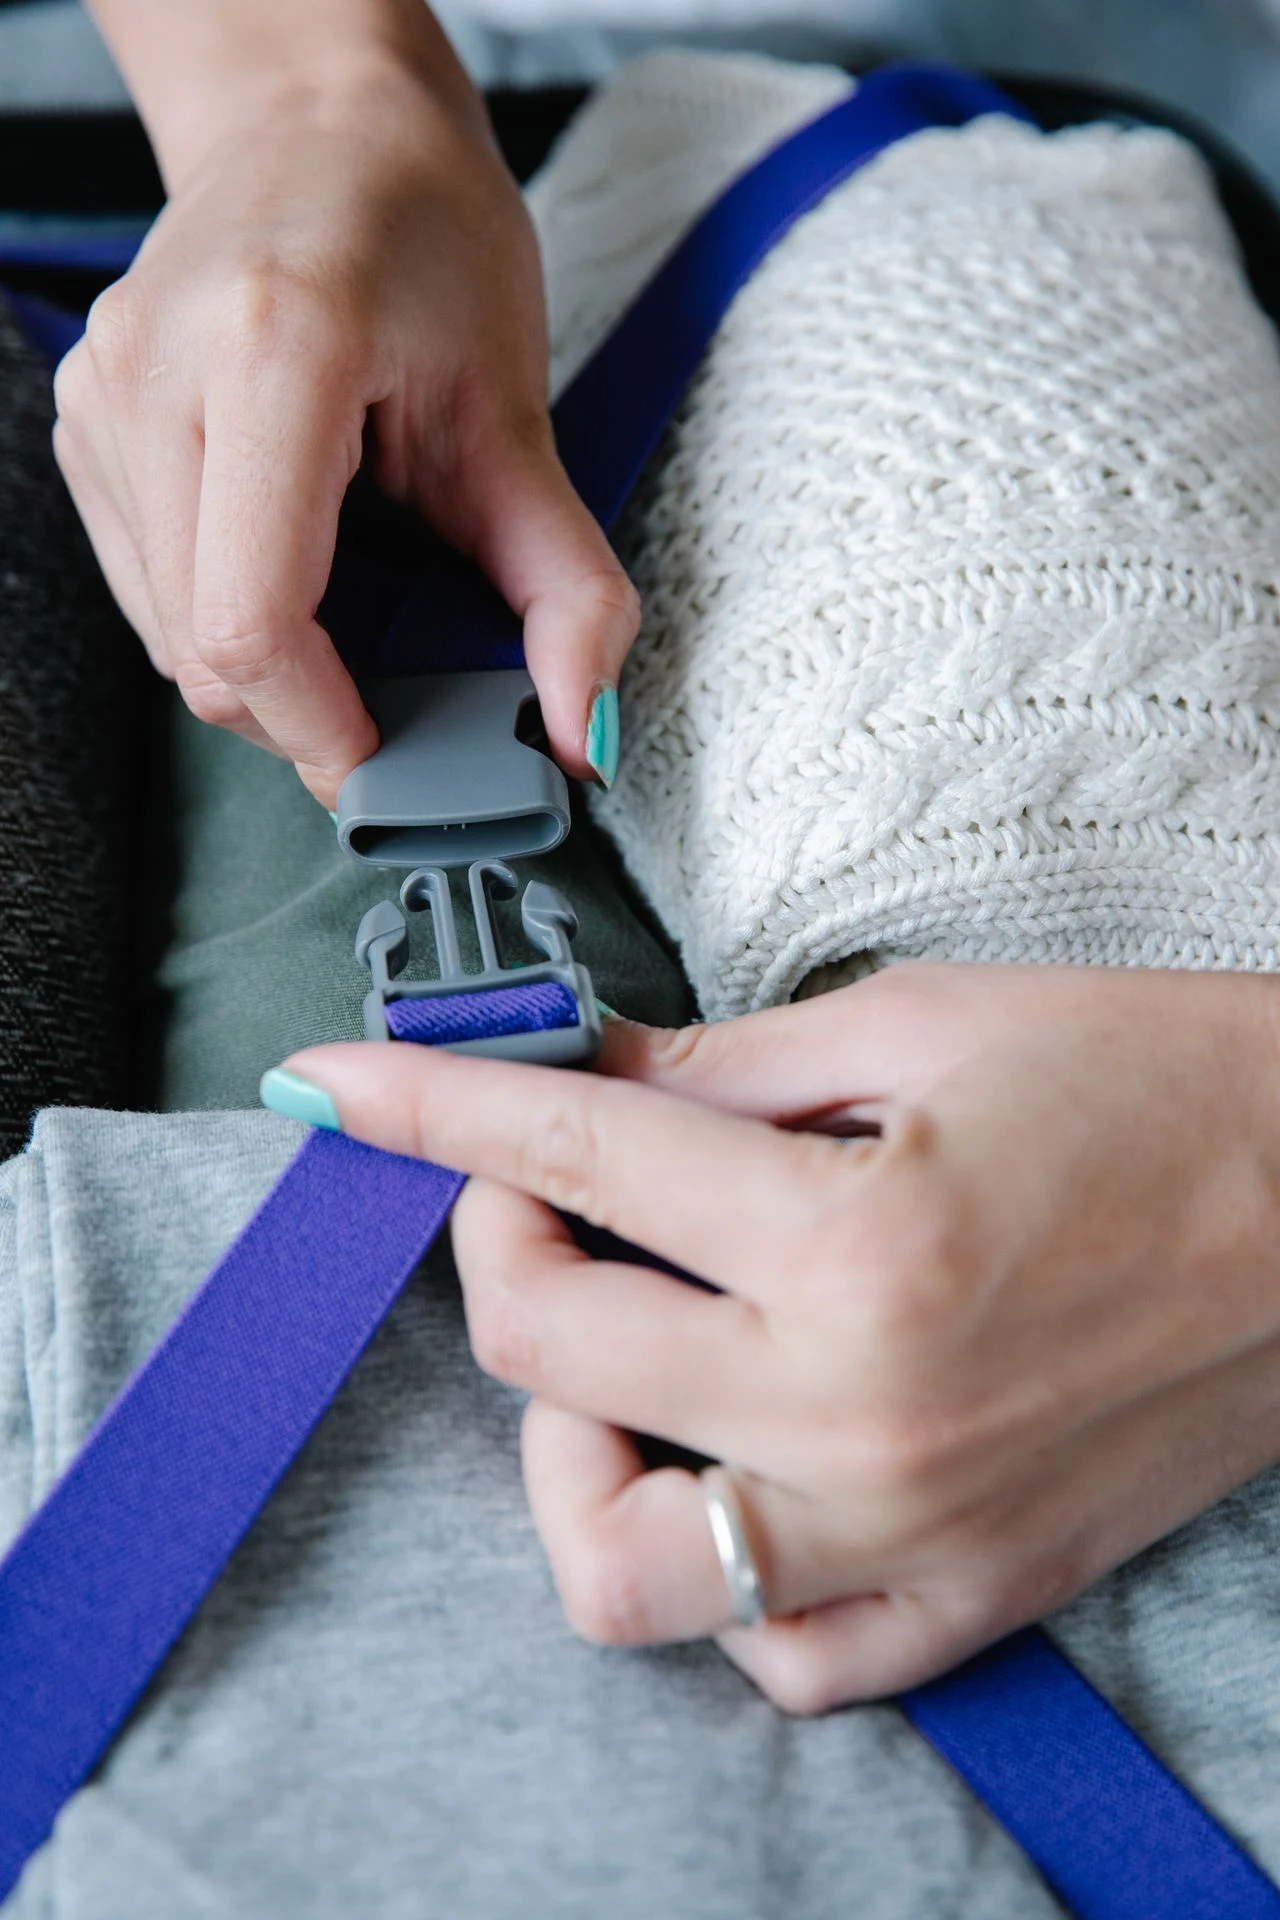
A luggage strap around a bulky coat or a stack of blankets compresses it for shelf storage, freeing space. Wrap the strap snugly, buckle it, and stand the bundle upright on a shelf. I strapped my winter blankets this way, and they took half the shelf space. Do not over-compress down items, since crushed down takes time to recover its loft. I label the bundle with tape, since strapped blankets all look identical on a shelf. I stand the bundle upright on the shelf, so it never topples onto other clothes.
Cost: ~$2 | Time: 10 minutes
23. Do a Monthly Ten-Minute Closet Reset
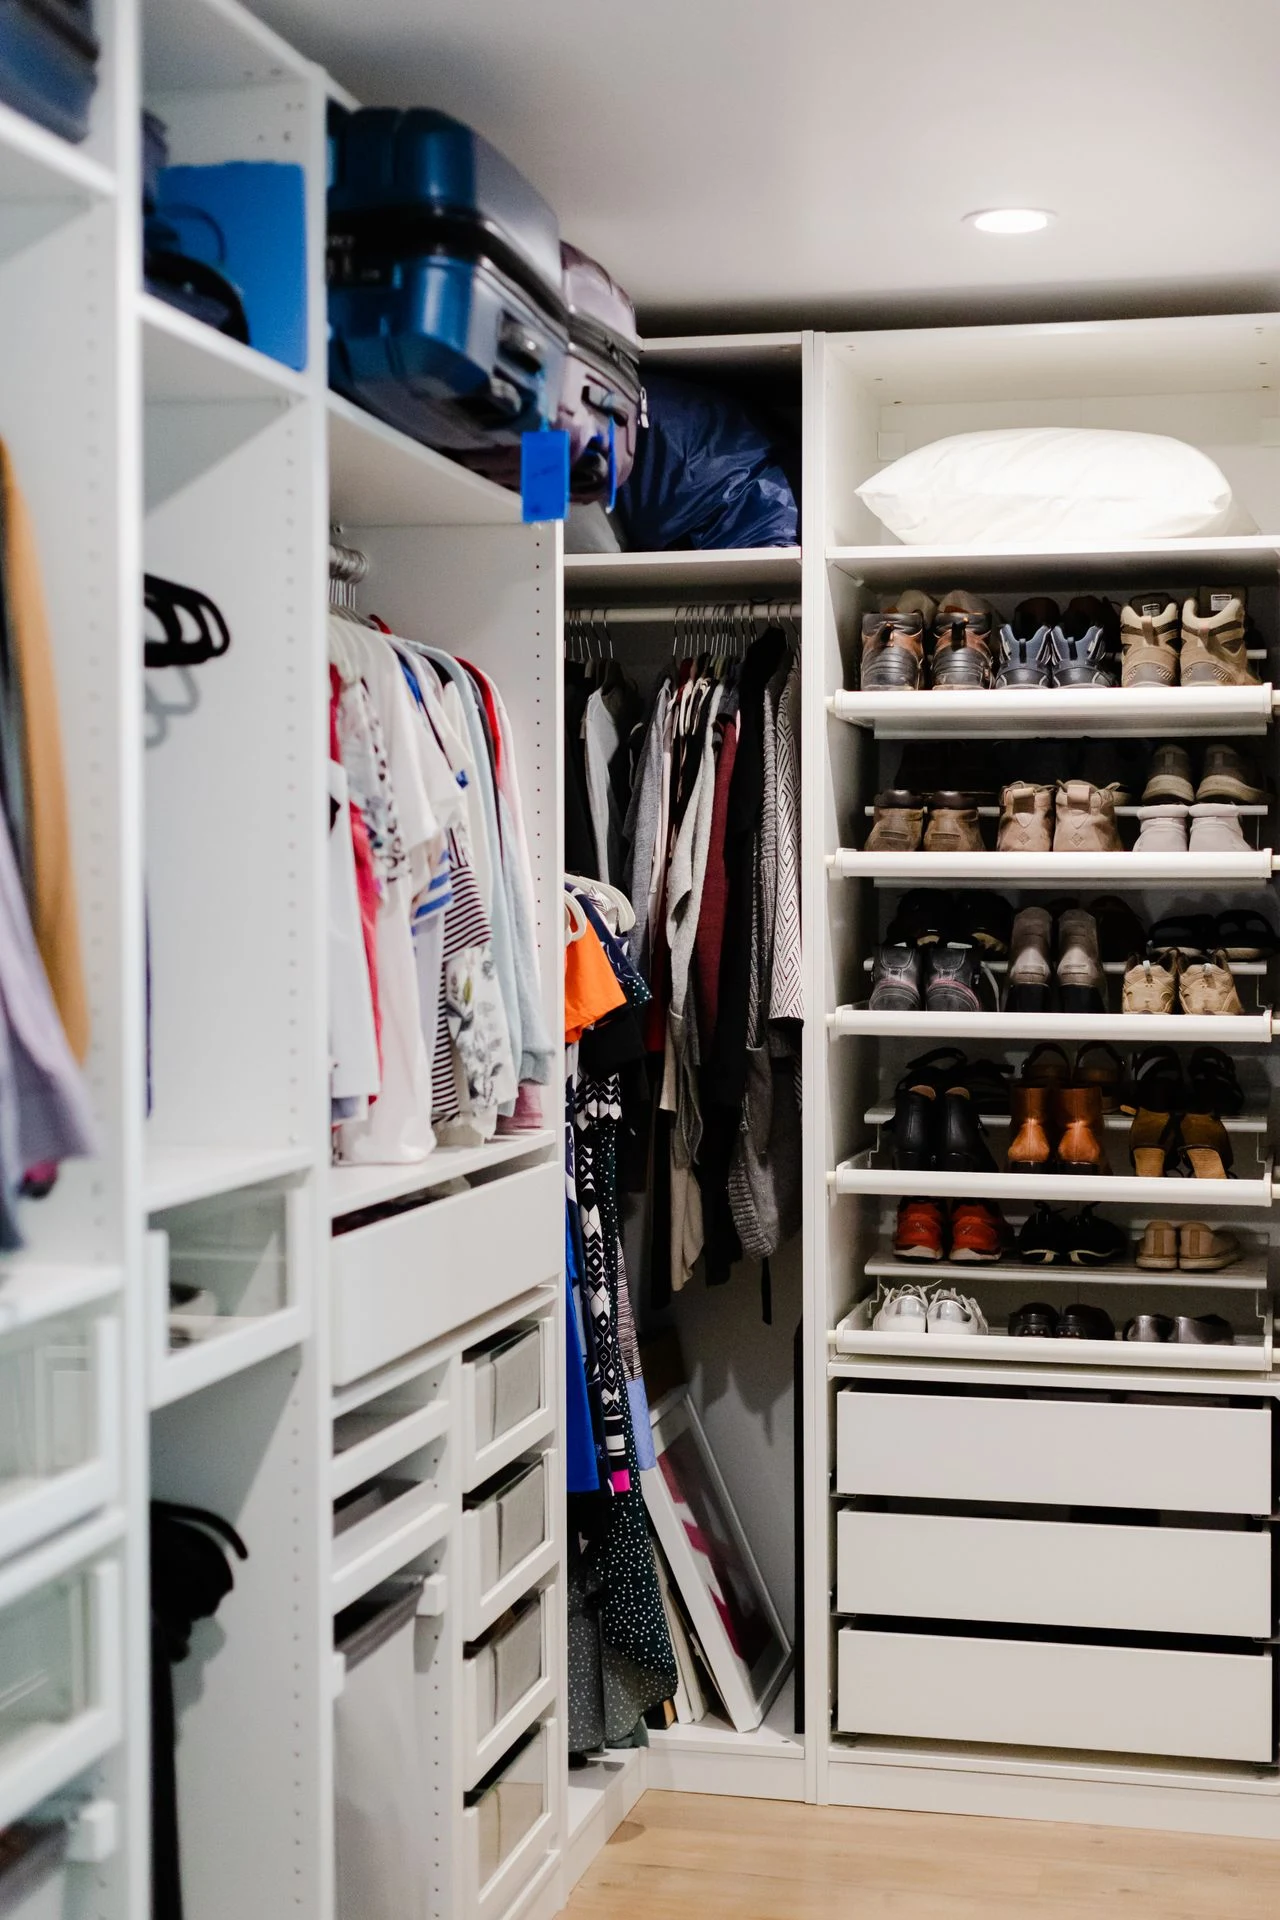
A ten-minute monthly reset, refolding one shelf, rehanging strays, and checking the donation bag, keeps a small closet from sliding back into chaos. Put it on the calendar, and it becomes maintenance rather than a project. I did mine on the first Sunday of each month, and my closet stayed organised all year. This habit costs nothing, and it is what makes the other twenty-two ideas keep working. I pair the reset with changing the sheets, so both habits reinforce each other.
Cost: ~$0 | Time: 10 minutes
Frequently Asked Questions
What is the best dollar store buy for a small closet?
Slim velvet hangers. They cost about ten dollars for a whole closet, they double usable rail space, and they stop clothes sliding off. Everything else builds on the space they free.
How do I organise a closet with no shelves?
Use a hanging fabric shelf and an over-door organizer. Together they add shelves and pockets without any installation, and both come from the dollar store.
Can a small closet really stay organised on a dollar store budget?
Yes, if you pair cheap tools with two habits: a donation bag in the closet and a monthly ten-minute reset. Tools create order, habits keep it.
Save this idea for your next closet clear-out if your rail is bursting at the seams.
A small closet organised with dollar store finds beats a big closet with no system. Start with the hangers, add bins and hooks where they help most, and keep the donation bag going. Your closet will cost less than a dinner out, and it will work better than a system ten times the price.
