23 Small Space Storage Ideas That Hide the Clutter
Small-space living taught me one hard lesson: clutter is rarely about owning too much, it is about having nowhere for things to go. The moment every item has a hidden home, a tiny flat stops feeling cramped and starts feeling calm. These small space storage ideas are all about hiding the mess in plain sight — behind curtains, under beds, inside furniture you already use every day. None of them need a renovation, and most cost less than a weekly grocery shop.
Budget at a glance: Under $10 — ideas 7, 12, 16, 22. Under $25 — ideas 2, 3, 9, 14, 20. Weekend projects — ideas 1, 5, 11, 19. Start with the cheapest row and work up.
1. Turn the Space Under Your Bed Into a Rolling Drawer System
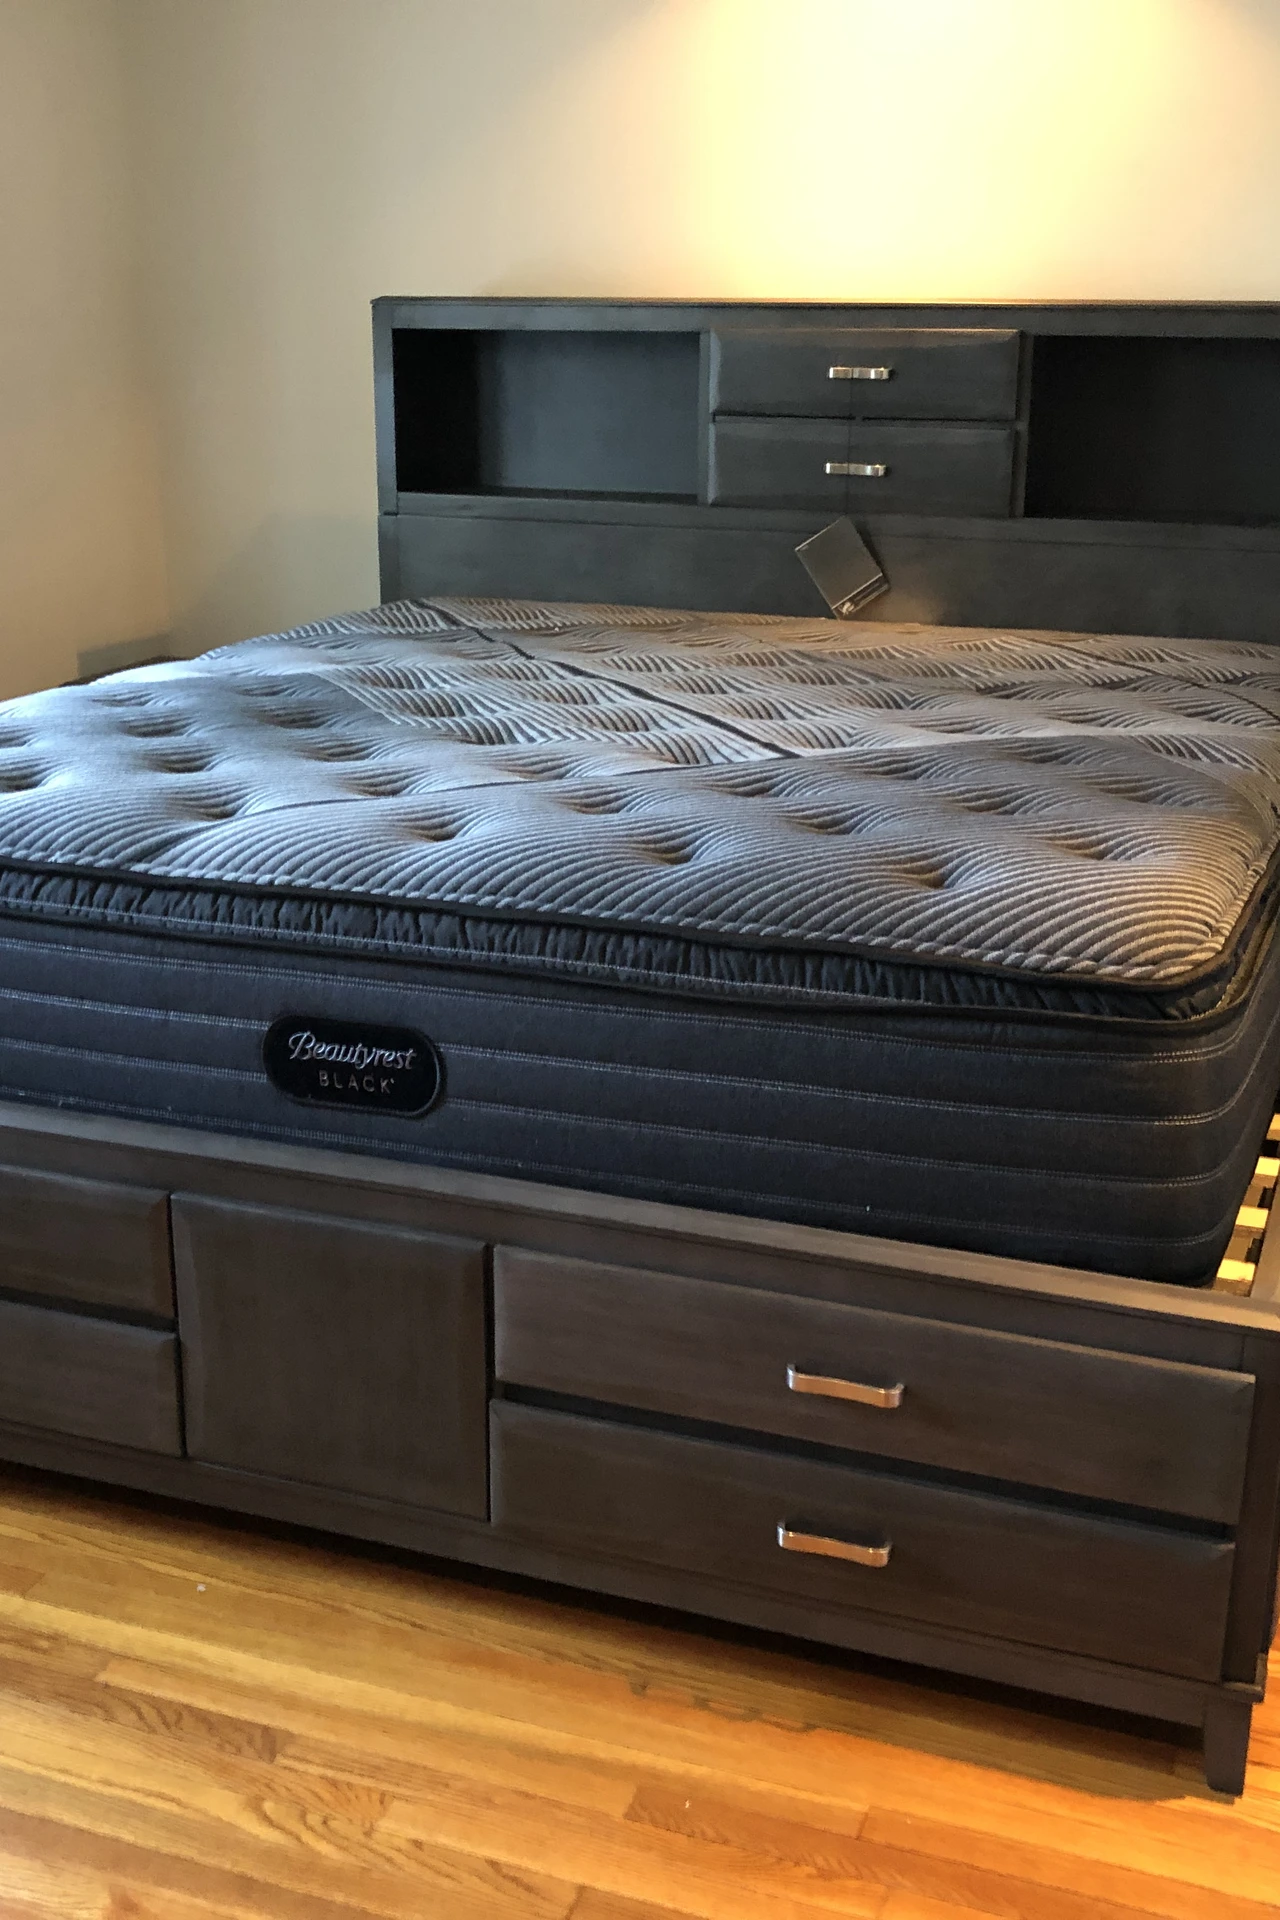
The gap under your bed is the biggest storage area in most small homes, and it usually holds dust and one lost sock. Measure the clearance first, then buy or build flat rolling bins that slide out fully — wheels matter, because bins you have to drag never get used. Sort by season: winter jumpers in one, spare bedding in another, and label the ends so you can see what is where. I tried this in my old flat and the mistake to avoid is buying bins taller than the gap, because they wedge and scratch the floor. Measure twice, buy once, and that dead space becomes a whole extra drawer unit.
Cost: ~$35 | Time: 1 hour
2. Hide Everyday Clutter Behind a Floor-to-Ceiling Curtain Wall
Open shelving looks great in photos and messy in real life, so a simple curtain wall is the cheapest way to make it look tidy again. Fix a ceiling track or a tension wire across the front of the shelves, hang a plain linen curtain, and suddenly the mess is gone while everything stays within reach. Choose a fabric close to your wall colour so it reads as a soft wall, not a tent. Hem it so it just brushes the floor. I did this over a jumble of craft boxes, and visitors assumed it was a fitted cupboard. The trick is keeping the curtain closed as a habit, not just for guests.
Cost: ~$20 | Time: 1 hour
3. Use Ottoman Storage That Doubles as Extra Seating
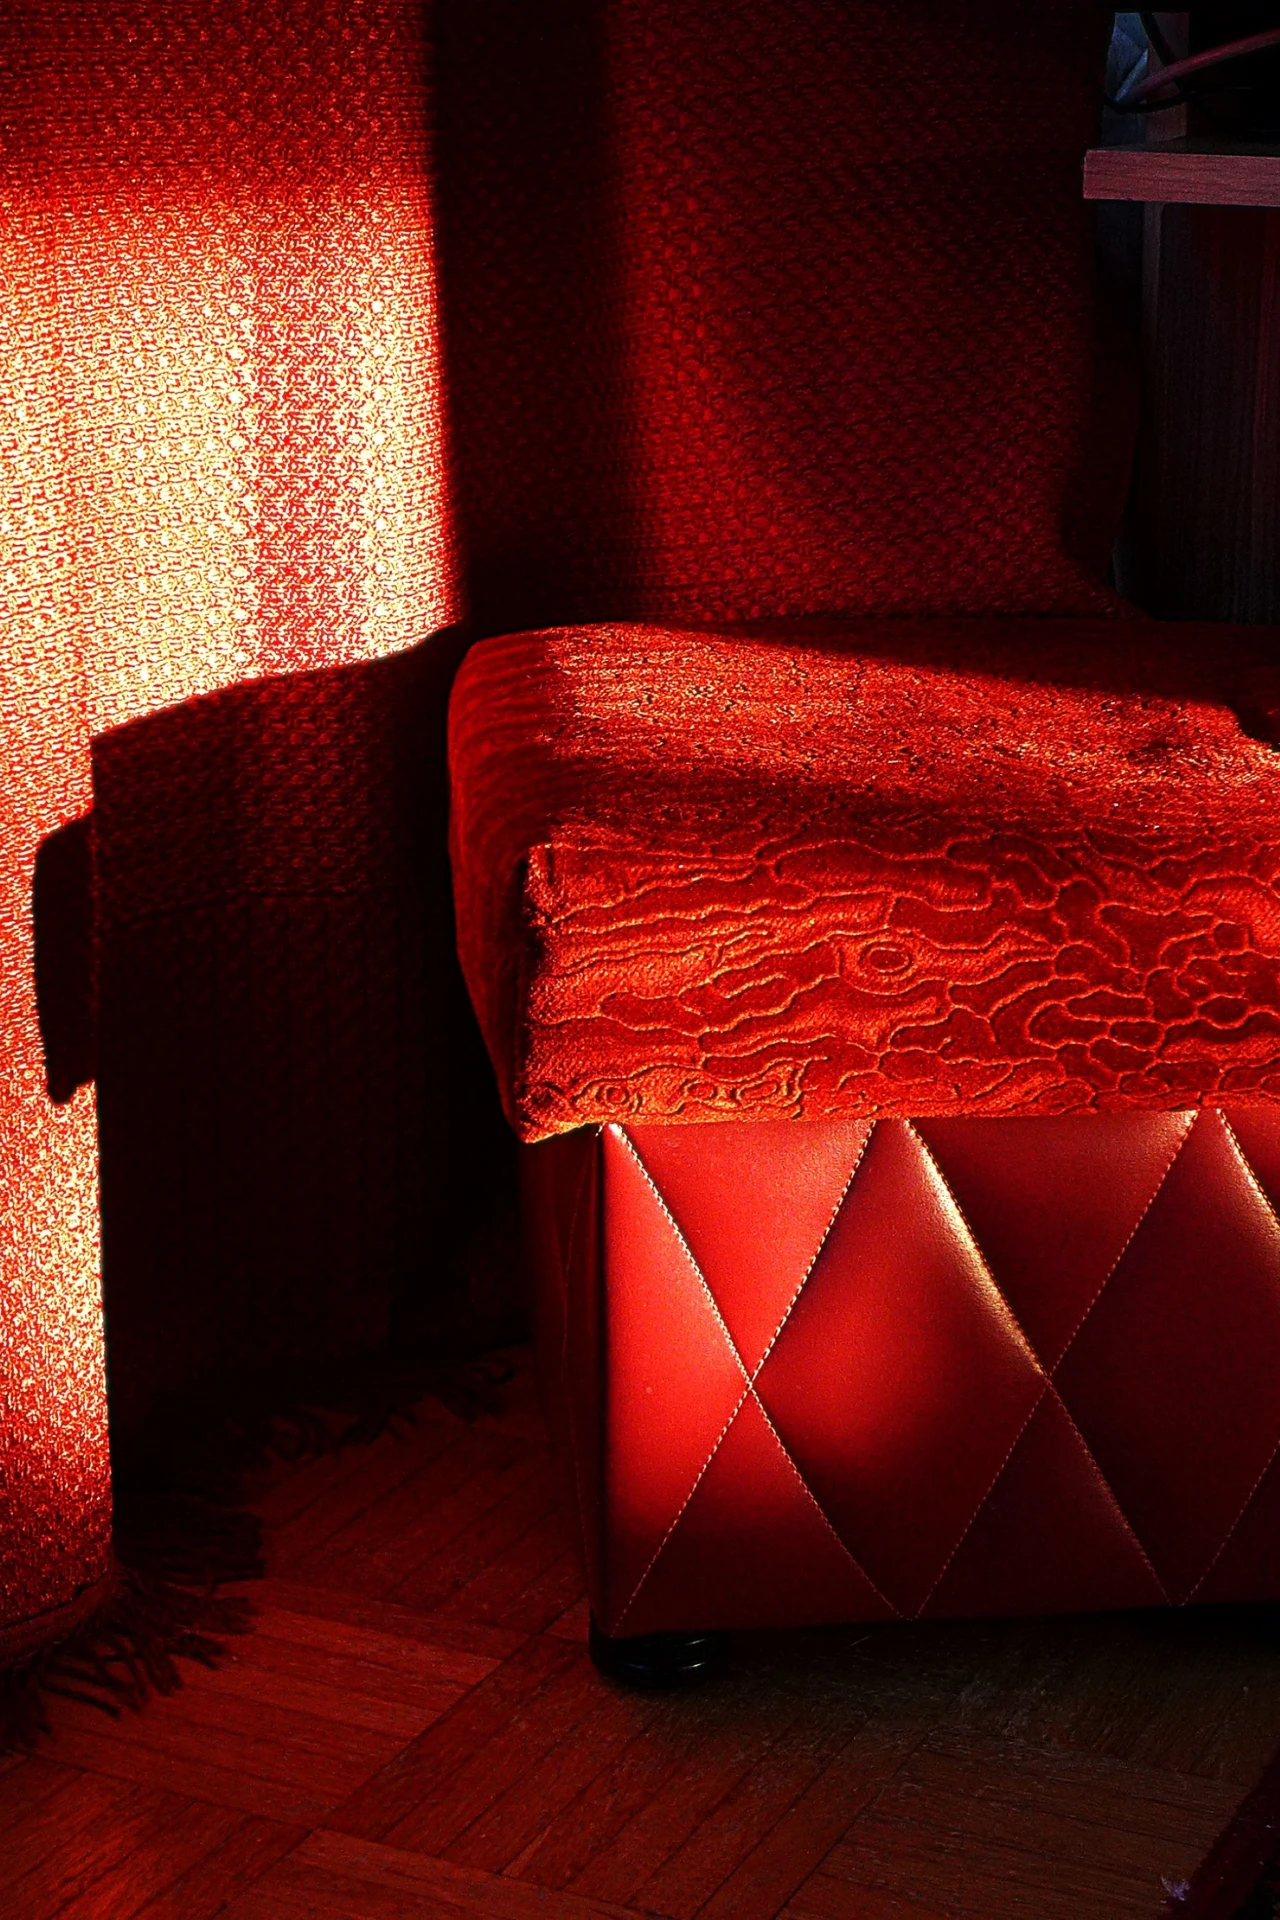
A storage ottoman is the hardest-working piece in a small living room: footrest, spare seat, coffee table and a box for throws, chargers and board games all at once. Pick one with a lift-off lid rather than a hinged top if space is tight, because a hinged lid needs clearance to open. Keep heavy items out of it so it stays easy to move. I keep my spare blankets in mine, and on film nights it becomes the extra seat nobody fights over. Just do not let it become a dumping ground — empty it once a month and put back only what you actually used.
Cost: ~$25 | Time: 10 minutes
4. Build Shallow Shelves Behind a Bedroom Door
The wall behind a door is wasted in almost every small home, yet it can hold a surprising amount if the shelves are shallow. Fit two or three shelves about 15 centimetres deep — deep enough for books, small boxes and folded scarves, too shallow to block the door swing. Paint them the wall colour so they blend in. Anchor every bracket into a stud or use proper wall plugs, because shelves full of books are heavy. I put mine behind my bedroom door for paperbacks and phone chargers, and it freed a whole drawer. Check the door swings fully clear before you load anything up.
Cost: ~$30 | Time: 2 hours
5. Swap a Nightstand for a Storage Headboard
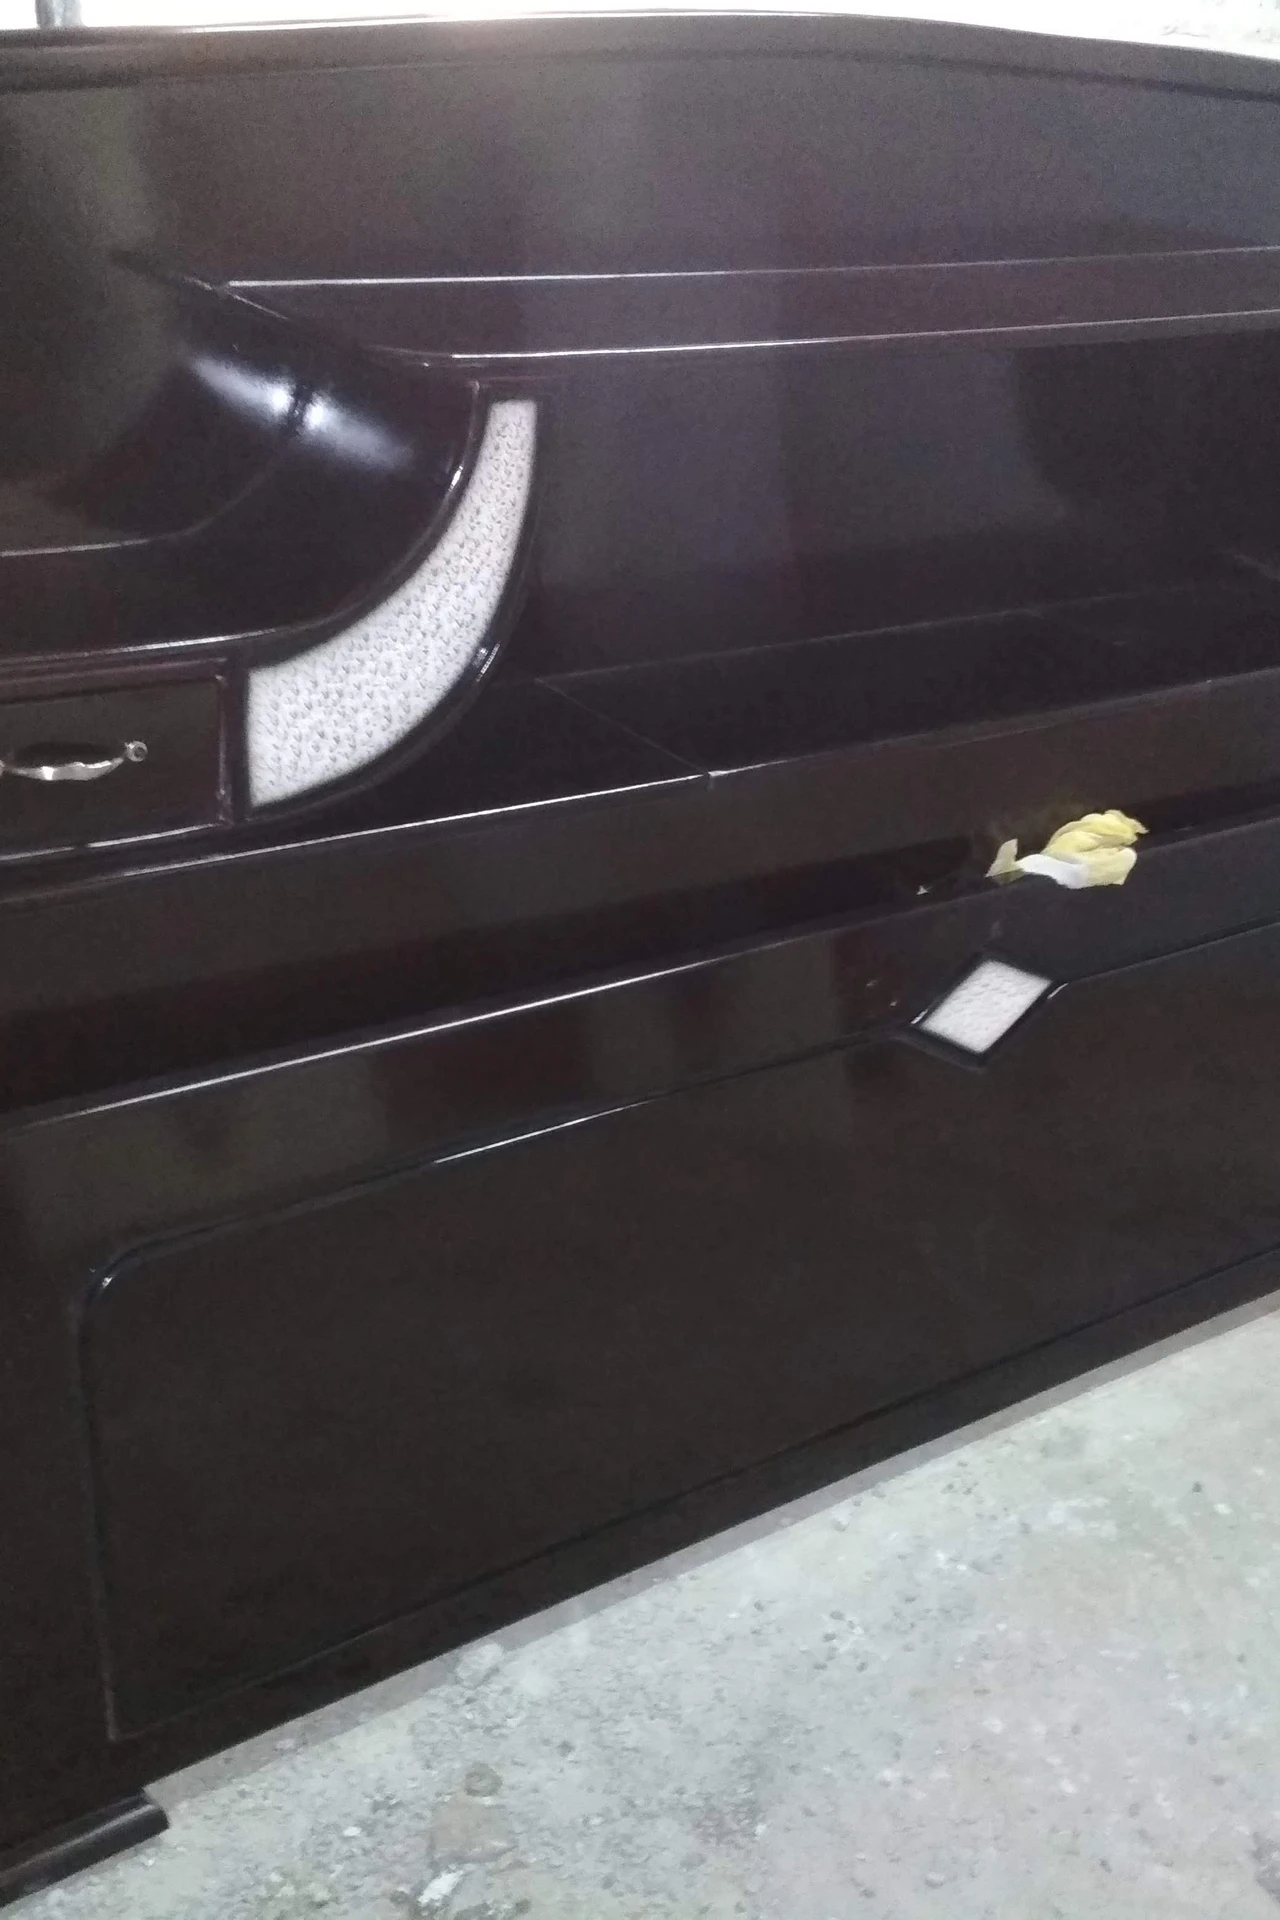
A nightstand eats floor space and holds about three things, while a storage headboard holds books, glasses, chargers and a lamp without touching the floor at all. Look for one with a shelf ledge and a couple of small cubbies, or build a simple plywood version with open niches. Keep the top shelf for the two things you reach for in the dark — water and your phone — and put the rest behind a small basket. I swapped mine and gained enough floor room for a laundry basket that used to live in the hallway. Measure your mattress height first so the shelf sits where your hand naturally lands.
Cost: ~$60 | Time: 3 hours
6. Stack Clear Bins on Top of Wardrobes
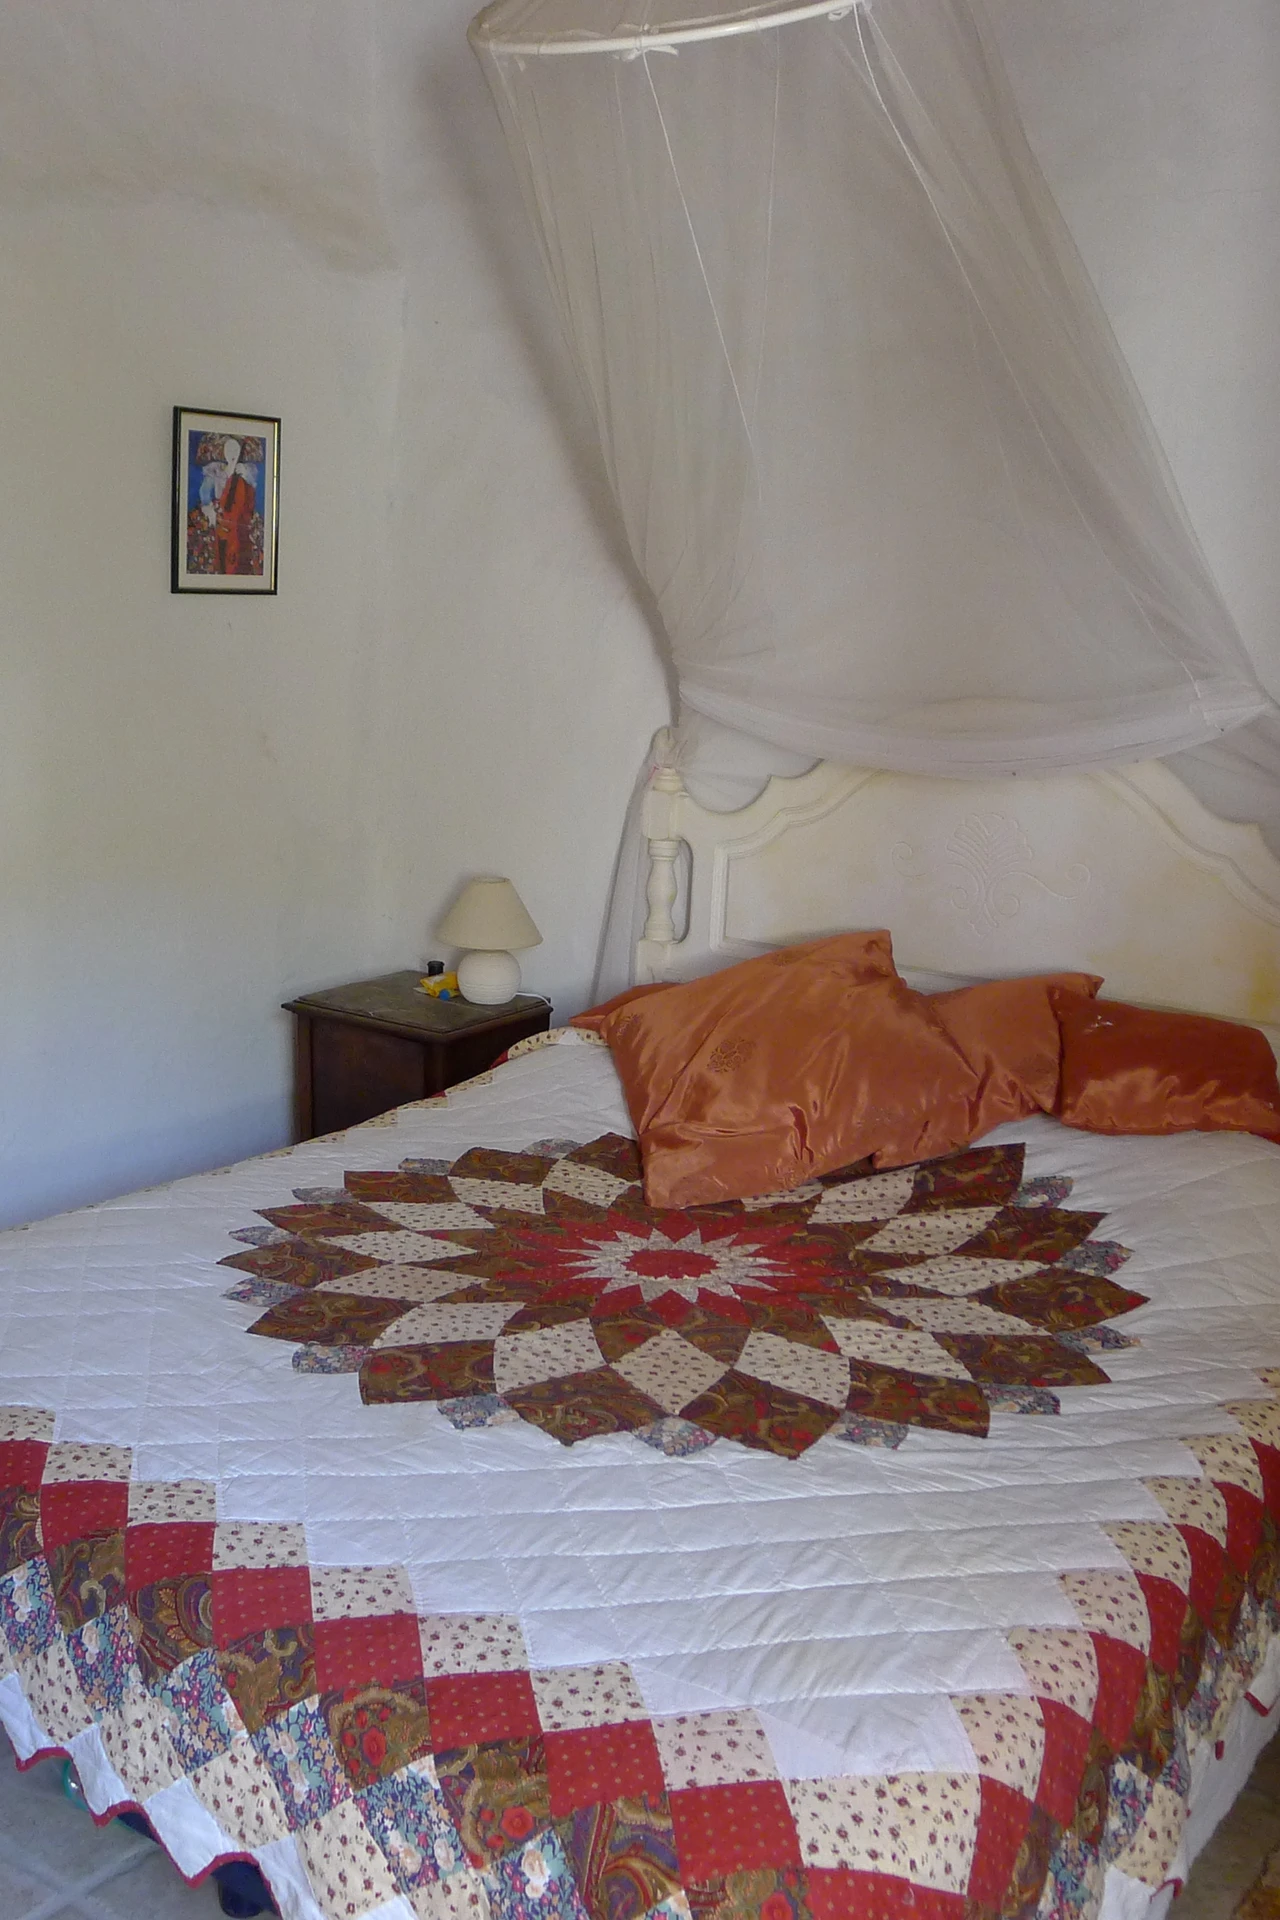
The top of a wardrobe is prime real estate that most people ignore because it is hard to reach, which is exactly why it suits things you need rarely. Use clear bins with lids so you can see what is inside from below, and label the fronts in big letters. A small step stool kept nearby makes the whole system usable instead of decorative. Put out-of-season clothes and spare bedding up there, never daily items. I learned the hard way that open baskets up there just collect dust — lids are non-negotiable. One afternoon of sorting cleared two drawers down below, which felt like gaining a whole wardrobe.
Cost: ~$18 | Time: 1 hour
7. Hang a Shoe Organizer on the Inside of a Closet Door
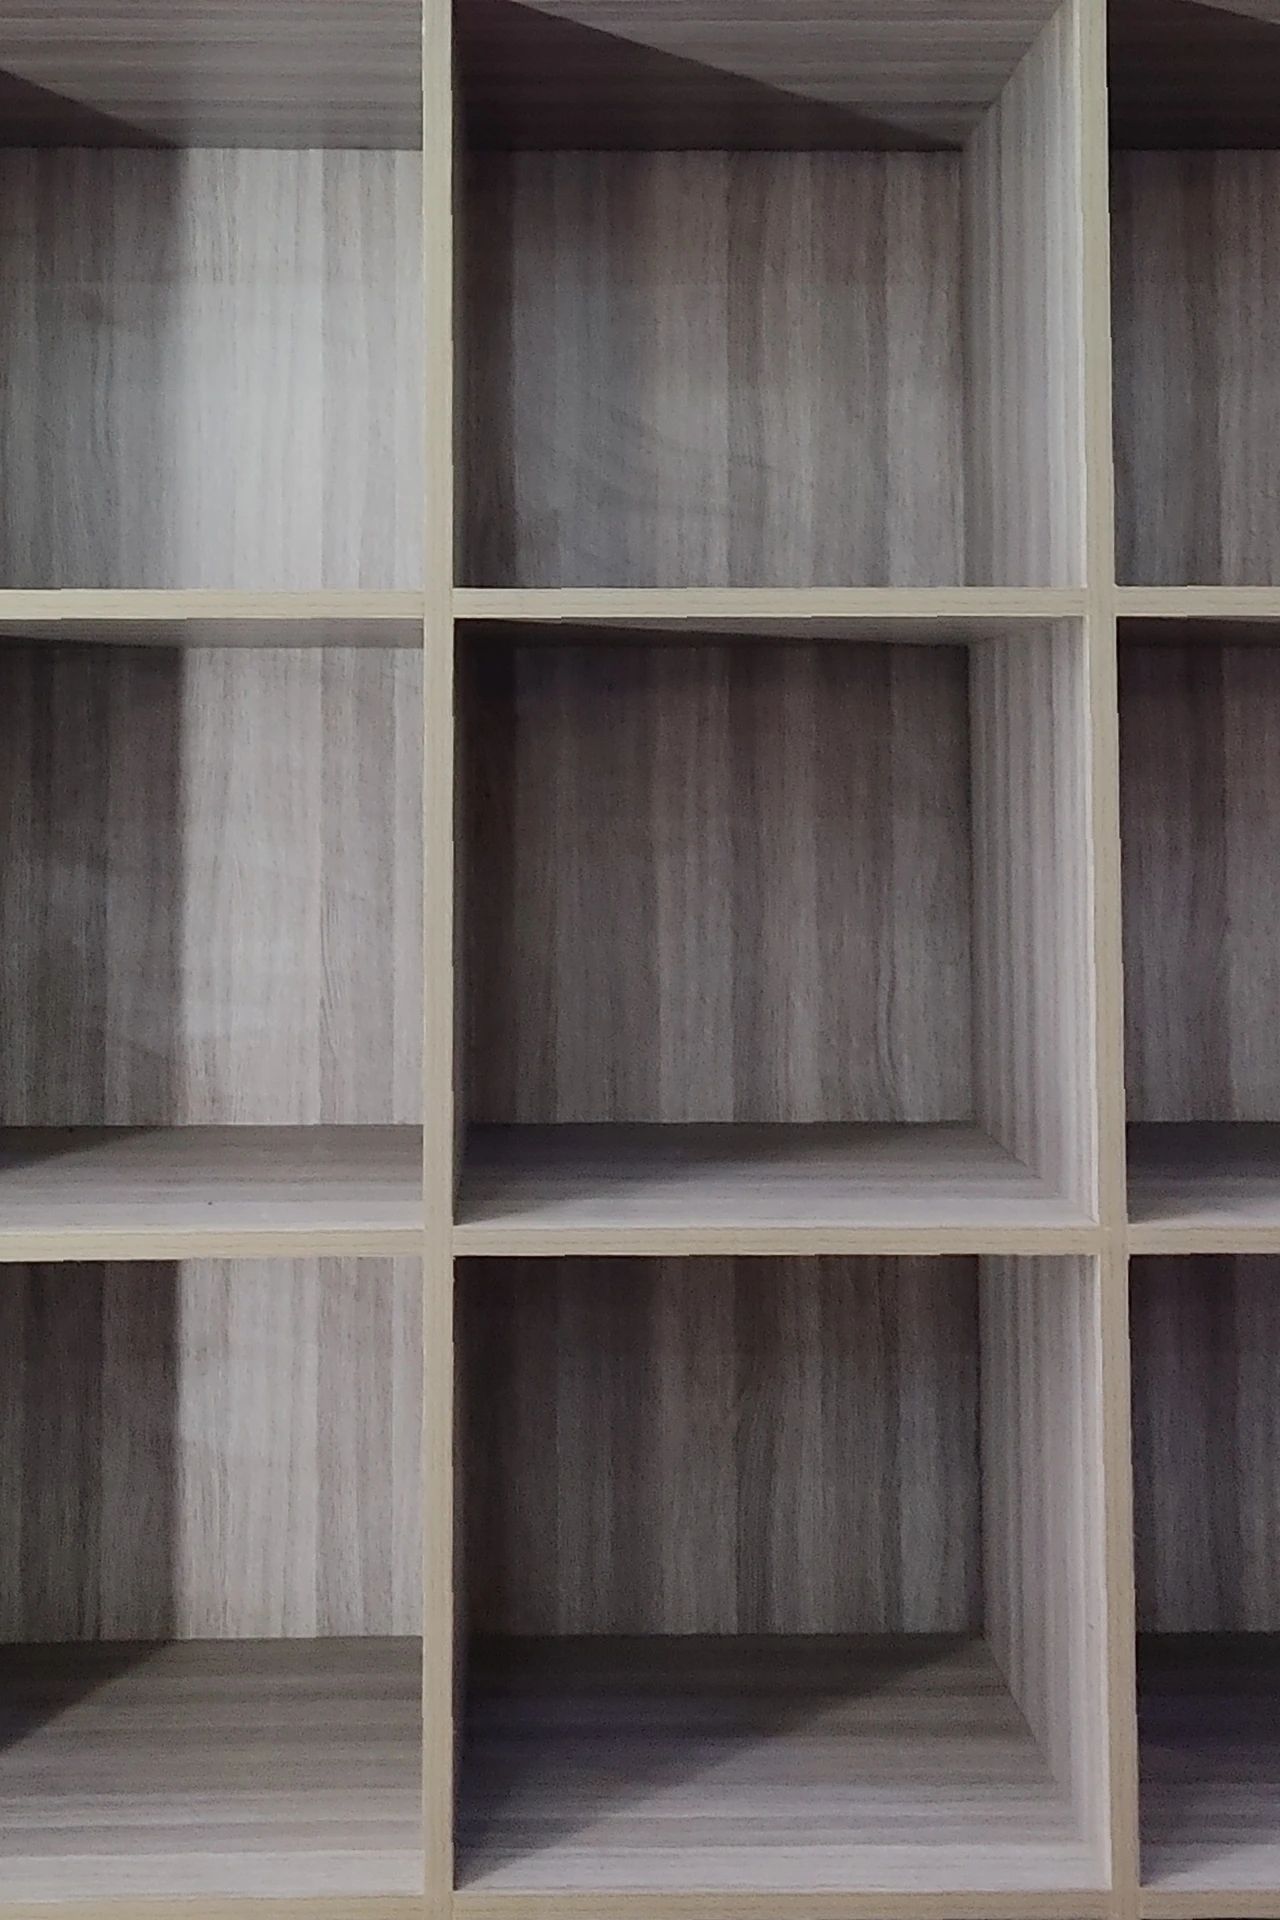
A clear shoe organizer is not just for shoes, and the inside of a closet door is free wall space you already own. Hang it with over-door hooks, no drilling needed, and fill the pockets with scarves, belts, cleaning cloths, charging cables or craft supplies. The clear pockets mean you can find things without pulling everything out. I use one for hair tools and spare batteries, and it cleared a whole bathroom drawer. The mistake to avoid is overloading the bottom pockets, because the weight swings the door and pulls the hooks loose. Keep heavy items at the top, near the hooks.
Cost: ~$8 | Time: 10 minutes
8. Choose a Coffee Table With Hidden Compartments
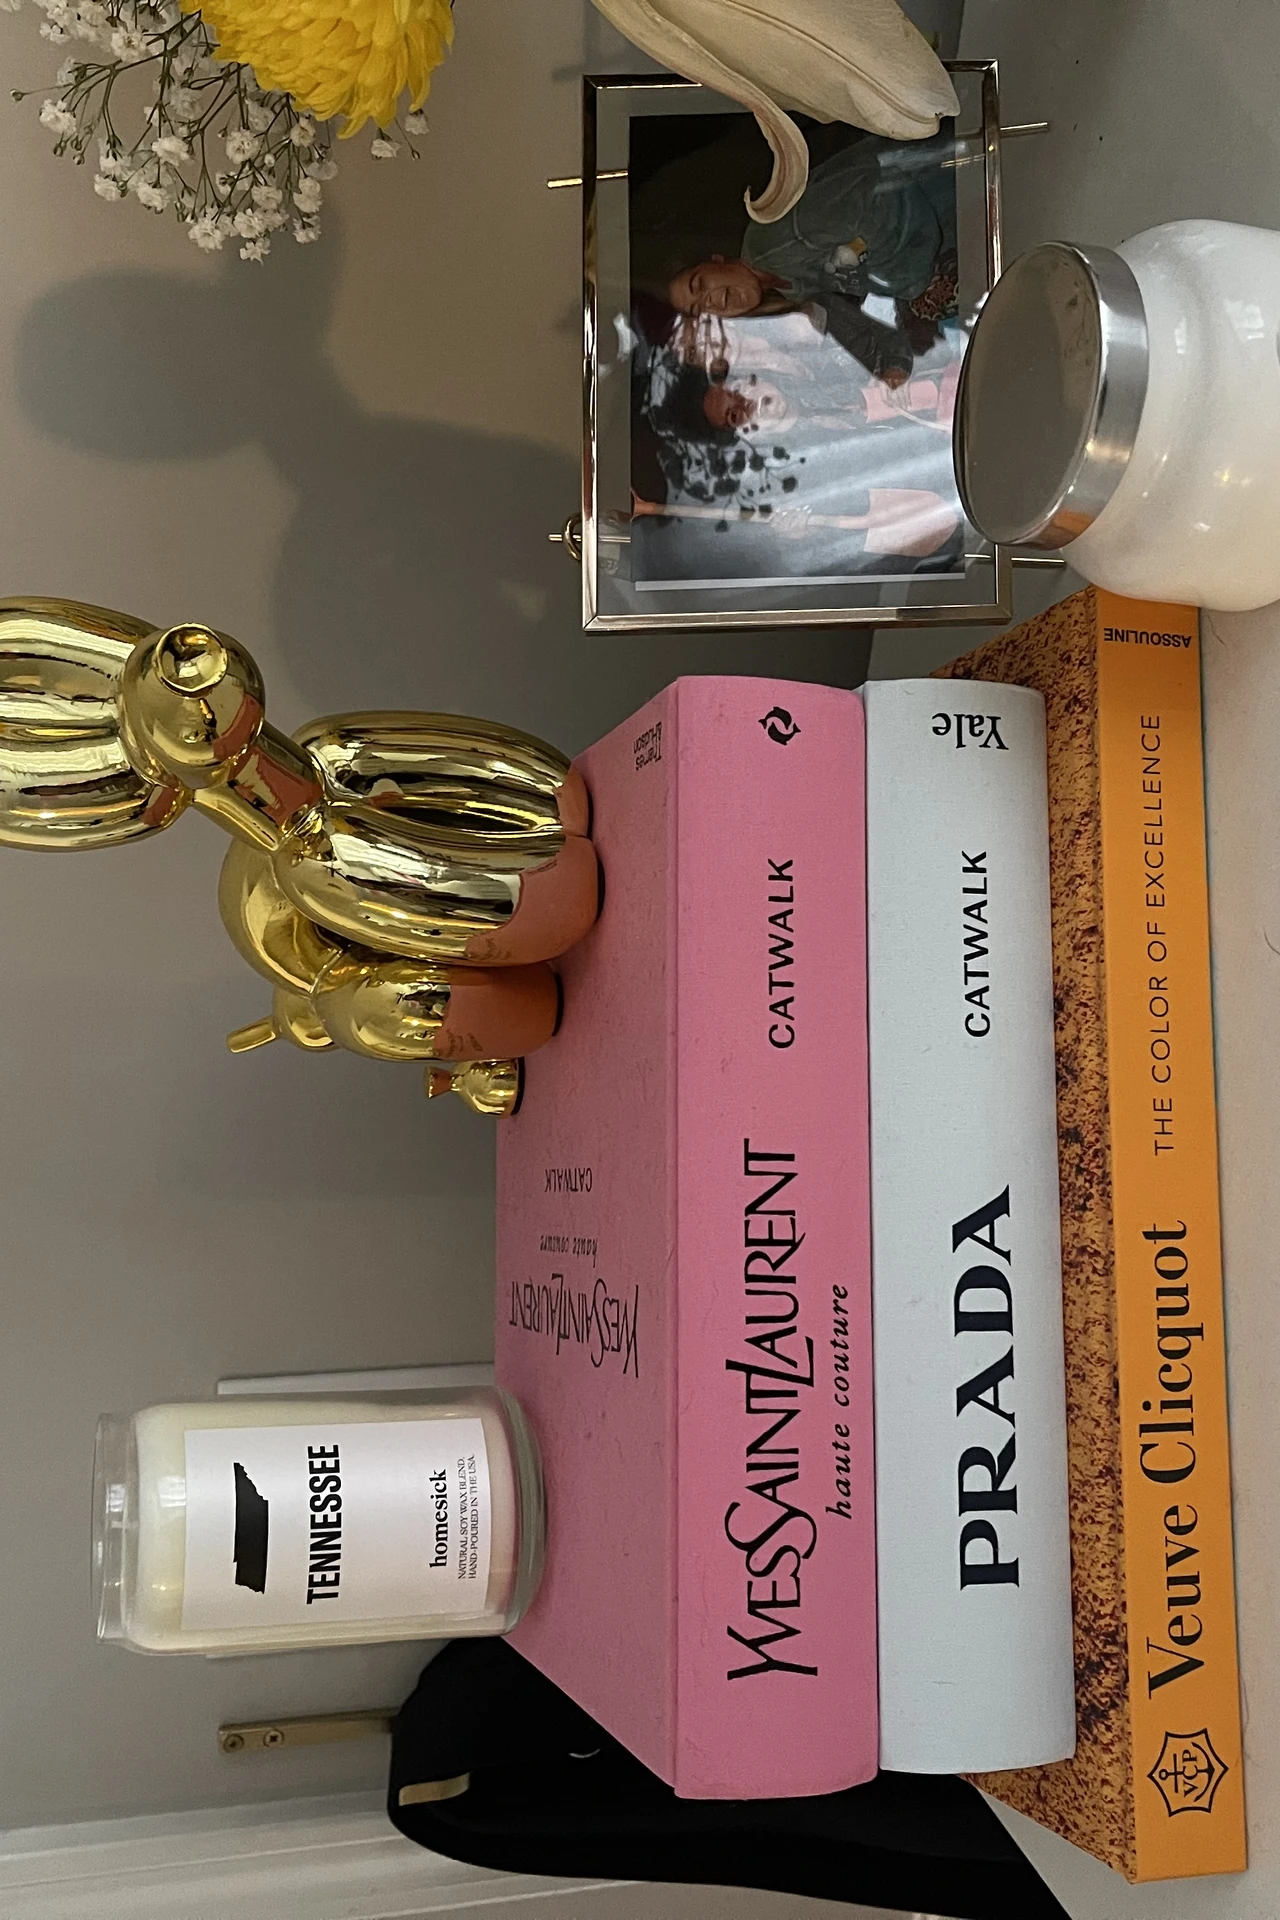
Remote controls, magazines and charging cables live on coffee tables by default, so a table with hidden compartments gives them a proper home. Look for a lift-top design, which also raises the surface to laptop height, or a table with drawers on each side. Keep one compartment for remotes and chargers only, and clear it weekly. I bought a lift-top table secondhand, sanded it, and suddenly the living room looked tidy even when the rest of the flat was not. For more living-room hiding tricks, see my (see also: small-living-room-storage-ideas) roundup. Save this idea for your small-space board — it is the single change guests notice first.
Cost: ~$45 | Time: 30 minutes
9. Slide Slim Baskets Between the Fridge and the Counter
That narrow gap beside the fridge is usually a graveyard for crumbs, but a slim rolling basket turns it into a pantry. Measure the gap carefully — most are between 15 and 25 centimetres — and pick a basket on wheels that pulls out fully. Fill it with oils, tins and sauces you reach for while cooking, keeping the heaviest items low so it rolls smoothly. I measured wrong the first time and had to return a basket that was two centimetres too wide, so measure at the top, middle and bottom, because fridges are rarely straight. Once it fits, that dead gap holds a whole shelf of food.
Cost: ~$22 | Time: 15 minutes
10. Mount Floating Shelves Above Every Doorway
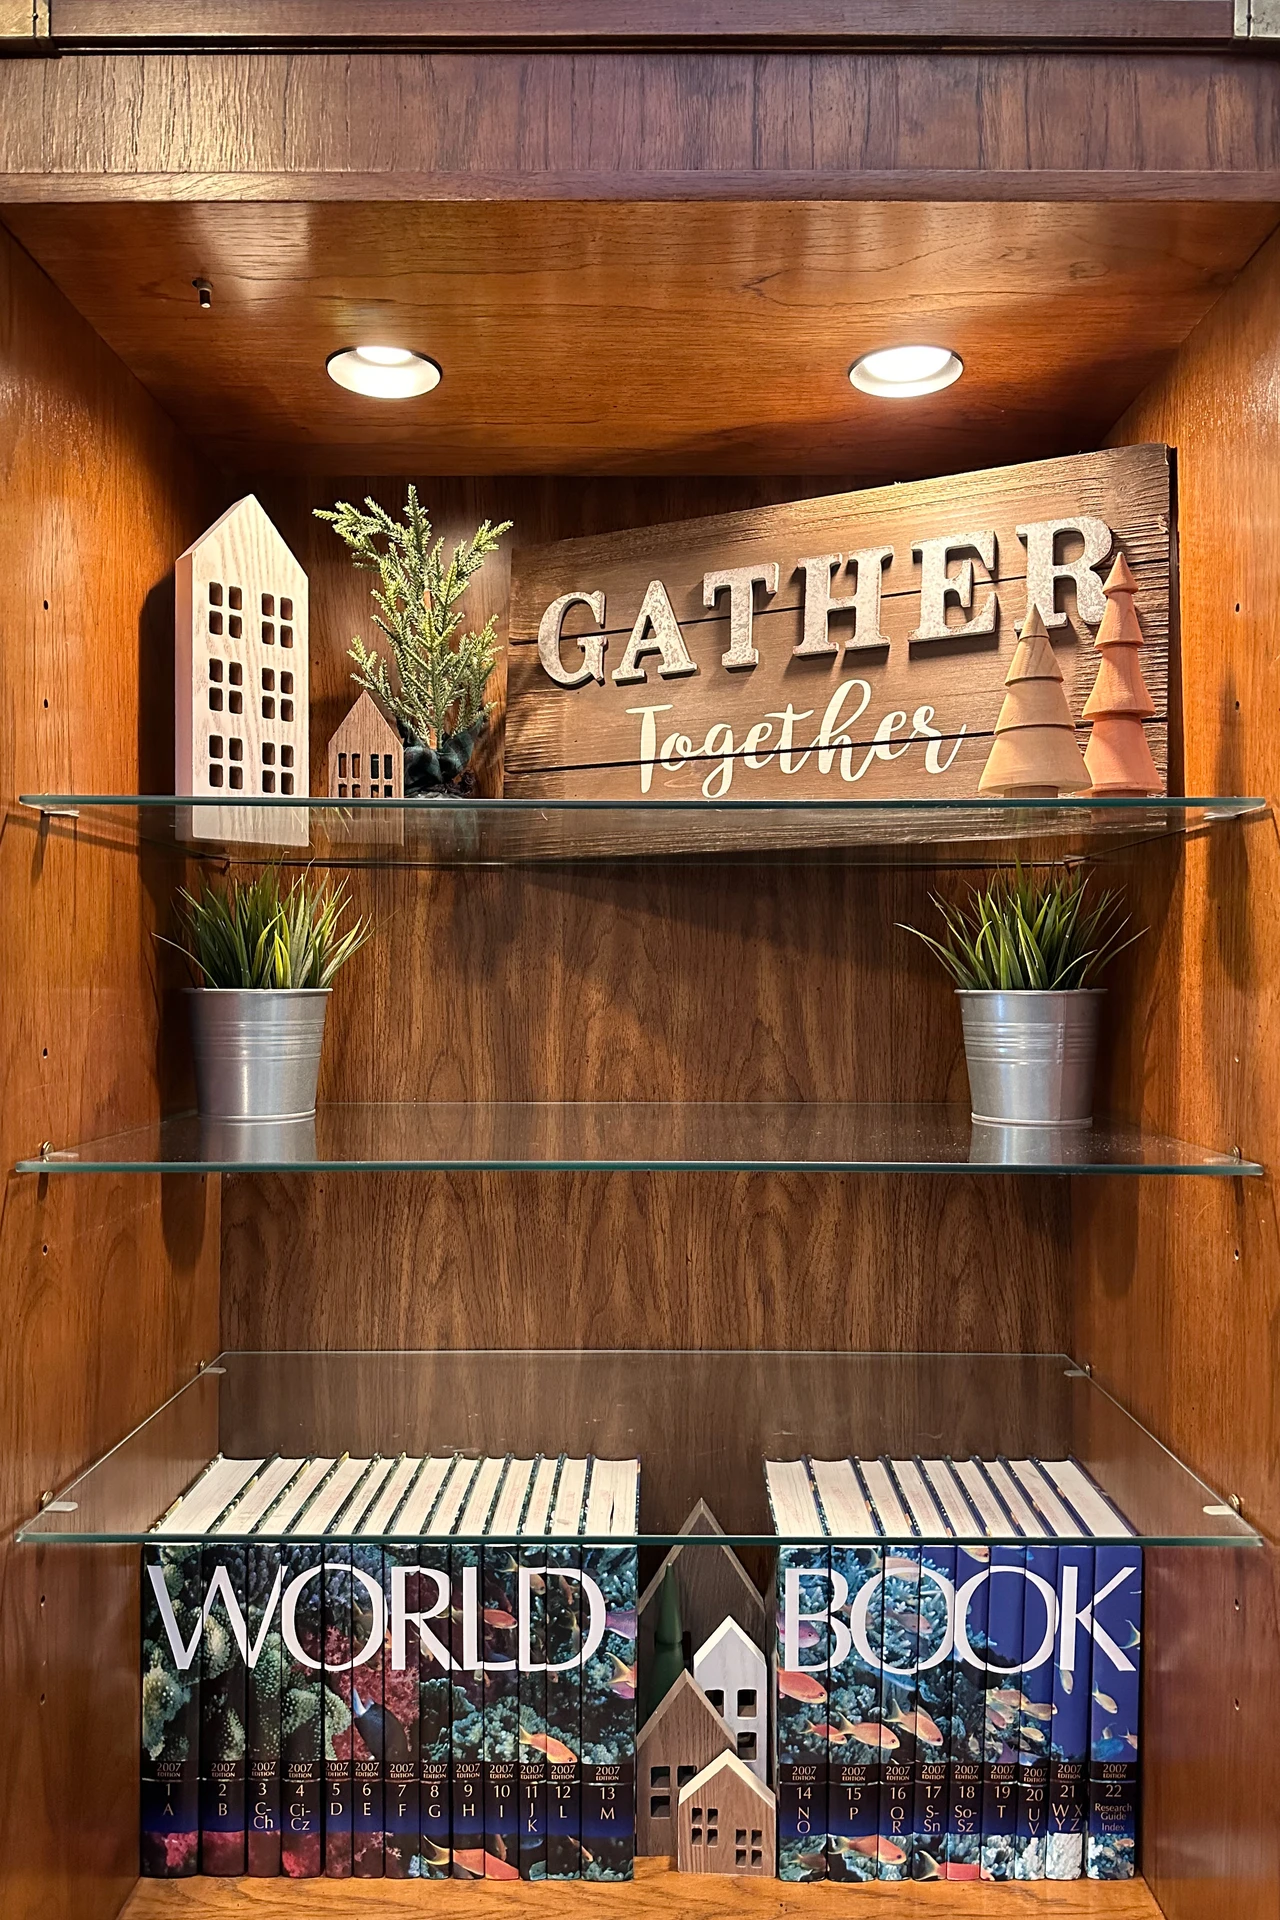
The wall above a doorway is empty in almost every home, and a single floating shelf there holds books, plants or pretty baskets without stealing any floor or eye-level space. Mount it high enough that tall visitors will not bump it, and keep the items light and decorative rather than everyday essentials you would need a ladder for. Use proper anchors, because a shelf over a doorway that falls is worse than no shelf at all. I put one above my bedroom door for trailing plants, and it made the room feel taller. One shelf per doorway is plenty — more starts to look like a warehouse.
Cost: ~$15 | Time: 45 minutes
11. Use a Storage Bench at the Foot of the Bed
A bench at the foot of the bed gives you somewhere to sit while you put shoes on, and inside it hides spare bedding, out-of-season clothes or the laundry you keep meaning to fold. Choose a bench that opens from the top with a stay hinge, so the lid does not slam on your fingers, and add a cushion so it doubles as seating. Keep a small tray on top for the book you are reading, so the bench does not become a clothes pile. Mine holds two spare duvets and a stack of board games, and it is the first thing I tidy when guests come, because one lift of the lid hides a multitude of sins.
Cost: ~$50 | Time: 20 minutes
12. Corral Small Items in Labelled Fabric Boxes

Small things are what make a room look messy — batteries, cables, spare keys, sewing kits — and labelled fabric boxes give each category a home. Use one colour and size of box across a shelf so the shelf reads as calm, even if the contents are chaos. Label the short end, not the top, so you can read them when they are stacked. I keep one box per category and a rule: if it does not fit in its box, something has to go. That rule alone stopped my junk drawer from breeding. Fabric boxes fold flat when empty, which matters in a small home where even the storage needs storage sometimes.
Cost: ~$10 | Time: 30 minutes
13. Turn a Dead Corner Into a Pull-Out Tower

Deep corner cupboards swallow things whole, so a pull-out tower changes the game: the whole shelf slides out and you can see everything at once. You can buy a ready-made pull-out unit for a kitchen or bathroom corner, or retrofit a narrow rolling shelf into an existing cupboard. Measure the opening, not just the inside, because the unit has to fit through the door. I fitted one in a bathroom corner that used to hide half-used bottles at the back, and now nothing gets lost. Keep tall bottles at the back of each tier and short ones at the front, so nothing topples when you pull.
Cost: ~$40 | Time: 1 hour
14. Hide Cables and Chargers in a Lidded Basket

Chargers and cables are the clutter nobody photographs, yet they tangle across every small-home surface. A lidded basket with a small hole cut in the back for the power strip hides the whole mess while keeping everything plugged in and reachable. Thread each cable through the hole, coil the slack inside, and label the plugs with a bit of tape. I keep mine beside the sofa, and the living room went from tech-shop window to calm room in ten minutes. The mistake to avoid is a basket with no ventilation around a hot charger — leave the lid slightly ajar or pick an open-weave basket for safety.
Cost: ~$12 | Time: 20 minutes
15. Store Out-of-Season Clothes in Vacuum Bags Under Furniture
Winter coats in summer and summer dresses in winter eat wardrobe space for months at a time, and vacuum bags shrink them to a third of their size. Fold clothes neatly, seal the bag, and suck the air out with a normal vacuum — no special pump needed. Slide the flat bags under the bed or on top of wardrobes, and label each one by season. I do this swap twice a year, and it feels like gaining a wardrobe each time. Just do not vacuum-pack delicate wool or leather, which can crease permanently, and check the seals after a week, because a slow leak quietly undoes all the space you saved.
Cost: ~$15 | Time: 1 hour
16. Add a Peg Rail With Hooks and Small Baskets in the Hallway
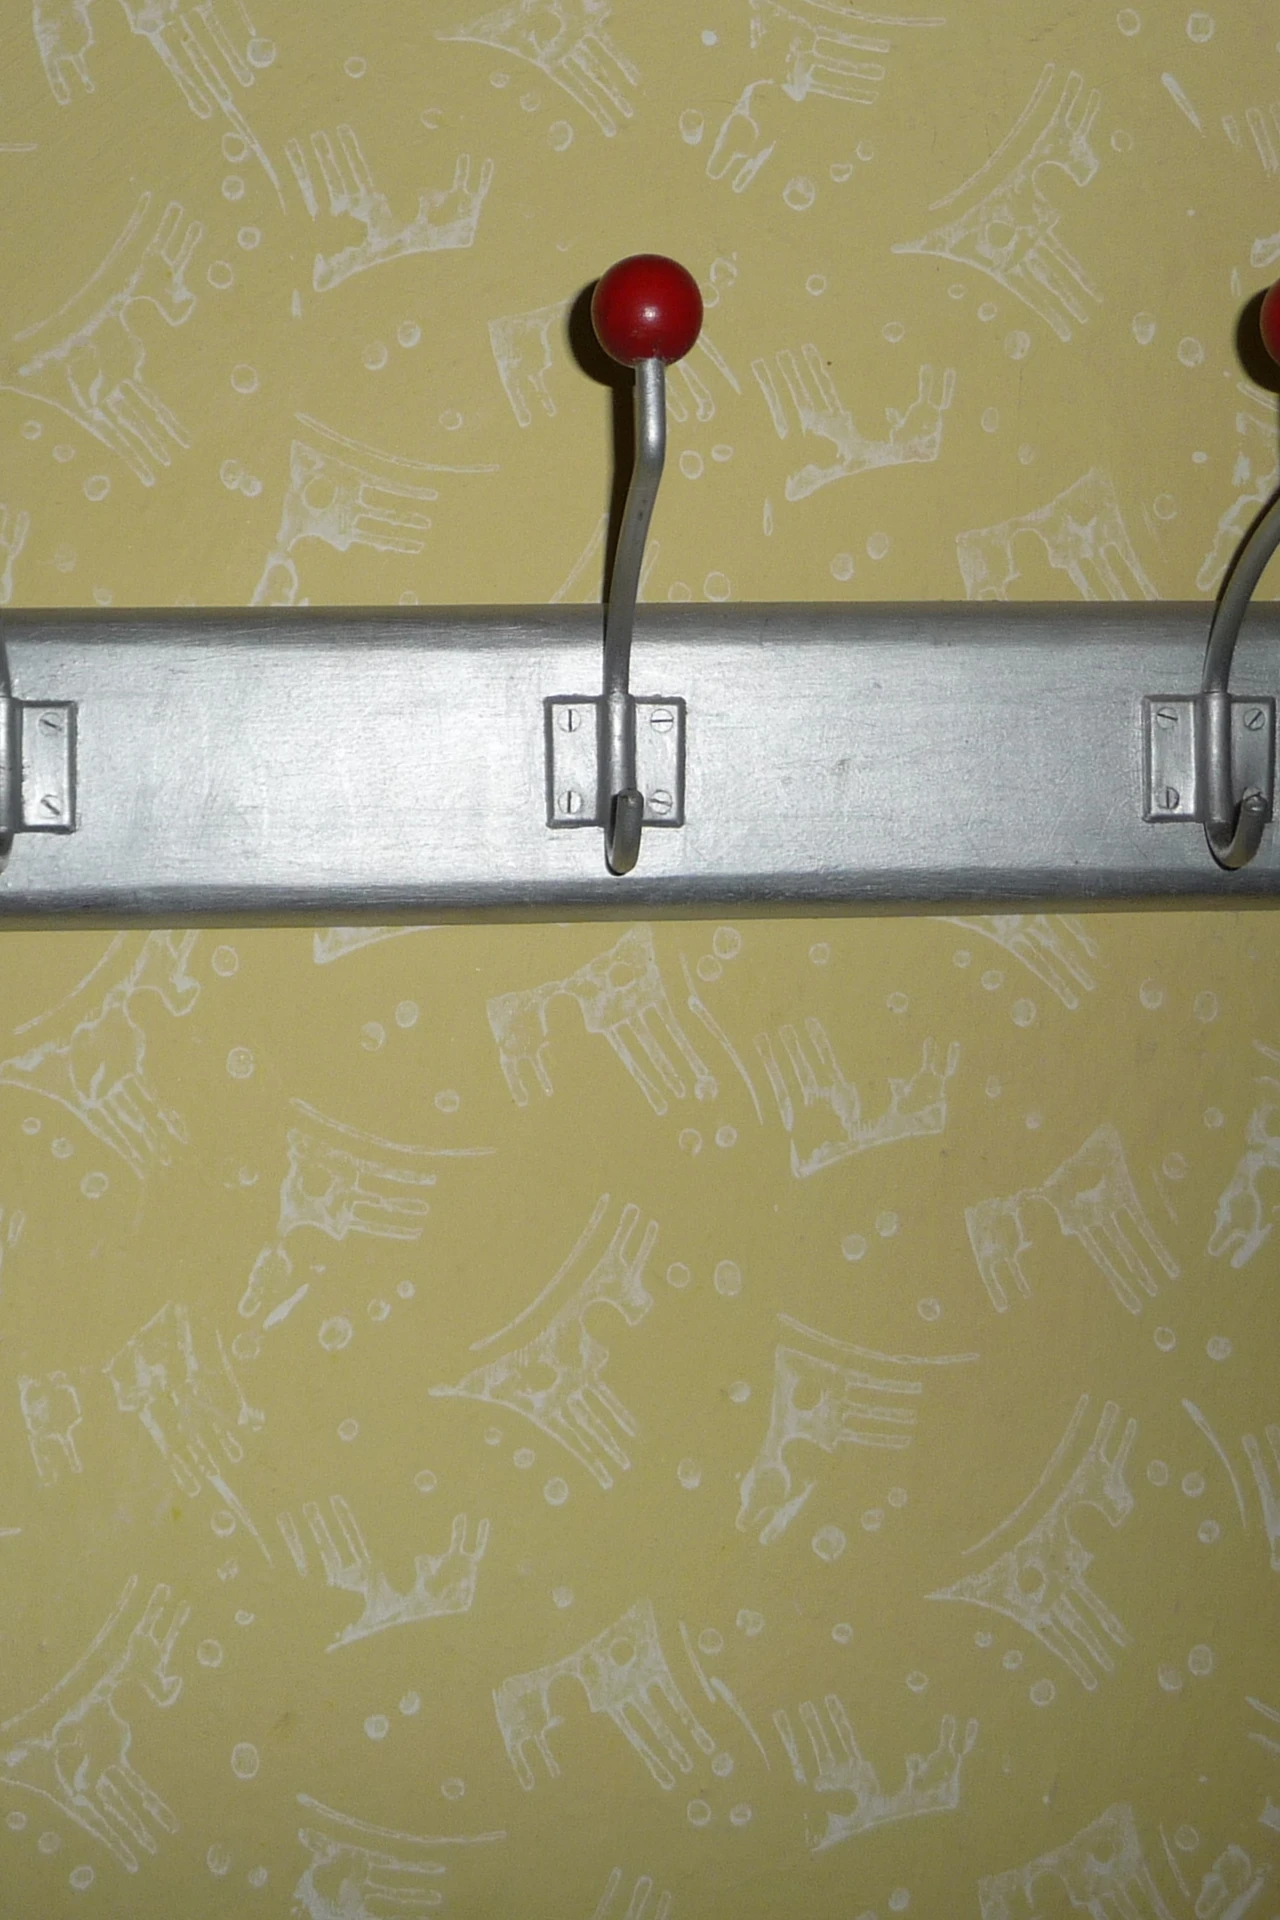
Hallways in small homes become dumping grounds for coats, bags and keys, and a peg rail gives all of it a proper place on the wall instead of the floor. Fix a wooden rail at shoulder height, add sturdy hooks for coats and bags, and hang two small baskets for keys, sunglasses and dog leads. One hook per person is the rule that keeps it working — any more and it becomes a coat mountain. I fitted mine in an afternoon, and the pile of shoes by the door shrank because everything else finally had a home. For more hallway fixes, my (see also: tiny-entryway-ideas-for-apartments) post pairs well with this one.
Cost: ~$18 | Time: 1 hour
17. Use the Space Above Kitchen Cabinets for Pretty Baskets
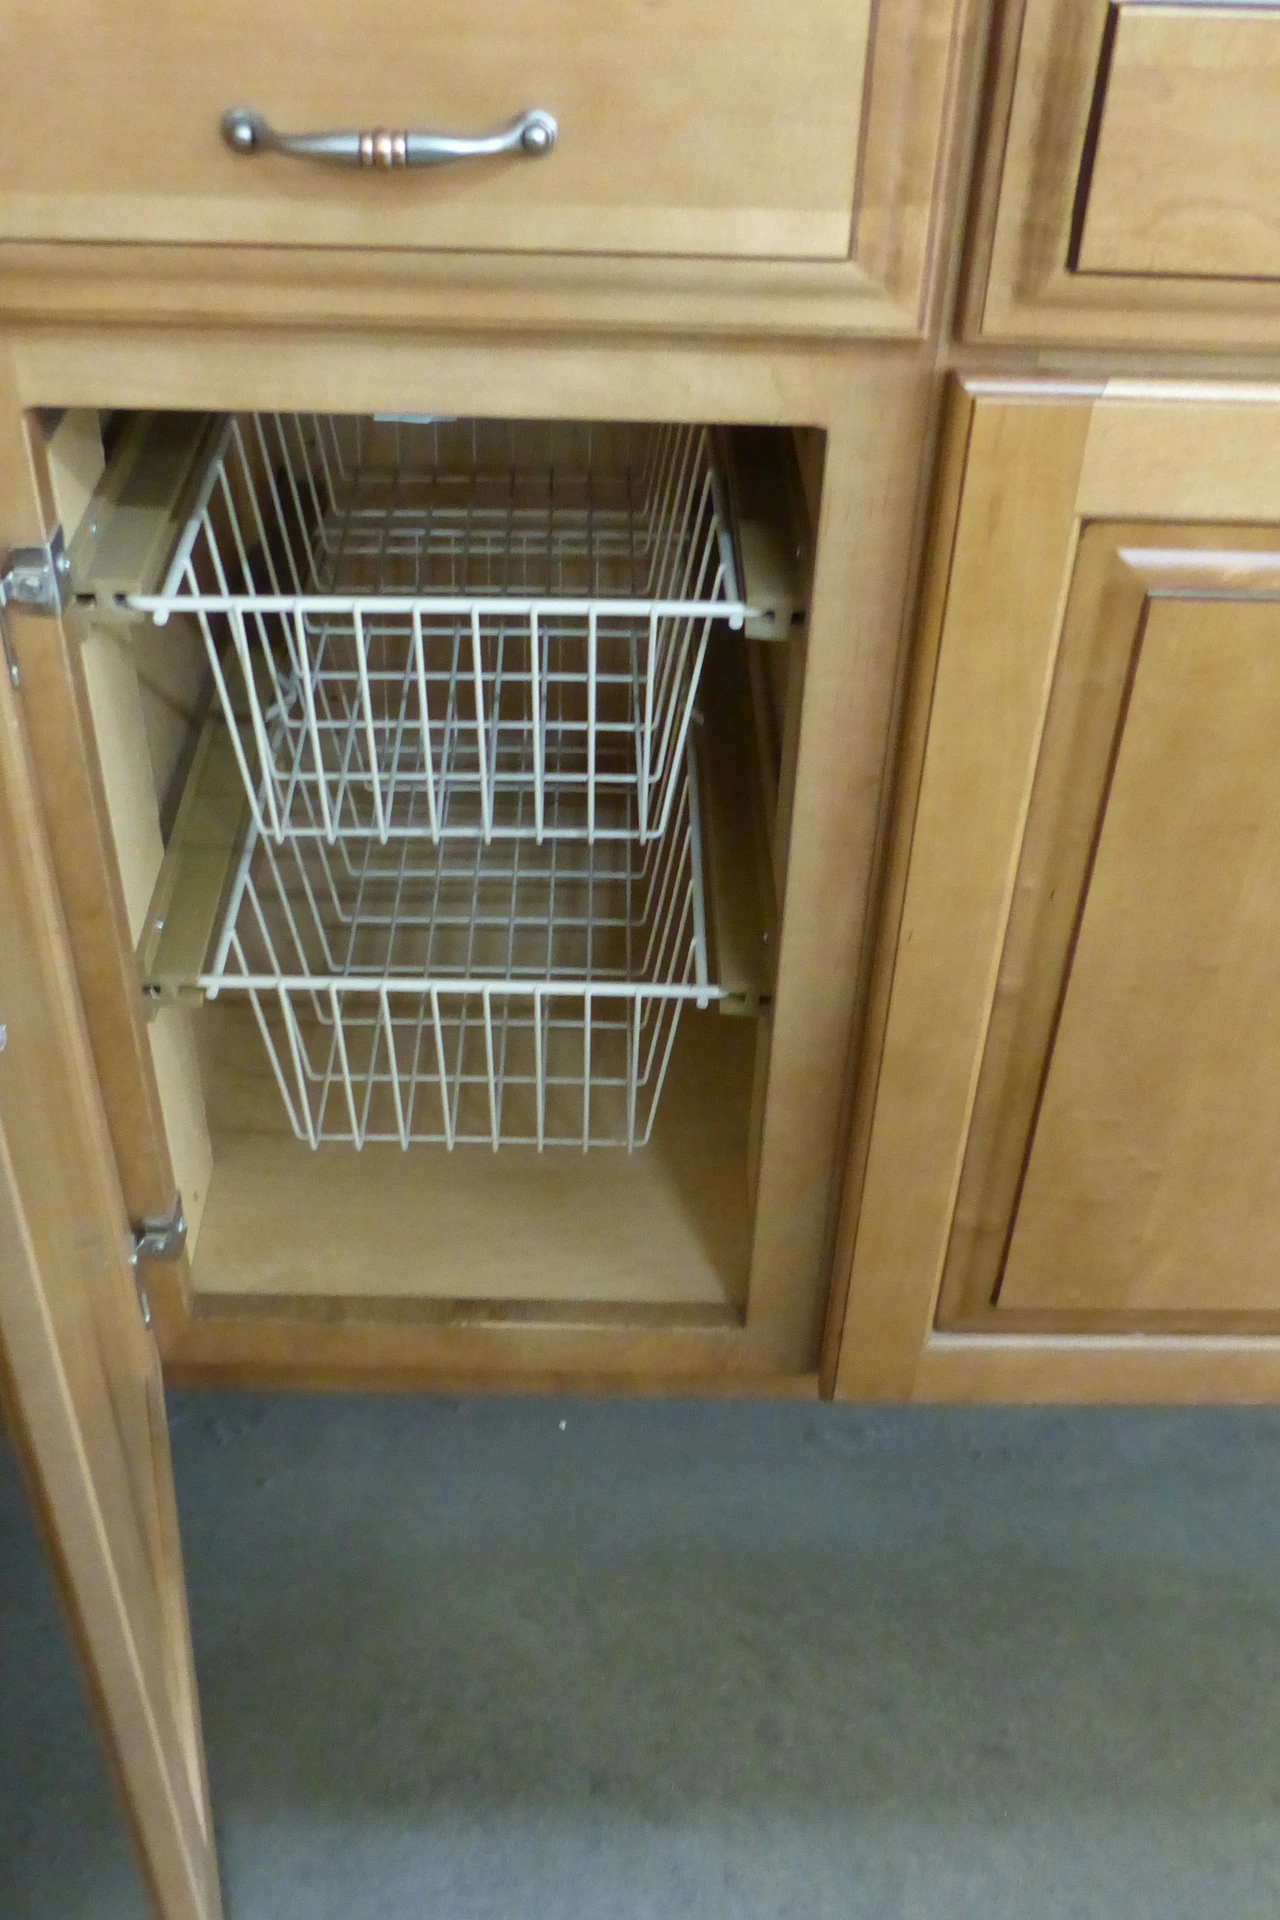
The gap above kitchen cabinets collects grease and dust, but lined with matching baskets it becomes useful, tidy storage for things you use rarely. Put large platters, picnic gear and spare baking trays up there, and choose baskets with lids so nothing gets dusty. Keep a small step stool in the kitchen, because storage you cannot reach is just decoration. I lined the gap with three identical baskets, and the kitchen instantly looked finished instead of forgotten. Wipe the tops of the cabinets before you start, and lay a sheet of paper under each basket so future cleaning takes seconds, not an afternoon.
Cost: ~$20 | Time: 45 minutes
18. Replace Open Shelving With Baskets That Match

Open shelves only look tidy when everything on them matches, which real life rarely does, so swapping the contents into matching baskets fixes the look without removing the shelves. Measure each shelf bay and buy baskets that fill it neatly, leaving a finger-width gap to pull them out. Label the front of each basket so you are not lifting every one to find the batteries. I did this on a bookshelf full of craft chaos, and the room calmed down overnight. The trick is consistency: one basket style, one label style, and suddenly a jumbled shelf reads as intentional. Keep one basket empty as an overflow buffer, or the system breaks the first busy week.
Cost: ~$24 | Time: 30 minutes
19. Build a Window Seat With Lift-Up Storage
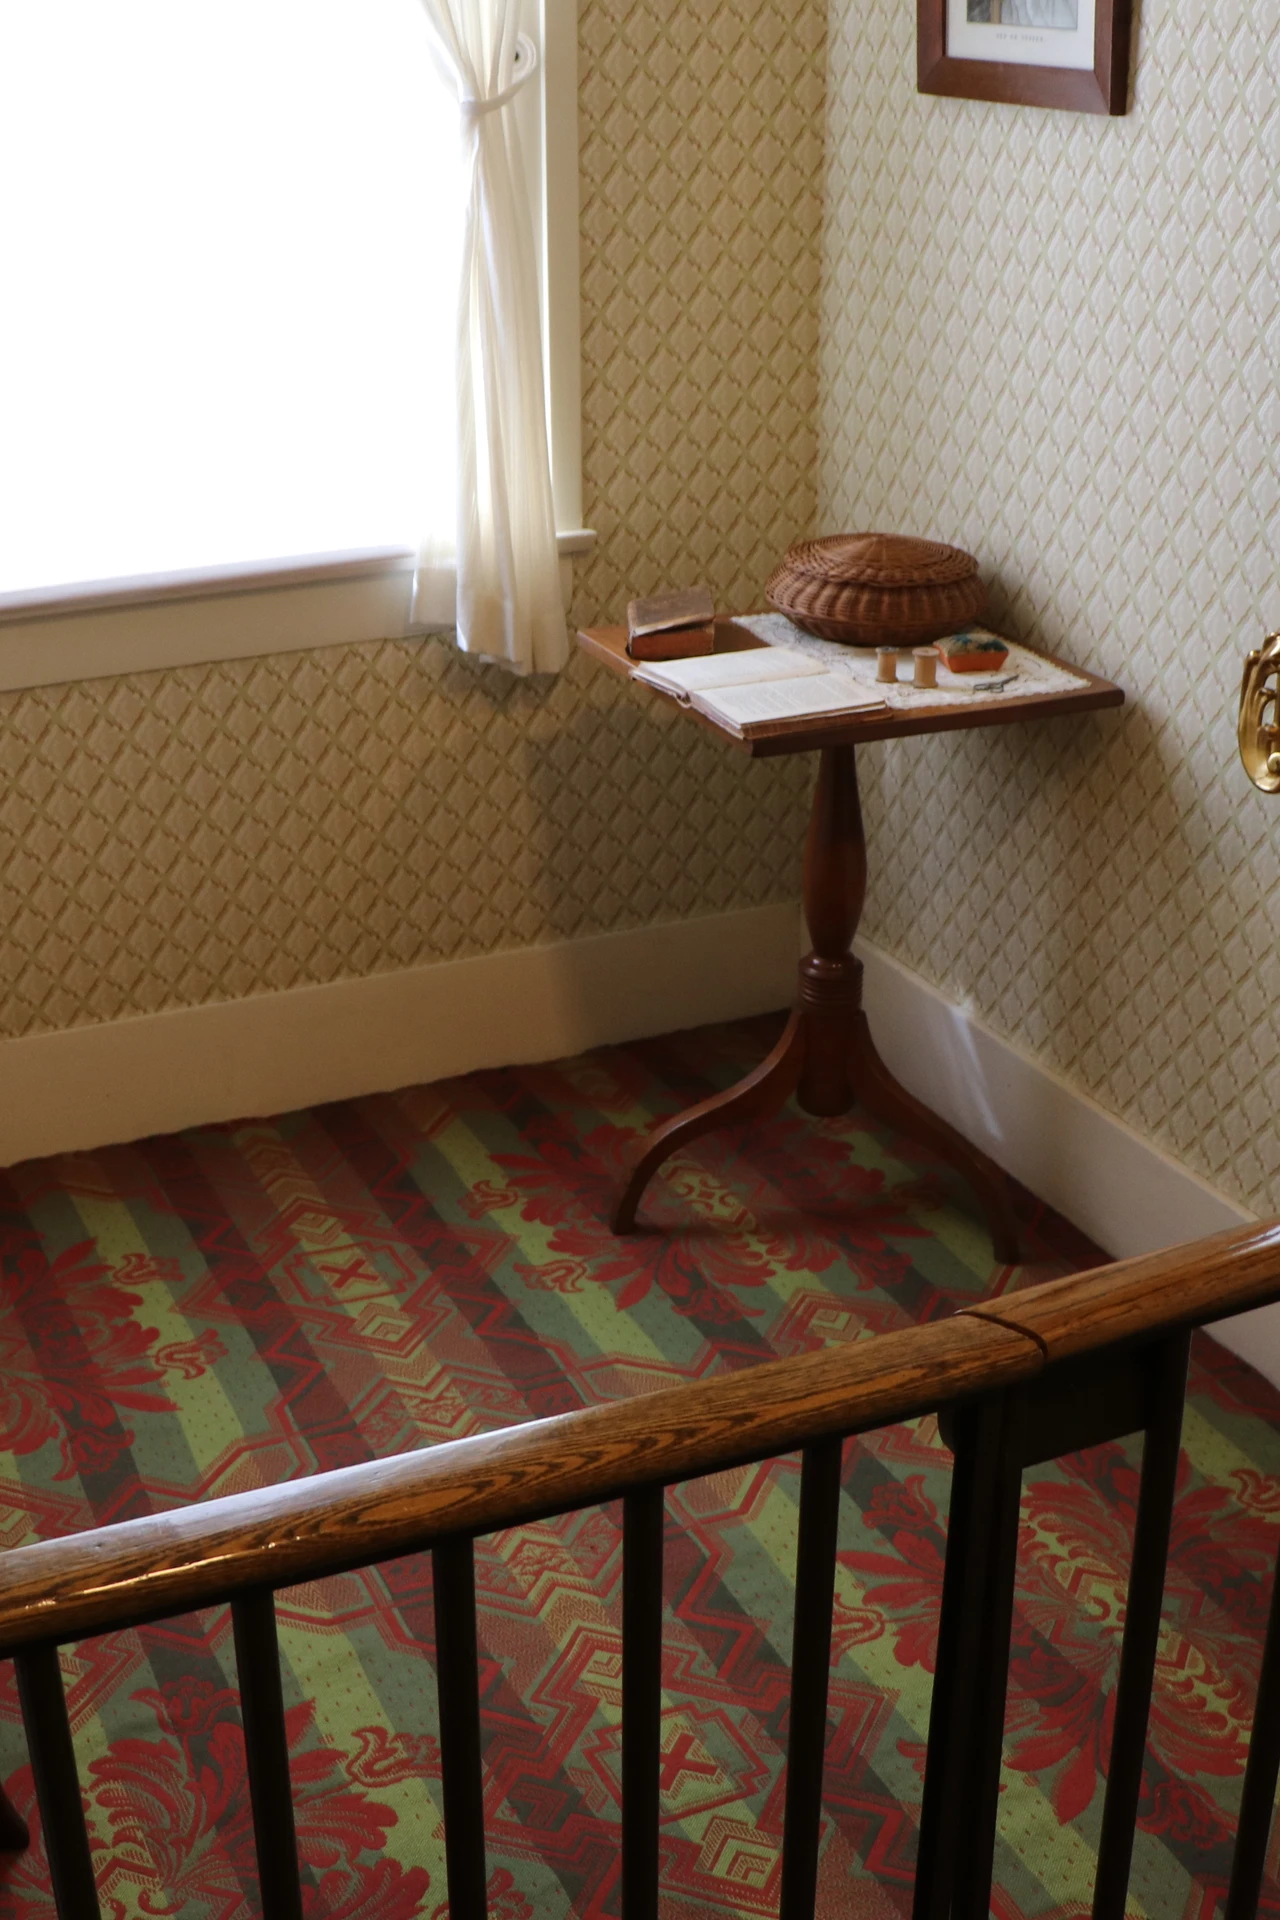
A window seat is the dream small-space feature: a sunny reading spot by day and a huge storage box underneath. You can build a simple plywood base with a hinged top, add a cushion cut to size, and paint it to match the walls so it looks built in. Inside, store board games, spare throws or the kids’ toys — anything bulky that has no other home. I built mine from offcuts in a weekend, and it holds more than a whole chest of drawers. Measure the window width carefully and leave a small gap at each side for the lid to lift, or it will stick every time you open it.
Cost: ~$70 | Time: 1 weekend
20. Hang a Tension Rod Shelf Inside a Deep Cupboard
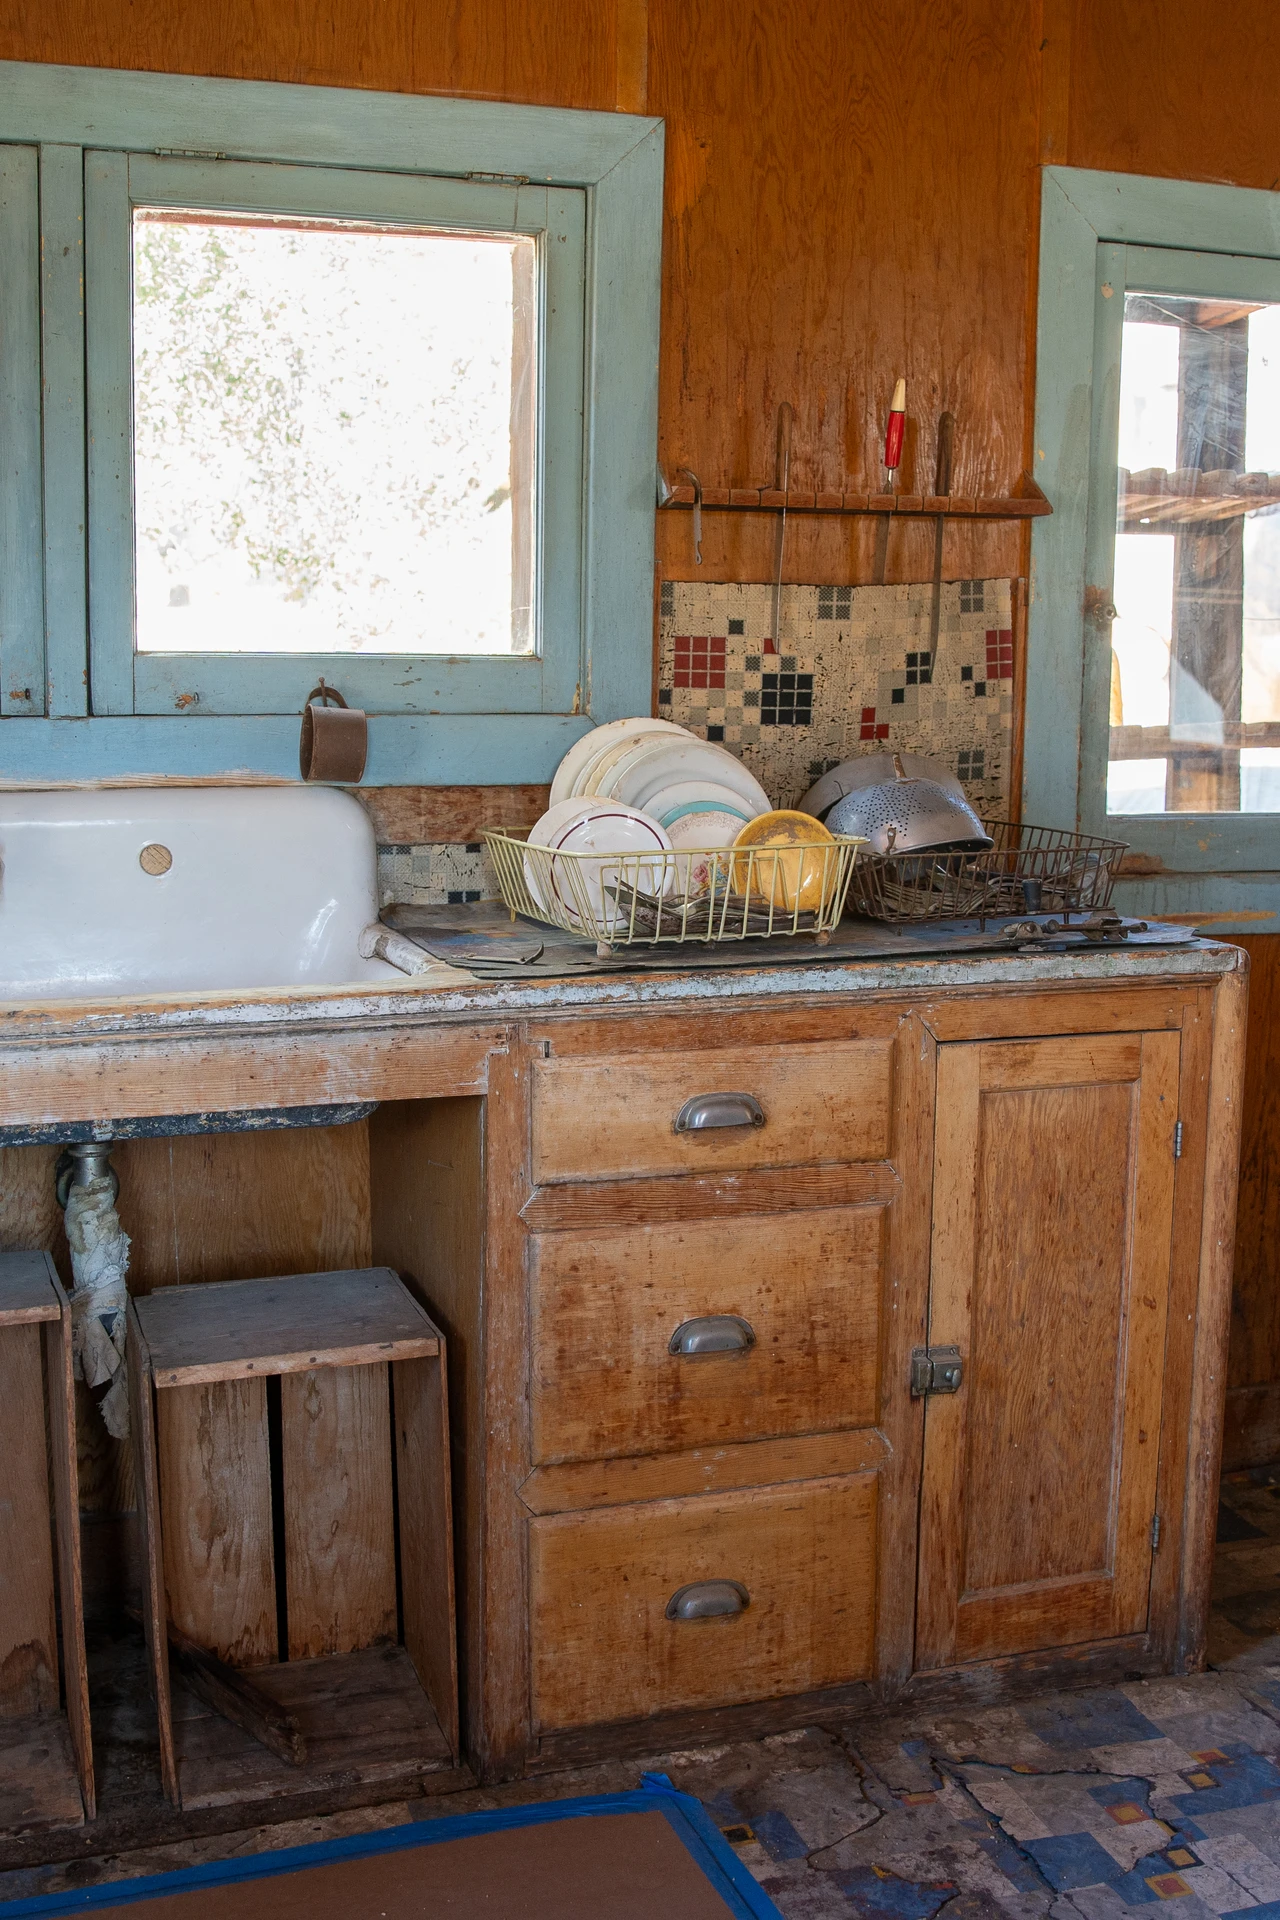
Deep cupboards waste their top half, because things stacked on top of each other topple, so a tension rod shelf splits the space in two without a single screw. Wedge a tension rod across the cupboard at mid-height, lay a light board or a small tray across two rods, and you have a second shelf for cleaning sprays or spare toiletries. Check the rod tension monthly, because a shelf that slips dumps everything below. I use this under my kitchen sink for sponges and cloths, and it doubled the usable space in five minutes. Keep only light items on the rod shelf — heavy tins belong on the solid base.
Cost: ~$10 | Time: 15 minutes
21. Keep a One-In-One-Out Basket by the Front Door
Clutter creeps in one bag at a time, so a one-in-one-out basket by the front door stops it at the entrance. The rule is simple: when something new comes home, something old goes into the basket for donation or the bin. Keep the basket small — a big basket becomes a second junk drawer — and empty it every Sunday. I started this after realising my flat gained a bag of stuff every week without me noticing, and within a month the surfaces stayed clear without extra tidying. It works because it is a habit, not a project, and habits are what keep small spaces livable long after the big sort-out.
Cost: ~$5 | Time: 5 minutes
22. Use Drawer Dividers to Stop Junk Drawers Spreading

Every home has a junk drawer, and in a small home it spreads to three drawers if you let it. Adjustable drawer dividers split one drawer into zones — one for tools, one for batteries, one for tape and pens — so things stop sliding into a single tangled layer. Measure the drawer first and buy dividers that expand to fit snugly, because loose dividers just slide around with the junk. I divided my kitchen drawer in ten minutes, and finding a screwdriver stopped being a five-minute dig. Pair this with my (see also: small-kitchen-storage-ideas) ideas and even a tiny kitchen gains a drawer that actually works. Empty each zone once a season and the system holds.
Cost: ~$12 | Time: 20 minutes
23. Tuck Cleaning Supplies Behind a Slim Rolling Cart
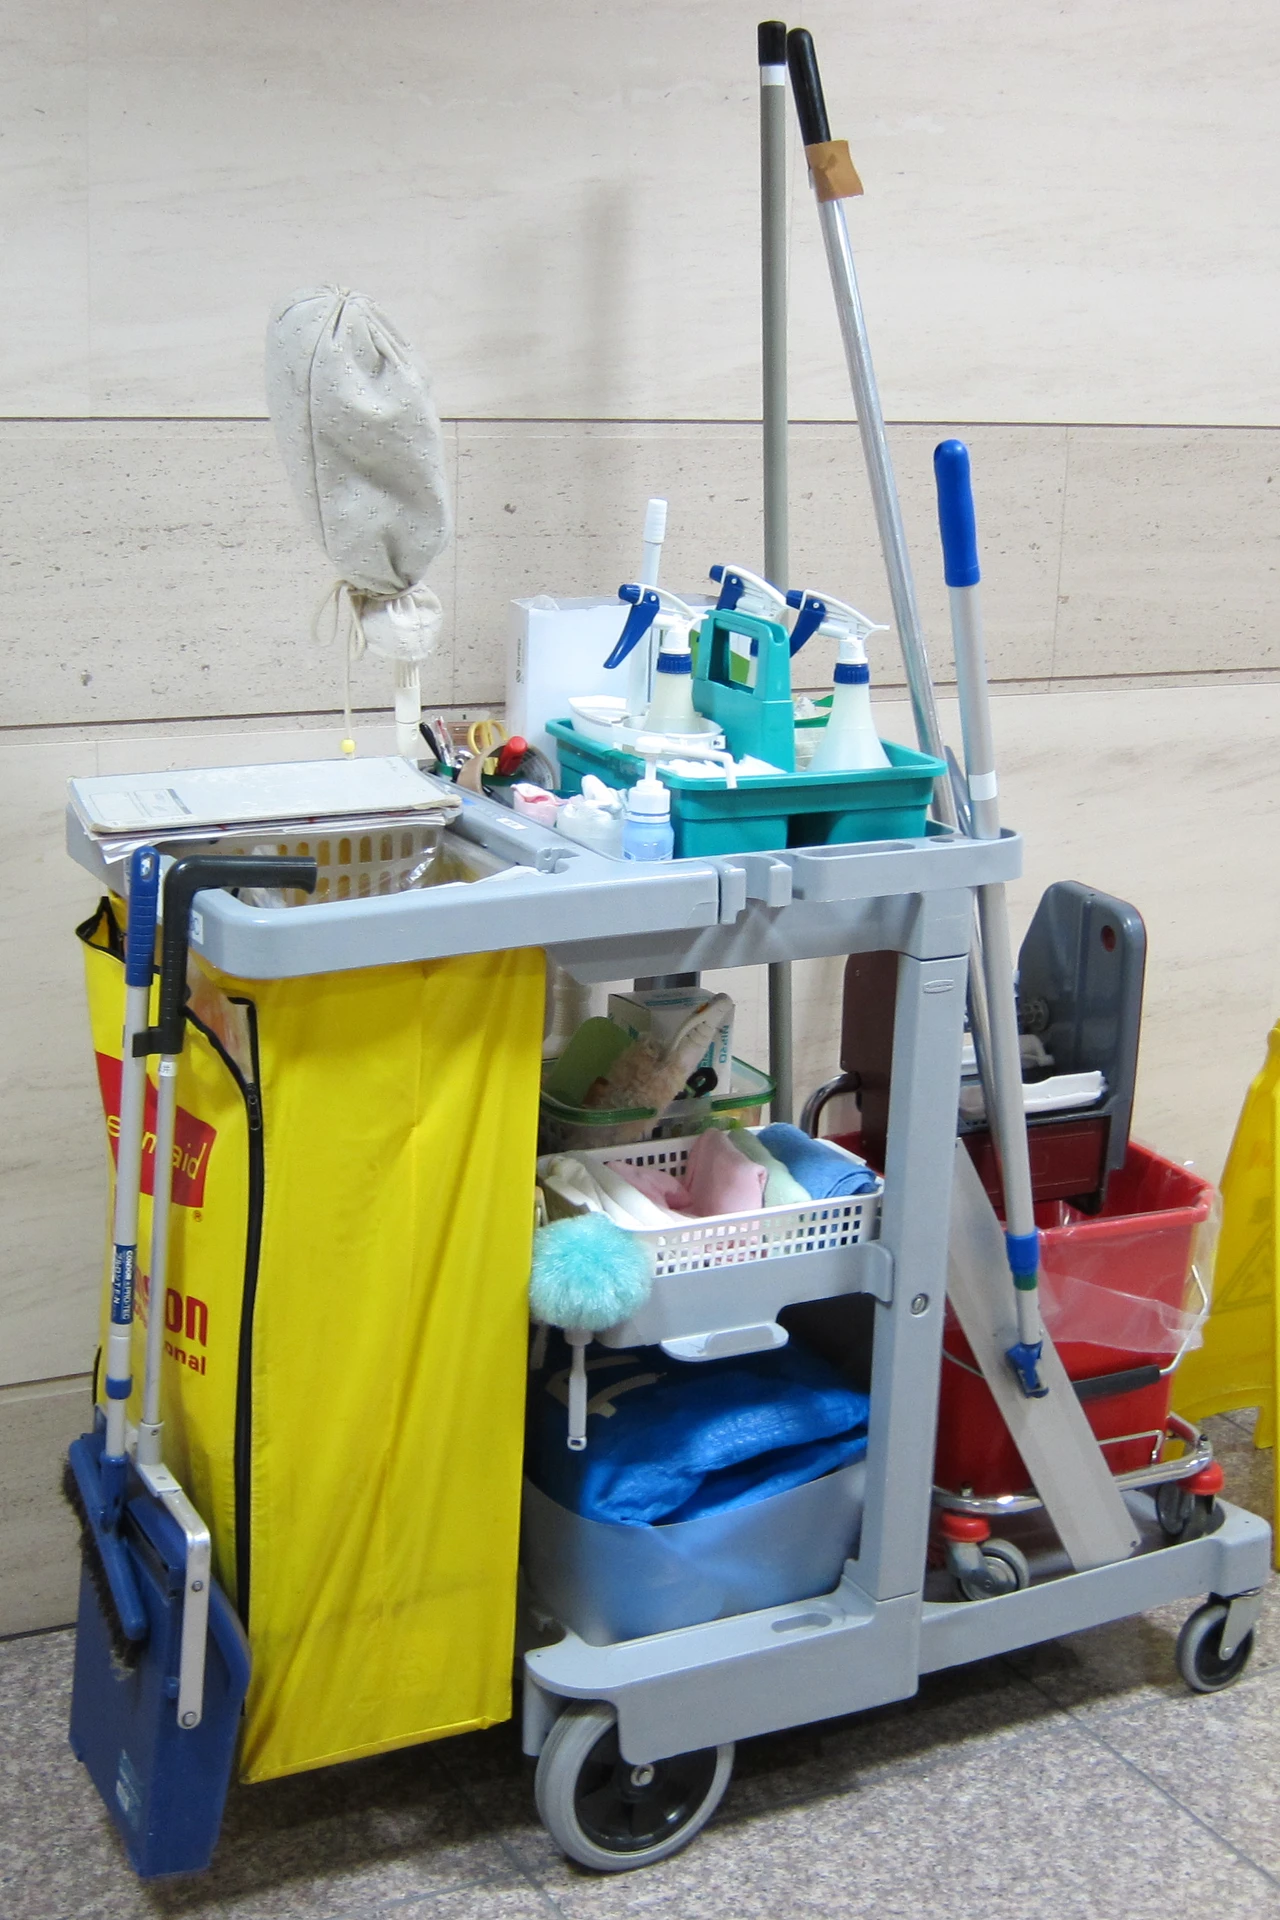
Cleaning sprays and brushes usually live under the sink in a jumble, or out in the open because there is no cupboard left. A slim rolling cart, the kind made for bathroom gaps, slides into the narrow space beside the washing machine or between cupboards and hides the whole cleaning kit. Keep sprays upright in the top tier, cloths in the middle and the vacuum attachments below, and pull the cart out only when you clean. I keep mine beside the fridge, and guests never guess where the mop lives. Label nothing on the outside — the whole point is that it looks like nothing at all, just a neat sliver of furniture.
Cost: ~$25 | Time: 15 minutes
Hidden storage is not about buying more boxes, it is about noticing the dead spaces your home already has — under beds, above doors, behind curtains — and giving each one a job. Pick three ideas from this list, start with the cheapest, and live with them for a week before adding more. That is how a small space stops feeling like a storage problem and starts feeling like home.
