23 Gallery Wall Ideas for the Living Room on a Tight Budget
Gallery wall ideas for the living room don’t require a gallery budget — I built my first one for eleven dollars and it’s still the wall people photograph when they visit. A gallery wall is the rare decor project where planning matters more than spending. Get the layout right, keep your frames cohesive, and nobody will ever guess the whole thing cost less than a takeout order. Get it wrong, and even expensive art looks messy.
These 23 gallery wall ideas are organized by budget: practically free, under $15, and $15–$30 for the ones worth a small splurge. I’m including the hanging tricks the pros use — the paper template method, the floor-planning rule — because a tight budget means every nail hole counts. Each idea has a real cost and time estimate. Let’s build a wall worth staring at.
Practically Free
These use what you own plus a little ingenuity. The planning tricks alone are worth the read.
1. The Floor-Plan-First Method
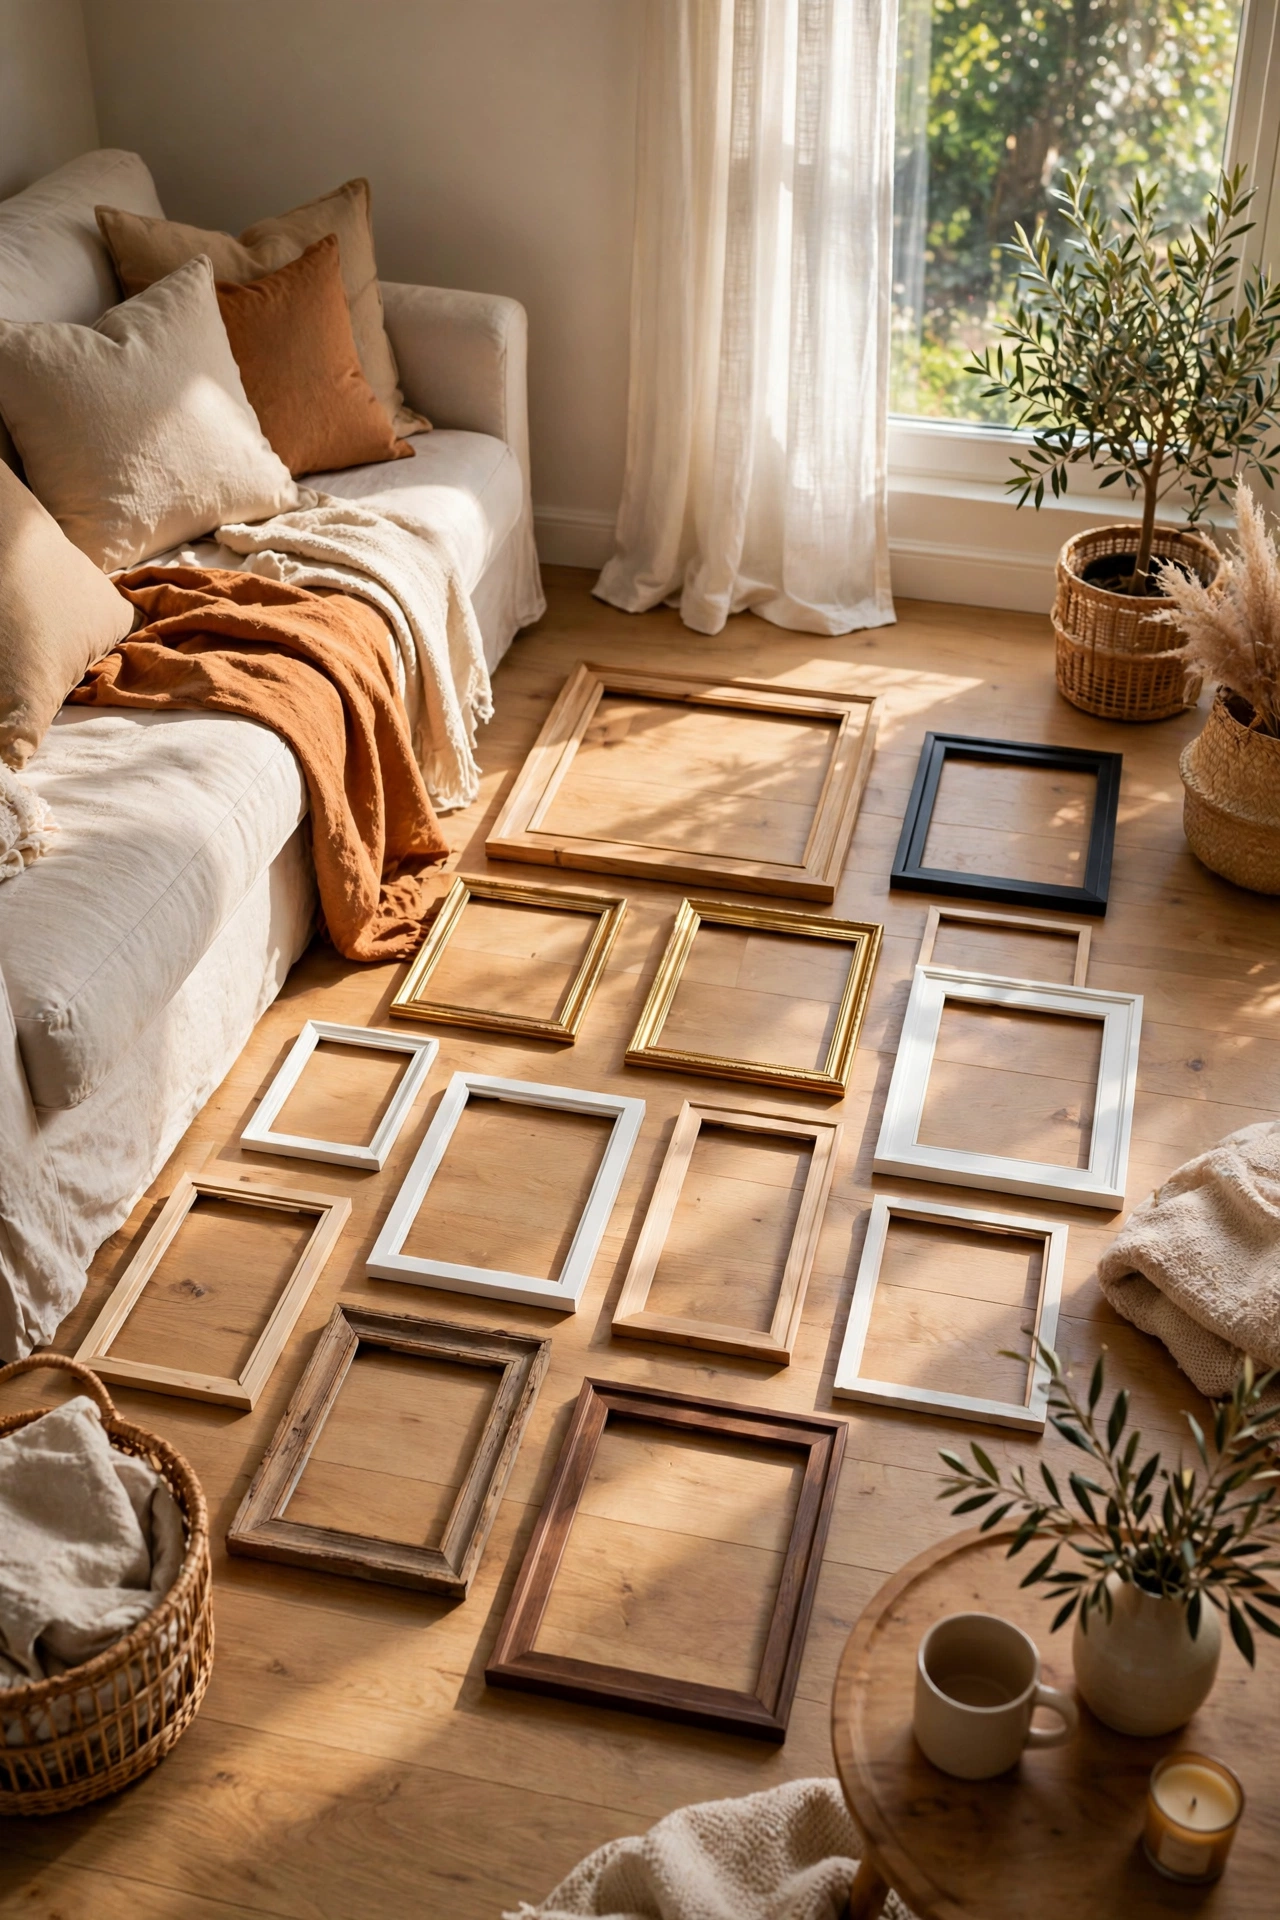
Before a single nail goes in, lay your entire gallery on the floor and arrange it there. This is the most important gallery wall trick and it costs nothing. Leave two to three inches between pieces, keep the outer shape roughly rectangular, and photograph the layout from above. I rearrange on the floor for twenty minutes to save two hours of patching holes later. Once you love it, transfer pieces to the wall one at a time. Every gallery wall I love started as a floor puzzle.
Cost: $0 | Time: 30 minutes planning
2. Shop-Your-House Gallery
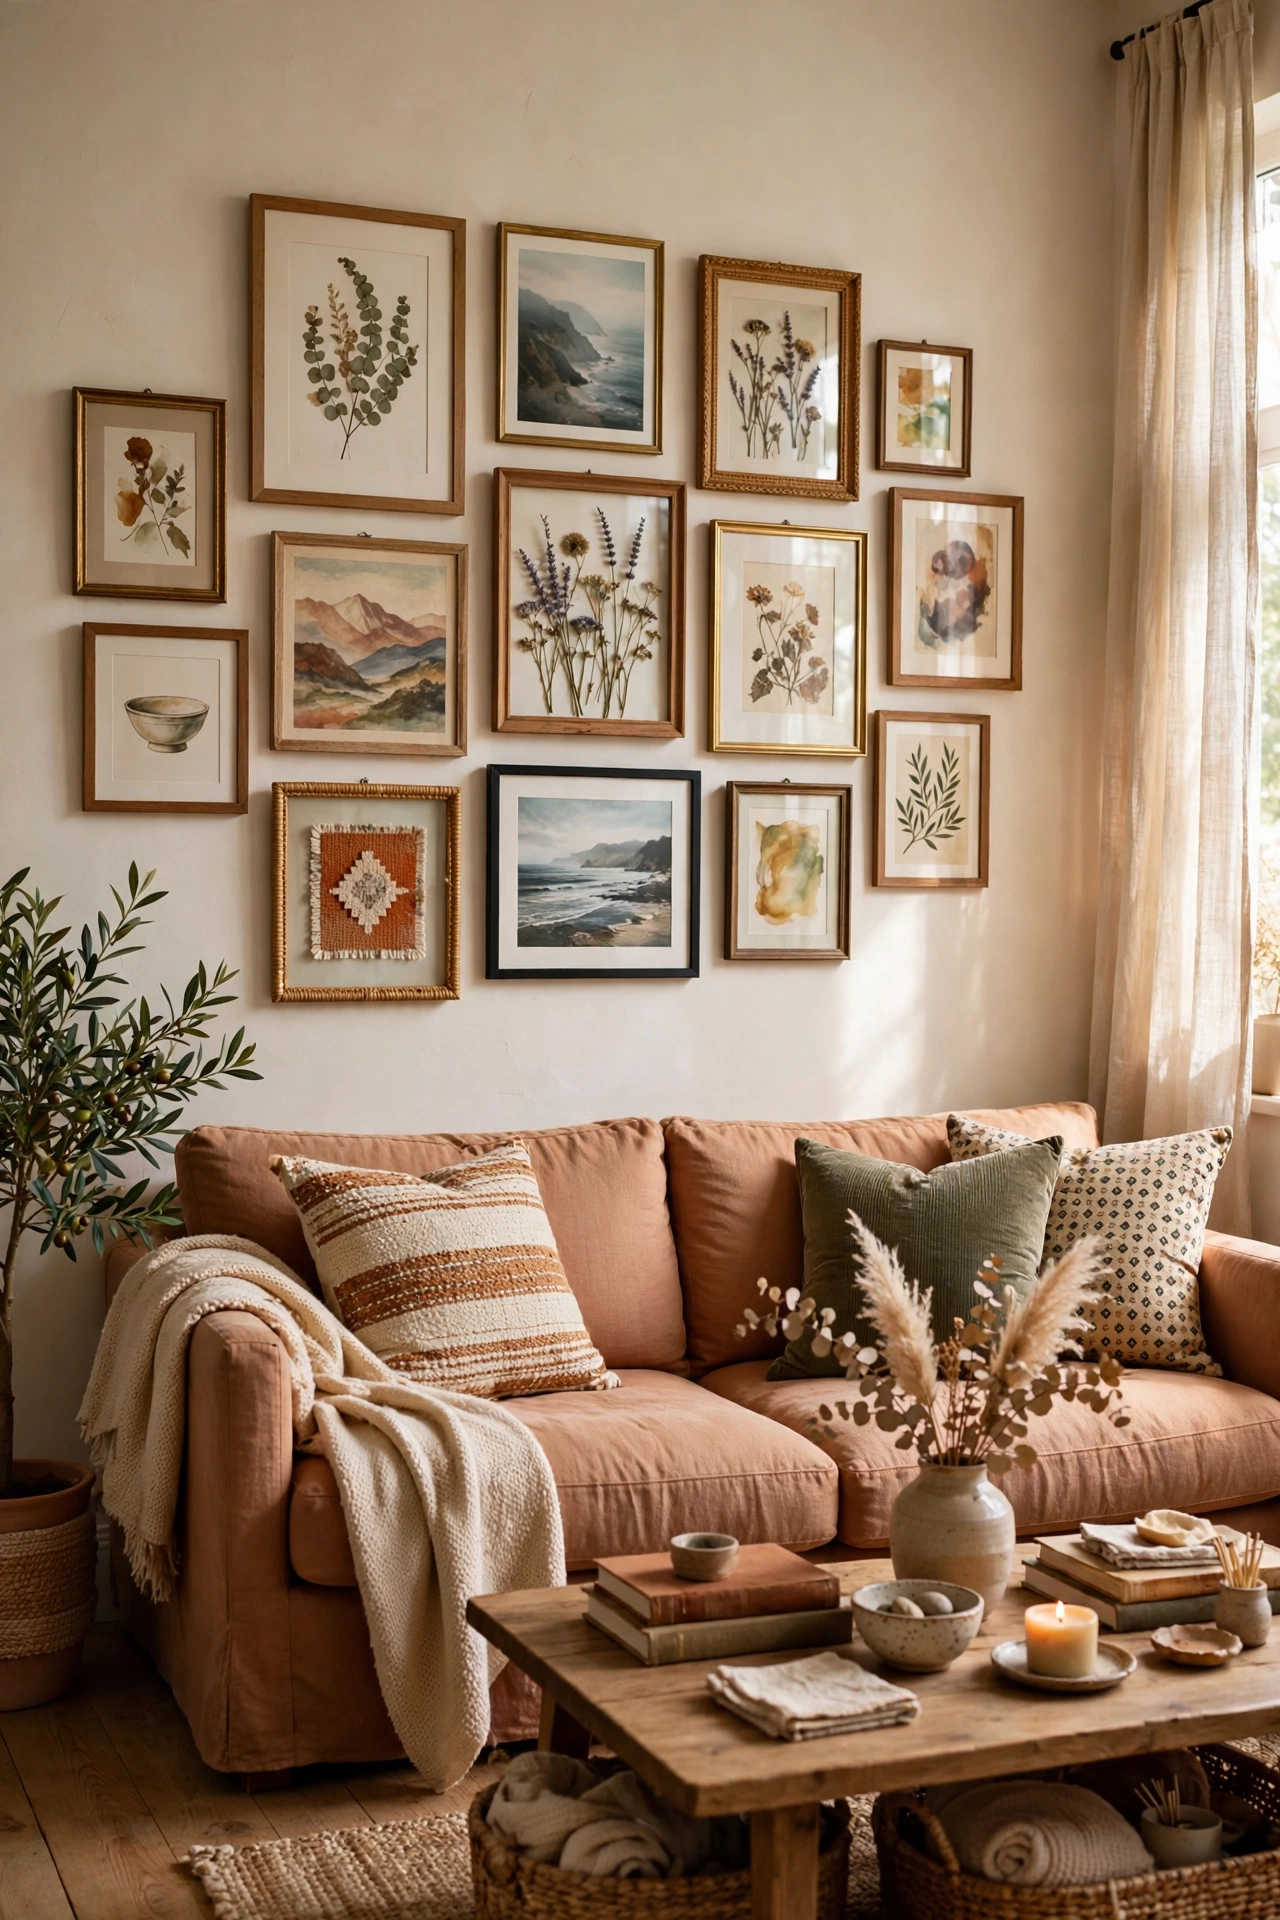
Gather every frame, small mirror, and wall-worthy piece from every room and build one great gallery in the living room. I collected eleven pieces from bedrooms, the hallway, and a closet — things I’d stopped seeing — and they became a whole new wall. Pieces look different in a new context with new neighbors. A bedroom print becomes living room art when it’s part of a bigger composition. Before spending anything, audit your own walls. You’re sitting on a gallery already.
Cost: $0 | Time: 1.5 hours
3. Kids’ Art Gallery Wall
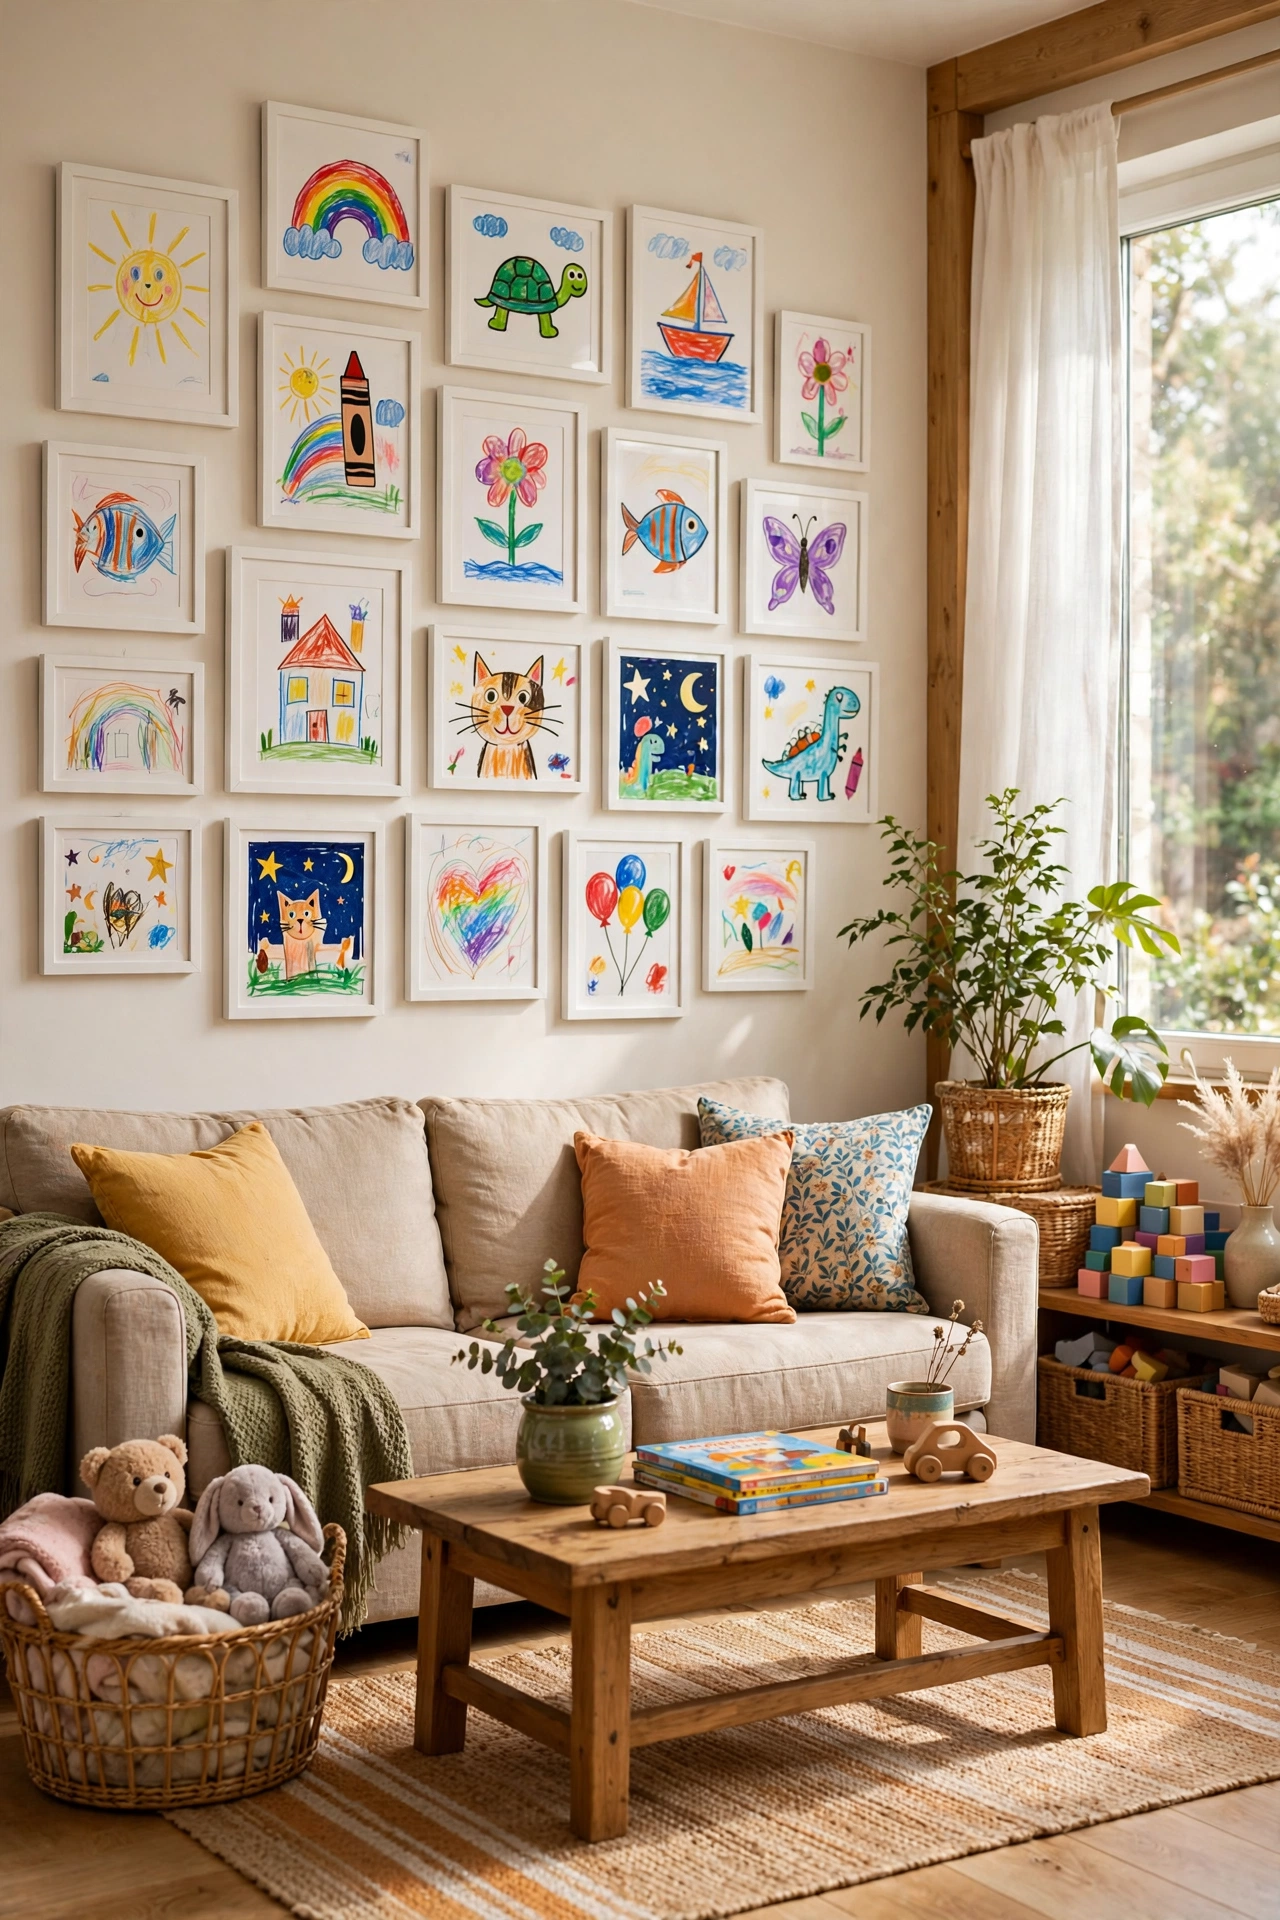
Frame your kids’ best pieces in matching inexpensive frames and hang them salon-style. The color and joy of children’s art makes a gallery wall feel alive in a way store-bought prints can’t. I used white dollar store frames and hung eight pieces in our hallway — guests always stop to study them. Pick pieces with some color commonality for cohesion, or lean into the beautiful chaos. Either way, it’s deeply personal art that cost you nothing but pride.
Cost: $0–8 | Time: 1 hour
4. Book Page and Sheet Music Art
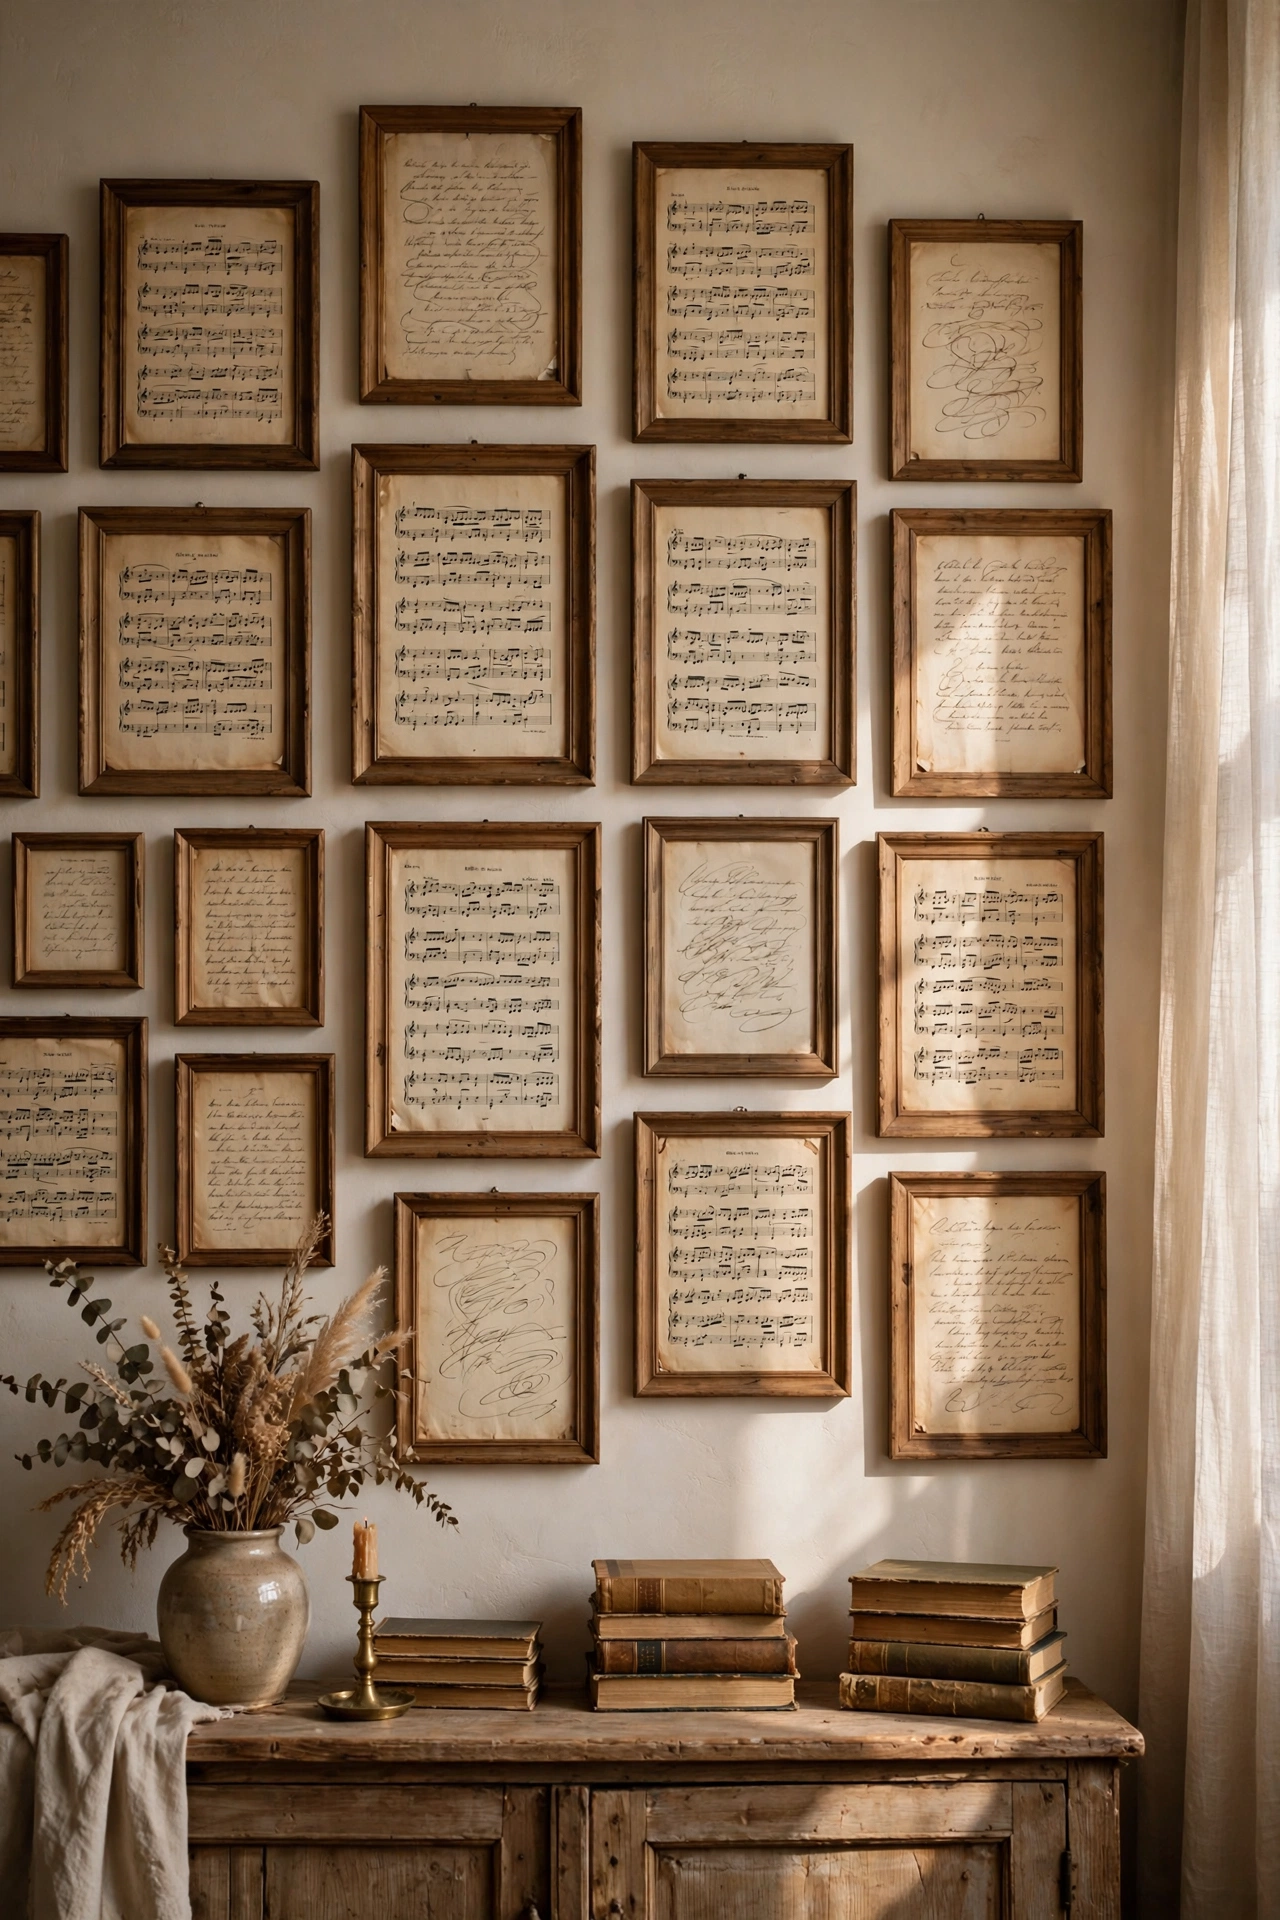
Pages from damaged books or old sheet music, framed simply, make an elegant literary gallery. The aged paper and typography look vintage and expensive. I framed six pages from a falling-apart hymnal in thrifted frames and the wall looks like a boutique hotel. Tear pages carefully along the spine, or print text pages on cream paper at home. Group them tight — four to six inches apart max — so they read as one installation, not scattered papers.
Cost: $0–5 | Time: 45 minutes
5. Washi Tape Gallery (No Frames)
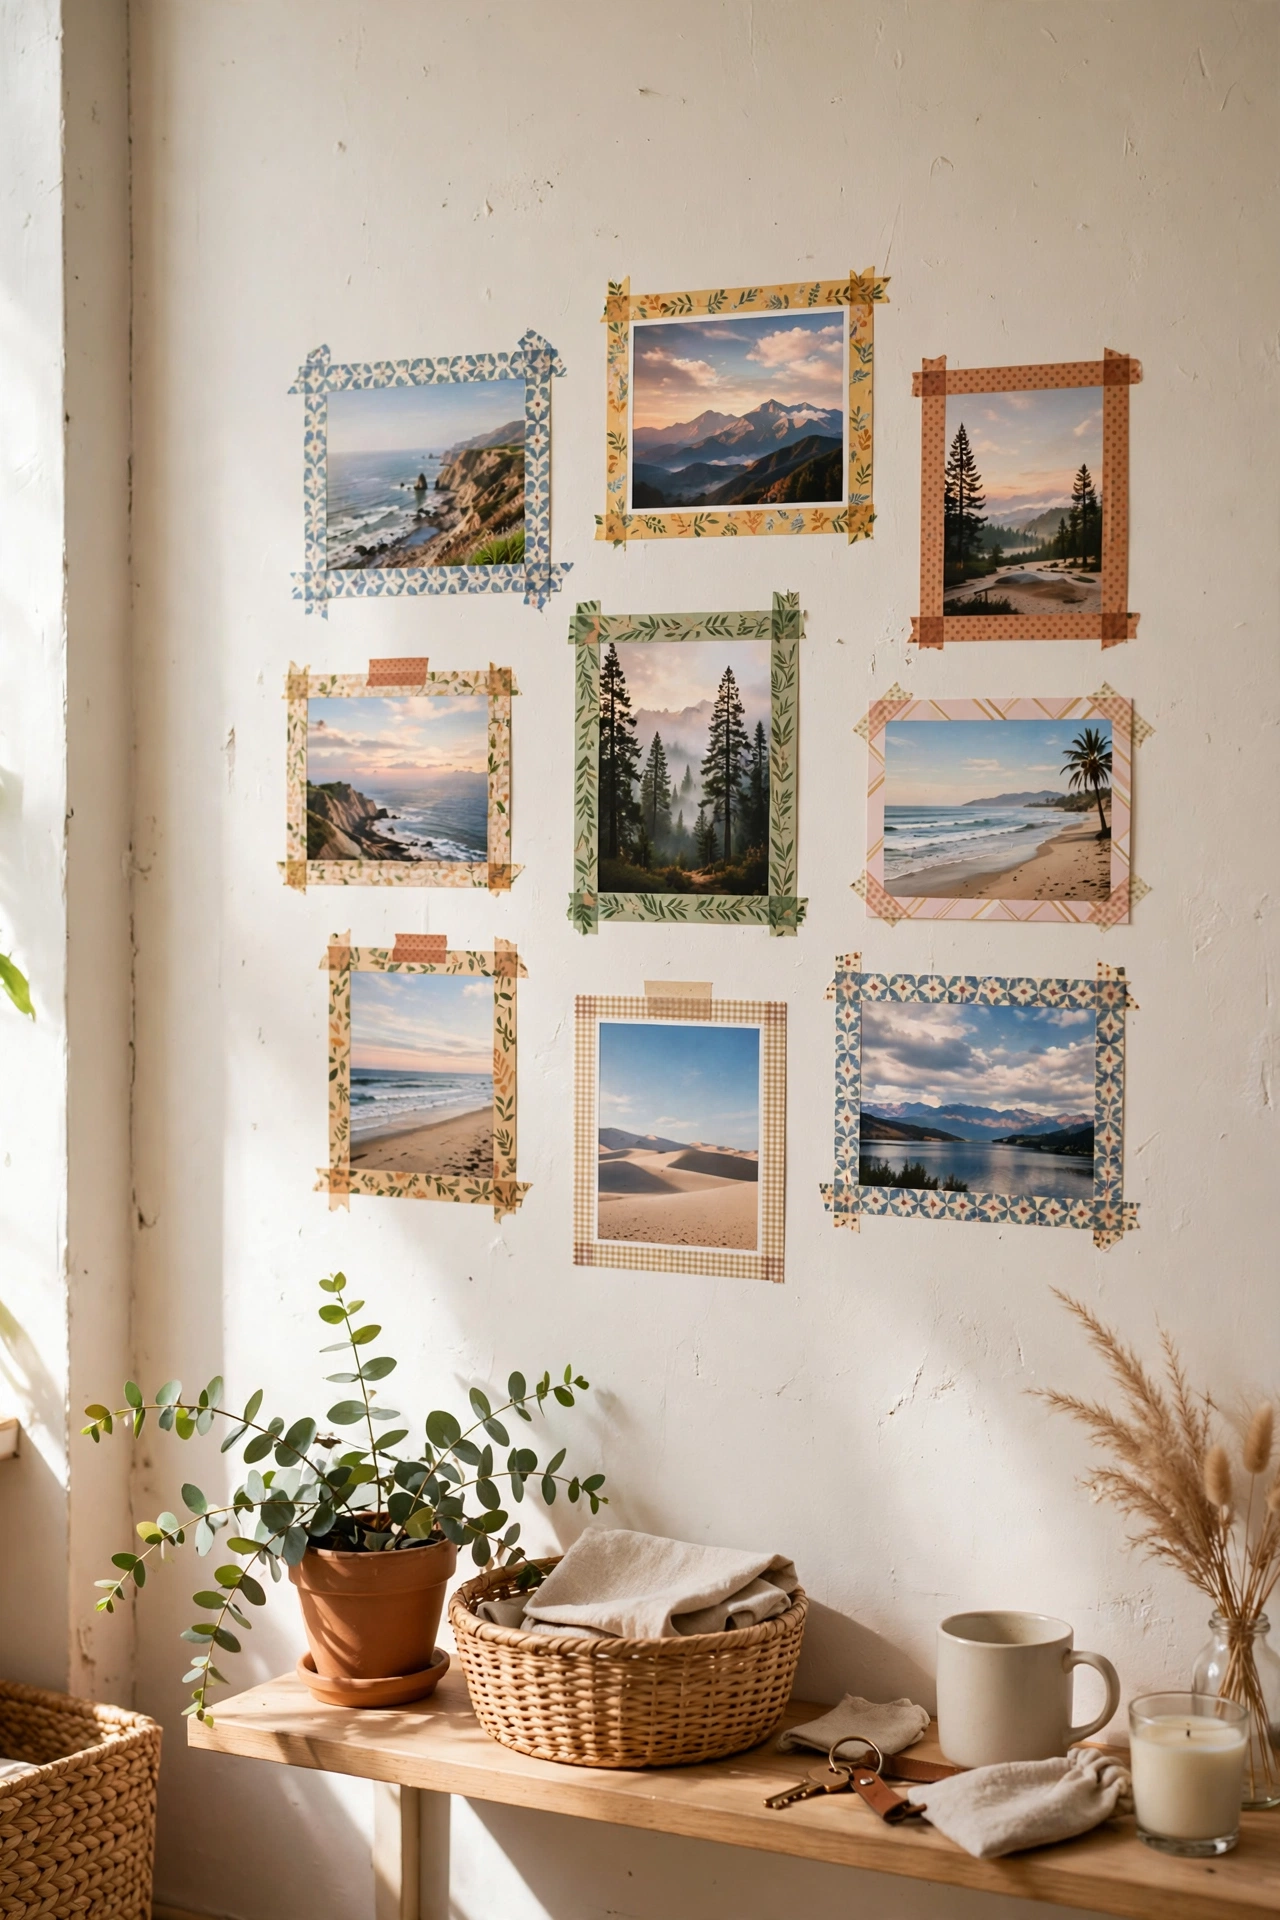
Skip frames entirely and mount prints directly with decorative washi tape borders. One three-dollar roll frames six to eight pieces, and it peels off cleanly — perfect for renters and commitment-phobes. I did a washi gallery of travel postcards in my rental and it looked sharp and intentional. Keep tape lines straight and spacing even; precision is what separates “crafty” from “chic.” When you’re bored, peel it all off and start over. Try doing that with nailed frames.
Cost: ~$3 | Time: 1 hour
6. Black-and-White Photo Grid
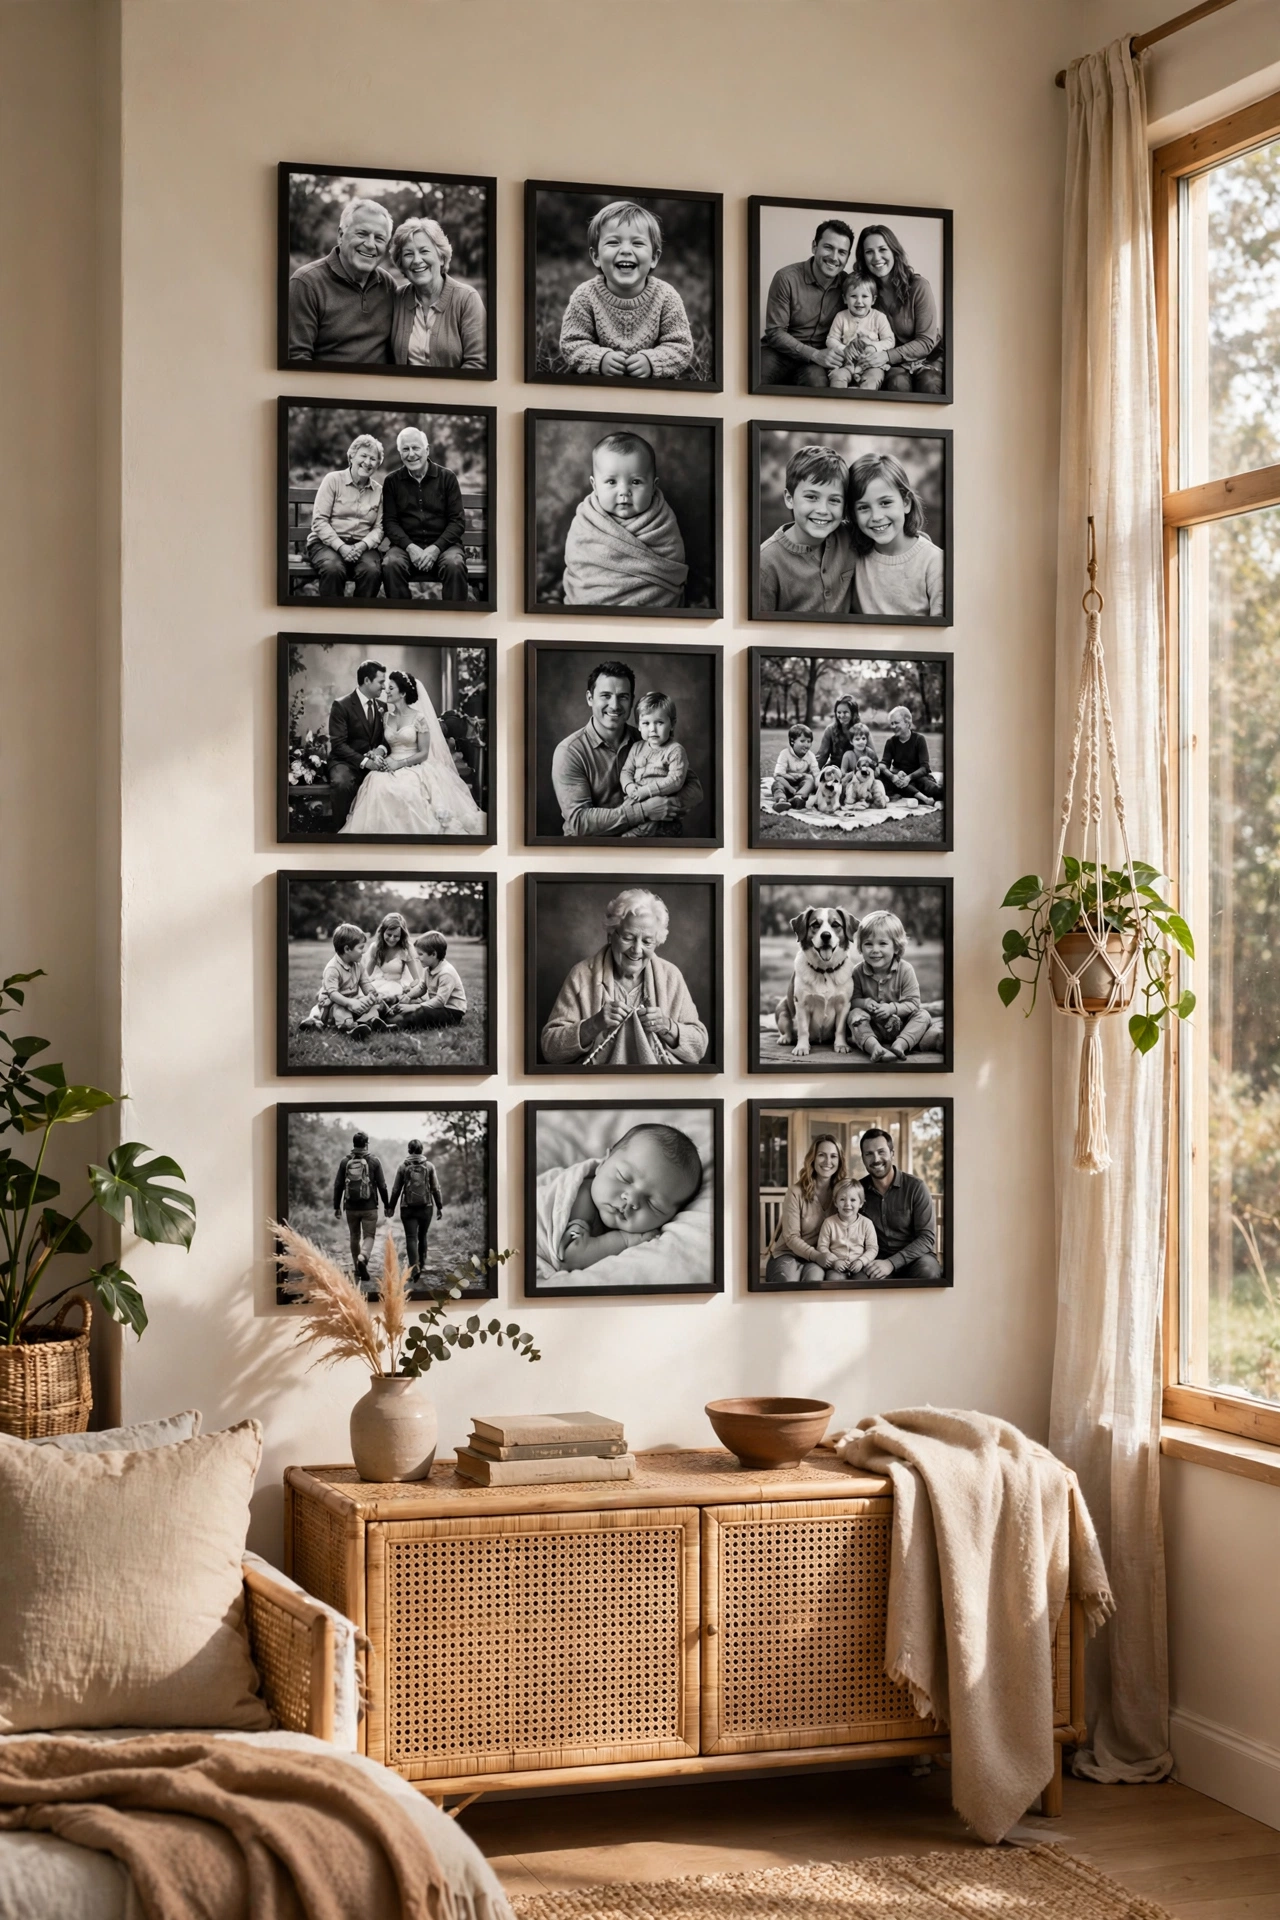
Print your favorite photos in black and white — at home, the library, or the drugstore for pennies — and hang them in a precise grid. The monochrome treatment unifies even the most random collection of snapshots. I printed twelve 4×6 photos for three dollars and hung them with tiny binder clips on twine, then later upgraded to matching frames. Same photos, two looks, both great. Black and white is forgiving: bad lighting, weird colors, all disappear. The memories stay.
Cost: ~$3–5 | Time: 45 minutes
7. Clipboard Gallery Wall
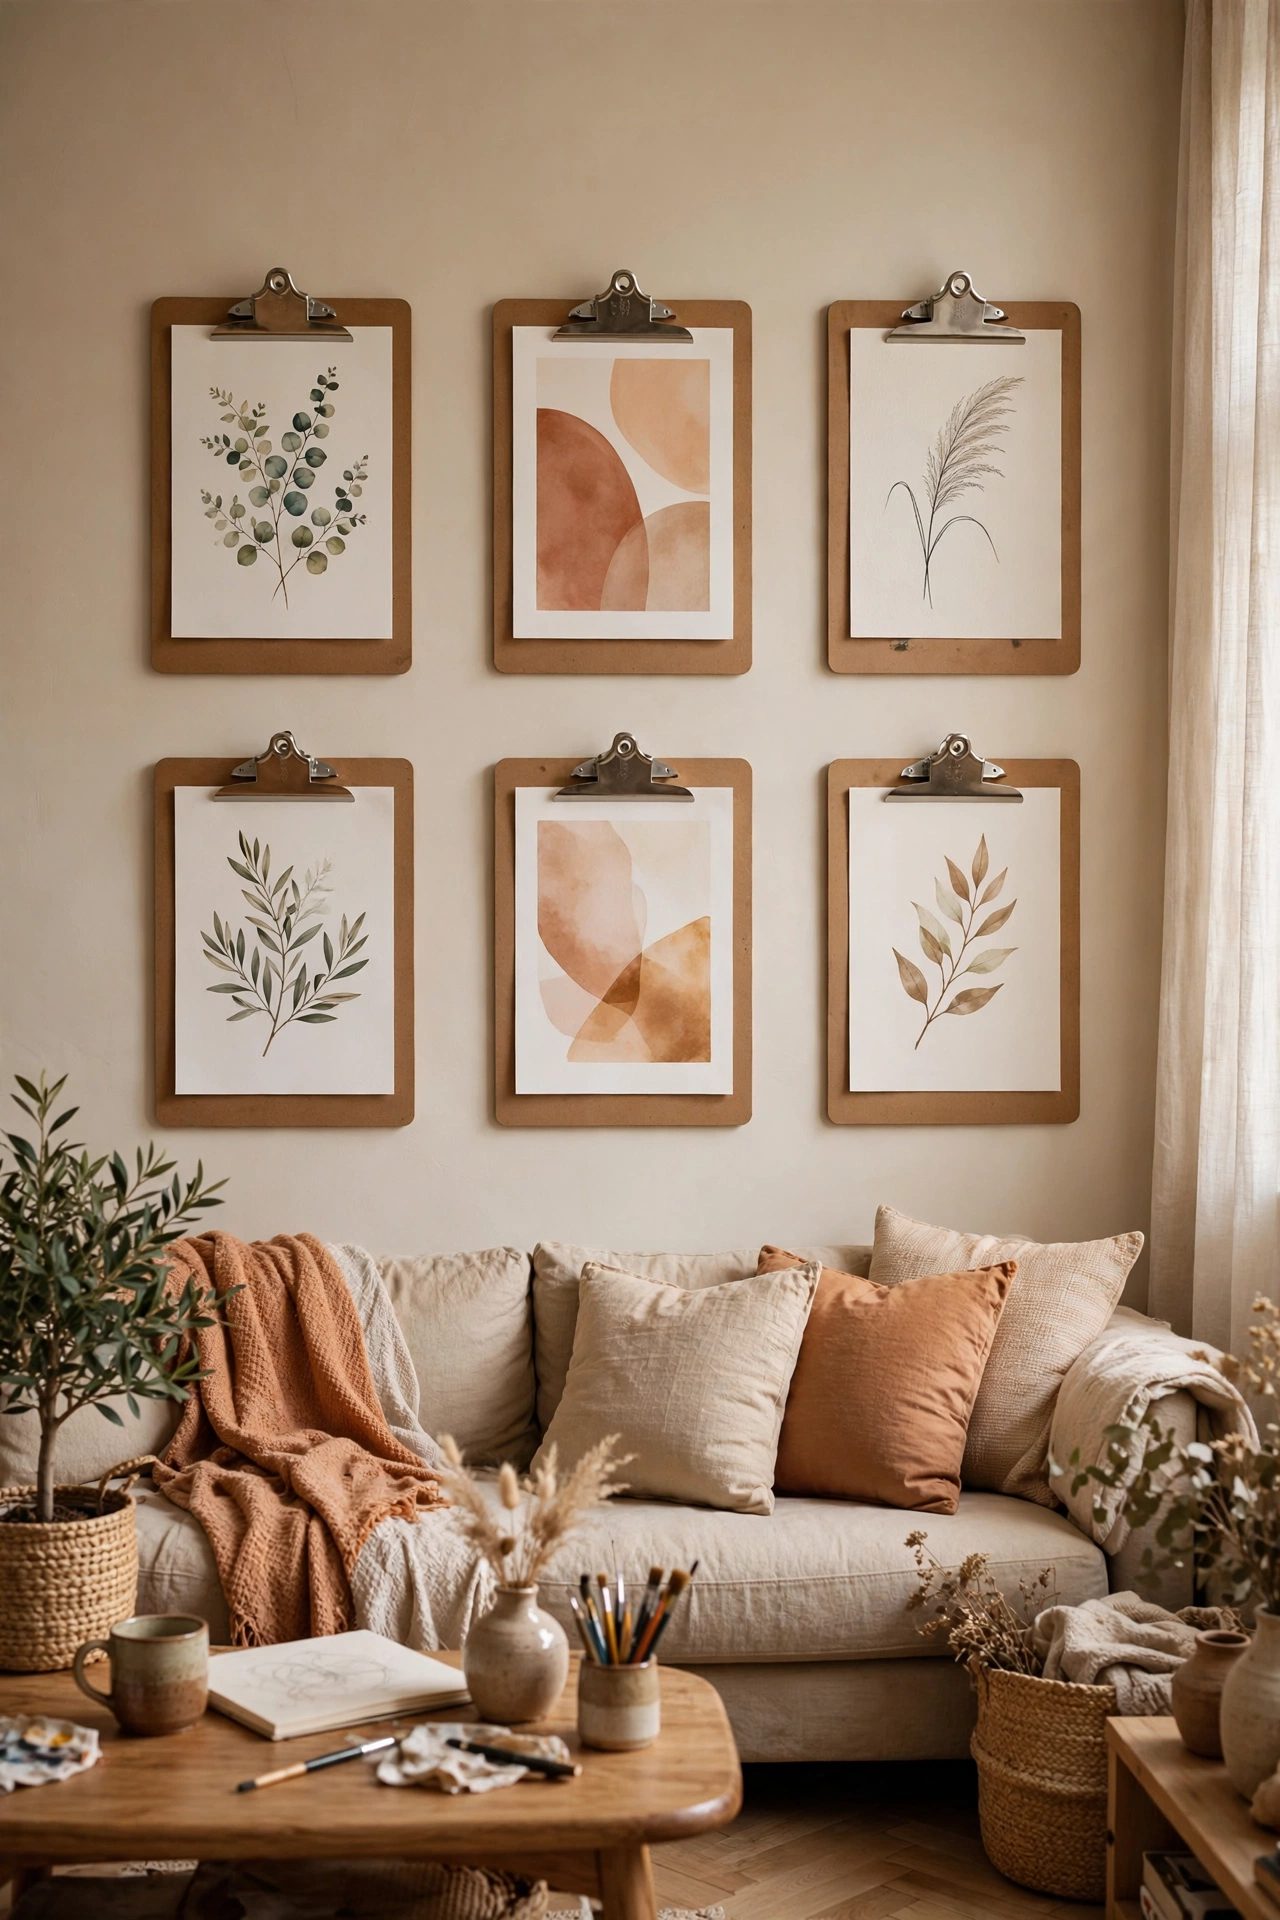
Hang a row of wooden clipboards and clip in art, photos, or quotes — changeable in seconds, no reframing ever. I bought six clipboards for a dollar each and hung them in two rows of three. The wood adds warmth and the industrial vibe suits casual living rooms. Swap the contents seasonally: family photos in fall, kids’ art in spring. It’s a gallery wall with a refresh button. Mine currently holds vintage postcards. Next month, who knows.
Cost: ~$6 | Time: 40 minutes
8. The Paper Template Trick
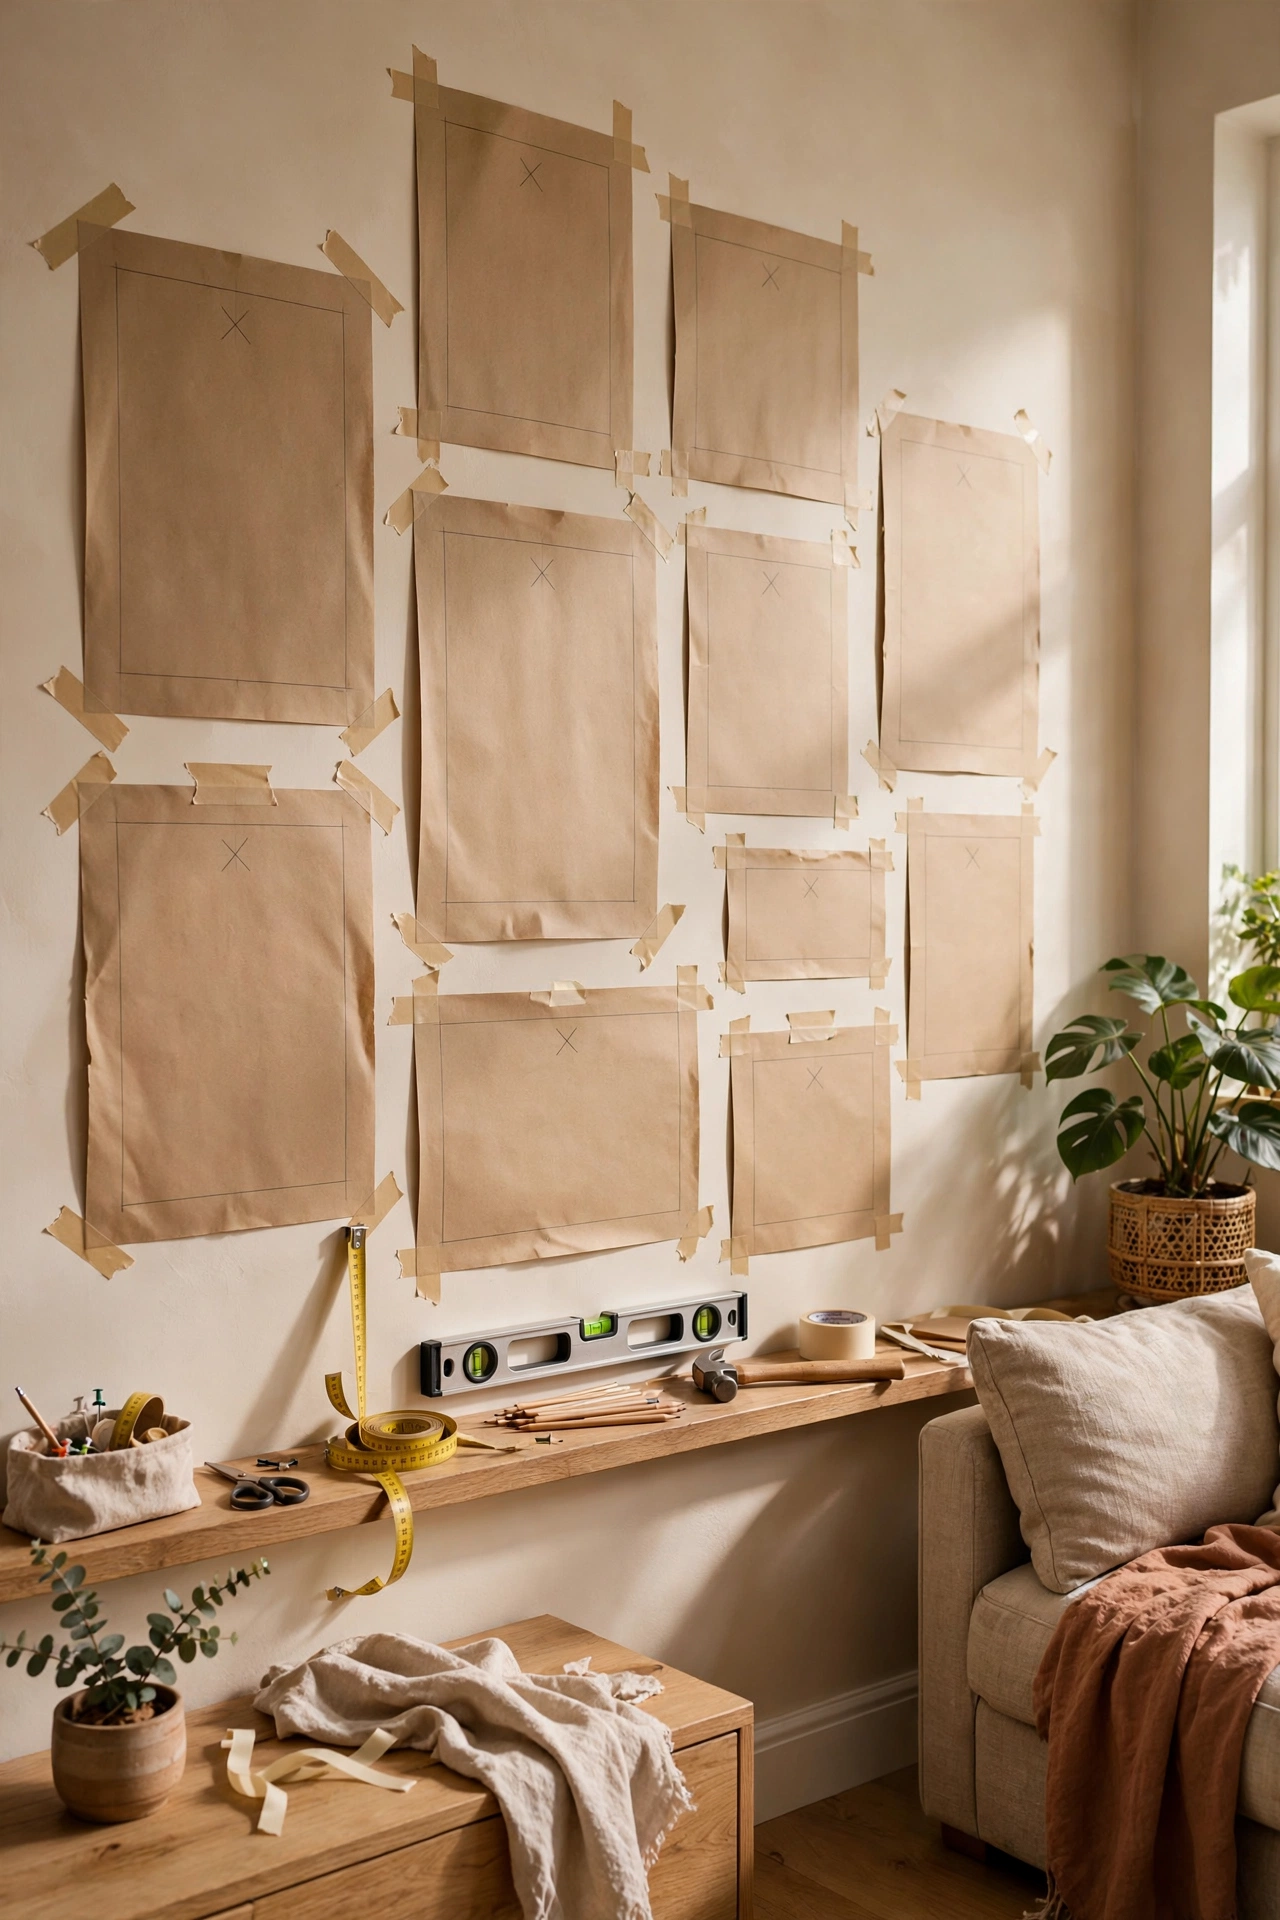
Trace each frame on kraft paper, cut out the shapes, and tape them to the wall to plan your layout with zero holes. Mark where each nail goes right on the paper, hammer through it, then tear the paper away. This is how the pros hang perfect galleries, and it costs nothing but paper and tape. I template every gallery wall now after learning the hard way — my first attempt has eleven patched holes behind it. Eleven. The paper trick would have saved me an afternoon of spackling.
Cost: $0 | Time: 45 minutes
Under $15
A few dollars buys cohesion — matching frames, printed art, and the little things that make a gallery look deliberate.
9. Thrifted Frames, One Paint Color
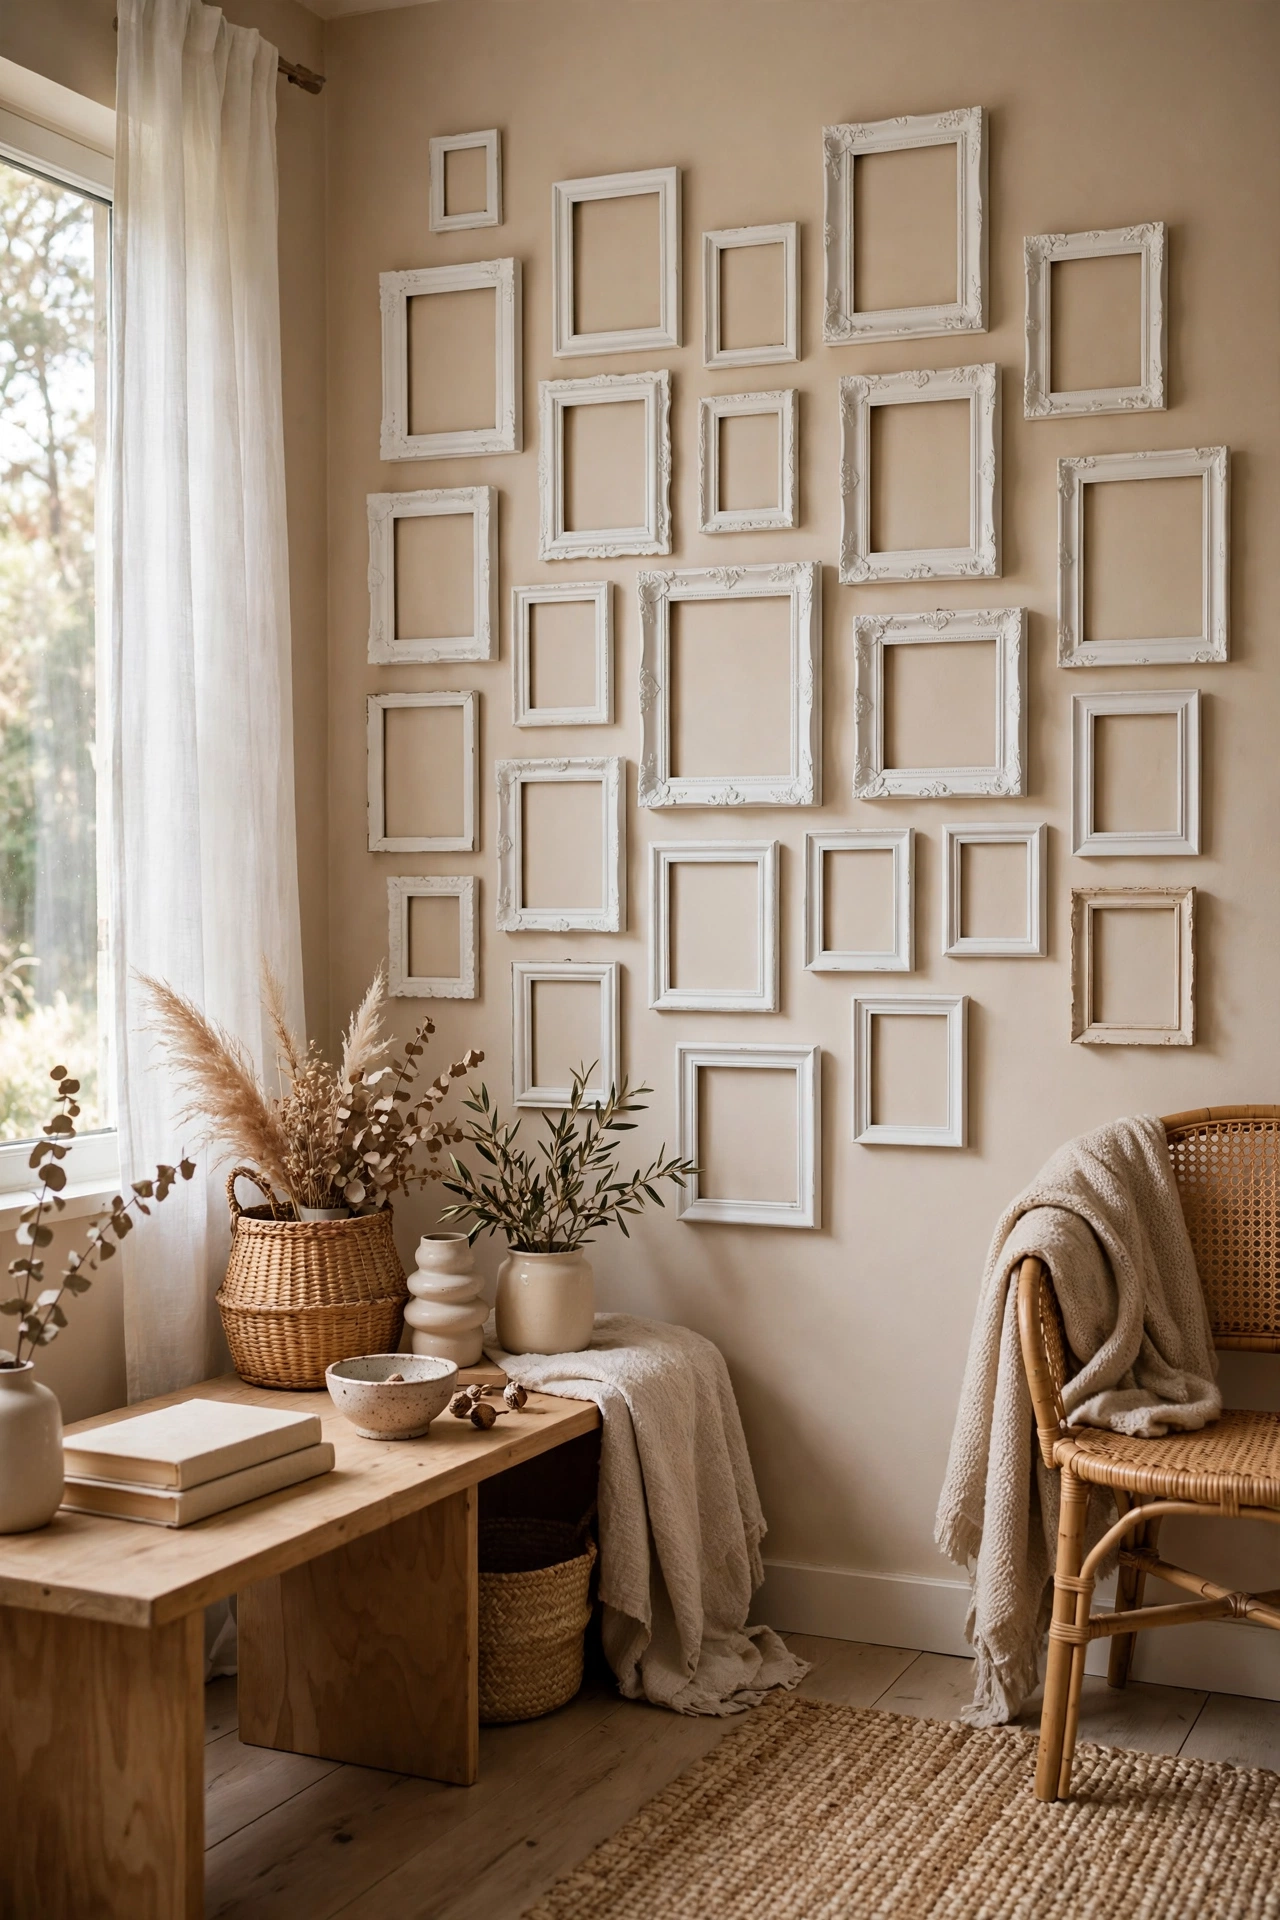
Buy every interesting frame the thrift store has — different sizes, different styles — and spray paint them all one color. The unified finish turns chaos into collection. I did nine frames in matte white for under fifteen dollars including paint, and the gallery looks like a curated set. Ornate vintage frames in modern black are especially striking. Don’t skip the light sanding first; paint peels off slick frames. Learned that on frame number three.
Cost: ~$12–15 | Time: 2 hours
10. Dollar Store Frame Grid
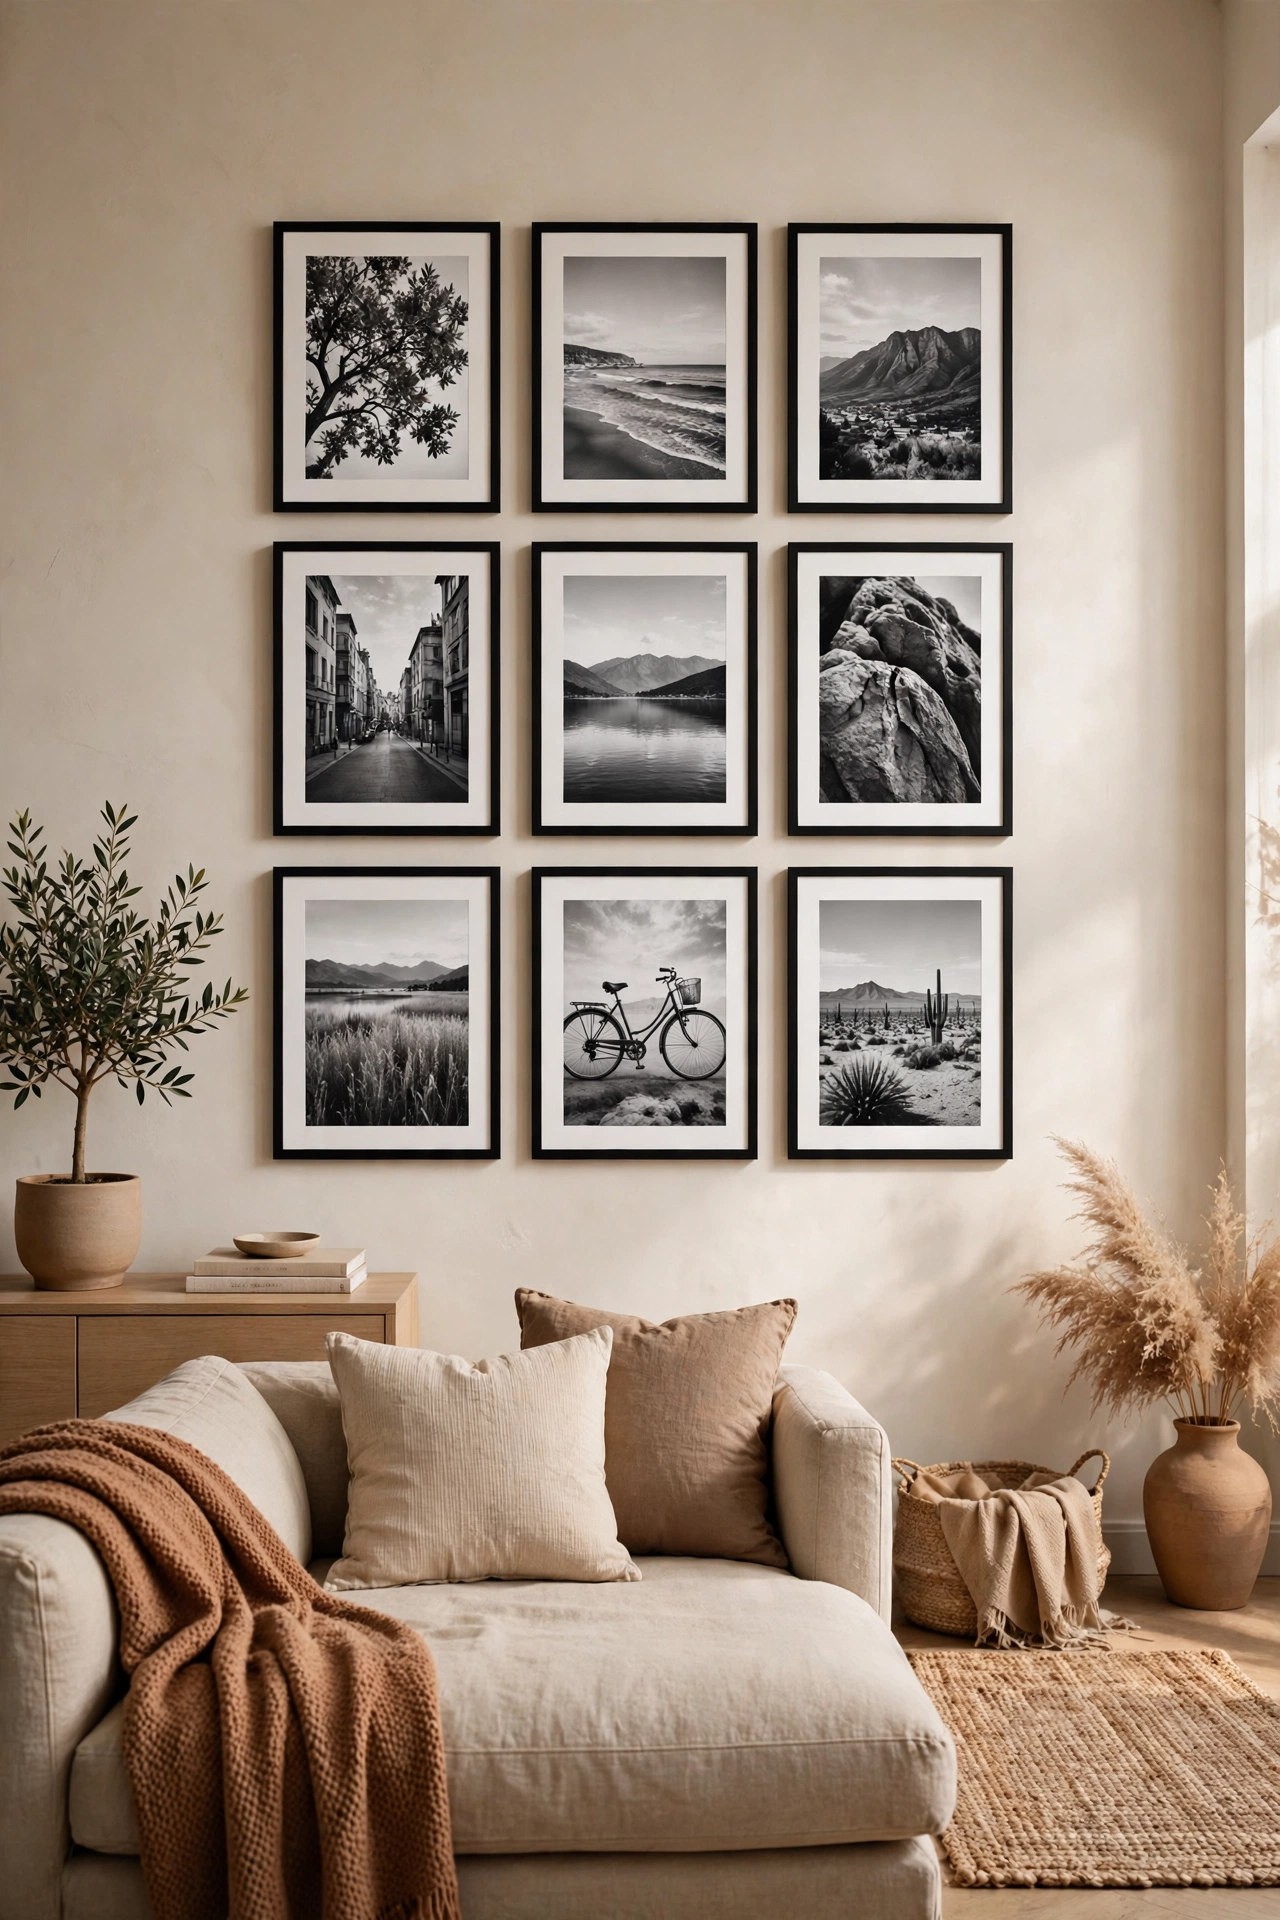
Six to nine identical dollar store frames in a tight grid is the cheapest gallery wall that looks expensive. The repetition is the design — identical frames say “intentional” louder than any single piece of art. I hung nine black frames in a 3×3 grid with black-and-white photos, total cost eleven dollars. Measure carefully; grids punish crookedness. Use a level and painter’s tape to mark your lines. My grid is the first thing people notice in the room, and it cost less than lunch.
Cost: ~$10–12 | Time: 1 hour
11. Printable Art Collection
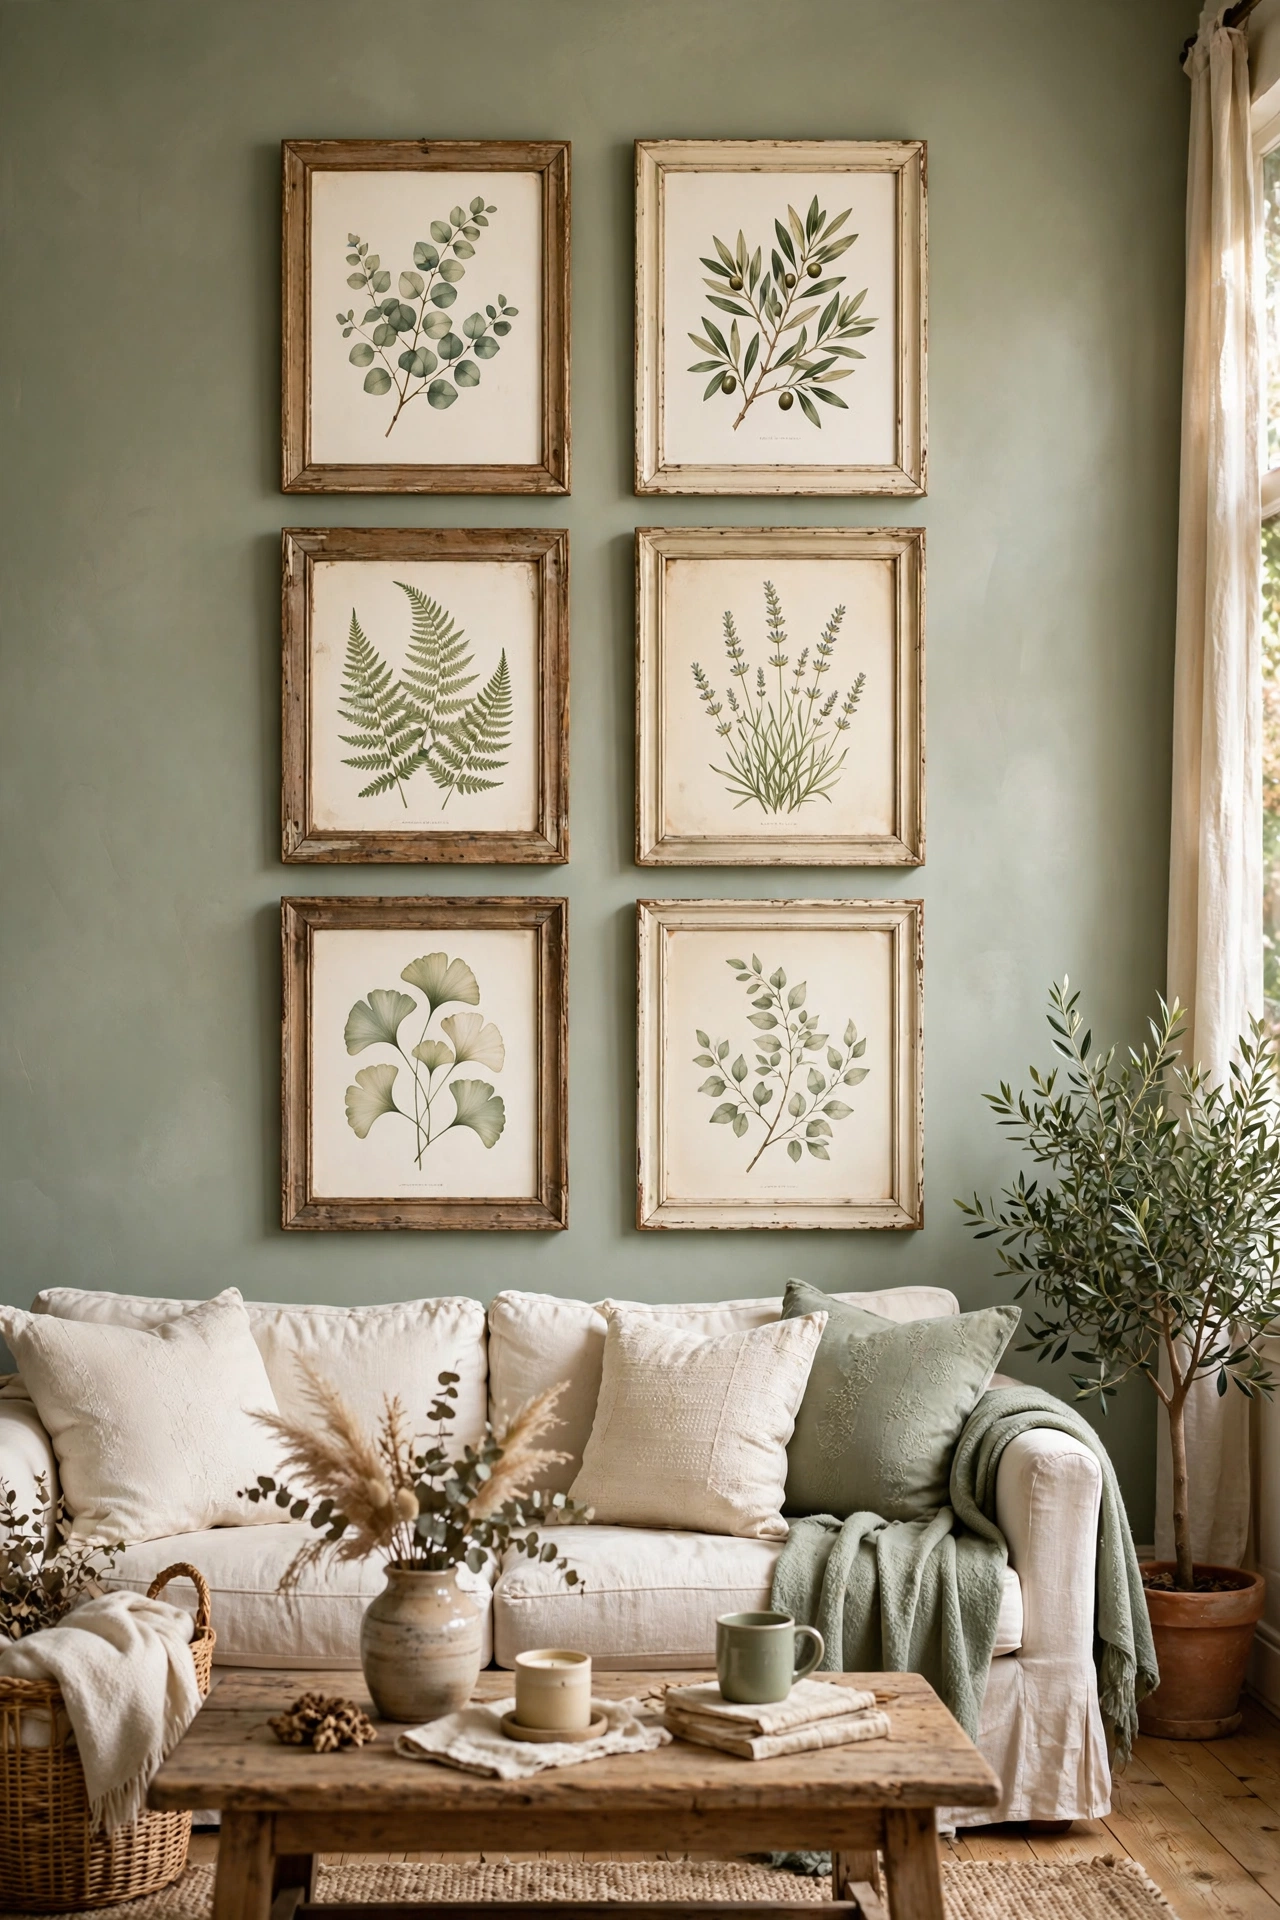
Download a coordinated set of printable art — same palette, same style — and print them all at once. Cohesion is what makes a gallery wall sing, and a matched set of printables gives you that for the cost of printing. I found a set of six botanical prints in sage and cream, printed them for eight dollars, and framed them in thrifted frames. The wall looks like I bought a collection. I did, technically. It was free. The printing was eight dollars.
Cost: ~$8–12 | Time: 1 hour
12. Calendar Page Gallery
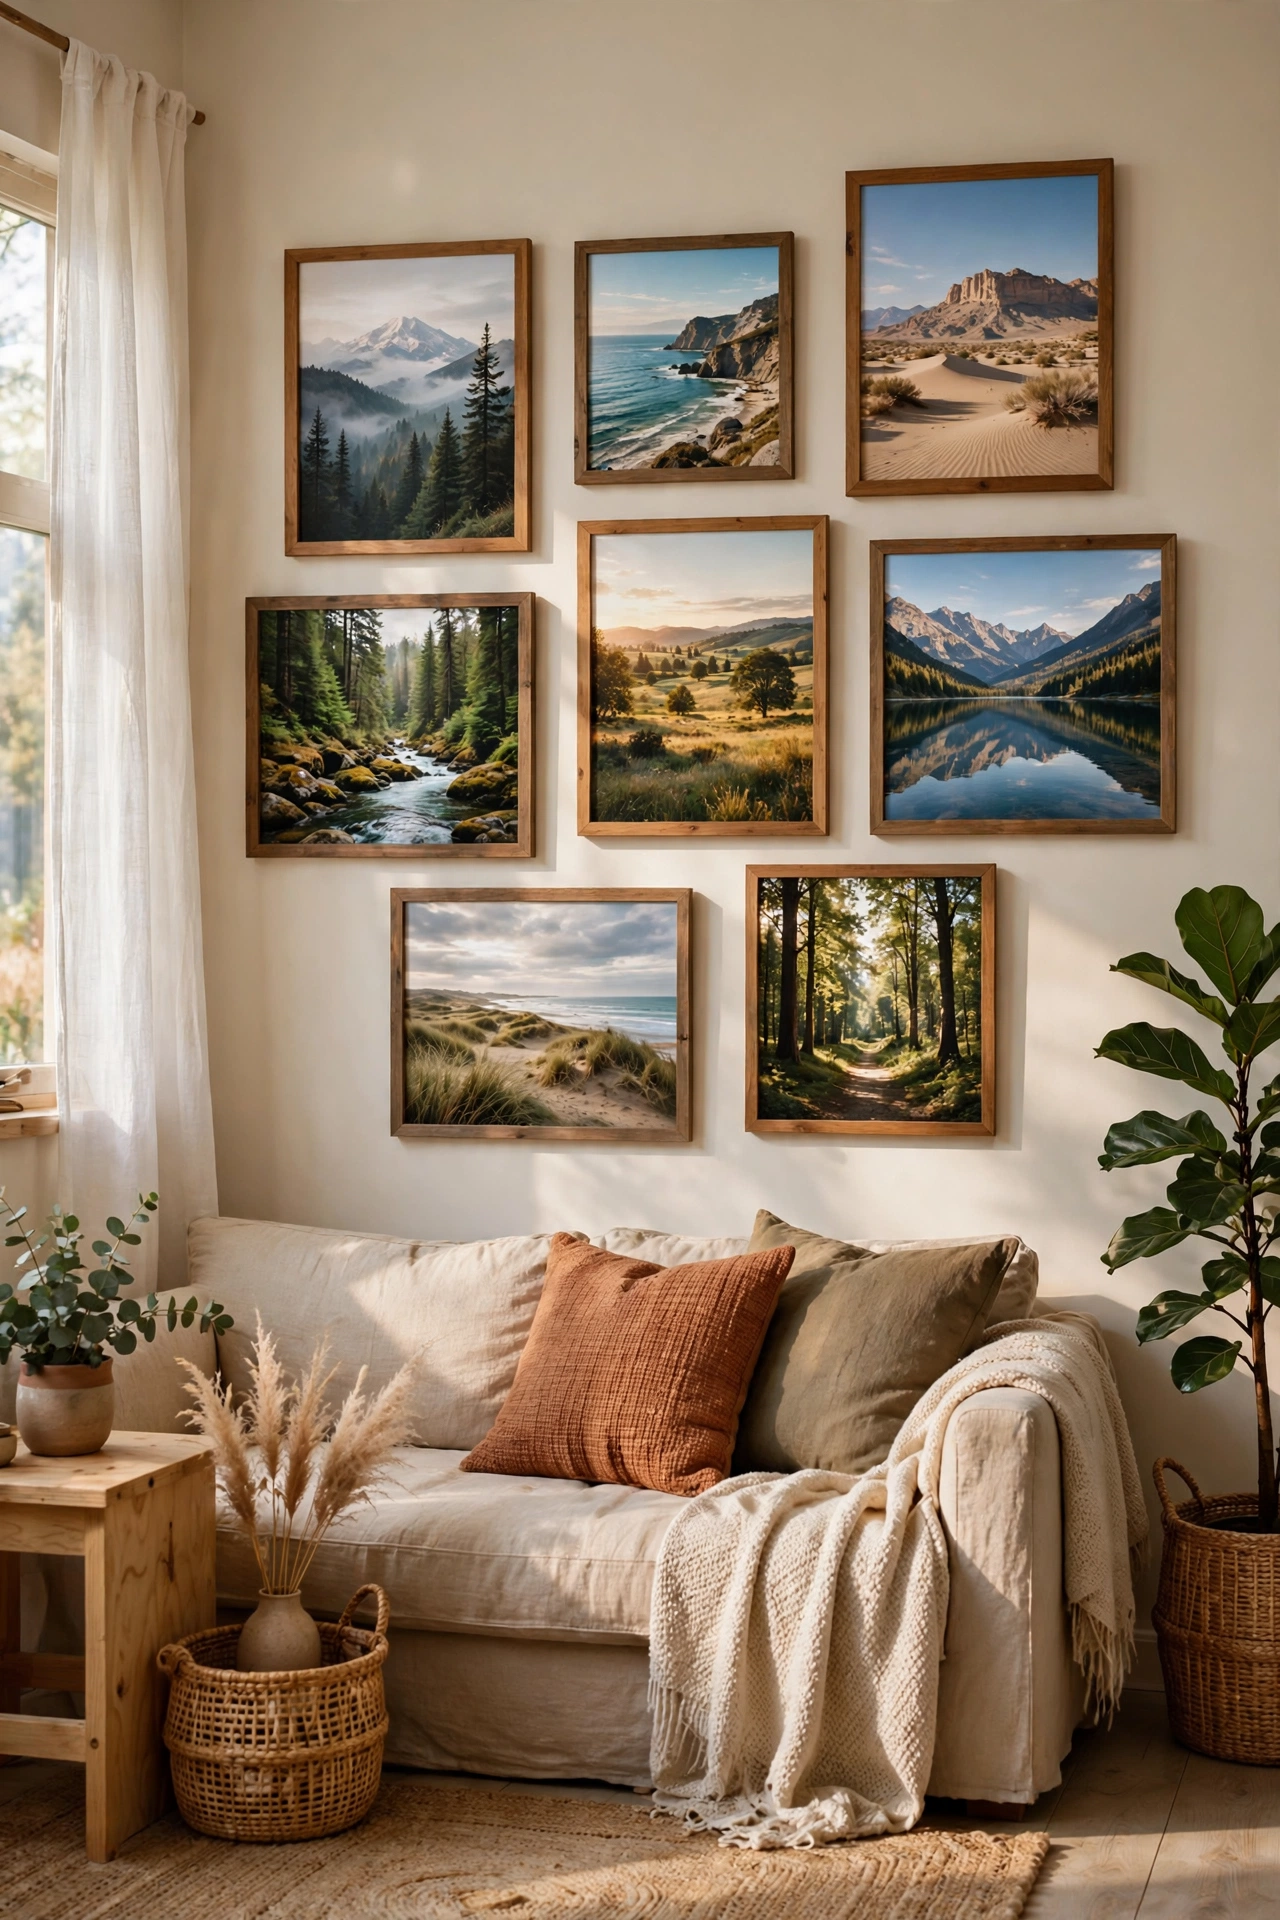
Buy a beautiful wall calendar on January clearance for two dollars and frame six to eight months as a gallery. The images are professionally photographed and the size is perfect for standard frames. I framed a national parks calendar in matching frames — twelve dollars total — and the wall looks like a travel gallery. Swap pages seasonally for a wall that never gets boring. A two-dollar calendar is the cheapest art subscription on earth.
Cost: ~$8–14 | Time: 1 hour
13. Postcard and Greeting Card Wall
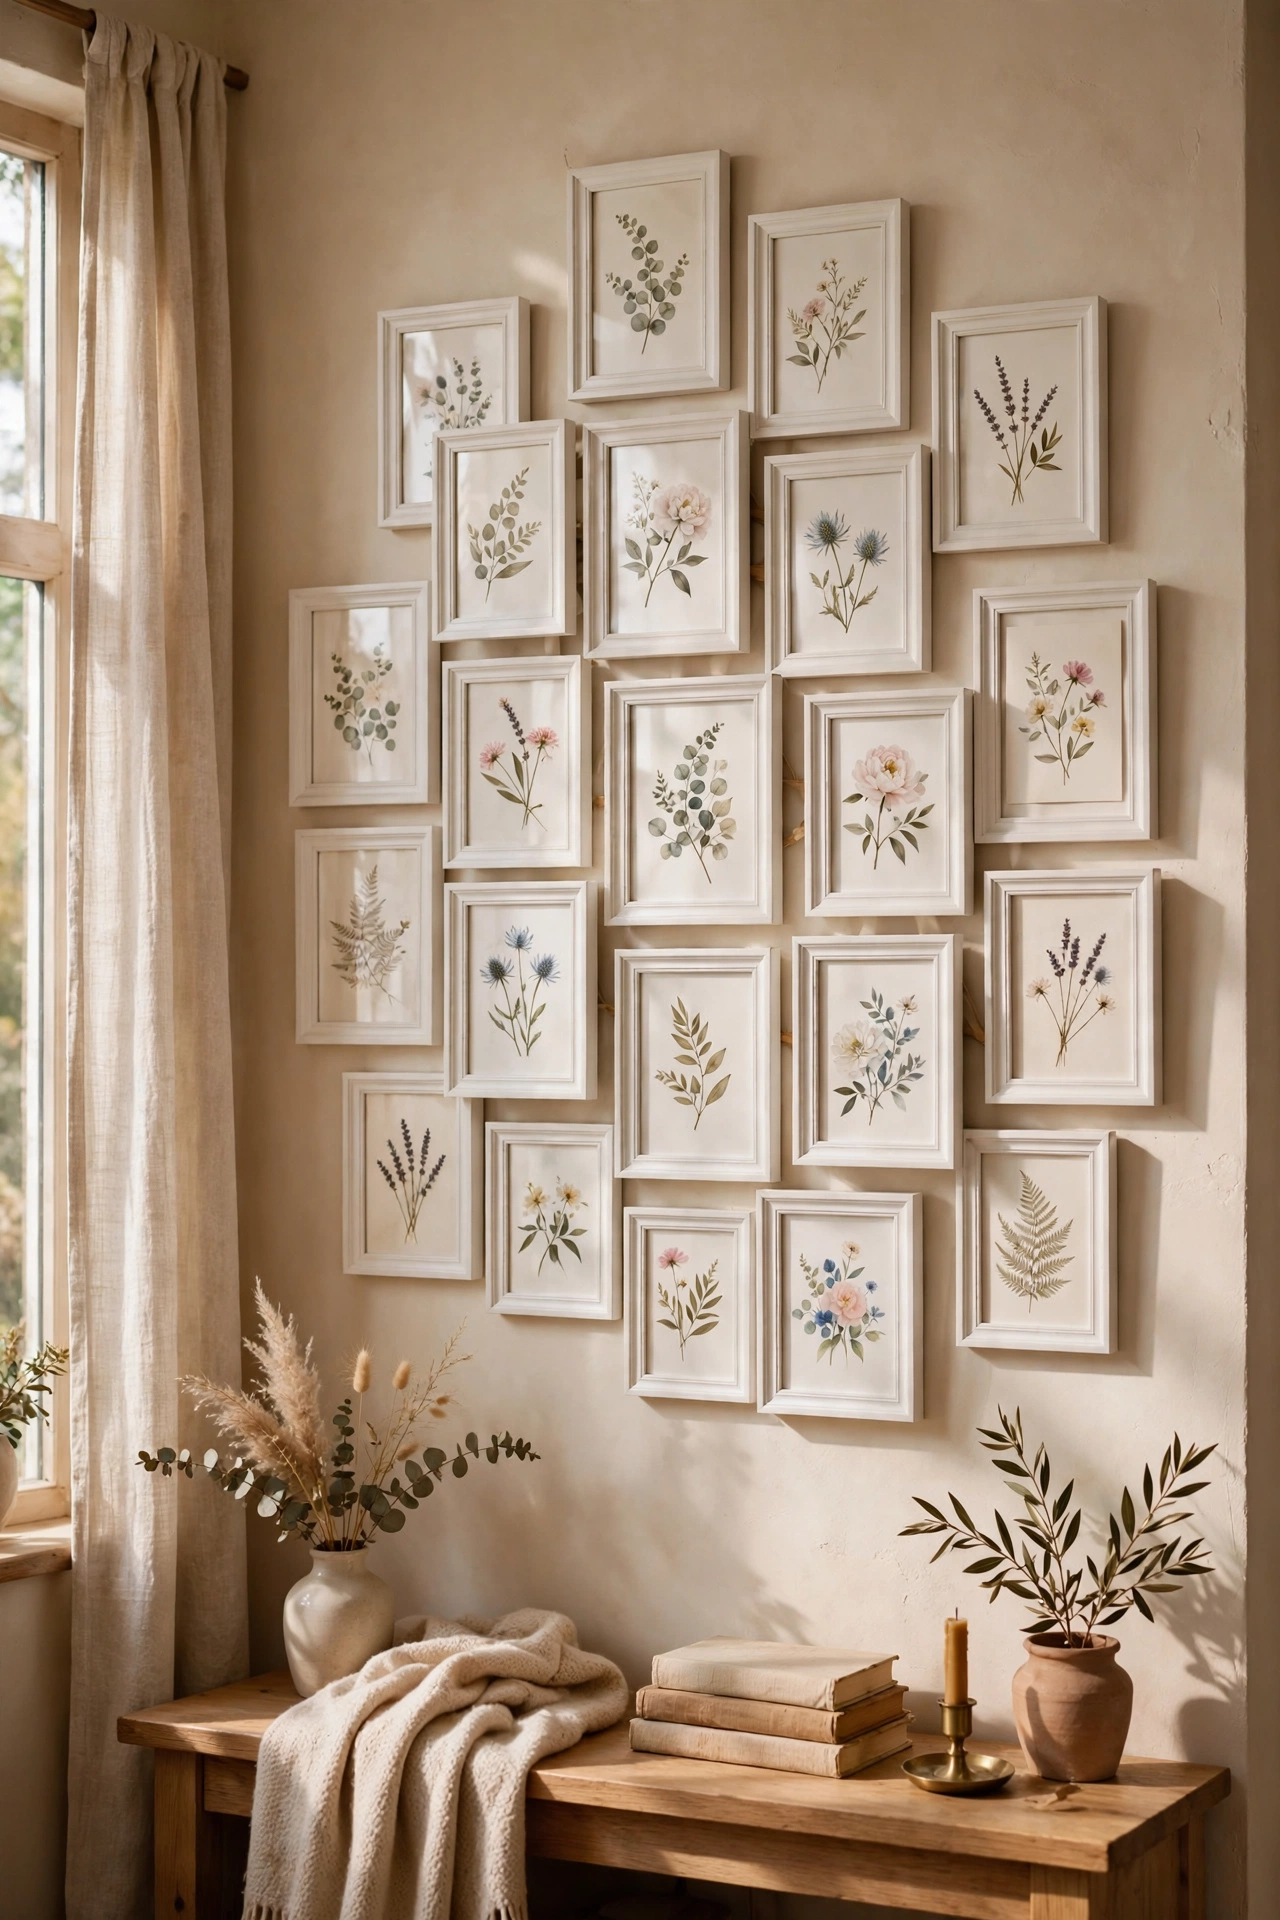
Frame the pretty greeting cards and postcards you’ve been saving — they’re designed by real artists and sized perfectly for small frames. I framed a collection of birthday and holiday cards in matching white frames, hung salon-style, and it’s the most personal wall in my house. Each one has a memory attached. Buy a multi-pack of small frames for ten dollars and you’re set. Sentimental value: priceless. Actual cost: almost nothing.
Cost: ~$8–12 | Time: 1 hour
14. Fabric Swatch Frames
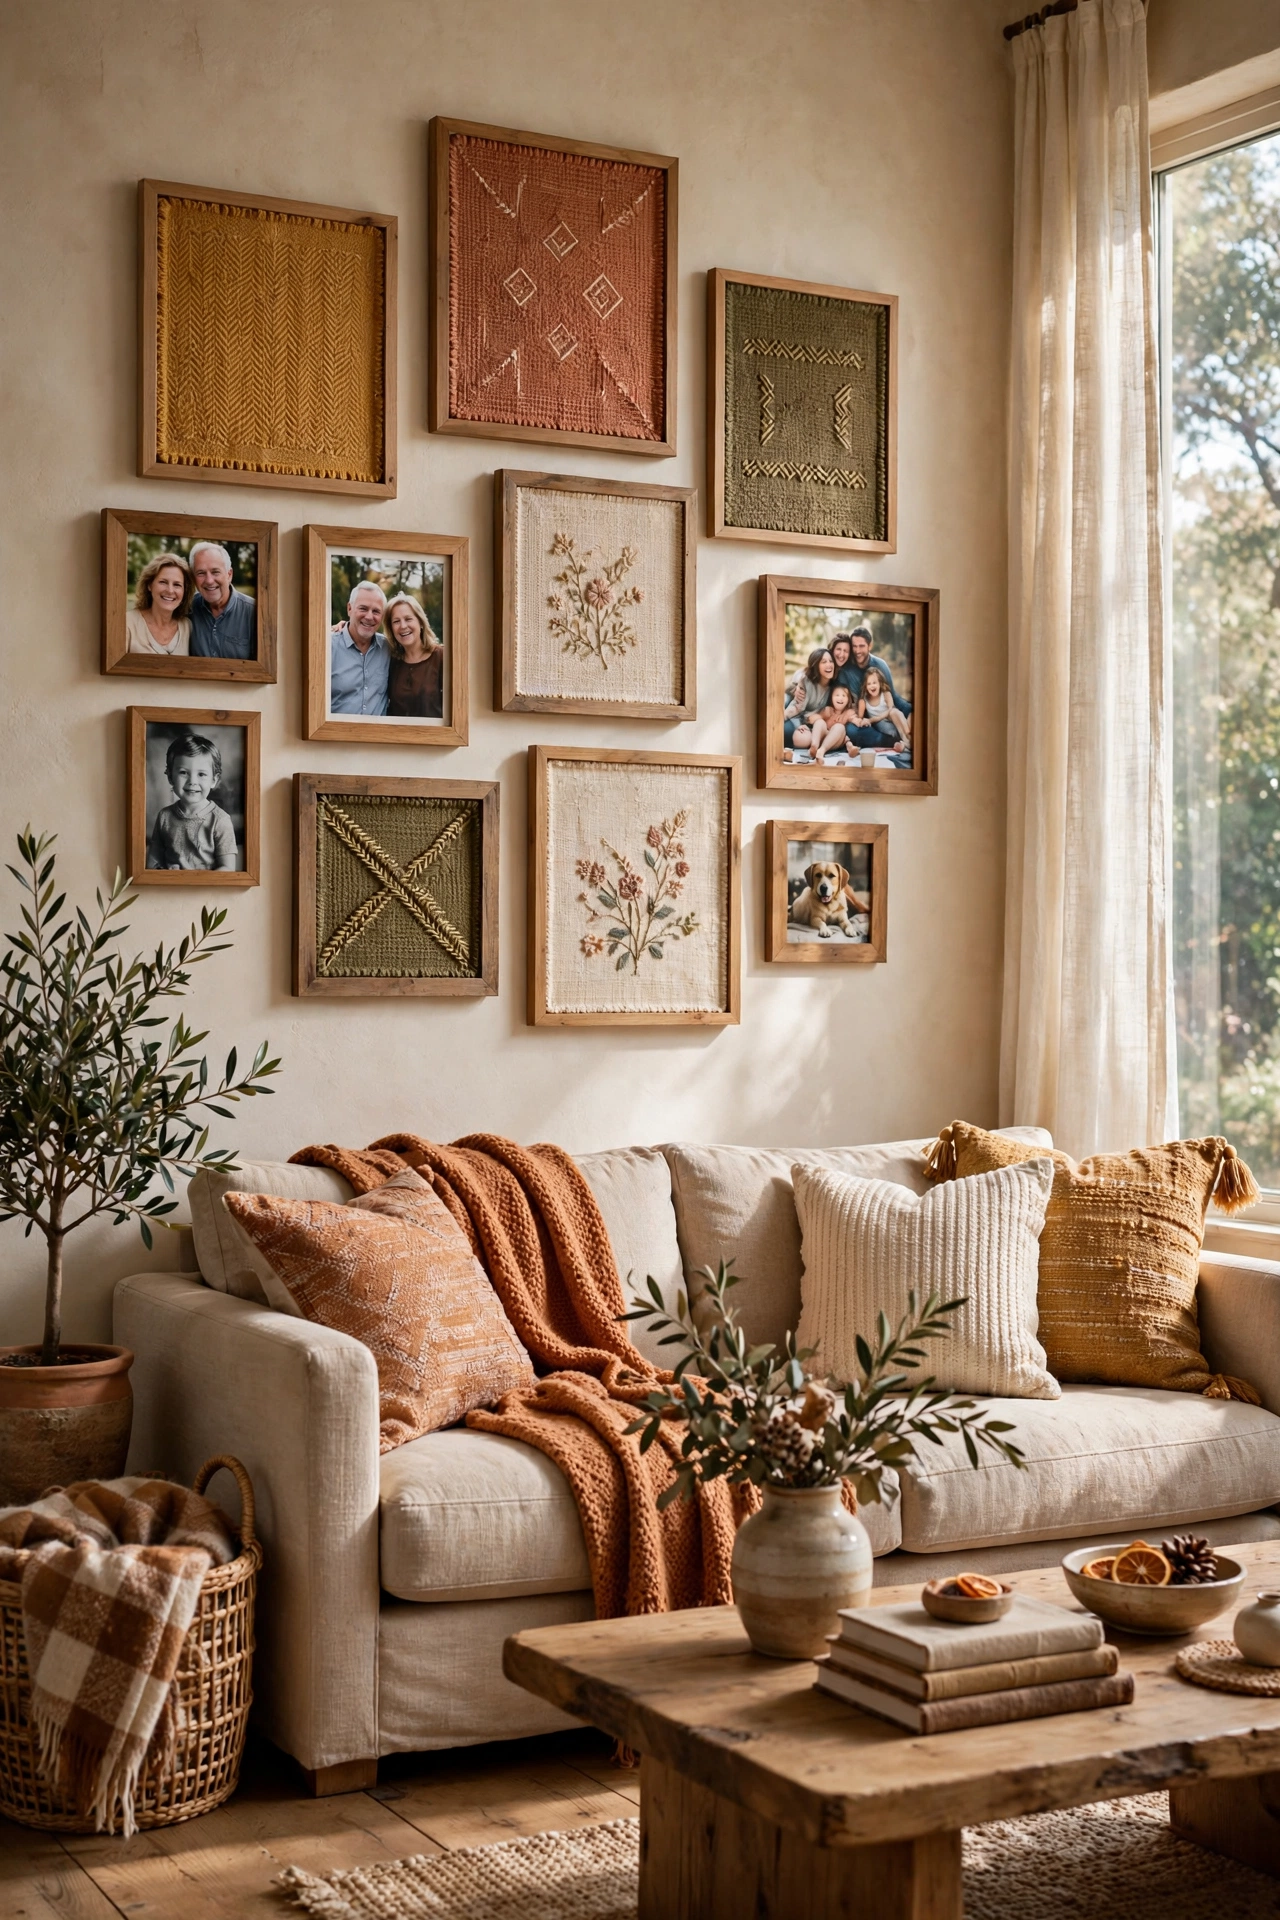
Frame squares of interesting fabric — a patterned fat quarter, a linen remnant, even a pretty scarf — for textural gallery pieces. Fabric adds softness that paper art can’t, and remnants cost almost nothing. I framed four coordinating fabric squares in black frames and mixed them into my photo gallery. The texture breaks up the flatness of all those photos. Quilt shops sell fat quarters for three dollars in endless patterns. Instant art supply.
Cost: ~$8–12 | Time: 45 minutes
15. Mirror and Frame Mix
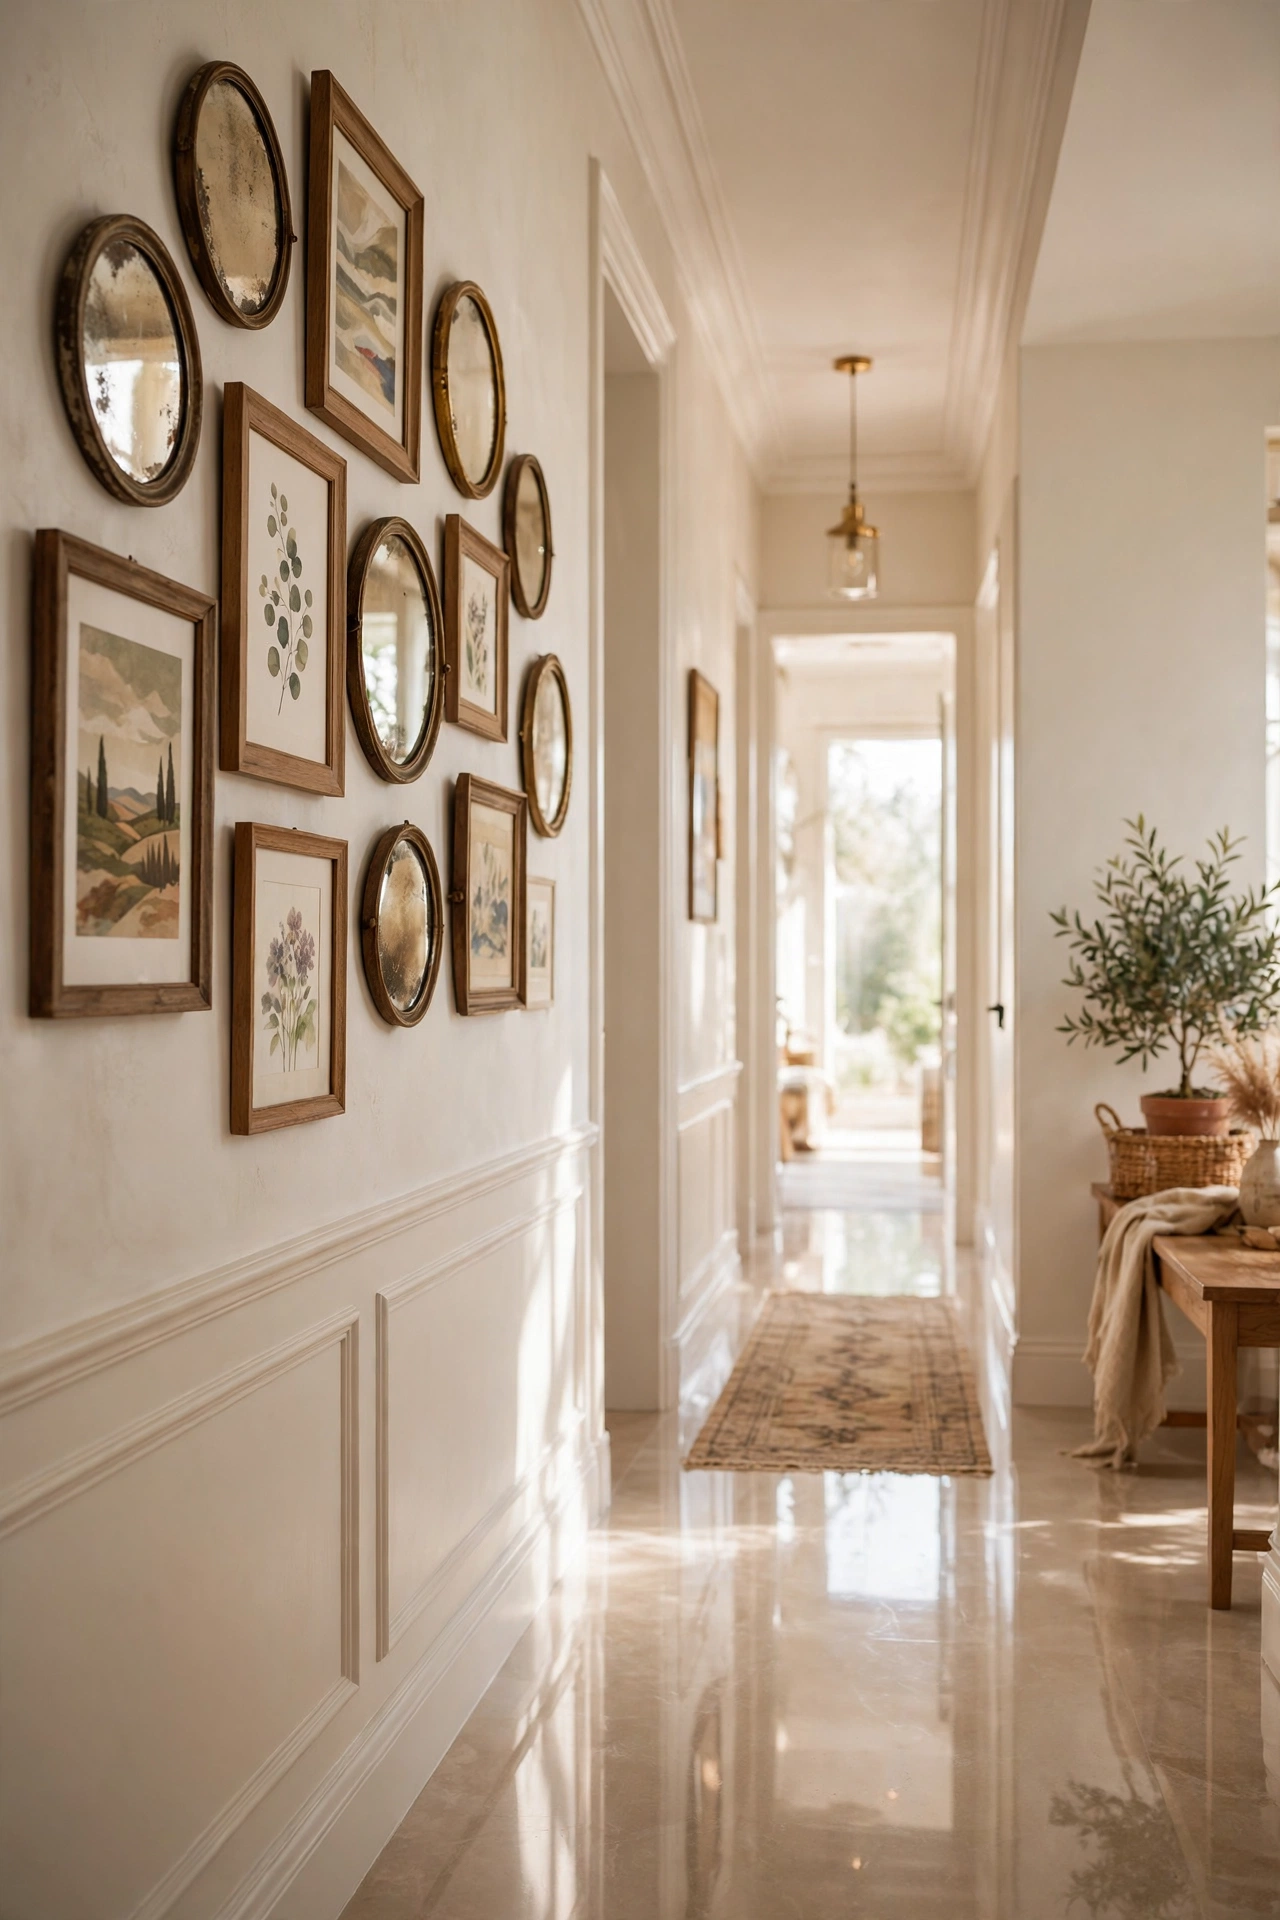
Tuck two or three small thrifted mirrors into your gallery wall among the frames. The reflective surfaces bounce light and add dimension that flat art can’t. I added three small mirrors to my hallway gallery for six dollars total and the whole wall came alive. Mix shapes — round mirrors among rectangular frames is especially pretty. Hang them at the same depth as the art so the wall reads as one composition. Light, literally, added to your wall.
Cost: ~$6–10 | Time: 1 hour
16. Plate and Frame Combo
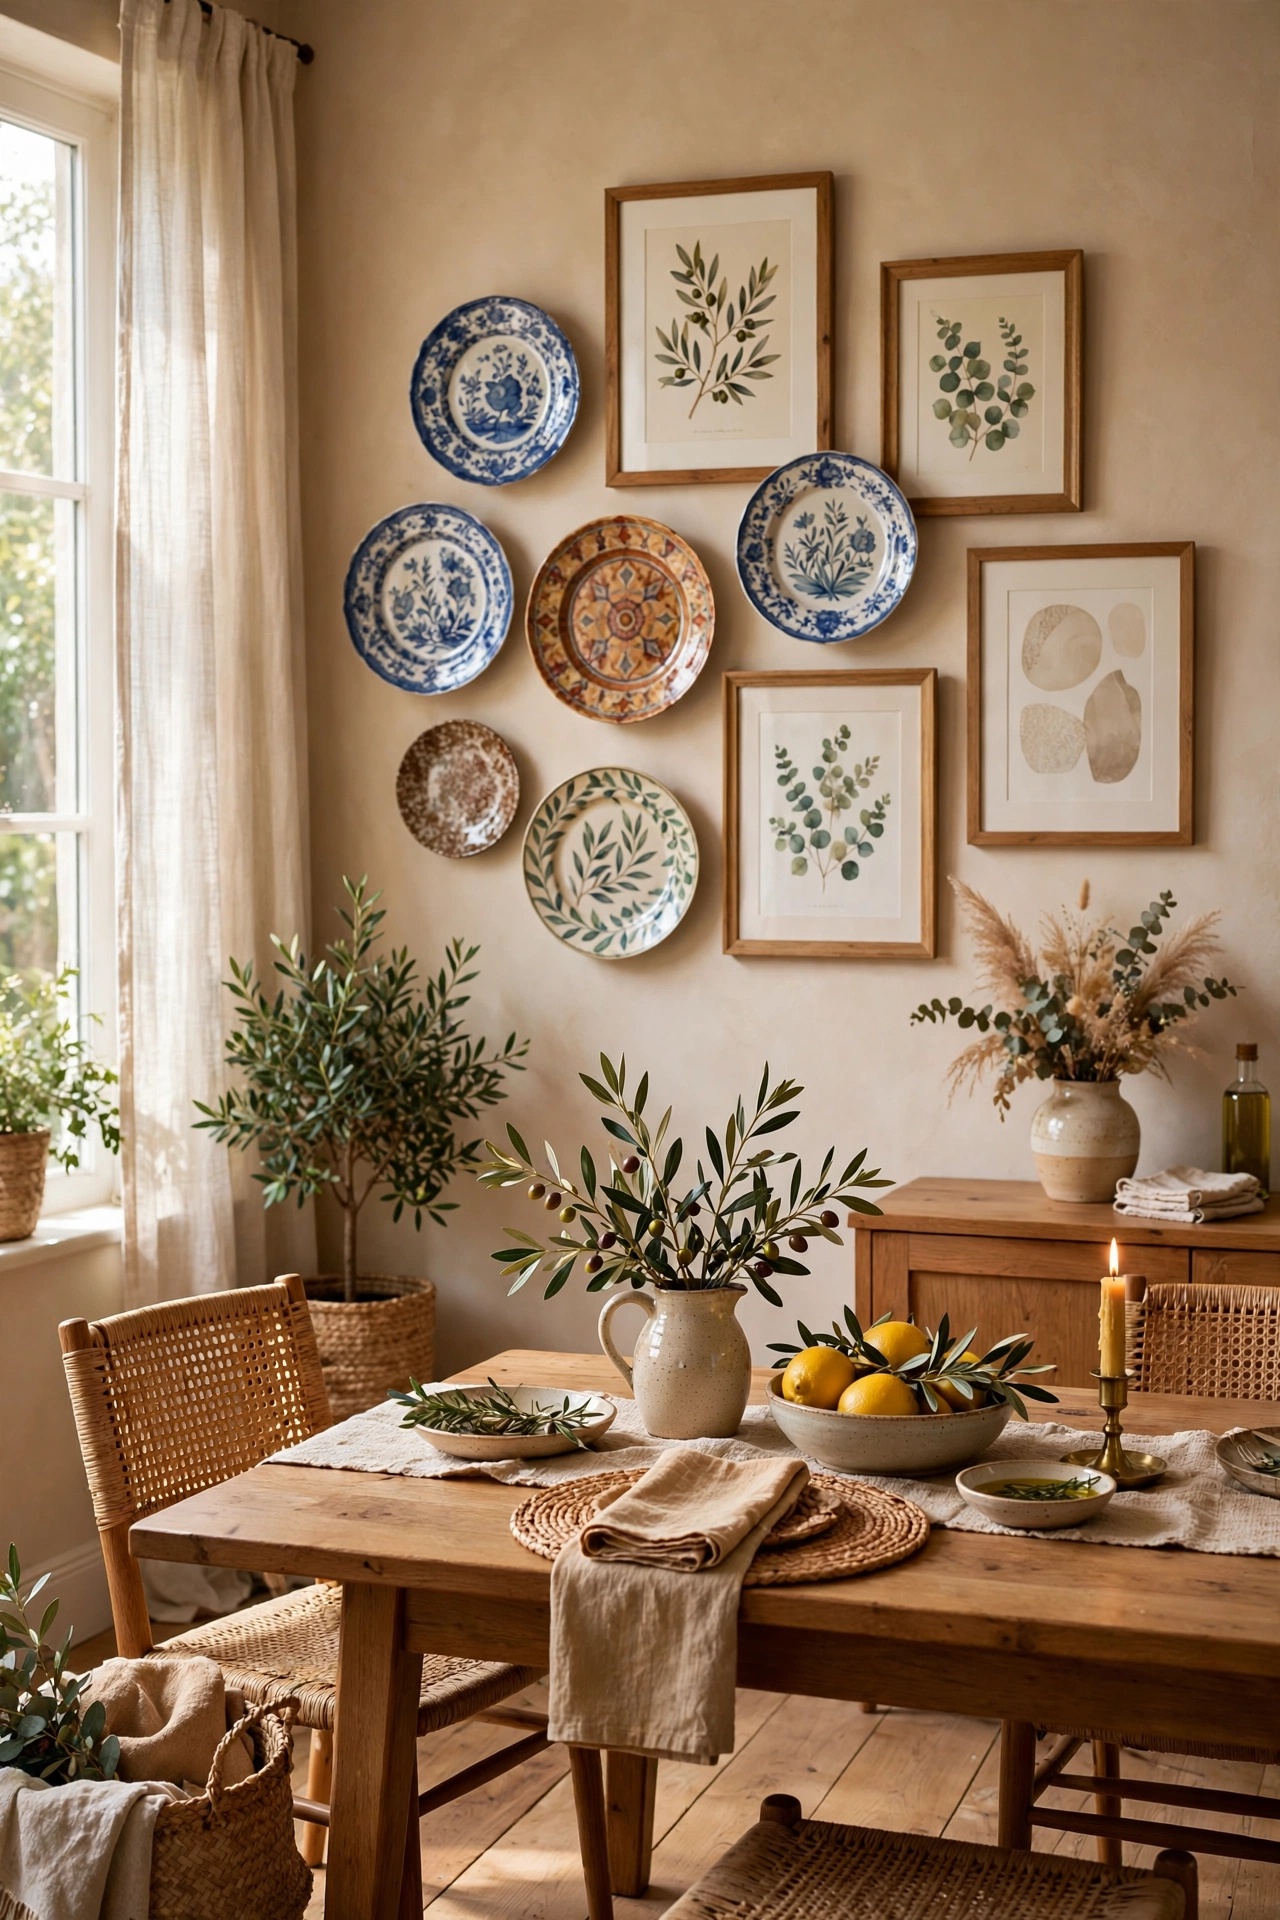
Mix decorative plates into your framed gallery for dimension and surprise. The round shapes break up all those rectangles beautifully. I added four blue-and-white thrifted plates to my dining room gallery wall and it’s the detail everyone asks about. Use plate hangers or adhesive disc hangers — about a dollar each. Keep the plates in a similar palette to your art so it feels cohesive, not random. Four dollars of plates, endless compliments.
Cost: ~$8–12 | Time: 1 hour
$15–$30: Worth the Small Splurge
These cost a little more but deliver the biggest visual payoff — the gallery wall upgrades I’d buy again.
17. Picture Ledge Gallery
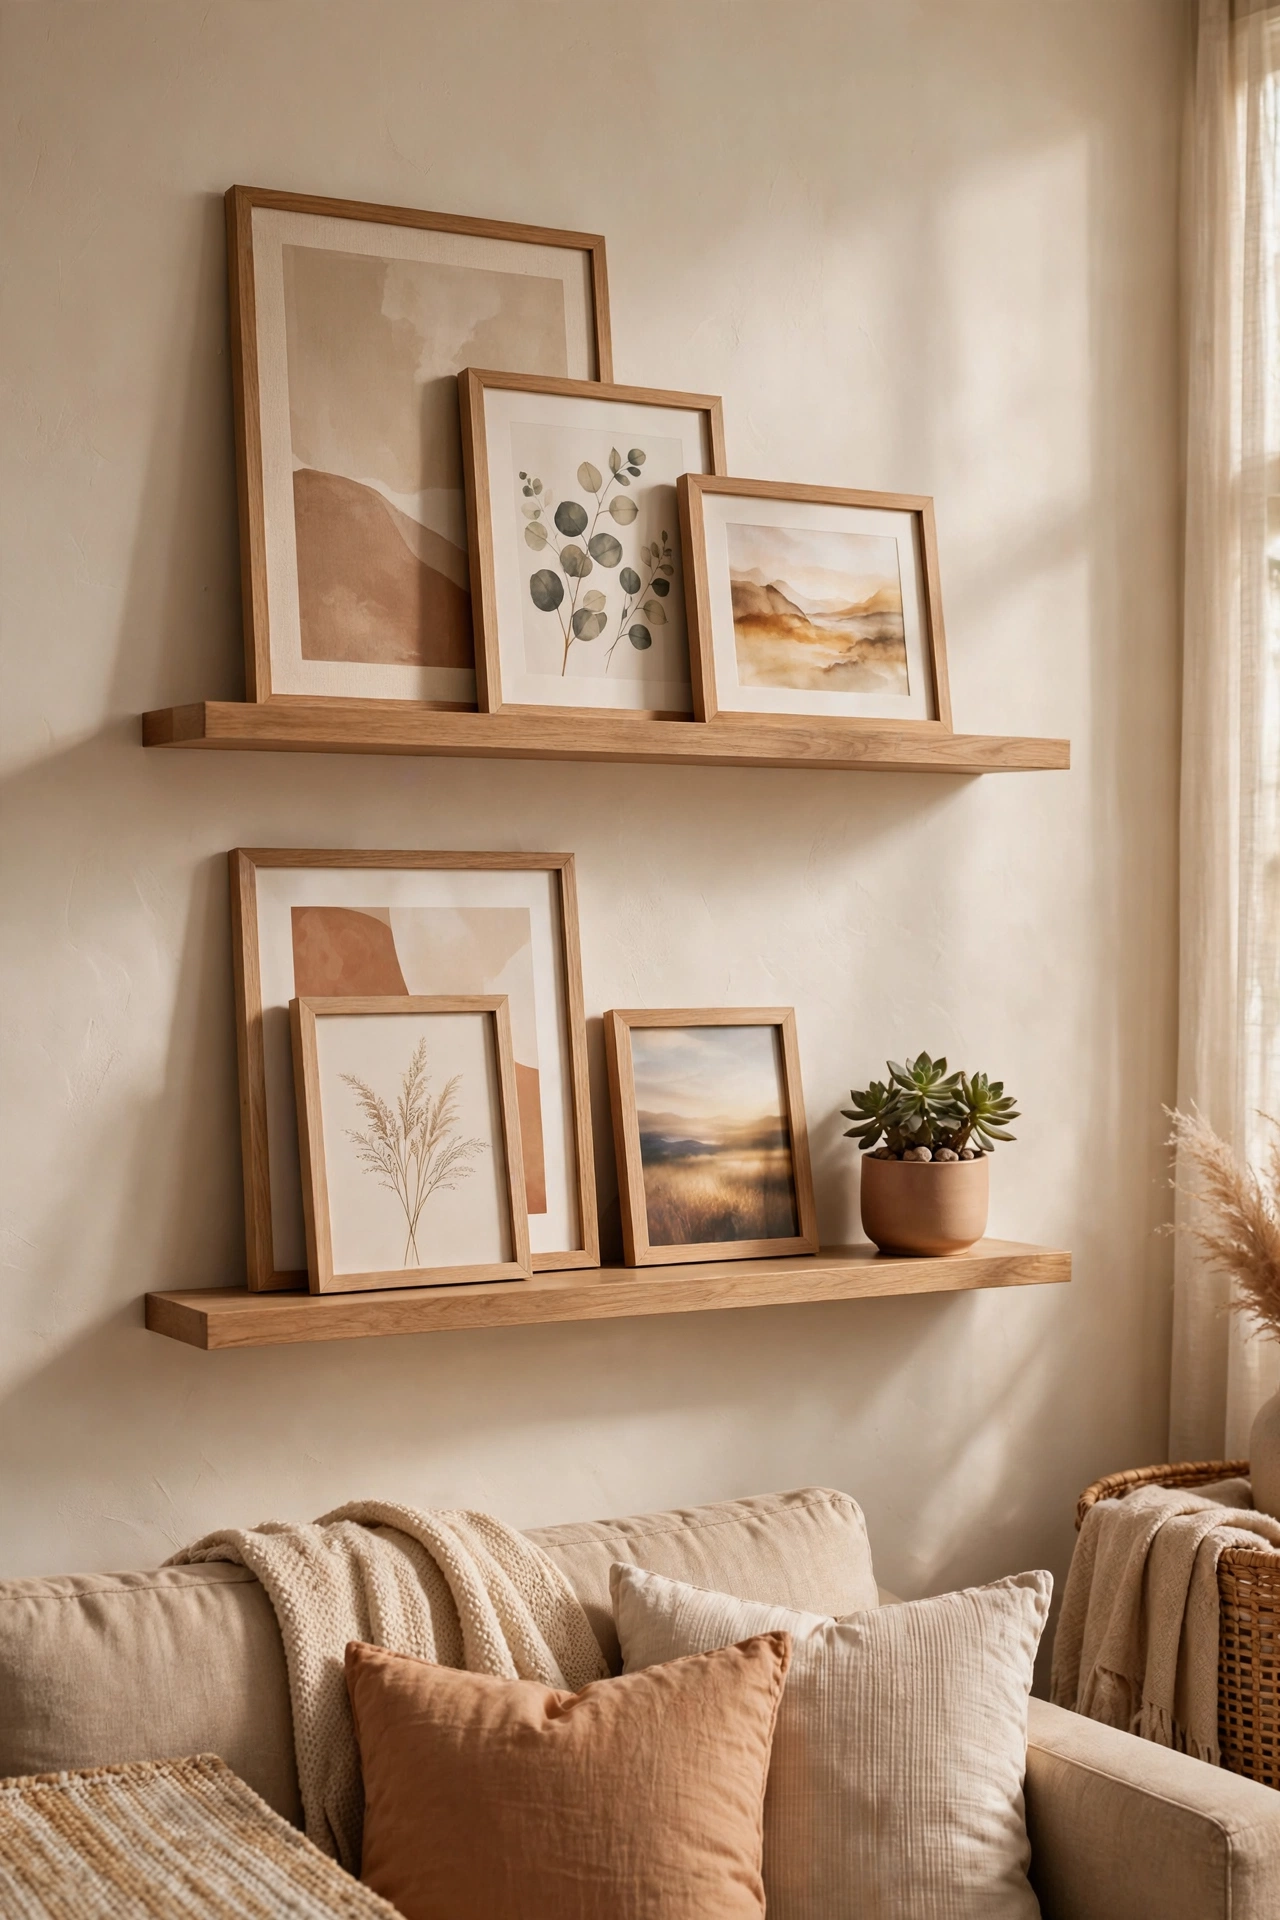
Two or three picture ledges create a gallery you can rearrange without tools. Lean larger art at the back, layer smaller frames in front, and add a plant or object for depth. I spent twenty-five dollars on two ledges and the styling freedom is worth every penny. Seasonal swaps take five minutes. No holes, no measuring, no commitment. It’s the gallery wall for people who change their minds — which, let’s be honest, is all of us eventually.
Cost: ~$20–30 | Time: 45 minutes
18. Large-Format Engineering Prints
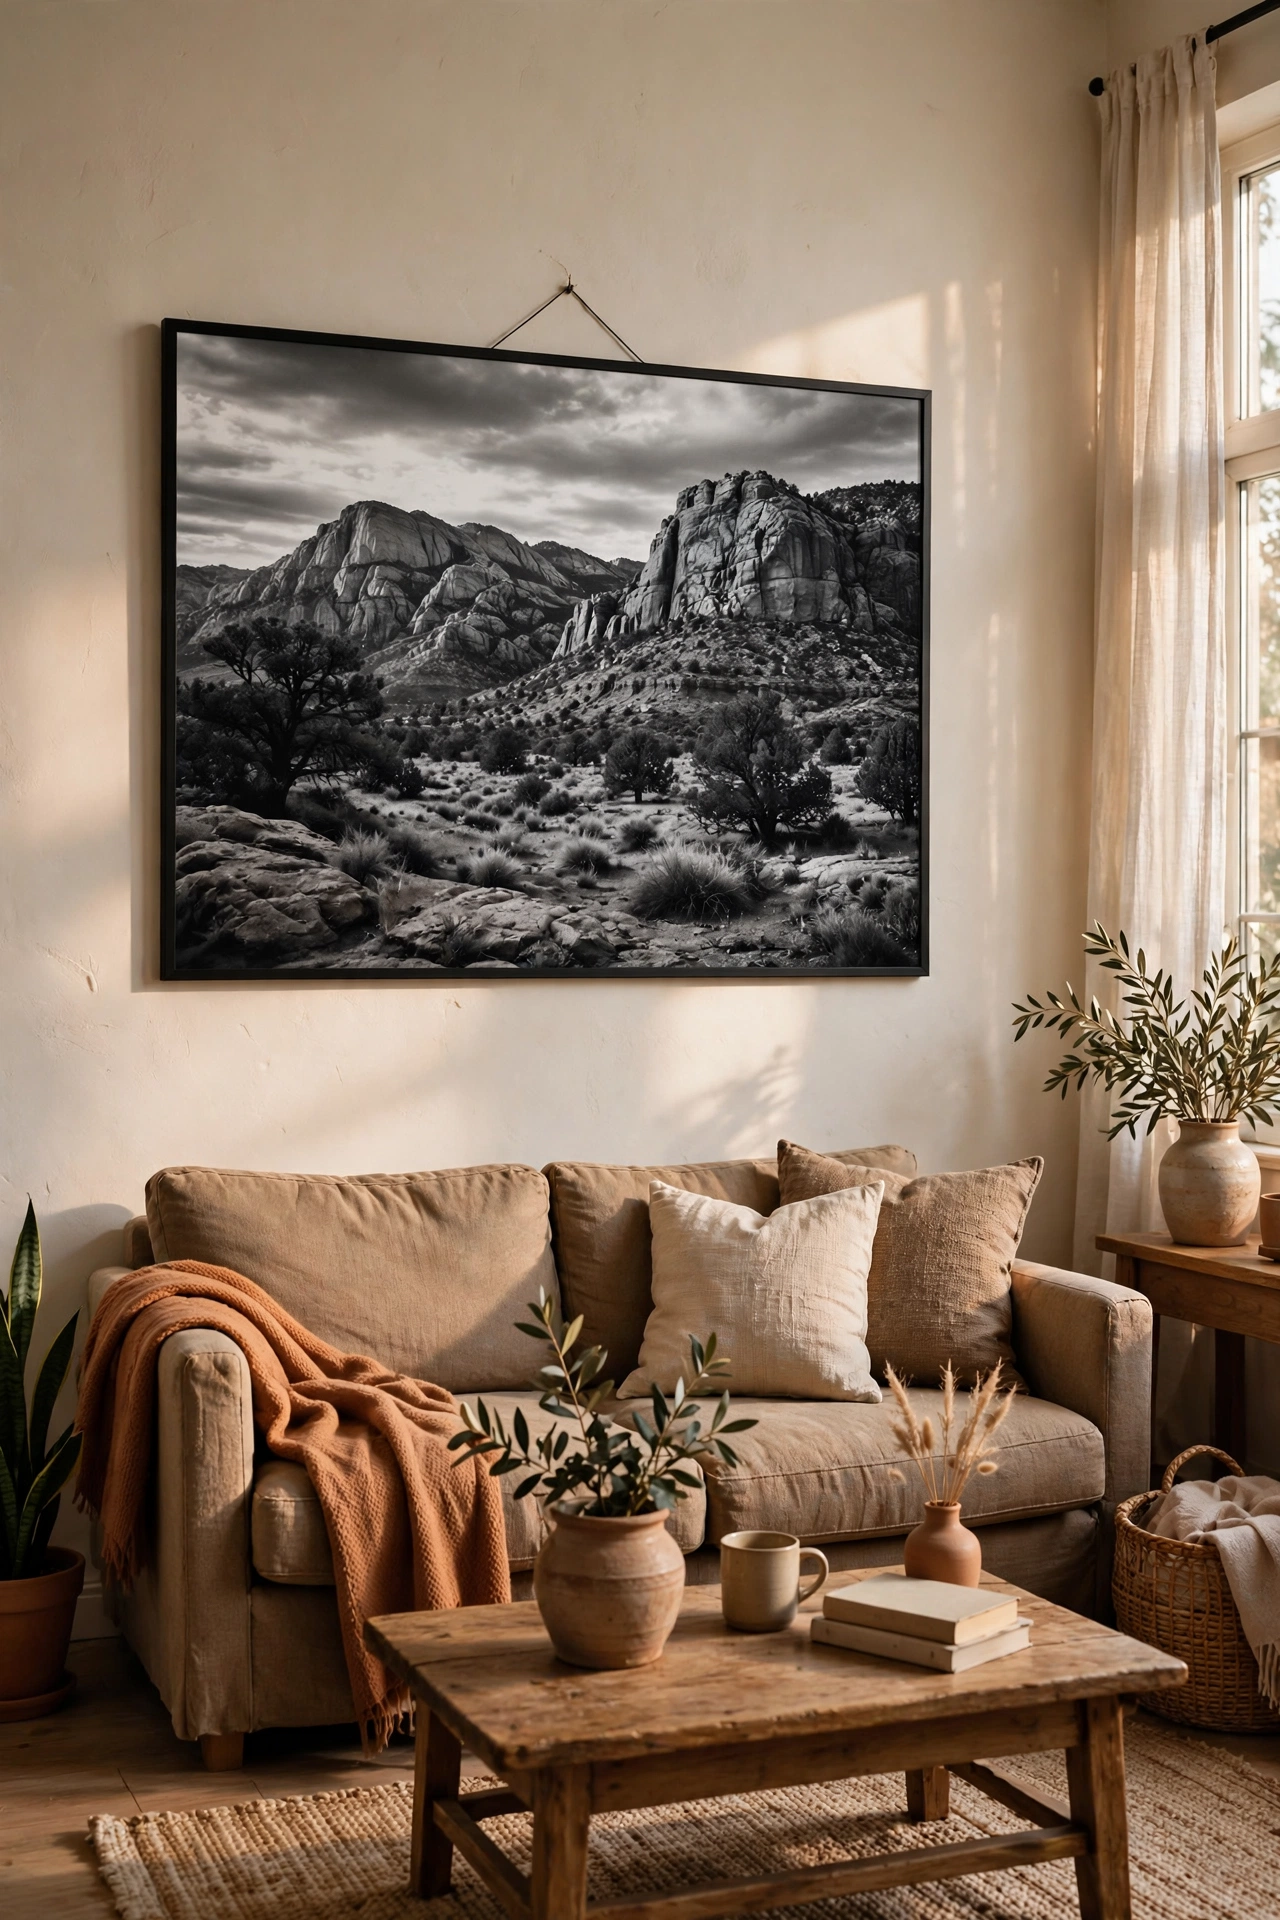
Office supply stores print huge black-and-white “engineering prints” — 24×36 inches — for about eight dollars each. Upload a favorite photo or a free high-res artwork file, get it printed big, and hang it with clips, washi, or a cheap poster frame. I printed a black-and-white family photo at 24×36 and it looks like a professional portrait installation. Scale is what makes galleries dramatic, and this is the cheapest way to get it. Eight dollars for gallery-scale art.
Cost: ~$8–20 | Time: 30 minutes
19. Floating Shelf Gallery
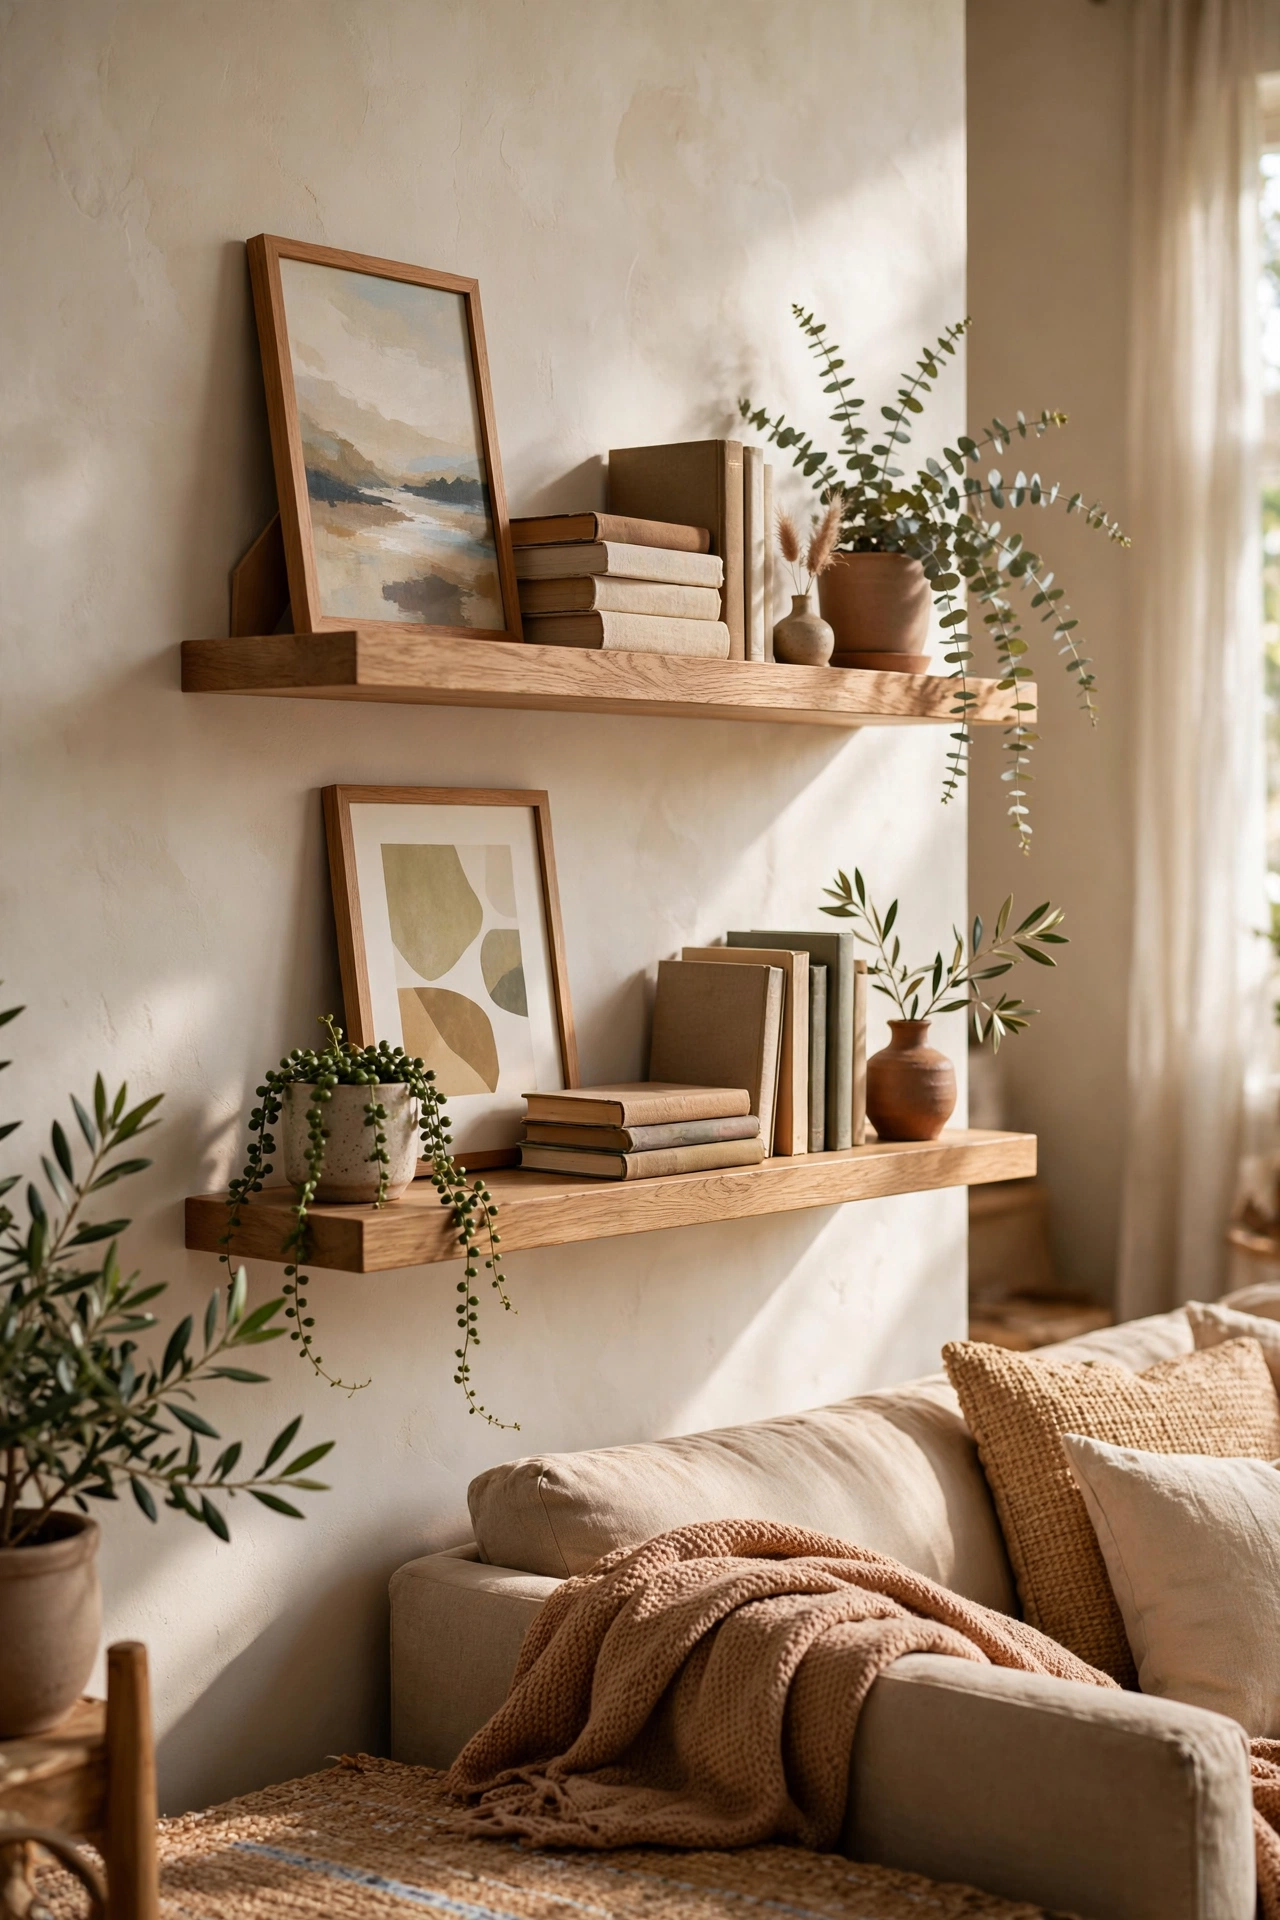
Mount two floating shelves and treat them as a three-dimensional gallery: lean art, stack small frames, add plants and objects. The depth makes it feel richer than a flat wall. I spent thirty dollars on shelves and styled them with things I owned — total new cost, just the shelves. The layered look is very now, and rearranging is instant. Vary heights aggressively; a flat skyline of same-size frames is the one mistake to avoid. Go tall, go small, go interesting.
Cost: ~$25–30 | Time: 1 hour
20. DIY Oversized Mats
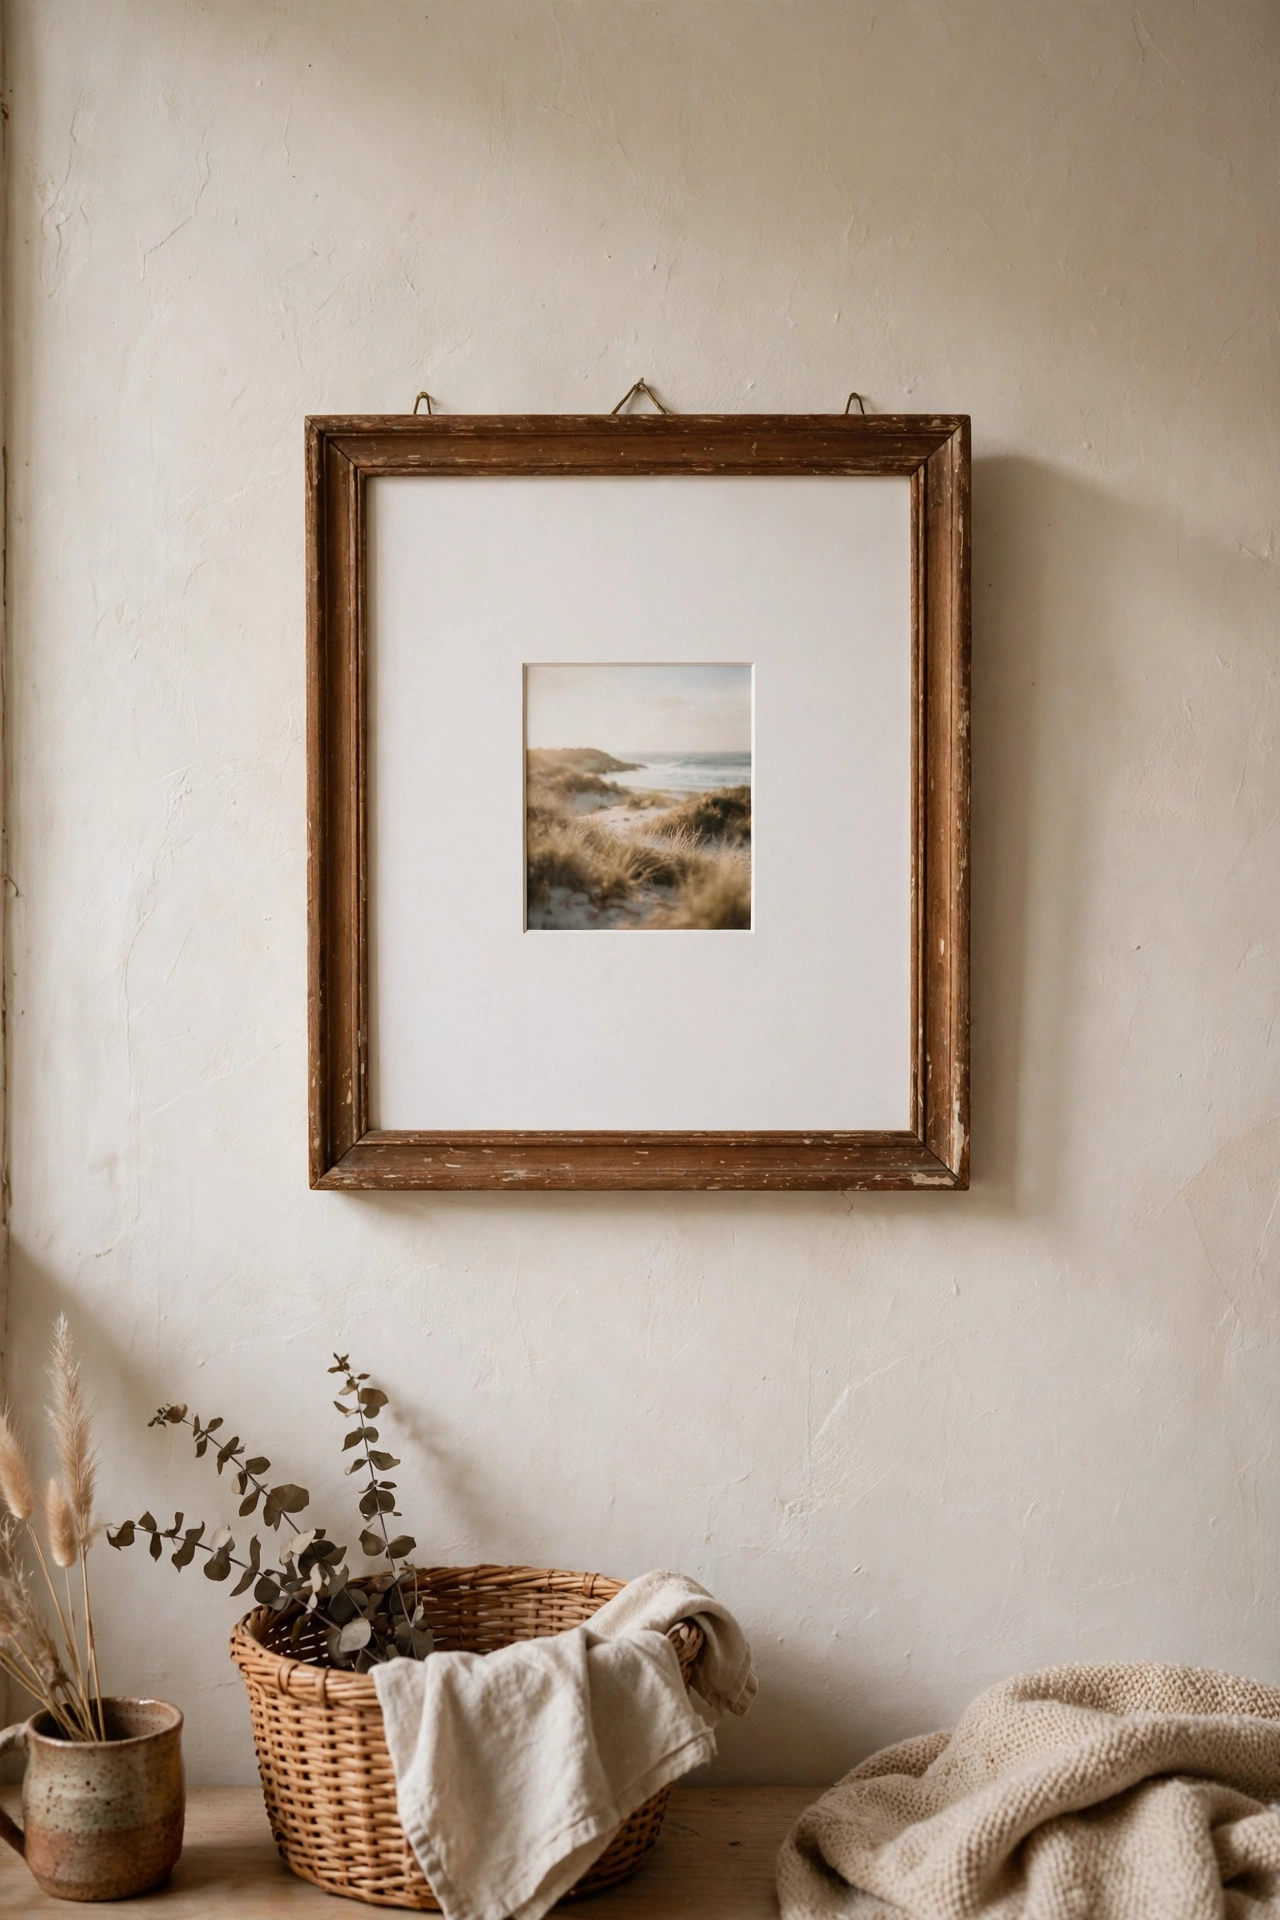
Cut your own wide mats from mat board — about five dollars a sheet — and small prints instantly look custom and expensive. A 5×7 photo in a 16×20 mat with a thrifted frame looks like gallery framing that would cost forty dollars. I mat everything now; it’s the single biggest upgrade to cheap art. Use a craft knife and a metal ruler, cut the bevel at an angle, and take your time. The wide white border is what says “art gallery.” The print inside barely matters.
Cost: ~$10–15 | Time: 1.5 hours
21. Gallery Around the TV
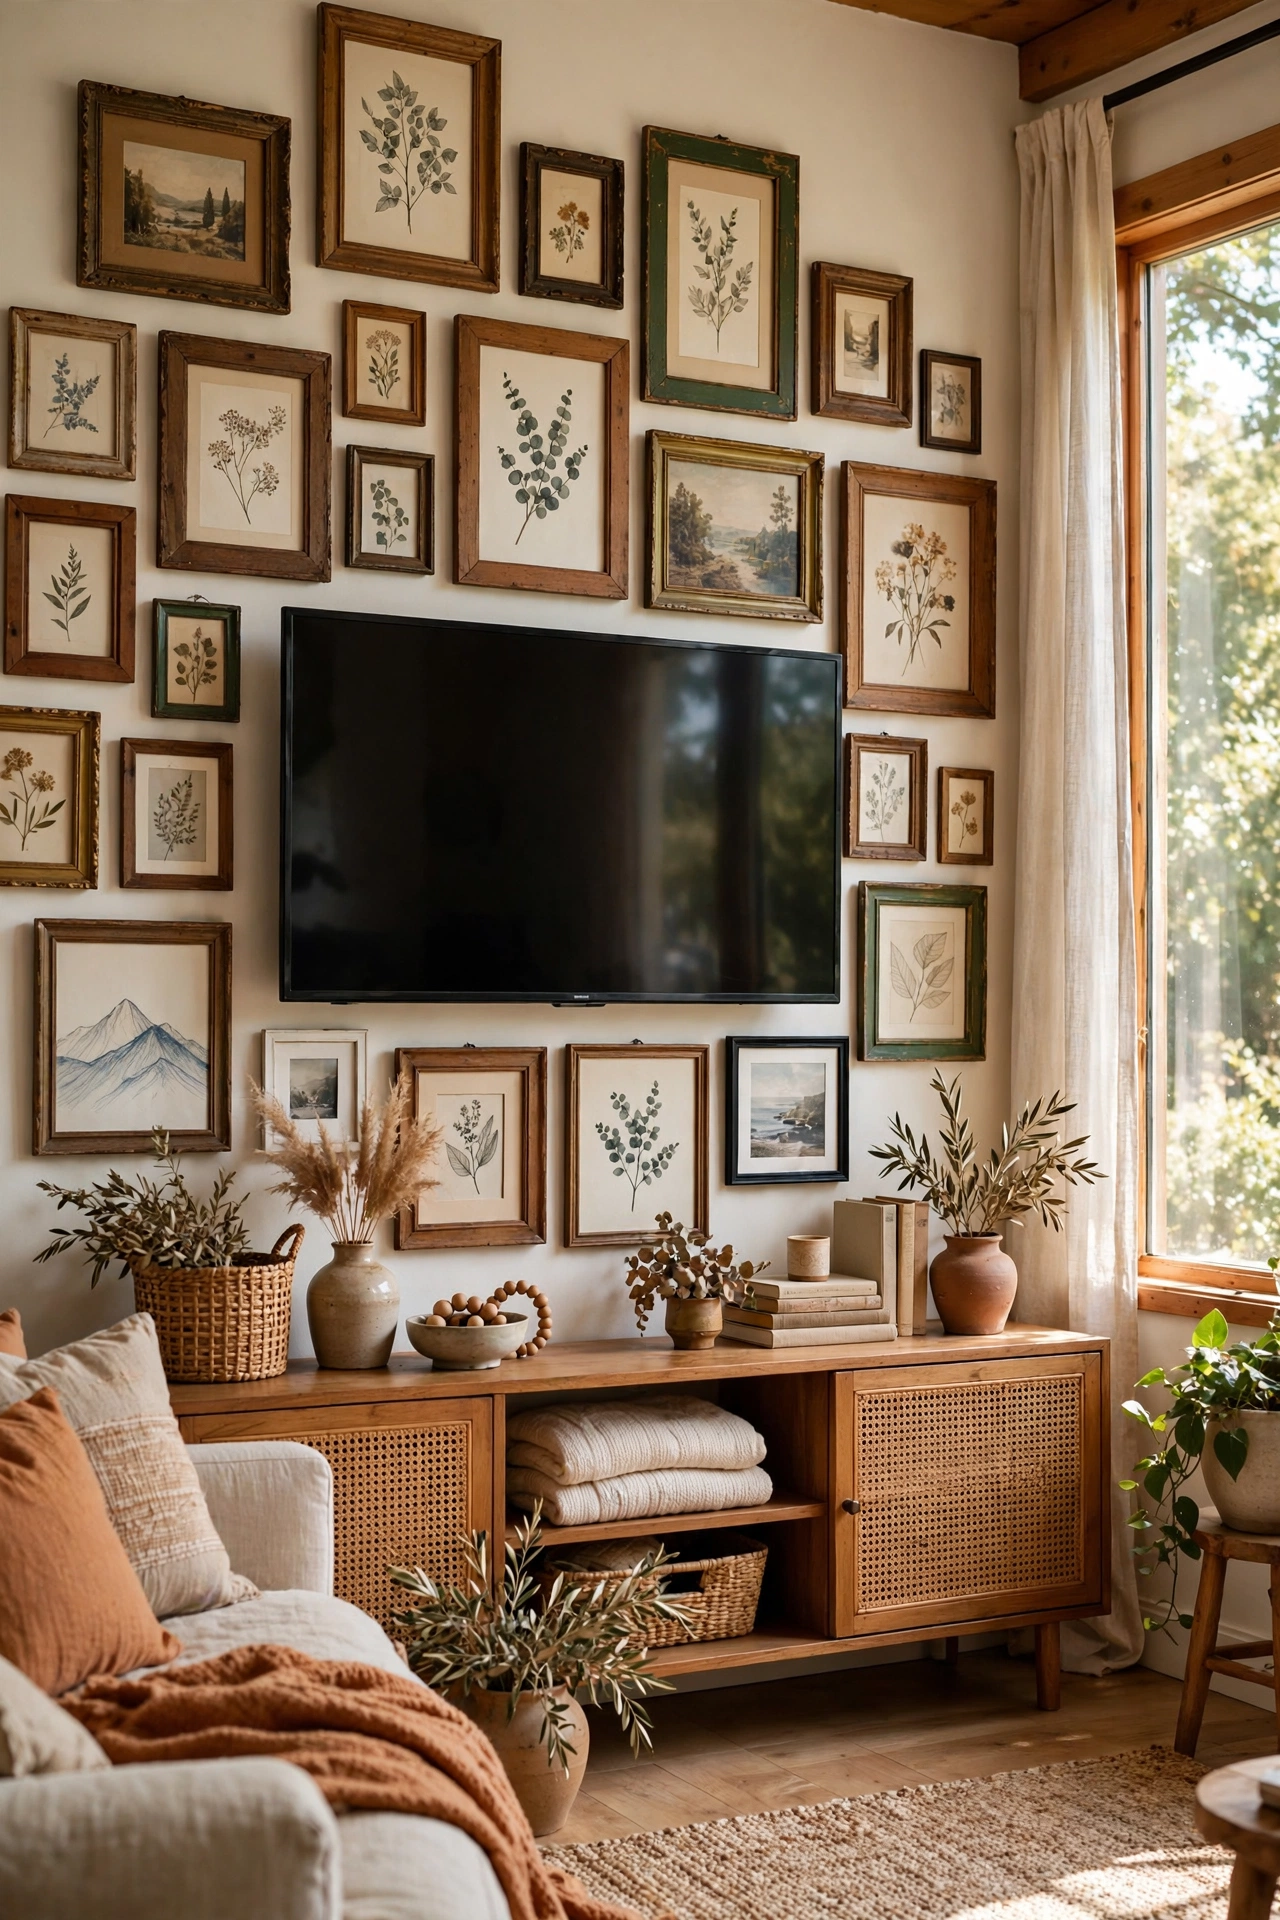
Instead of letting the TV be a black hole on the wall, build a gallery around it so it disappears into the composition. Arrange frames around all four sides, keeping two to three inches from the TV edge. I did this with eight thrifted frames and the TV went from eyesore to part of the design. It works because the eye reads the whole arrangement, not the screen. Guests notice the gallery. They stop noticing the TV. That’s the goal.
Cost: ~$15–25 | Time: 2 hours
22. Asymmetric Staircase Gallery
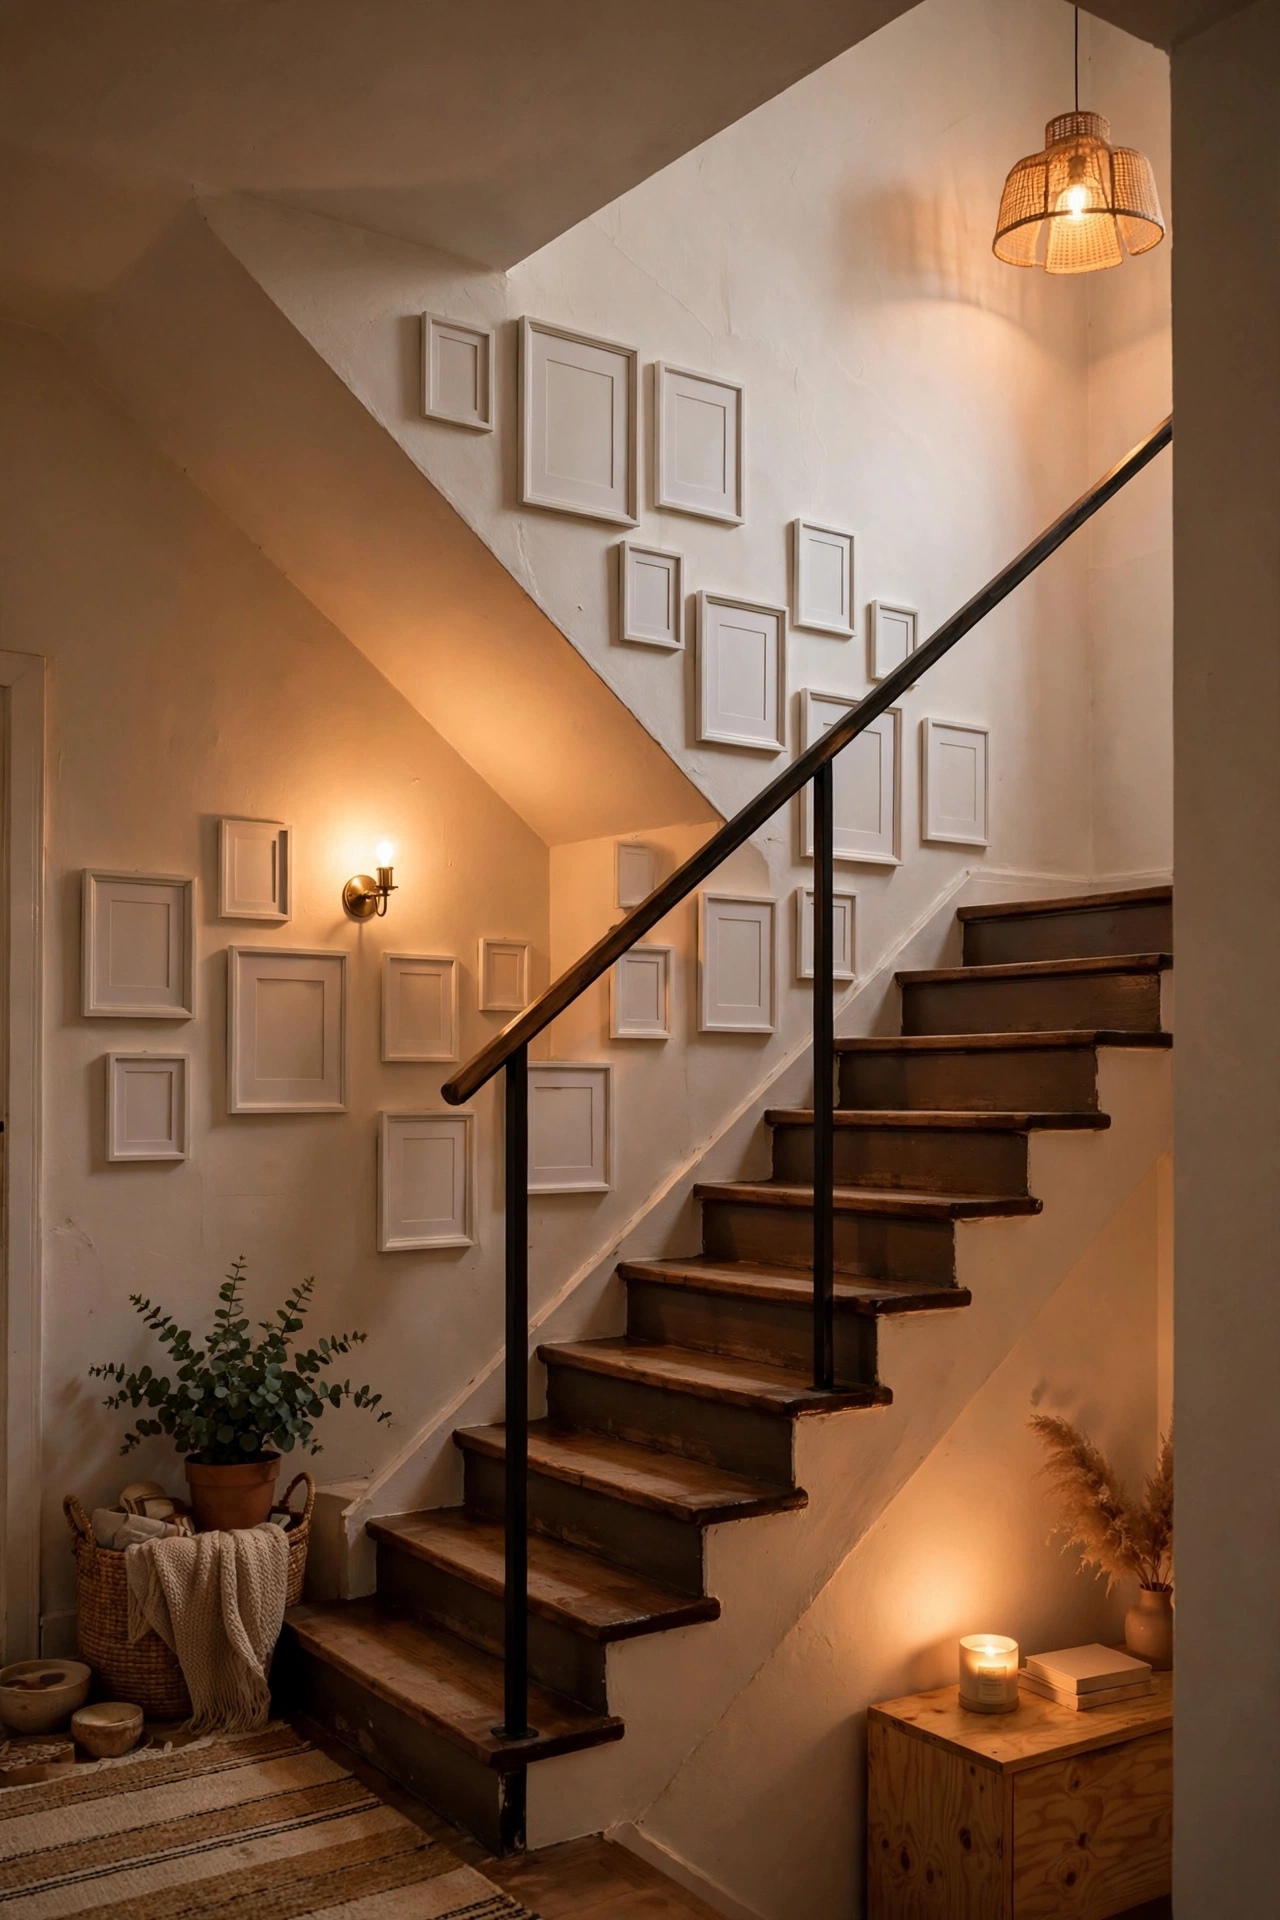
Run a gallery up the staircase wall, following the angle of the stairs — it’s the most dramatic spot in many houses and usually totally bare. Hang frames so their centers follow the stair slope, about 60 inches up from each step. I did ours with ten mismatched thrifted frames unified in white paint. It turned a boring stairwell into the house’s best feature. The angle does the design work for you; even simple frames look dynamic climbing a wall.
Cost: ~$15–25 | Time: 2.5 hours
23. The Seasonal Swap System
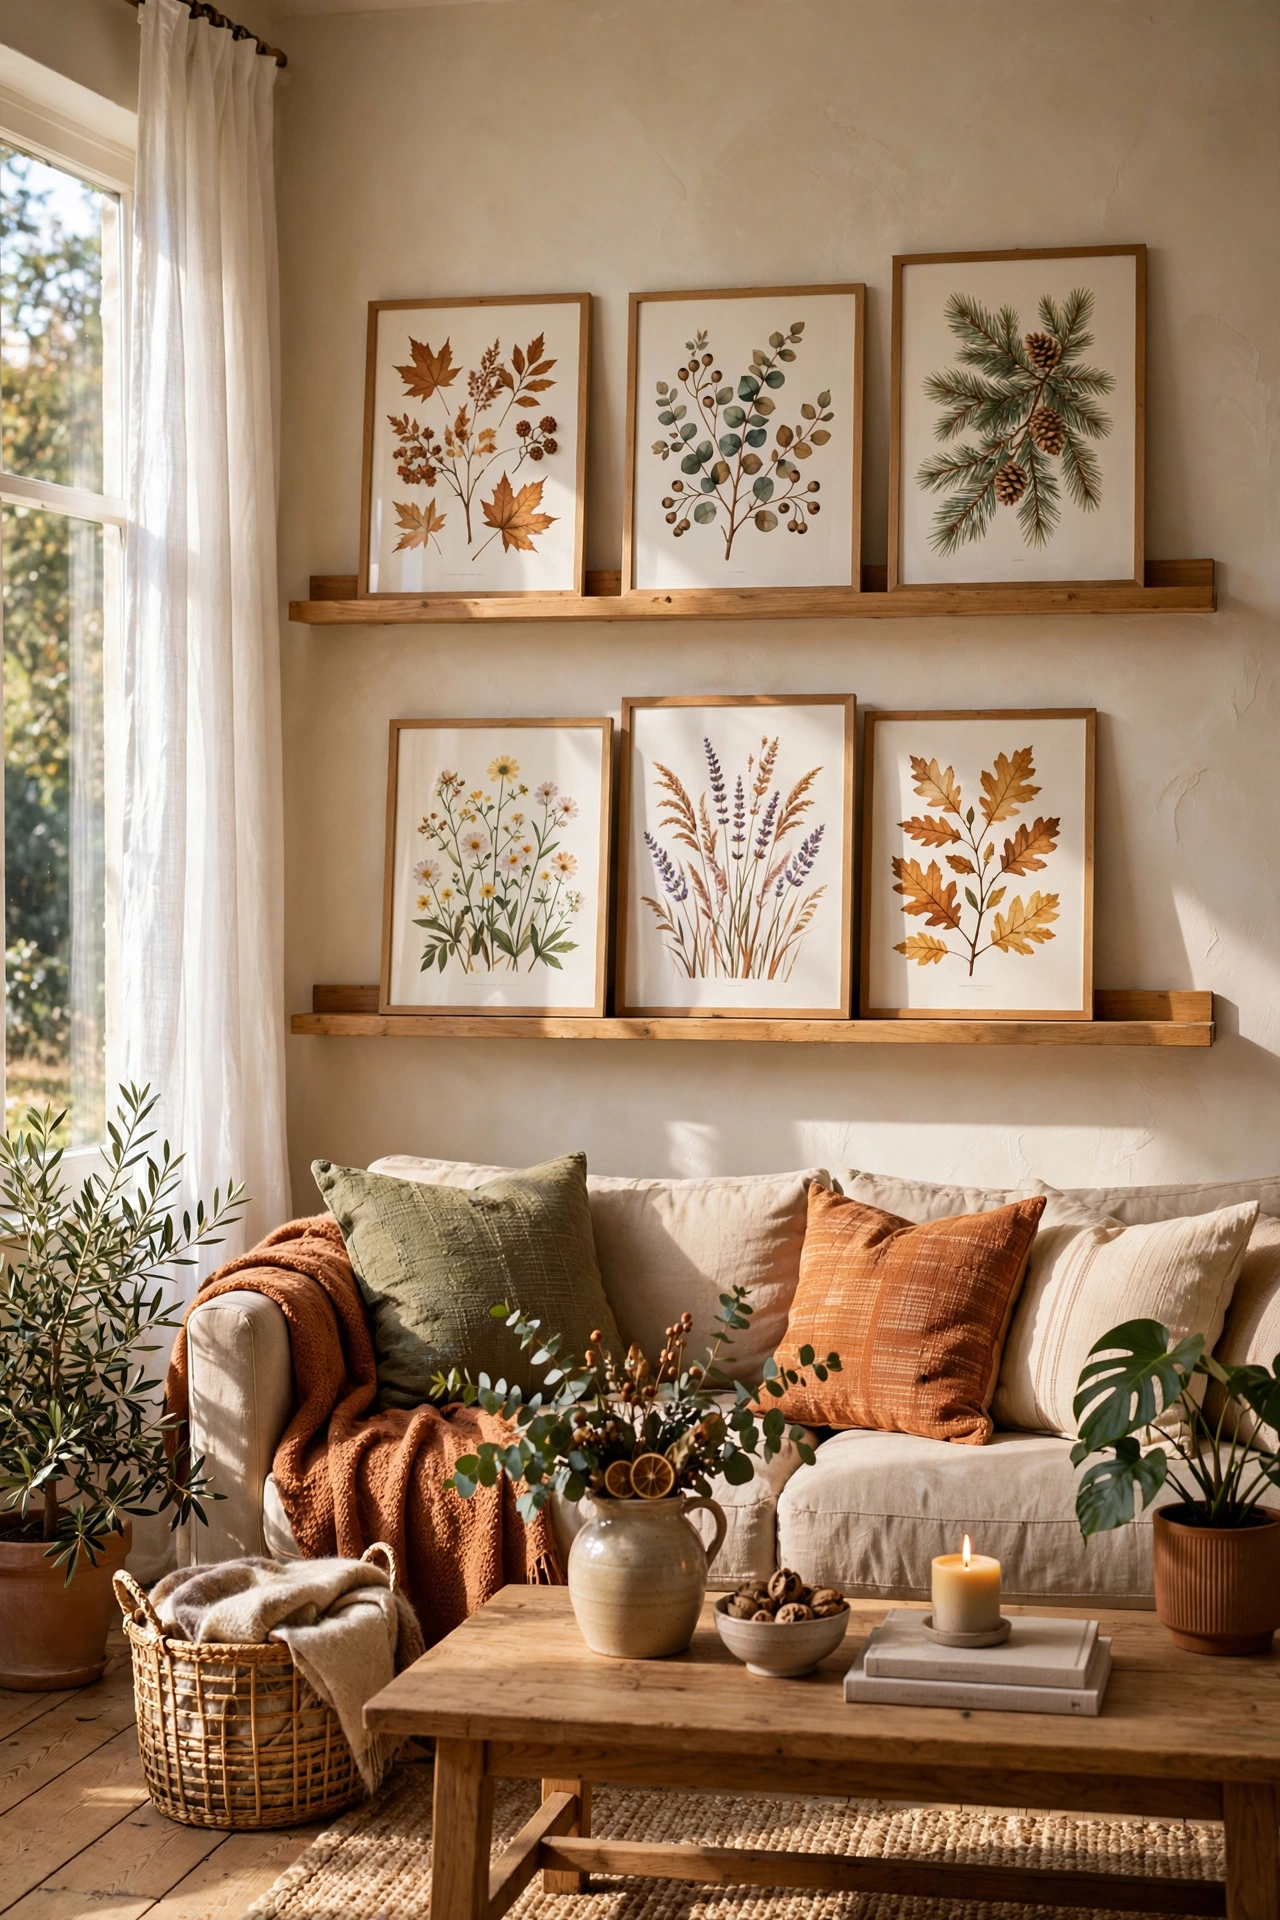
Build your gallery with changeability in mind: use ledges, clipboards, or washi-mounted prints for a few key spots, and swap those pieces seasonally. I keep my main gallery permanent but swap four ledge pieces every season — fall botanicals, winter landscapes, spring florals. The wall always feels fresh and it costs nothing after the initial setup. A gallery wall shouldn’t be a monument. It should be a living thing that changes with your life.
Cost: ~$15–25 setup | Time: 15 minutes per swap
📌 Pin your favorite idea before you go!
For more wall ideas beyond galleries, my (see also: 23-living-room-wall-decor-ideas-on-a-dime) covers everything else. And if you need cheap frames to fill, (see also: 21-dollar-store-living-room-decor-that-look-designer) is your supply run.
The Gallery Wall Takeaway
A great gallery wall is 80% planning and 20% stuff — which is wonderful news on a tight budget. Template it on paper, unify with paint, and hang with confidence. Start with the wall you see most, keep your spacing consistent, and don’t overthink it. The best gallery walls look collected over time, even when they were hung in a single Saturday. Yours will too.
