17 Small Bathroom Ideas Under $25
When I rented my first tiny bathroom, I stood in the doorway with a tape measure and a sinking feeling — there was barely room to turn around, let alone decorate. Then I set myself a stubborn little challenge: change one thing a week, never spend more than twenty-five dollars on any single change, and see if the room could feel bigger and calmer. These small bathroom ideas under $25 are the ones that actually worked, and every single one costs less than a takeaway for two. No remodel, no landlord drama, just small fixes that add up fast.
First, the free-to-almost-free fixes: start here if your budget is tight this week, because these changes cost almost nothing and still make the room feel instantly tidier.
1. Paint a Single Accent Stripe for Under $10
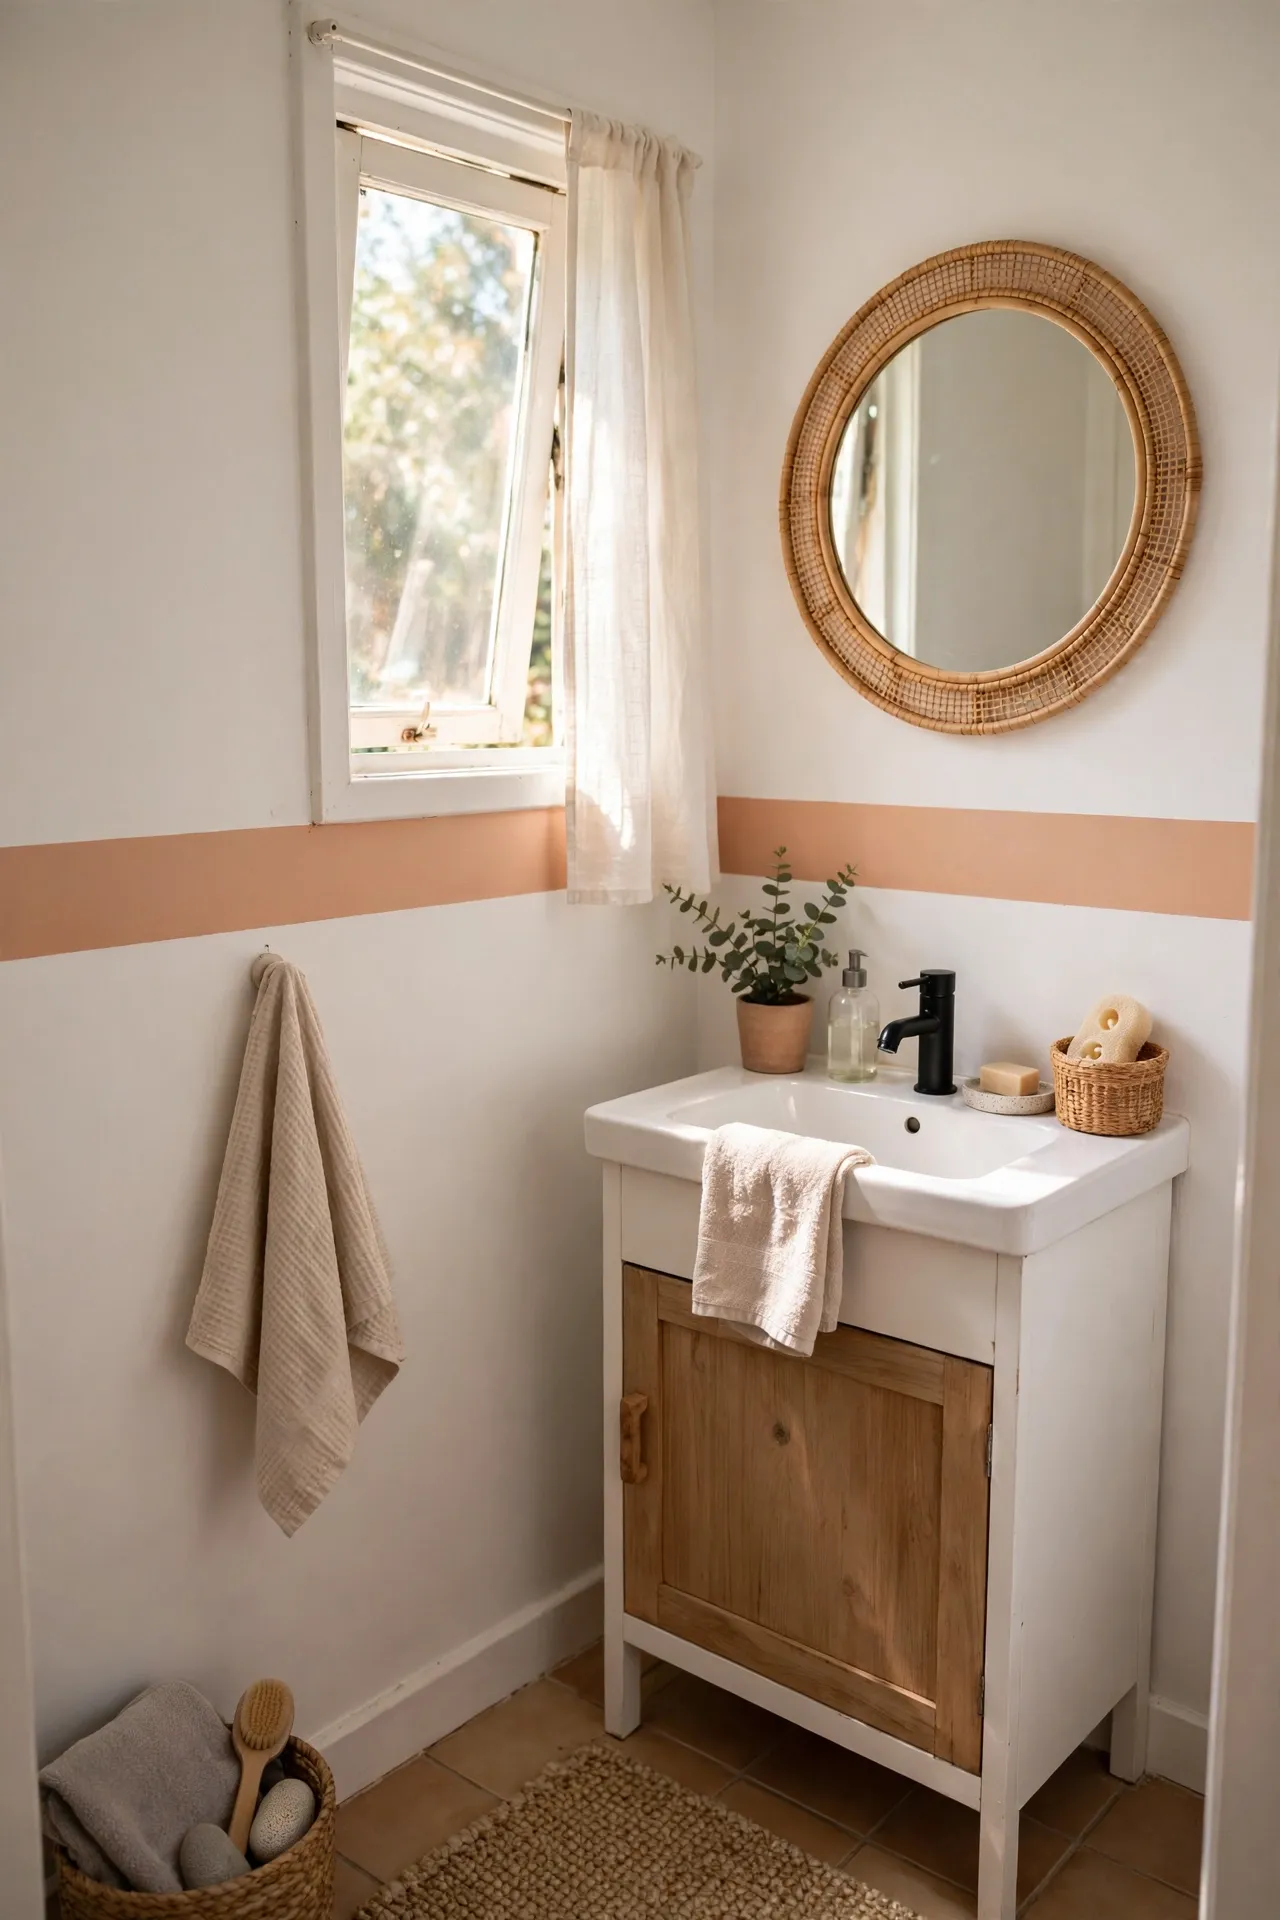
A painted stripe is the cheapest way to make a small bathroom feel designed instead of plain. Pick a tester pot of paint in a soft colour you love, tape a horizontal stripe at eye level around the room, and roll two thin coats inside the tape lines. Peel the tape while the second coat is still slightly tacky for the sharpest edge, then touch up any wobbles with a small brush. Keep the stripe narrow, about the width of your hand, so it adds interest without shrinking the walls. I tried this — the mistake to avoid is taping over dusty walls, because paint bleeds under loose tape and turns a crisp stripe into a fuzzy mess.
Cost: ~$8 | Time: 1 hour
2. Swap the Shower Curtain for a Linen-Look One
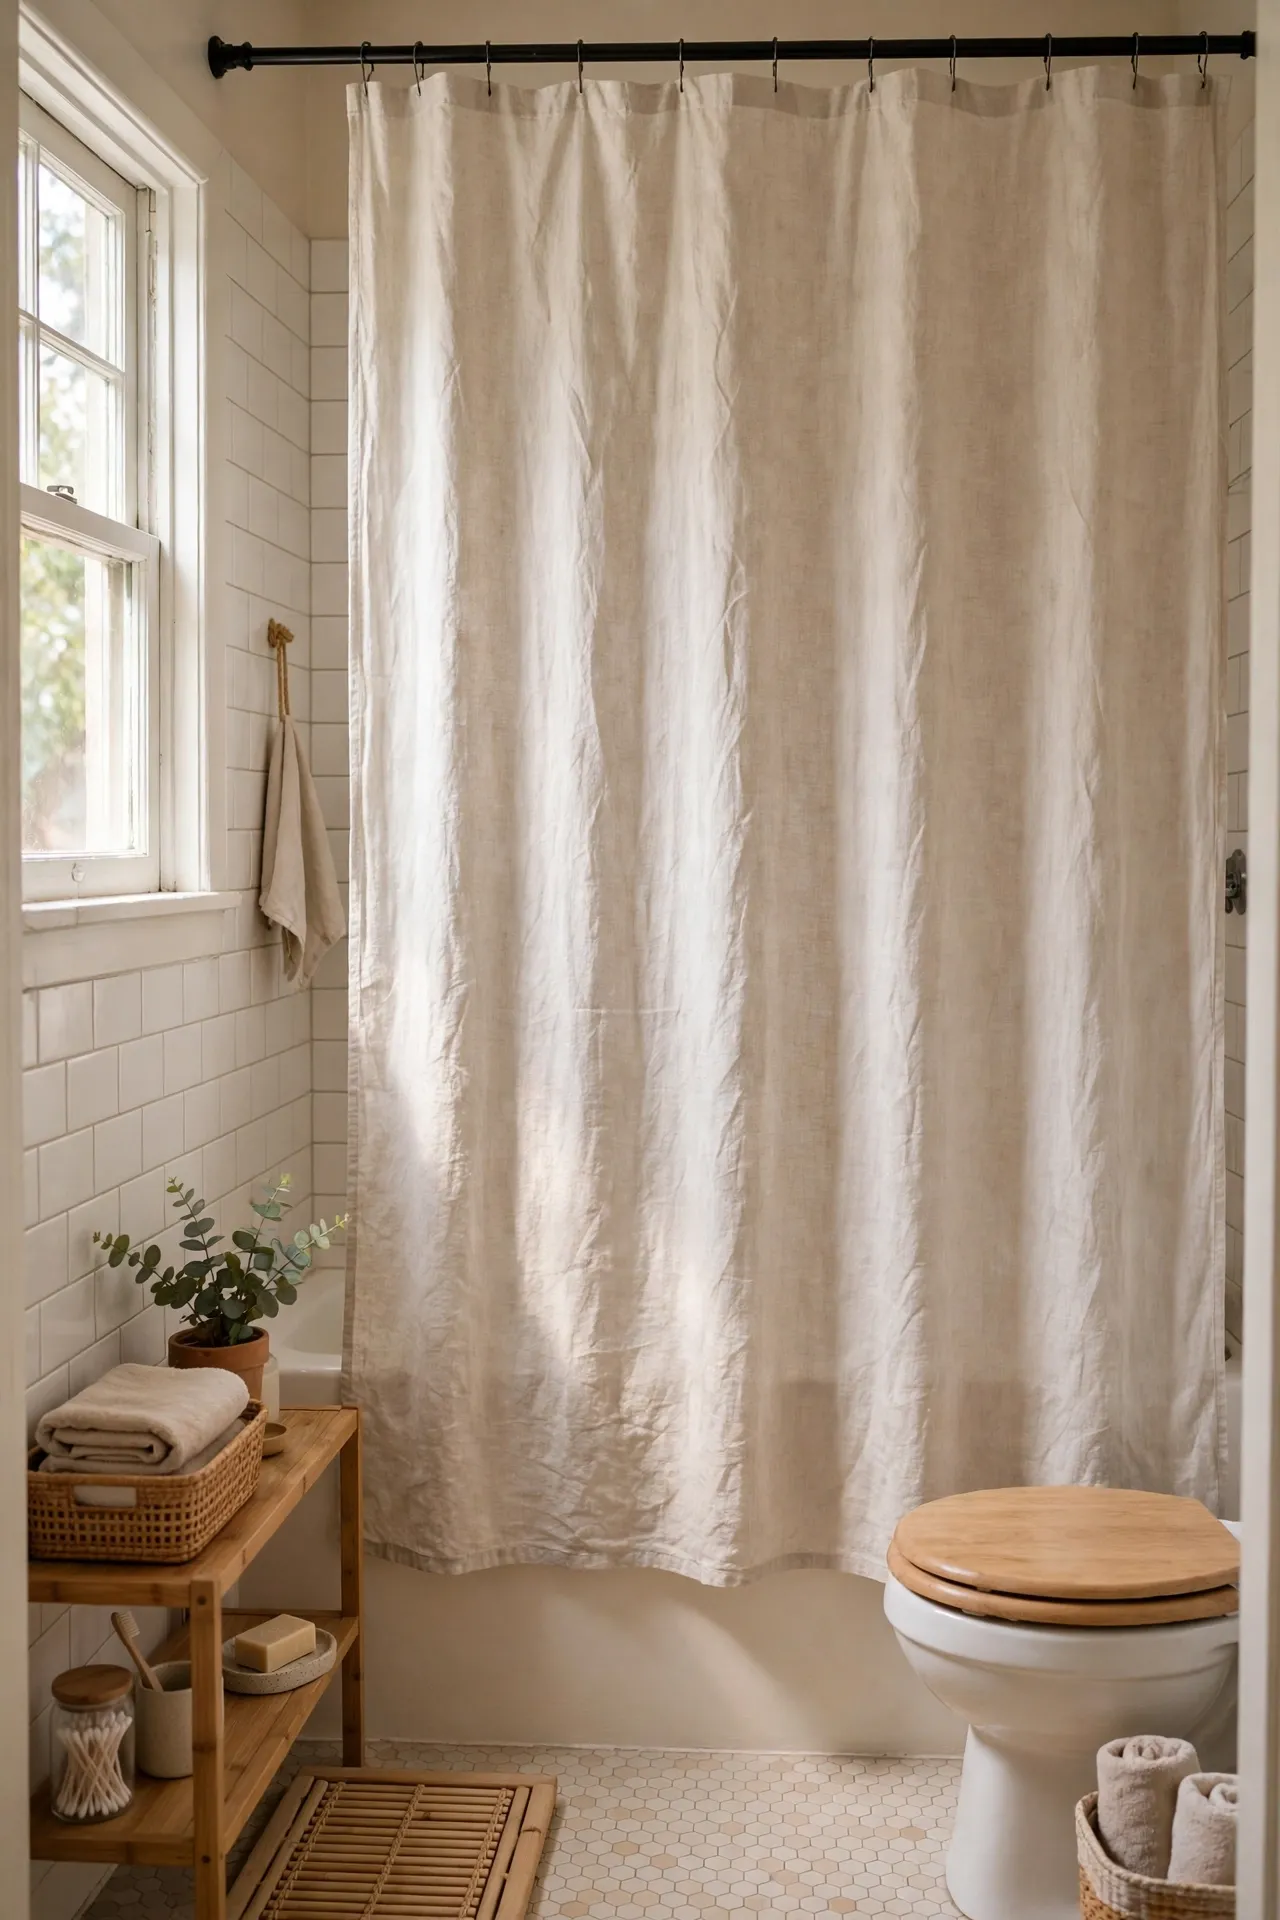
A fresh shower curtain covers more wall than almost anything else in a small bathroom, so it is the best ten-dollar upgrade you can buy. Look for a plain linen-look curtain in white or pale sage at a discount store, hang it high and wide so the shower feels taller, and add a cheap white liner behind it to protect the fabric. Let the curtain fall straight to the floor rather than bunching it up. Keep the pattern simple, because busy prints shrink a tiny room fast. When I swapped my old patterned curtain for a plain one, the bathroom instantly looked twice as calm, and I had not moved a single piece of furniture.
Cost: ~$12 | Time: 15 minutes
3. Roll Towels Instead of Folding Them
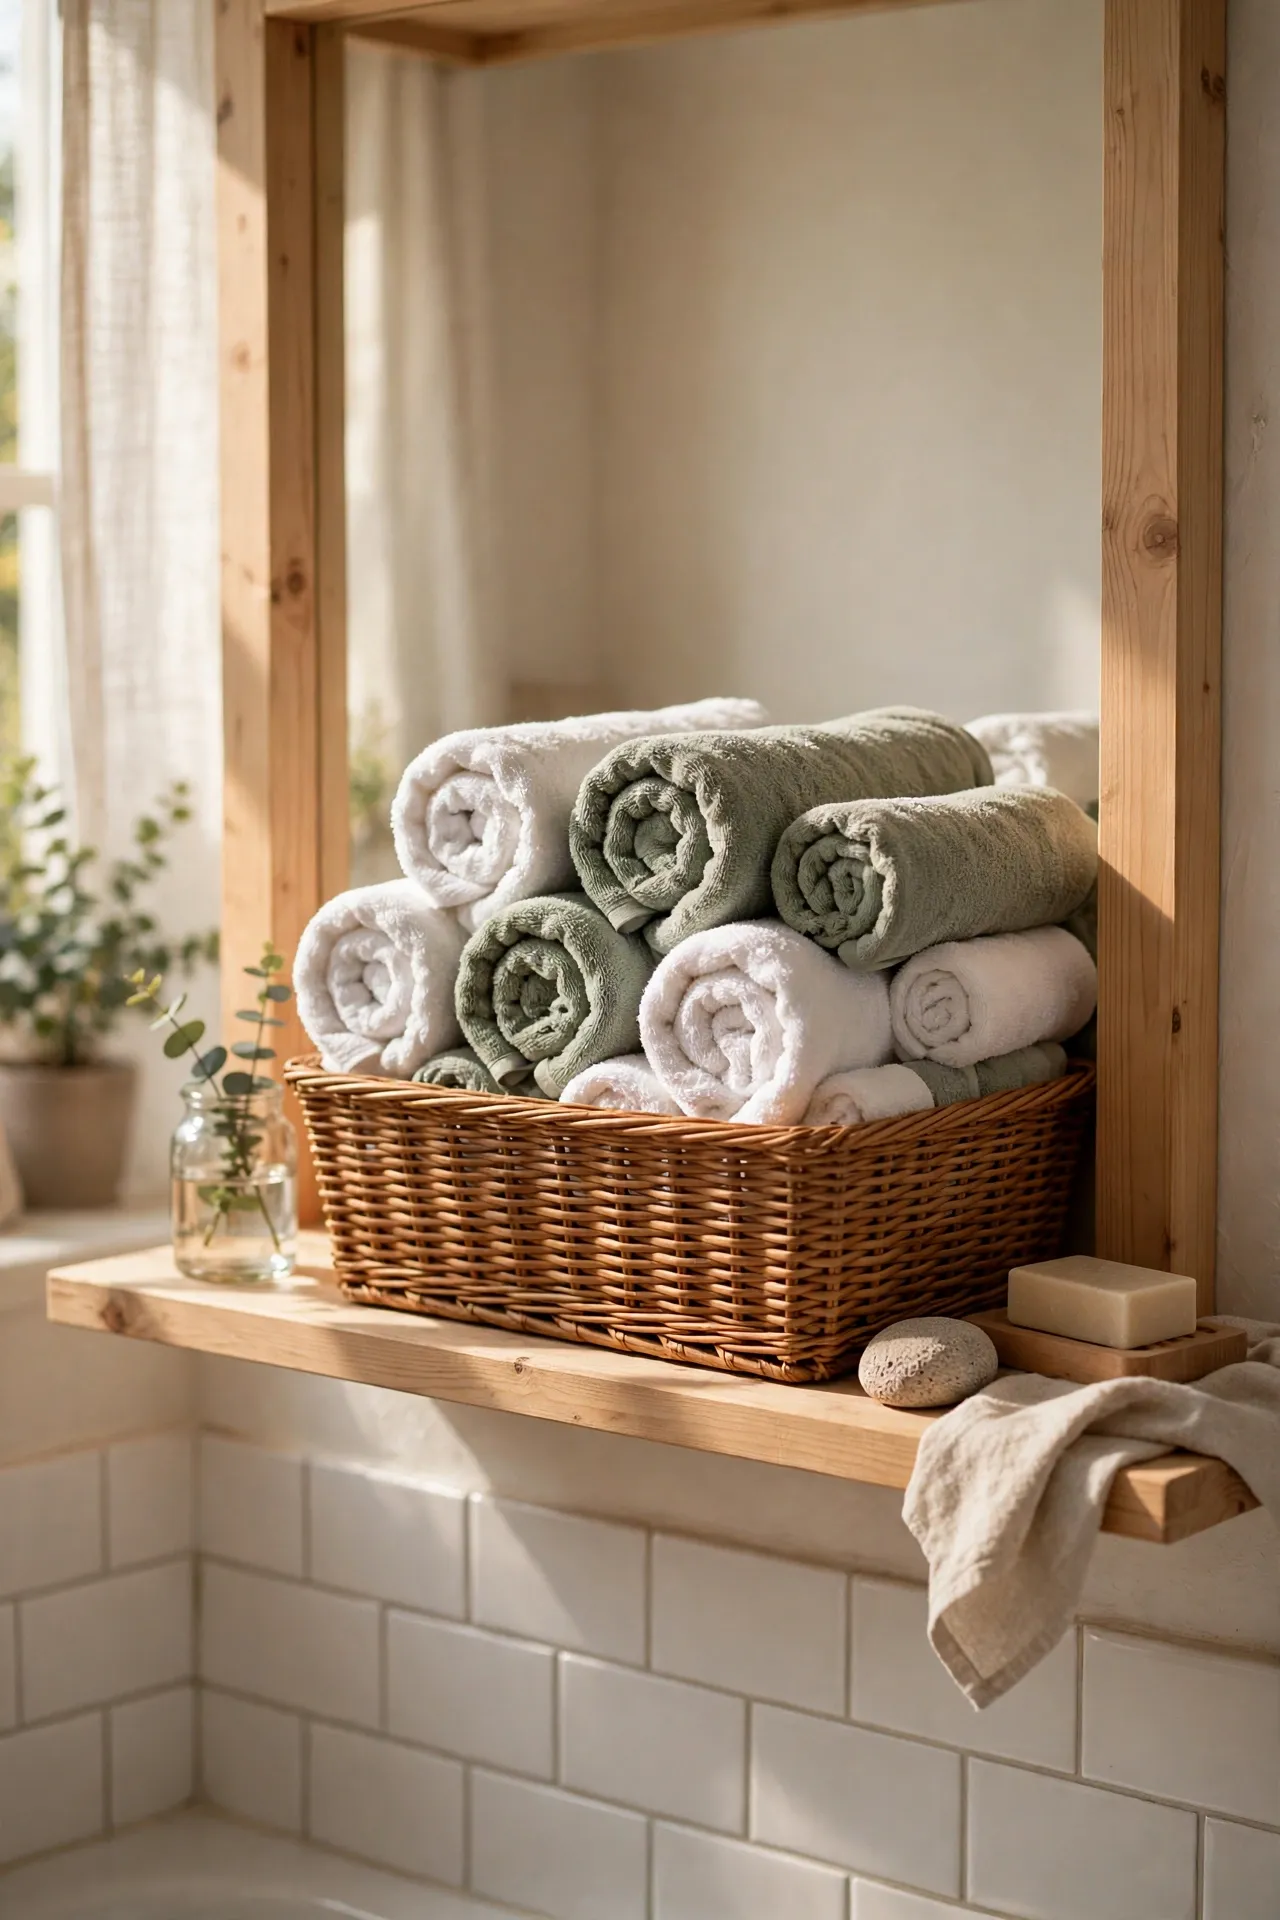
Rolling towels costs nothing and makes a cramped bathroom look like a boutique hotel shelf in minutes. Lay each towel flat, fold the sides in, and roll it tightly from one end, then stack the rolls in a basket or on an open shelf with the spiral ends facing out. Use matching or similar-coloured towels for the neatest effect, and keep the pile to four or five rolls so it never topples. Re-roll after laundry day so the habit sticks. I tried this — the mistake to avoid is rolling damp towels, because they go musty inside the roll and smell stale long before they look dirty.
Cost: ~$0 | Time: 10 minutes
4. Add Adhesive Hooks Behind the Door for Extra Hanging Space
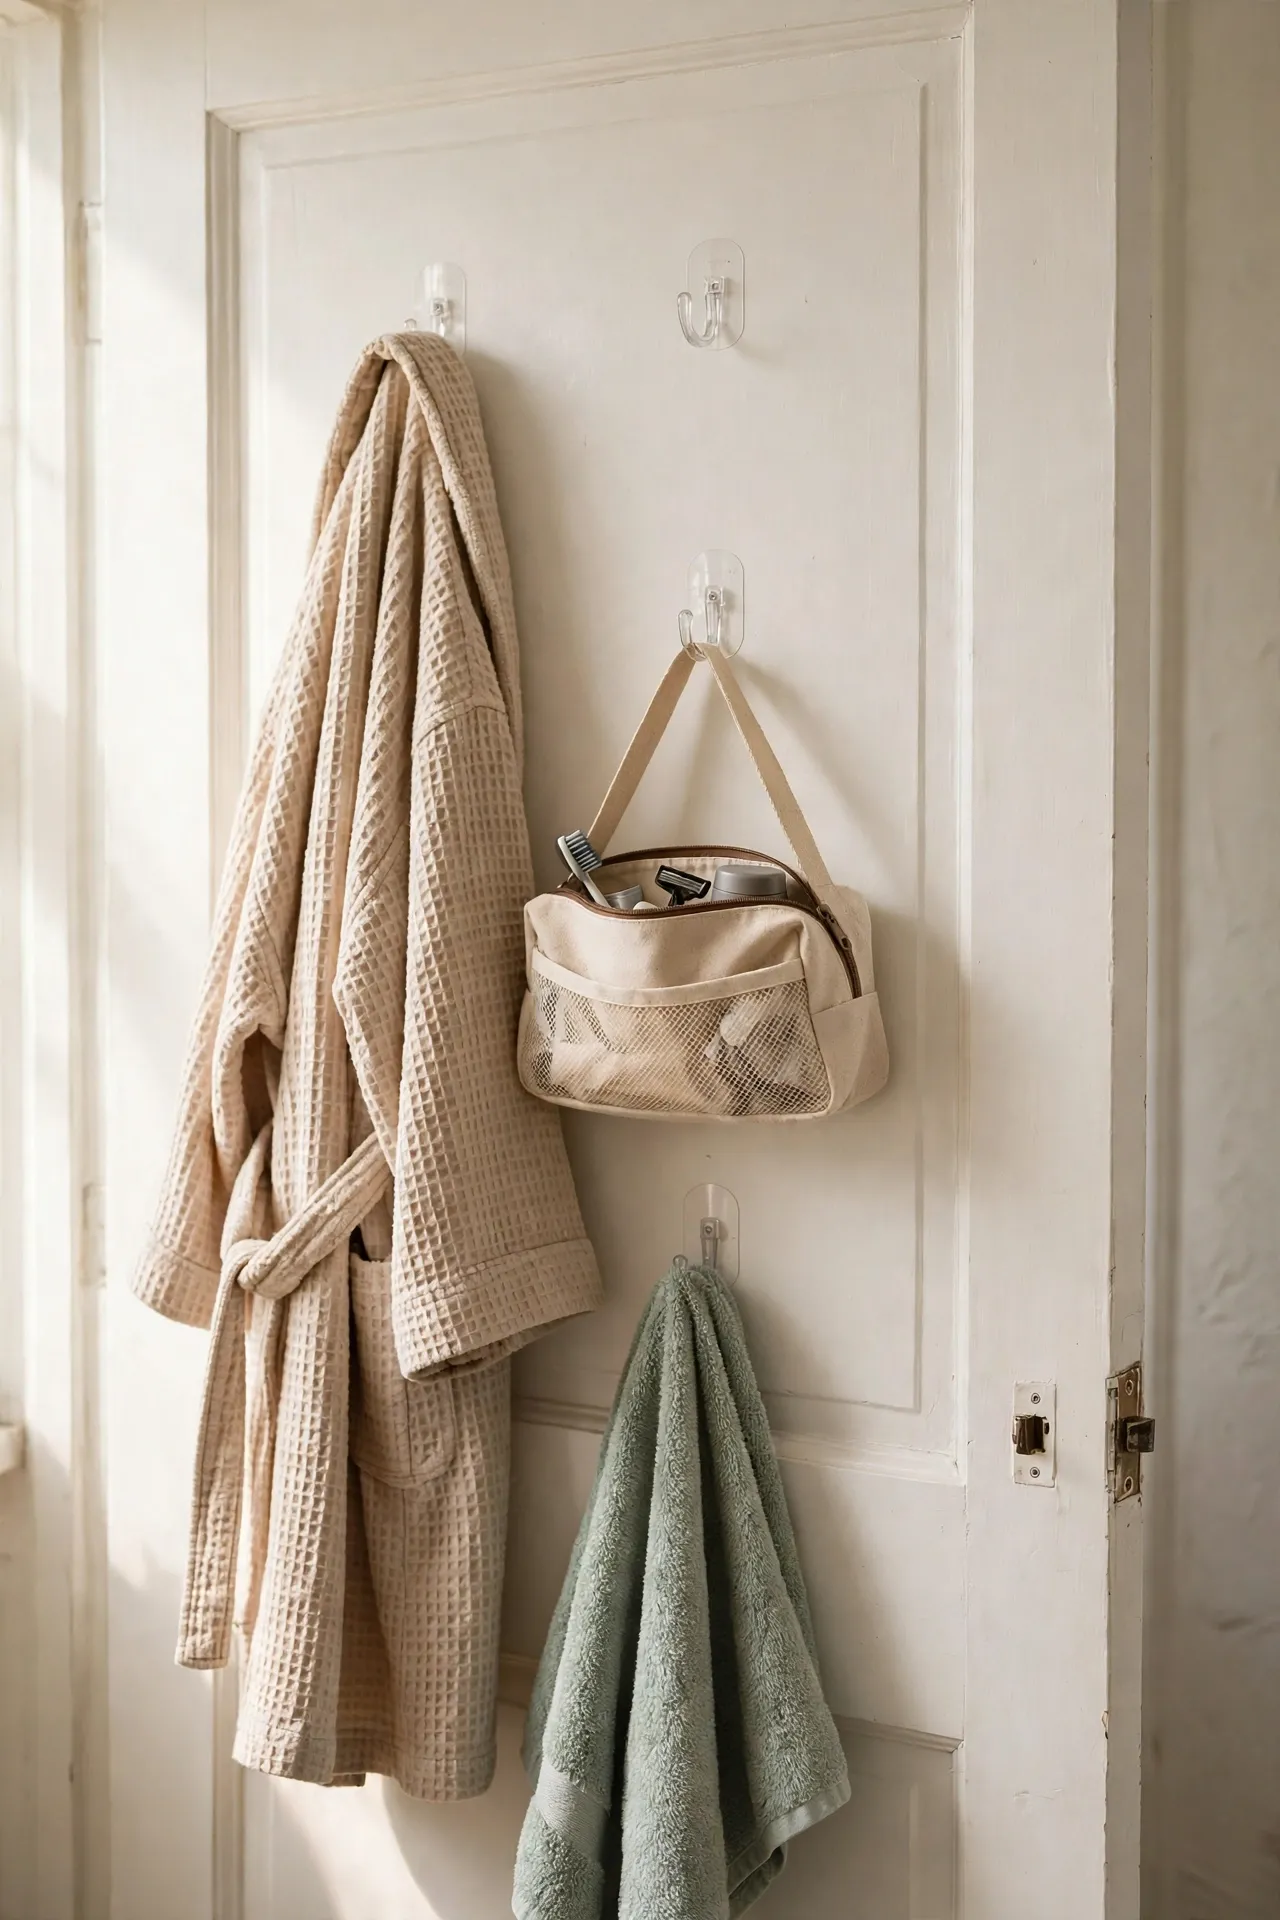
The back of a bathroom door is wasted space in most small homes, and adhesive hooks turn it into a whole extra storage wall. Clean the door surface, press on three or four strong adhesive hooks in a vertical row, and wait a full day before hanging anything heavy so the adhesive cures properly. Hang your robe, a hanging toiletry bag, and a hand towel where they are easy to grab but out of the way. Choose hooks rated for damp rooms so steam never loosens them. For more door and corner storage tricks, see my (see also: small-bathroom-storage-ideas) post. I learned the hard way to skip the cheapest hooks, because one failed hook at midnight drops everything onto the floor at once.
Cost: ~$6 | Time: 15 minutes
5. Decant Shampoo into Matching Dollar-Store Bottles
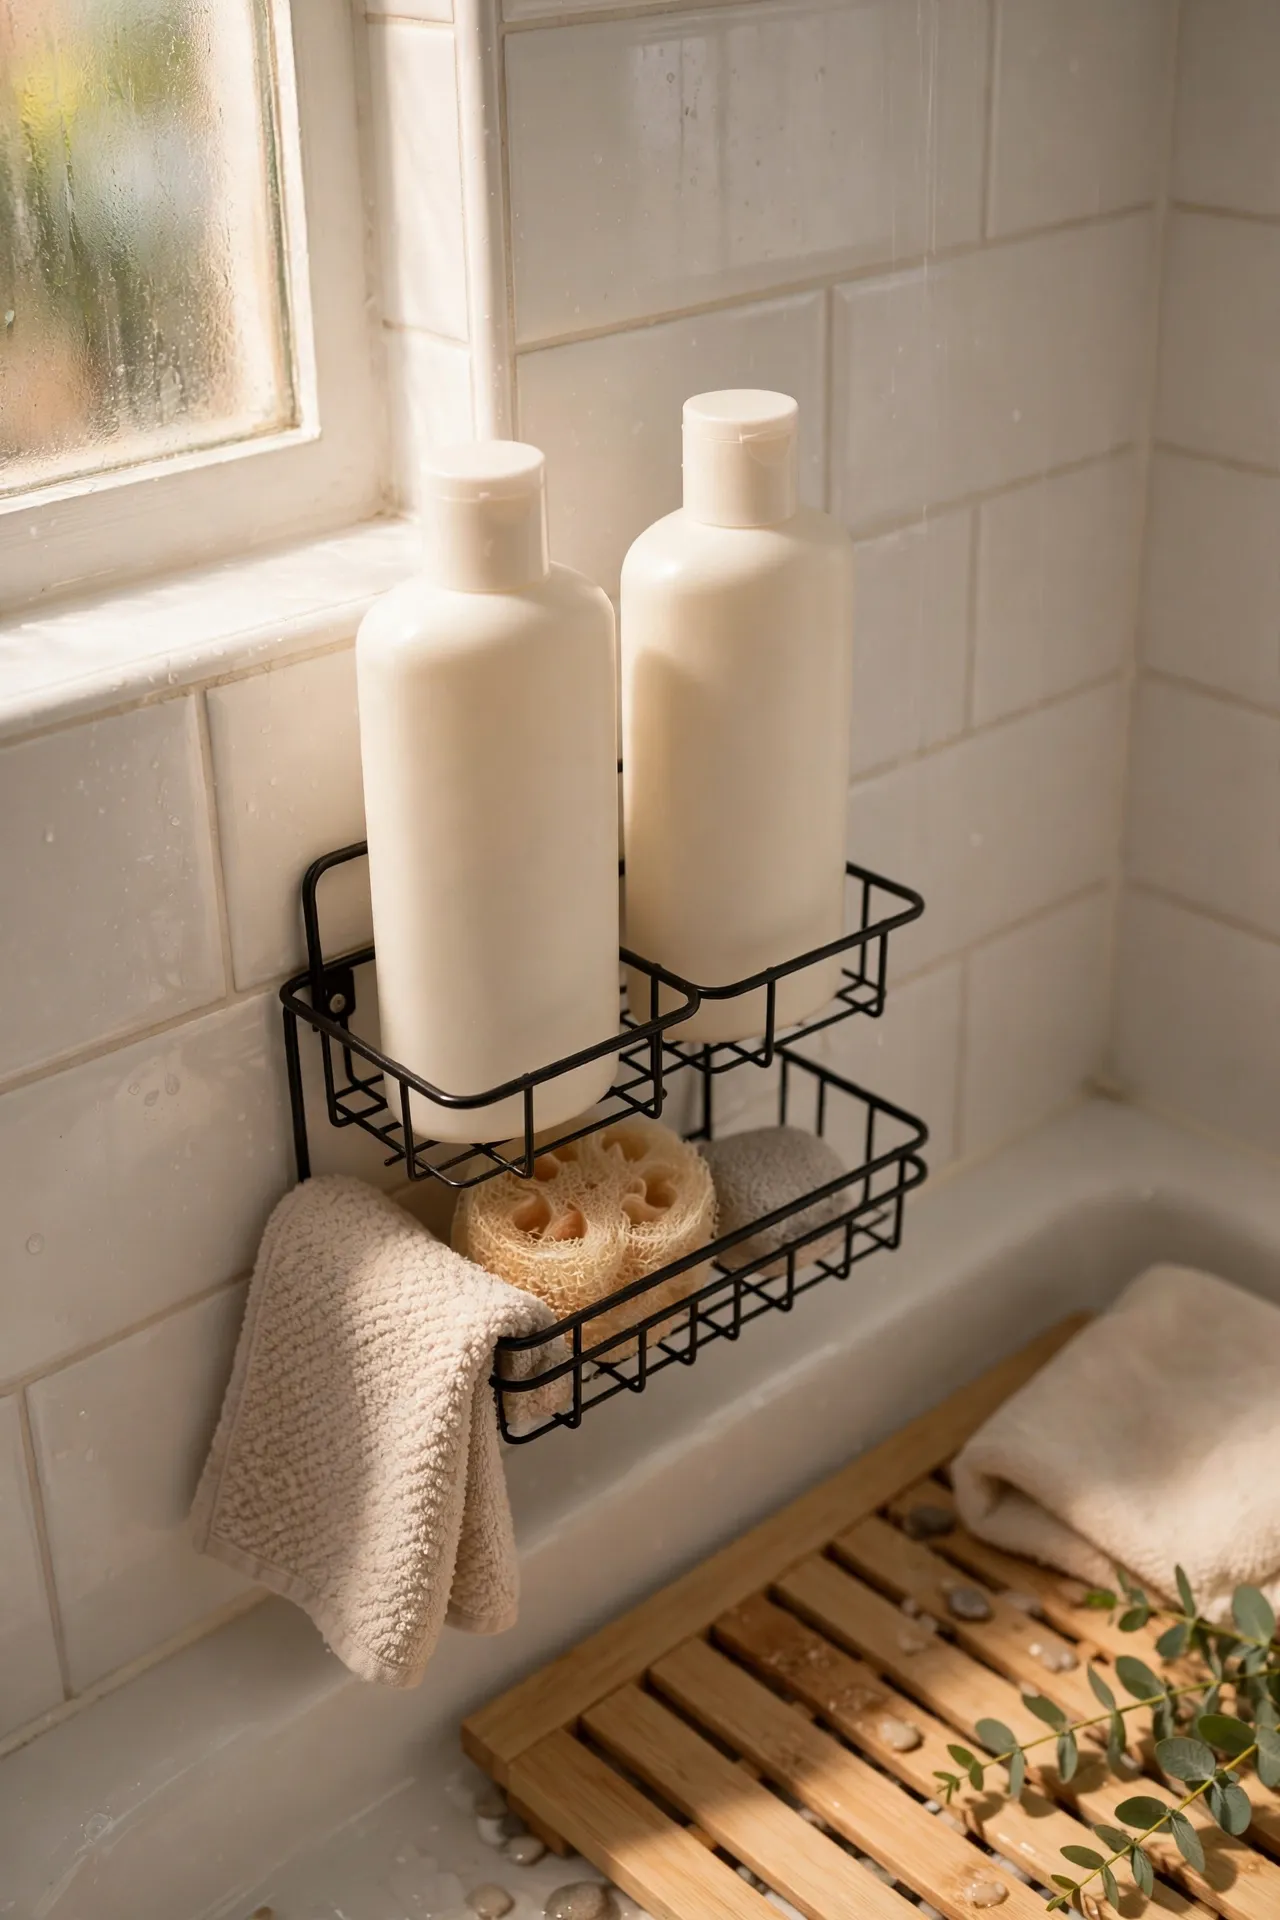
Mismatched shampoo bottles with clashing labels make a tiny shower look chaotic, even when it is clean. Buy a set of plain squeeze bottles from a dollar store, fill them with shampoo, conditioner, and body wash, and label each one with a waterproof label or a paint pen dot. Keep the original bottles under the sink for refills, and rinse the new bottles monthly so product never clogs the caps. Stand them in a small caddy so they do not slide around. When I decanted mine, the shower suddenly looked intentional, and I stopped knocking over tall bottles every single morning.
Cost: ~$5 | Time: 20 minutes
Next, storage that actually works: small bathrooms do not need more stuff, they need smarter places to put the stuff you already own.
6. Corral Under-Sink Chaos with a $5 Tension Rod
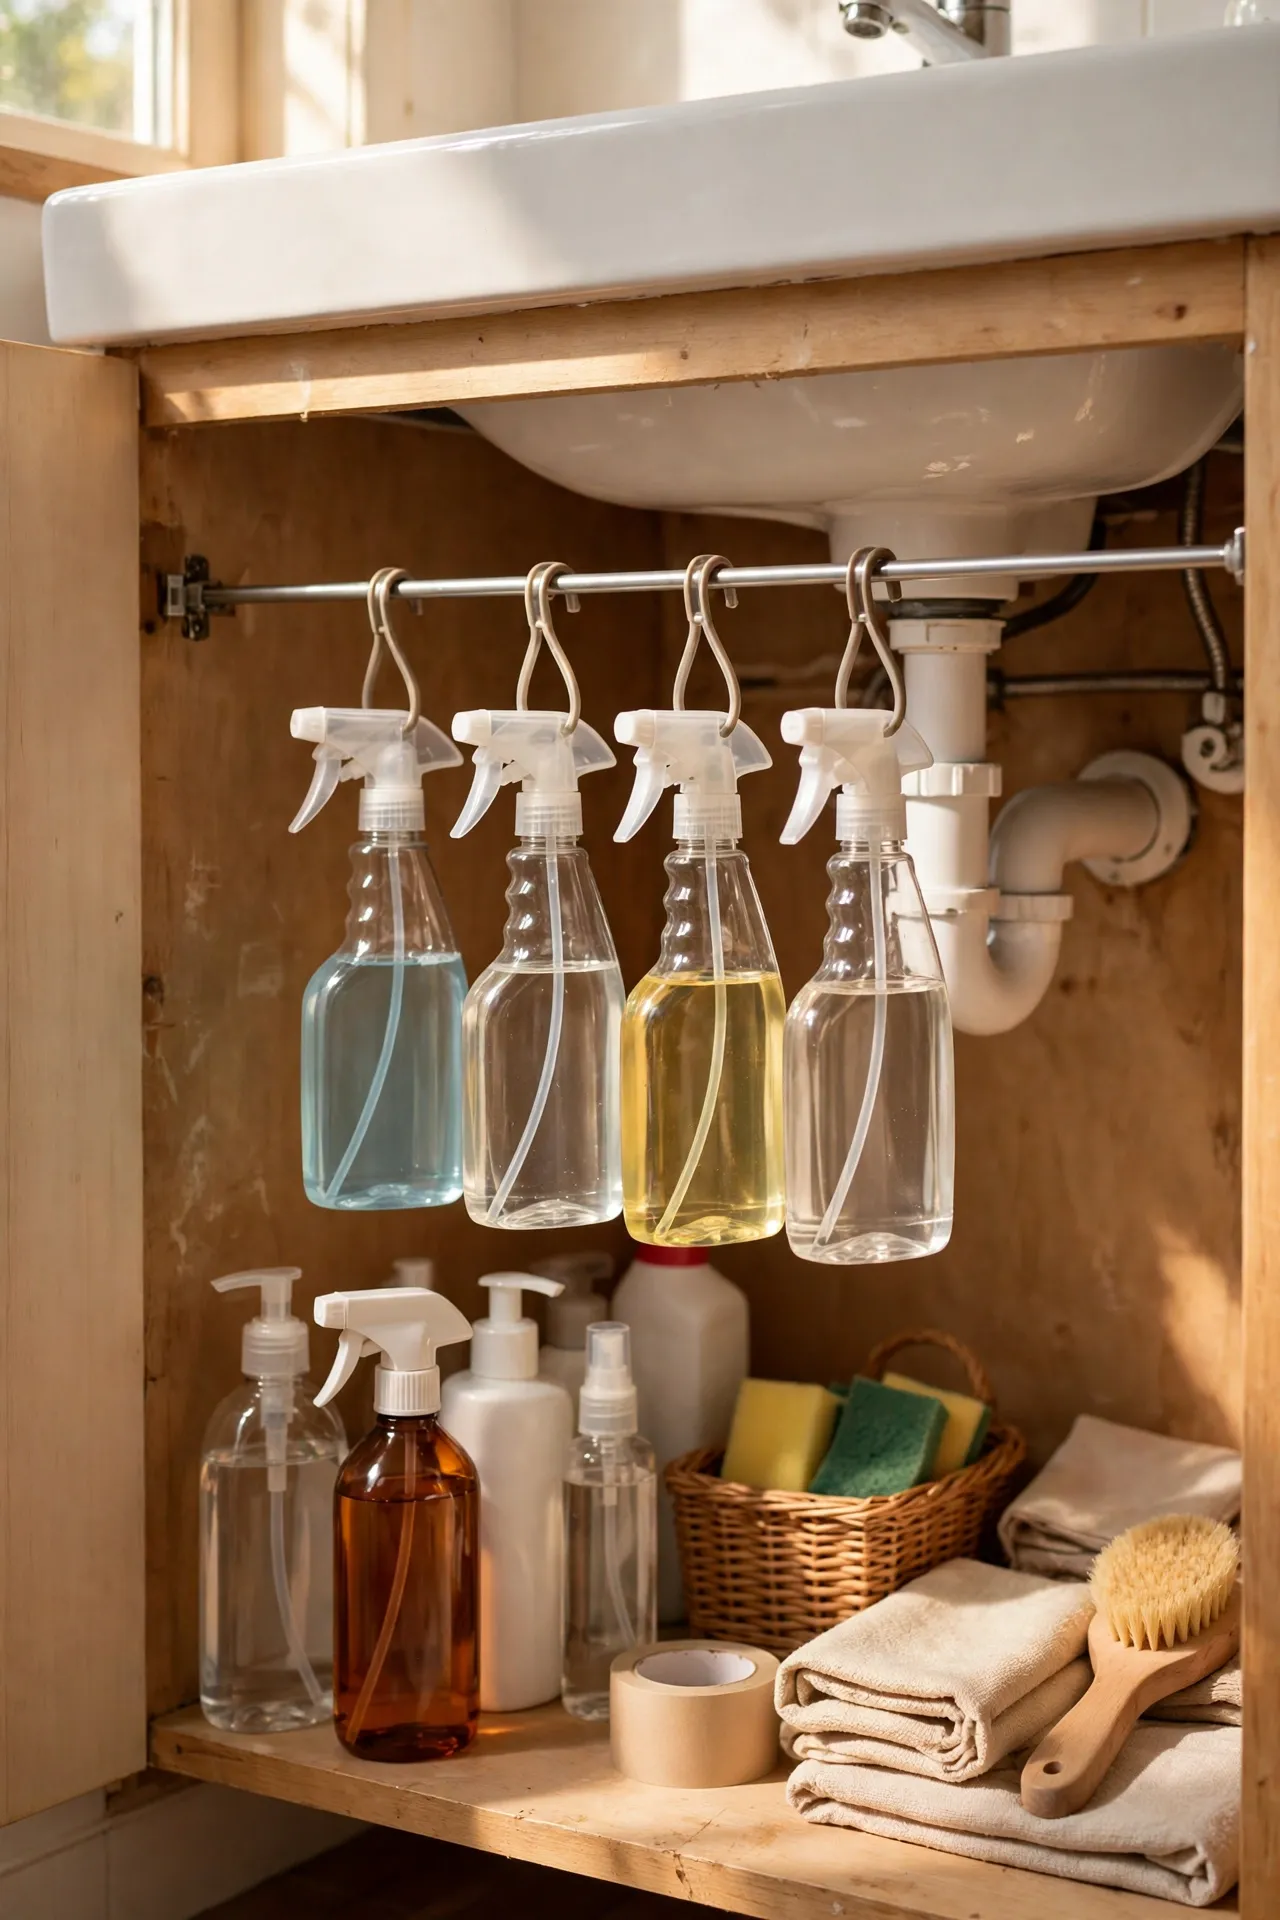
A tension rod under the sink creates a whole extra shelf without drilling or tools. Wedge a small spring rod horizontally across the cabinet, hang spray bottles by their triggers from the rod, and stack the remaining bottles below it where you can actually reach them. Measure the cabinet width first, including the pipes, so the rod fits snugly without bowing. Keep heavy bottles on the cabinet floor and light sprays on the rod. I tried this — the mistake to avoid is overtightening the rod, because a rod forced too wide can crack a thin cabinet side or pop loose the moment you pull a bottle free.
Cost: ~$5 | Time: 10 minutes
7. Hang a Small Tension Shelf Over the Toilet Tank
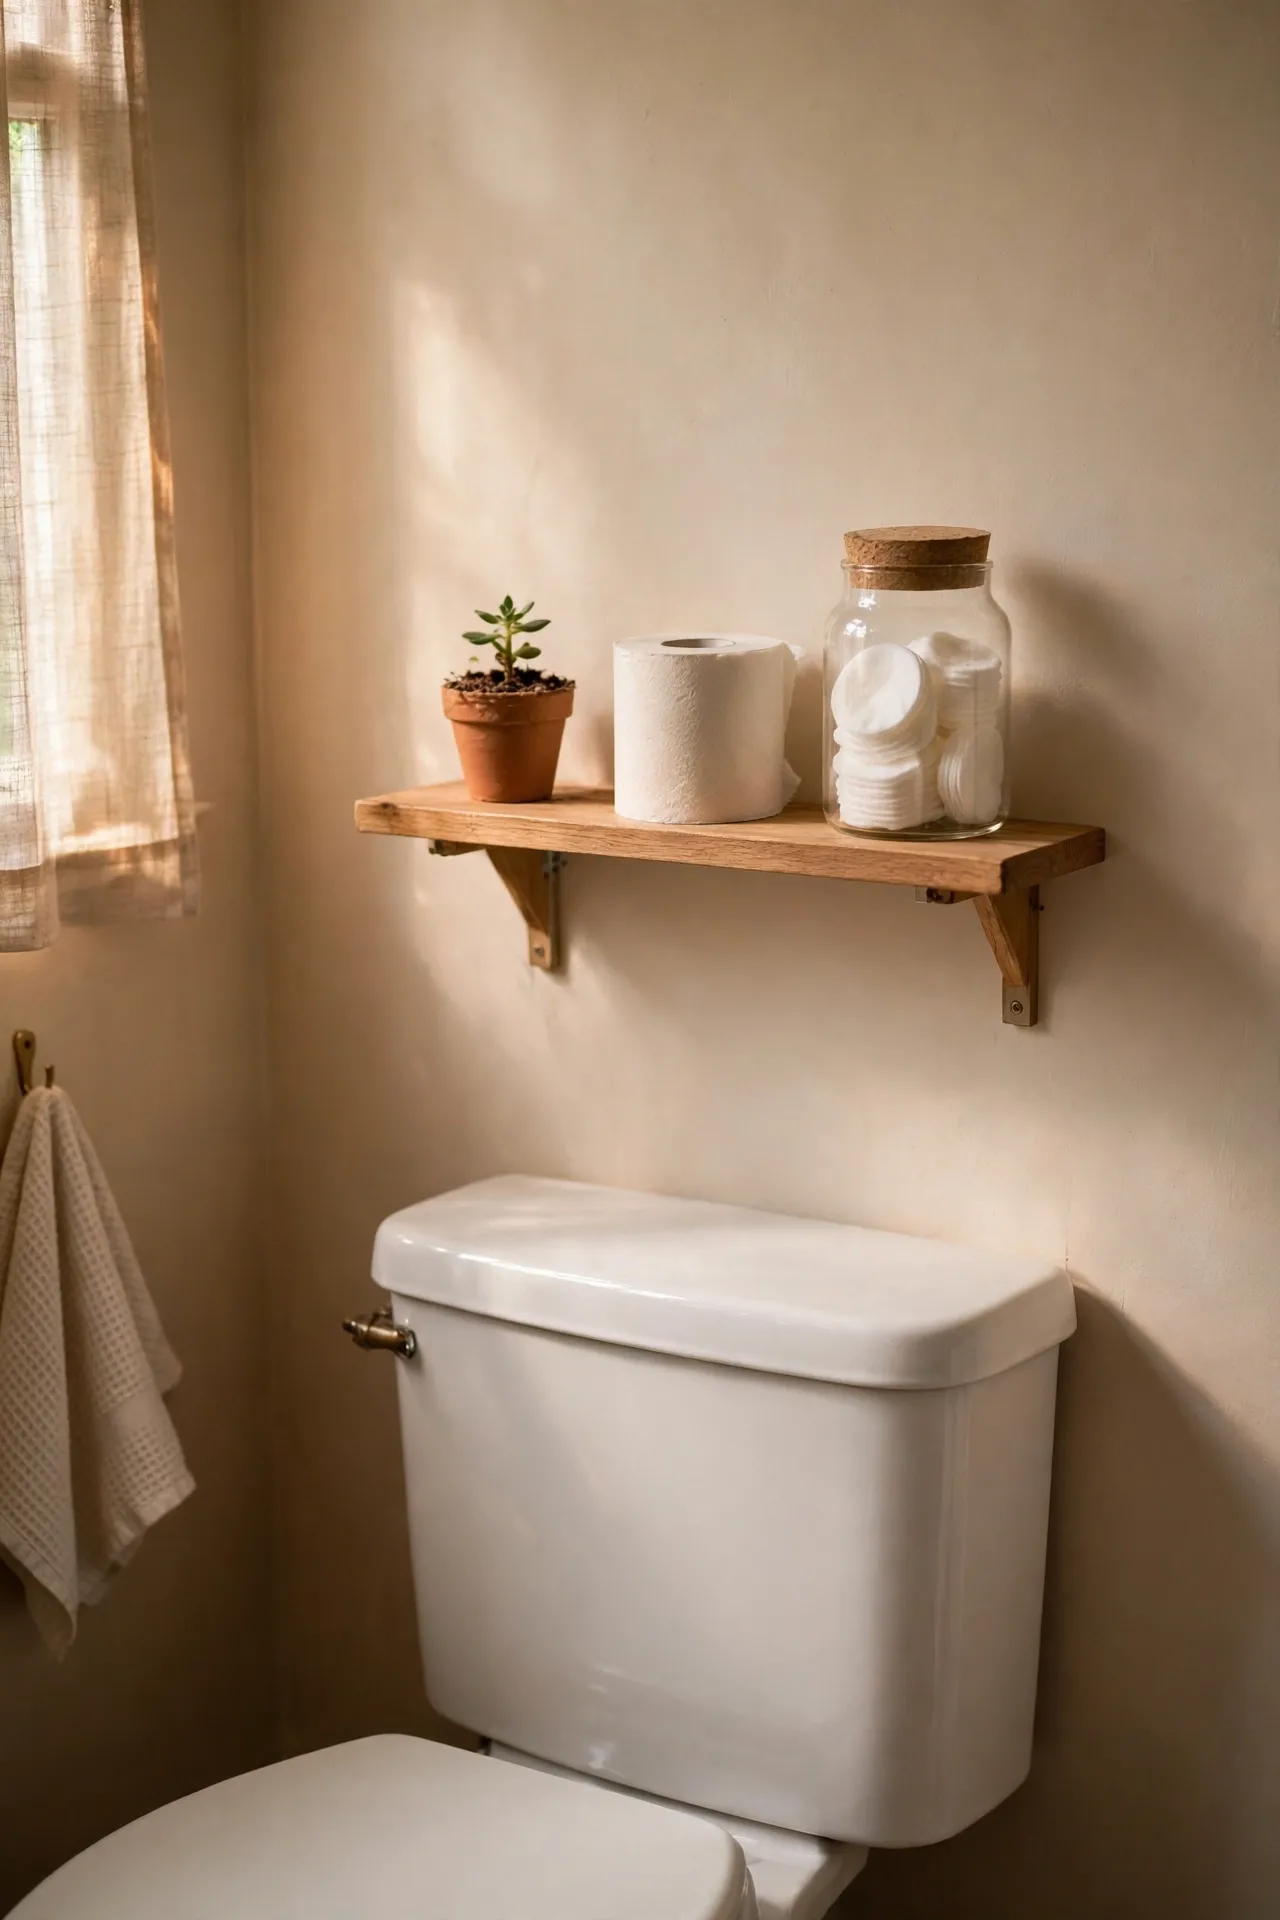
The wall above the toilet tank is prime storage real estate that most renters ignore completely. Install a small tension-pole shelf or a no-drill over-toilet rack, check that it clears the tank lid so you can still lift it for repairs, and style it with a spare toilet roll, a small plant, and a jar of cotton pads. Keep the shelf light and the items few, because an overloaded shelf above a toilet feels stressful rather than helpful. Wipe the shelf weekly since dust settles there fast. When I added mine, I finally stopped stacking spare rolls on the floor, and the bathroom floor looked bigger the same day.
Cost: ~$18 | Time: 20 minutes
8. Use a Magnetic Strip Inside the Cabinet for Bobby Pins
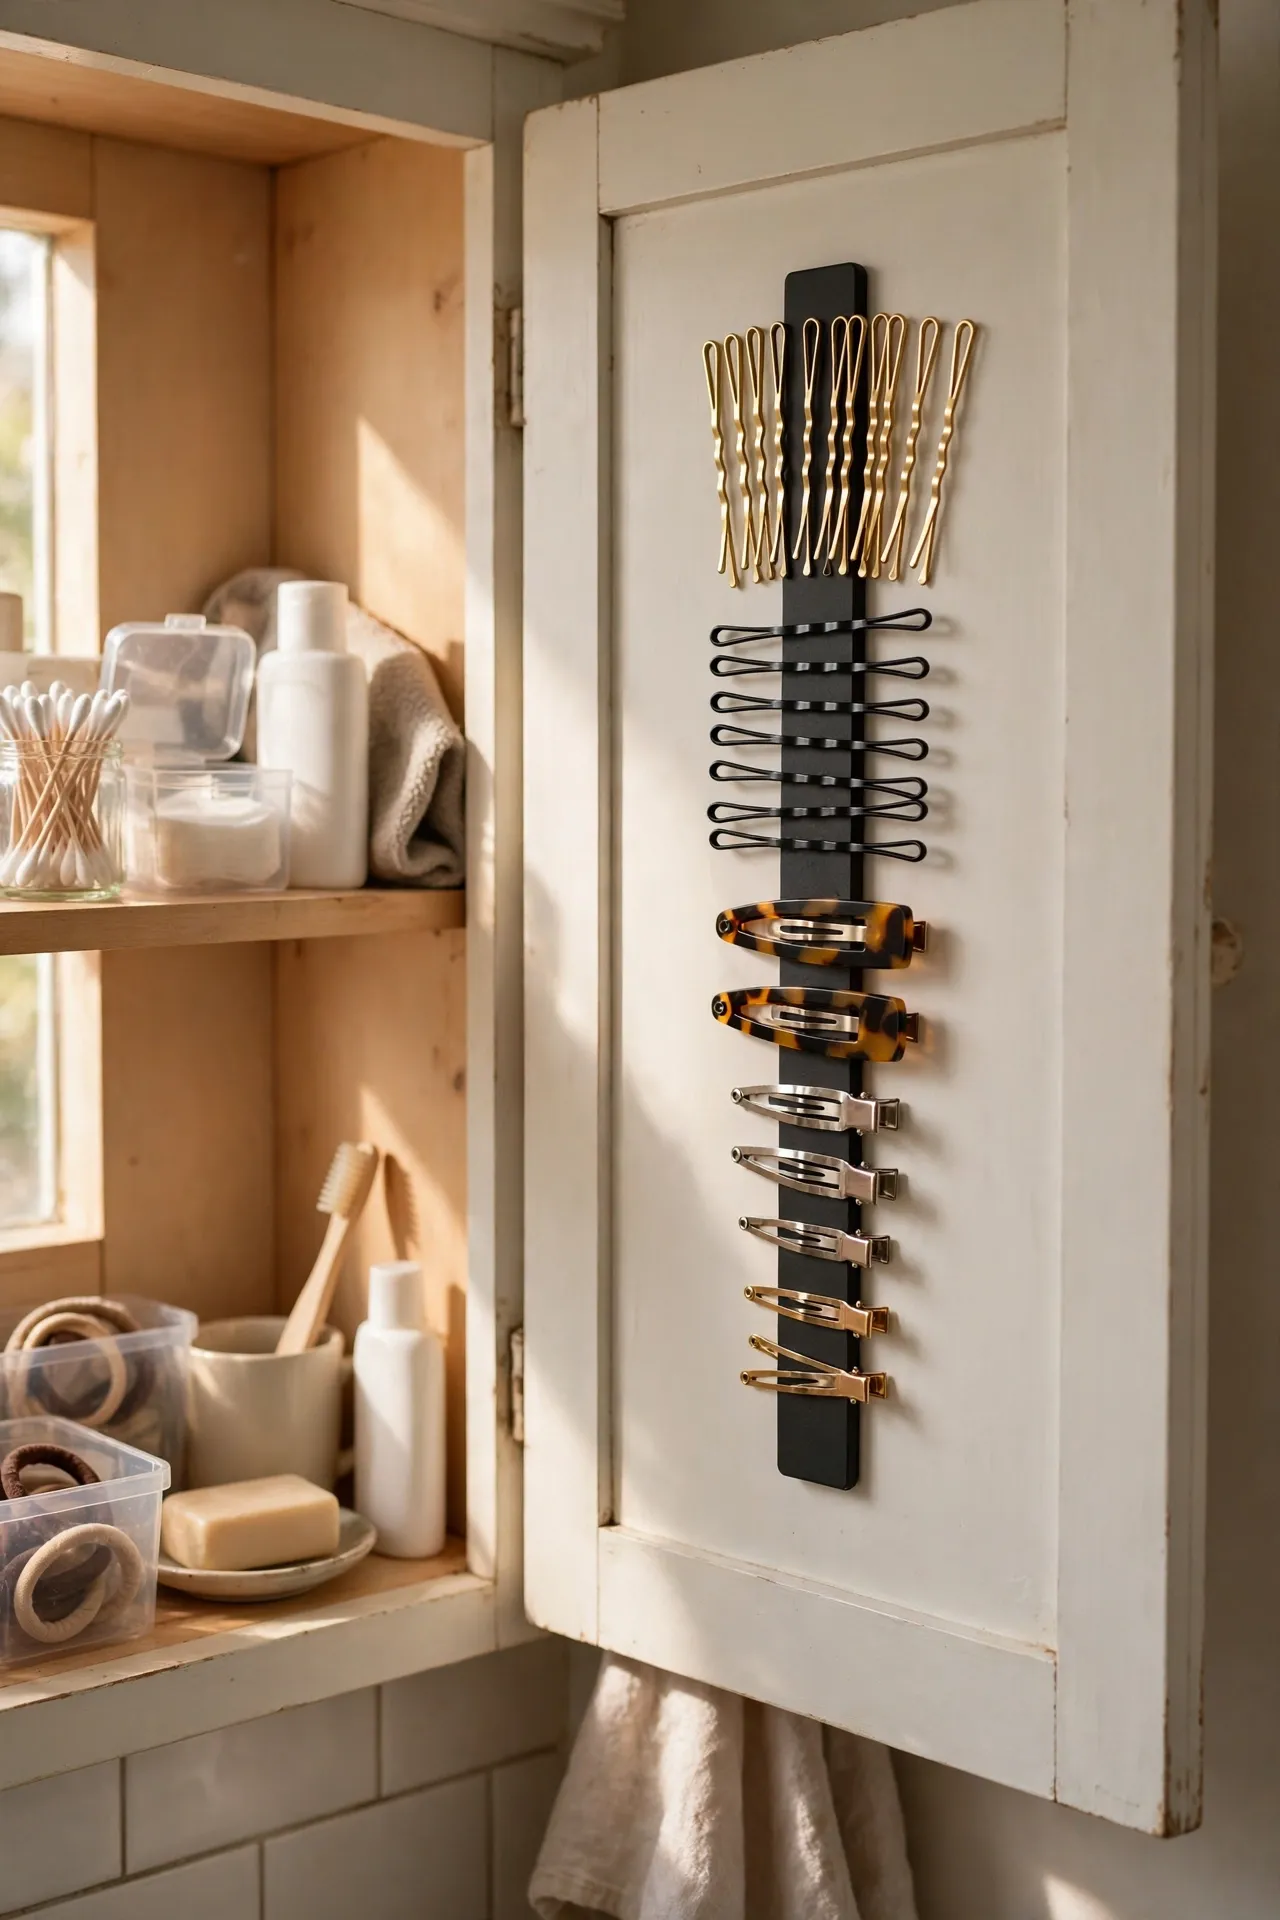
Bobby pins vanish into every corner of a small bathroom, but a magnetic strip inside a cabinet door catches them all in one place. Stick a small adhesive magnetic strip to the inside of a medicine cabinet or vanity door, press your bobby pins and hair clips onto it in a neat row, and grab what you need without digging through a drawer. Keep the strip away from the hinge so the door still closes flat. Clean the pins occasionally so hair never builds up around them. I tried this — the mistake to avoid is sticking the strip where it blocks the door latch, because a cabinet that will not close is worse than a drawer full of loose pins.
Cost: ~$4 | Time: 10 minutes
9. Stick Peel-and-Stick Tile Decals on the Floor Border
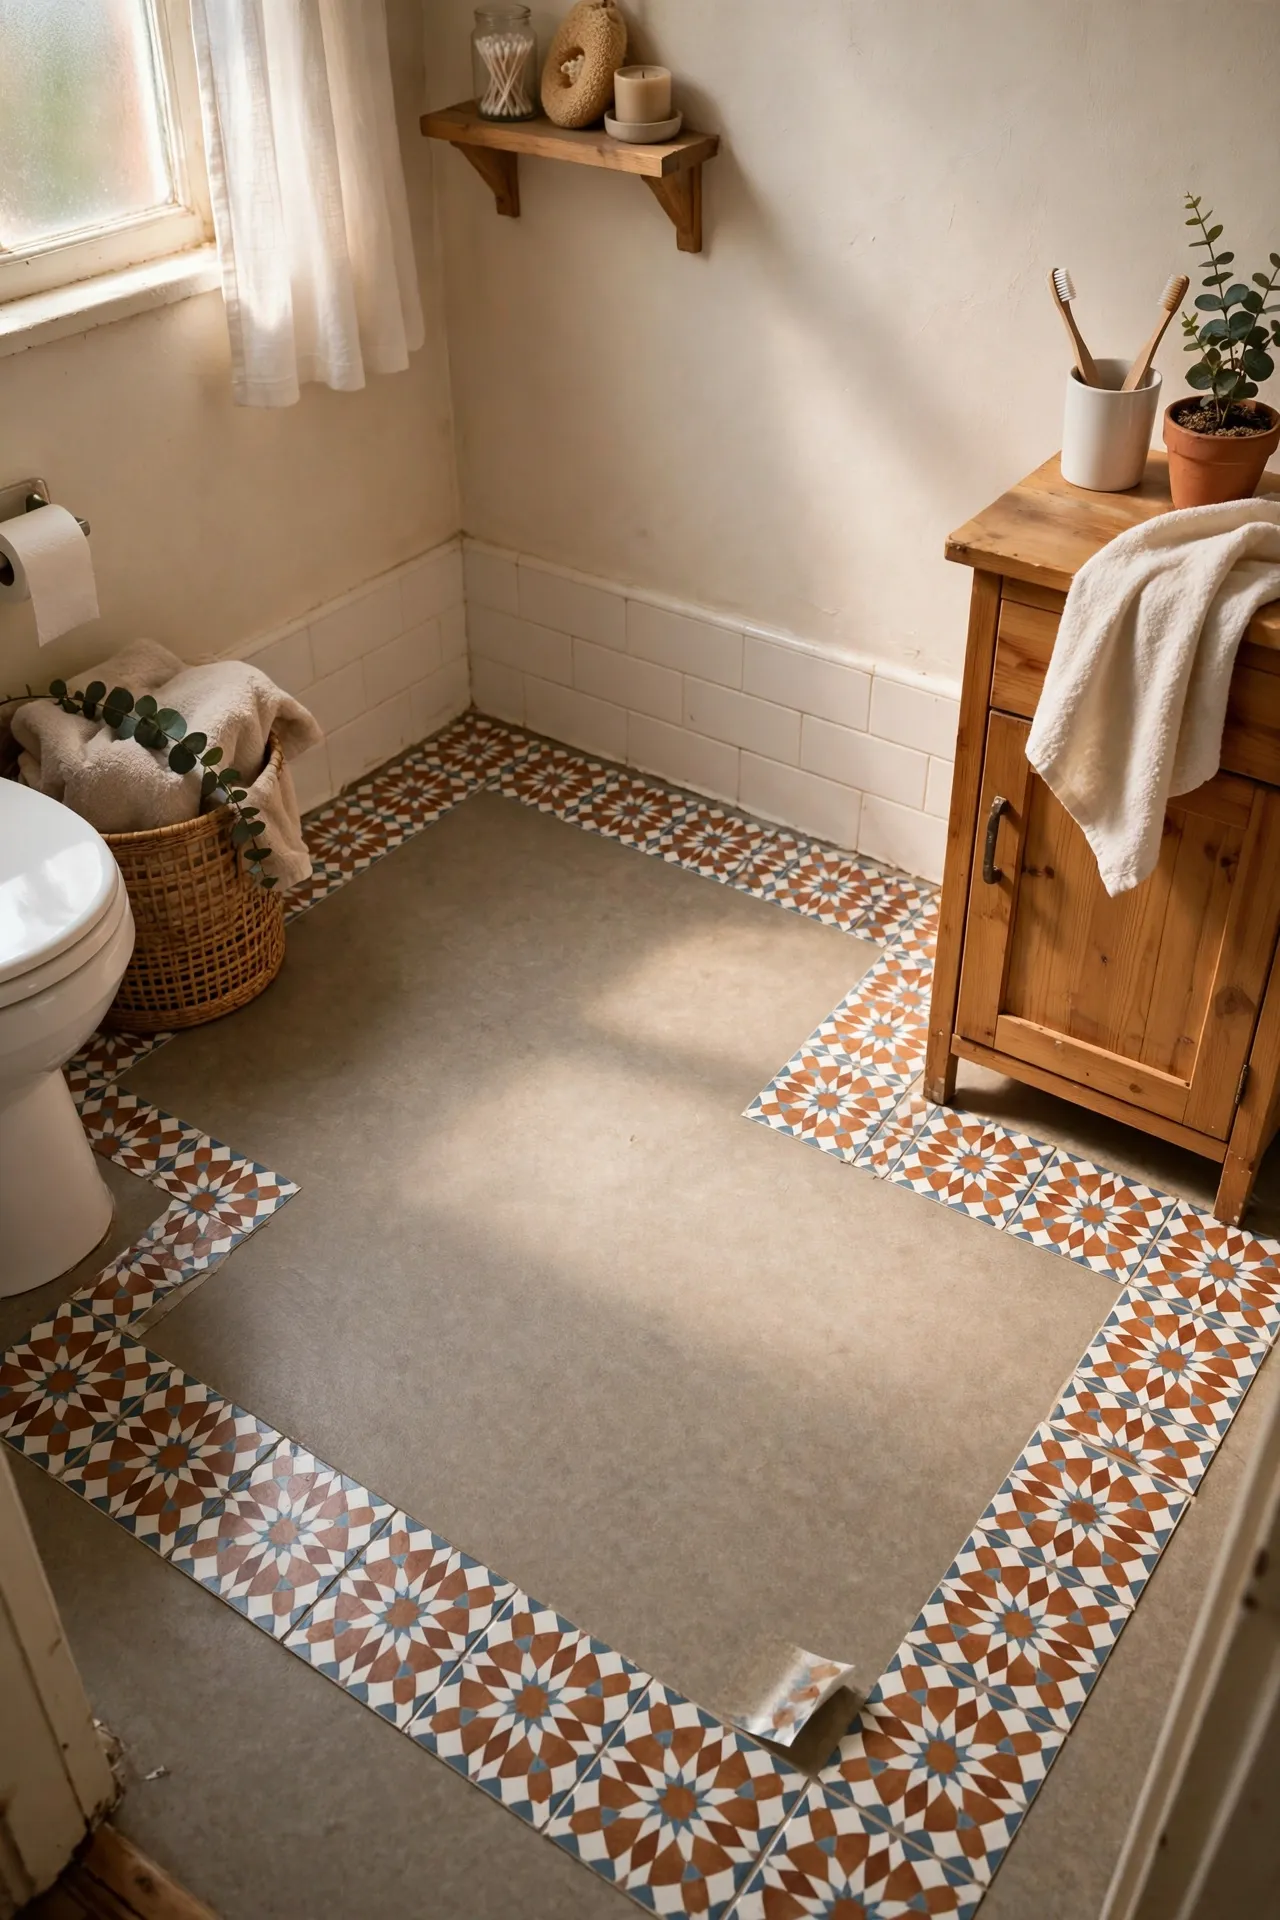
Peel-and-stick decals let you fake a patterned tile border for the price of a coffee and a pastry. Clean and dry the floor edge thoroughly, lay the decals along the border where the floor meets the wall, and press out air bubbles with a credit card as you go. Trim corners carefully with a craft knife, and avoid placing decals where standing water pools every day. Step back often to check the pattern stays straight, because a wandering border draws the eye straight to it. Pin this one to your small-space board — it is the fastest floor facelift I have found that a landlord will never notice. I learned to buy one spare sheet, since a single torn decal mid-project is surprisingly annoying to match later.
Cost: ~$11 | Time: 45 minutes
10. Replace the Bath Mat with a Washable Cotton Rug
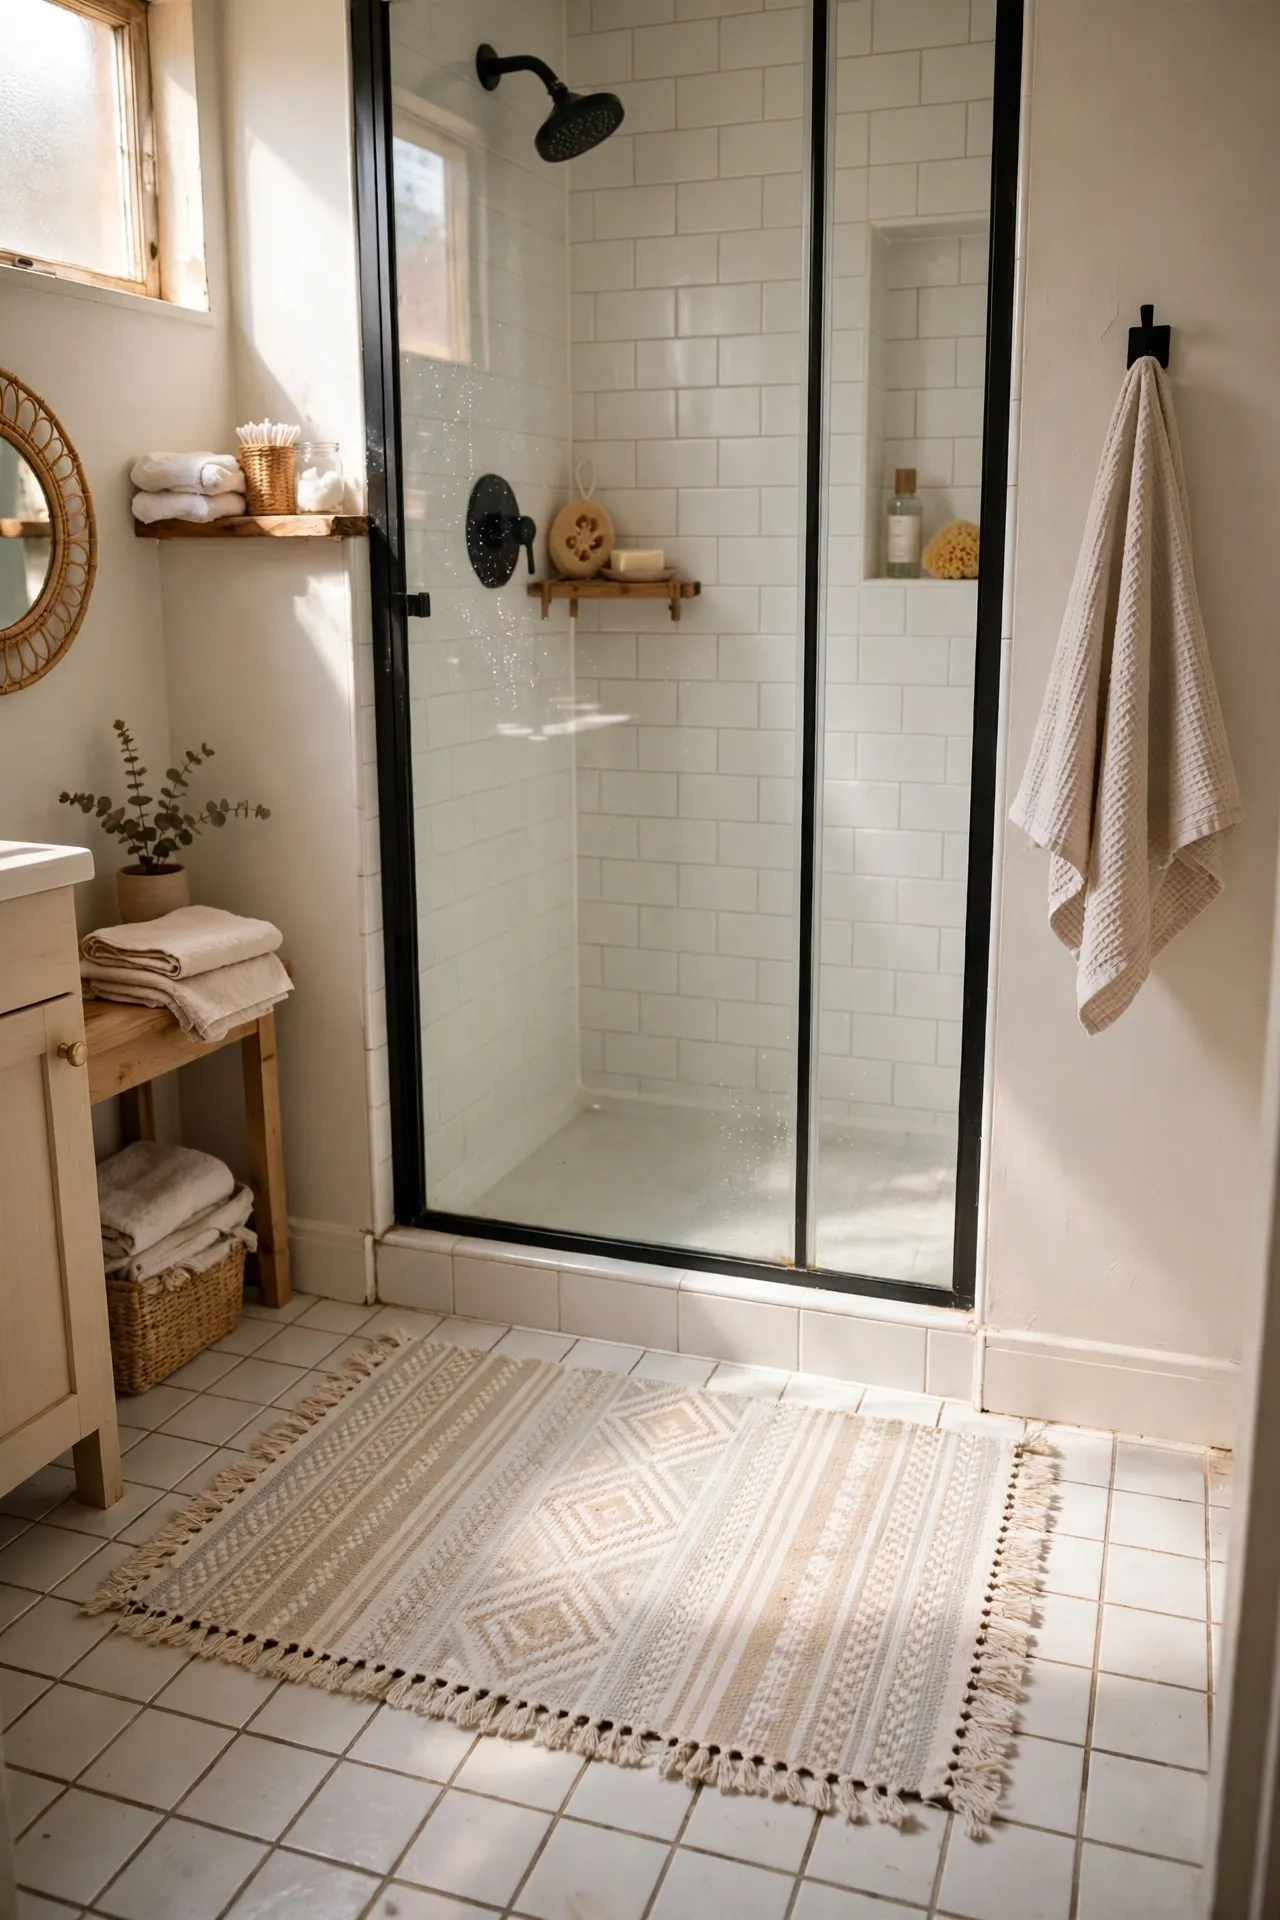
A thin, soggy bath mat makes a small bathroom feel damp and tired, while a washable cotton rug feels fresh every week. Choose a flat-weave cotton rug in a light pattern, add a small non-slip pad underneath, and place it where you step out of the shower. Shake it outside twice a week and machine-wash it whenever it starts to feel heavy or smell damp. Avoid thick pile rugs that take days to dry in a windowless bathroom. When I swapped mine, the floor dried faster, the room smelled fresher, and laundry day finally included the one item I had been ignoring for months.
Cost: ~$14 | Time: 10 minutes
Then, the pretty upgrades: these are the touches guests notice first, and none of them needs a tradesperson or a big spend.
11. Frame a Thrift-Store Mirror with Spray Paint
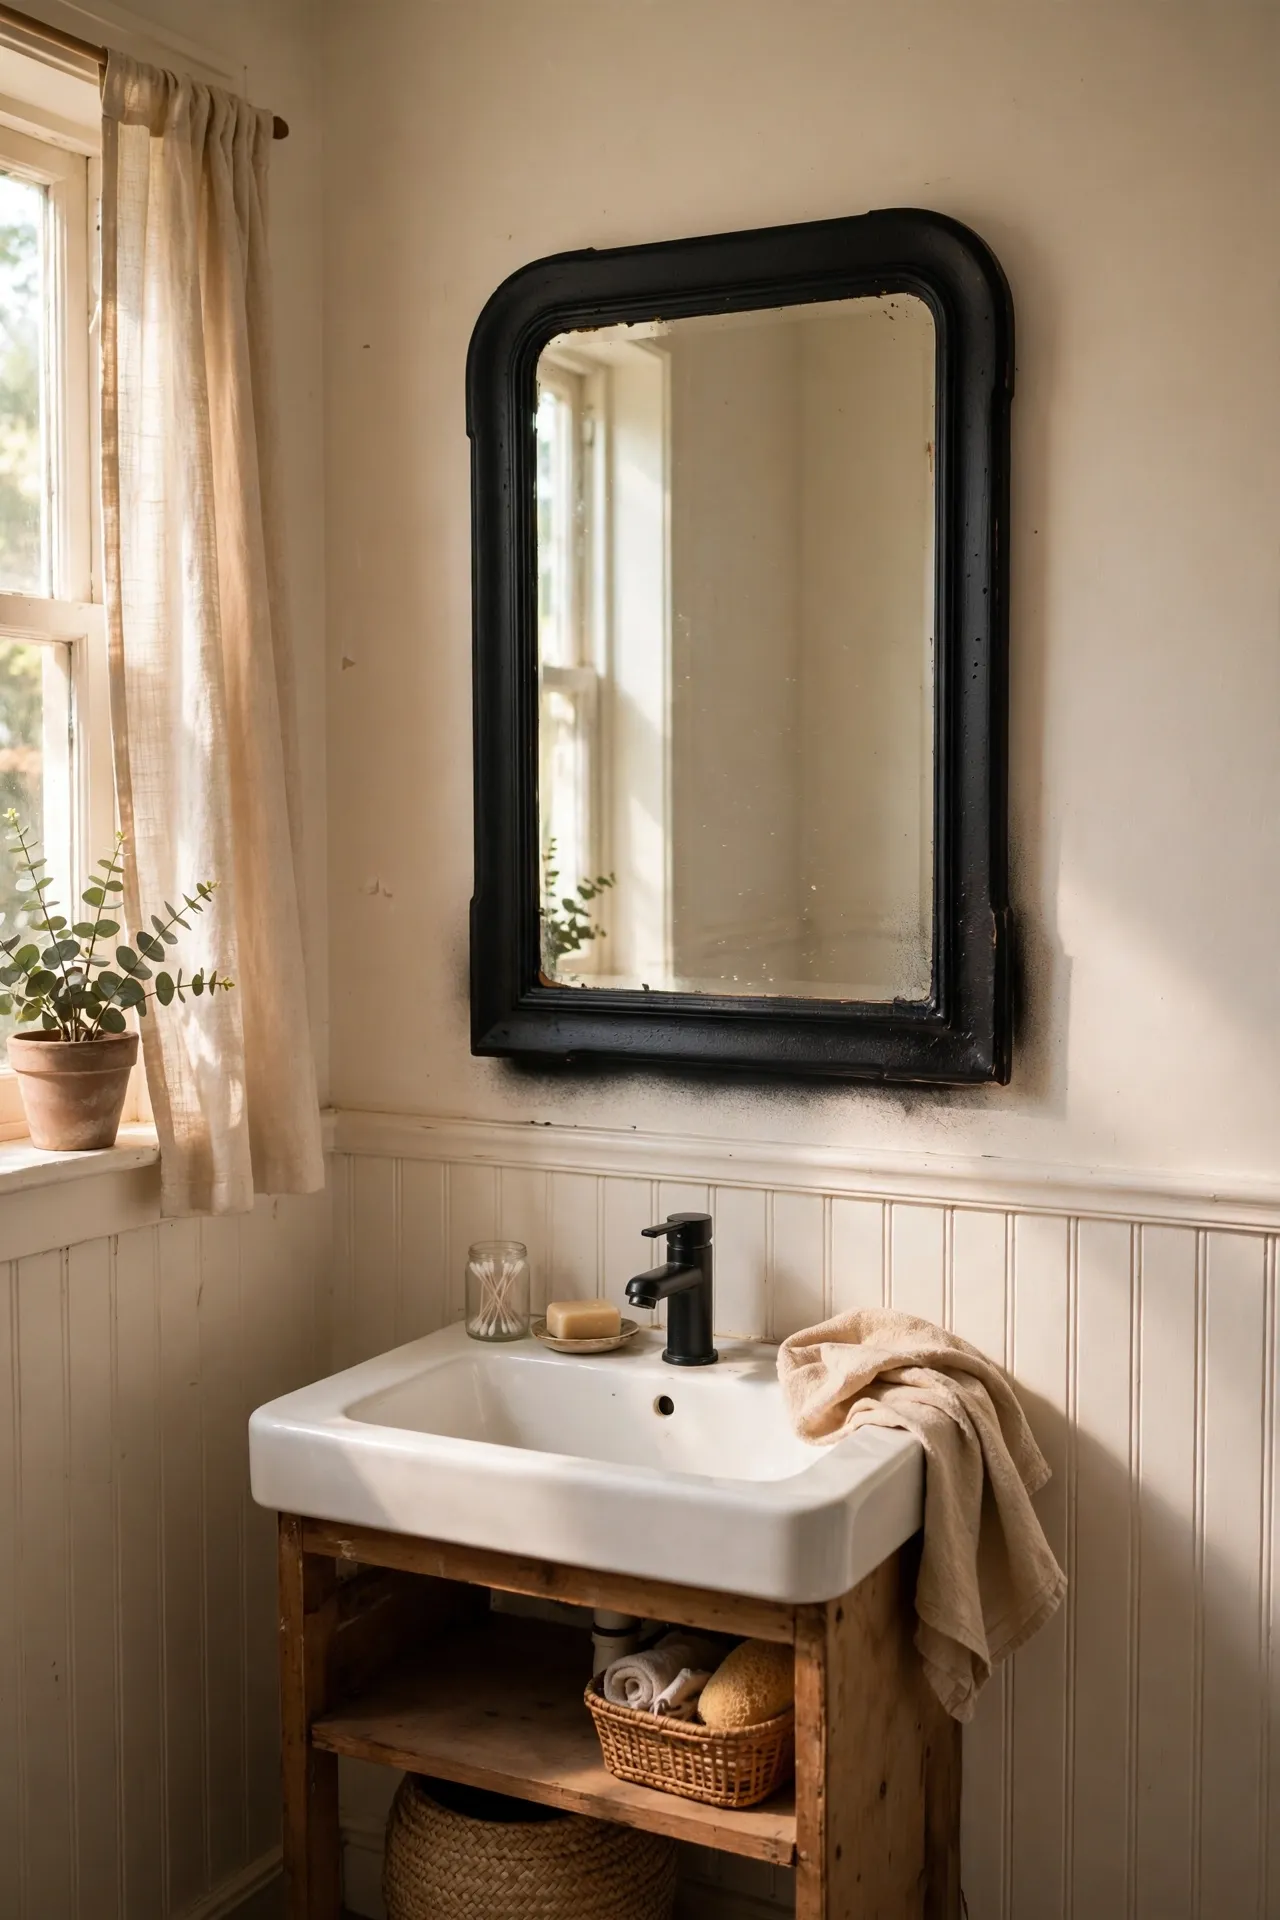
A thrift-store mirror with a dated gold frame can look brand new after one careful coat of spray paint. Clean the frame, tape off the glass completely with painter’s tape and newspaper, and spray two light coats of matte black or brushed brass paint outdoors or in a ventilated garage. Let each coat dry fully before handling it, and hang the mirror at eye level with a proper wall hook. Keep the frame simple and the glass spotless, because a clean mirror doubles the light in a tiny room. For more budget mirror and tile ideas, see my (see also: budget-bathroom-tile-ideas-without-retiling) guide. I tried this — the mistake to avoid is one thick coat, which drips and peels, while two thin coats look like a shop finish.
Cost: ~$9 | Time: 1 hour
12. Add a $12 Warm LED Strip Behind the Mirror
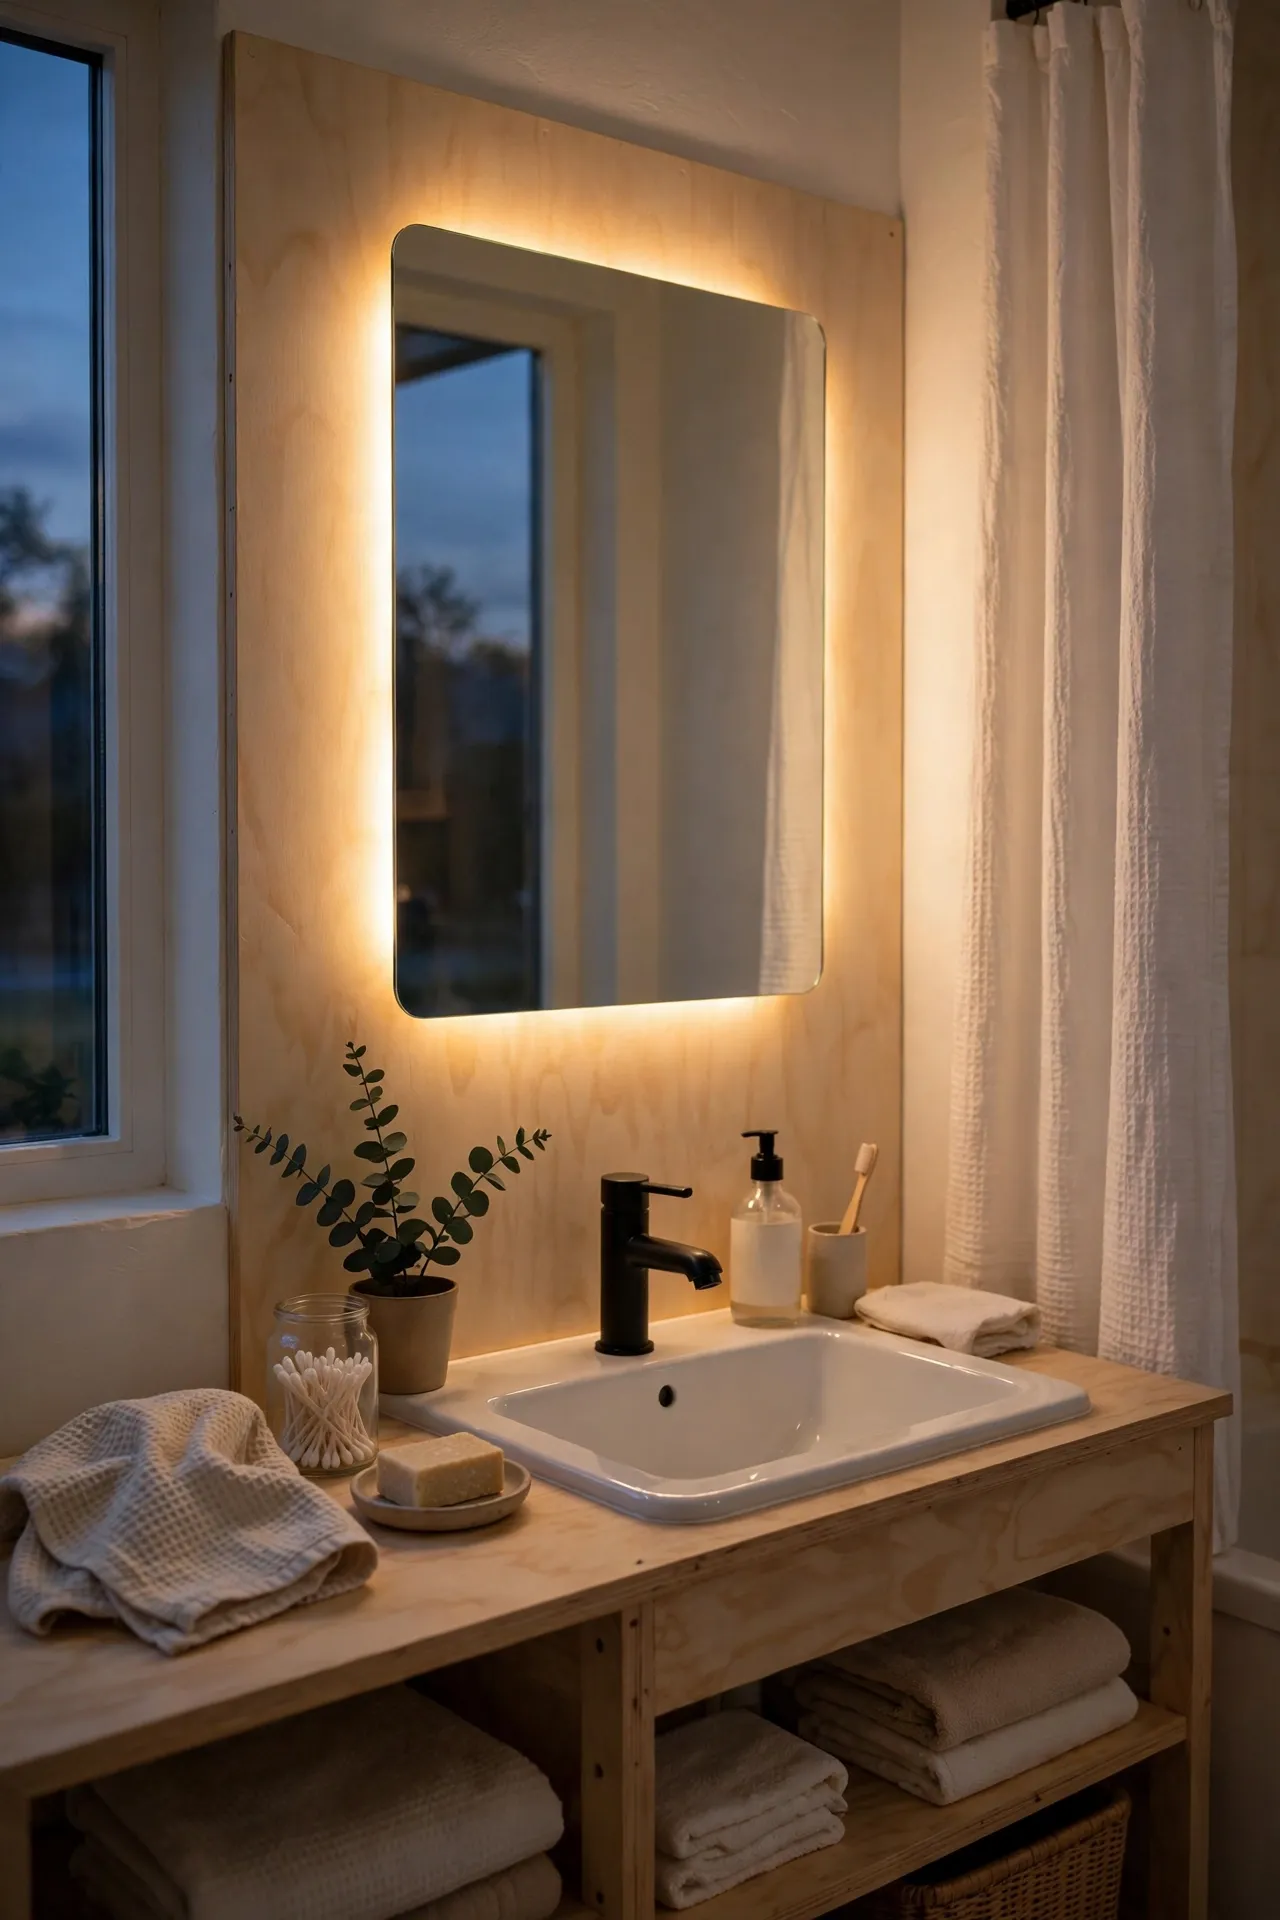
Warm light behind a mirror makes a small bathroom glow like a dressing room, and a battery LED strip does it without any wiring. Stick the adhesive strip around the back edge of the mirror, tuck the battery pack behind the mirror or inside the cabinet, and choose a warm 2700K tone so your skin looks natural rather than washed out. Trim the strip to length at the marked cut lines, and test it before pressing the adhesive down firmly. Use a timer setting if yours has one so the glow switches off by itself. When I added mine, evening routines felt calmer instantly, and the mirror light flattered the whole room far more than the harsh overhead bulb ever did.
Cost: ~$12 | Time: 20 minutes
13. Hang a Macrame Plant Holder from a Command Hook
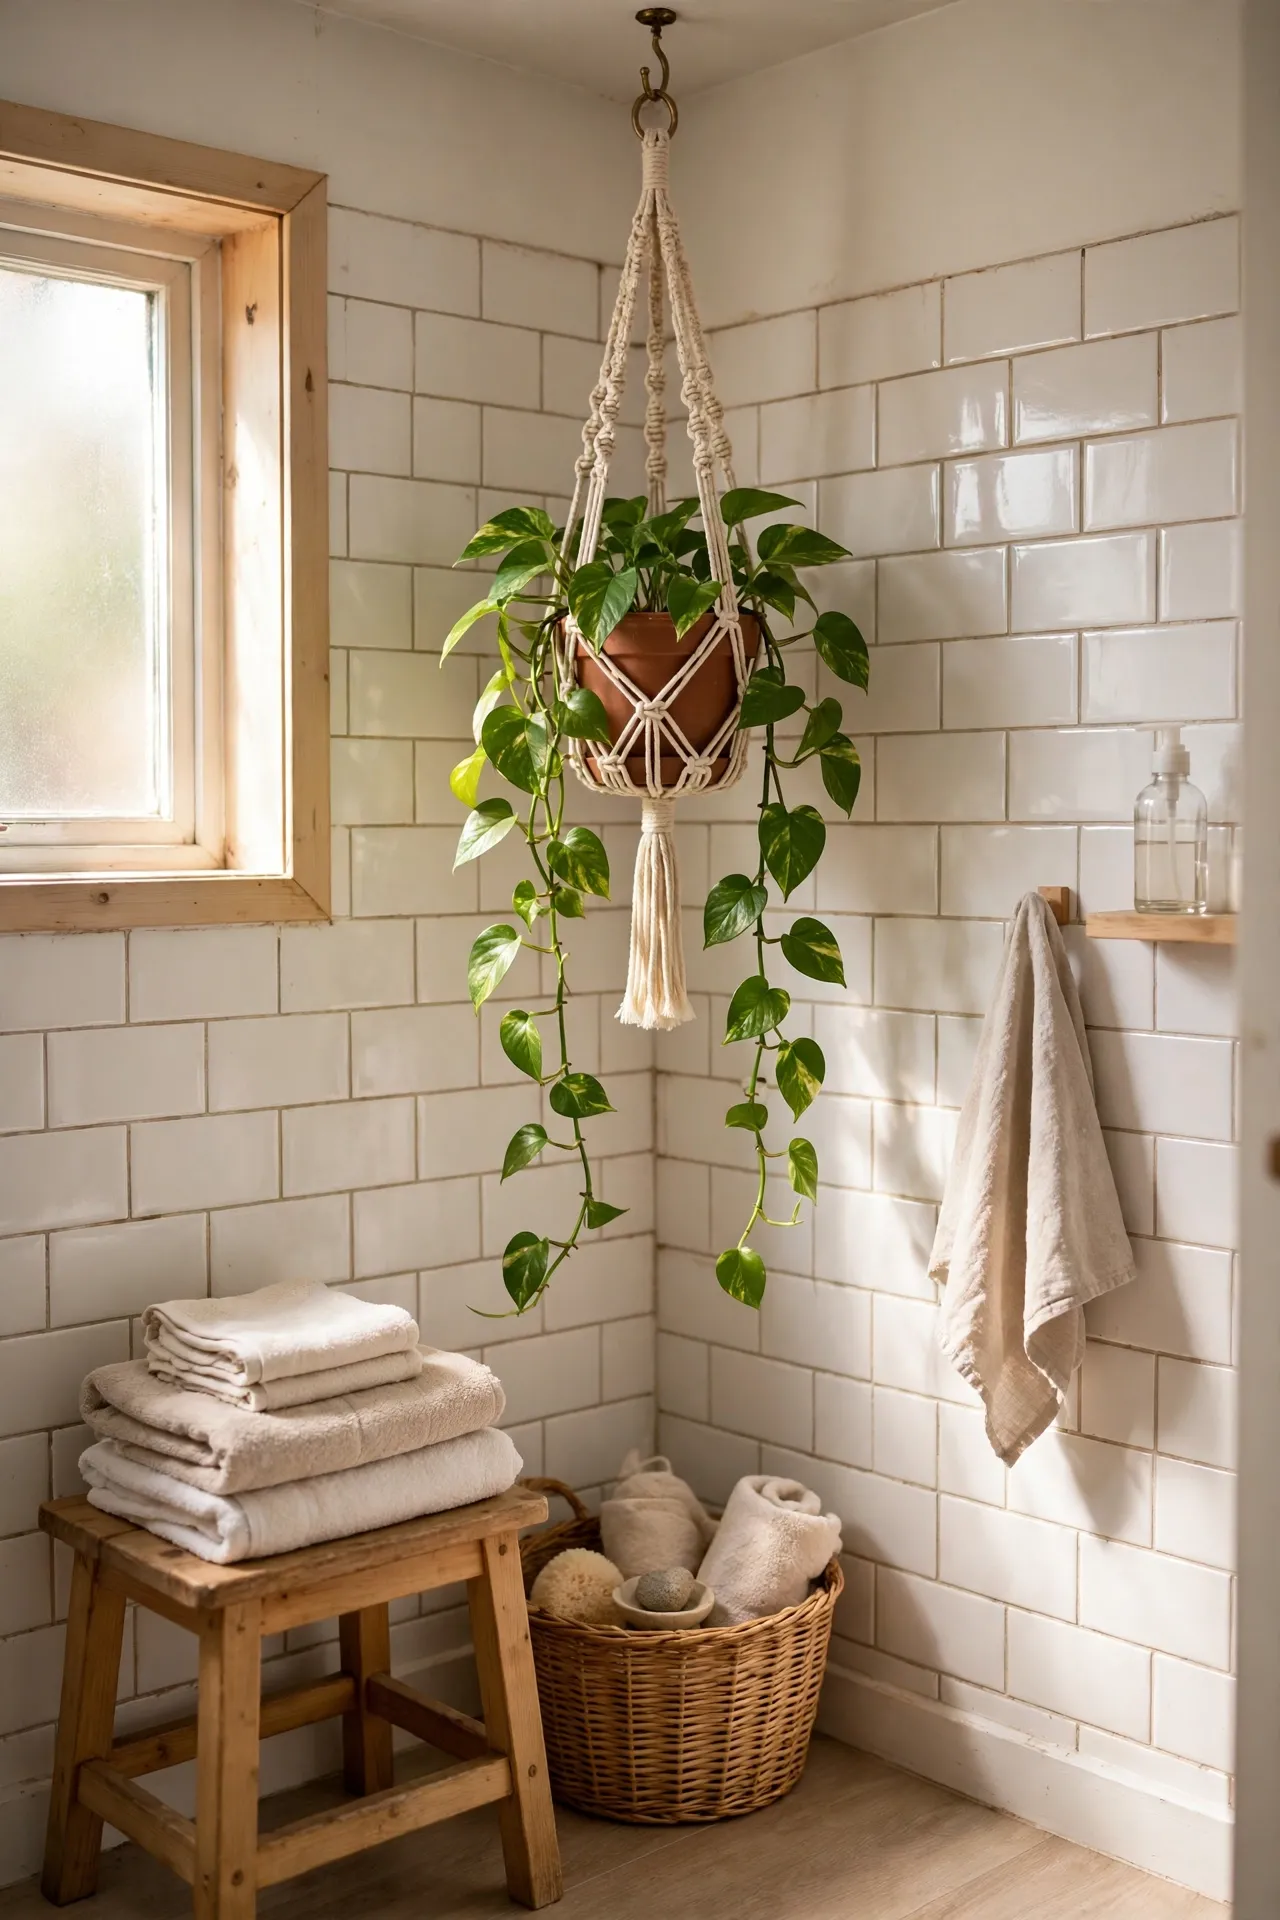
A hanging plant adds life to a small bathroom without taking up a single inch of counter space. Hang a lightweight macrame holder from a strong adhesive ceiling or wall hook, slip a small potted pothos inside, and let the vines trail down beside the mirror. Water sparingly, since bathroom humidity keeps the soil damp longer than in other rooms, and trim the vines when they start brushing your face. Choose a spot with a little indirect light rather than total darkness. I tried this — the mistake to avoid is hanging the plant over the toilet tank, because watering day becomes an awkward balancing act you will dread every single time.
Cost: ~$10 | Time: 15 minutes
14. Swap Cabinet Knobs for Wooden Beads on a Budget
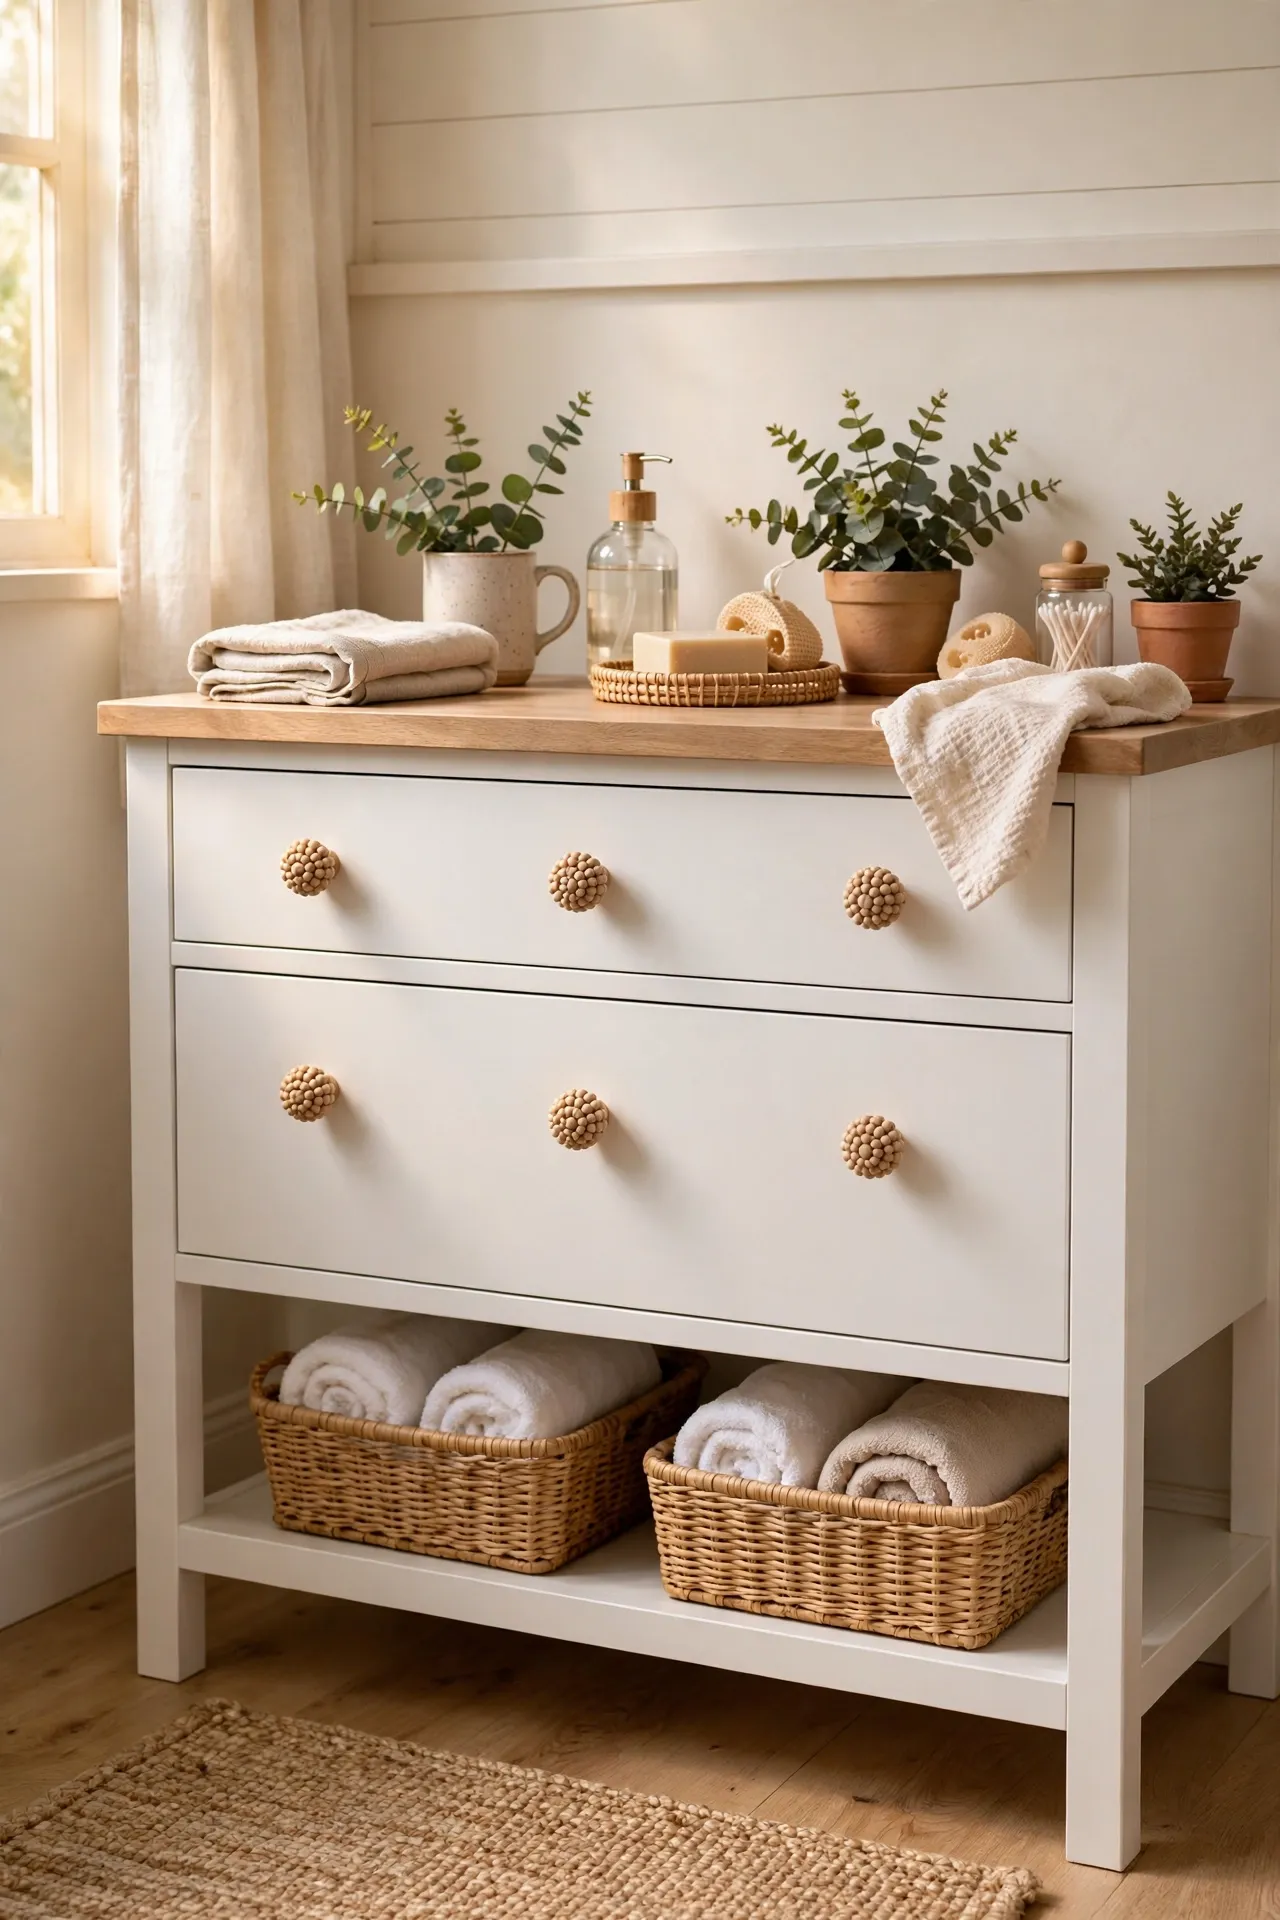
Plain wooden beads make charming cabinet knobs for pennies, and they warm up a cold white vanity instantly. Buy a bag of large unfinished wooden beads, thread each one onto the existing knob screw or a short bolt, and tighten it gently so the bead sits flush against the drawer front. Sand any rough beads first, and seal them with a dab of clear varnish so bathroom steam never swells the wood. Keep all the beads the same size for a tidy, intentional look. When I swapped mine, the vanity looked handmade rather than flat-pack, and the whole change cost less than a single fancy knob from a hardware store.
Cost: ~$7 | Time: 30 minutes
Finally, the spa-on-a-shoestring finishes: these last ideas cost almost nothing but make the room smell, feel, and look like you spent far more.
15. Make a Citrus and Herb Simmer Jar for a Spa Scent
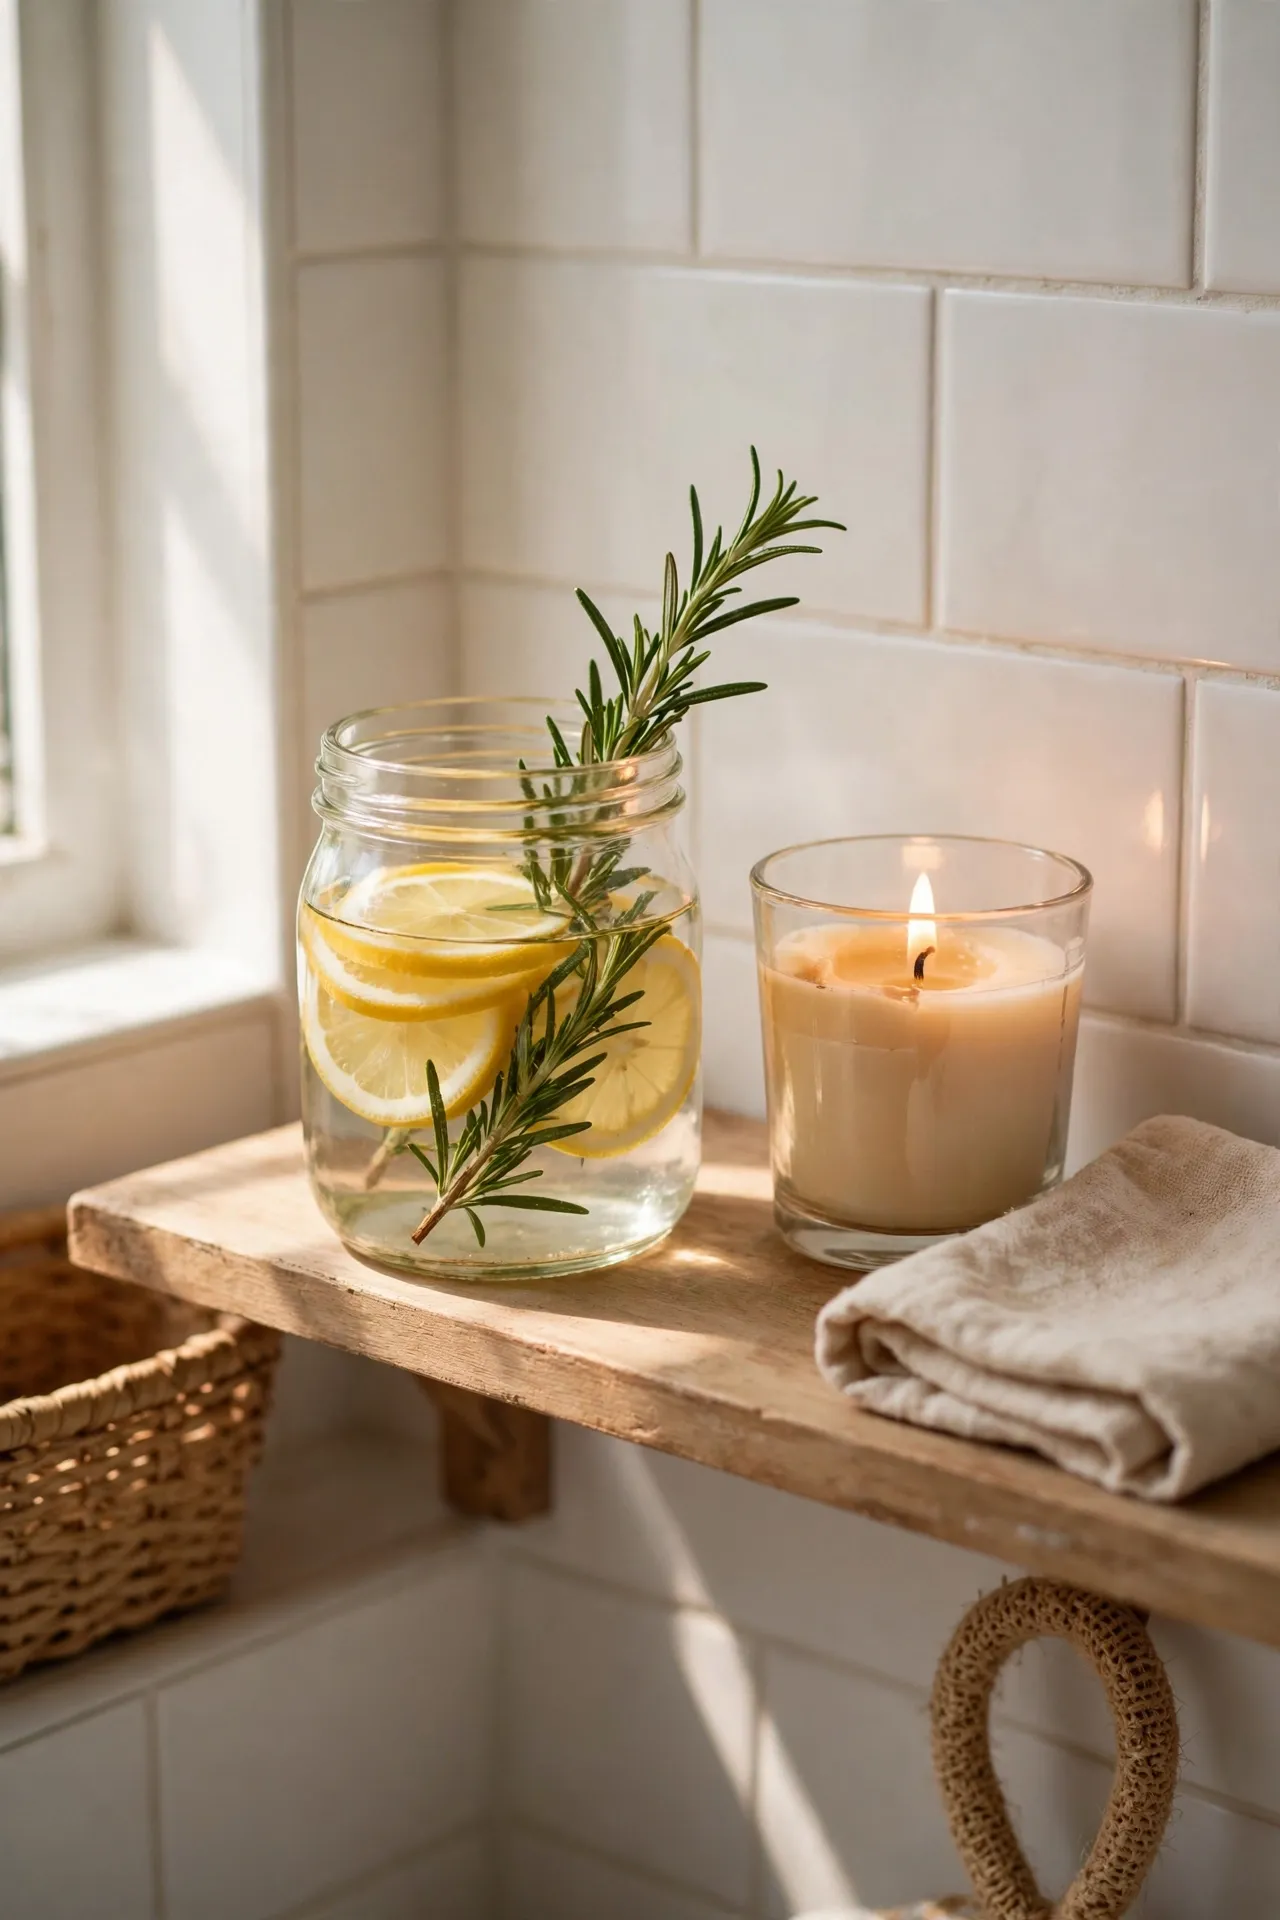
A simmer jar is the cheapest spa scent you can make, and it beats plug-in air fresheners that smell like a hotel lobby. Slice a lemon, add a few sprigs of rosemary or mint, and place them in a small jar of water on the bathroom shelf or windowsill. Refresh the water every two days and replace the fruit weekly so it never turns cloudy or sour. Keep the jar small and out of the splash zone, and never heat it in a bathroom — the fresh ingredients alone give off a gentle scent. For dollar-store styling that still looks expensive, see my (see also: dollar-store-bathroom-decor-that-look-high-end) roundup. I tried this — the mistake to avoid is leaving the same fruit for two weeks, because a sour jar smells worse than no scent at all.
Cost: ~$3 | Time: 10 minutes
16. Sew a No-Sew Fabric Basket from a Tea Towel
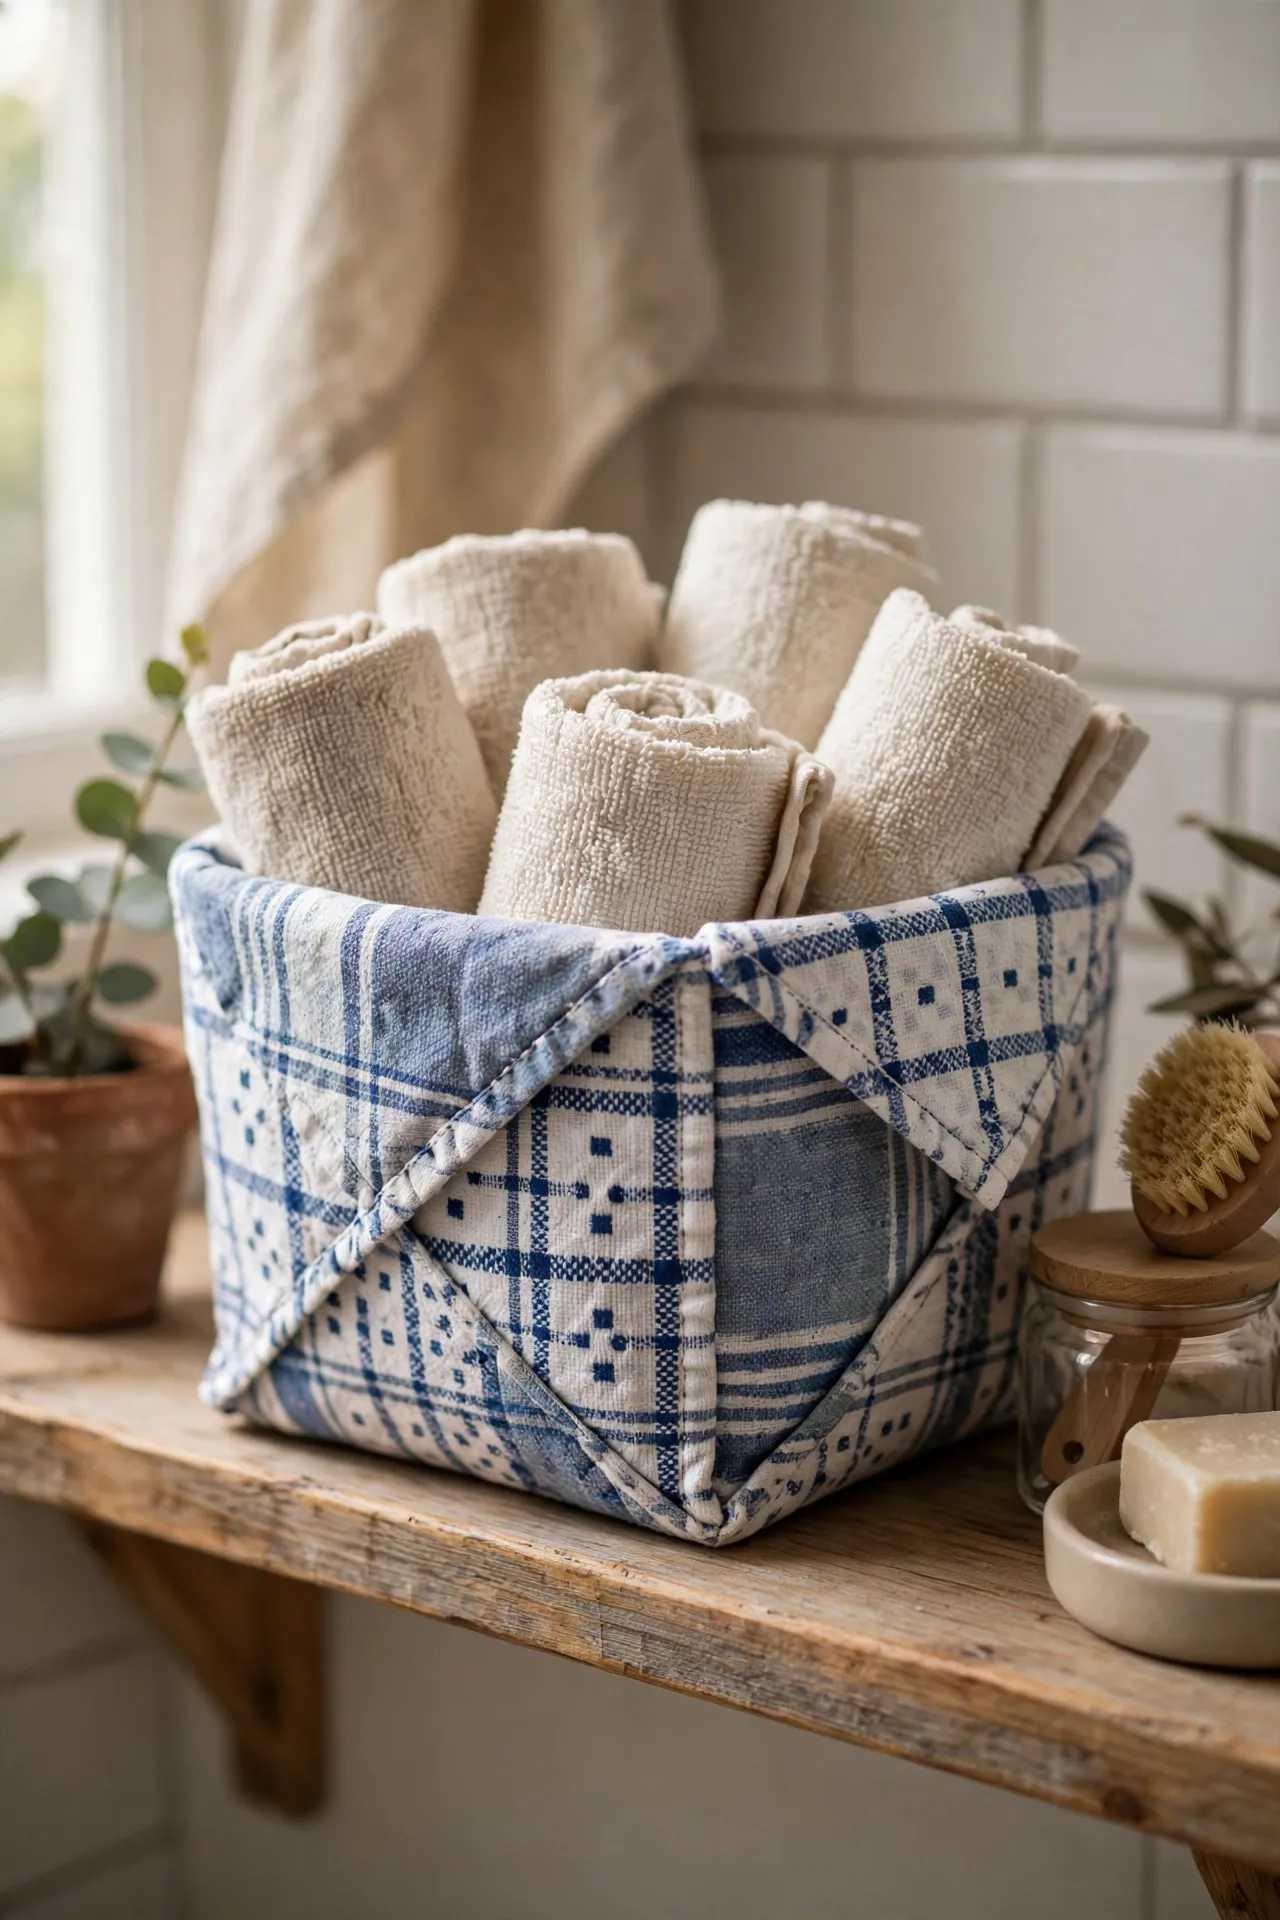
A tea towel basket holds washcloths, cotton pads, or hair ties, and you can make one without touching a sewing machine. Lay a pretty tea towel flat, fold the corners toward the centre, and secure the folds with fabric glue or iron-on hem tape. Fold the top edge down to form a sturdy rim, let it dry fully, and place it on a shelf or the toilet tank. Choose a towel pattern that matches your shower curtain so the basket looks bought rather than improvised. Trim any loose threads for a clean finish. When I made mine, I was shocked how tidy it looked, and it cost nothing because the towel was already sitting unused in my kitchen drawer.
Cost: ~$2 | Time: 25 minutes
17. Style a $3 Apothecary Jar Tray on the Tank Lid
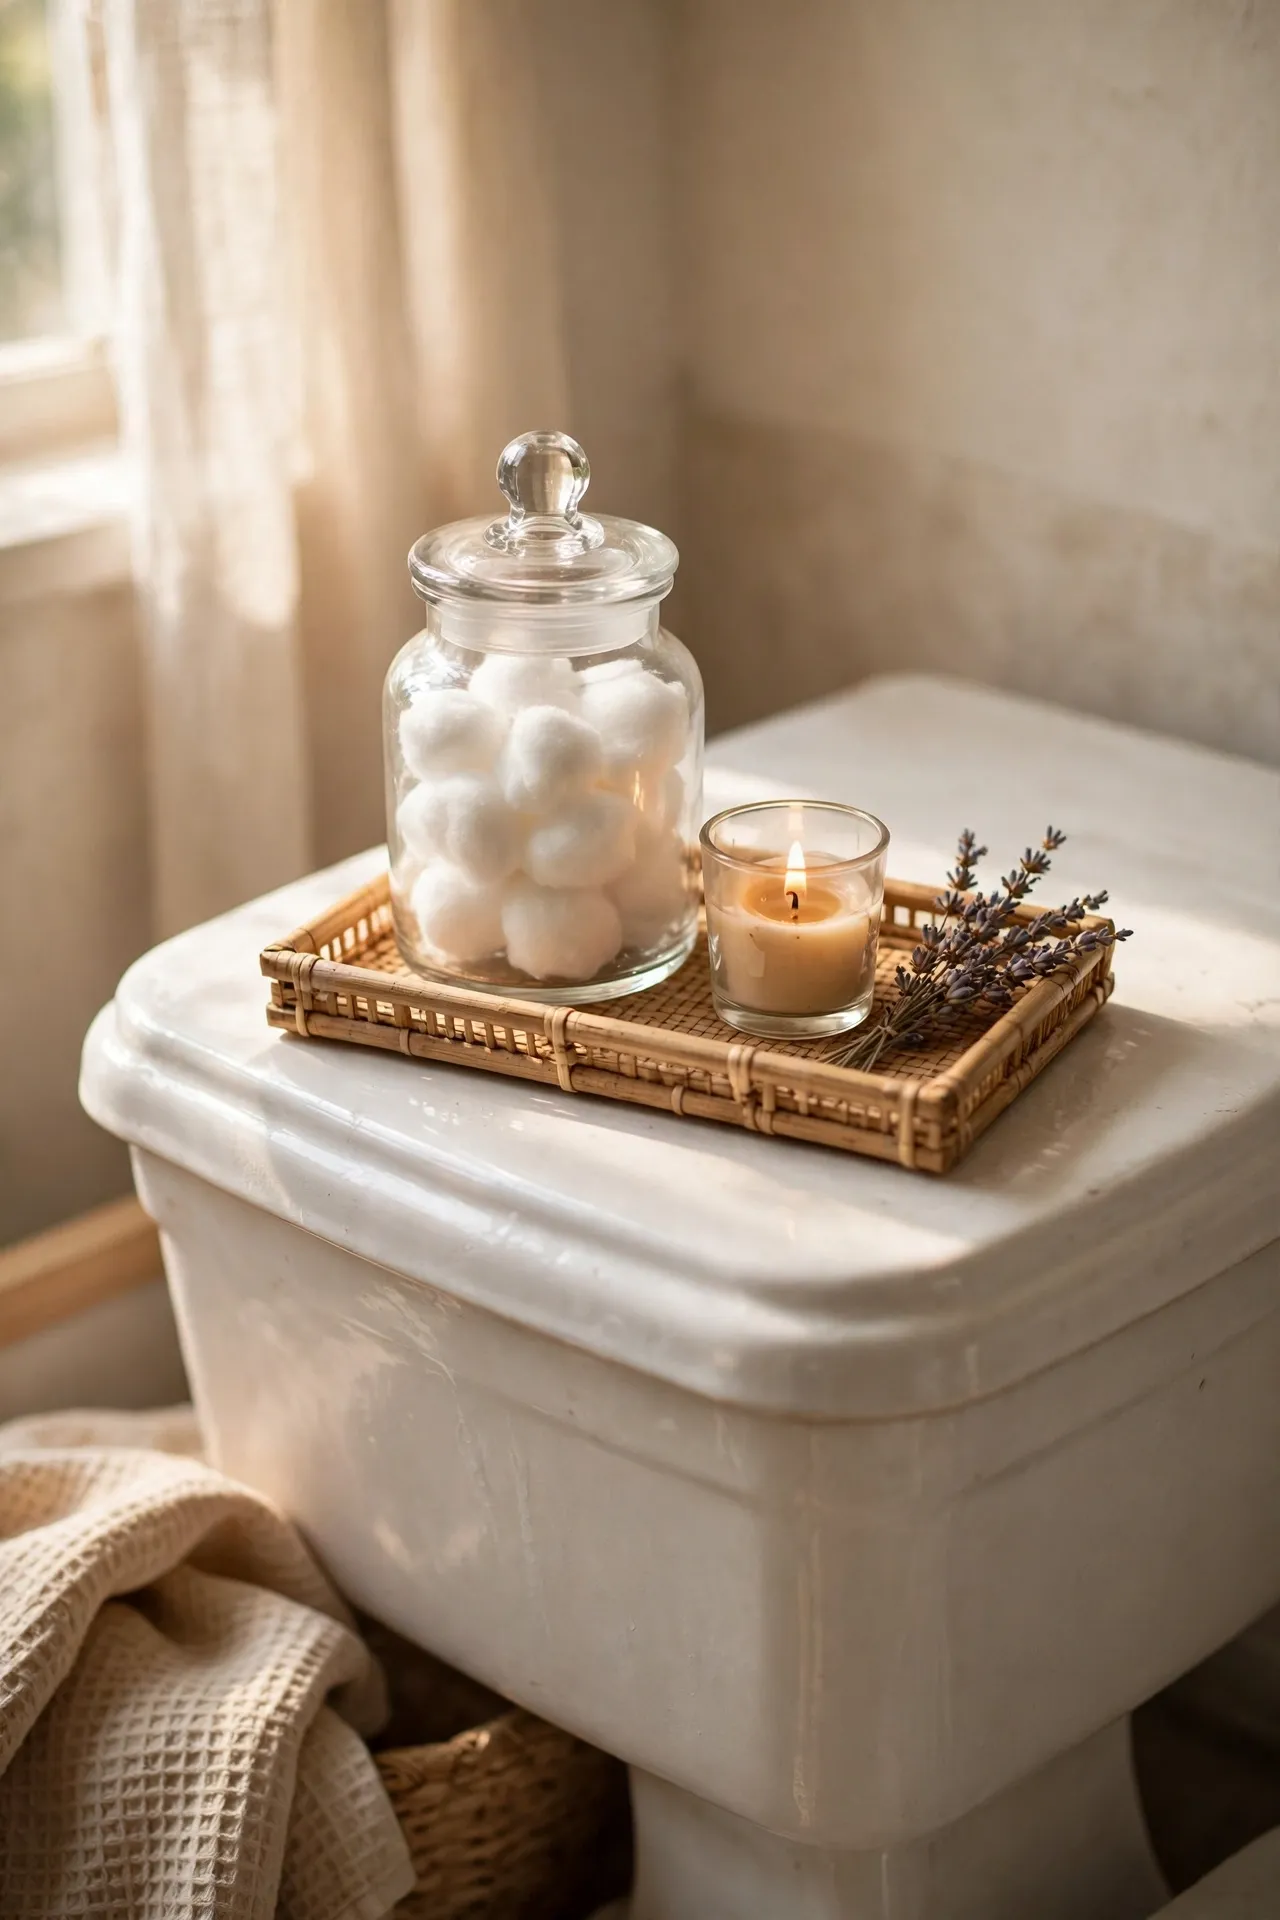
A tiny tray on the toilet tank lid turns wasted space into a styled vignette for just a few dollars. Place a small thrifted tray or a dollar-store dish on the lid, set a small apothecary jar of cotton balls beside a tiny candle and a sprig of dried lavender, and keep everything low so it never topples when you lift the lid. Use museum putty under the tray if your household bumps it often, and wipe the jars weekly so dust never dulls the glass. Keep the display to three items maximum. I tried this — the mistake to avoid is stacking tall jars on a narrow lid, because one elbow bump sends the whole spa display crashing to the floor.
Cost: ~$3 | Time: 10 minutes
Can every idea here really stay under $25? Yes, if you shop discount stores and thrift shops first, since the prices above assume budget buys rather than boutique versions of the same item.
Which idea should I try first in a tiny bathroom? Start with the shower curtain and the rolled towels, because together they change the look of the whole room in under half an hour for less than fifteen dollars.
Do these ideas work in a rental? Yes — every idea uses adhesive hooks, tension rods, or freestanding pieces, so nothing here drills into tile or changes anything your landlord would need to approve.
Pick one idea tonight, one next weekend, and keep going until the room feels like yours. Small bathrooms reward small, steady changes far more than one big expensive overhaul ever will.
