17 Container Garden Ideas for Beginners on a Budget
If you have ever killed a houseplant and decided gardening was not for you, this post is for you. Container Garden Ideas for Beginners on a Budget are all about starting small, spending little, and learning as you go, because a pot on a sunny step is a whole garden in miniature. I started with three tin cans of herbs and a lot of guessing, and a year later I grow salads, tomatoes, and flowers in pots all over our patio. Here are seventeen beginner-friendly ideas that keep costs low and confidence high.
Start Simple: Your First Containers
1. Herbs in Tin Cans on a Sunny Windowsill
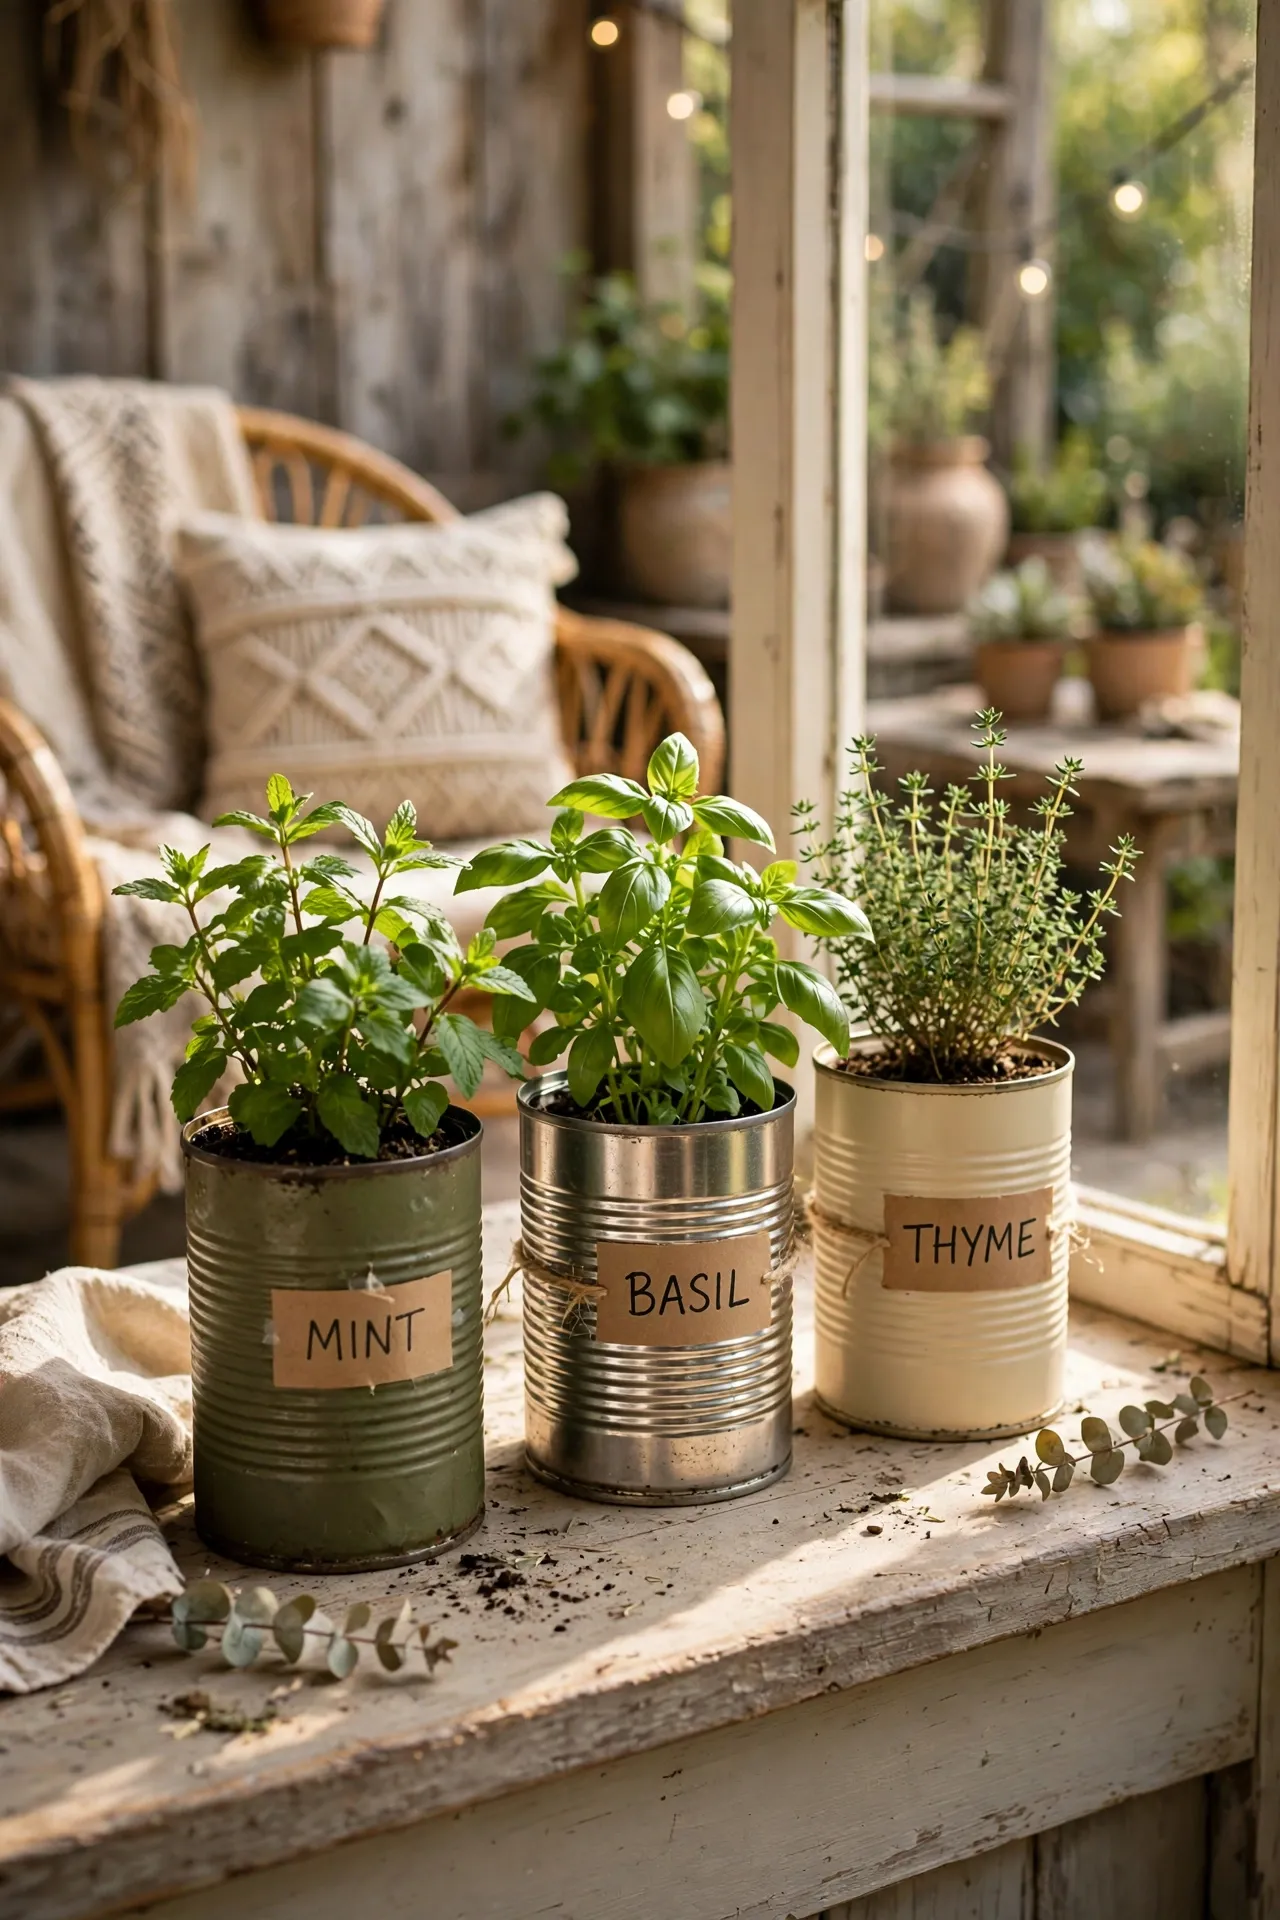
Washed tin cans make perfect starter homes for basil, parsley, and chives. Punch drainage holes in the bottom, fill with potting mix, and sow seeds or tuck in small seedlings. Set them where they get at least four hours of sun. I started my first herb garden this way on a kitchen windowsill, and snipping fresh basil for pasta still feels like a small daily win. A sunny sill beats a fancy pot every time, so move the cans around until the leaves look bright and perky.
Budget breakdown:
- 3 tin cans: free
- Potting mix: $4
- Seeds: $2
Cost: ~$5 | Time: 25 minutes
2. One Big Pot for a Beginner Tomato
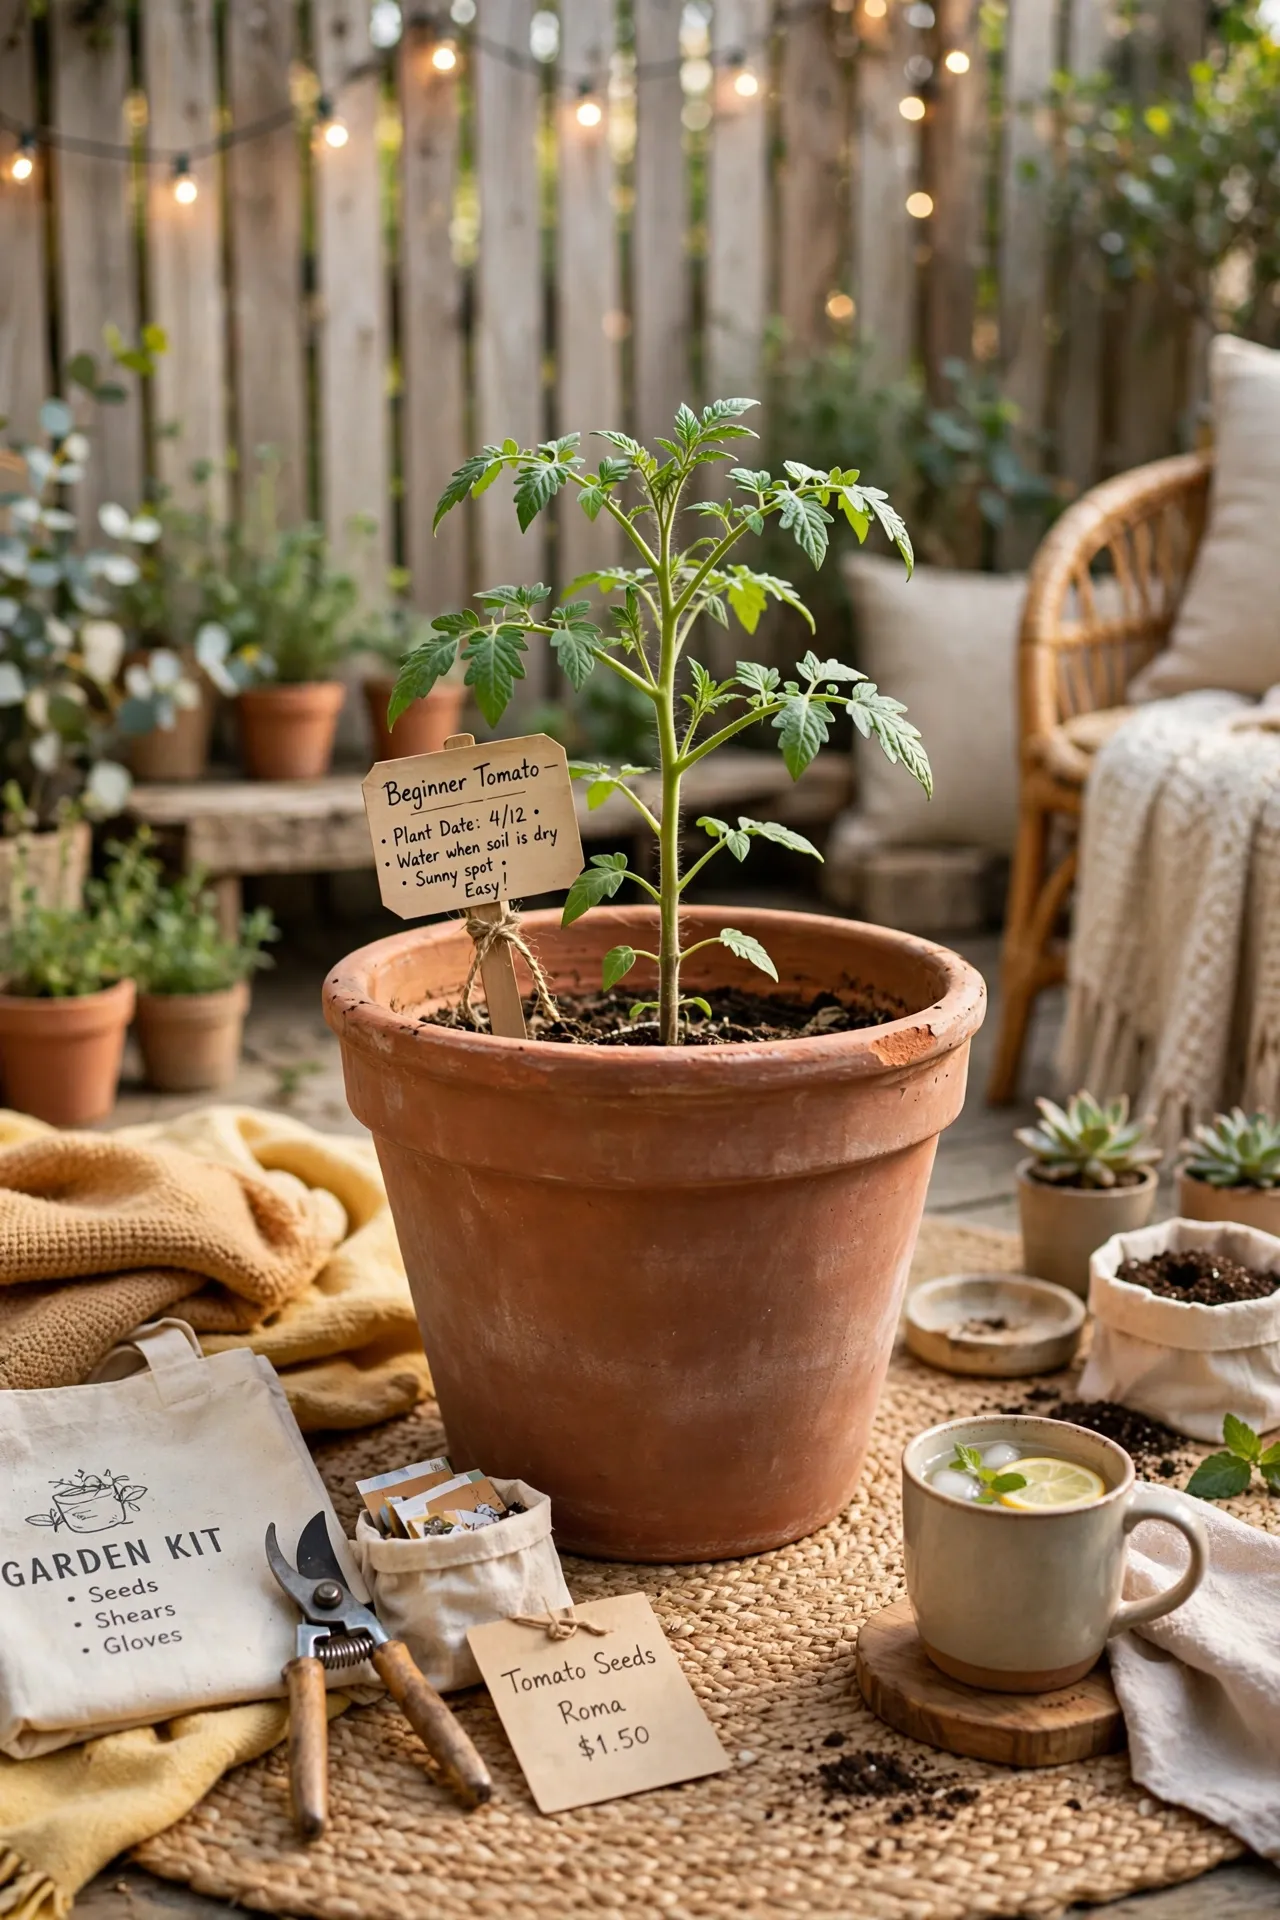
A single large pot is the easiest way to grow your first tomato without overwhelm. Pick a pot at least 12 inches wide, use a stake for support, and water deeply when the top inch of soil feels dry. My first tomato plant gave me nine tomatoes, and I was ridiculously proud of every one. Beginners do best starting with one plant, not ten. Feed lightly and water at the base, since wet leaves in a crowded pot invite problems you do not need.
Budget breakdown:
- Large pot: $8
- Seedling: $3
- Stake: $1
Cost: ~$12 | Time: 30 minutes
3. A Plastic Bucket Turned Flower Planter
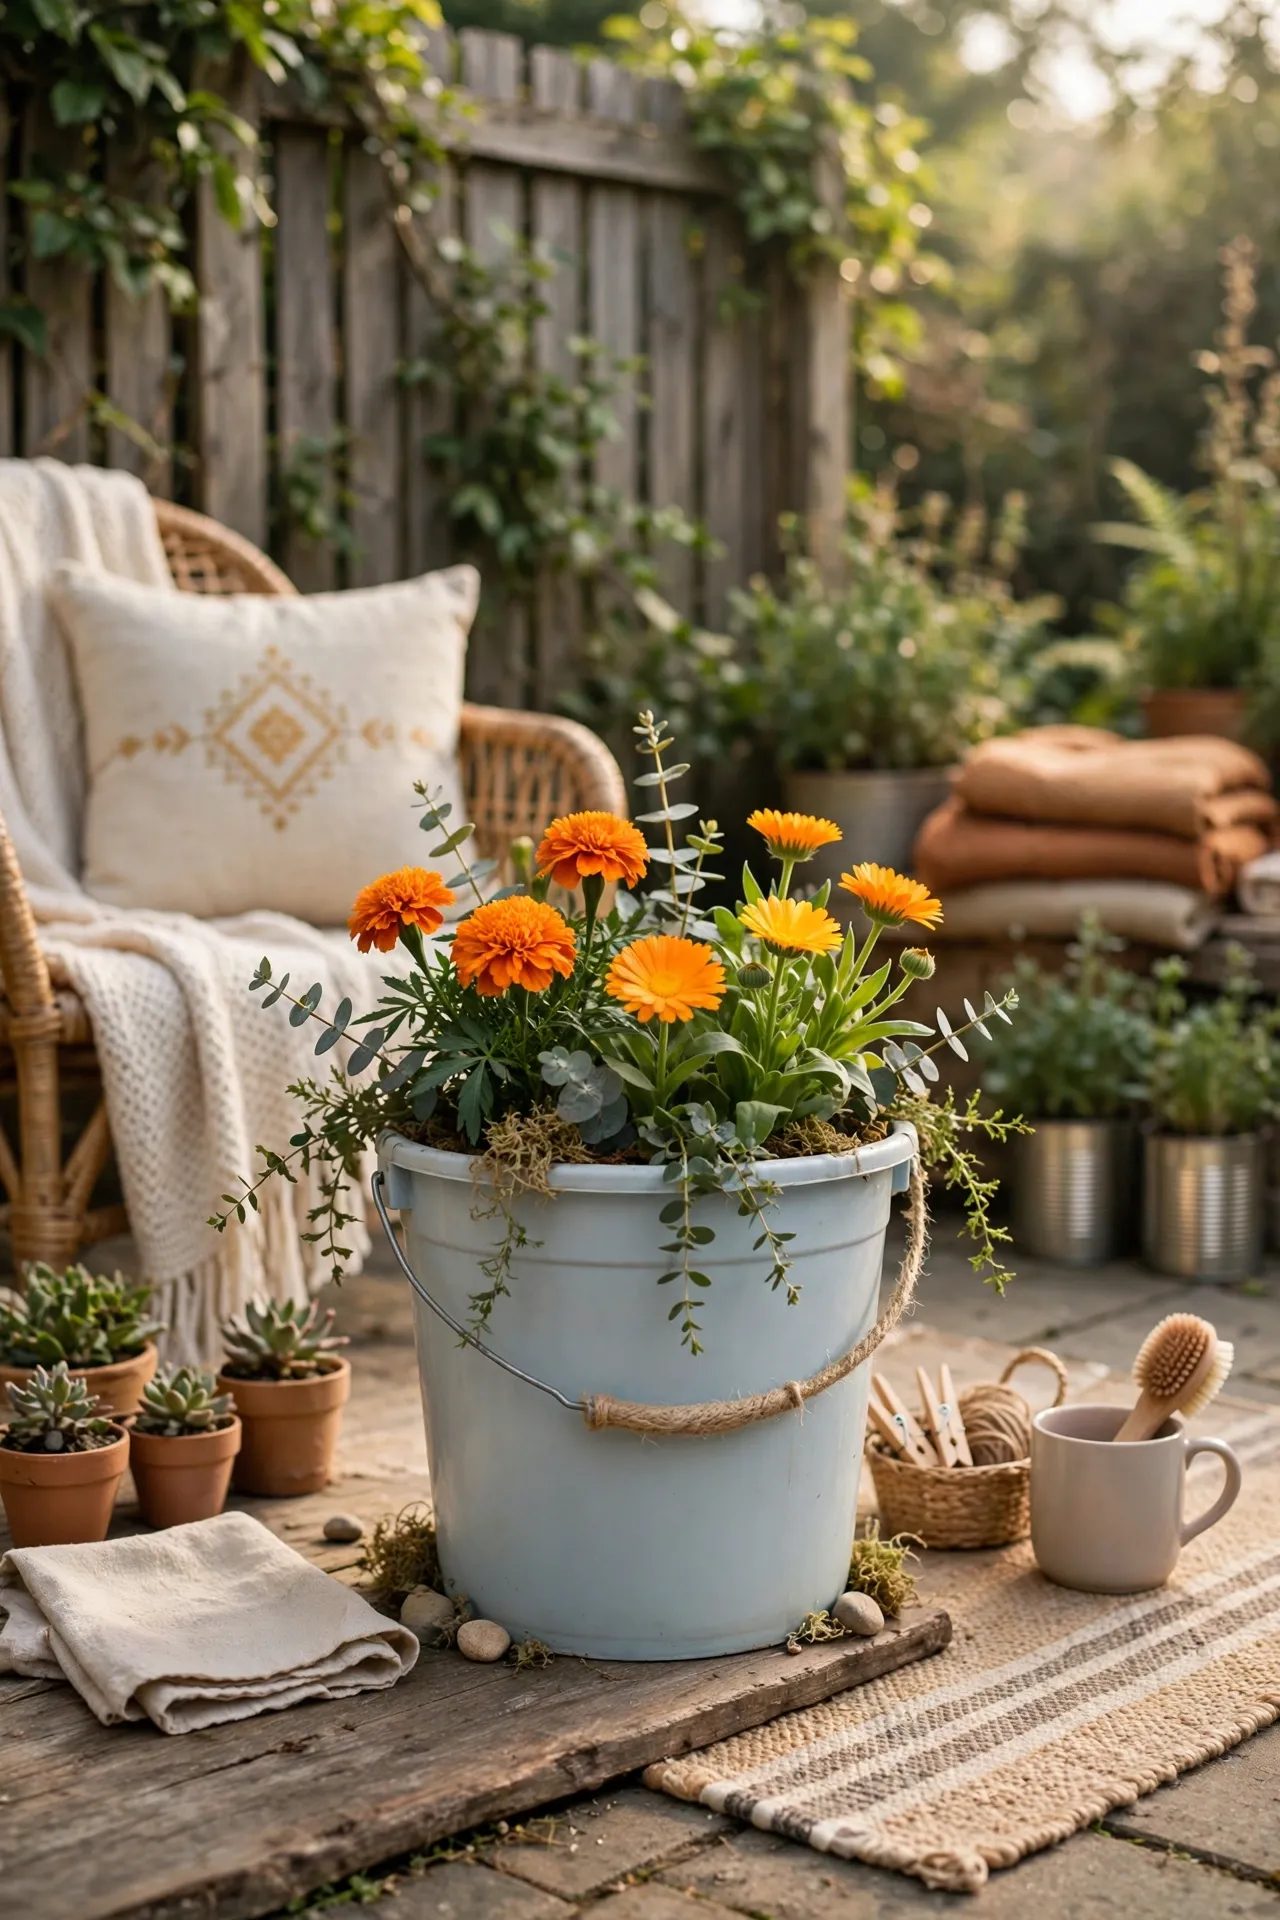
A plain hardware bucket becomes a cheerful flower planter with a few drainage holes and a coat of paint. Drill five holes in the bottom, add a layer of pebbles, and fill with soil and petunias or marigolds. I painted mine sage green and it looks far better than the bucket it started as. My first bucket had no holes and the flowers drowned, so drainage is the one step you must not skip. Refresh the top inch of soil each spring, because old mix compacts and stops draining the way flowers need.
Budget breakdown:
- Bucket: $3
- Paint: $4
- Flowers: $2
Cost: ~$9 | Time: 40 minutes
4. A Hanging Basket for Trailing Strawberries
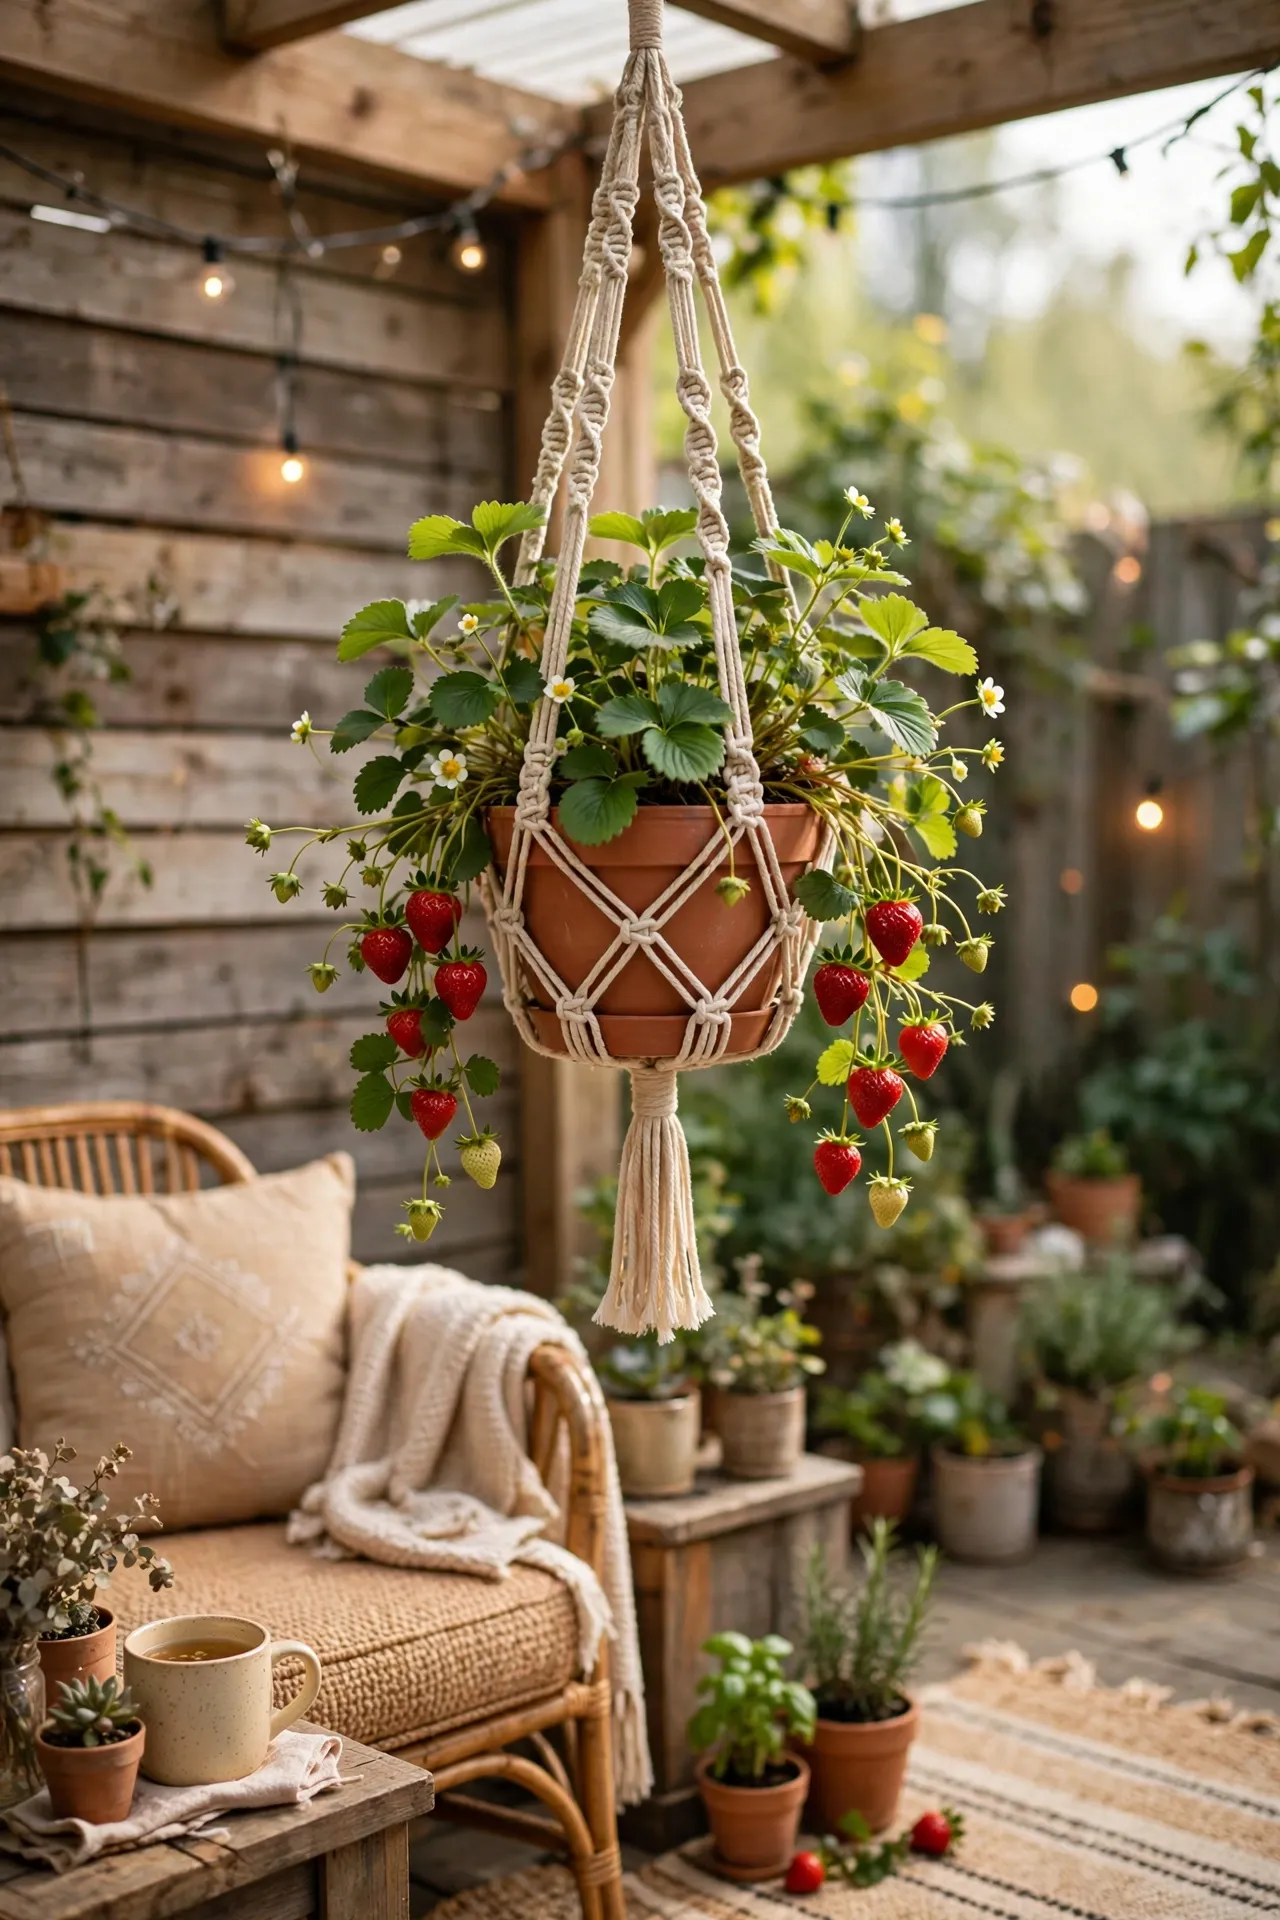
Strawberries love hanging baskets because the fruit dangles free of soil and slugs. Line the basket, fill with mix, and plant three runners around the edges. Hang where it gets morning sun and water often, since baskets dry fast. My kids check our basket every morning like it is a treasure hunt, and warm strawberries straight off the plant taste nothing like store ones. Pick the berries when they are fully red, since strawberries picked early never sweeten up off the plant. If your pots live on a balcony, (see also: 23-balcony-decor-ideas-on-a-budget) shows how to style the space around them.
Budget breakdown:
- Basket: $6
- Strawberry plants: $5
- Liner: $3
Cost: ~$14 | Time: 35 minutes
Grow Food on a Budget
5. Lettuce in a Shallow Window Box
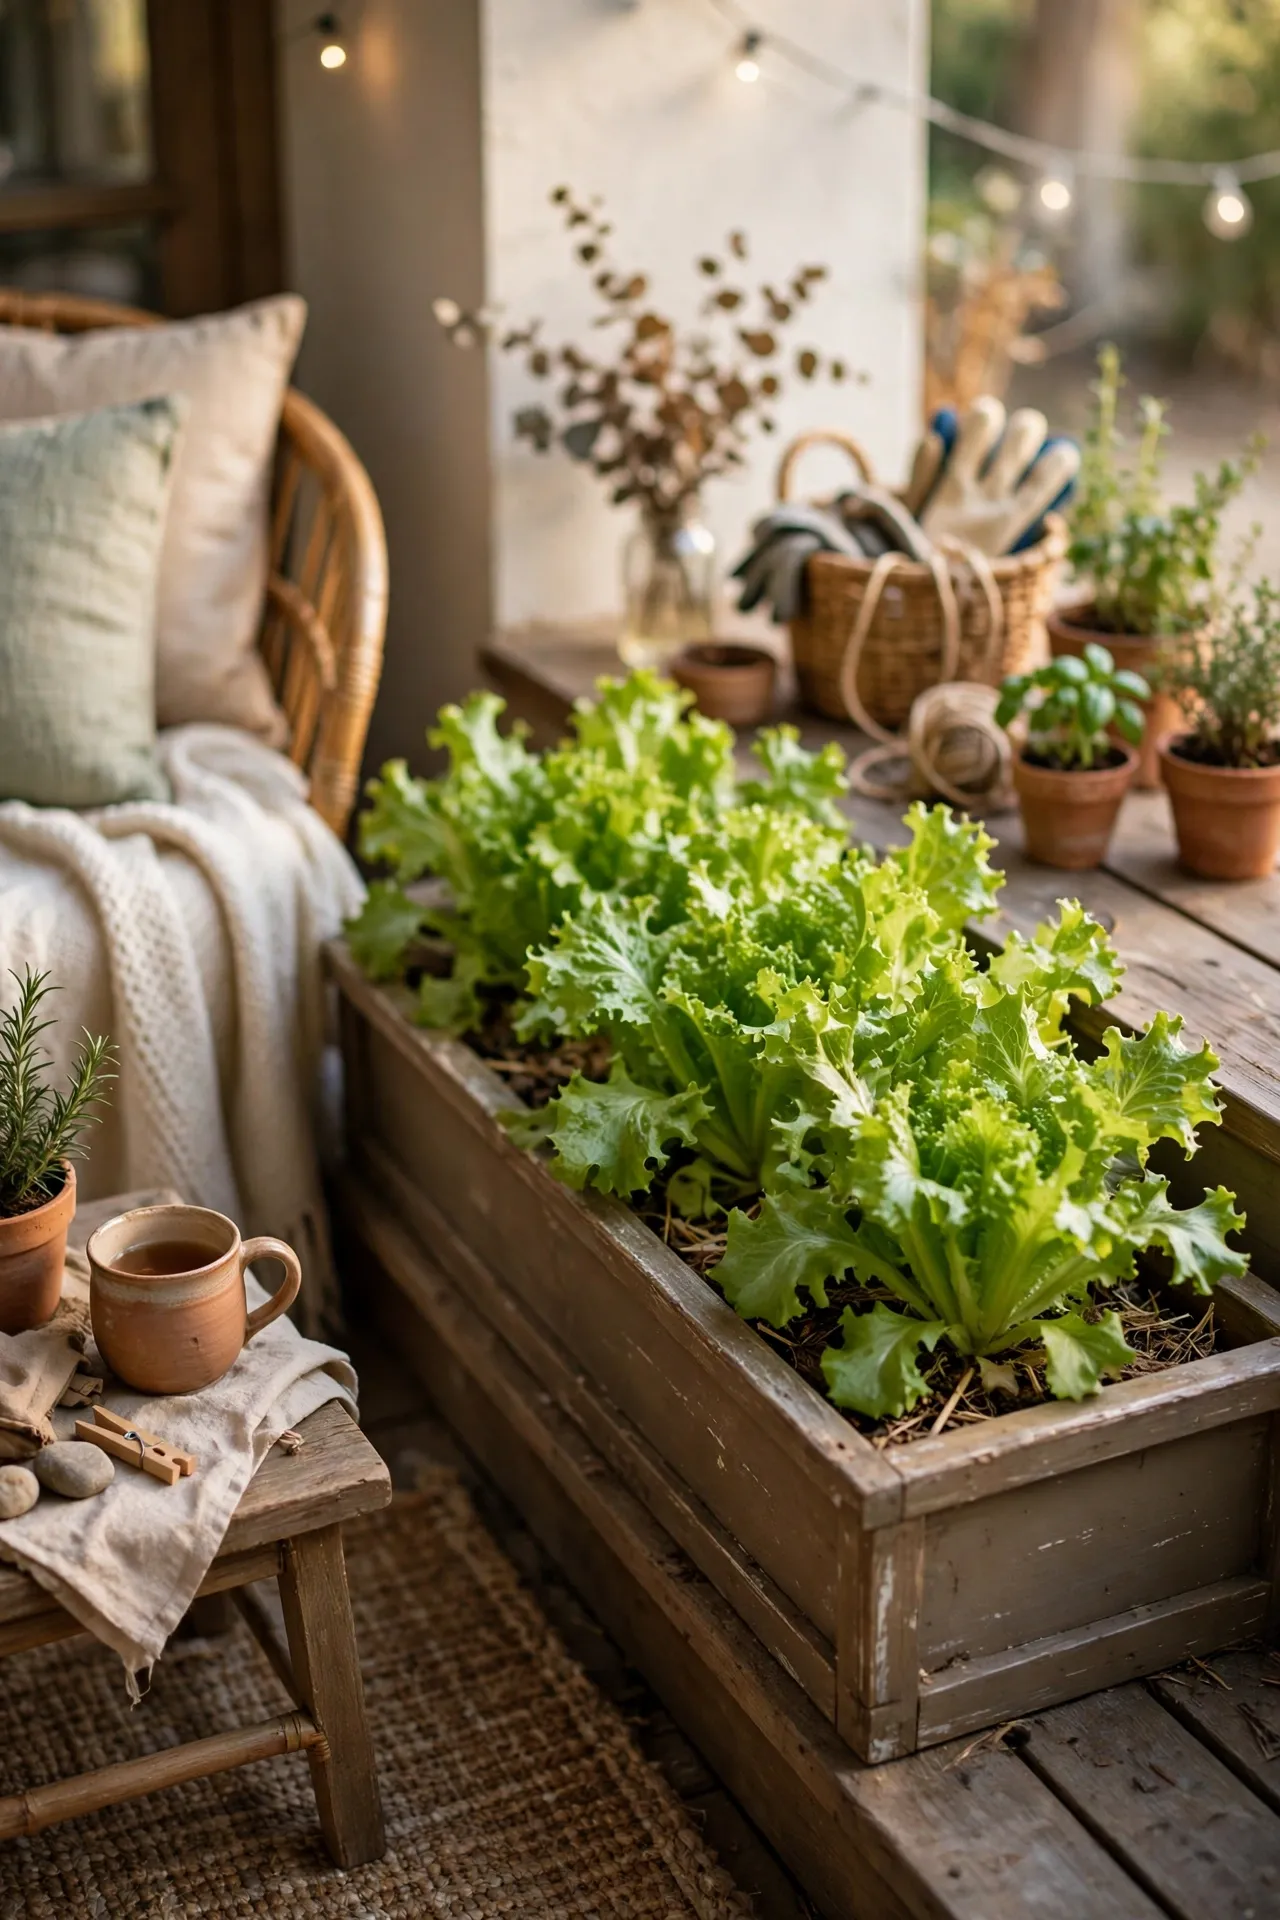
Lettuce grows fast in a shallow window box, which makes it perfect for impatient beginners. Sow seeds thinly, keep the soil damp, and snip outer leaves when they are big enough to eat. The plant keeps growing from the center, so one box feeds salads for weeks. I over-seeded my first box and got a crowded mat, so thin seedlings early even when it feels wasteful. Sow a second small batch two weeks later, so fresh leaves keep coming after the first box is picked over.
Budget breakdown:
- Window box: $7
- Lettuce seeds: $2
- Soil: $1
Cost: ~$10 | Time: 20 minutes
6. Peppers in a Sunny Corner Pot
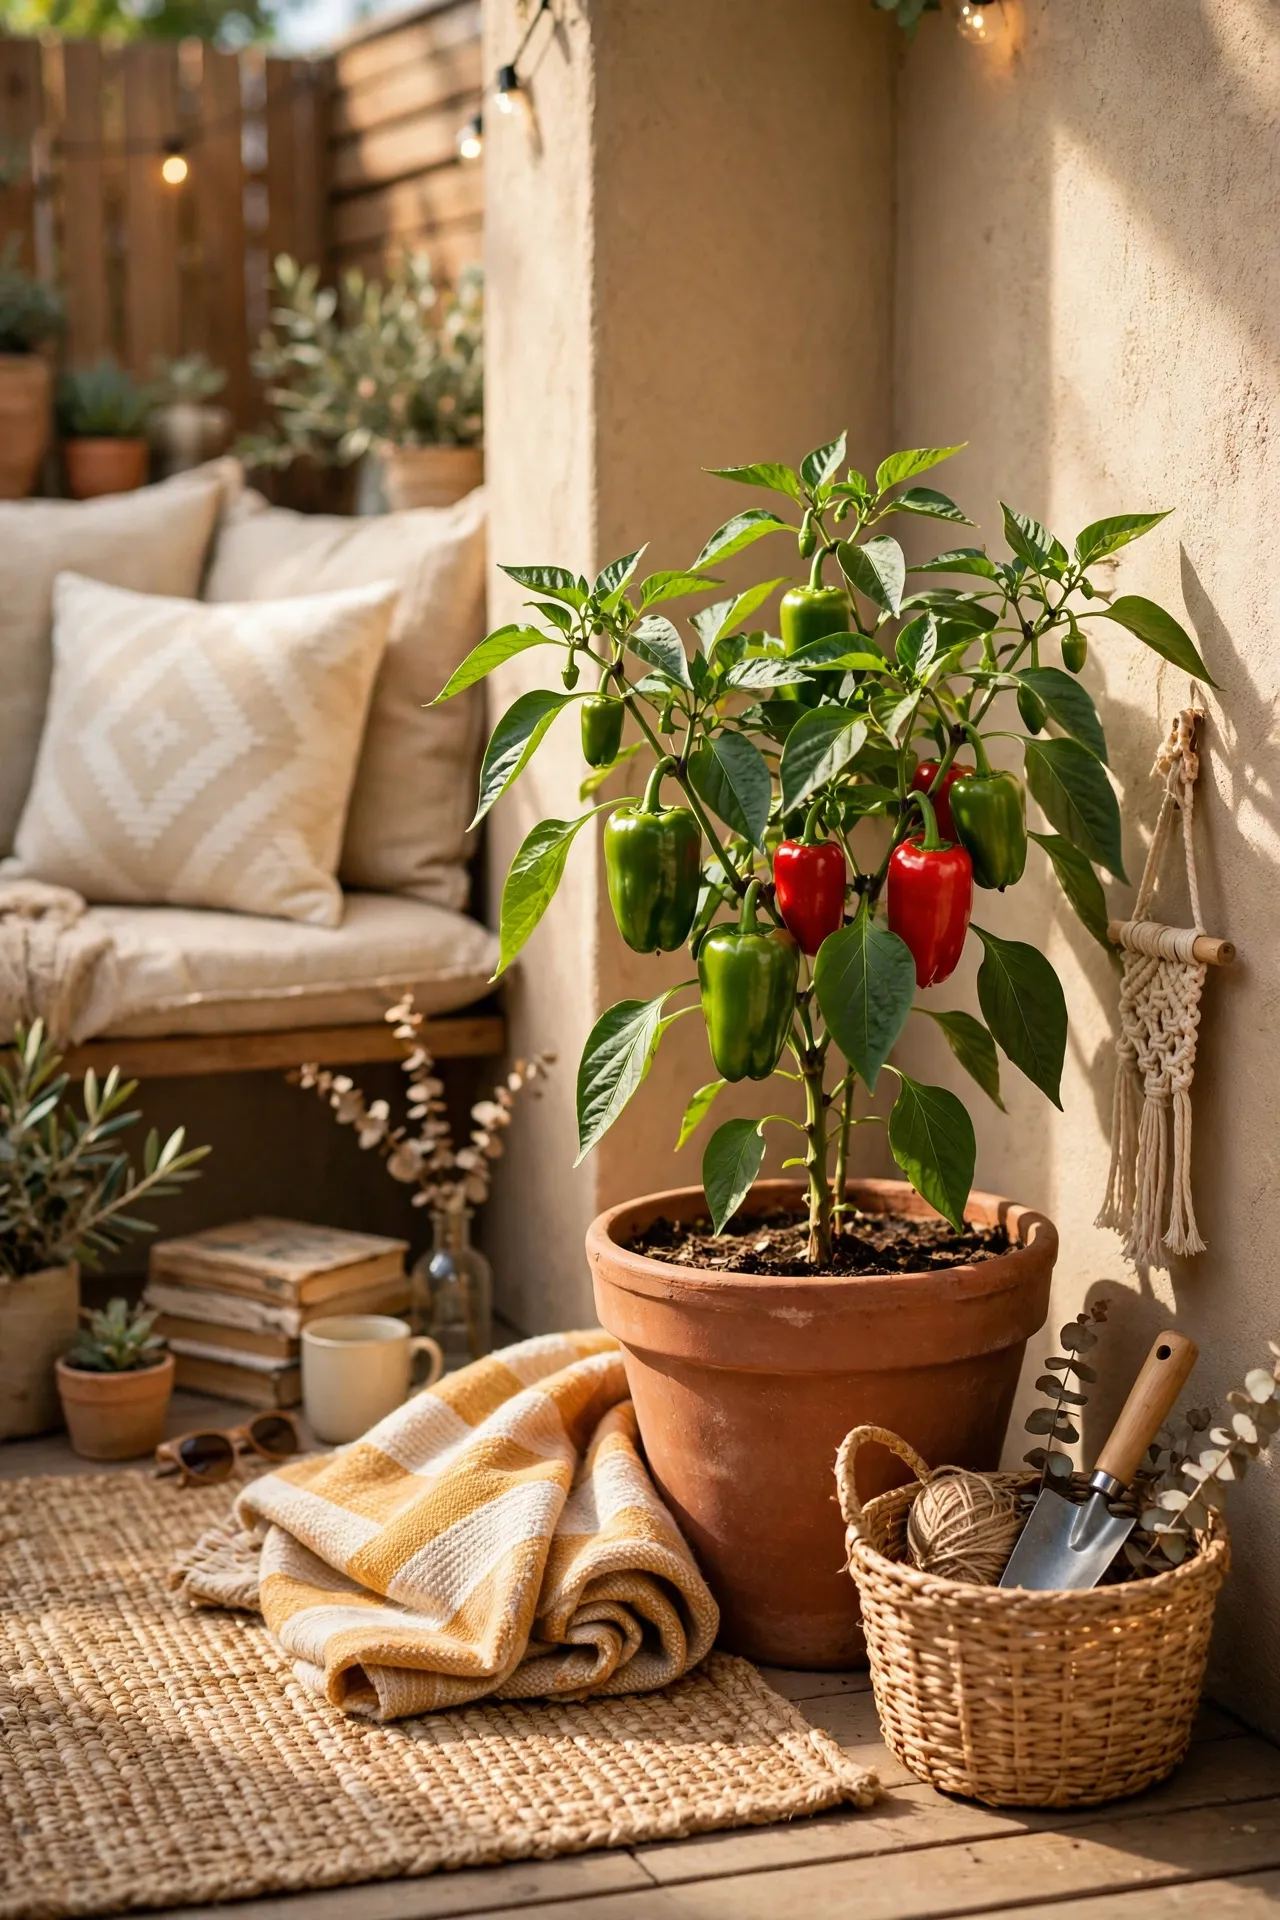
Peppers are tougher than they look and love a hot, sunny corner. Use a pot with good drainage, feed lightly every two weeks, and let the soil dry slightly between waterings. My bell peppers took their time, then suddenly produced a dozen at once. I once watered mine daily out of enthusiasm and the leaves yellowed, so now I check the soil with a finger before reaching for the can. Stake the plant early, before it leans, because straightening a bent pepper stem later rarely works well.
Budget breakdown:
- Pot: $6
- Pepper seedling: $3
- Fertilizer: $2
Cost: ~$11 | Time: 25 minutes
7. A Salad Bowl Planter With Mixed Greens
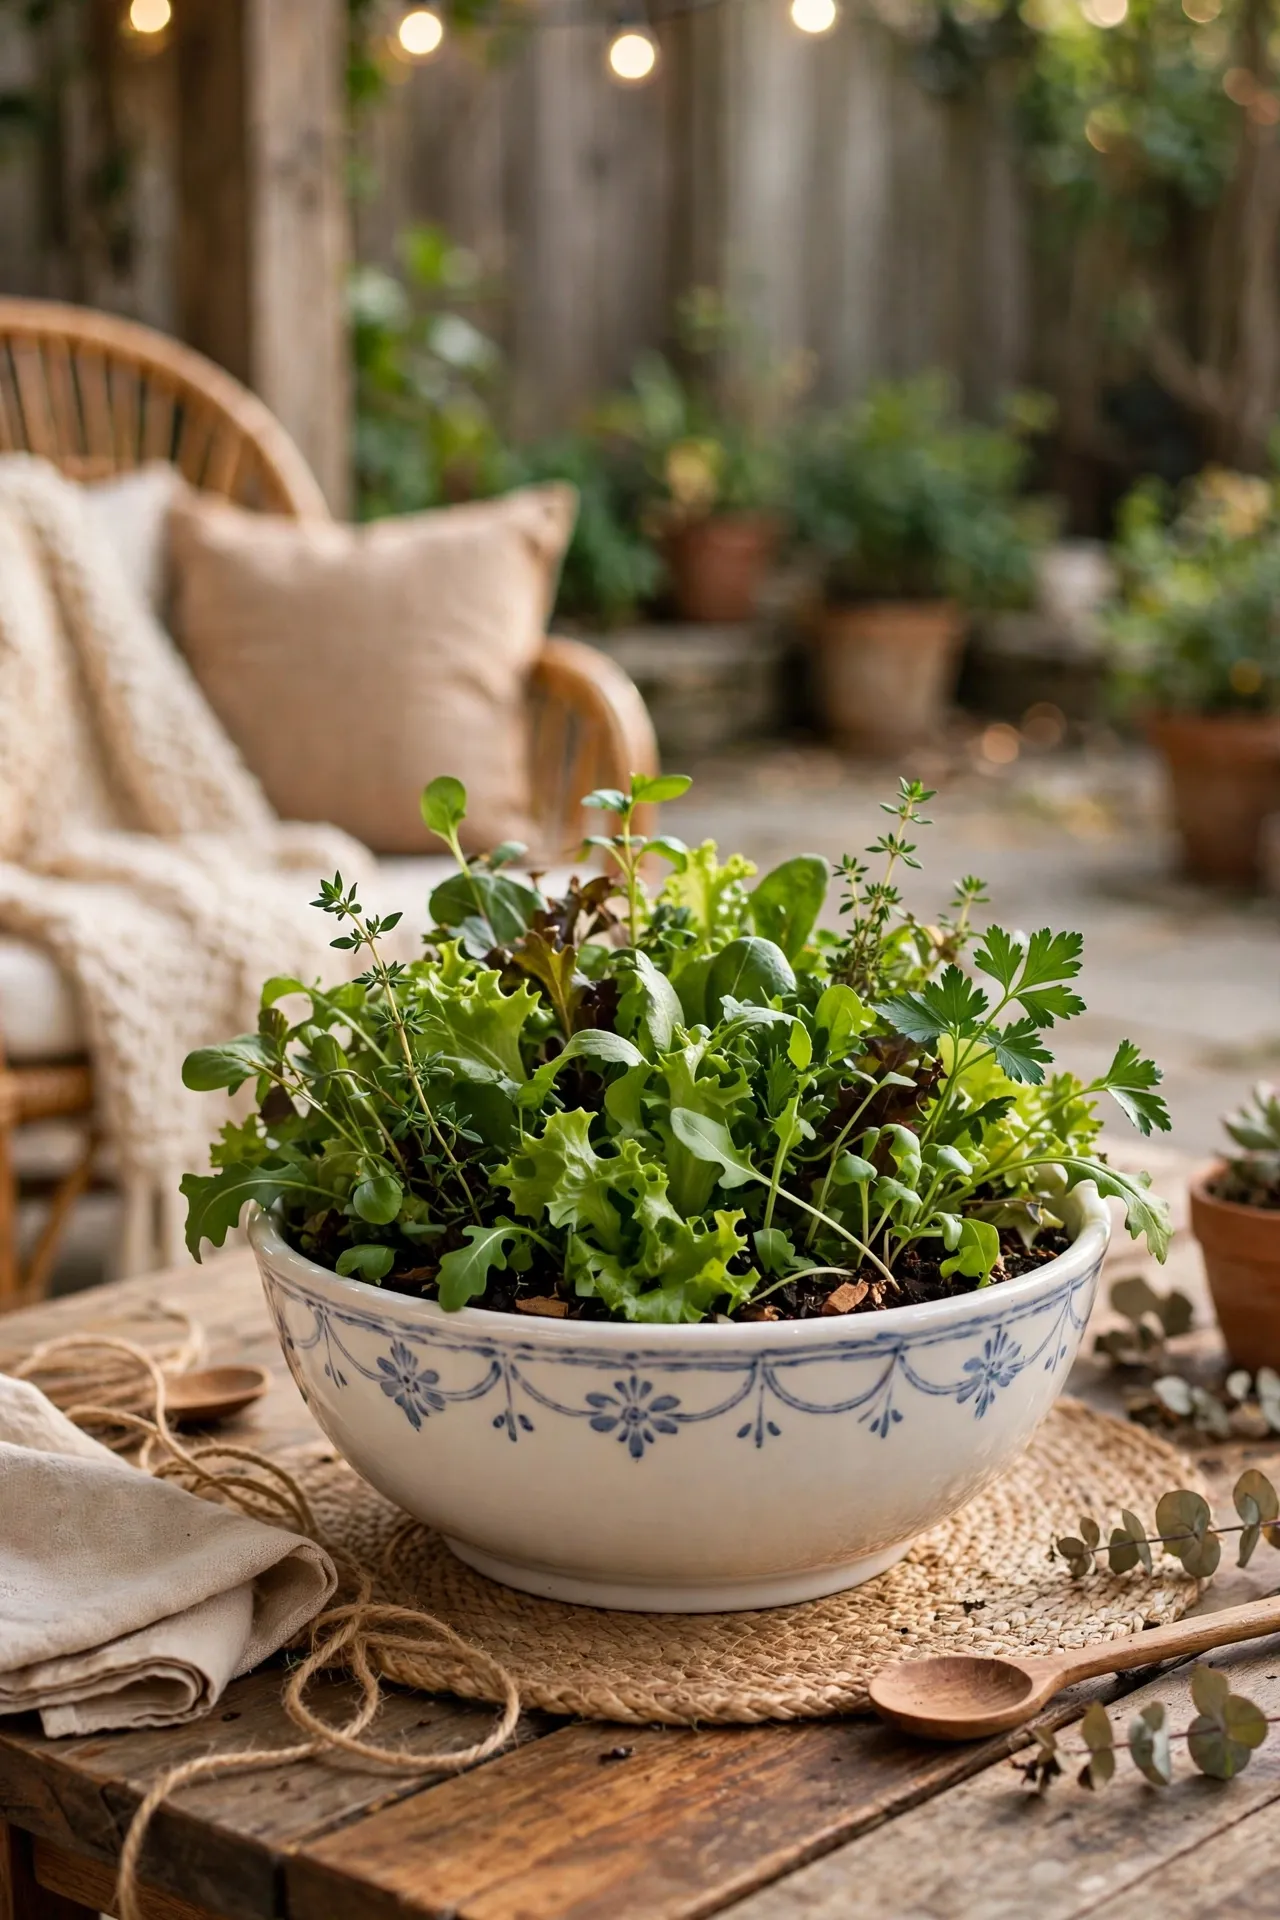
One wide, shallow bowl planted with mixed greens looks like a centerpiece and eats like a salad bar. Sow a mesclun mix evenly, keep it moist, and harvest with scissors when leaves reach a few inches. I keep mine by the back door so grabbing salad takes ten seconds. The first bowl I planted in shade barely grew, so a sunny spot matters more than a fancy container. Mist the leaves lightly on hot days, since shallow bowls dry out faster than deep pots in summer heat.
Budget breakdown:
- Wide bowl: $8
- Mesclun seeds: $2
- Soil: $3
Cost: ~$13 | Time: 20 minutes
8. Radishes in a Small Pot for Quick Wins
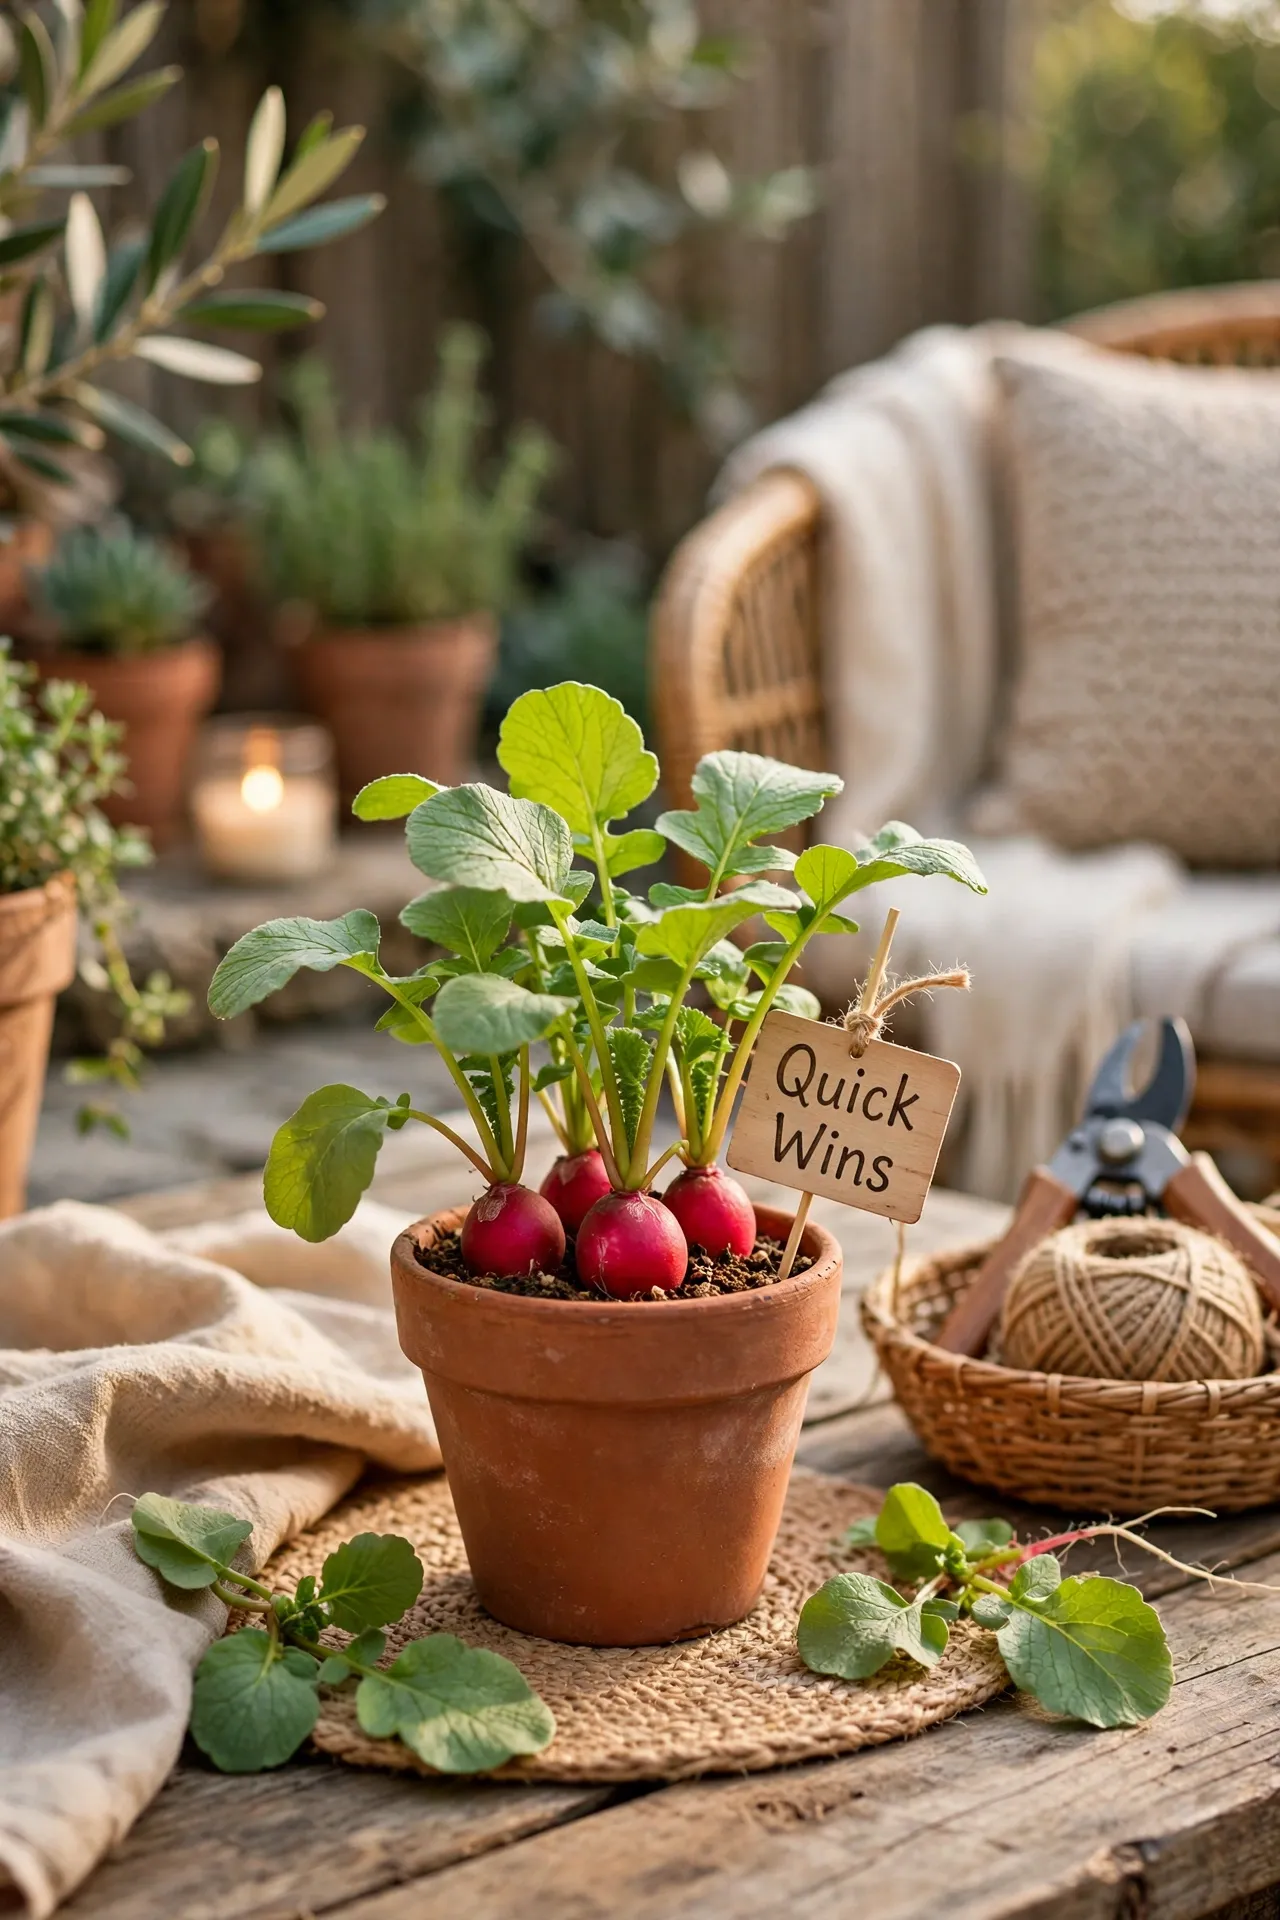
Radishes are the fastest confidence boost in container gardening, ready in about a month. Sow seeds half an inch deep in a pot at least six inches deep, thin to two inches apart, and keep the soil evenly moist. My daughter grew her first radishes in a yogurt tub and still talks about it. If your radishes turn out all tops and no root, they were probably too crowded. Pull one radish to check size before harvesting the whole pot, because tops can look ready before roots are.
Budget breakdown:
- Pot: $3
- Radish seeds: $1
- Soil: $0
Cost: ~$4 | Time: 15 minutes
Pretty Pots Without the Price Tag
9. Painted Terracotta Pots in One Color
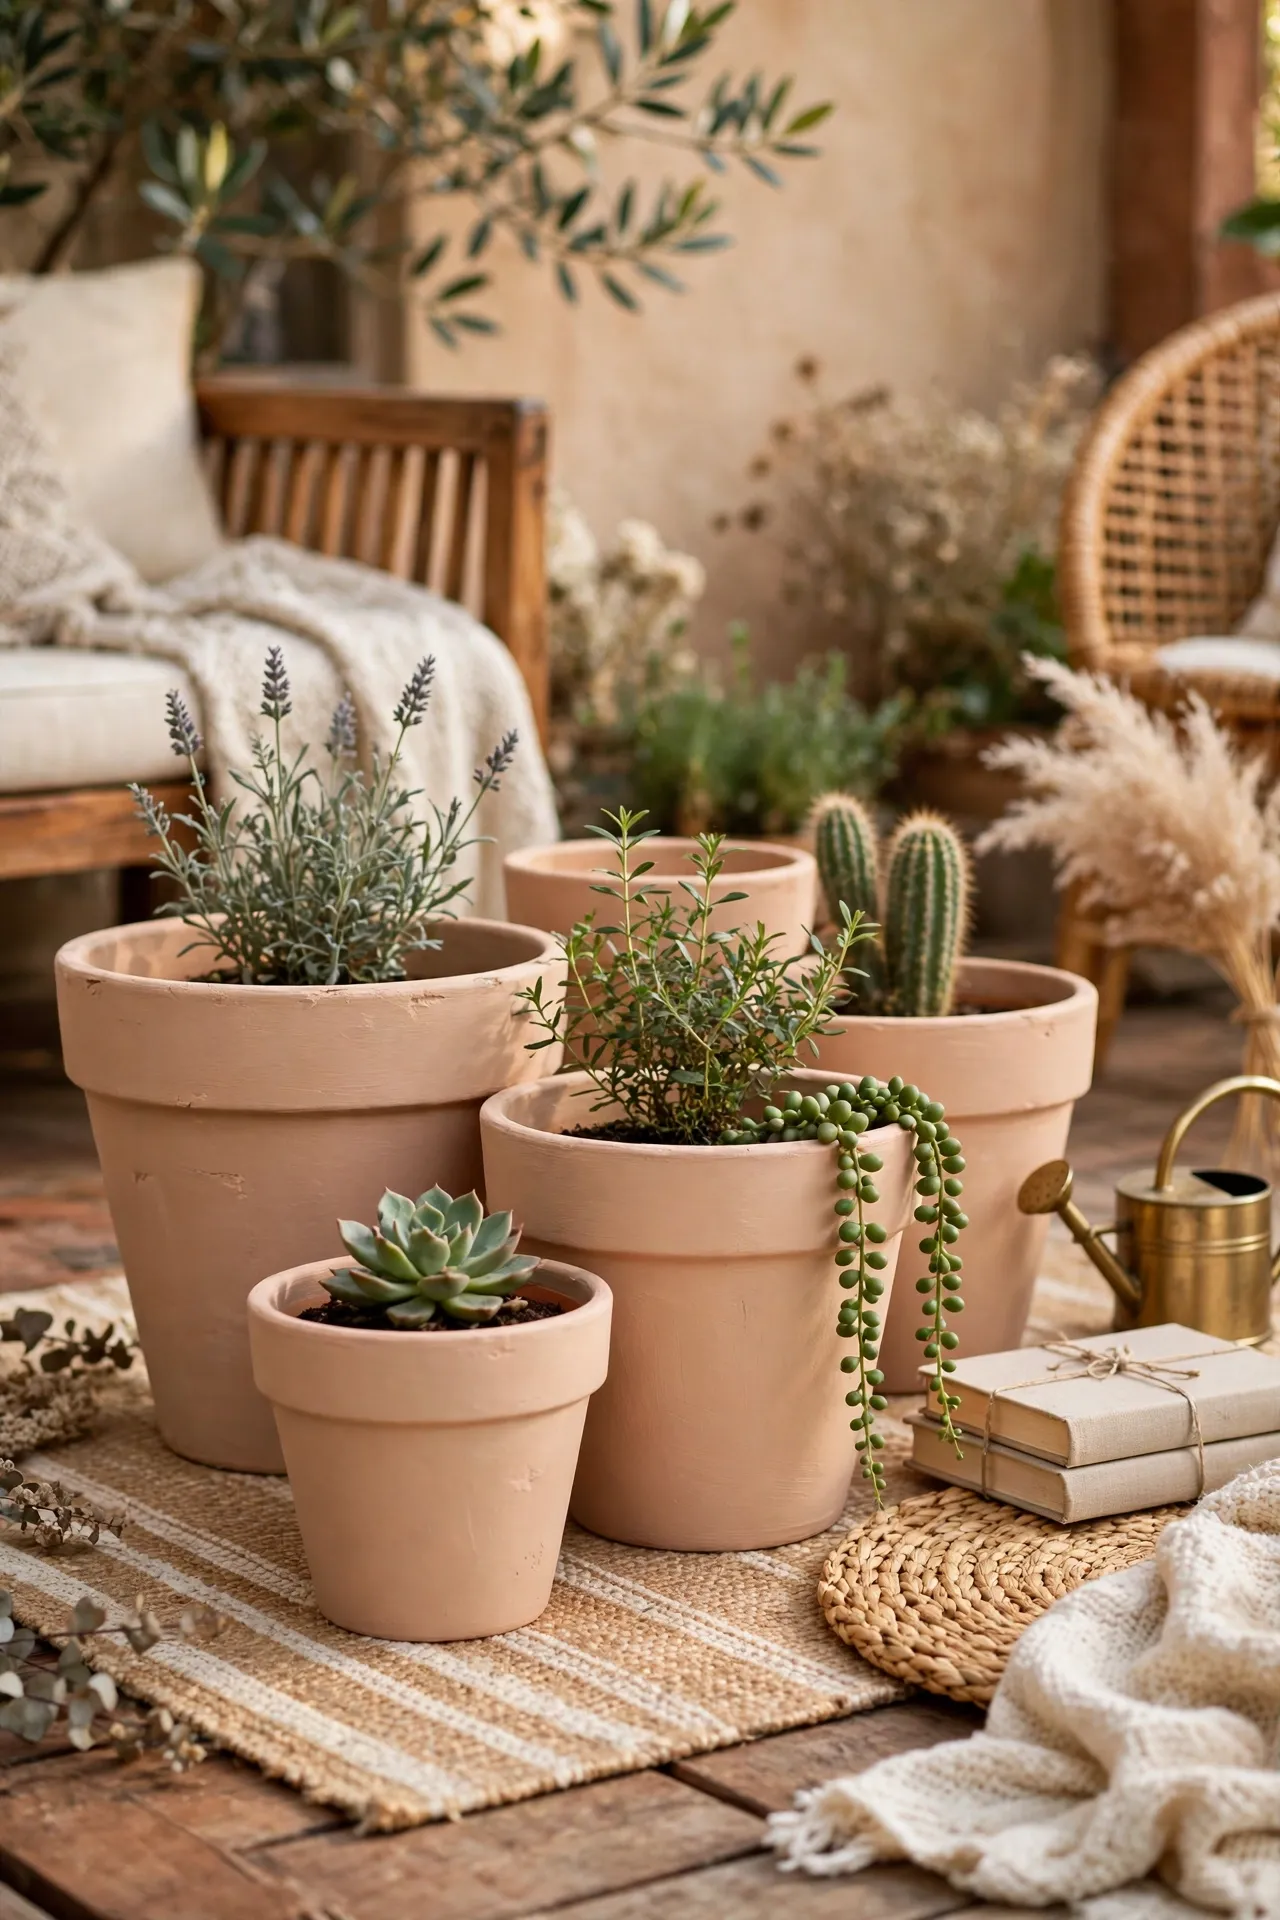
A row of terracotta pots painted in one color looks pulled together even when the plants inside are totally different. Clean the pots, paint two thin coats, and let them dry fully before planting. I chose cream for all of mine, and mismatched plants suddenly look intentional. My first coat was thick and peeled by July, so thin coats and patience beat one heavy coat every time. Bring the pots under cover during heavy rain, since painted terracotta chips faster when it stays soaked.
Budget breakdown:
- Terracotta pots: $9
- Paint: $5
- Brush: $2
Cost: ~$16 | Time: 50 minutes
10. Fabric Grow Bags for Potatoes
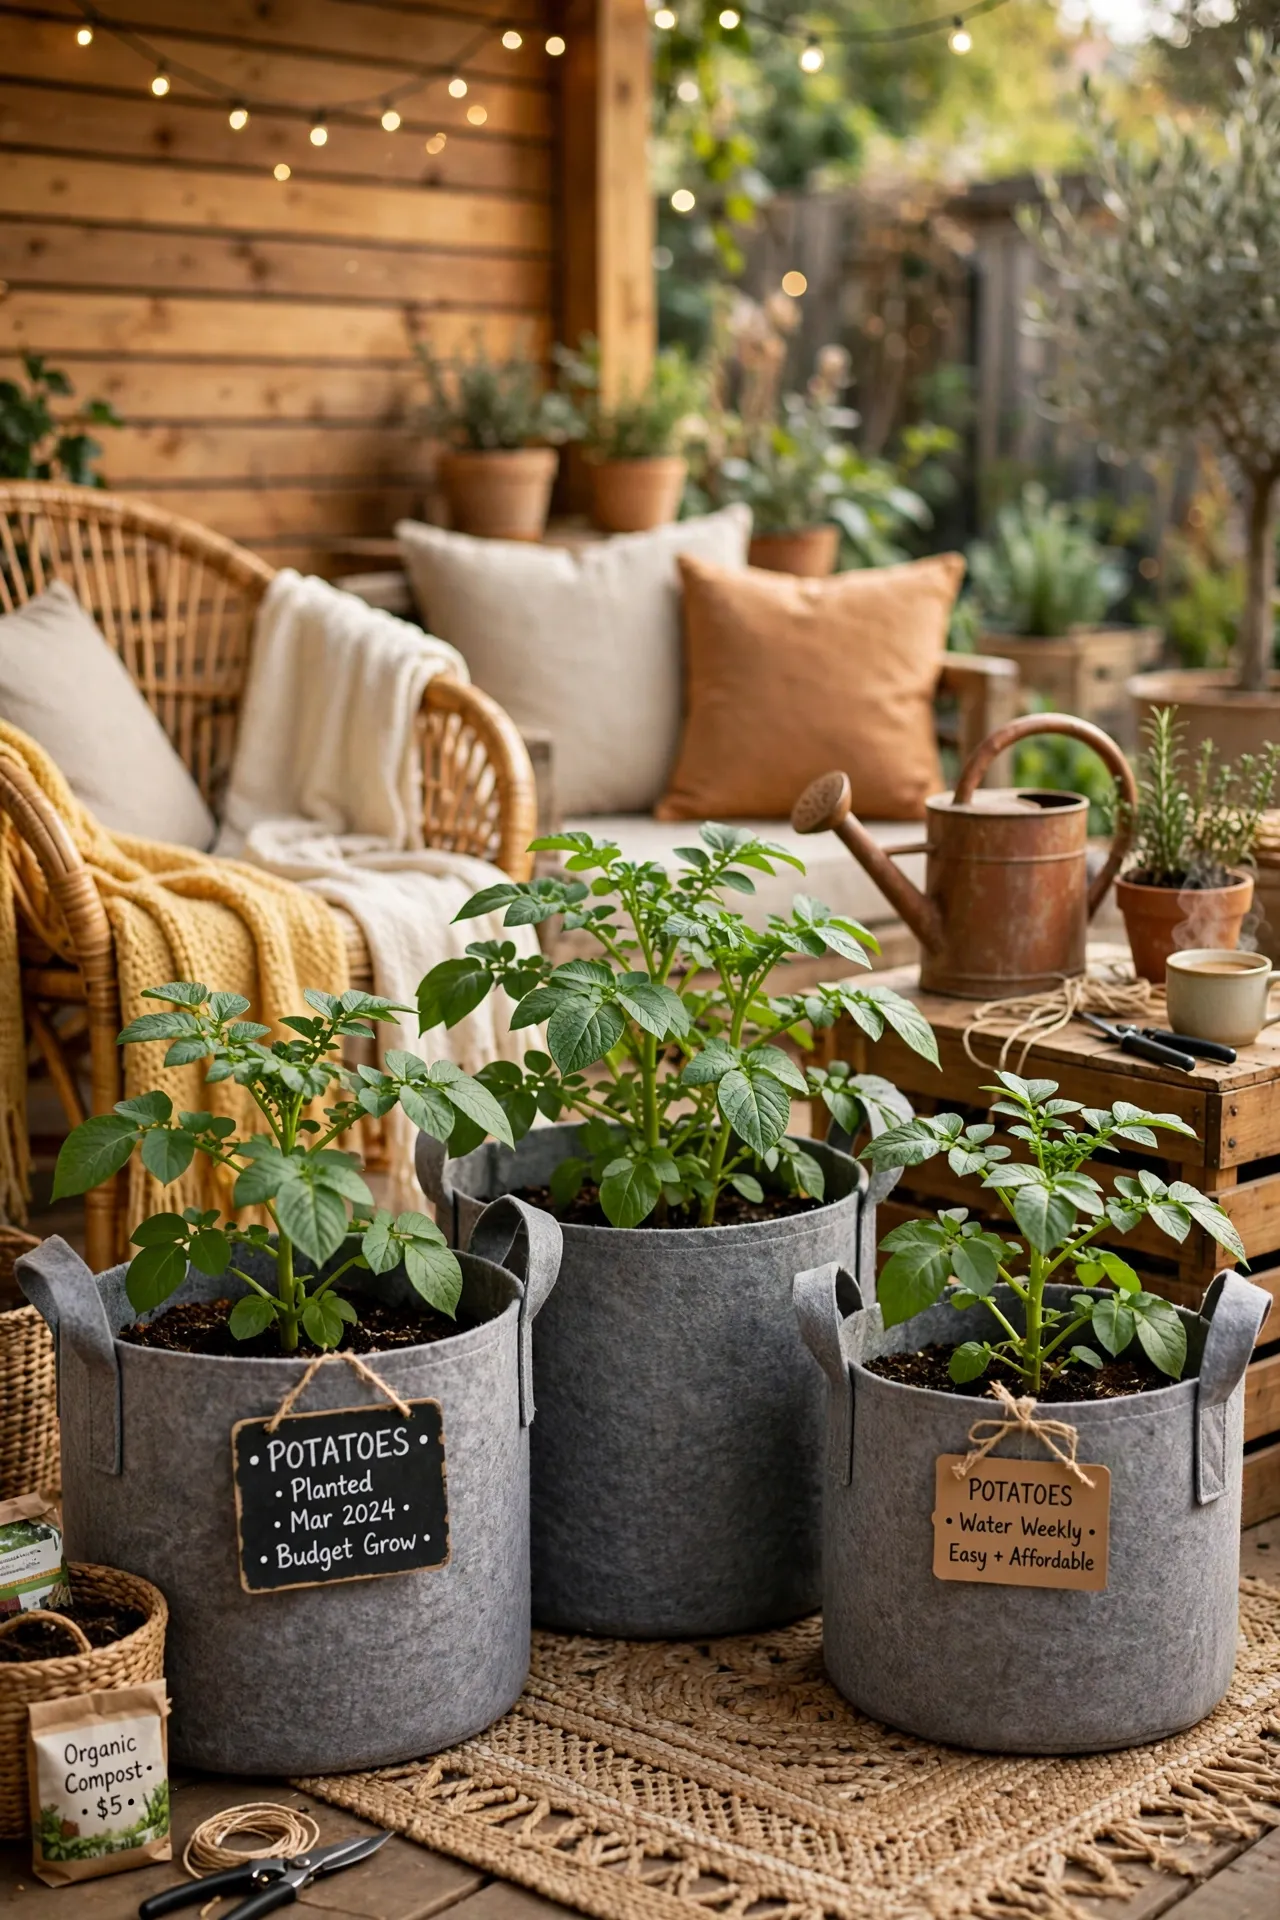
Fabric grow bags are cheap, light, and brilliant for potatoes because you can peek at the harvest. Fill a bag halfway with soil, plant seed potatoes, and add more soil as stems grow taller. At harvest, just tip the bag out. I grew a surprising pile of potatoes in two bags on our patio, and the kids loved the treasure-hunt harvest. Do not let bags dry out completely, since fabric loses moisture faster than plastic. Label each bag with the variety and planting date, because all potato bags look identical by midsummer.
Budget breakdown:
- Grow bags: $7
- Seed potatoes: $4
- Soil: $4
Cost: ~$15 | Time: 40 minutes
11. A Wooden Crate Planter for the Patio
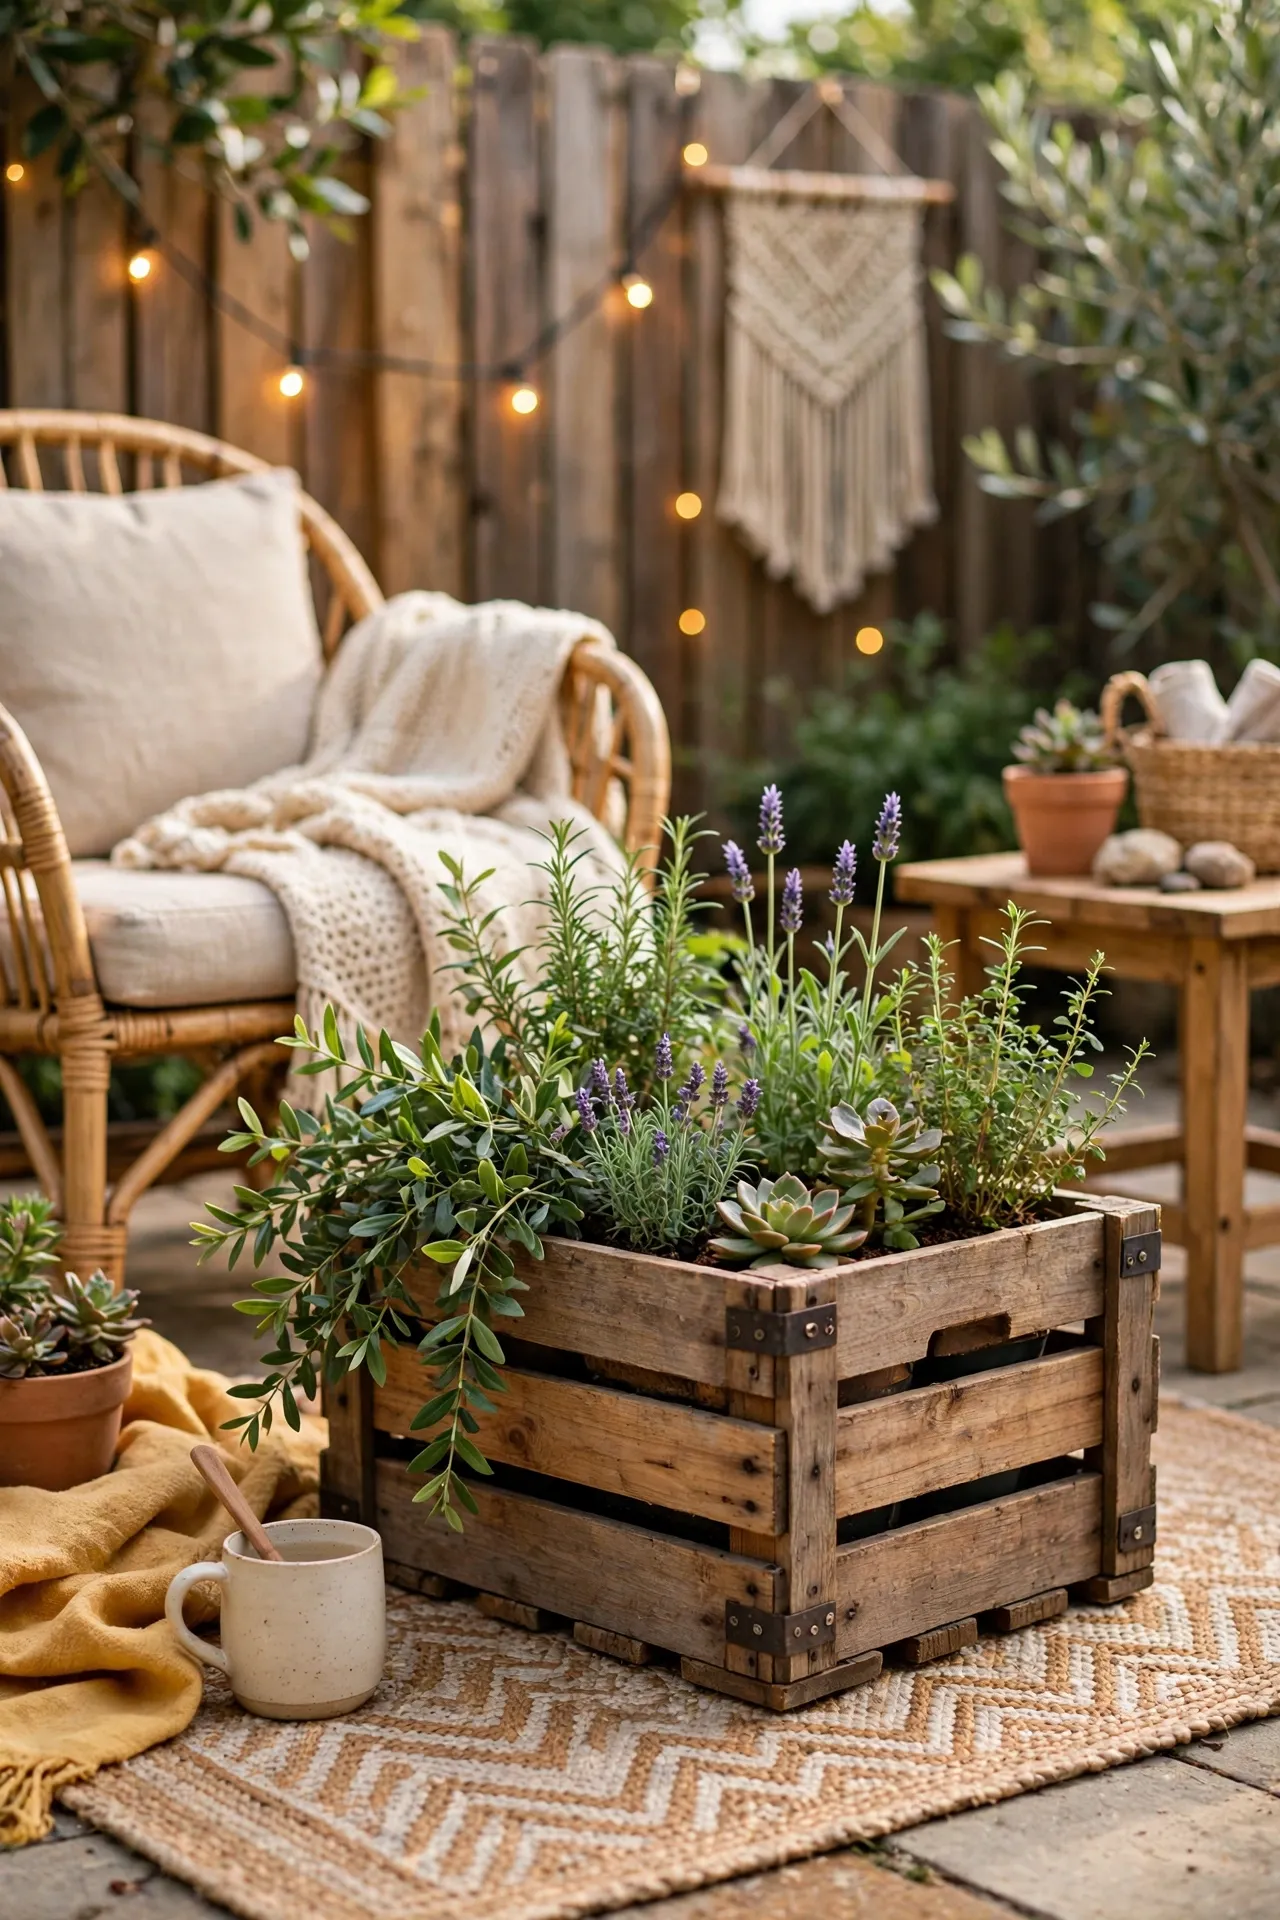
A wooden crate lined with fabric makes a rustic patio planter for flowers or herbs. Line the inside, add drainage holes if the wood is solid, and fill with soil. I found my crates free behind a shop, with permission, and they now hold lavender by the door. The first crate I used without a liner rotted in one season, so a liner is what turns a crate into a planter that lasts. Set the crate on small feet or bricks, so air flows underneath and the wood dries after watering. For more outdoor projects on the same budget, see (see also: 23-small-backyard-ideas-on-a-dime).
Budget breakdown:
- Crate: $0
- Liner fabric: $3
- Plants: $6
Cost: ~$12 | Time: 45 minutes
12. Upcycled Jars for Tiny Succulents
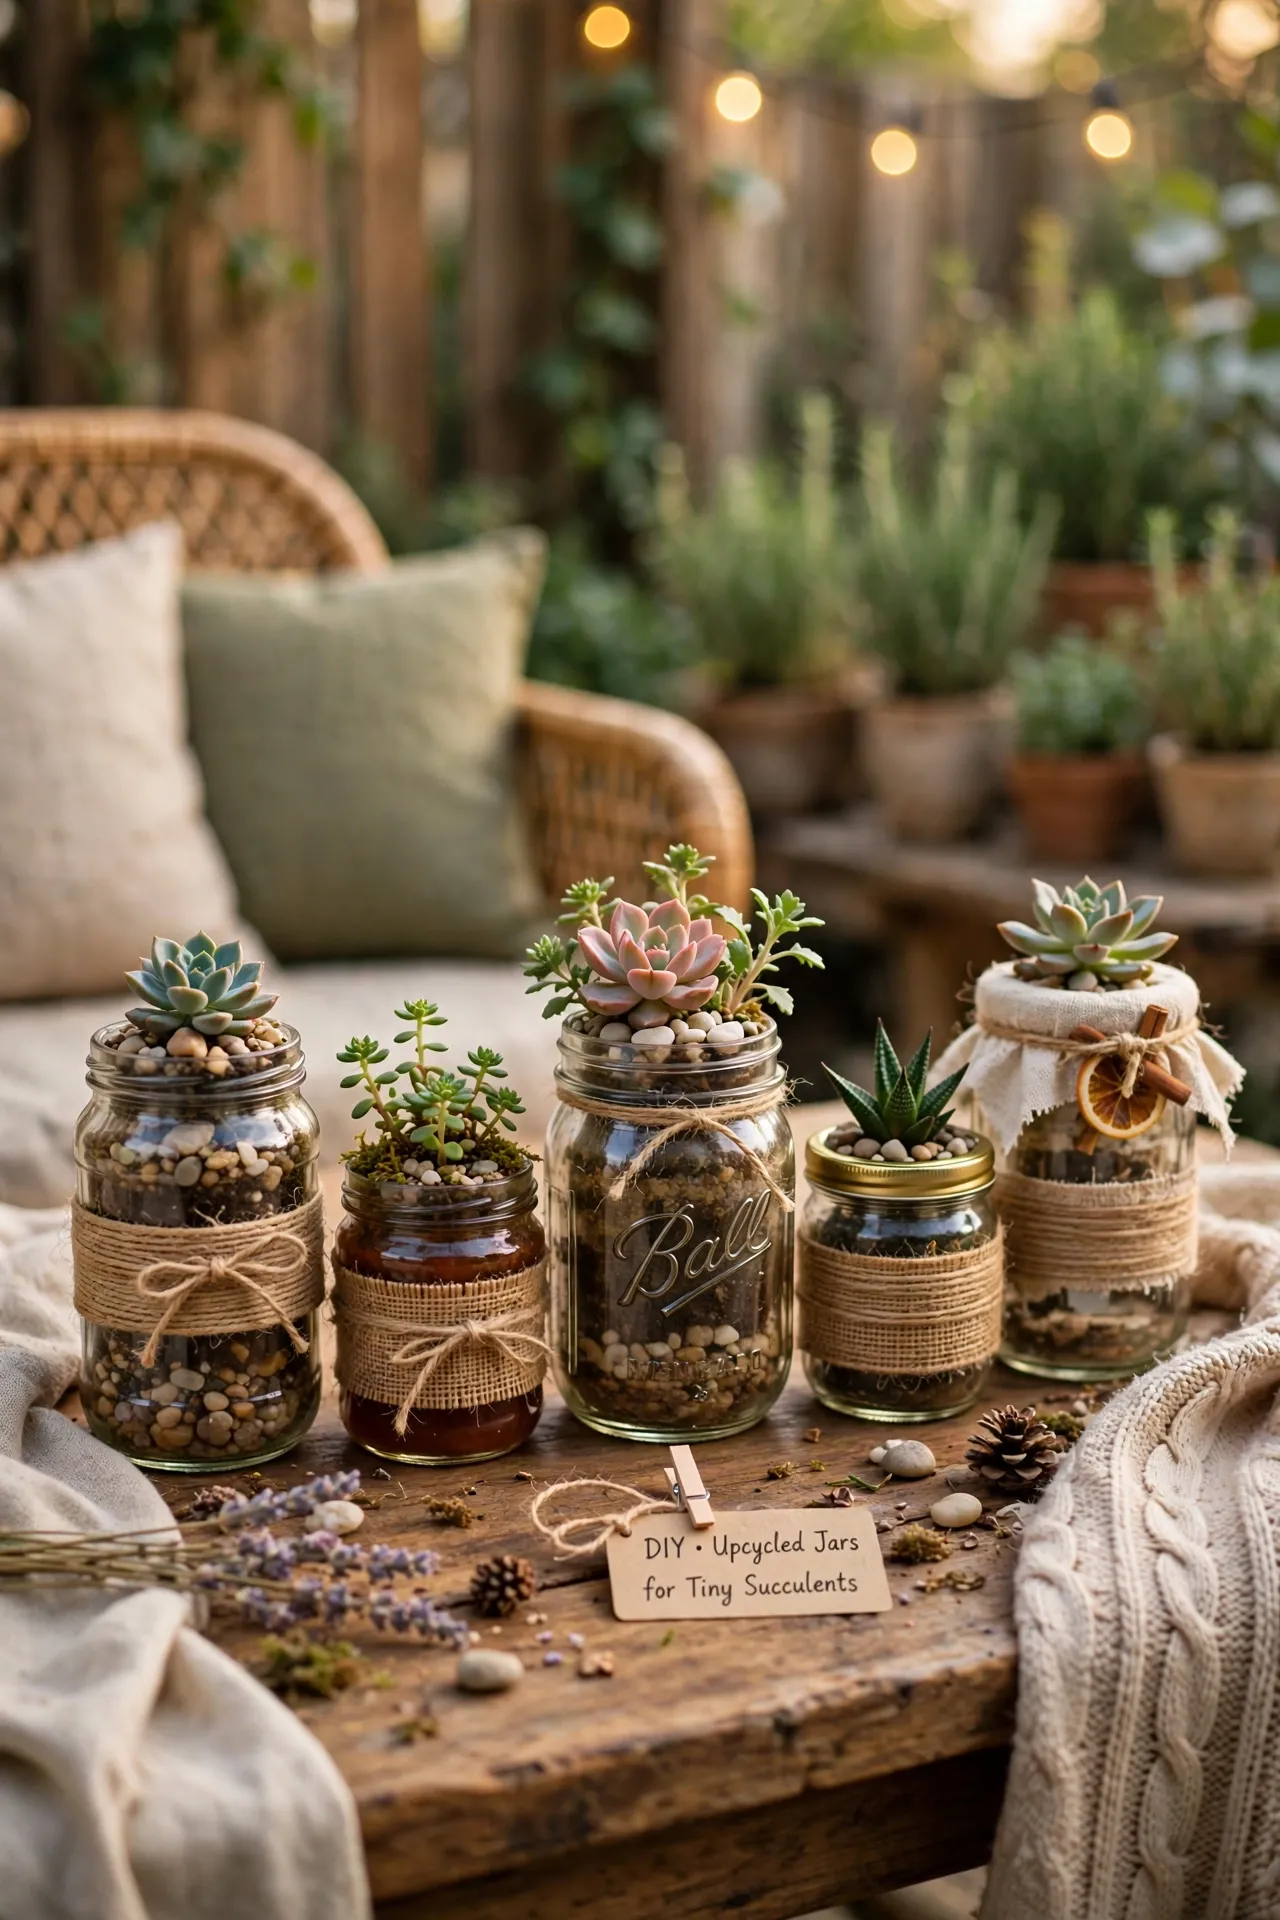
Small glass jars make sweet homes for tiny succulents on a sunny sill. Add a layer of pebbles for drainage, use cactus mix, and water only when the soil is fully dry. My jar succulents survive my forgetfulness better than any other plant I own. I killed my first succulent with kindness and weekly watering, so now I water monthly and they thrive on neglect. Rotate the jars weekly, since succulents lean toward light and end up lopsided without a regular turn.
Budget breakdown:
- Jars: $0
- Cactus mix: $4
- Succulents: $2
Cost: ~$6 | Time: 20 minutes
Keep Them Alive: Easy Care Wins
13. The Finger Test for Watering
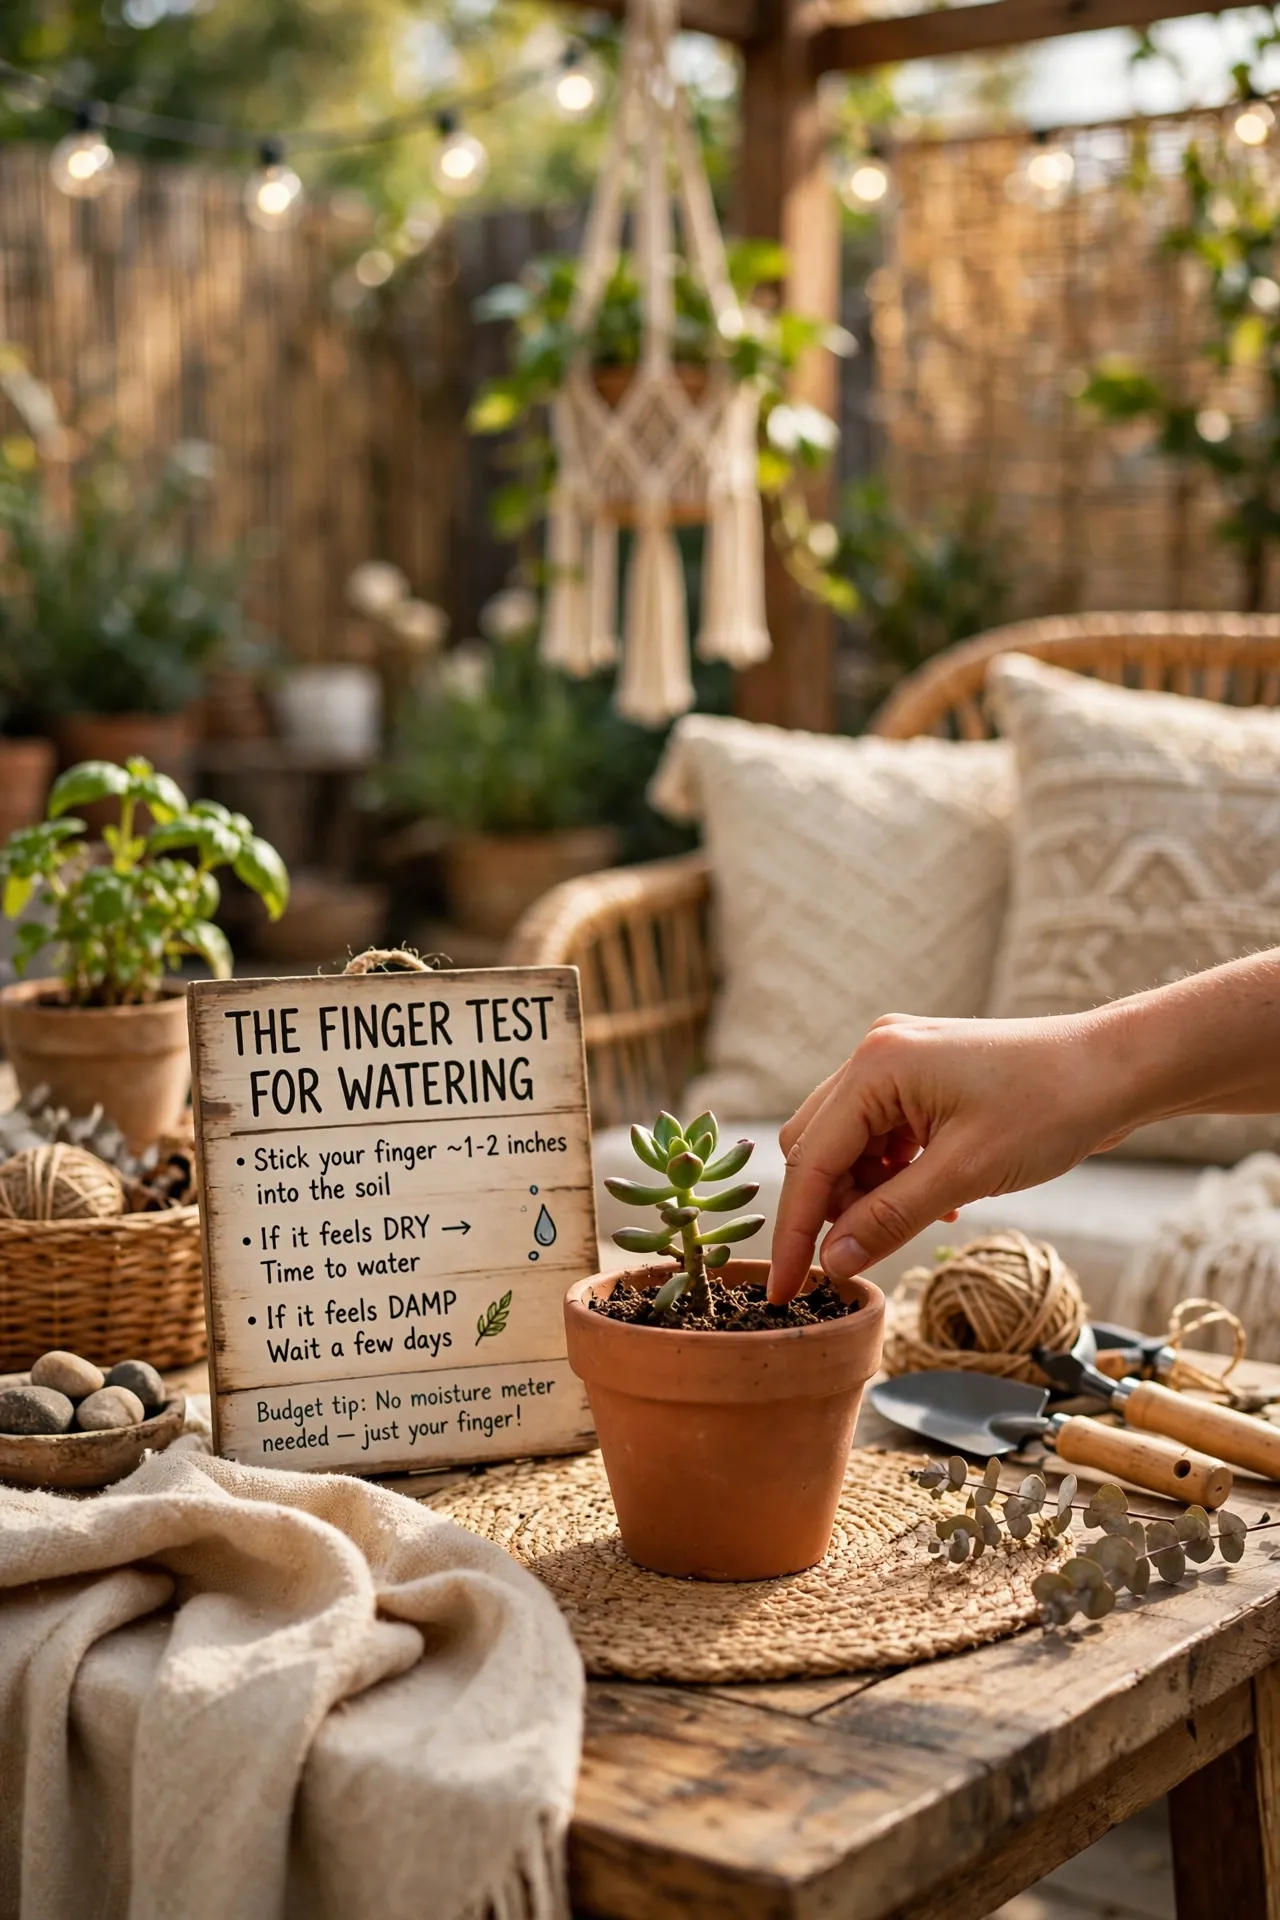
The finger test is the simplest watering skill a beginner can learn. Push your finger an inch into the soil: if it feels dry, water deeply until it drains from the bottom; if it feels damp, wait a day. This one habit fixed most of my early plant deaths, which were honestly from overwatering, not neglect. I check every pot the same way now, and my plants have never looked better. Write the check on your calendar, because a simple weekly reminder beats trying to remember every pot.
Budget breakdown:
- Your finger: free
- Watering can: $5
- Patience: free
Cost: ~$0 | Time: 10 minutes
14. Feeding Containers Without Fancy Fertilizer
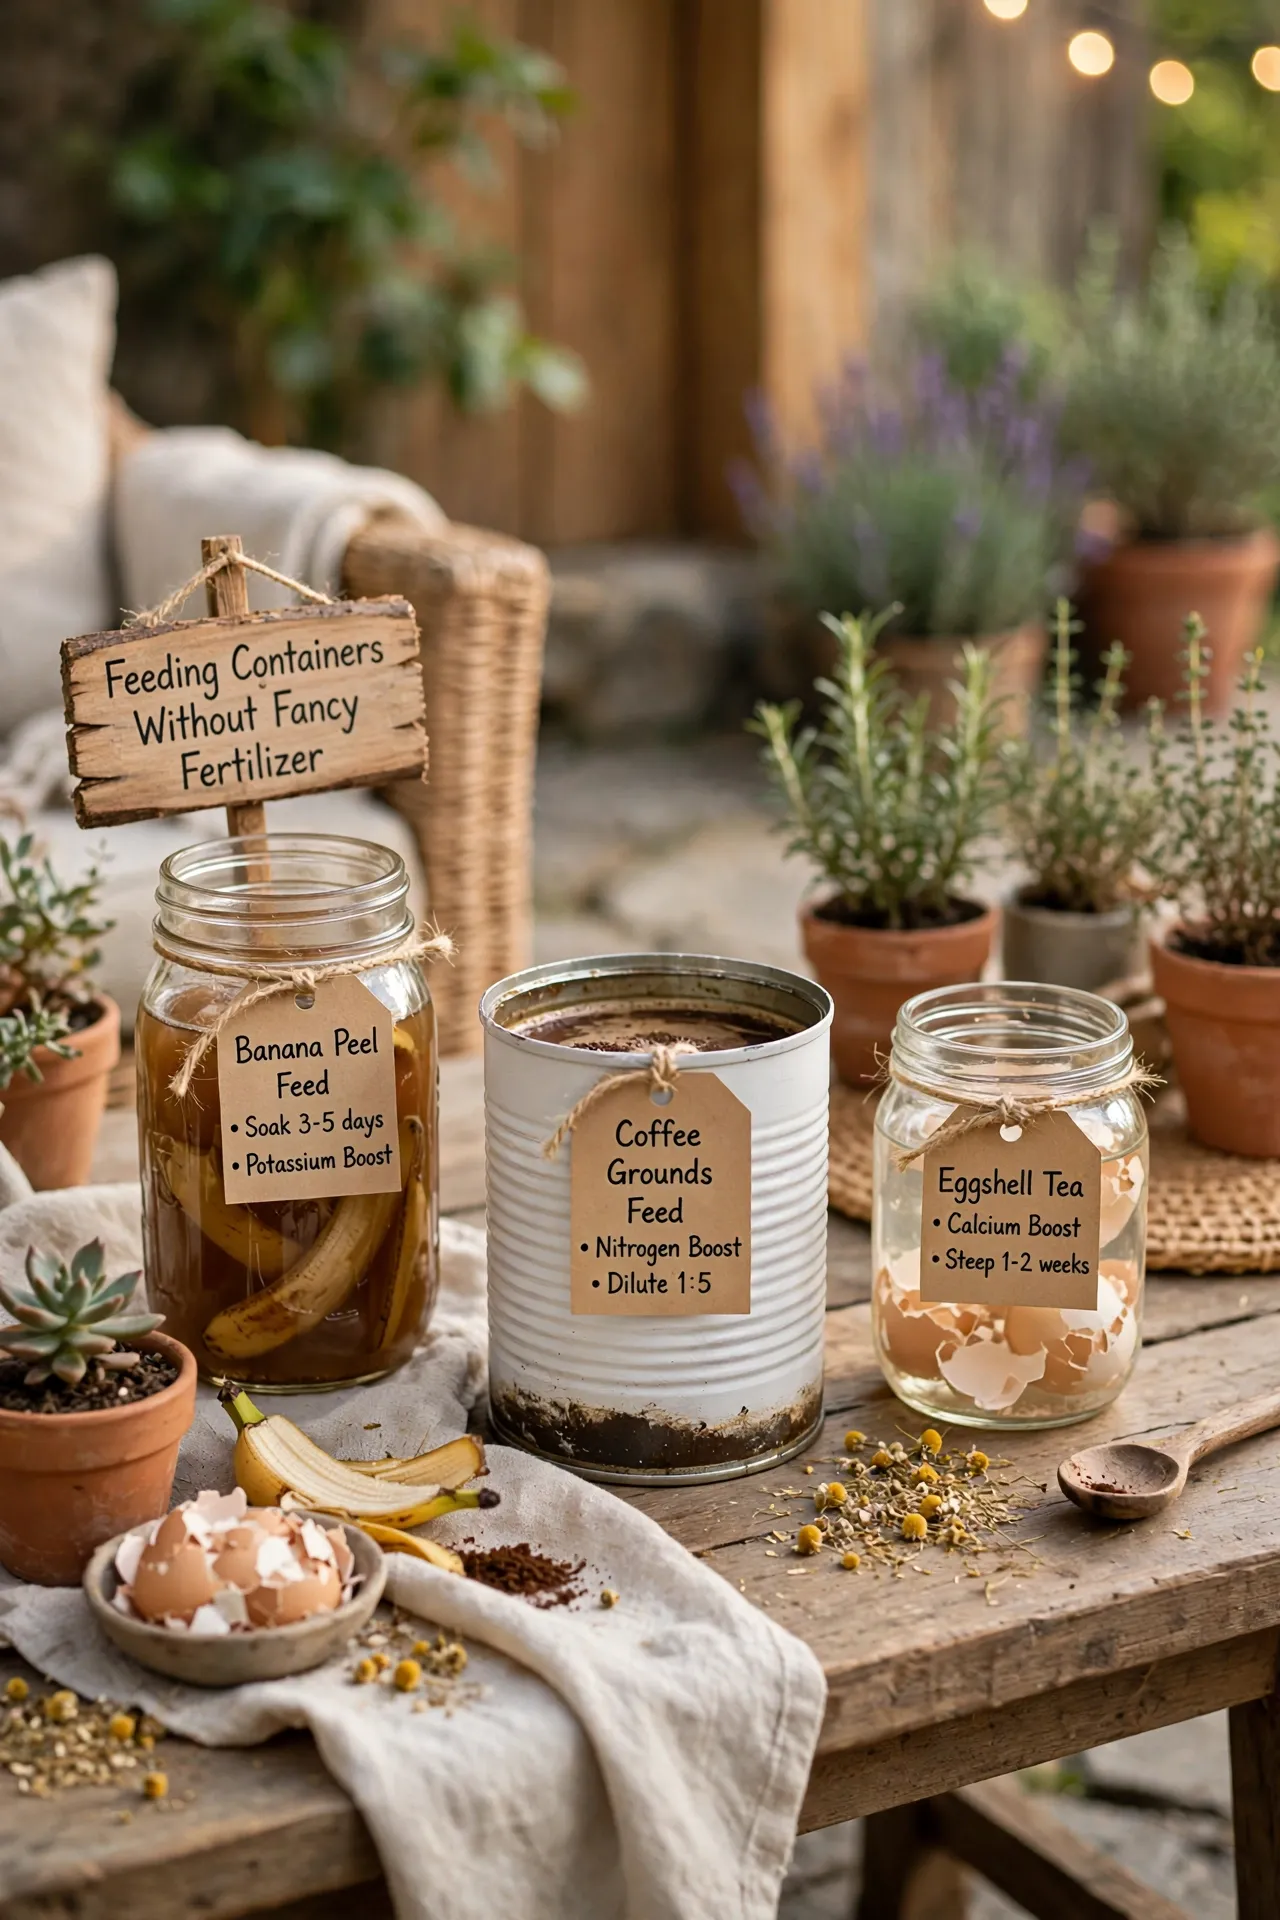
Container plants need feeding because watering washes nutrients out of the pot. Use a basic liquid feed every two weeks in growing season, or mix in slow-release pellets at planting time. My tomatoes perked up within a week of their first feed after looking pale and tired. I once doubled the dose thinking more was better and burned the leaves, so always follow the label, never guess. Flush the pot with plain water once a month, since salts from fertilizer build up in container soil over time.
Budget breakdown:
- Liquid feed: $6
- Measuring cap: $0
- Calendar reminder: free
Cost: ~$7 | Time: 15 minutes
15. Moving Pots to Chase the Sun
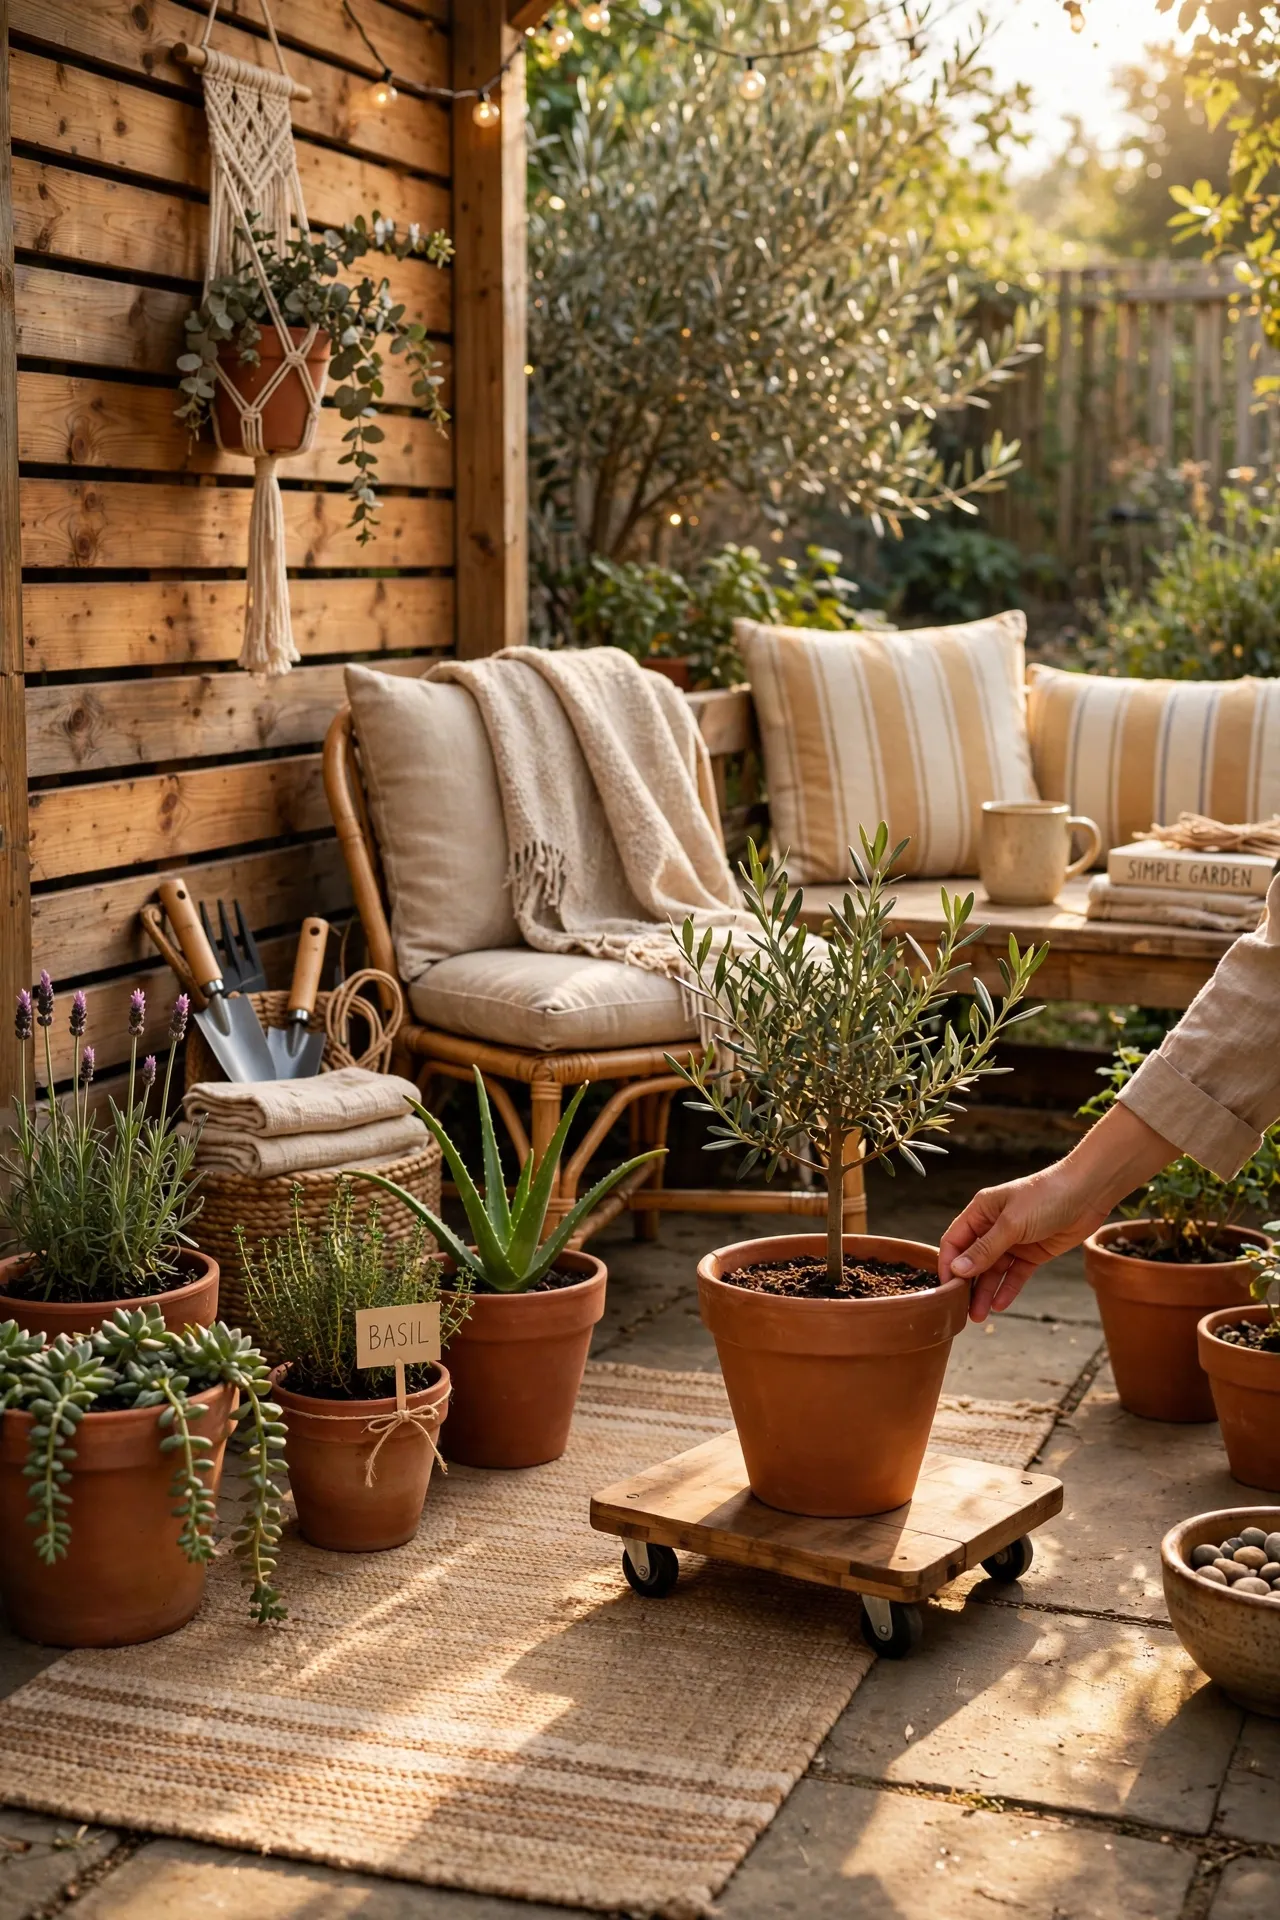
One advantage of containers is that you can move them to follow the sun through the seasons. Watch which spots get six hours of light, and shift sun-lovers there as trees leaf out. I drag my tomato pot a few feet each month, and it stays productive long after fixed beds go shady. Put heavy pots on wheeled saucers, because my back taught me that lesson the hard way. Group pots with similar water needs together, so one watering round suits the whole cluster without guesswork.
Budget breakdown:
- Wheeled saucer: $5
- Sunny spot: free
- Observation: free
Cost: ~$8 | Time: 20 minutes
16. Winter Care for Beginner Containers
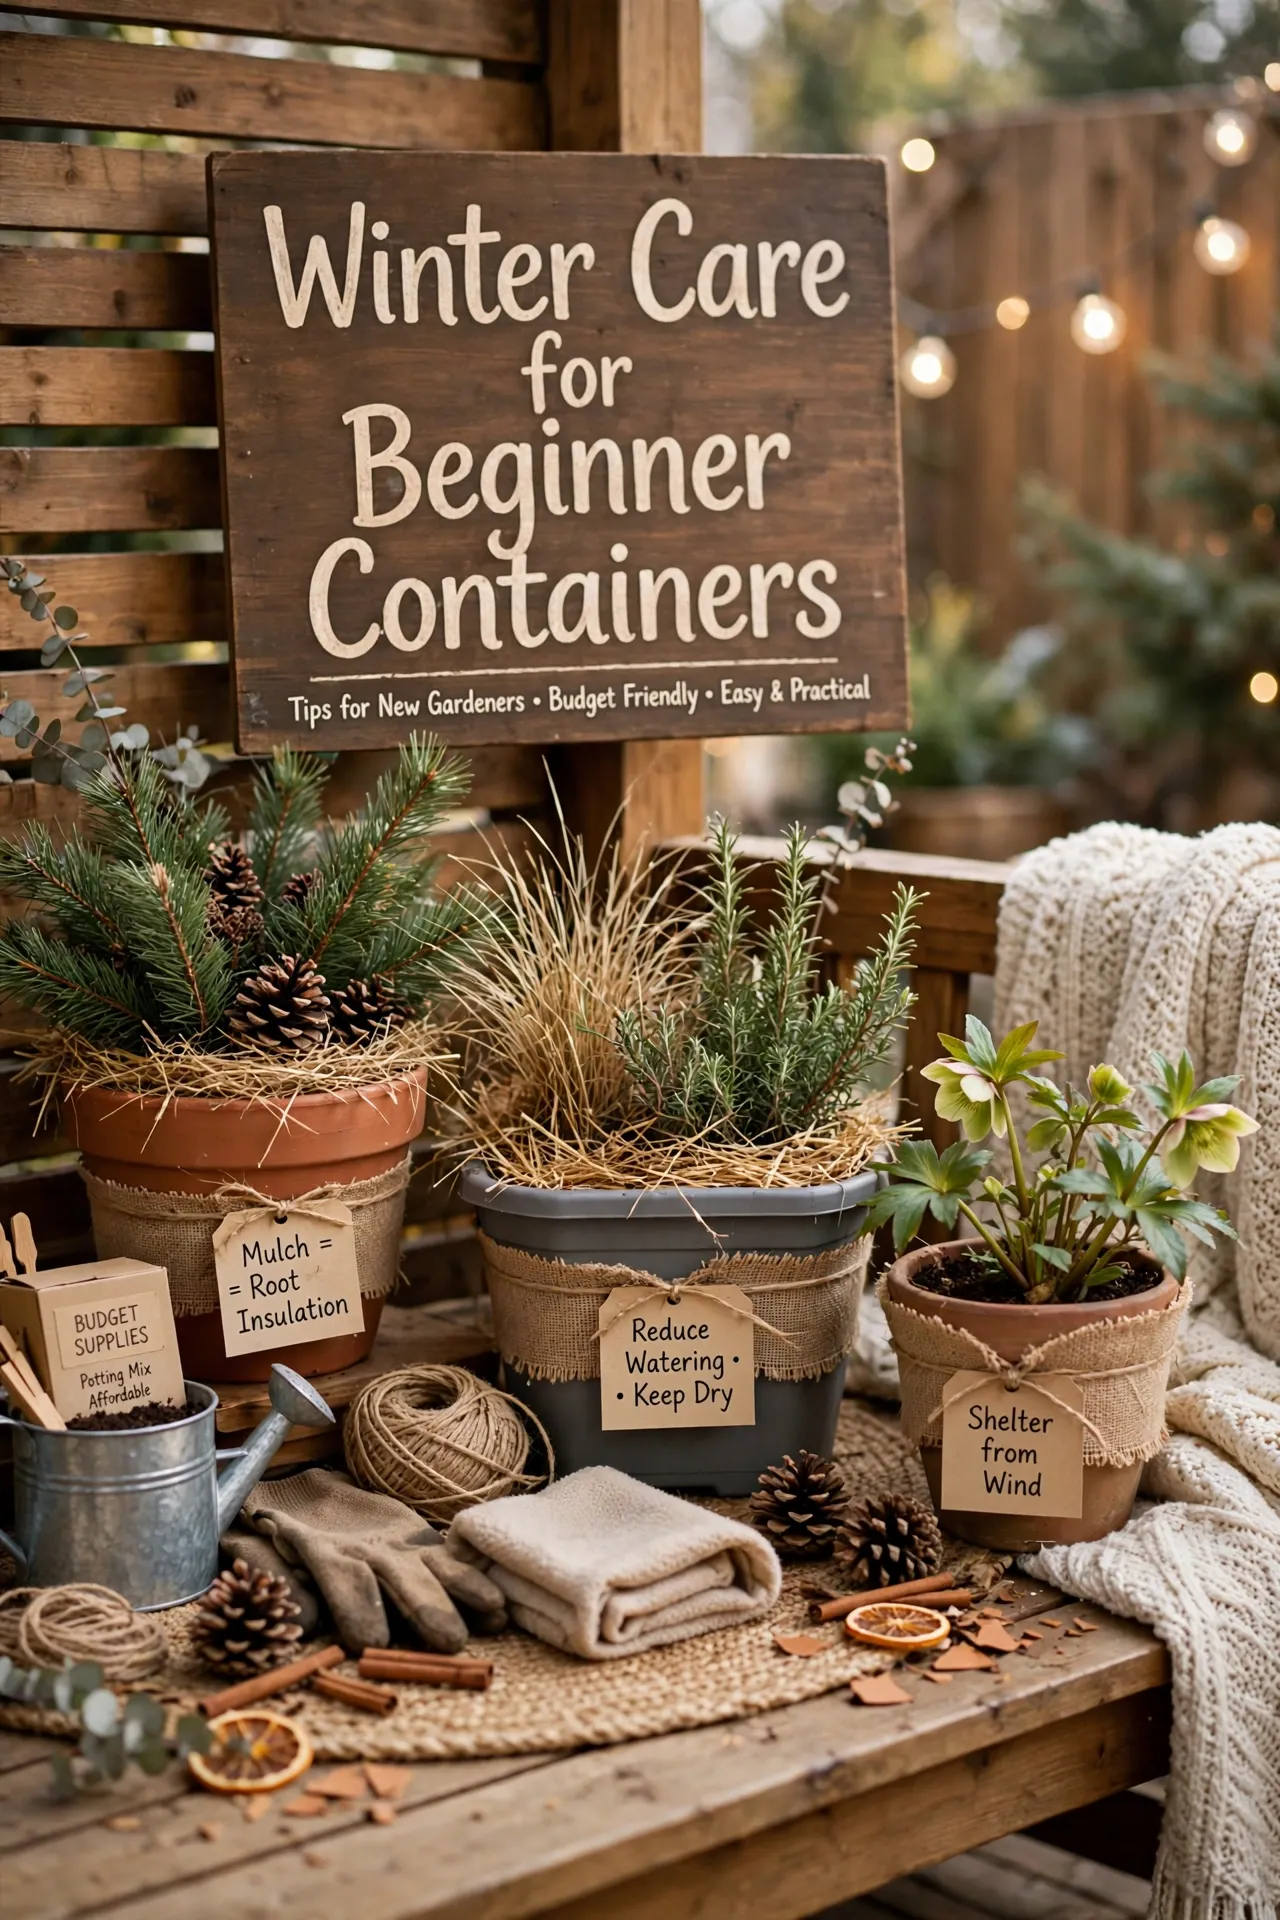
Winter care for containers is mostly about protection, not work. Move tender pots near a wall, wrap pots in burlap on freezing nights, and water sparingly since plants drink less in cold weather. I lost a rosemary plant to one hard frost before I learned to bring it inside overnight. Now my pots survive winter with a little wrapping and a lot less worry than I expected. Check the forecast before a cold snap, because one night of preparation protects a plant that took months to grow.
Budget breakdown:
- Burlap: $4
- Wall shelter: free
- Watering can: $0
Cost: ~$5 | Time: 25 minutes
17. A Beginner’s Weekly Container Checklist
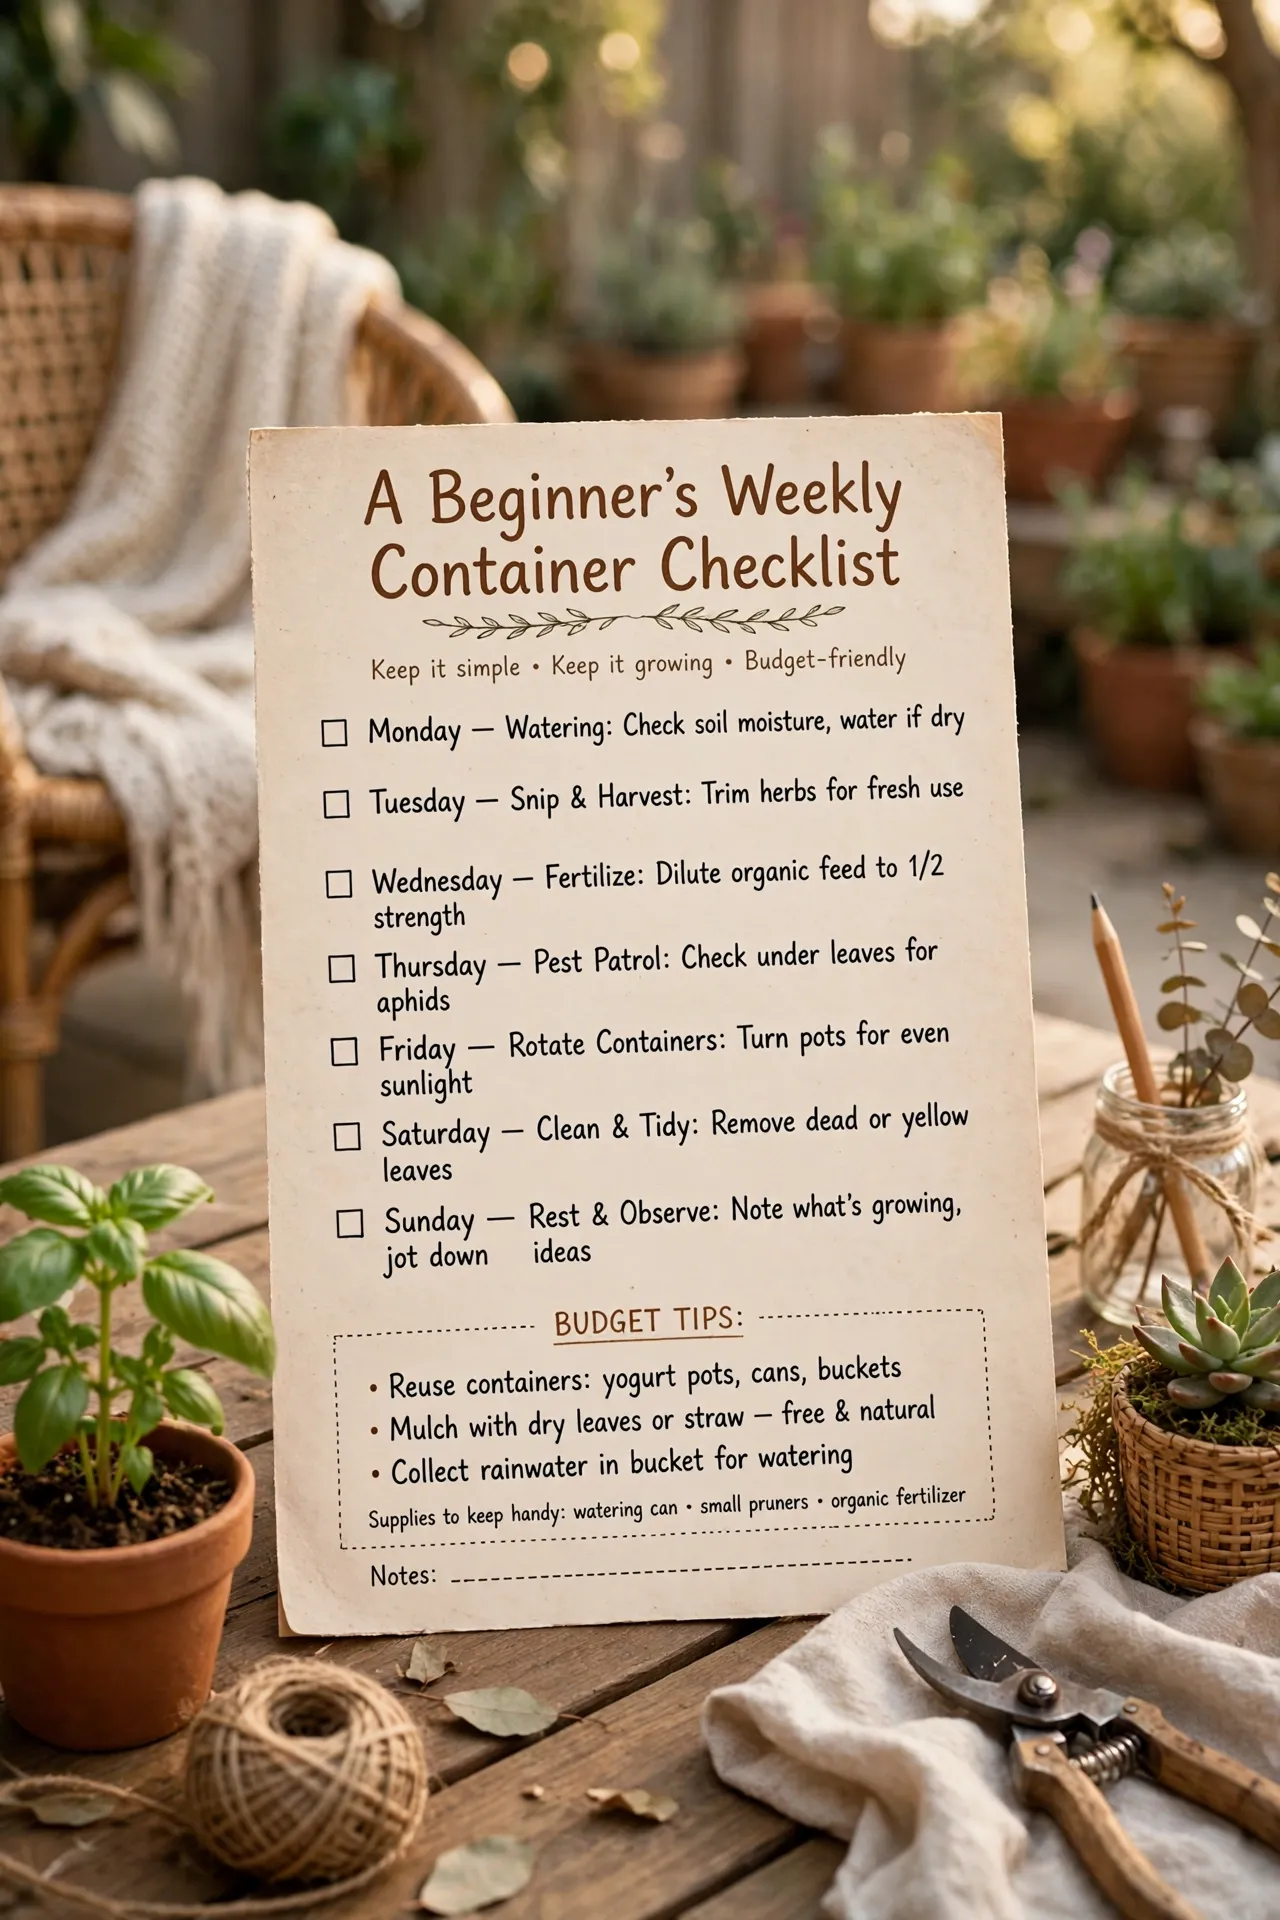
A short weekly checklist keeps container gardening easy instead of overwhelming. Once a week, check soil moisture, remove yellow leaves, look under leaves for pests, and rotate pots a quarter turn. I do mine on Sunday mornings with coffee, and it takes about fifteen minutes for all my pots. Skipping two weeks once taught me that small problems become big ones fast, so the checklist is now a habit I protect. Keep a small notebook by the door, since jotting what worked this week makes next season much easier.
Budget breakdown:
- Checklist: free
- Coffee: $0
- 15 minutes weekly: free
Cost: ~$0 | Time: 15 minutes
Save this guide for your first planting weekend, and pin the idea you want to try first so you can come back to it when you shop for pots.
