17 Bedroom Accent Wall Ideas That Cost Almost Nothing
Bedroom accent wall ideas haunted me for a year because I was sure they all cost real money. Then my neighbor painted one wall of her bedroom with a $9 mistint gallon and I watched her whole room change in an afternoon. That was the push I needed, and my own bedroom has now had four different accent walls, each cheaper than a takeout order.
These 17 ideas are the ones I have actually tried or watched up close, and every single one costs under $40. Most are renter-friendly too, which matters when your lease says no paint. I noted the real cost, the real time, and where I messed up, so your wall goes up smoother than mine did.
Paint and Color Washes
1. Mistint Paint in a Moody Tone
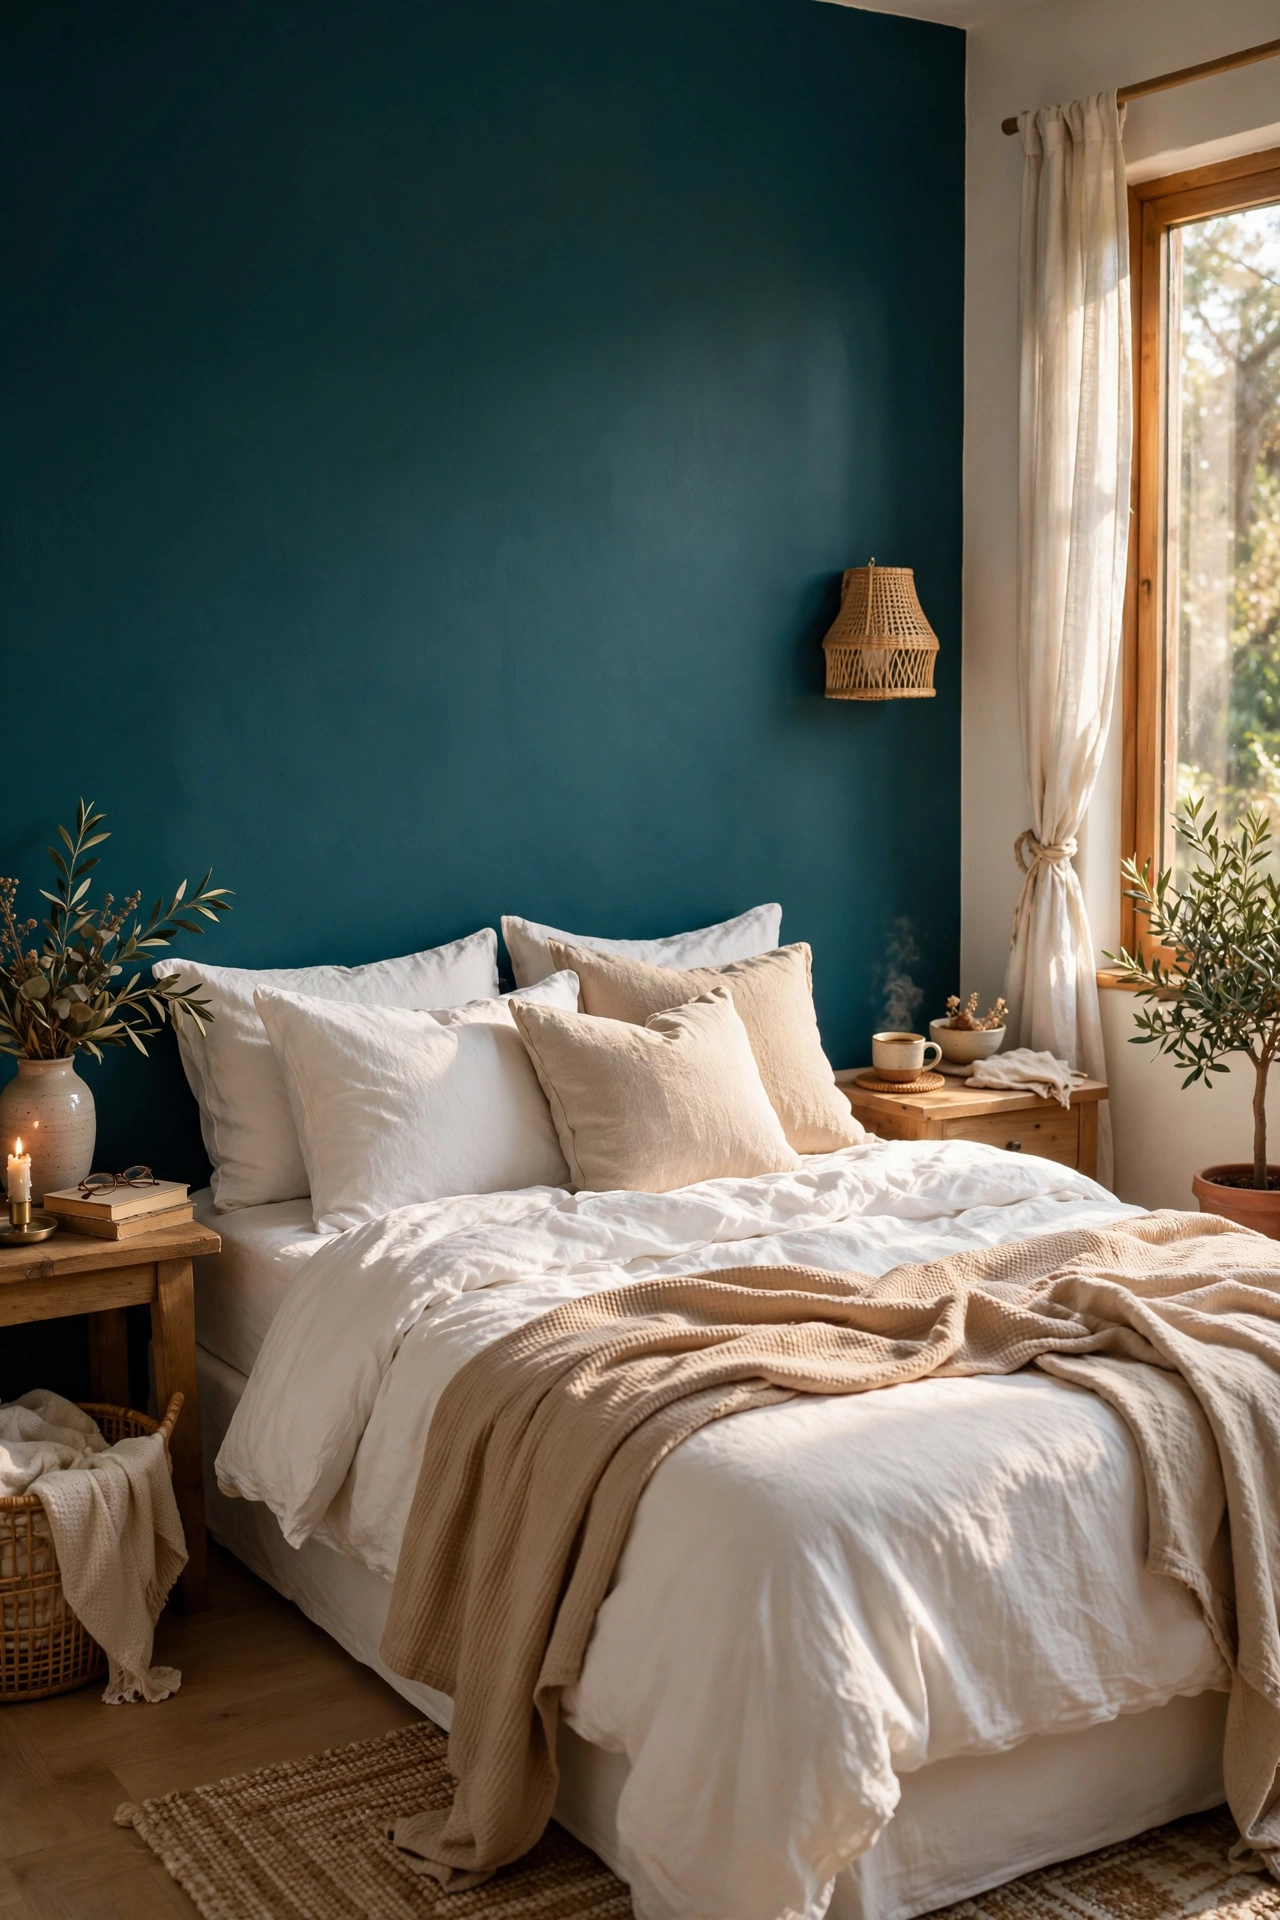
Mistint paint is the cheapest real paint you can buy, and one wall needs only a quart. I grabbed a $7 mistint quart in deep teal, rolled it on the wall behind my bed, and the room felt twice as designed overnight. Ask the paint counter what is in the mistint bin, since colors rotate daily. Two thin coats beat one thick coat, because thick paint peels at the edges. I did one thick coat my first time and spent a Sunday scraping. The teal wall now makes my white bedding pop like a magazine shot.
Cost: ~$7-15 | Time: 2 hours
2. Half-Painted Wall with a Crisp Line
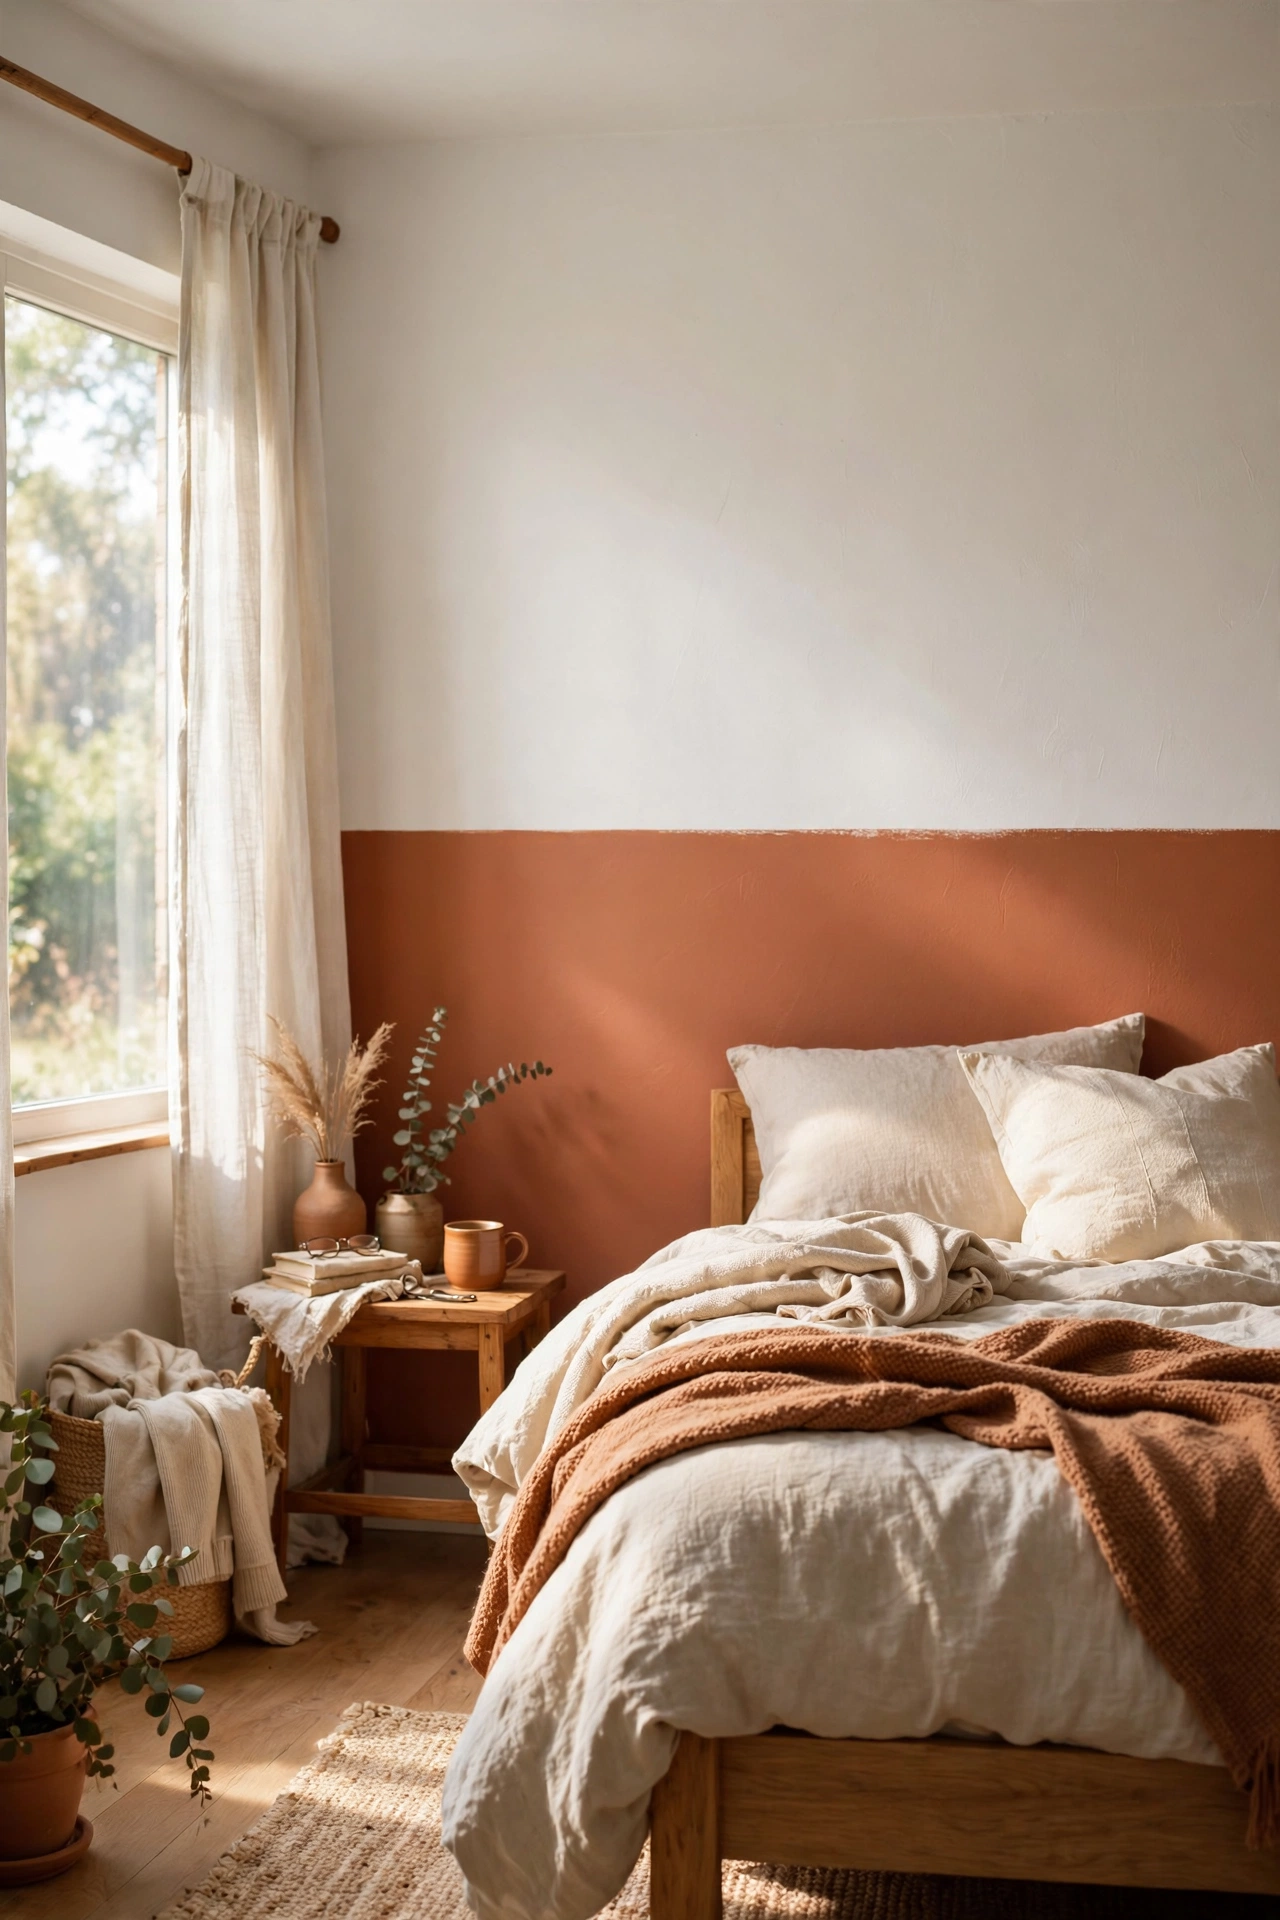
Painting only the lower half of a wall looks deliberate and uses half the paint. I taped a level line at 48 inches, painted below it in warm clay, and left the top warm white. The crisp line is everything, so press painter’s tape firmly and seal the edge with a thin coat of the base color first. I skipped the sealing step and got bleed-through that took an hour to fix. The two-tone wall hides scuffs near the floor and makes my ceilings look taller. Under fifteen dollars for a designer trick.
Cost: ~$10-18 | Time: 3 hours
3. Limewash Effect with Diluted Paint
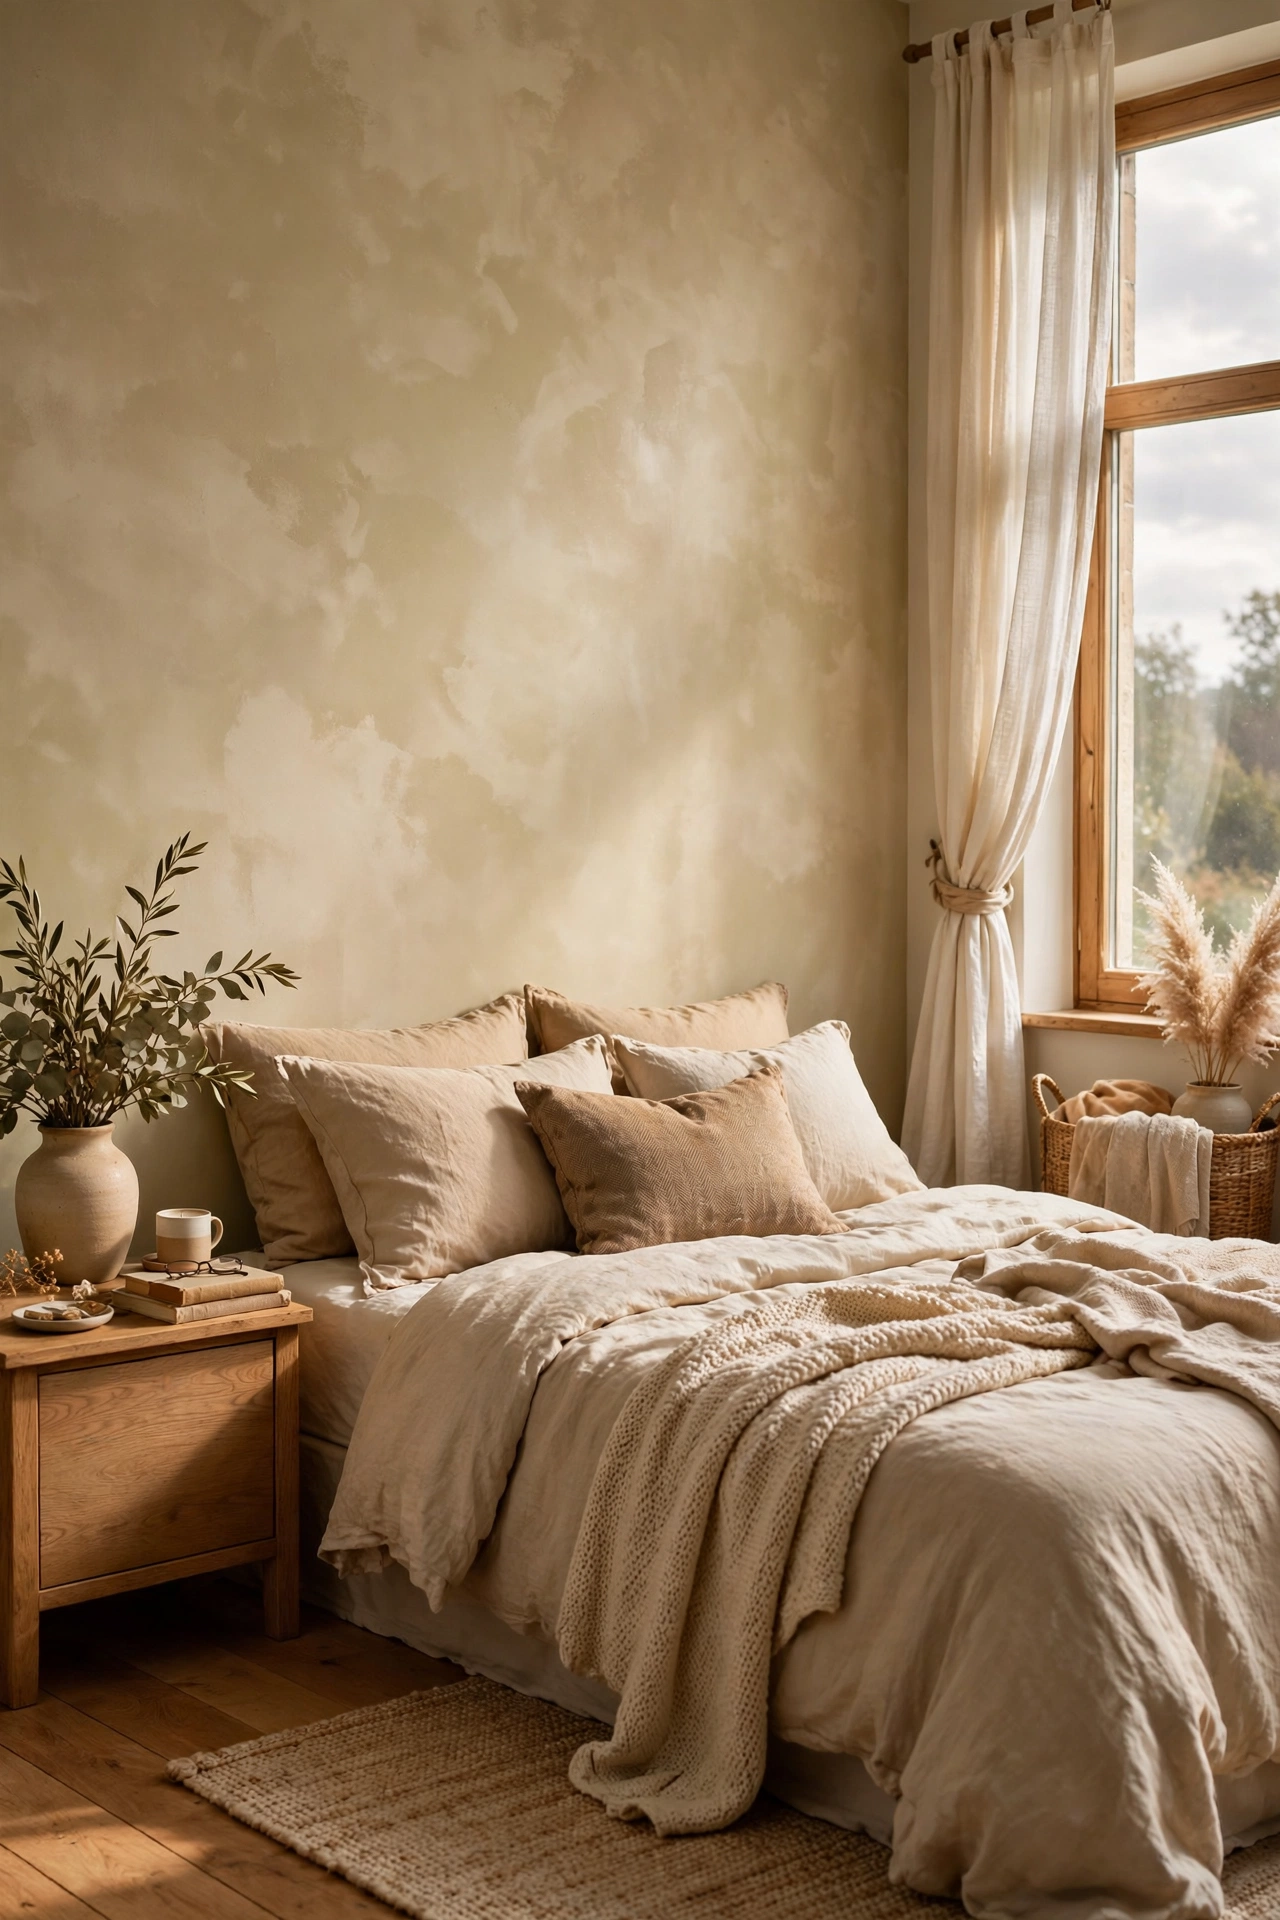
Limewash gives walls that cloudy, old-world texture for the price of regular paint. I mixed matte paint with water and brushed it on in crisscross strokes with a big brush, letting the layers stay visible. The technique hides wall imperfections, which is perfect for older rentals. Work in three-foot sections so edges stay wet, since dry edges show lines. I worked too big an area first and got lap marks I had to redo. The finished wall looks like a European farmhouse, and the paint cost me nine dollars.
Cost: ~$8-15 | Time: 3 hours
Wallpaper and Stick-On Options
4. Peel-and-Stick Wallpaper on One Wall
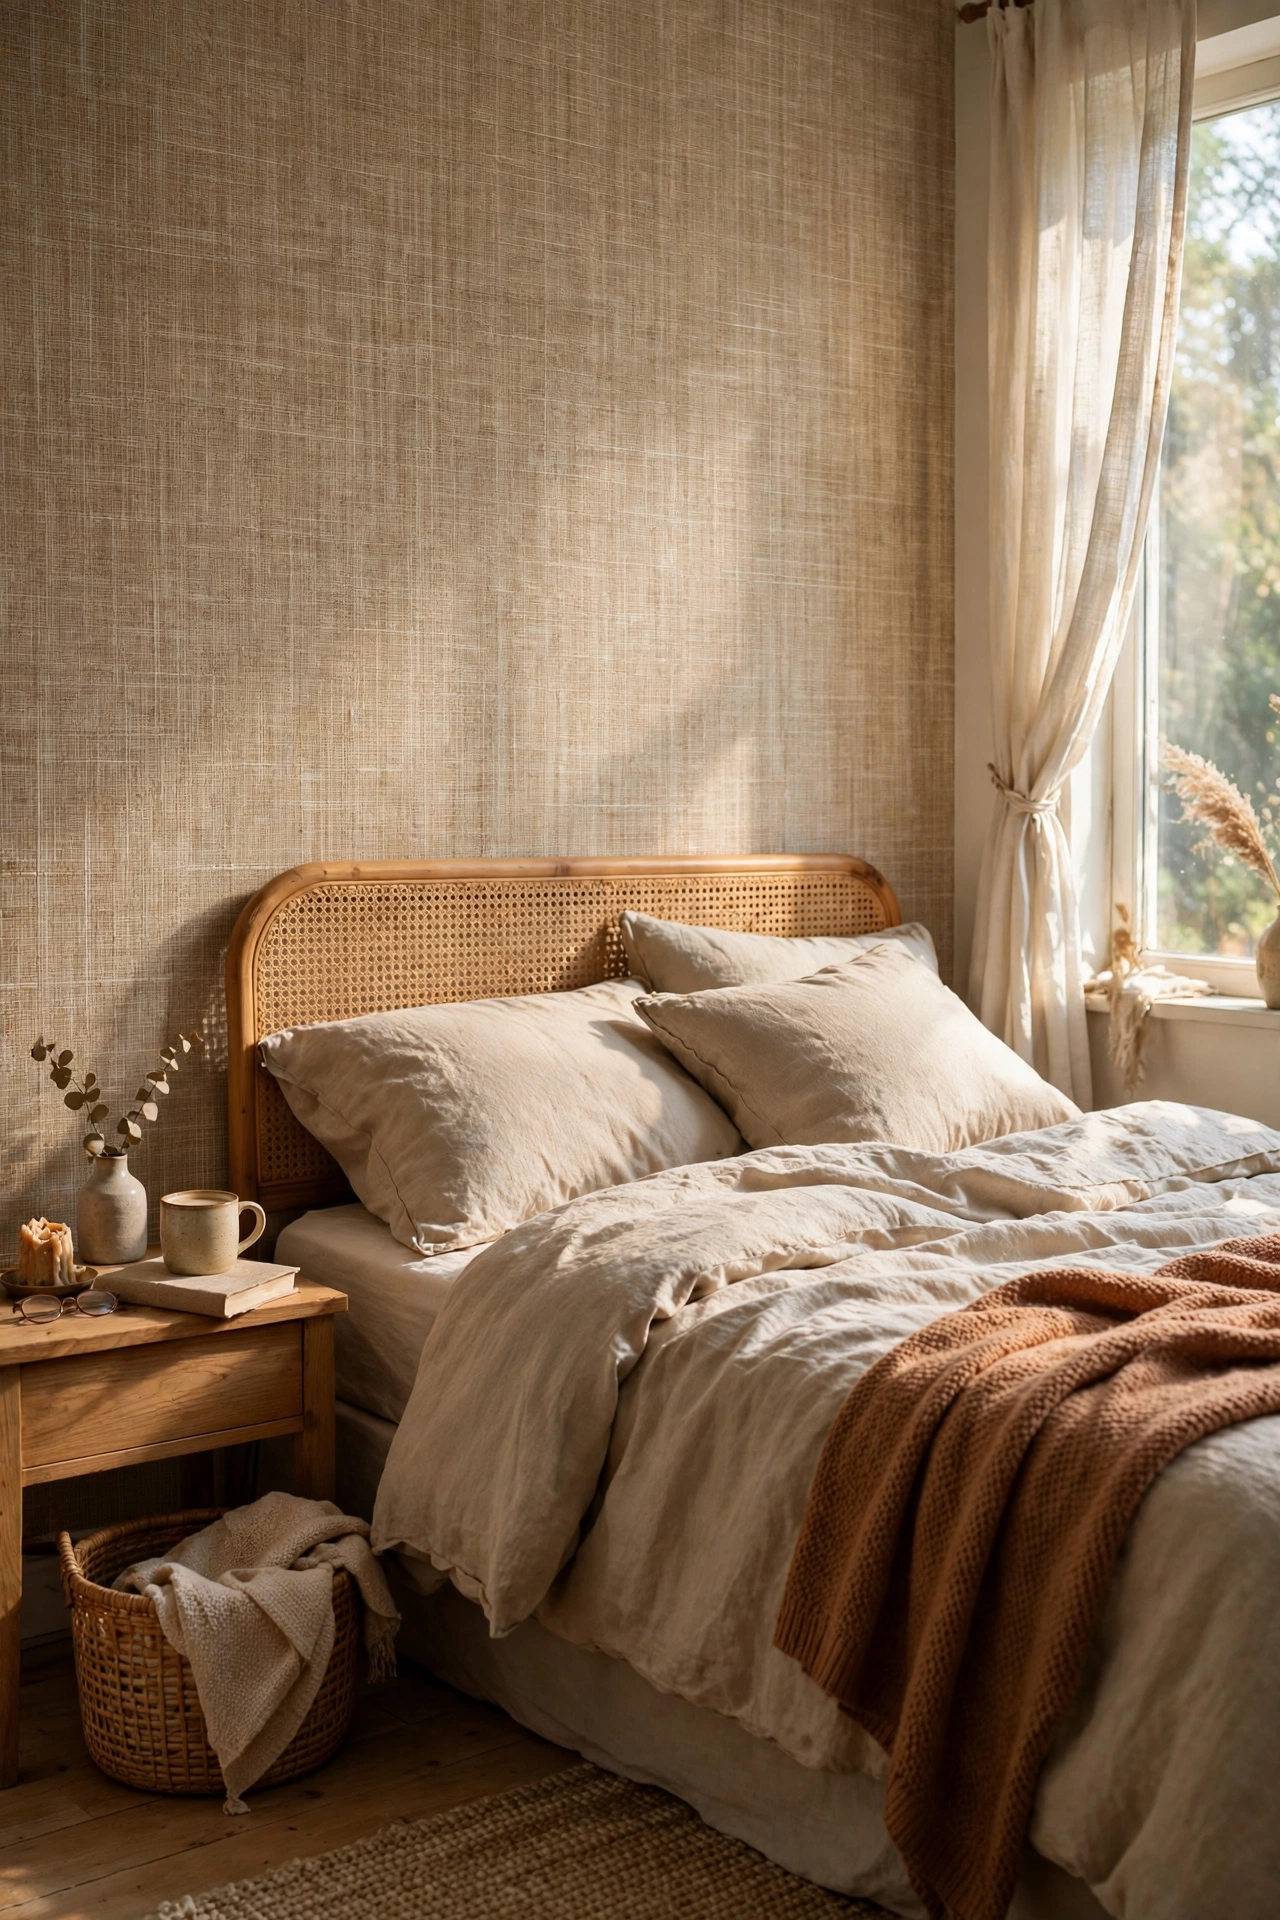
Peel-and-stick wallpaper on one wall is the renter’s accent wall, and one roll usually covers it. I bought a $28 grasscloth-look roll for the wall behind my bed. Start at the top and smooth down with a credit card, because bubbles are easier to prevent than fix. I started at the bottom my first time and fought gravity the whole way. Match the pattern at the seams by overlapping slightly. It took me two hours and peels off clean, which my landlord will appreciate when I move.
Cost: ~$25-35 | Time: 2 hours
5. Peel-and-Stick Shiplap Panels
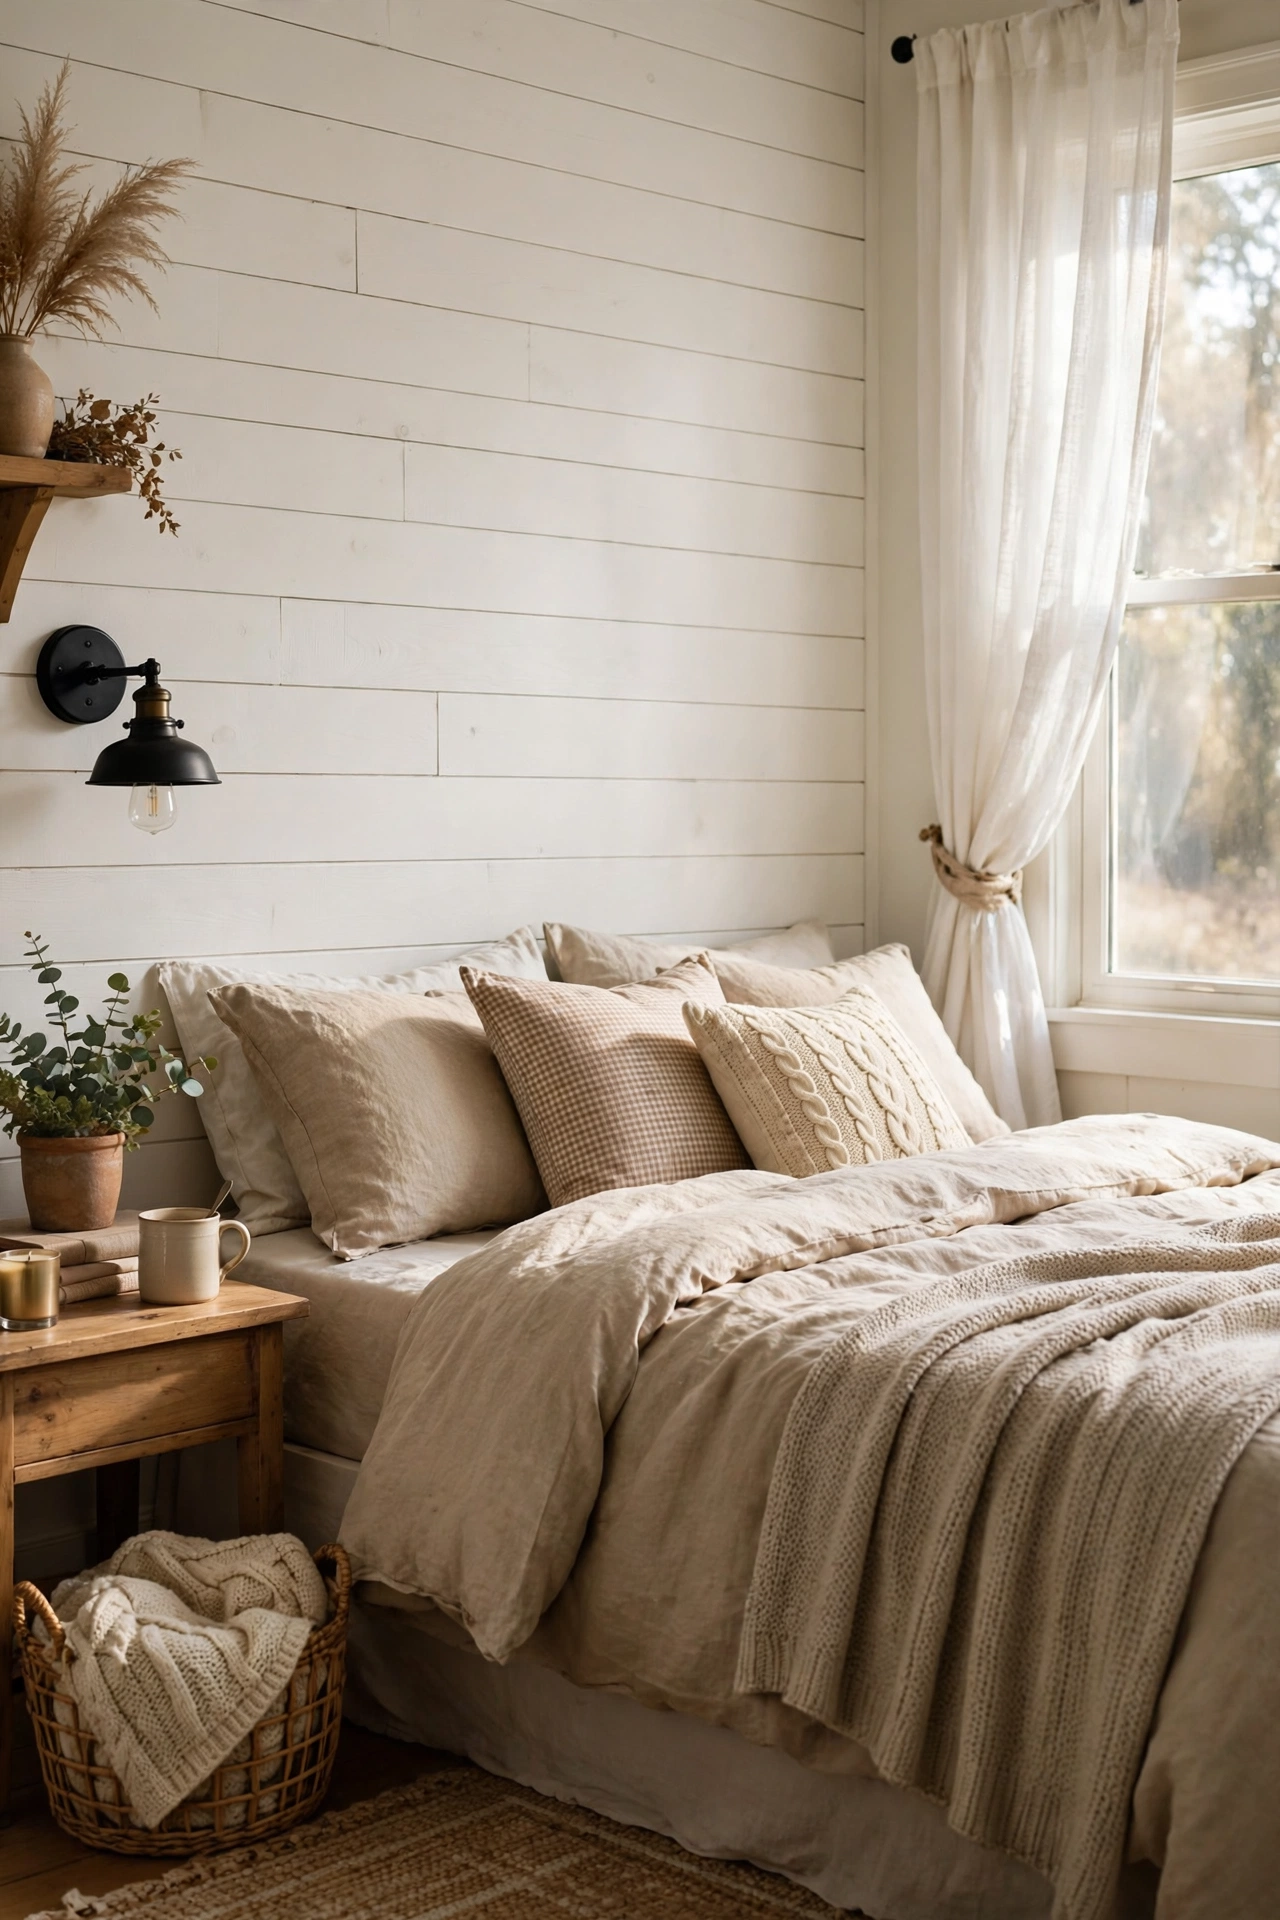
Peel-and-stick shiplap gives you the farmhouse wall without power tools. I used $32 worth of vinyl shiplap planks on the wall behind my headboard, starting from the center and working outward so the cuts land at the edges. A level line at the top keeps the rows straight, because one crooked row ruins the whole wall. I eyeballed my first row and it drifted a quarter inch by the corner. The planks wipe clean and remove without damage, and the wall looks like real wood from three feet away.
Cost: ~$30-40 | Time: 3 hours
6. Wrapping Paper as Temporary Wallpaper
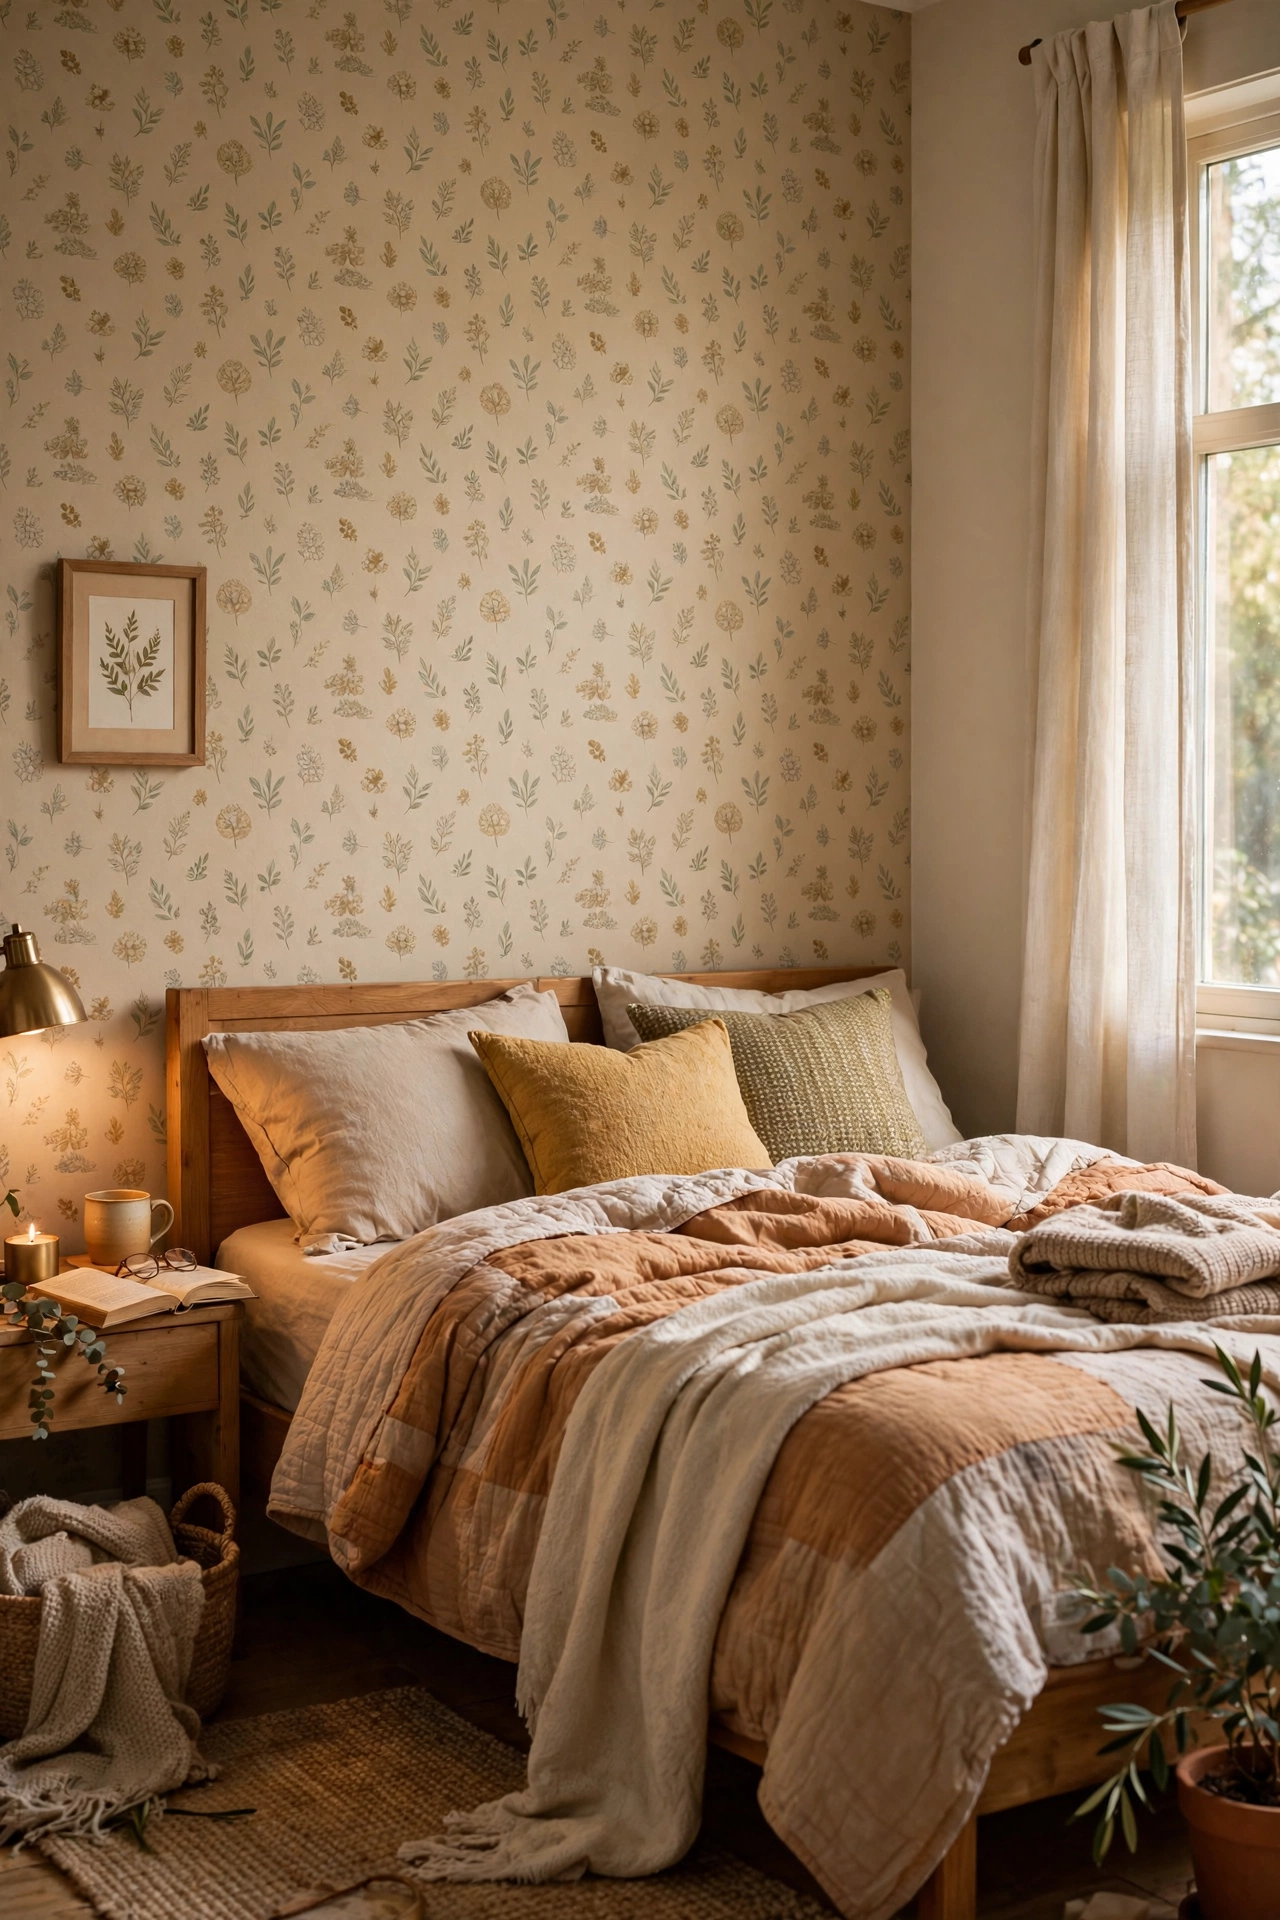
Thick wrapping paper works as wallpaper for the price of a gift wrap roll. I covered one wall with $12 of heavy kraft paper in a subtle pattern, hung with double-sided tape strips. Pick thick paper, since thin paper tears and shows tape through. Smooth it like wallpaper, panel by panel. I used thin paper first and it wrinkled beyond saving. The thick kraft has survived eight months and guests always ask where the wallpaper is from. When I move, it peels off in minutes with no residue.
Cost: ~$10-16 | Time: 2 hours
Wood, Fabric, and Texture Walls
7. Pallet Wood Slat Wall
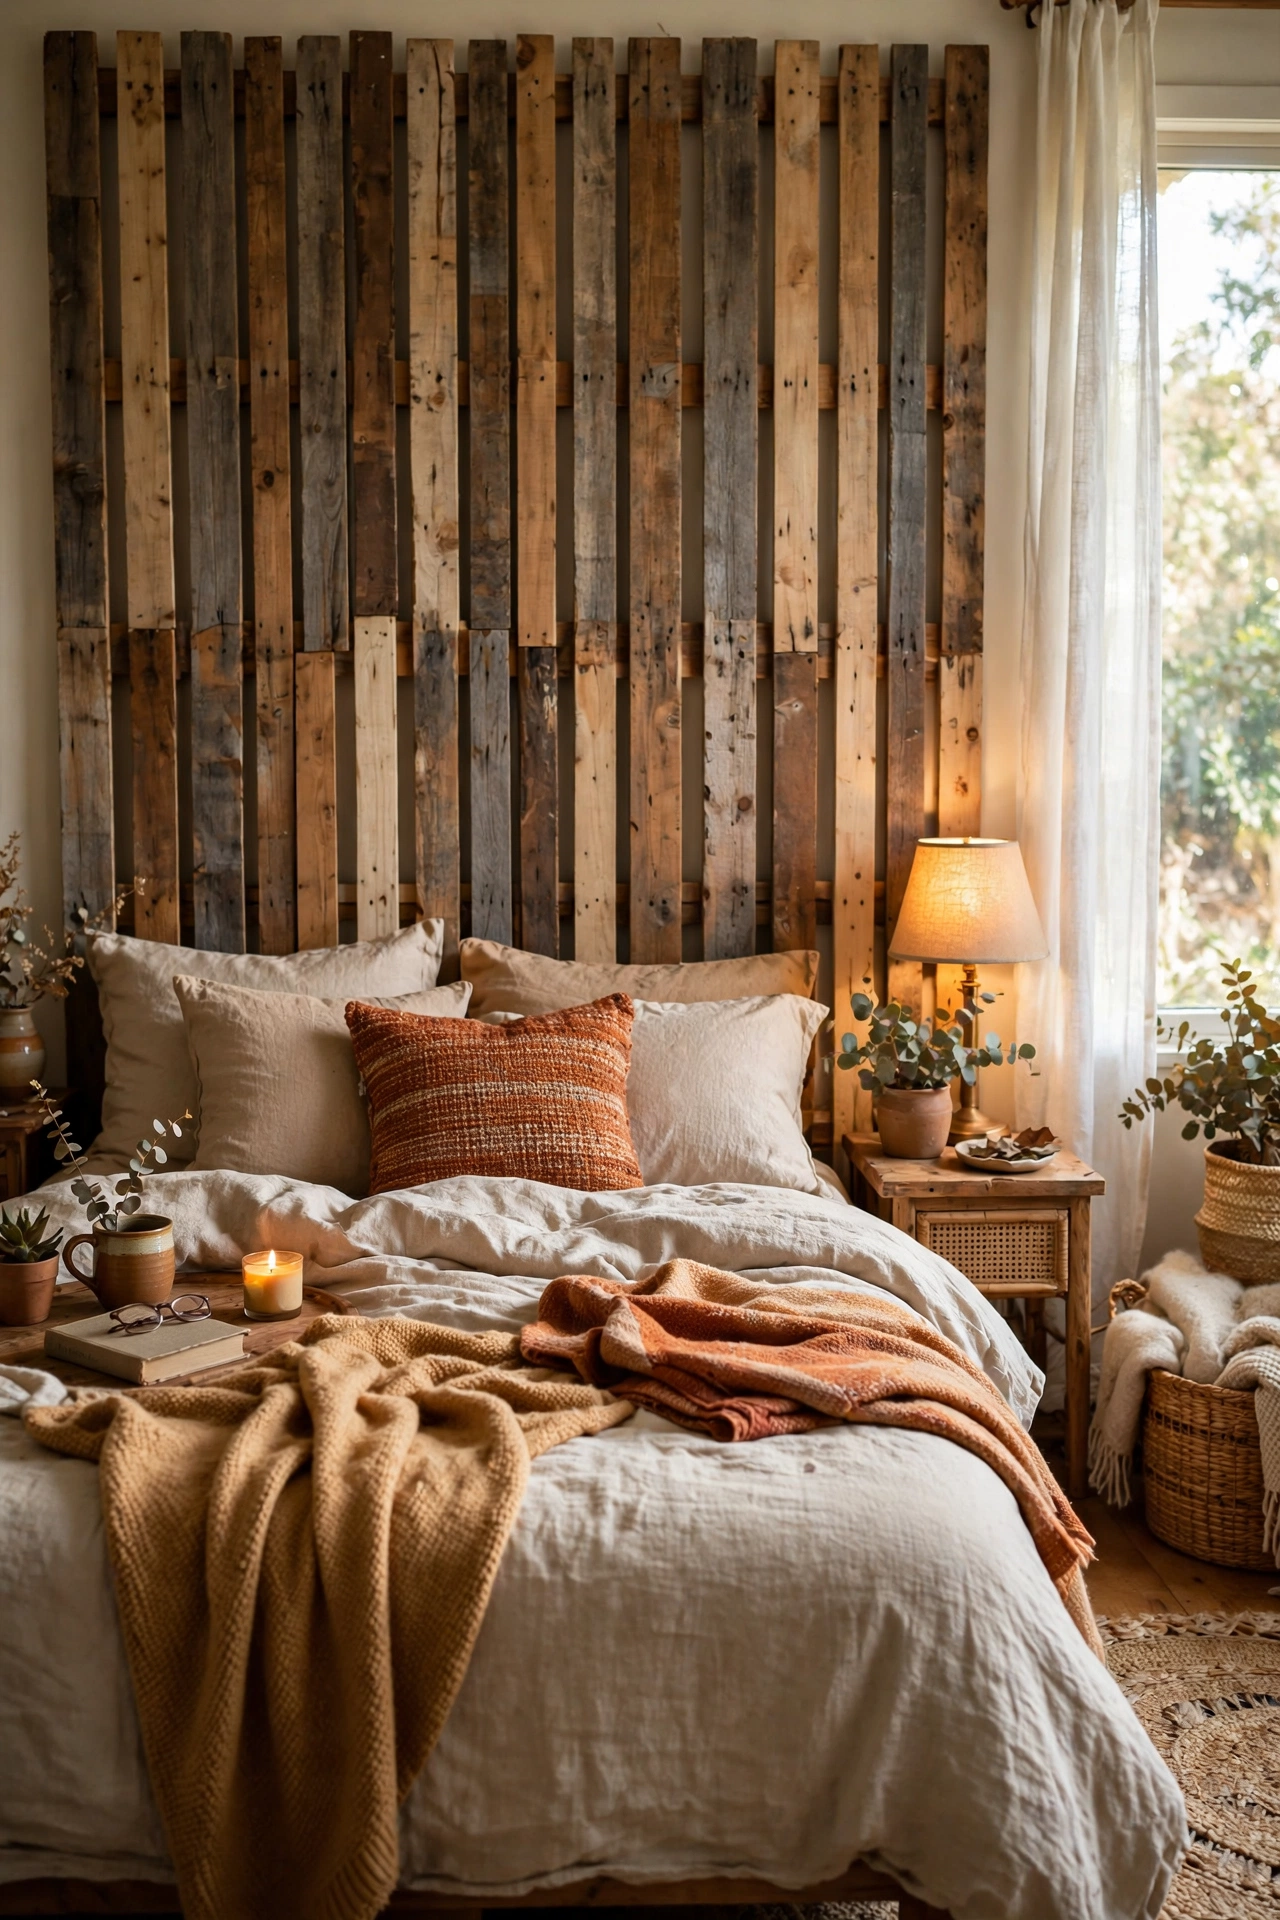
Free pallet wood makes a slat accent wall that looks like a design studio did it. I broke down two pallets, sanded the slats, and nailed them to the wall with small gaps, staining half of them darker for contrast. Check pallets for the heat-treated stamp, since chemically treated wood should not go indoors. Wear gloves, because pallet nails are vicious. I skipped gloves and paid for it. The mixed-tone slats cost me nothing but a weekend, and the texture behind my bed is the best thing in my room.
Cost: ~$0-10 | Time: 6 hours
8. Fabric Wall Hung from a Curtain Rod
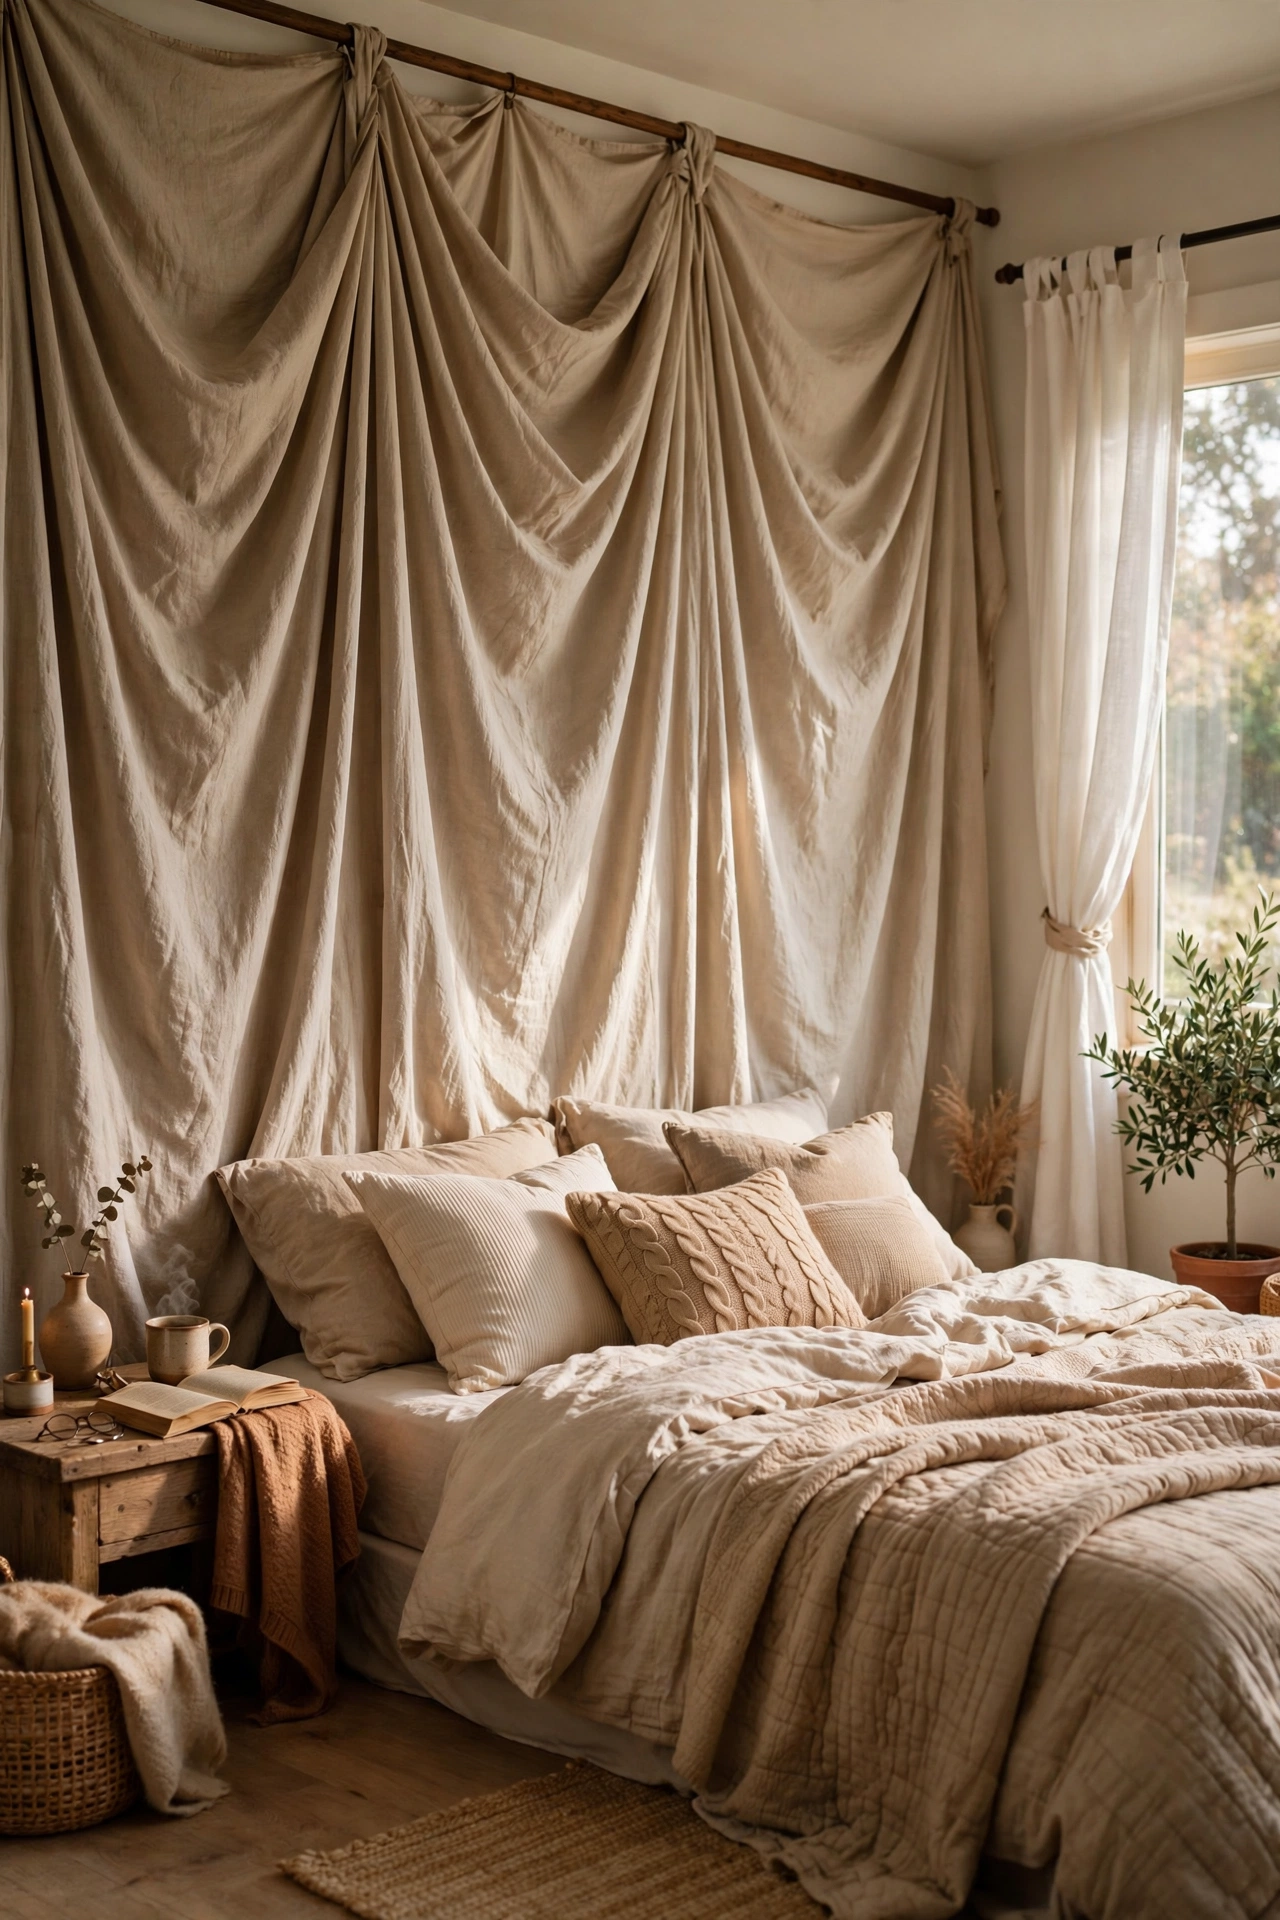
A big piece of fabric hung like a curtain makes a soft, renter-friendly accent wall. I bought three yards of $8 clearance fabric and hung it from a tension rod across the whole wall. The fabric softens sound too, which is a bonus in echoey apartments. Steam it before hanging, since wrinkles are visible from across the room. I hung mine wrinkled and it looked like a laundry accident for a week. Smooth fabric reads like an upholstered wall, and it comes down in seconds when you move.
Cost: ~$20-30 | Time: 1 hour
9. Painted Plywood Board-and-Batten
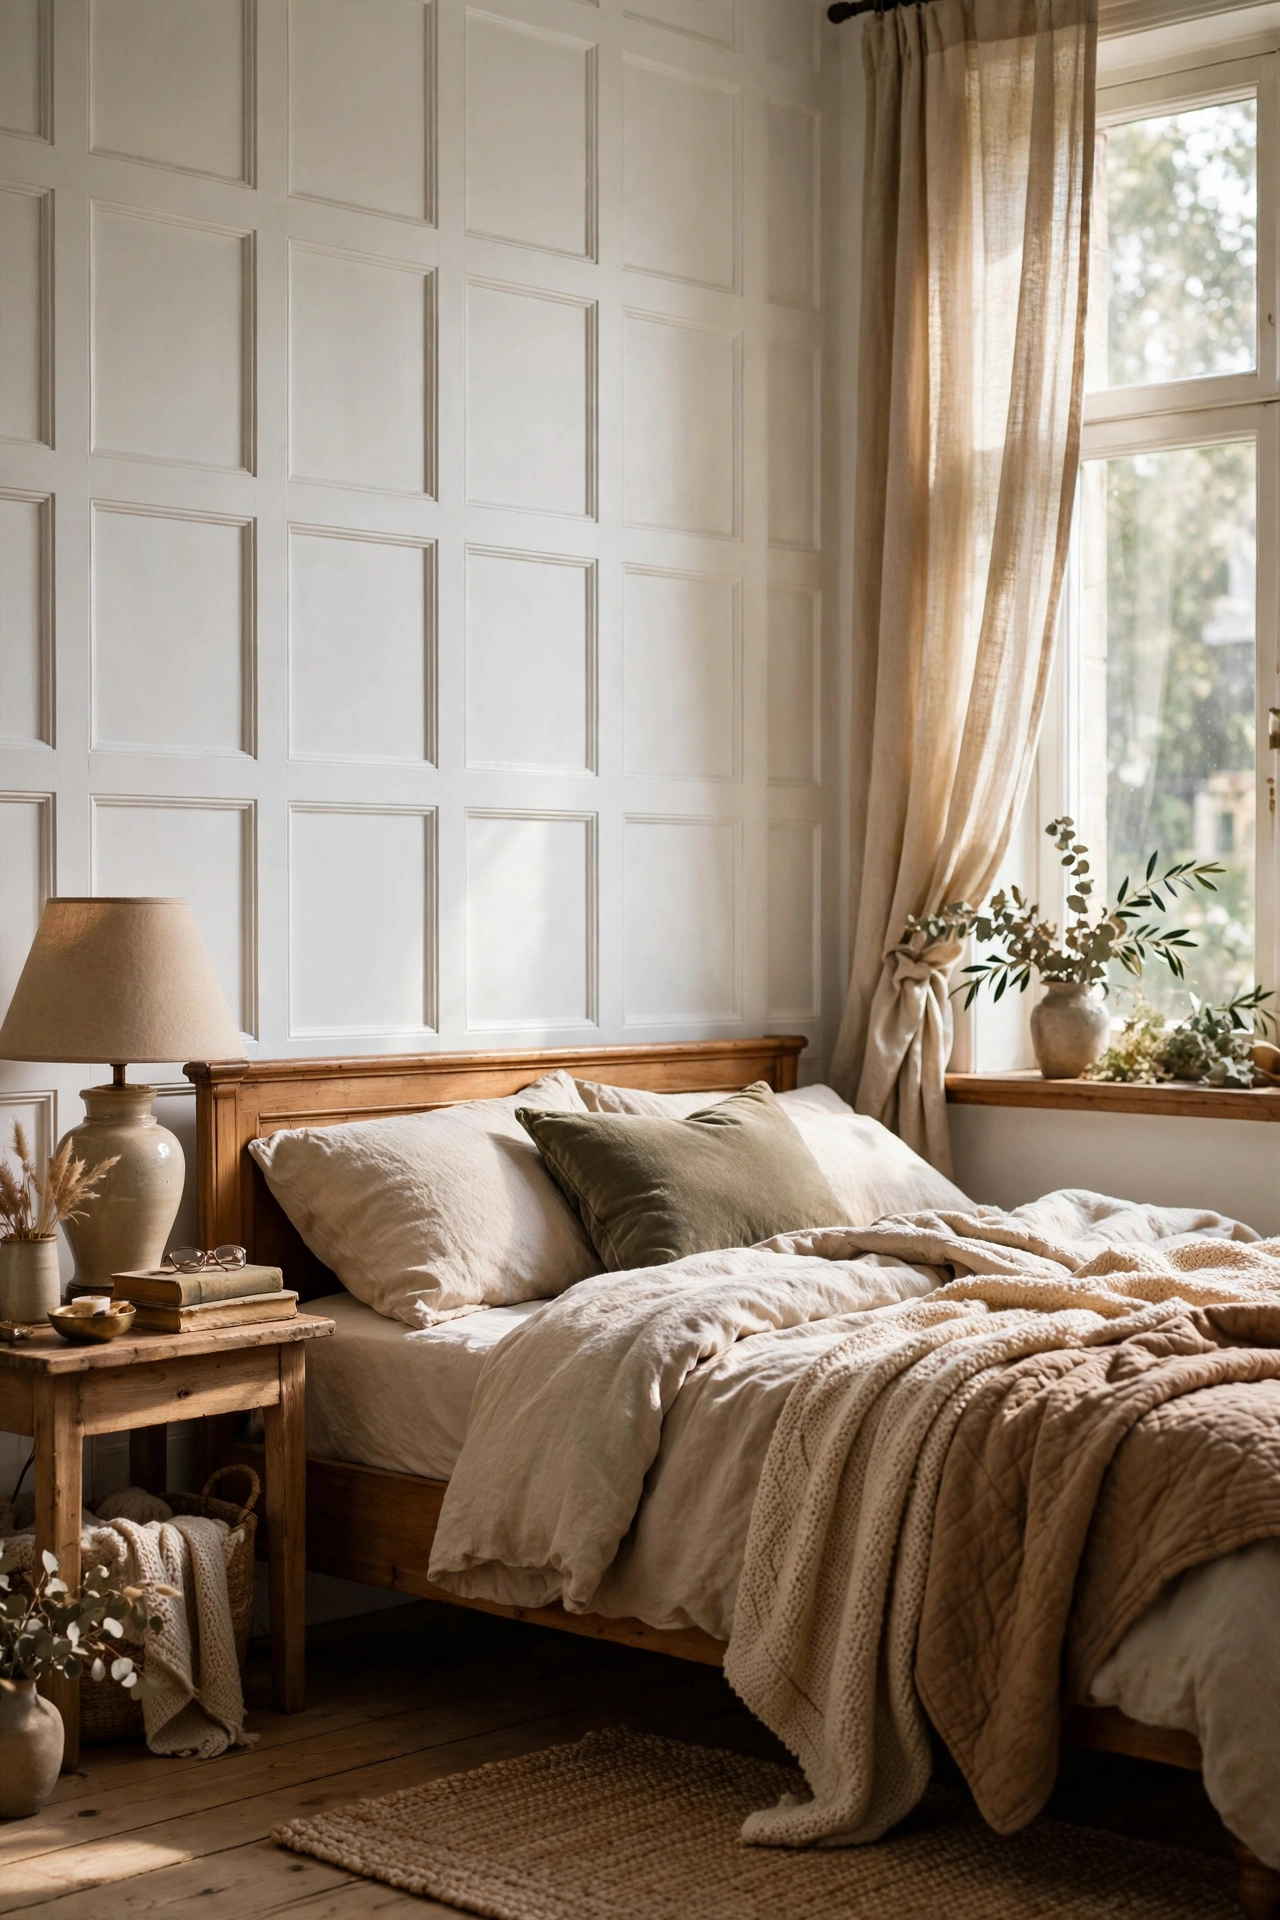
Board-and-batten from thin plywood strips gives a classic paneled wall for very little. I cut $24 worth of 1×2 strips, glued and nailed them in a grid on my wall, and painted the whole thing warm white. Caulk the joints before painting, since gaps are what make DIY paneling look DIY. I skipped caulking and the shadow lines betrayed me. Paint the wall and strips the same color for a seamless look. The grid pattern makes my flat wall look architecturally interesting, and it took one weekend.
Cost: ~$22-32 | Time: 5 hours
10. Cork Tile Wall Behind the Bed
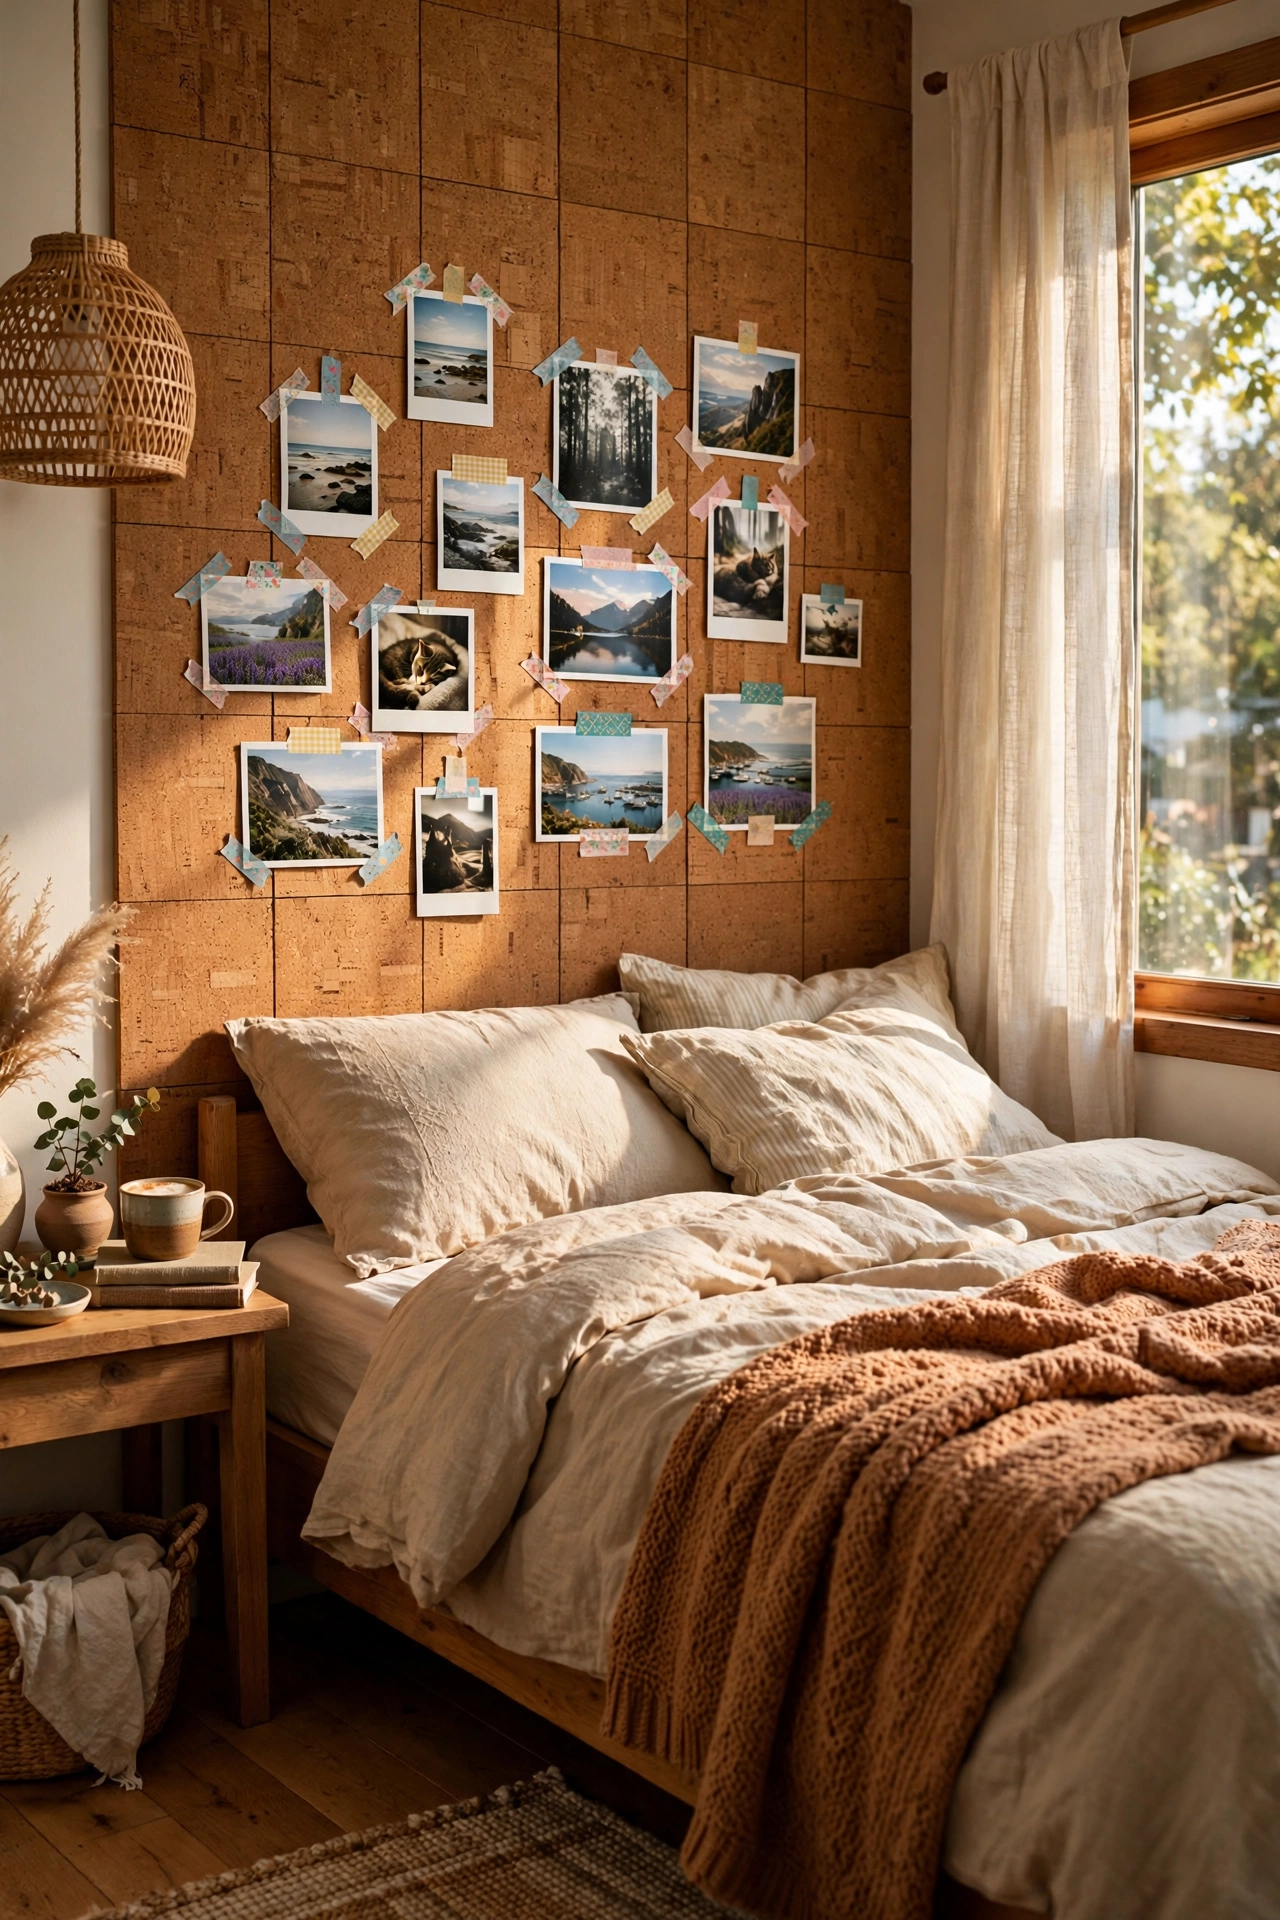
Cork tiles make a warm, textured accent wall that also pins your photos. I stuck $30 worth of 12-inch cork squares behind my bed in a running bond pattern. The natural cork tone warms up a white room instantly. Press each tile firmly and roll the edges, since lifting corners look sloppy. I rushed the first row and three tiles curled by morning. Pinned with washi tape, my photos and postcards turn the wall into a living collage. It is the most personal wall in my home now.
Cost: ~$28-38 | Time: 2 hours
Art-Led and No-Commitment Walls
11. Oversized Canvas Leaned, Not Hung
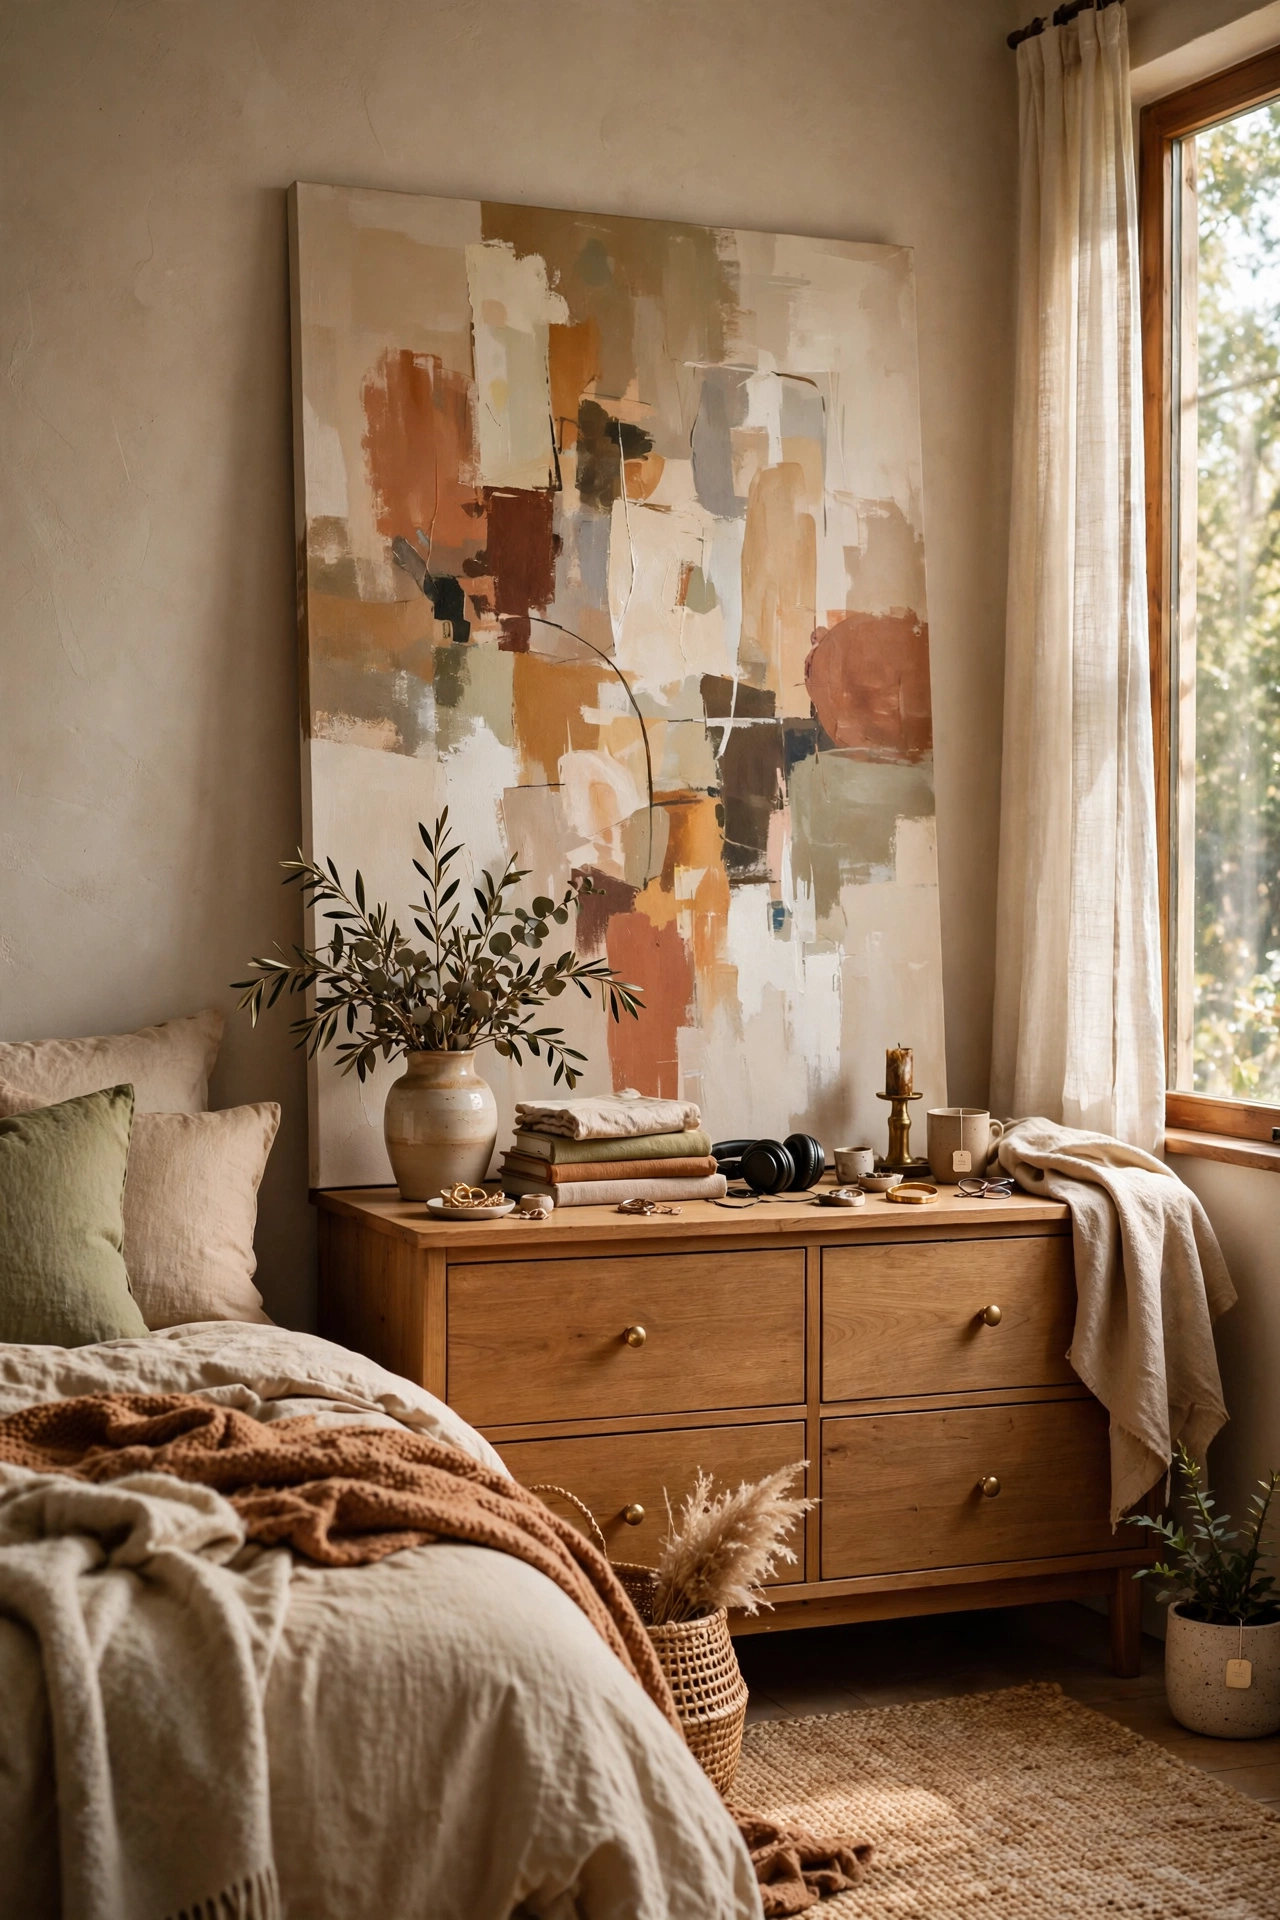
One oversized canvas leaned against the wall acts like an accent wall with zero commitment. I painted a 3×4 foot canvas with abstract strokes in my room colors for $14. Leaning art feels casual and modern, and you can move it in seconds. Lean it at a slight angle with the bottom on the floor or dresser, never flat against the wall, since the shadow gap is what looks good. I hung mine first and it looked stiff. Leaning it changed the whole vibe, and my landlord never knew a thing.
Cost: ~$12-20 | Time: 1 hour
12. Gallery Wall as the Accent
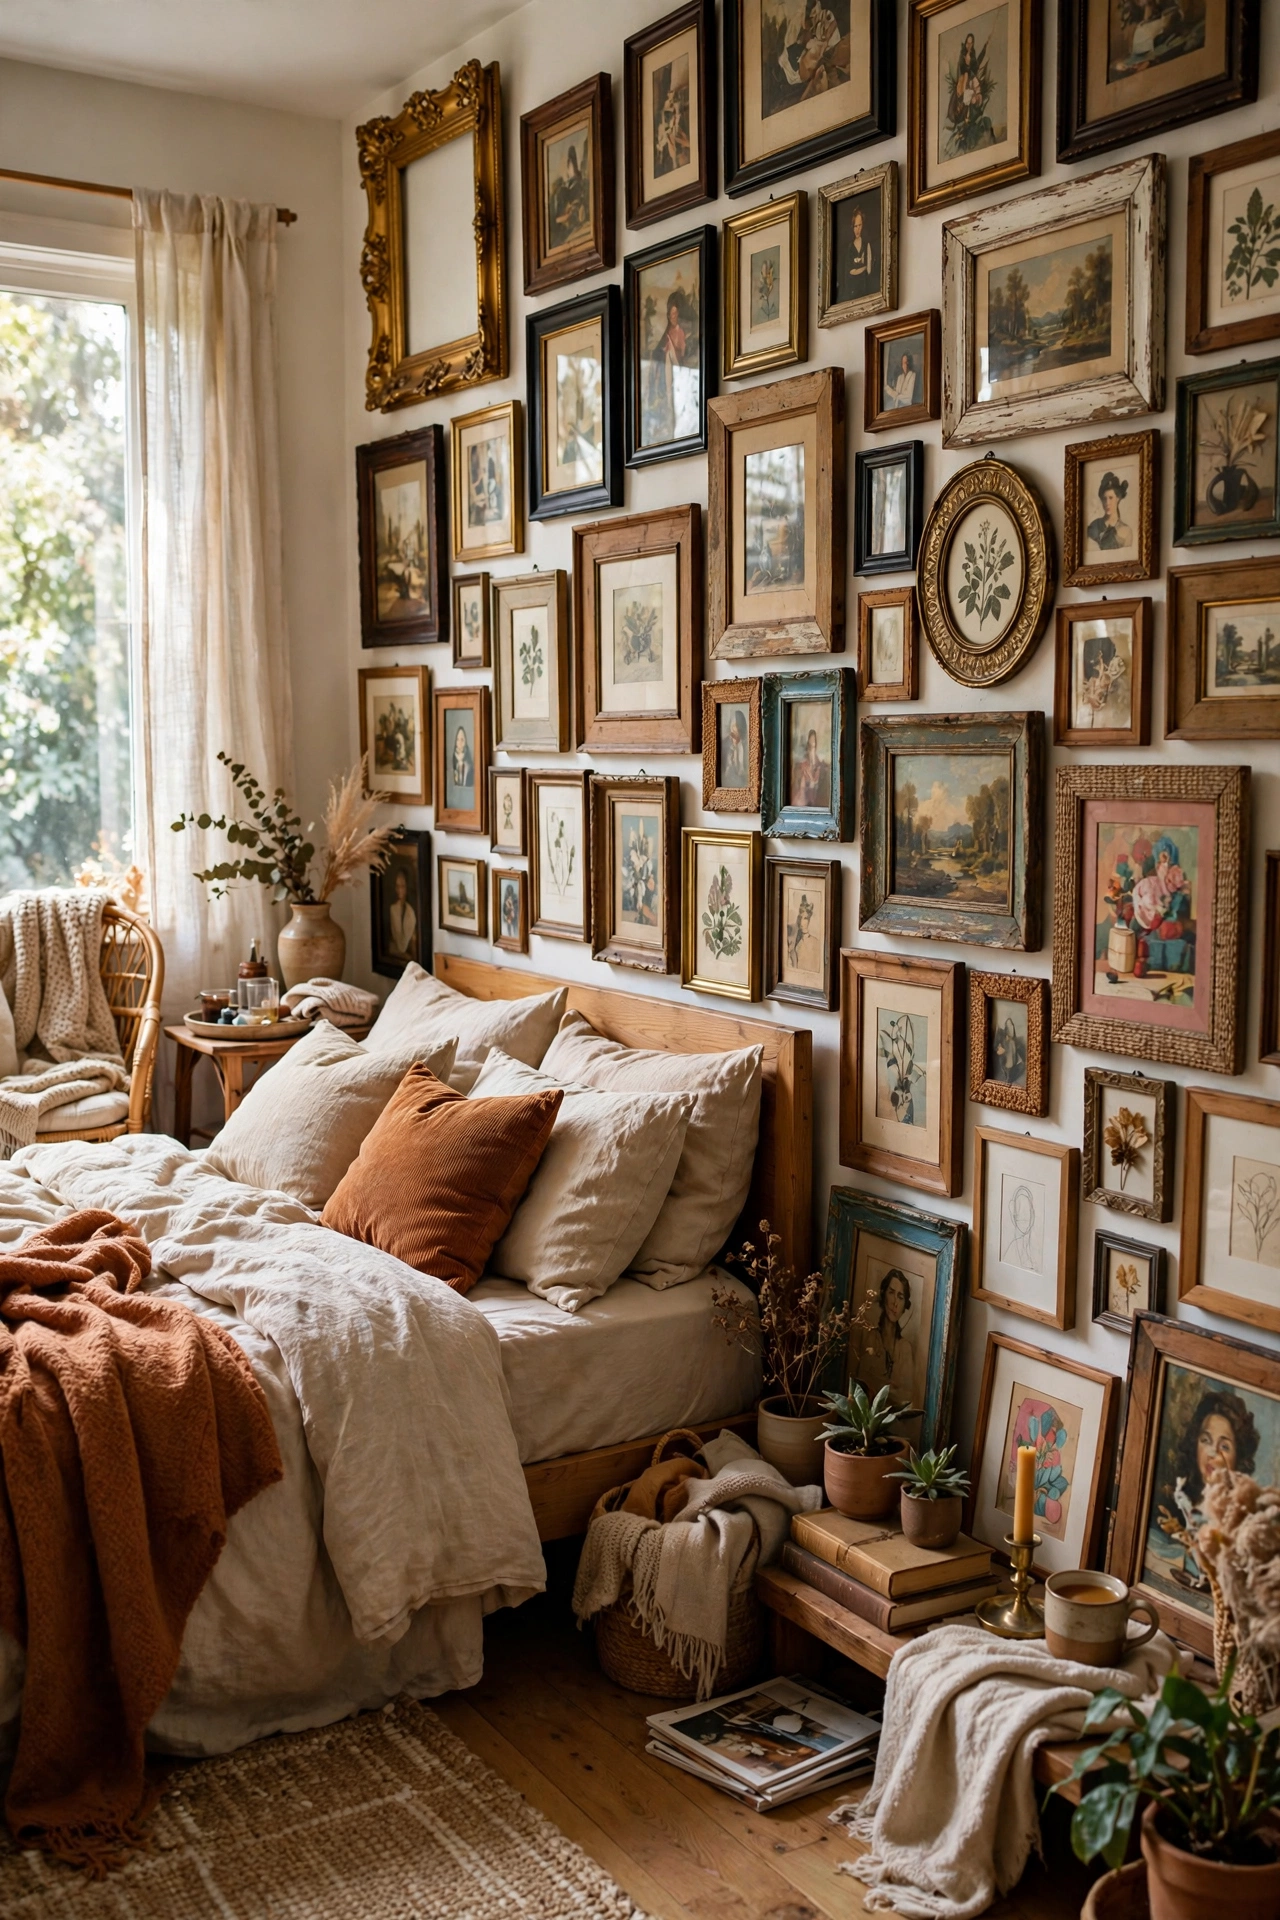
A floor-to-ceiling gallery wall is an accent wall made of art. I collected twelve frames from thrift stores for $2 each and filled them with free prints. Lay the arrangement on the floor first and photograph it, because walls forgive nothing. Start hanging from the center outward. I started from a corner once and the whole thing drifted sideways. The wall of mixed frames in my bedroom draws every eye and cost under thirty dollars. It is the cheapest way to make a big blank wall interesting.
Cost: ~$25-35 | Time: 3 hours
13. Washi Tape Geometric Pattern
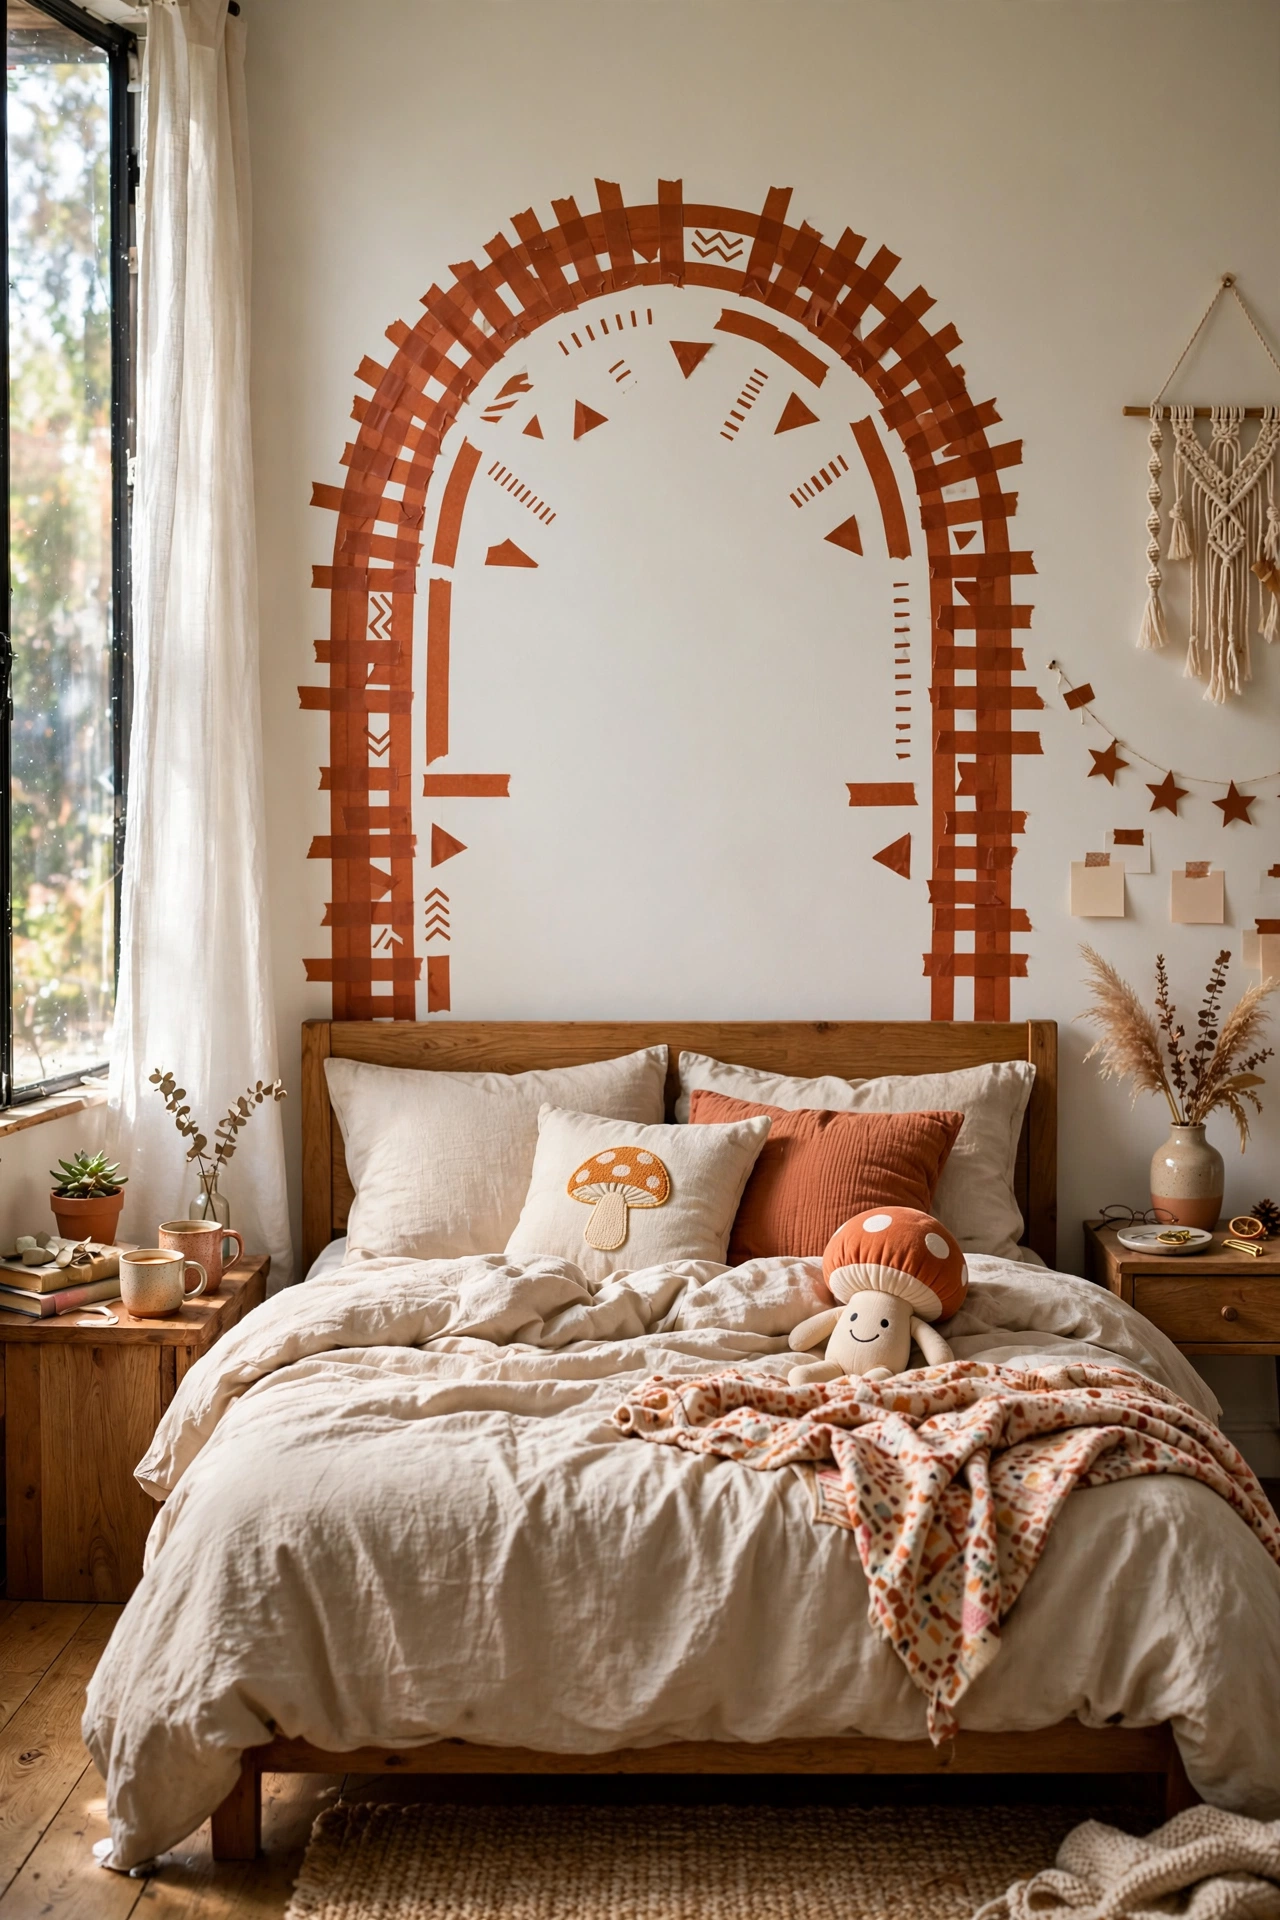
Washi tape makes geometric wall patterns that peel off clean. I created a large arch pattern behind my bed with $9 of wide washi tape in terracotta. Plan the design on paper first, since tape repositioning weakens the stick. Press firmly and smooth as you go. I freehanded my first arch and it looked like a potato. A traced template fixed it. The pattern reads like painted wall art from across the room, and when I move it peels off without a trace. Nine dollars for a mural.
Cost: ~$8-14 | Time: 2 hours
14. String Light Curtain Wall
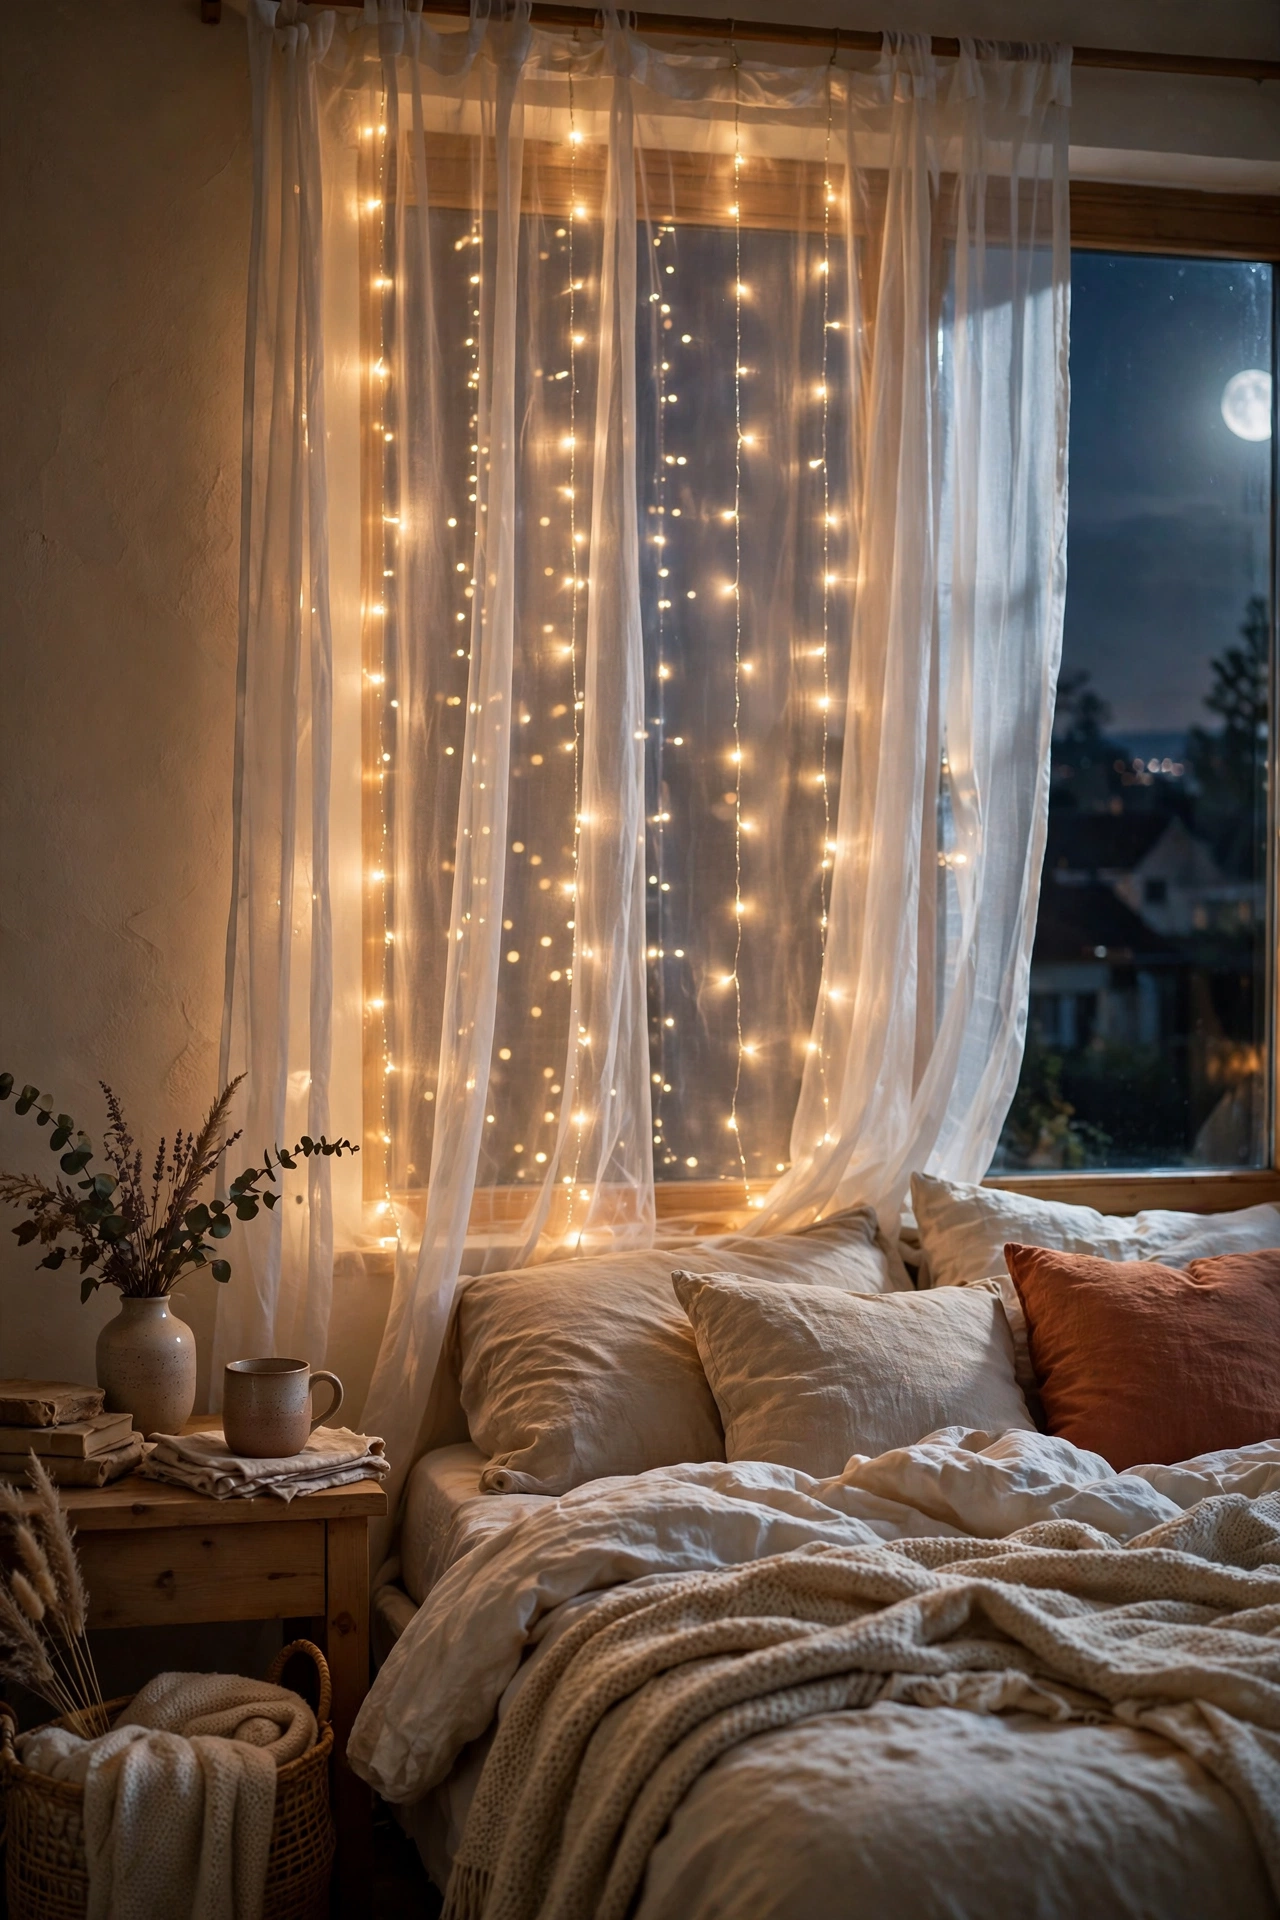
A curtain of warm string lights turns a plain wall into a glowing accent. I hung $18 of fairy lights in vertical drops behind sheer curtains on my largest wall. The layered glow makes the whole bedroom feel magical at night. Use warm white lights, since cool ones look like a tech store. I bought cool white first and the room felt like an office. Space the drops evenly with small hooks. My light wall is my favorite thing about my bedroom after dark, and it costs pennies to run.
Cost: ~$15-25 | Time: 1 hour
15. Hanging Plant Wall Section
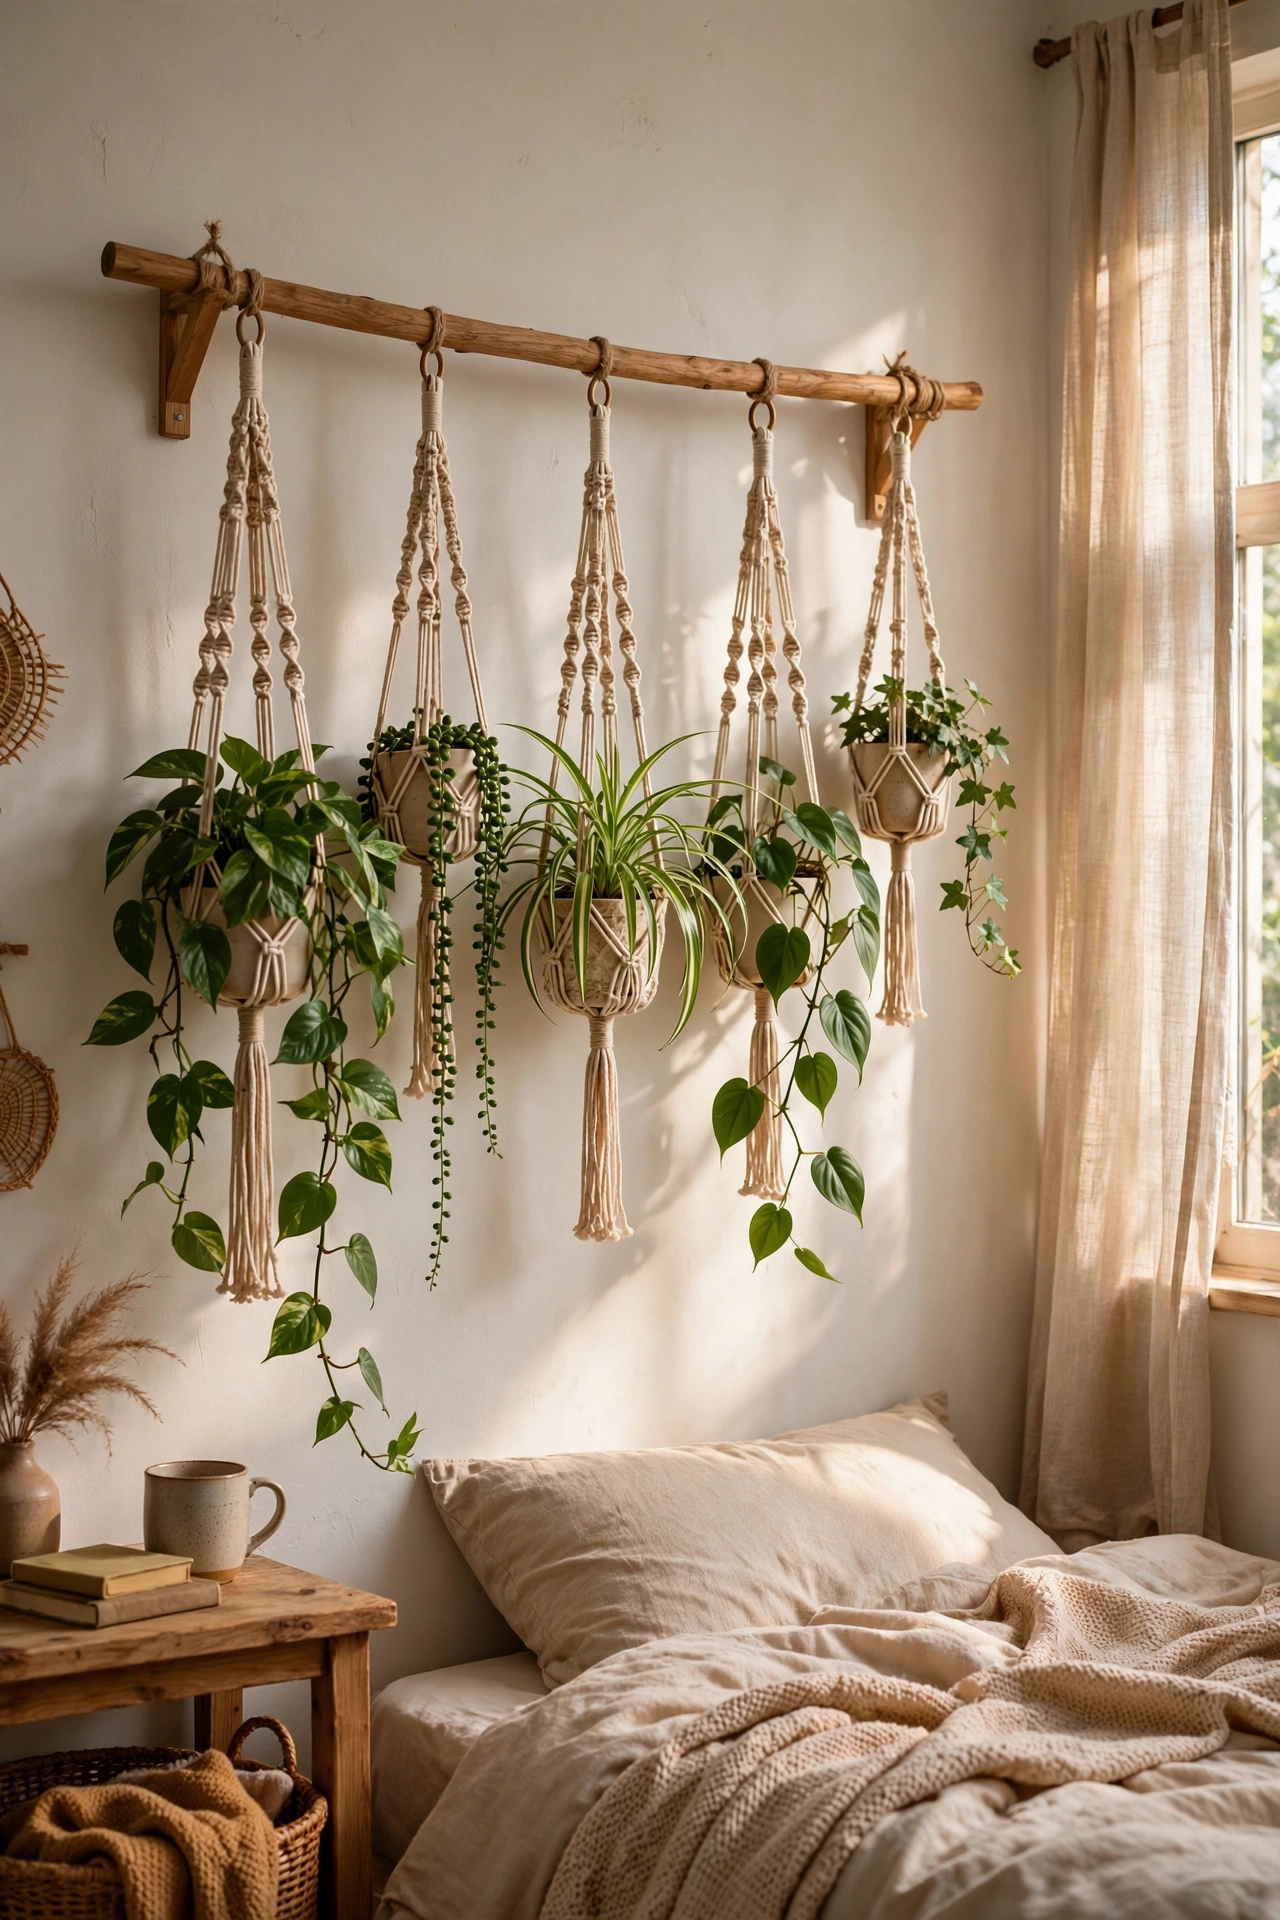
A section of wall with hanging plants is a living accent wall. I mounted a $12 wooden dowel with brackets and hung five plants in macrame holders I made from $8 cord. Group trailing plants at different heights for the lush look. Check your wall anchors, since wet soil is heavier than you think. I used weak anchors first and woke up to a fallen pothos. Sturdy anchors fixed it. The green wall softens my bedroom and cleans the air, and watering day feels like tending a tiny garden.
Cost: ~$25-40 | Time: 2 hours
16. Painted Arch Behind the Headboard
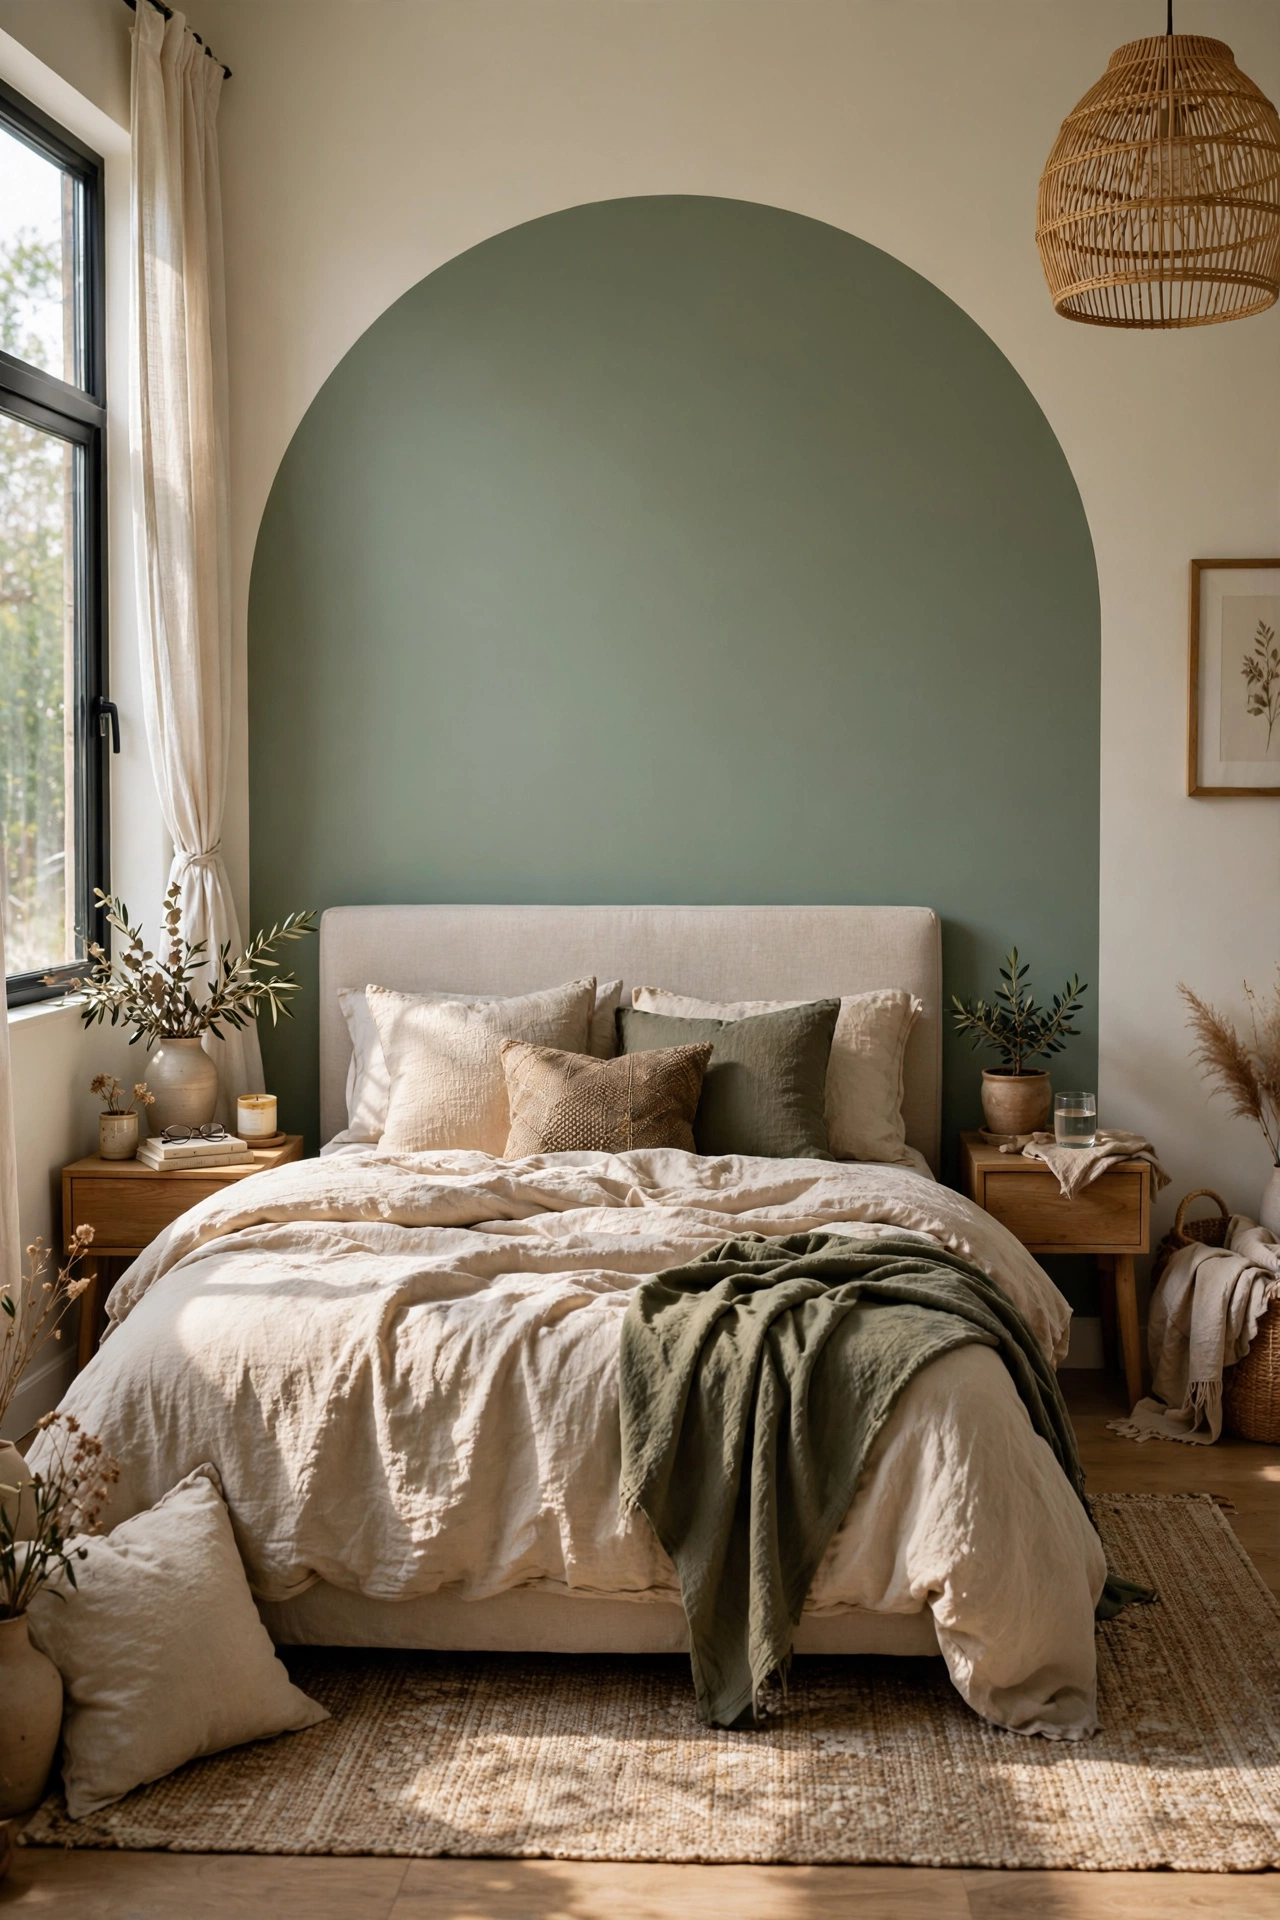
A painted arch behind the headboard frames the bed like architecture. I traced a large arch with a $14 sample quart of sage paint using a nail, string, and pencil as a compass. The arch trick is beloved because it adds shape without adding stuff. Paint inside the line carefully with an angled brush. I rushed the curve and had to touch up twice, so slow down on the arc. The sage arch makes my plain headboard look custom, and it took one afternoon including taping.
Cost: ~$12-18 | Time: 3 hours
17. Removable Decal Mural
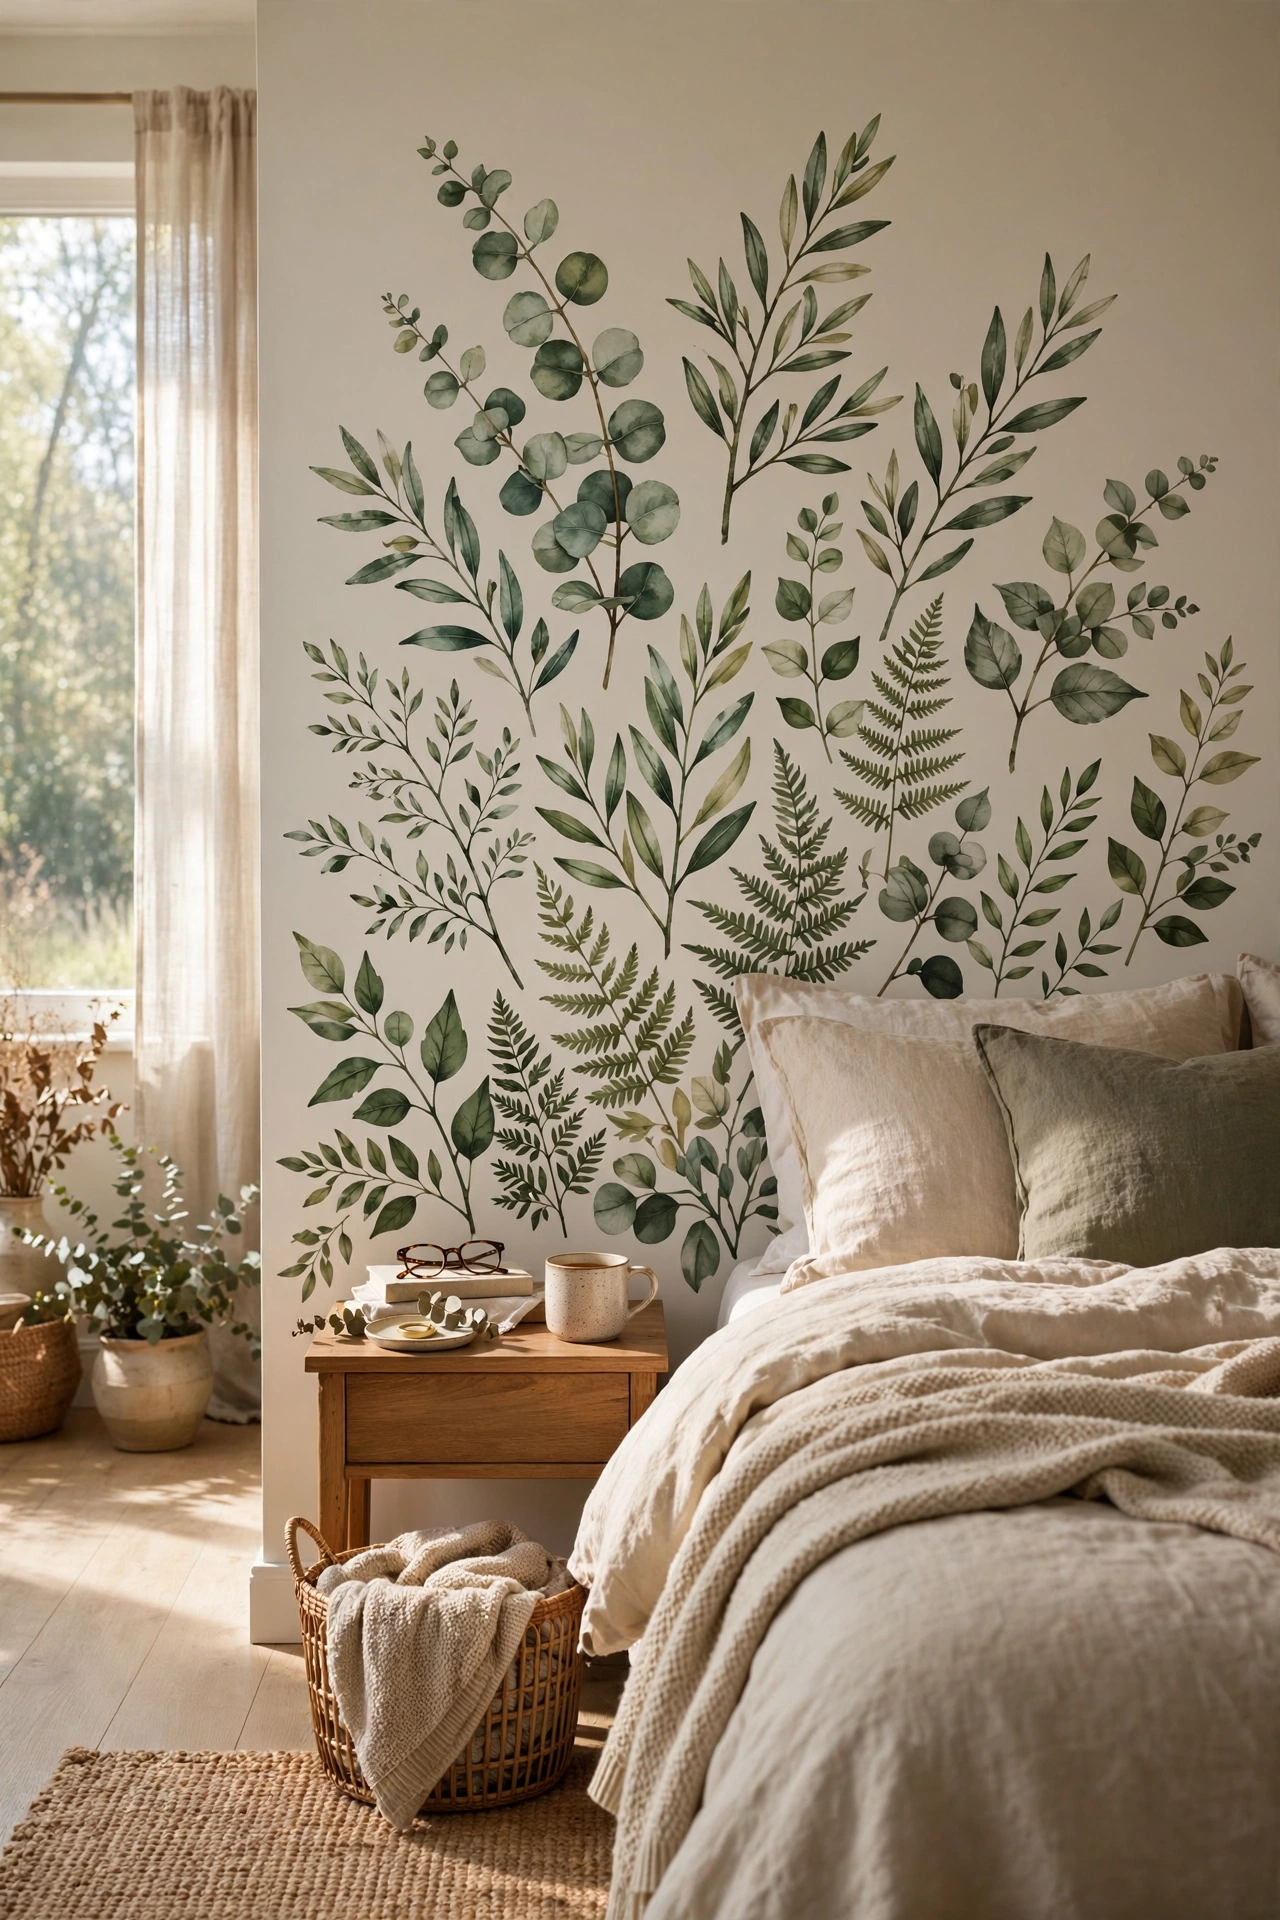
Large removable decals make mural walls without paint or paste. I applied a $35 botanical decal set across the wall beside my bed, smoothing each piece with the included squeegee. Work from the center outward and step back often, since decals look different from six feet away. I placed mine too high at first and the wall felt top-heavy. Center the design at eye level. The botanical mural looks hand-painted, peels off clean, and survived two years without curling. It is the boldest wall in my home.
Cost: ~$30-40 | Time: 2 hours
One wall is all it takes
An accent wall works because it gives the eye one place to land, so pick the wall your bed sits against and commit to it. I have done paint, paper, wood, and tape, and the method matters less than the confidence. Start with the cheapest option that excites you, since you can always layer up later. My bedroom has never felt finished without one, and it has never cost me more than forty dollars.
📌 Found your wall? Pin this post and save this idea for your weekend project!
More wall ideas on a budget: (see also: 19-living-room-wall-decor-ideas-for-pennies) (see also: 23-living-room-wall-decor-ideas-on-a-budget) (see also: 21-living-room-wall-decor-ideas-that-cost-almost-nothing)
