15 Thrifted Mirror Ideas on a Budget
If you love thrifted Mirror ideas, you already know the secret: a mirror is the cheapest way to make a small room look bigger and brighter, and secondhand shops are full of them. I picked up my first thrifted mirror for four dollars, a plain gold frame with a dusty corner, and after a quick clean it doubled the light in my hallway. Since then I have tried almost every trick below in my own home, from spray paint rescues to full gallery walls, and I have kept only the ones that survived daily life. Every idea here starts with a cheap frame and ends with a room that feels more open.
Before you buy, check the mirror itself, not just the frame. Look at it from an angle for cloudy spots, scratches, and silvering loss around the edges, because those flaws will show in daylight even if they hide in shop lighting. Bring your room measurements, and remember that a mirror reflects whatever sits opposite it, so hang it facing something worth seeing. Below, each idea comes with a pro tip from my own trial and error, plus the honest cost and time.
1. Gold Spray-Painted Thrift Store Mirror
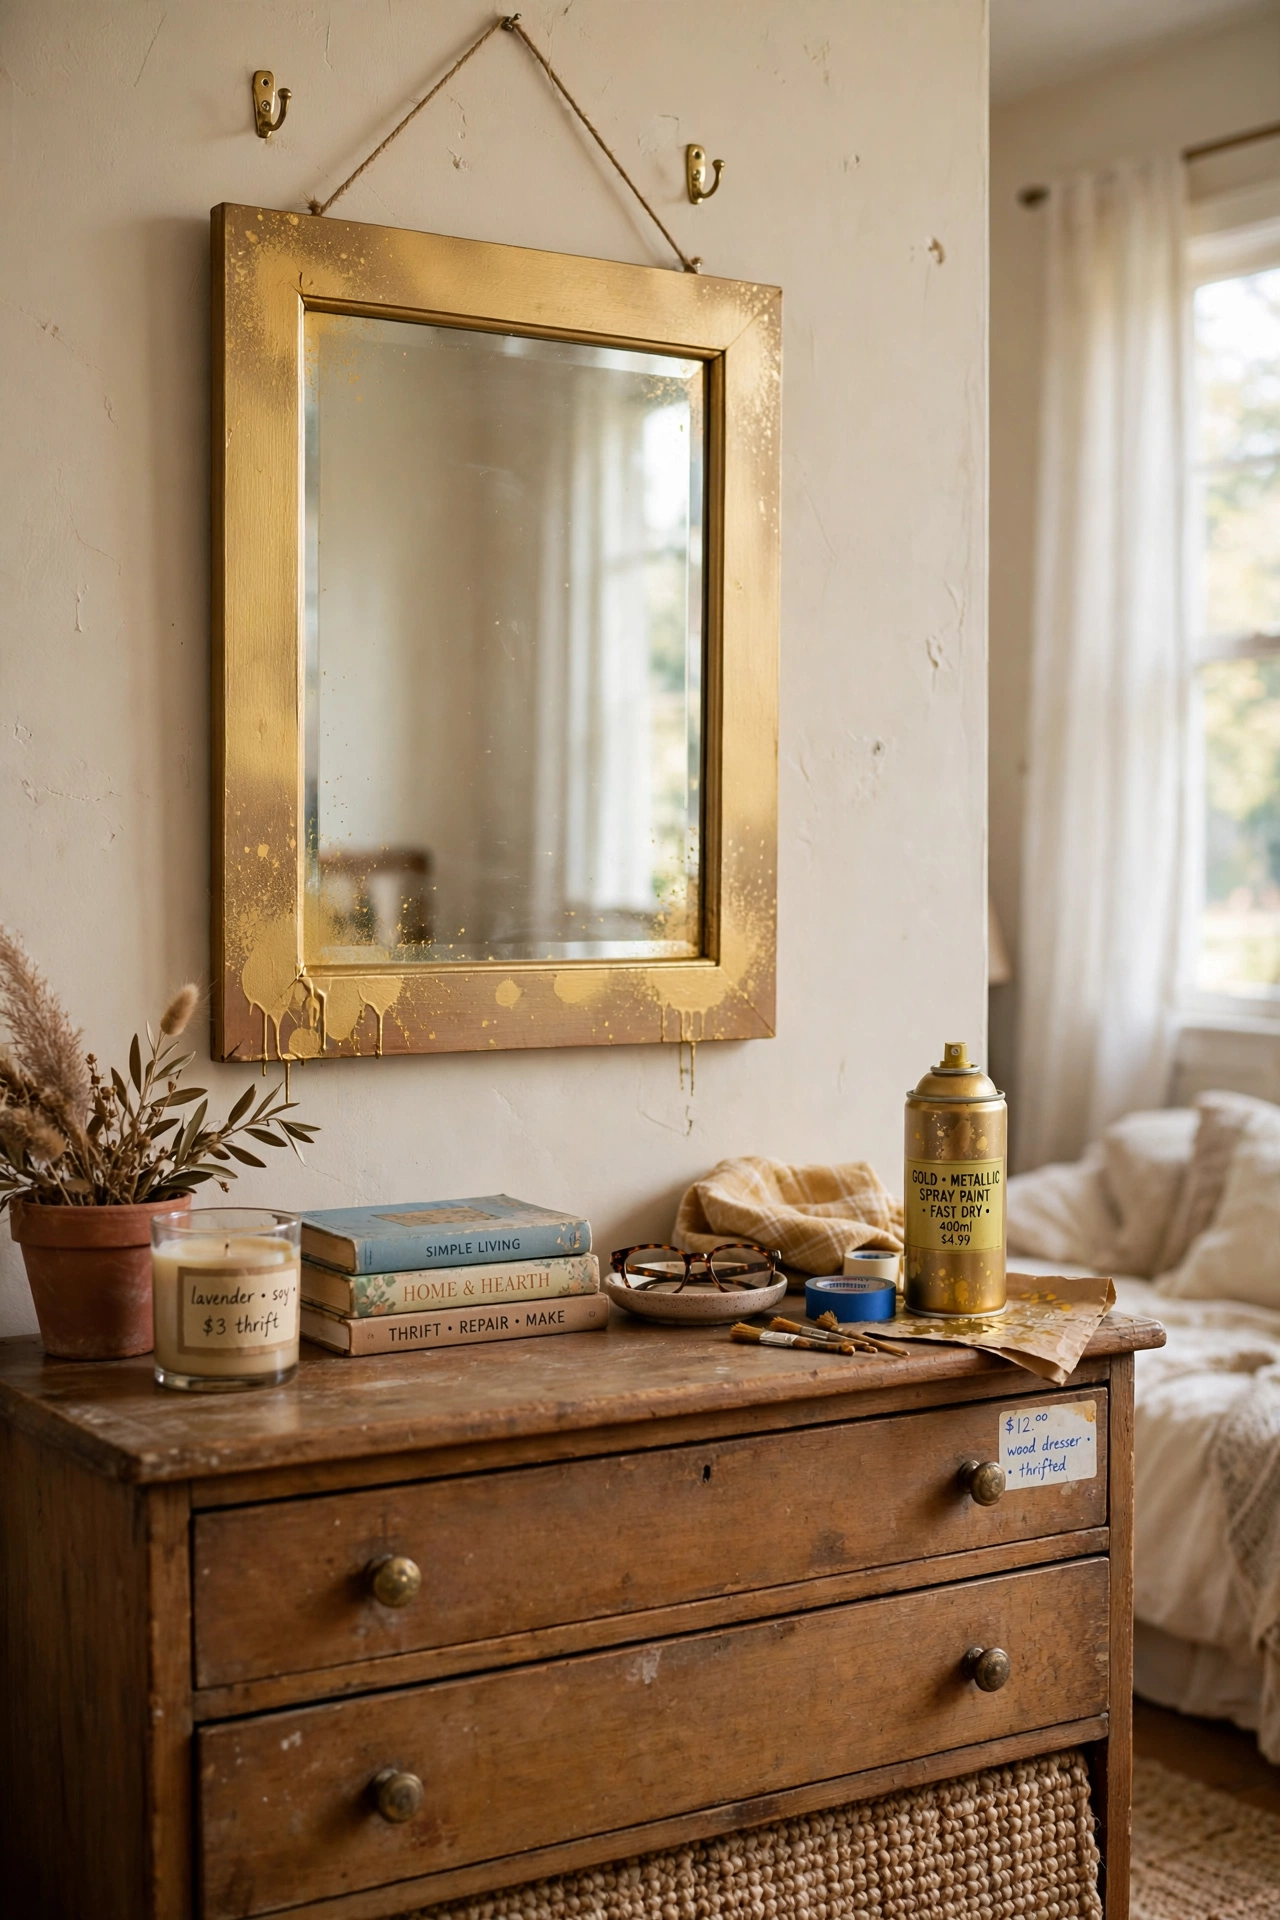
A dull thrift store mirror with a good shape becomes a gold-framed showpiece with one can of metallic spray paint. Take the mirror out of the frame if you can, or mask the glass carefully with tape and newspaper, then spray two light coats in a dust-free spot. I tried this on a heavy wooden frame I found for five dollars, and it now hangs above my dresser looking far more expensive than it was. Pro tip: spray in thin passes from about thirty centimetres away, because one thick coat drips and dries with bumps. My first attempt dripped badly and I had to sand the whole frame back and start again.
Cost: ~$10 | Time: 45 minutes
2. Mismatched Mirror Gallery Wall
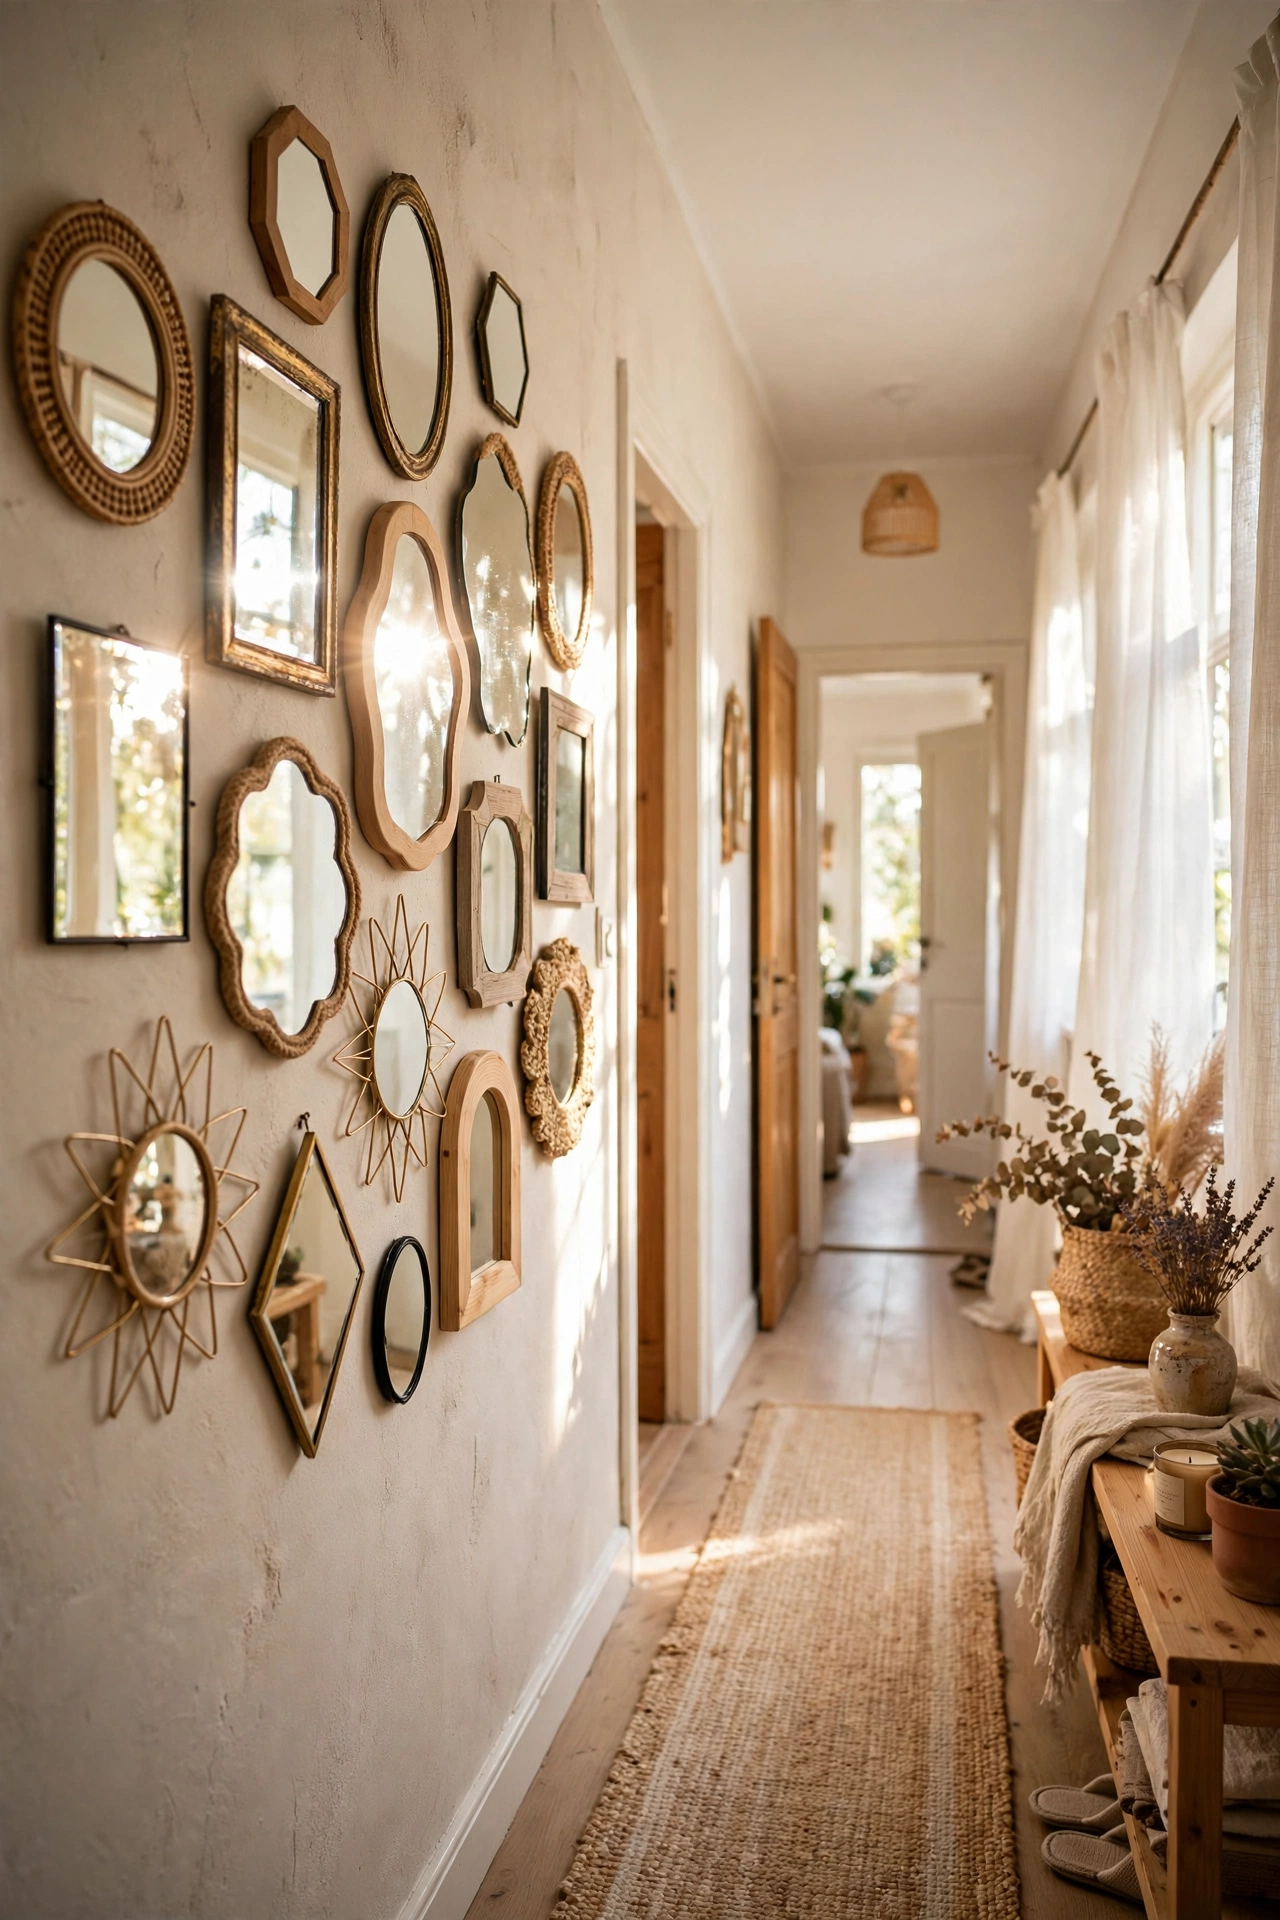
A gallery wall of small mismatched mirrors turns a plain hallway into a bright, interesting feature, and it grows one thrift trip at a time. Collect mirrors in different shapes but similar frame colours, lay them out on the floor first, and hang the largest one in the centre. I built mine over three months with seven mirrors, none costing more than six dollars, and the hallway feels twice as wide now. Pro tip: cut paper templates the size of each mirror and tape them to the wall first, so you can move the layout around without making extra holes. I skipped that step once and ended up with nine holes to fill.
Cost: ~$30 | Time: 60 minutes
3. Arched Mirror Over a Console Table
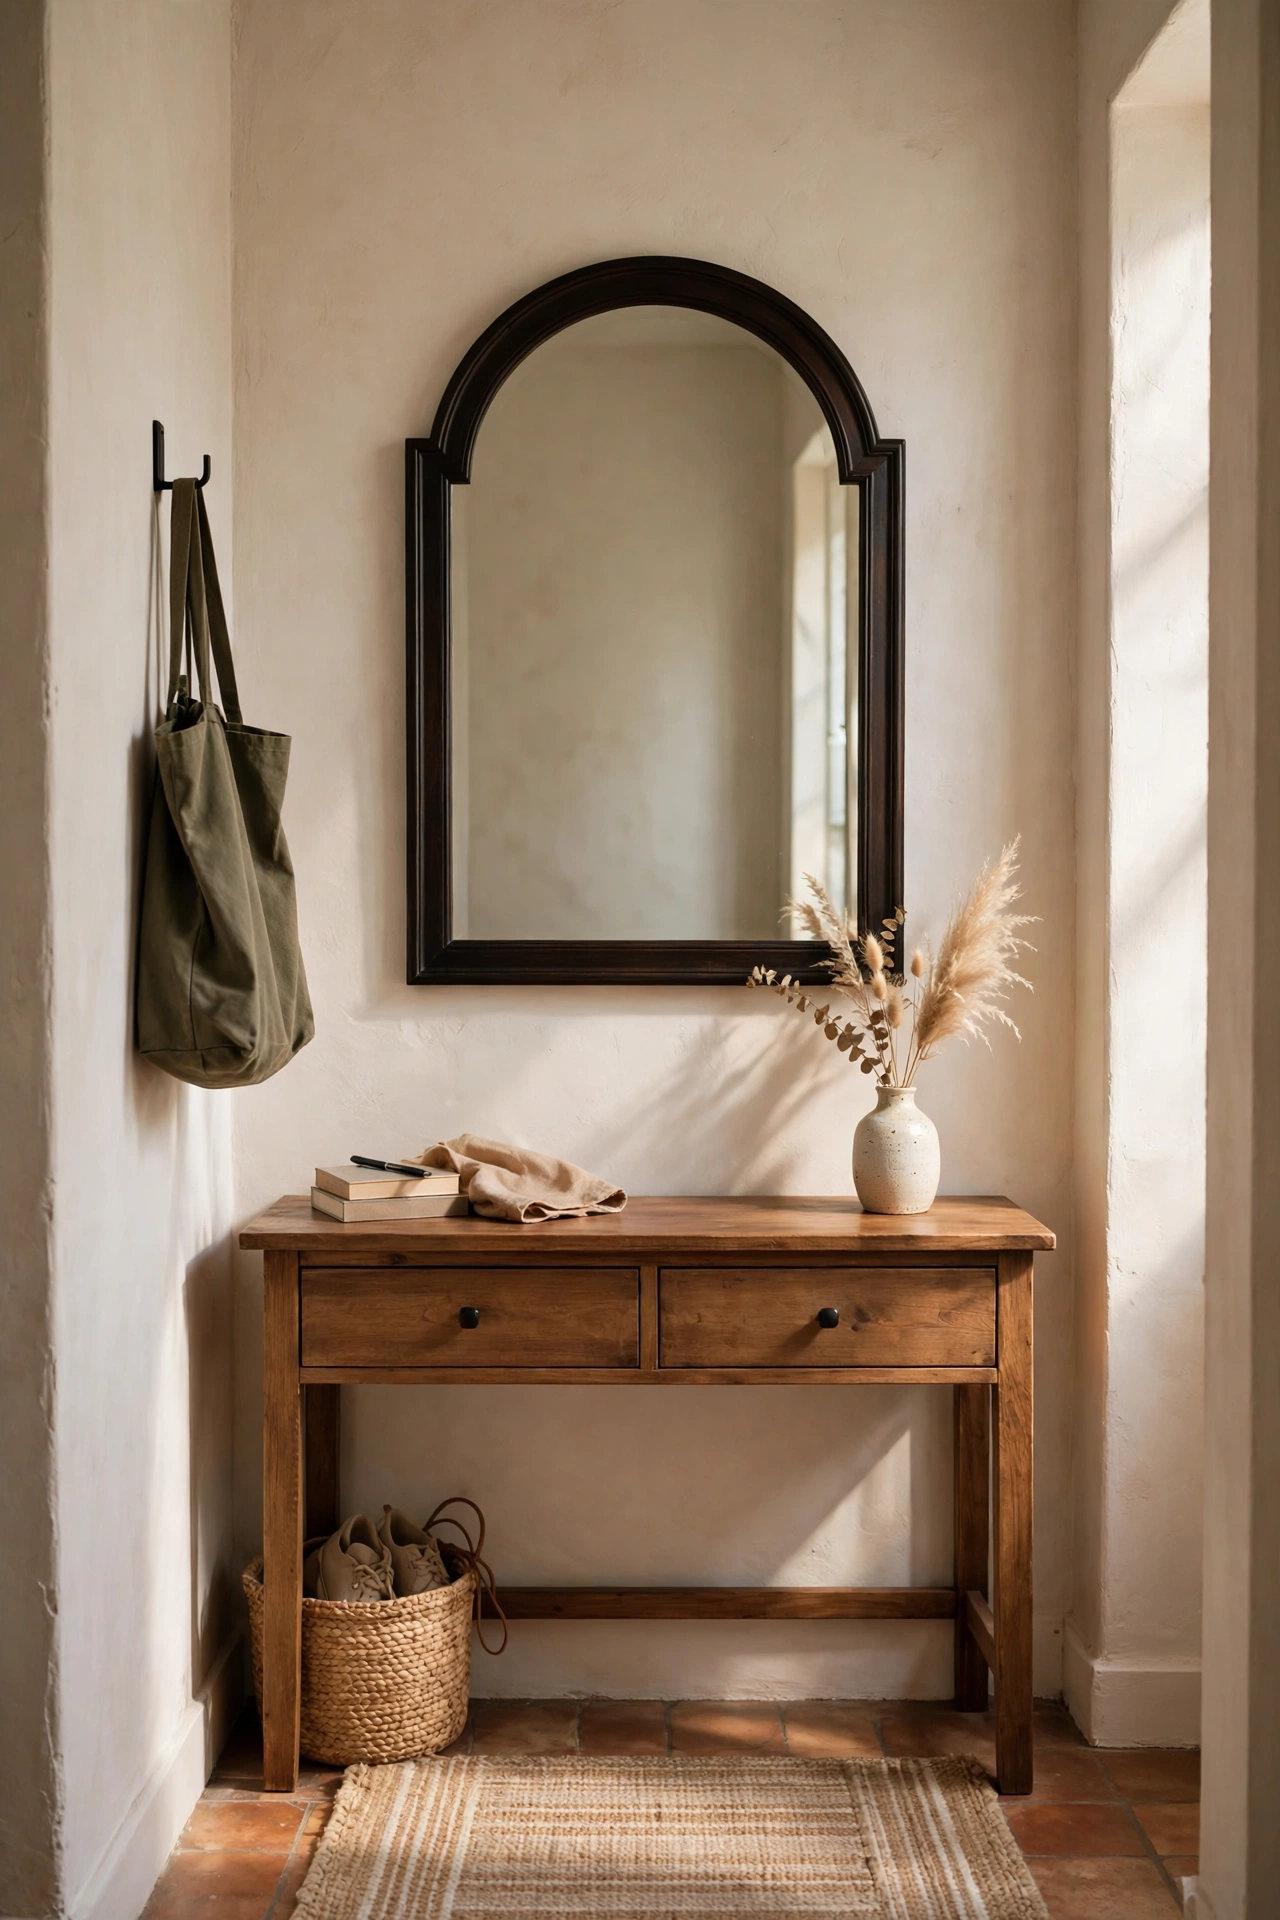
An arched mirror over a console table softens a hallway or entryway, and the curved top draws the eye upward, which makes low ceilings feel taller. Hang it so the bottom of the arch sits about fifteen centimetres above the table, and add a small vase or a stack of books below to ground it. I tried this with an arched mirror I found for twelve dollars, and my narrow entryway finally felt welcoming instead of cramped. My mistake the first time was hanging it too high, which left an awkward gap between the table and the mirror. Measure from the tabletop, not from the ceiling, and the spacing will look right.
Cost: ~$14 | Time: 25 minutes
4. Full-Length Mirror Leaned in a Corner
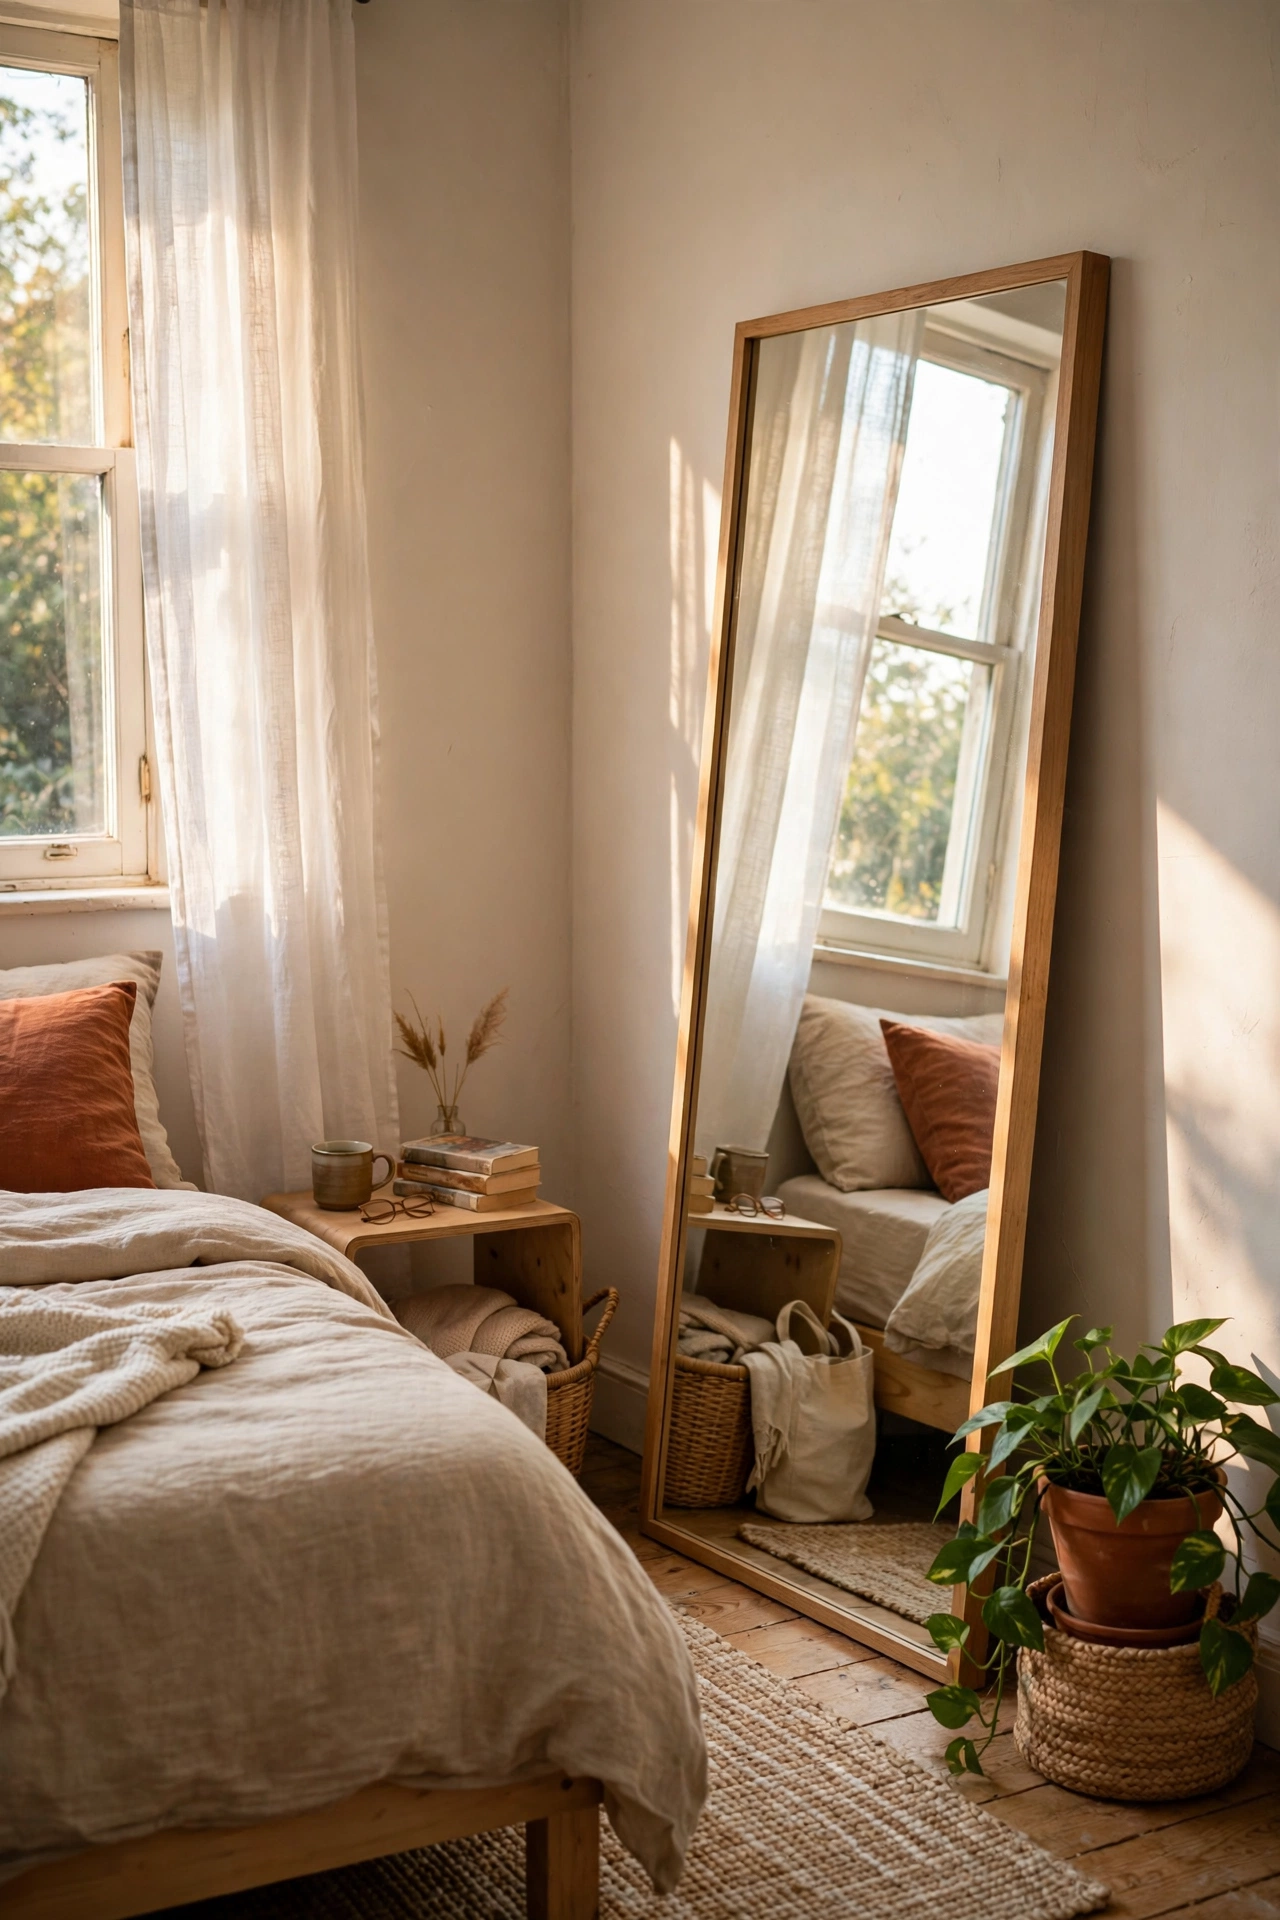
A full-length mirror leaned against a bedroom wall gives you a dressing mirror without drilling a single hole, and it bounces light into dark corners. Pick a mirror taller than you are, lean it at a slight angle, and fix the top to the wall with a small safety strap if you have kids or pets. I tried this in my bedroom corner with a ten-dollar mirror, and getting dressed in the morning got much easier. Pro tip: lean it where it catches window light, not facing a blank wall, because a mirror facing a wall just reflects the wall. My first spot faced the wardrobe doors and the whole effect was wasted.
Cost: ~$12 | Time: 15 minutes
5. Round Mirror Above a Bathroom Sink
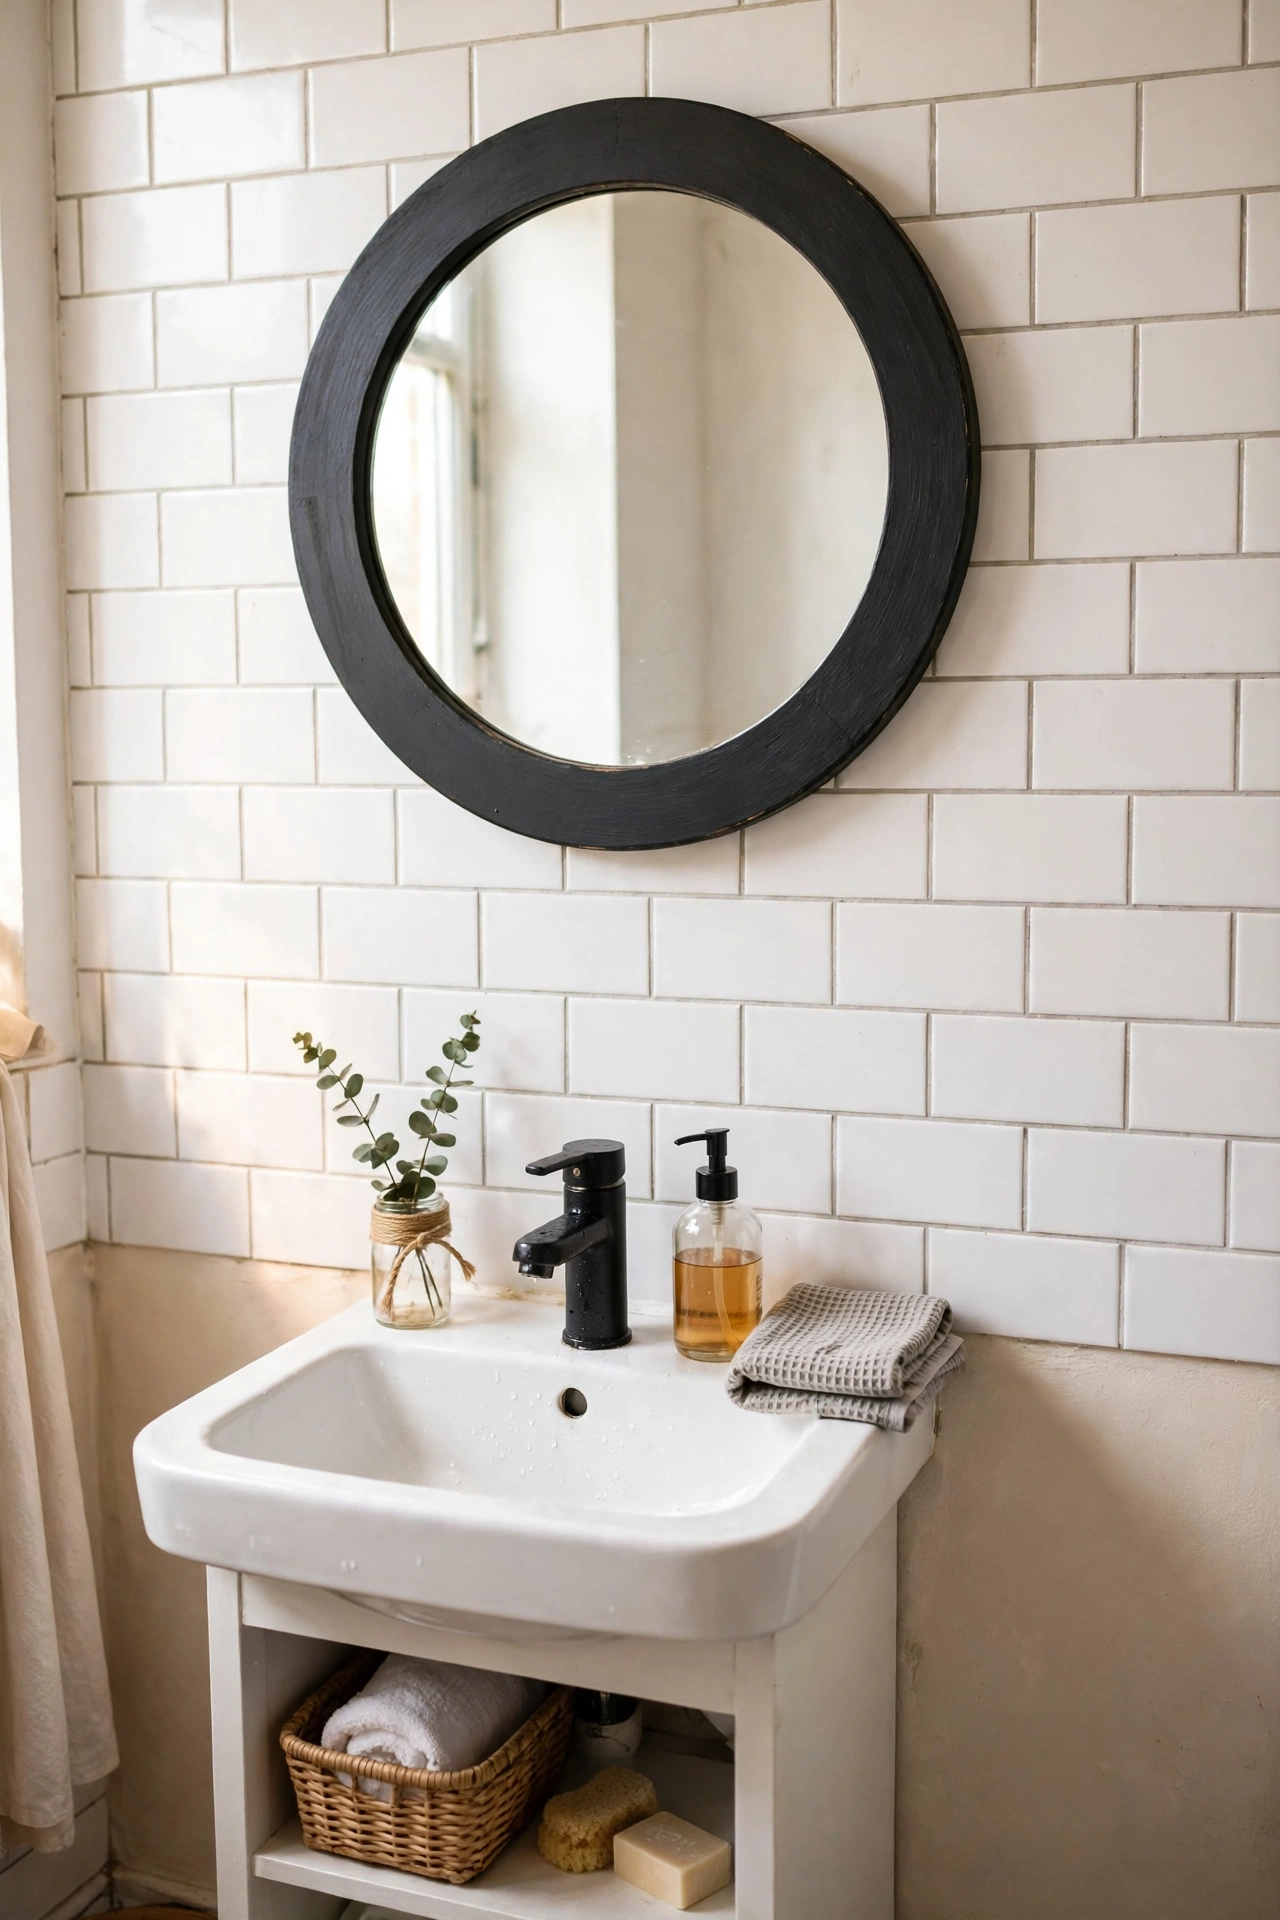
A round mirror above a bathroom sink softens all the straight lines of tiles and cabinets, and it suits tiny bathrooms that cannot take a wide rectangular mirror. Choose a size that matches your sink, not the whole wall, and hang it at eye level for the tallest person who uses it daily. I swapped a plain builder-grade mirror for a round thrifted one for eight dollars, and the bathroom felt updated overnight. My mistake was buying a mirror with a thin frame that rusted in the damp air within months. Look for a sealed or painted frame, and wipe splashes off the frame edges weekly.
Cost: ~$10 | Time: 20 minutes
6. Sunburst Mirror Made From Thrifted Frames
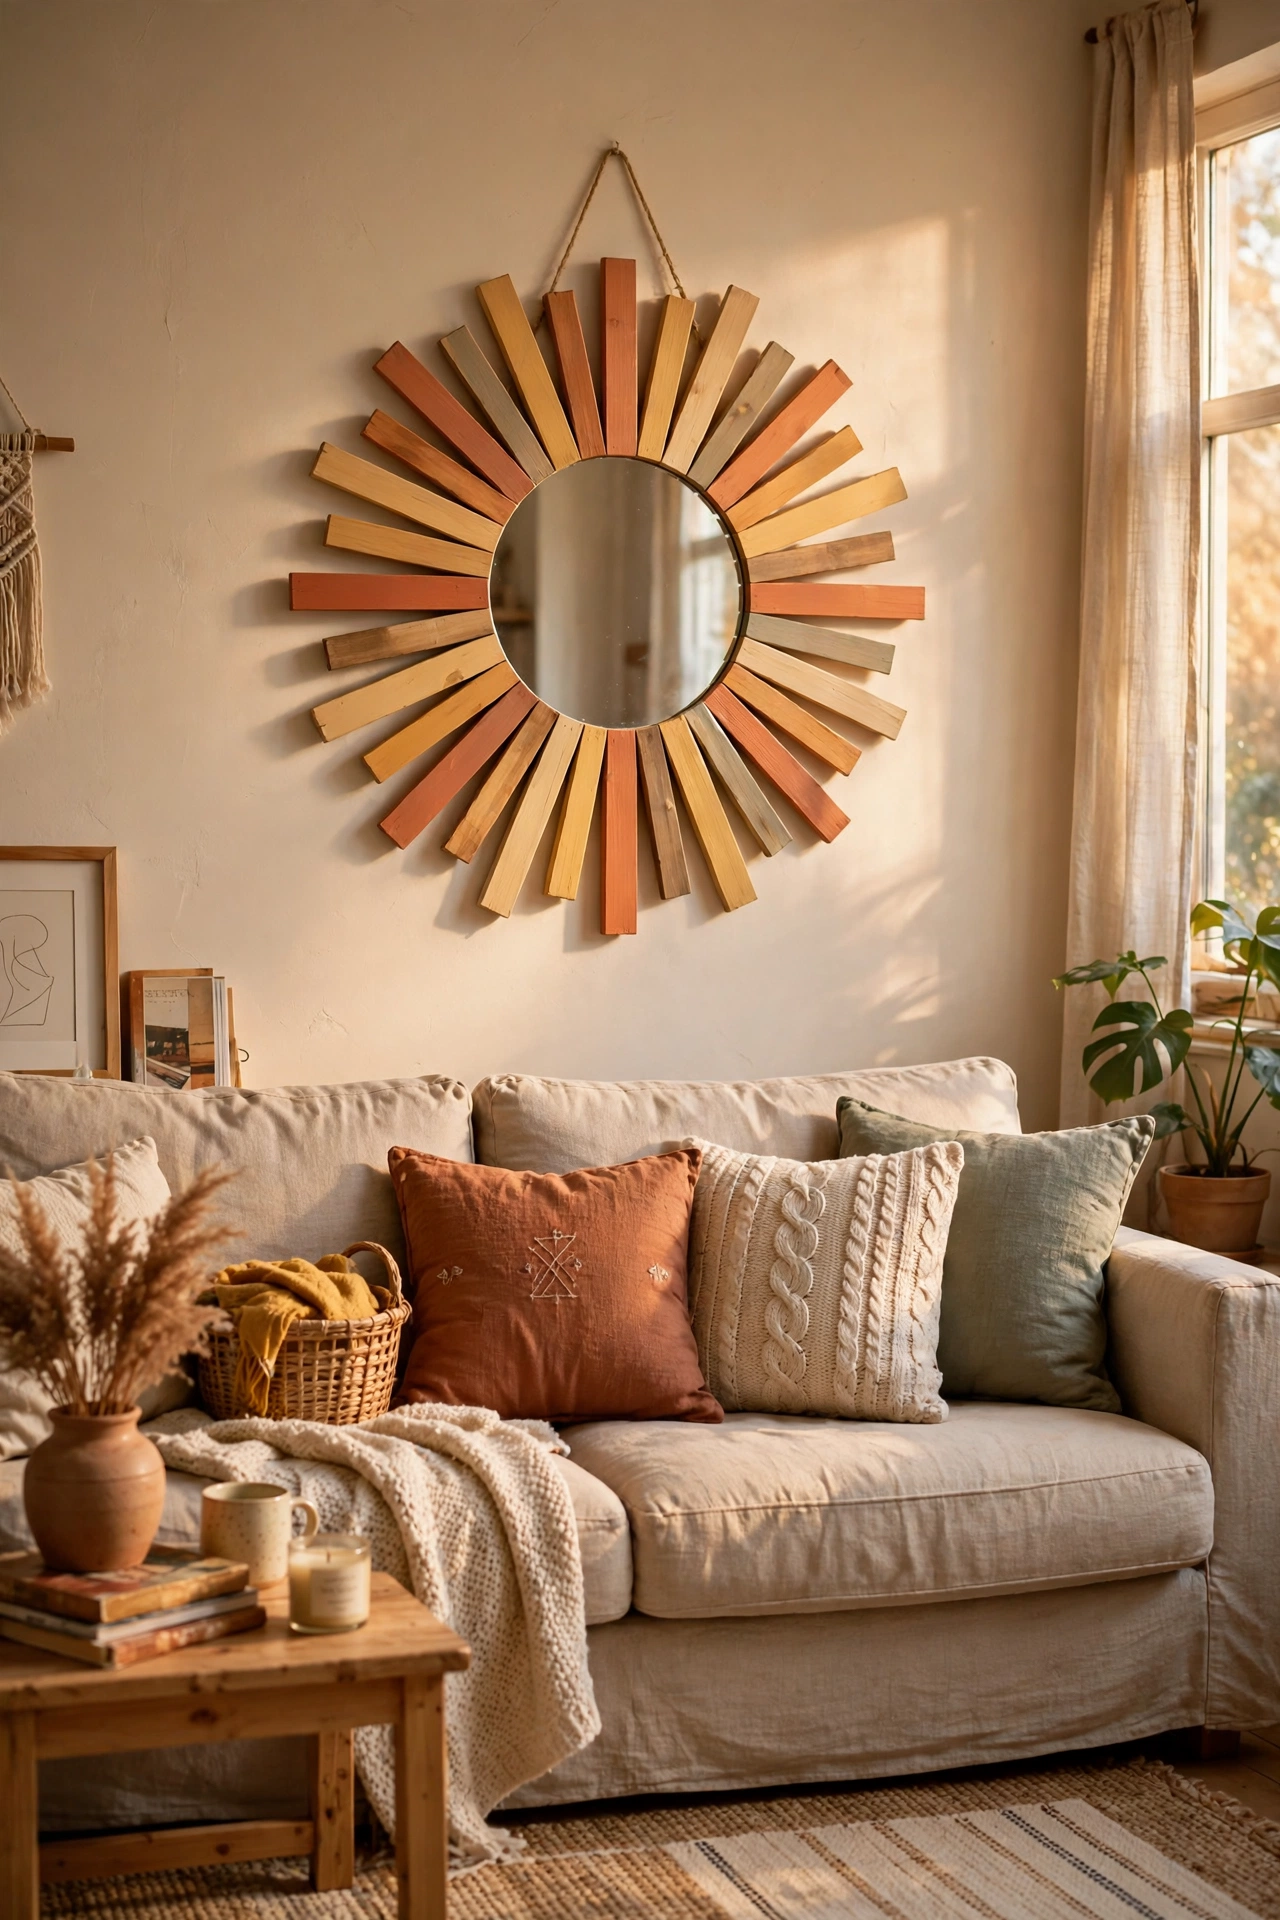
A sunburst mirror sounds fancy, but you can build one from thrifted wooden spoons, dowels, or old picture frames glued around a small round mirror. Paint all the rays one colour, glue them evenly around the back of the mirror, and let it dry flat overnight before hanging. I tried this with a bag of wooden cutlery from a charity shop, and the finished piece cost under ten dollars and hangs above my sofa. Pro tip: mark the centre point on the back first and space the rays with a ruler, because uneven rays are obvious once it is on the wall. My first one had a gap on one side that I noticed every single day.
Cost: ~$9 | Time: 90 minutes
7. Mirror Tray for Perfume and Candles
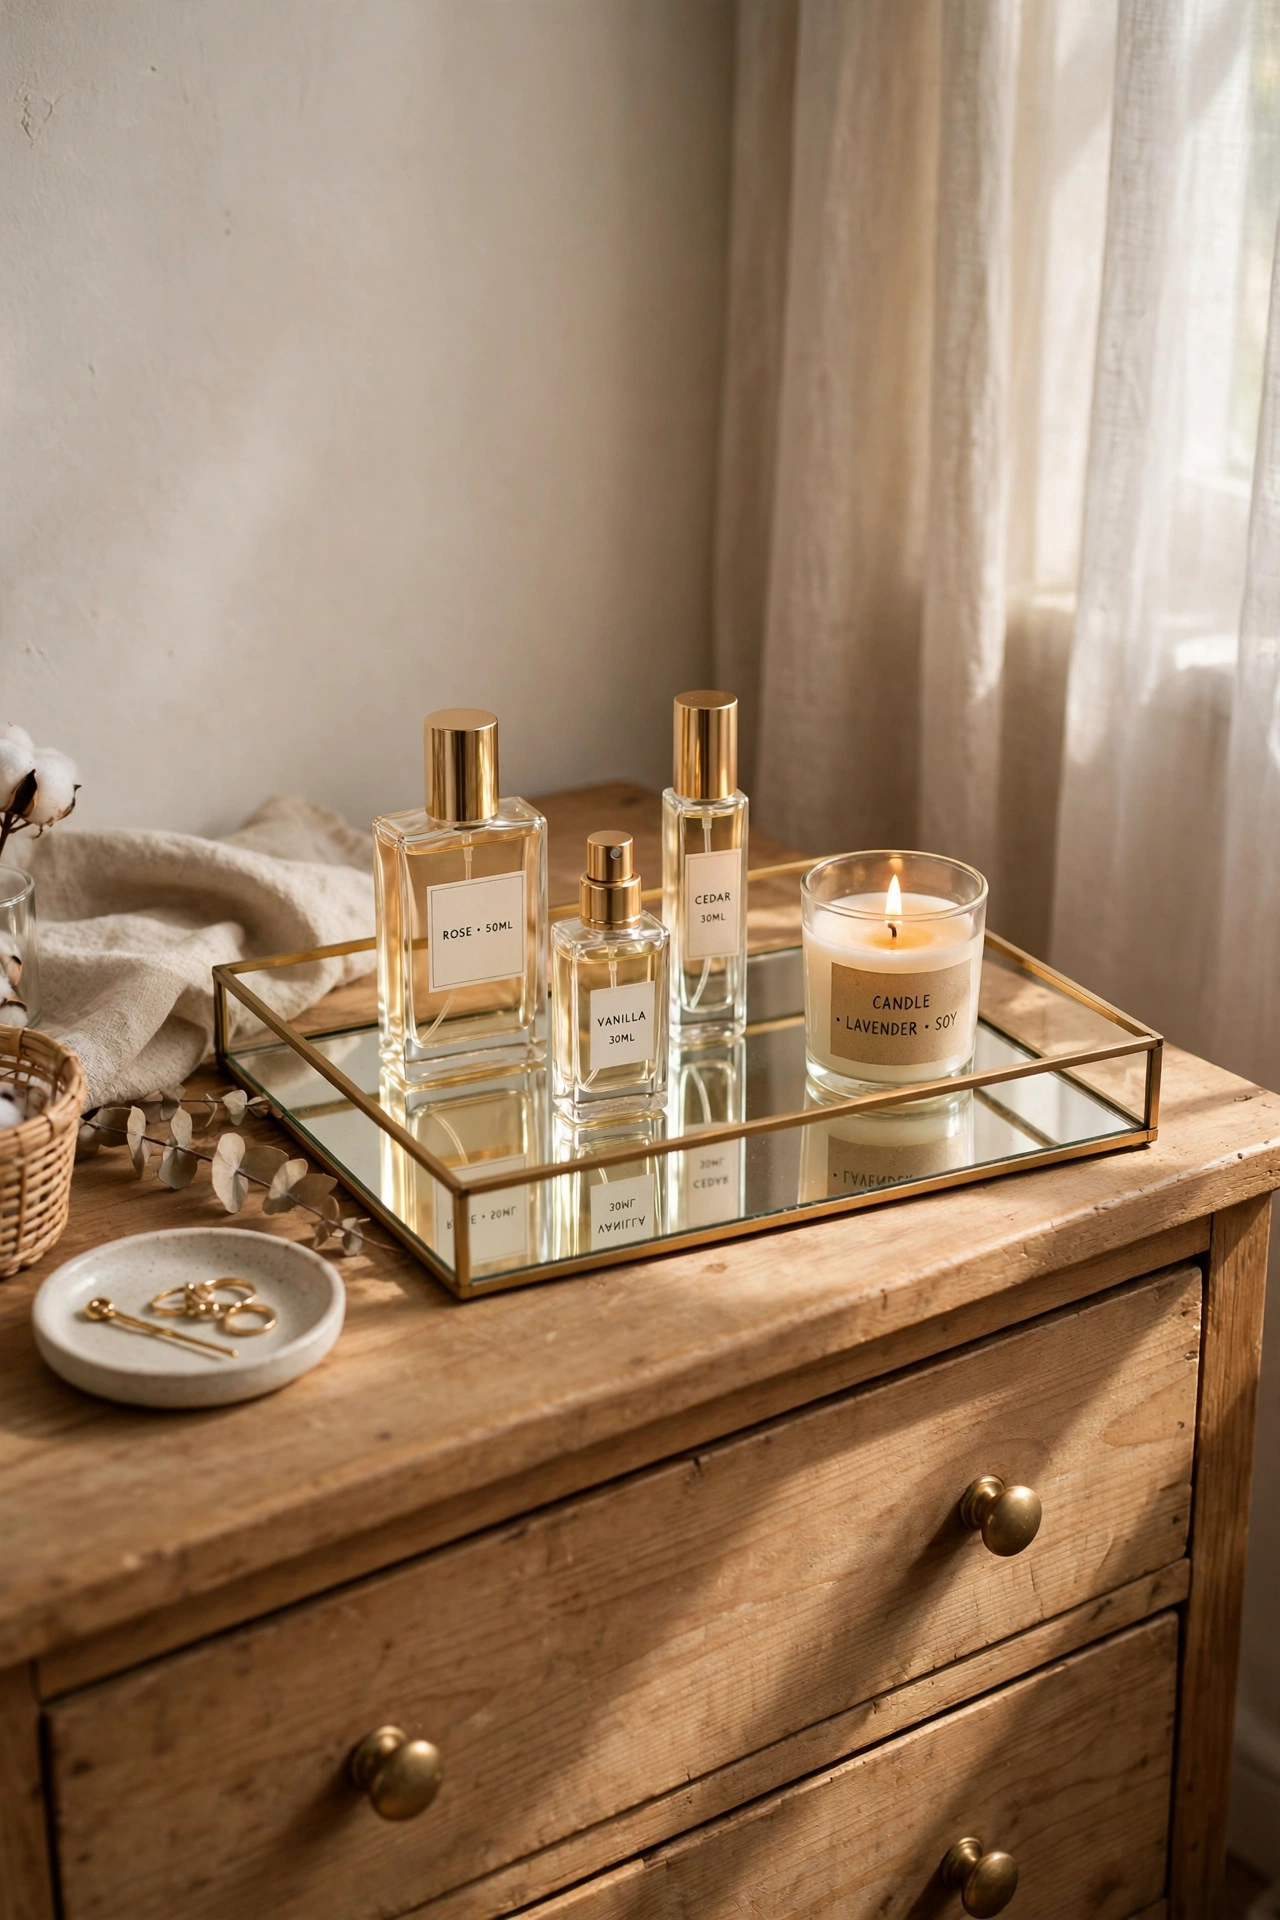
A flat thrifted mirror laid on a dresser becomes a tray that makes perfume bottles and candles look styled instead of scattered. Find a mirror with a raised edge or a sturdy frame, clean the glass well, and set it on small felt pads so it does not scratch the dresser. I tried this with a rectangular mirror I found for three dollars, and my dresser went from cluttered to tidy in two minutes. My mistake was placing a lit candle directly on the glass at first, and the heat left a faint ring. Put candles on a small coaster on the tray, and the mirror will stay spotless.
Cost: ~$5 | Time: 10 minutes
8. Mirrored Tiles on a Fireplace Surround
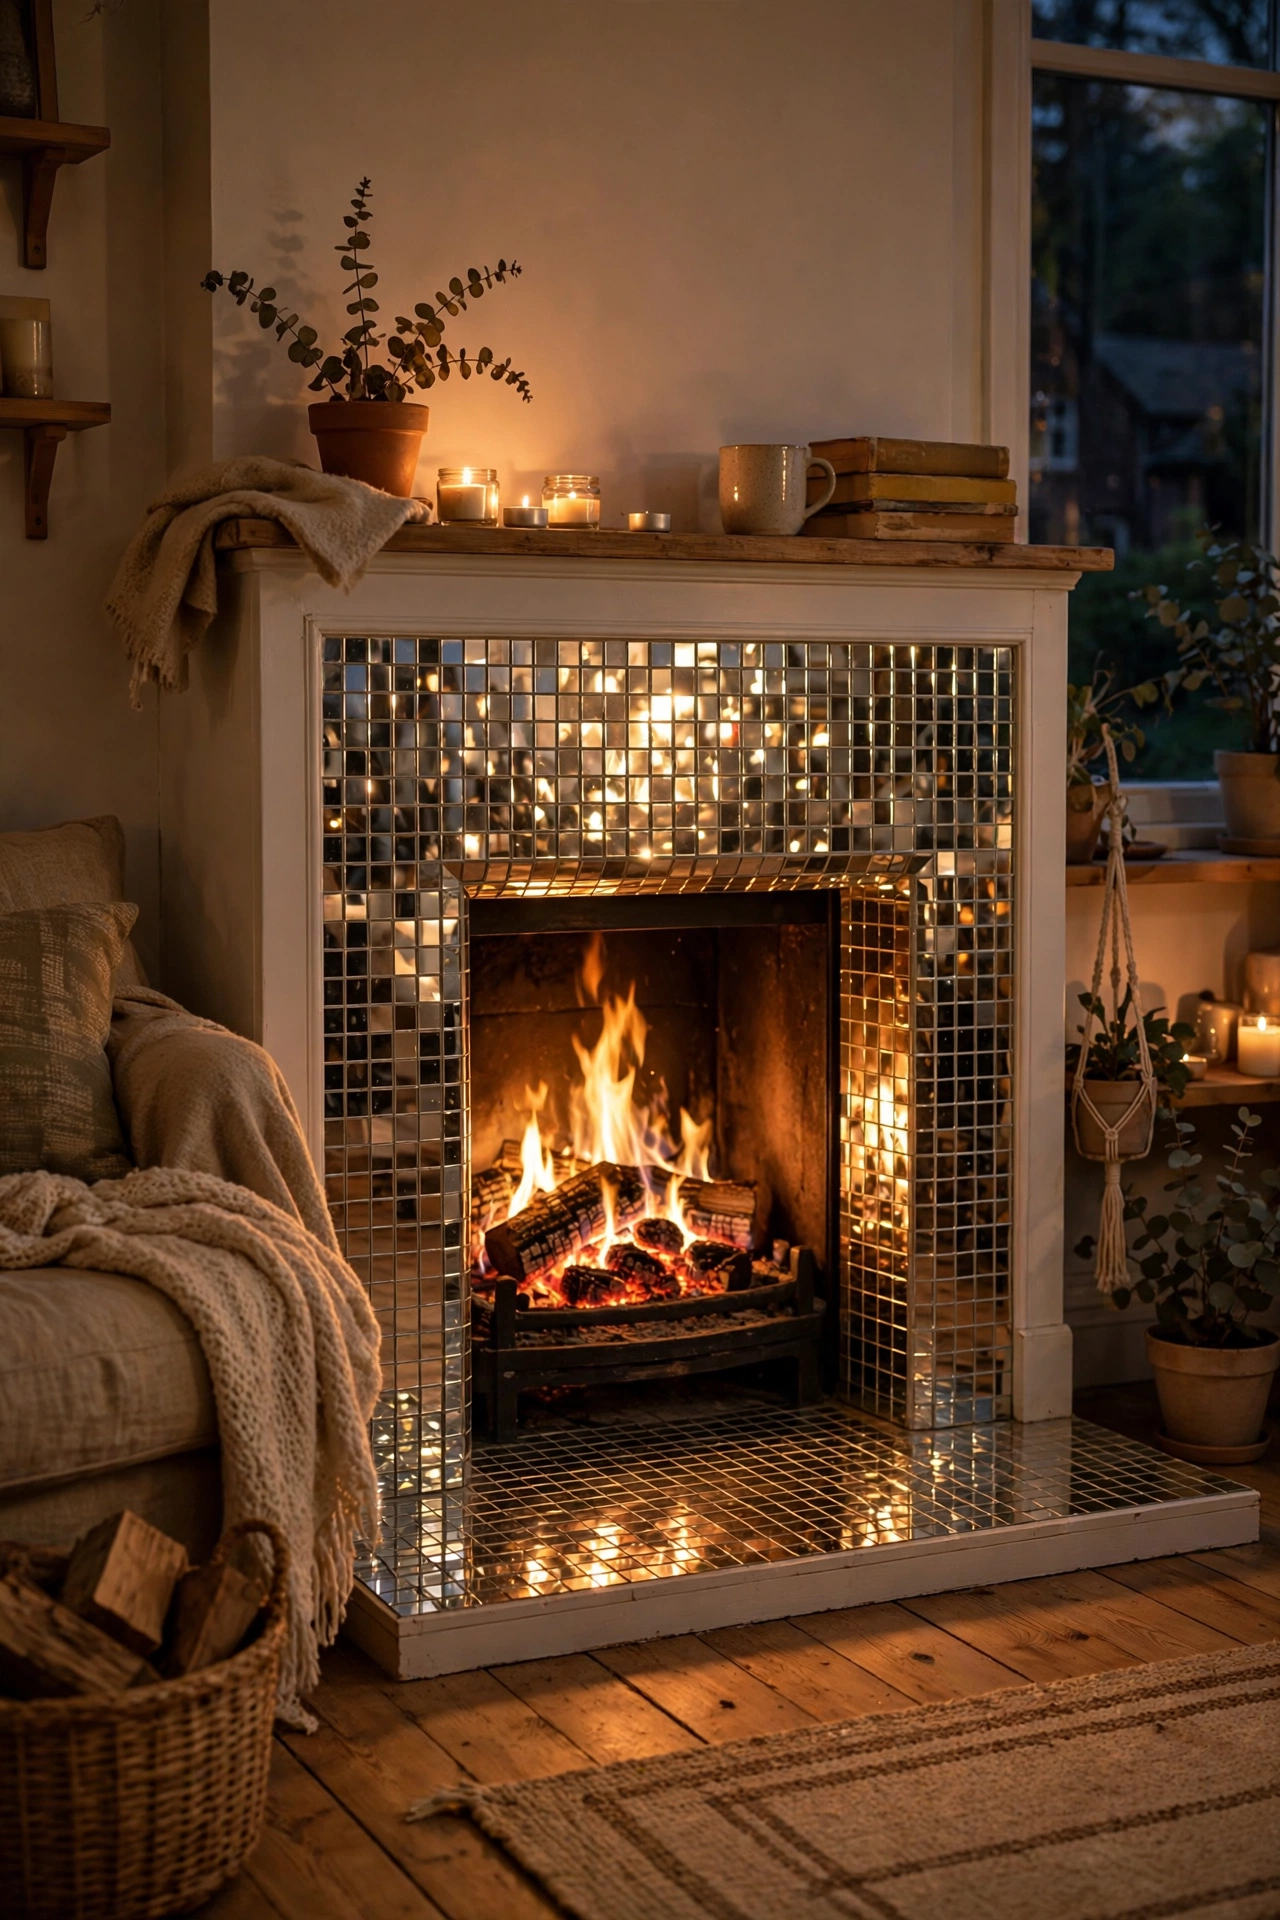
Small mirrored tiles stuck around a fireplace surround reflect the firelight and make a dated fireplace look fresh without any building work. Buy adhesive mirror tiles or cut thrifted mirror sheets to size, clean the surface first, and press each tile on firmly with even spacing. I tried this on a plain brick surround with a dozen tiles, and the room glows in the evening now. Pro tip: wear gloves when cutting or handling mirror tiles, because the edges are sharp and a small cut will ruin your afternoon. I nicked a finger on my first tile and learned to glove up before I even open the packet.
Cost: ~$18 | Time: 50 minutes
9. Antique Mirror in an Entryway
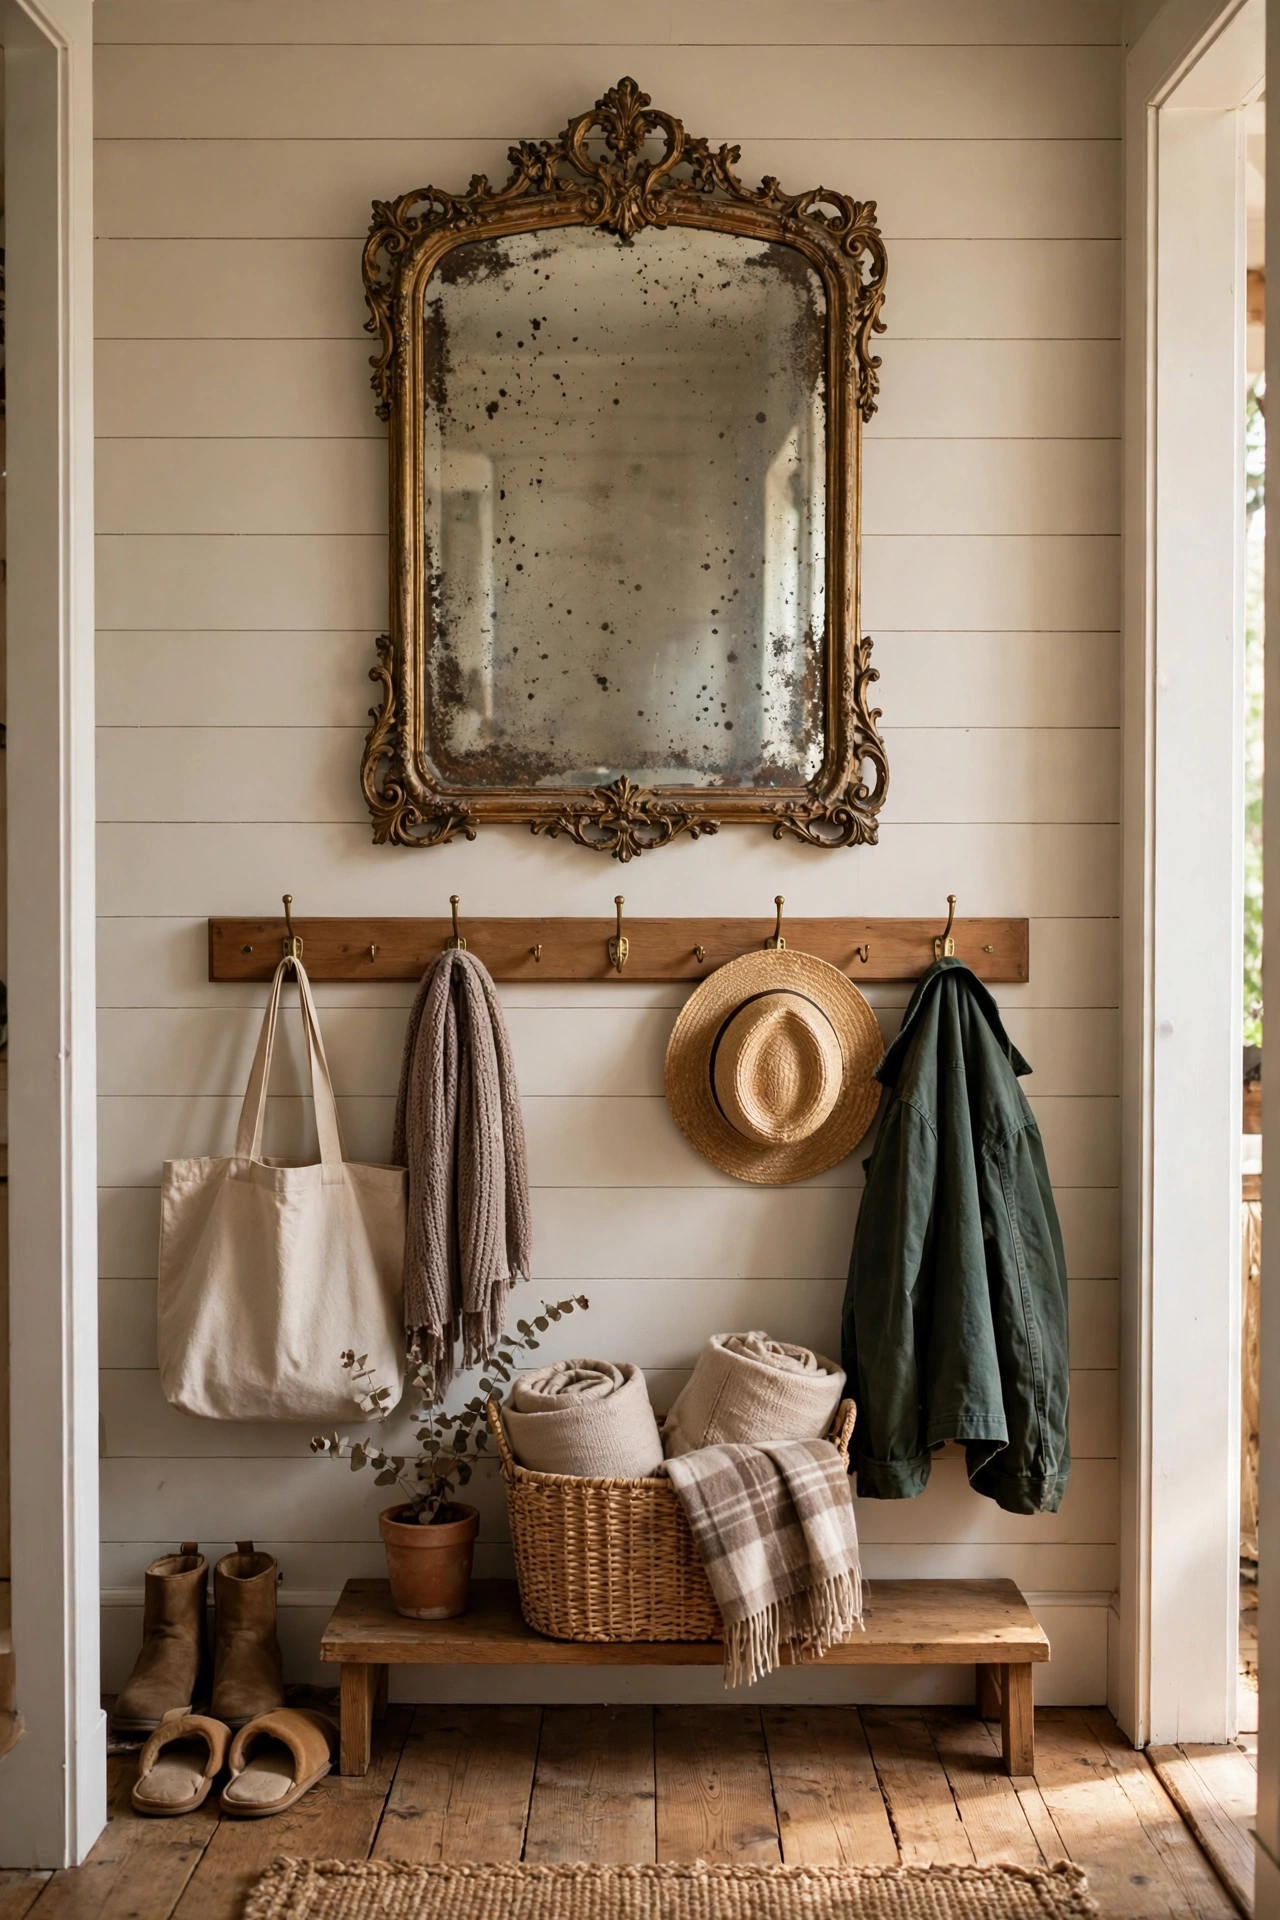
An antique-style mirror with a foxed, slightly cloudy surface adds instant character to an entryway, and the aged glass hides fingerprints far better than a perfect new mirror. Hang it where you naturally pause before leaving, add a small hook rail below for keys, and keep the frame as you found it if the wear looks genuine. I tried this with a ten-dollar mirror whose silvering had aged beautifully, and guests always comment on it first. My mistake was trying to polish the foxing away on an earlier mirror, which only made patchy streaks. Let old glass stay old, because that wear is the whole charm. (see also: thrifted-wall-decor-ideas)
Cost: ~$12 | Time: 20 minutes
10. Mirror Panels on a Closet Door
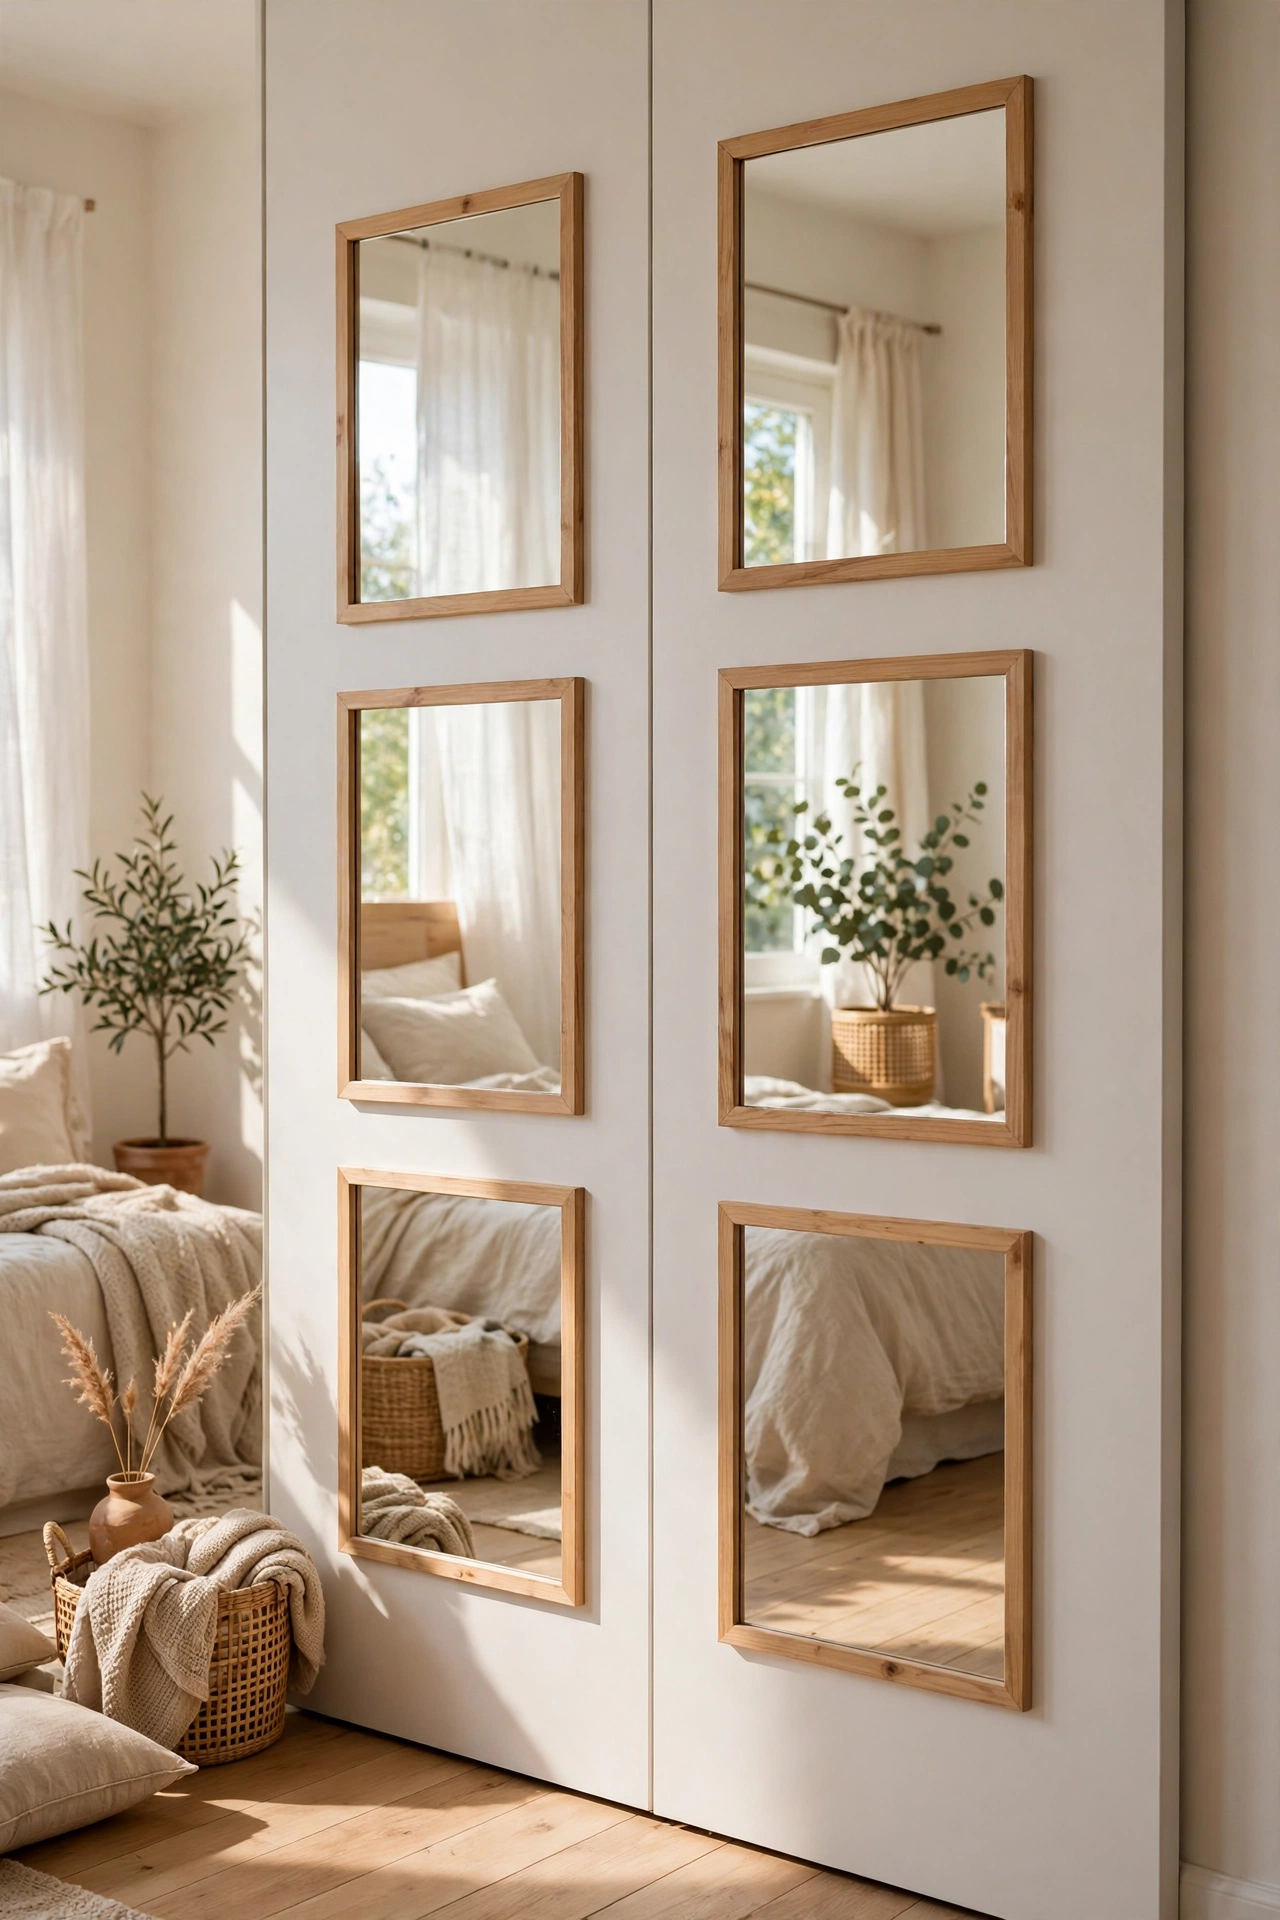
Sticking mirror panels onto a plain closet door turns a boring bedroom door into a full-length dressing mirror, and it costs far less than a new mirrored door. Measure the door, buy lightweight adhesive panels to fit, and press them on from the top down, smoothing out air bubbles as you go. I tried this on a flat bedroom closet door with four panels, and the room instantly felt larger and brighter. Pro tip: clean the door with rubbing alcohol first and let it dry fully, because dust under an adhesive panel creates bubbles you cannot remove later. I rushed this step once and lived with a bubbled panel for a year.
Cost: ~$22 | Time: 40 minutes
11. Mirror Centrepiece for the Dining Table
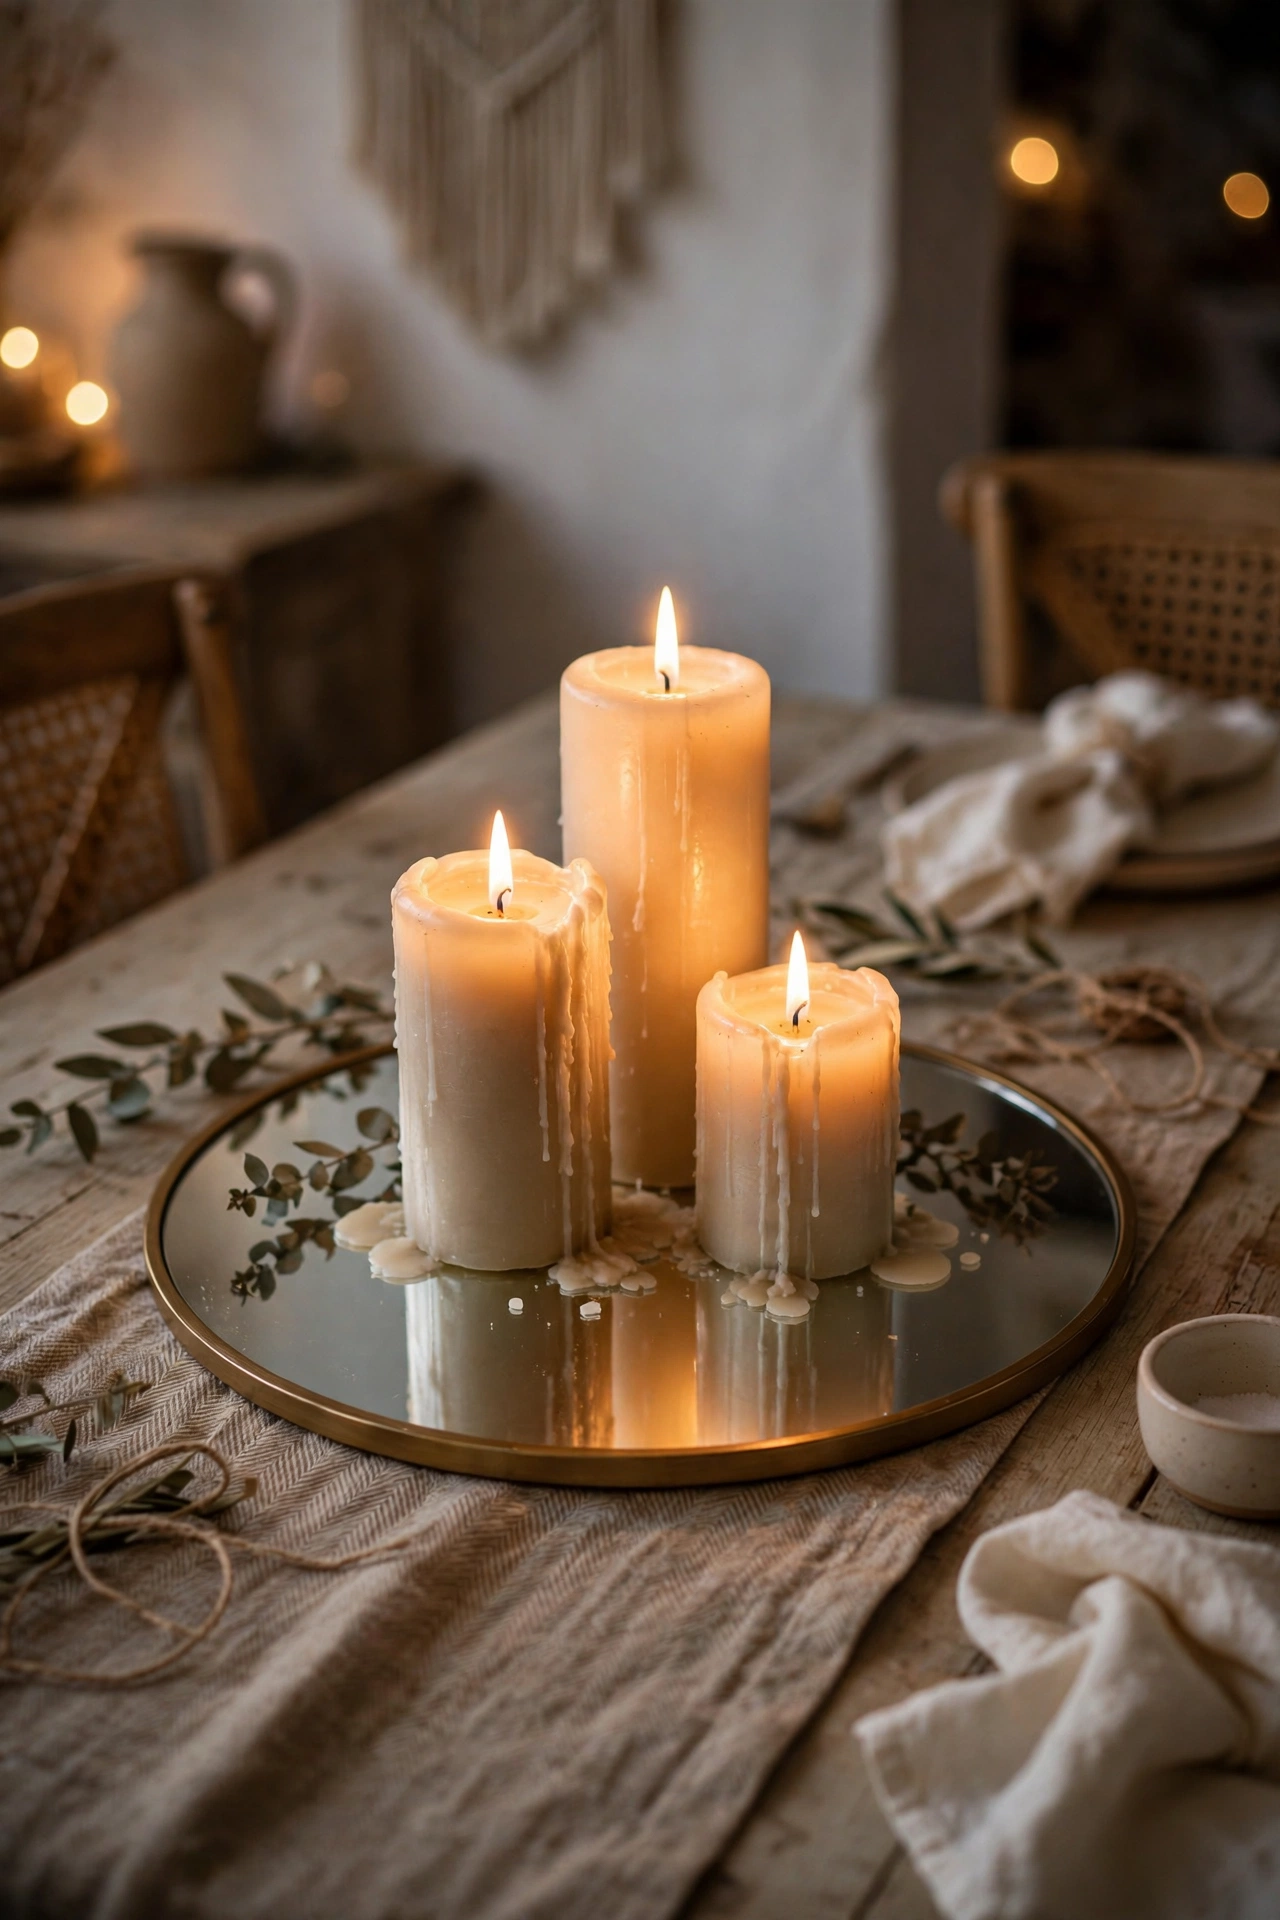
A round or oval mirror laid flat in the middle of a dining table makes a lovely centrepiece base, reflecting candlelight and making the table feel dressed up for guests. Place it on a table runner to protect the wood, add three pillar candles of different heights, and keep the centre clear of tall flowers that block conversation. I tried this for a dinner party with a twelve-dollar thrifted mirror, and the candlelight doubled beautifully across the table. My mistake was using taper candles without holders the first time, and wax dripped straight onto the glass. Use proper holders, and cleanup takes seconds instead of scraping.
Cost: ~$14 | Time: 15 minutes
12. Oval Mirror in a Reading Nook
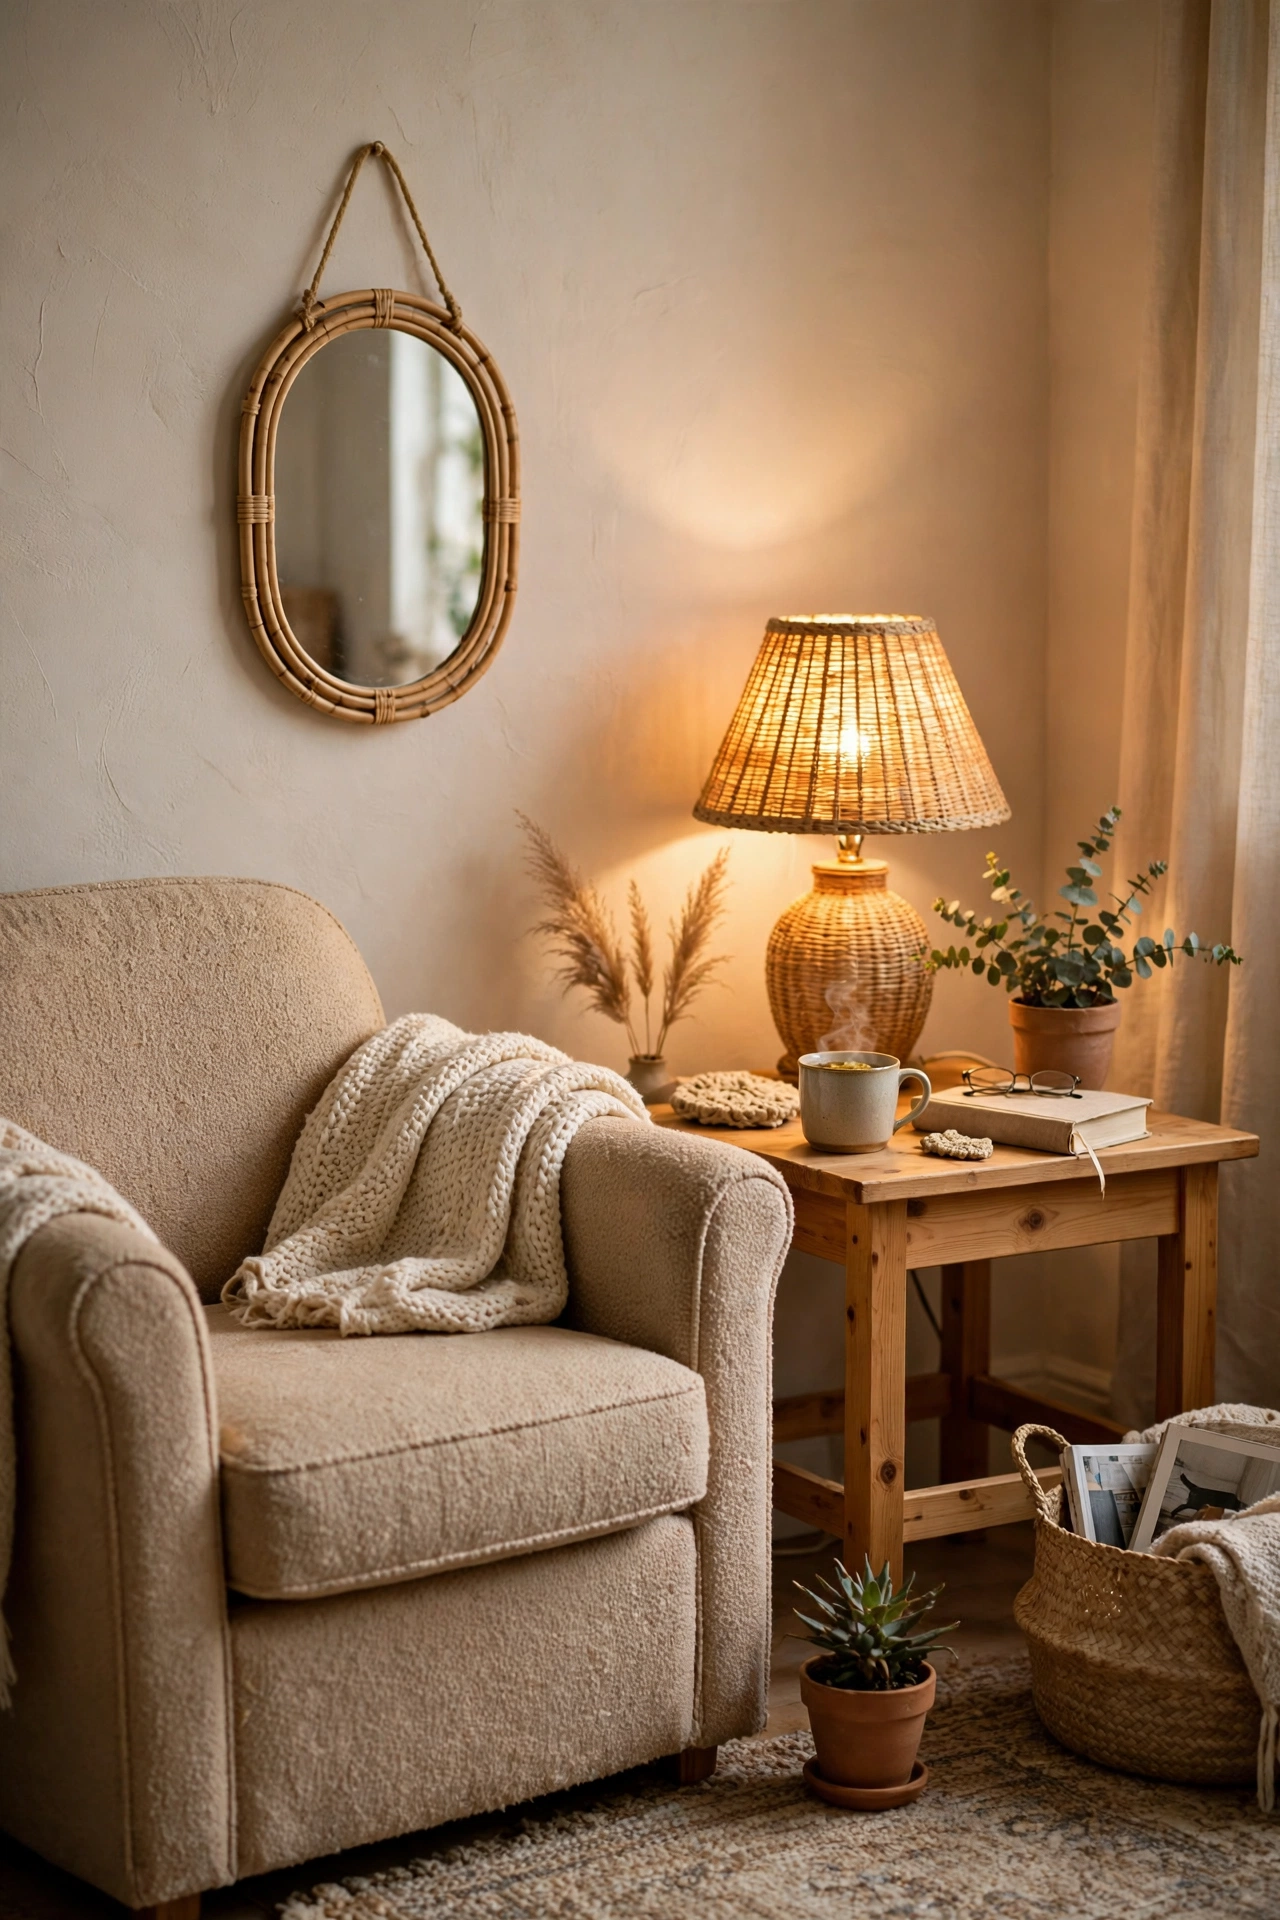
An oval mirror in a reading nook adds light without the hard edges of a rectangular frame, and it suits cosy corners with a chair and a lamp. Hang it beside the chair rather than behind it, so it catches light from the window or lamp and throws it back into the corner. I tried this with a small oval mirror above a side table in my nook, and the corner stopped feeling like a dark afterthought. Pro tip: sit in the chair and check what the mirror reflects before you fix it to the wall, because a mirror reflecting a cluttered shelf just doubles the clutter. Mine first reflected the laundry basket, which was not the look I wanted.
Cost: ~$8 | Time: 20 minutes
13. Mirror Wall in a Dark Hallway
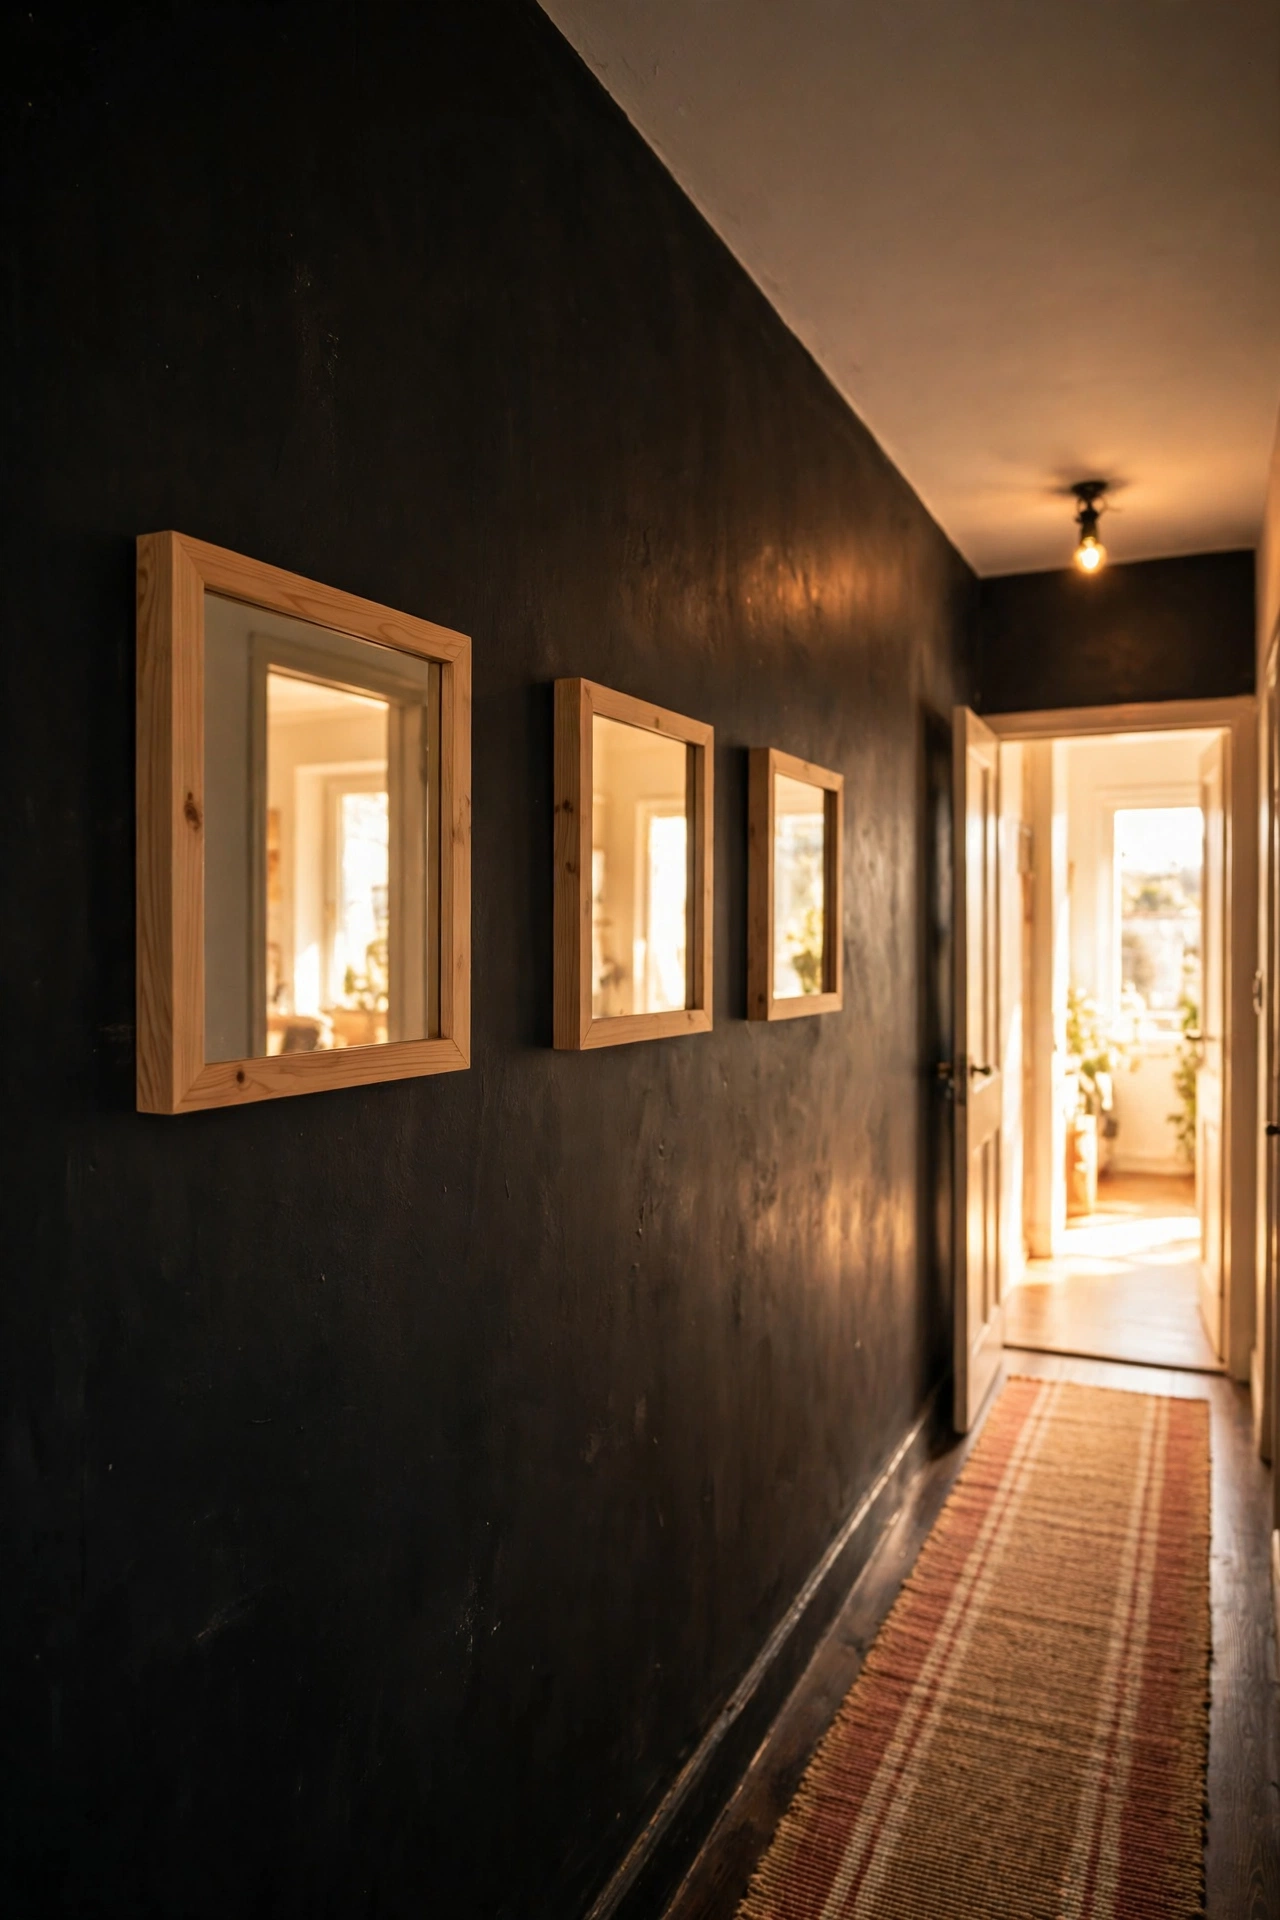
A dark hallway with no windows benefits hugely from a wall of mirrors, because even a little light from nearby rooms gets bounced along the corridor. Hang two or three matching thrifted mirrors in a row at the same height, and keep the frames simple so the wall does not feel busy. I tried this in my windowless hallway with three identical square mirrors for five dollars each, and the space no longer feels like a tunnel. My mistake was hanging them at different heights at first, which made the hallway feel messy instead of bright. Use a level and a pencil line, and hang every mirror to the same centre height. (see also: budget-entryway-decor-ideas)
Cost: ~$17 | Time: 45 minutes
14. Painted Frame Mirror for a Kids Room
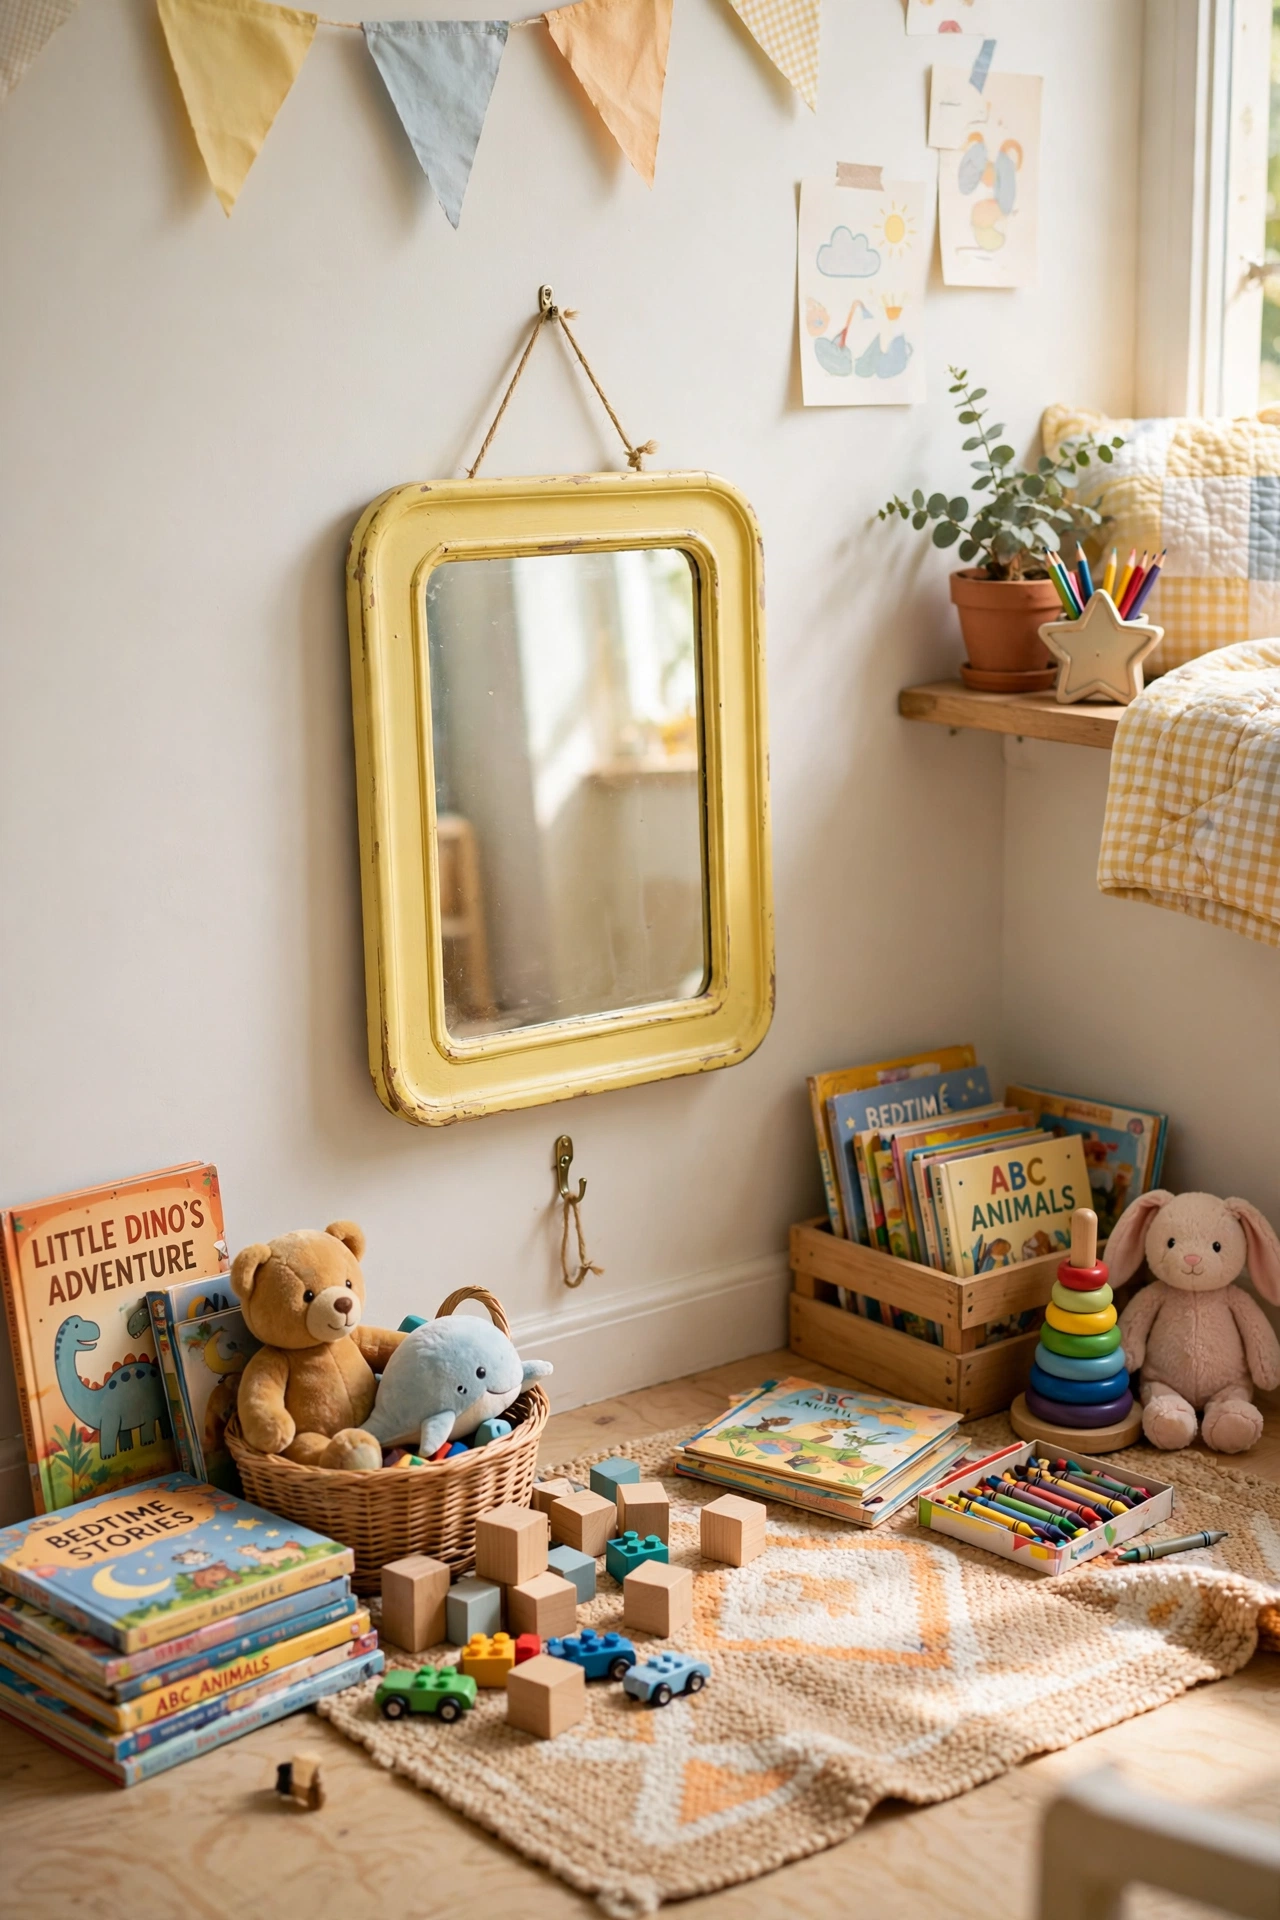
A thrifted mirror painted in a fun colour, like sage green or soft yellow, makes a kids room feel personal without costing much at all. Sand the frame lightly, paint two thin coats with child-safe paint, and hang it low enough for your child to actually use, with a safety fixing to the wall. I tried this with a plain wooden mirror for my niece’s room, painted soft yellow, and she uses it every morning to check her hair. Pro tip: paint the frame before you hang it and let it cure for a full day, because a frame hung while tacky picks up wall dust that never comes off. I learned that one the sticky way, literally.
Cost: ~$11 | Time: 60 minutes
15. Layered Mirrors Over a Dresser
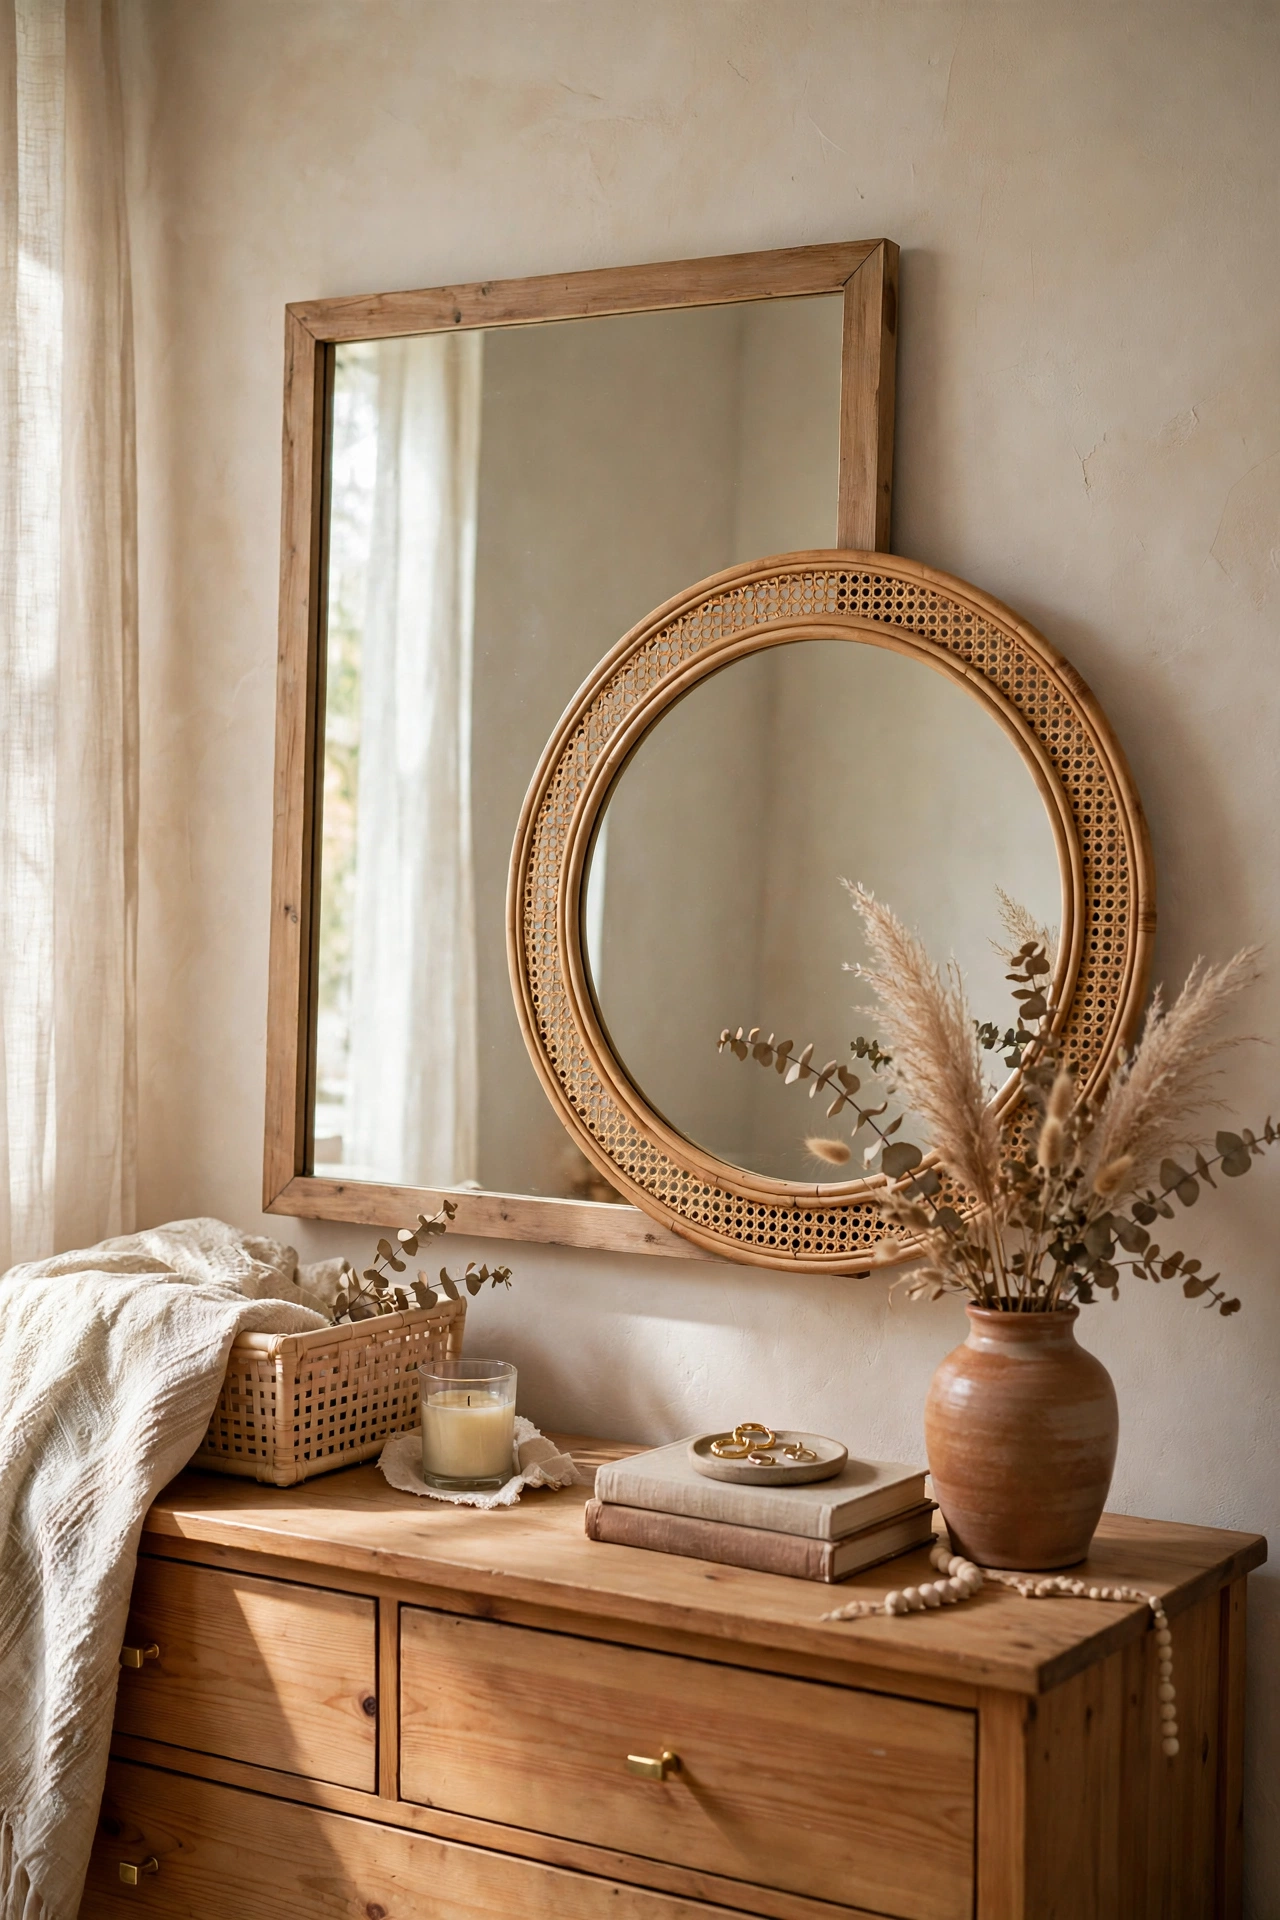
Layering two mirrors over a dresser, a large one at the back and a smaller one overlapping in front, creates depth that a single mirror cannot match. Hang the large mirror first, then lean the smaller one against it on the dresser top, making sure both are steady and nothing can slide. I tried this with a big rectangular mirror and a small round one from the same thrift trip, and my dresser became the prettiest corner of the bedroom. My mistake was leaning the small mirror without any grip underneath, and it slid forward twice before I added felt pads. A few pads underneath solve the sliding completely.
Cost: ~$16 | Time: 25 minutes
Start with whichever mirror you find first, because the perfect frame matters less than getting one on the wall and seeing the light change. Save this idea for your next thrift trip, and check the glass in daylight before you pay, so your bargain mirror brightens the room instead of disappointing you at home.
