23 Pantry Organization Ideas That Actually Stay Tidy
Pantry organization ideas are ten a penny, but pantry organization ideas that actually stay tidy? That’s a much shorter list. I’ve tried the Pinterest-perfect versions that collapse within a fortnight, and I’ve learned what really works: simple systems, containers that fit your actual shopping, and a routine so easy you can’t talk yourself out of it.
These 23 ideas are the ones that survived real life in my kitchen — kids, bulk buys, and all. Most cost under twenty pounds, and none of them need a carpenter.
1. Decant Dry Goods Into Clear Canisters
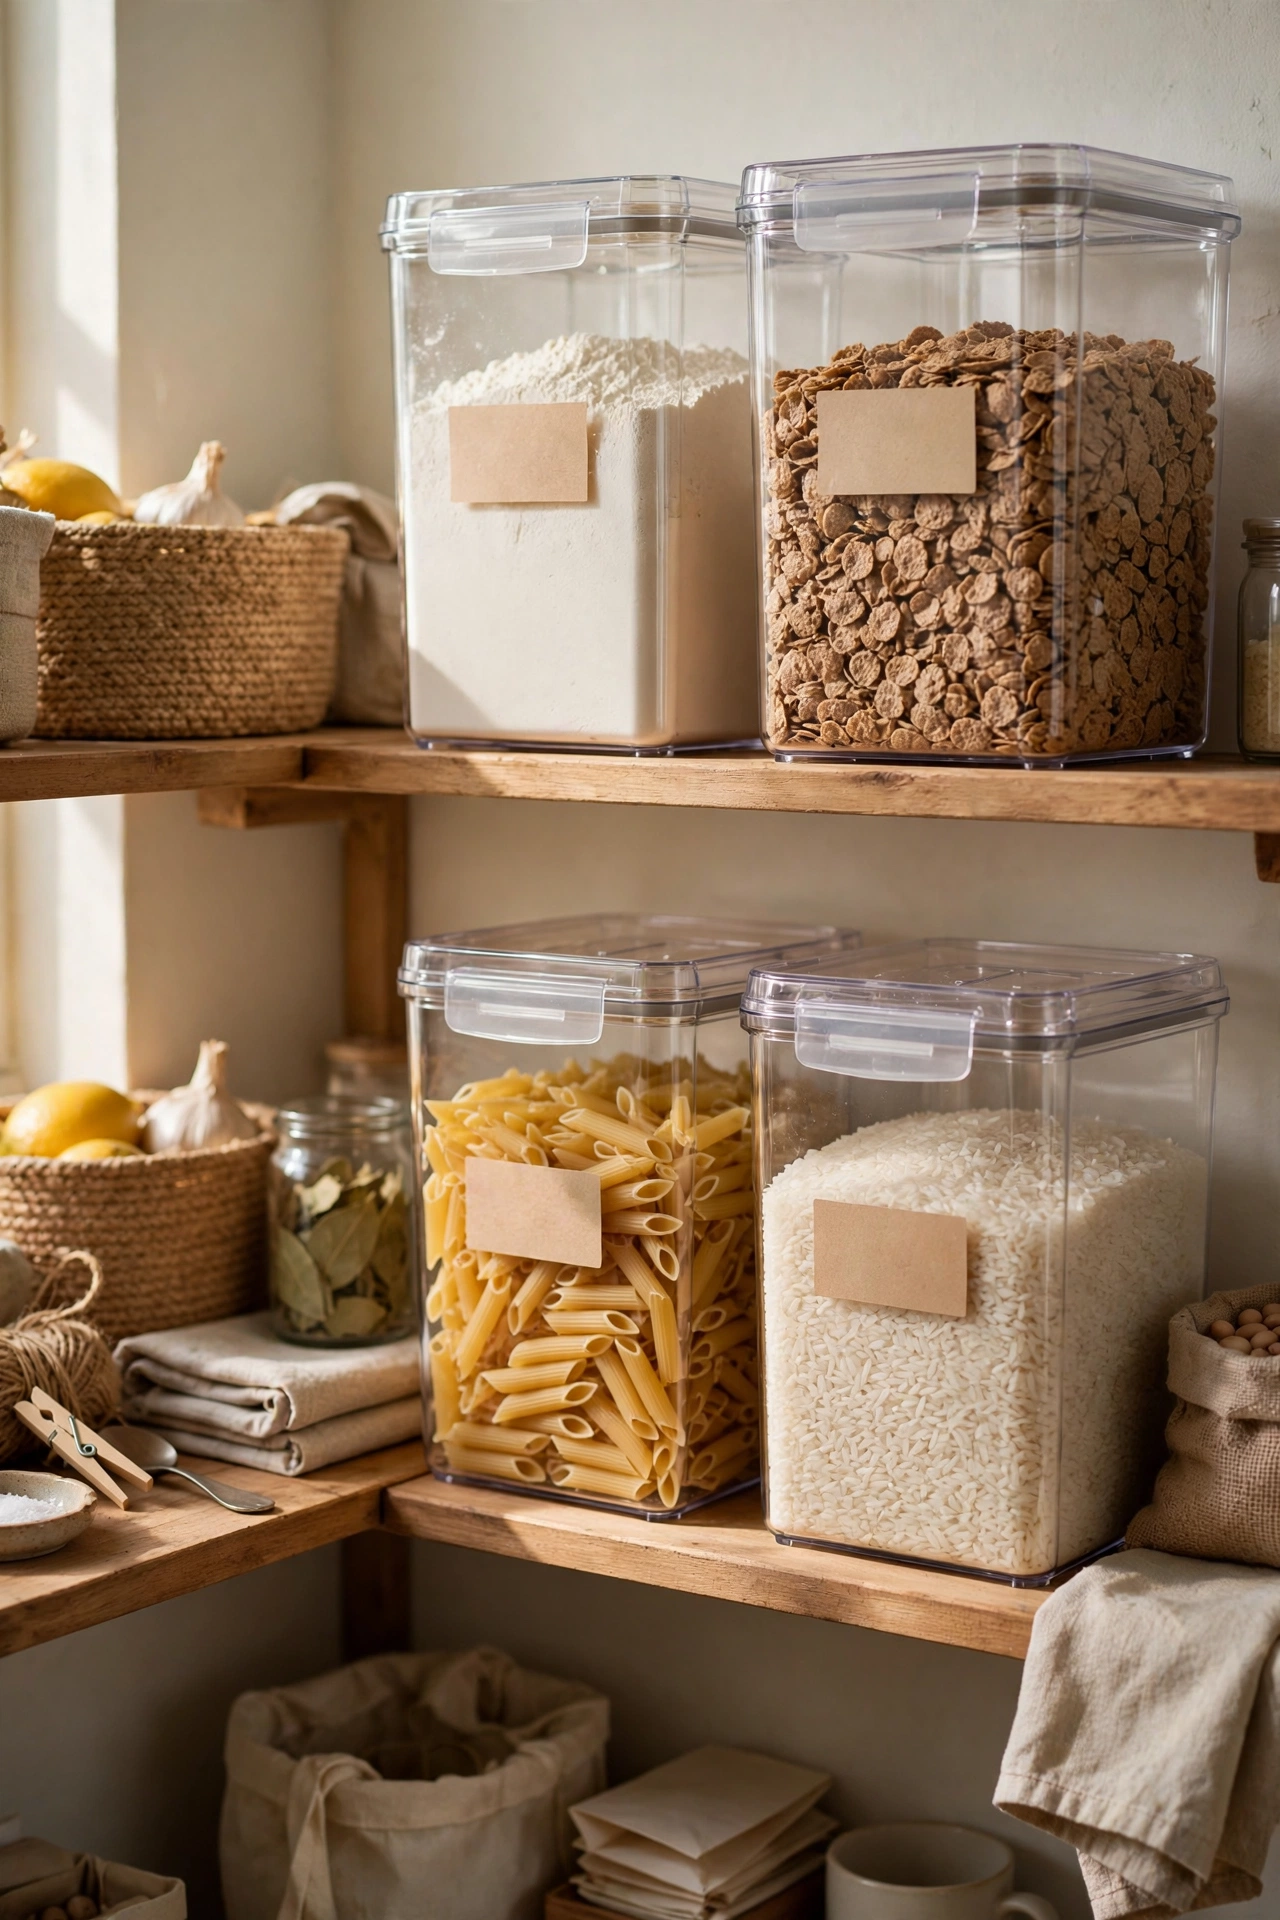
Pouring flour, rice, pasta, and cereals into clear airtight canisters means you can see exactly what you’ve got — no more buying a third bag of rice. Choose square canisters; they use shelf space far better than round ones. Label each with the contents and the date. I tried this and the one mistake to avoid is decanting everything at once; do one shelf per day or you’ll be surrounded by open packets at midnight with nowhere to put them.
Cost: ~$25 | Time: 1 hour
2. Label Everything With a Chalk Pen
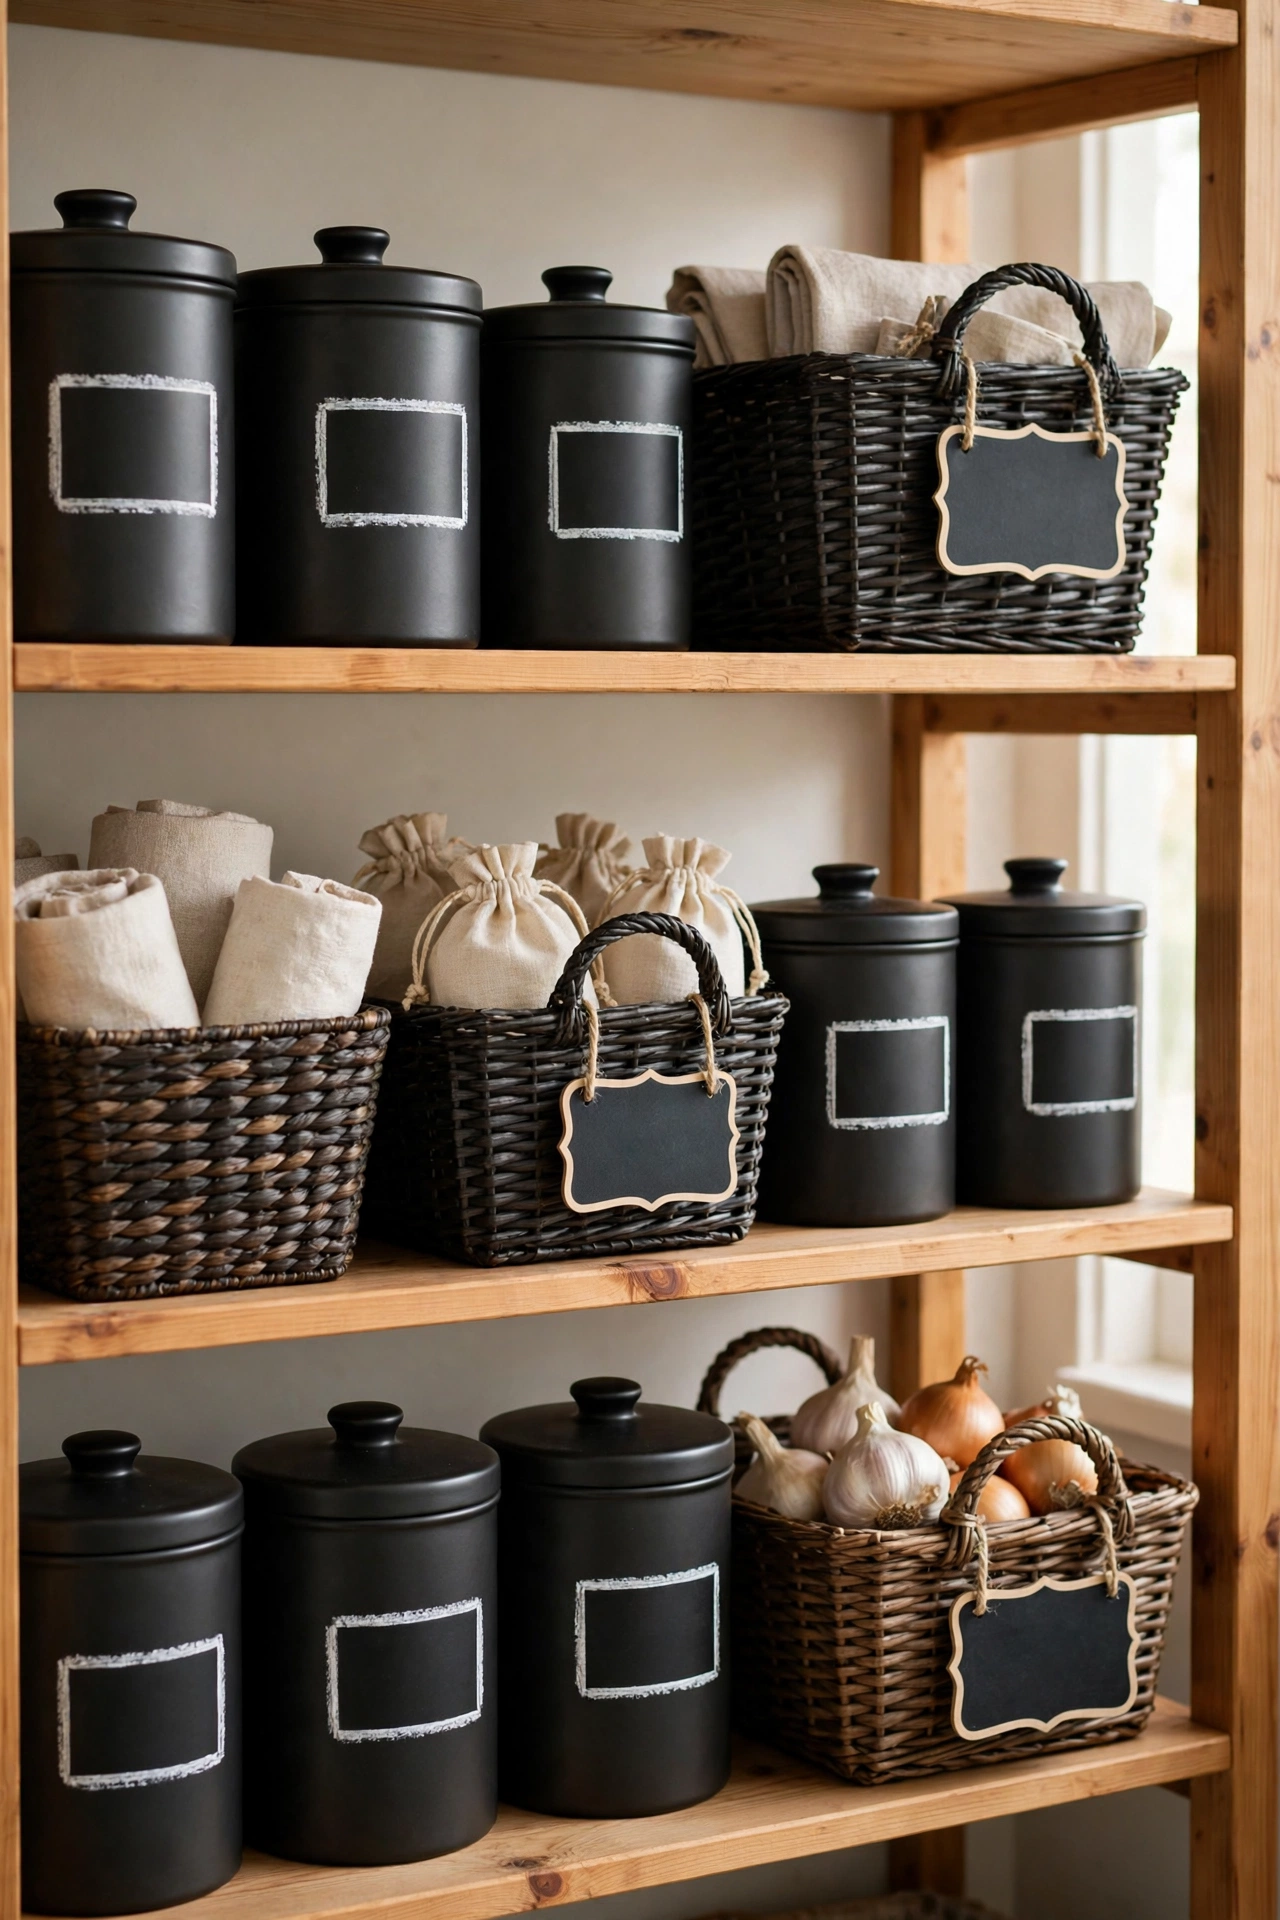
A white chalk pen on dark canisters or baskets tells everyone in the house where things live — which is half the battle for staying tidy. Write the contents and the expiry date. The pens wipe off with a damp cloth when you change the contents. I tried this and the one mistake to avoid is labelling in tiny writing; if you can’t read it from the doorway, it may as well not be there. Big, bold, simple.
Cost: ~$6 | Time: 20 minutes
3. Tiered Shelf Risers for Tins
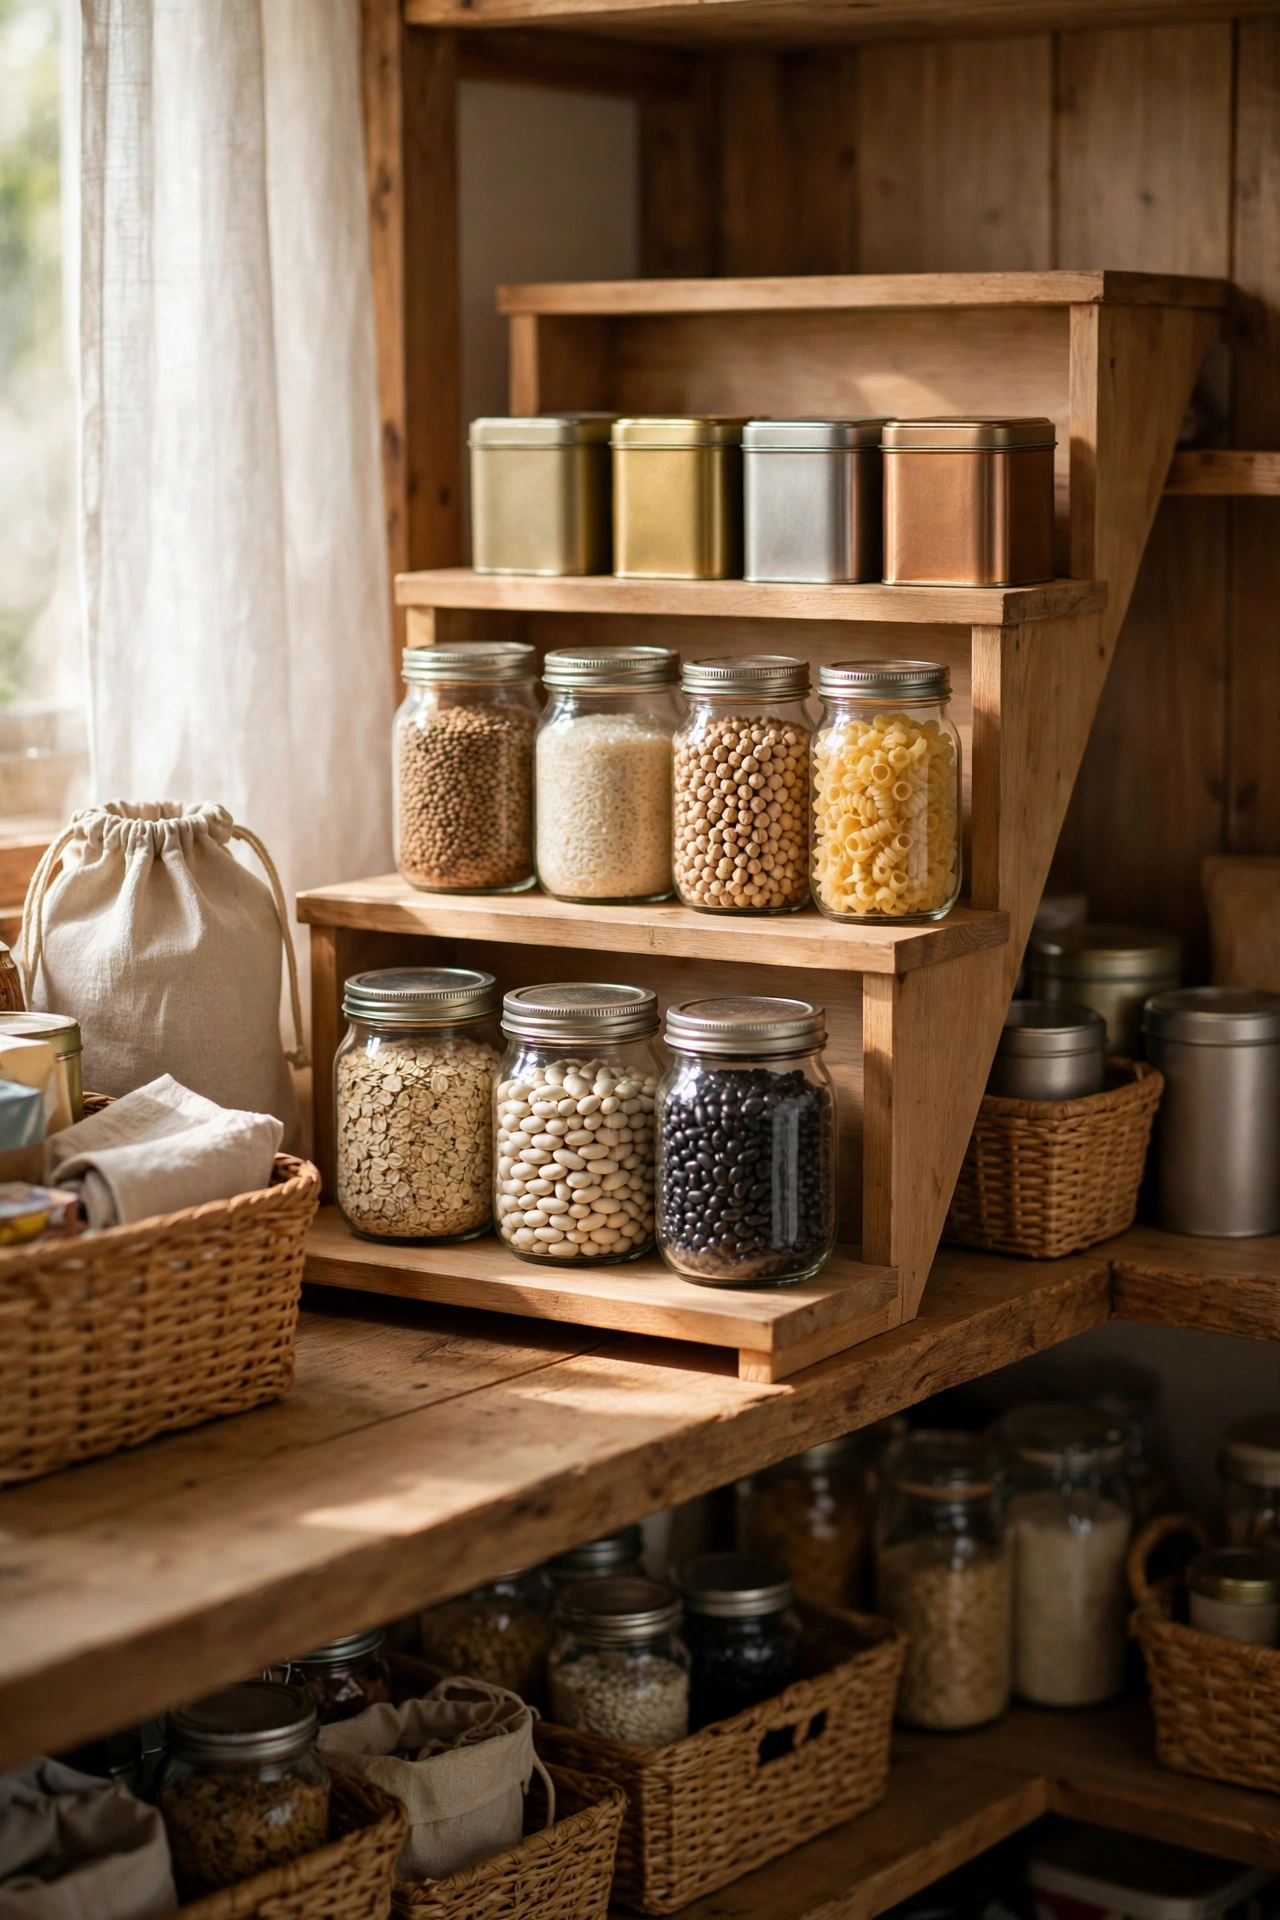
Tiered risers turn one deep shelf into a little staircase of tins where you can actually see the back row. No more discovering three-year-old chickpeas behind the baked beans. Measure your shelf height before buying. I tried this and the one mistake to avoid is a riser that’s too tall for the shelf above; check the clearance with your tallest tin, or the shelf won’t close — voice of experience.
Cost: ~$14 | Time: 15 minutes
4. Lazy Susan Turntables for Corners
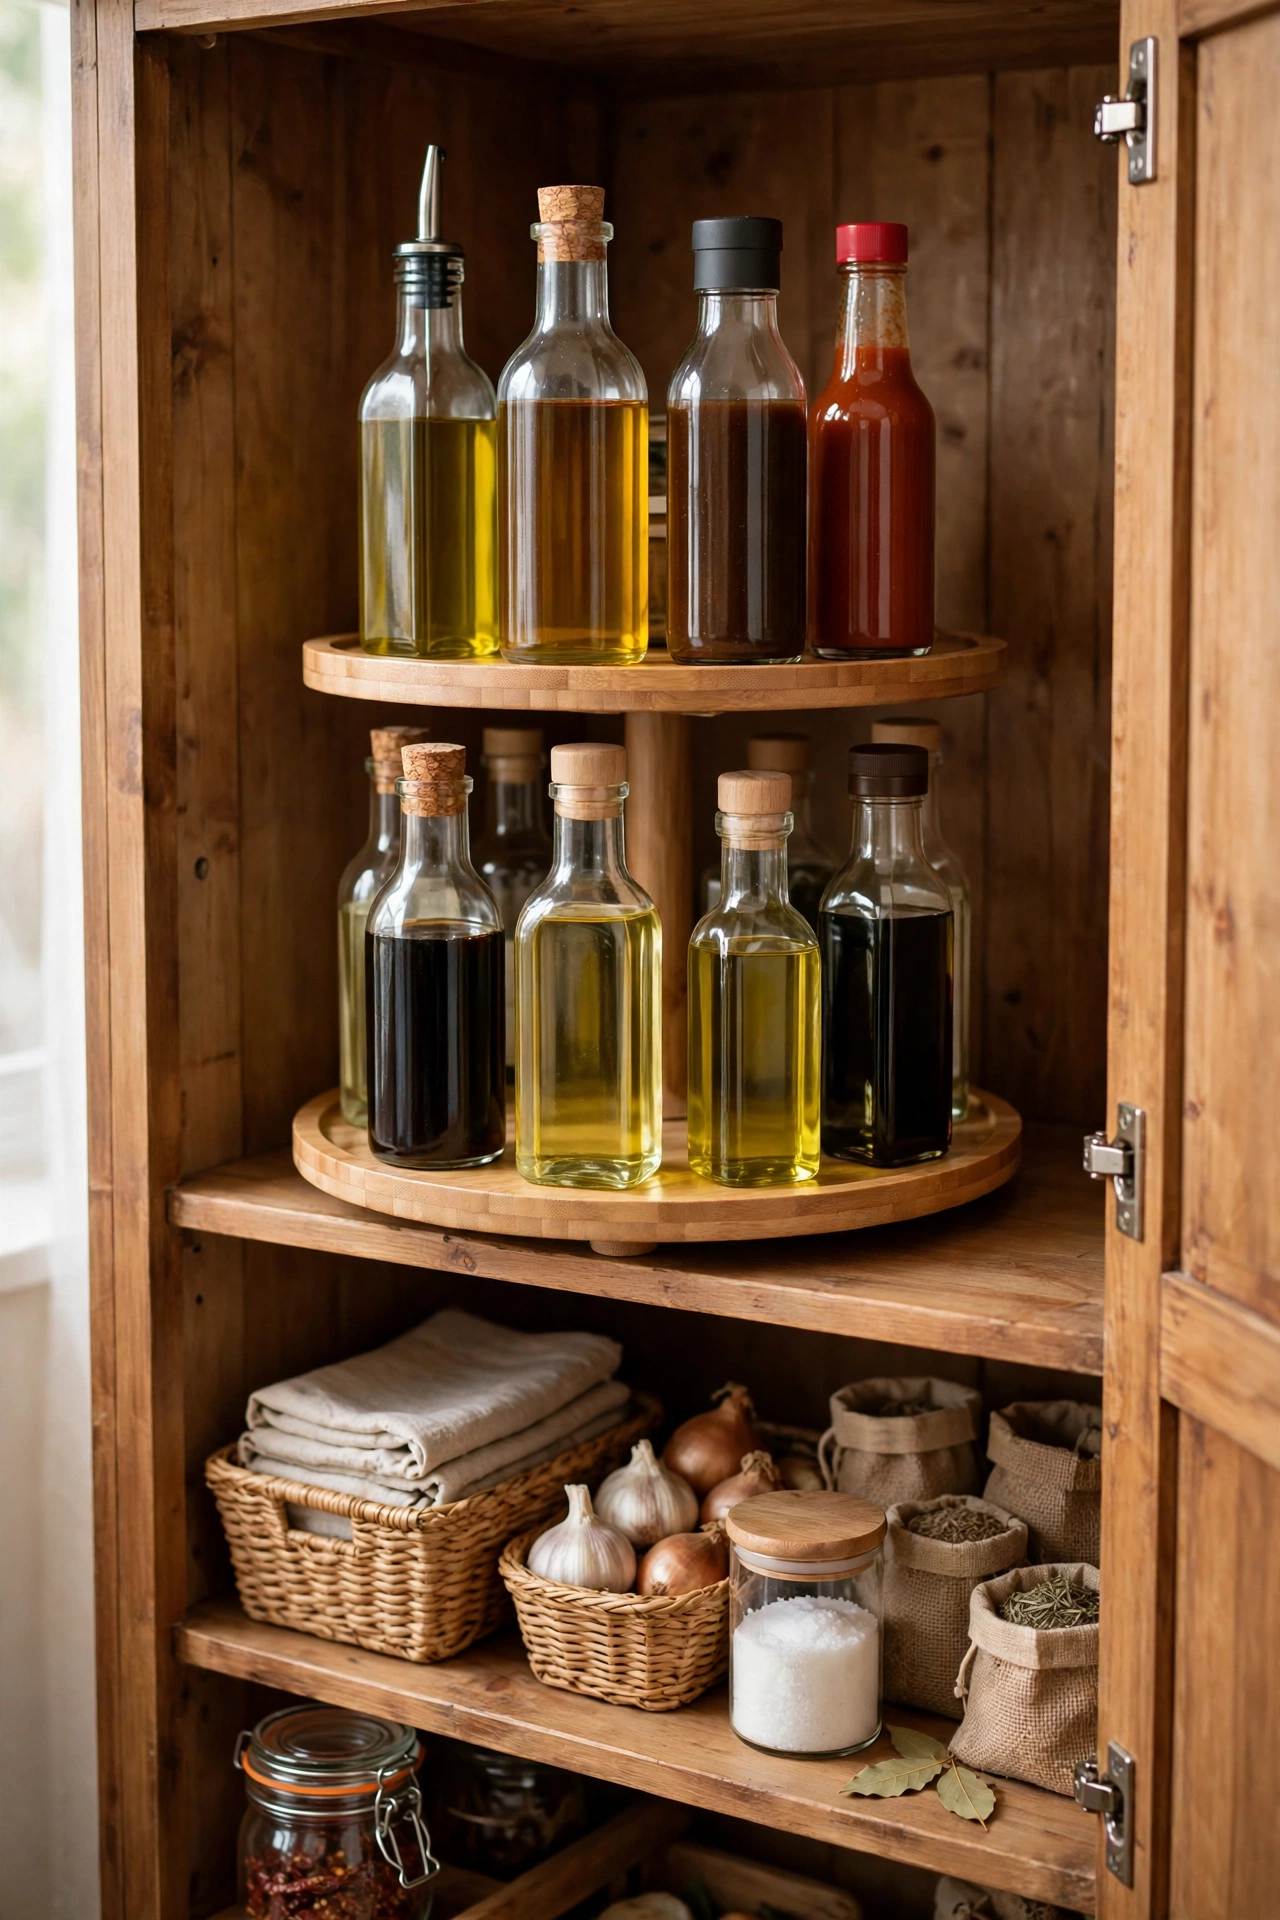
A turntable in a deep corner cupboard means nothing gets lost in the dark depths ever again — just spin and grab. The two-tier ones double the storage. They’re brilliant for oils, vinegars, and sauces. I tried this and the one mistake to avoid is overloading it; a turntable packed edge-to-edge won’t turn. Leave a finger’s width of space around the edge.
Cost: ~$12 | Time: 10 minutes
5. Over-the-Door Rack for Spices
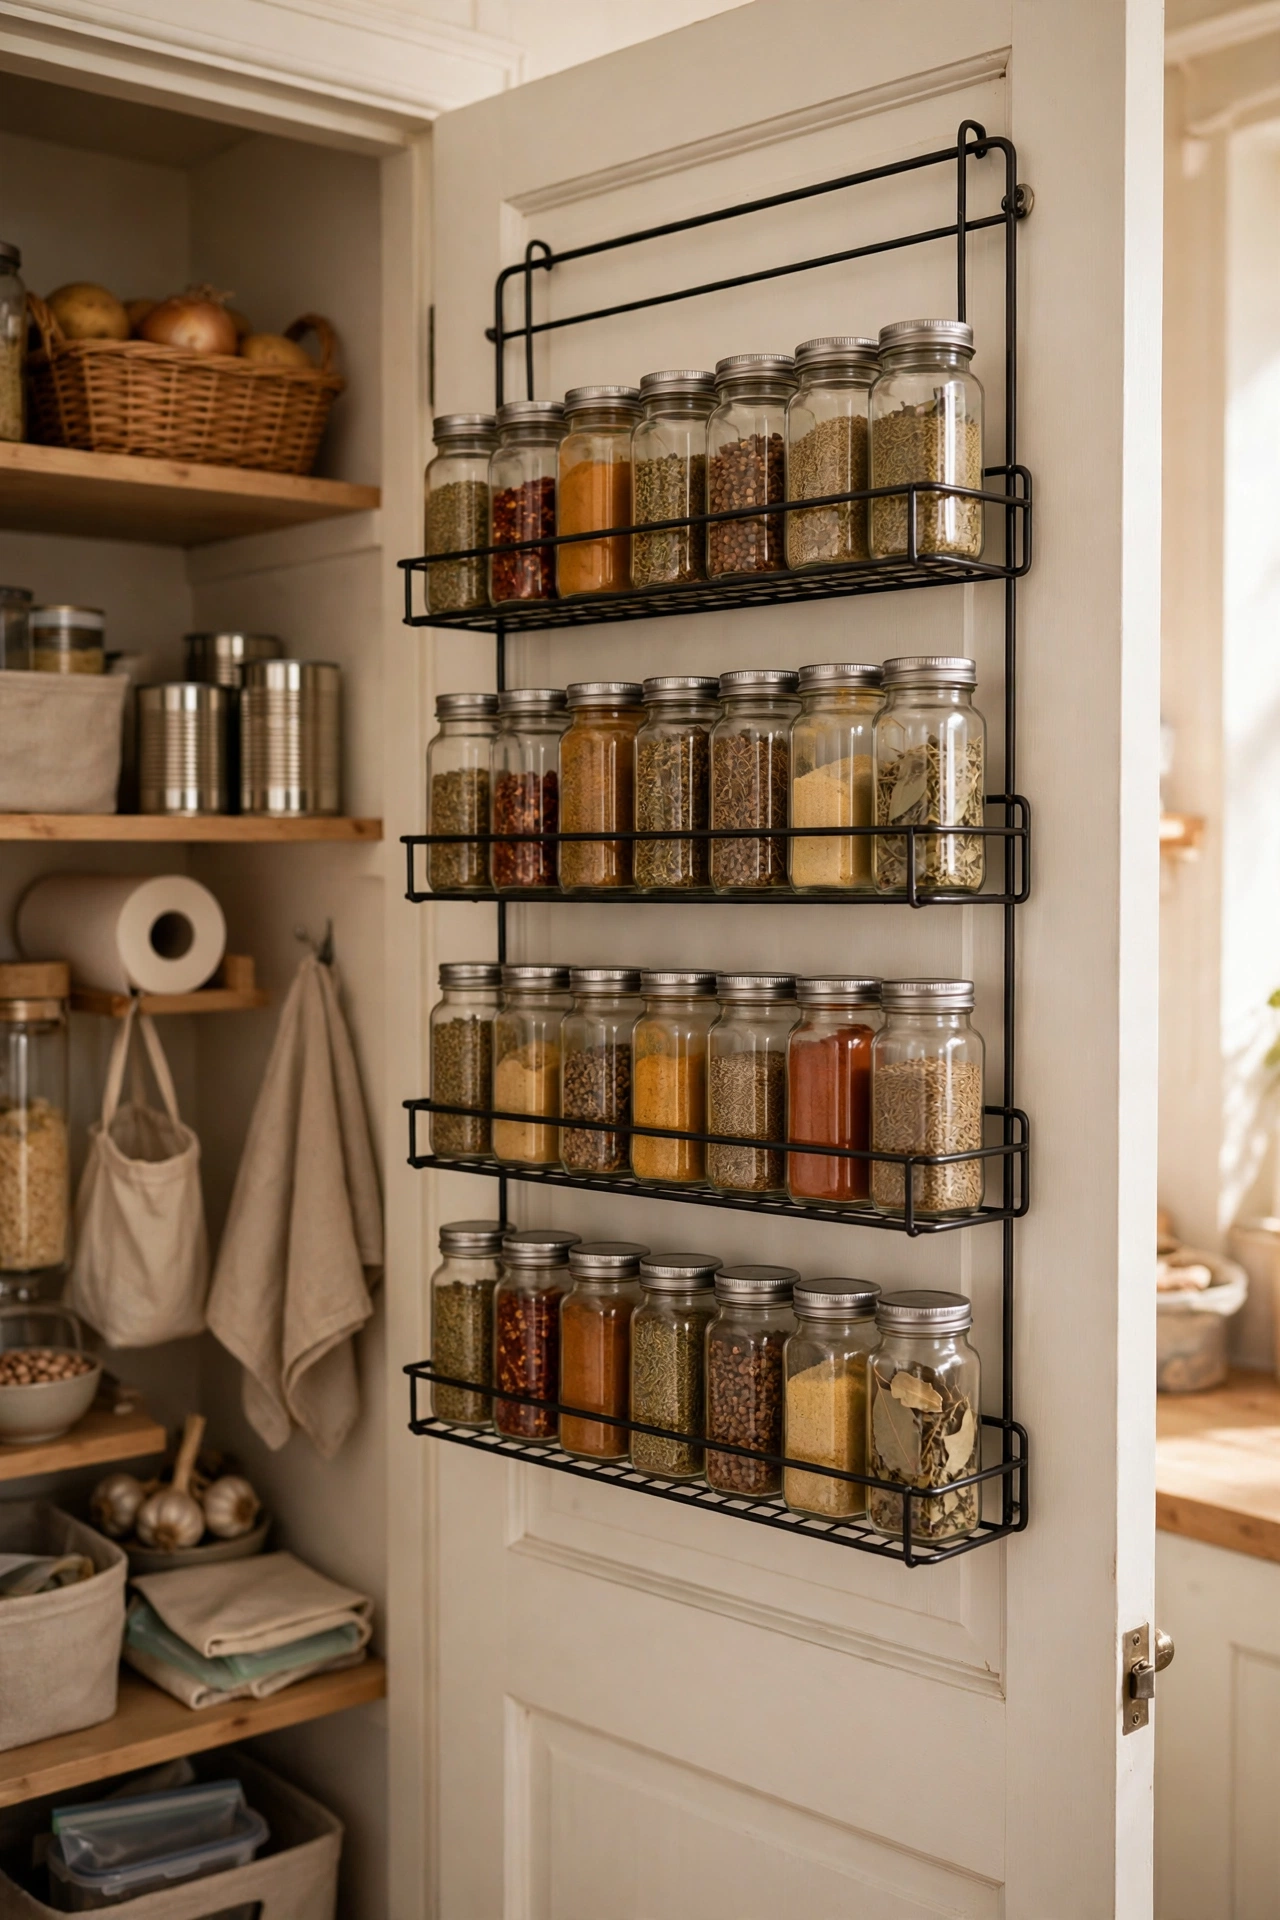
An over-the-door wire rack on the inside of the pantry door creates a spice library out of thin air. Arrange alphabetically if you’re that person, or by cuisine if you’re fun. Check the door still closes with full jars. I tried this and the one mistake to avoid is cheap racks with shallow baskets; spice jars walk right off them. Look for a decent lip on each tier.
Cost: ~$20 | Time: 15 minutes
6. Pull-Out Baskets on Lower Shelves
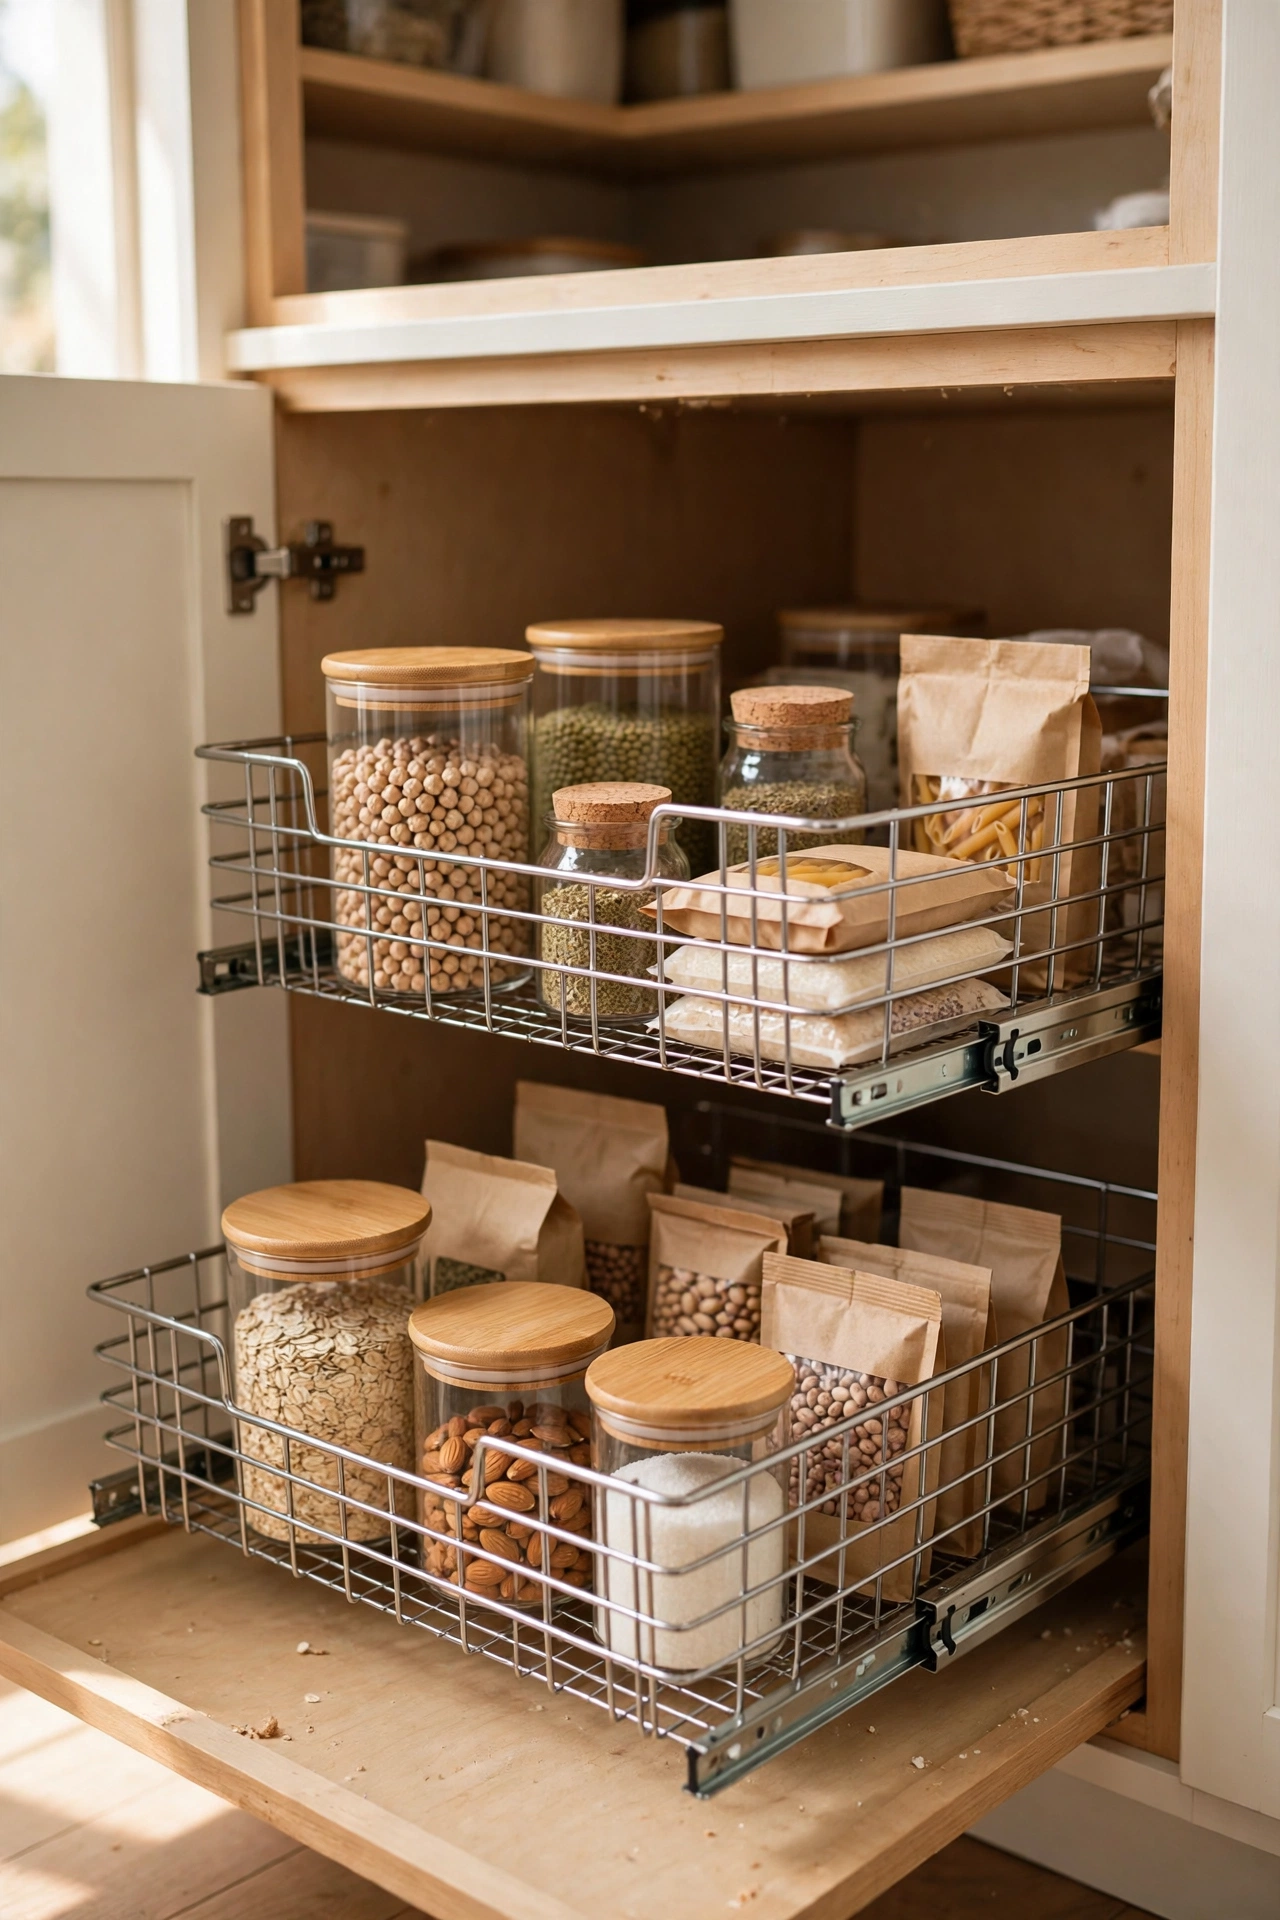
Wire pull-out baskets on runners turn deep lower shelves into drawers you can actually reach into — no more kneeling and groping. They’re sold as retrofit kits that screw into existing shelves. I tried this and the one mistake to avoid is skipping the measuring; basket kits come in exact widths, and a centimetre out means it won’t fit. Measure twice, order once.
Cost: ~$30 | Time: 1 hour
7. Zone the Pantry: Baking, Breakfast, Snacks
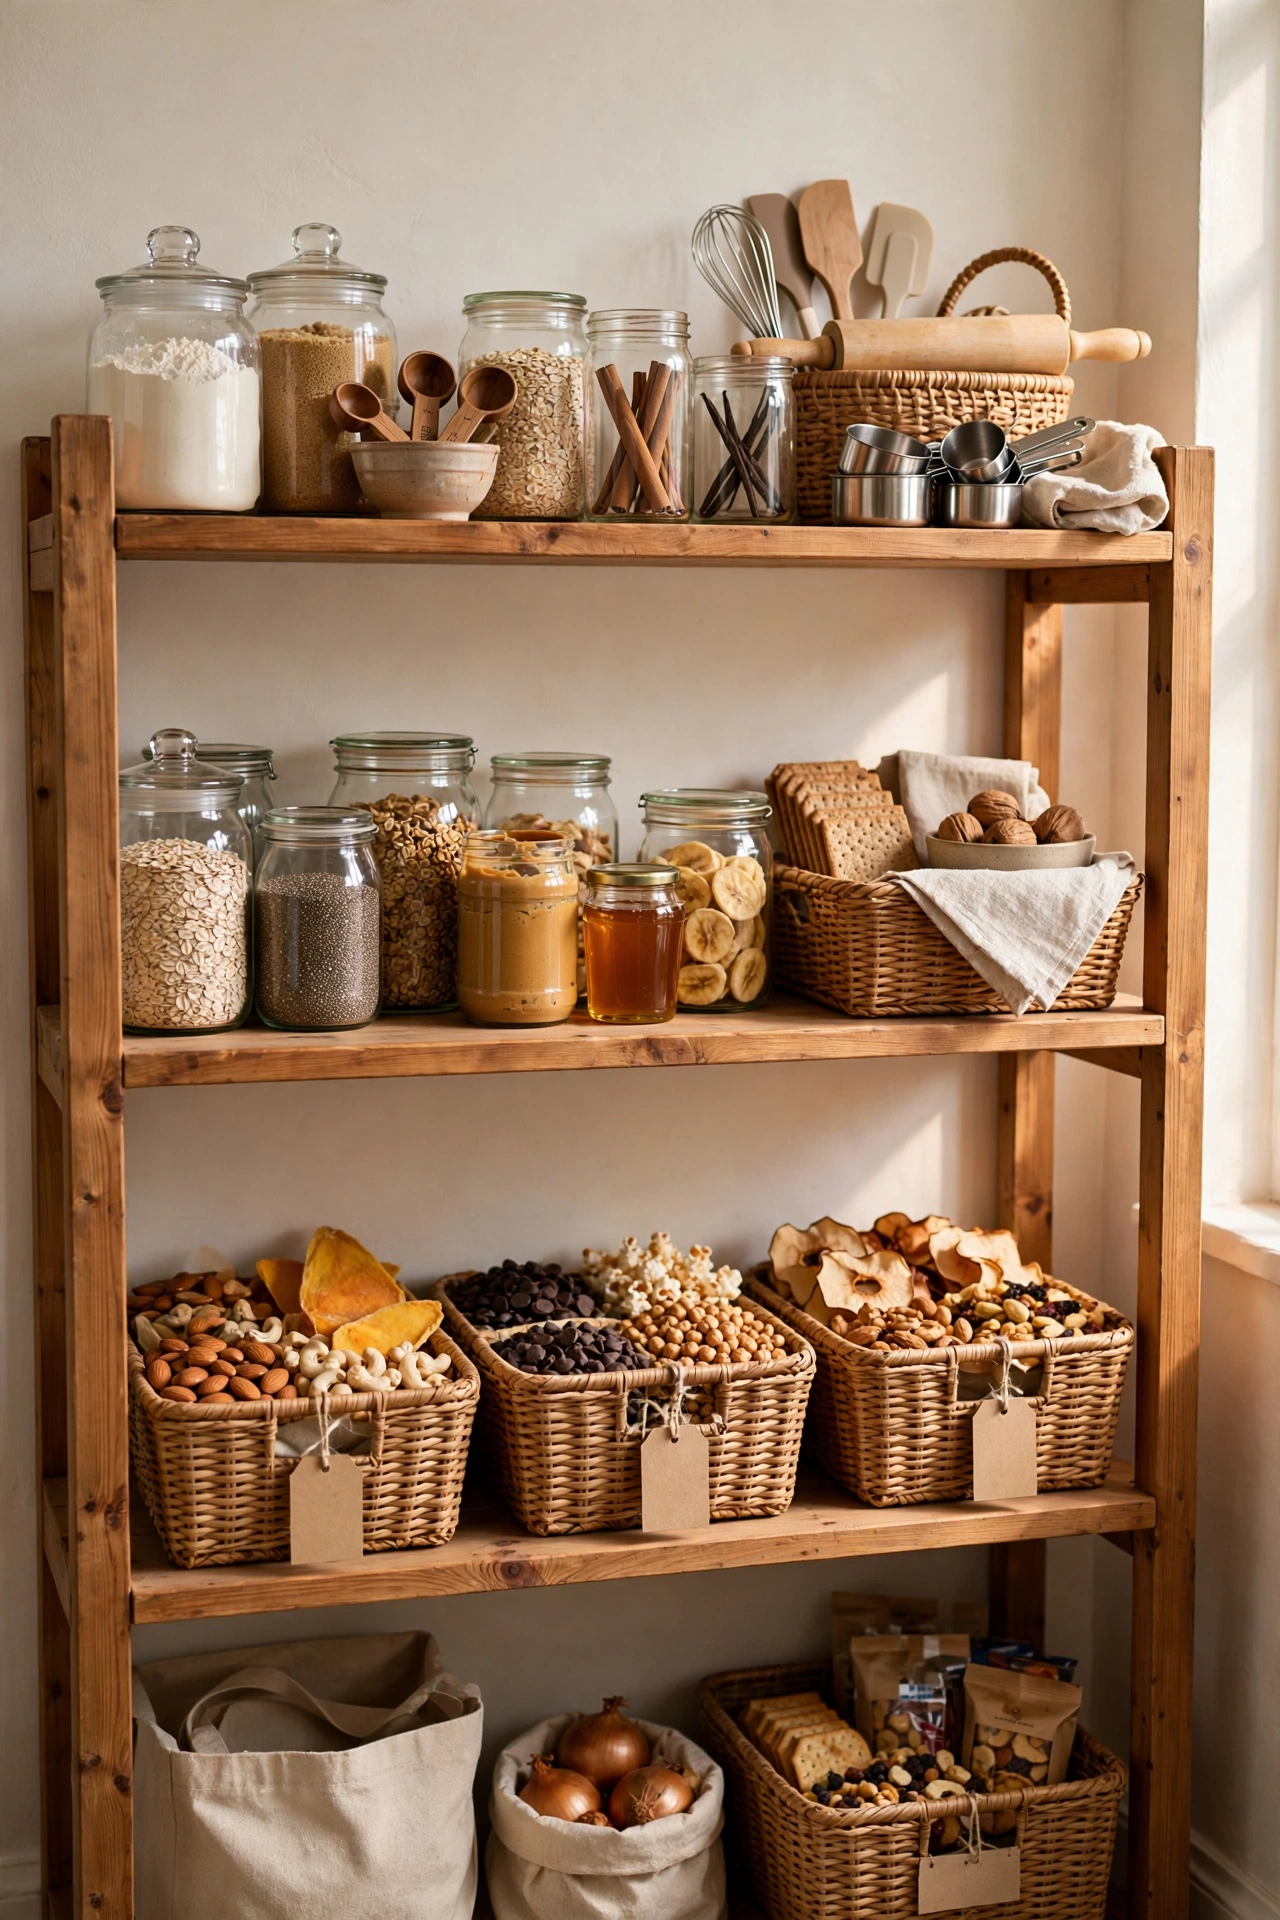
Grouping everything by use — a baking zone, a breakfast zone, a snack zone — means you shop and cook from one spot instead of hunting across five shelves. It also makes the weekly shop faster because you can see each zone’s gaps. I tried this and the one mistake to avoid is zones that are too rigid; the baking zone will always borrow from the breakfast zone. Let the boundaries be blurry.
Cost: ~$0 | Time: 1 hour
8. Slim Rolling Cart for the Gap Beside the Fridge
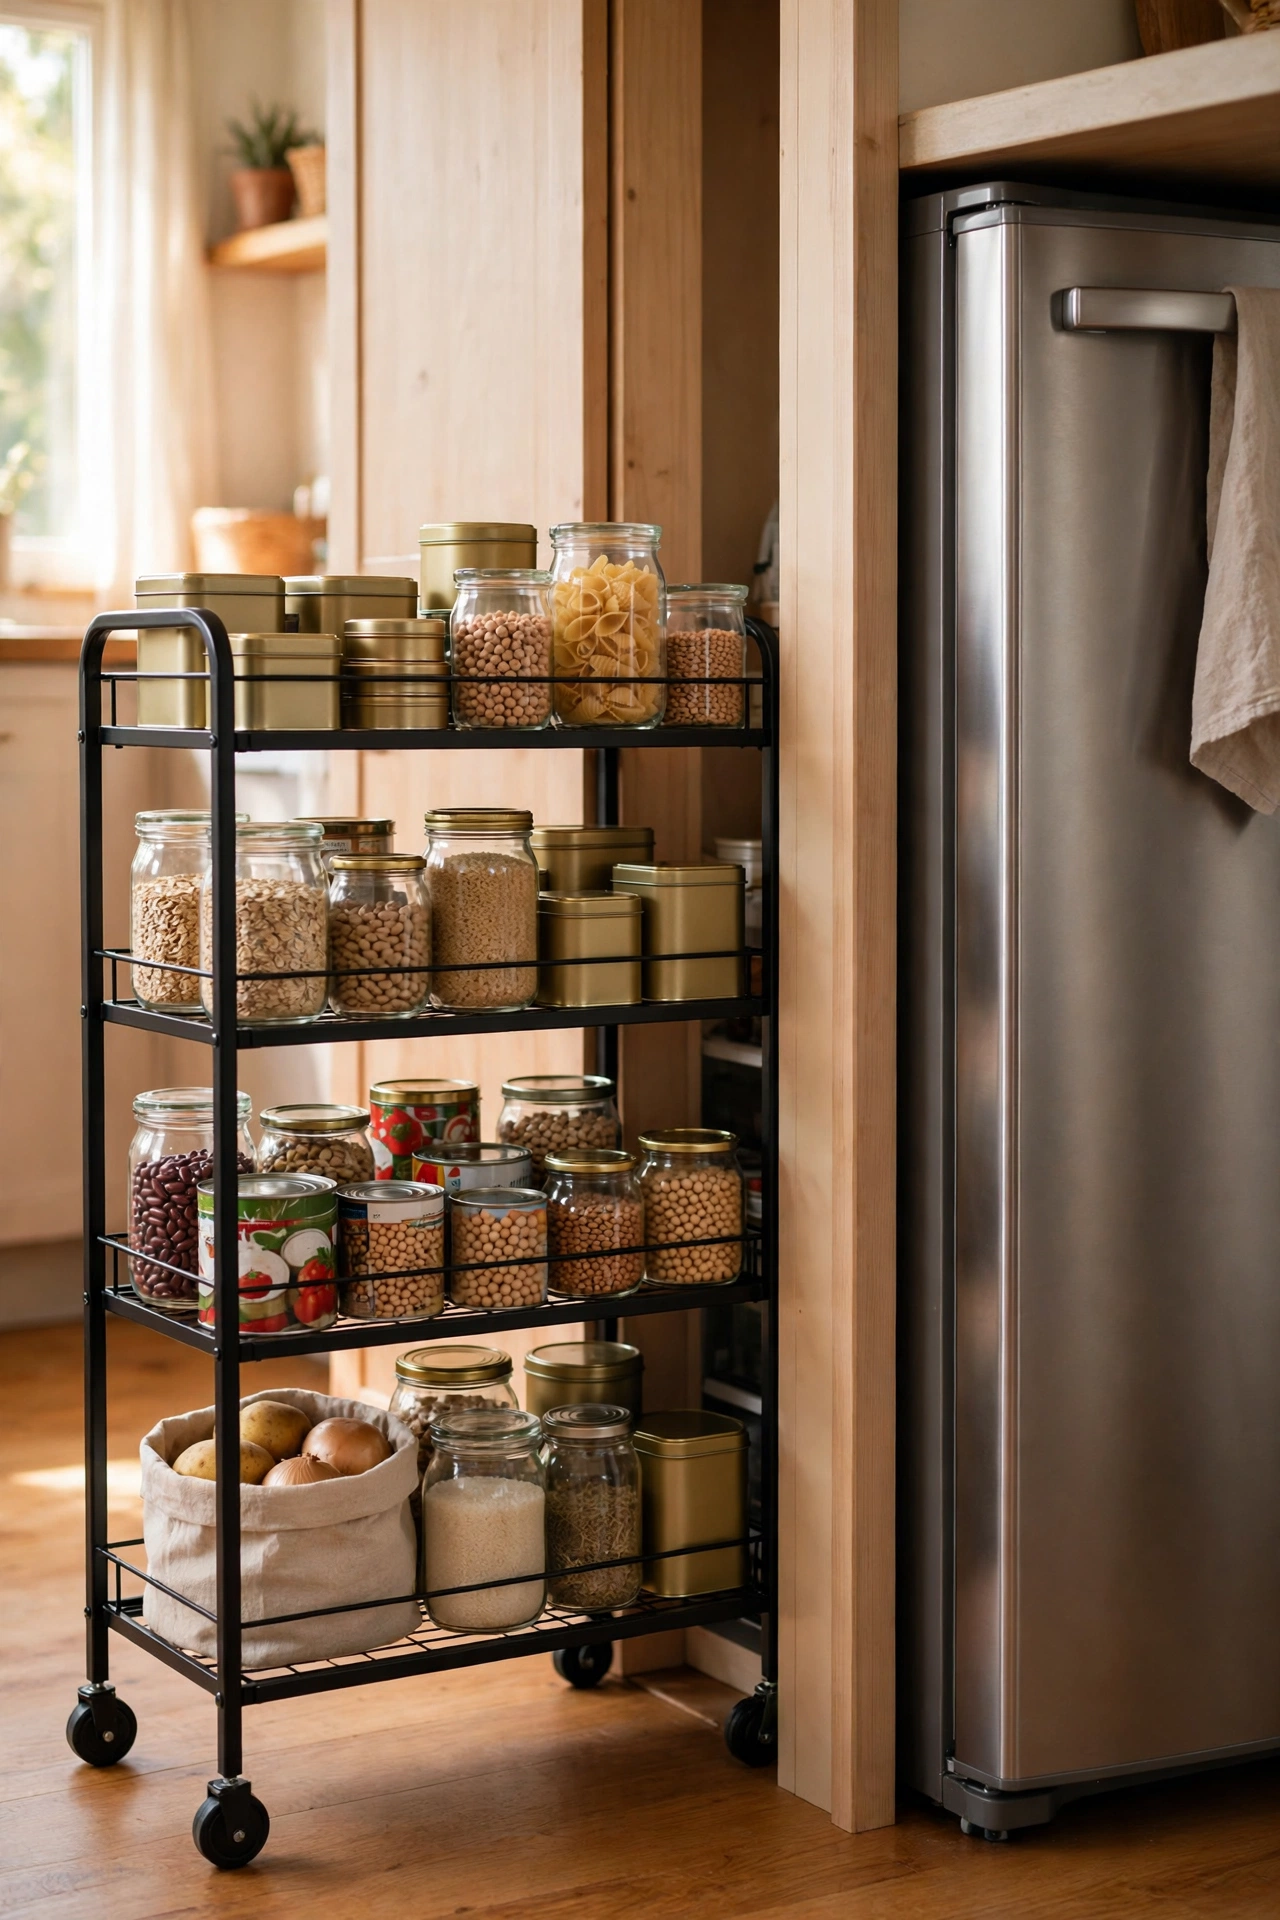
That dead 15cm gap beside the fridge is a pantry waiting to happen with a slim rolling cart. It holds an absurd amount of tins, jars, and packets in tiers. Measure the gap carefully — they come in very specific widths. I tried this and the one mistake to avoid is a cart with fixed shelves too close together; check your tallest bottle fits before you buy, or the top shelf becomes decoration.
Cost: ~$28 | Time: 30 minutes
9. Uniform Baskets for Snack Categories
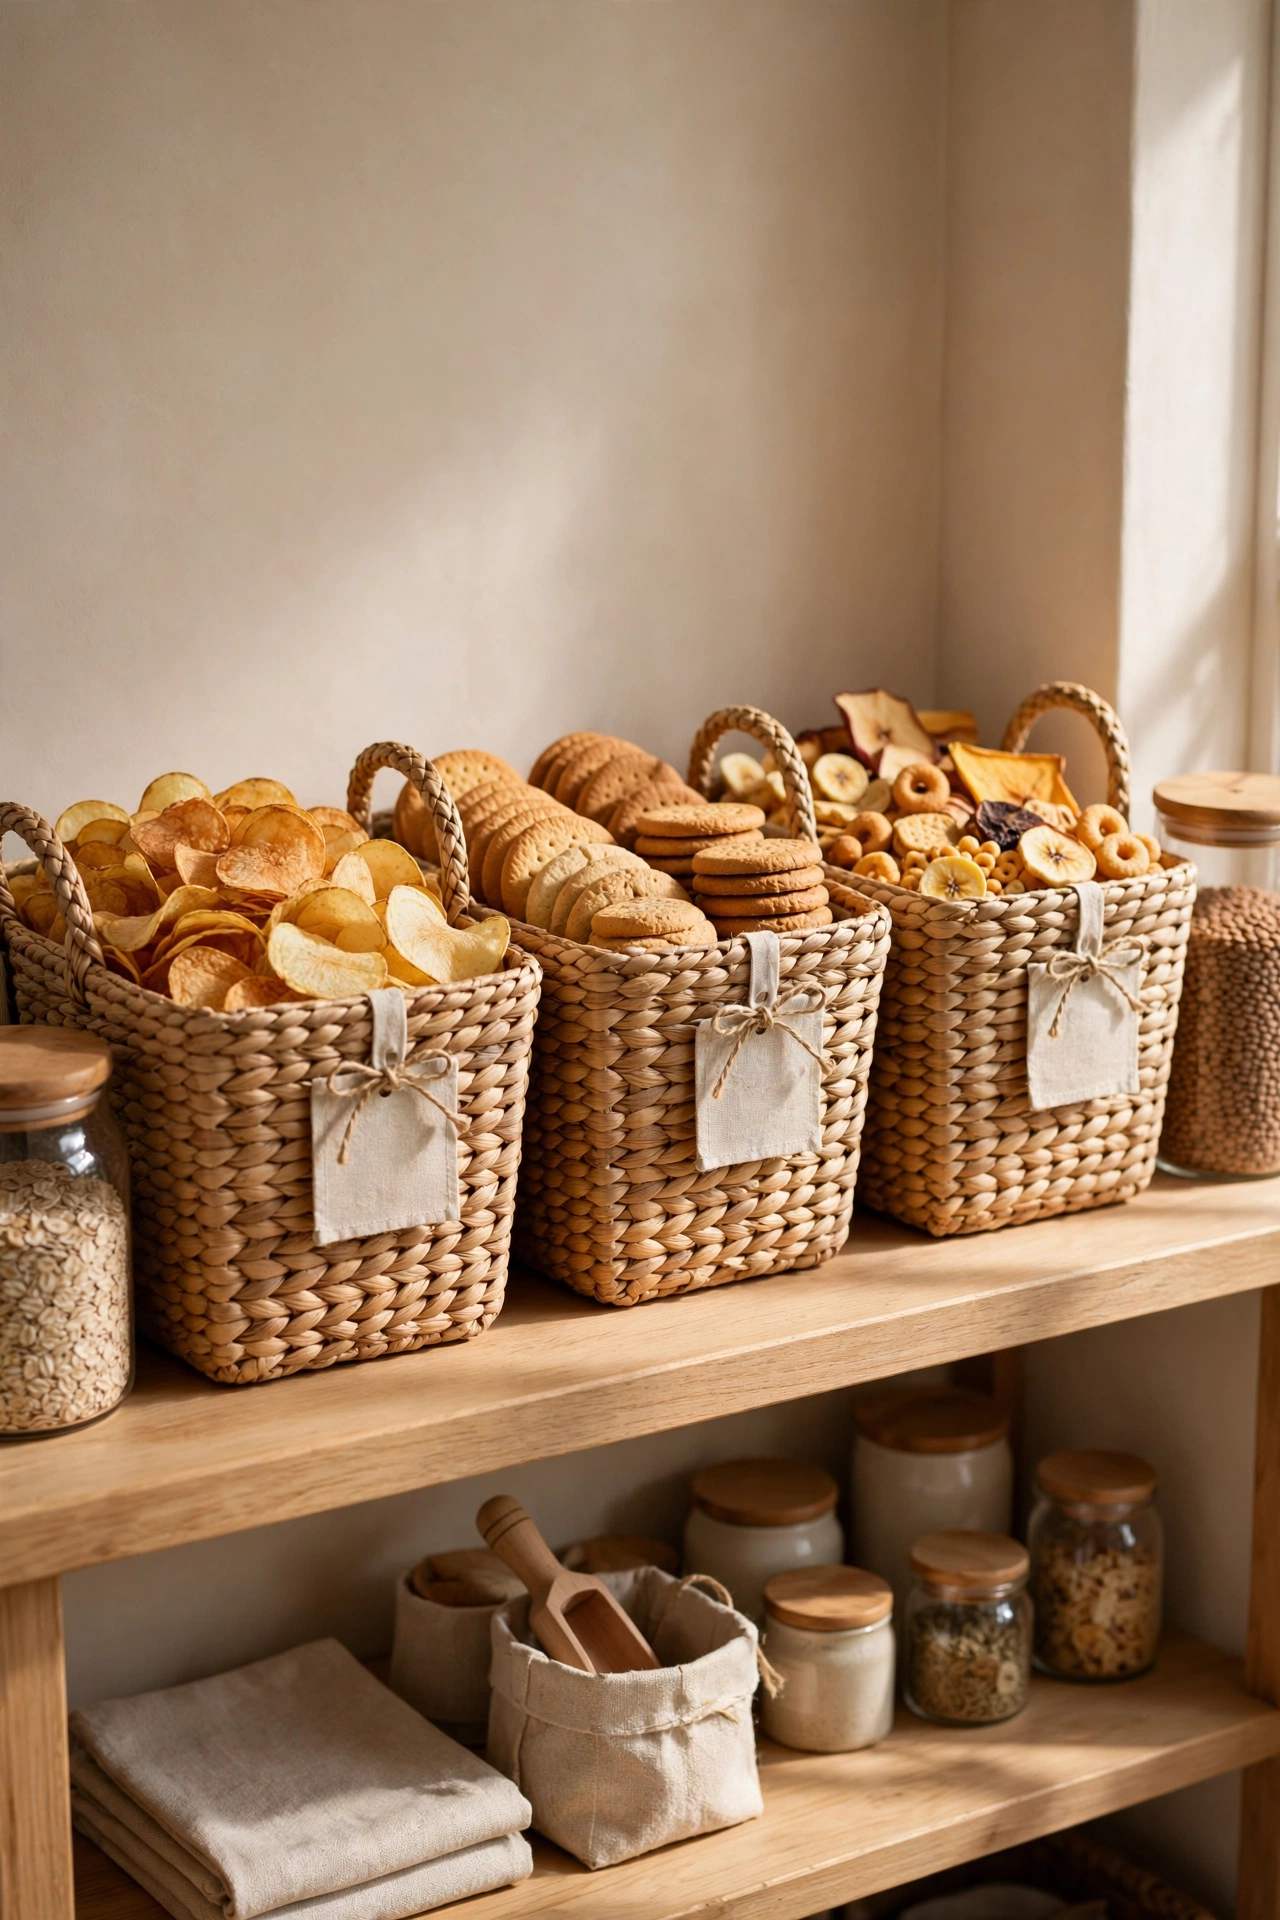
One basket for crisps, one for biscuits, one for the kids’ snacks — uniform baskets make the snack shelf look calm and stop packets avalanching every time someone reaches in. Label each basket so the system survives other people. I tried this and the one mistake to avoid is baskets with no handles; you’ll pull them out ten times a day, and handles turn it from a chore into a non-event.
Cost: ~$18 | Time: 20 minutes
10. Hang Measuring Cups Inside the Door
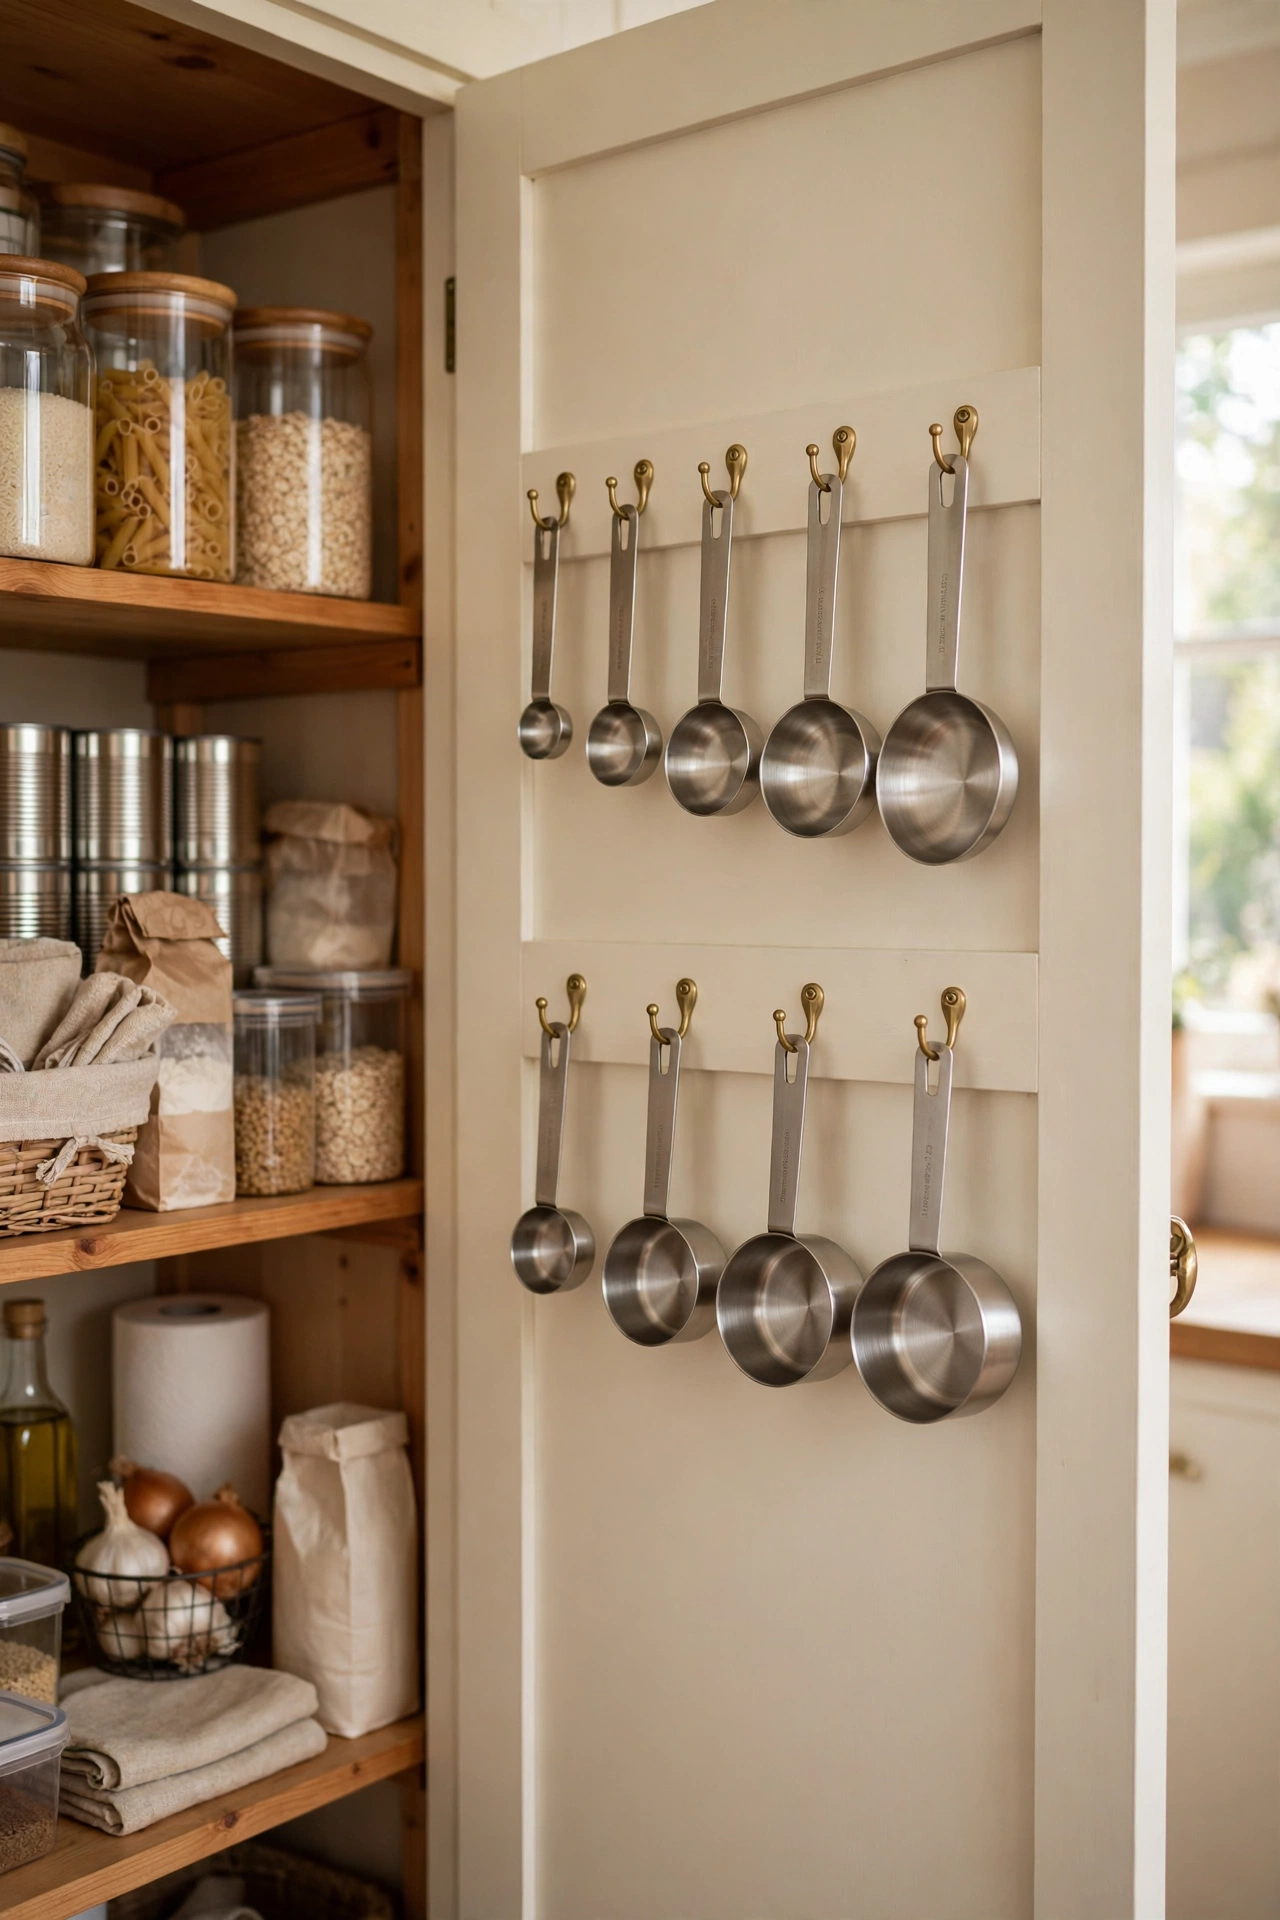
A row of small hooks inside the pantry door holding your measuring cups and spoons keeps them visible and reachable — and out of the drawer jumble. Use removable hooks so there’s no damage. I tried this and the one mistake to avoid is hanging them where the door shelves are; check the clearance when the door closes or you’ll hear the crash from the next room.
Cost: ~$8 | Time: 15 minutes
11. Stackable Bins for Root Vegetables
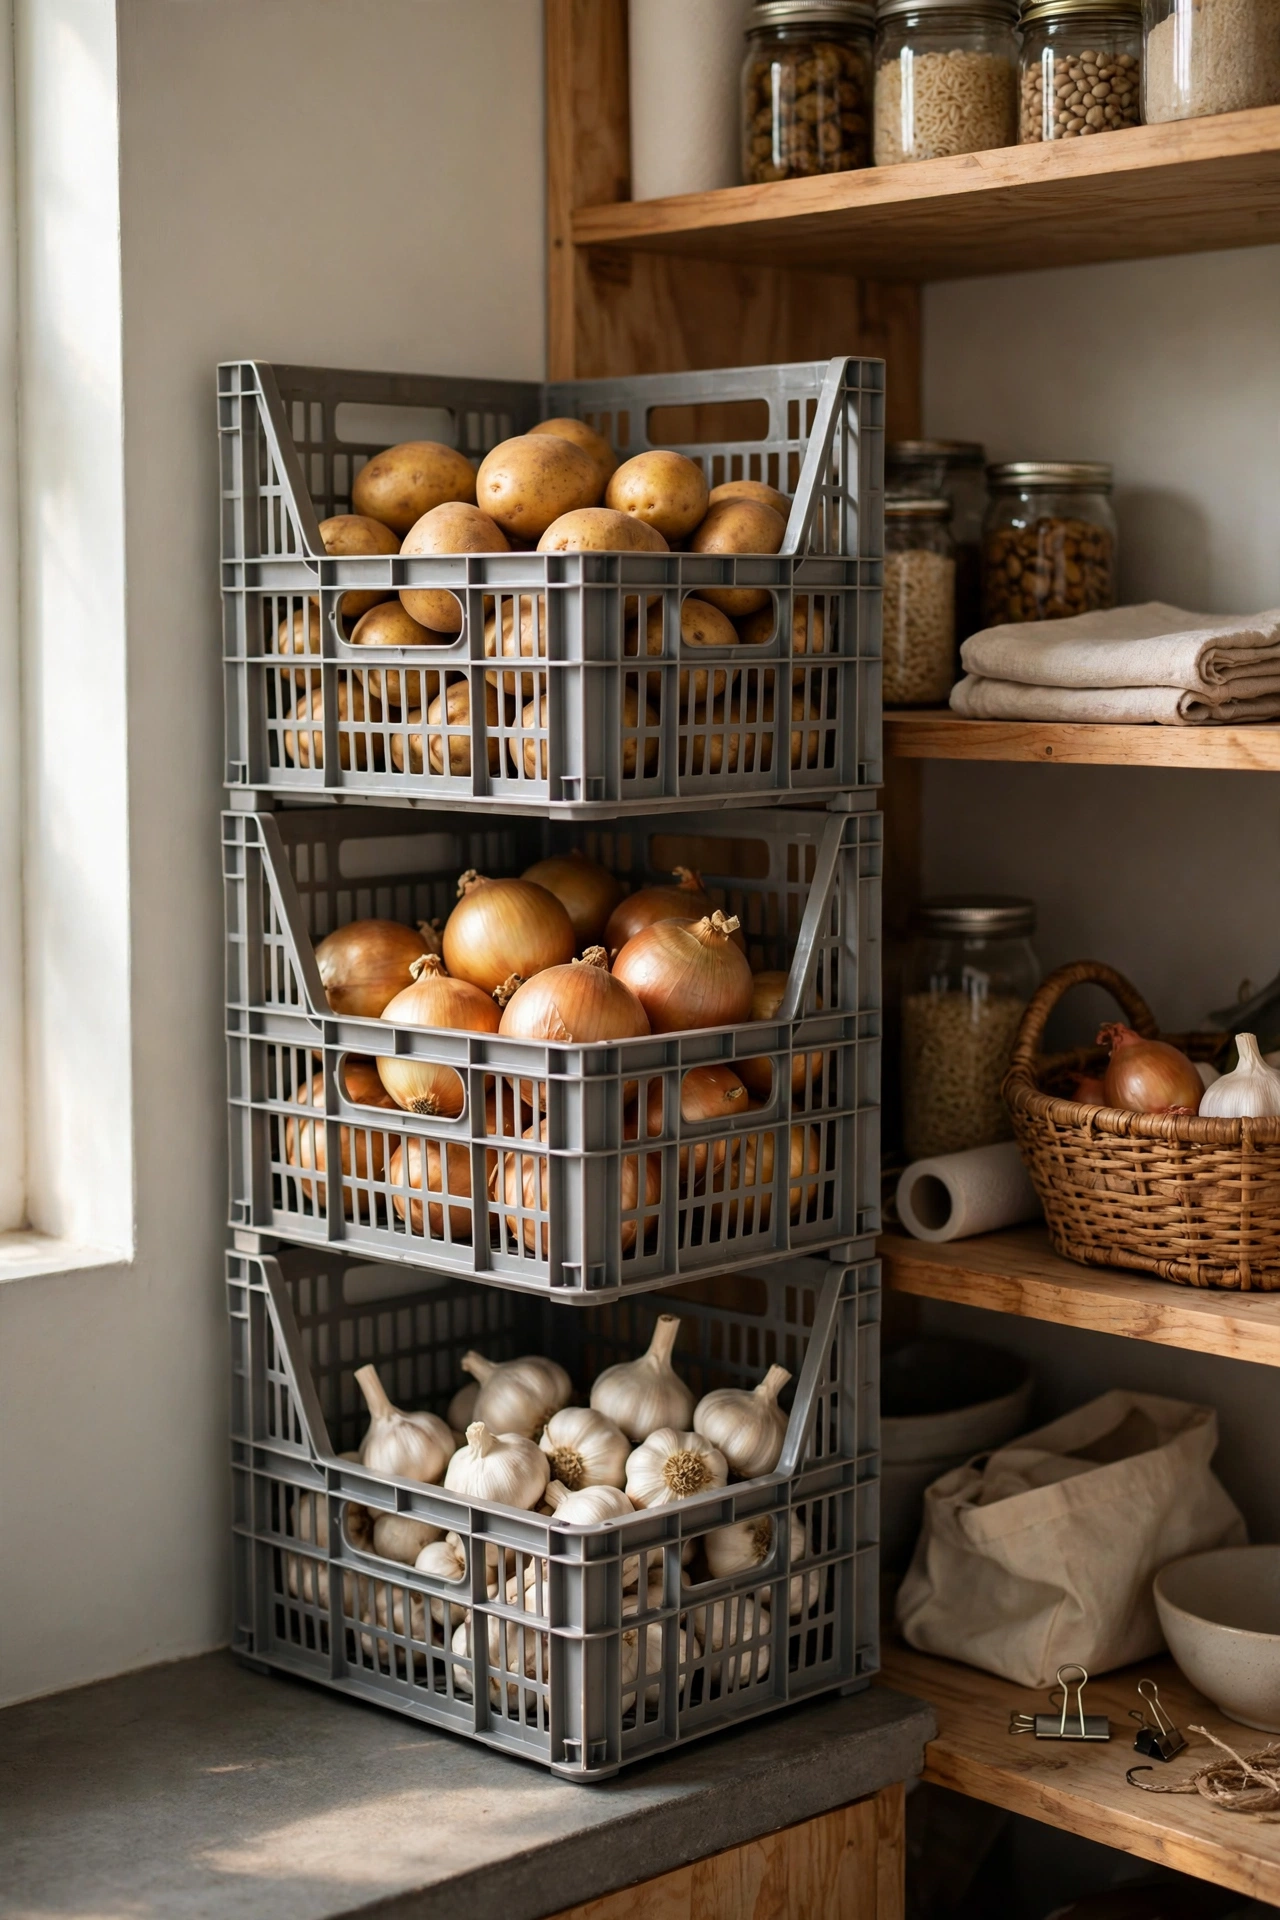
Stackable ventilated bins for potatoes, onions, and garlic keep them dark, aired, and separate — which is exactly what they need to last. The stackable kind use vertical space brilliantly. Keep them low and cool. I tried this and the one mistake to avoid is storing onions and potatoes together; they genuinely do make each other sprout faster. Separate bins, always.
Cost: ~$16 | Time: 10 minutes
12. Magazine Holders for Wrap and Foil
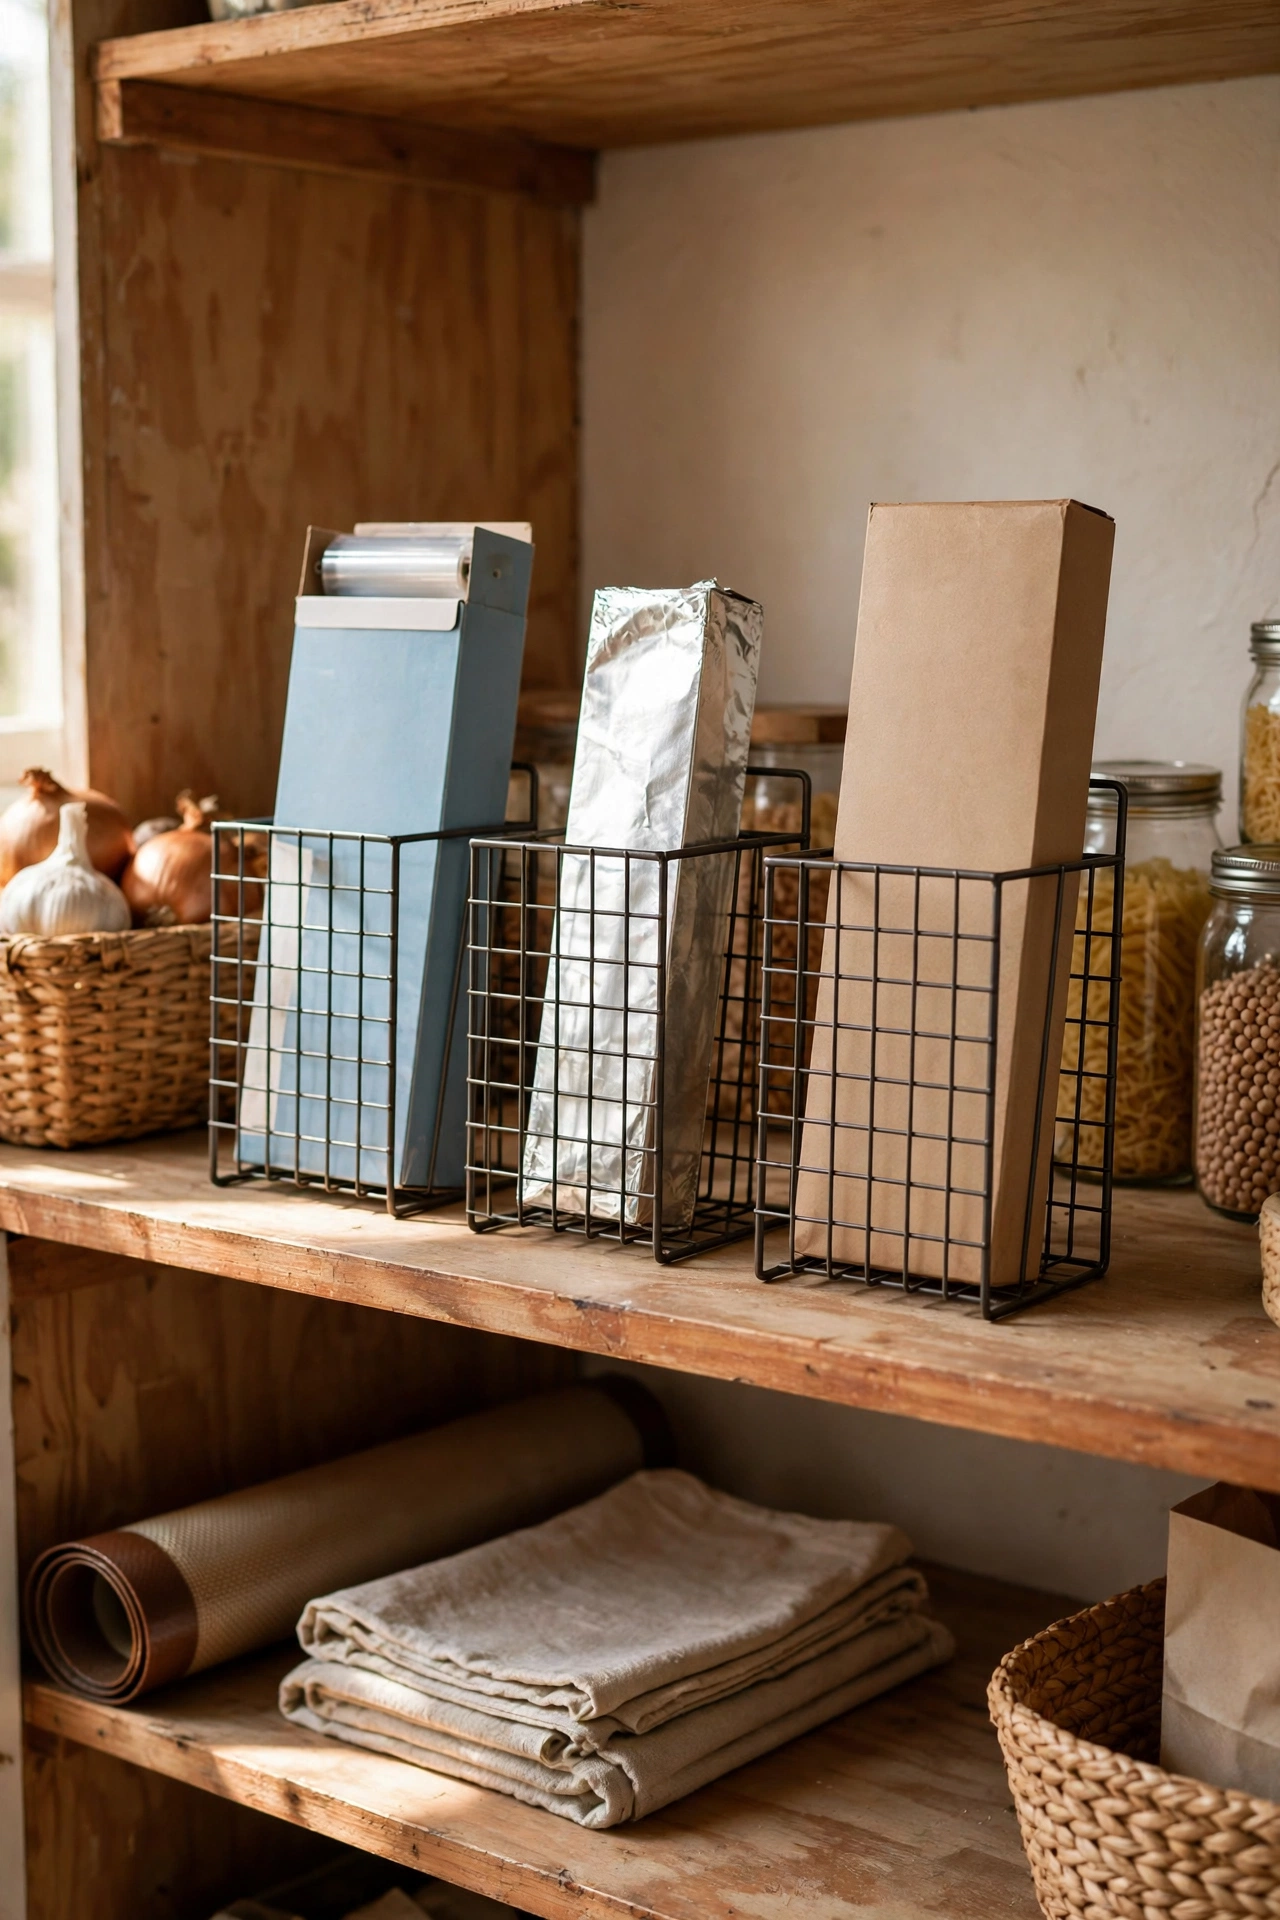
Upright magazine holders are the perfect size for cling film, foil, and baking paper boxes — they stop the long boxes sliding around and getting crushed. Screw or stick the holders to the inside of a door or a shelf end. I tried this and the one mistake to avoid is the cardboard holders; they go soggy in a kitchen within months. Plastic or metal only.
Cost: ~$10 | Time: 15 minutes
13. Back-of-Door Cling-Film Organiser
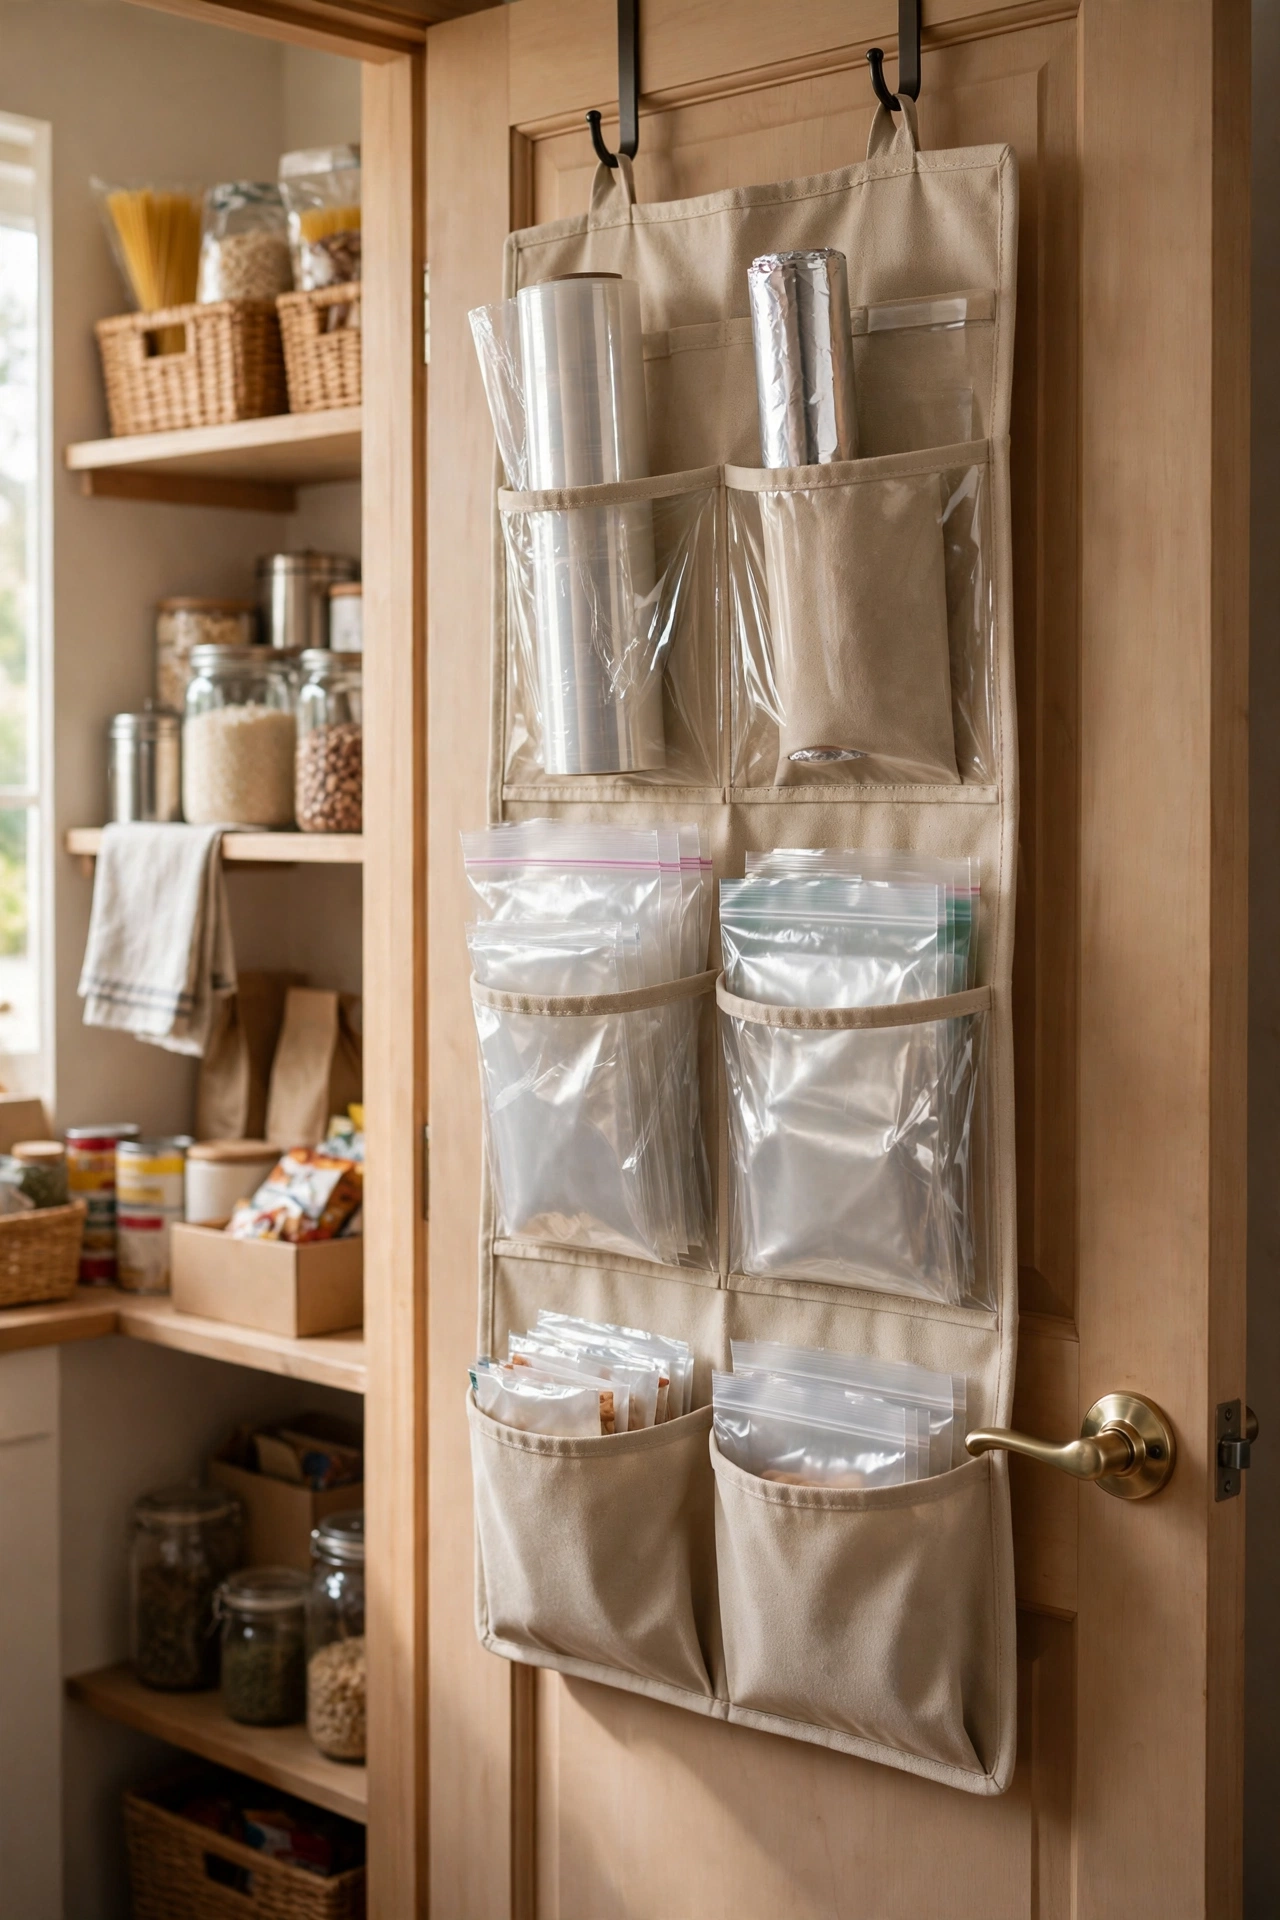
A dedicated back-of-door organiser with slots for wrap, foil, and bags keeps the fiddliest items contained and easy to grab. Mount it low enough that everyone can reach. I tried this and the one mistake to avoid is overfilling the slots; cramming three rolls where two fit means nothing slides out properly. Leave breathing room.
Cost: ~$14 | Time: 20 minutes
14. Wire Shelf Liners to Stop Wobble
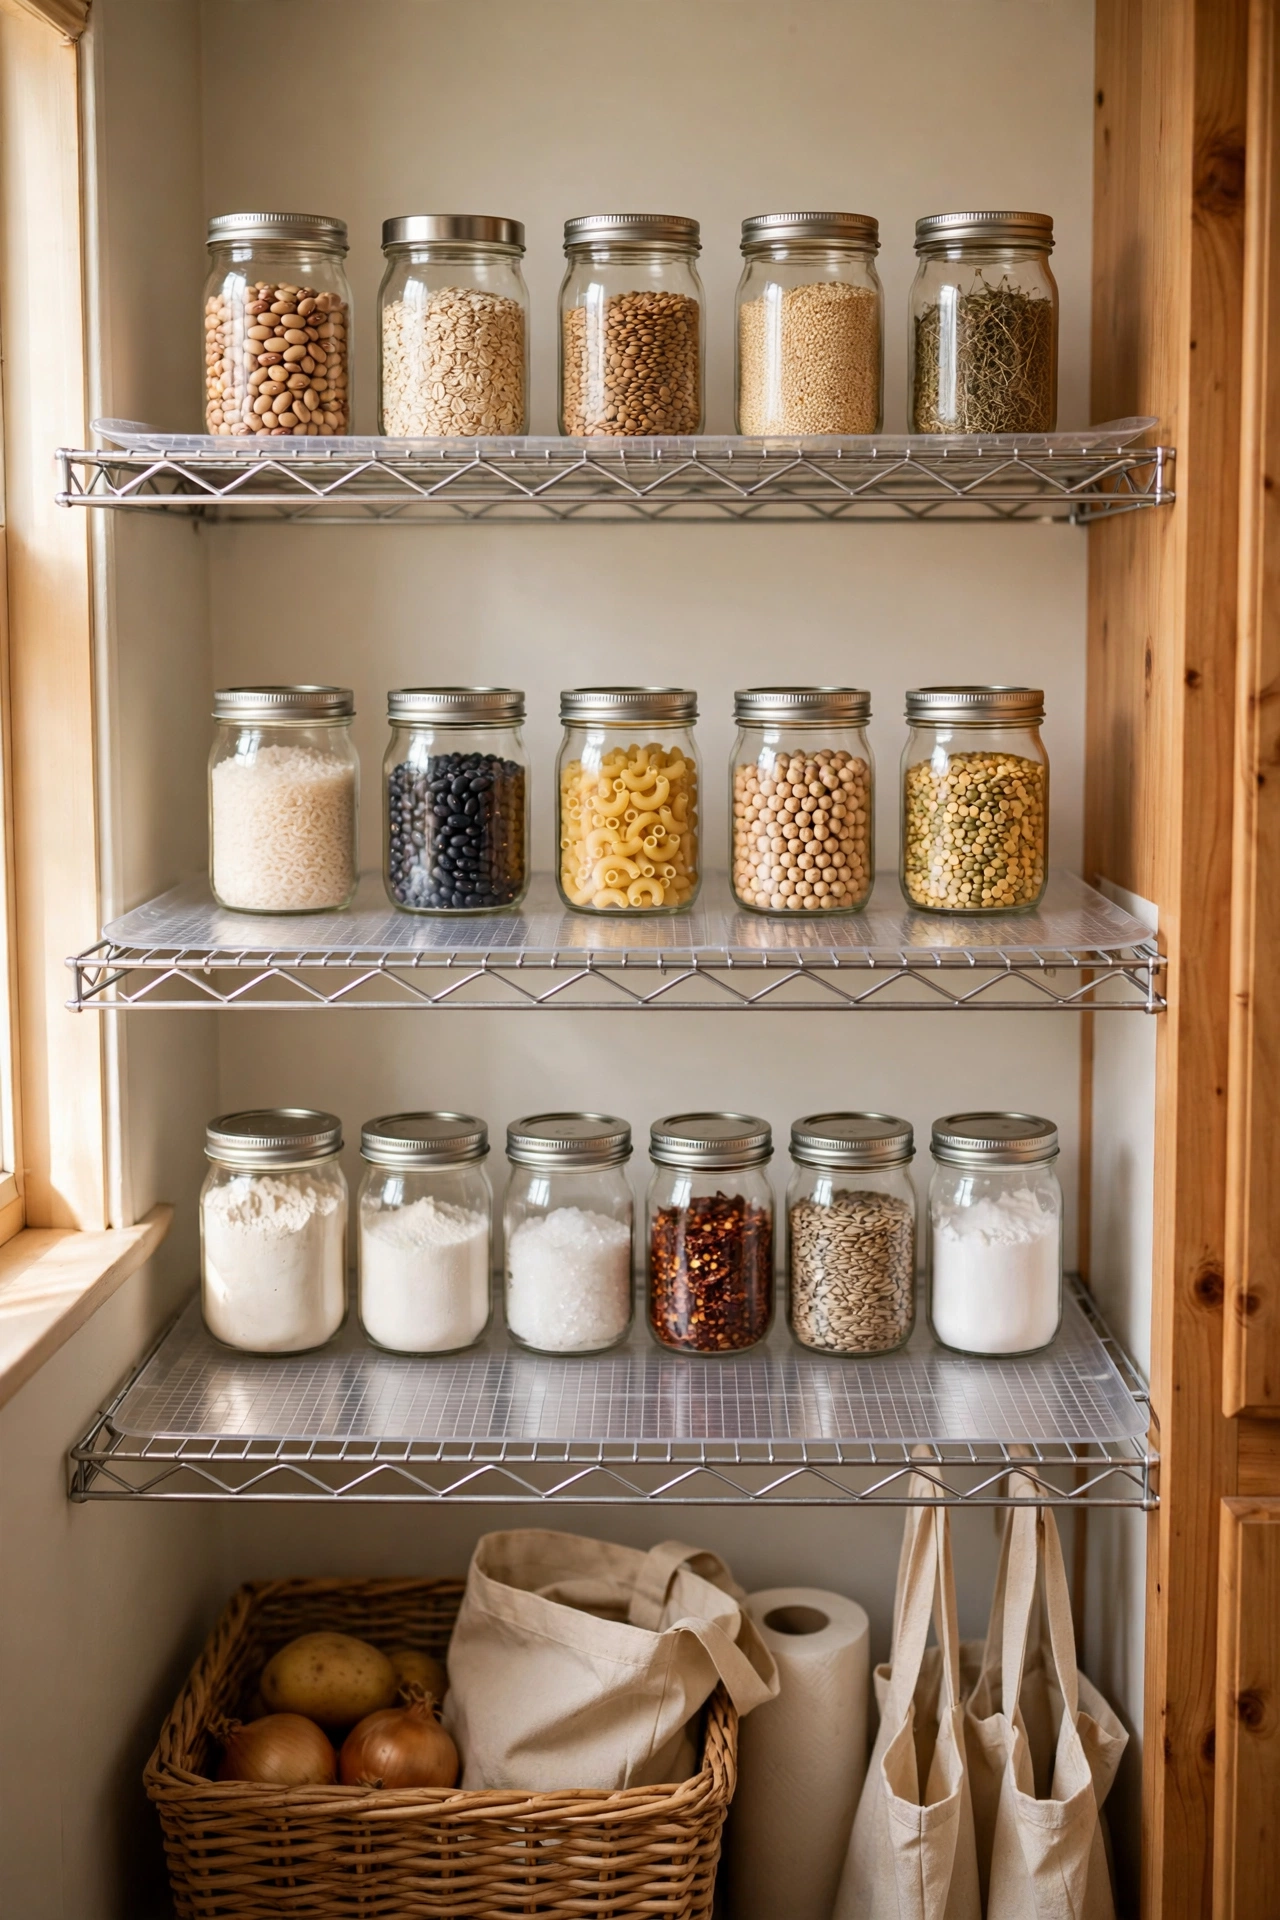
If your pantry has wire shelves, non-adhesive shelf liners stop small jars tipping through the gaps and make the whole shelf feel solid. Cut to size with scissors and lay them flat — no fixing needed. I tried this and the one mistake to avoid is the thin foam kind; it buckles under weight. The rigid plastic mesh type stays flat and wipes clean.
Cost: ~$12 | Time: 30 minutes
15. First-In-First-Out Can Dispenser
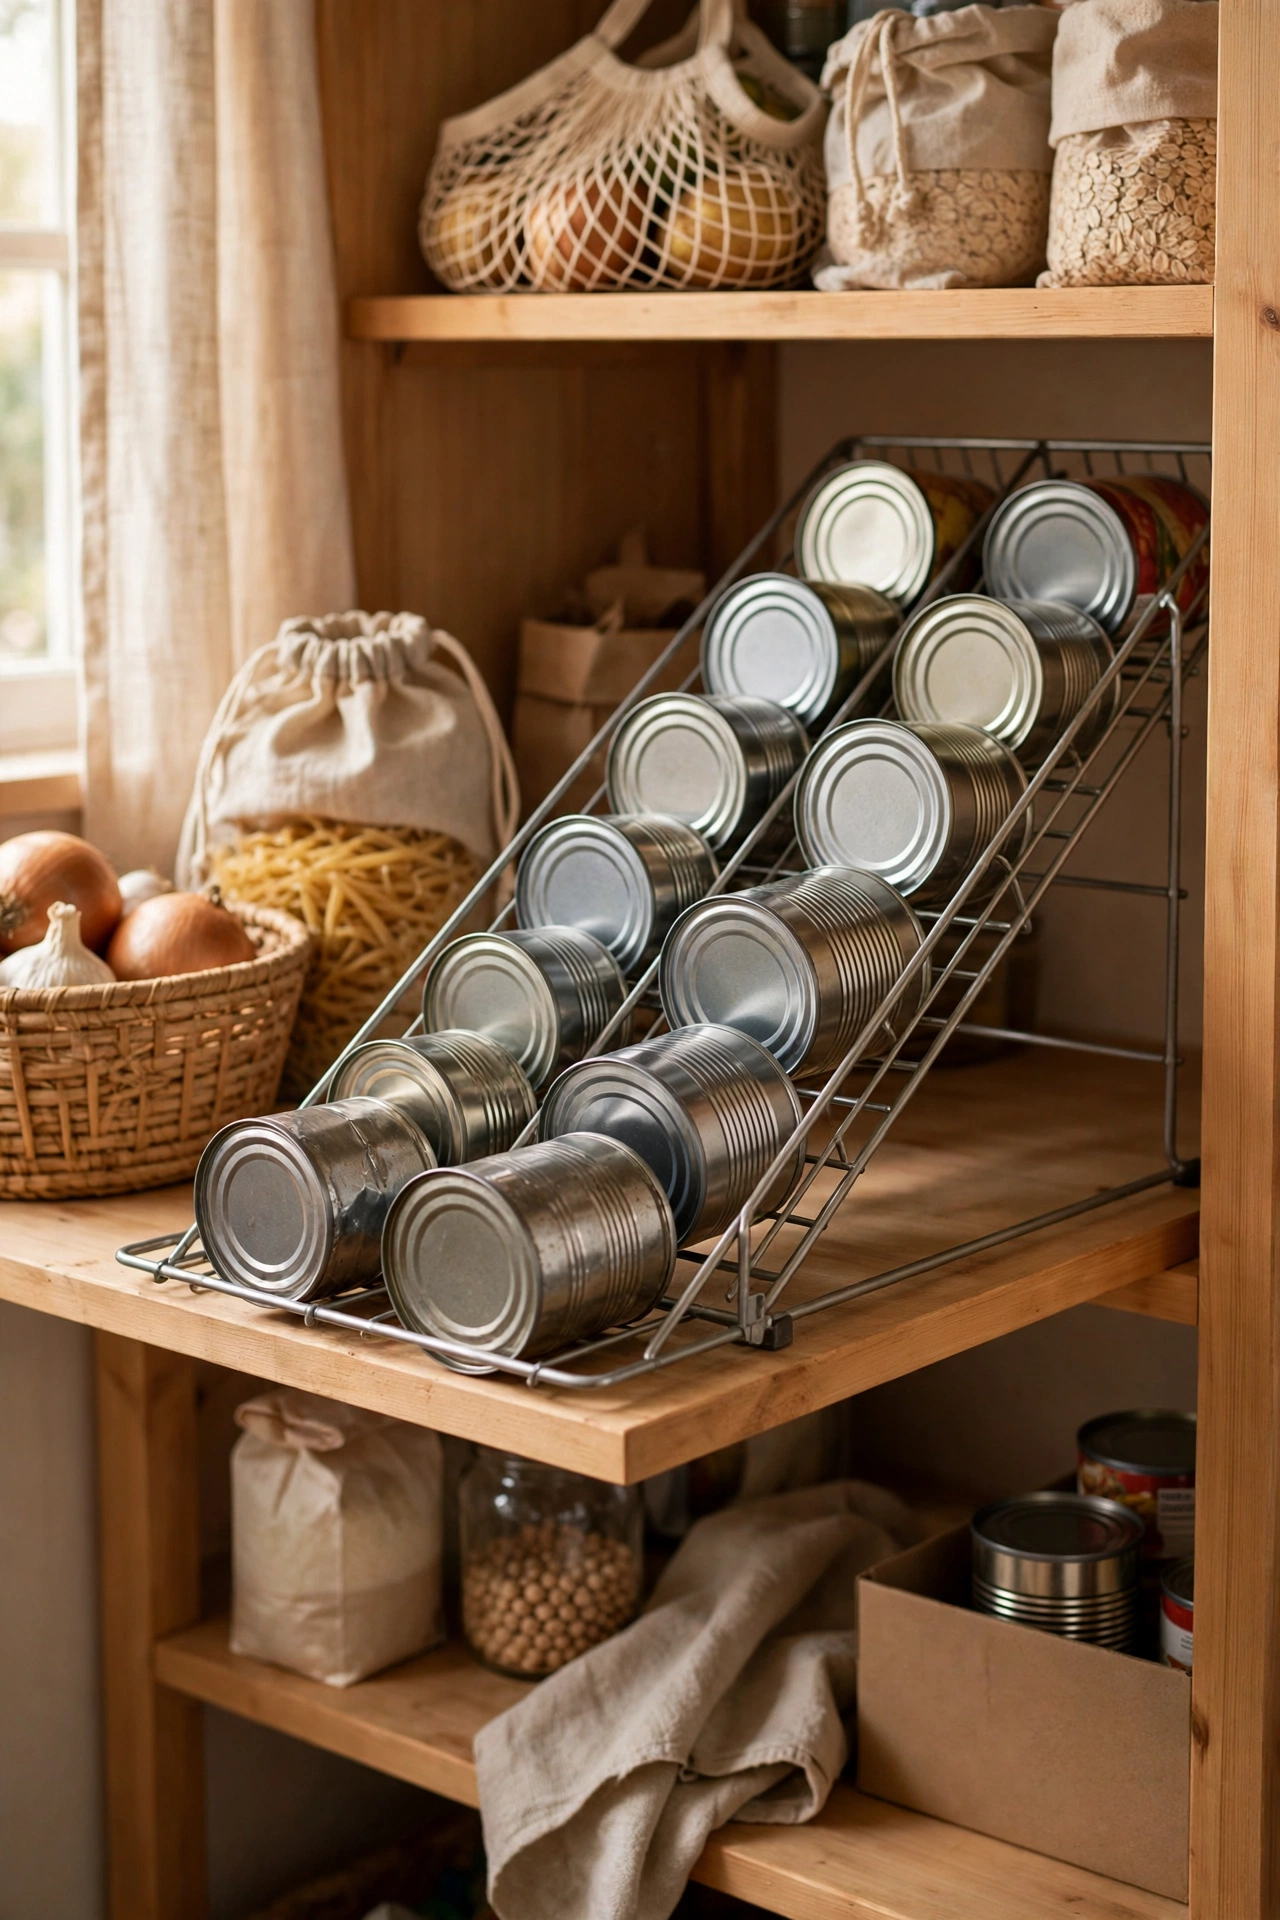
A gravity-fed can dispenser — new tins go in the top, you take from the bottom — means you automatically use the oldest stock first. No more archaeological digs for in-date beans. They come in stackable sizes for different can heights. I tried this and the one mistake to avoid is mixing can sizes in one dispenser; it jams. One dispenser per can size, labelled clearly.
Cost: ~$18 | Time: 15 minutes
16. Small Pantry: Use the Inside of Cupboard Doors
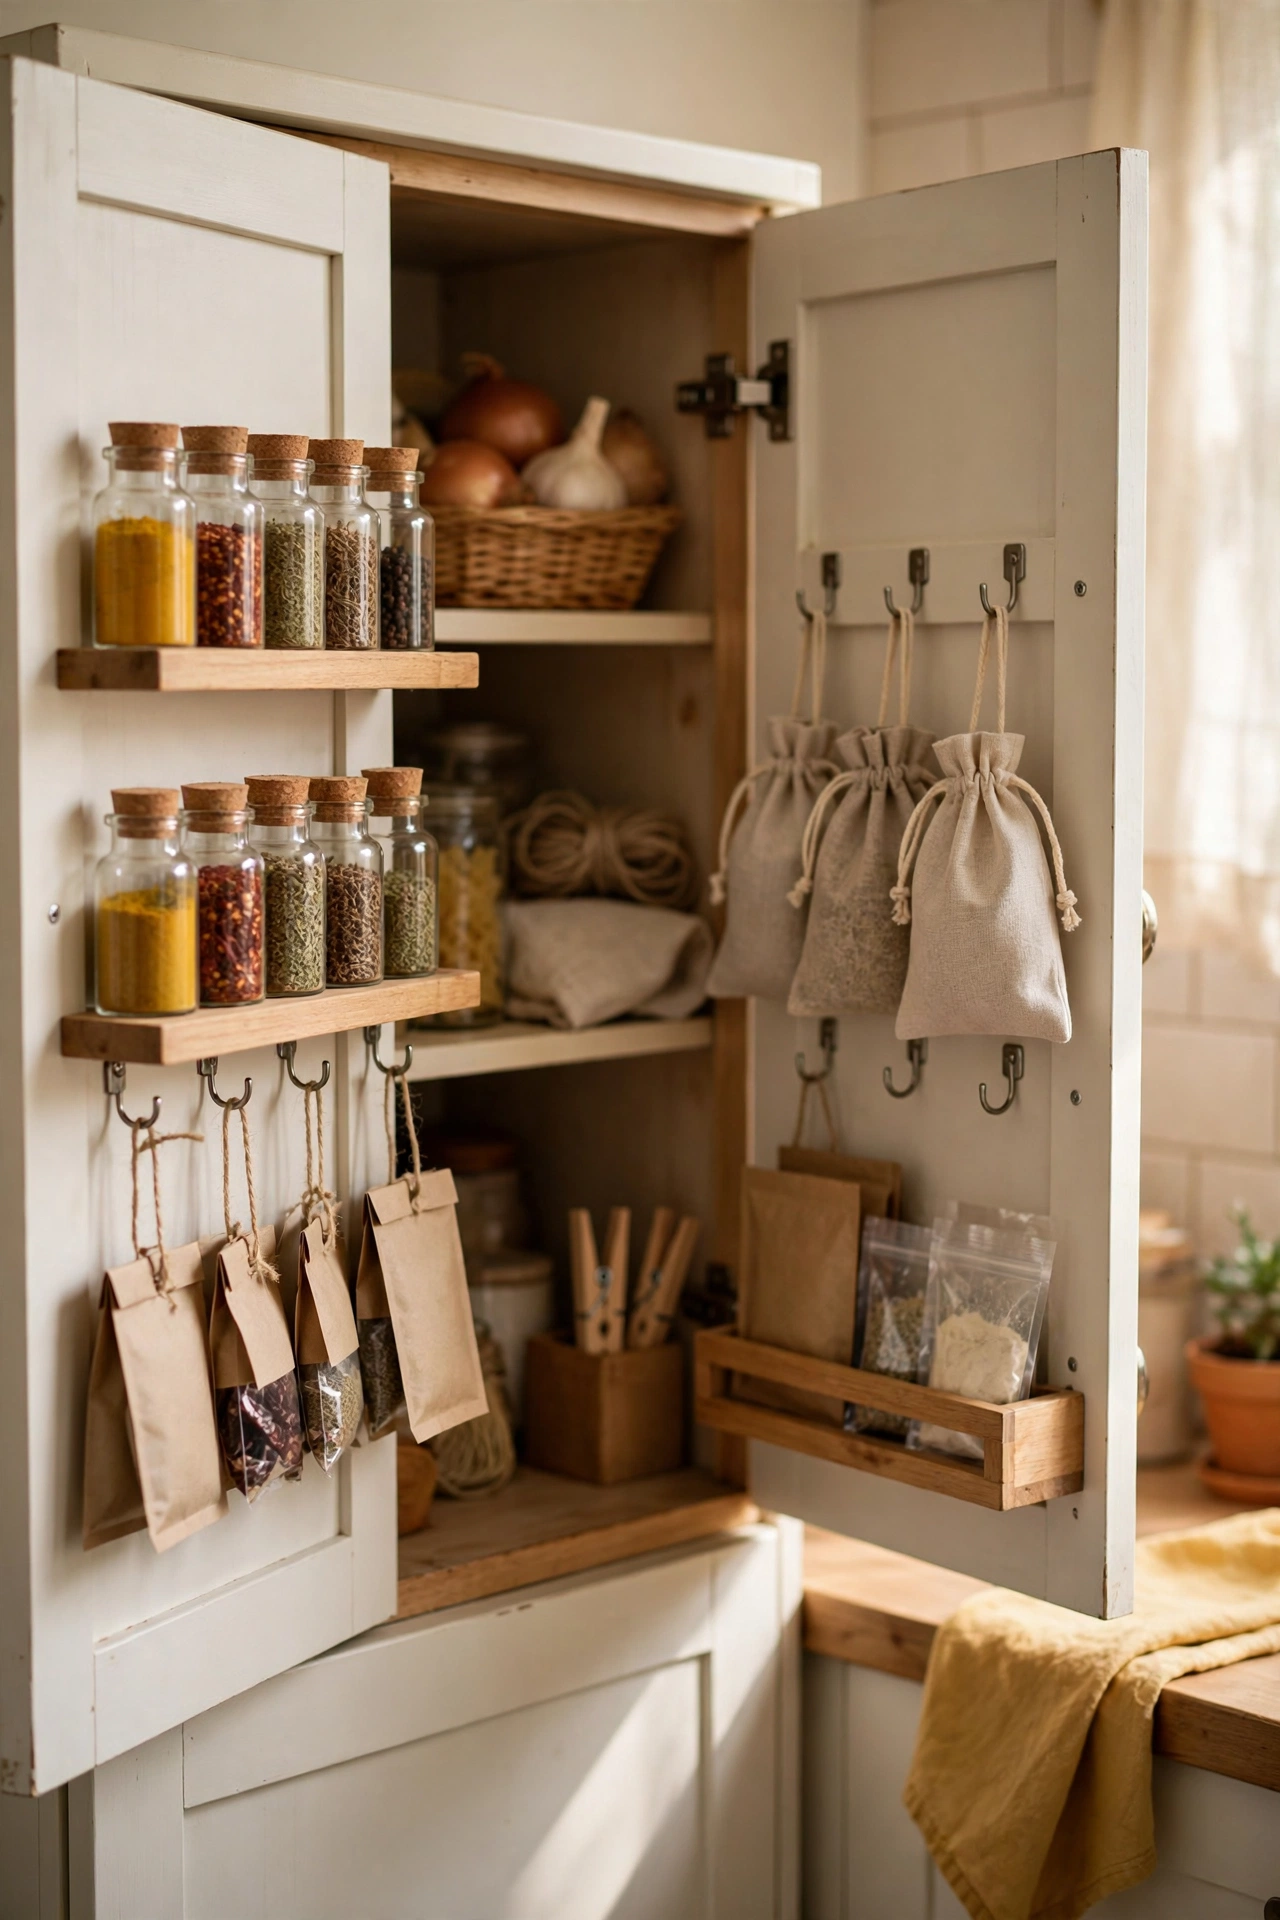
No walk-in pantry? The insides of your cupboard doors are free real estate — shallow racks, hooks, and caddies turn dead space into storage for spices, wraps, and cleaning bits. Map out what goes where before you stick anything. I tried this and the one mistake to avoid is going overboard; a door weighed down with storage strains its hinges. Light items only — spices and packets, never tins.
Cost: ~$15 | Time: 30 minutes
17. Under-Shelf Hanging Baskets
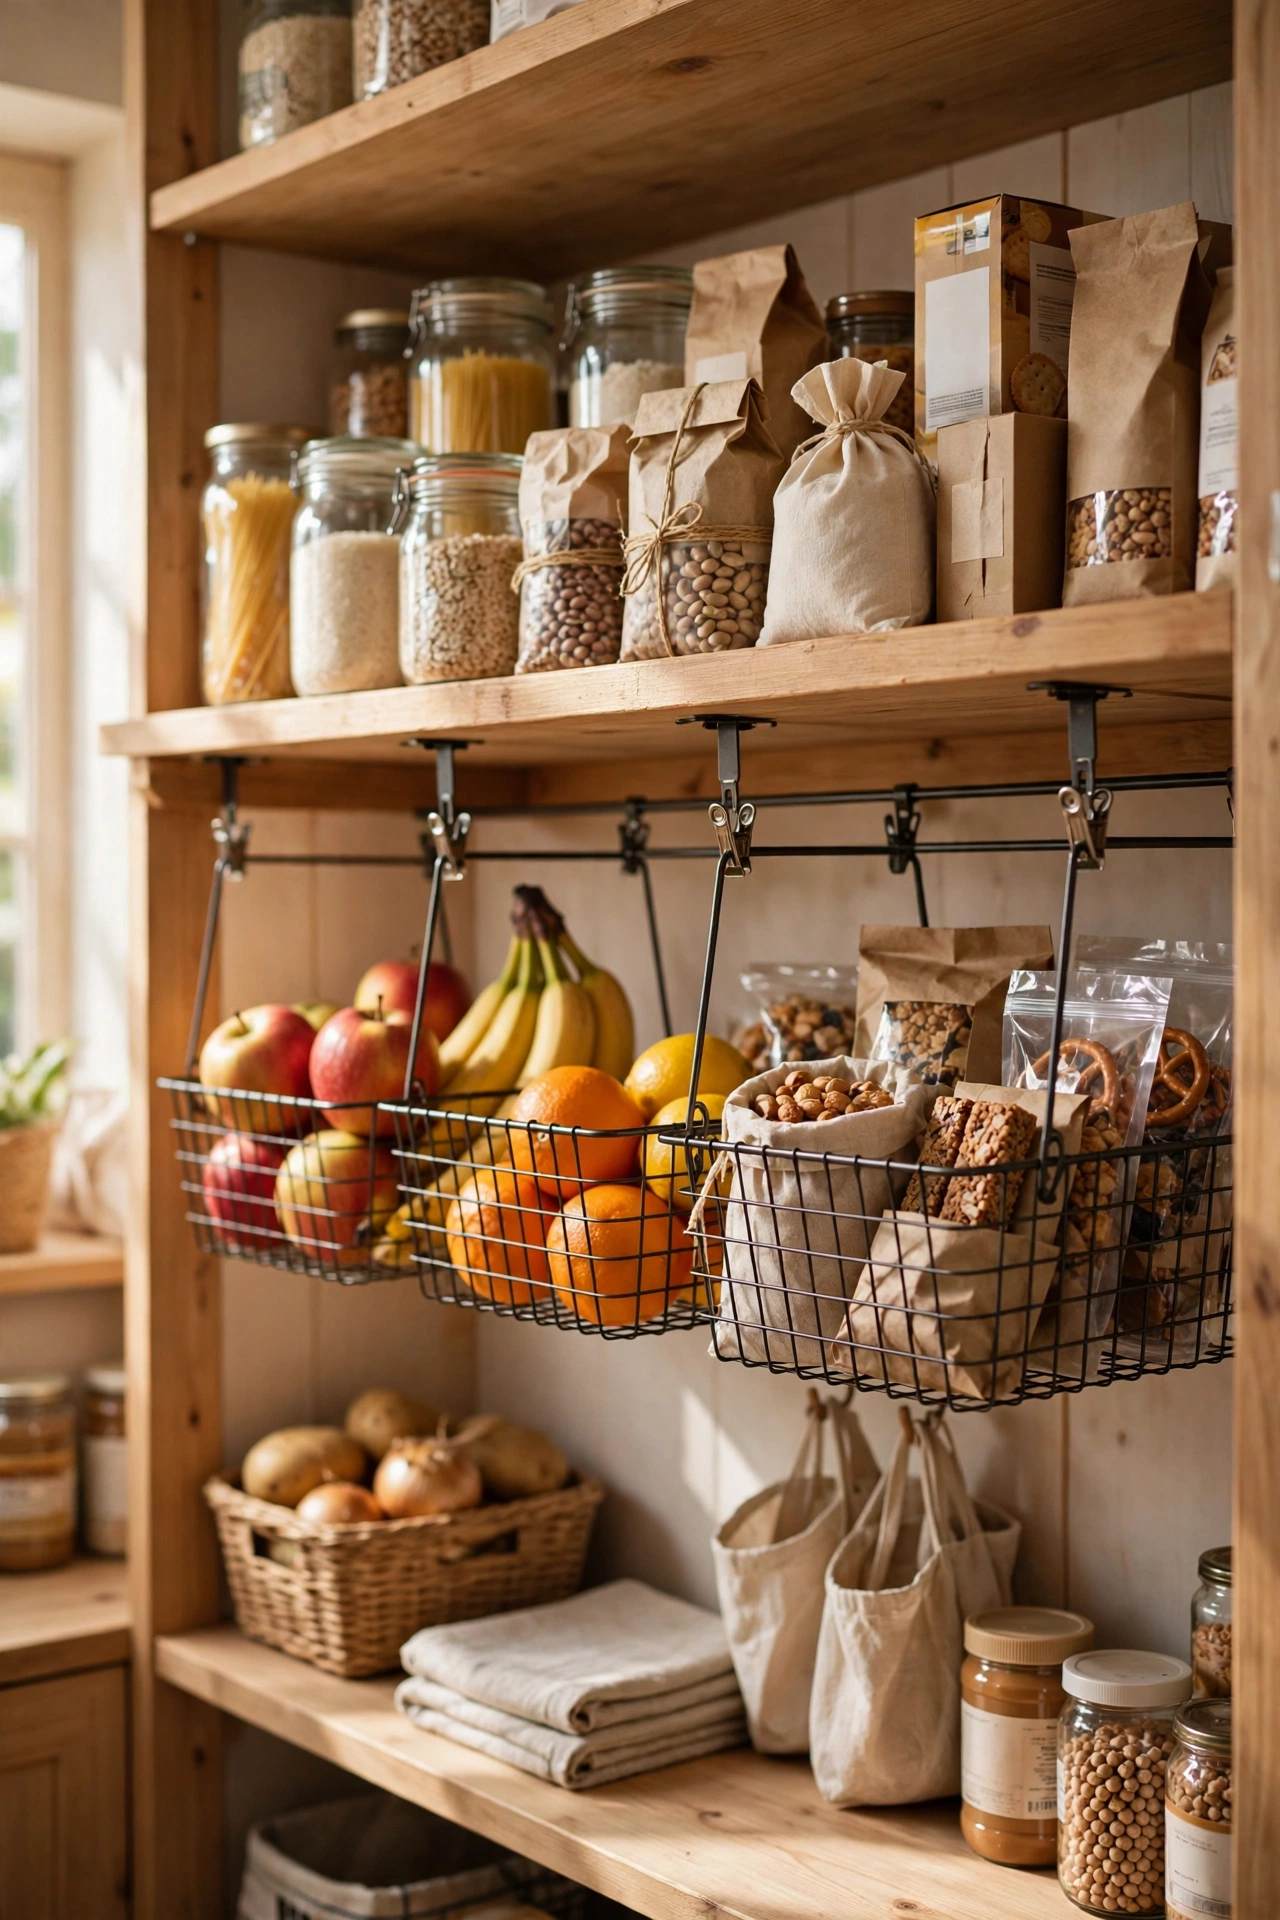
Wire baskets that clip under existing shelves create a whole extra layer of storage for fruit, snacks, or packets — no screws, no drilling. They slide on in seconds. Check the shelf thickness matches the clips. I tried this and the one mistake to avoid is hanging them where they’ll block the shelf below; measure the drop. If the basket sits on the items underneath, it’s just clutter with extra steps.
Cost: ~$10 | Time: 10 minutes
18. Group by Expiry: Front the Soonest Dates
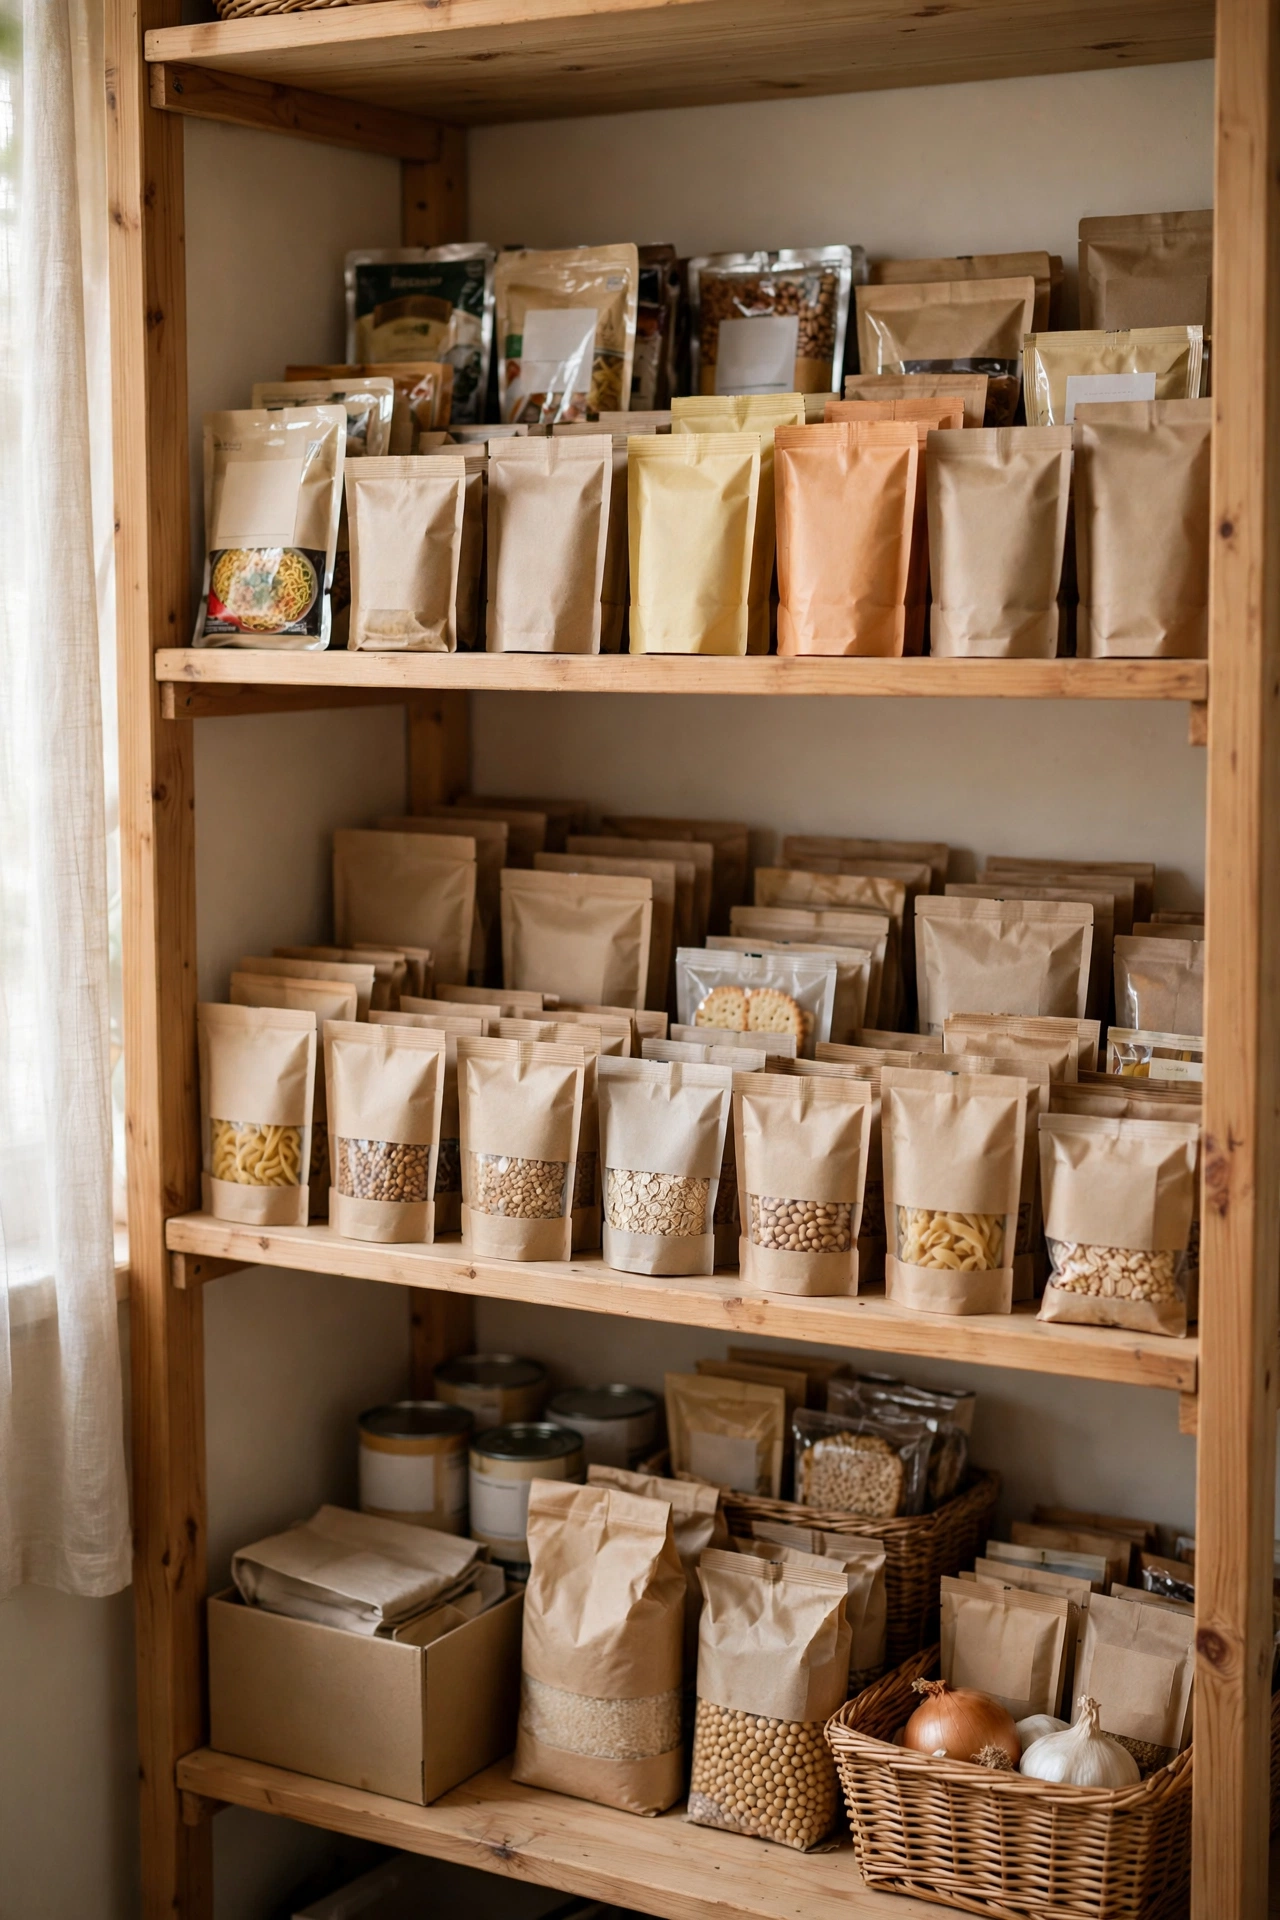
The simplest system of all: when you unpack shopping, put the soonest expiry dates at the front. It takes ten extra seconds and virtually eliminates food waste from forgotten packets. Make it a household rule, not just your rule. I tried this and the one mistake to avoid is doing it alone; if the rest of the house shoves new stuff at the front, the system dies. A two-minute demo for everyone fixes it.
Cost: ~$0 | Time: 10 minutes
19. Keep a Running Shopping List on the Door
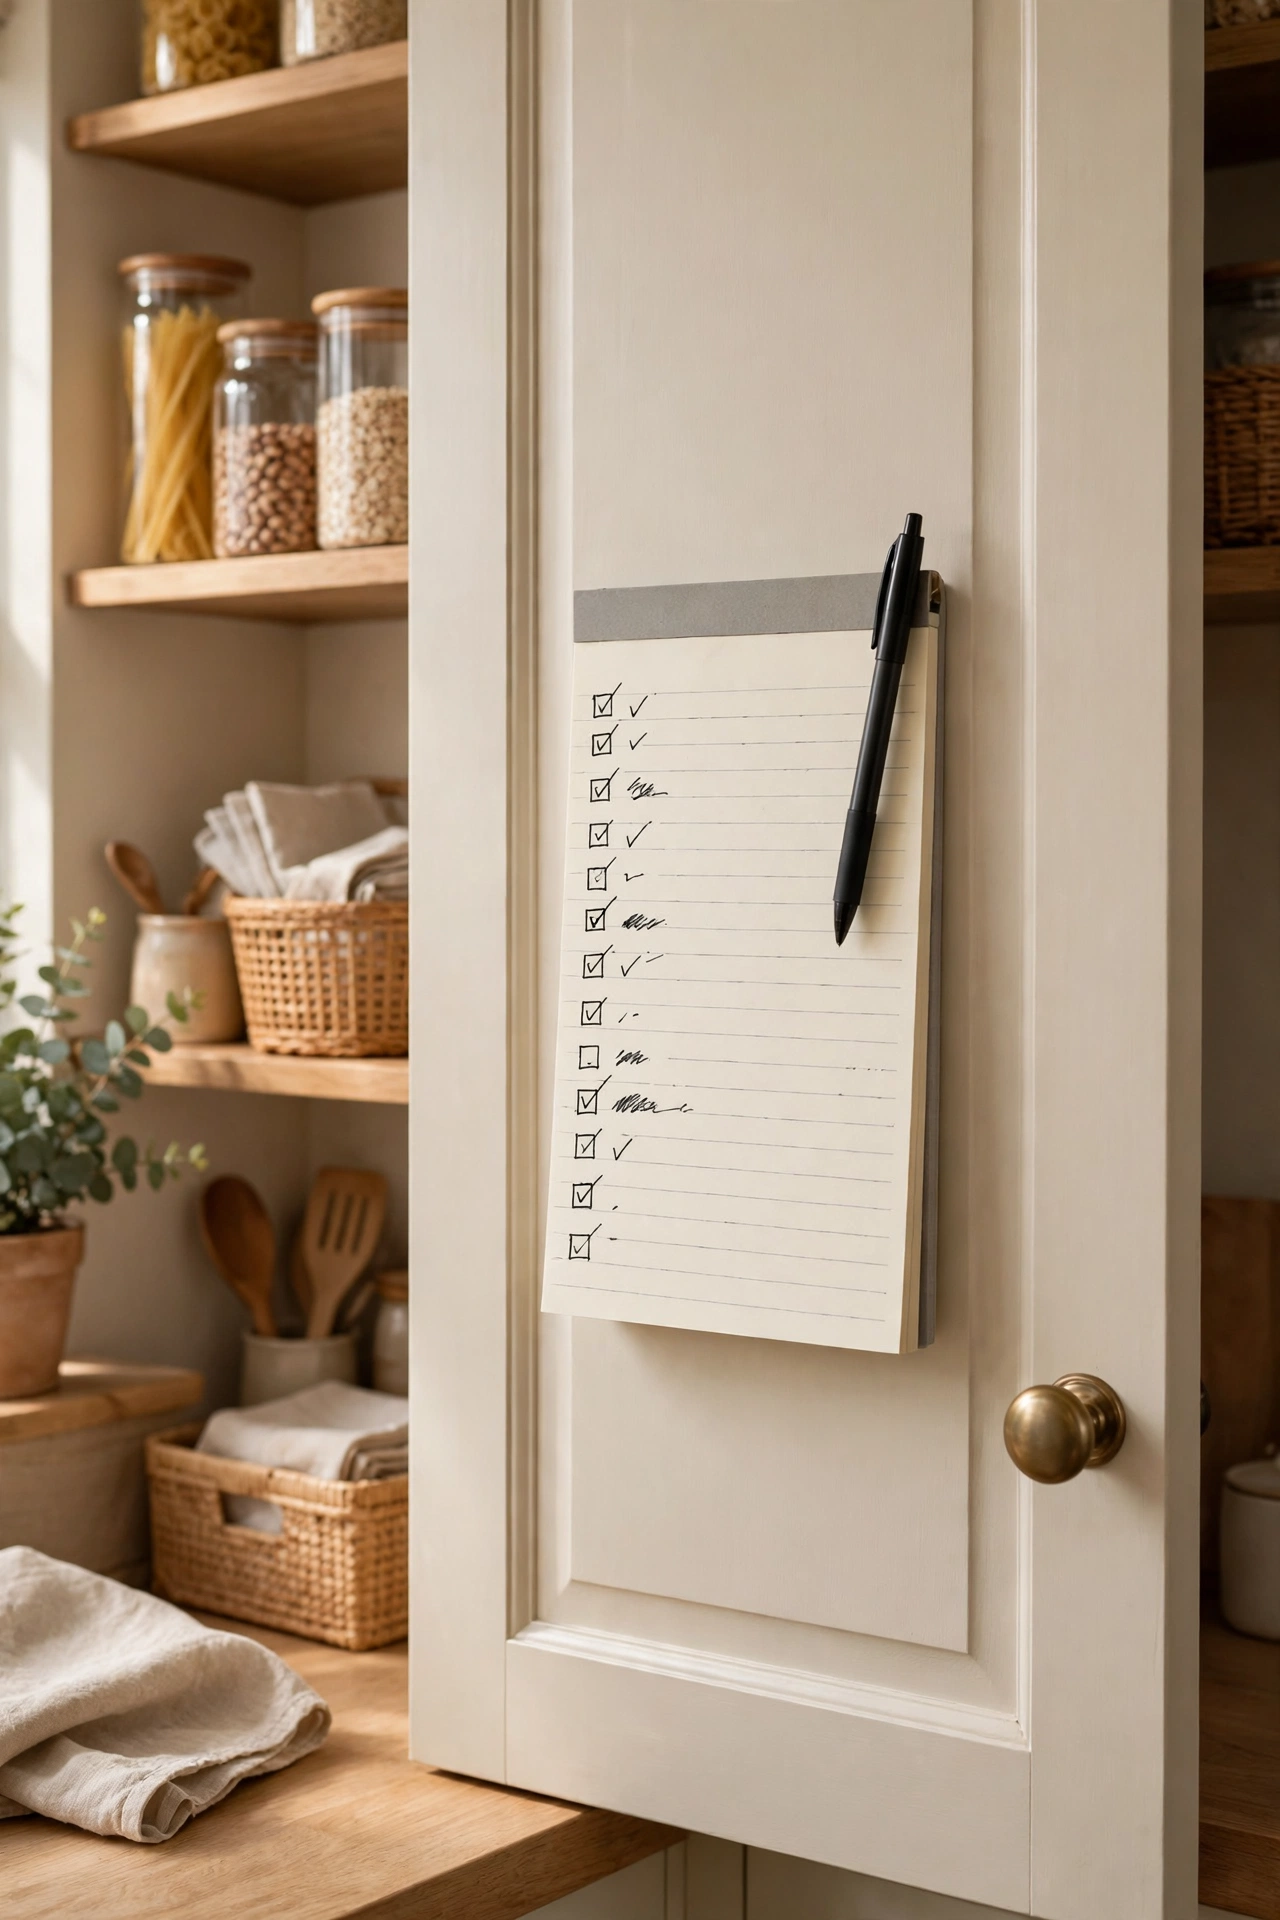
A notepad or whiteboard on the pantry door where everyone writes what runs out means you never discover you’re out of pasta mid-recipe. Magnetic ones stick straight to the fridge if there’s no pantry door. I tried this and the one mistake to avoid is the list nobody checks; take a photo of it before you shop, or it’s just decoration. The photo habit is what makes it work.
Cost: ~$5 | Time: 5 minutes
20. Heavy Items Low, Light Items High
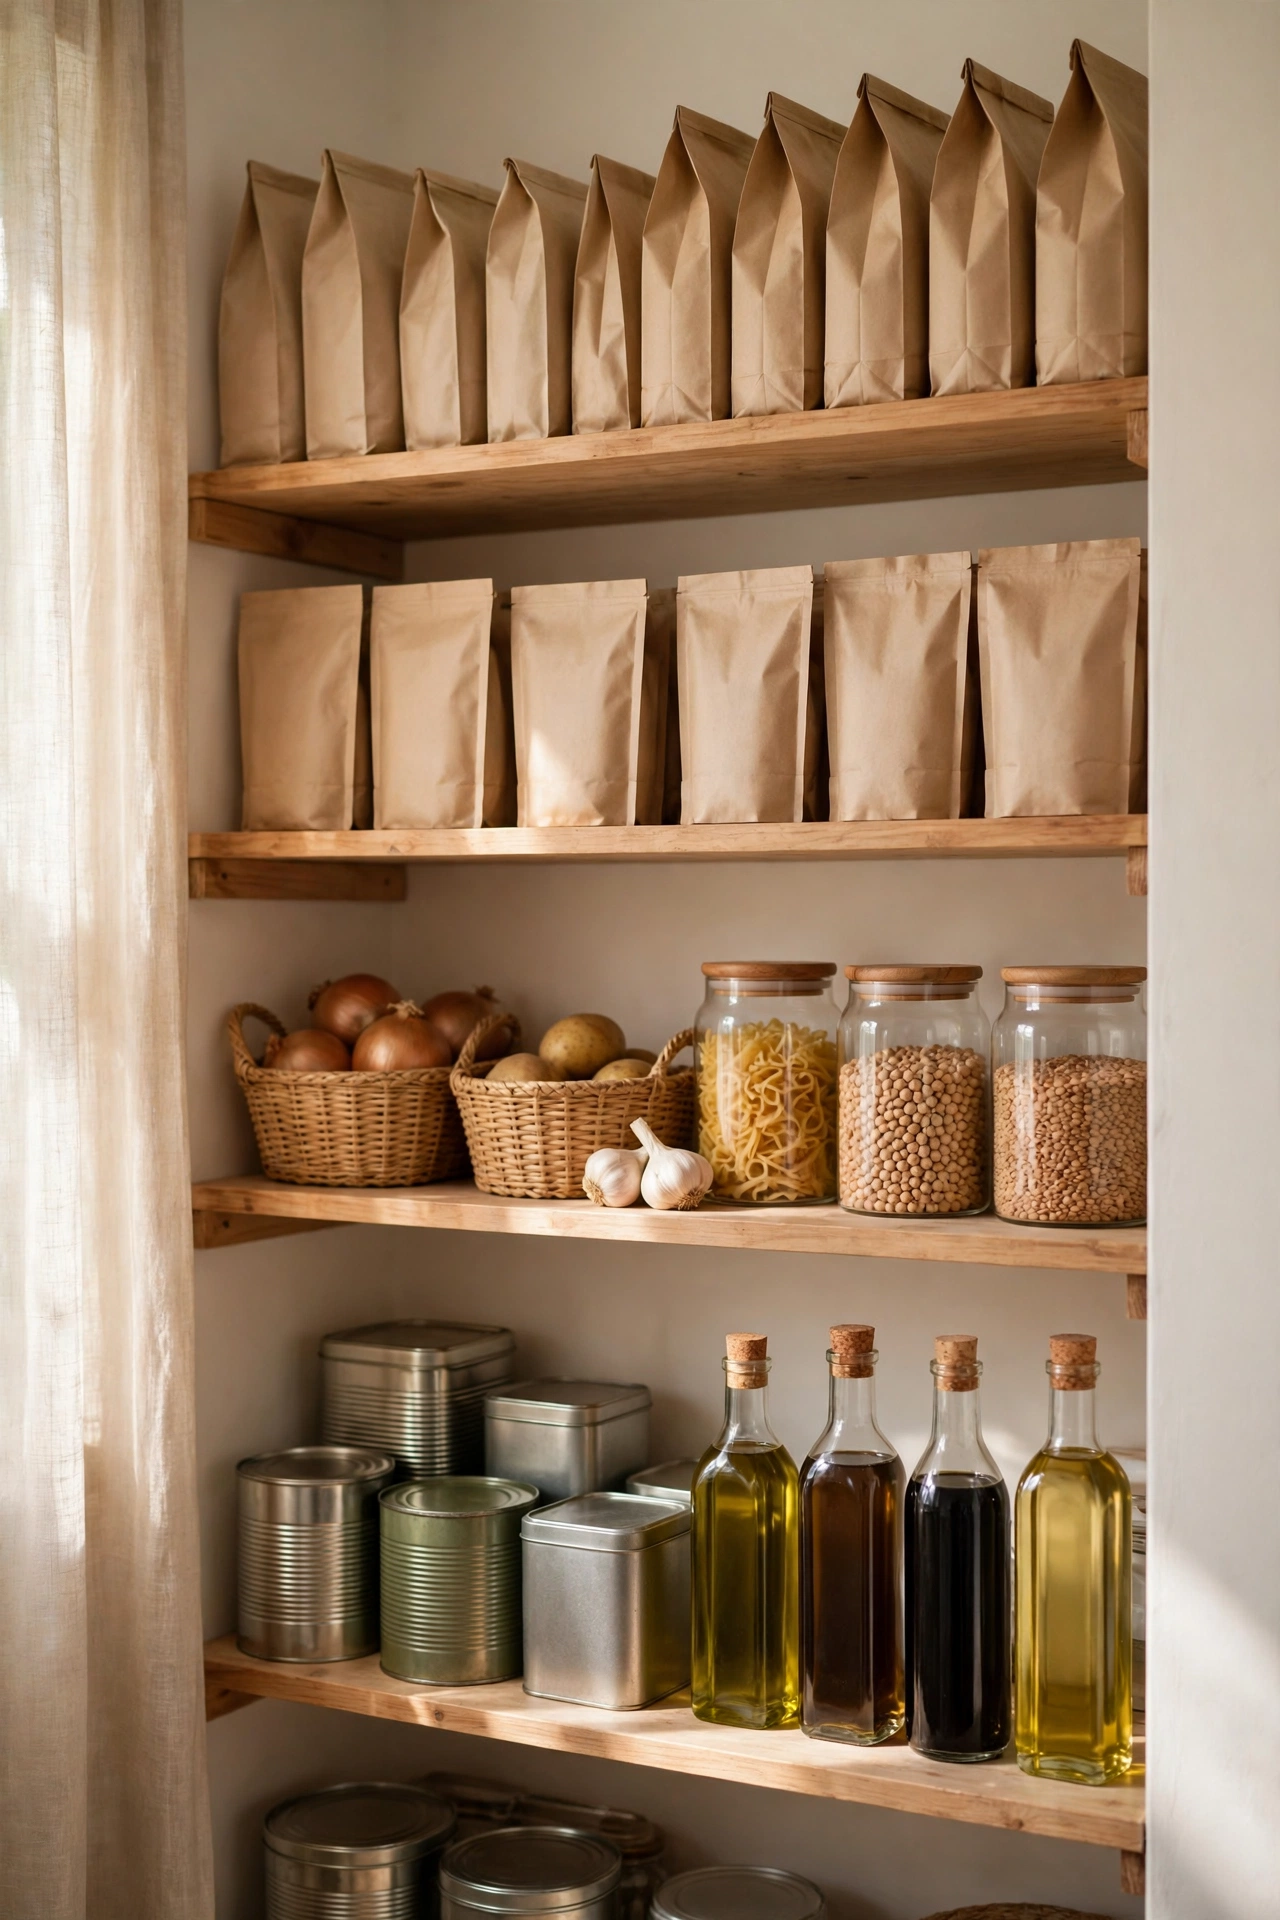
The golden rule of pantry physics: heavy tins and bottles on low shelves, light packets and cereals up high. It’s safer, easier on your back, and stops top-heavy collapses. Do one big reshuffle to establish it, then maintain. I tried this and the one mistake to avoid is the “temporary” heavy box on the top shelf; temporary always becomes permanent, and then it falls on someone. Heavies live low, no exceptions.
Cost: ~$0 | Time: 45 minutes
21. Repurpose a Shoe Organiser for Packets
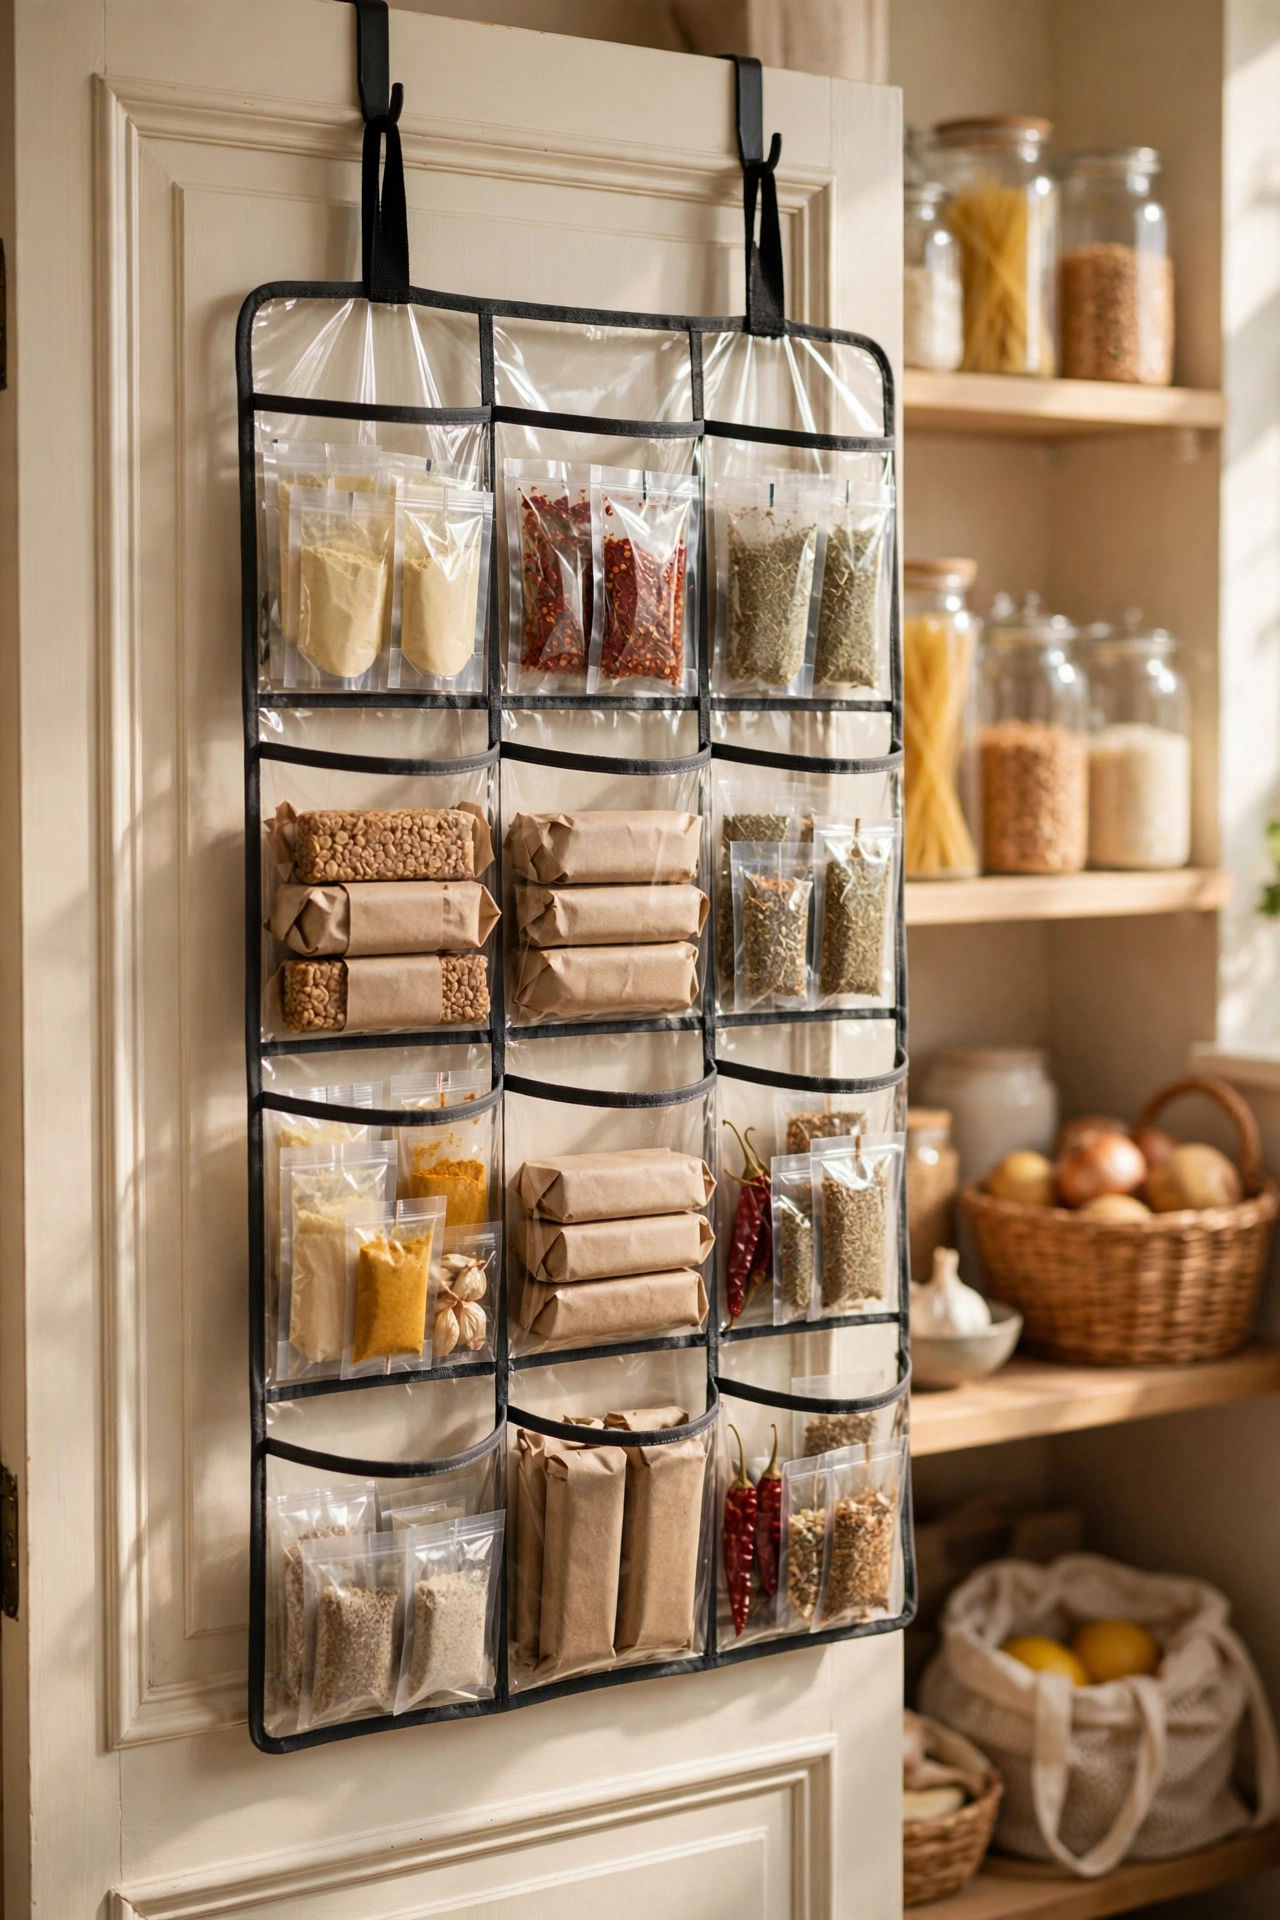
A clear over-the-door shoe organiser is secretly brilliant pantry storage — each pocket holds gravy sachets, seasoning packets, or snack bars, all visible at a glance. Hang it inside the pantry door and fill by category. I tried this and the one mistake to avoid is the fabric kind; it absorbs cooking smells and goes limp. Clear plastic pockets wipe clean and let you see everything.
Cost: ~$8 | Time: 15 minutes
22. Weekly Five-Minute Tidy Reset
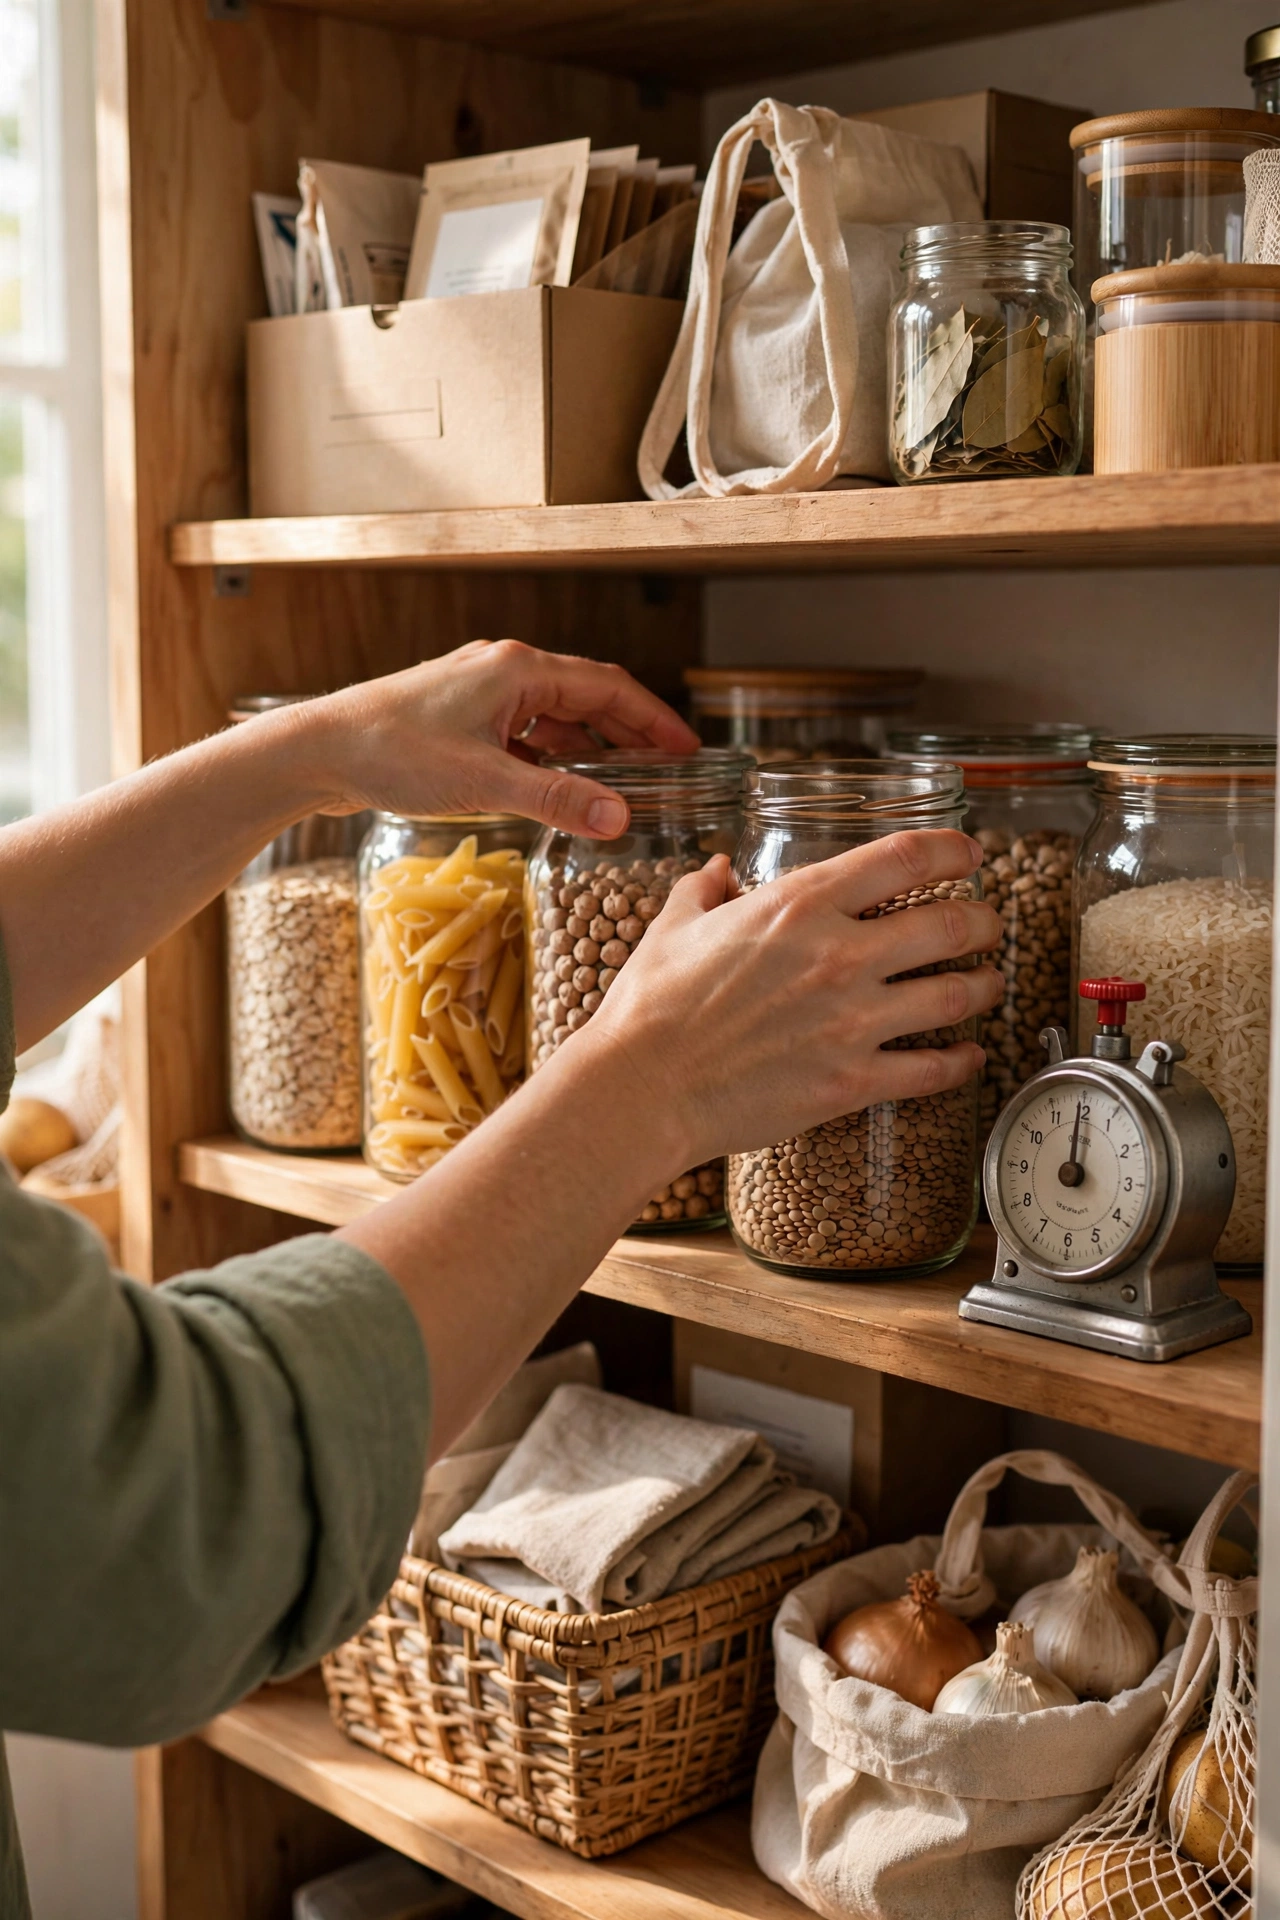
Every system on this list stays tidy because of this one habit: five minutes, once a week, putting strays back where they live. Set a timer, do it before the big shop arrives. It’s the maintenance that makes the organisation stick. I tried this and the one mistake to avoid is the monthly mega-tidy instead; an hour of chaos once a month is miserable, while five minutes weekly is almost pleasant. Little and often wins.
Cost: ~$0 | Time: 5 minutes weekly
23. One-In-One-Out Rule for Gadgets
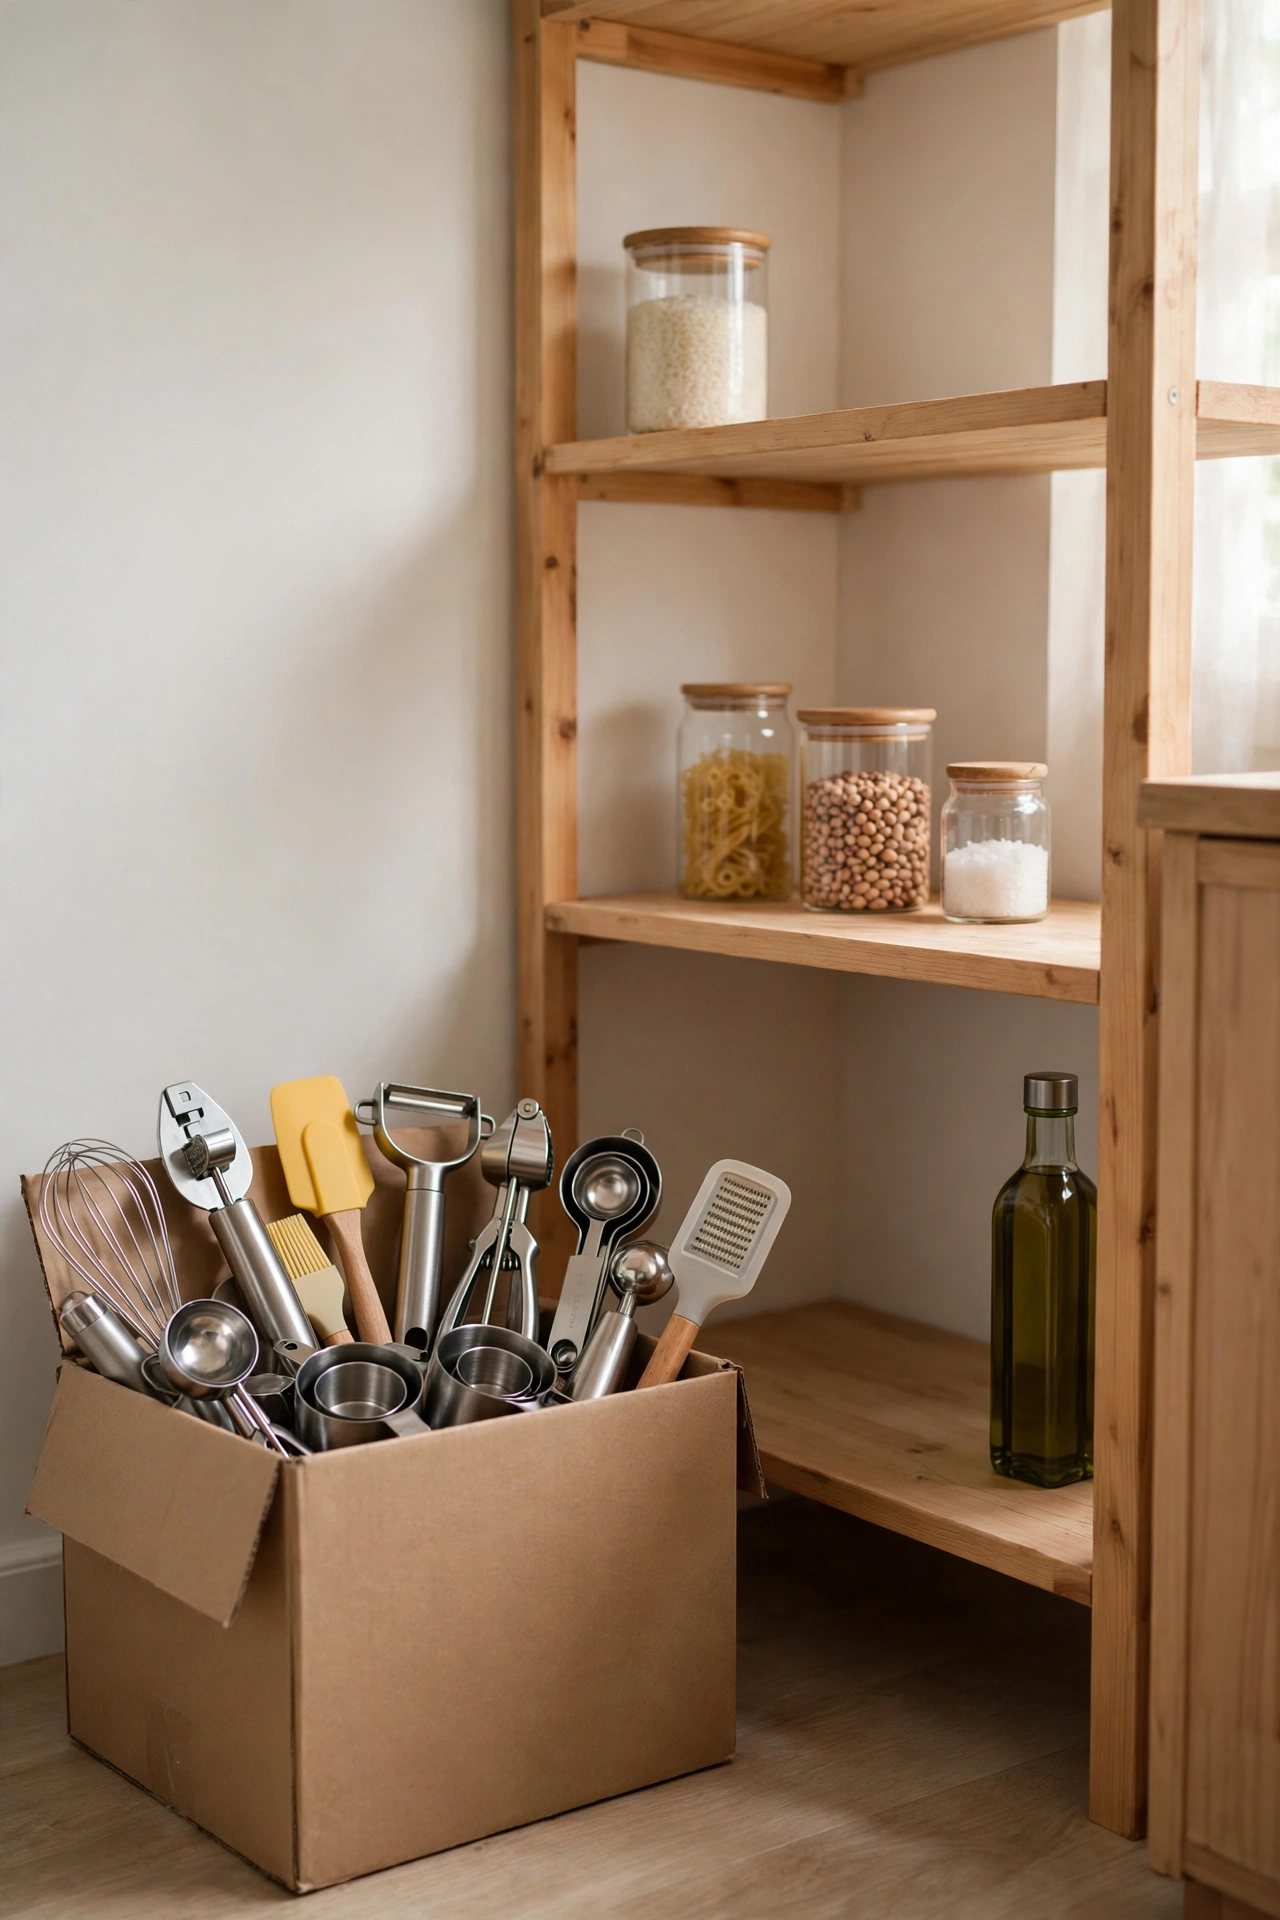
Pantries don’t get messy from food — they get messy from gadgets. The avocado slicer, the third funnel, the bread maker of good intentions. One in, one out: every new gadget means an old one leaves. I tried this and the one mistake to avoid is the “might need it” box; if you haven’t used it in a year, you won’t. Donate it and enjoy the shelf space. For the wider kitchen declutter, (see also: 19-kitchen-counter-decor-ideas-on-a-budget) covers the worktops too.
Cost: ~$0 | Time: 30 minutes
Pantry Organization FAQs
How do I start organising a chaotic pantry?
Take everything out, bin the expired stuff, wipe the shelves, then put things back in zones — don’t buy a single container until you know what you’re storing. Containers bought before the sort-out never fit the reality.
Do I really need matching containers?
No — but uniform sizes help enormously. You don’t need the expensive sets; same-size jars from the pound shop do the same job. Consistency of size matters more than matching brands.
How do I keep the kids from destroying it?
Give them their own low snack basket that’s allowed to be messy. Kids destroy systems they can’t follow, so make their zone simple: one basket, their snacks, no rules beyond putting the basket back.
What’s the one habit that matters most?
The weekly five-minute reset (idea 22). Every organised pantry you’ve ever admired is maintained by someone doing tiny regular tidy-ups, not by someone who organised it once perfectly.
A tidy pantry isn’t about perfect containers — it’s about systems simple enough to survive real life. Start with the decanting and the zones, add the weekly reset, and you’ll wonder how you ever lived with the chaos. Save this one for later — you’ll want the FAQ answers when the family asks why everything’s in jars now. And if the rest of the kitchen needs the same treatment, (see also: small-kitchen-storage-ideas) is your next stop.
