23 Dollar Tree Living Room Decor Hacks That Look High-End
Good dollar tree living room decor is not about spending more — it is about choosing the right cheap pieces and styling them like you mean it. I have spent the last two years furnishing my own living room almost entirely from the dollar store, and guests regularly guess the total was ten times what I actually paid. These 23 hacks are the ones that genuinely fooled people, each one built from finds that cost a few pounds and an afternoon at most.
Before you start, walk your living room and pick the three spots your eye lands on first — usually the sofa wall, the coffee table, and whatever sits under the television. Those are the places where cheap upgrades read as expensive. Everything below targets exactly those zones.
1. Foam Trim Wall Moulding That Fakes Custom Panelling
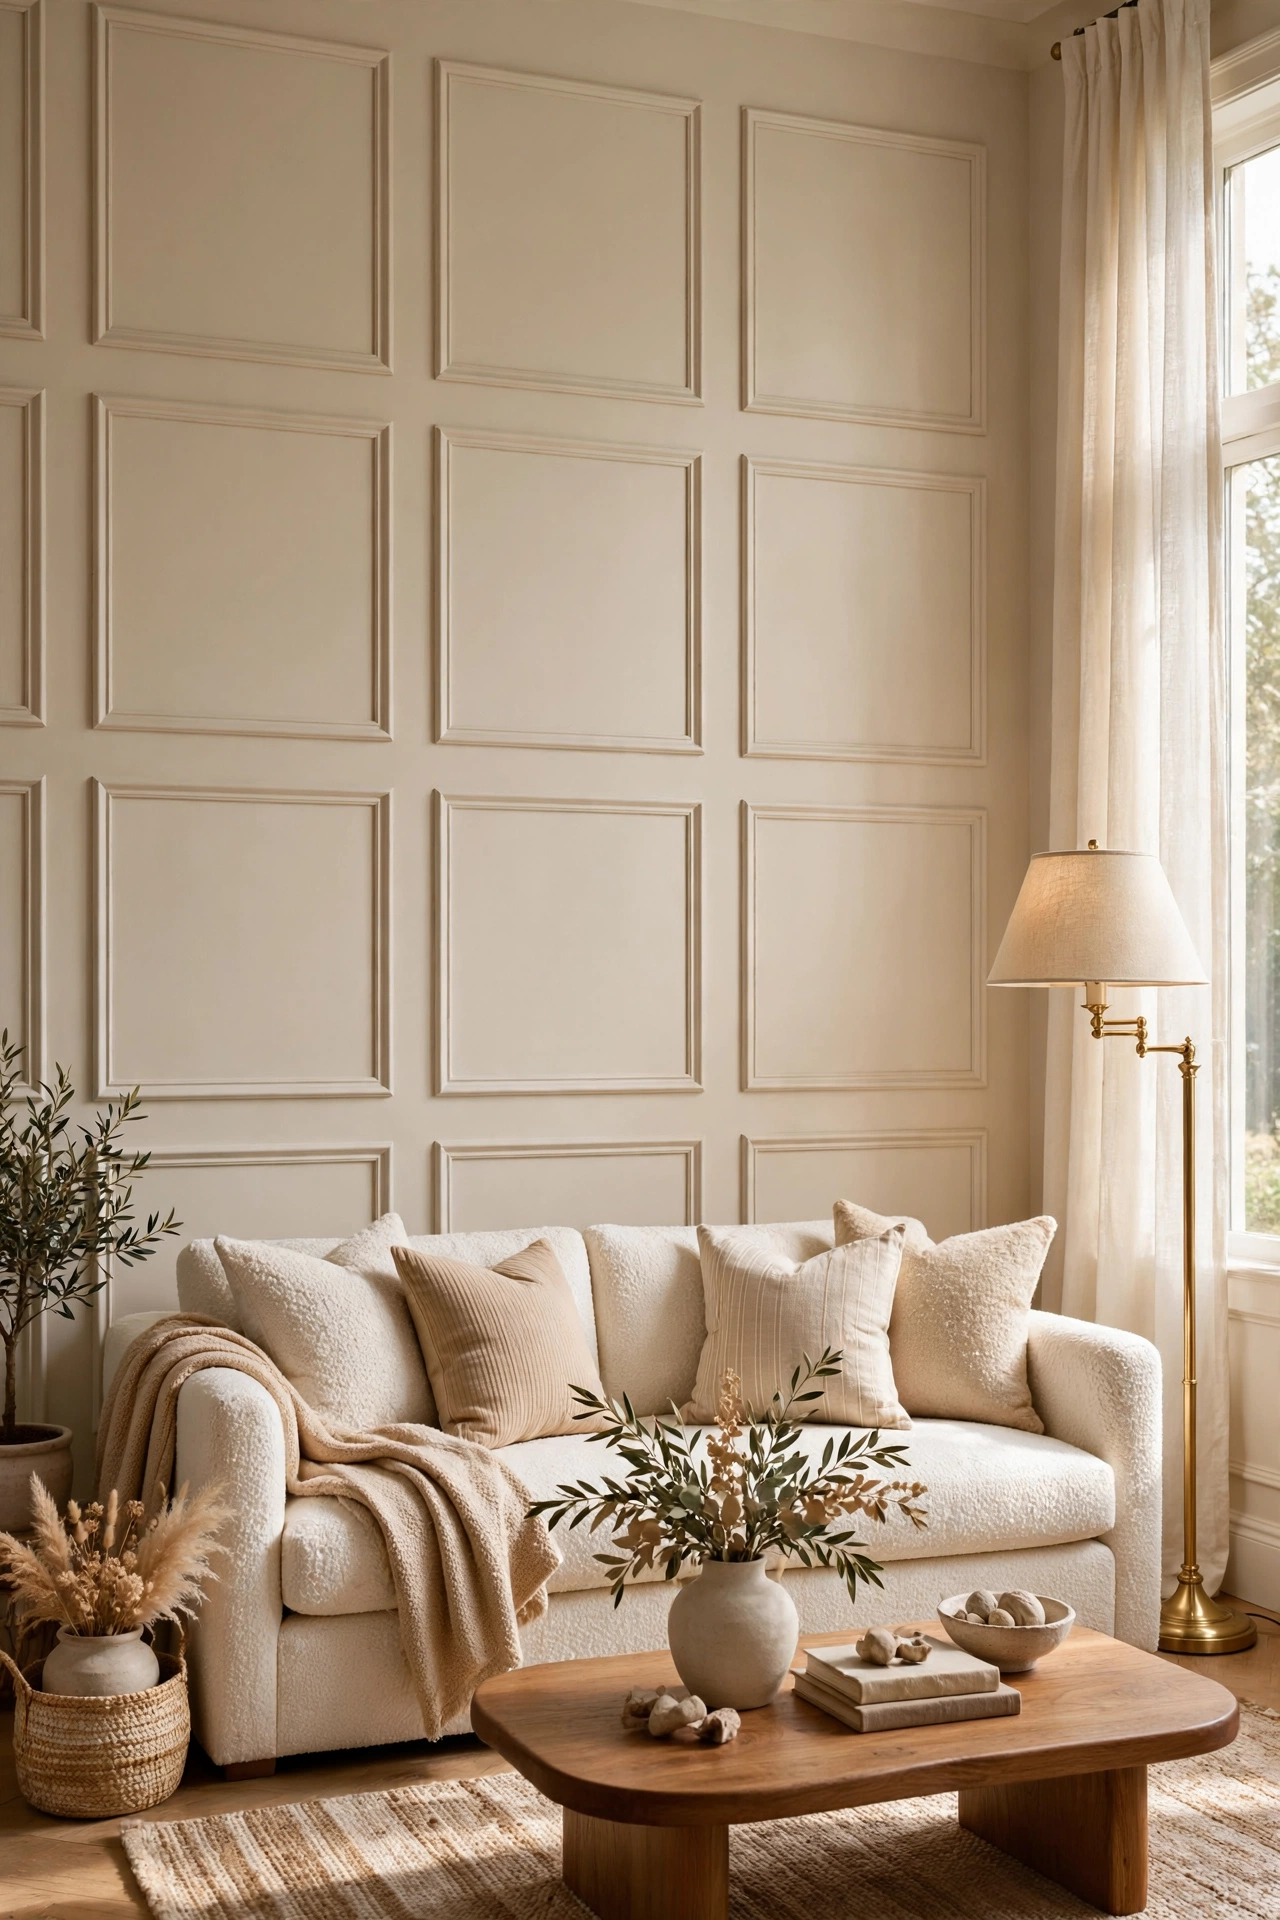
Those peel-and-stick foam trim strips in the craft aisle are the single best-kept secret in the whole store. Measure your sofa wall, cut the strips to make large rectangles, and stick them up in a grid — paint the whole wall one colour afterwards so the trim disappears into the design. The result reads as proper panel moulding from across the room. Do three large rectangles rather than lots of small ones; bigger panels always look more expensive. Use a spirit level or your phone’s level app, because one crooked rectangle ruins the illusion completely.
Pro tip: paint the trim the exact same colour as the wall — contrasting trim screams DIY, matching trim whispers custom joinery.
Cost: ~$14 · Time: 2 hours
2. Stacked Faux Coffee-Table Books With a Small Plant
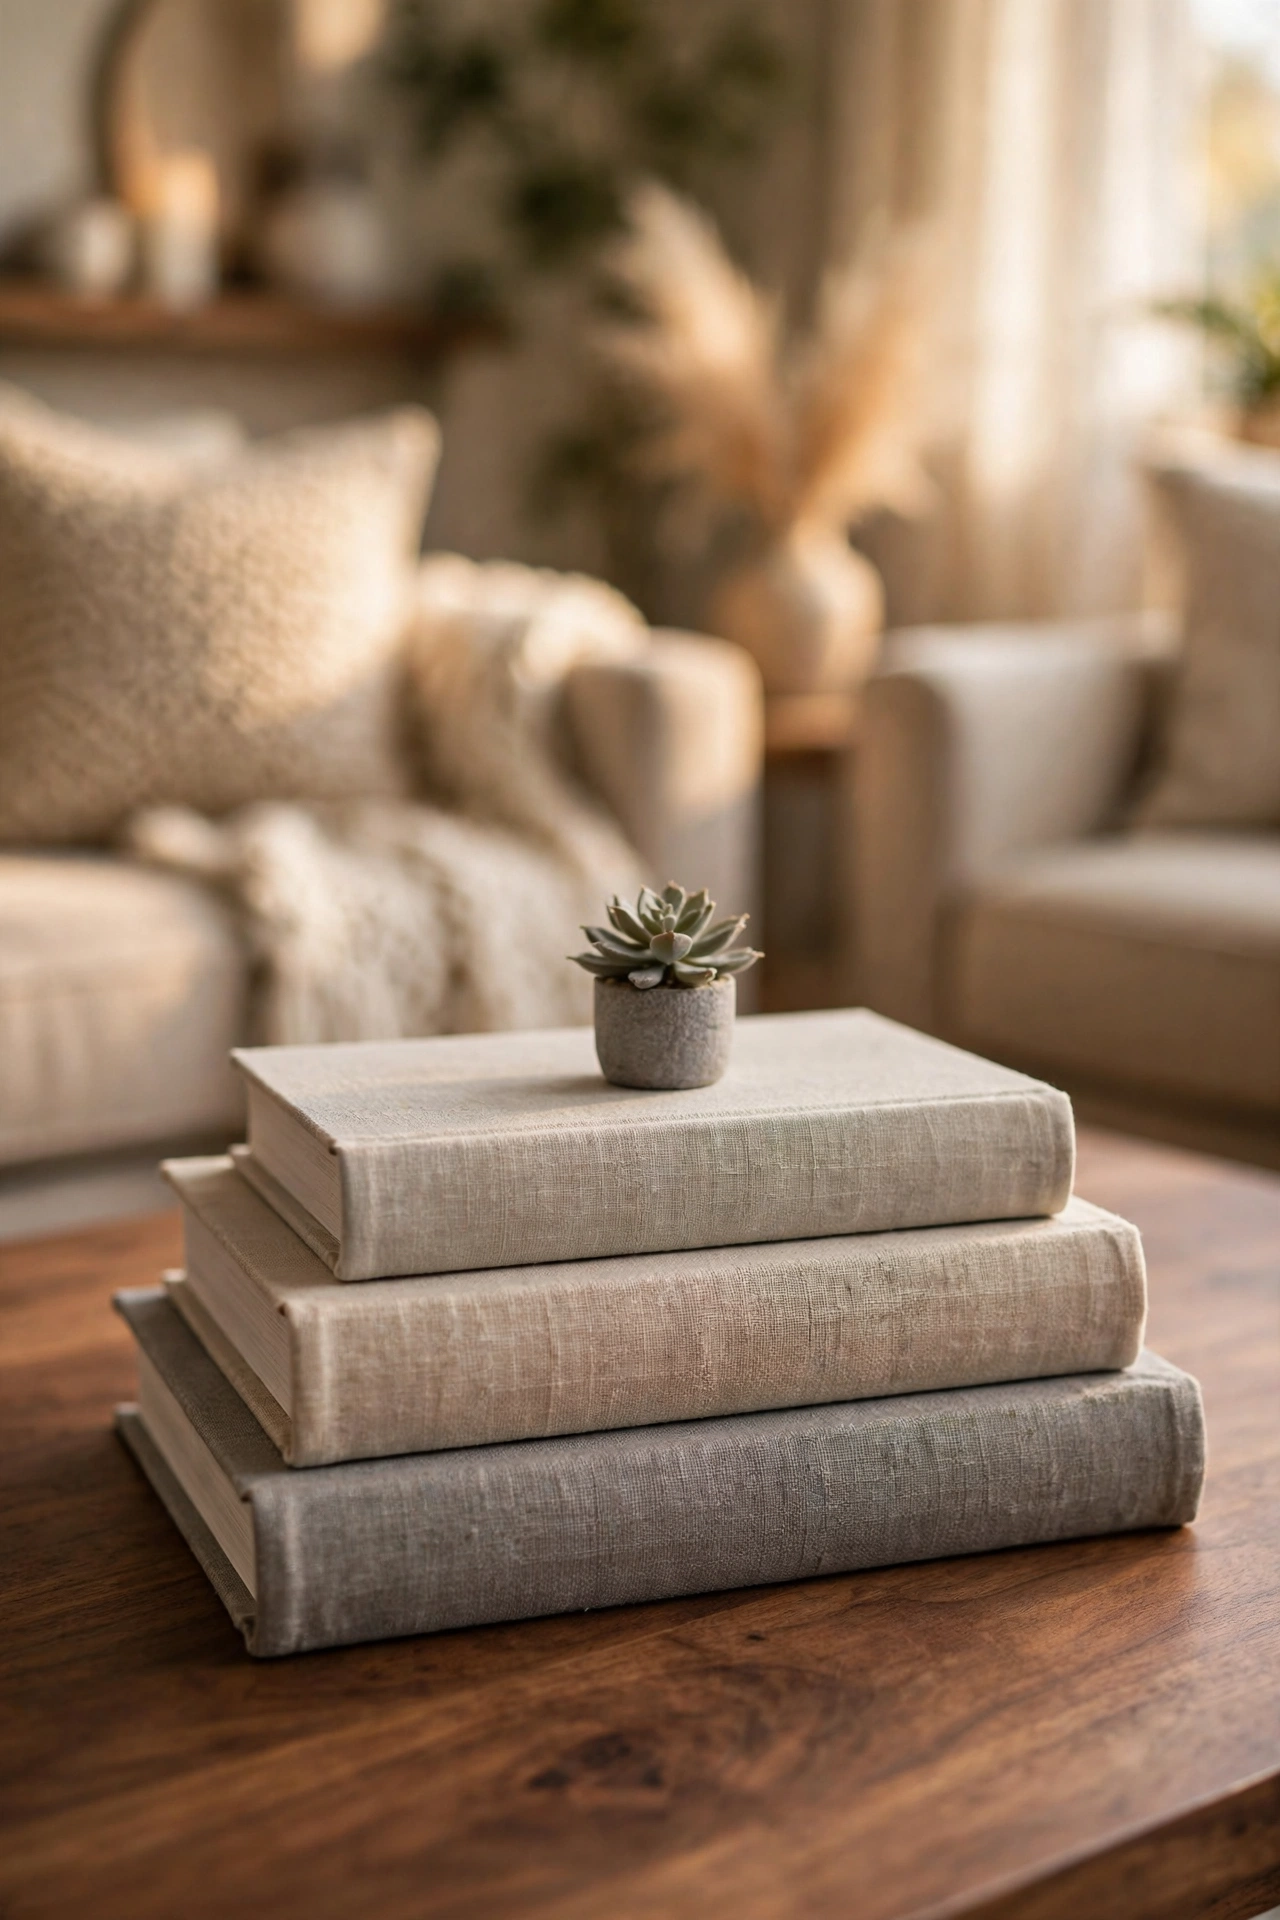
Real art books cost a fortune, so fake the look. Grab two or three hardcover books from the dollar store (or charity shop), stack them largest to smallest on your coffee table, and top them with a small faux succulent or a candle. The trick is removing the dust jackets — plain cloth-bound covers in muted colours look far more high-end than glossy printed ones. Turn the spines to face away so you just see clean edges. I tried this in my own flat with the jackets left on first, and one mistake to avoid is mixing neon thriller covers into the stack — it kills the whole effect instantly.
Pro tip: wrap ugly covers in plain kraft paper for a uniform, linen-bound look.
Cost: ~$6 · Time: 15 minutes
3. Brass-Look Candle Holder Cluster on the Coffee Table
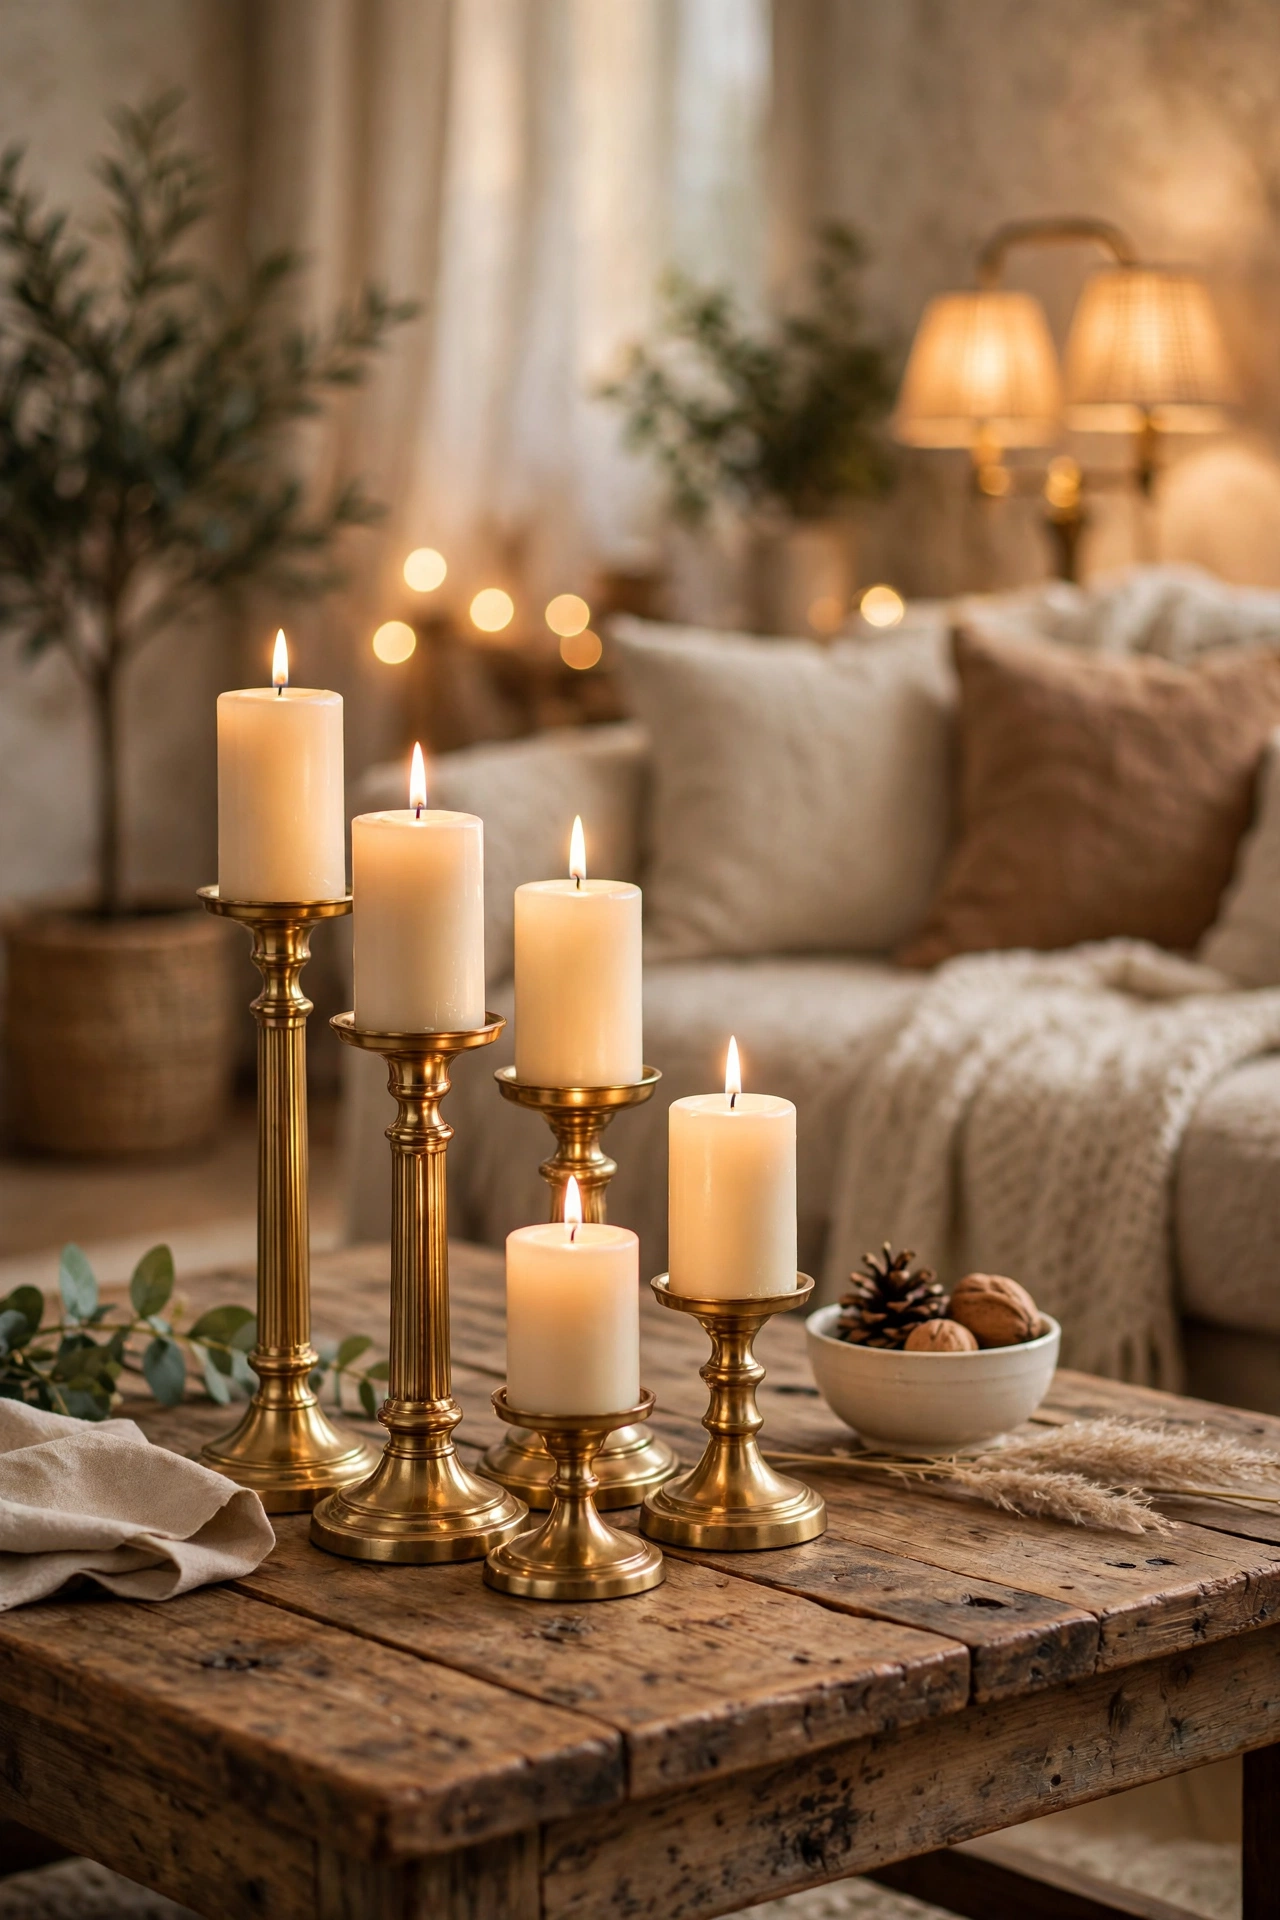
Those gold-toned metal candle holders look suspiciously like the ones in homeware catalogues charging twenty times more. Buy them in odd numbers — three or five — in mixed heights, and group them tightly on one side of your coffee table rather than spreading them out. Clustering is what makes cheap read as curated. Pop in plain white or cream candles; coloured candles cheapen the look. When the holders start to look tired, a quick wipe with a dry cloth brings the shine back, and replacing a bent one costs you a single dollar.
Pro tip: vary the heights by at least 10cm between each holder so the cluster has a proper silhouette.
Cost: ~$8 · Time: 10 minutes
4. Shower-Curtain Art Stretched in a Poster Frame
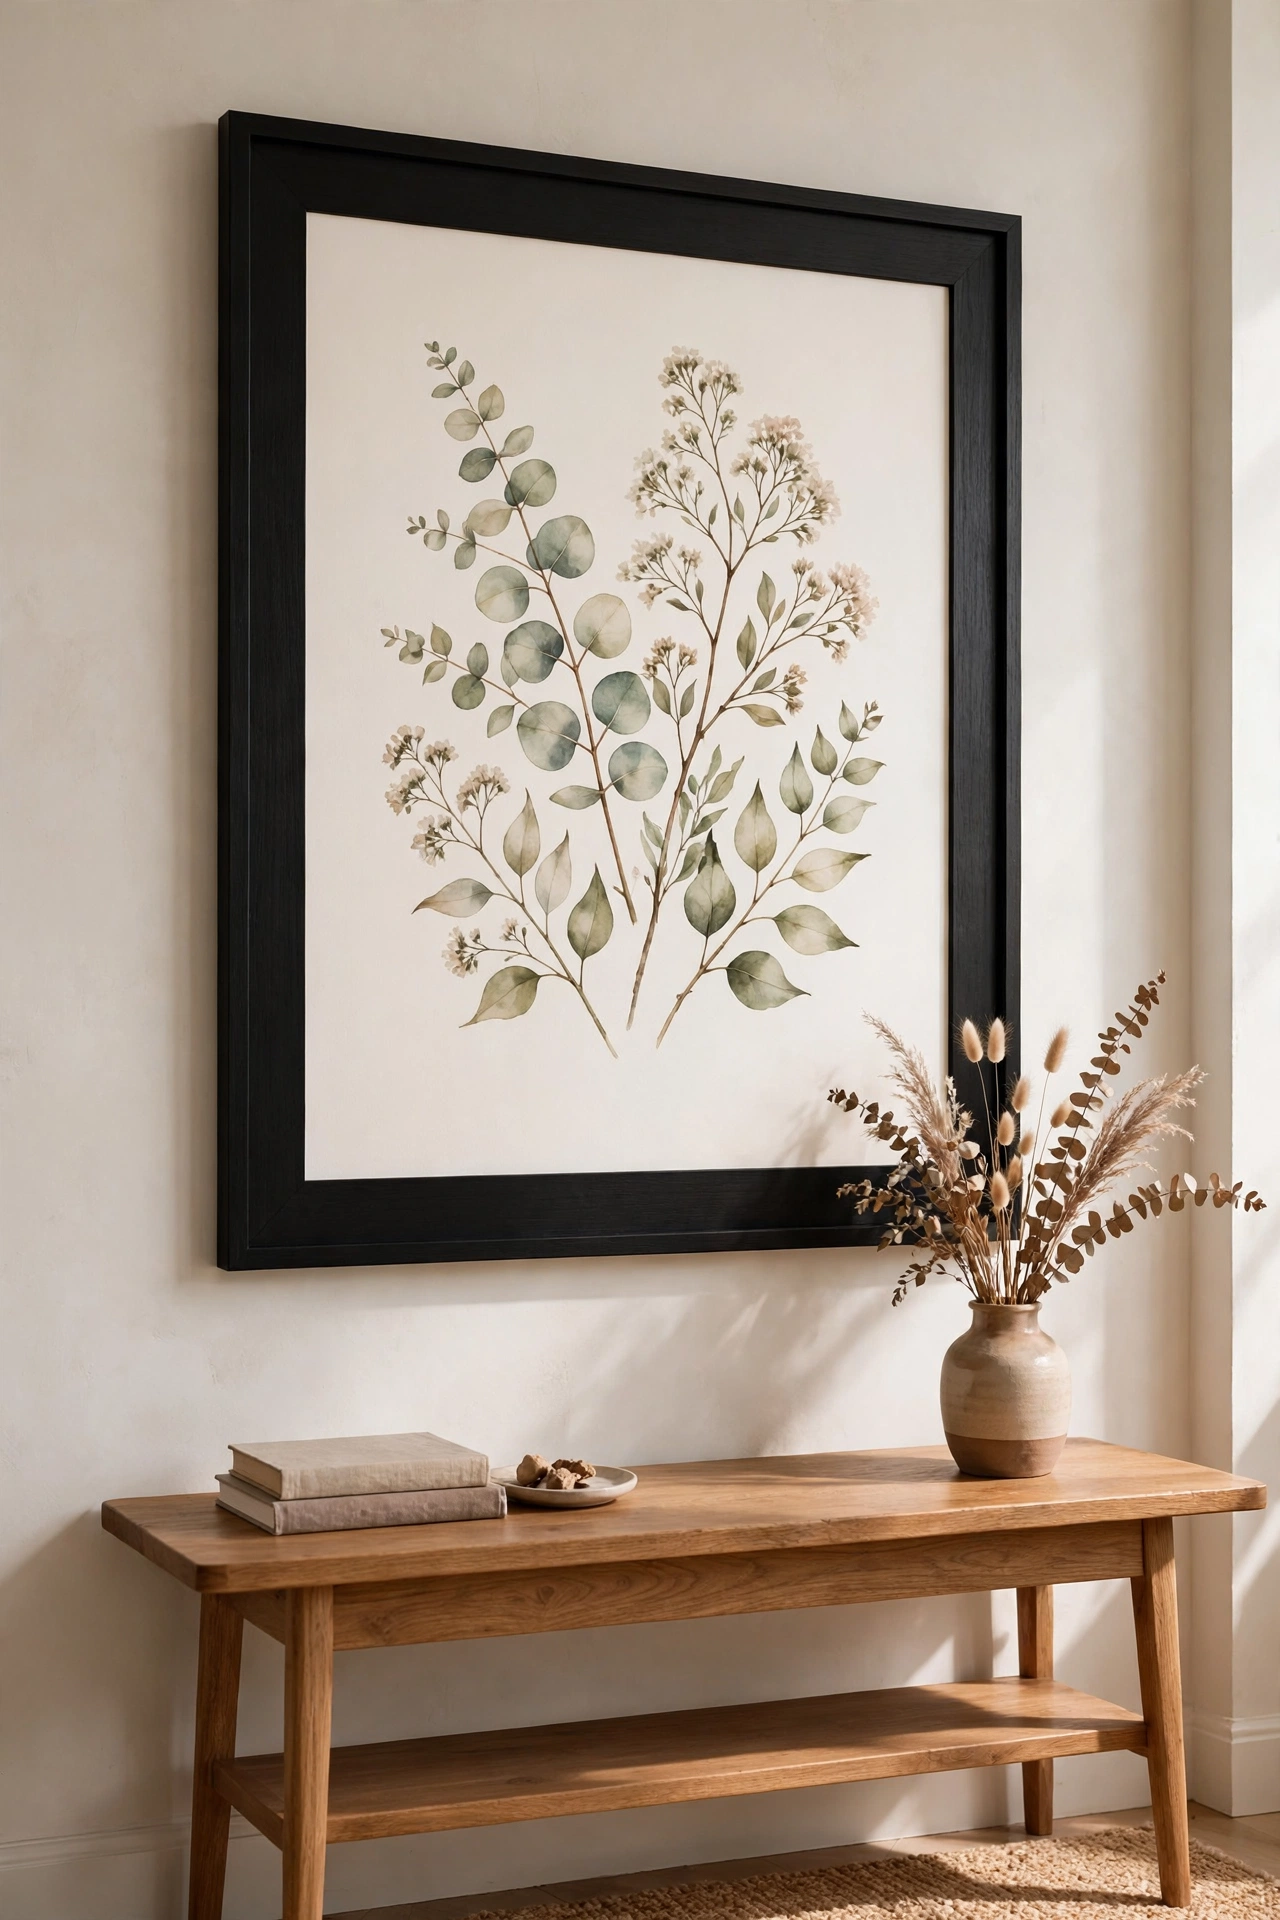
This one sounds mad until you see it done. Dollar Tree shower curtains come in genuinely beautiful prints — abstract watercolours, botanical sketches, marble effects — printed on a huge scale for a dollar. Buy the prettiest one, cut out the best section, and mount it behind glass in a large poster frame. Nobody will ever guess the art started life in the bathroom aisle. Look for designs with plenty of negative space and a calm palette; busy all-over prints are harder to pull off. It fills an enormous blank wall for less than the price of a takeaway coffee.
Pro tip: iron the curtain section on low heat before framing so it sits perfectly flat behind the glass.
Cost: ~$4 · Time: 25 minutes
5. Seagrass Basket Corralling the Throw Blankets
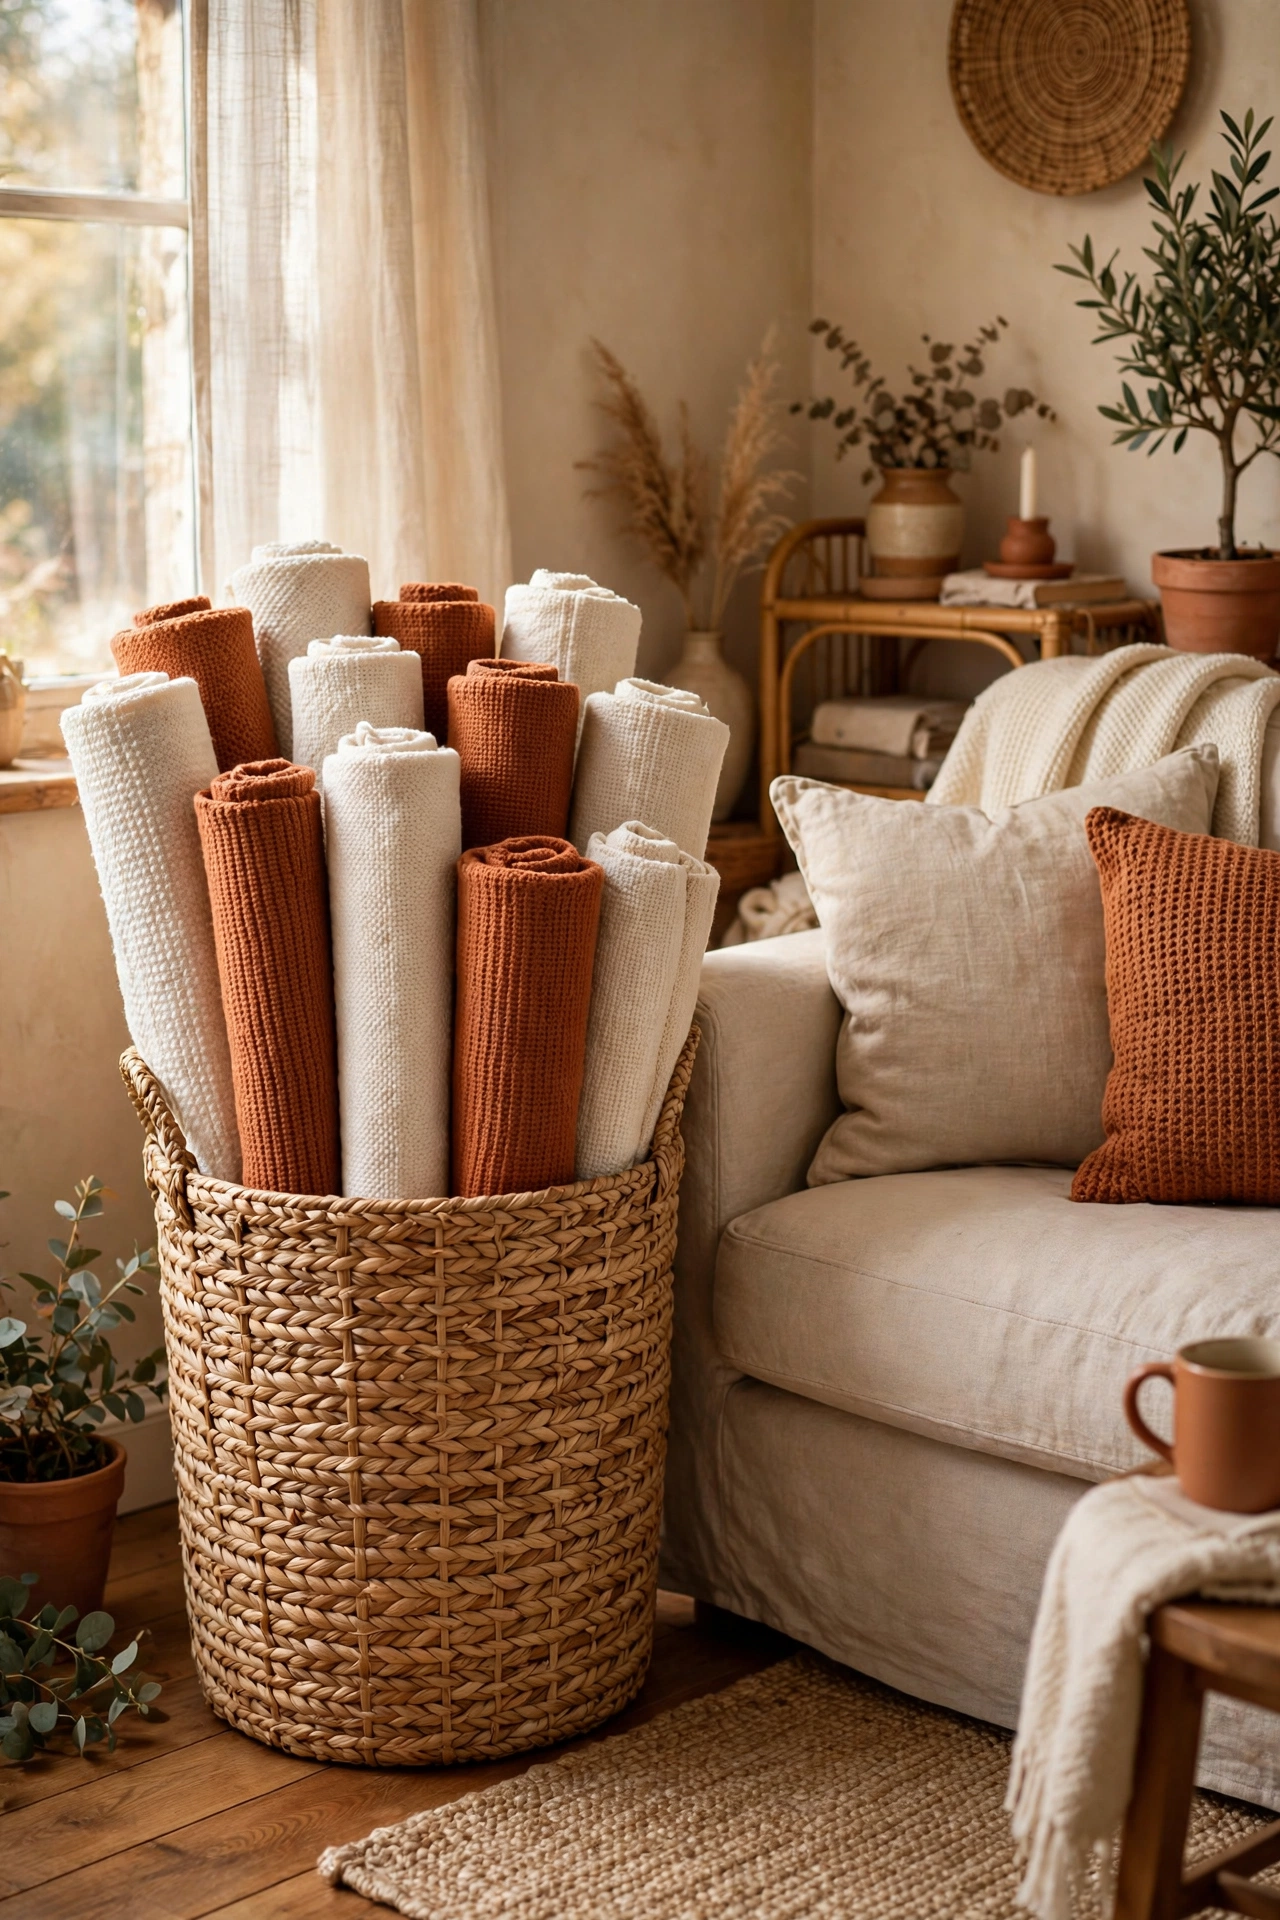
A pile of throws dumped on the sofa looks messy; the same throws rolled and standing upright in a woven seagrass basket look styled. Roll each blanket tightly like a sleeping bag so you see the folded ends facing up — it turns a storage problem into a texture display. Tuck the basket beside the sofa or under a console table where it is reachable but out of the walkway. The natural weave of the basket warms up a room in a way plastic storage never will, and it hides the fact that you own seven blankets for one sofa.
Pro tip: roll throws instead of folding them — rolled ends facing up look intentional, folded piles look like laundry day.
Cost: ~$5 · Time: 10 minutes
6. Apothecary Jars Filled With Pinecones and Pods
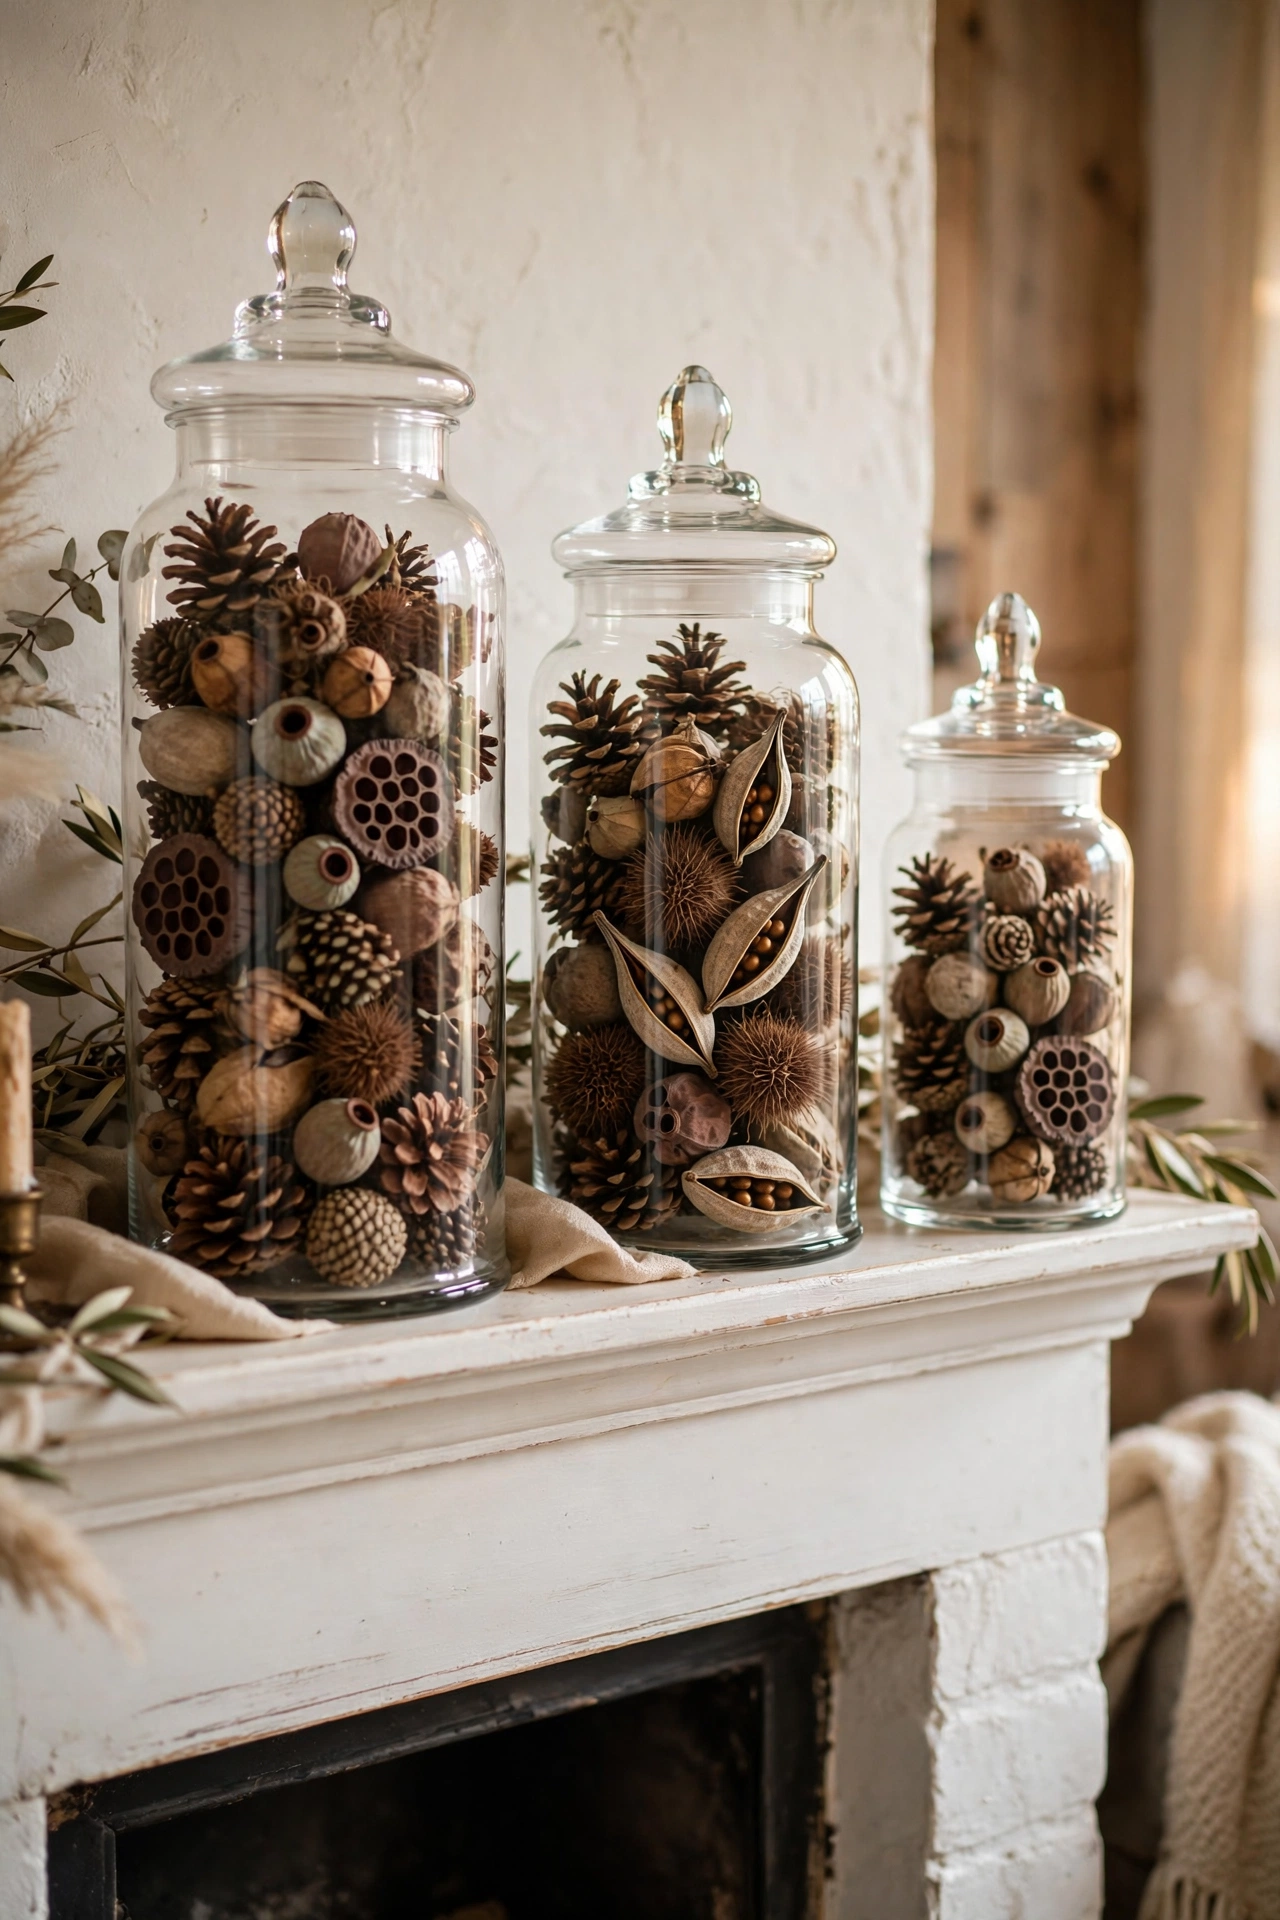
Glass apothecary jars with lids are the workhorses of high-end-looking styling. Fill them with foraged pinecones, dried seed pods, or cinnamon sticks and they become sculptural objects instead of empty glass. The filling is the whole trick — an empty jar looks like you forgot to finish the job. Layer two textures, like smooth river stones at the bottom with rough bark pieces on top, for depth. Line up three jars of descending height on a mantel or bookshelf and you have a display that looks straight out of a interiors magazine.
Pro tip: forage your fillers on a walk — free pinecones beat the bagged ones and look more natural.
Cost: ~$9 · Time: 20 minutes
7. Faux Olive Tree in a Stone-Look Planter
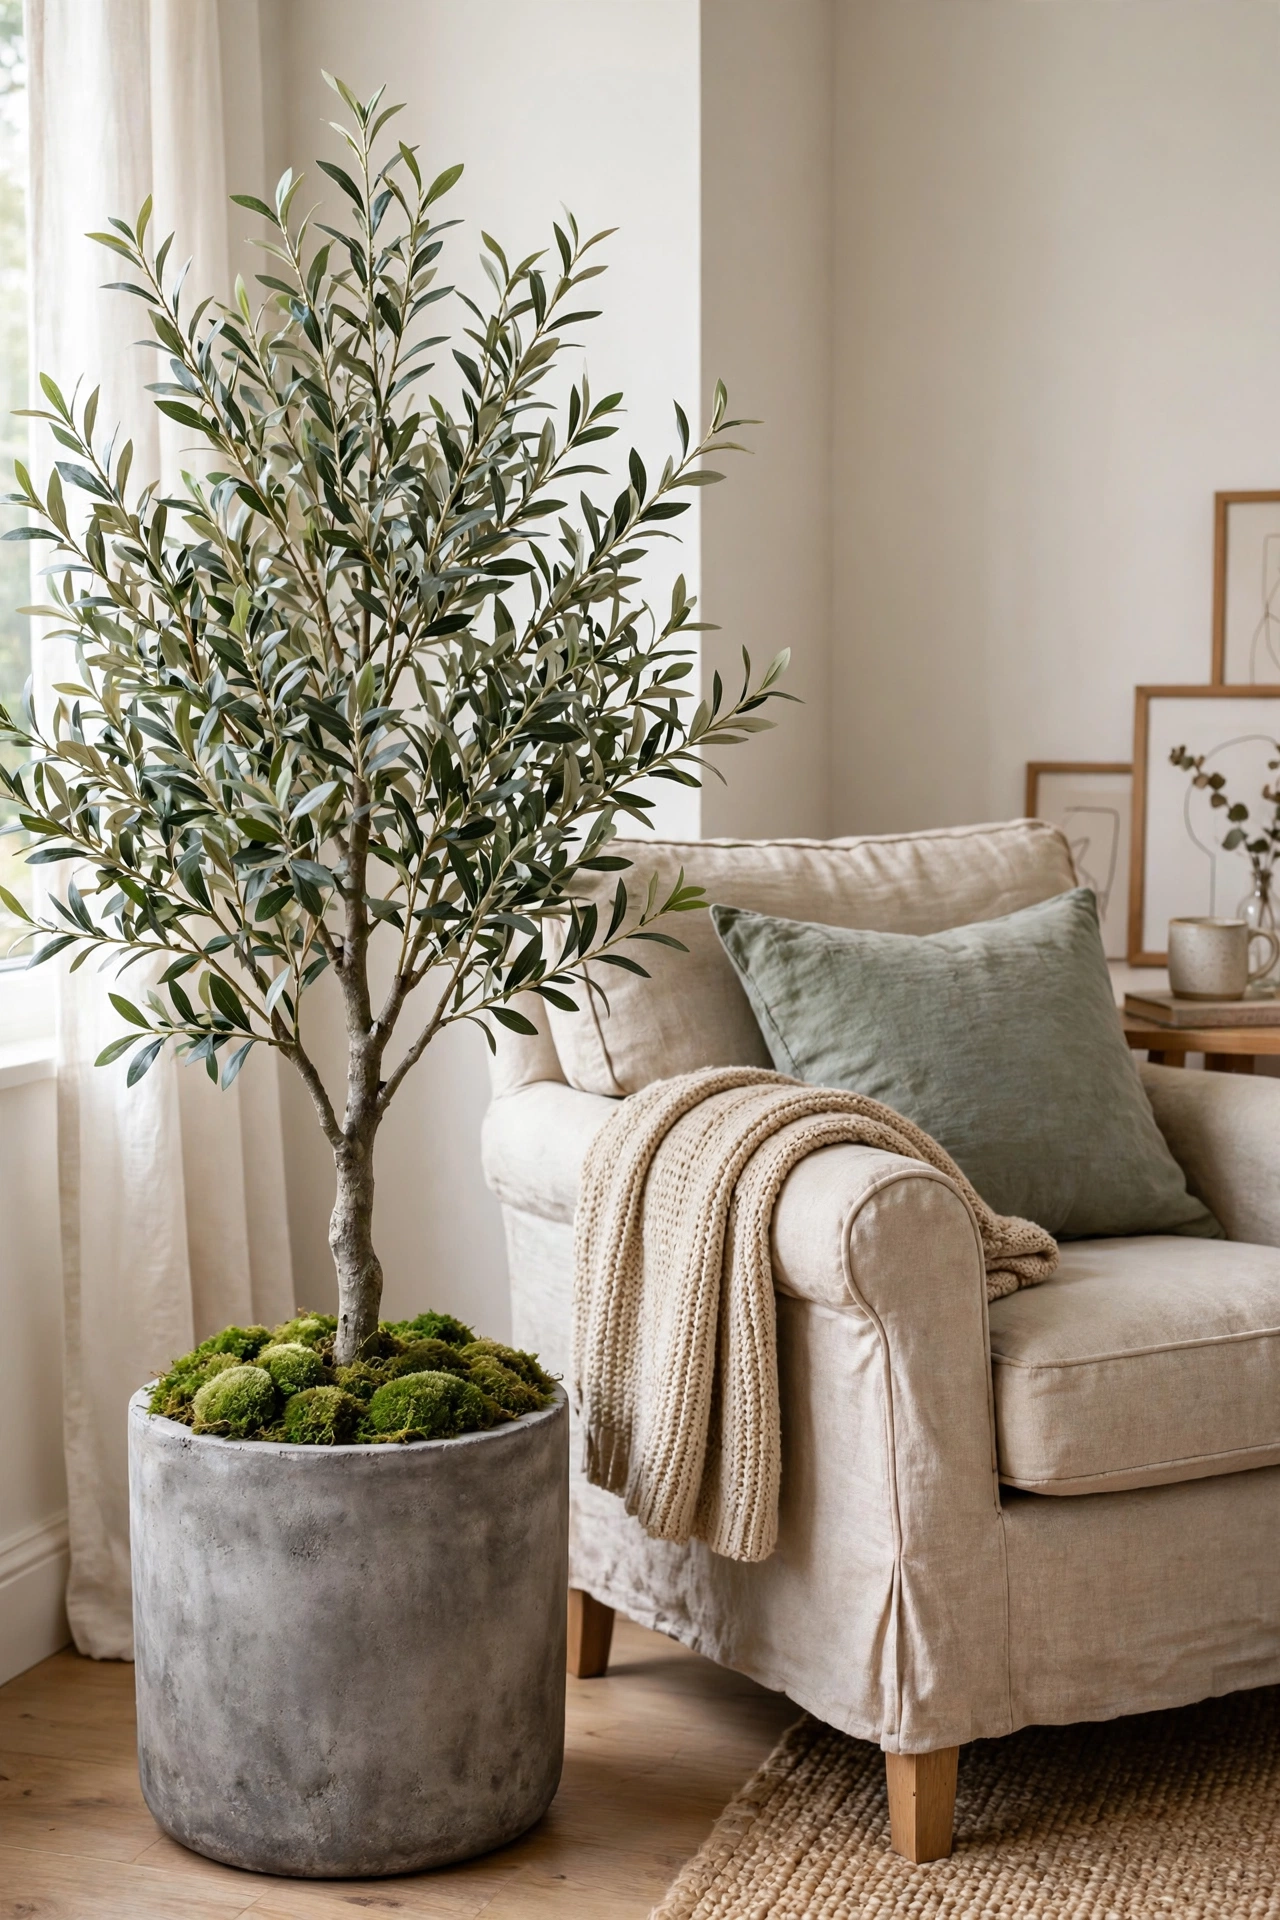
Every expensive living room seems to have an olive tree in the corner, and the dollar store version gets you 90% of the look for almost nothing. The secret is the pot: transfer the tree out of its shiny plastic nursery pot into a heavy-looking stone or concrete-finish planter, and cover the base with a layer of moss. That moss line where stem meets soil is what sells it — real plants have it, cheap fakes do not. Fluff the branches outward and bend a few at natural angles; straight-out-of-the-box symmetry is the giveaway.
Pro tip: wipe the leaves with a damp cloth once a month — dust is what makes faux plants look fake.
Cost: ~$7 · Time: 20 minutes
8. Leather-Look Coaster Set for the Coffee Table
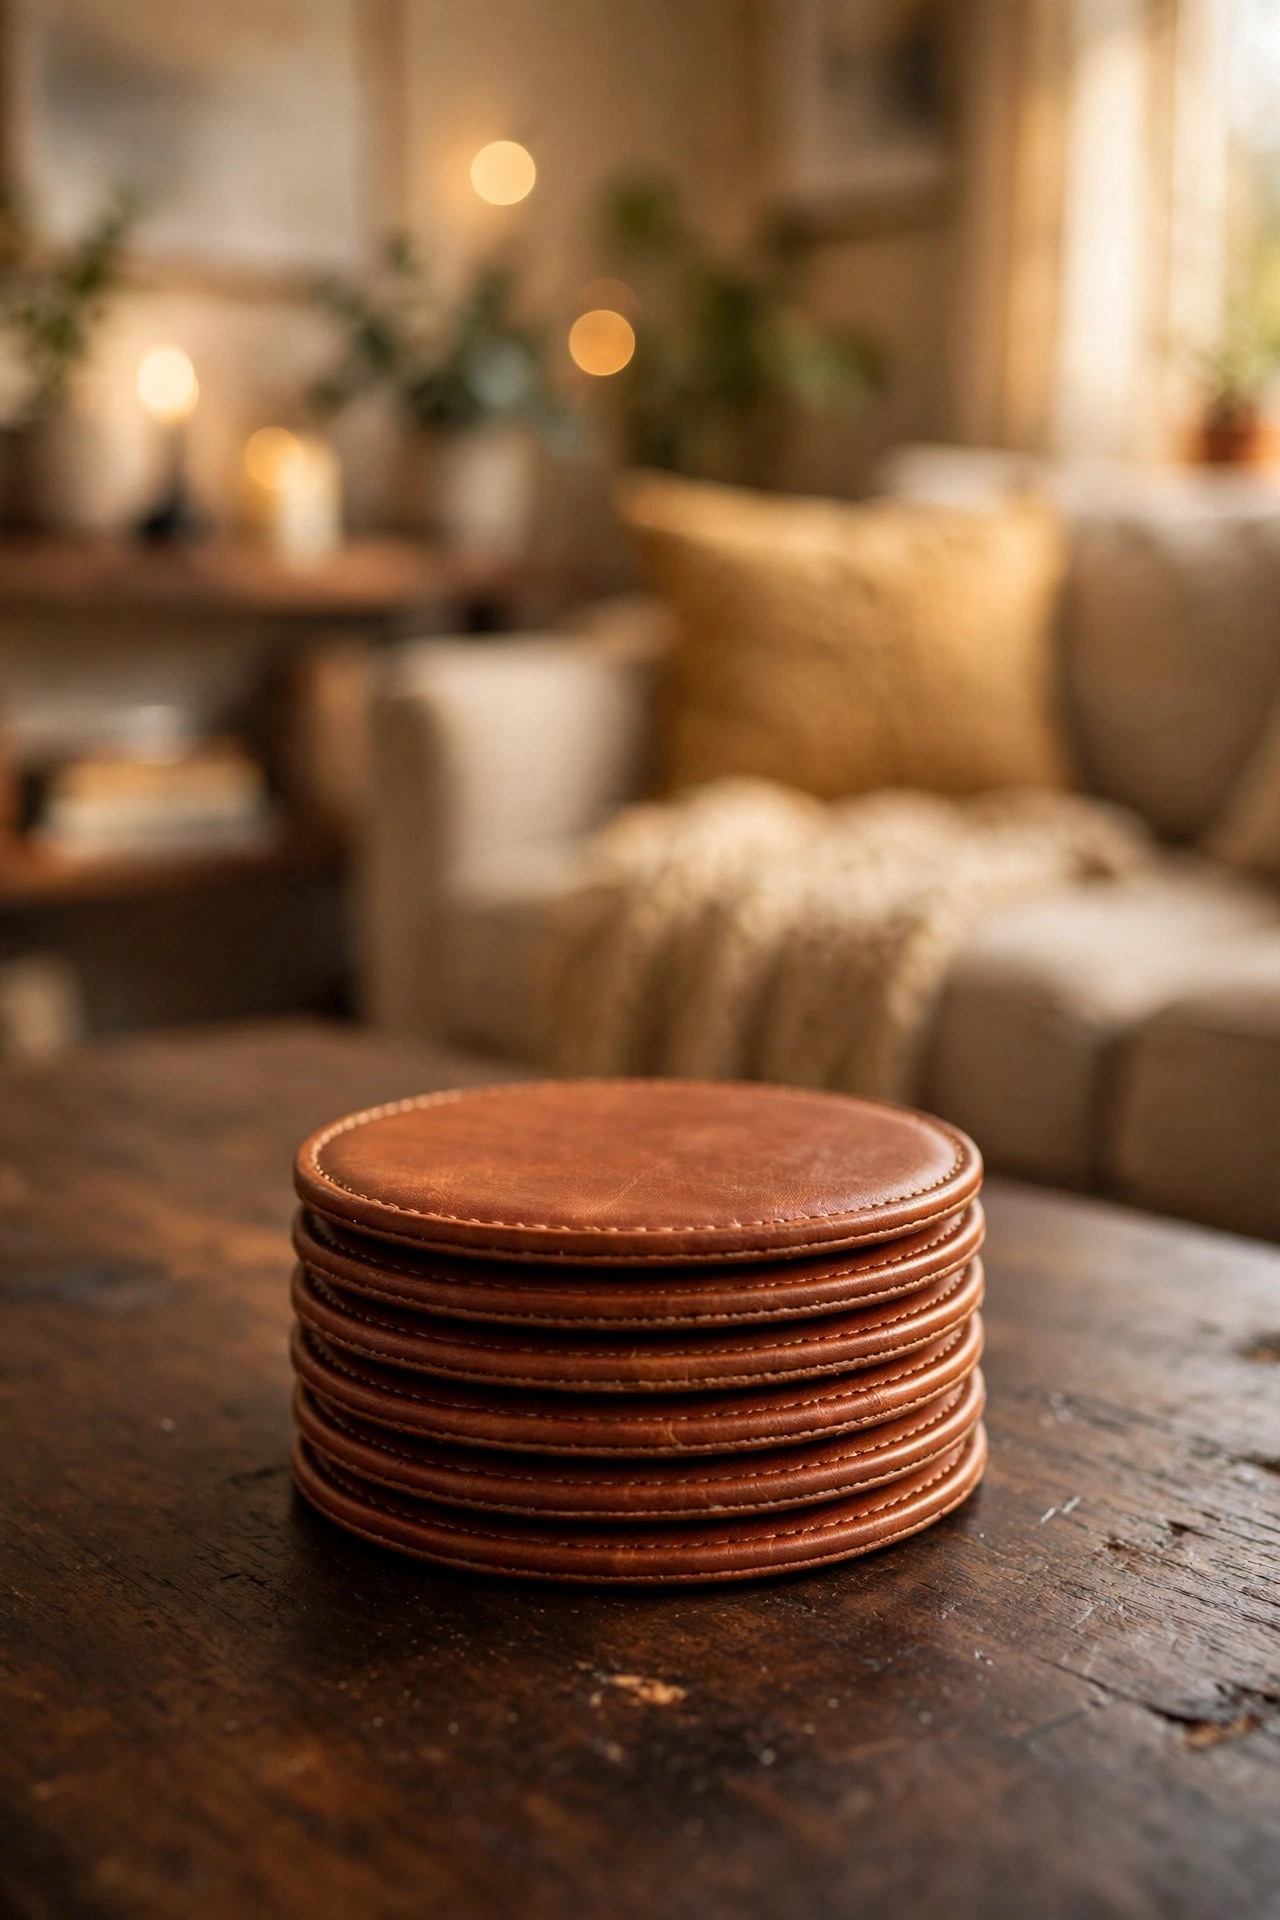
Coasters are one of those details guests actually notice, and the faux-leather ones with stitched edges look properly grown-up. Stack a set of six in a little pile on the coffee table or fan them in a small holder — visible coasters signal a finished room. They also save your table from ring marks, which matters more the cheaper your furniture is. Choose cognac or dark brown; black can look plasticky at this price point. I keep a set by the sofa and another by my reading chair, and both took about thirty seconds to “style”.
Pro tip: keep them visible in a neat stack — hidden coasters do nothing for your decor.
Cost: ~$3 · Time: 5 minutes
9. Chunky Knit Throw Draped With Intention
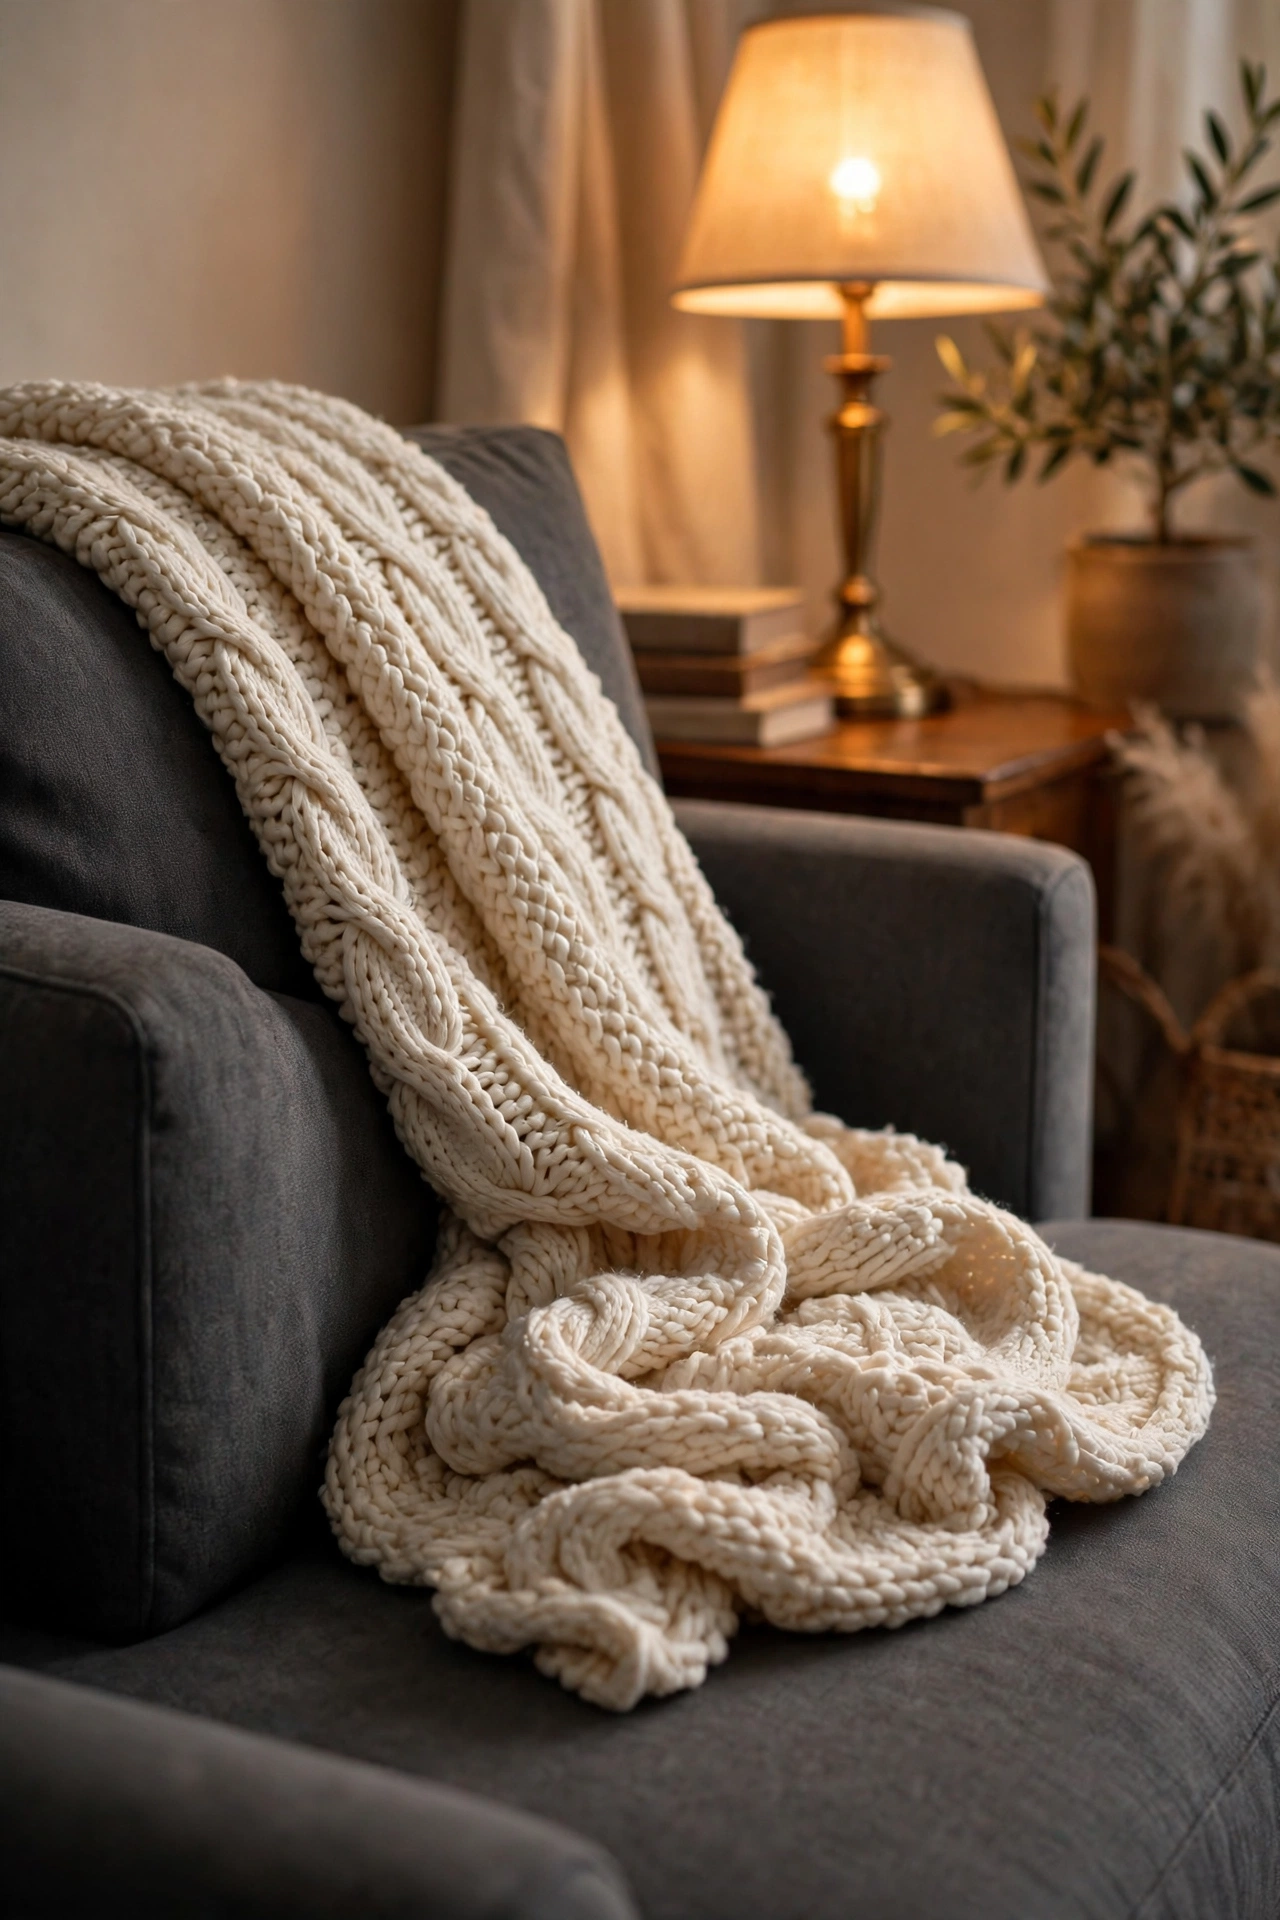
The difference between a throw that looks expensive and one that looks slung is about ten seconds of effort. Fold your chunky knit throw into thirds lengthways, then drape it over one arm of the sofa or diagonally across a corner of the bed, letting one end puddle slightly on the seat. That casual-but-deliberate fold shows off the texture instead of hiding it in a heap. Chunky knits photograph beautifully too, which matters if you are pinning your room. One mistake to avoid is draping it dead centre — off-centre always looks more styled.
Pro tip: the thirds-fold is the whole technique — it gives you neat edges and a generous drape in one move.
Cost: ~$5 · Time: 5 minutes
10. Fairy Lights Sealed Under a Glass Cloche
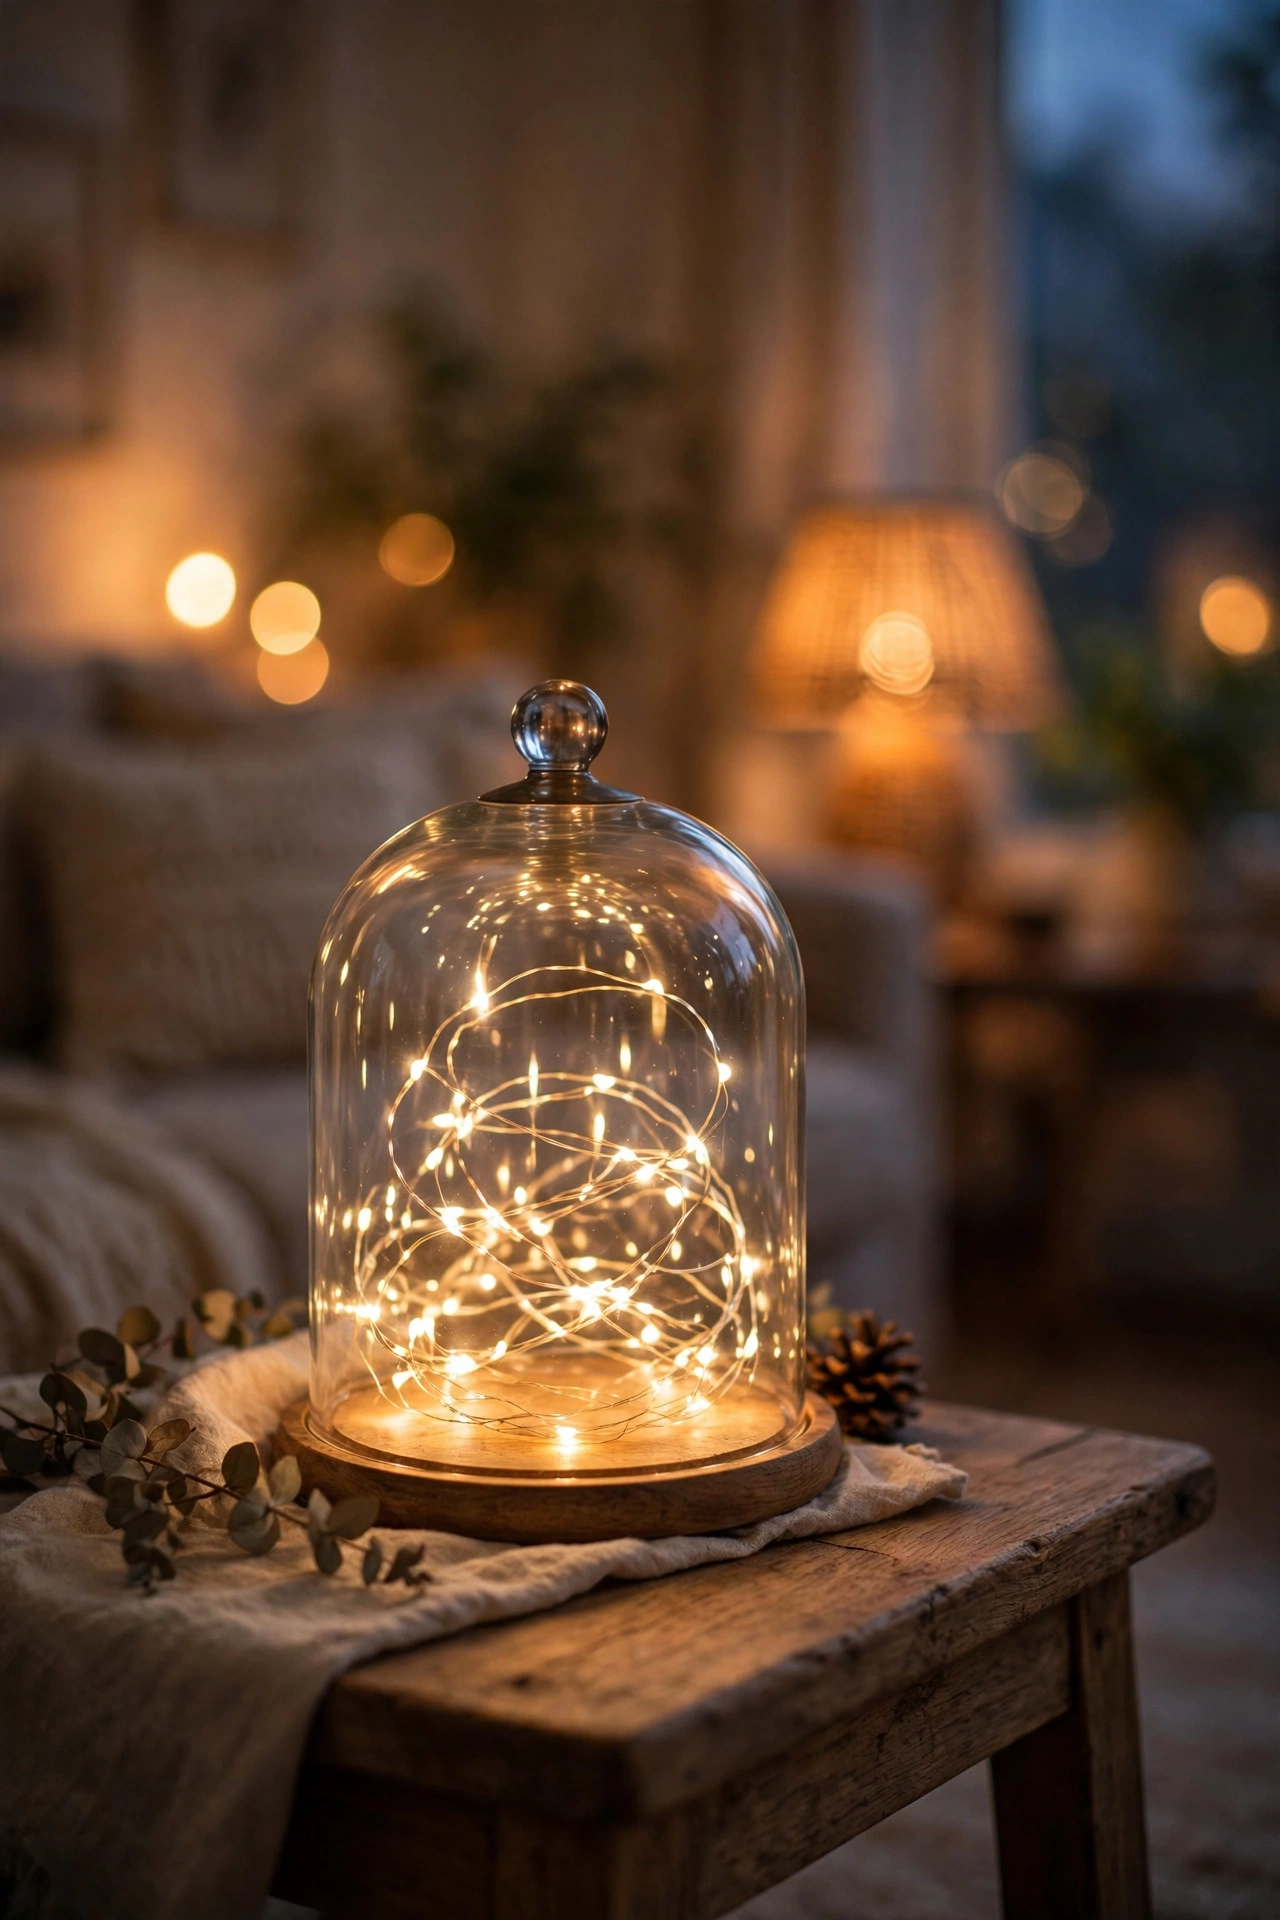
A tangle of fairy lights looks student-housey; the same lights coiled inside a glass cloche or dome look like a designer lamp. Coil a battery string light loosely in the bottom of the cloche, tuck the battery pack underneath, and set it on a side table or shelf. At night it throws the prettiest warm glow, and by day the glass dome keeps dust off the wires. Warm white lights only — cool white reads as office lighting and undoes all your hard work. This is my favourite trick for dark corners that feel dead after sunset.
Pro tip: use lights with a timer function so the glow switches itself on every evening.
Cost: ~$6 · Time: 10 minutes
11. Brass-Look Knobs on the Media Console
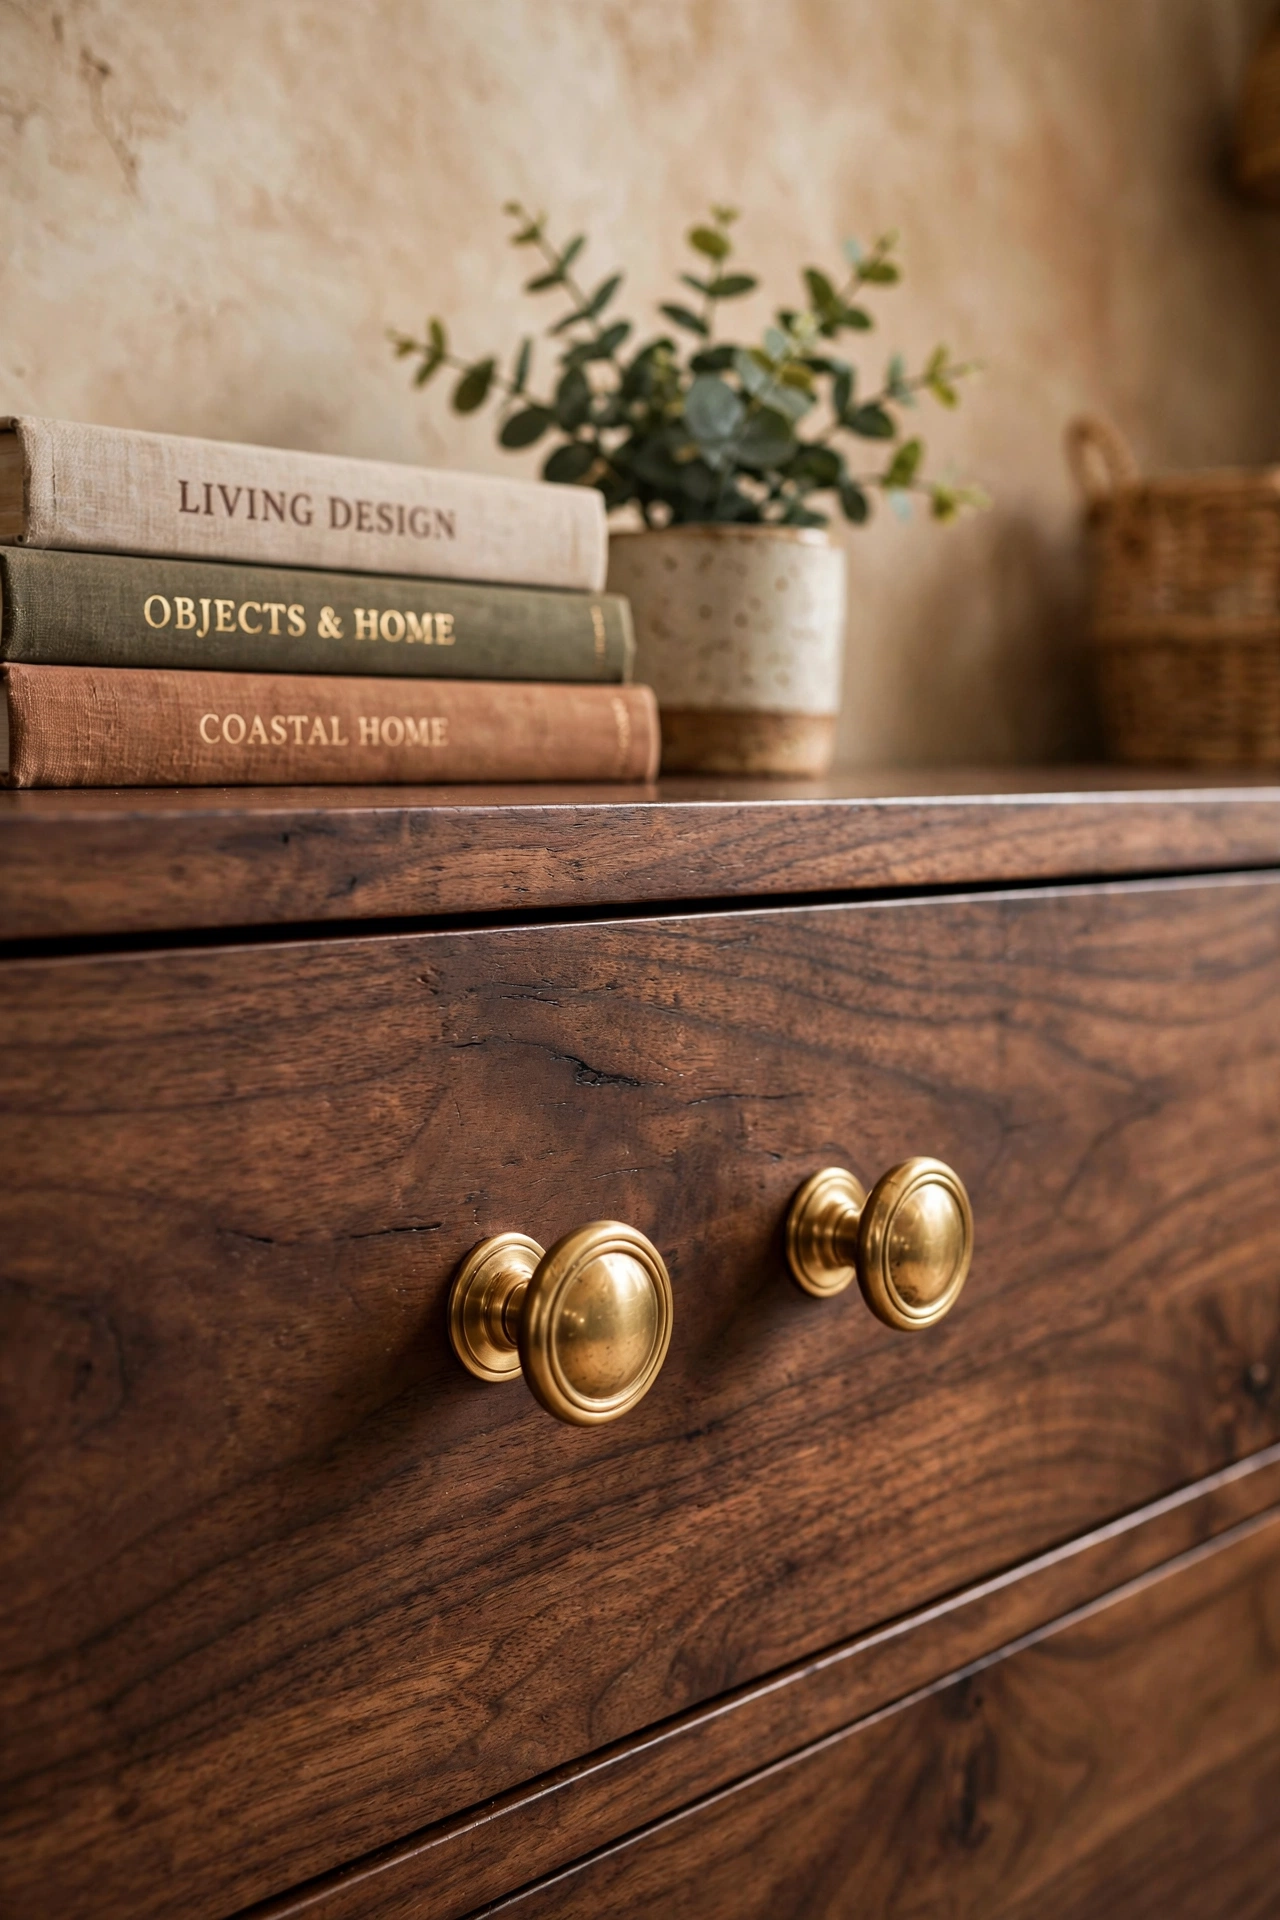
Swapping the knobs on a cheap media console or sideboard is the fastest furniture upgrade I know. The store’s metallic-finish knobs come in brass, matte black, and crystal styles — unscrew the old ones, screw in the new, done. It takes longer to find the screwdriver than to do the job. Brass tones warm up dark furniture beautifully, while matte black sharpens up anything pale or white. Measure the screw spacing before you shop so you buy knobs that fit your existing holes without drilling.
Pro tip: replace every visible knob on the piece, not just the front ones — consistency is what sells it.
Cost: ~$6 · Time: 20 minutes
12. Framed Fabric as Oversized Textile Art
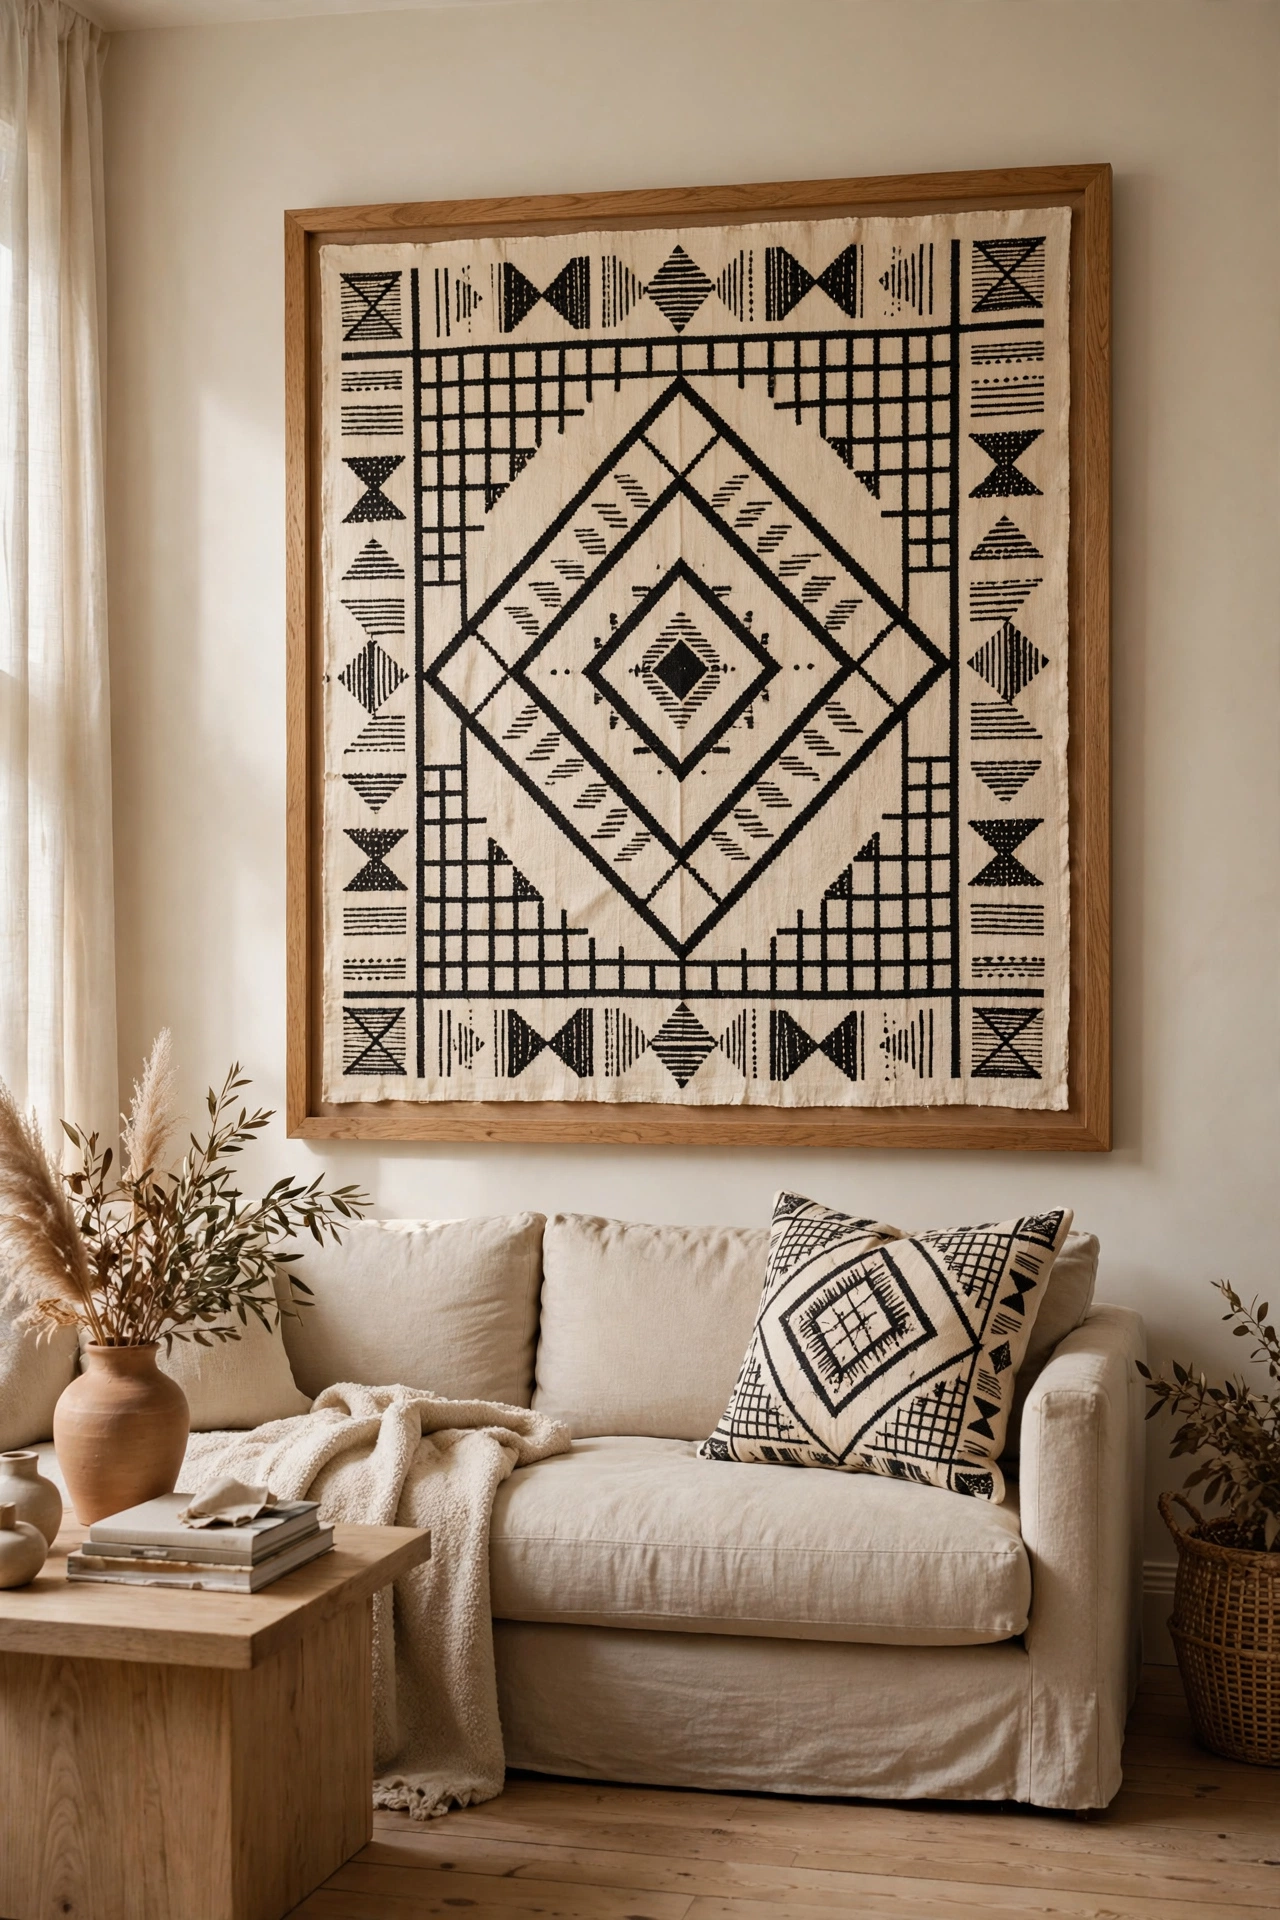
Beautiful fabric costs far less per metre than art costs per print. Buy a length of striking fabric — mudcloth patterns, bold stripes, botanical prints — and stretch it over a cheap canvas frame or mount it in a large frame behind glass. It gives you oversized art with real texture, which reads far more expensive than a flat poster. Pull one colour from the fabric and repeat it in a cushion or throw to tie the room together. I tried this in my own hallway with a remnant I loved, and visitors always assume it is a proper textile piece.
Pro tip: staple fabric to the back of a canvas frame for a drum-tight, gallery-worthy finish.
Cost: ~$8 · Time: 30 minutes
13. Velvet Cushion Covers in Jewel Tones
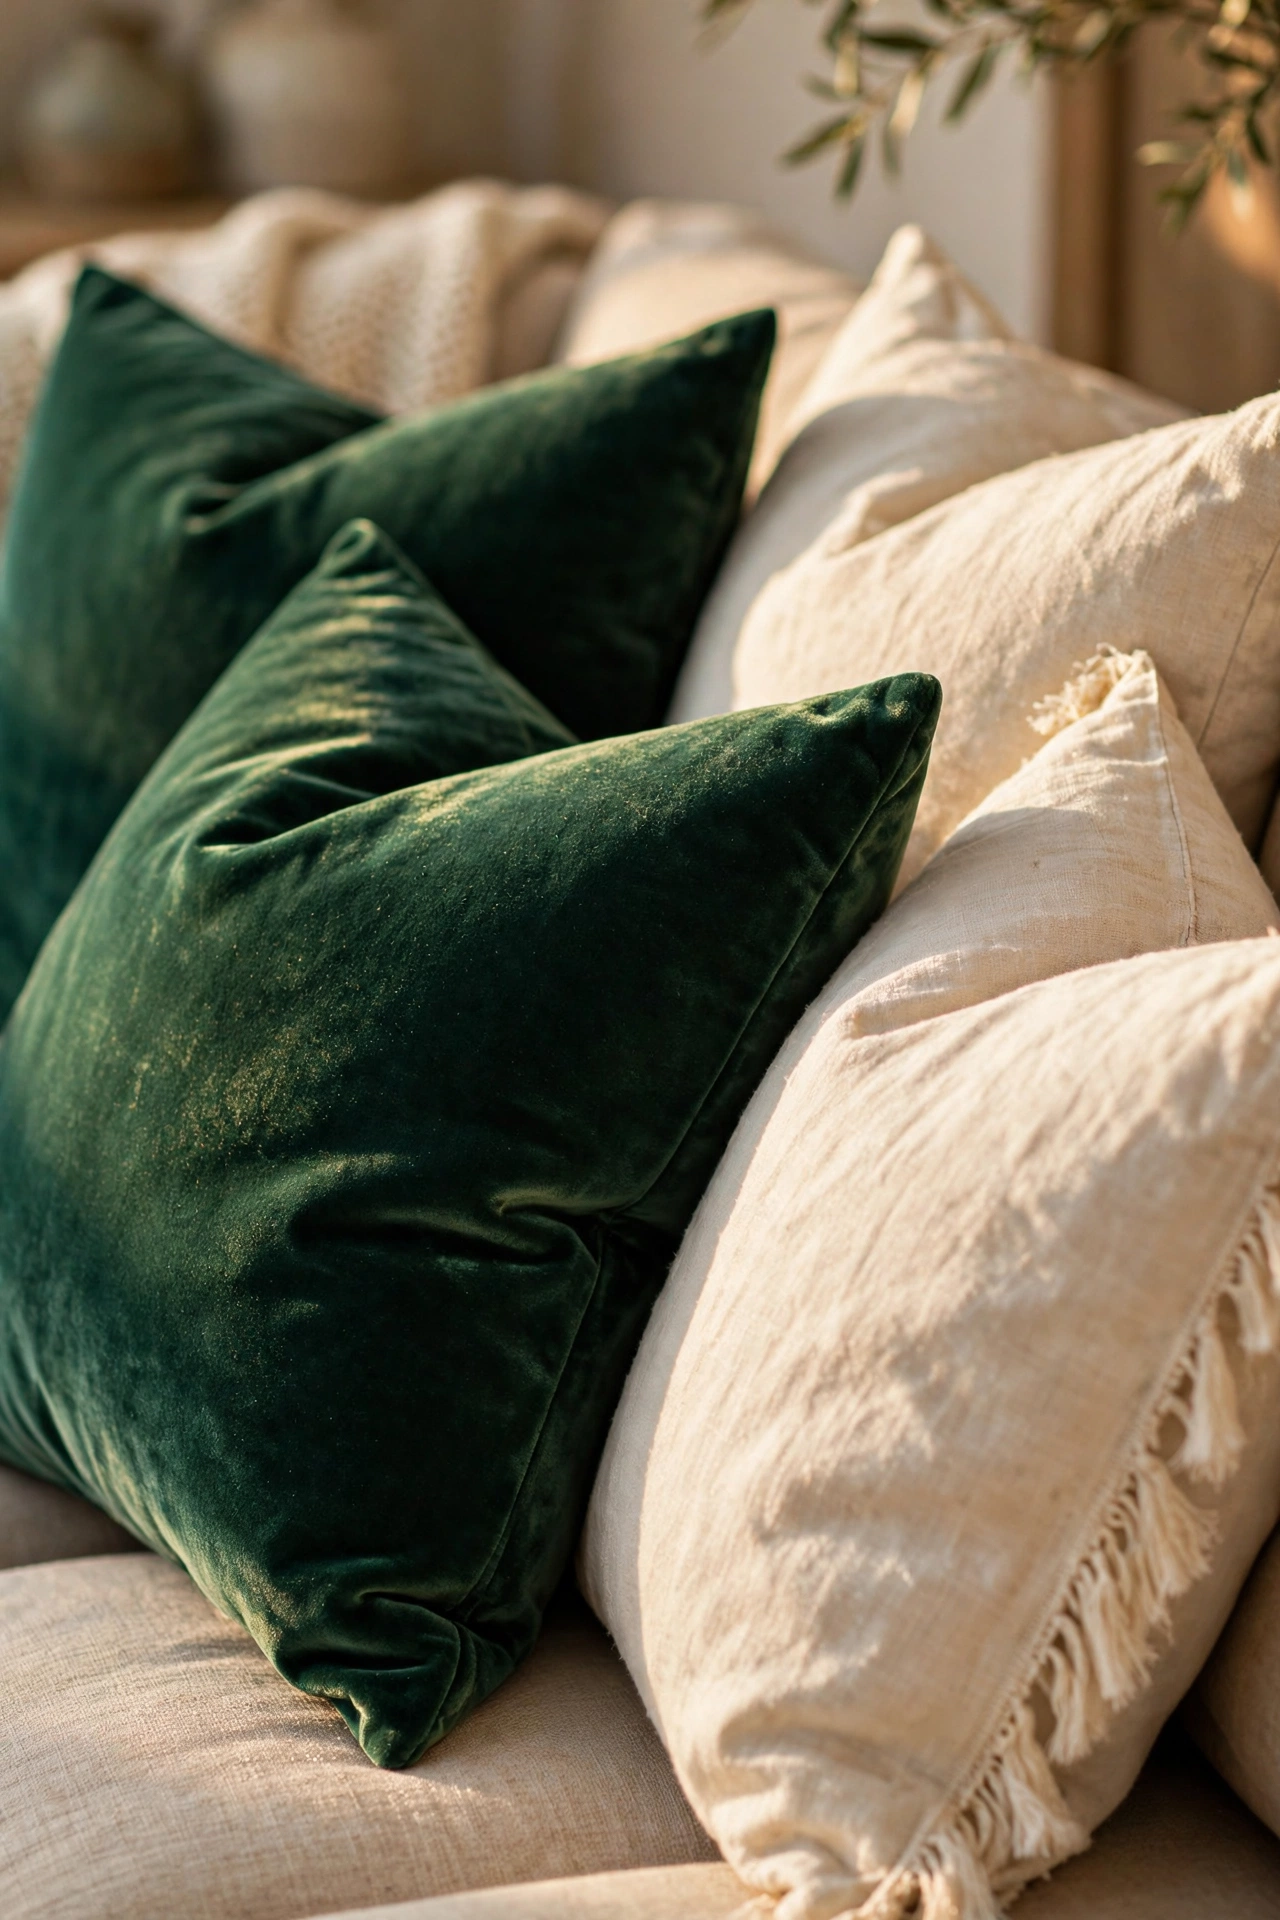
Velvet is the fabric that lies most convincingly about its price. Swap your existing cushion inserts into velvet-look covers in emerald, mustard, or deep navy and the whole sofa levels up. The pile catches light differently from every angle, which is exactly what expensive upholstery does. Mix one velvet cushion with plainer linen ones — a full sofa of velvet can look like a theatre foyer. One mistake to avoid is washing them with fabric softener, which flattens the pile; a cool gentle wash keeps them plush.
Pro tip: brush the velvet with your hand in one direction before guests arrive for an even, rich finish.
Cost: ~$8 · Time: 10 minutes
14. Wooden Bead Garland Across the Coffee Table
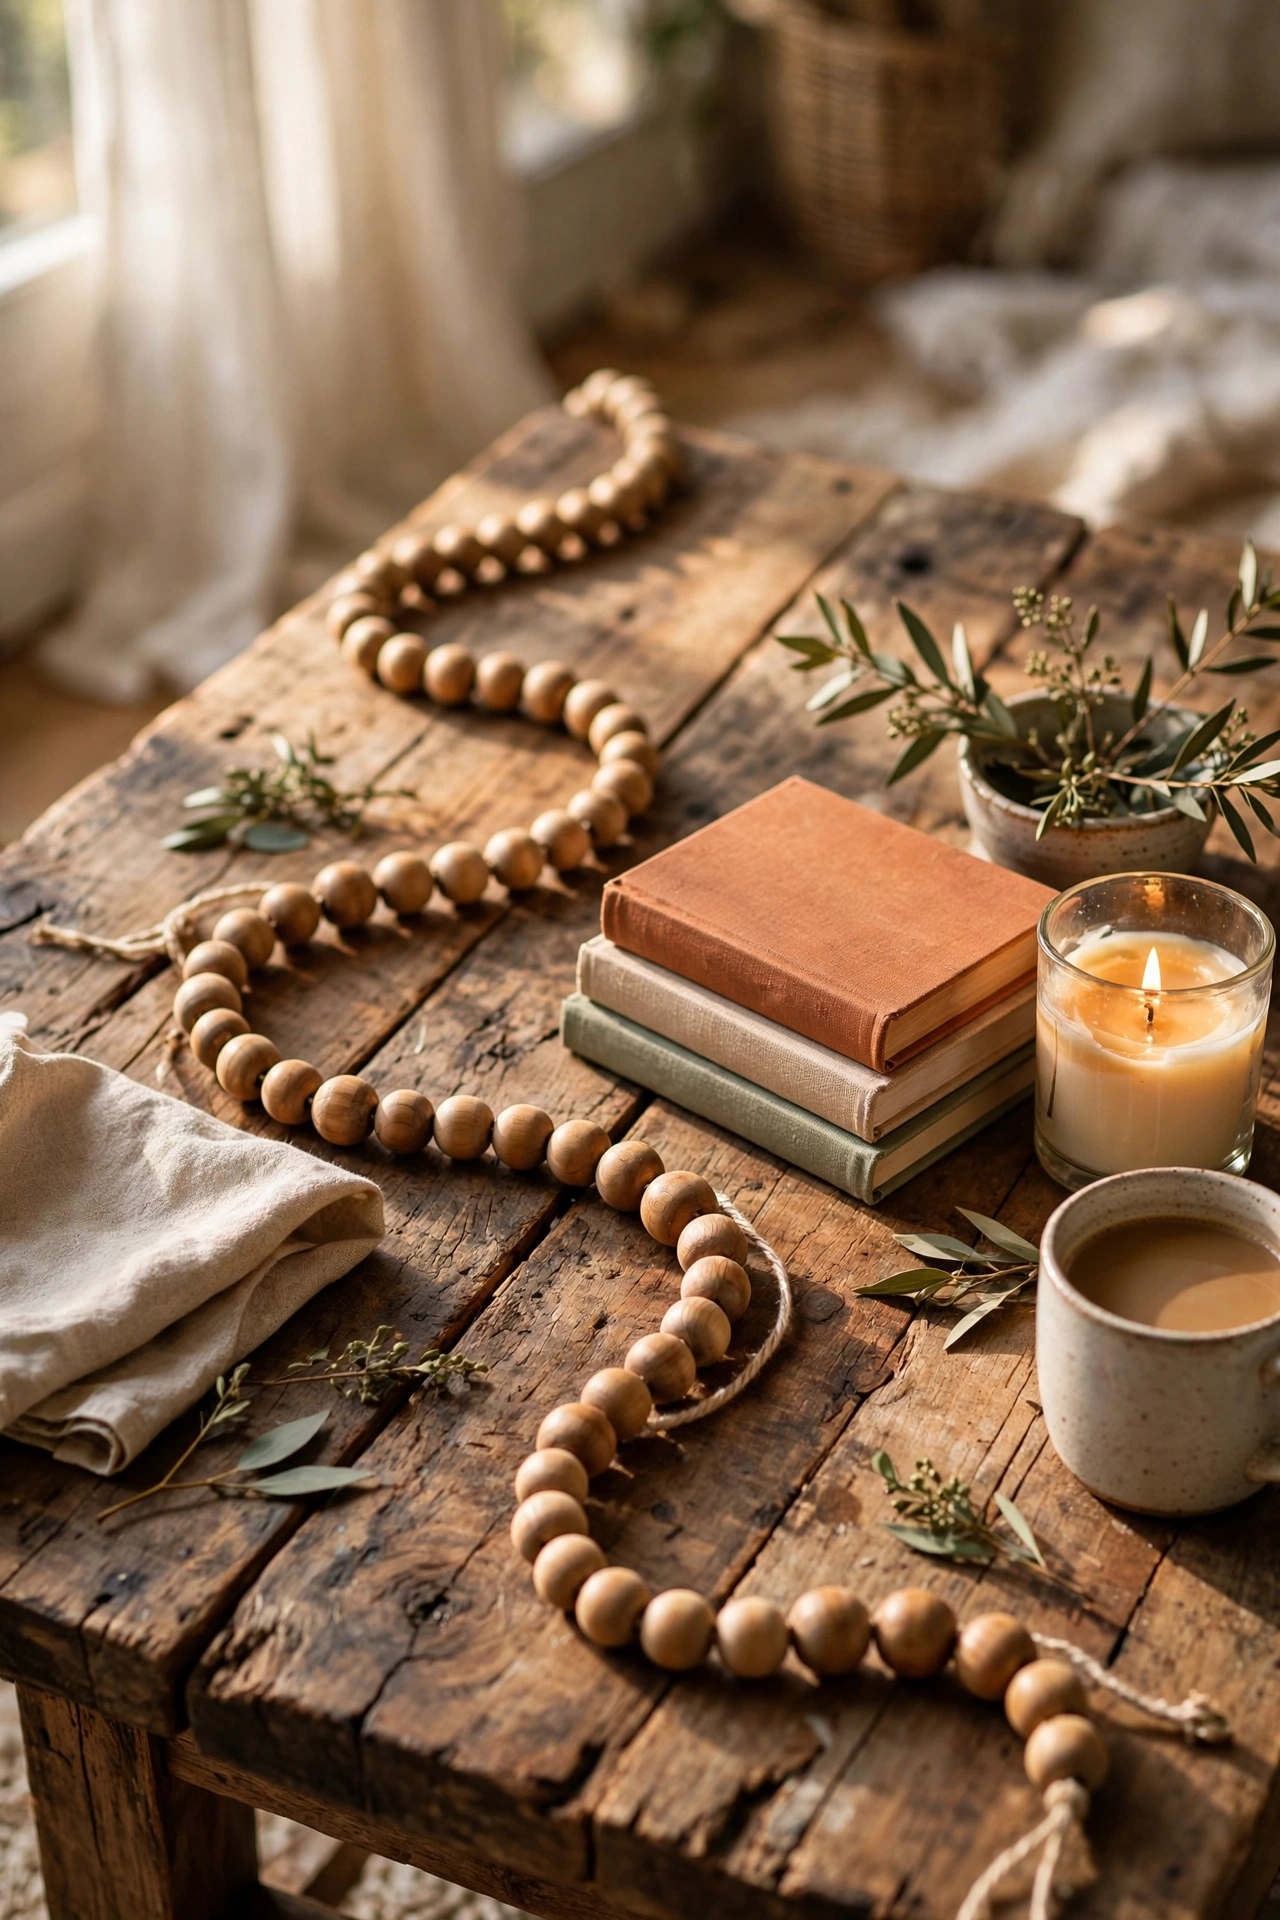
Wooden bead garlands are the styling equivalent of jewellery for your furniture. Drape one in a loose S-curve across the coffee table or along the mantel and it instantly makes the surface look considered. The natural wood tone works with every colour scheme, which is why stylists reach for them constantly. Coil it in a small bowl when you need the table clear — it looks just as good contained. Pair it with a candle and a small stack of books and you have the classic three-item styling formula done.
Pro tip: let the garland trail off the table edge slightly — that casual drape is what makes it look styled, not stored.
Cost: ~$4 · Time: 5 minutes
15. Magazine File as a Remote-Control Caddy
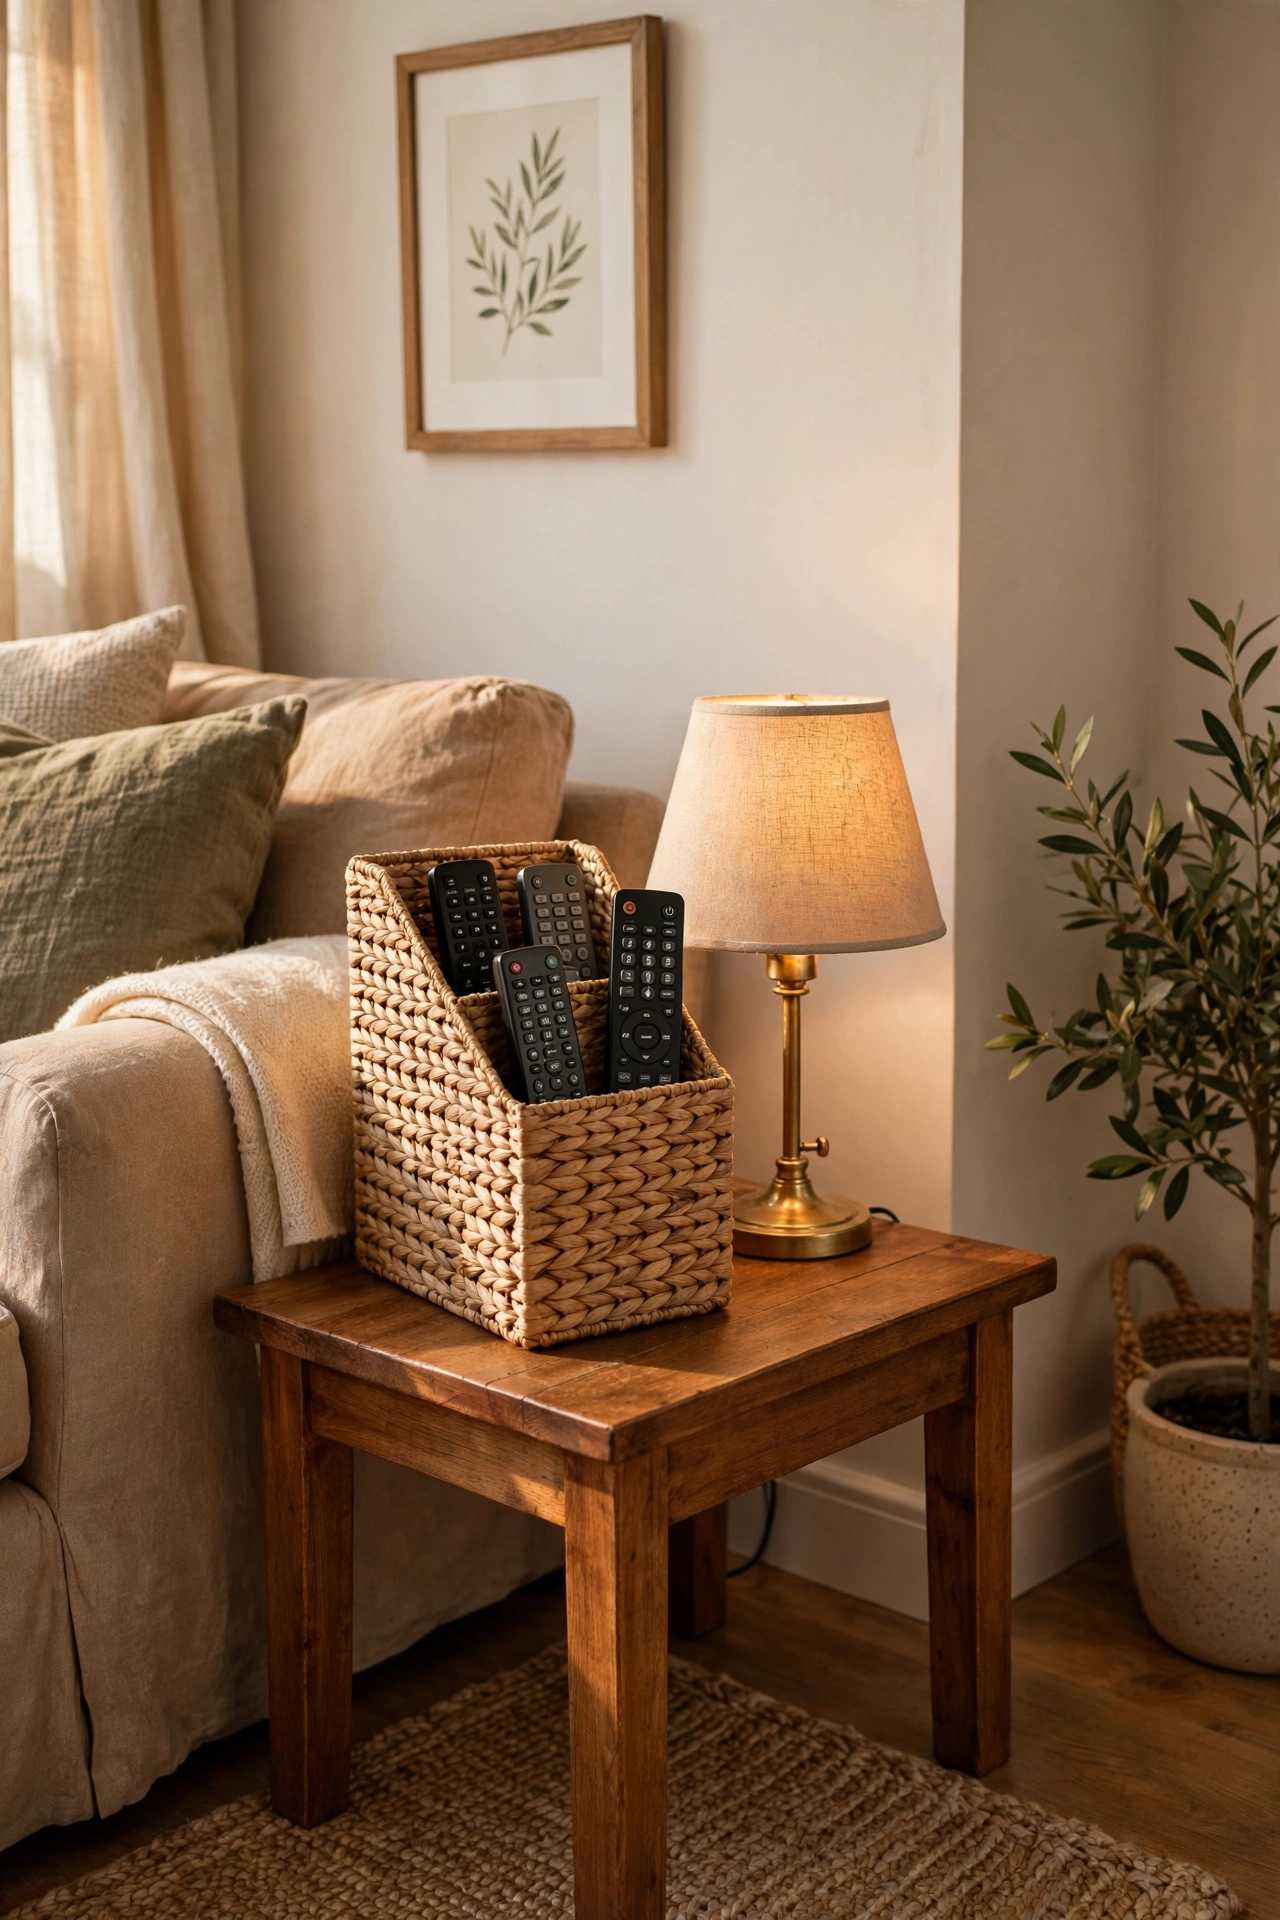
Remotes scattered on the coffee table are the fastest way to make a styled room look untidy. Stand a decorative magazine file or document box upright on a side table and slide the remotes inside, spines-up like files. It keeps them findable but invisible, and the box itself becomes part of the decor. Choose one in a finish that matches your room — woven, faux leather, or matte black all work. Label the sections if you are feeling organised, though honestly just tossing them in beats the coffee-table sprawl.
Pro tip: pick a file tall enough that remote tops stay below the rim — visible remote tips defeat the purpose.
Cost: ~$3 · Time: 5 minutes
16. Floating Picture Ledges for a Flexible Gallery
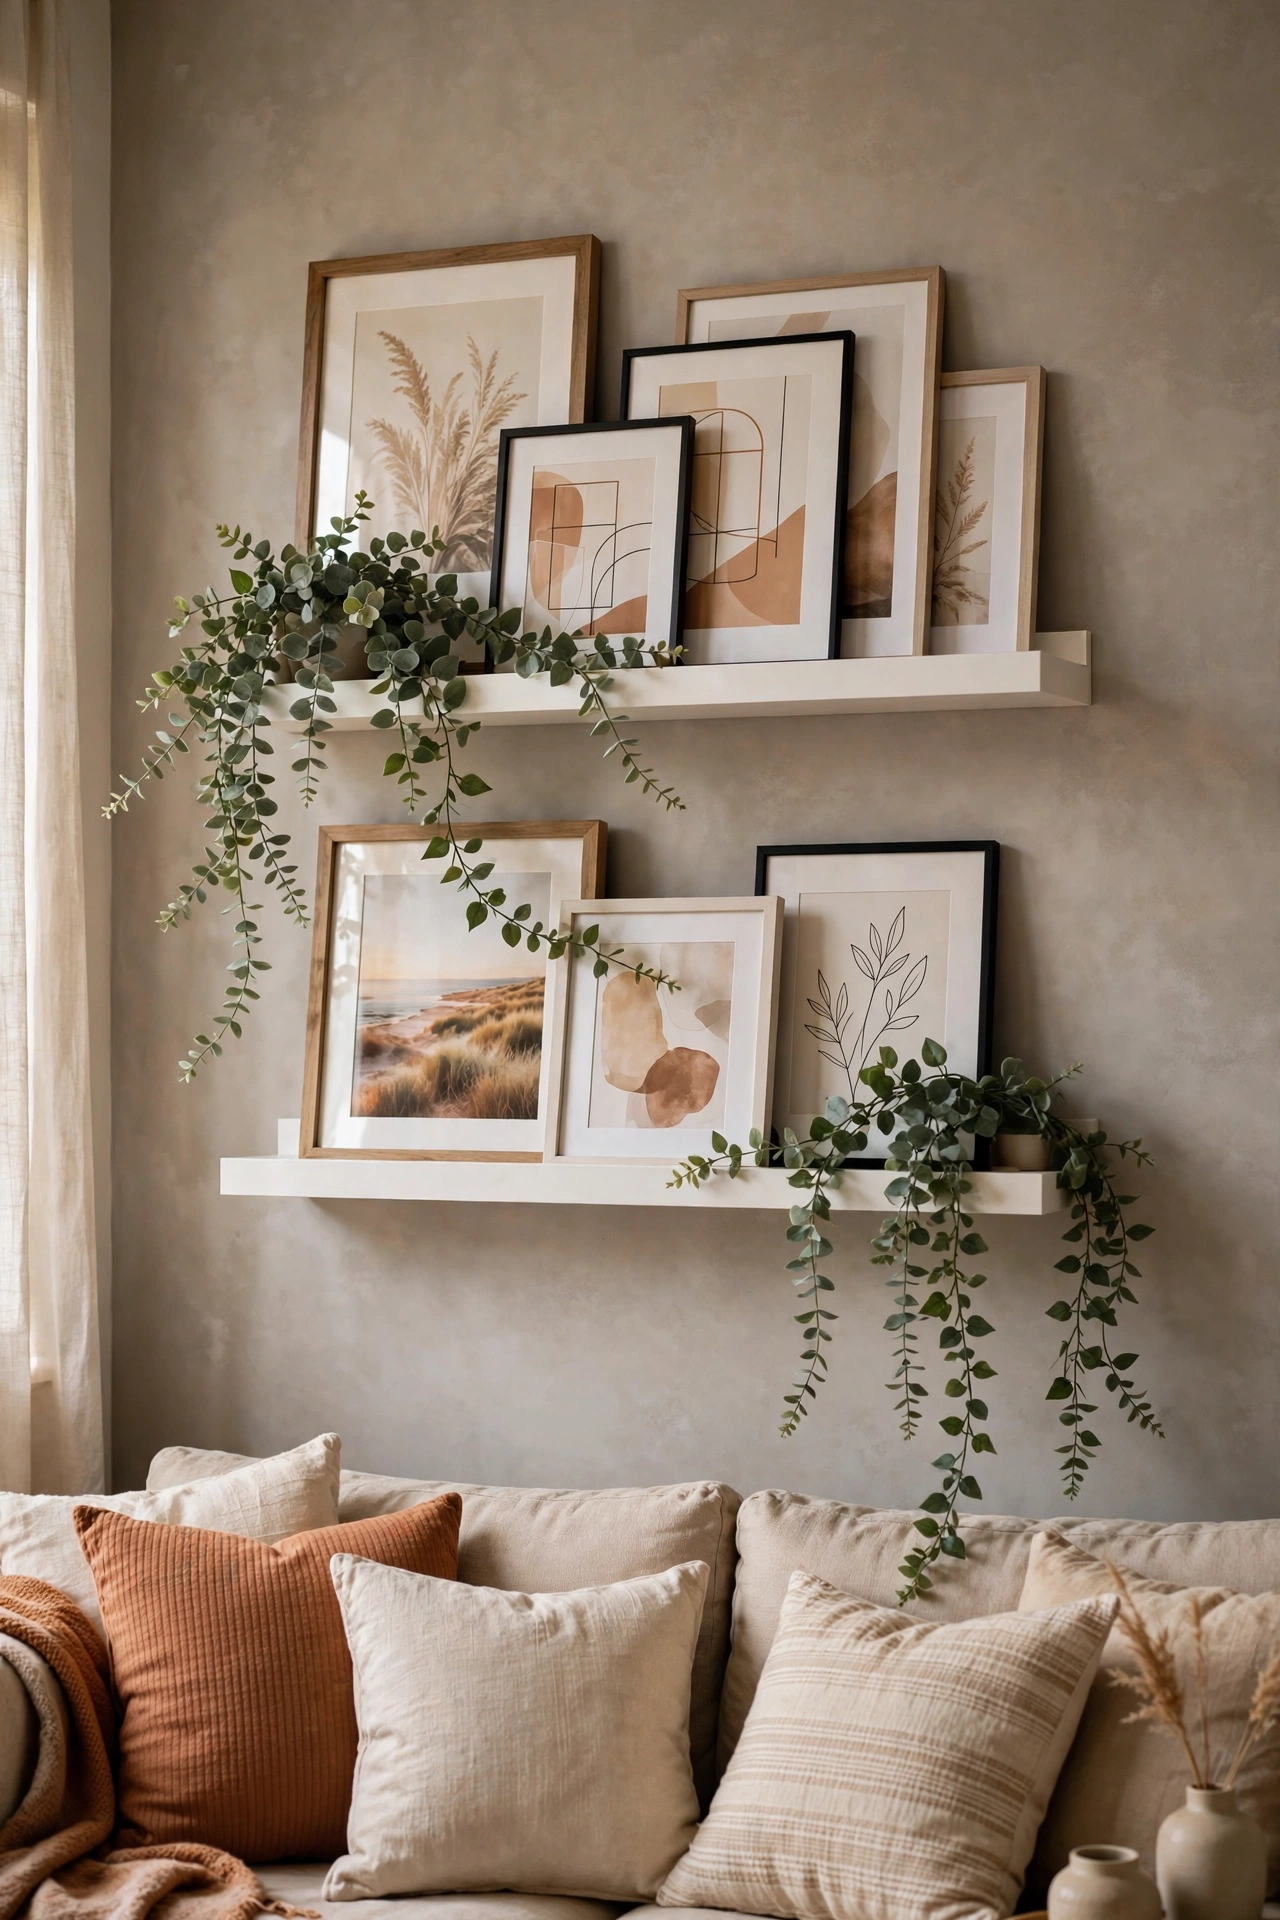
Picture ledges beat nailed-up frames because you can restyle them in minutes without new holes. Mount two narrow ledges on the sofa wall and layer framed prints, small canvases, and a trailing faux plant along them, overlapping pieces front to back. The layering creates depth that flat-hung galleries lack. Because nothing is fixed, you can swap art seasonally — which is exactly what expensive-looking homes do. If you want more wall inspiration, see (see also: 23-dollar-store-wall-decor-ideas-worth-every-penny).
Pro tip: overlap frames so front pieces partially cover back ones — that layered depth is the designer trick.
Cost: ~$10 · Time: 40 minutes
17. Serving Tray Turning the Ottoman Into a Table
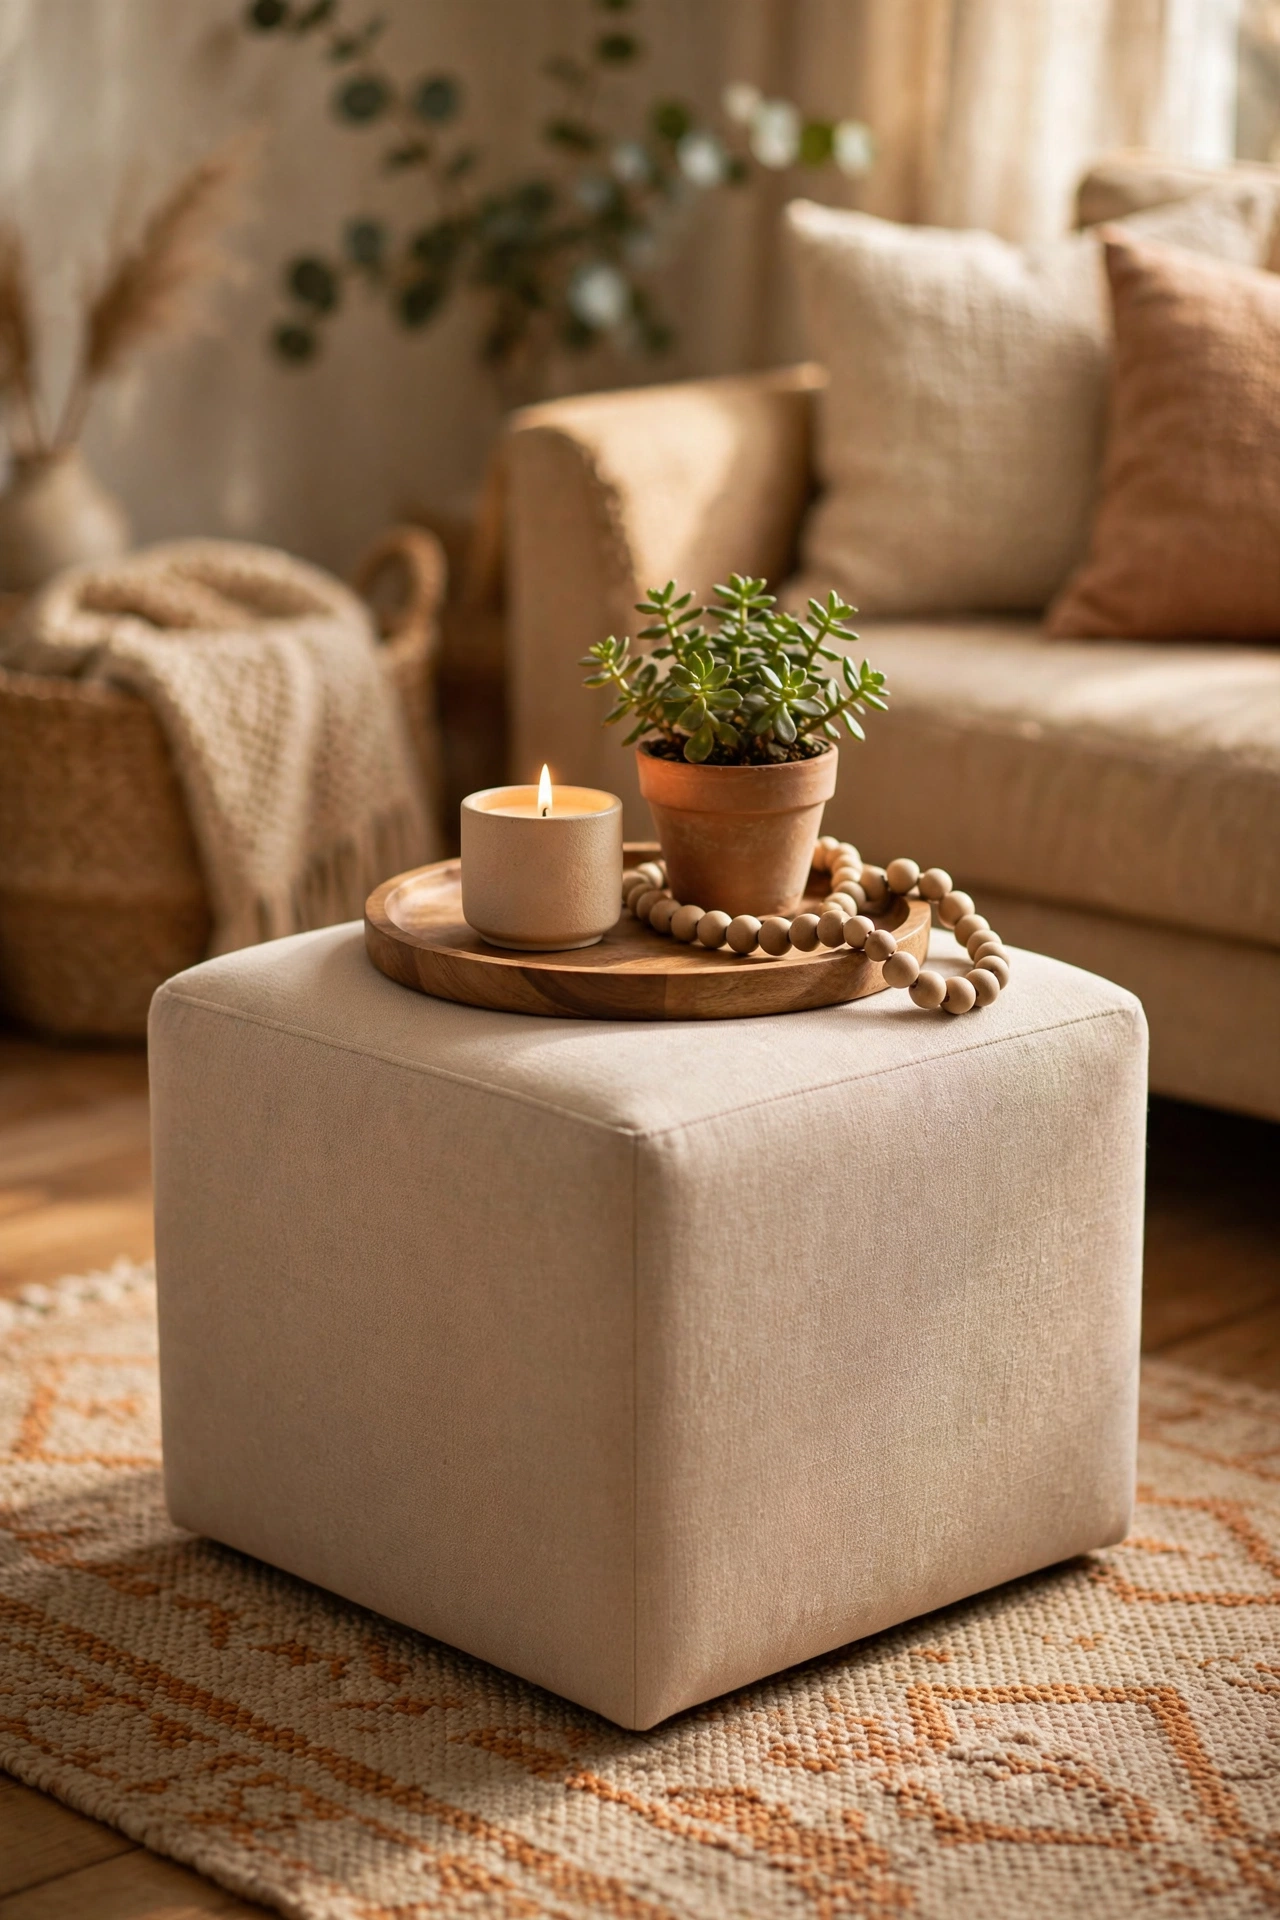
An ottoman with a sturdy tray on top becomes a coffee table, a footrest, and a serving station in one. Choose a tray with handles and a lip so nothing slides off, sized to cover about two-thirds of the ottoman top. Style it with a candle, a small plant, and your bead garland, and lift the whole thing off when you want to put your feet up. Round trays on square ottomans (or the reverse) look more deliberate than matching shapes. It is the hardest-working ten dollars in my living room.
Pro tip: contrast the tray shape with the ottoman shape — round on square reads intentional, matching reads accidental.
Cost: ~$7 · Time: 10 minutes
18. Arch-Shaped Peel-and-Stick Wall Decals
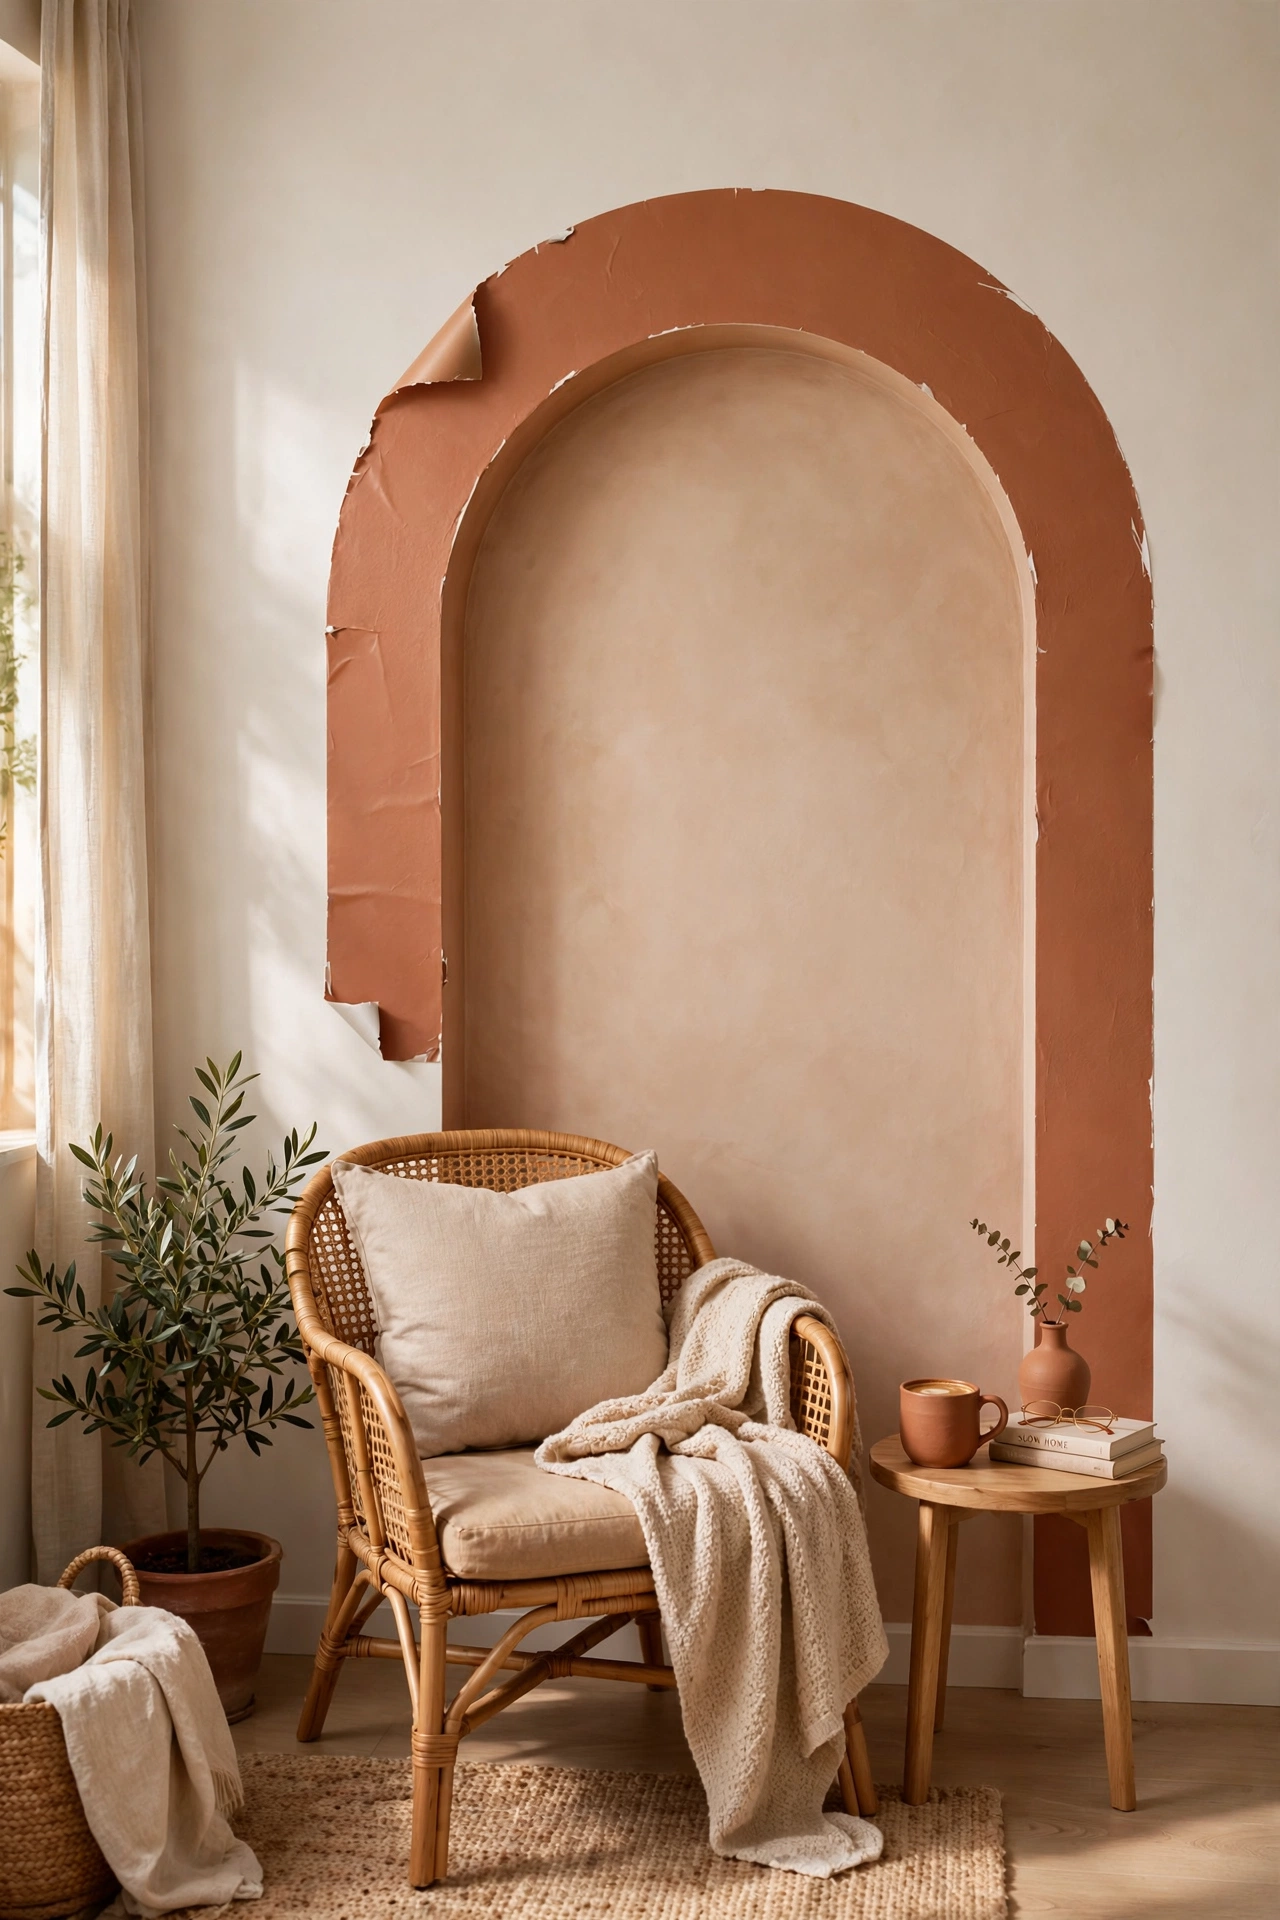
Painted arches are all over designer interiors, and the peel-and-stick decal versions give you the look with zero paint. Place a large arch decal behind a console table or reading chair to create a faux alcove — it frames the furniture like architecture. Terracotta, sage, and warm beige are the colours that read most expensive; avoid anything too bright. Smooth the decal from the centre outward to chase out air bubbles, and step back frequently to check it is level before it fully adheres.
Pro tip: centre the arch on the furniture beneath it, not on the wall — the pairing is what creates the architectural illusion.
Cost: ~$5 · Time: 30 minutes
19. Tassel Curtain Tiebacks
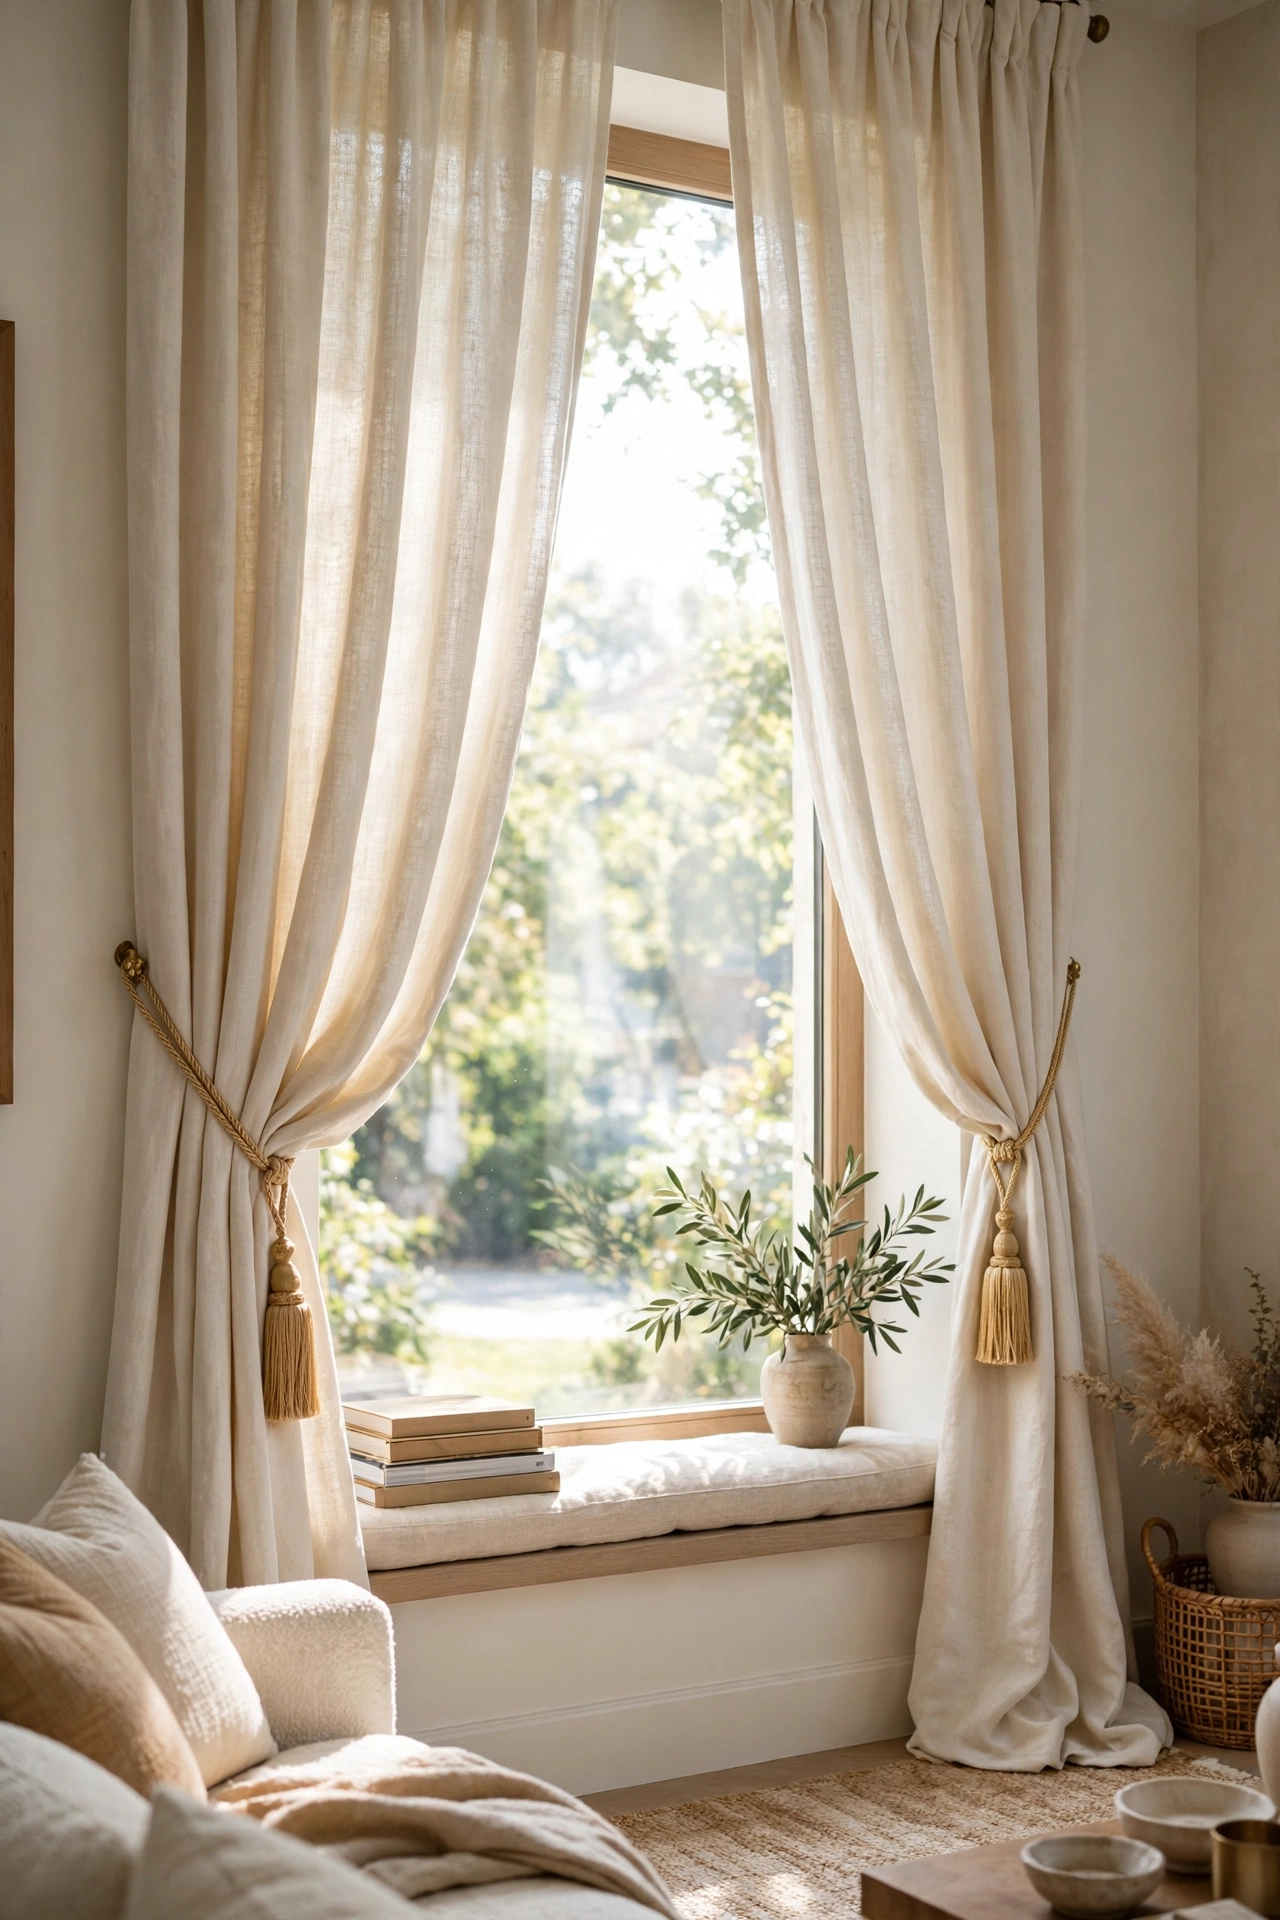
Tiebacks are the jewellery of the window, and tassel versions make even basic curtains hang like they were custom made. Gather each curtain panel to the side and secure it about two-thirds of the way down — that height gives the most flattering drape. The tieback pulls the fabric into soft folds instead of letting it hang flat, which is the difference between curtains that look hung and curtains that look dressed. Match the tassel colour to your curtain or go one shade darker for contrast.
Pro tip: hook tiebacks at two-thirds height, never halfway — the higher gather creates a more elegant sweep.
Cost: ~$4 · Time: 10 minutes
20. Mismatched Frames Sprayed One Colour
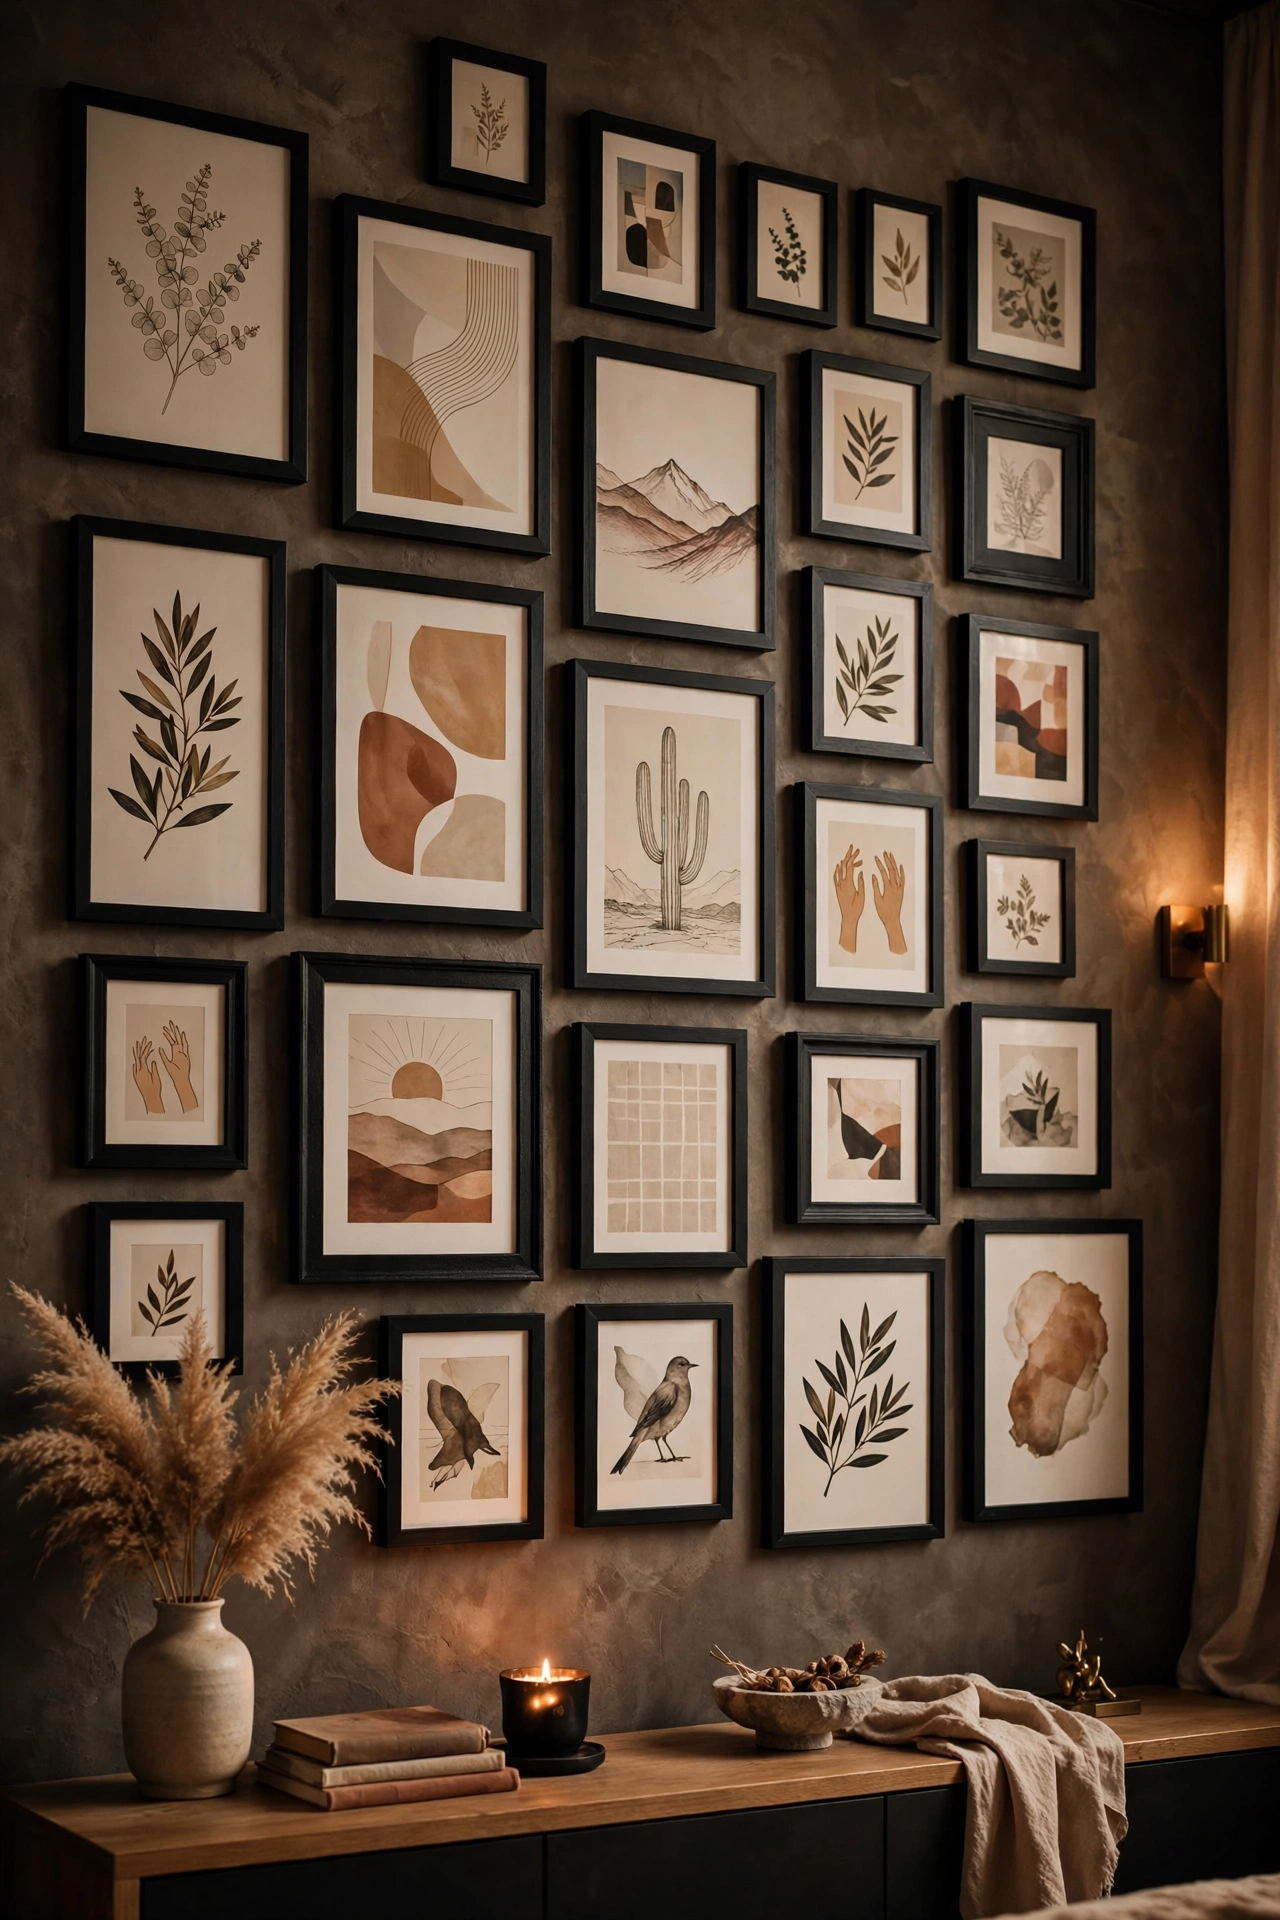
A gallery wall of mismatched frames looks chaotic; the same frames all sprayed matte black or antique gold look collected and intentional. Gather every cheap frame you own in different sizes, lay them on newspaper, and give them two light coats of spray paint. Uniform colour is the great unifier — it makes a £1 frame and a £10 frame indistinguishable on the wall. Hang them in a tight grid with equal spacing for a formal look, or a loose cluster for something more relaxed. For frame-specific projects, see (see also: 21-dollar-store-picture-frame-ideas-that-look-custom).
Pro tip: two thin coats beat one thick coat — thick paint drips, thin coats give a factory finish.
Cost: ~$8 · Time: 1 hour
21. Faux Fur Throw Over the Armchair
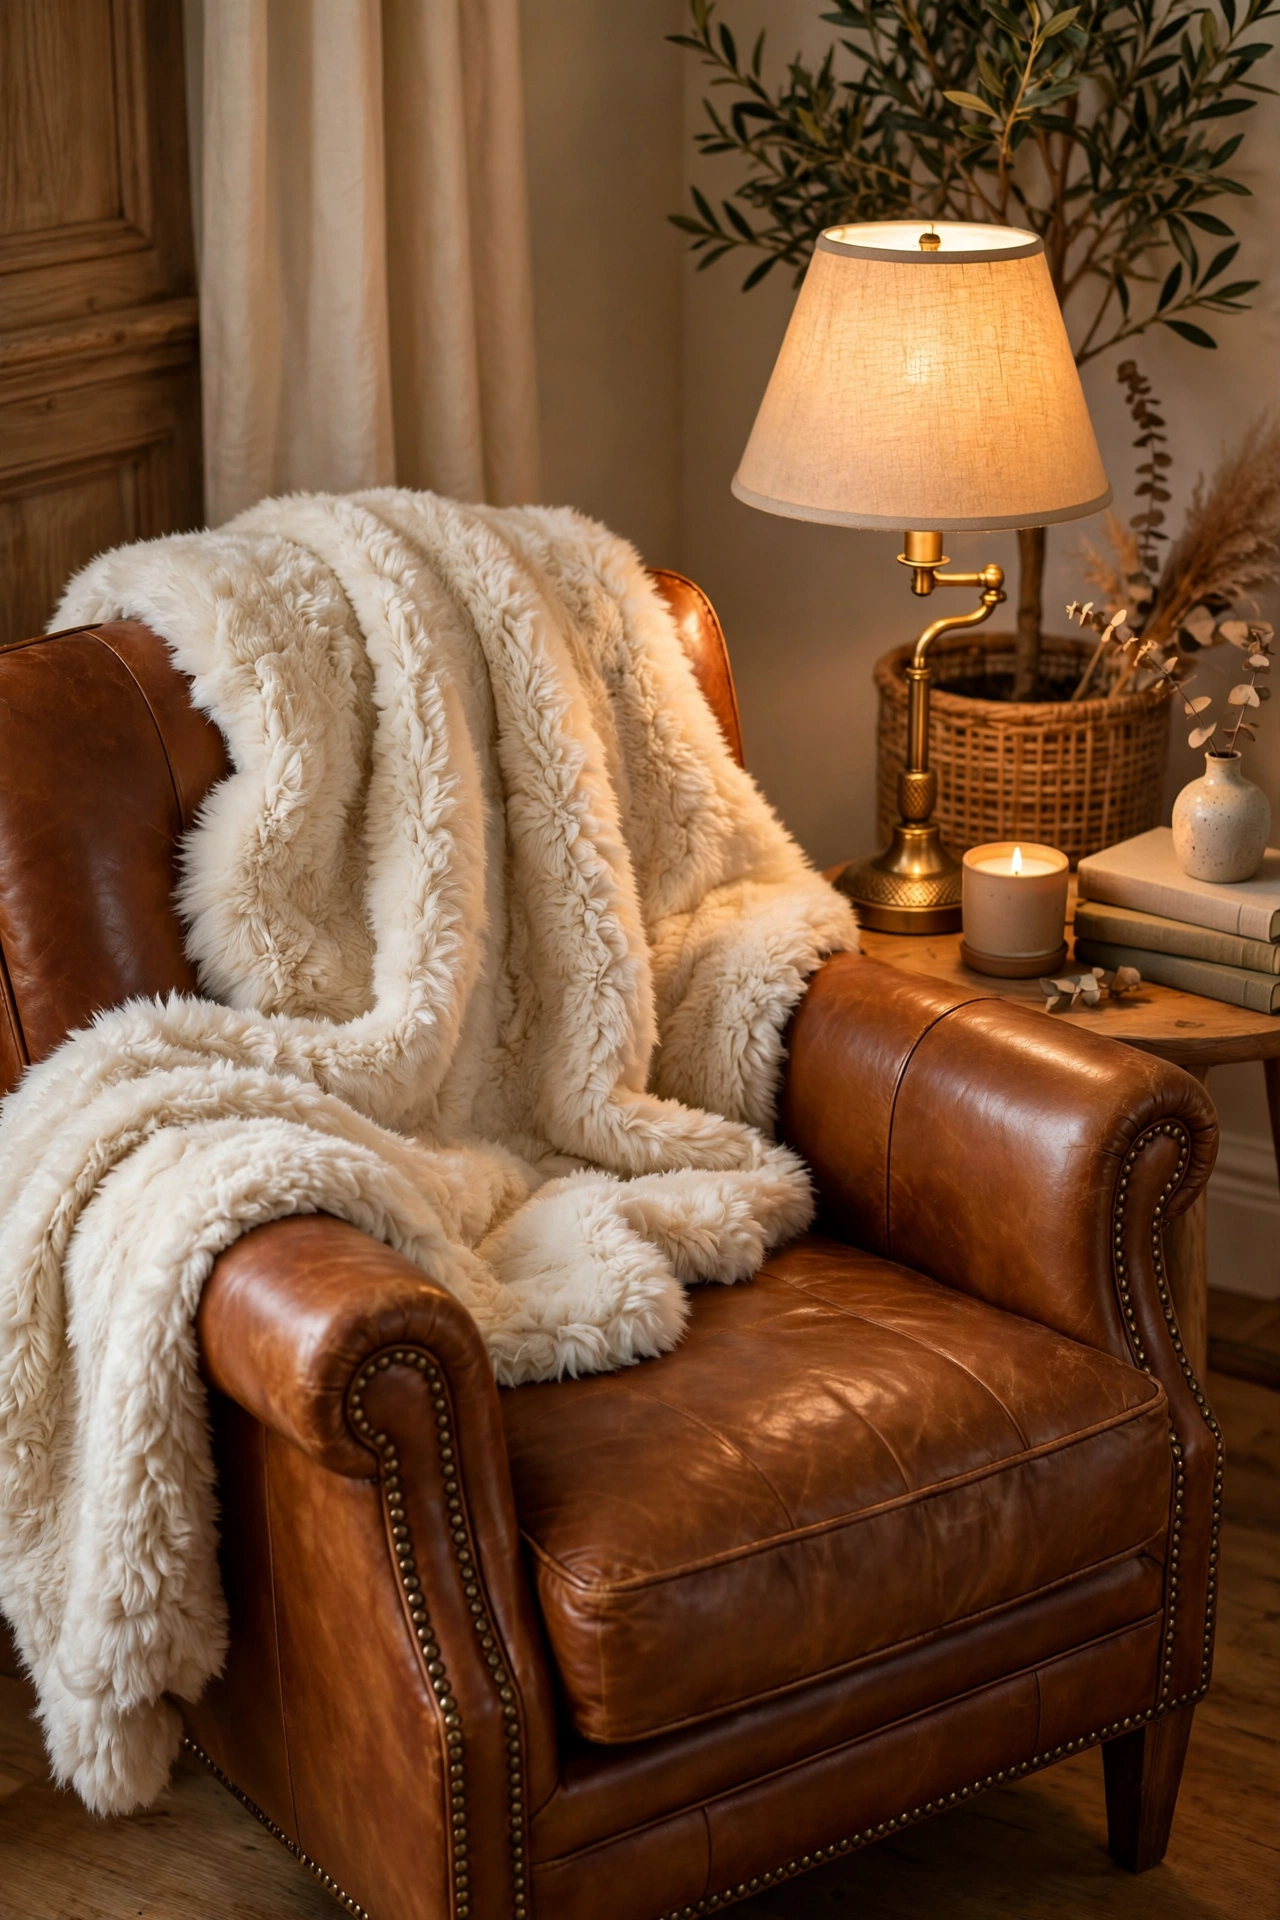
Faux fur is pure luxury signalling — it says comfort and indulgence in a way flat fabrics cannot. Drape one over the arm or back of your reading chair, letting it fall naturally rather than arranging it to death. Cream and warm grey look the most expensive; stark white shows every mark. Give it a shake and a brush with your fingers to fluff the pile before it goes on display. It is also the thing guests always reach out to touch, which tells you everything about how convincing it is.
Pro tip: fluff the pile with your fingers right before displaying — flattened fur looks tired, lifted fur looks lush.
Cost: ~$6 · Time: 5 minutes
22. Black Metal Lantern With a Flameless Candle
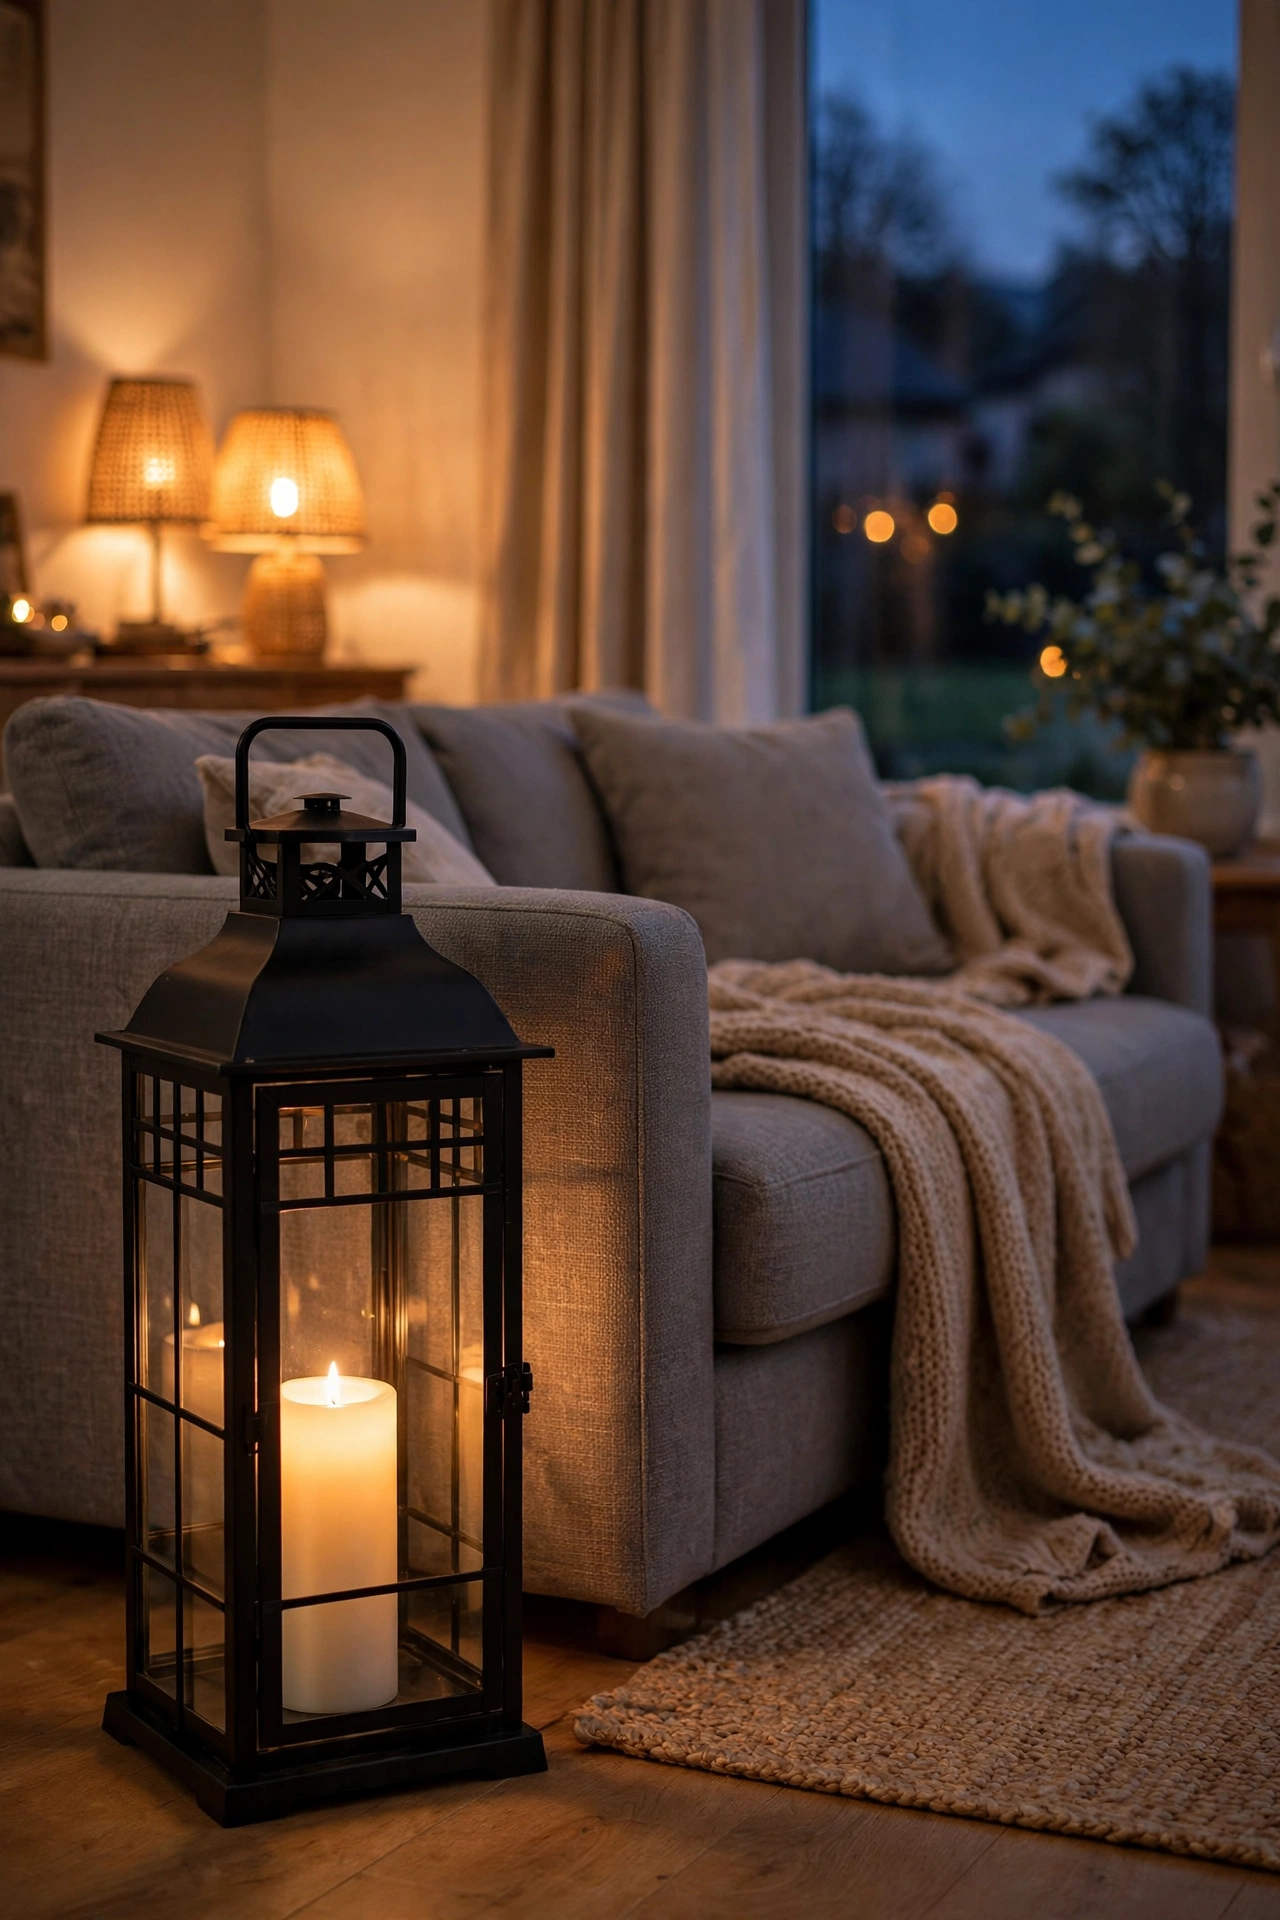
A black metal lantern is one of those pieces that looks the same at every price point — the dollar store version is genuinely hard to tell apart from expensive ones. Pop a flameless pillar candle inside and set it on the floor beside the sofa or on the hearth. The dark metal frame gives your room a bit of graphic punch, which cheaper rooms often lack. Group two in different heights for more impact, and use the timer candles so they glow every evening without you remembering.
Pro tip: buy lanterns in two heights and group them — pairs always look more styled than singles.
Cost: ~$8 · Time: 10 minutes
23. Styled Bookshelf With Metal Bookends
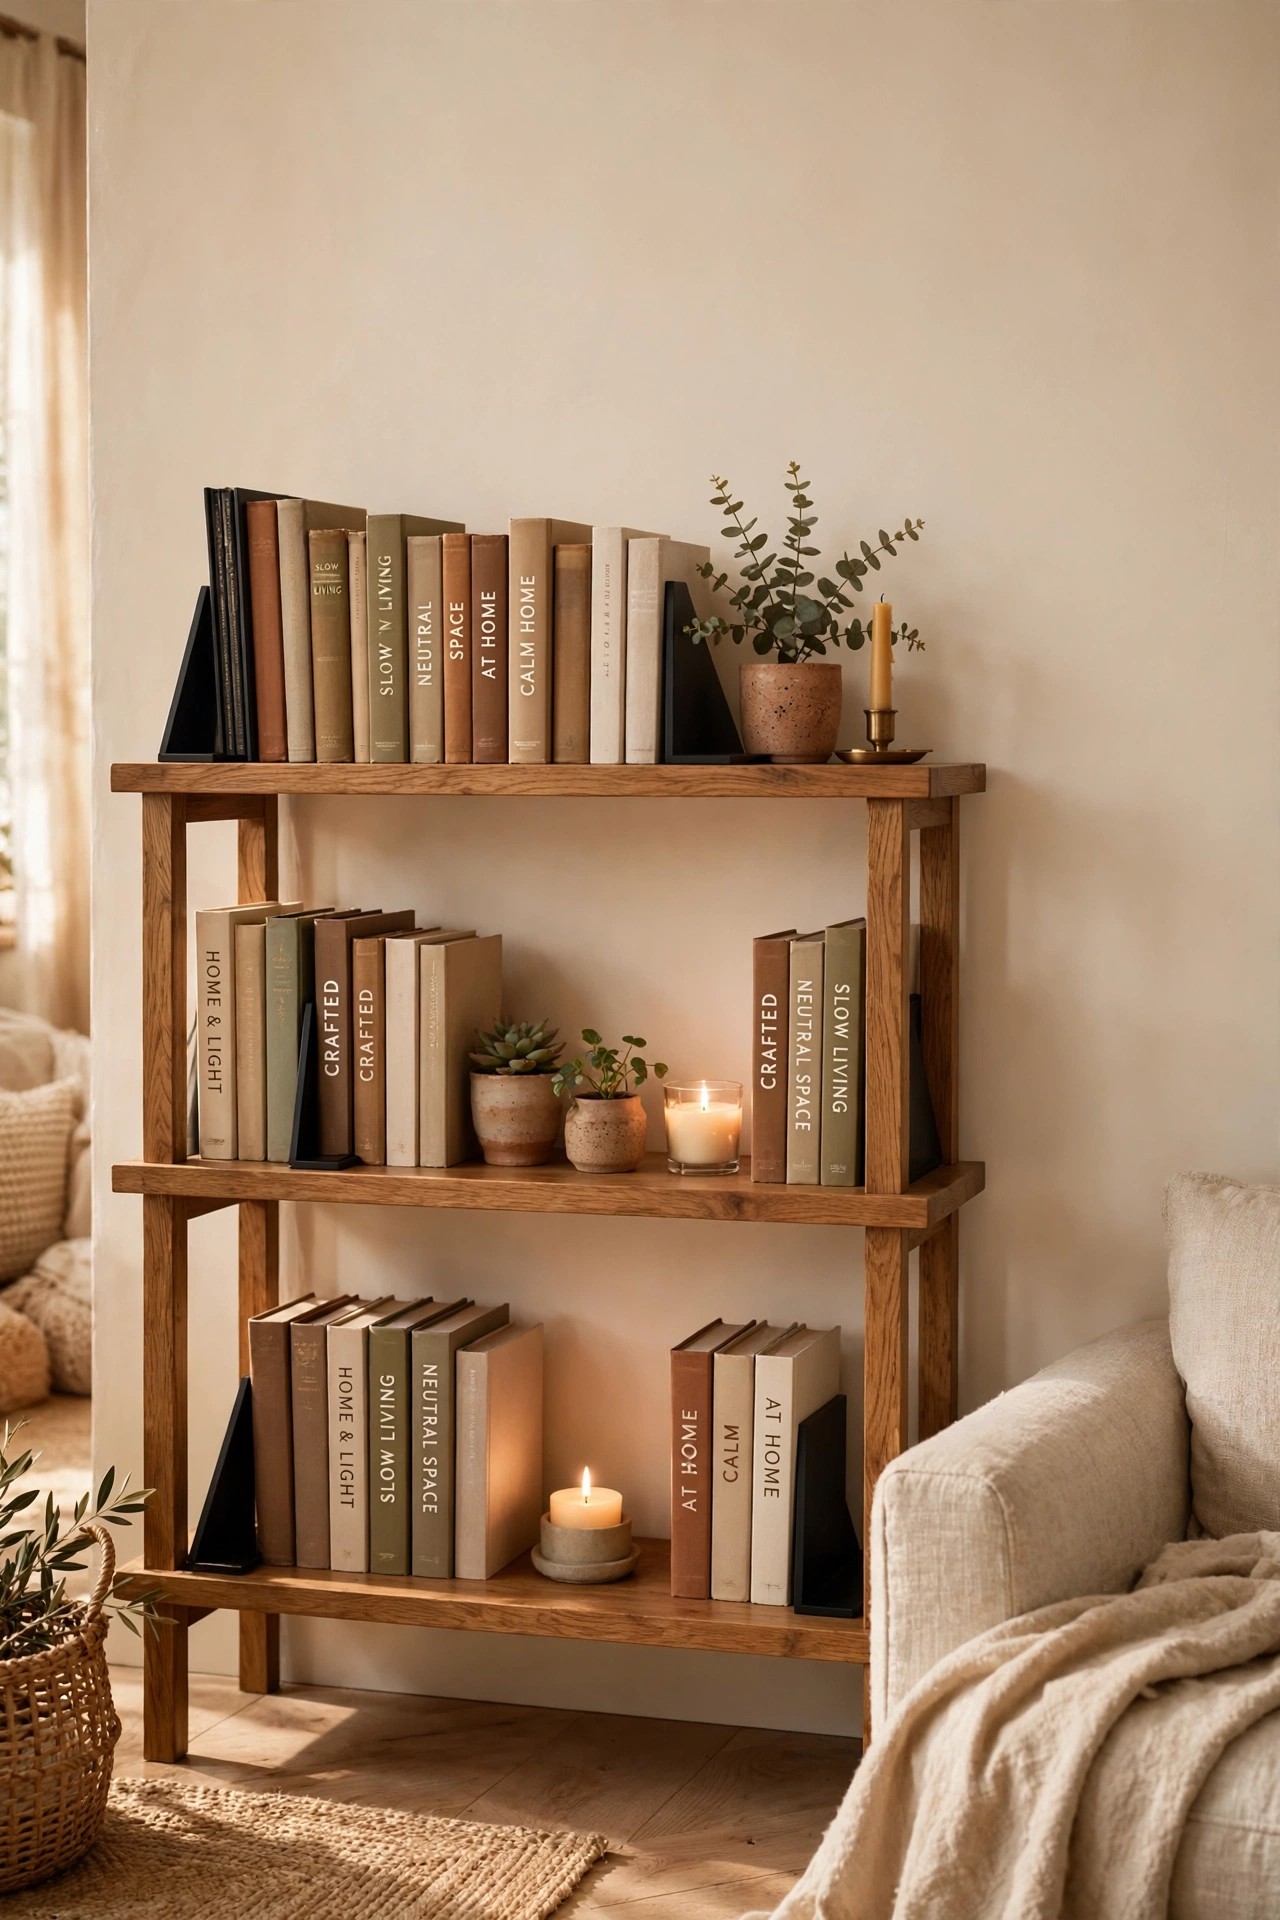
The rule for expensive-looking shelves is simple: books vertical in some sections, styled objects in others, and breathing room everywhere. Use metal bookends to hold upright rows, then leave gaps for a small plant, a candle, or one of your apothecary jars. Take everything off and start from empty — it is faster than shuffling. Step back after each shelf and squint; if any shelf looks crowded, remove one thing. Negative space is the luxury here, and it costs nothing at all. For the full room picture, browse (see also: 15-dollar-store-decor-ideas-that-look-high-end).
Pro tip: style shelves in odd groupings and leave one shelf half-empty — restraint reads as confidence.
Cost: ~$8 · Time: 45 minutes
Spotted your favourite? Save this idea for later — pin it to your living room board so it is waiting when your next Dollar Tree run rolls around.
None of these hacks asks you to spend more than a few dollars or give up a whole weekend, and that is exactly the point. Pick the three that target your room’s weakest spots, do them this week, and enjoy the moment someone asks which designer you hired.
